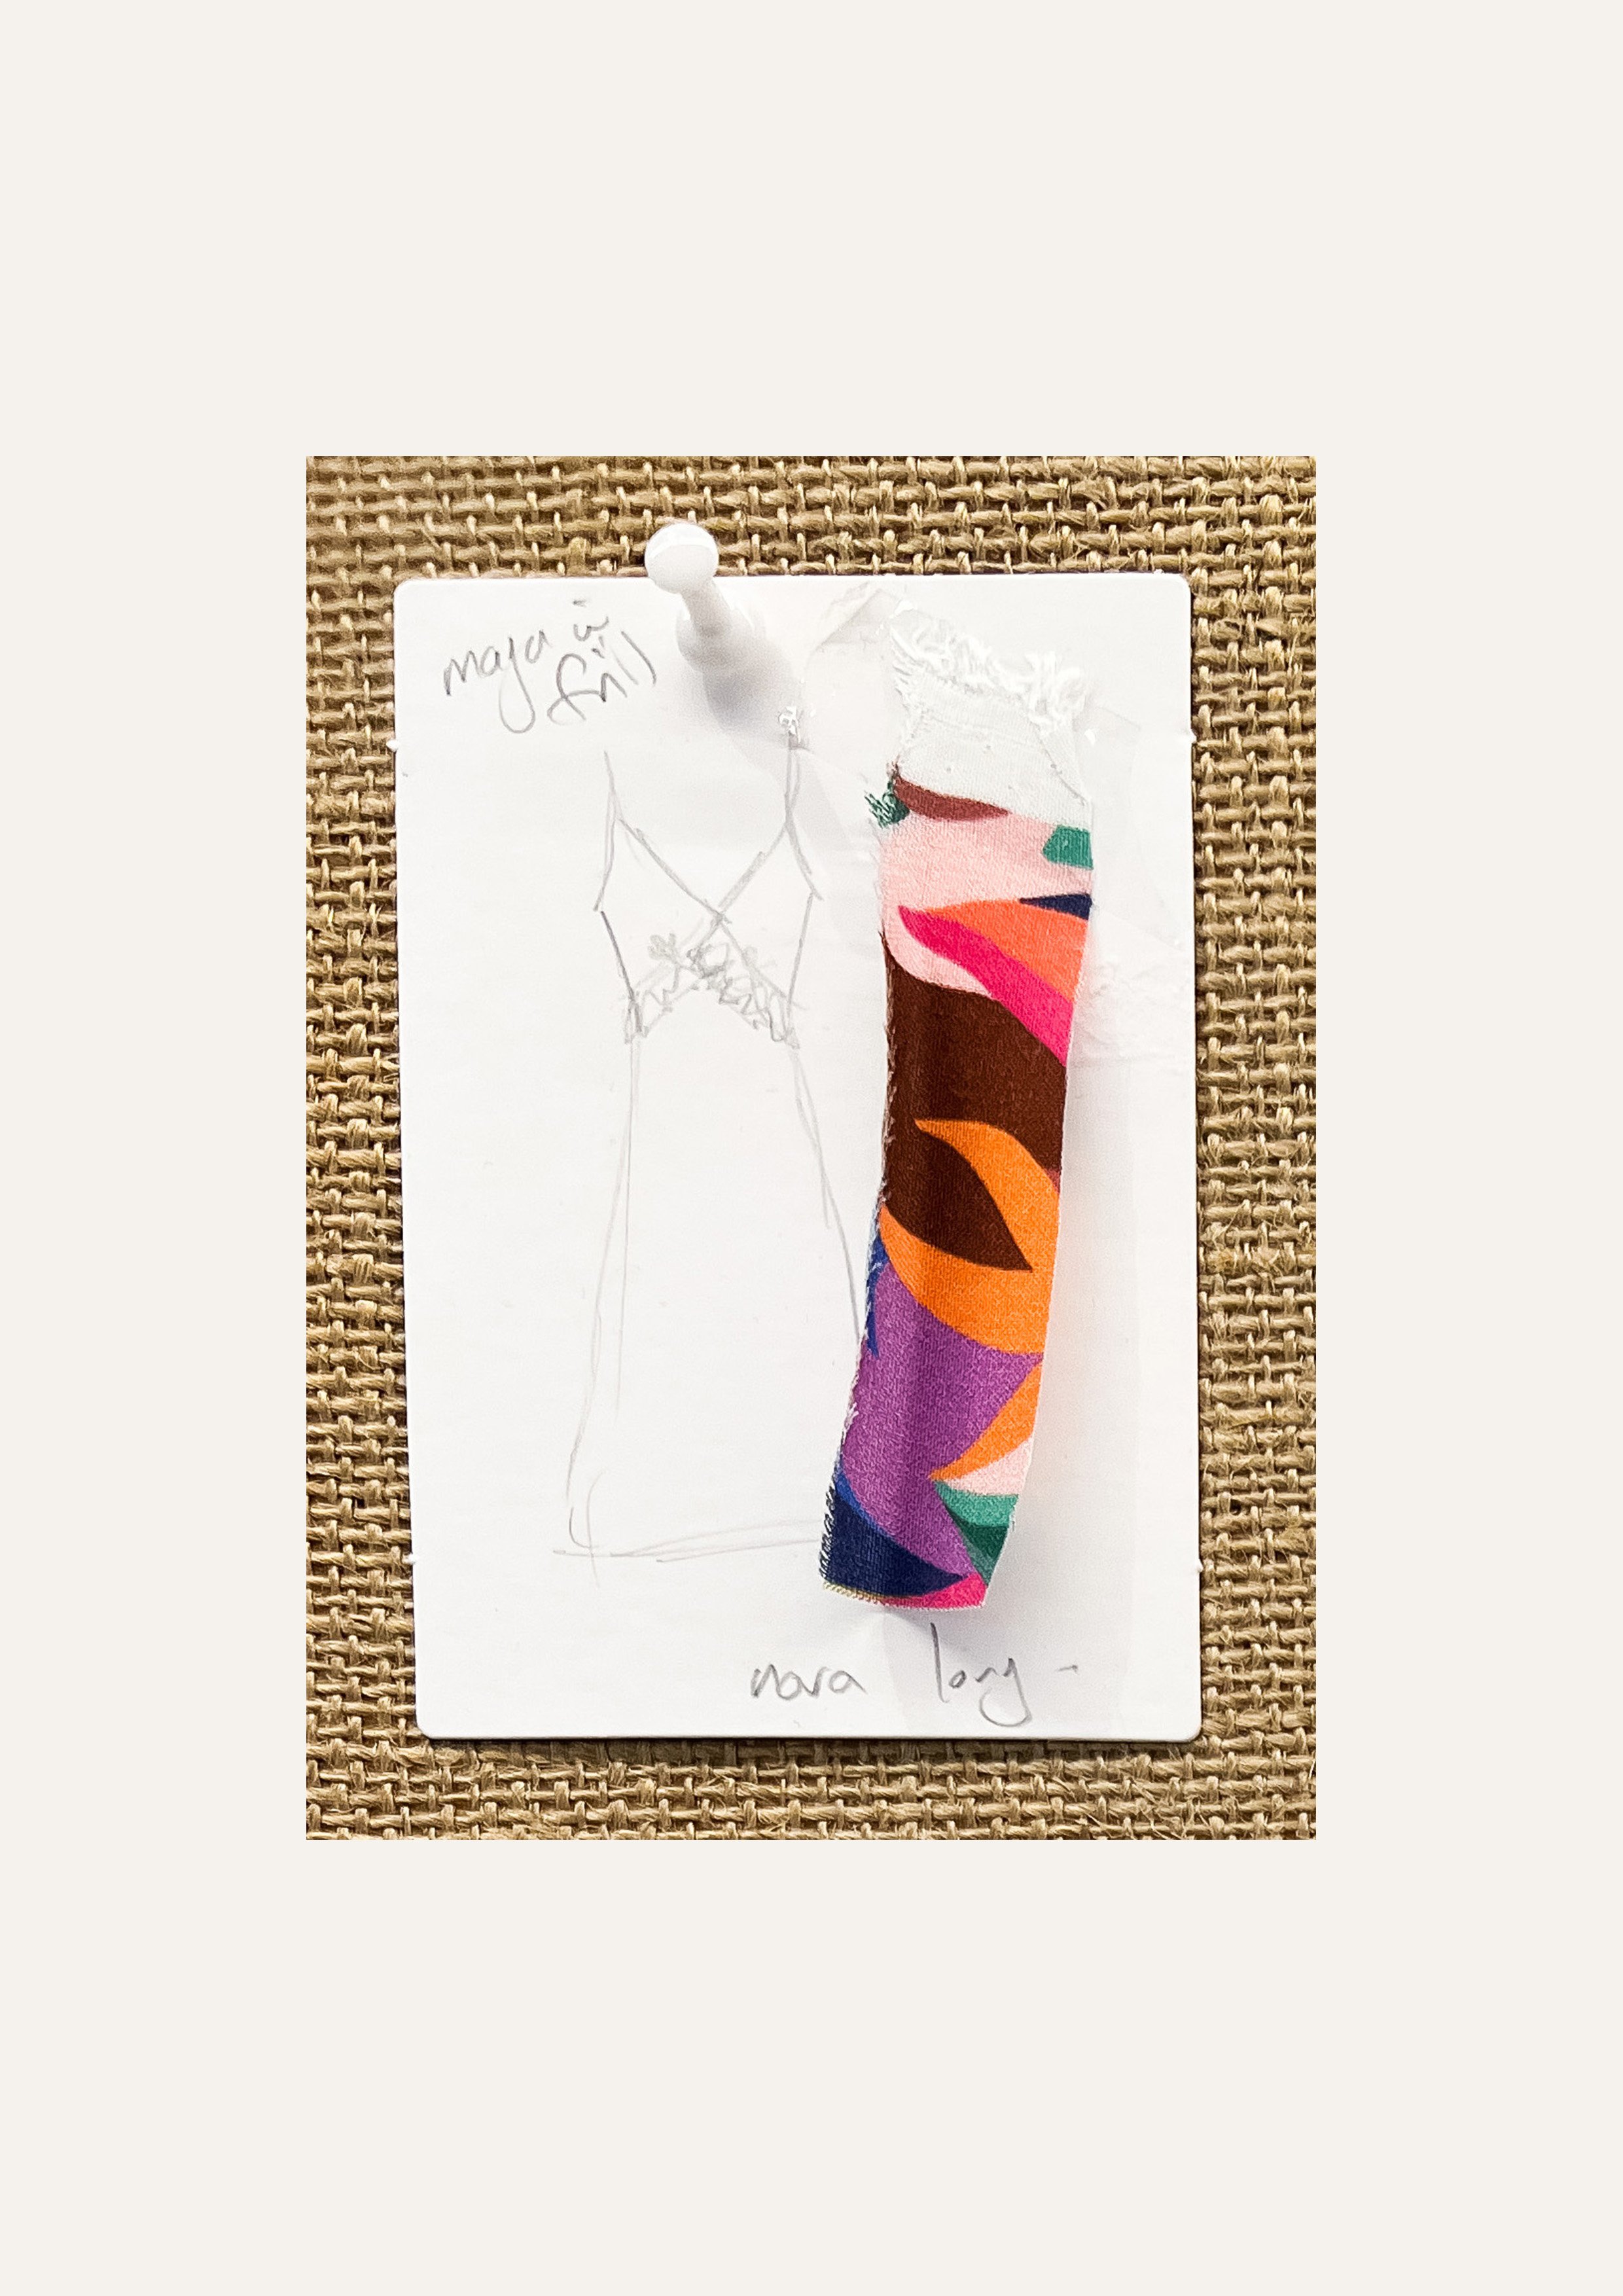
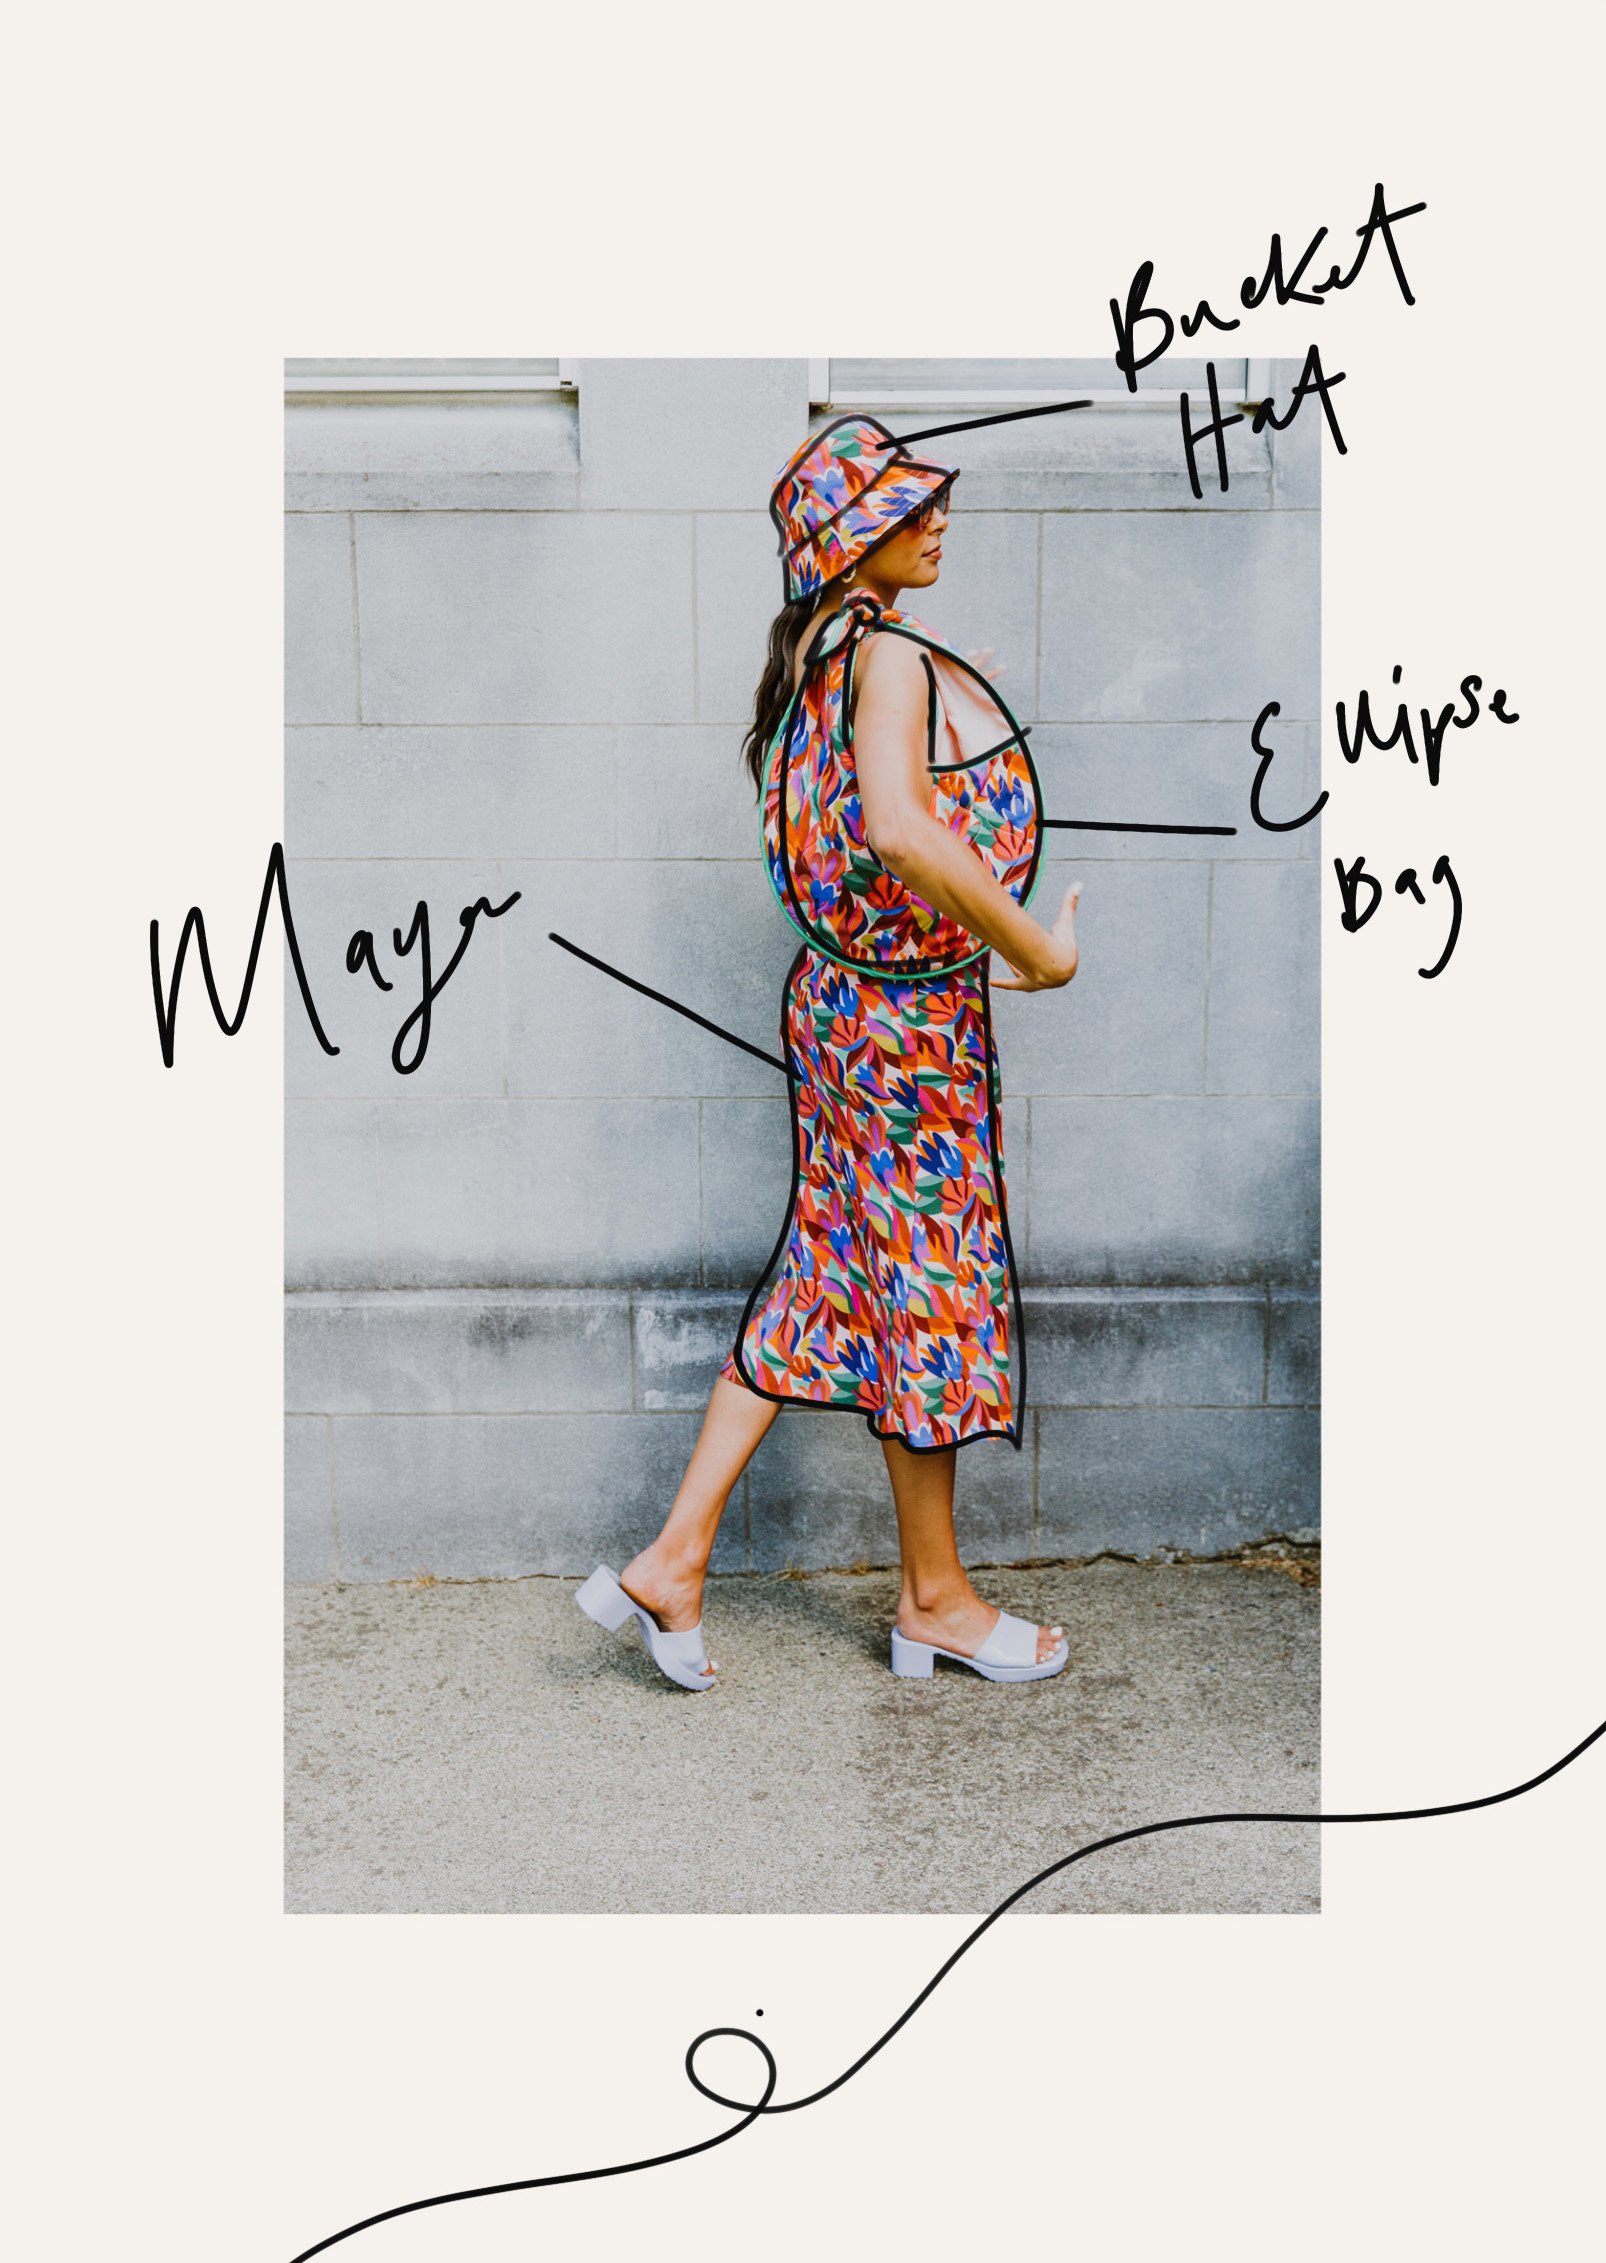
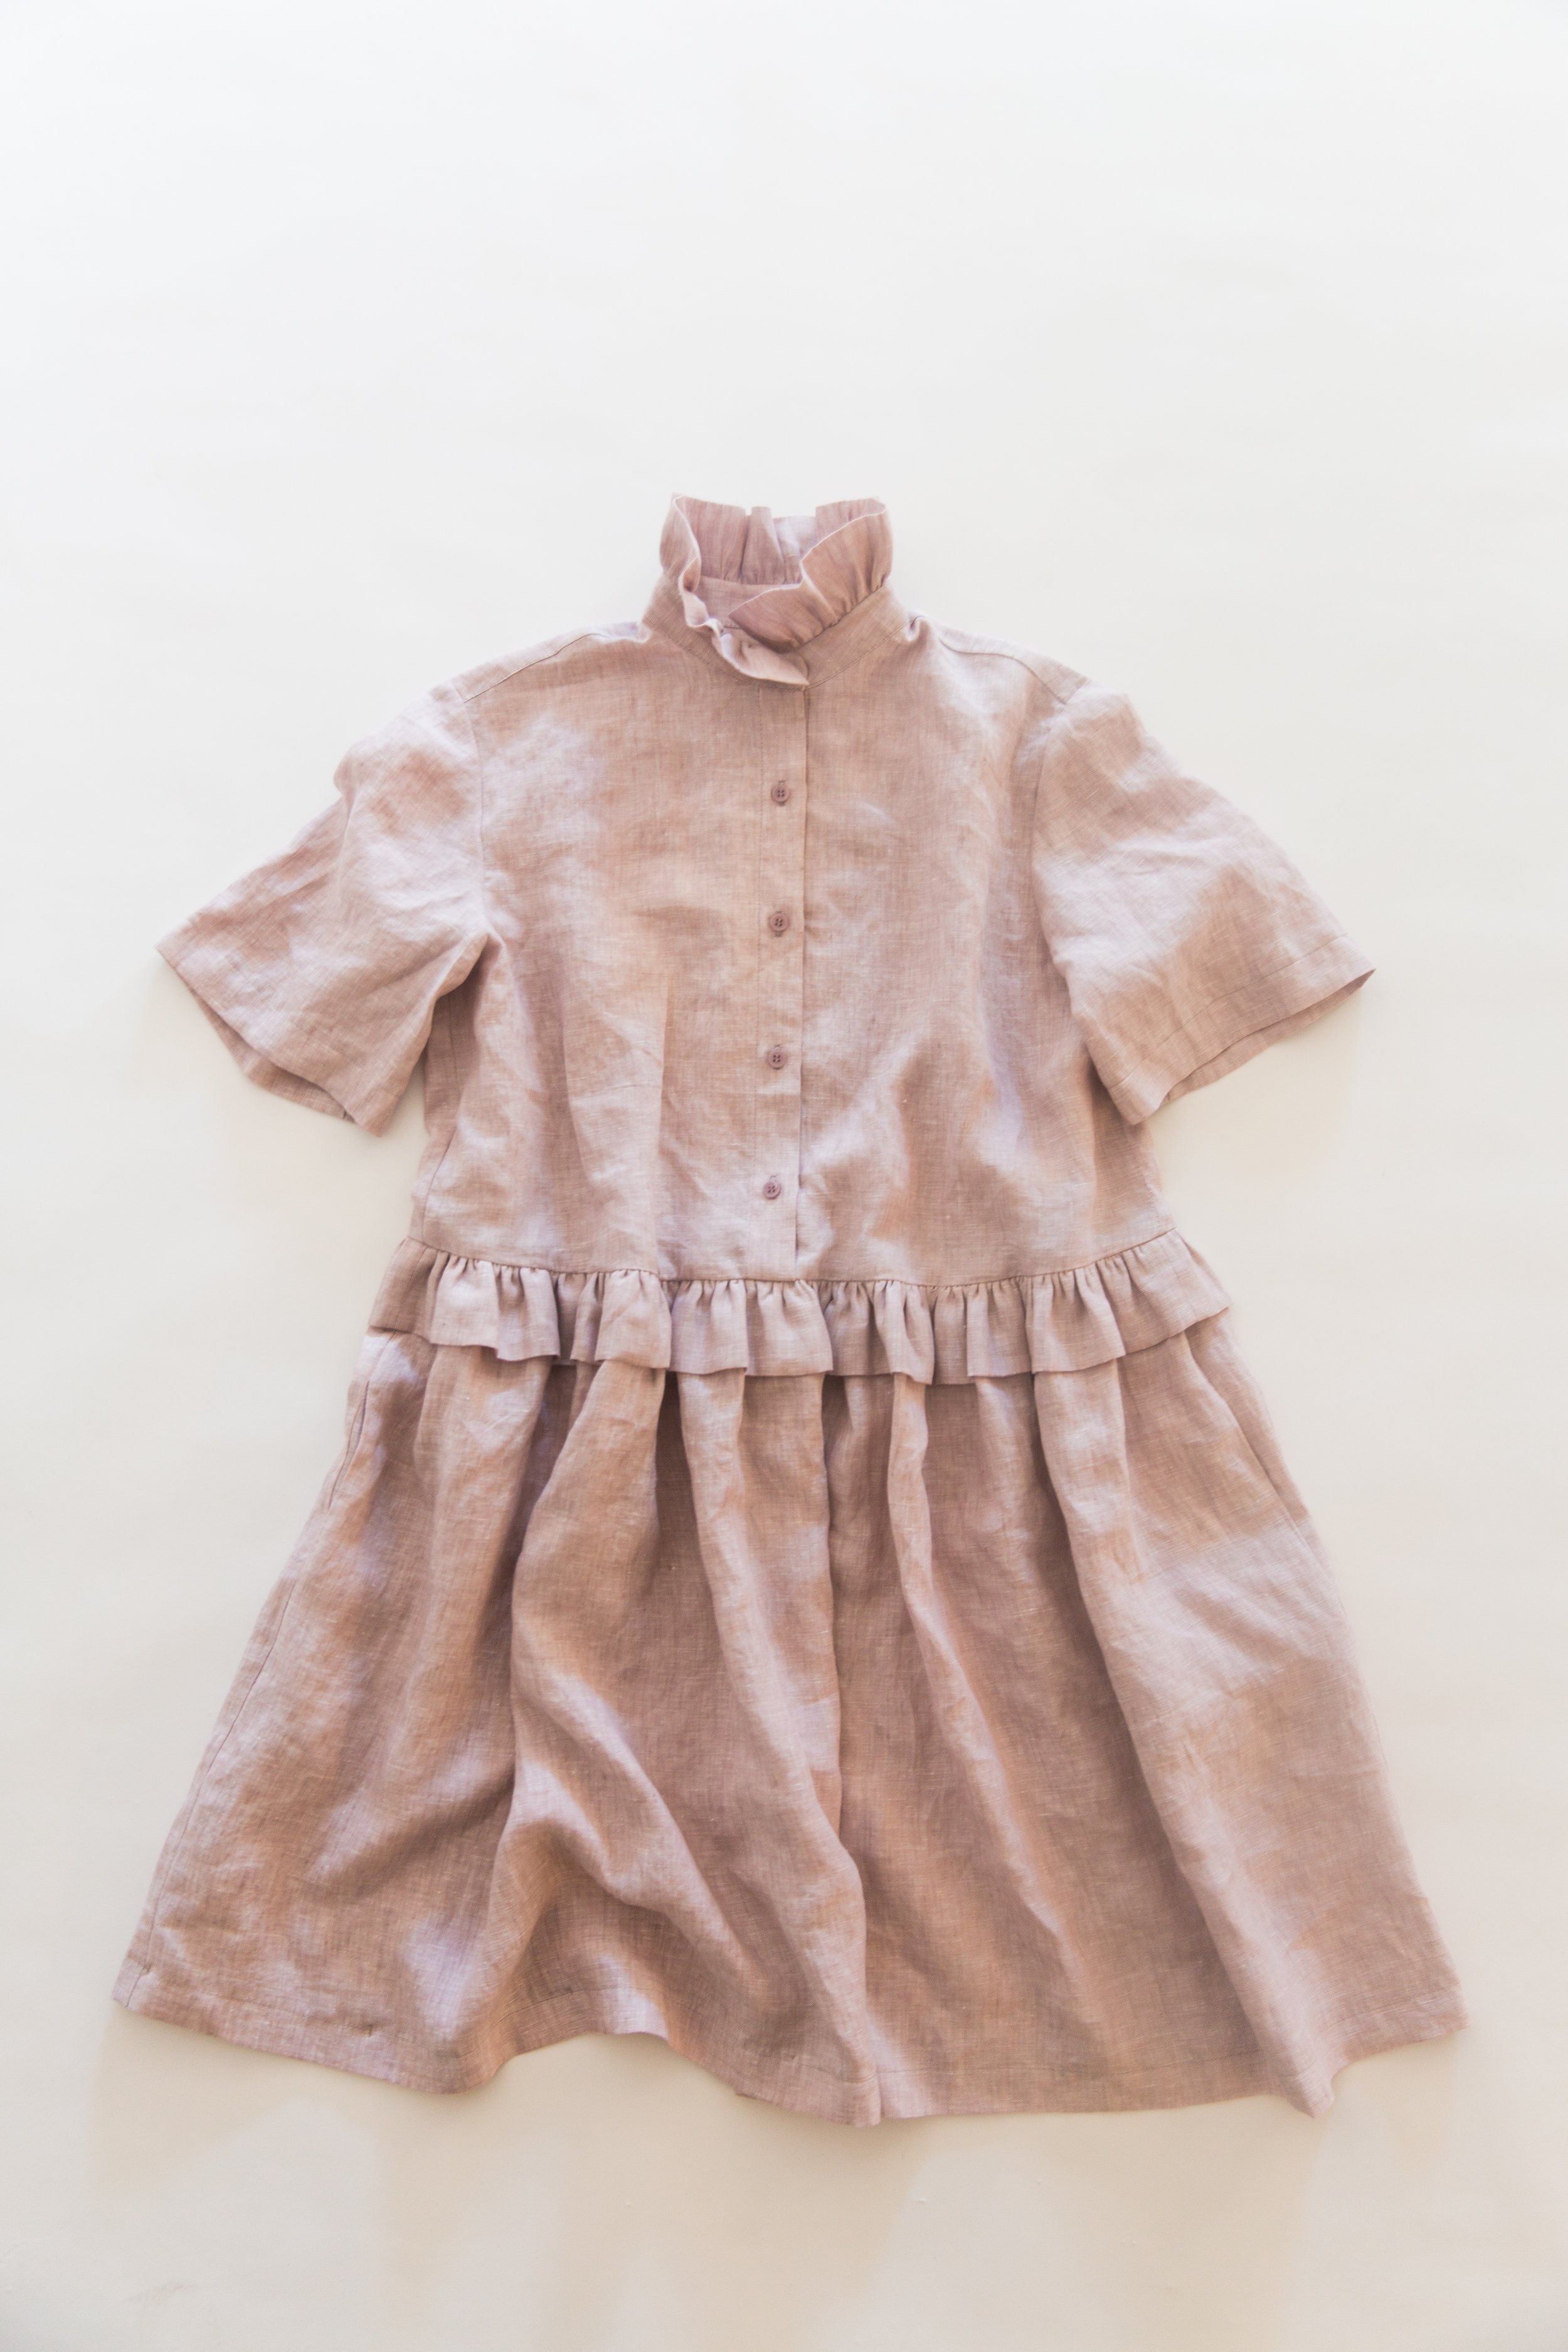
Pattern Hack - Maya cami/ dress
Frill Addition
Pattern Adjustments
Follow these following steps to create your frill pattern piece. The rest of the pattern pieces do not need to be altered.
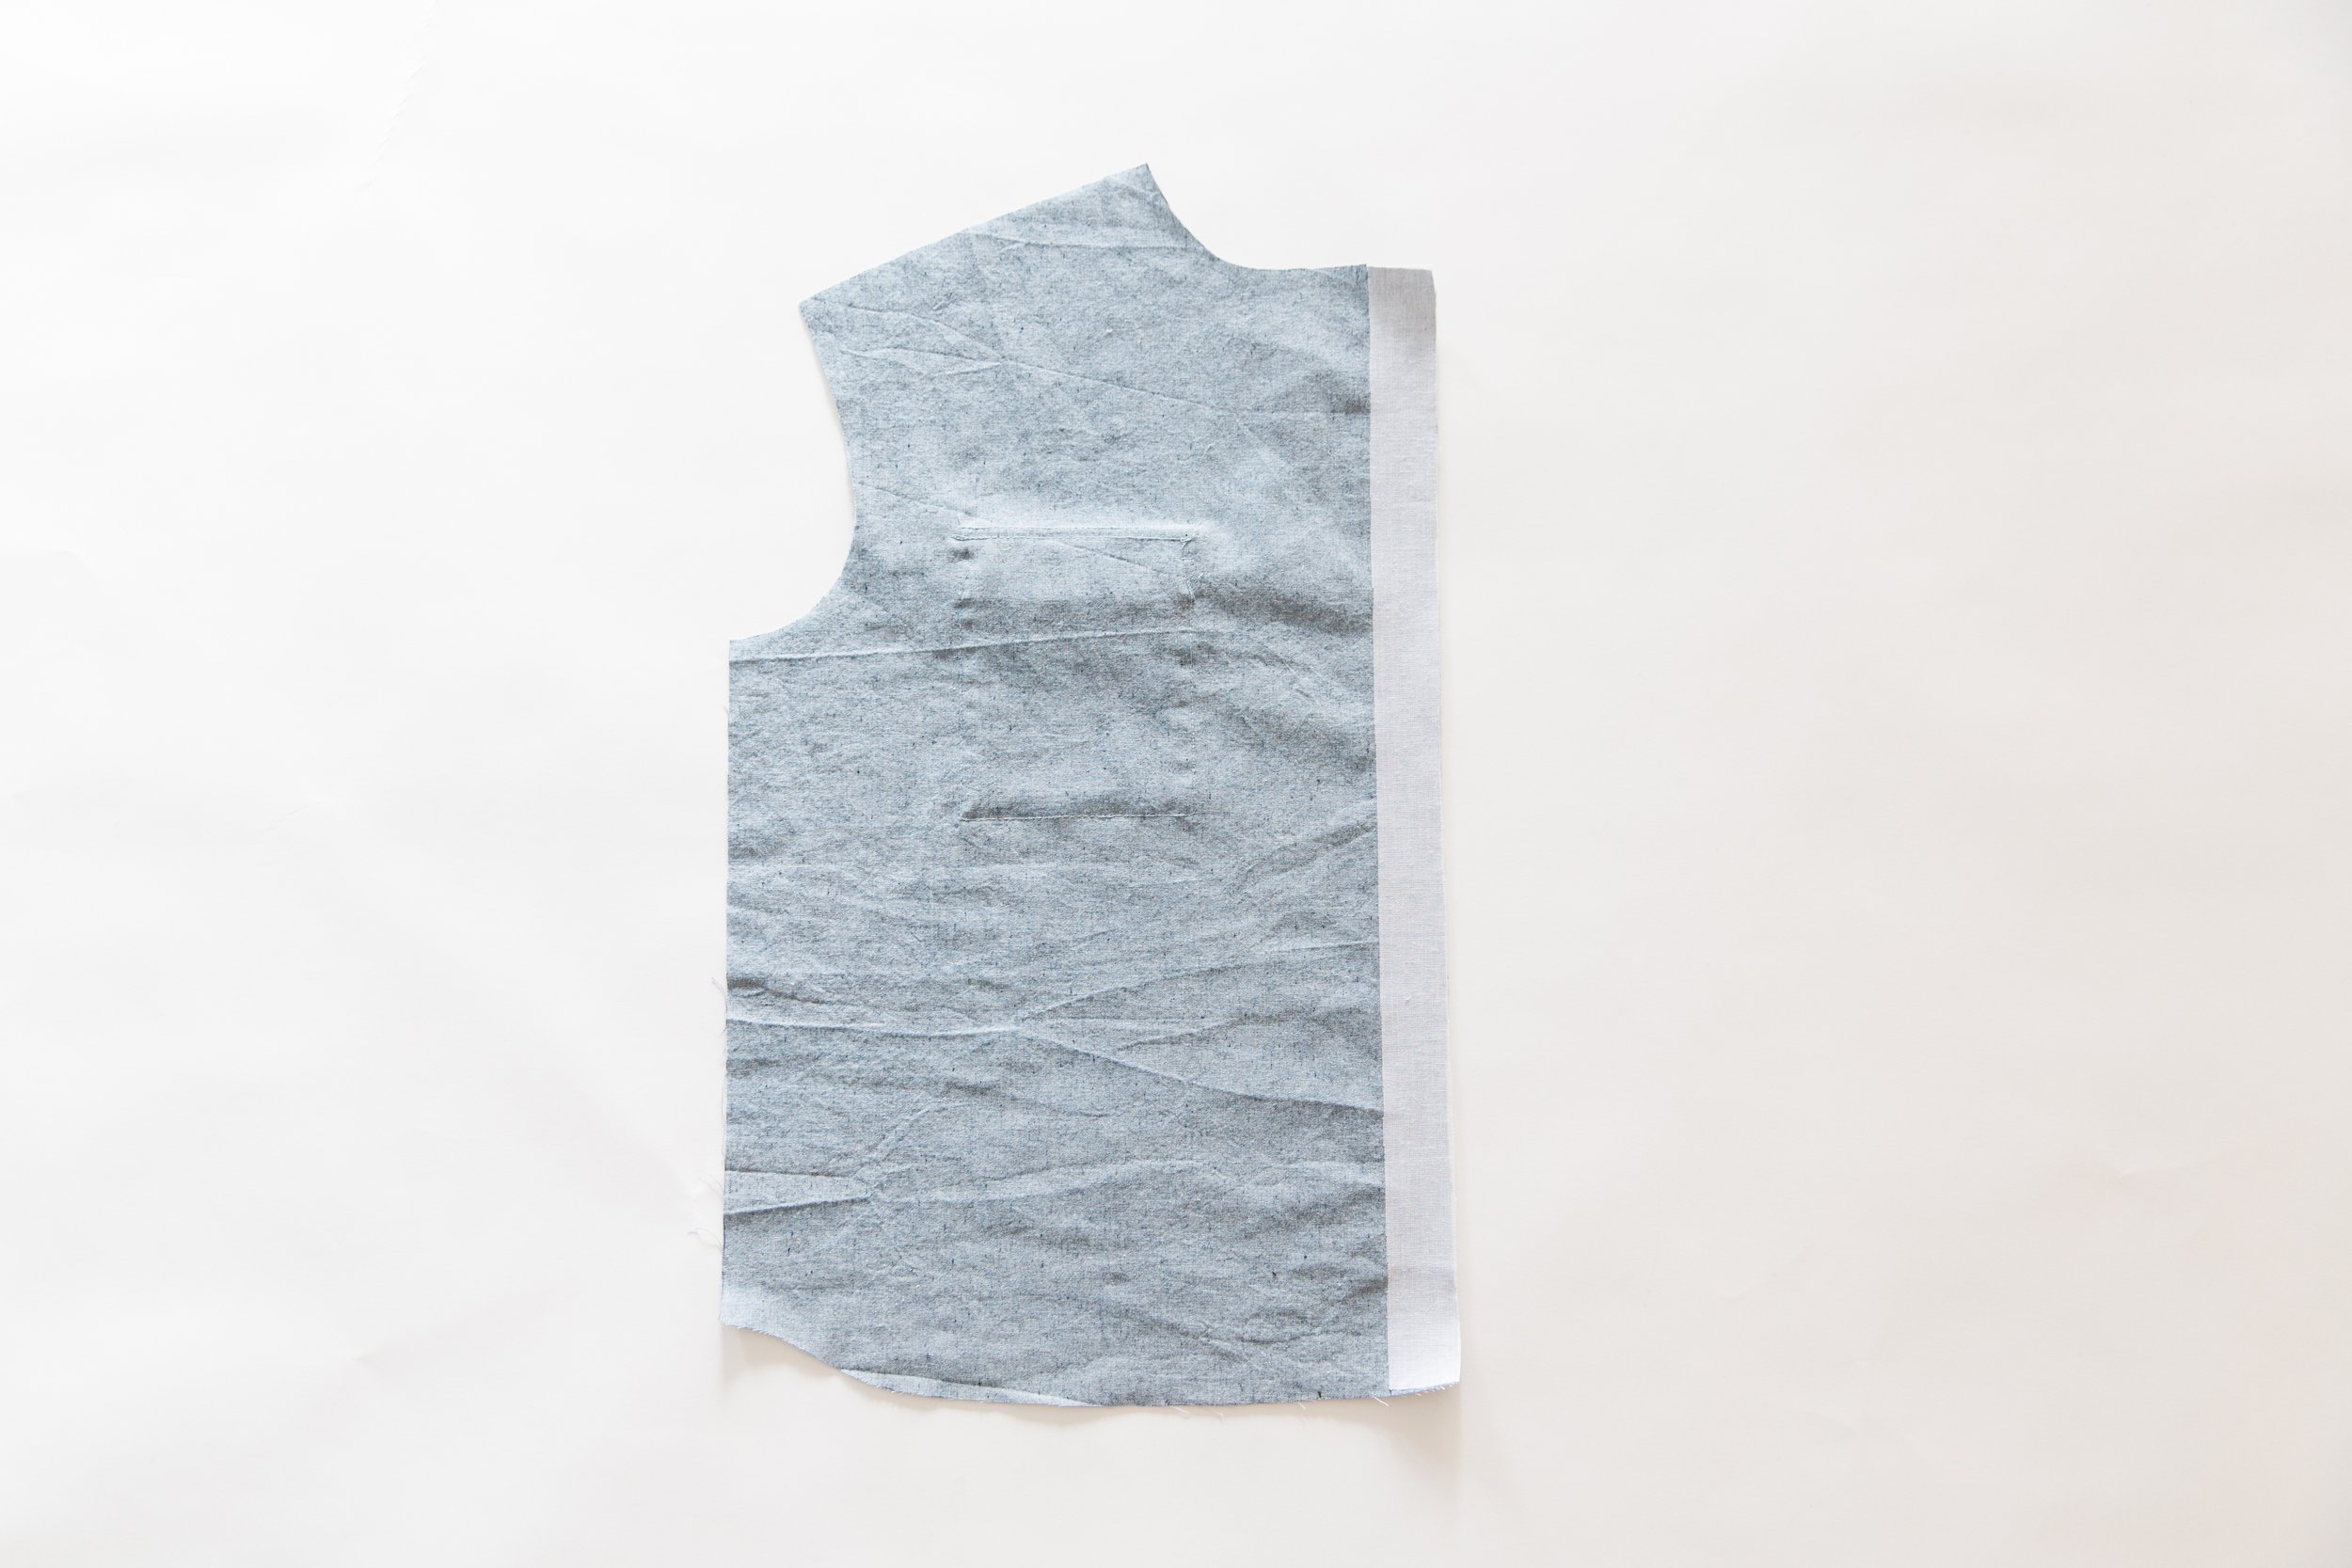
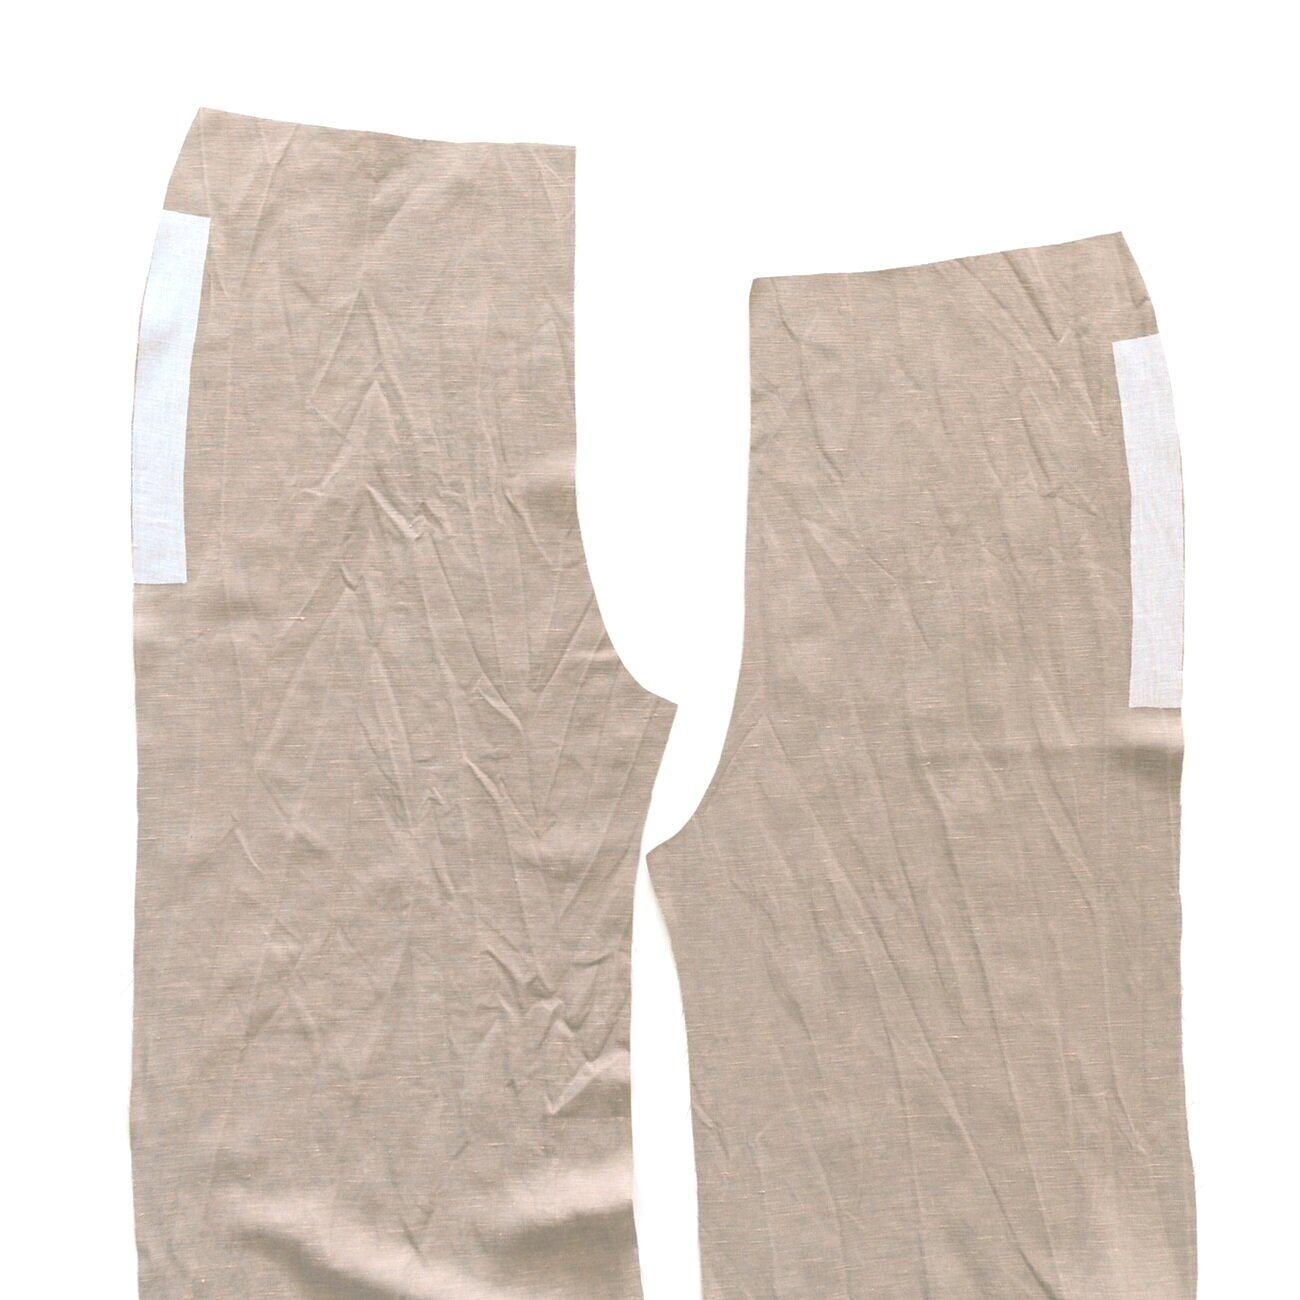
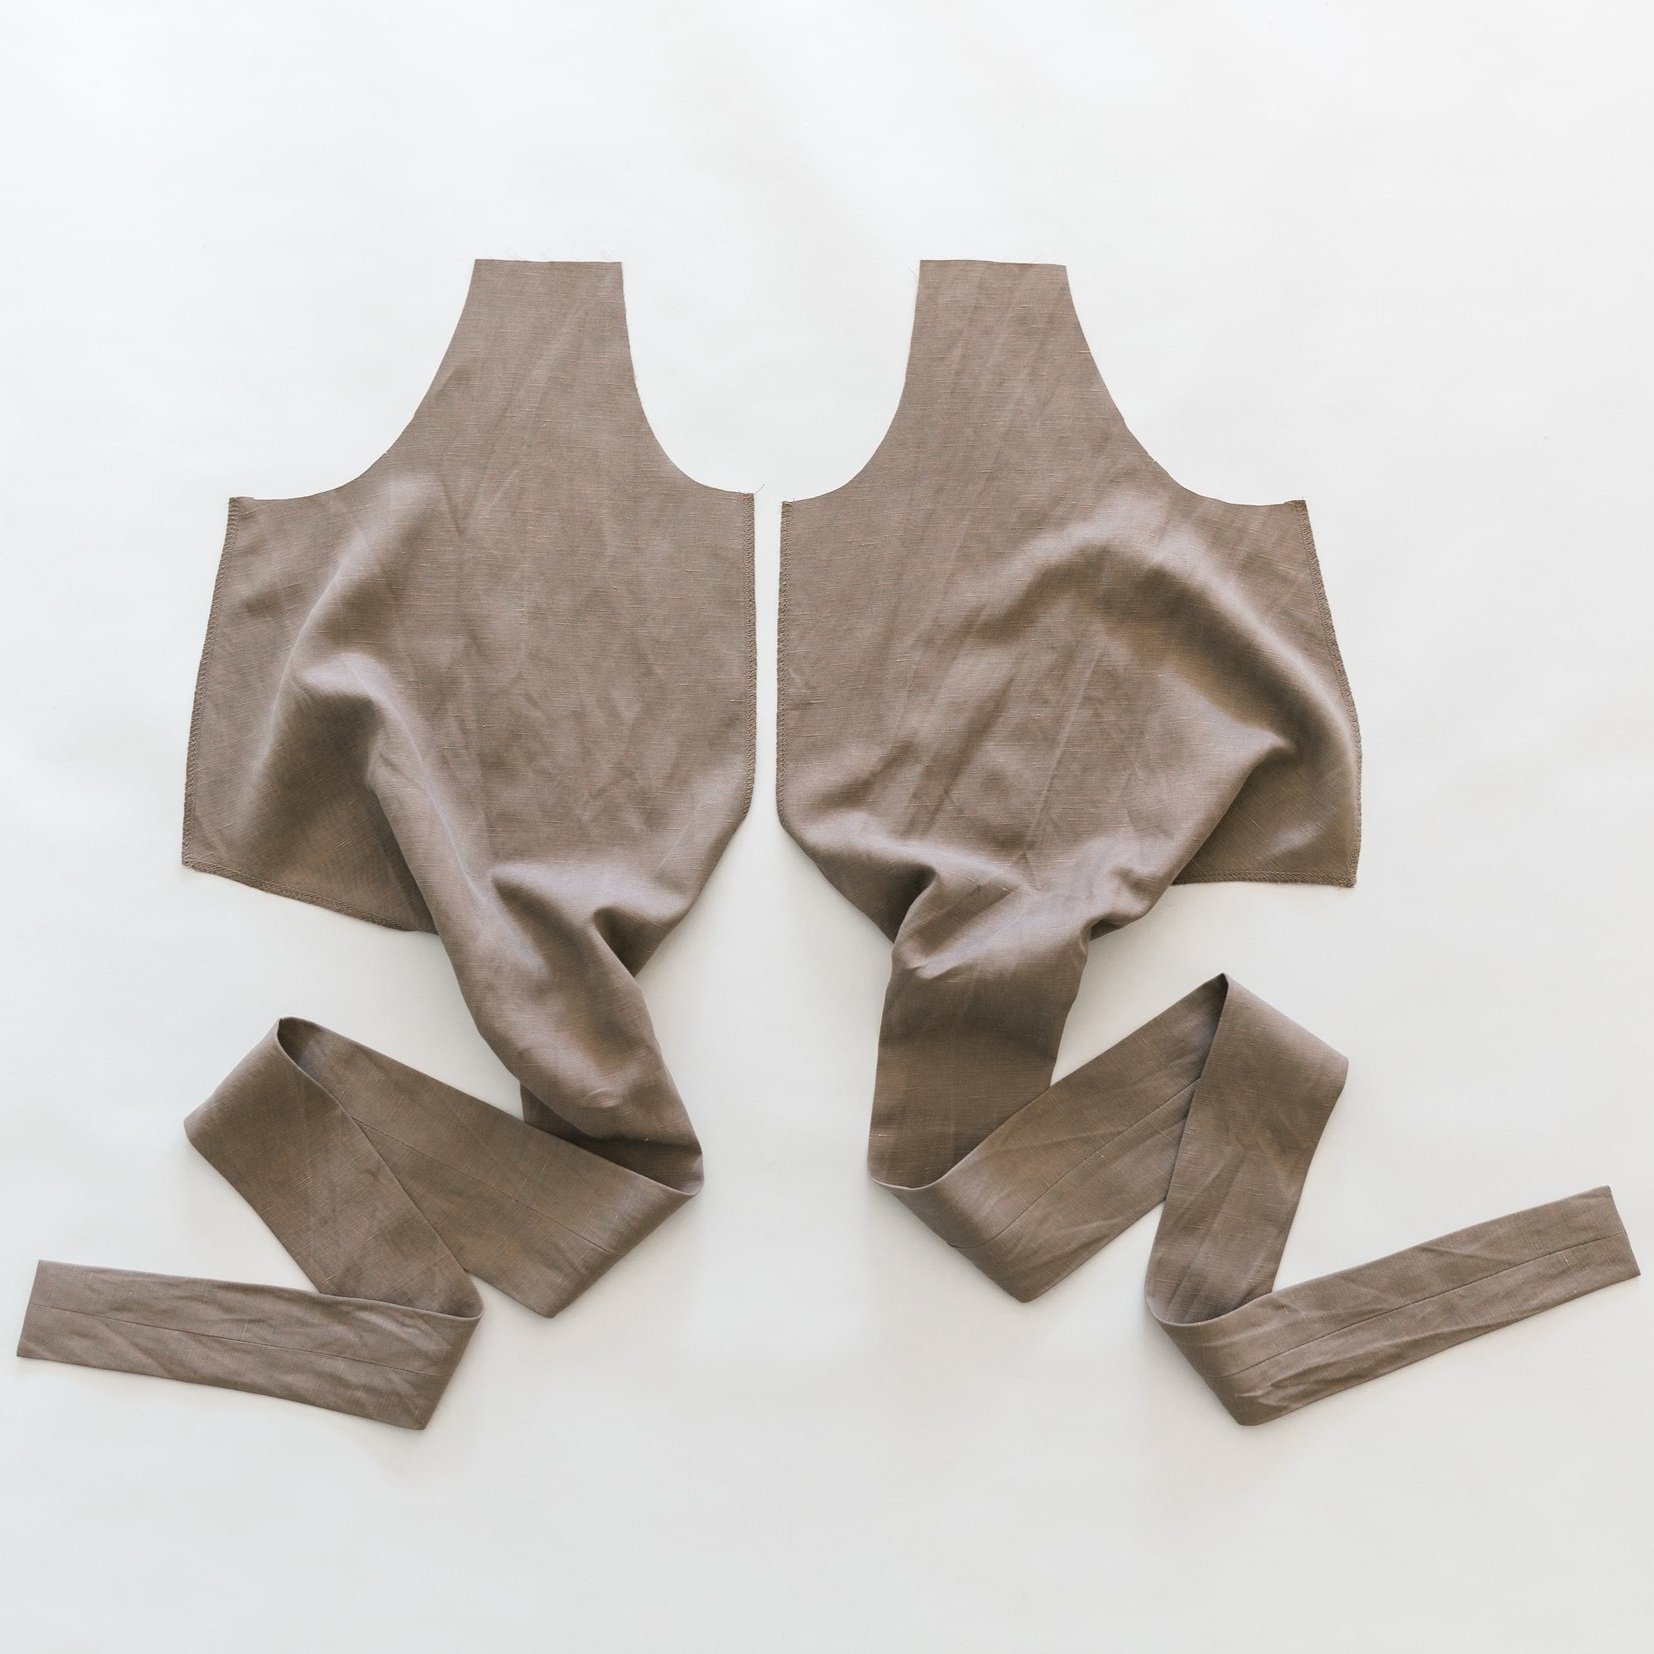
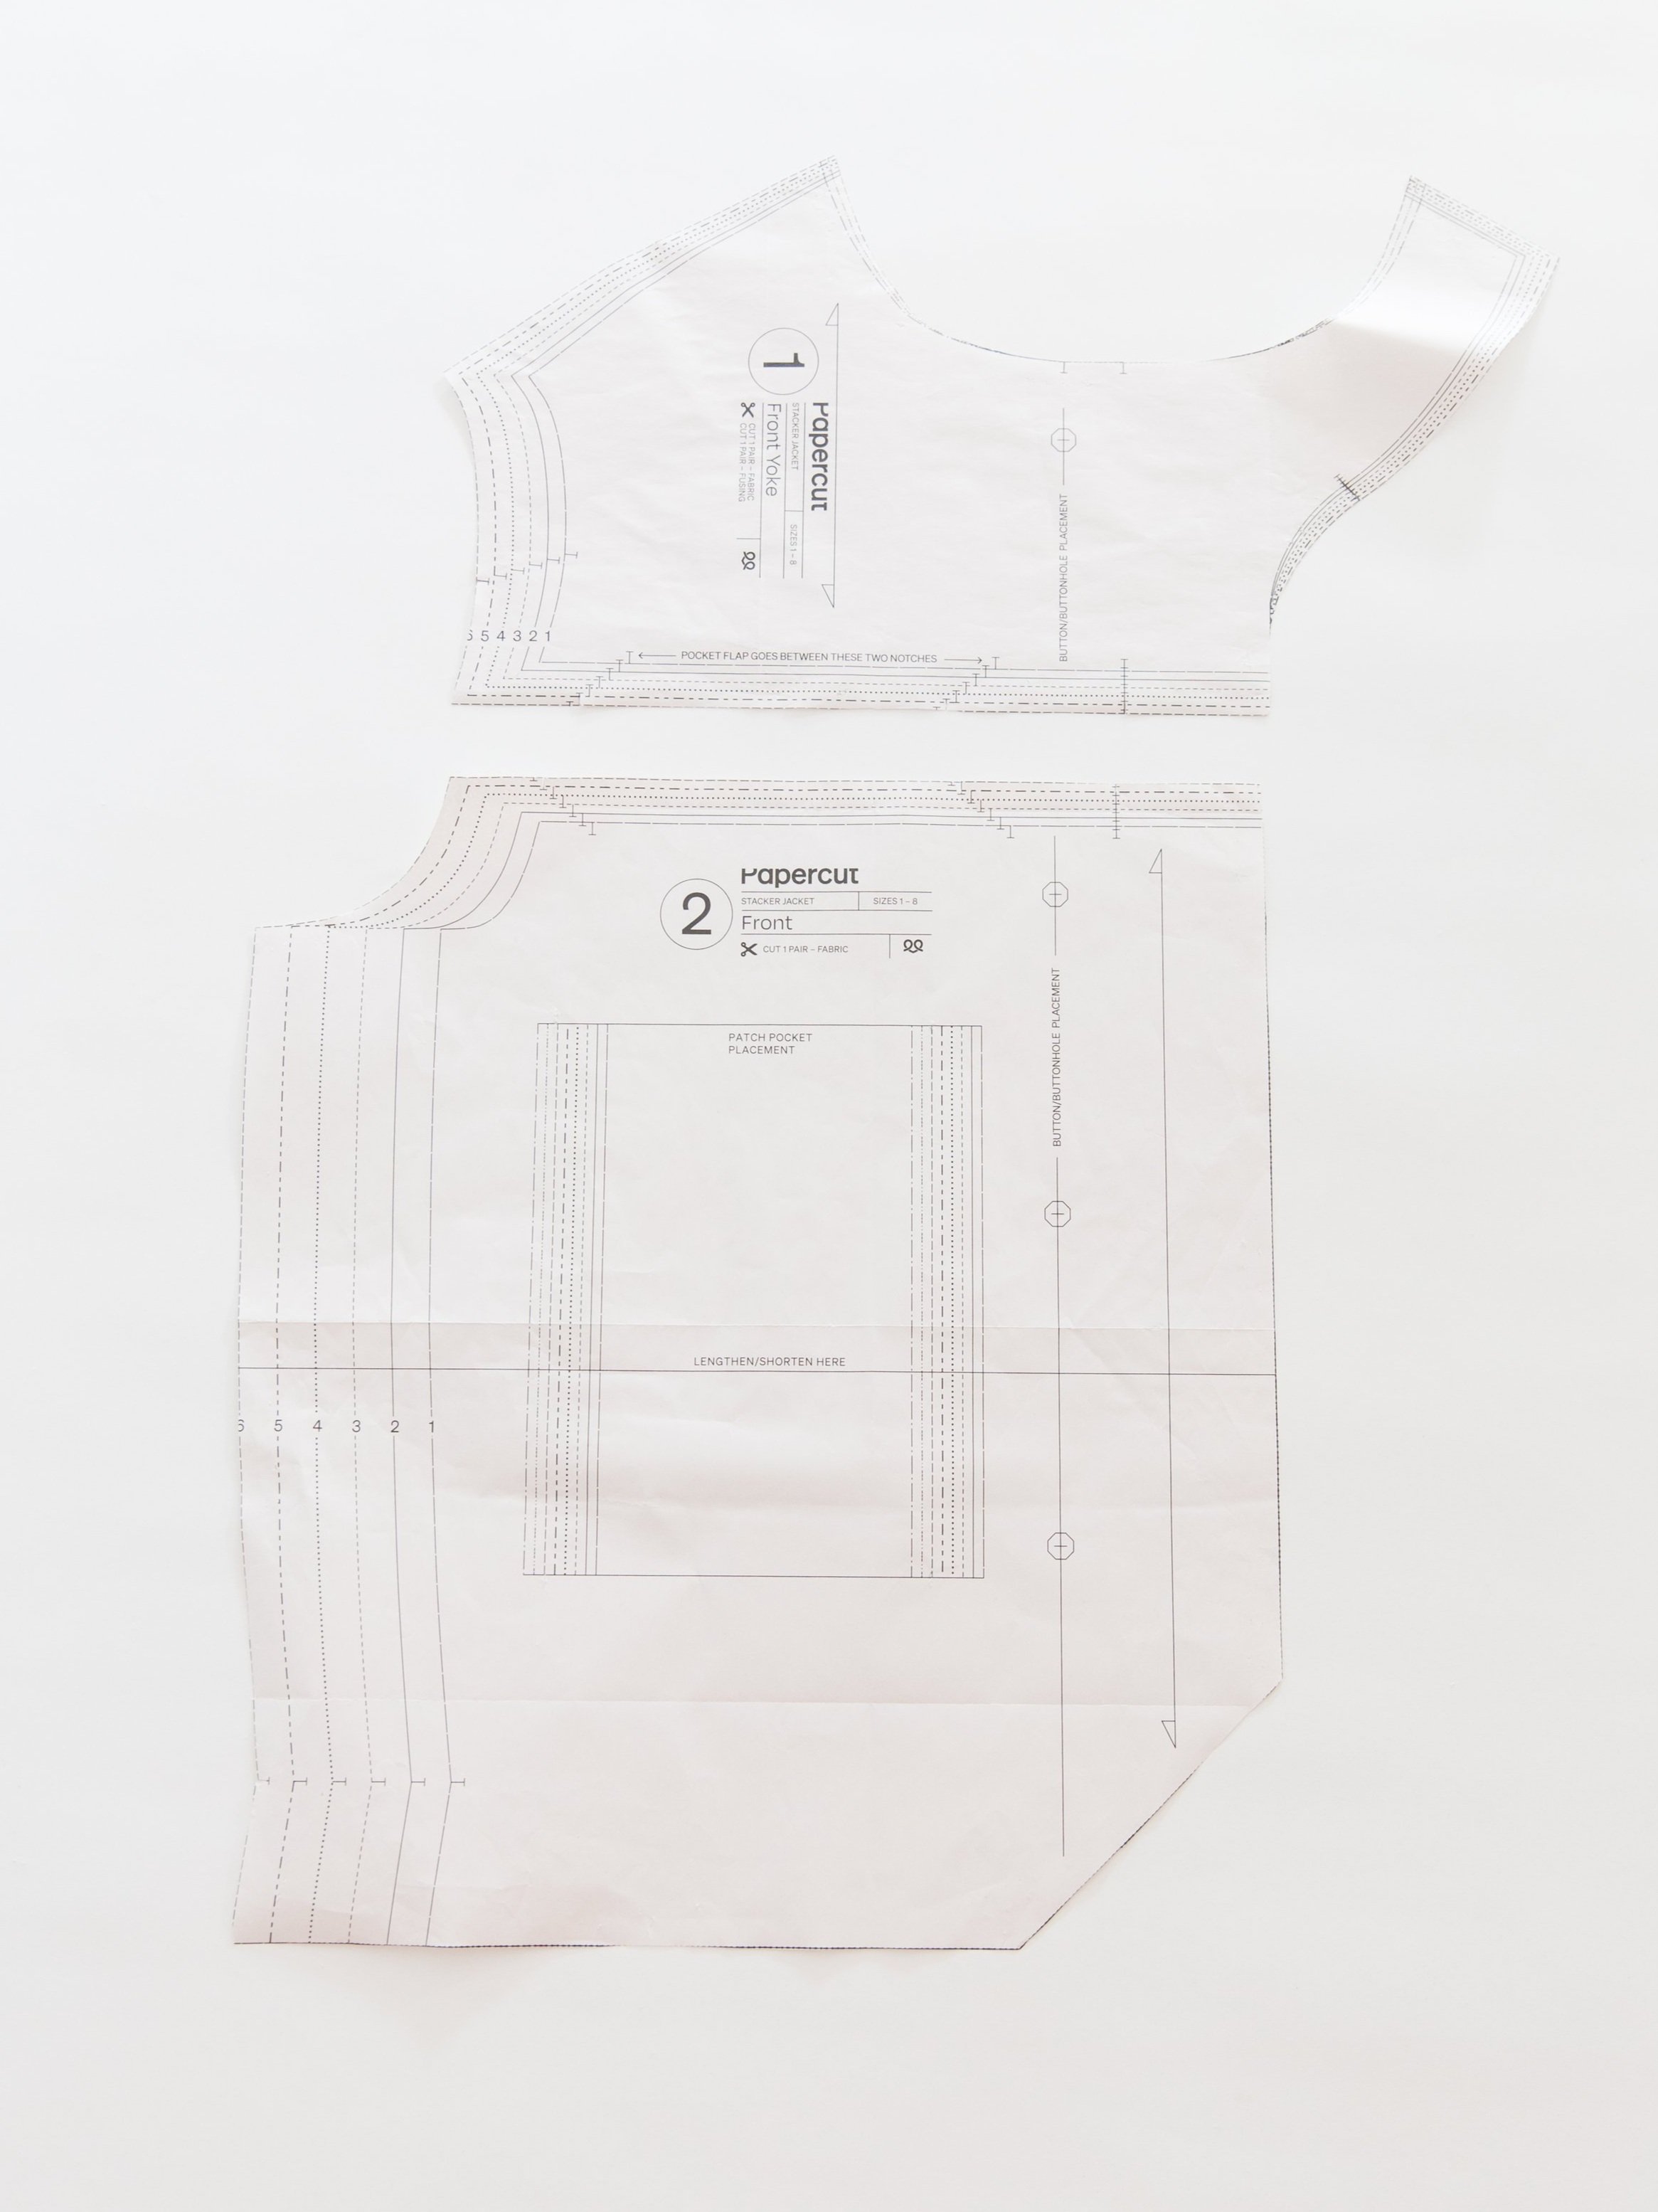
Step 1
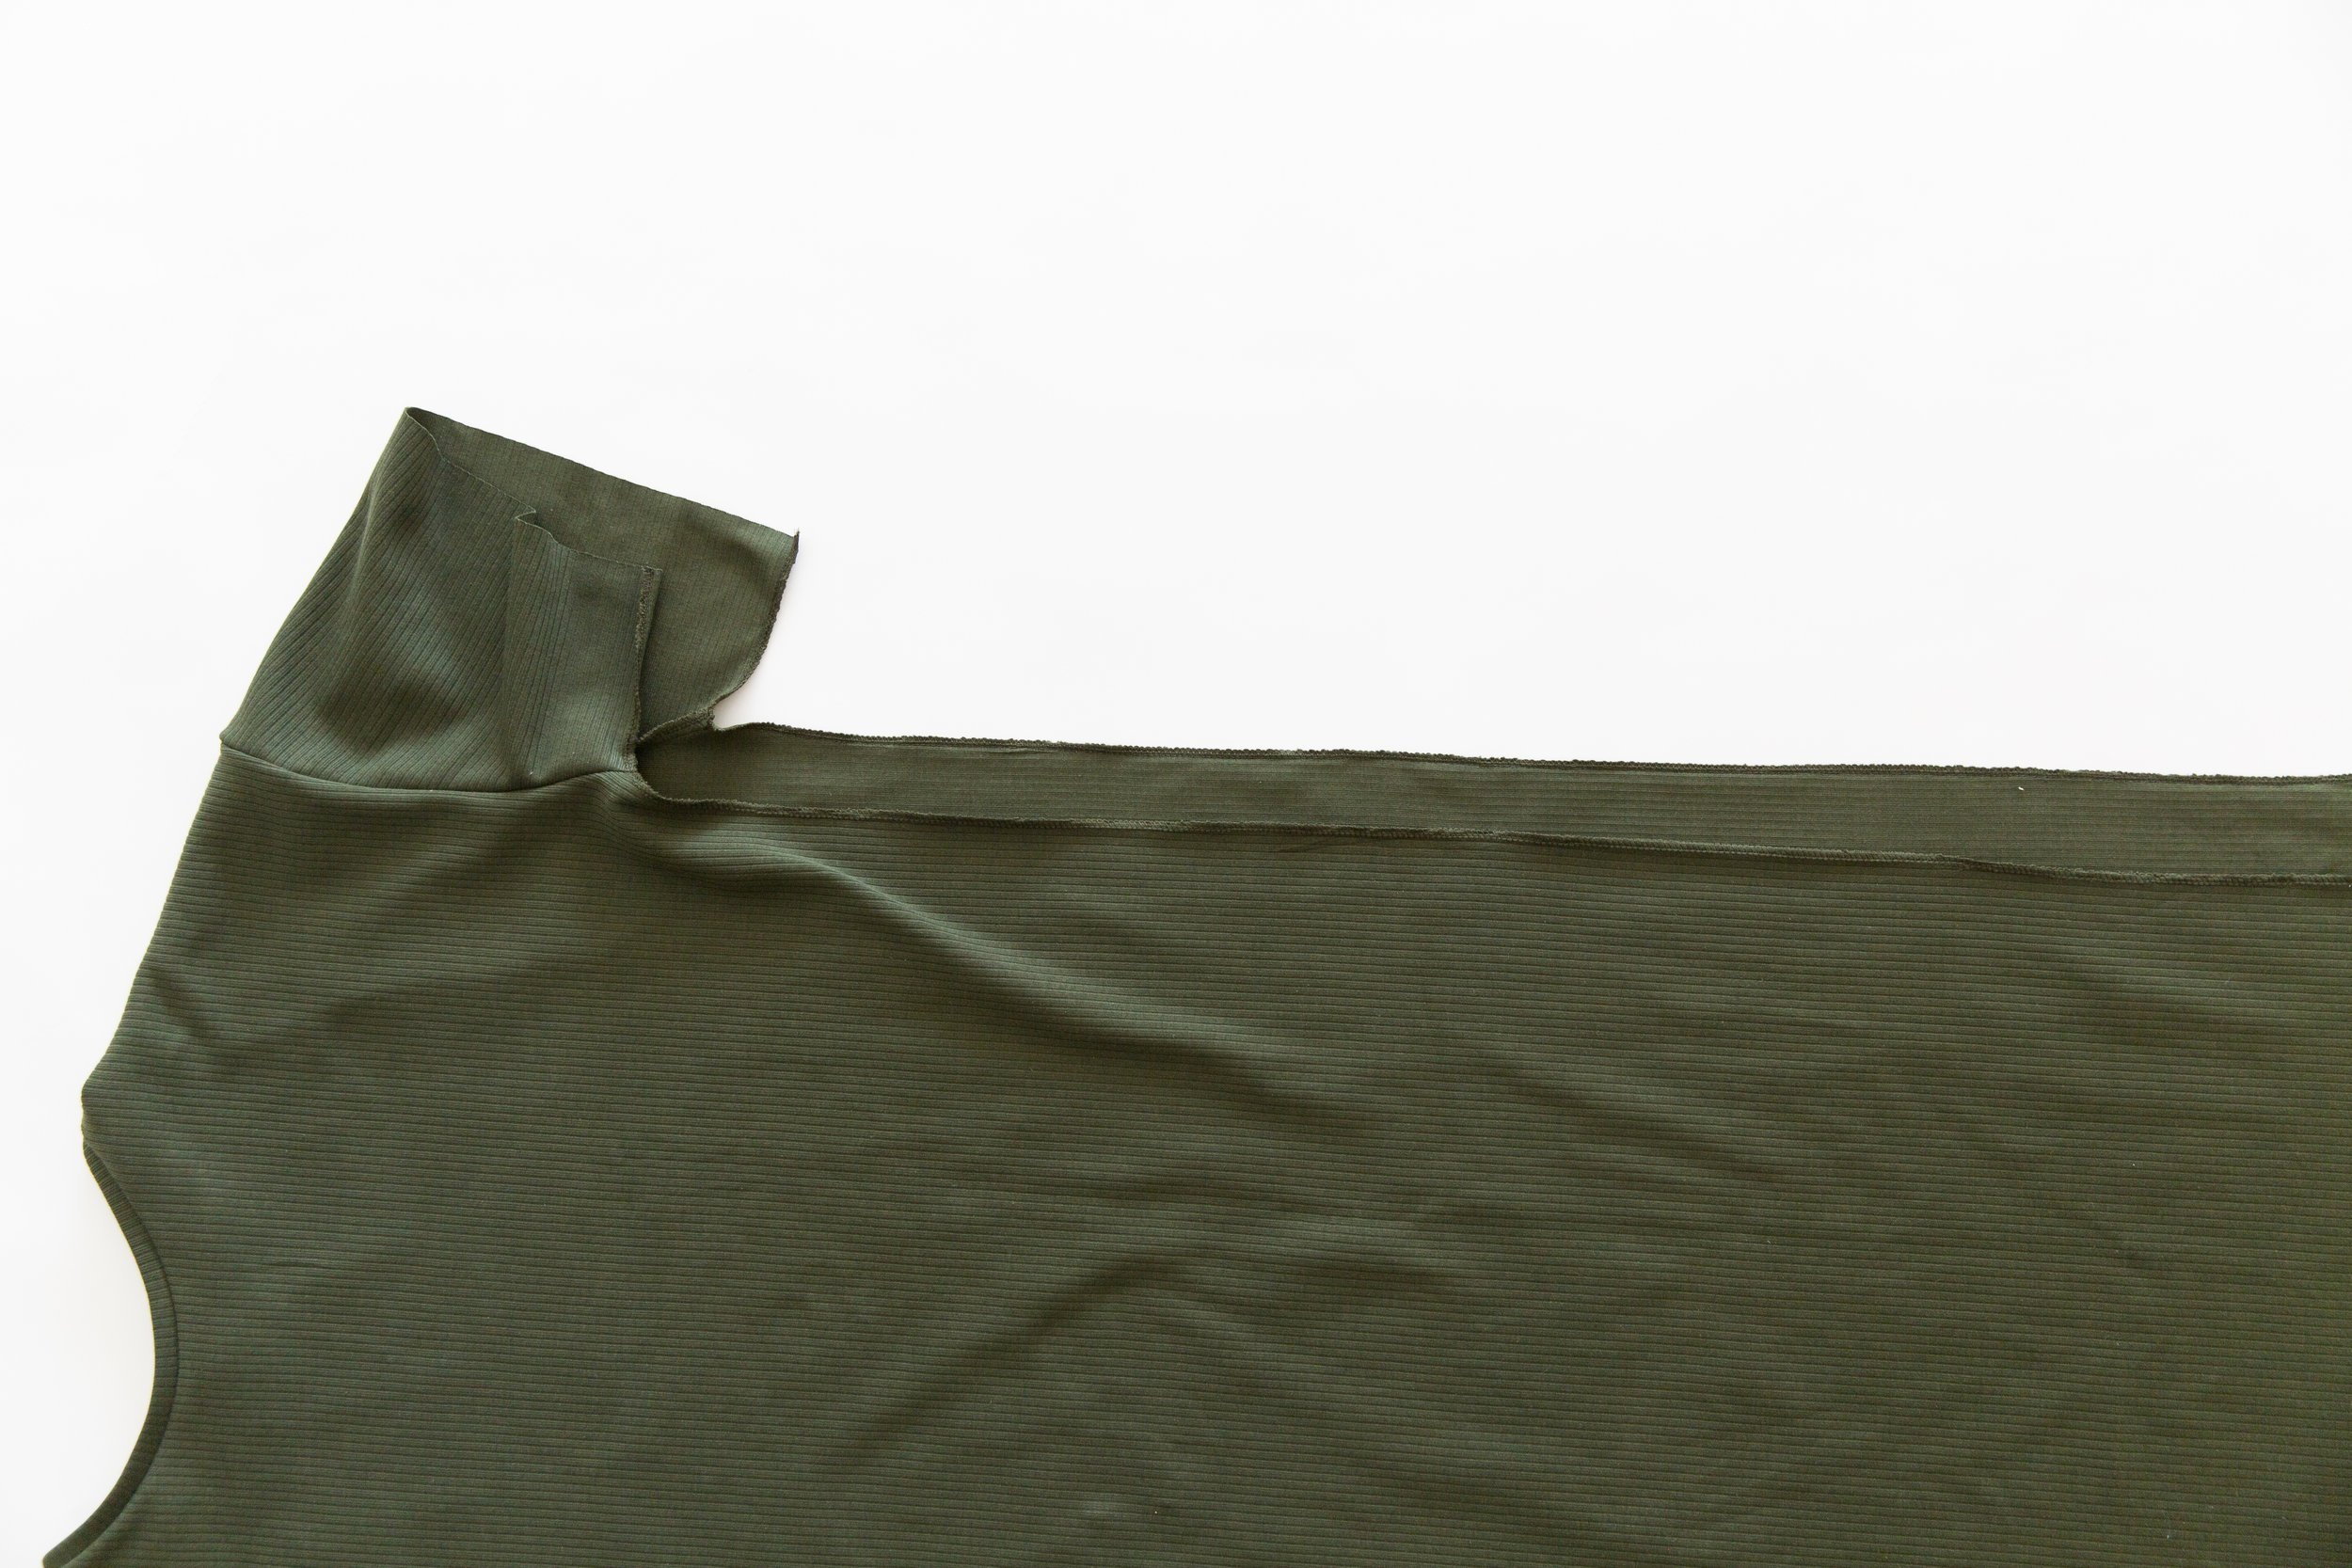
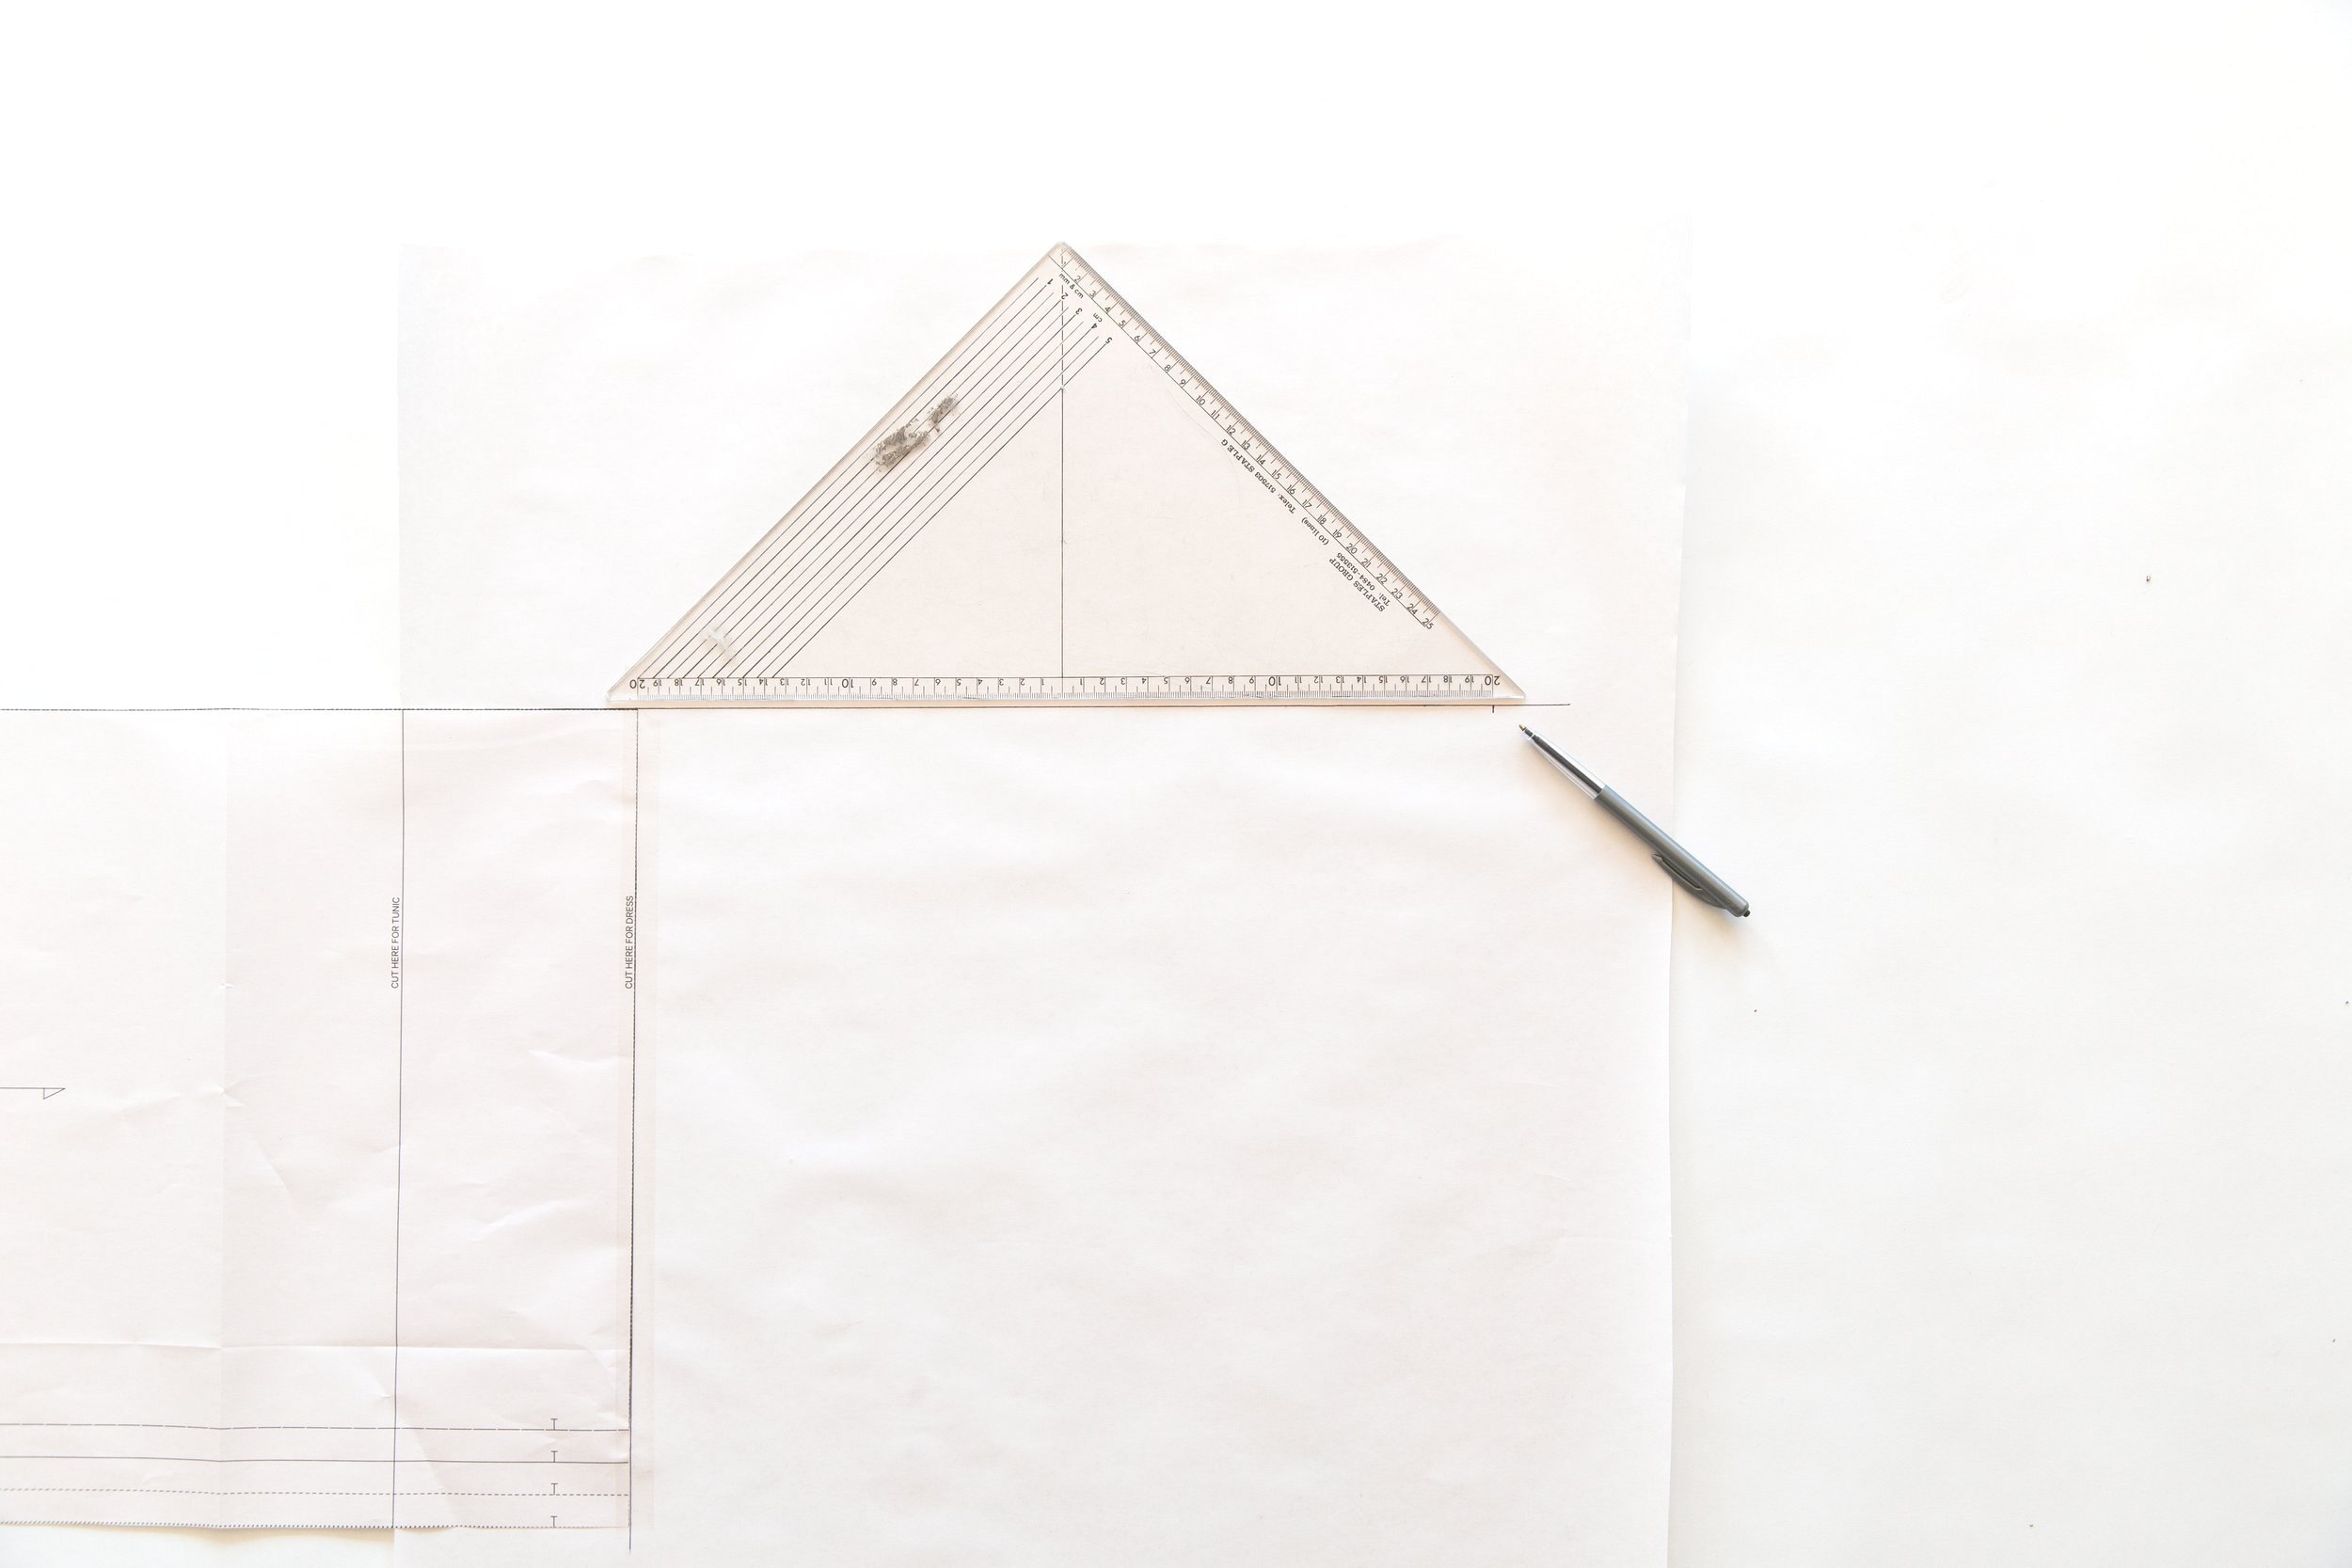
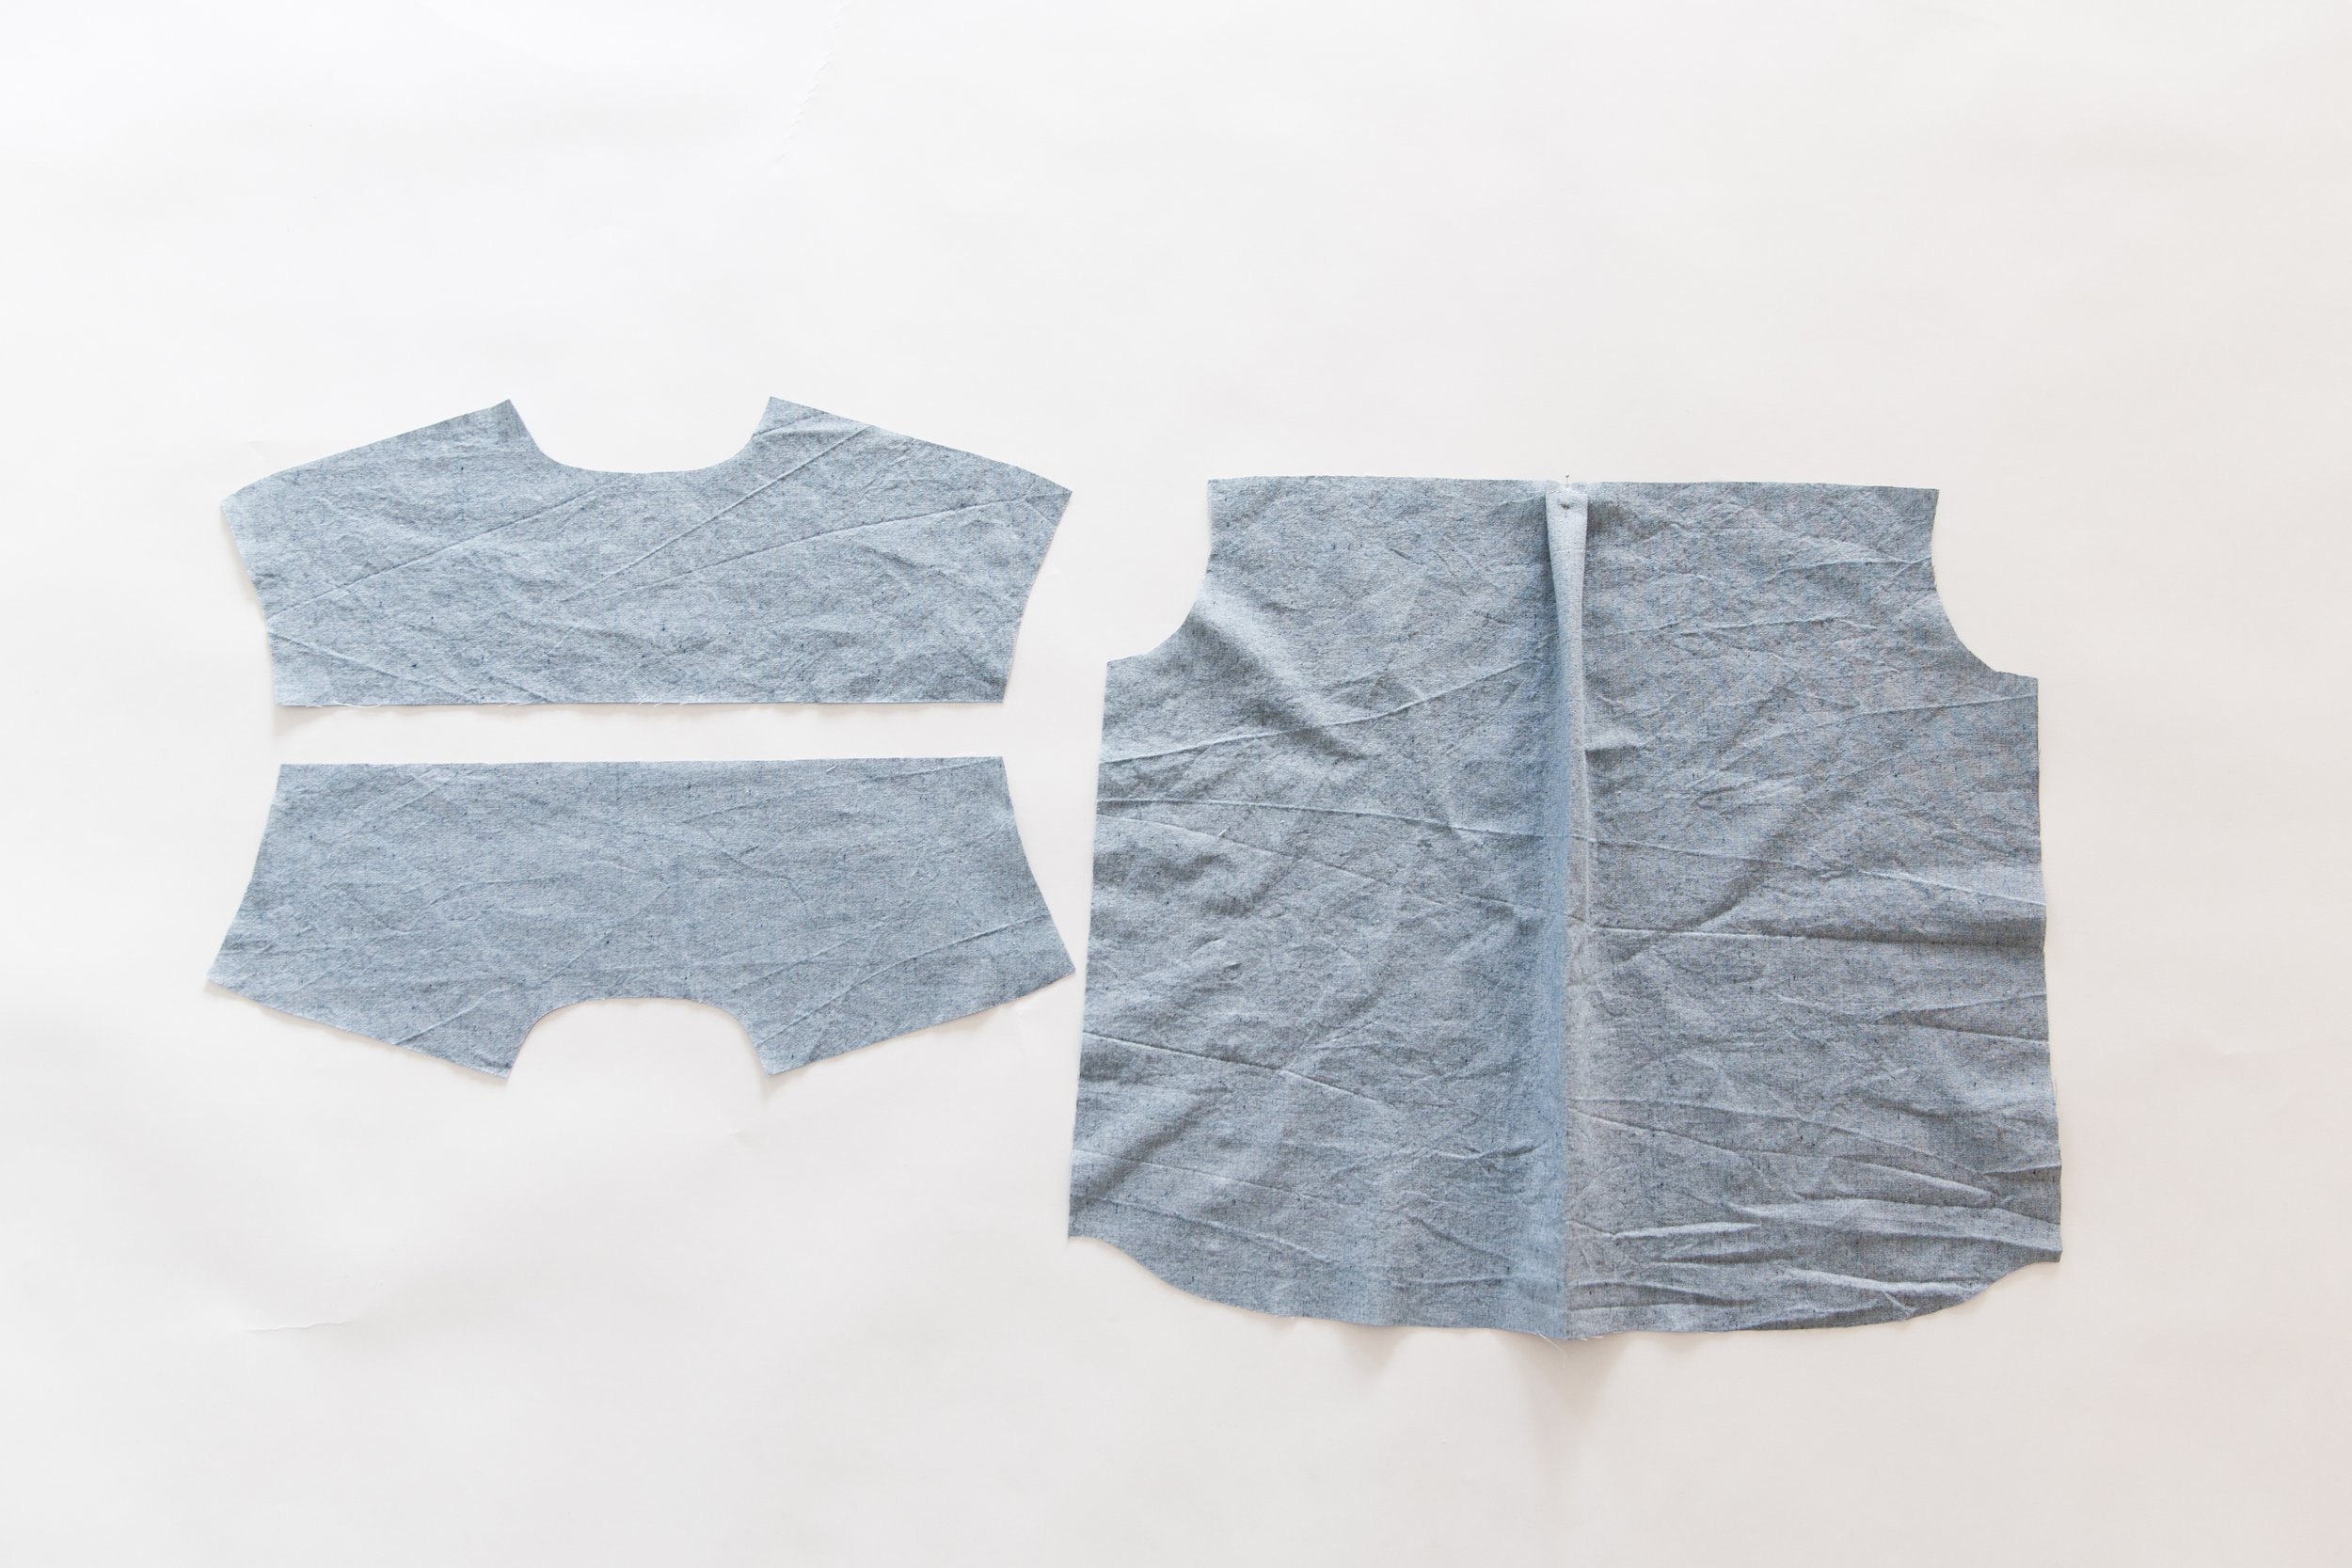
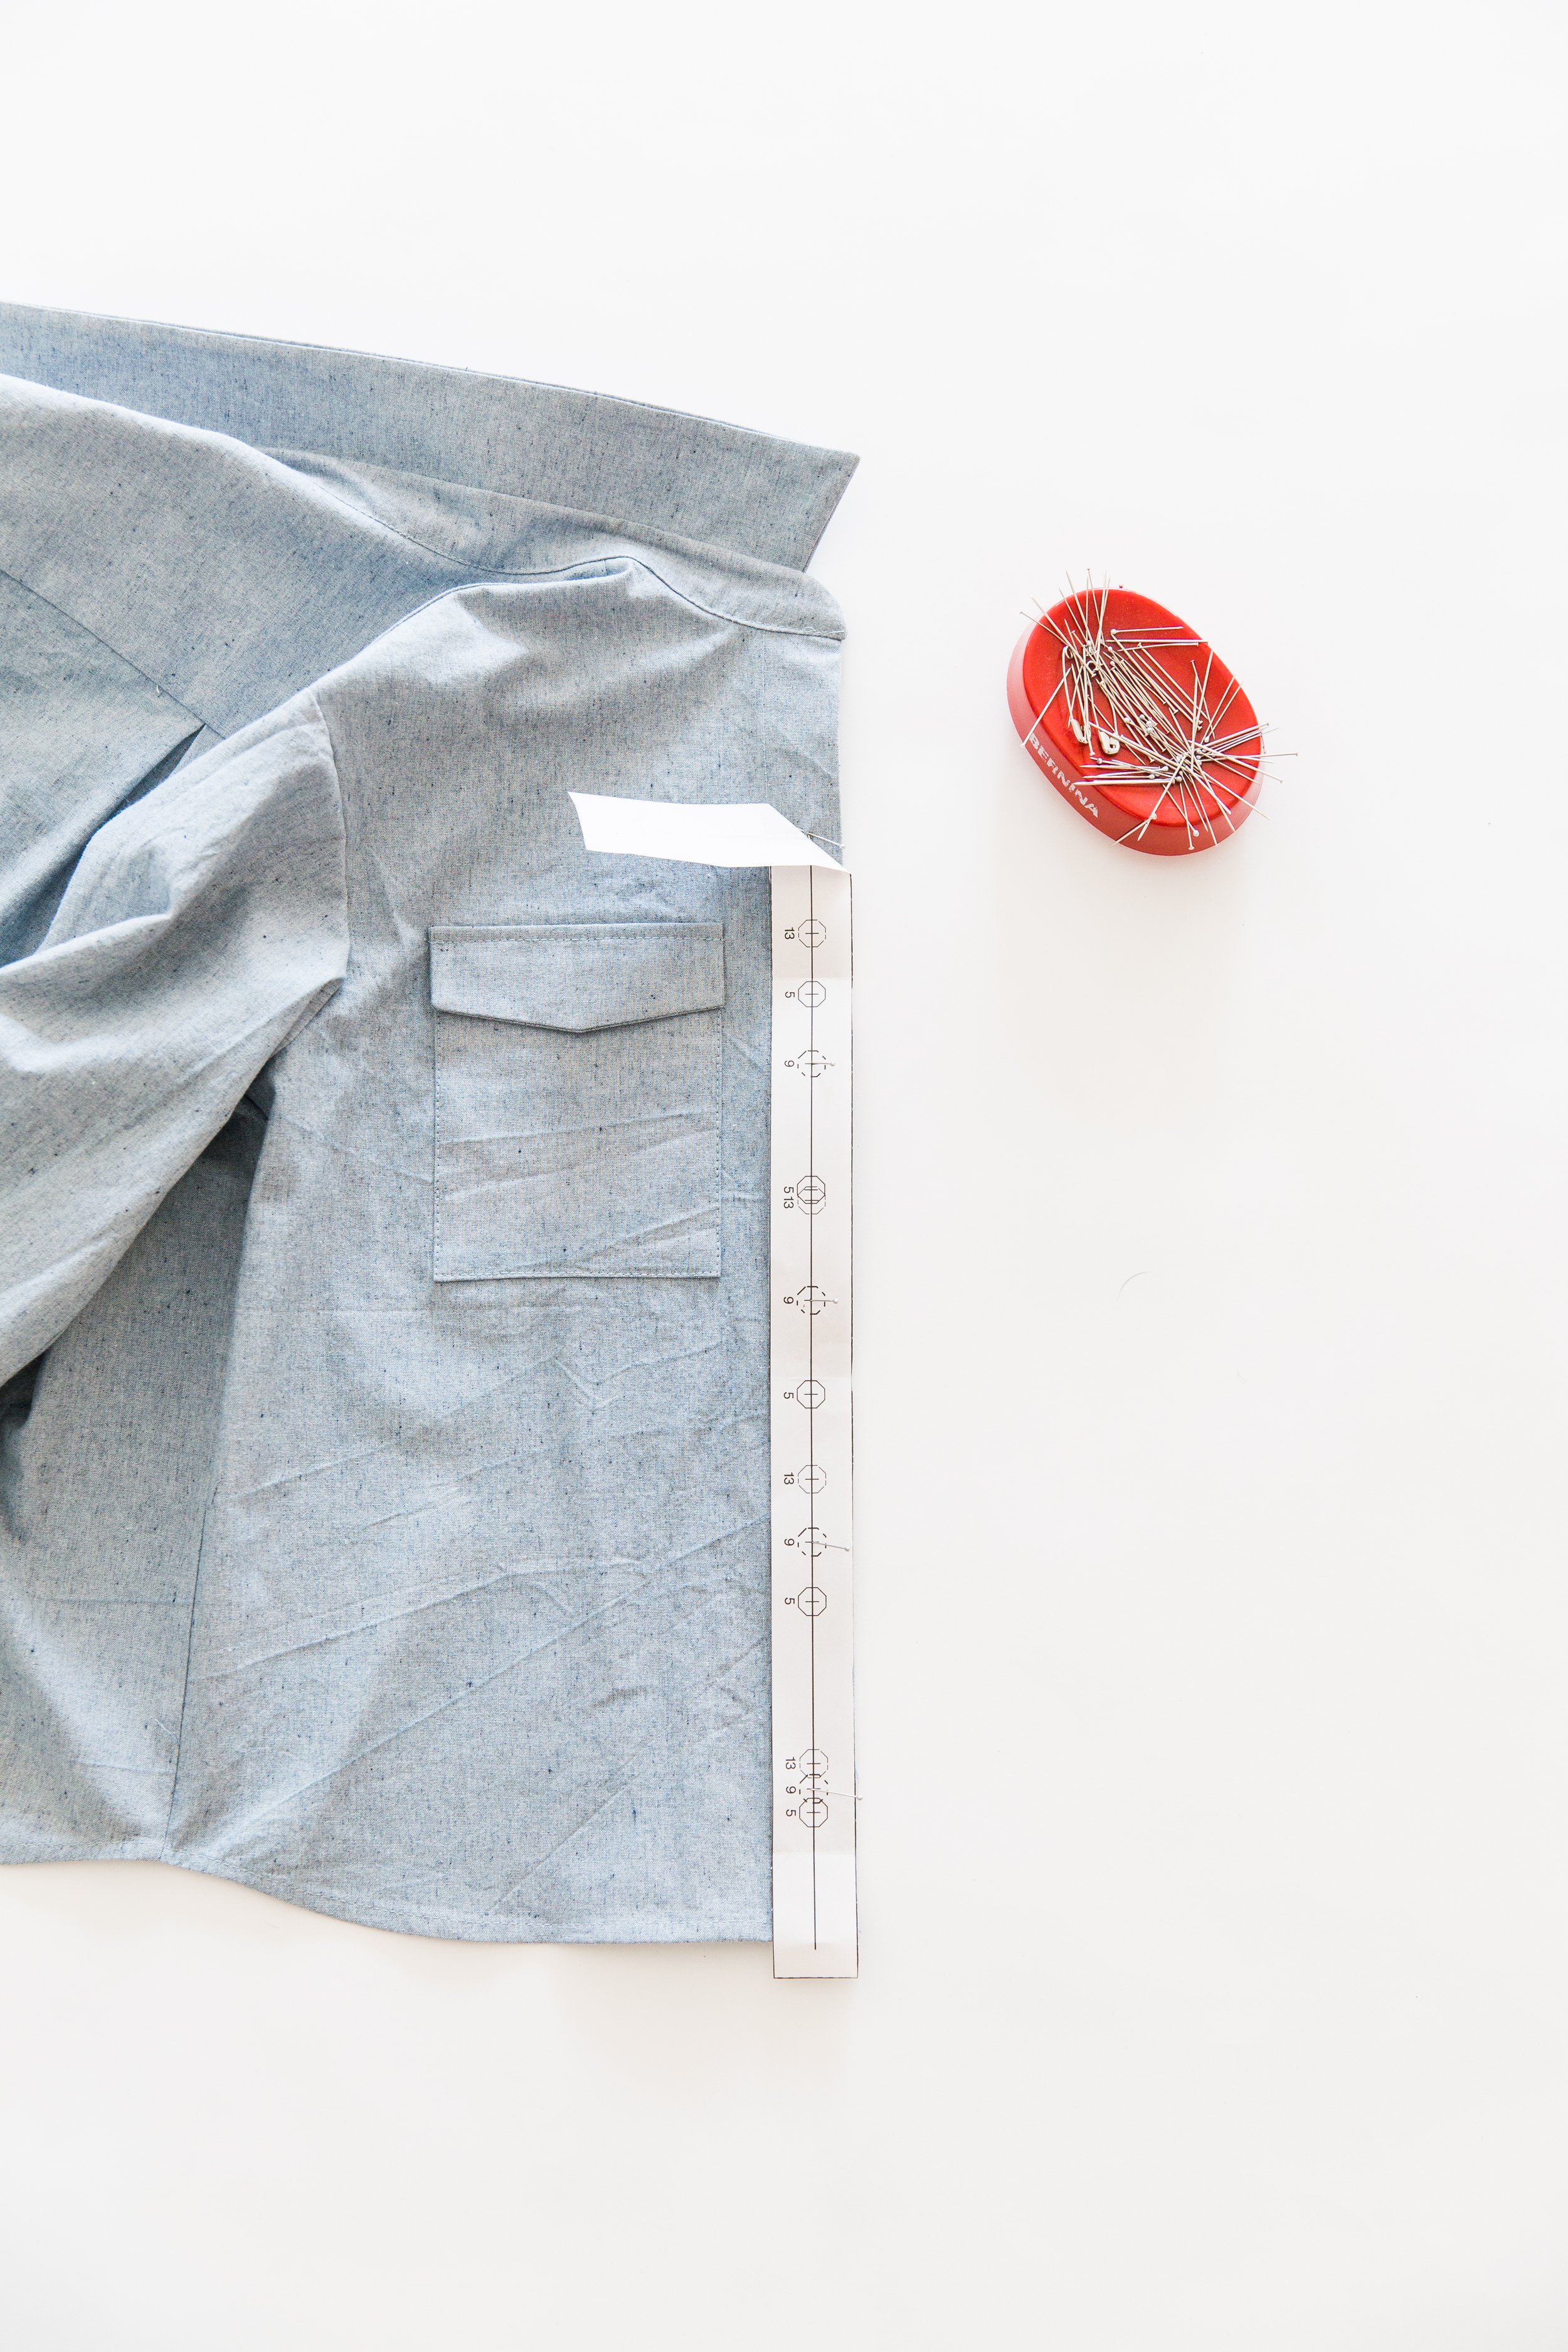
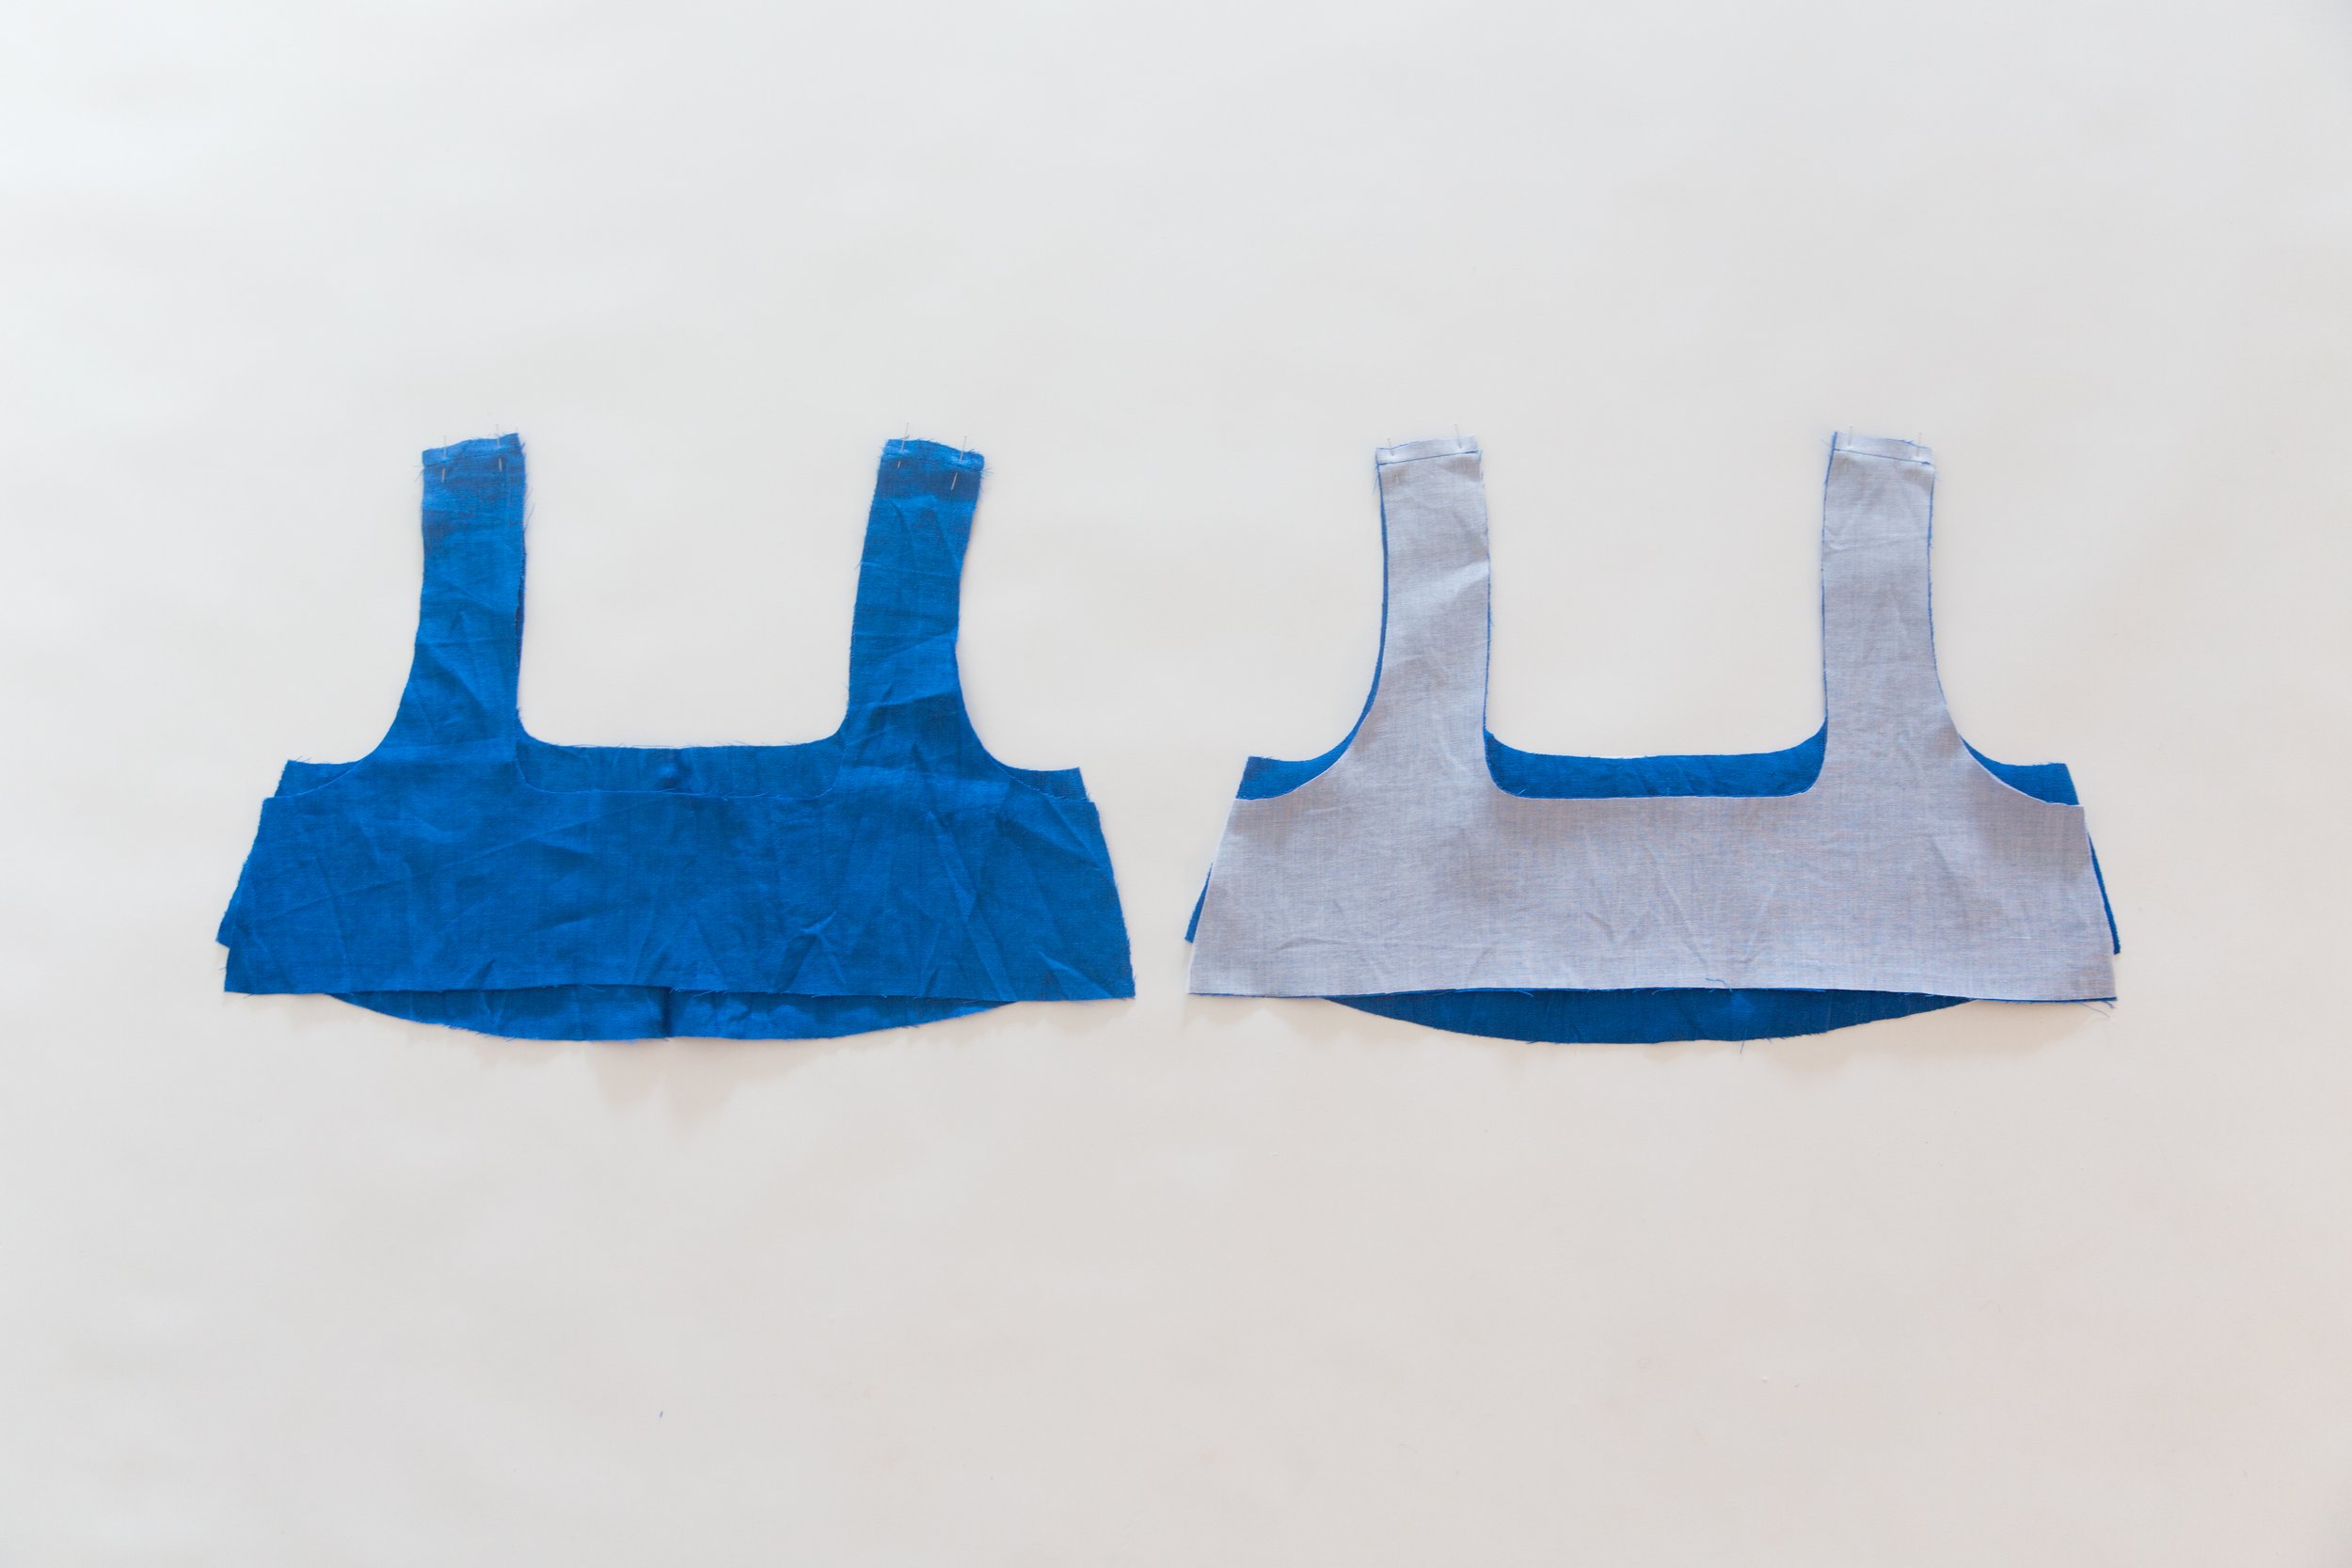
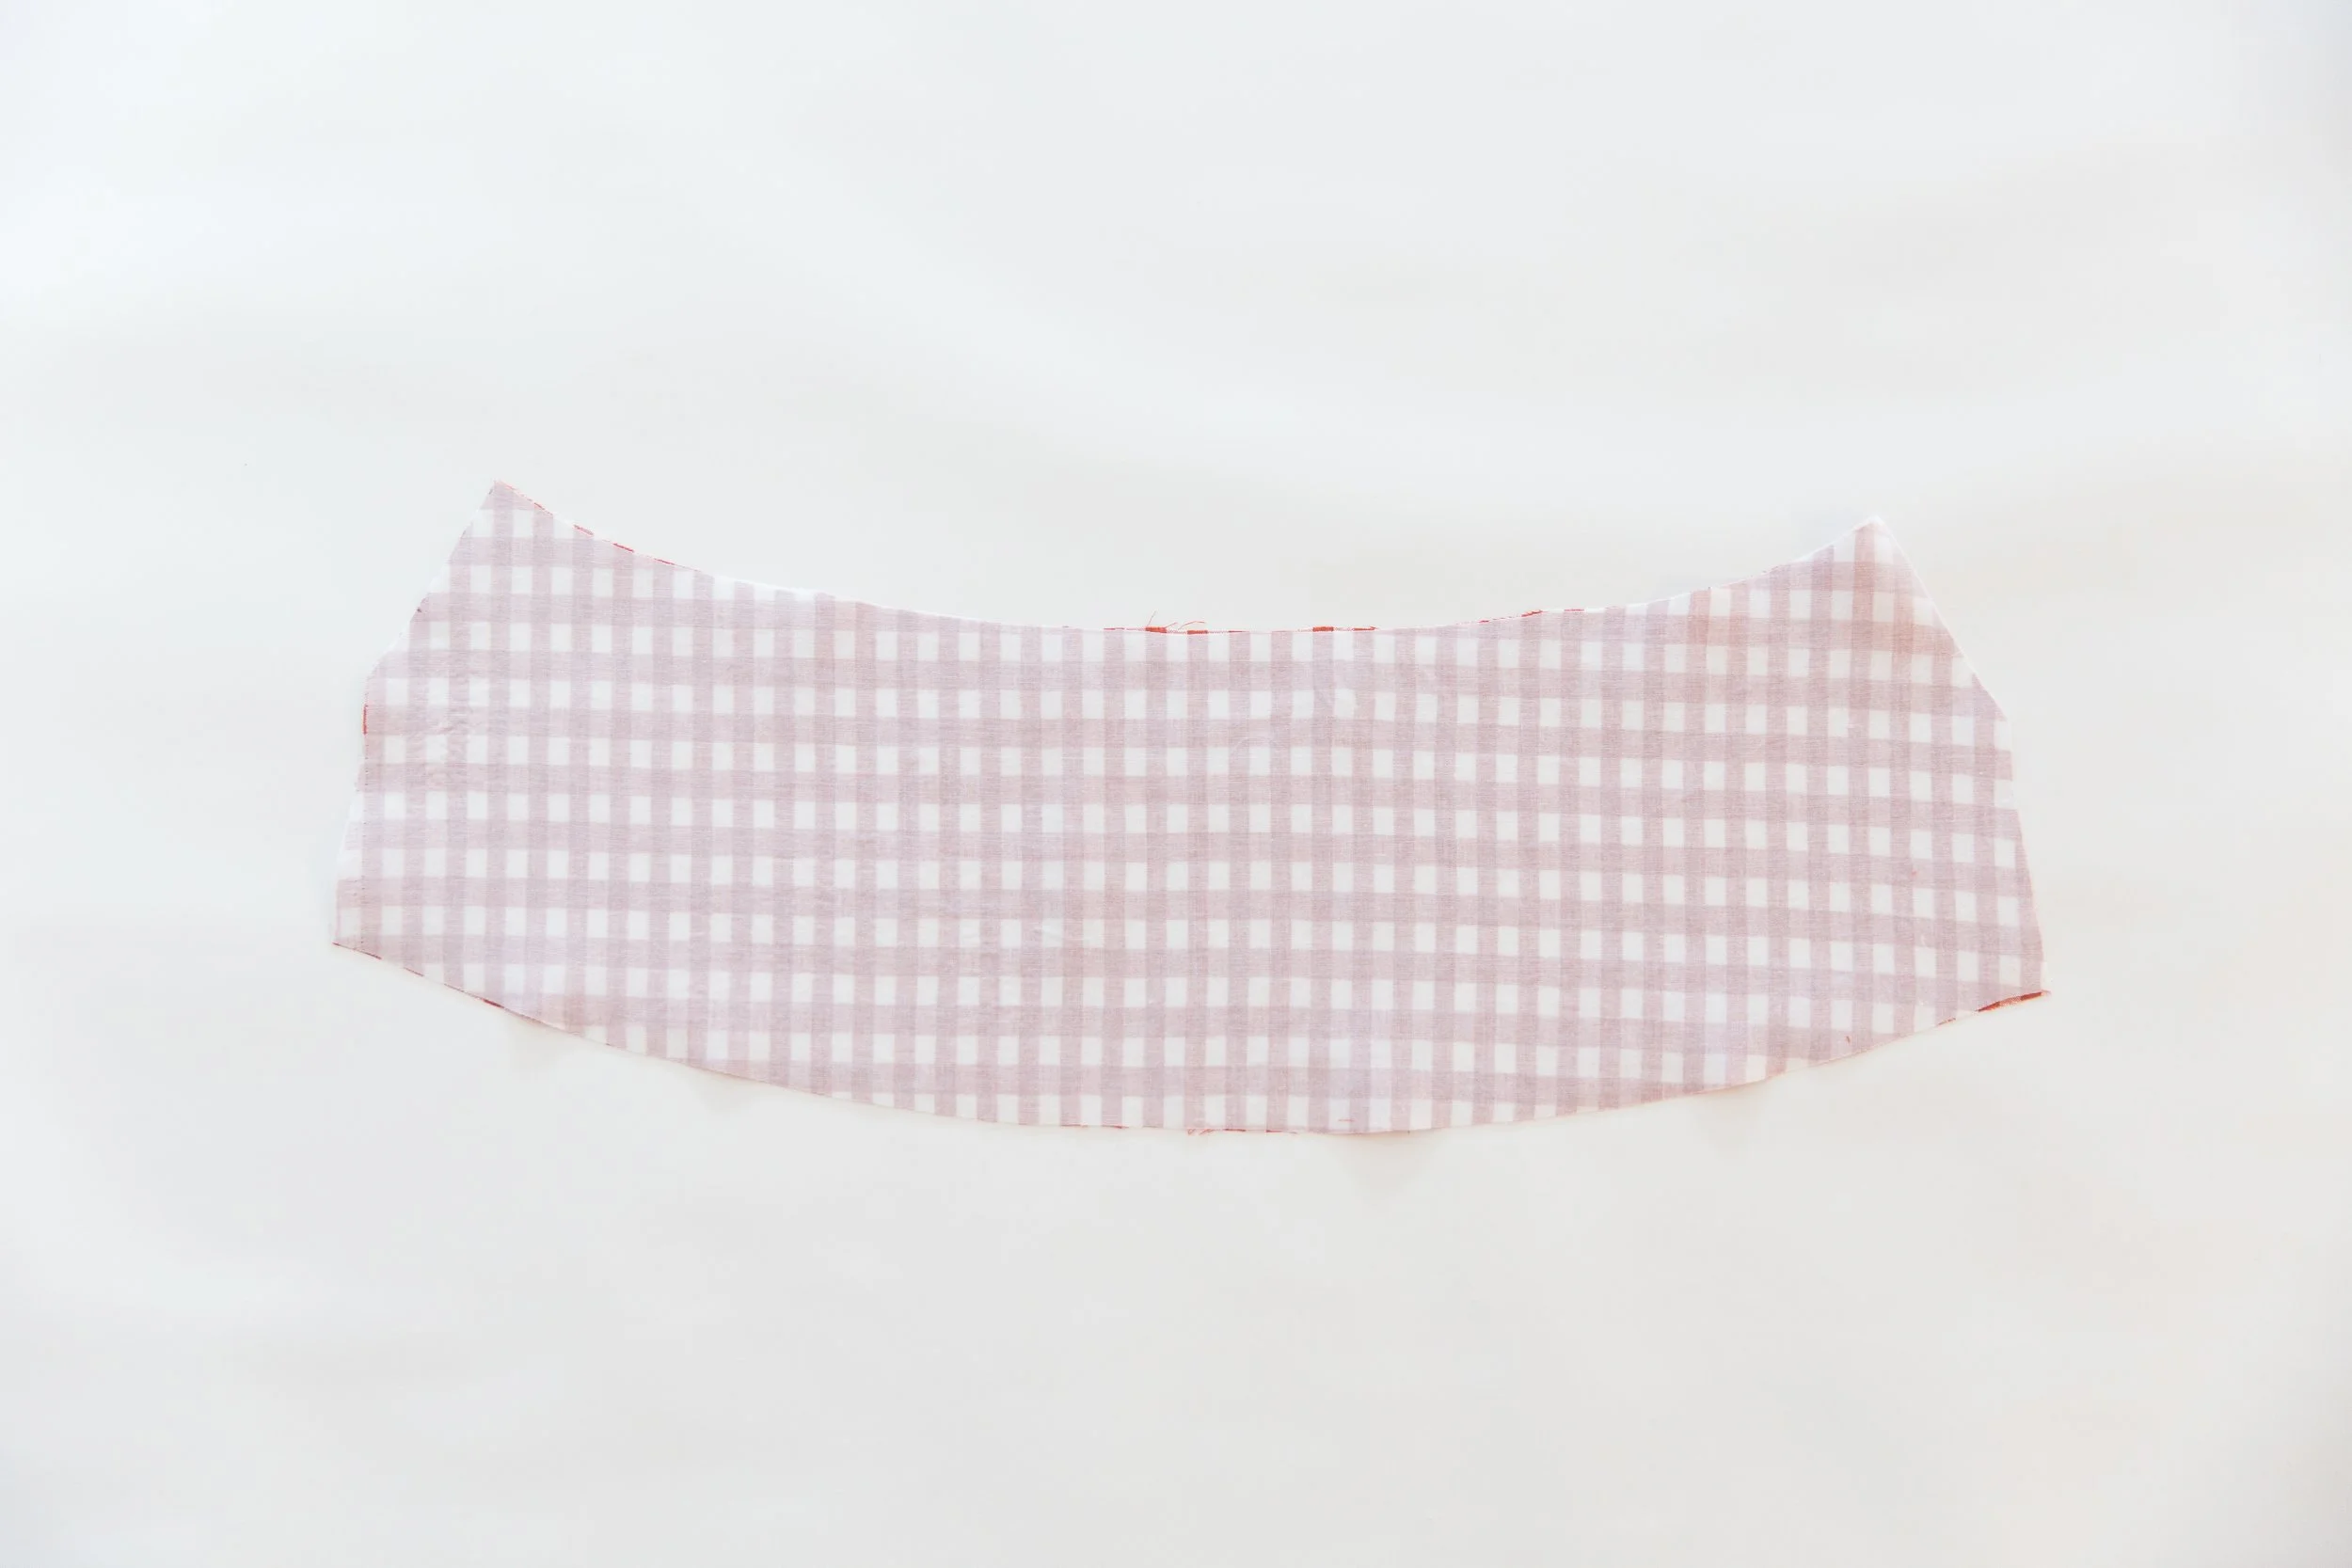
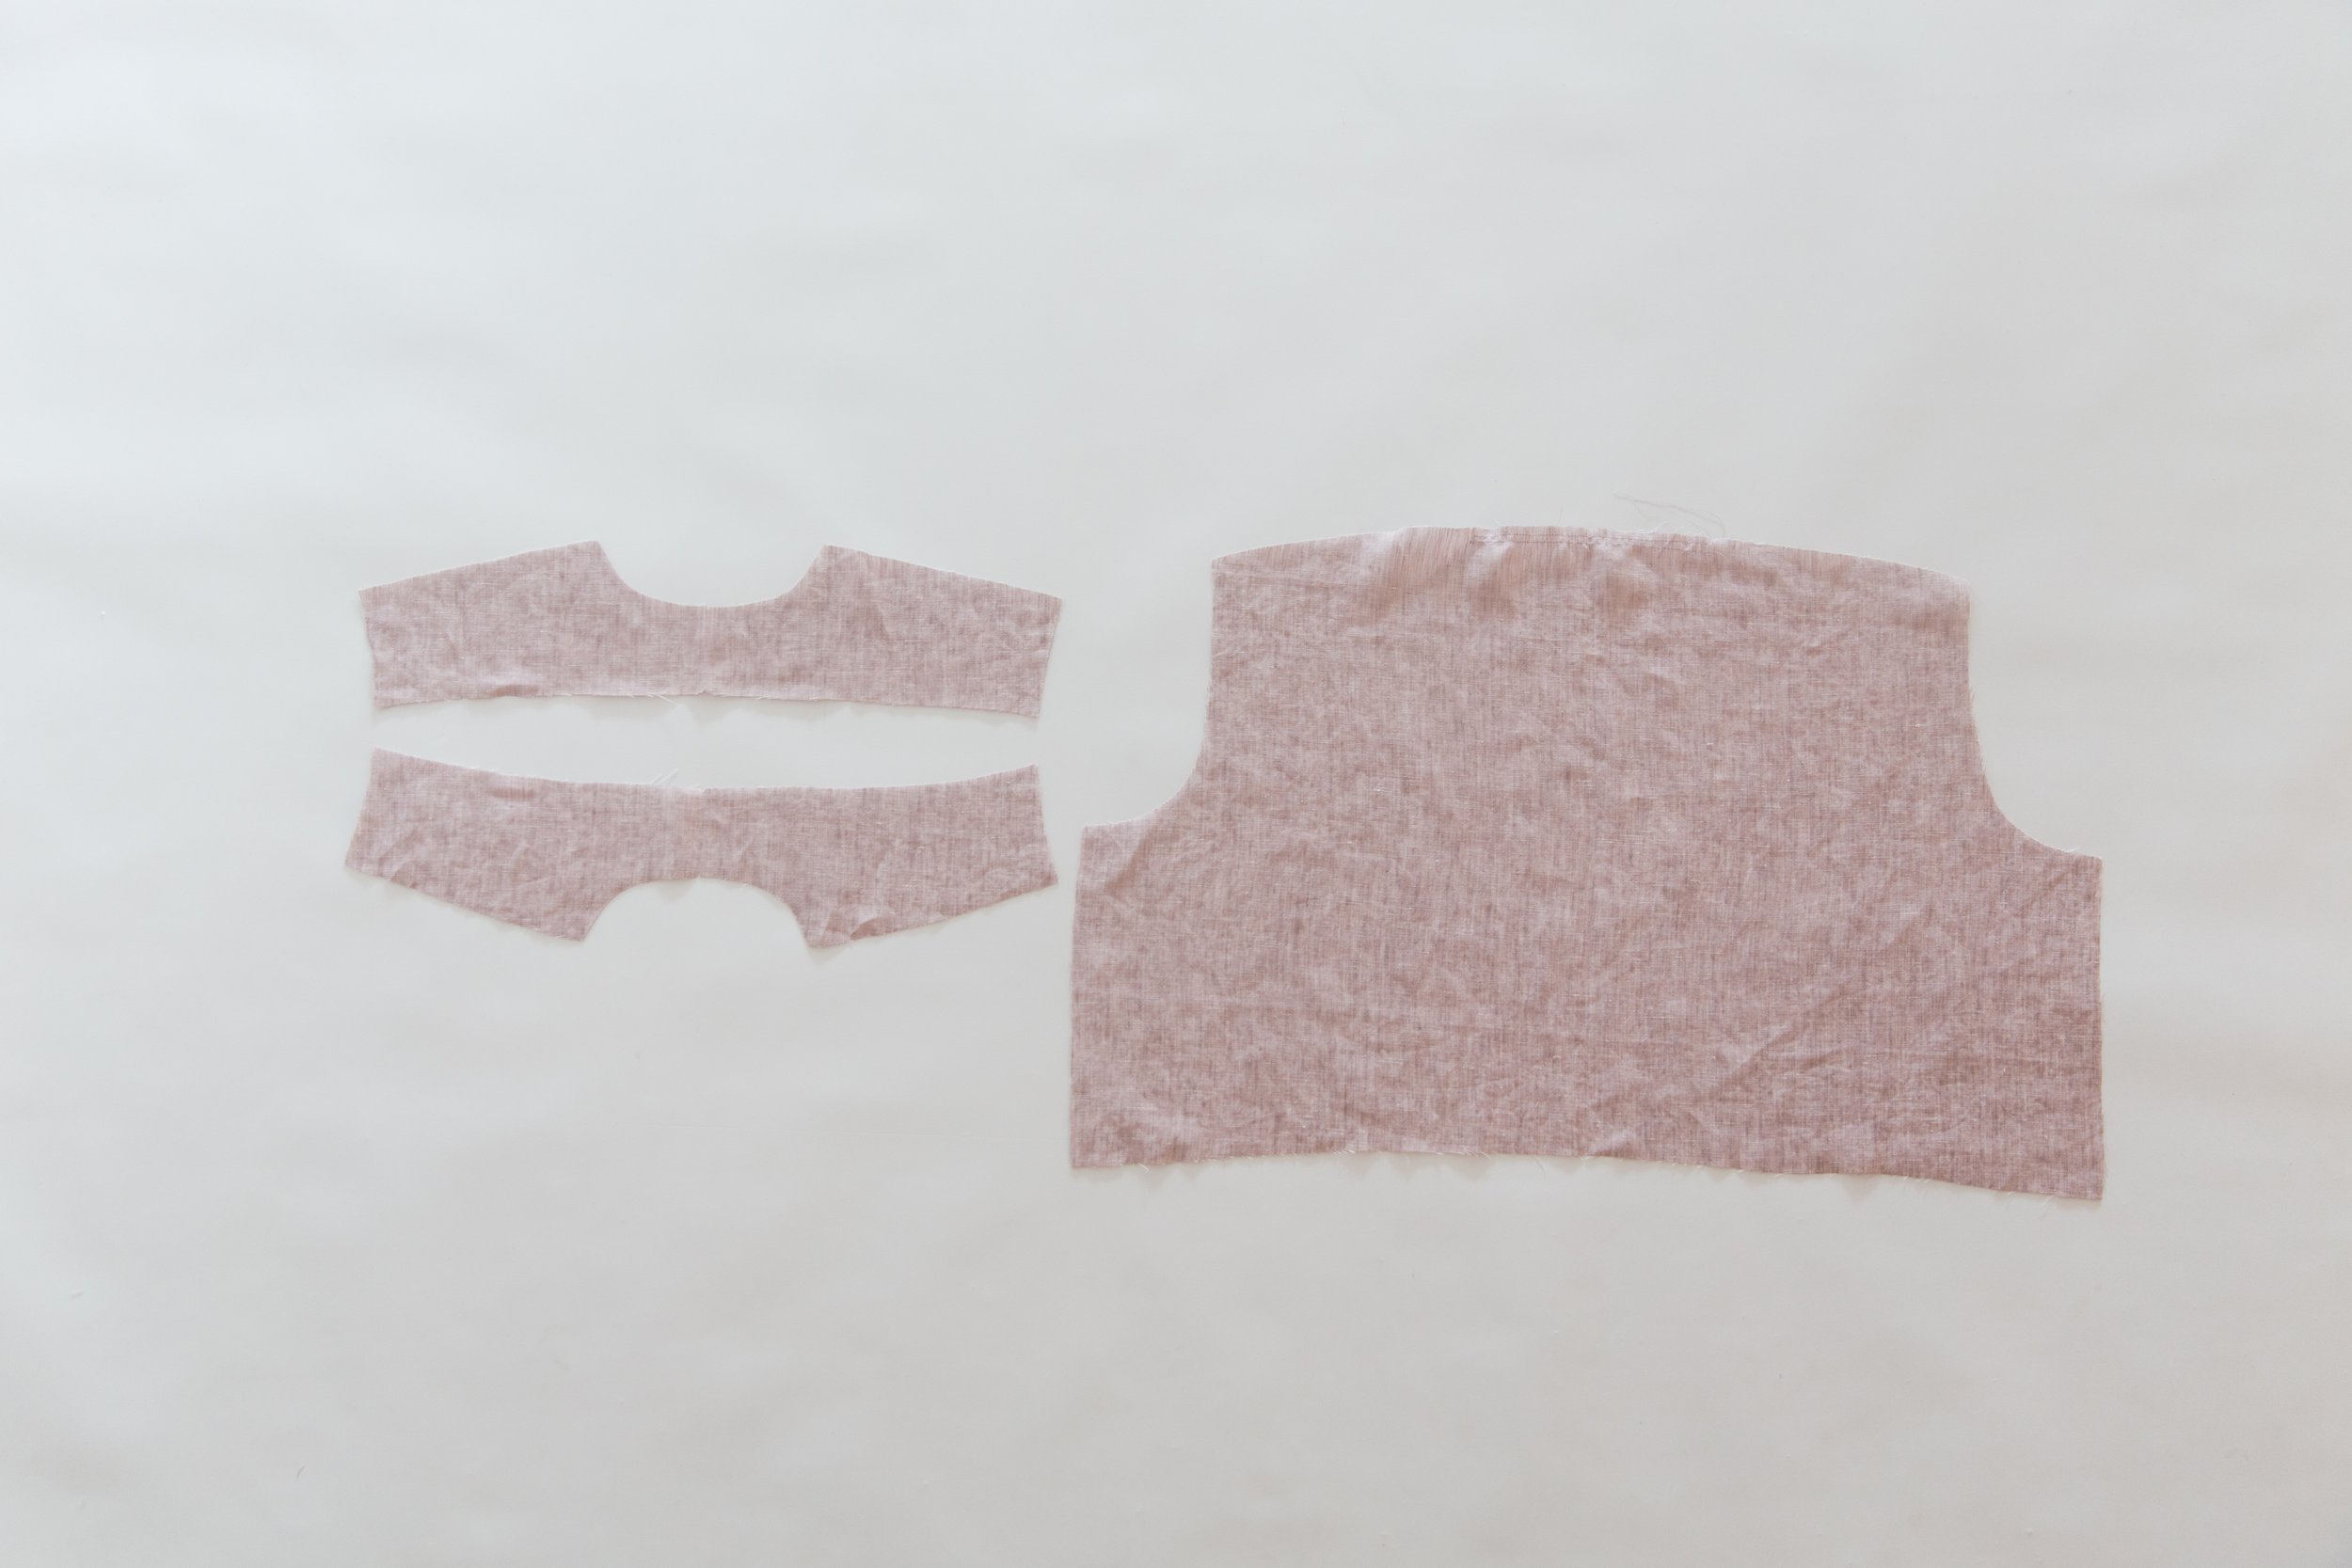
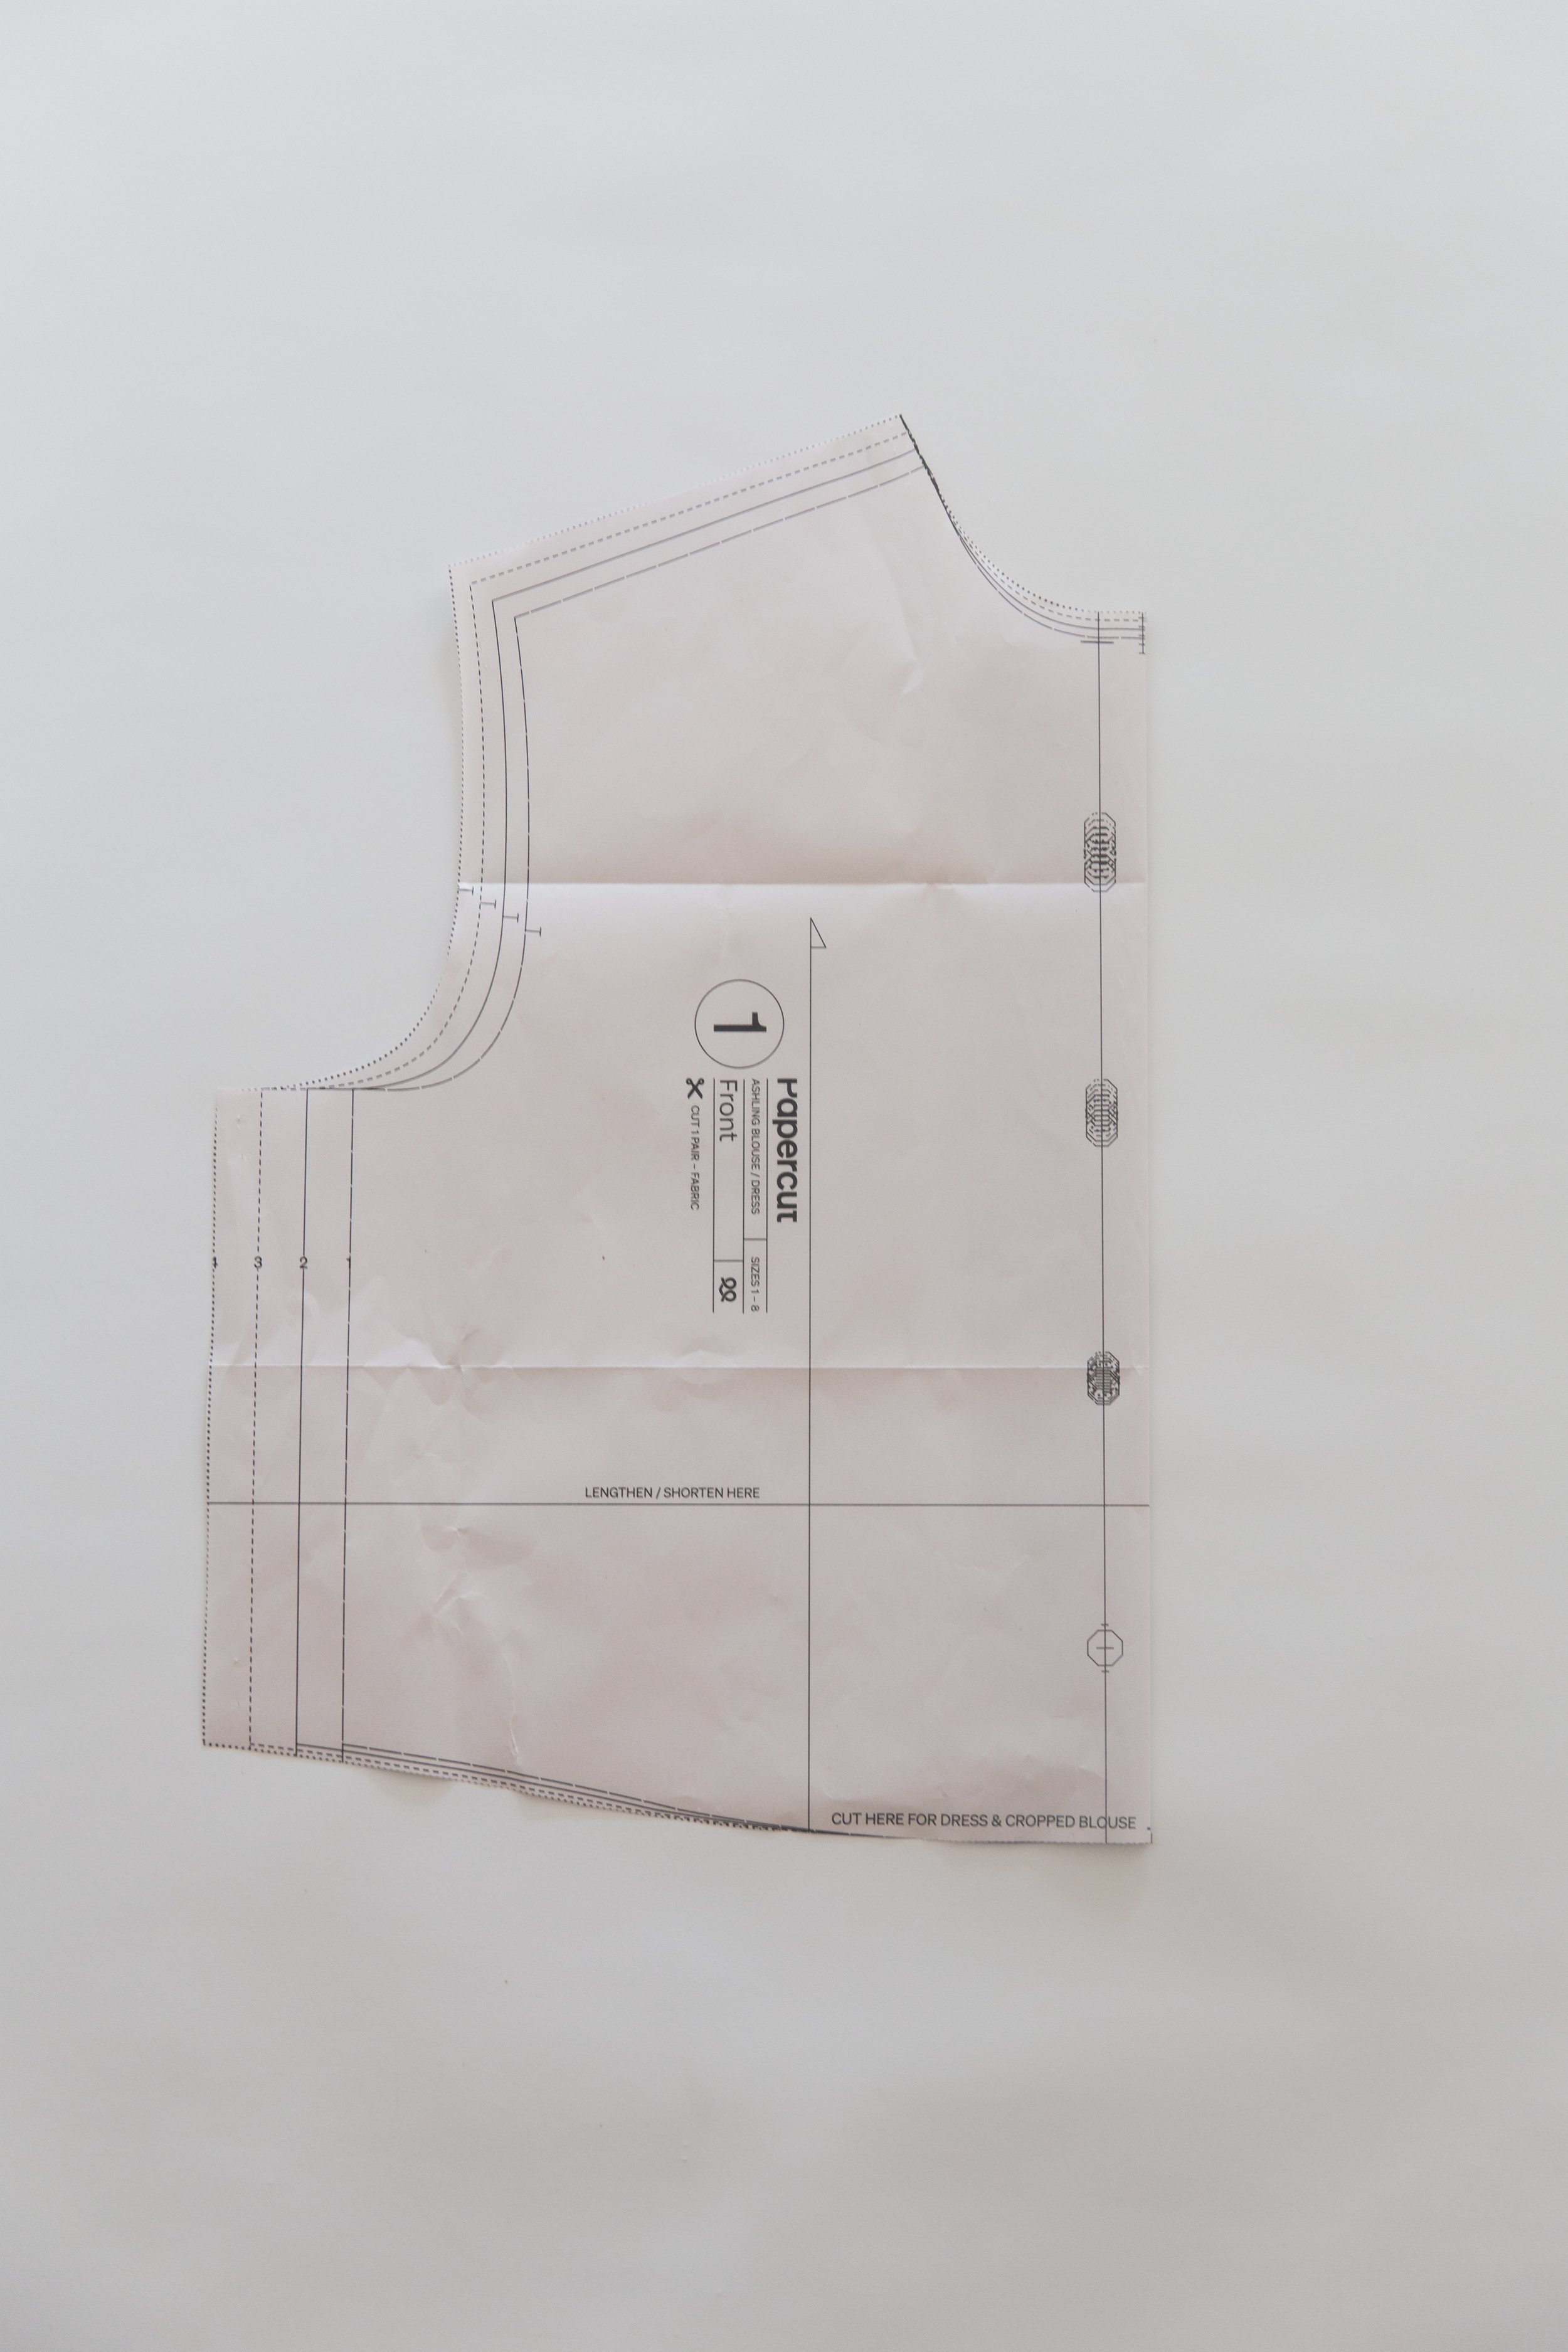
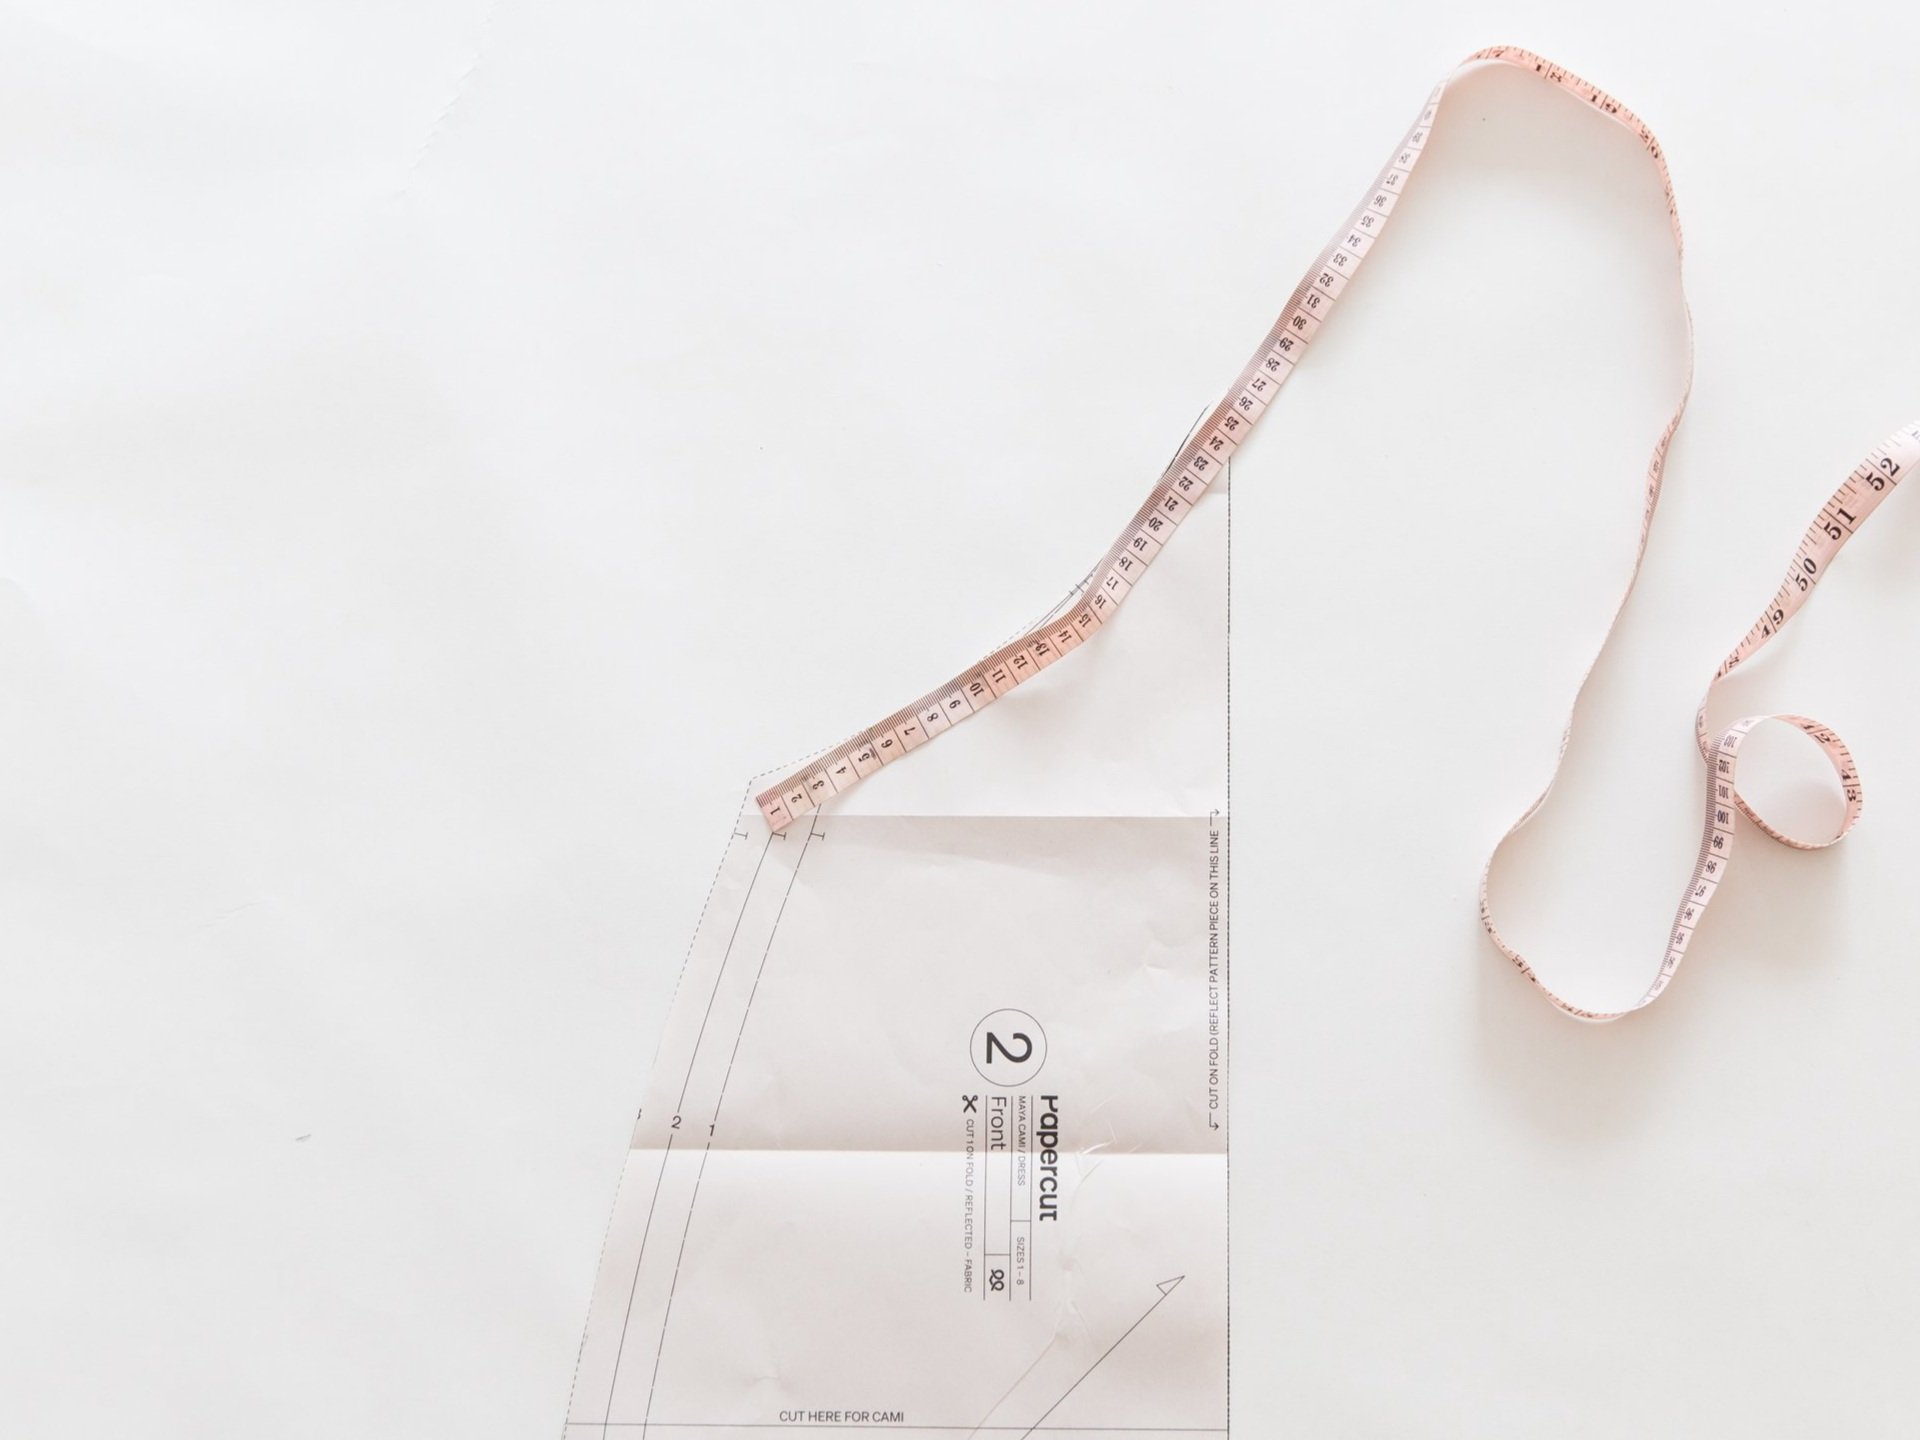
On your front pattern piece, measure the length of the bust cup seam, from side seam to centre front.
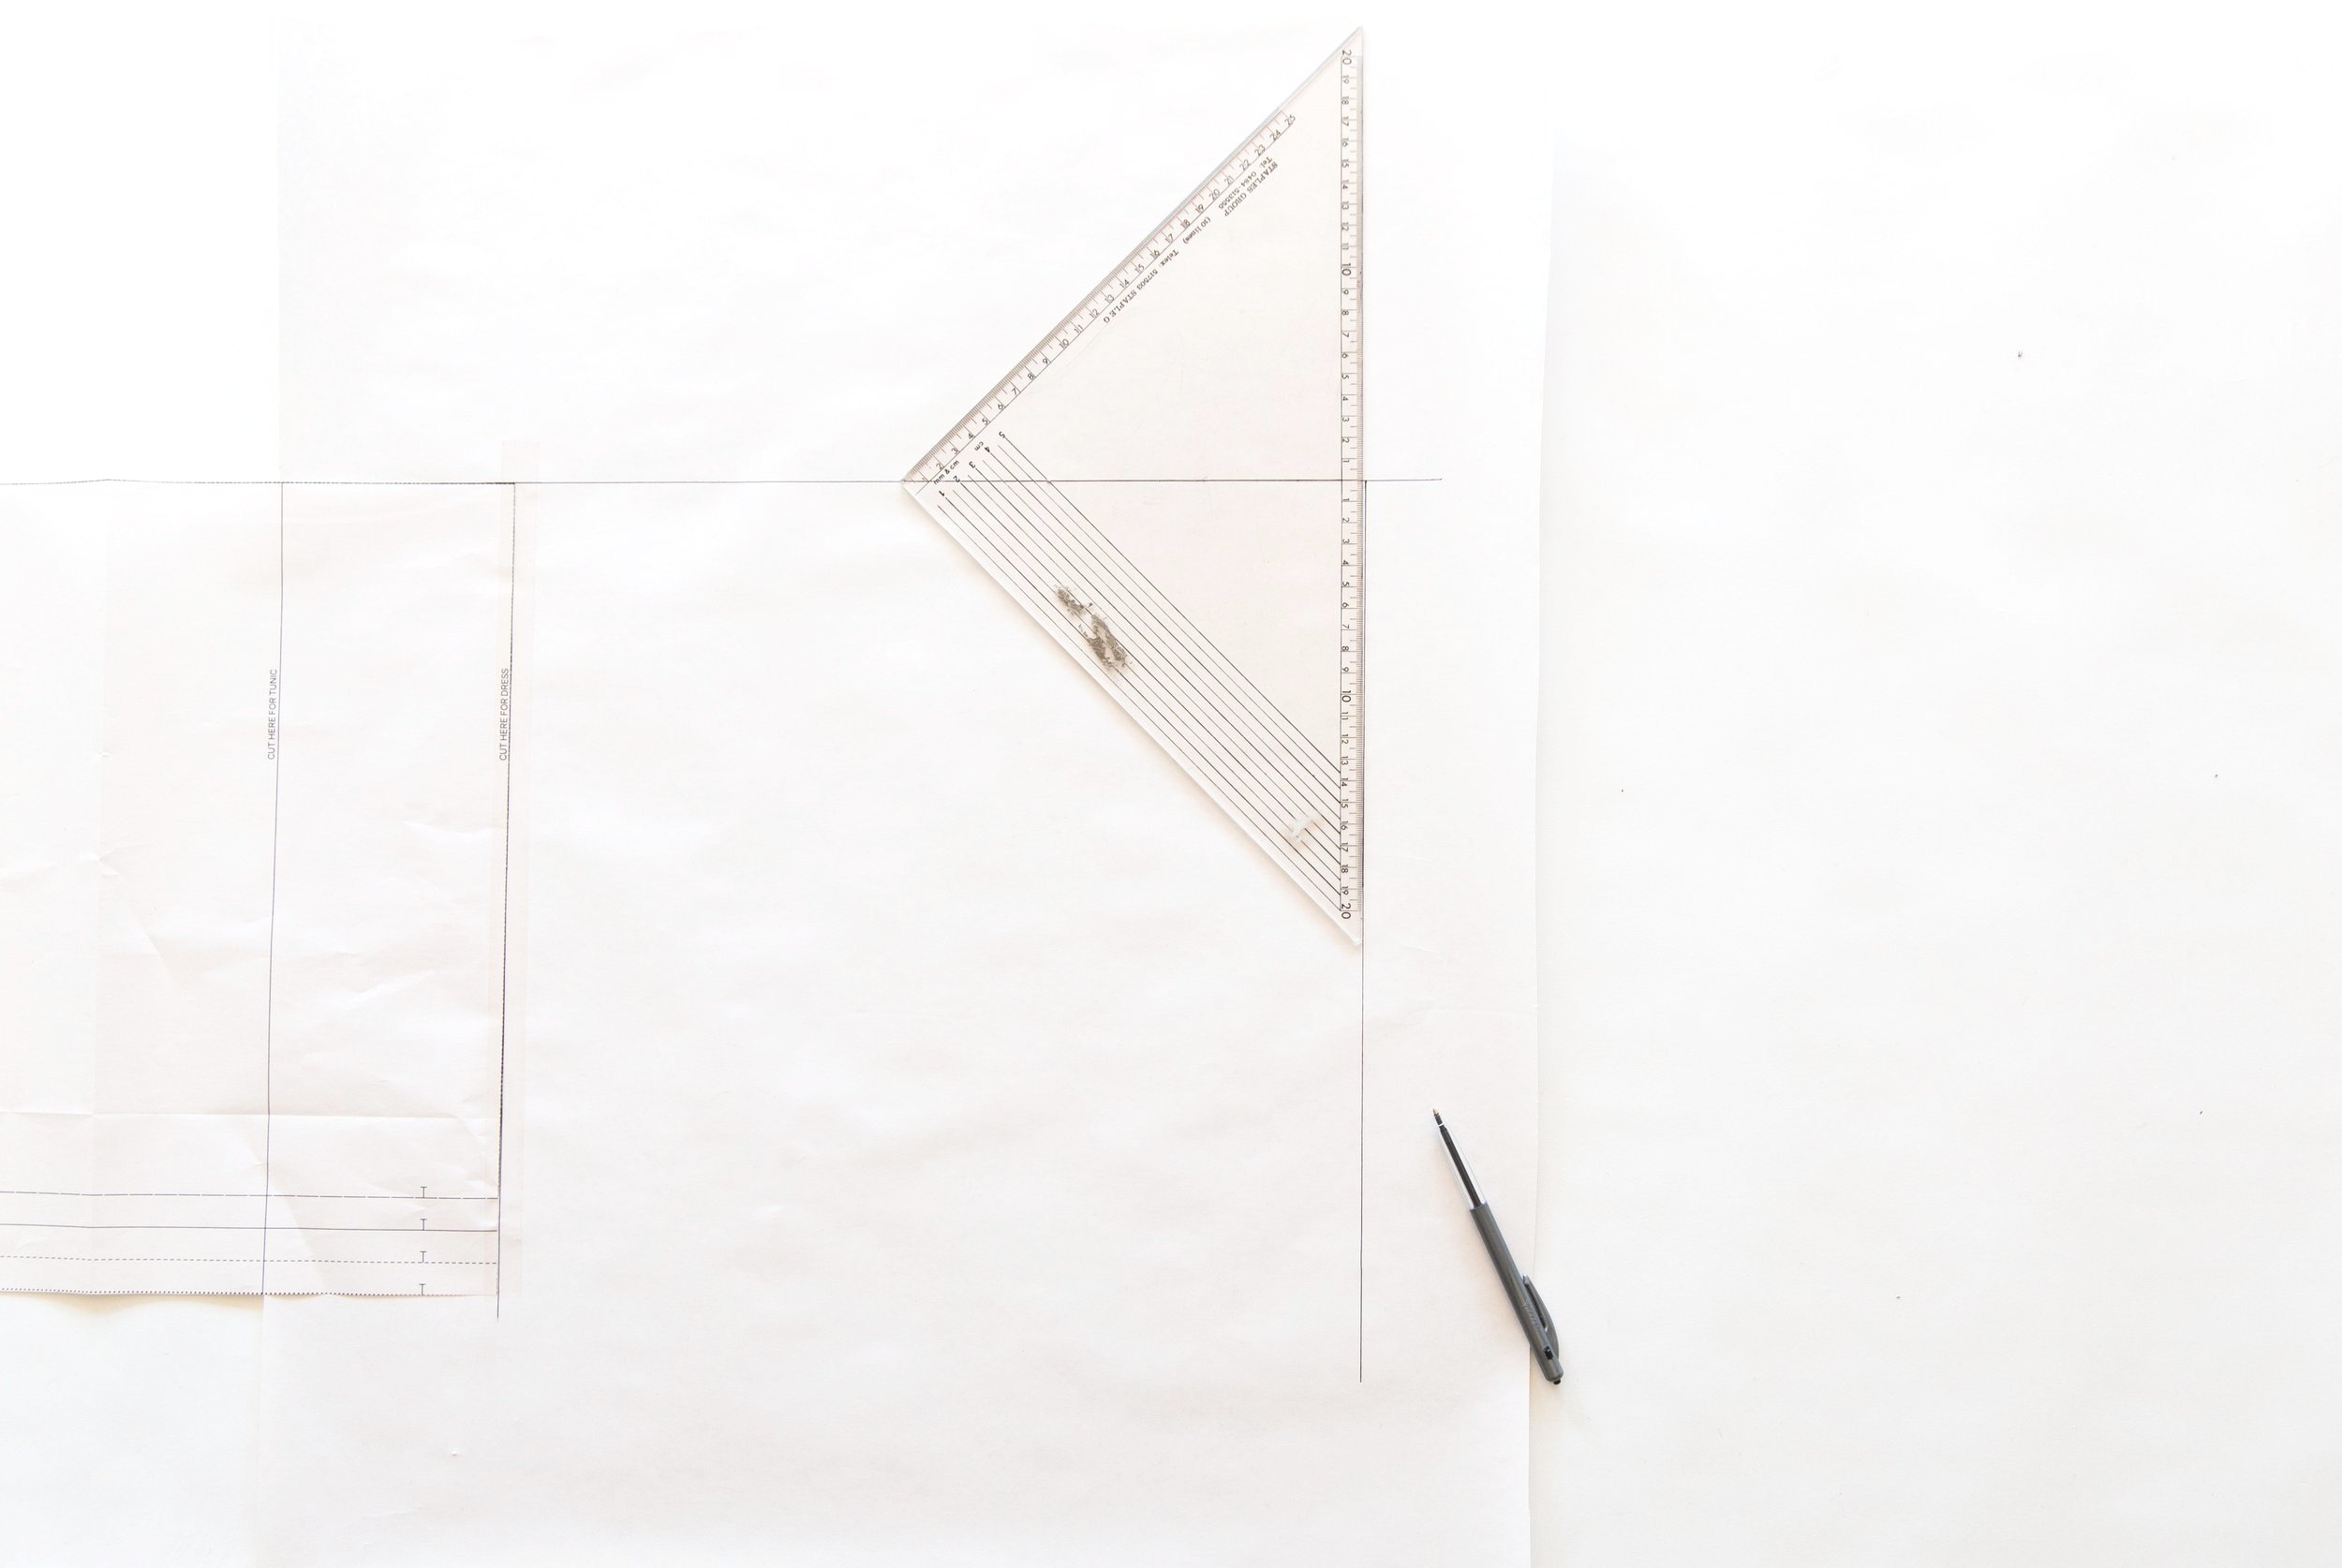
Step 2
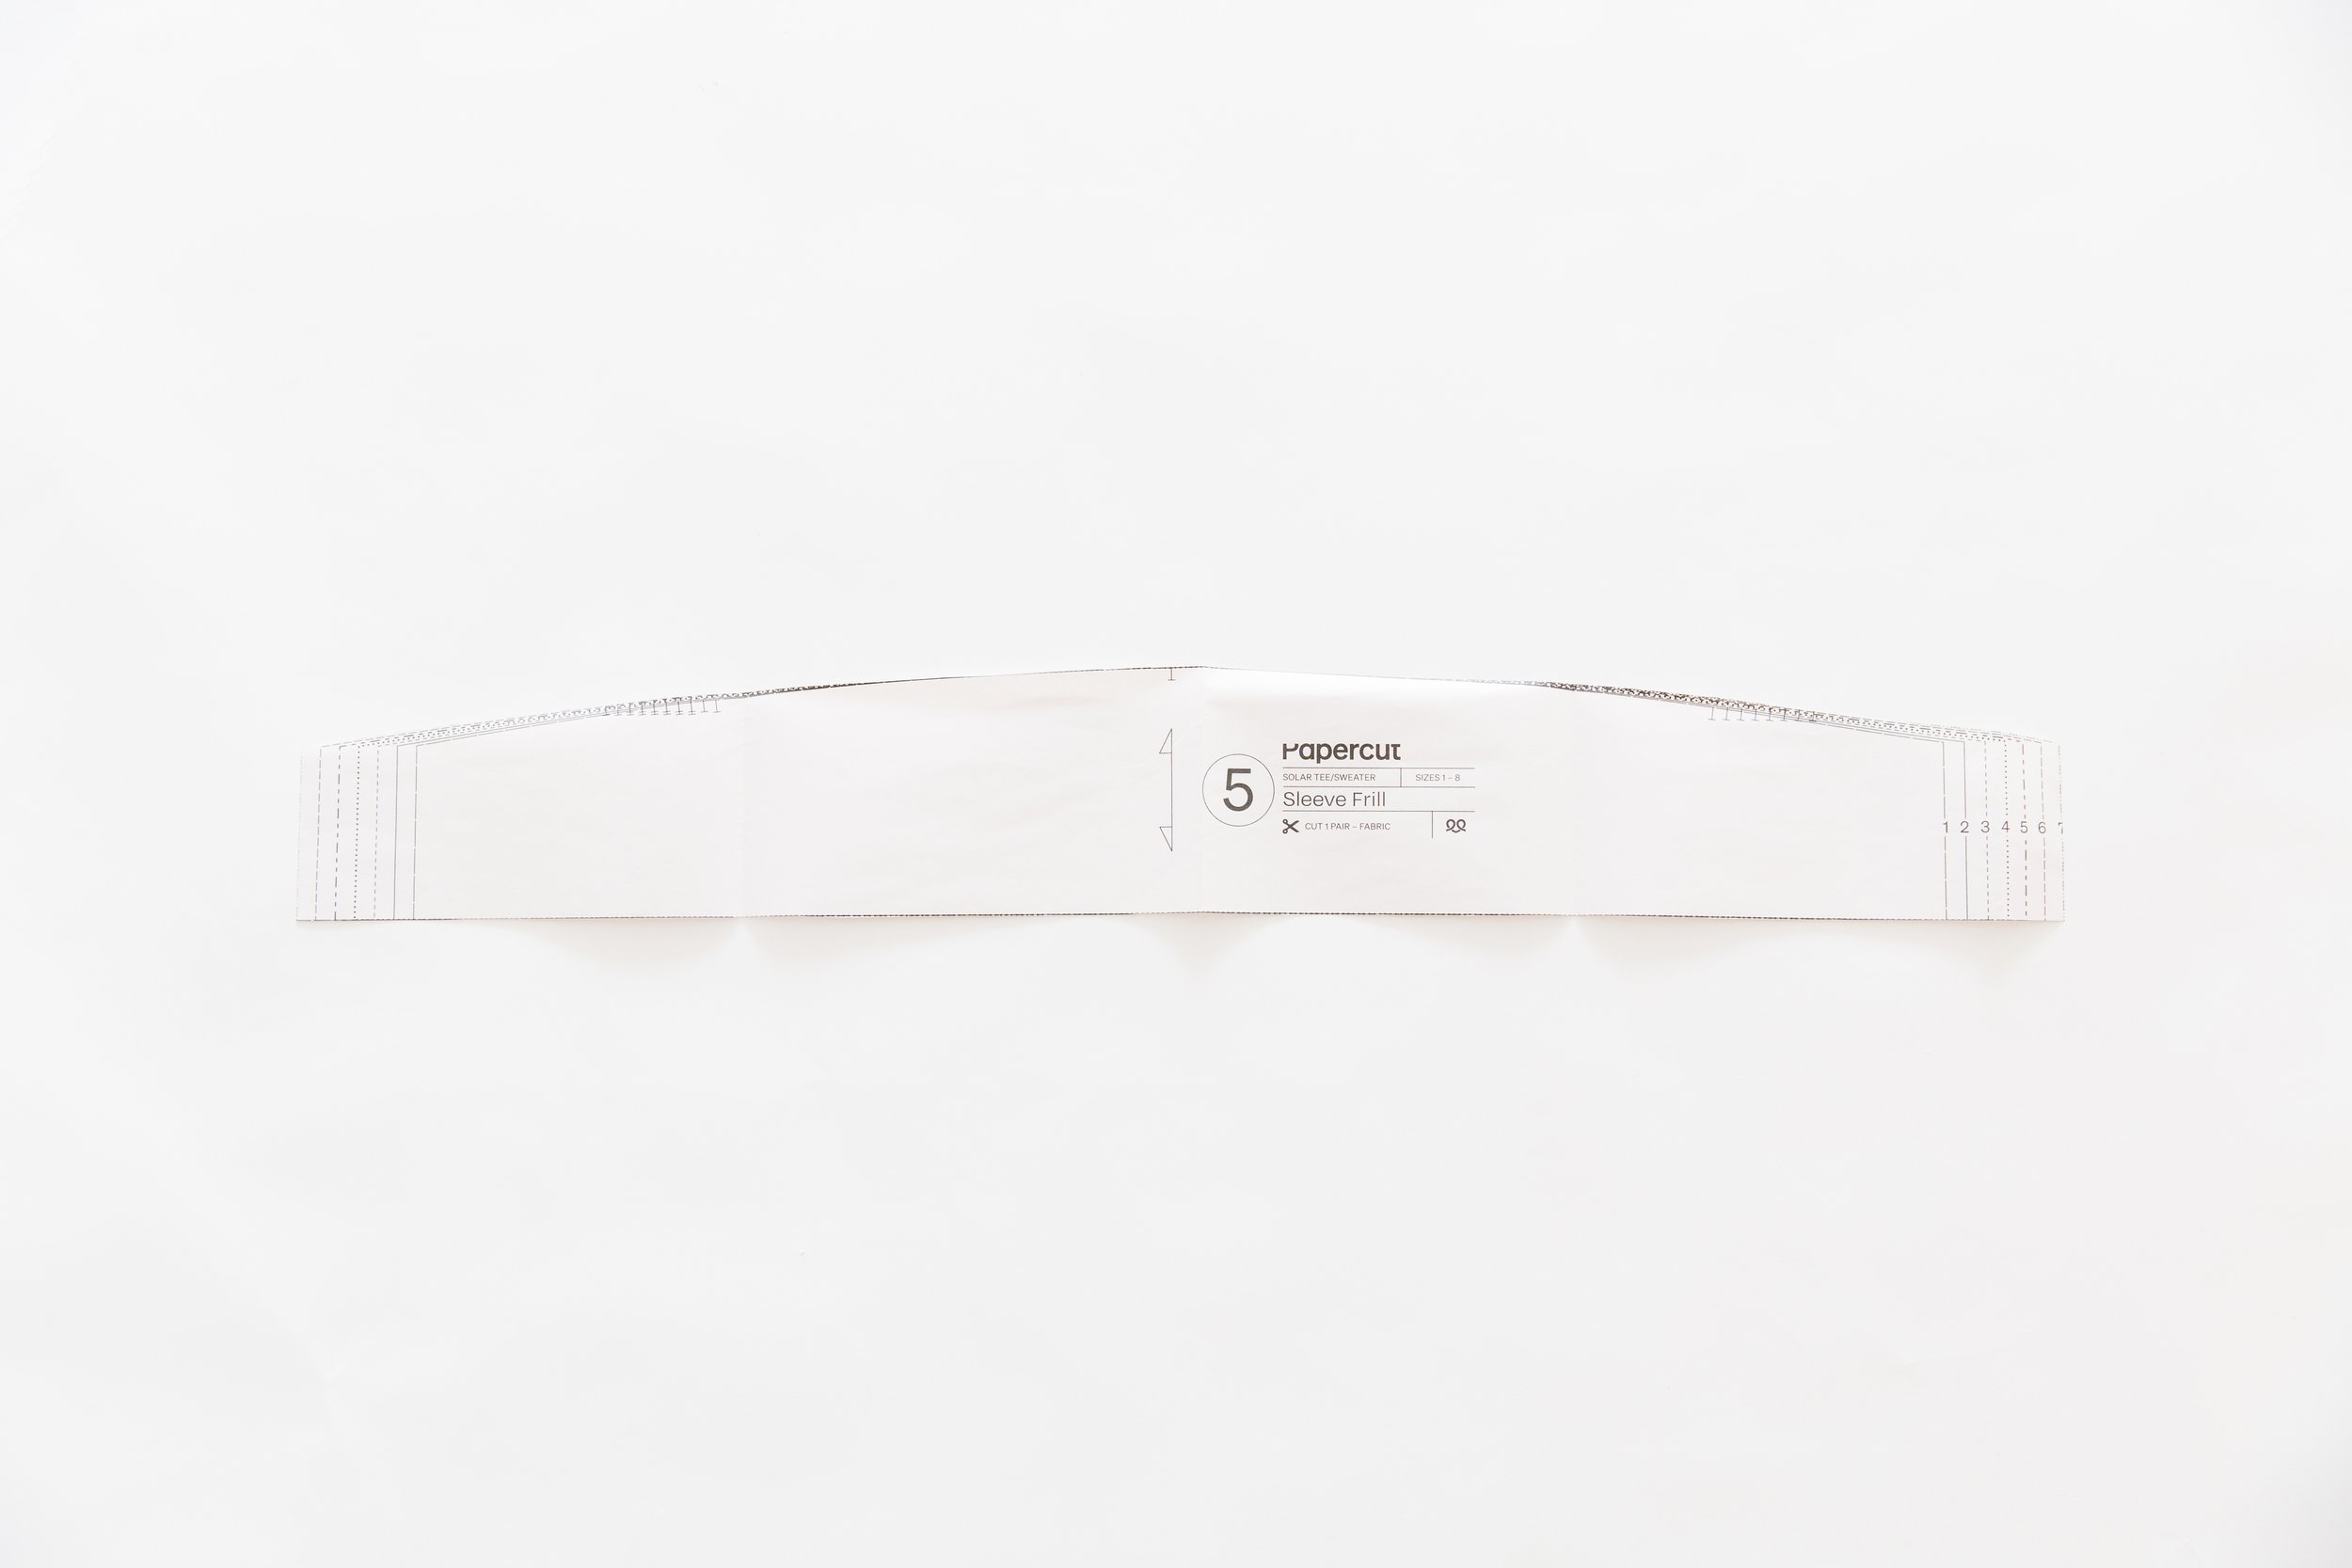
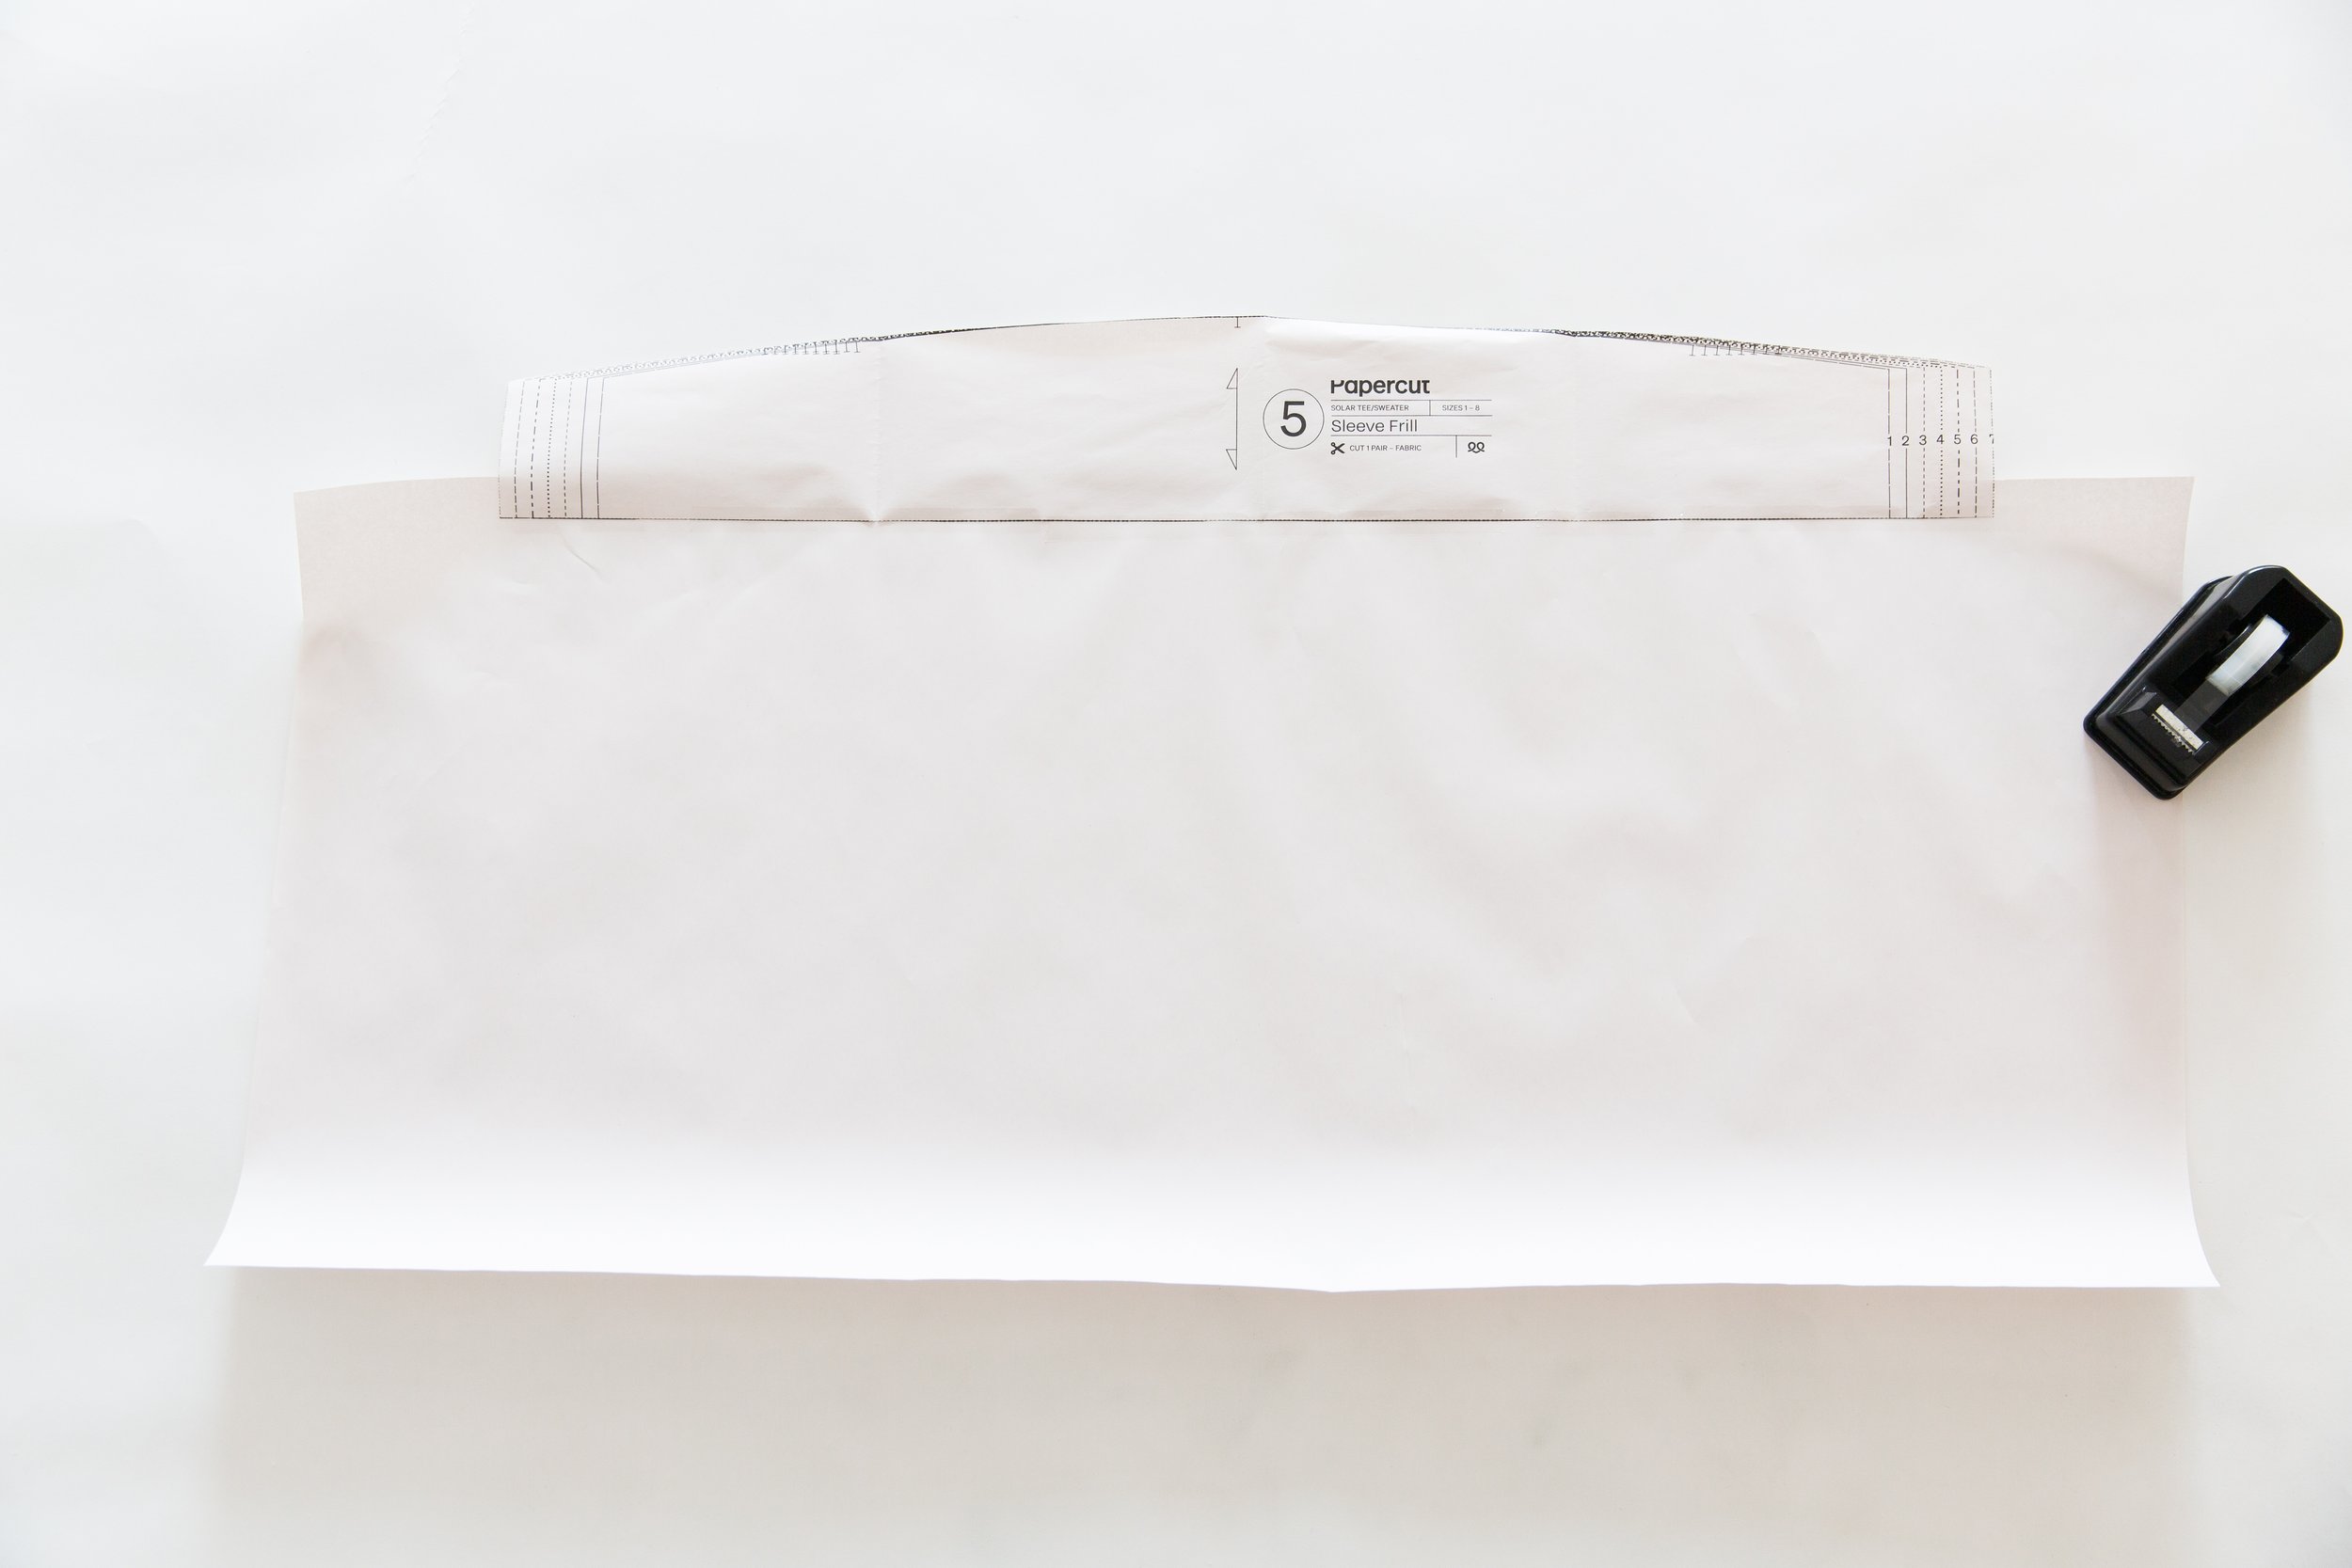
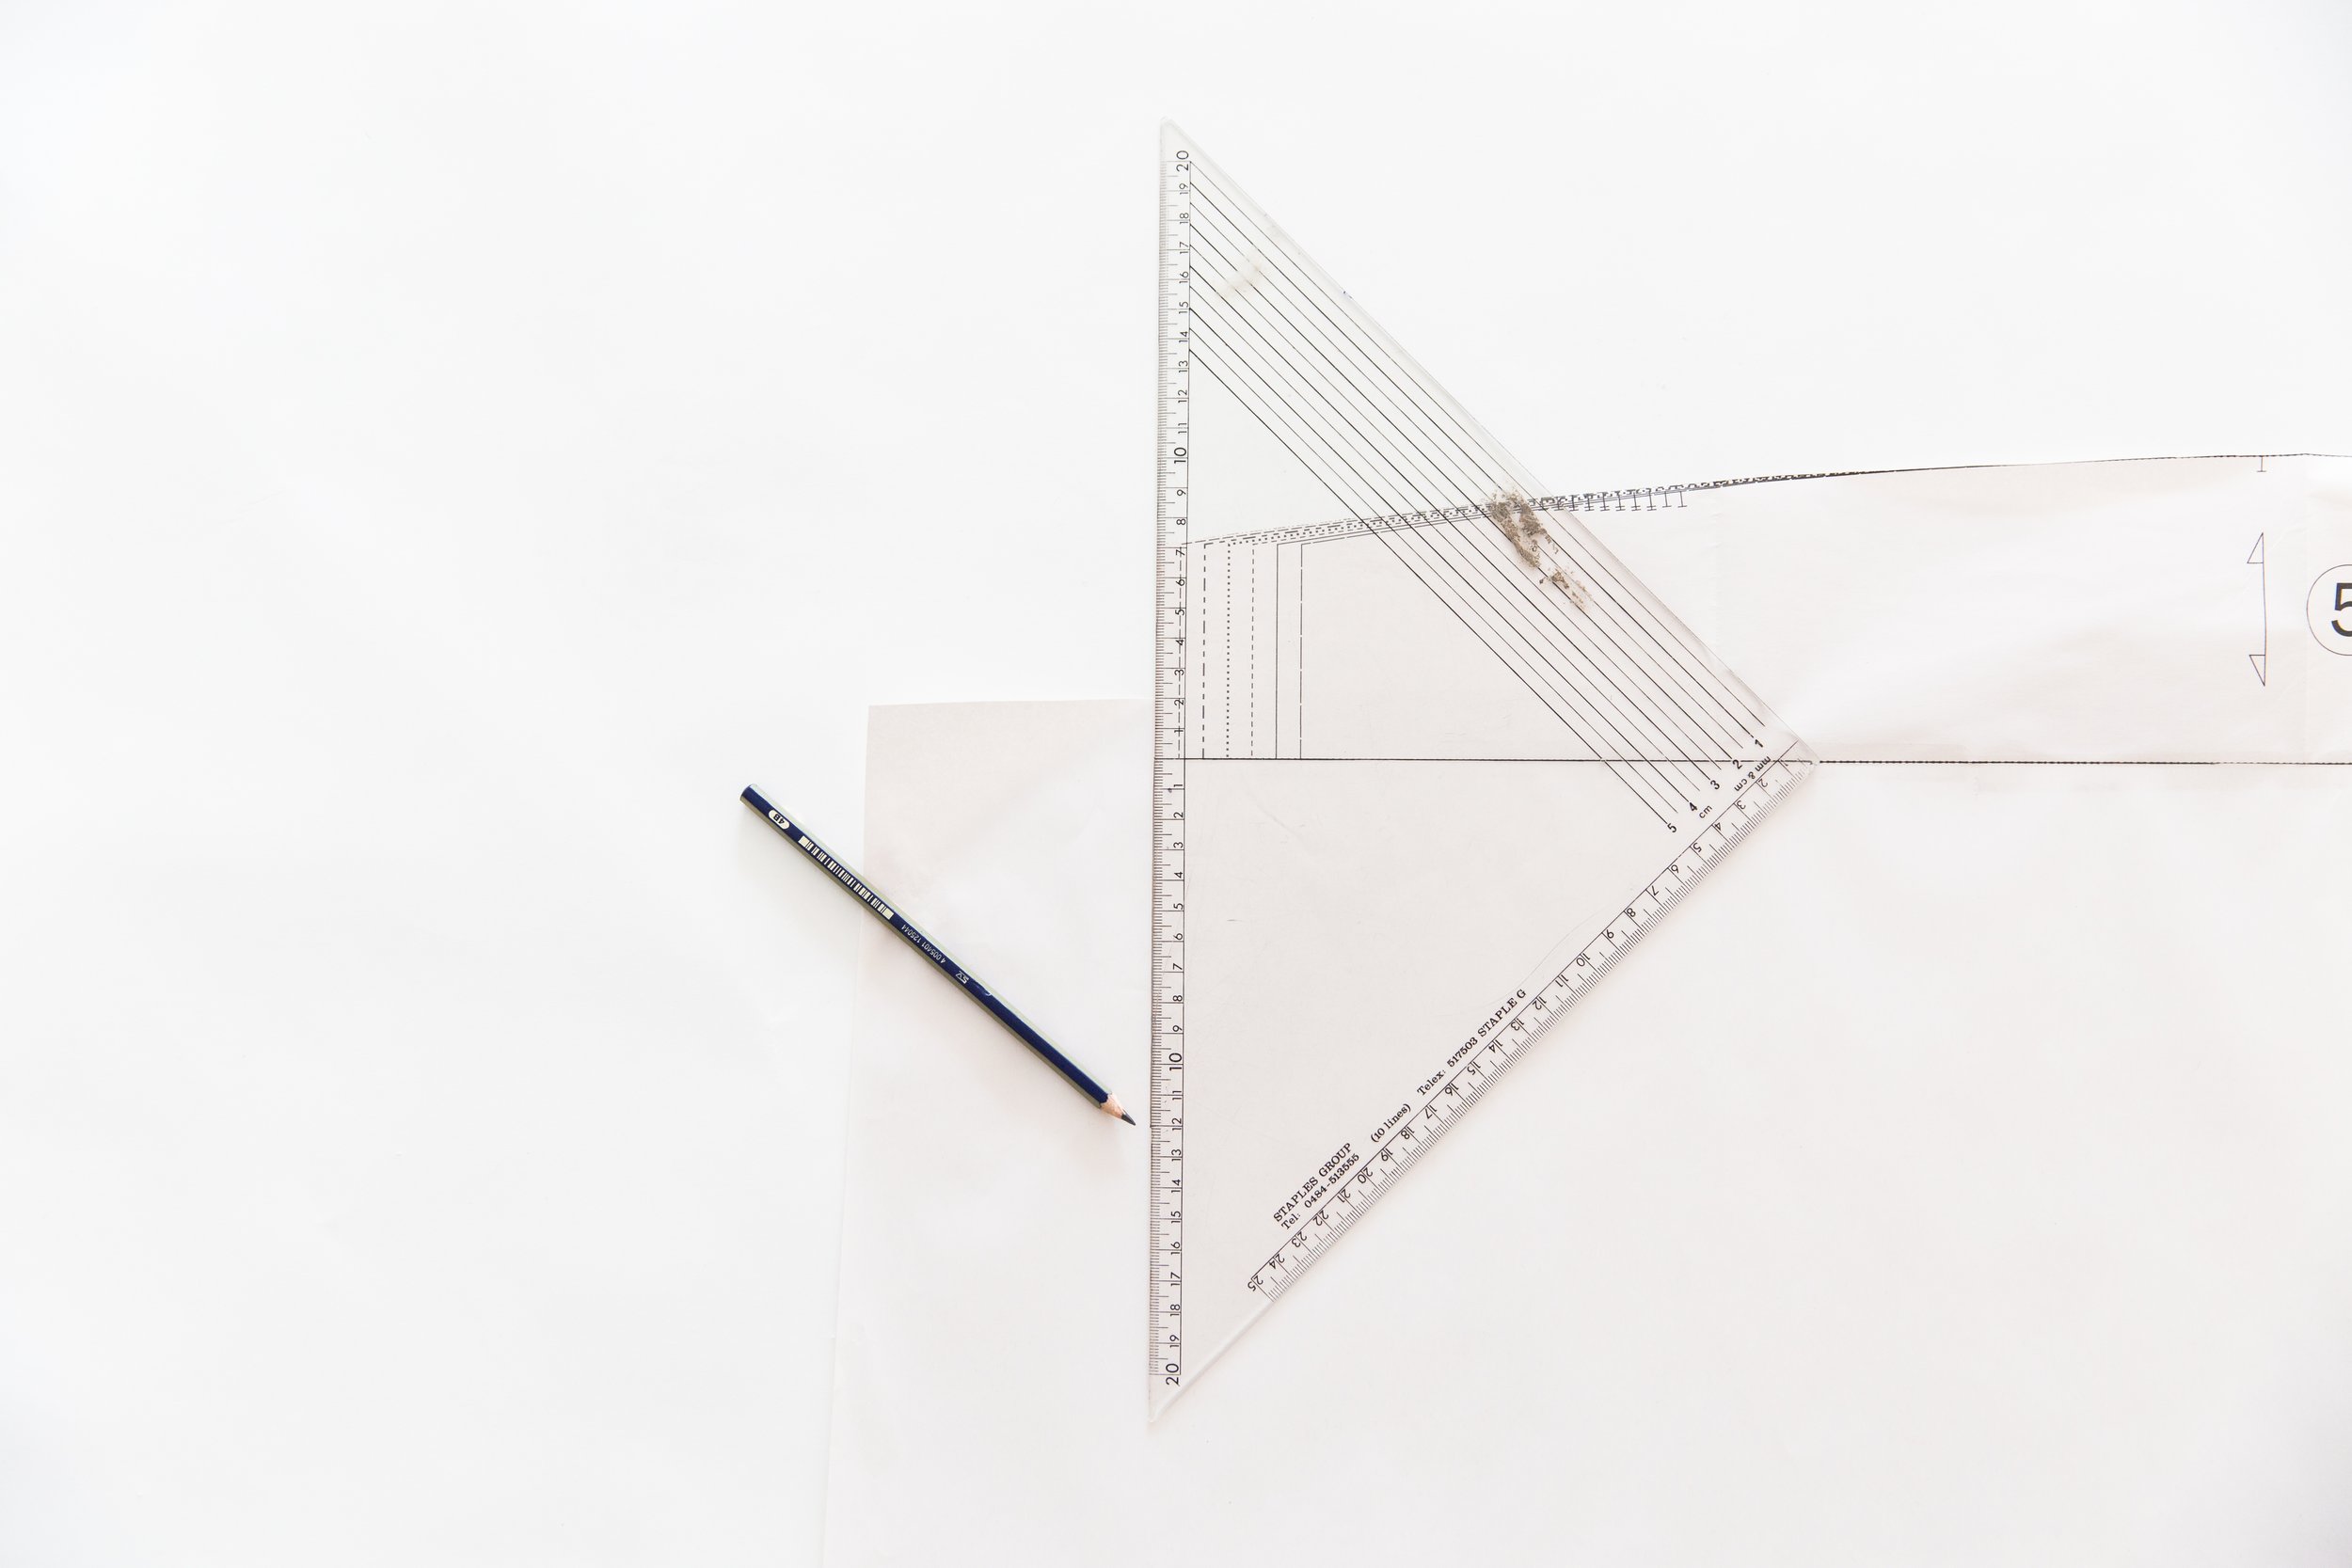
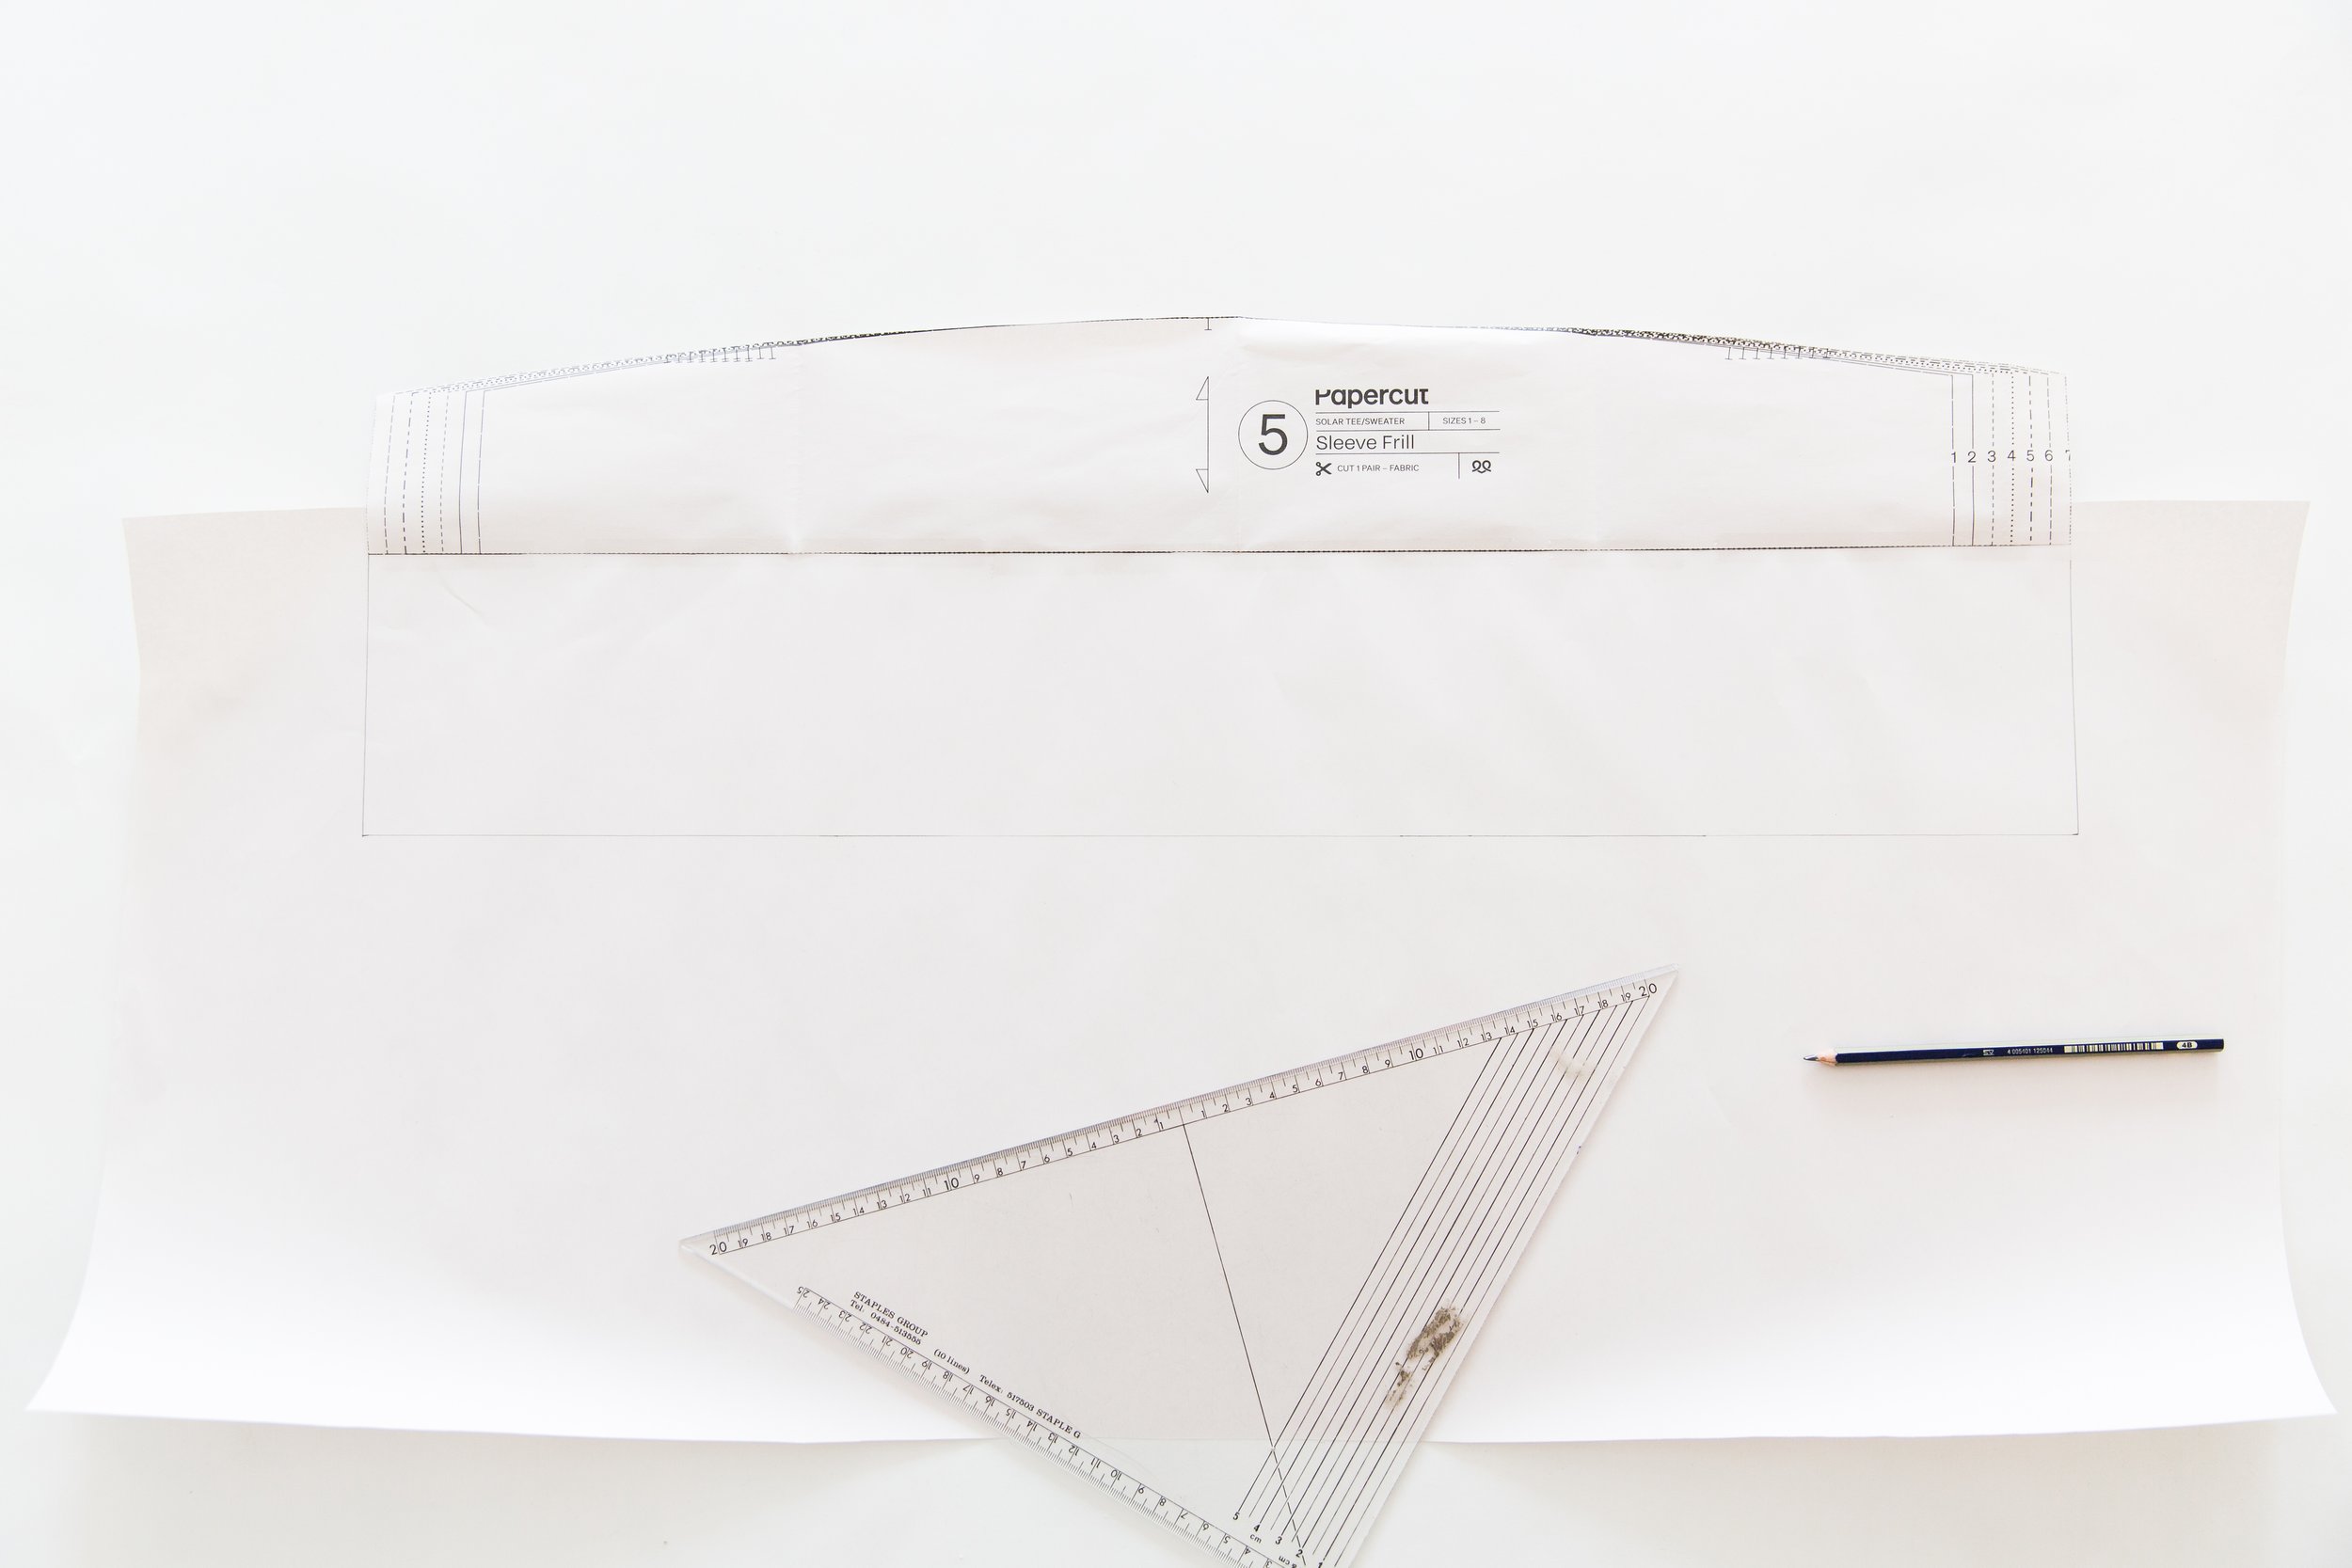
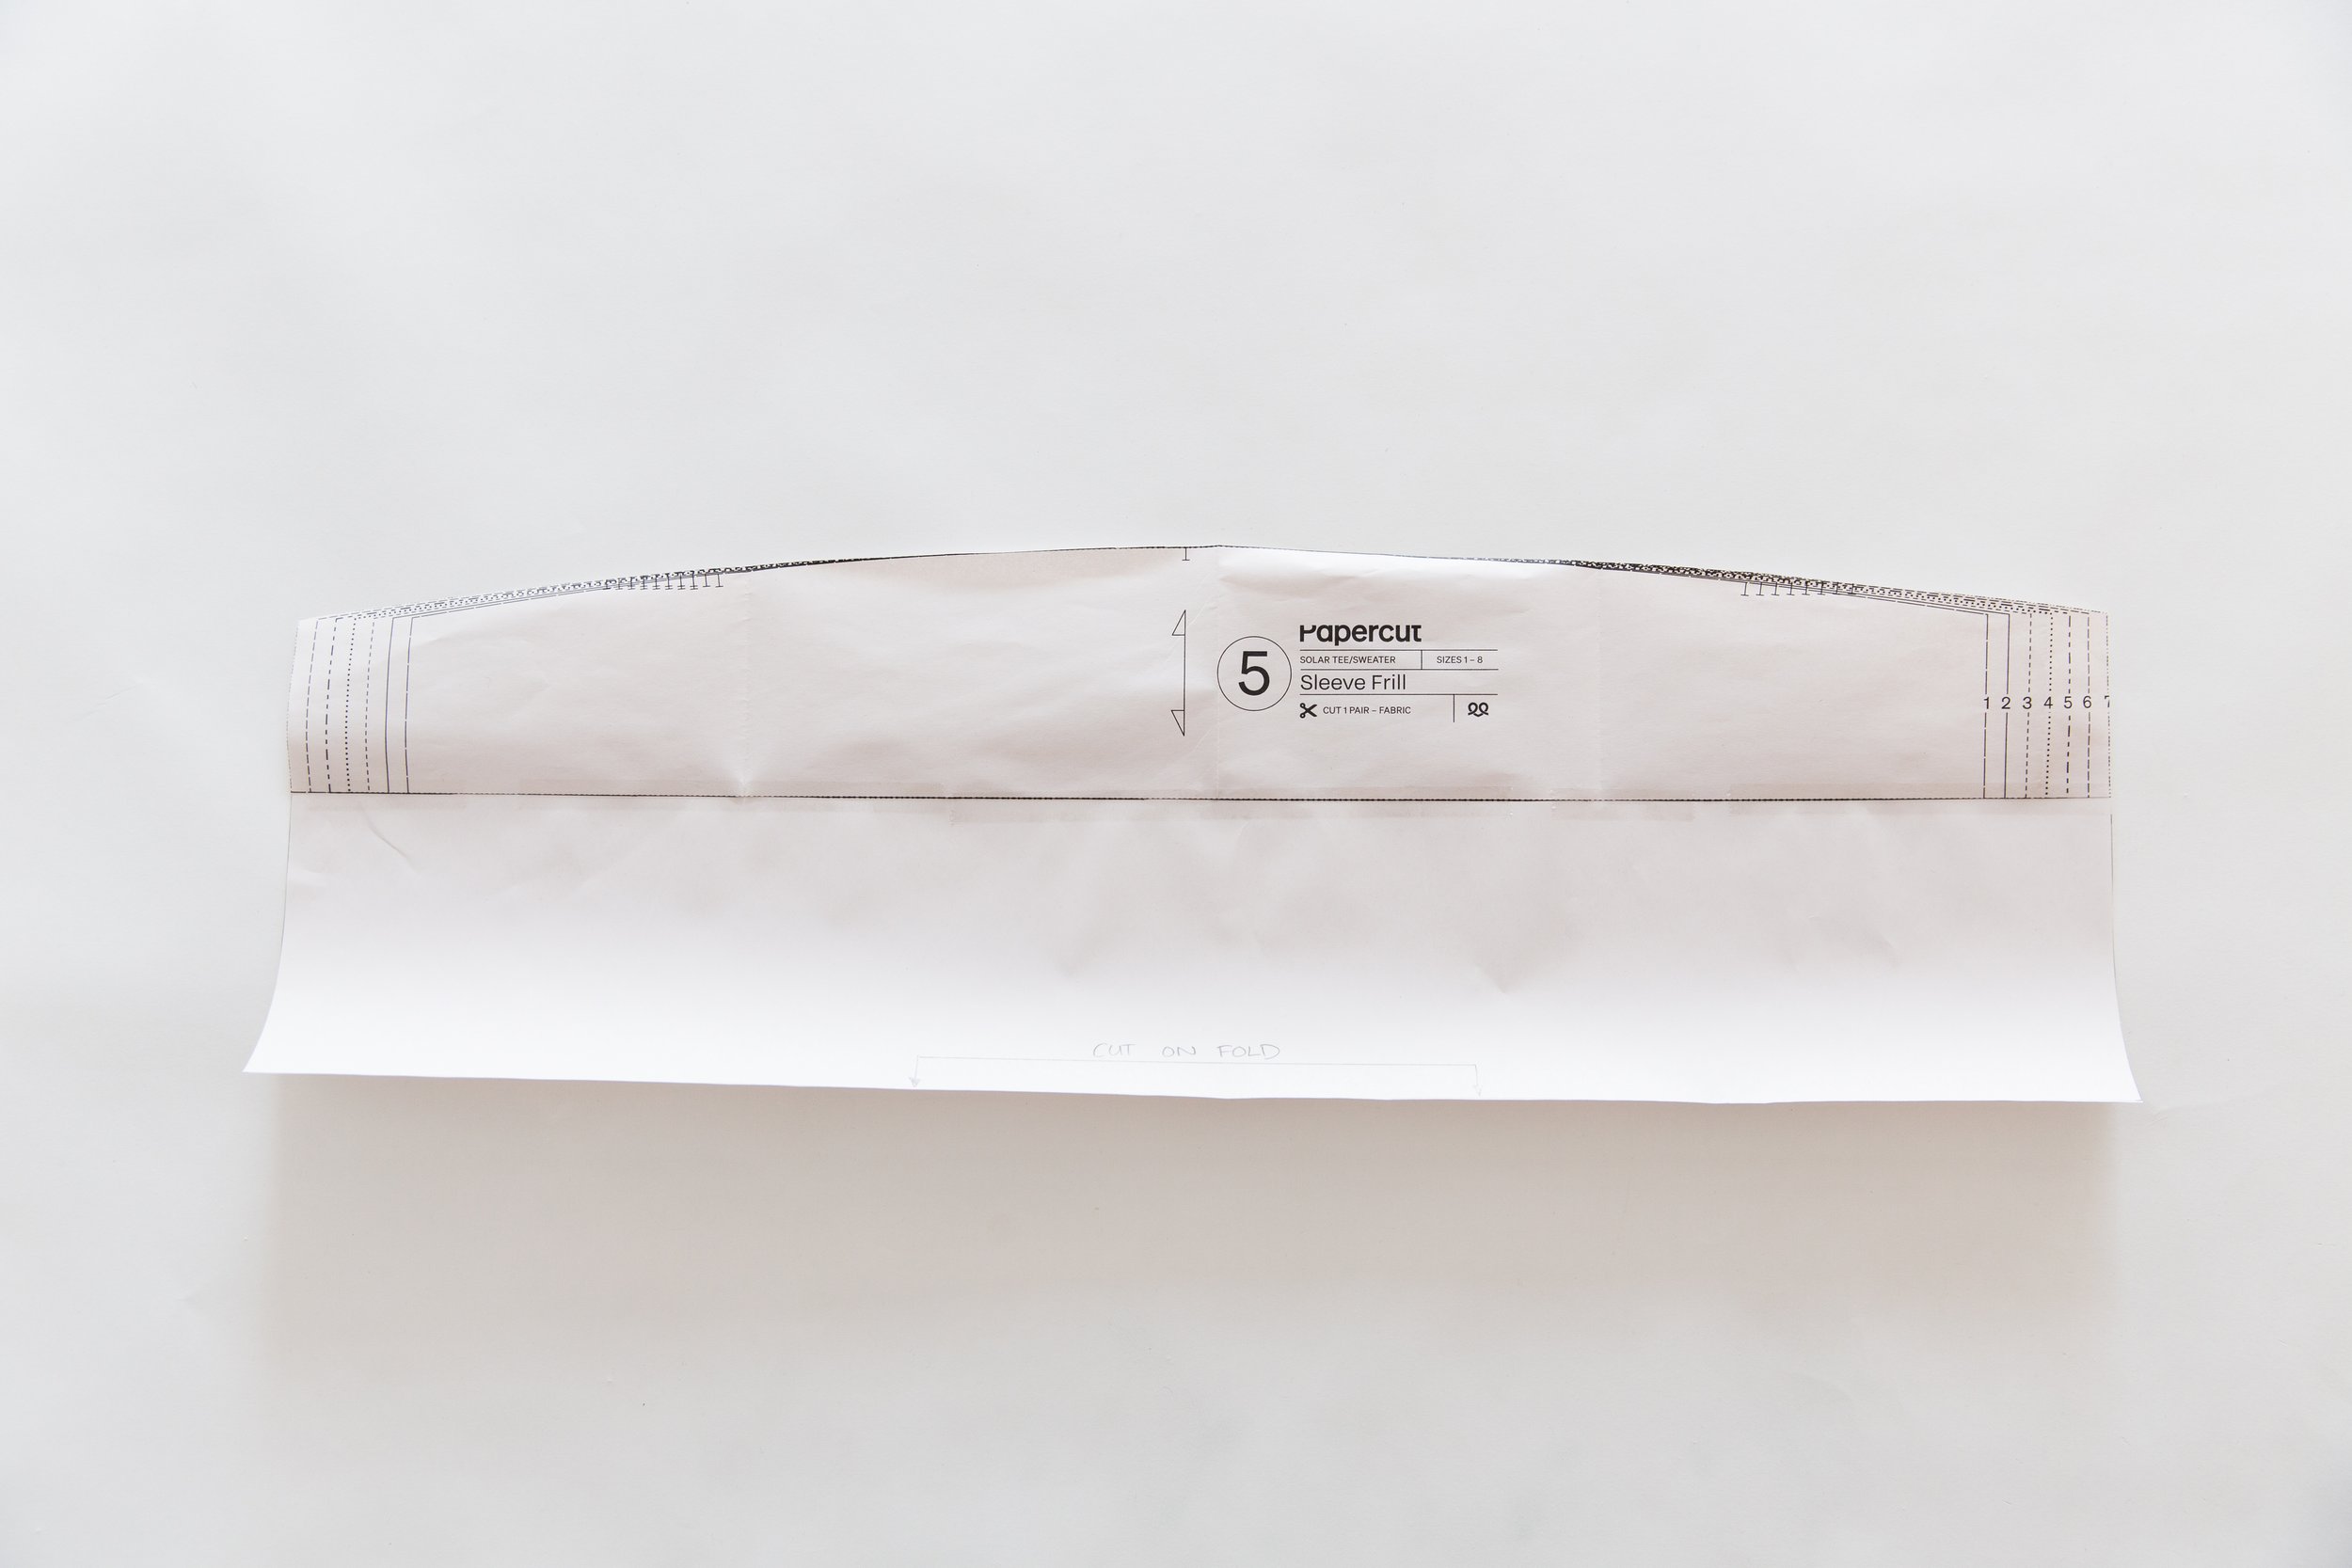
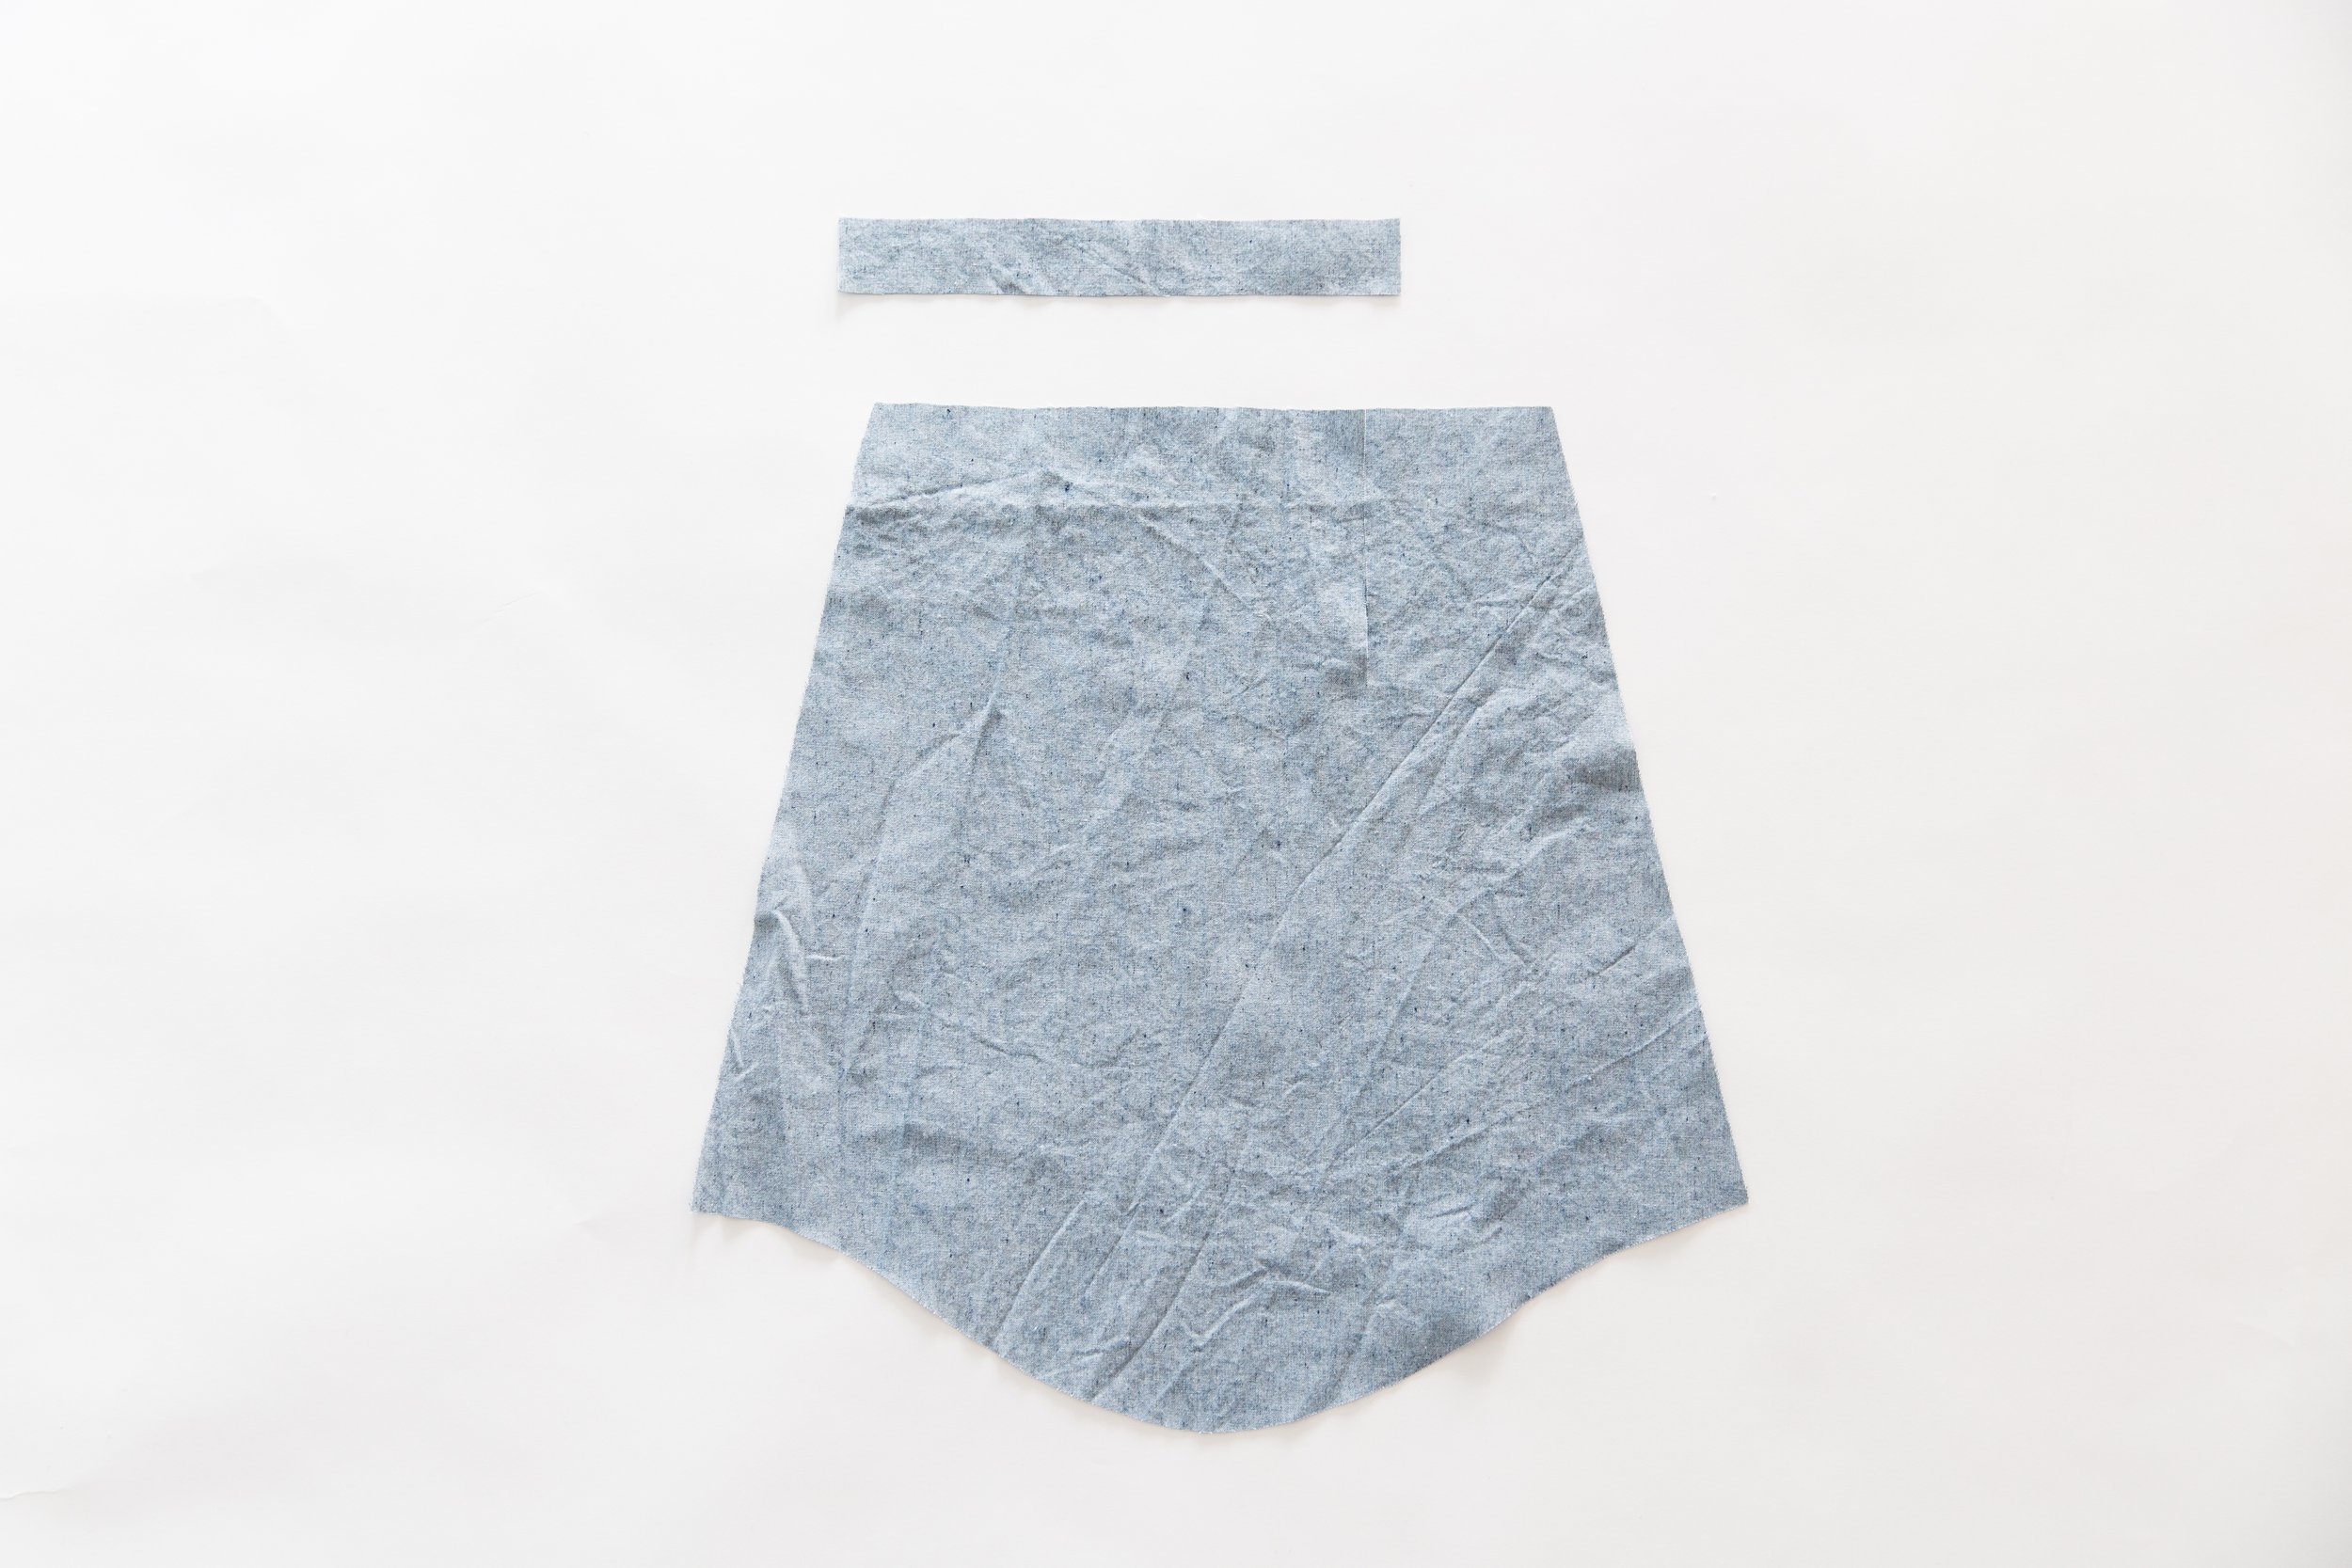
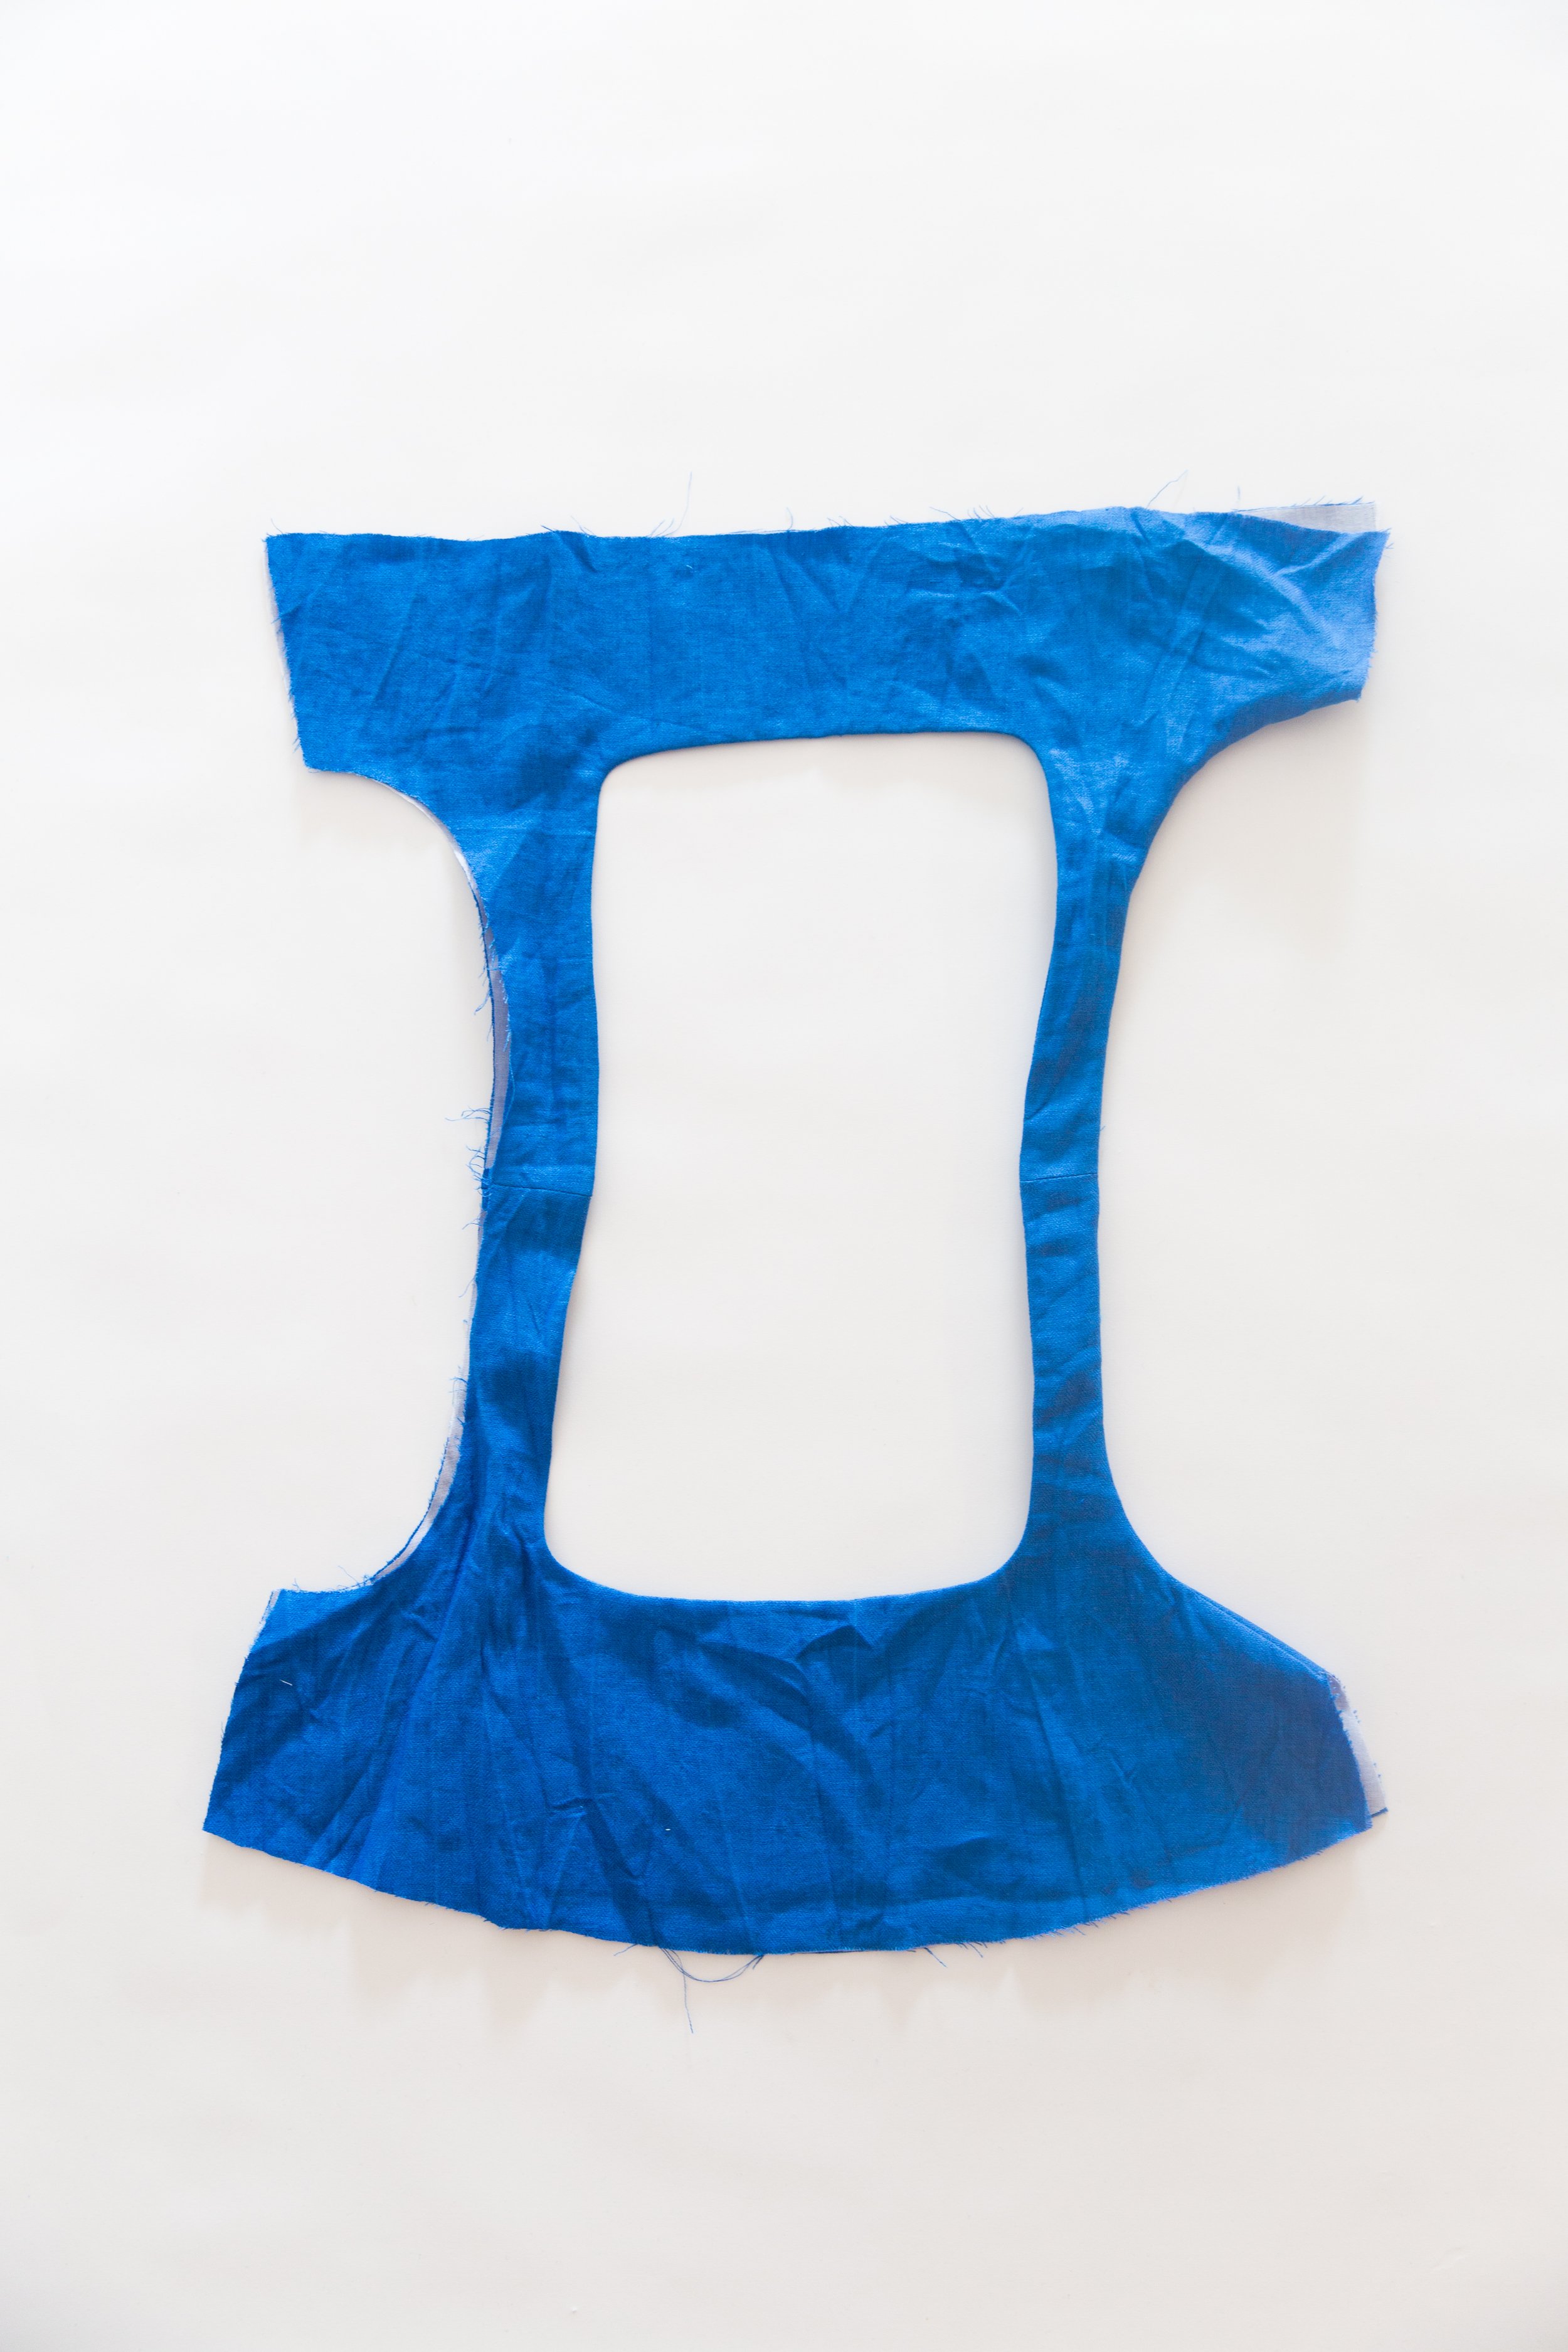
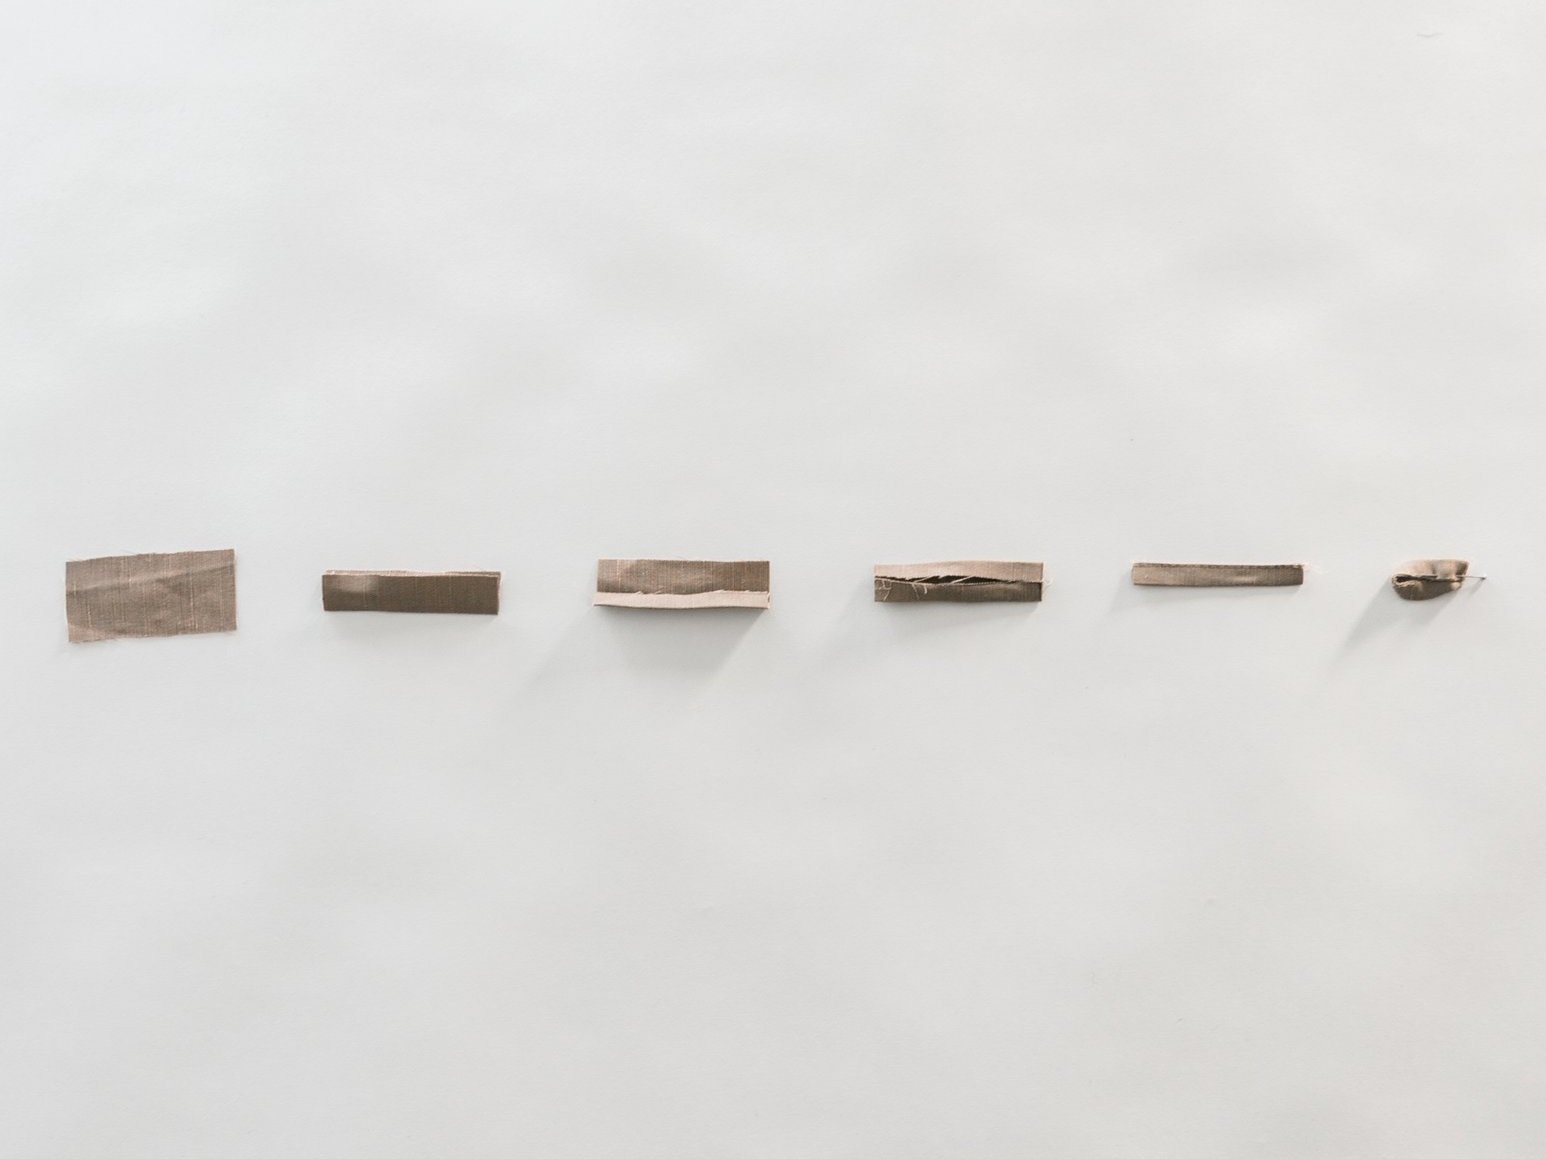
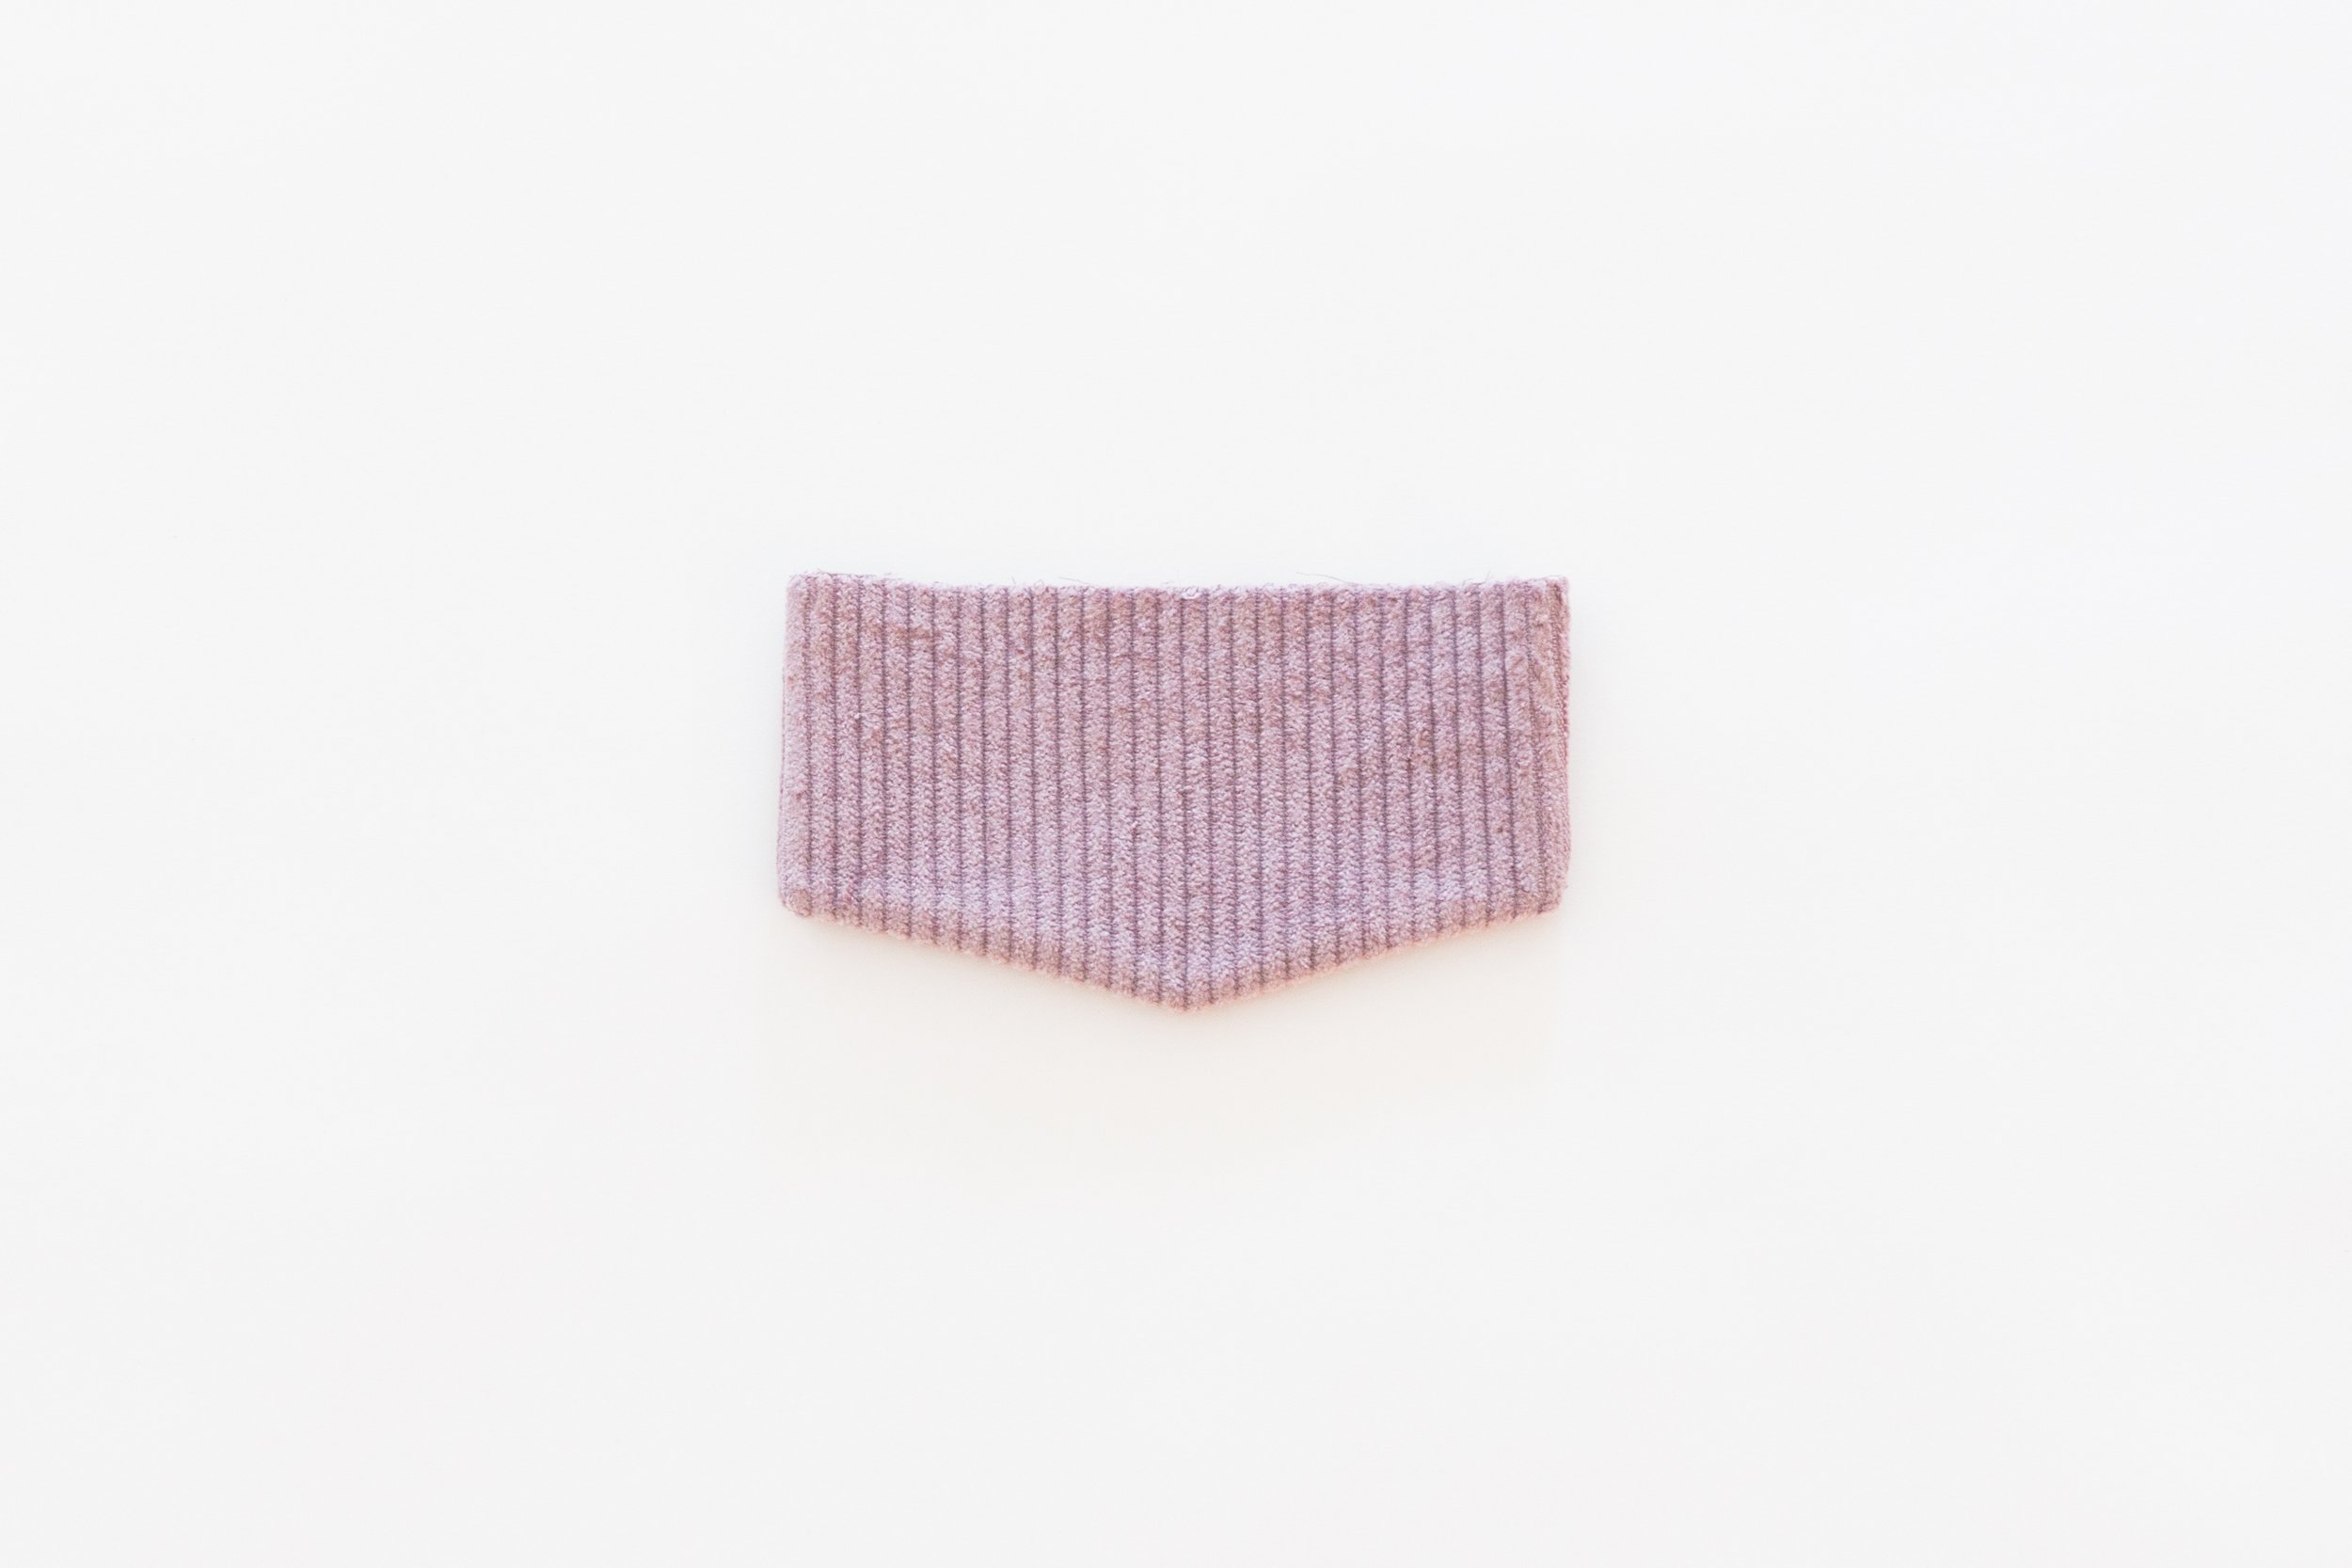
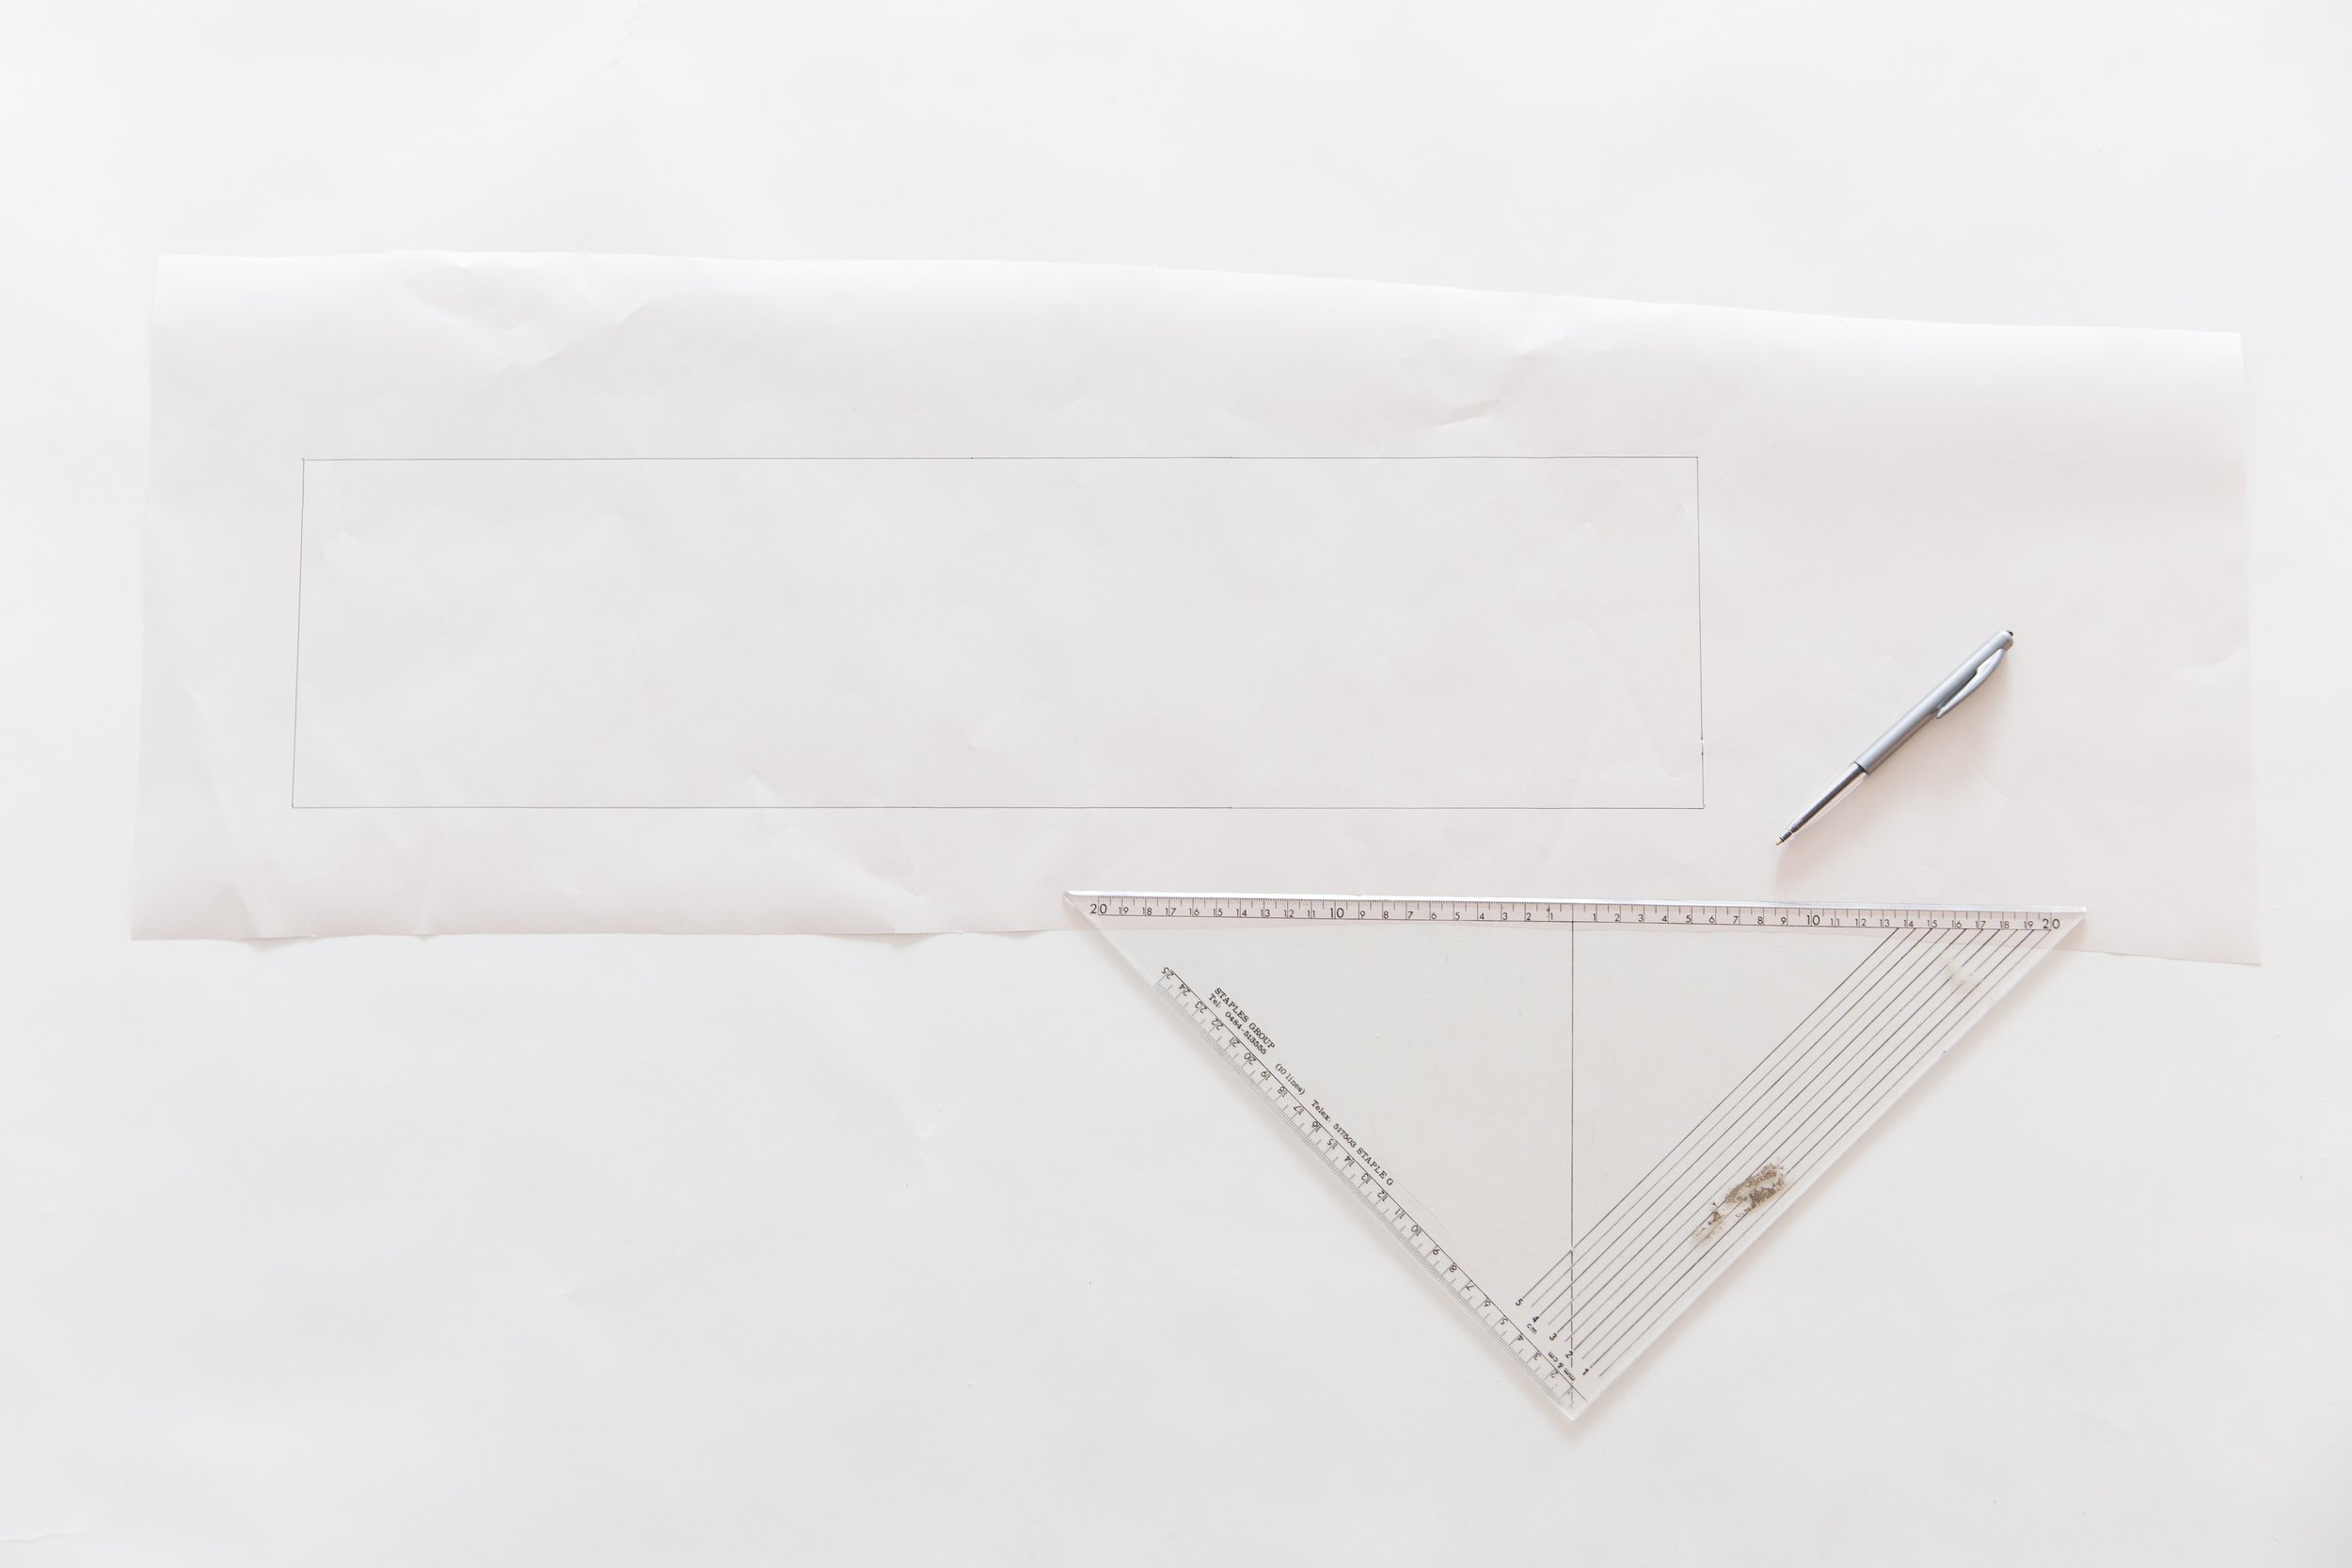
Double the bust cup length measurement taken in step one. This will be the length of your frill piece. Draw a rectangle 15cm wide, and by the length or your frill piece as described. (15cm will give your frill a width of 6.5cm once made, feel free to adjust the width as you desire!)
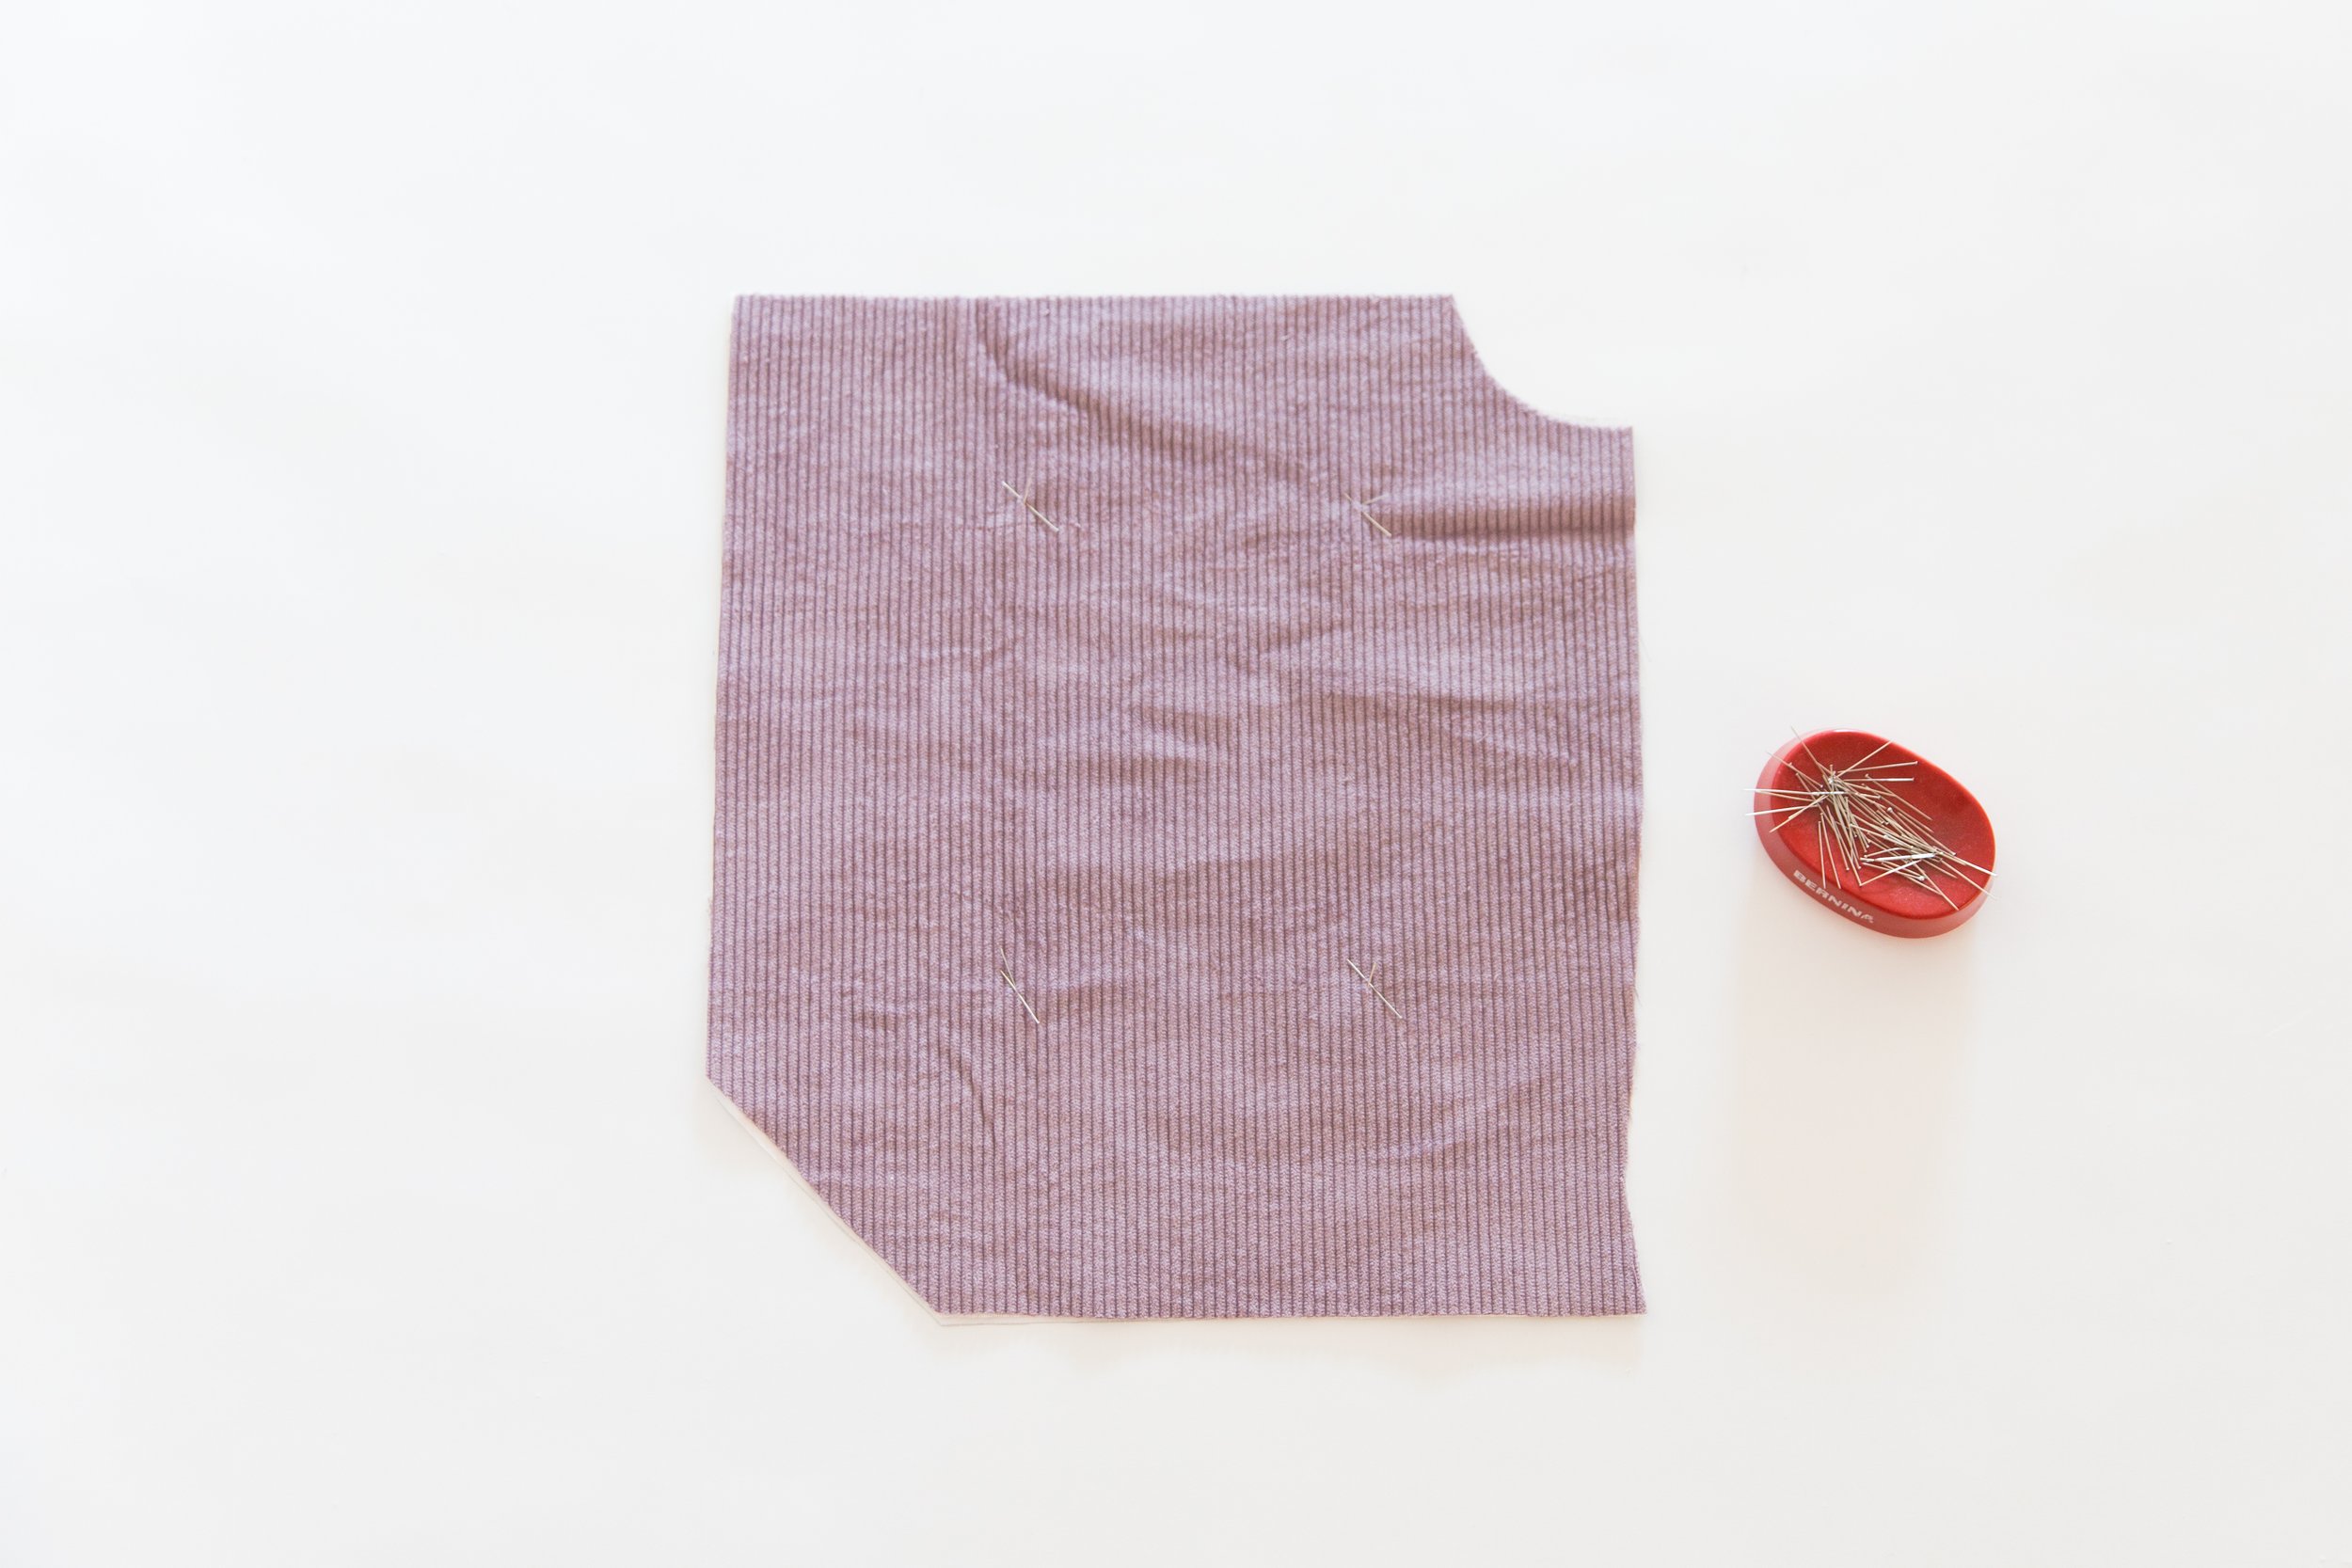
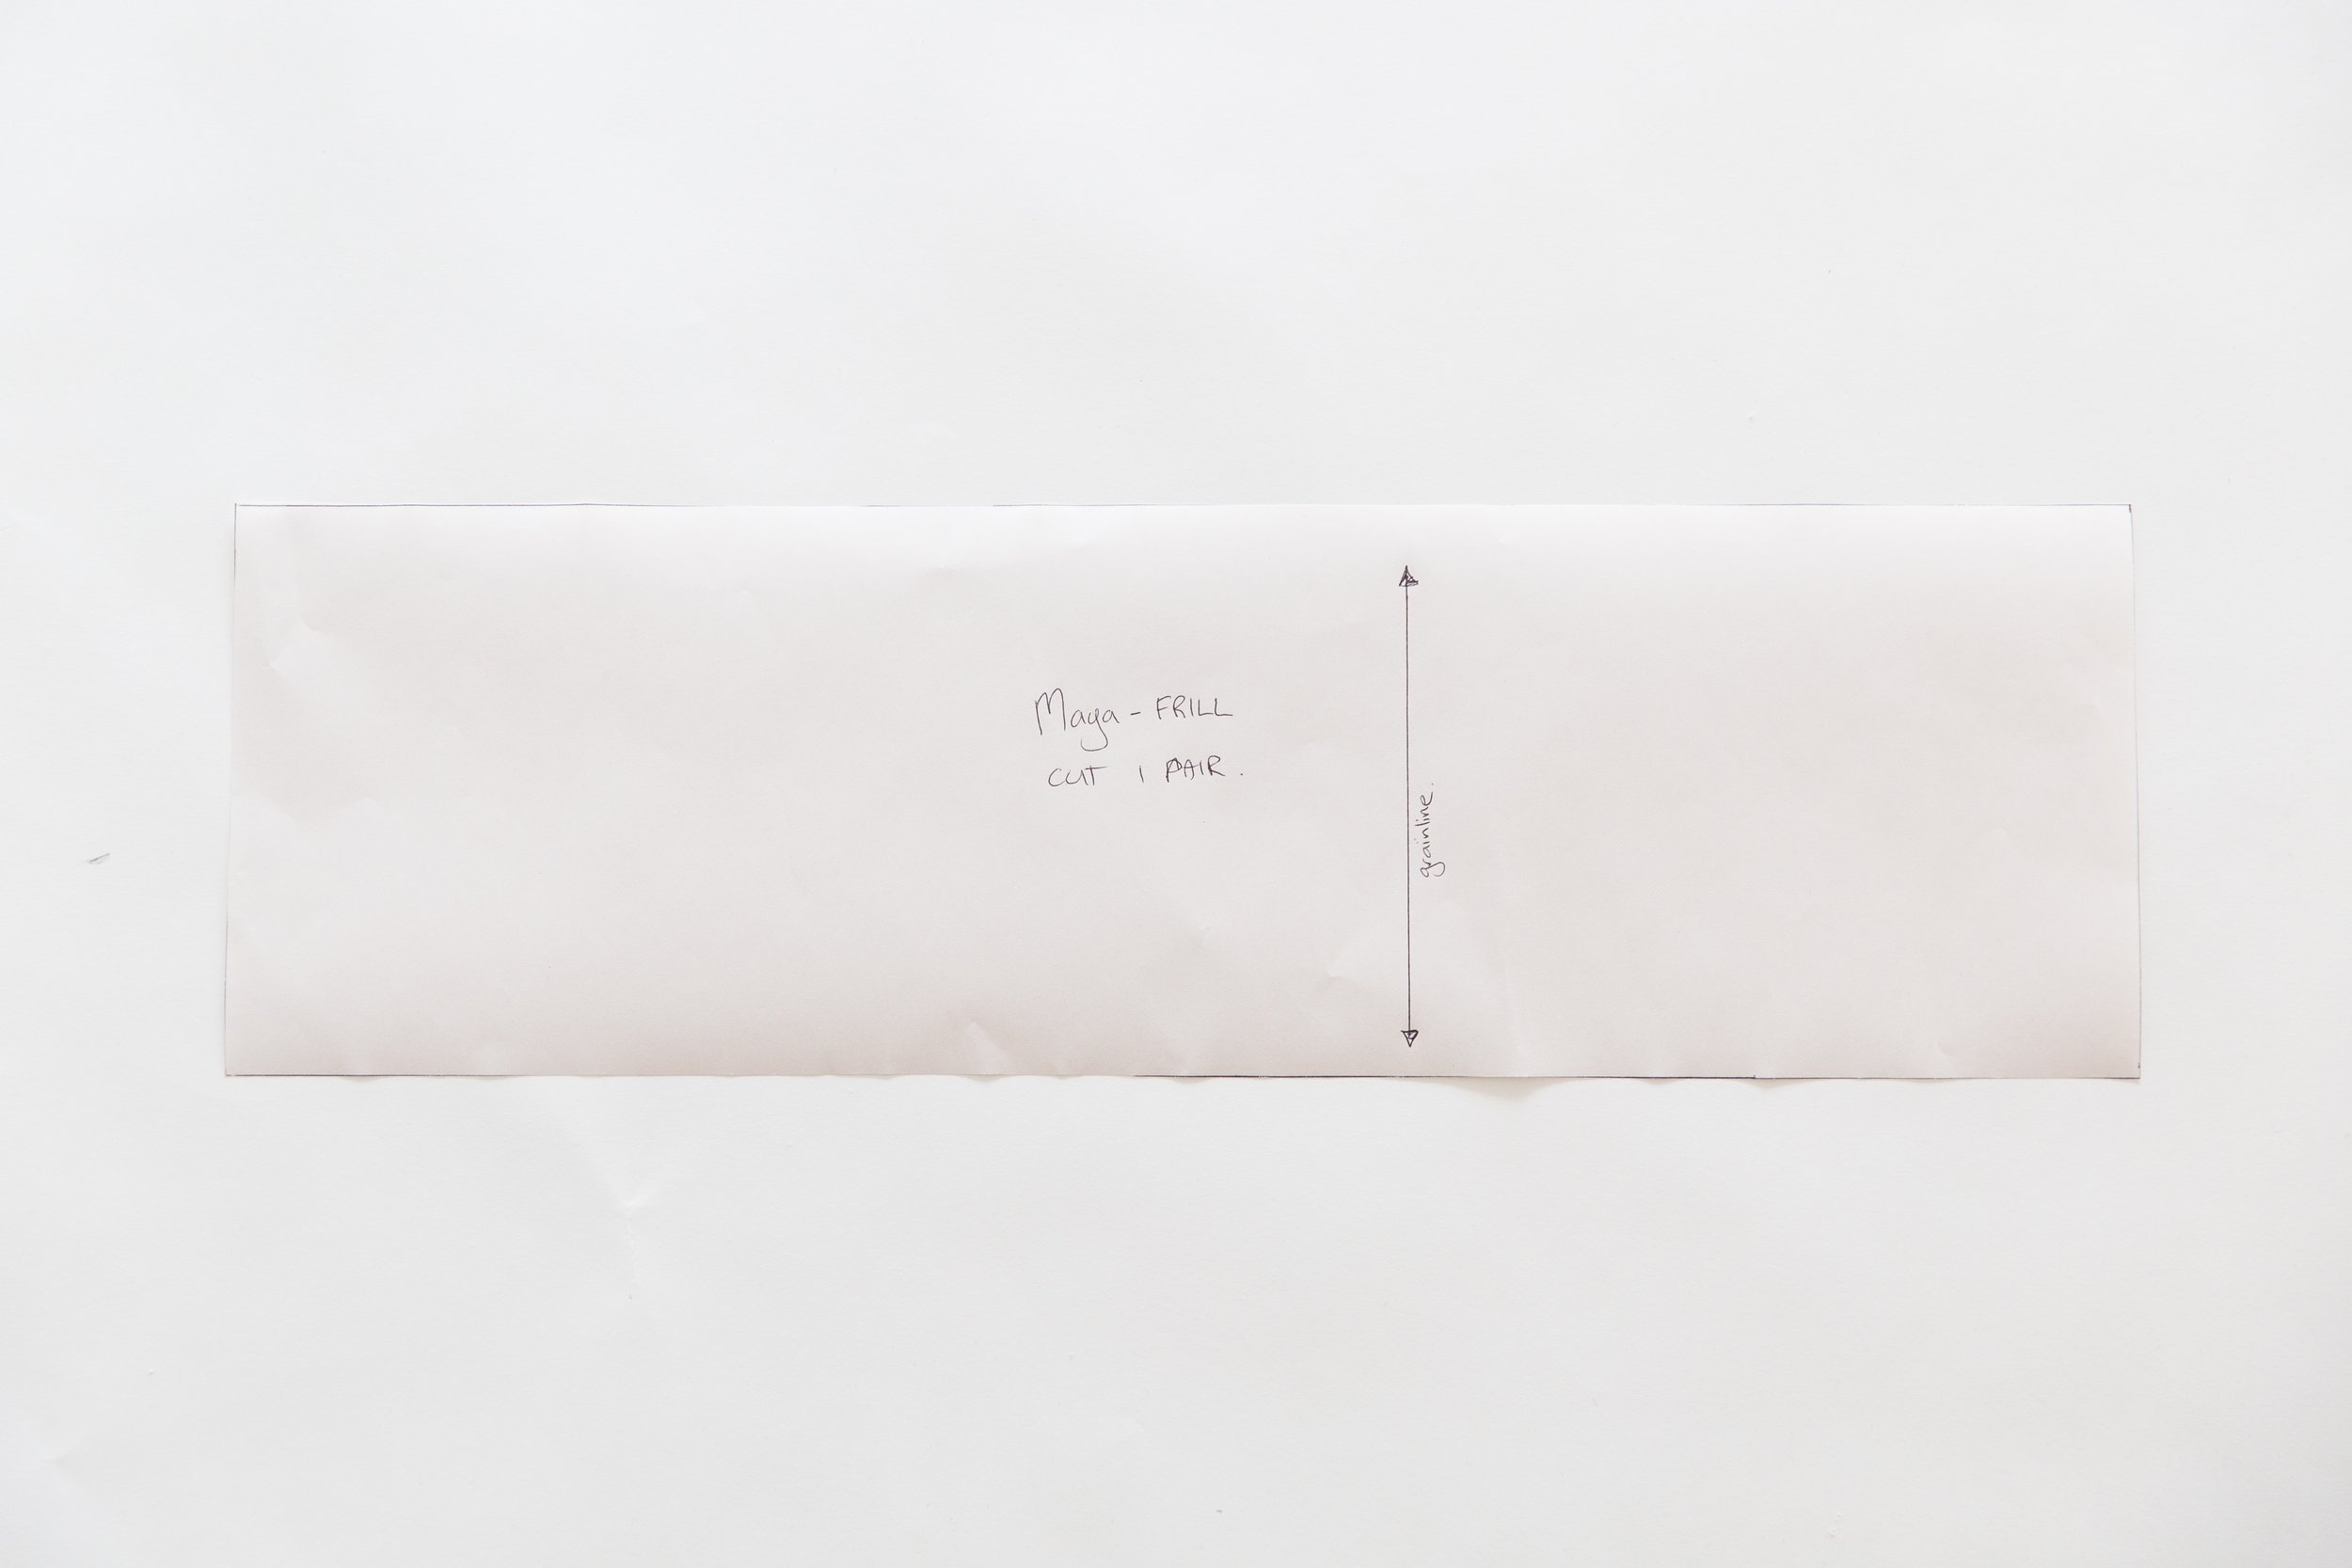
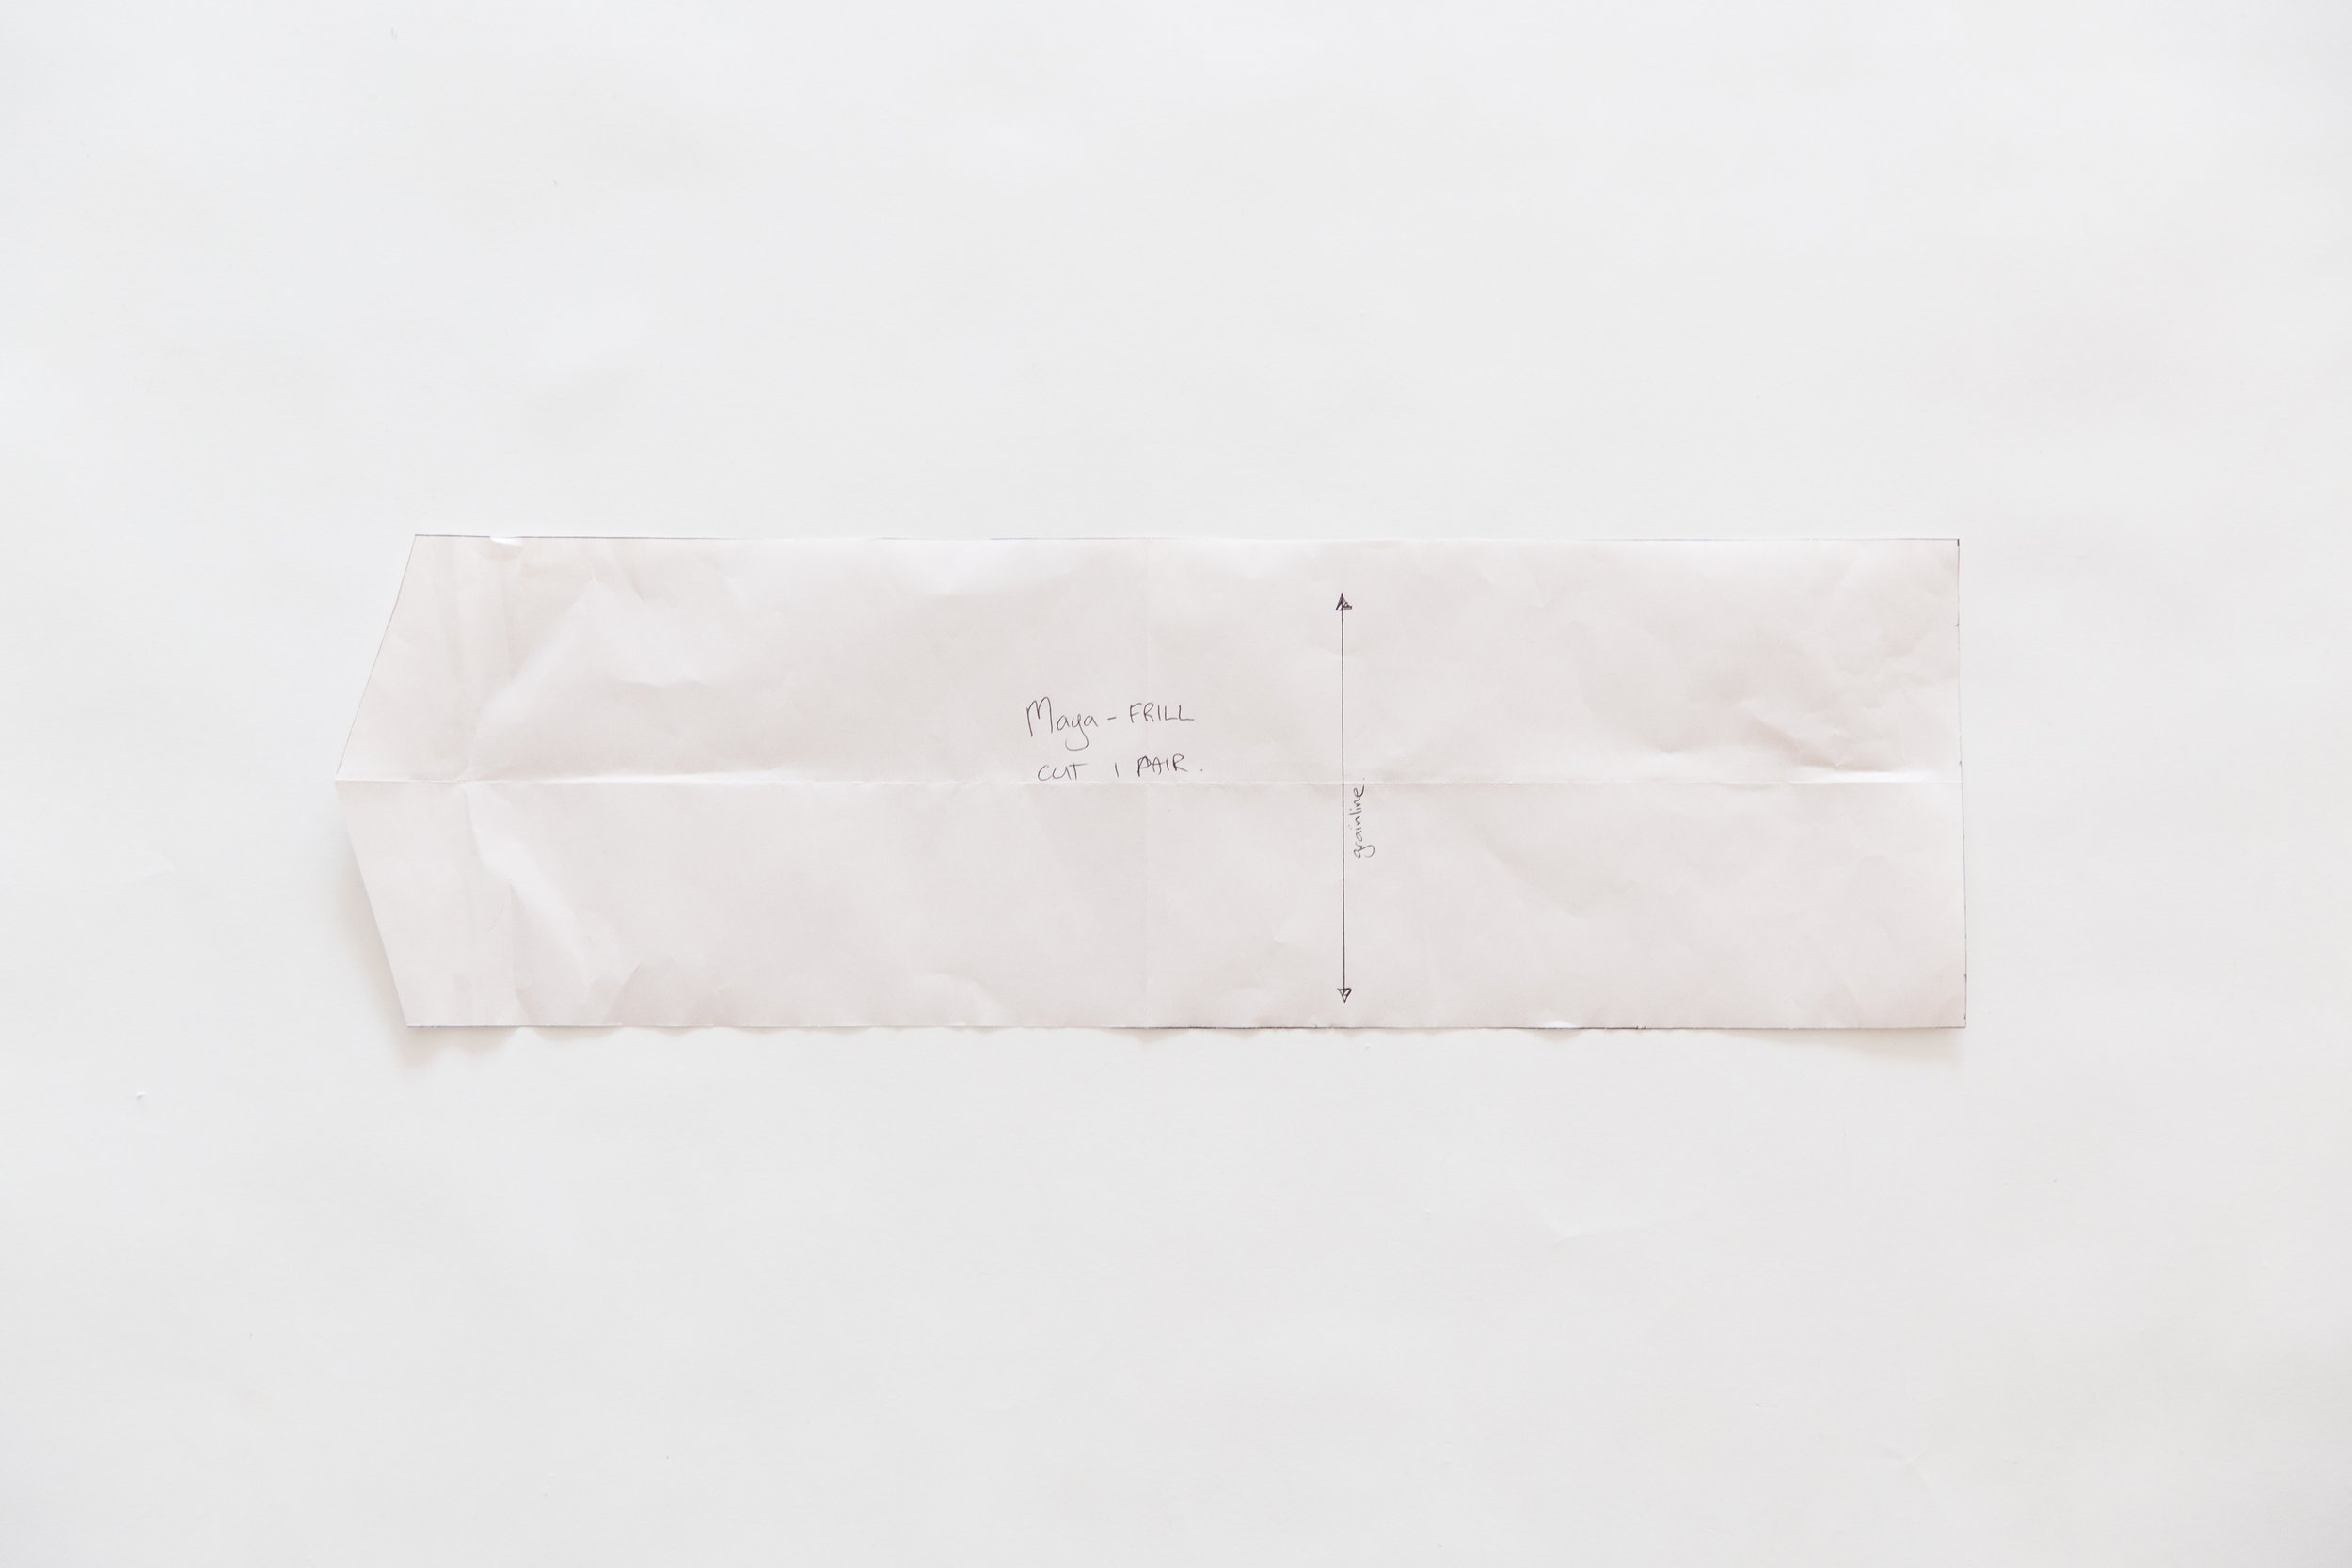
Cut out your new pattern piece. Draw in a straight grainline parallel to the short end. Label your piece ‘Maya Frill’ and cutting instructions ‘Cut 1 Pair’.
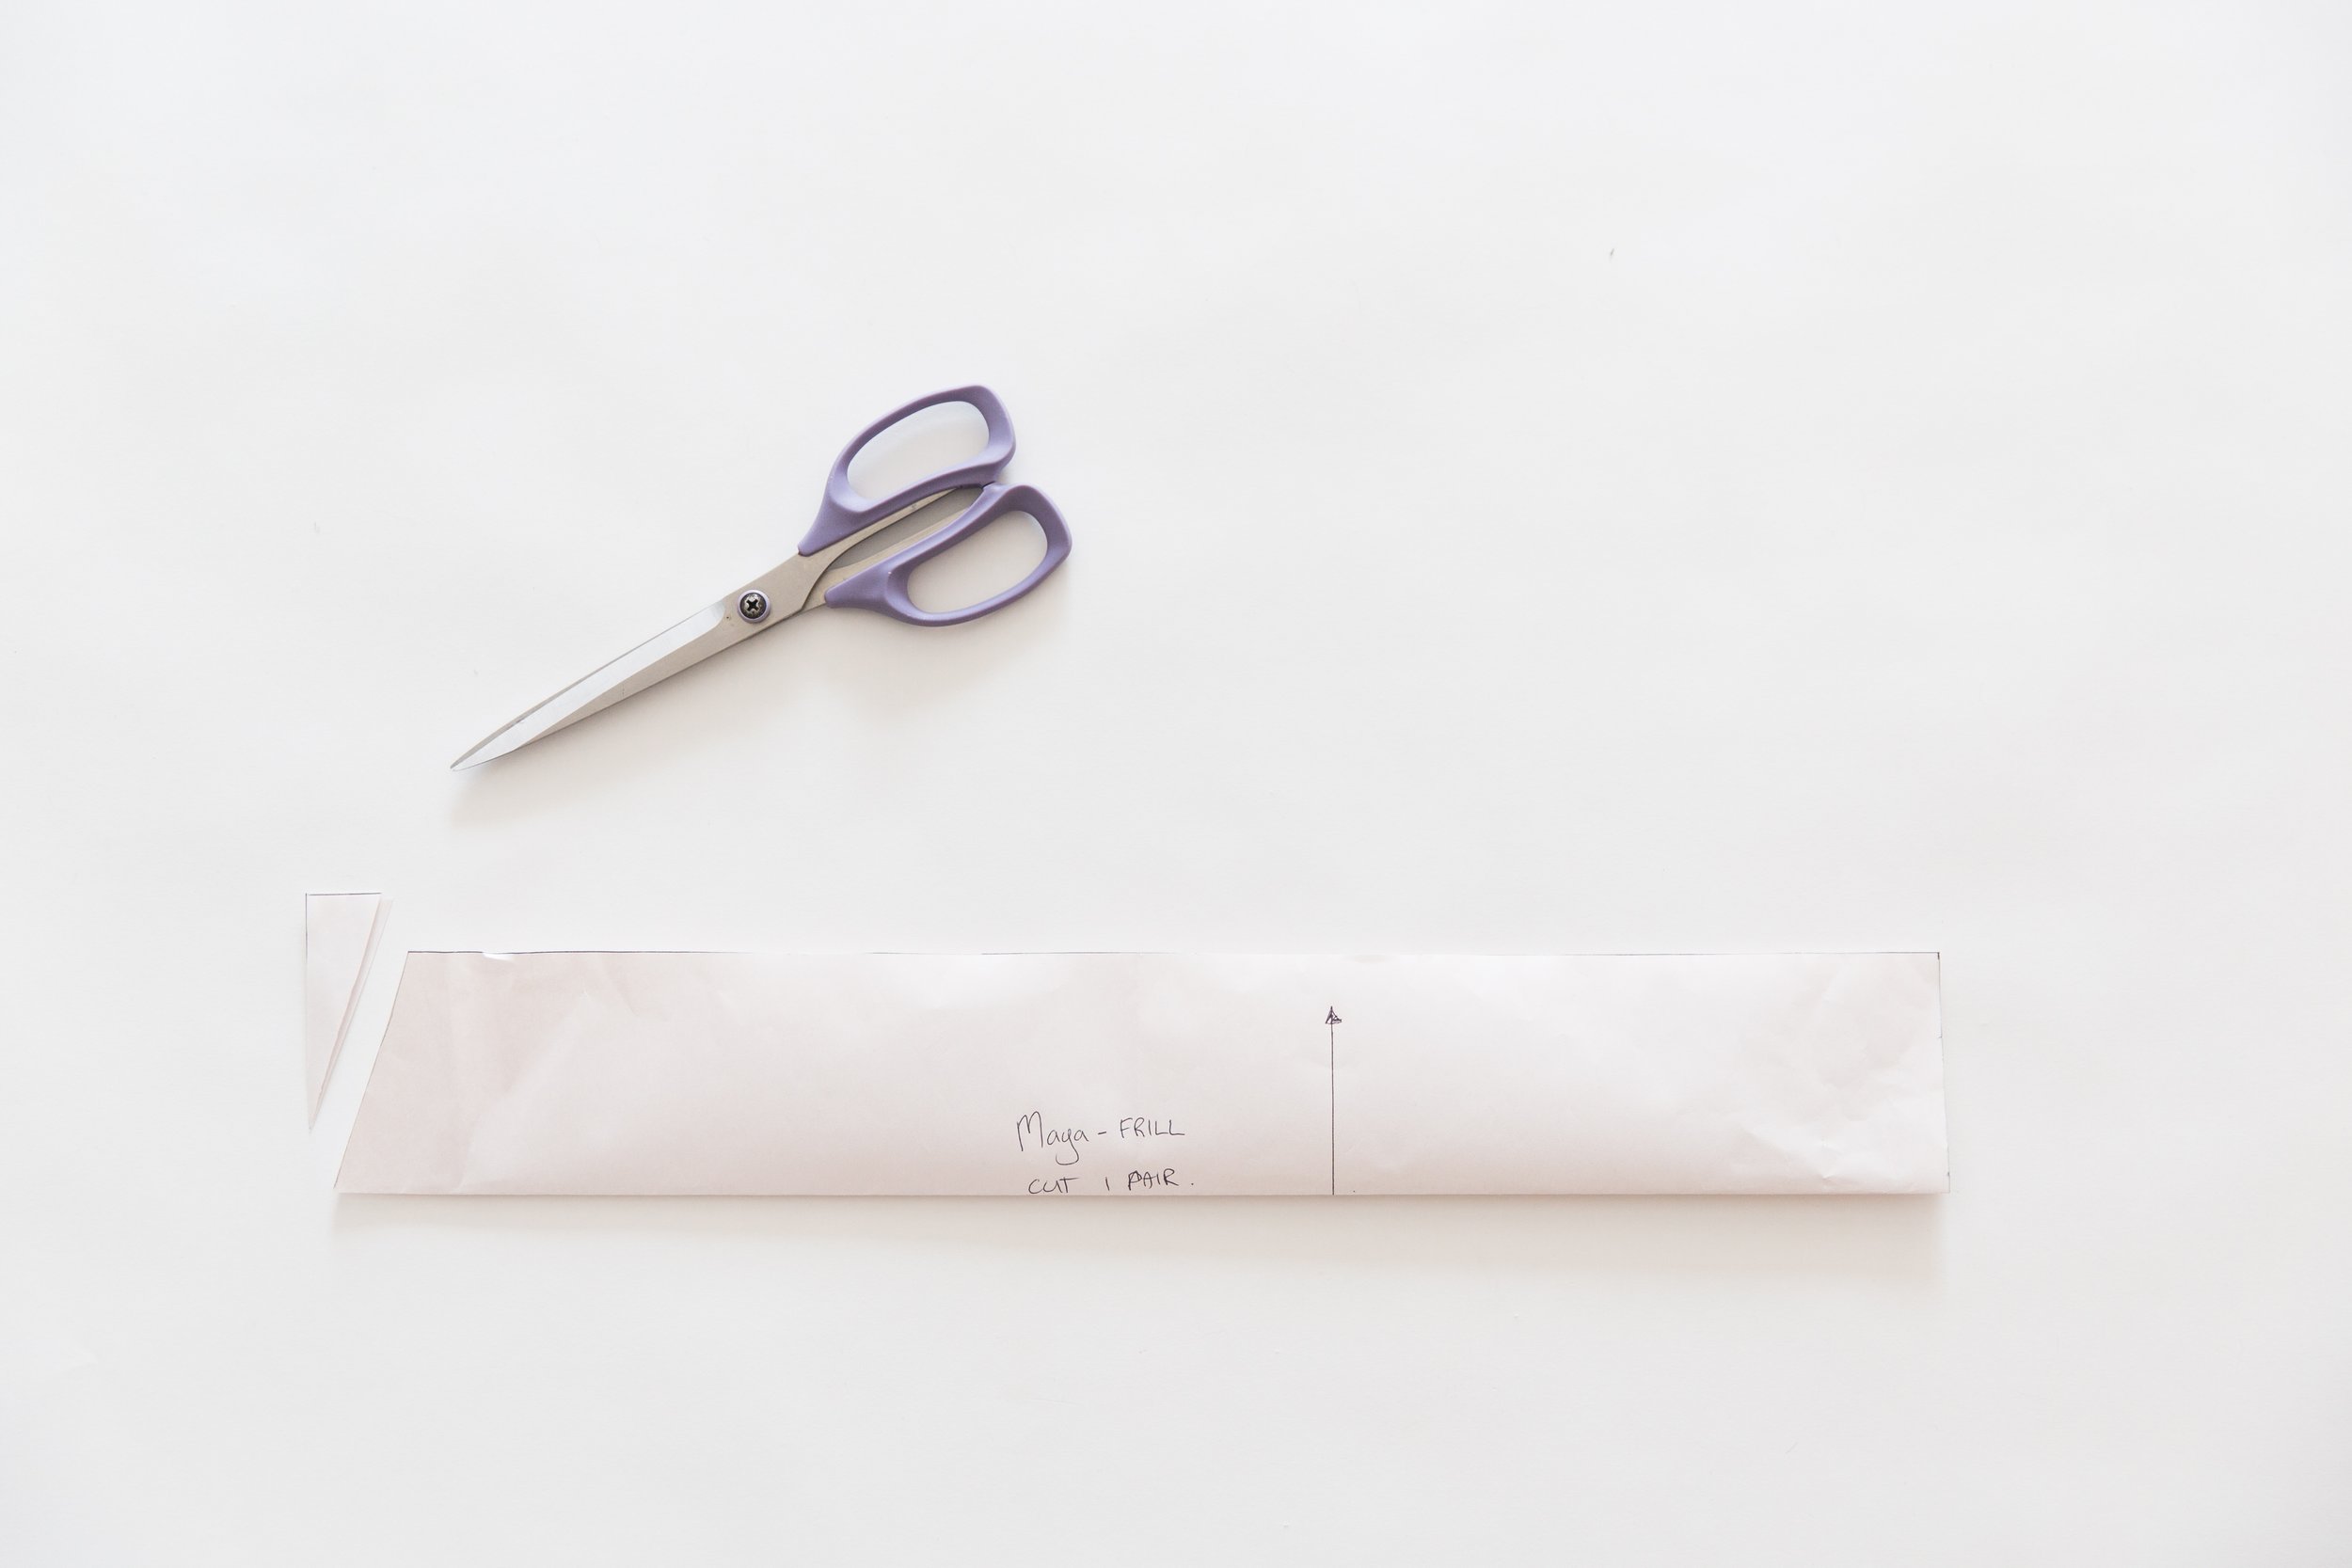
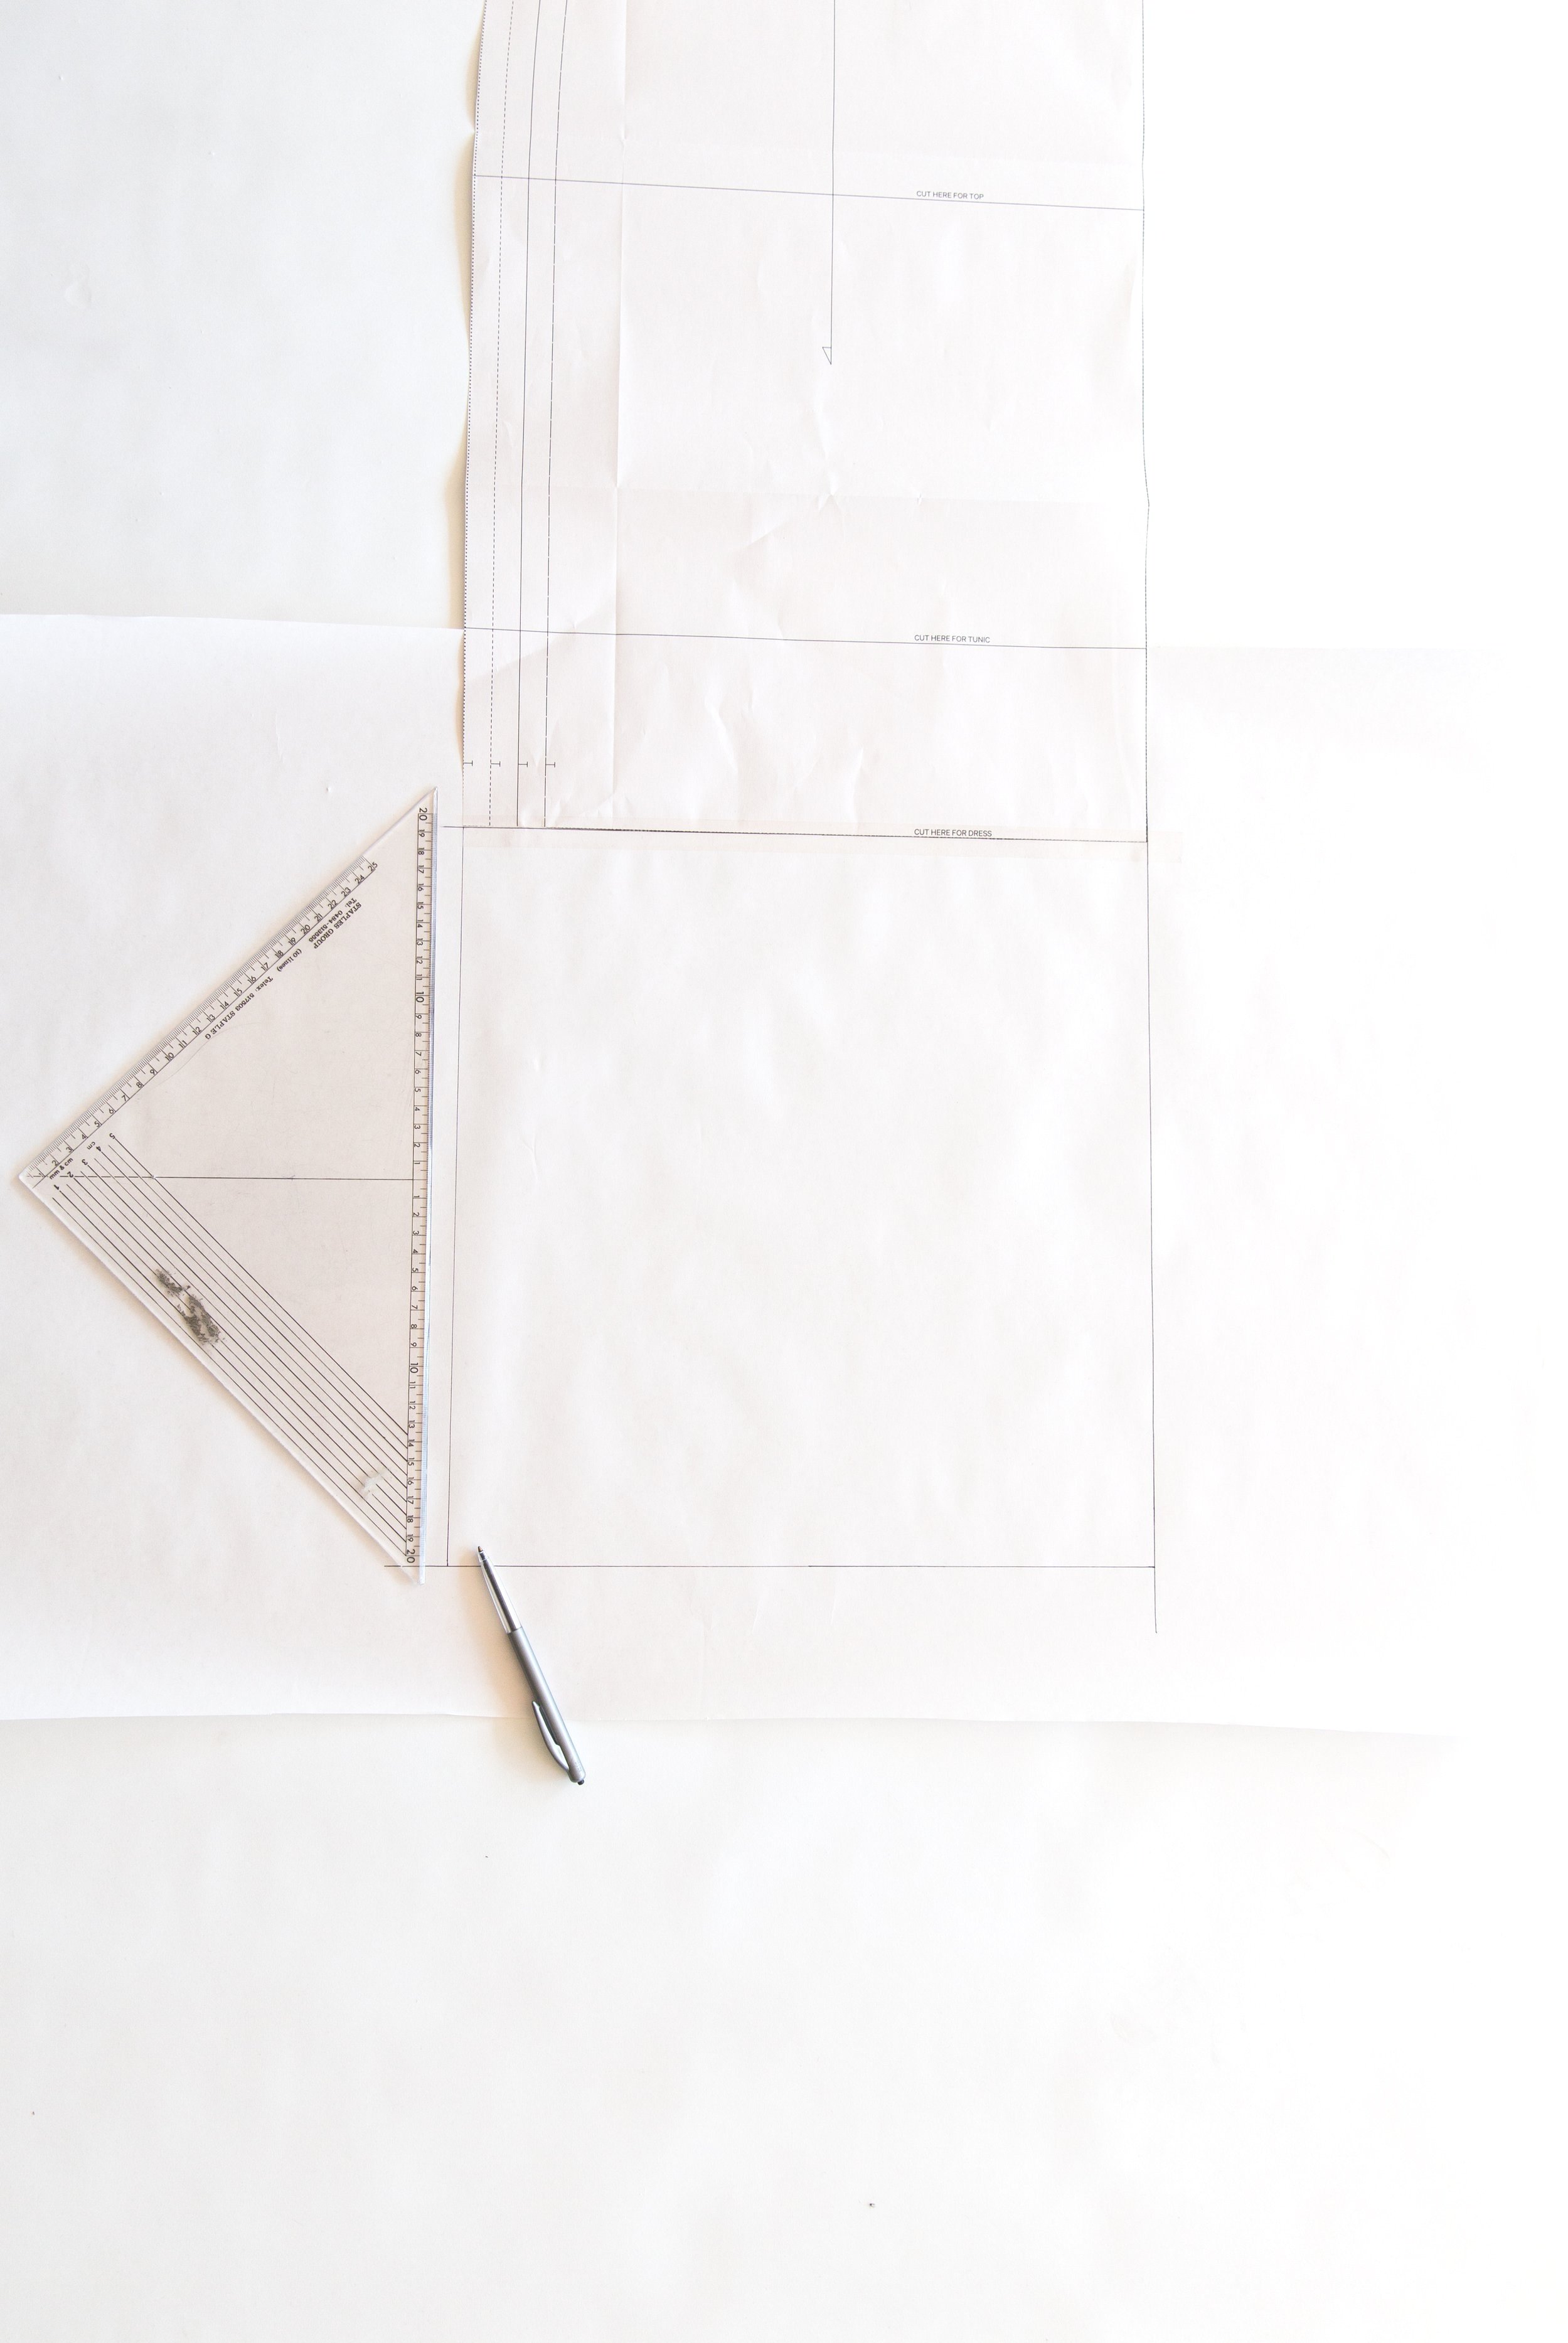
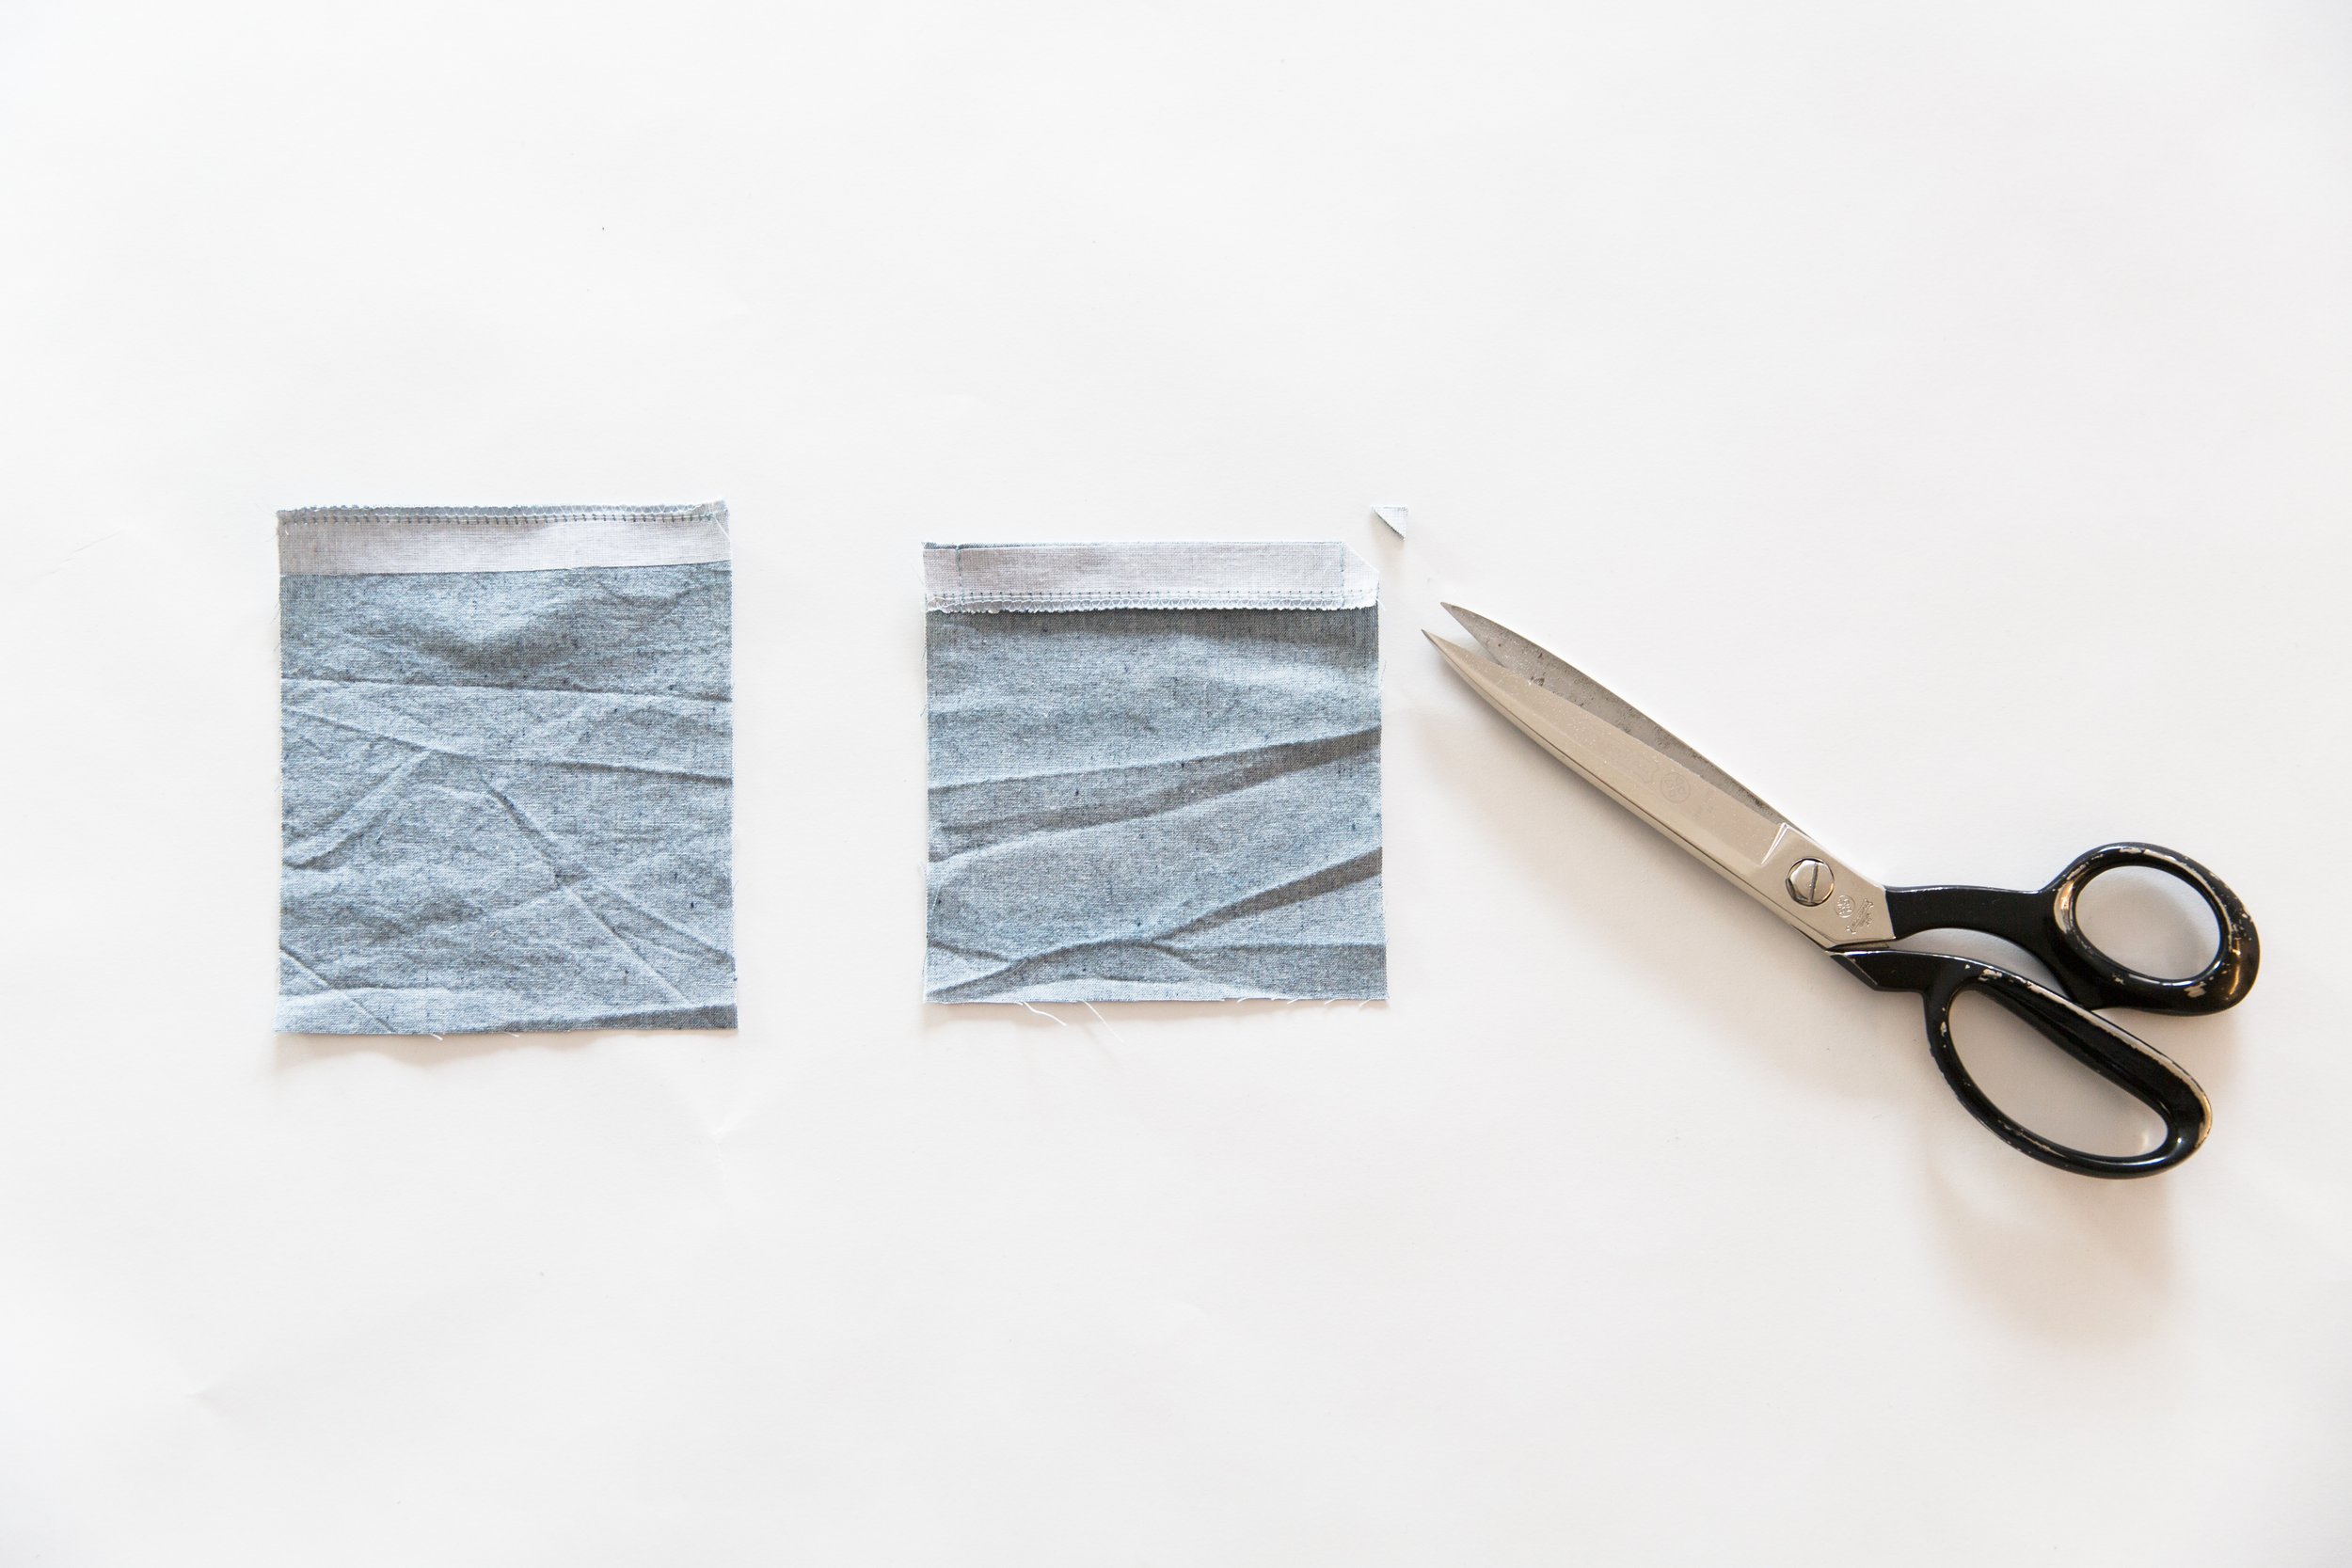
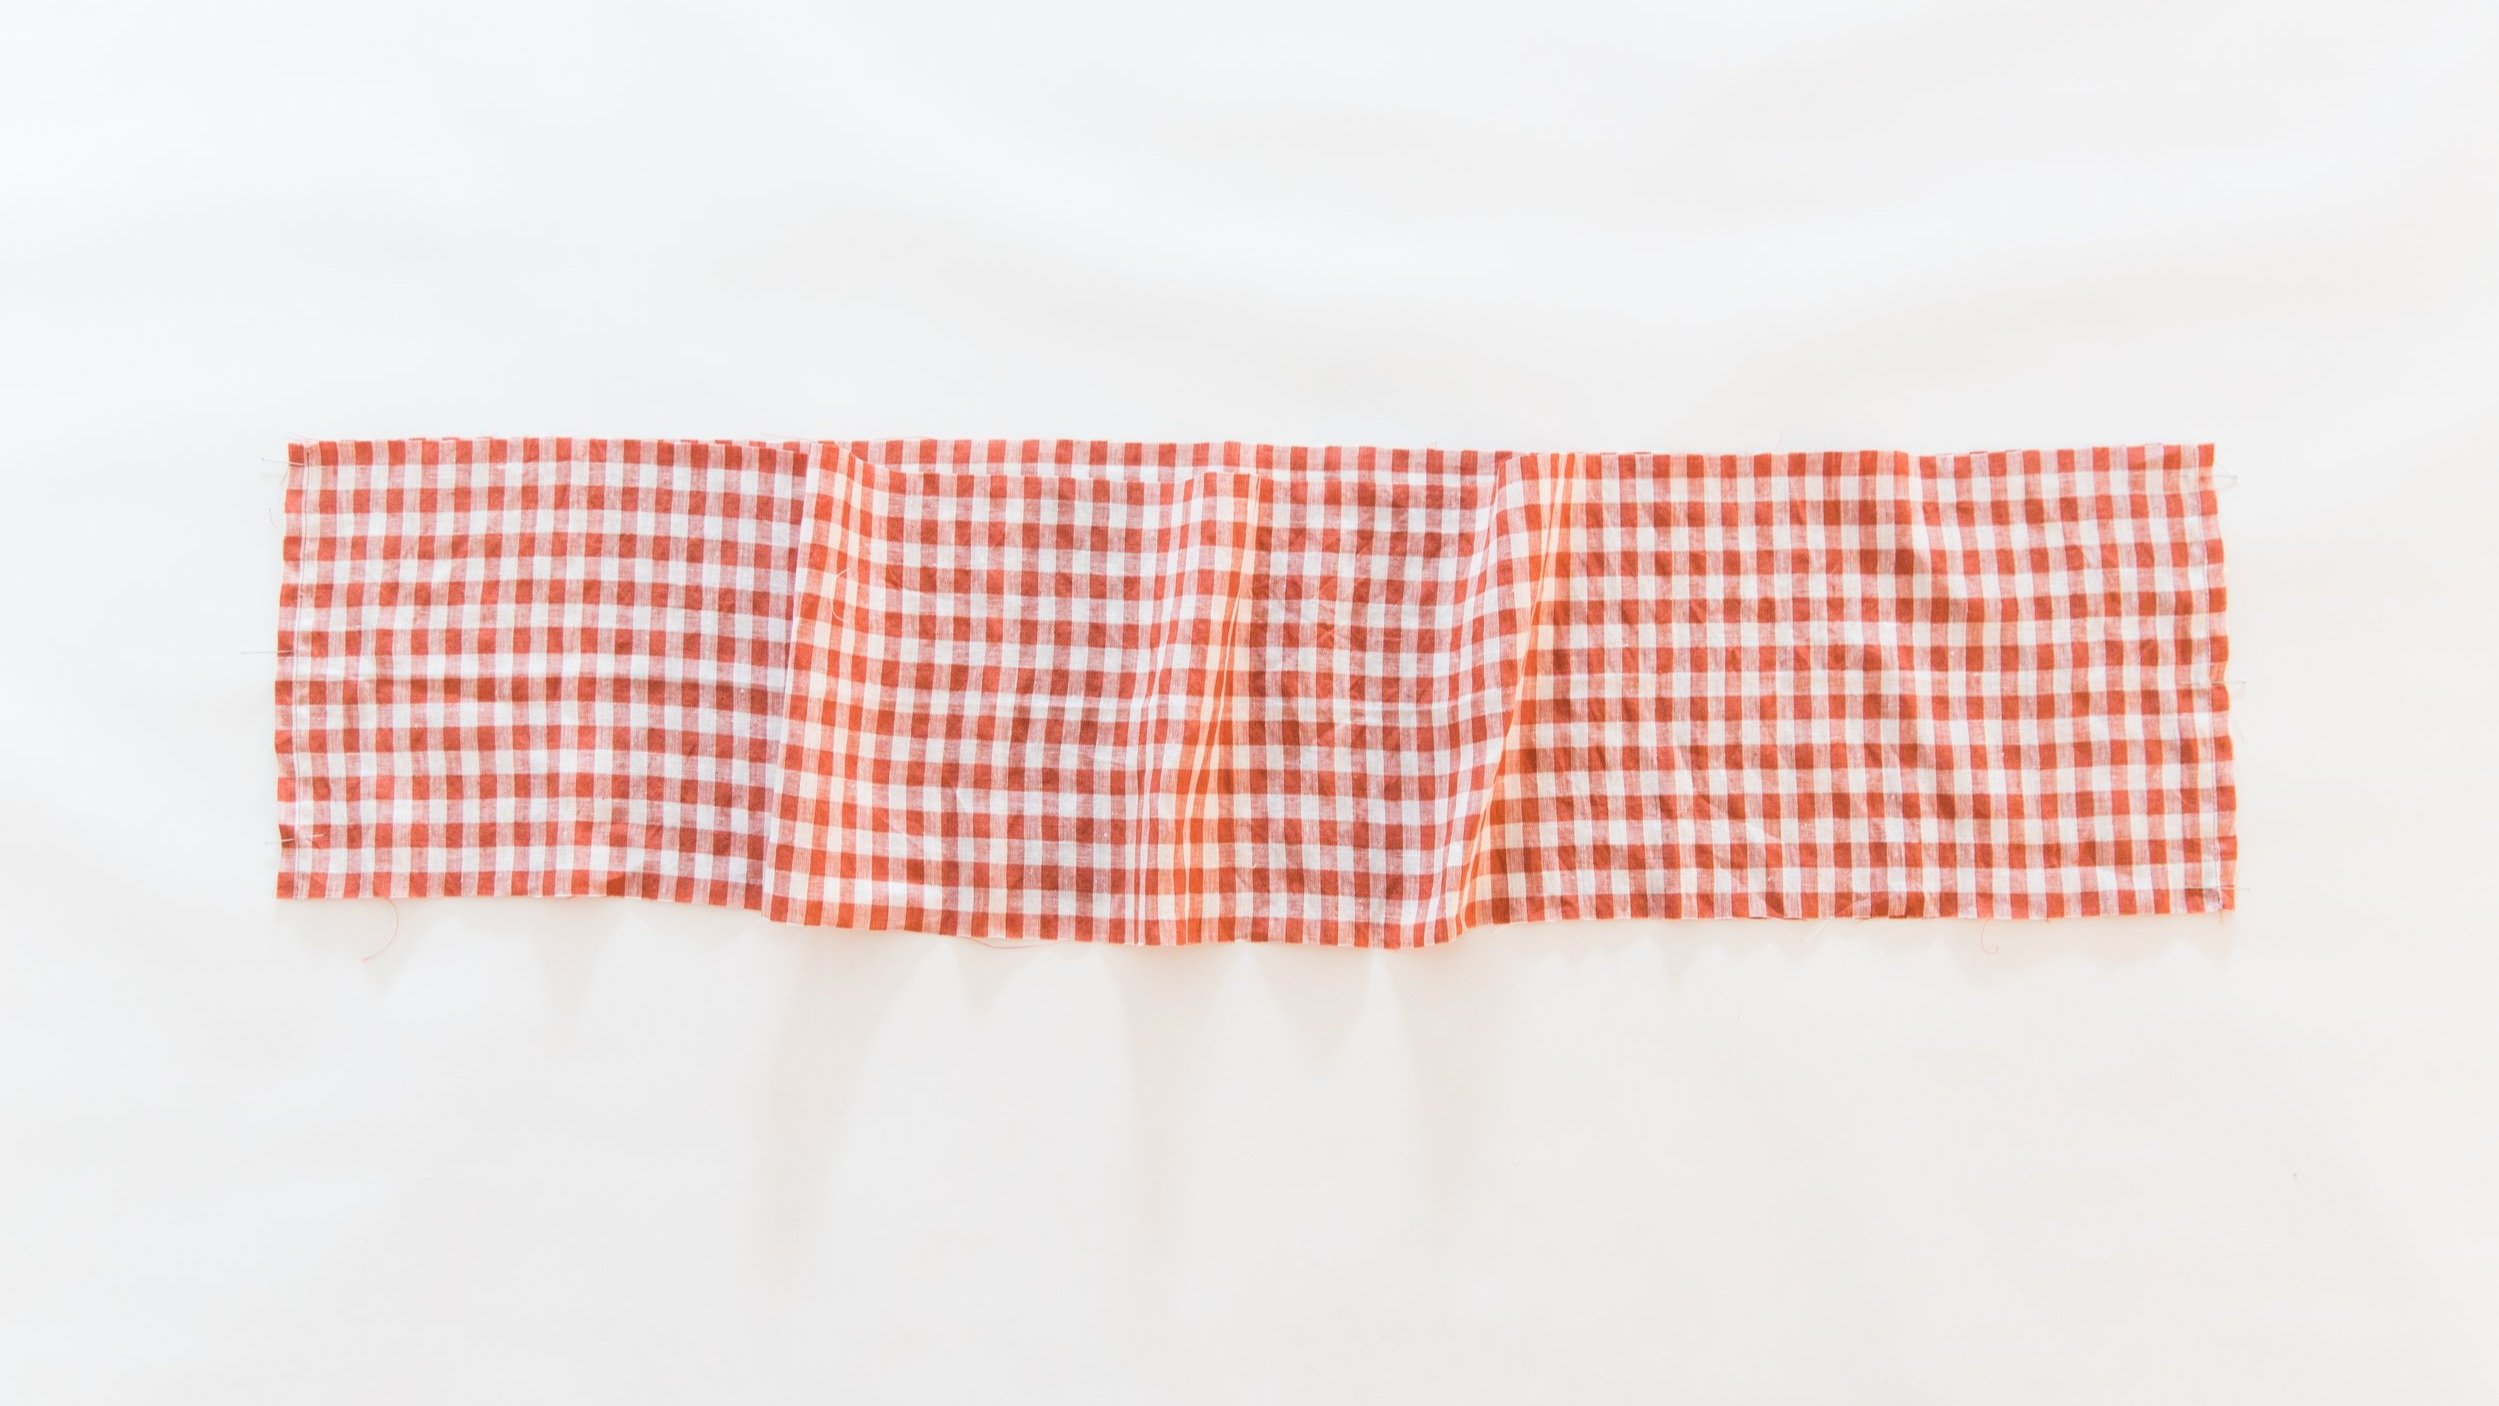
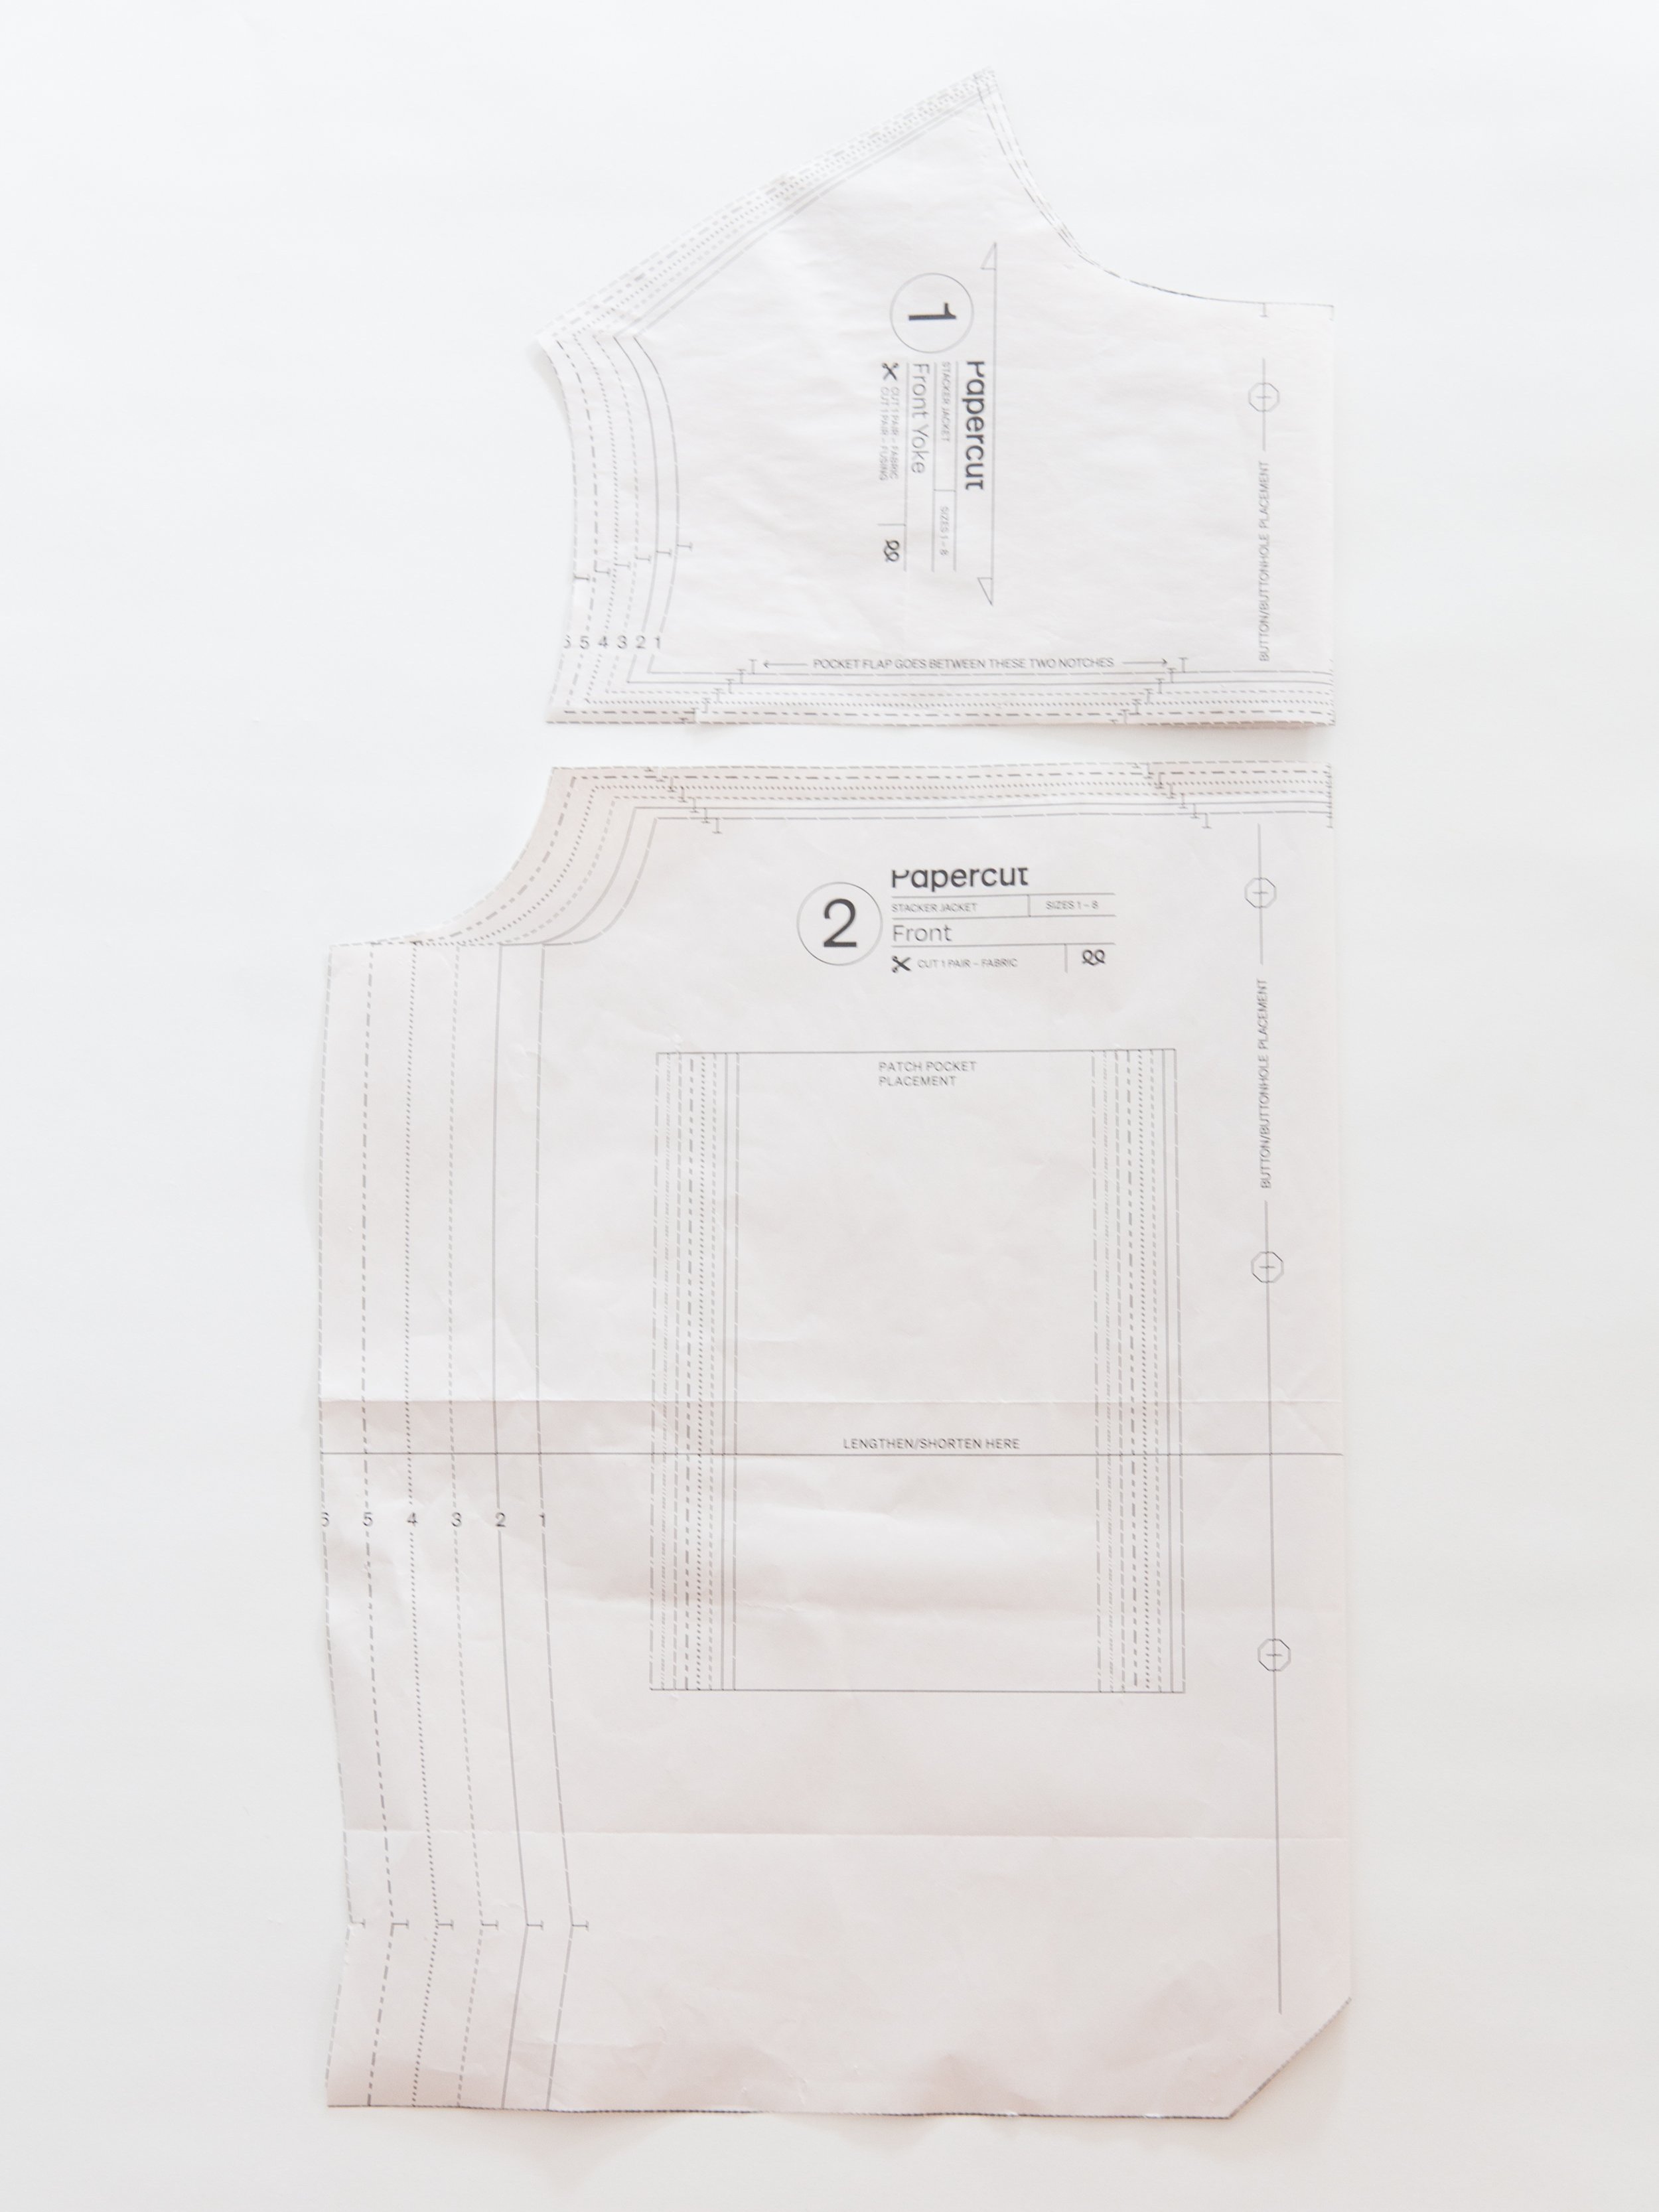
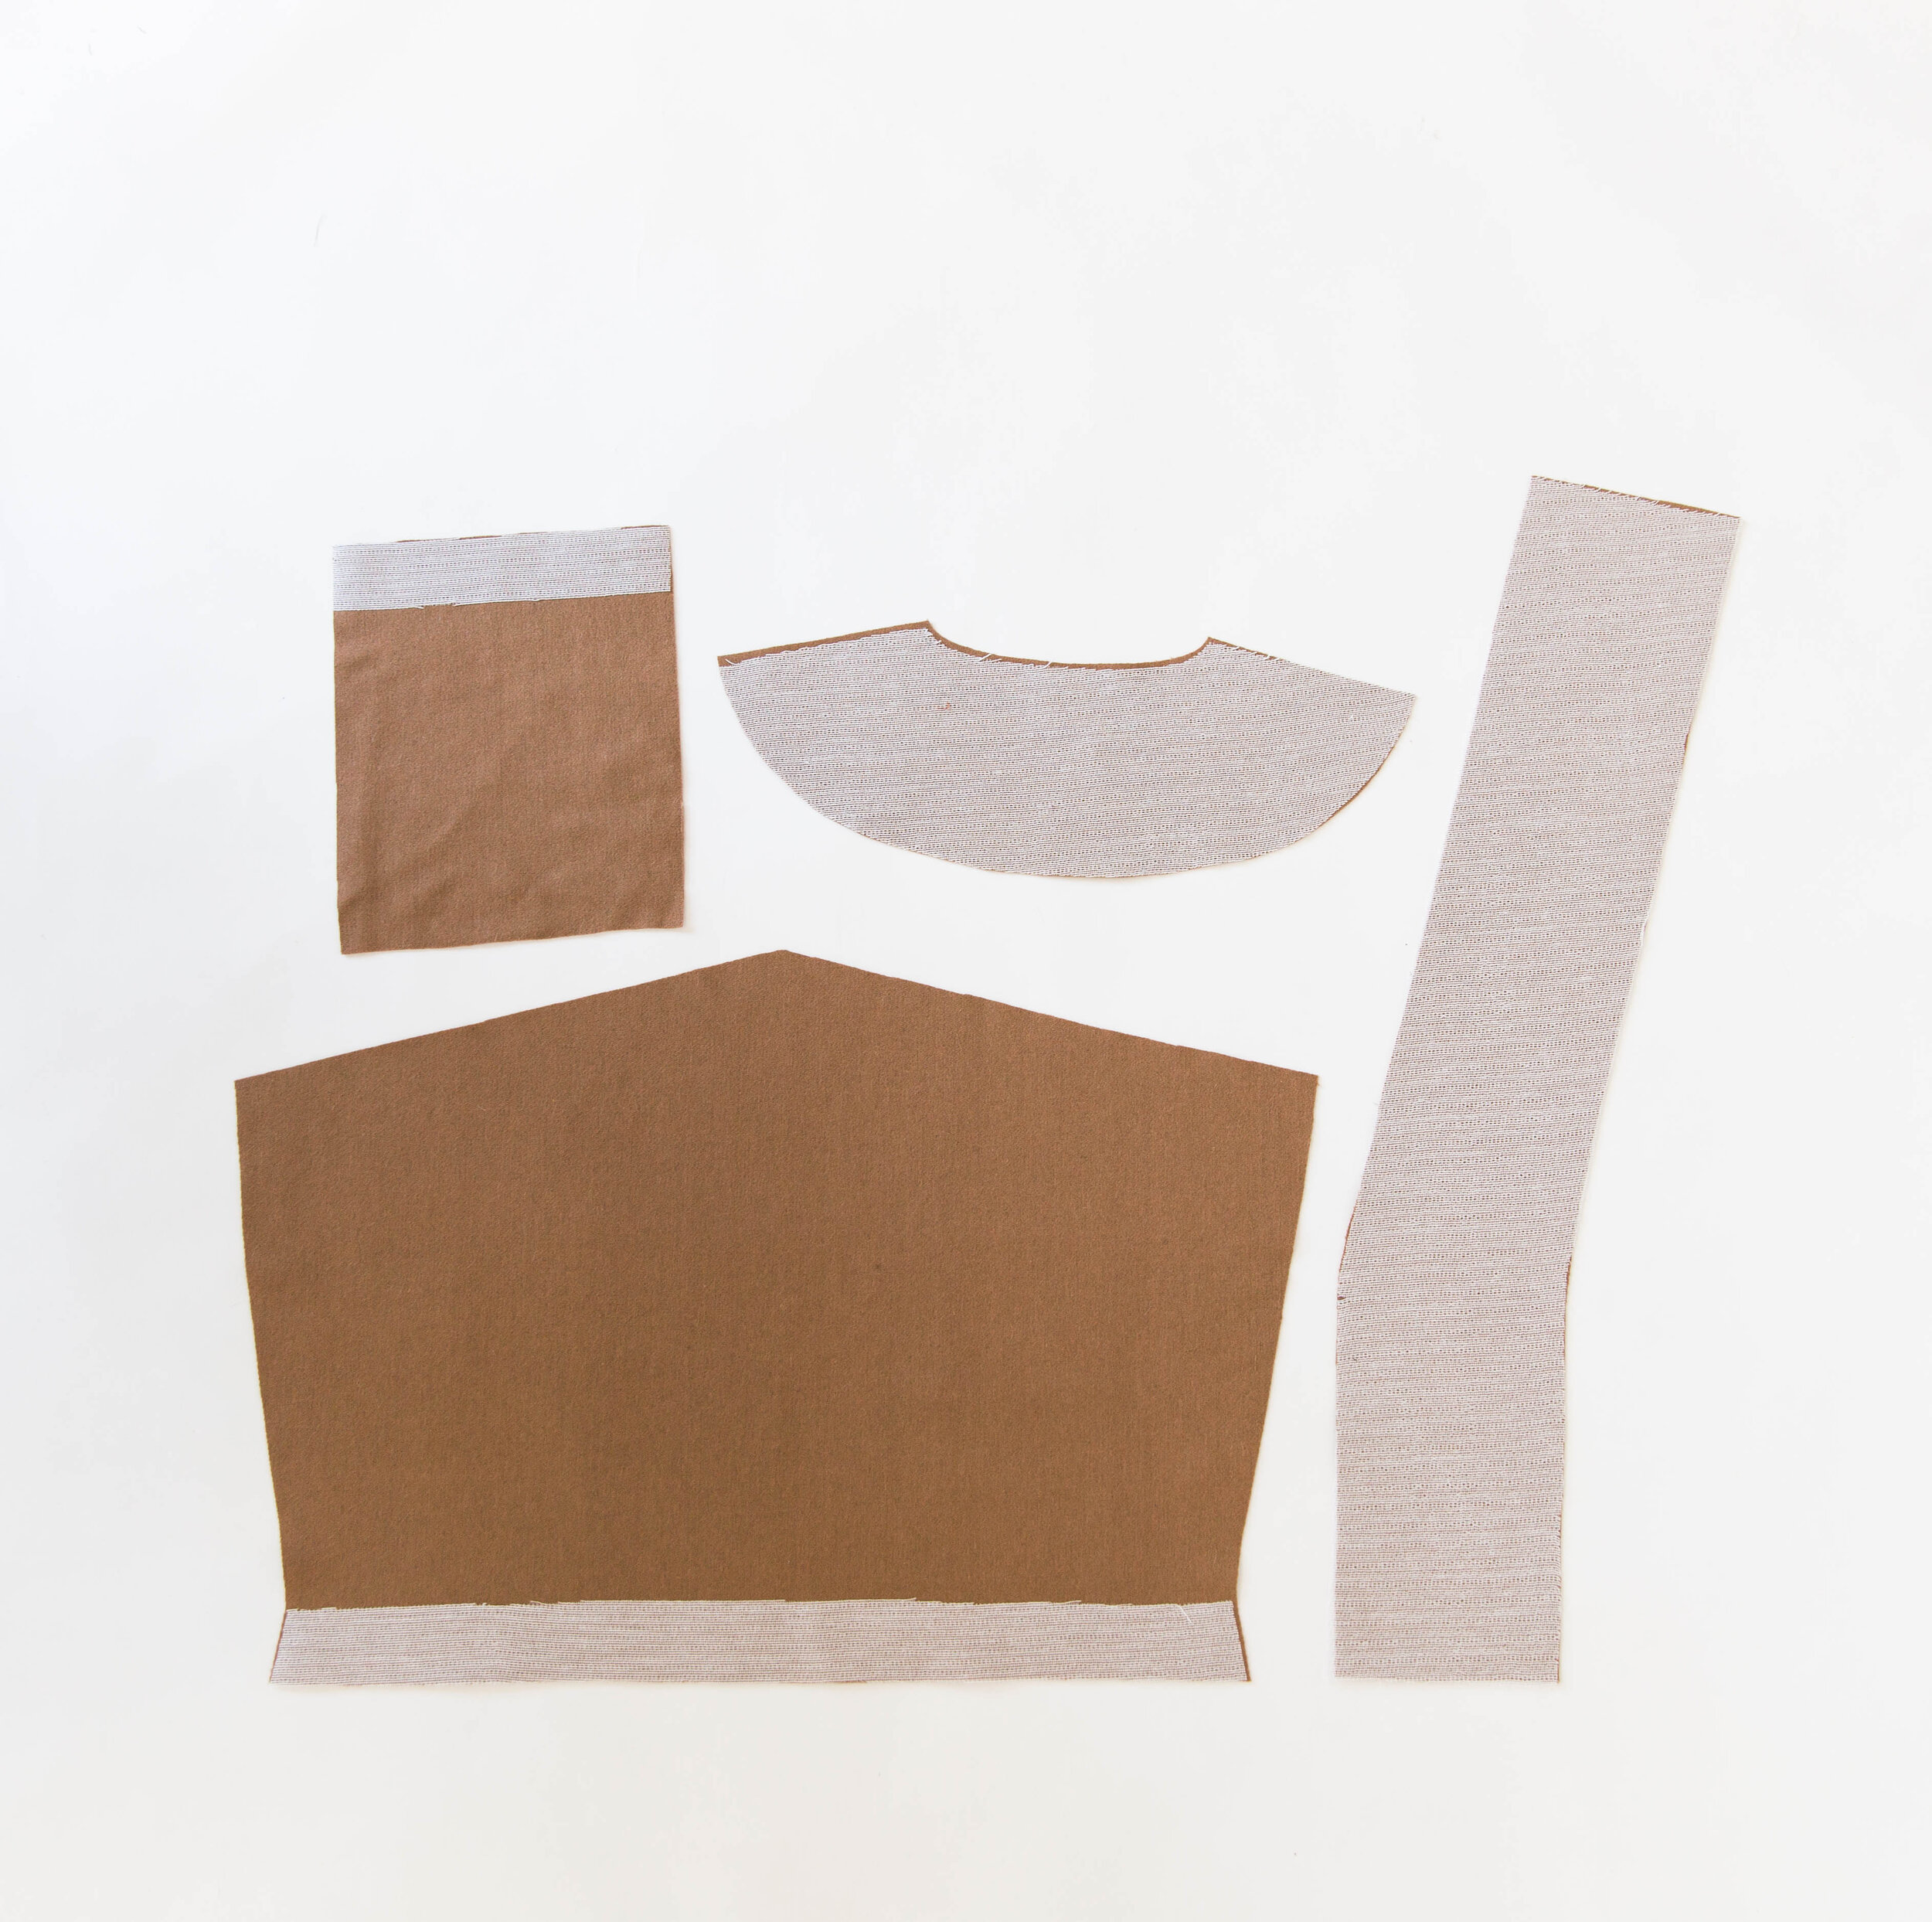
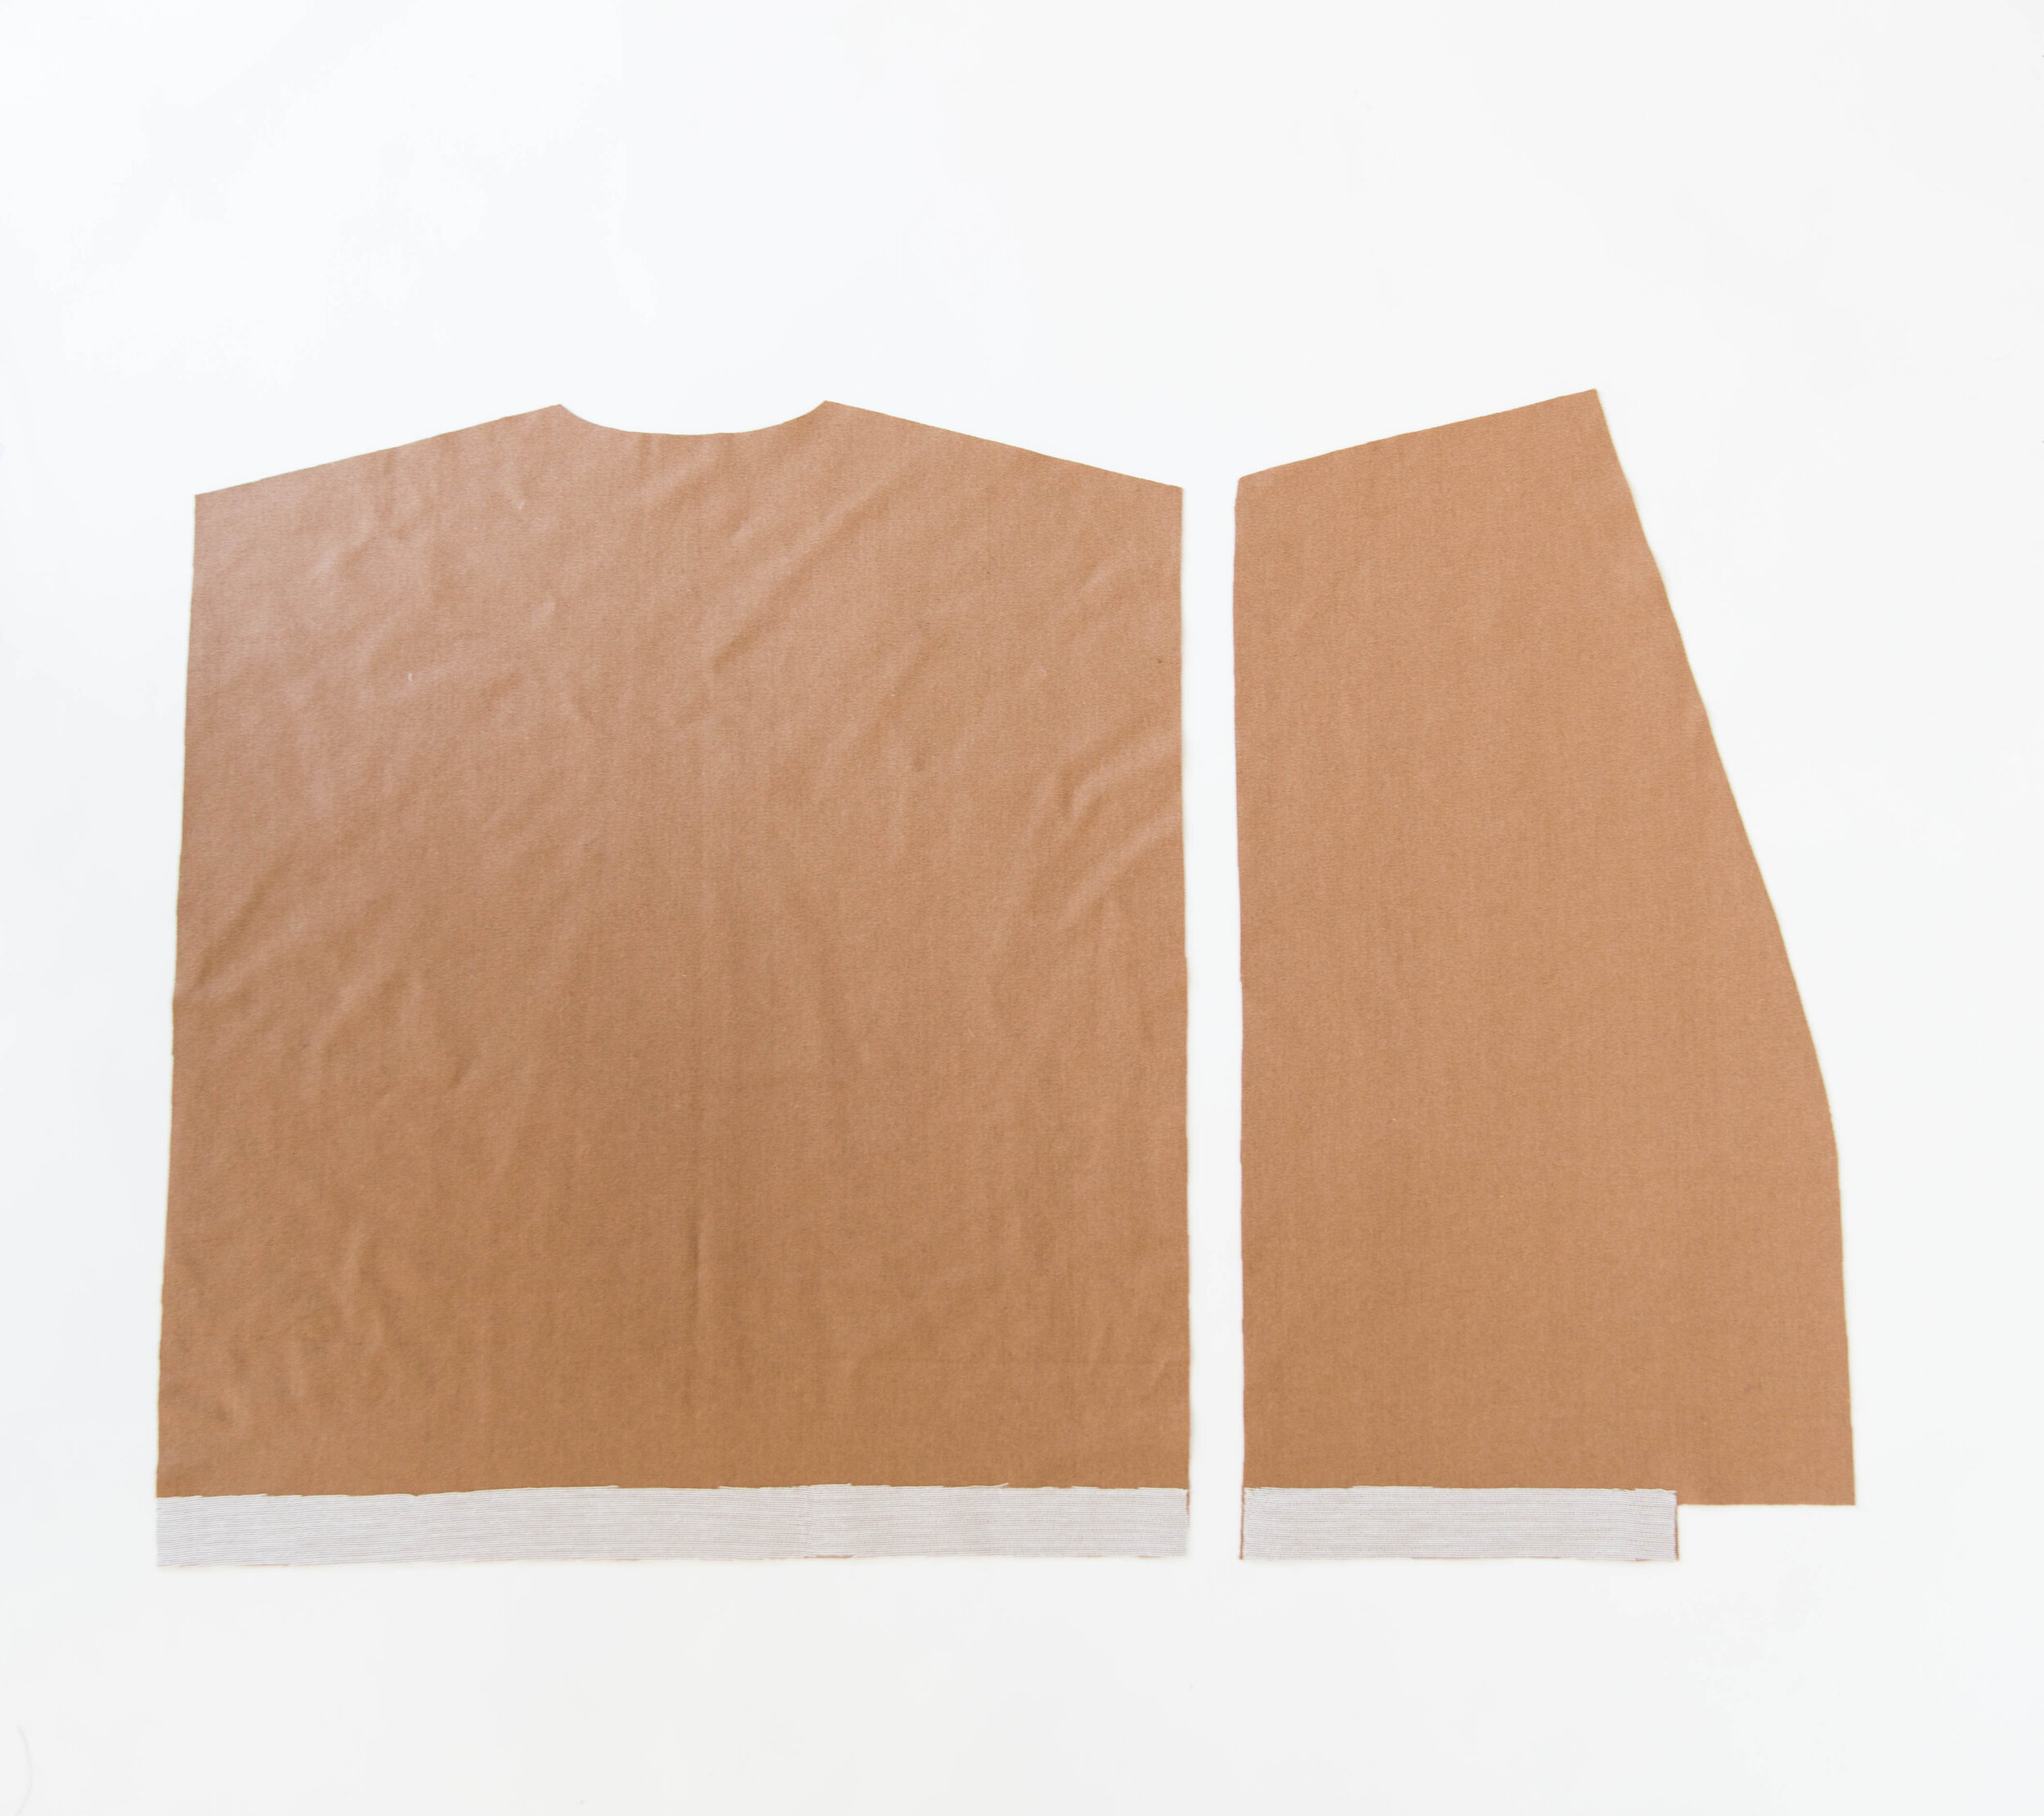
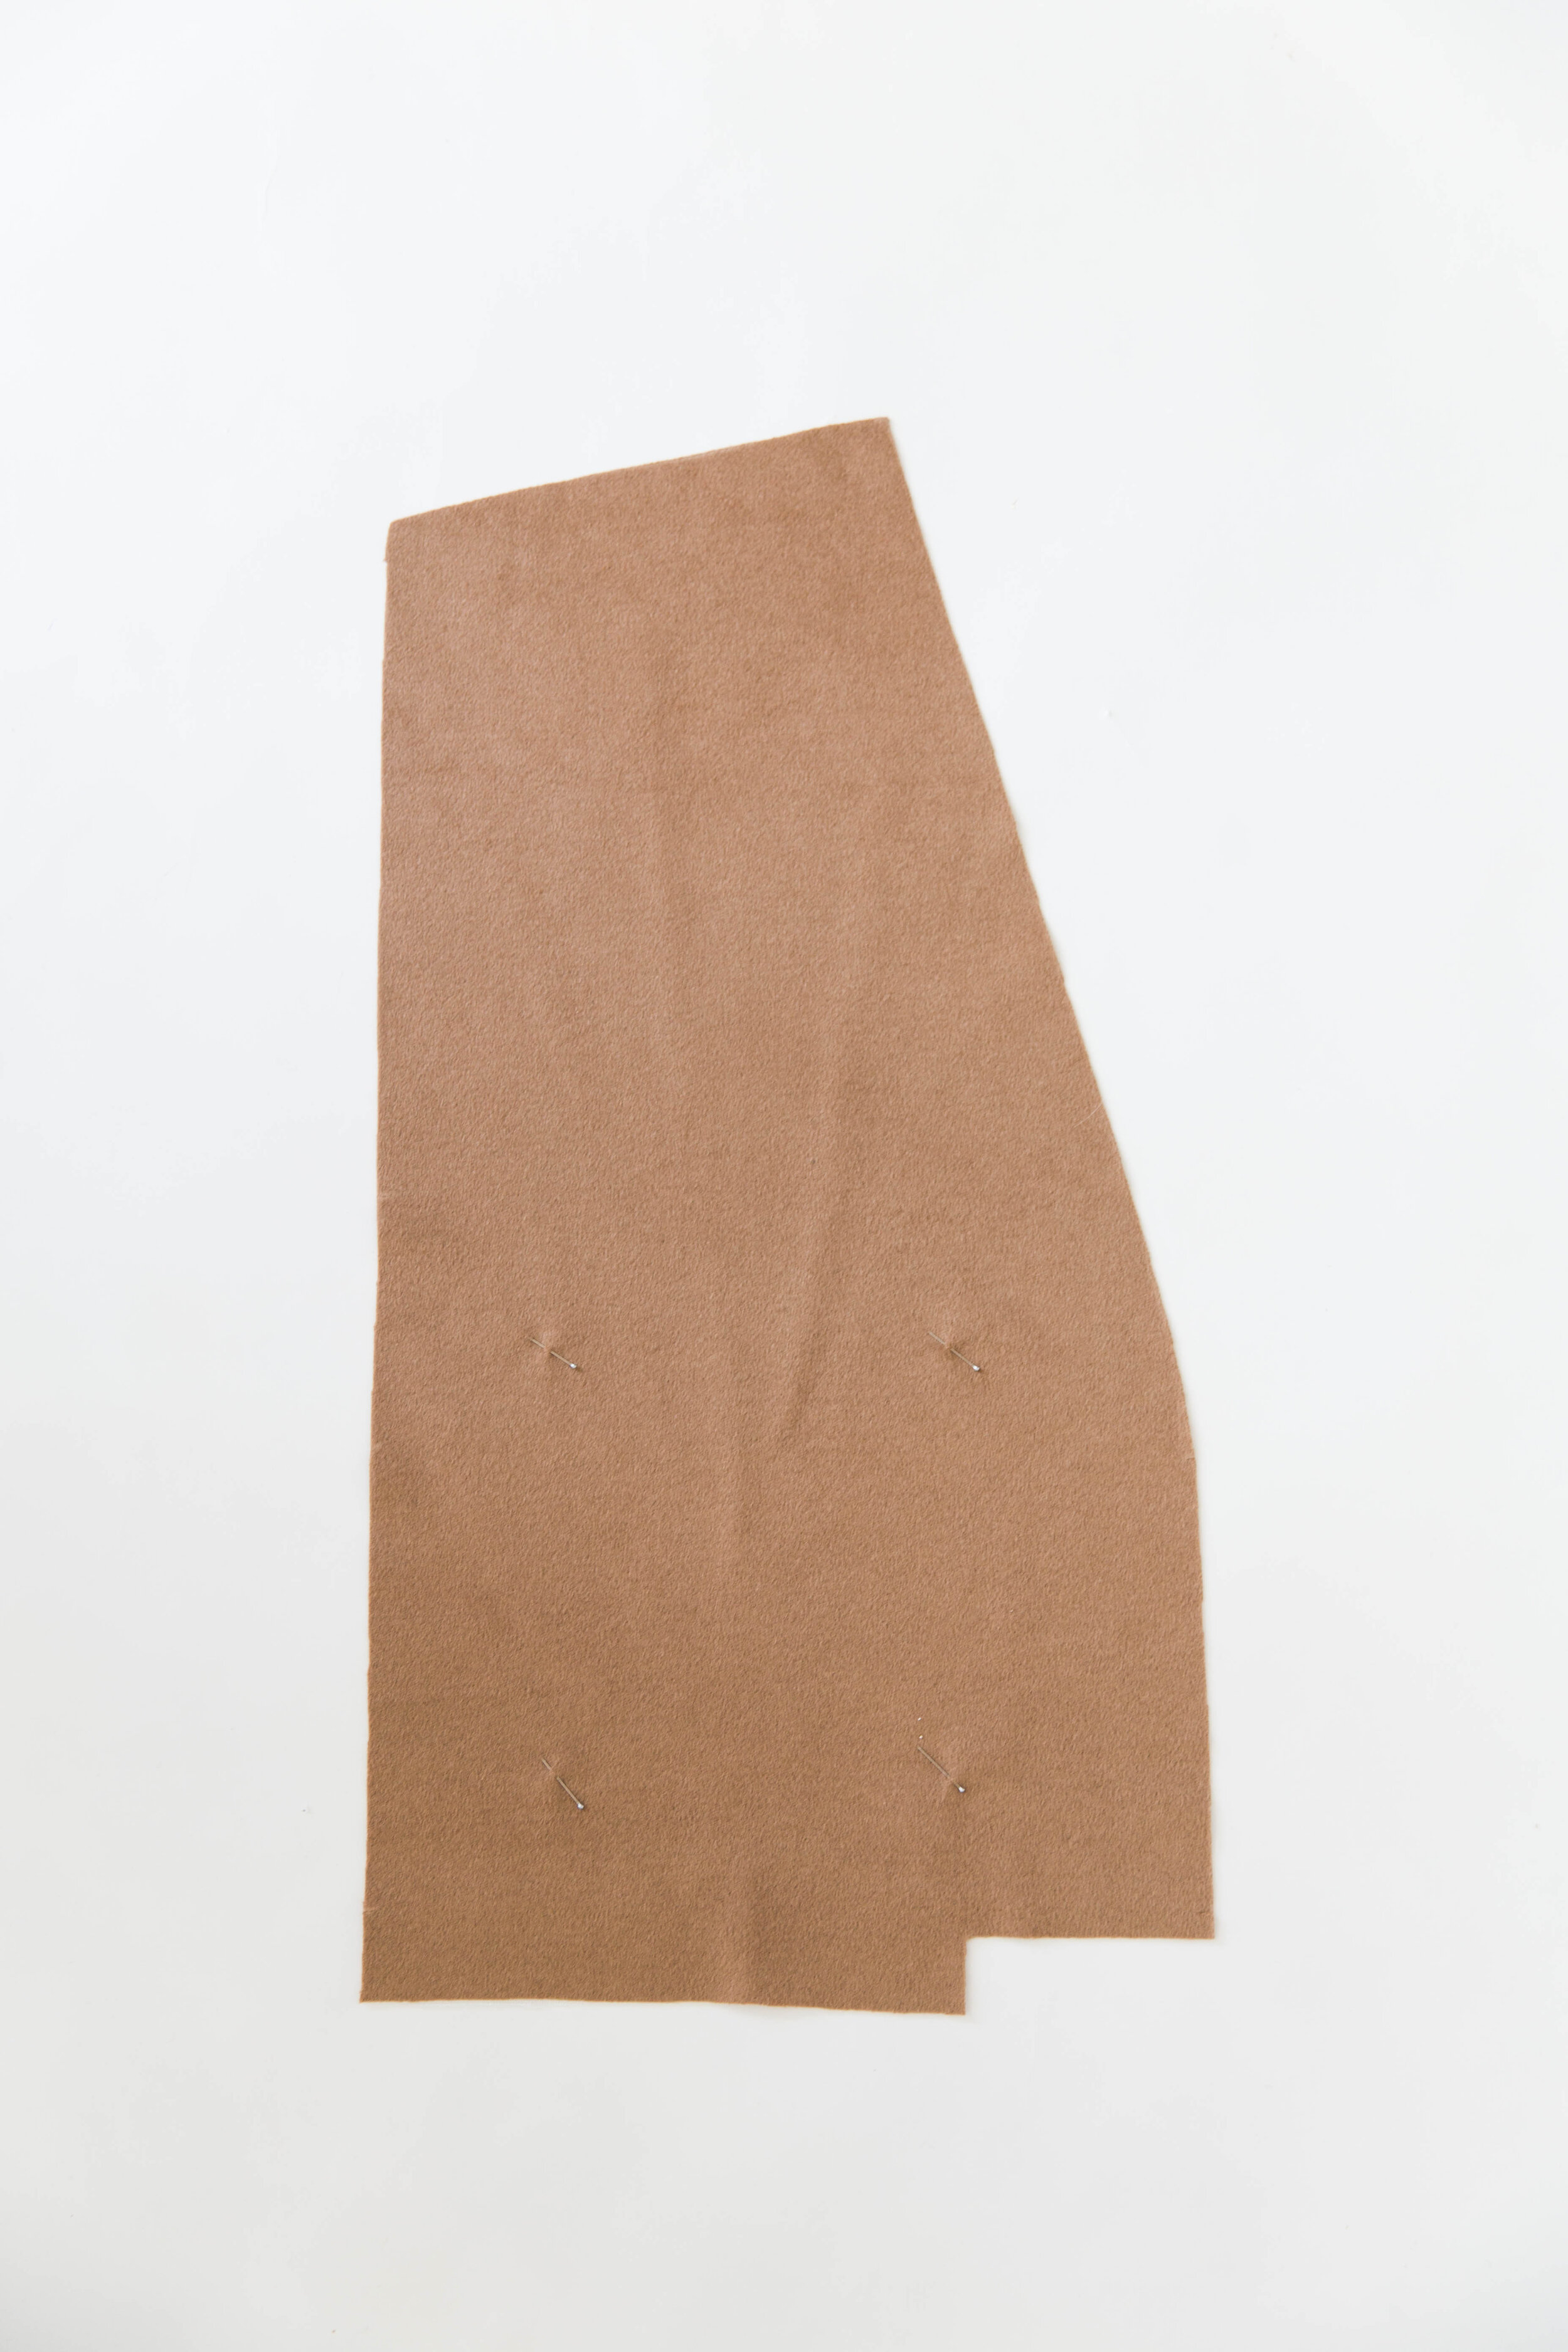
Step 3
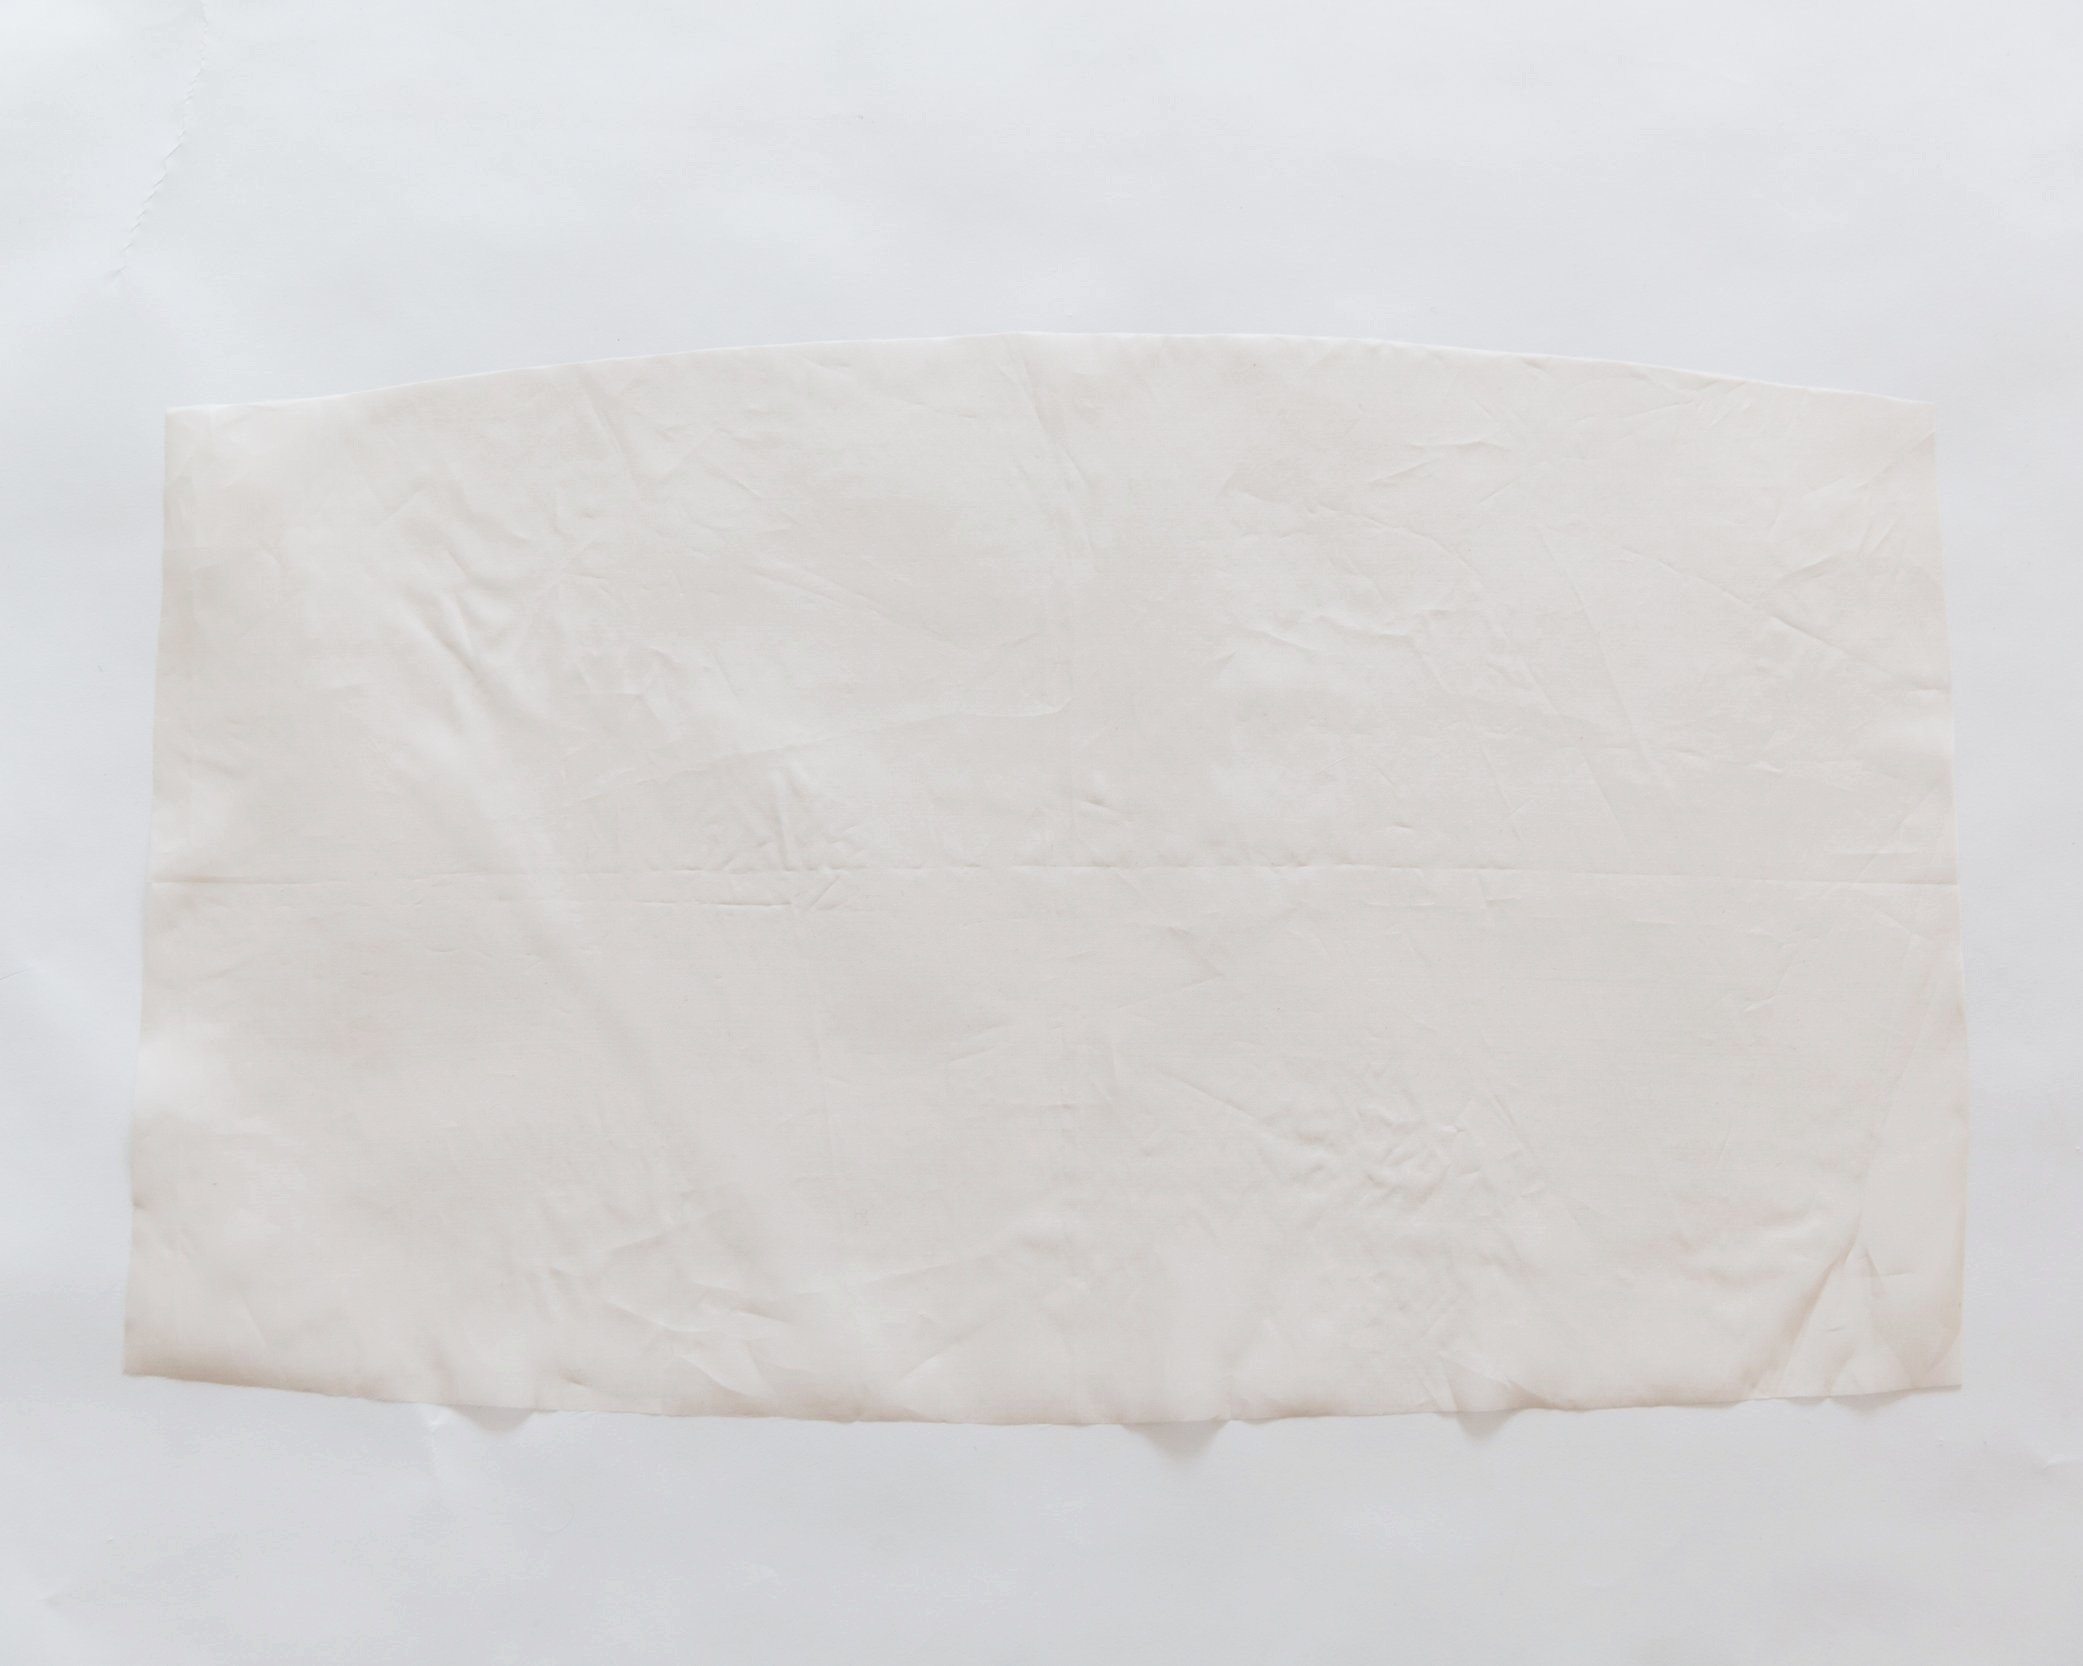
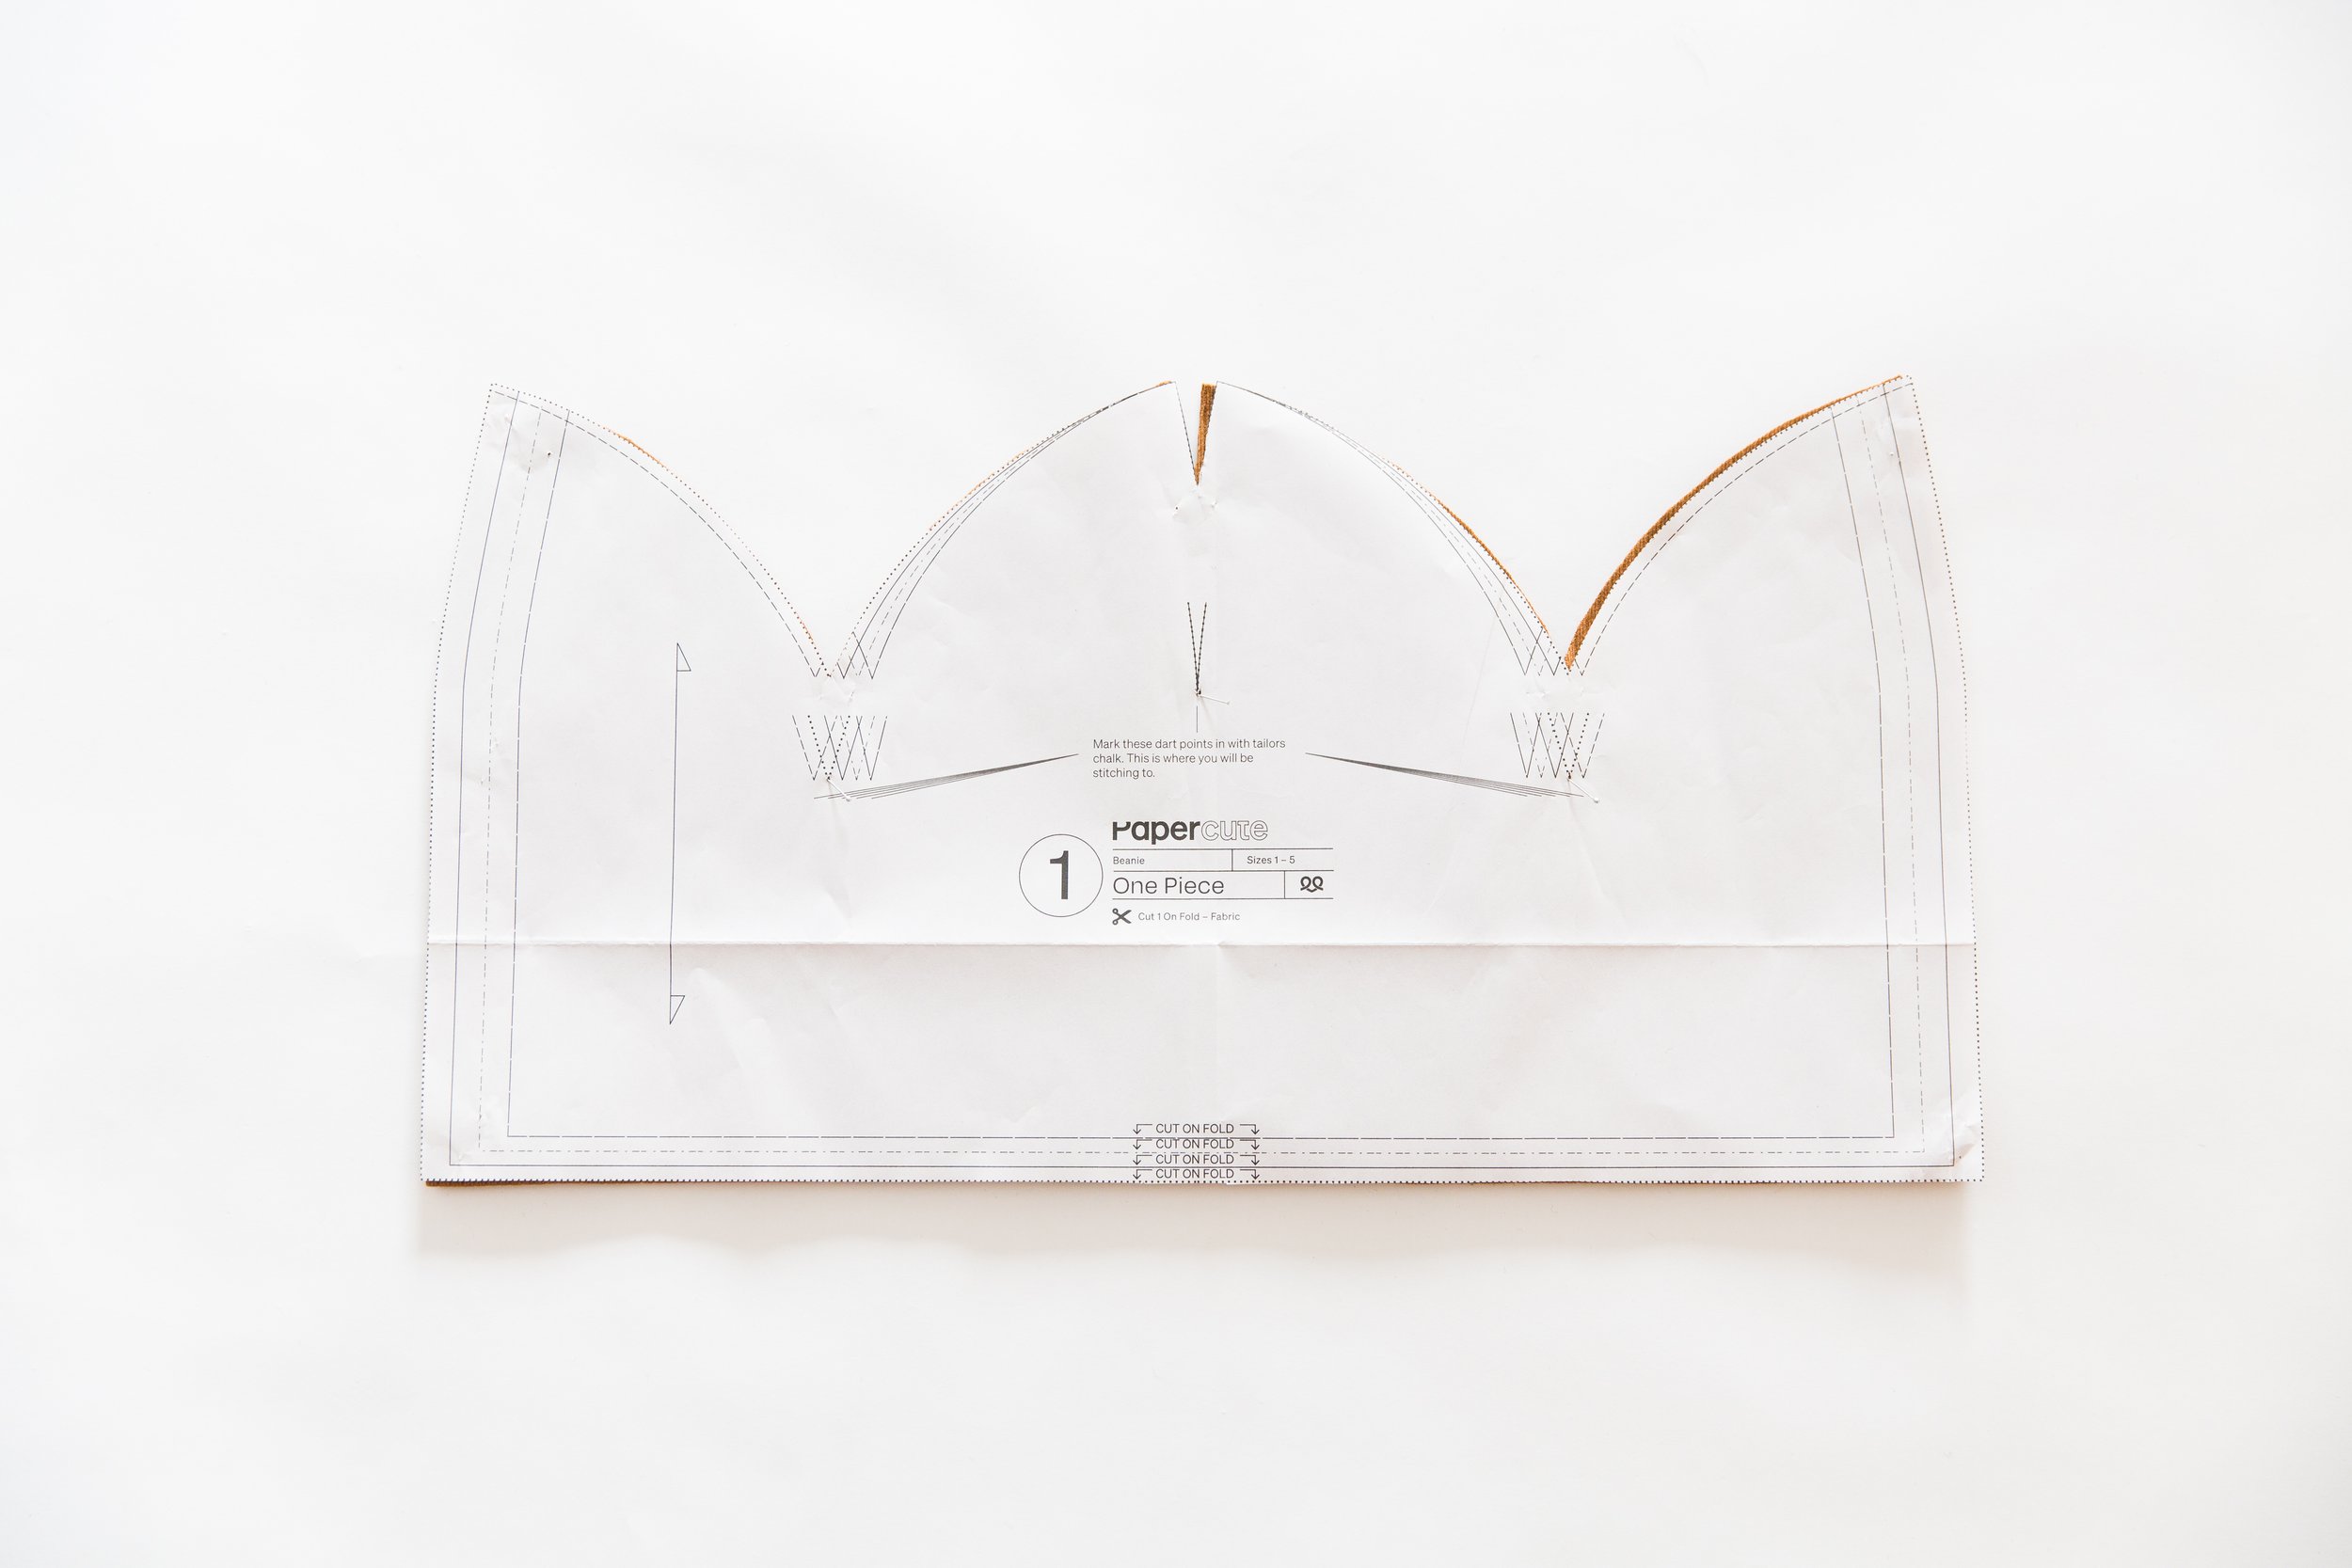
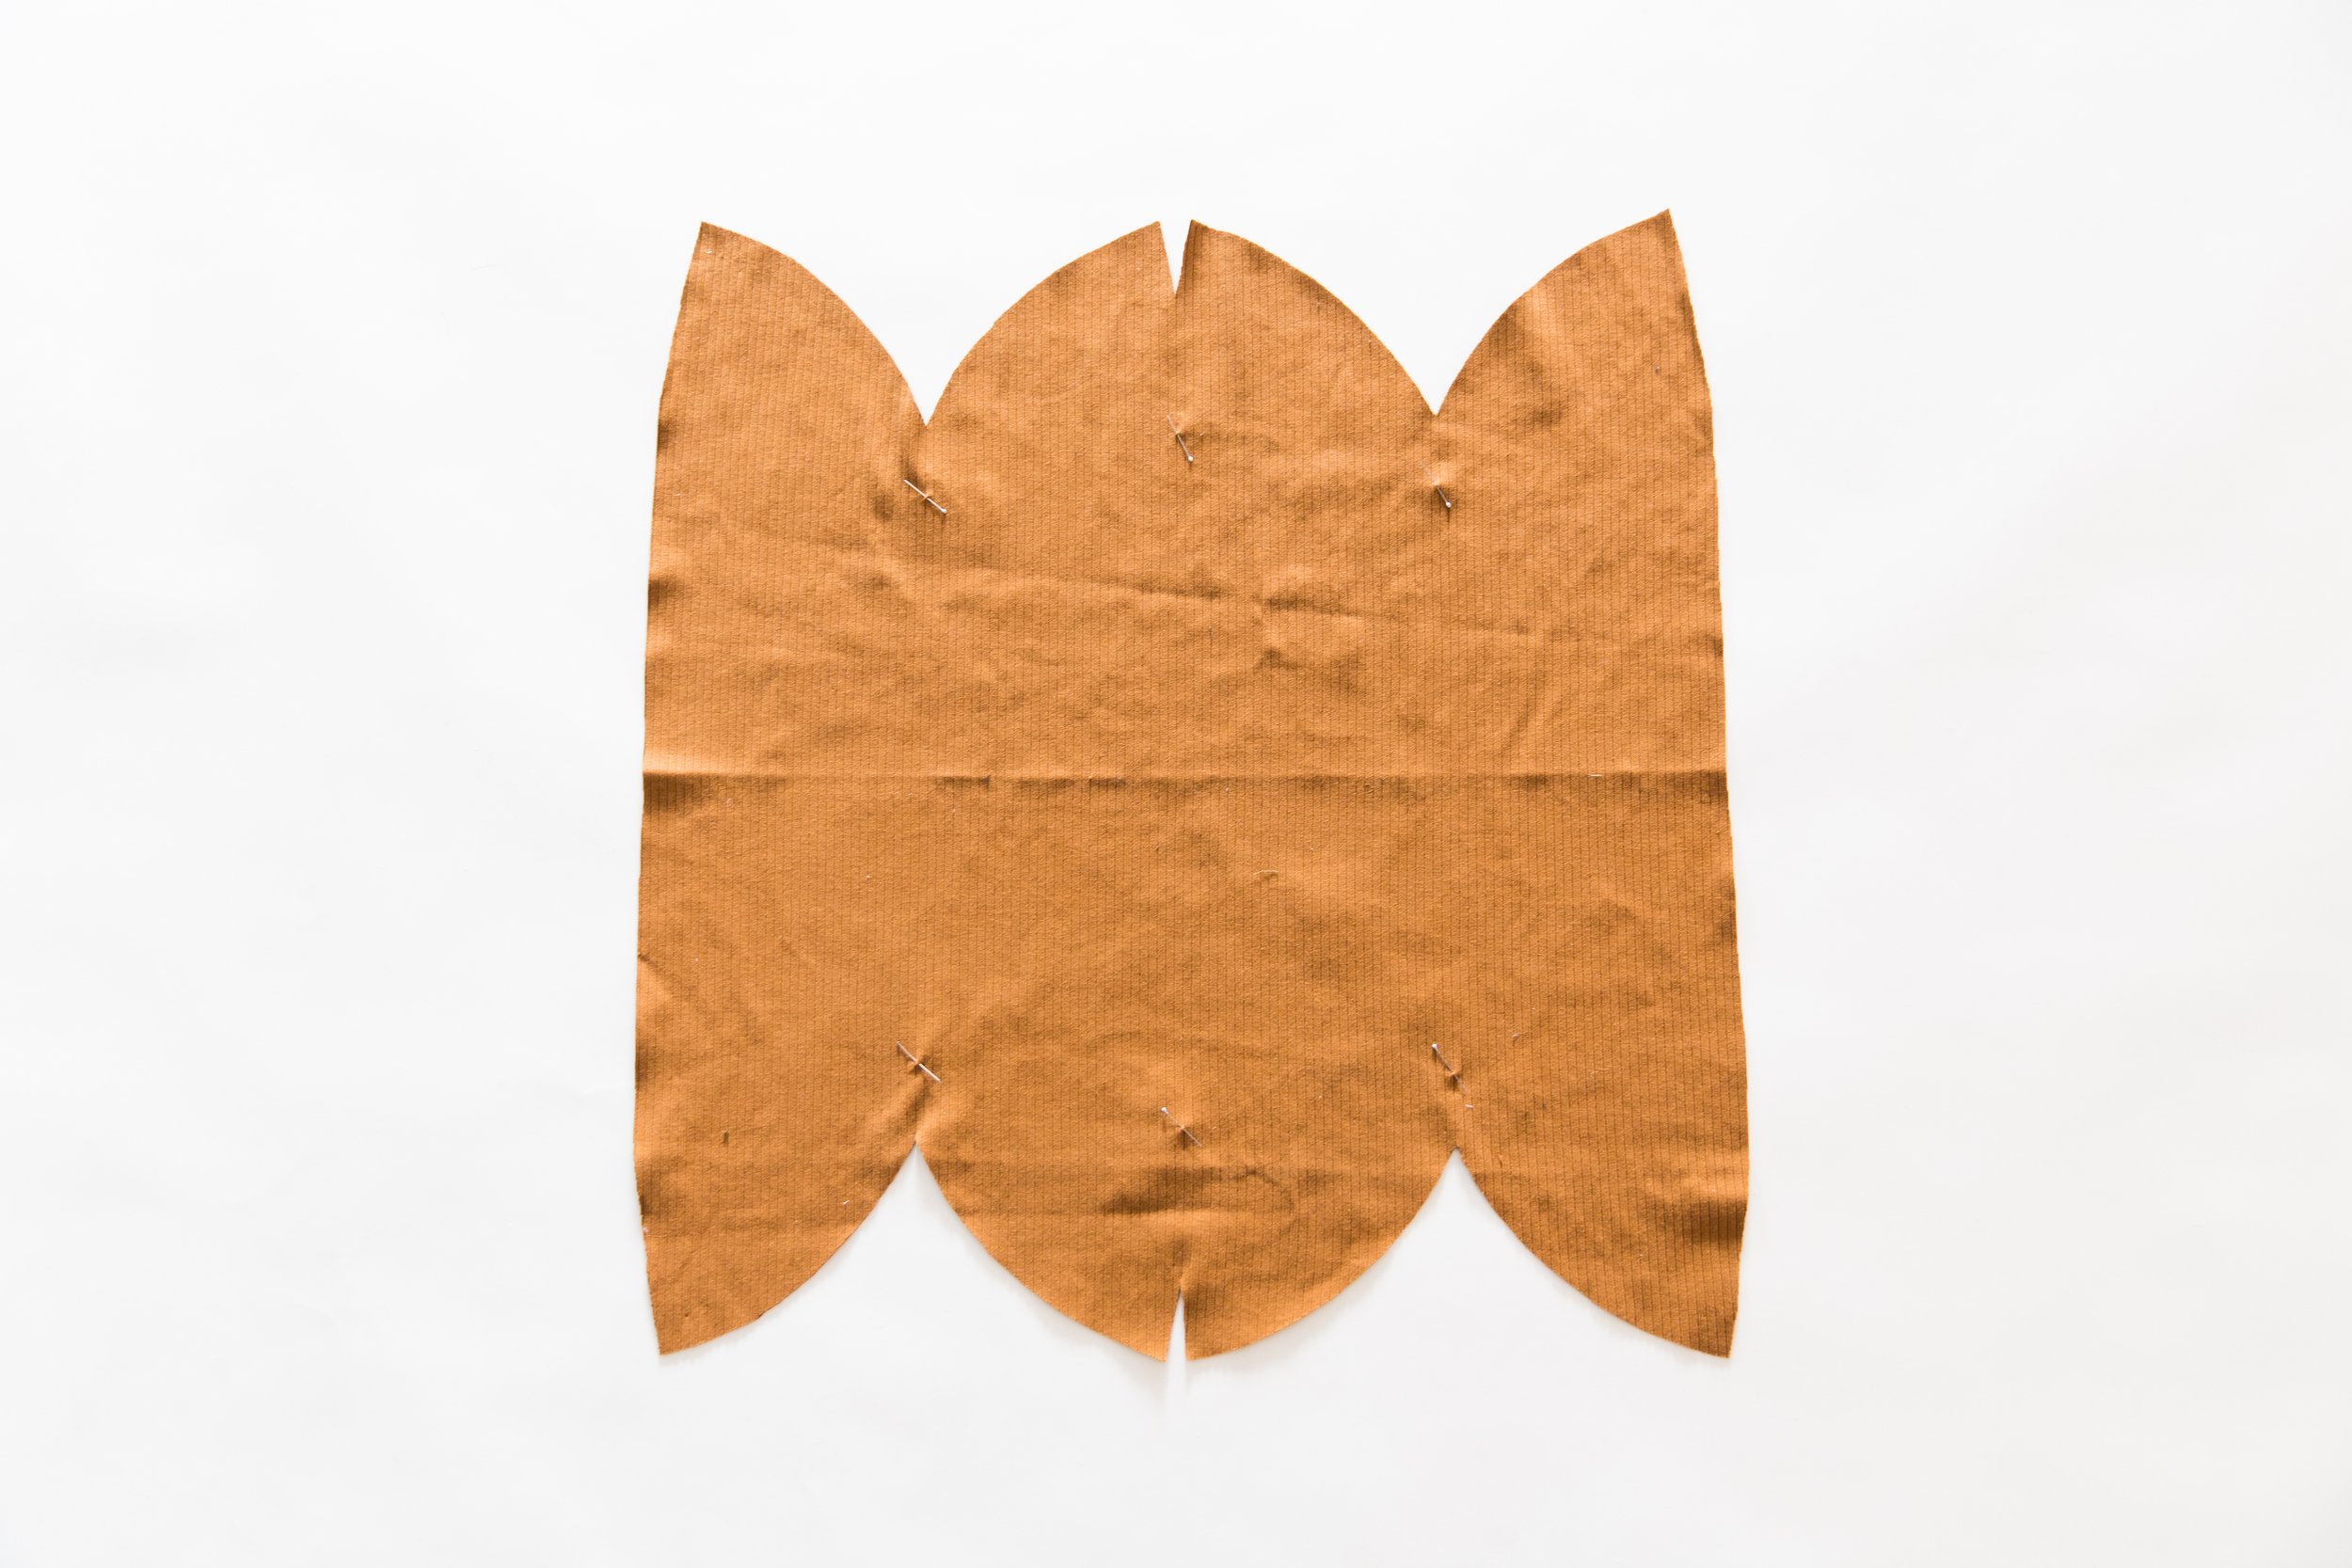
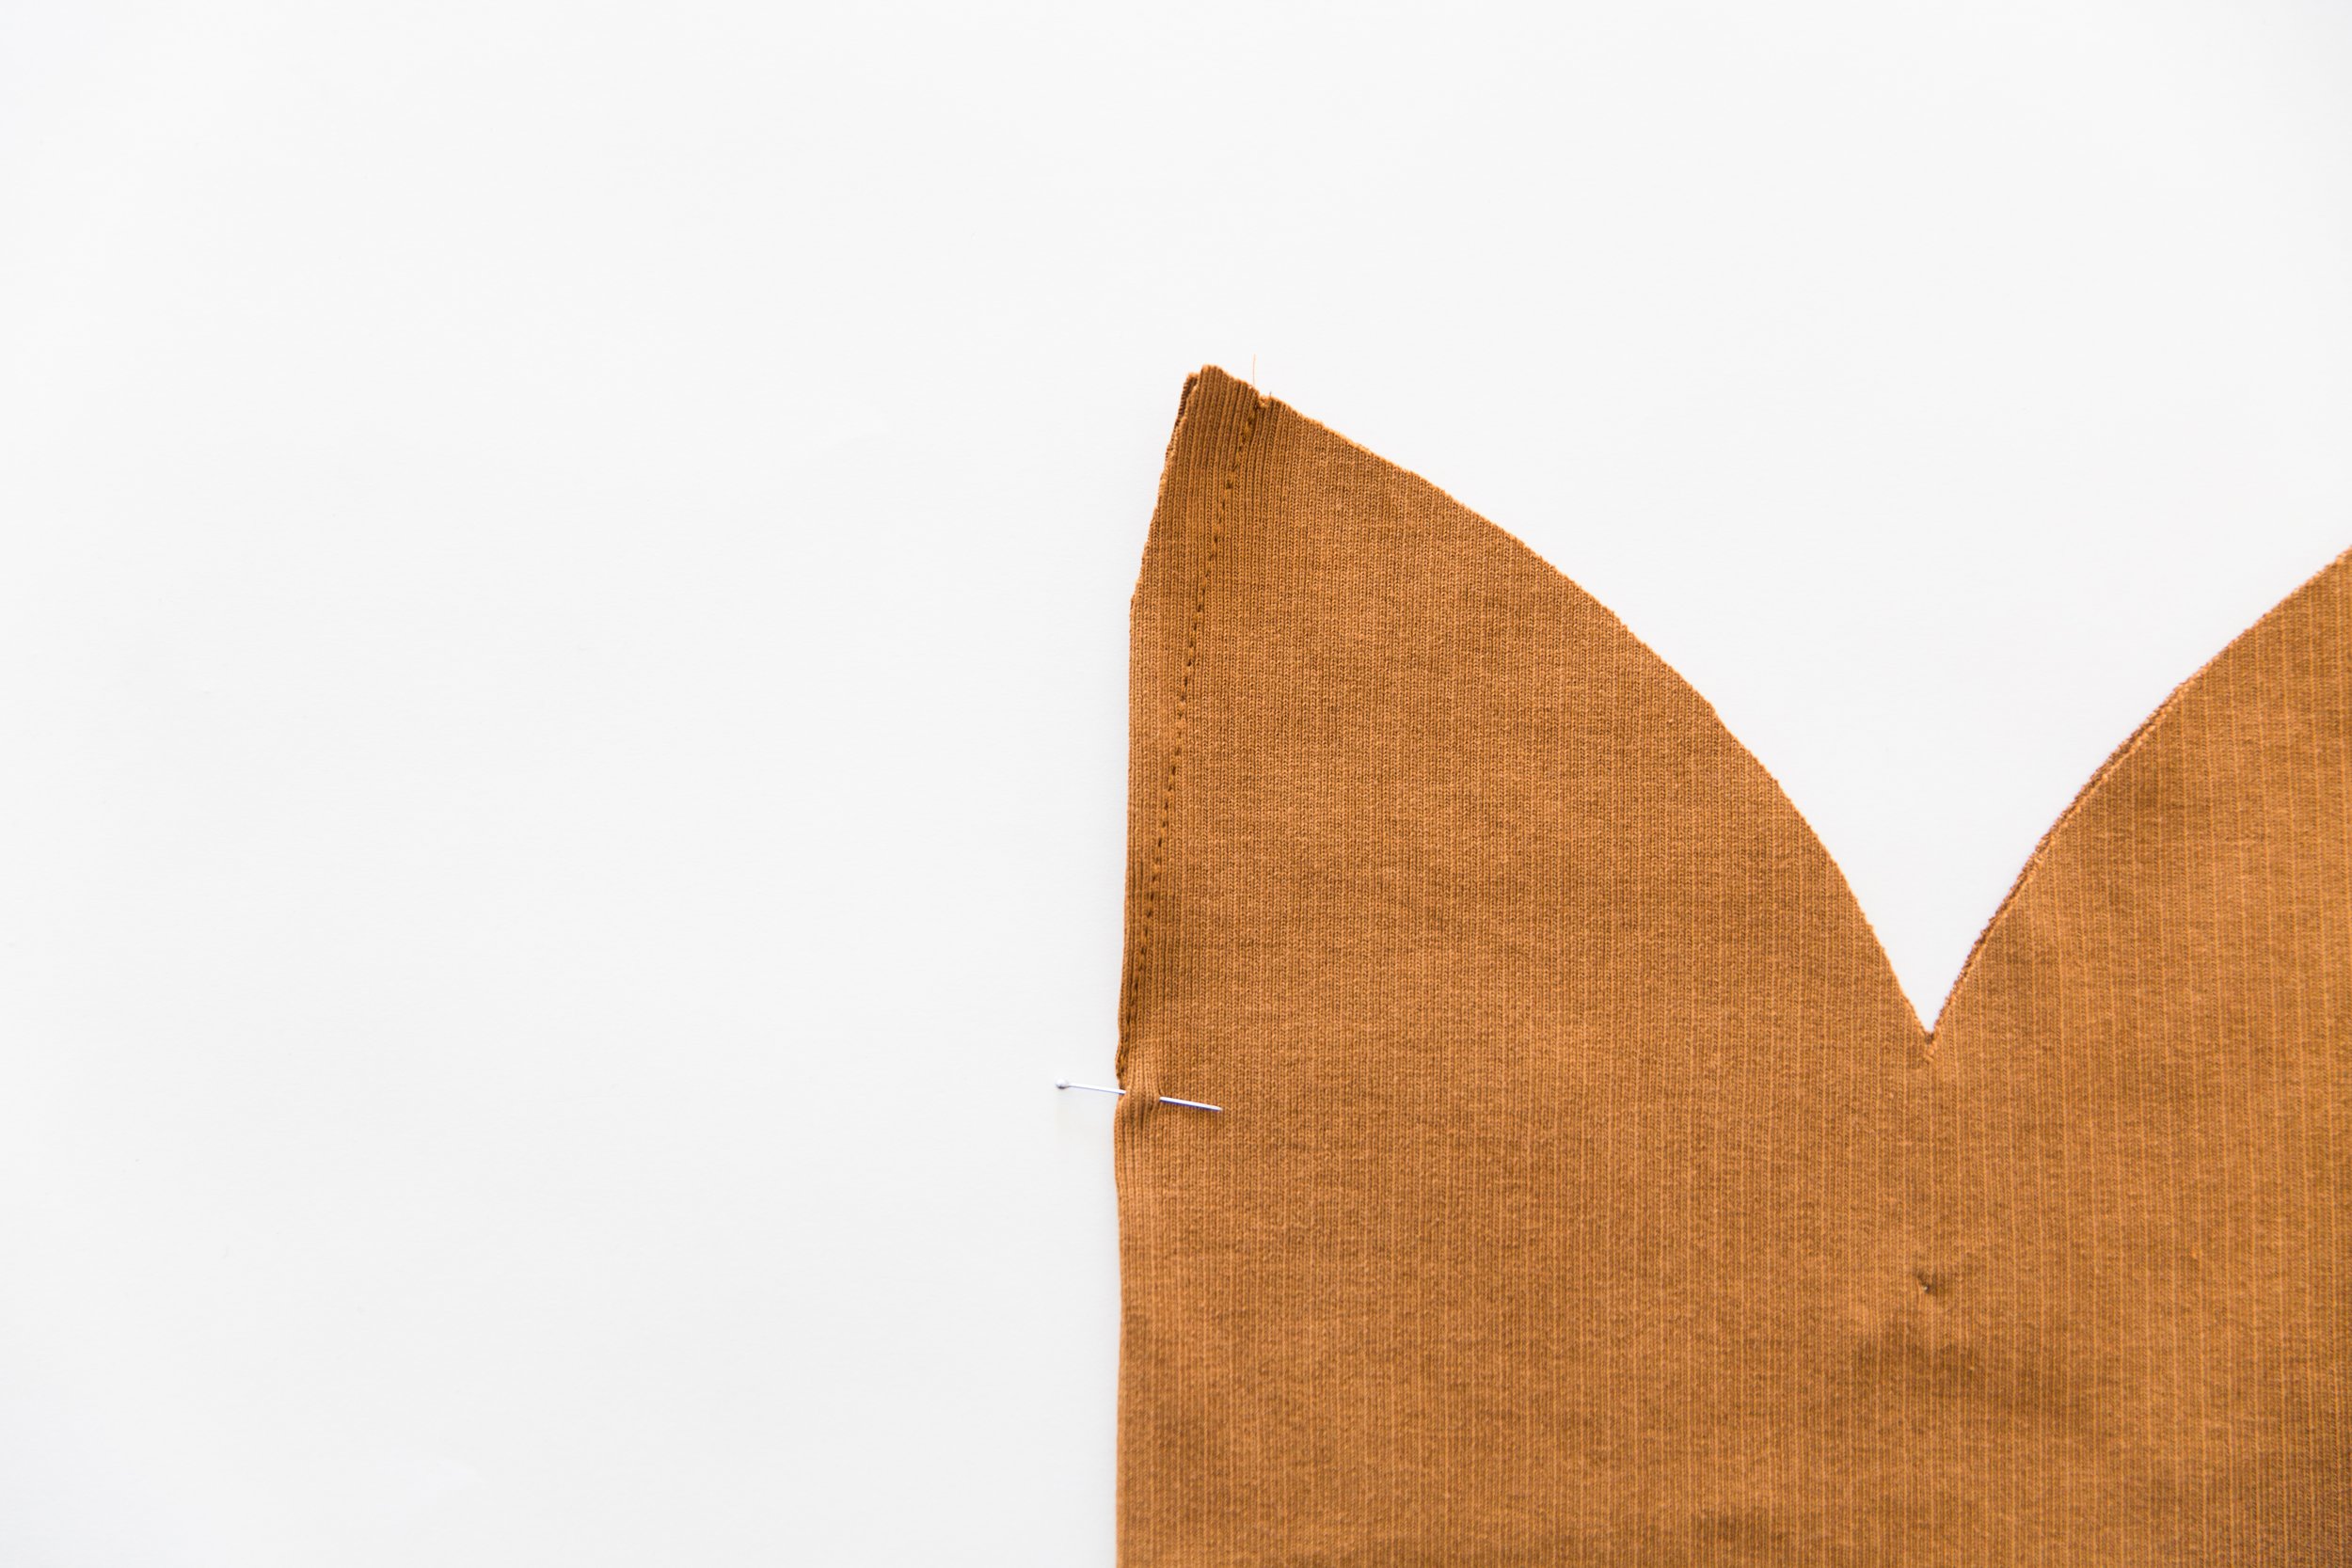
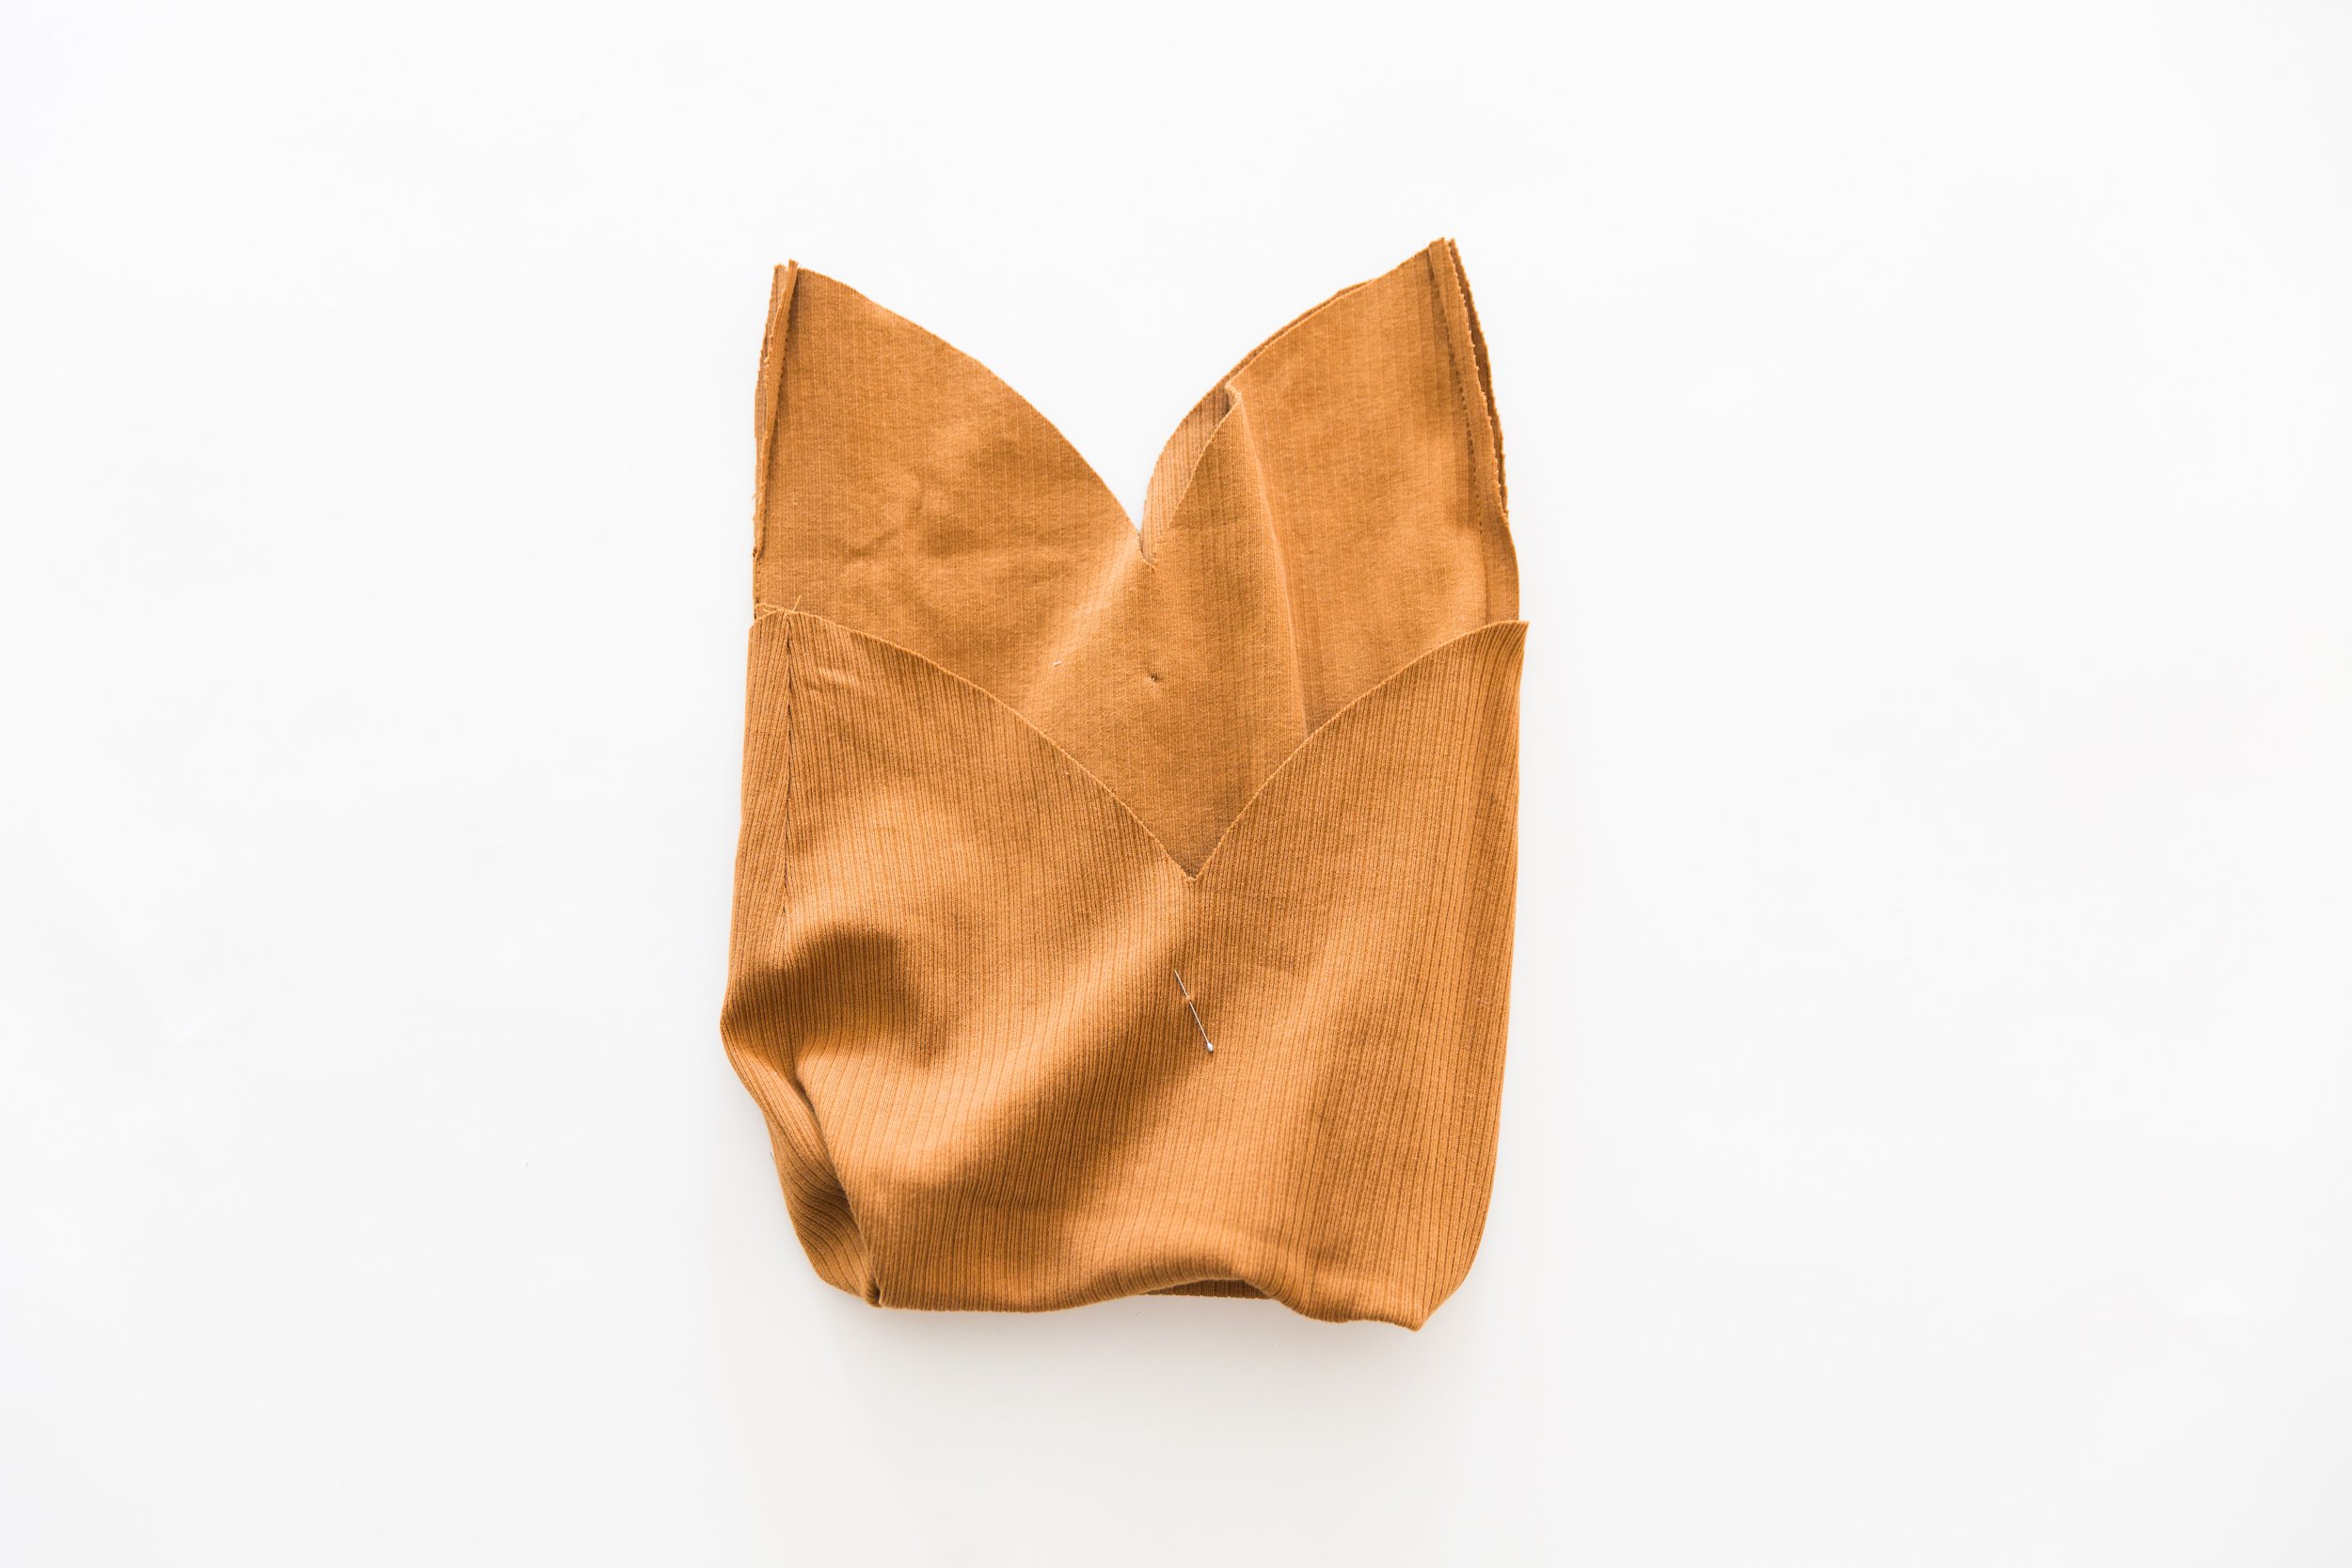
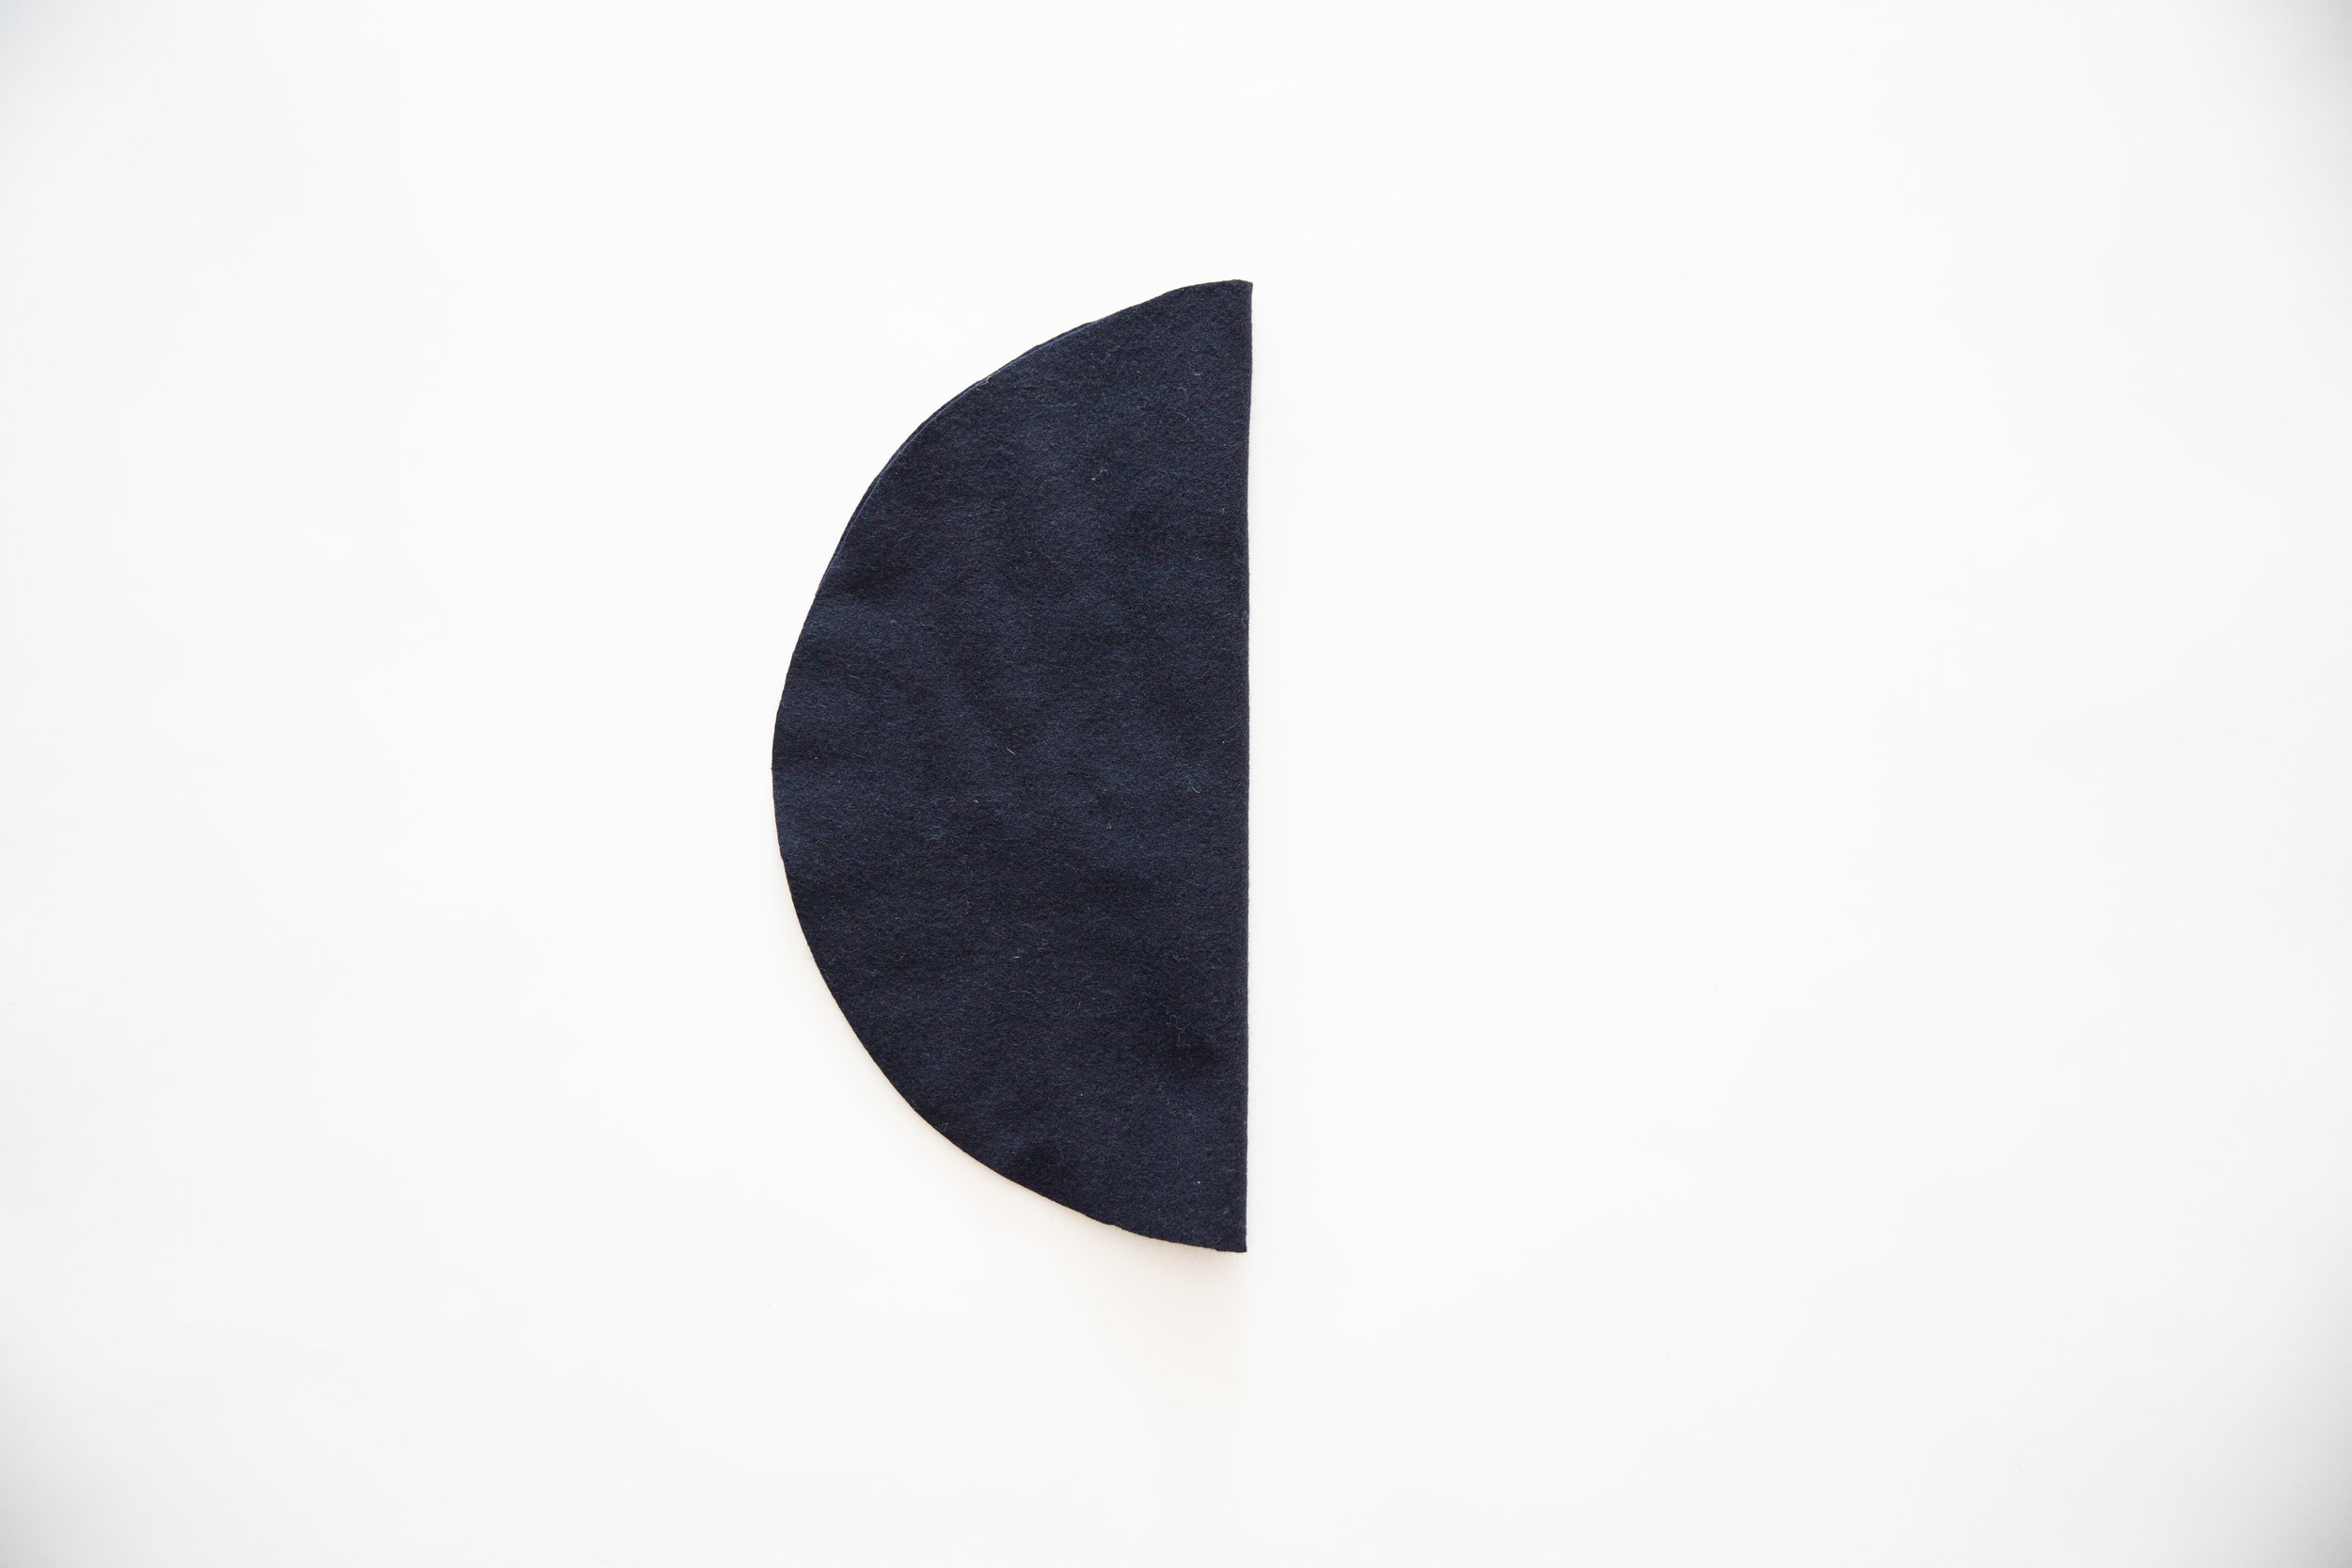
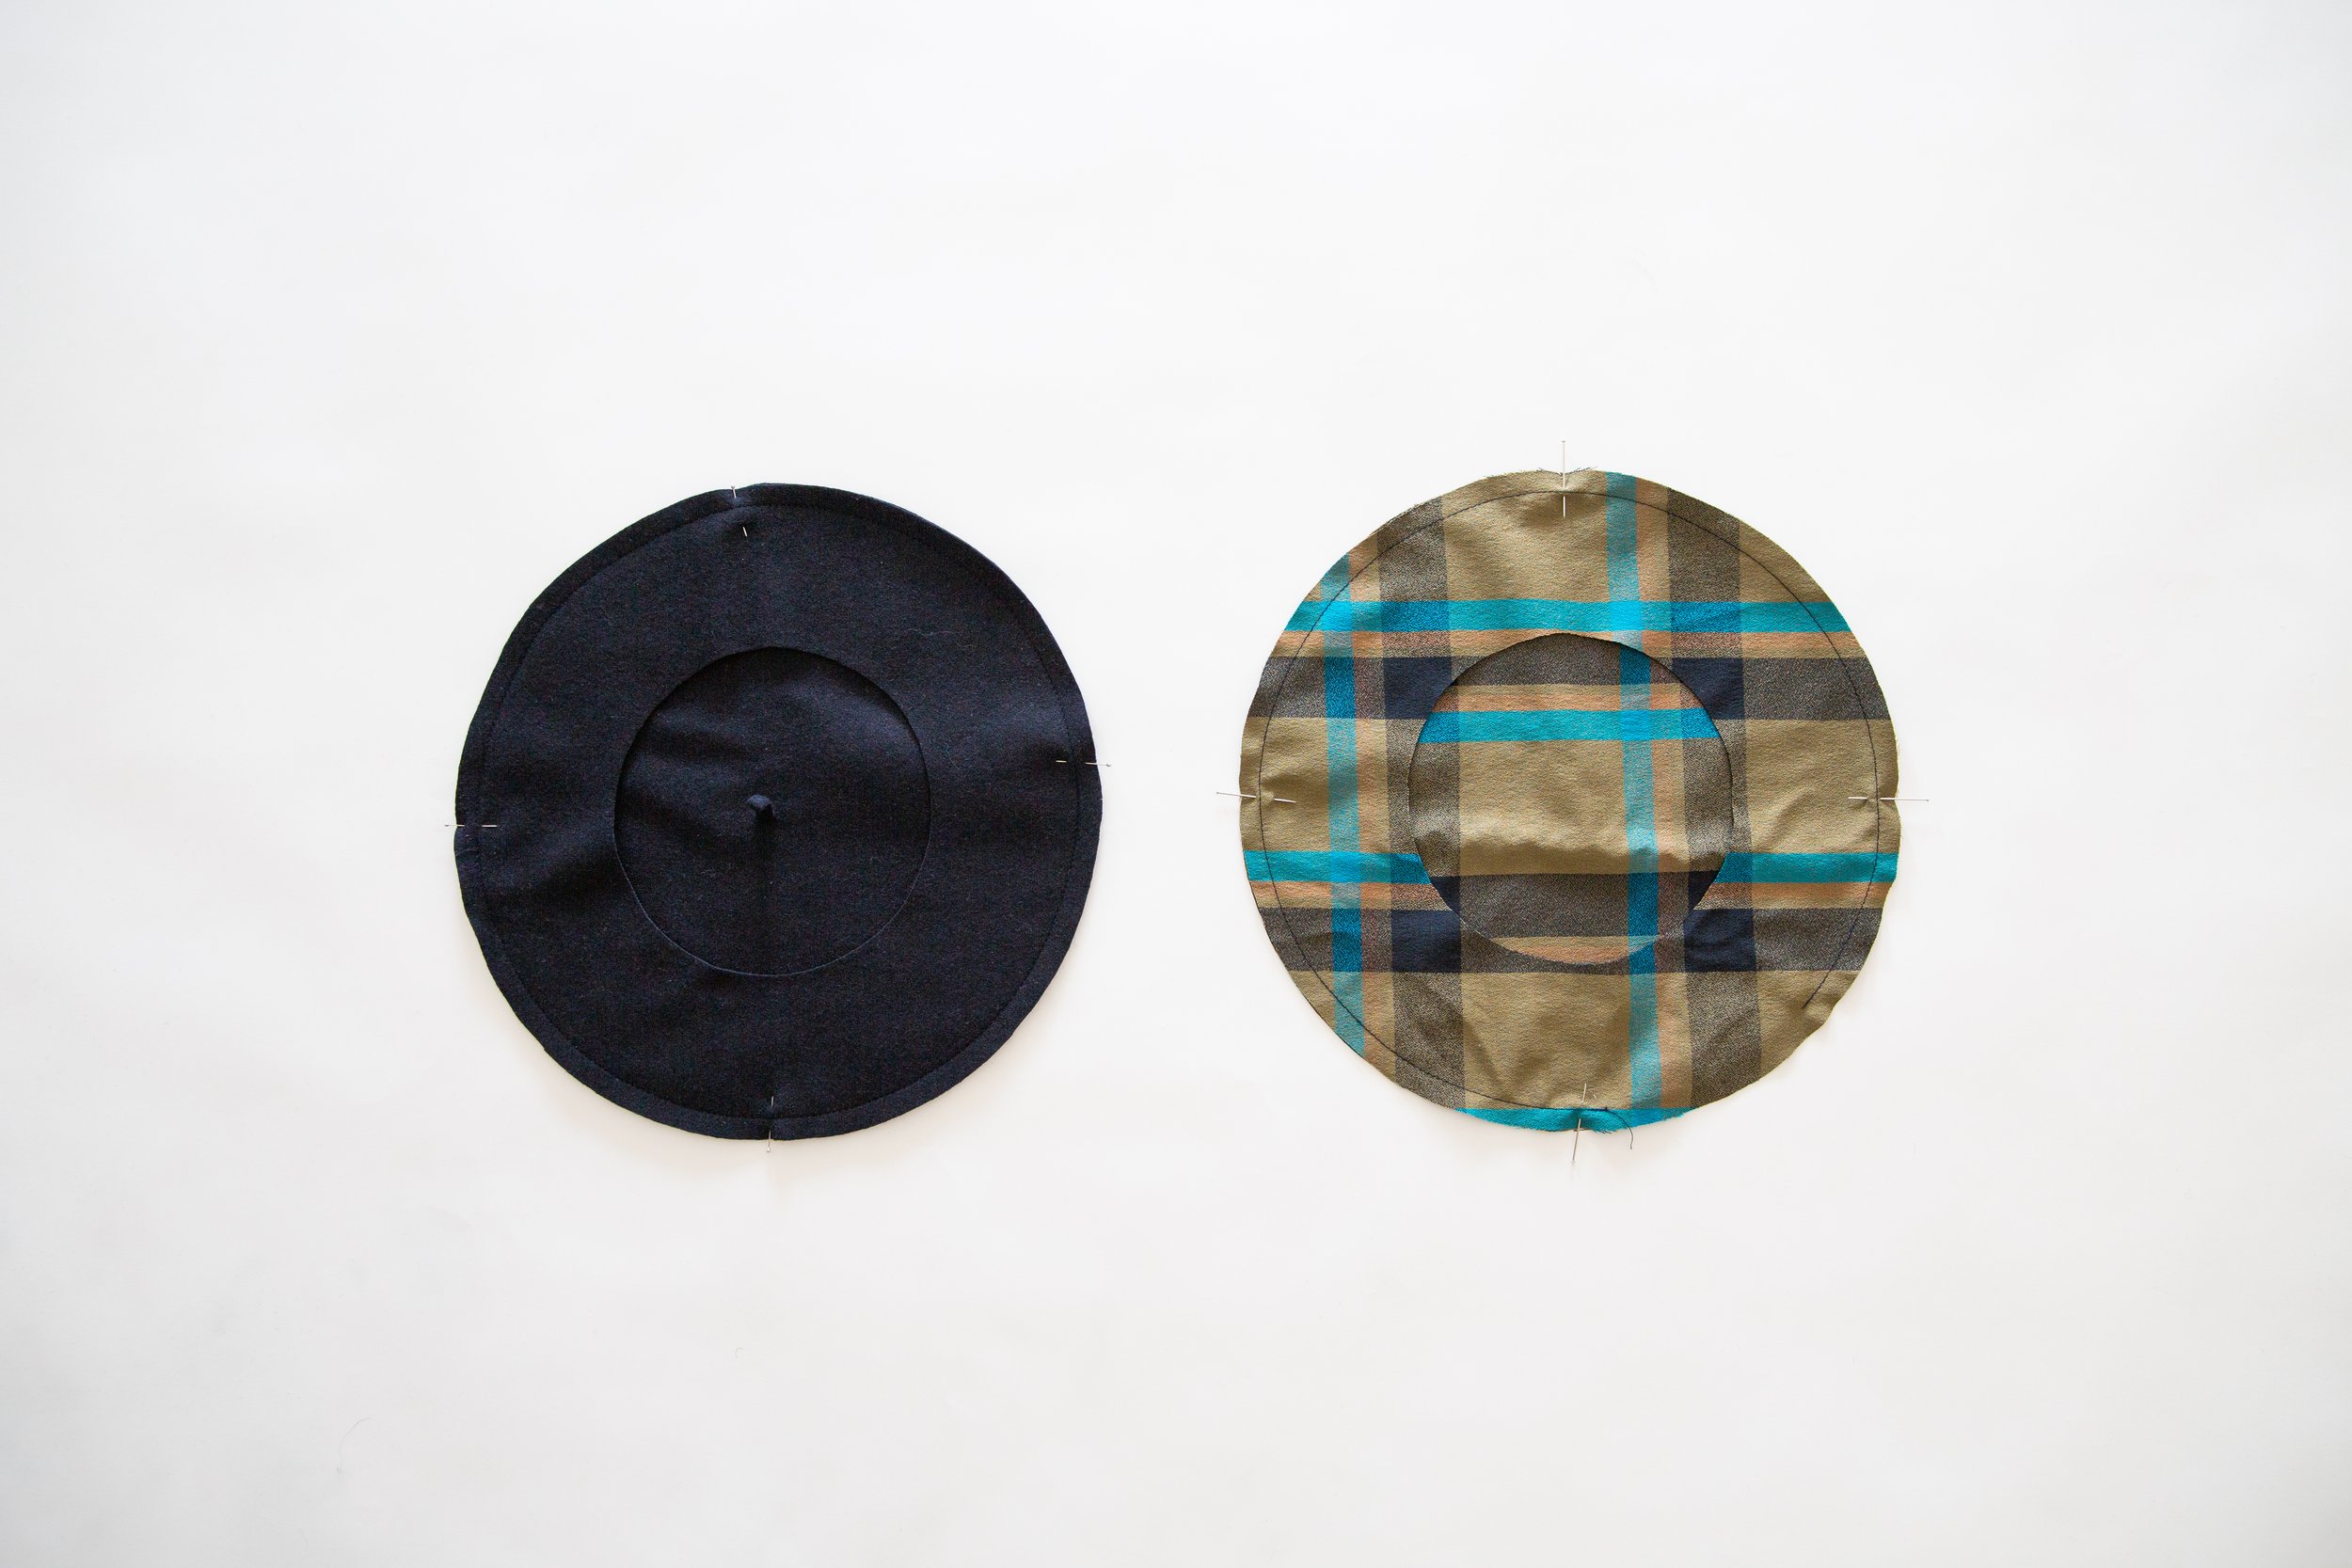
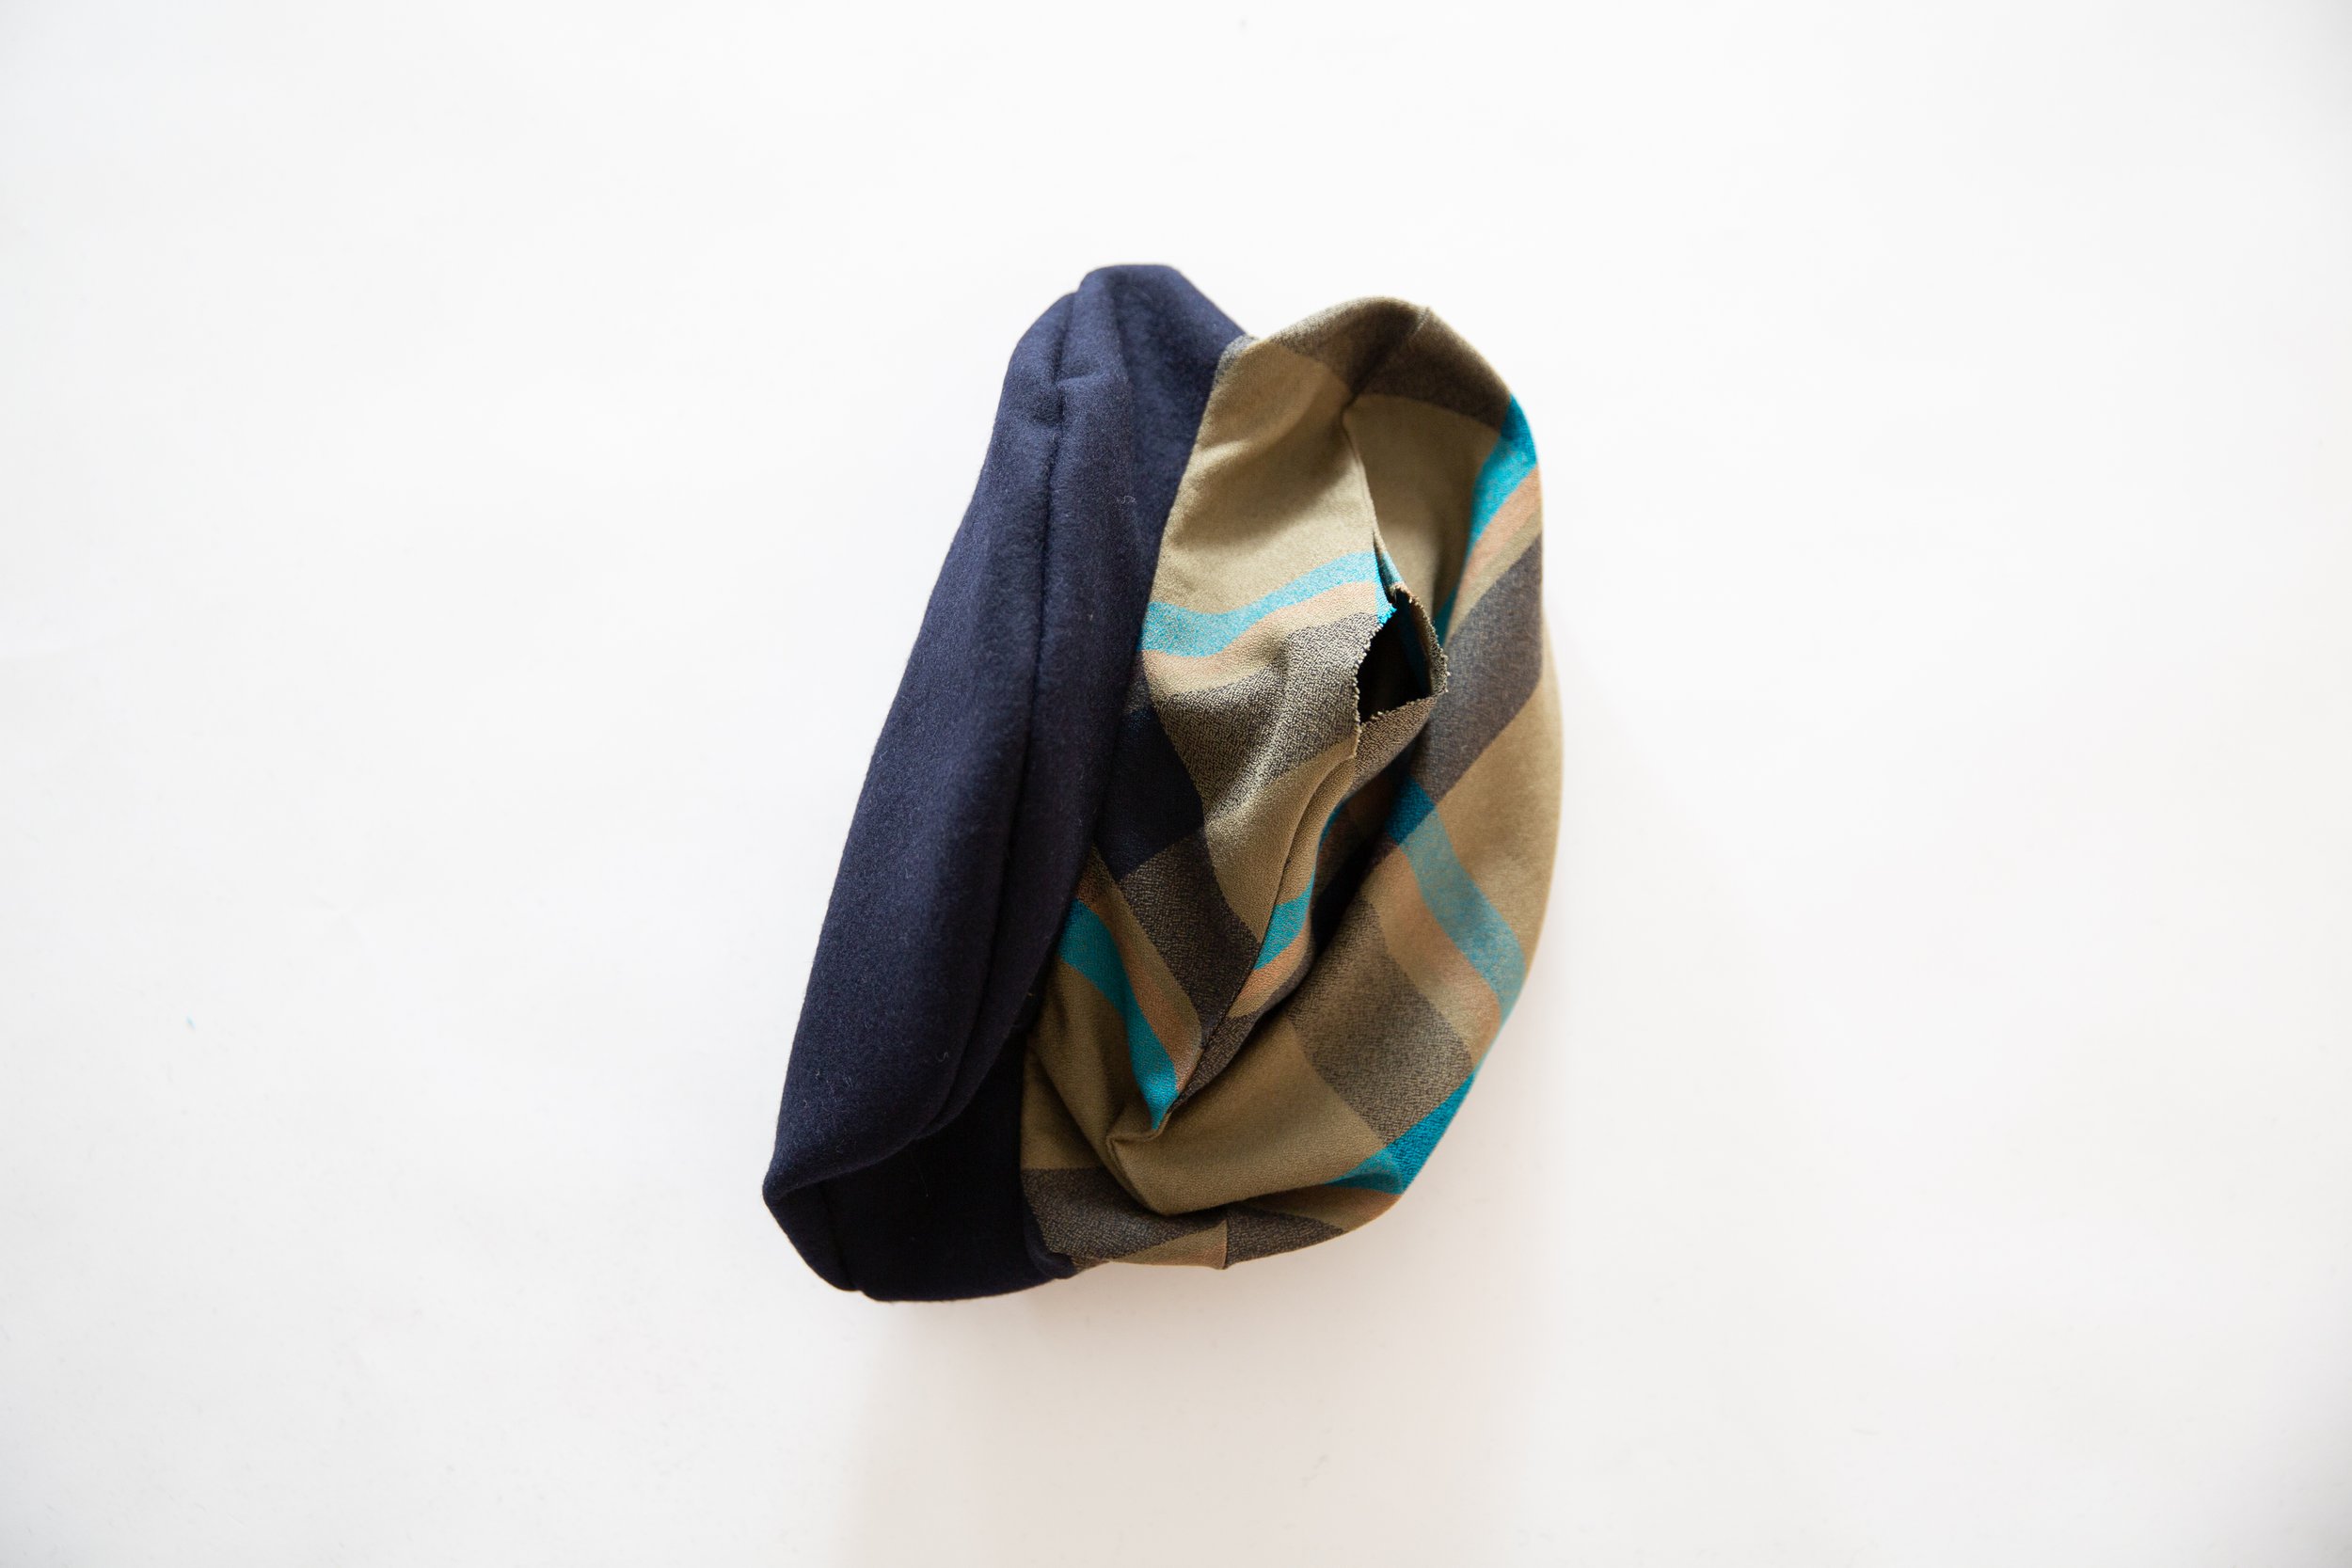
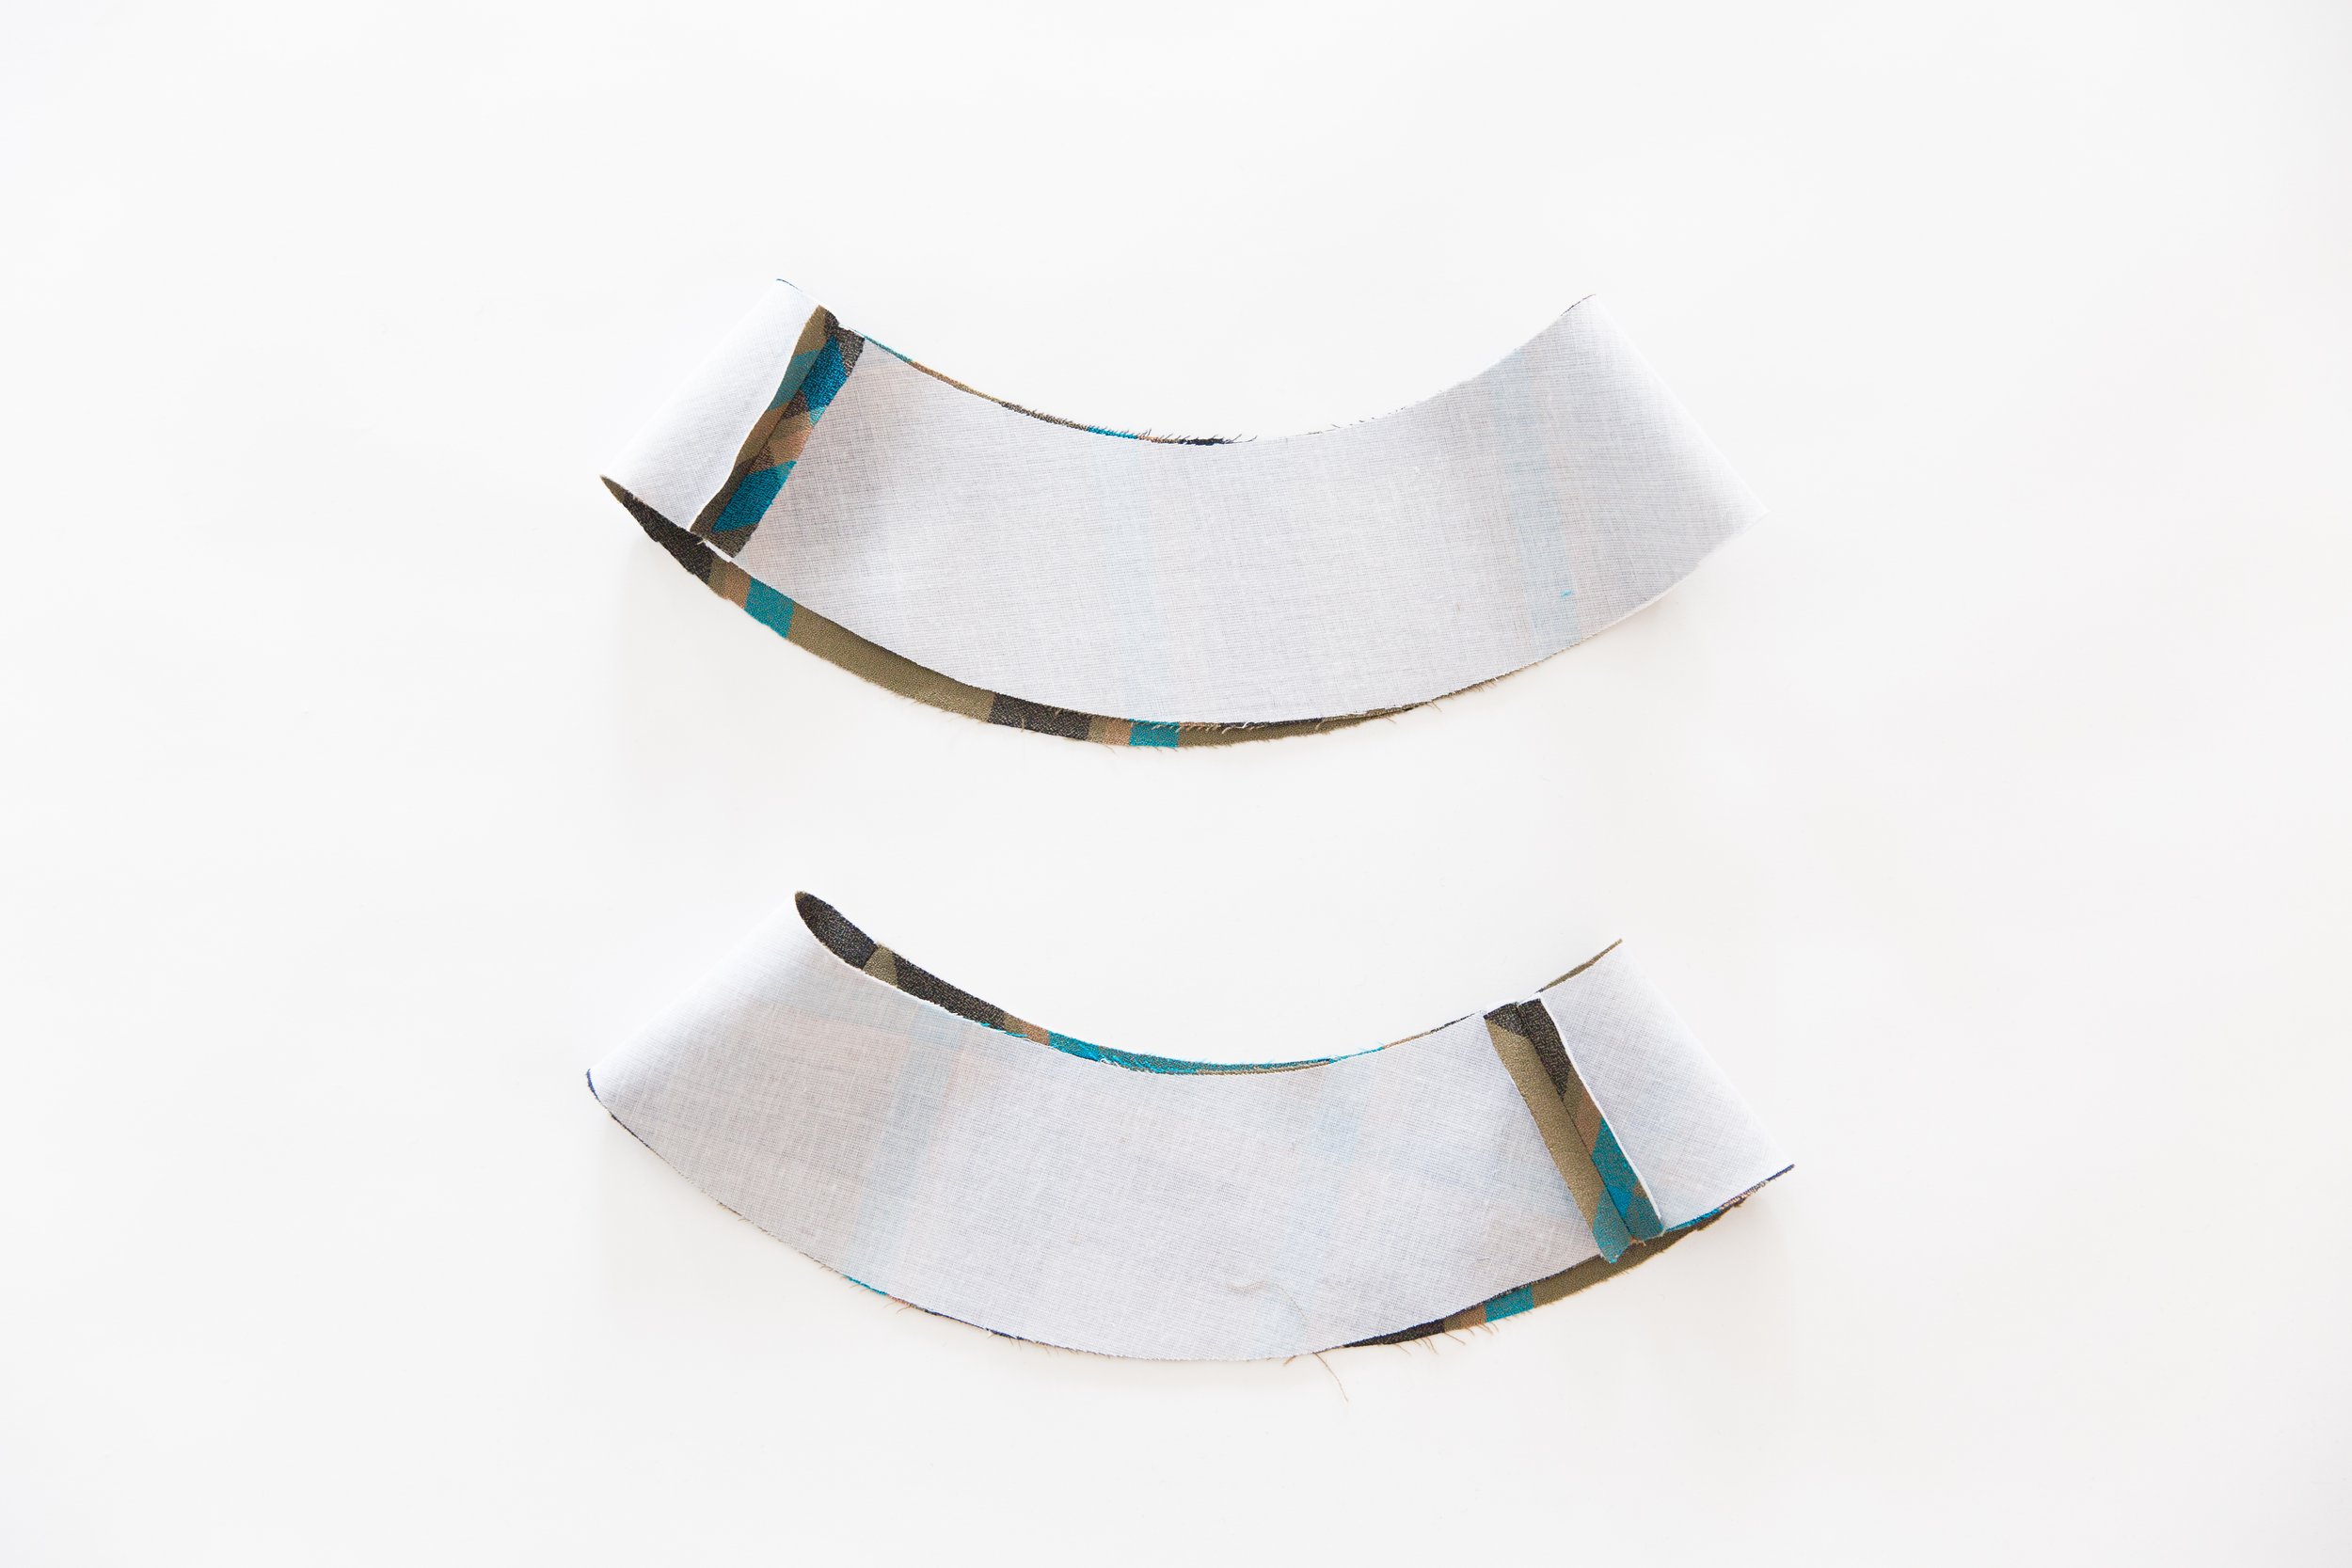
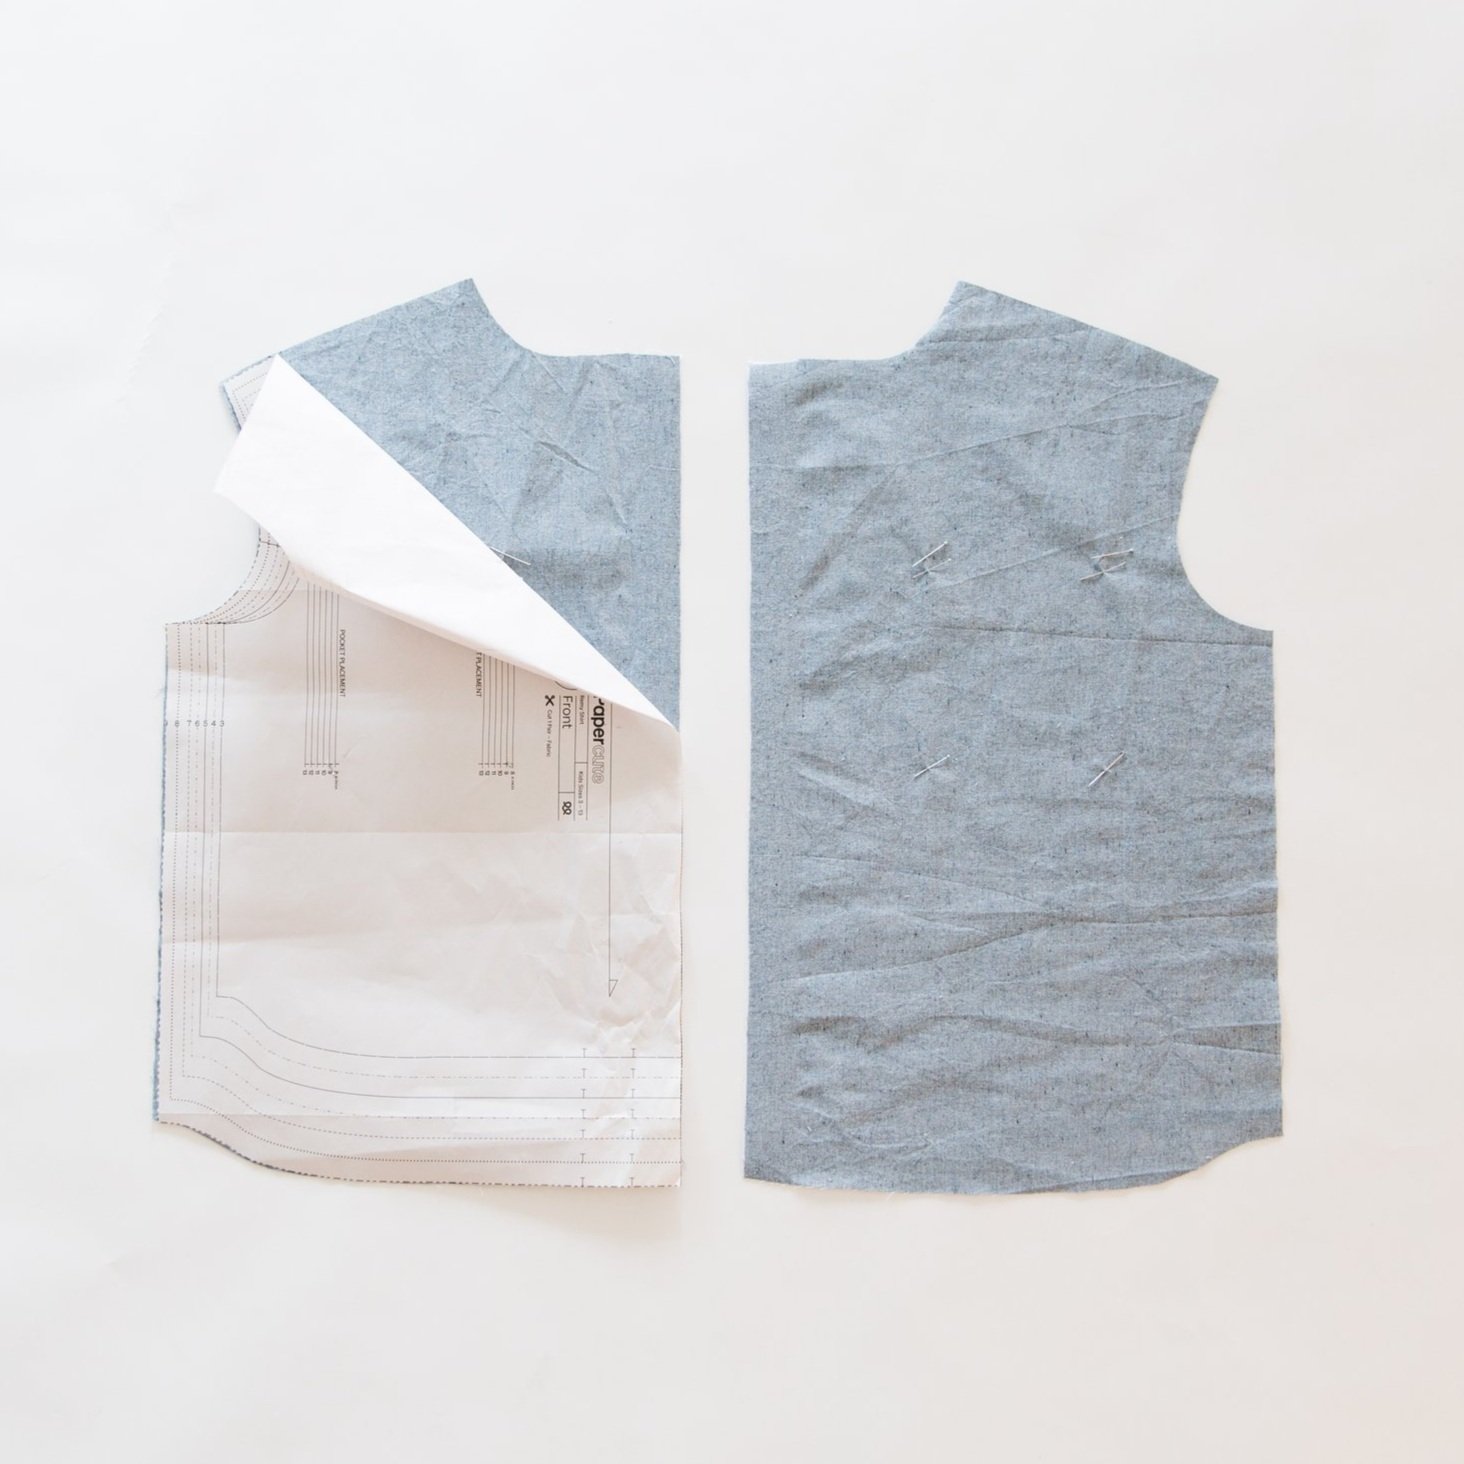
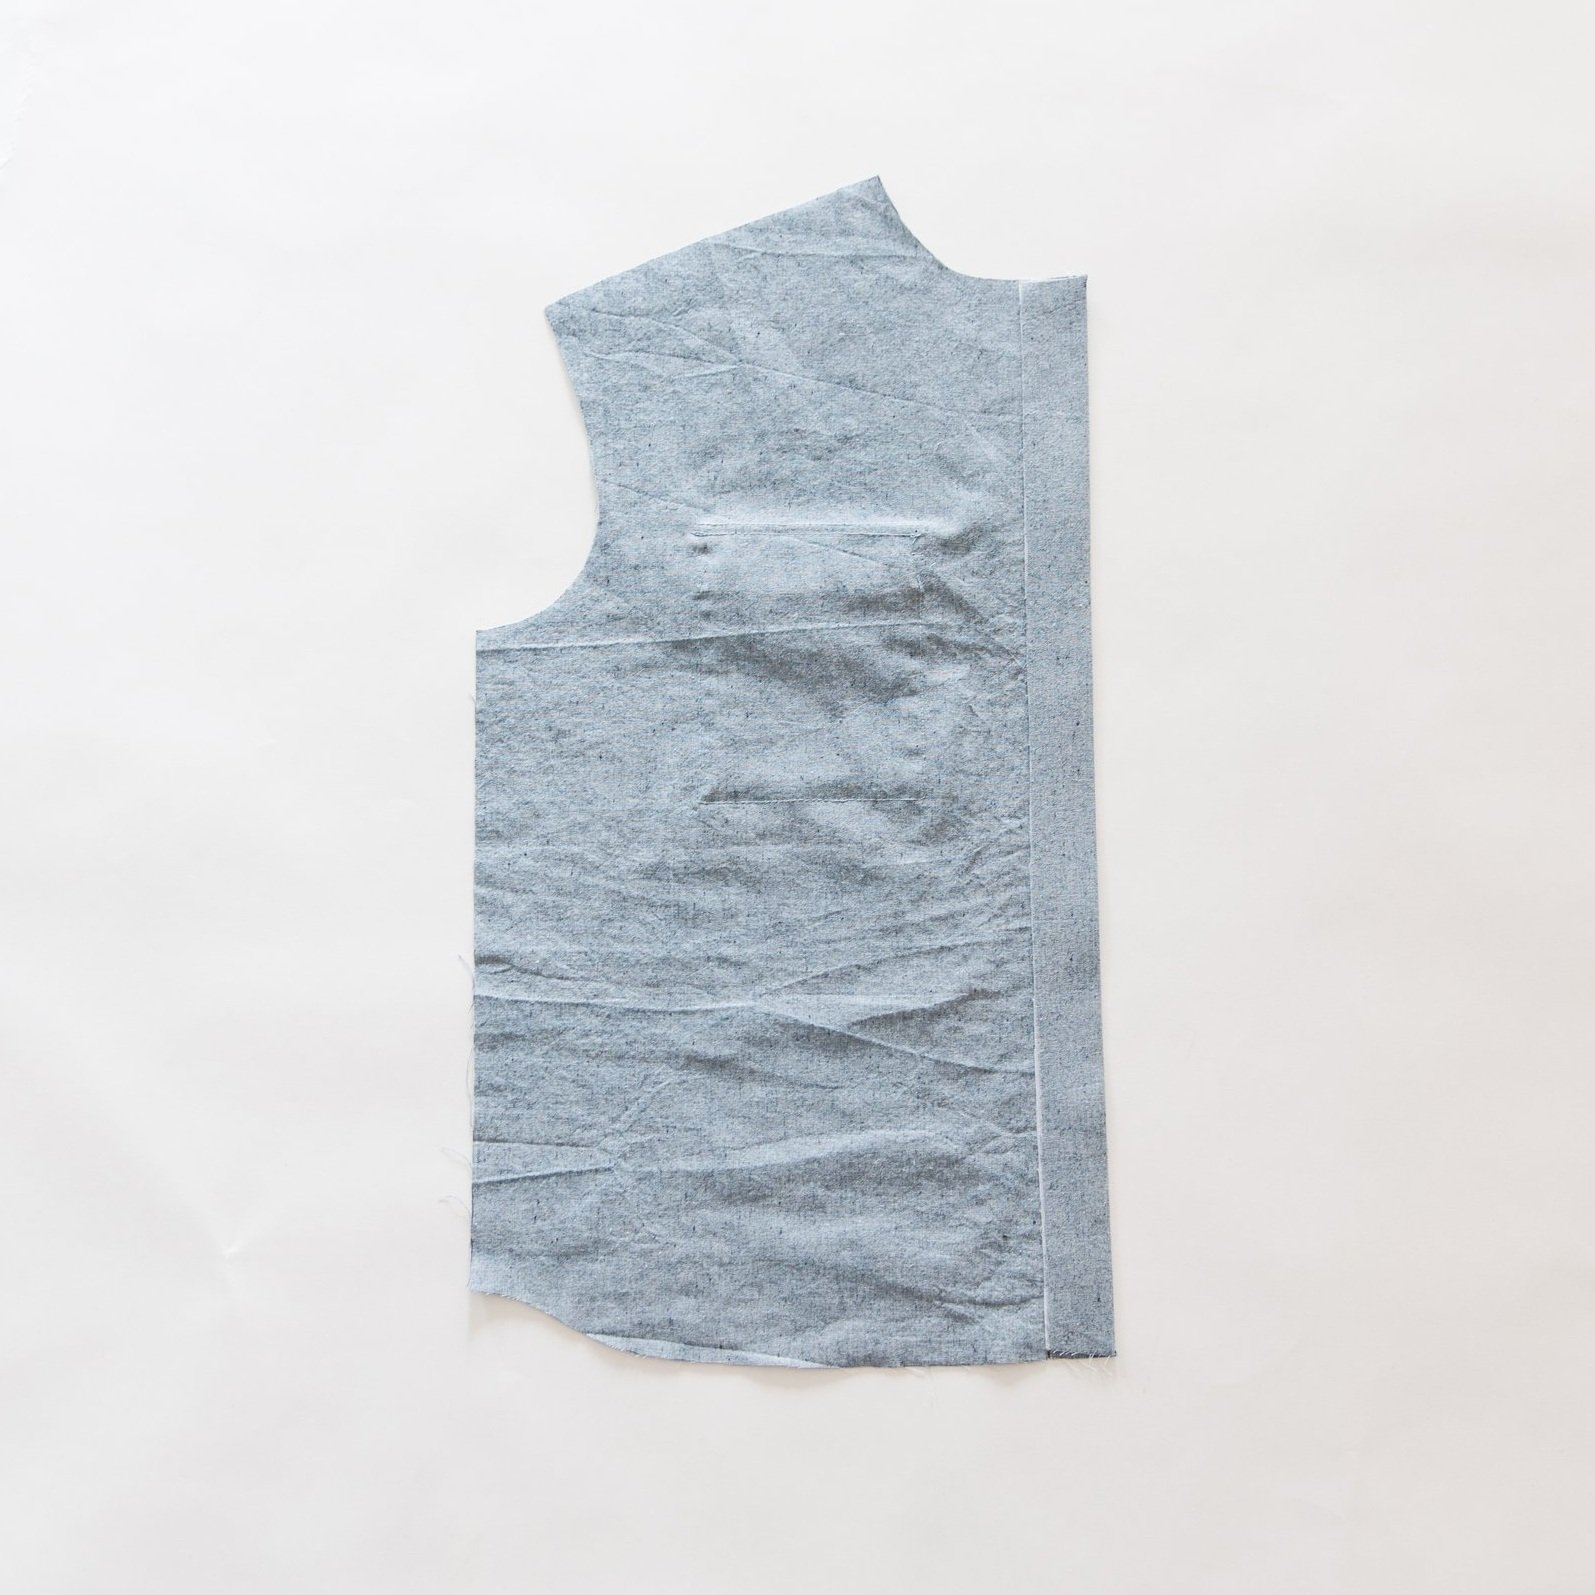
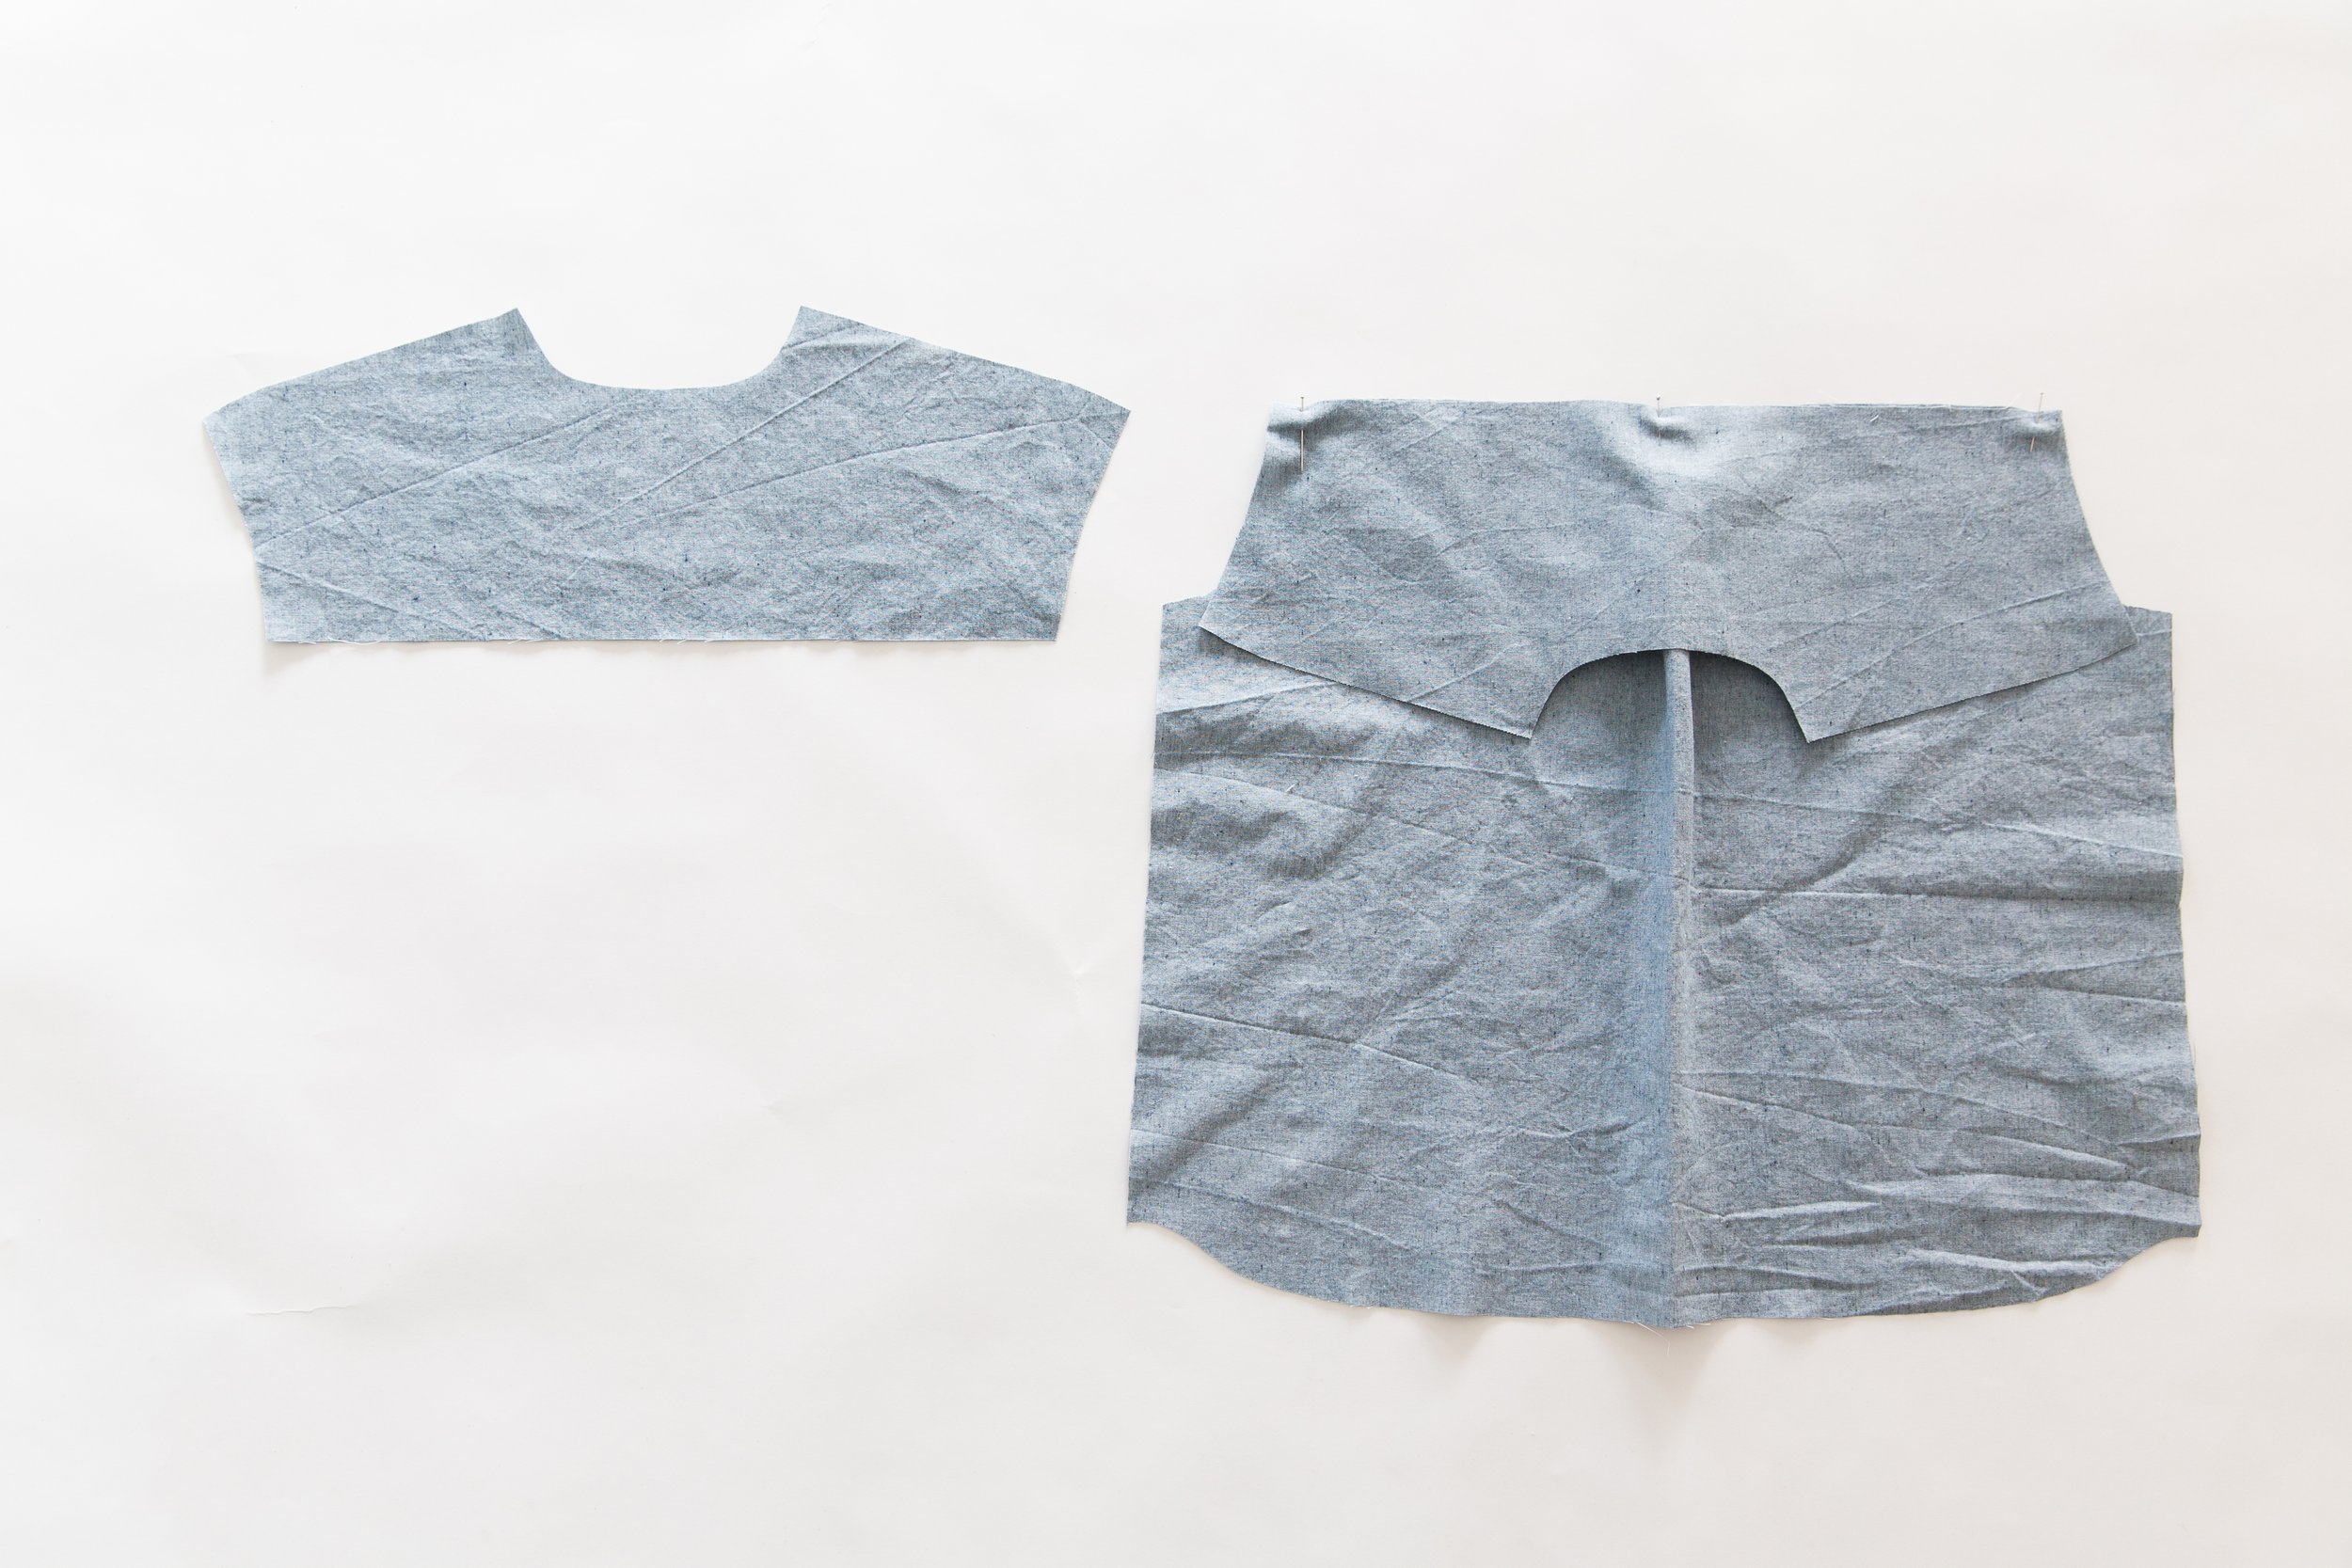
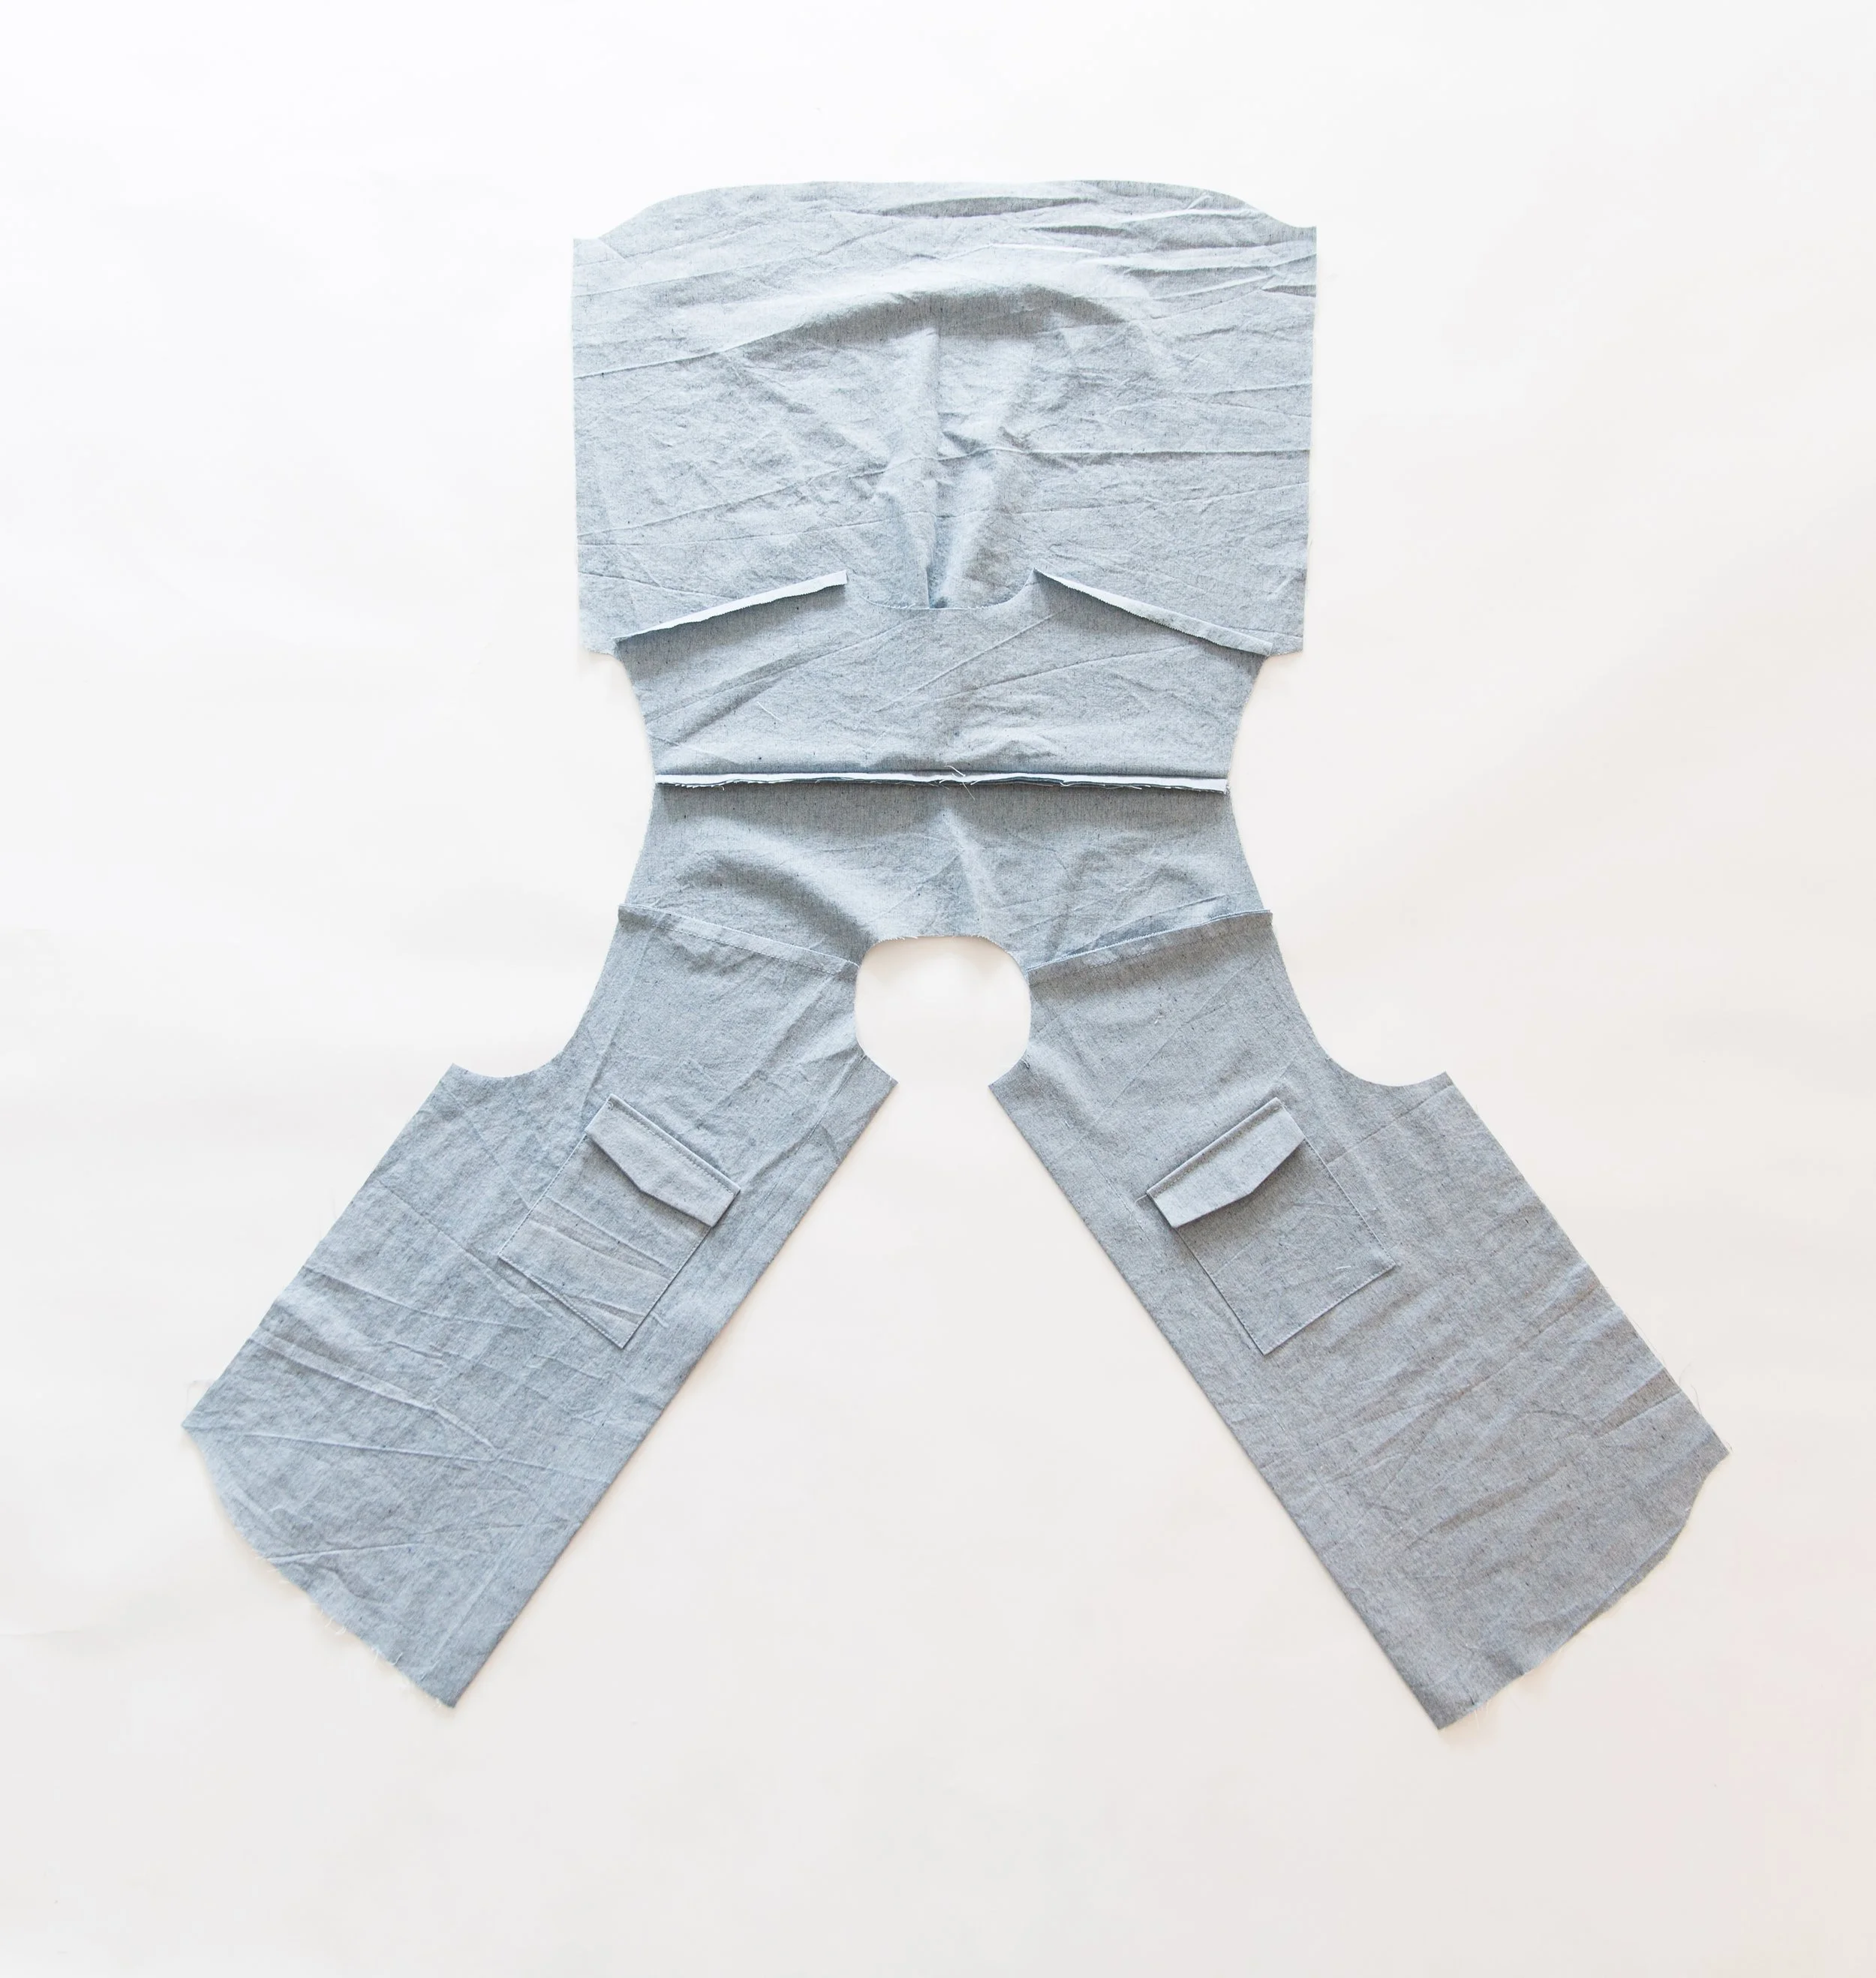
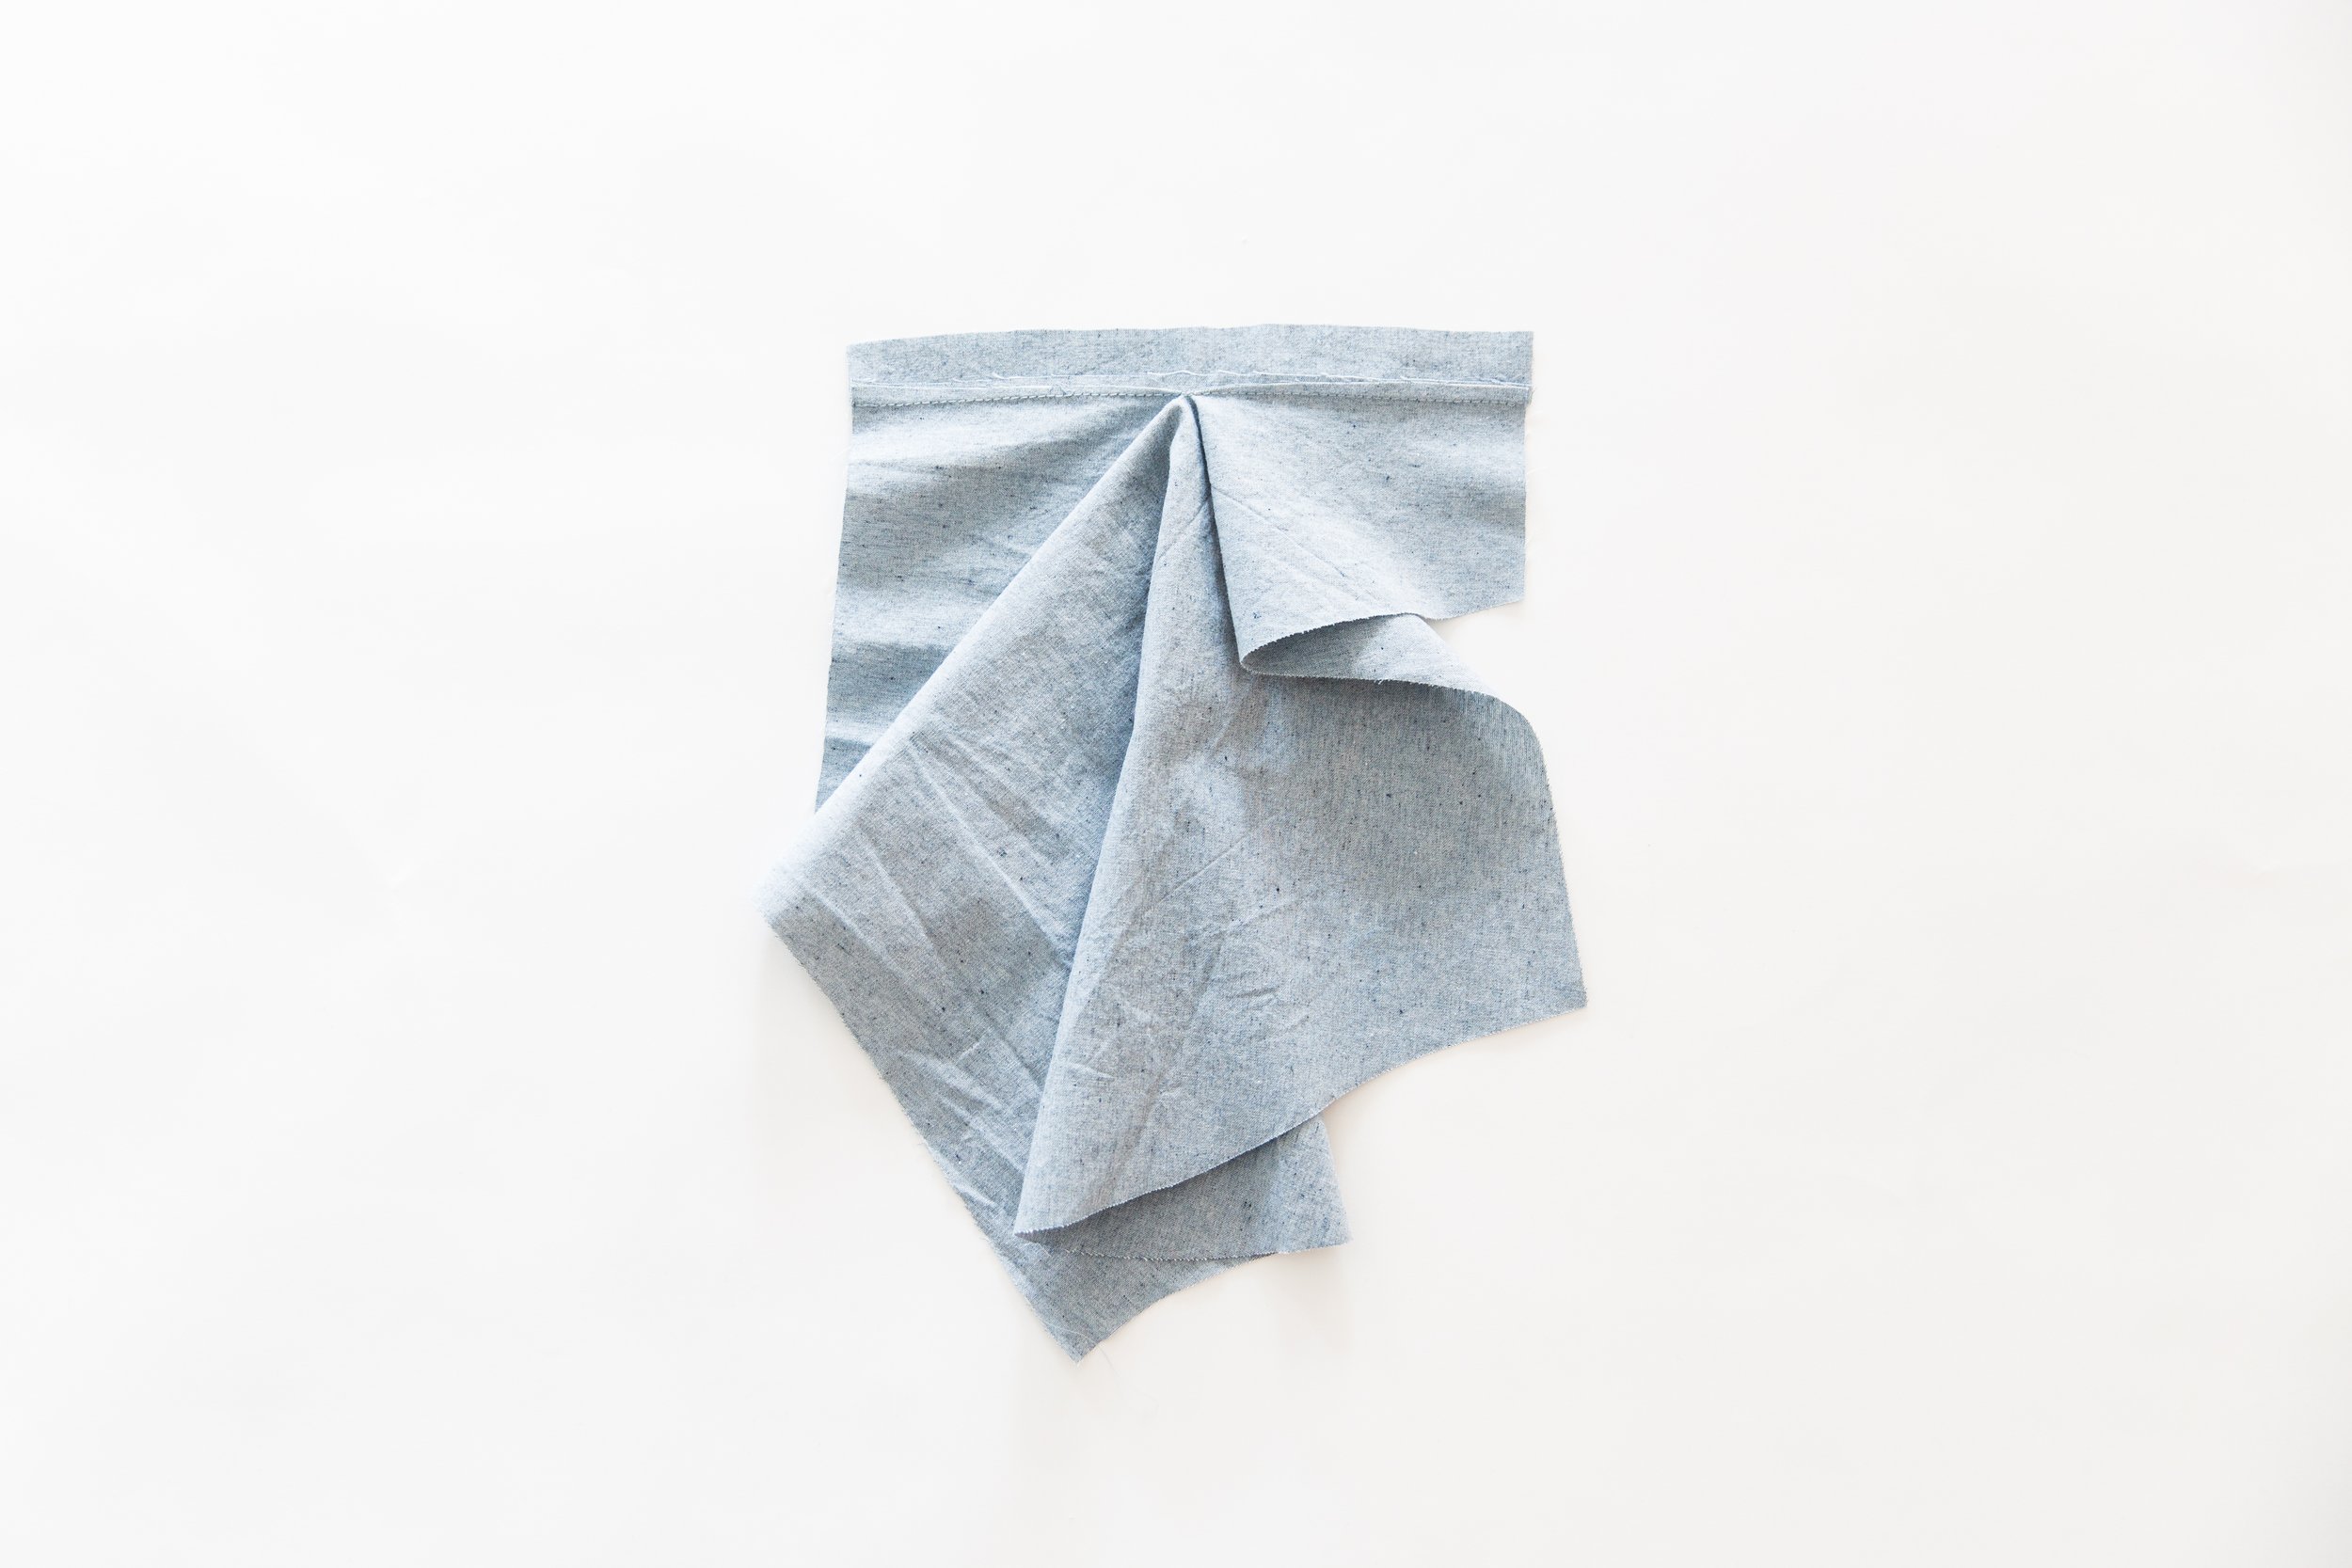
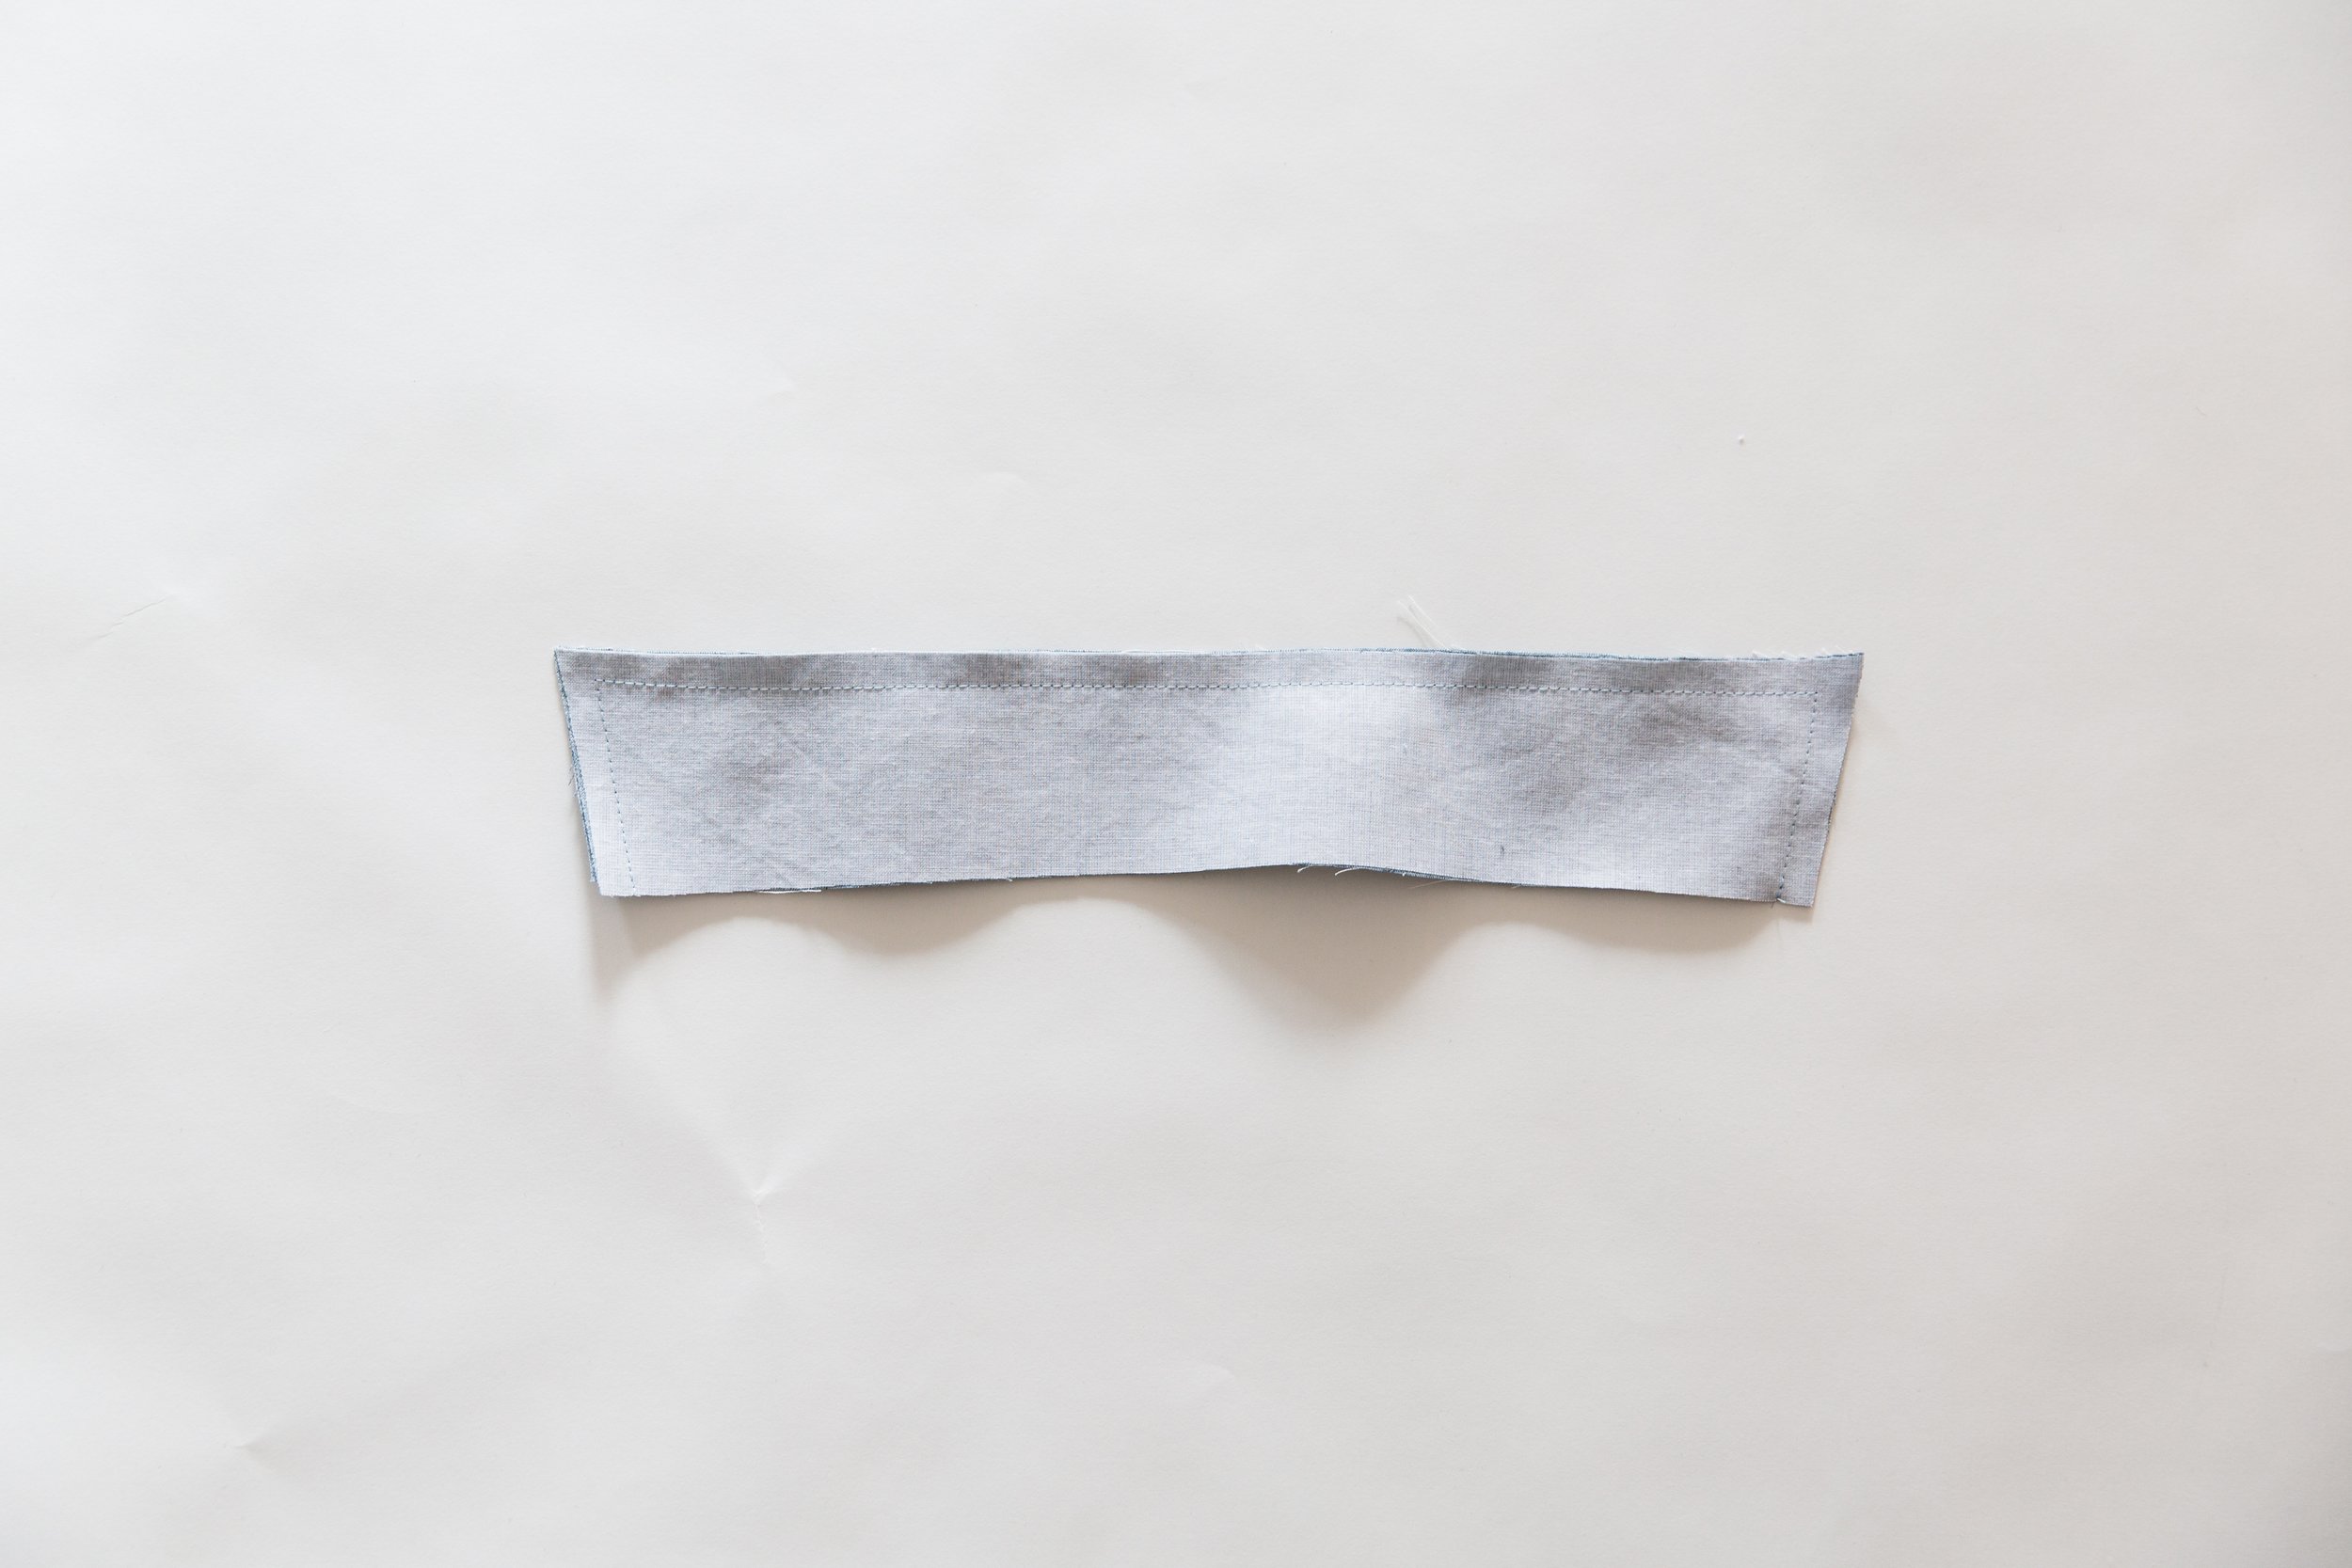
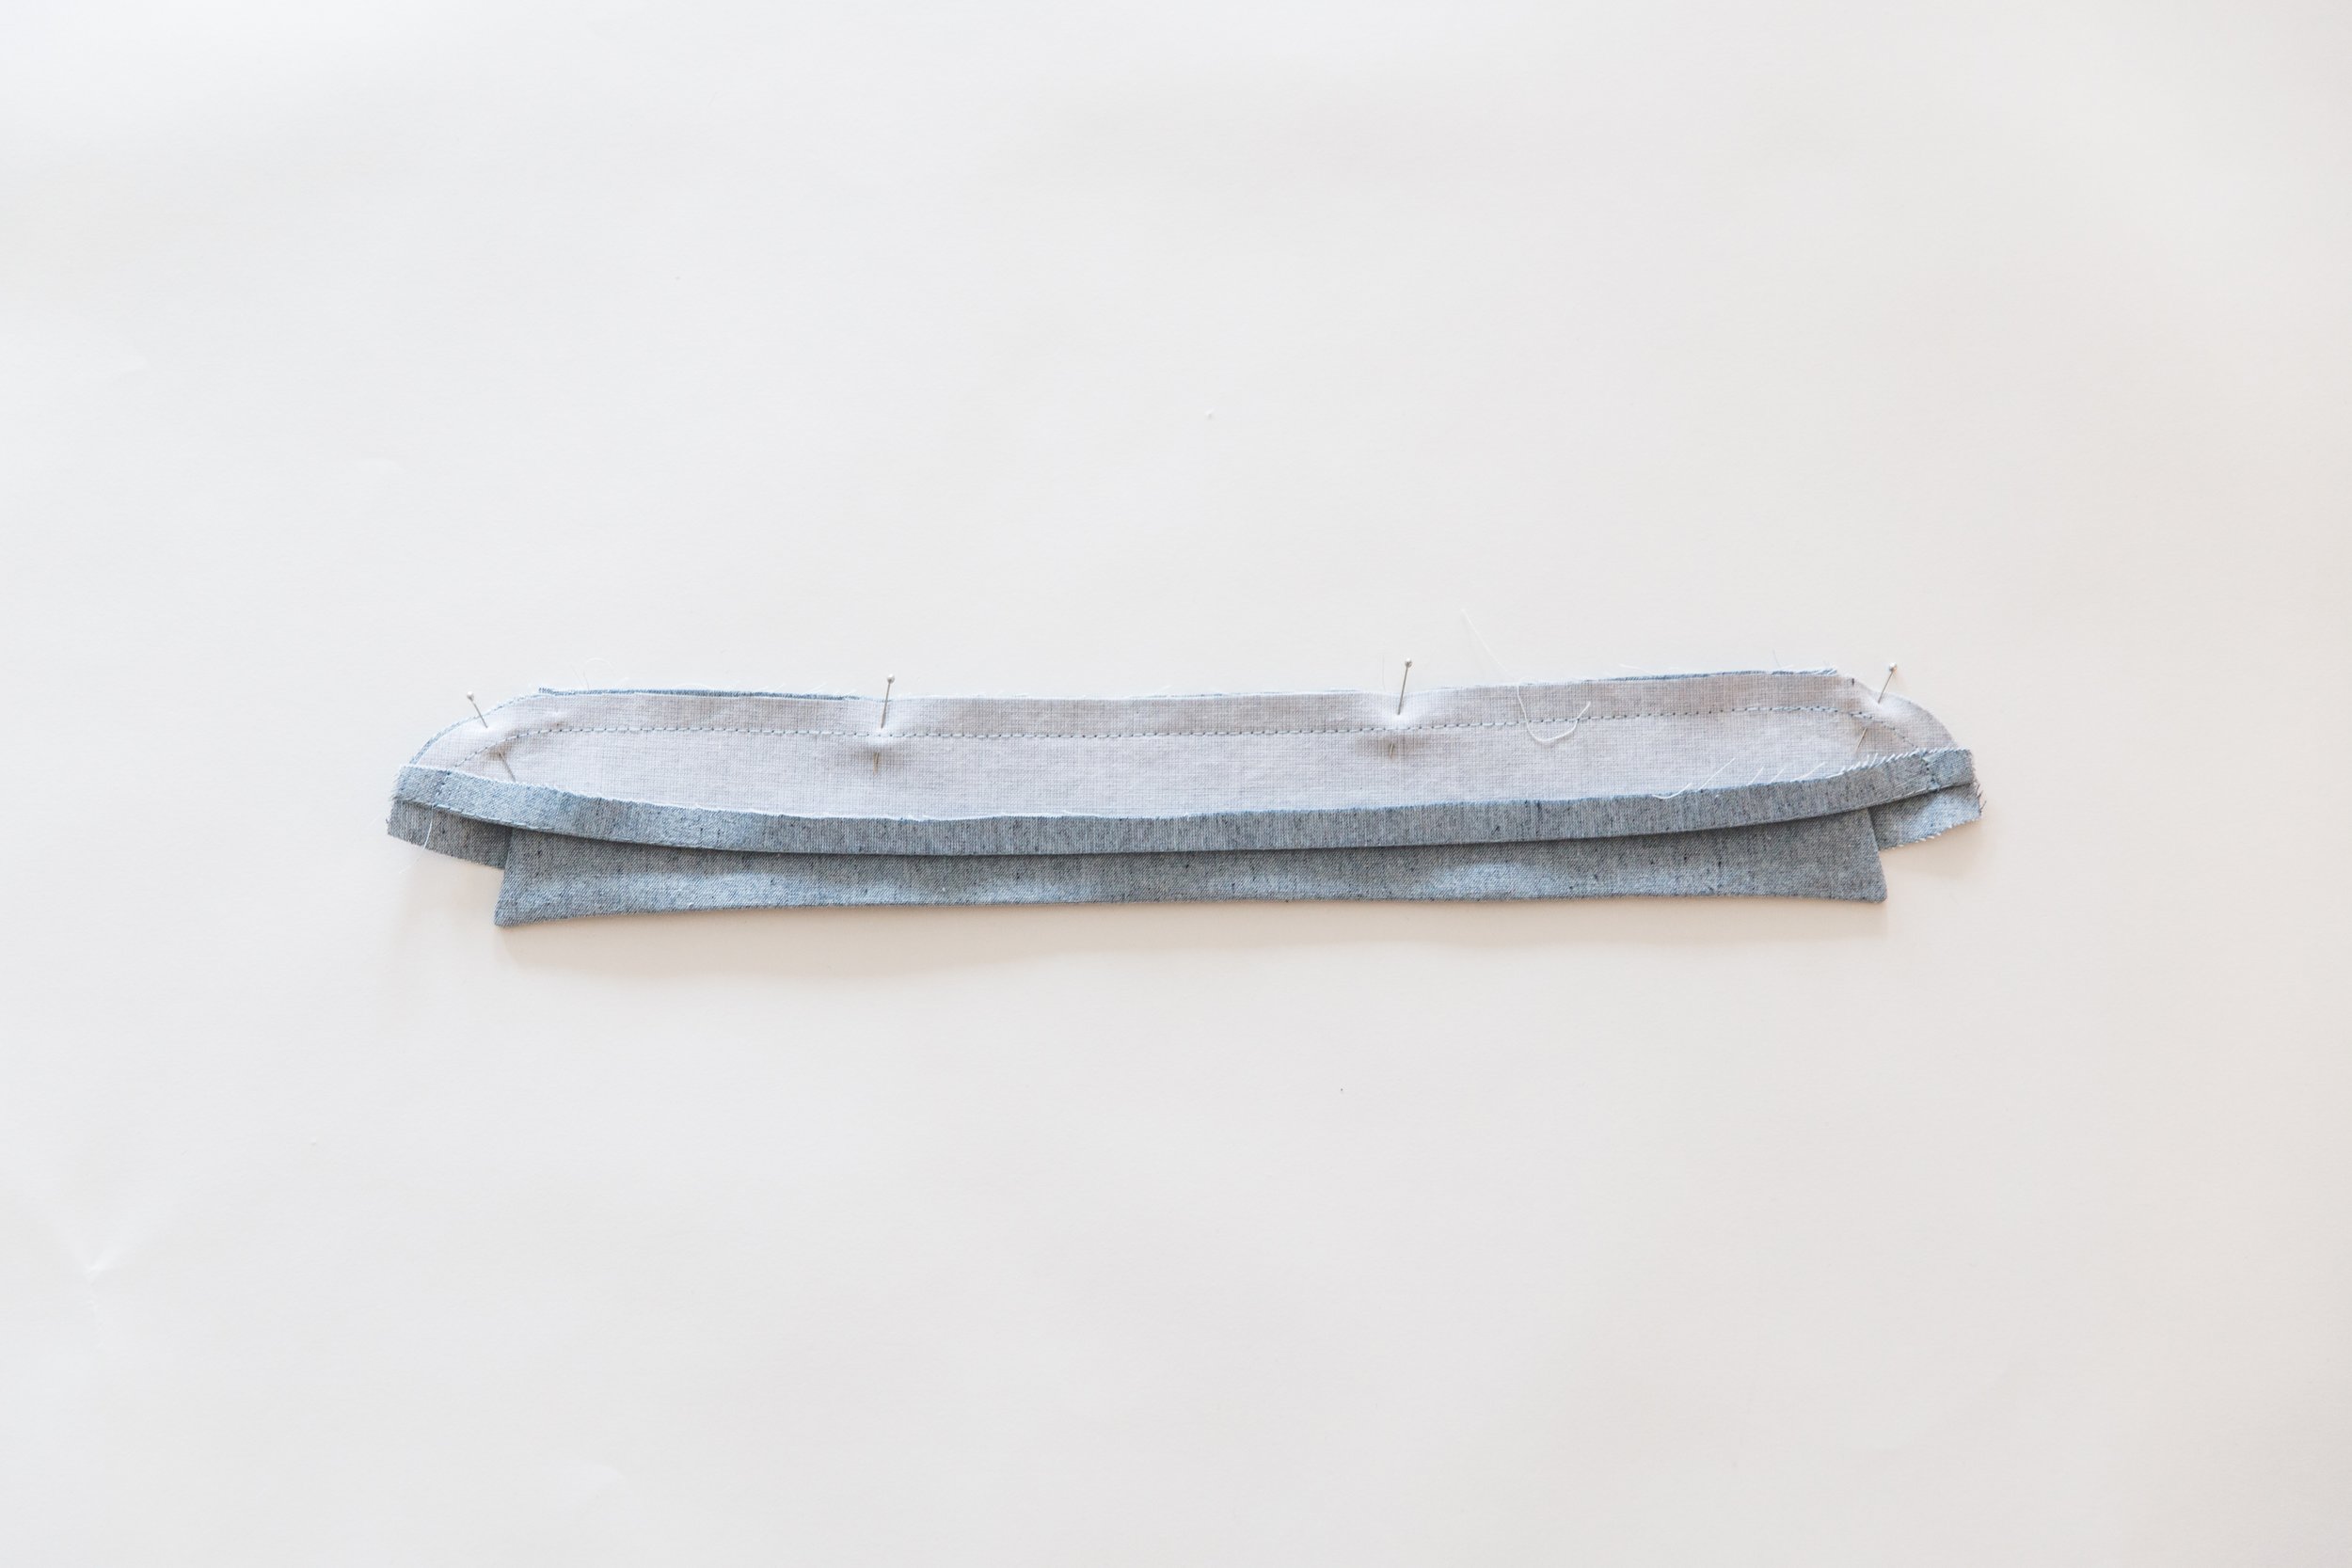
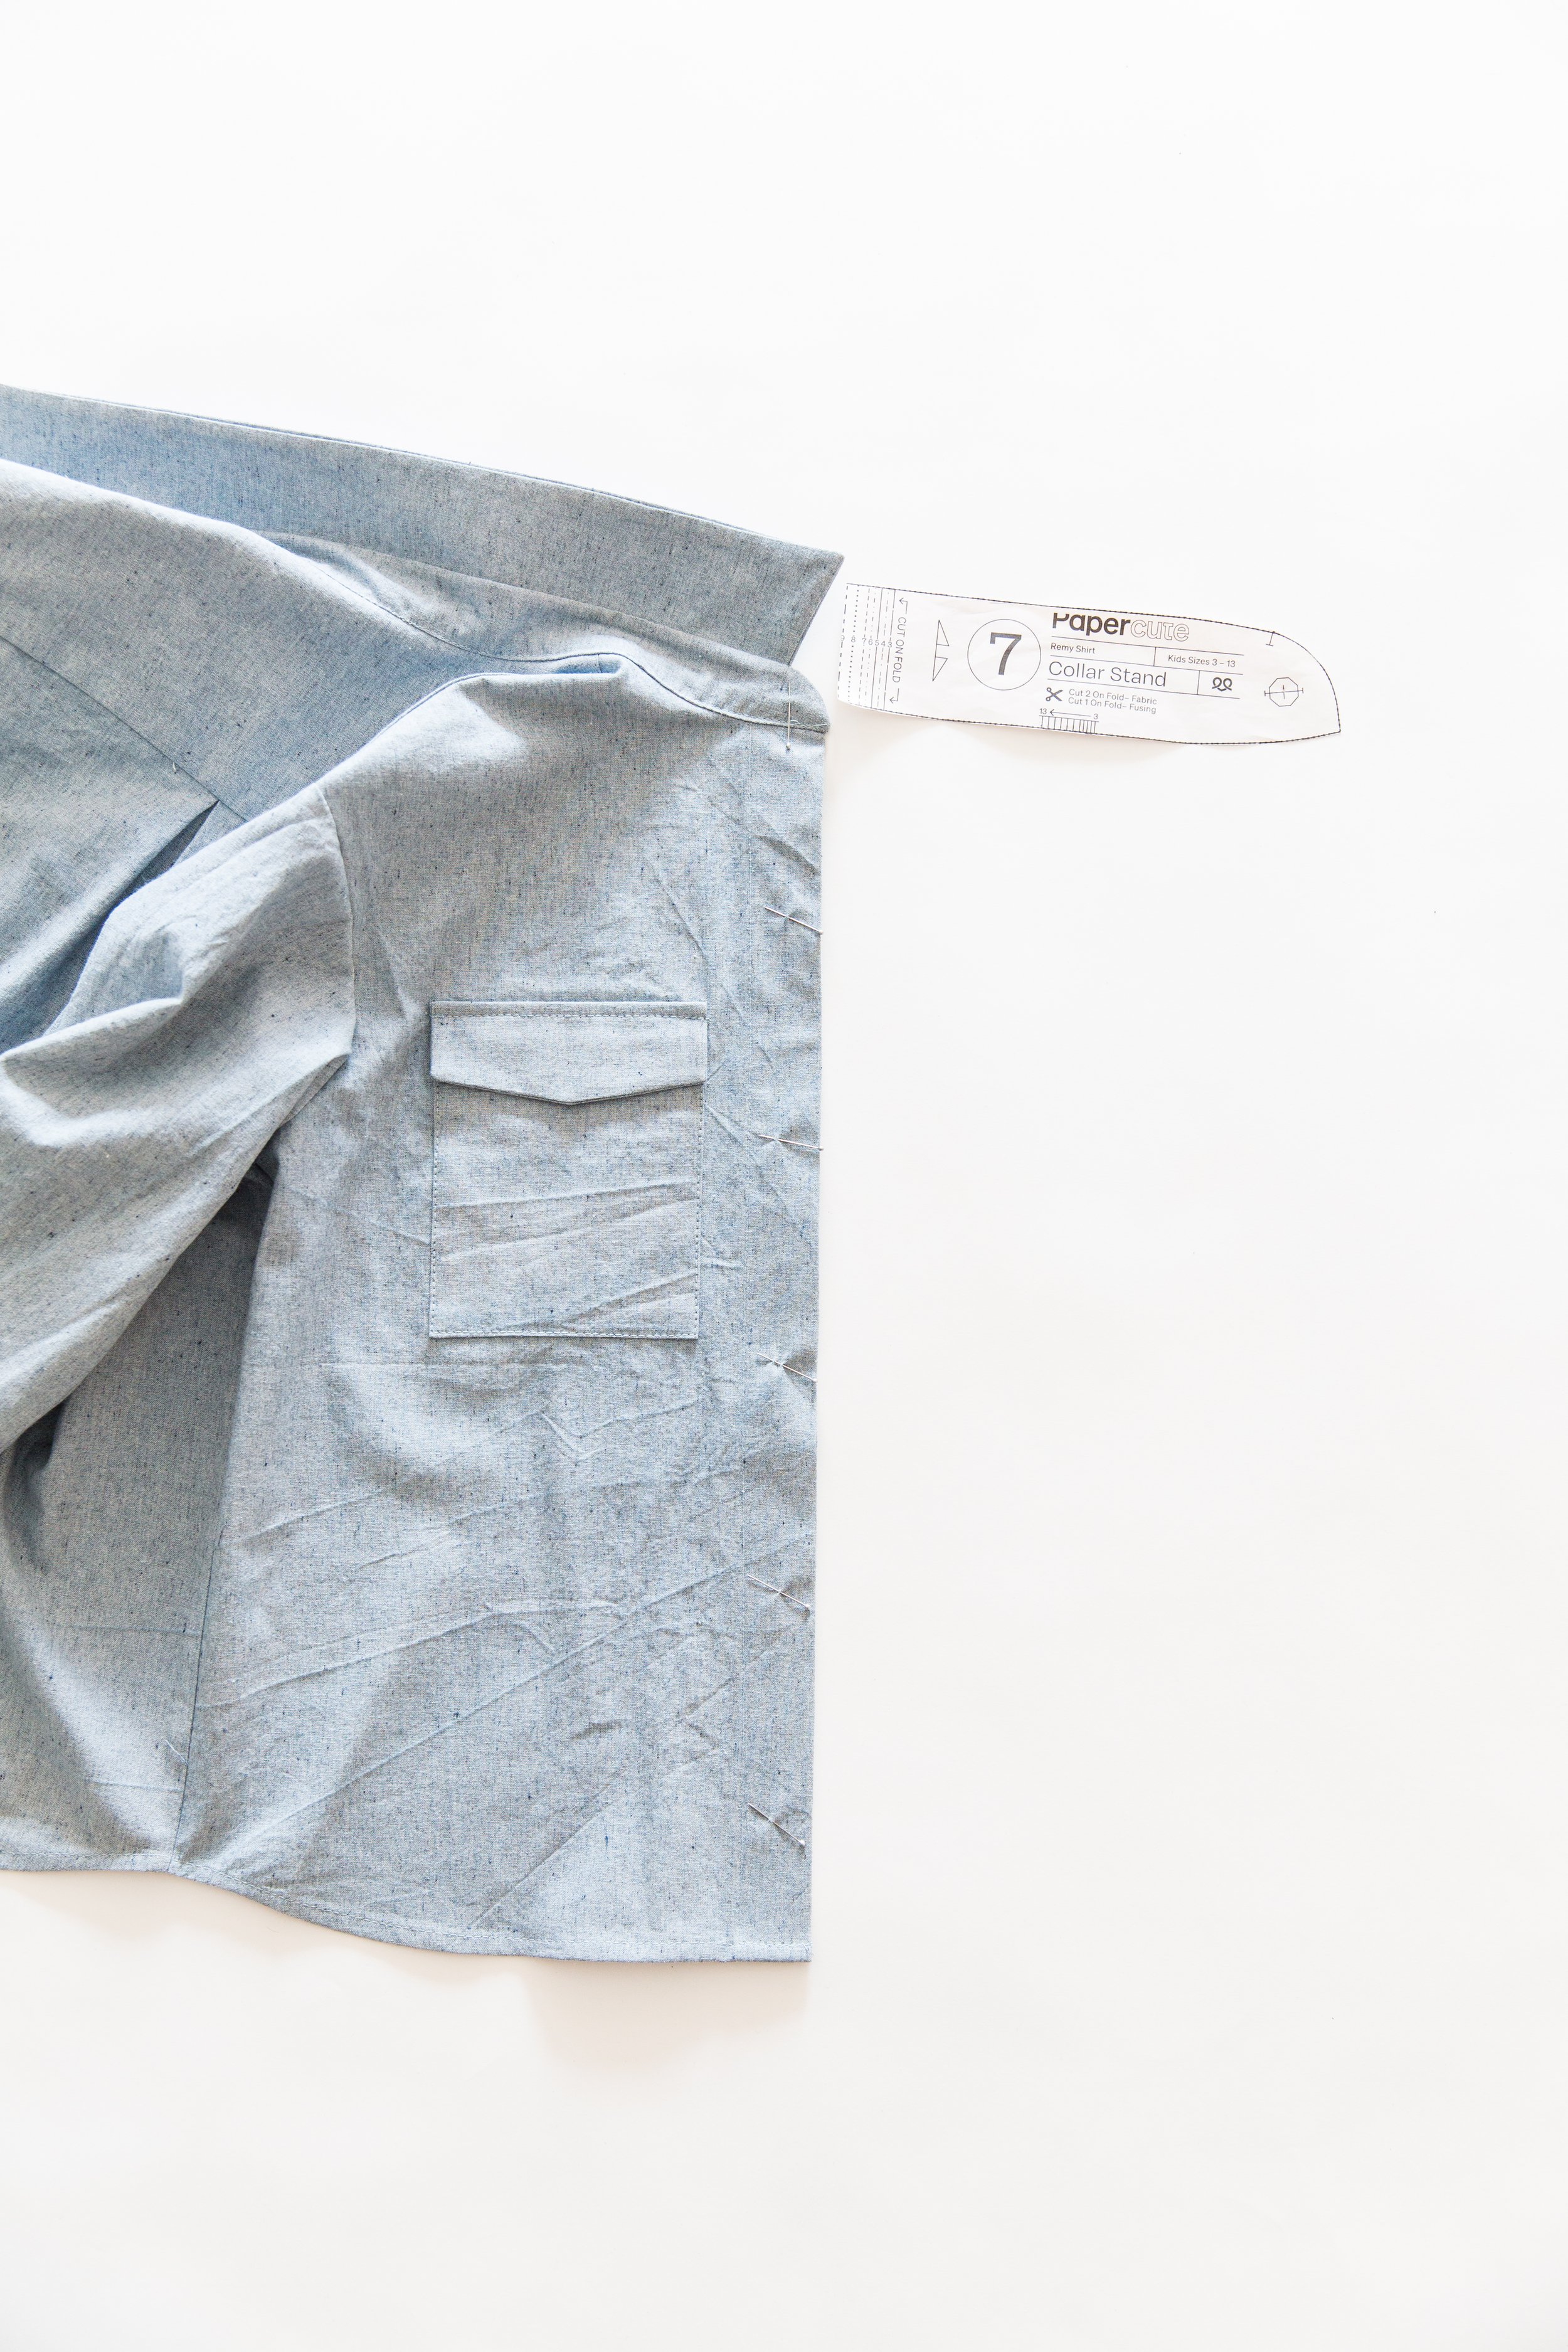
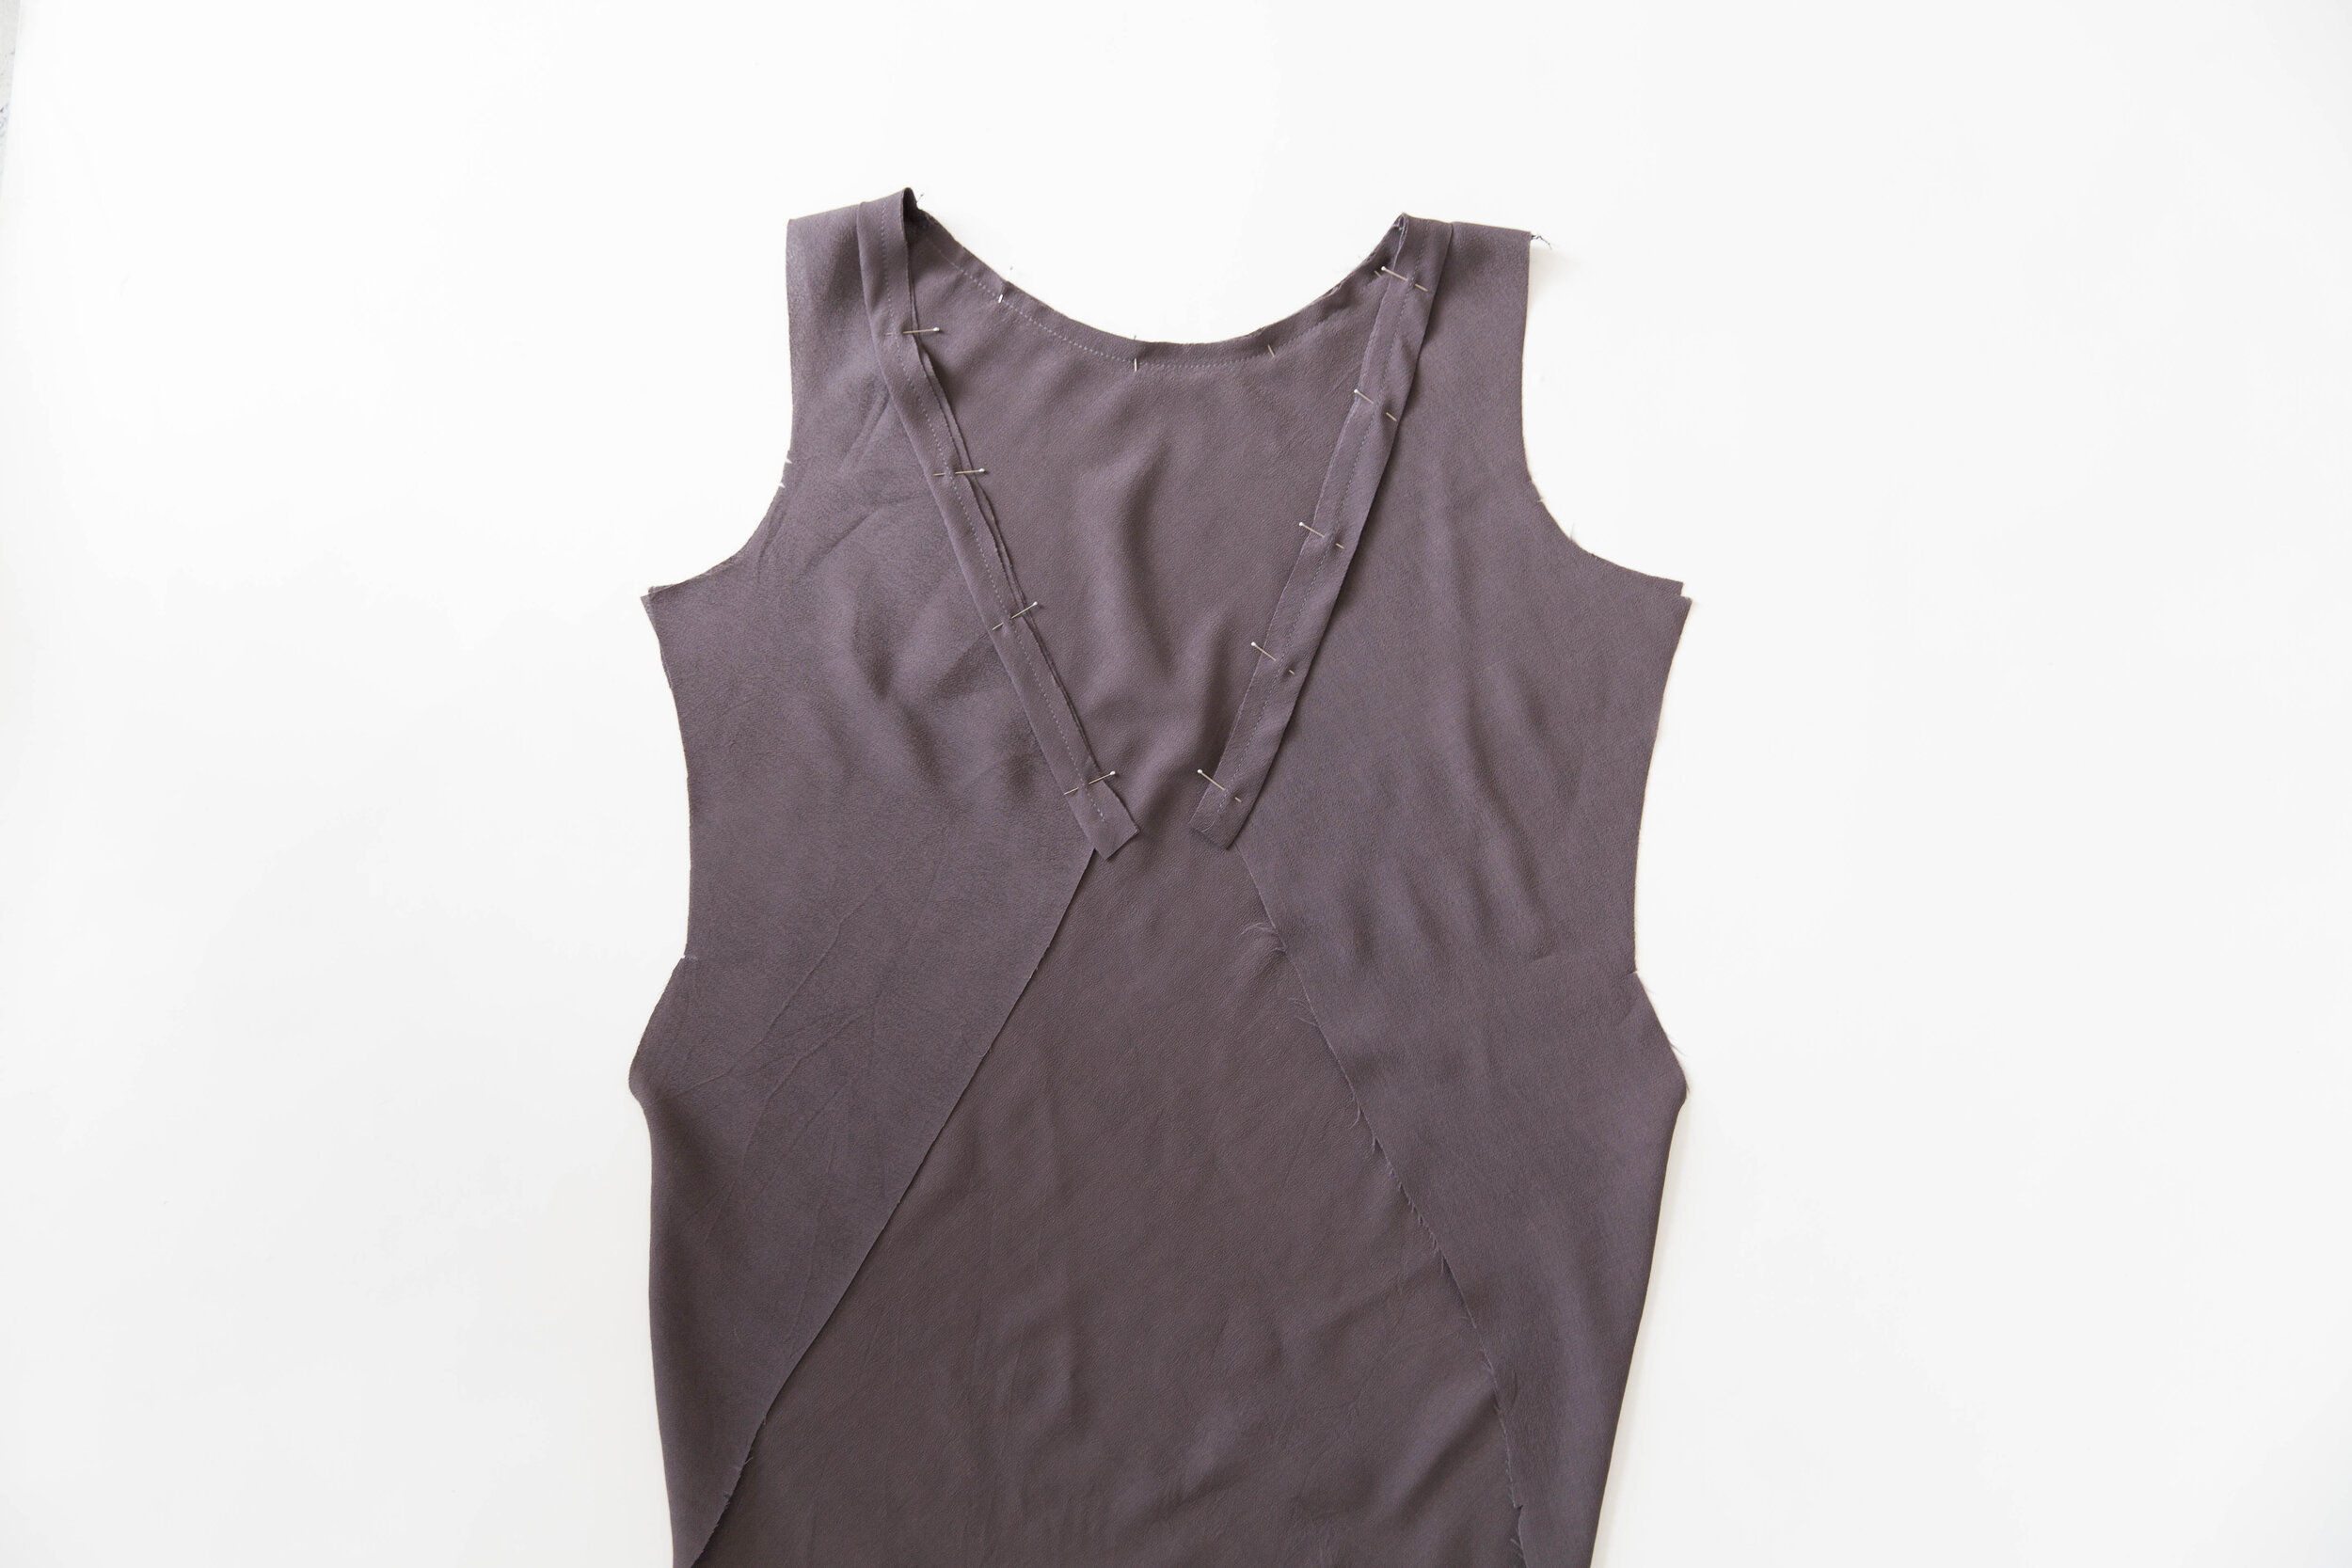
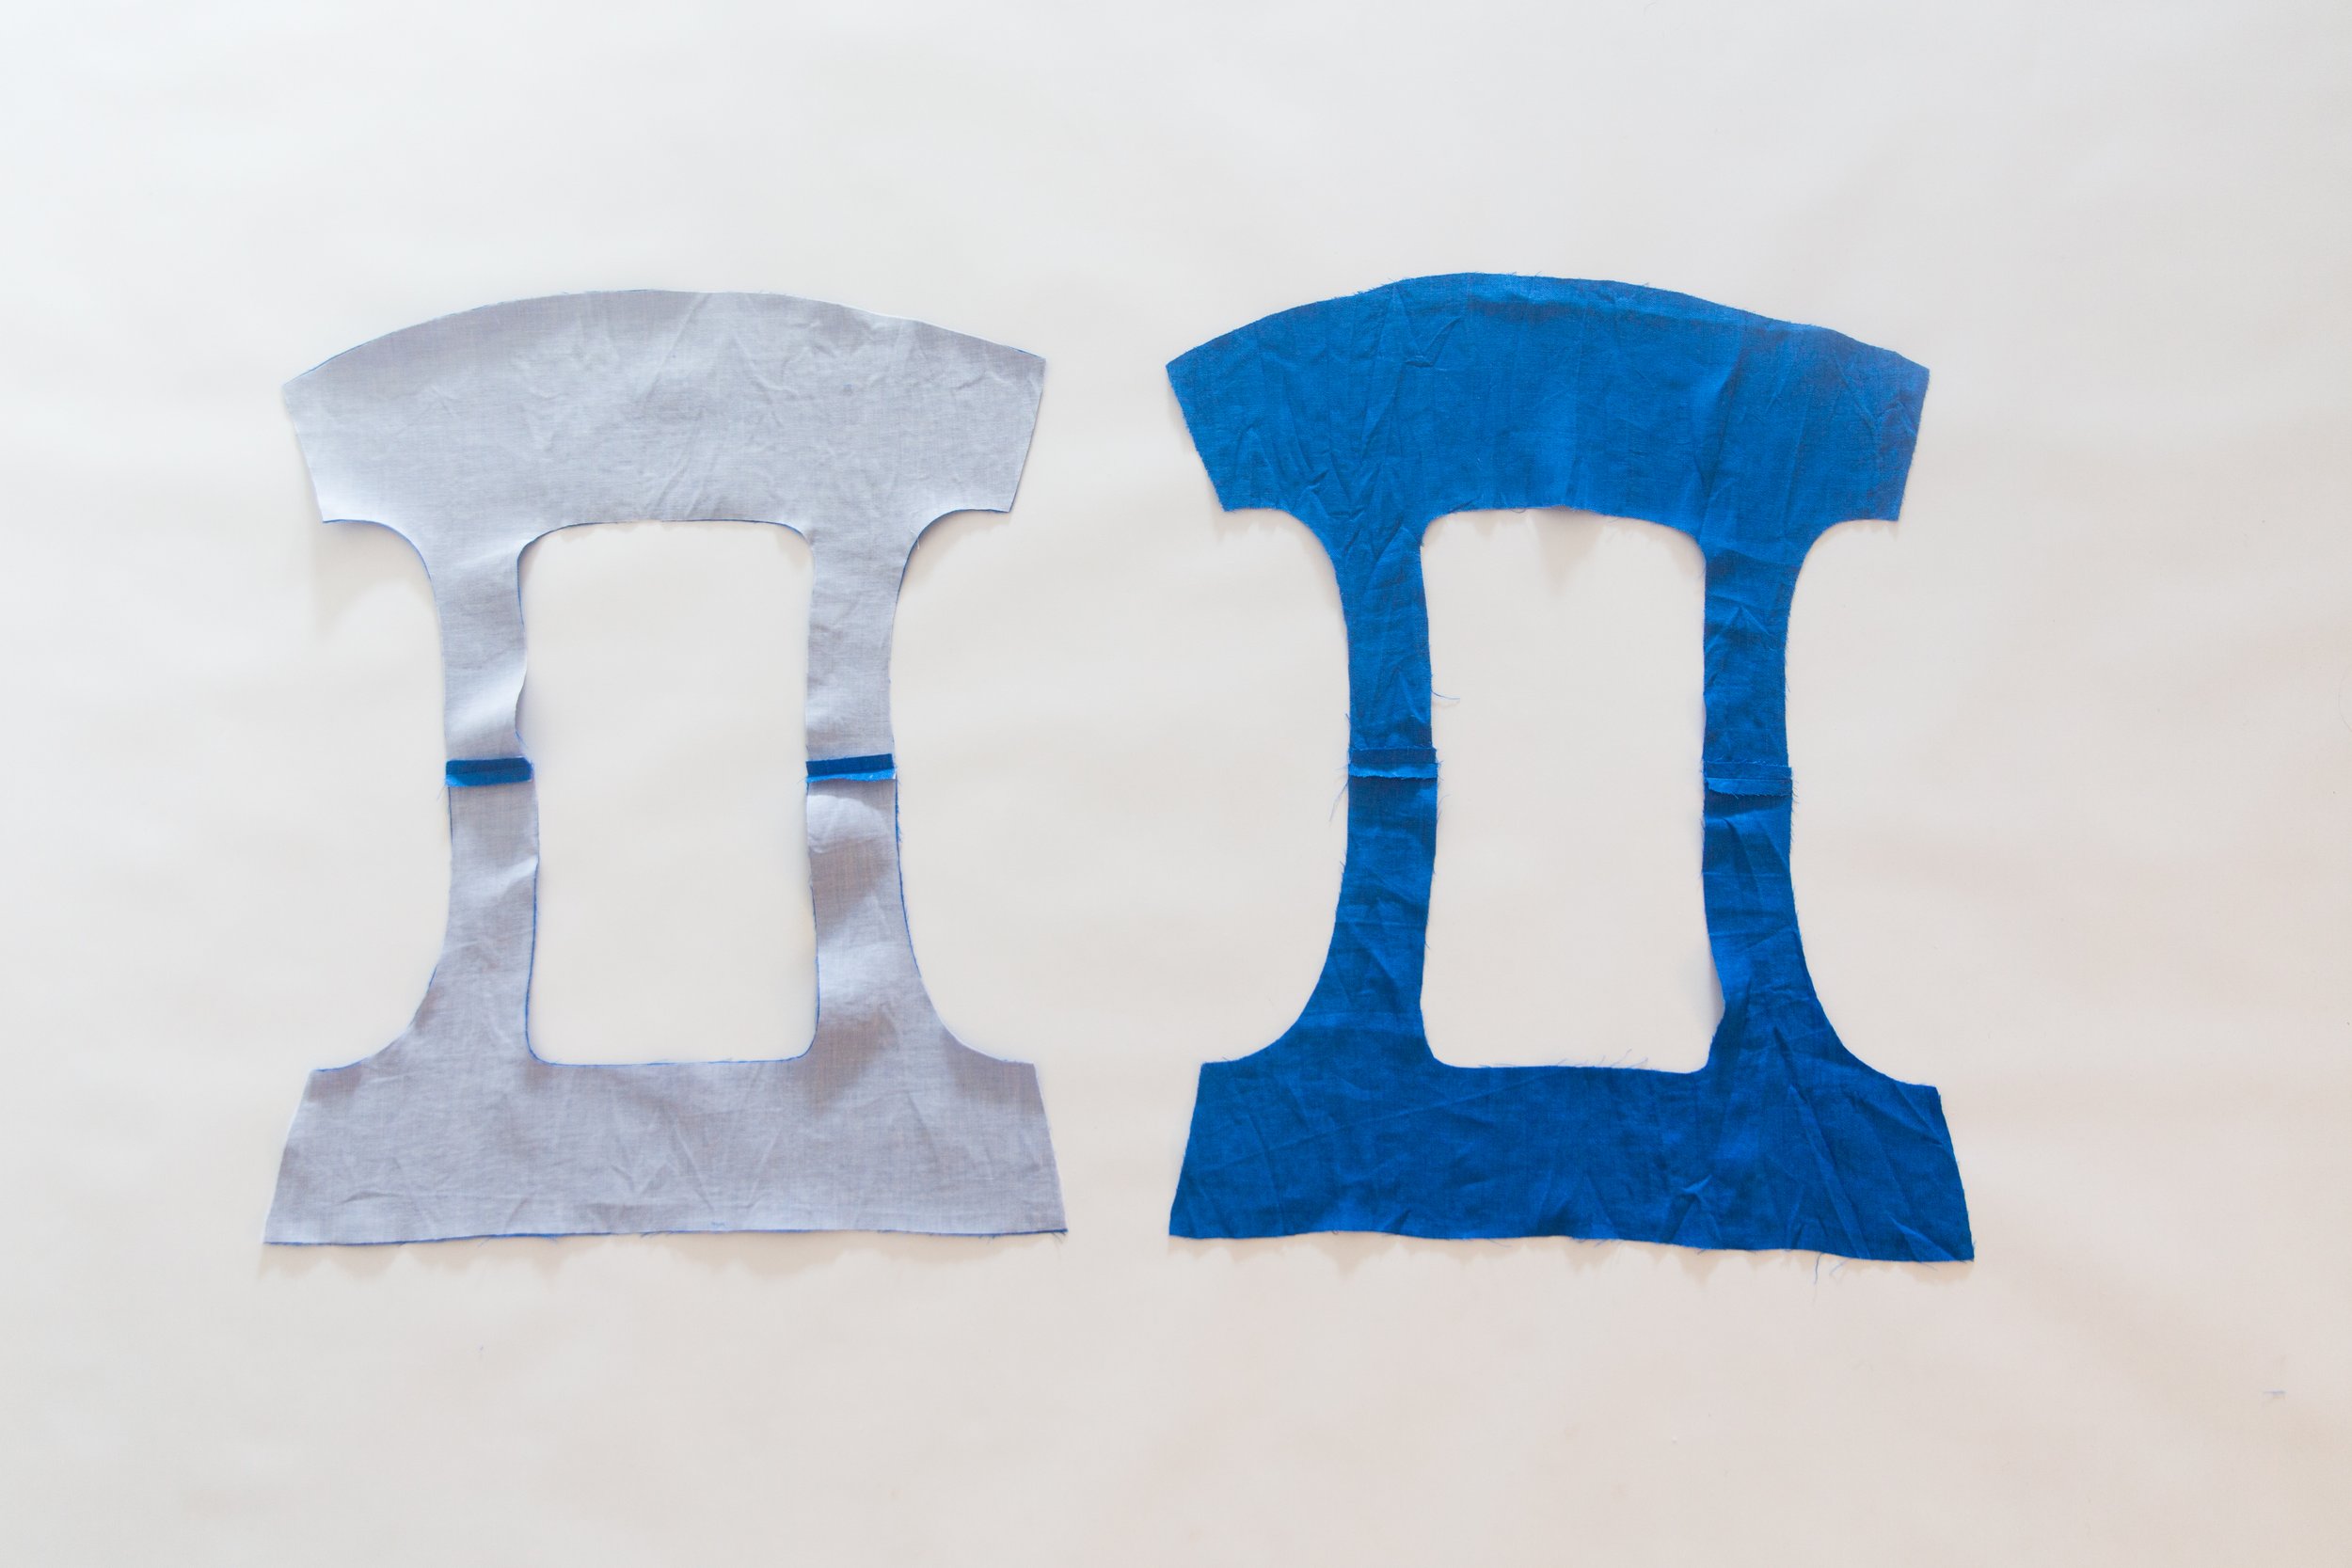
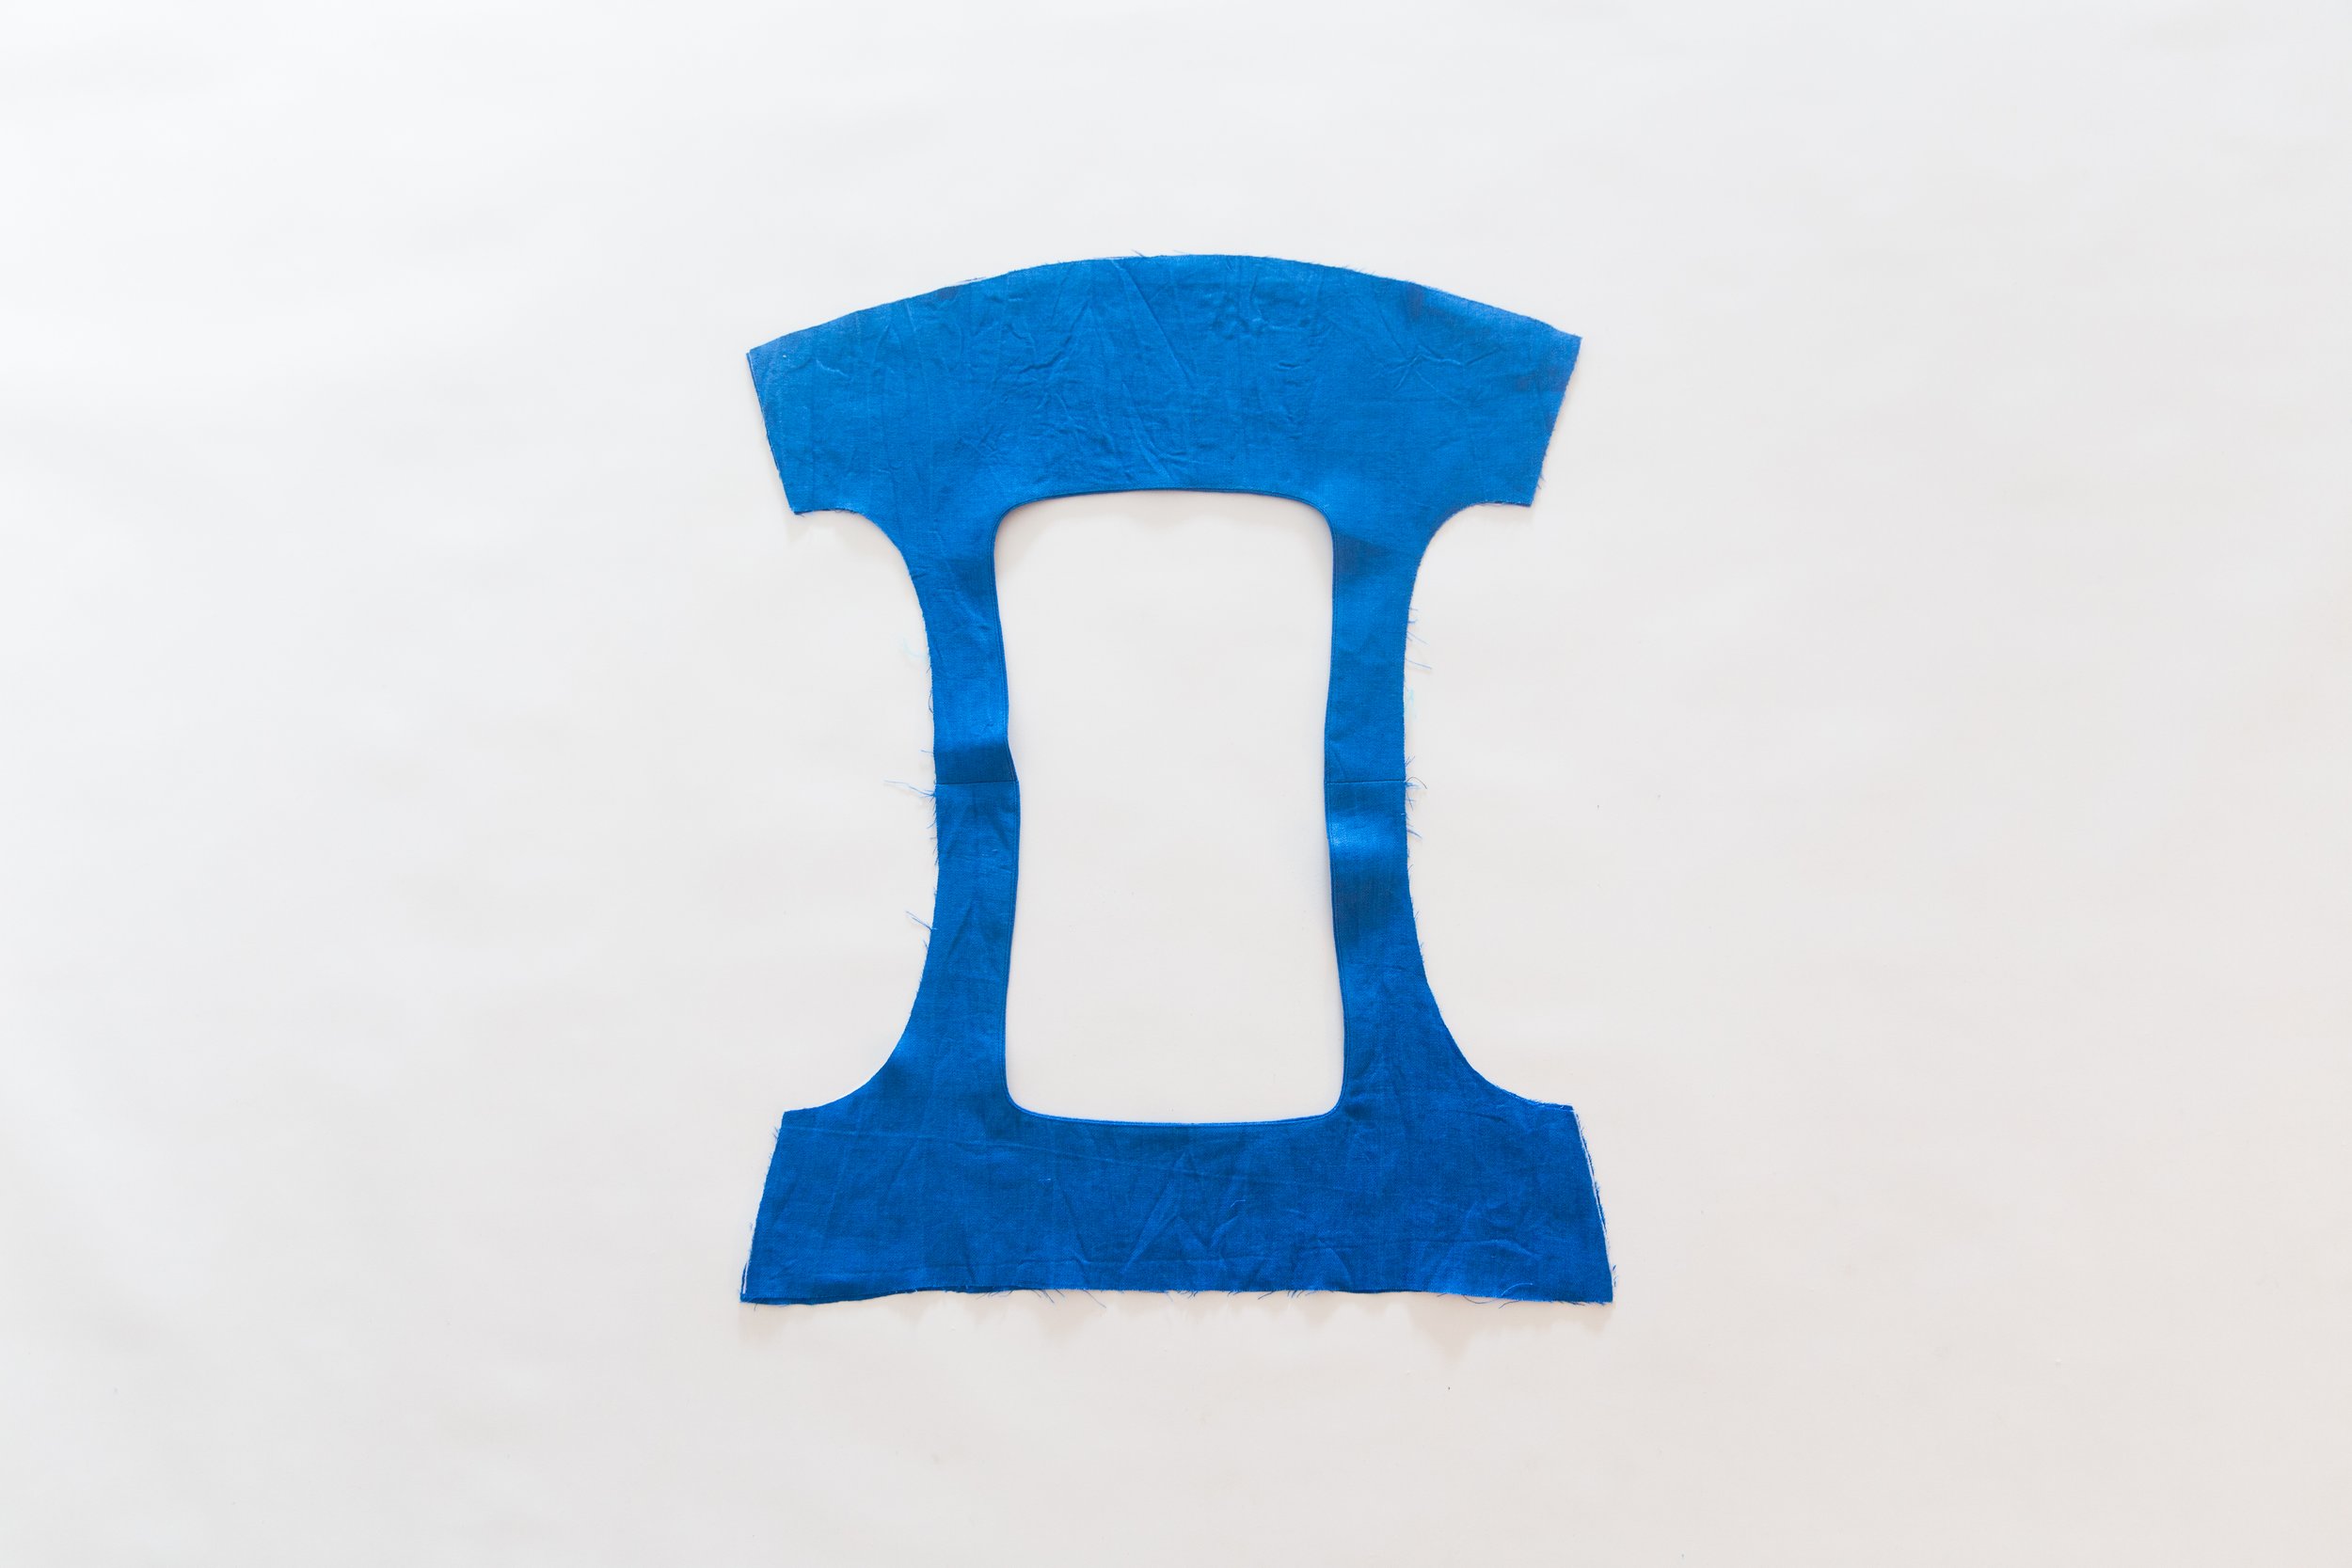
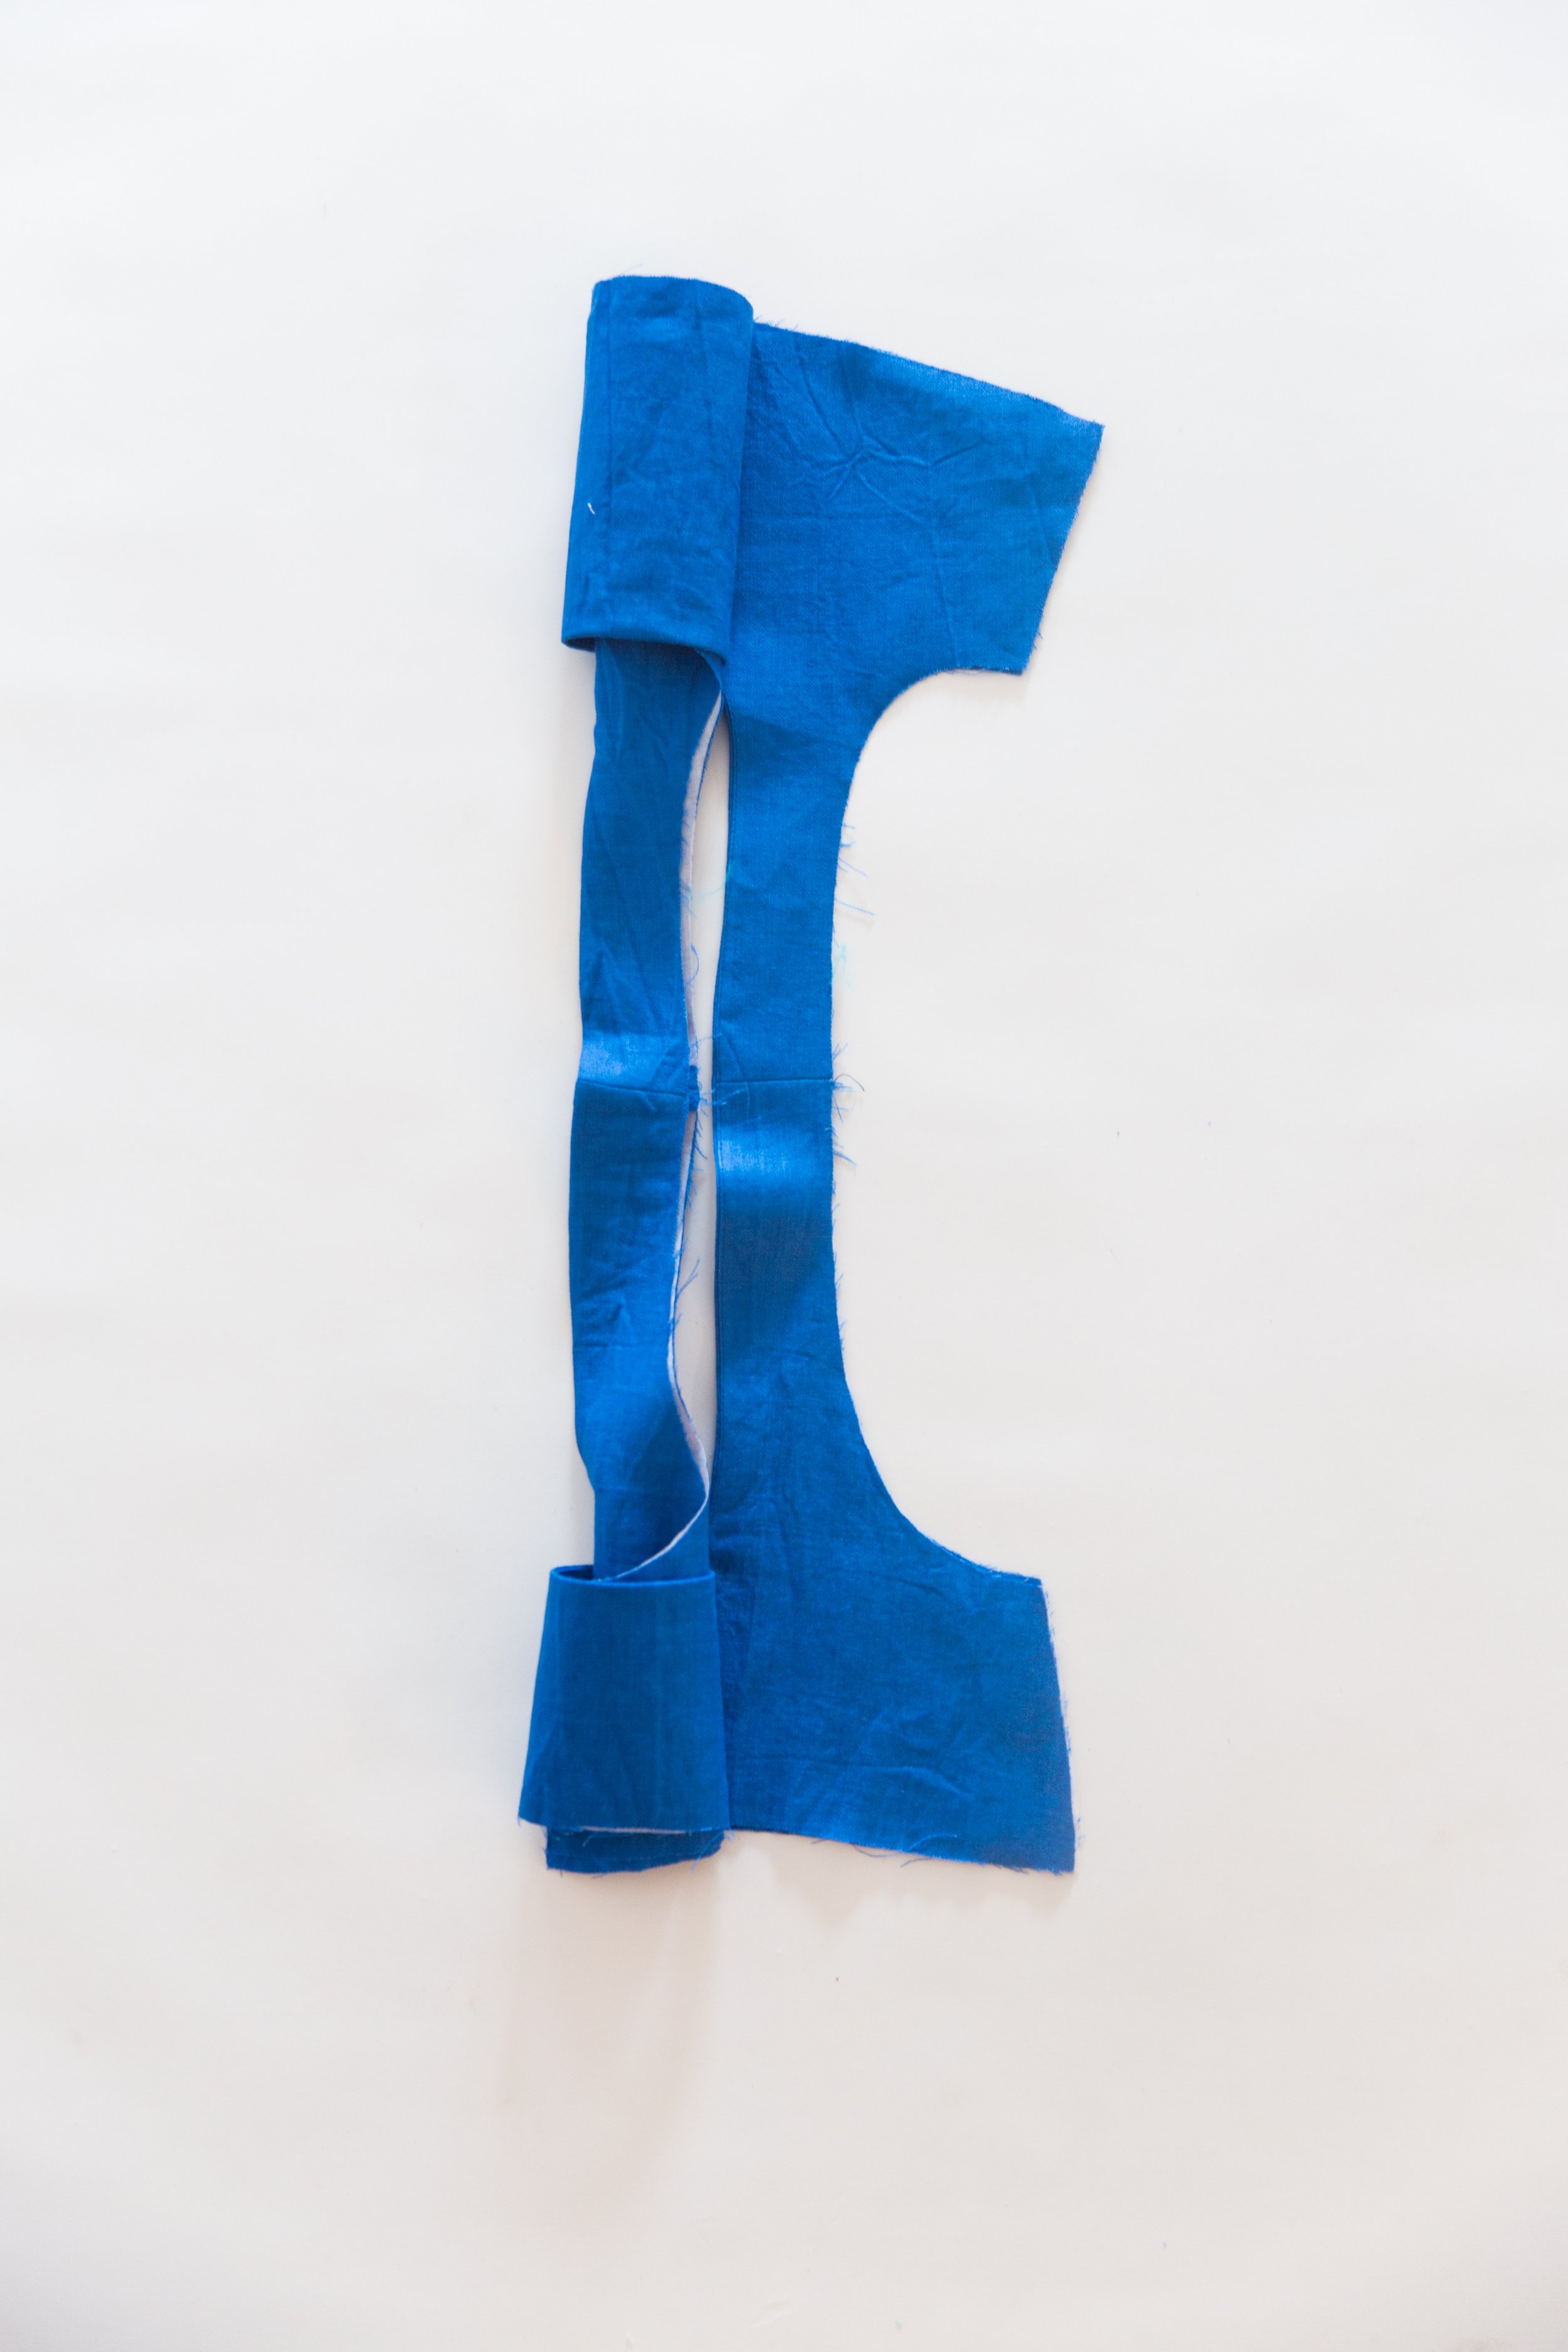
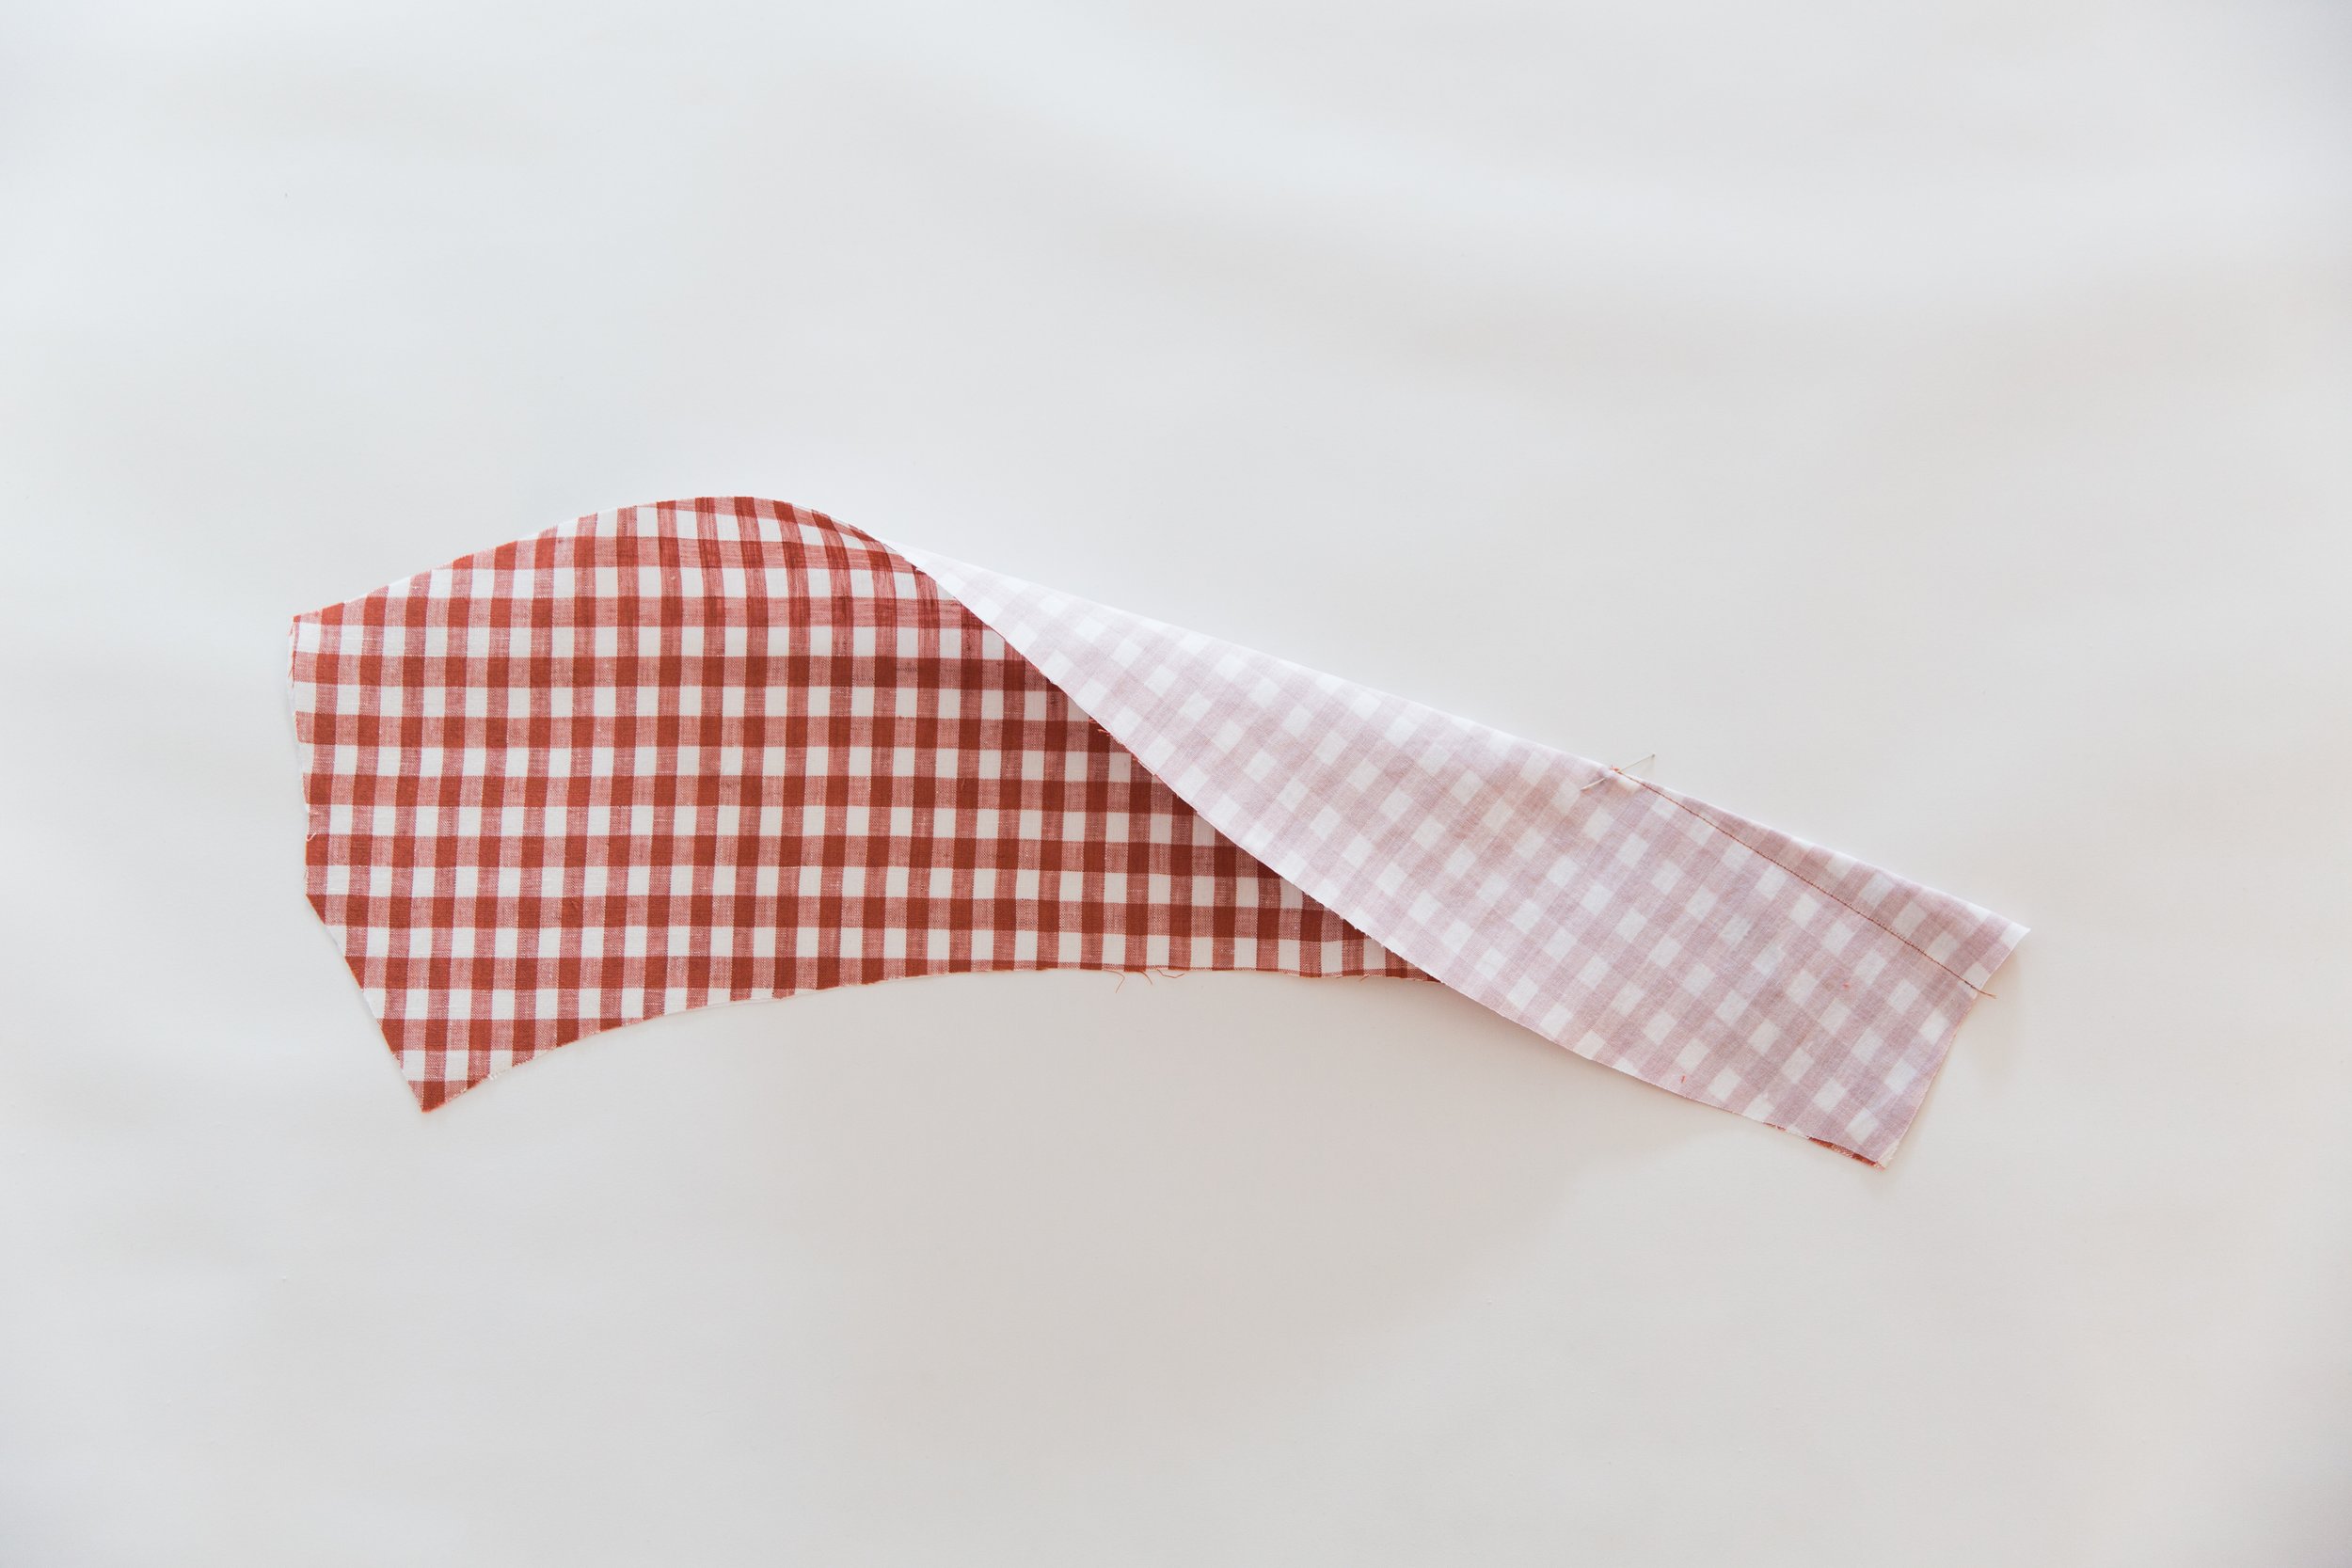
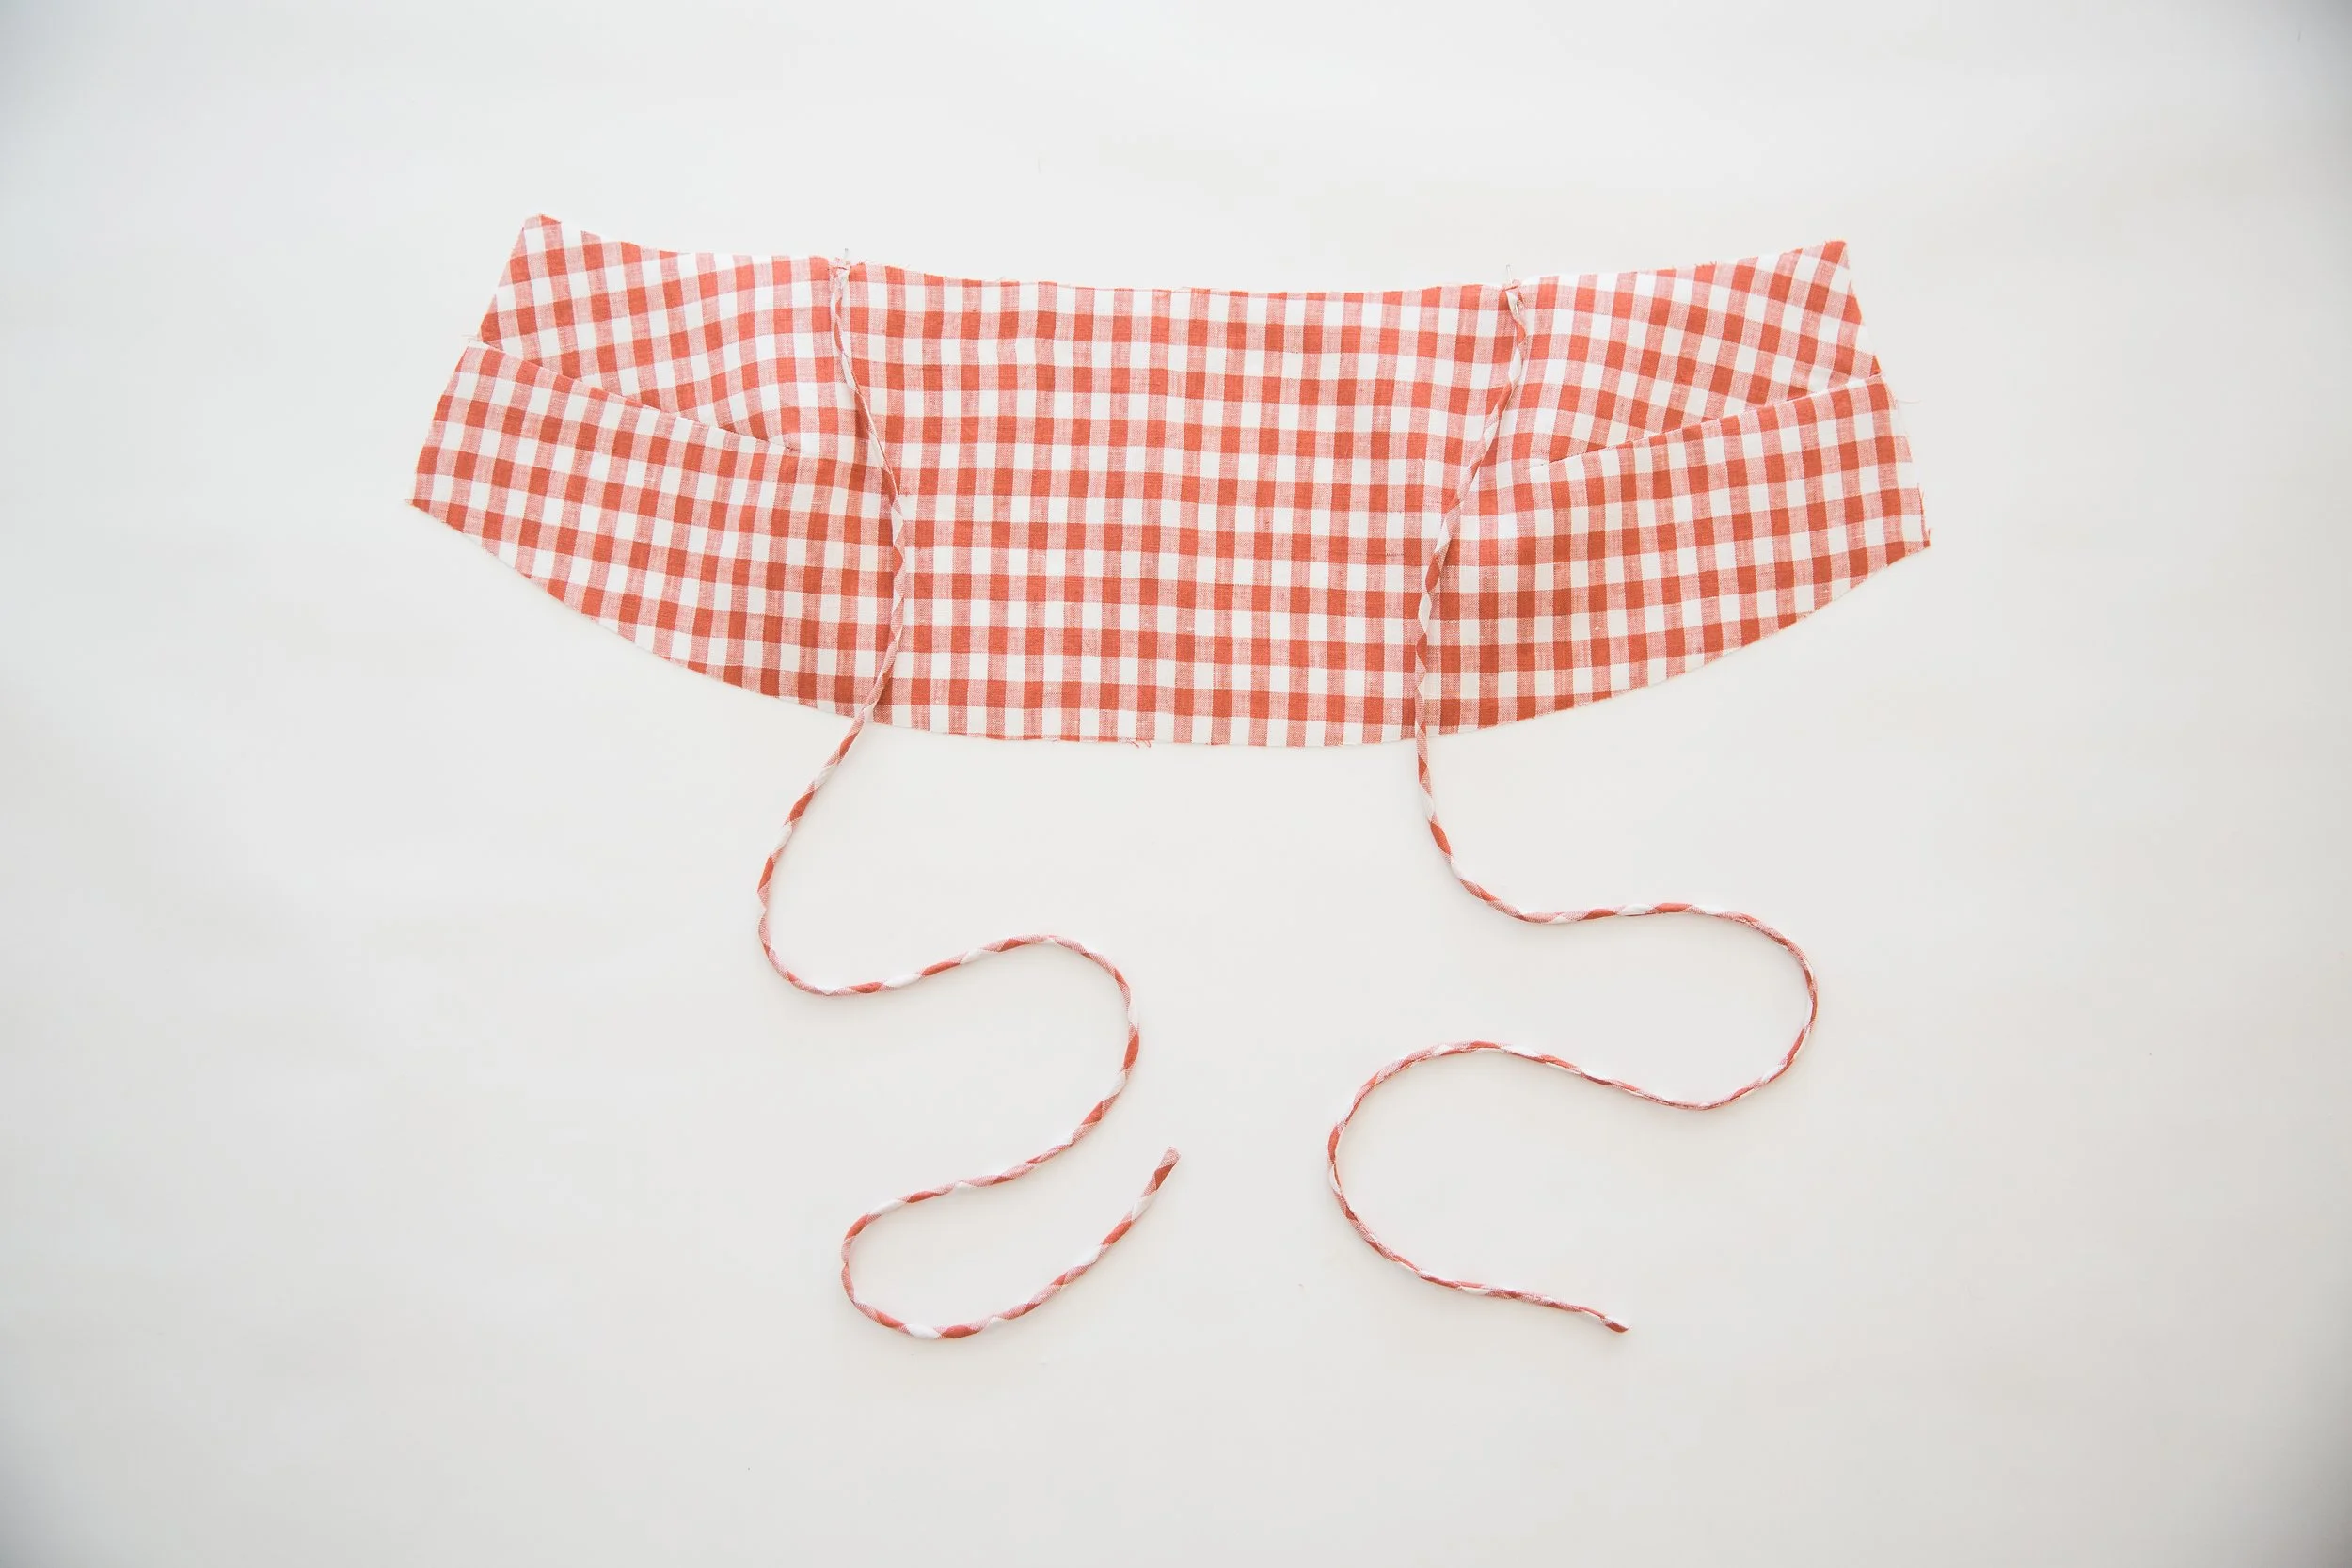
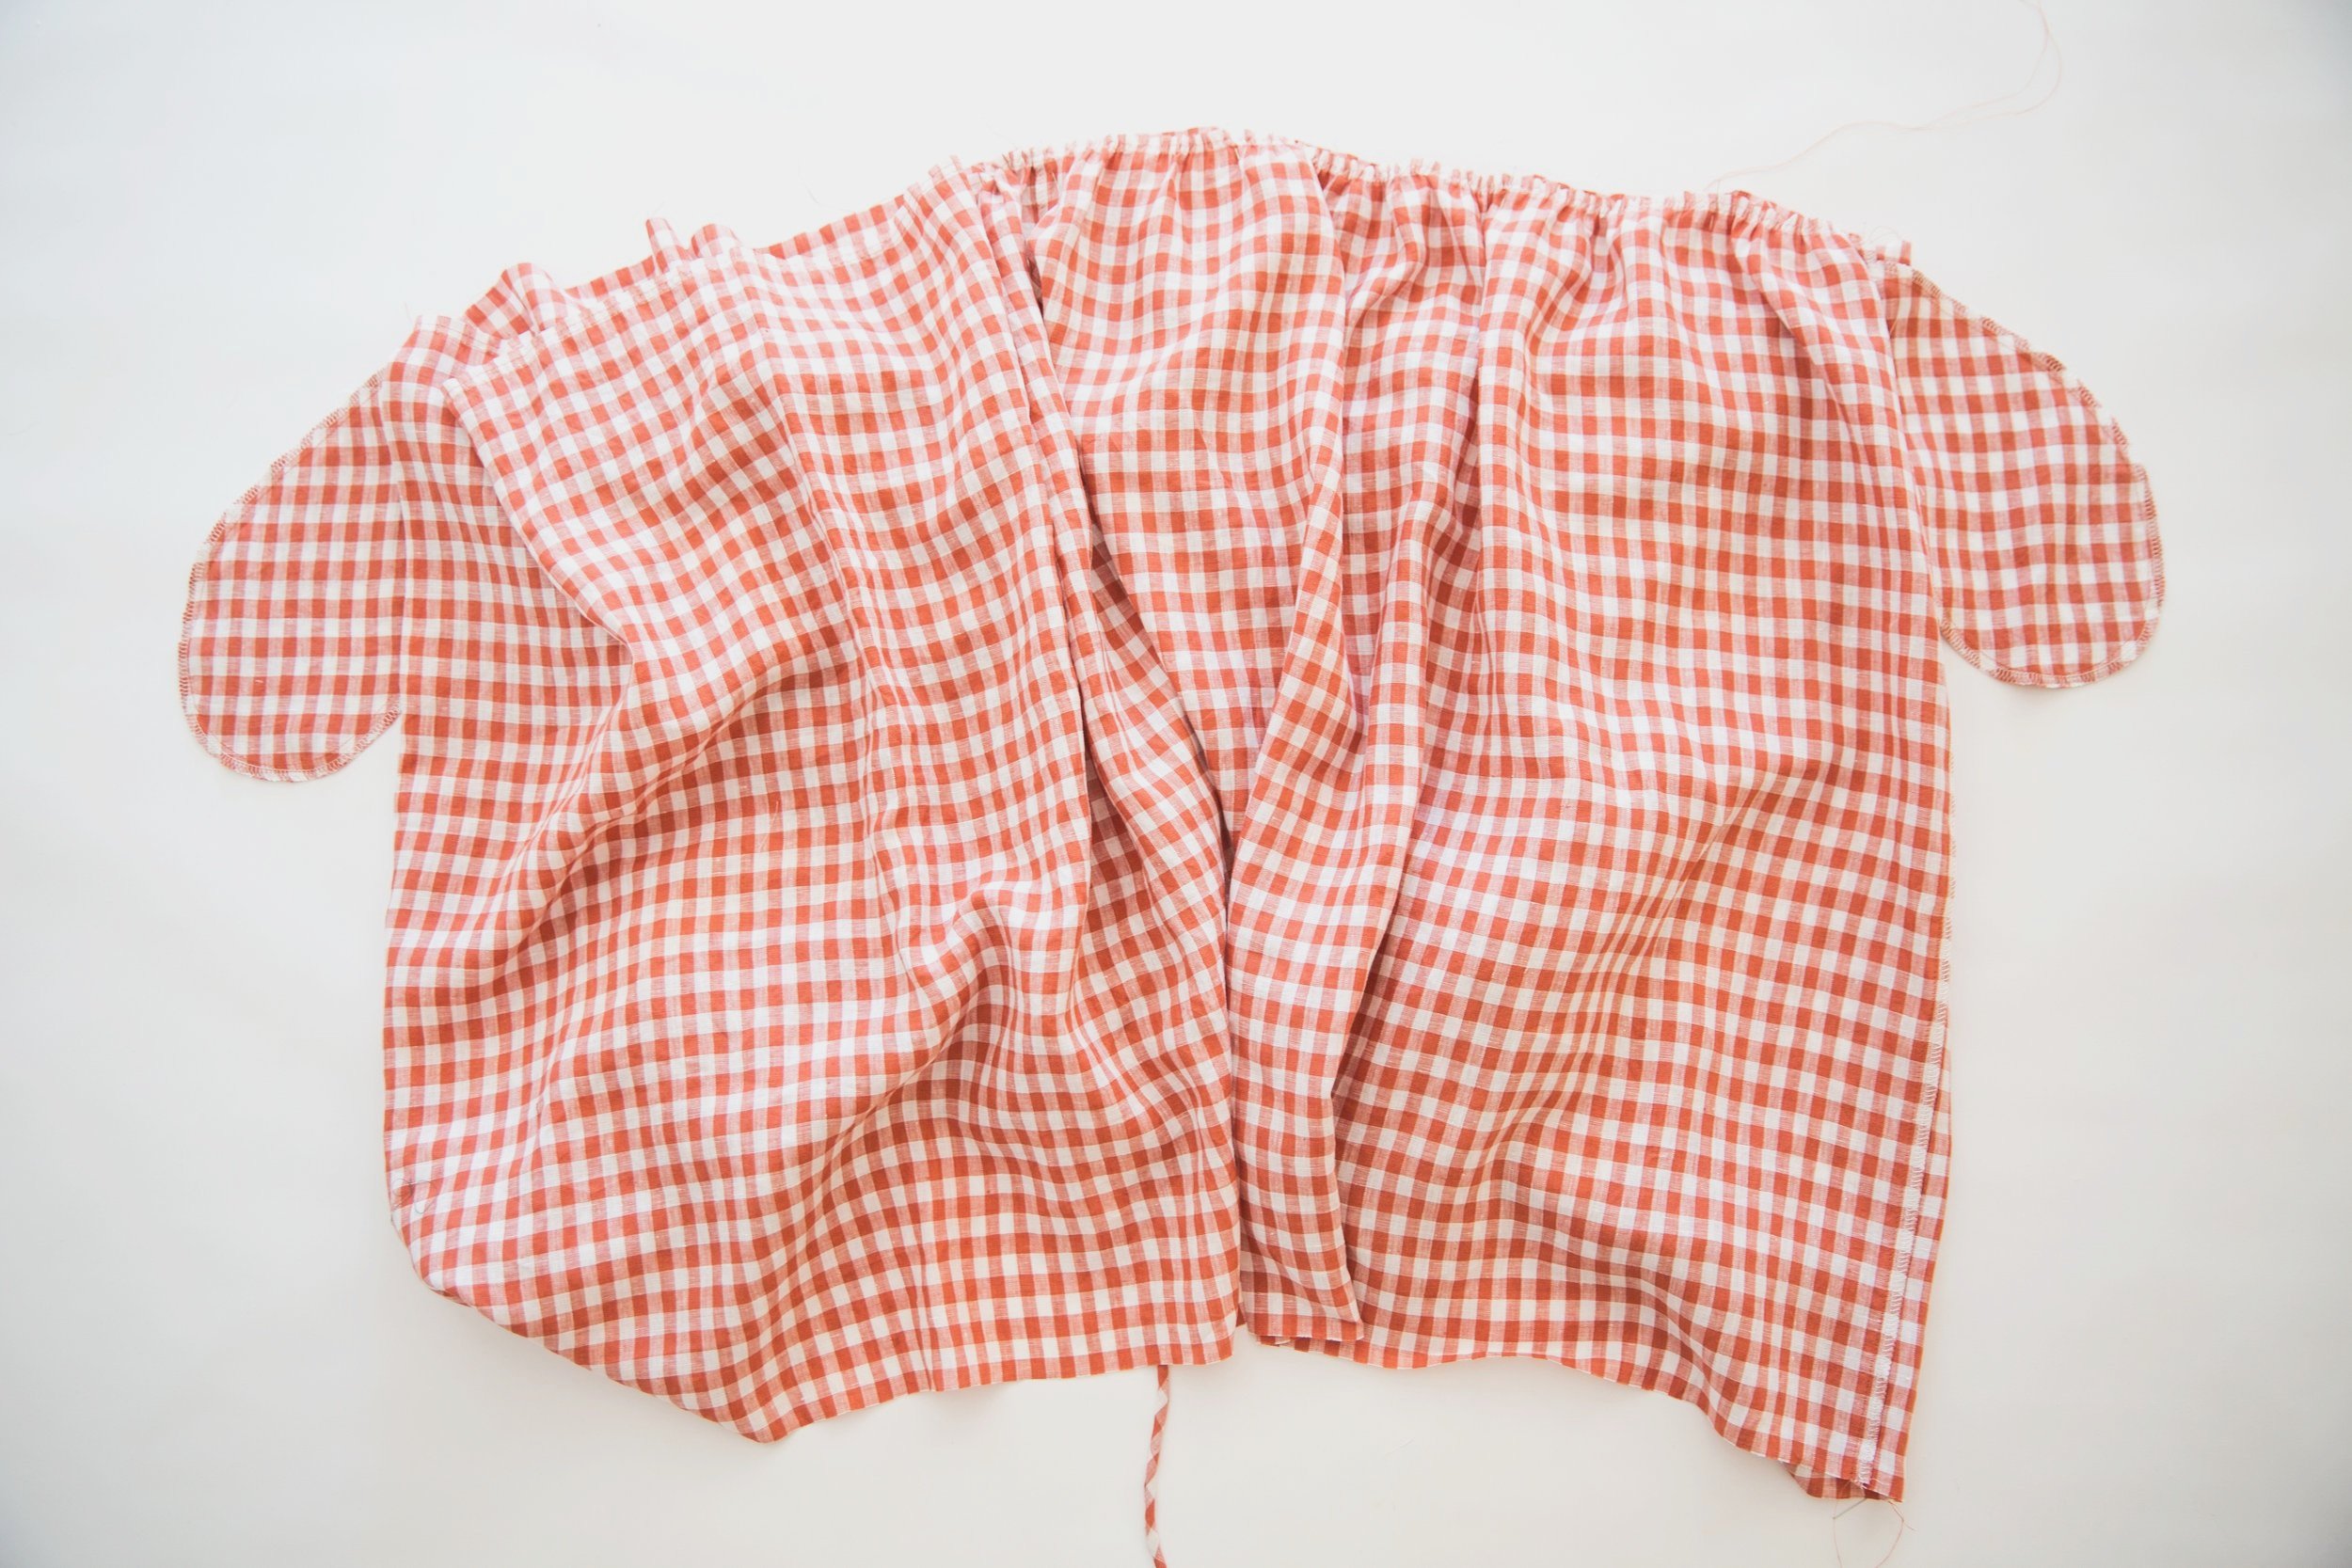
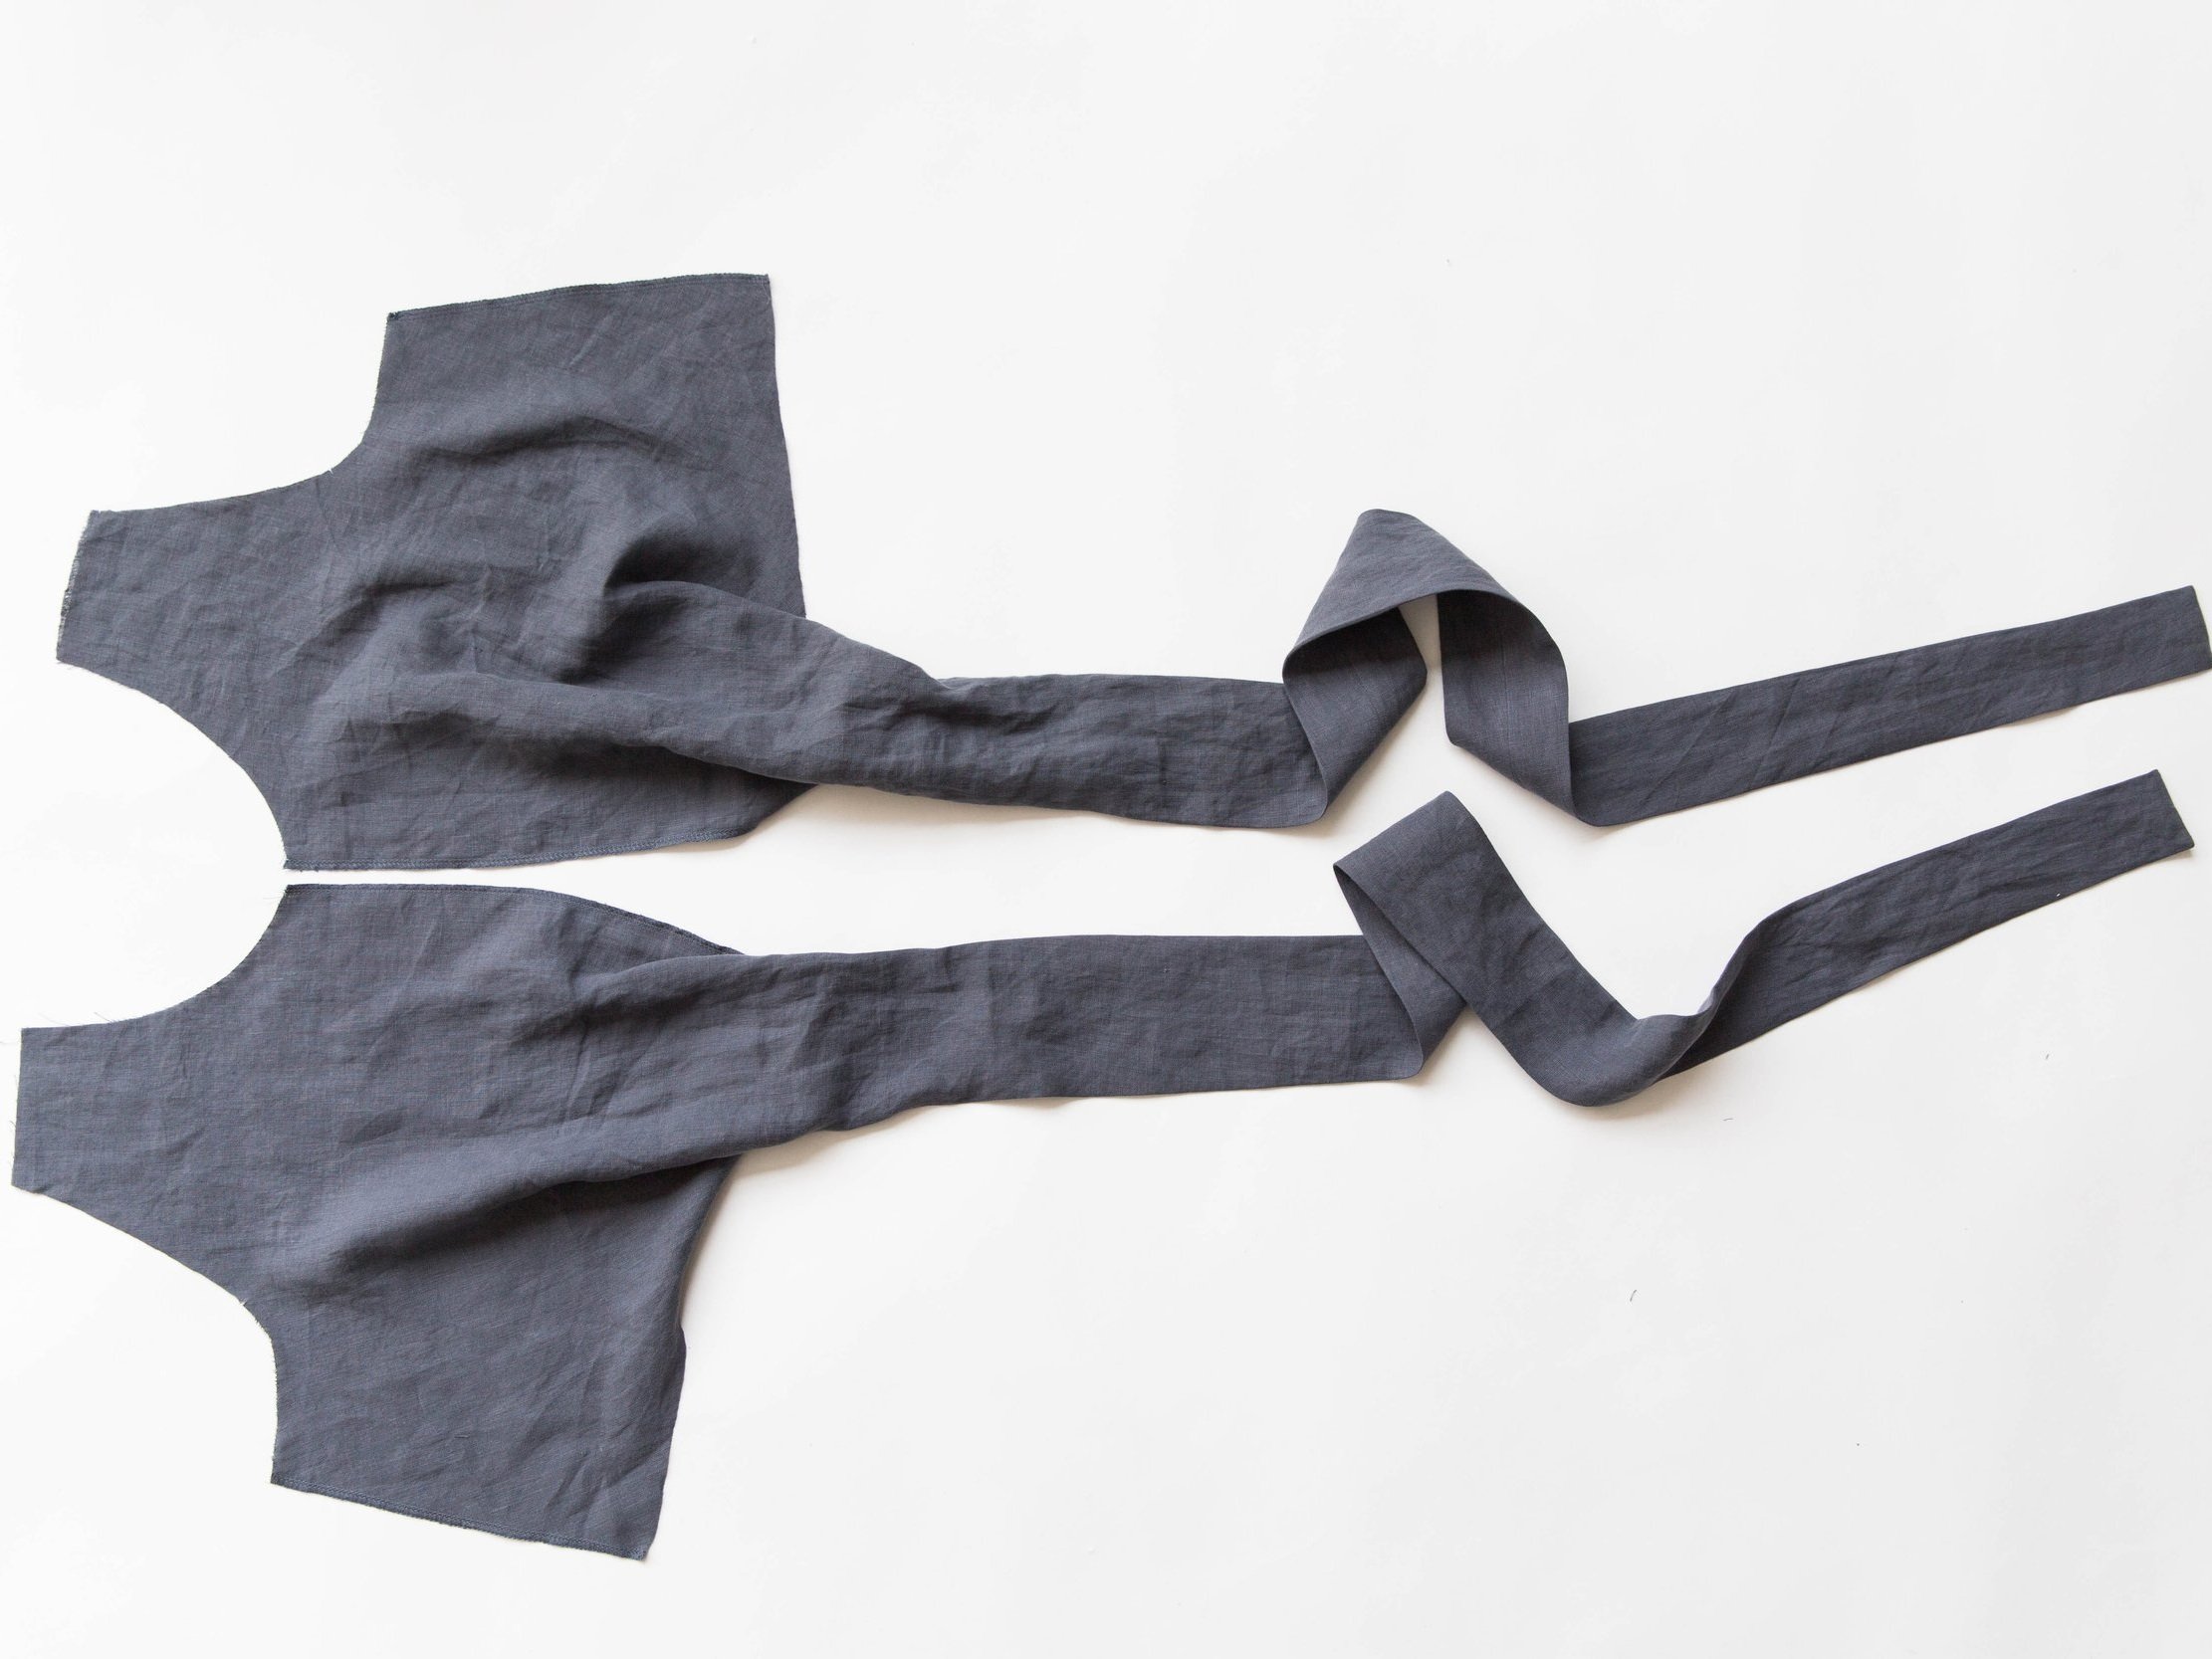
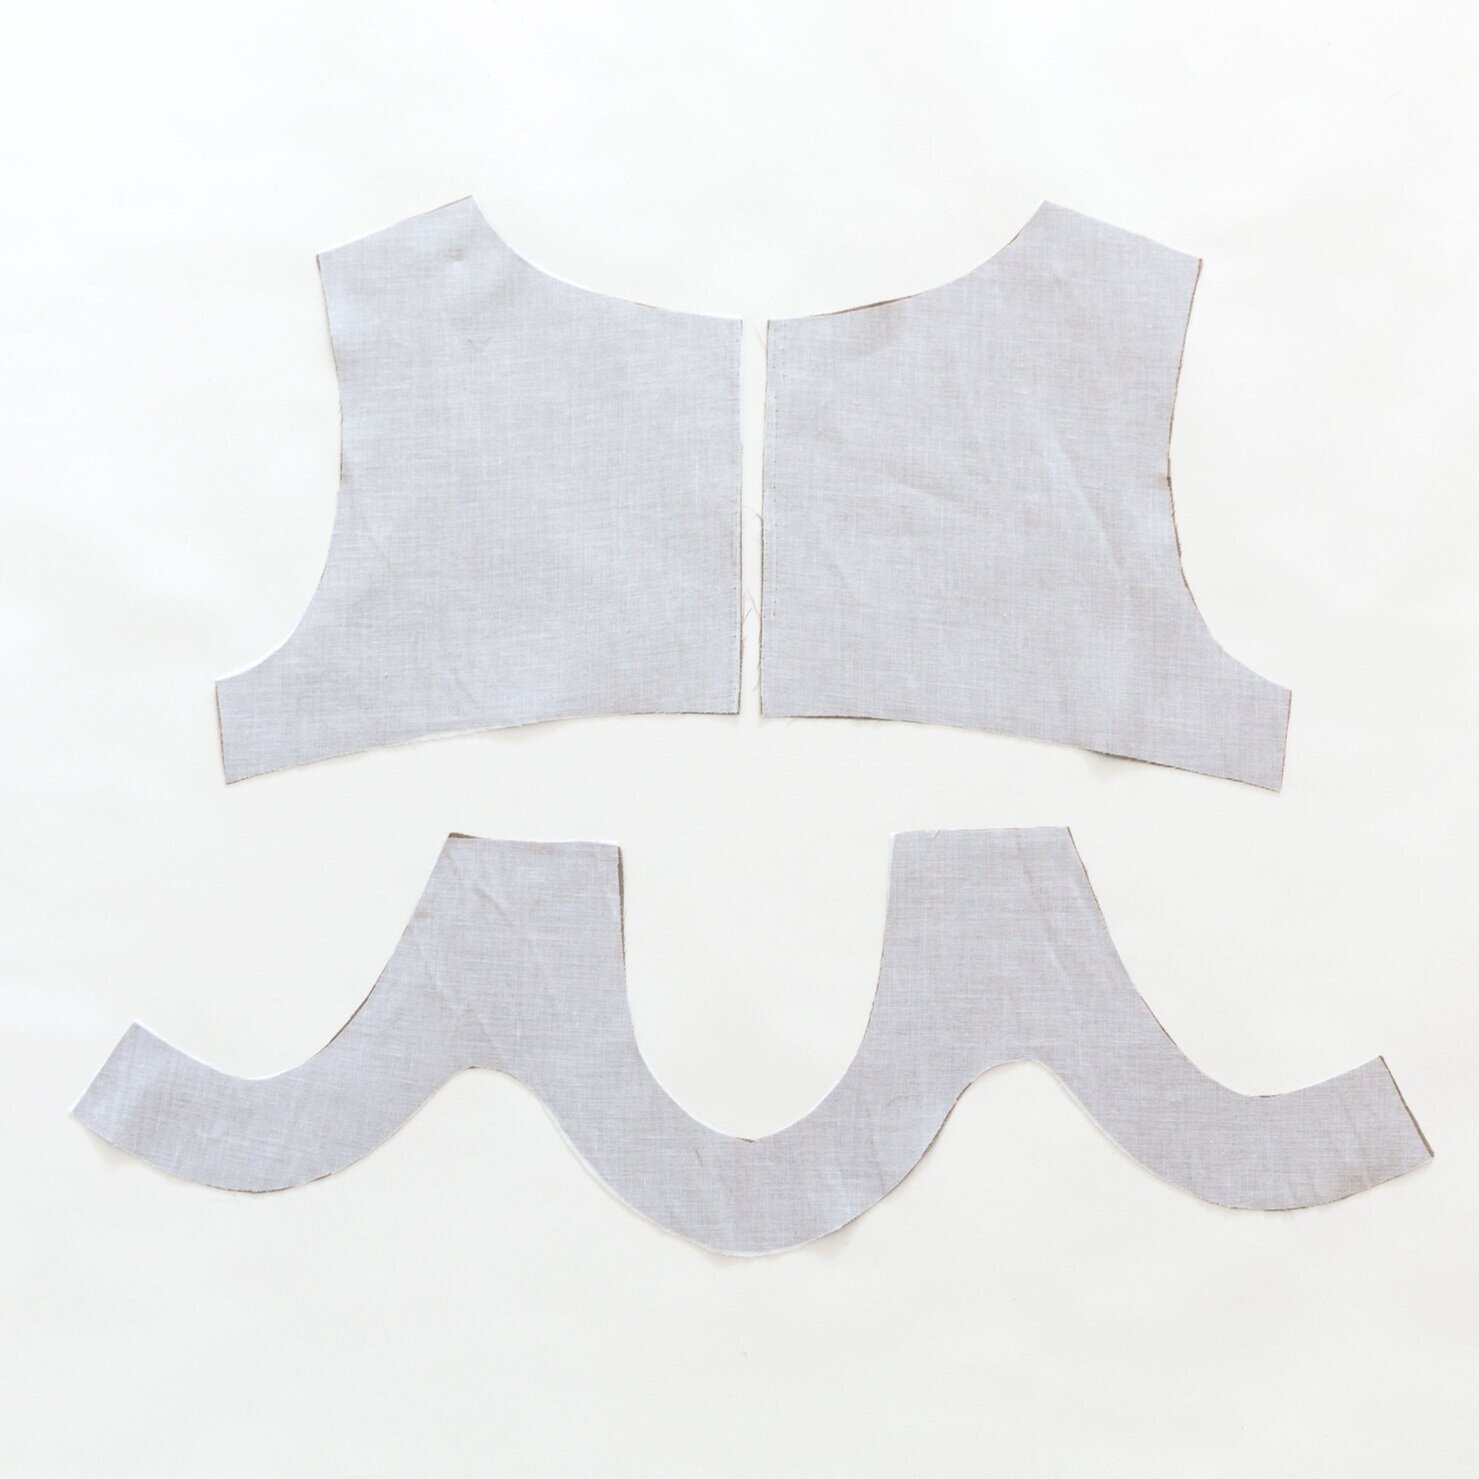
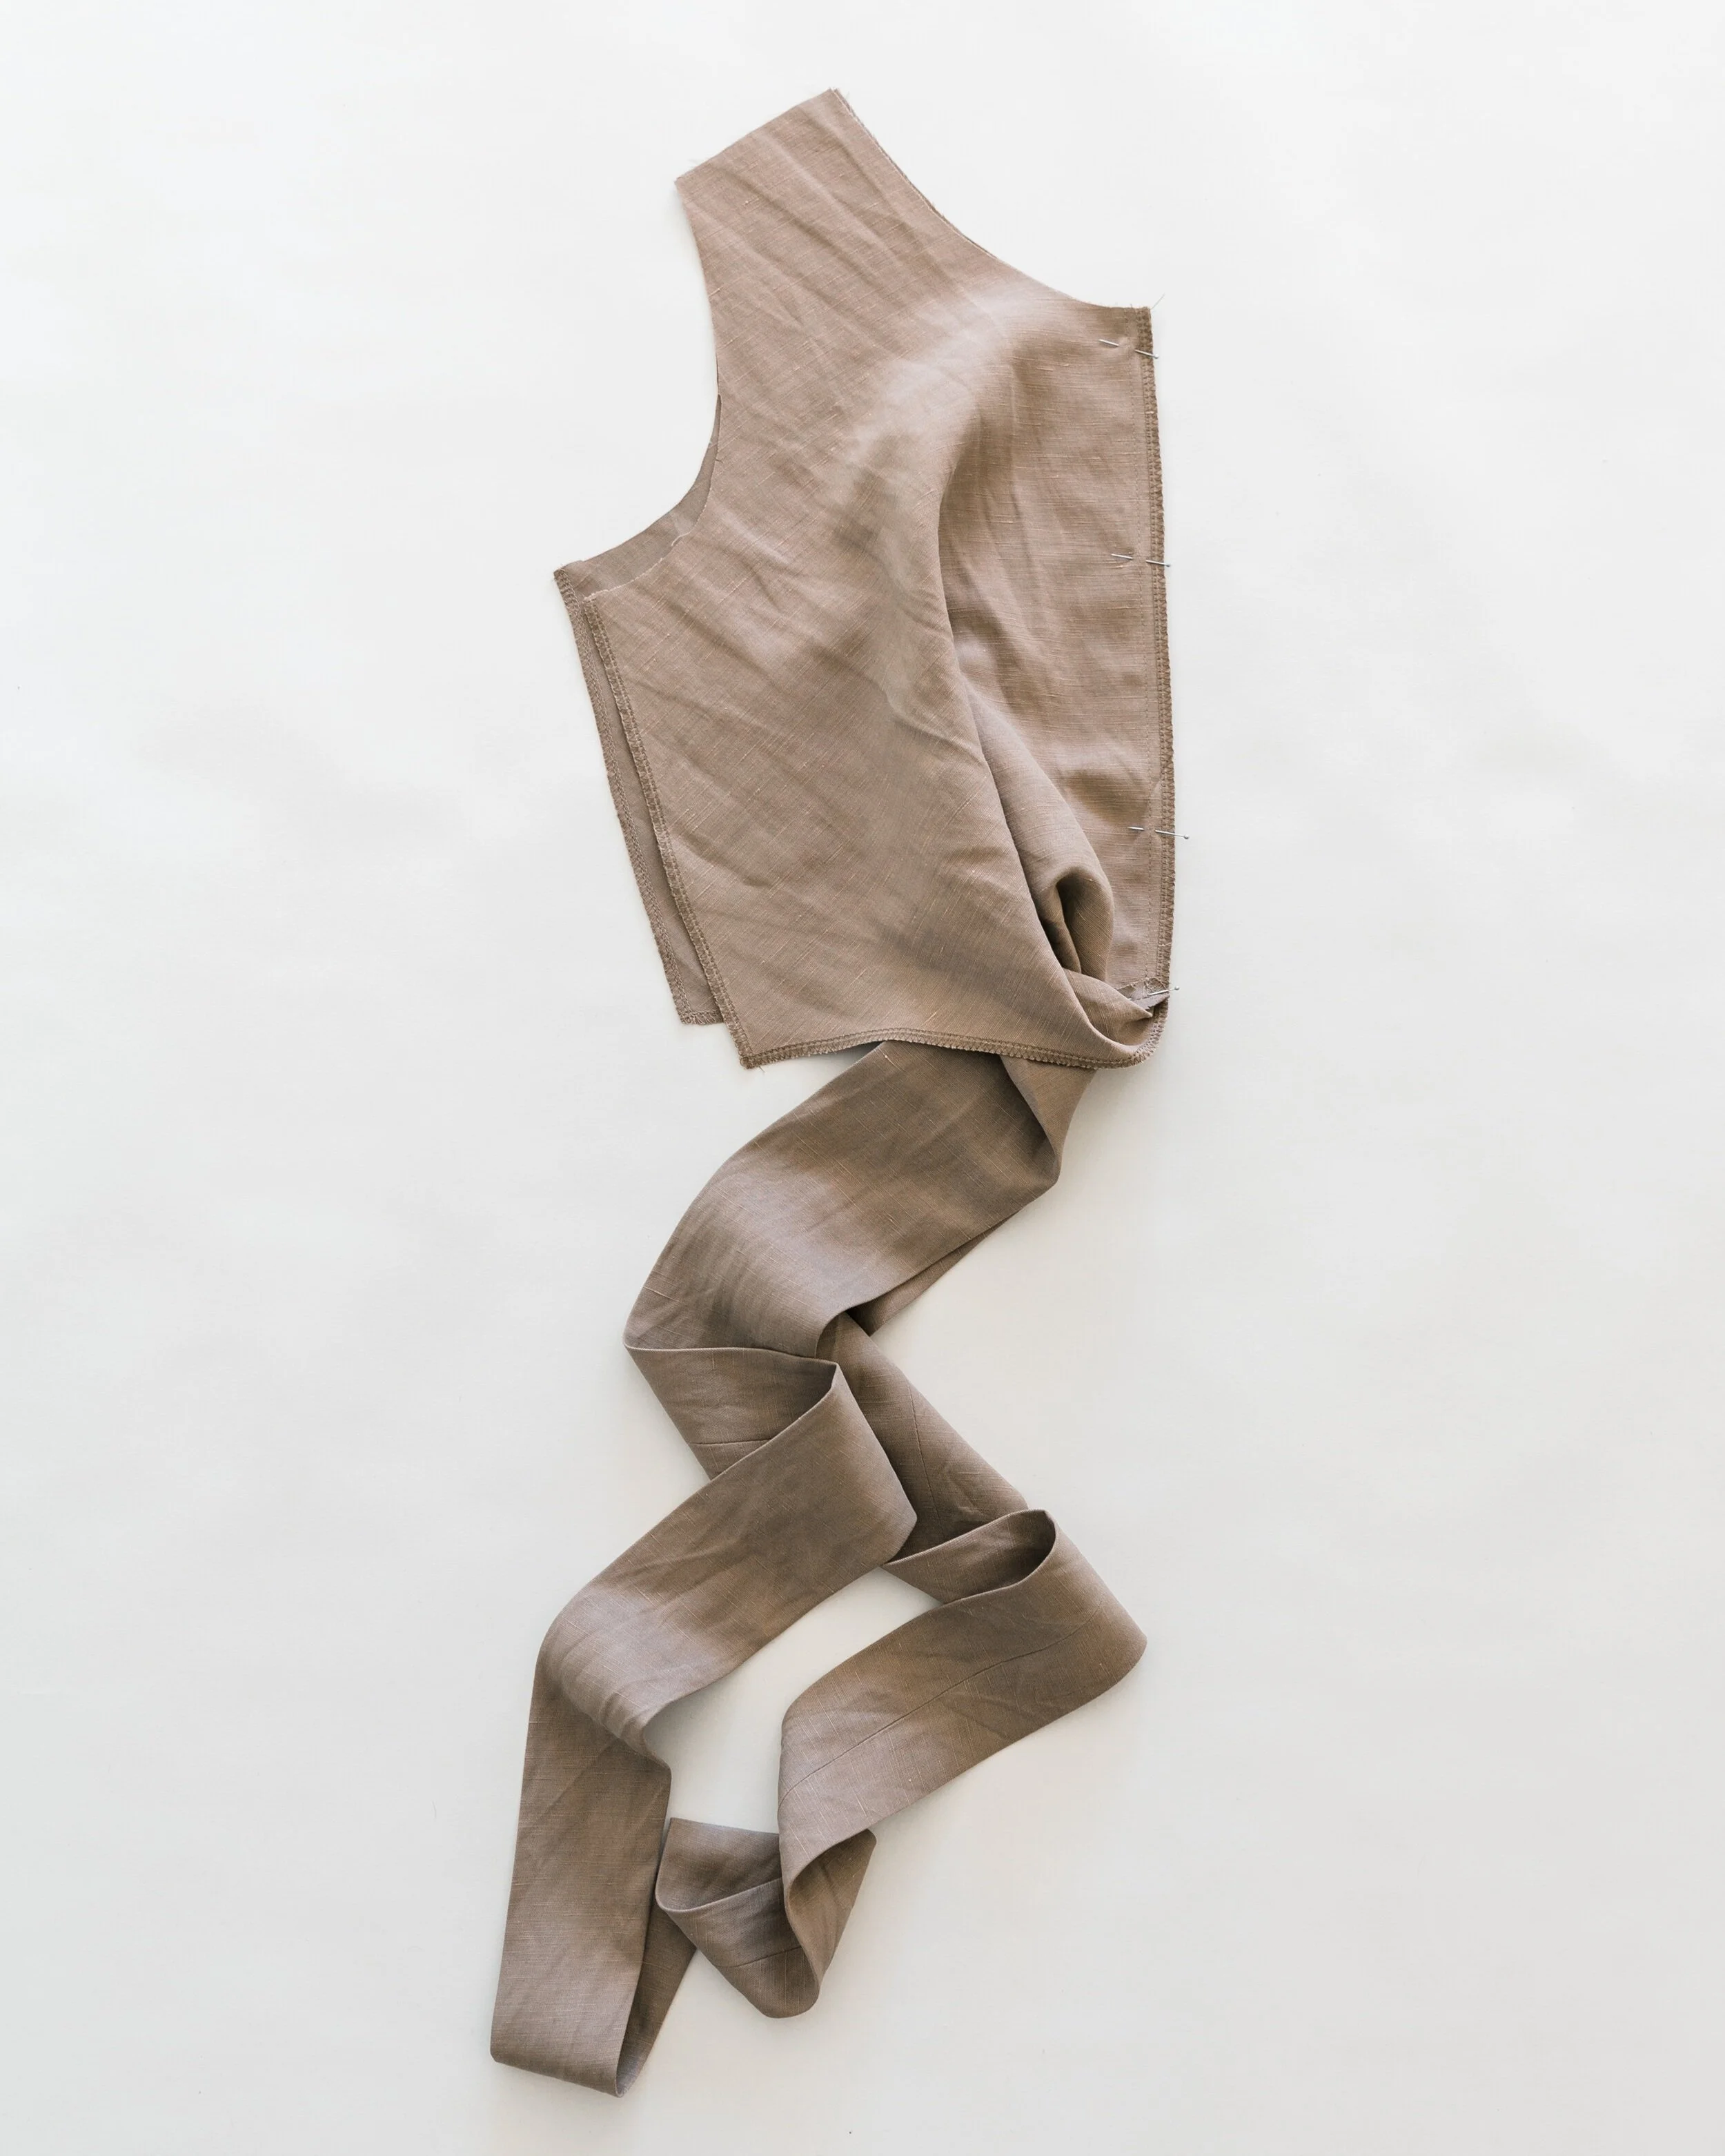
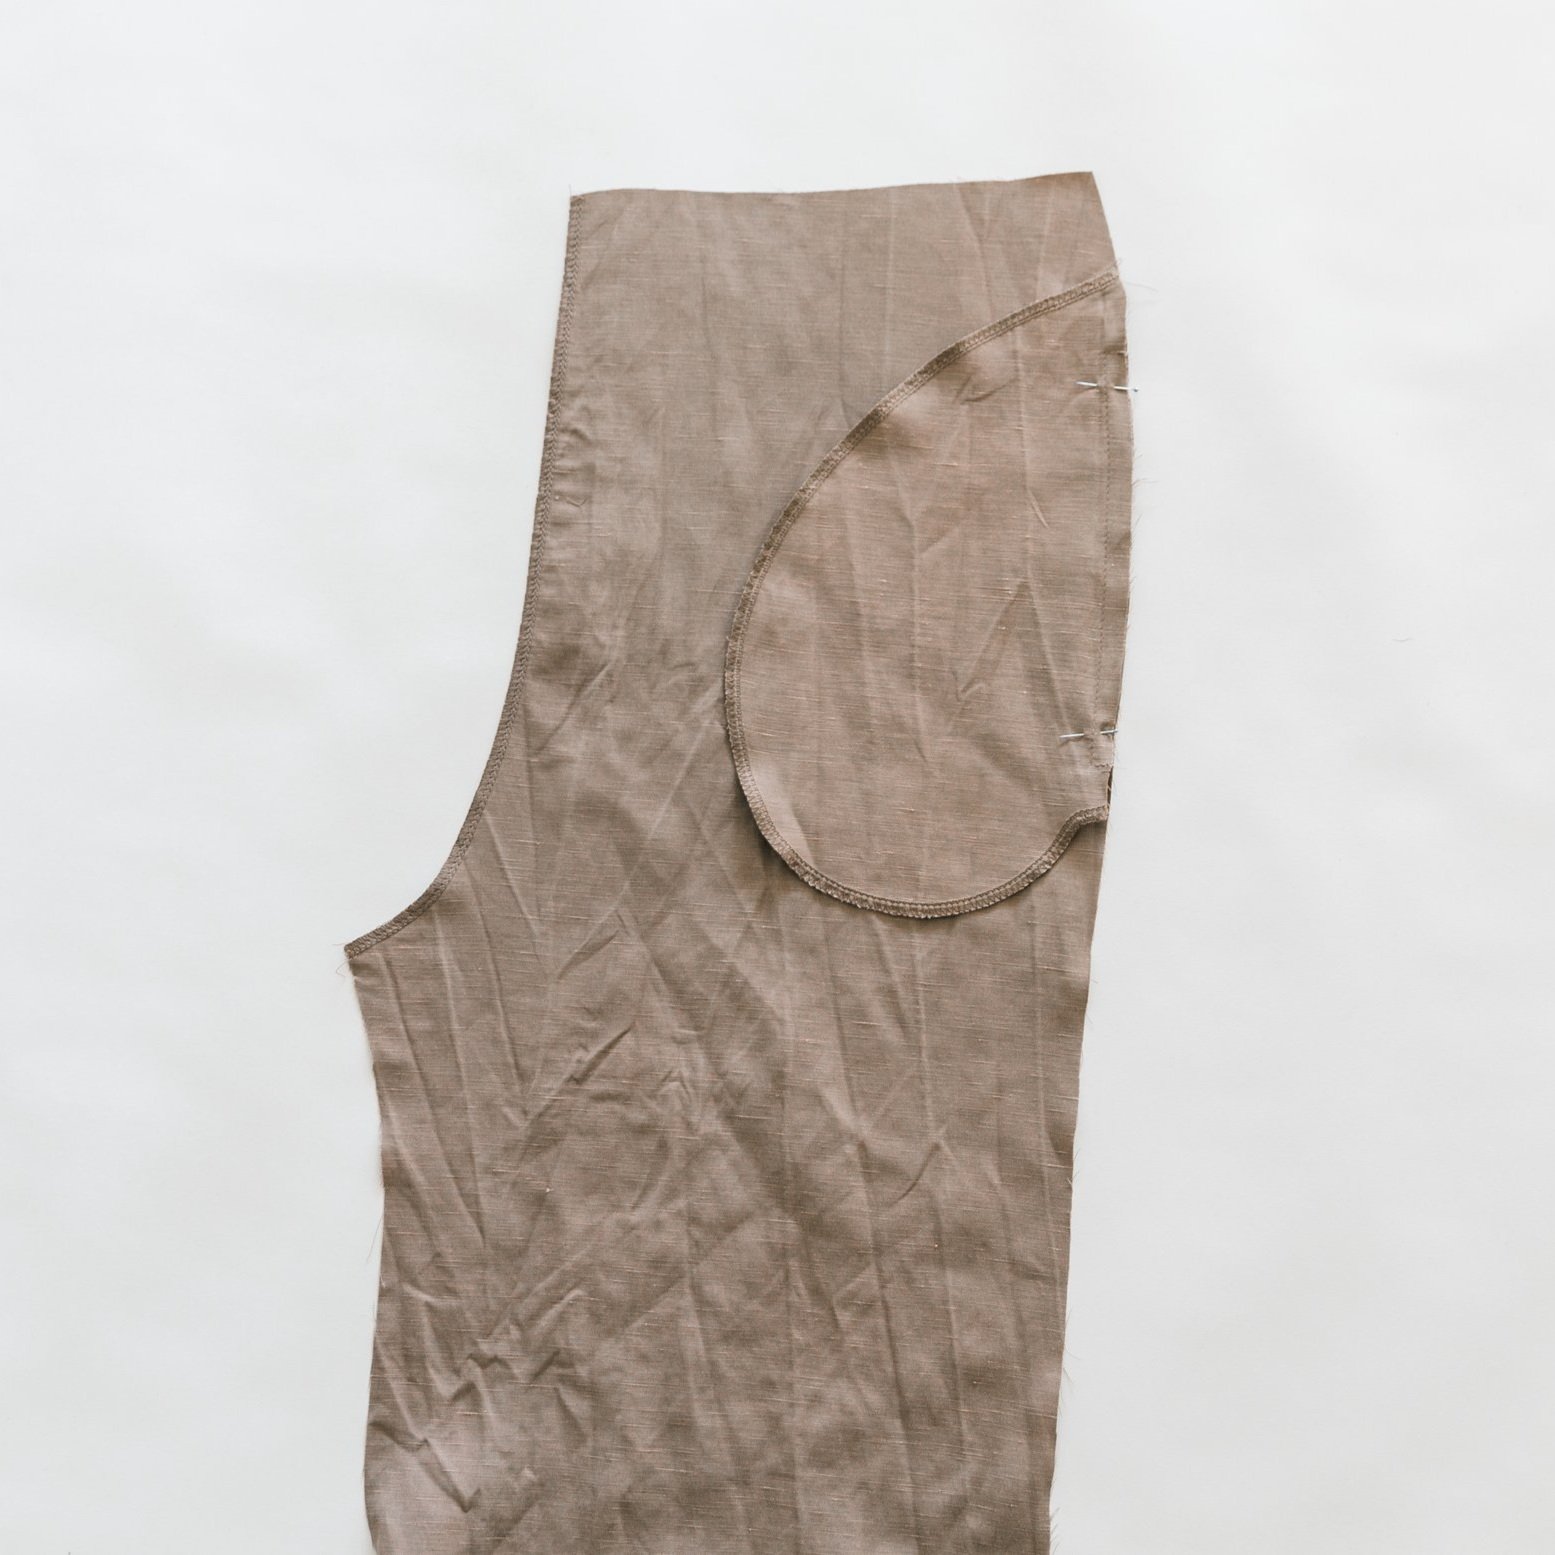
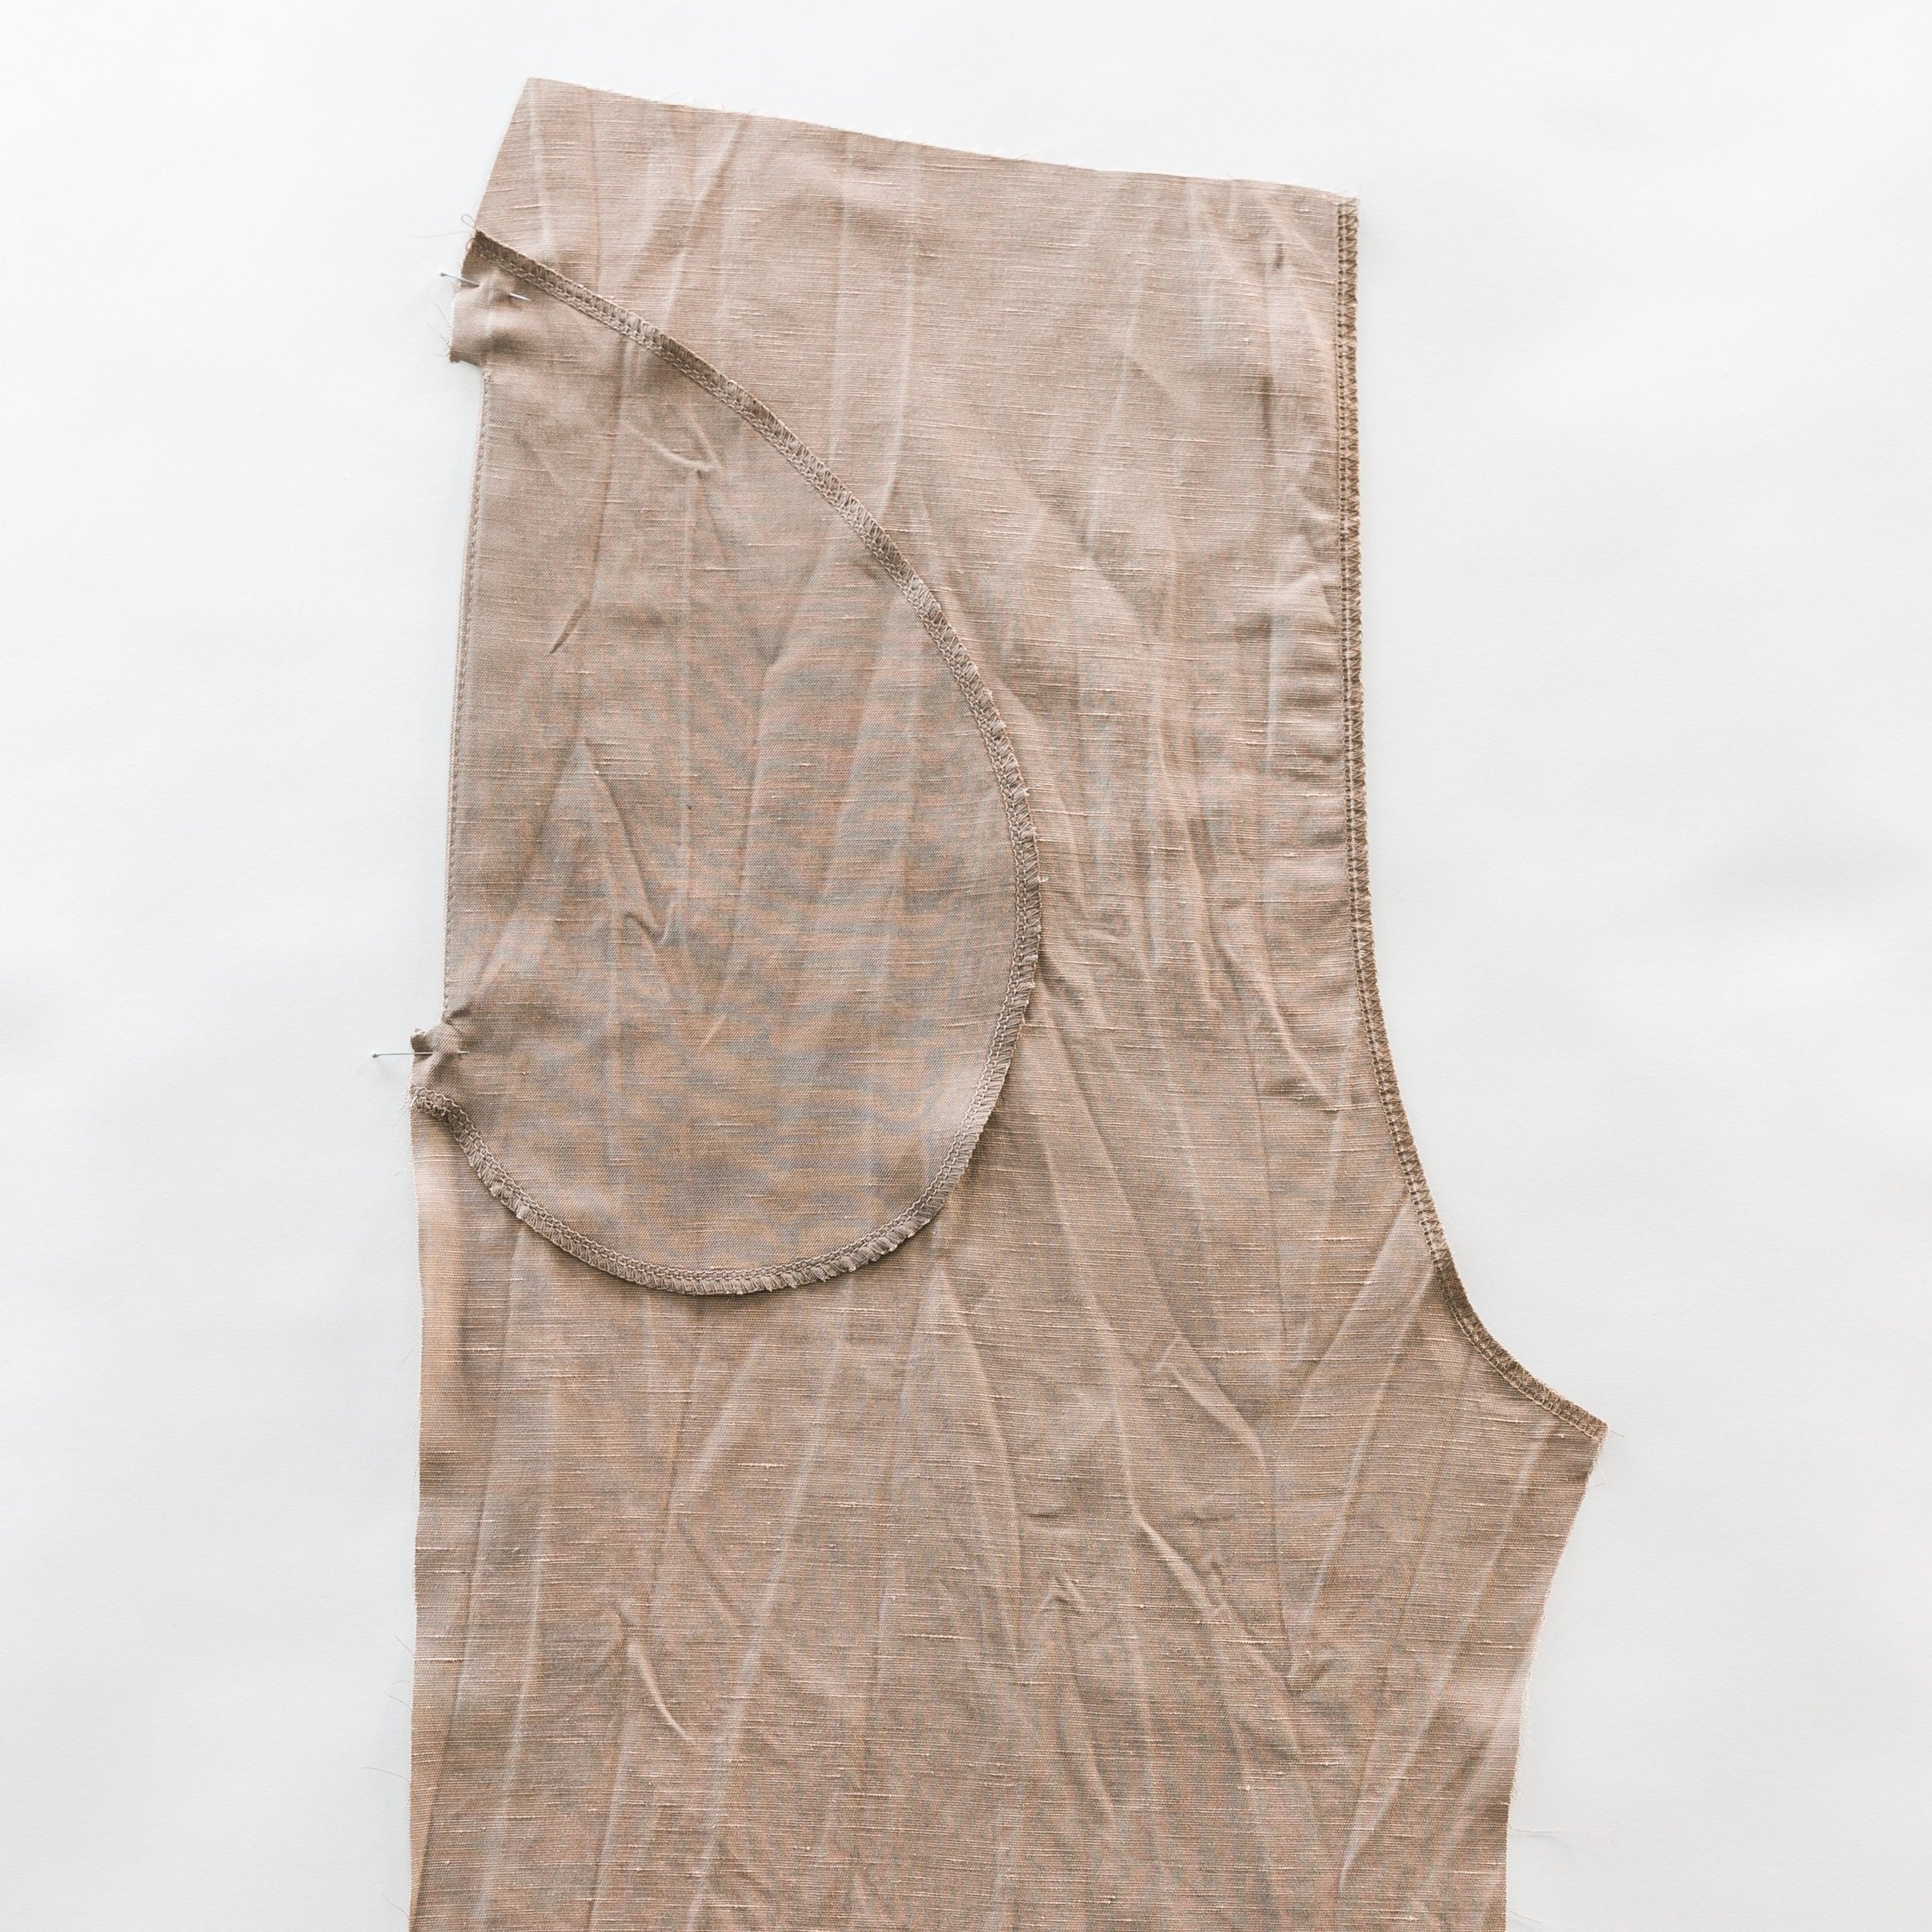
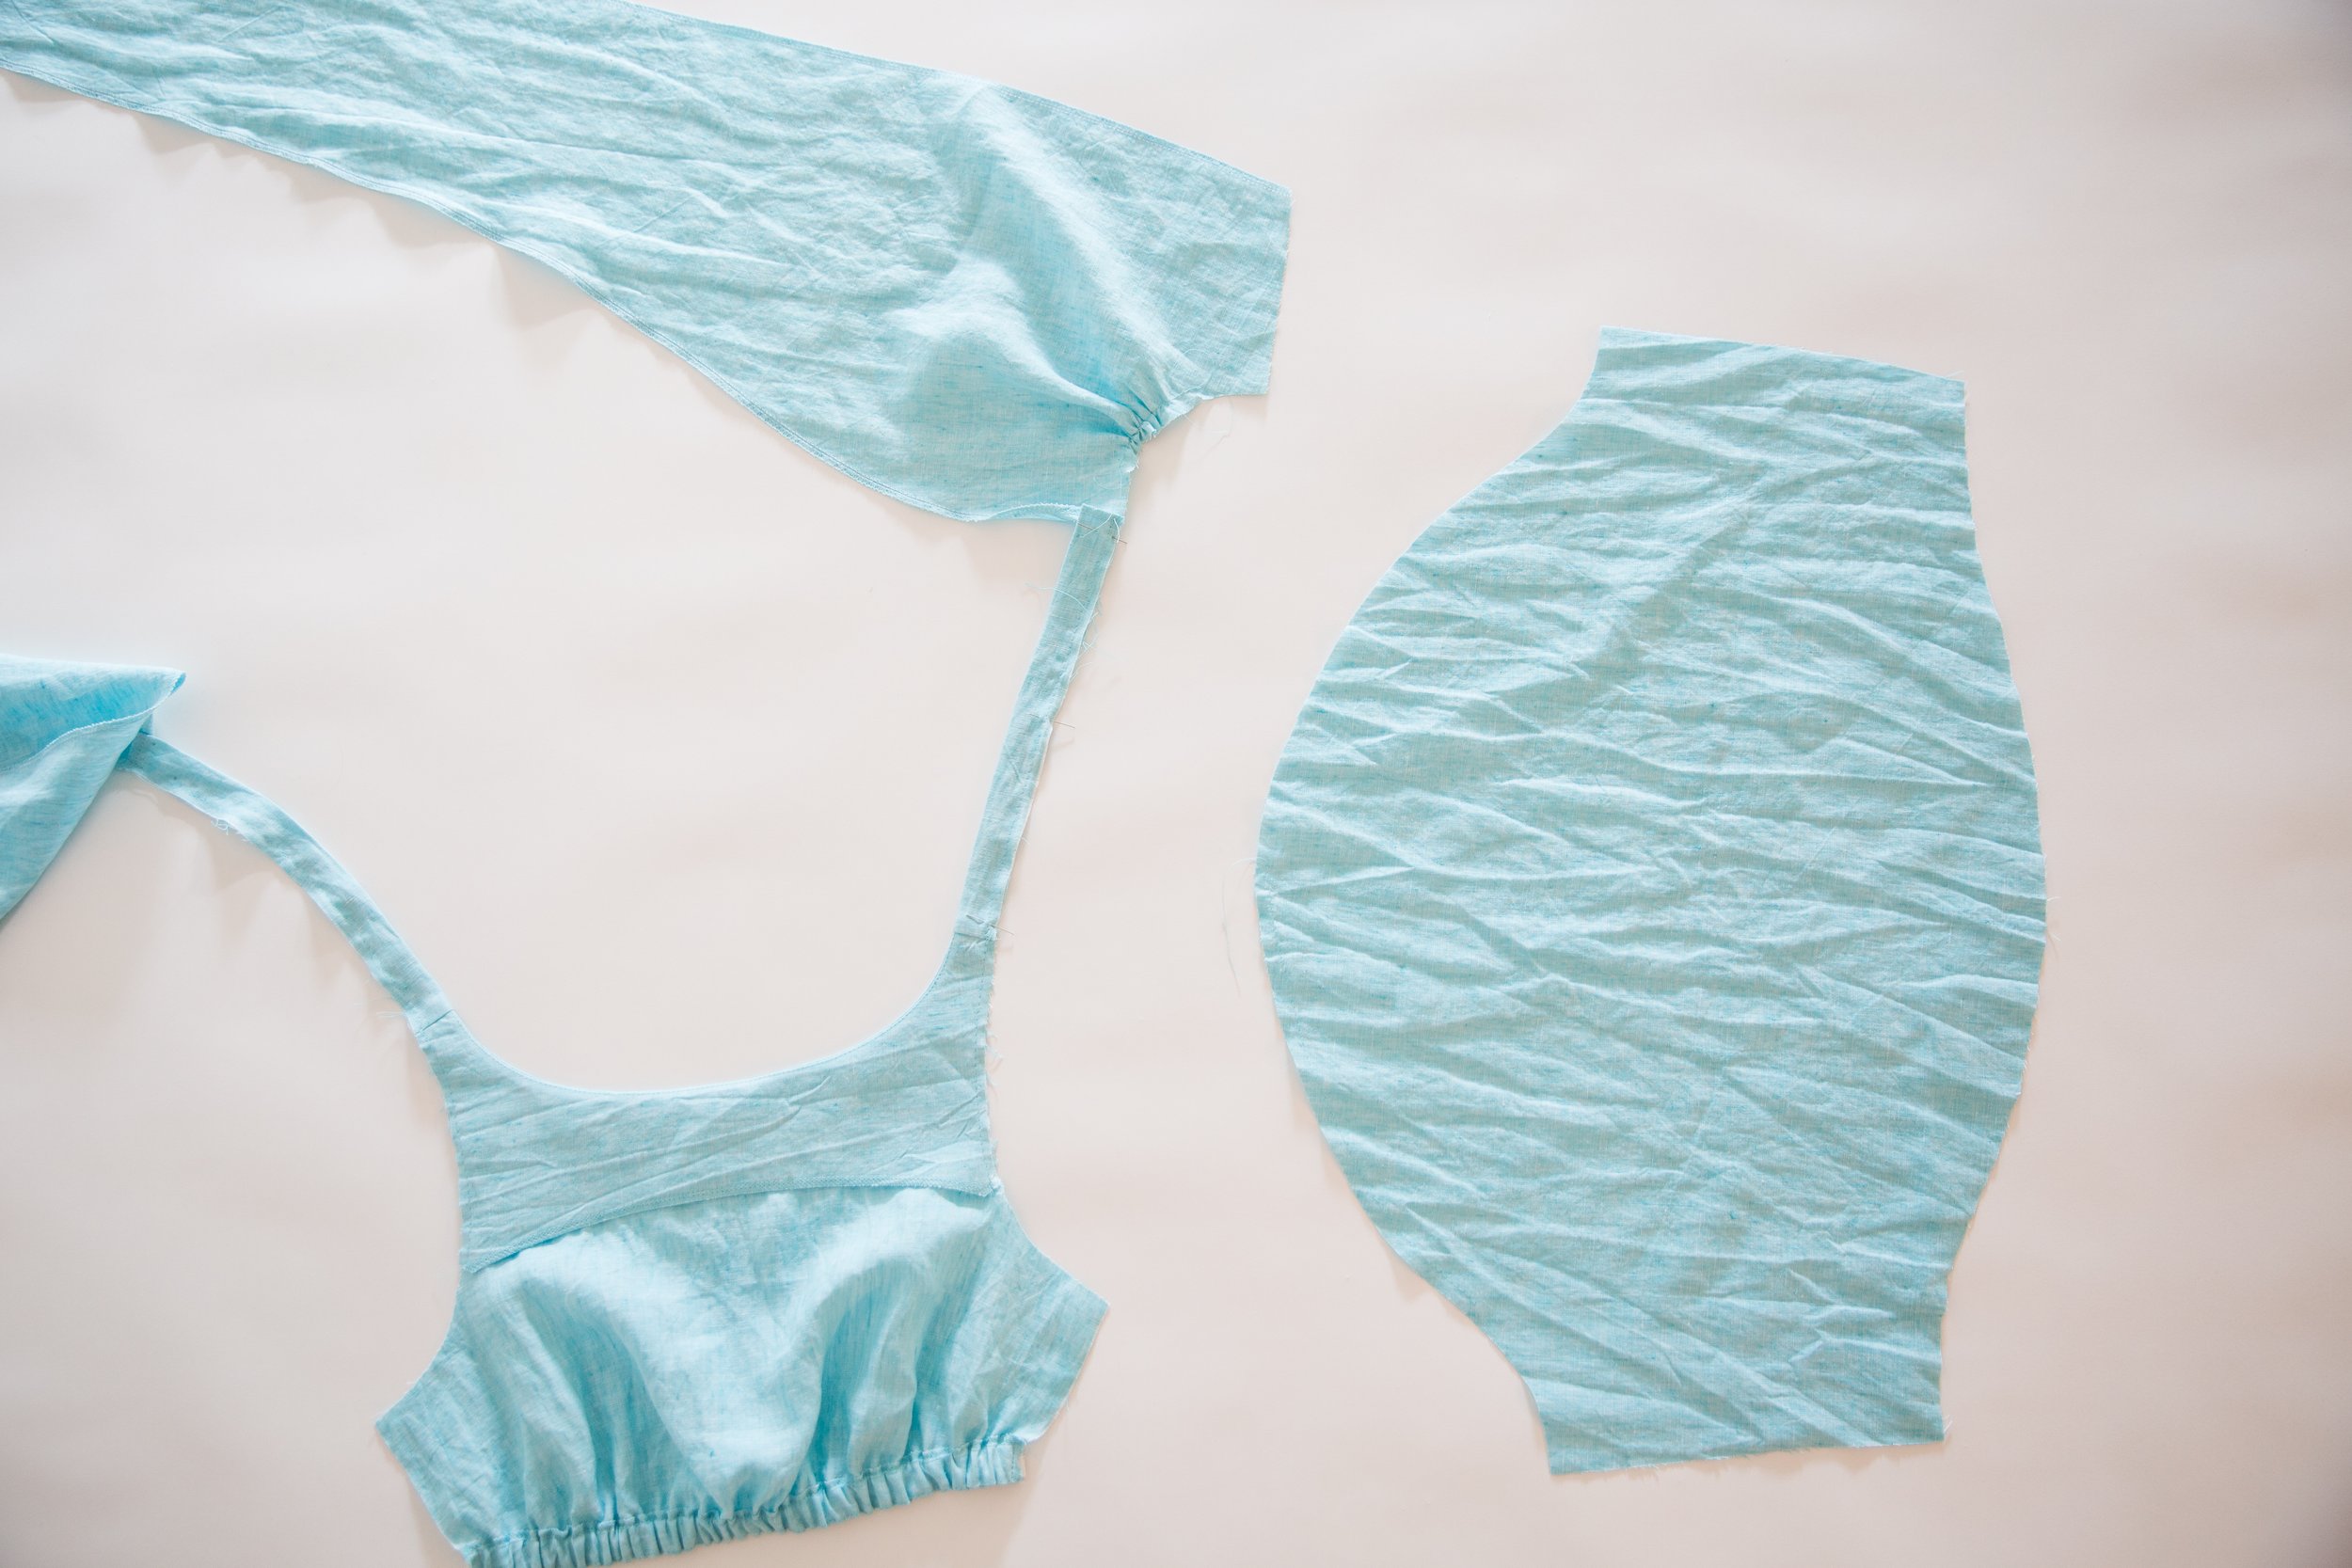
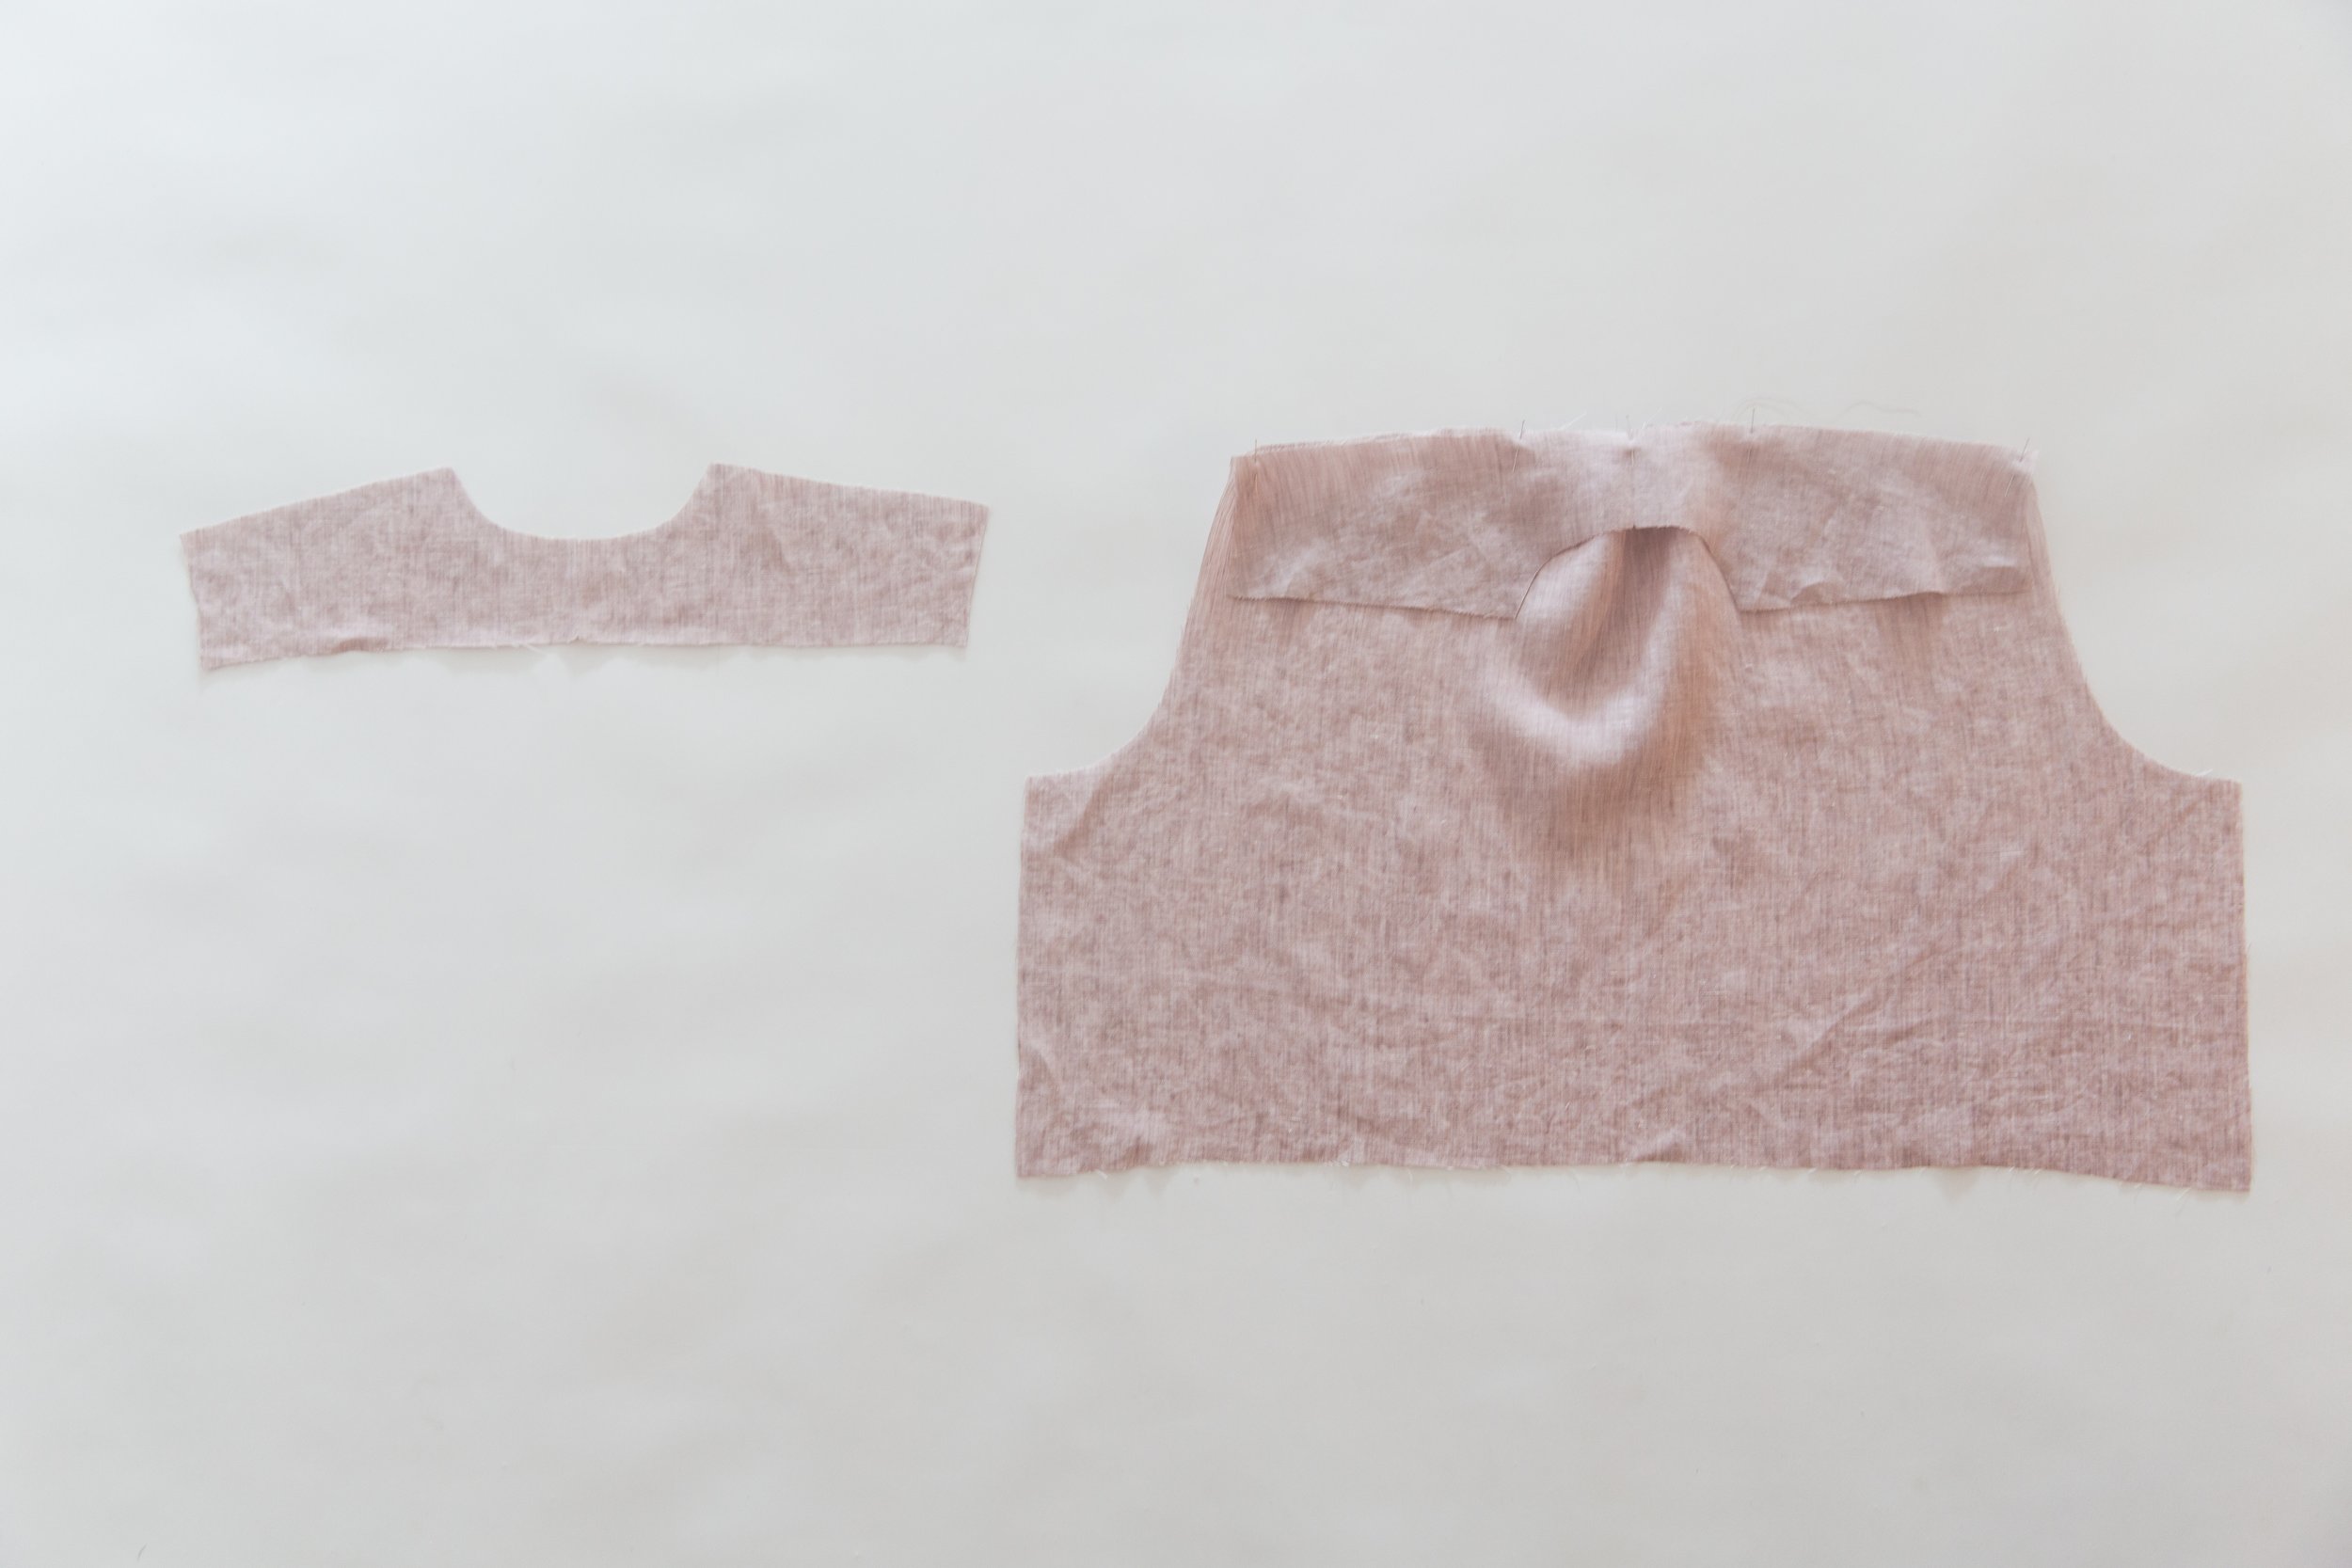
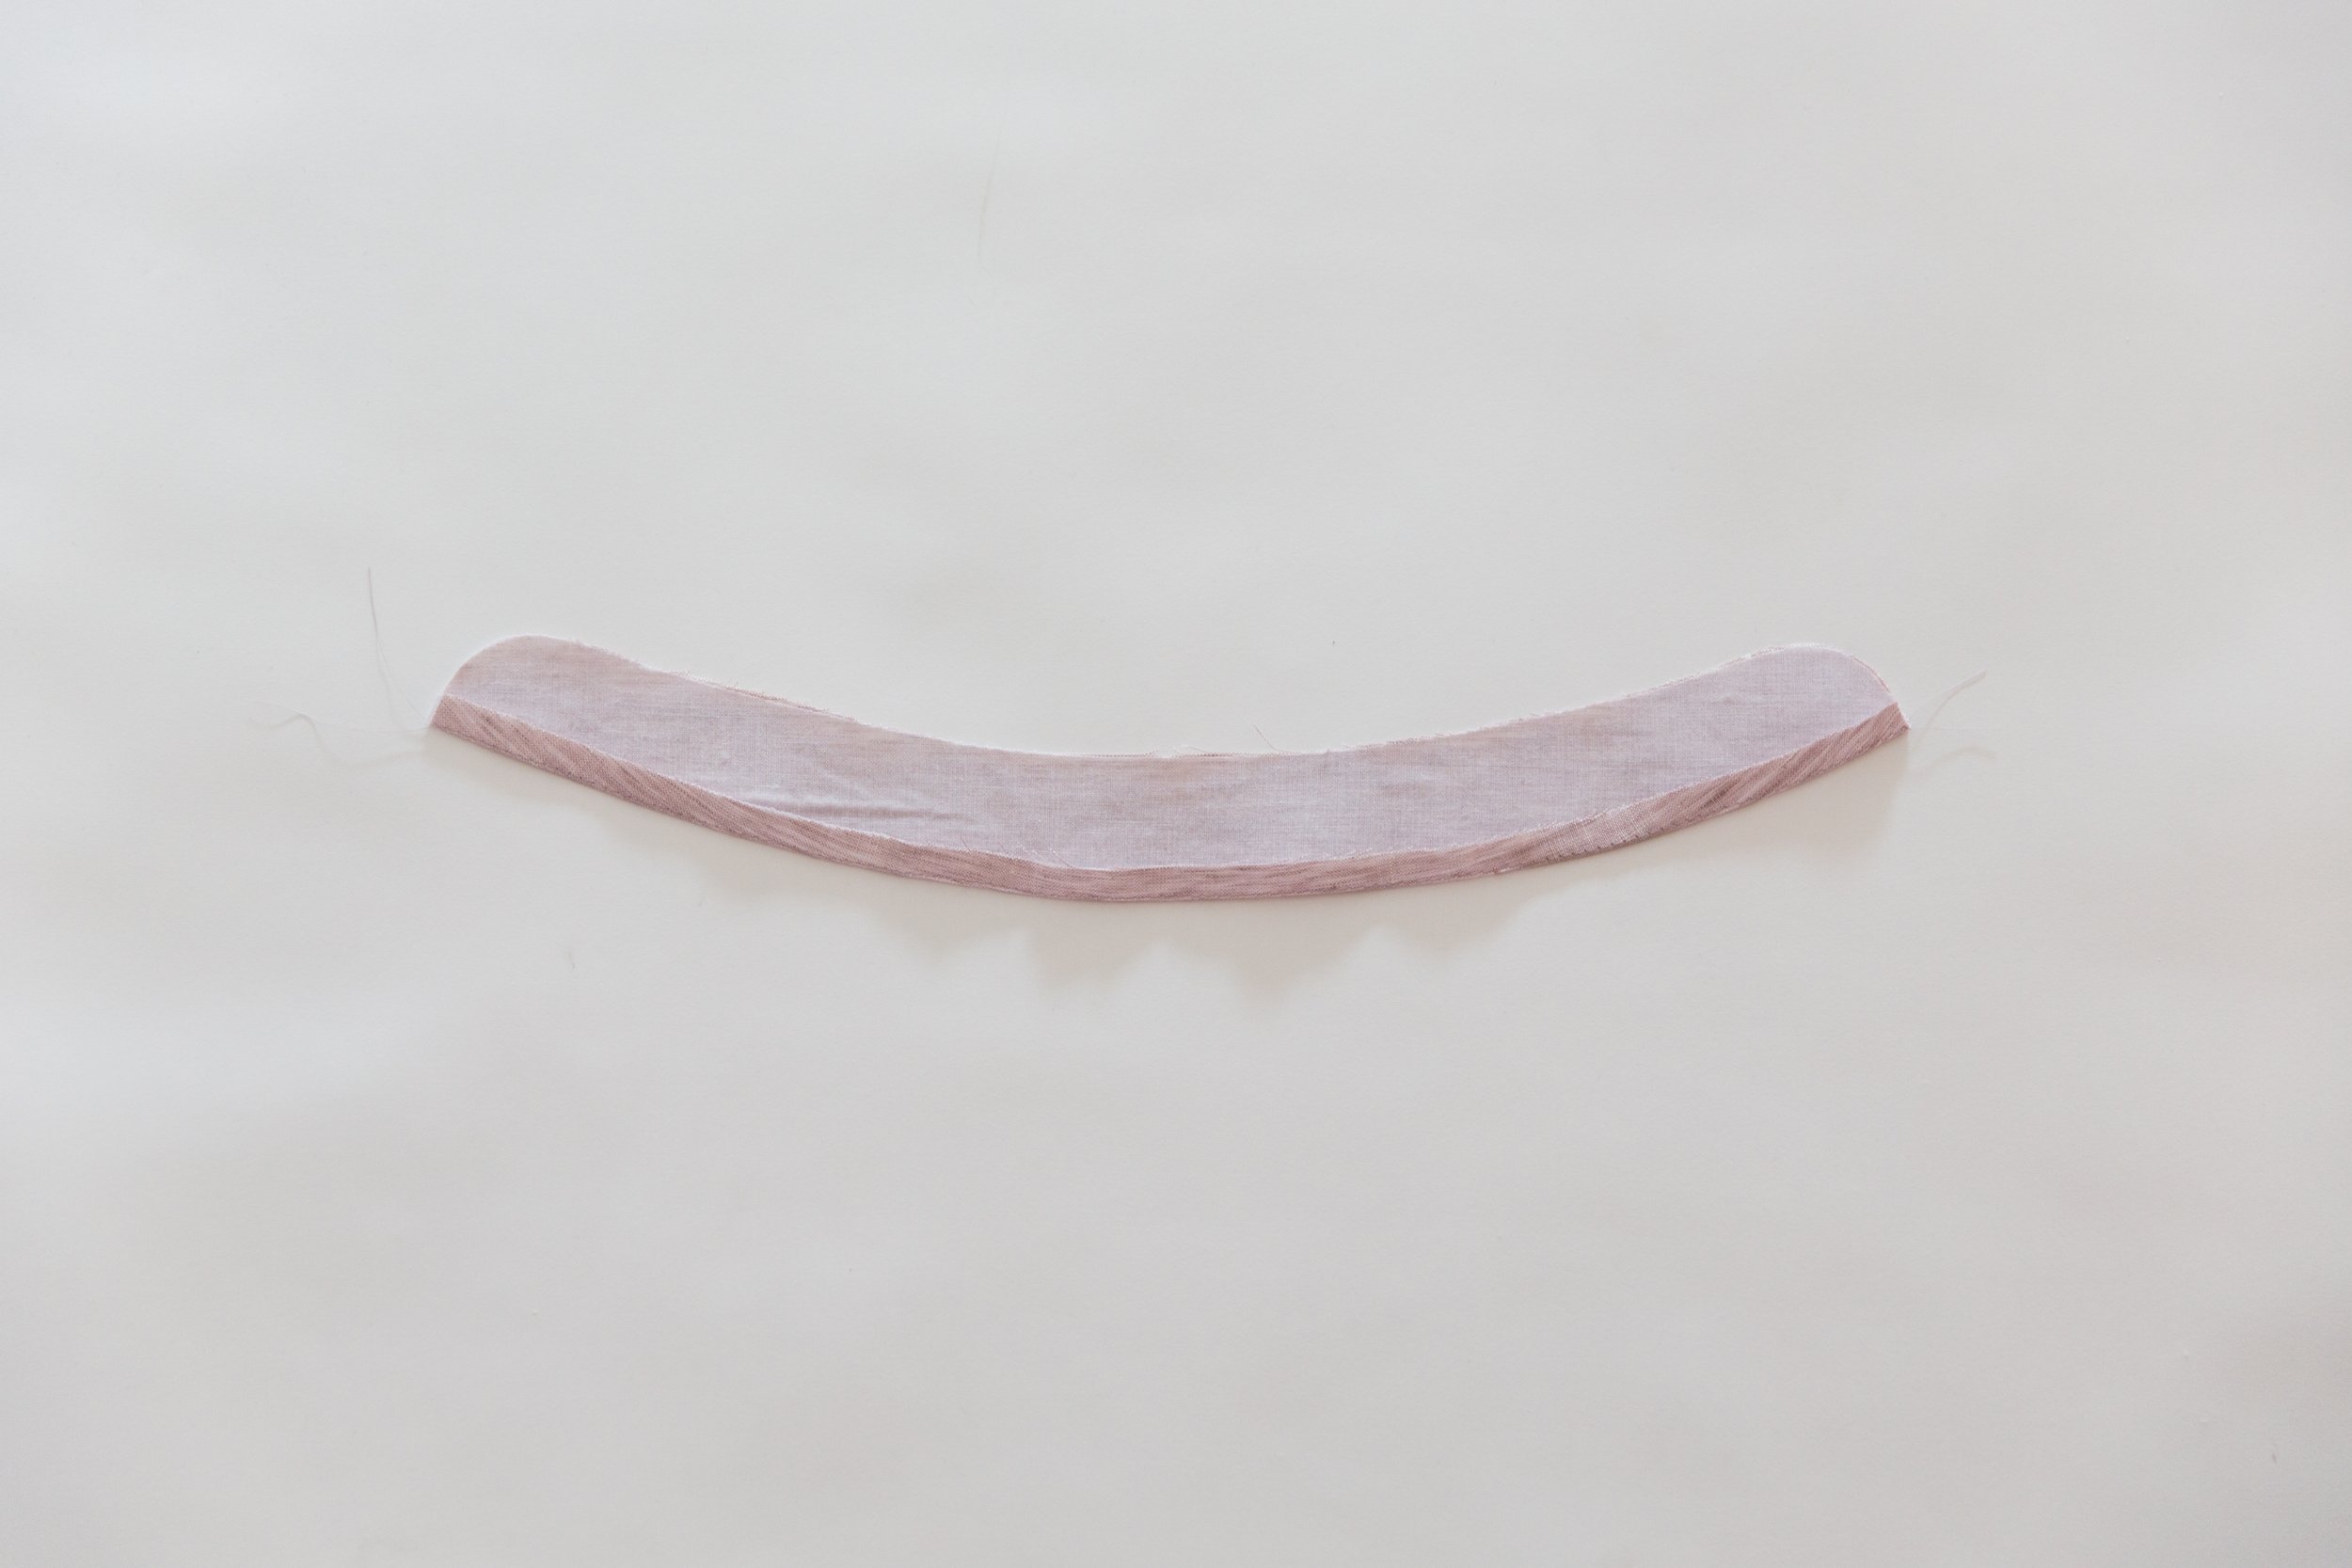
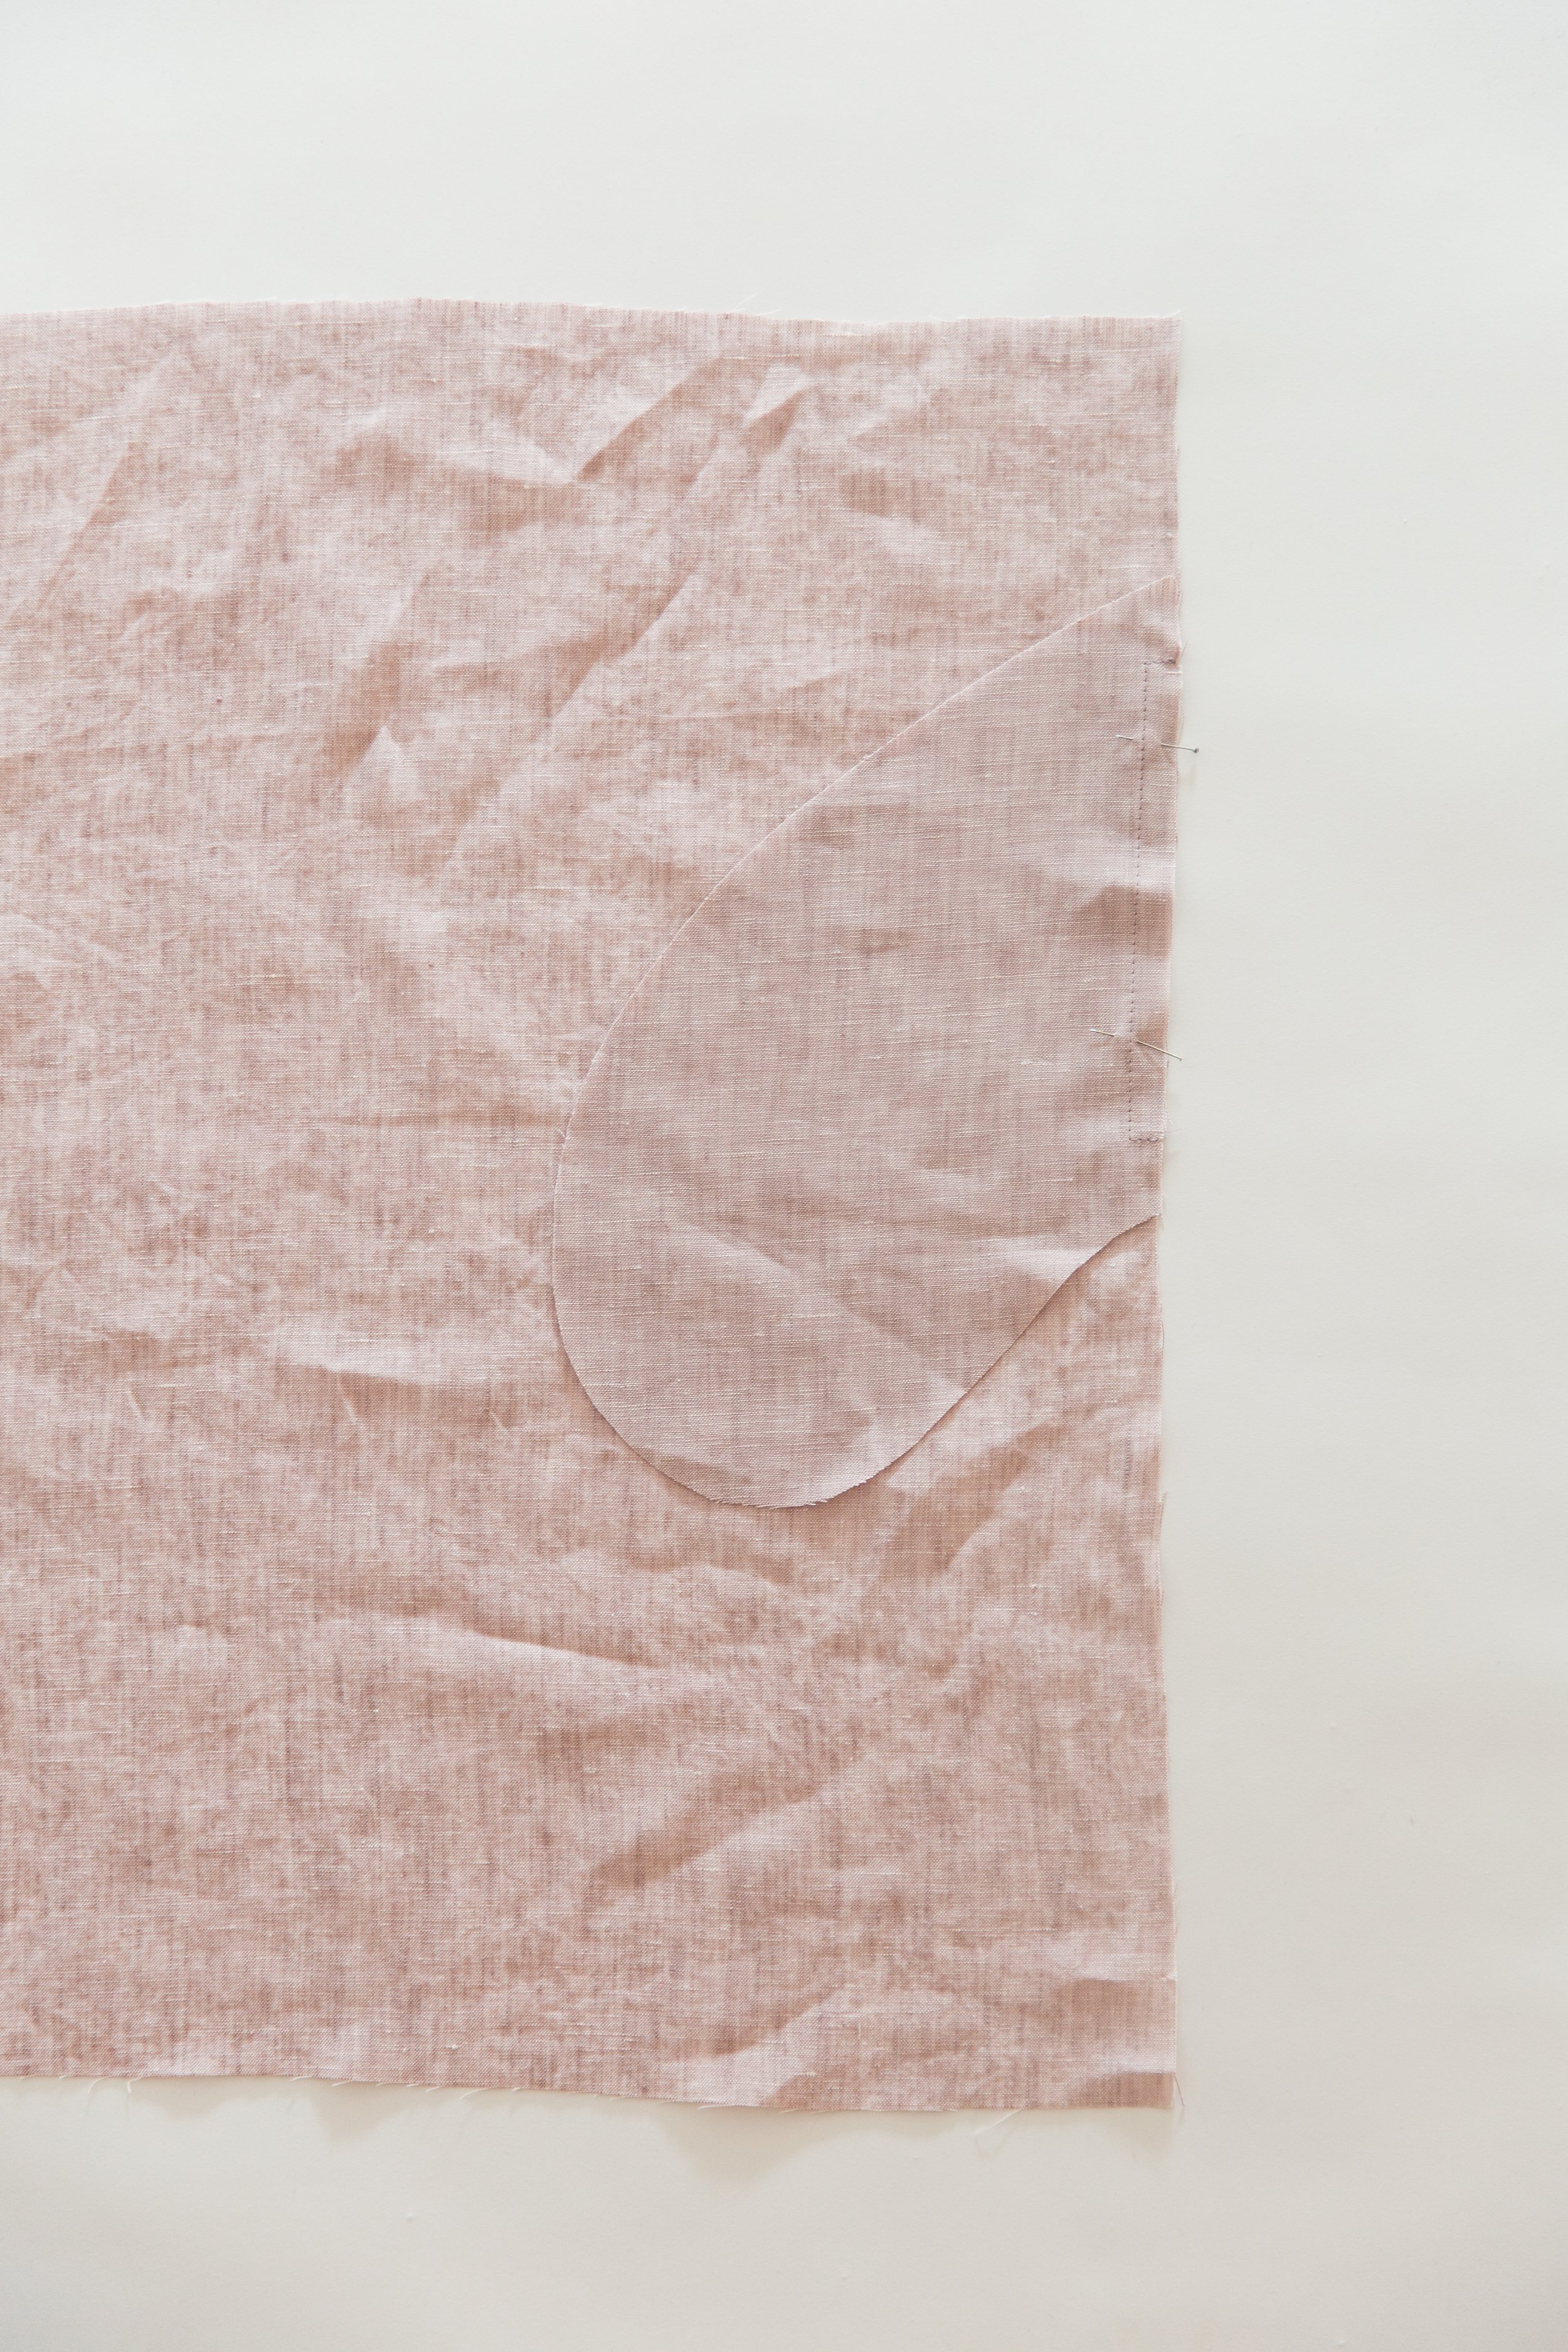
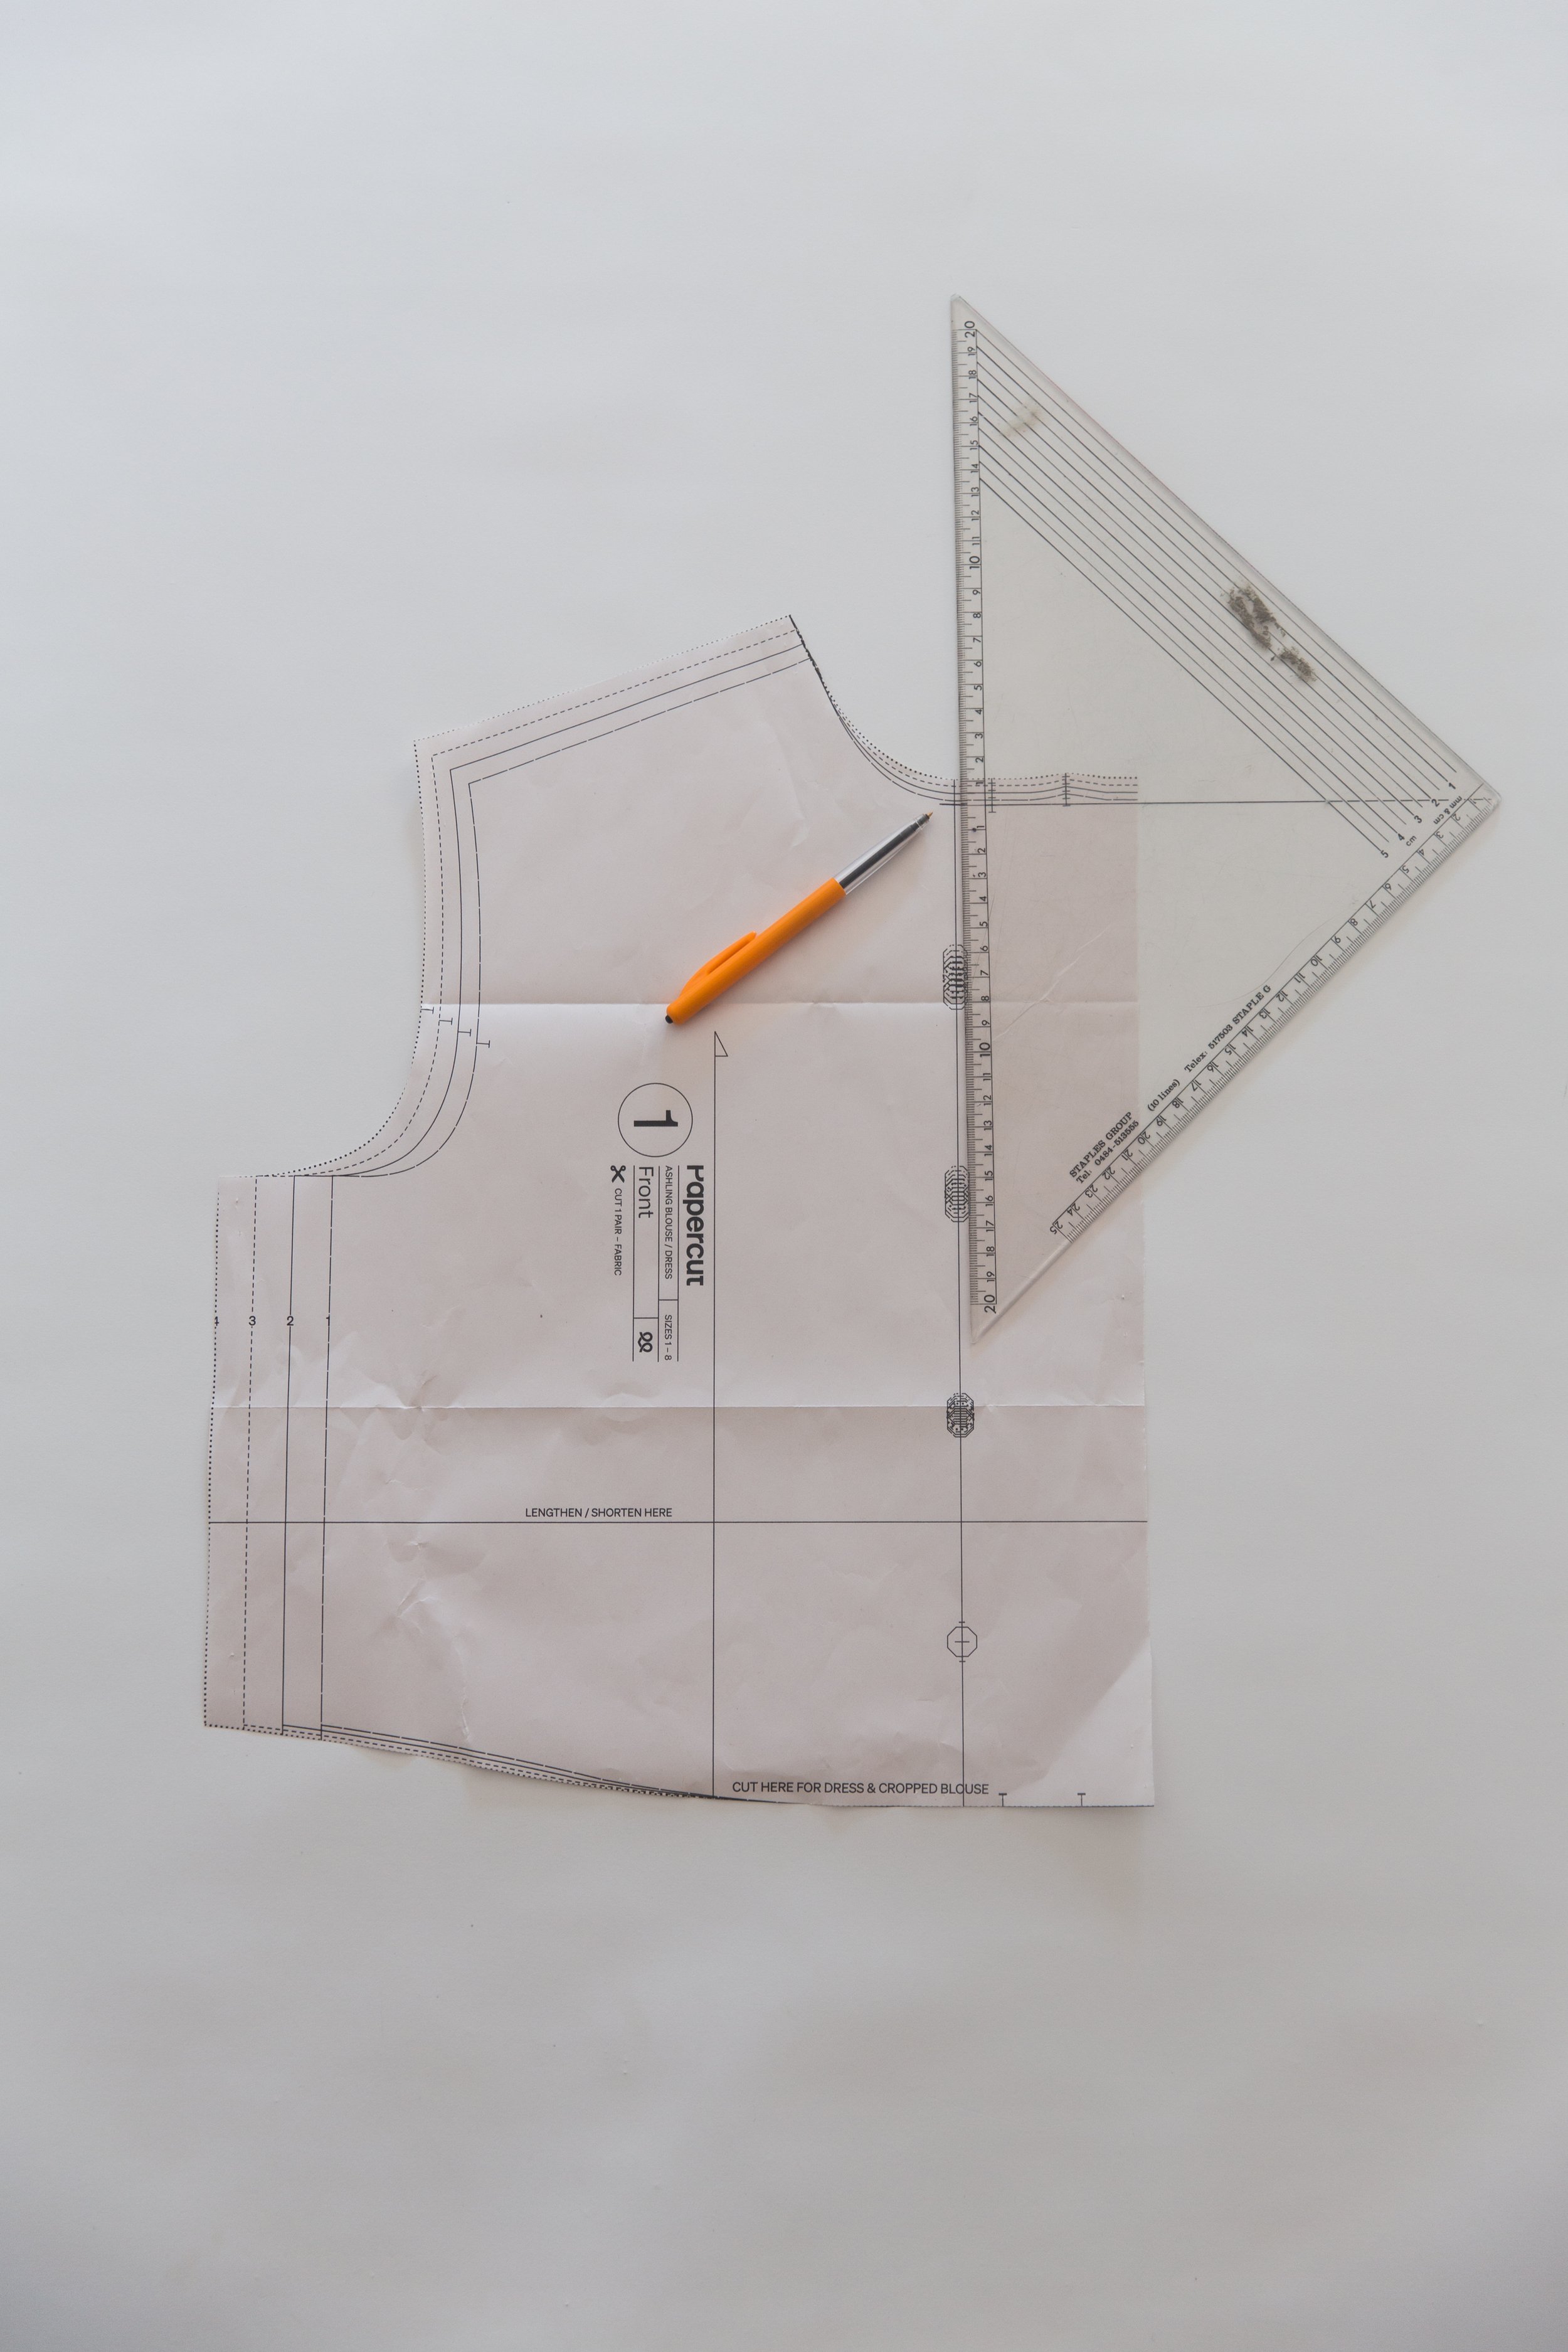
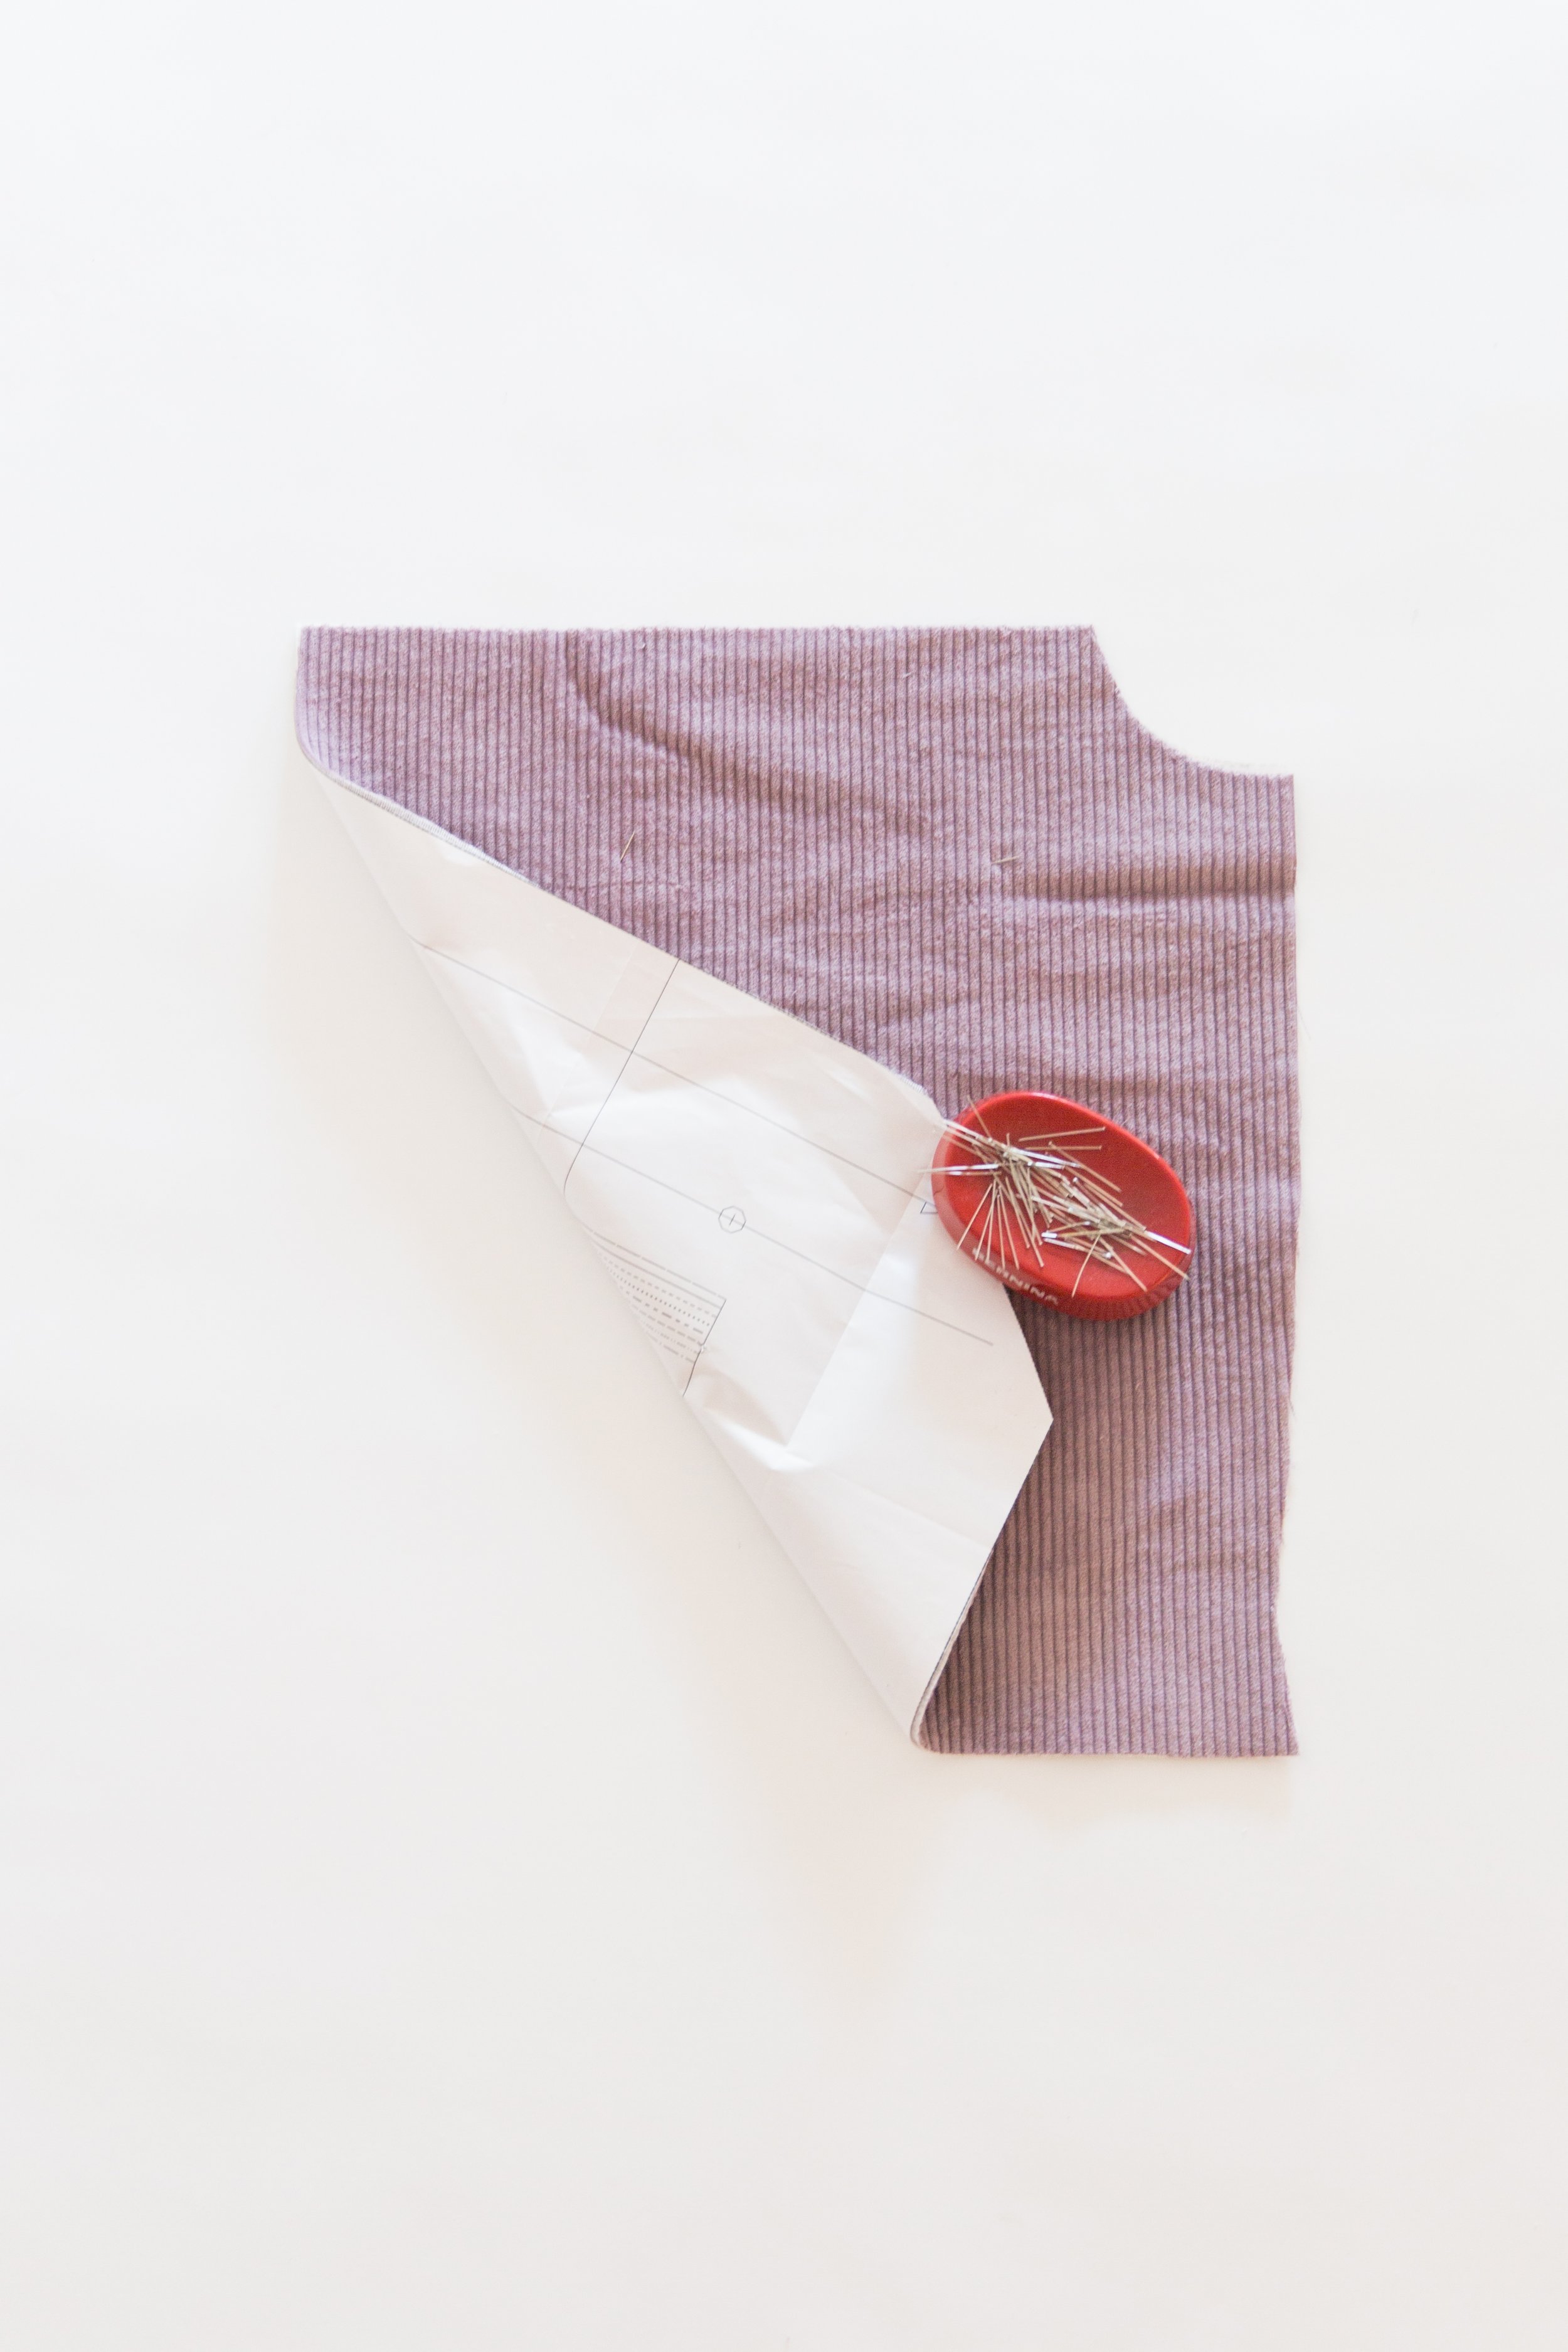
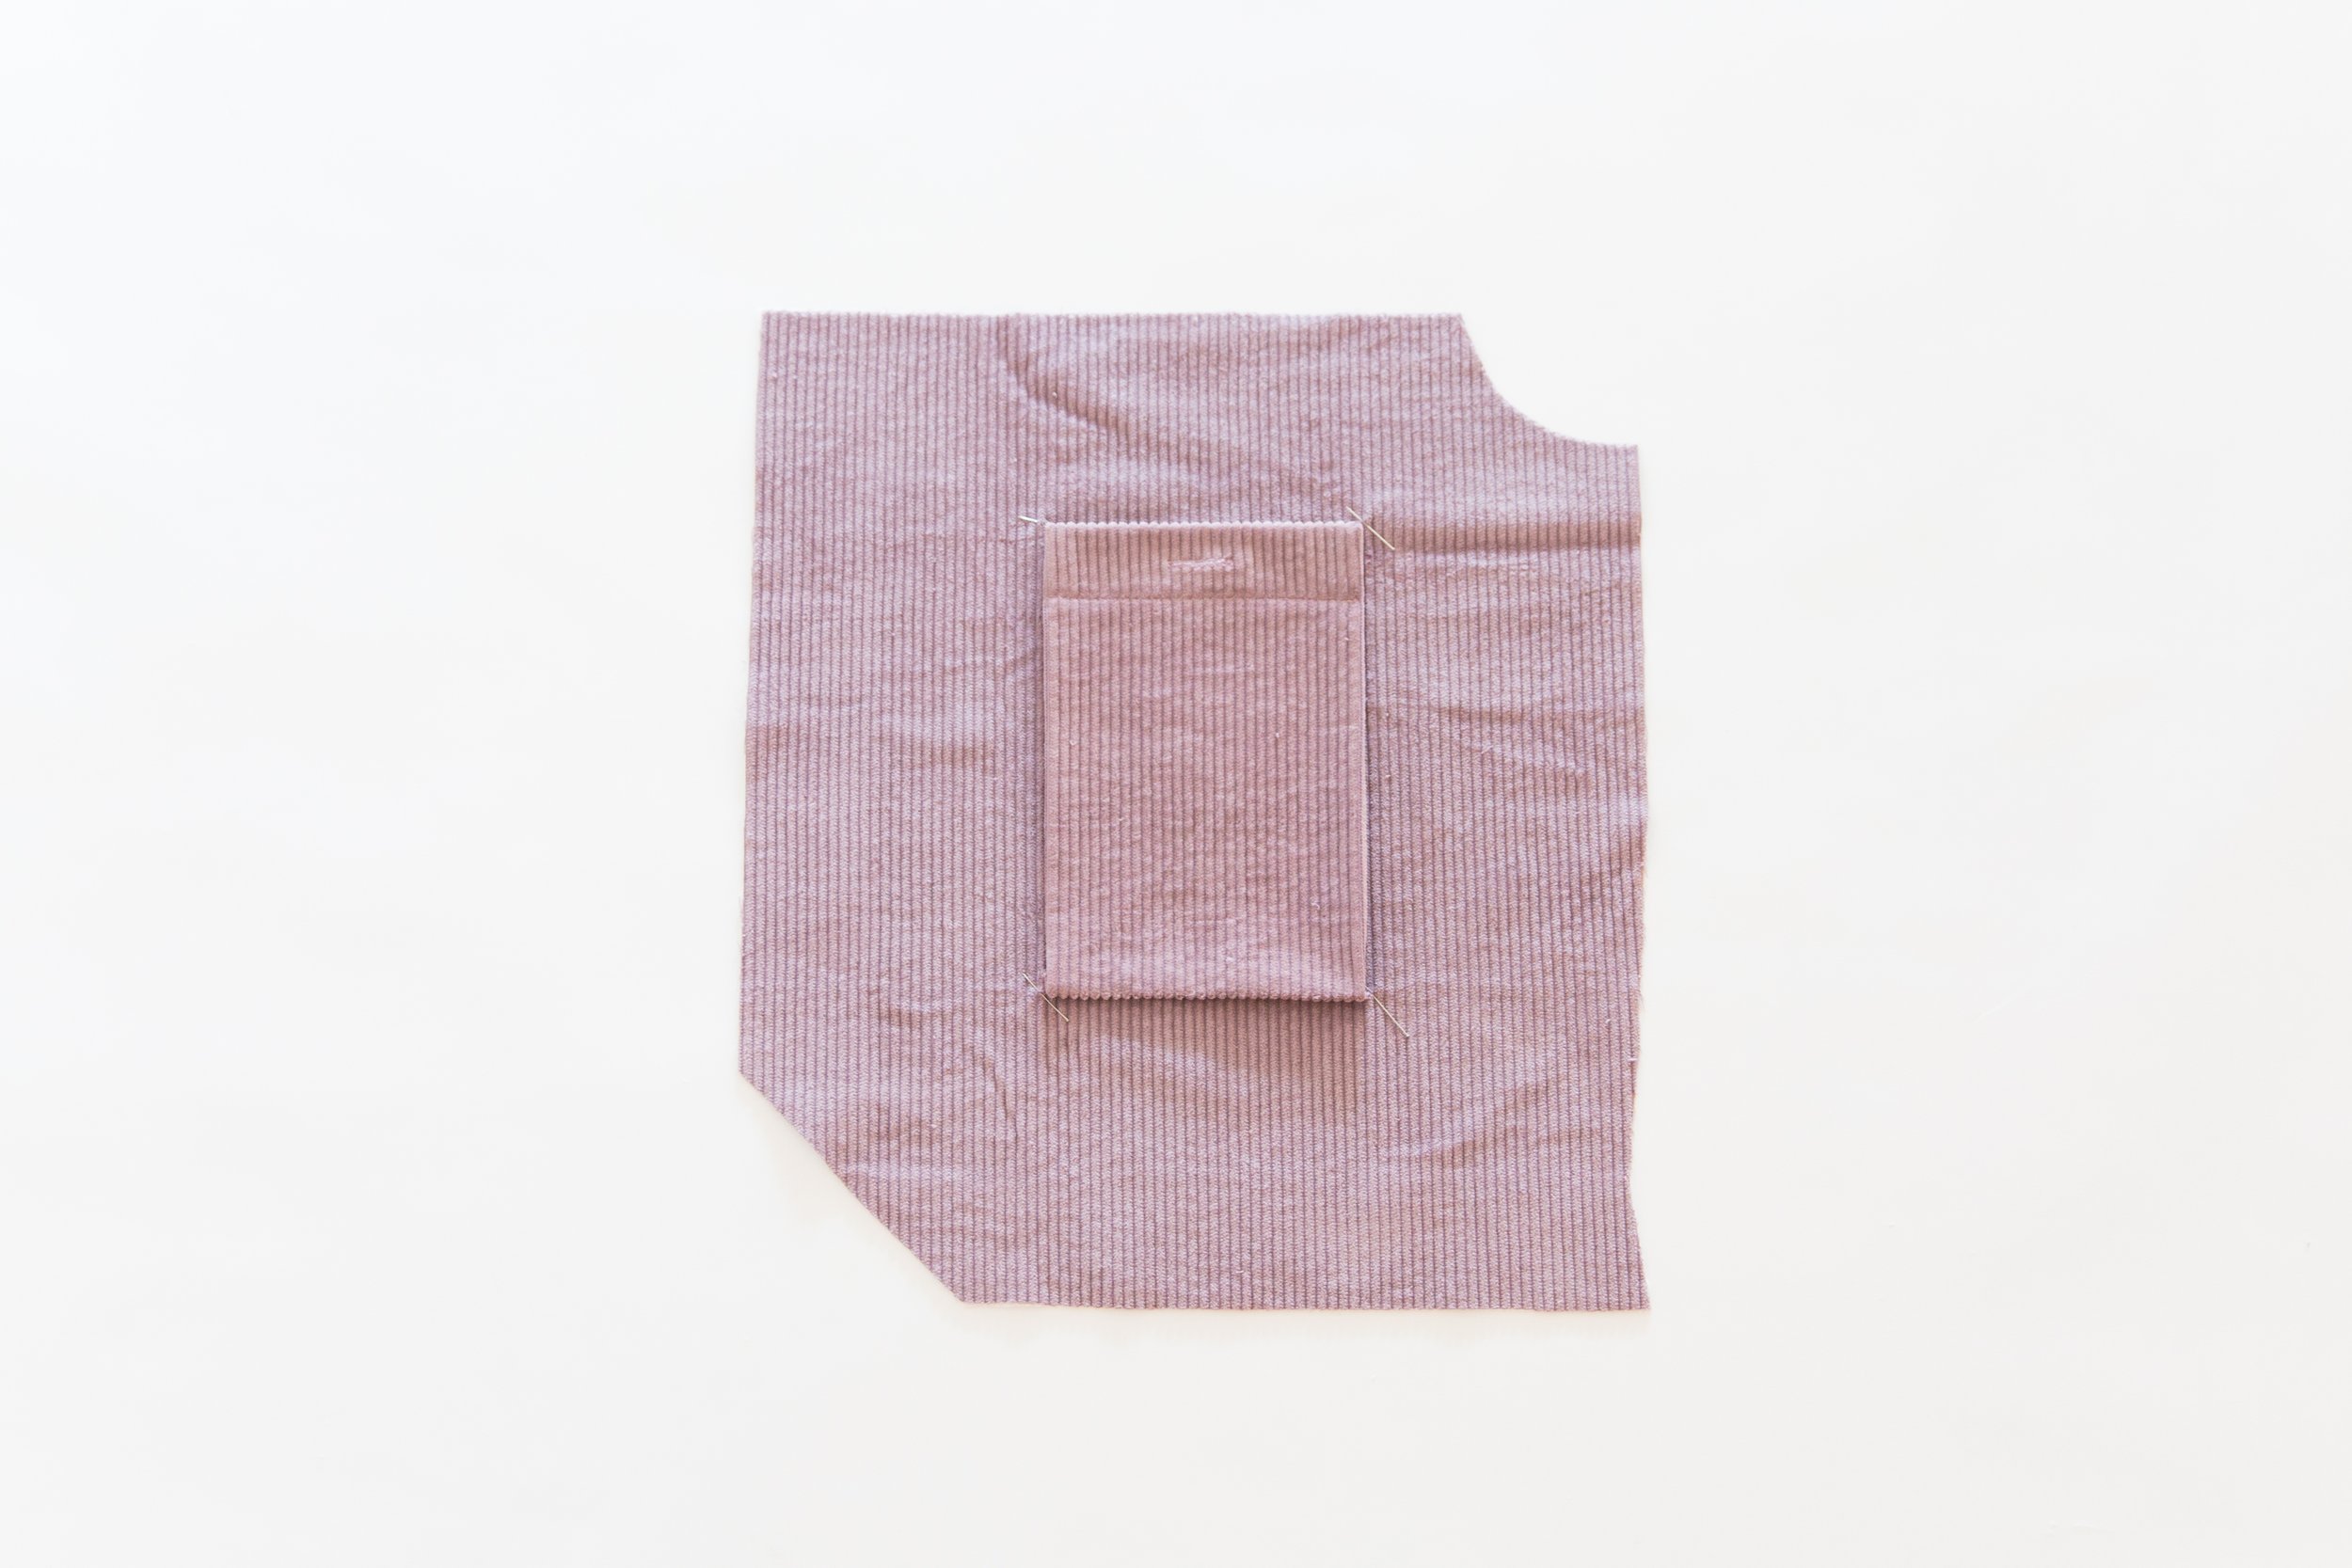
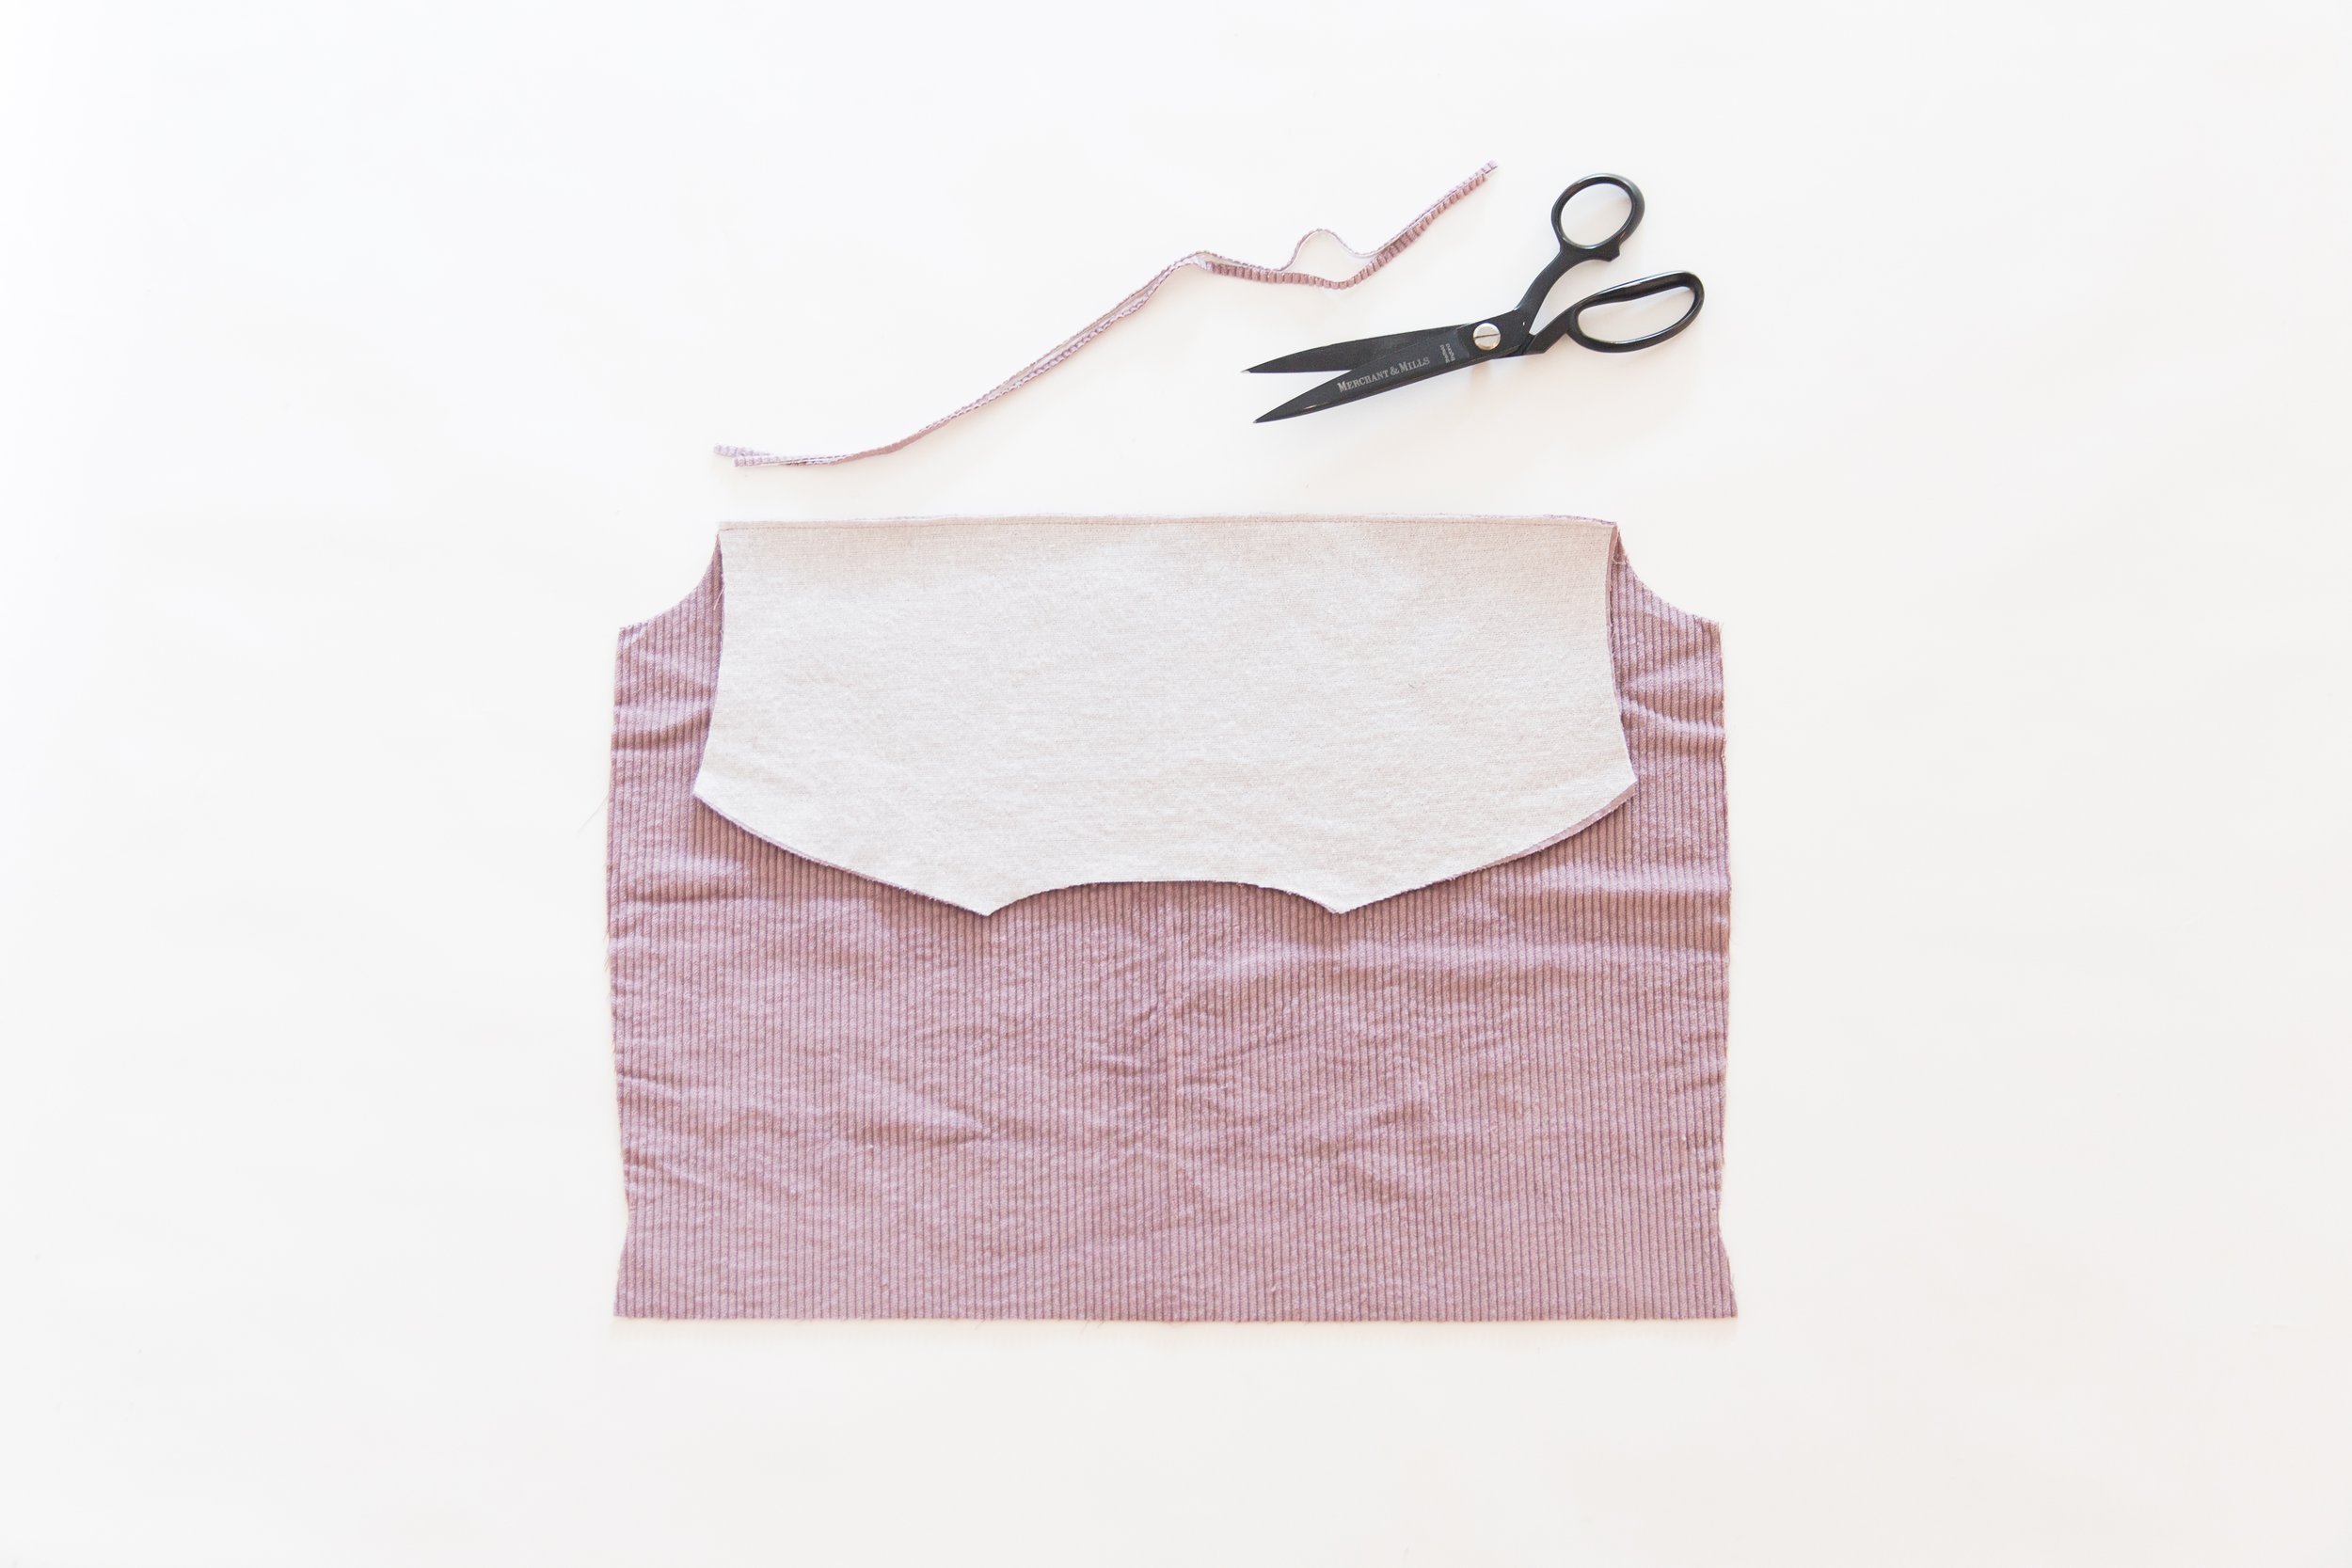
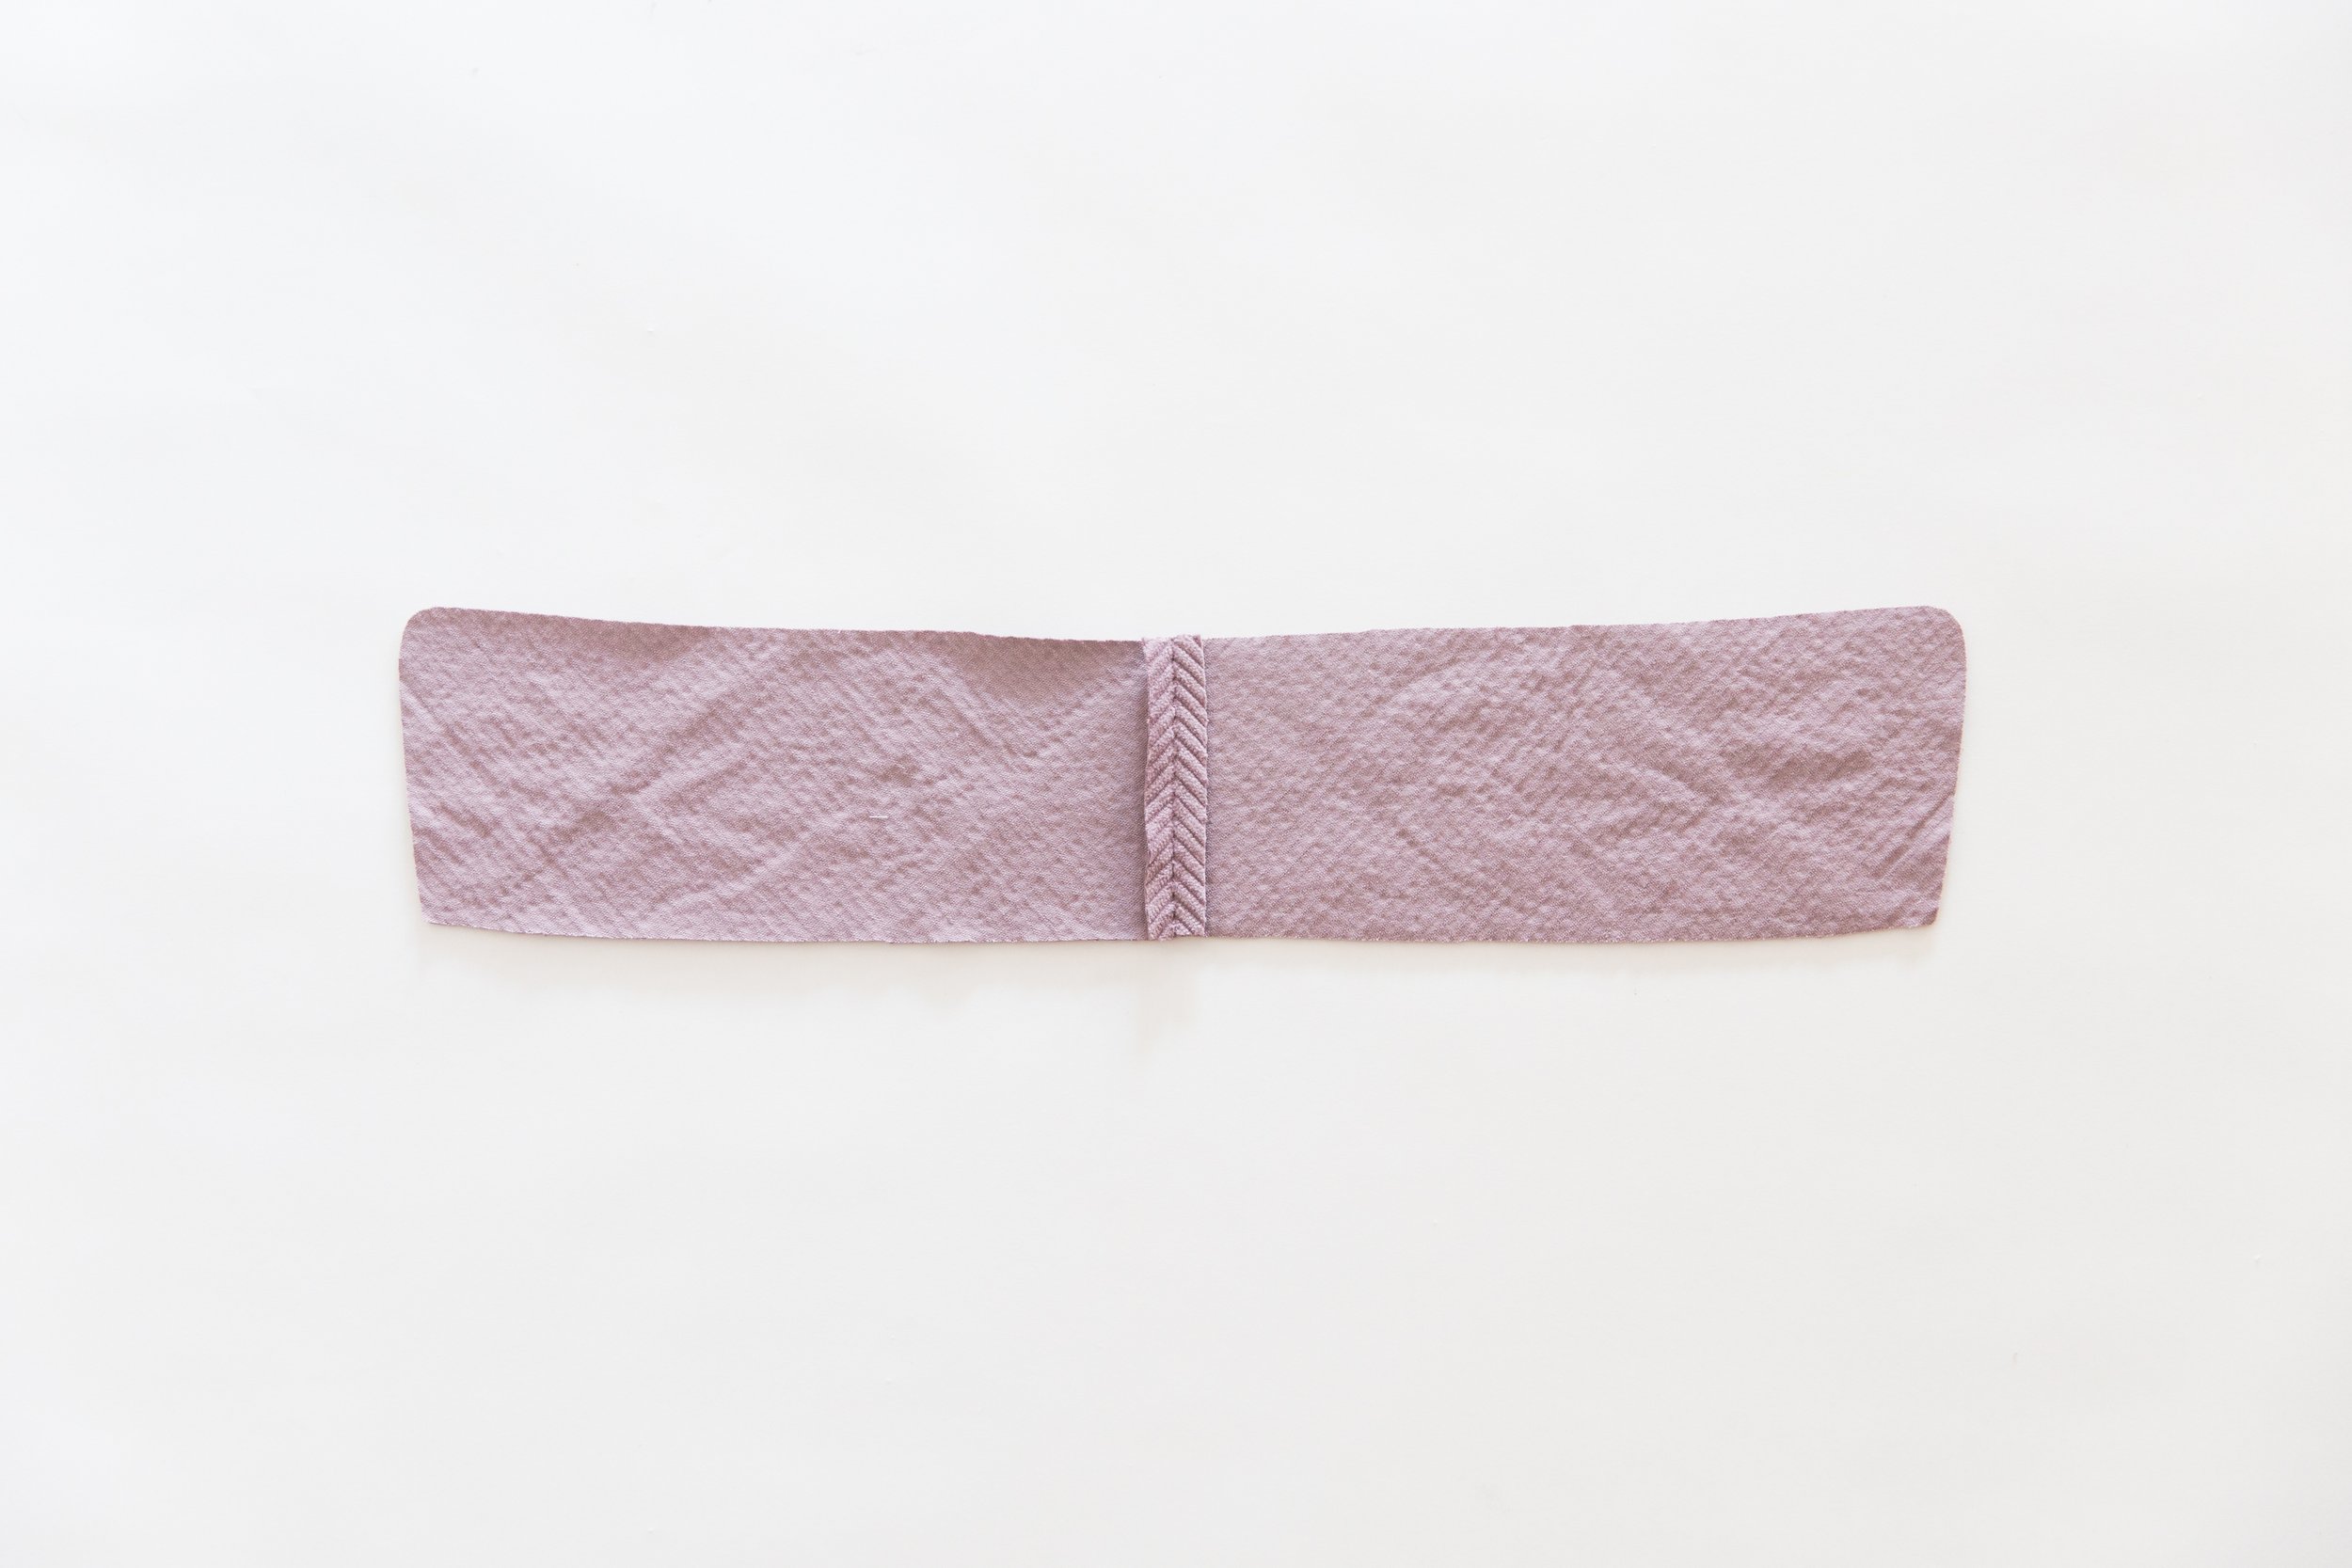
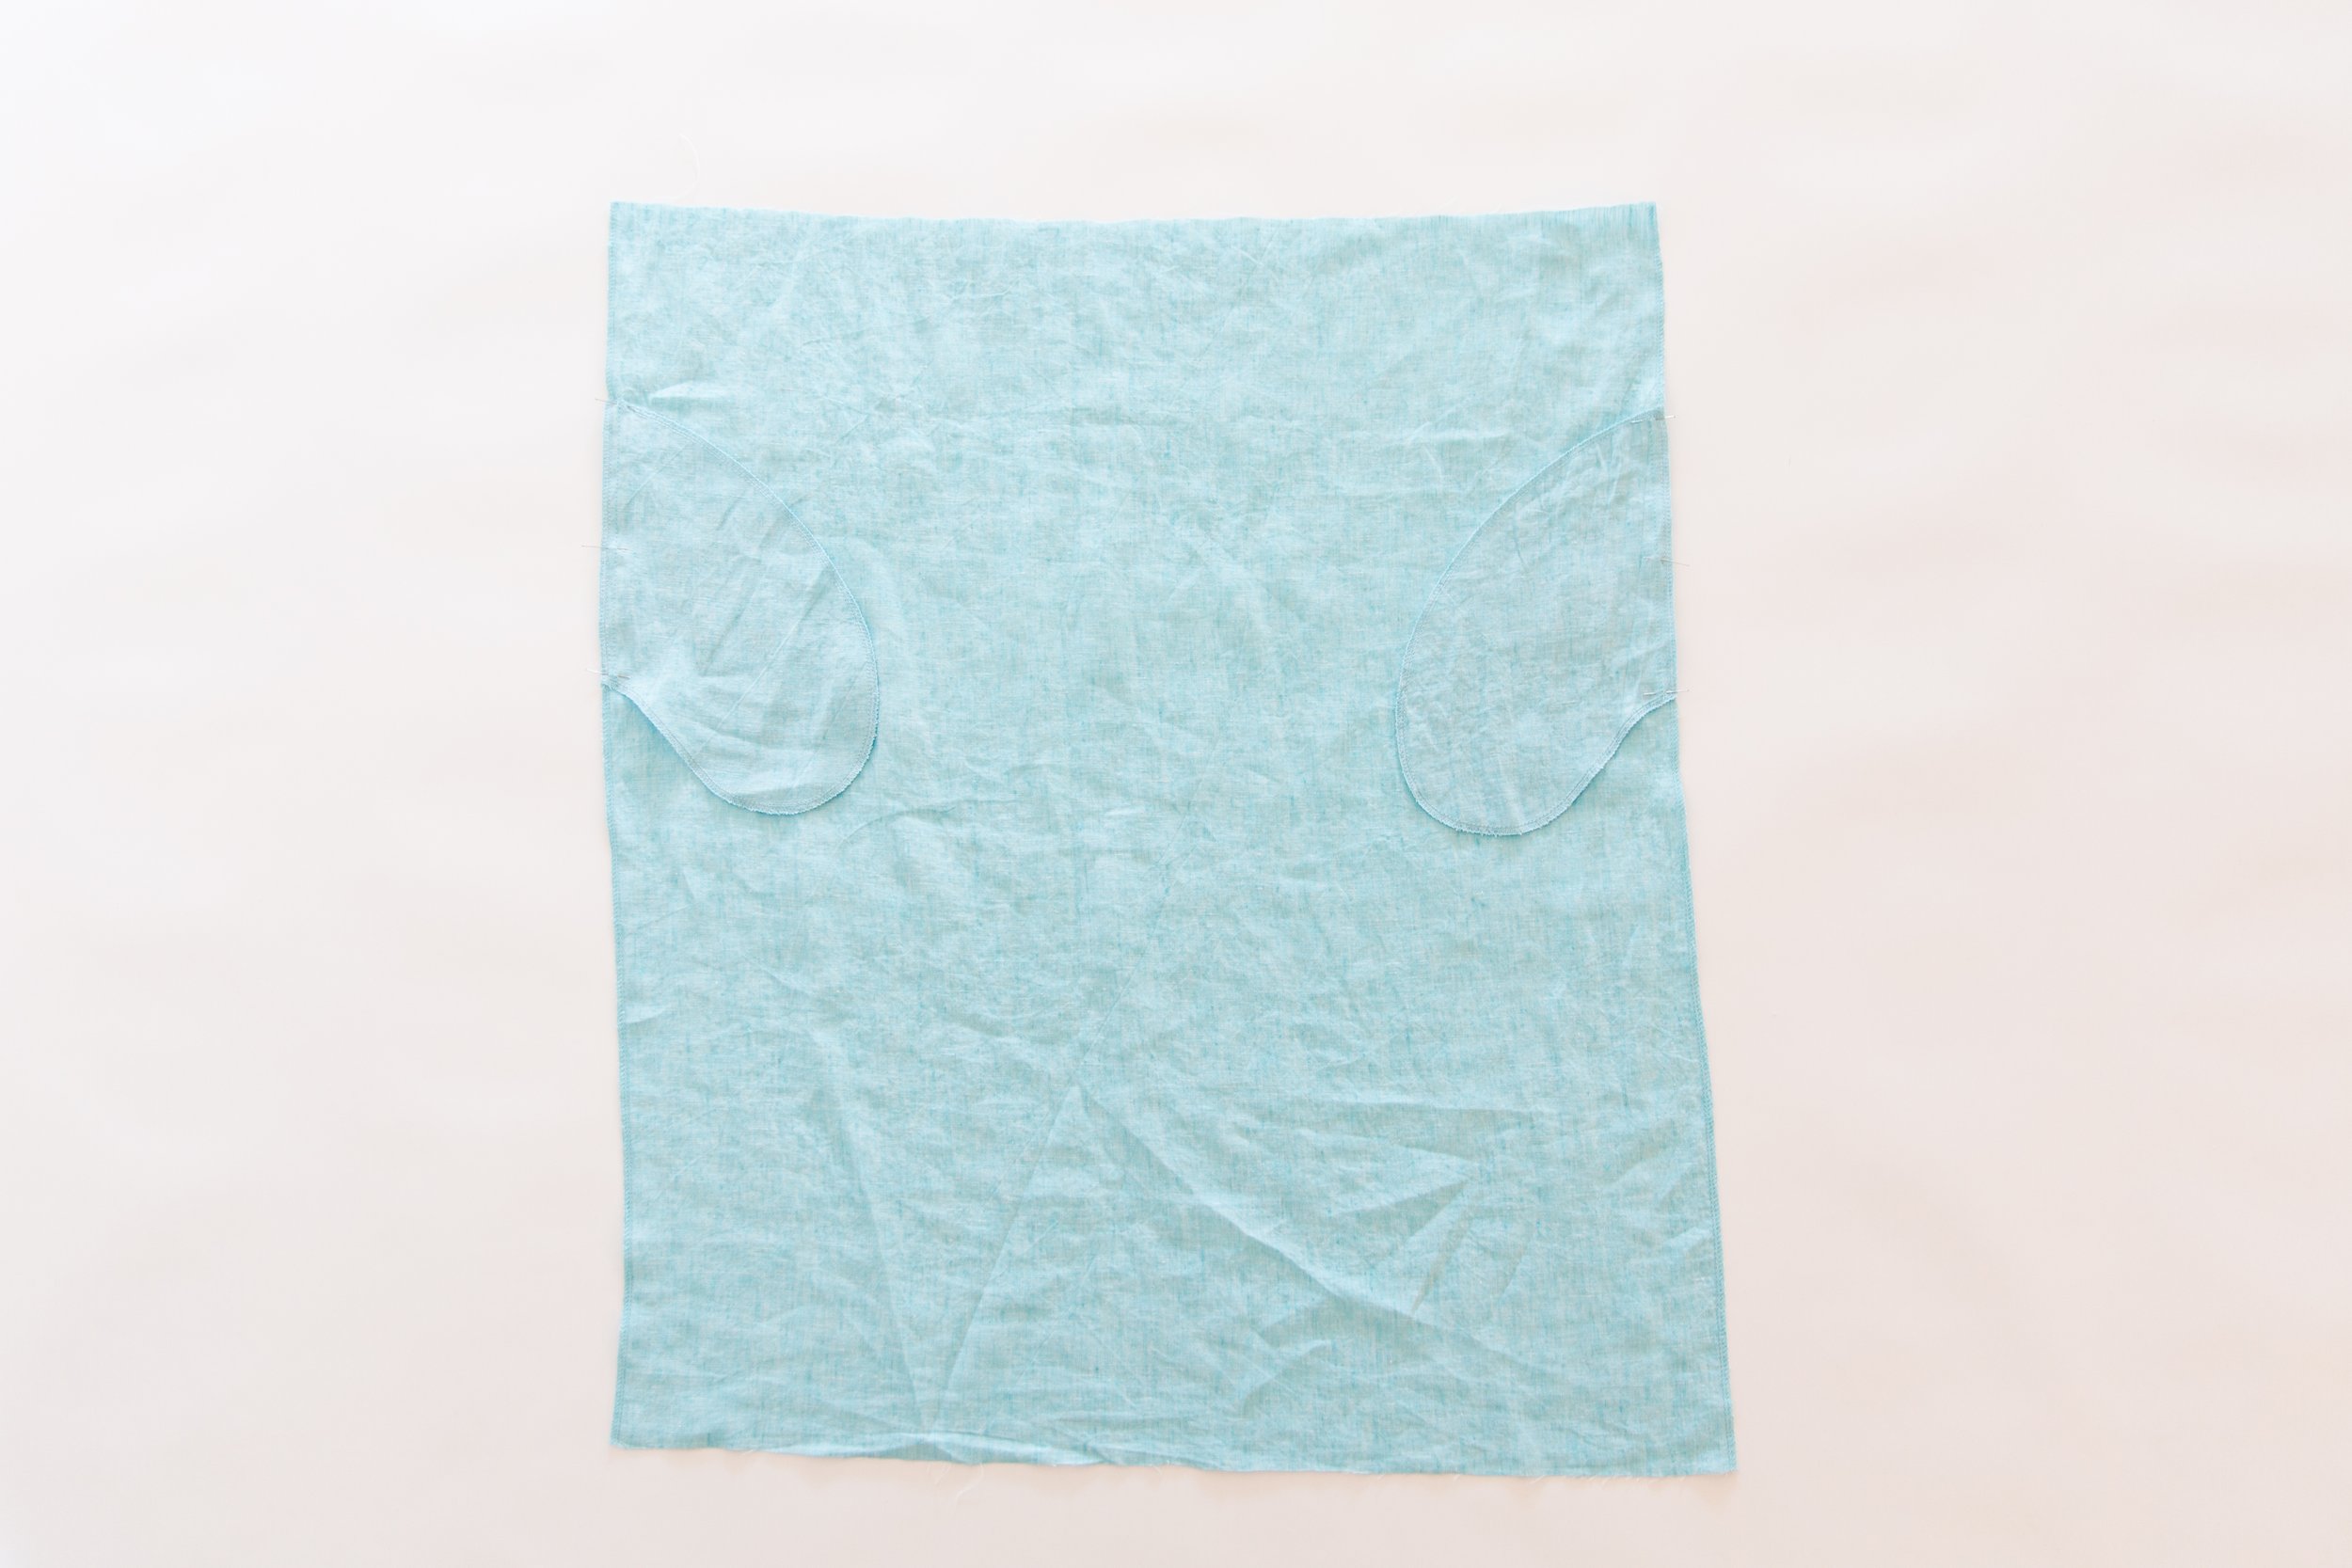
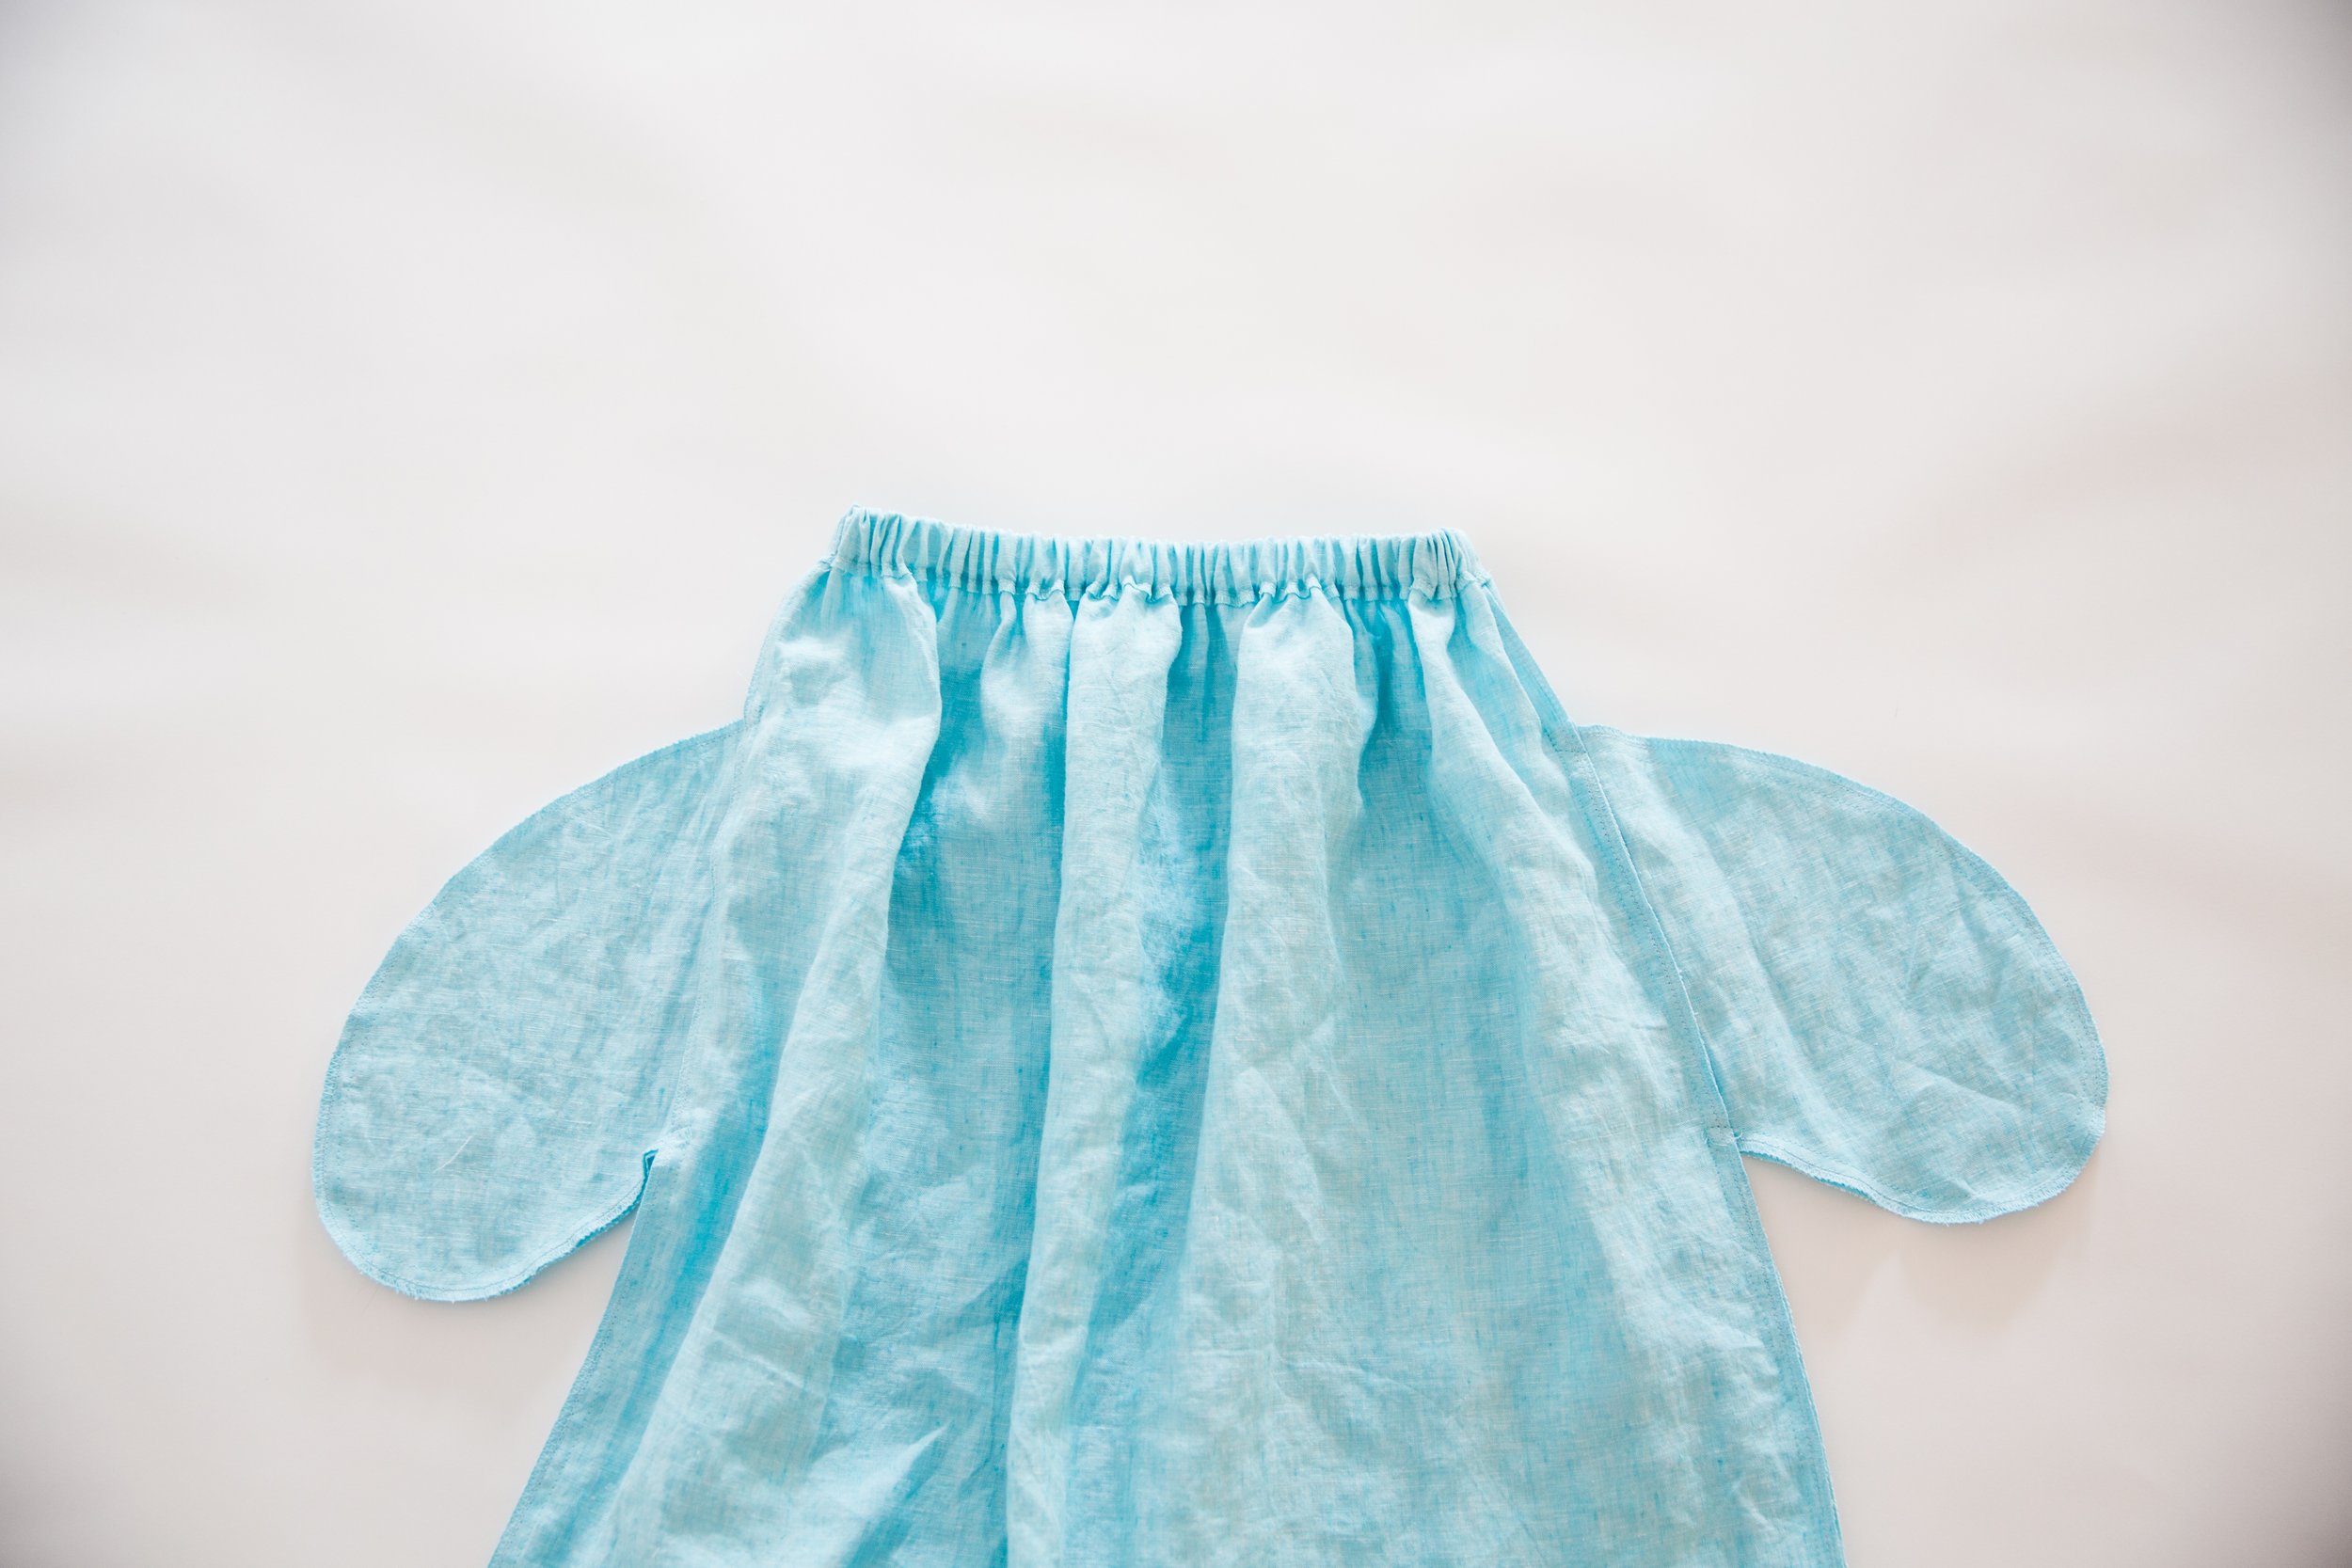
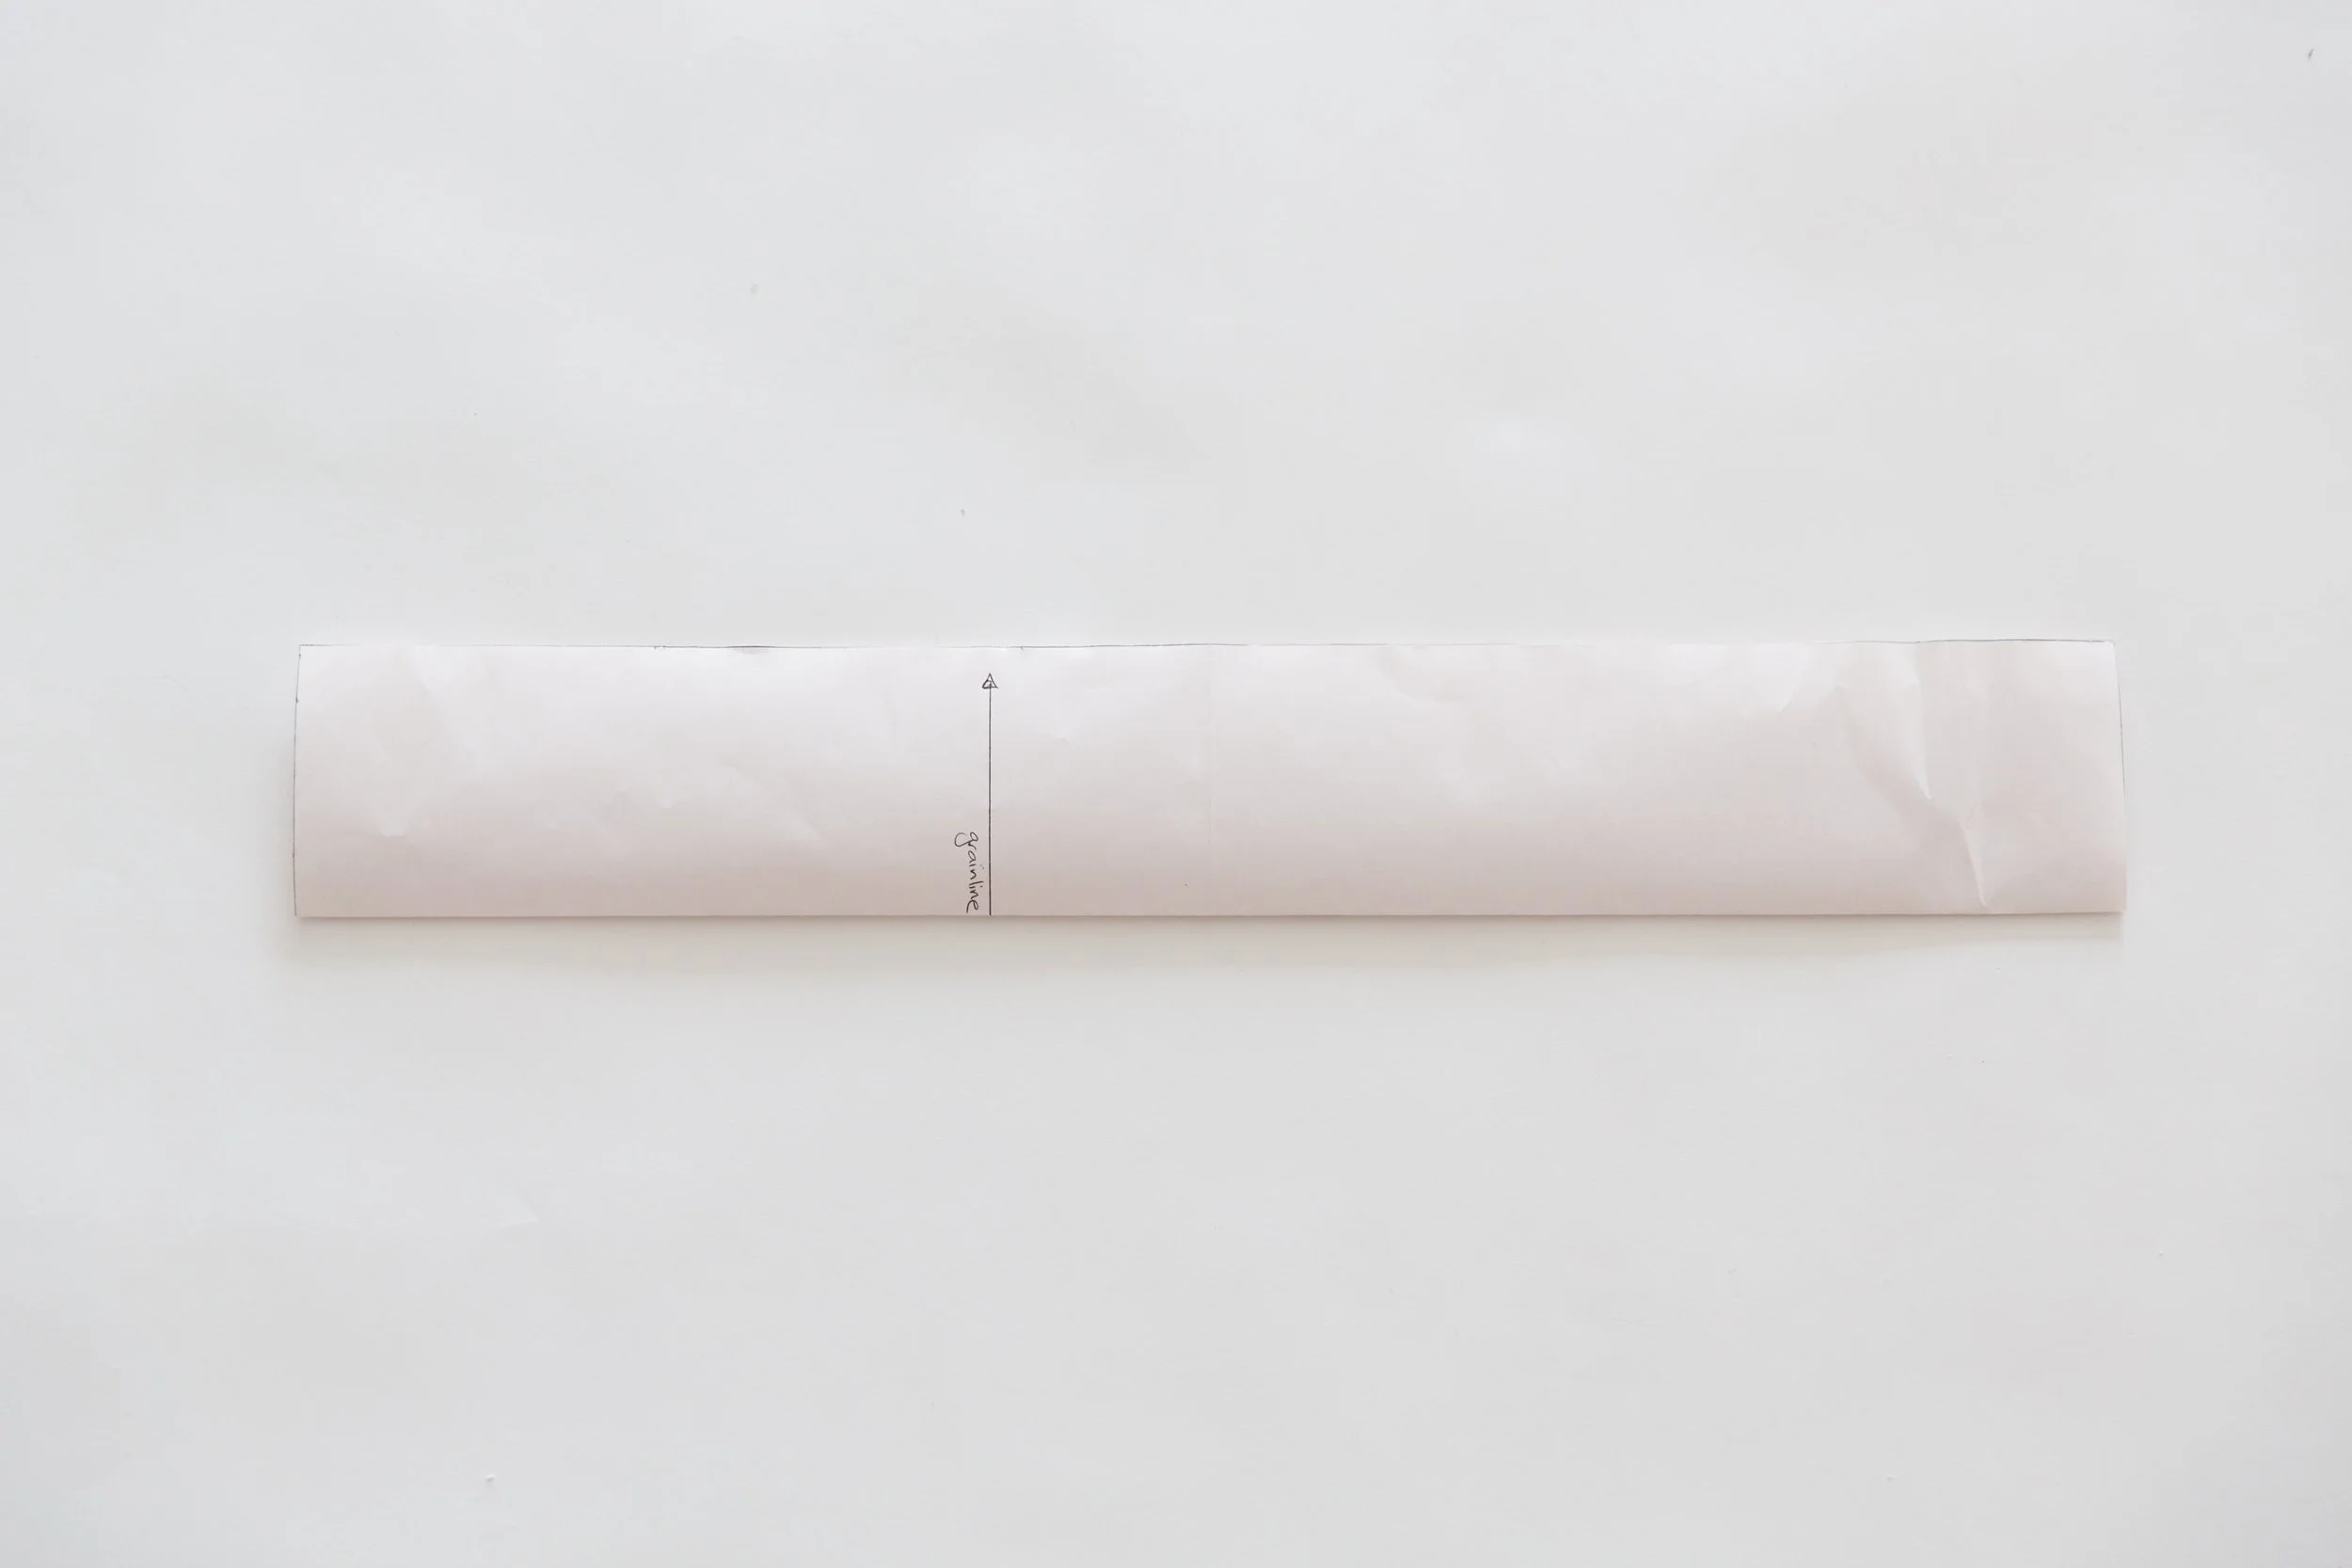
Fold frill pattern in half lengthwise.
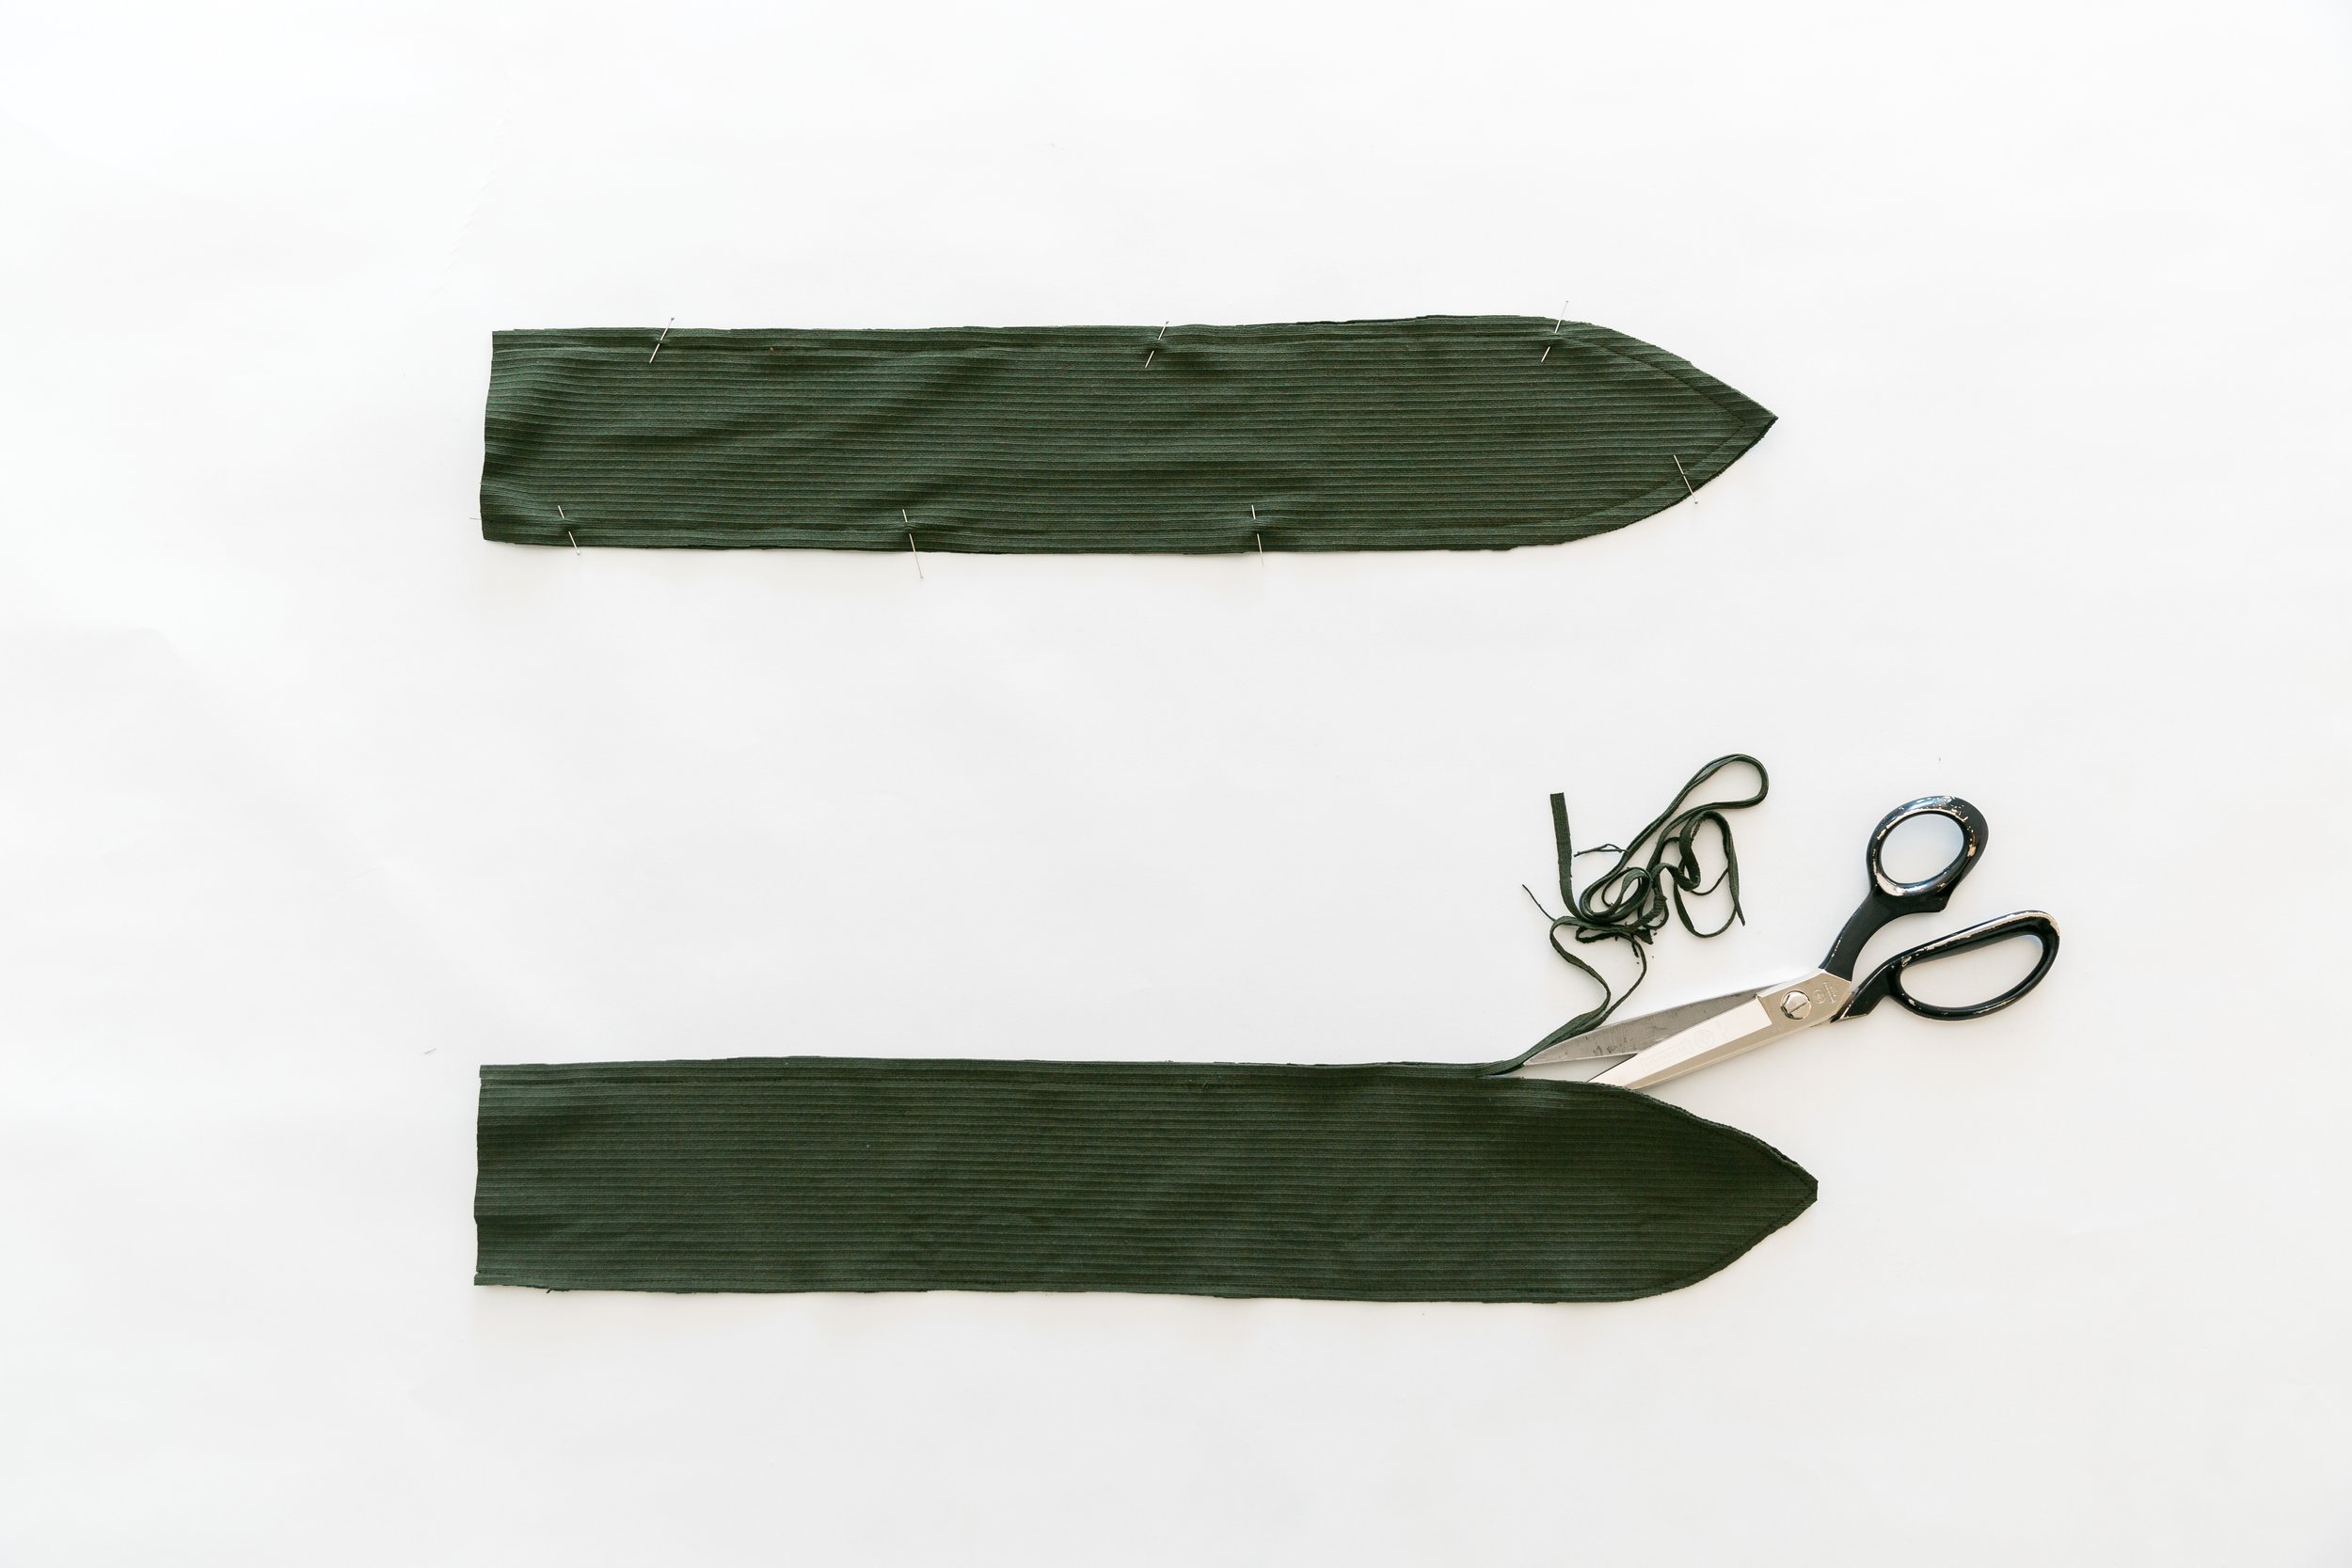
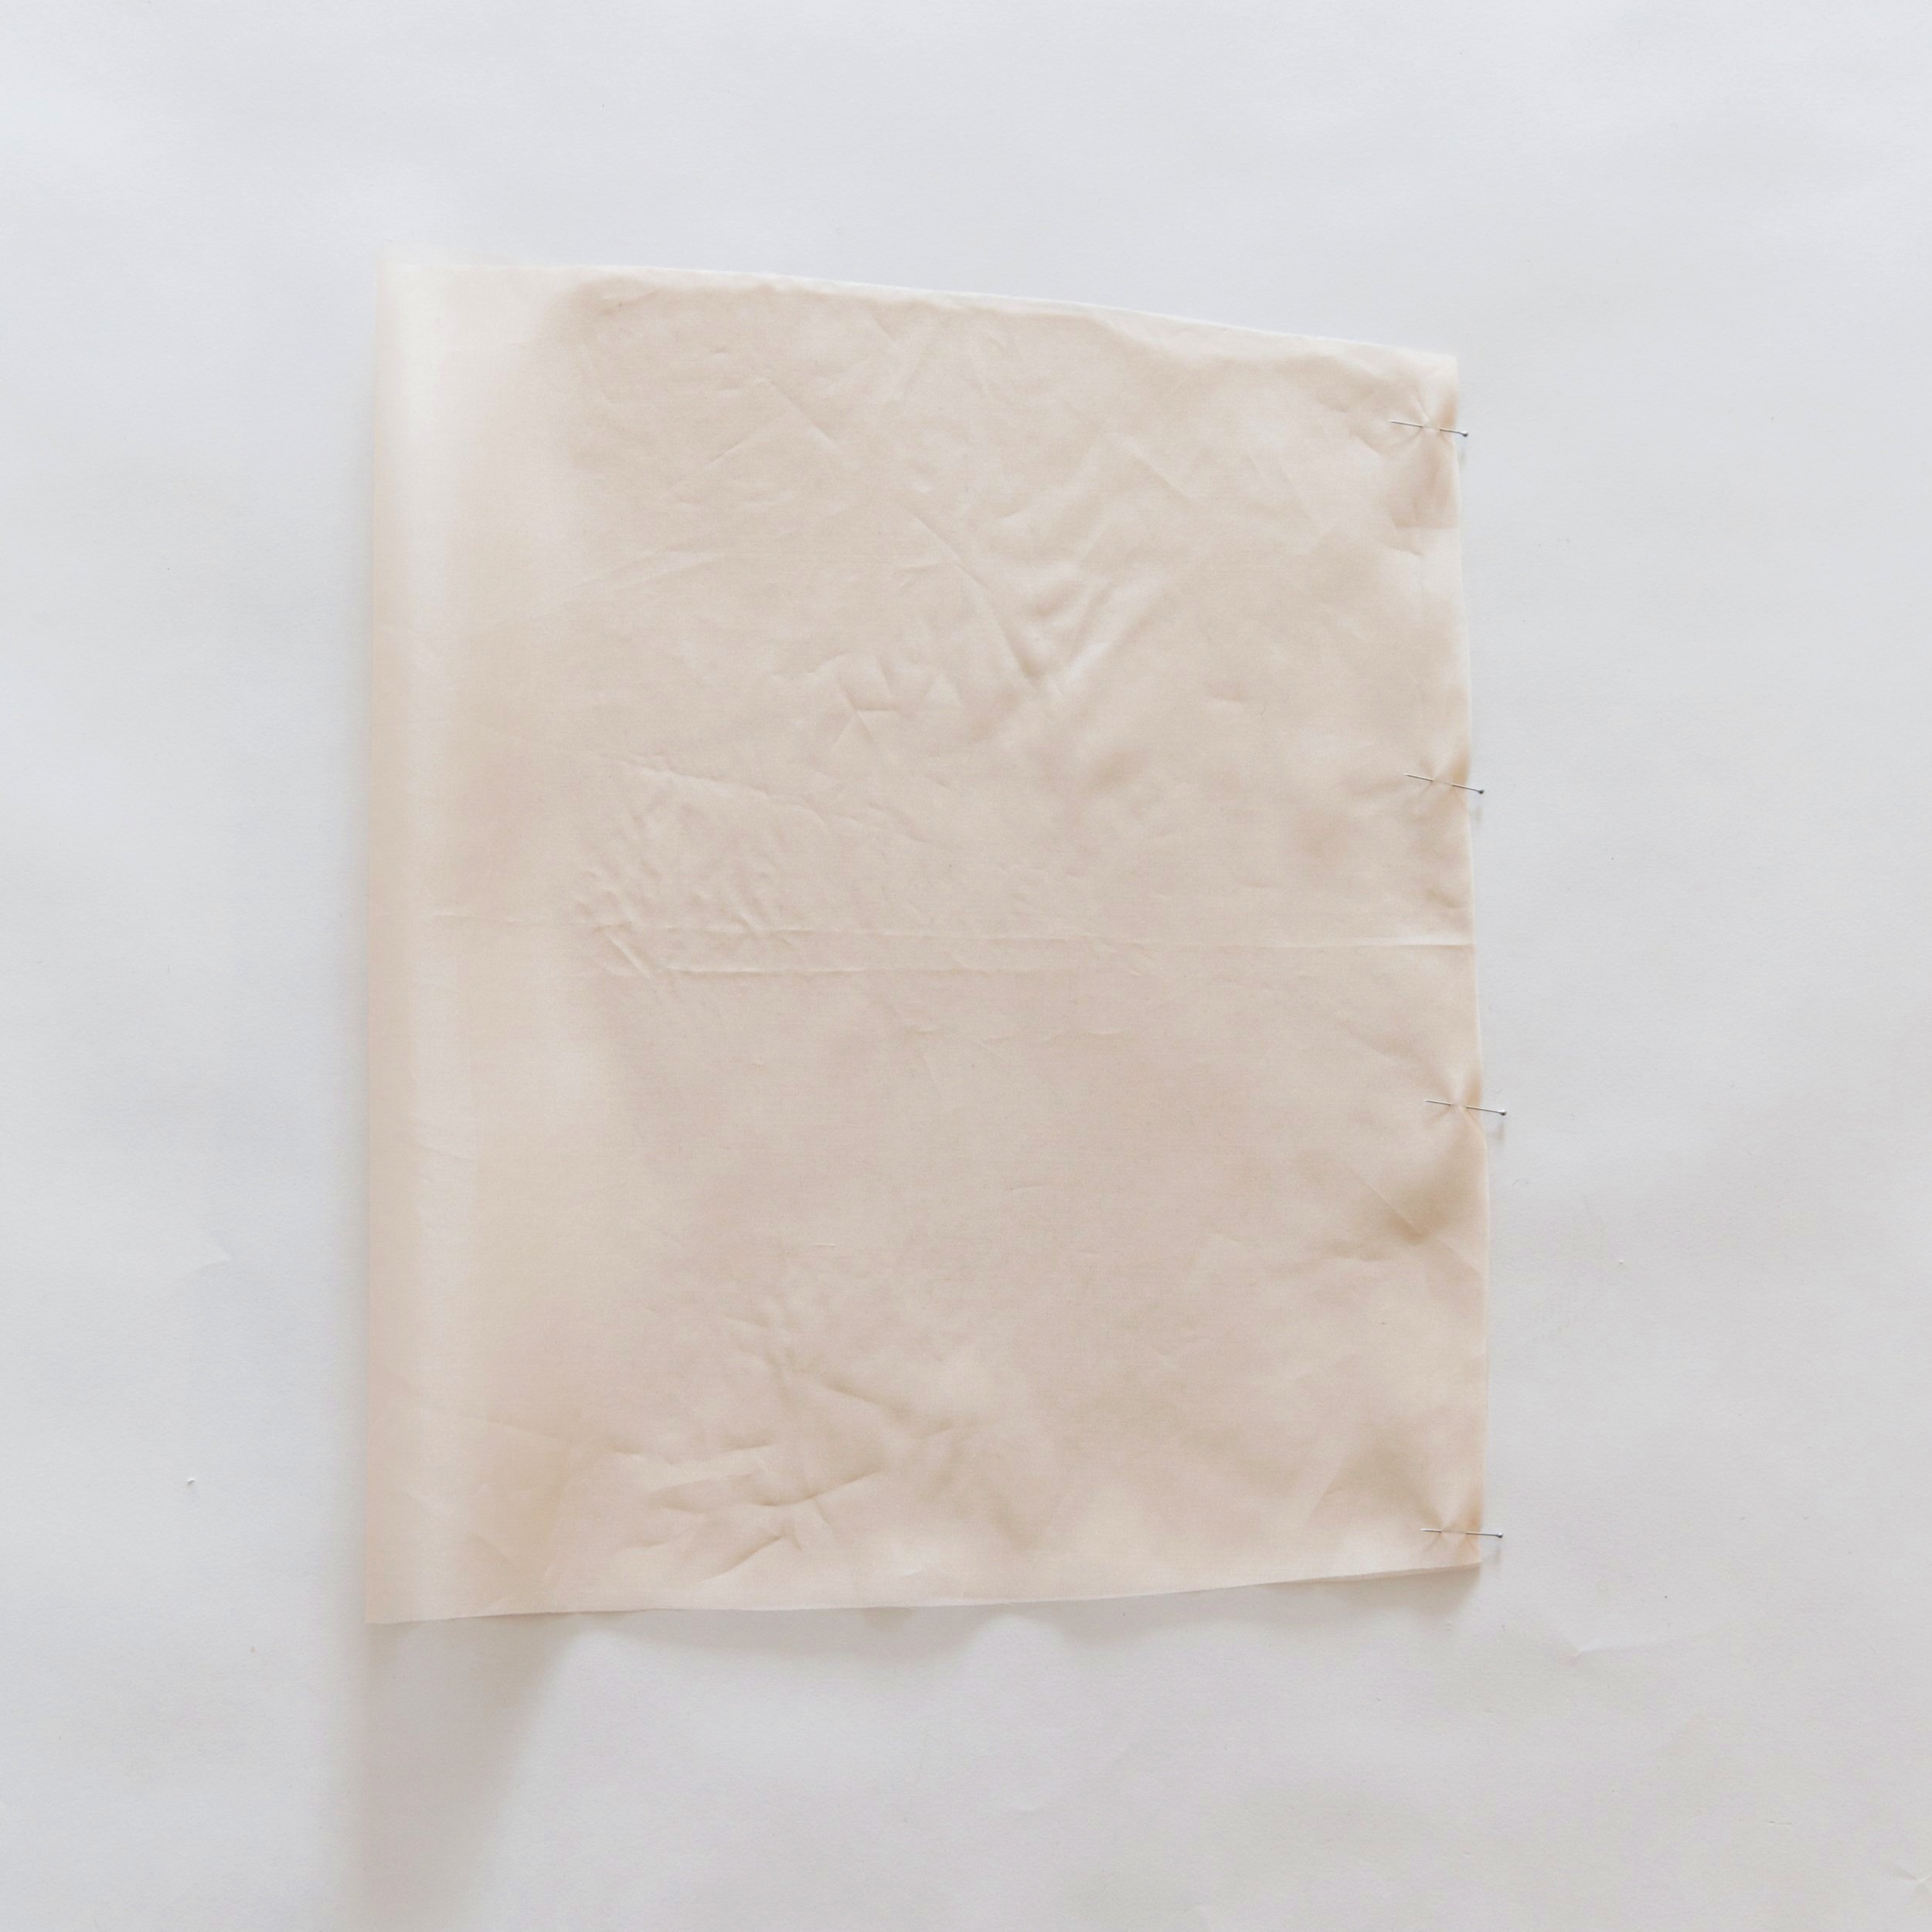
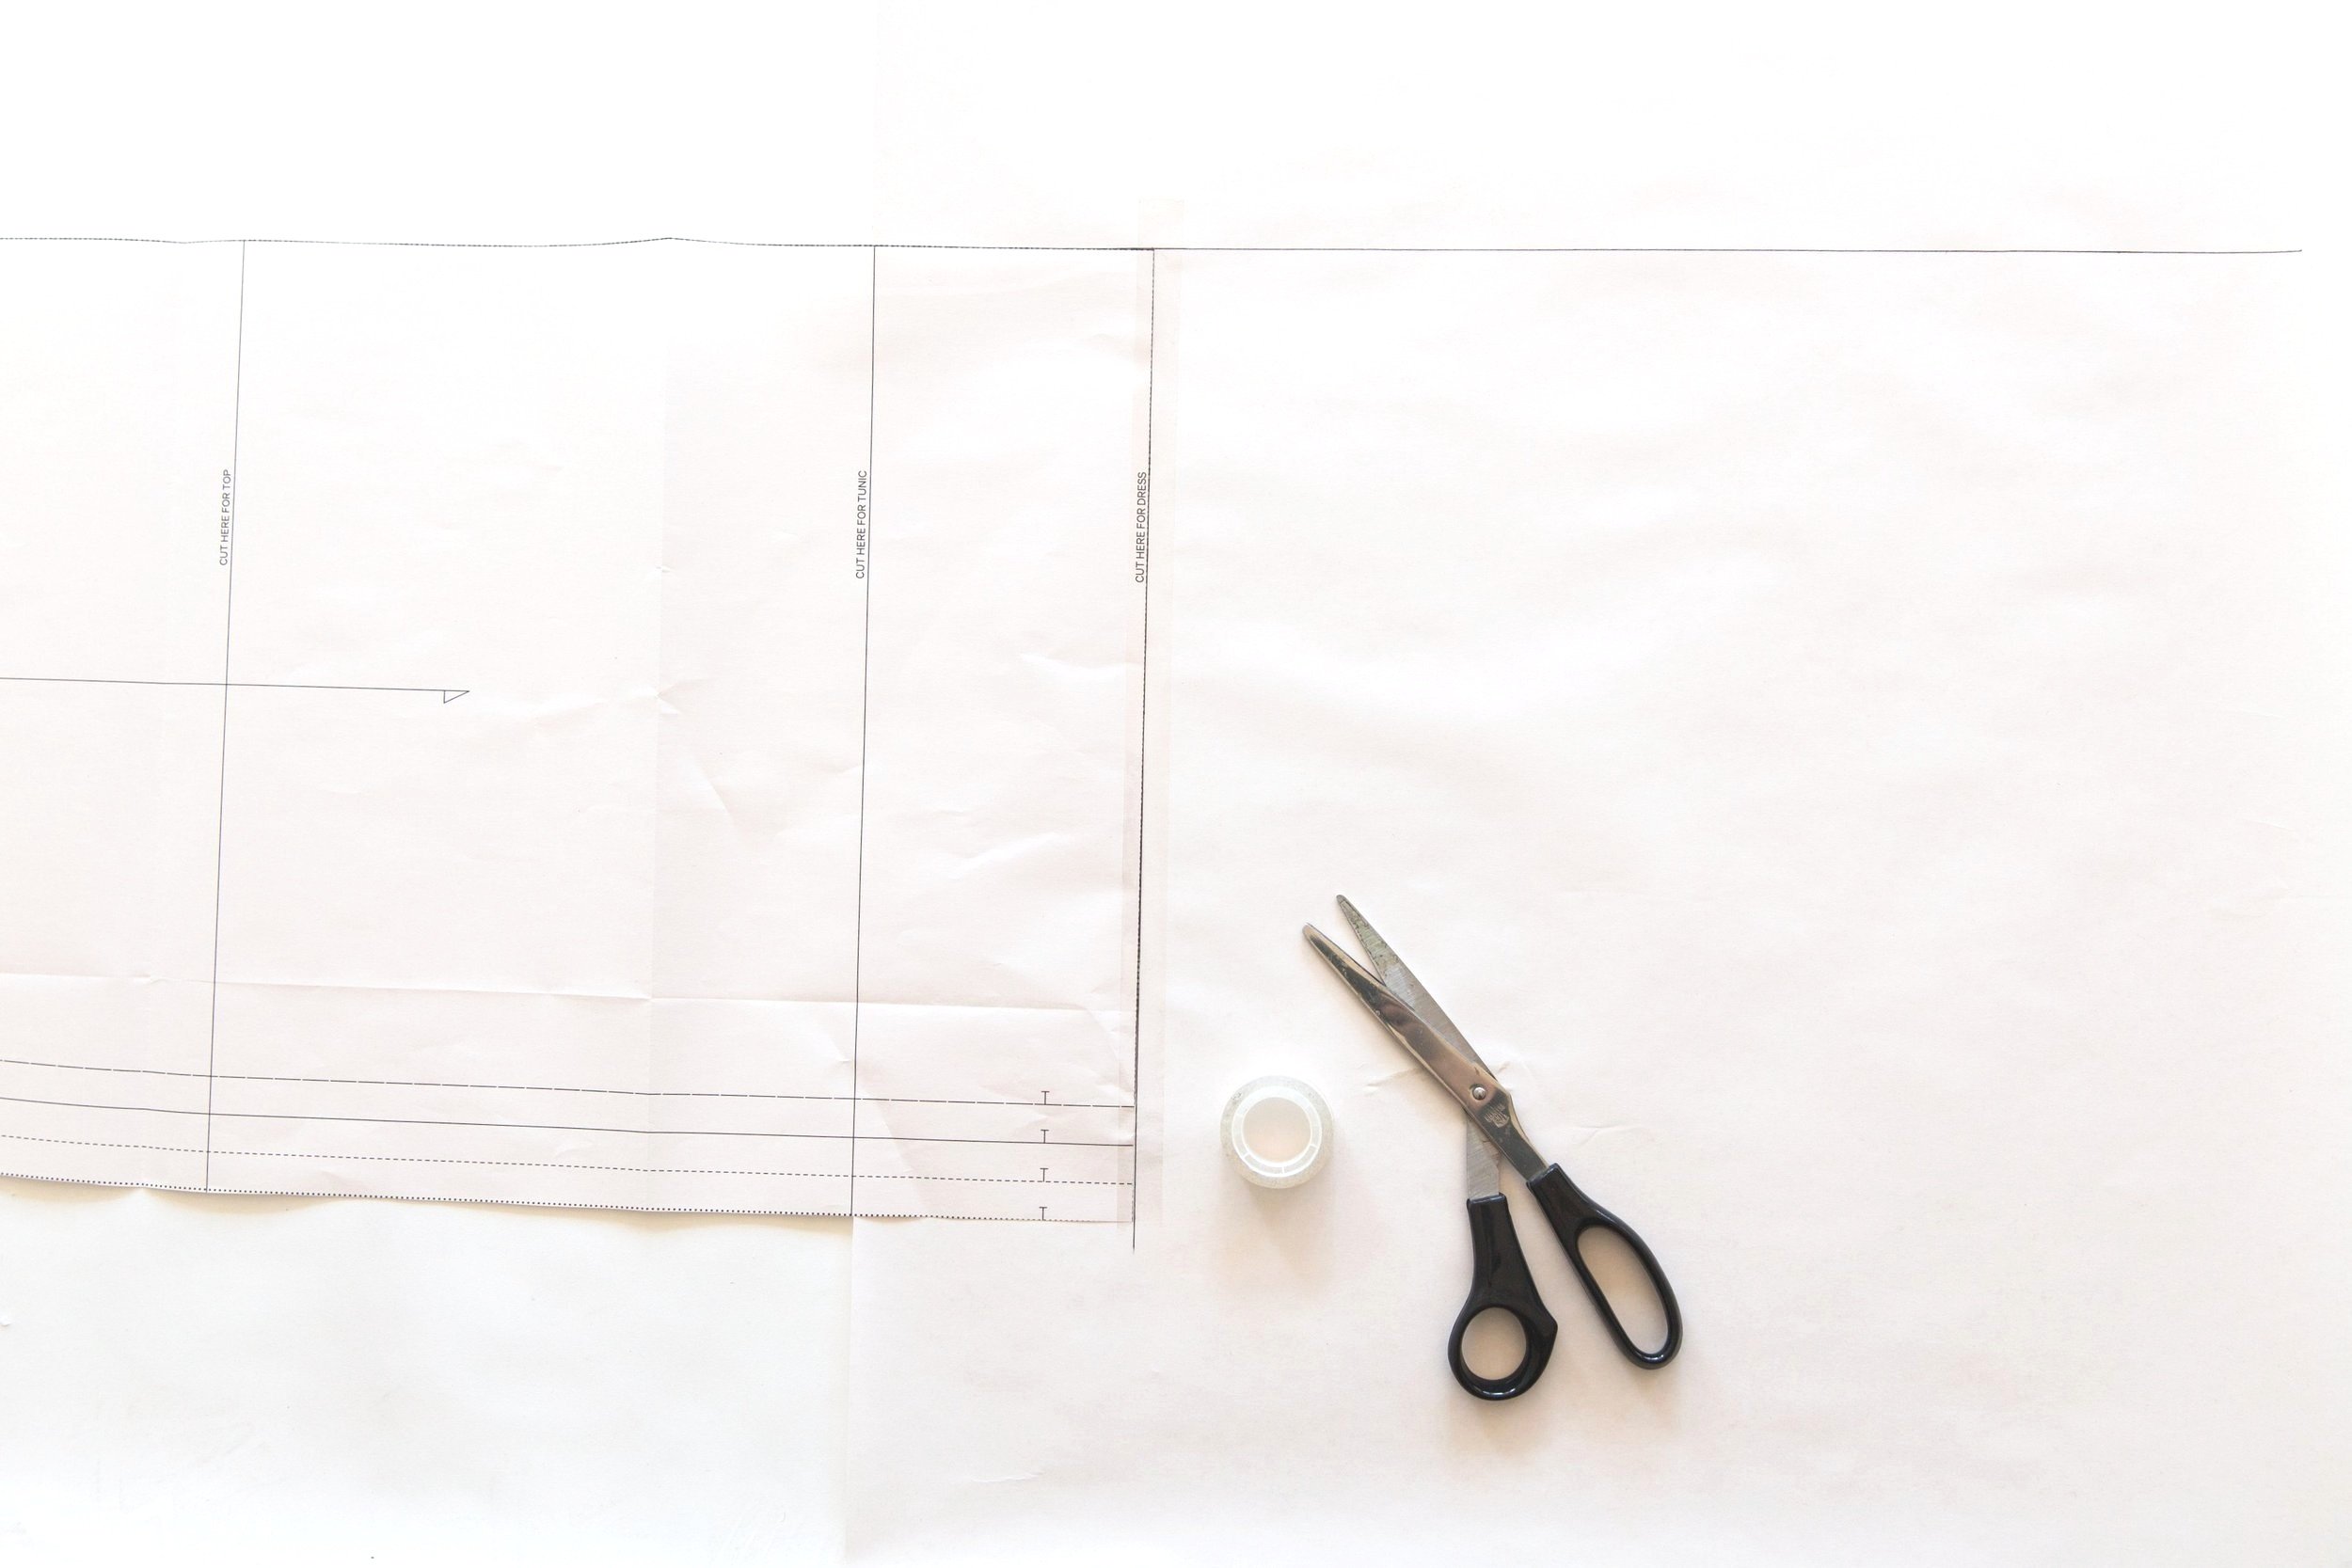
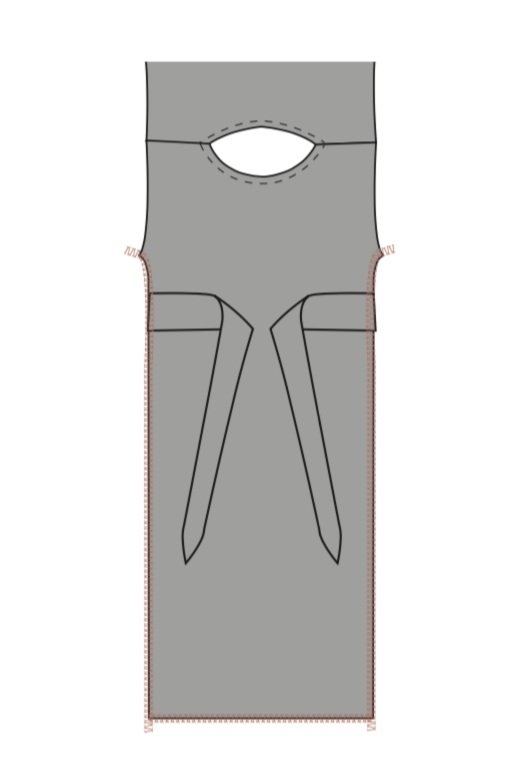
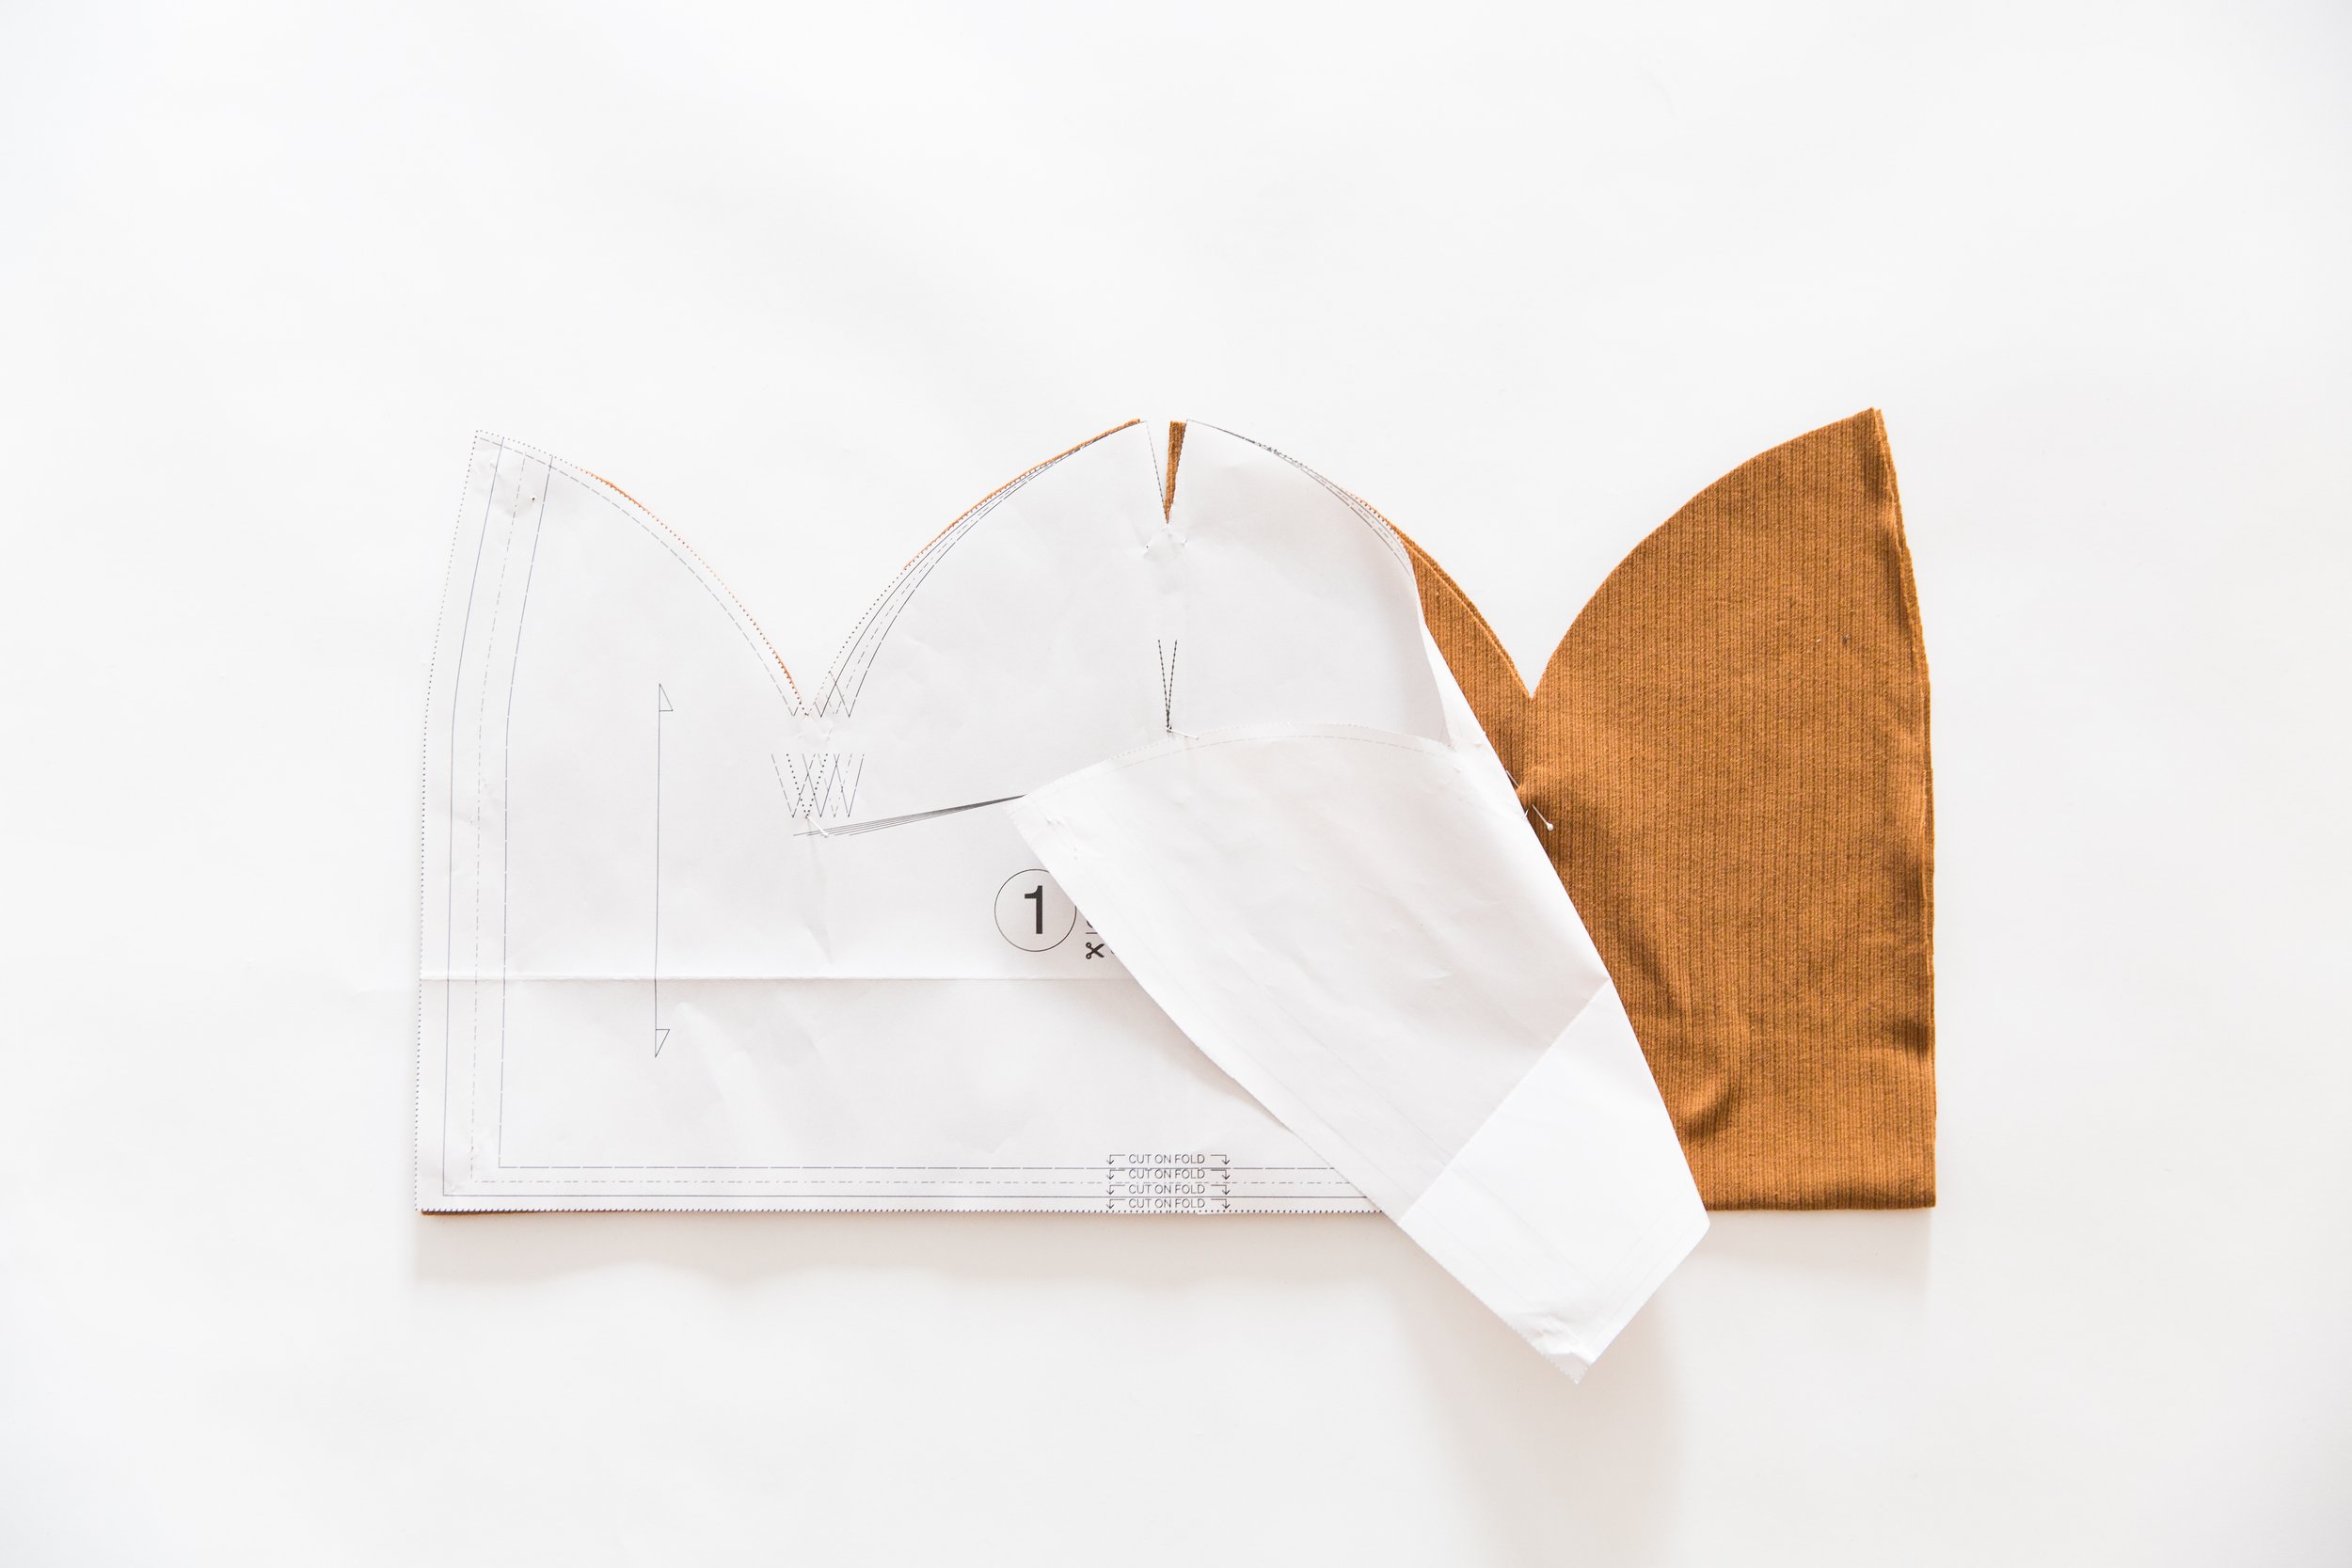
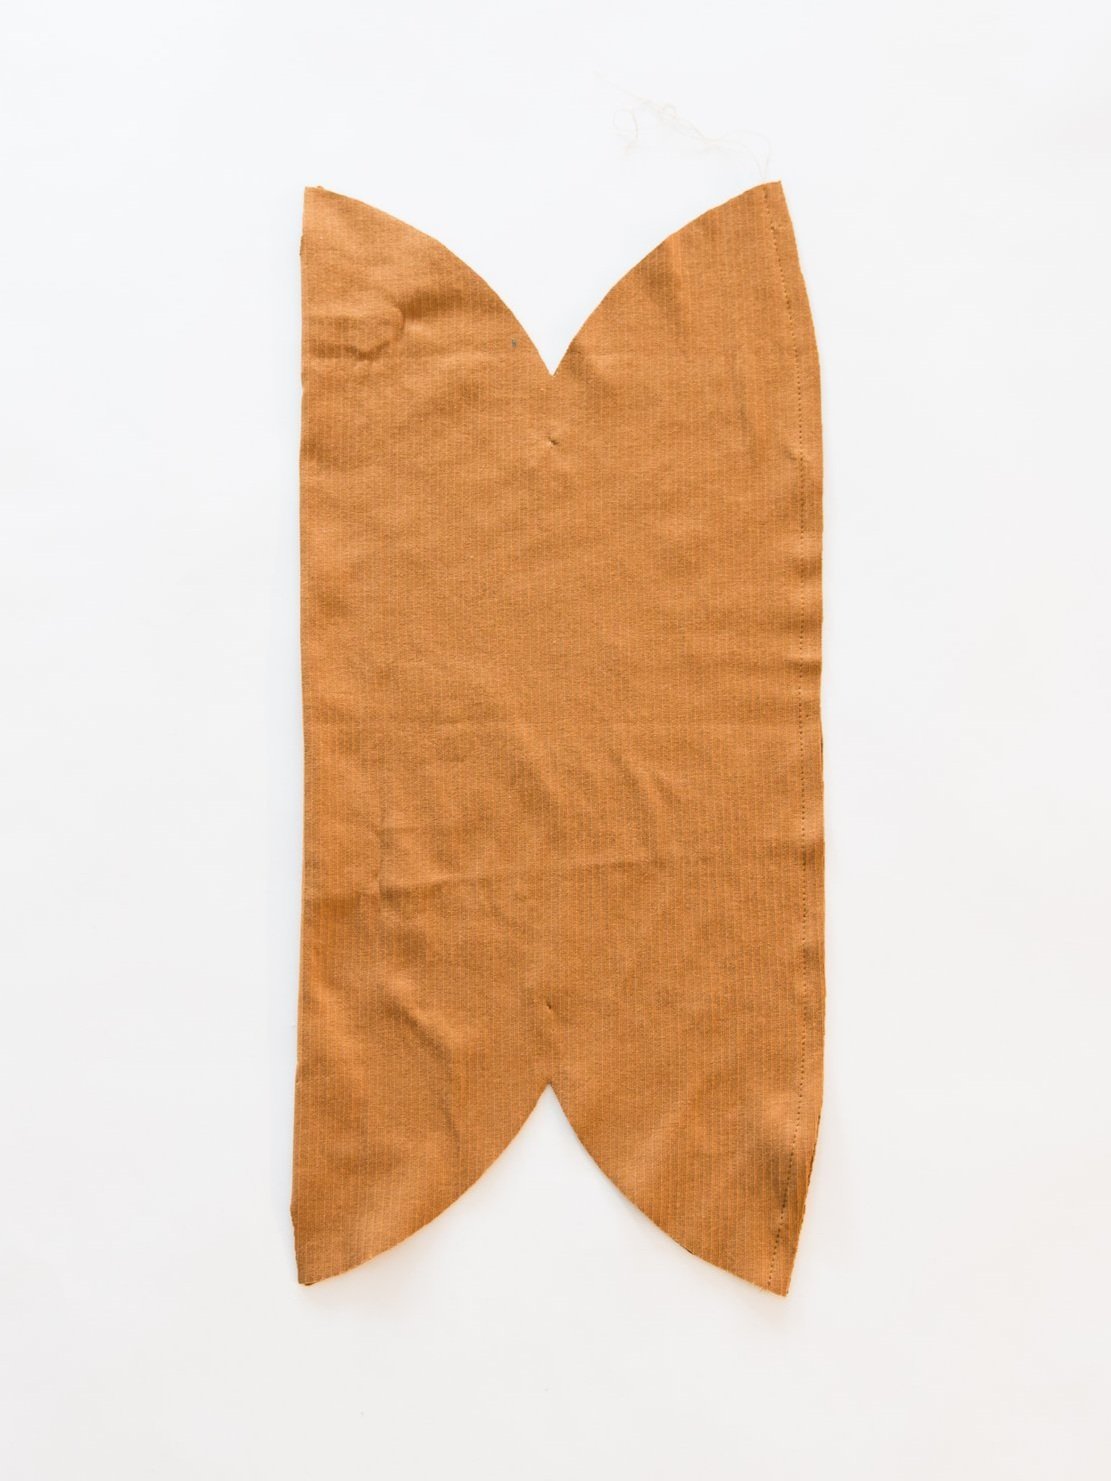
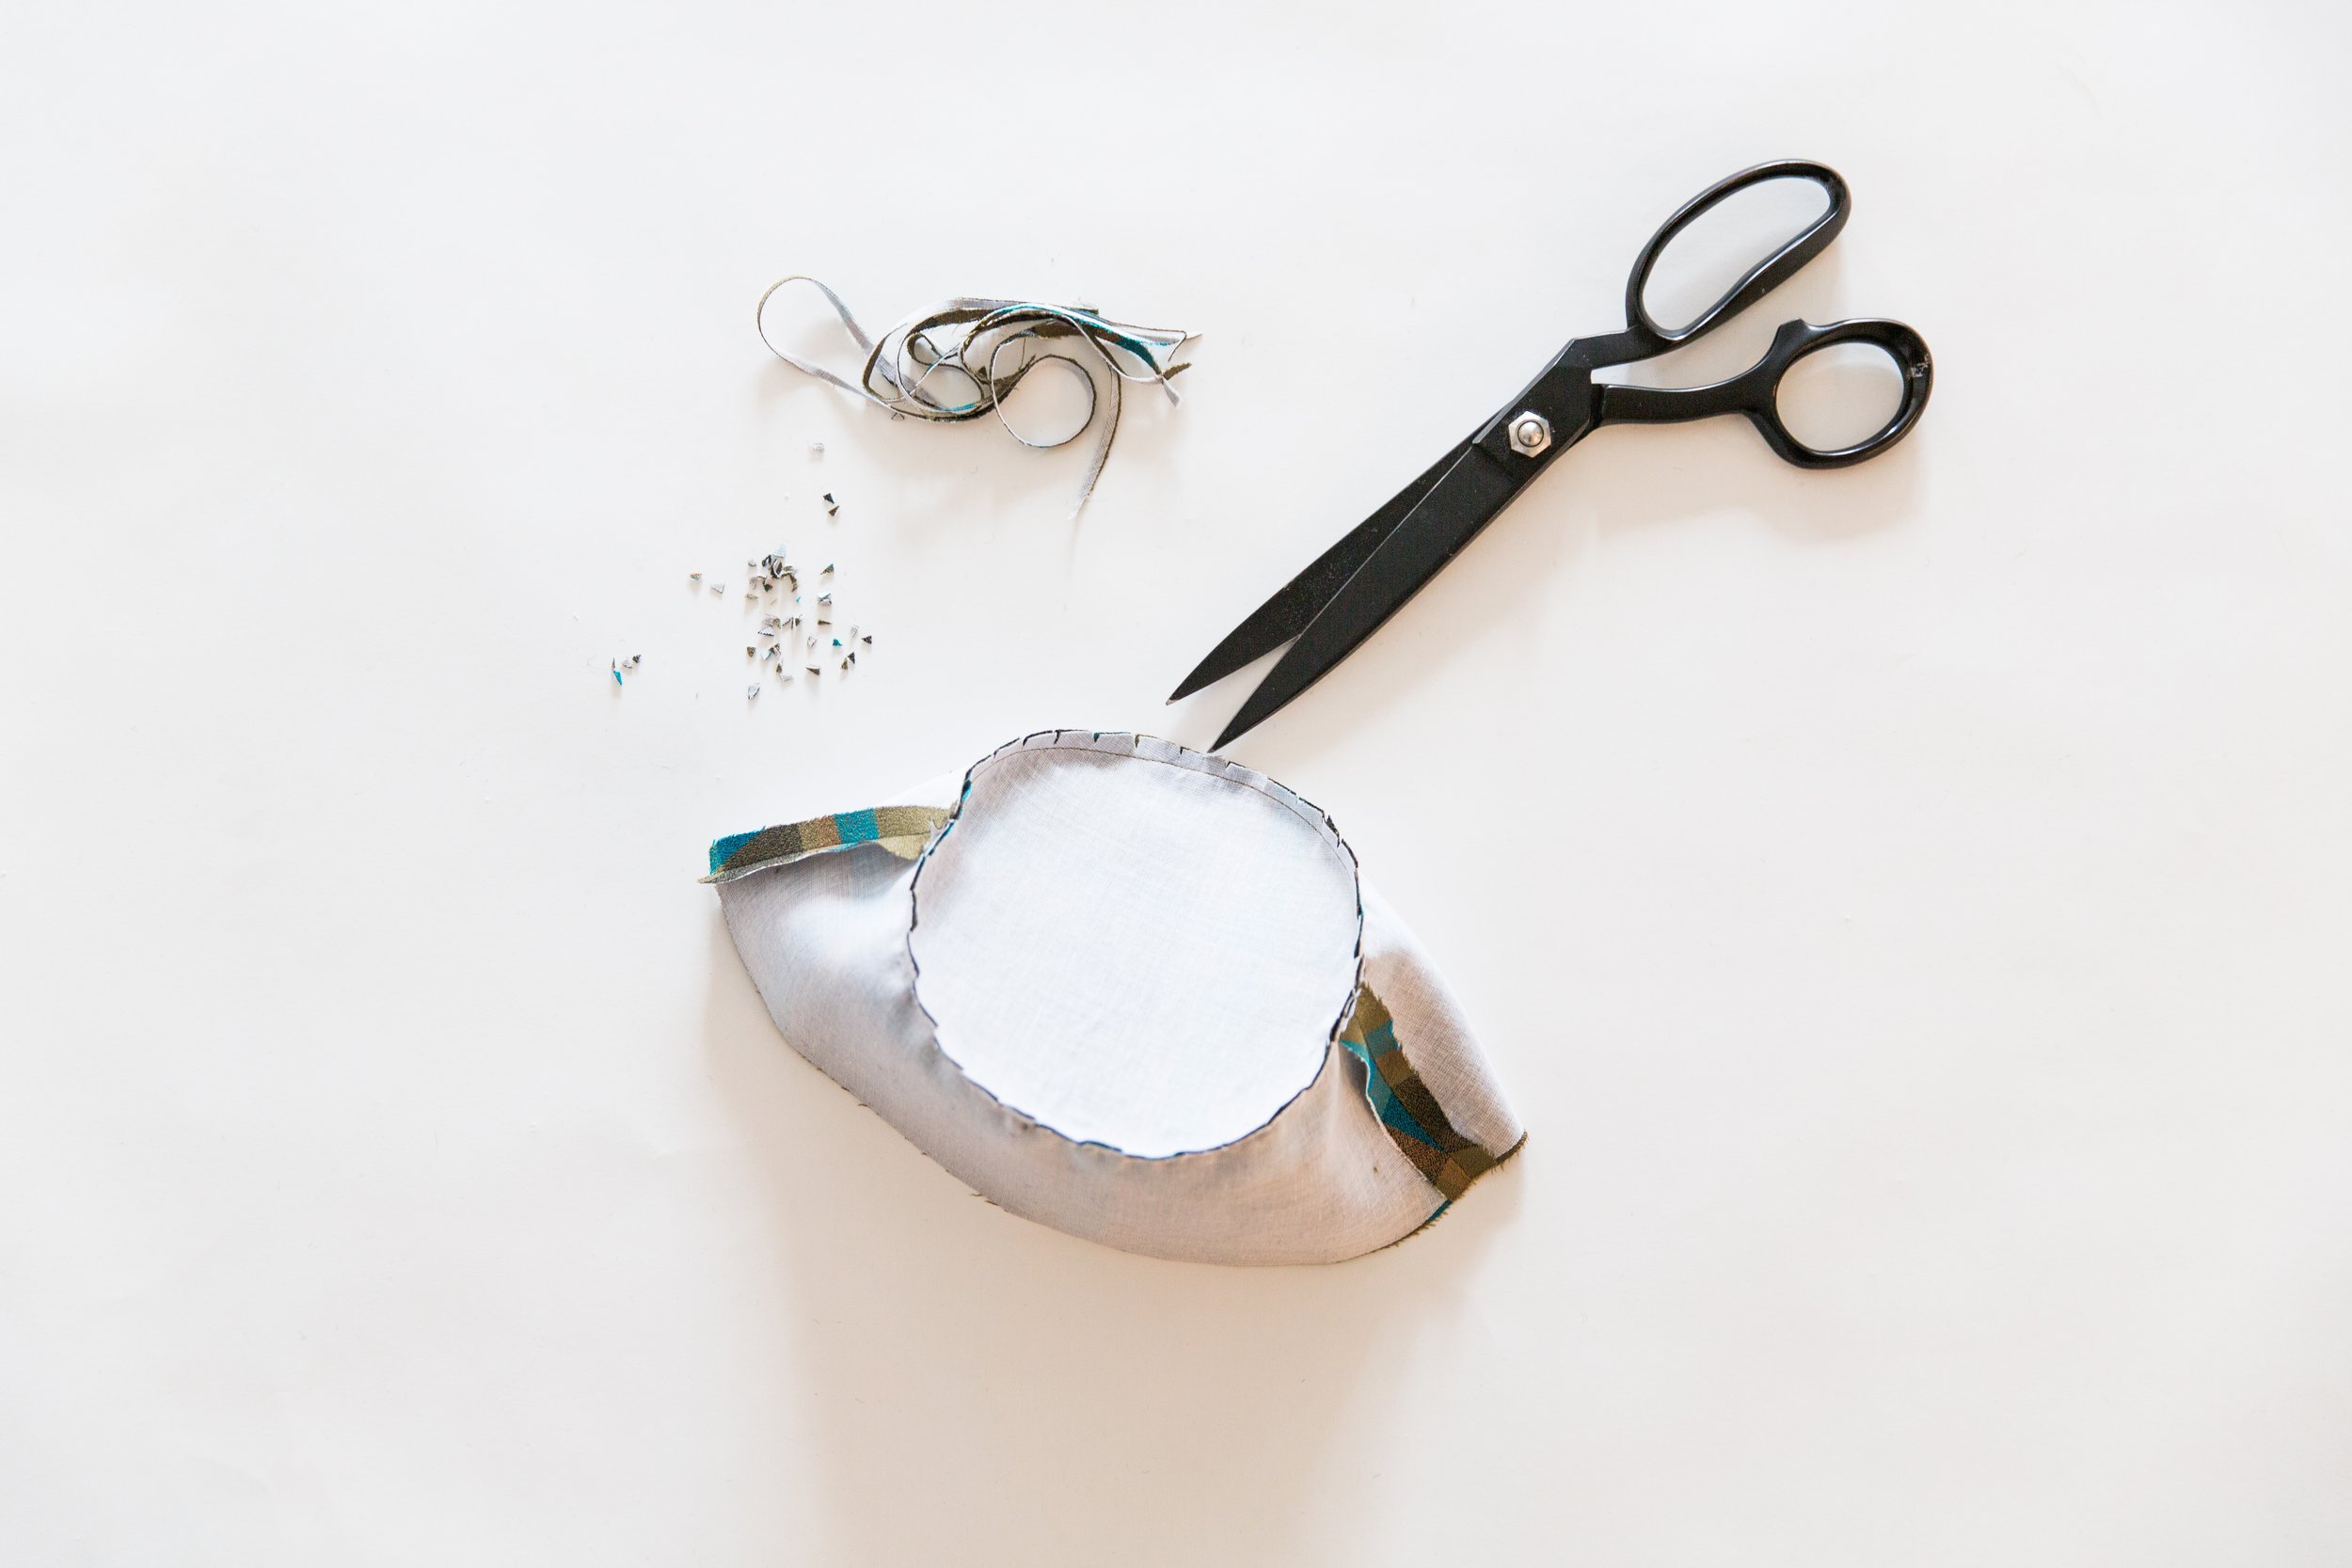
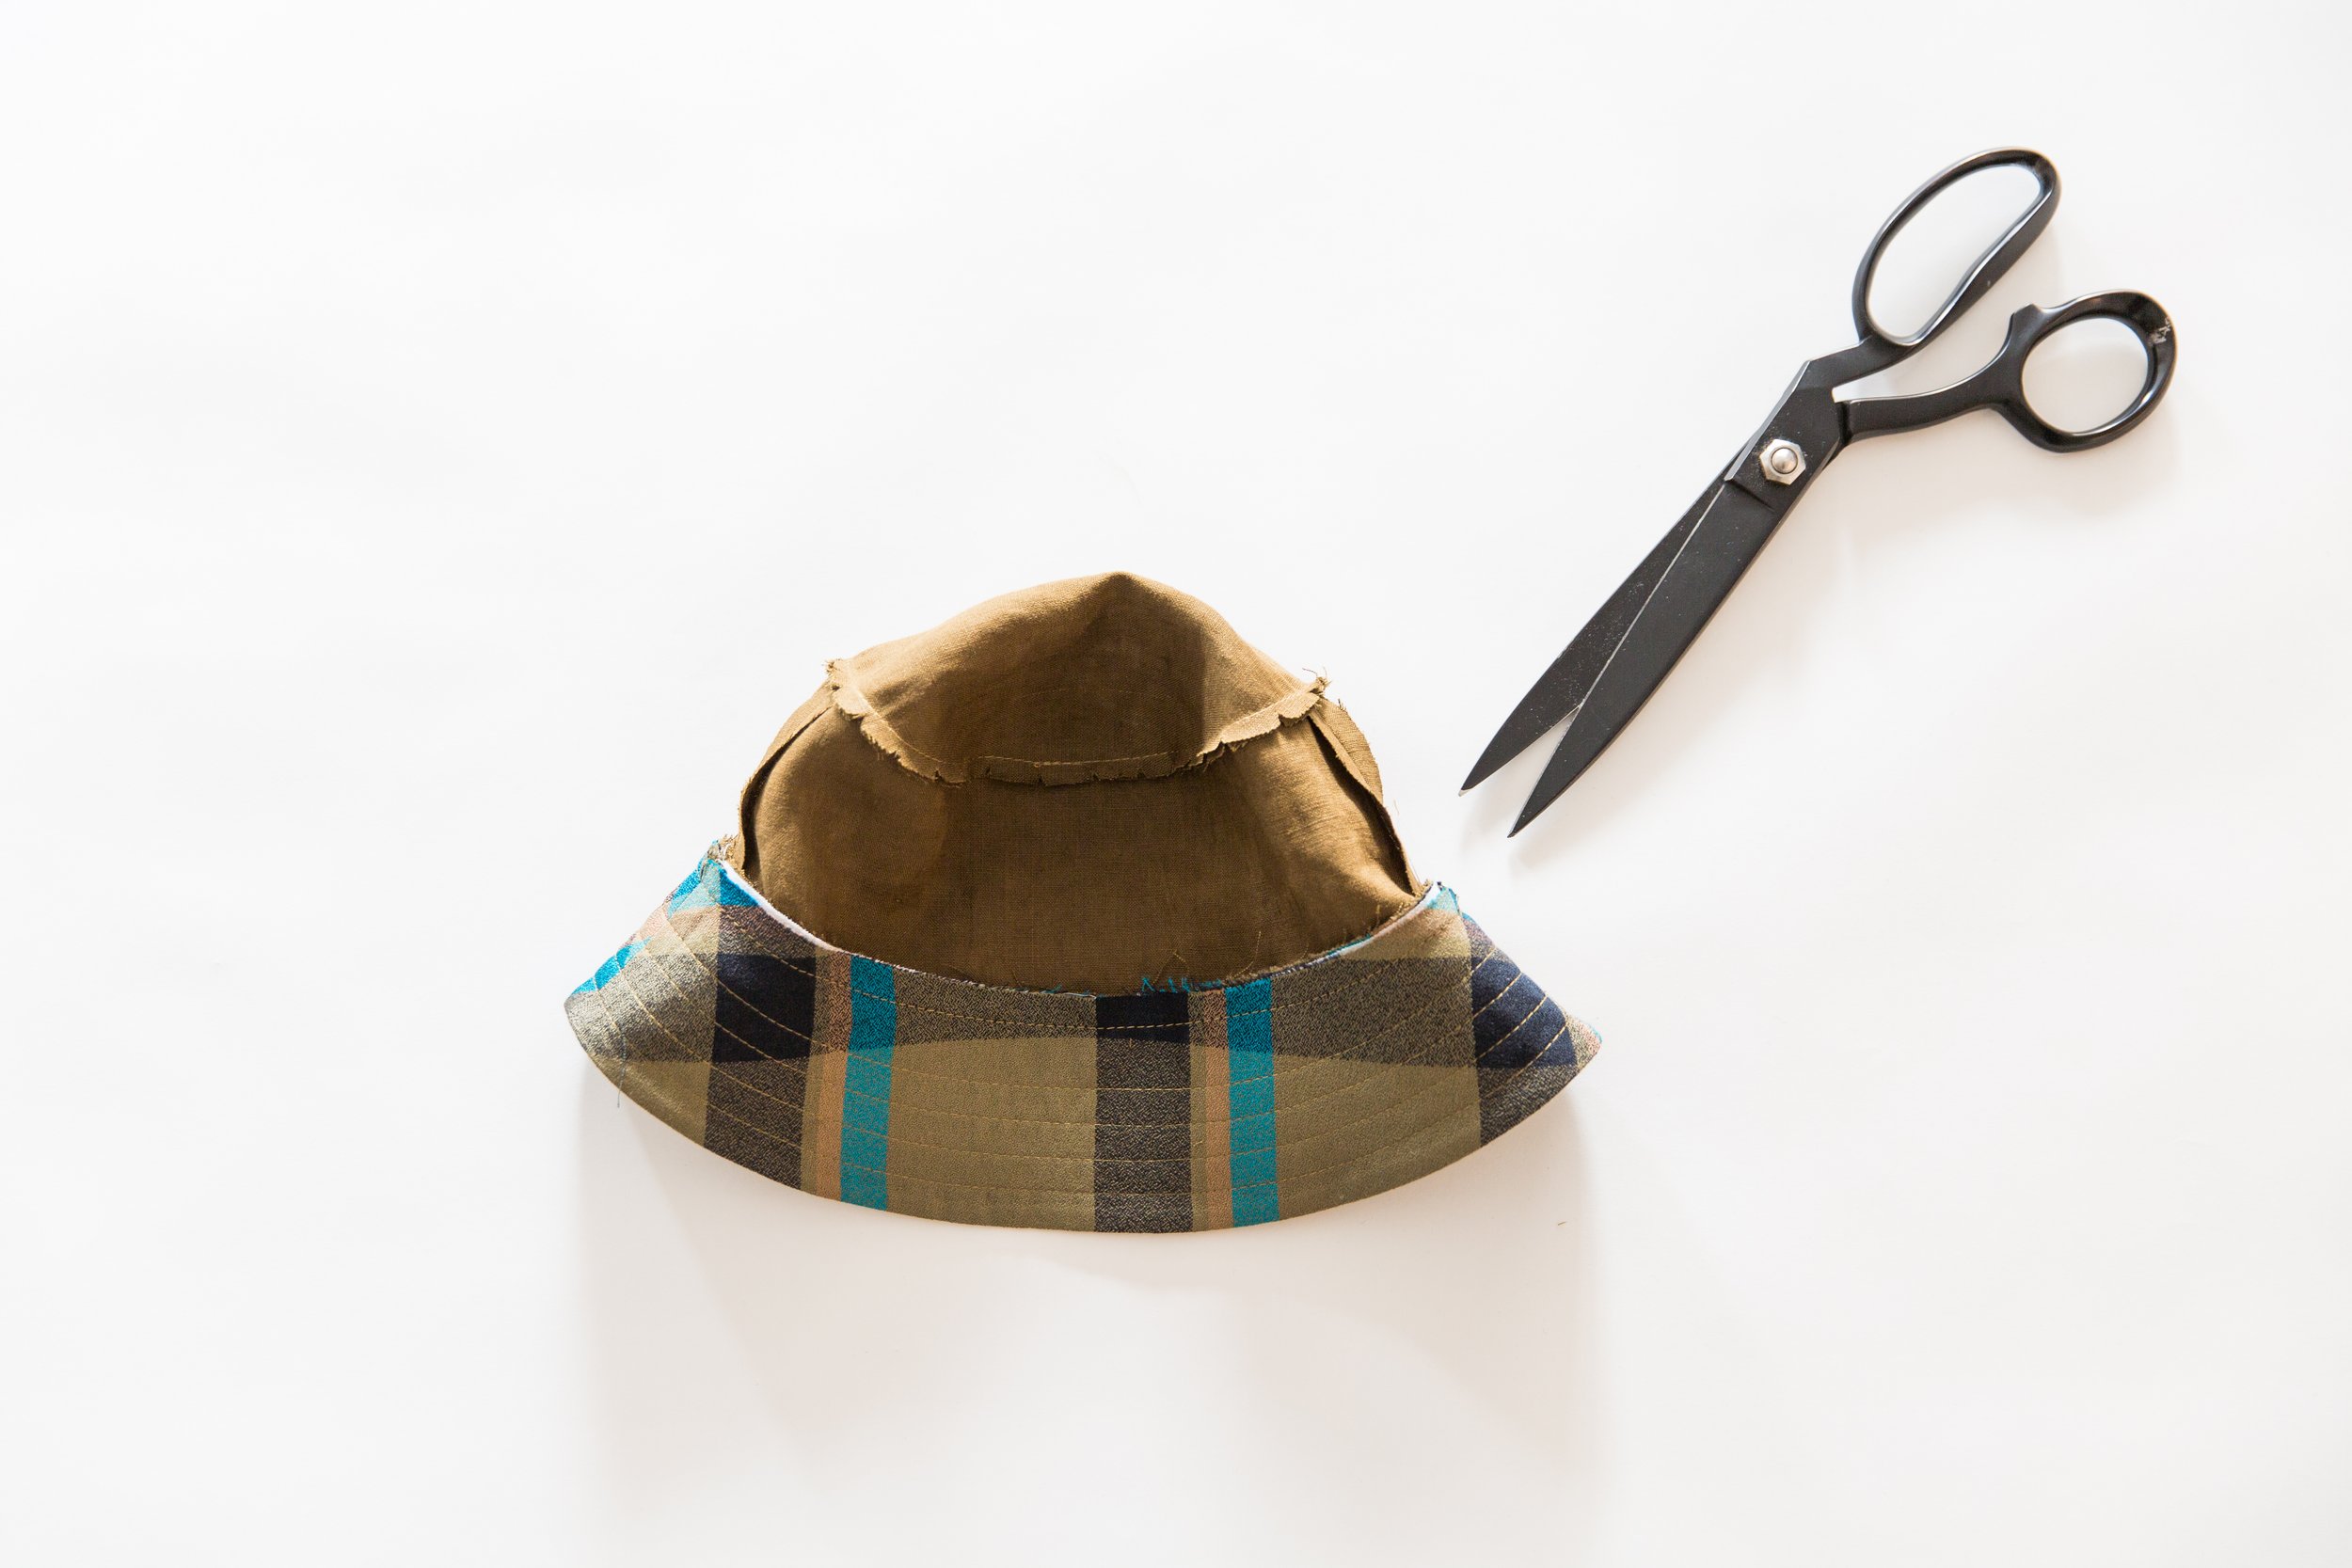
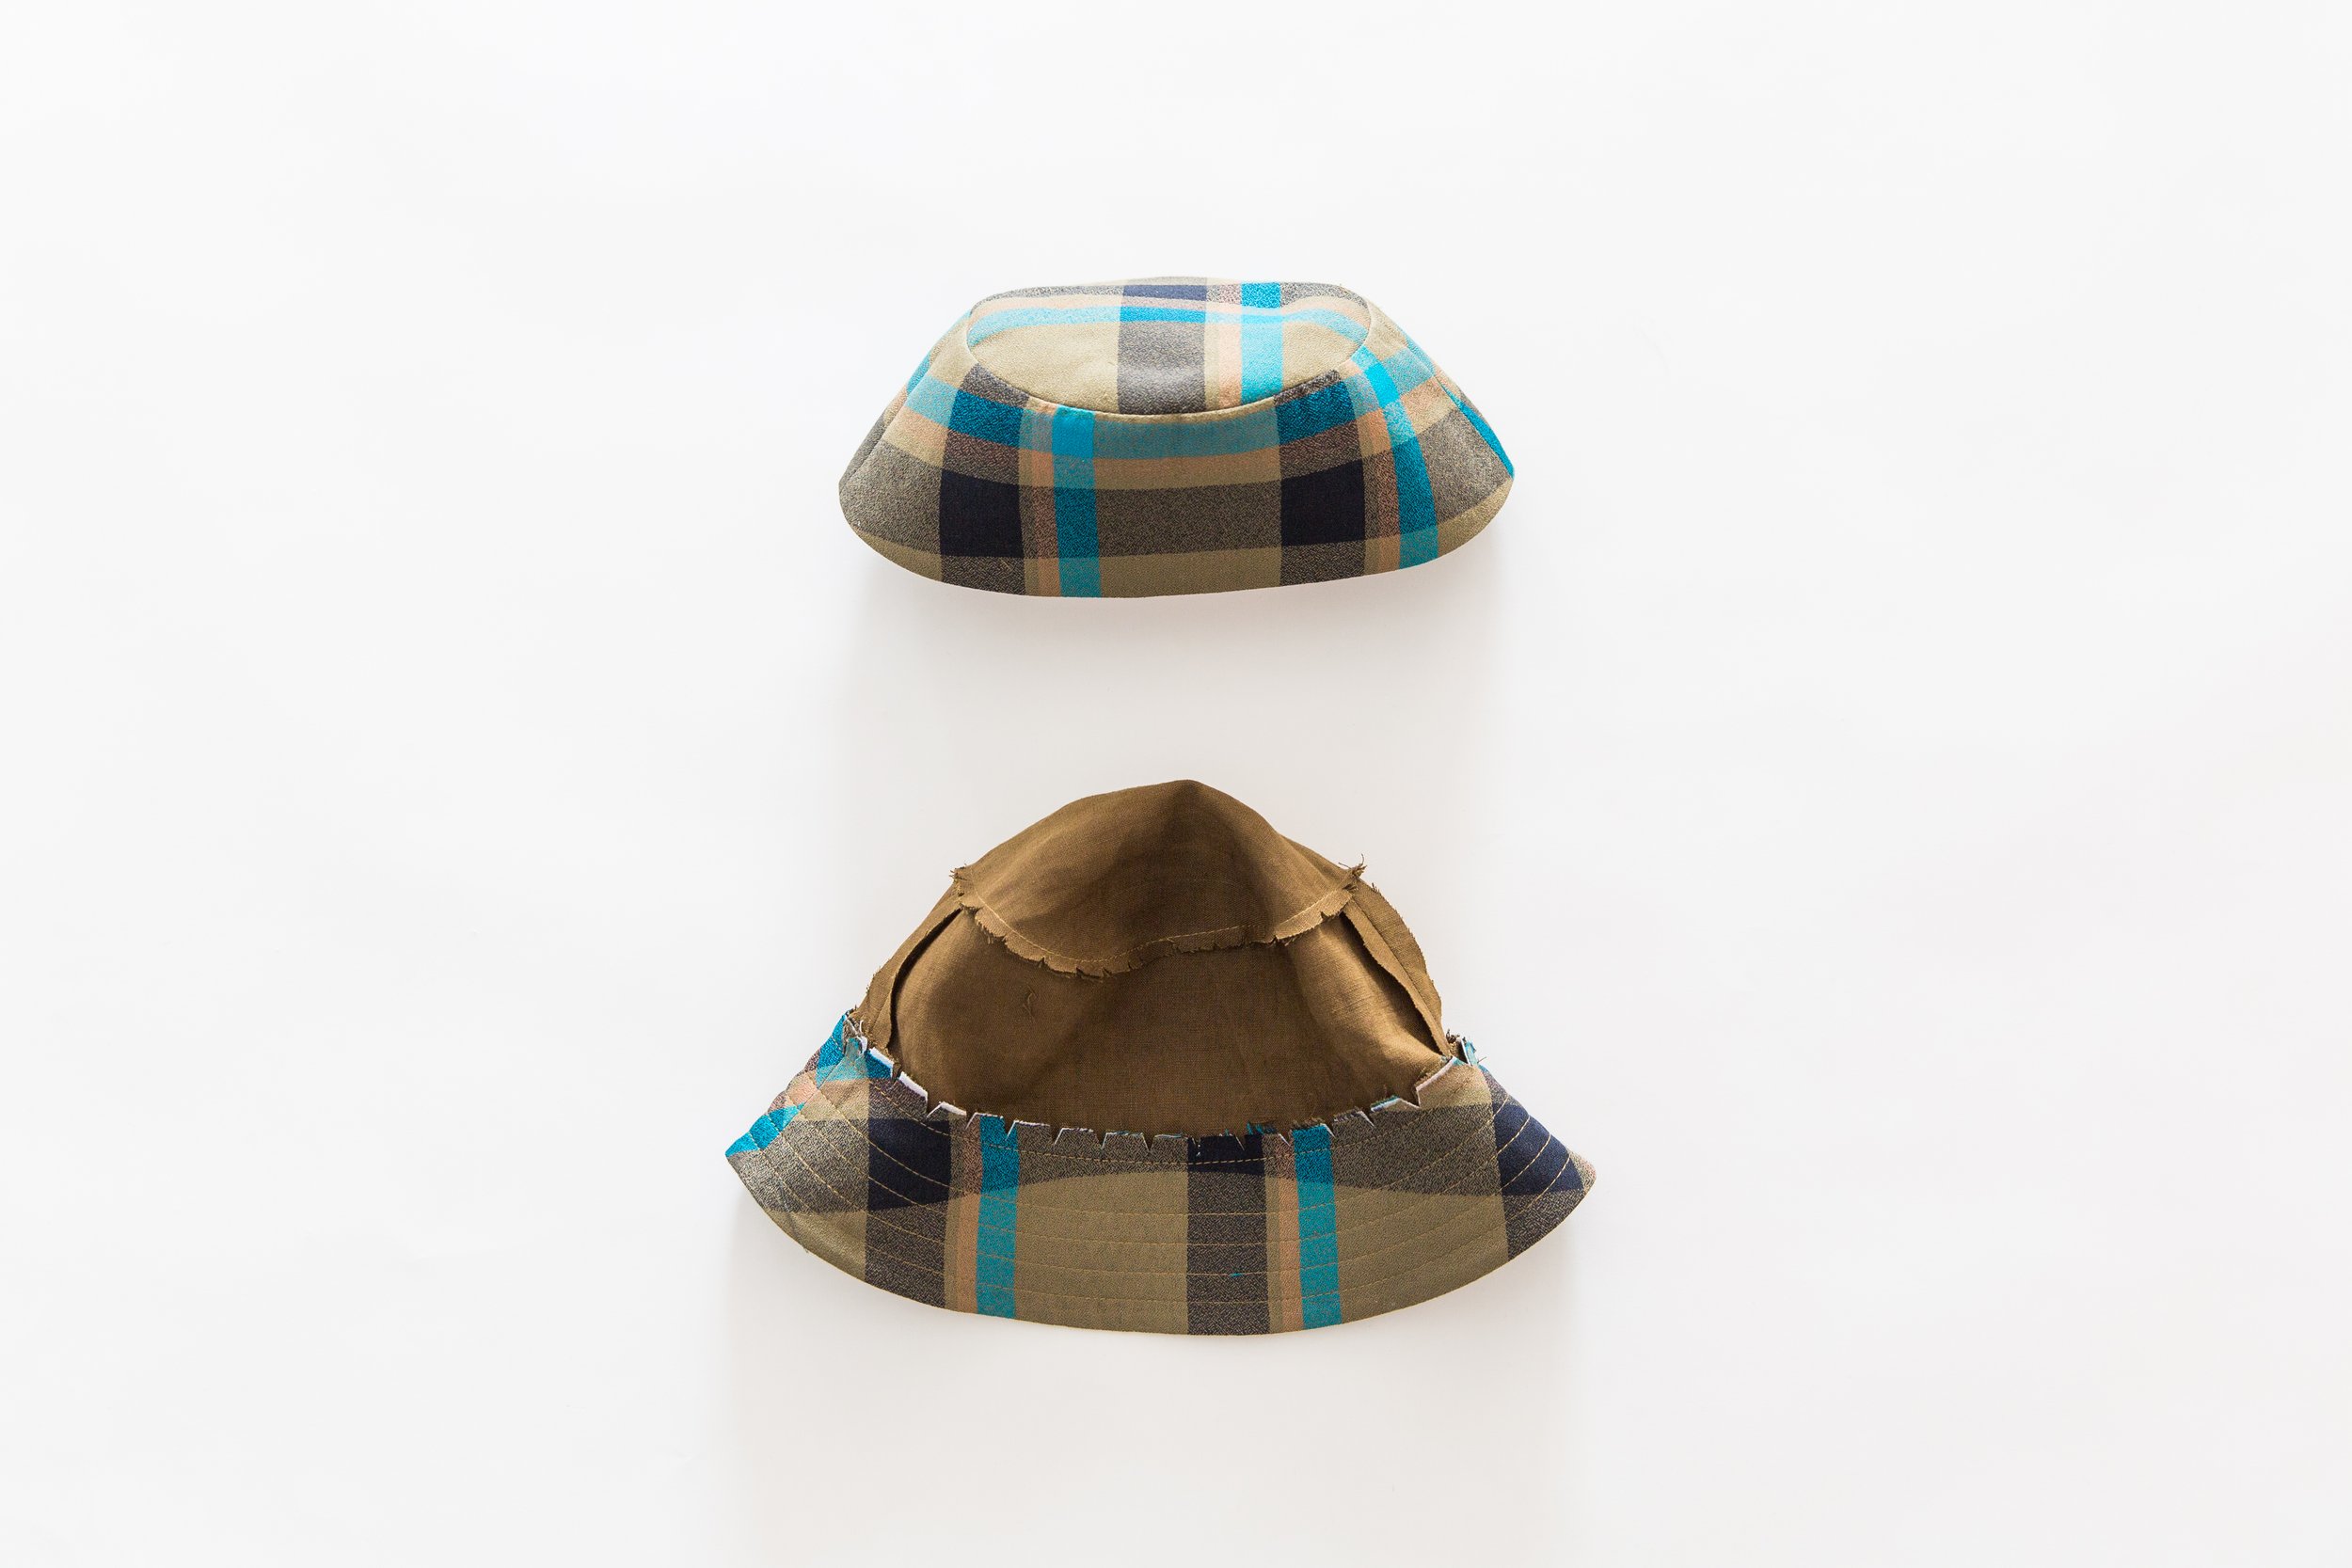
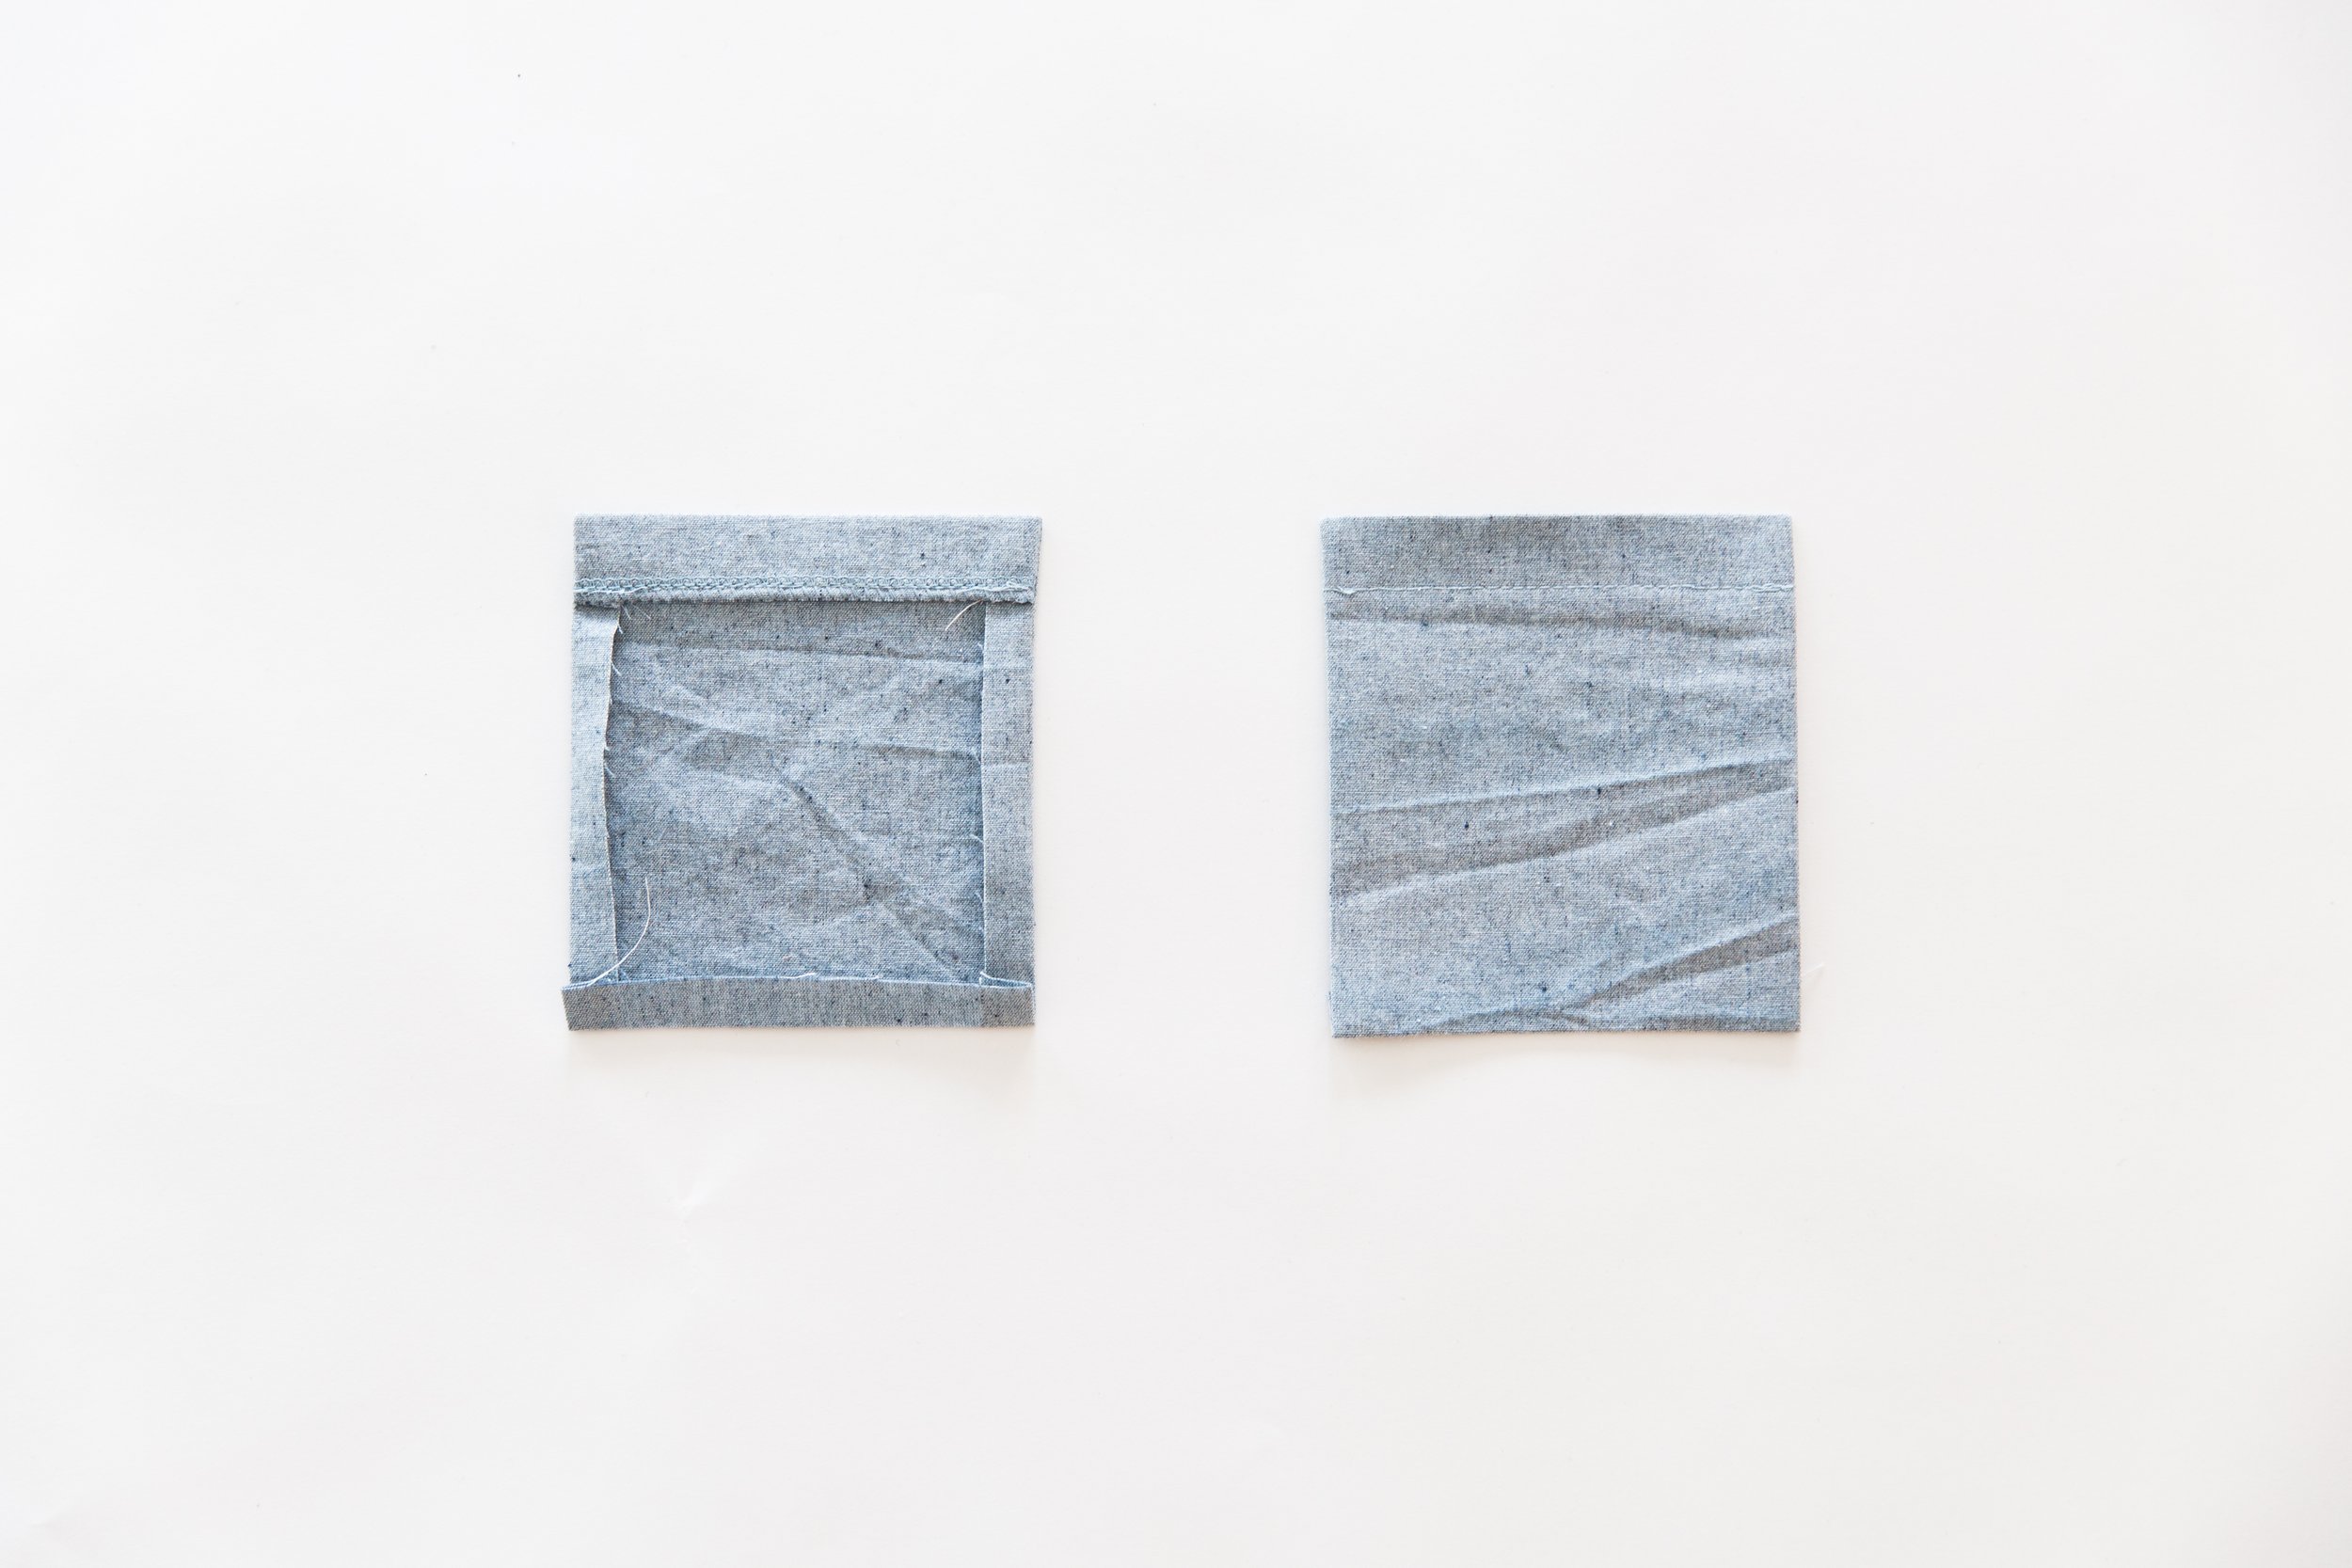
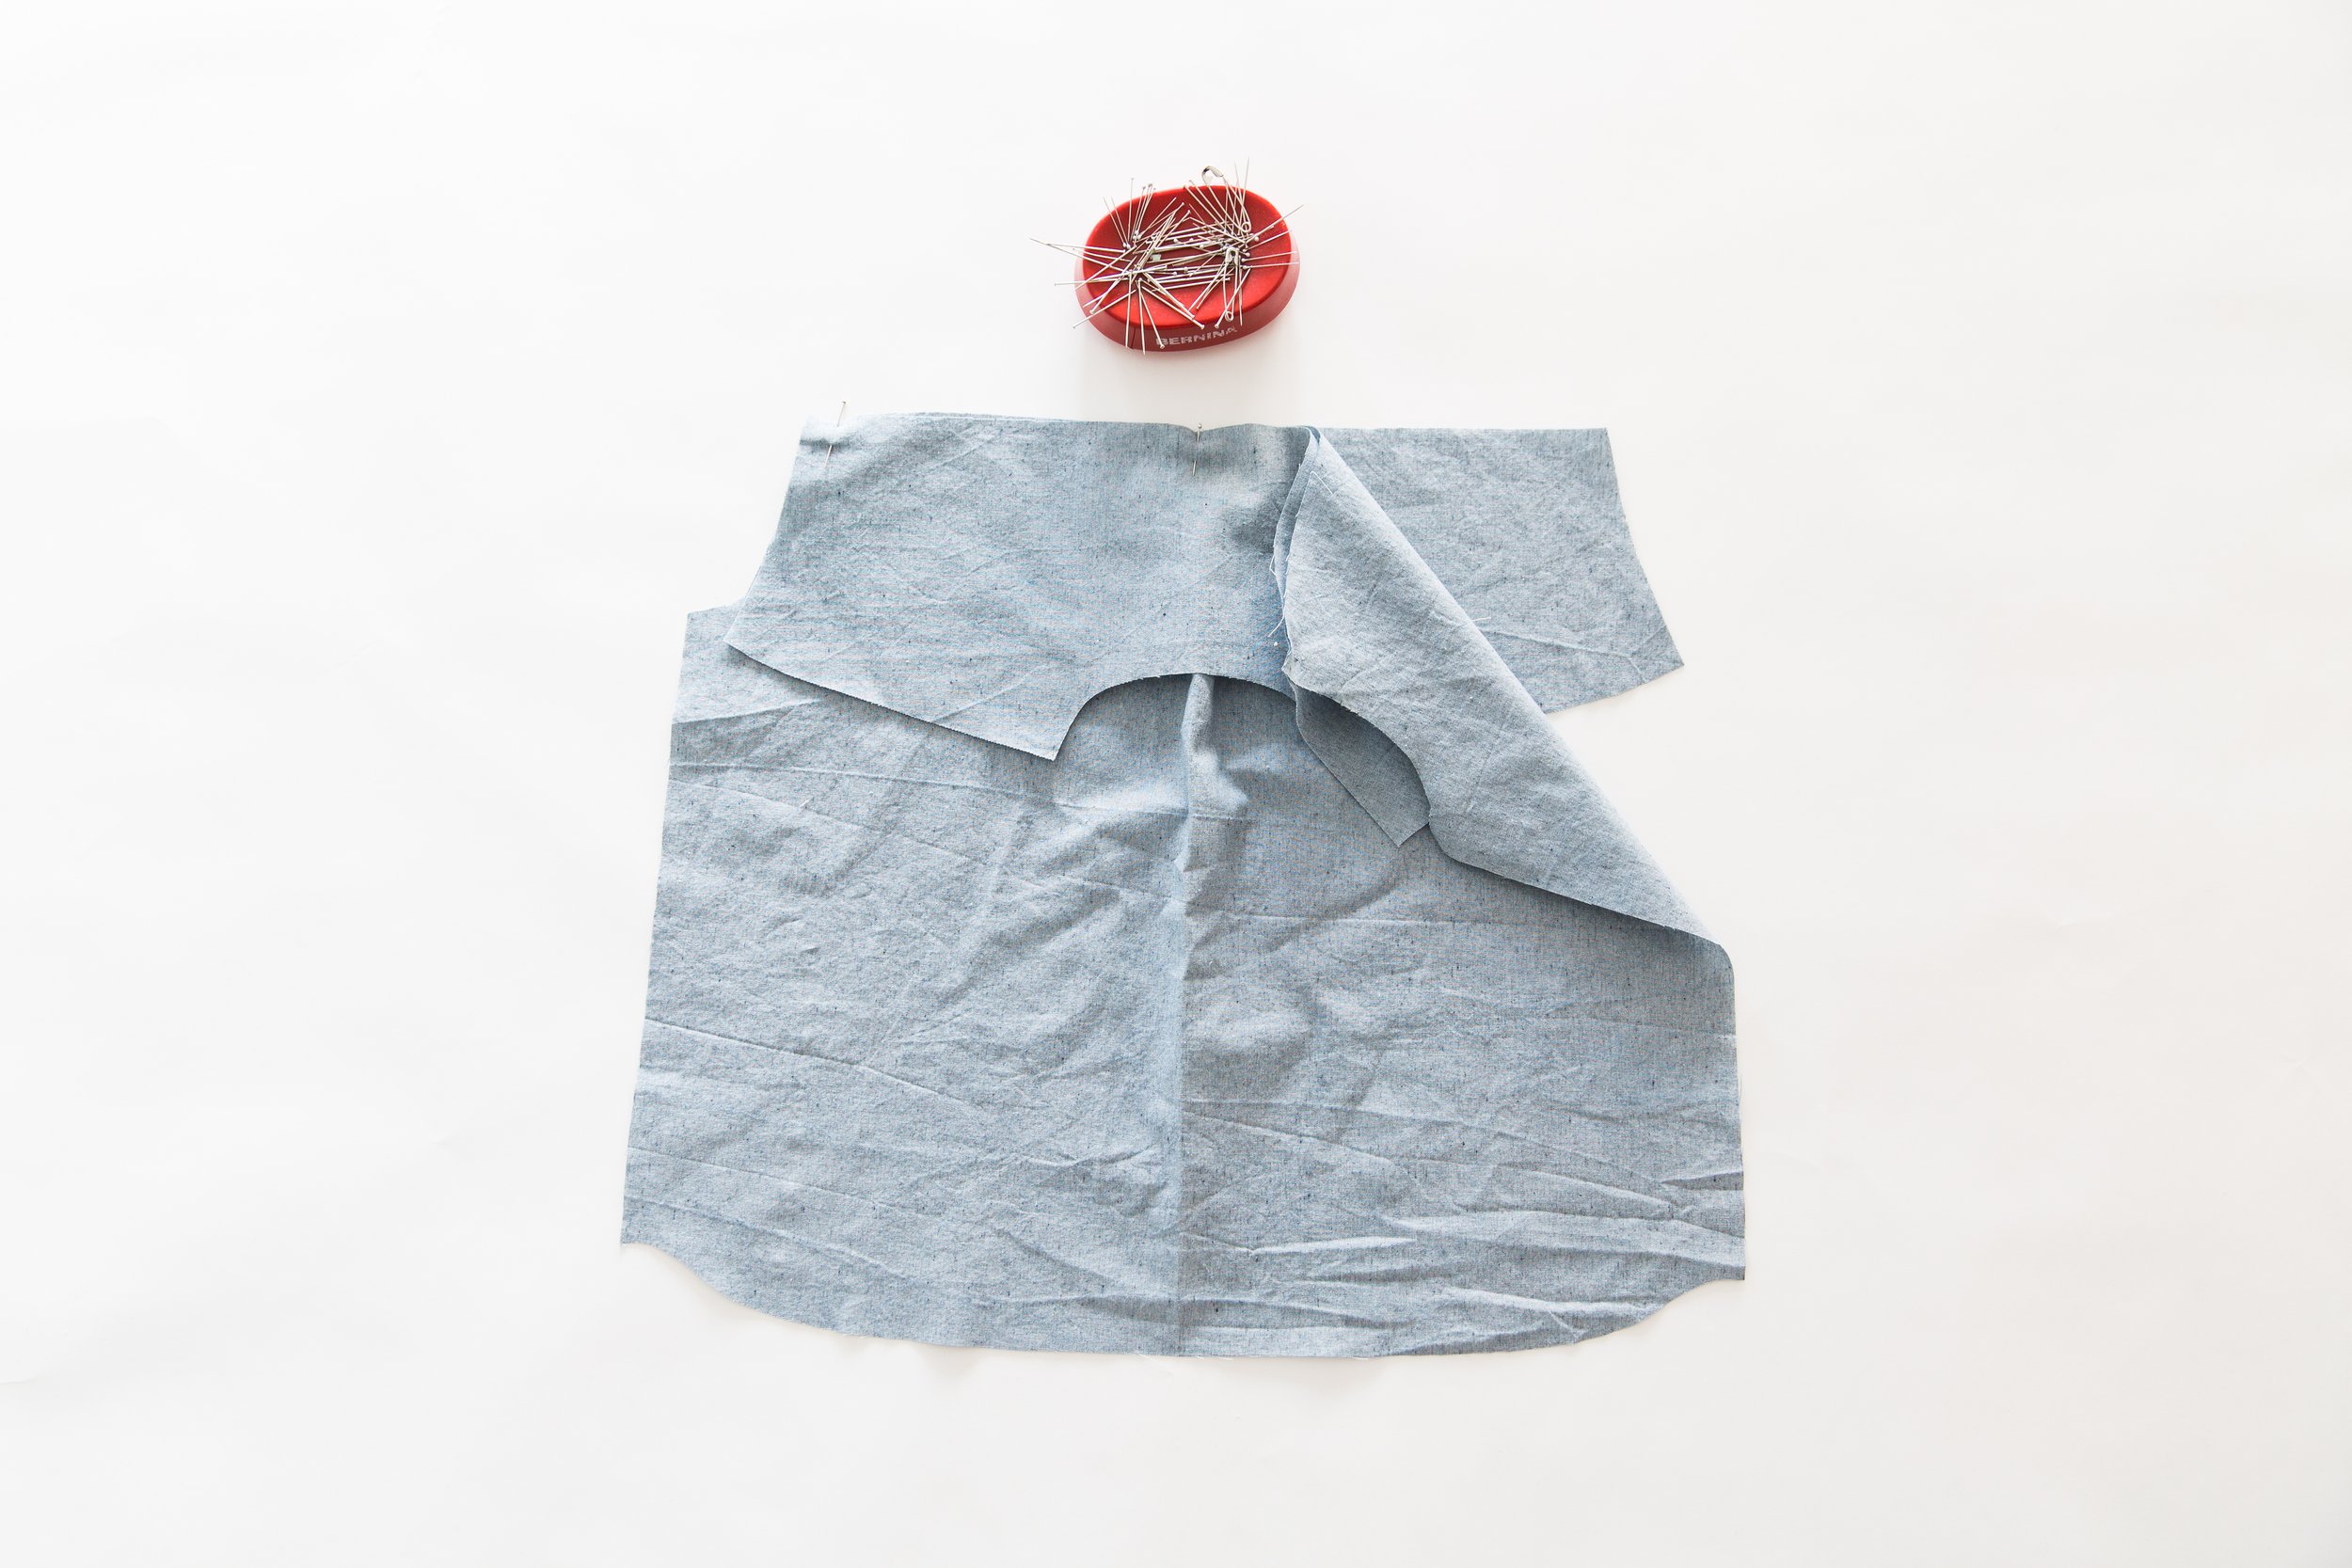
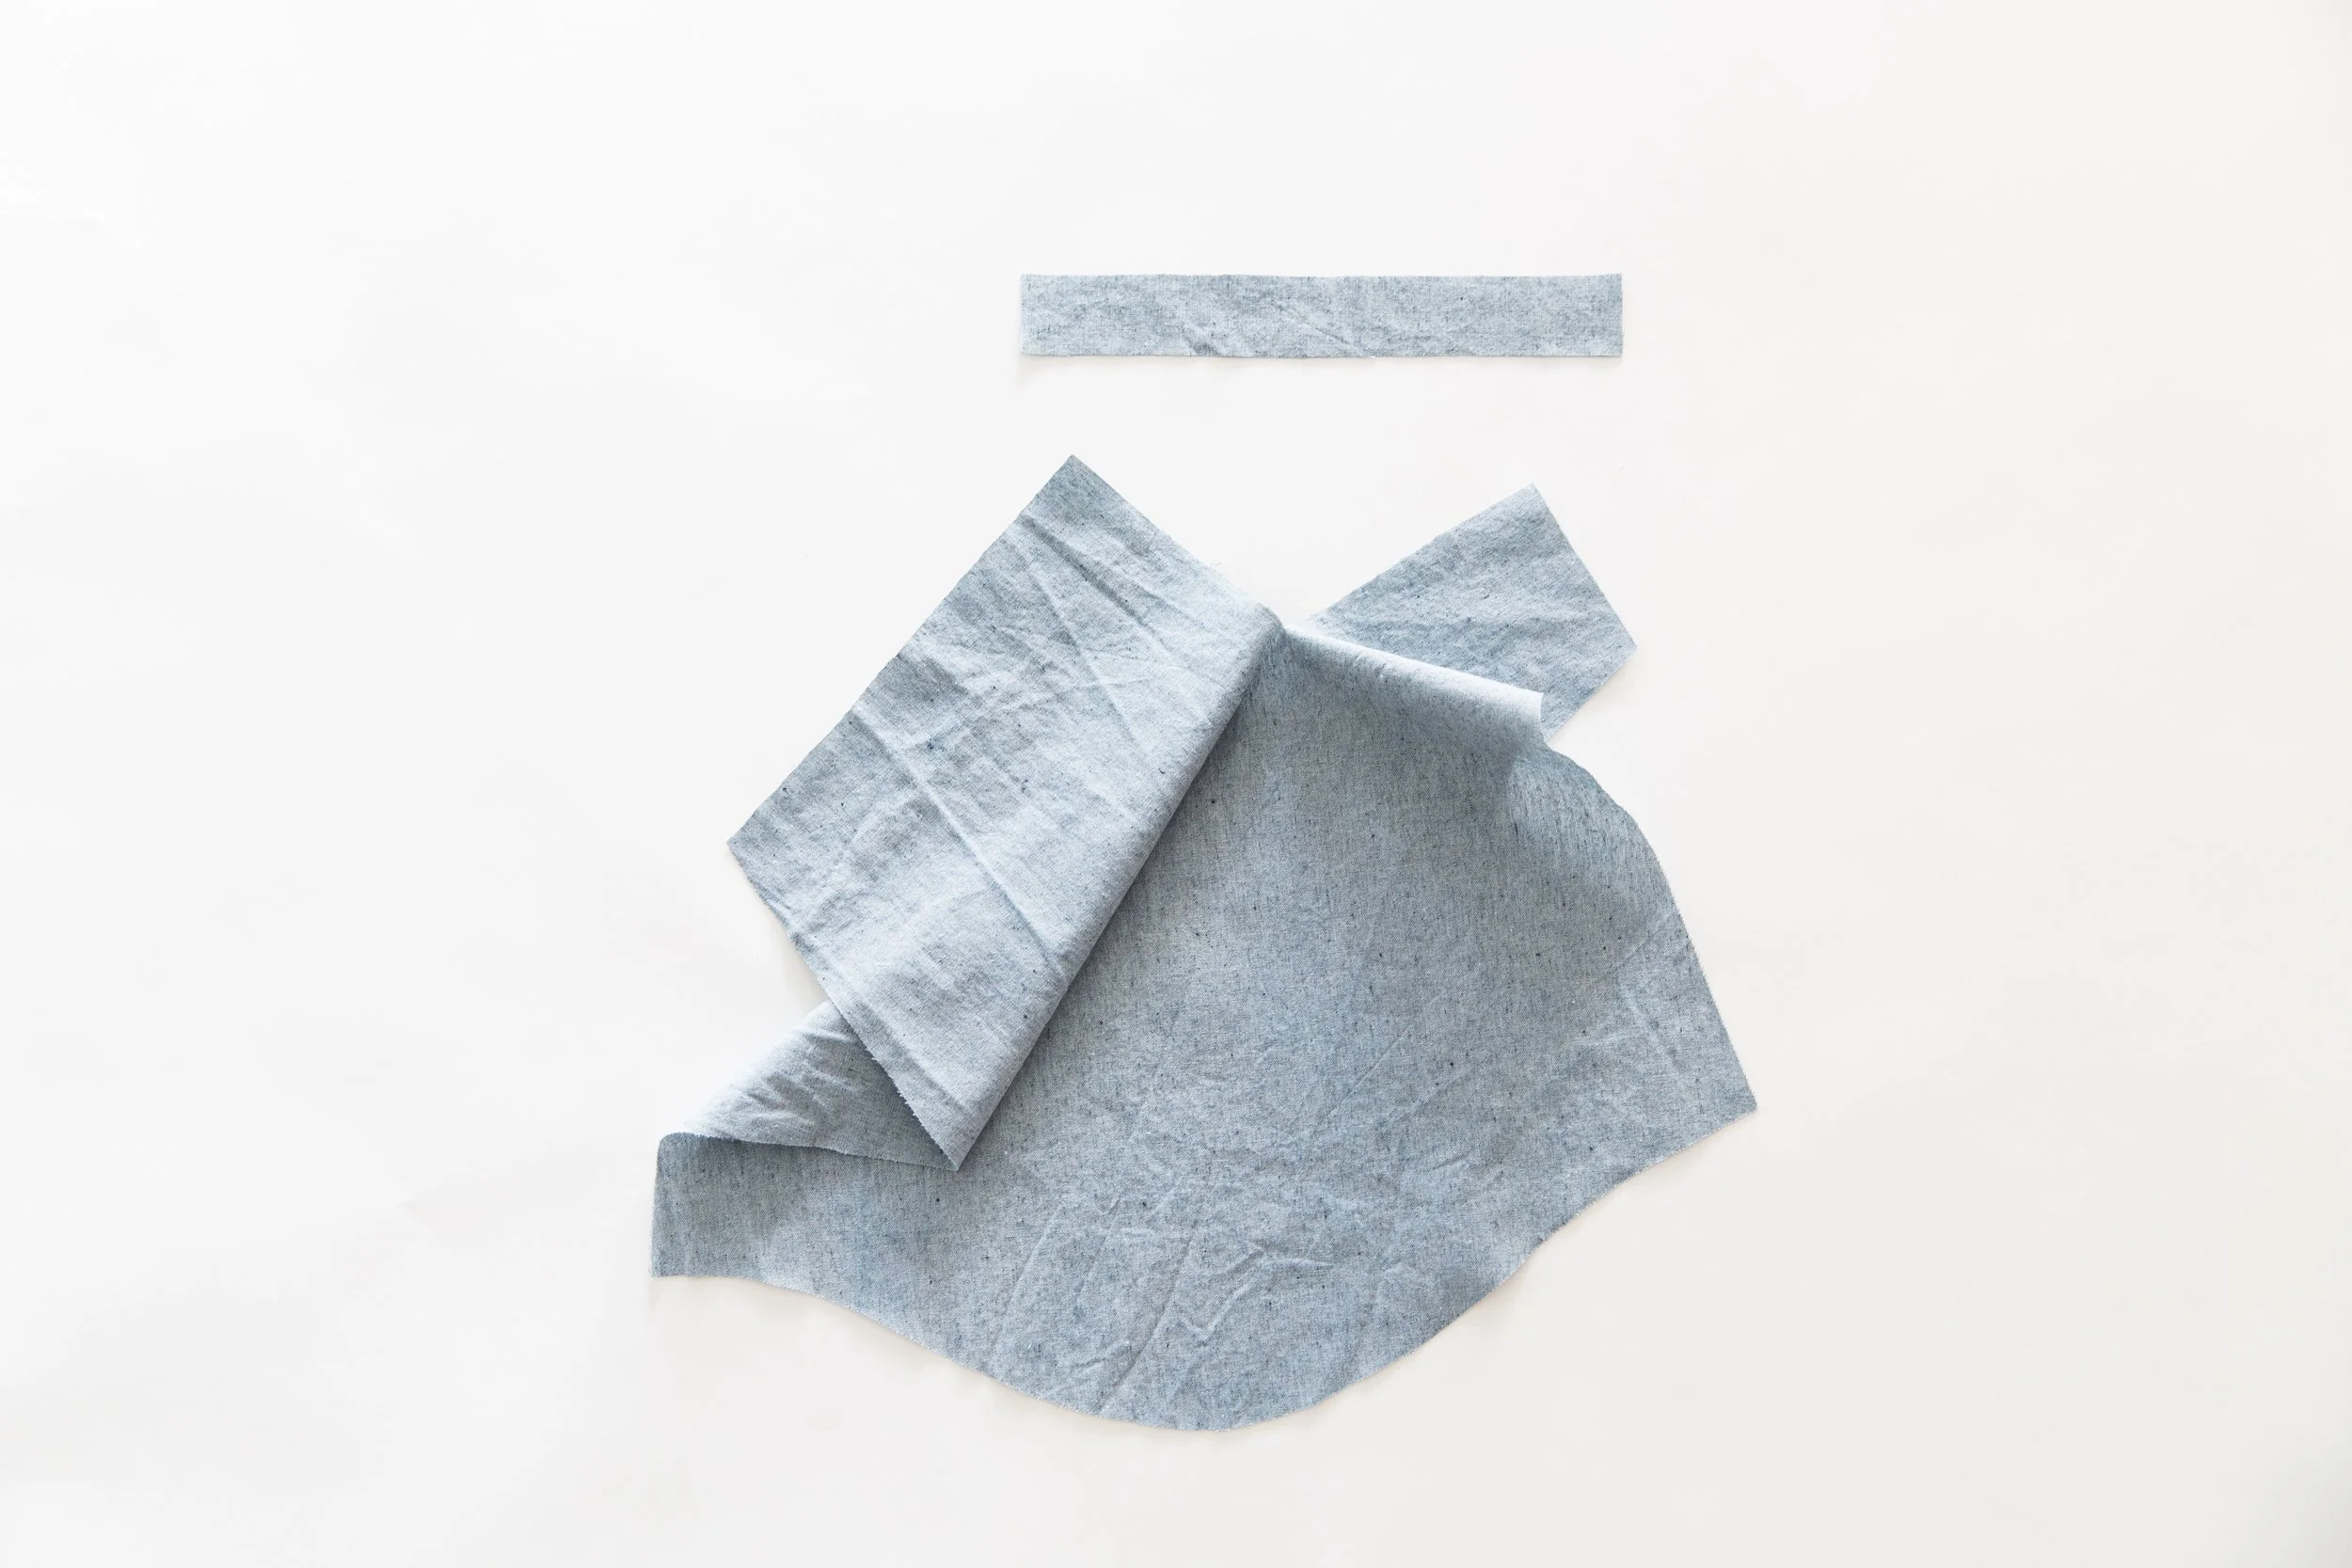
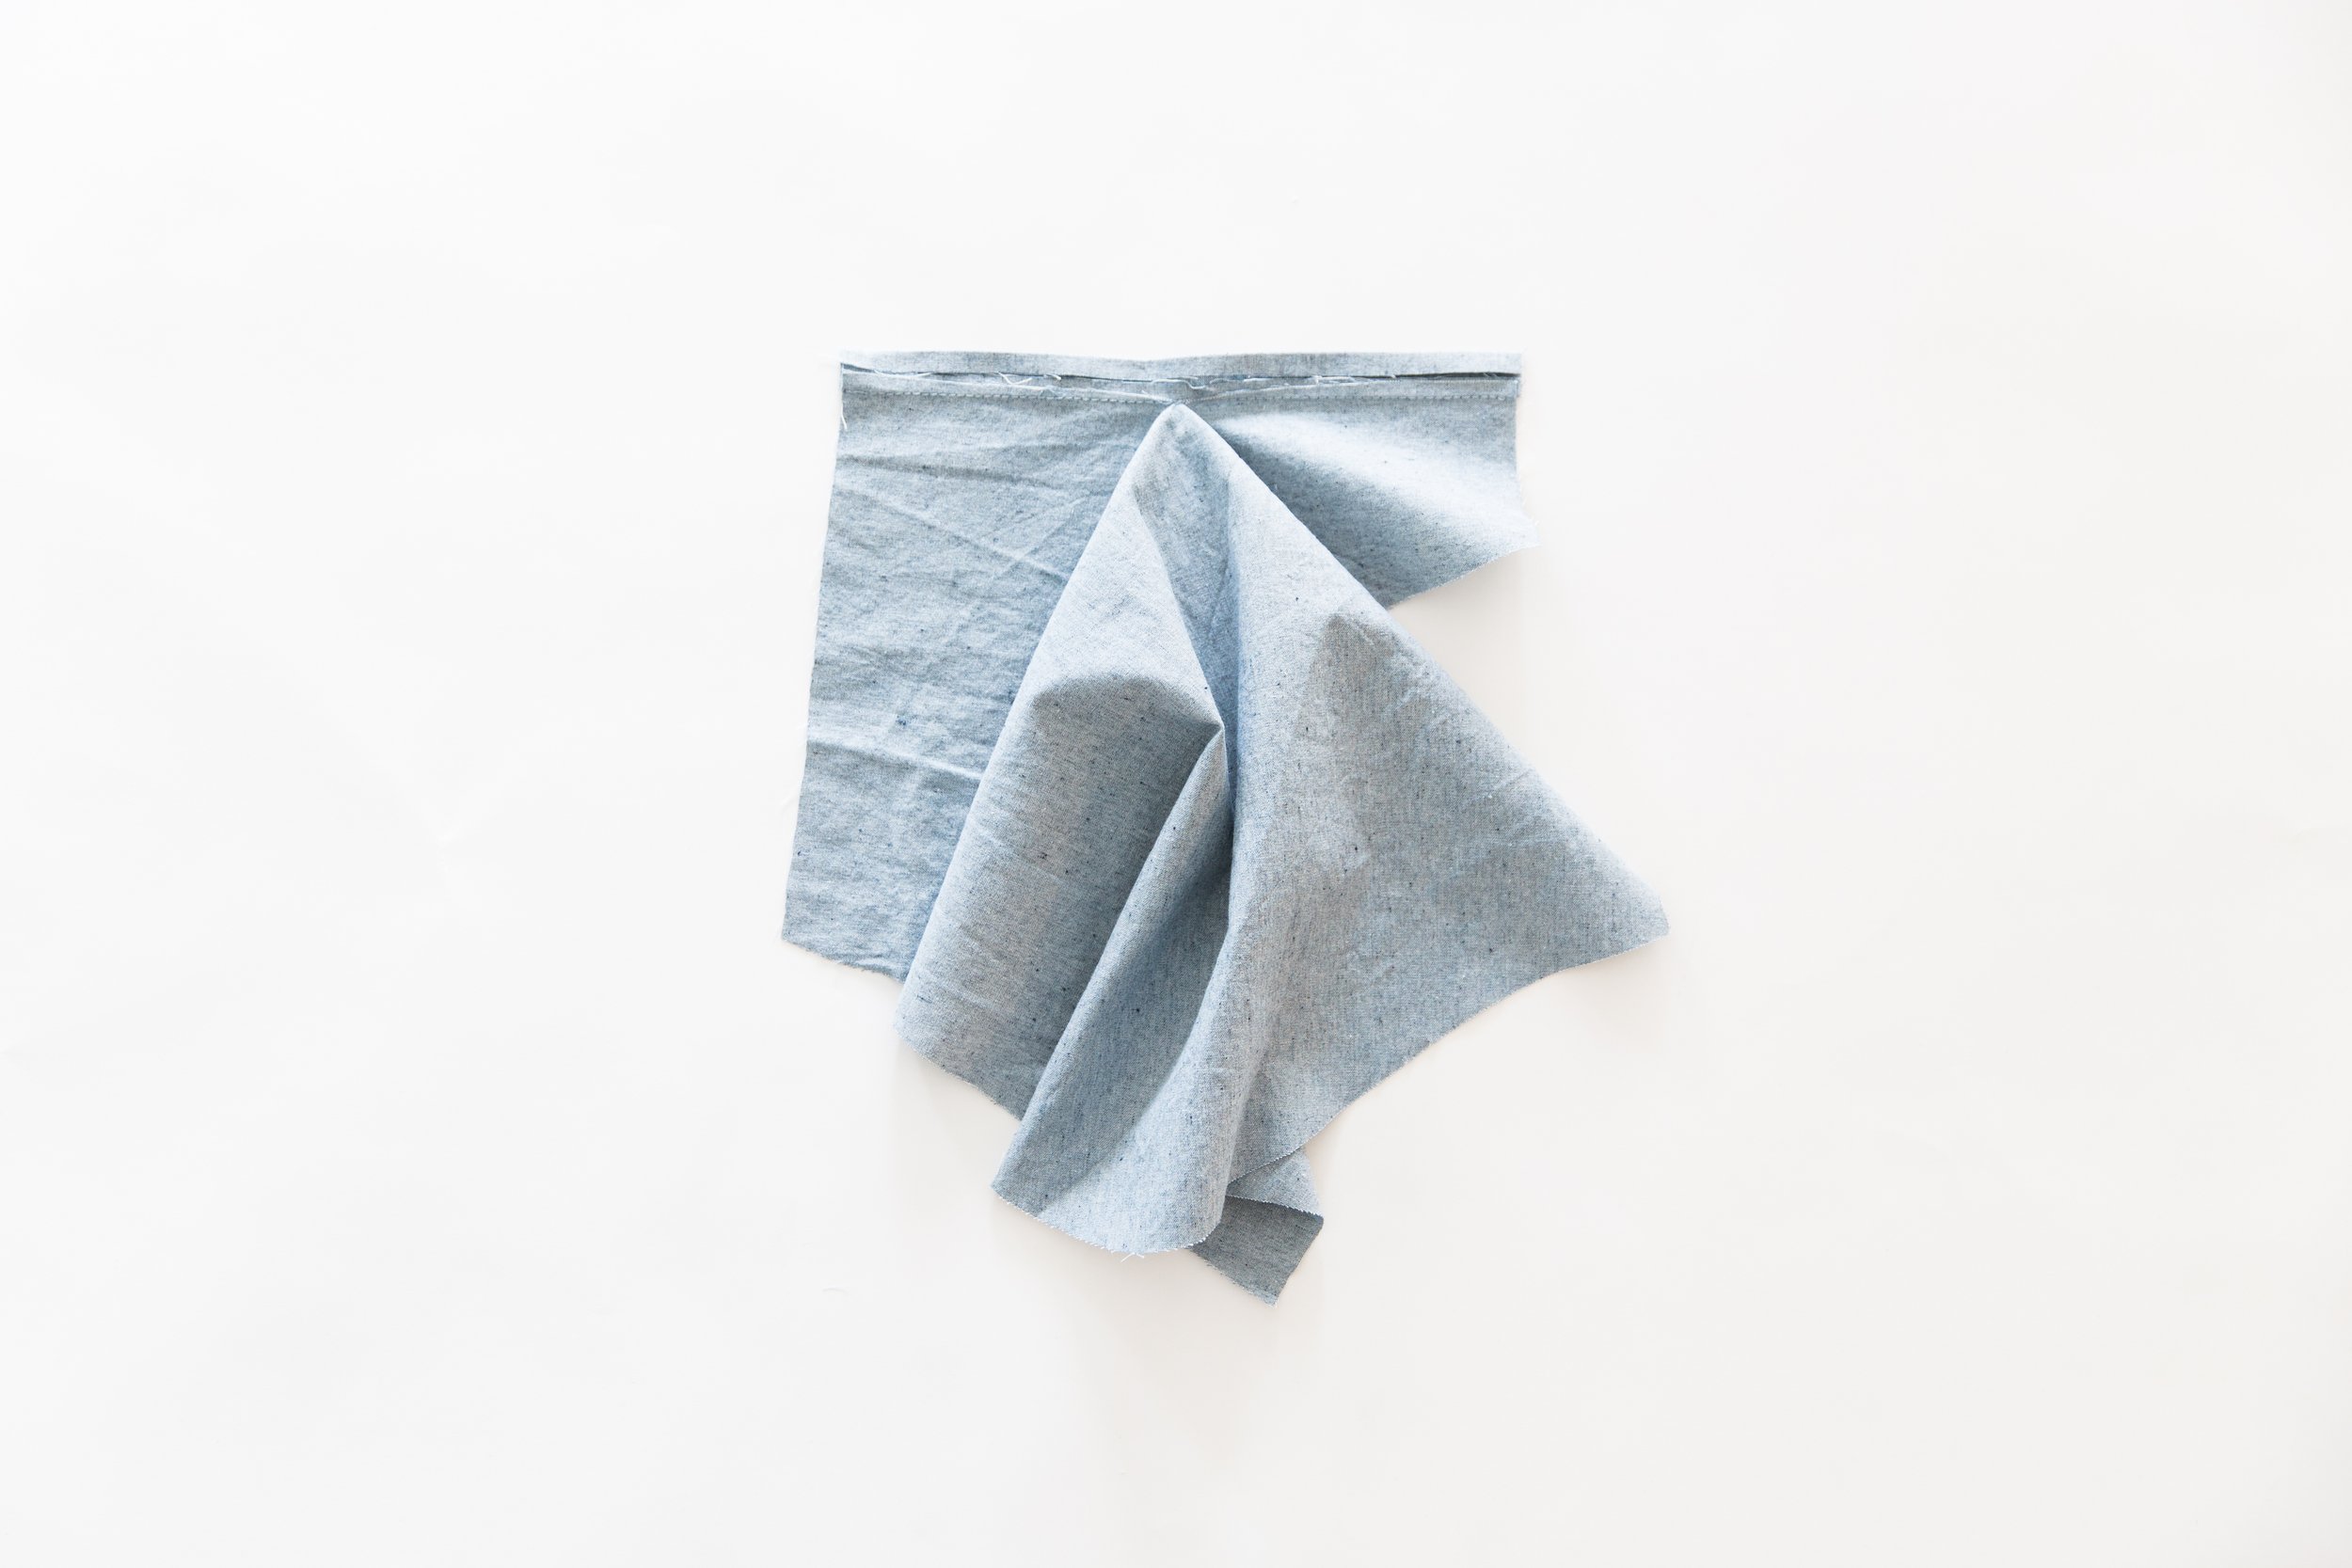
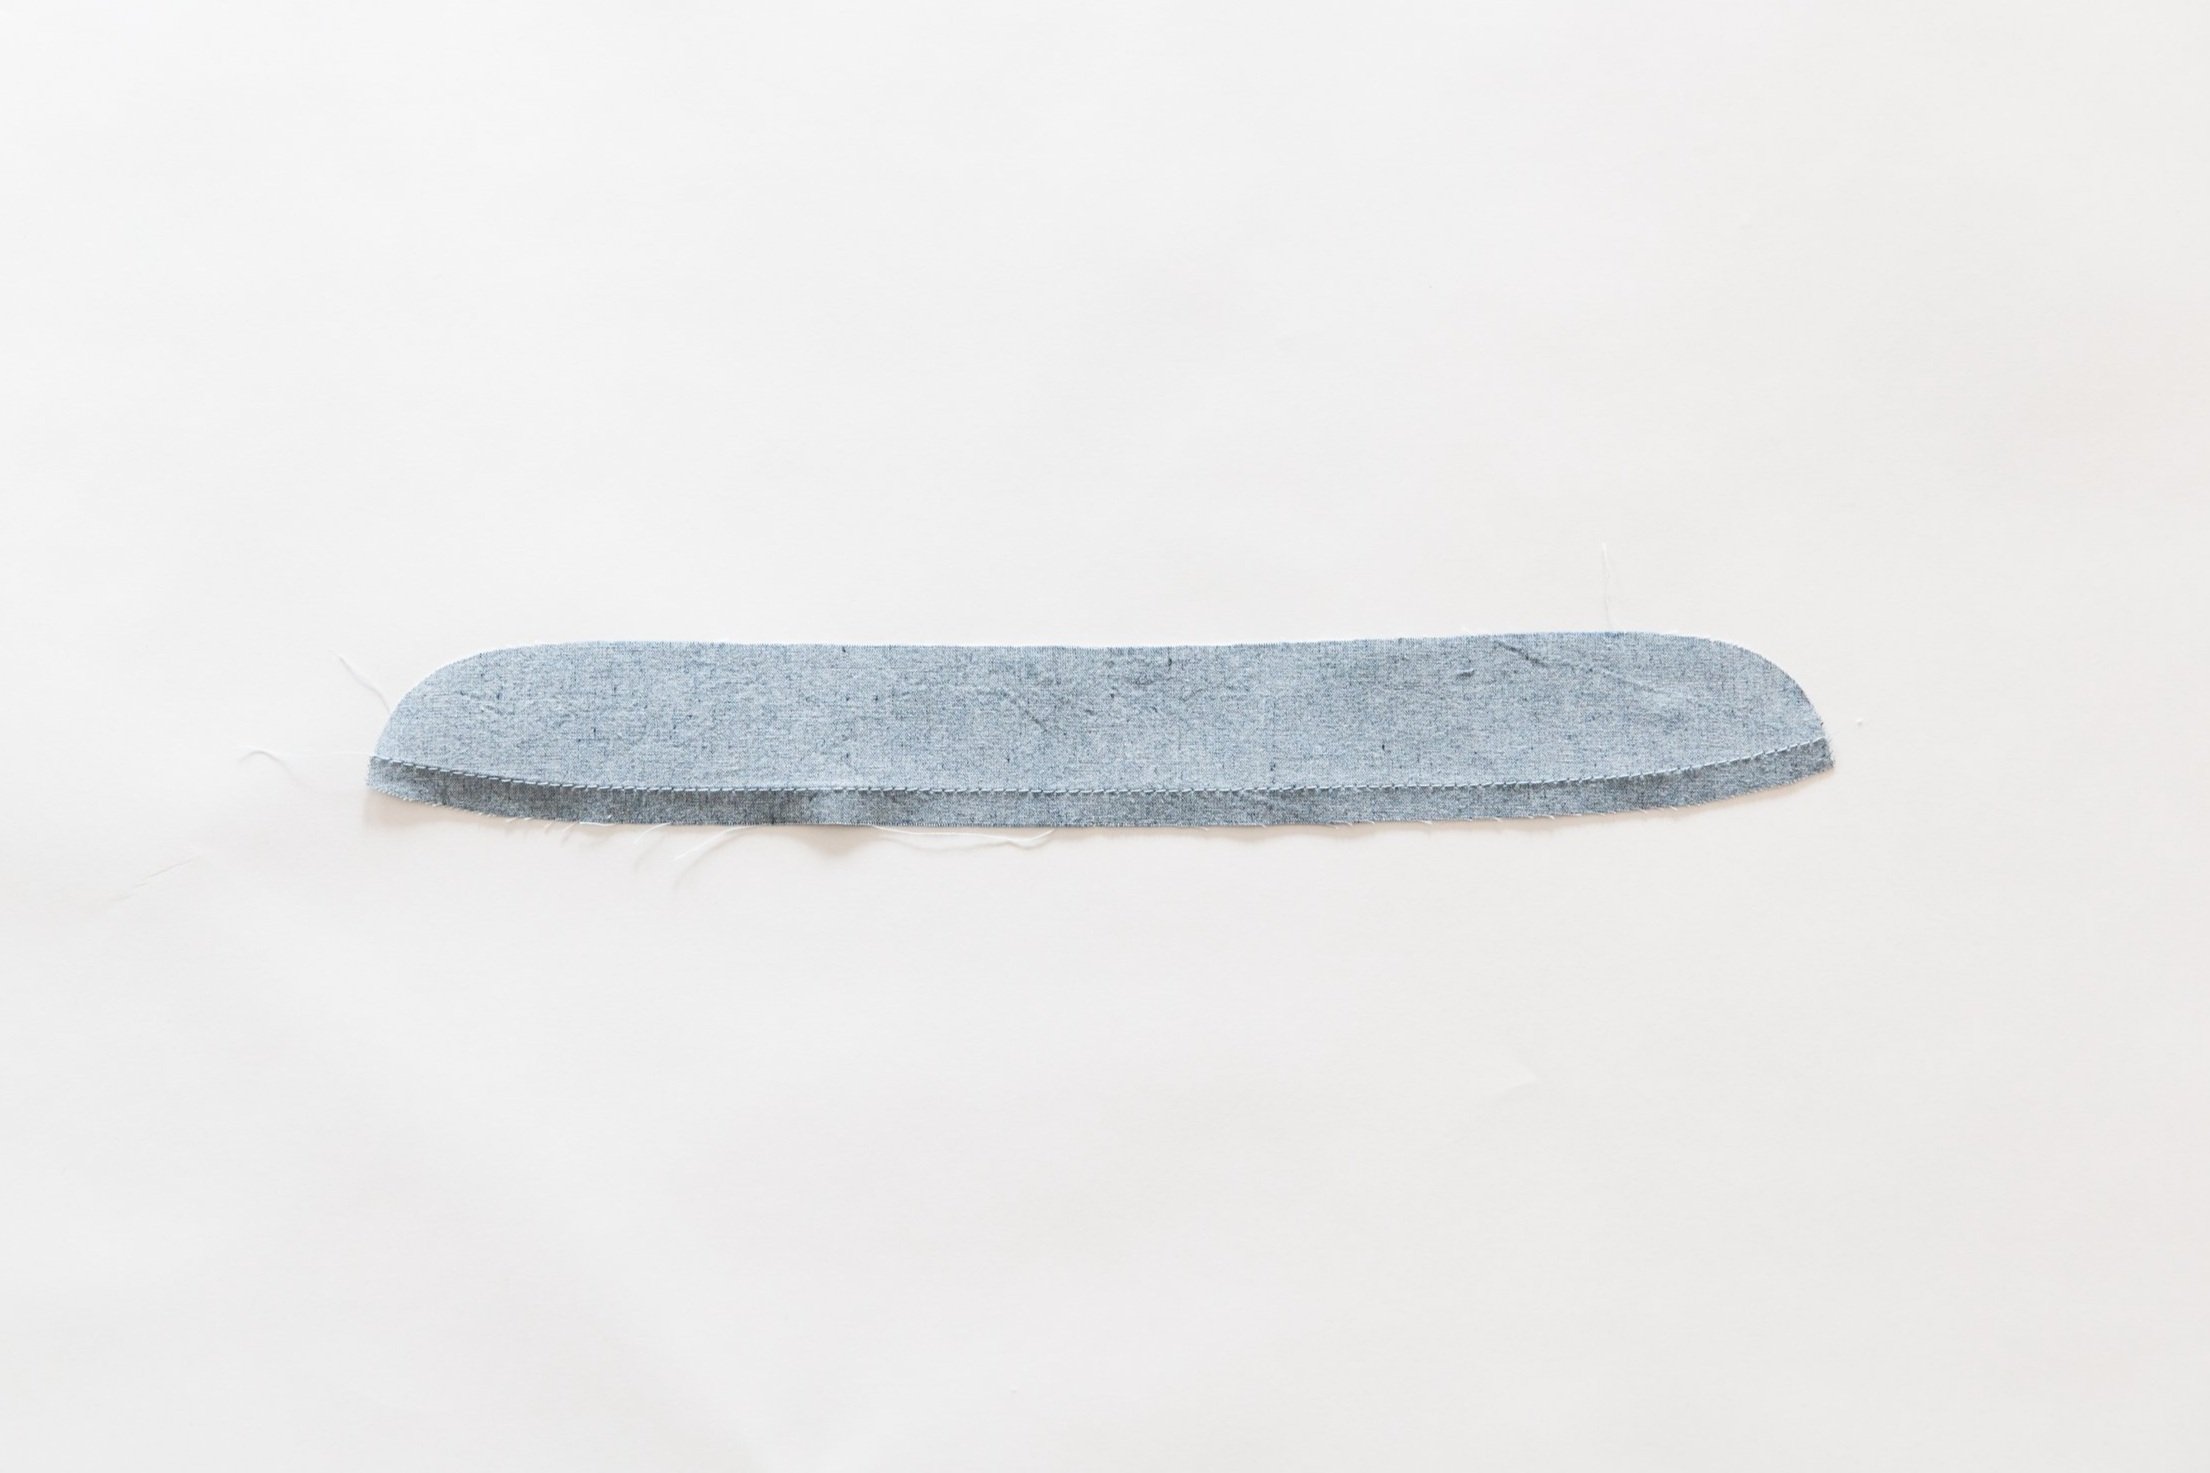
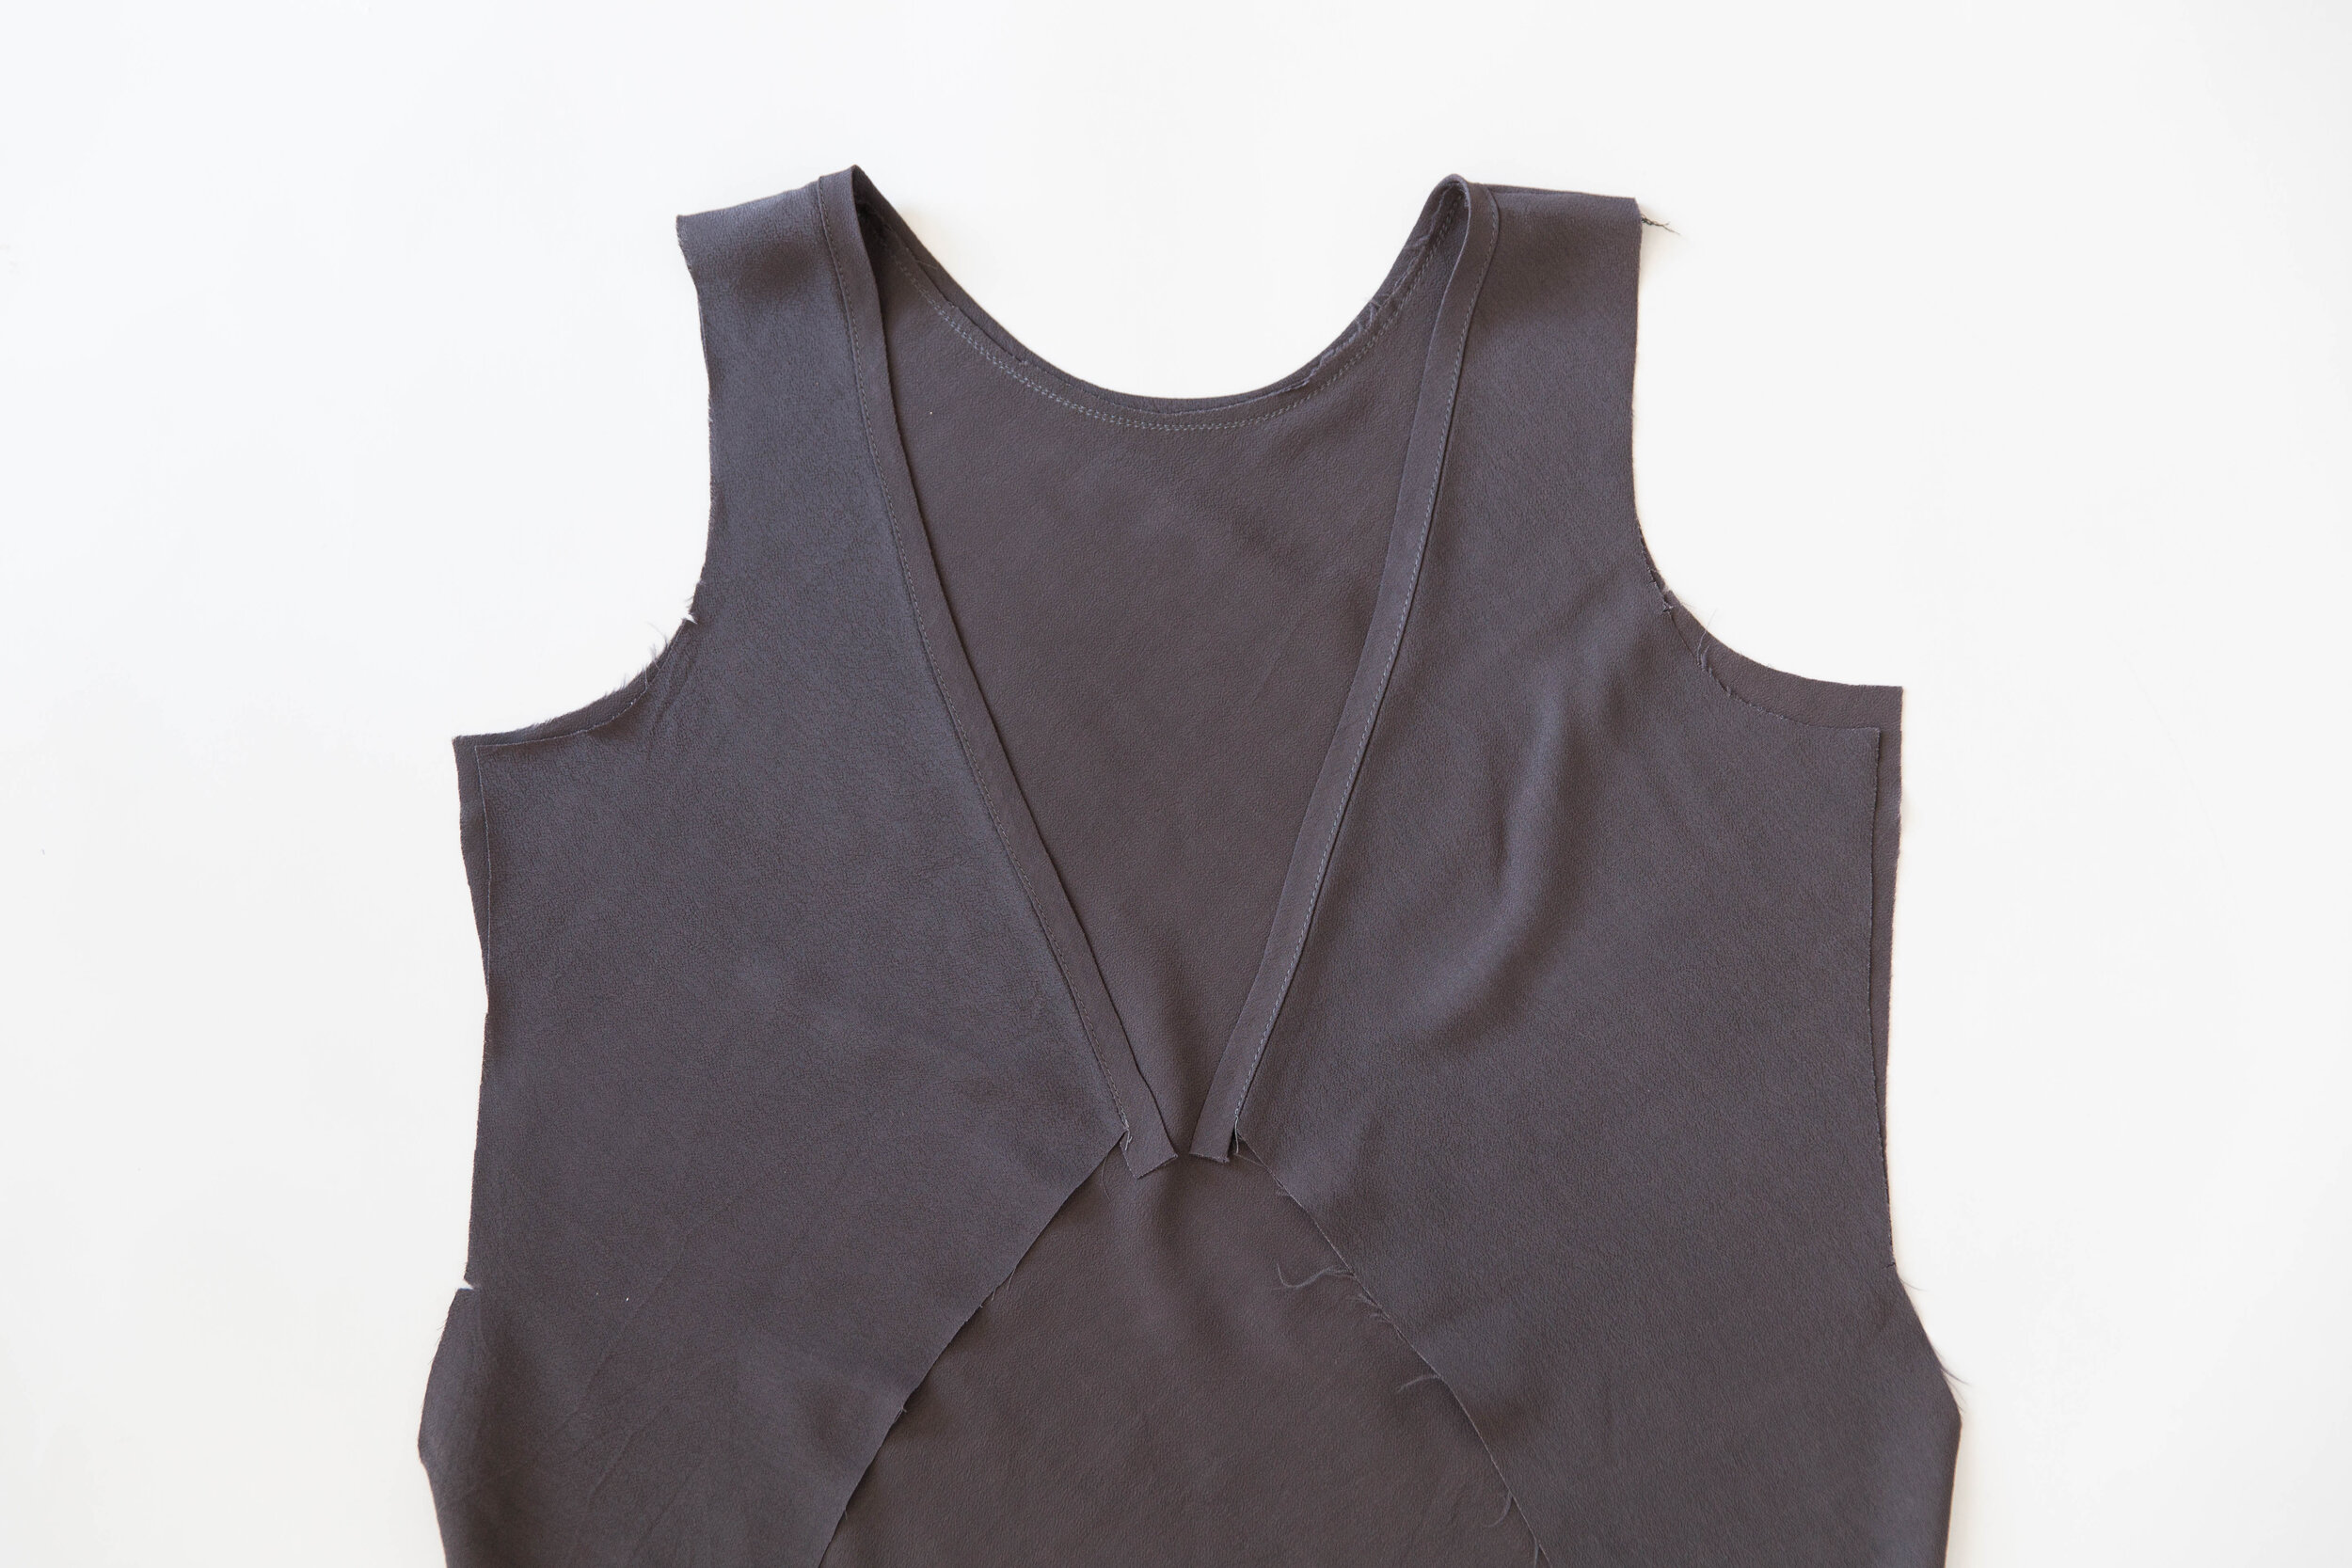
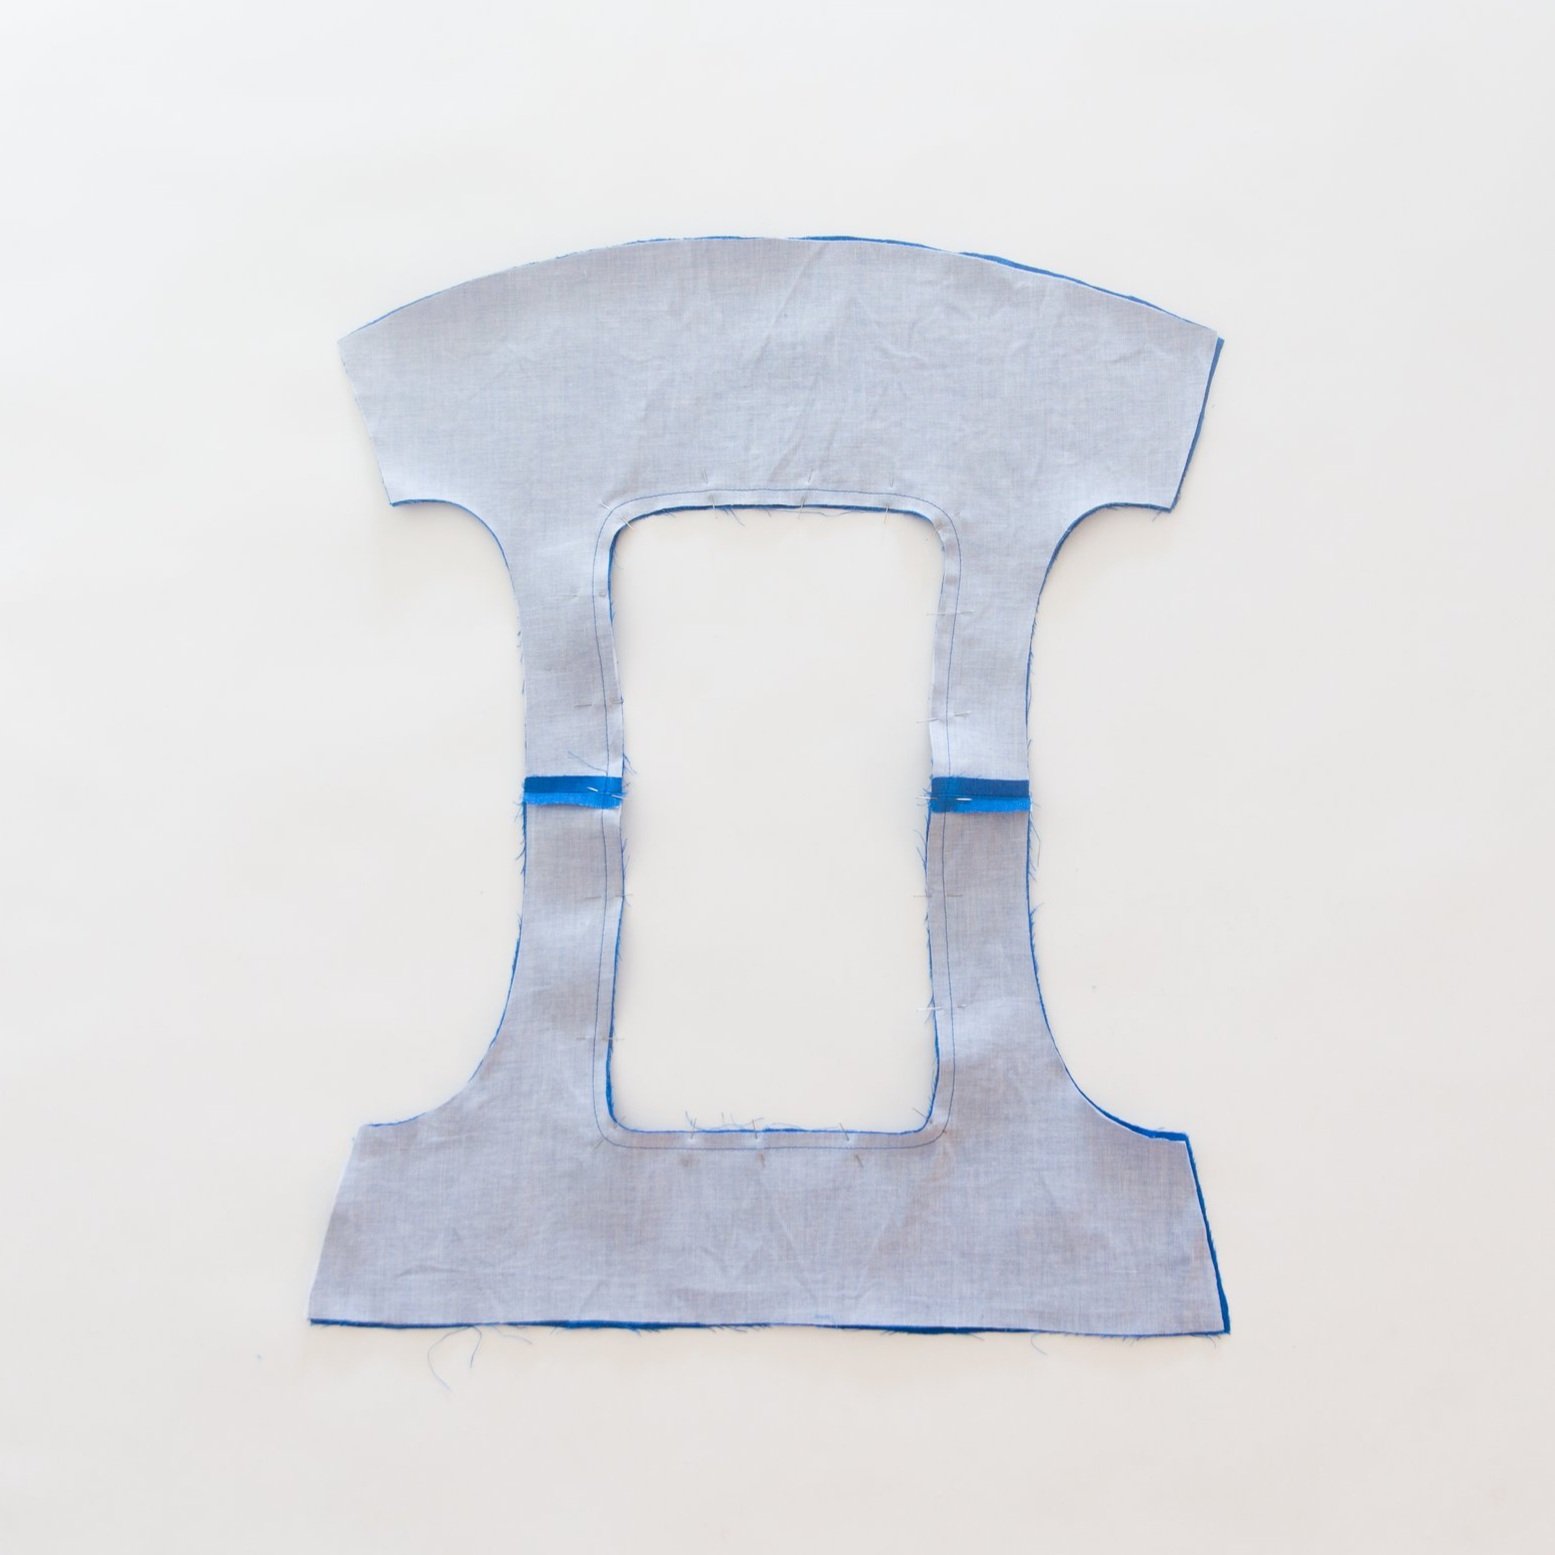
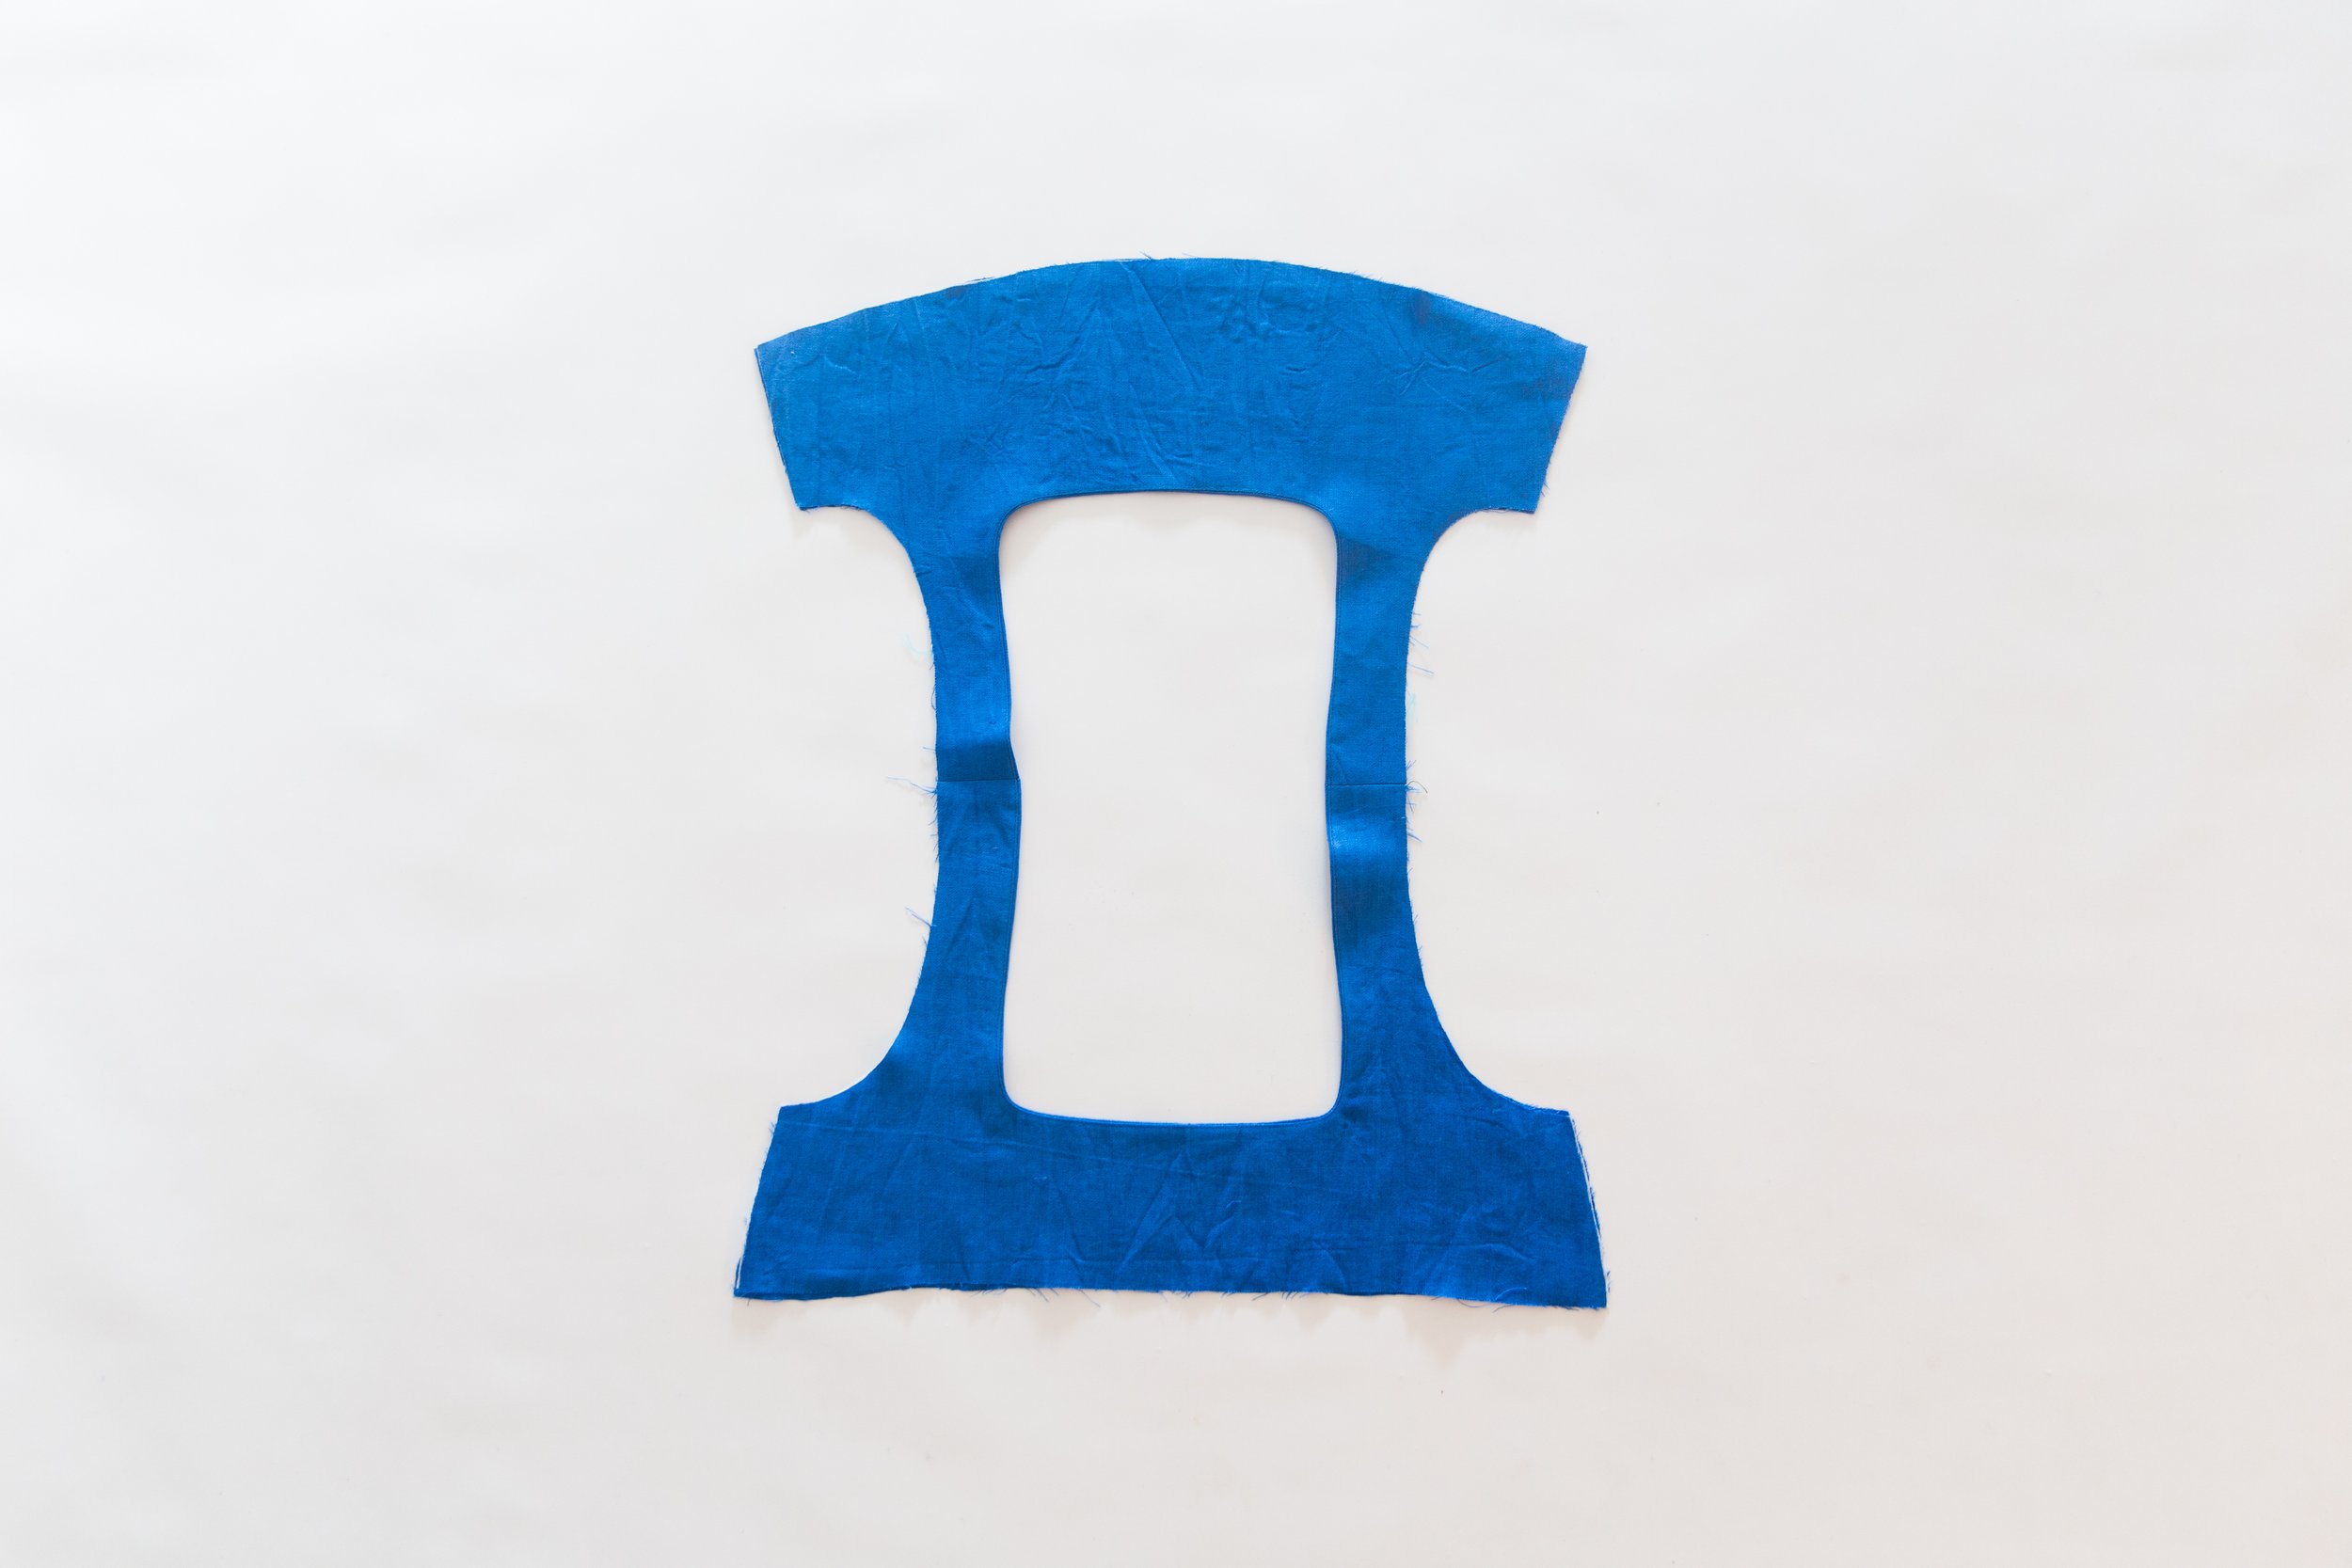
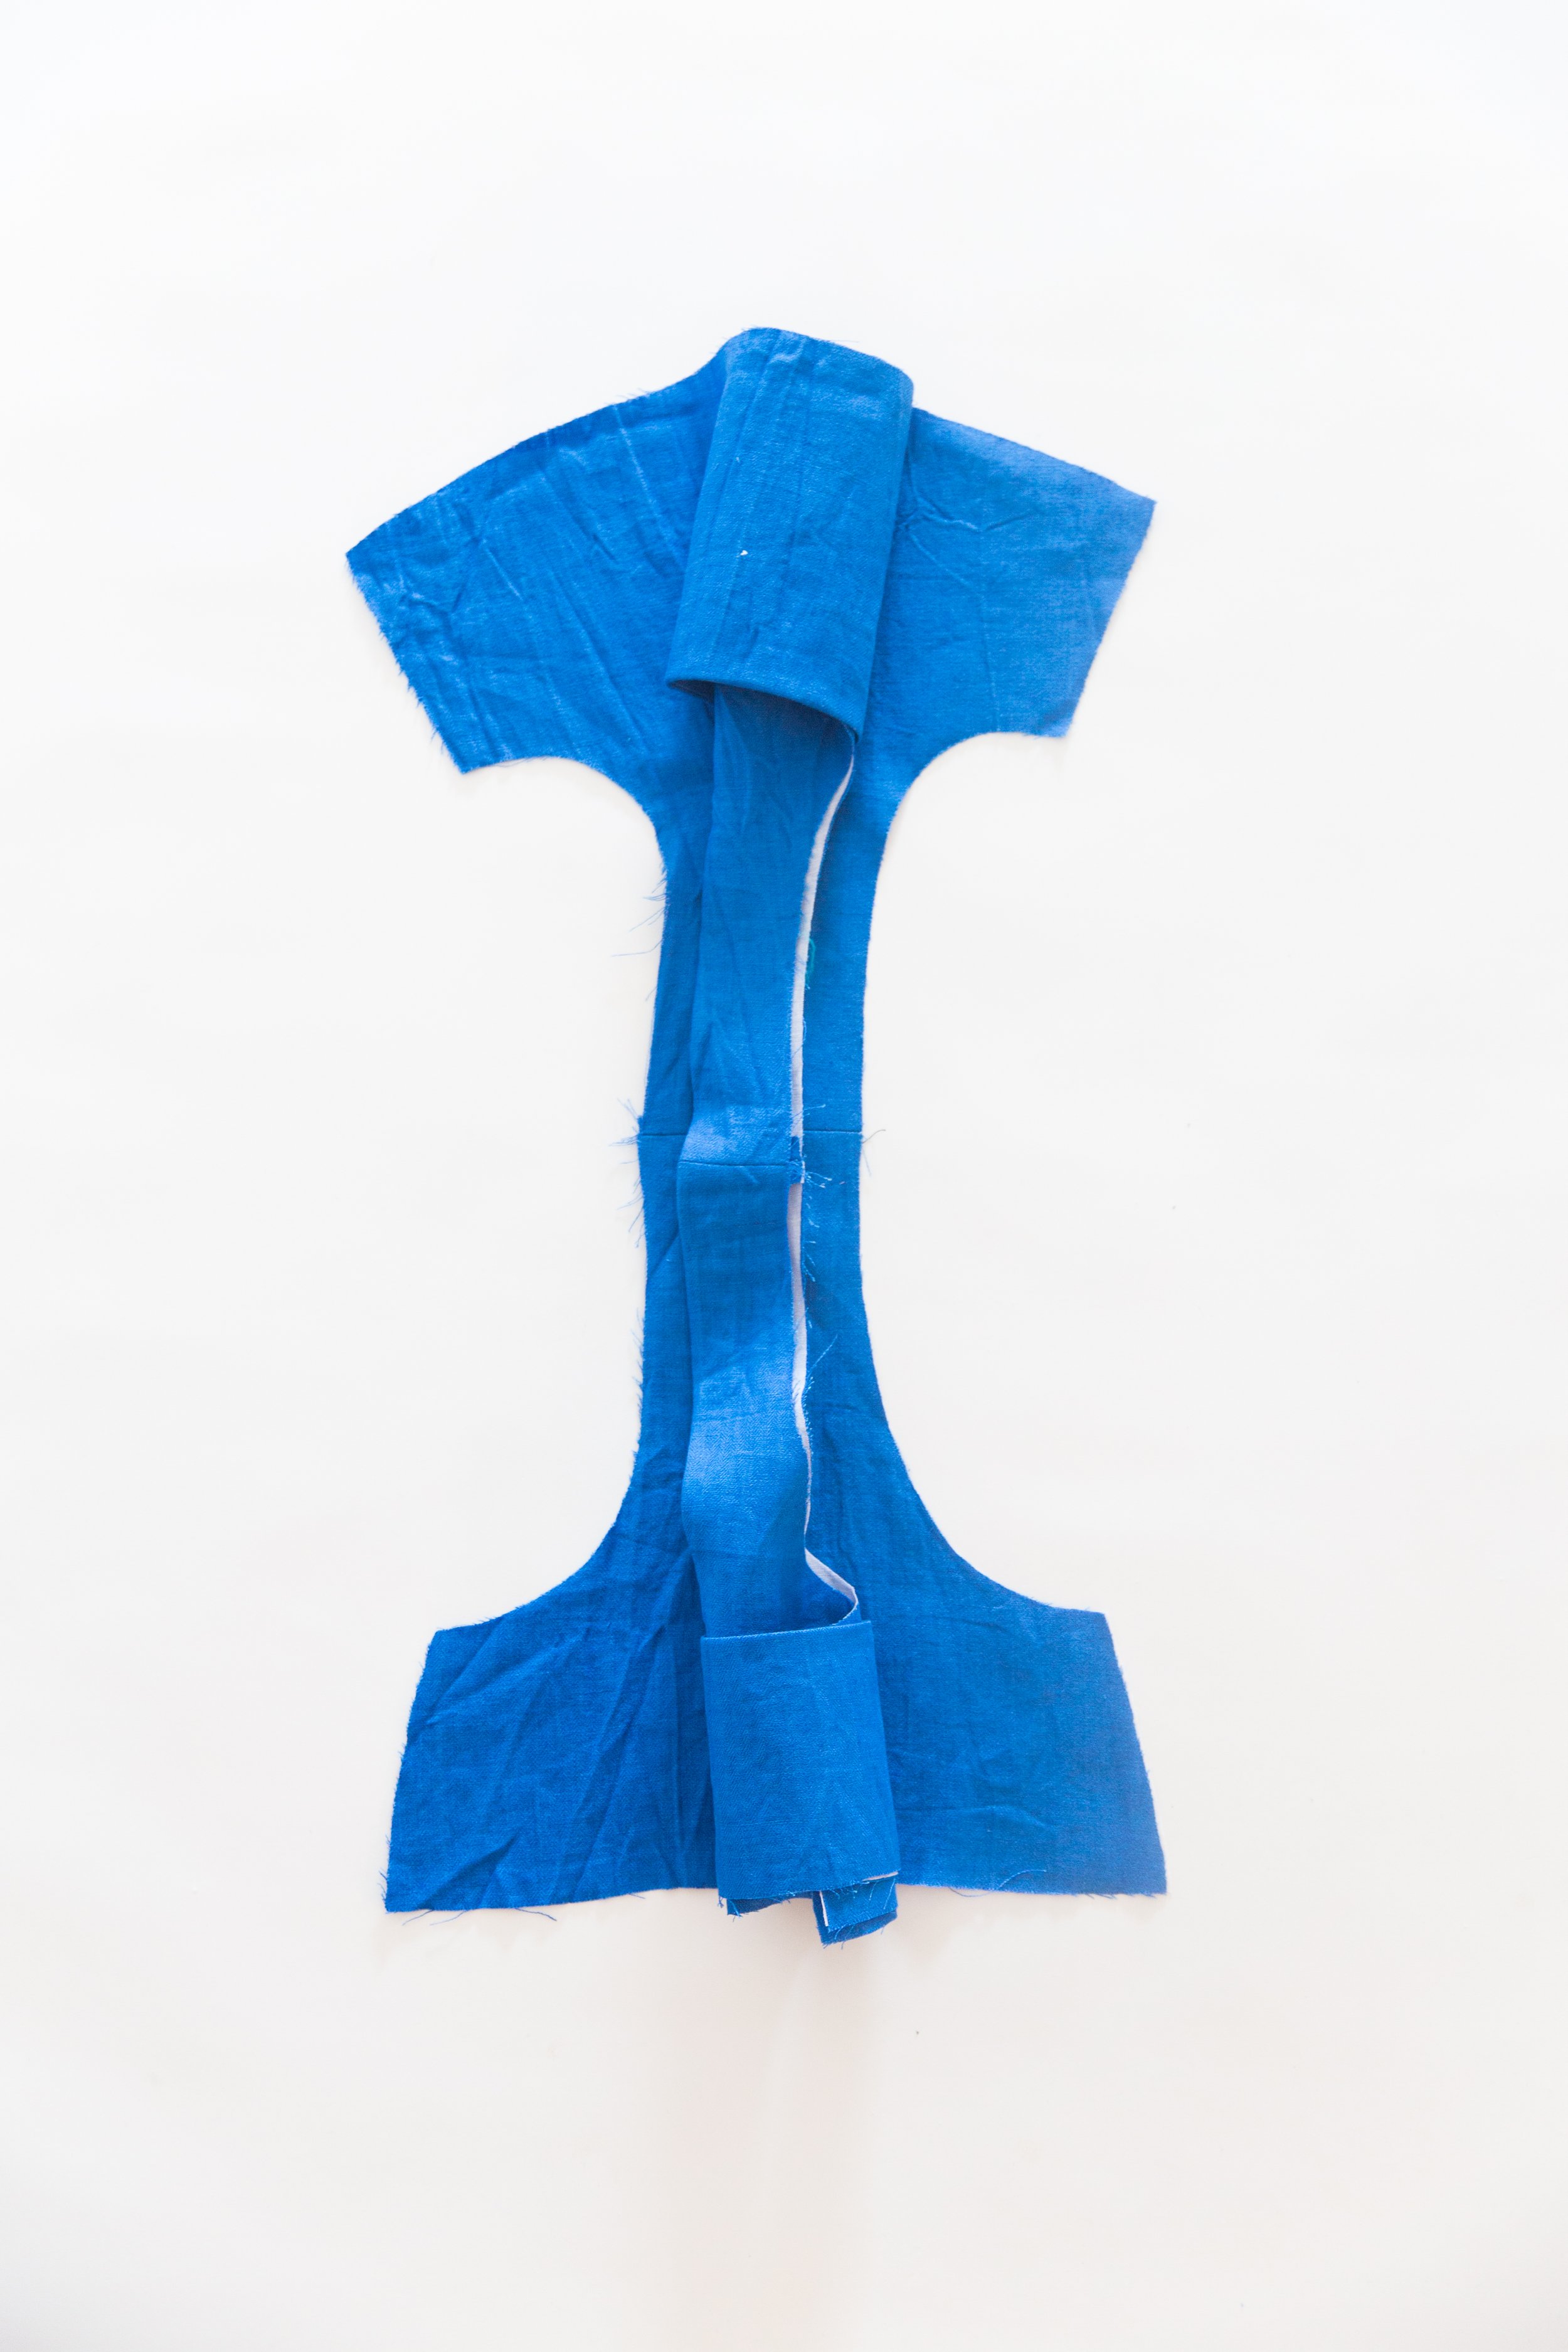
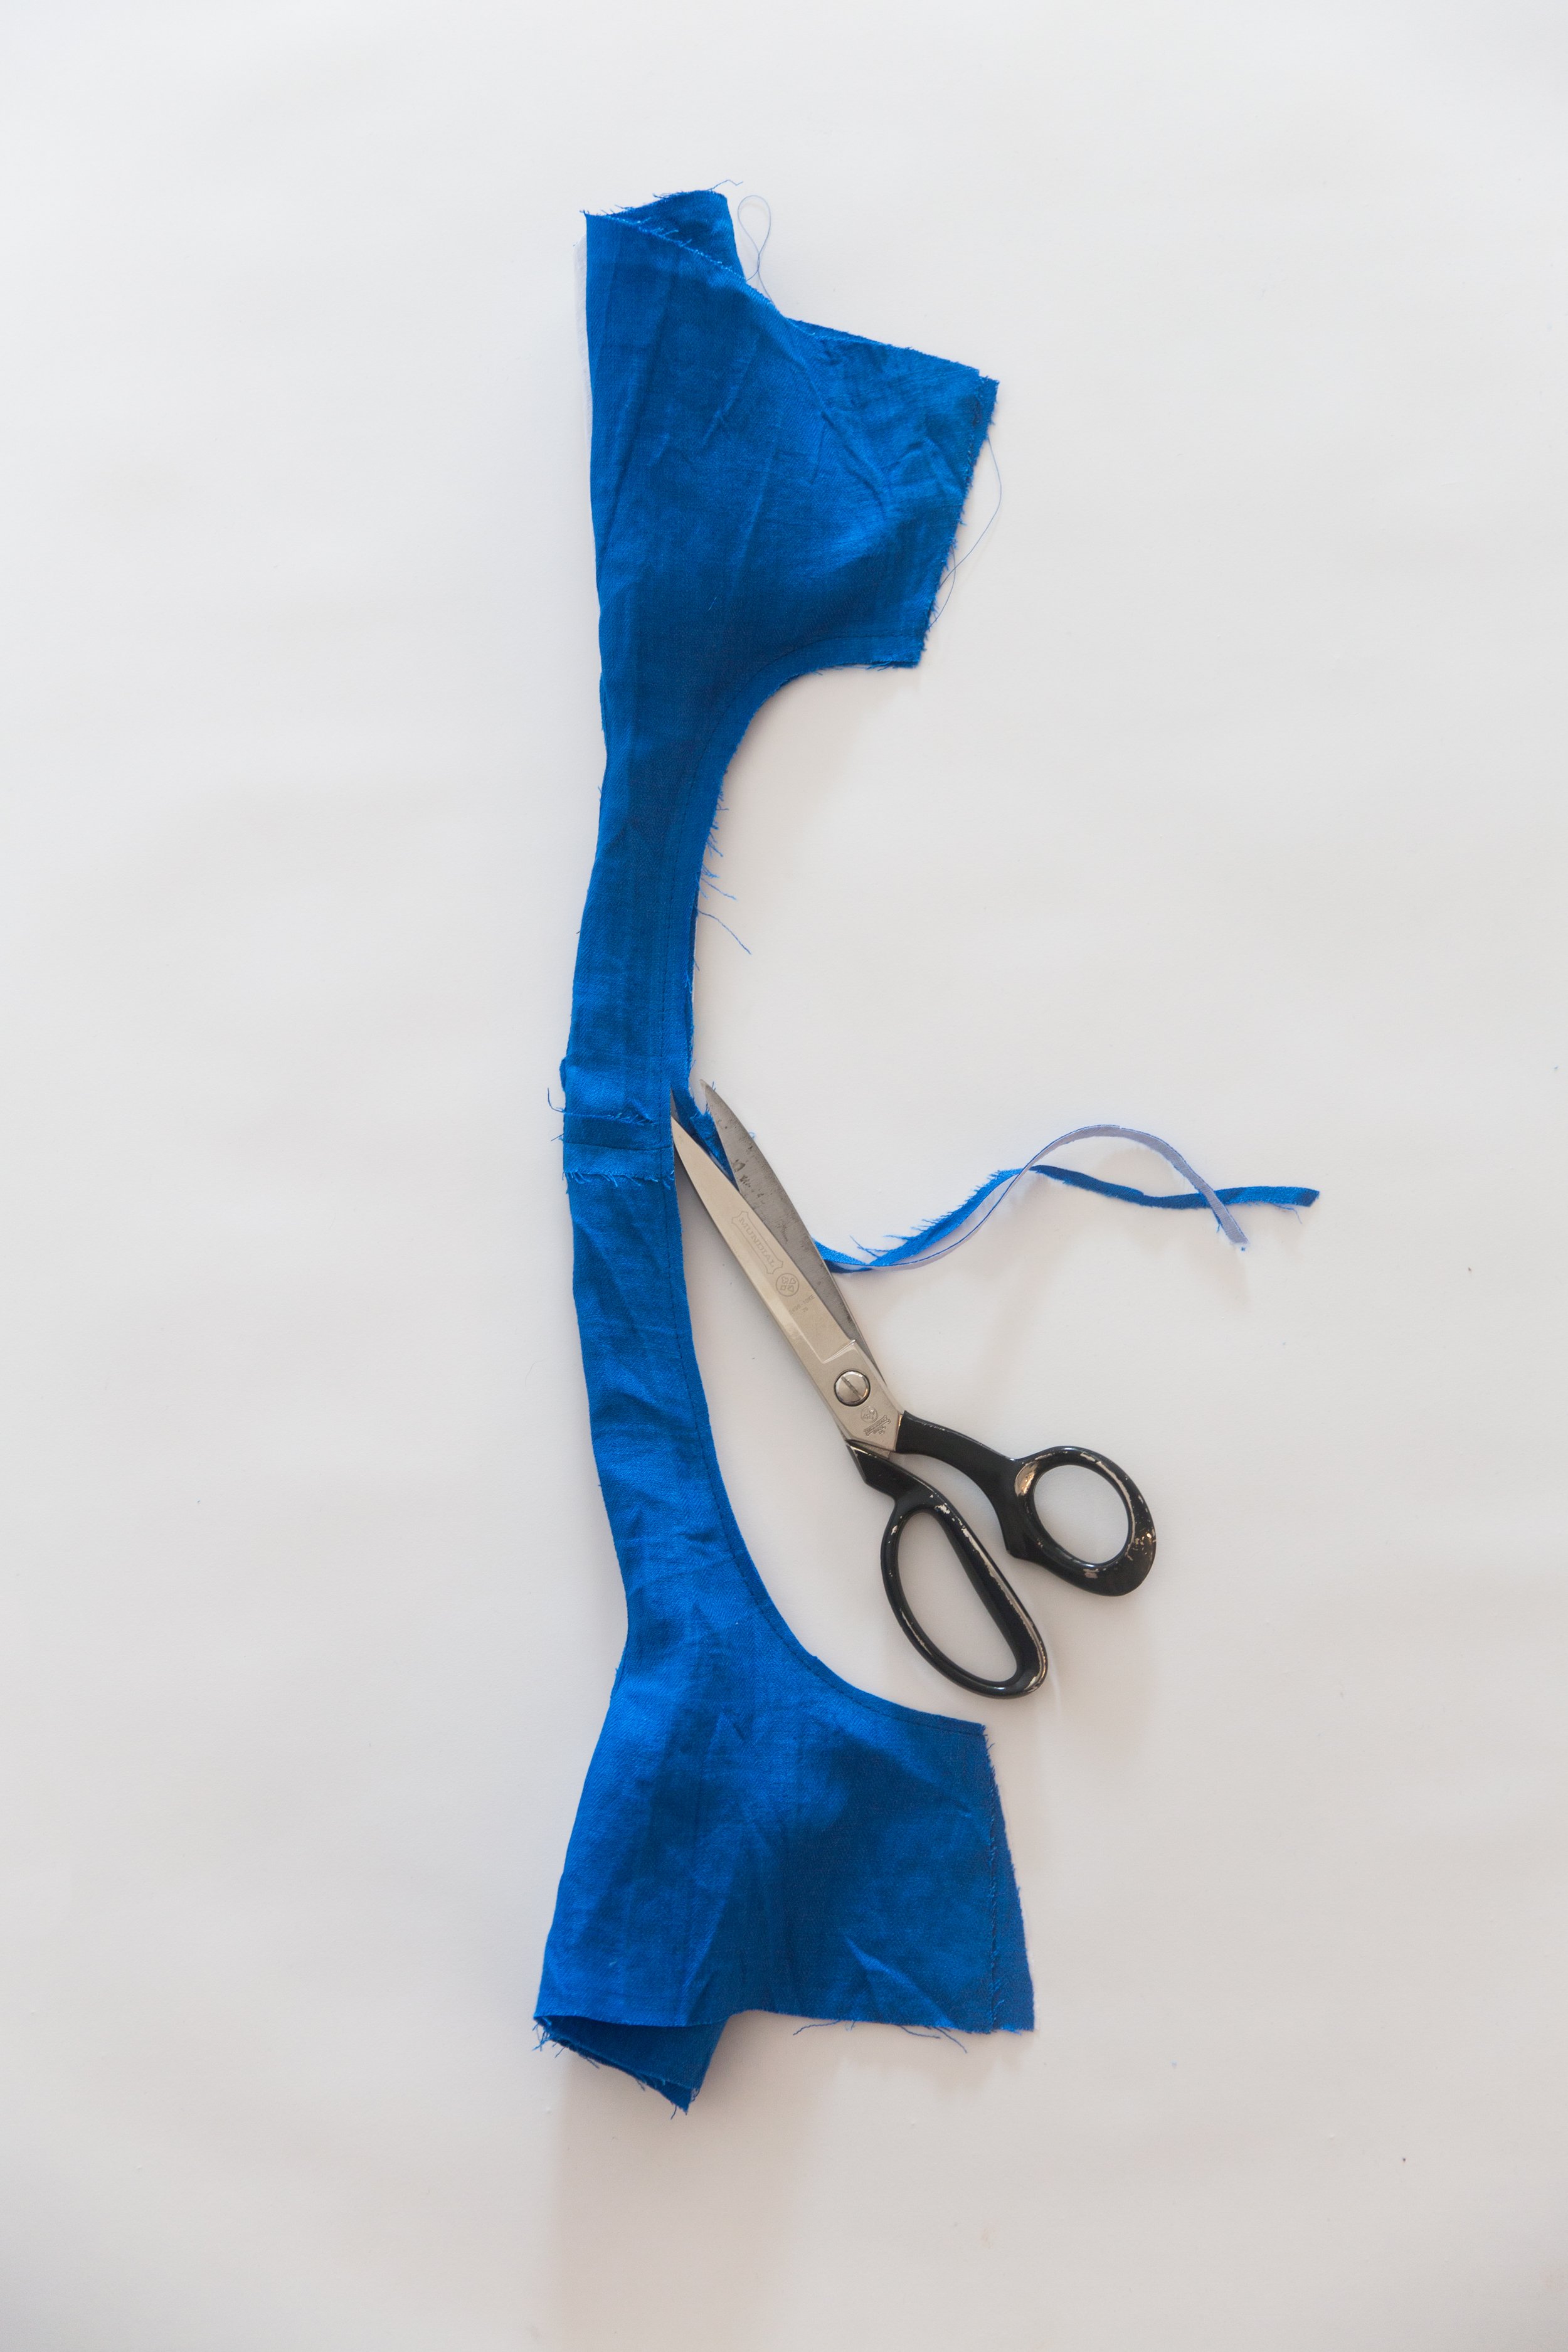
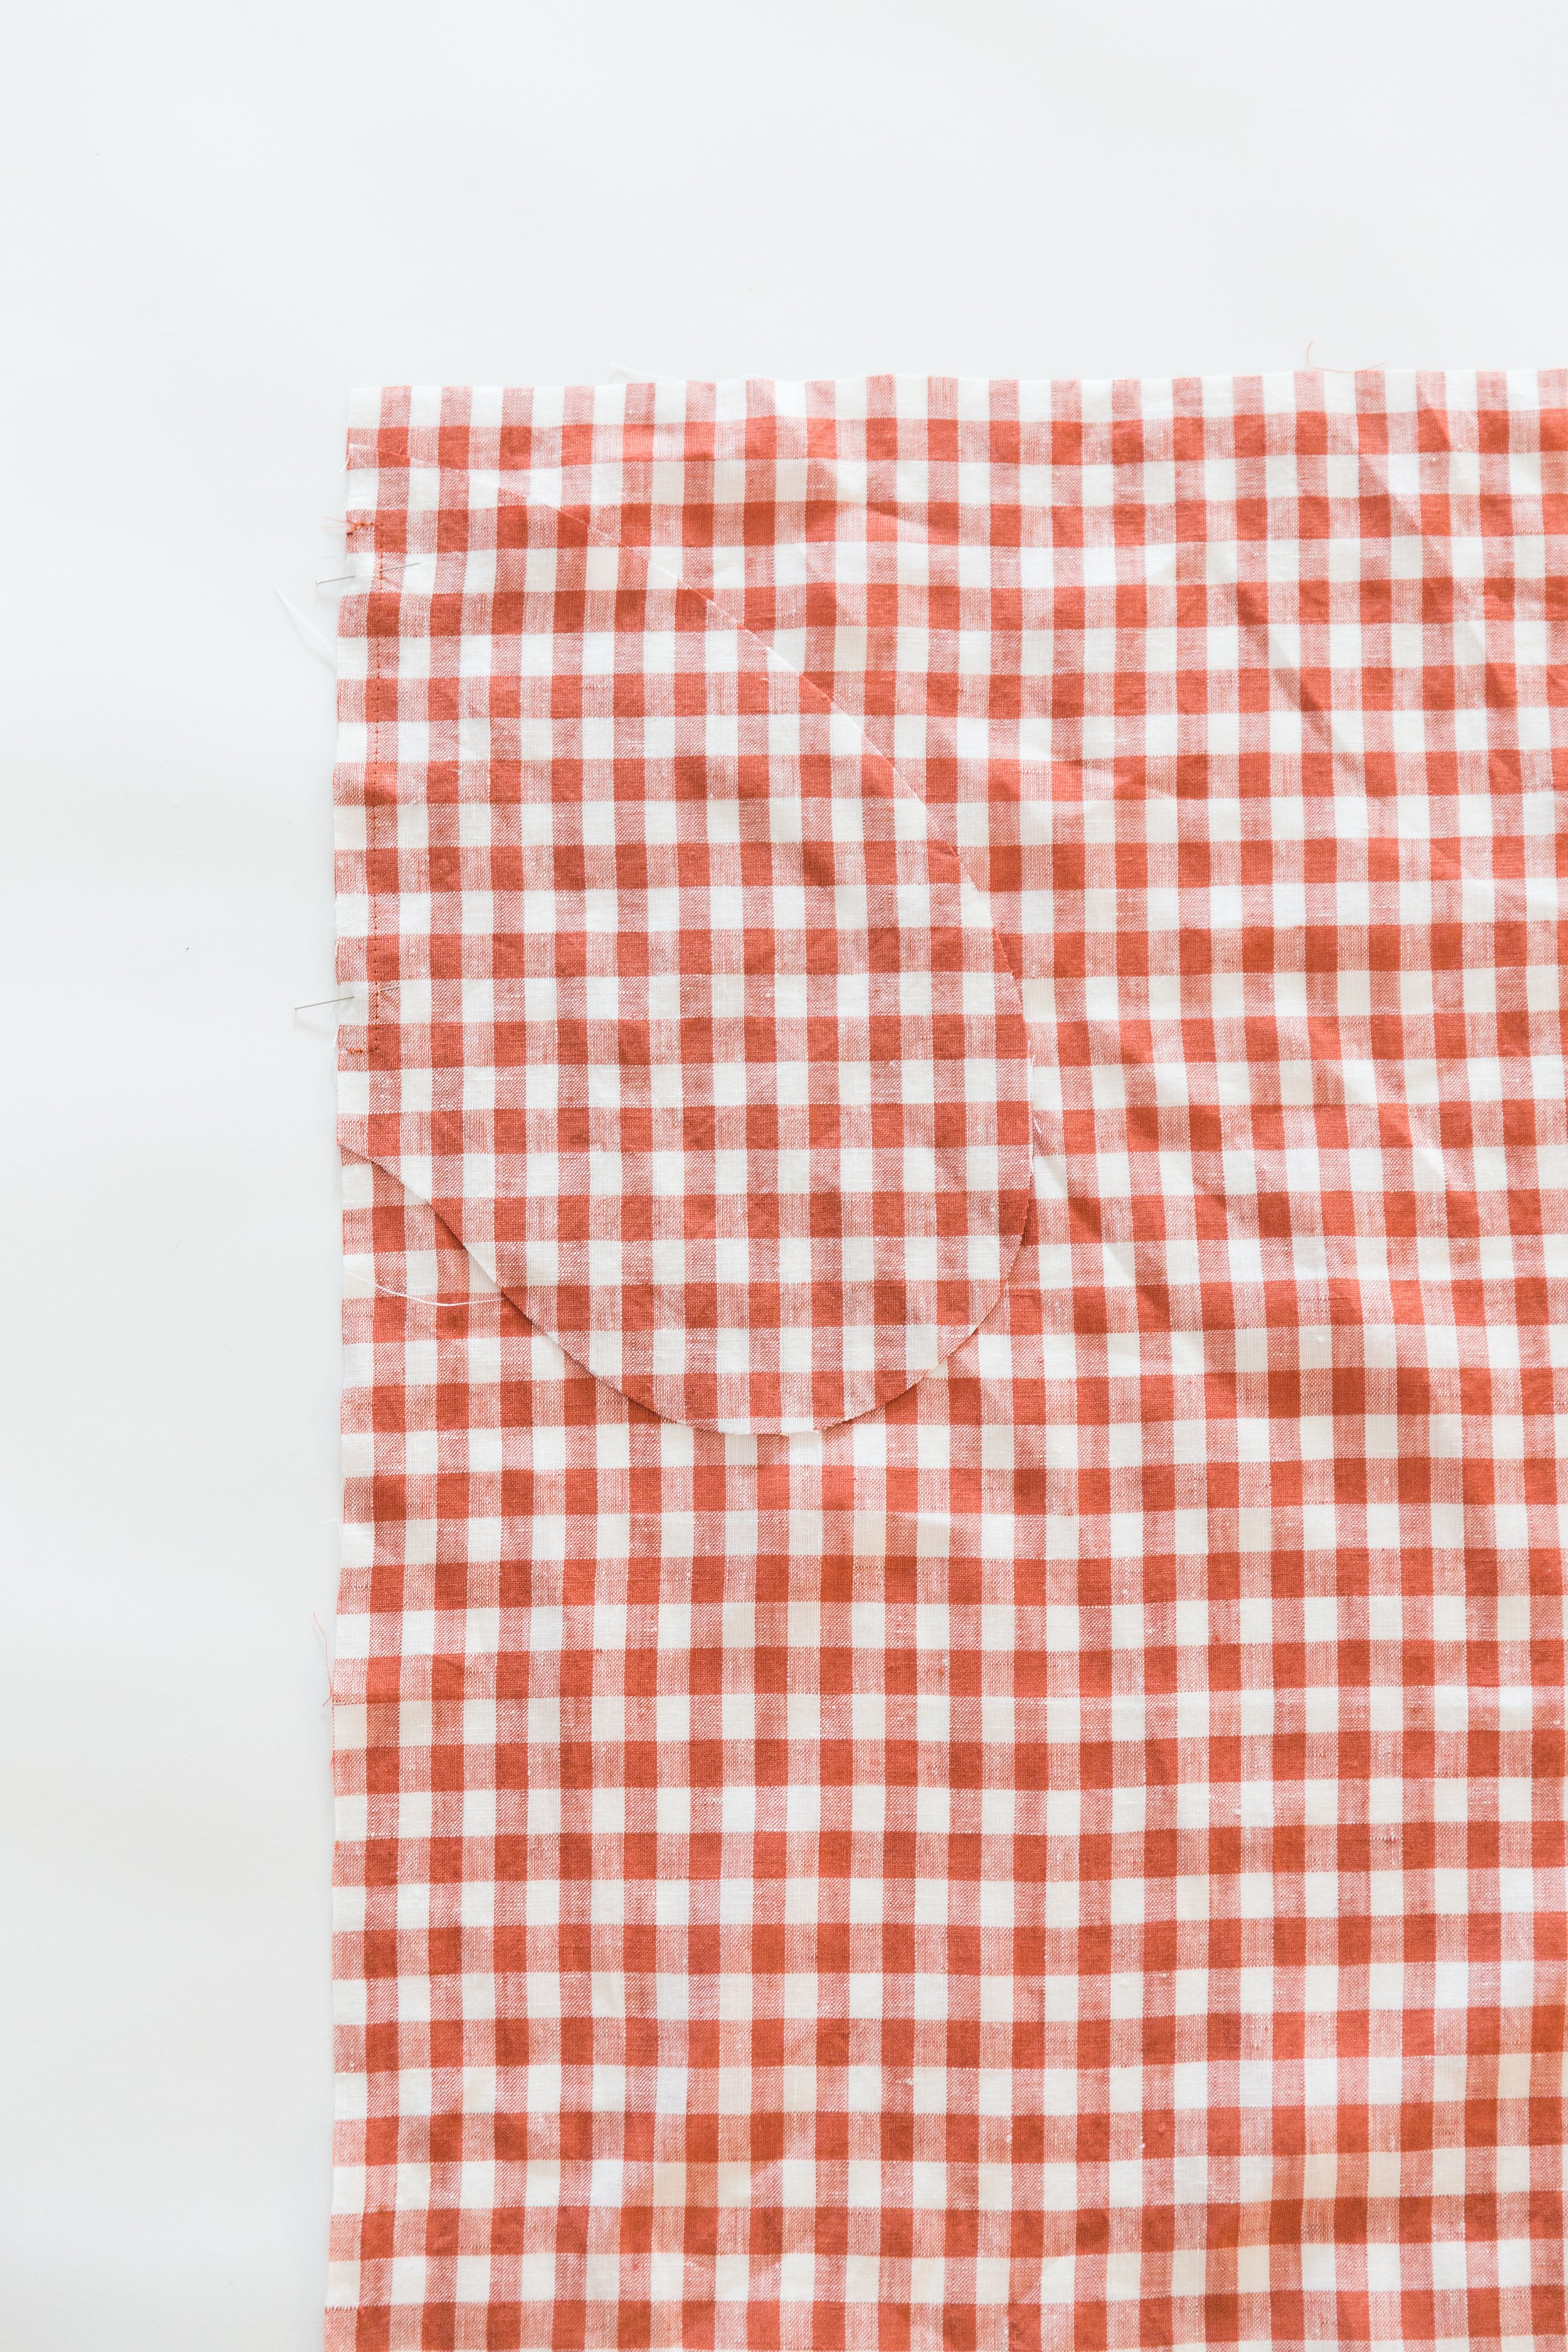
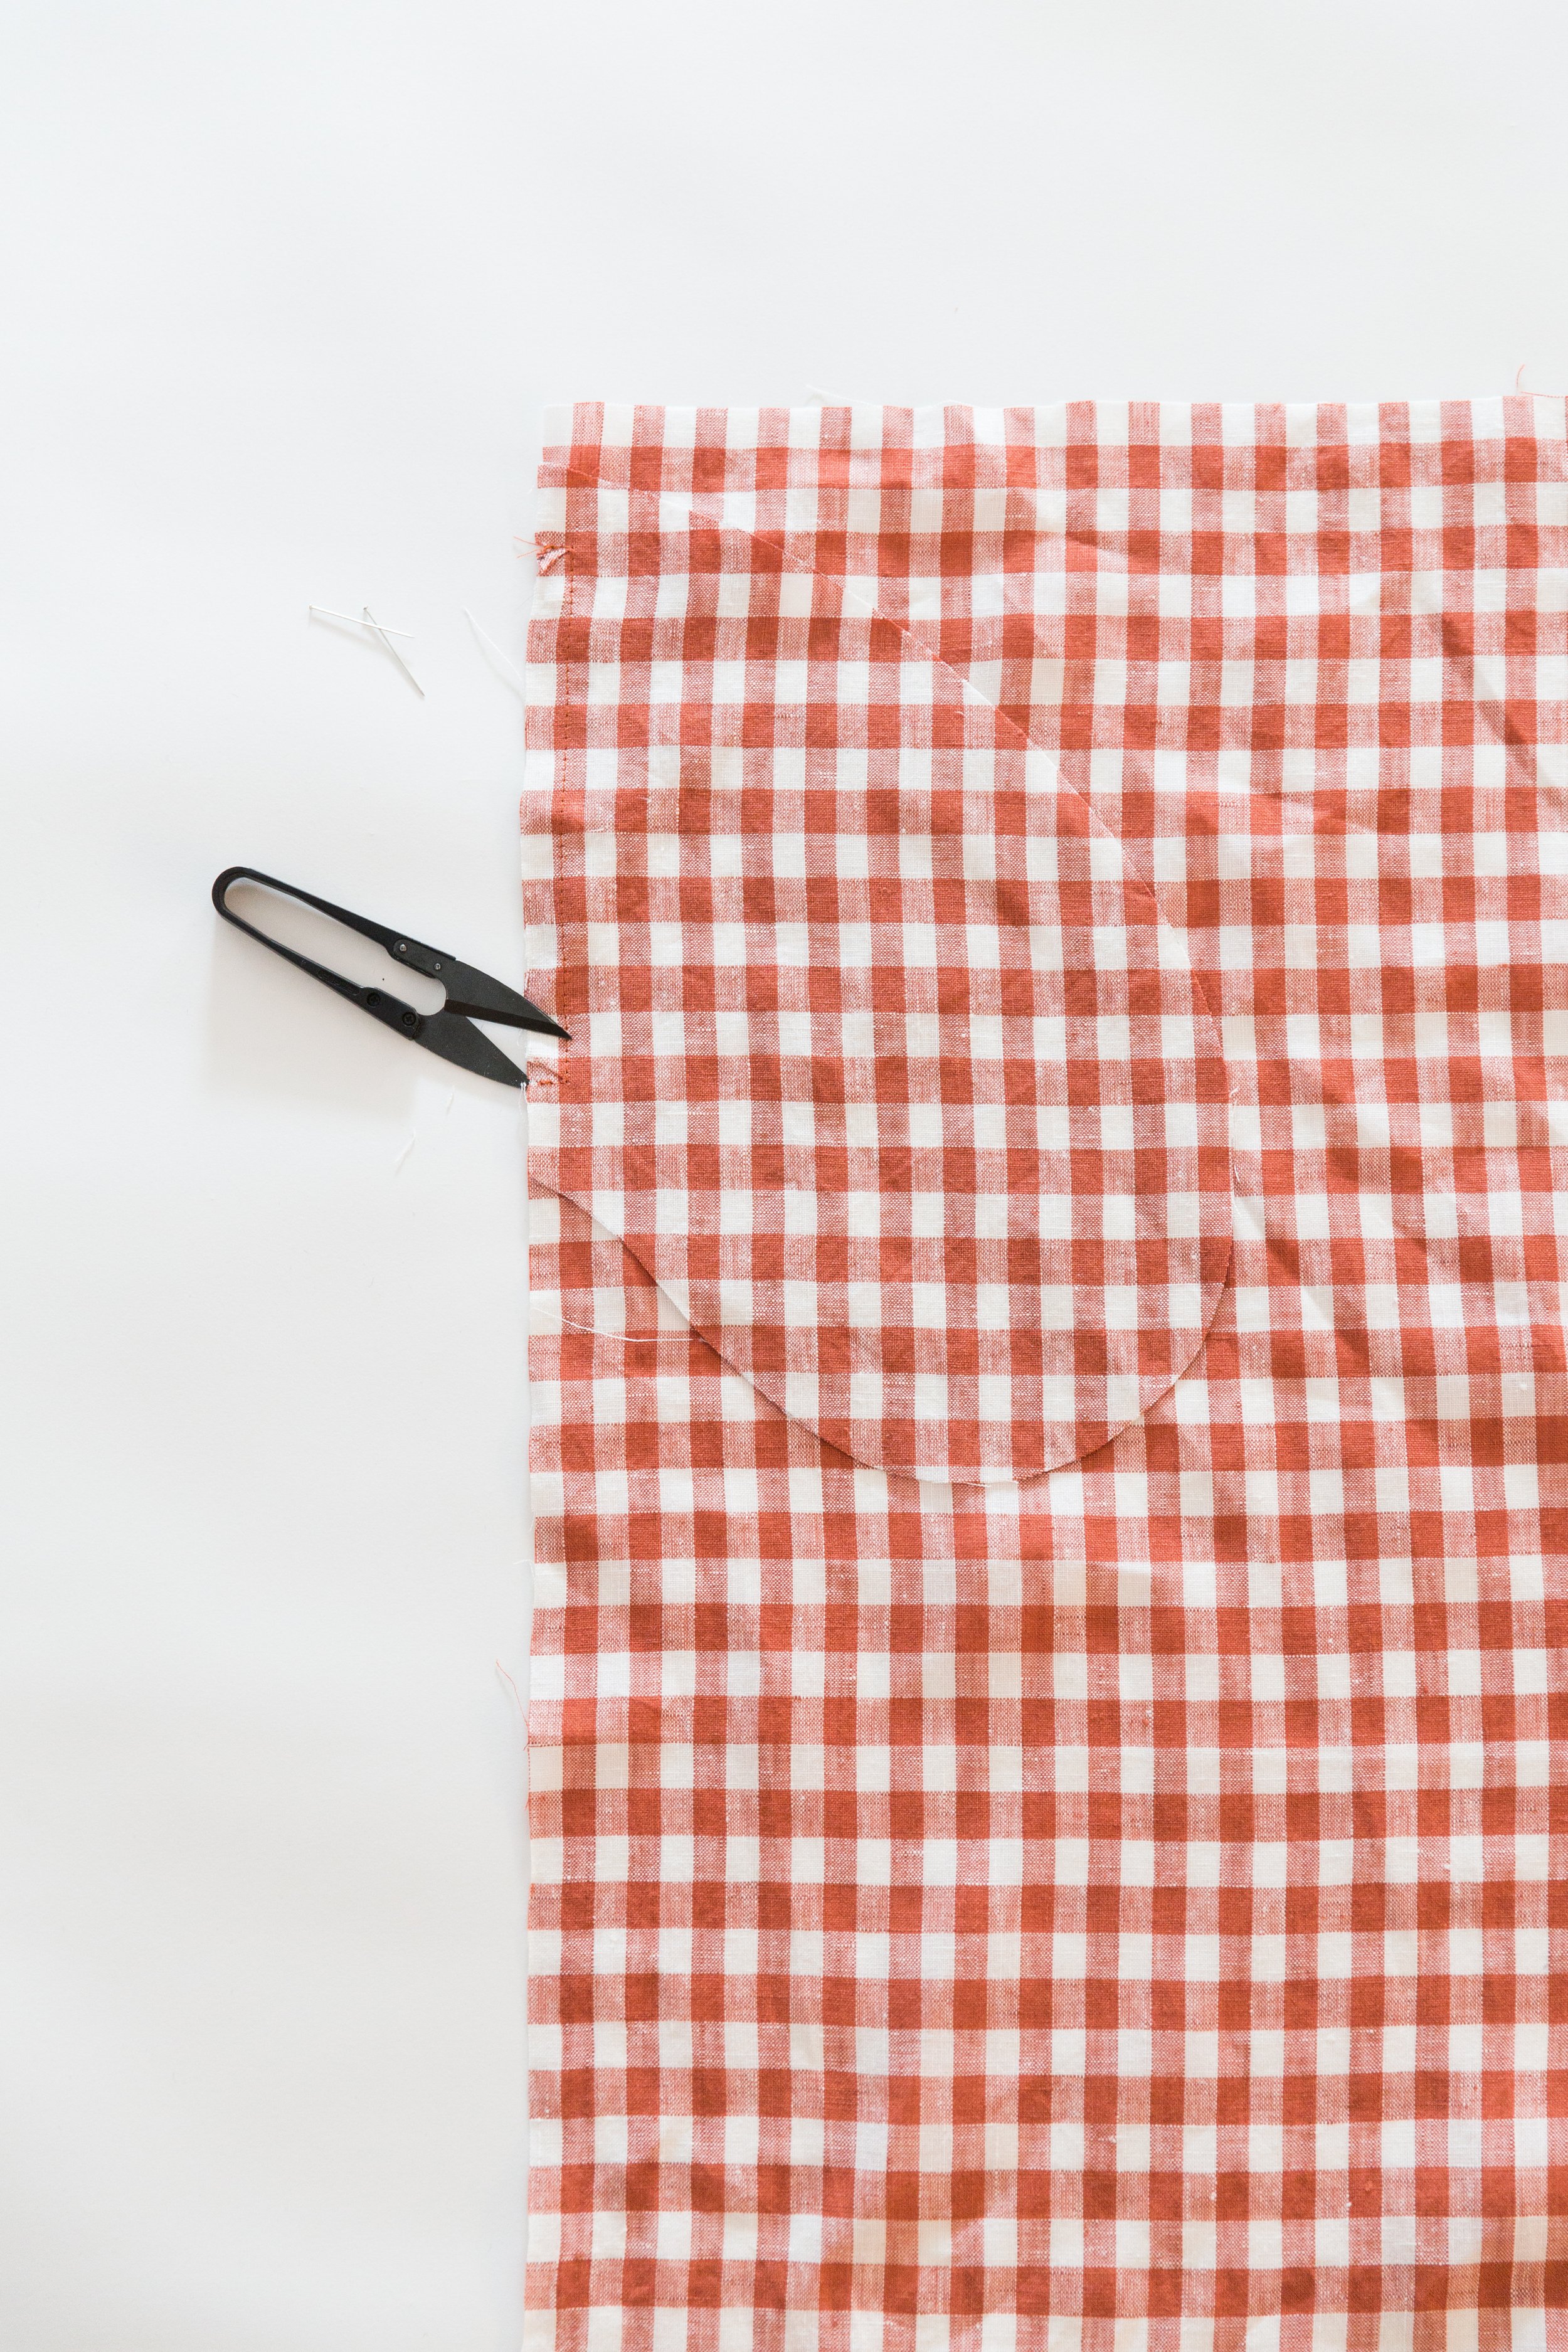
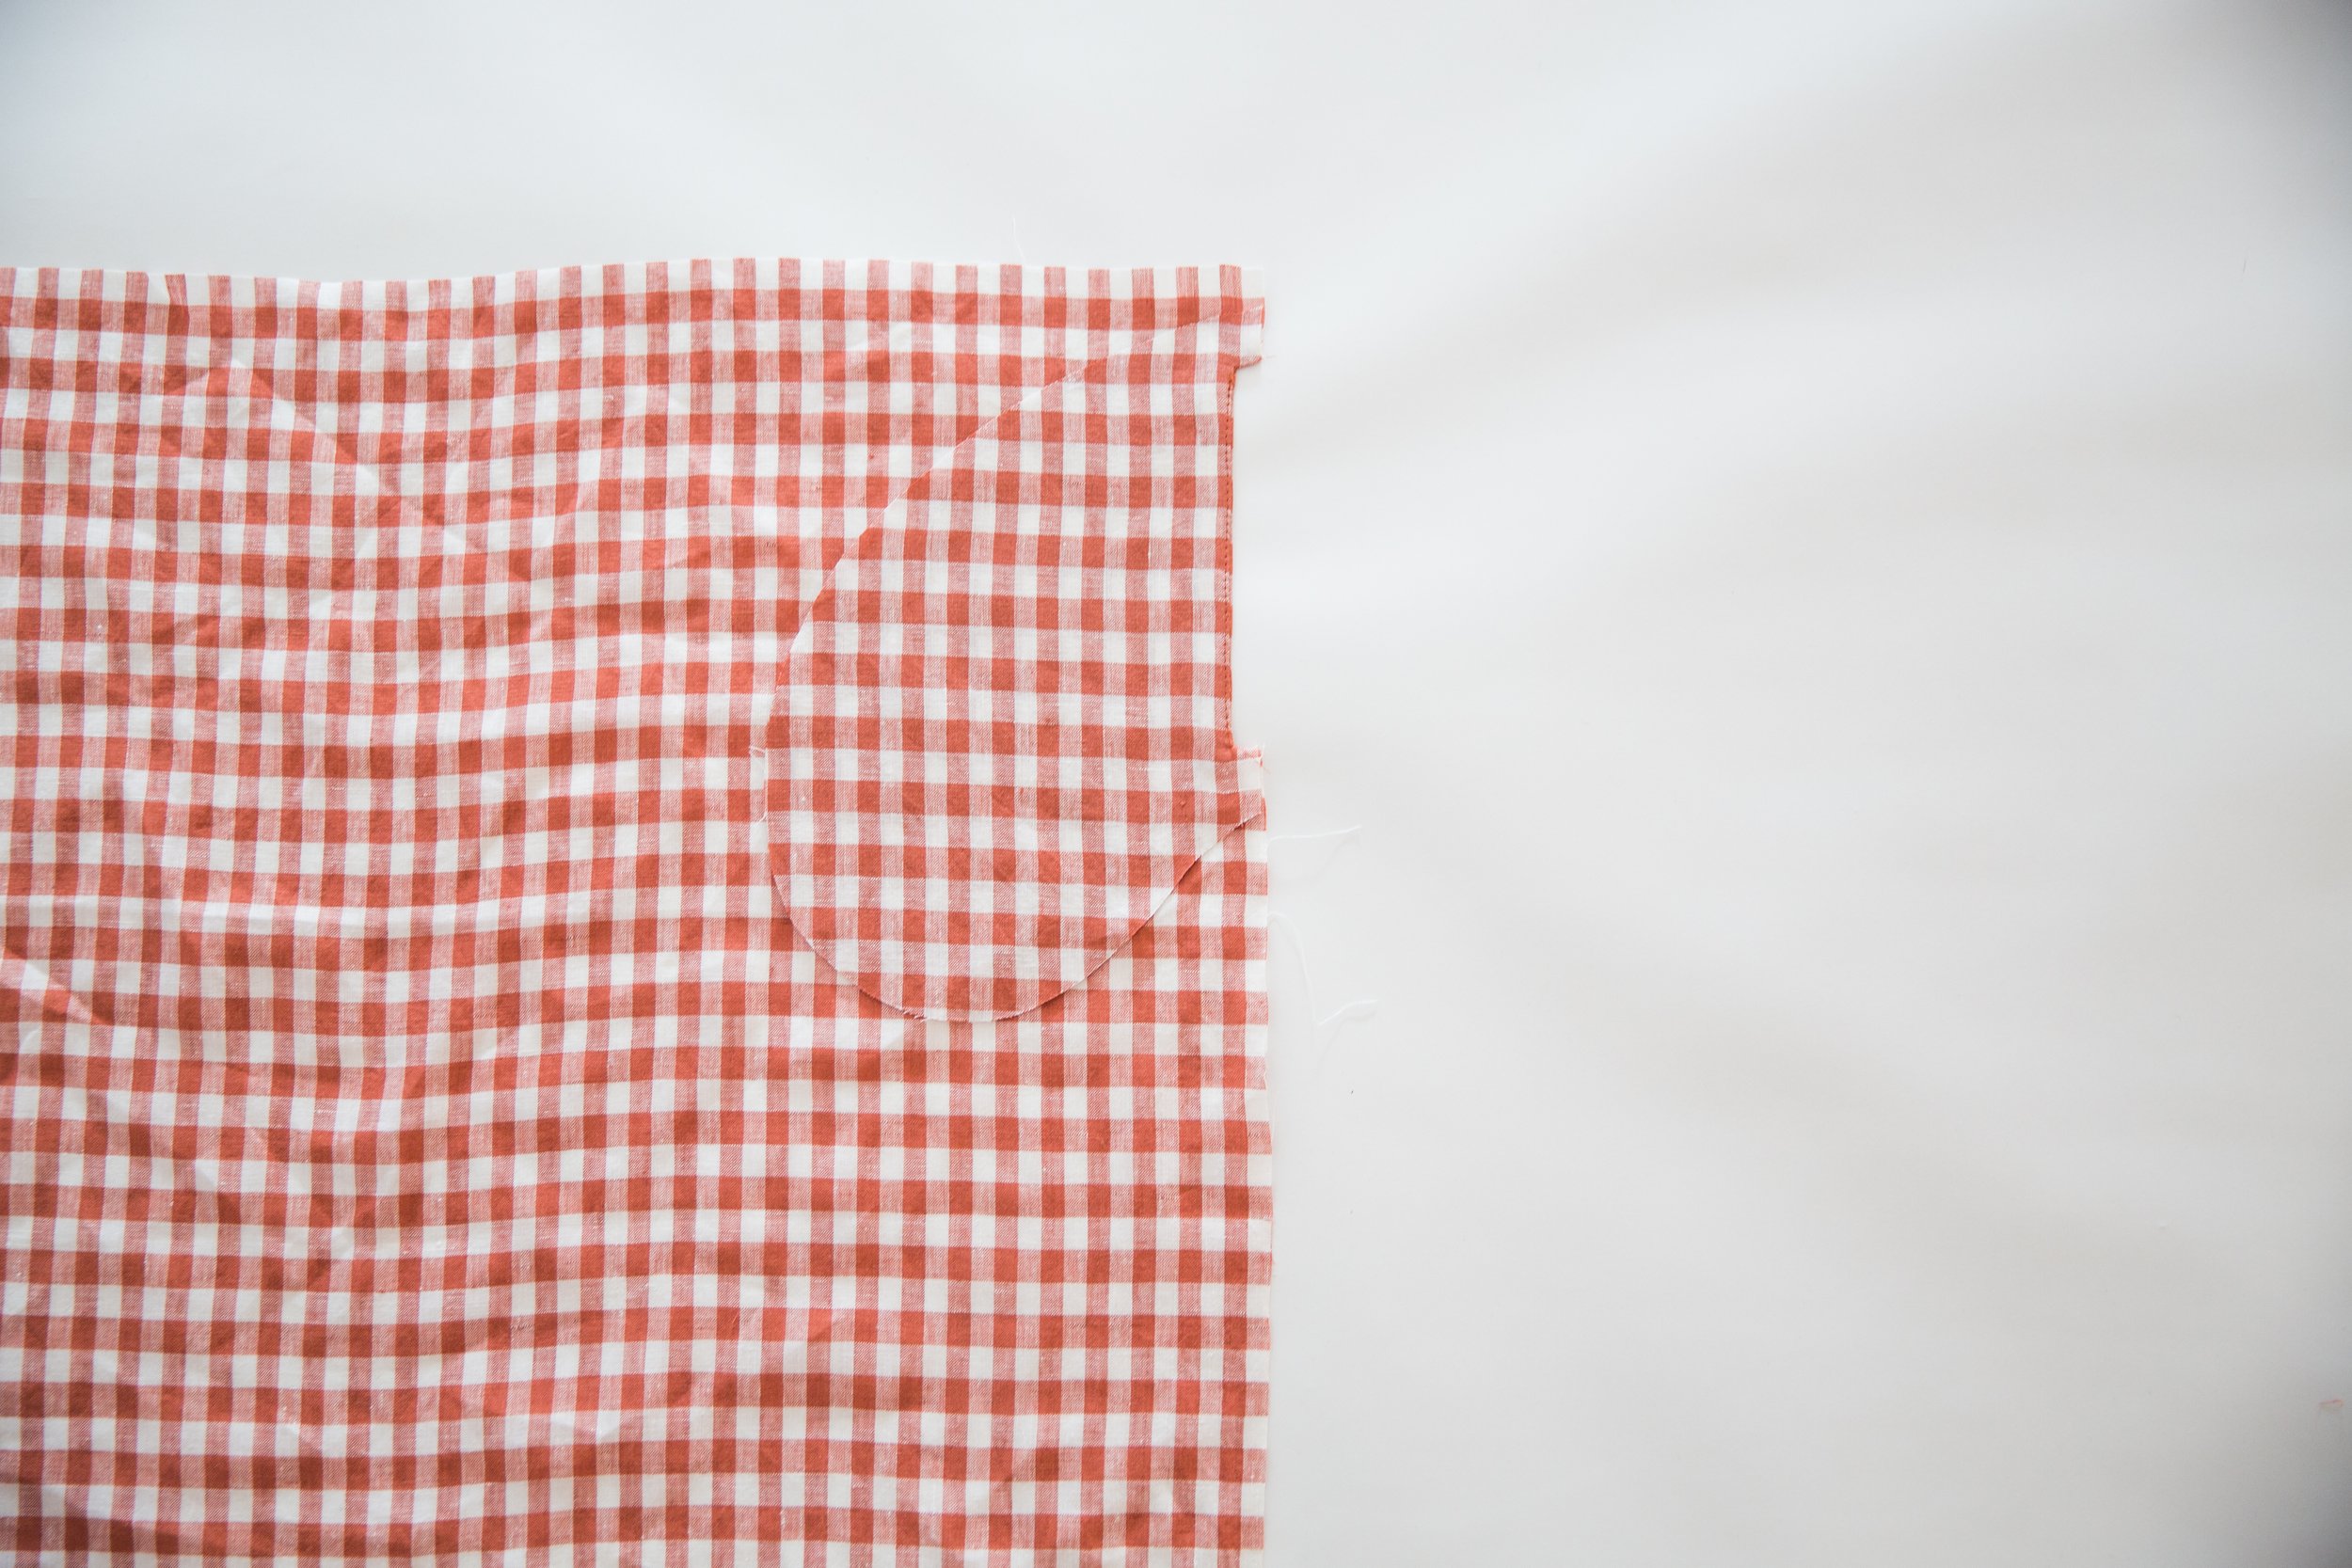
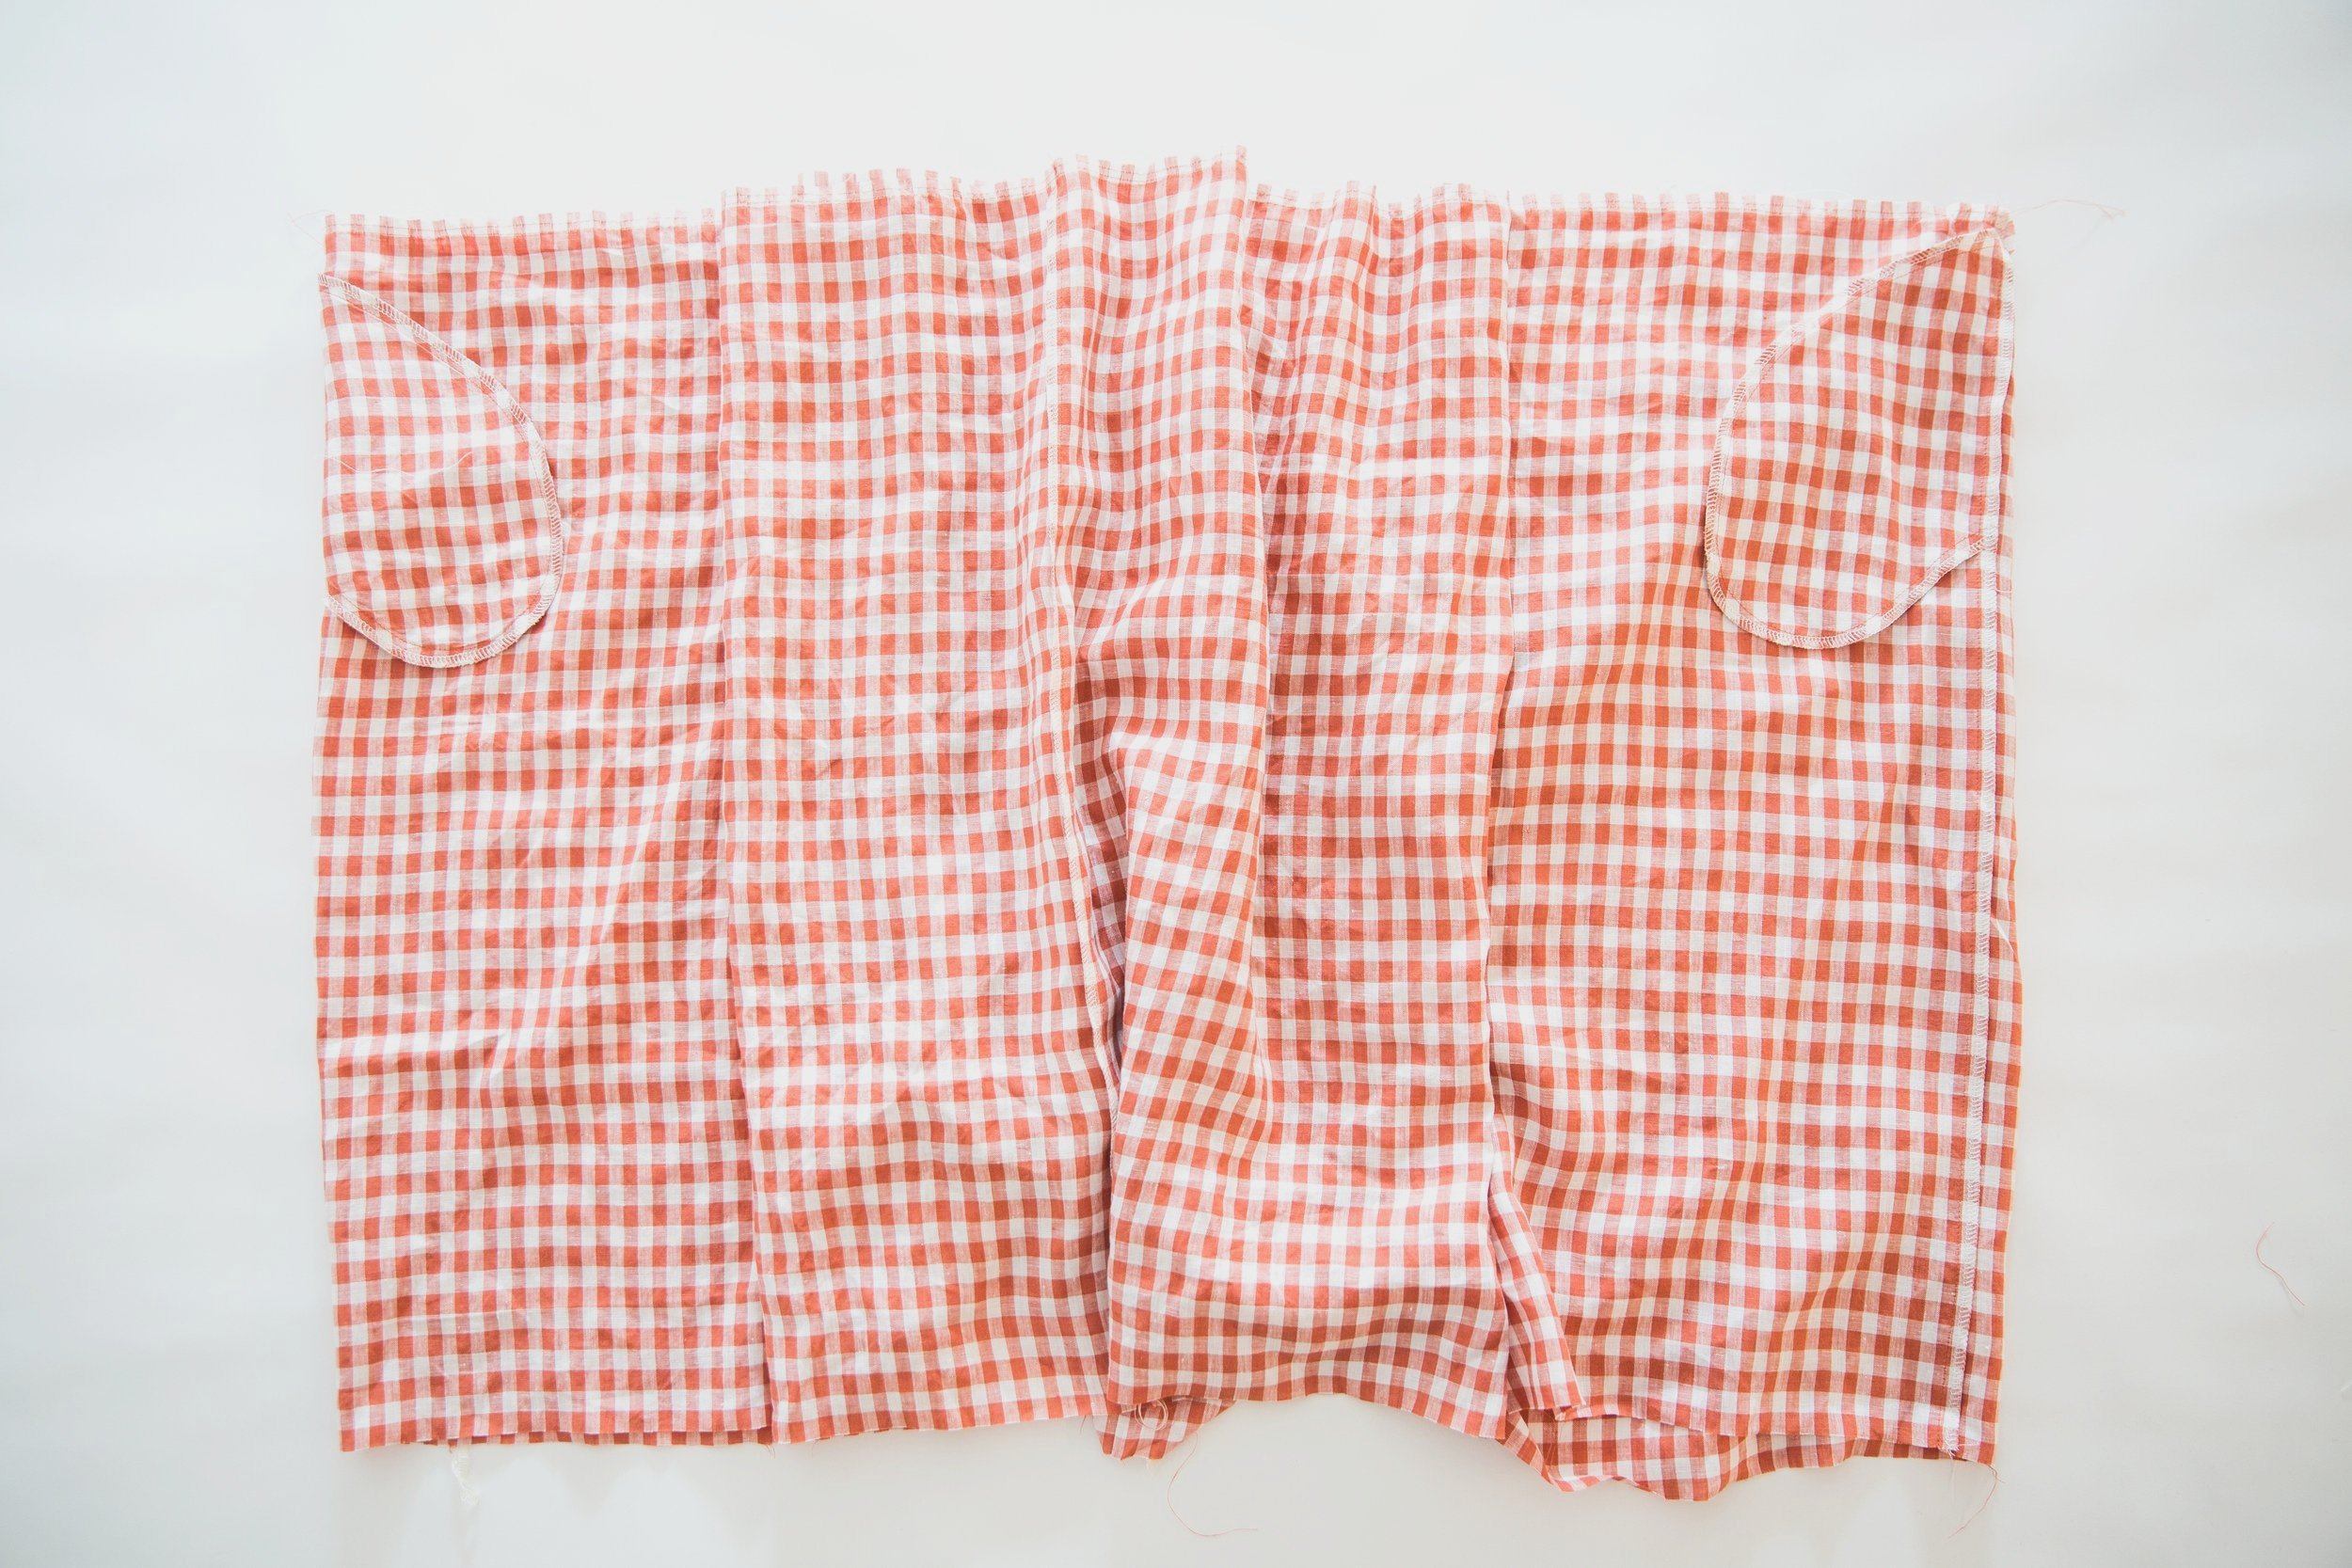
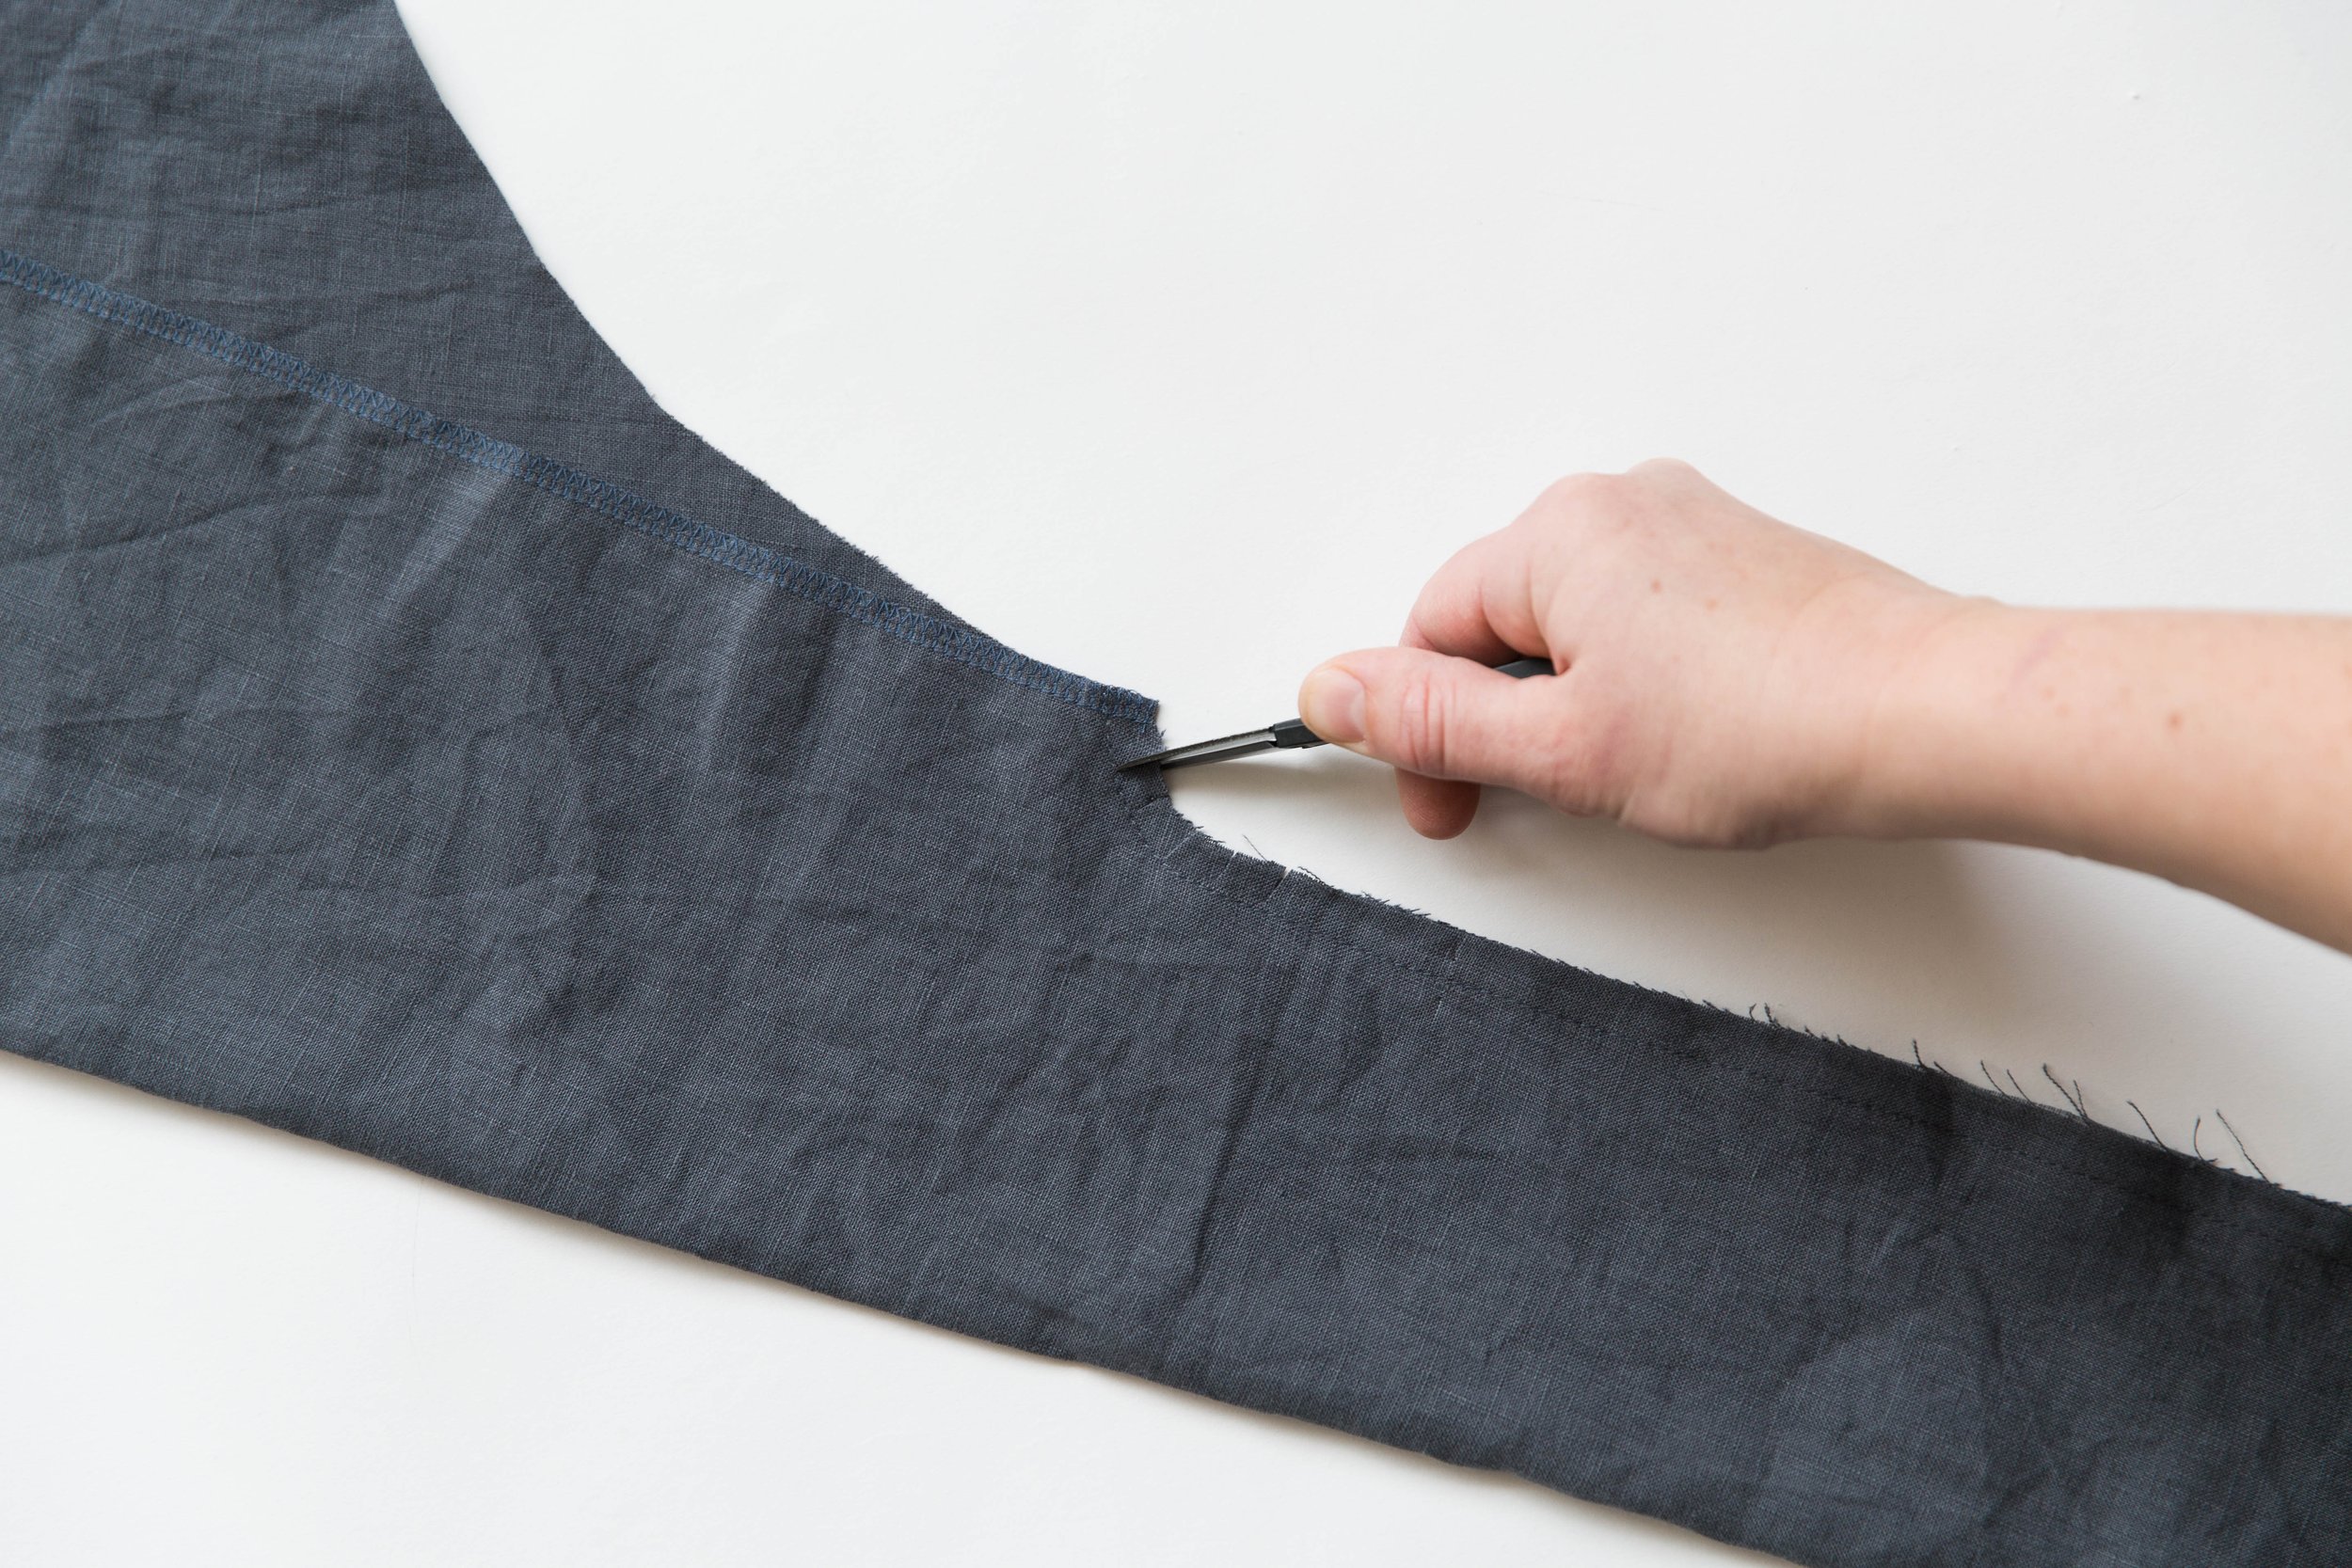
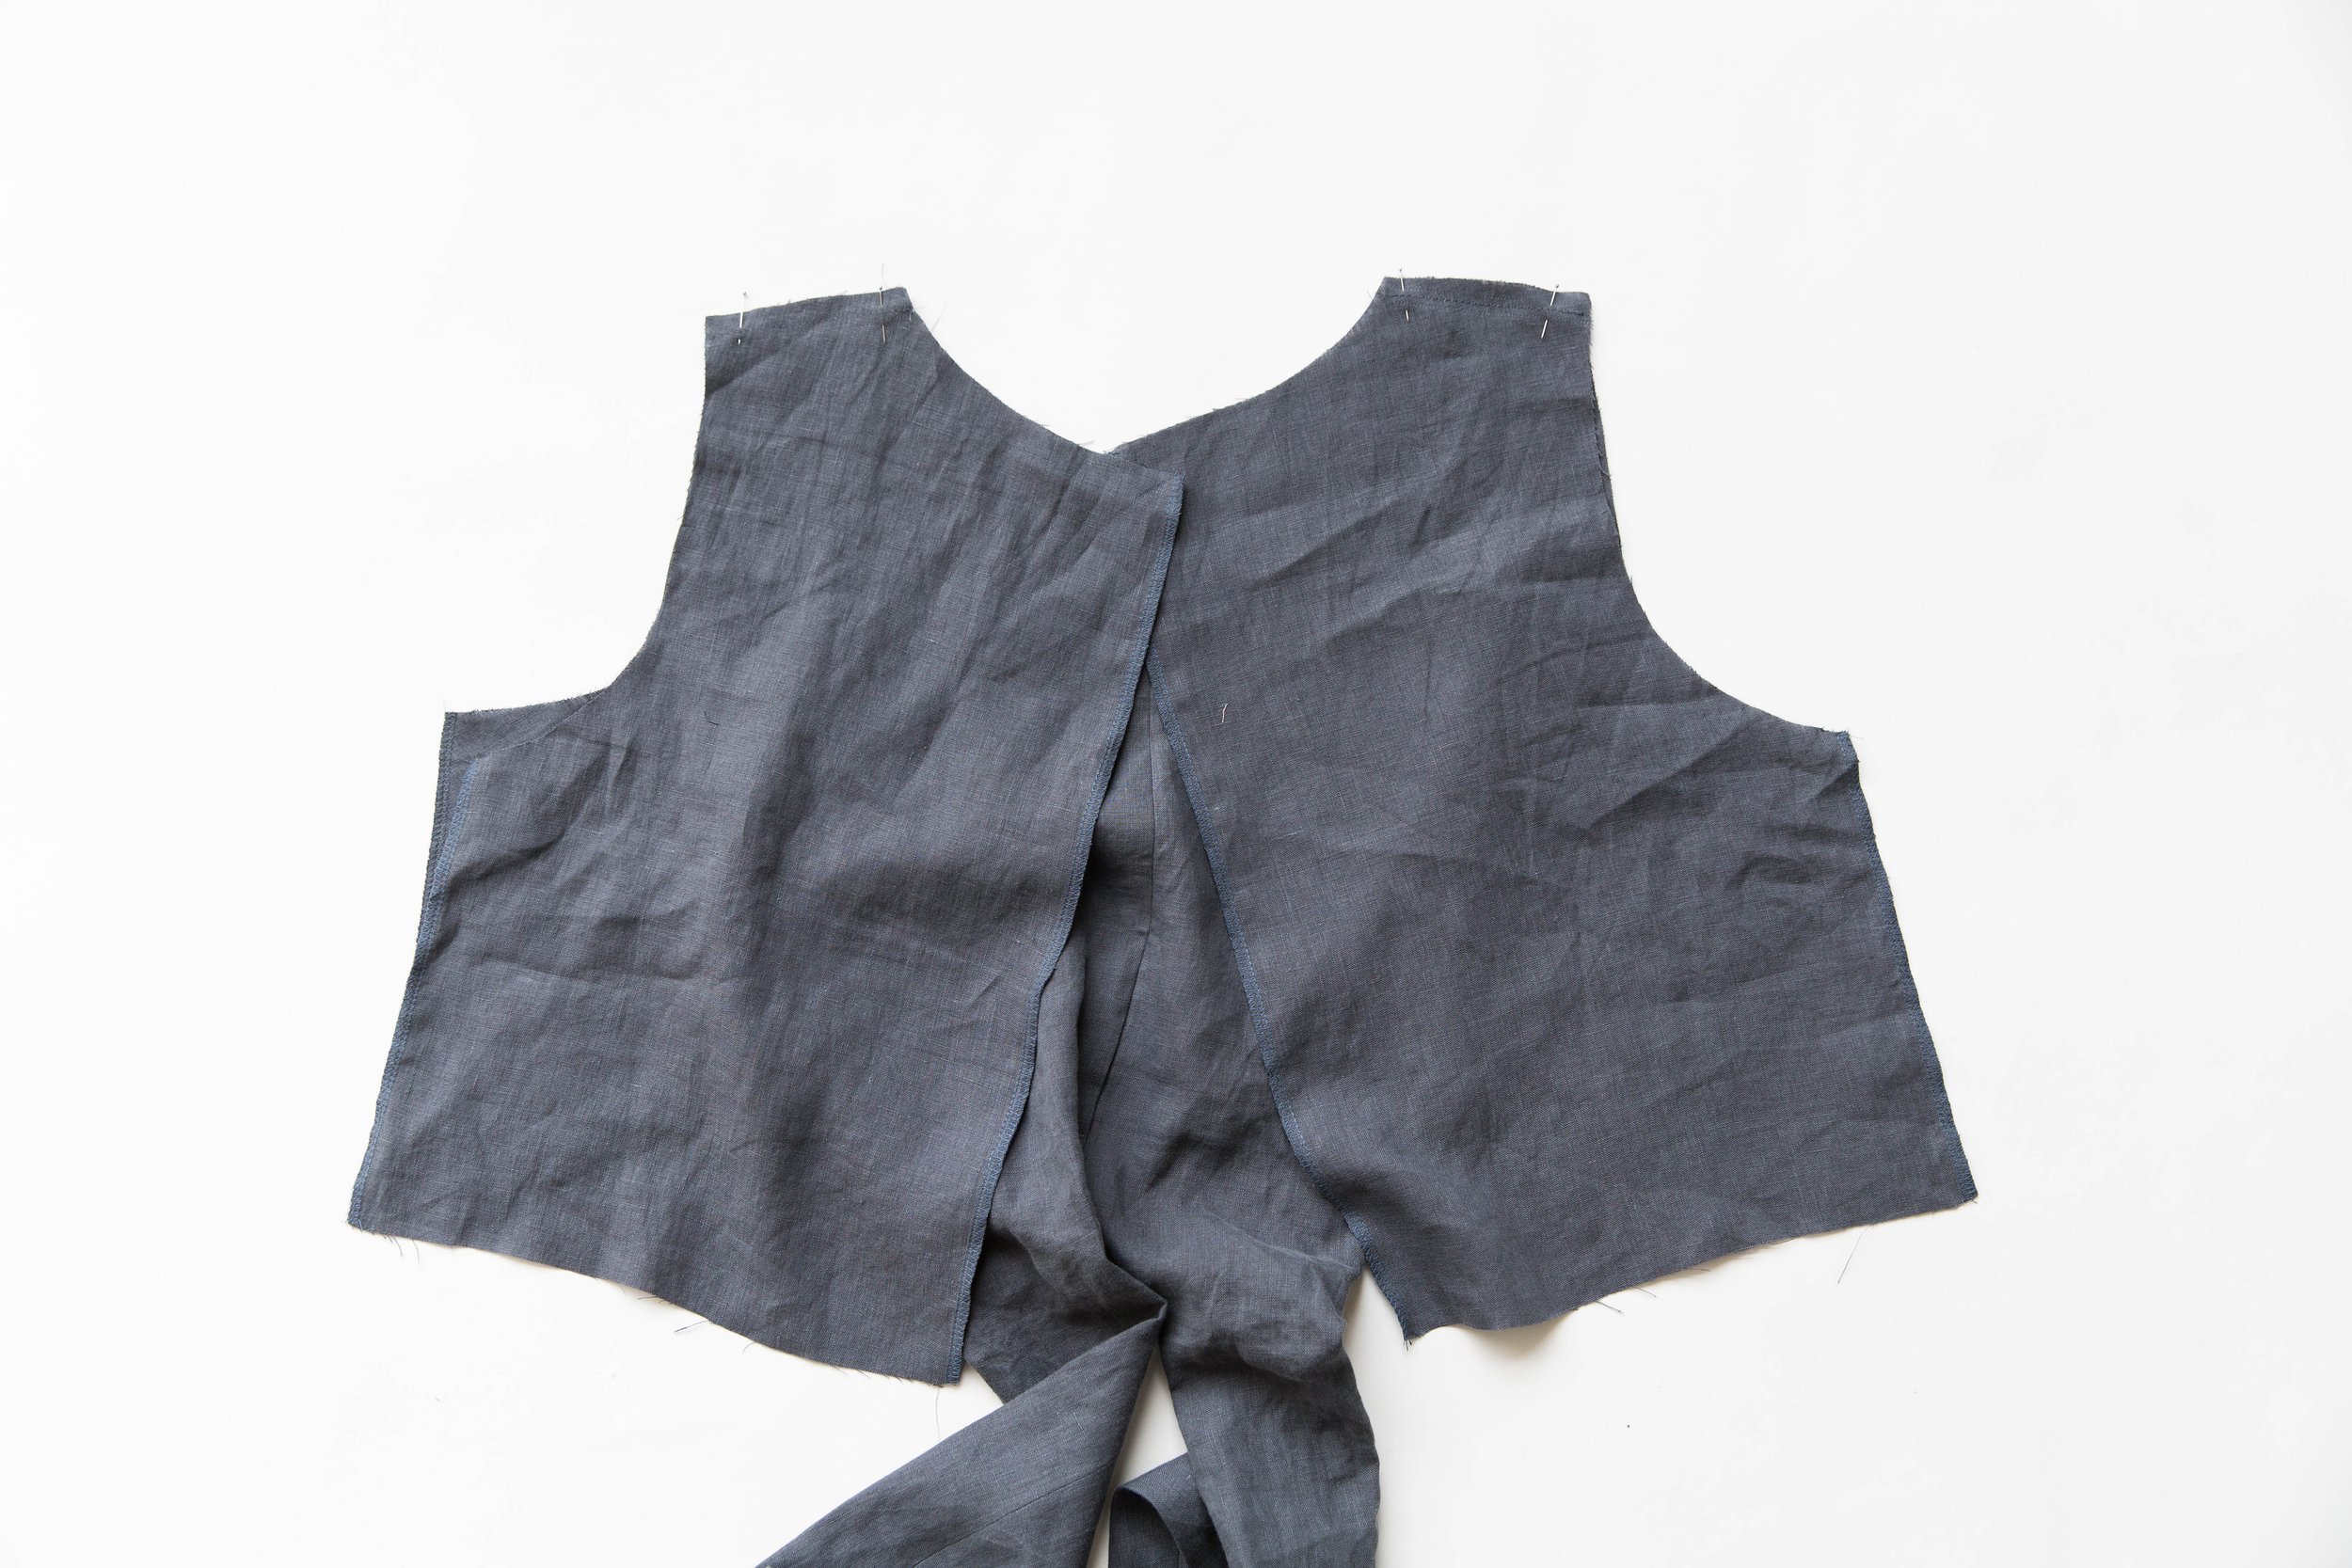
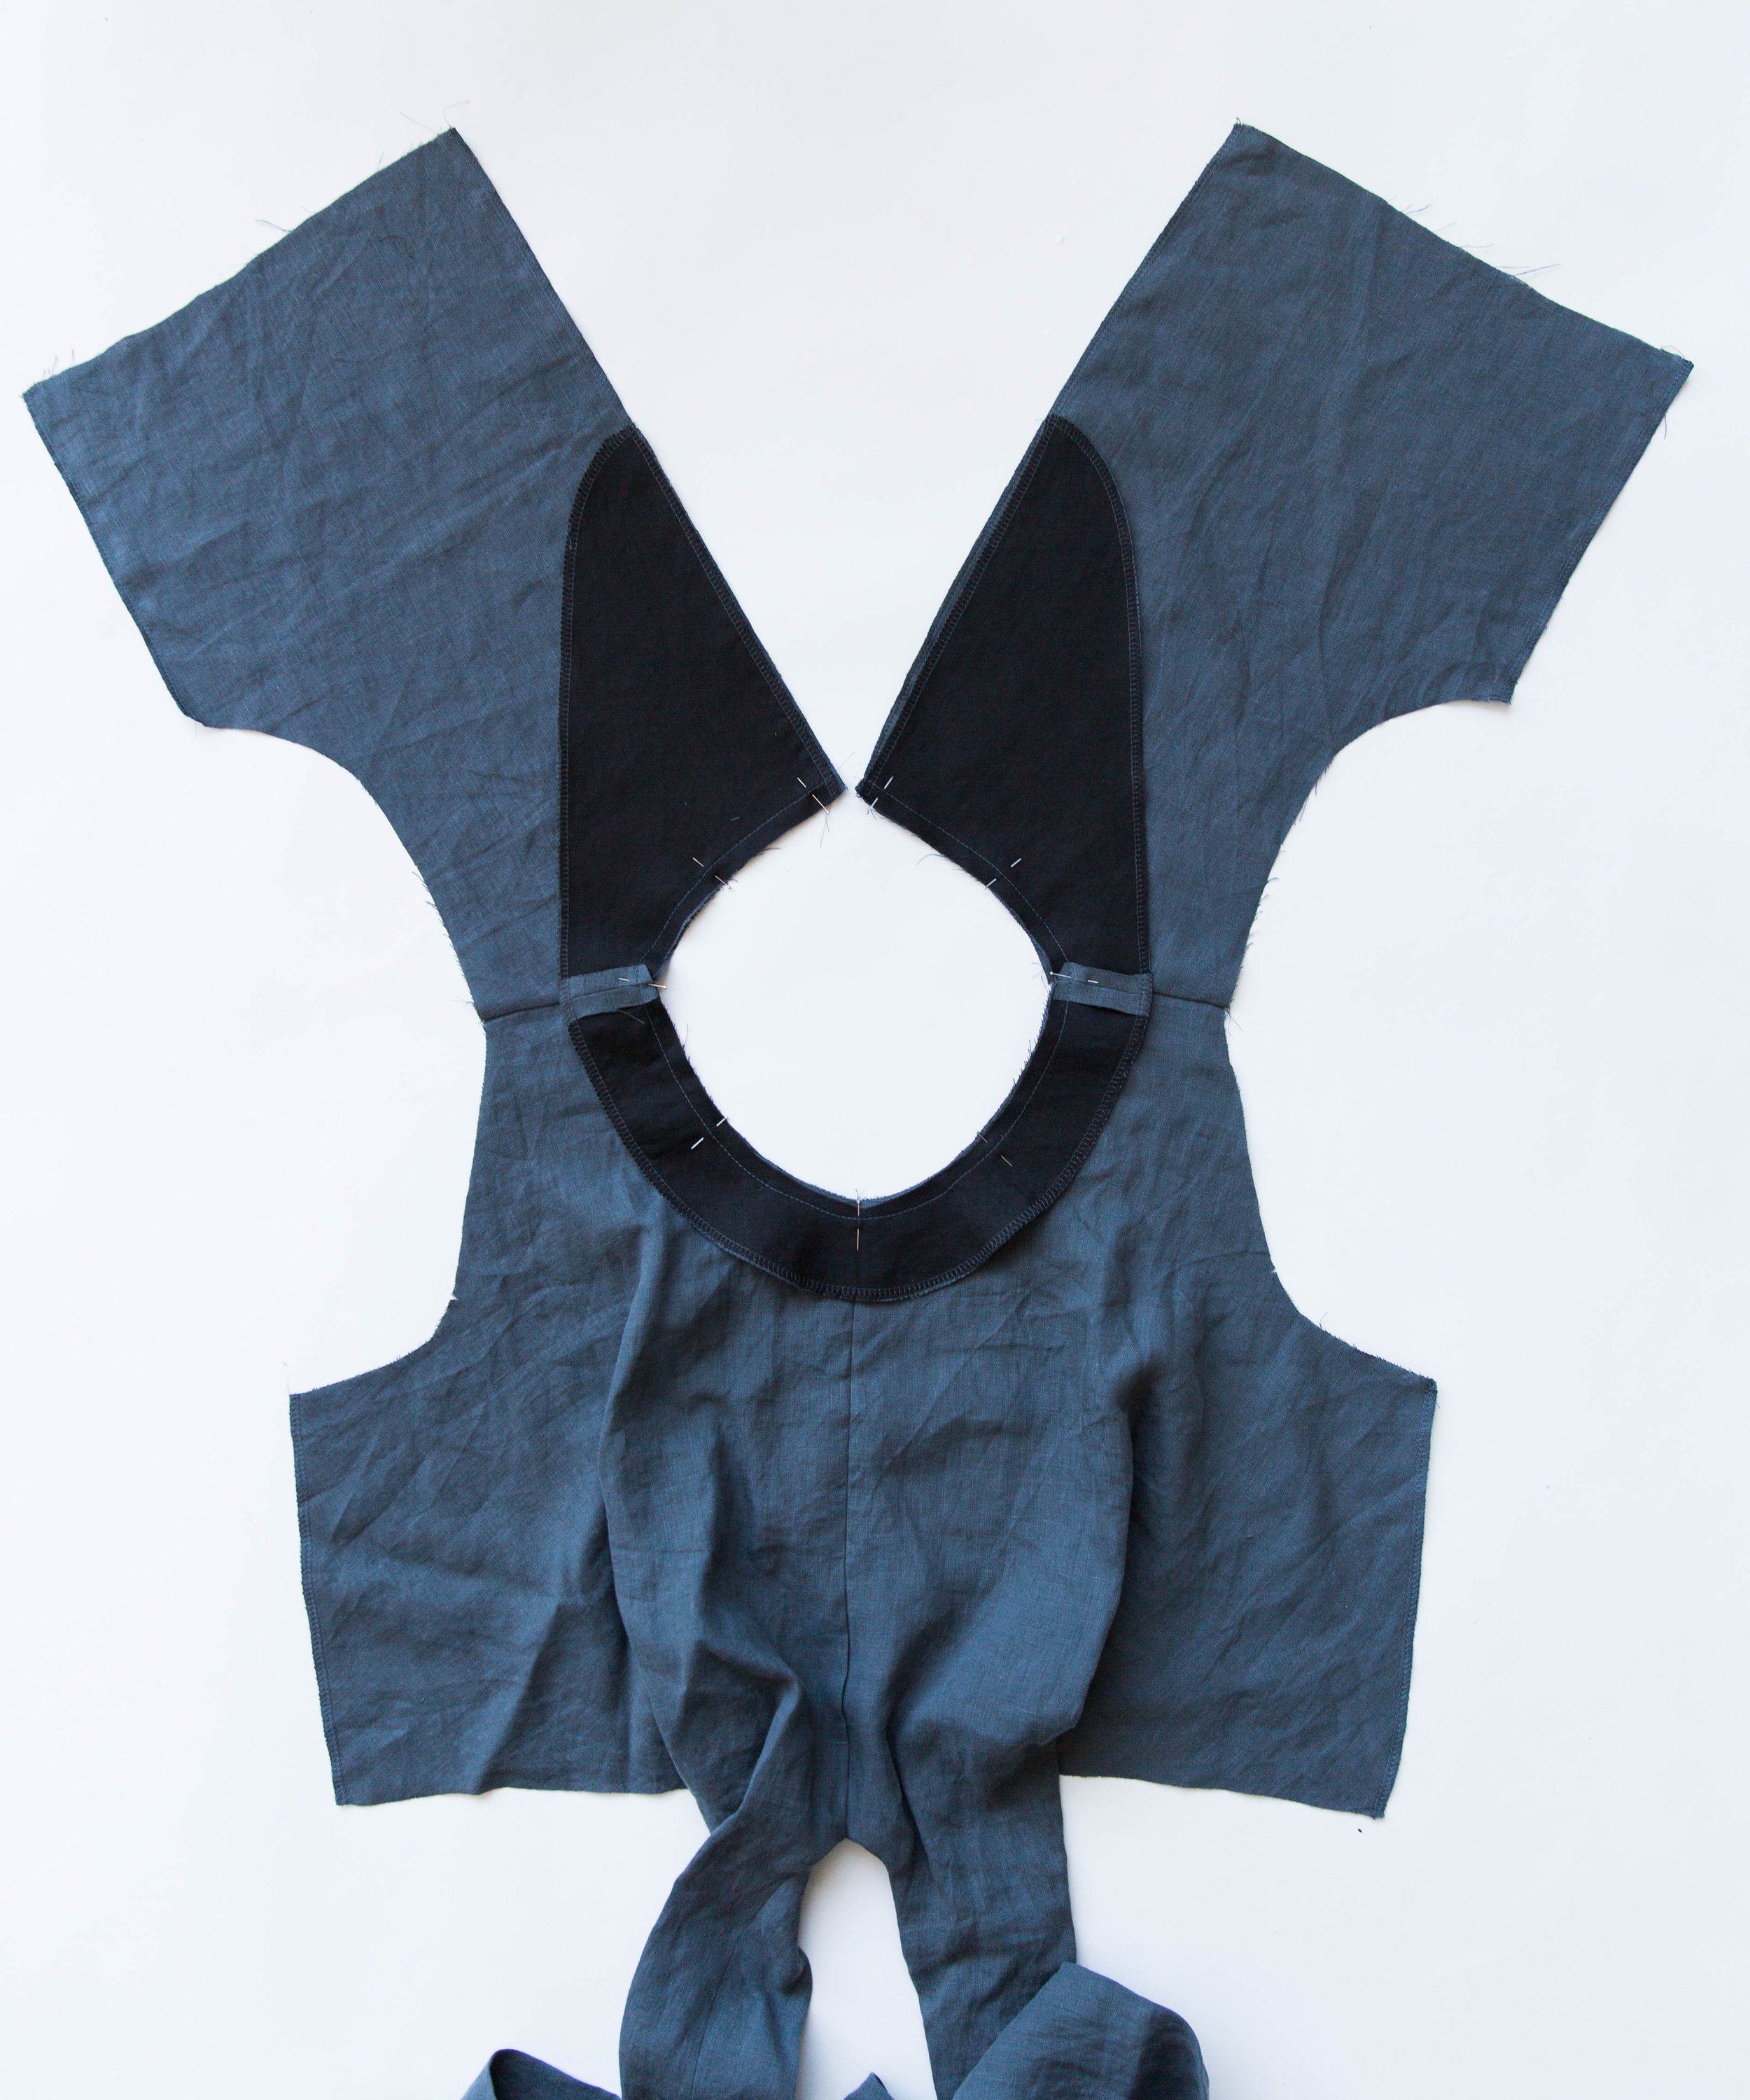
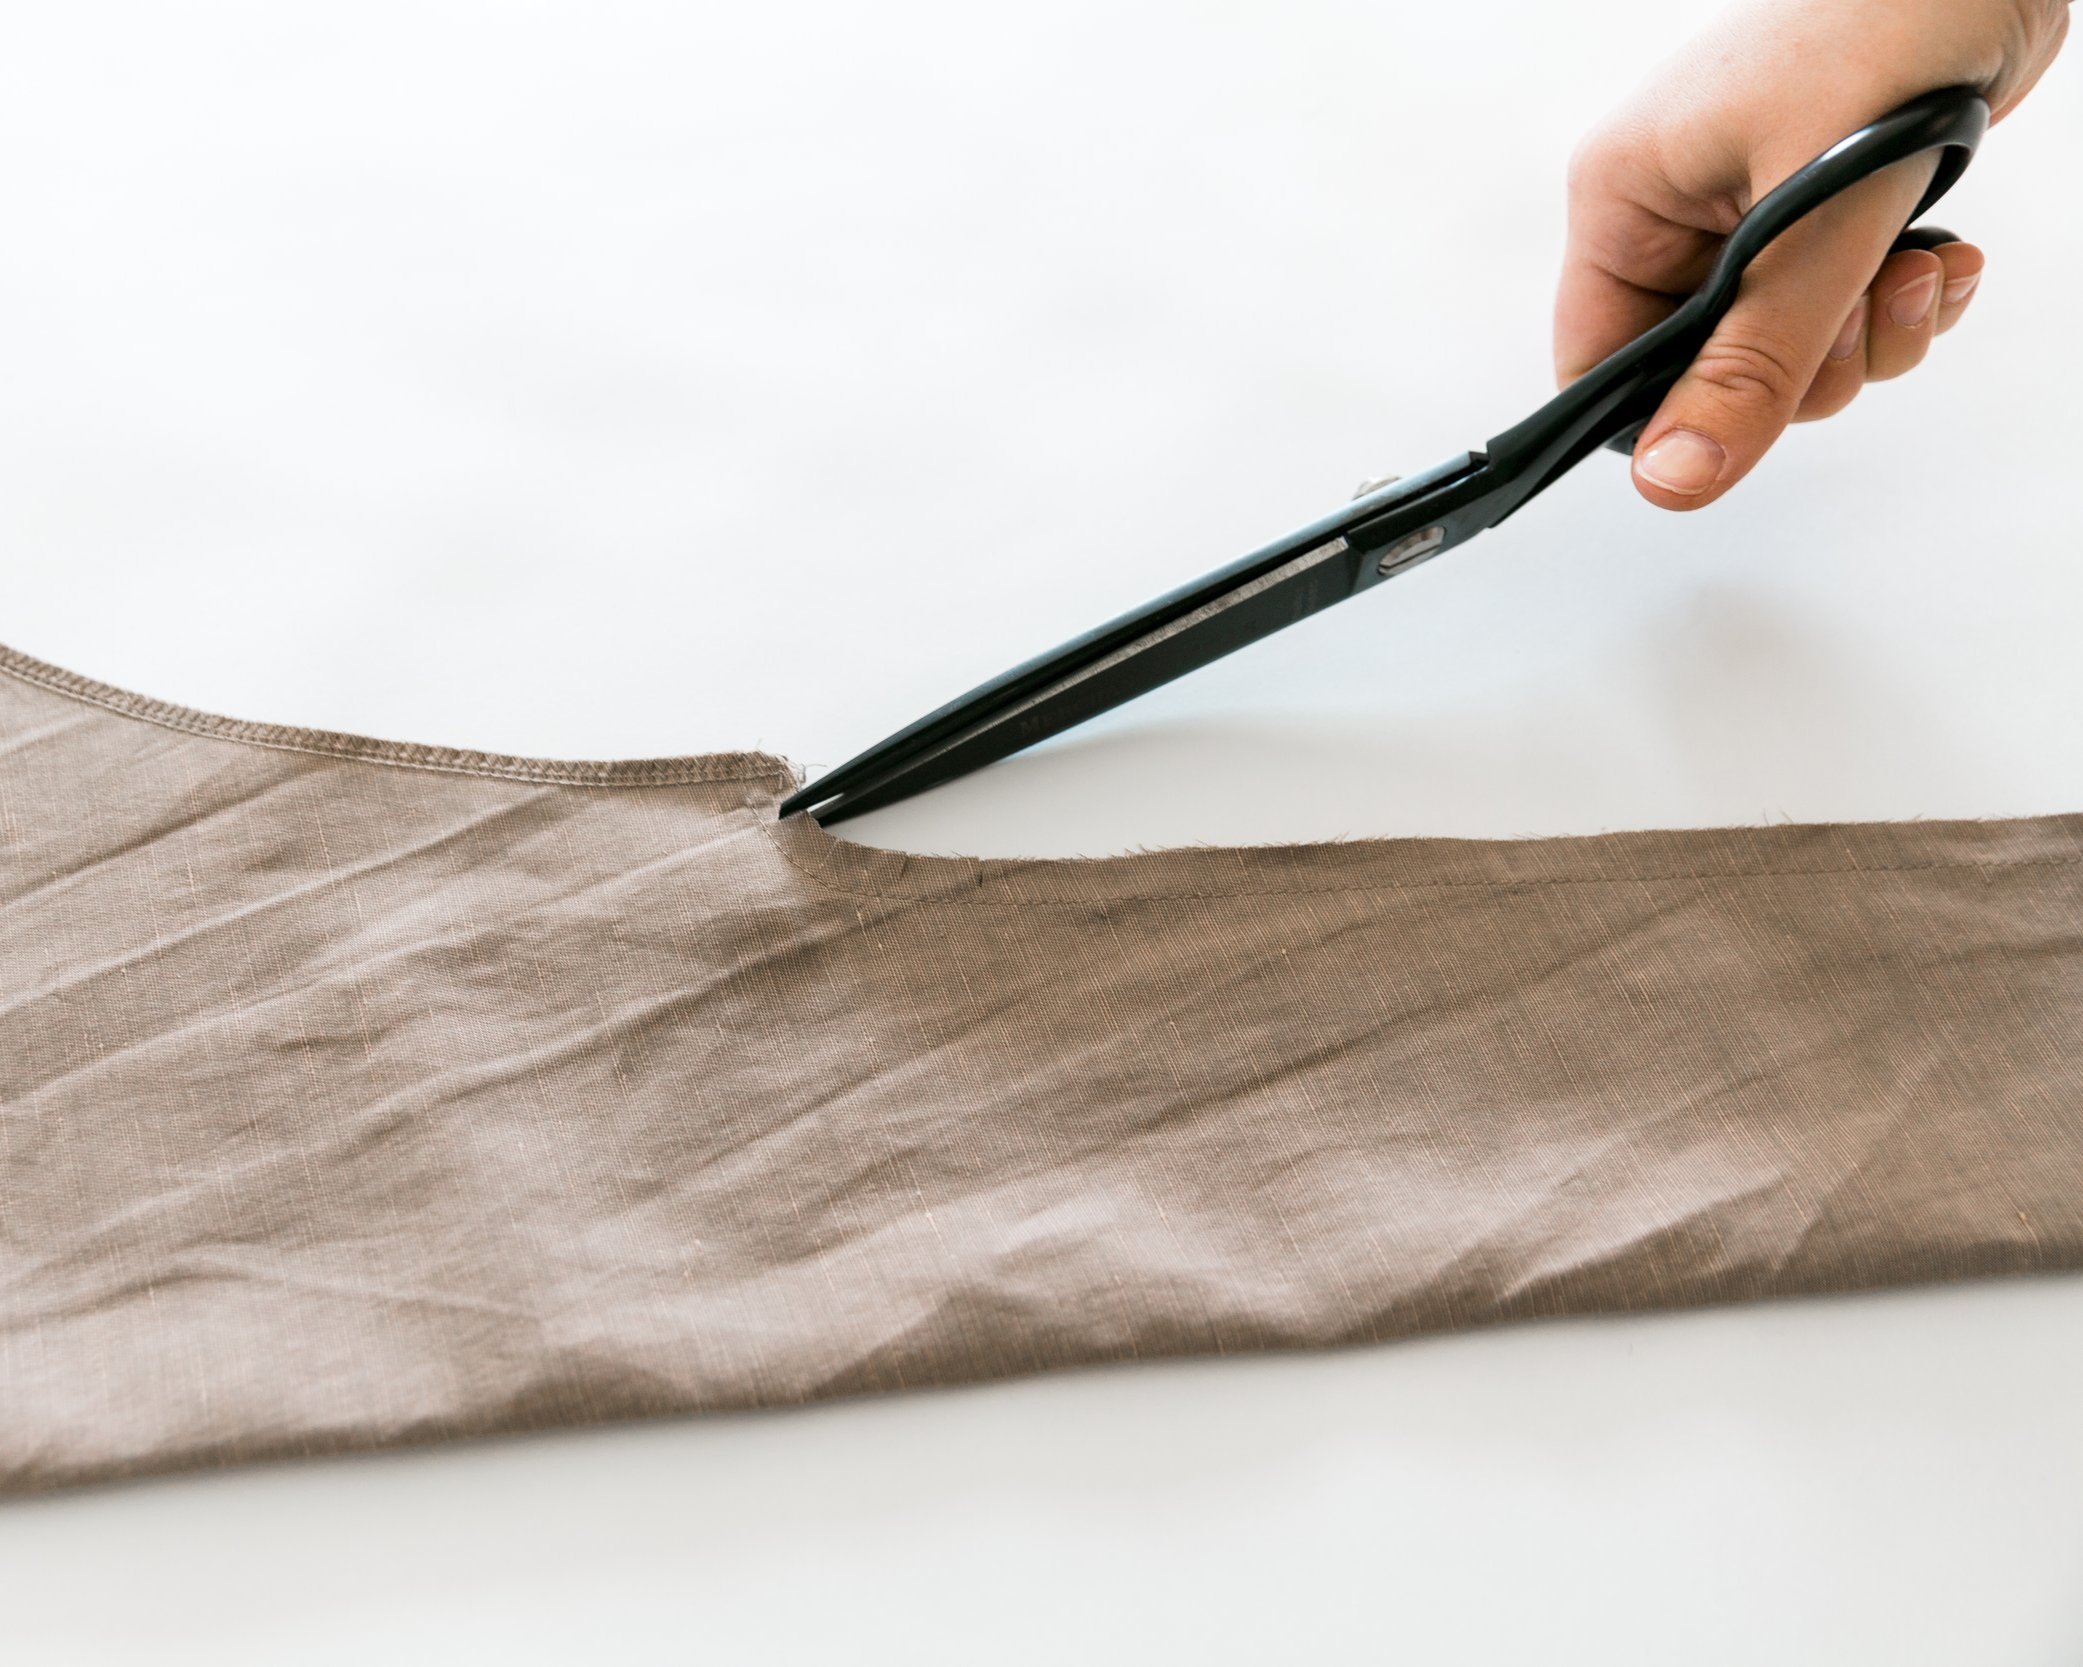
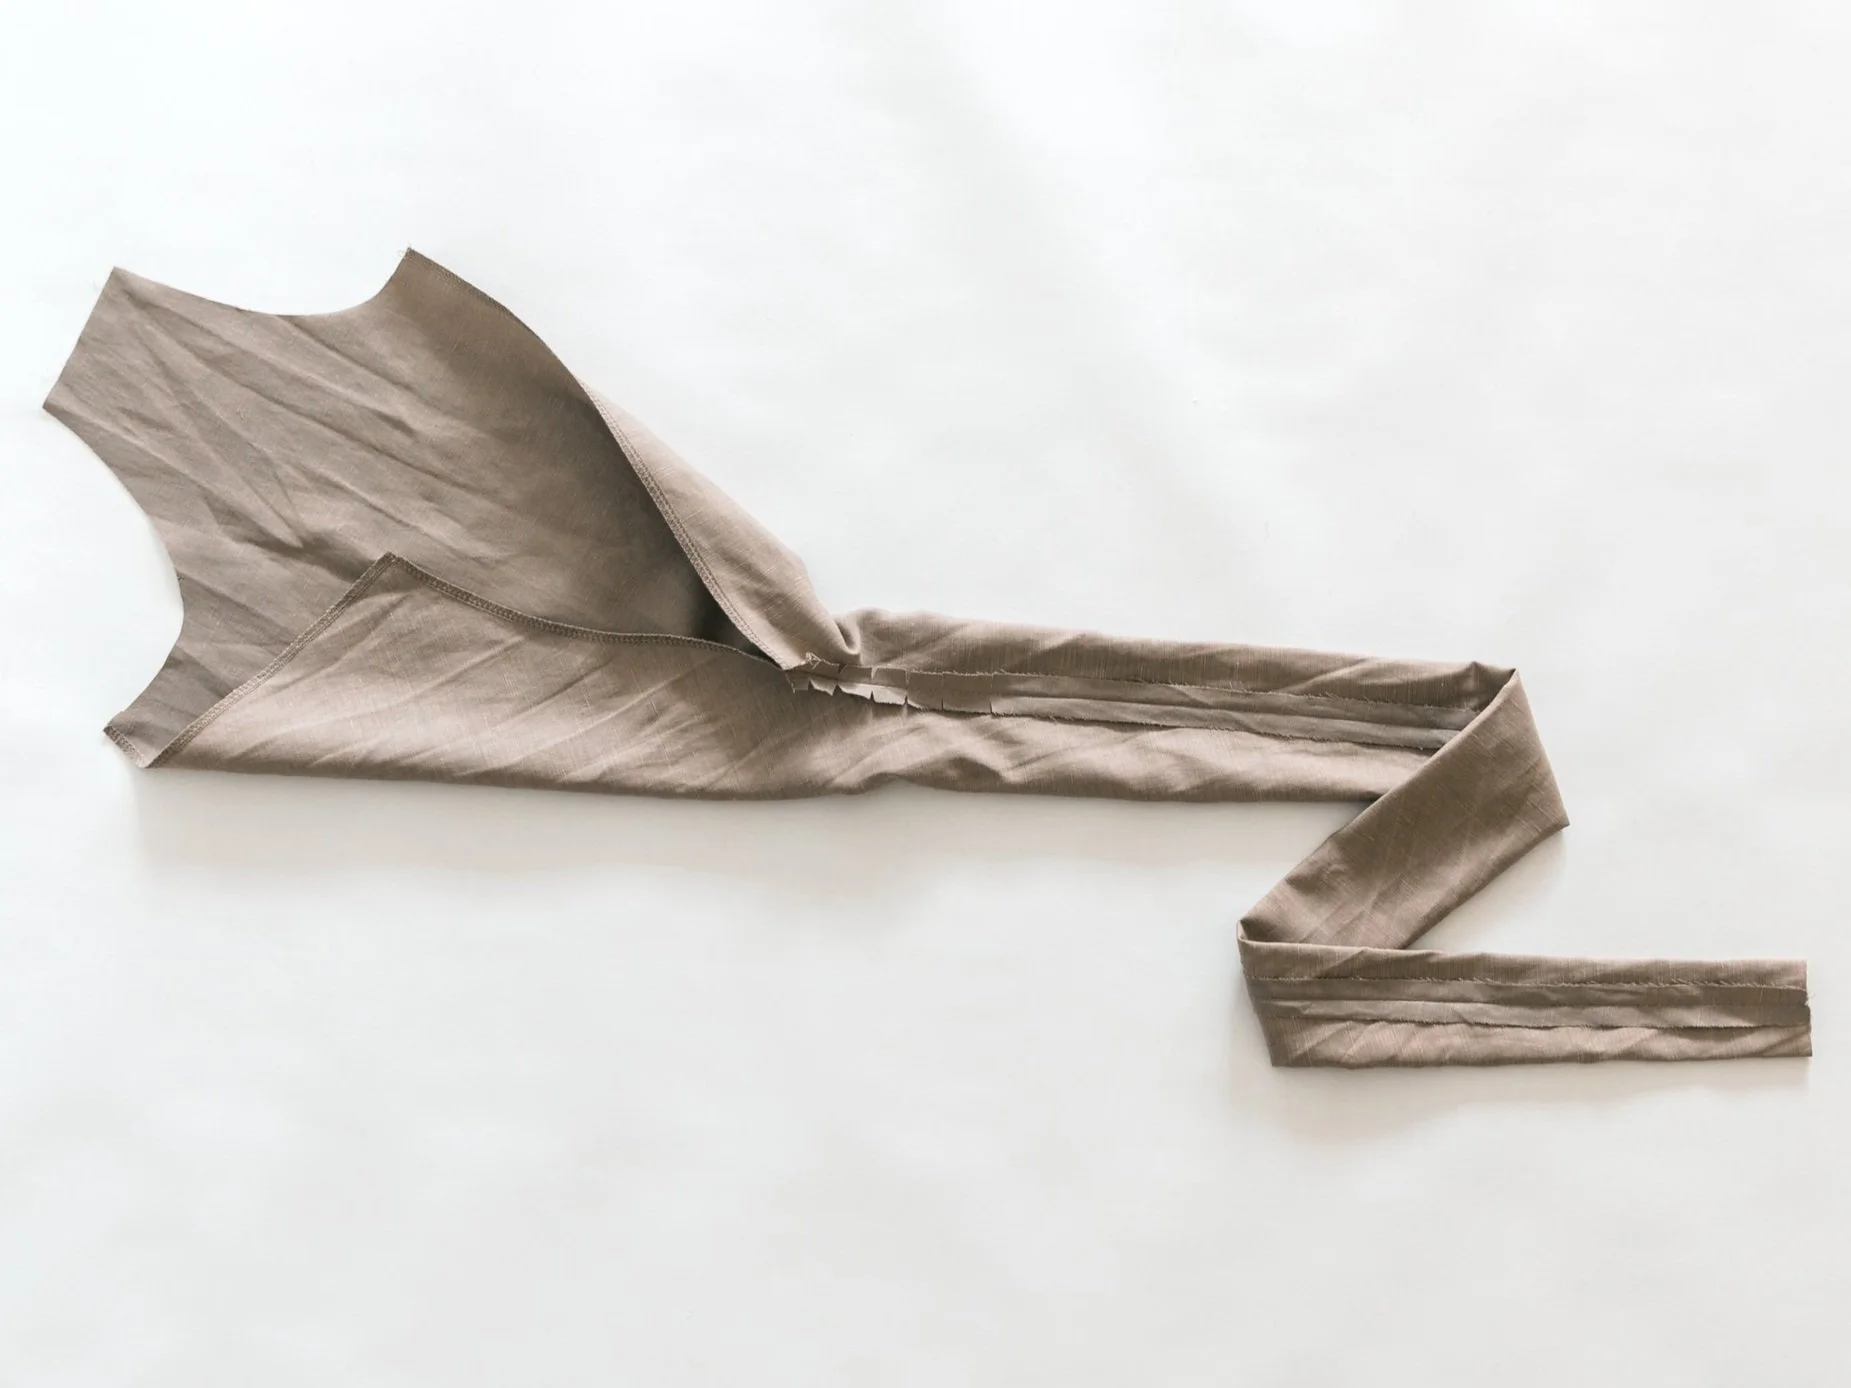
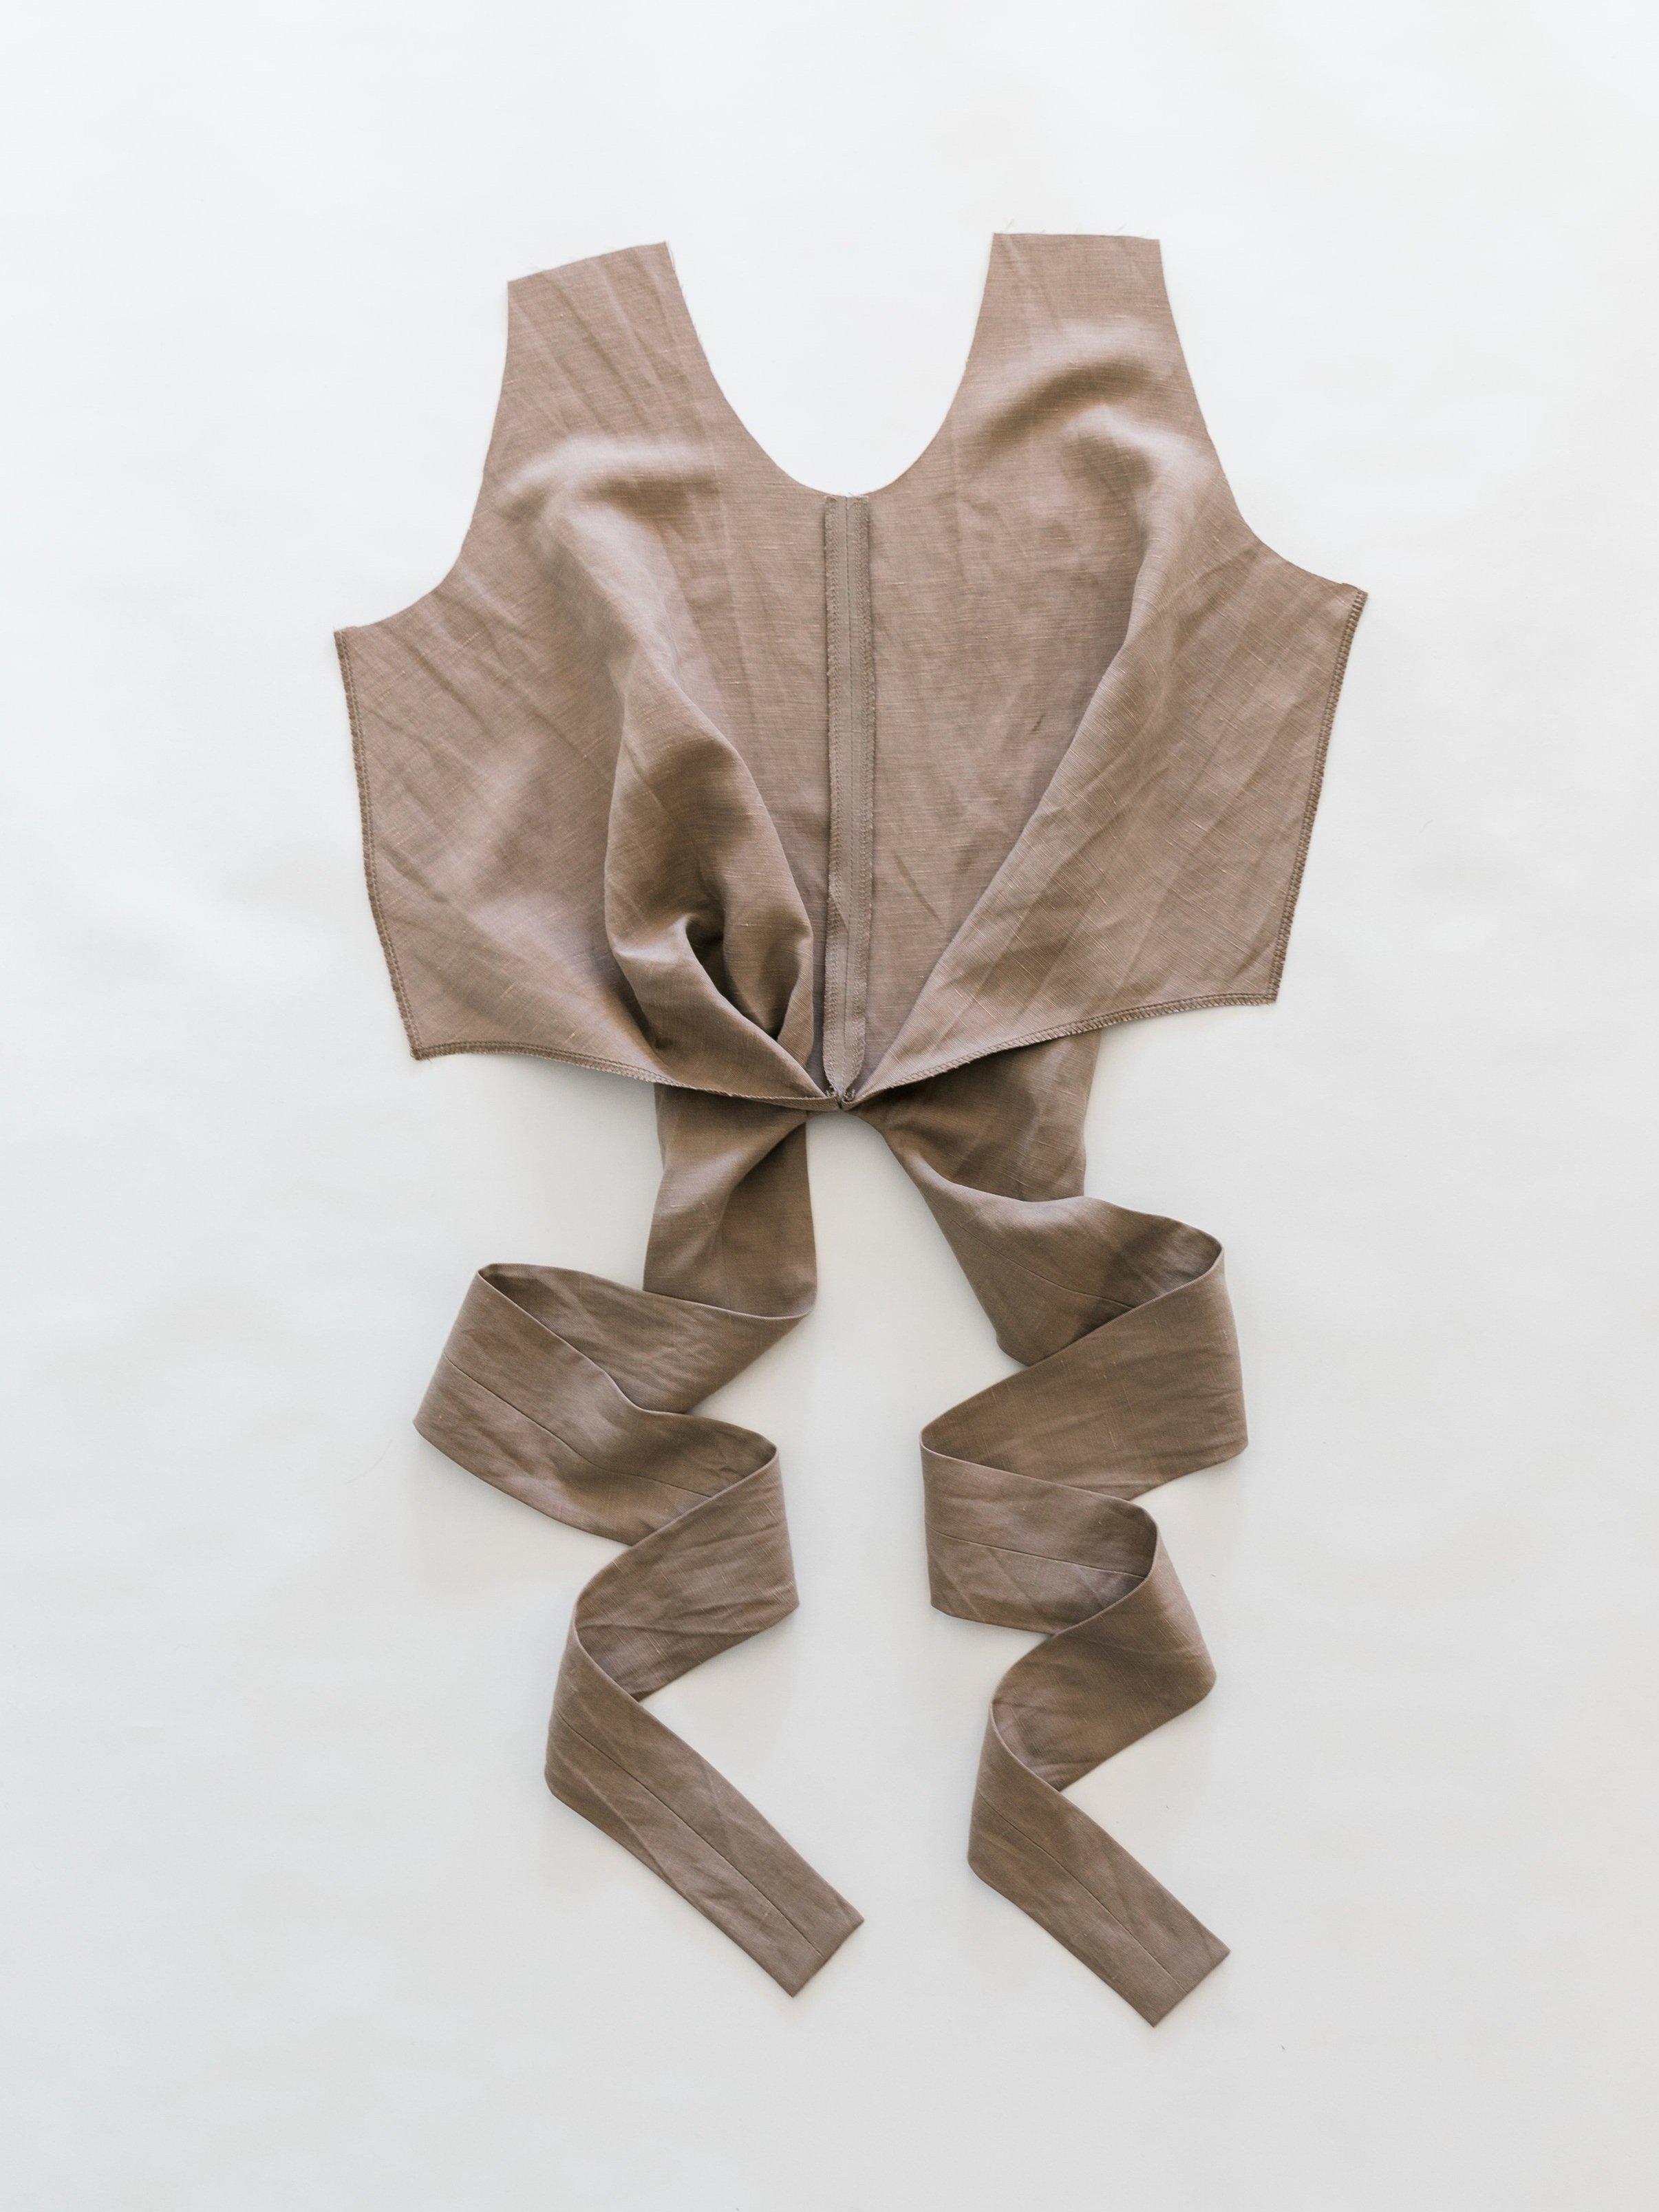
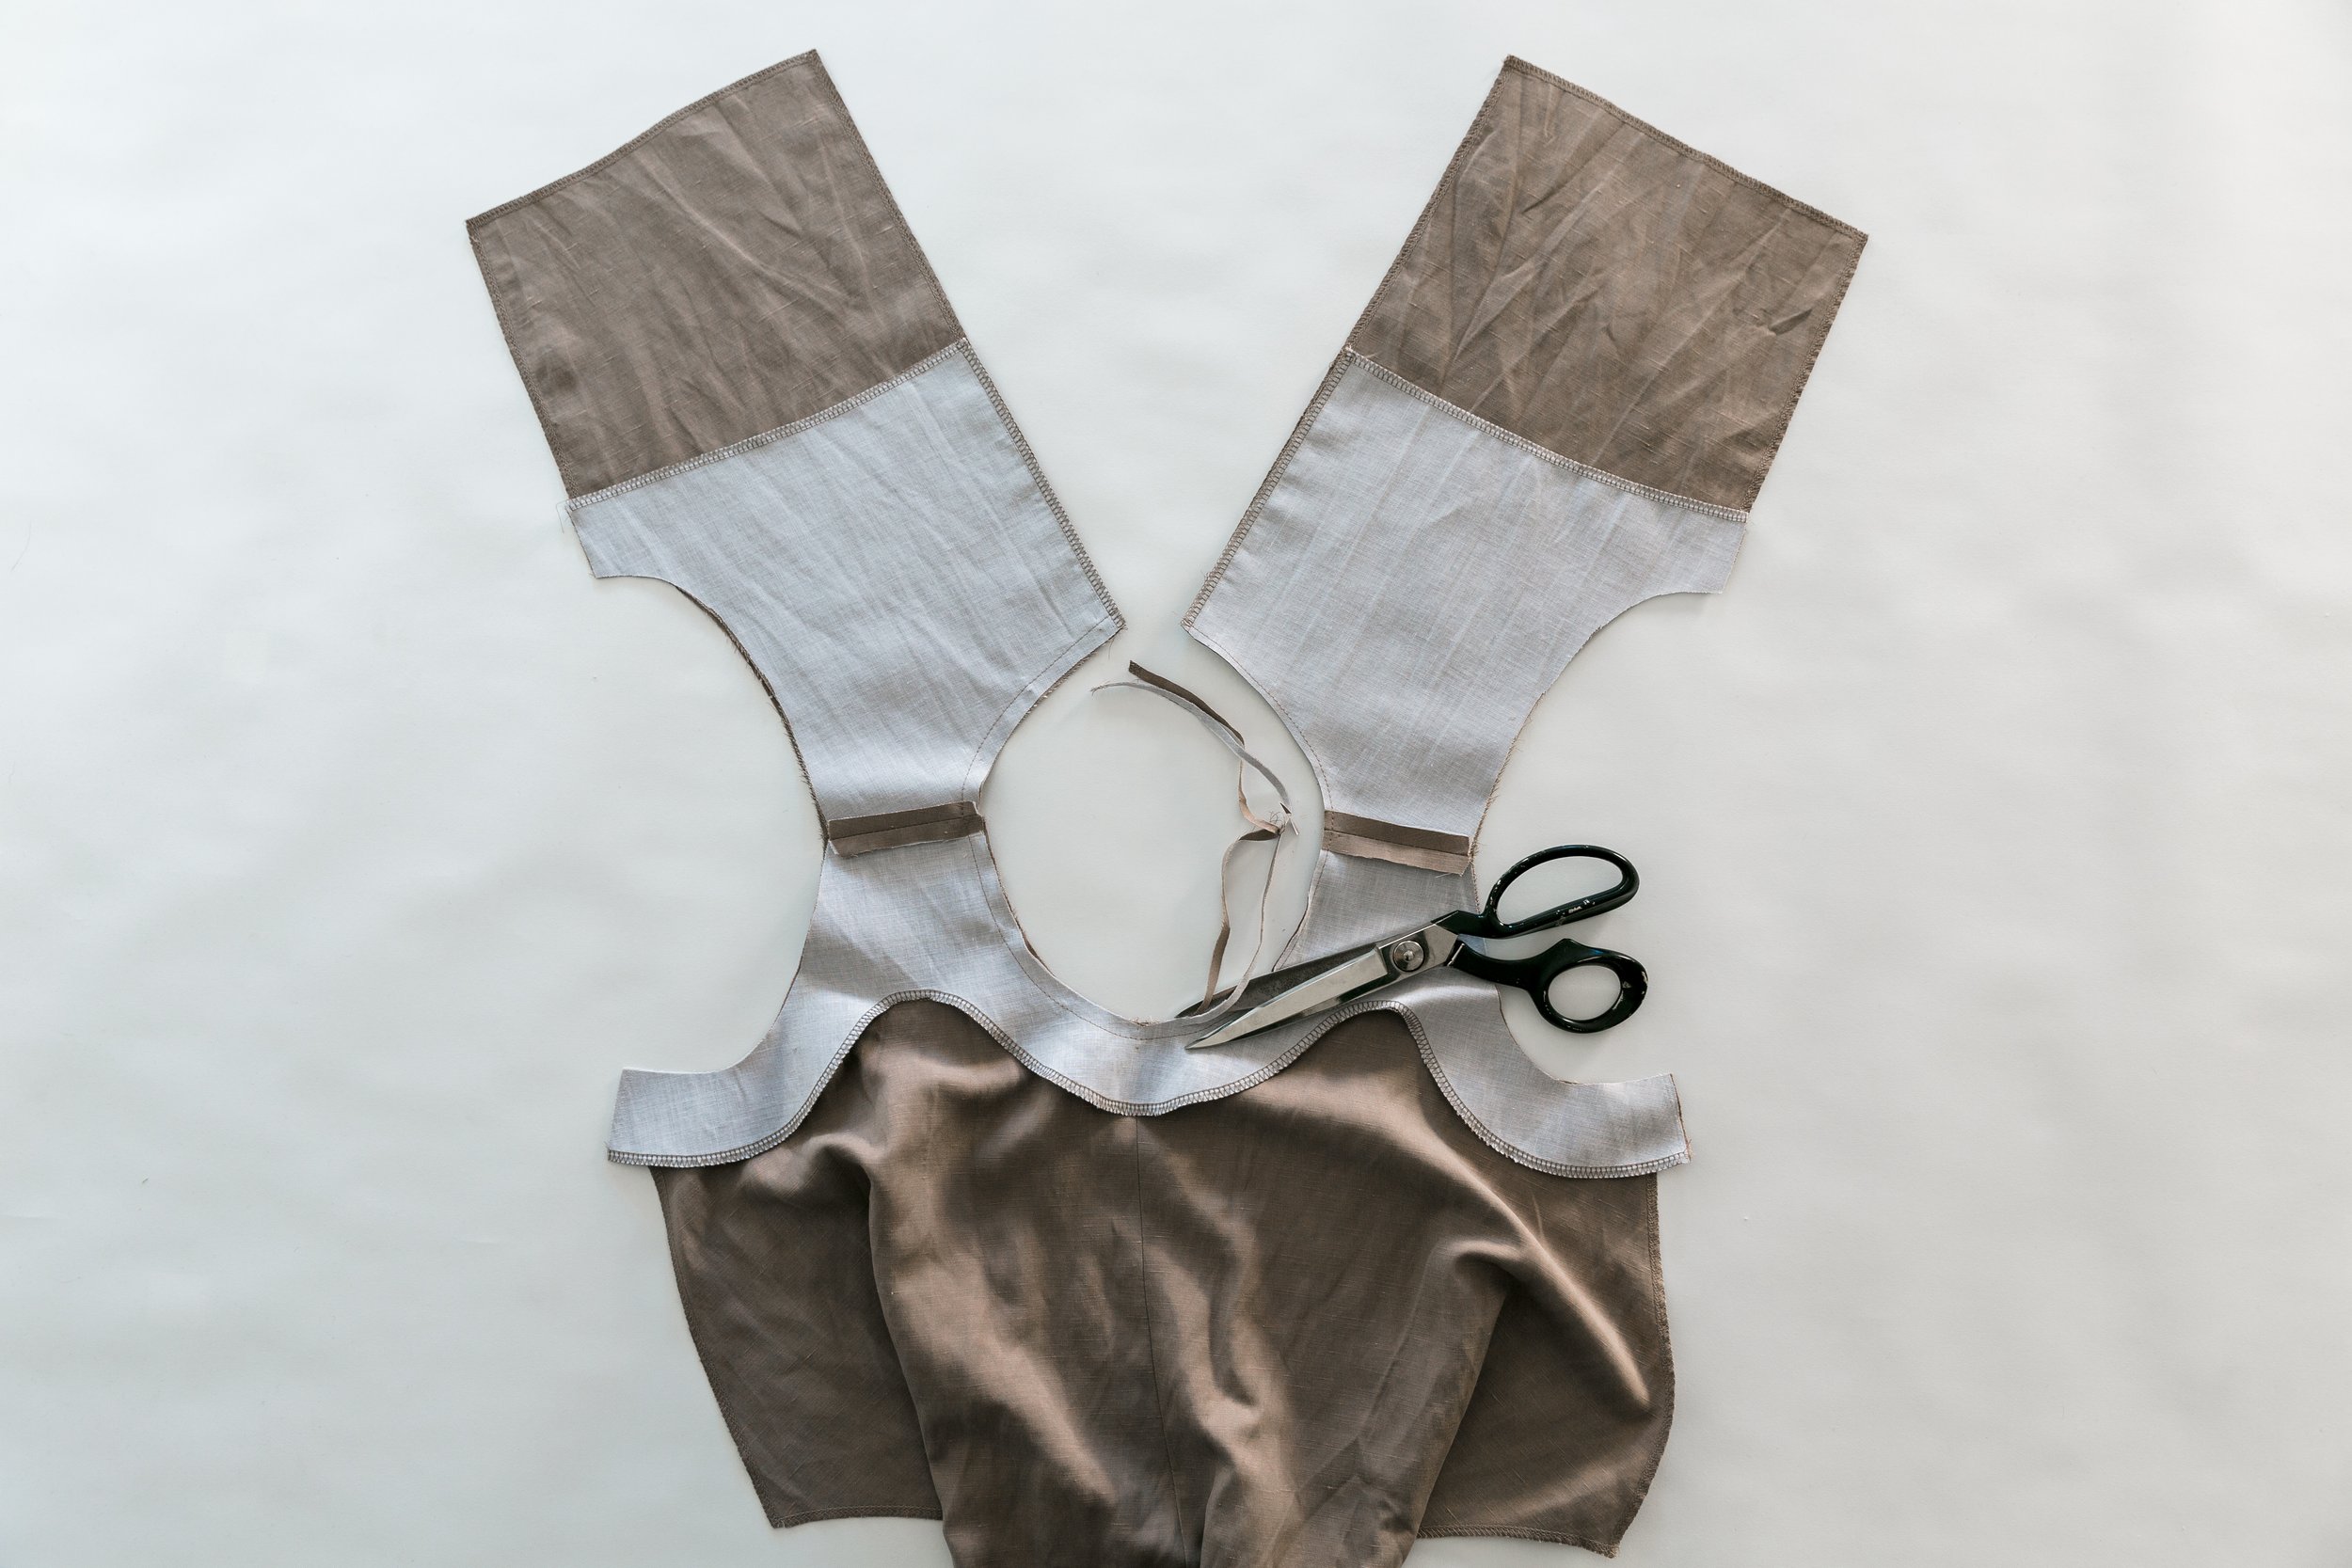
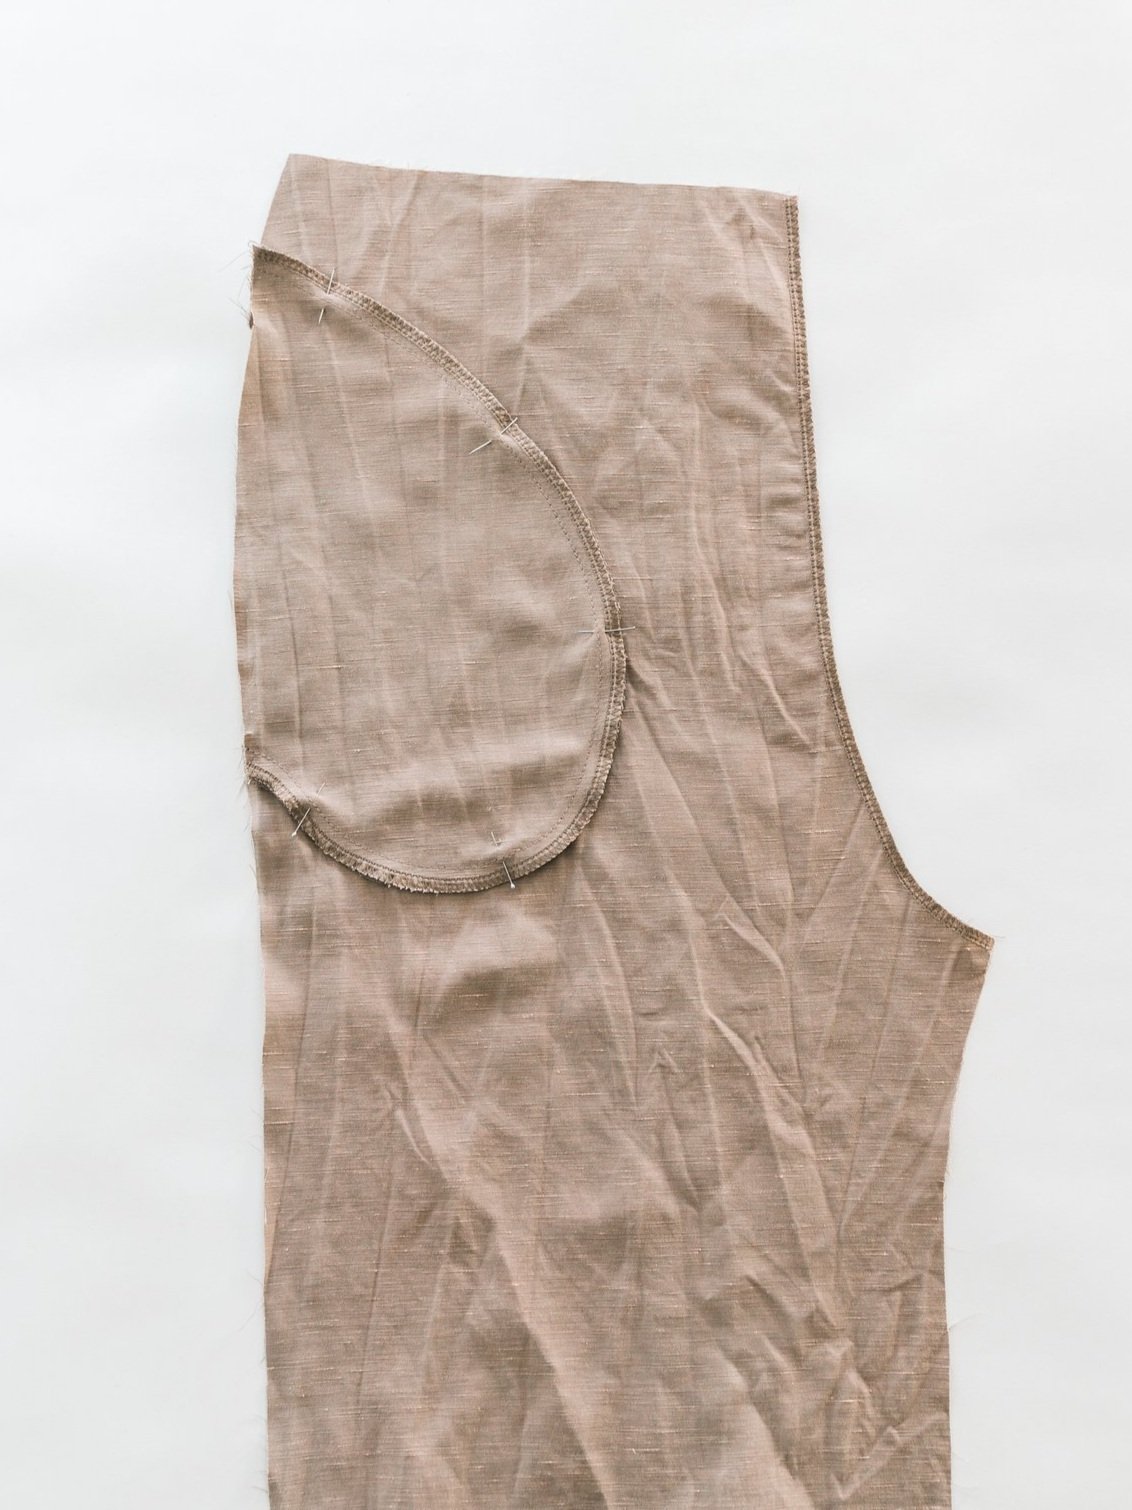
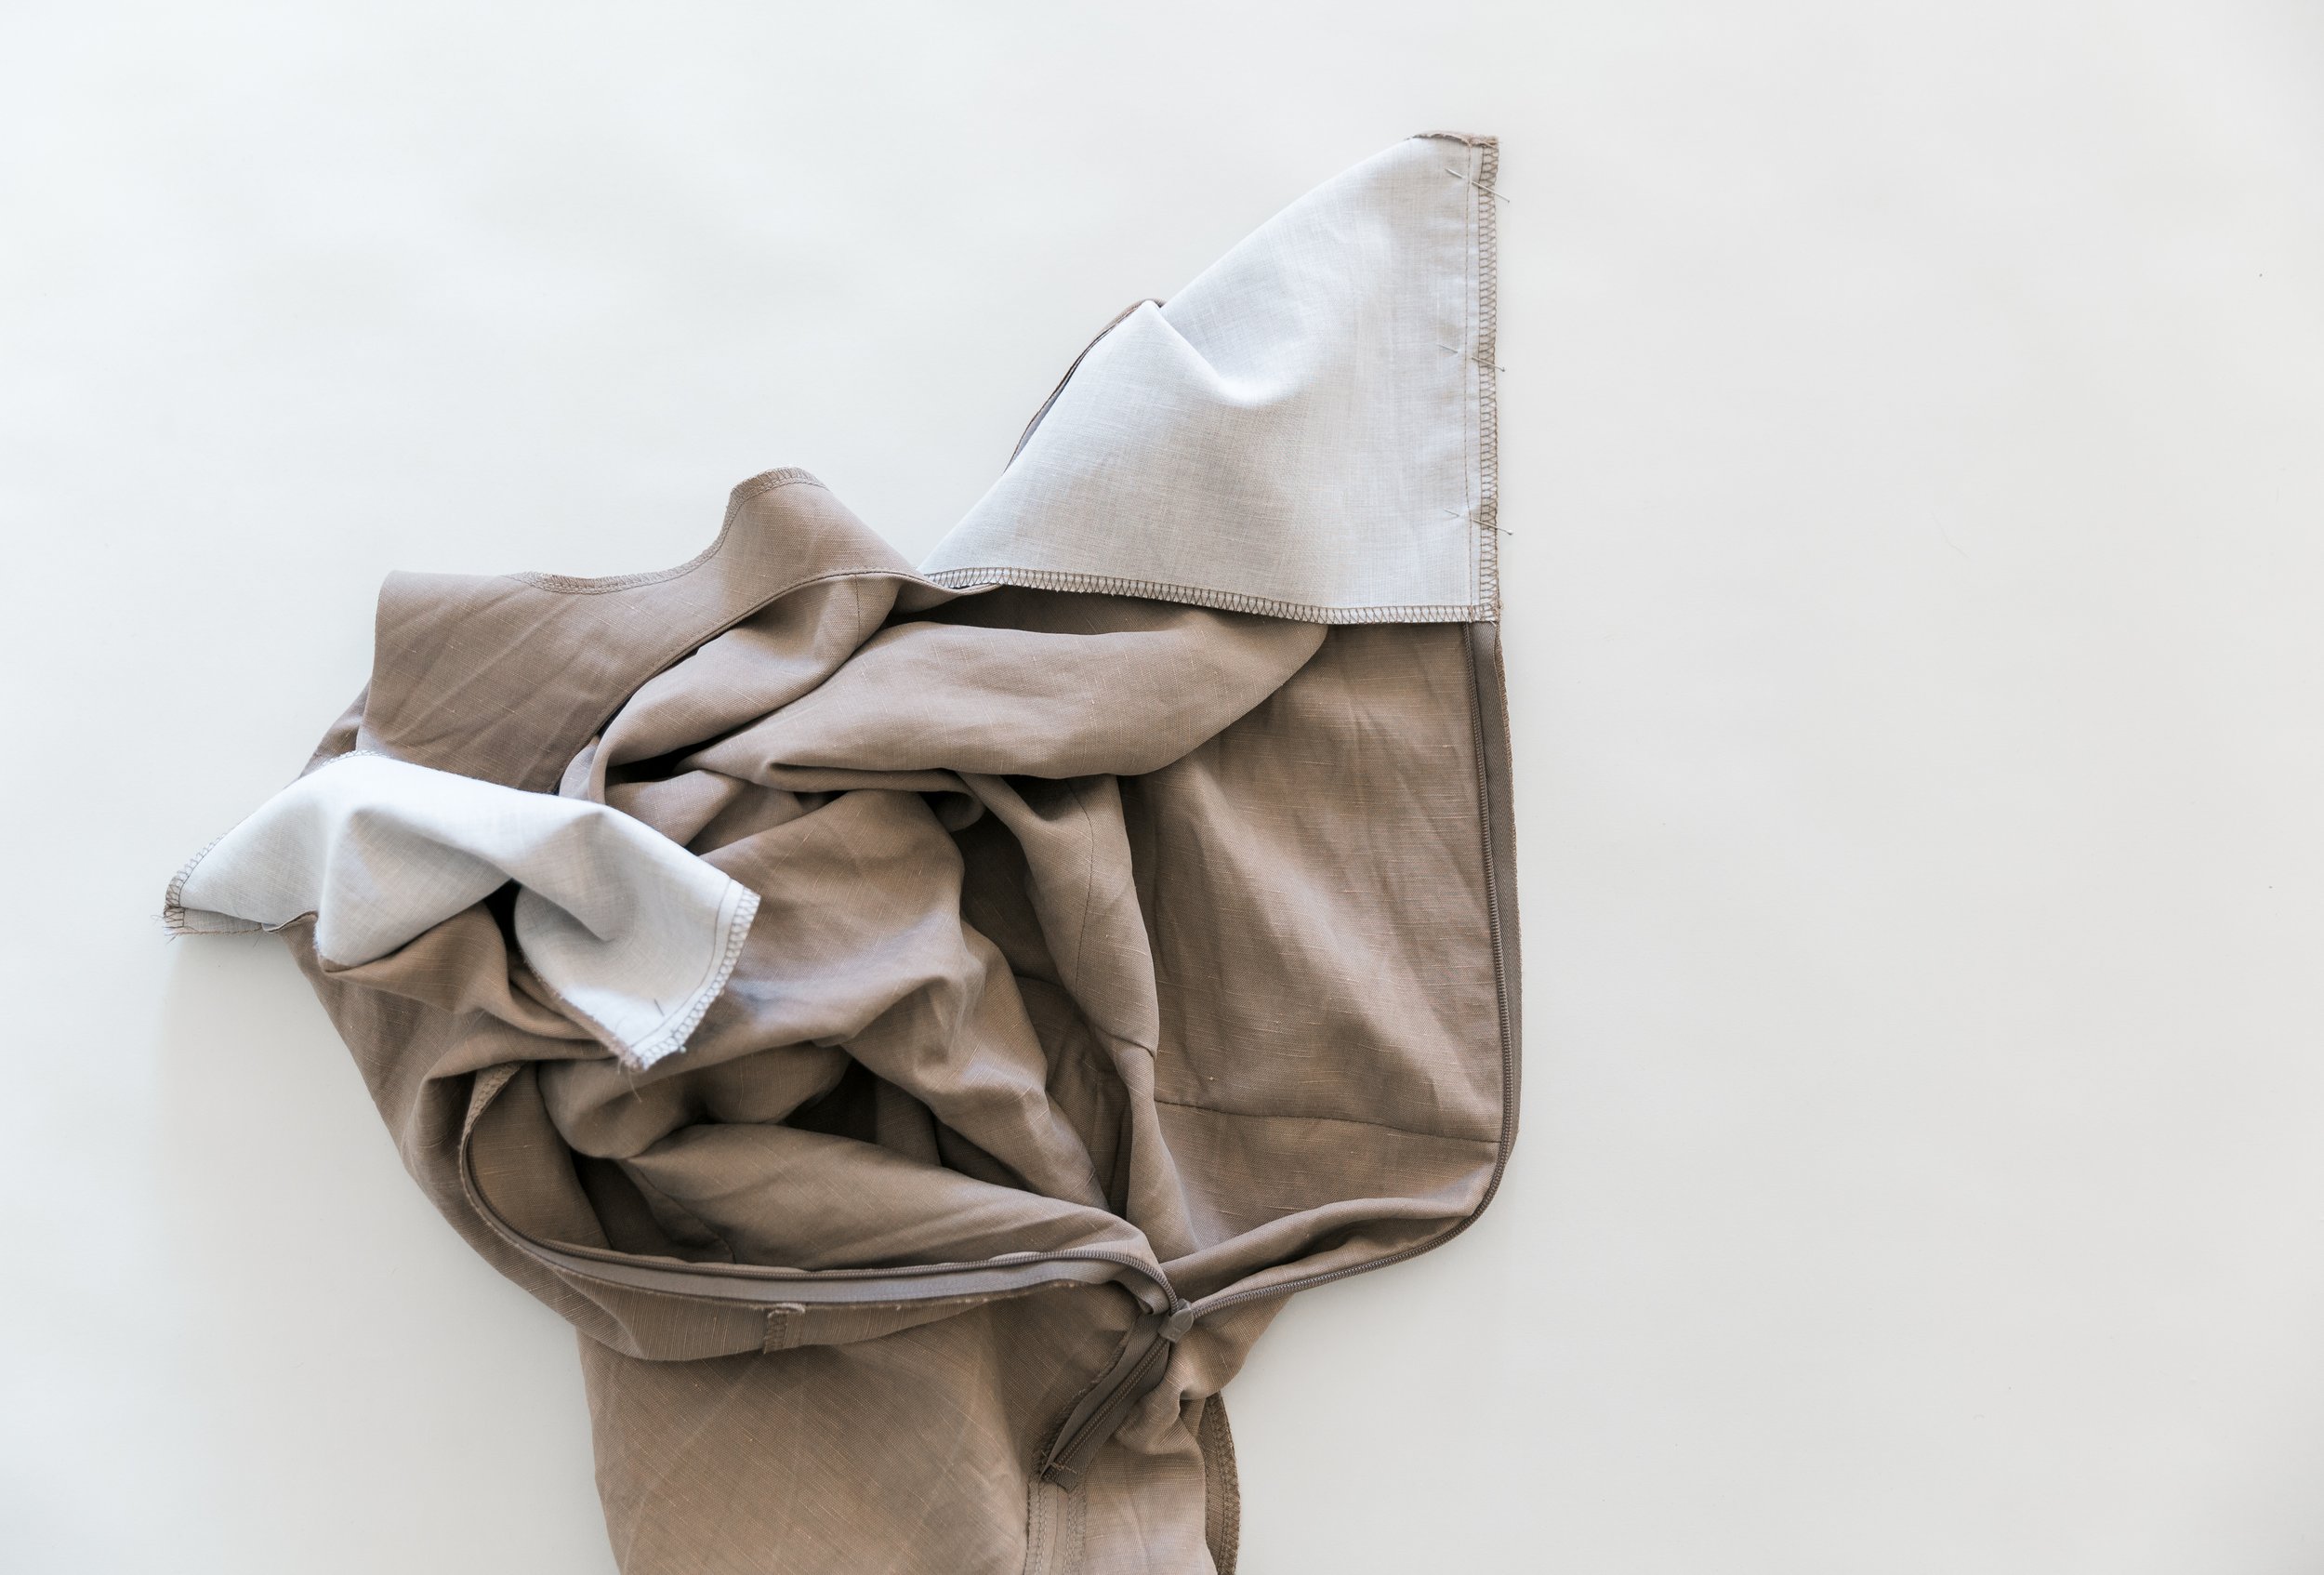
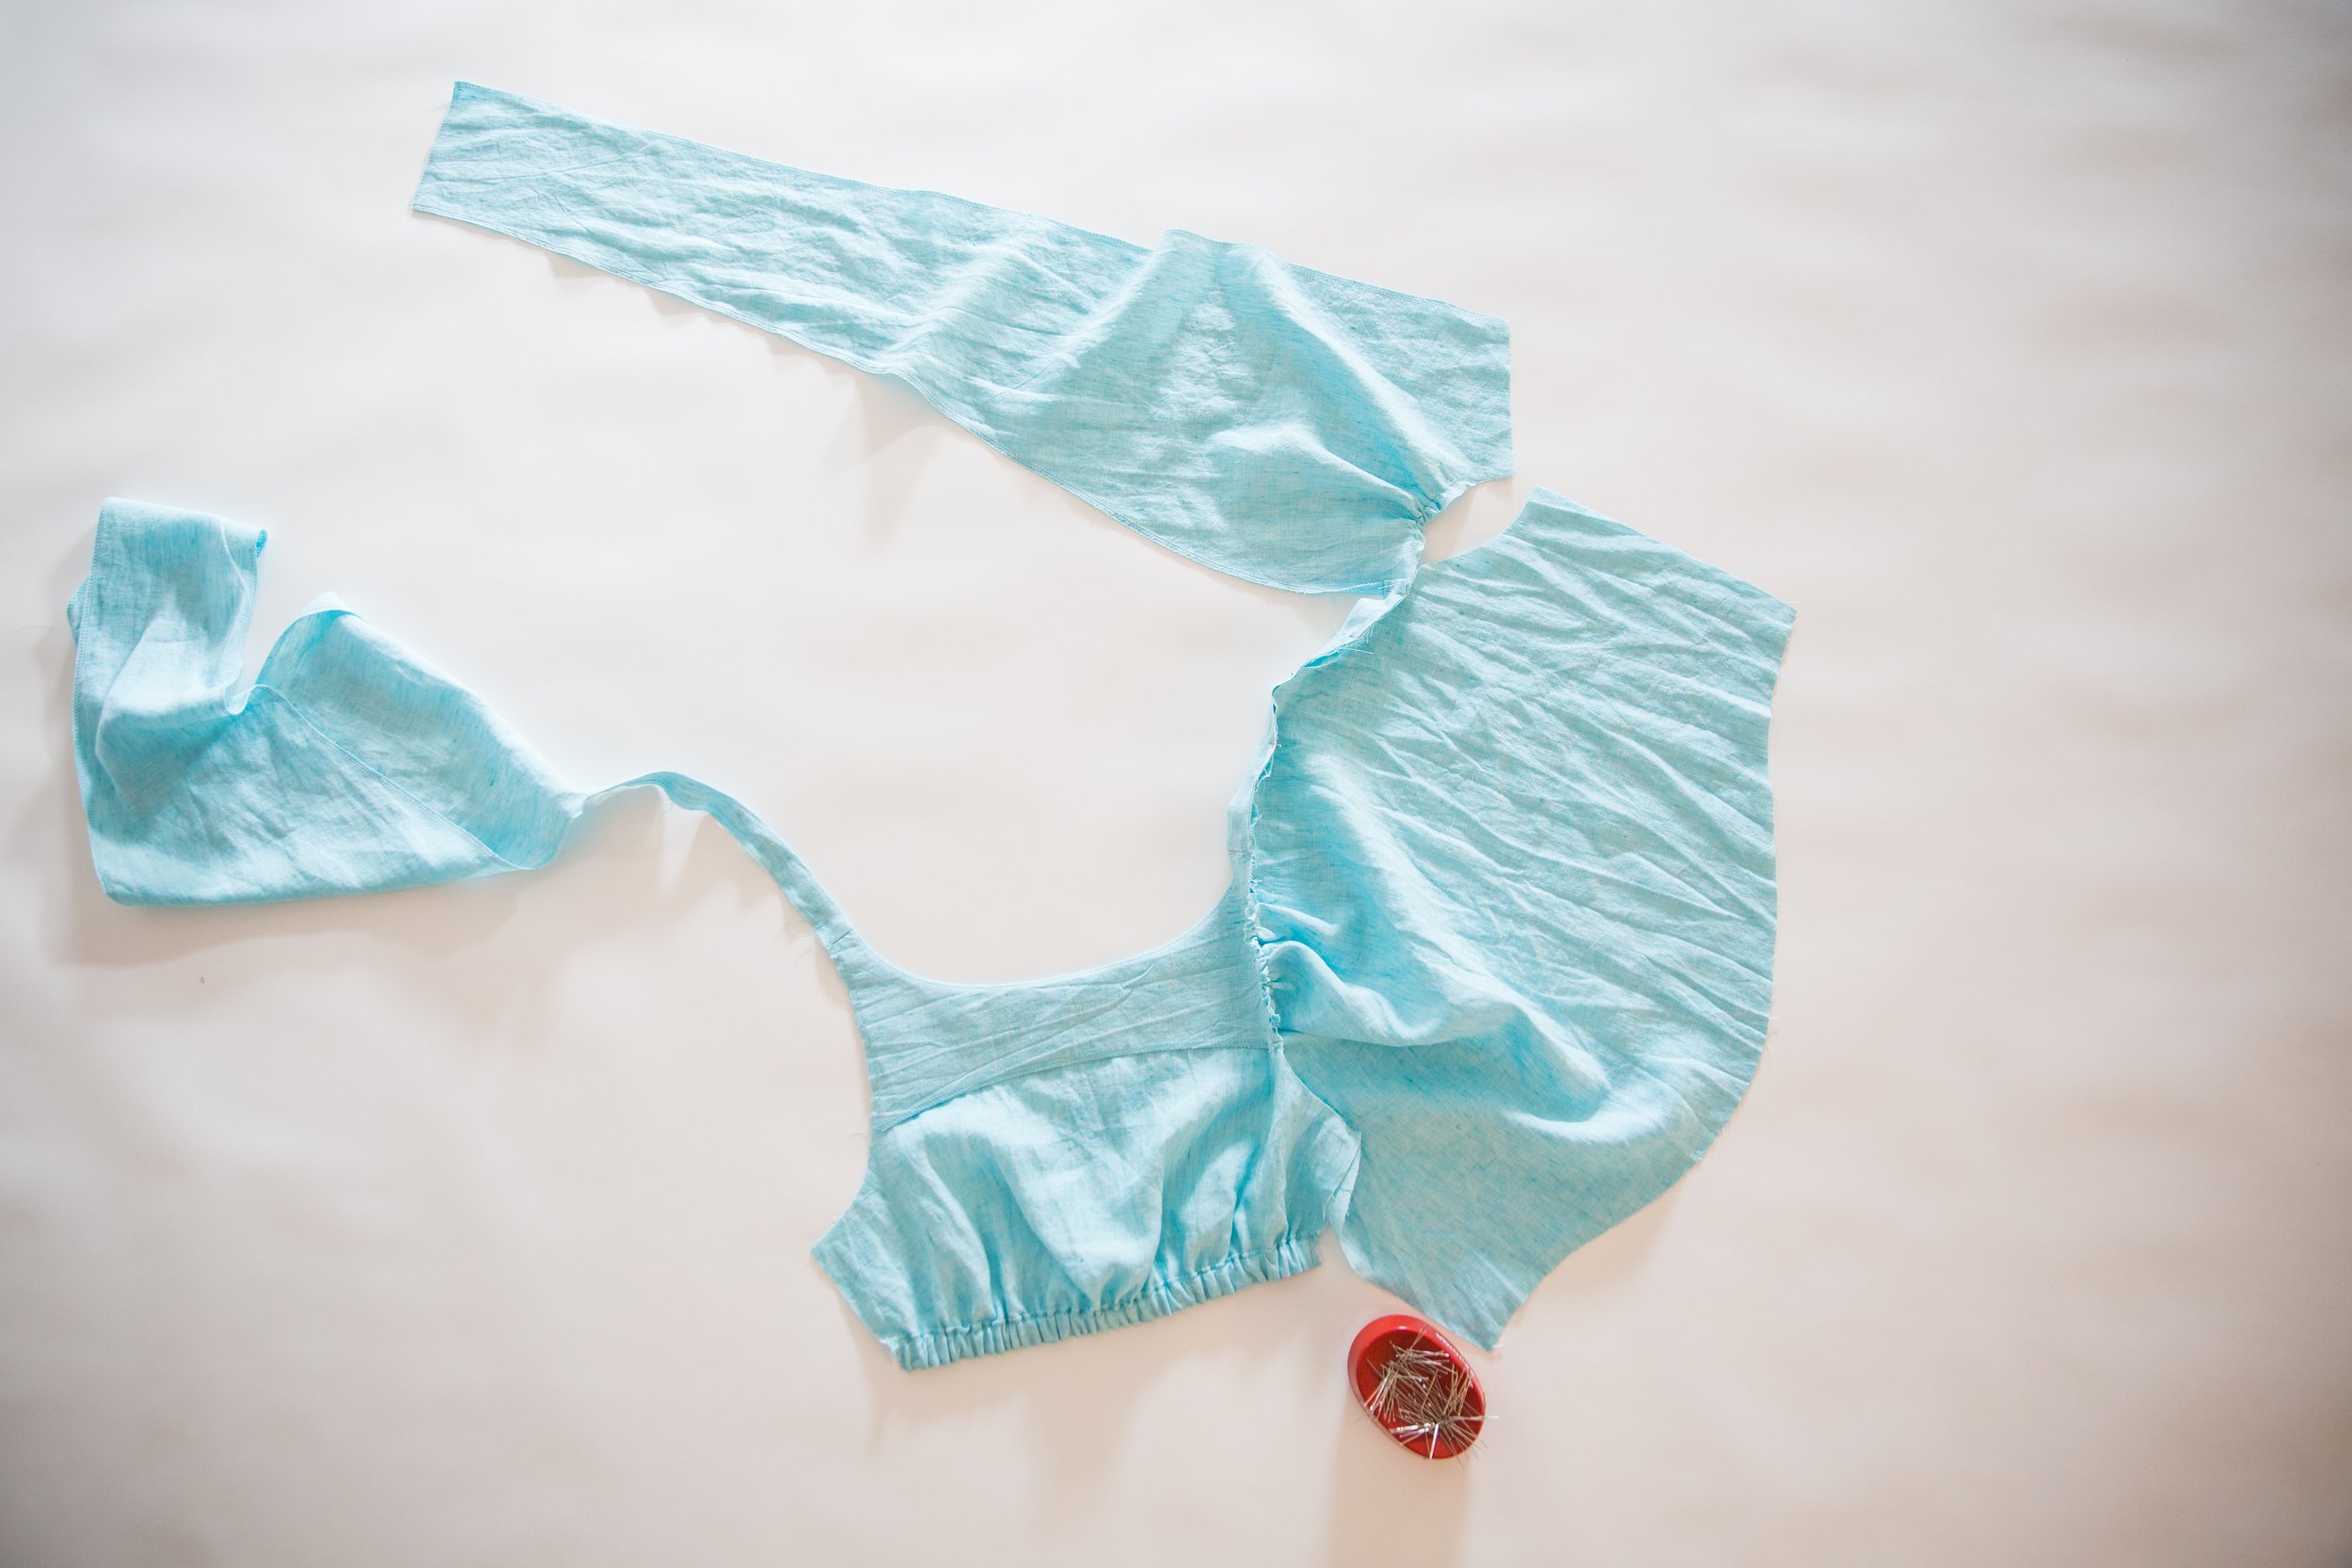
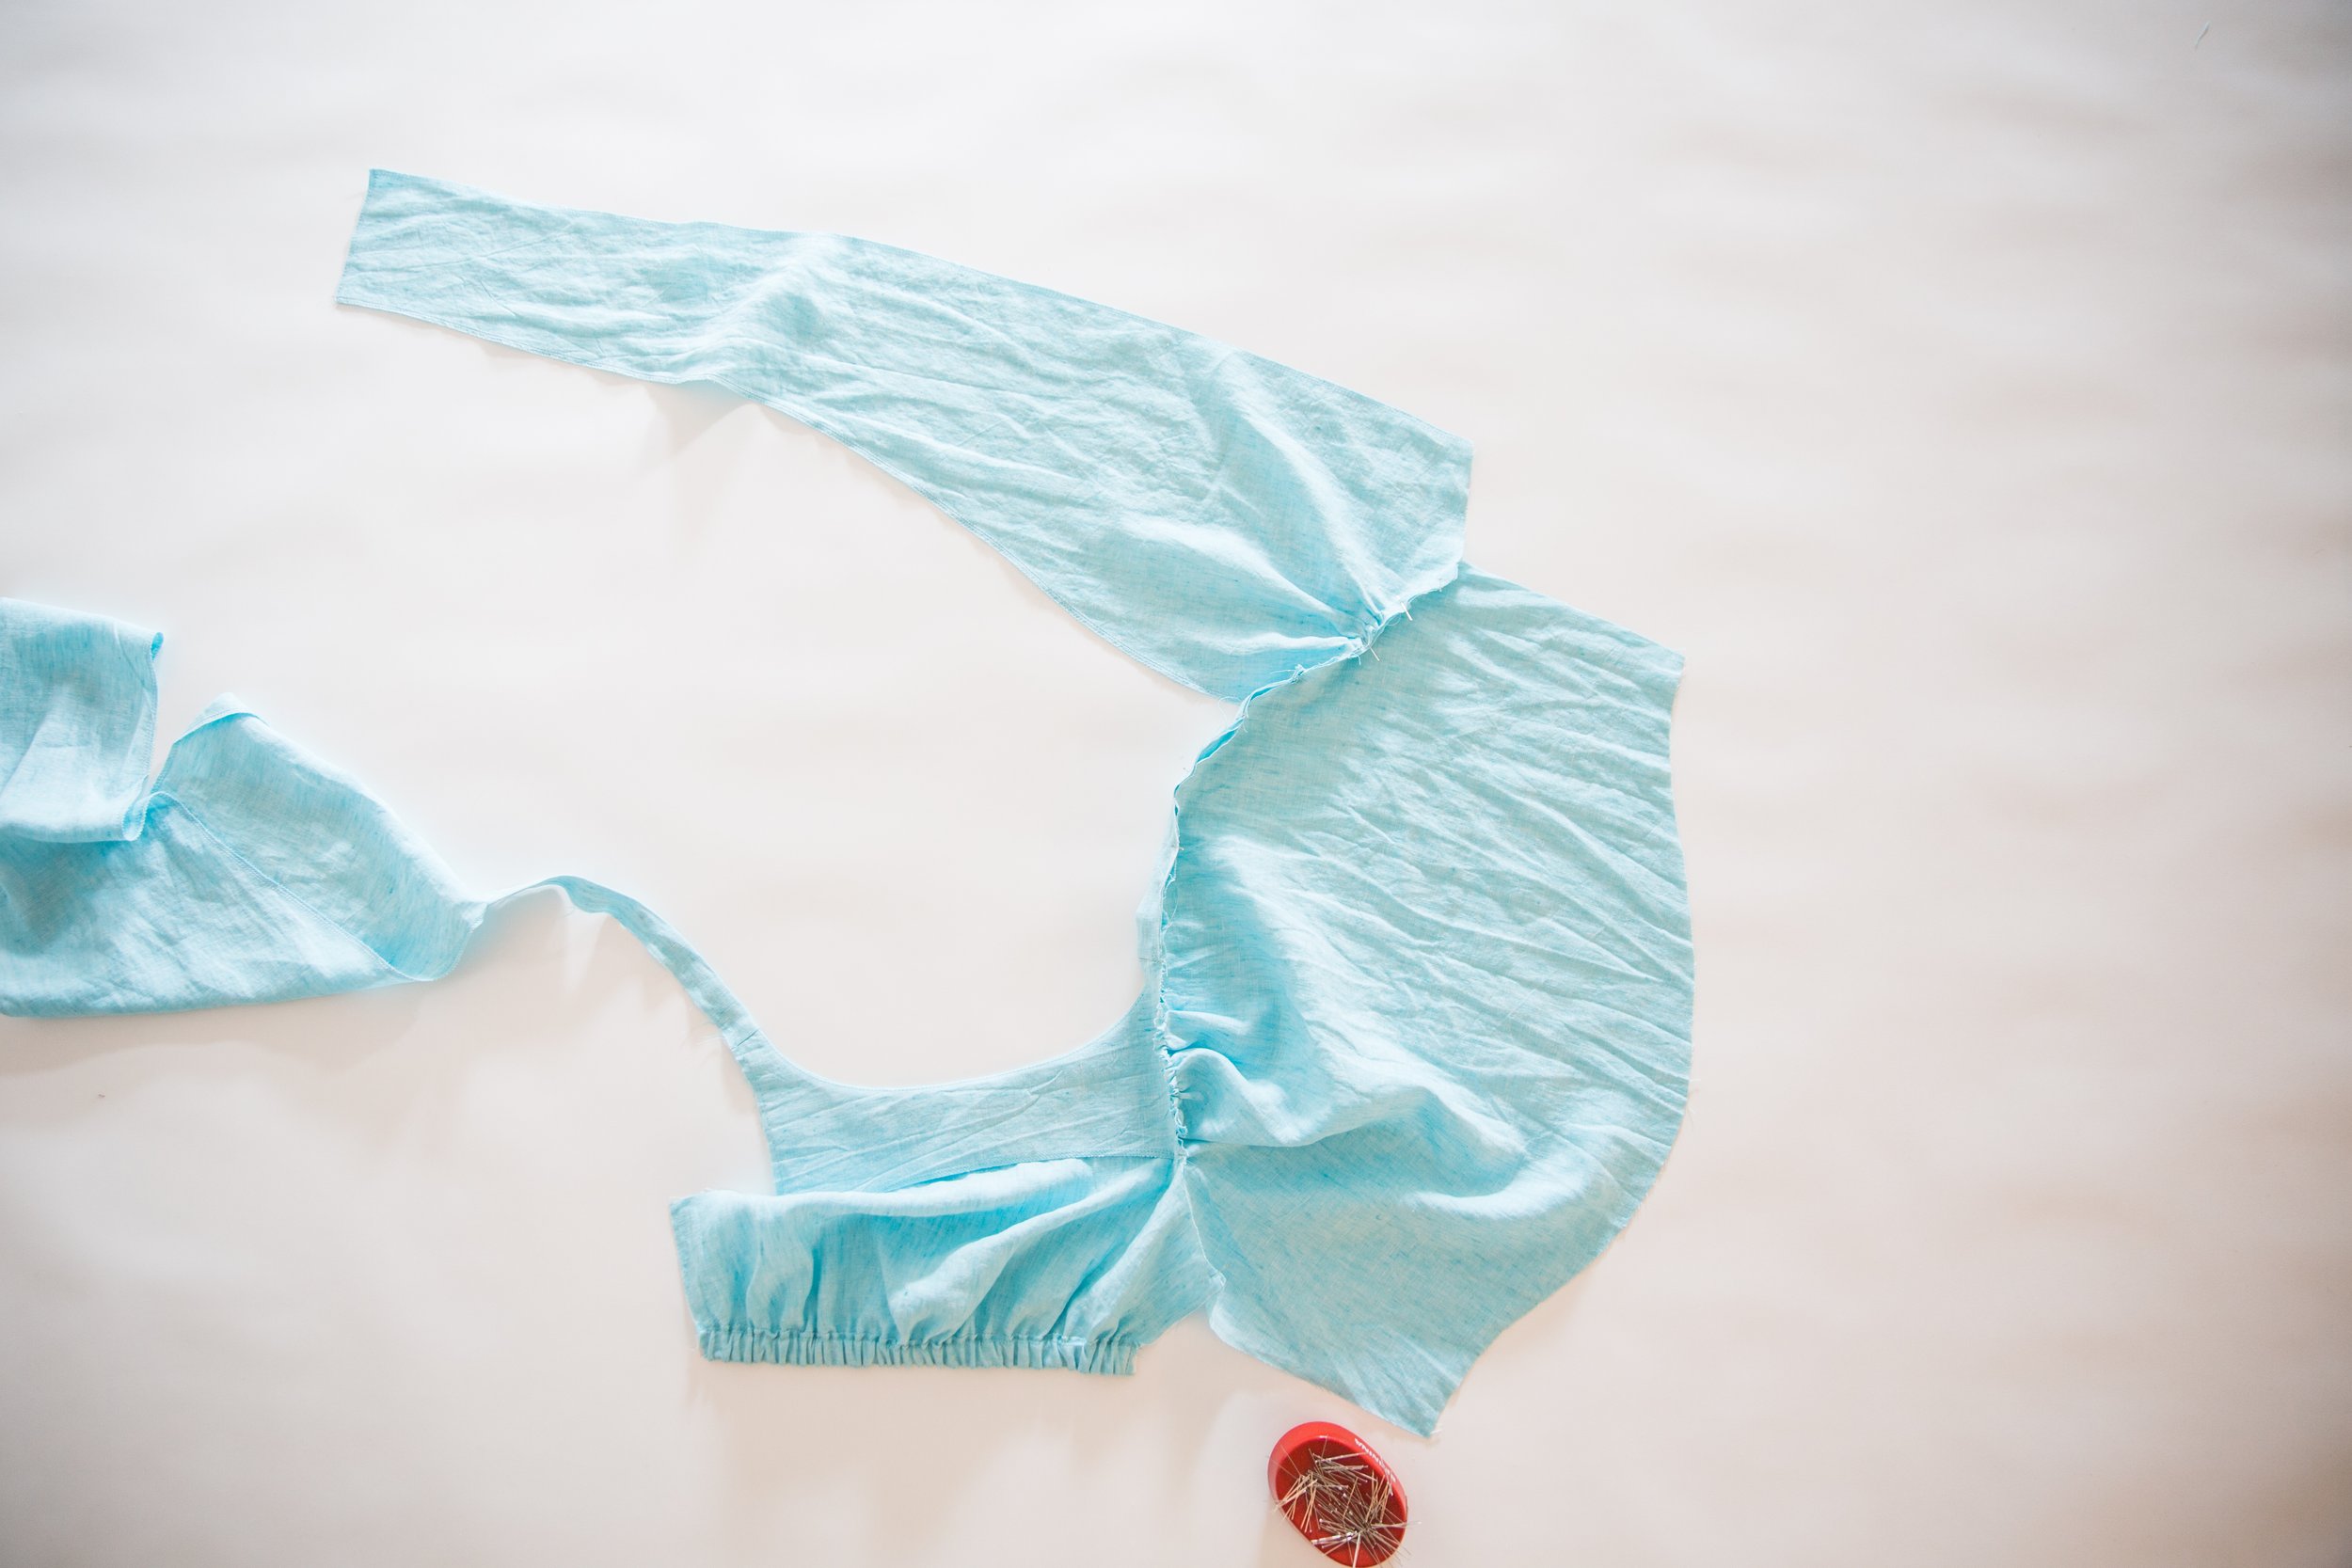
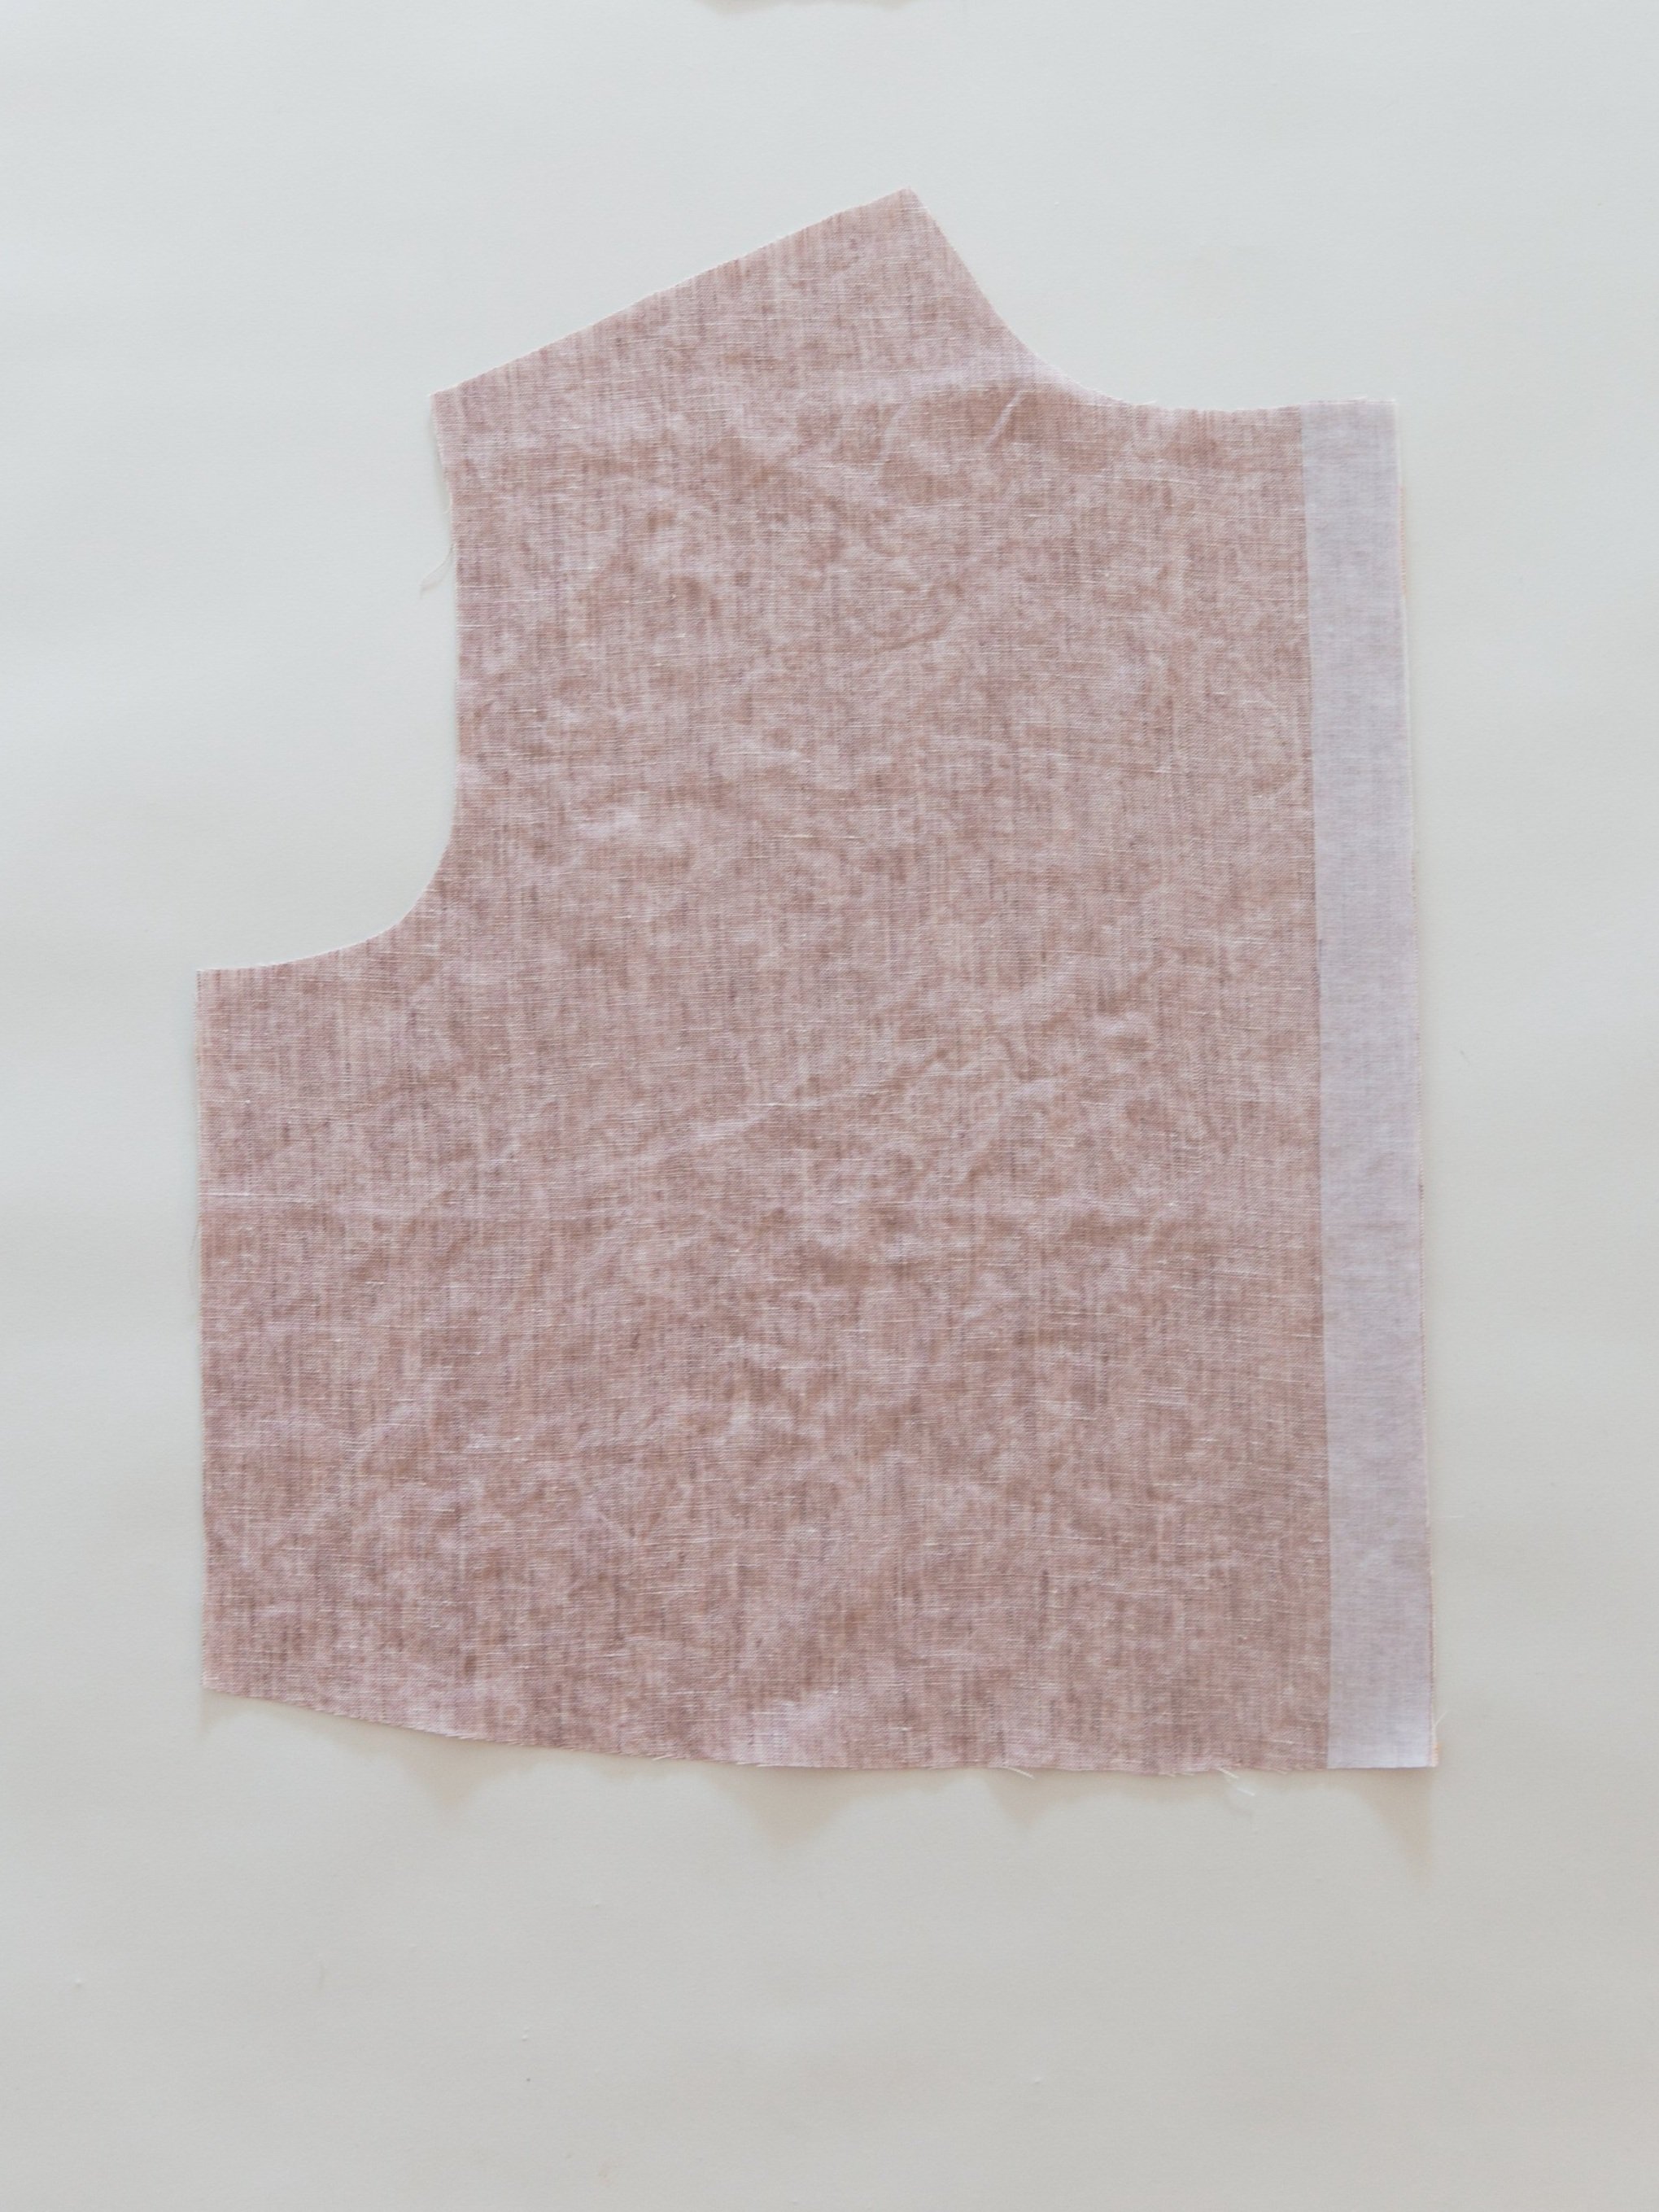
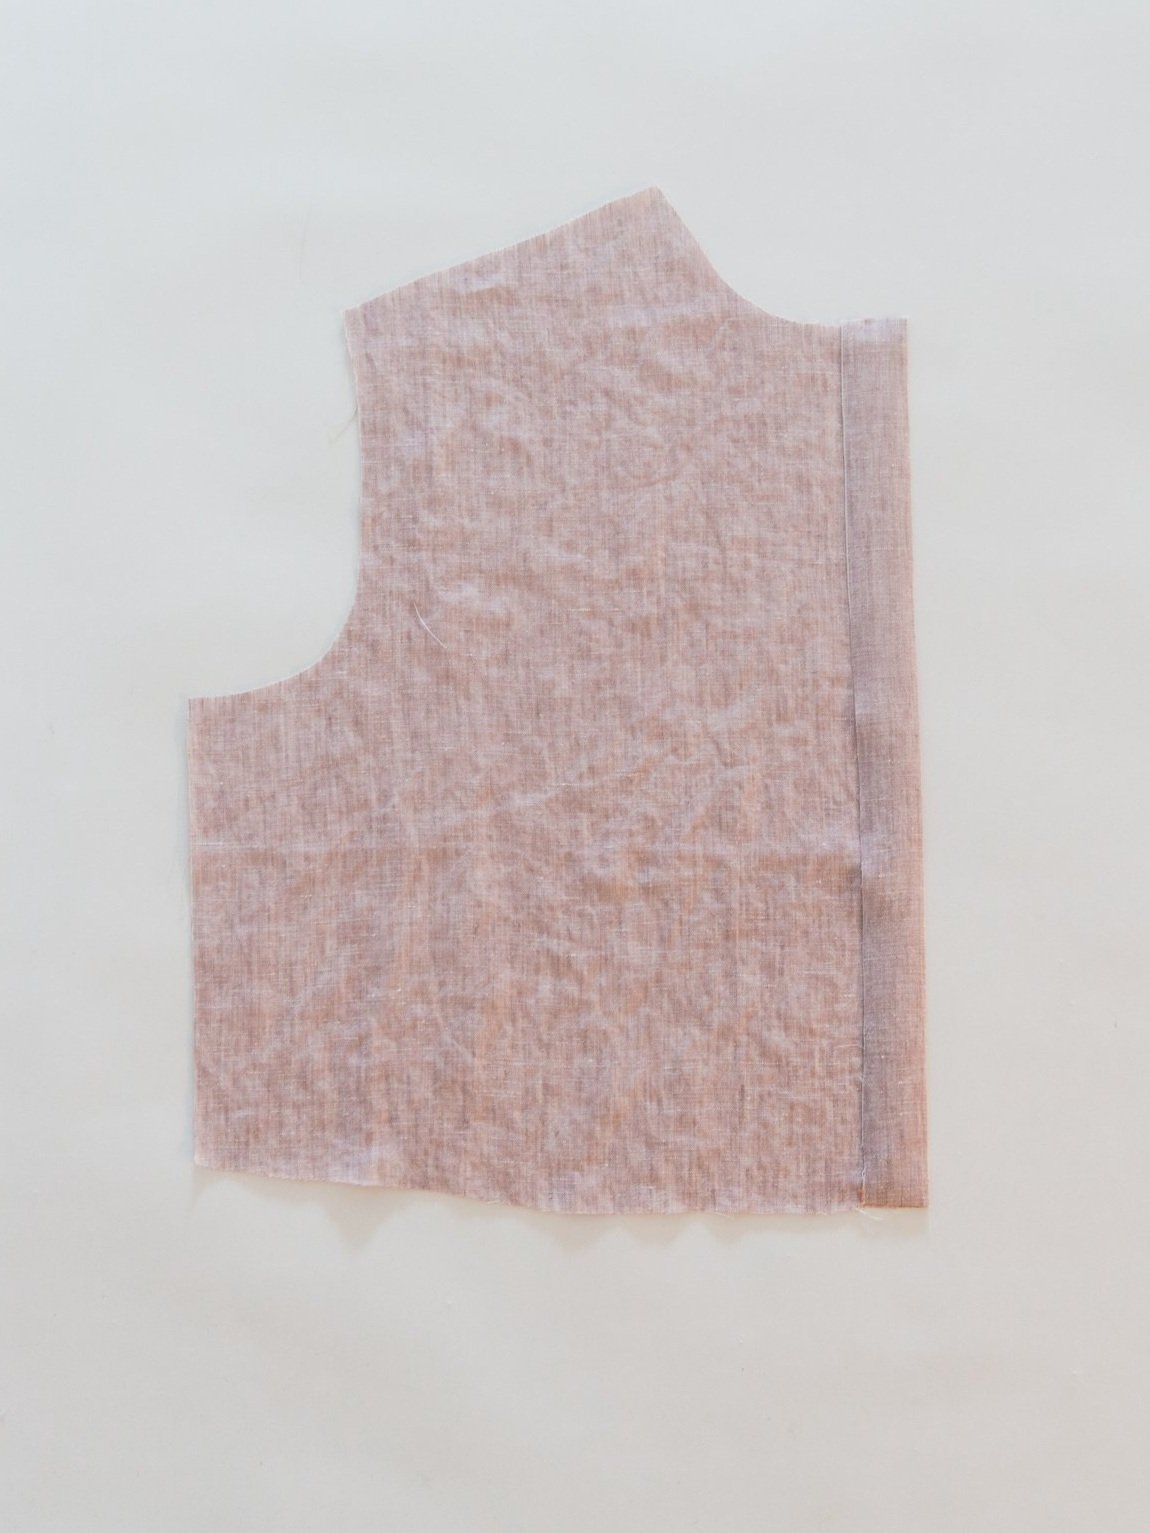
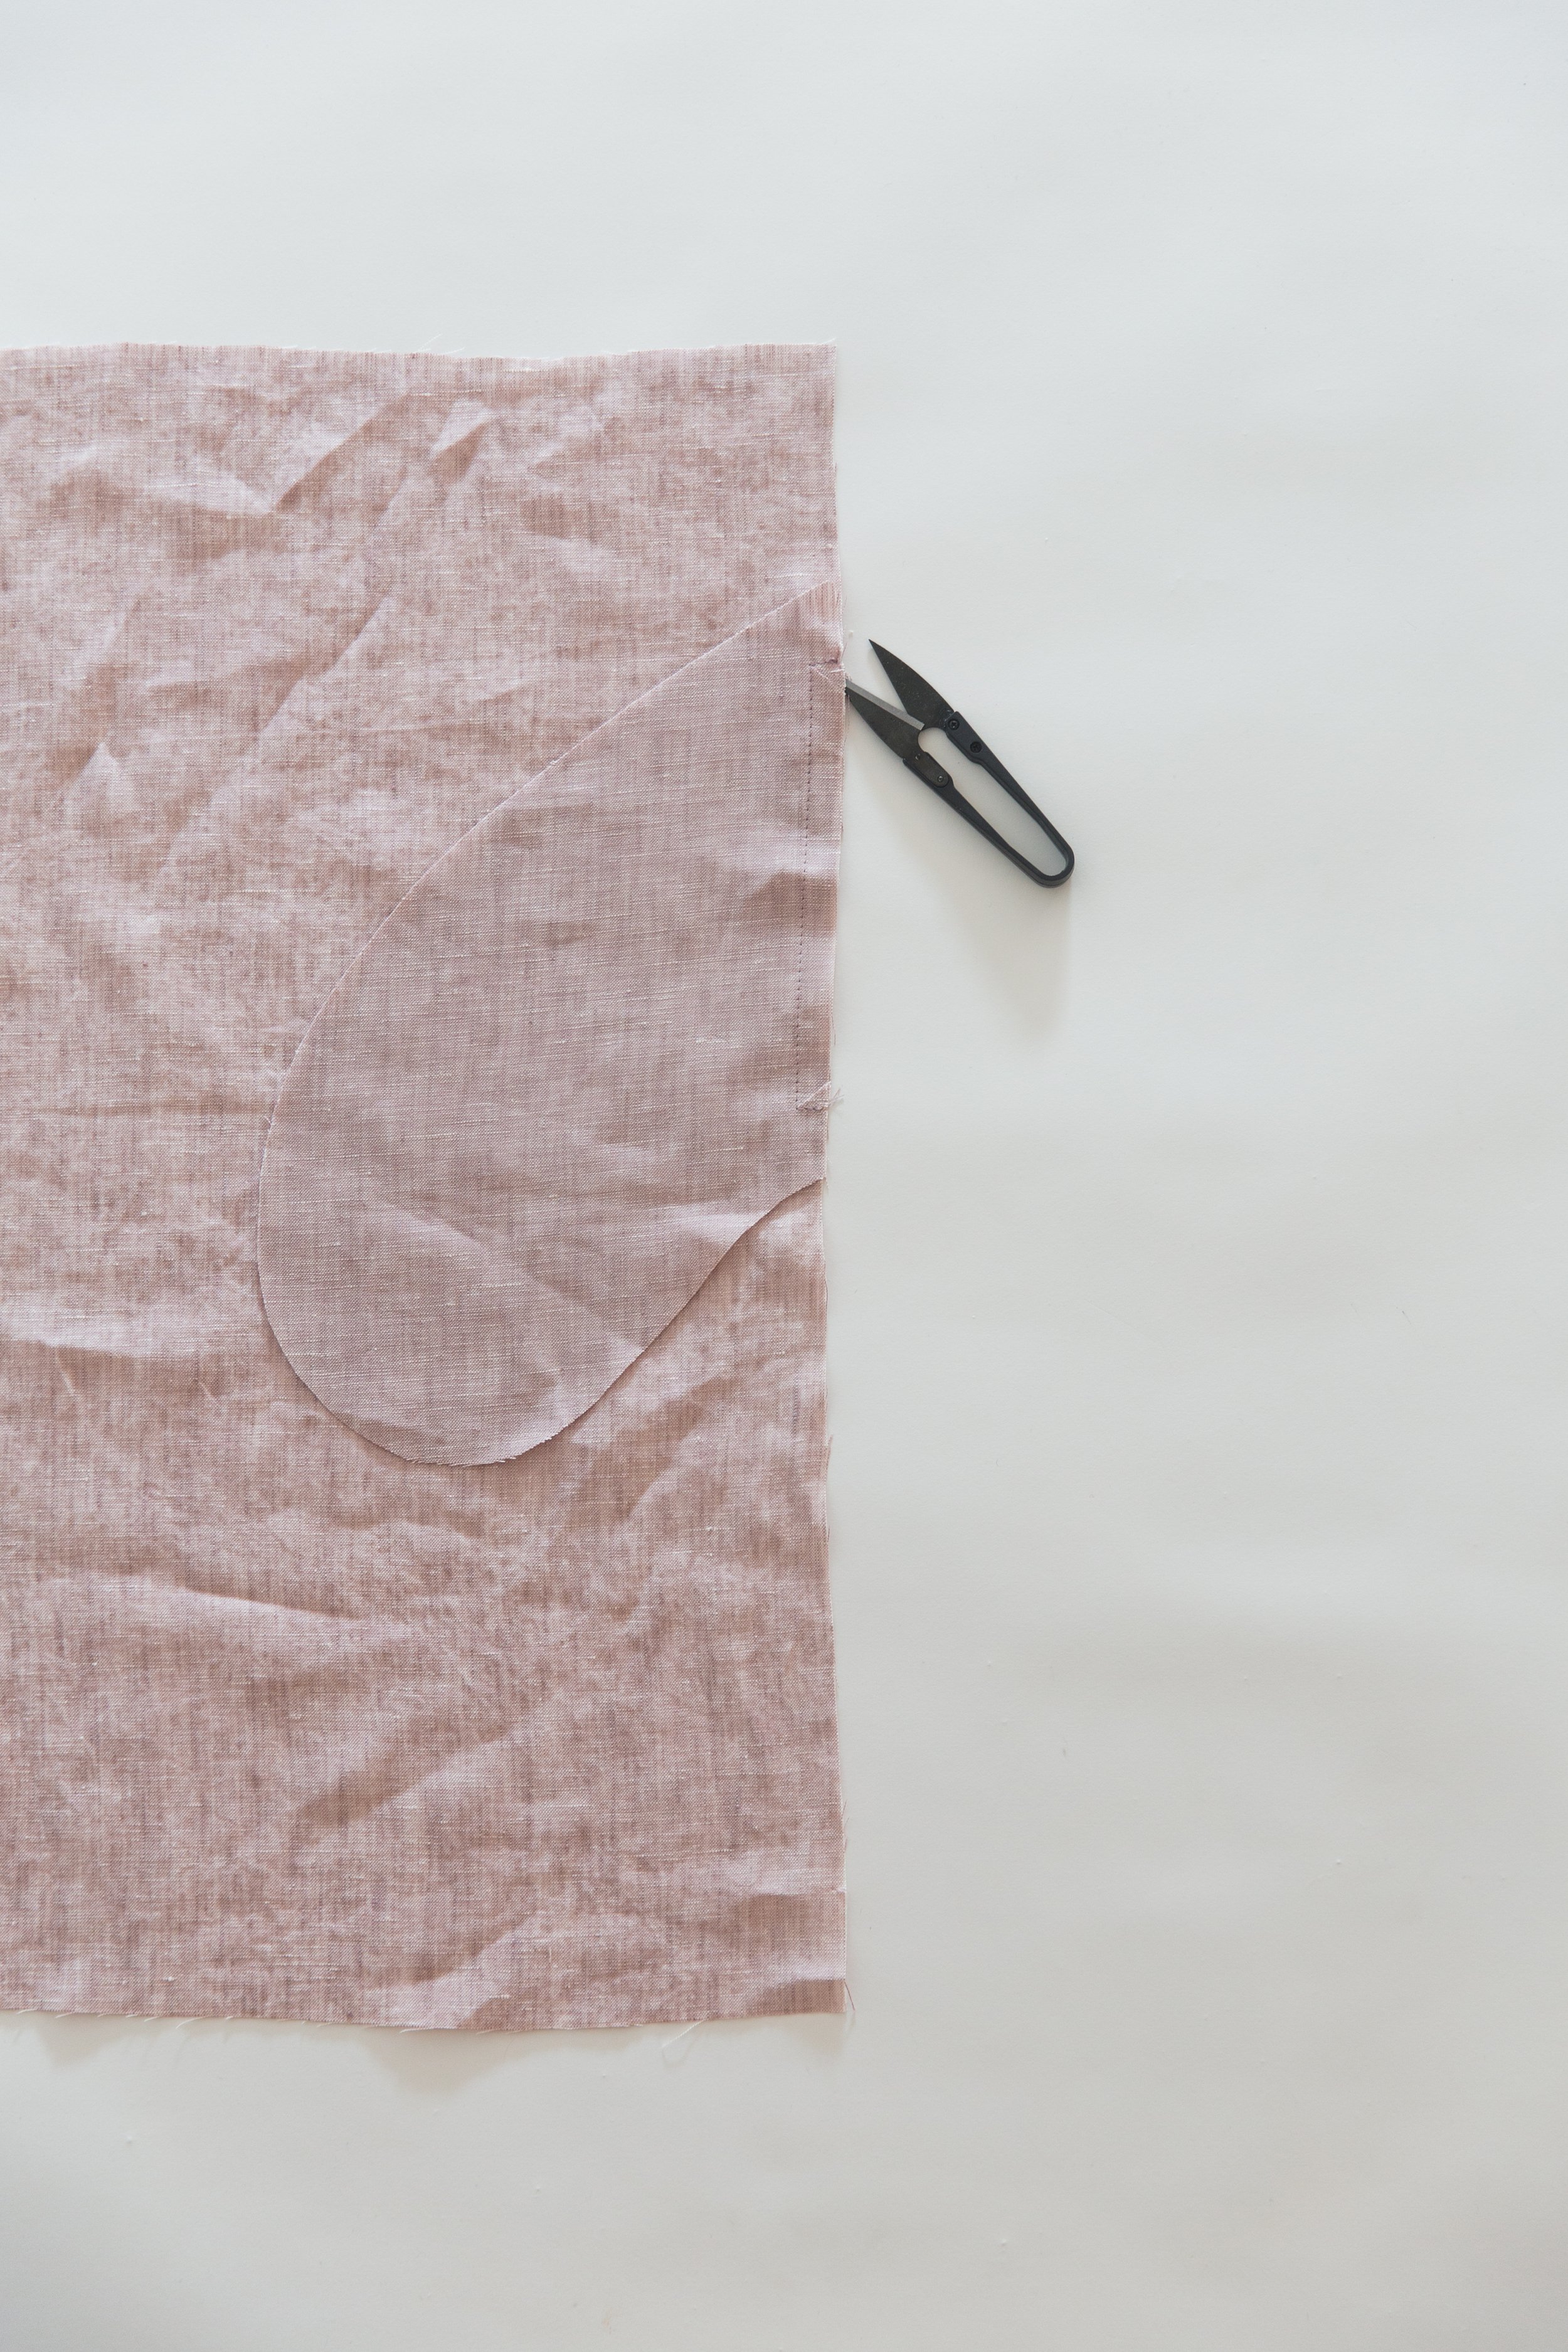
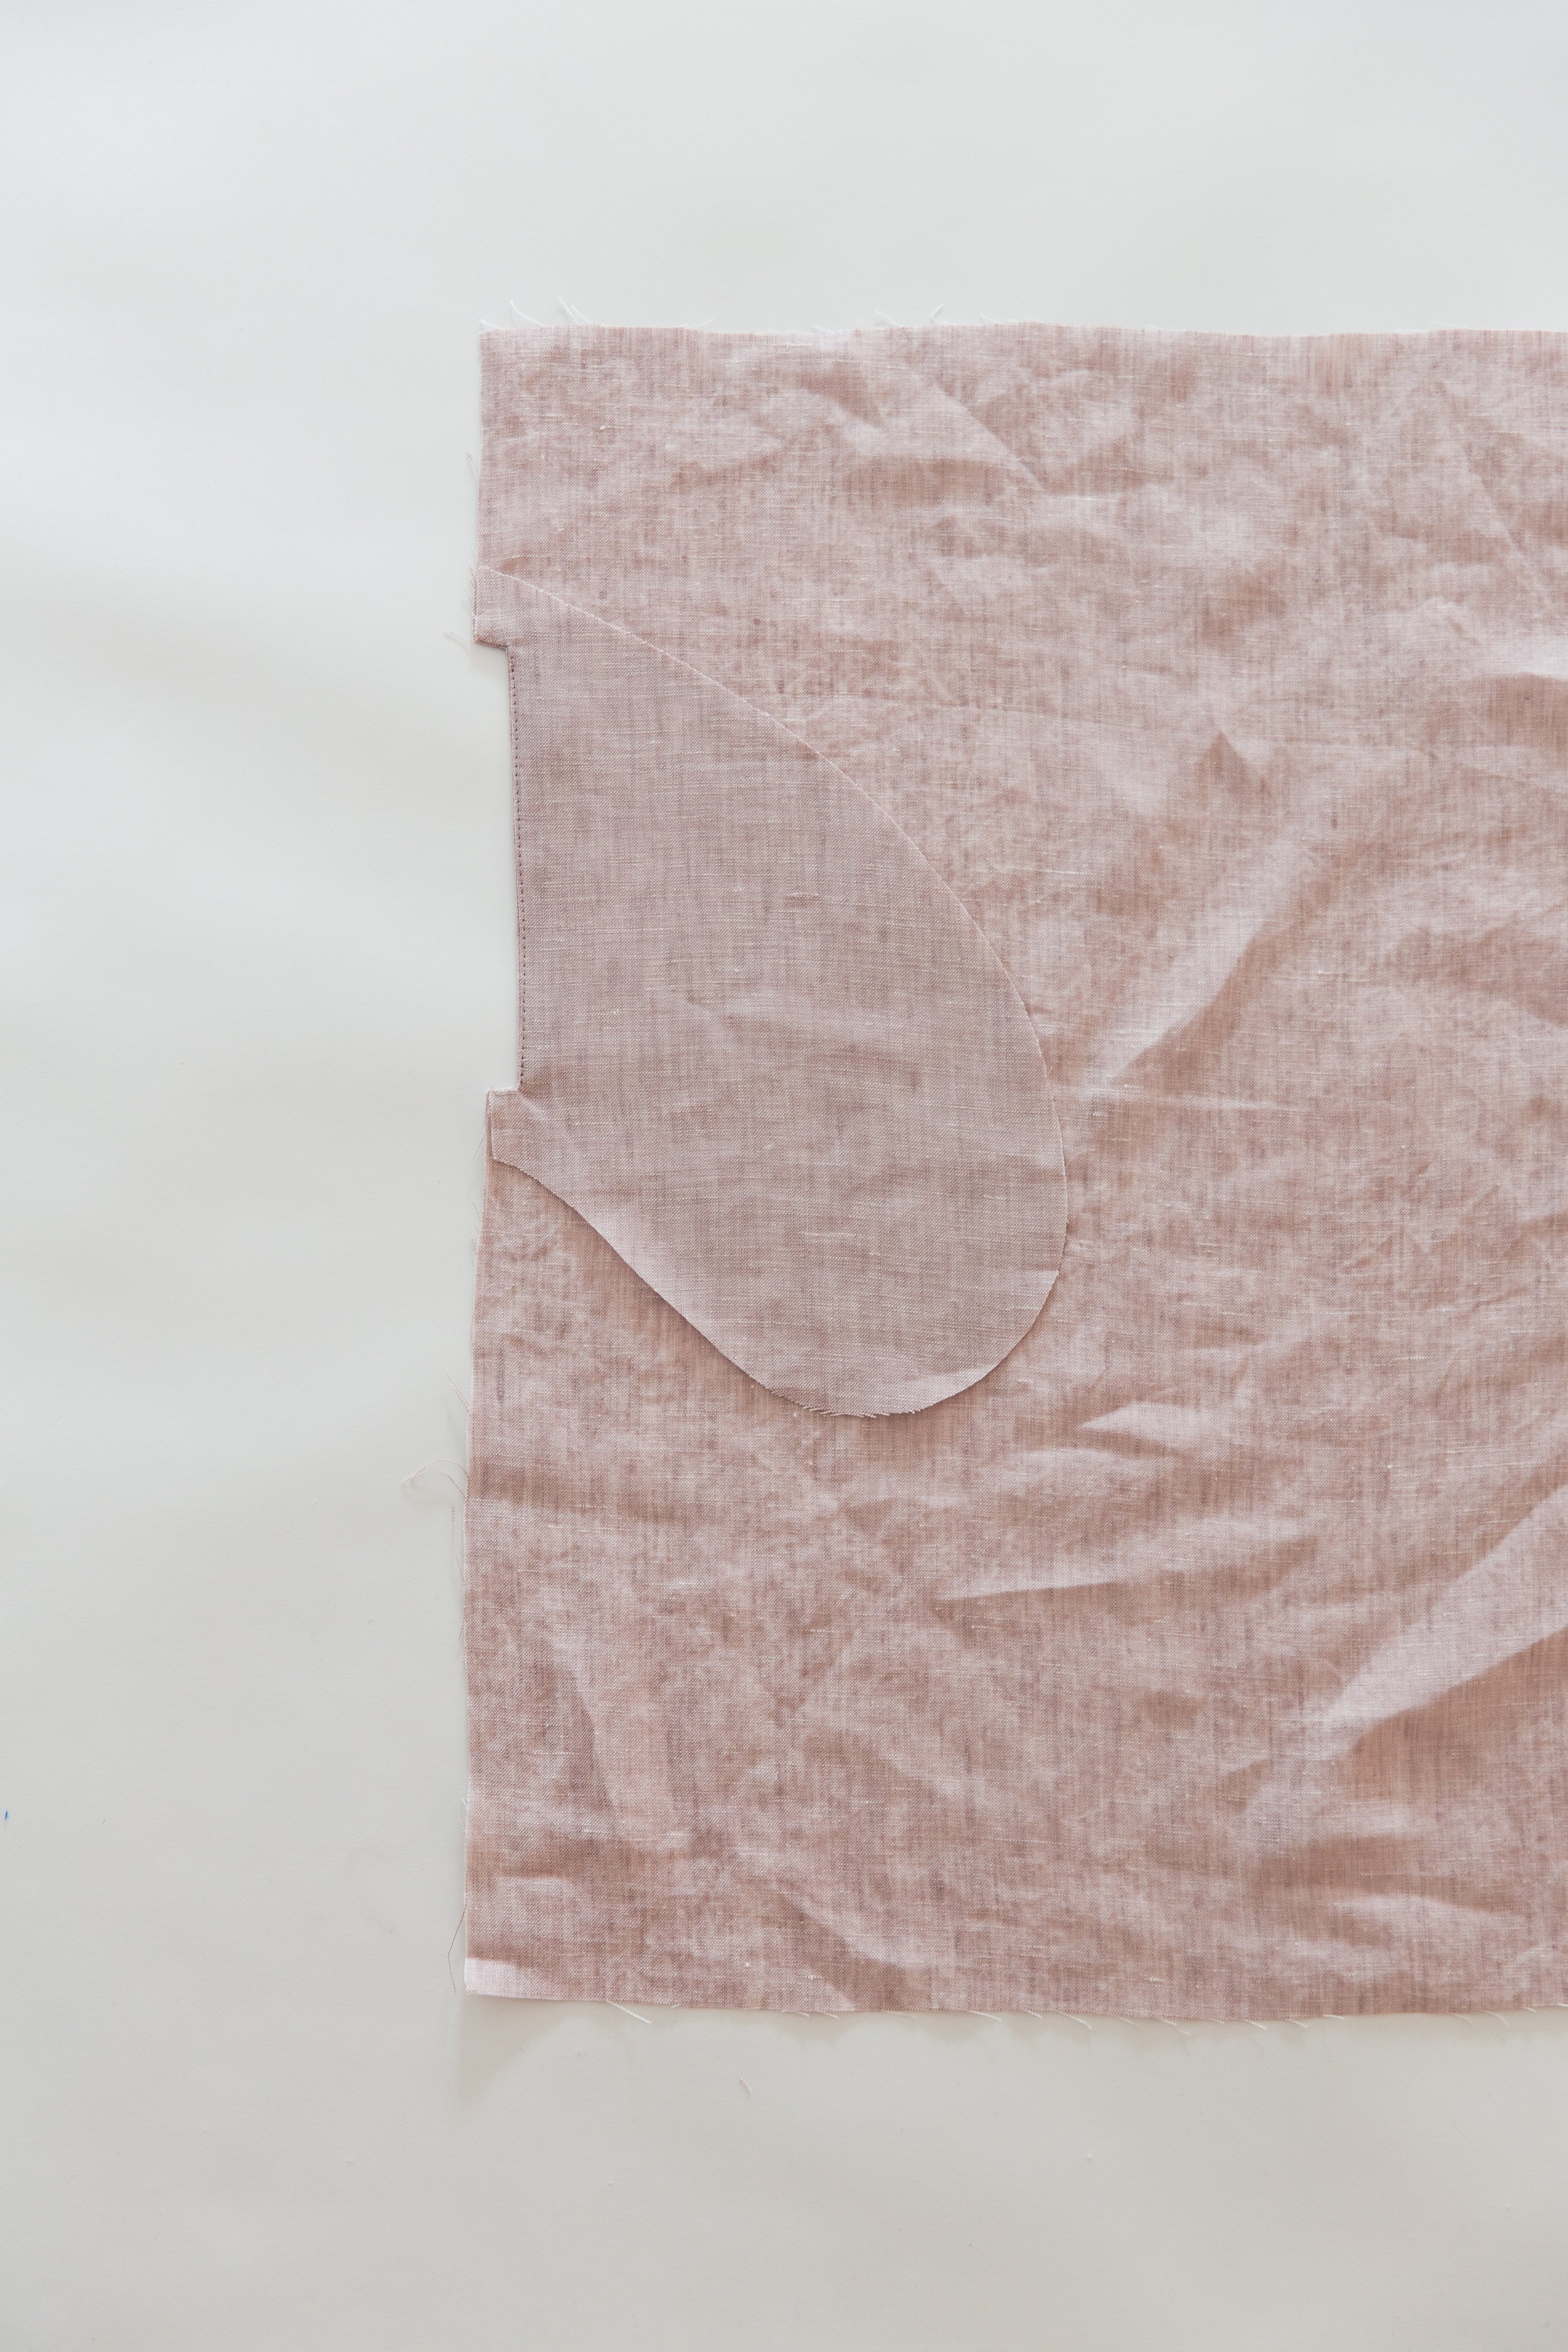
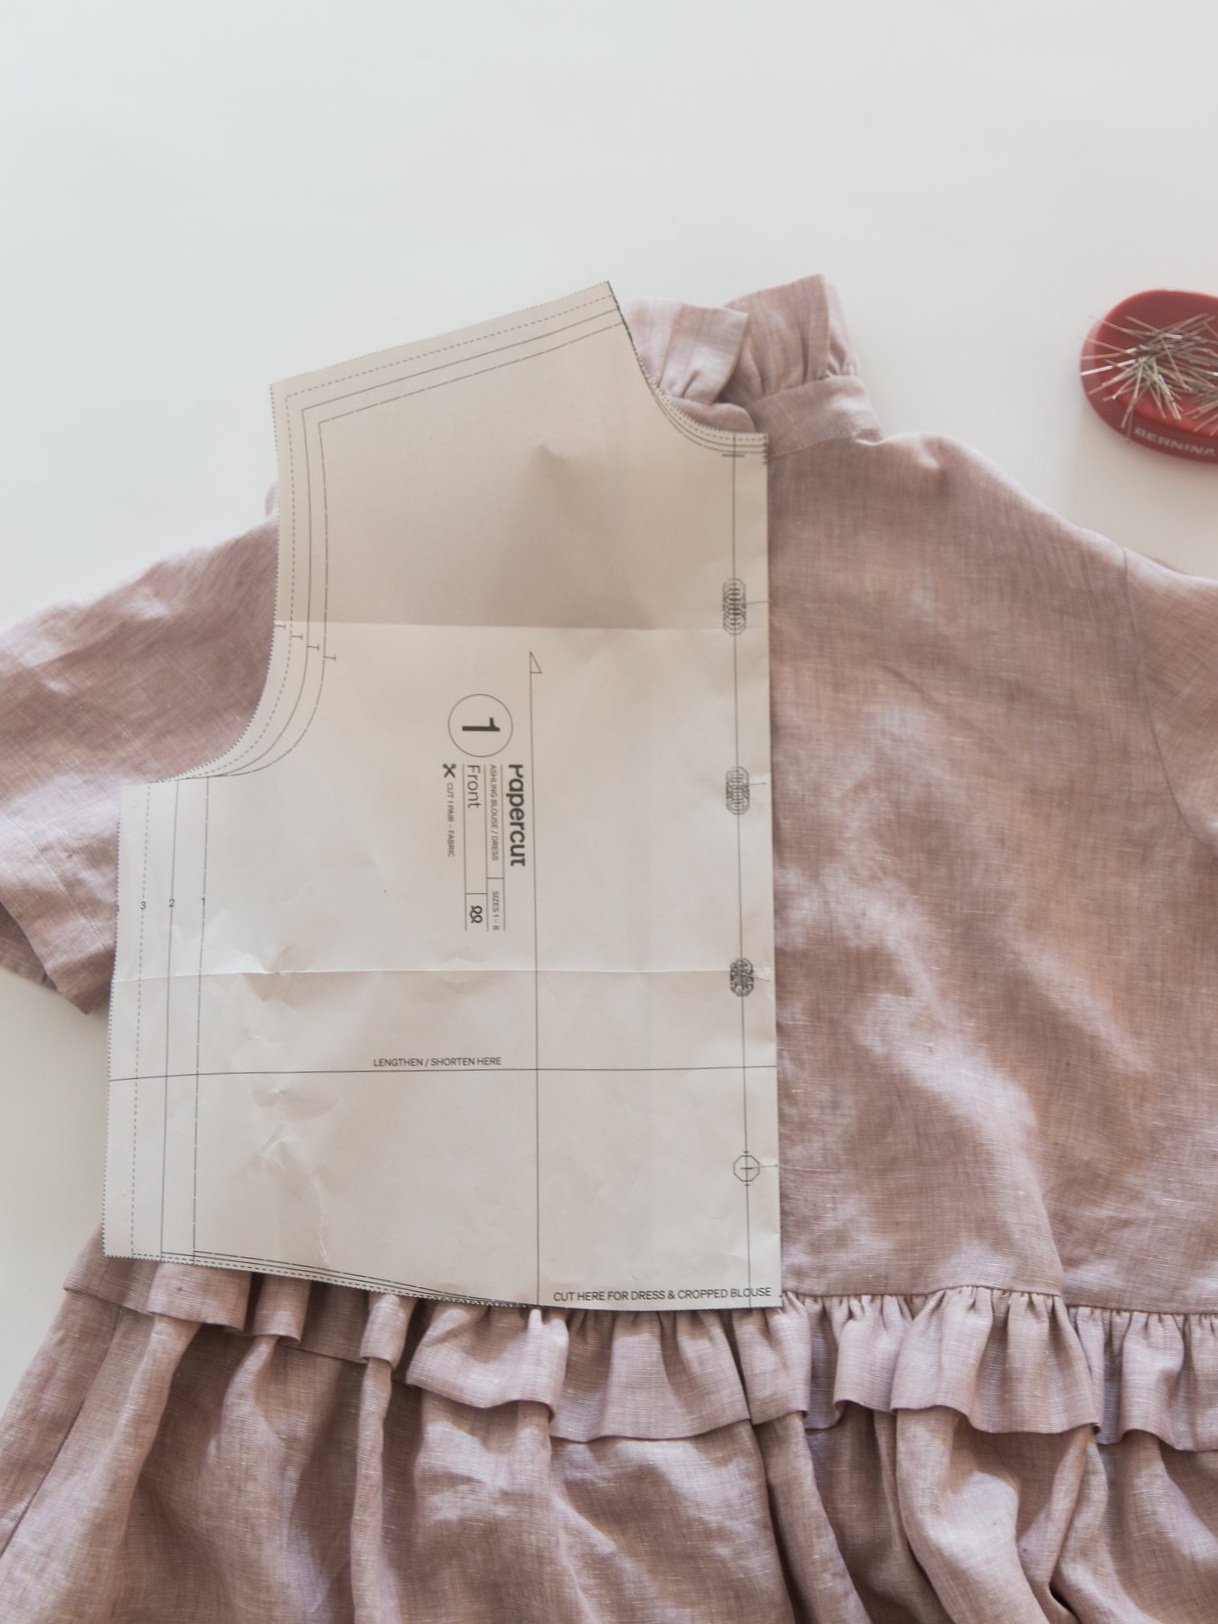
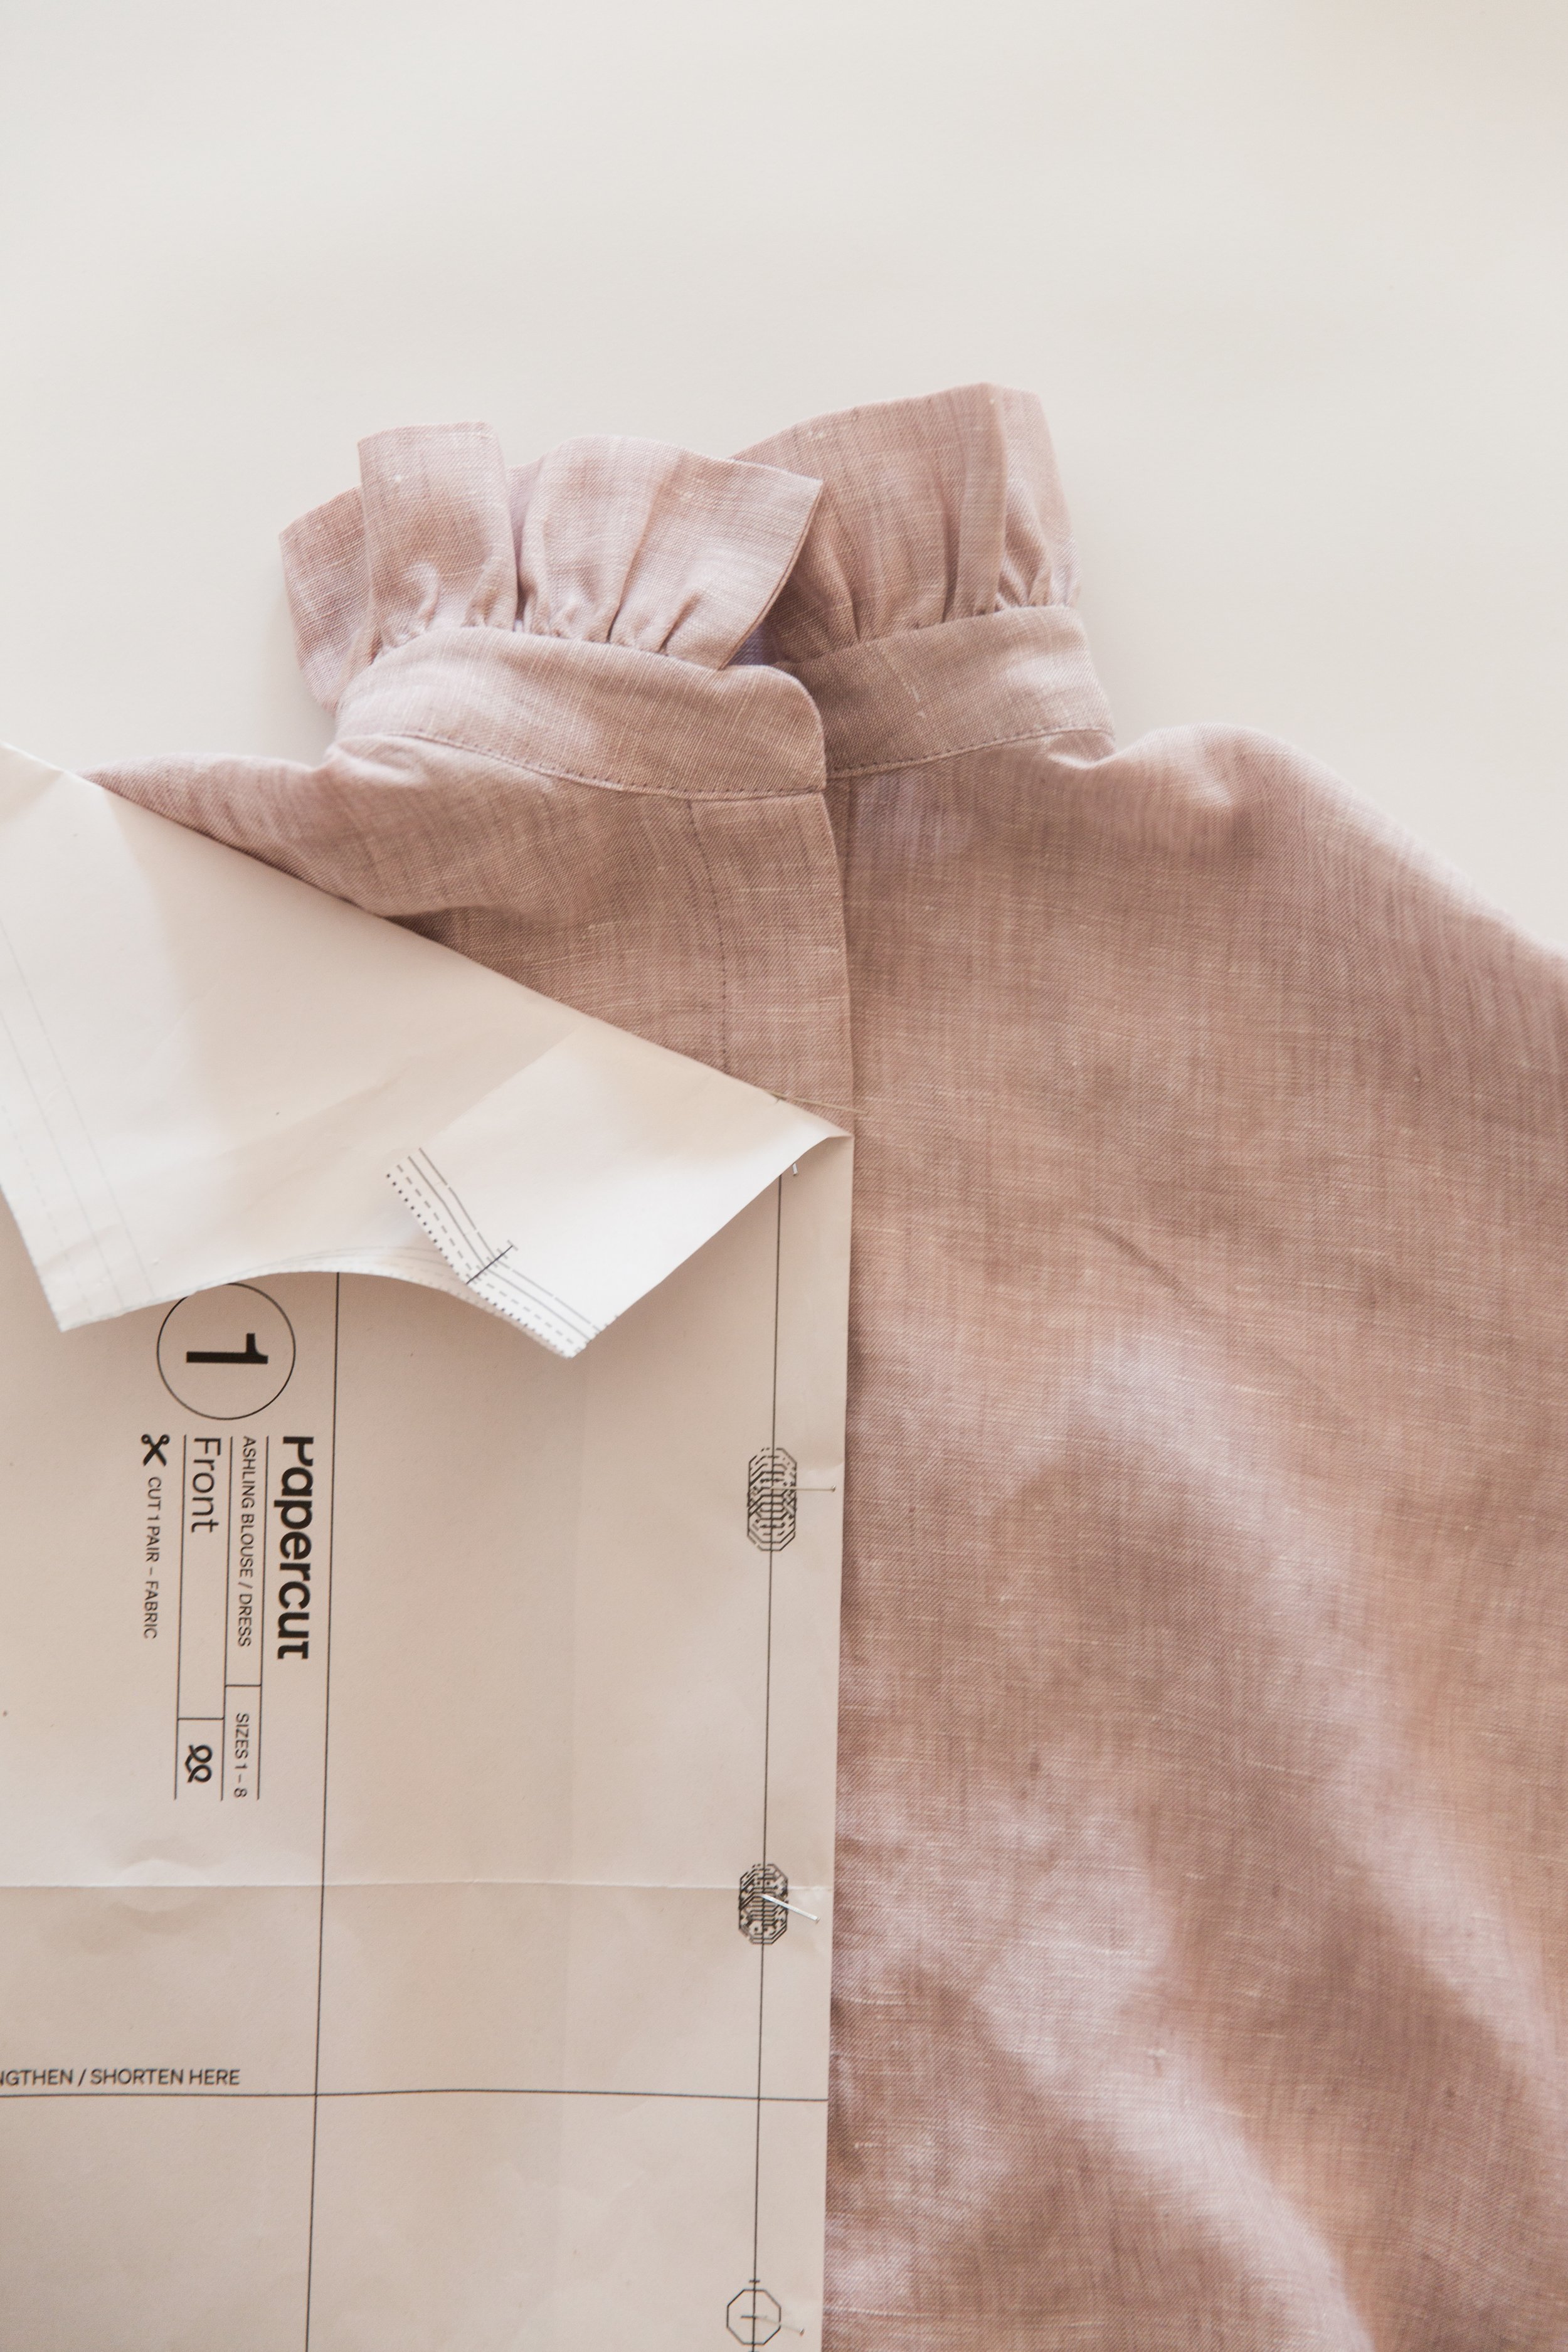
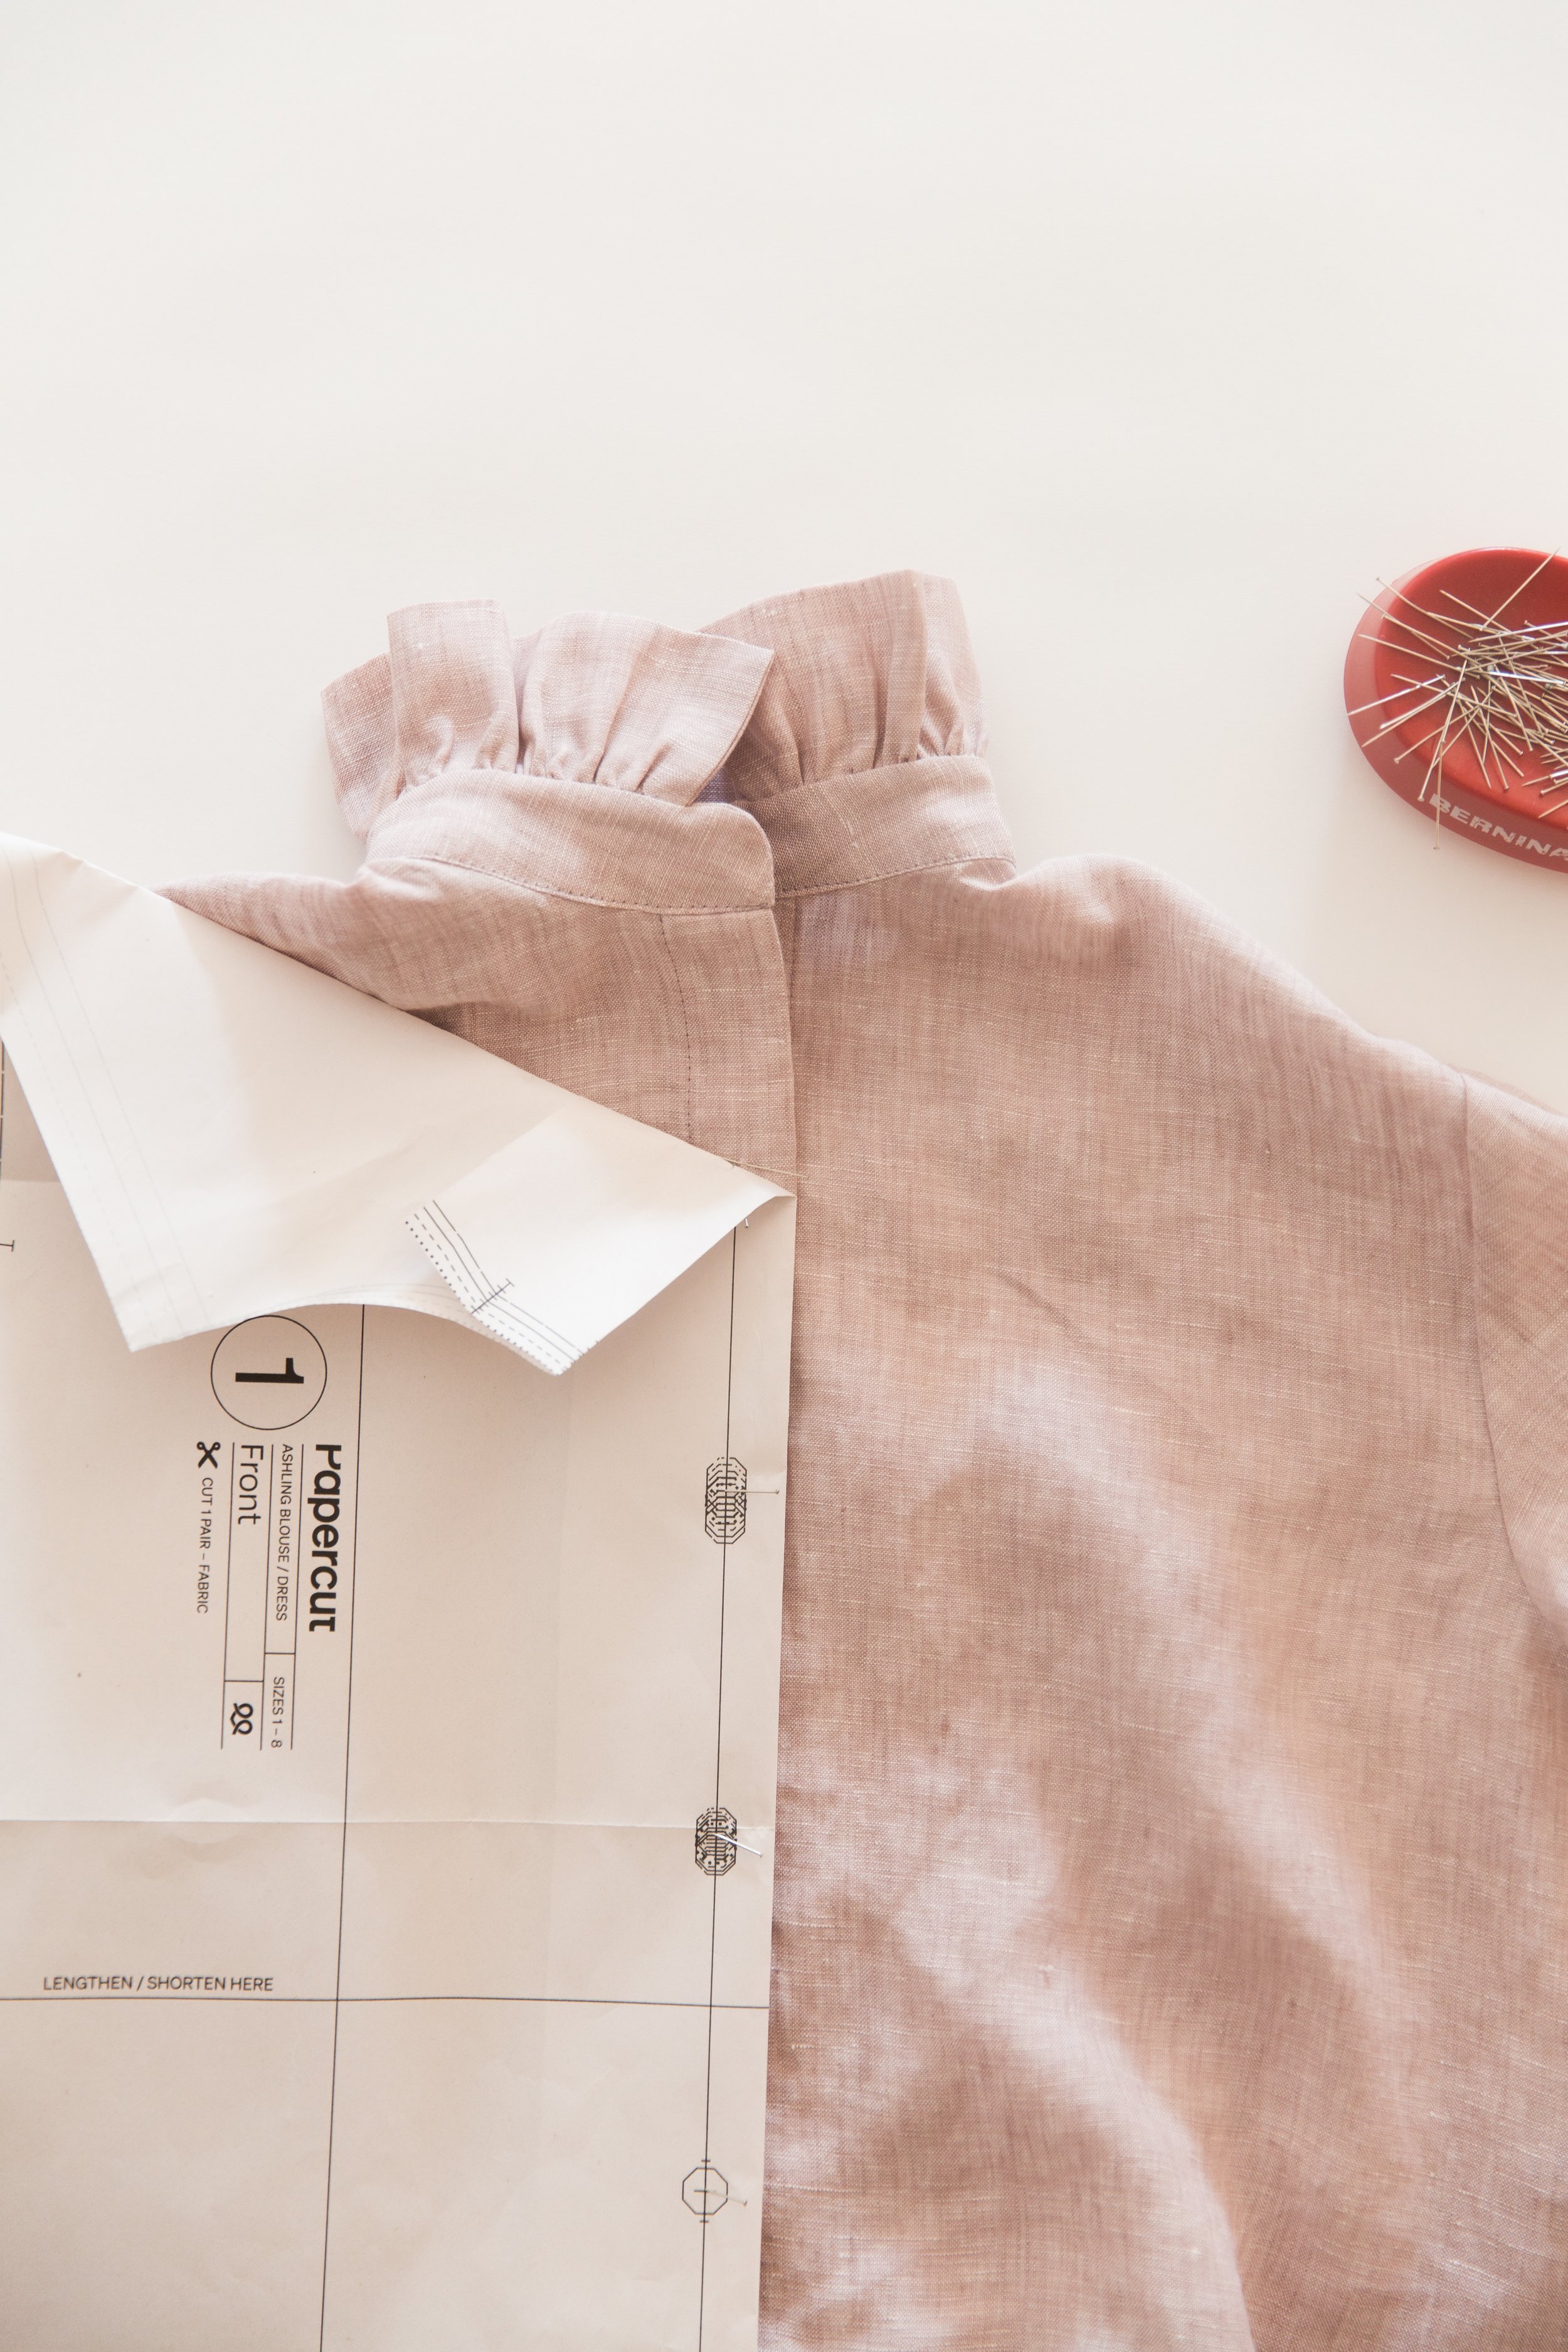
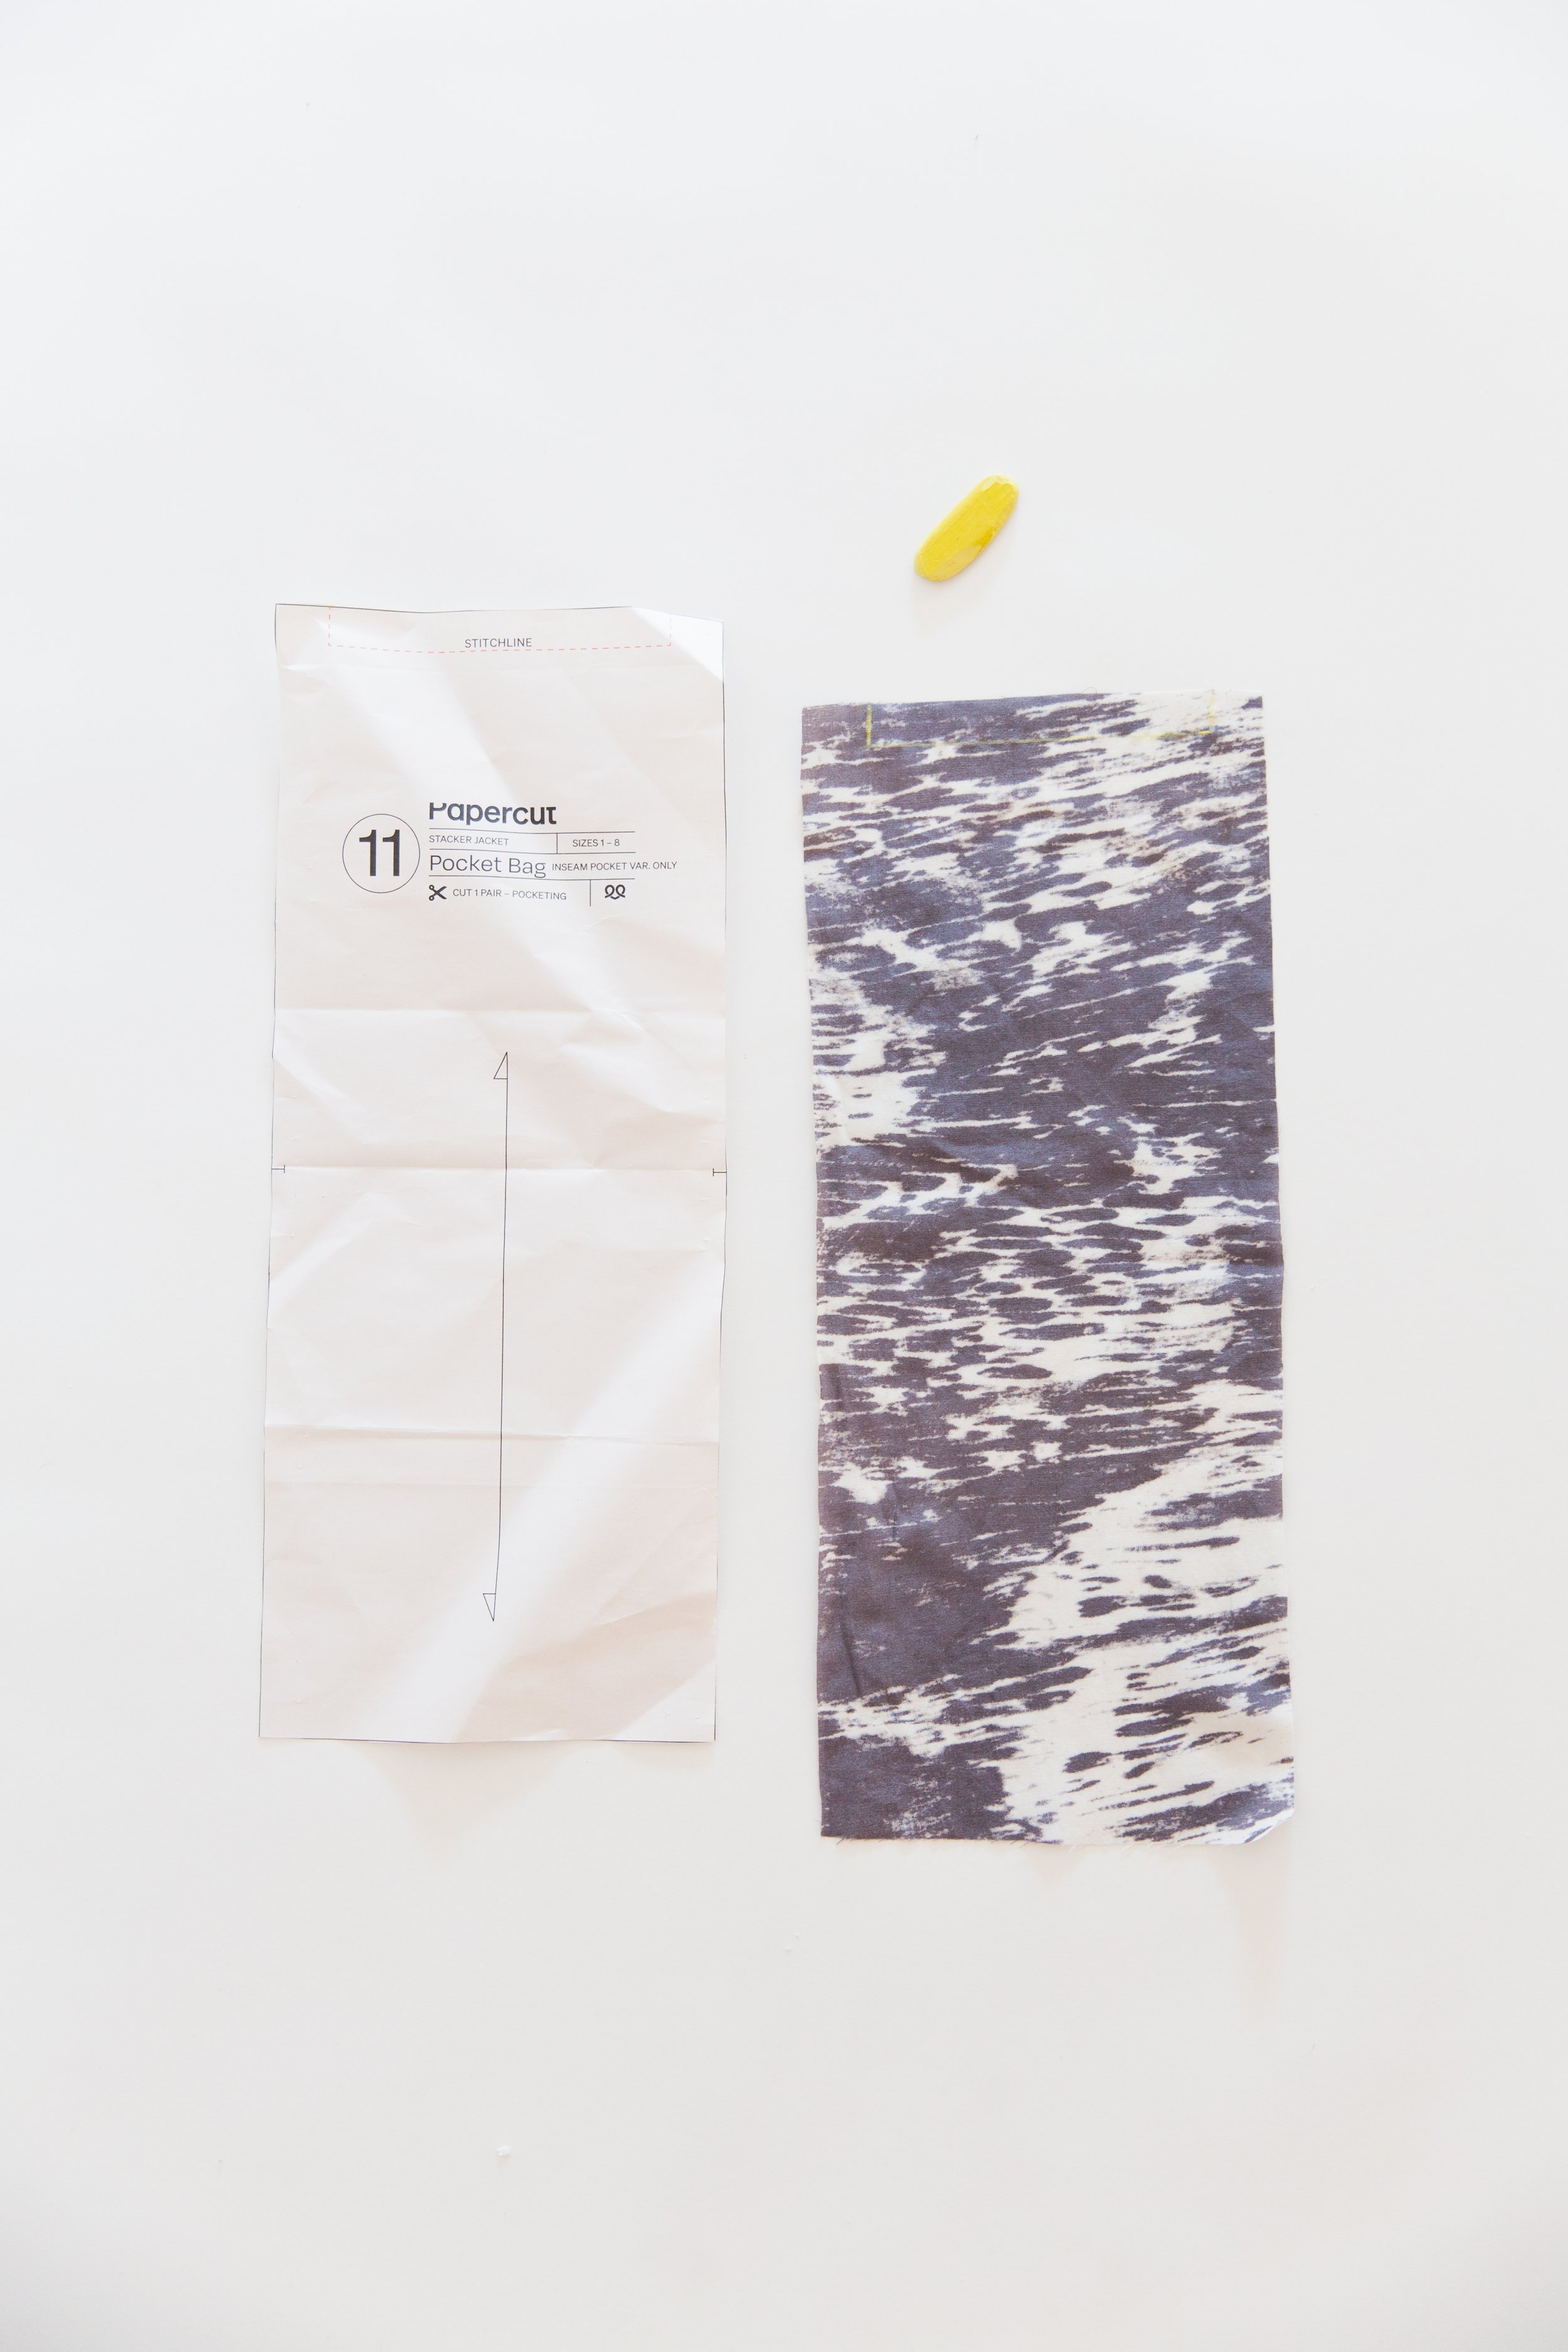
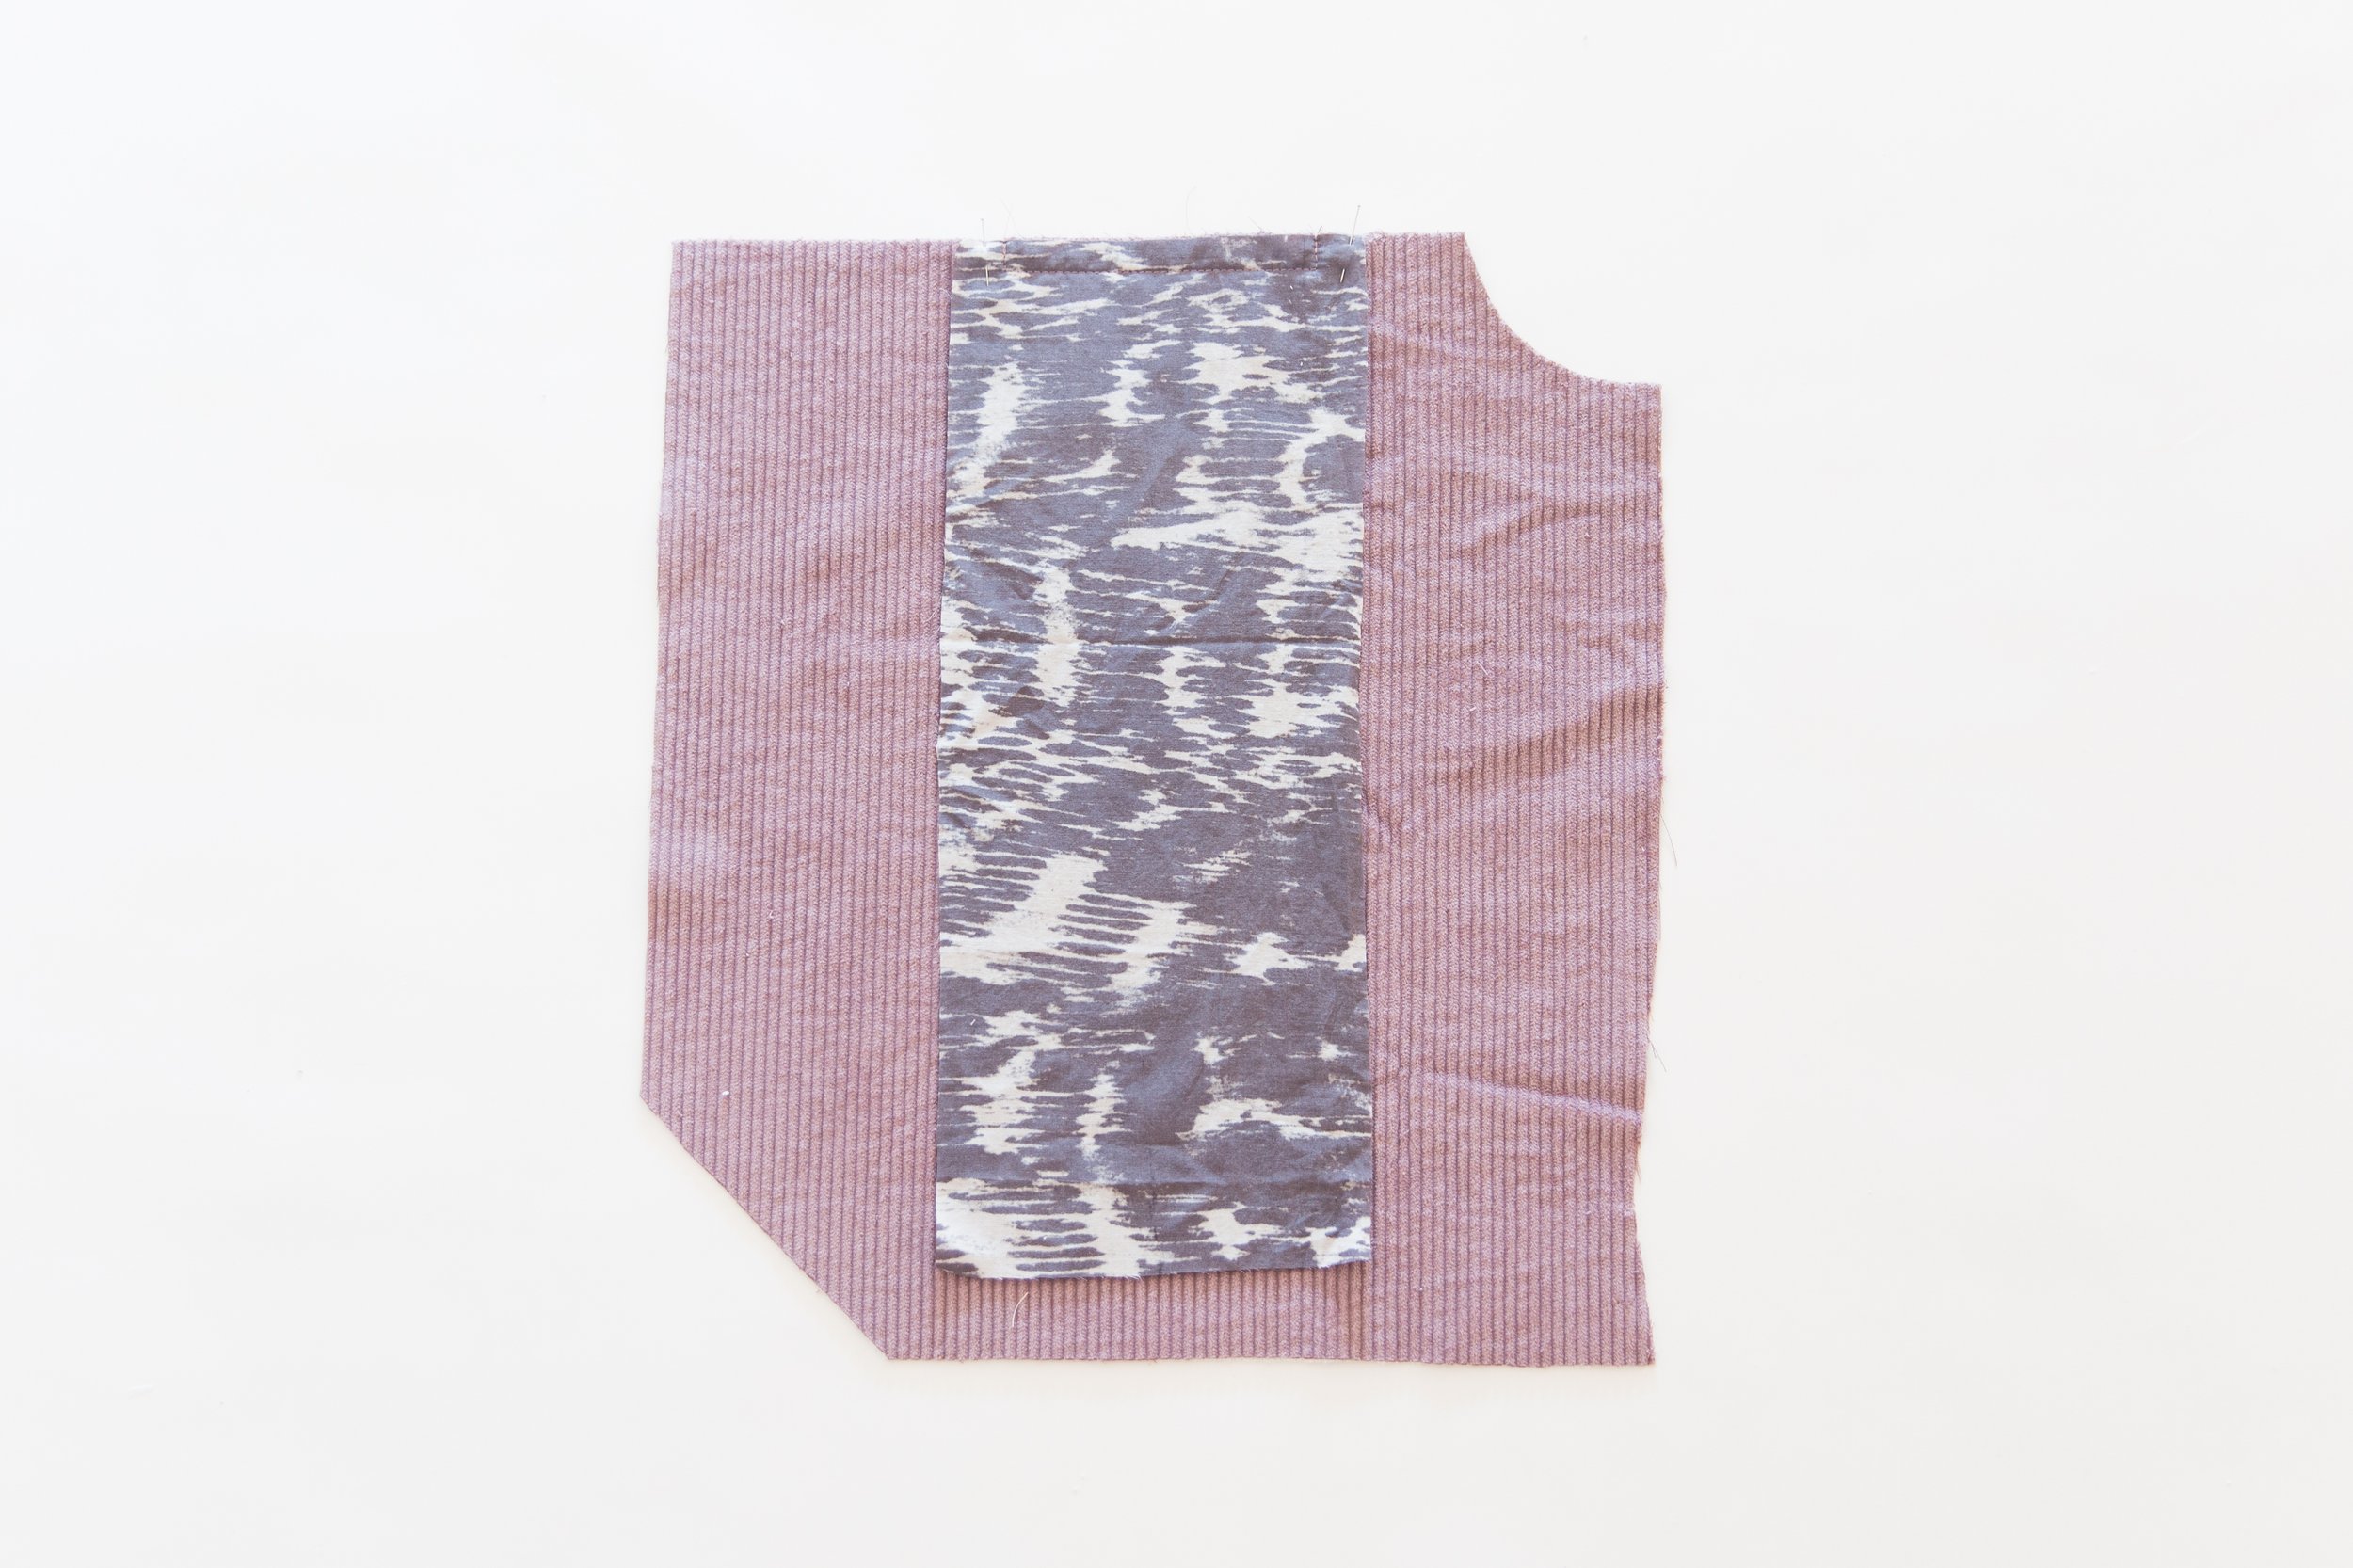
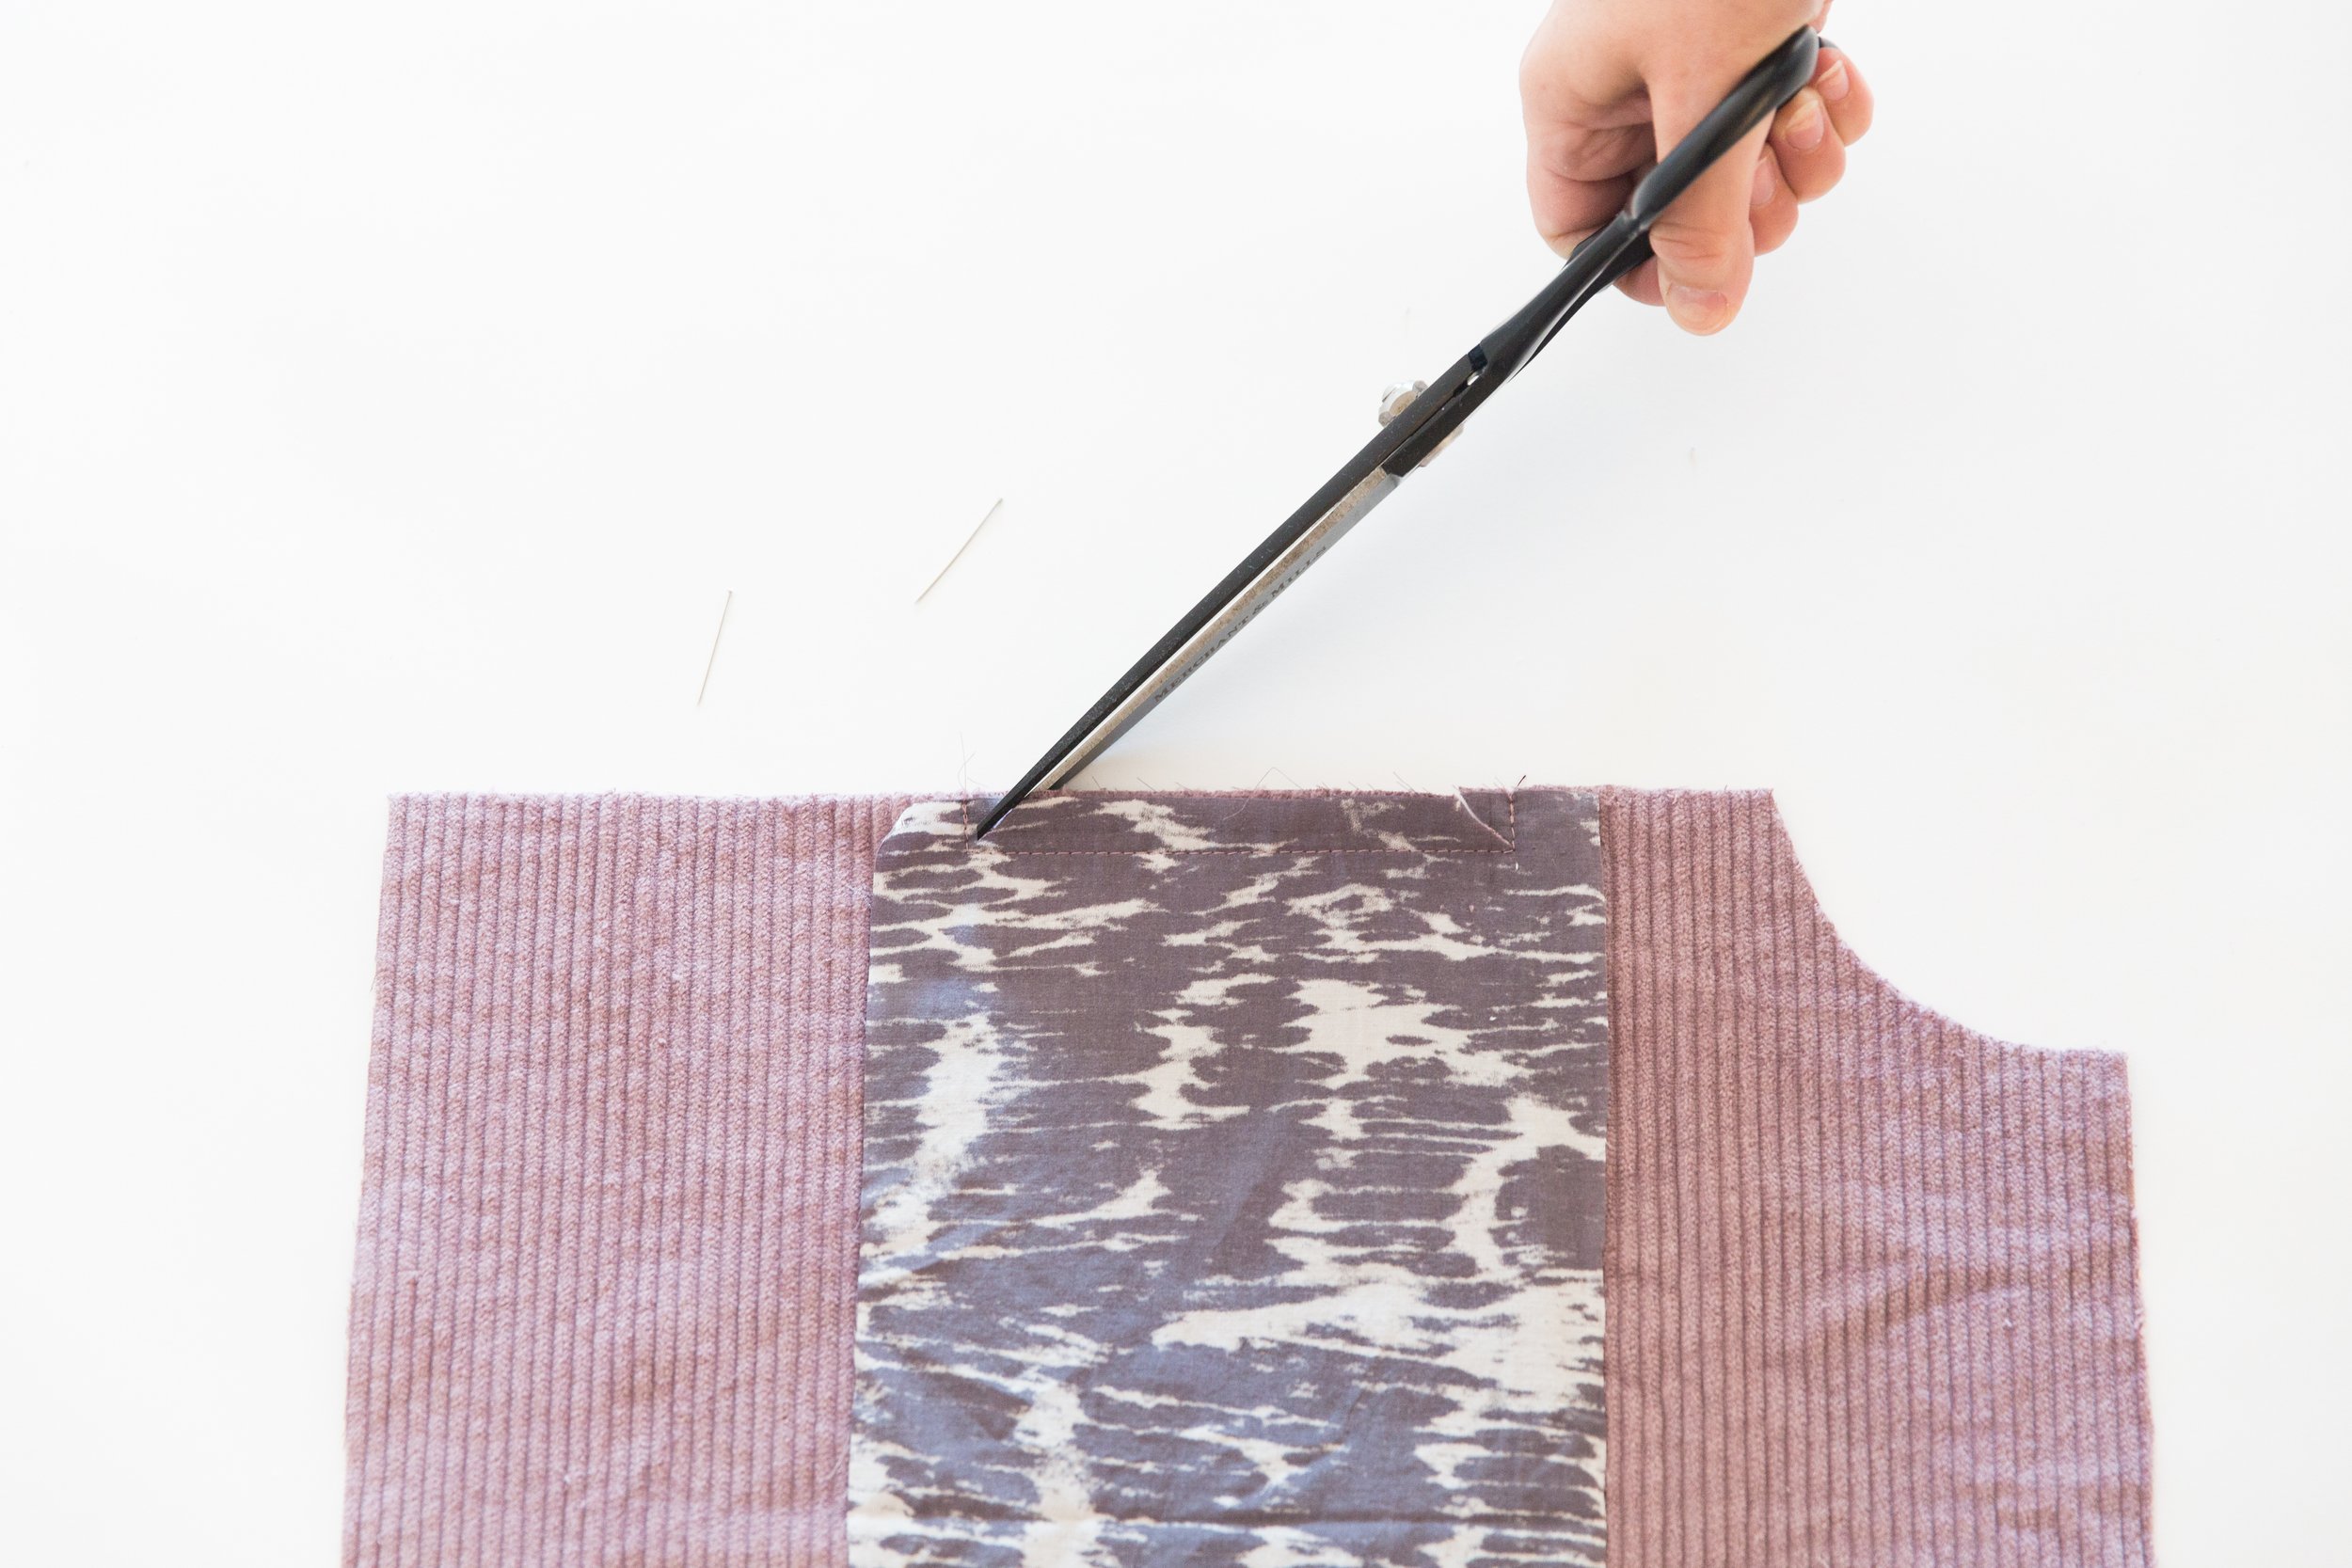
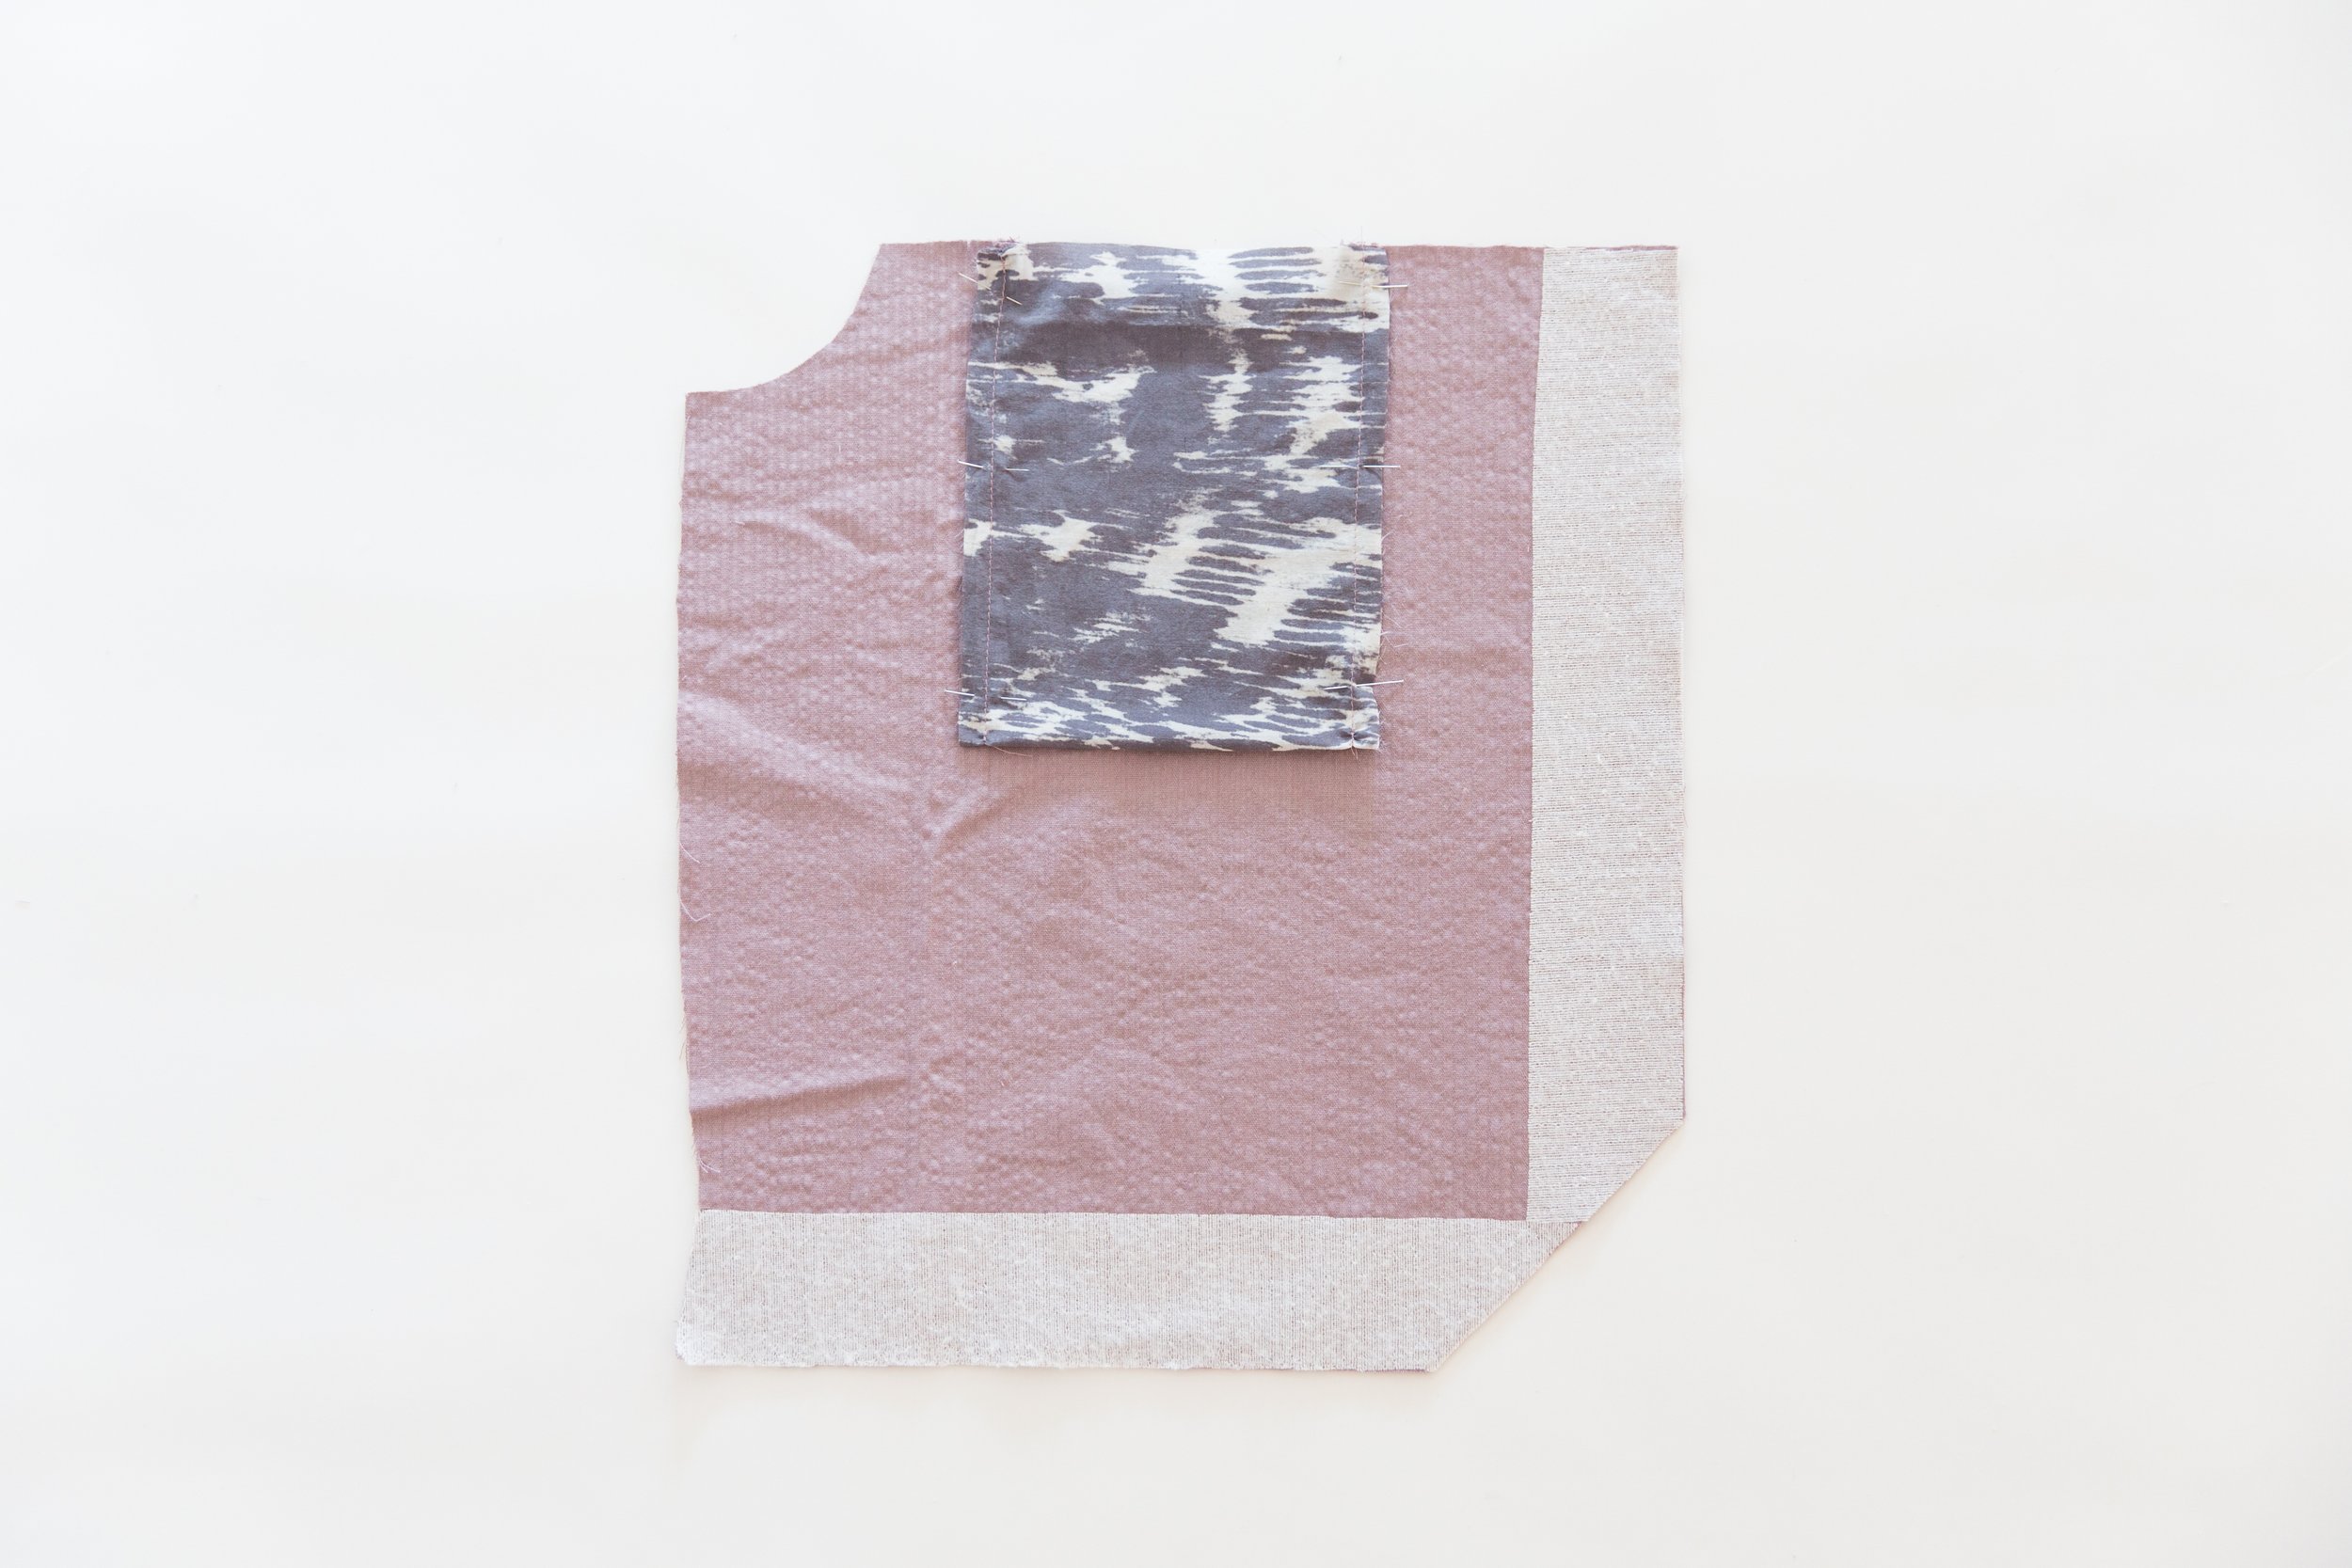
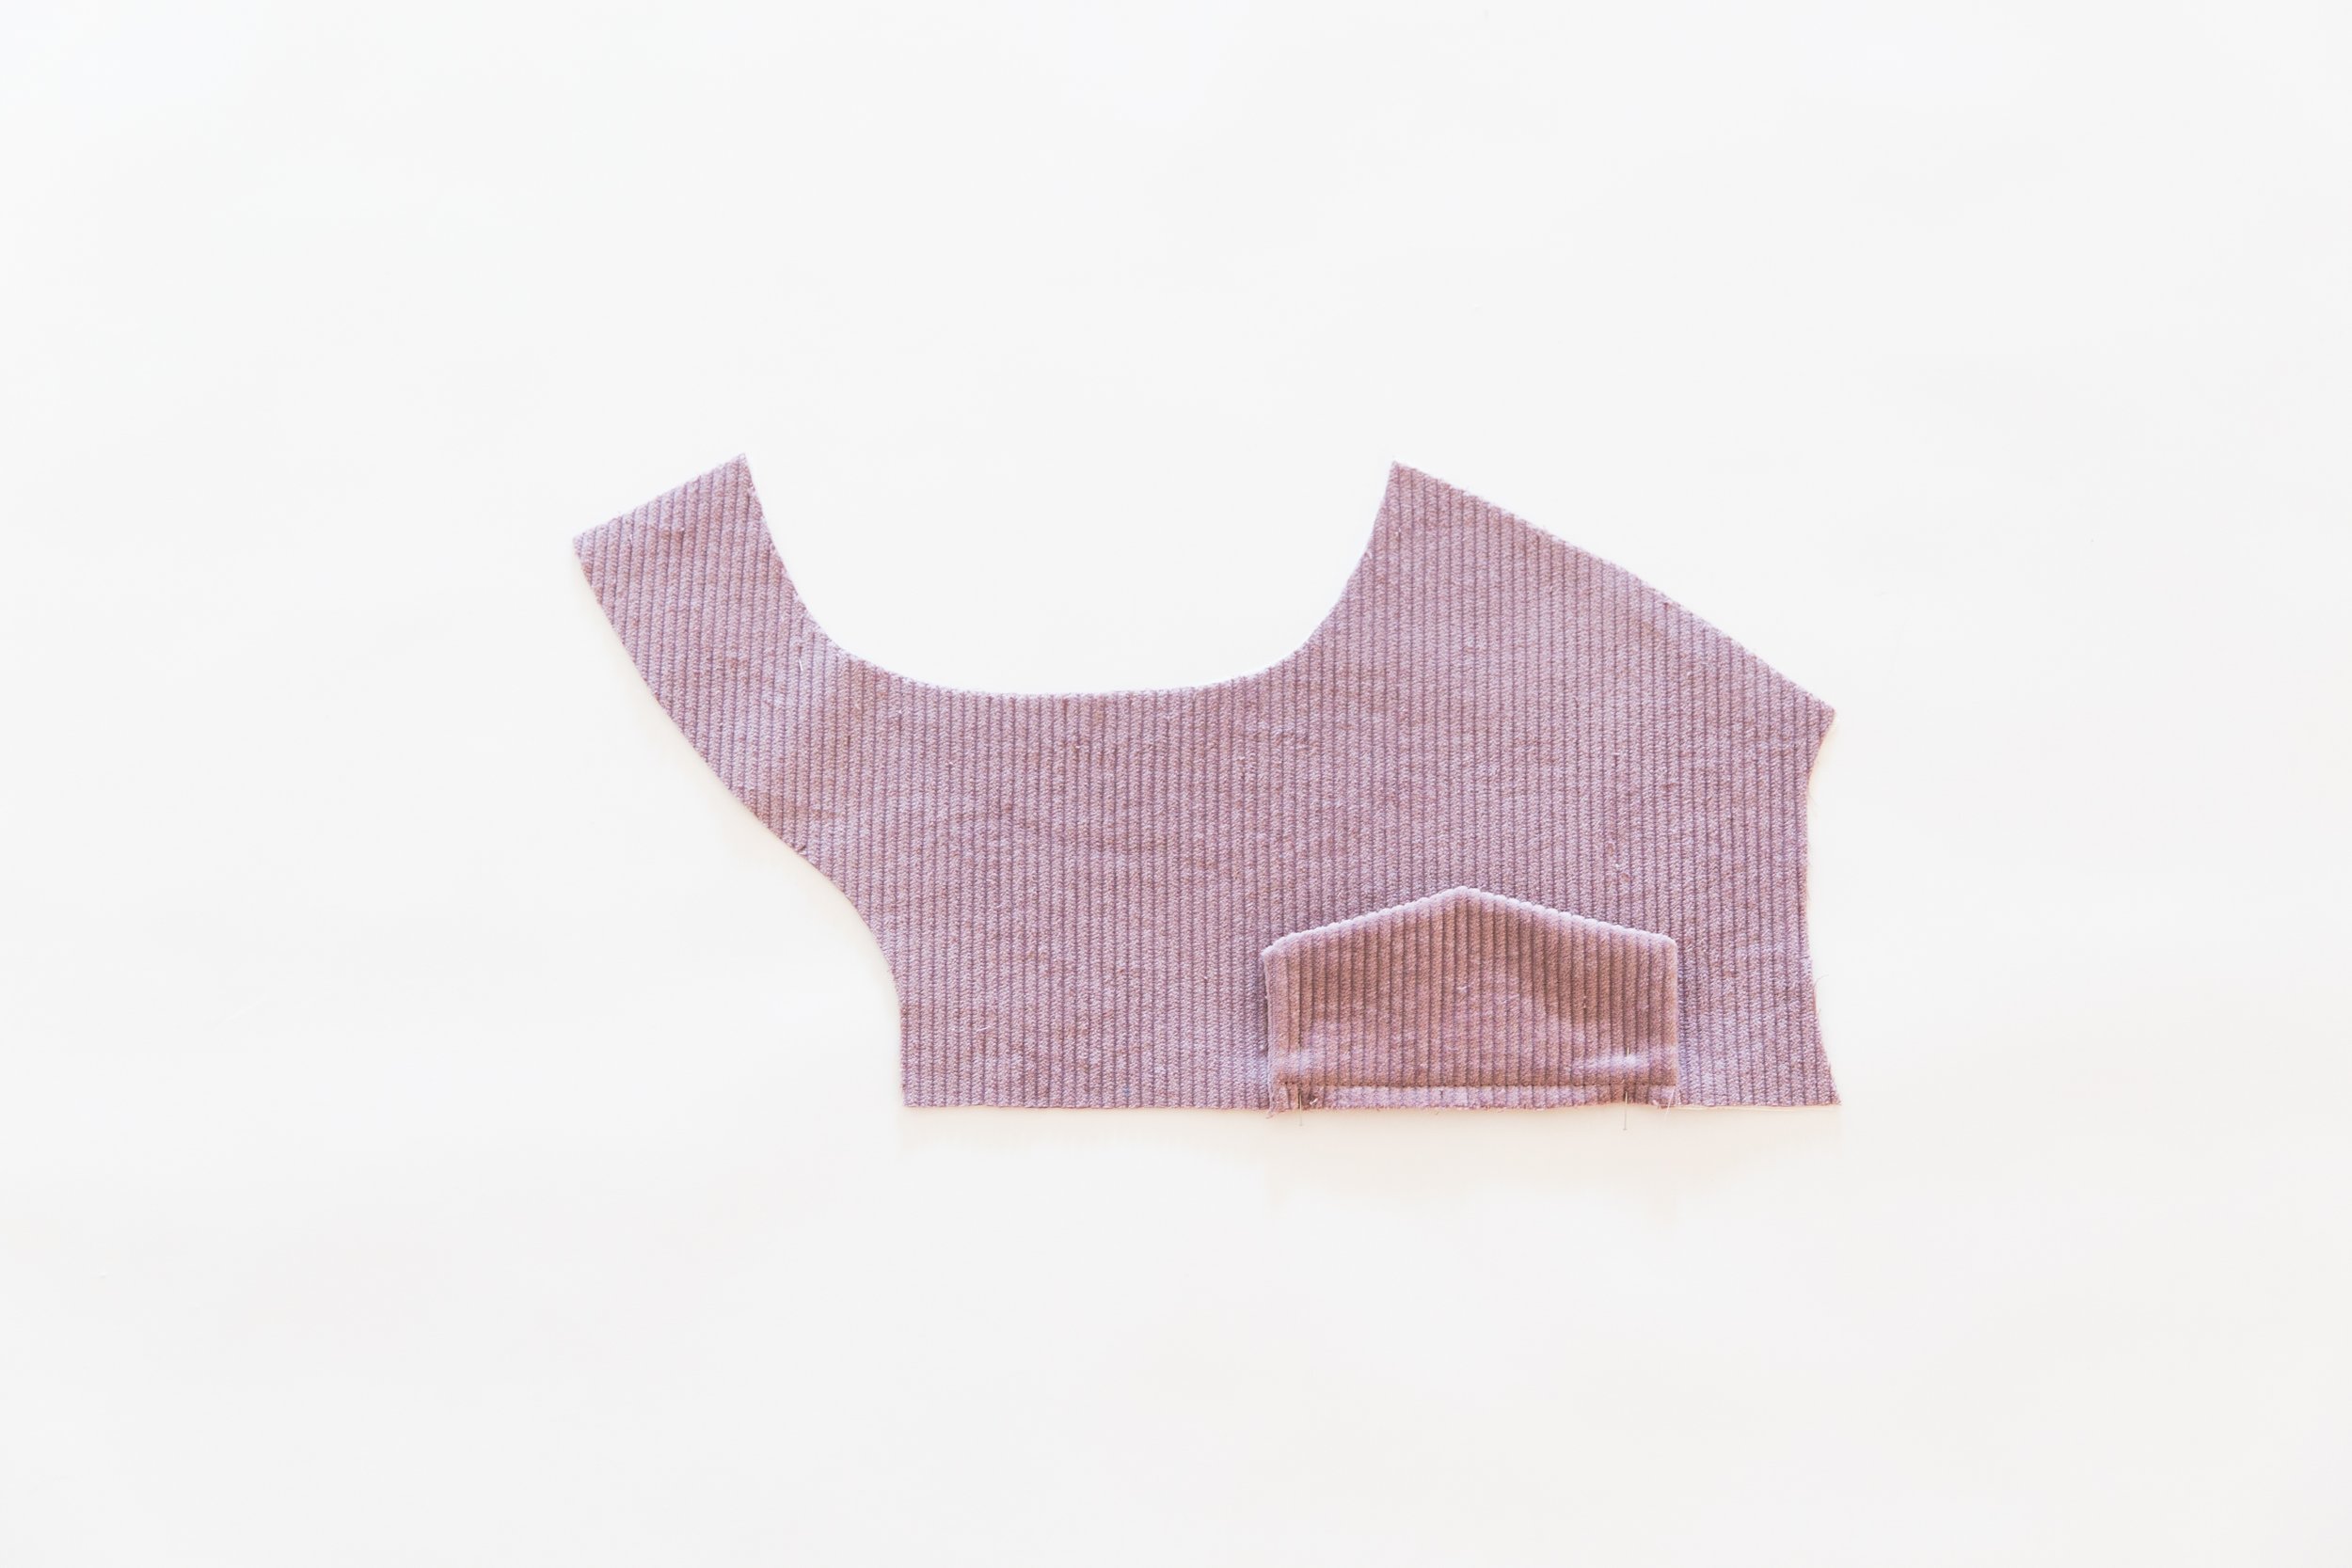
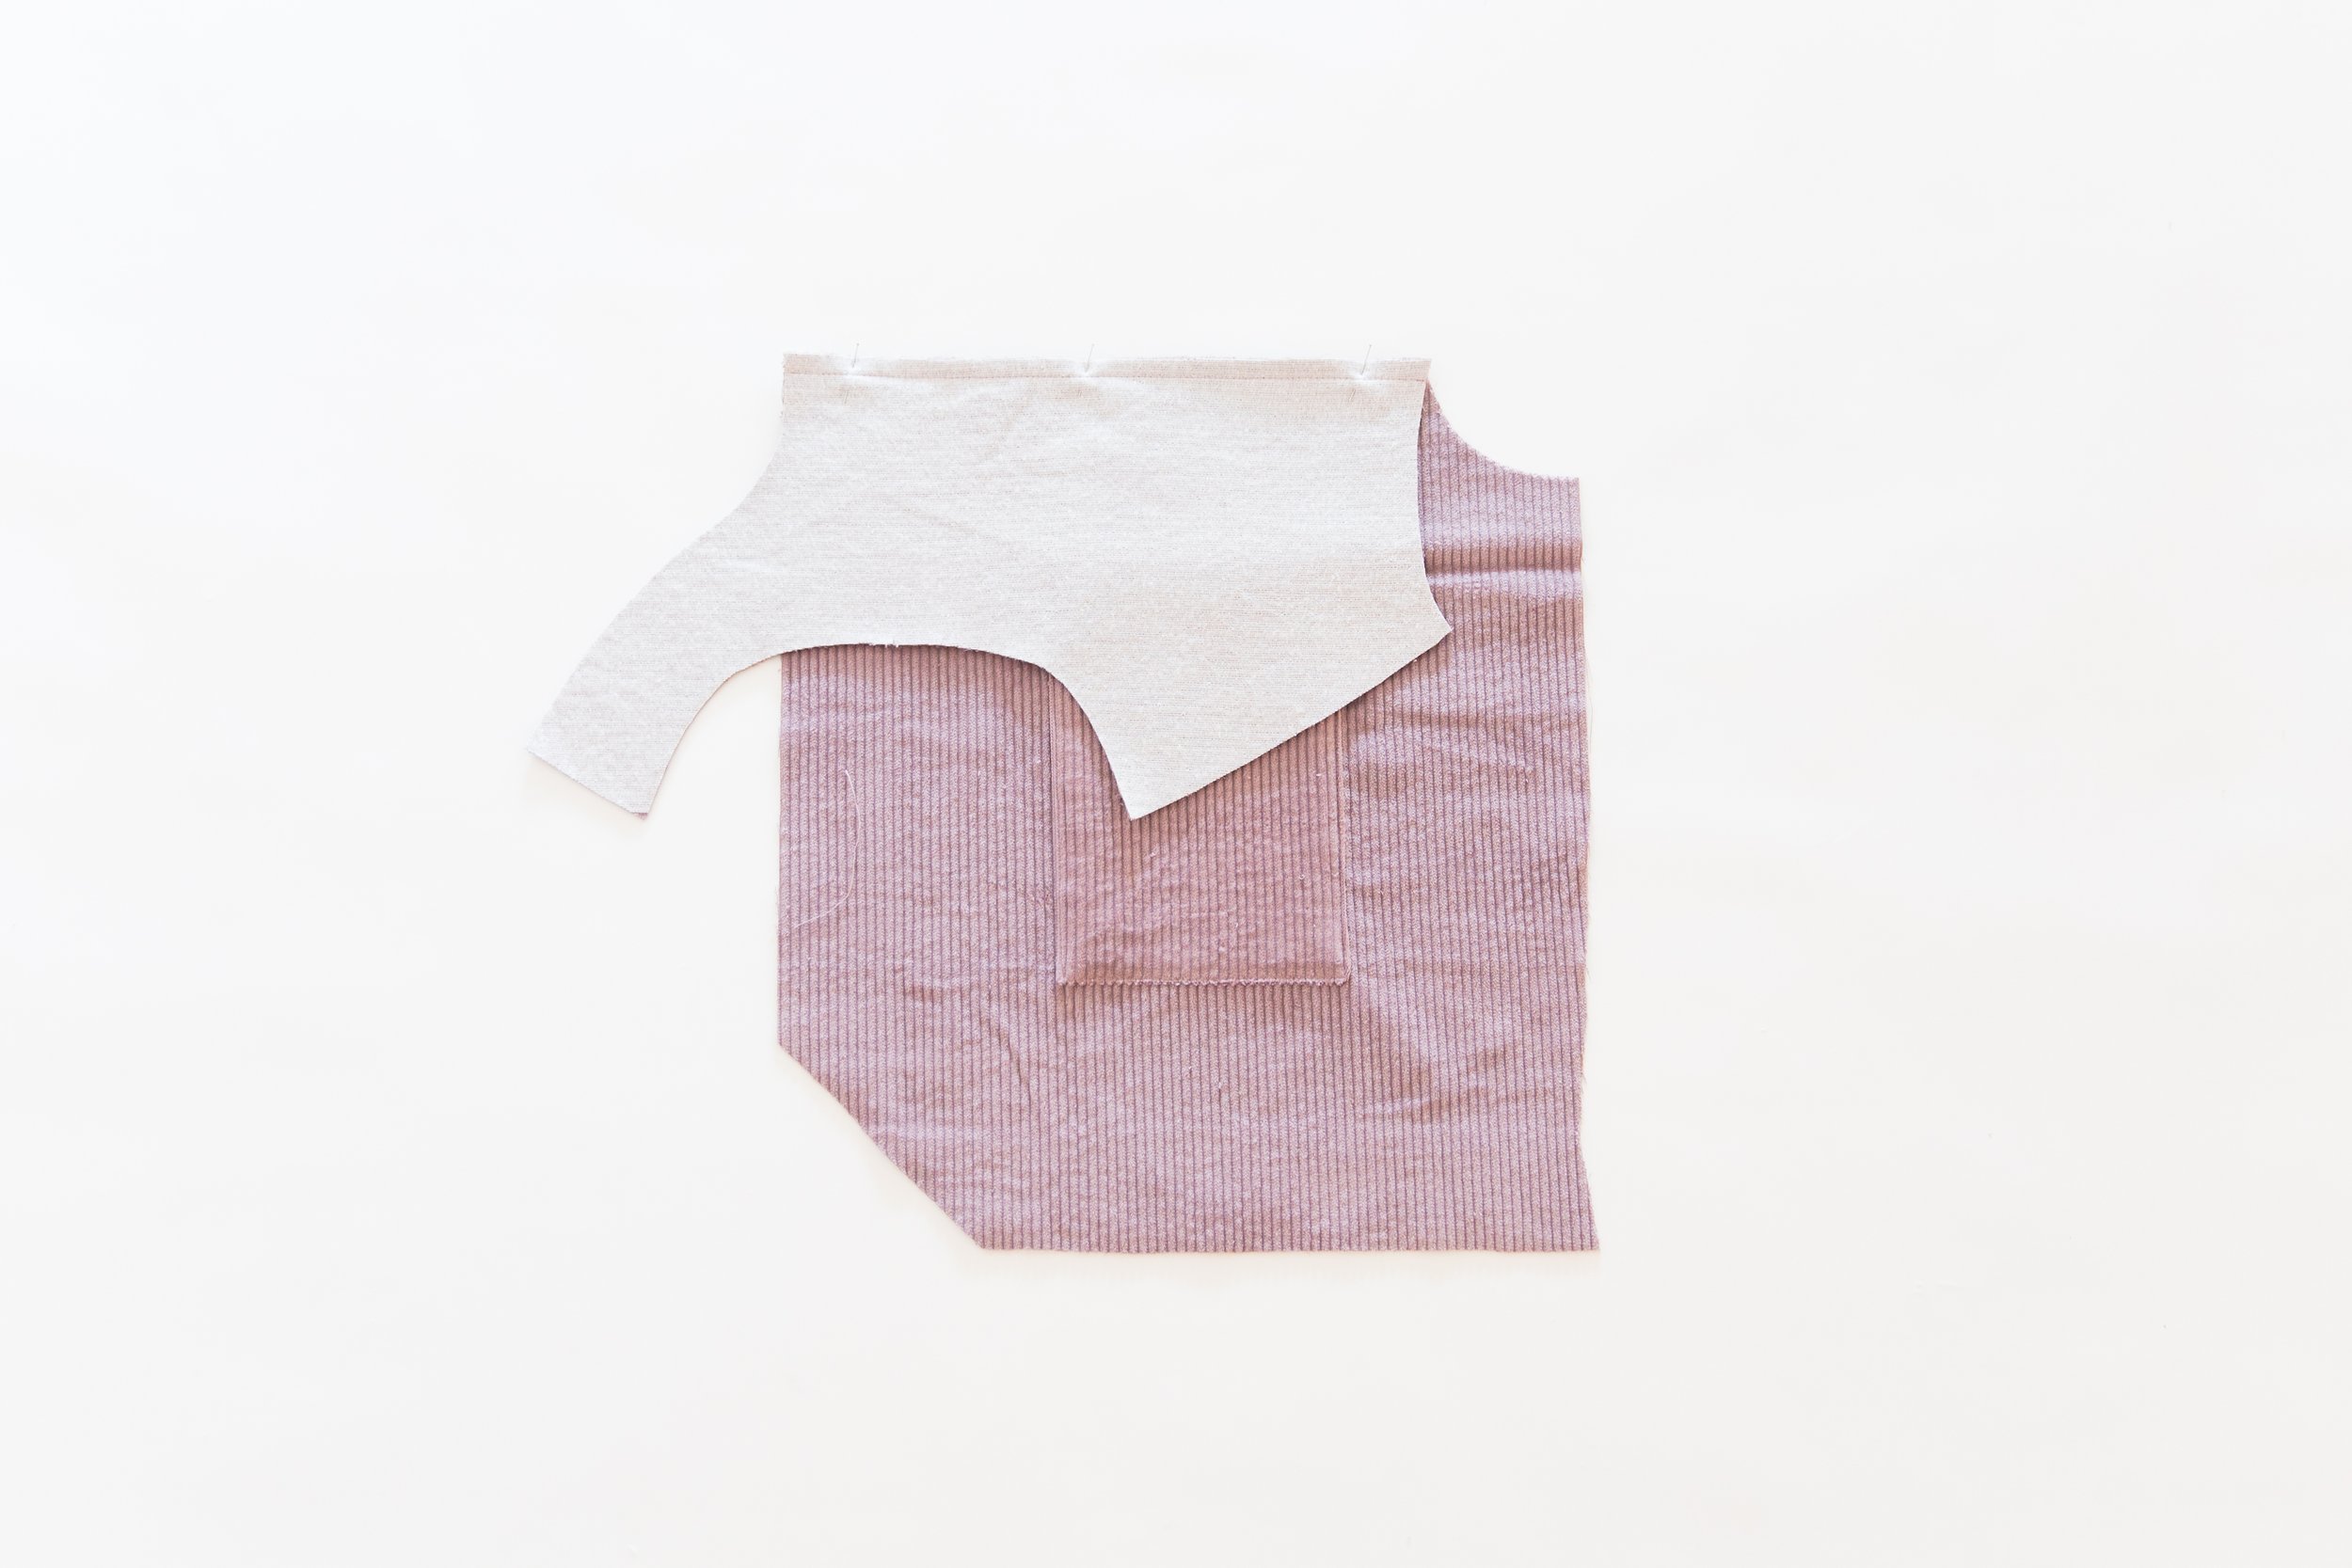
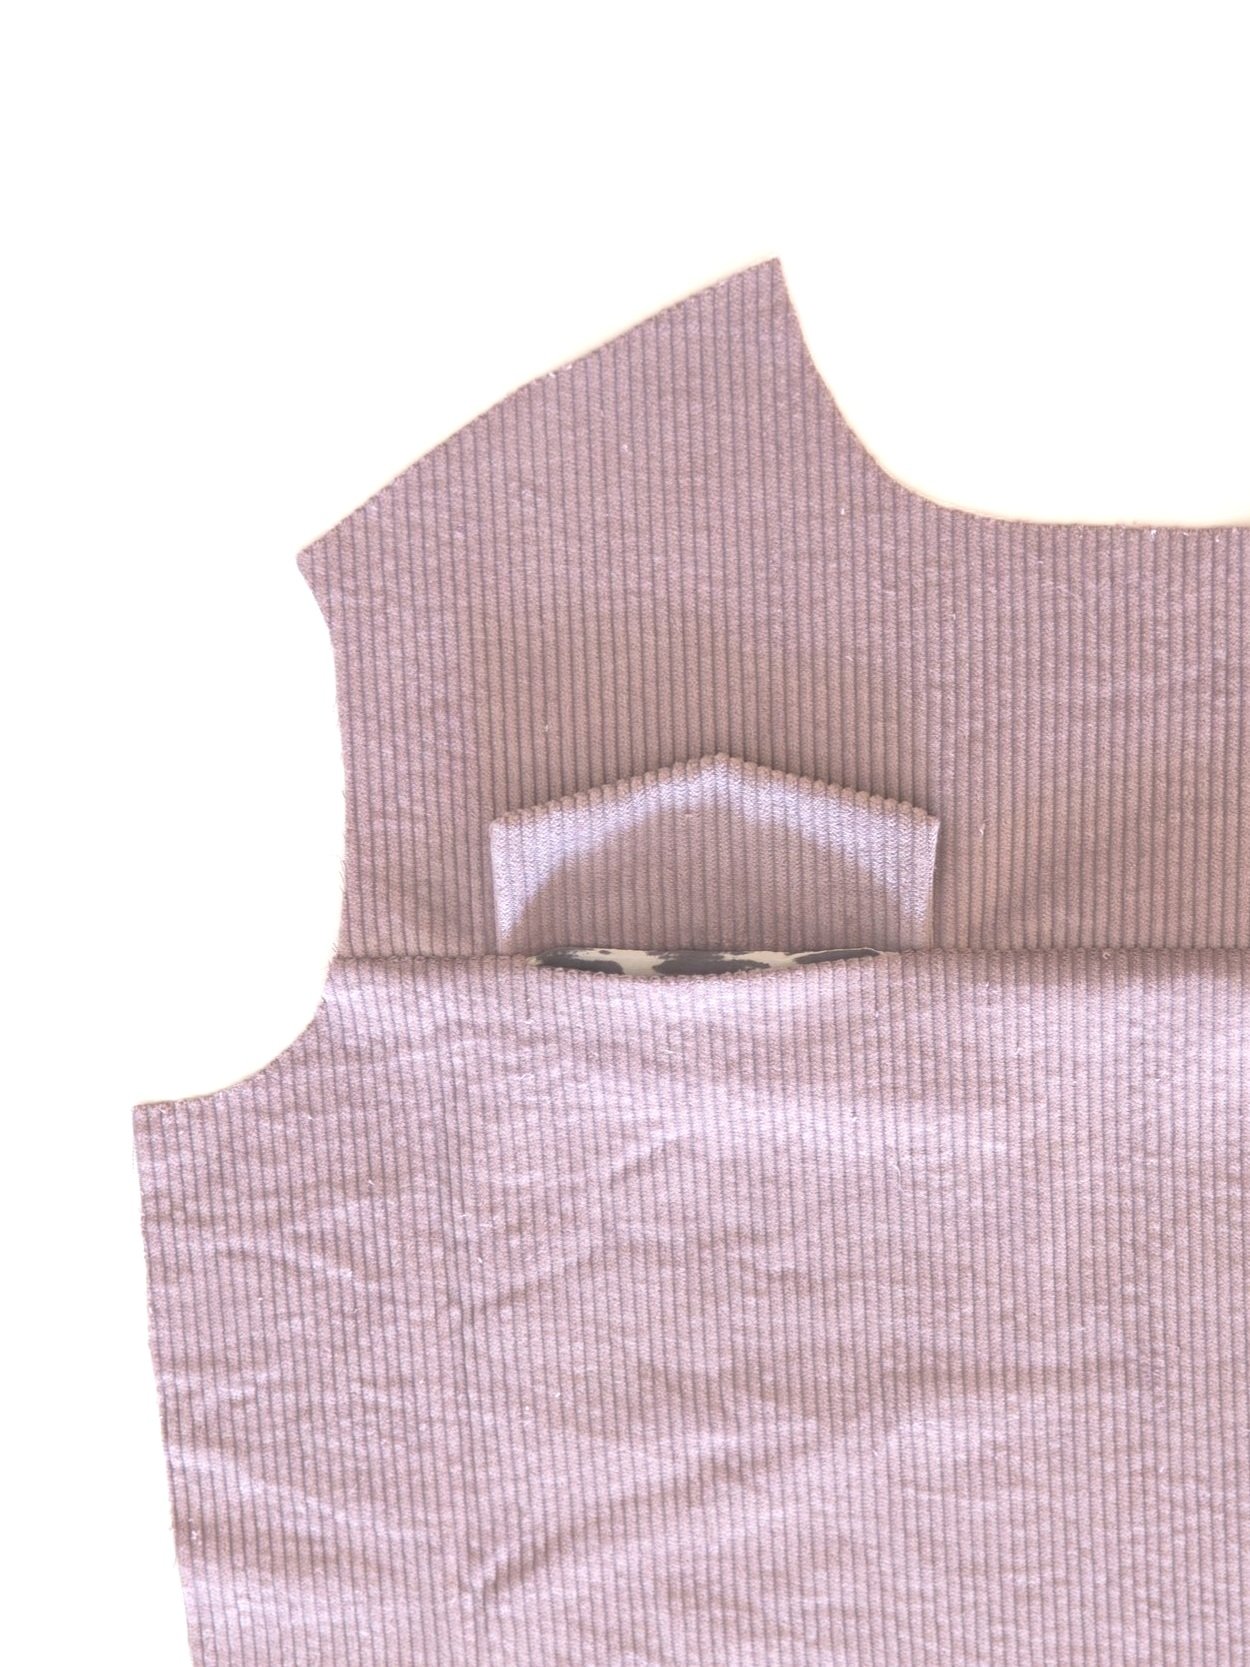
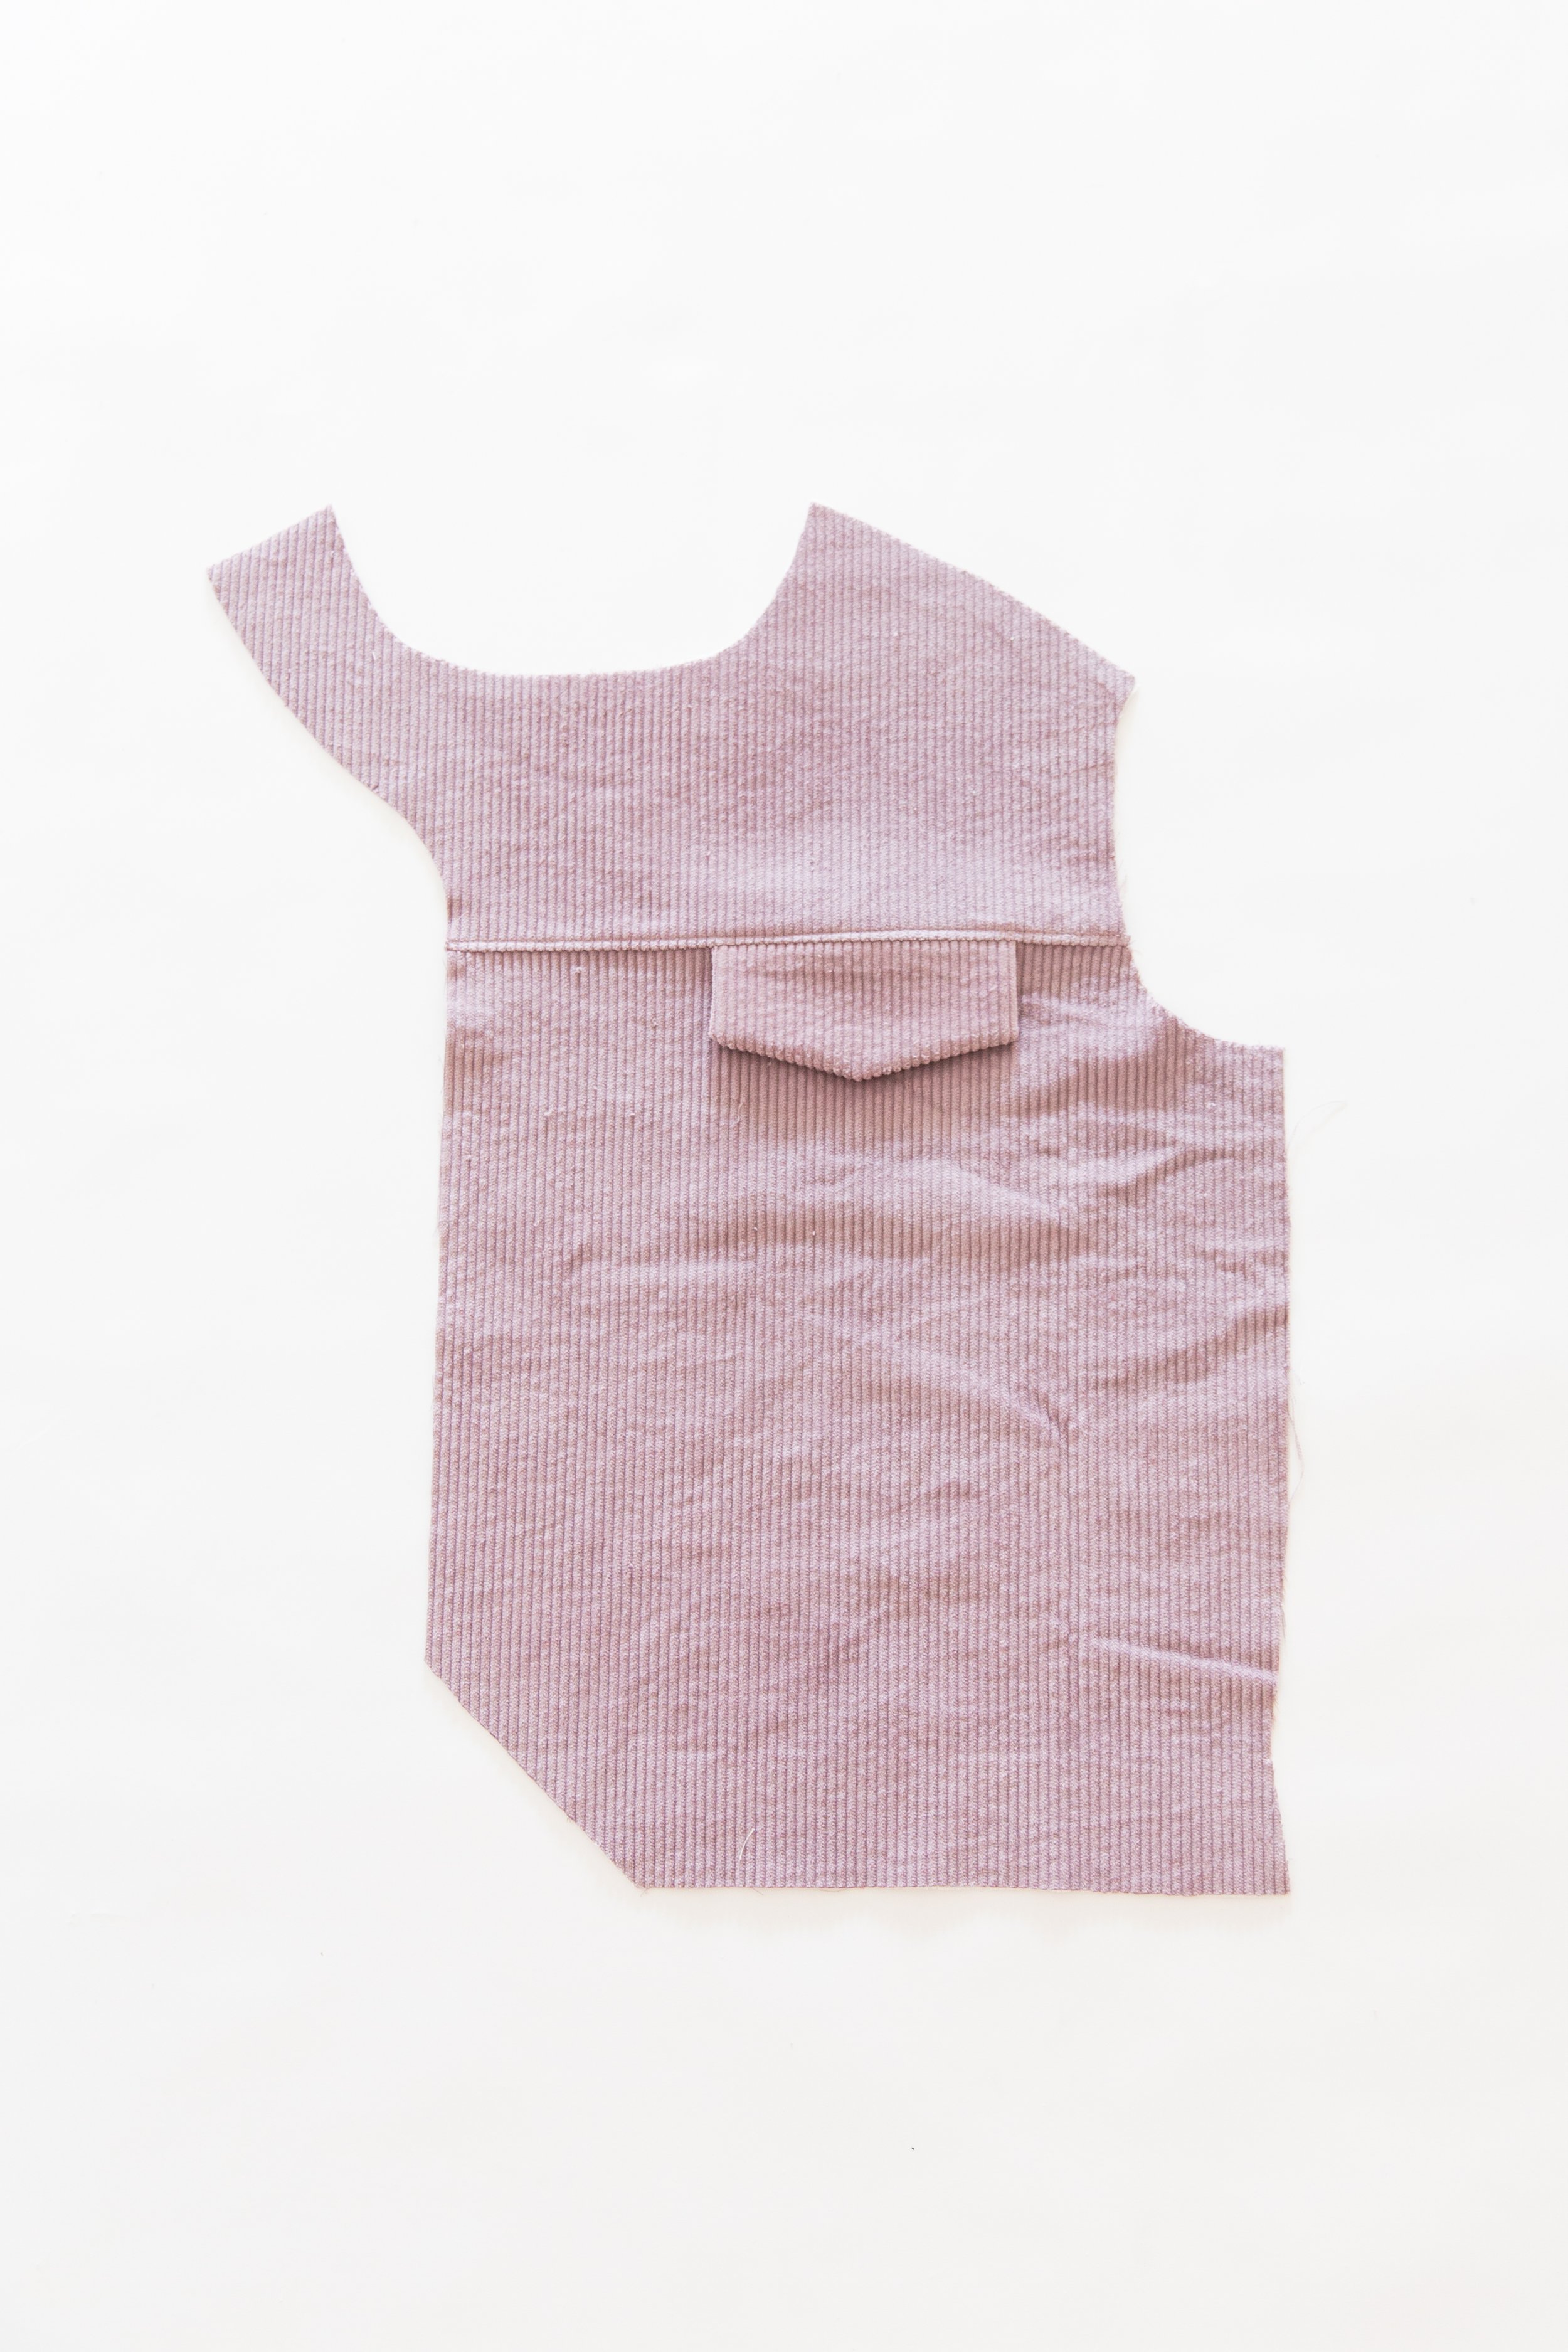
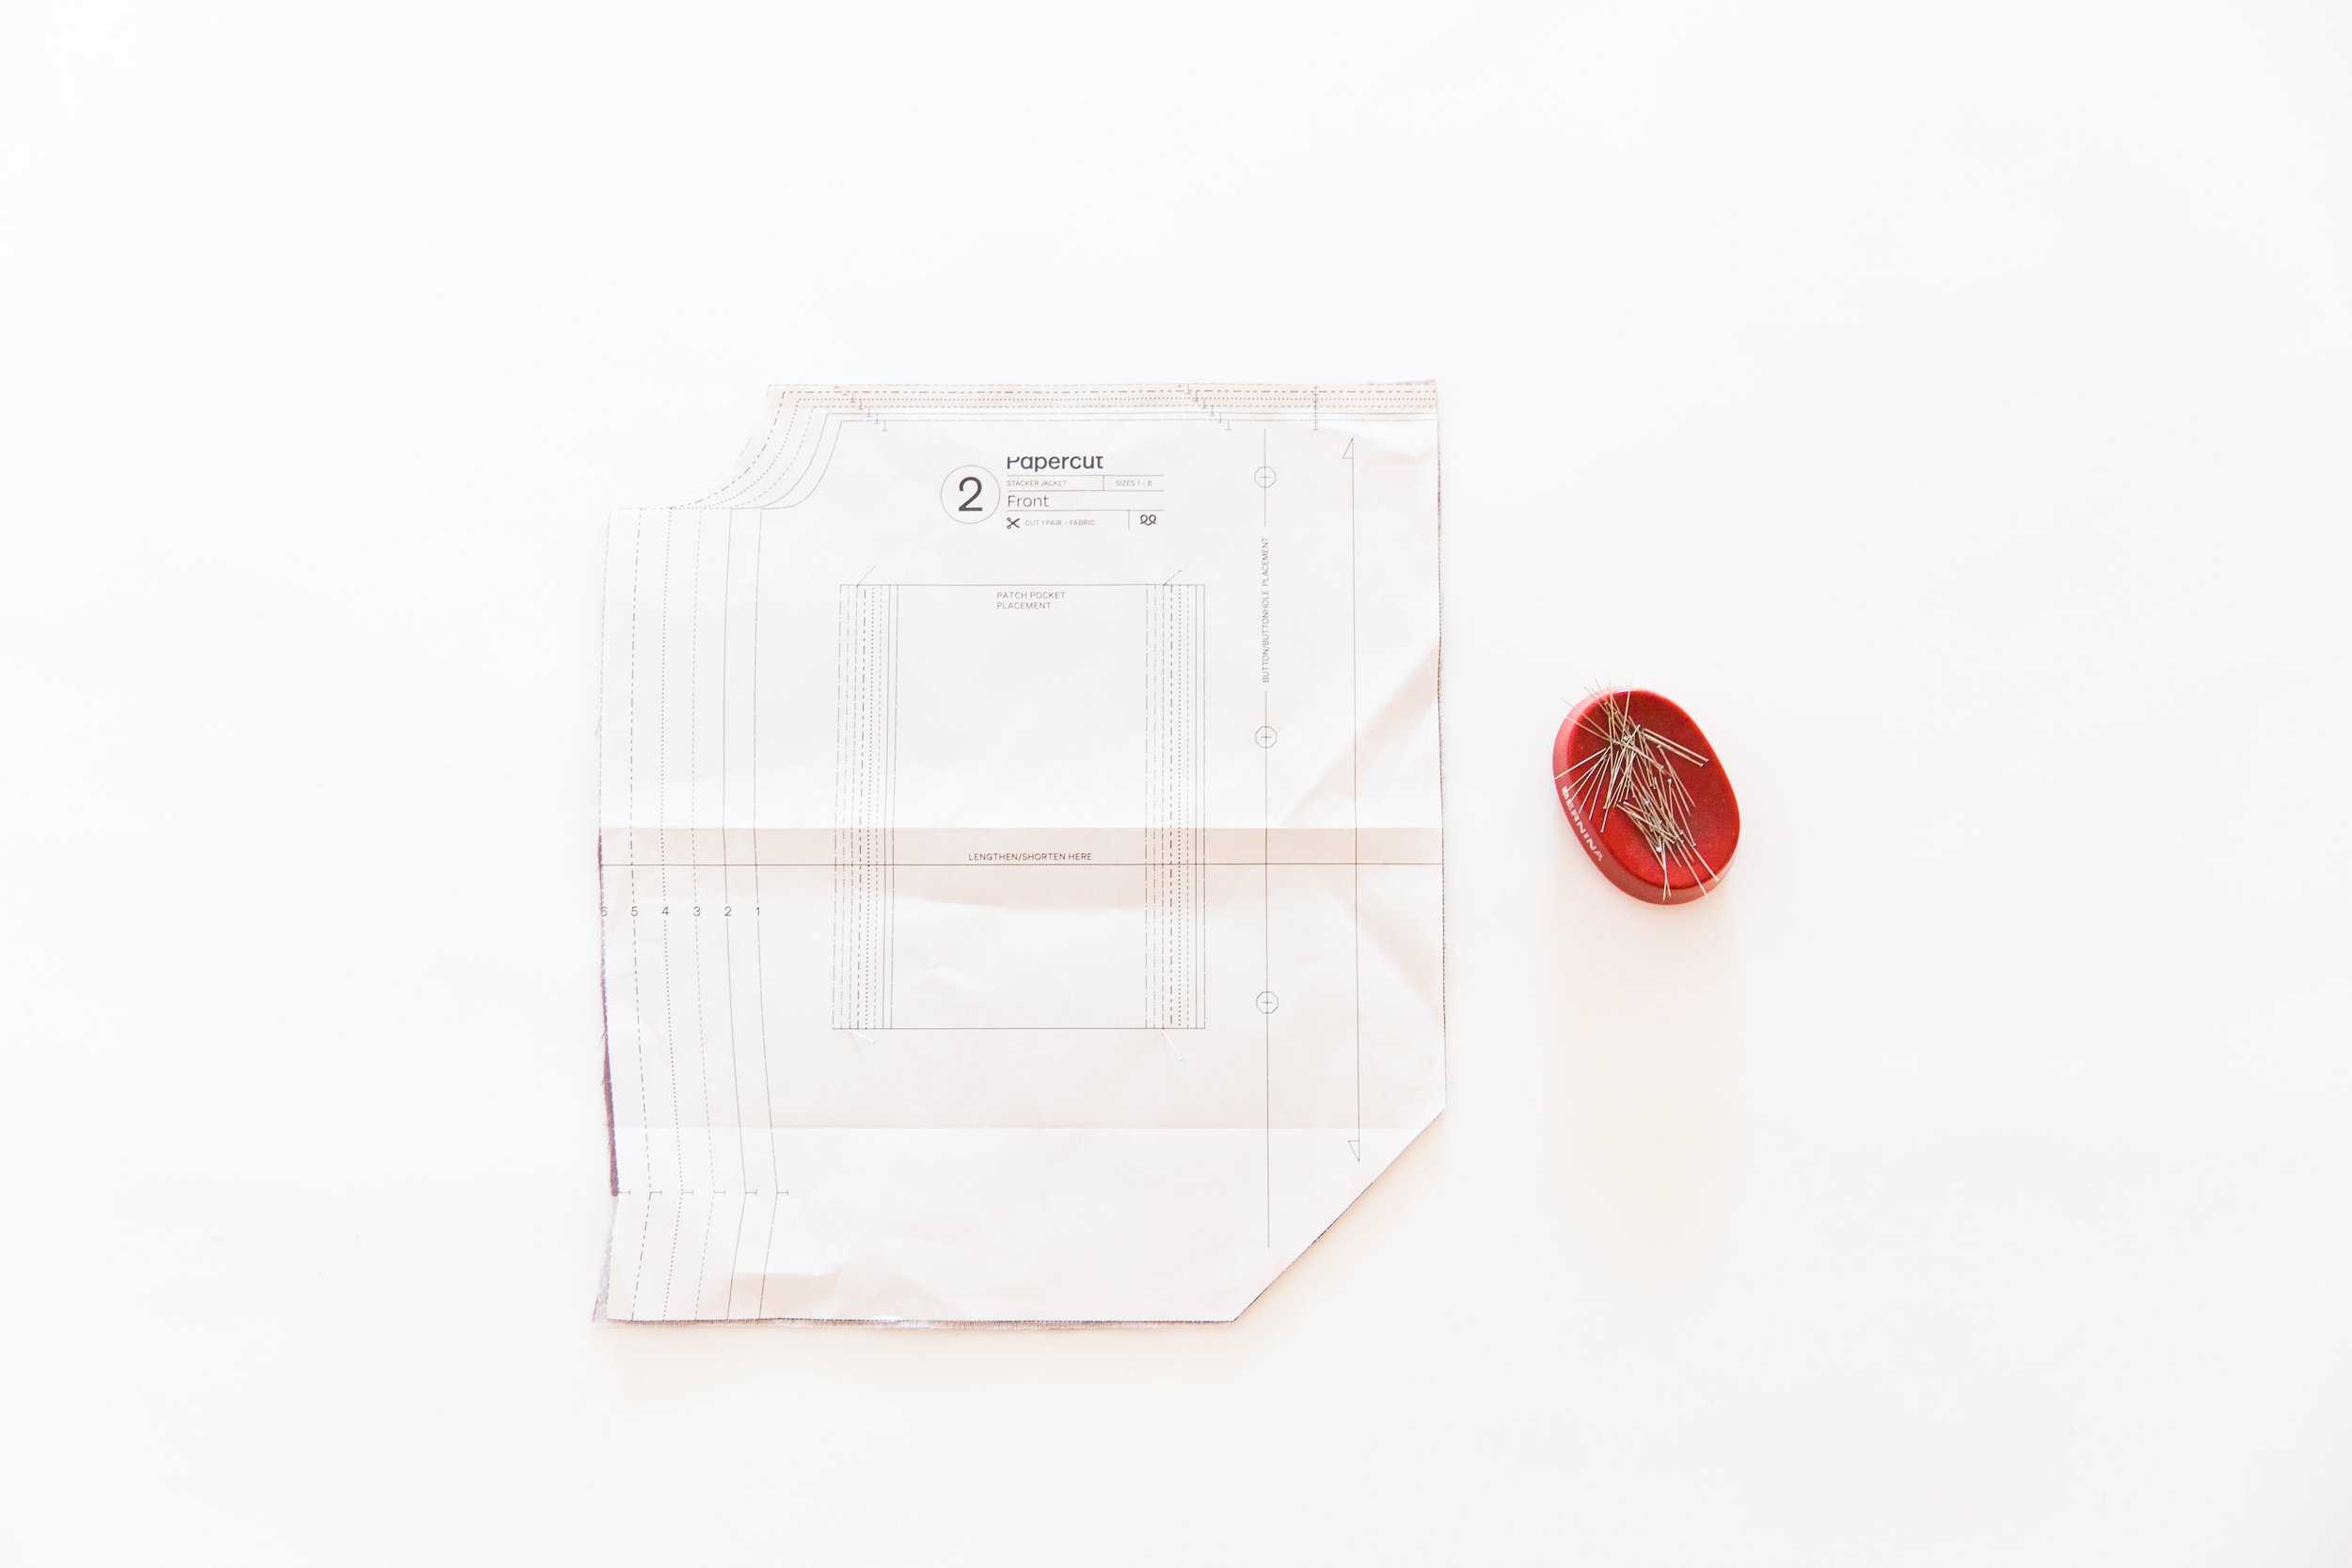
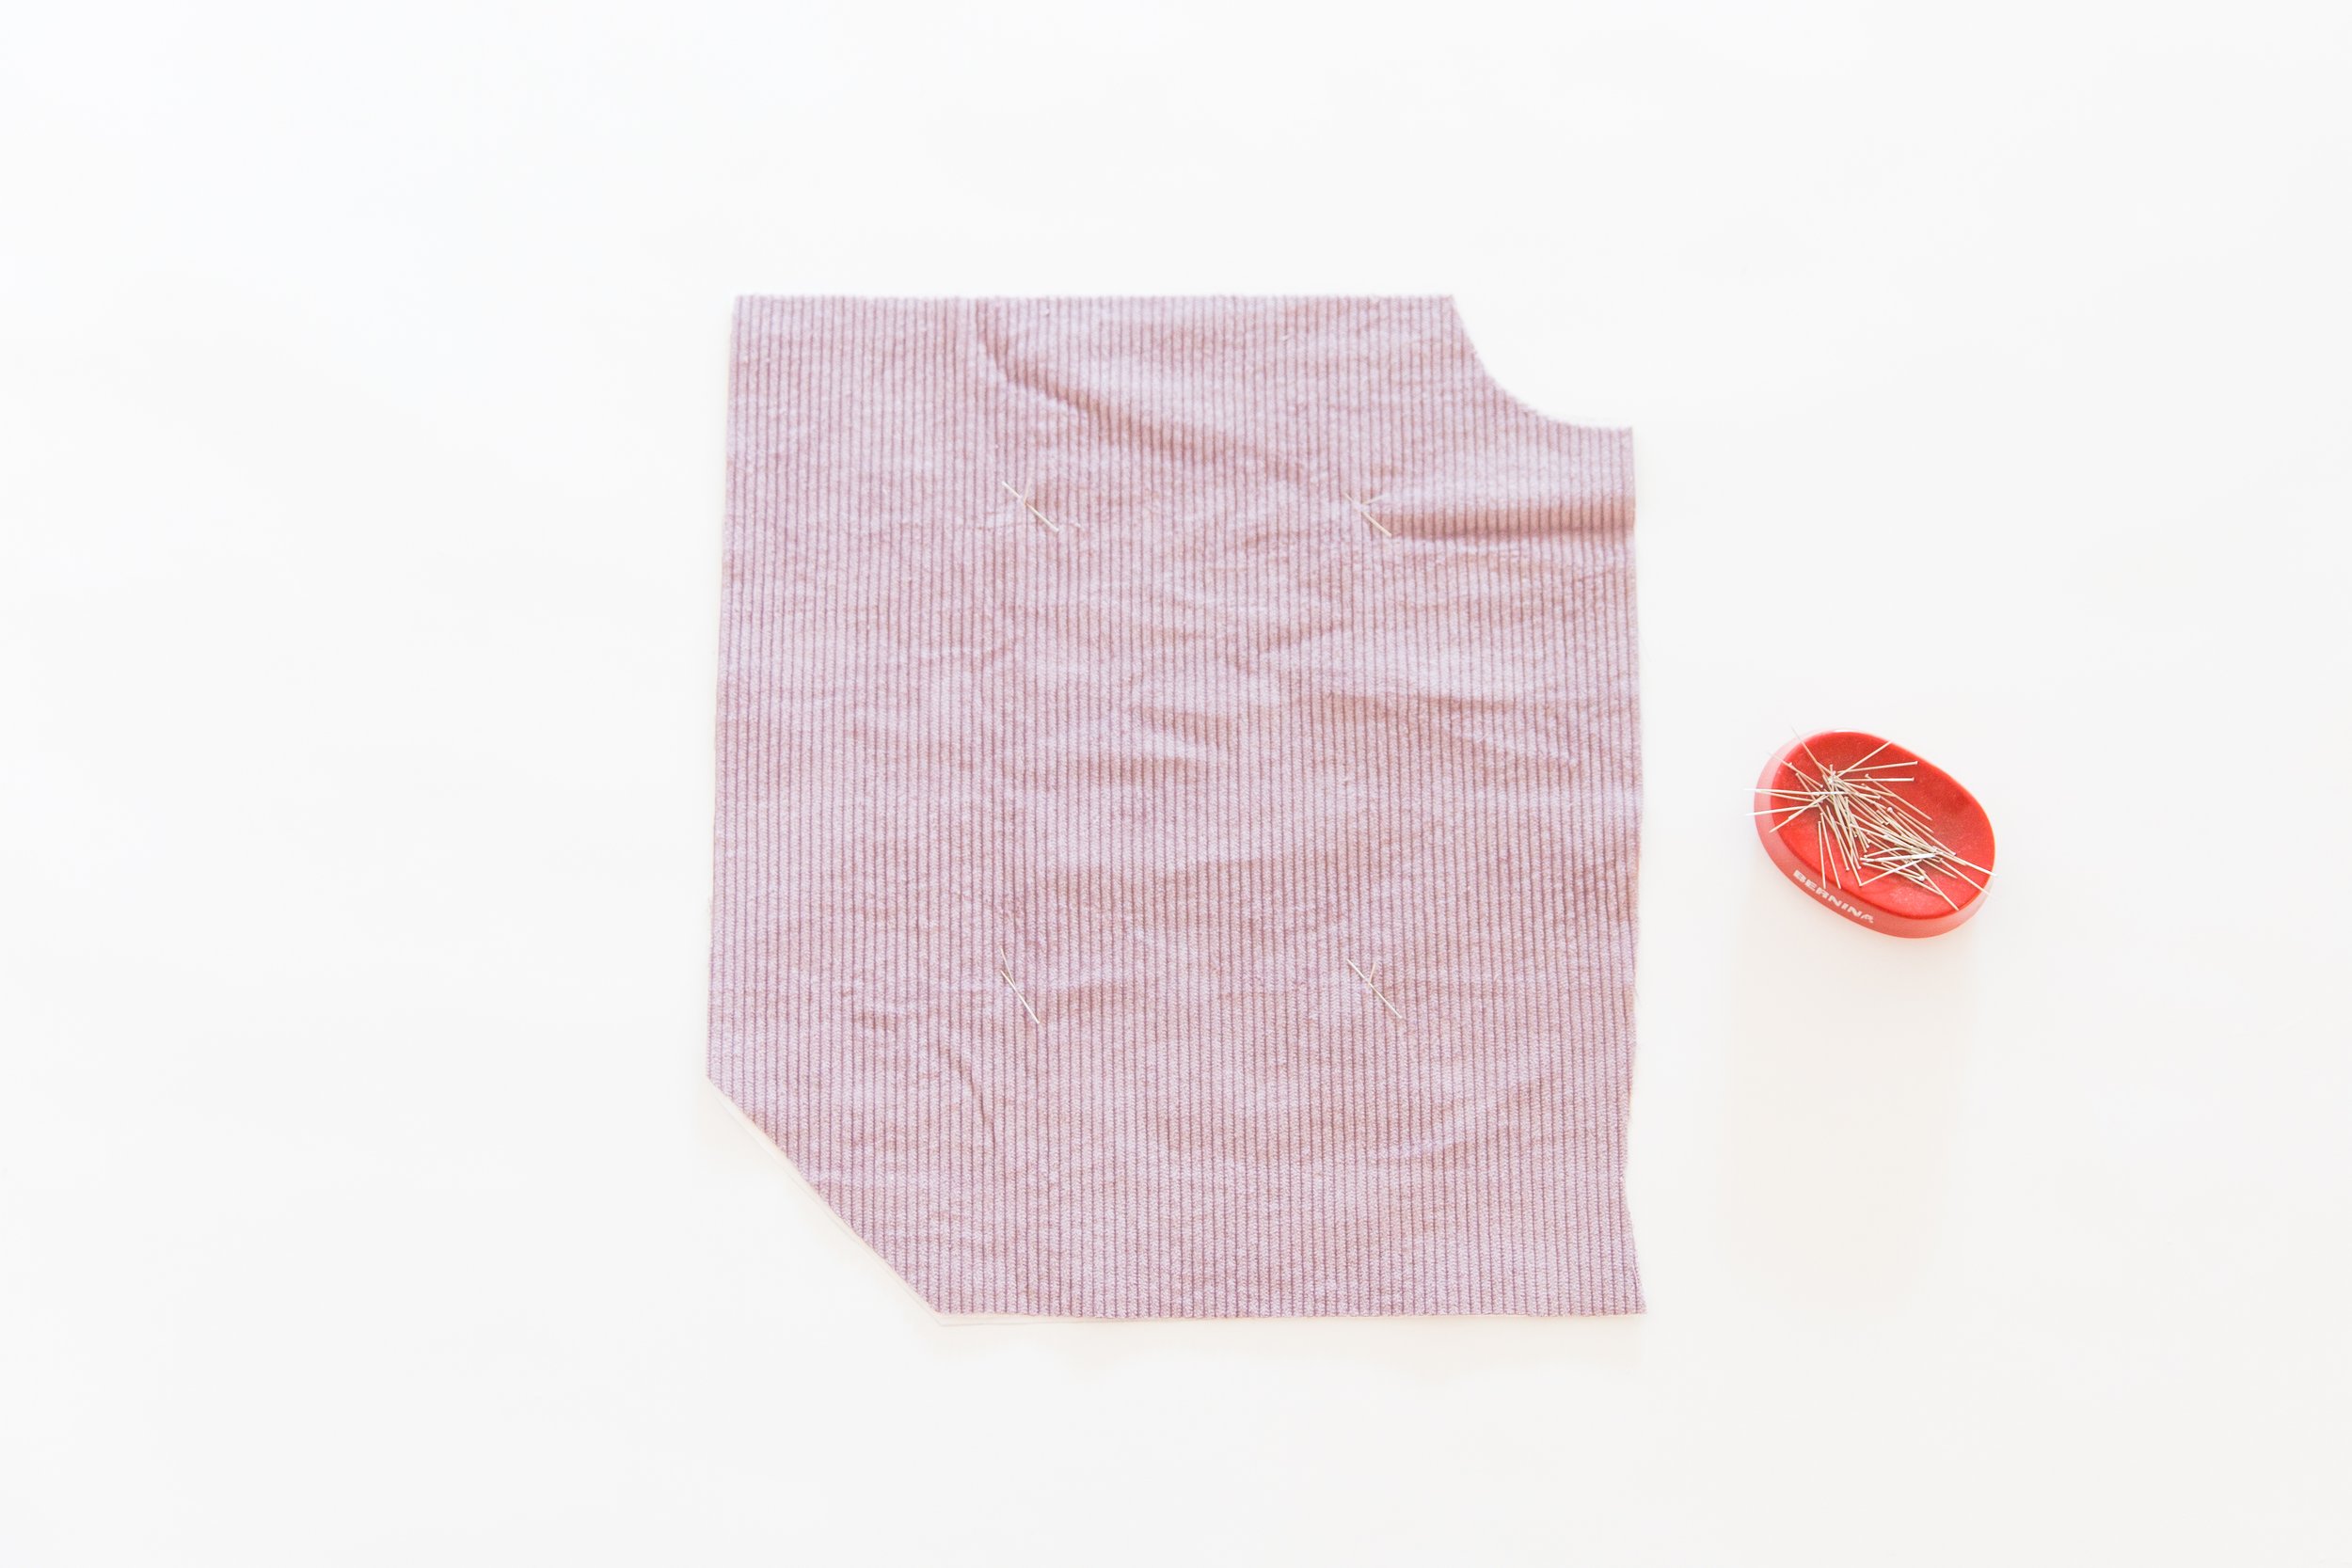
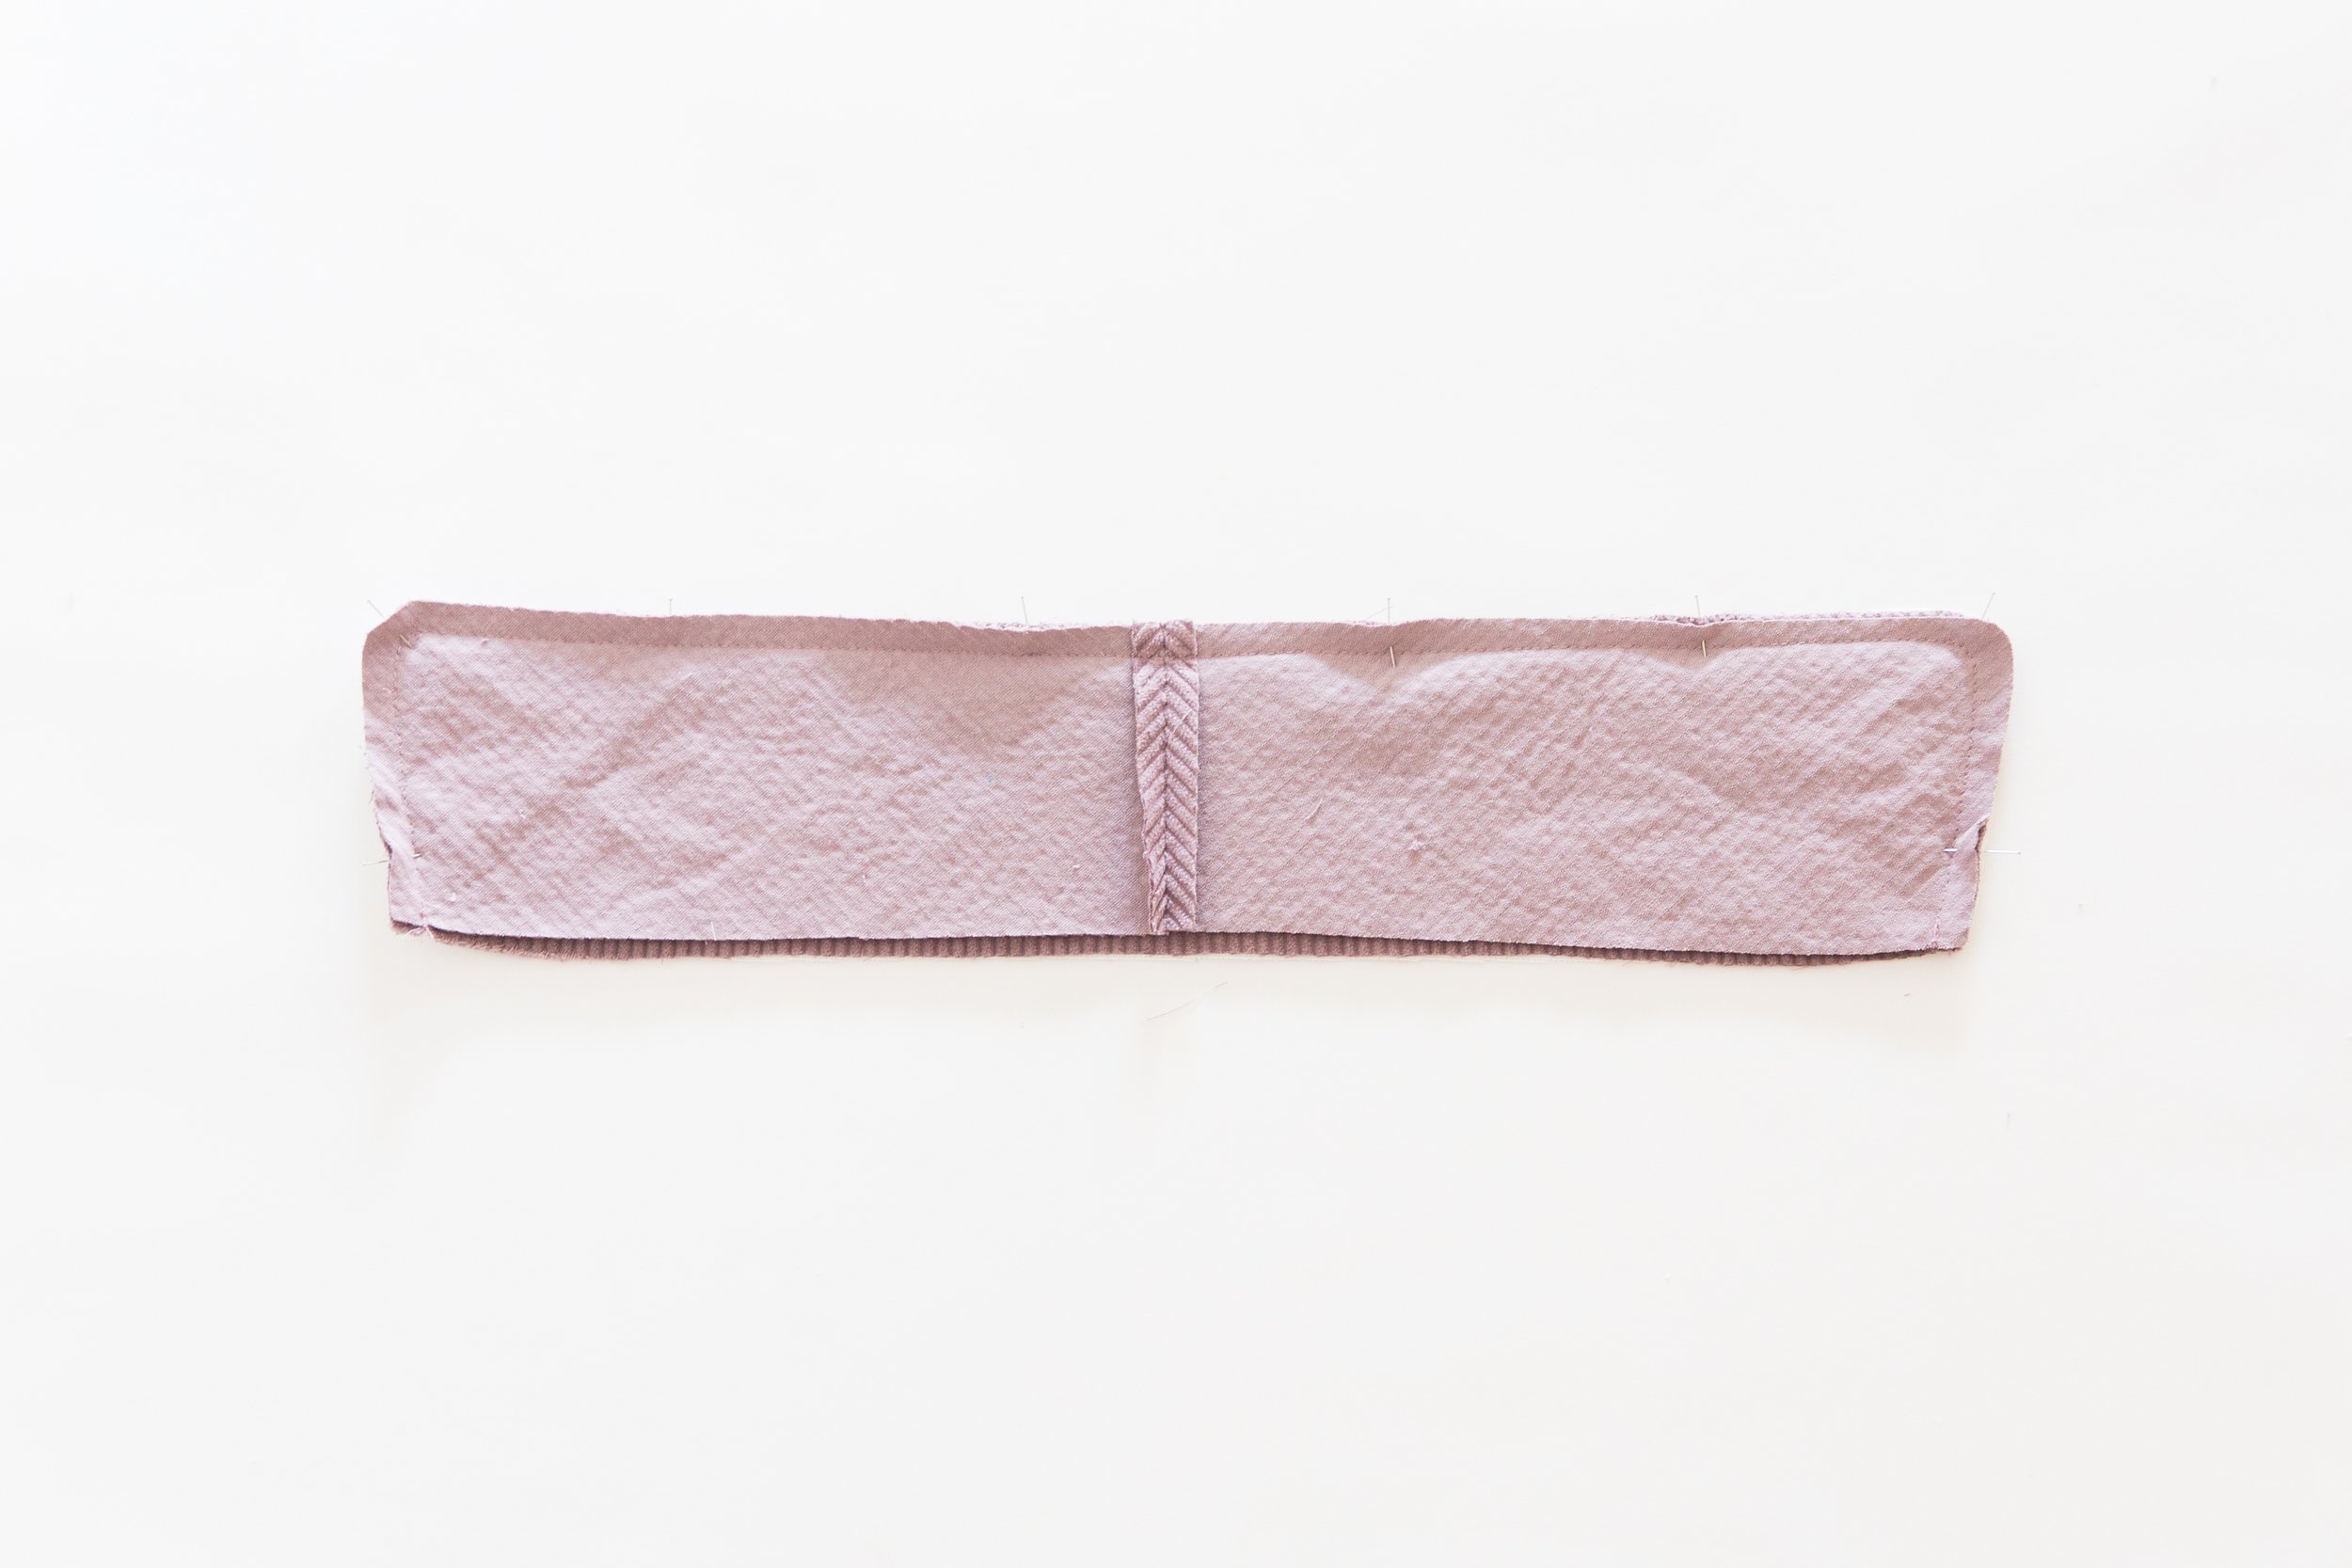
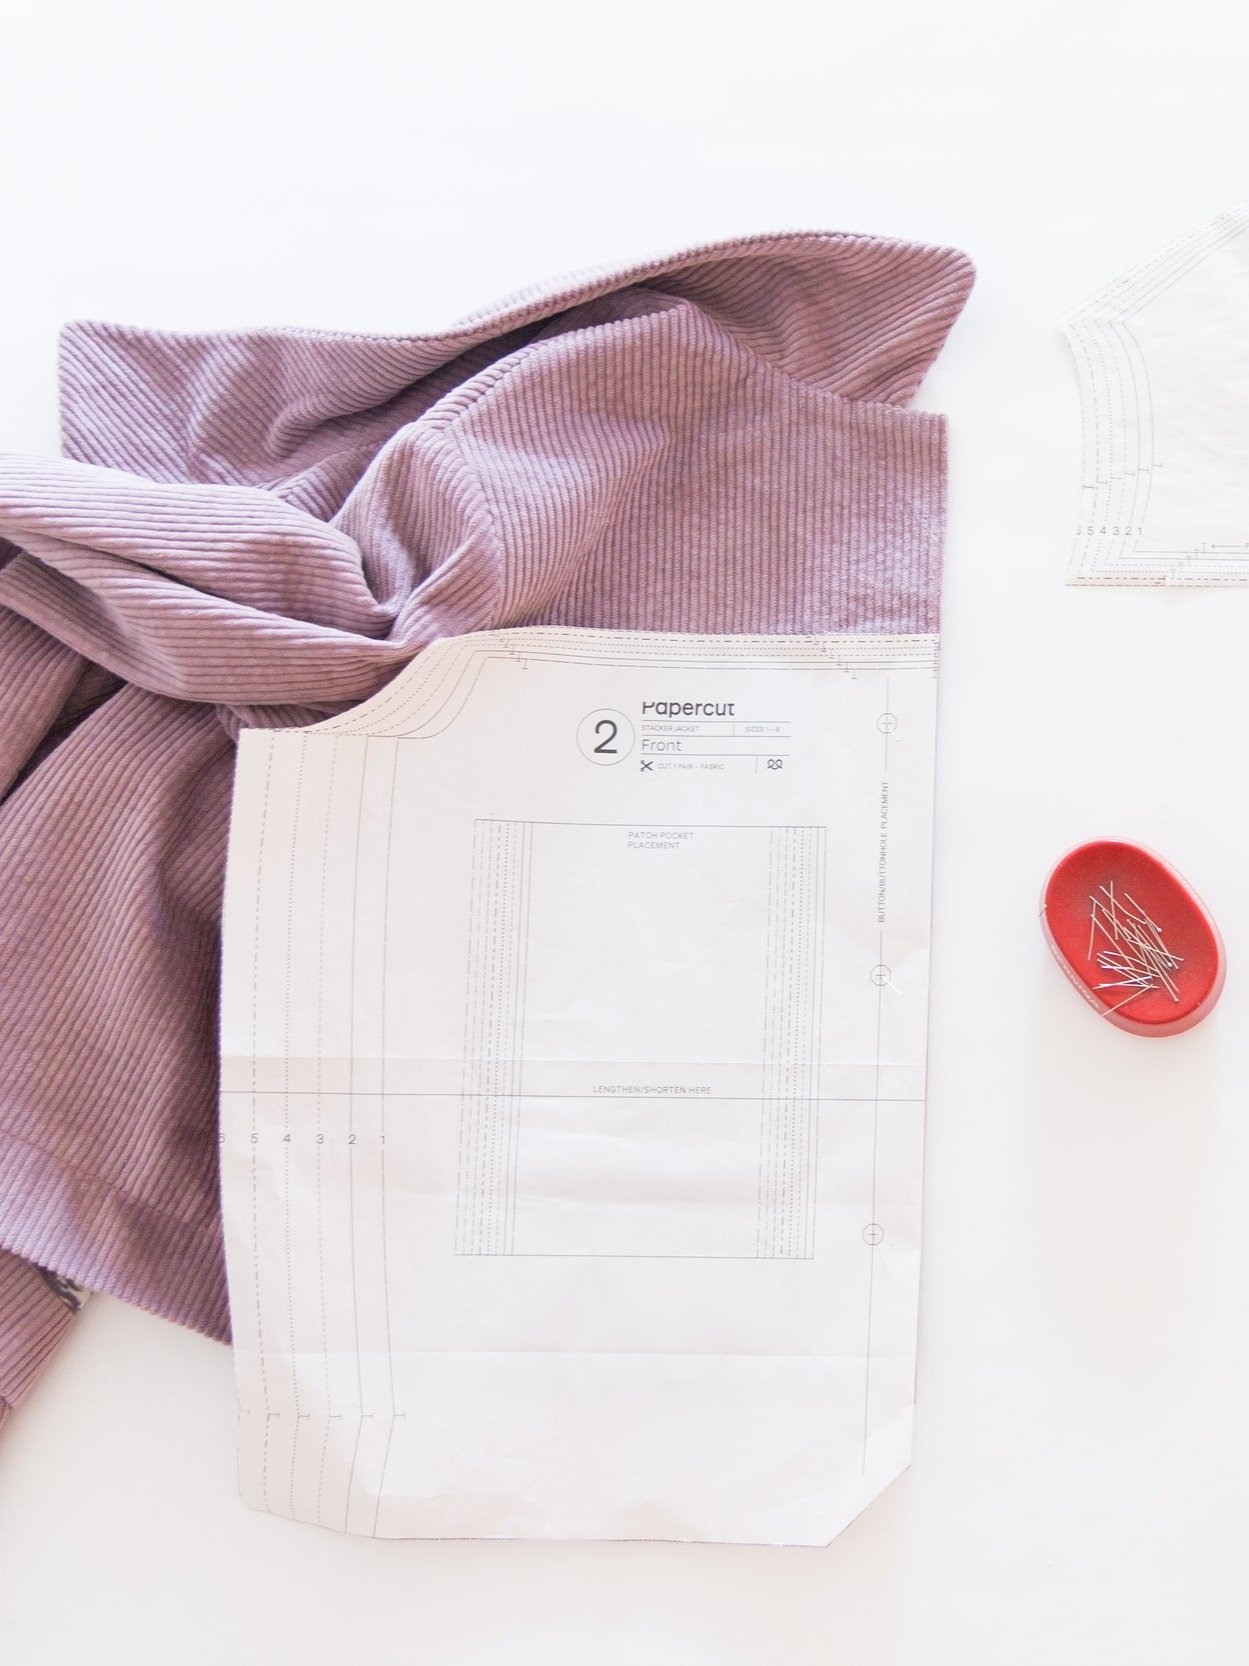
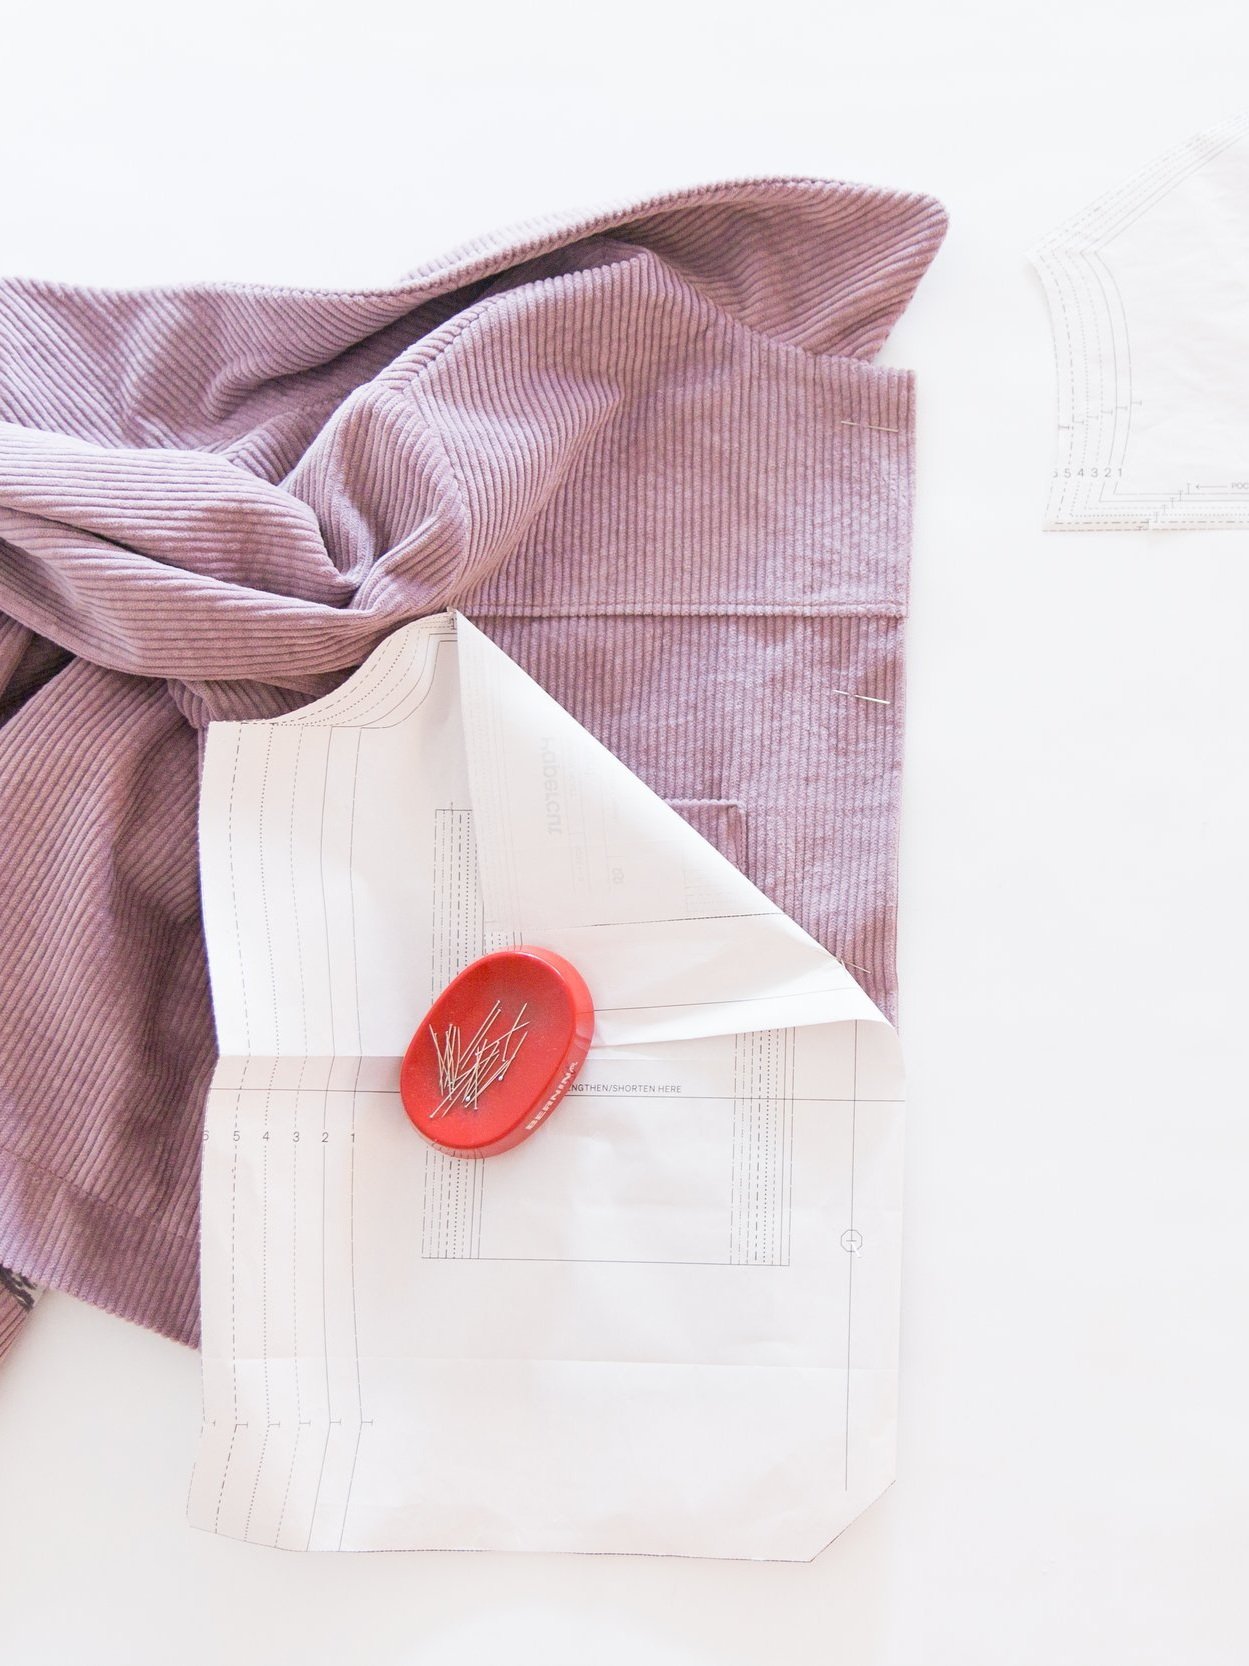
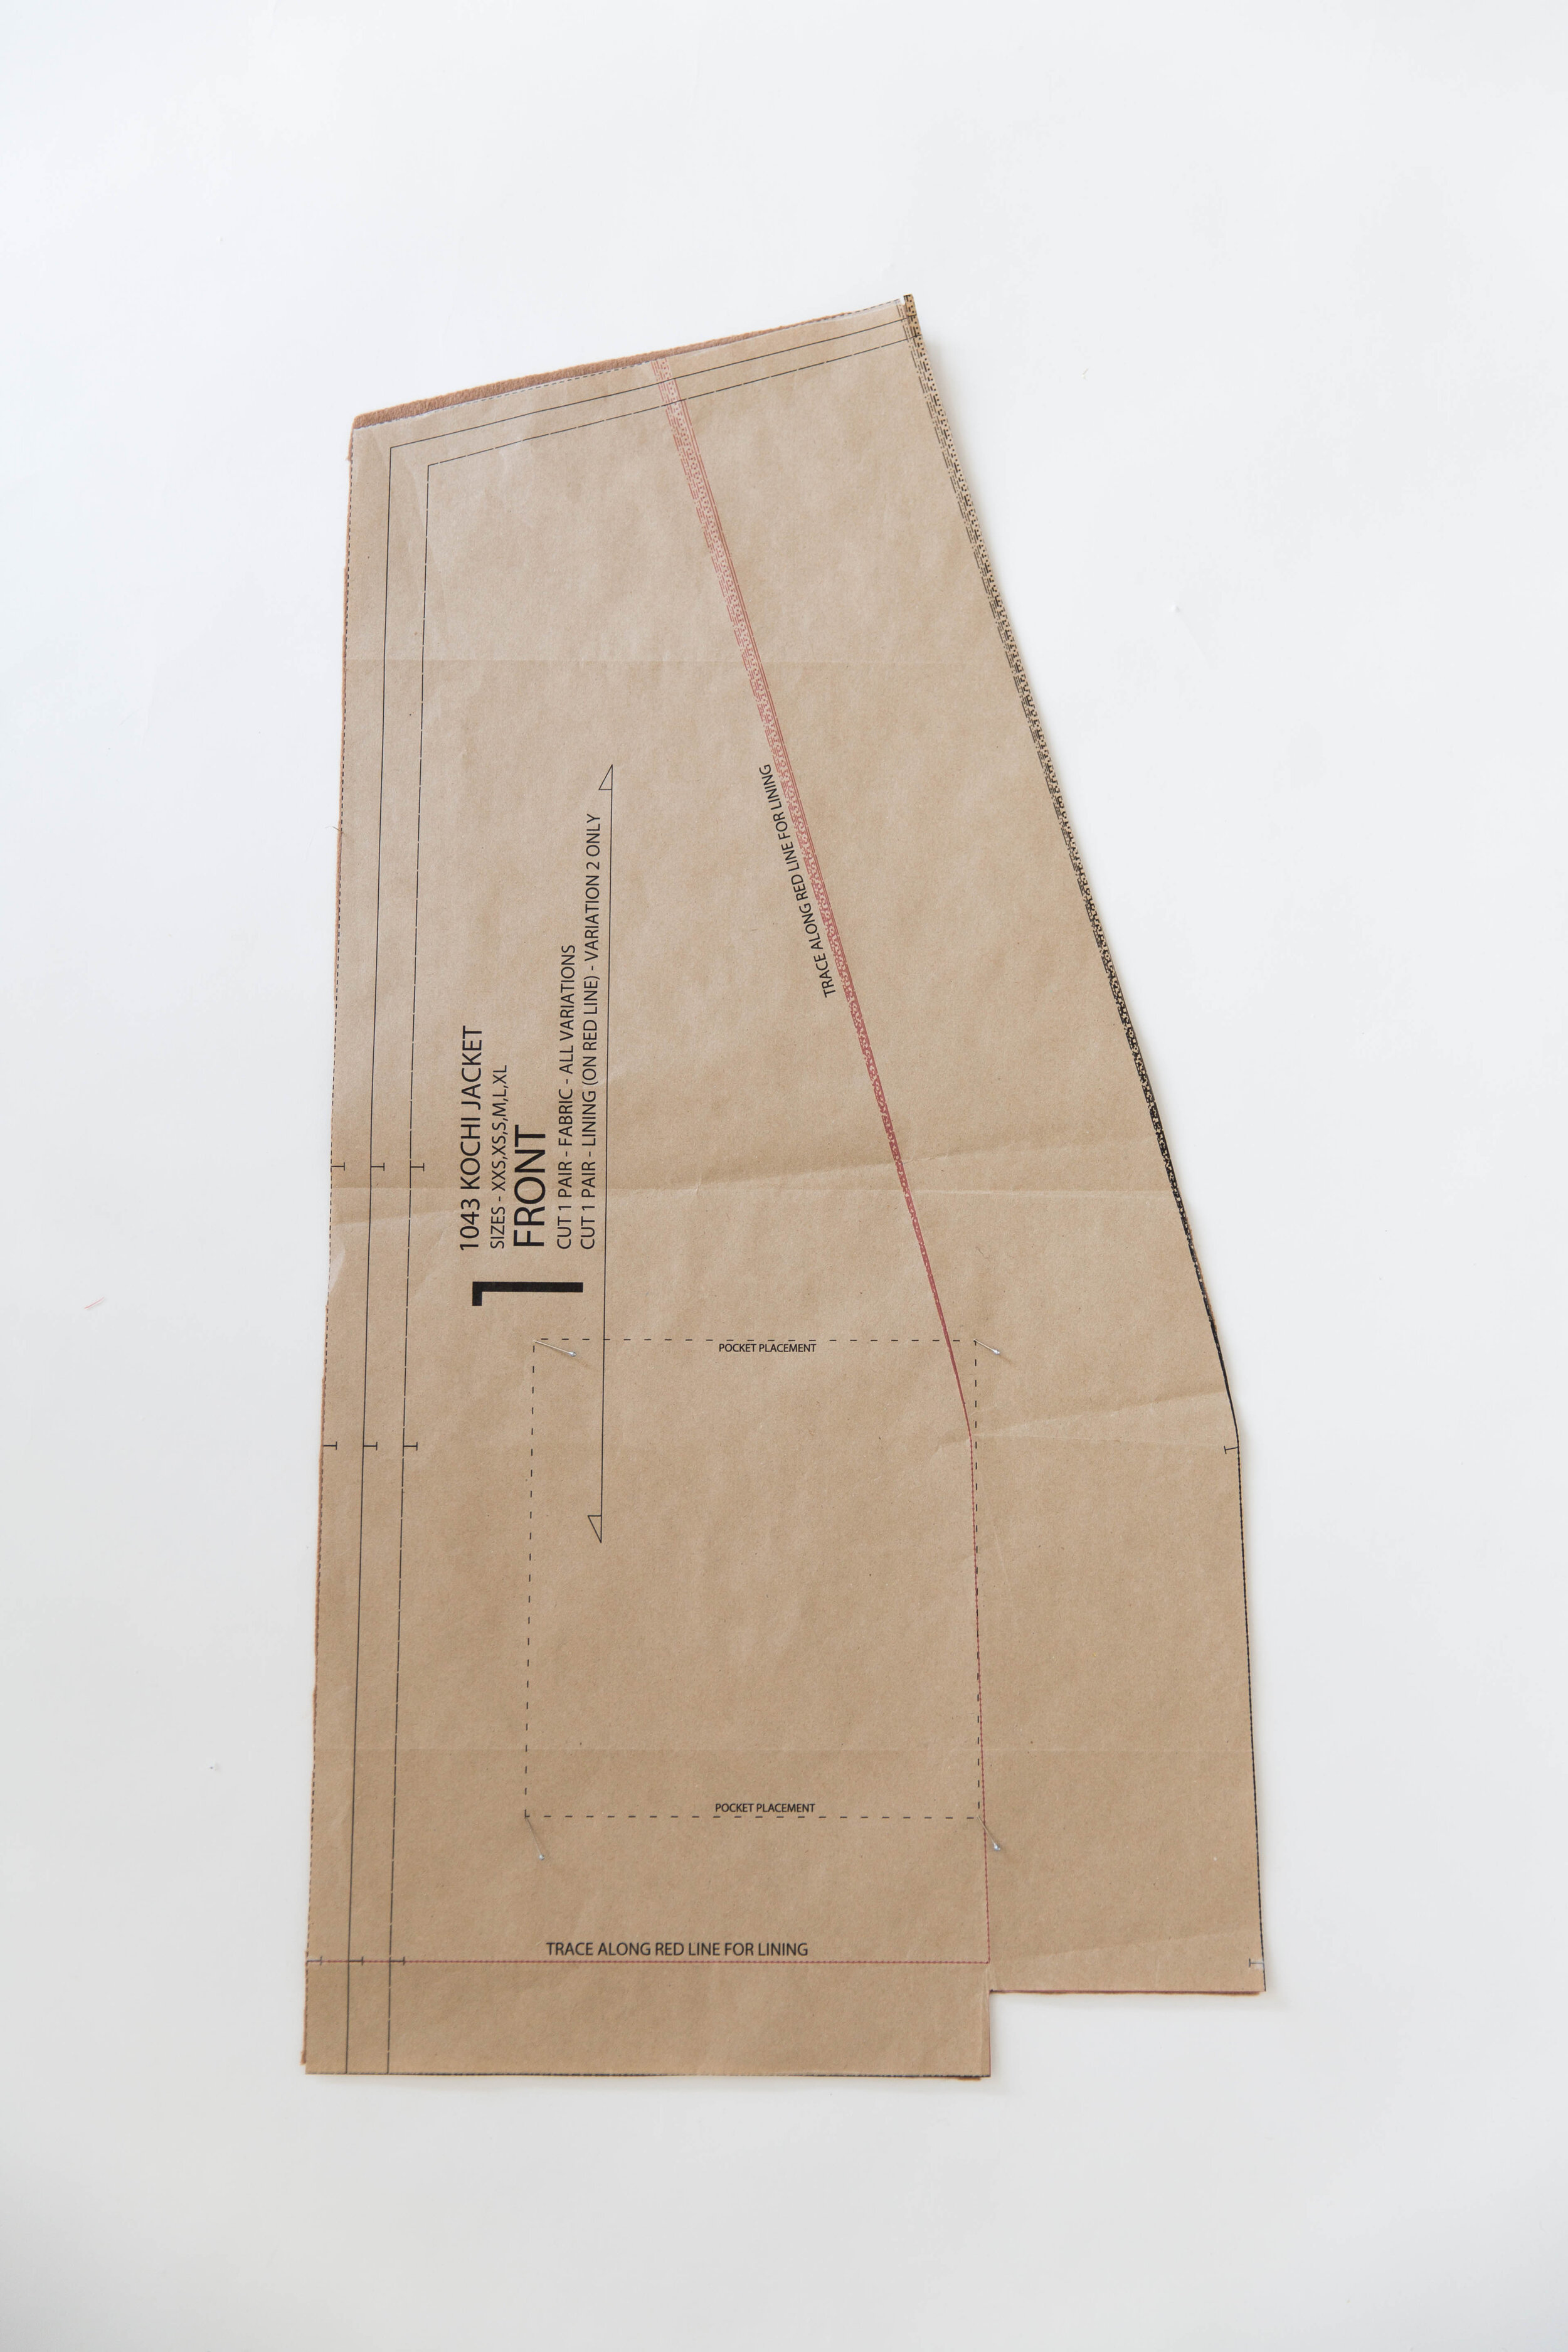
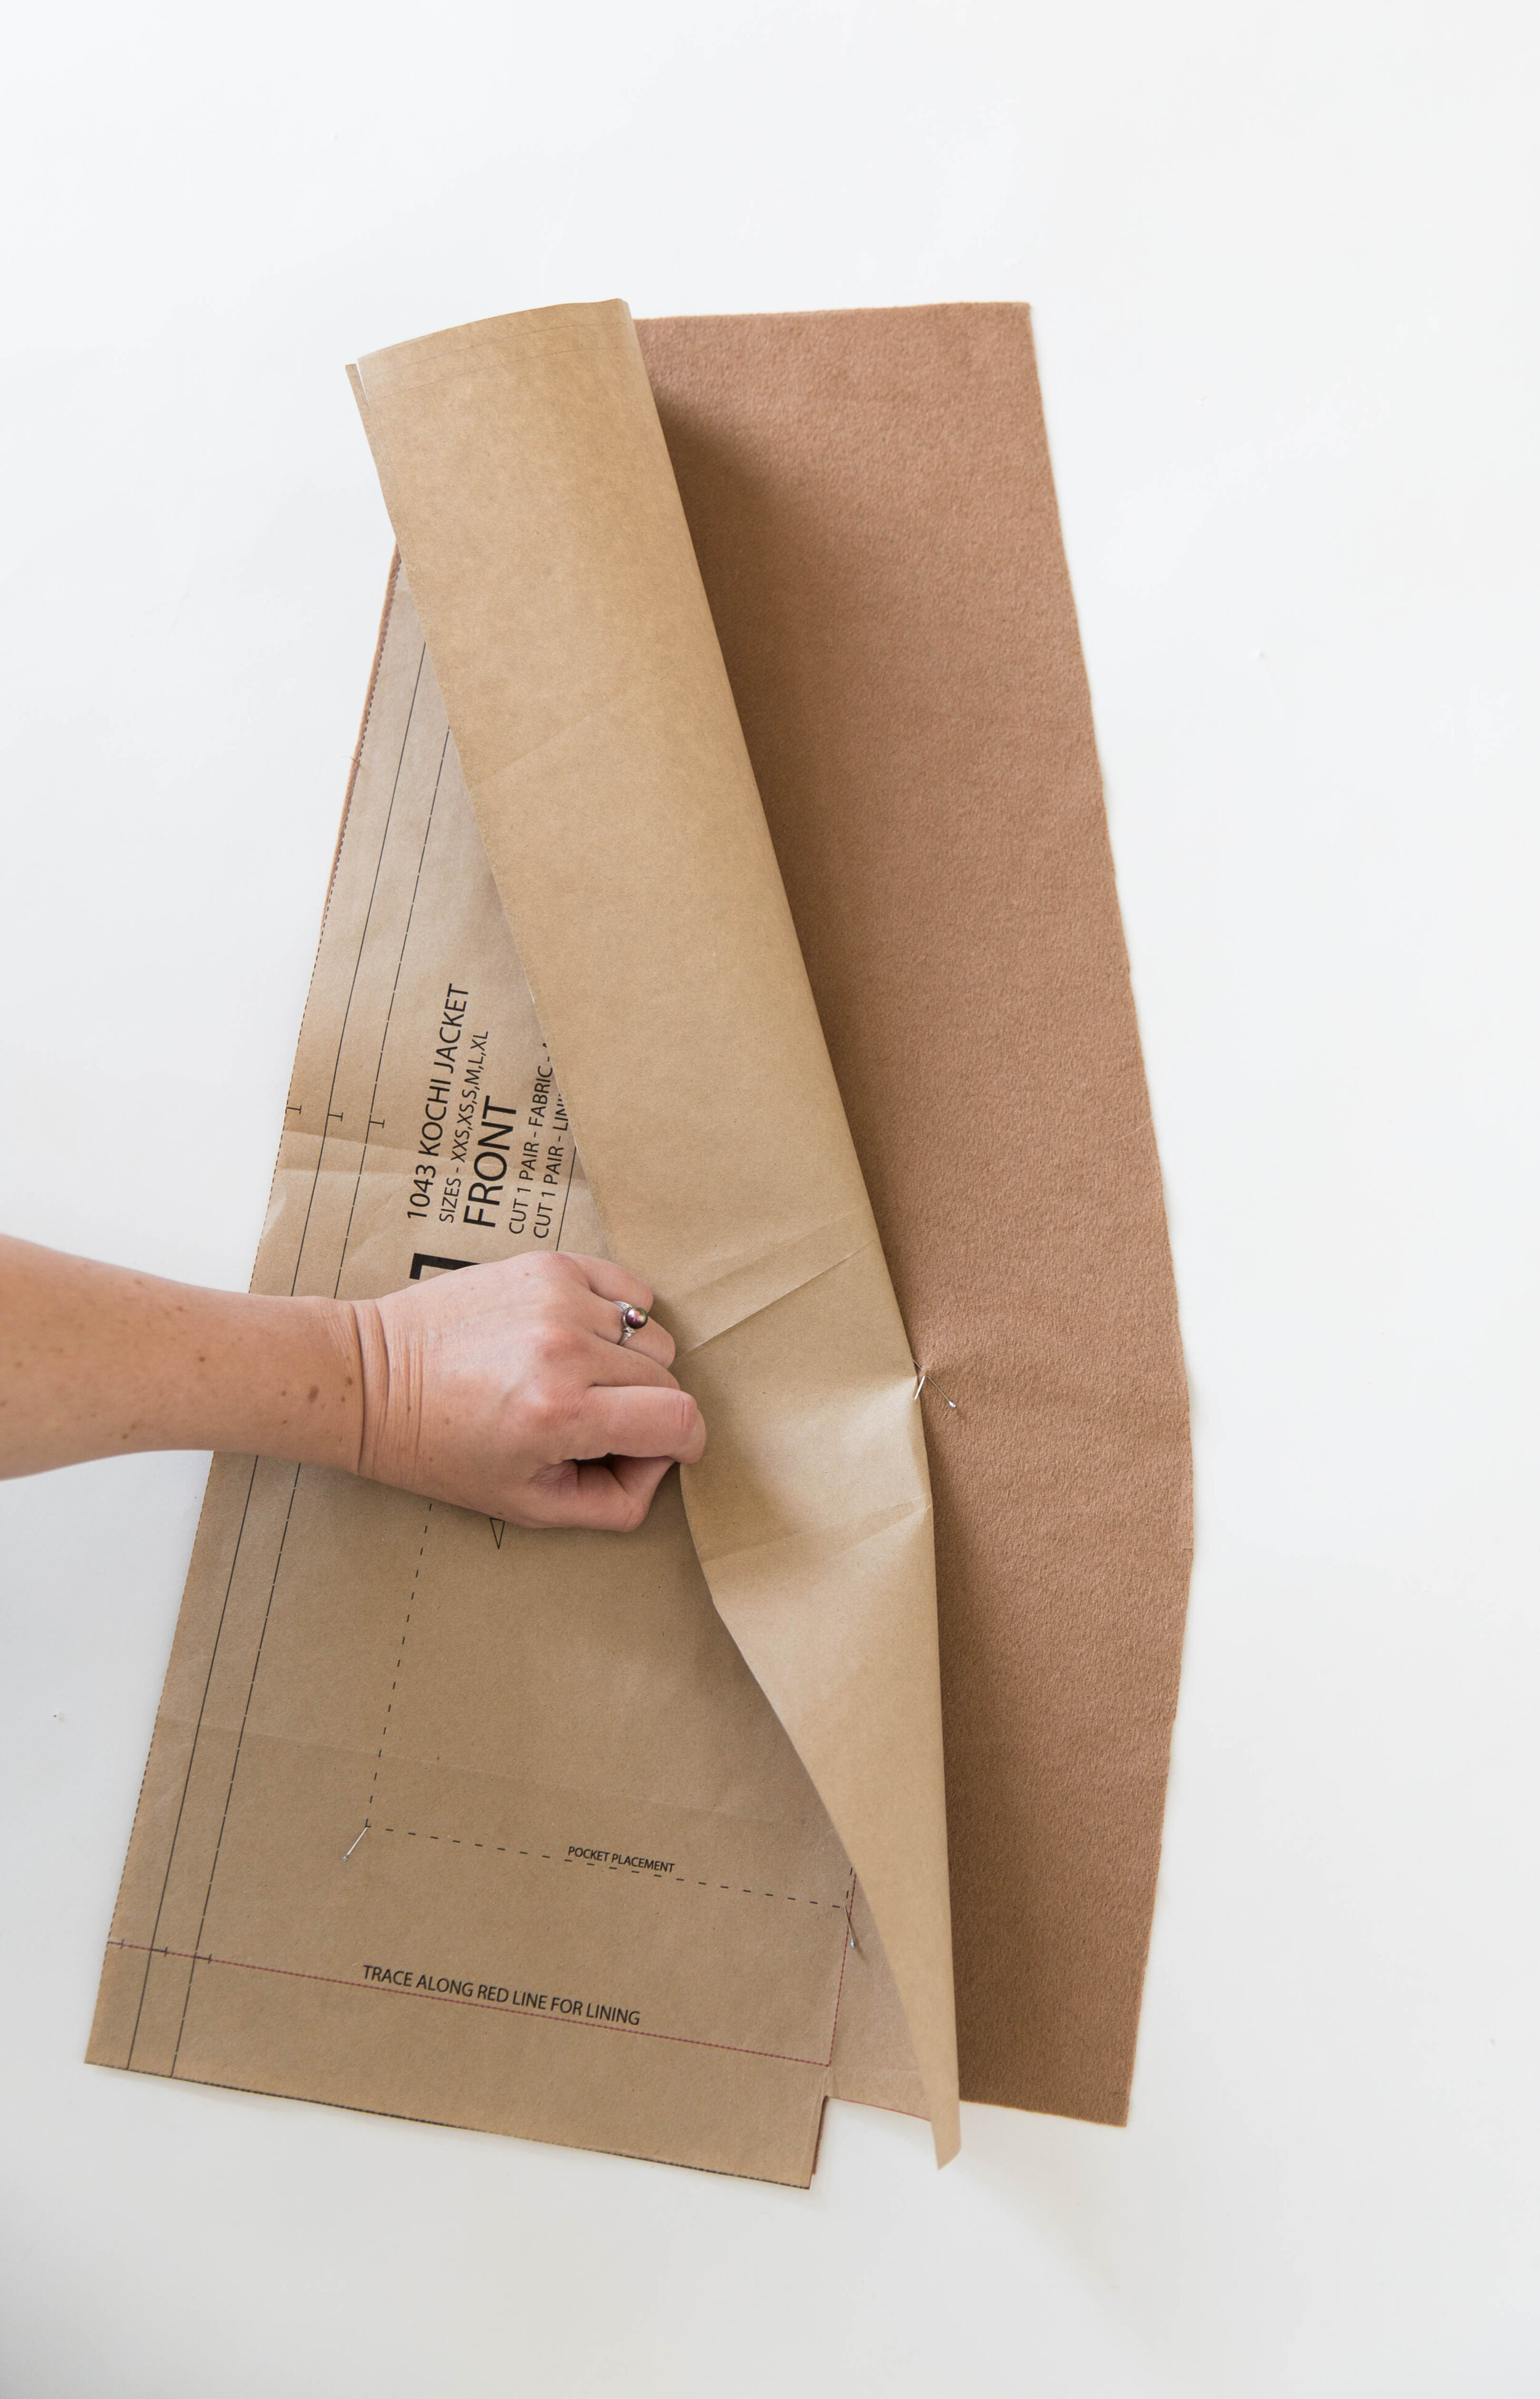
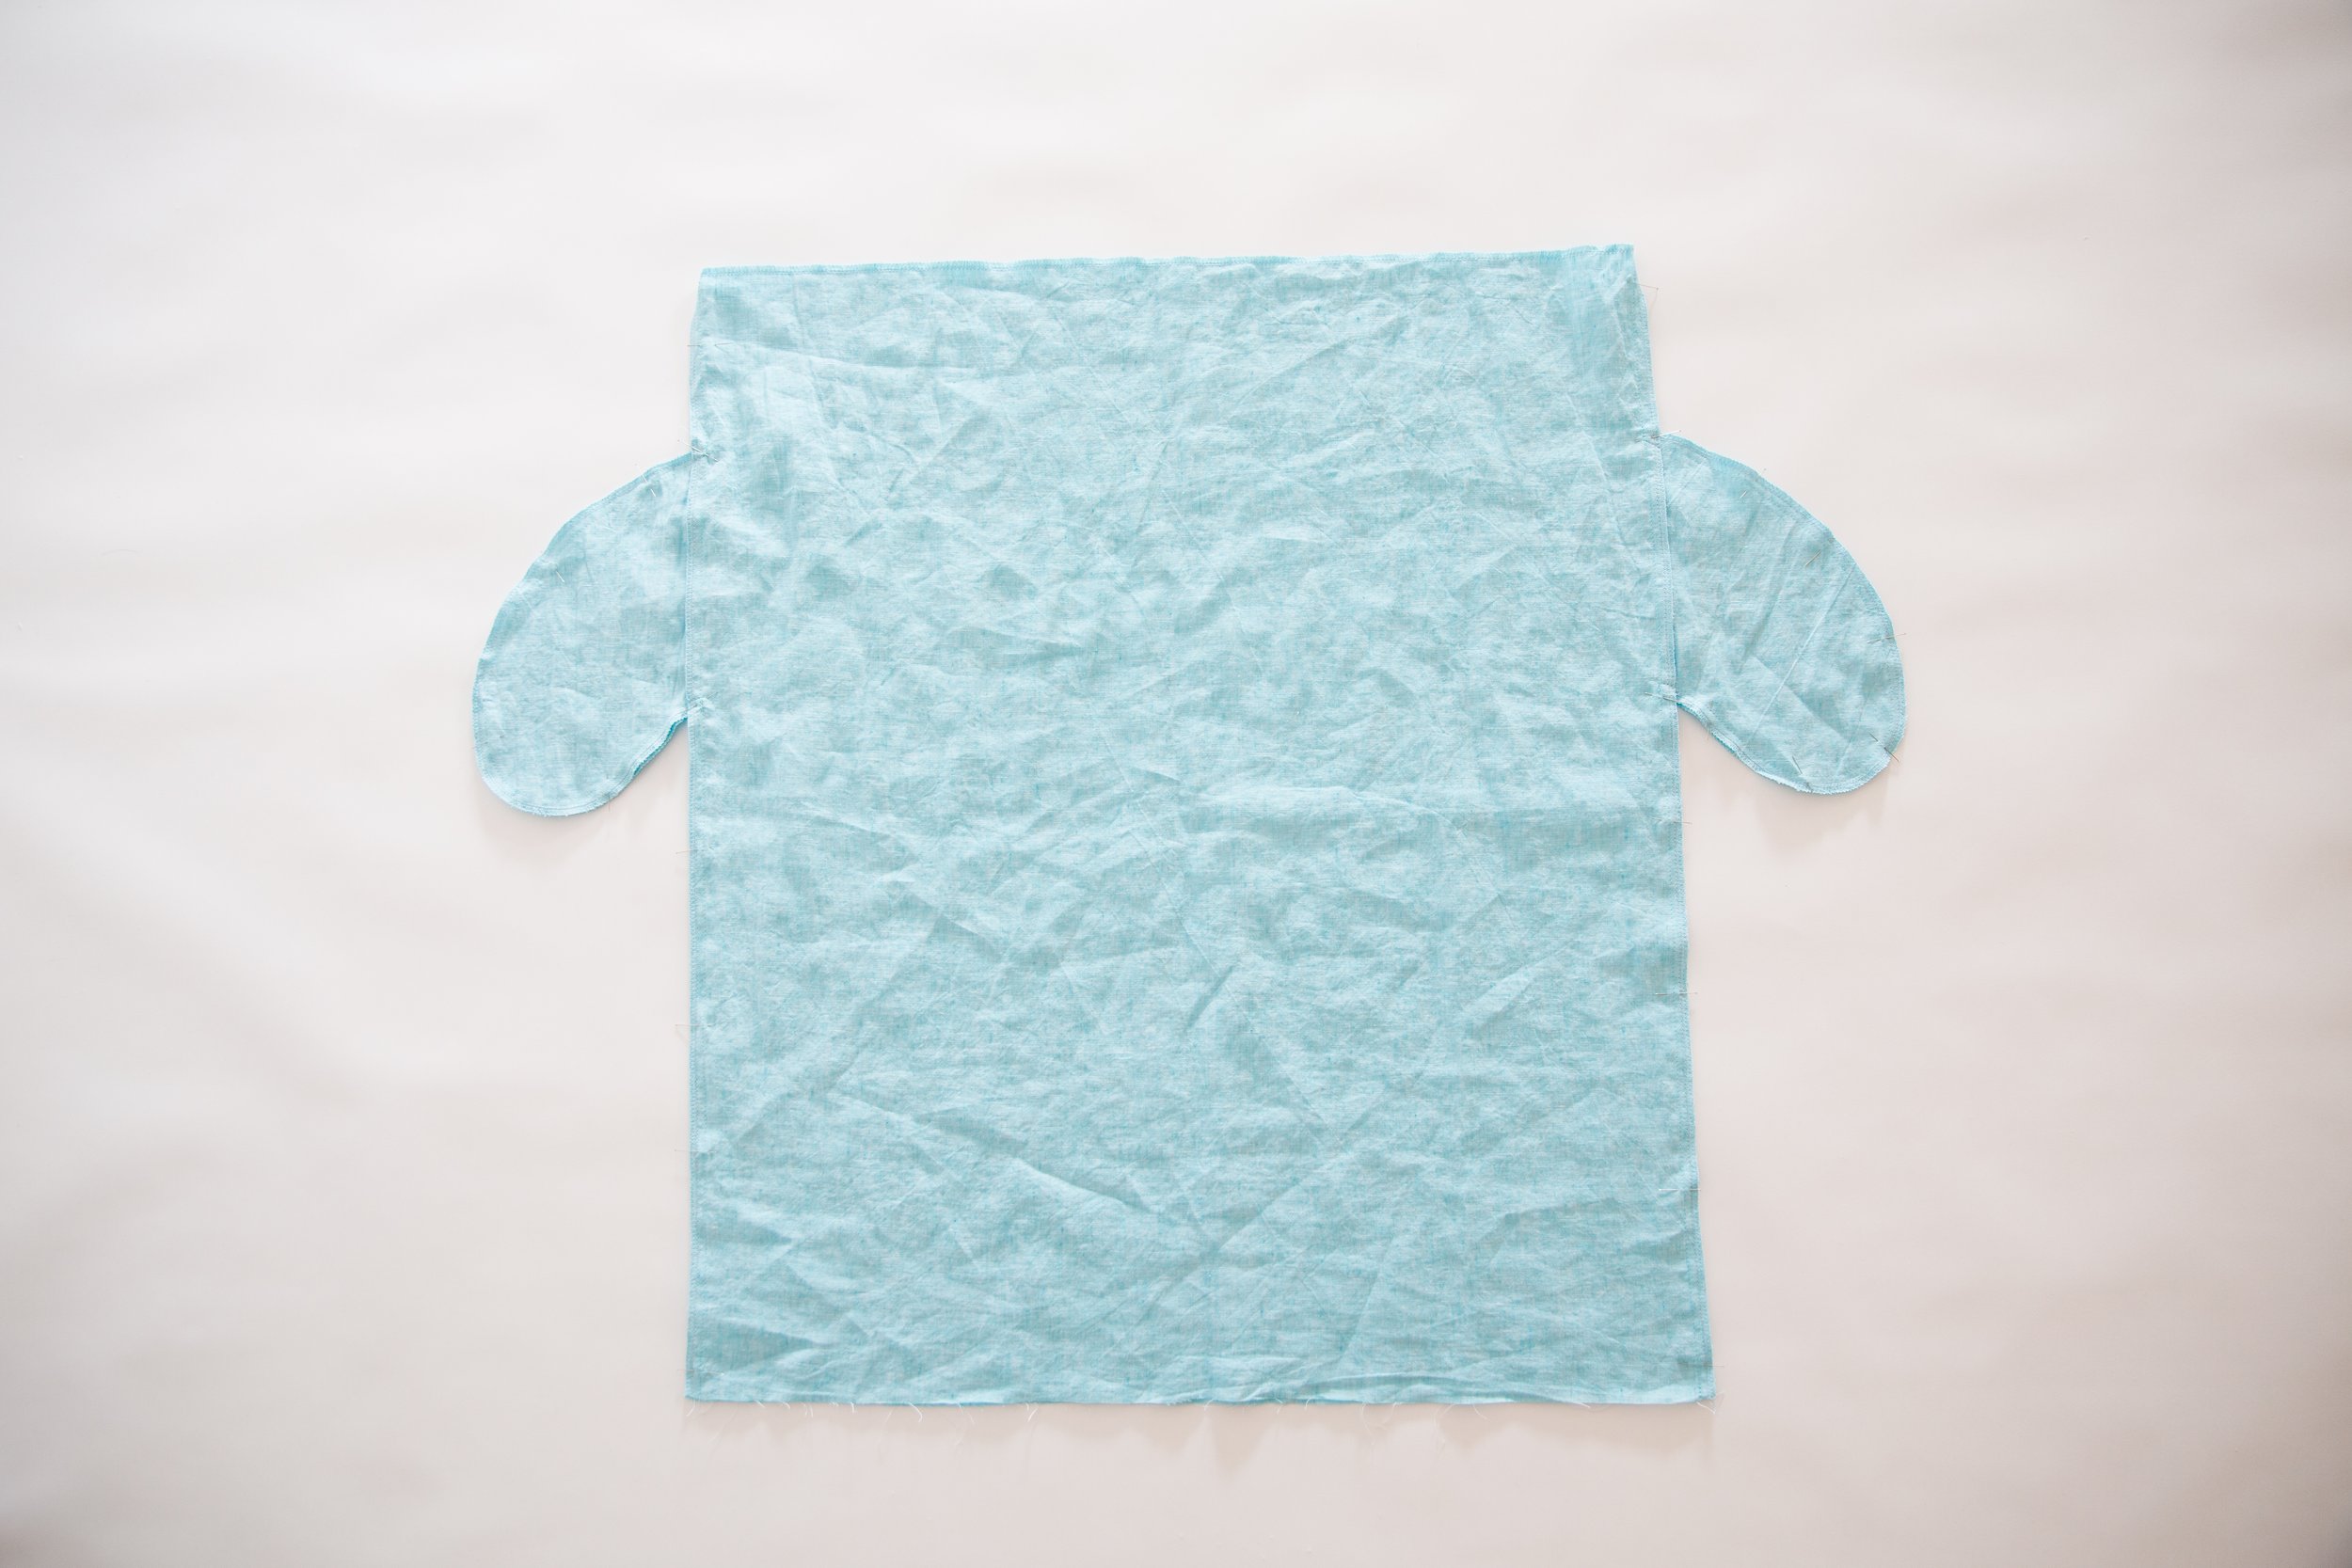
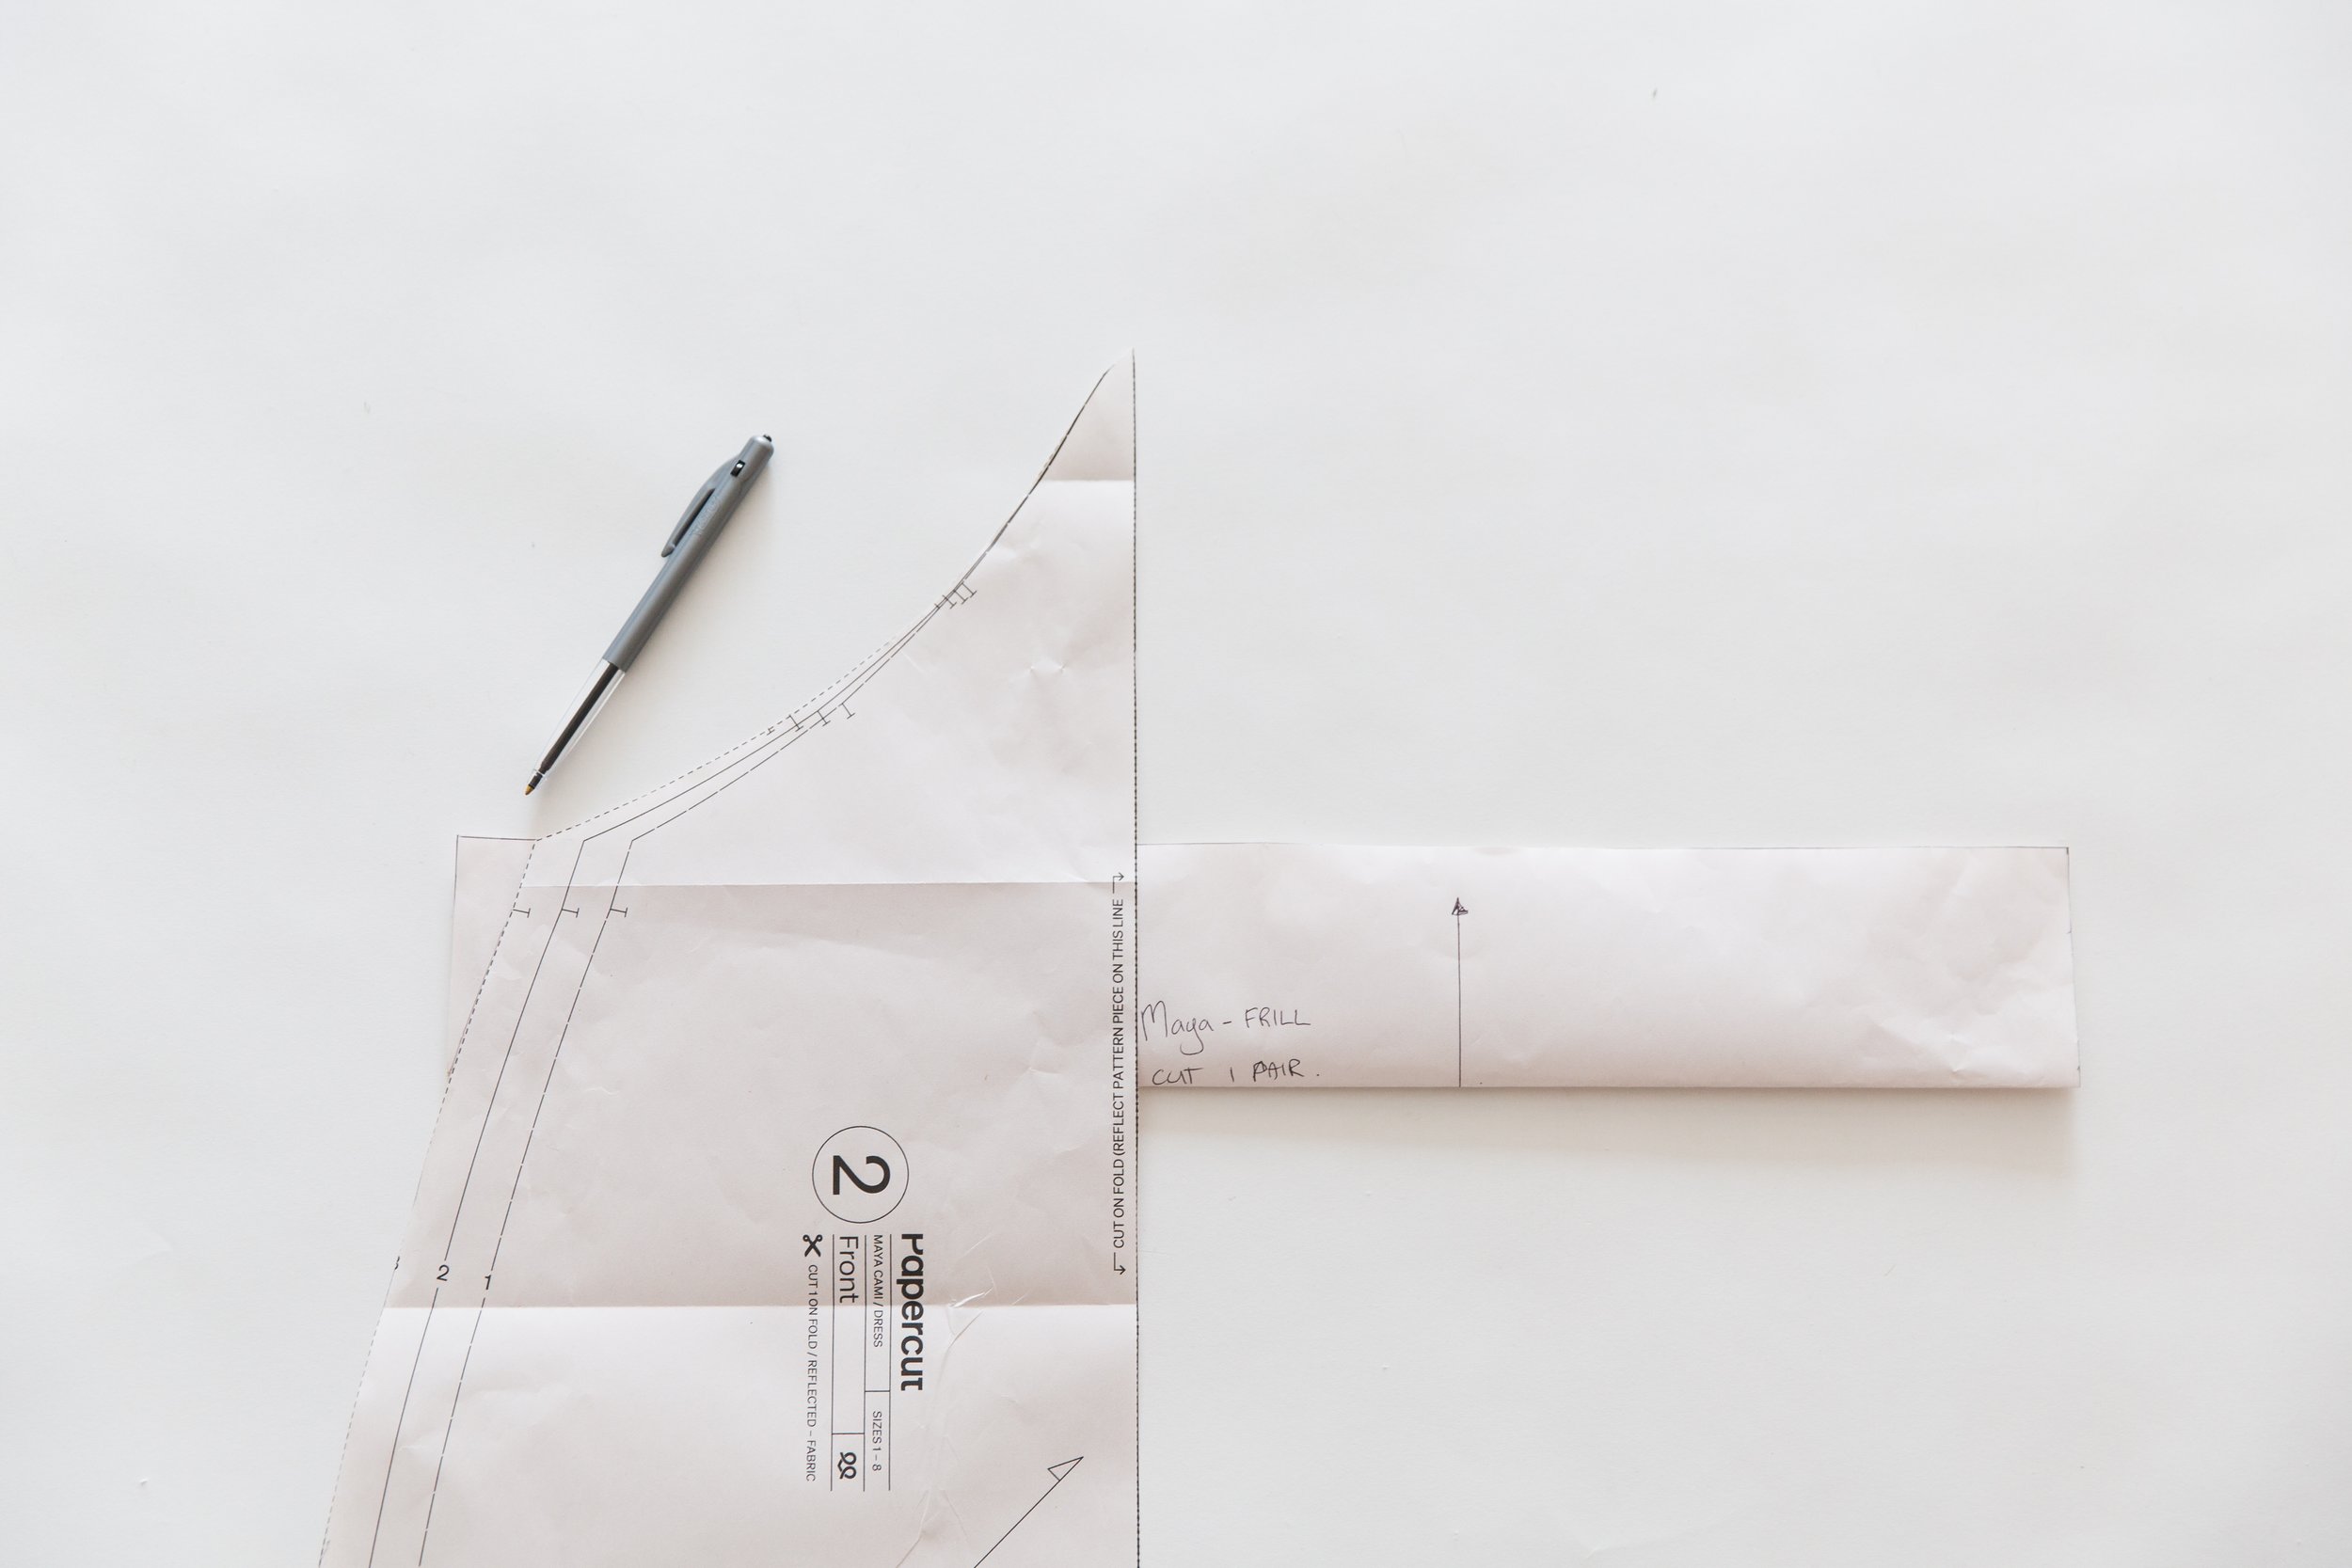
Place the frill piece under your front dress pattern, line the frill grainline up with the centre front of dress, and place the folded corner edge of frill to side seam, as seen in picture 2. Draw the shape of the front side seam along the frill pattern piece edge.
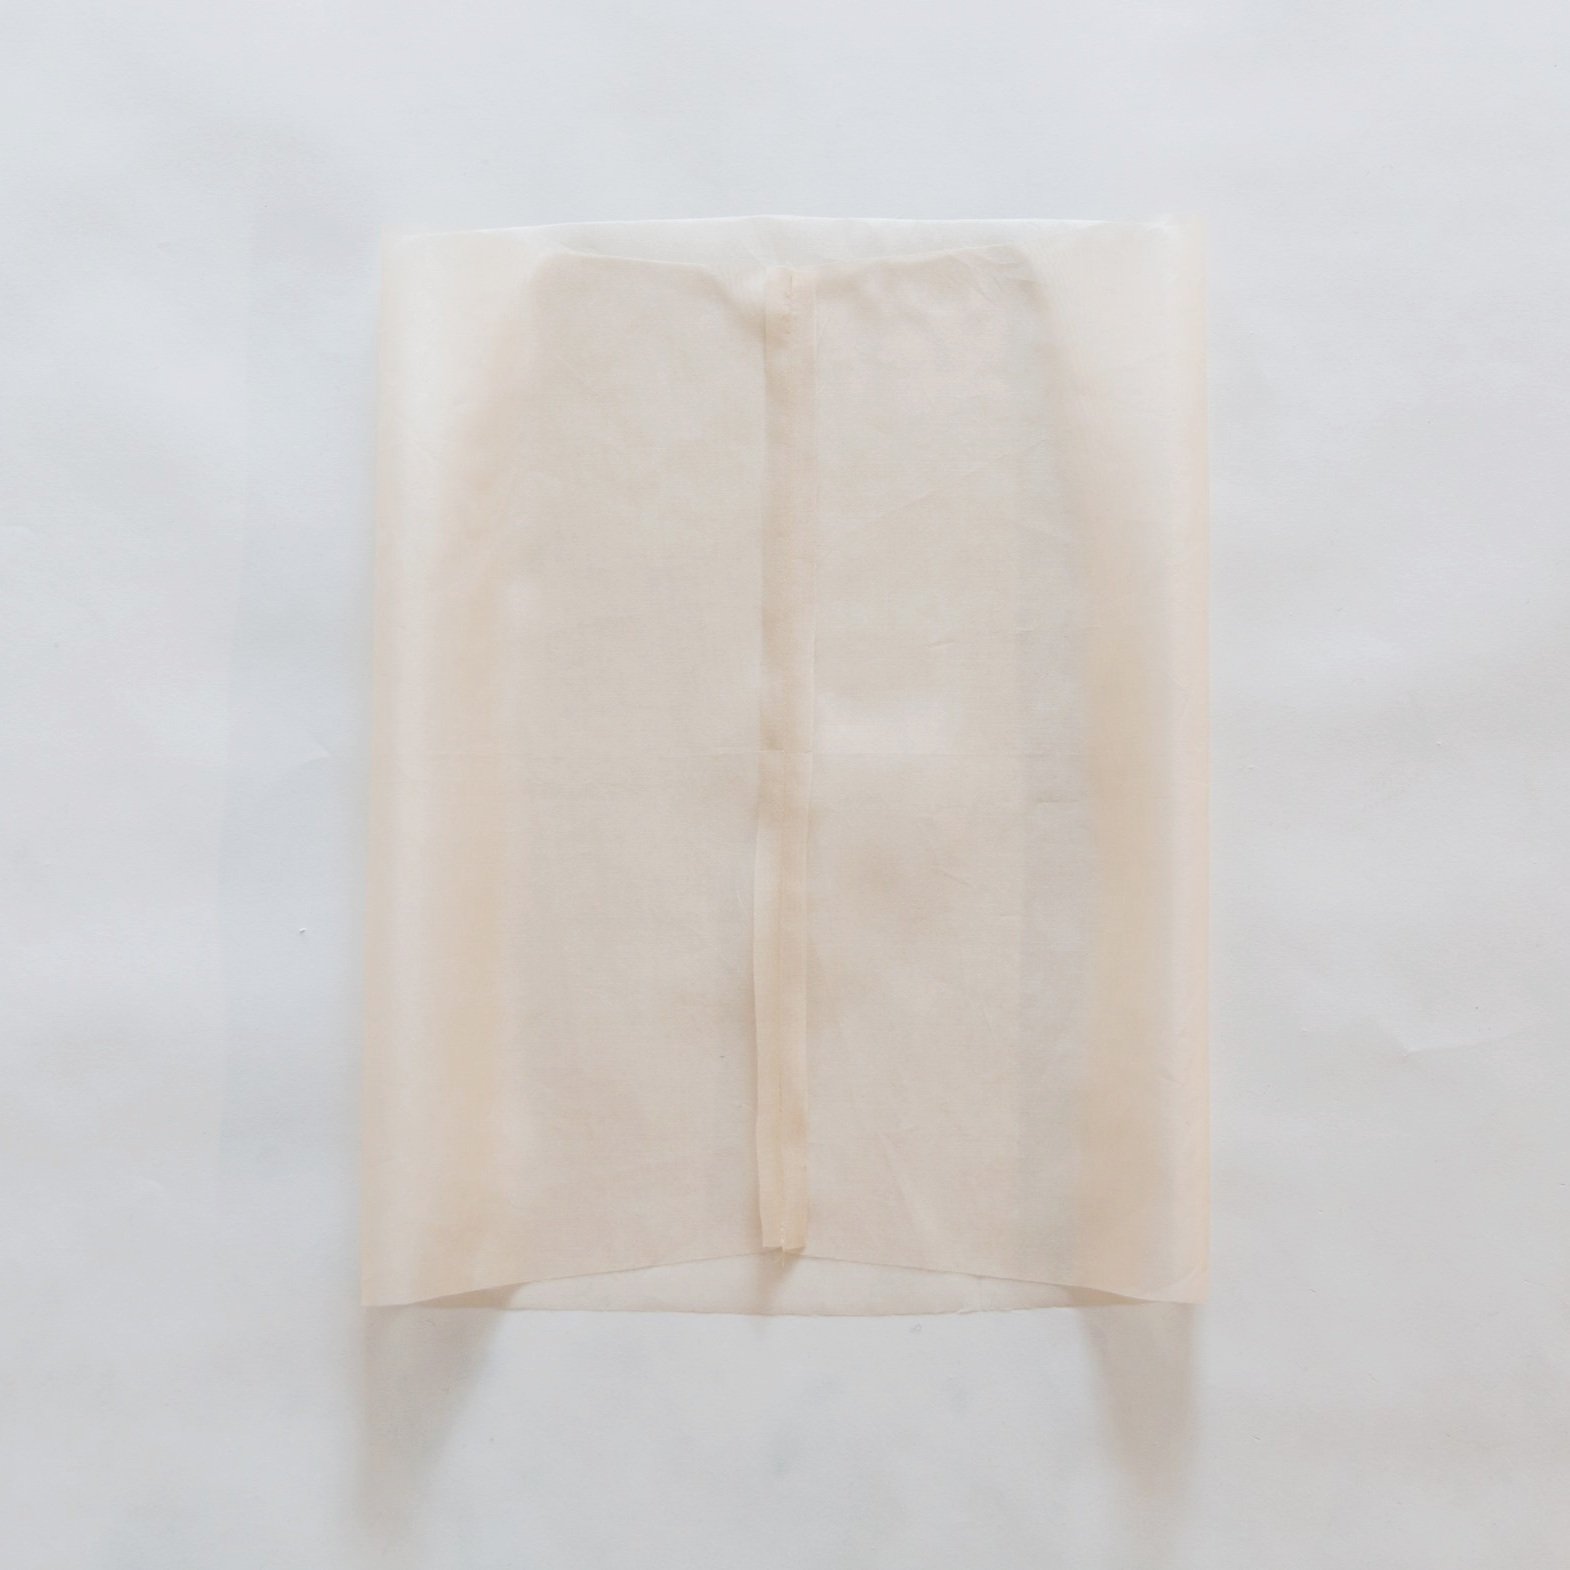
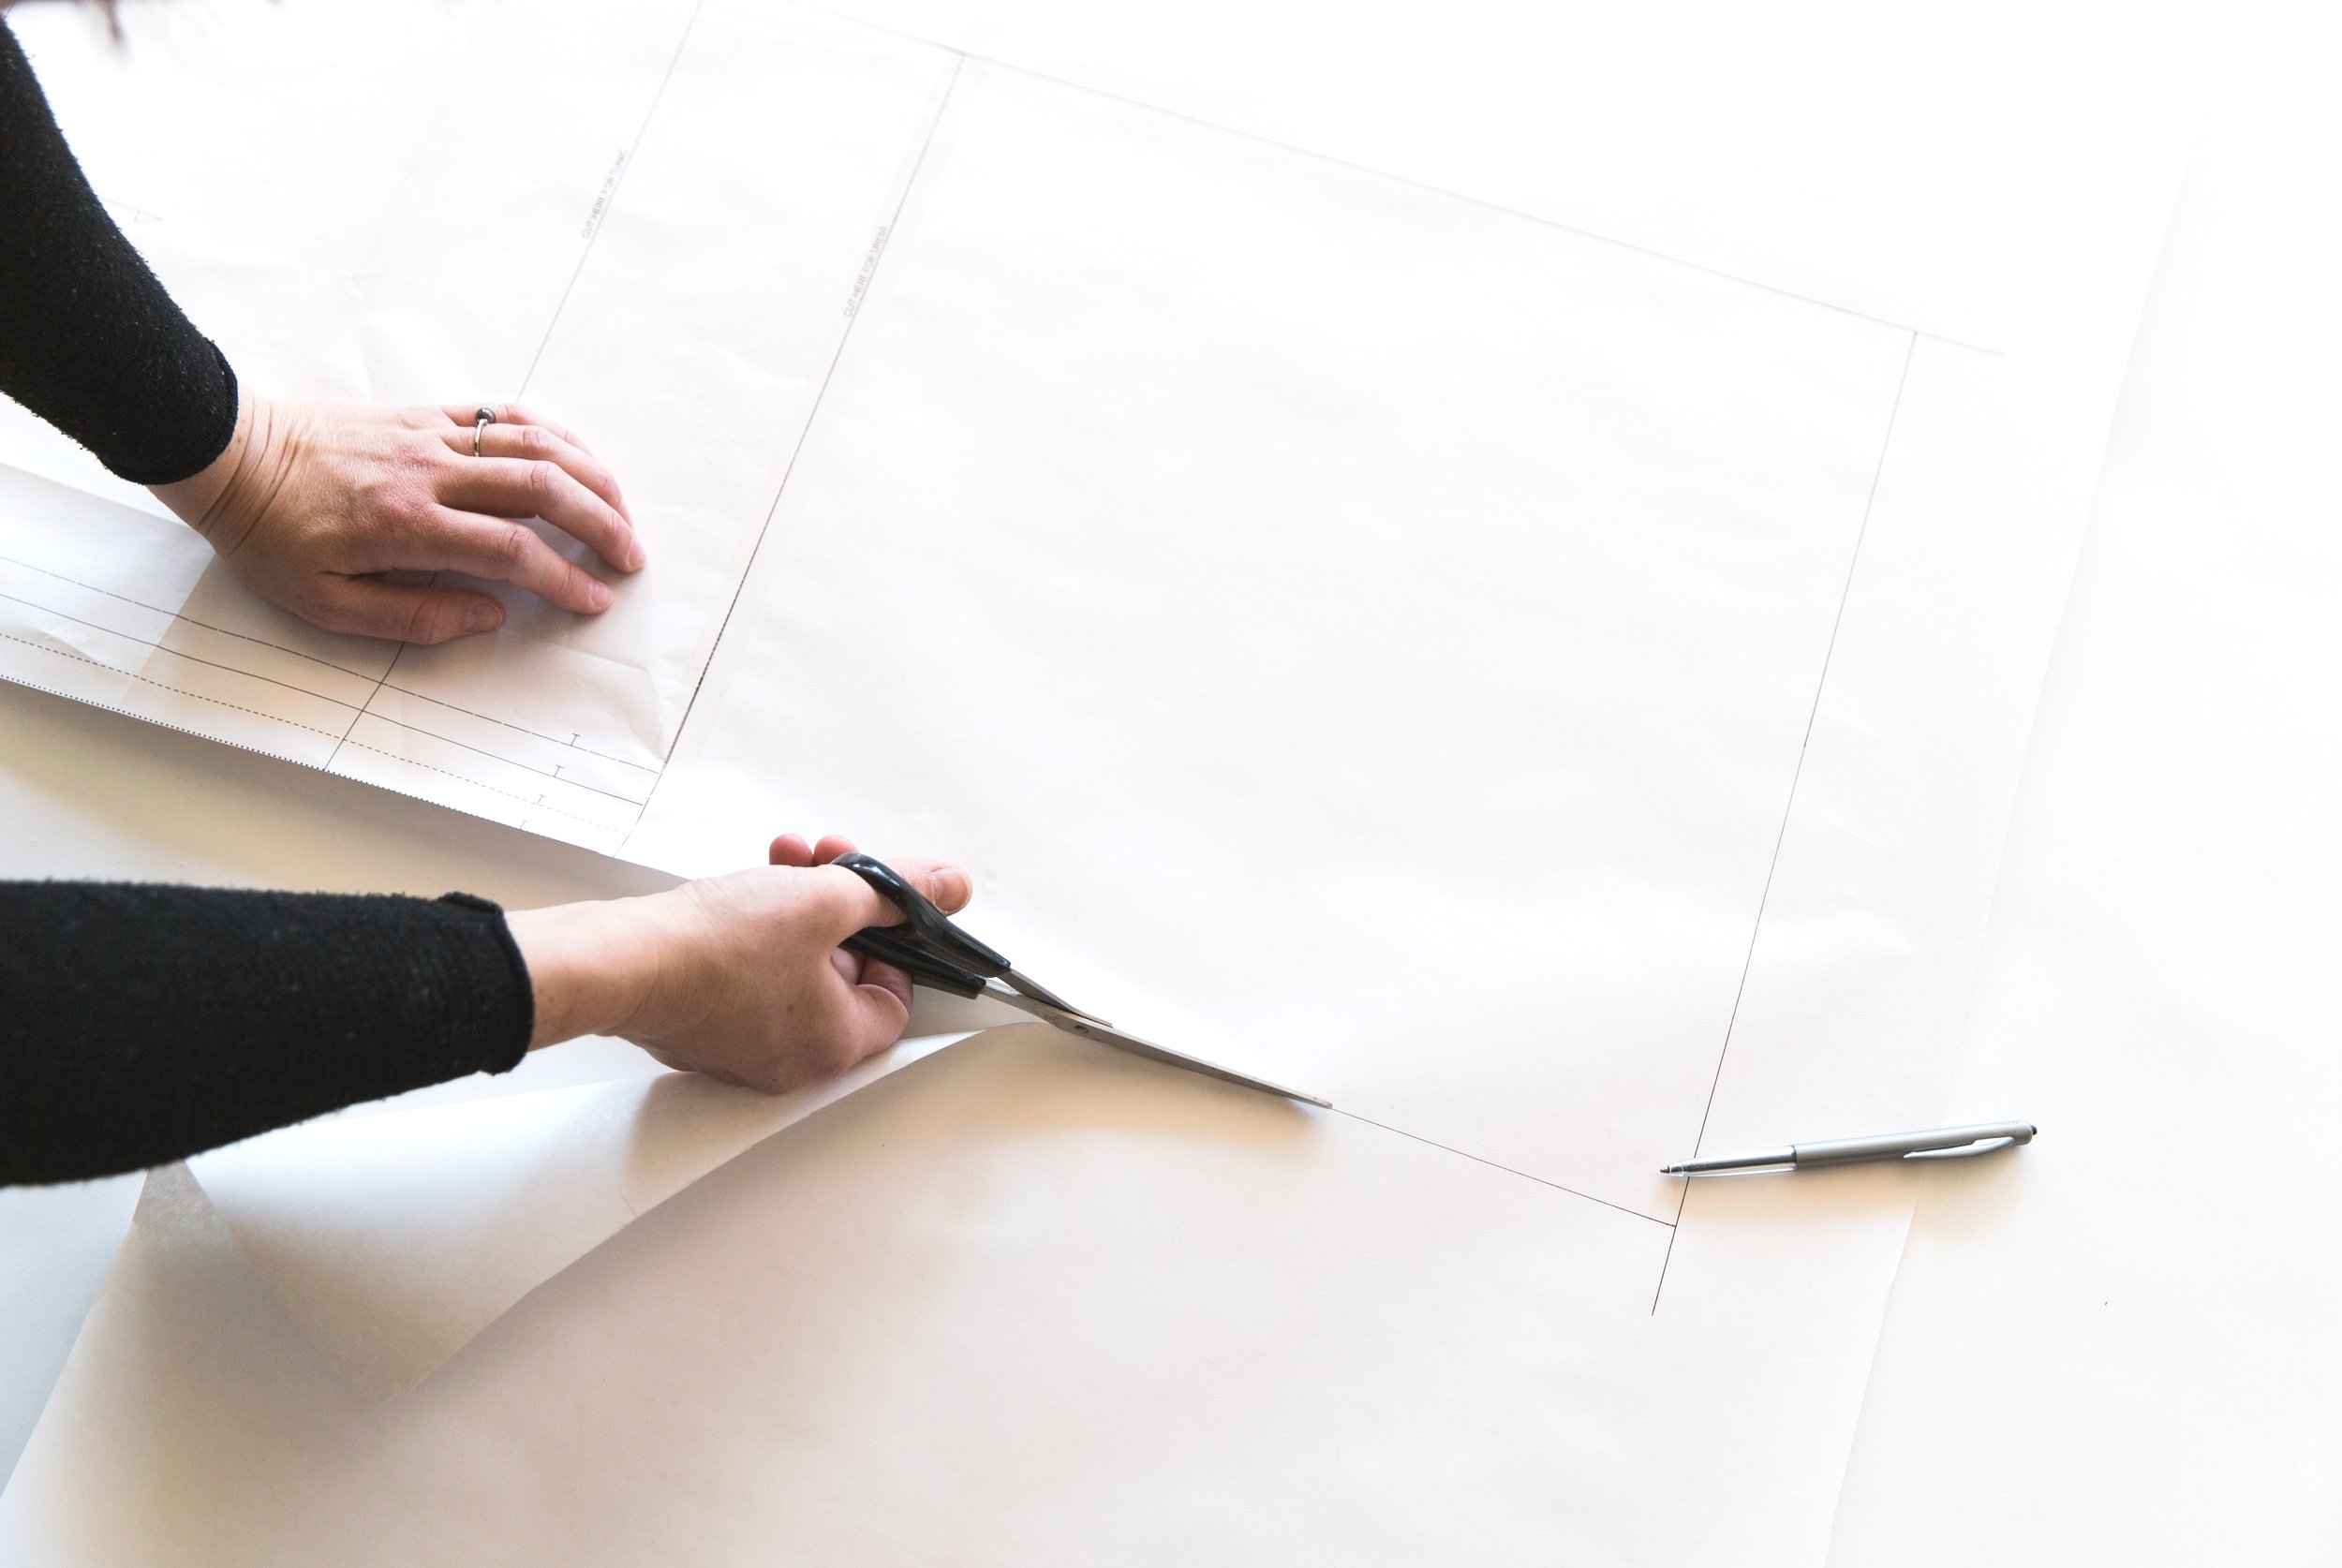
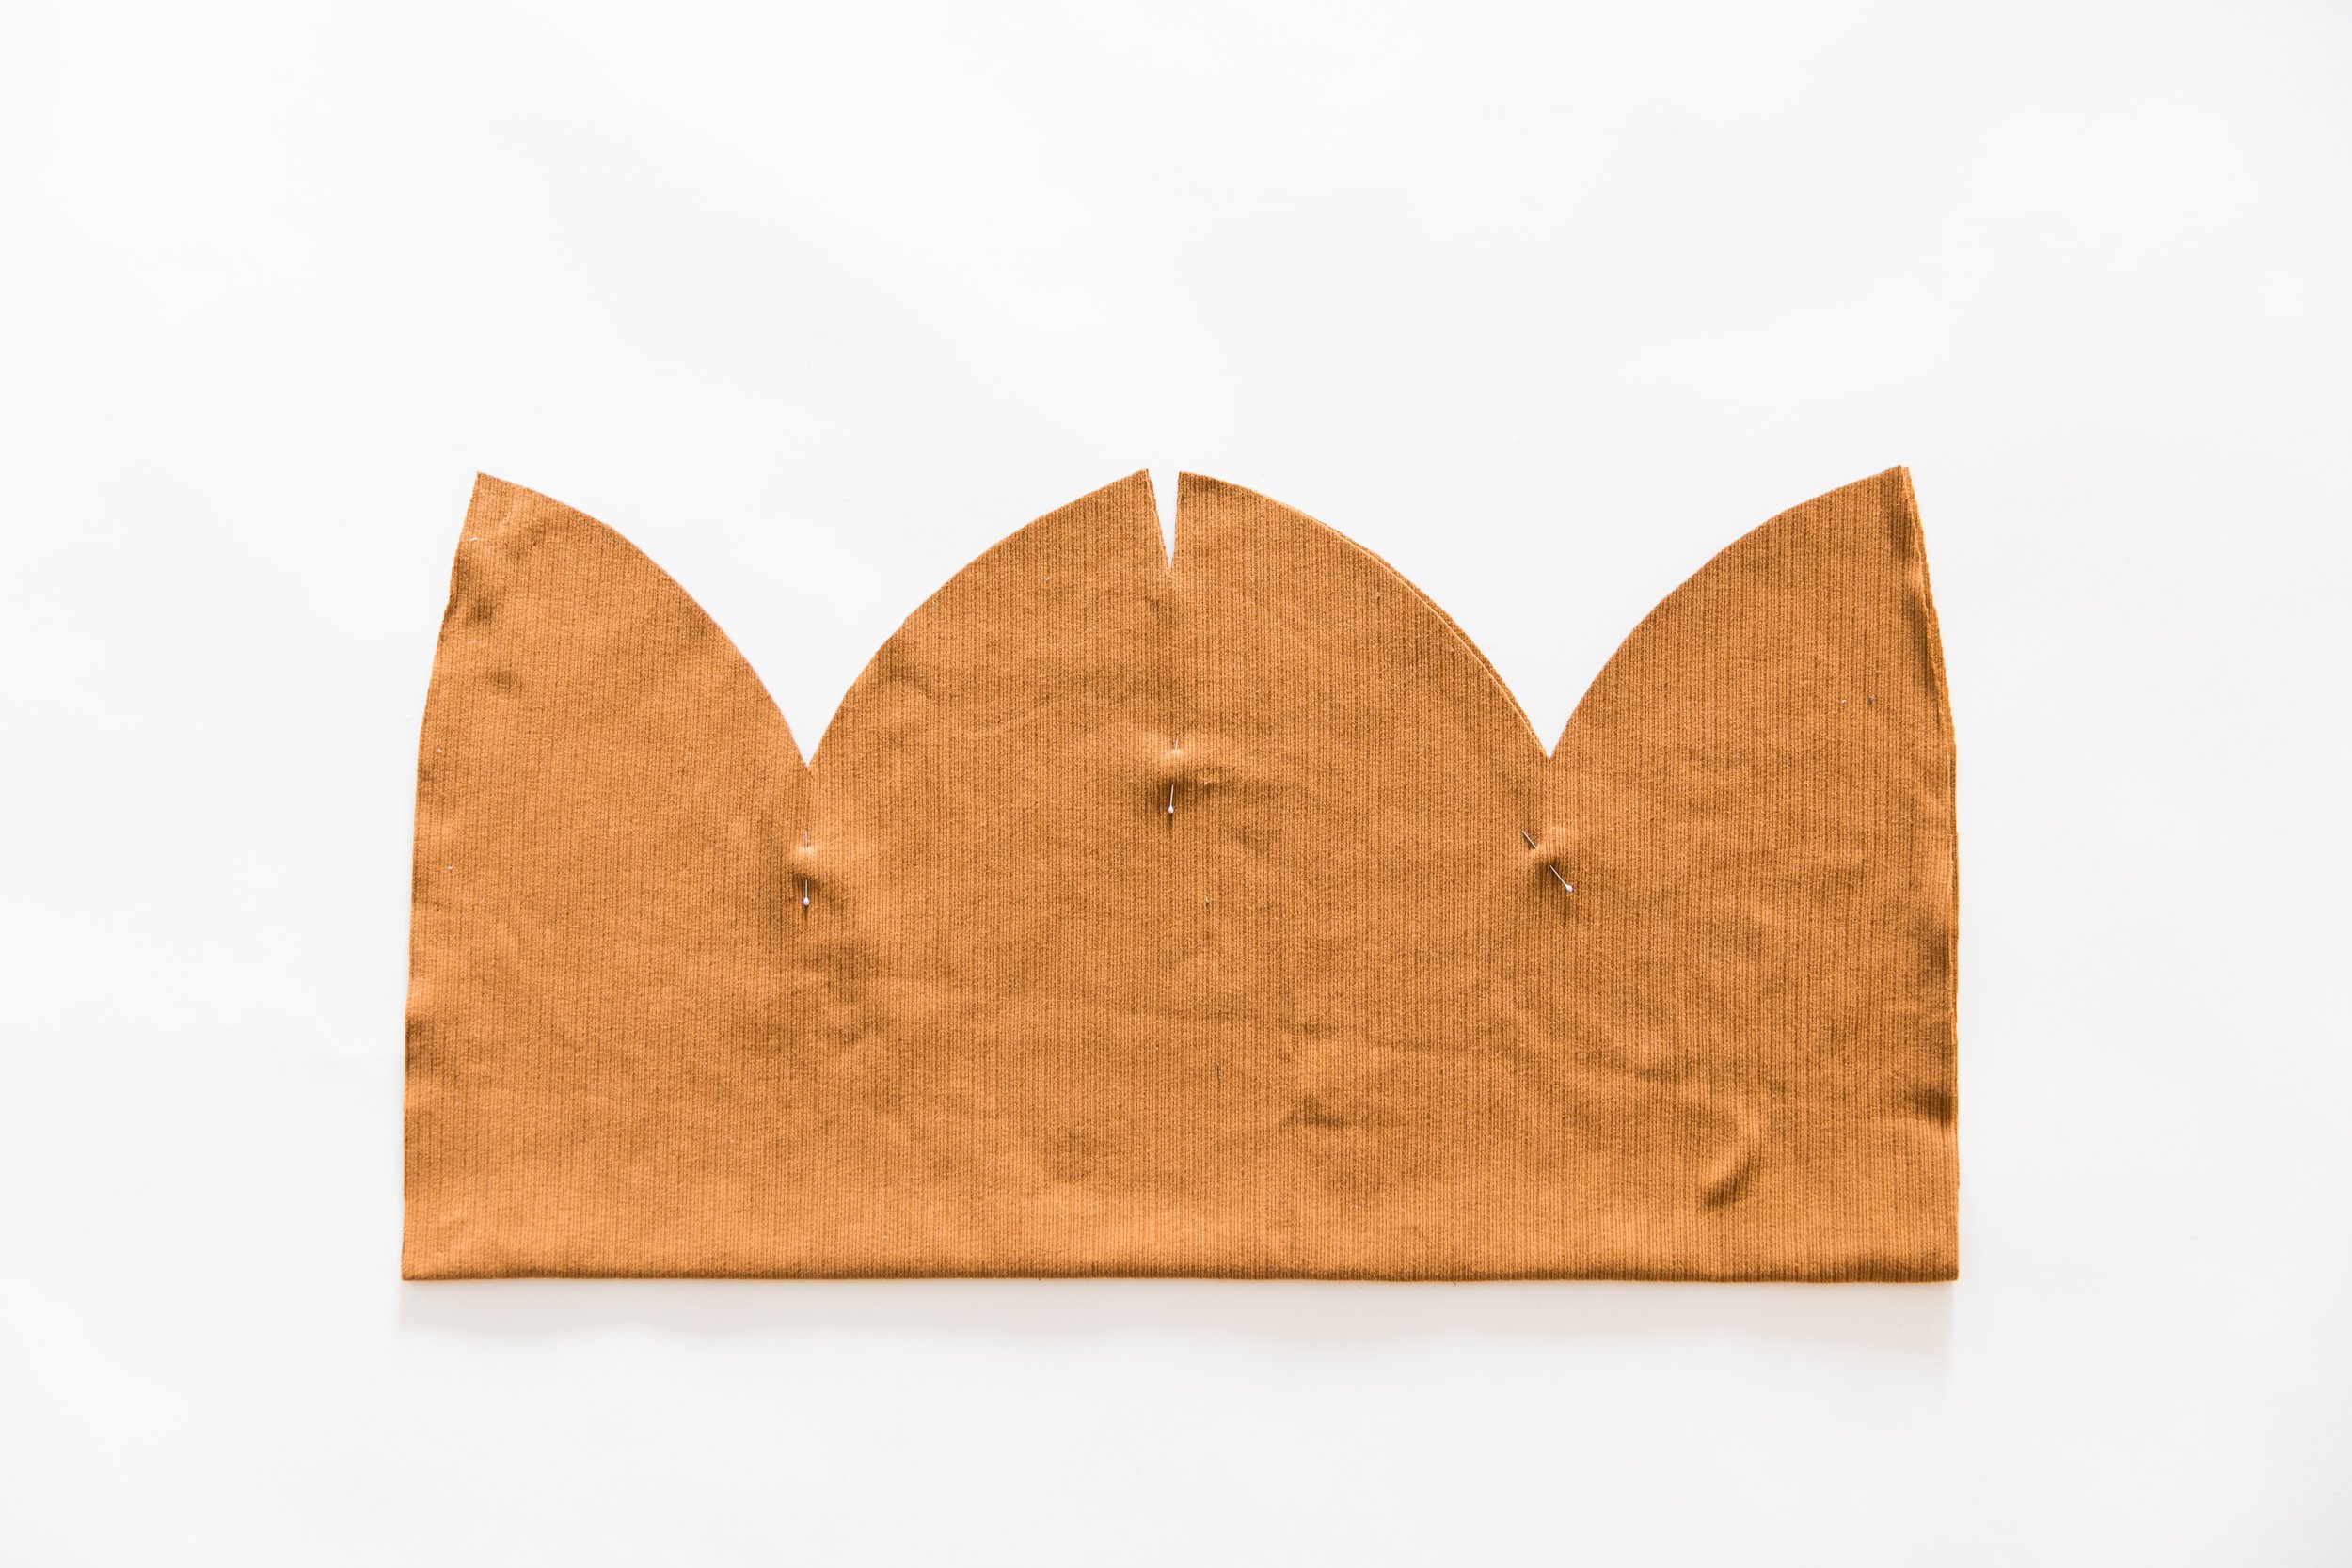
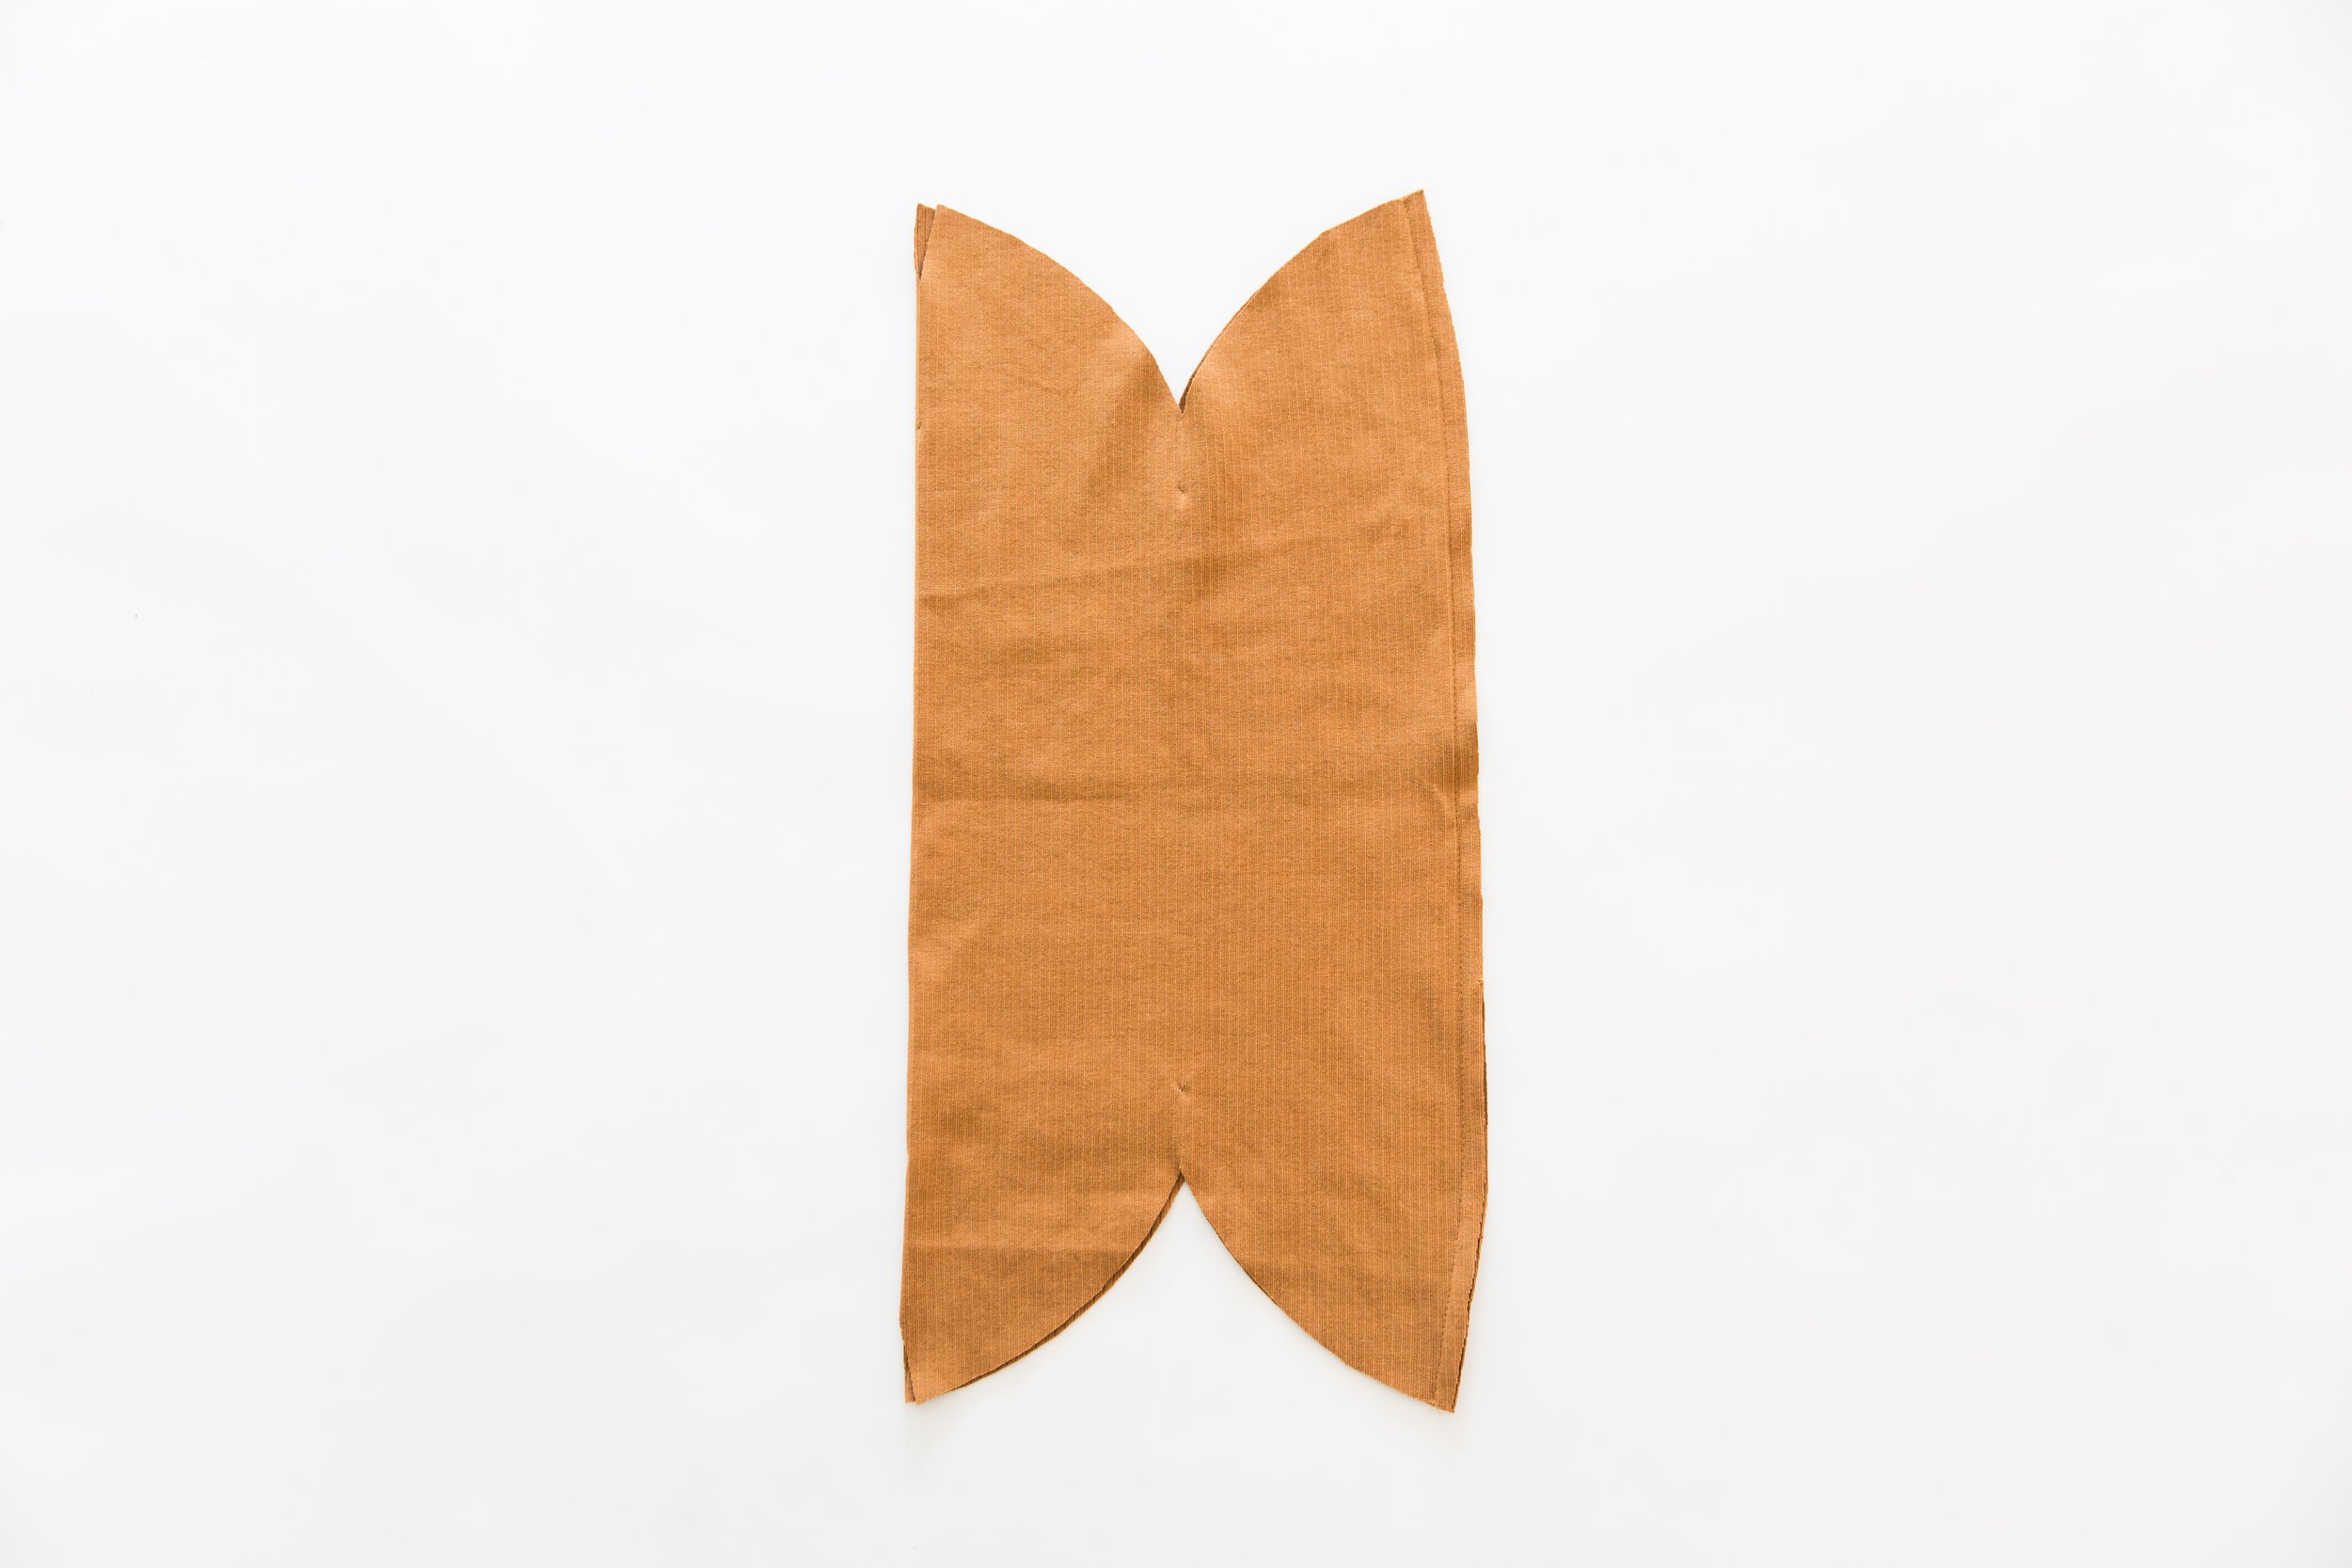
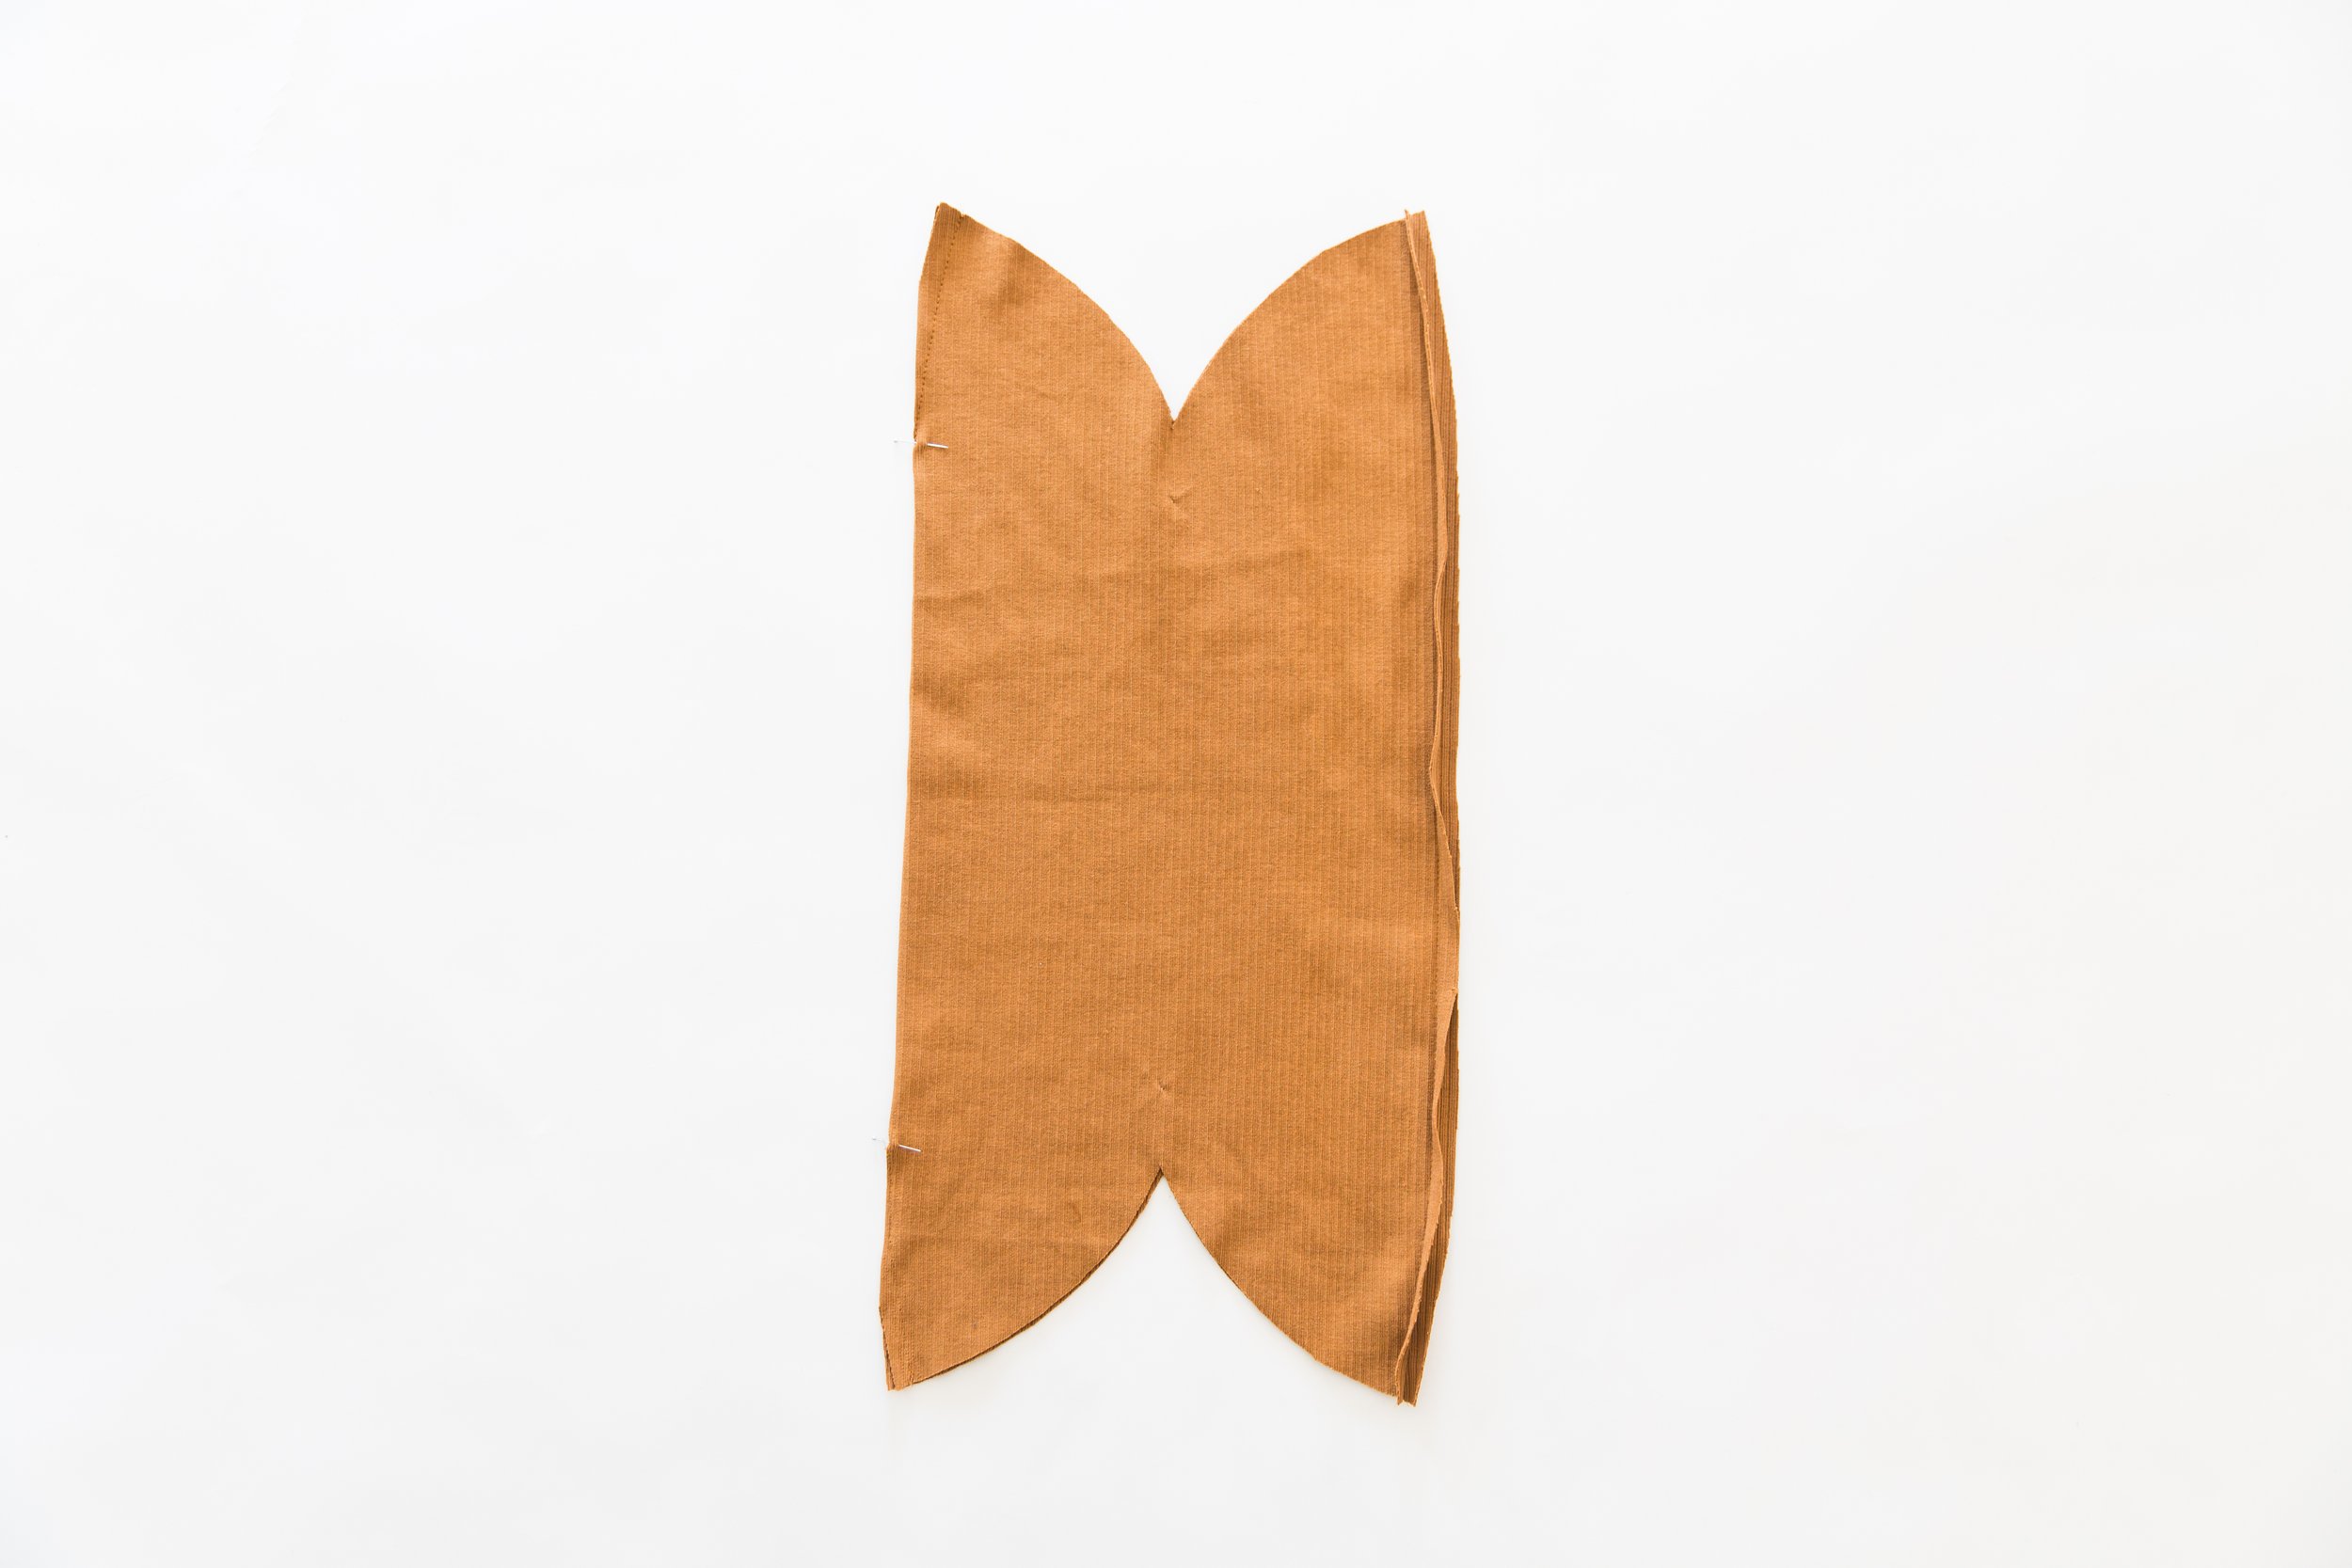
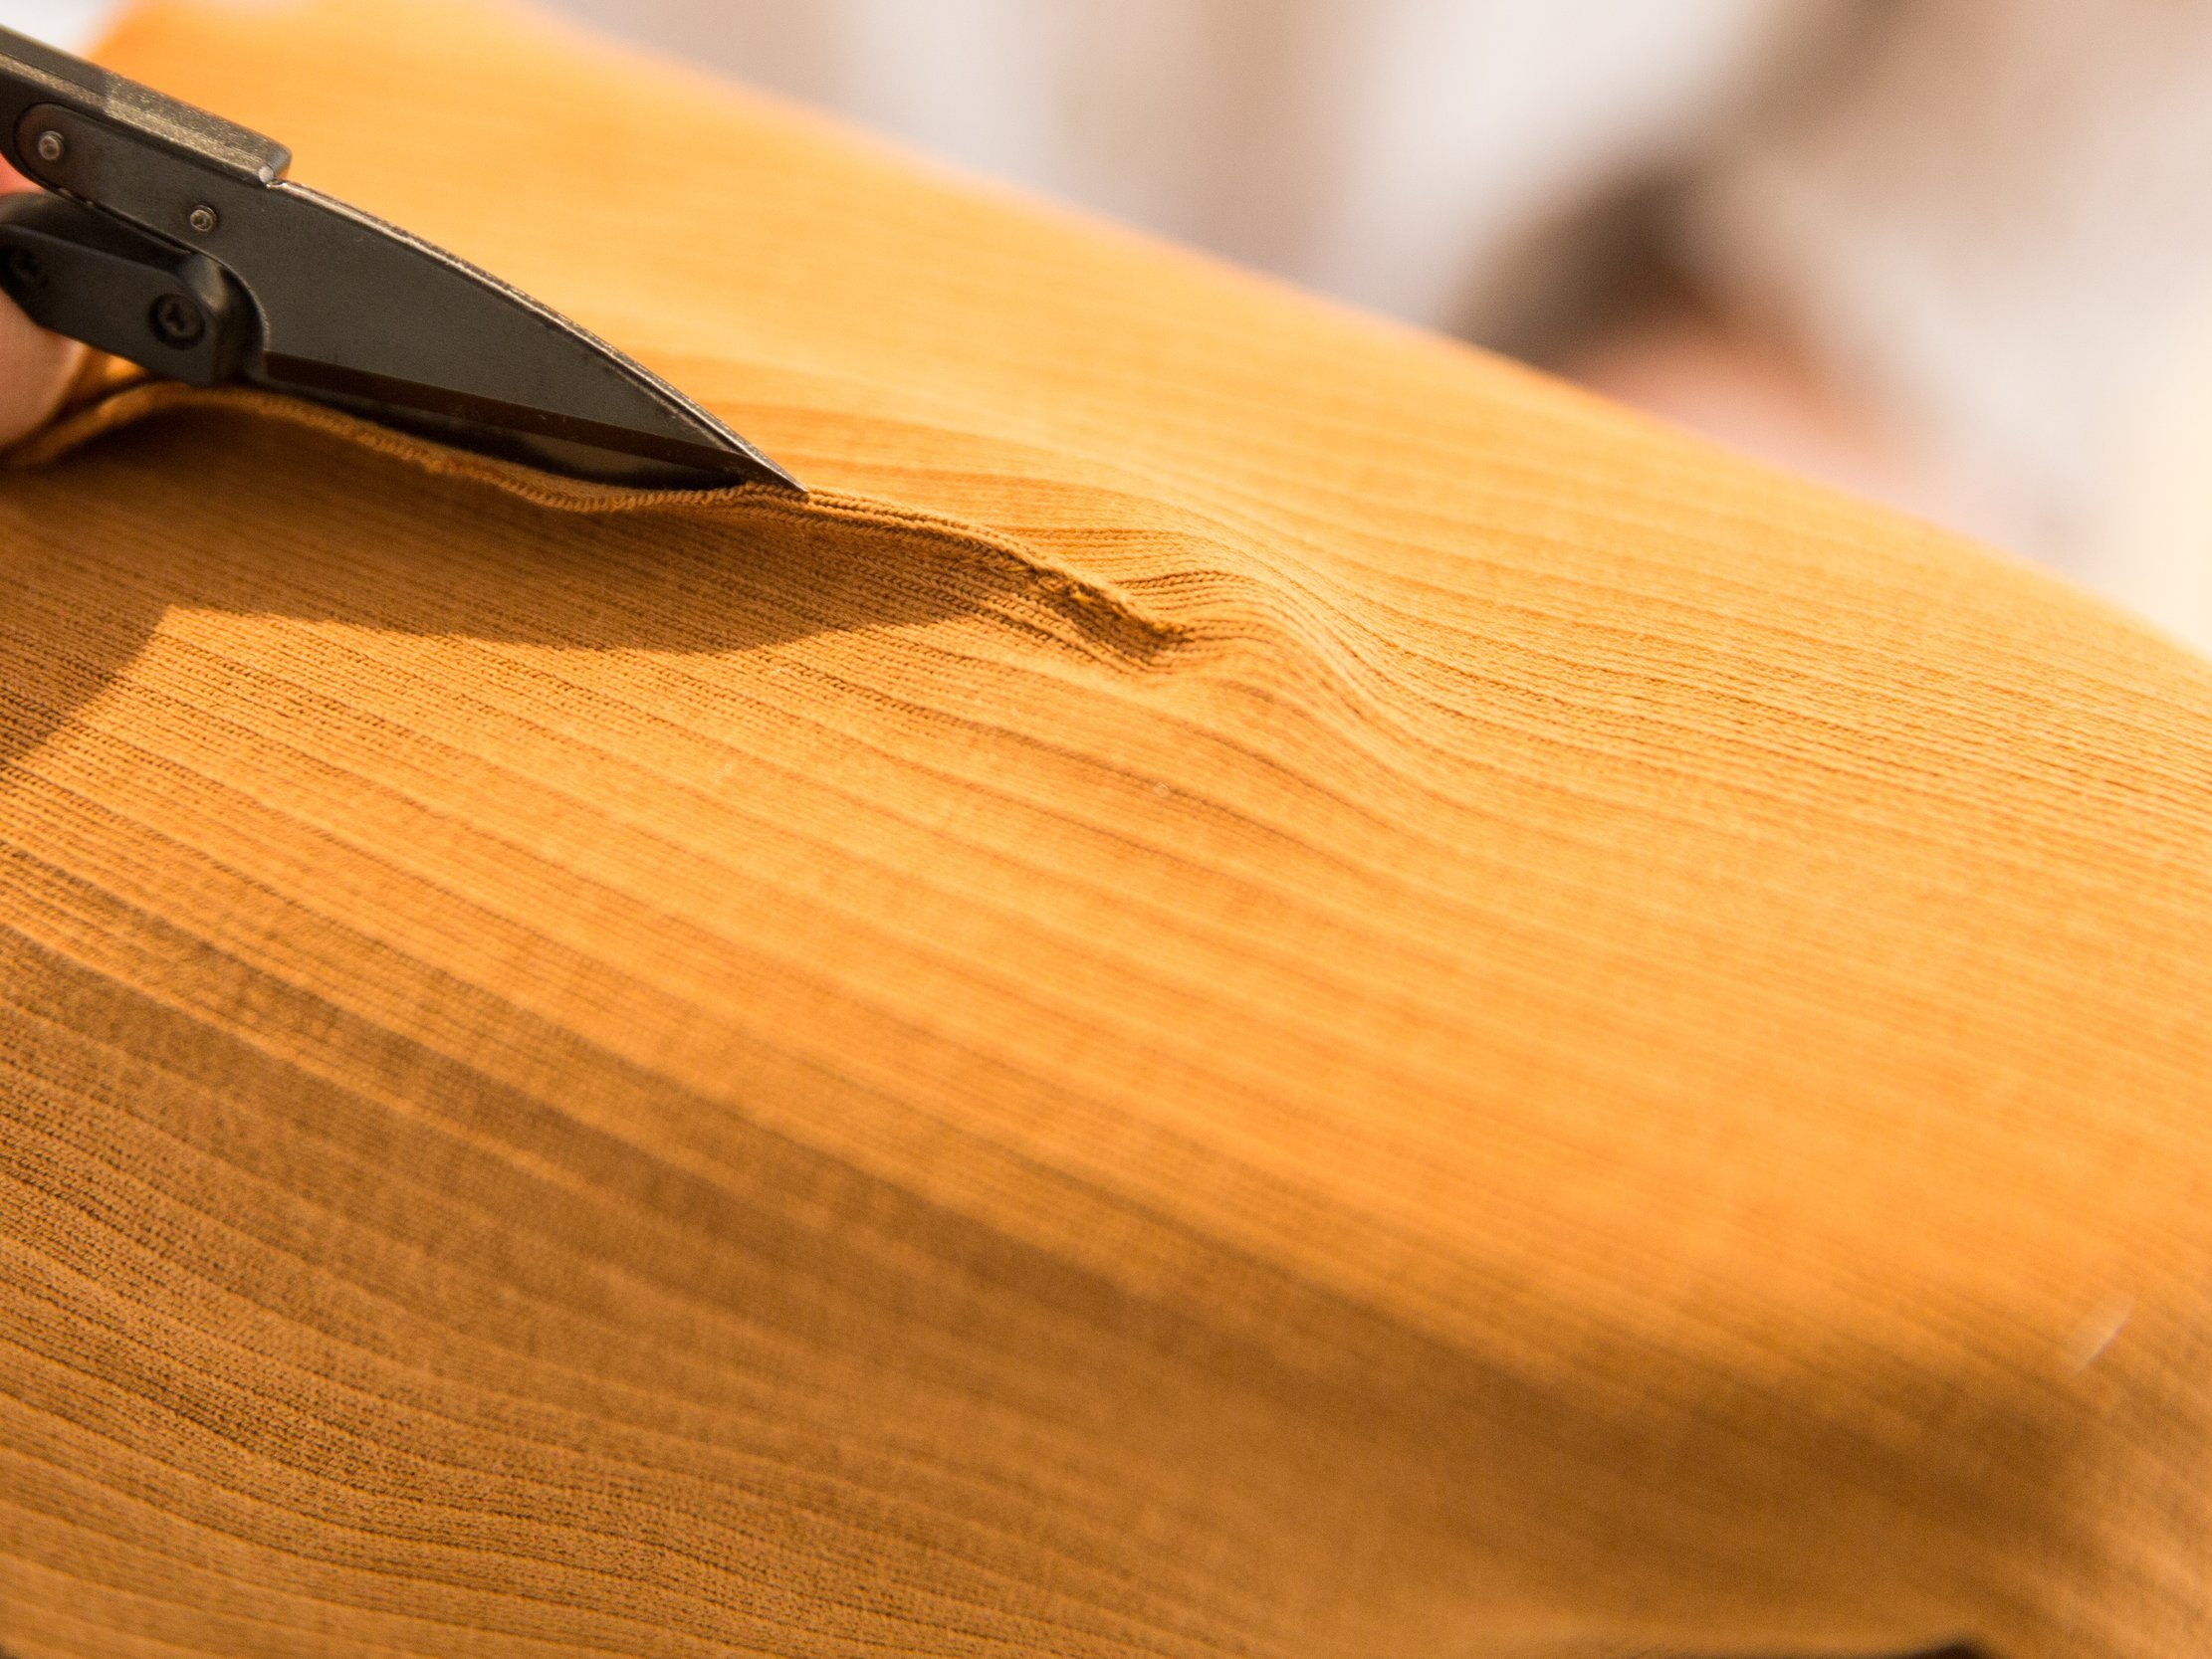
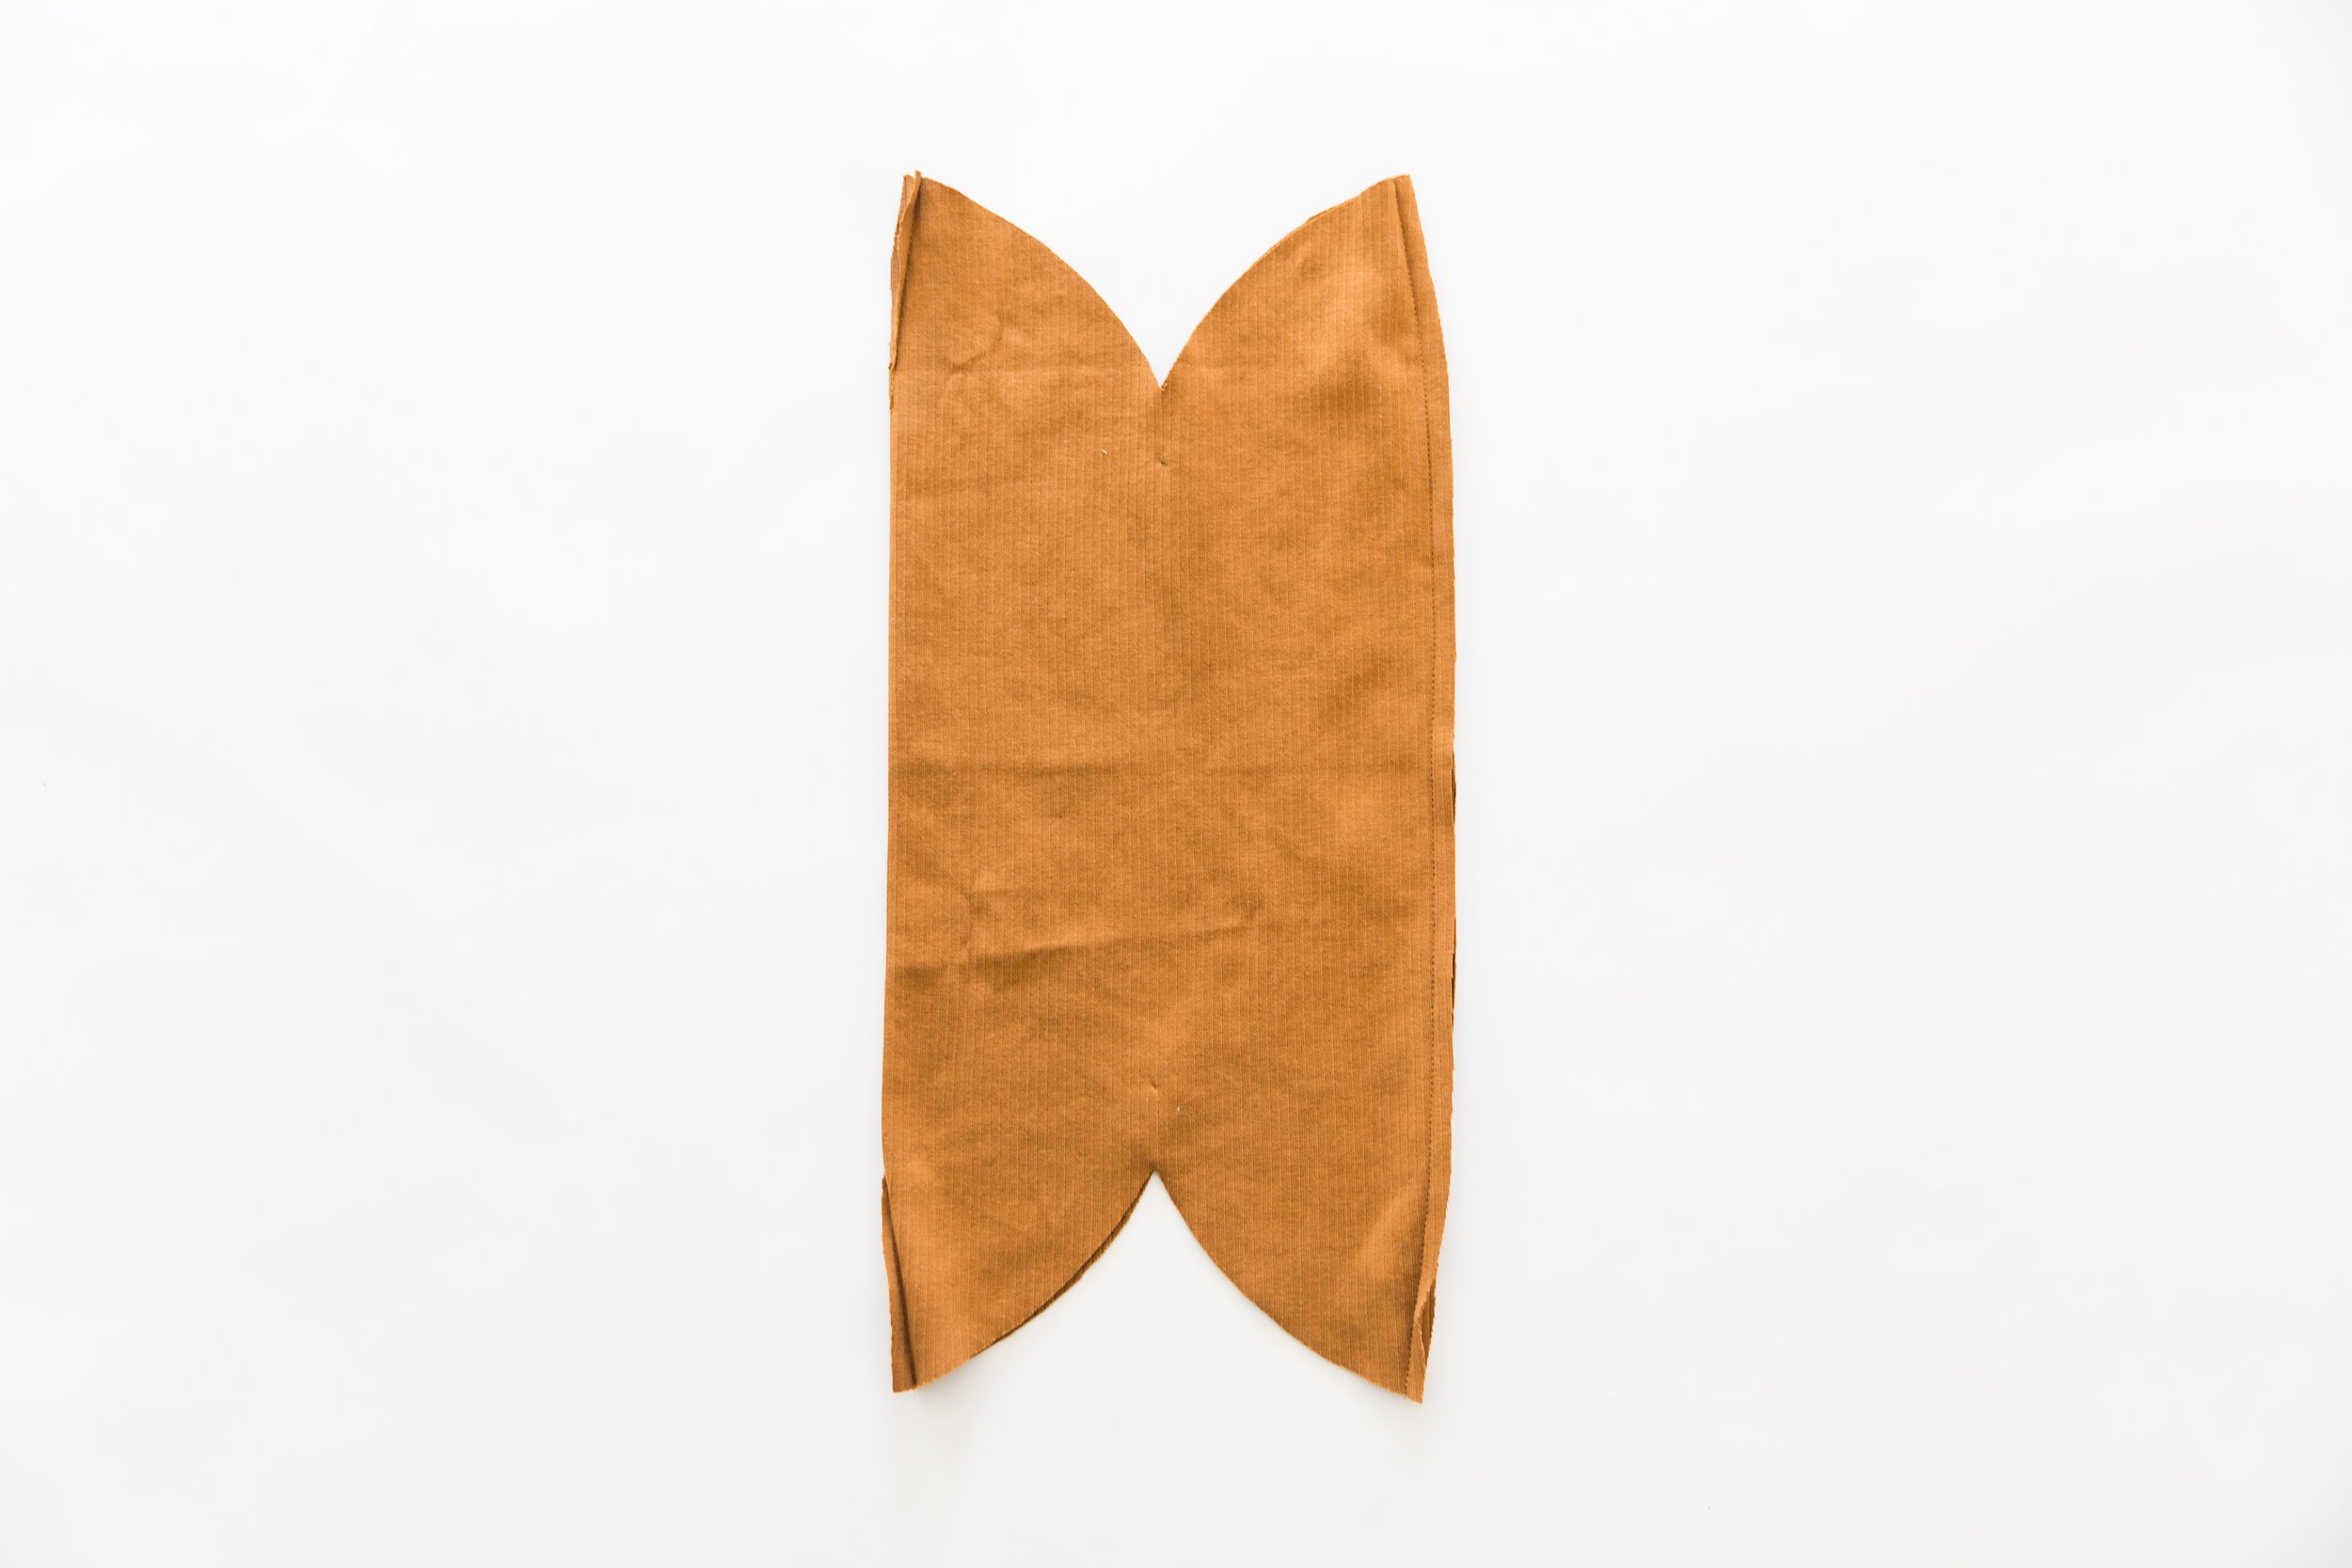
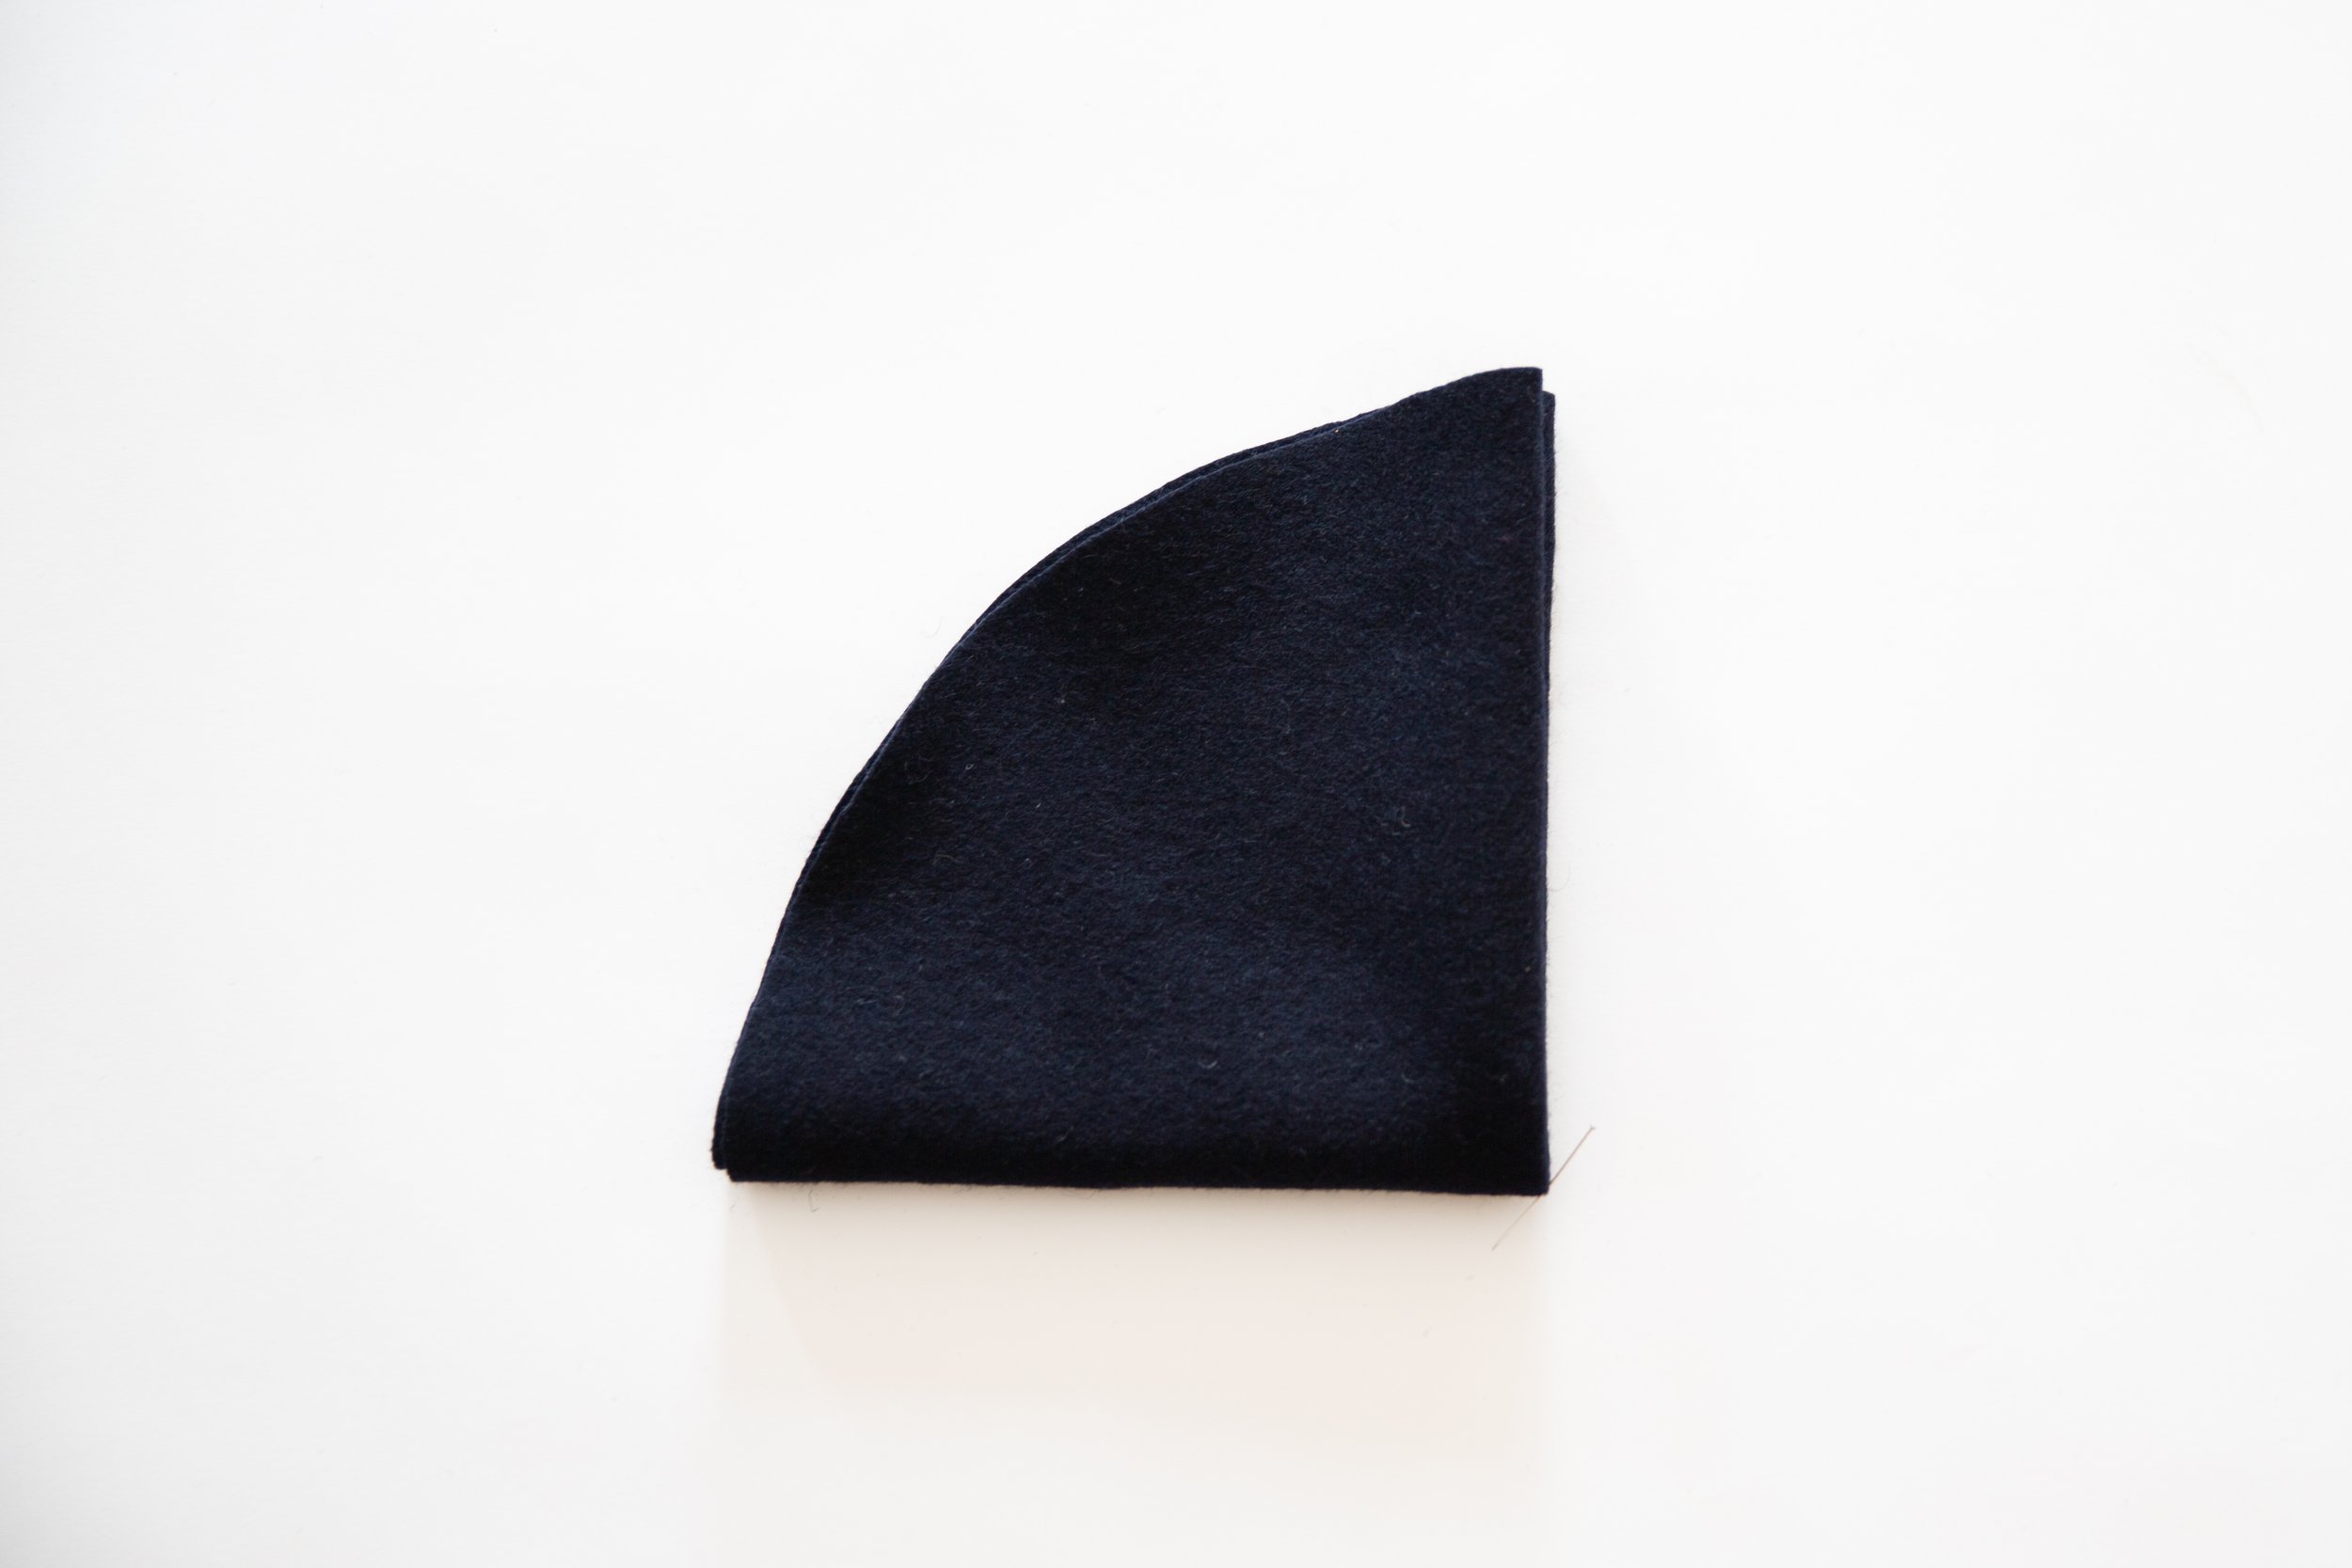
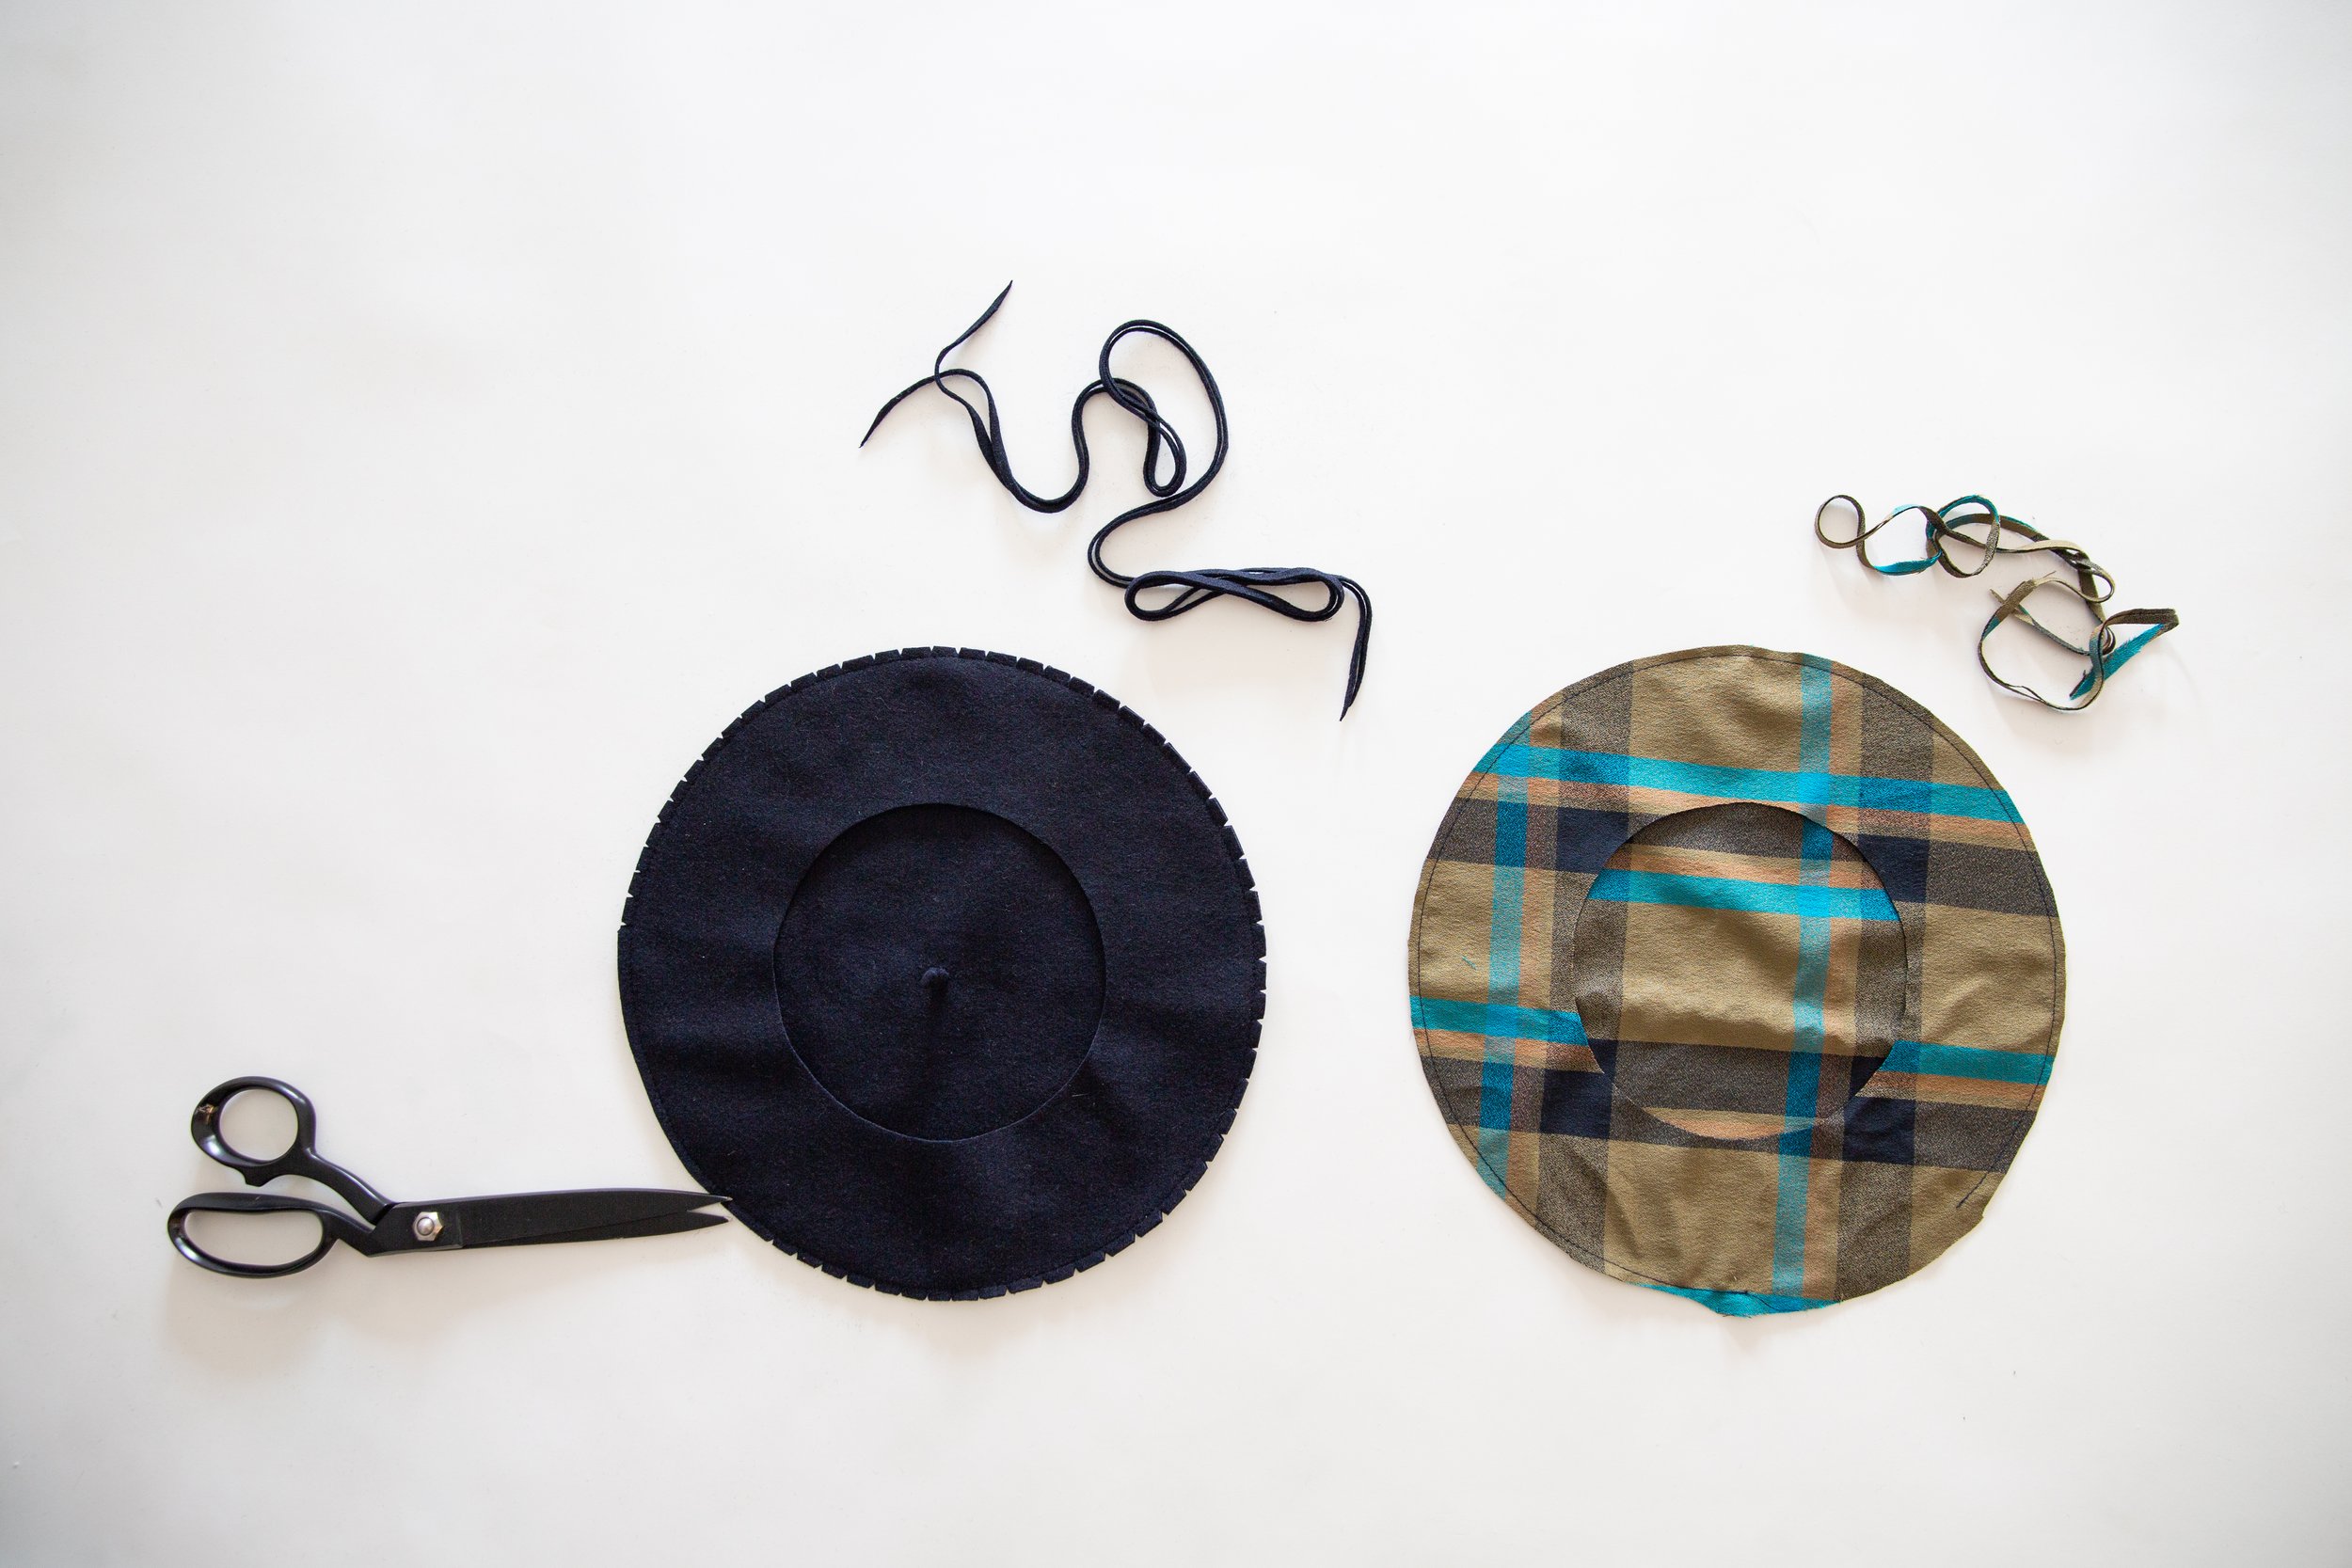
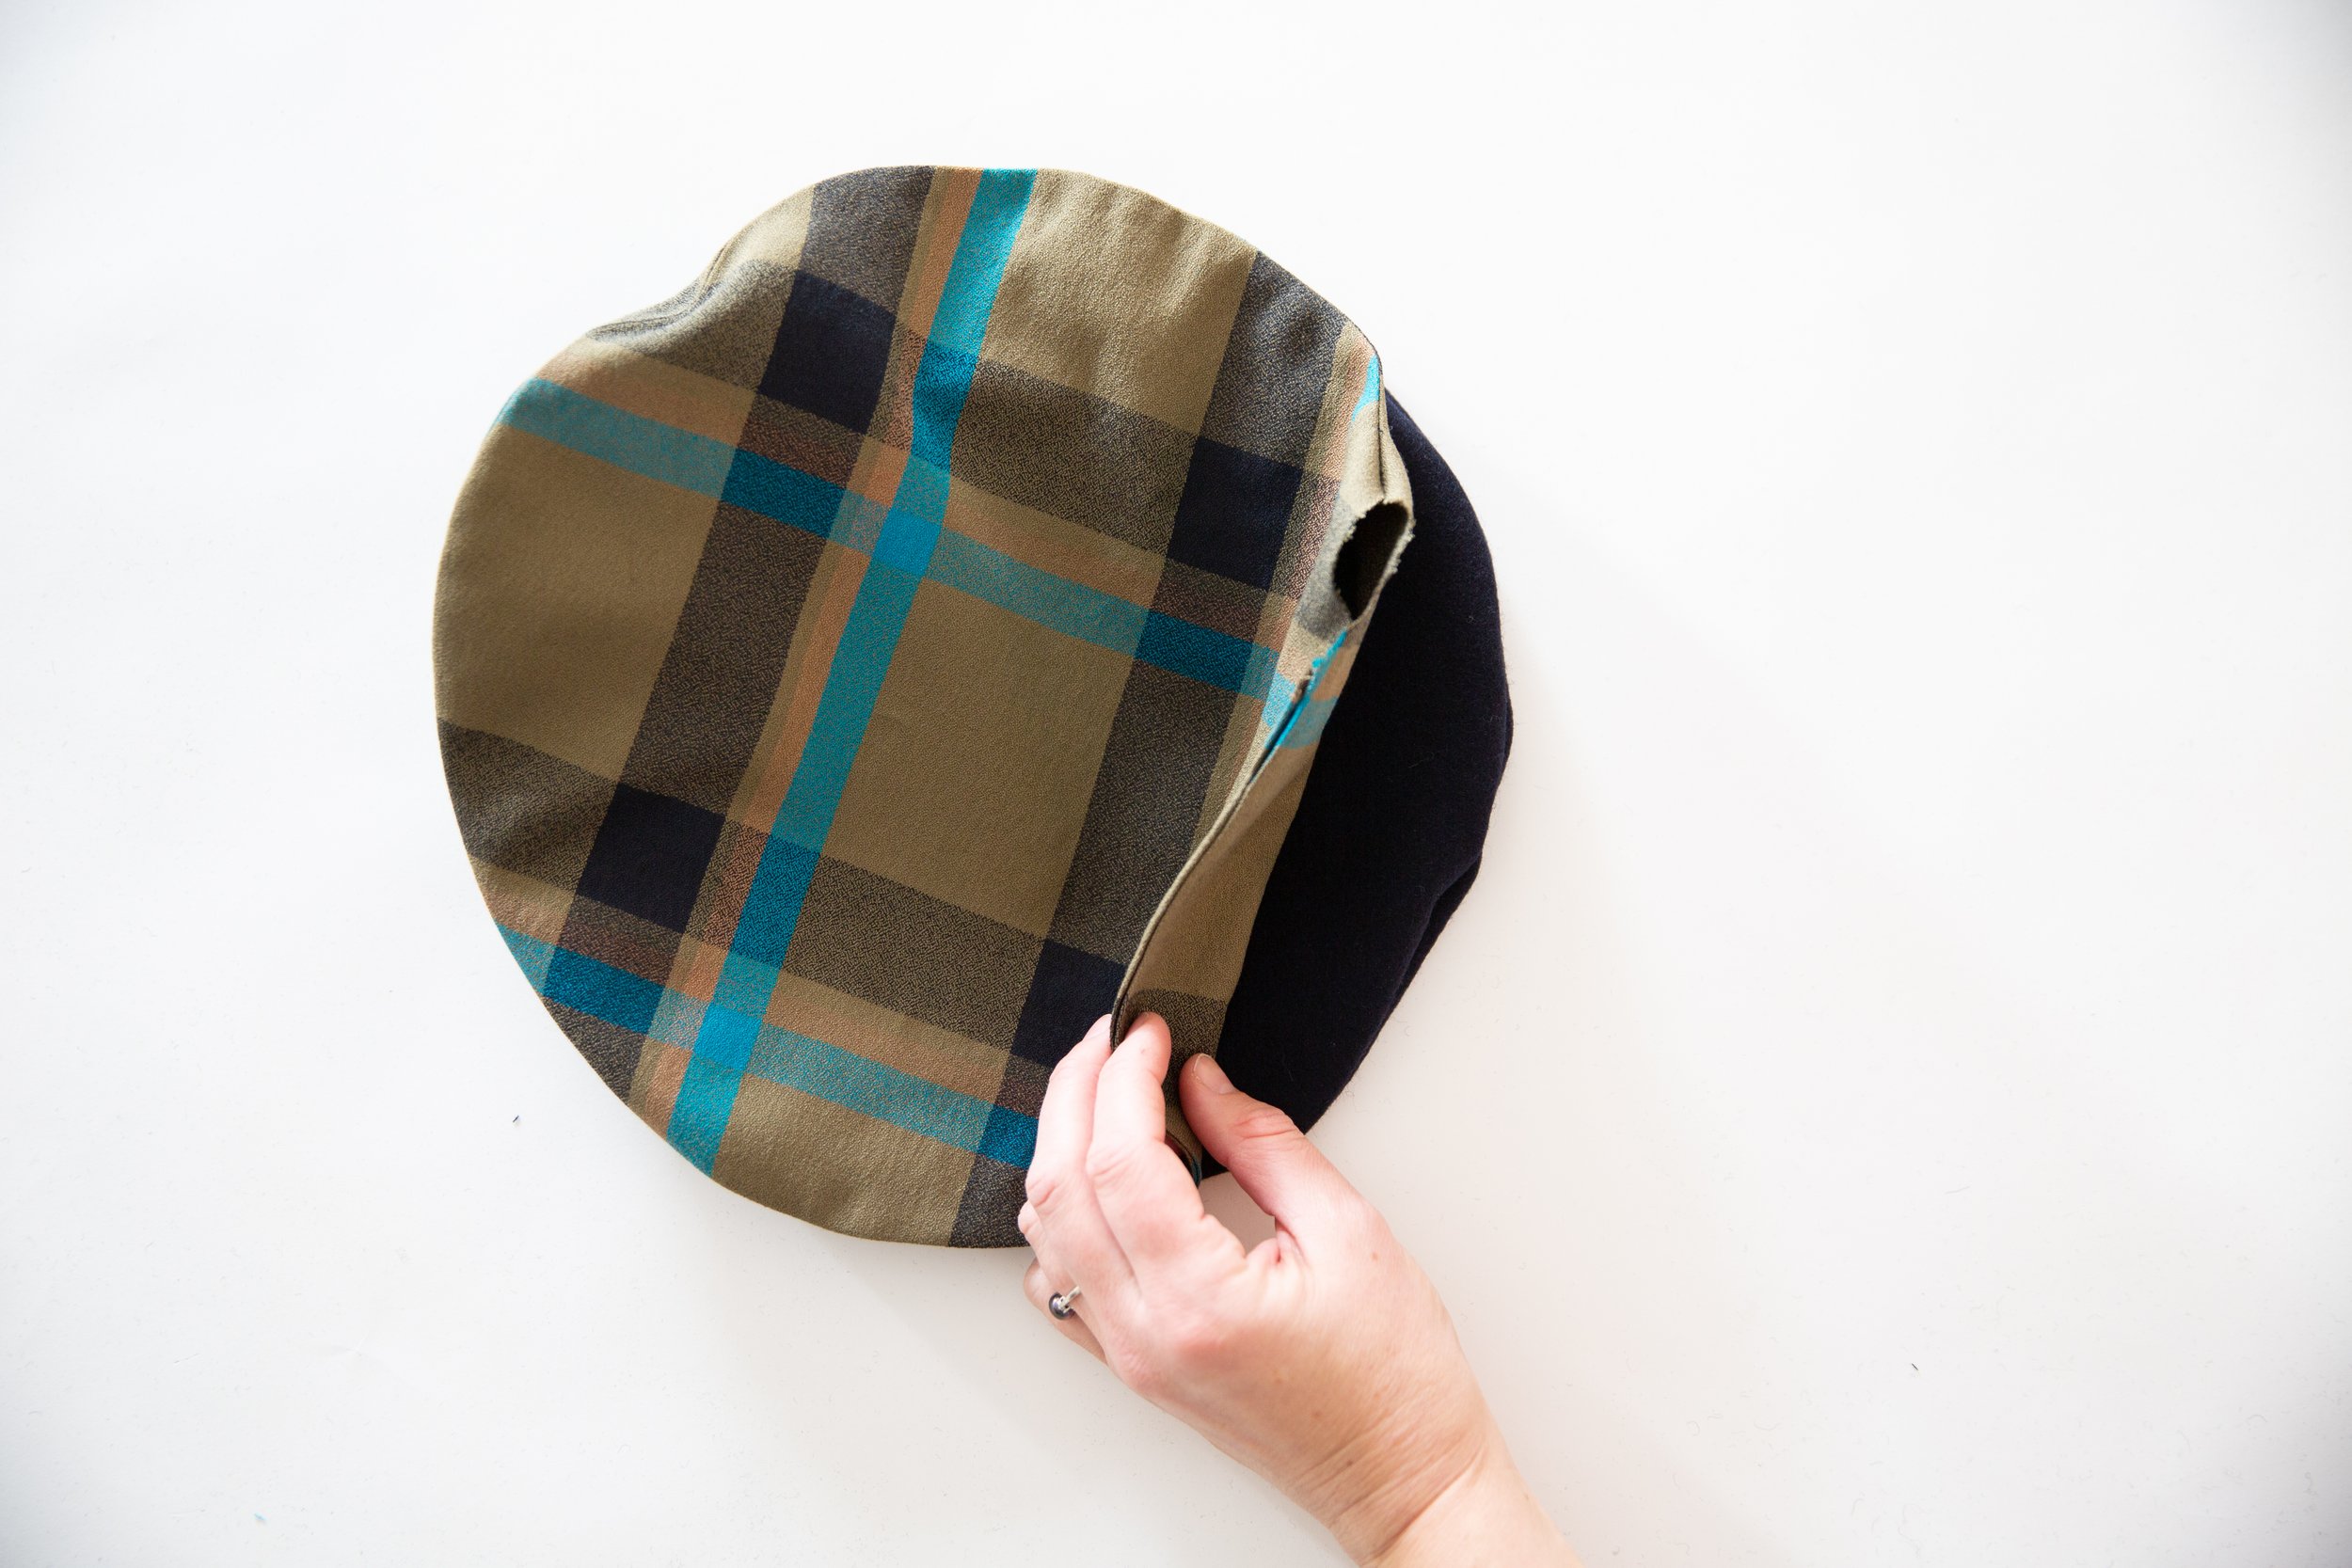
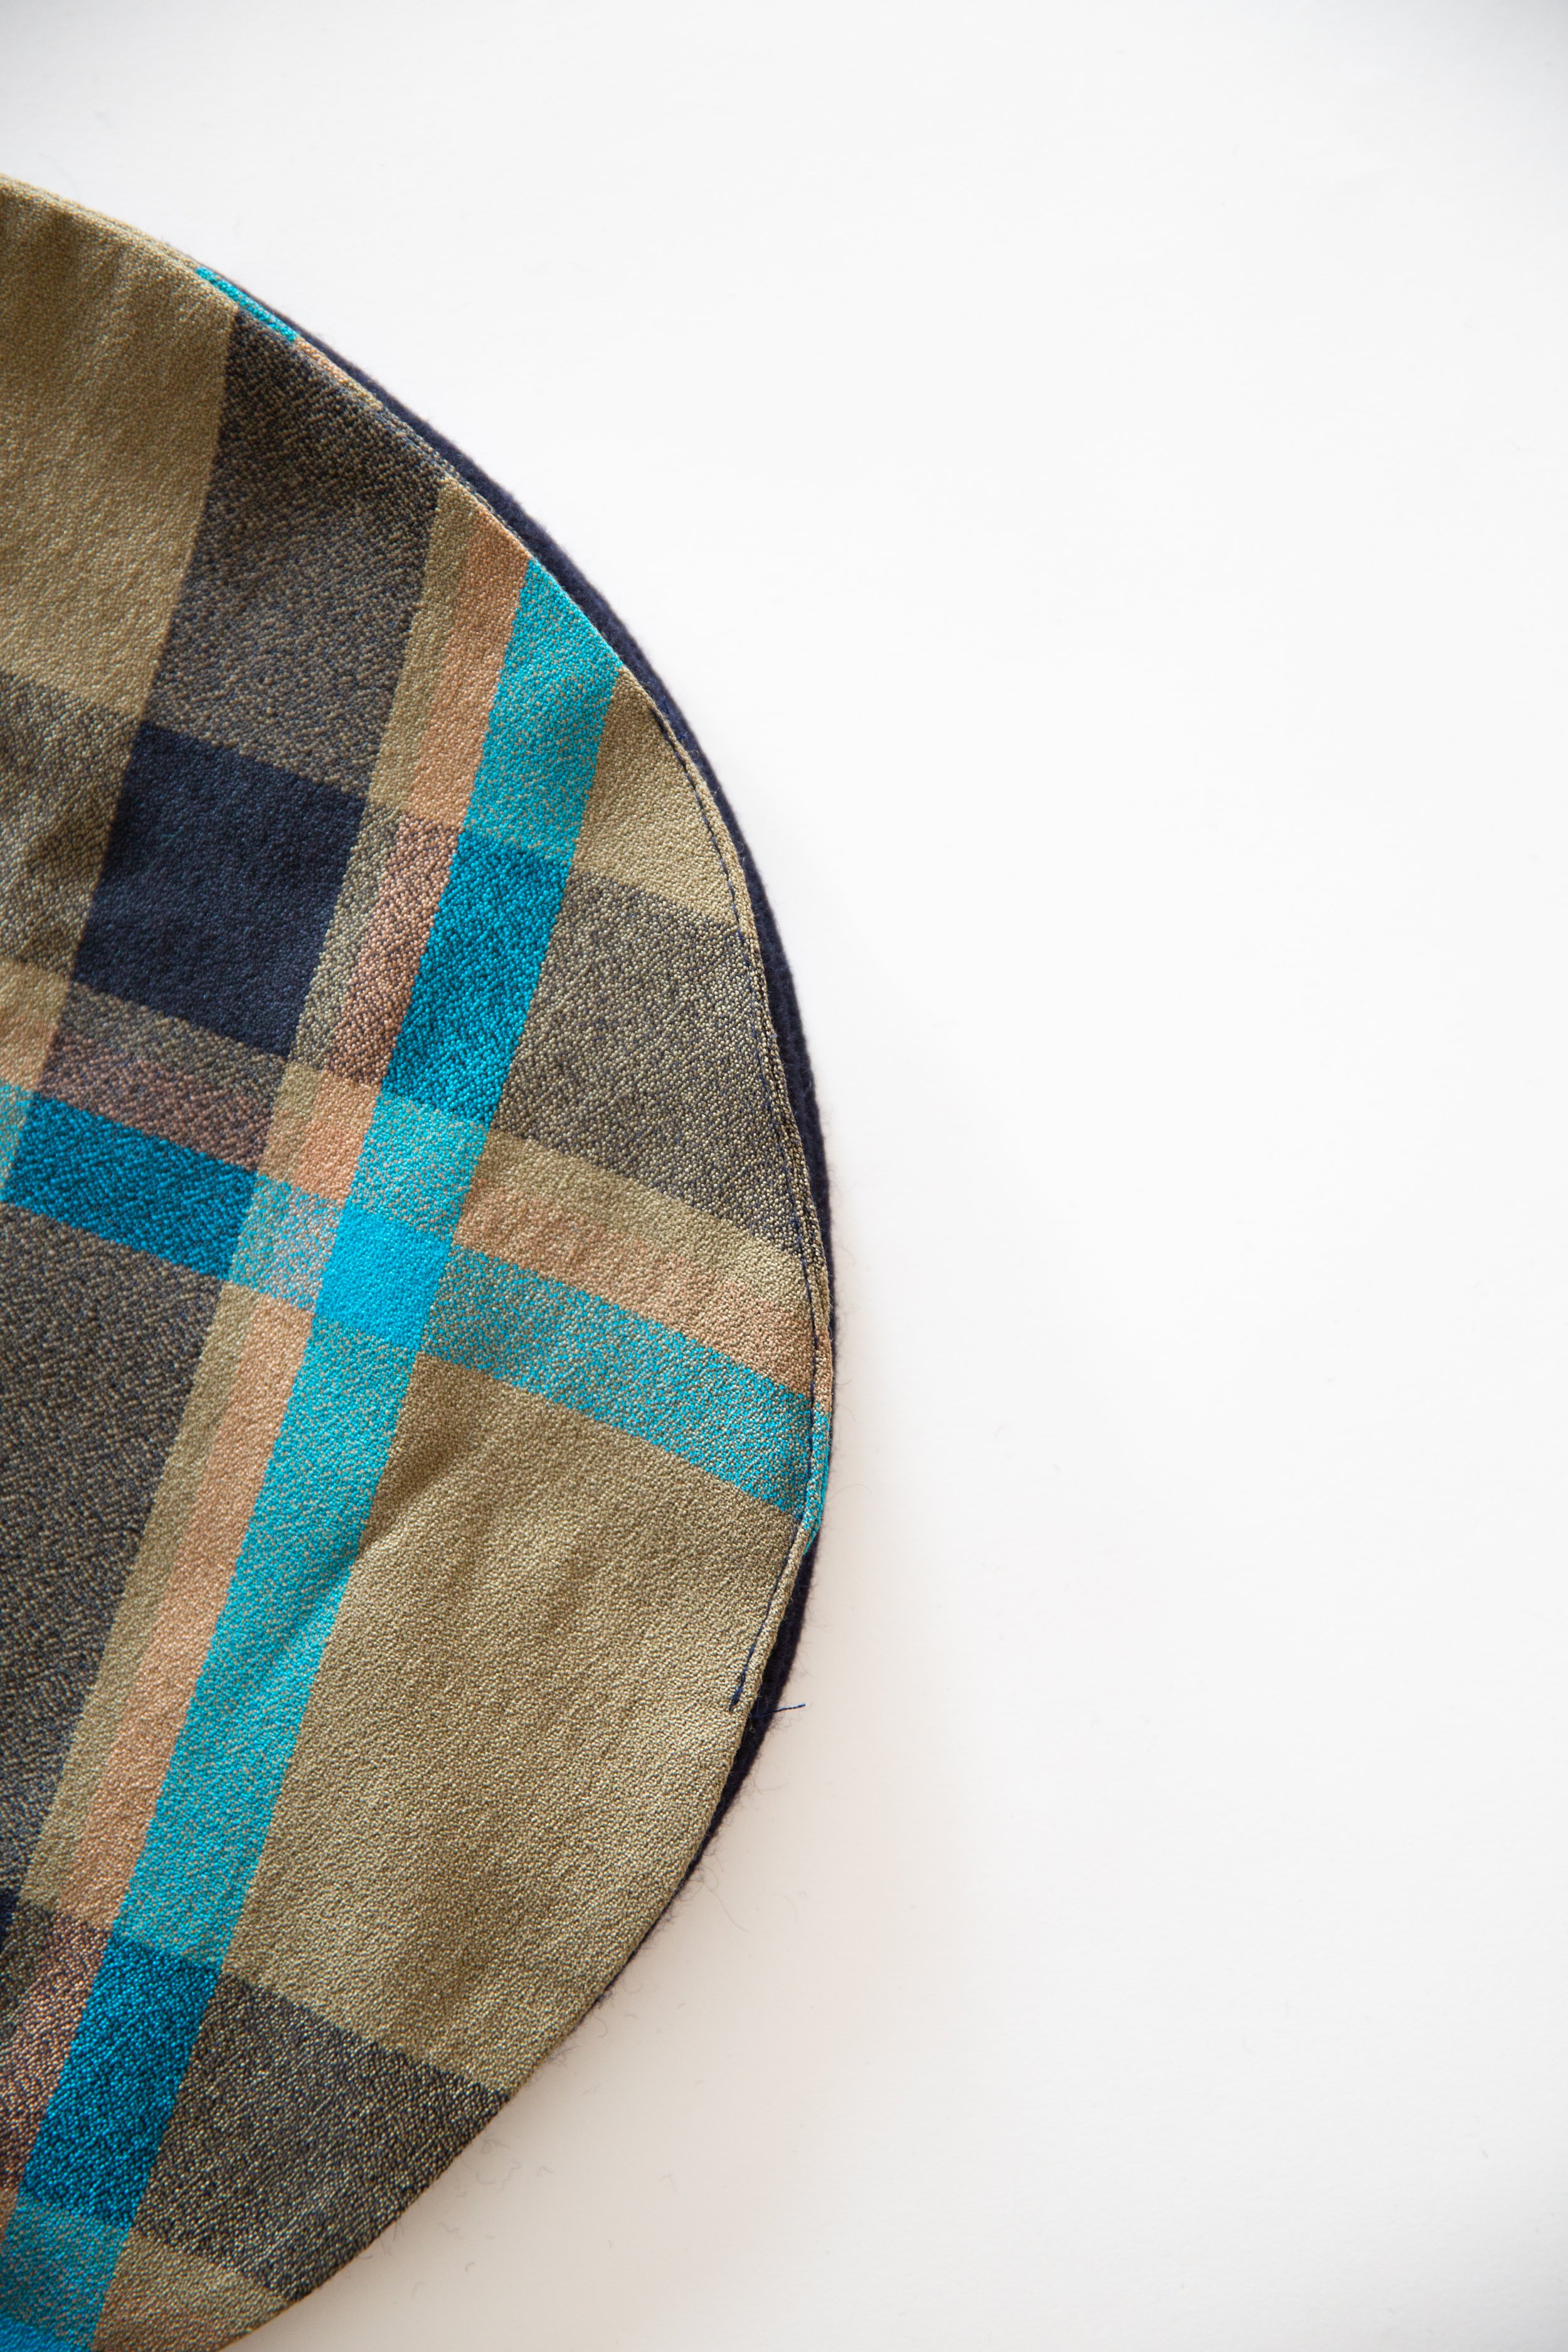
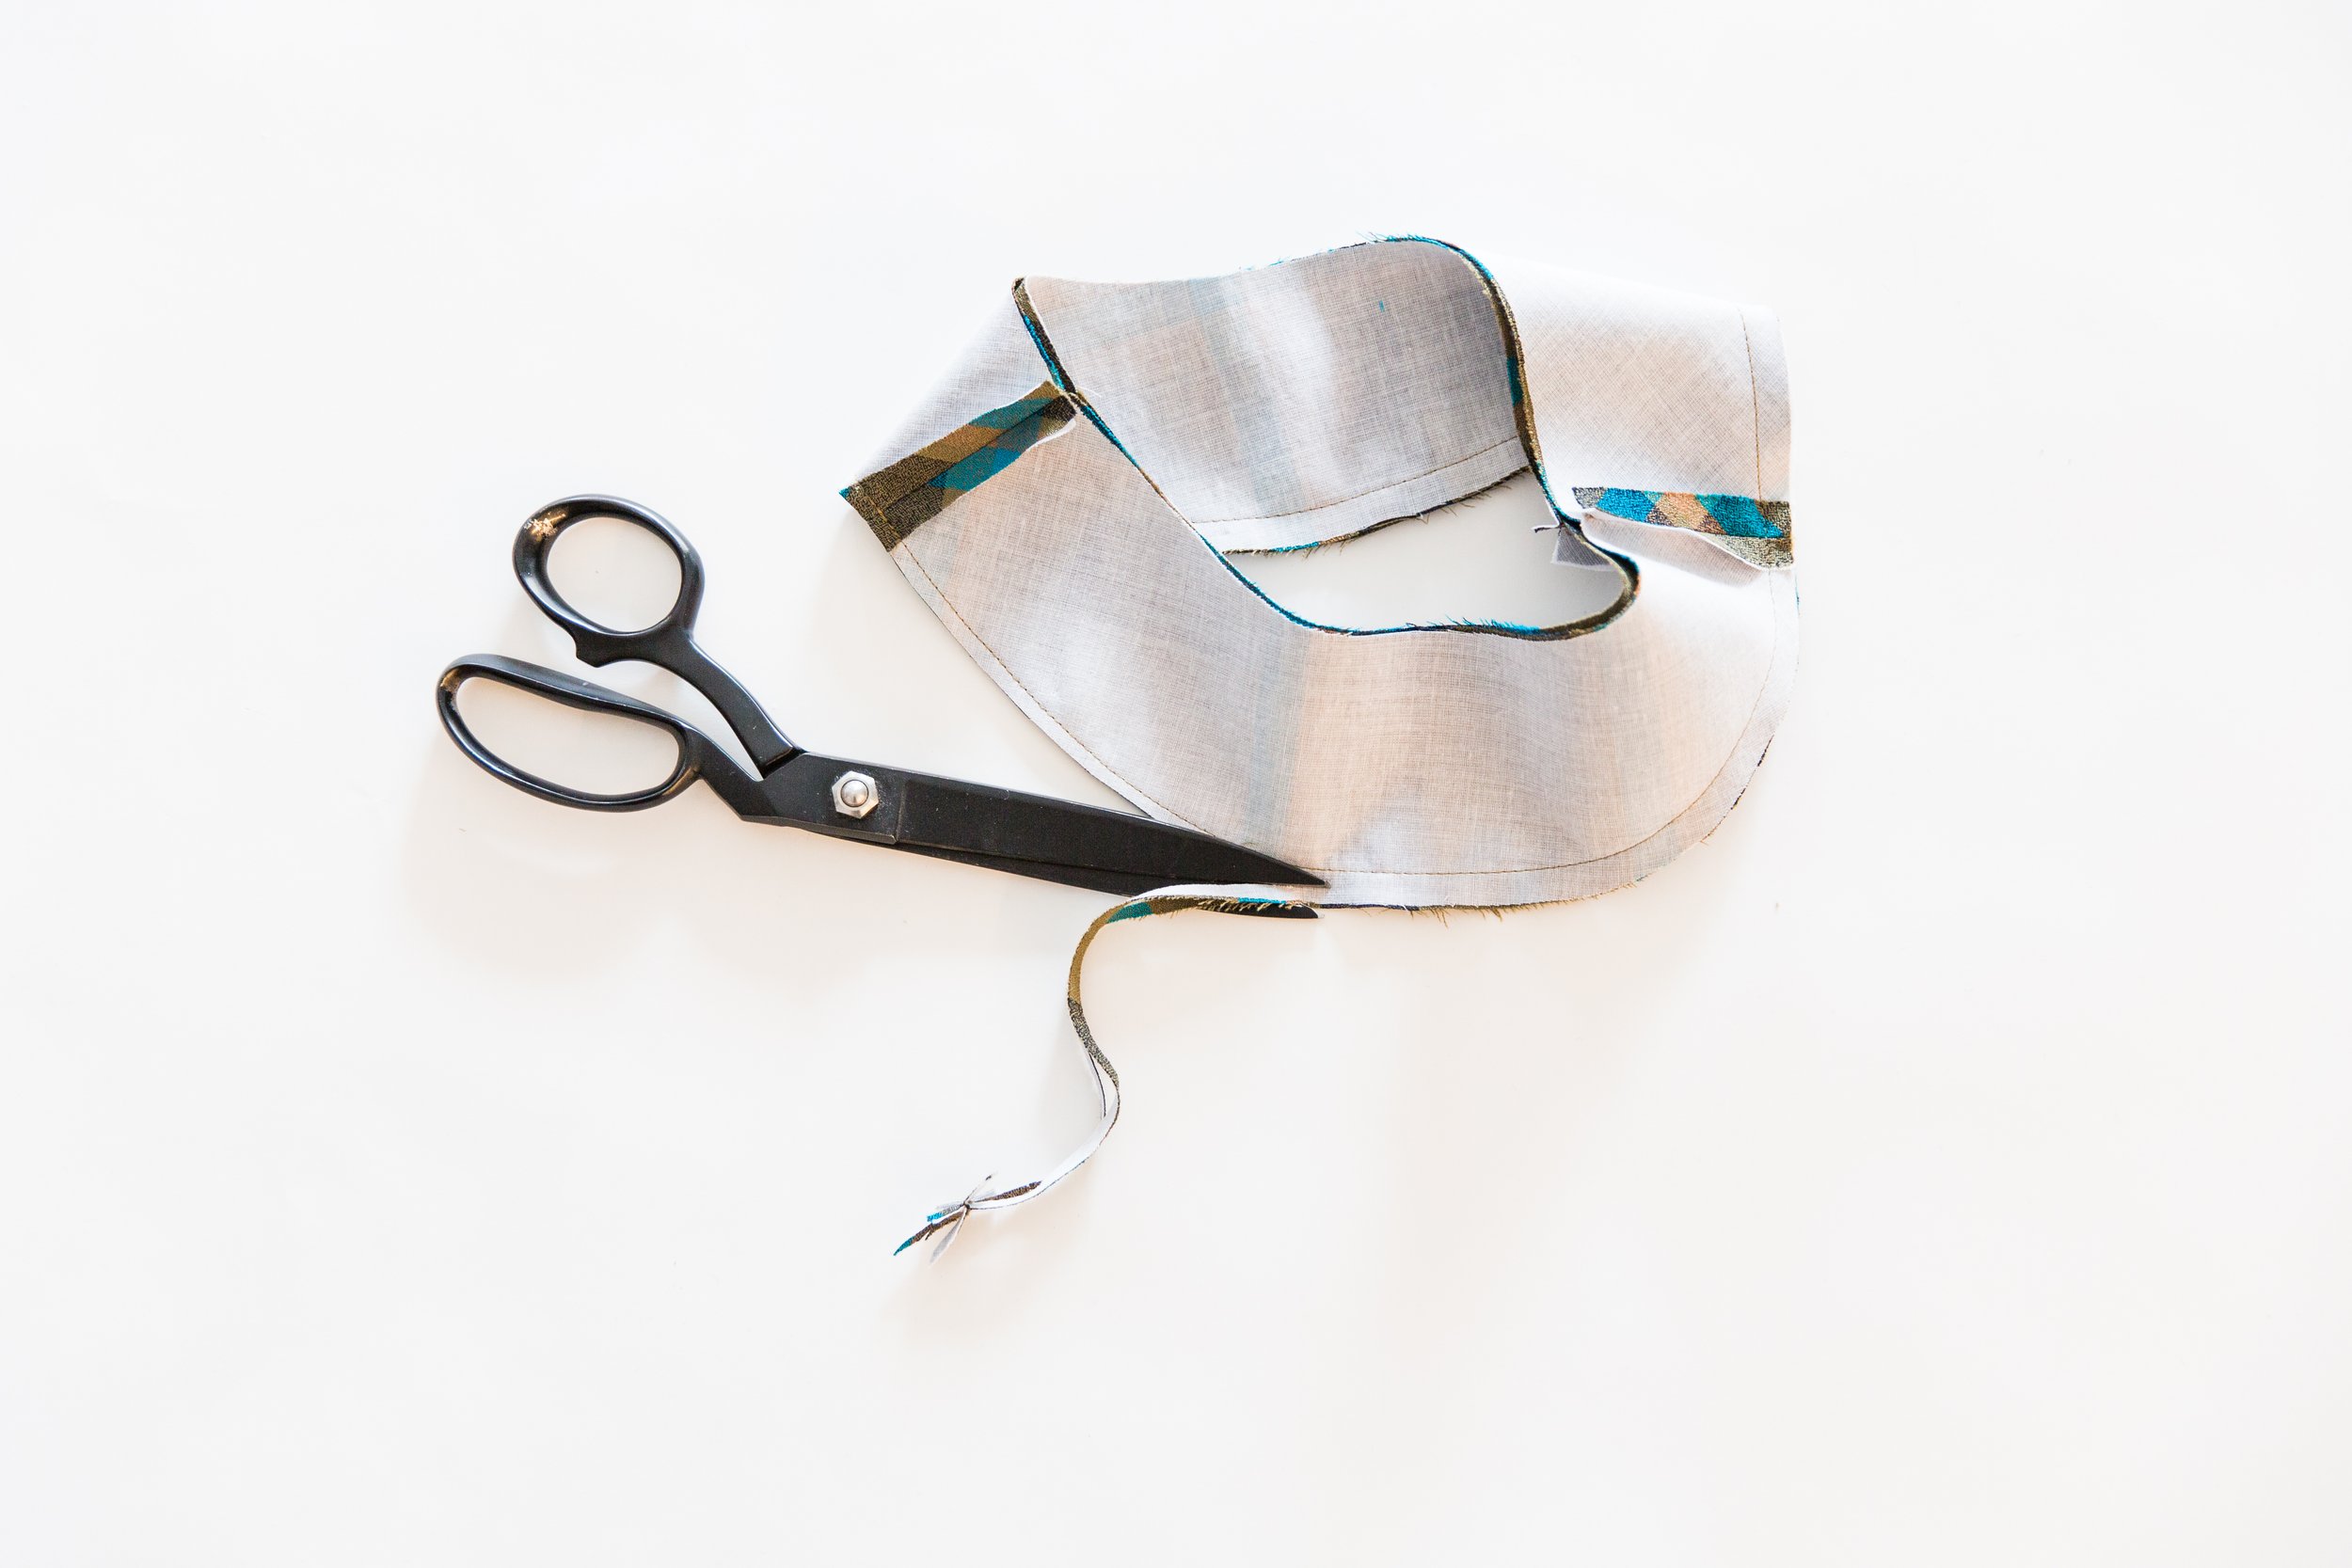
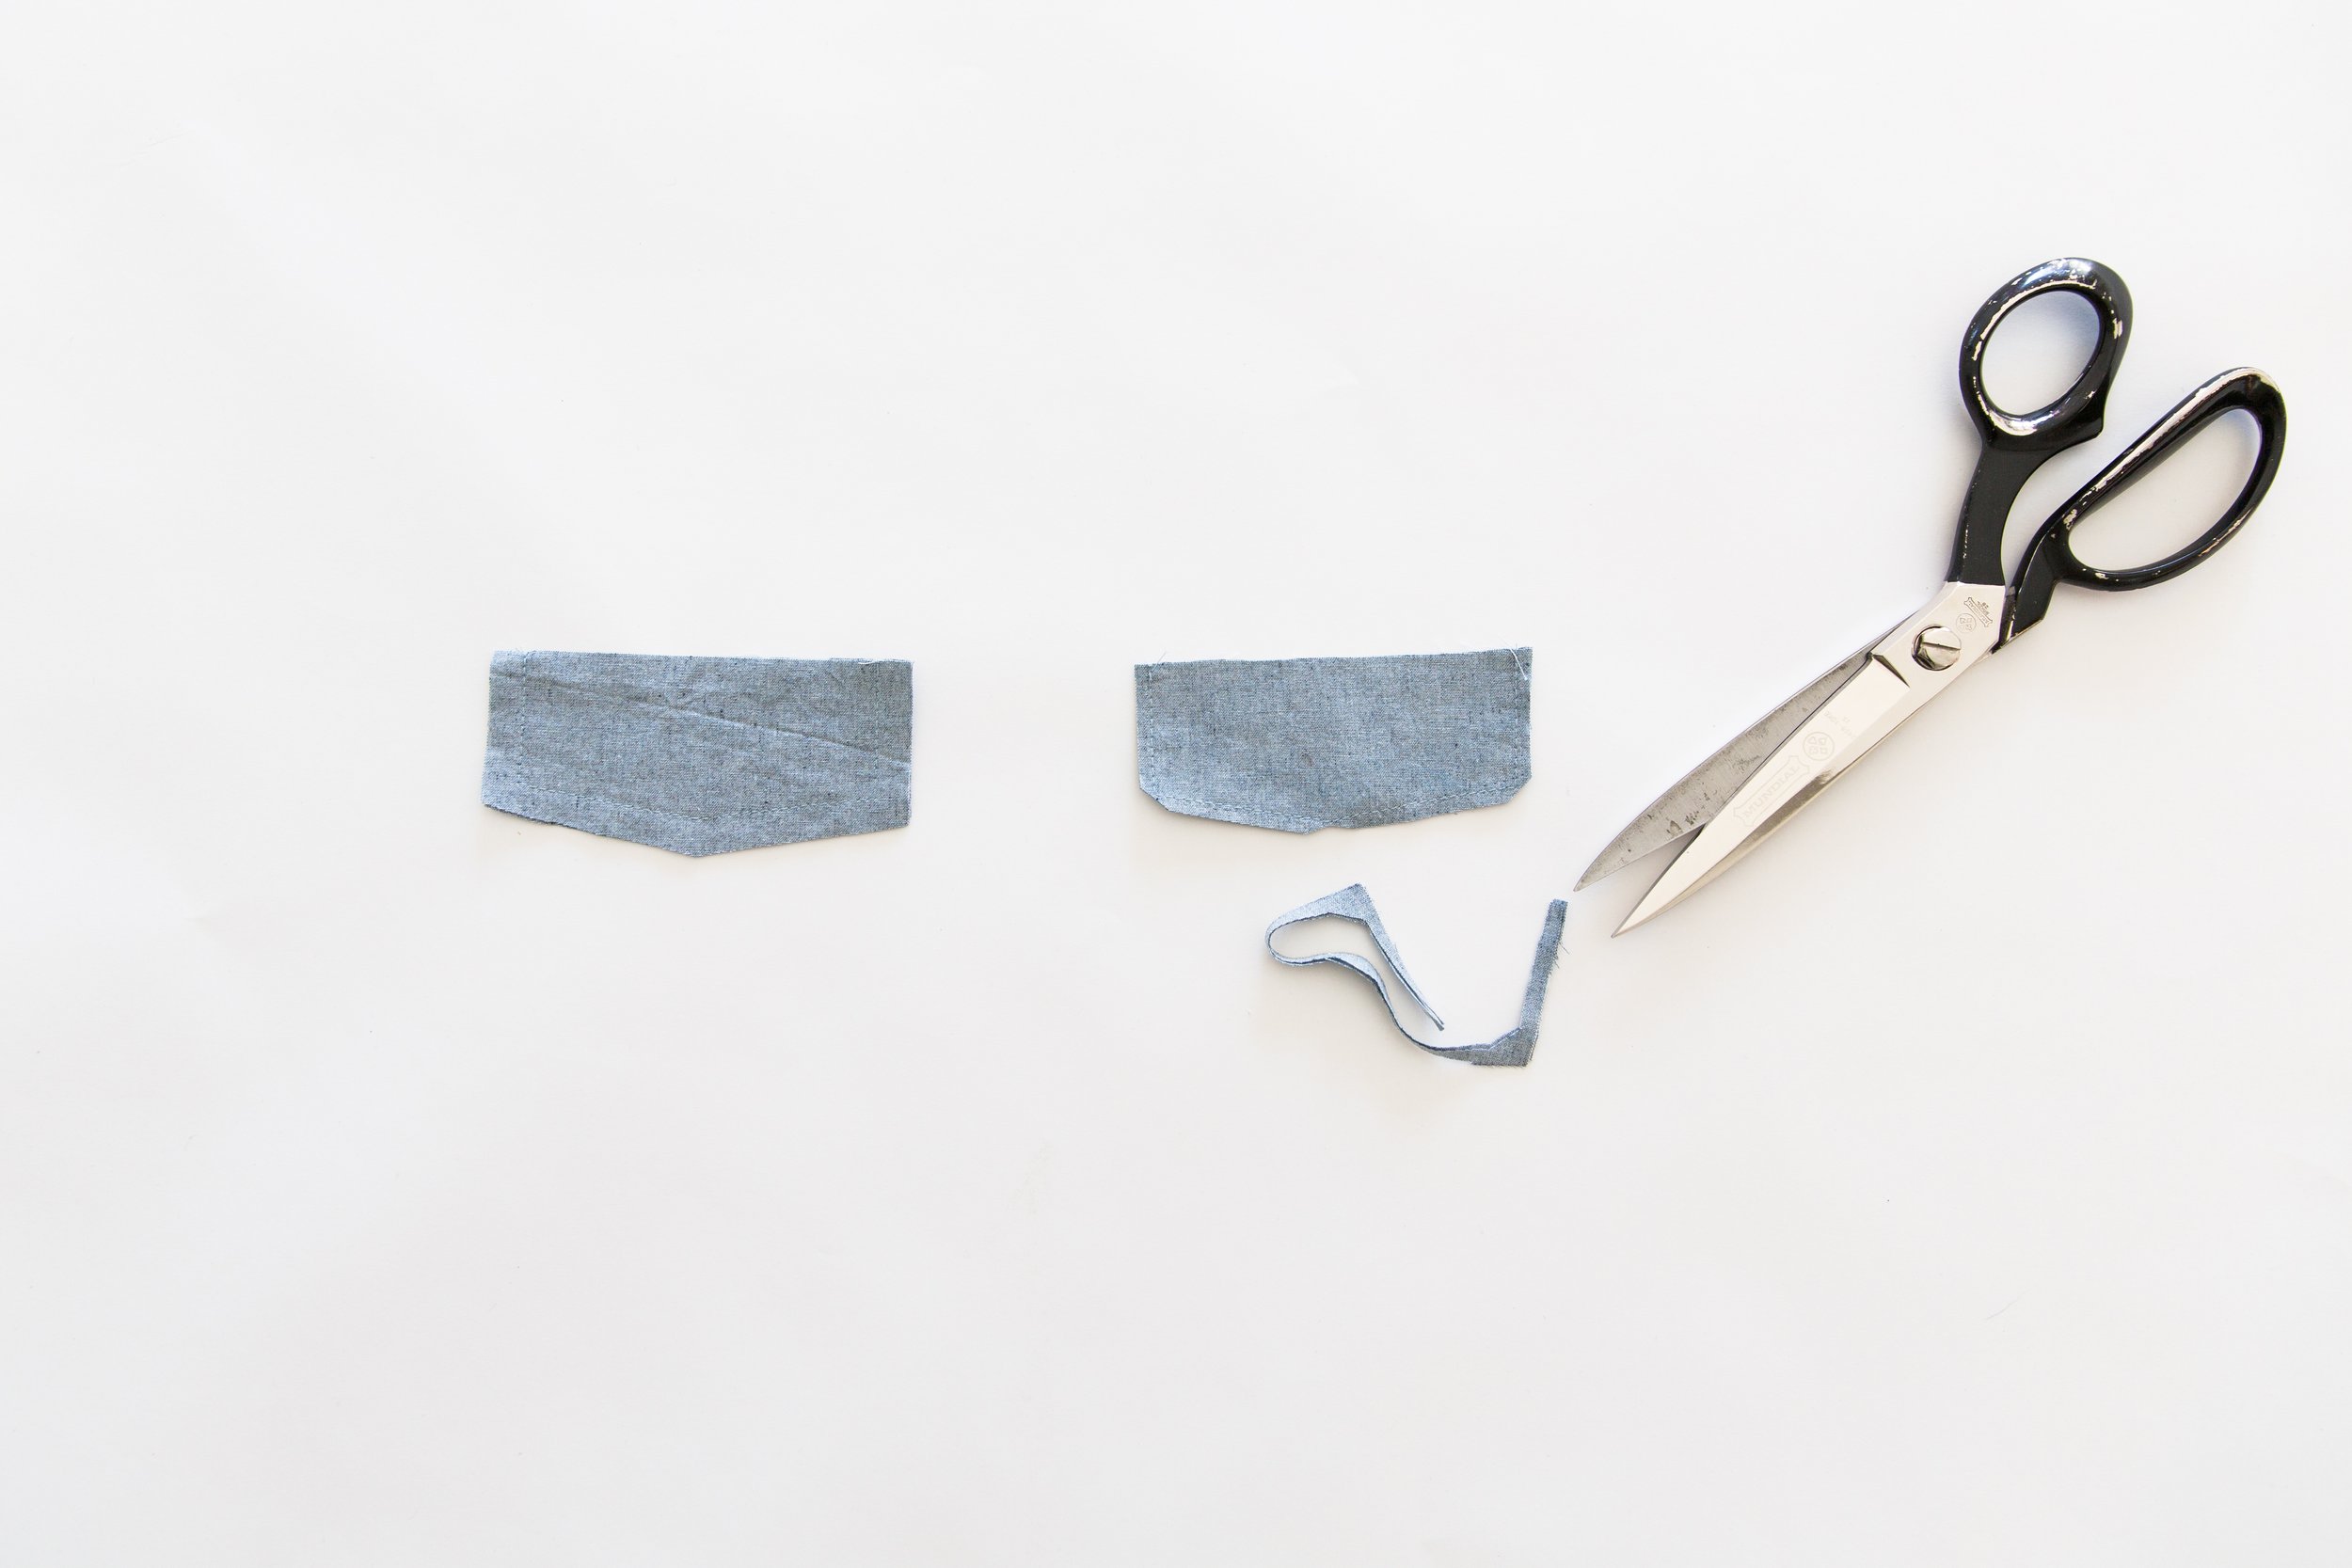
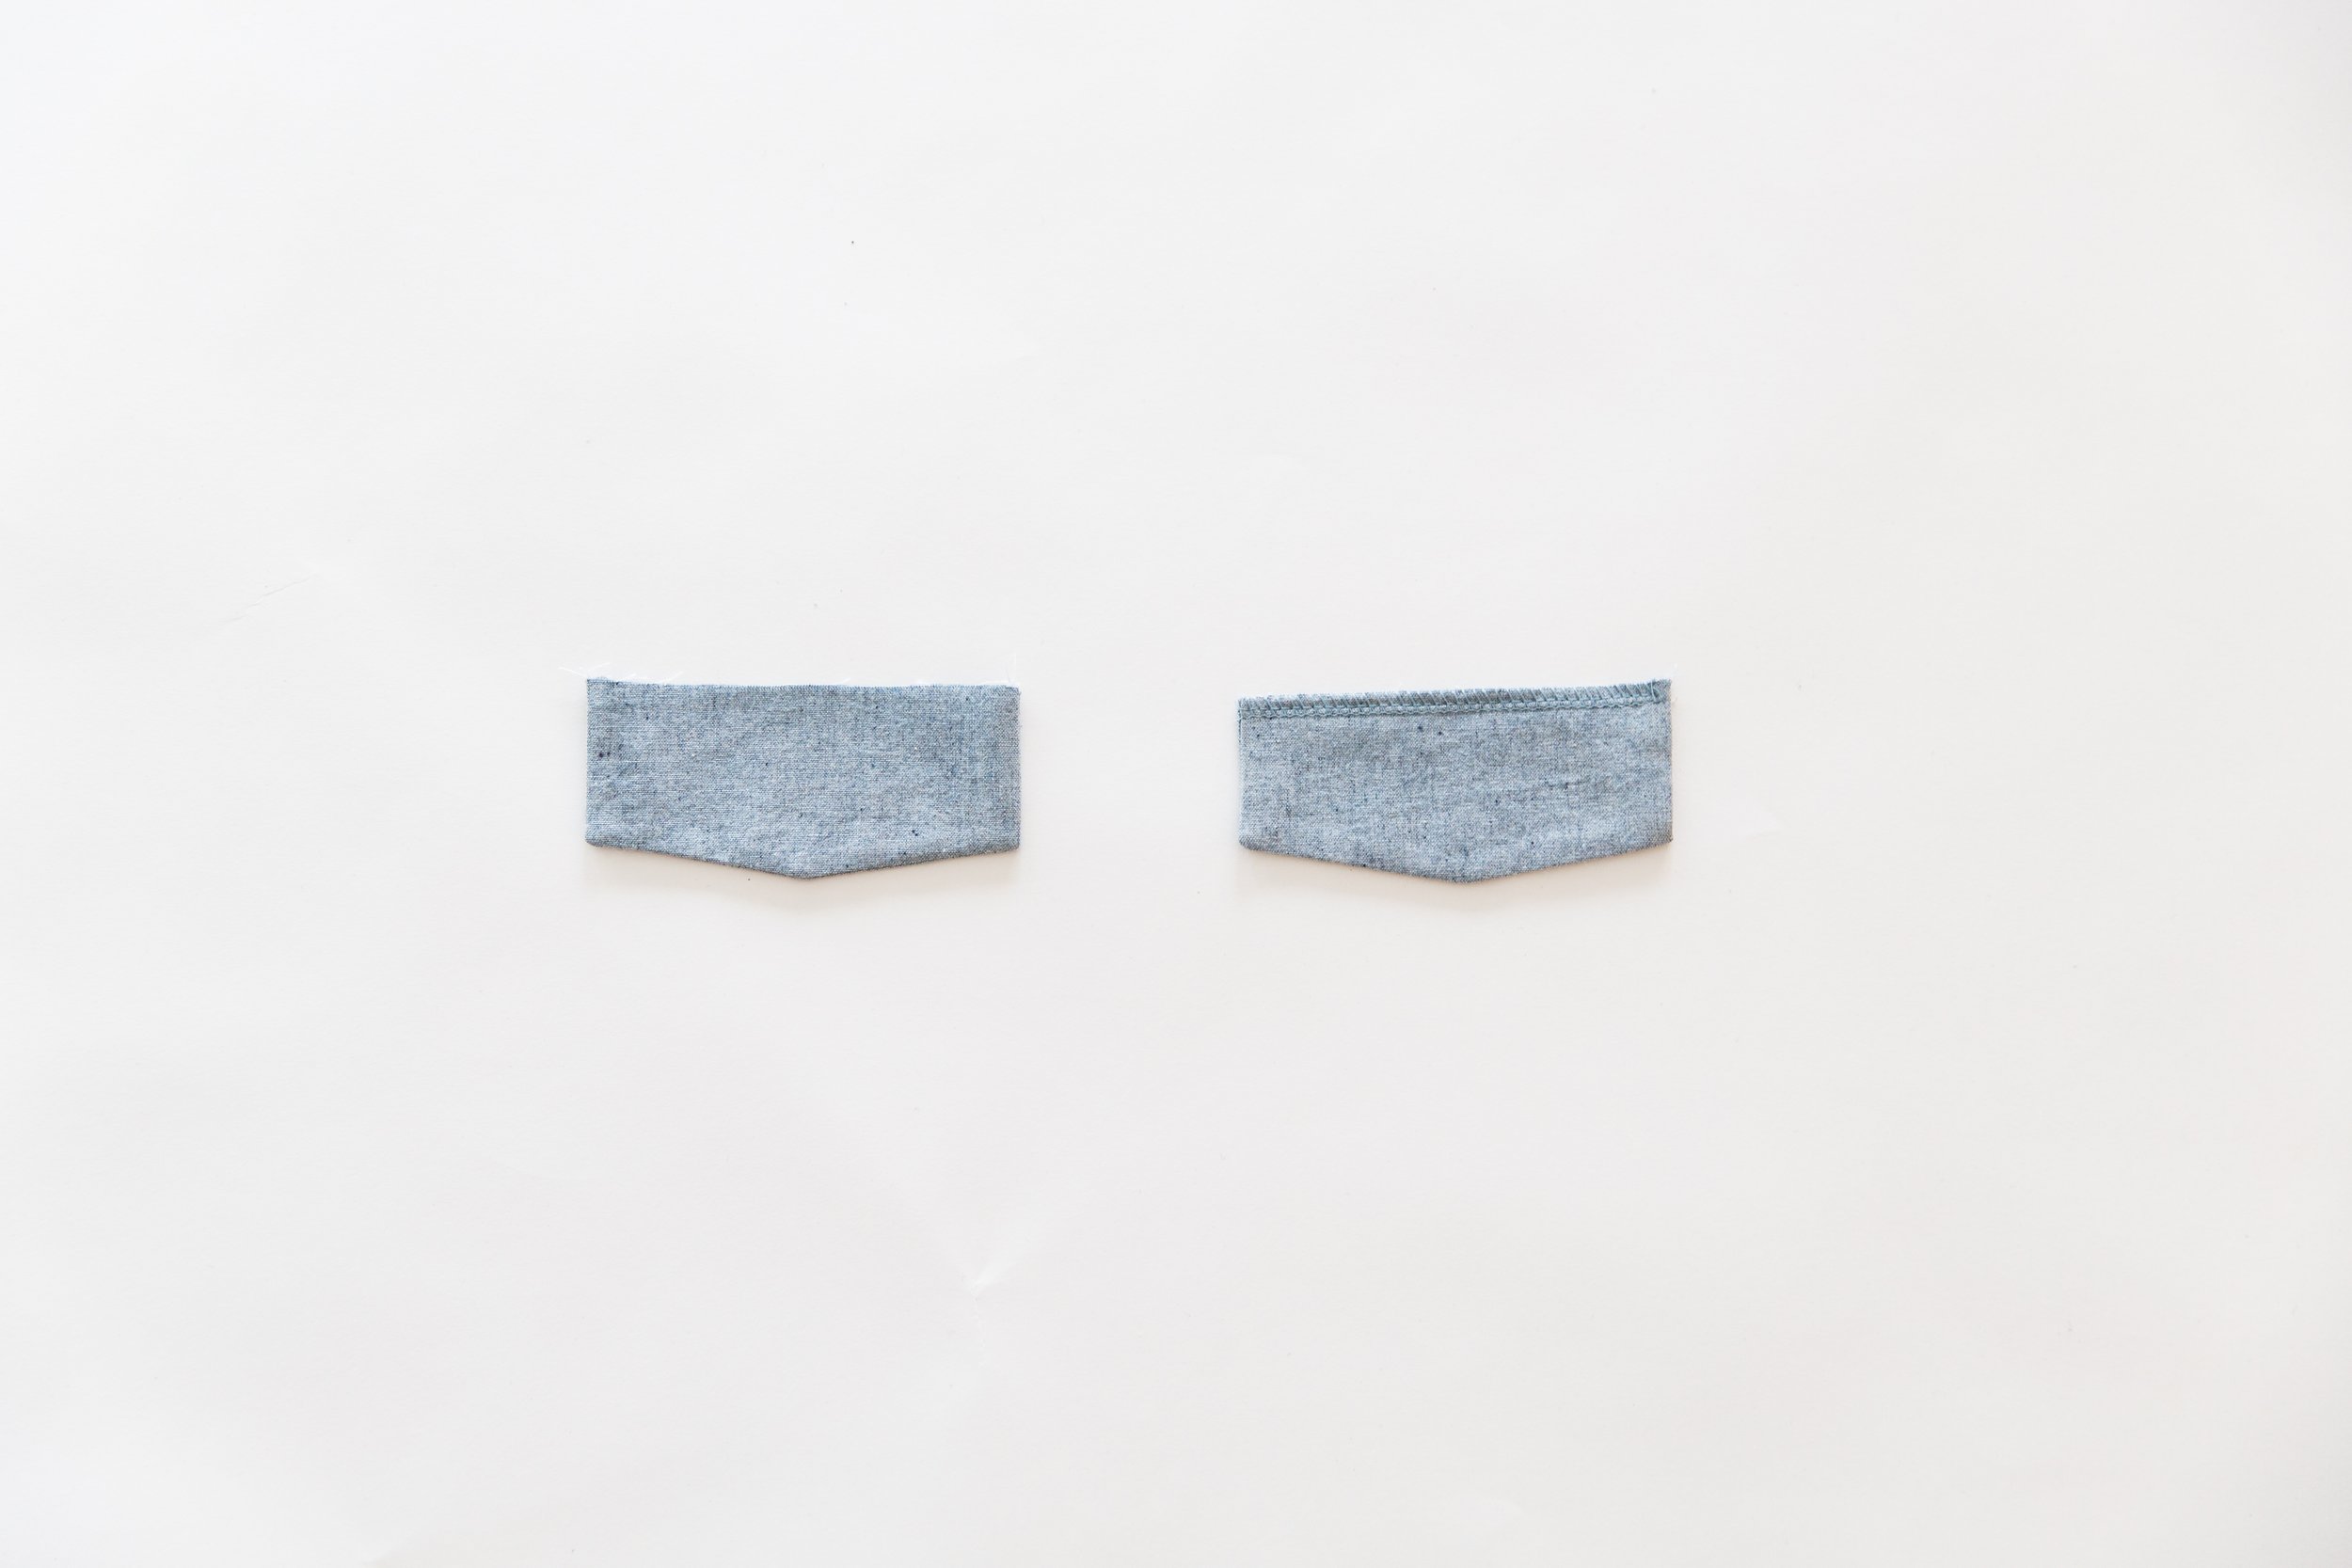
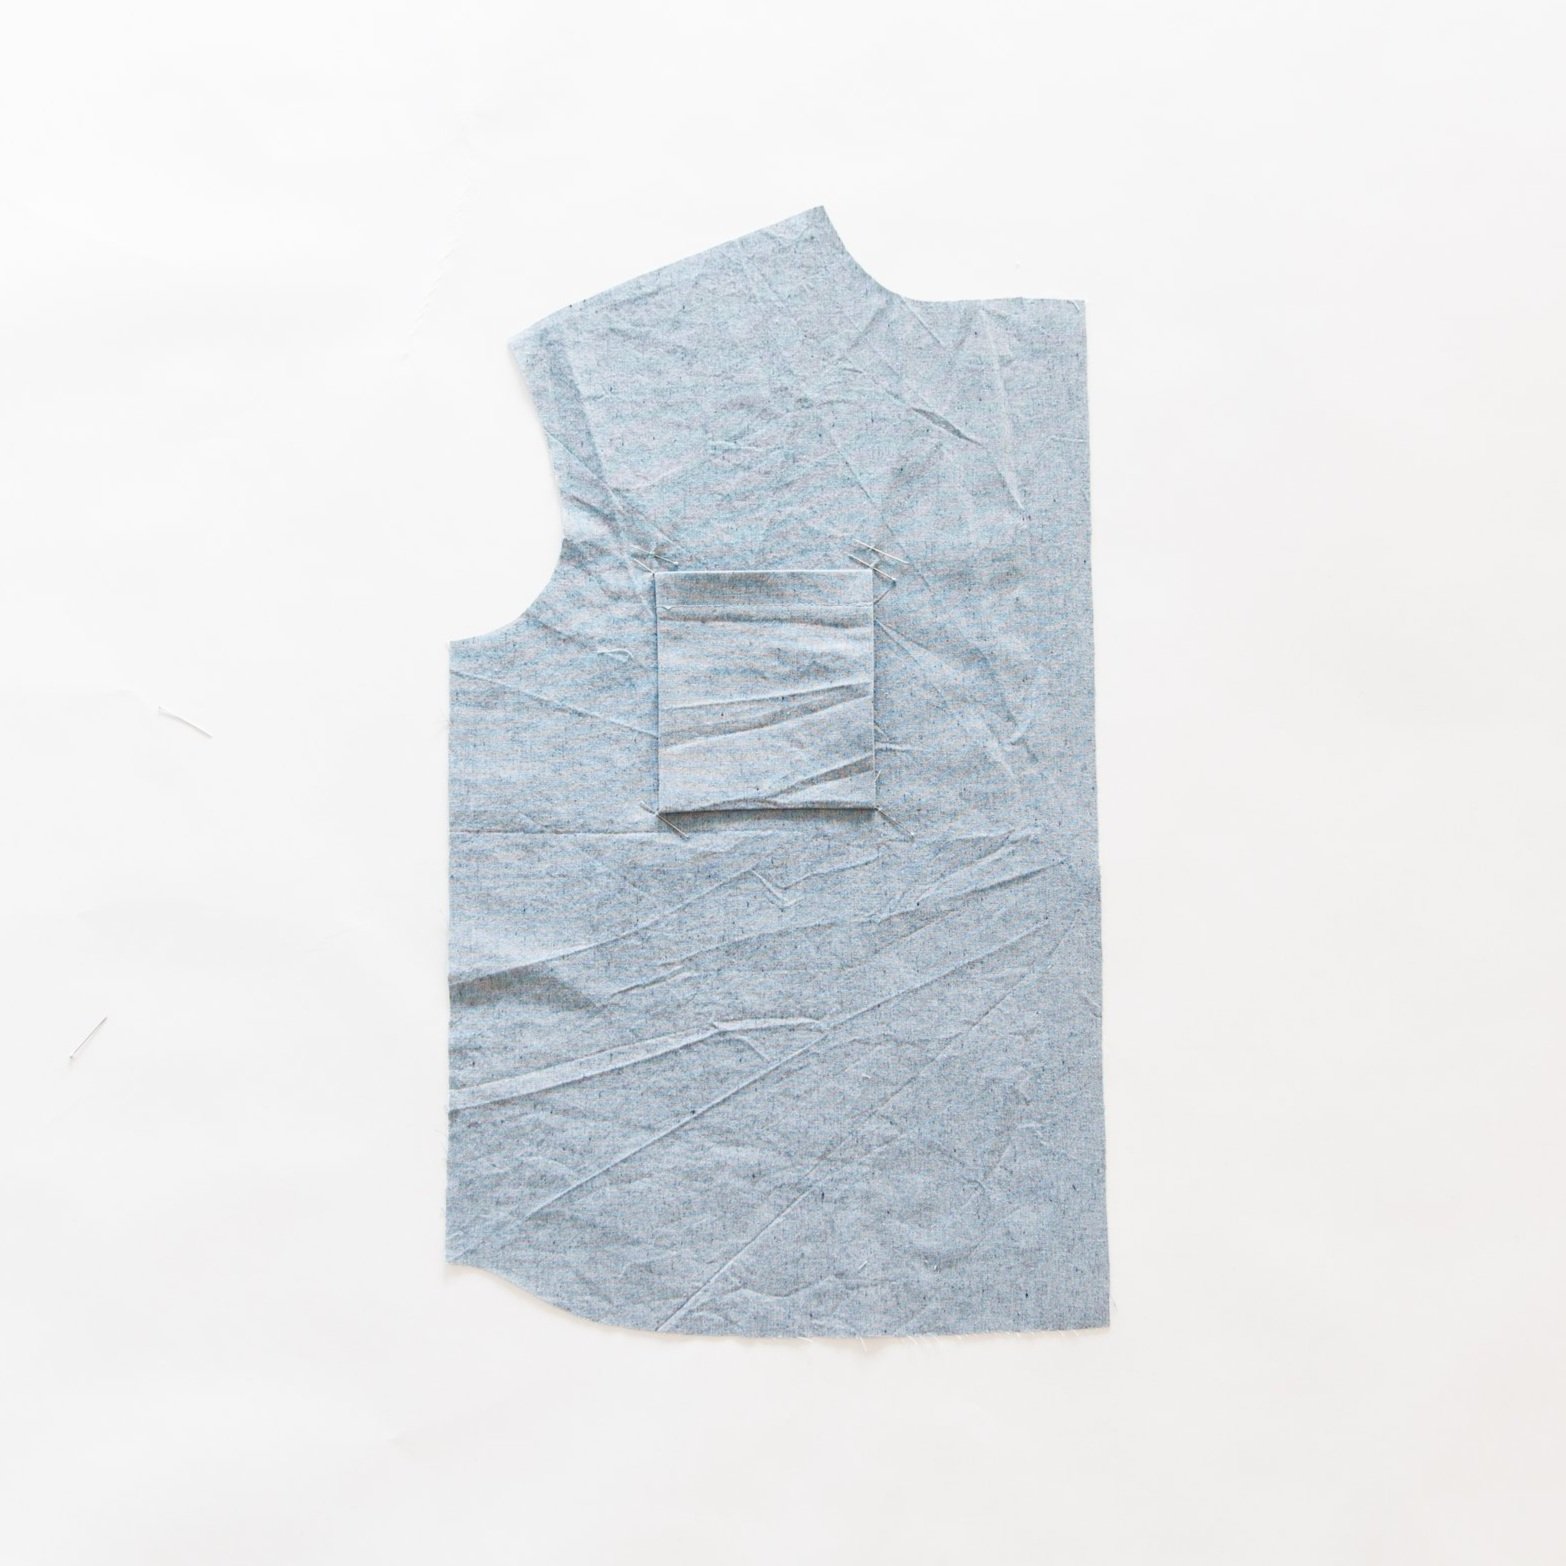
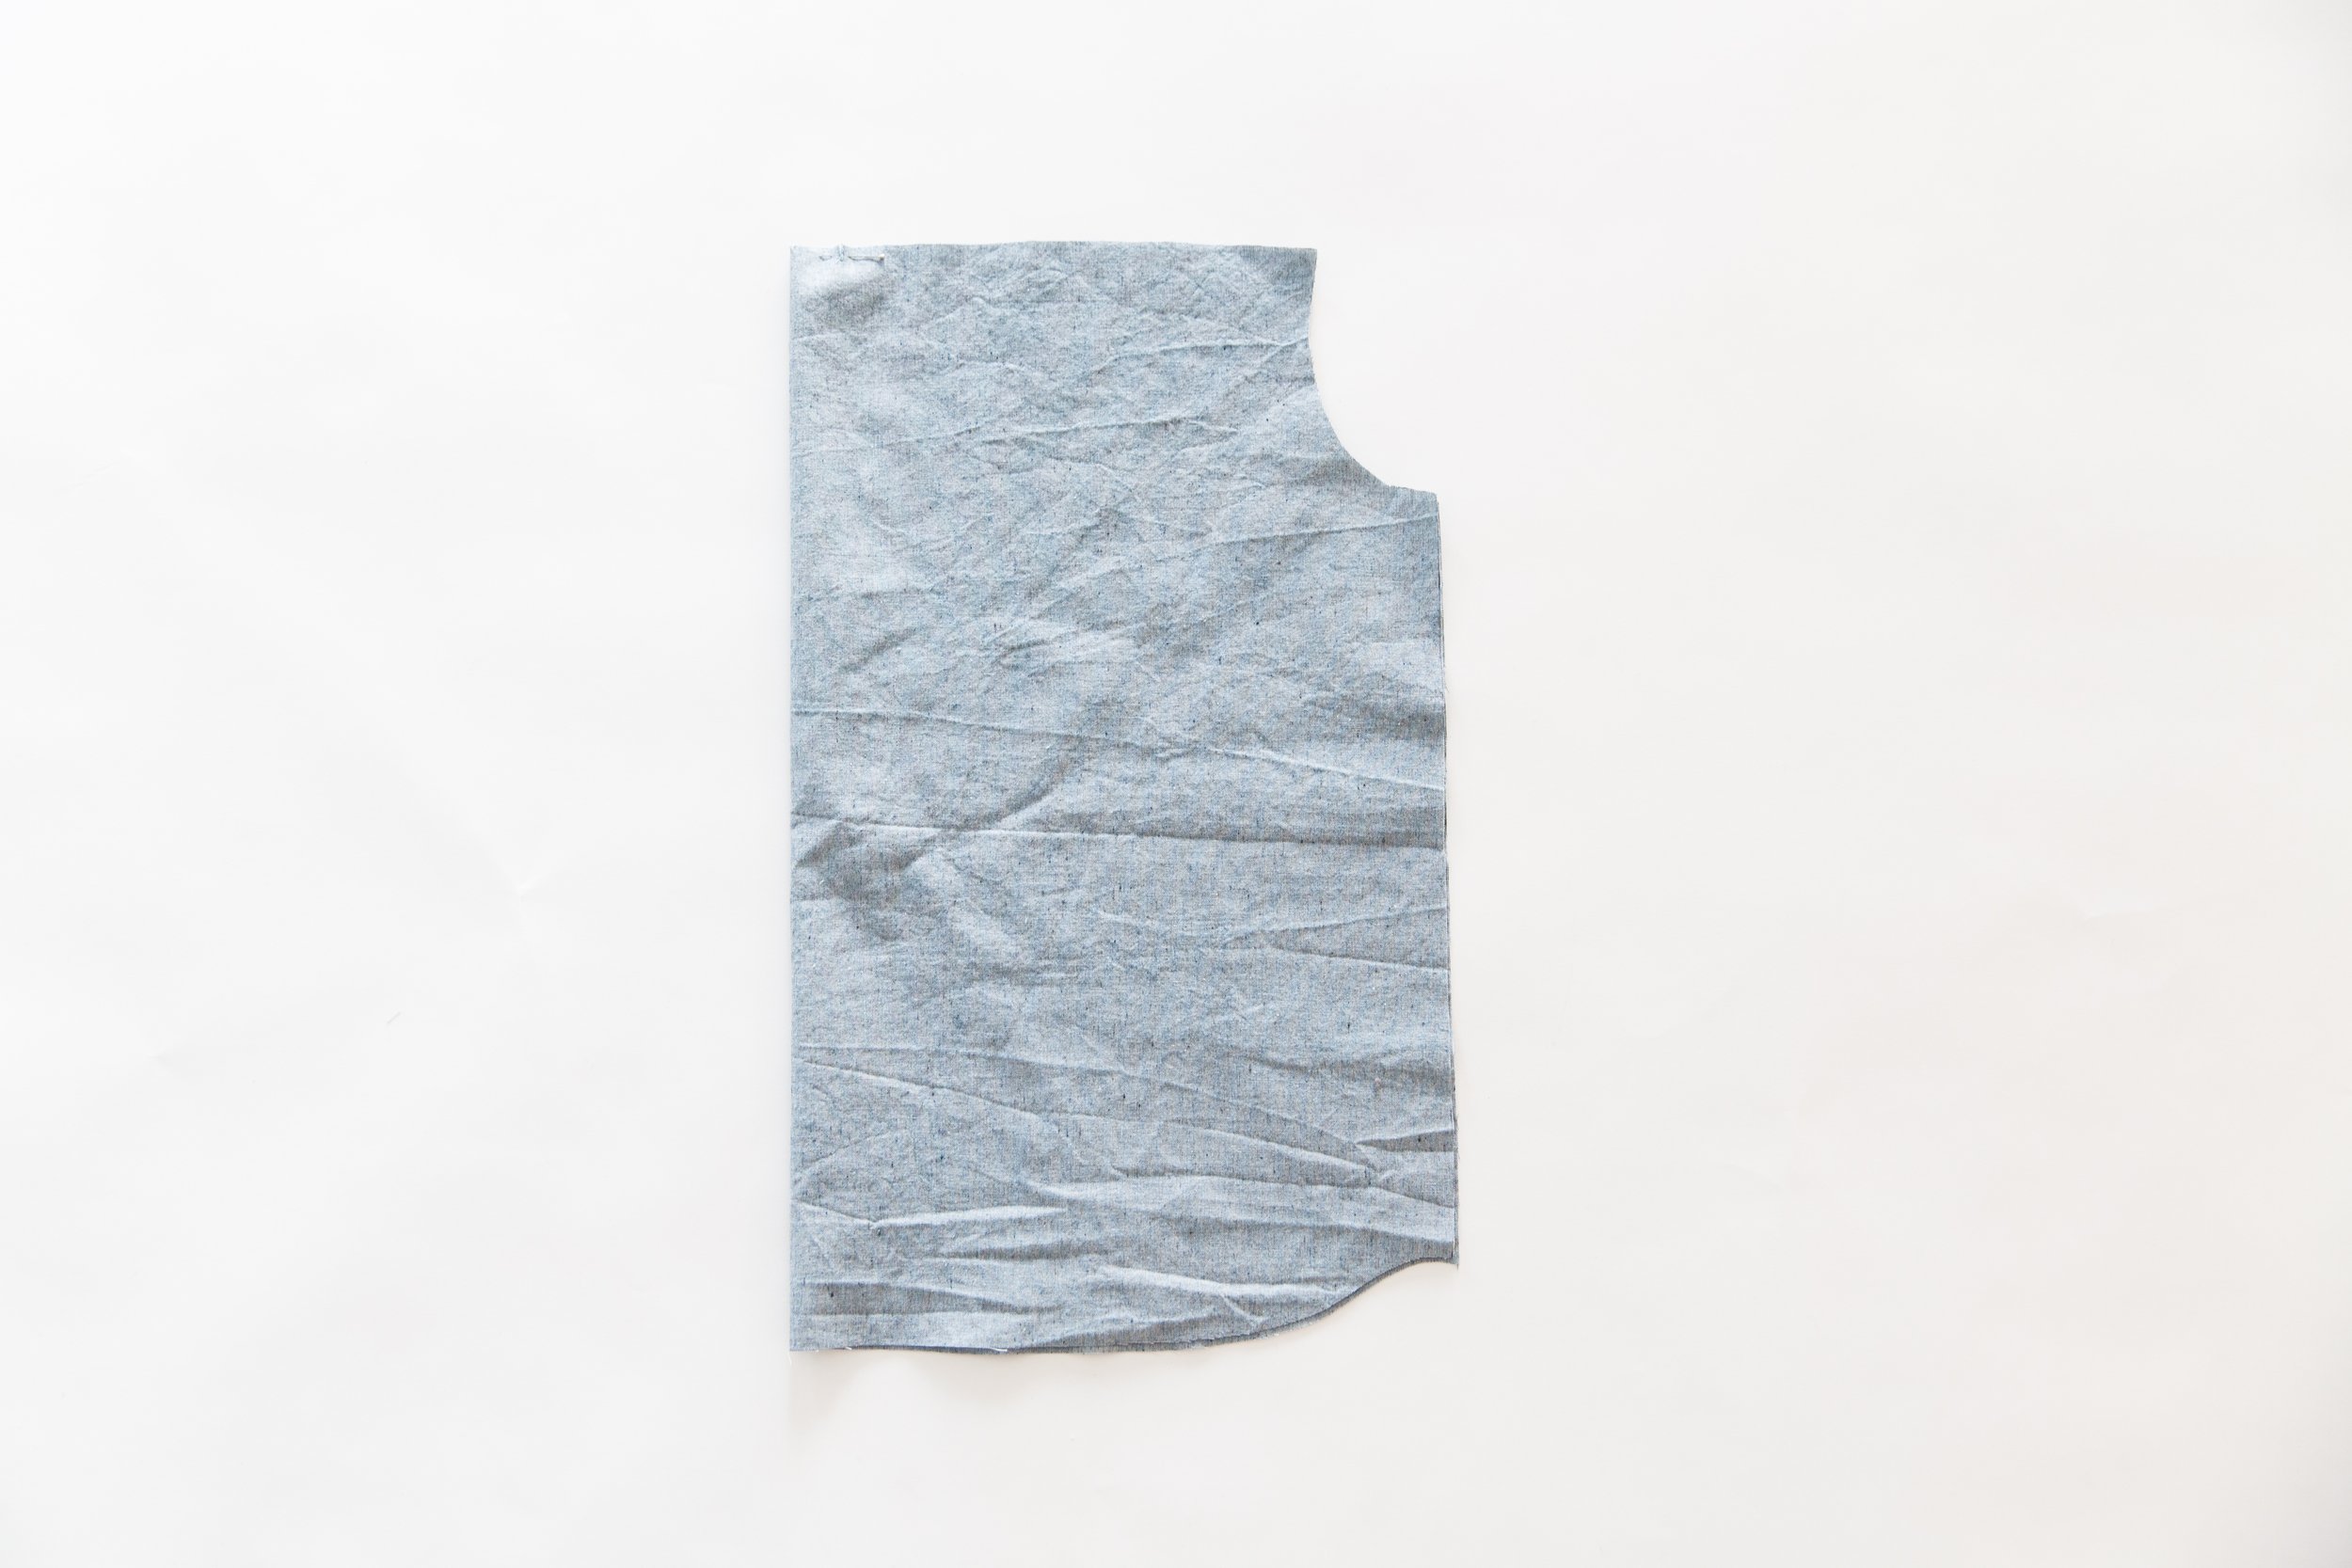
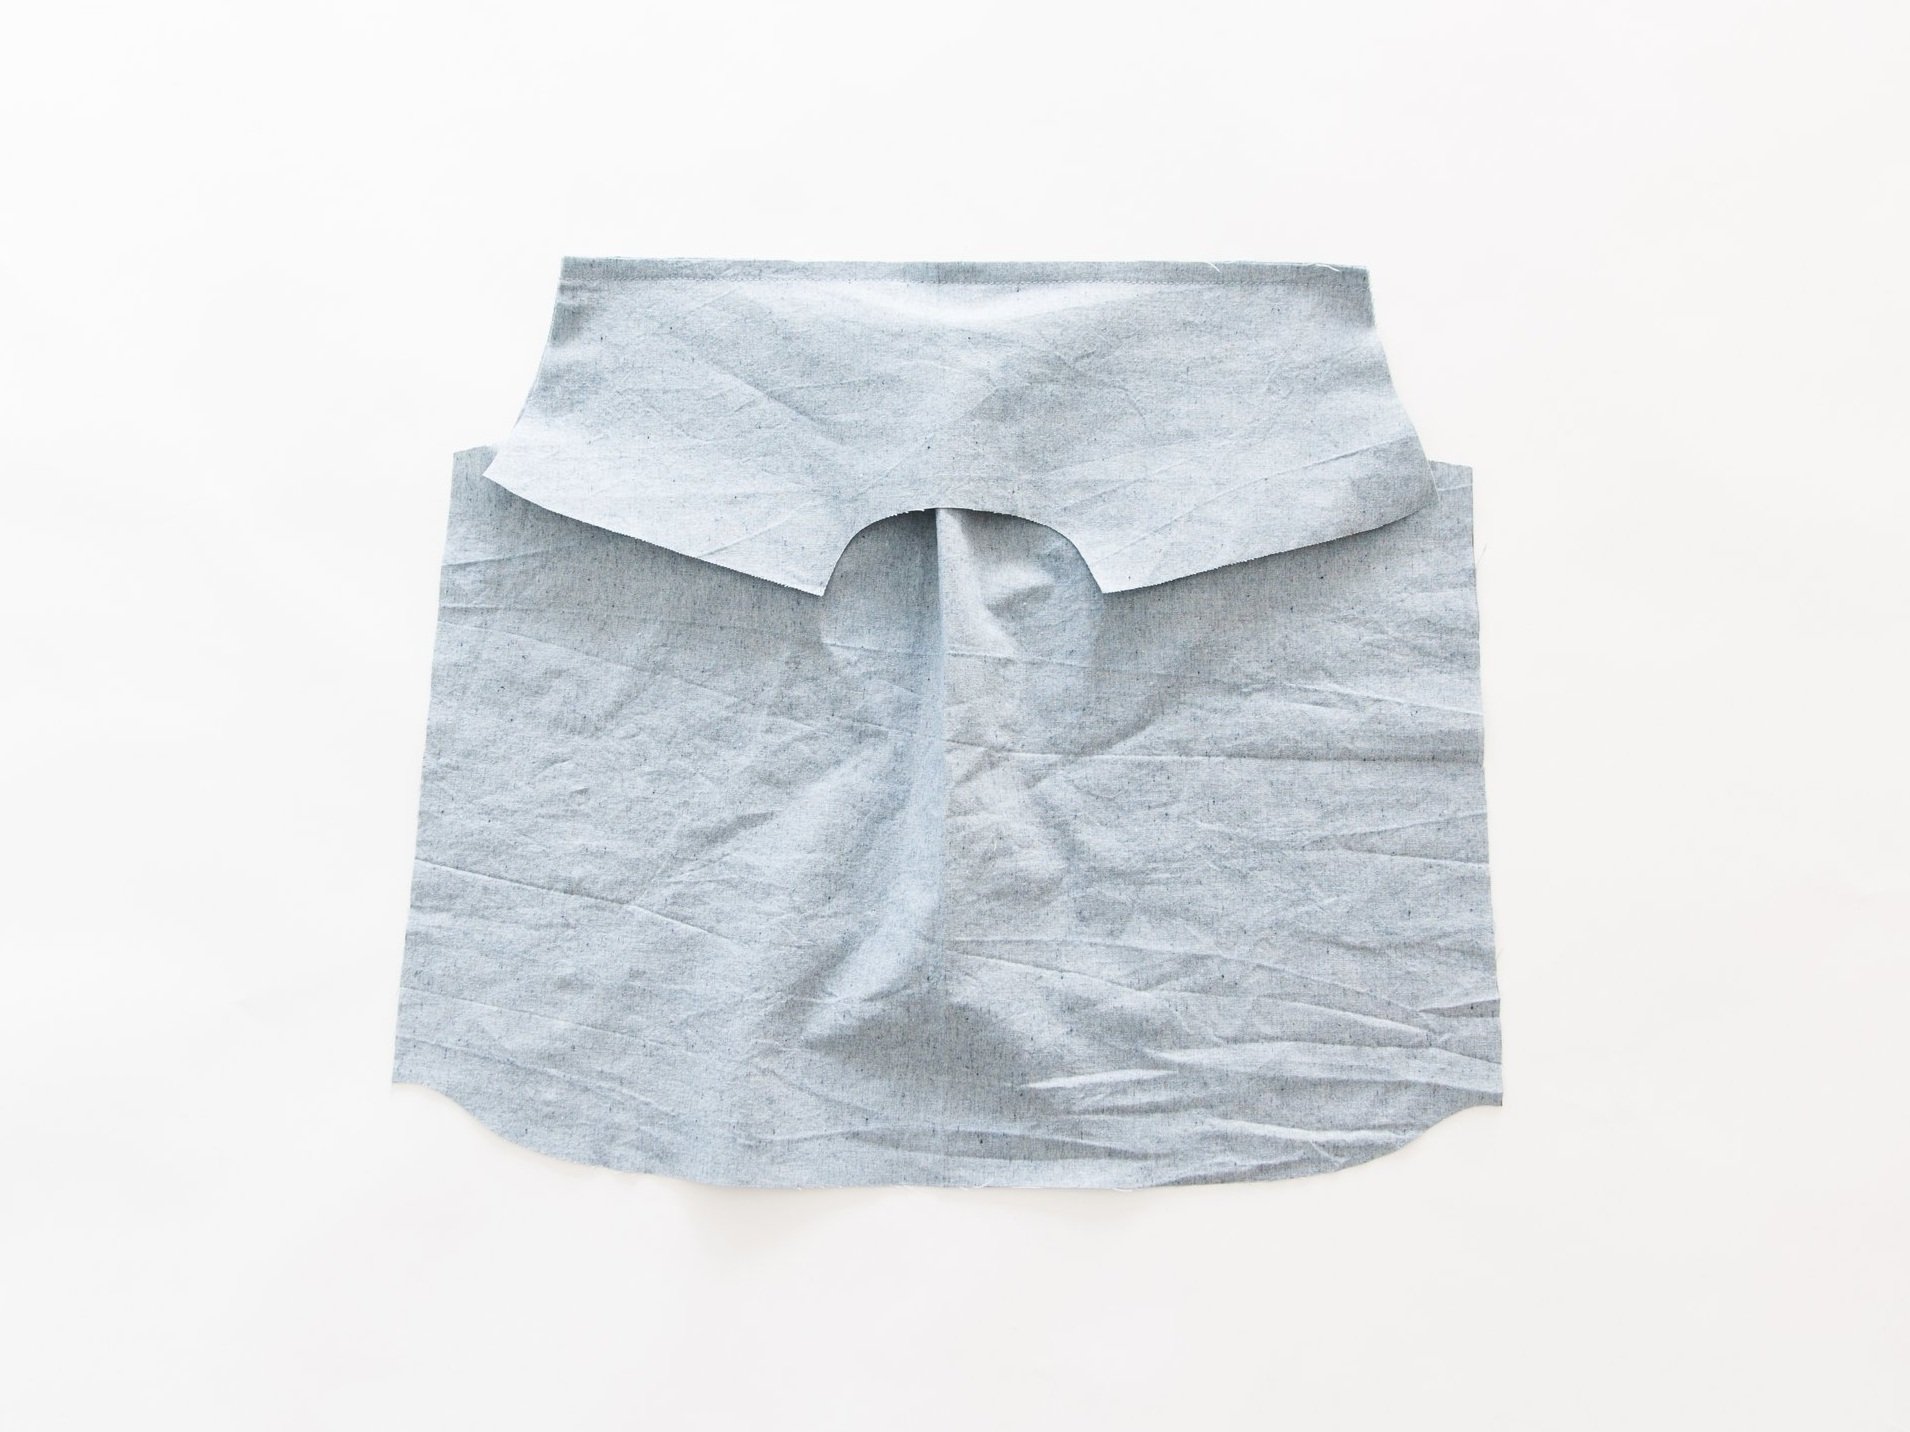
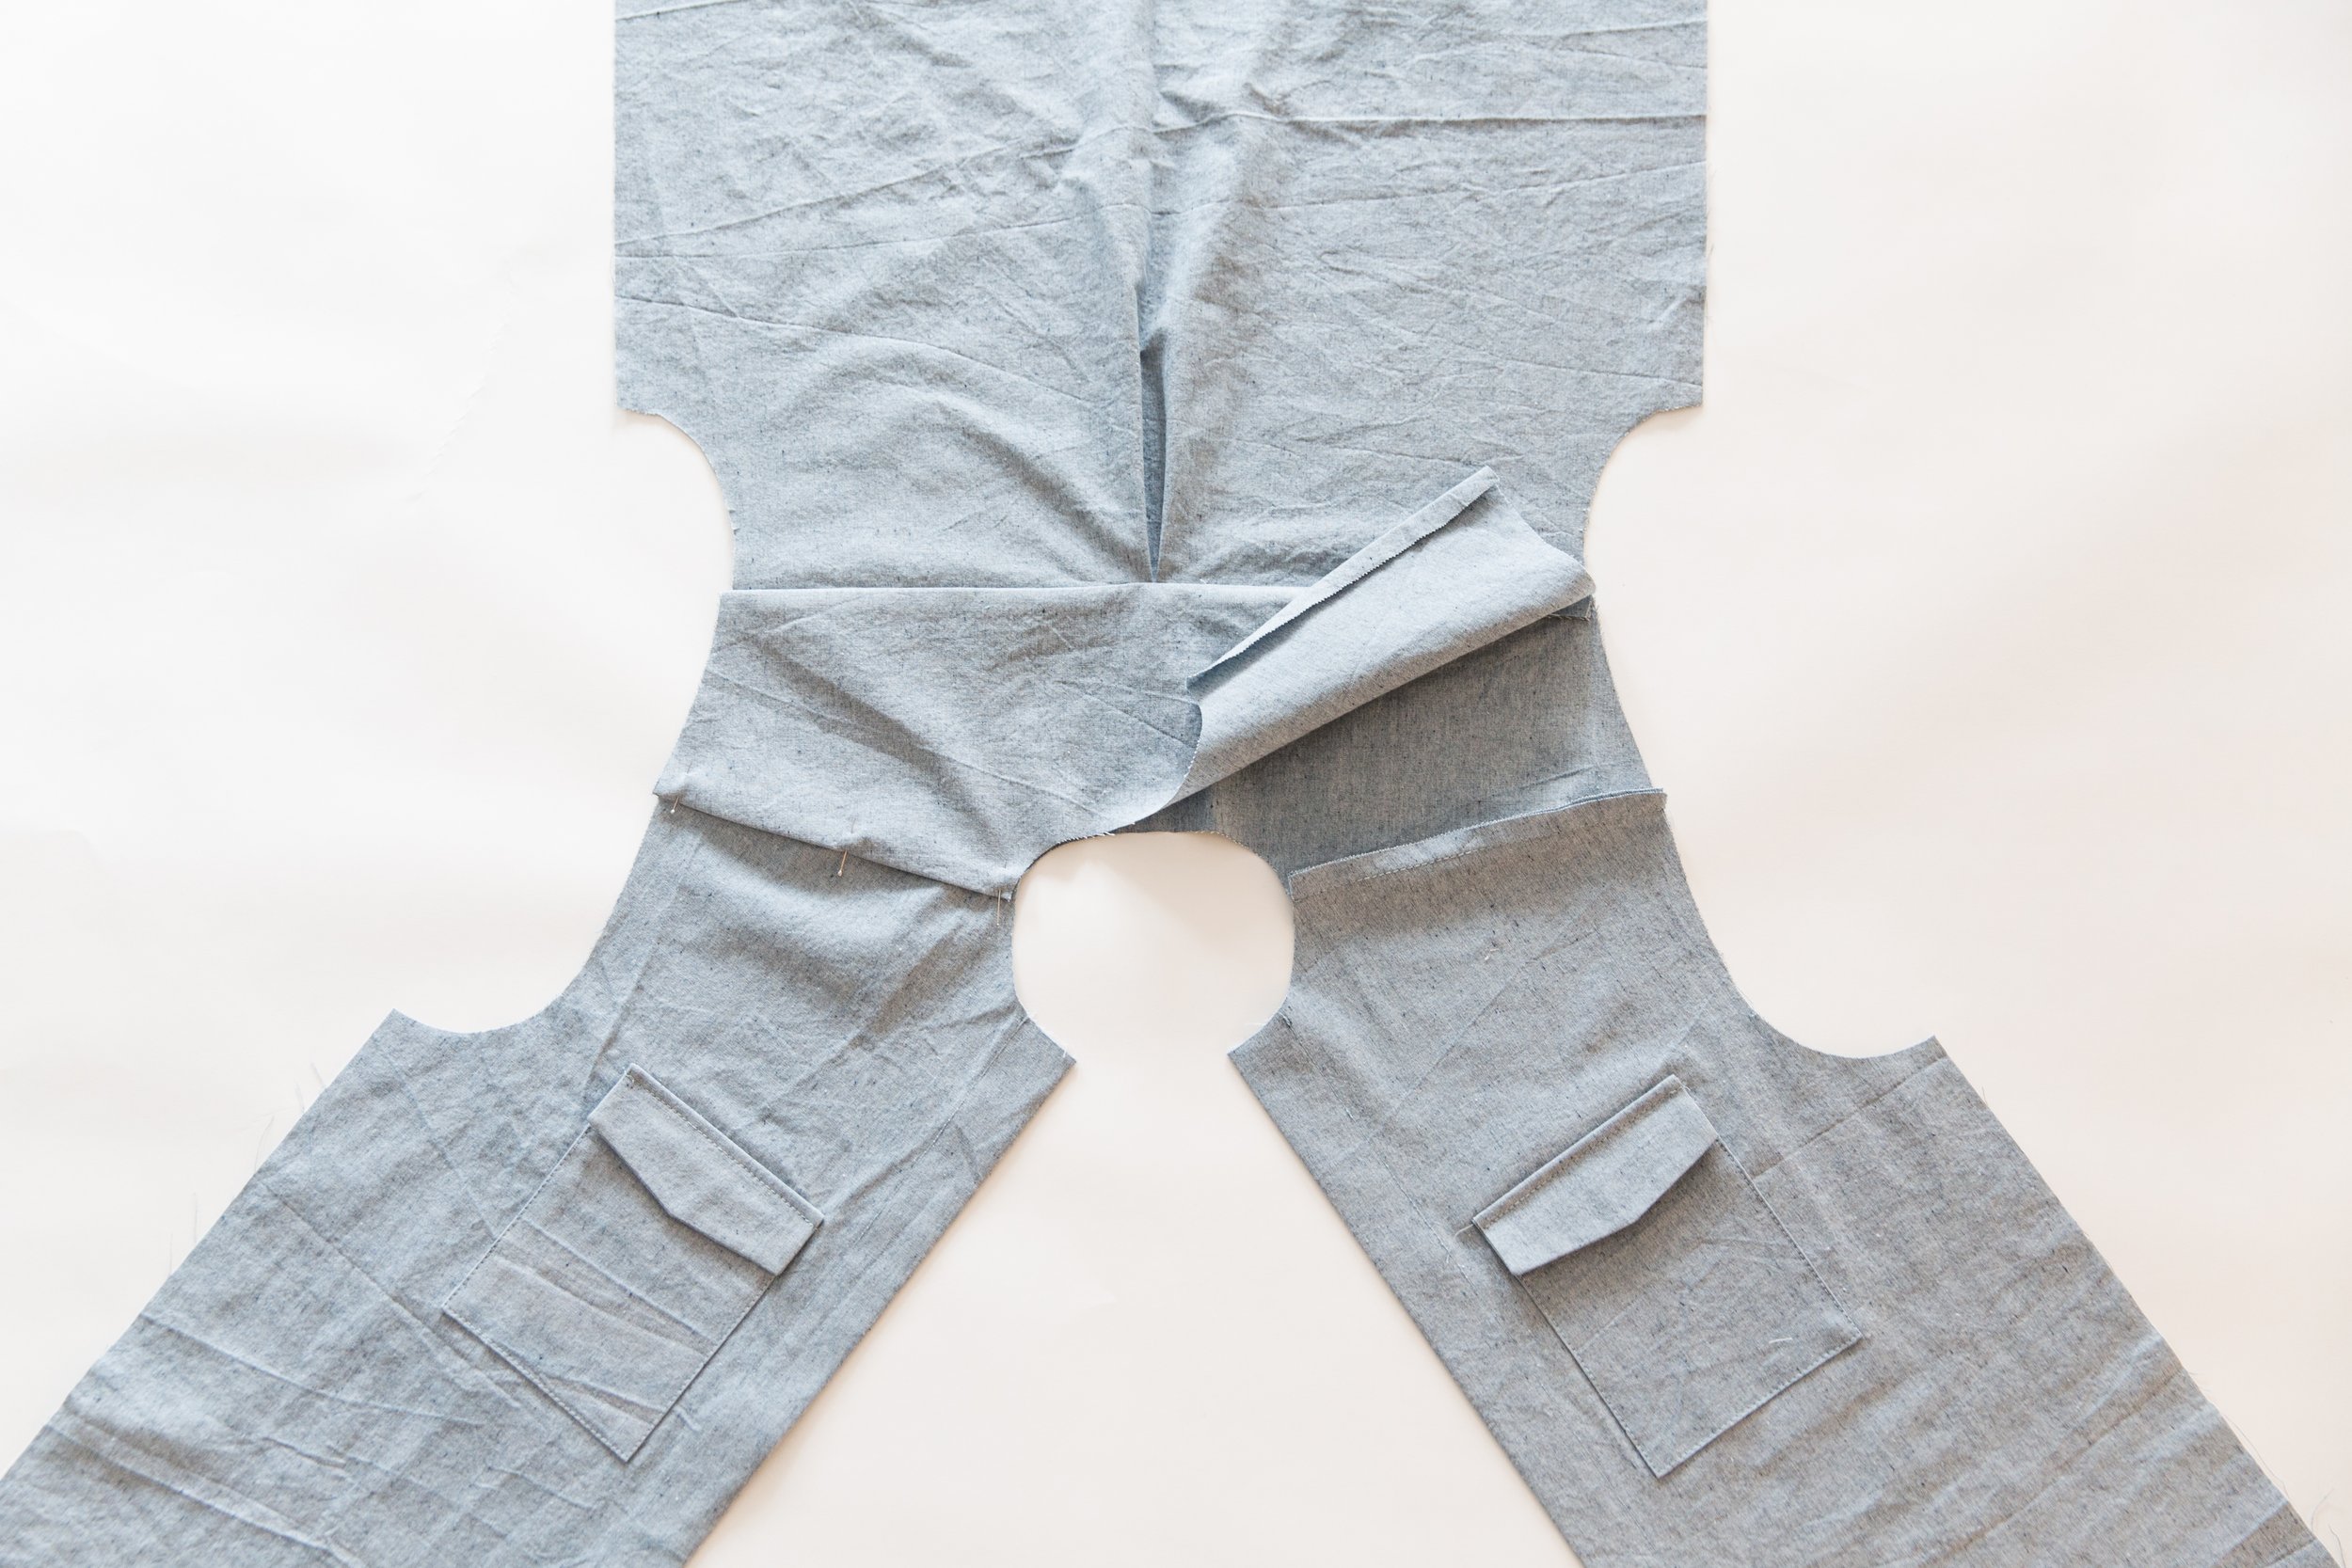
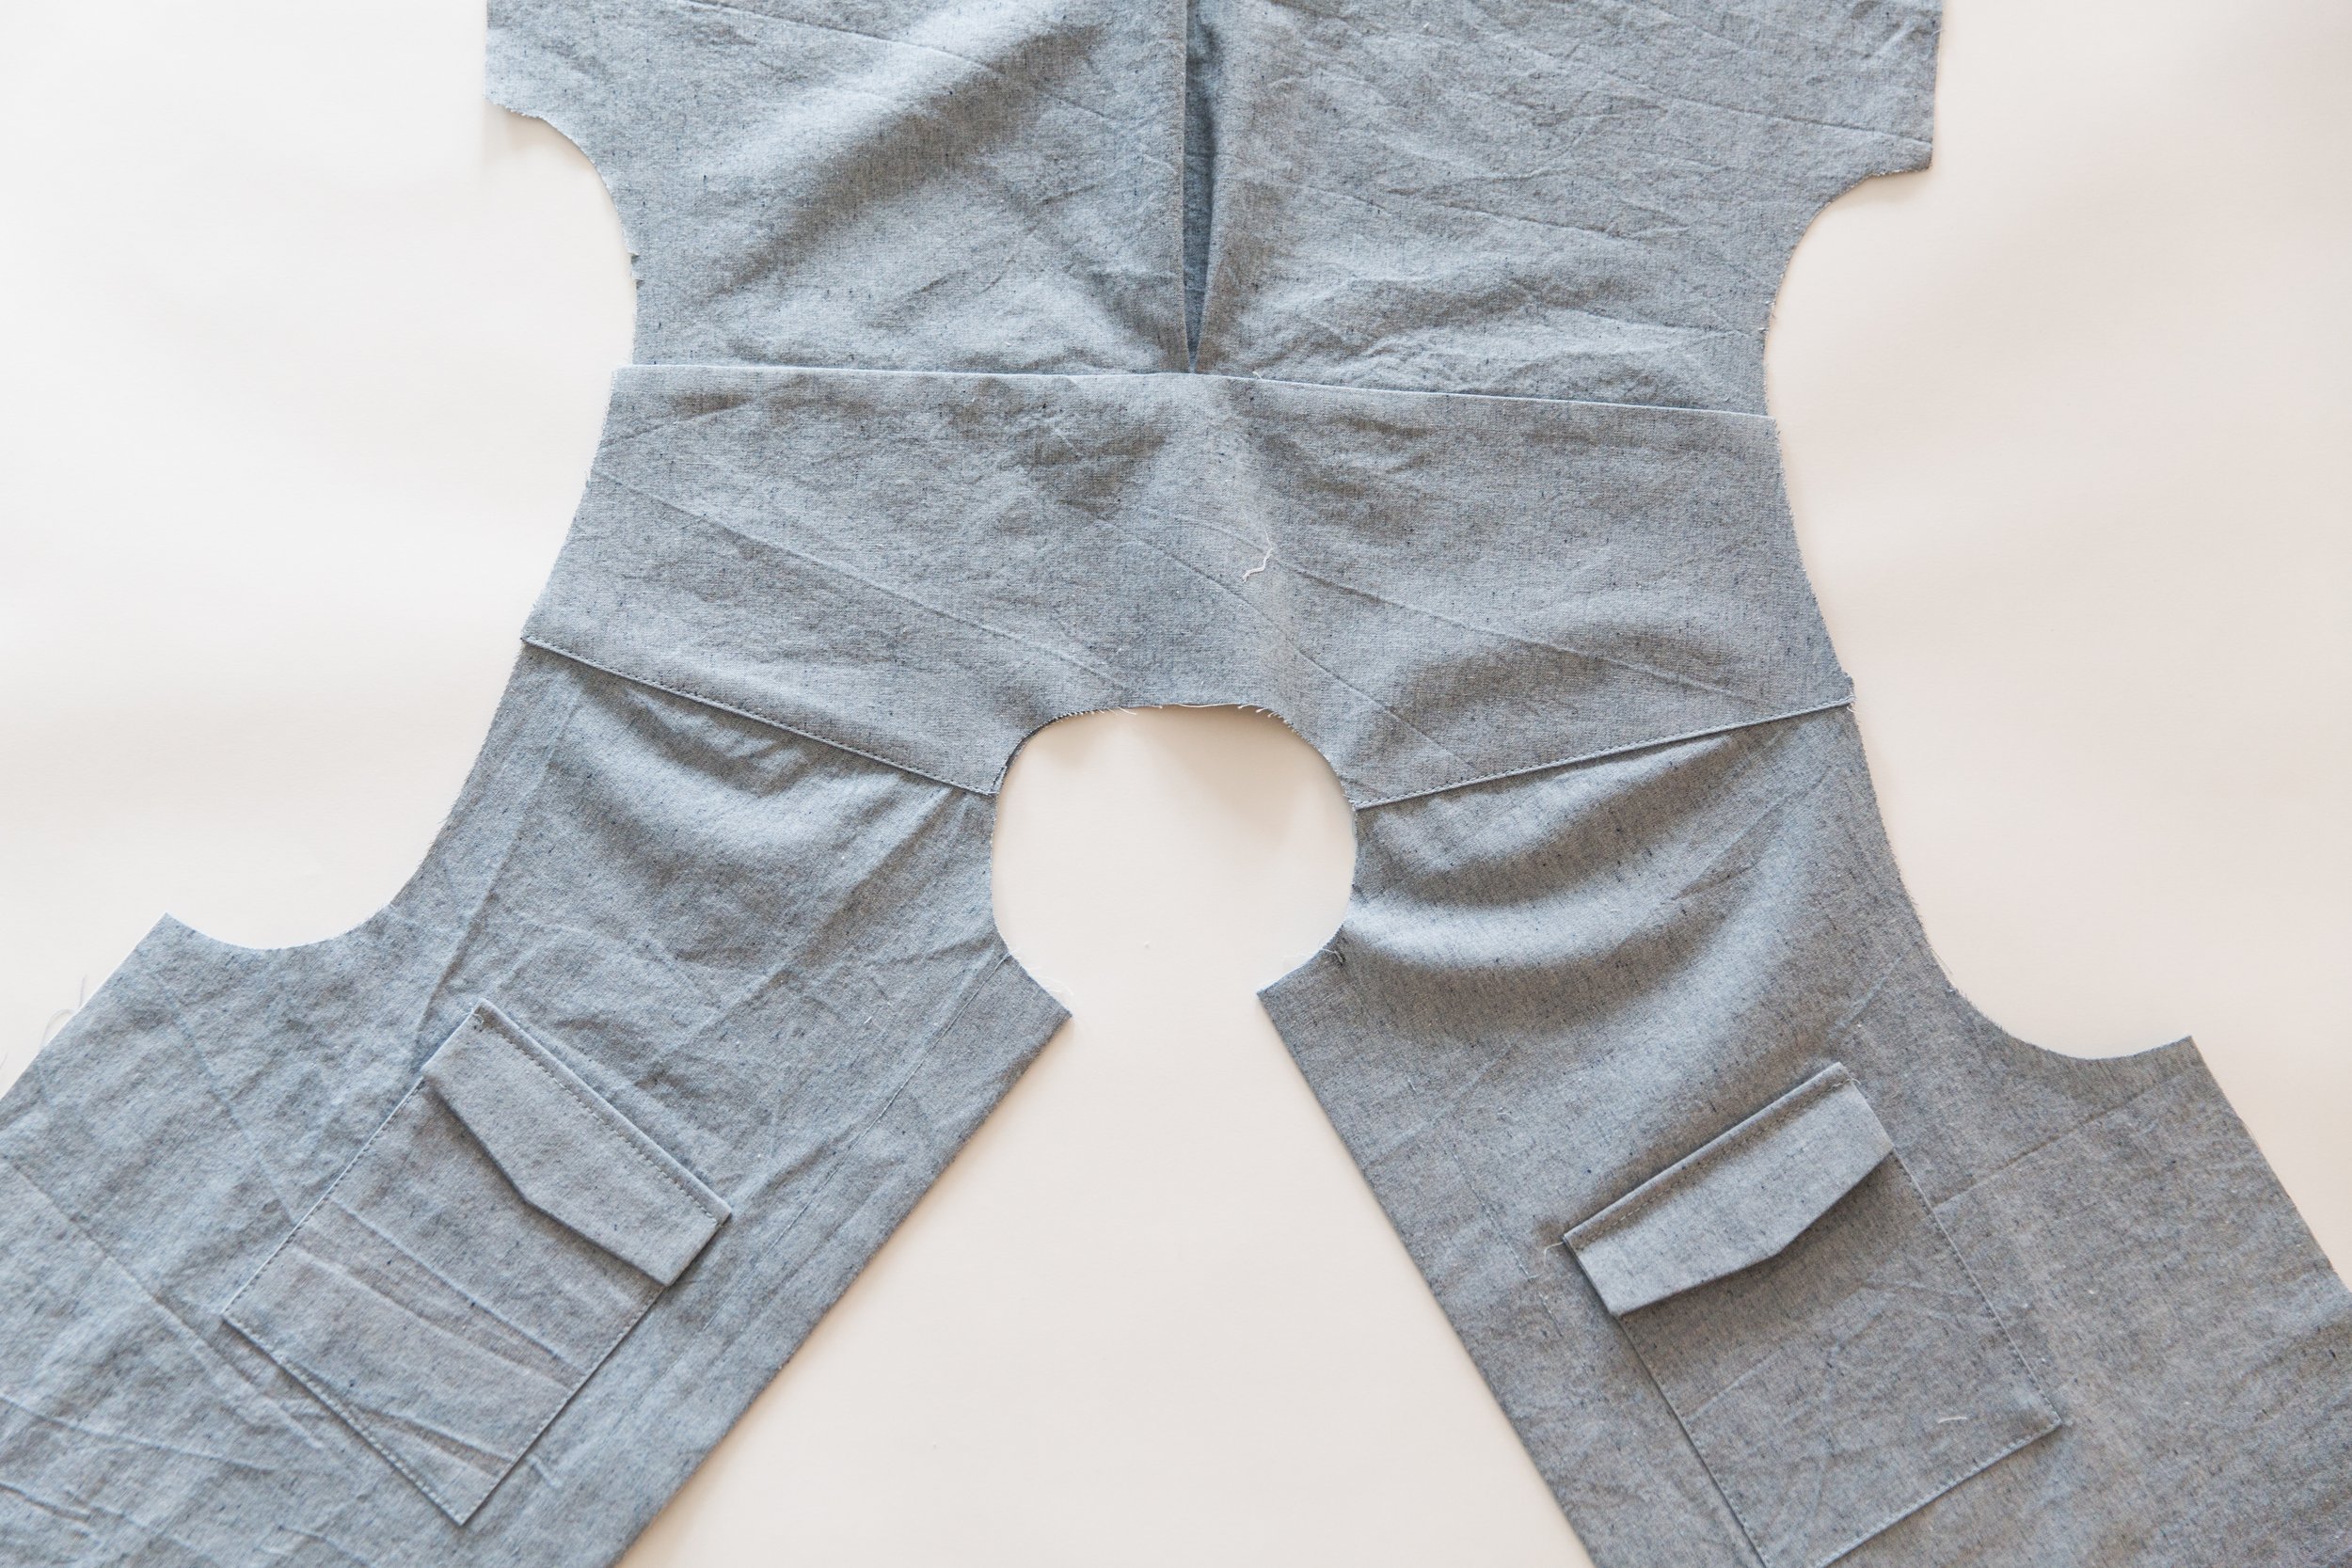
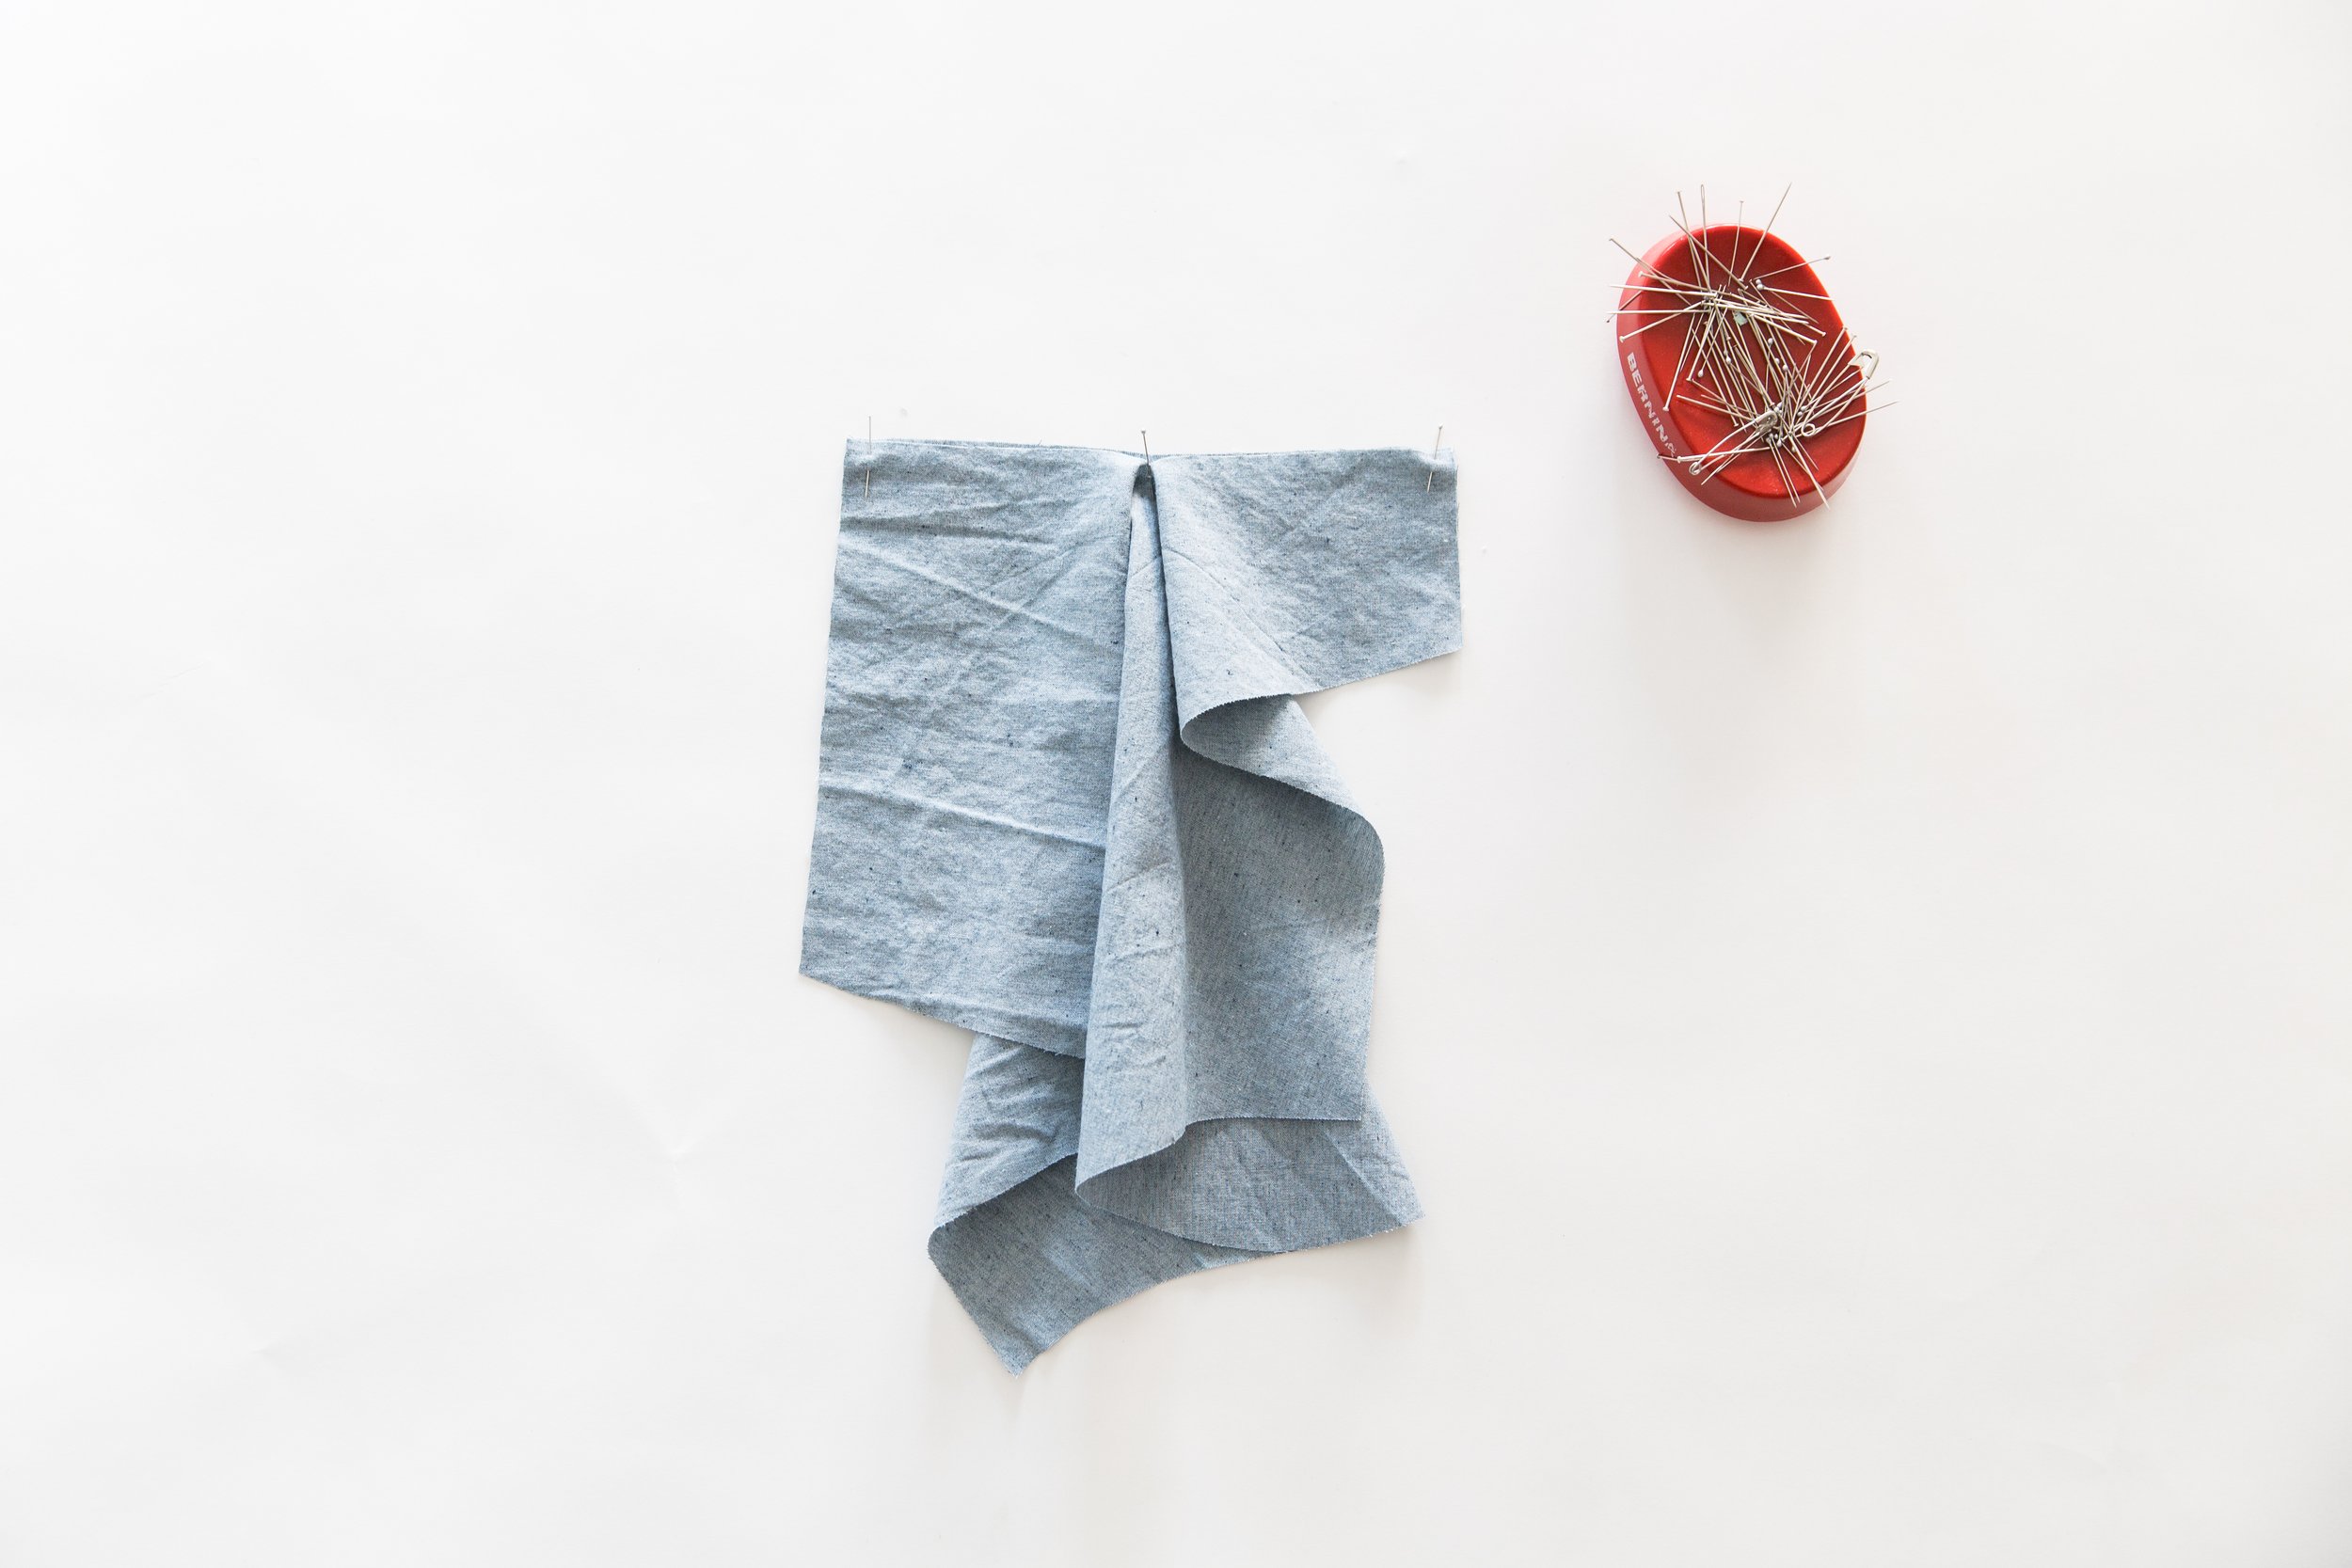
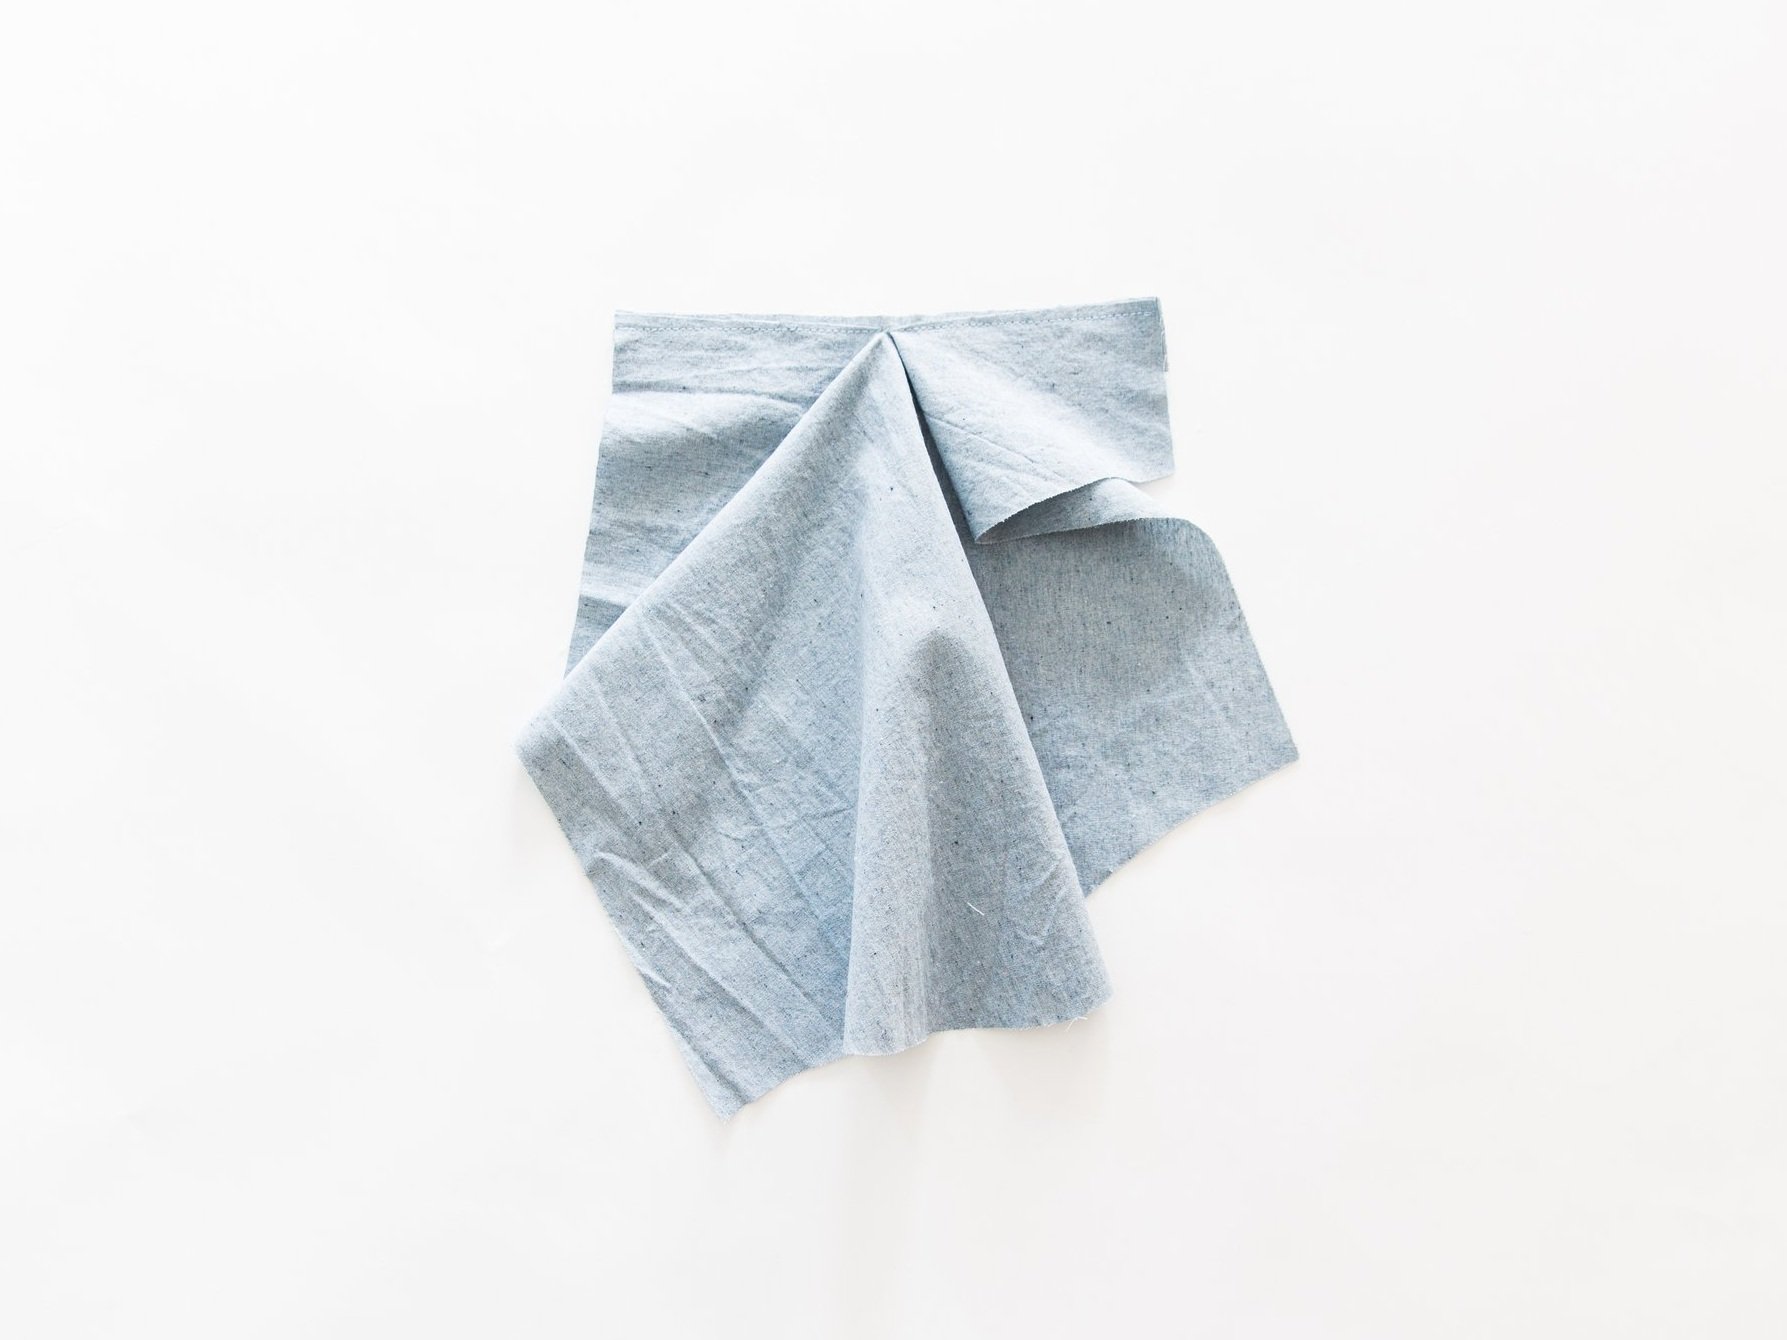
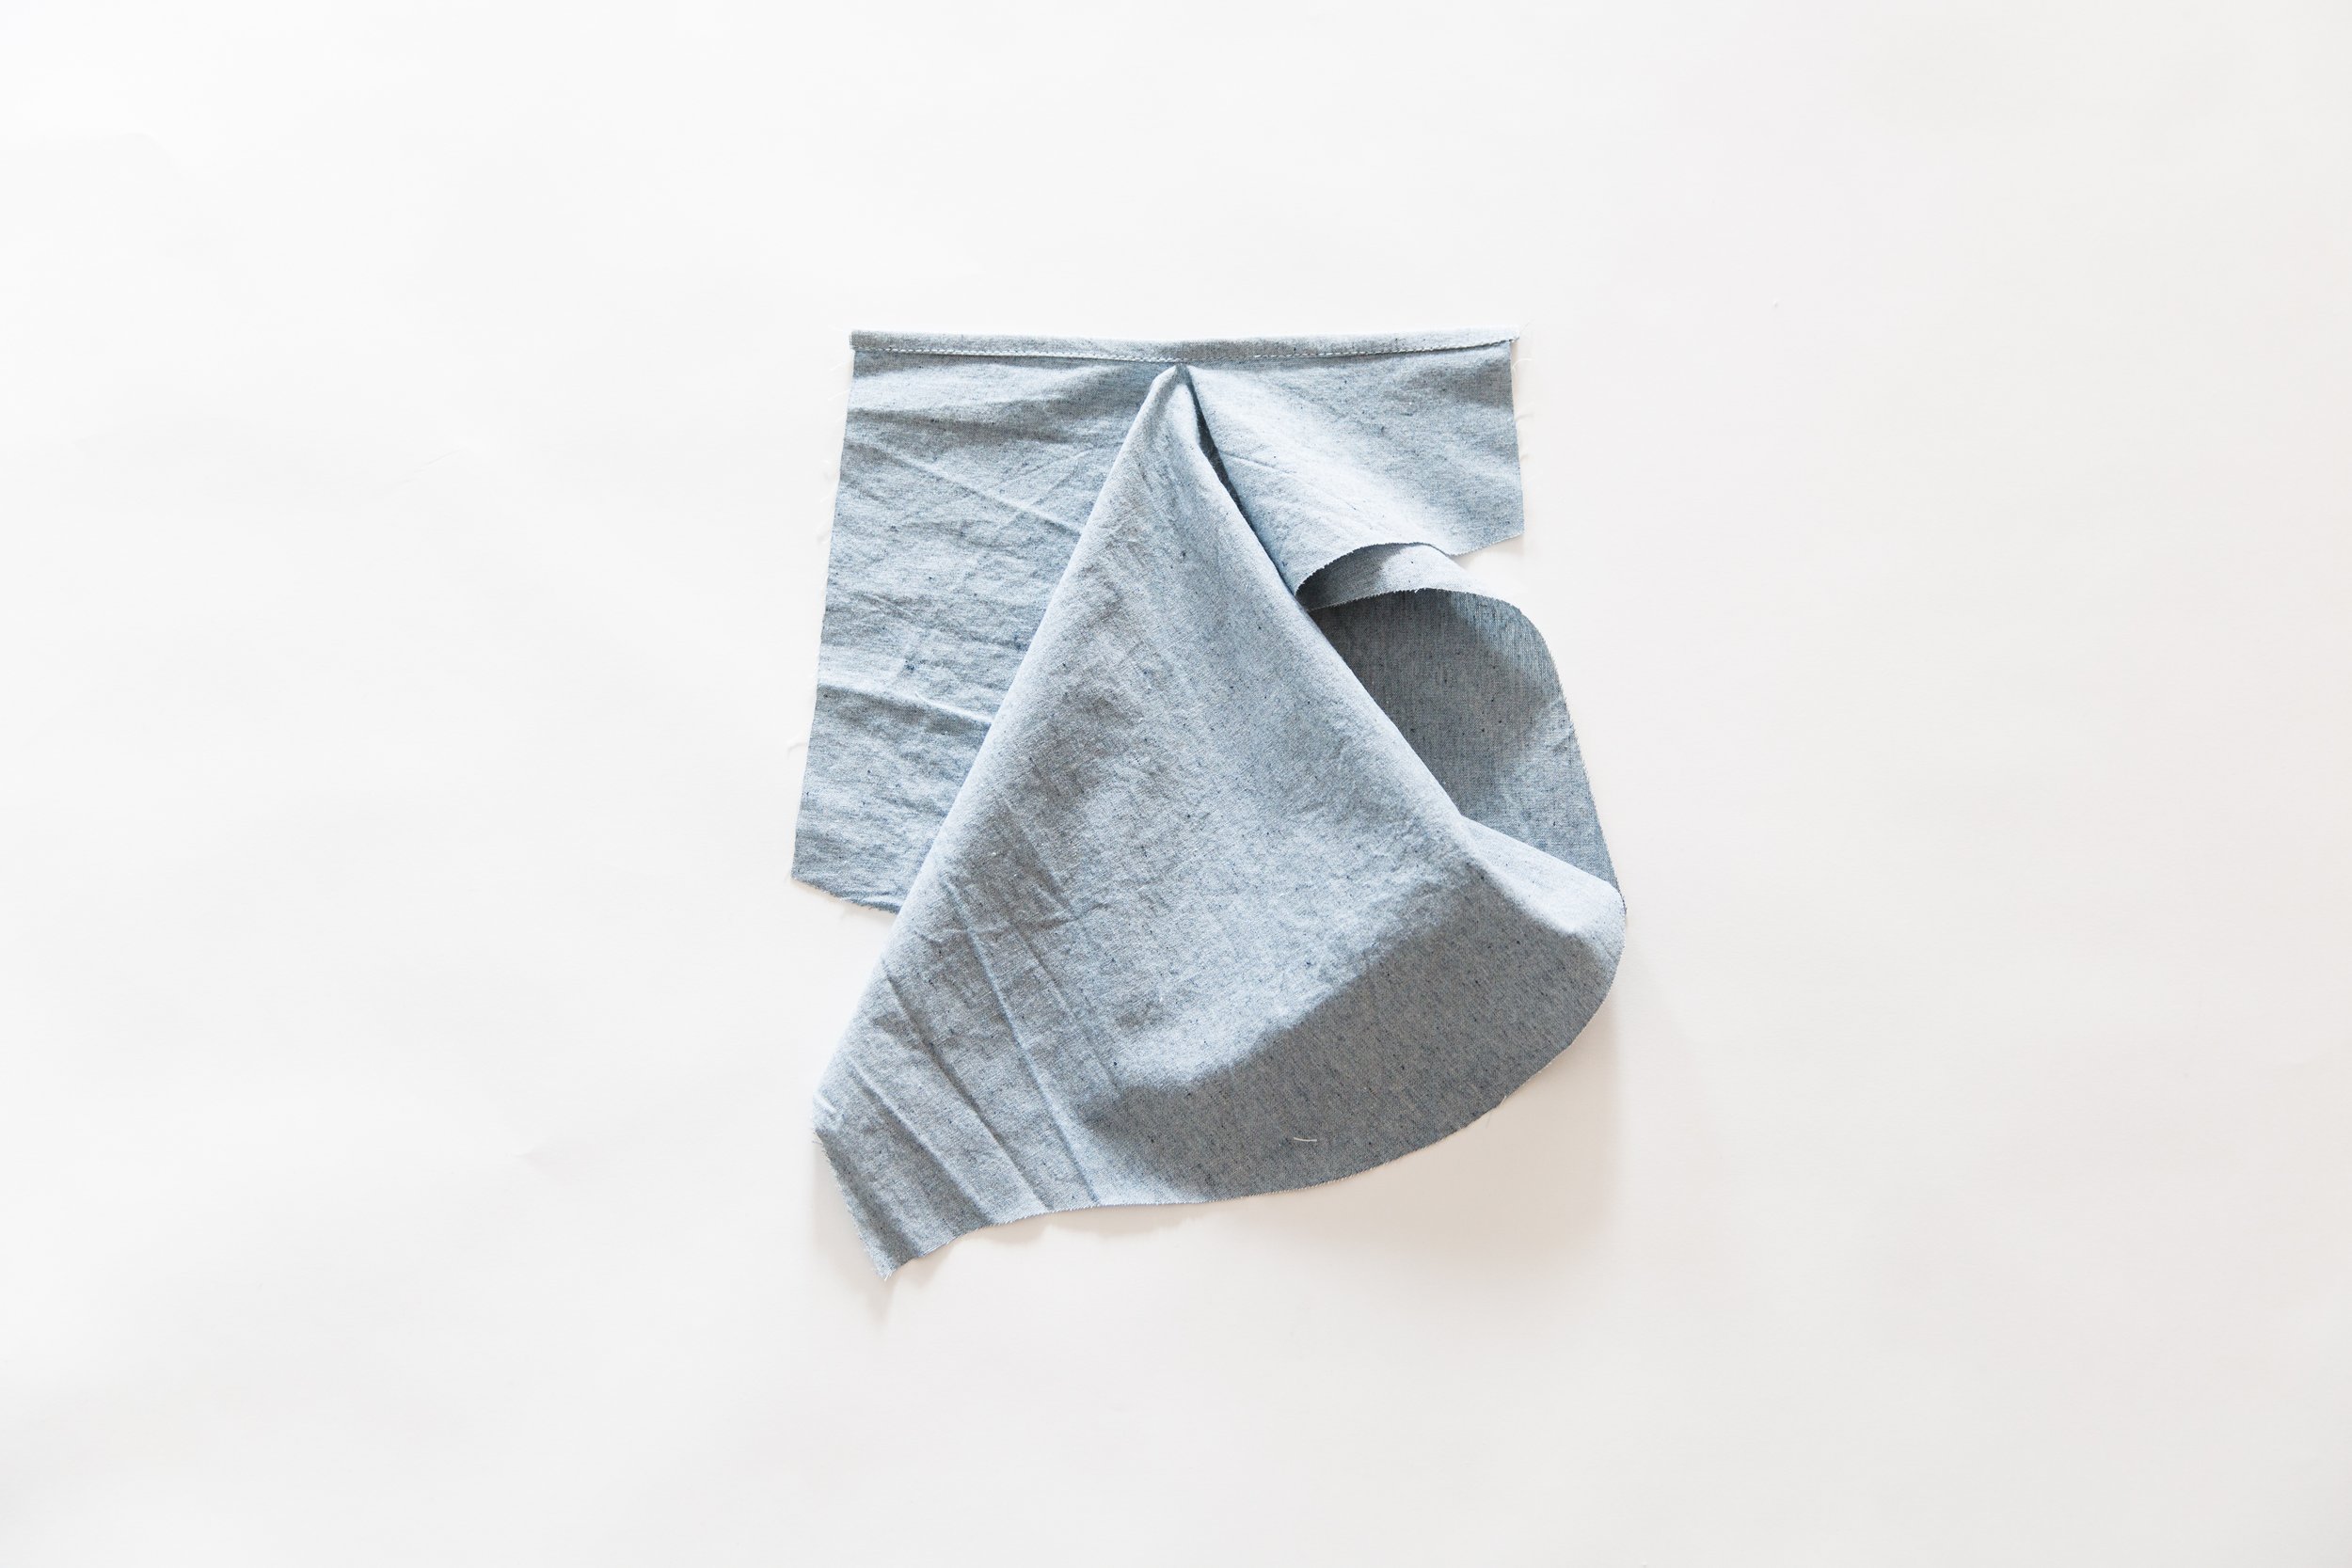
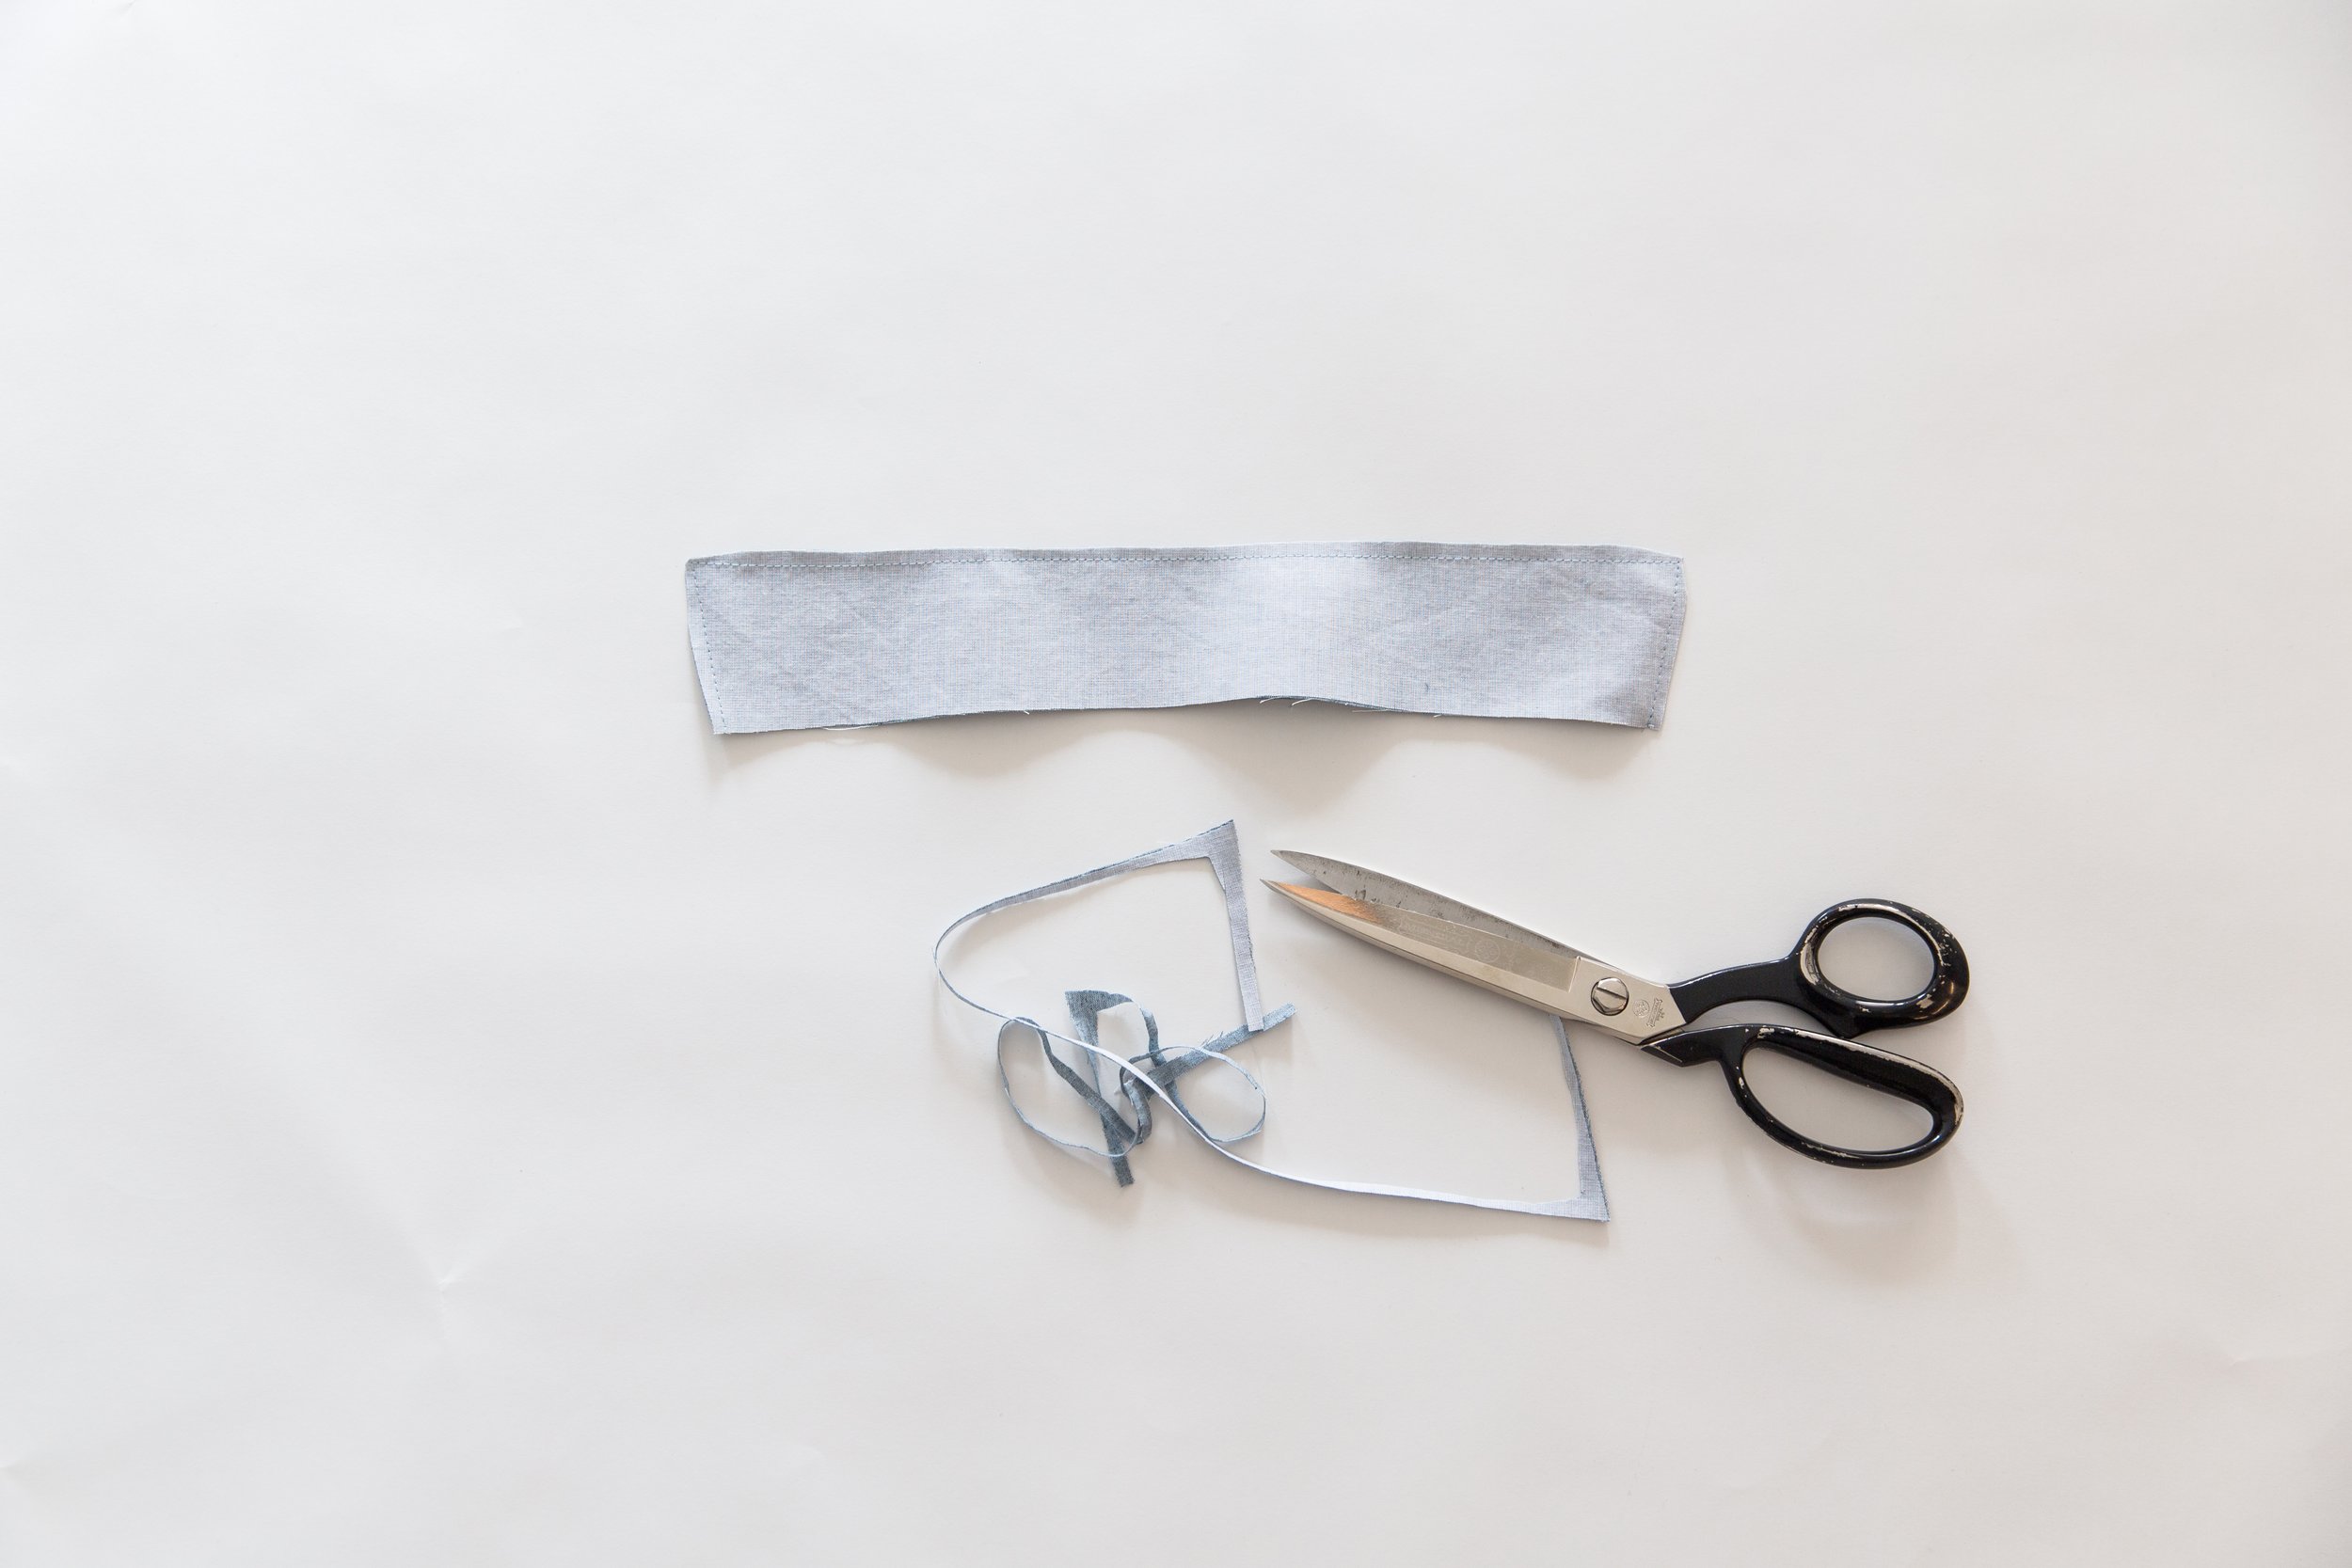
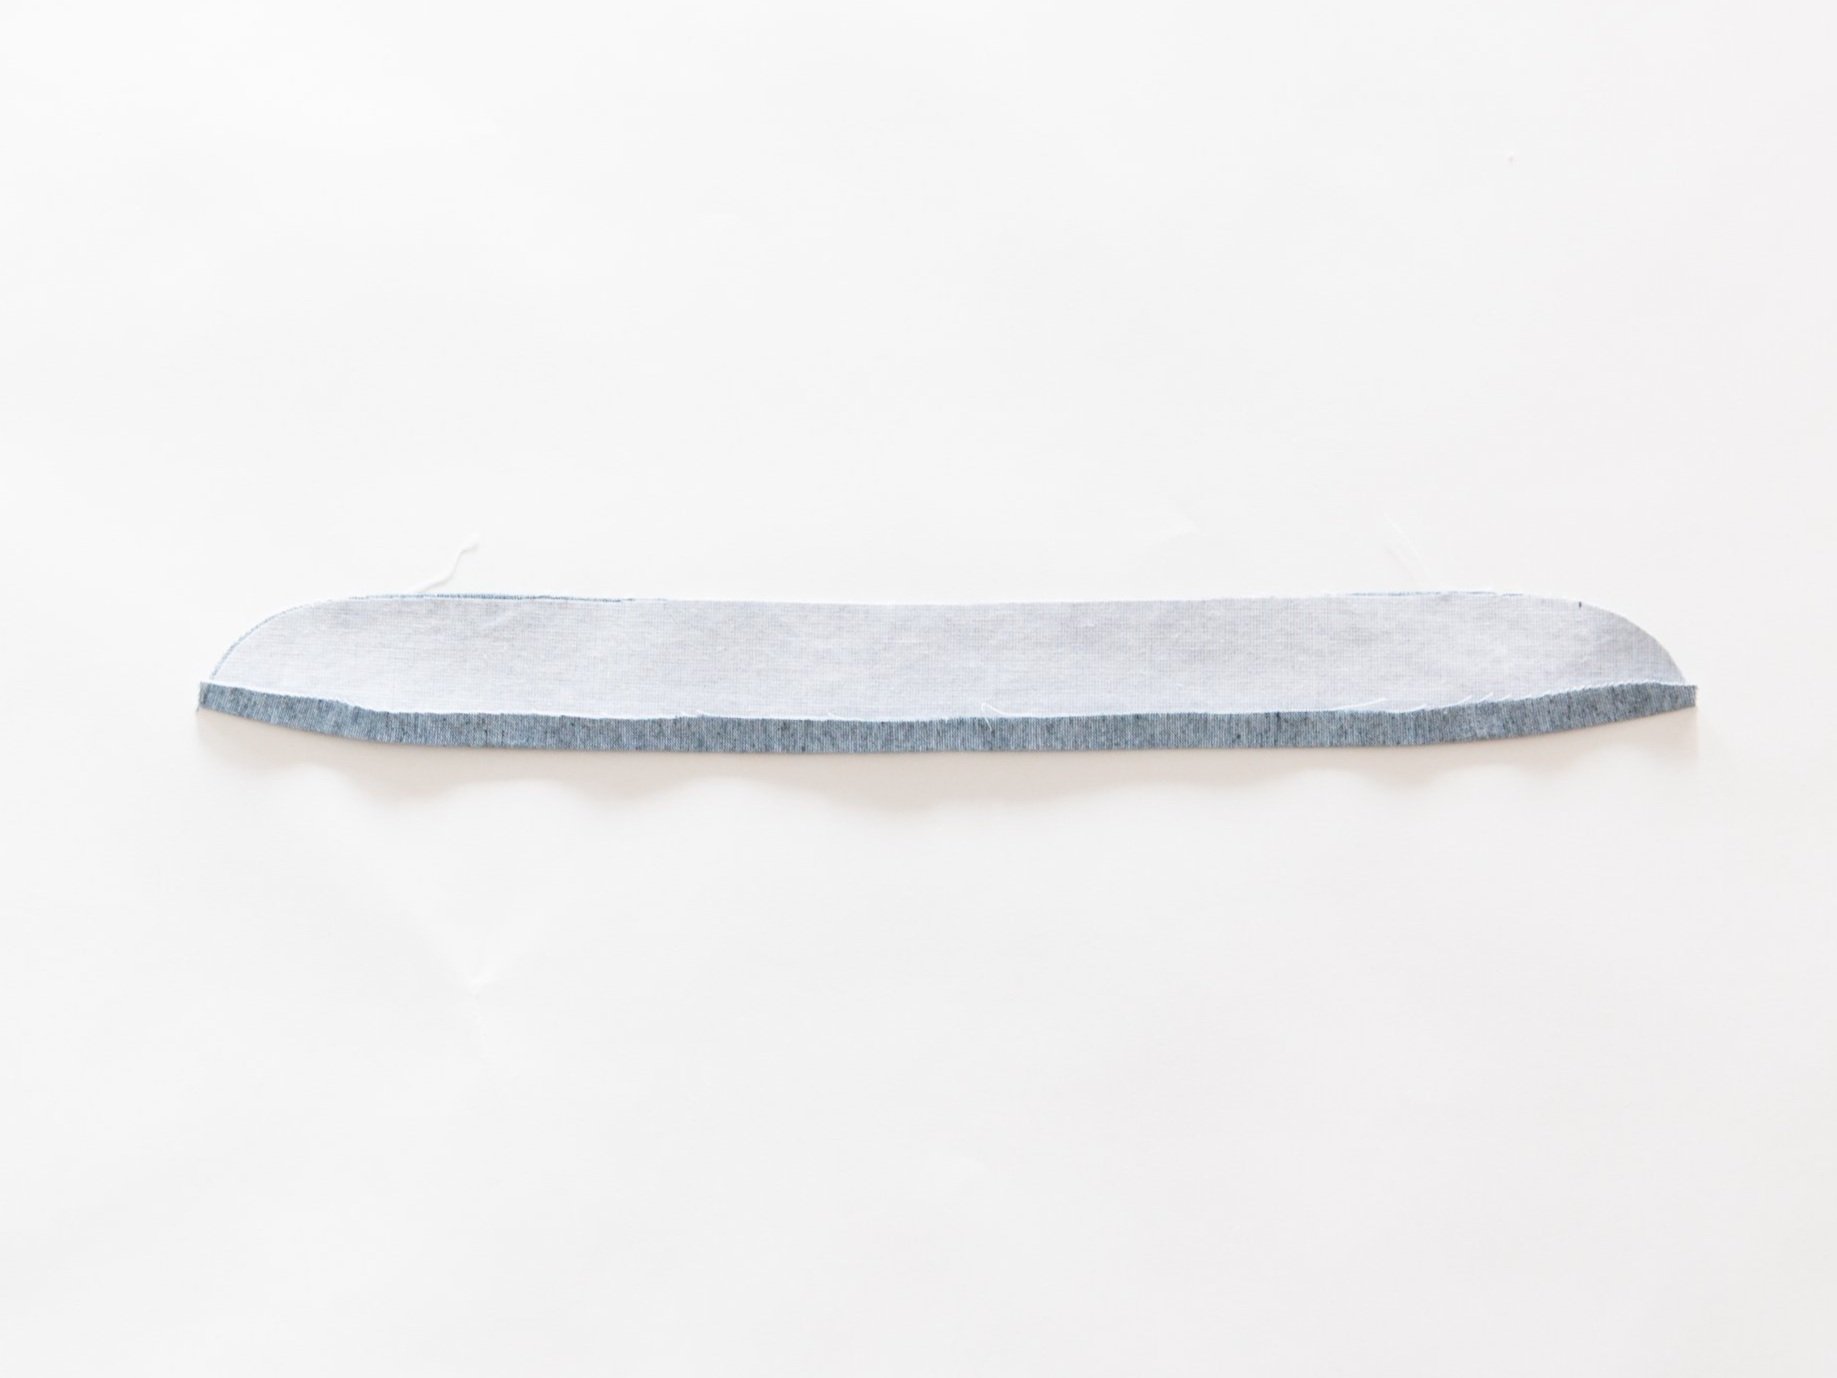
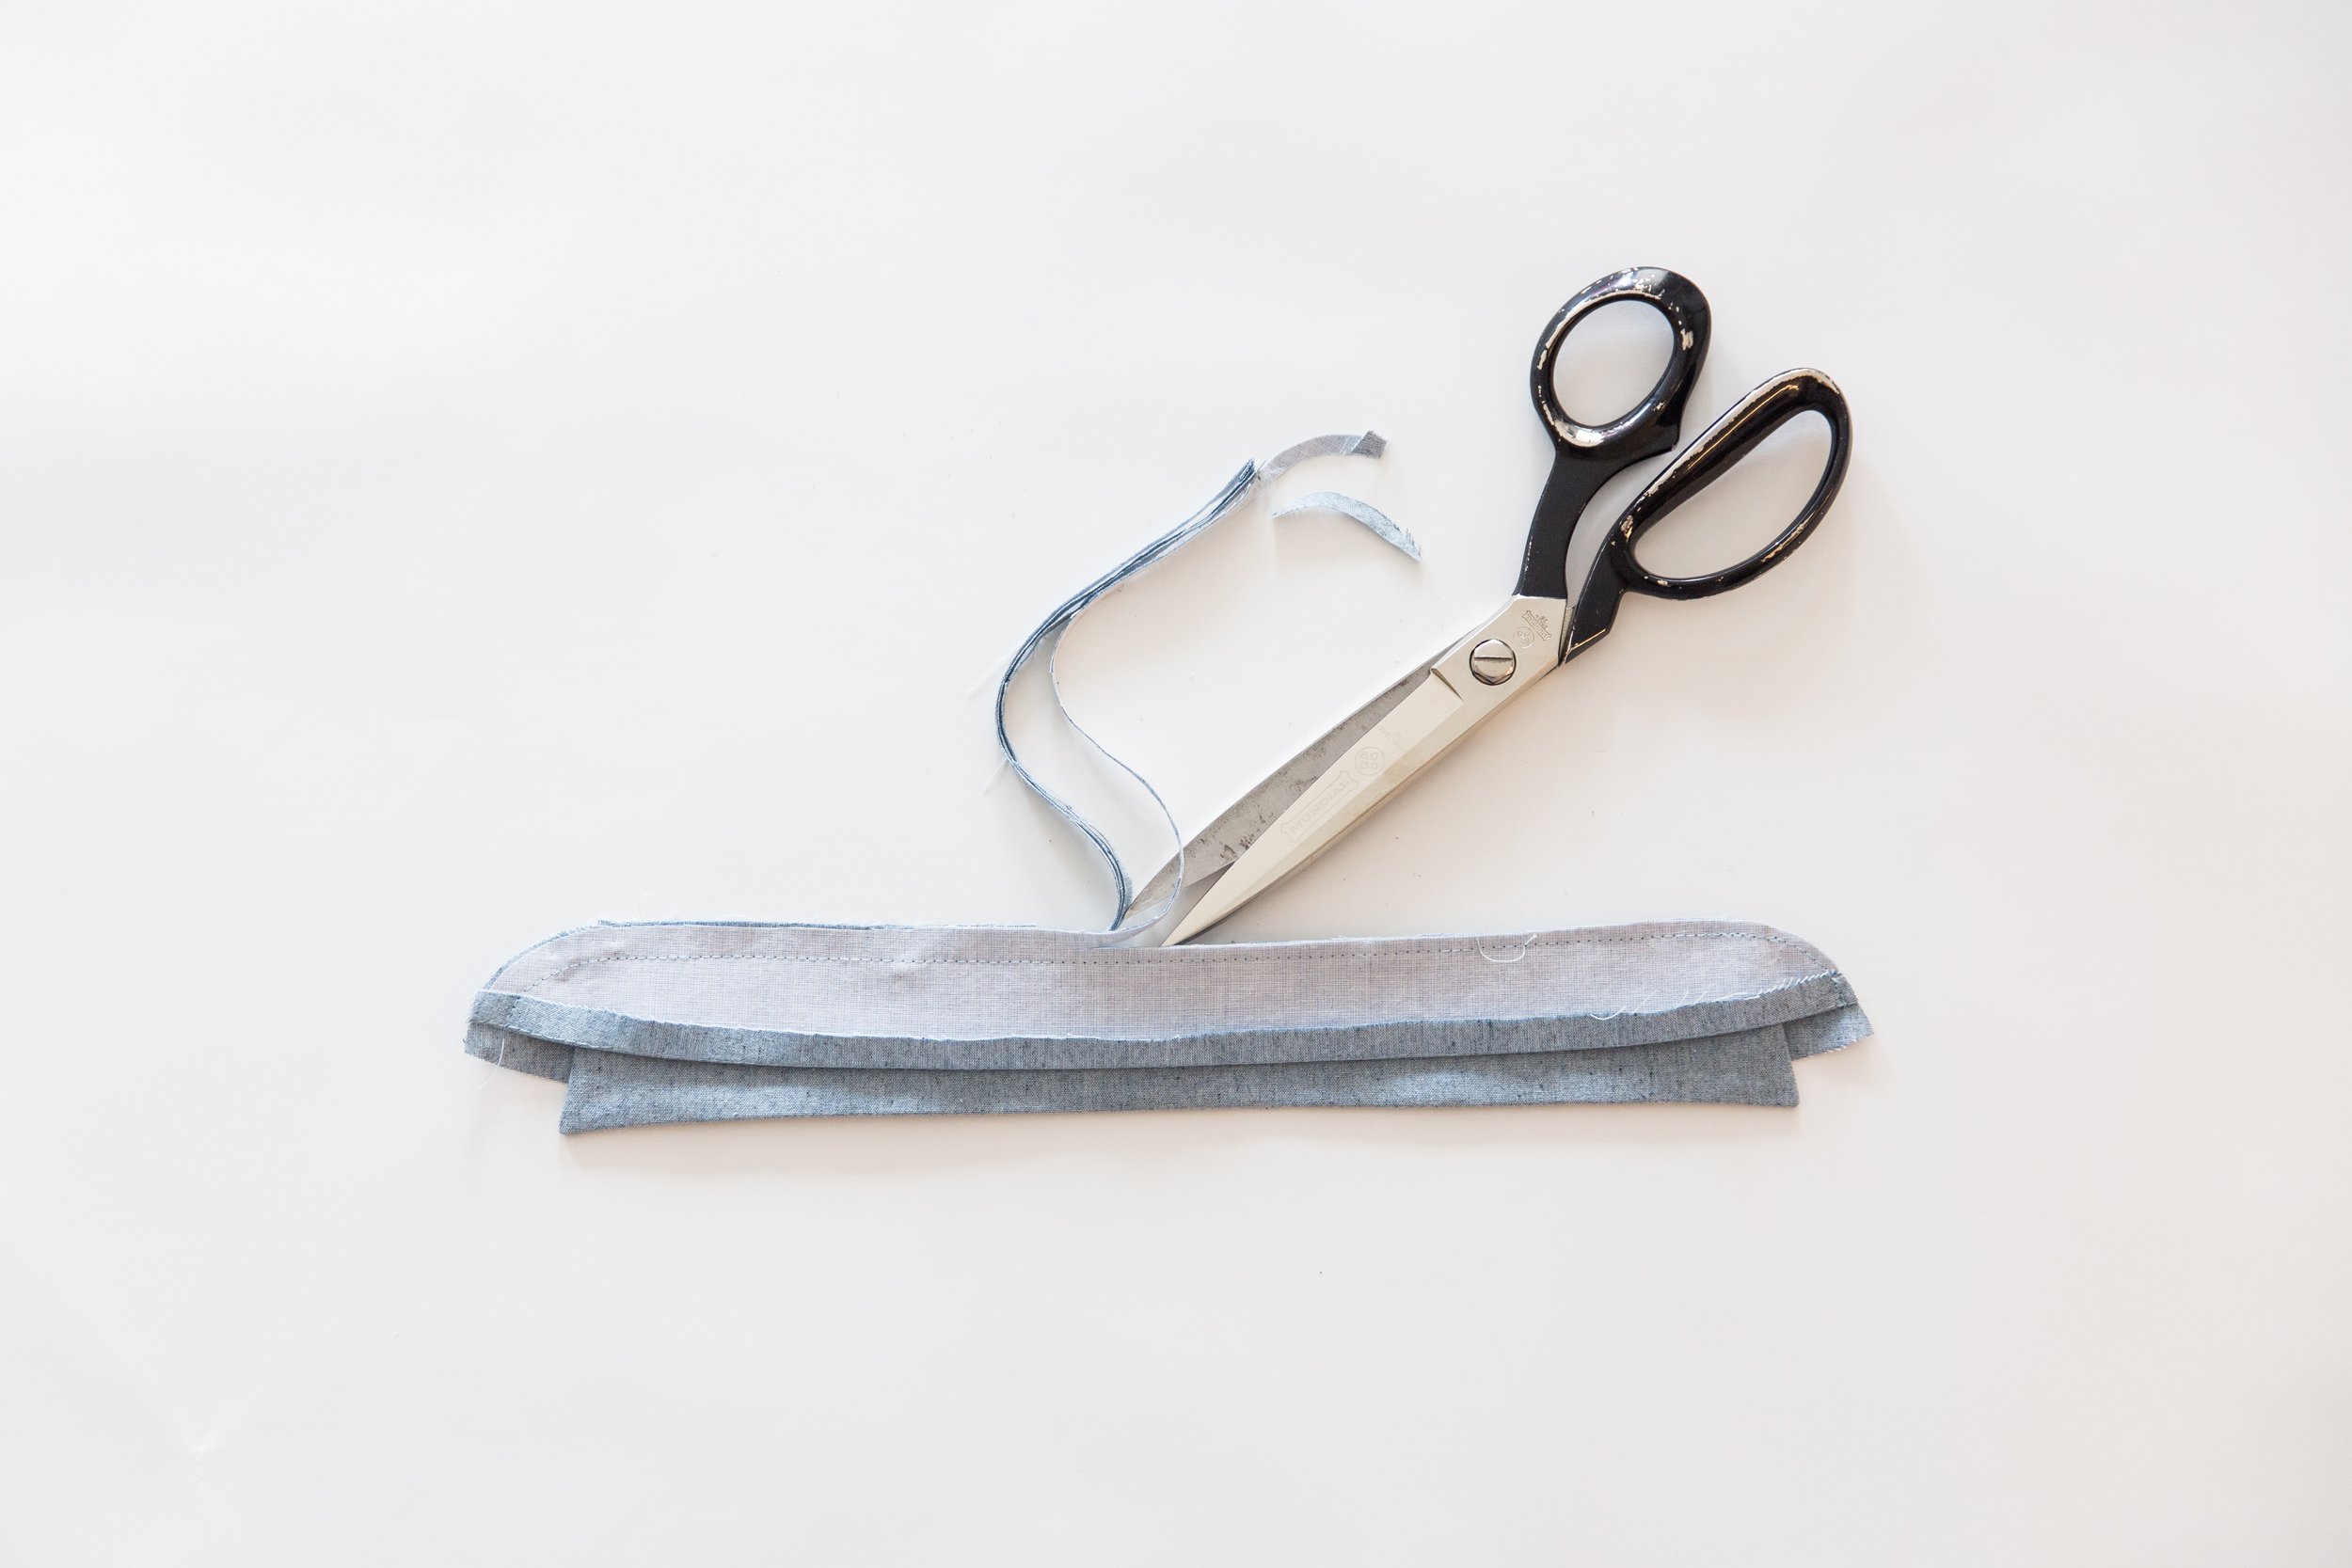
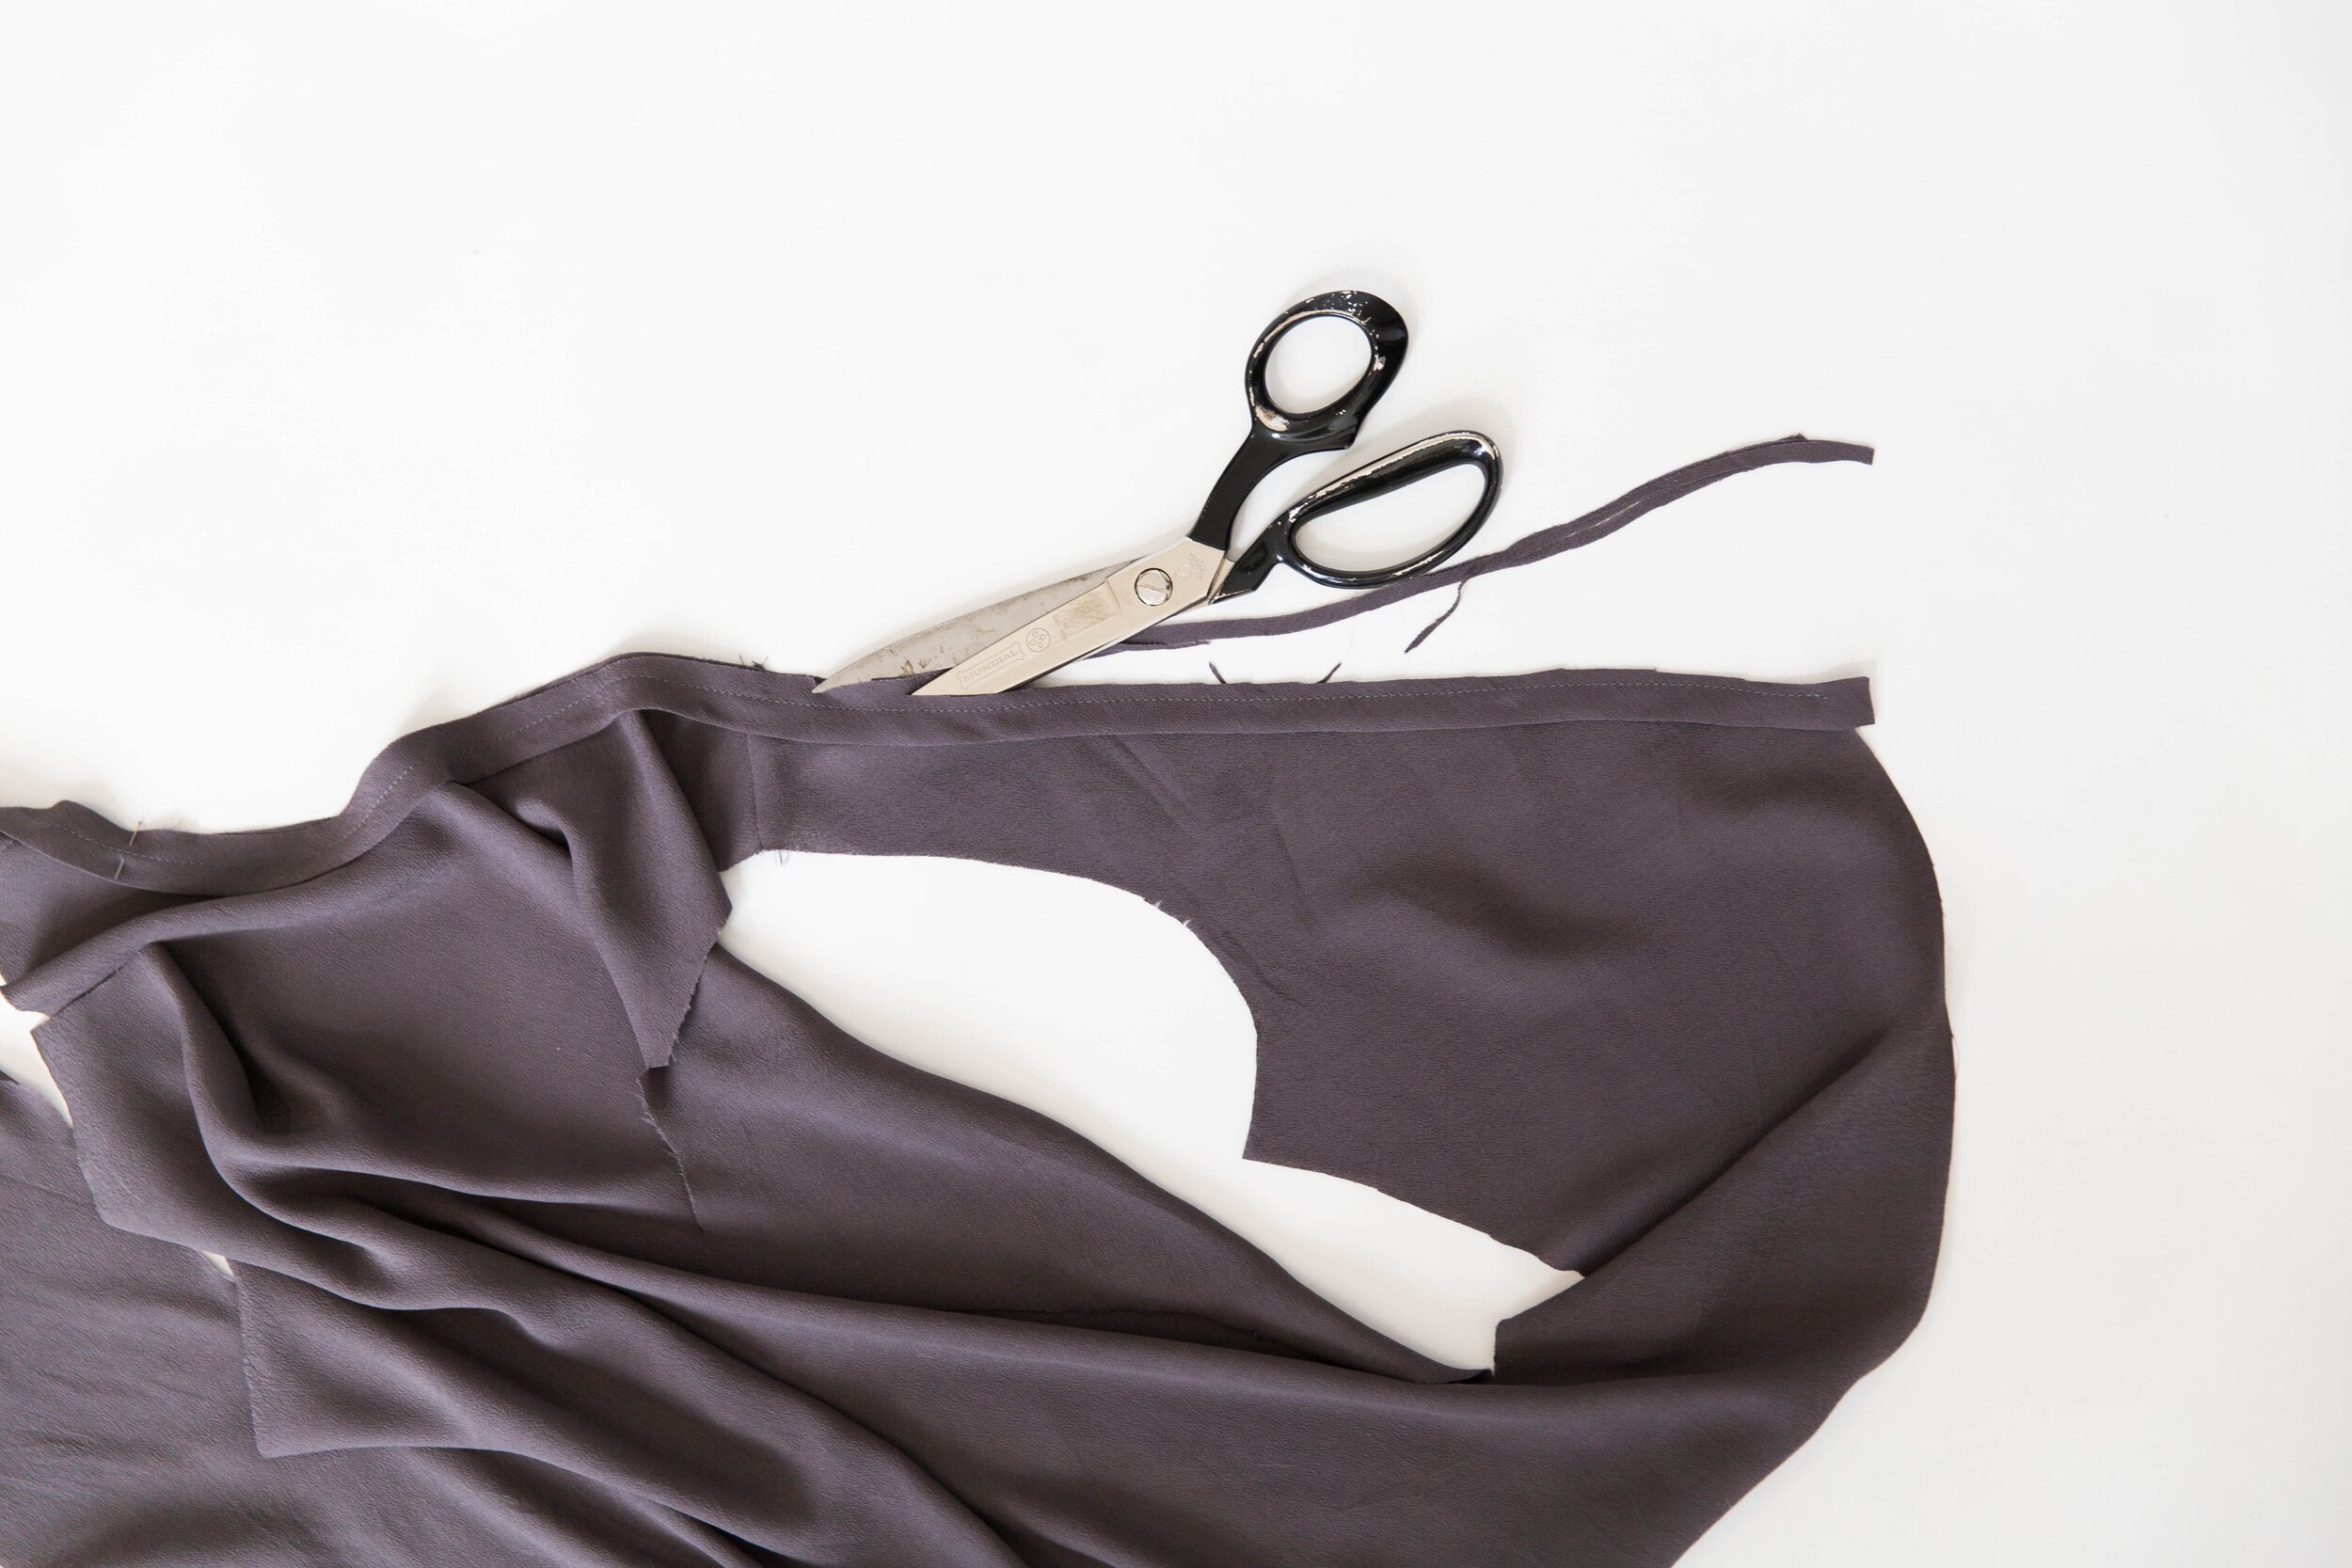
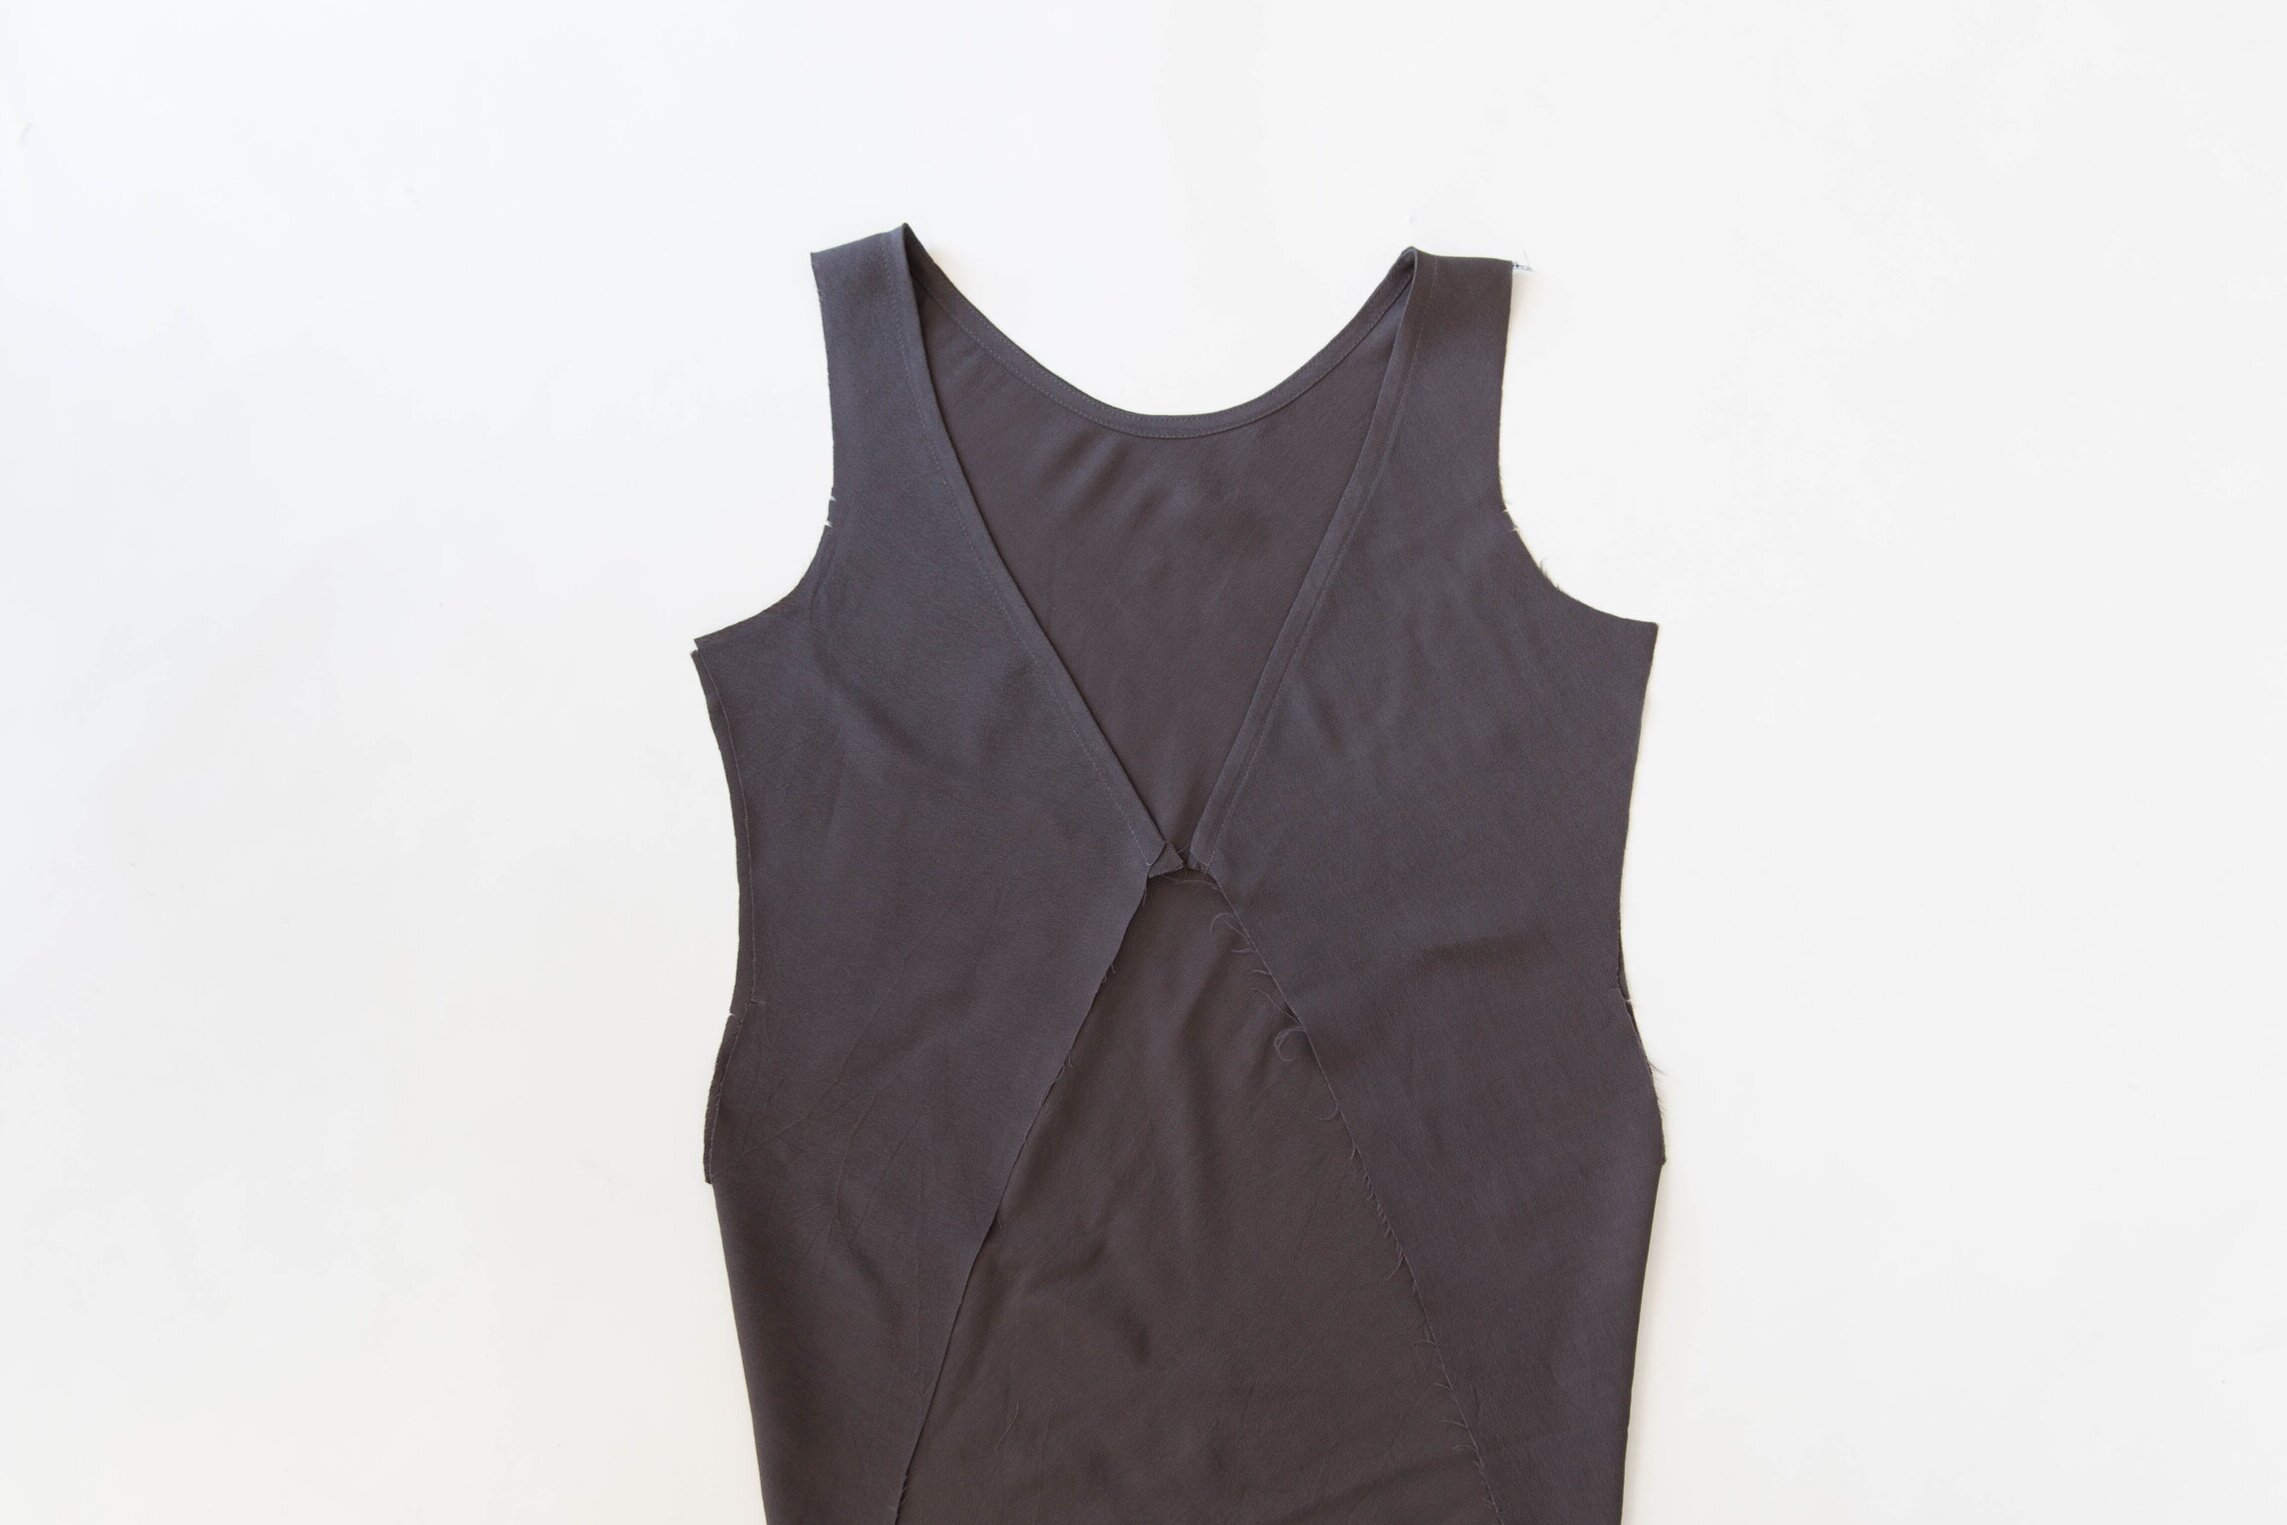
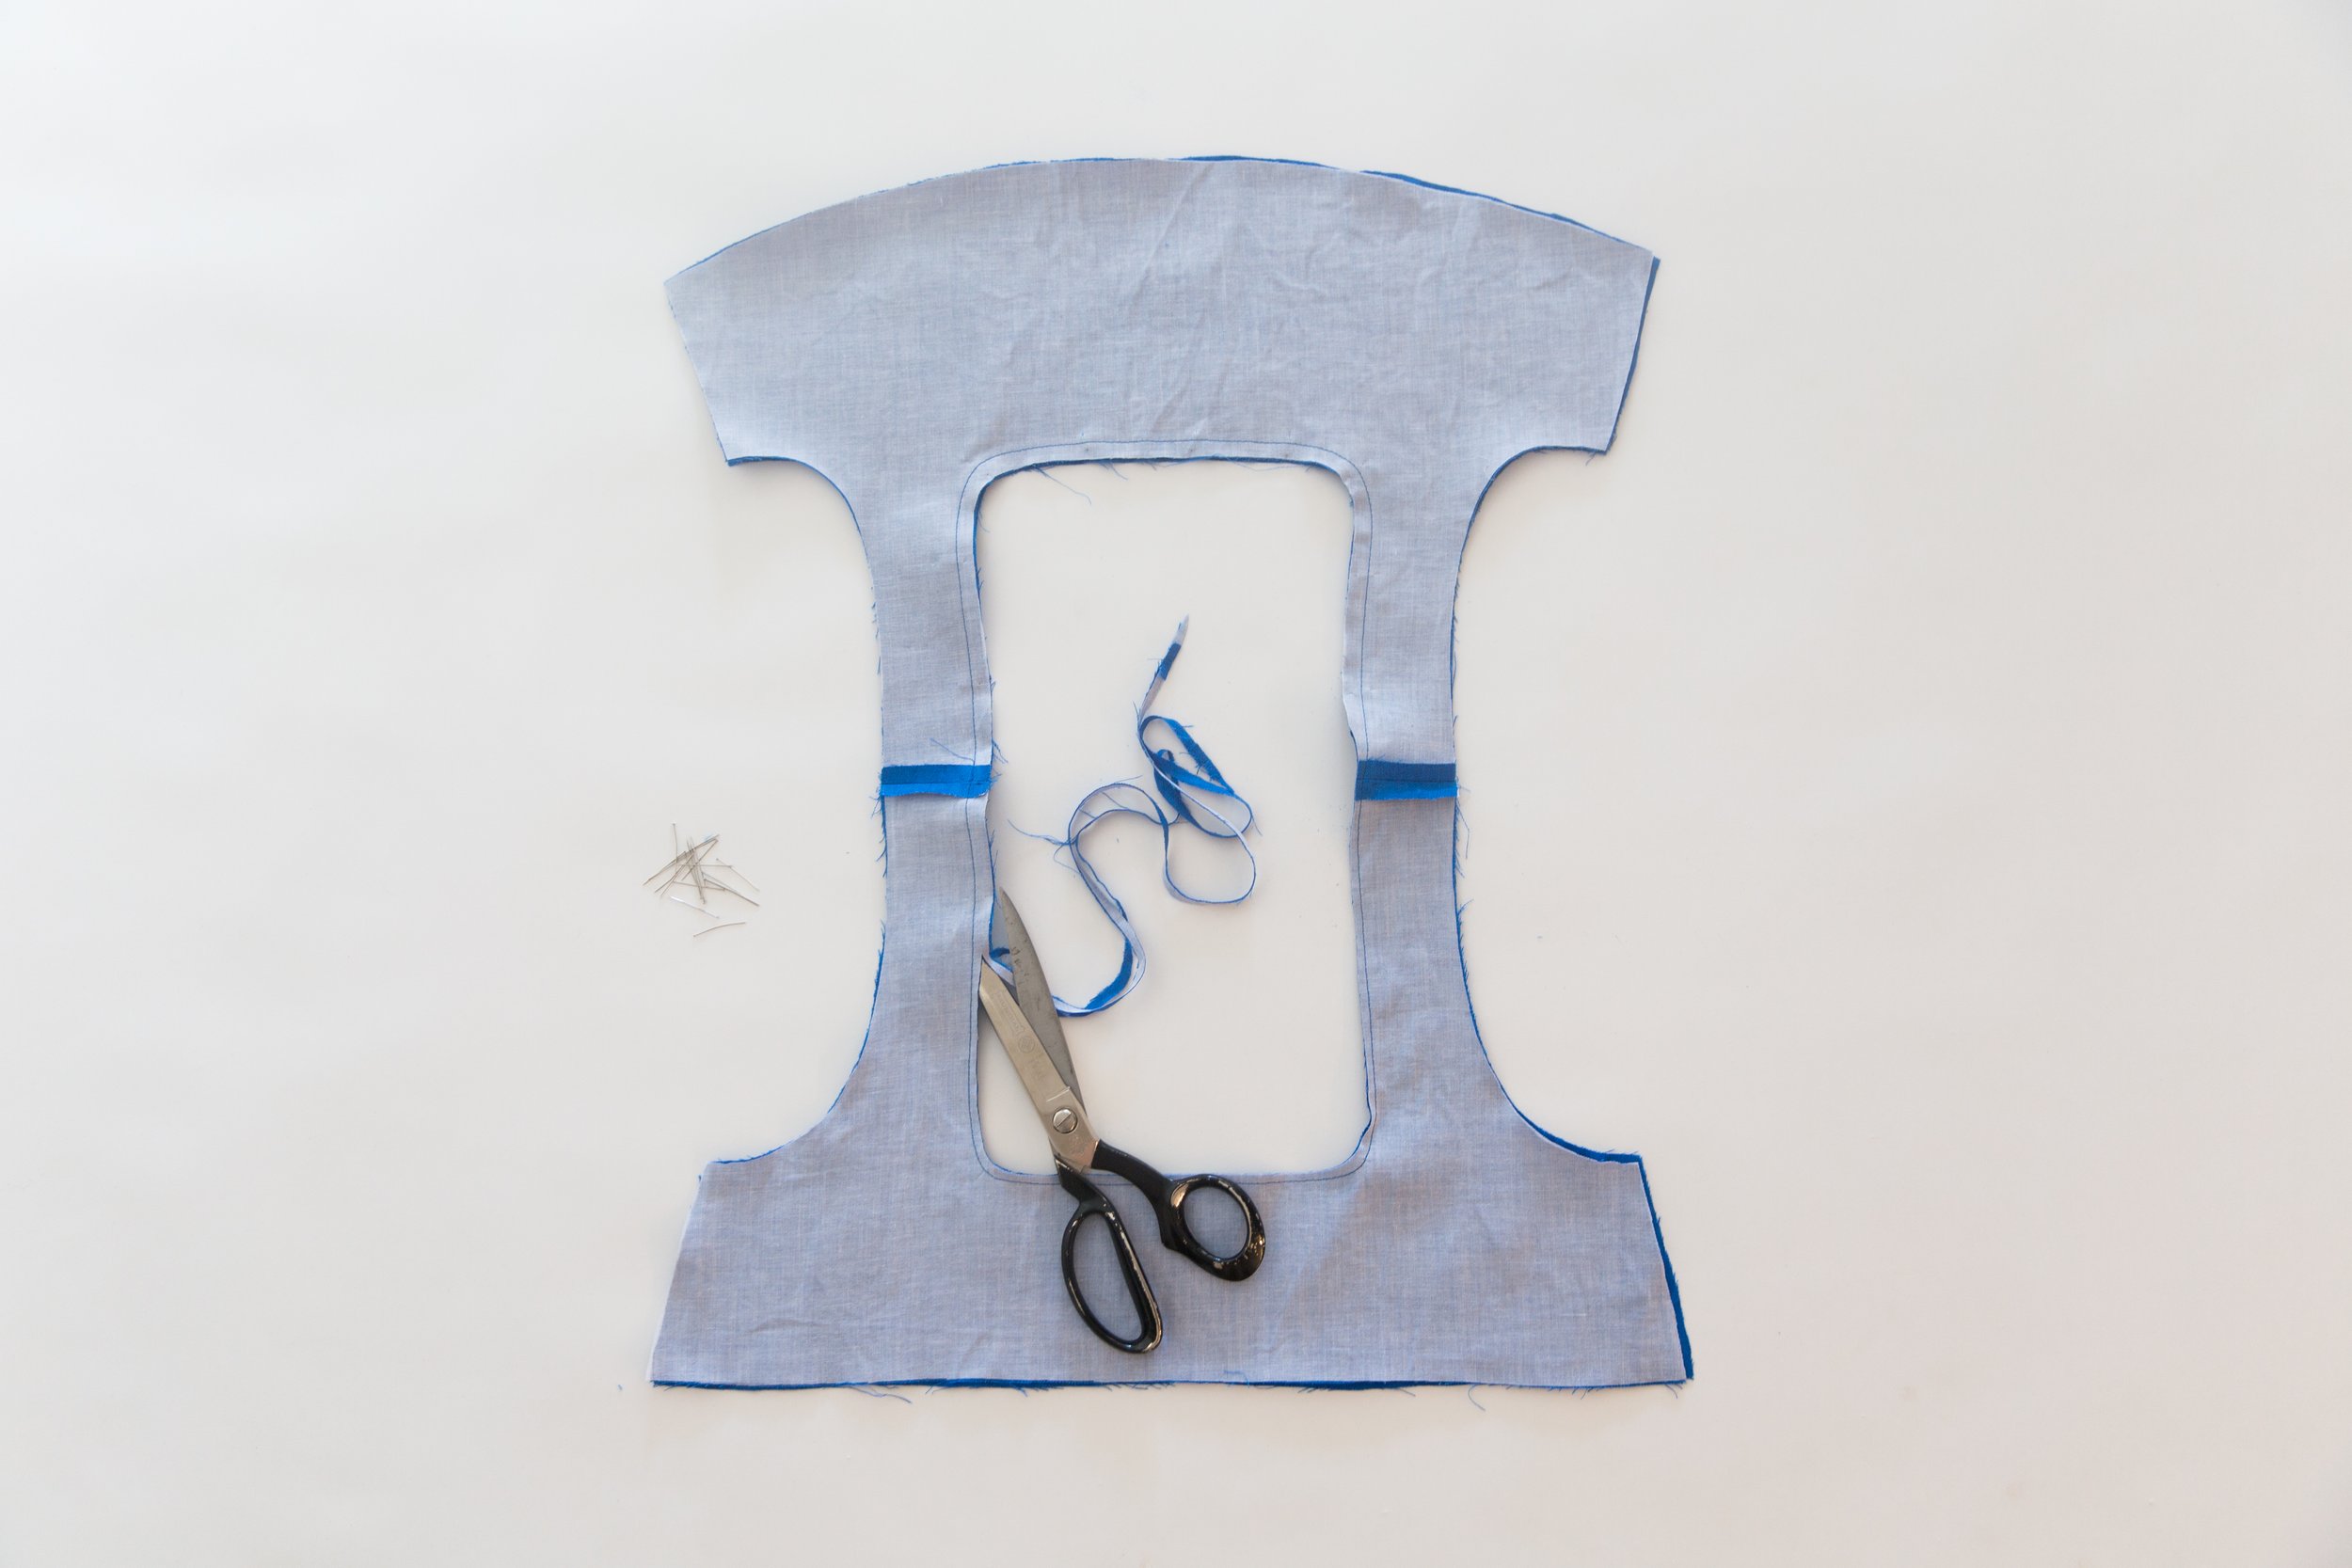
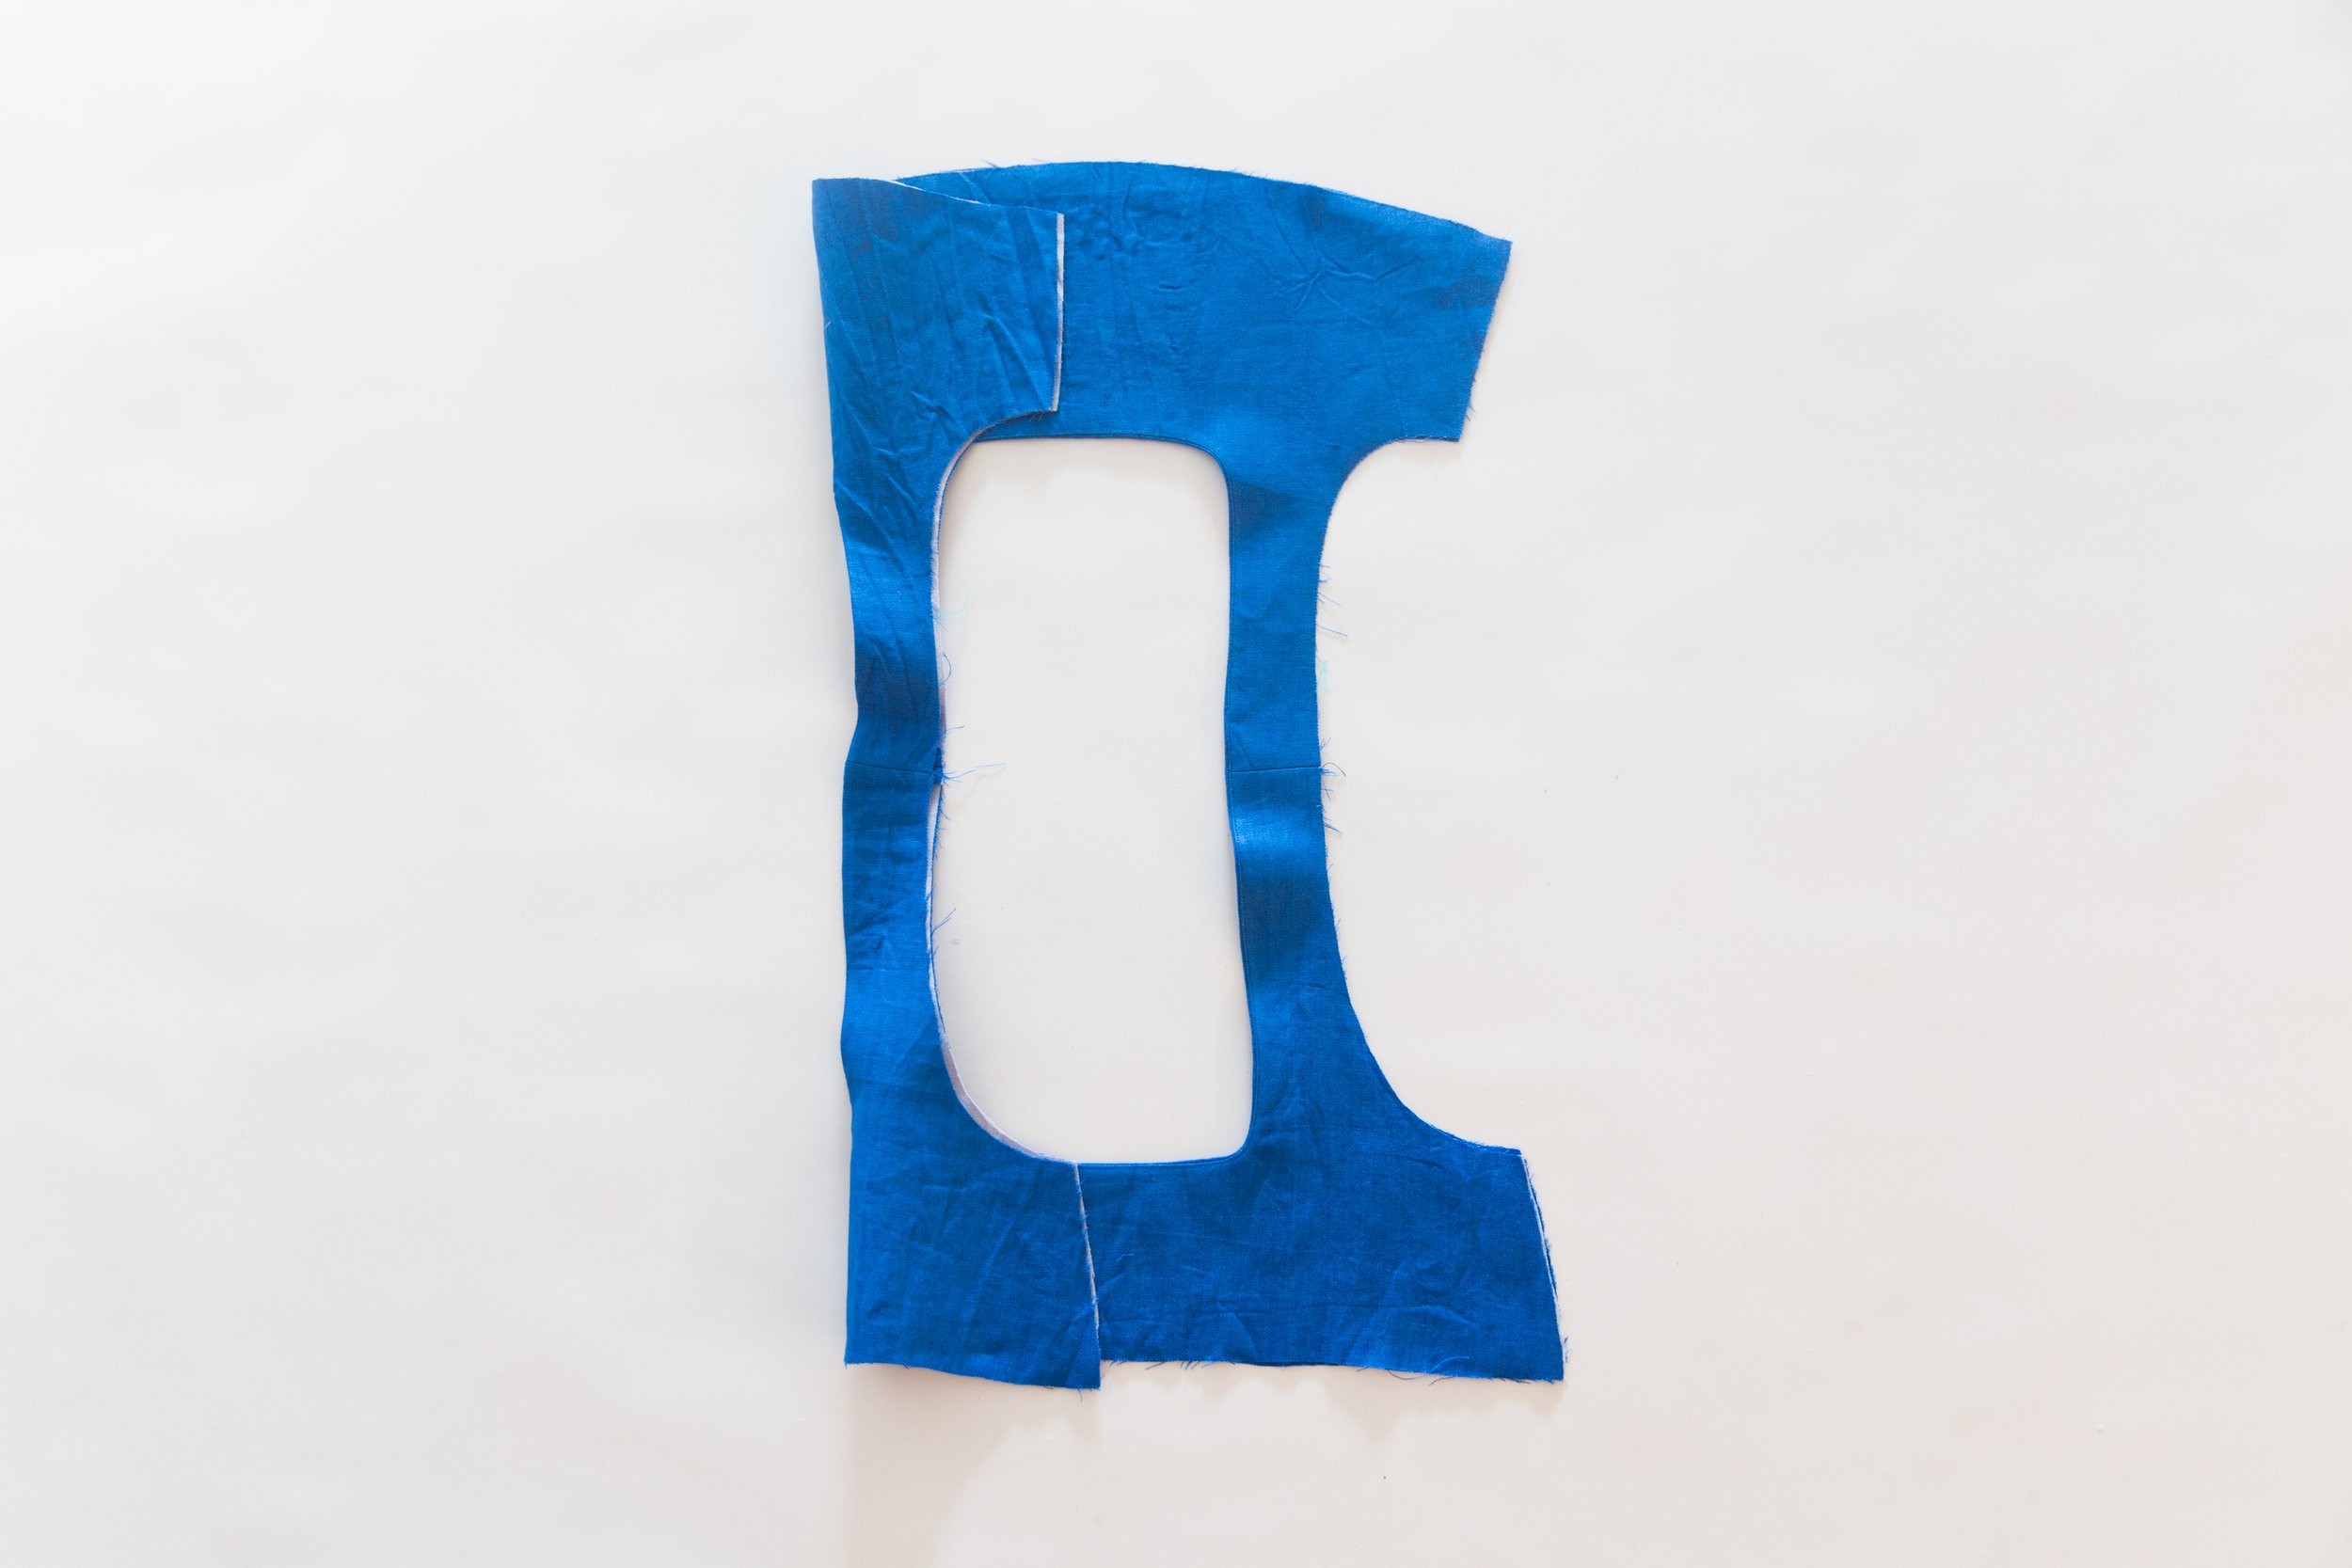
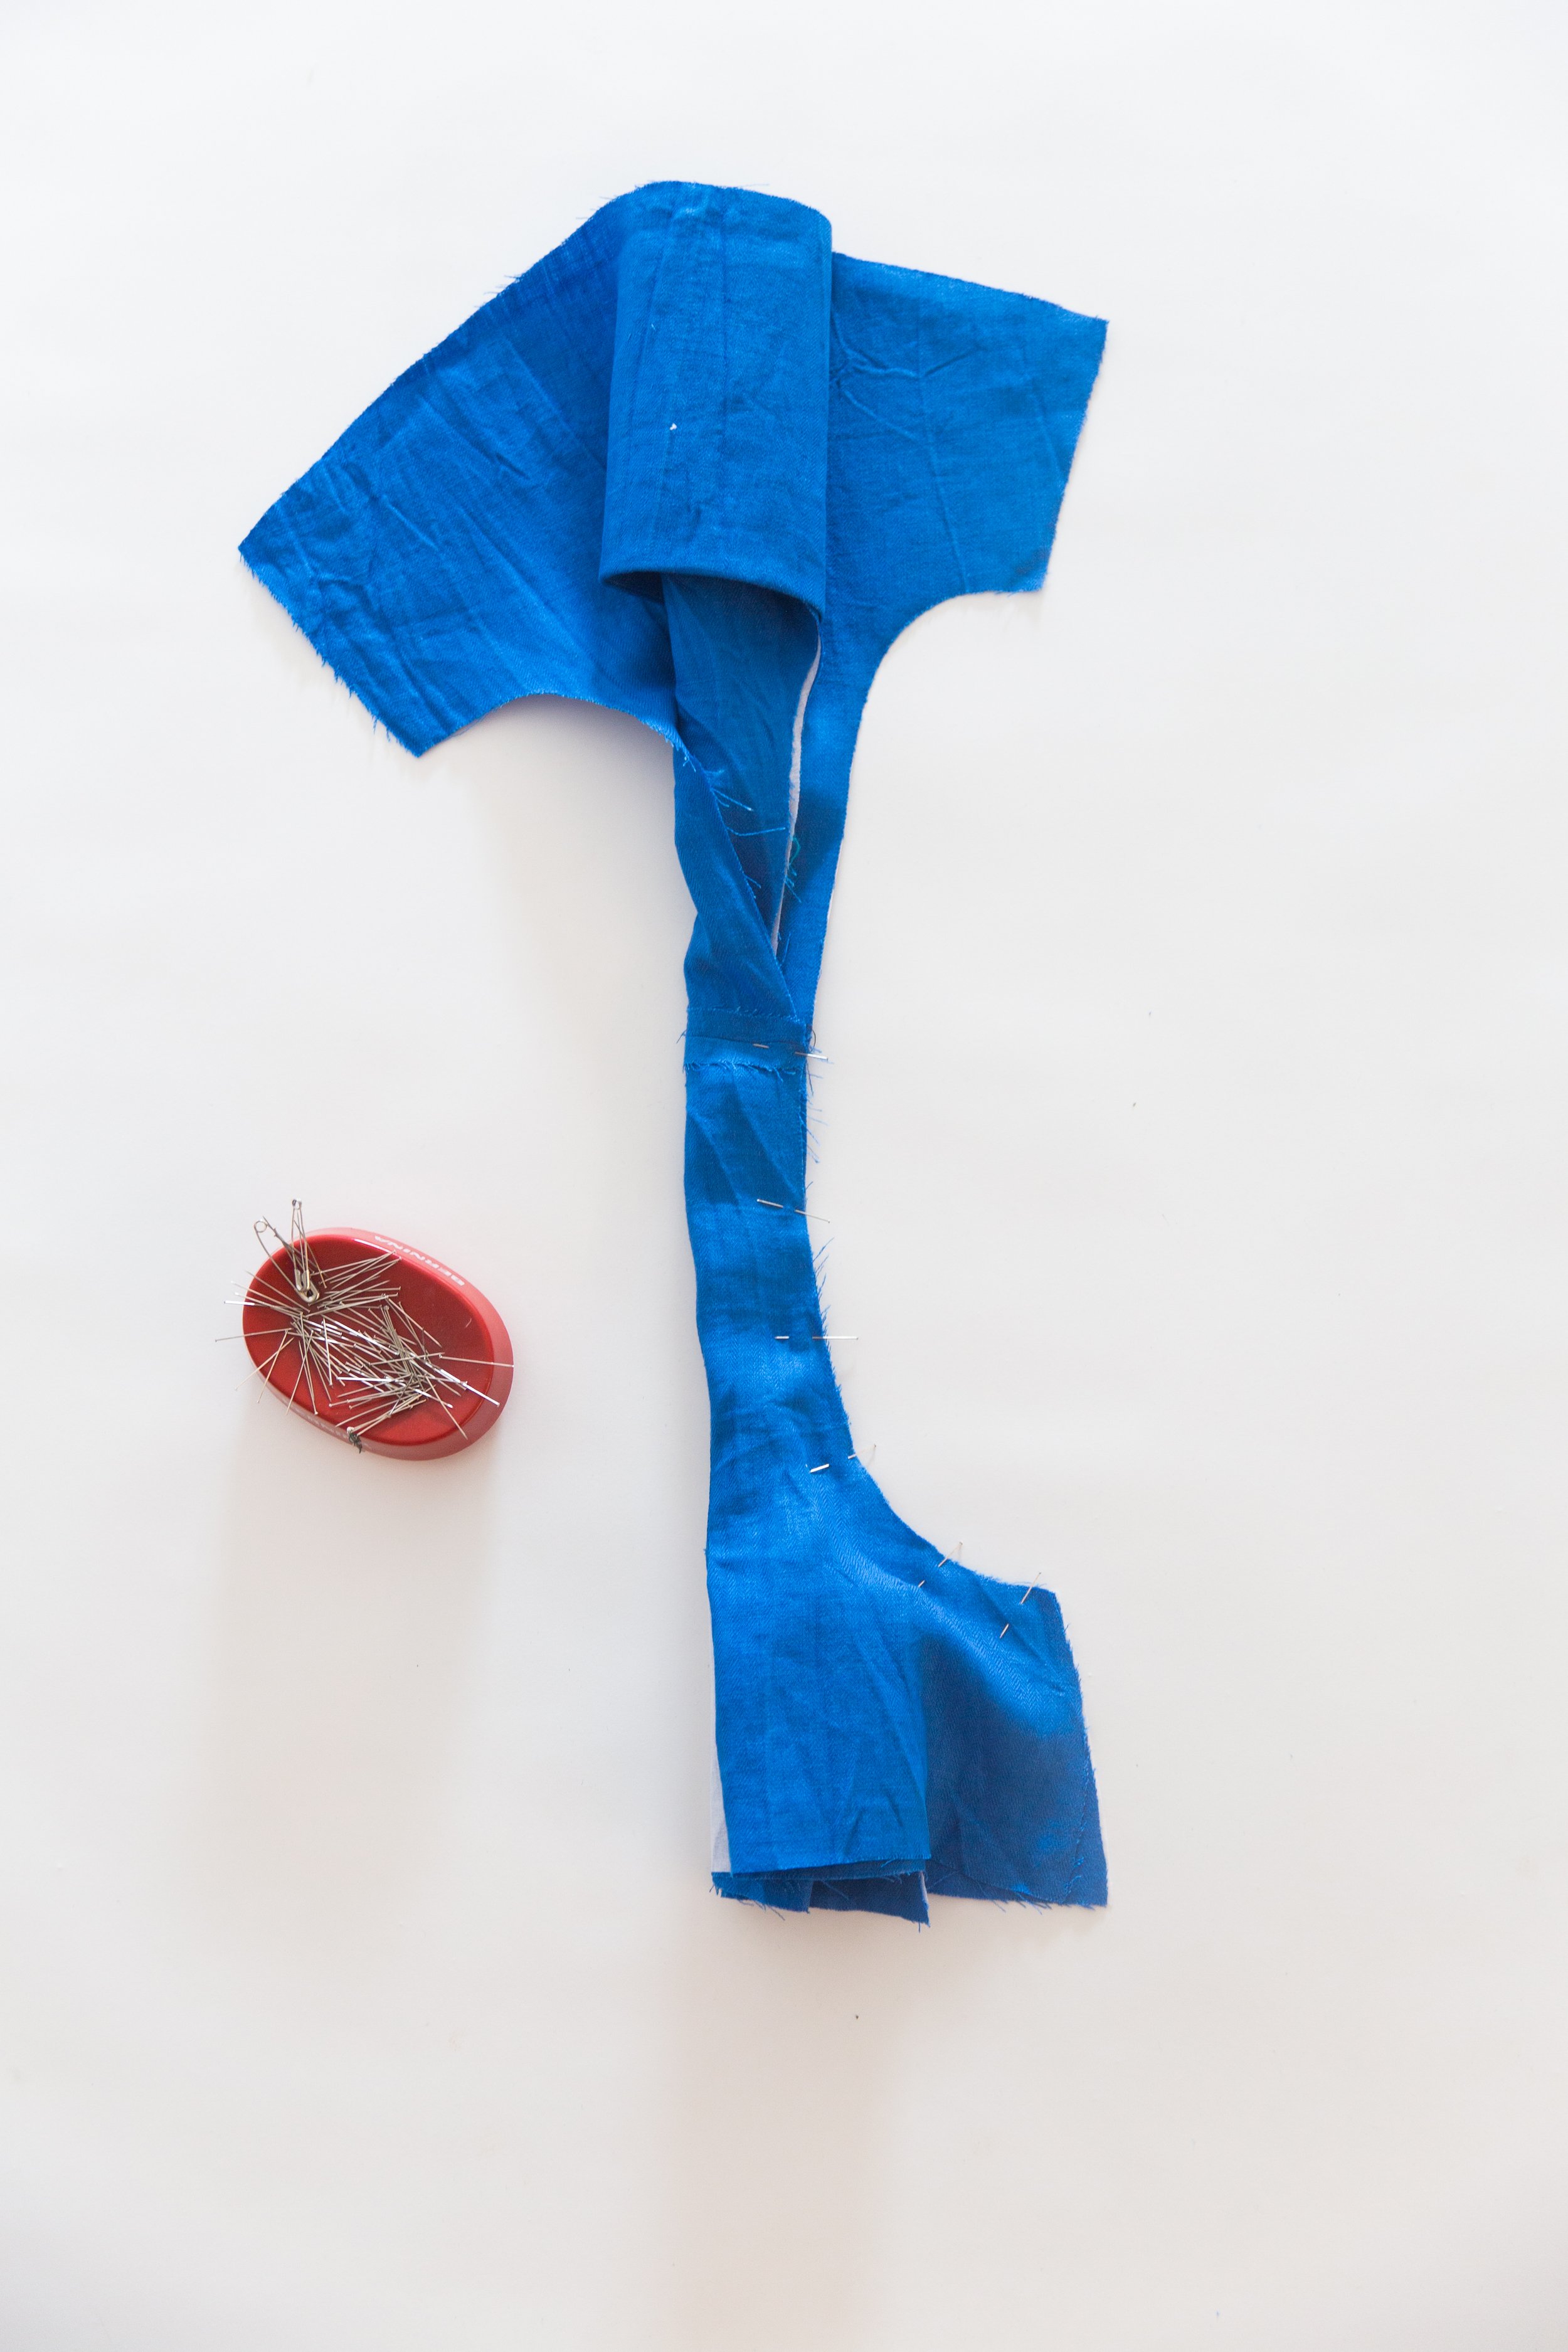
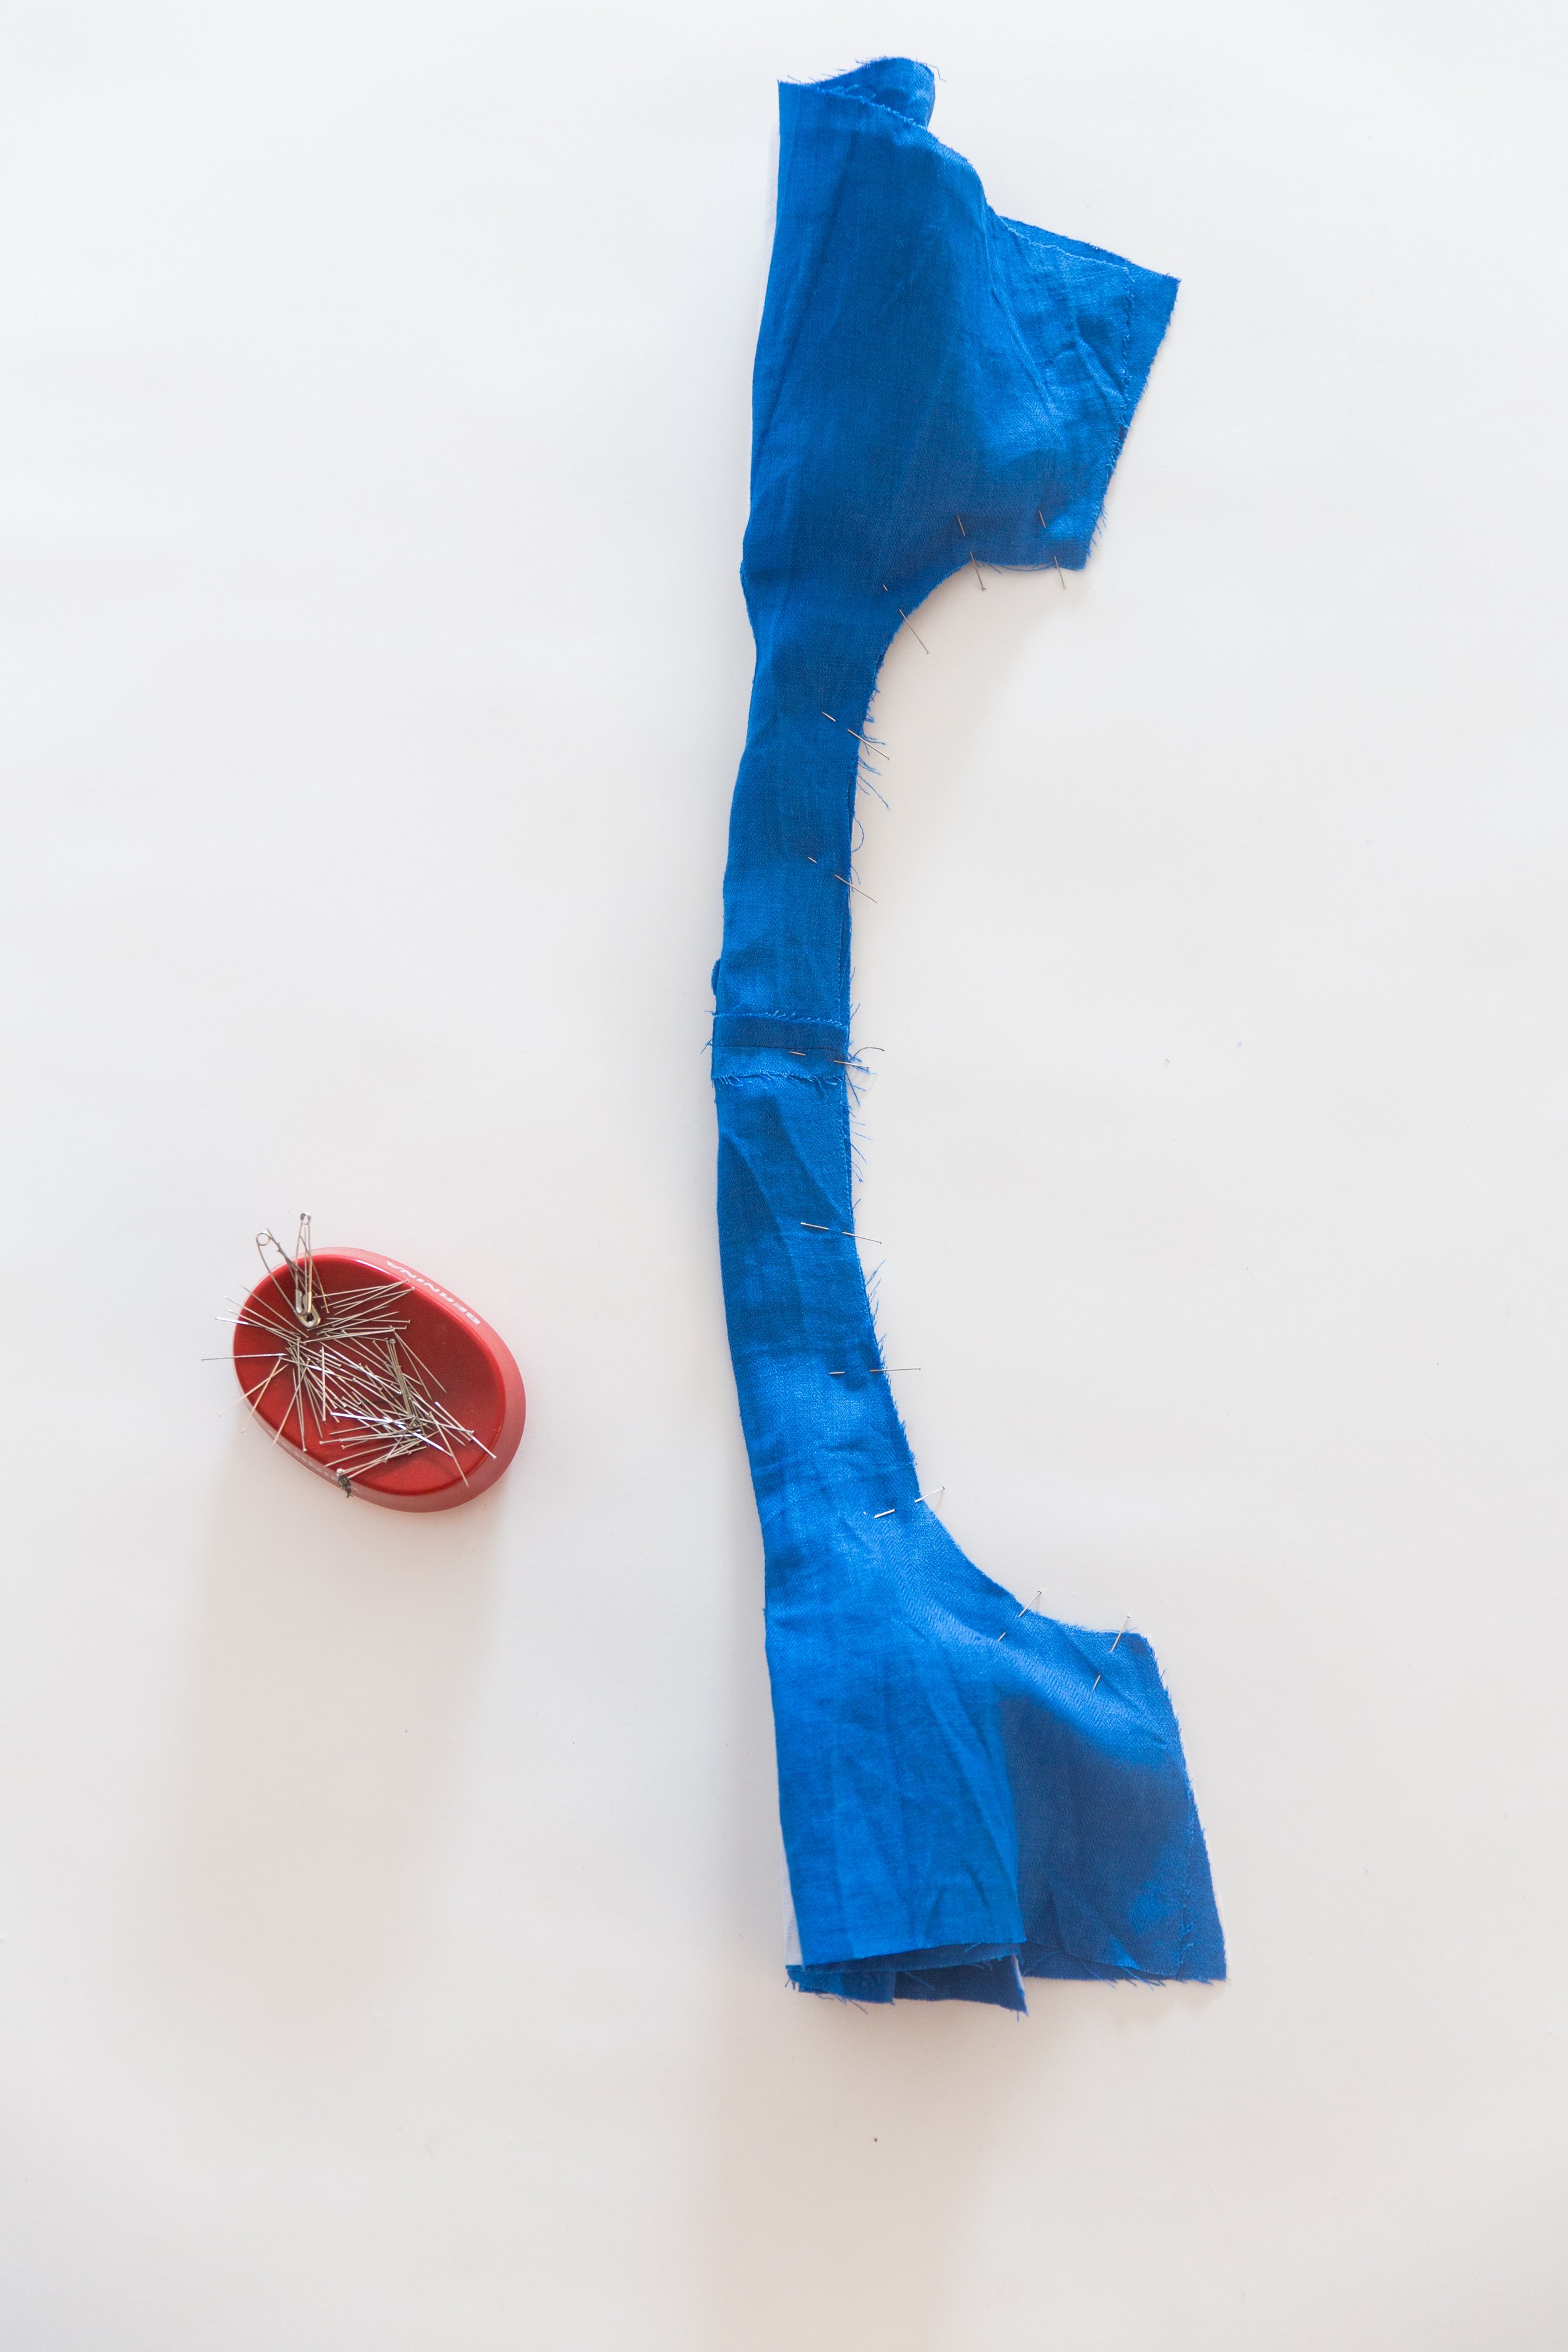
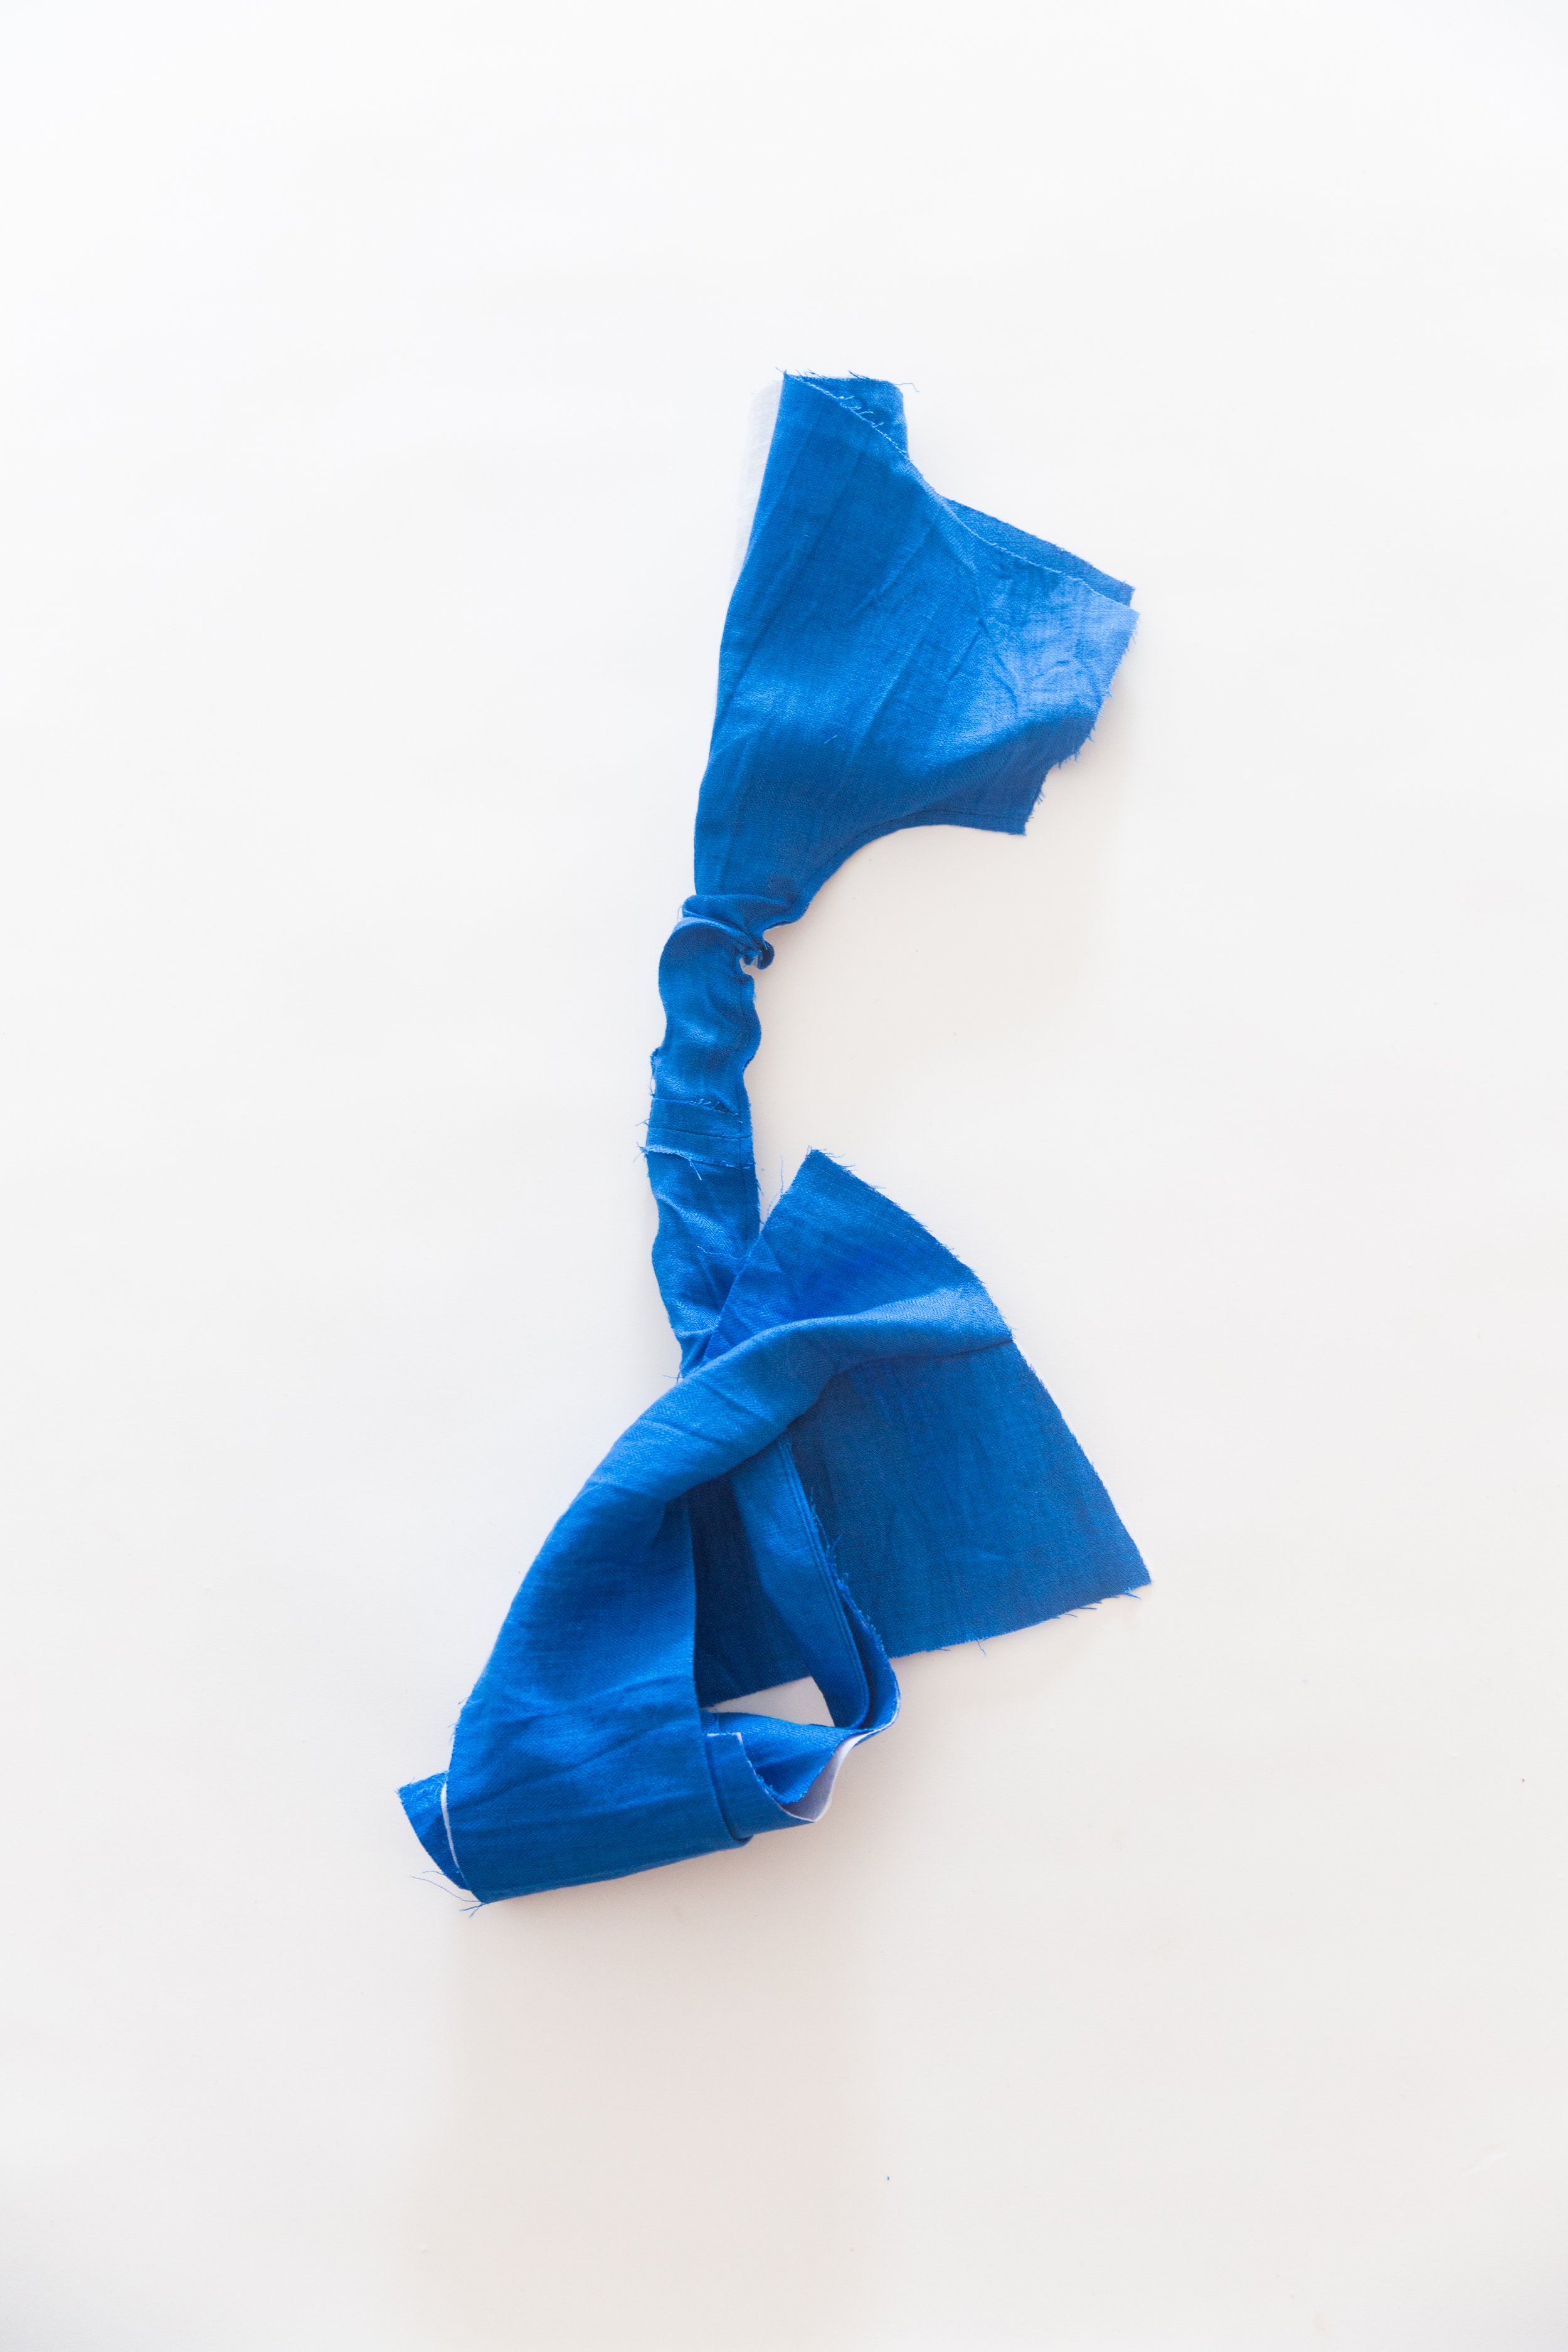
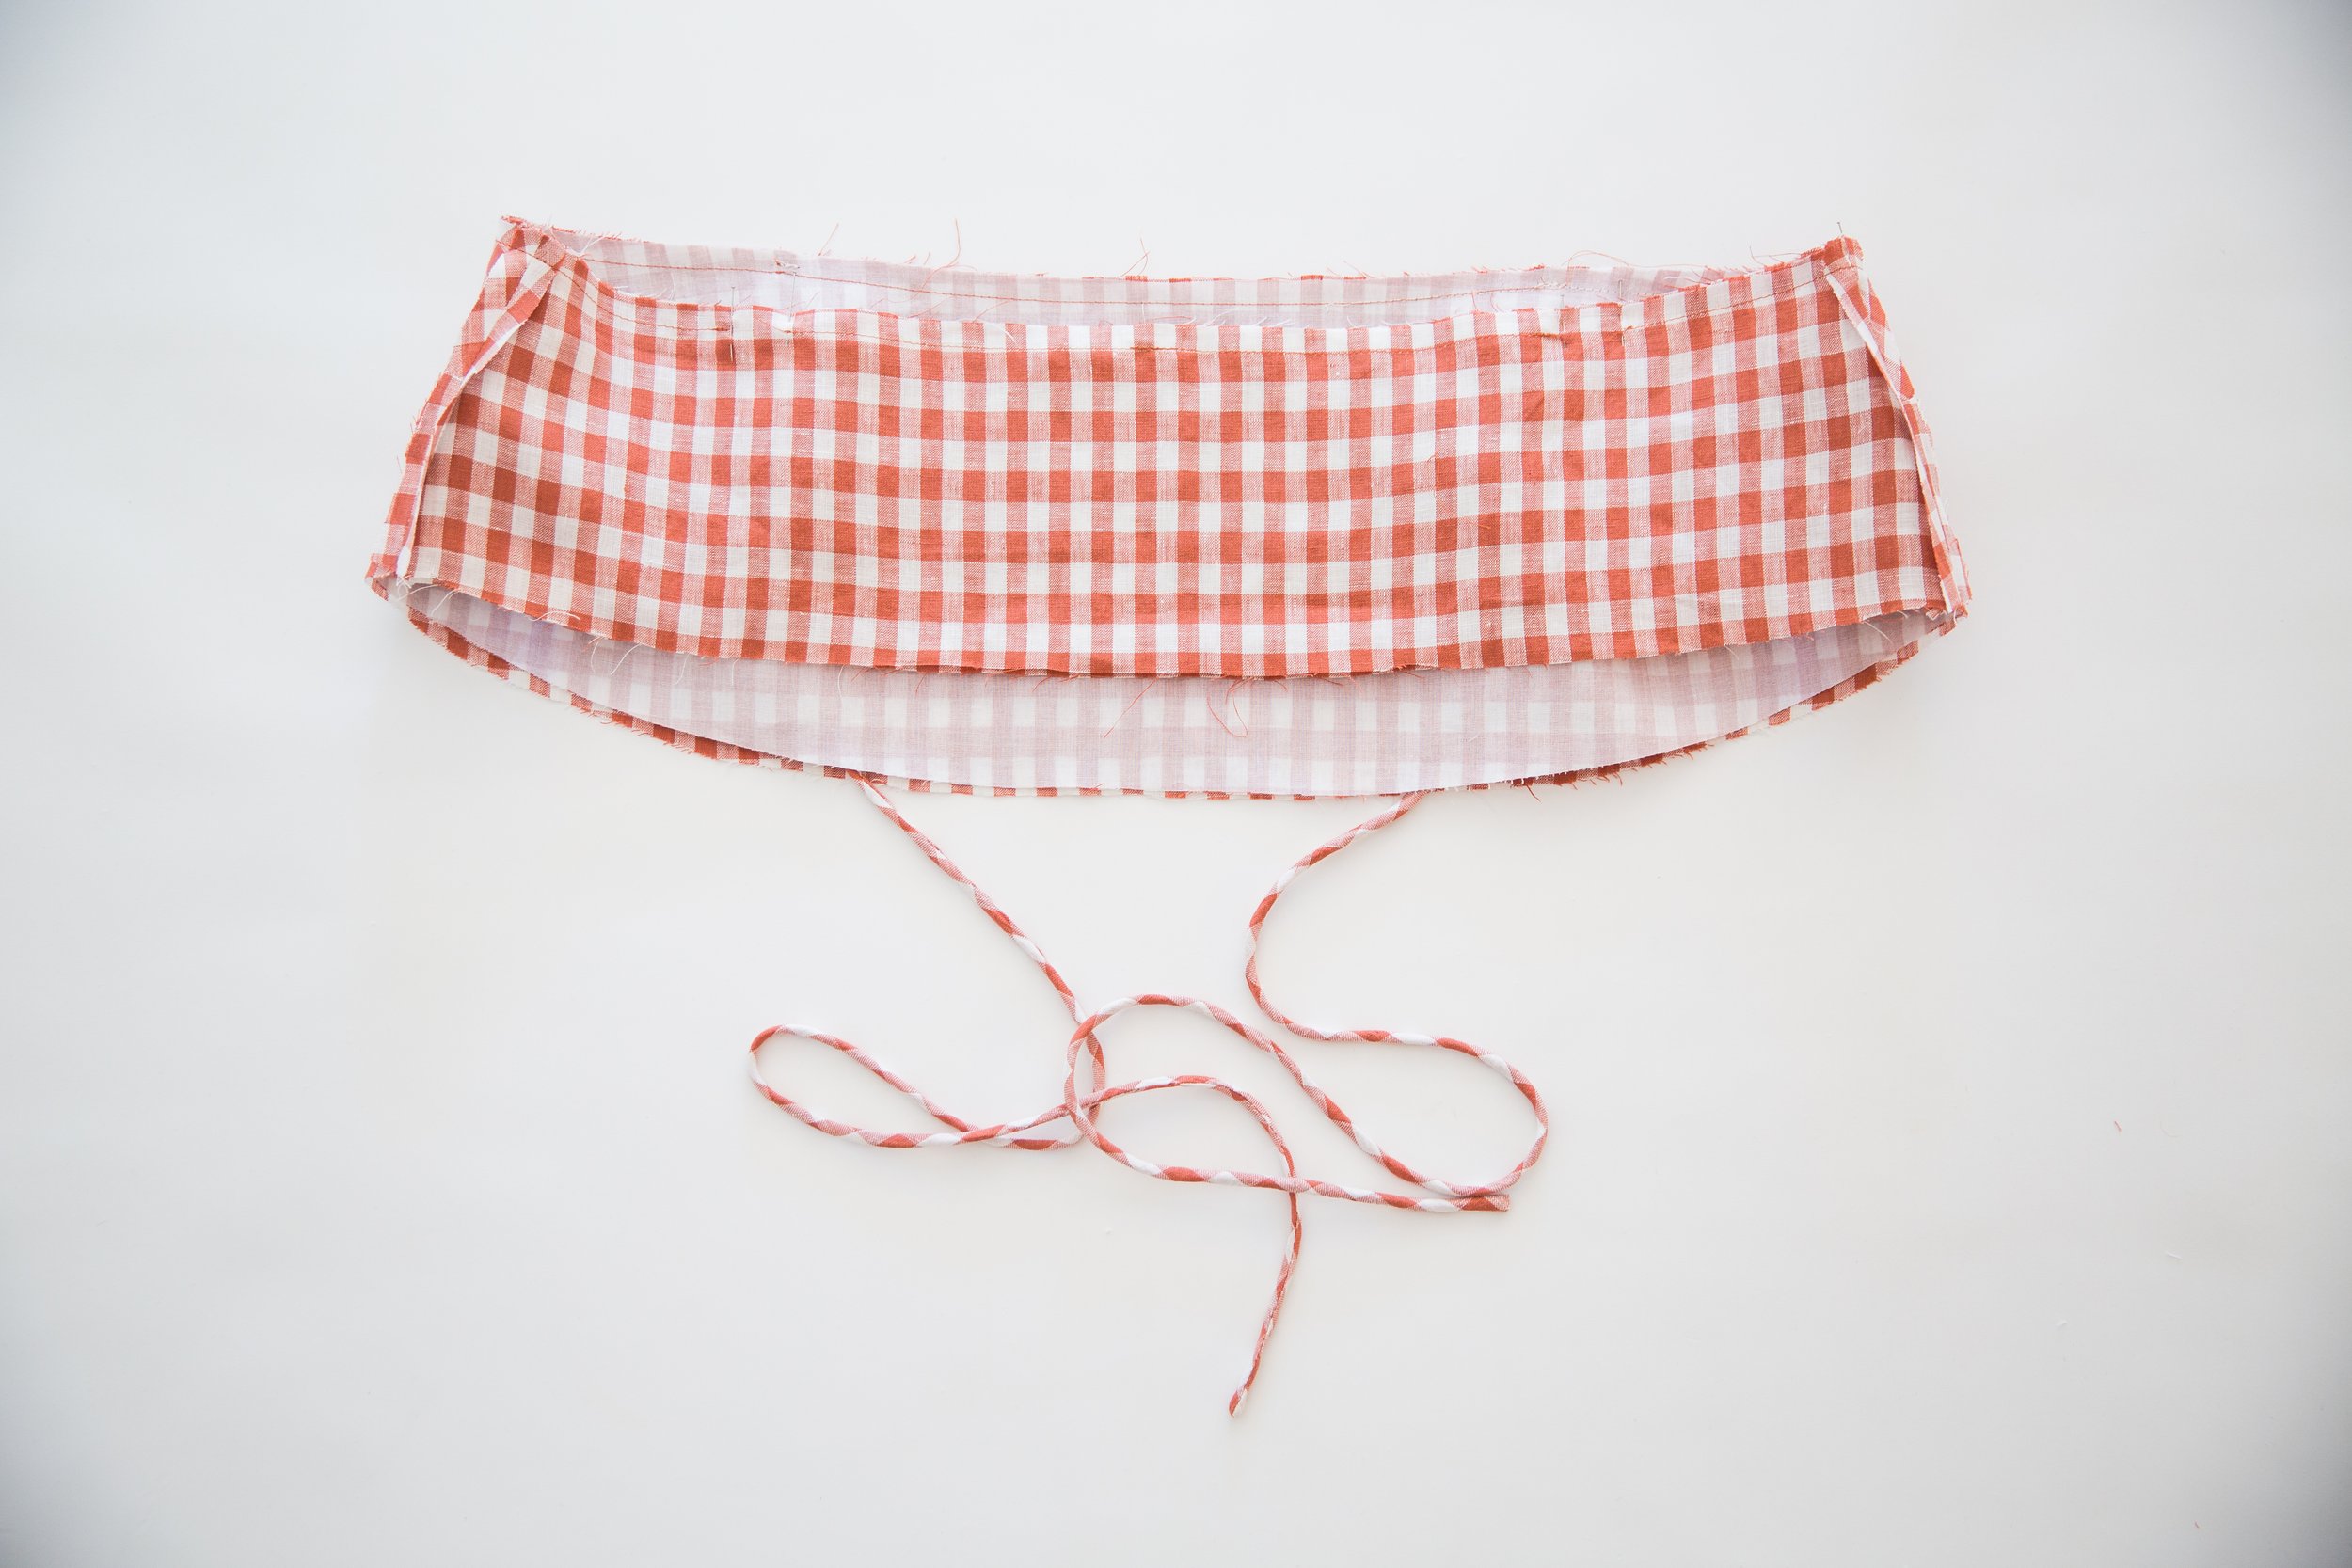
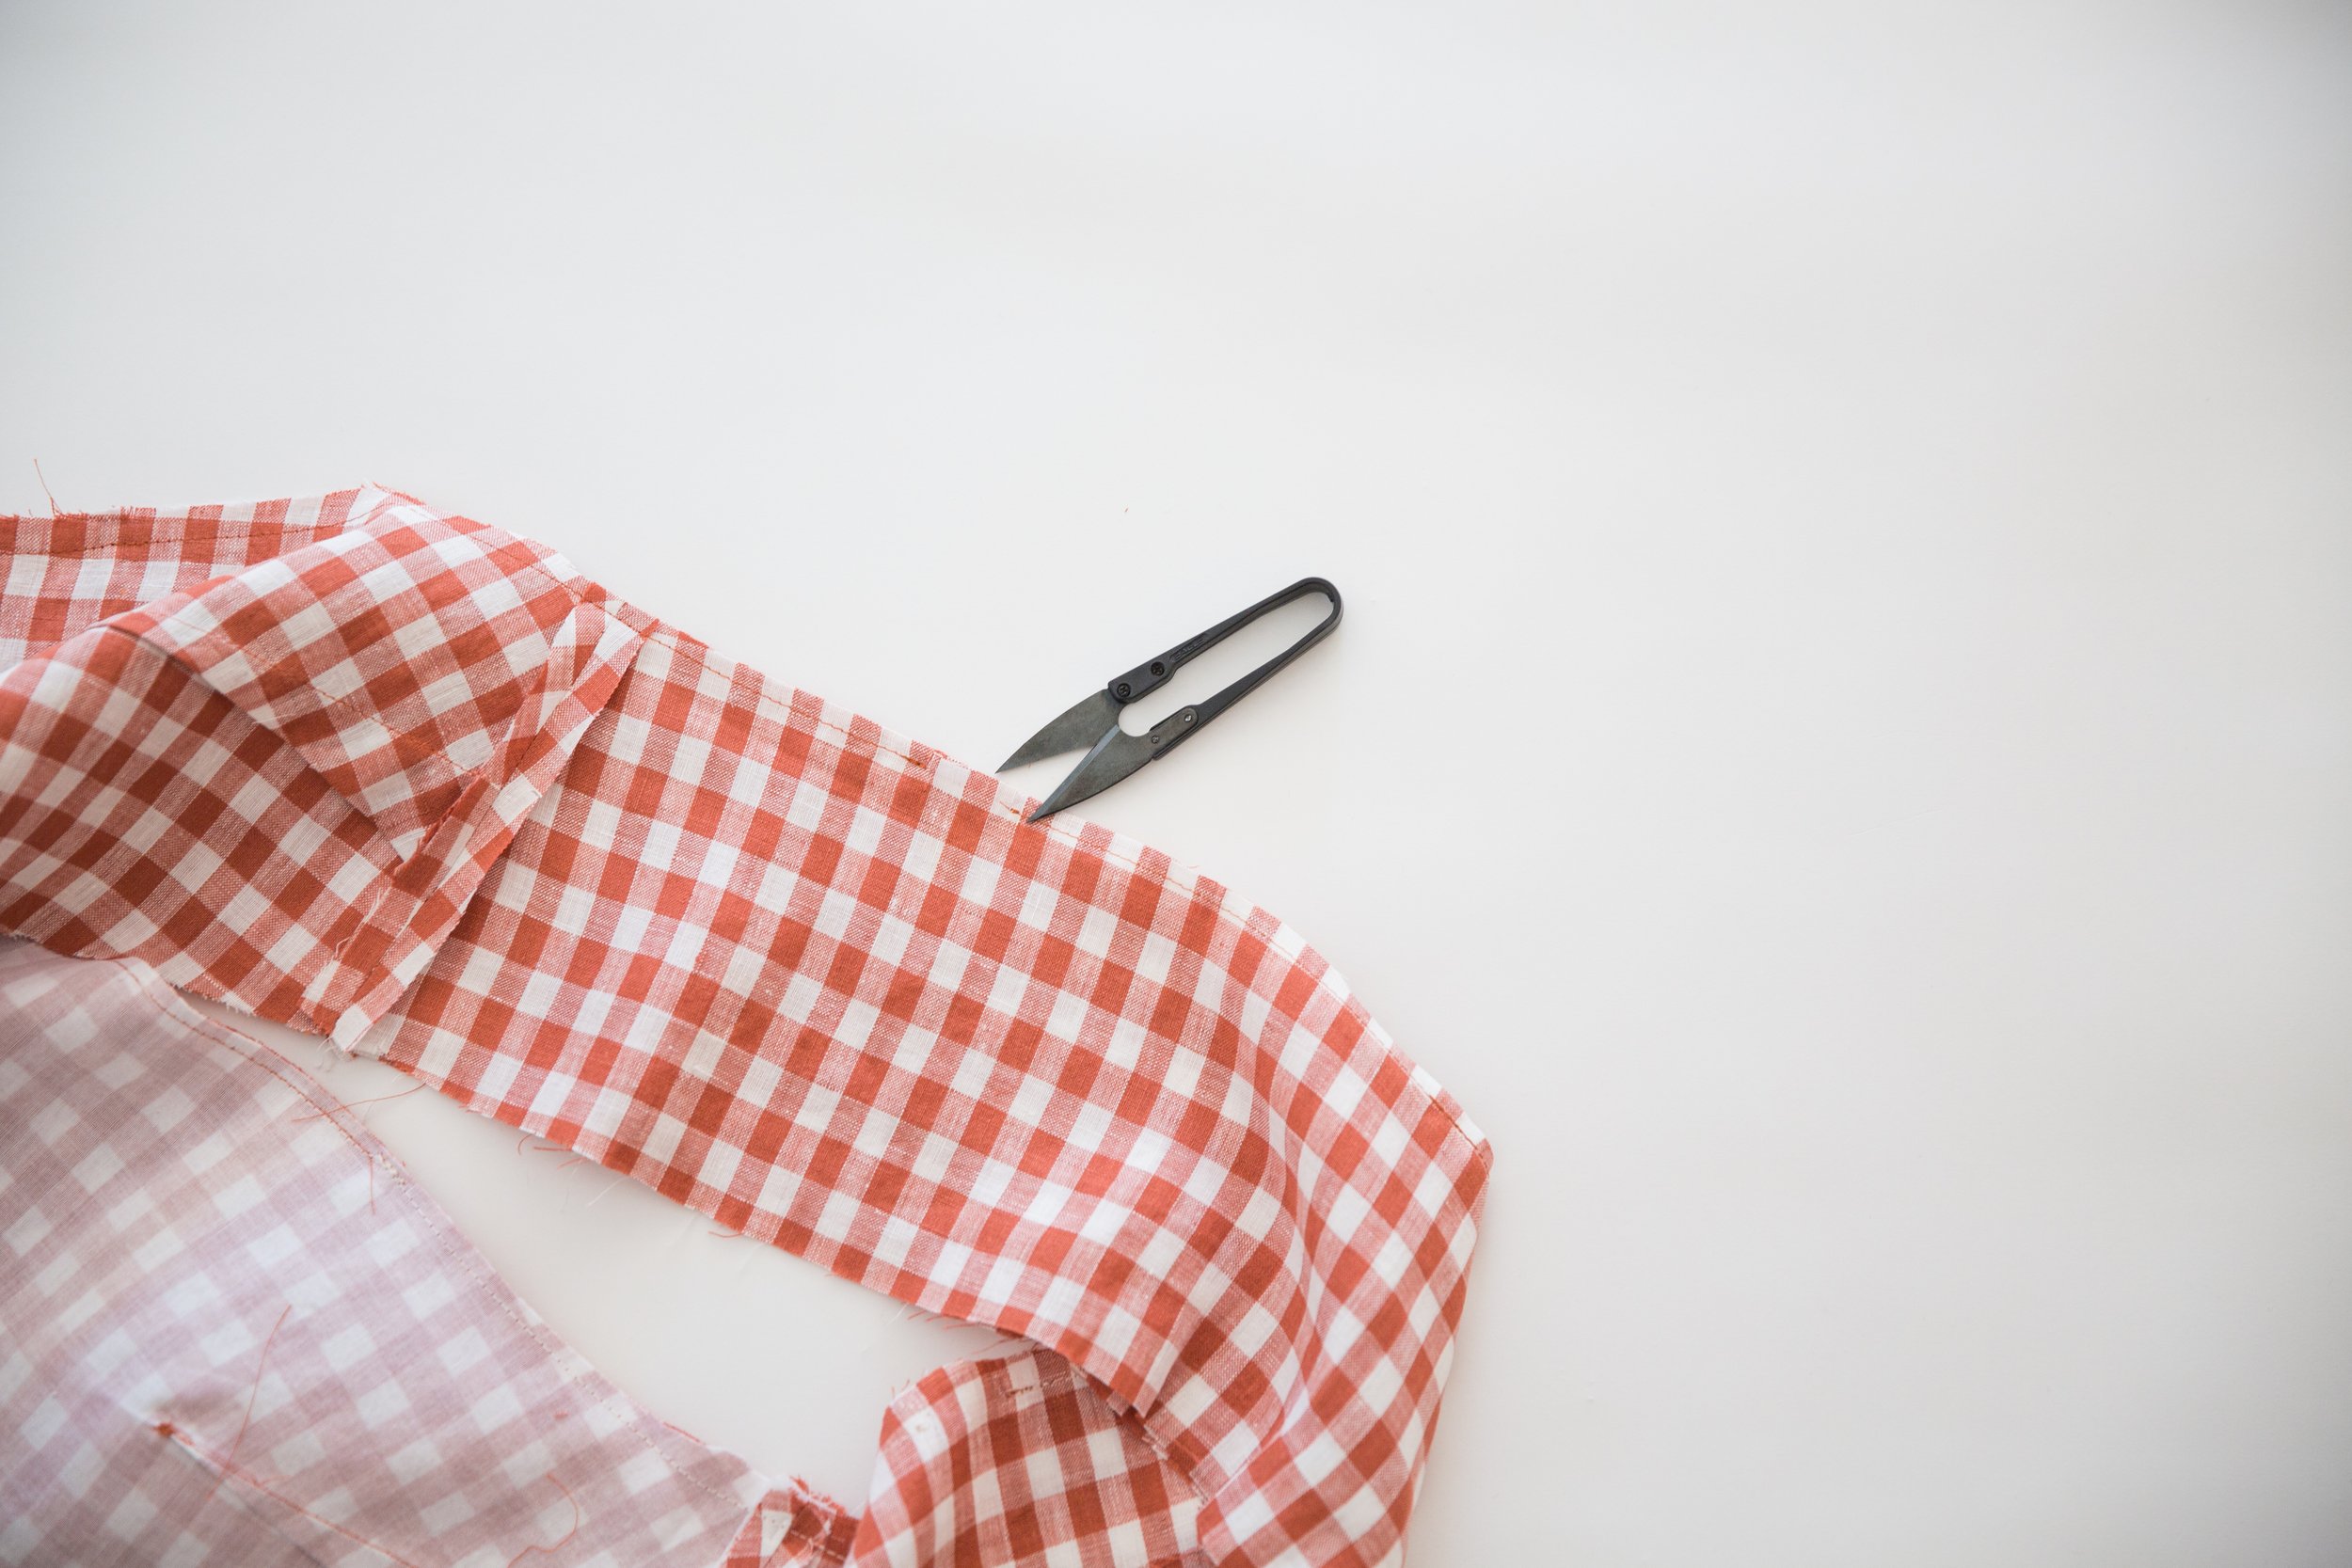
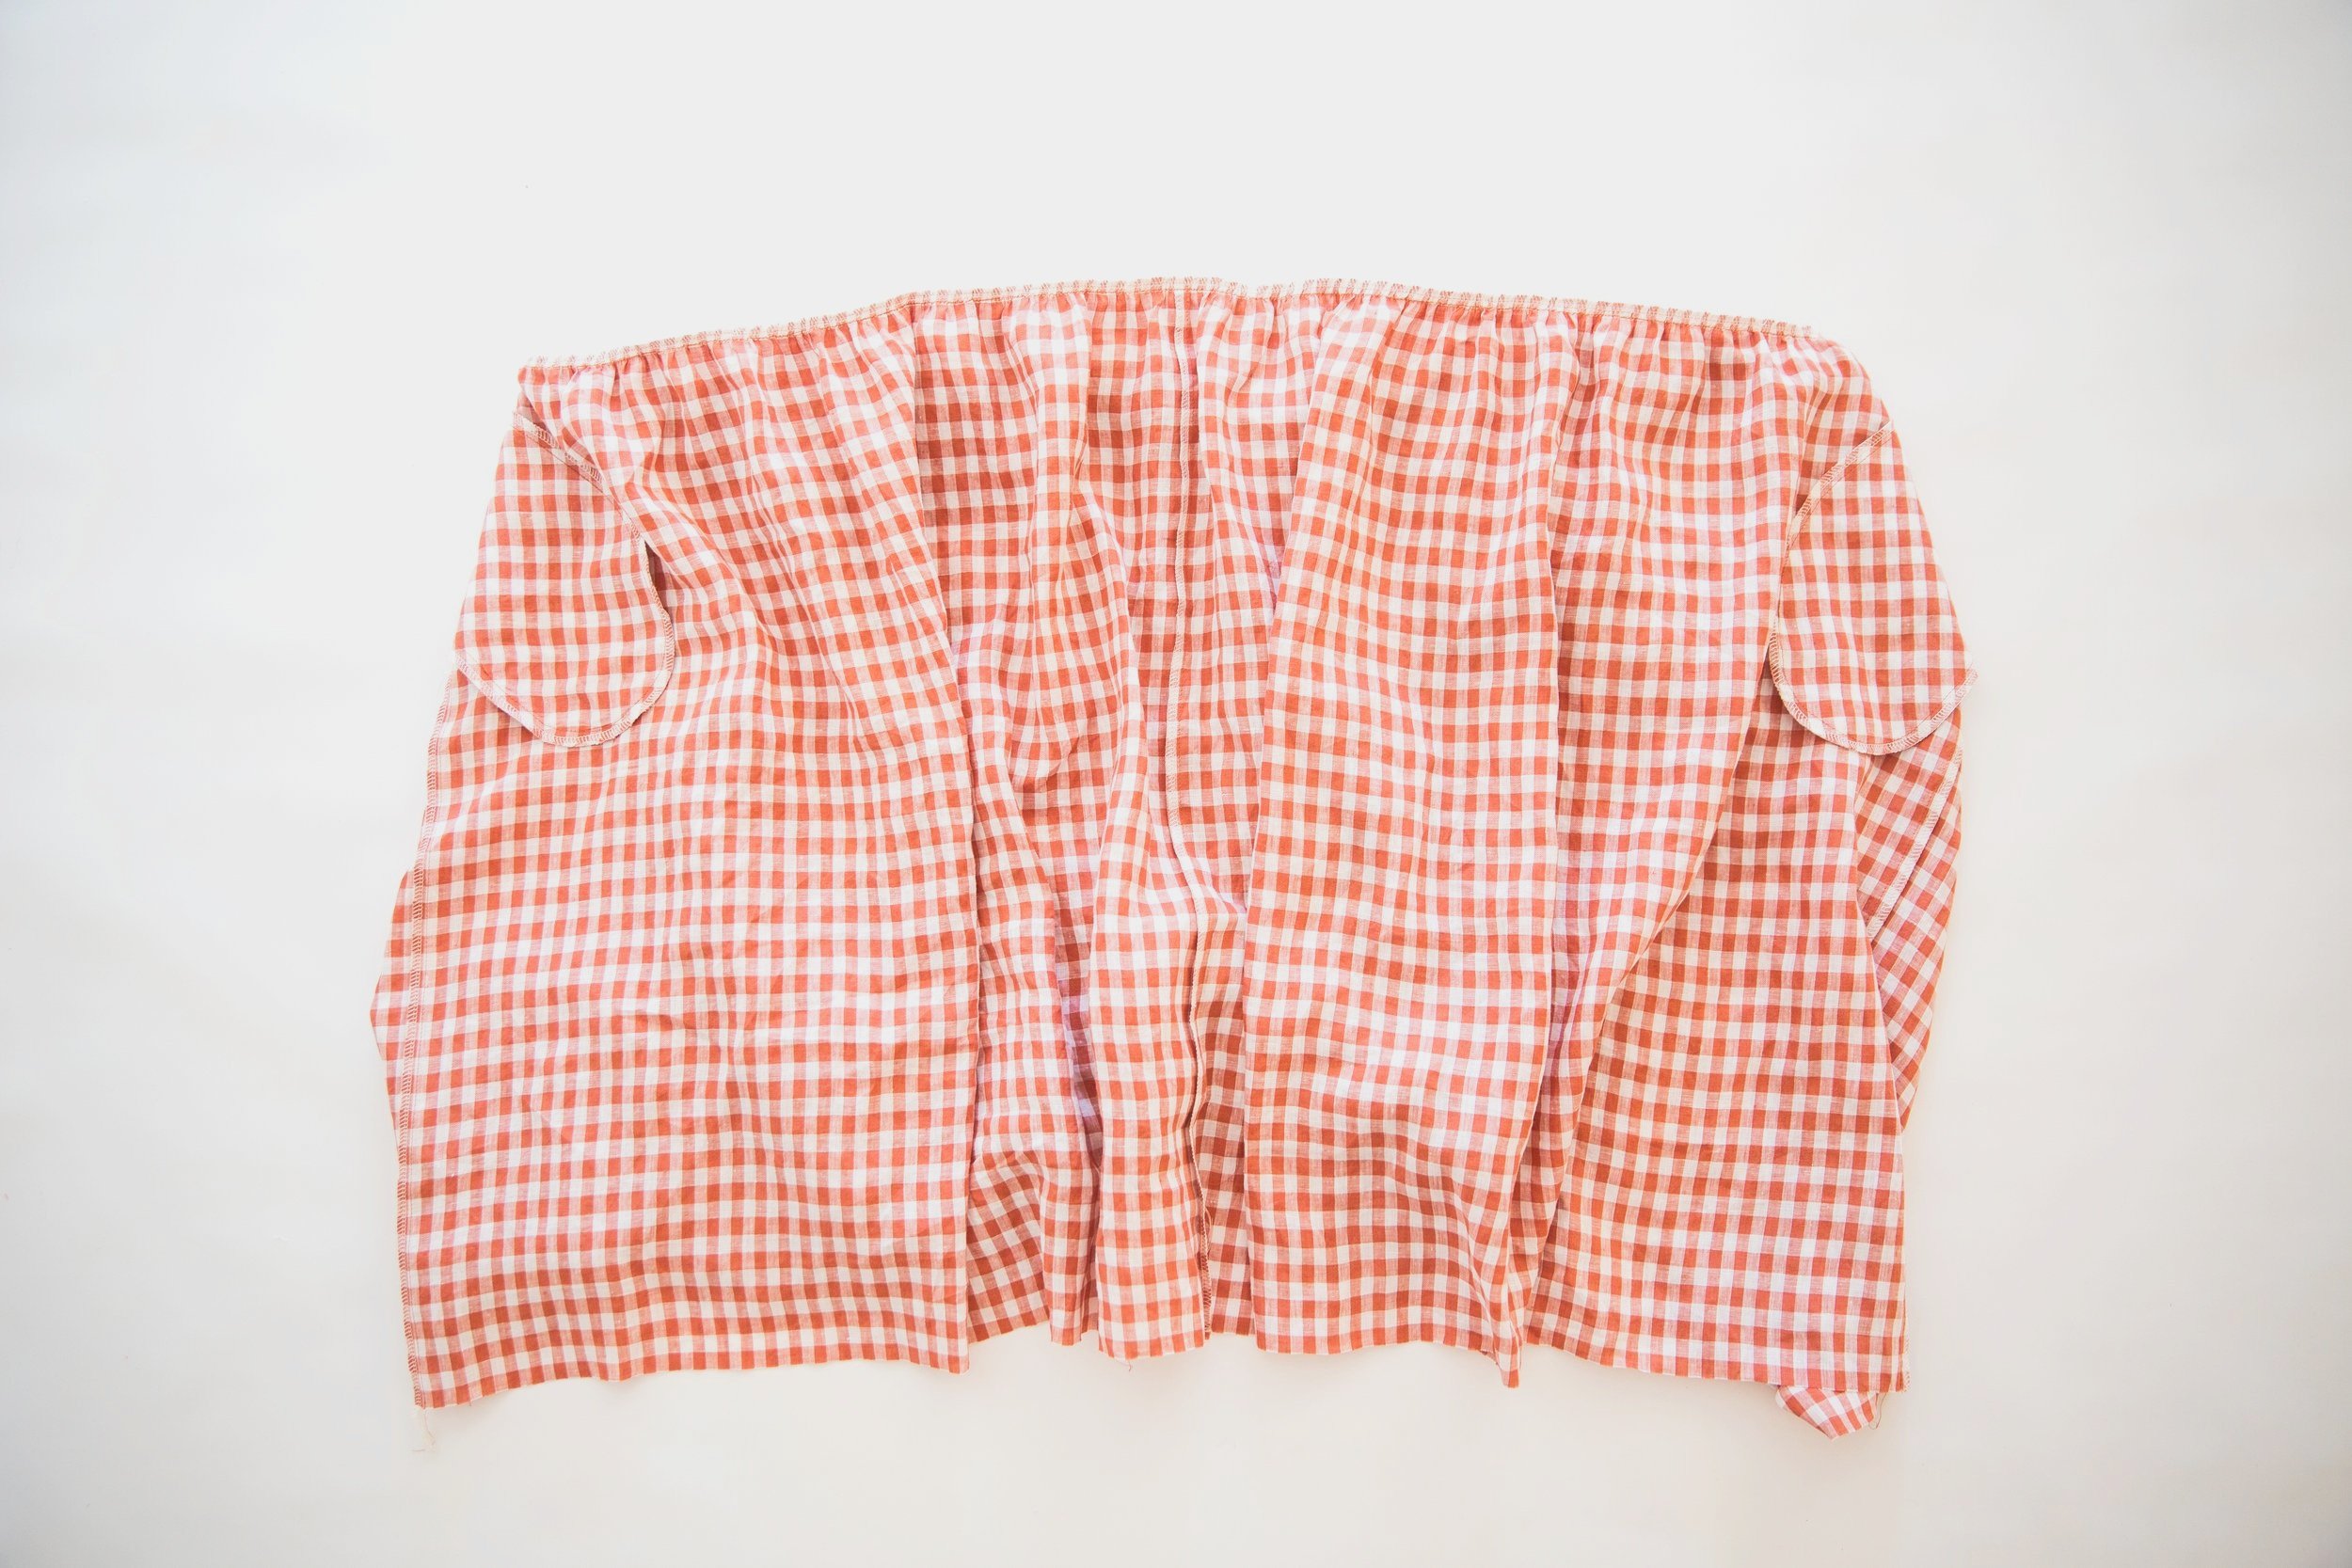
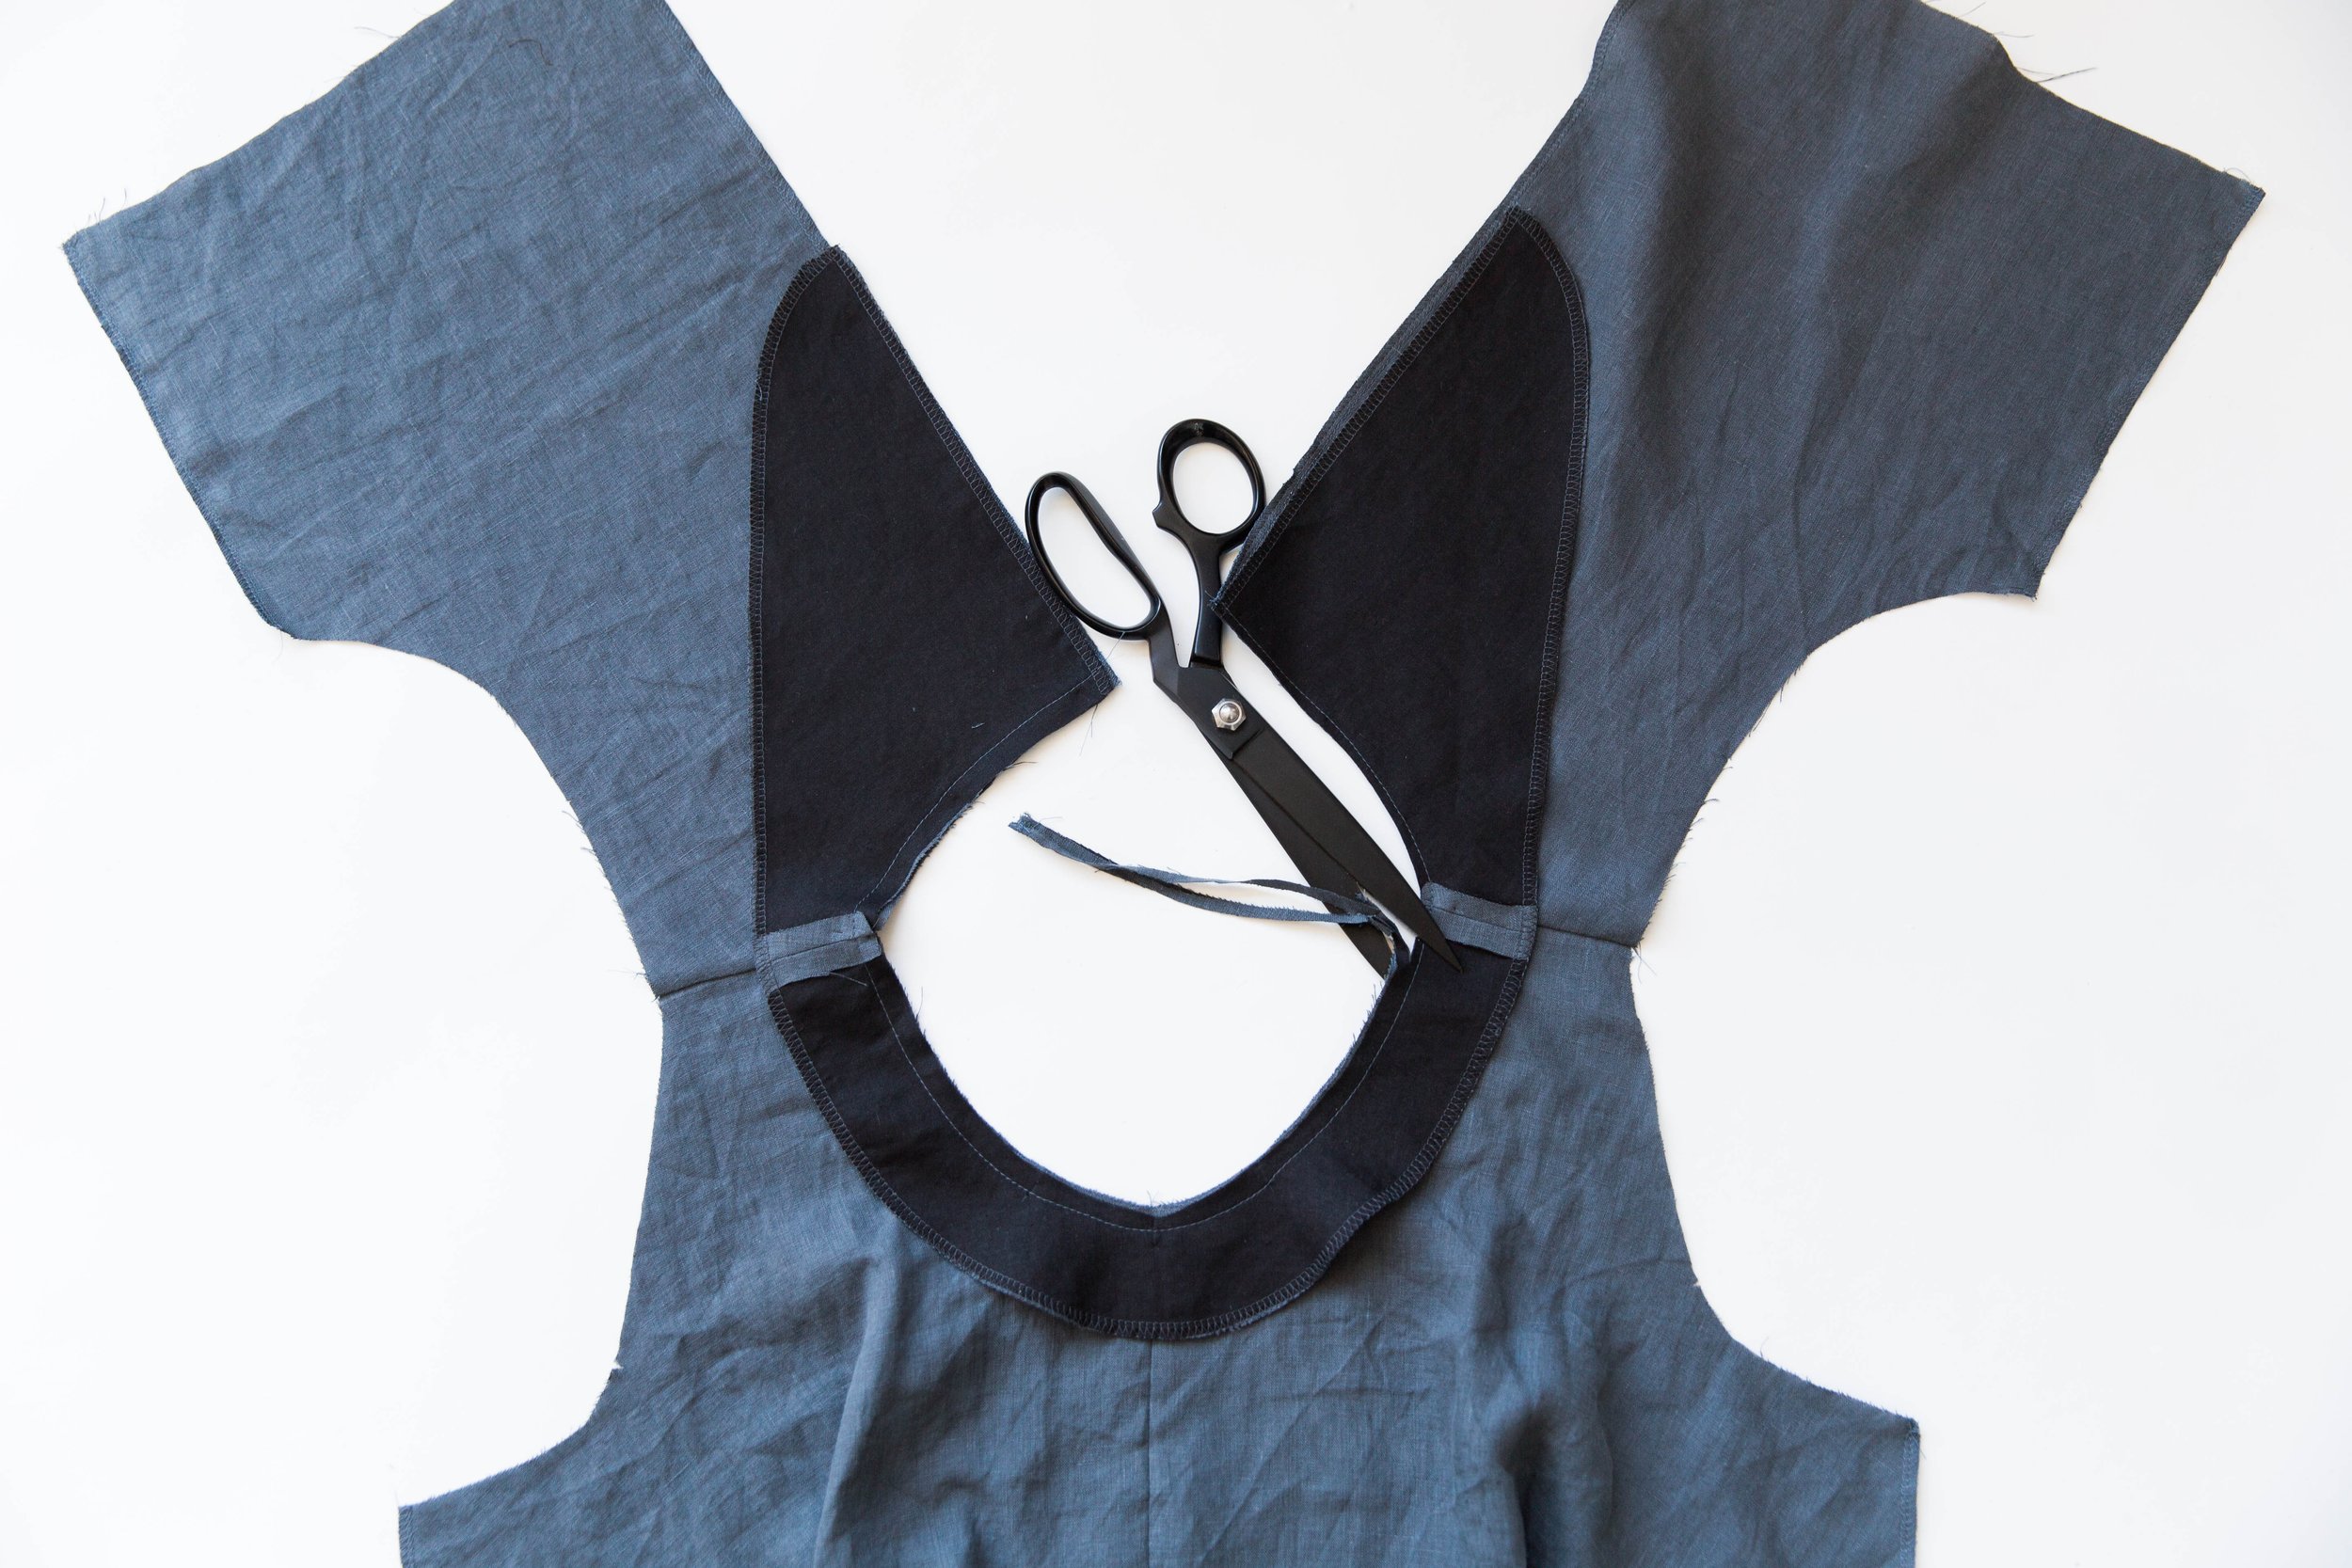
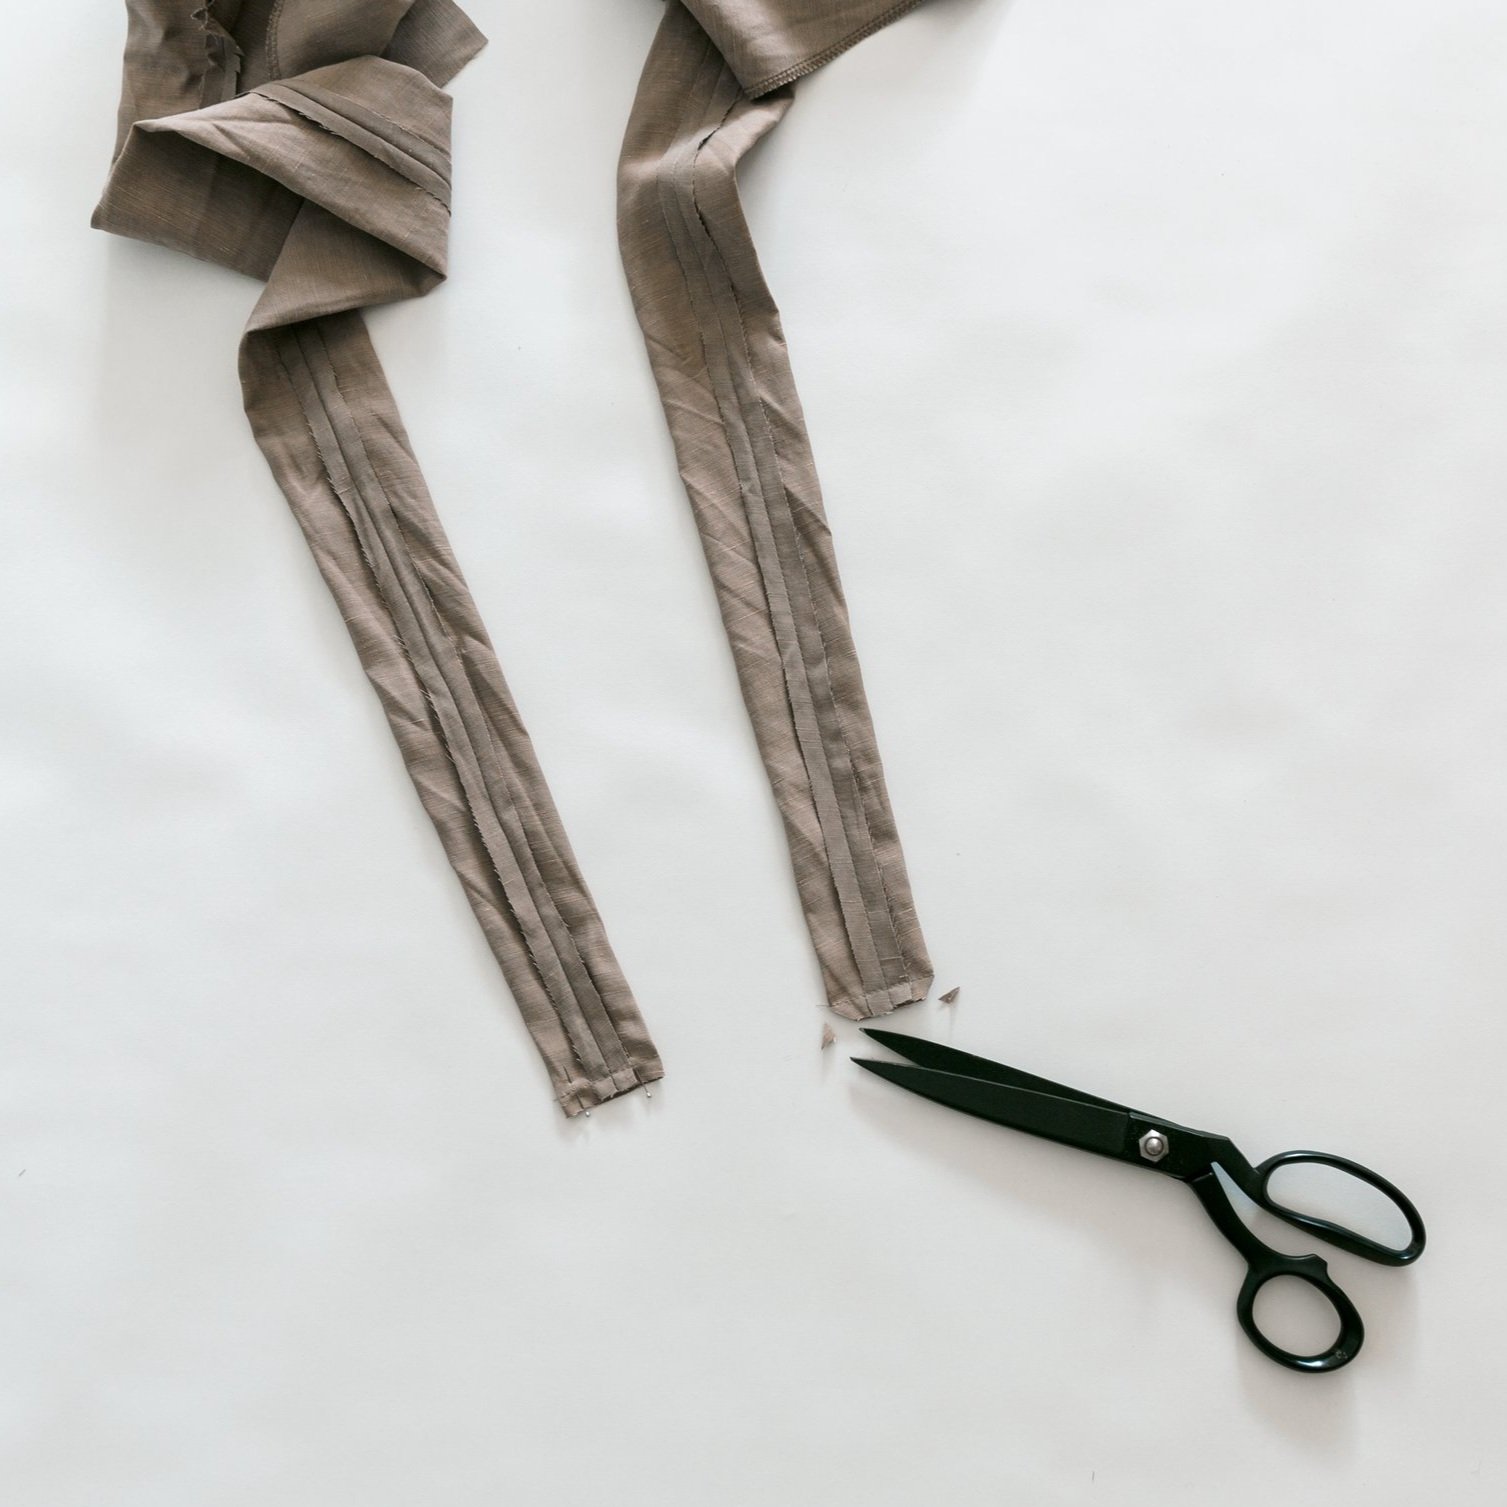
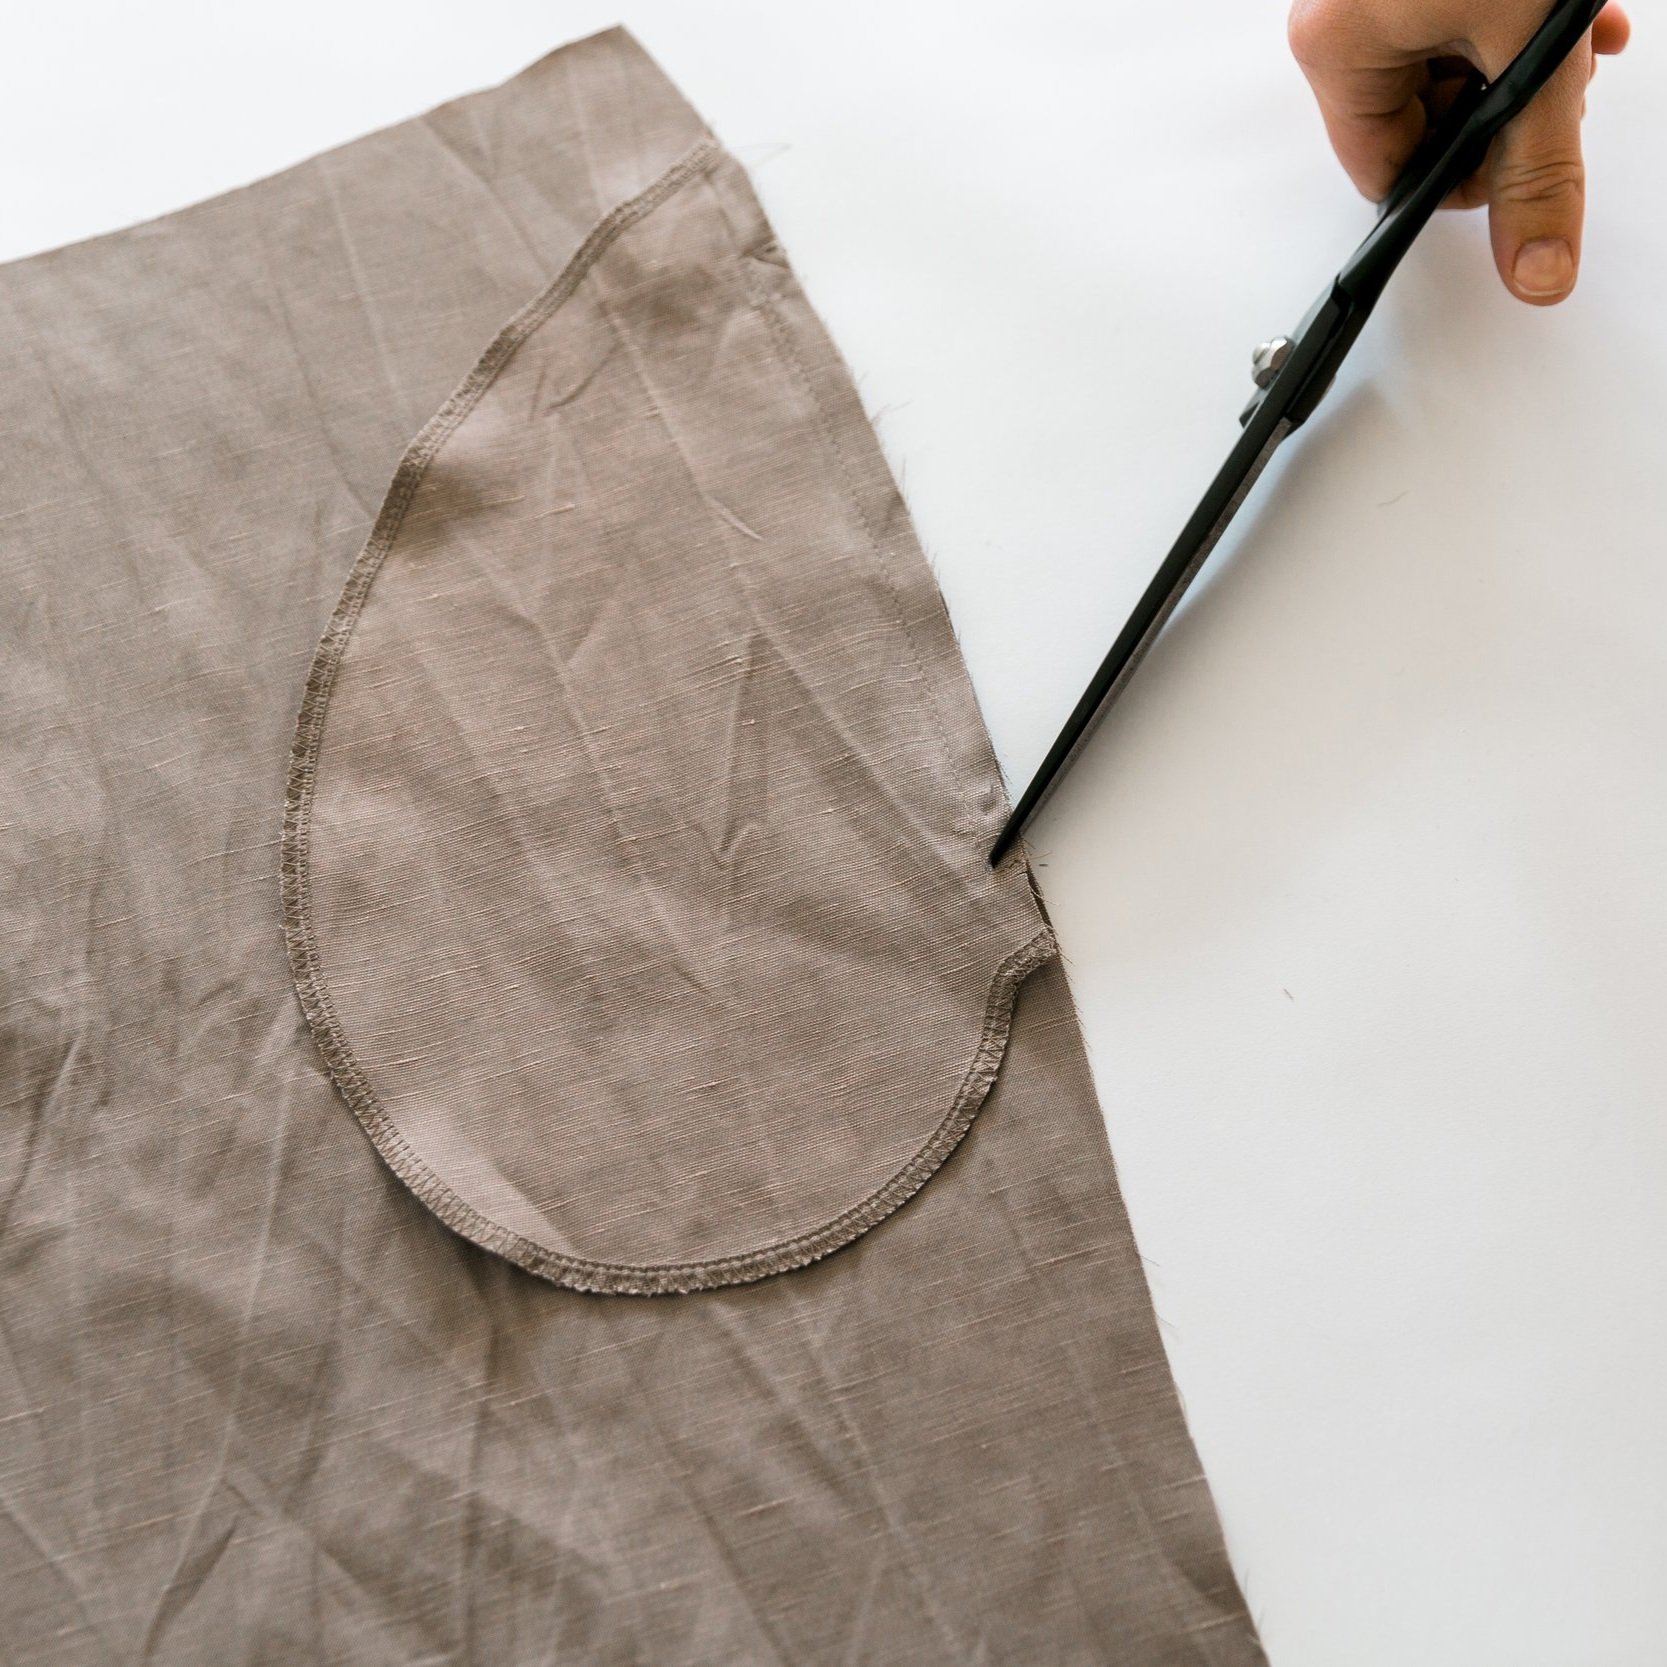
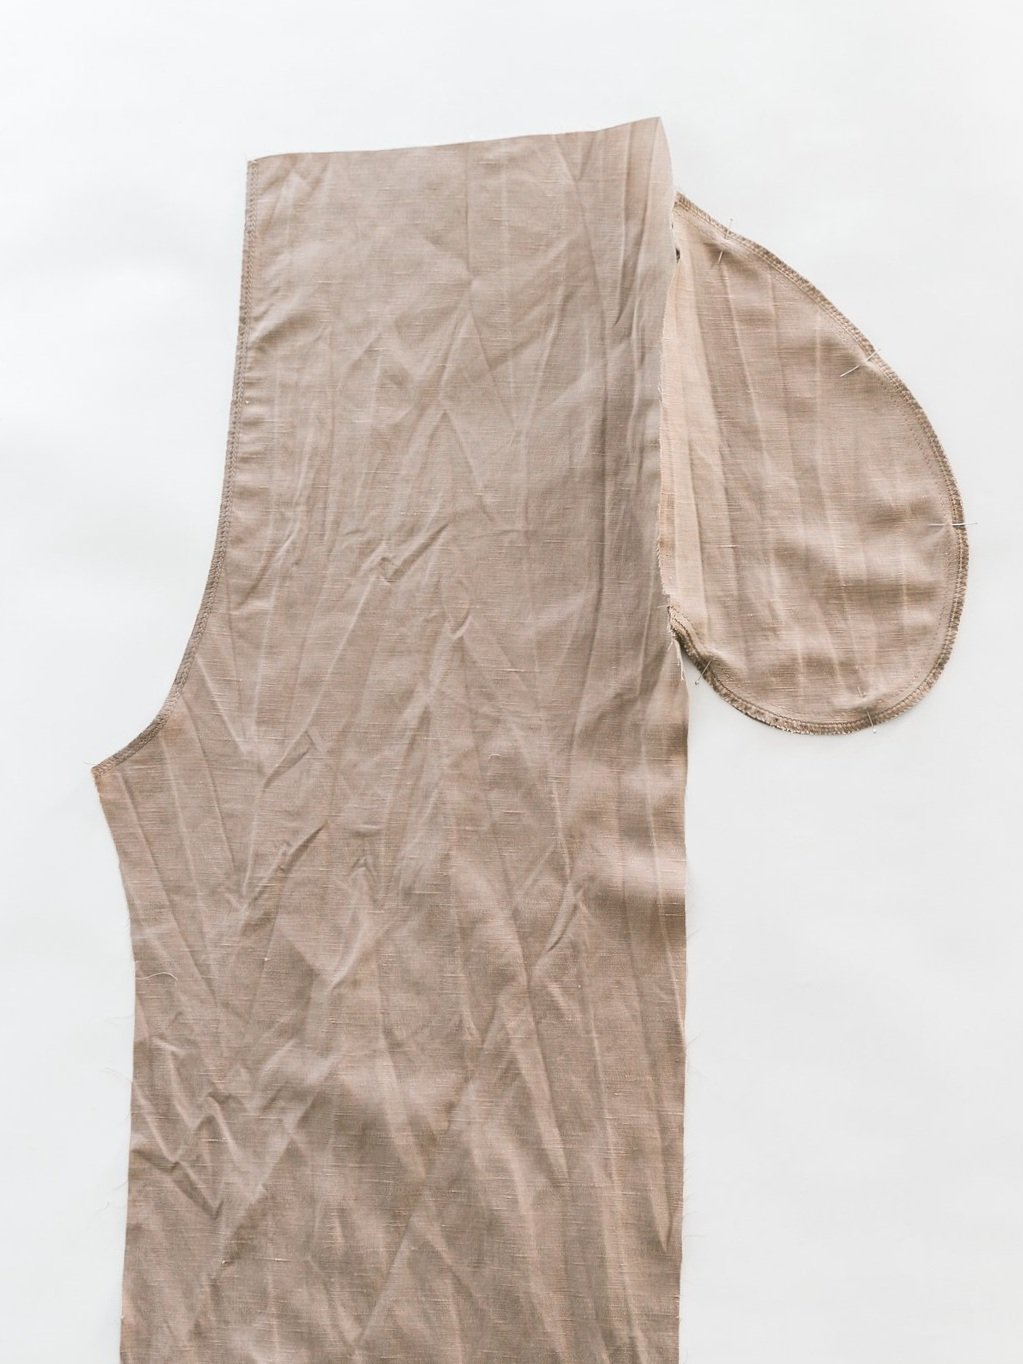
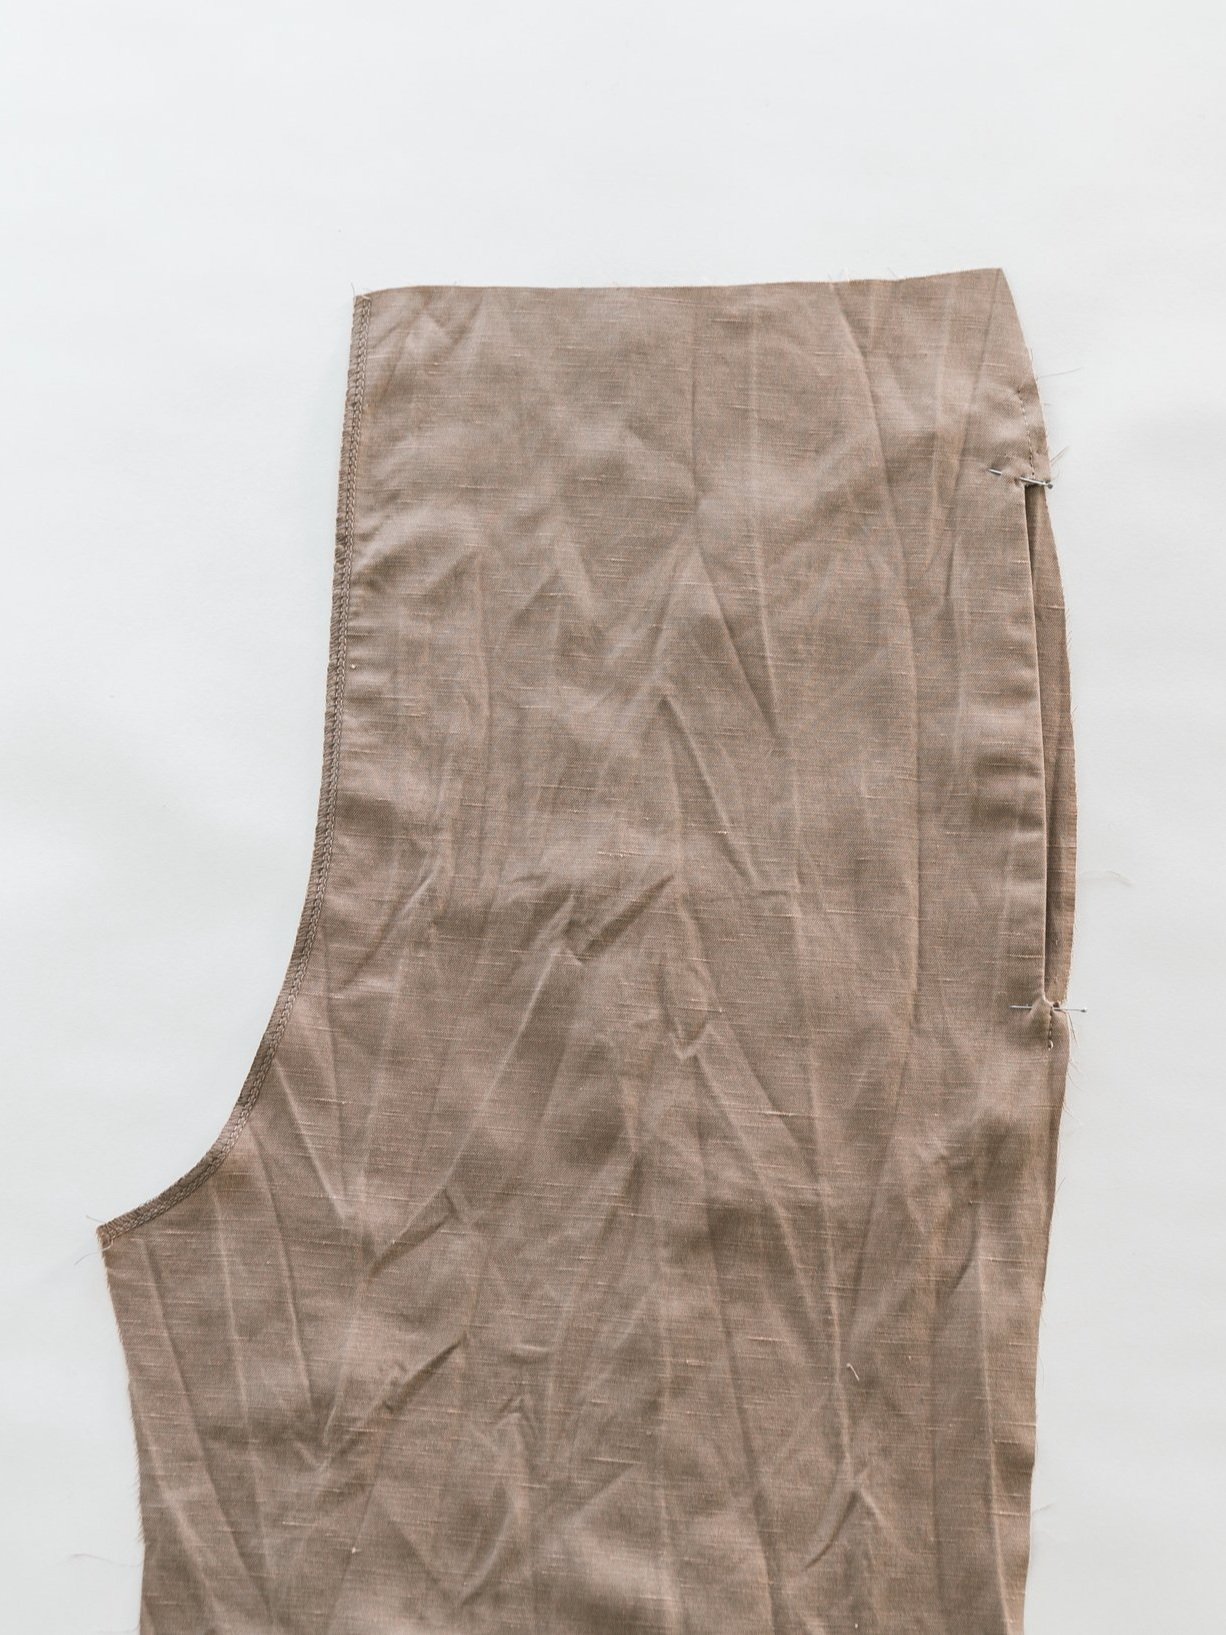
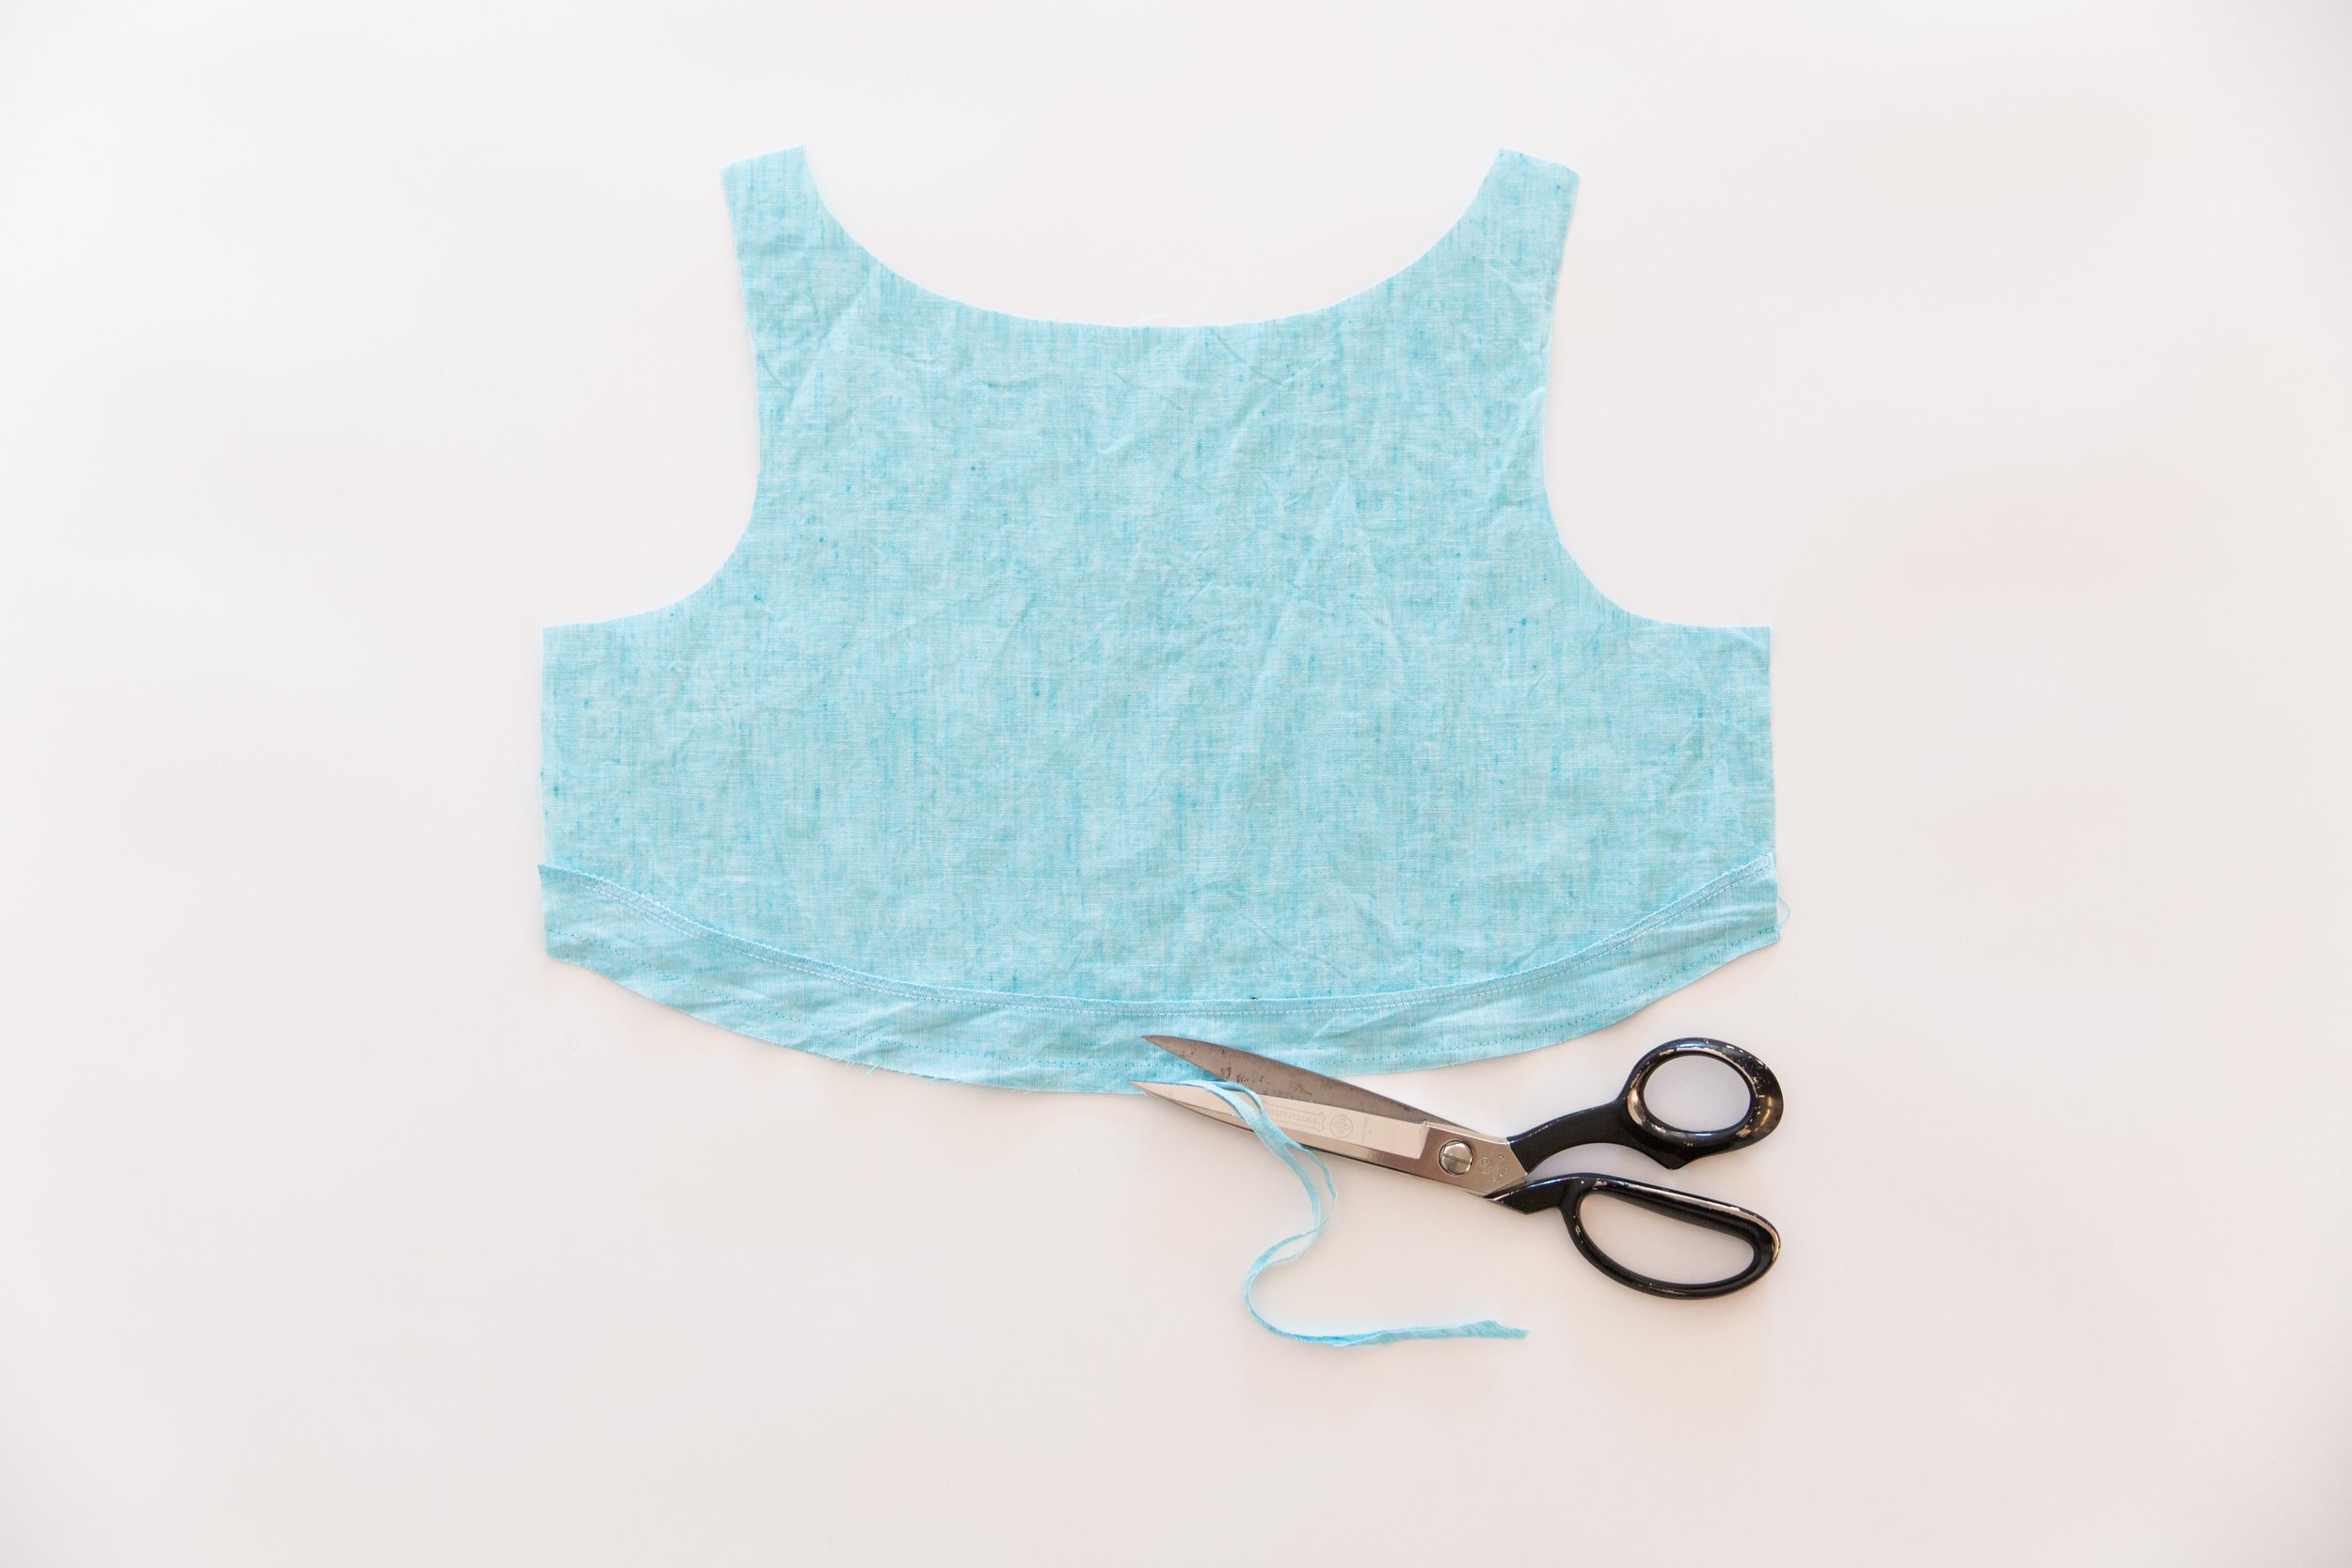
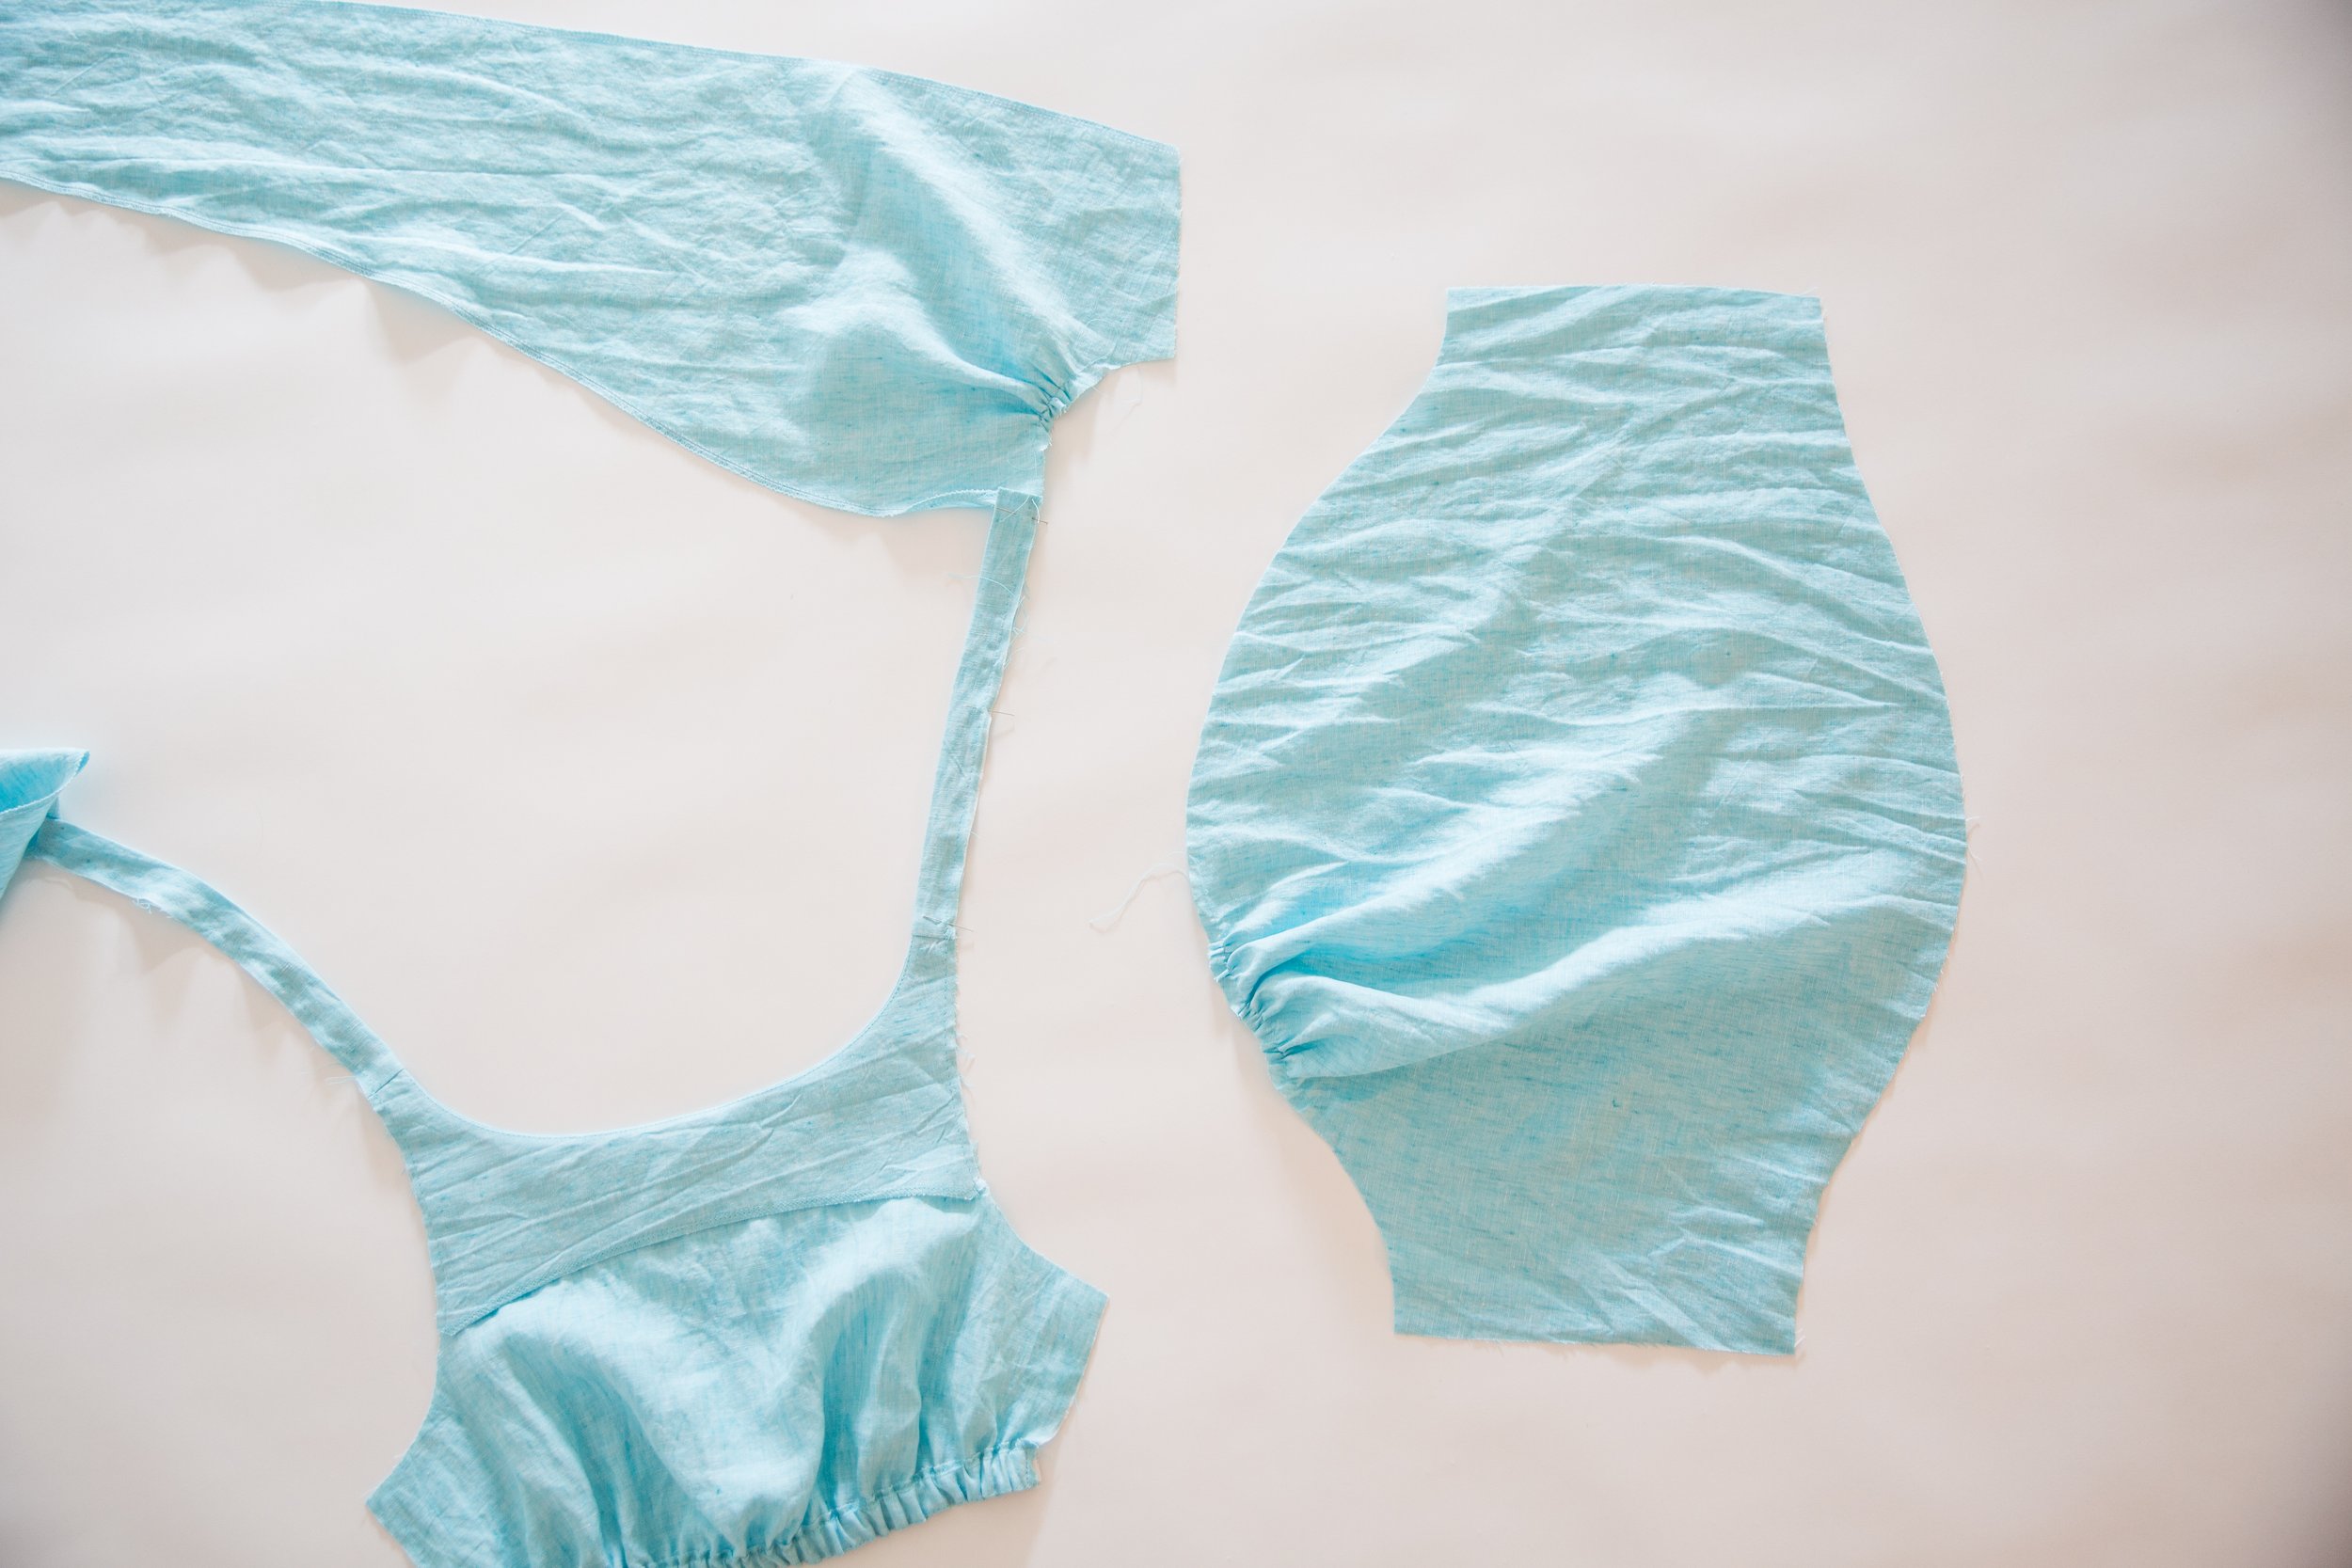
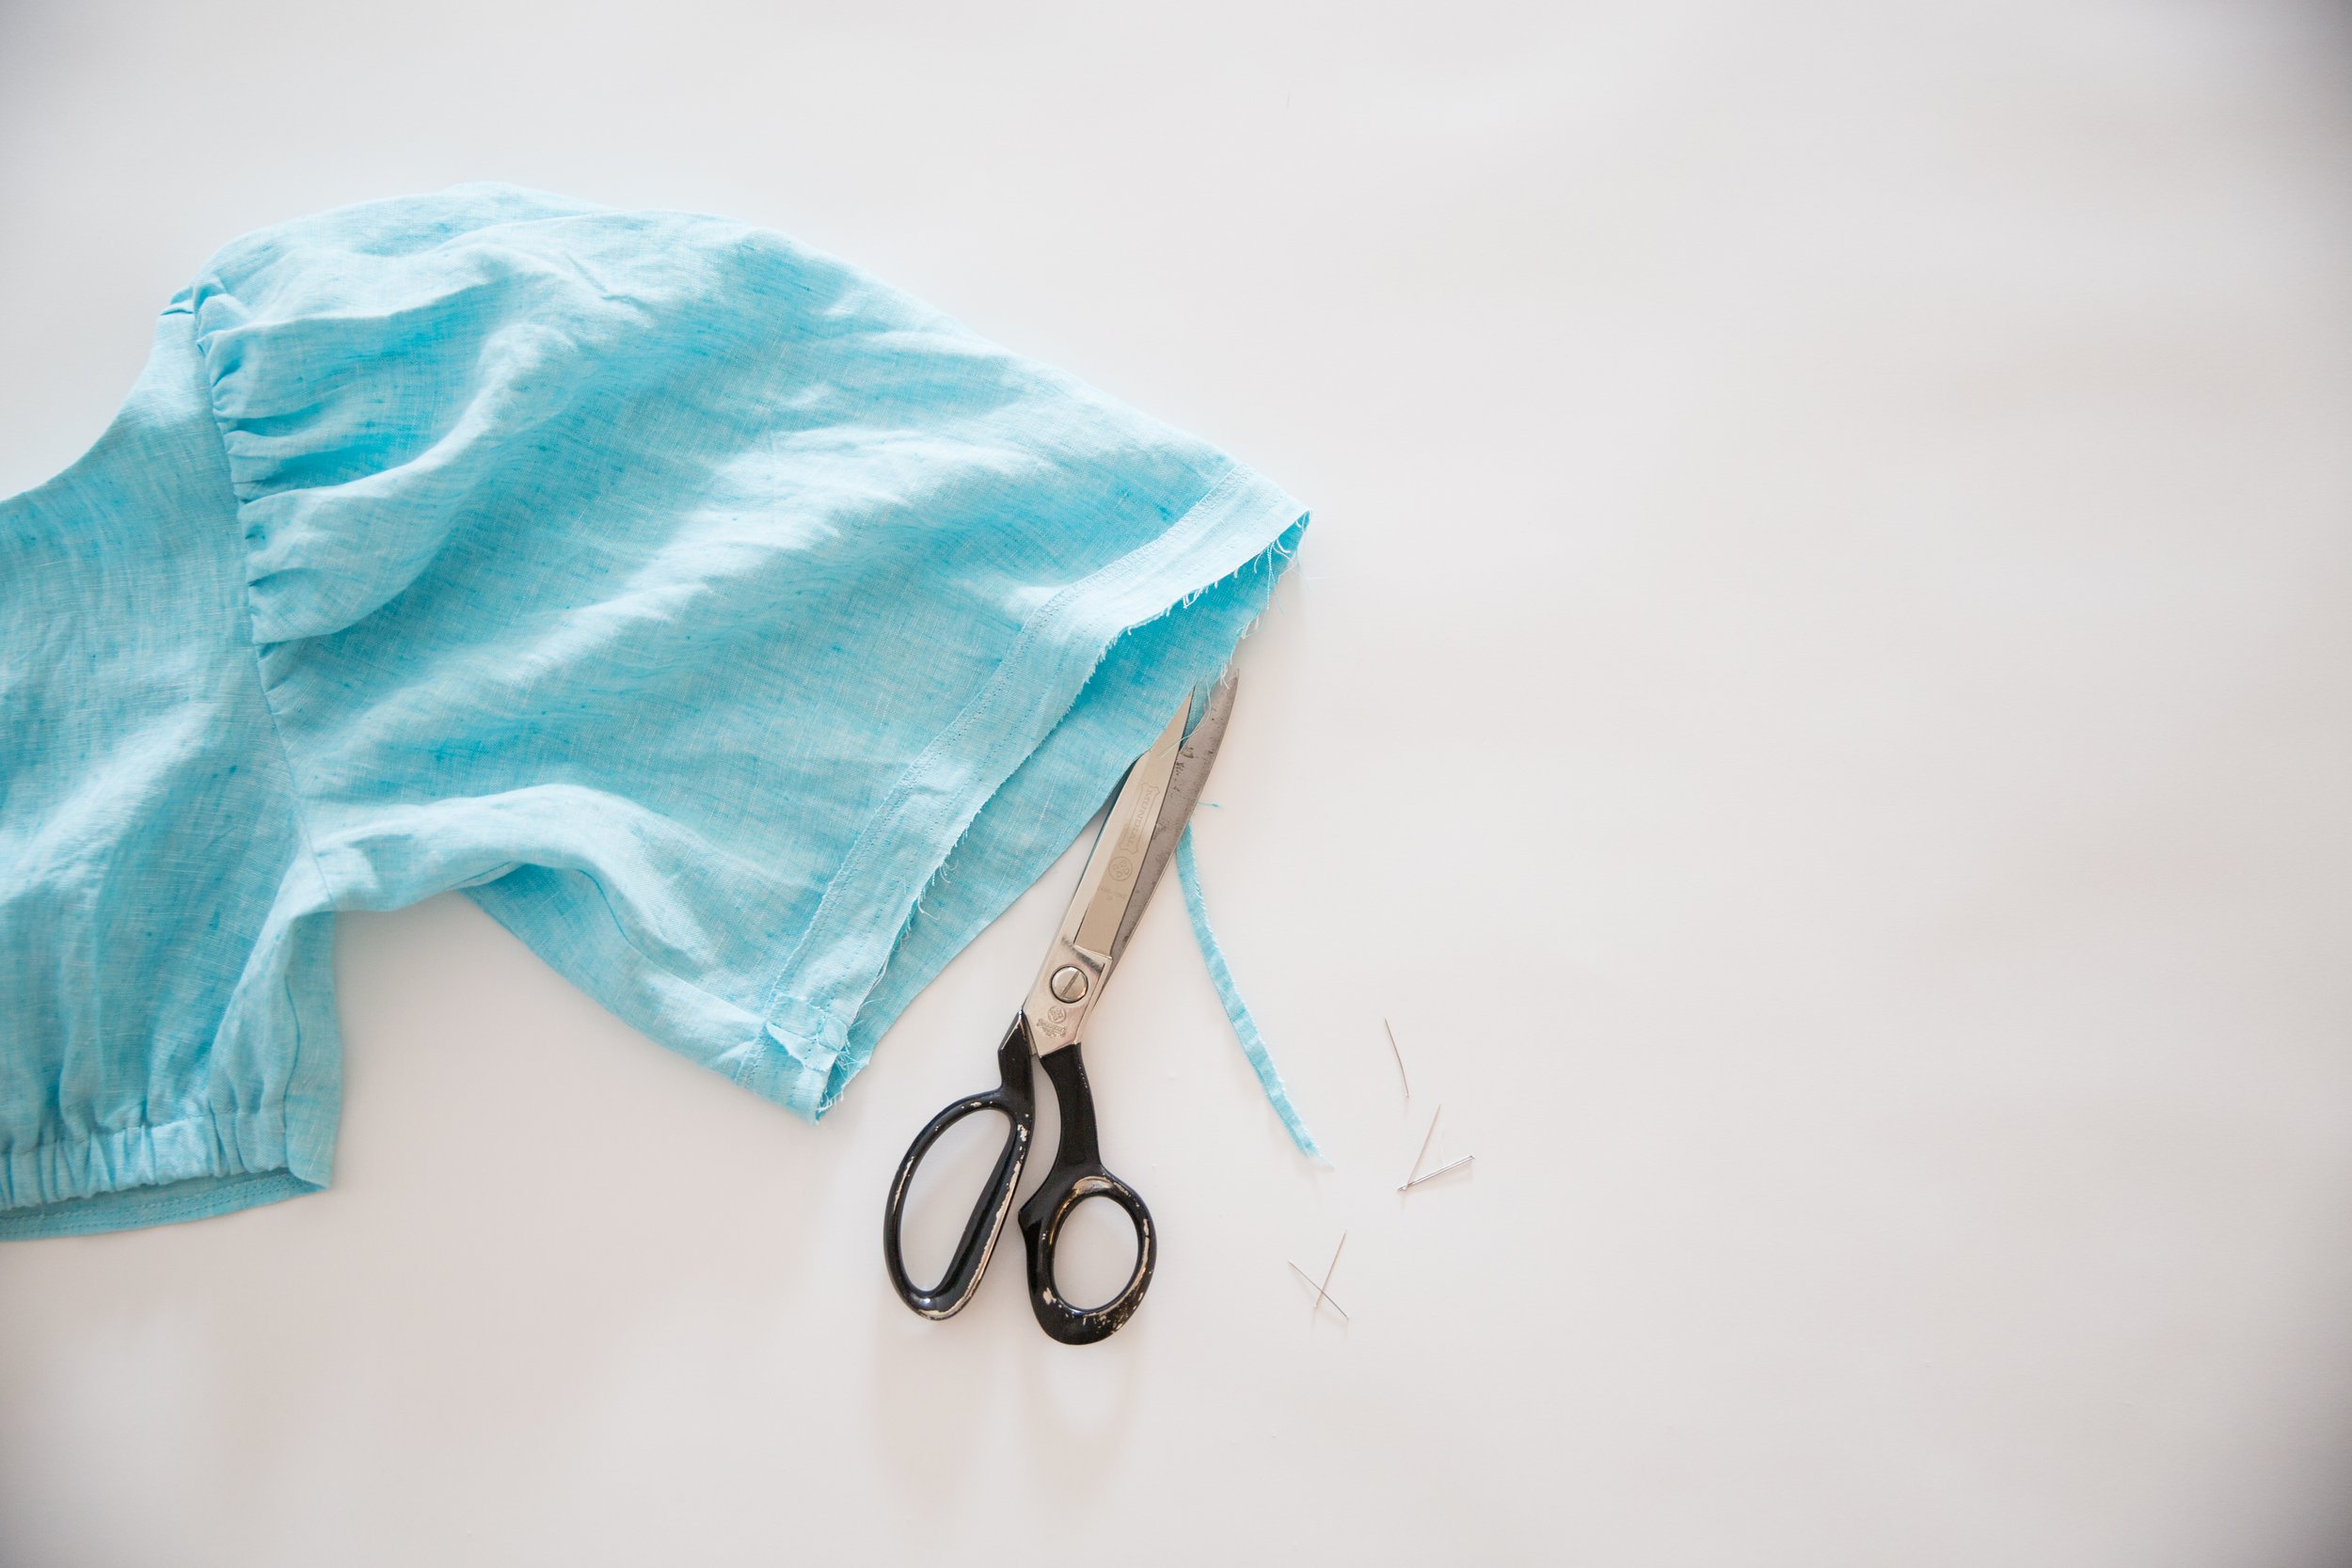
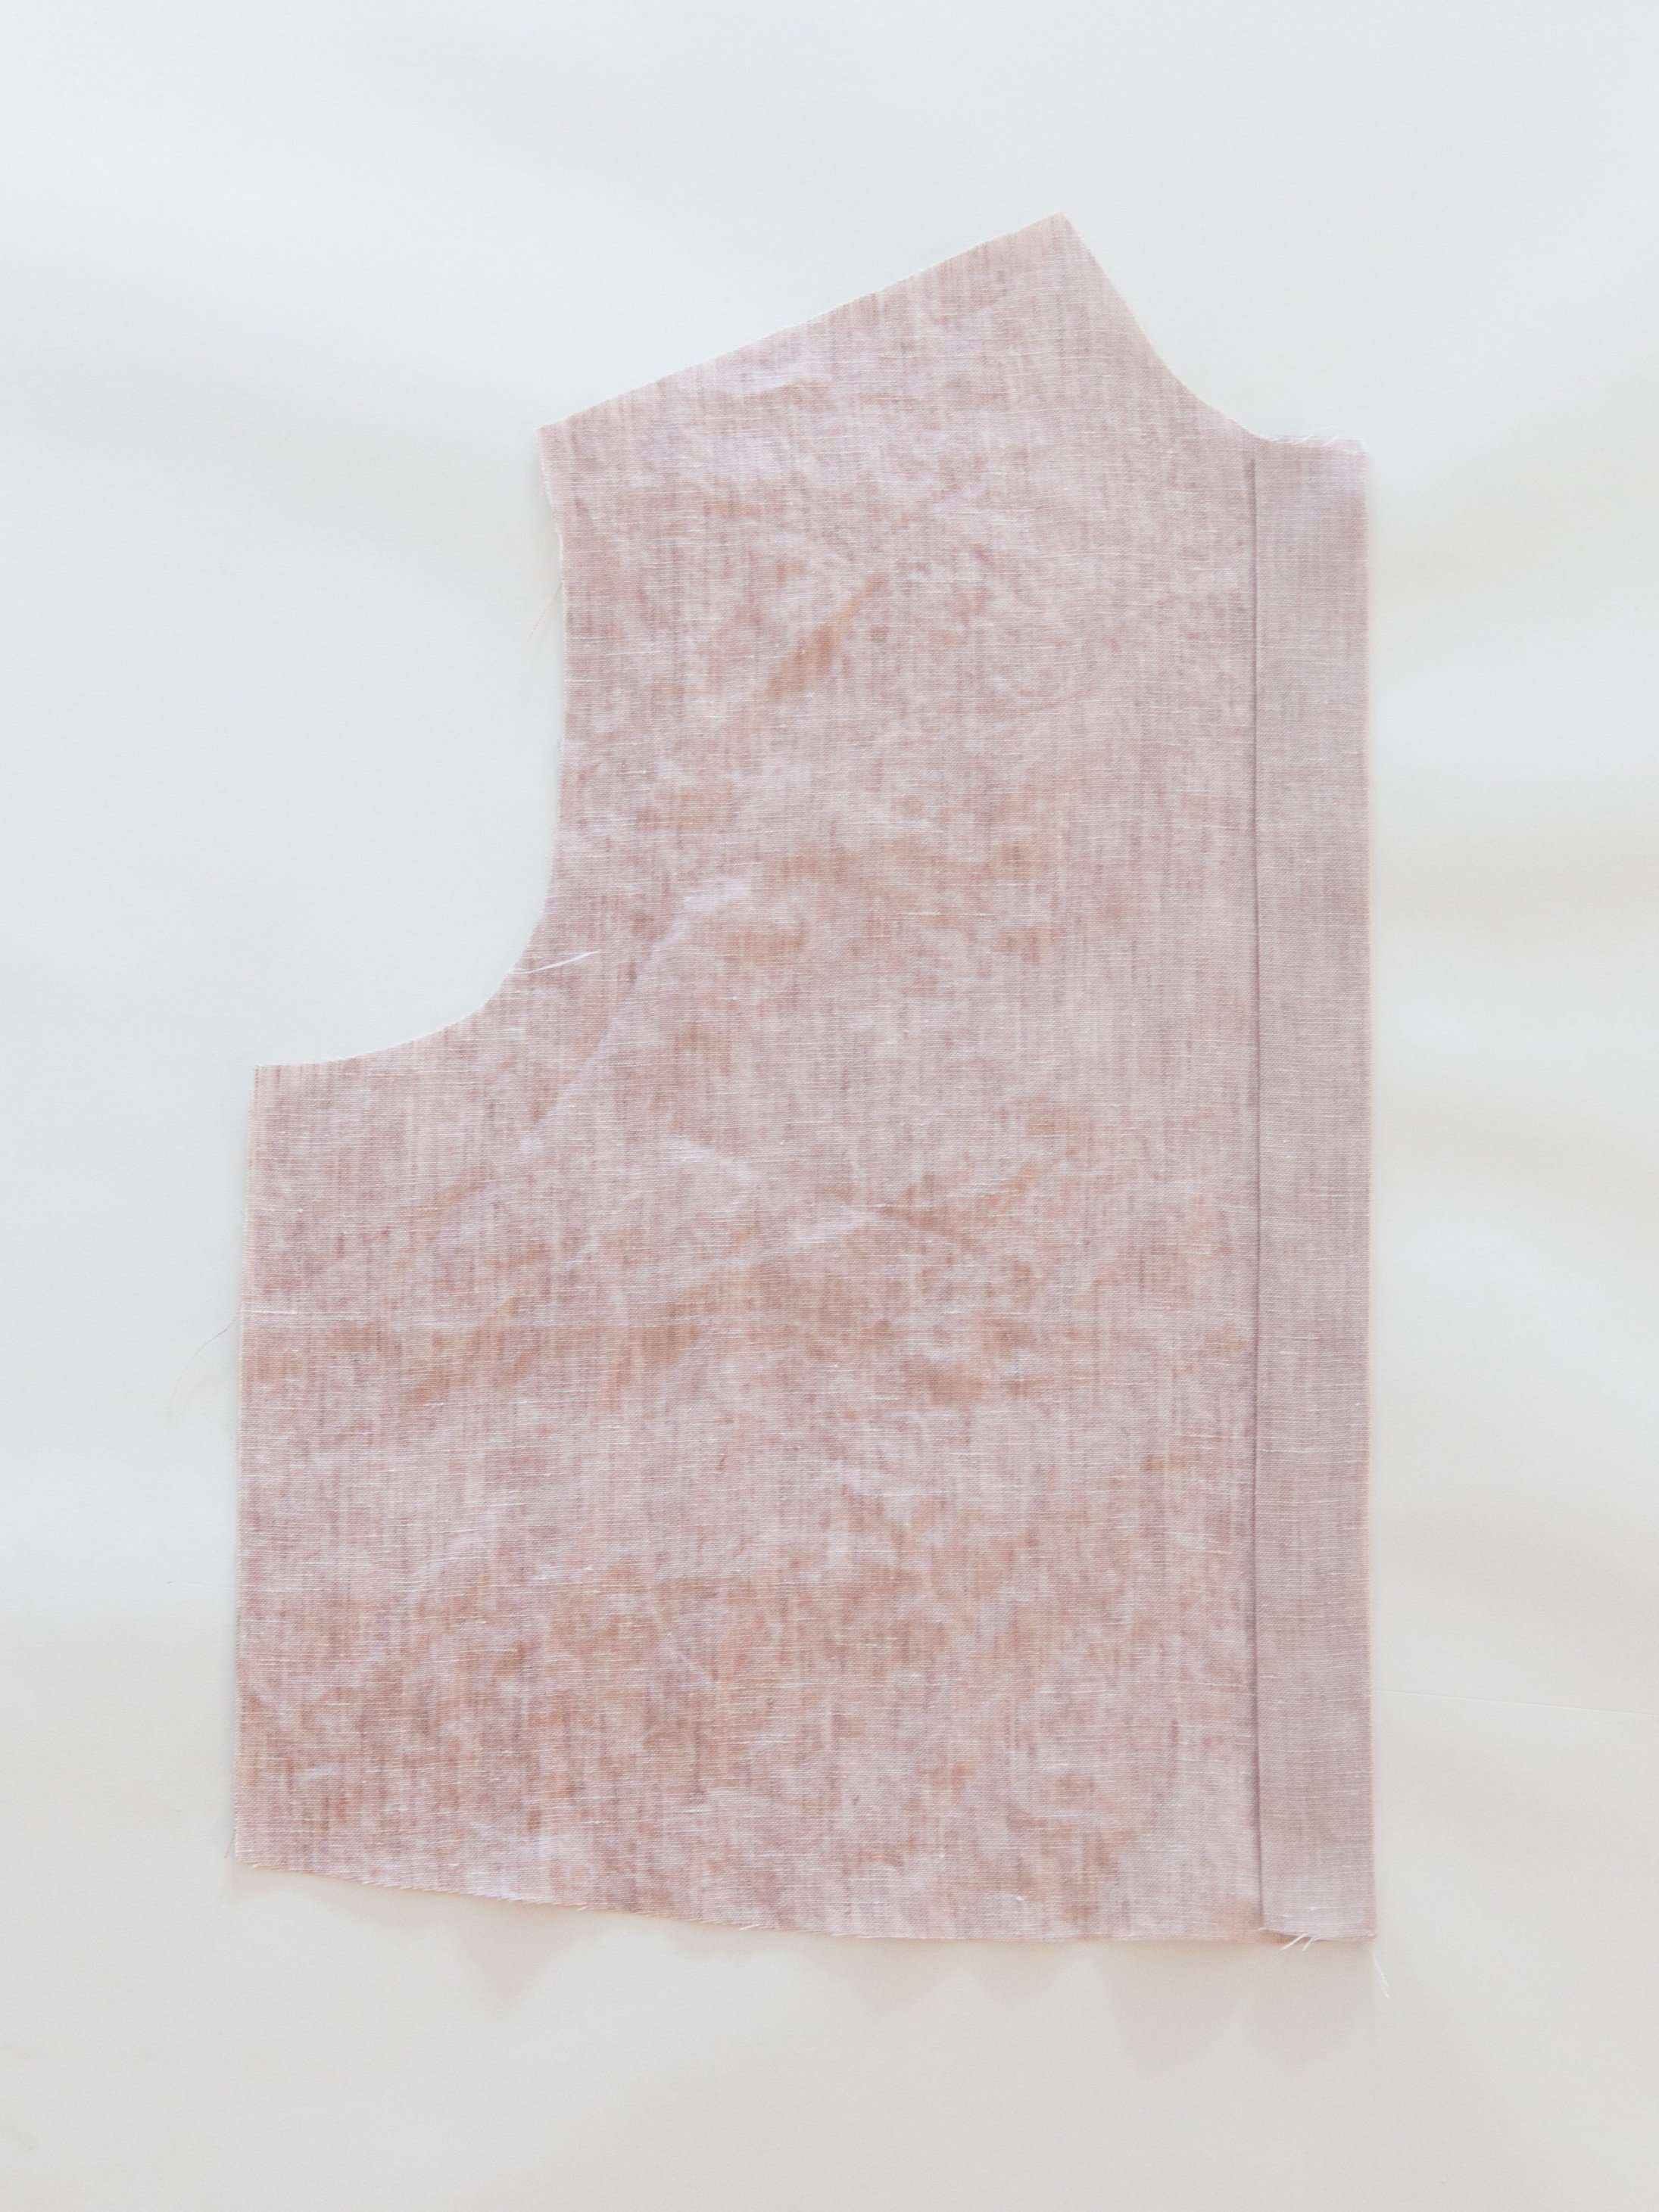
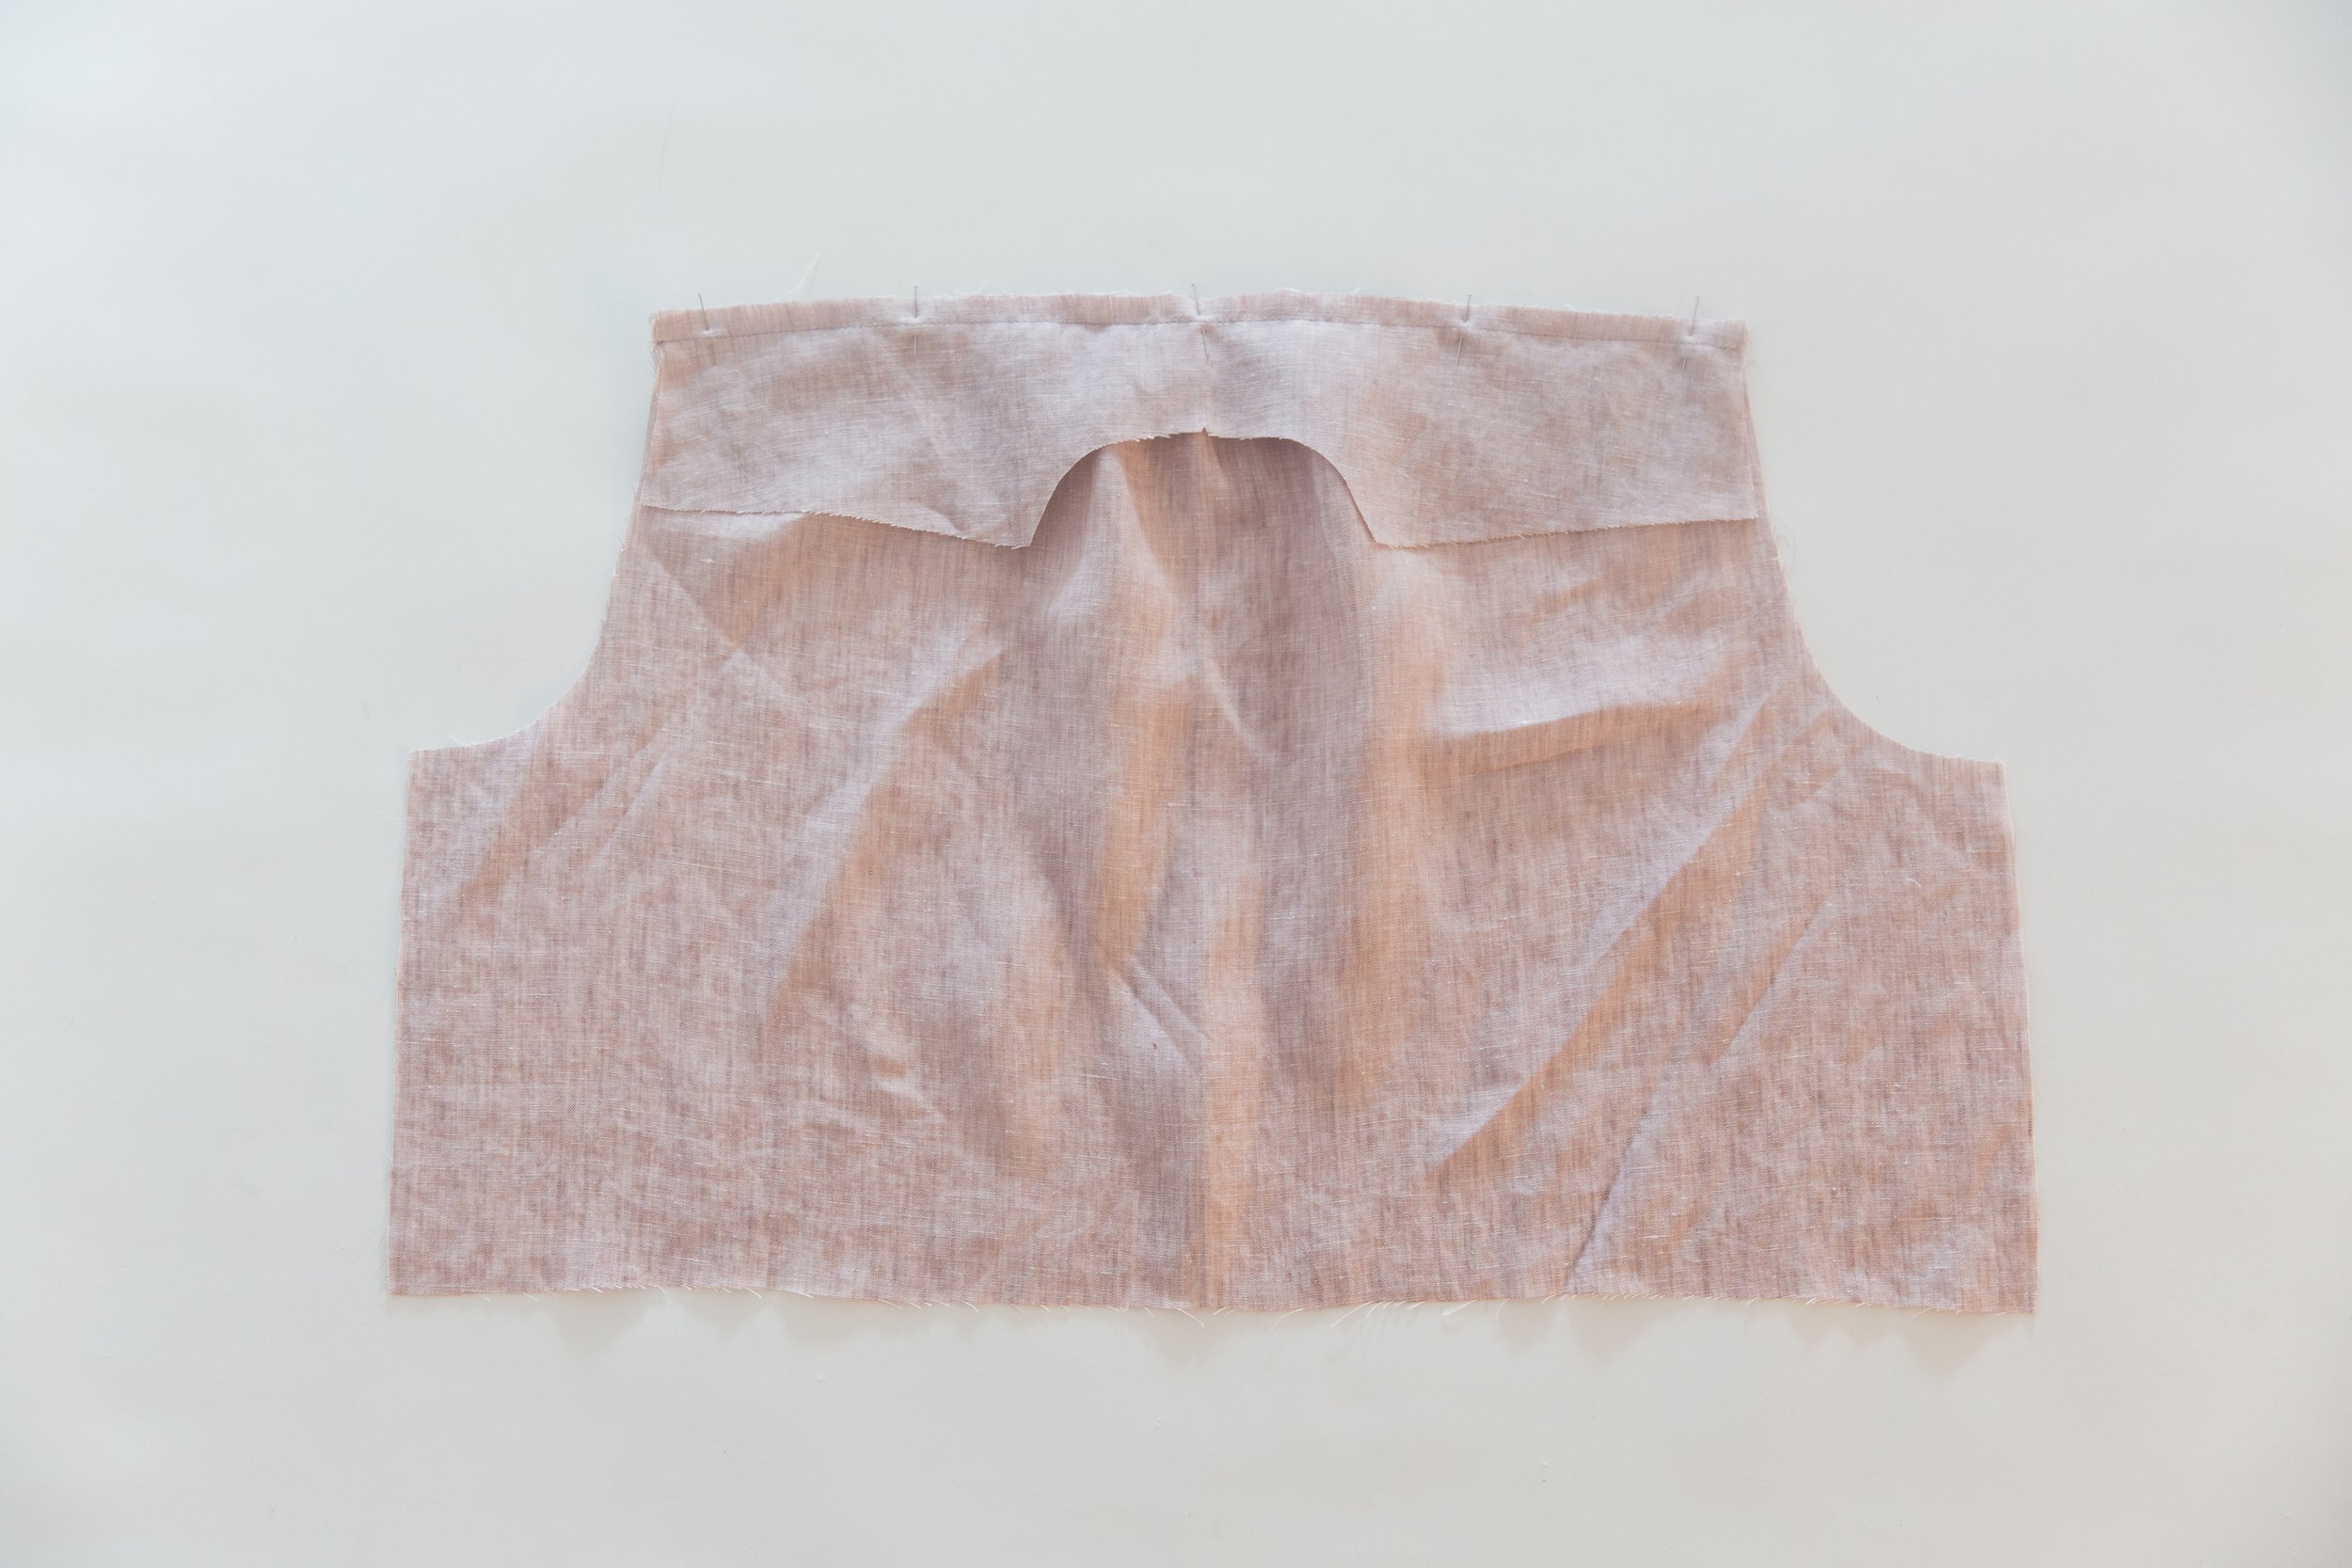
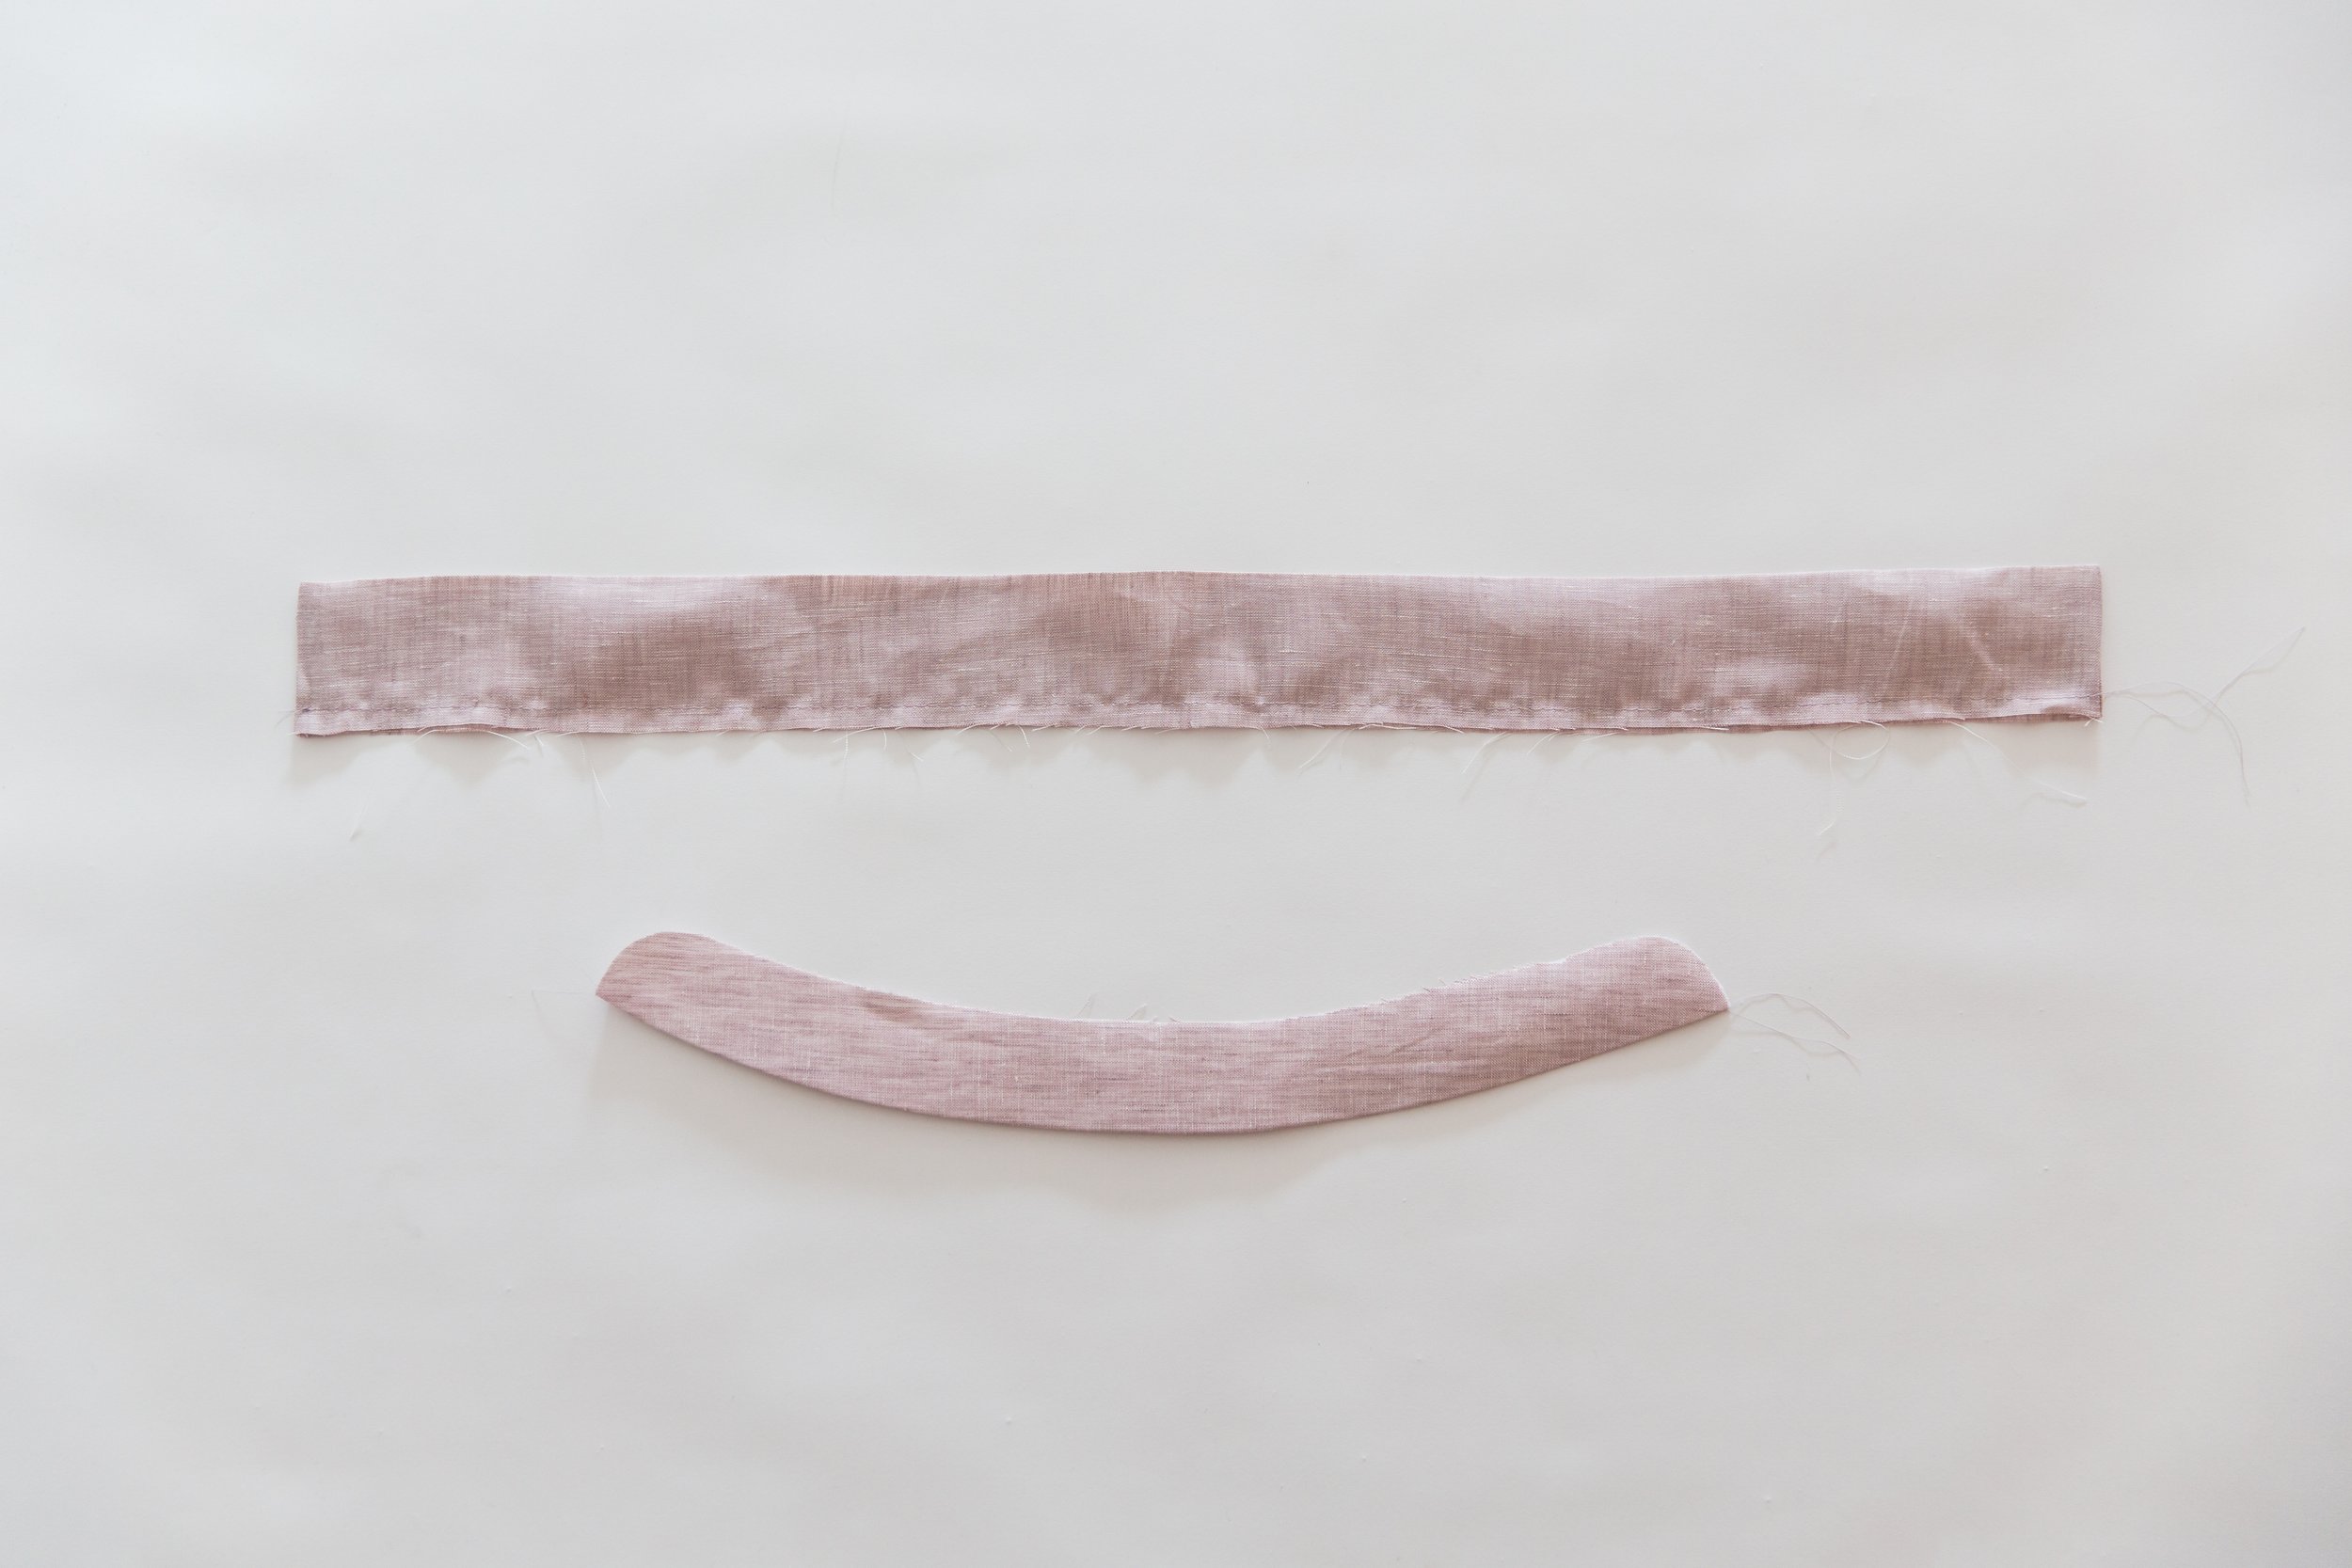
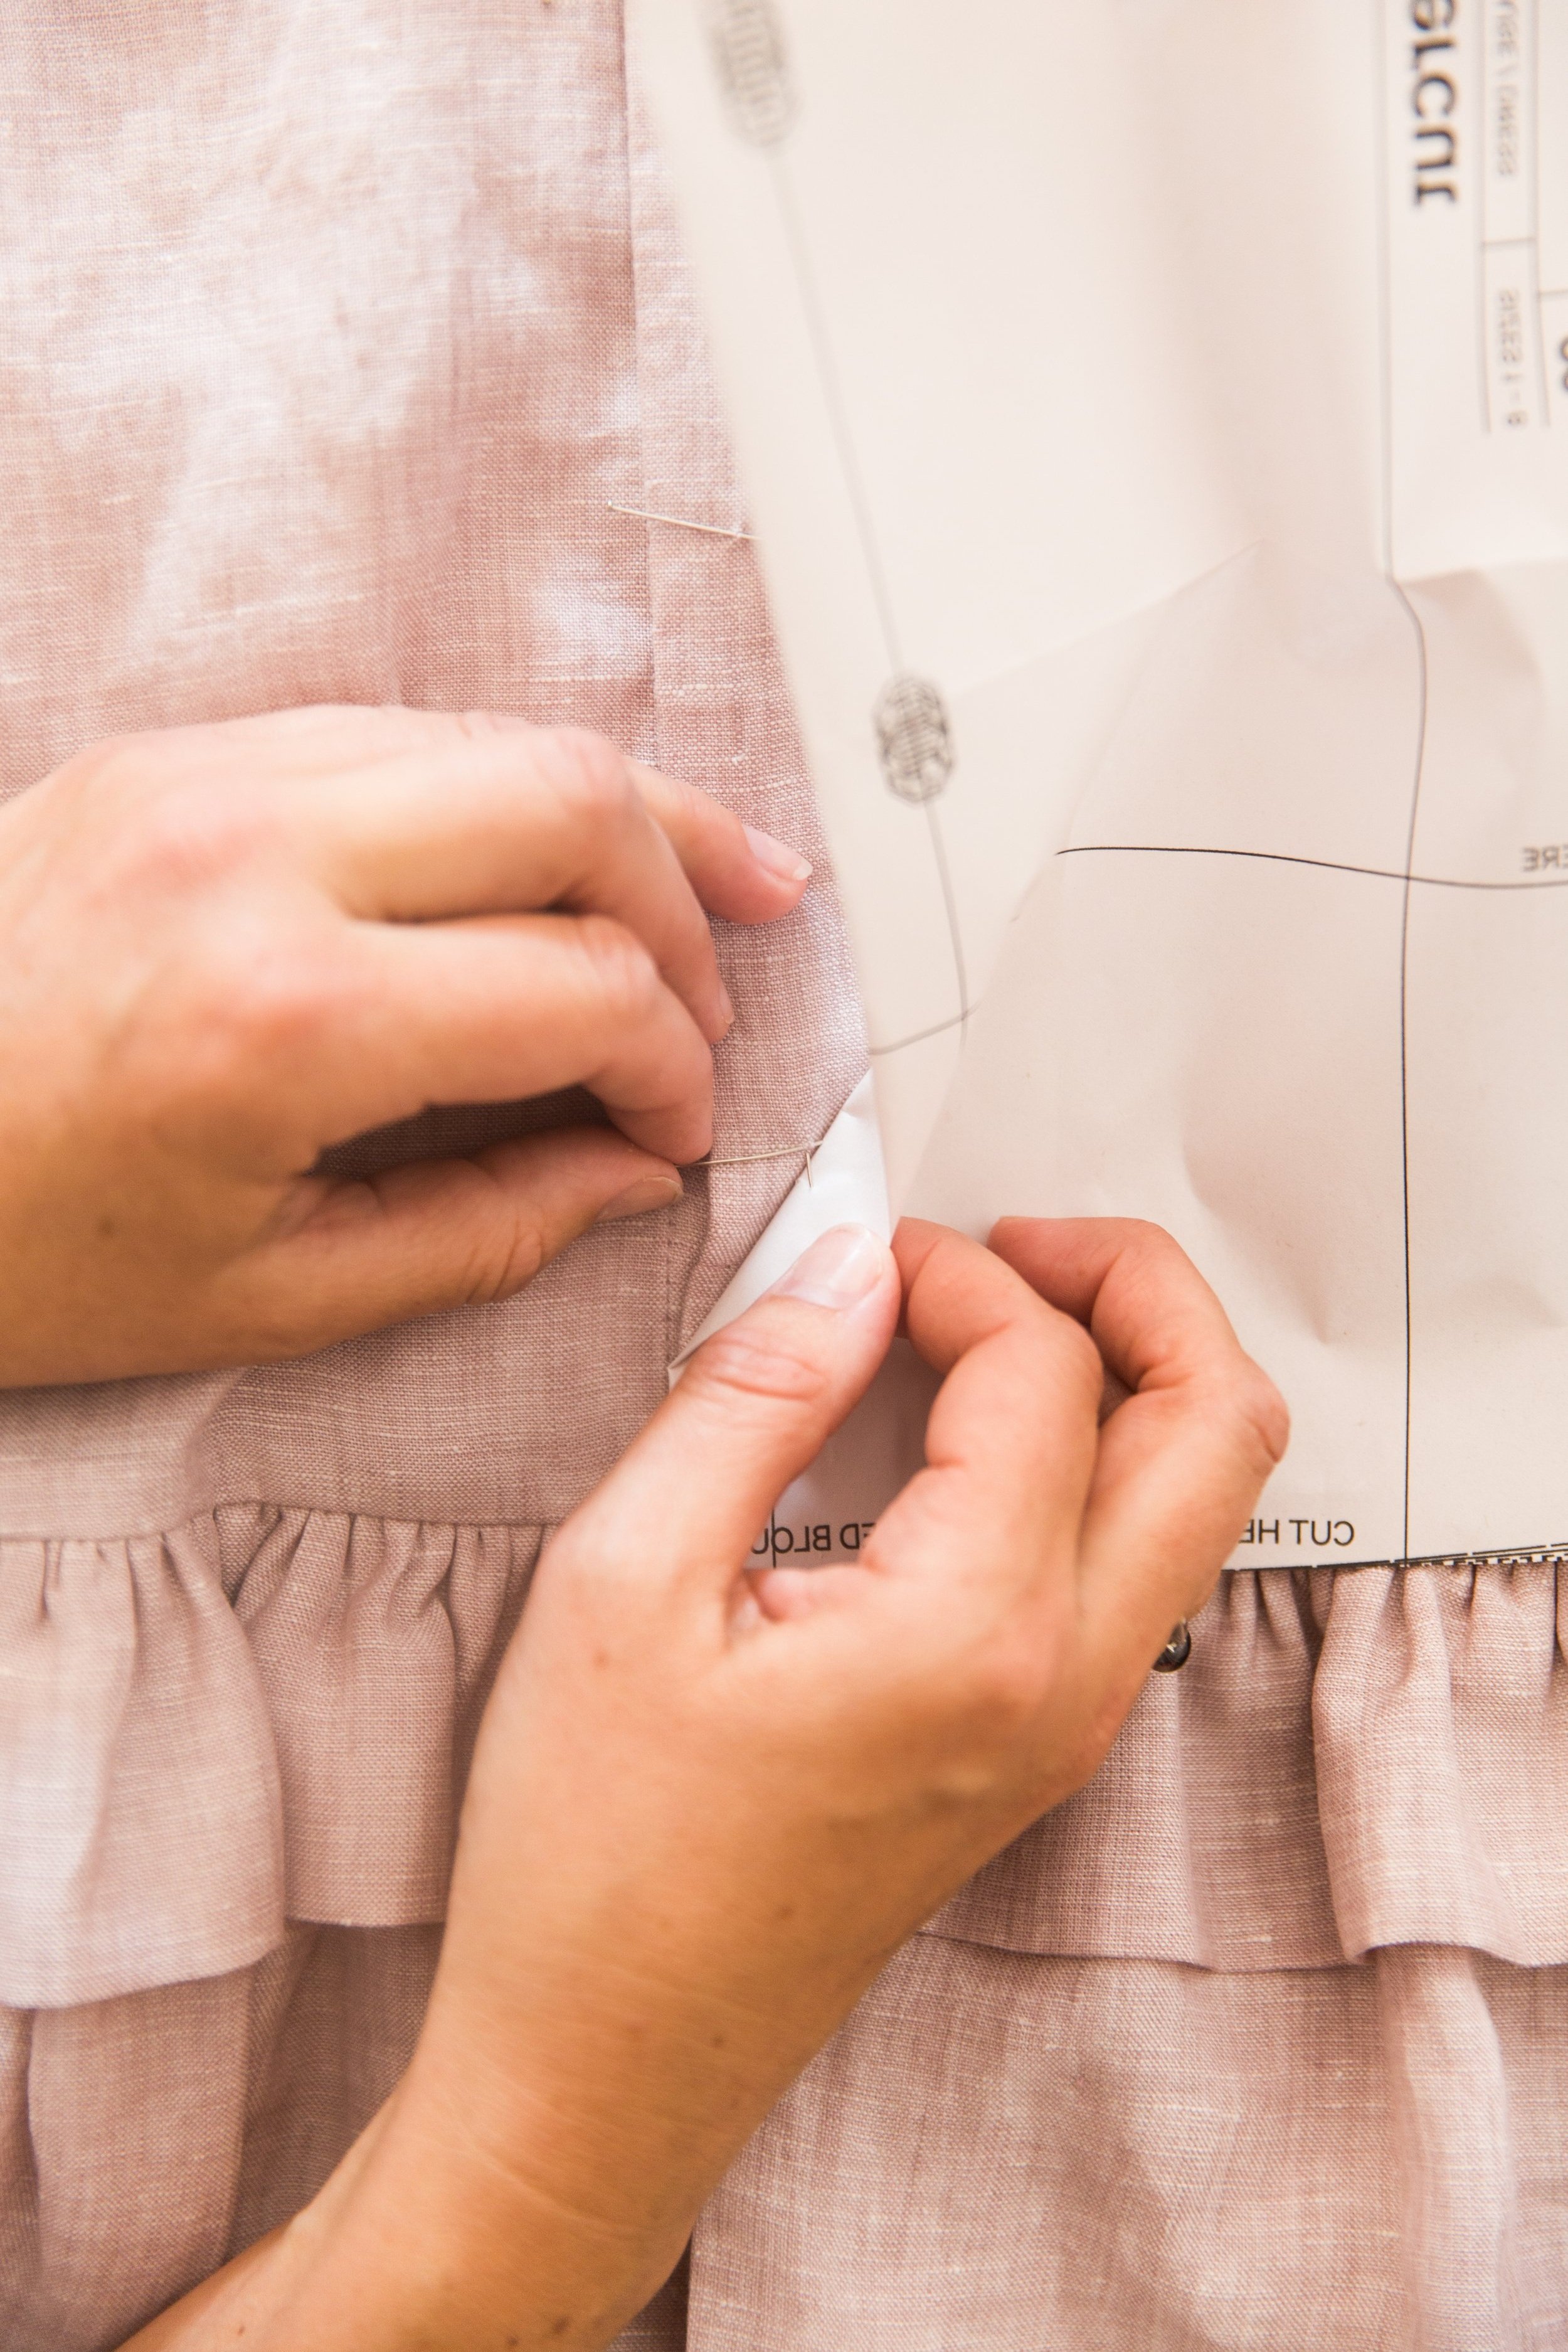
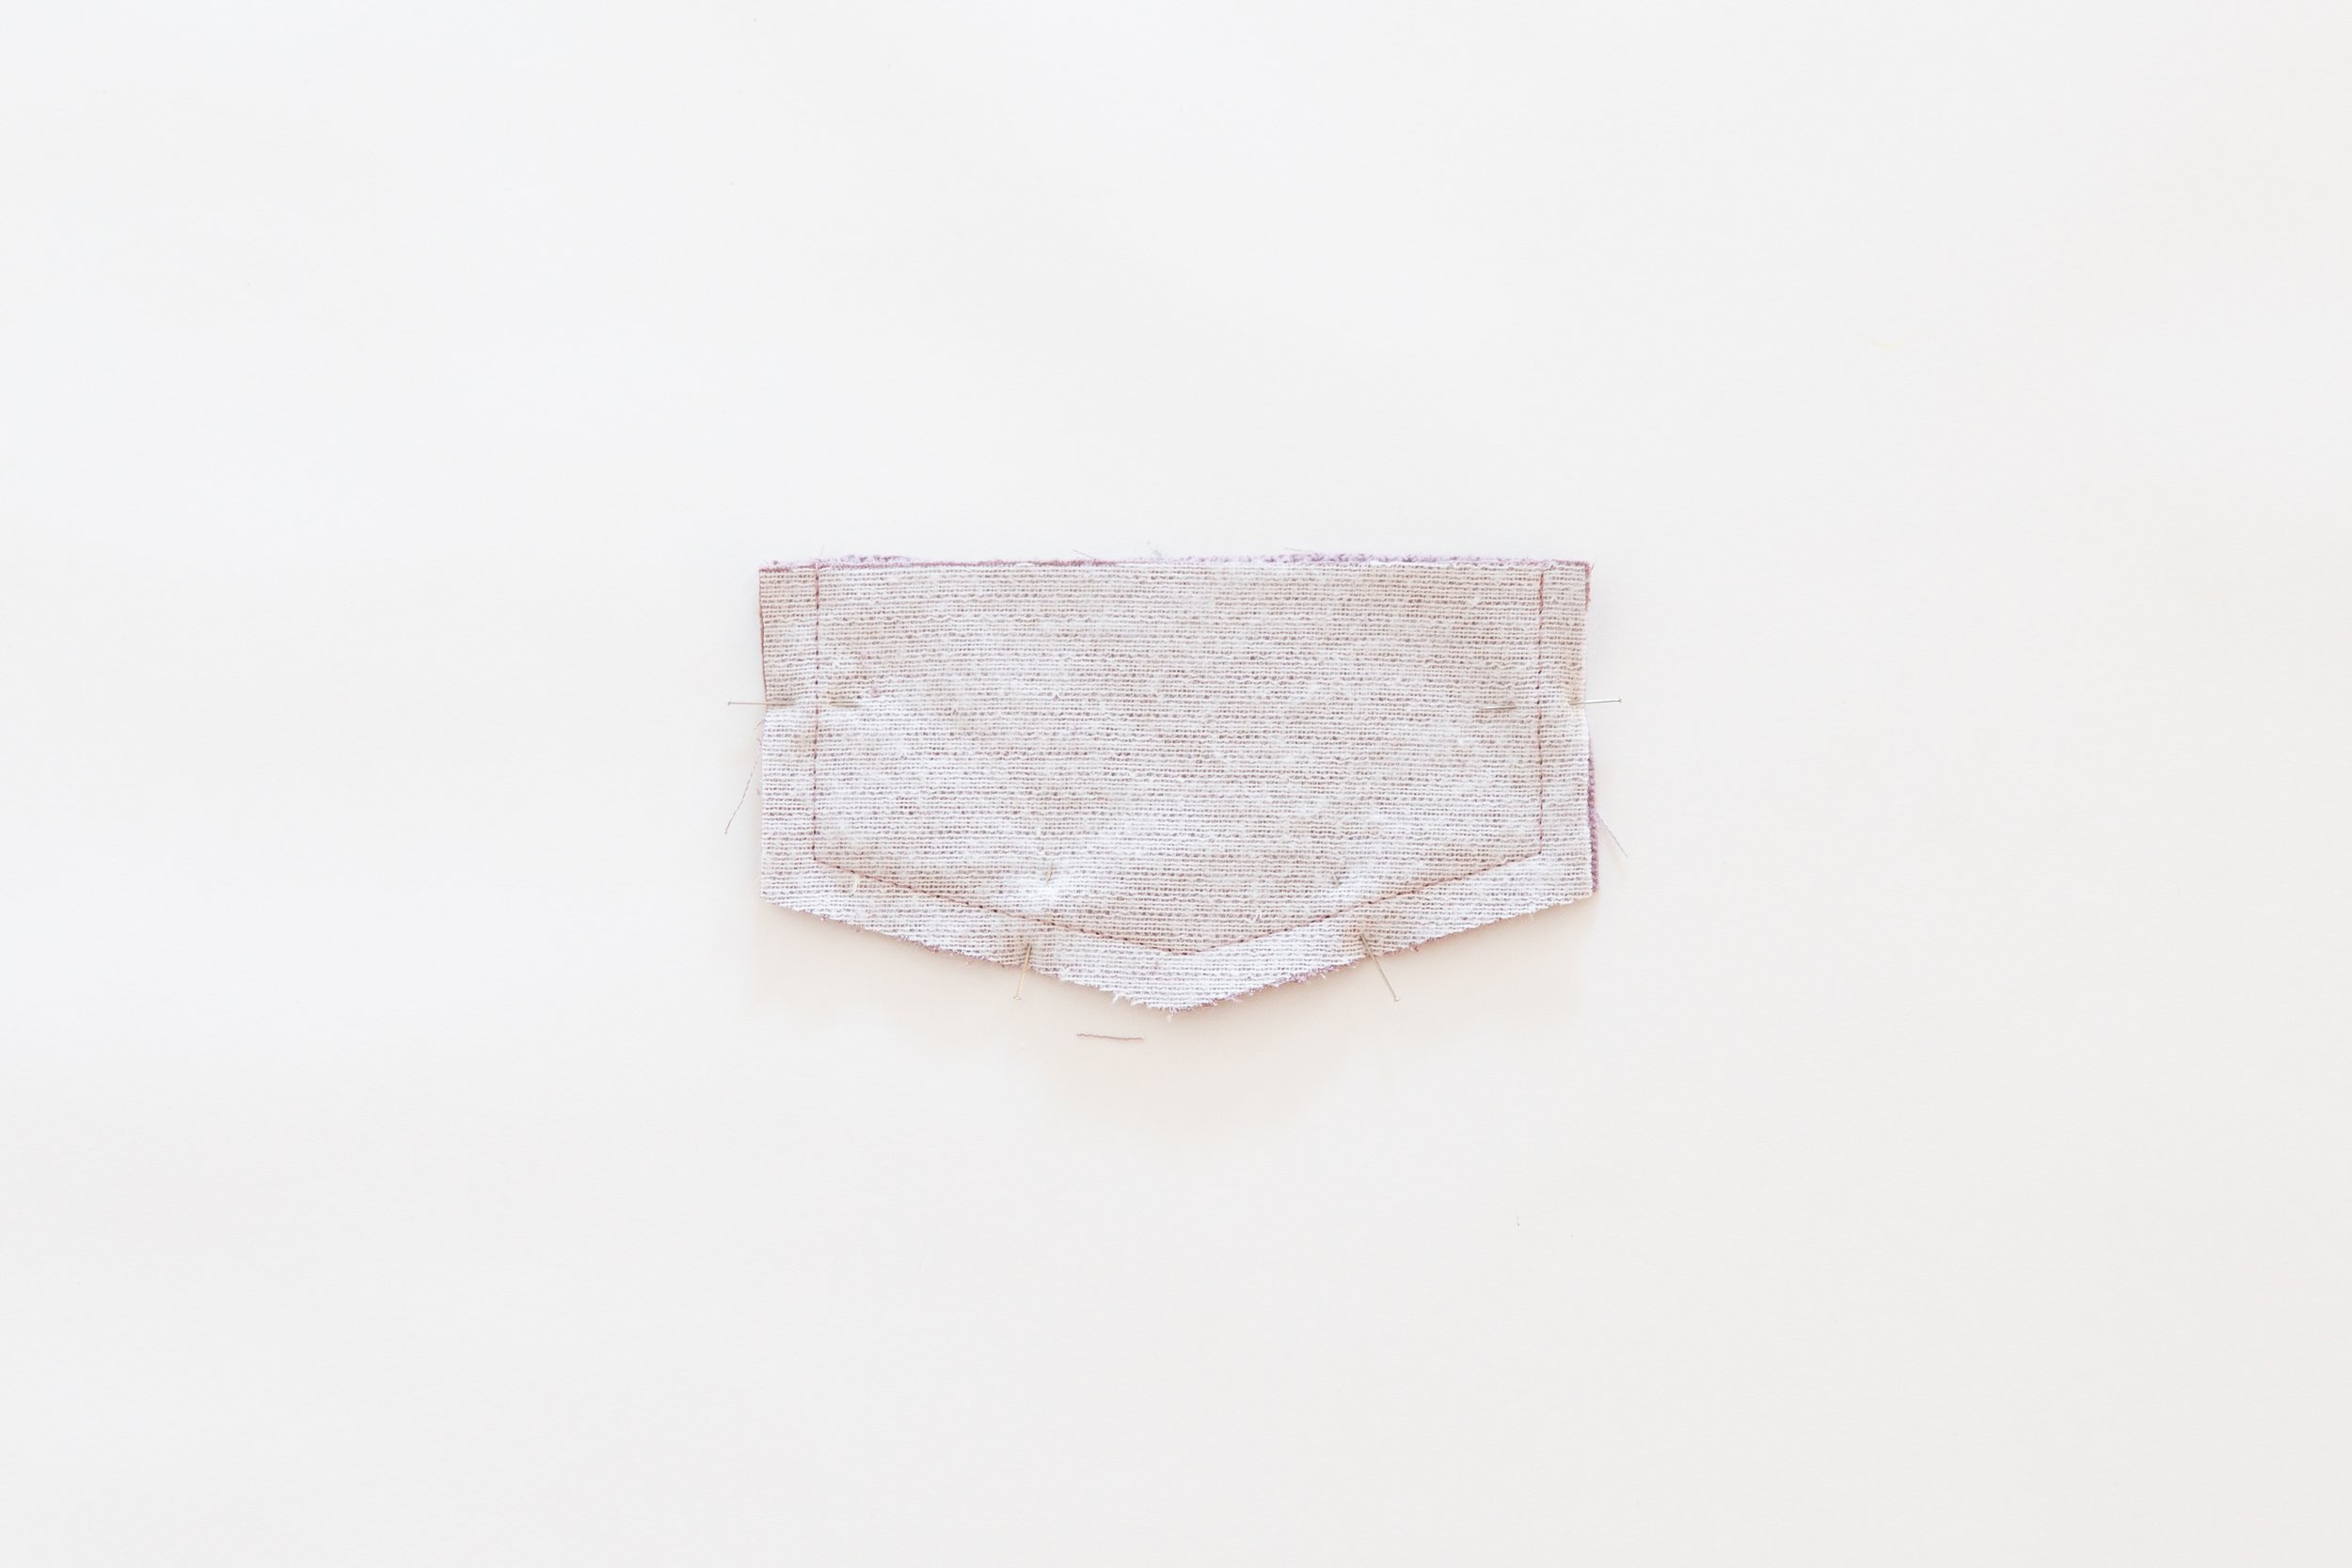
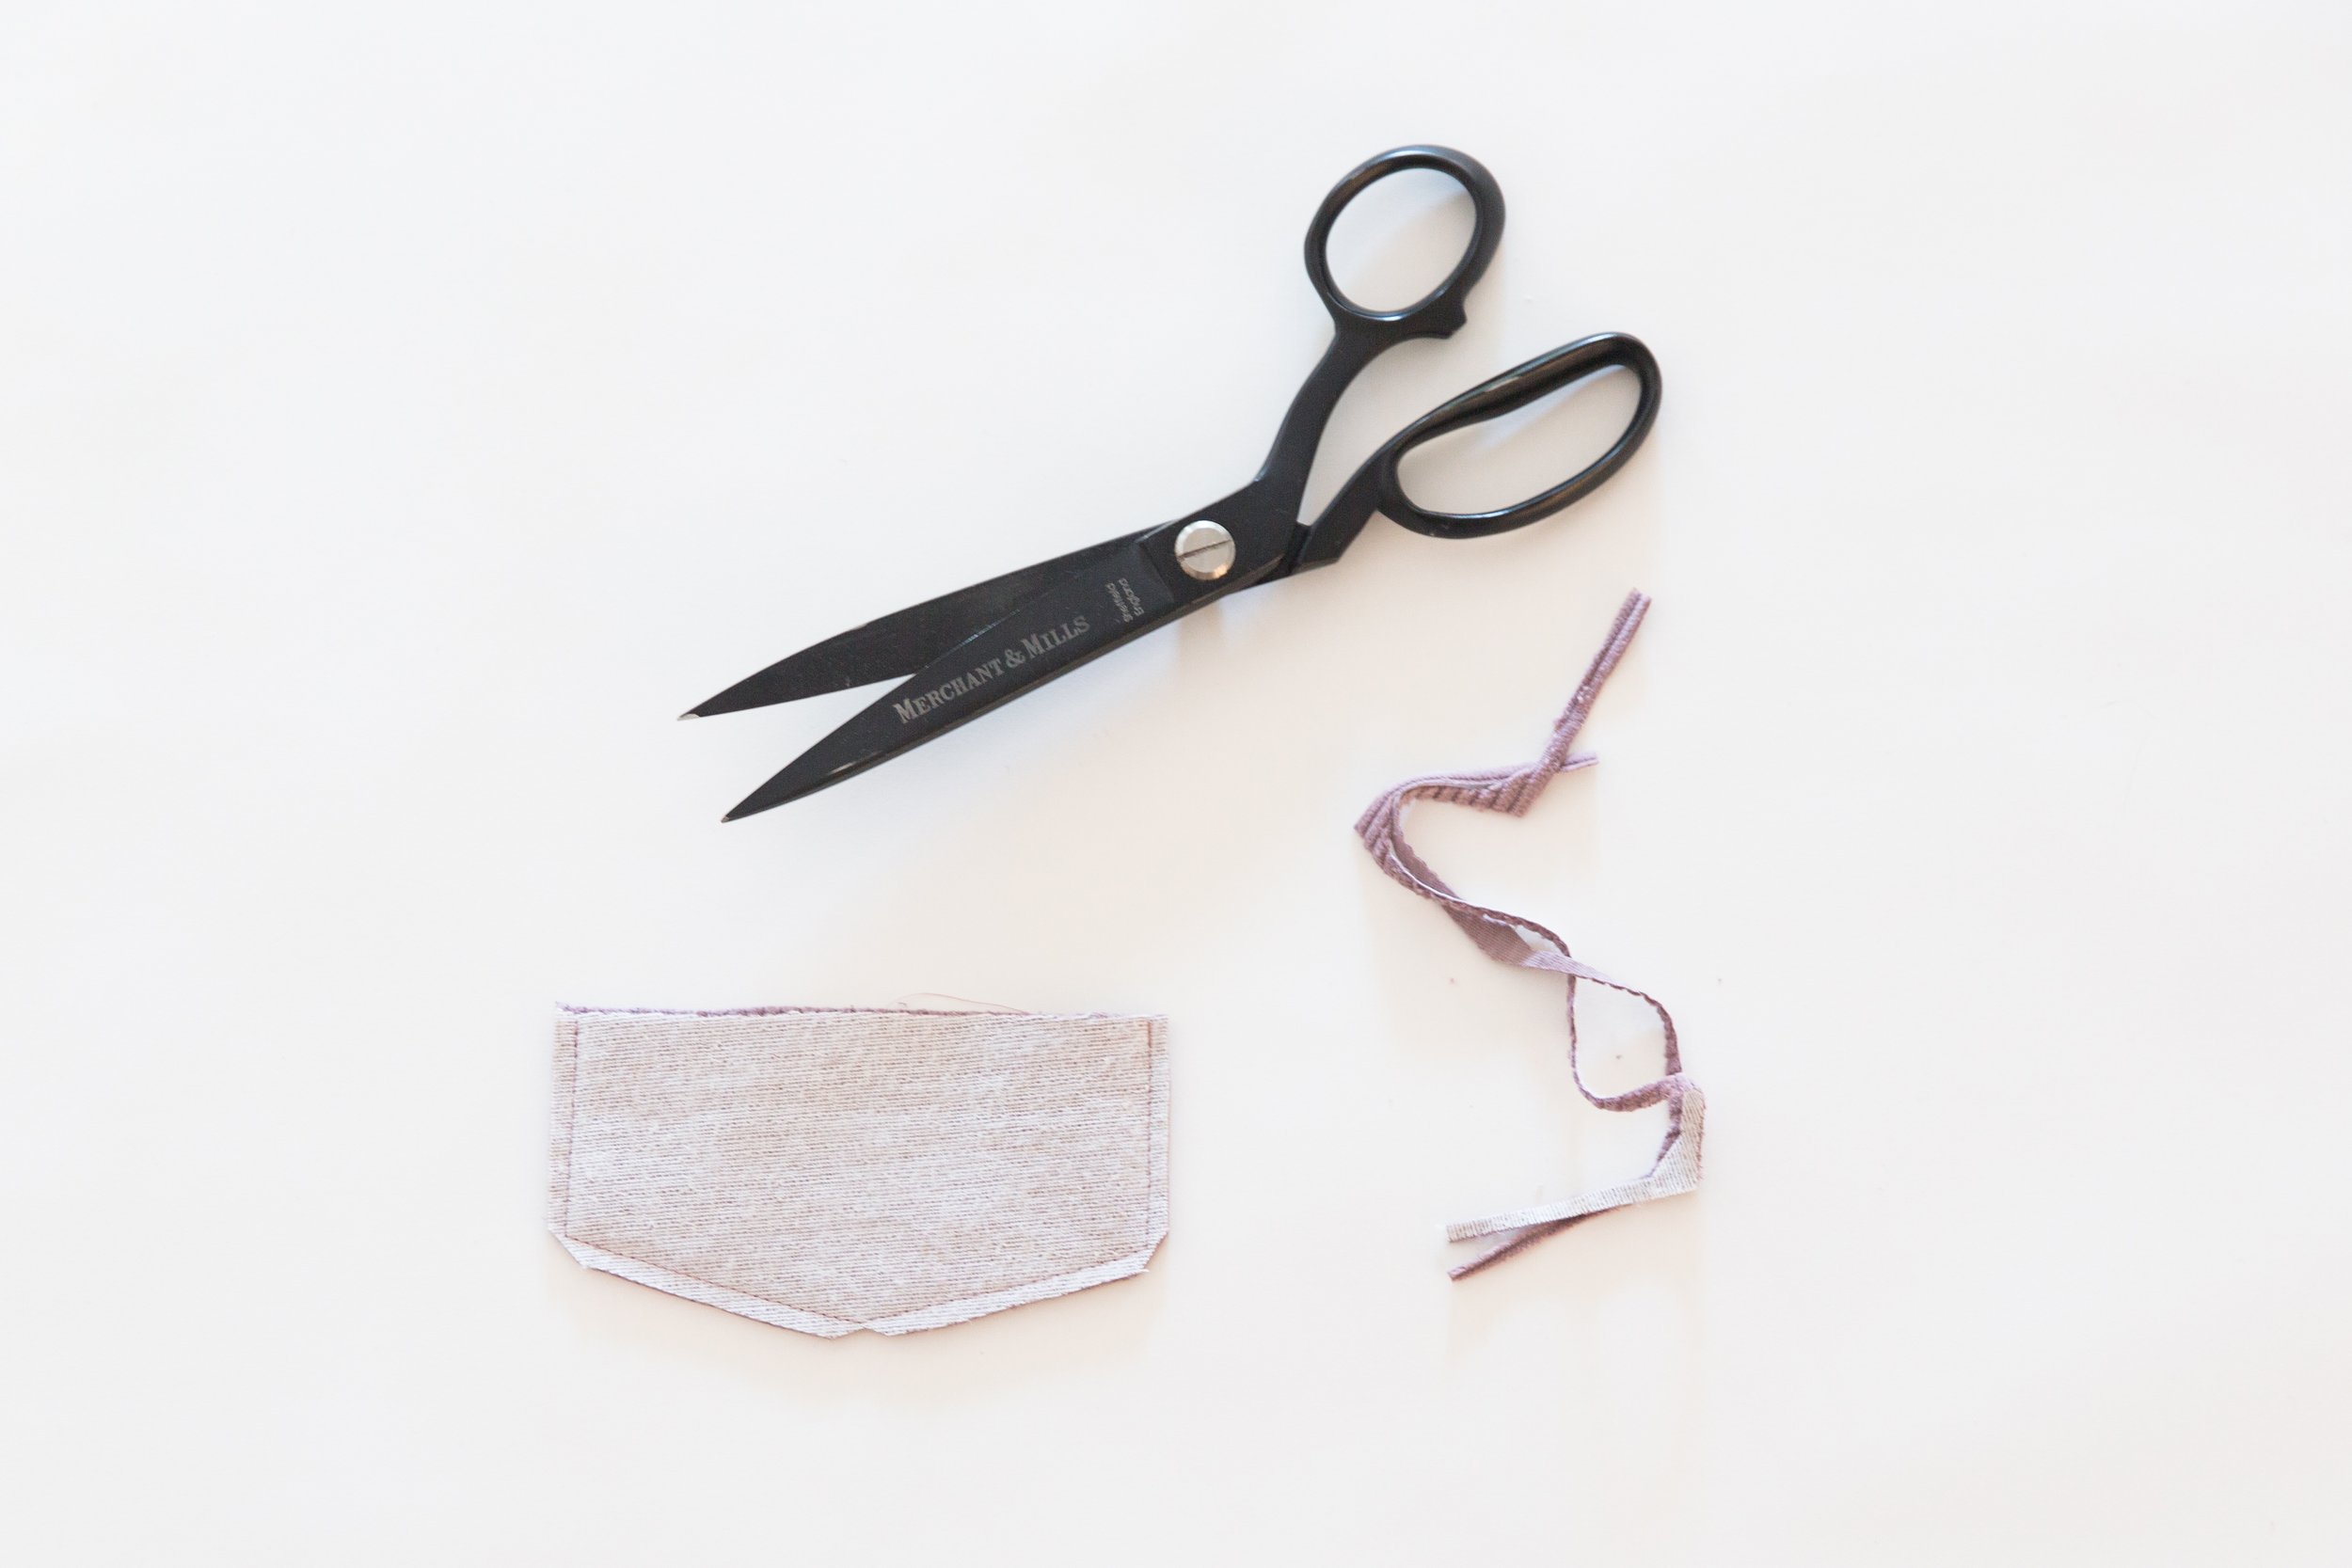
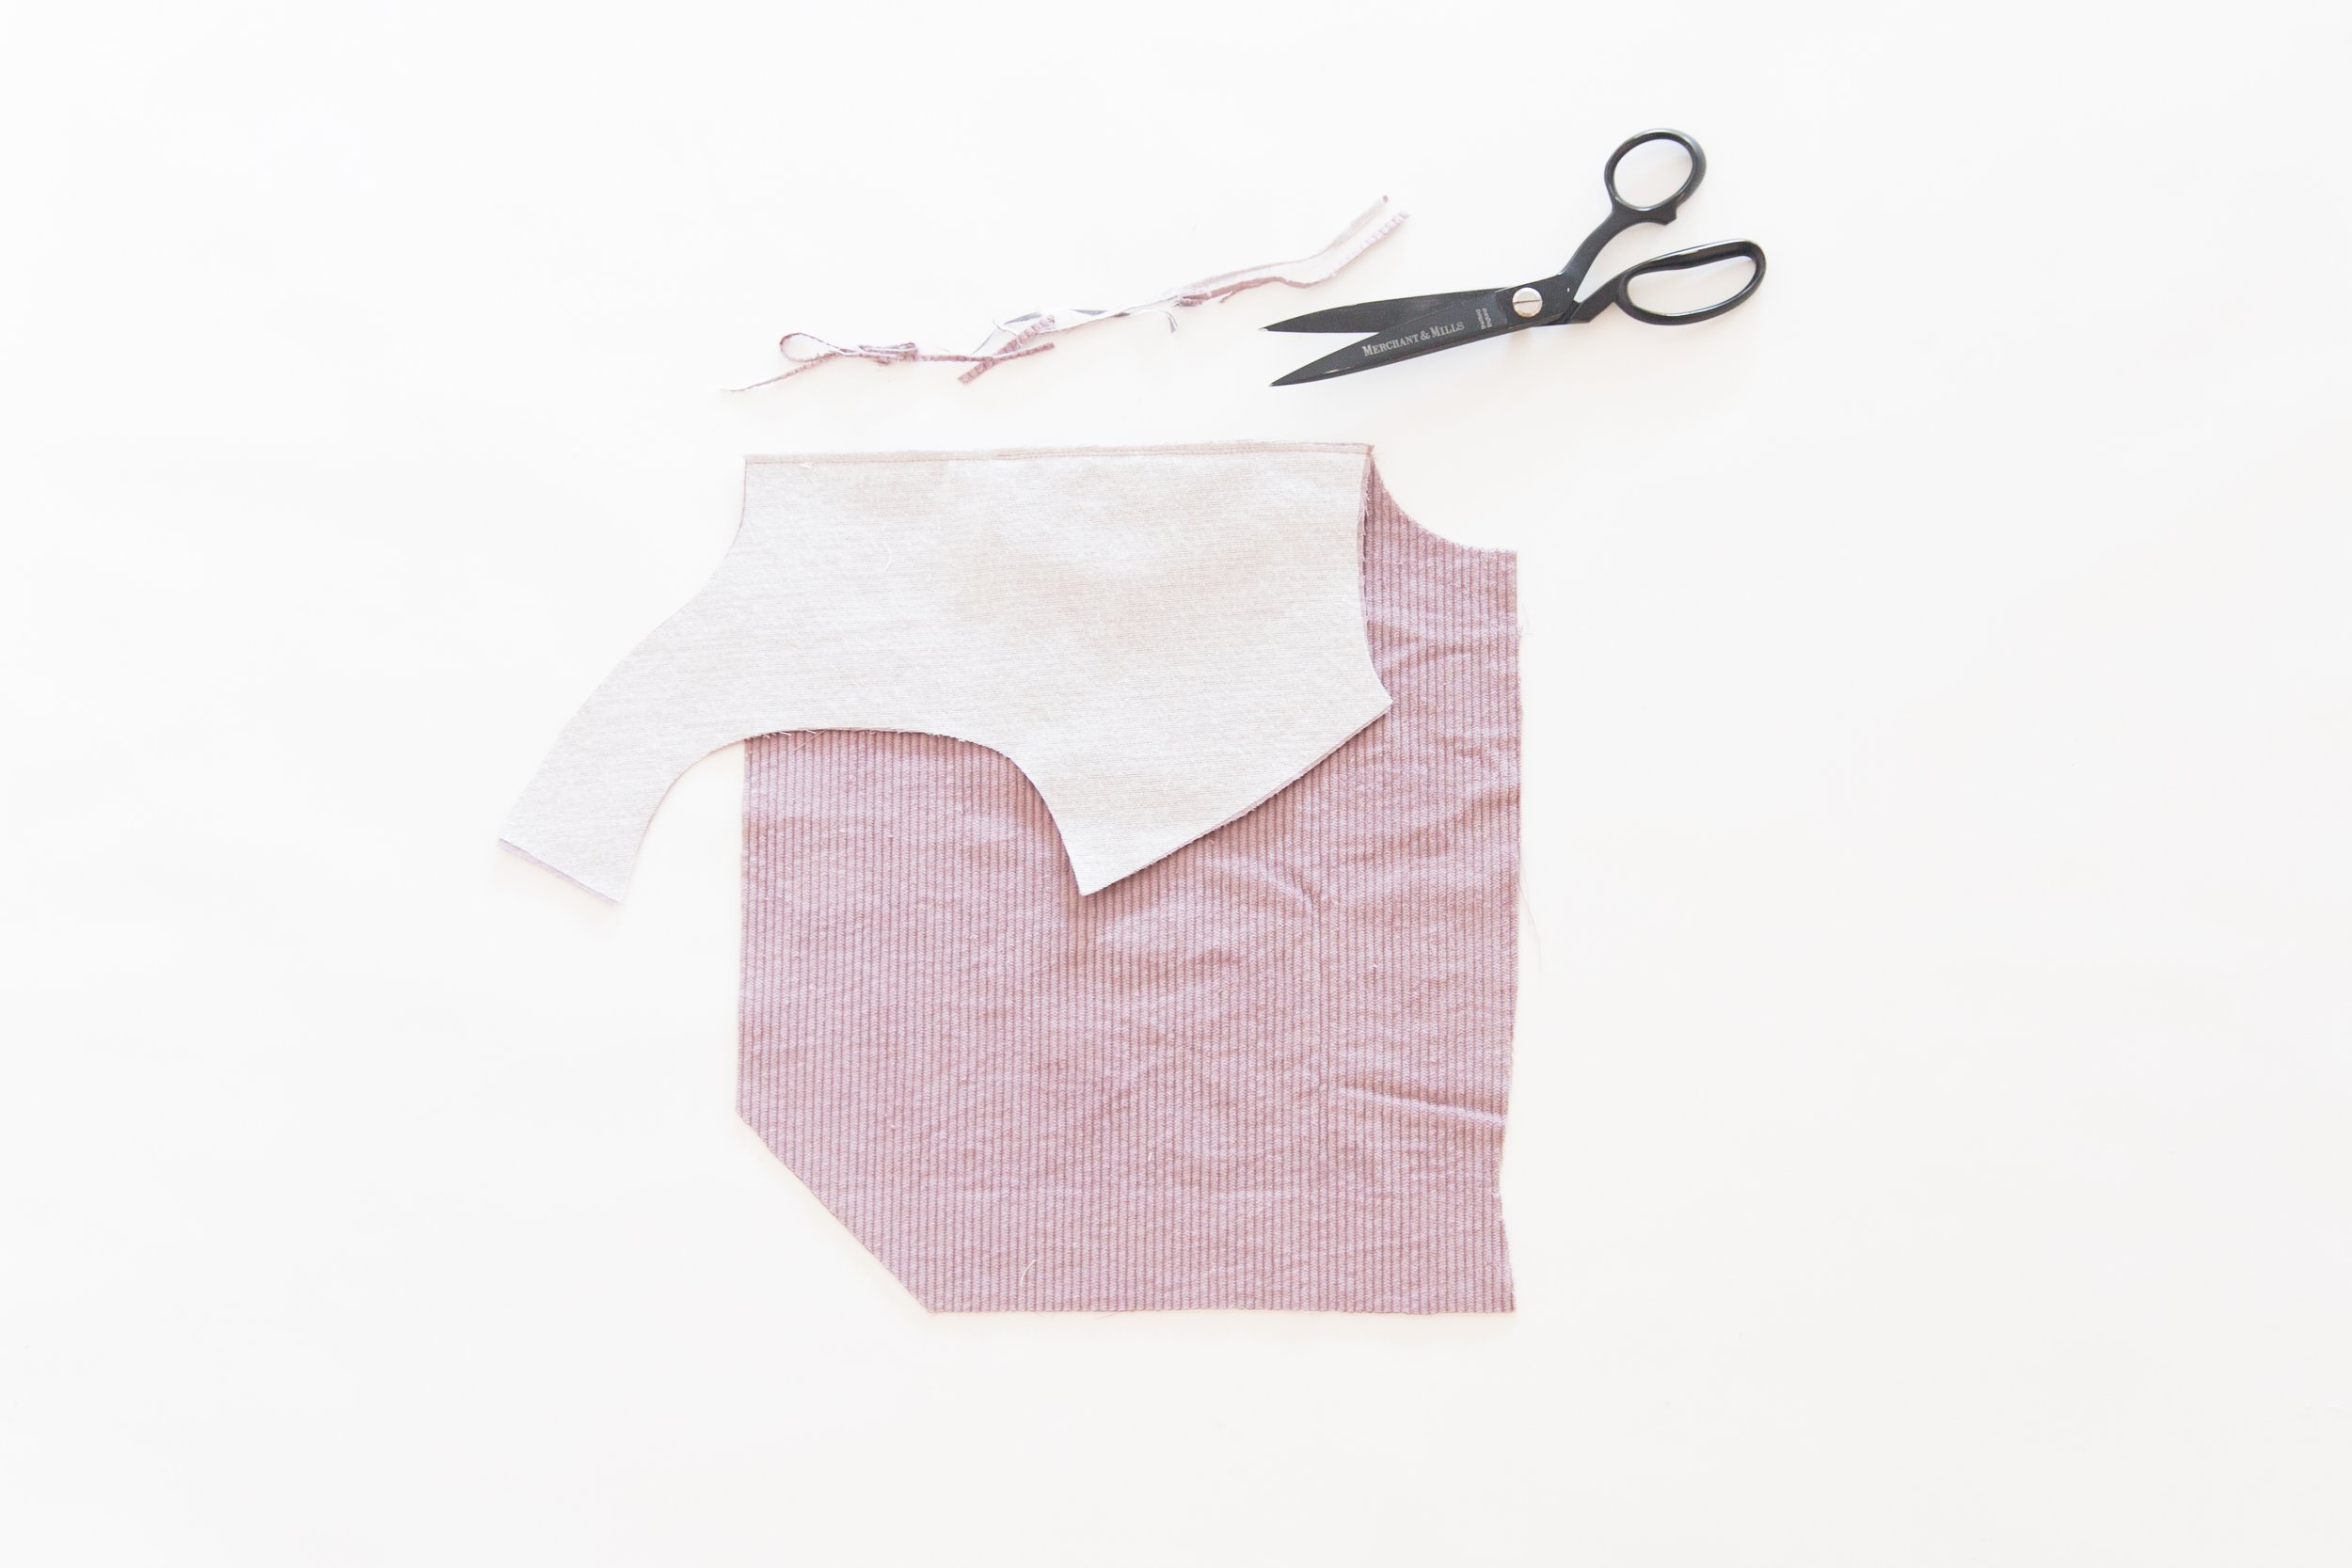
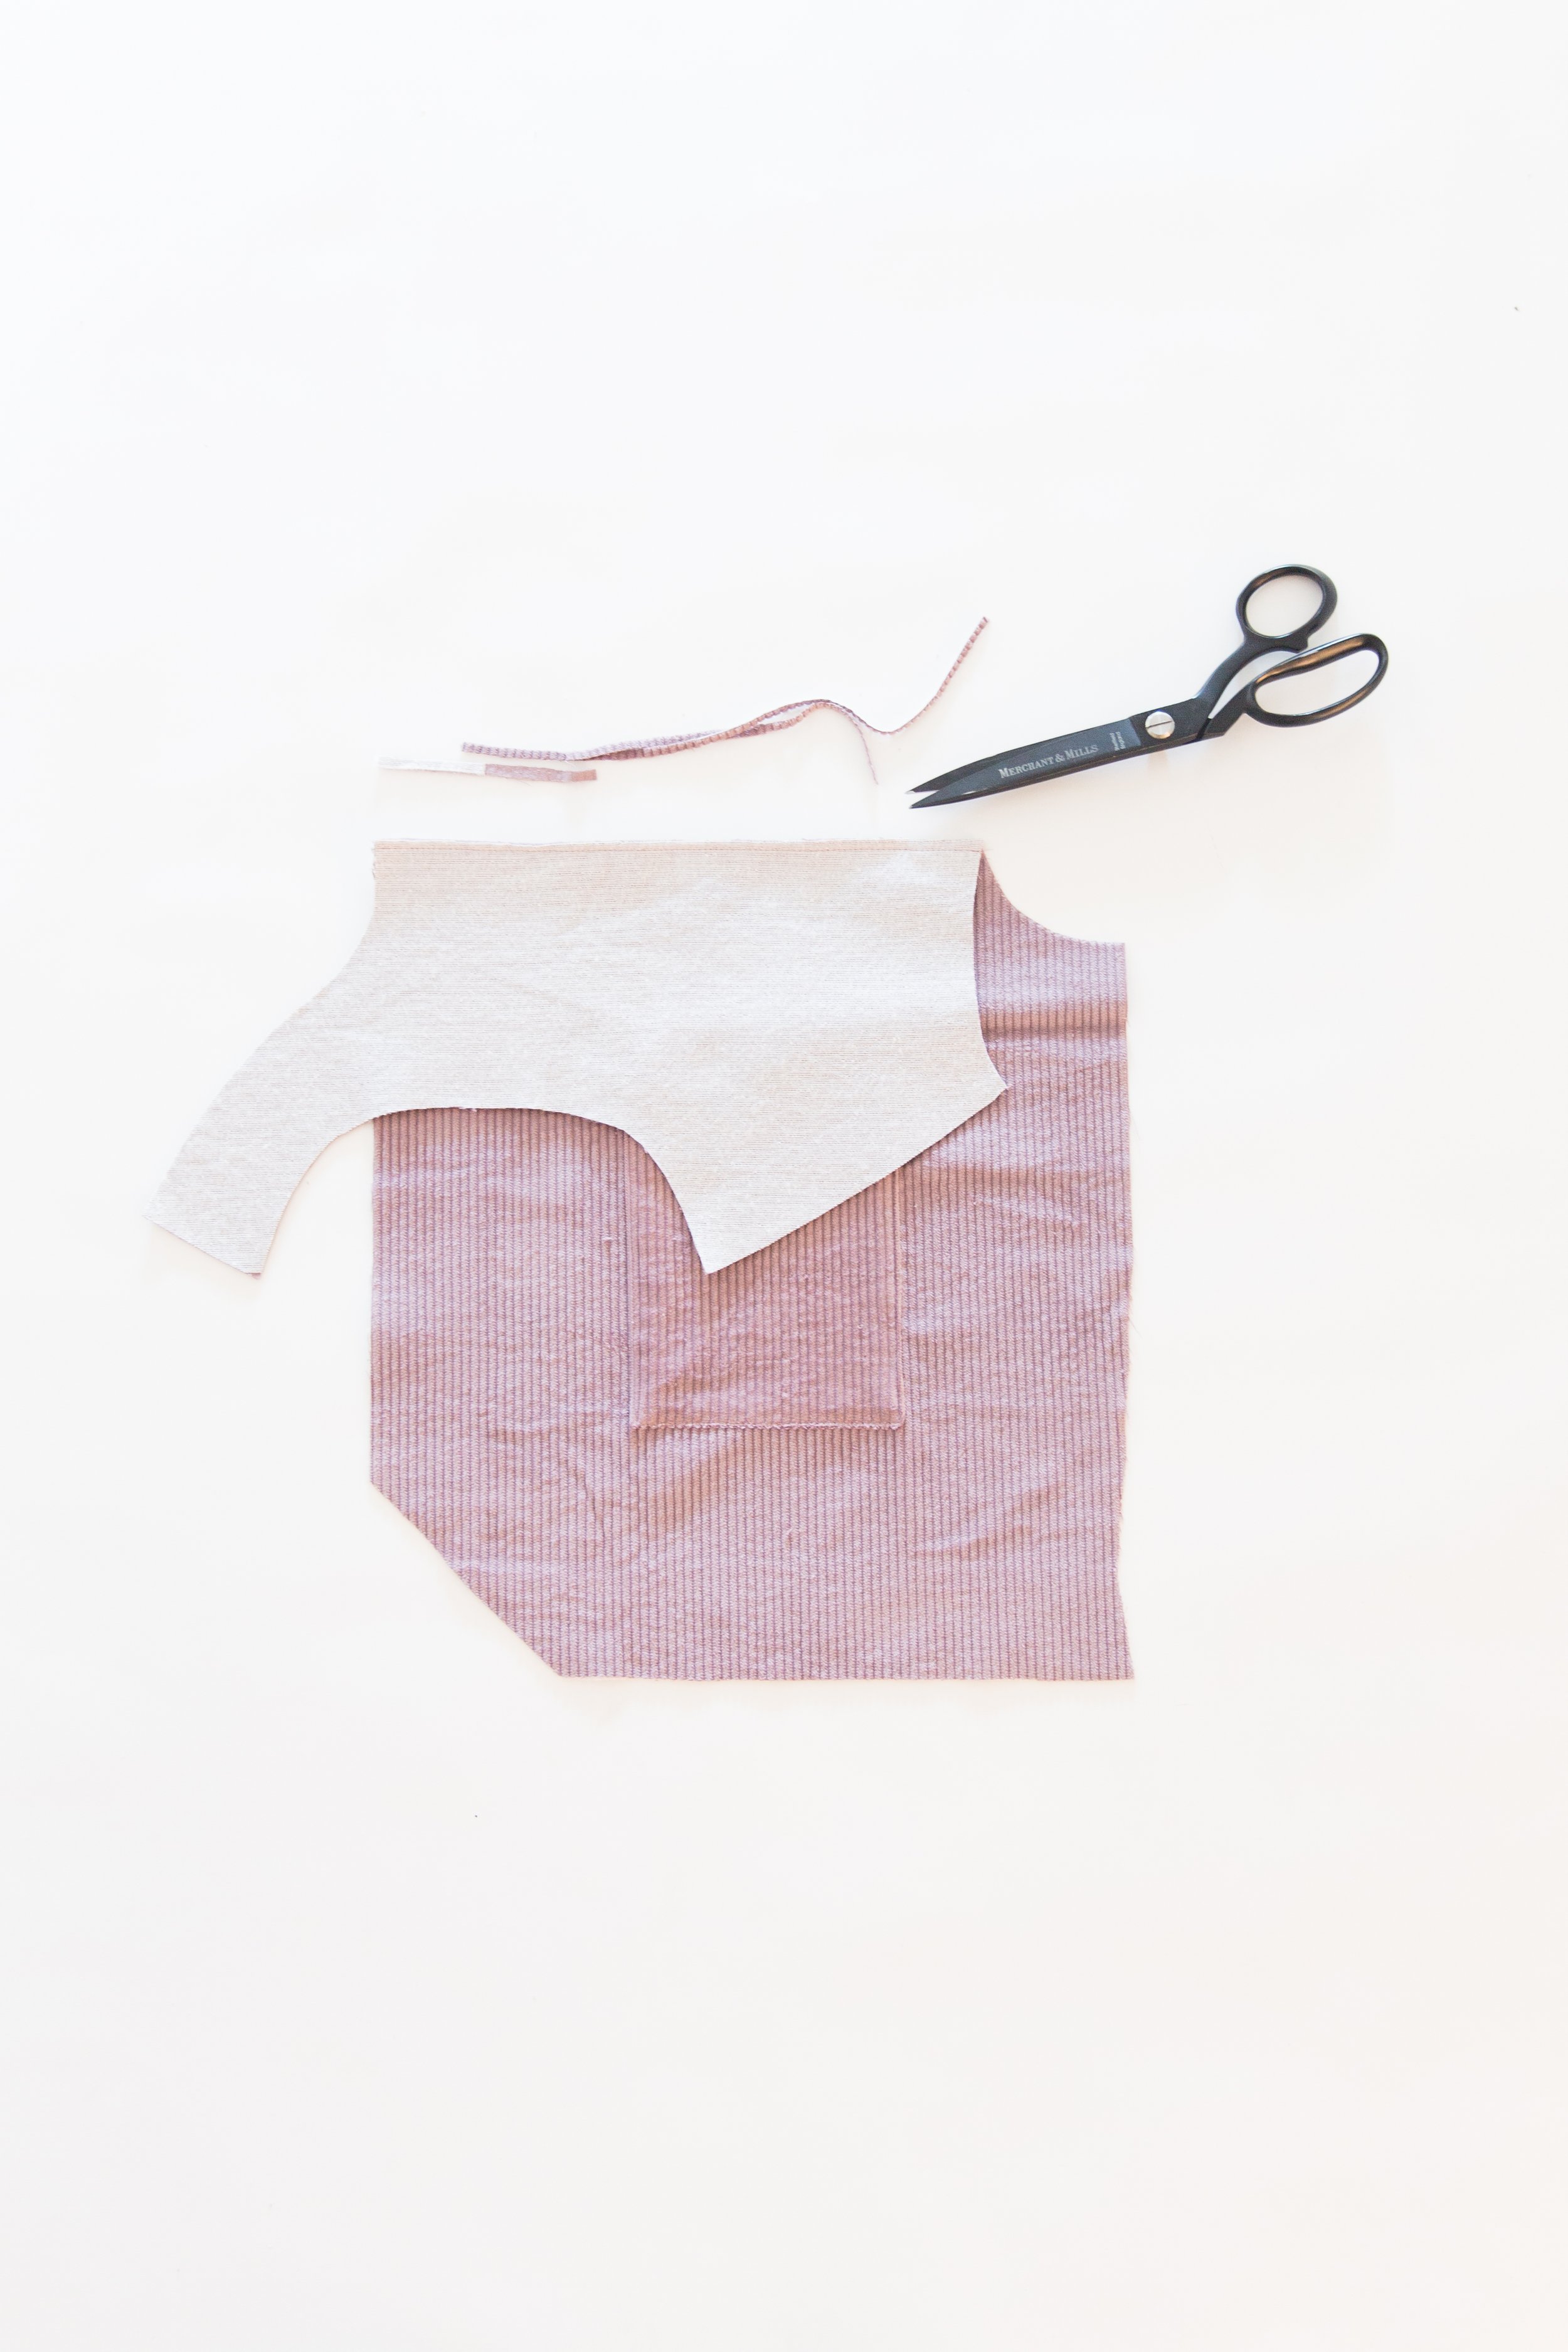
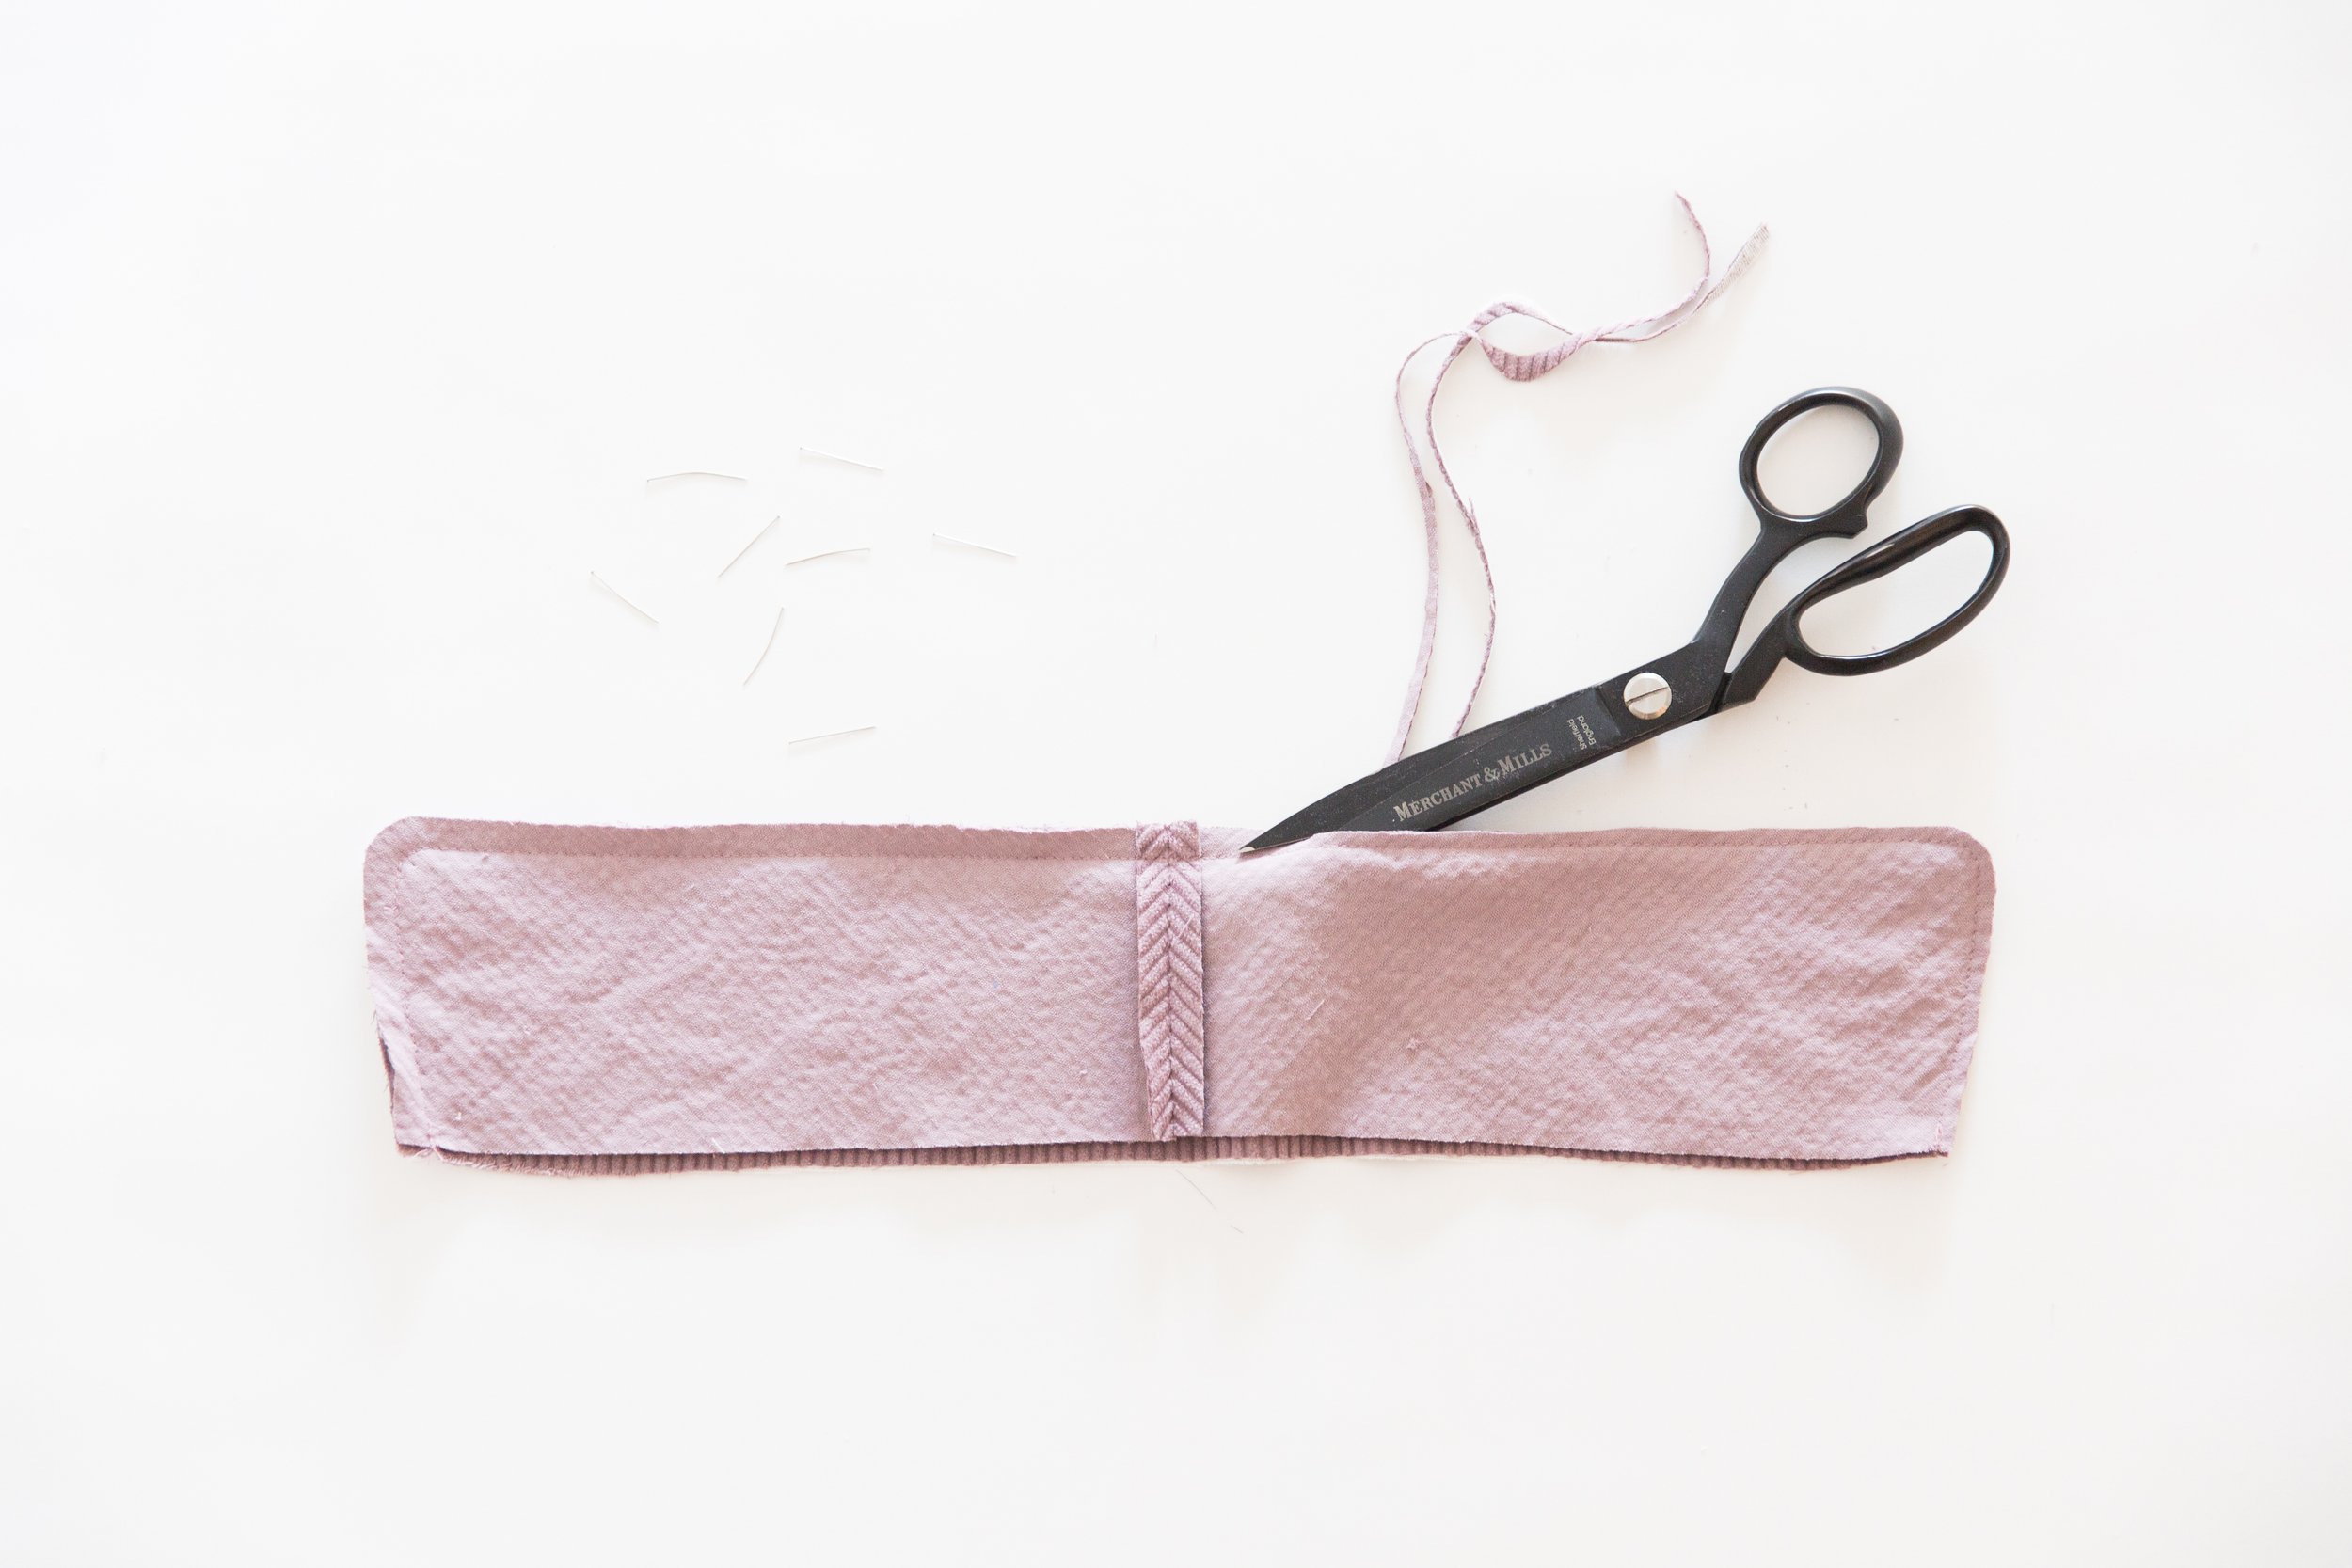
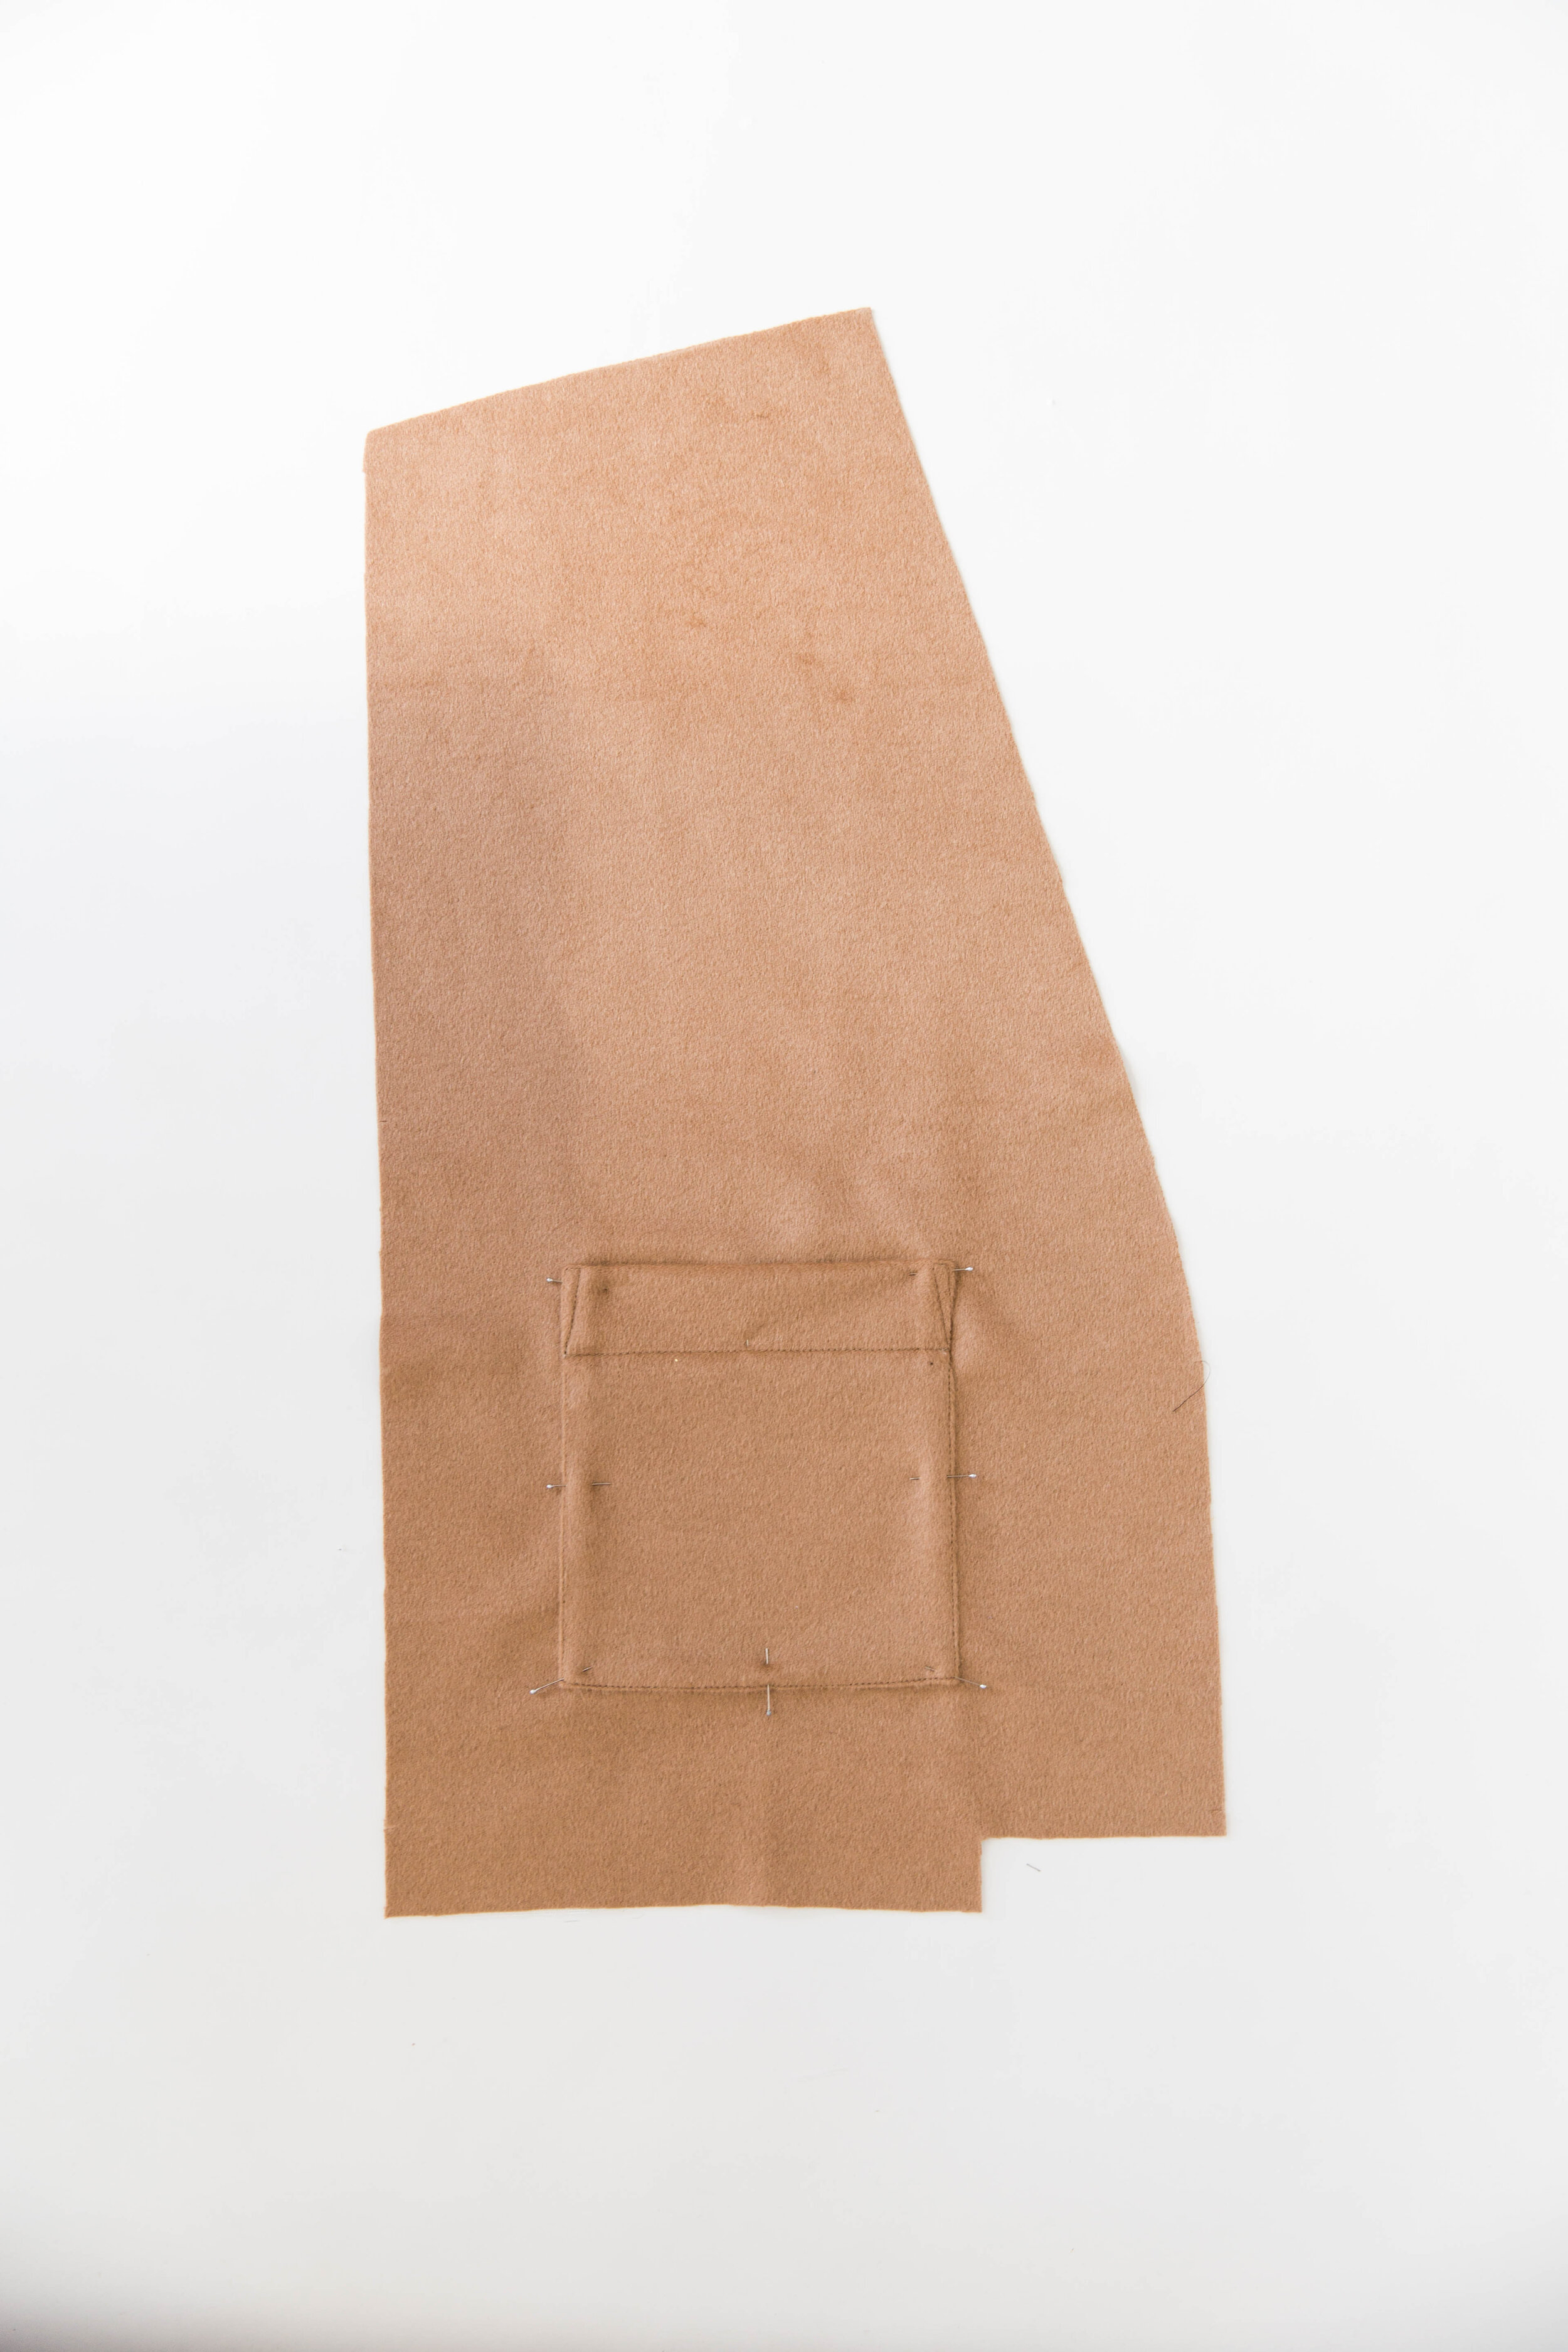
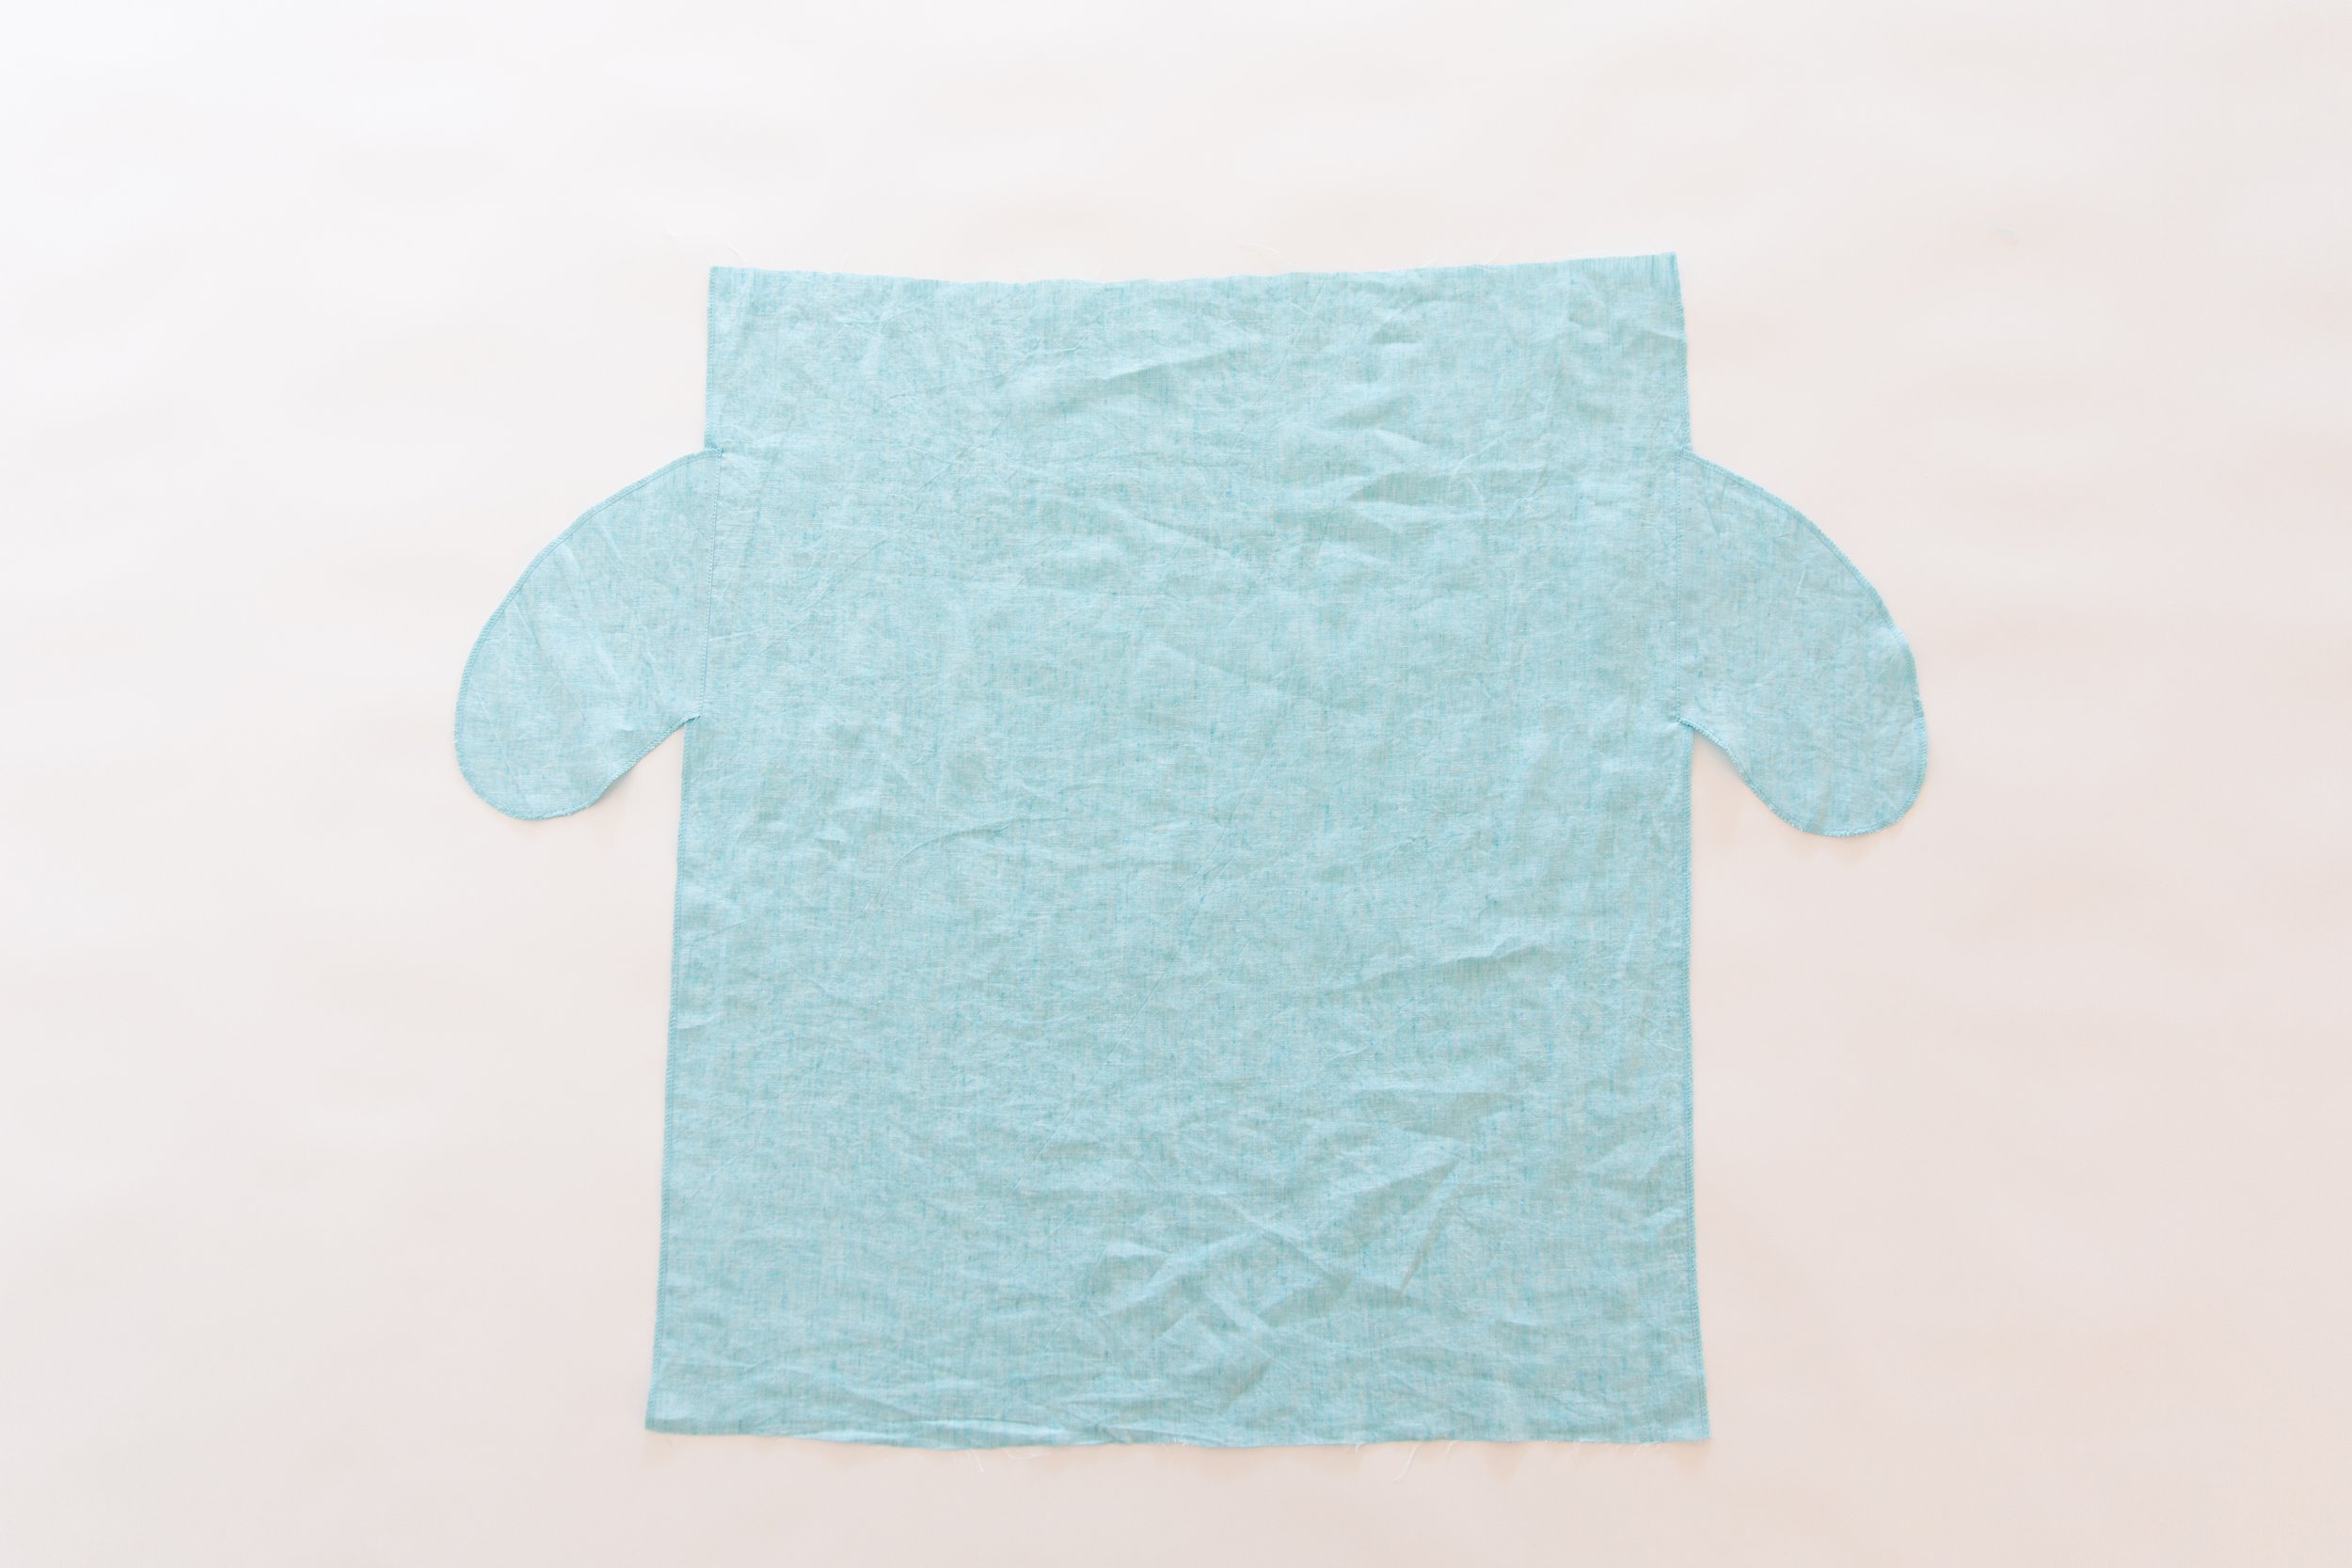
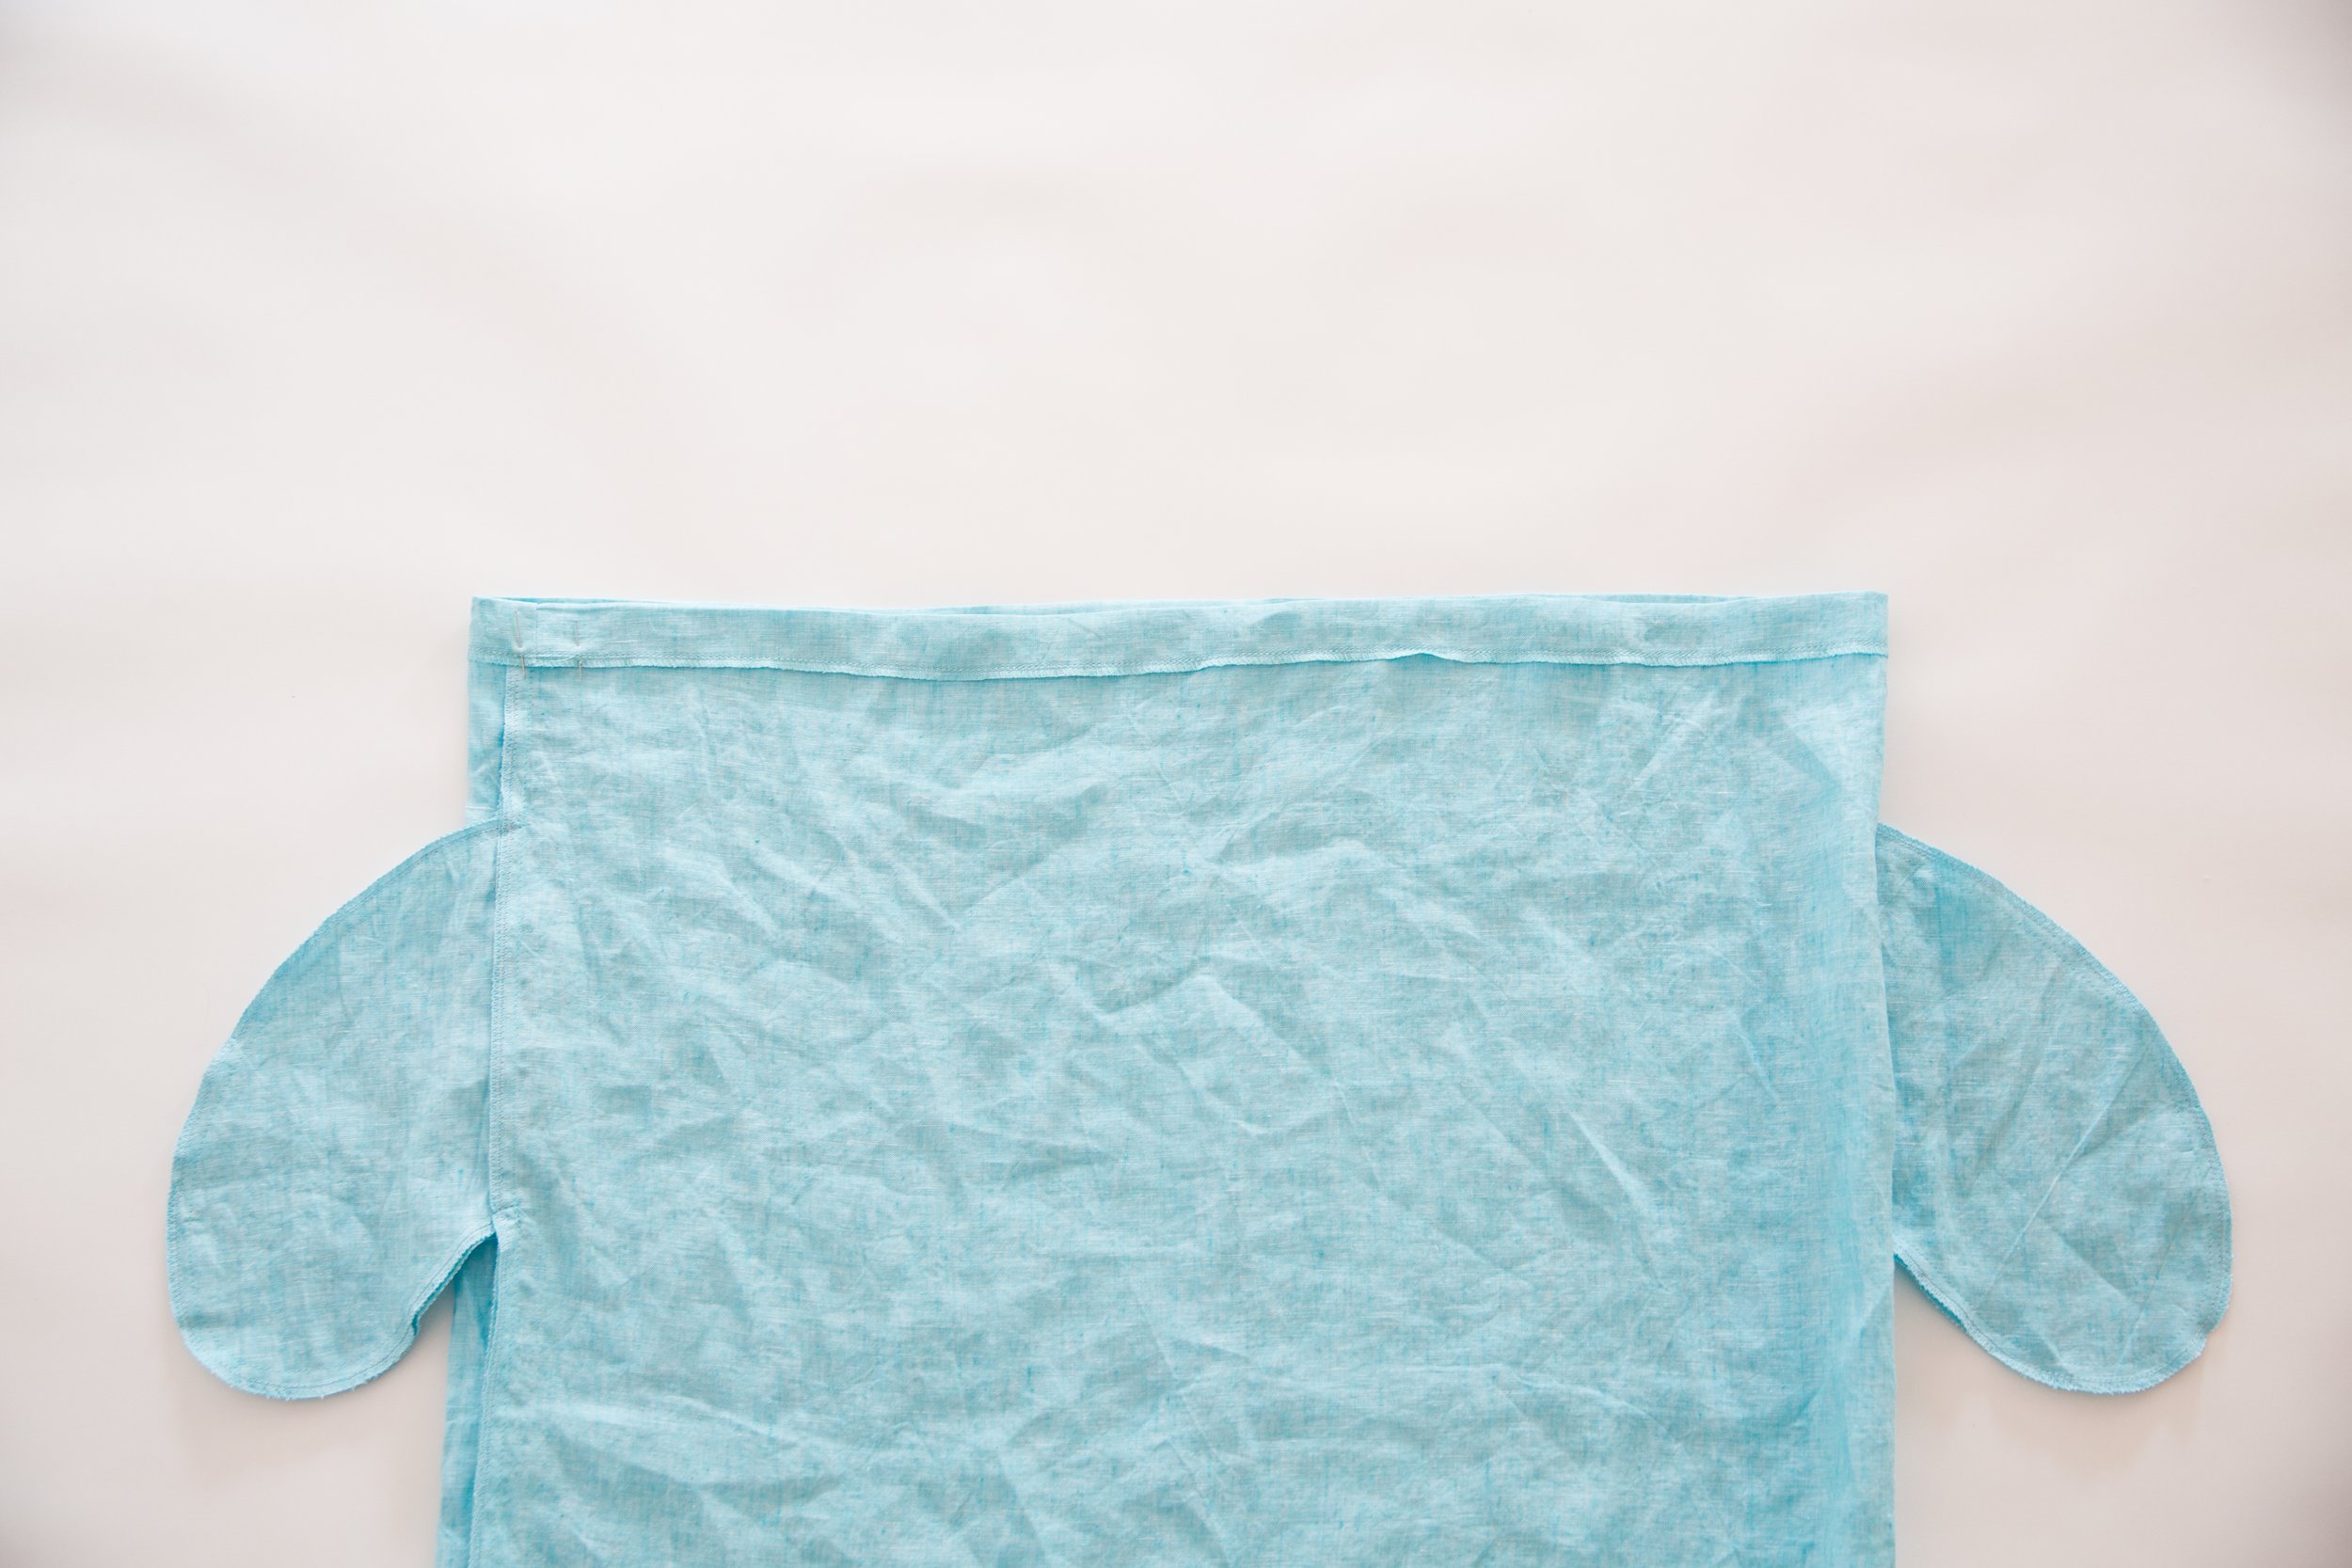
Cut this section off your frill pattern piece as shown above in picture 3, and unfold your frill piece.
This will ensure the frill will sit nicely into the side seam once gathered and attached.
Sewing adjustments;
Follow the fusing step, and steps 1 to 6 as per your Maya instruction booklet. Then follow the following steps for the frill addition.
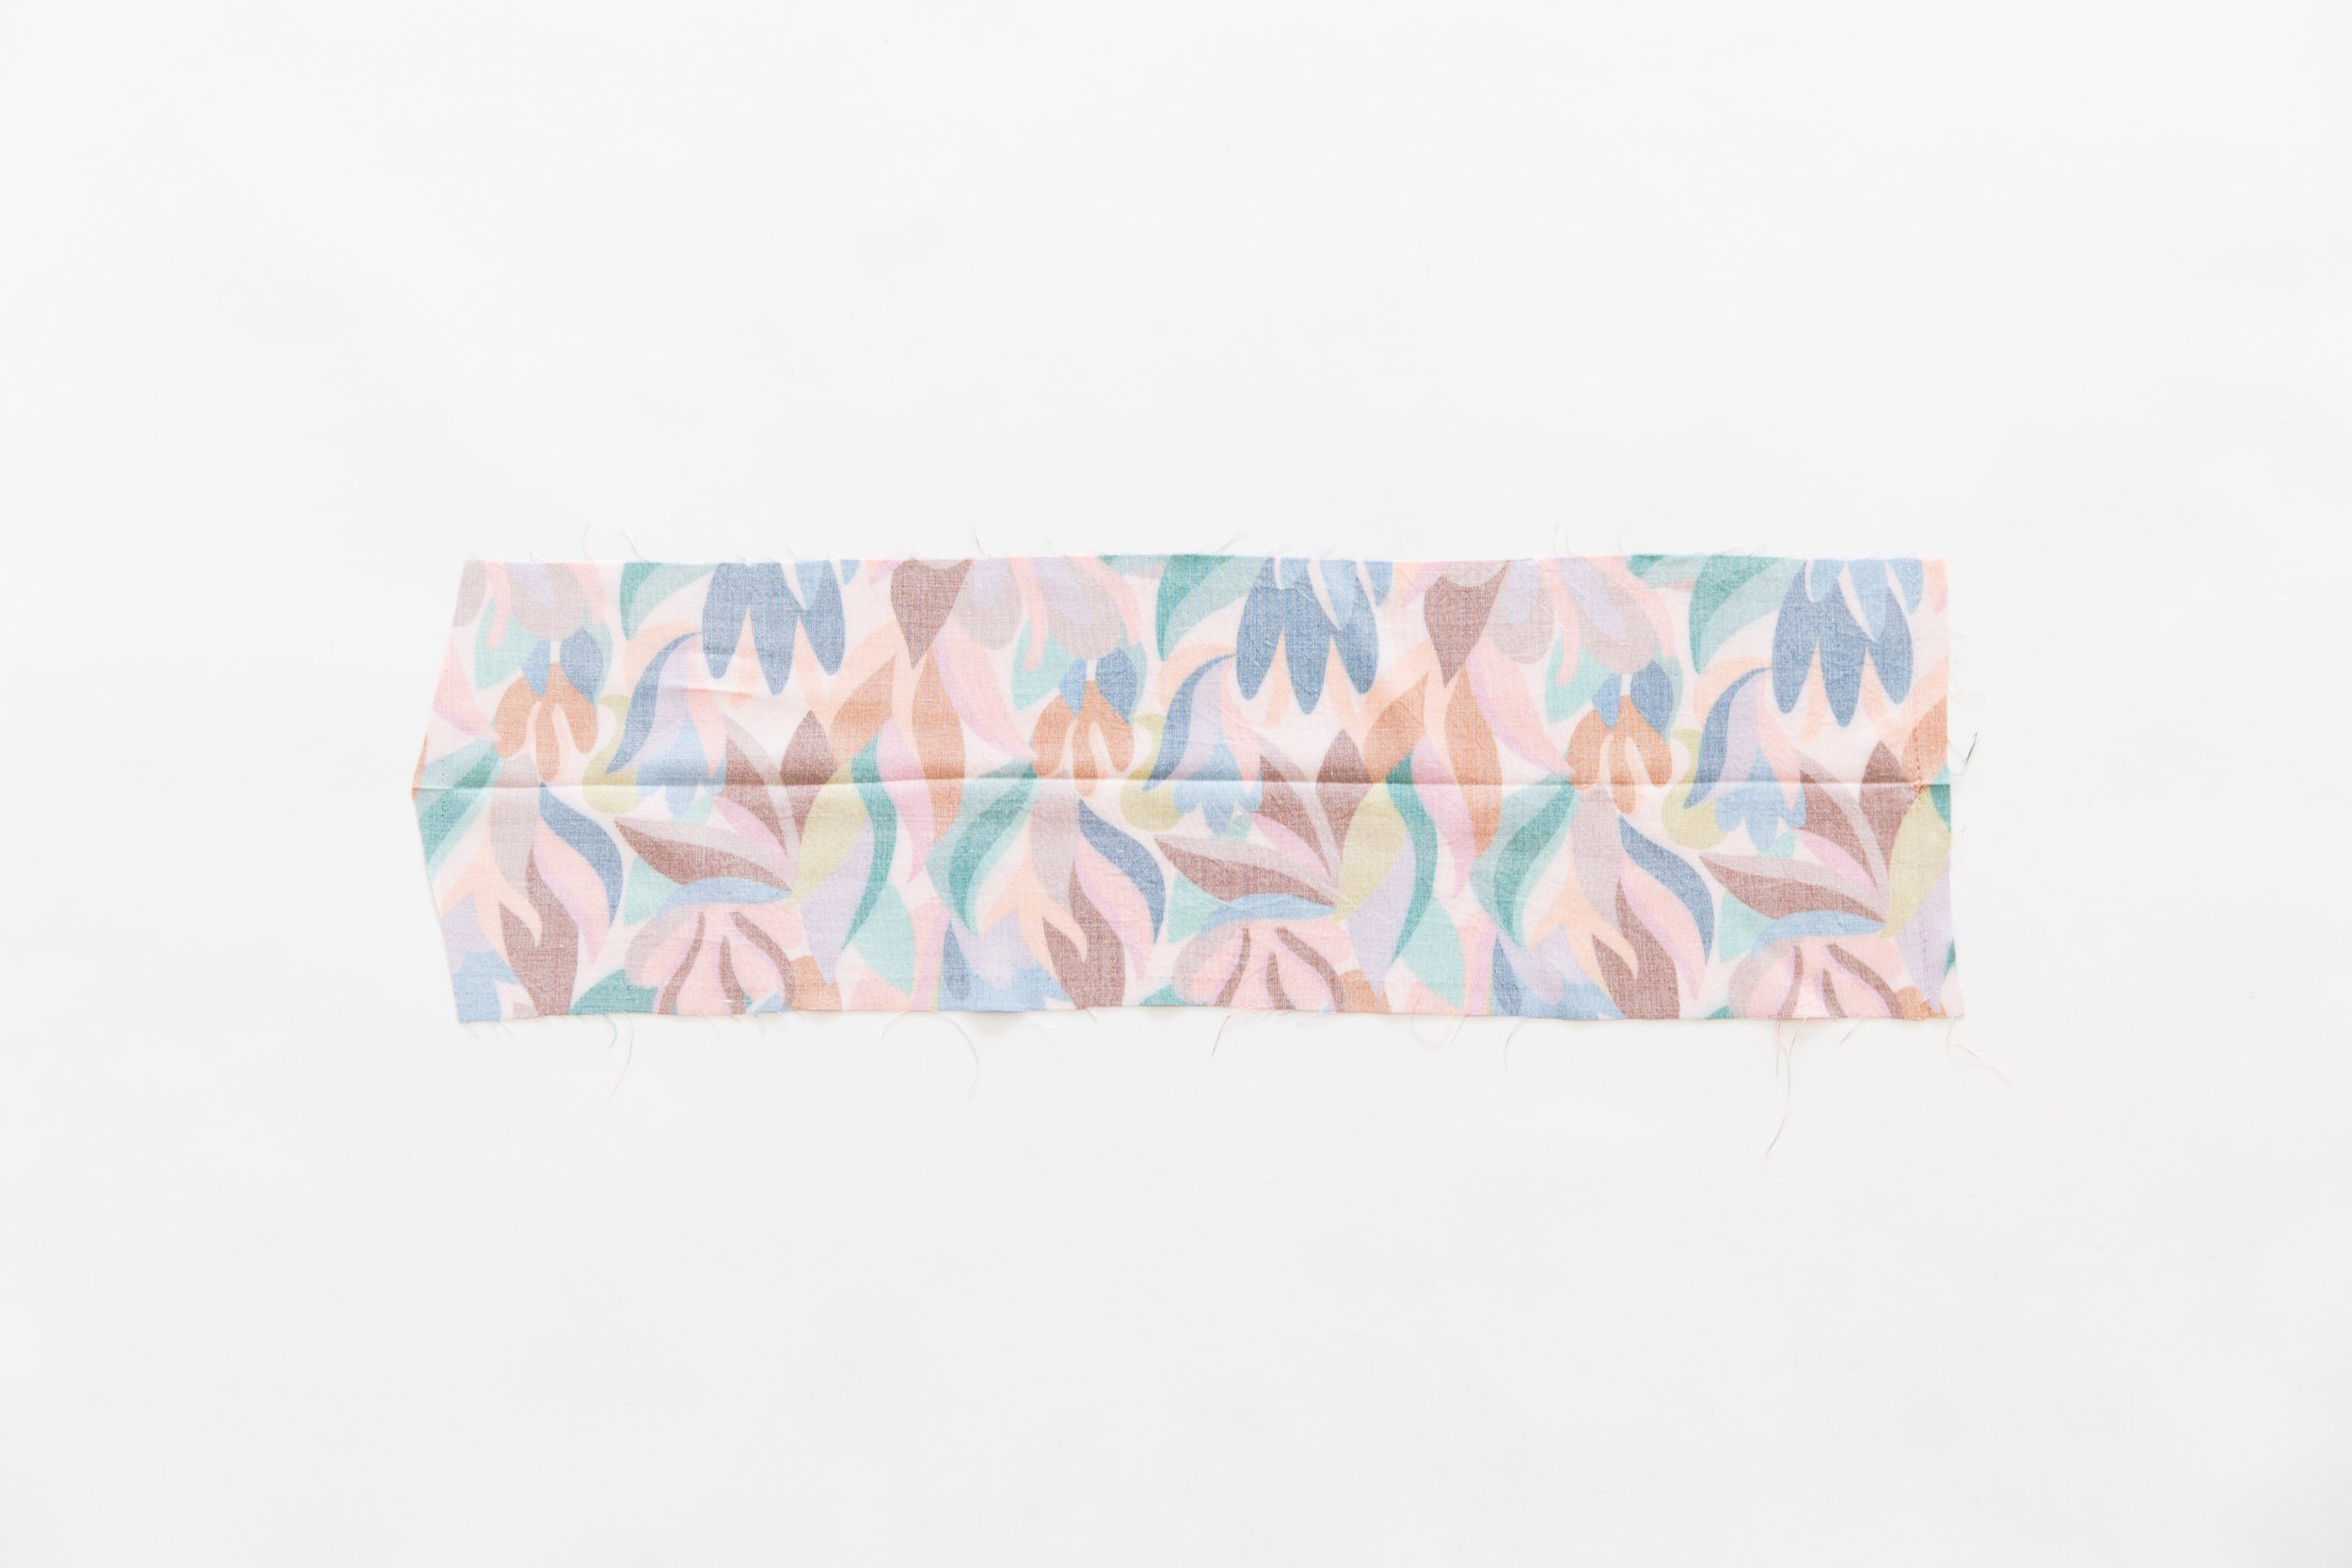
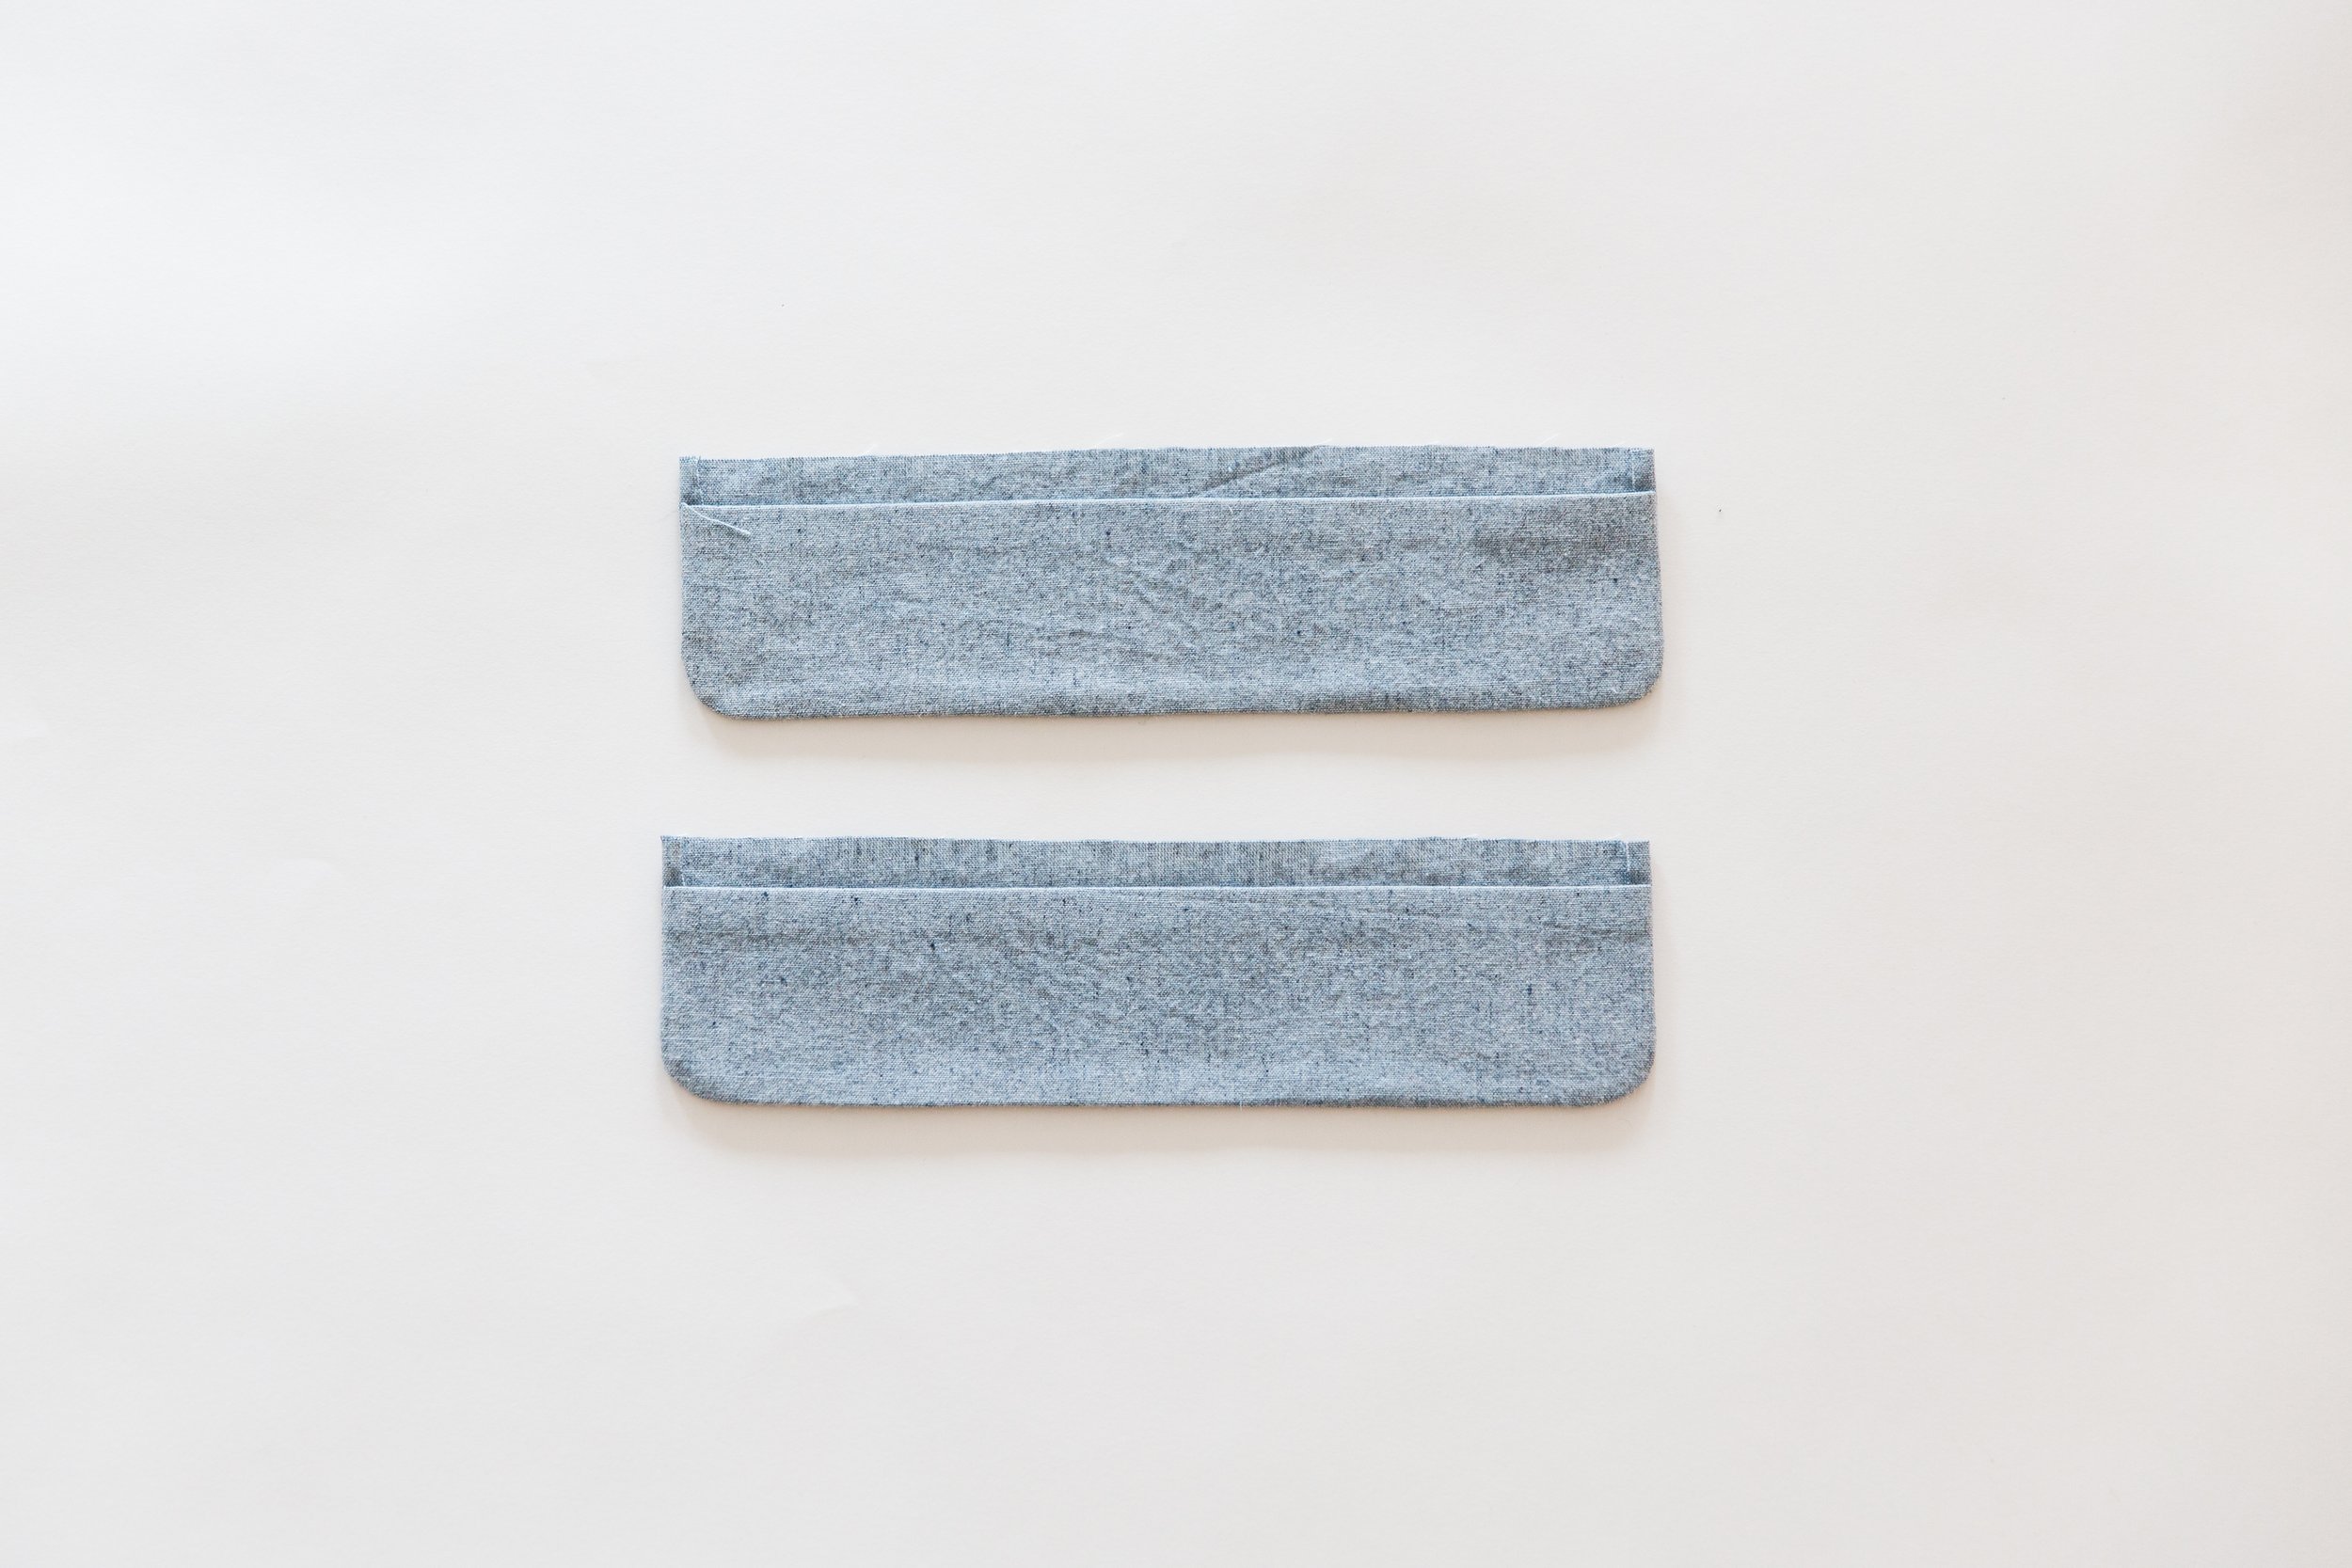
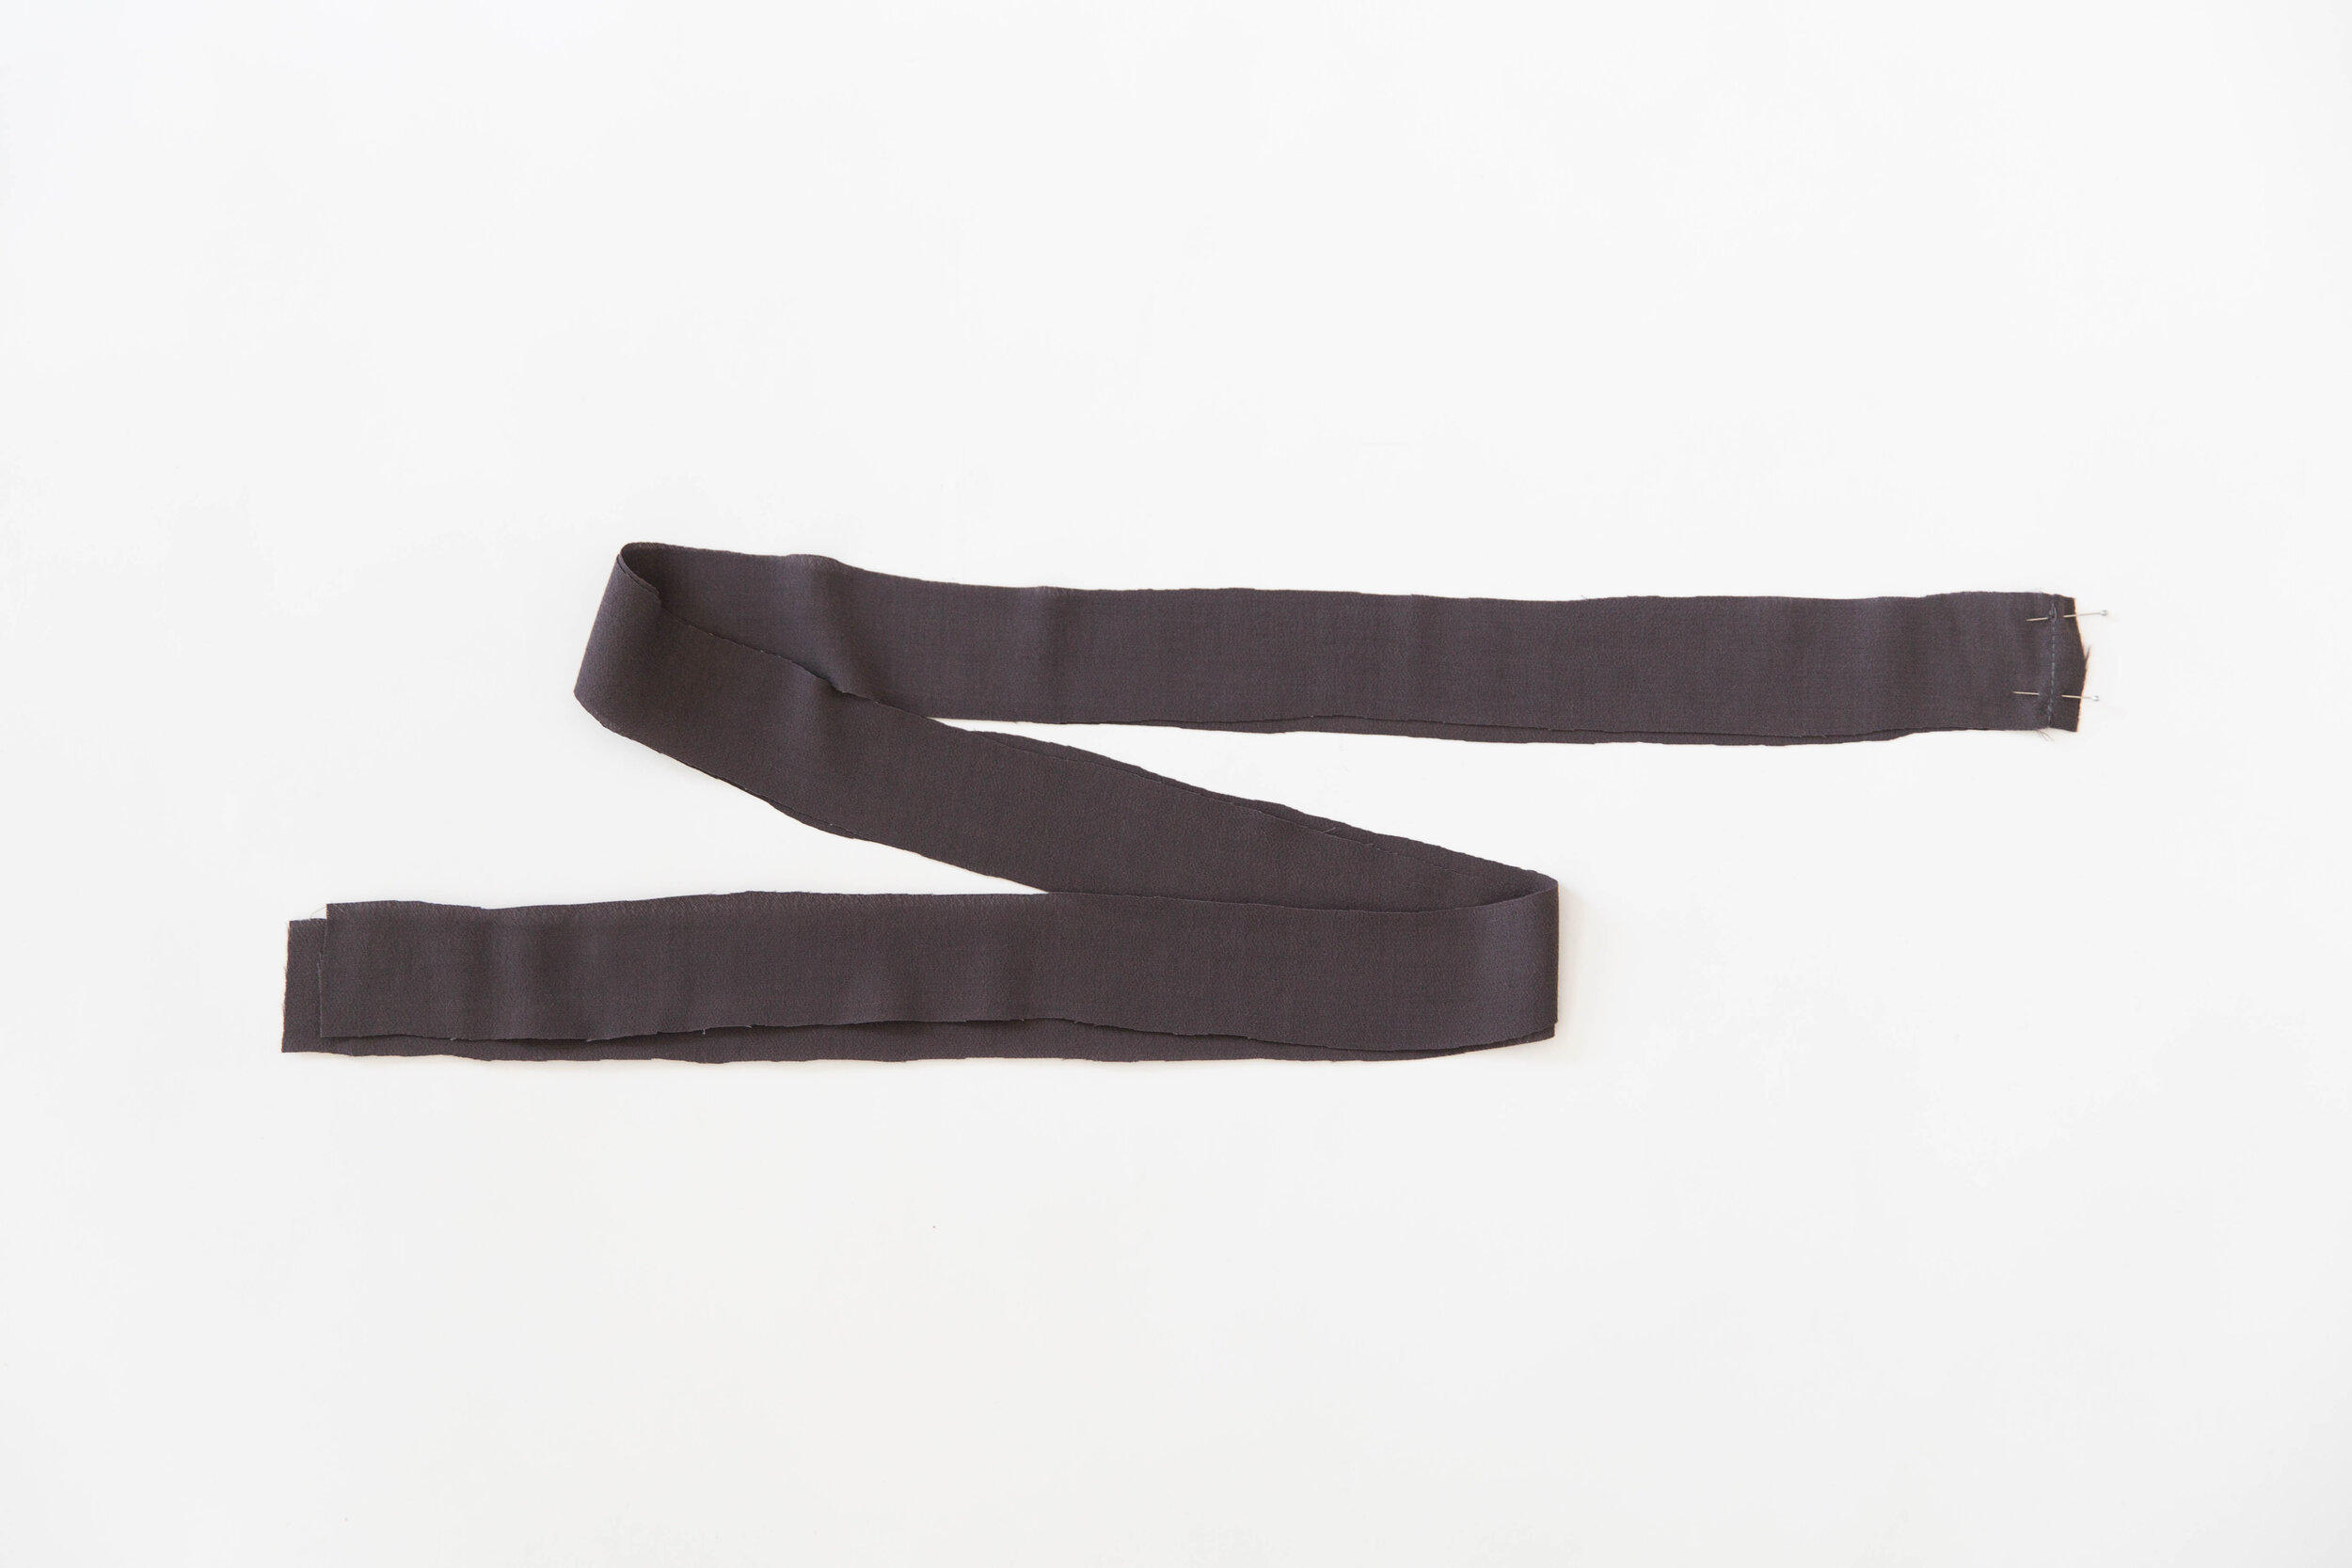
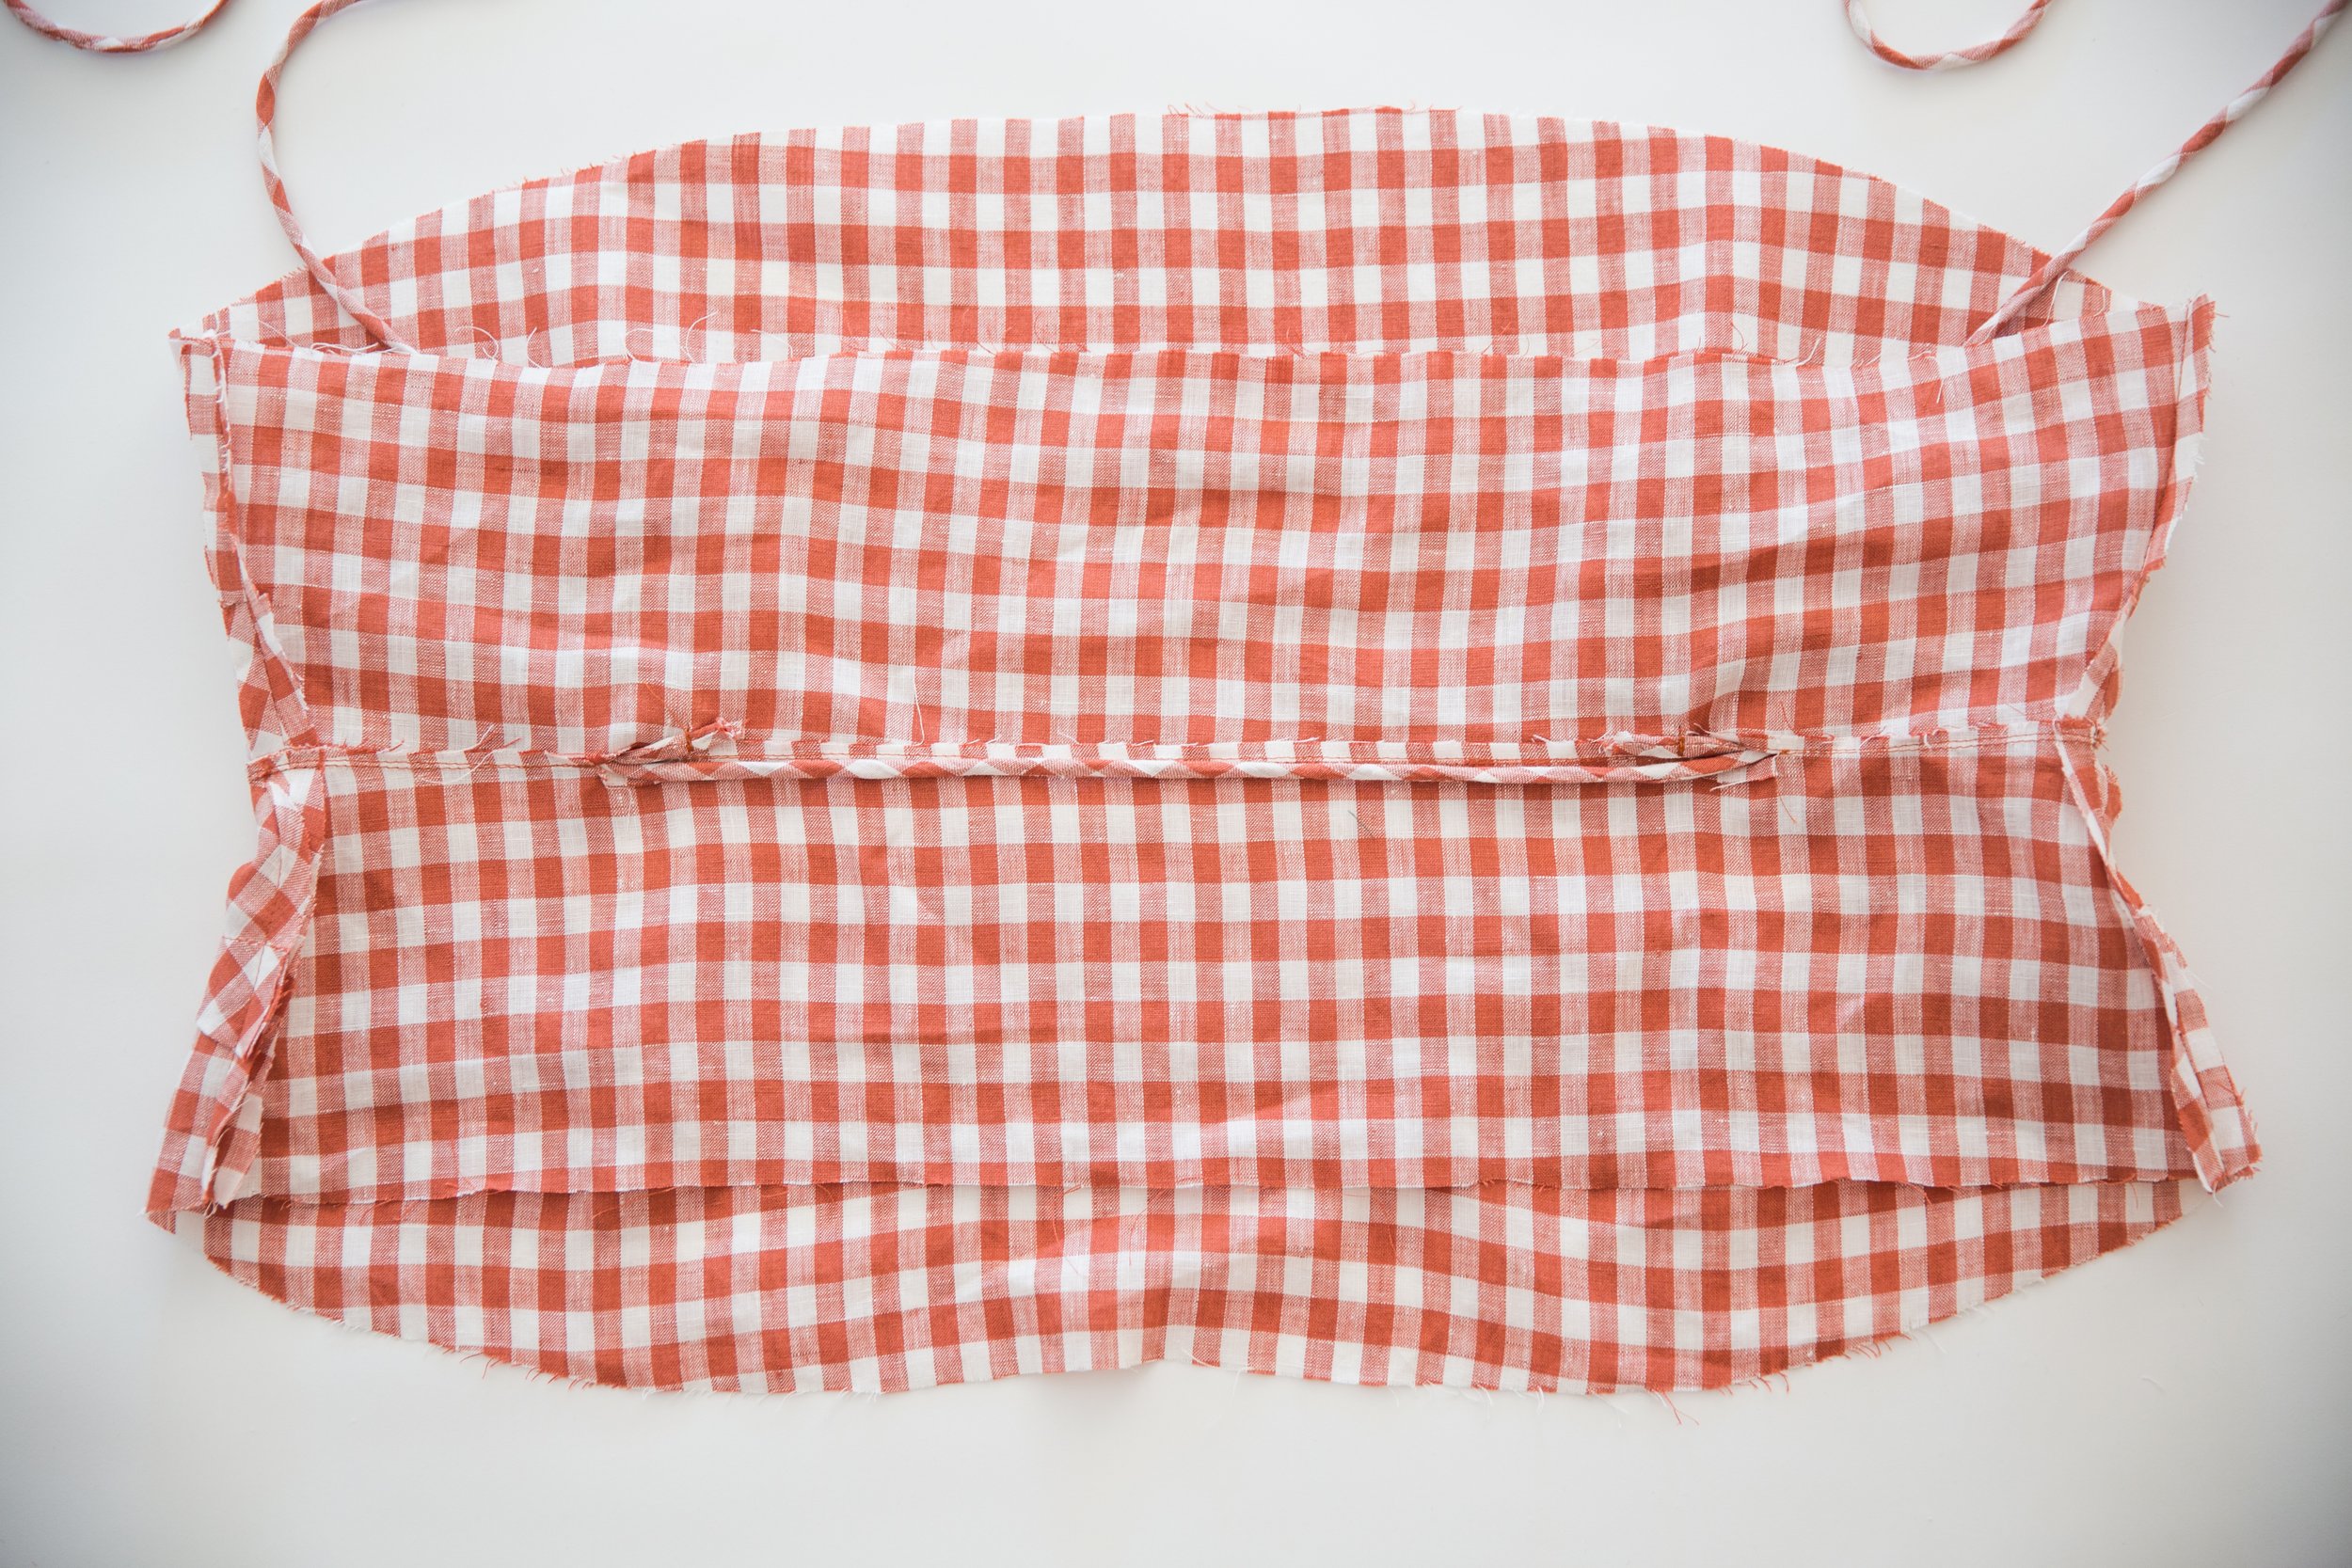
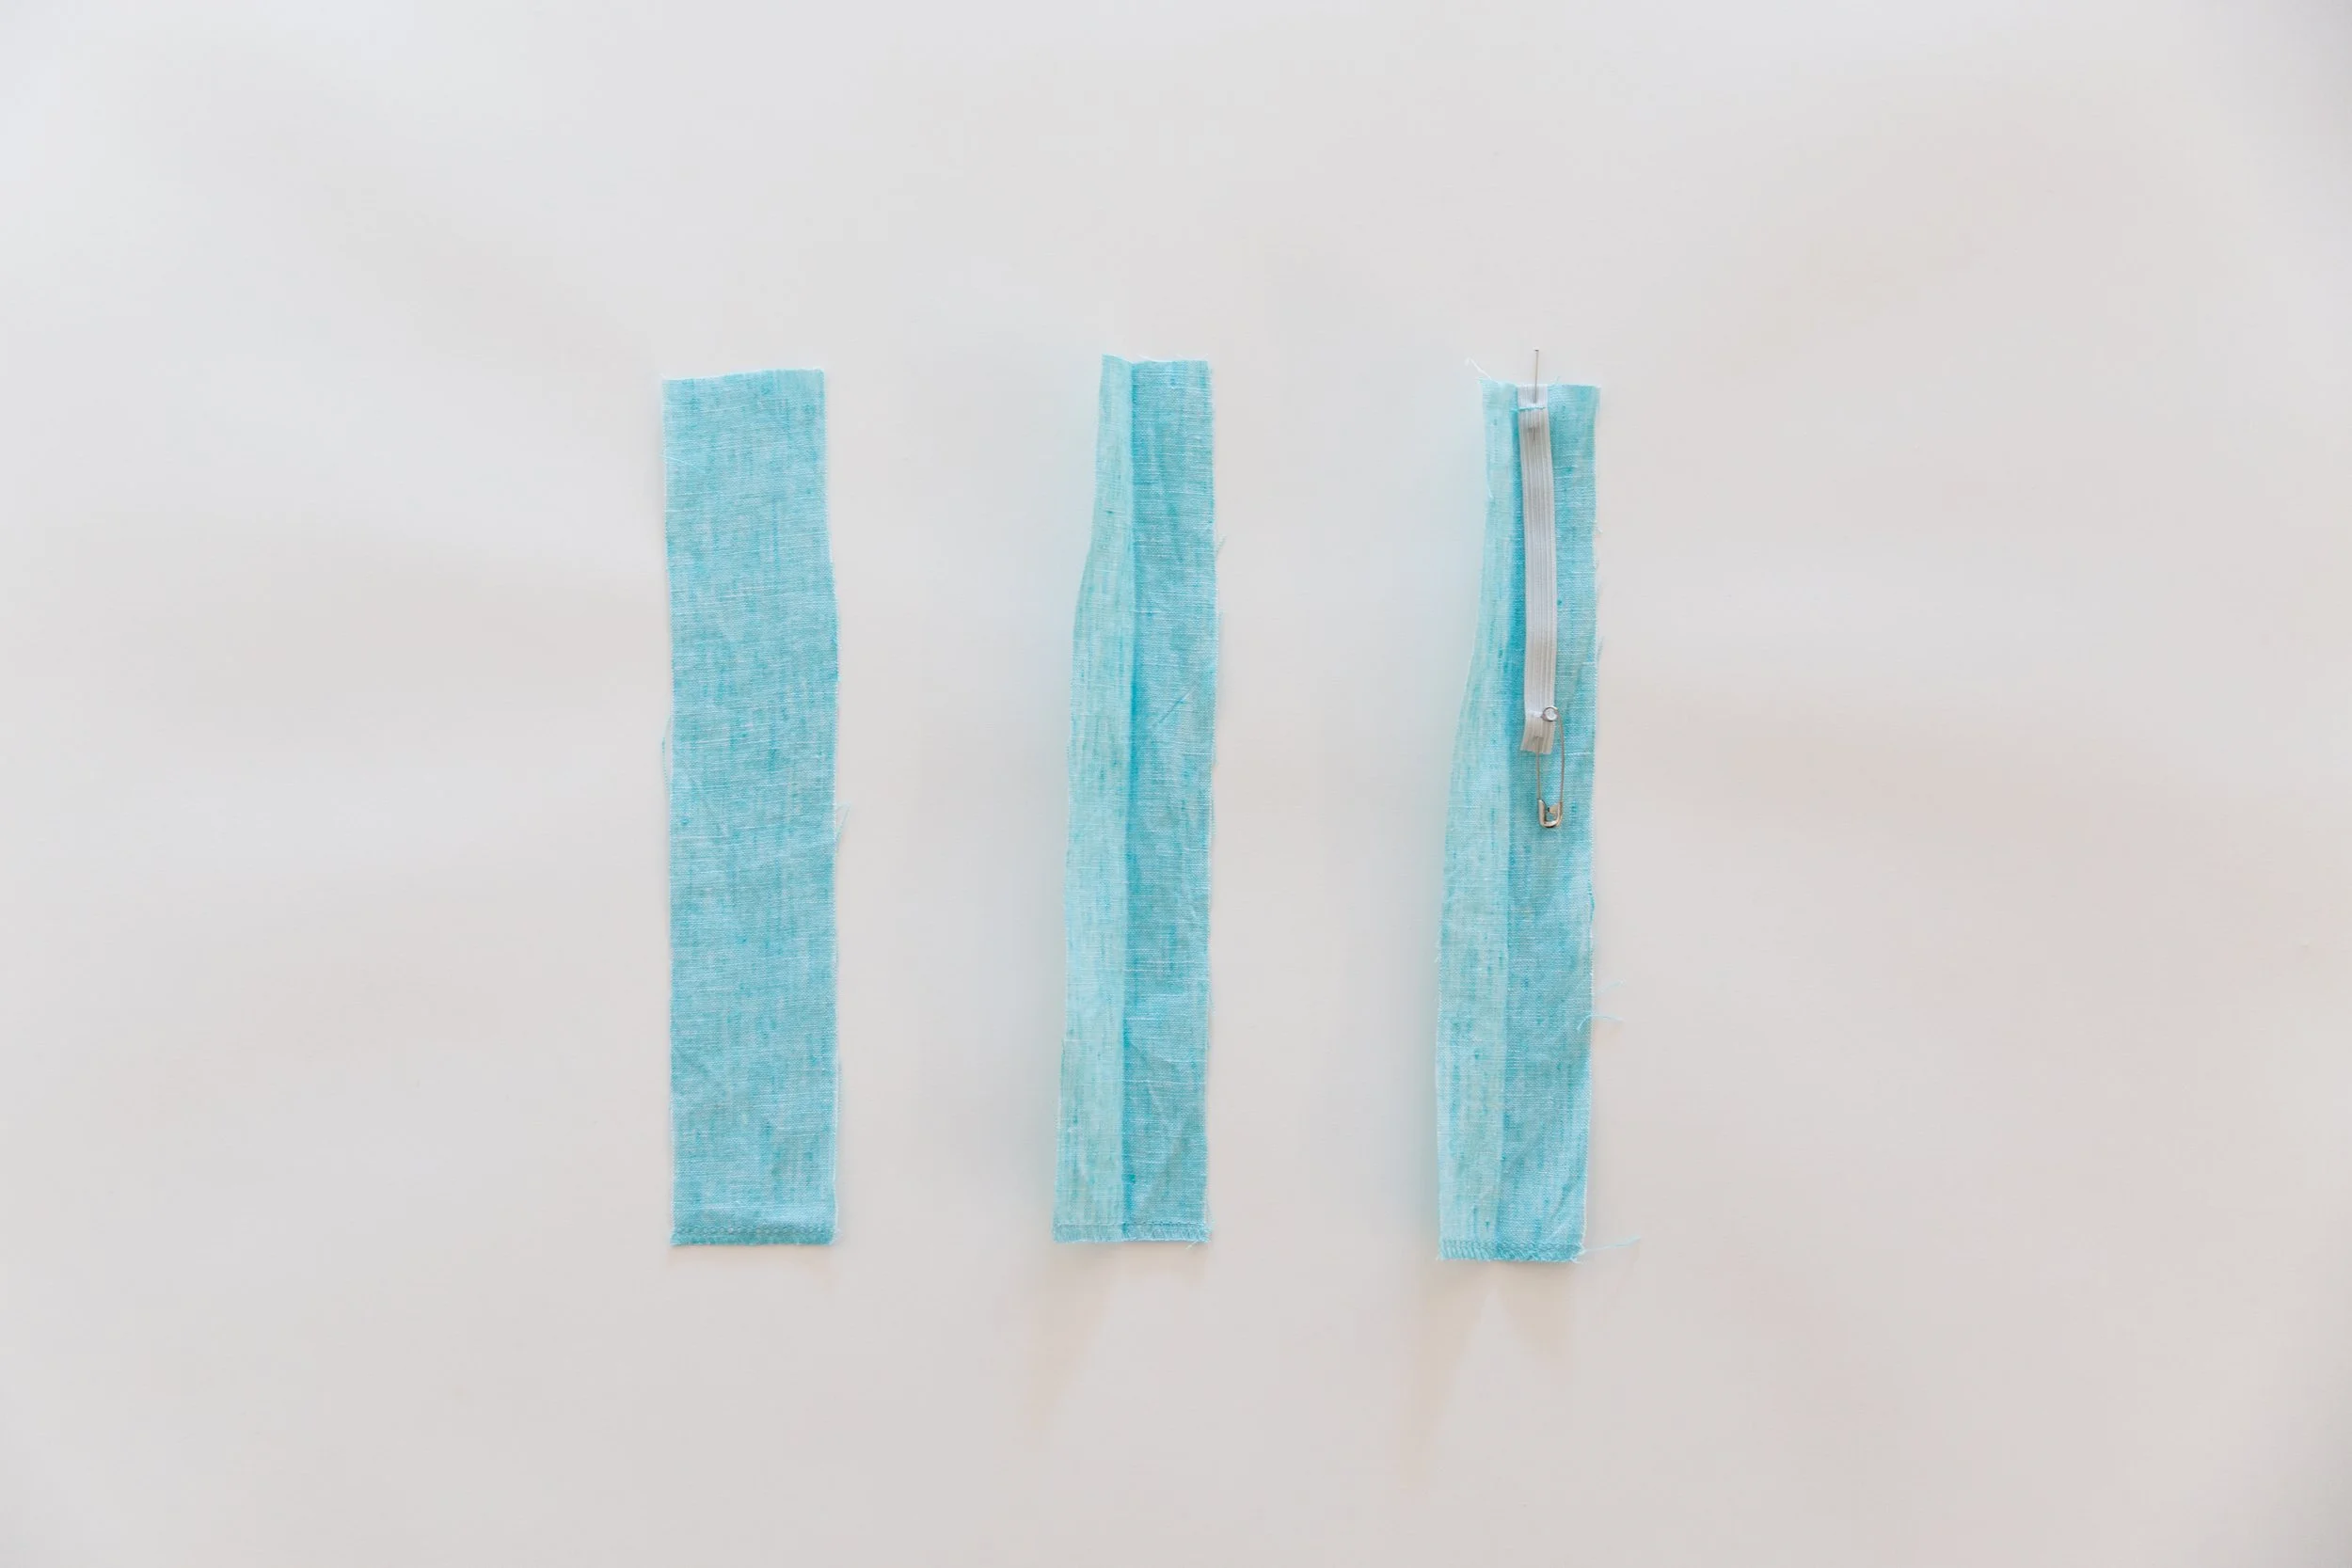
Step 1
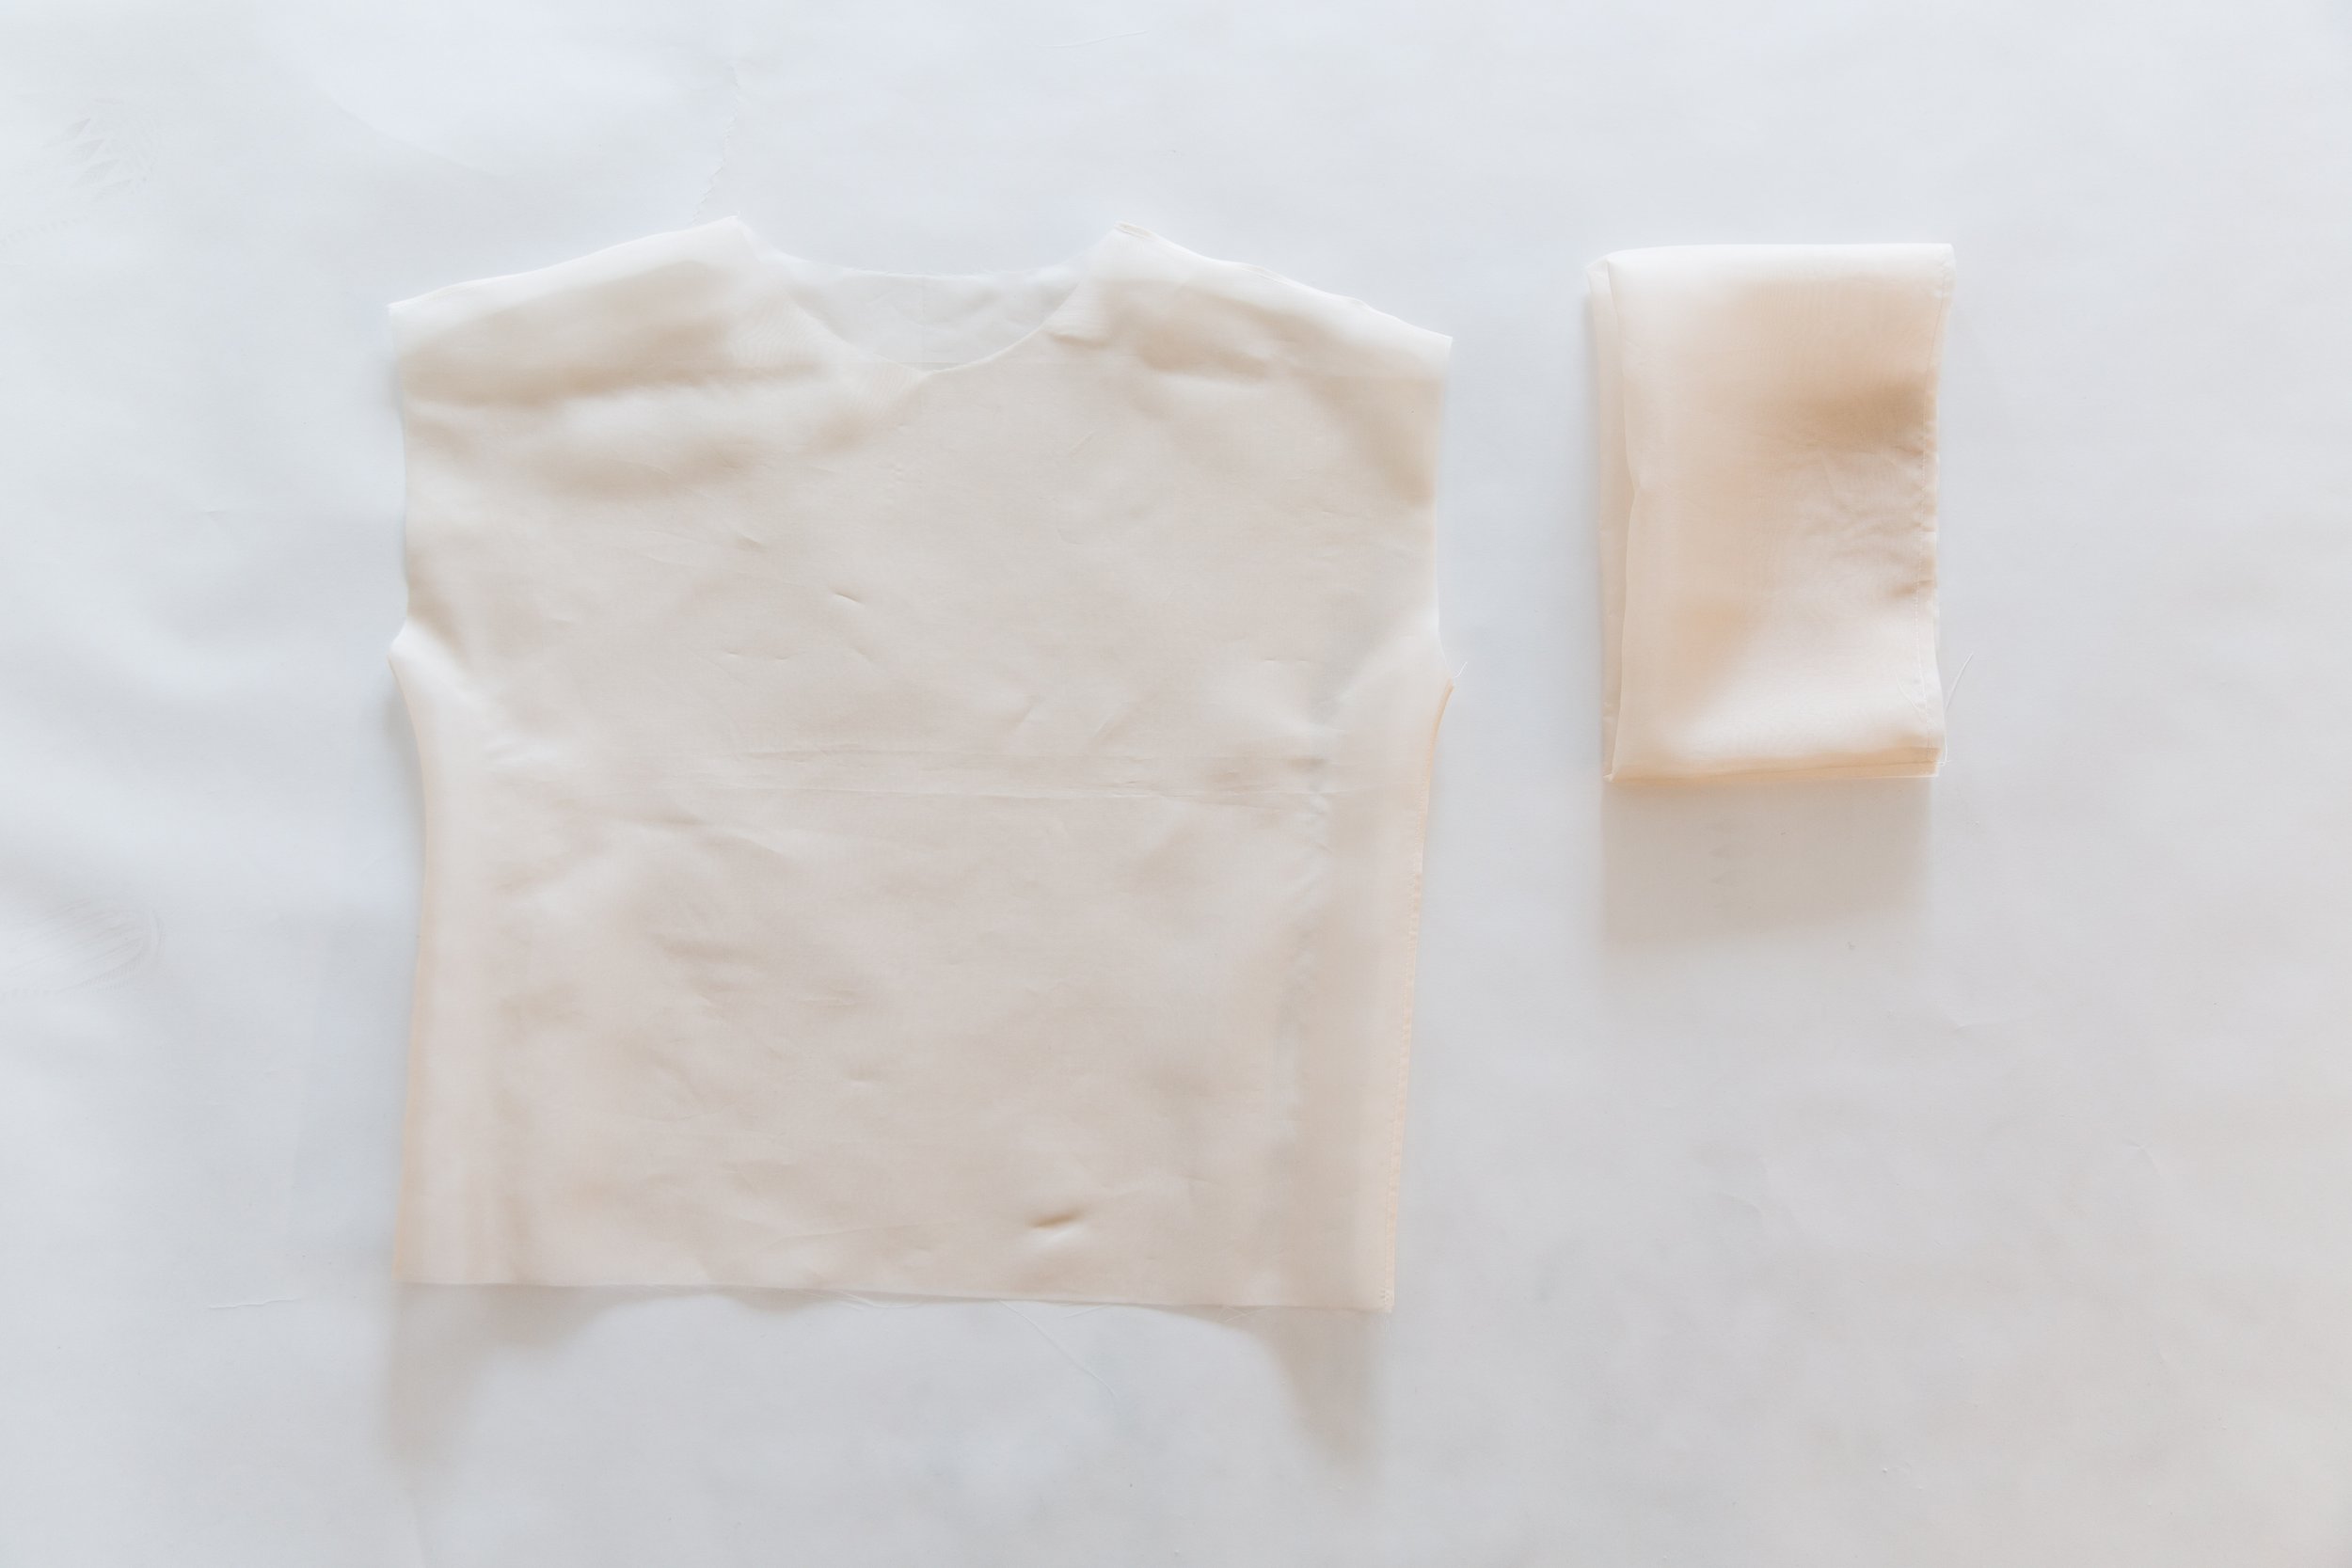
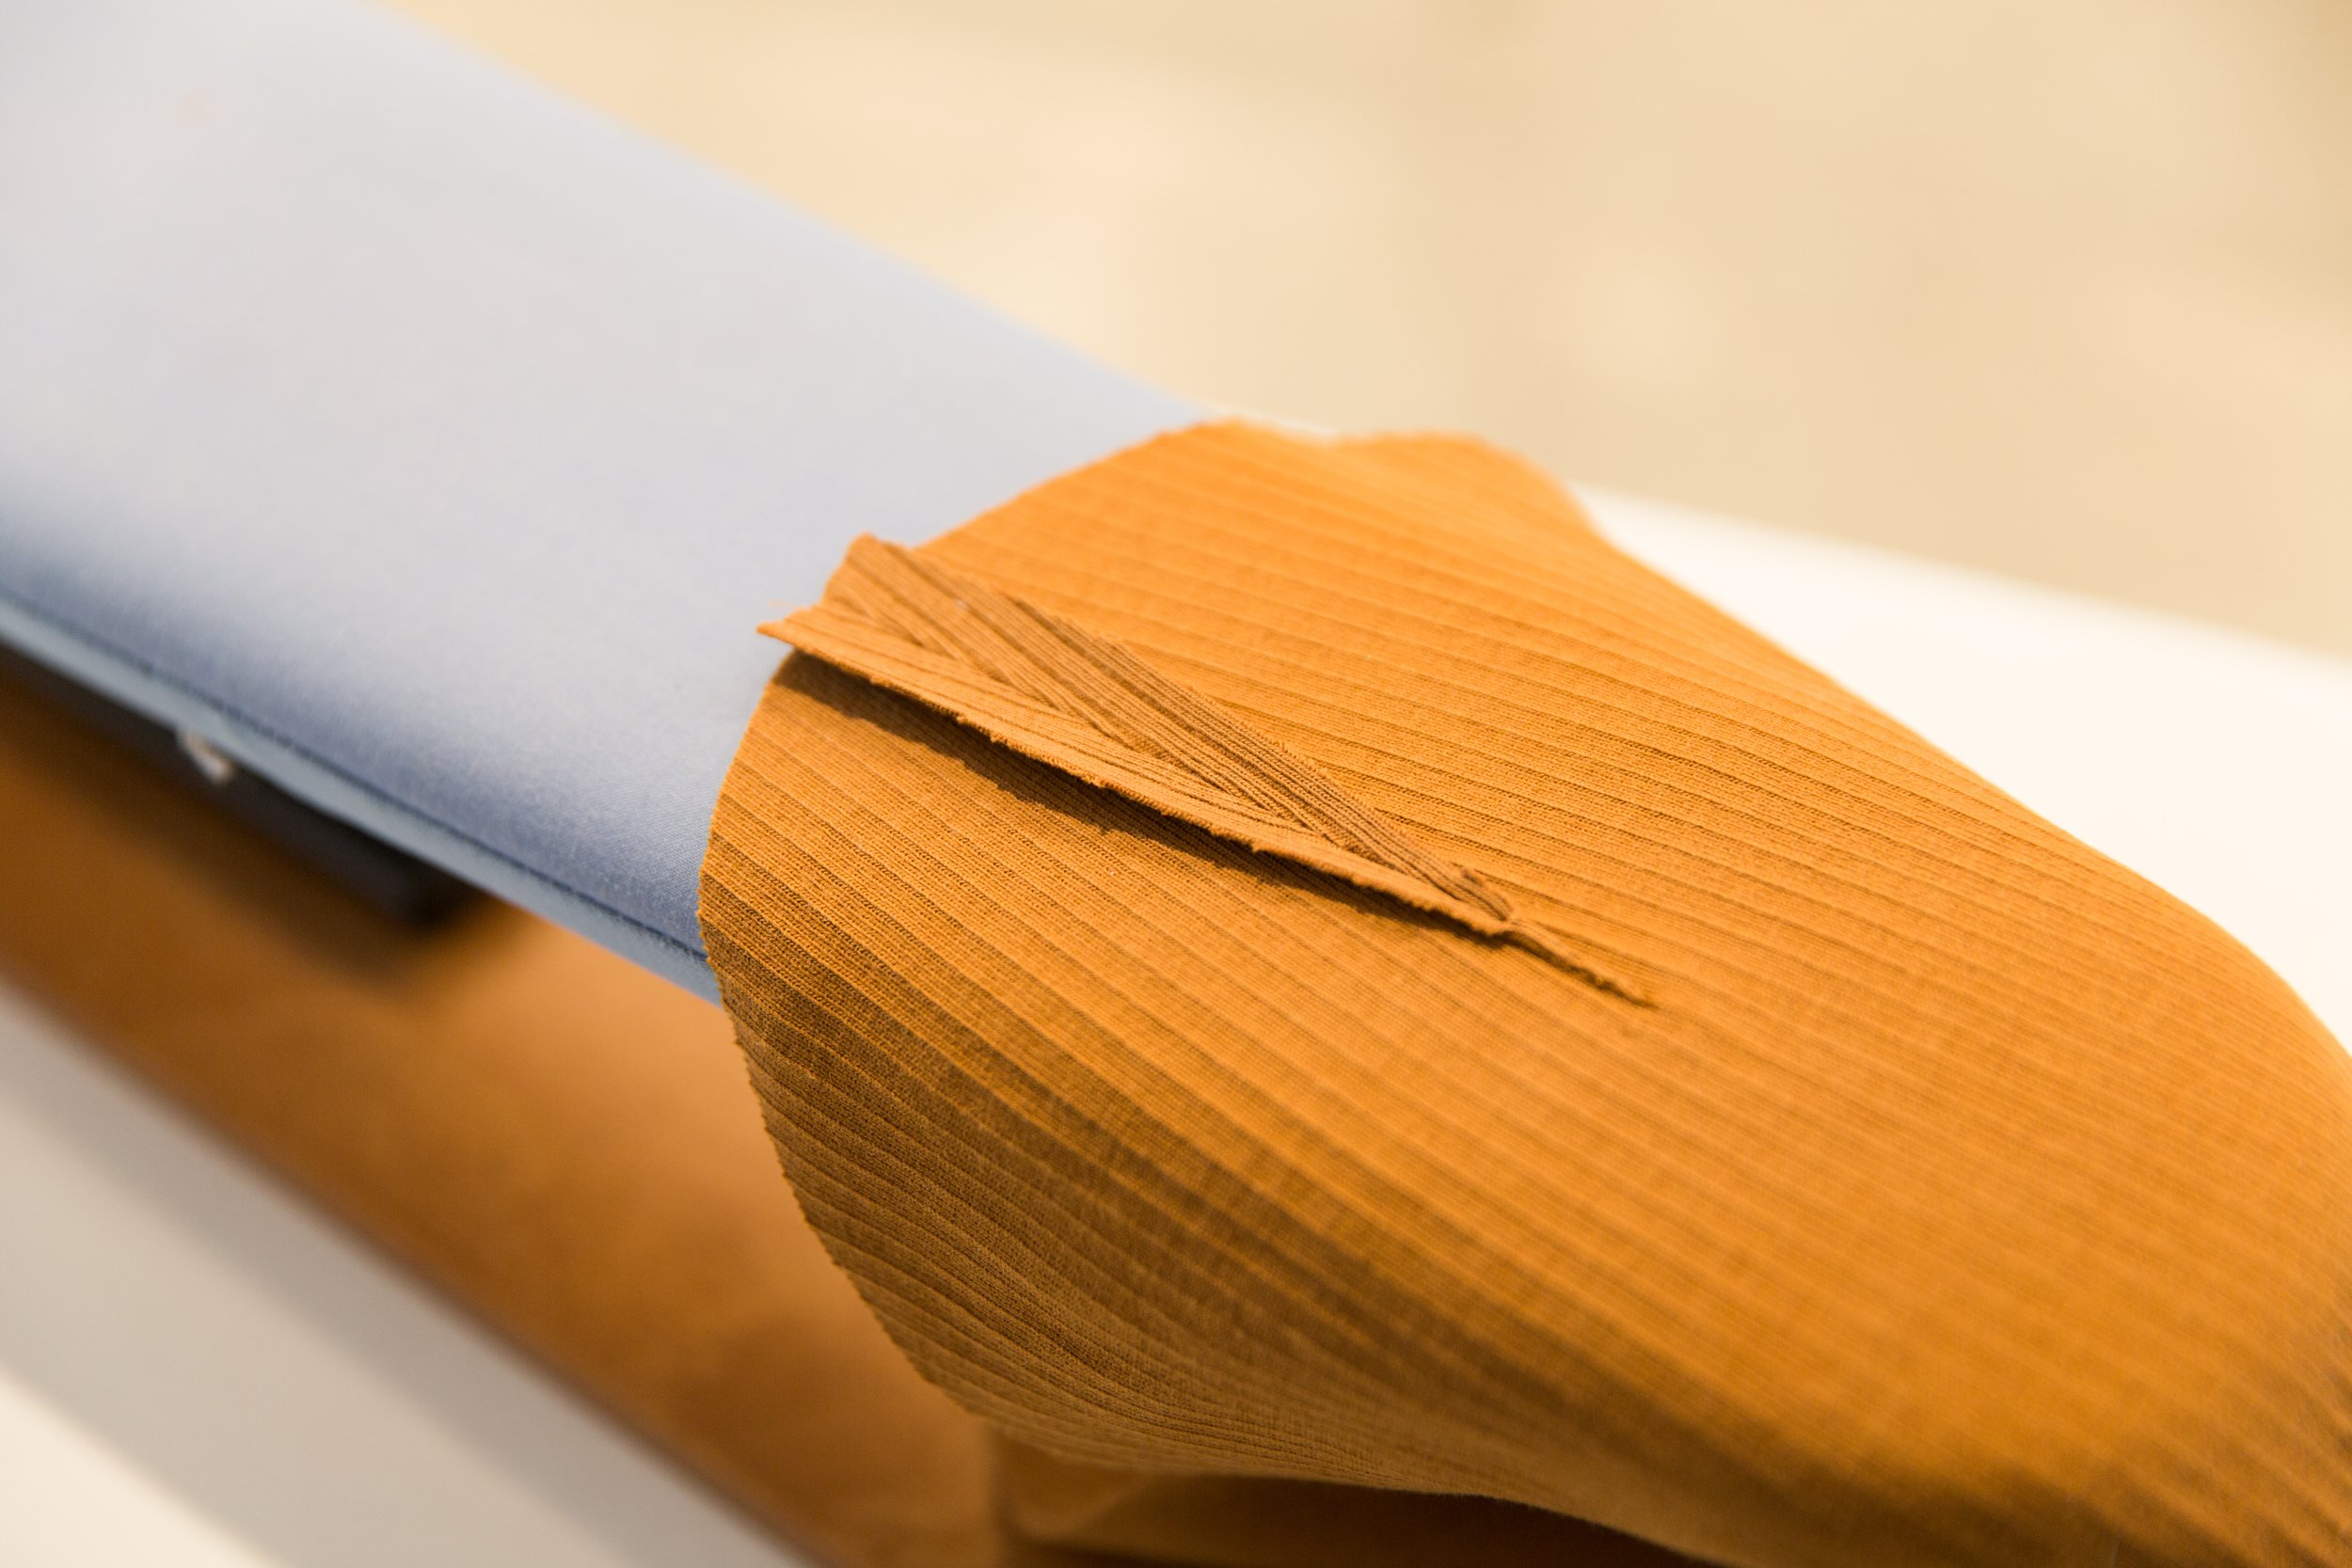
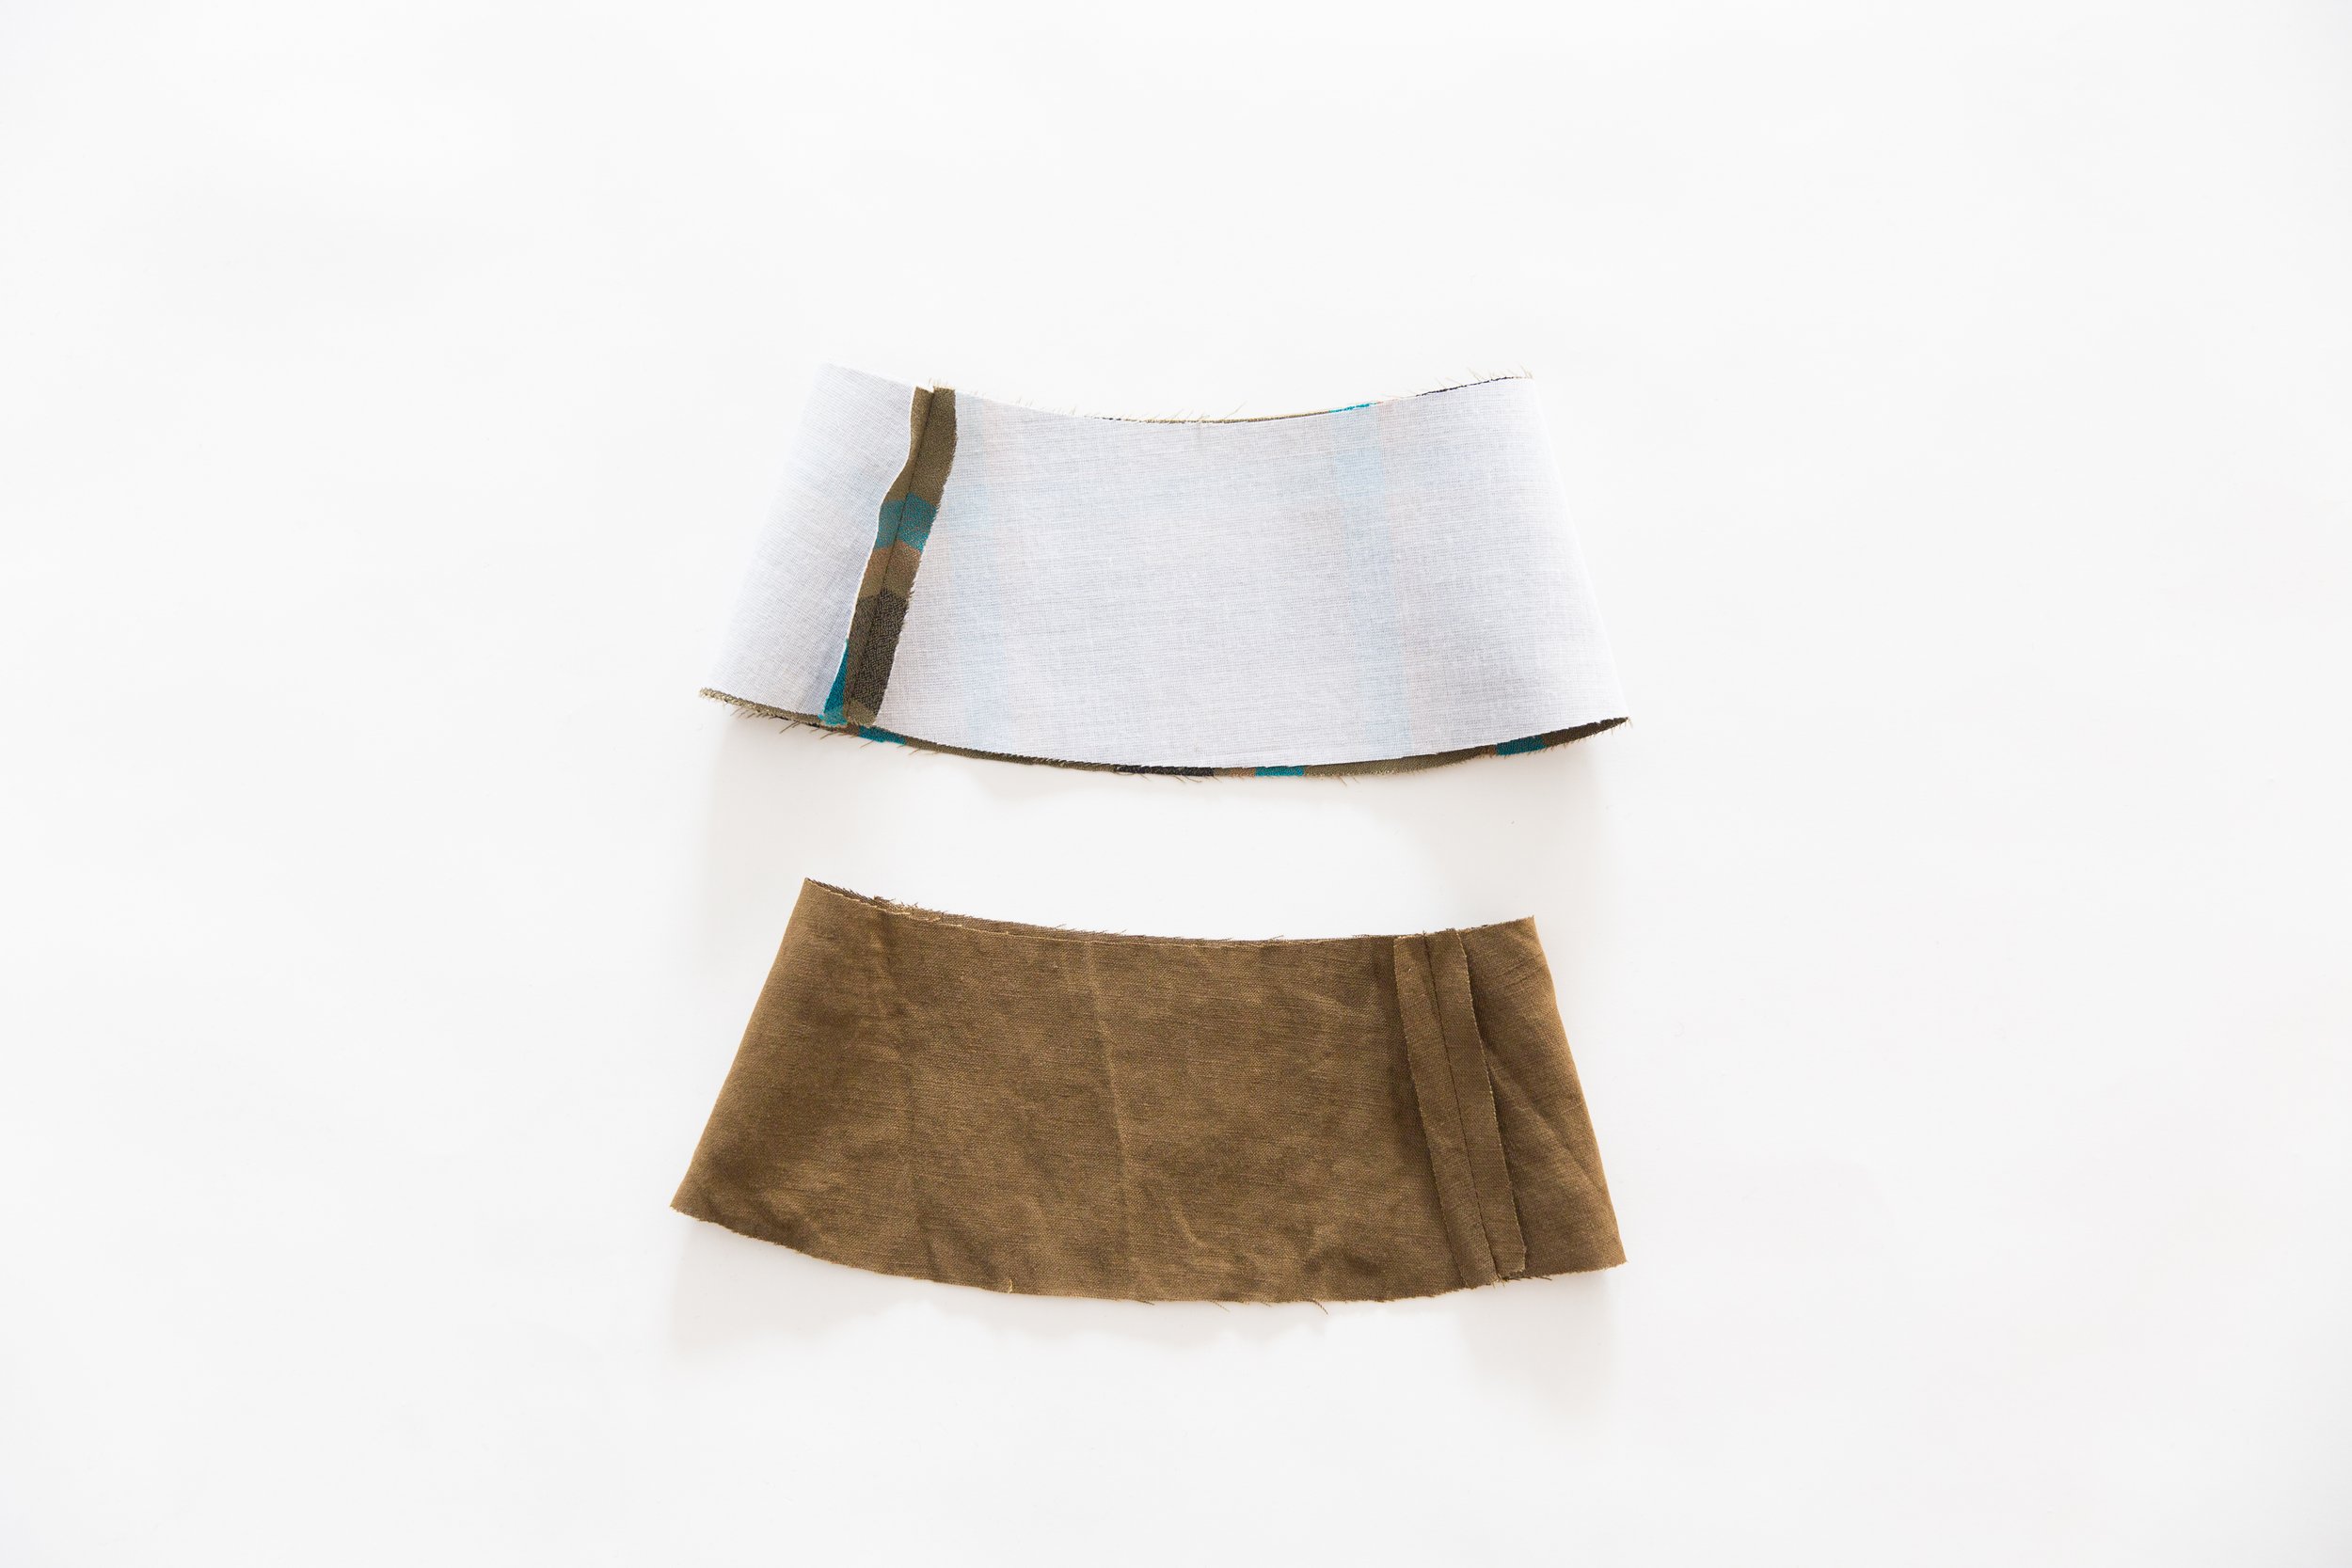
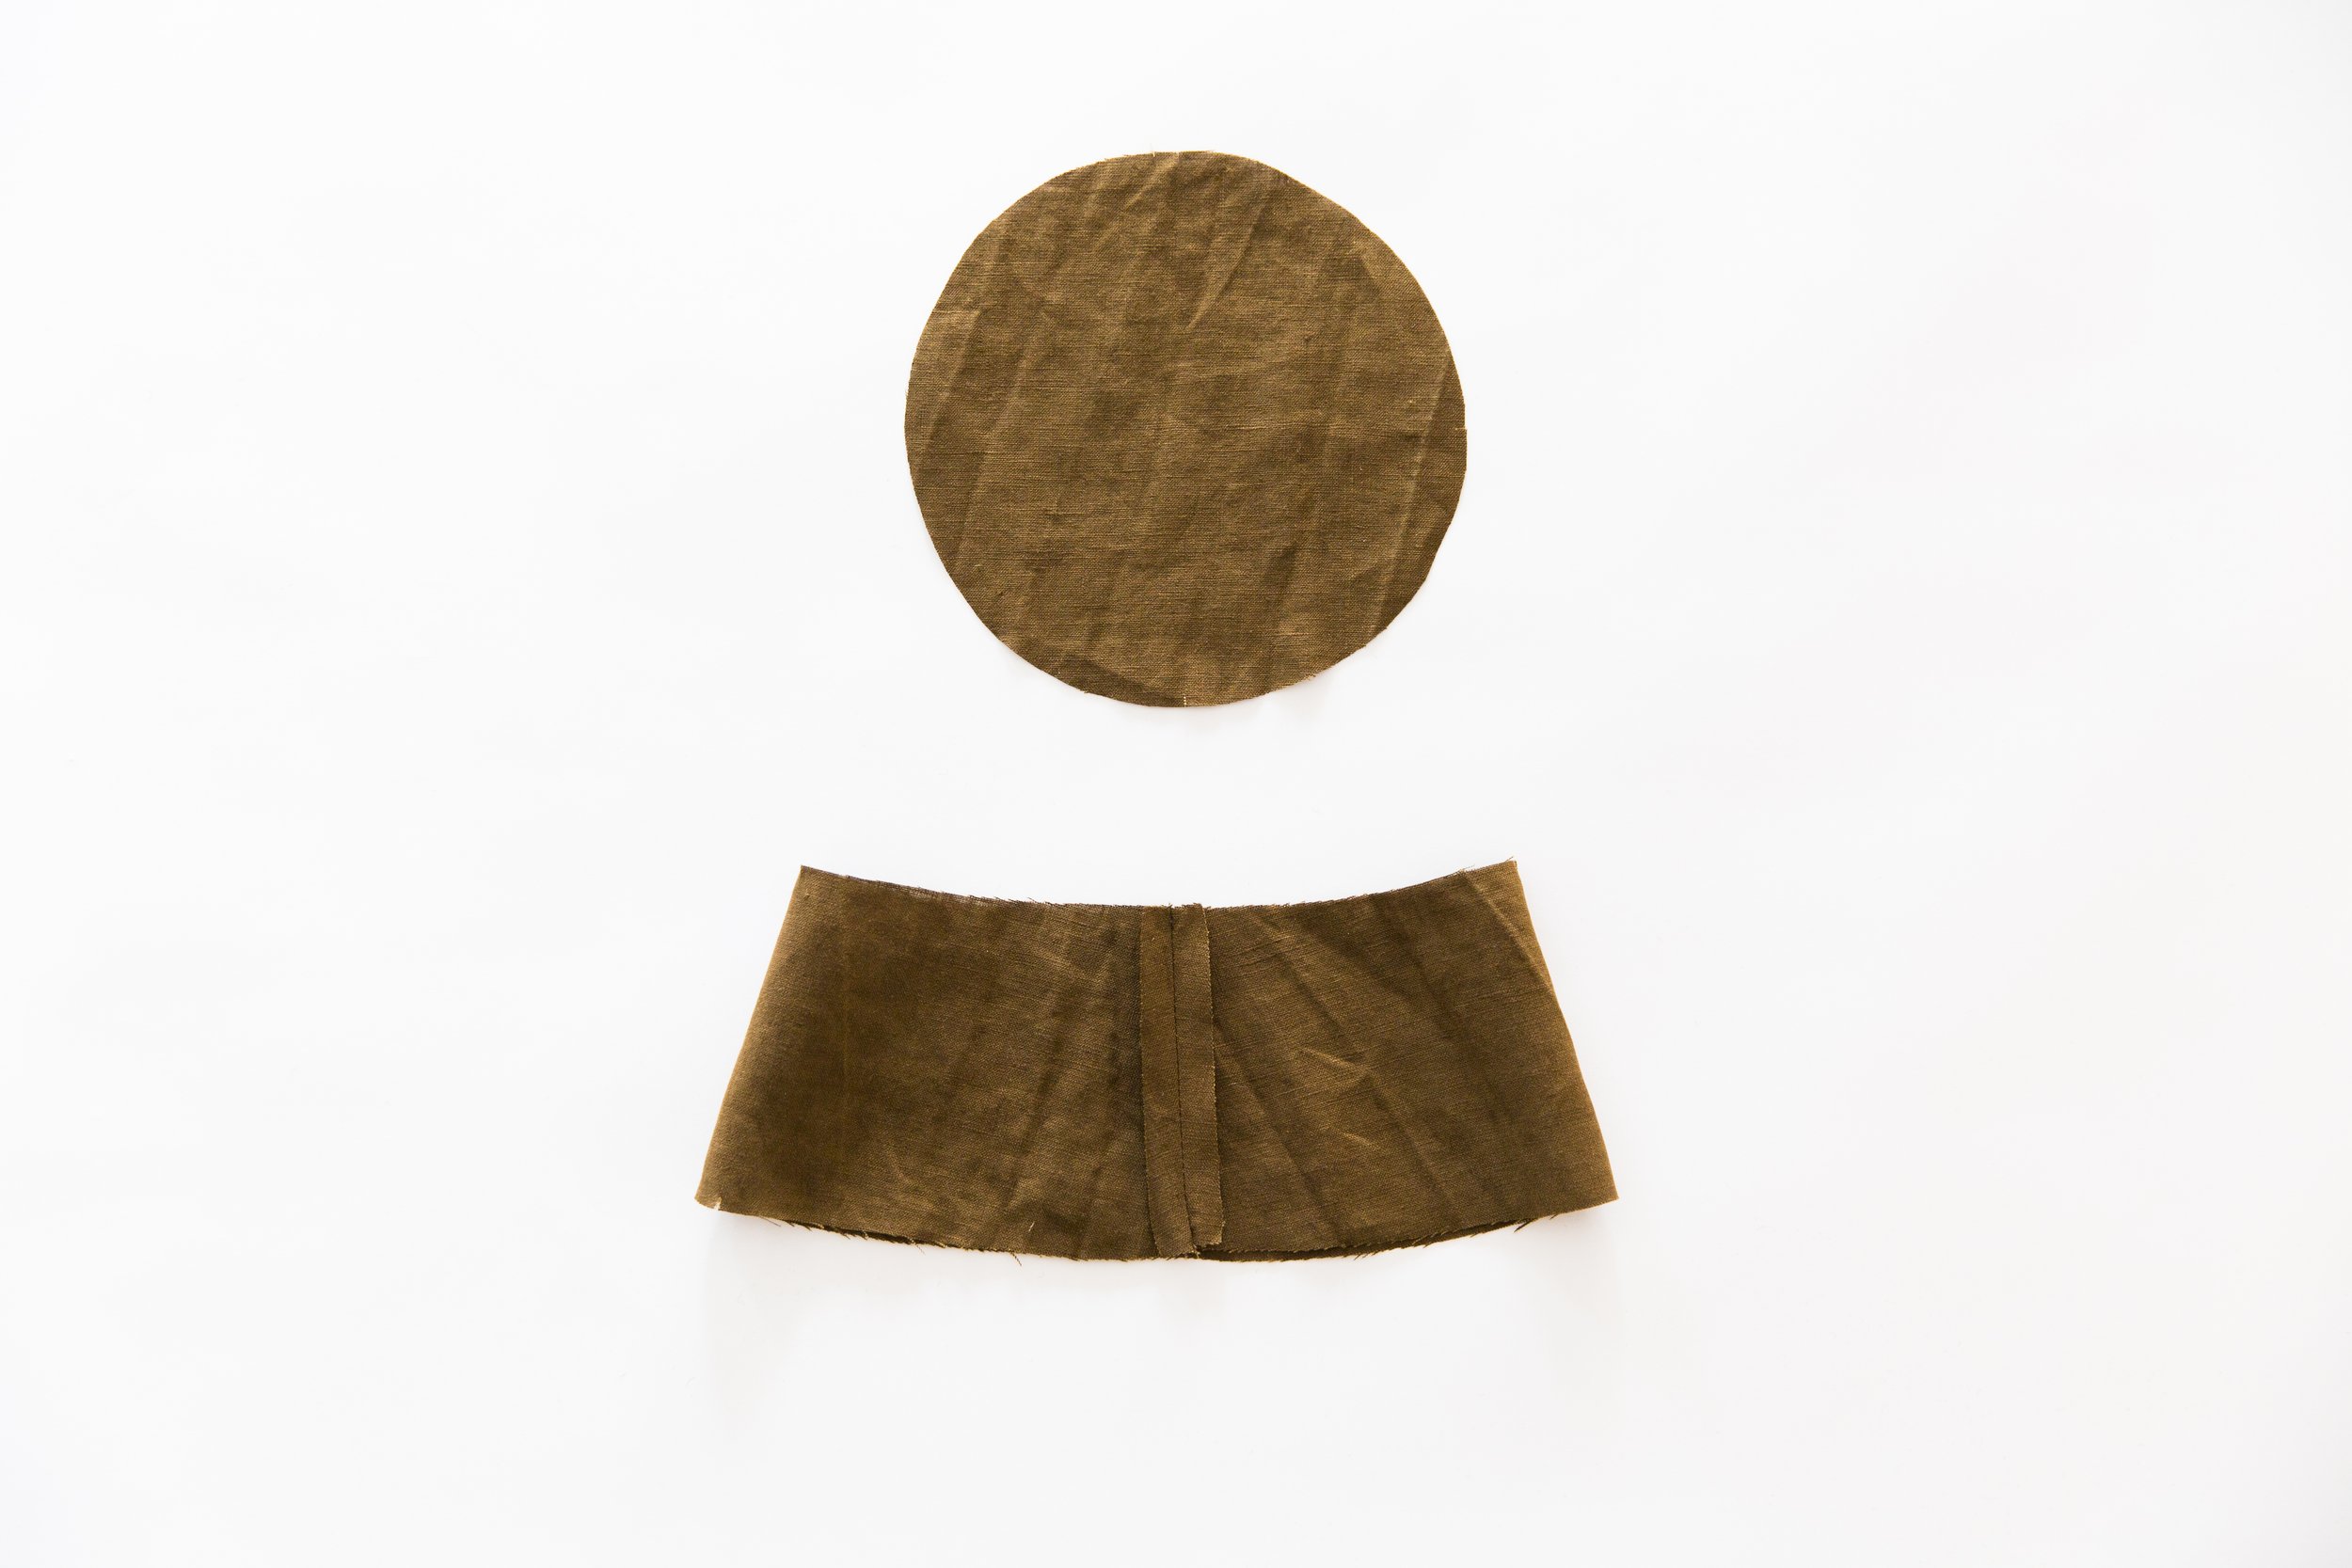
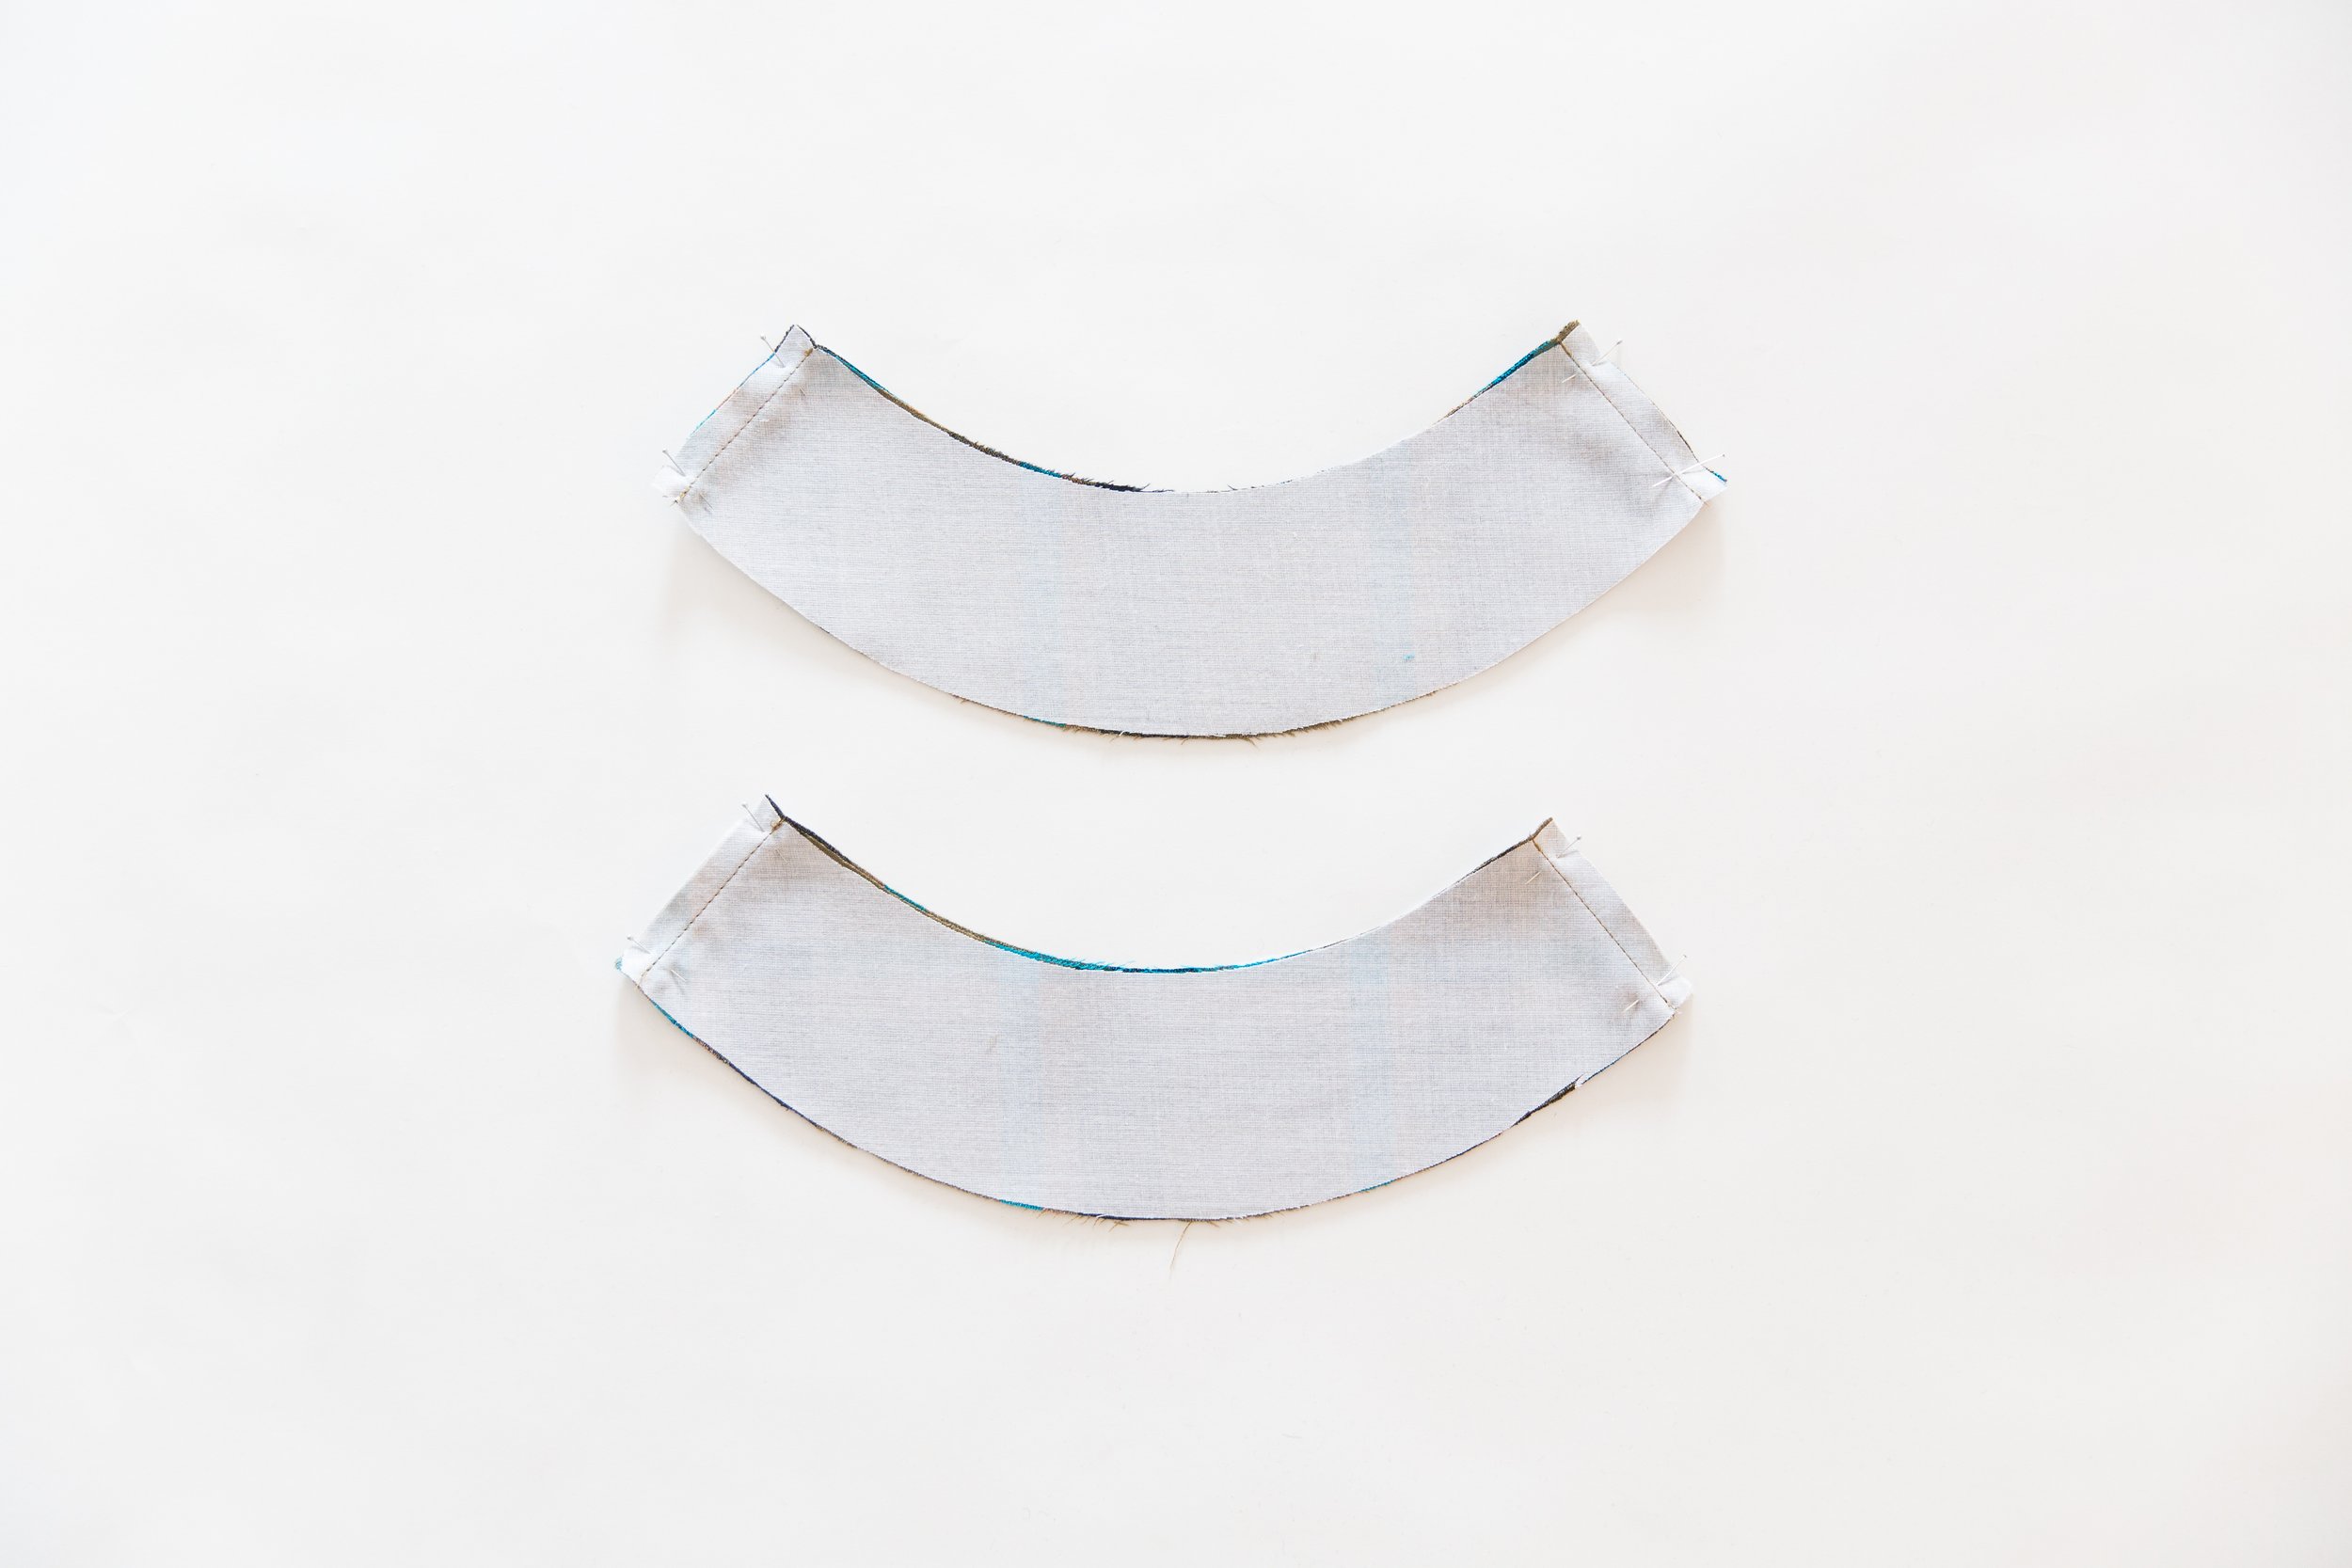
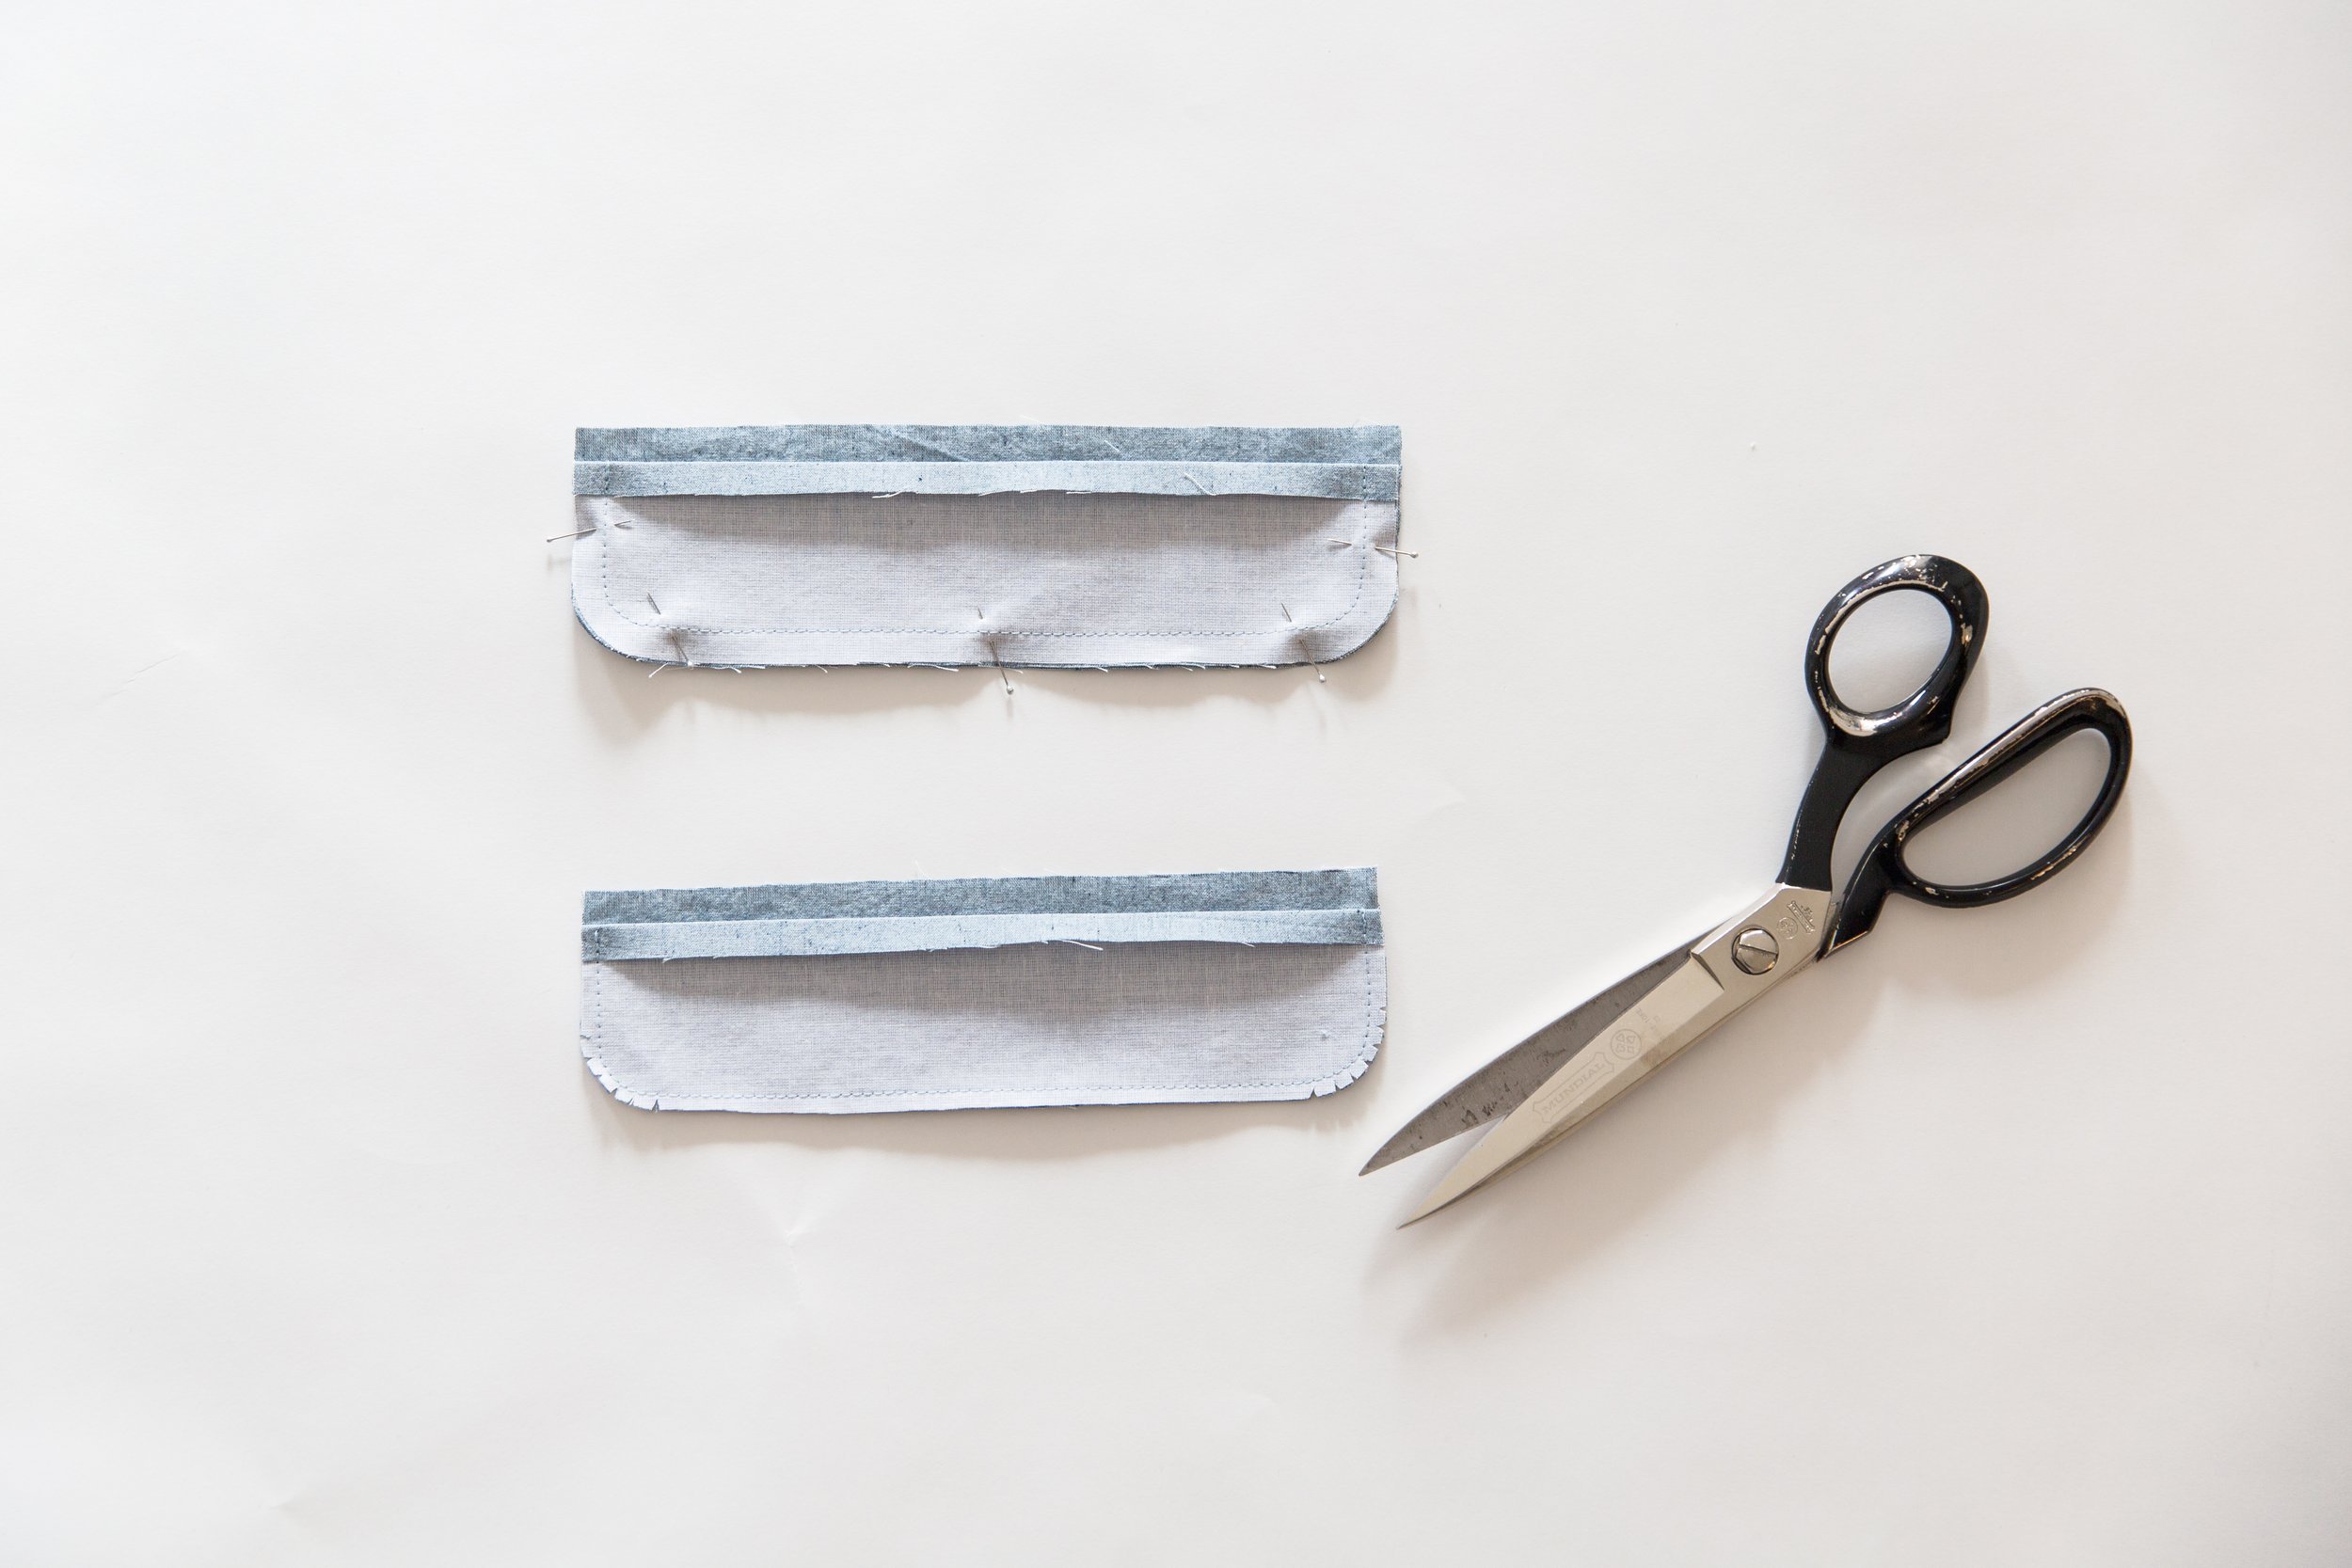
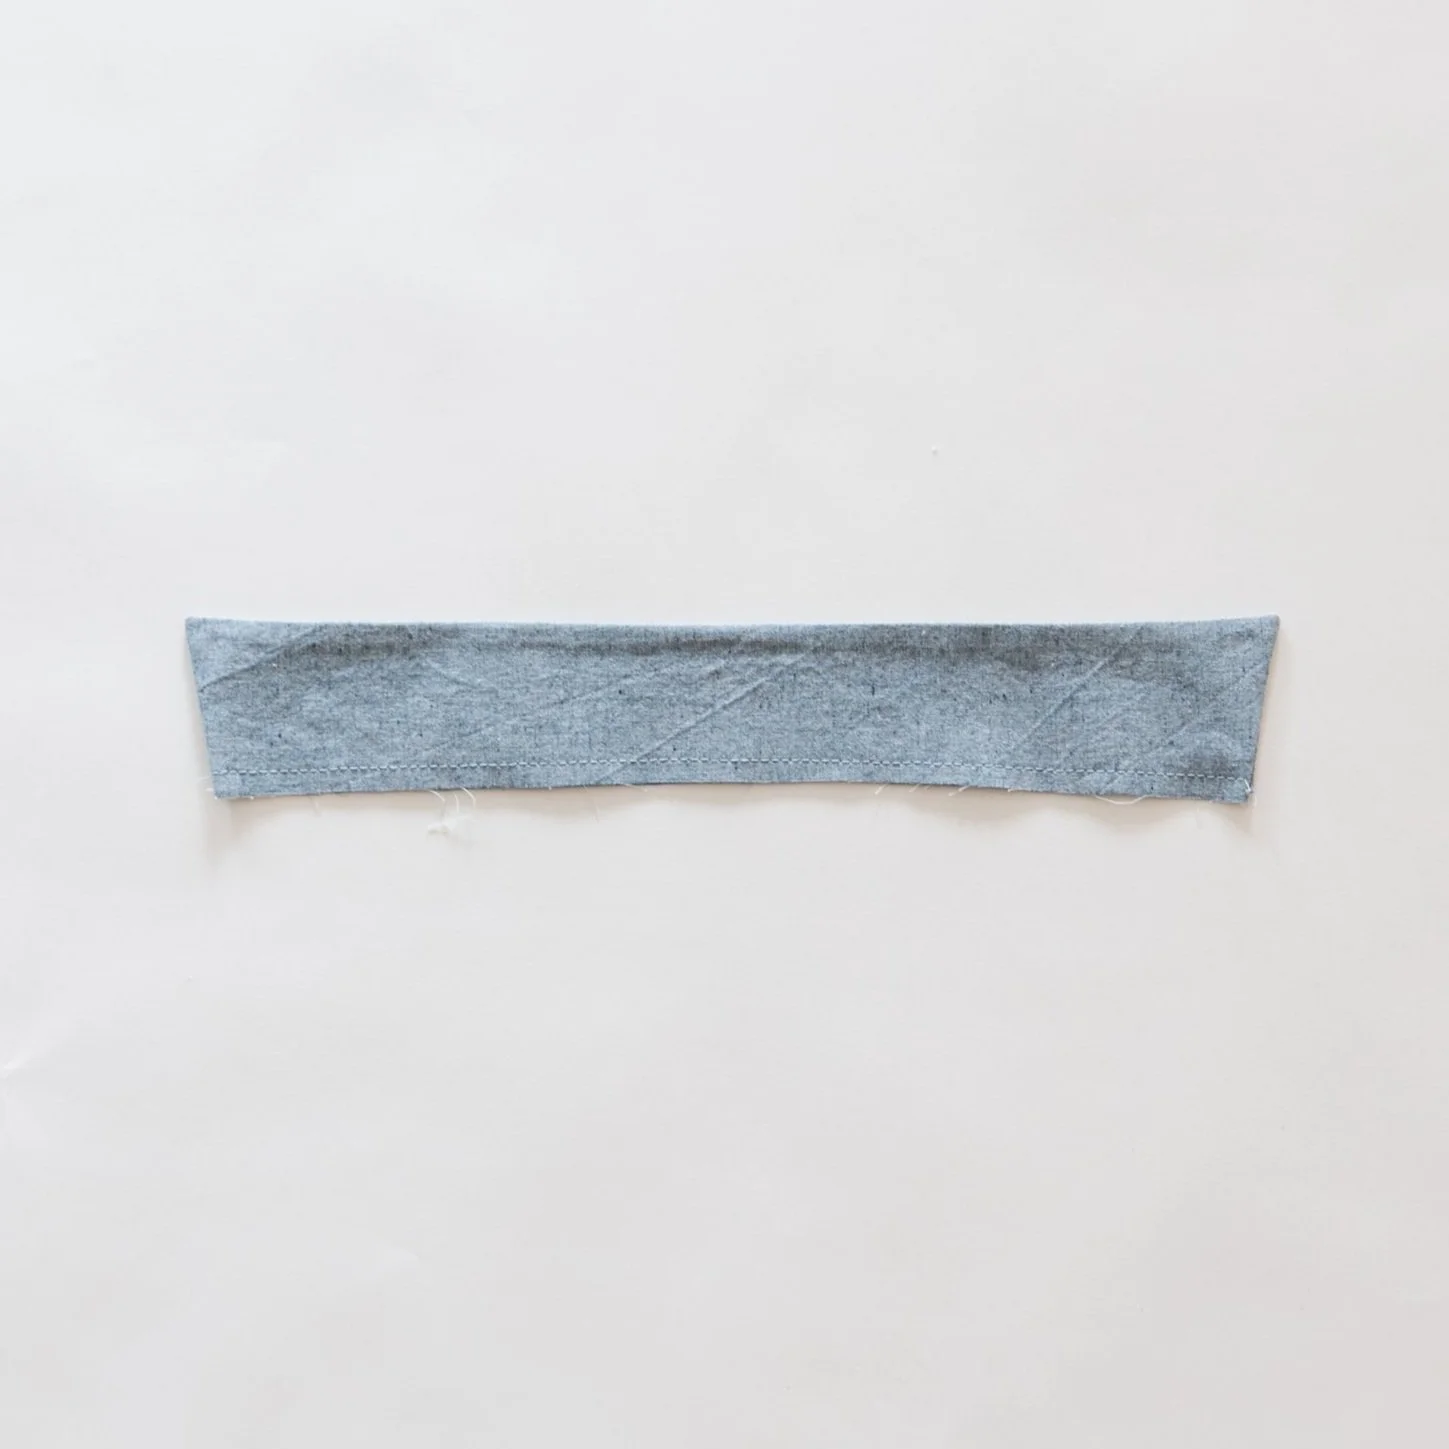
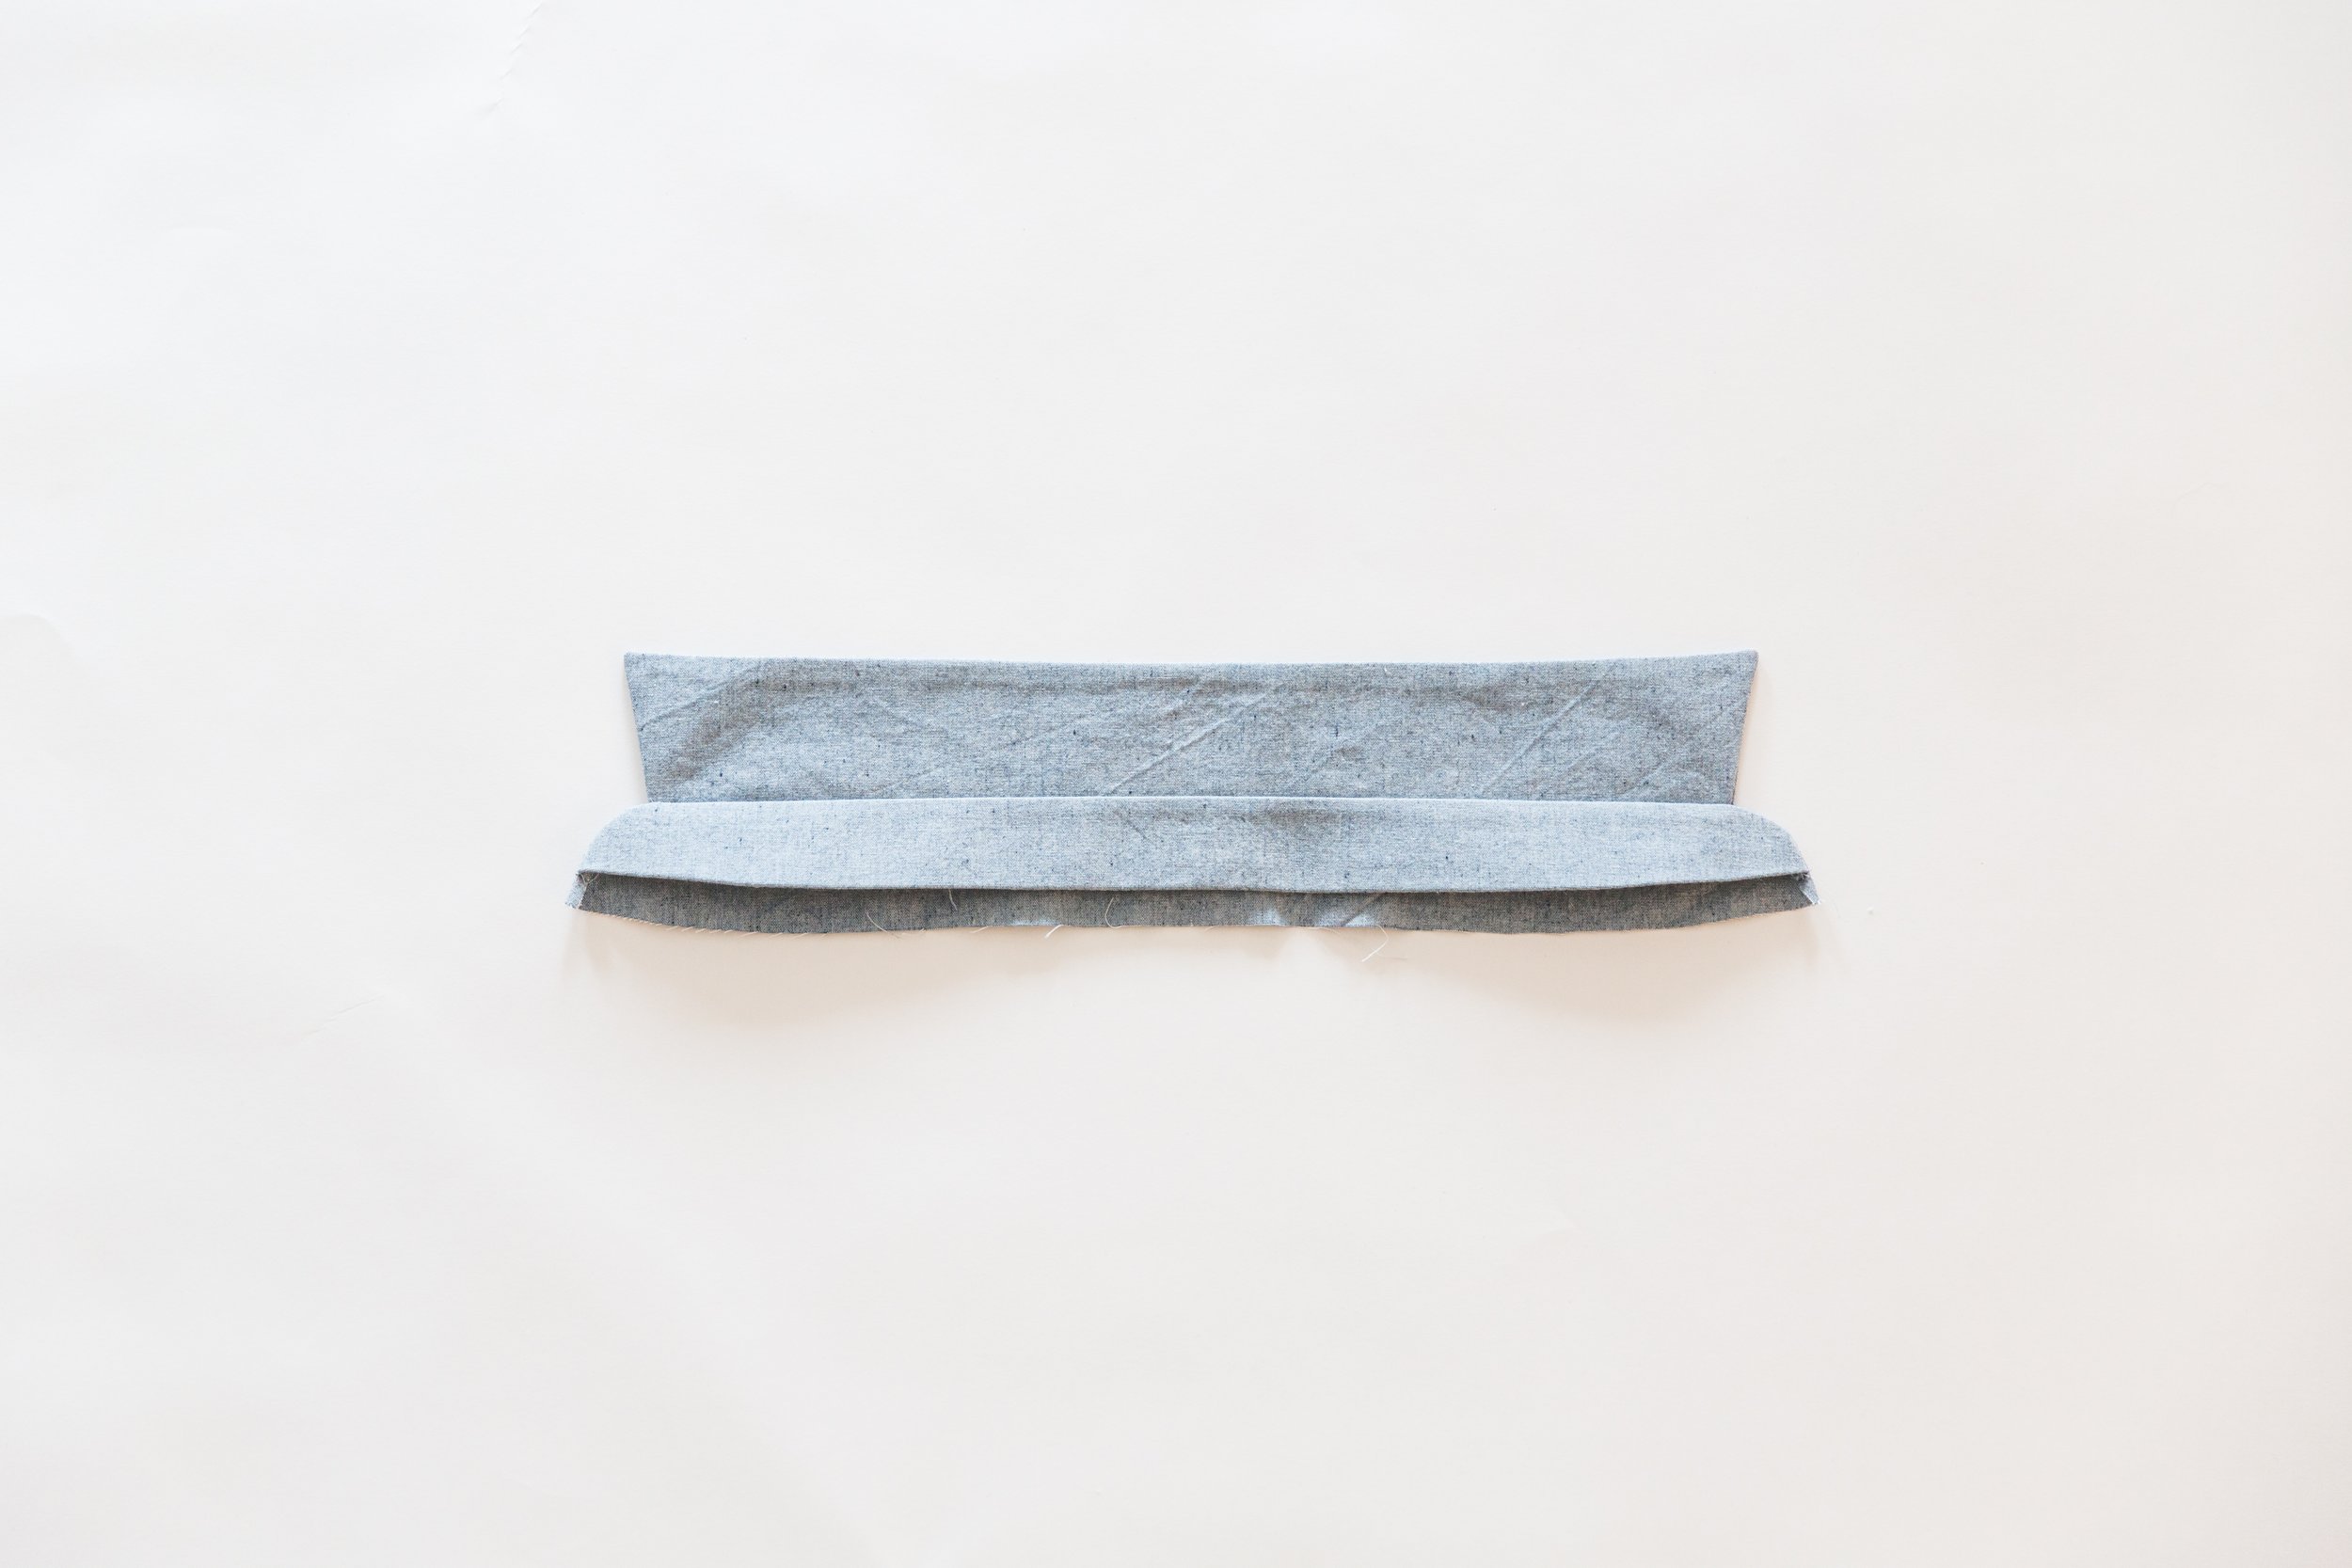
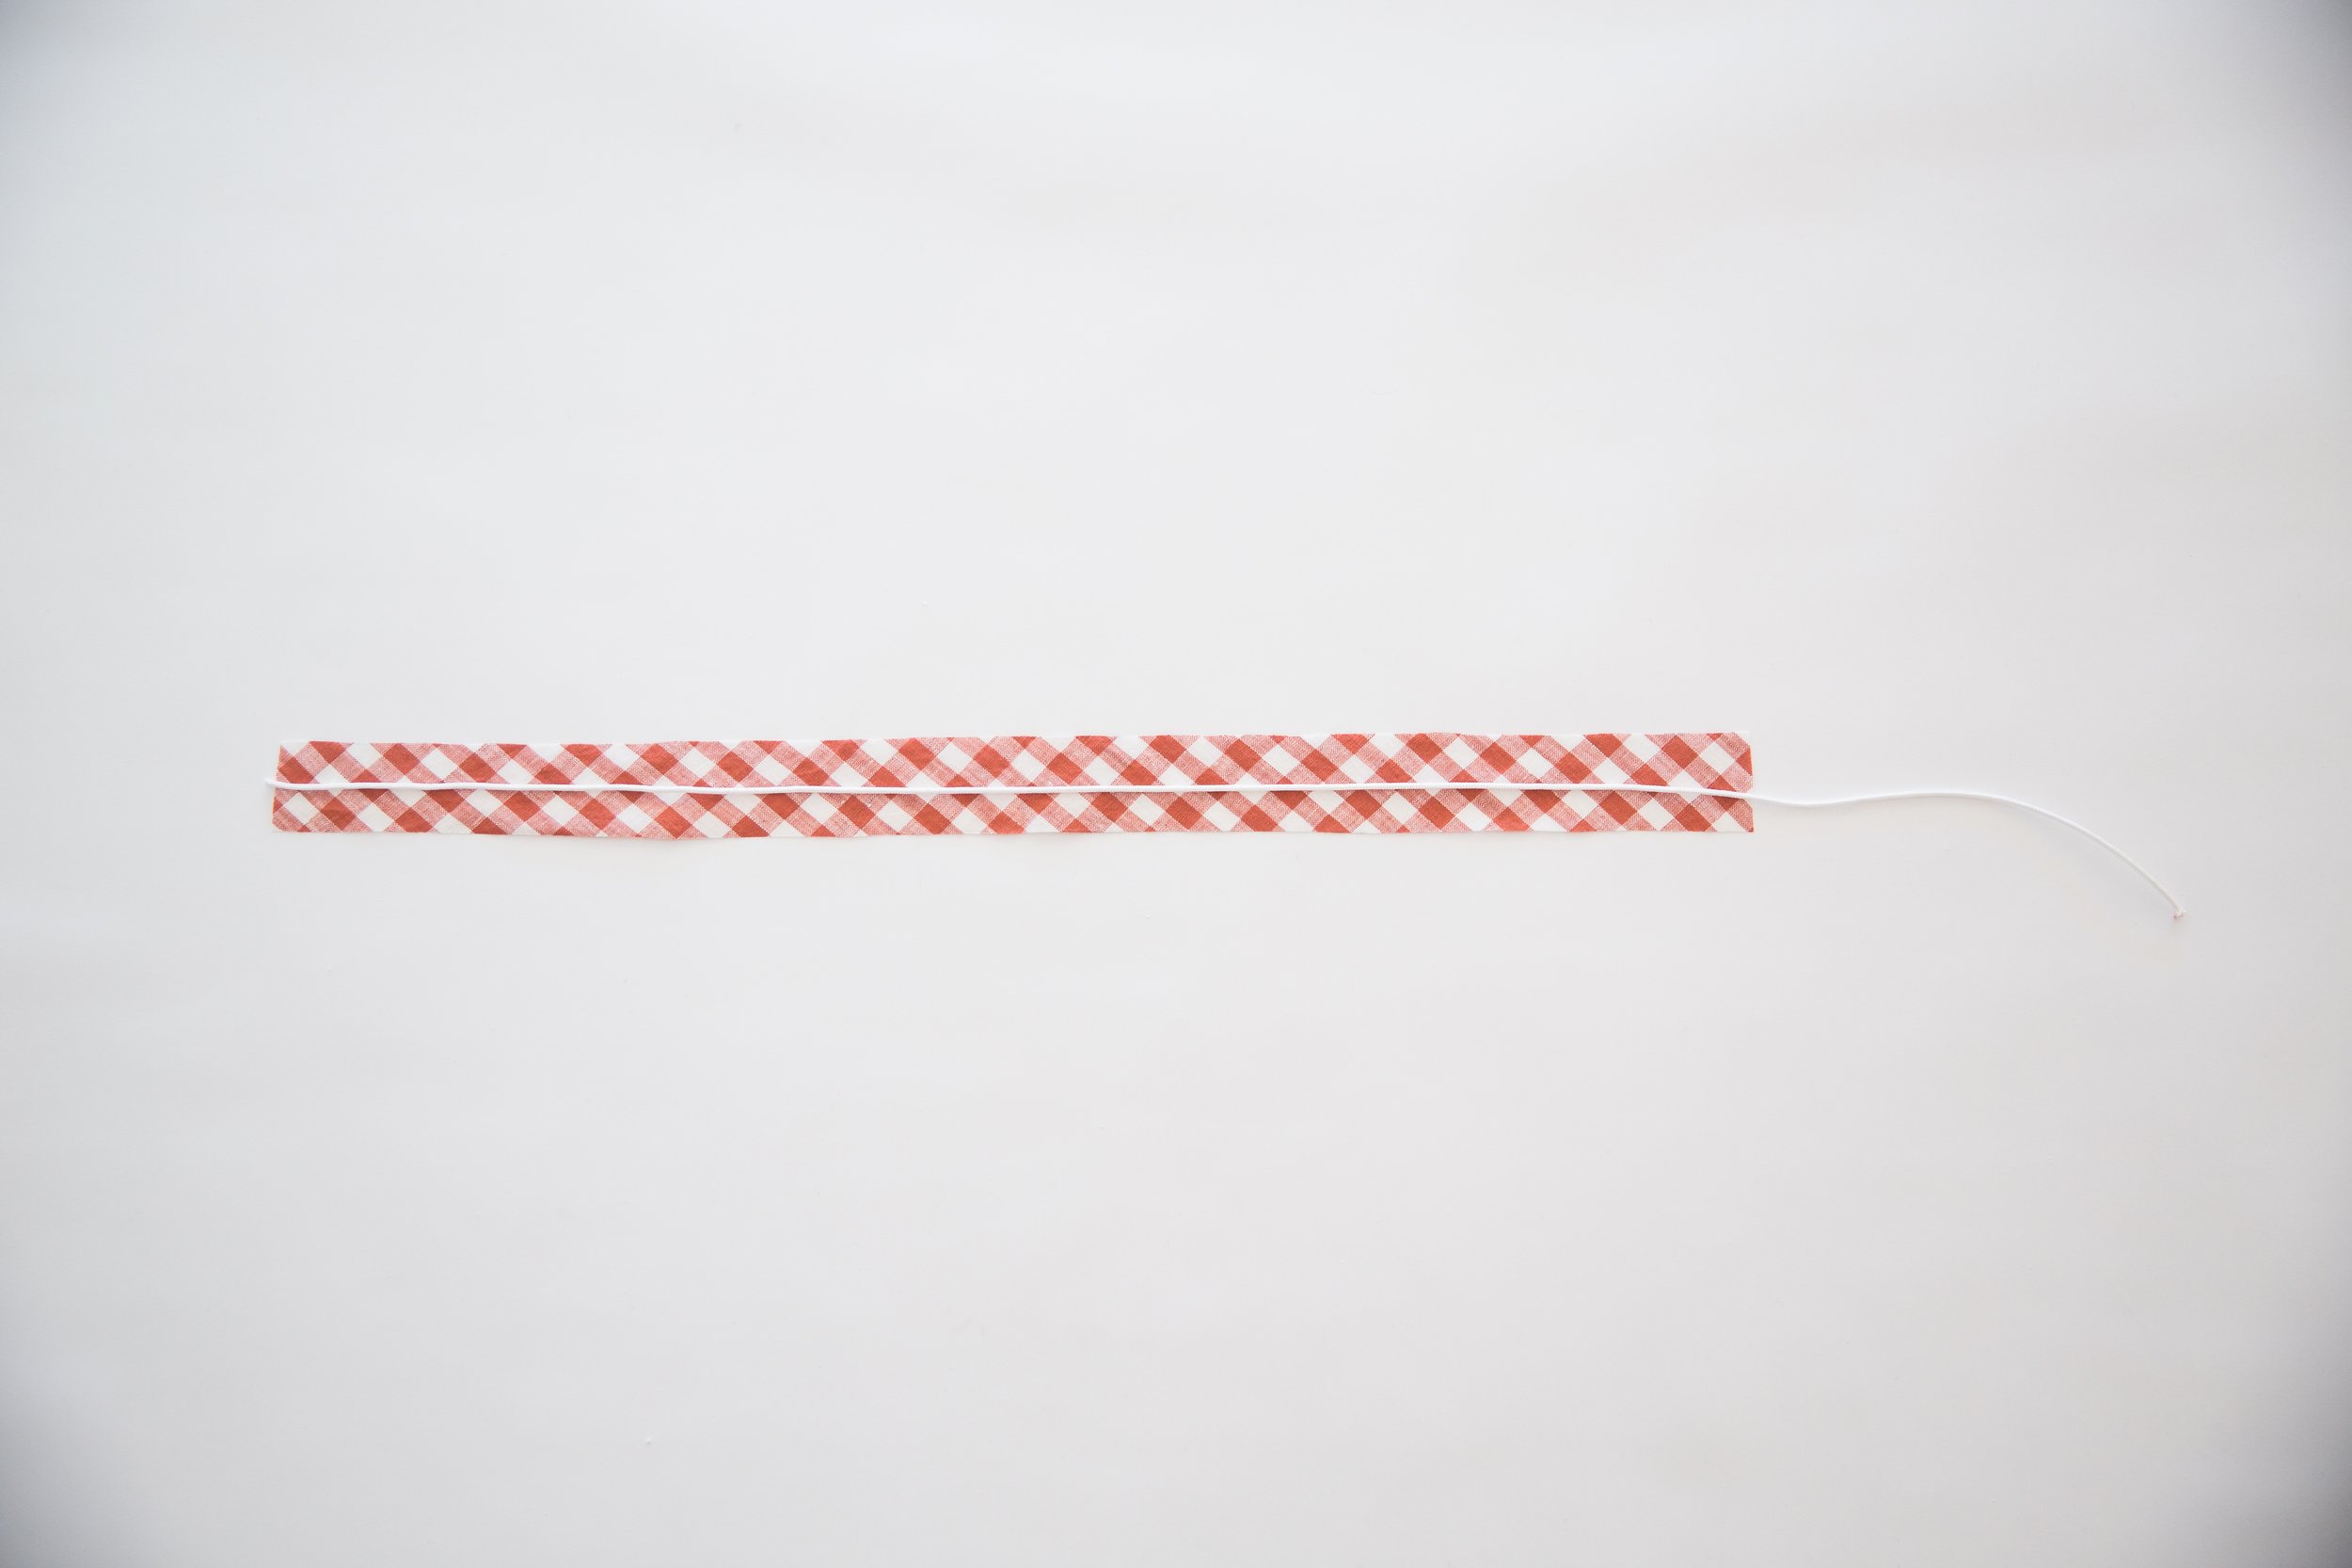
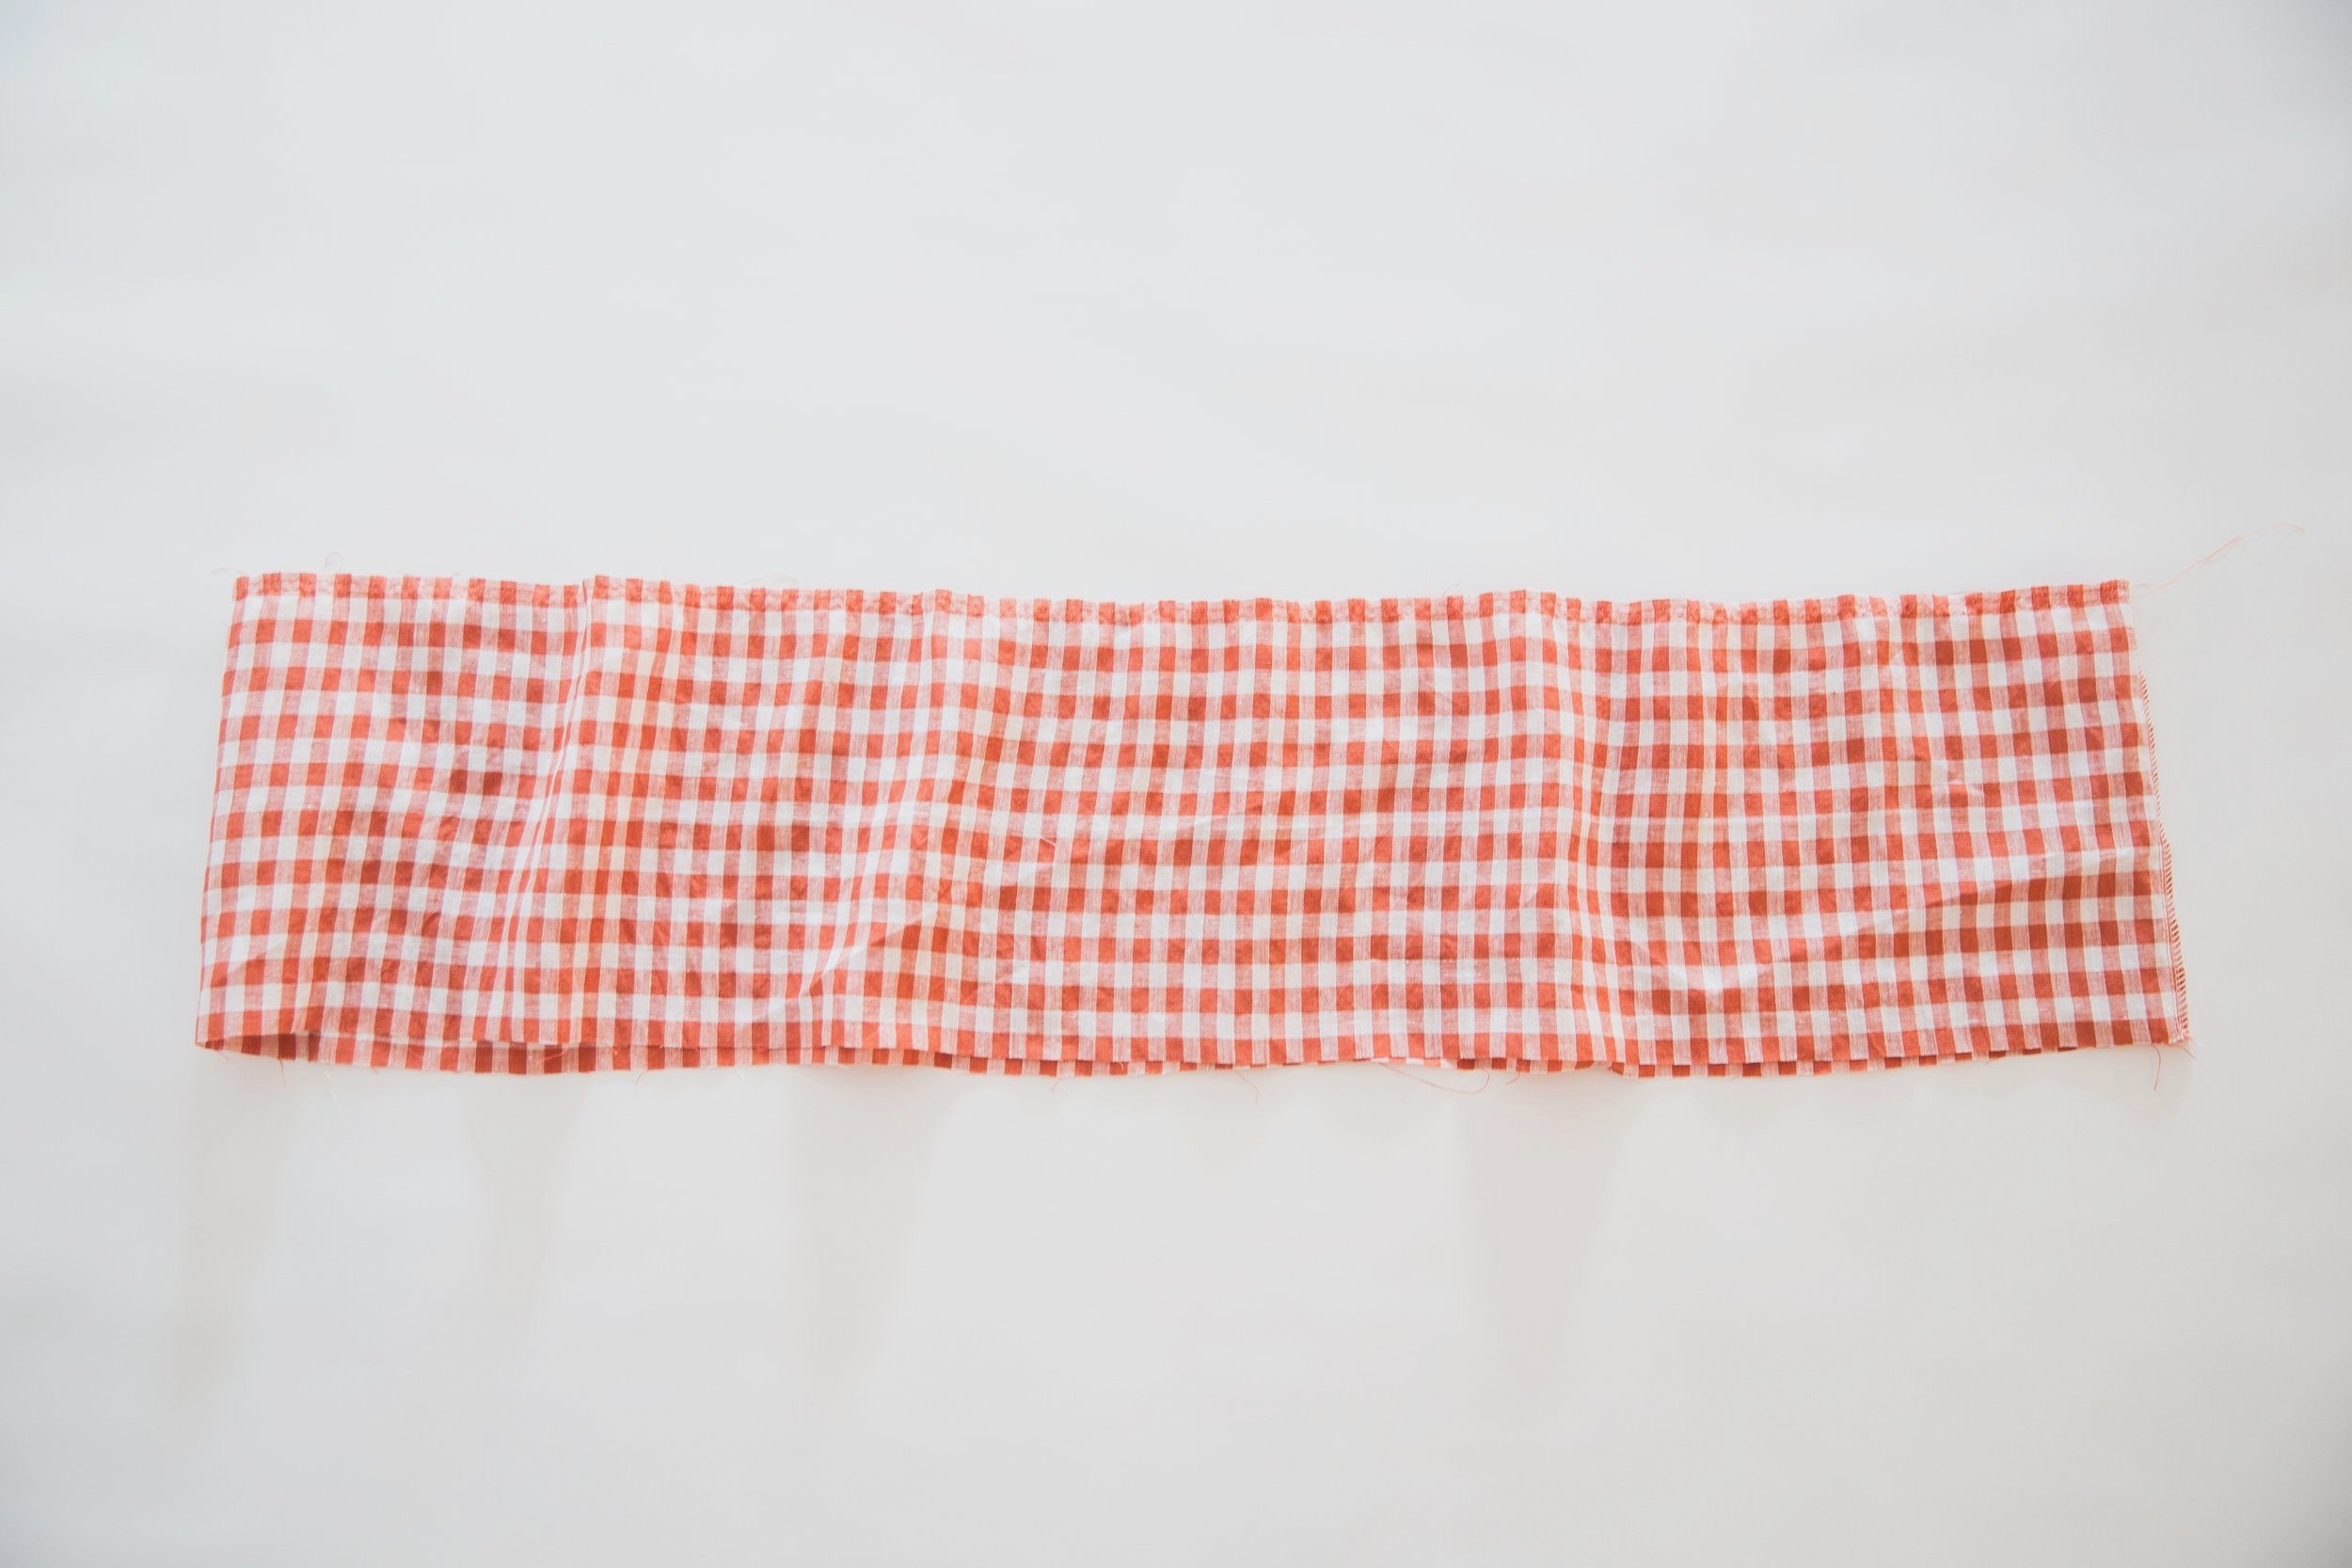
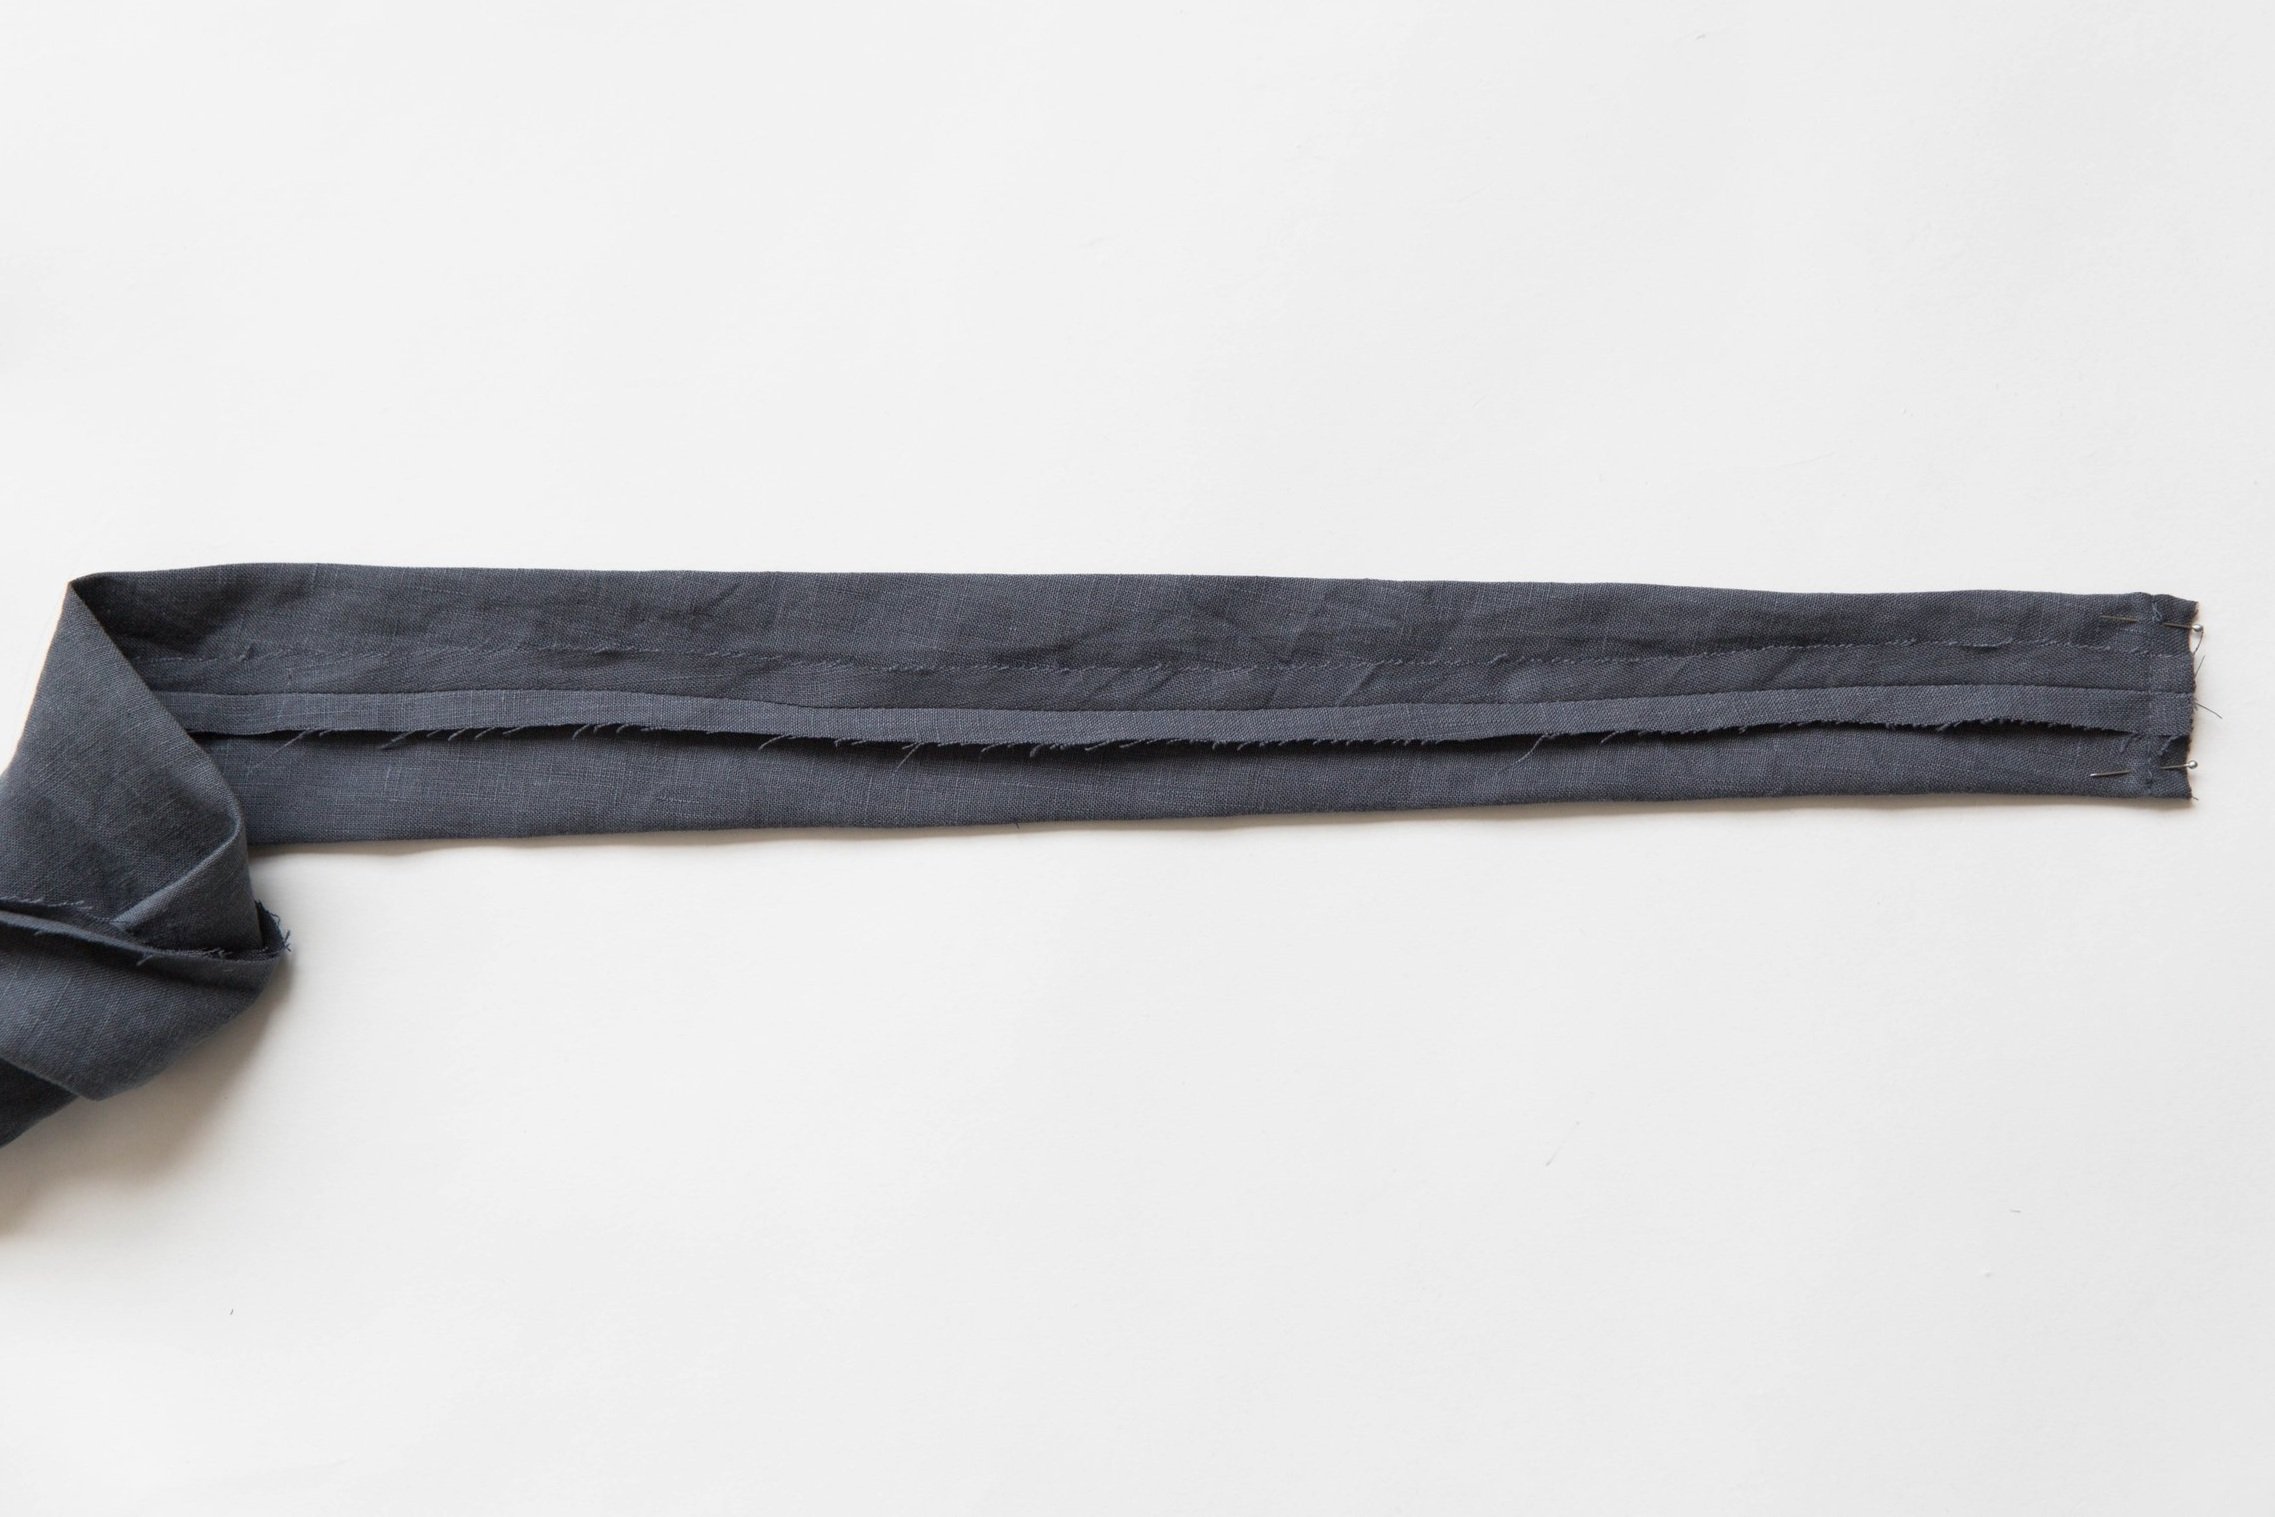
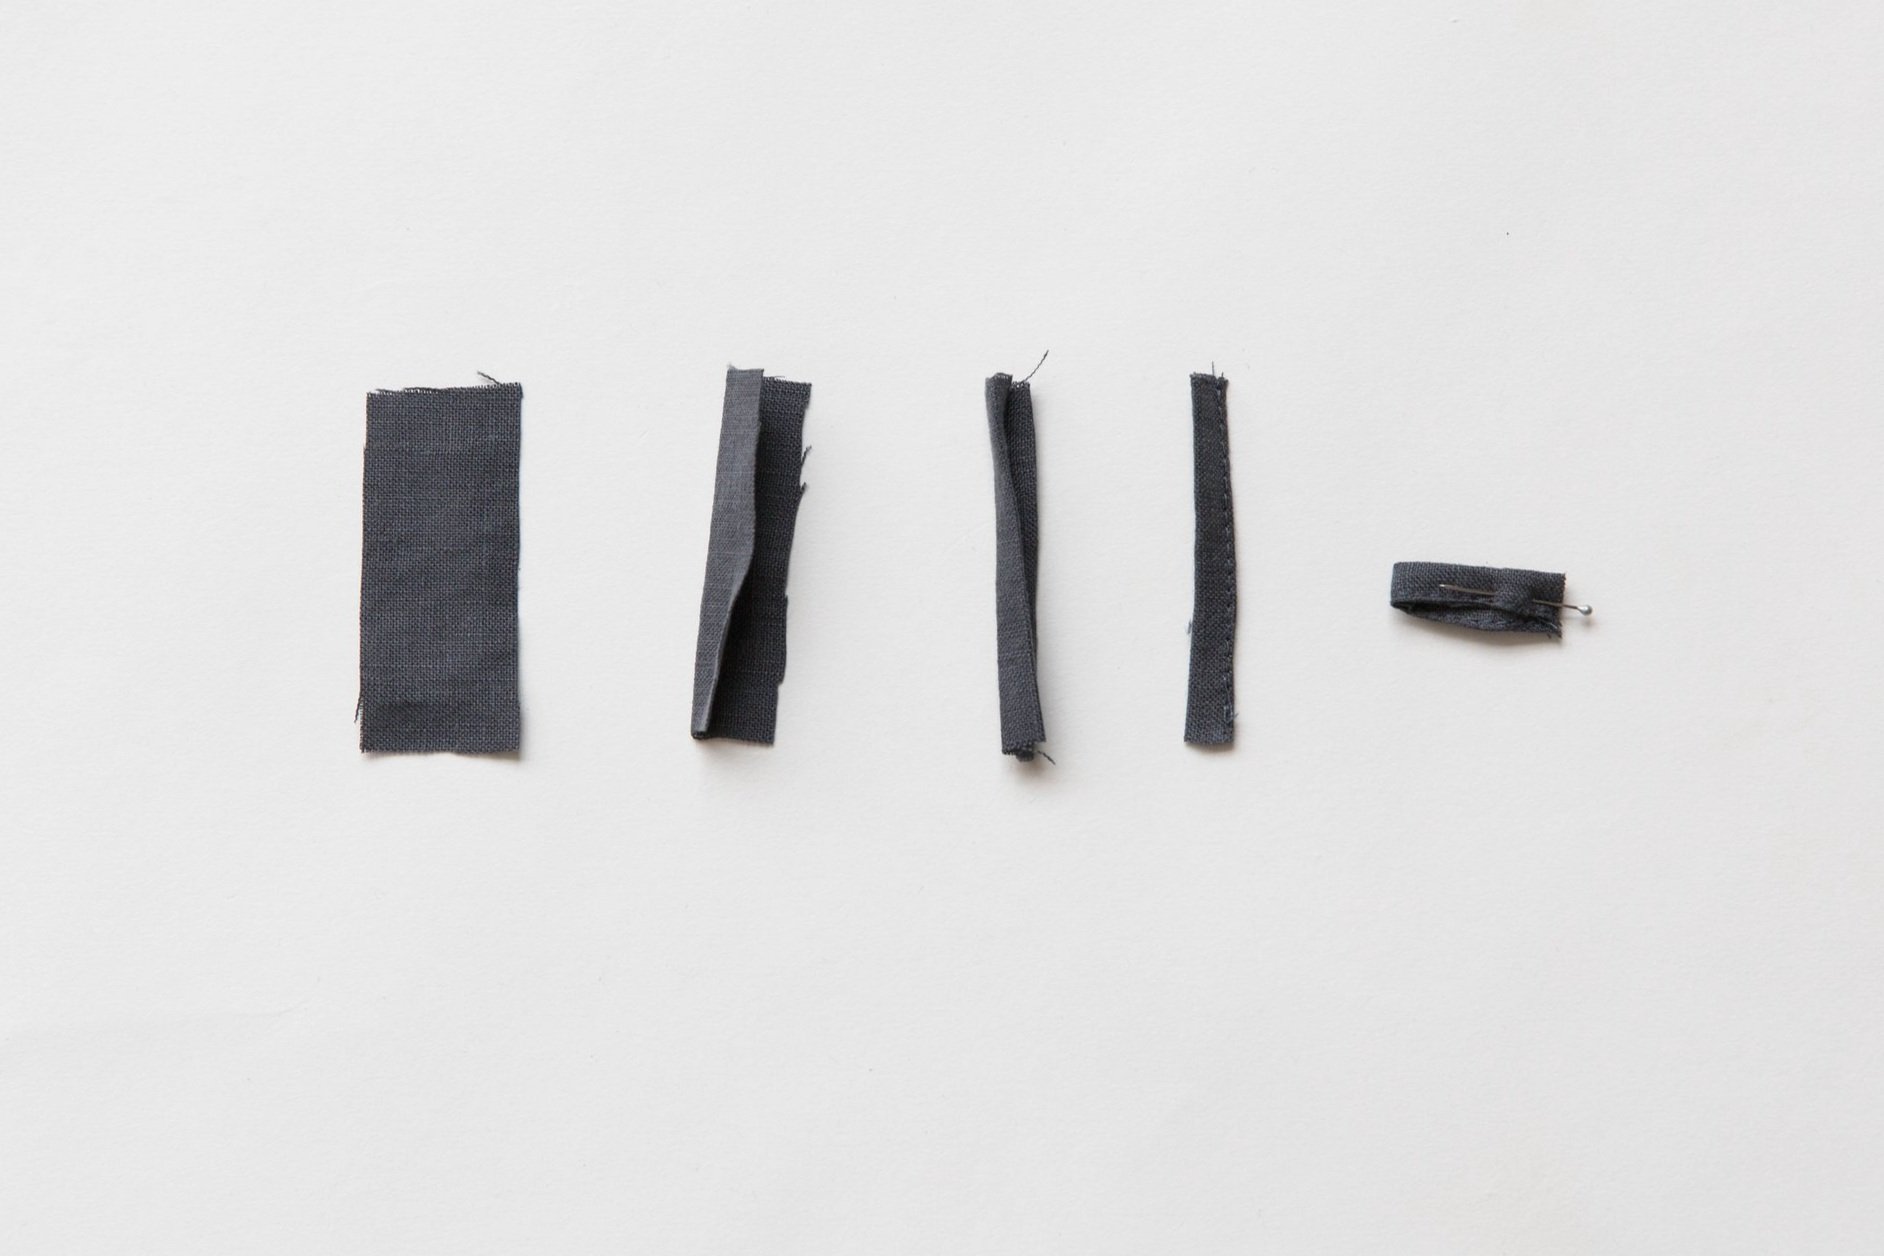
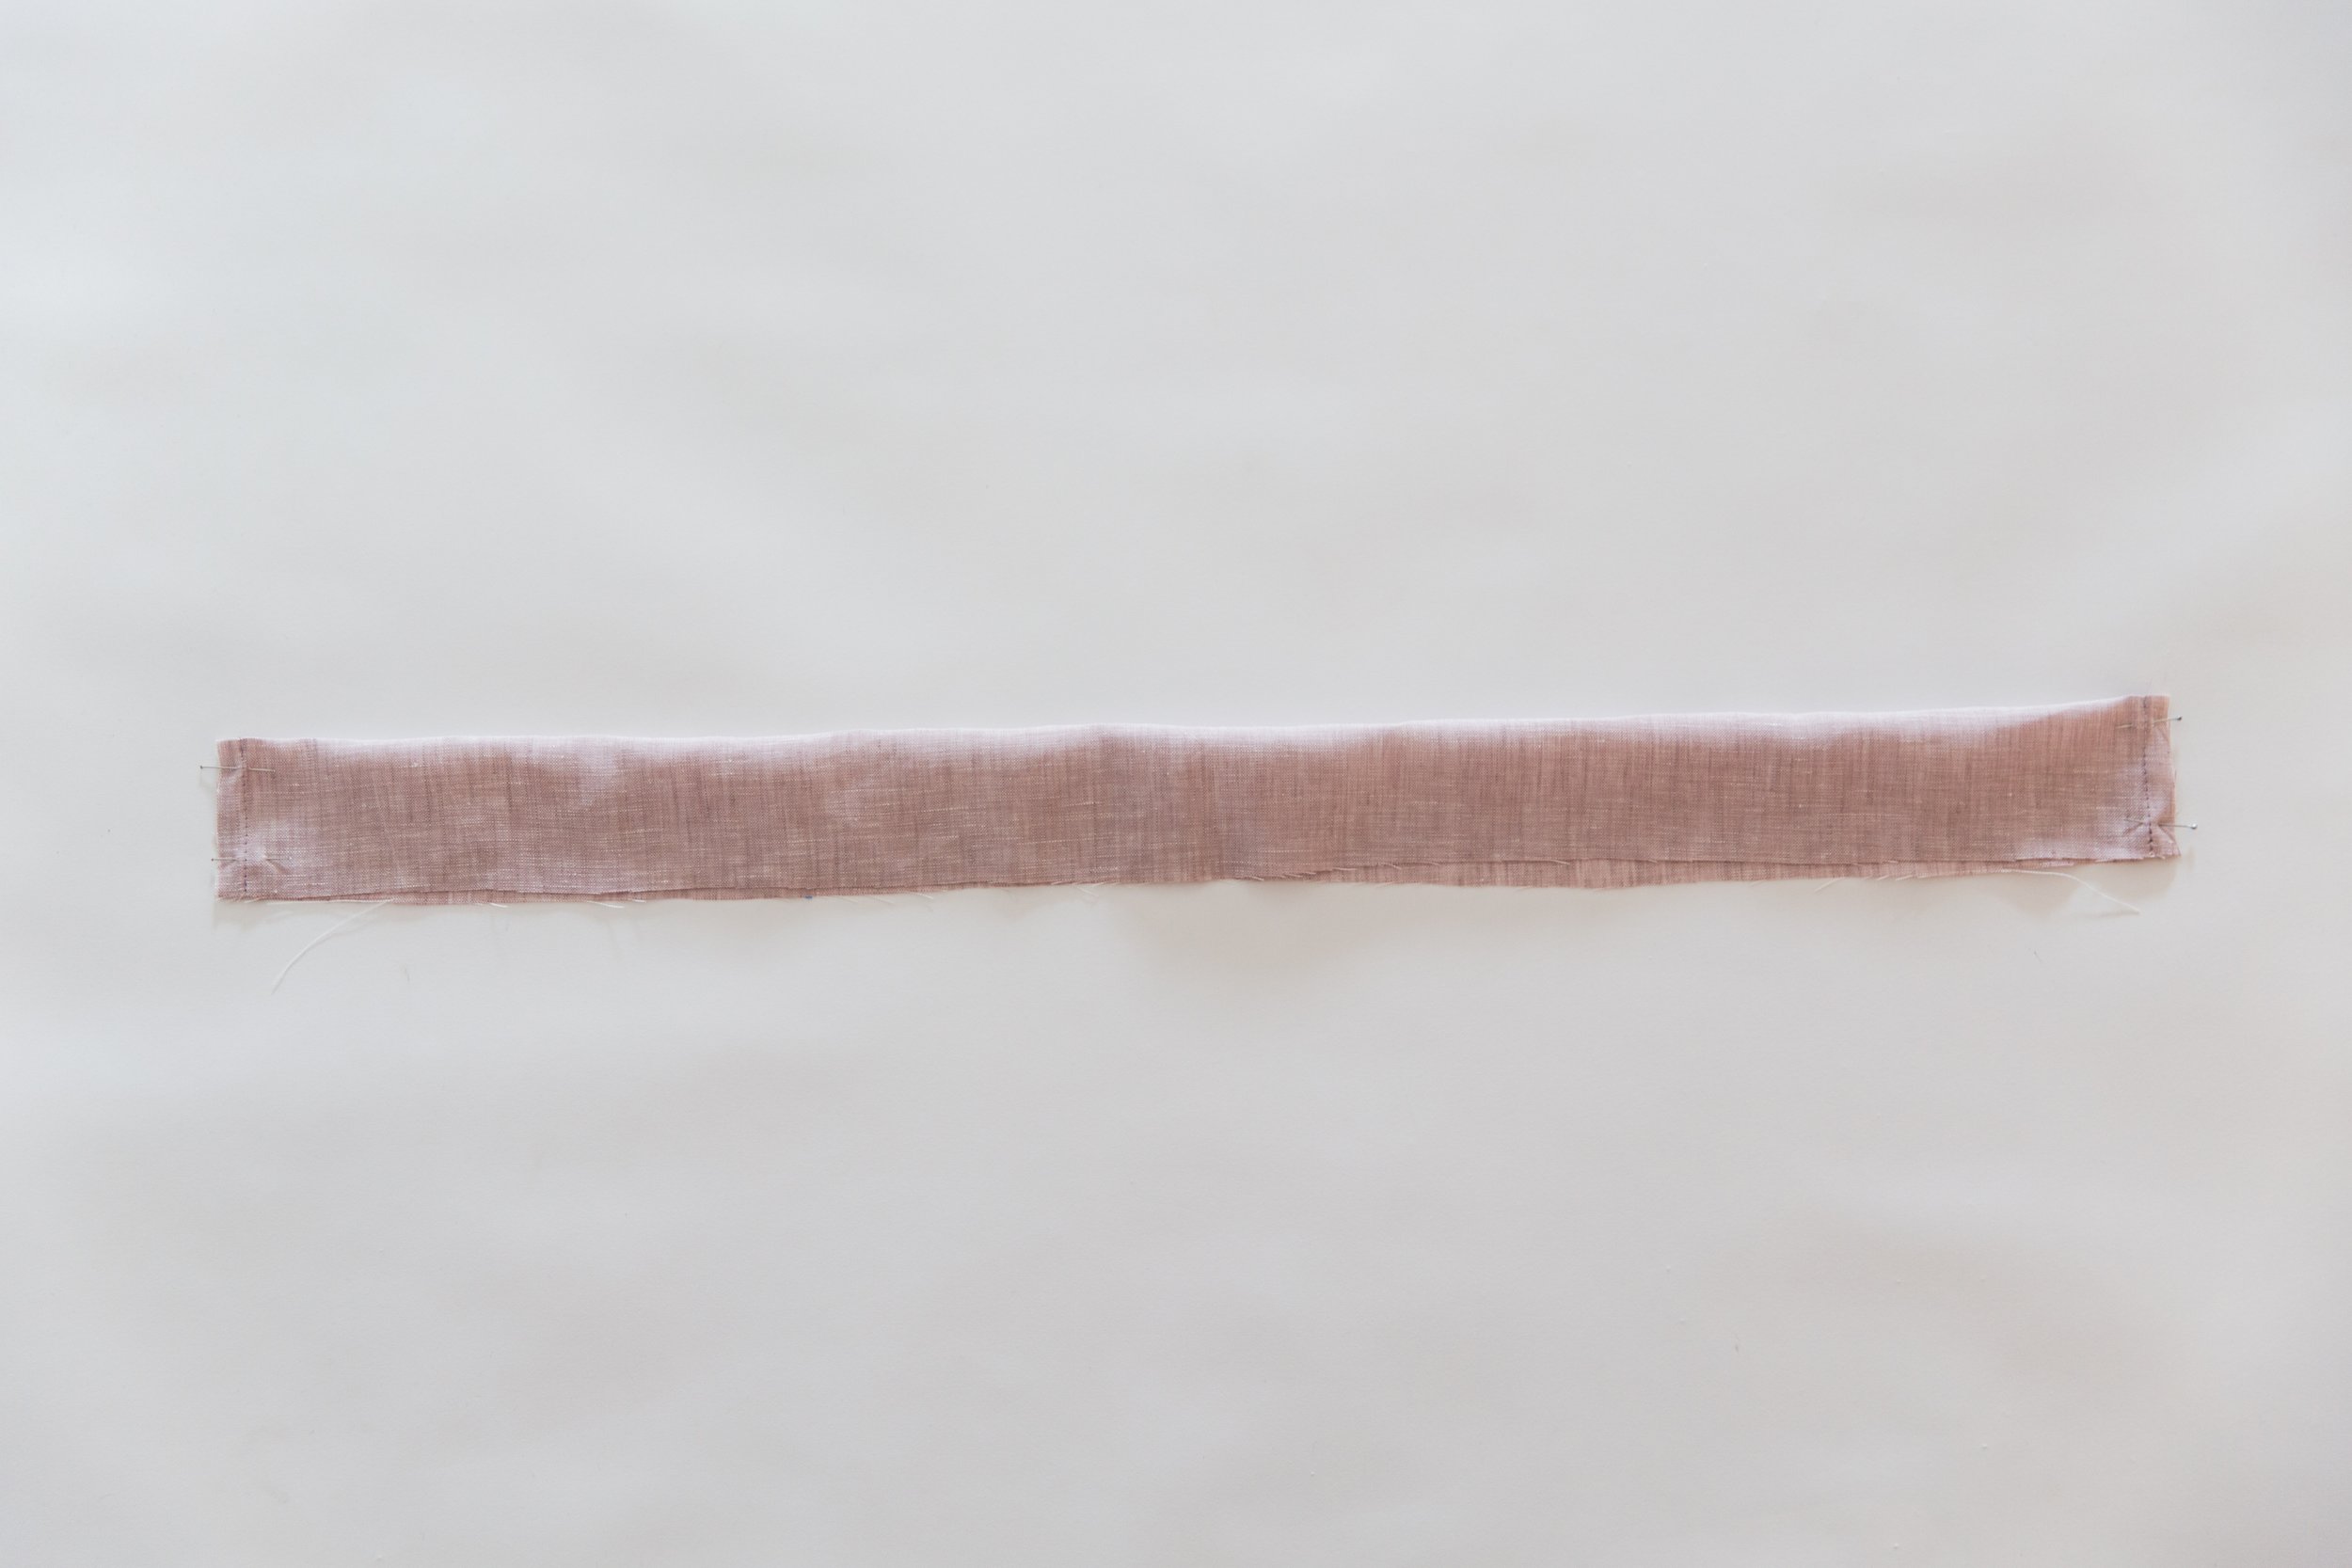
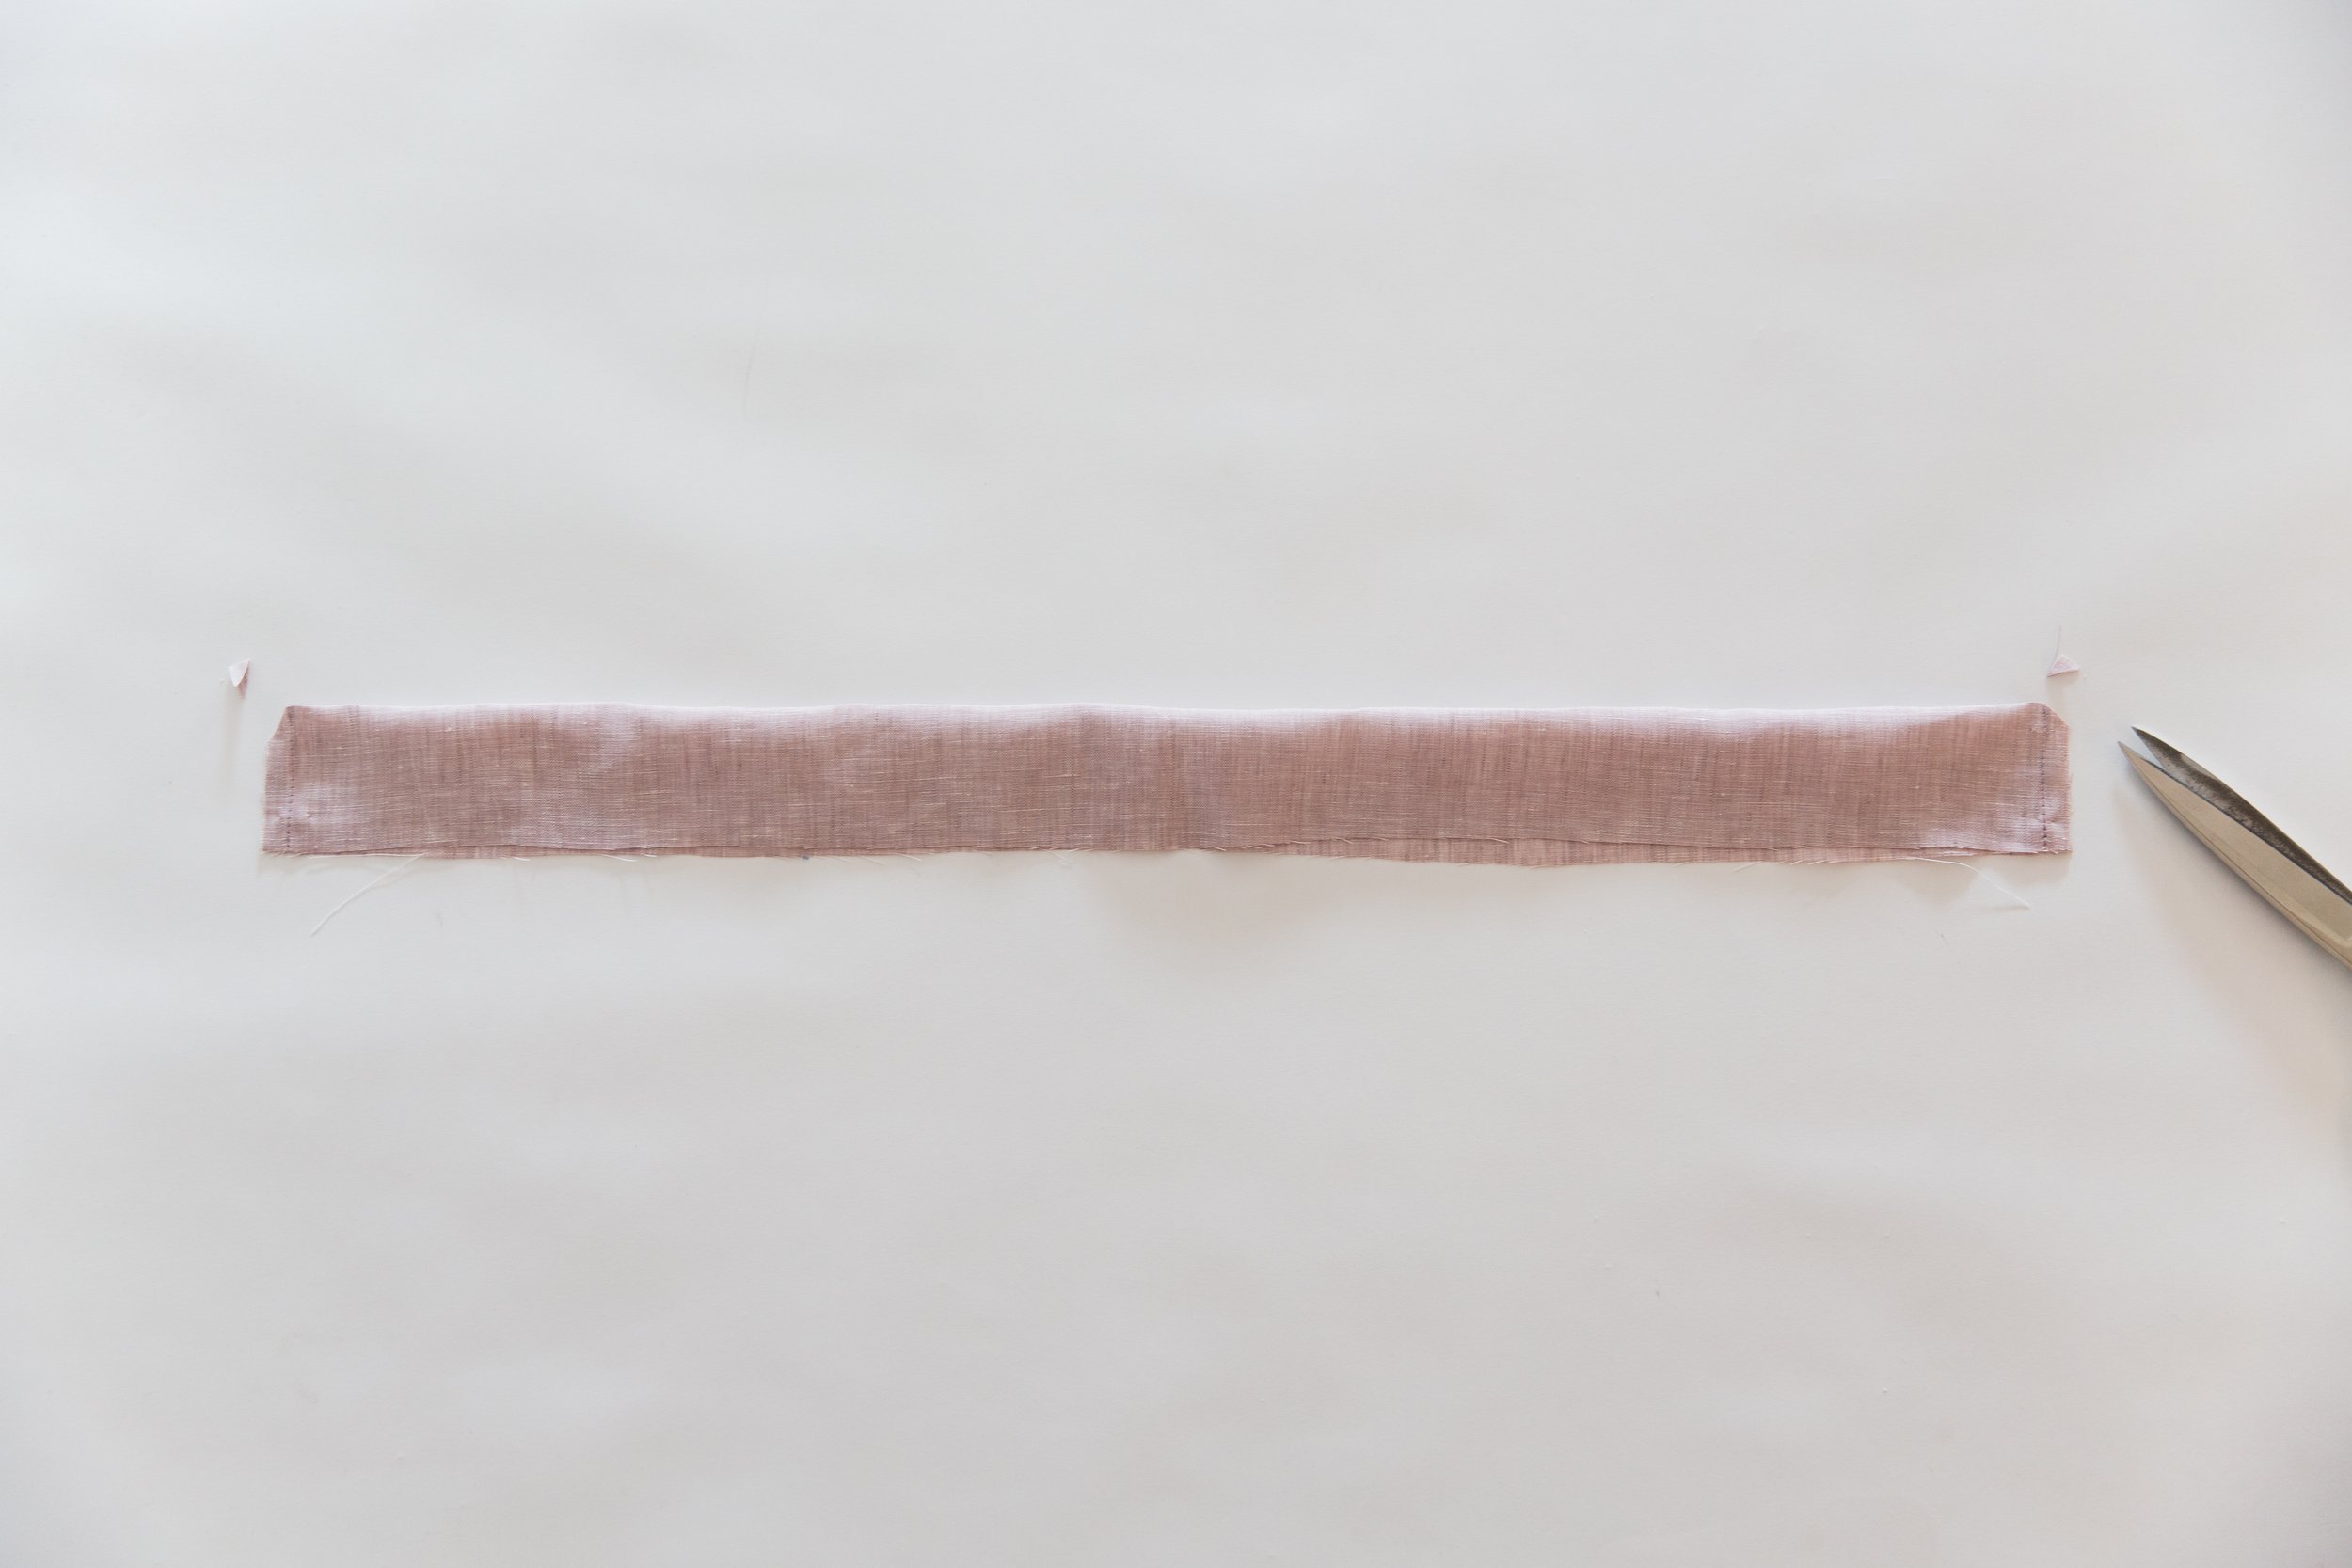
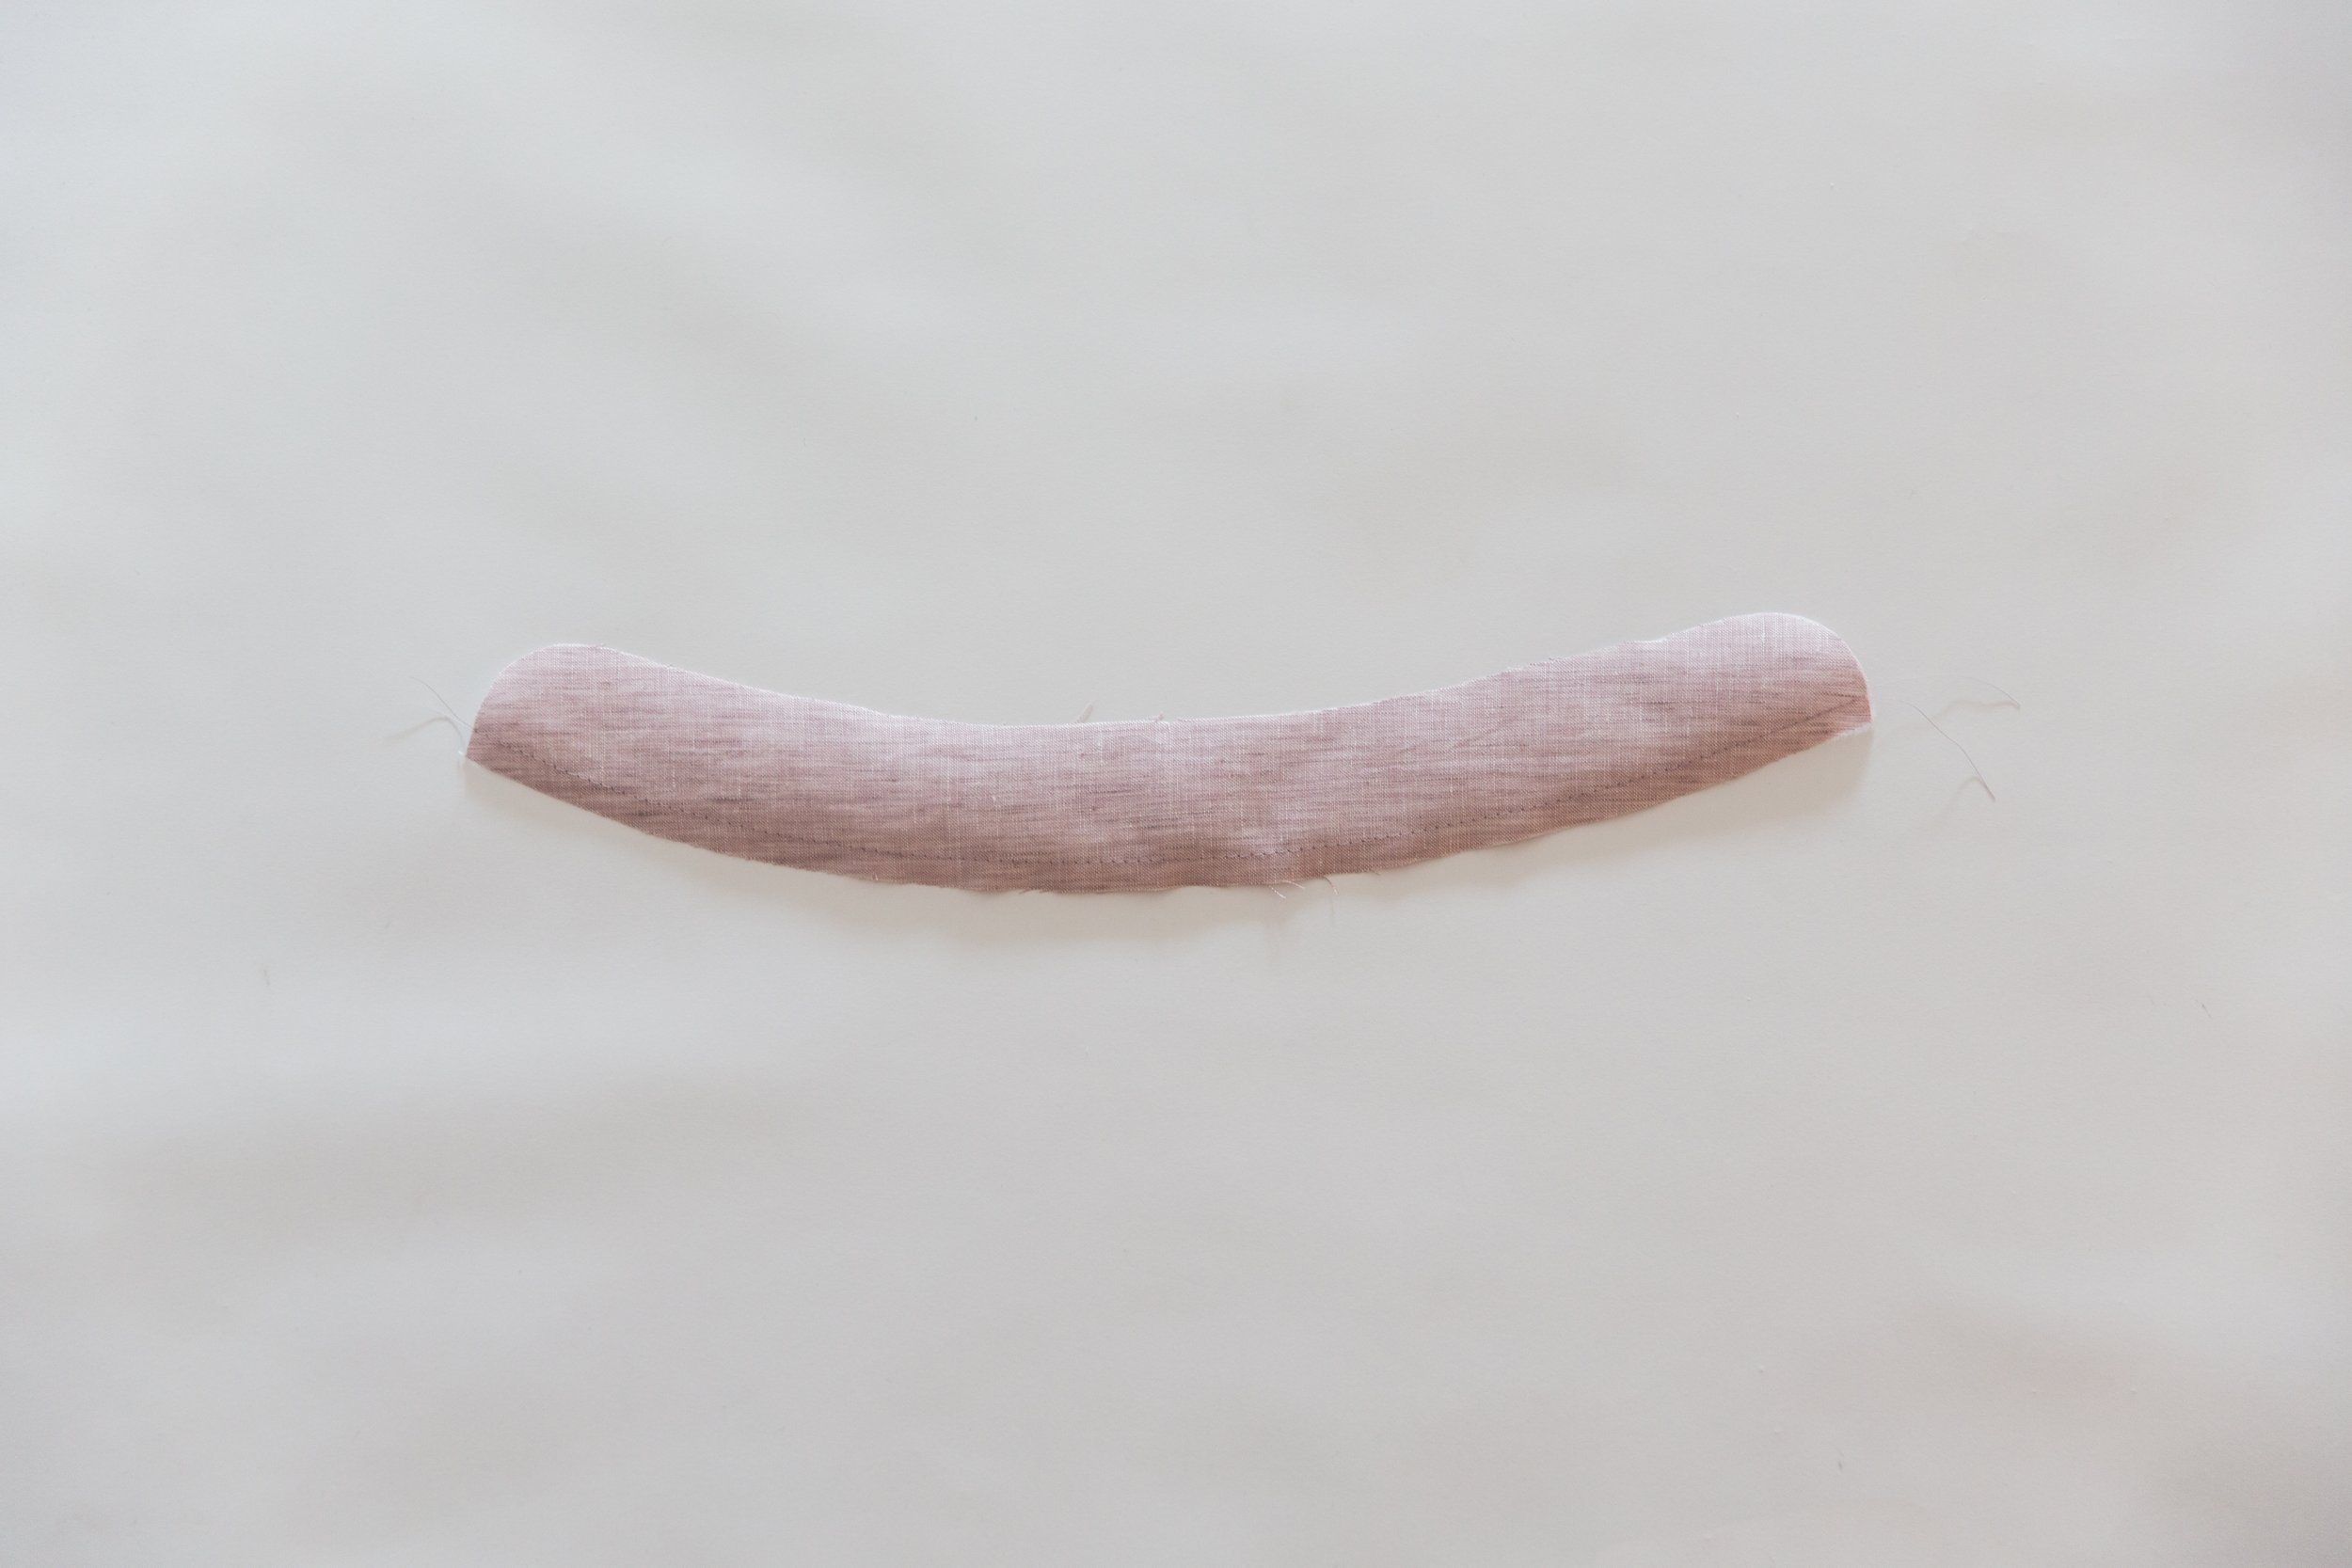
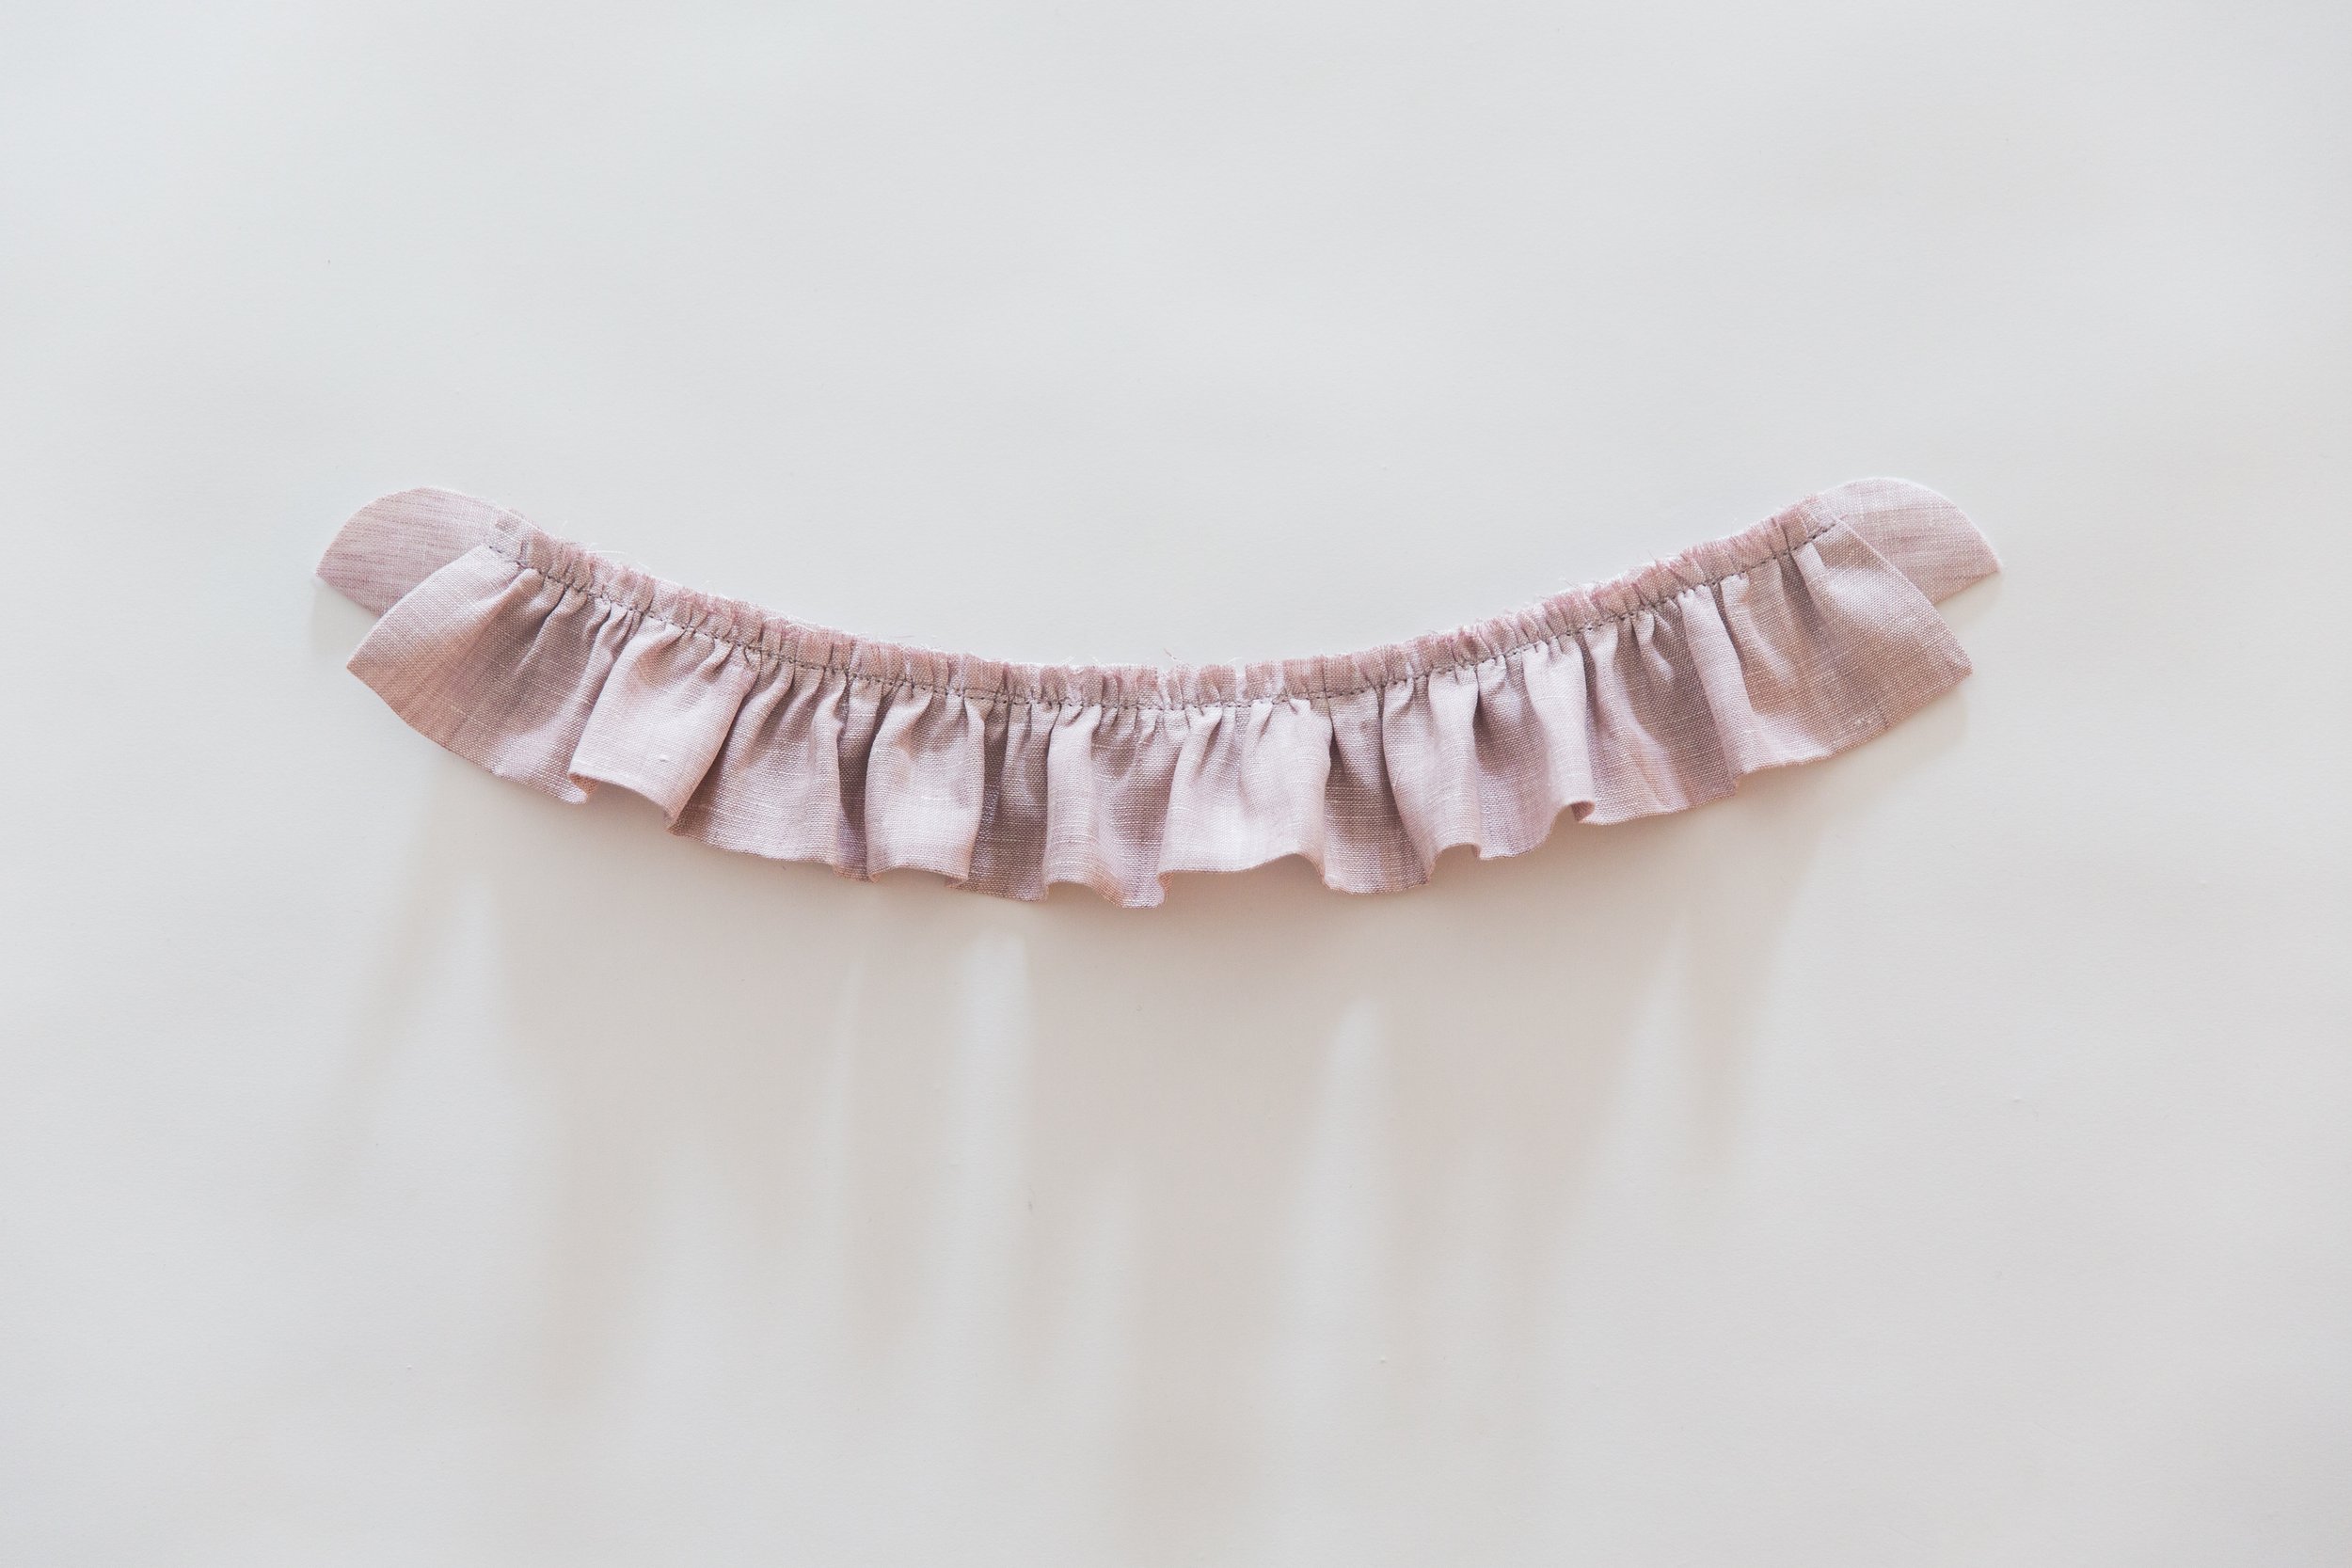
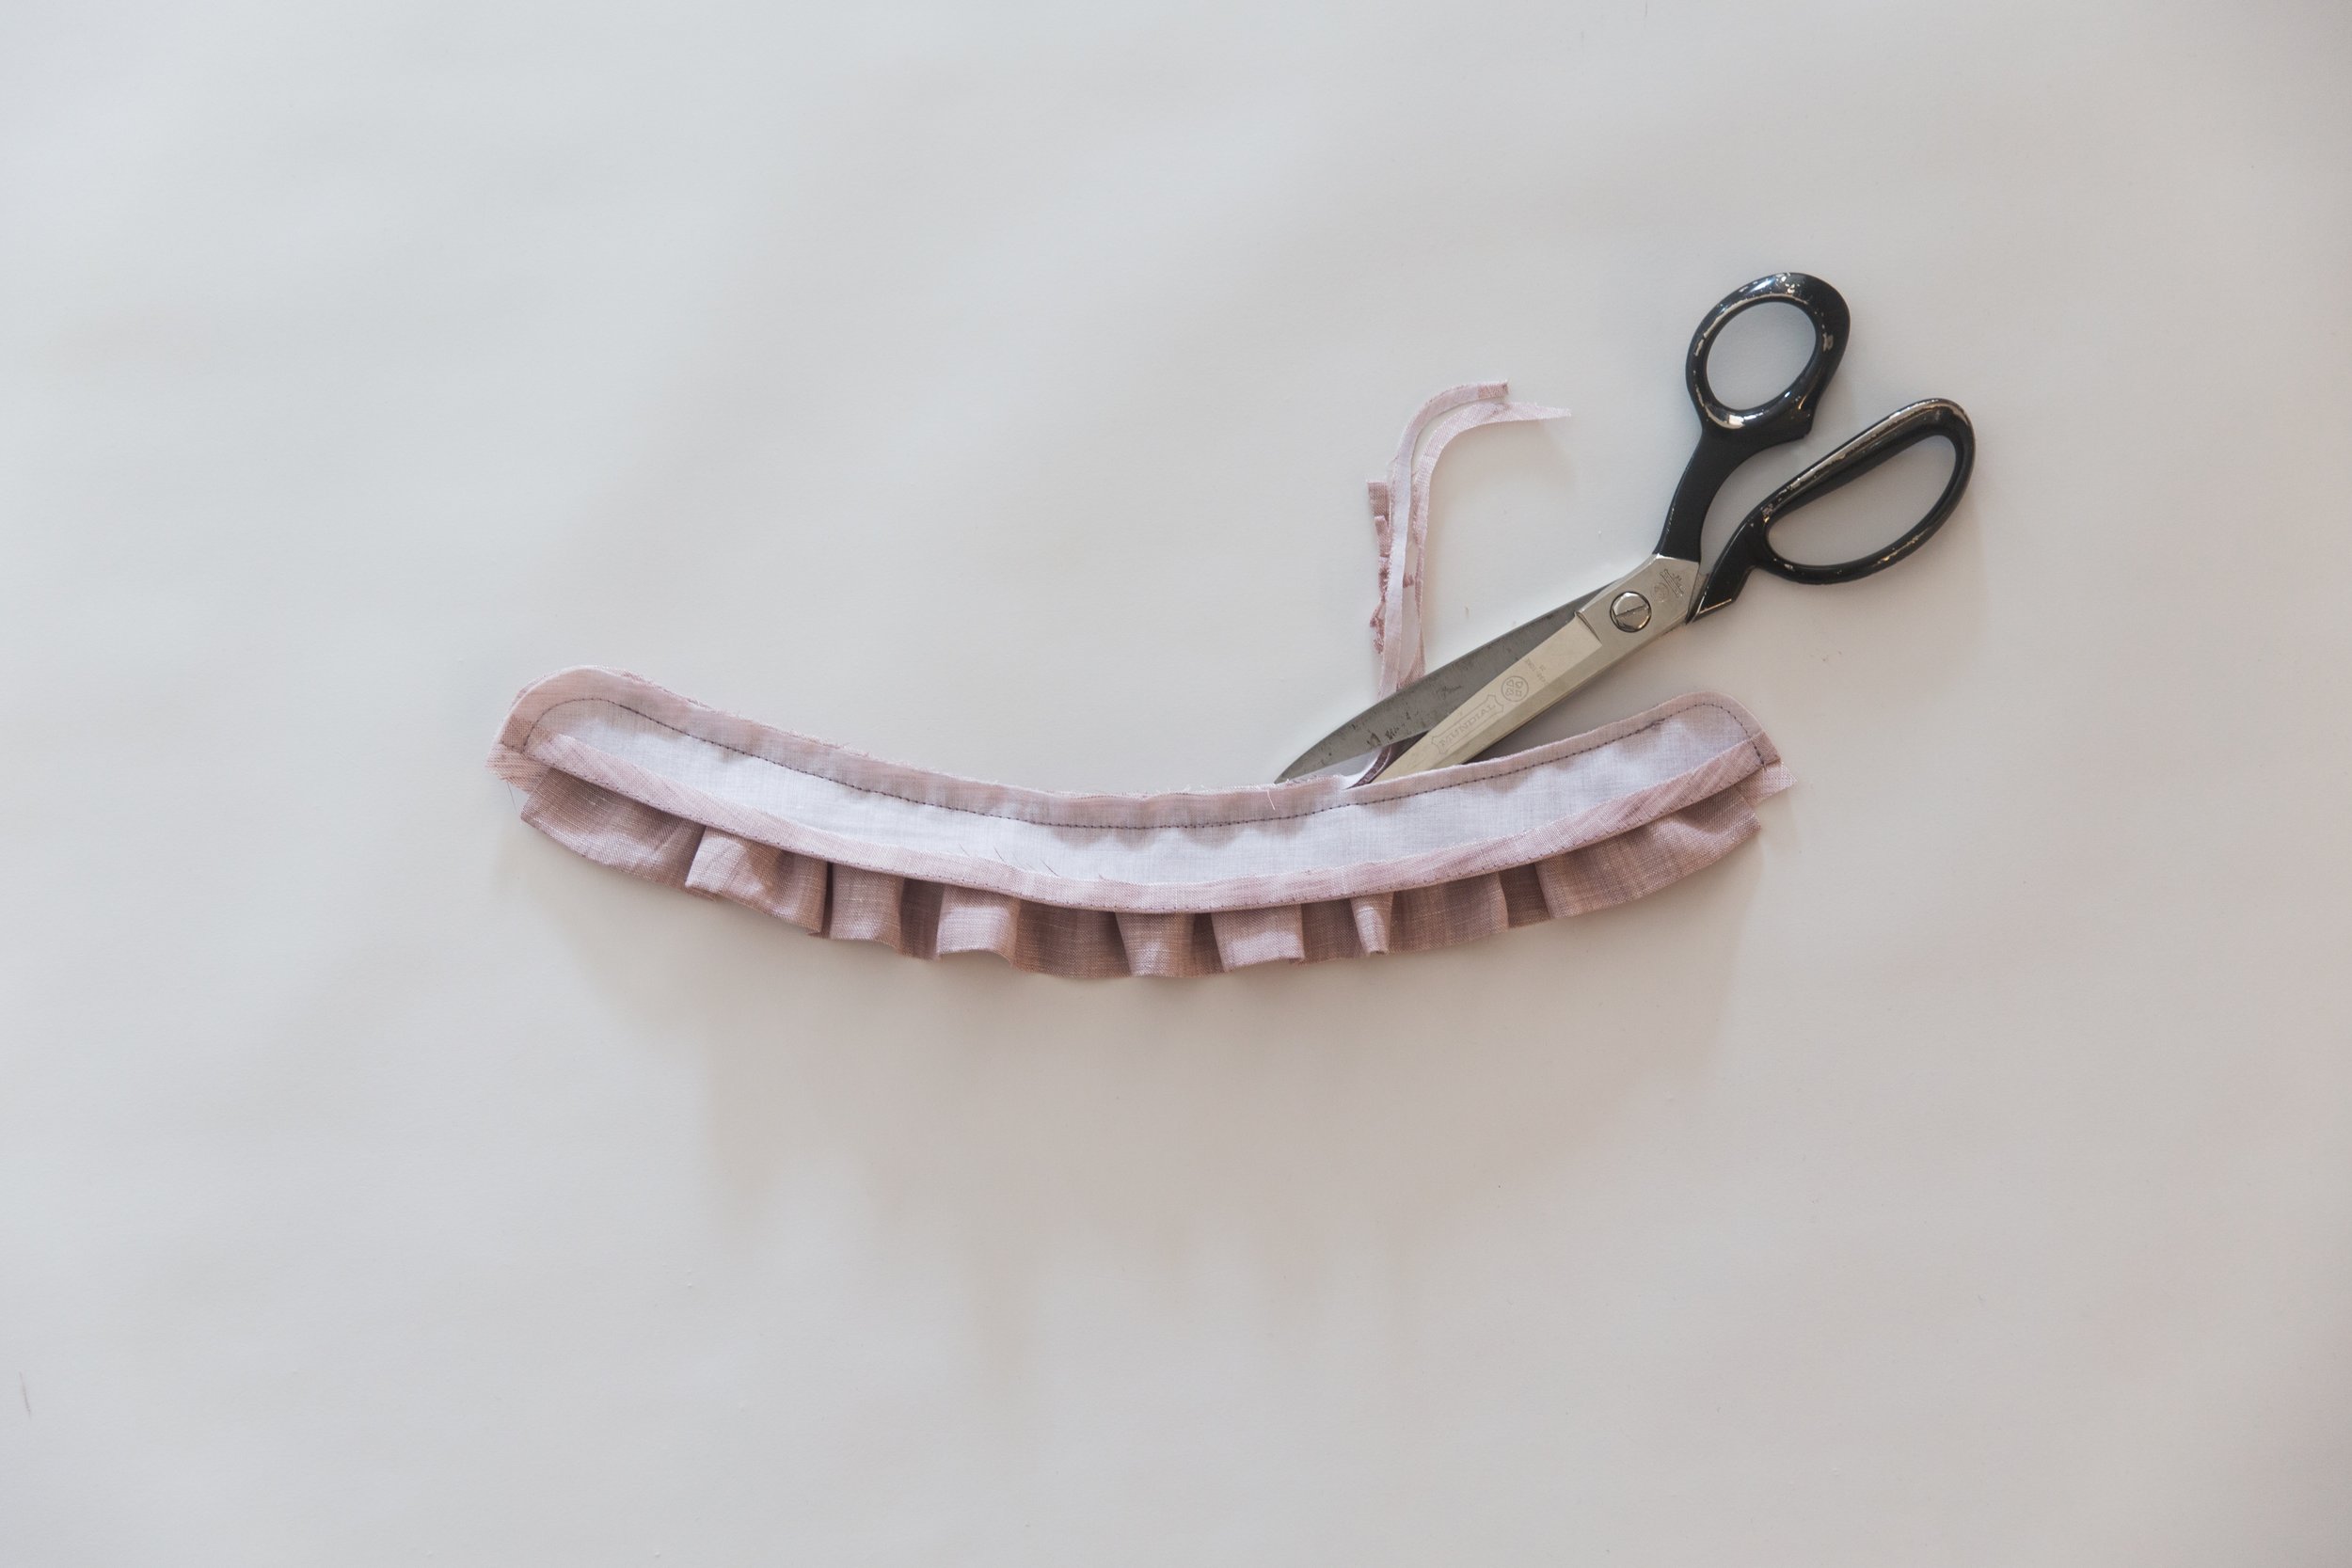
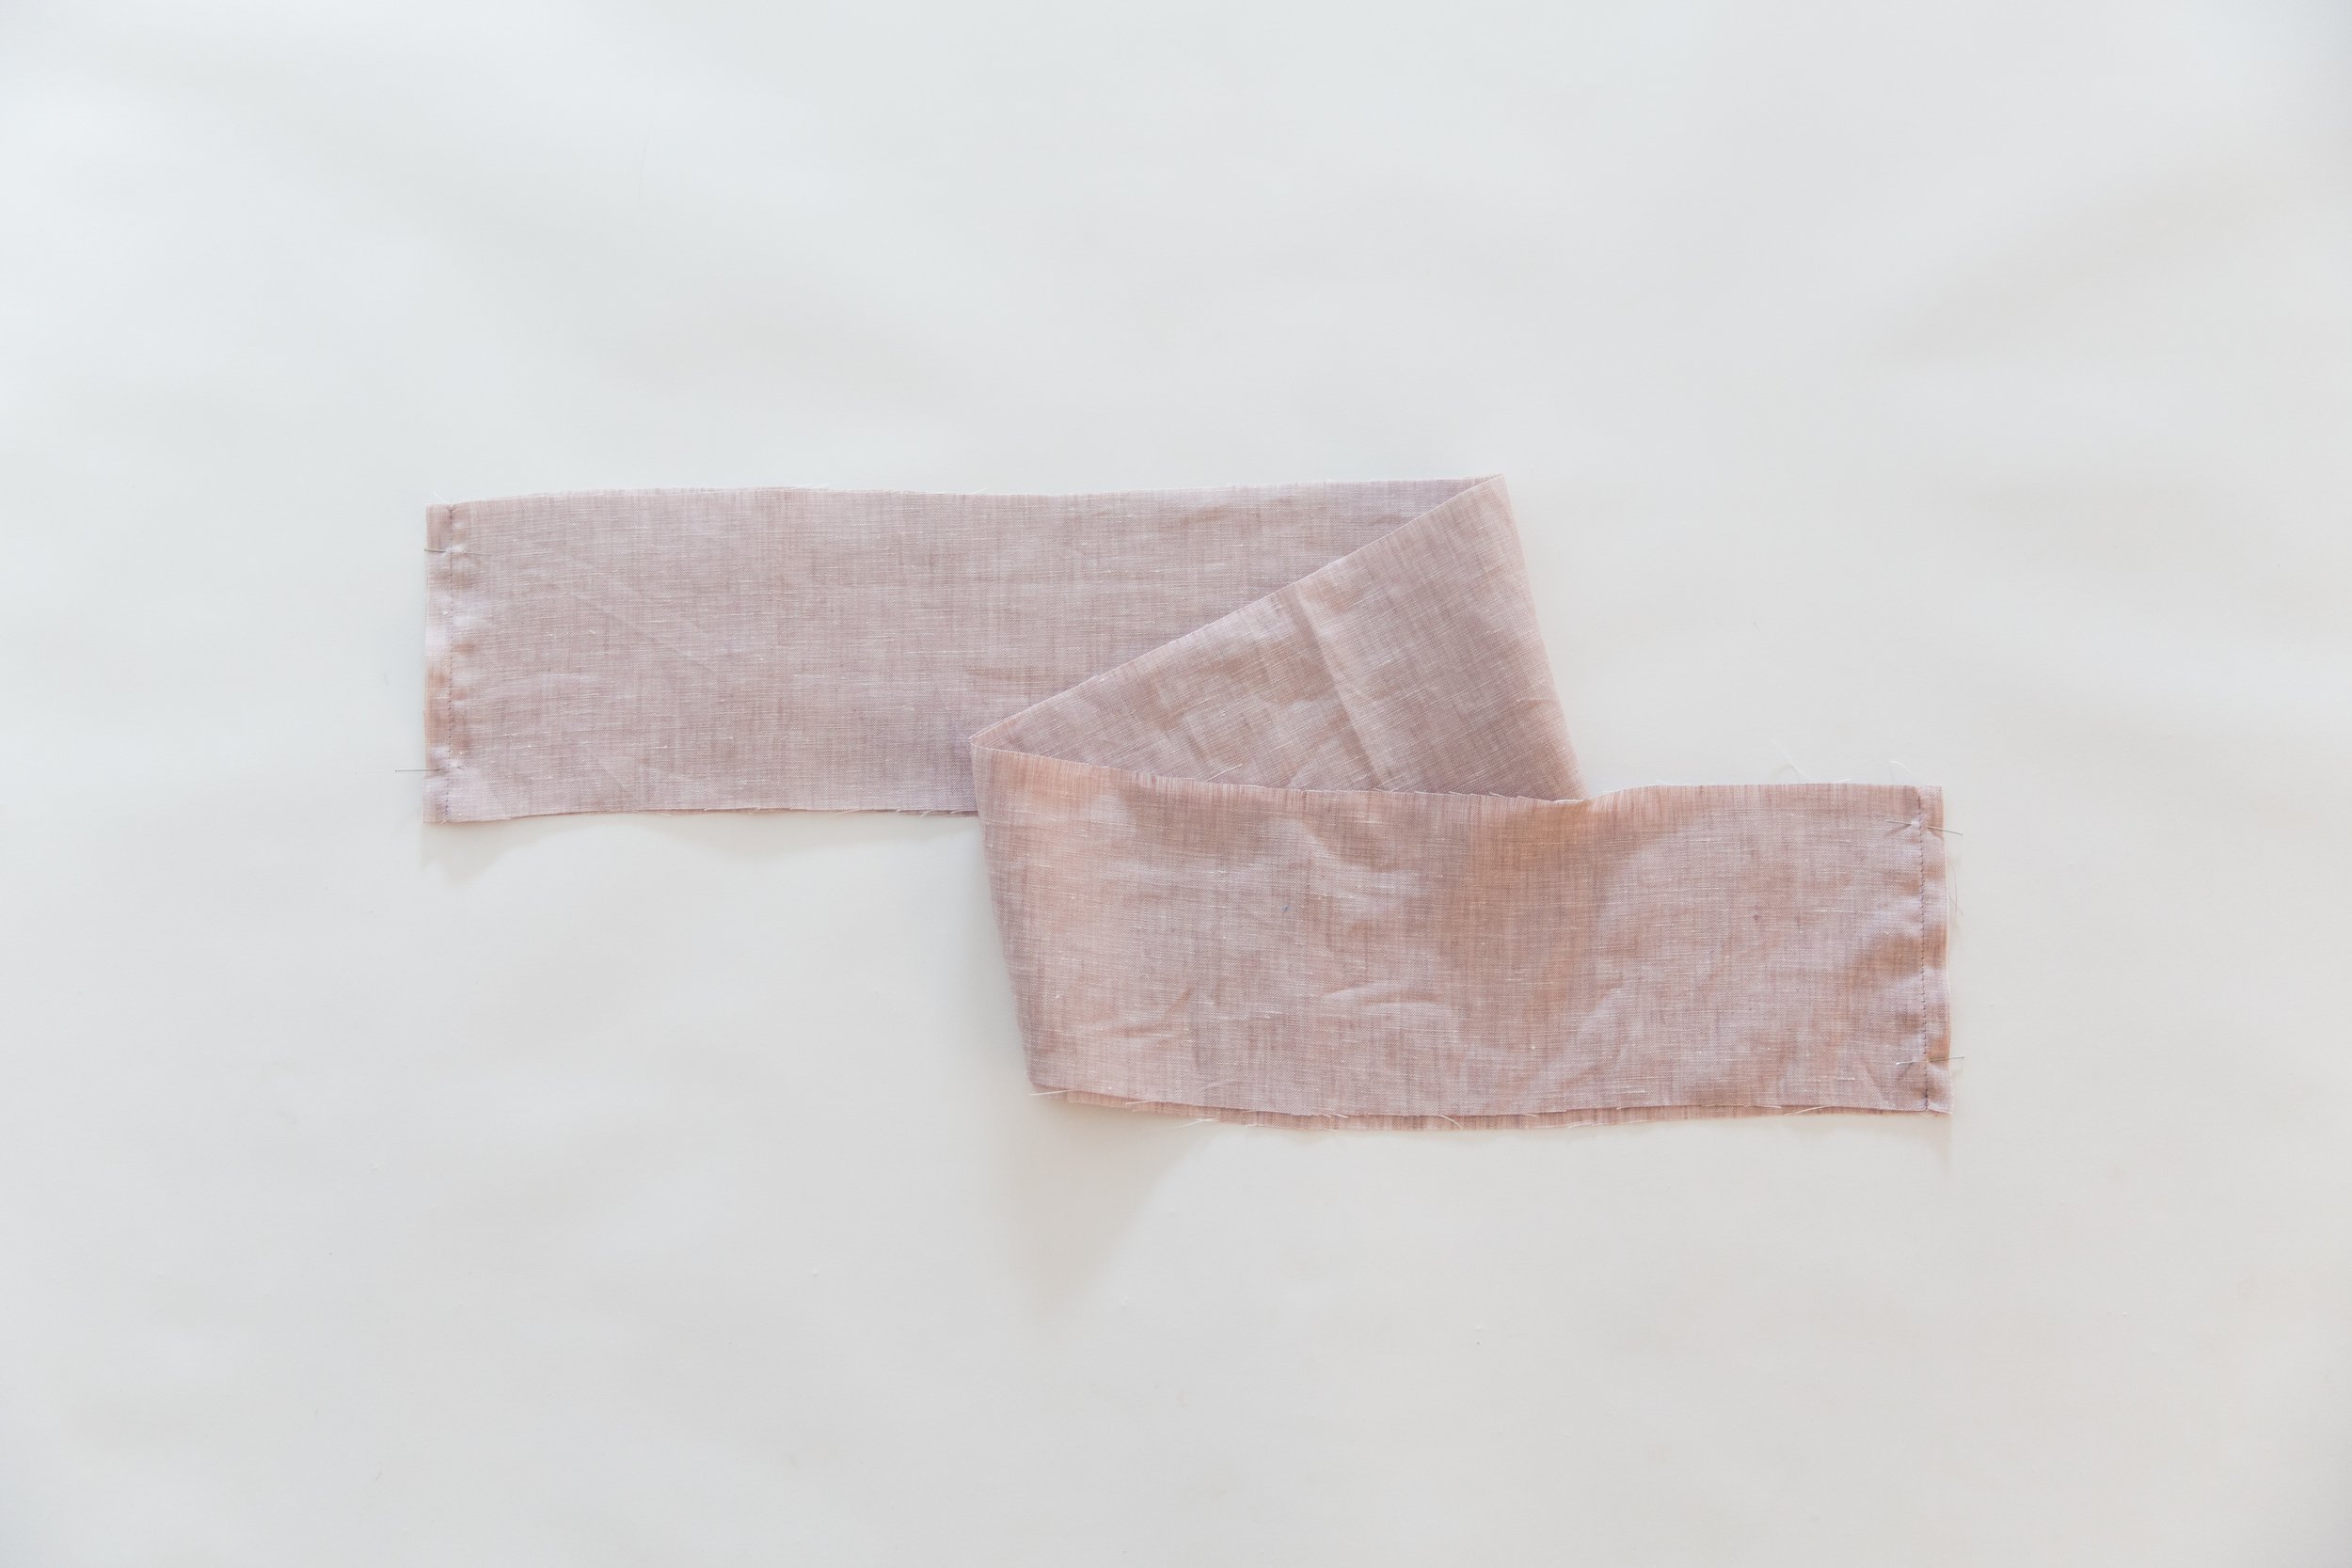
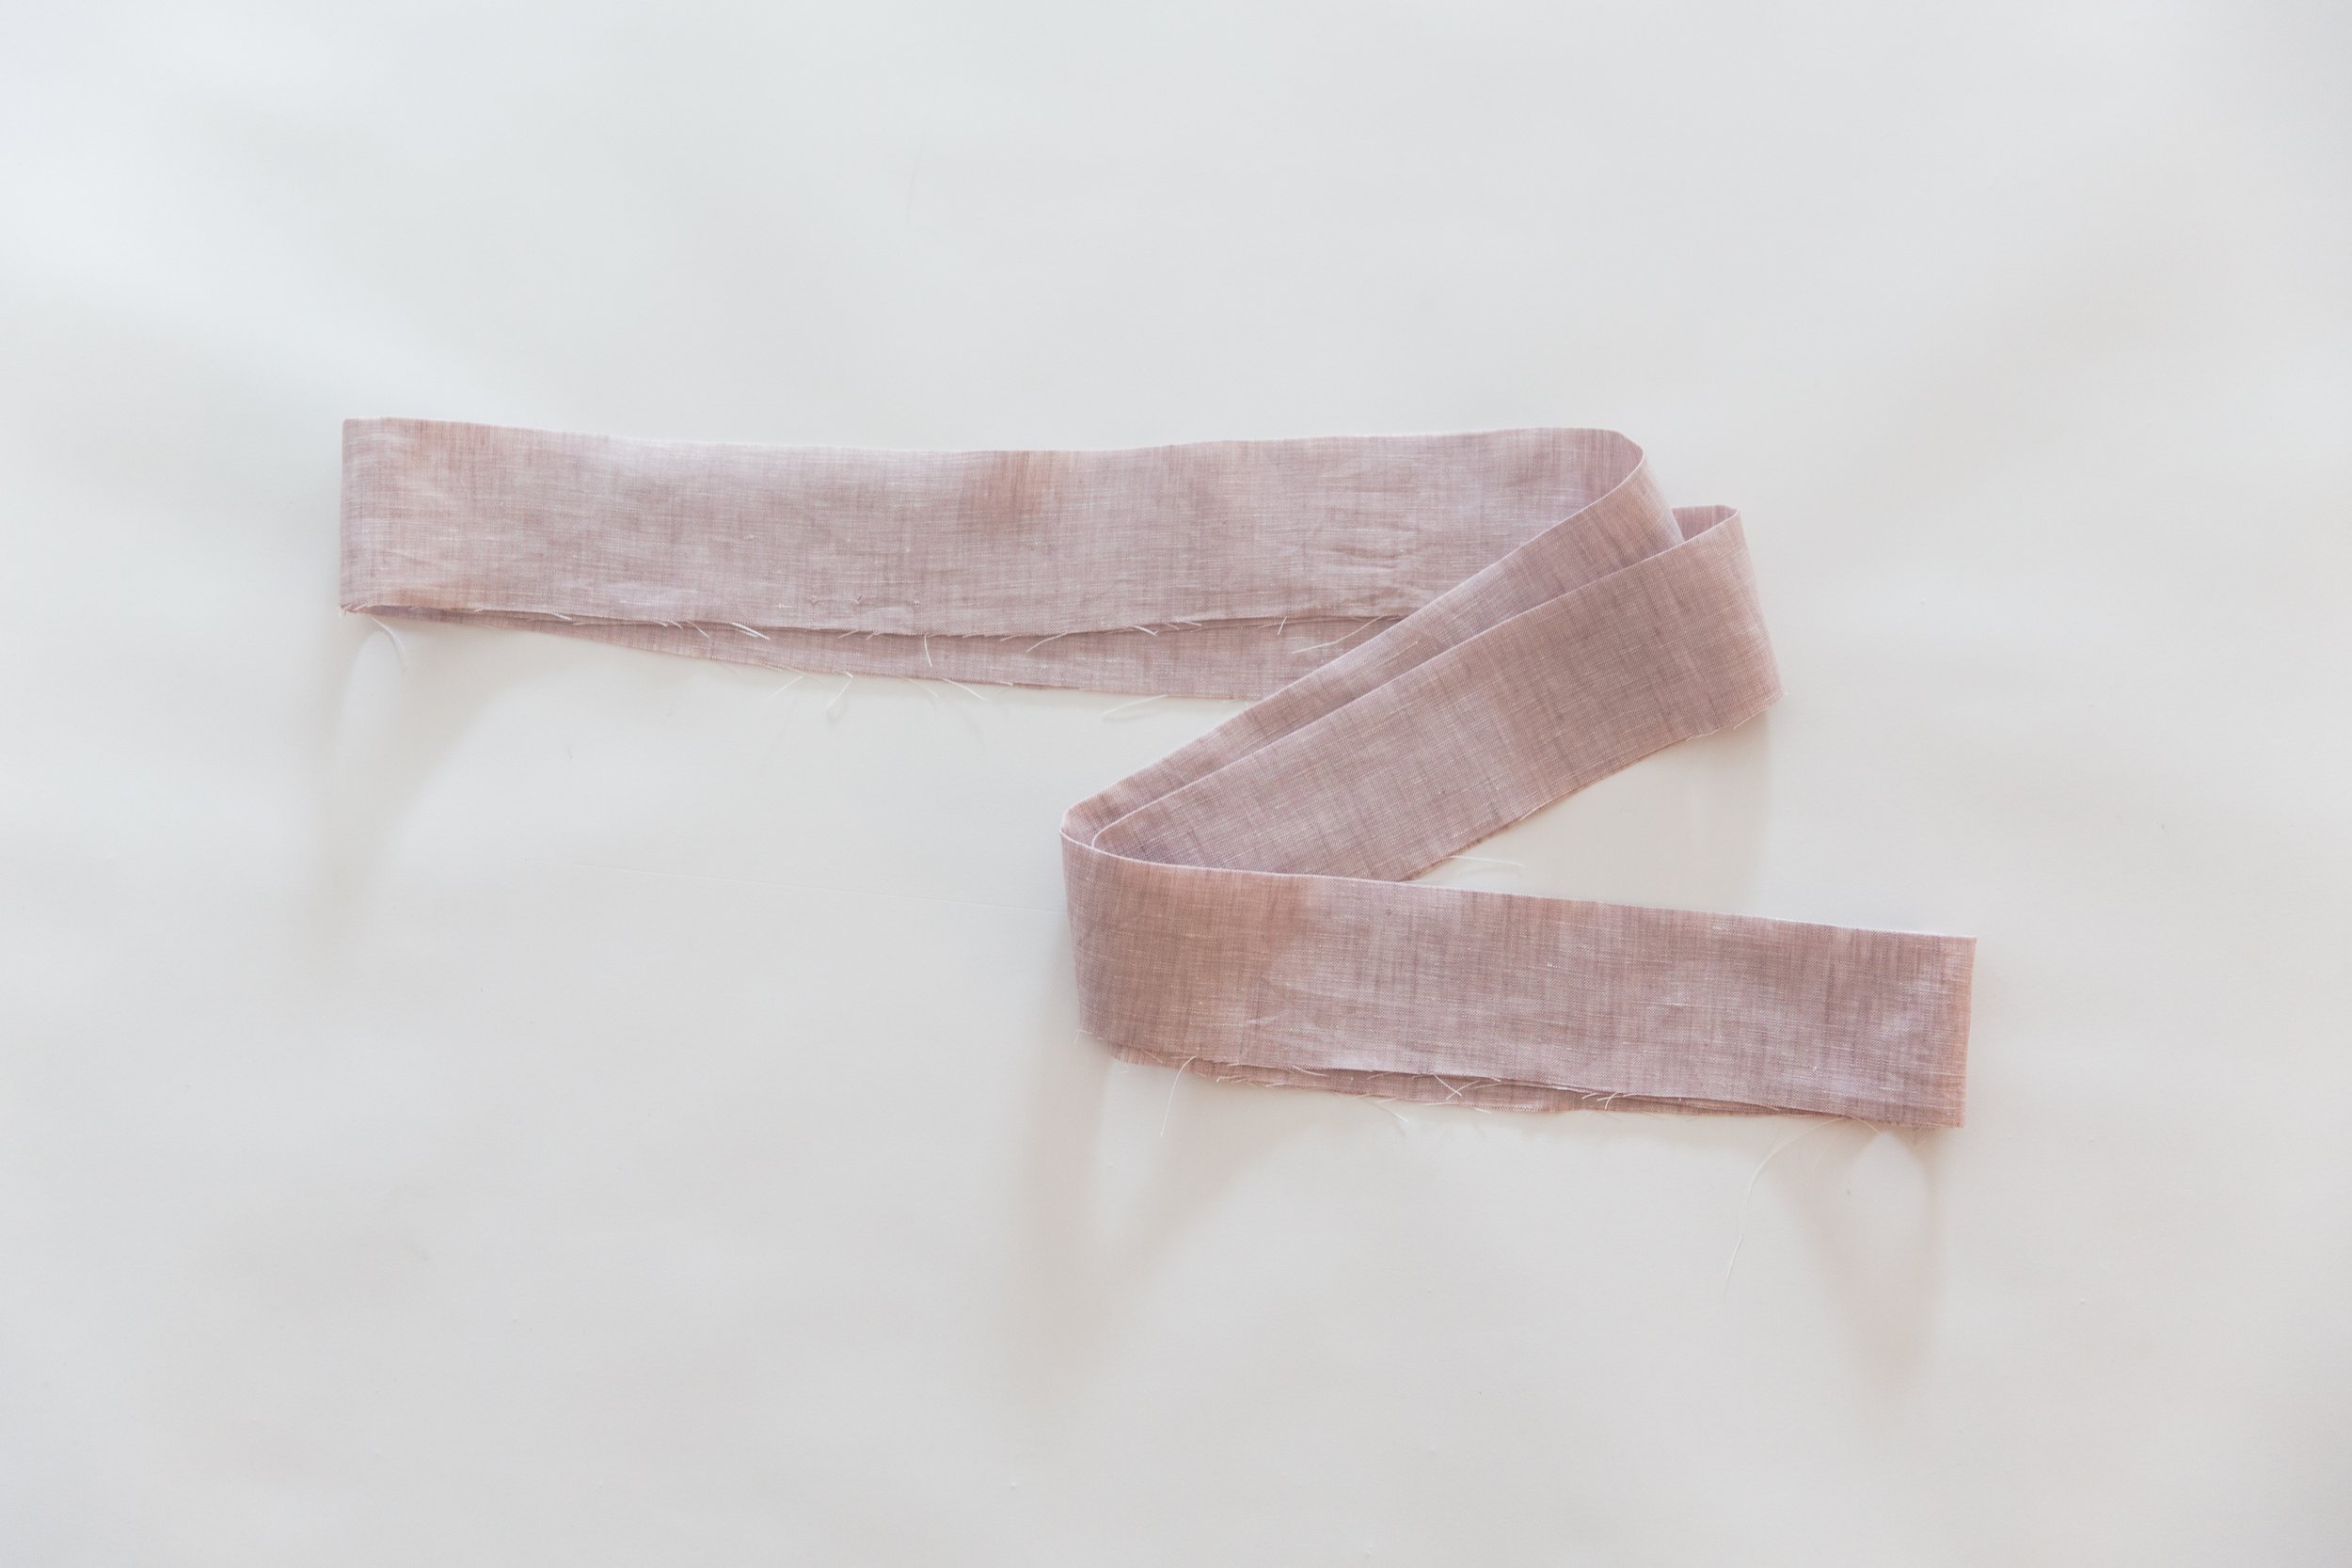
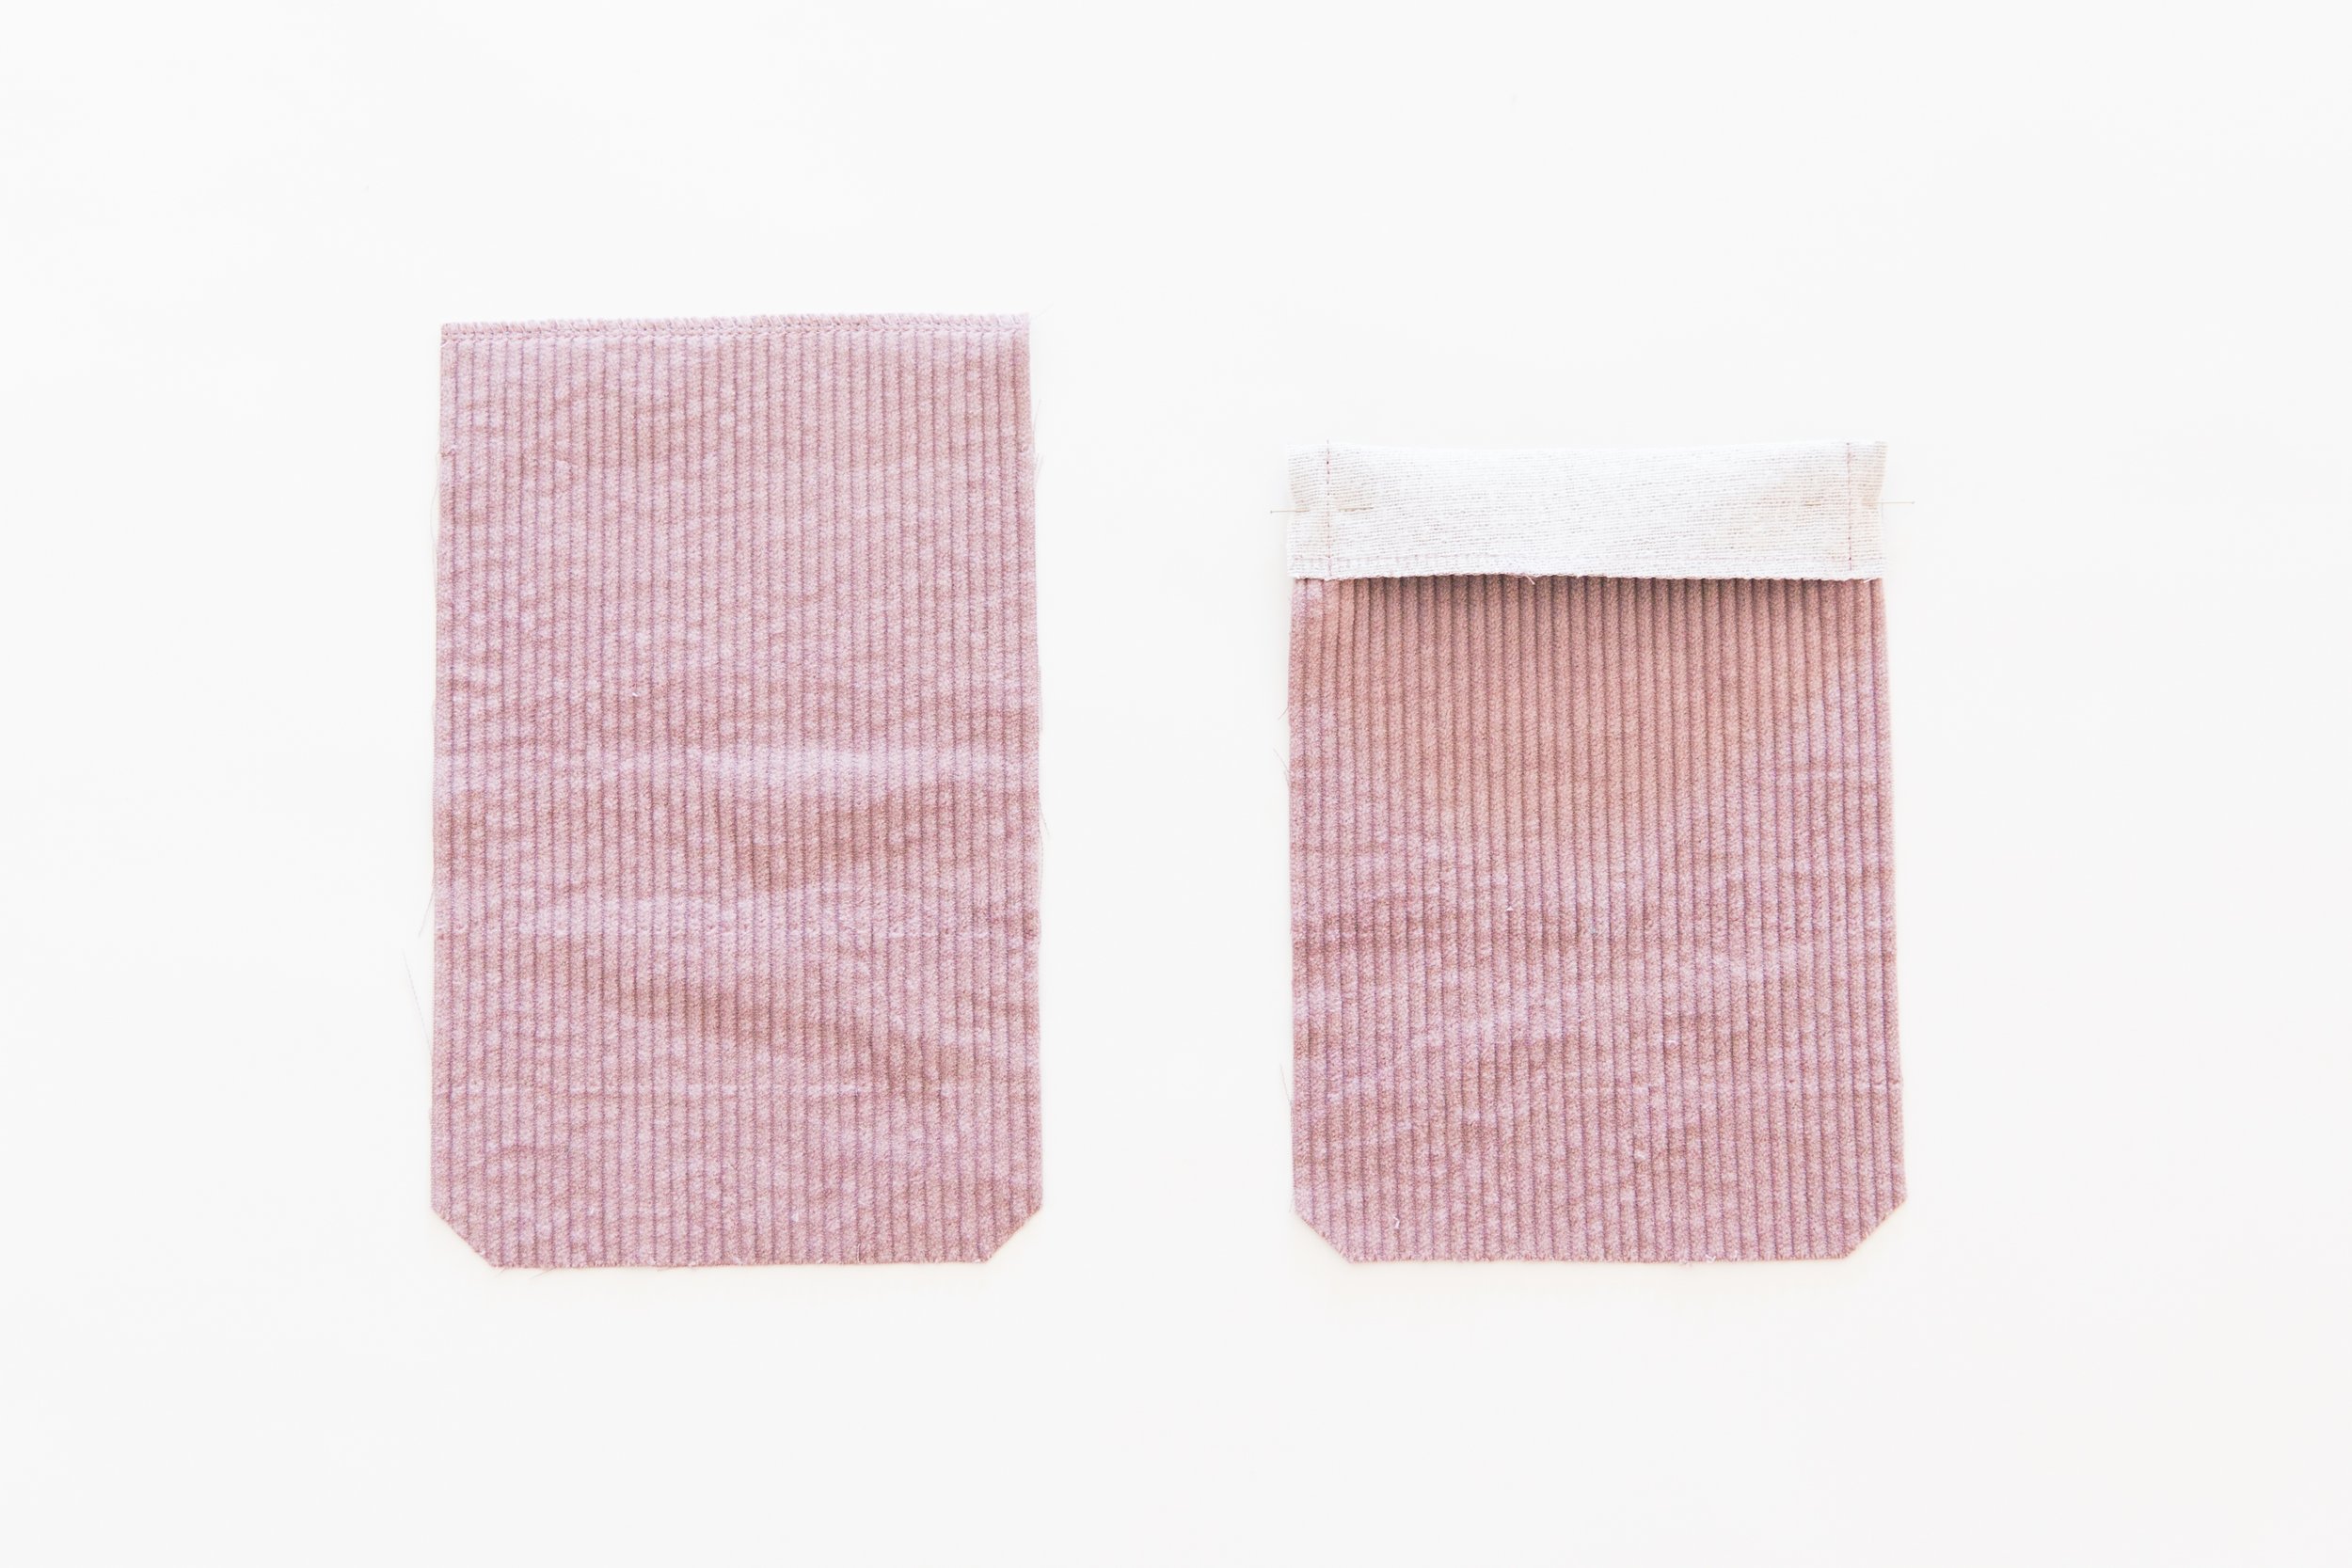
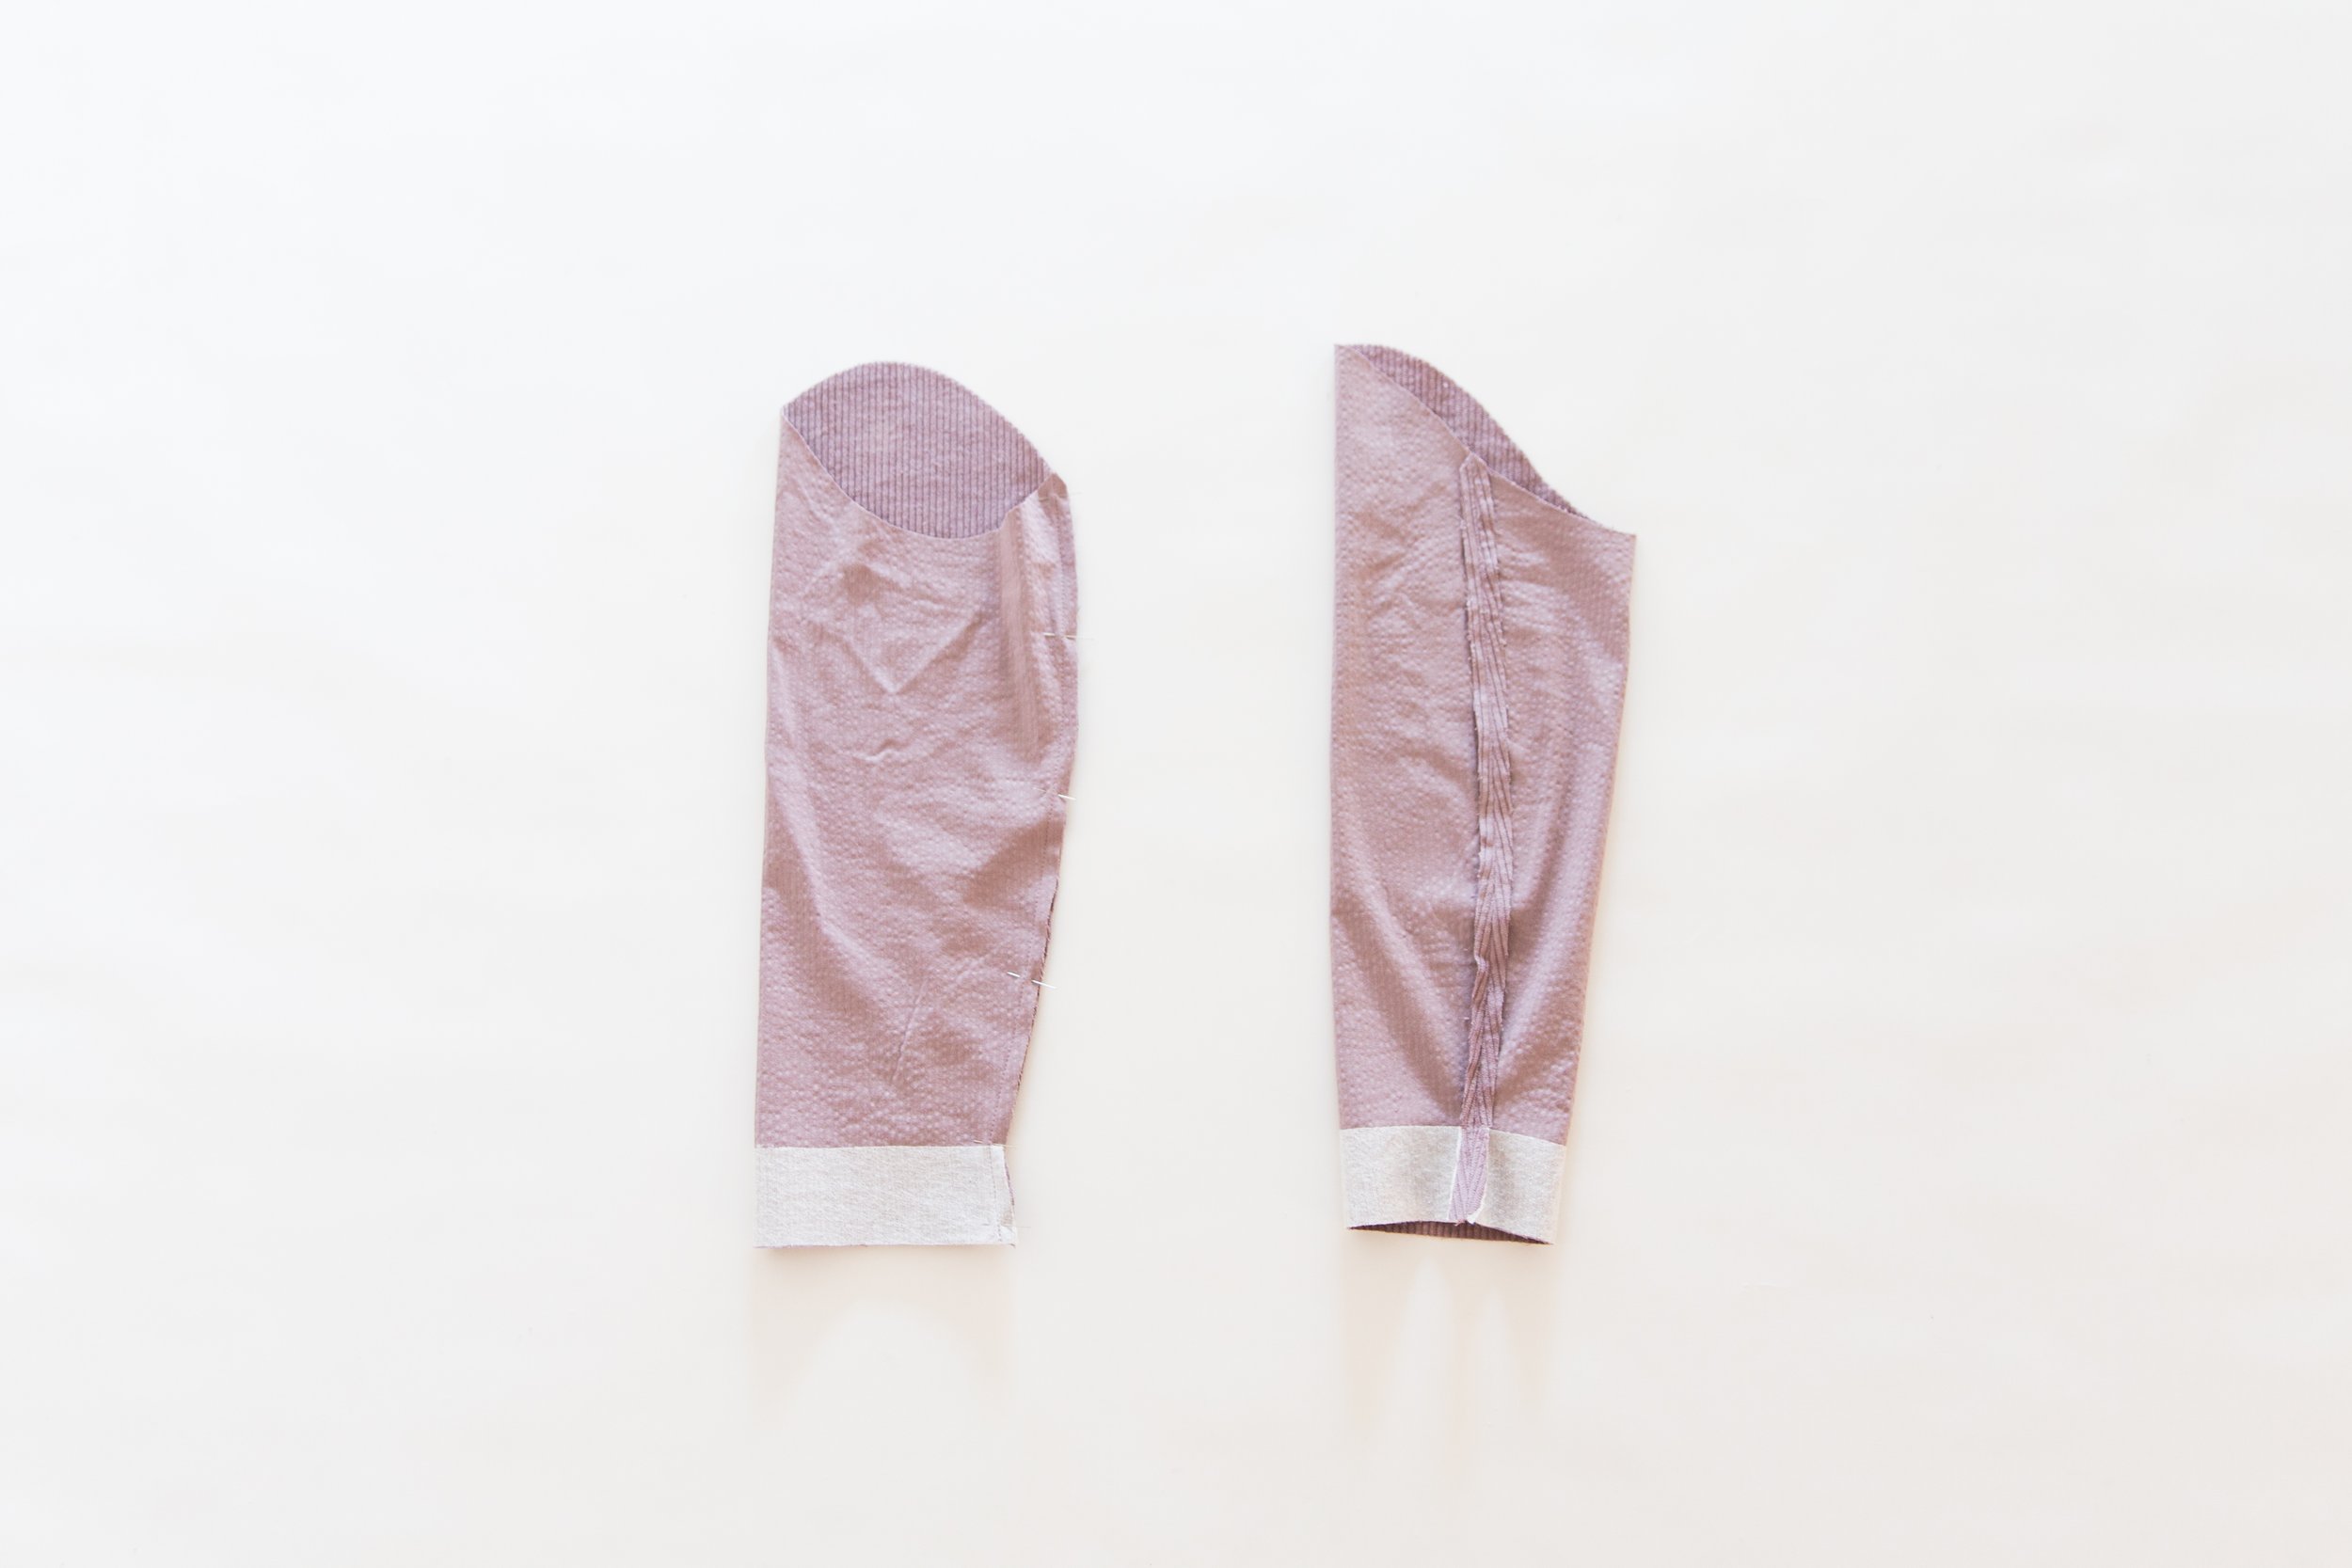
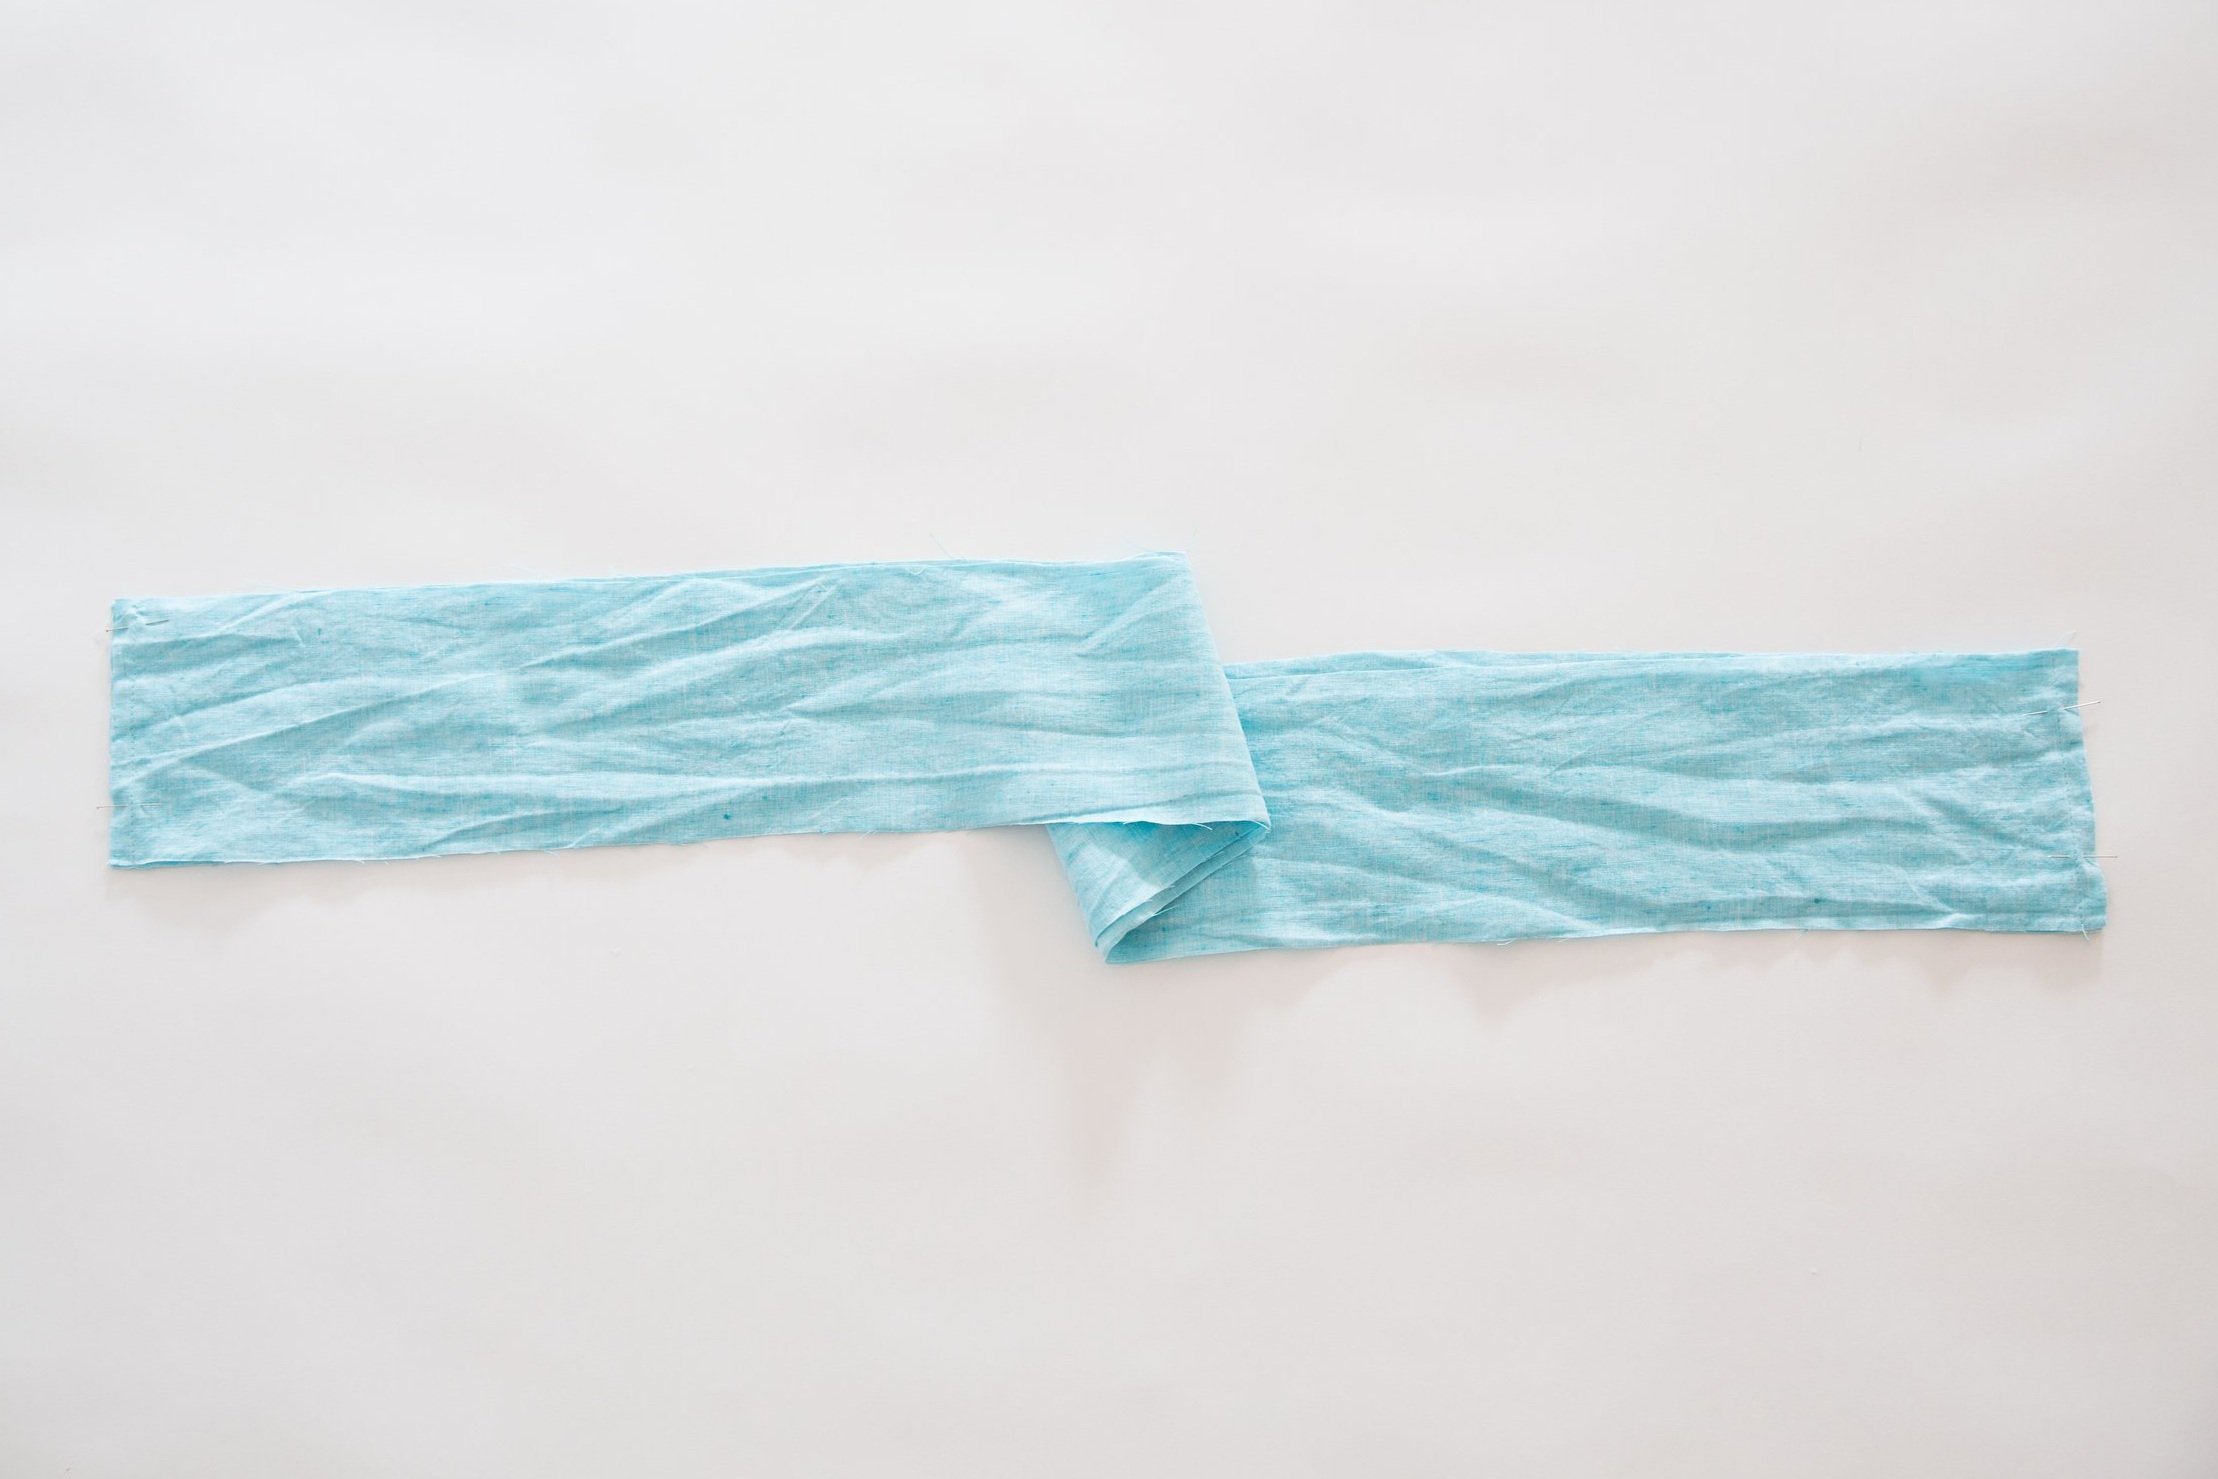
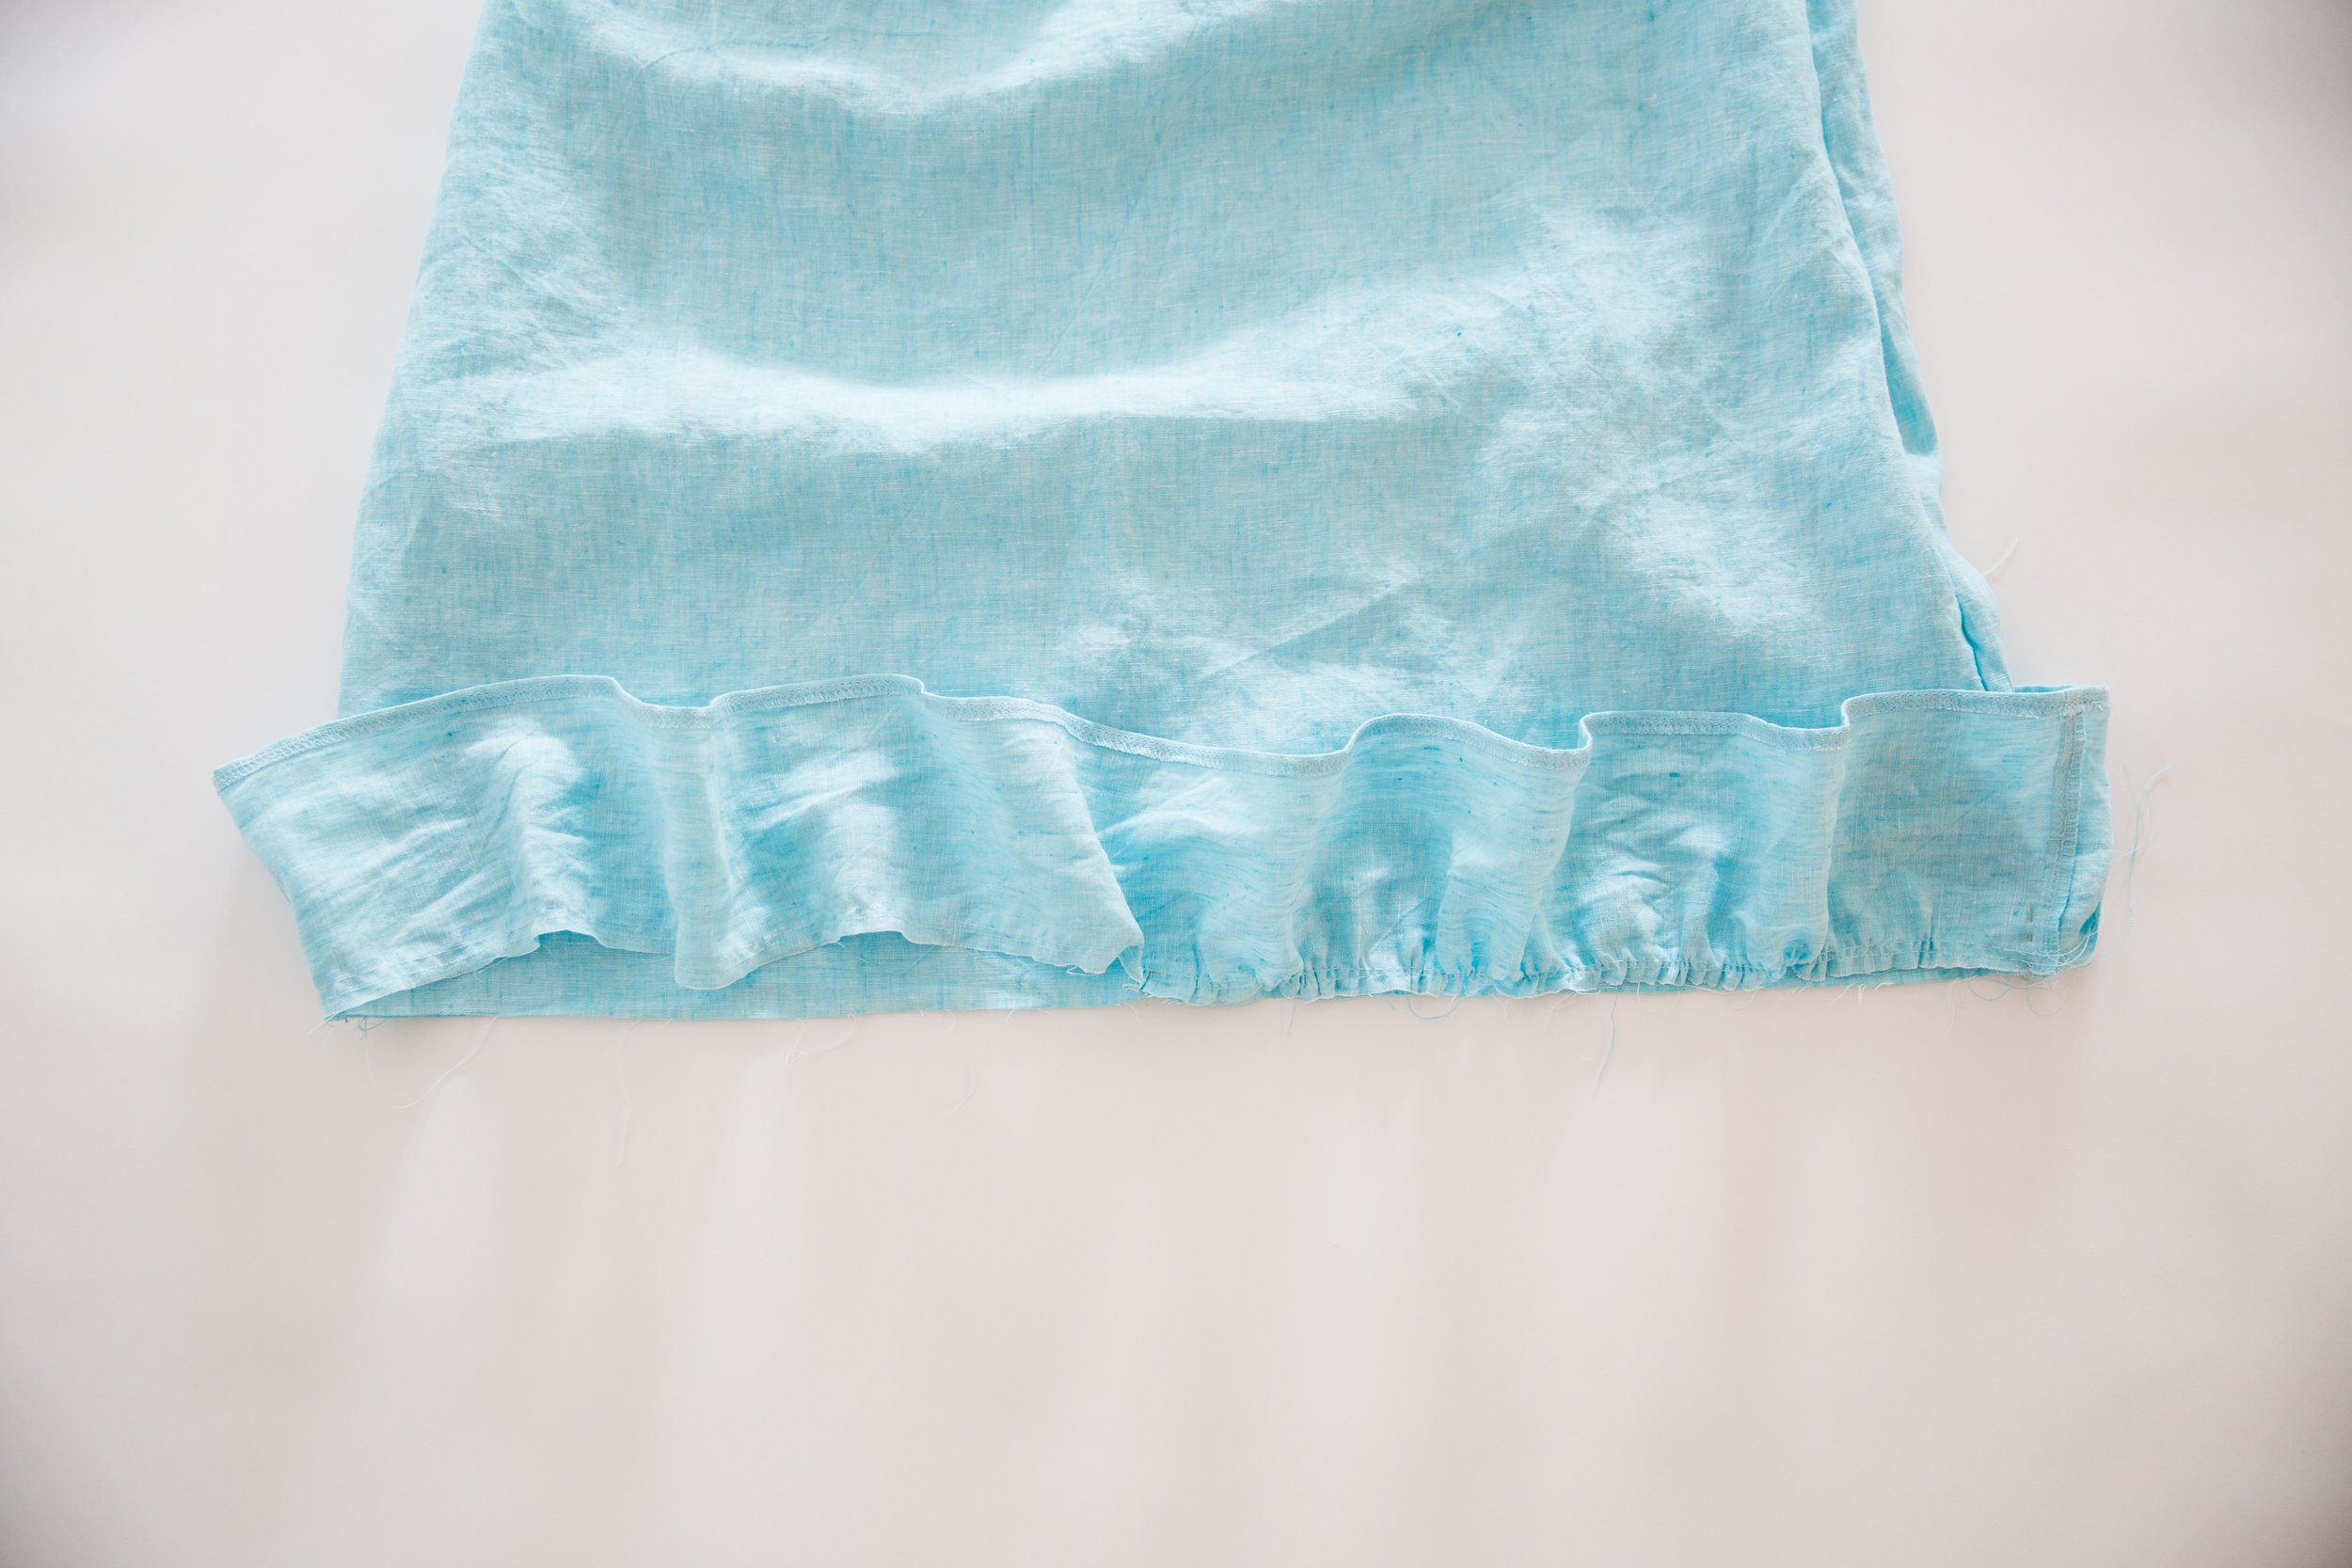
Press frill piece in half lengthwise.

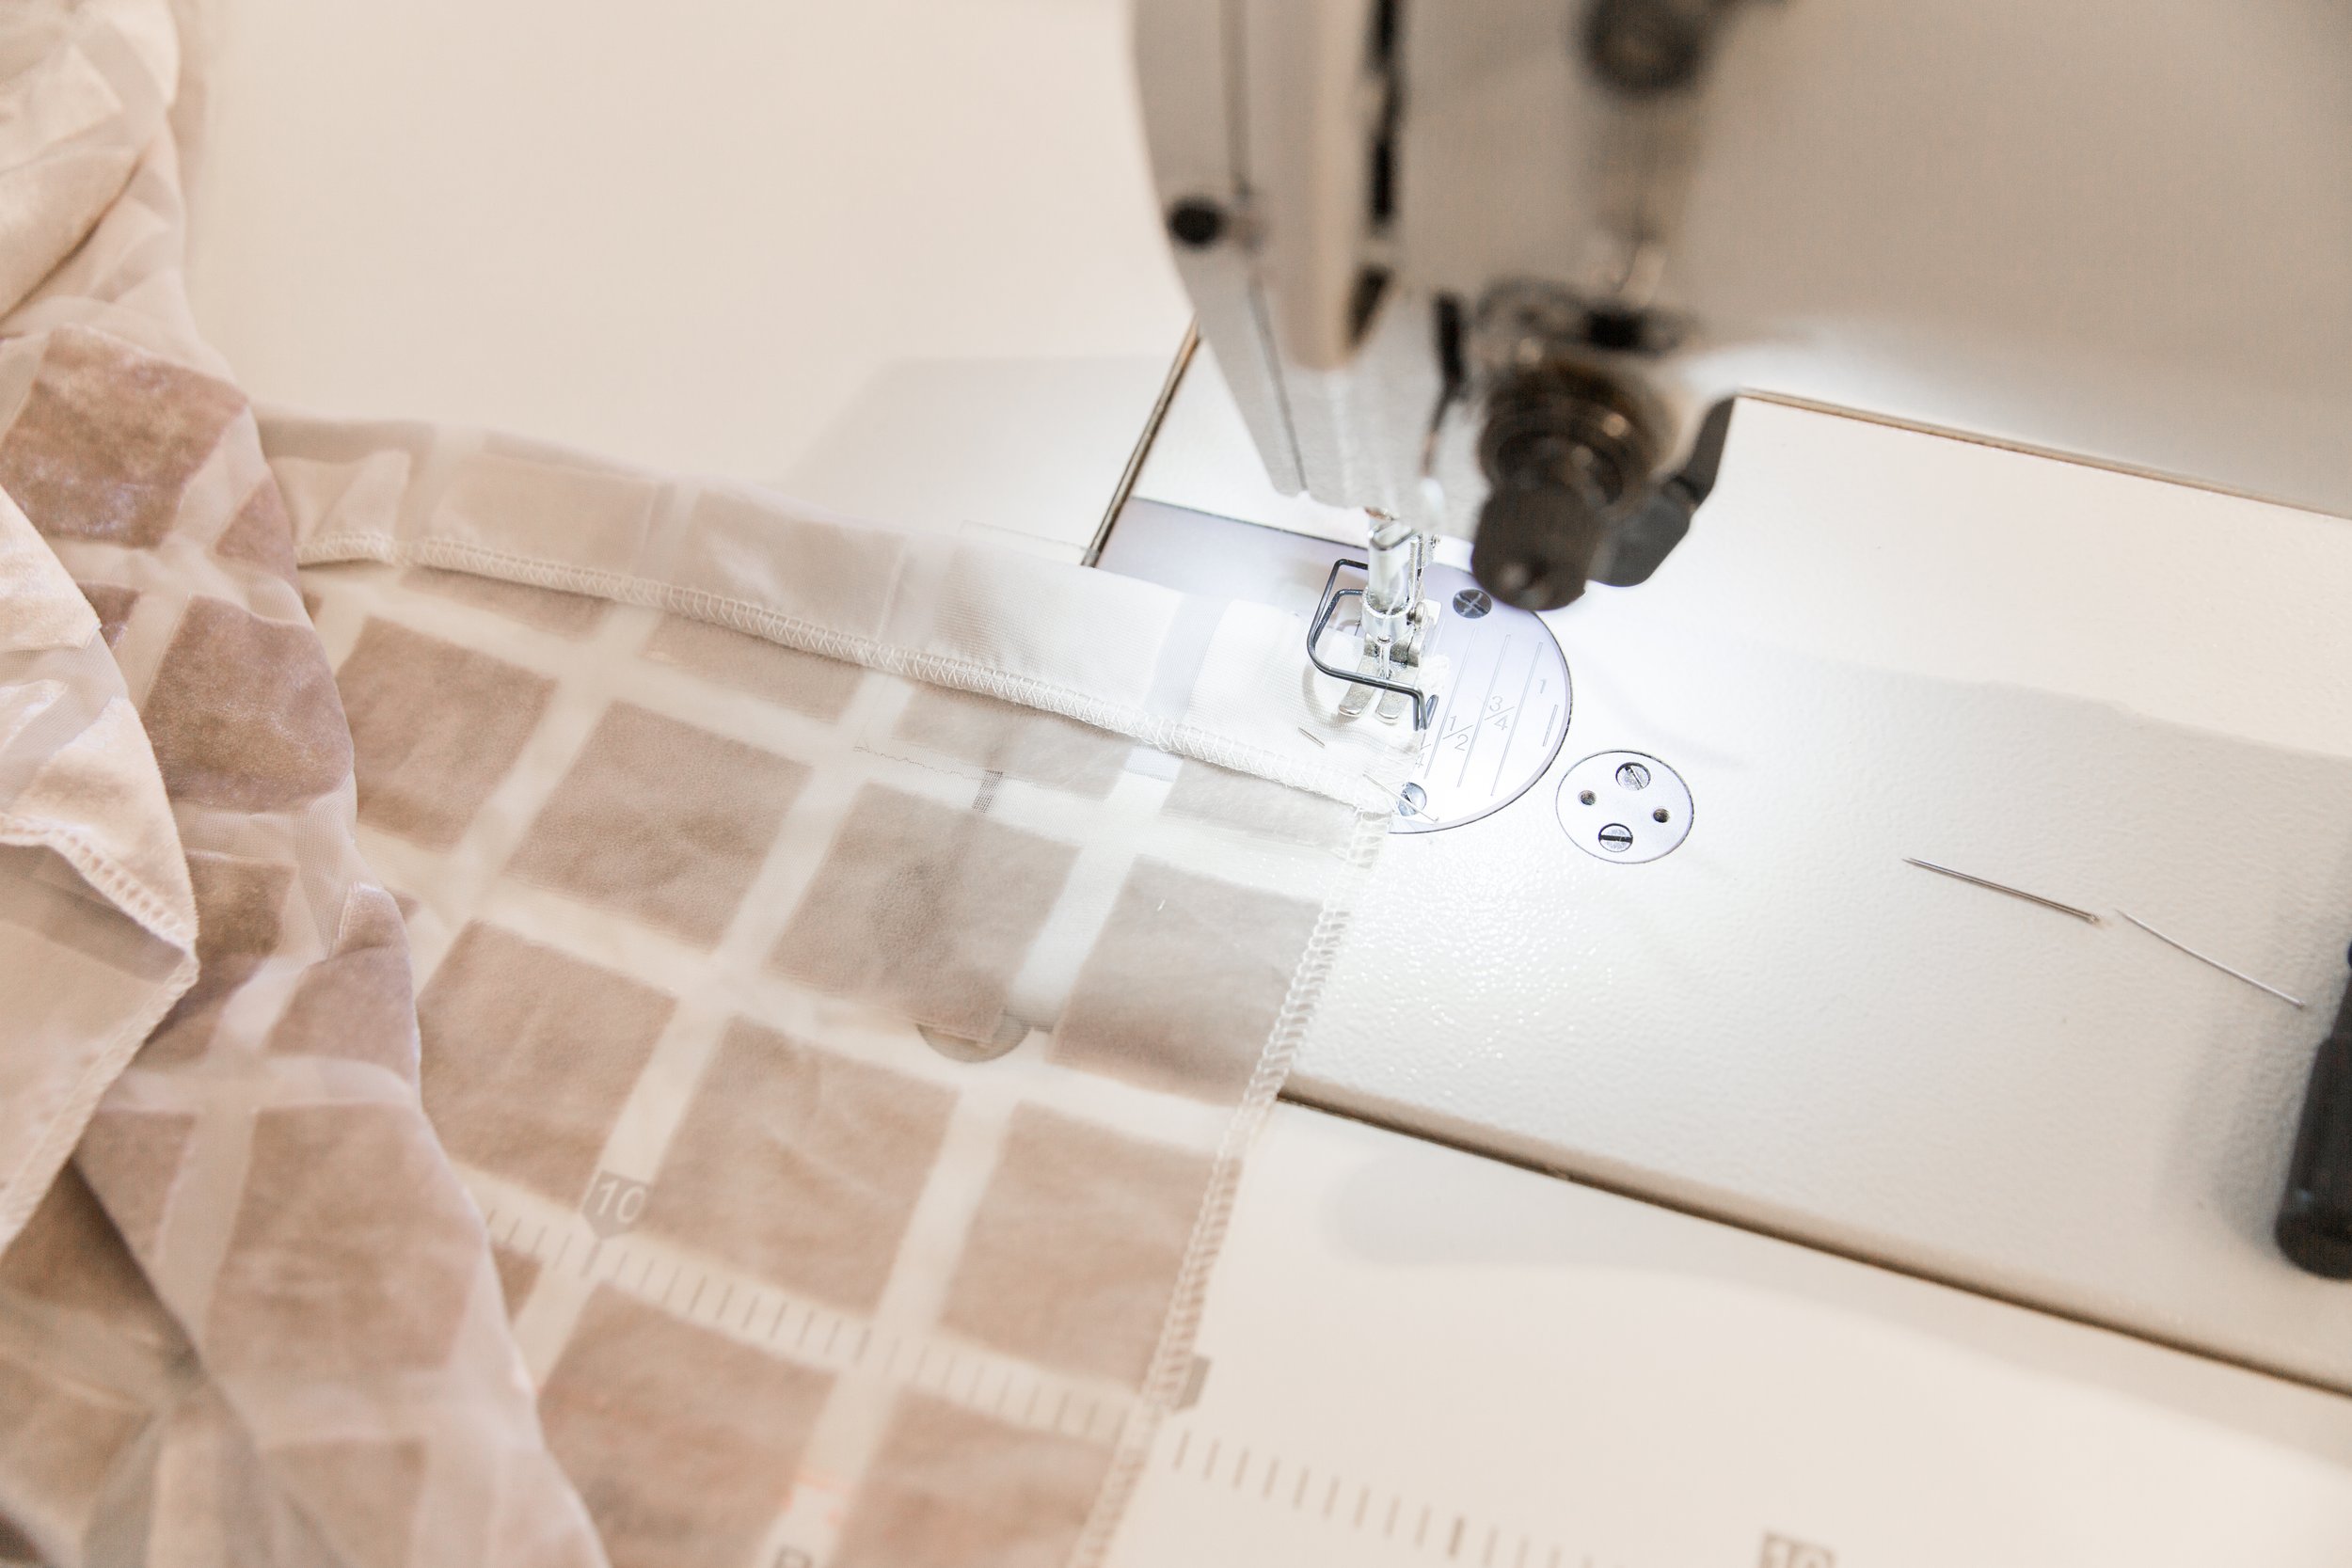
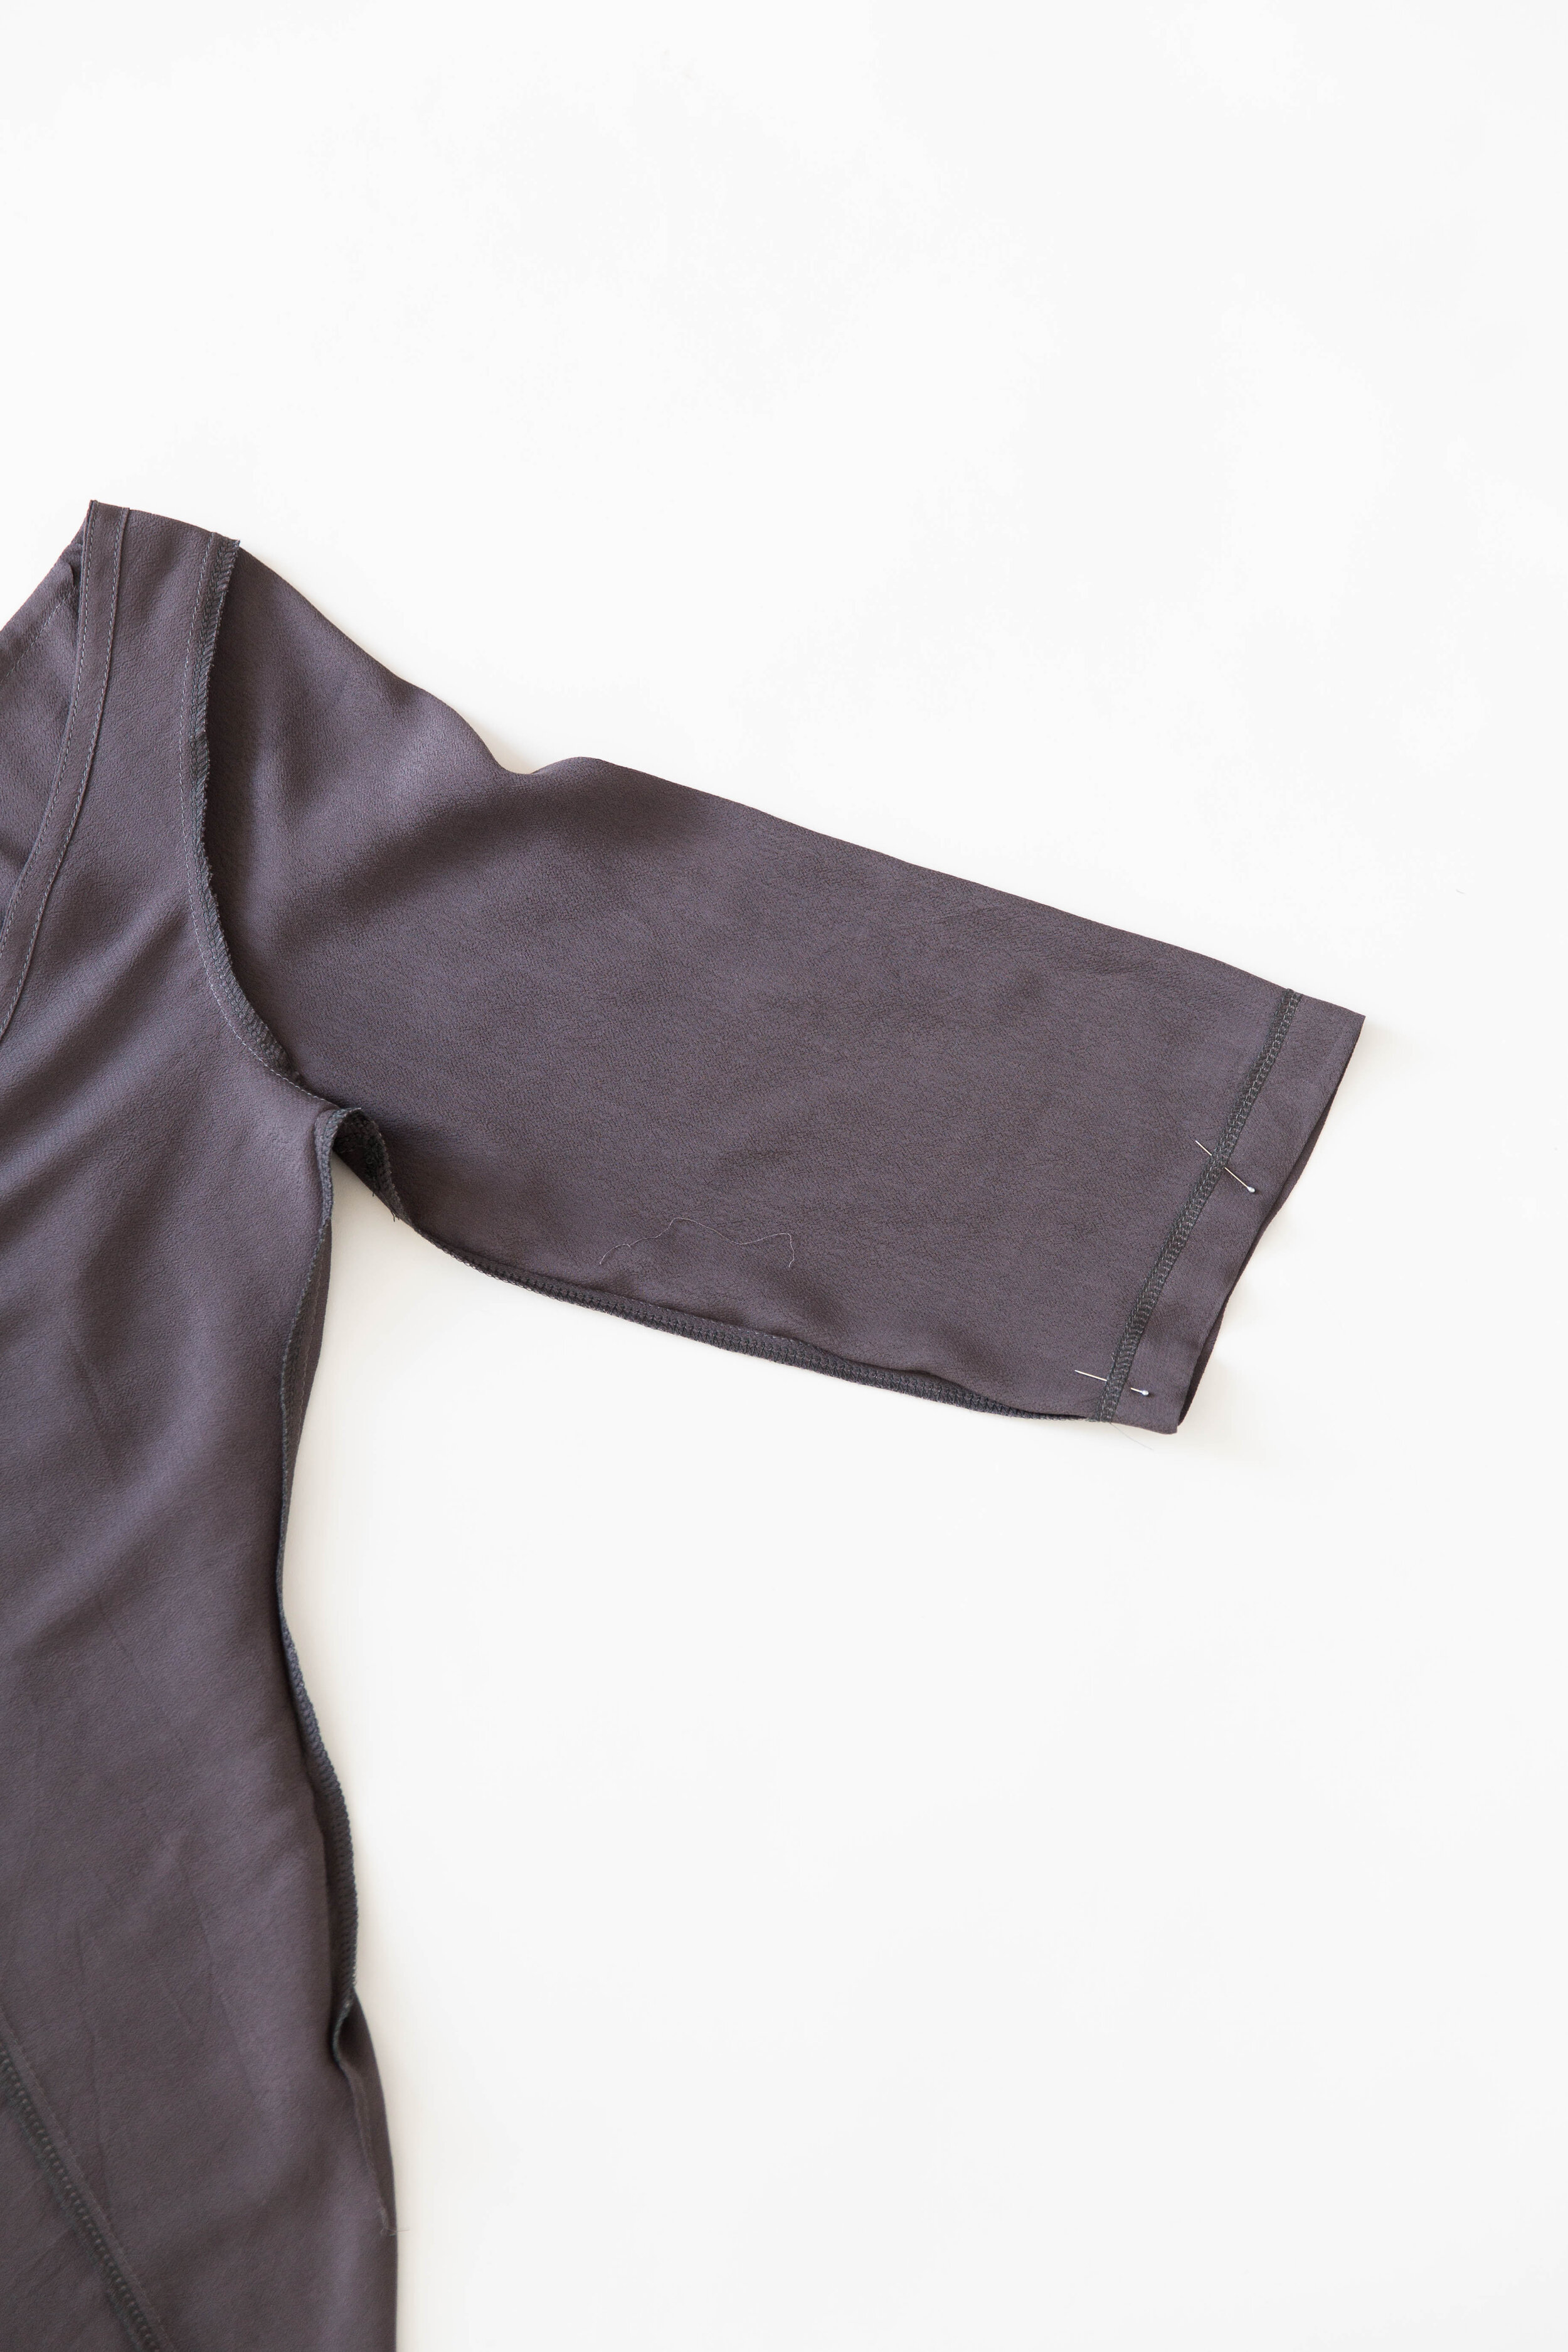
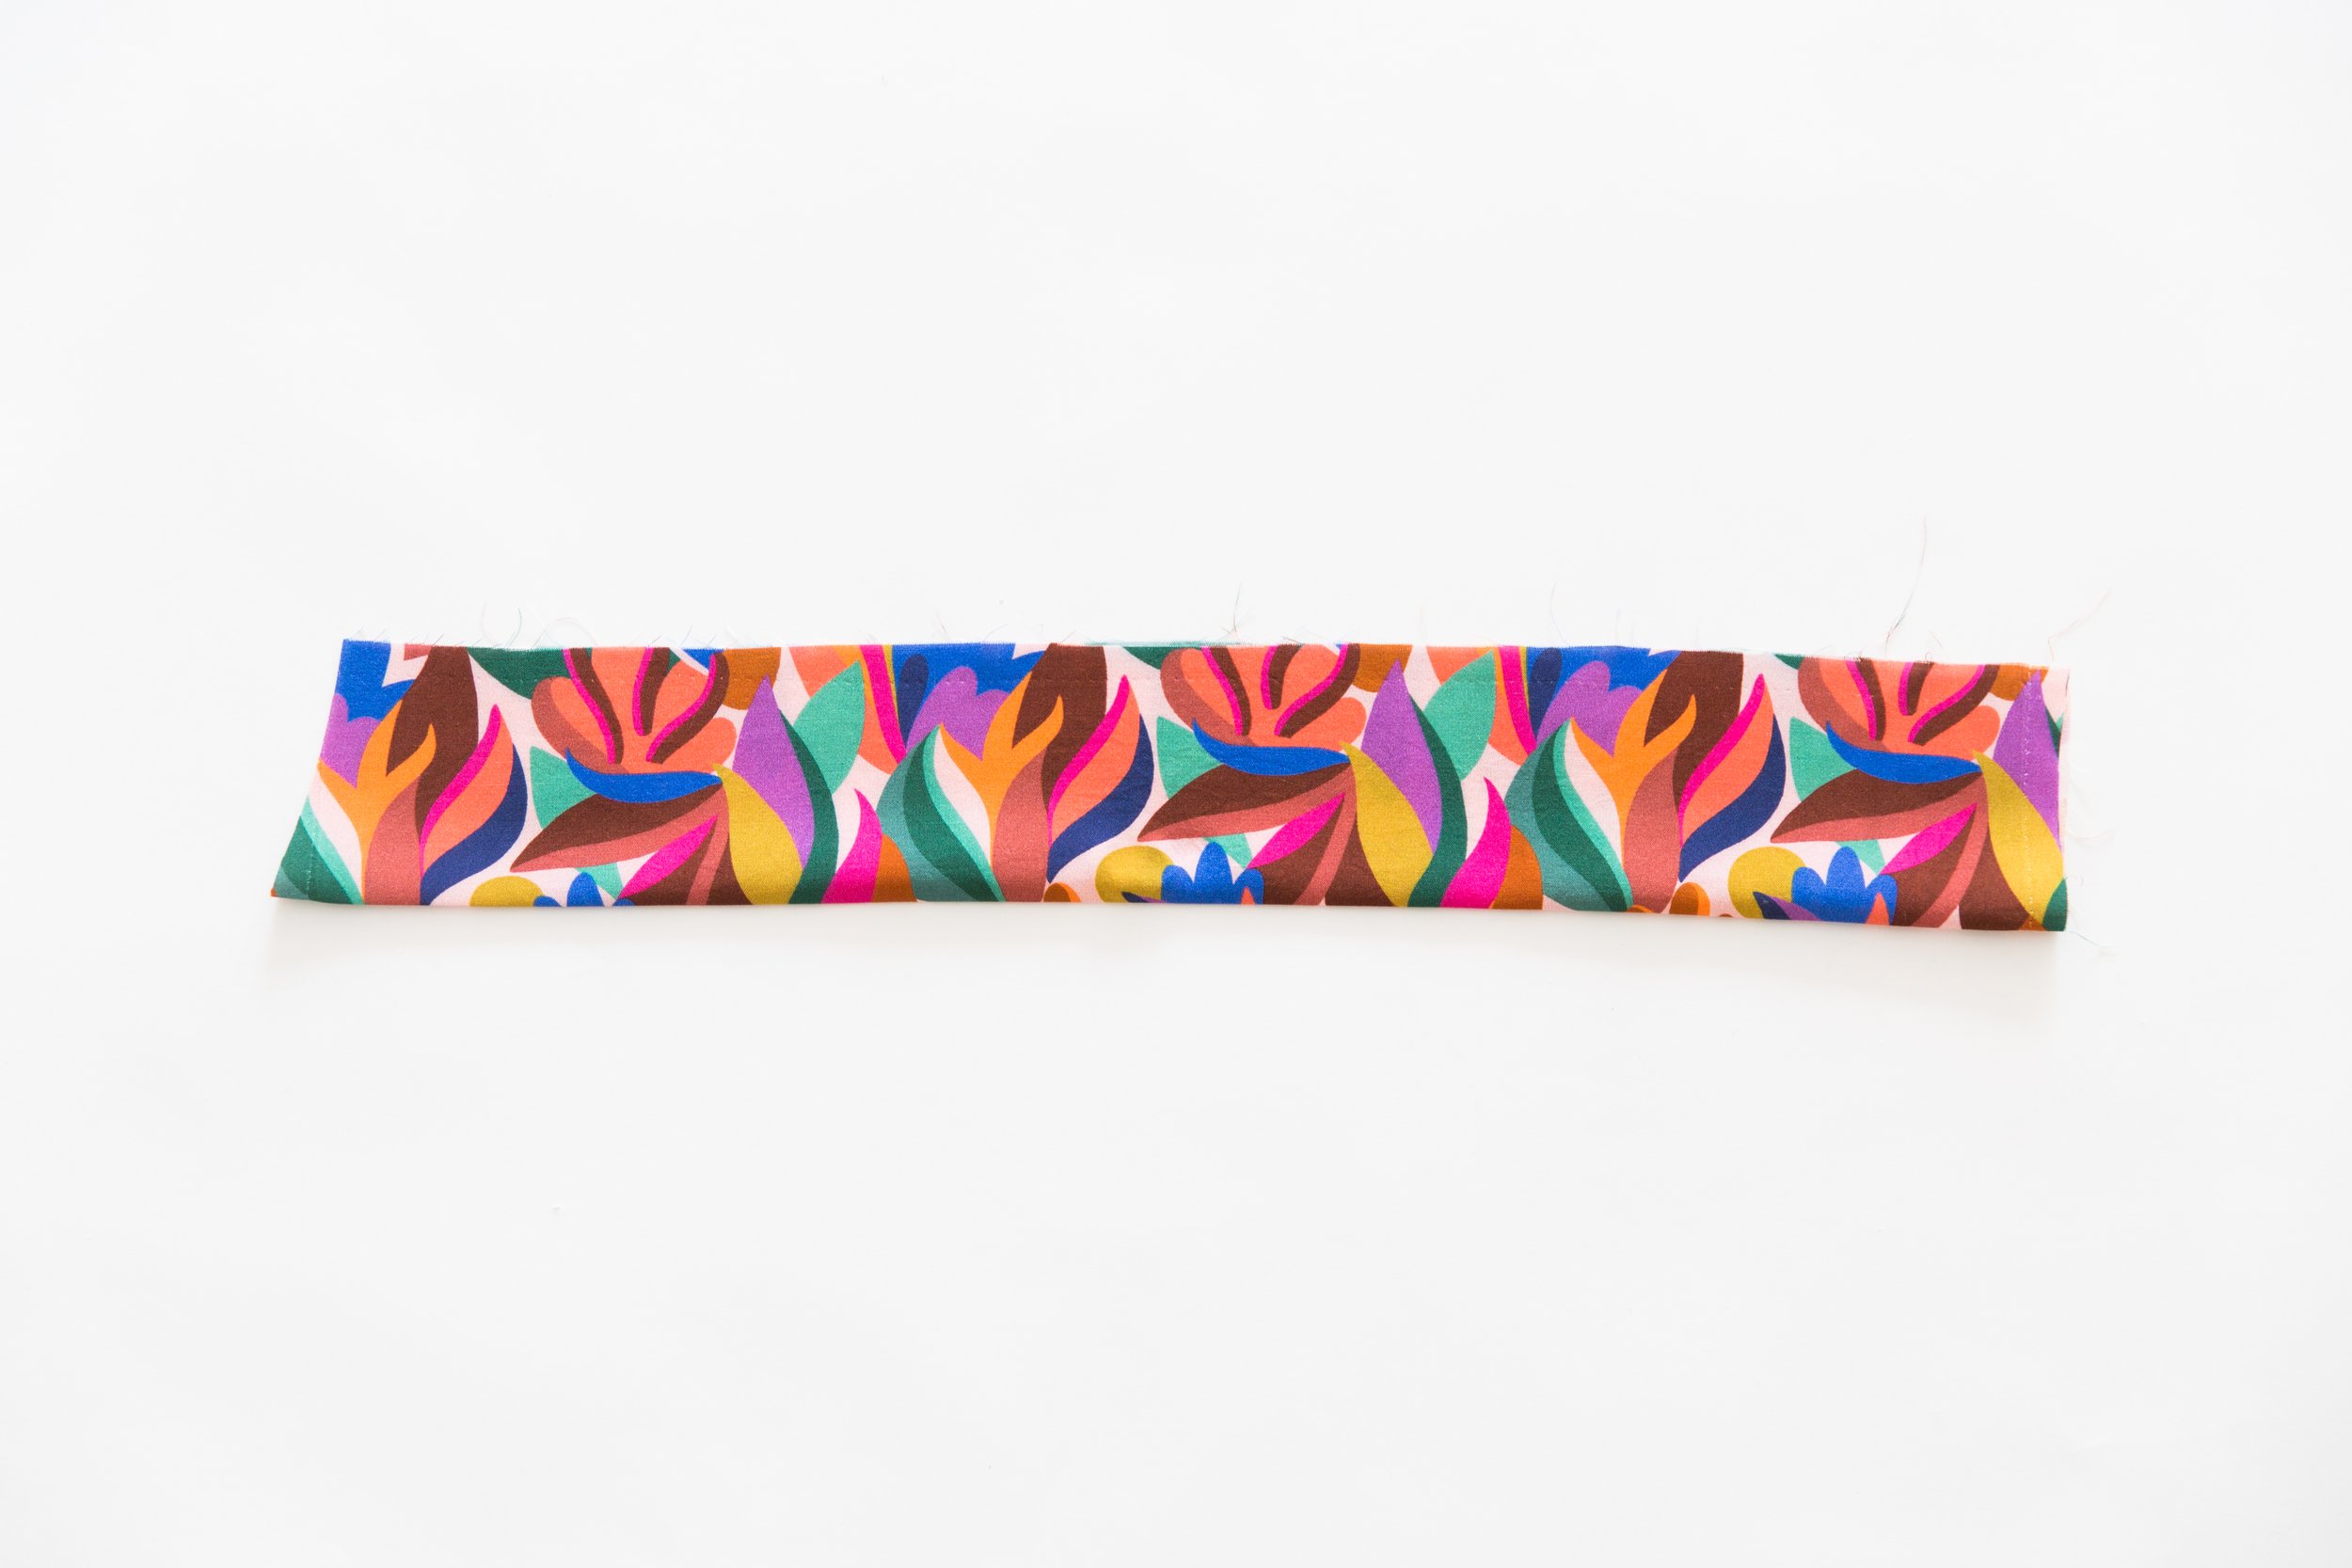
Step 2
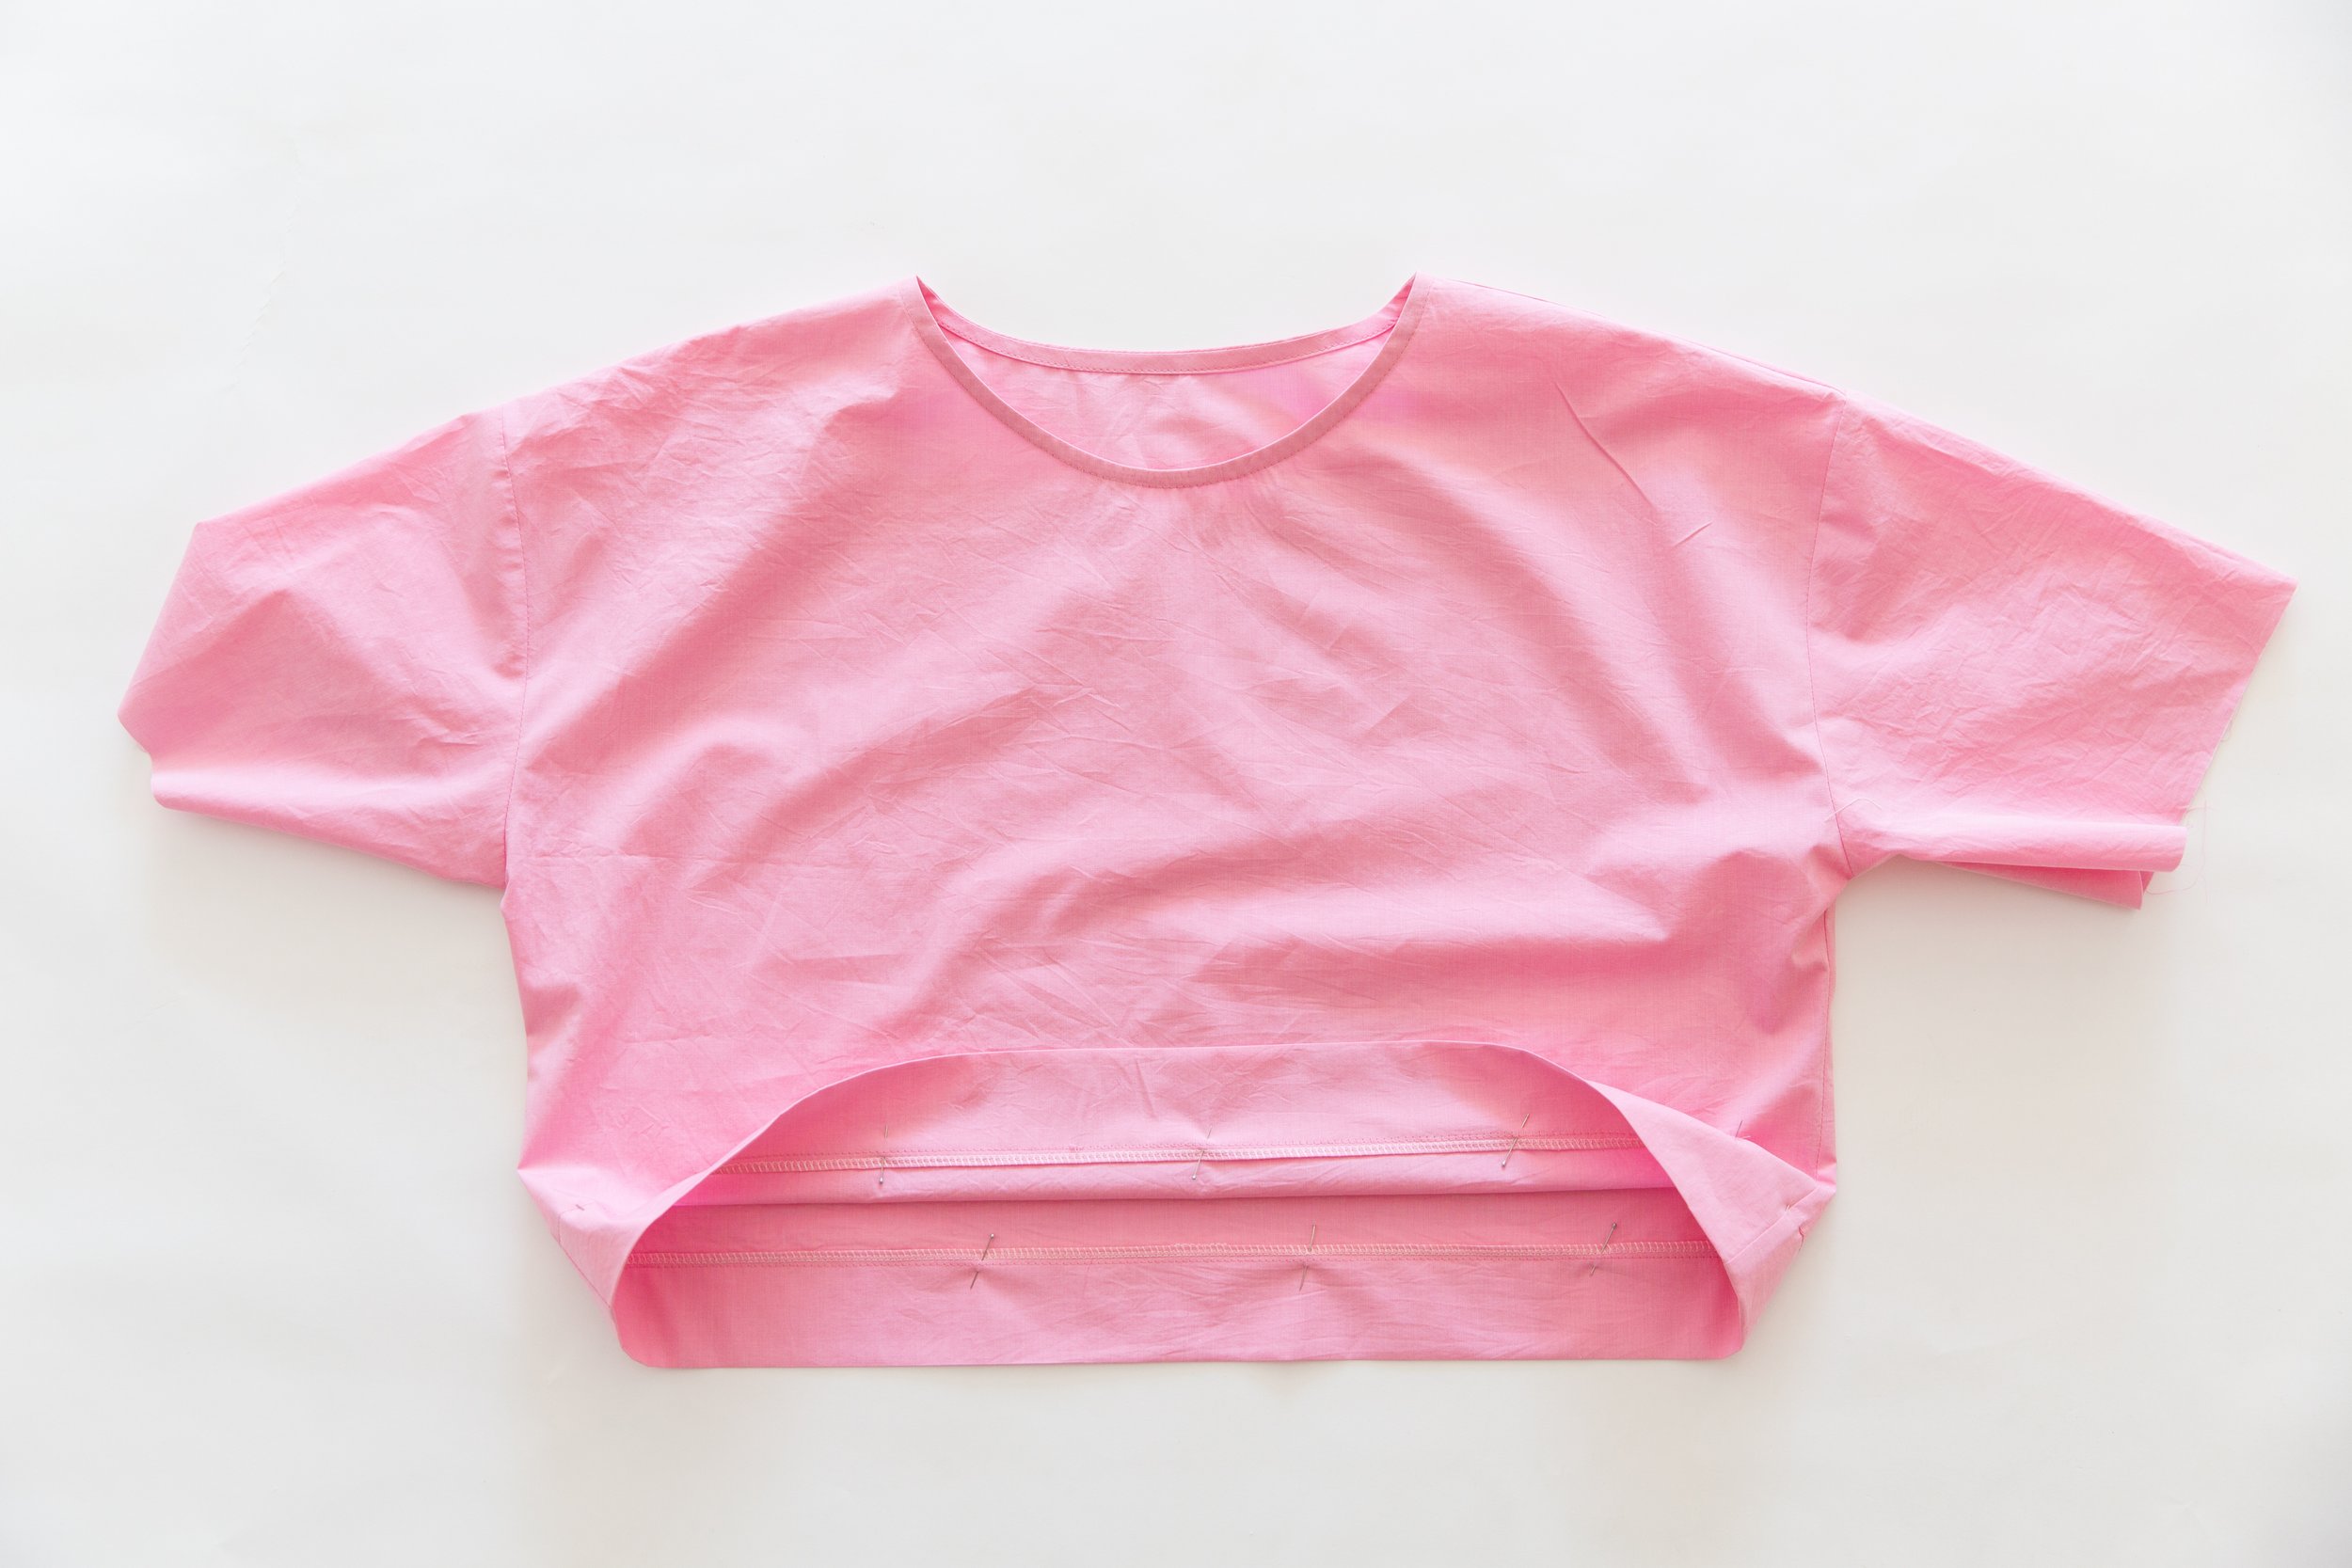
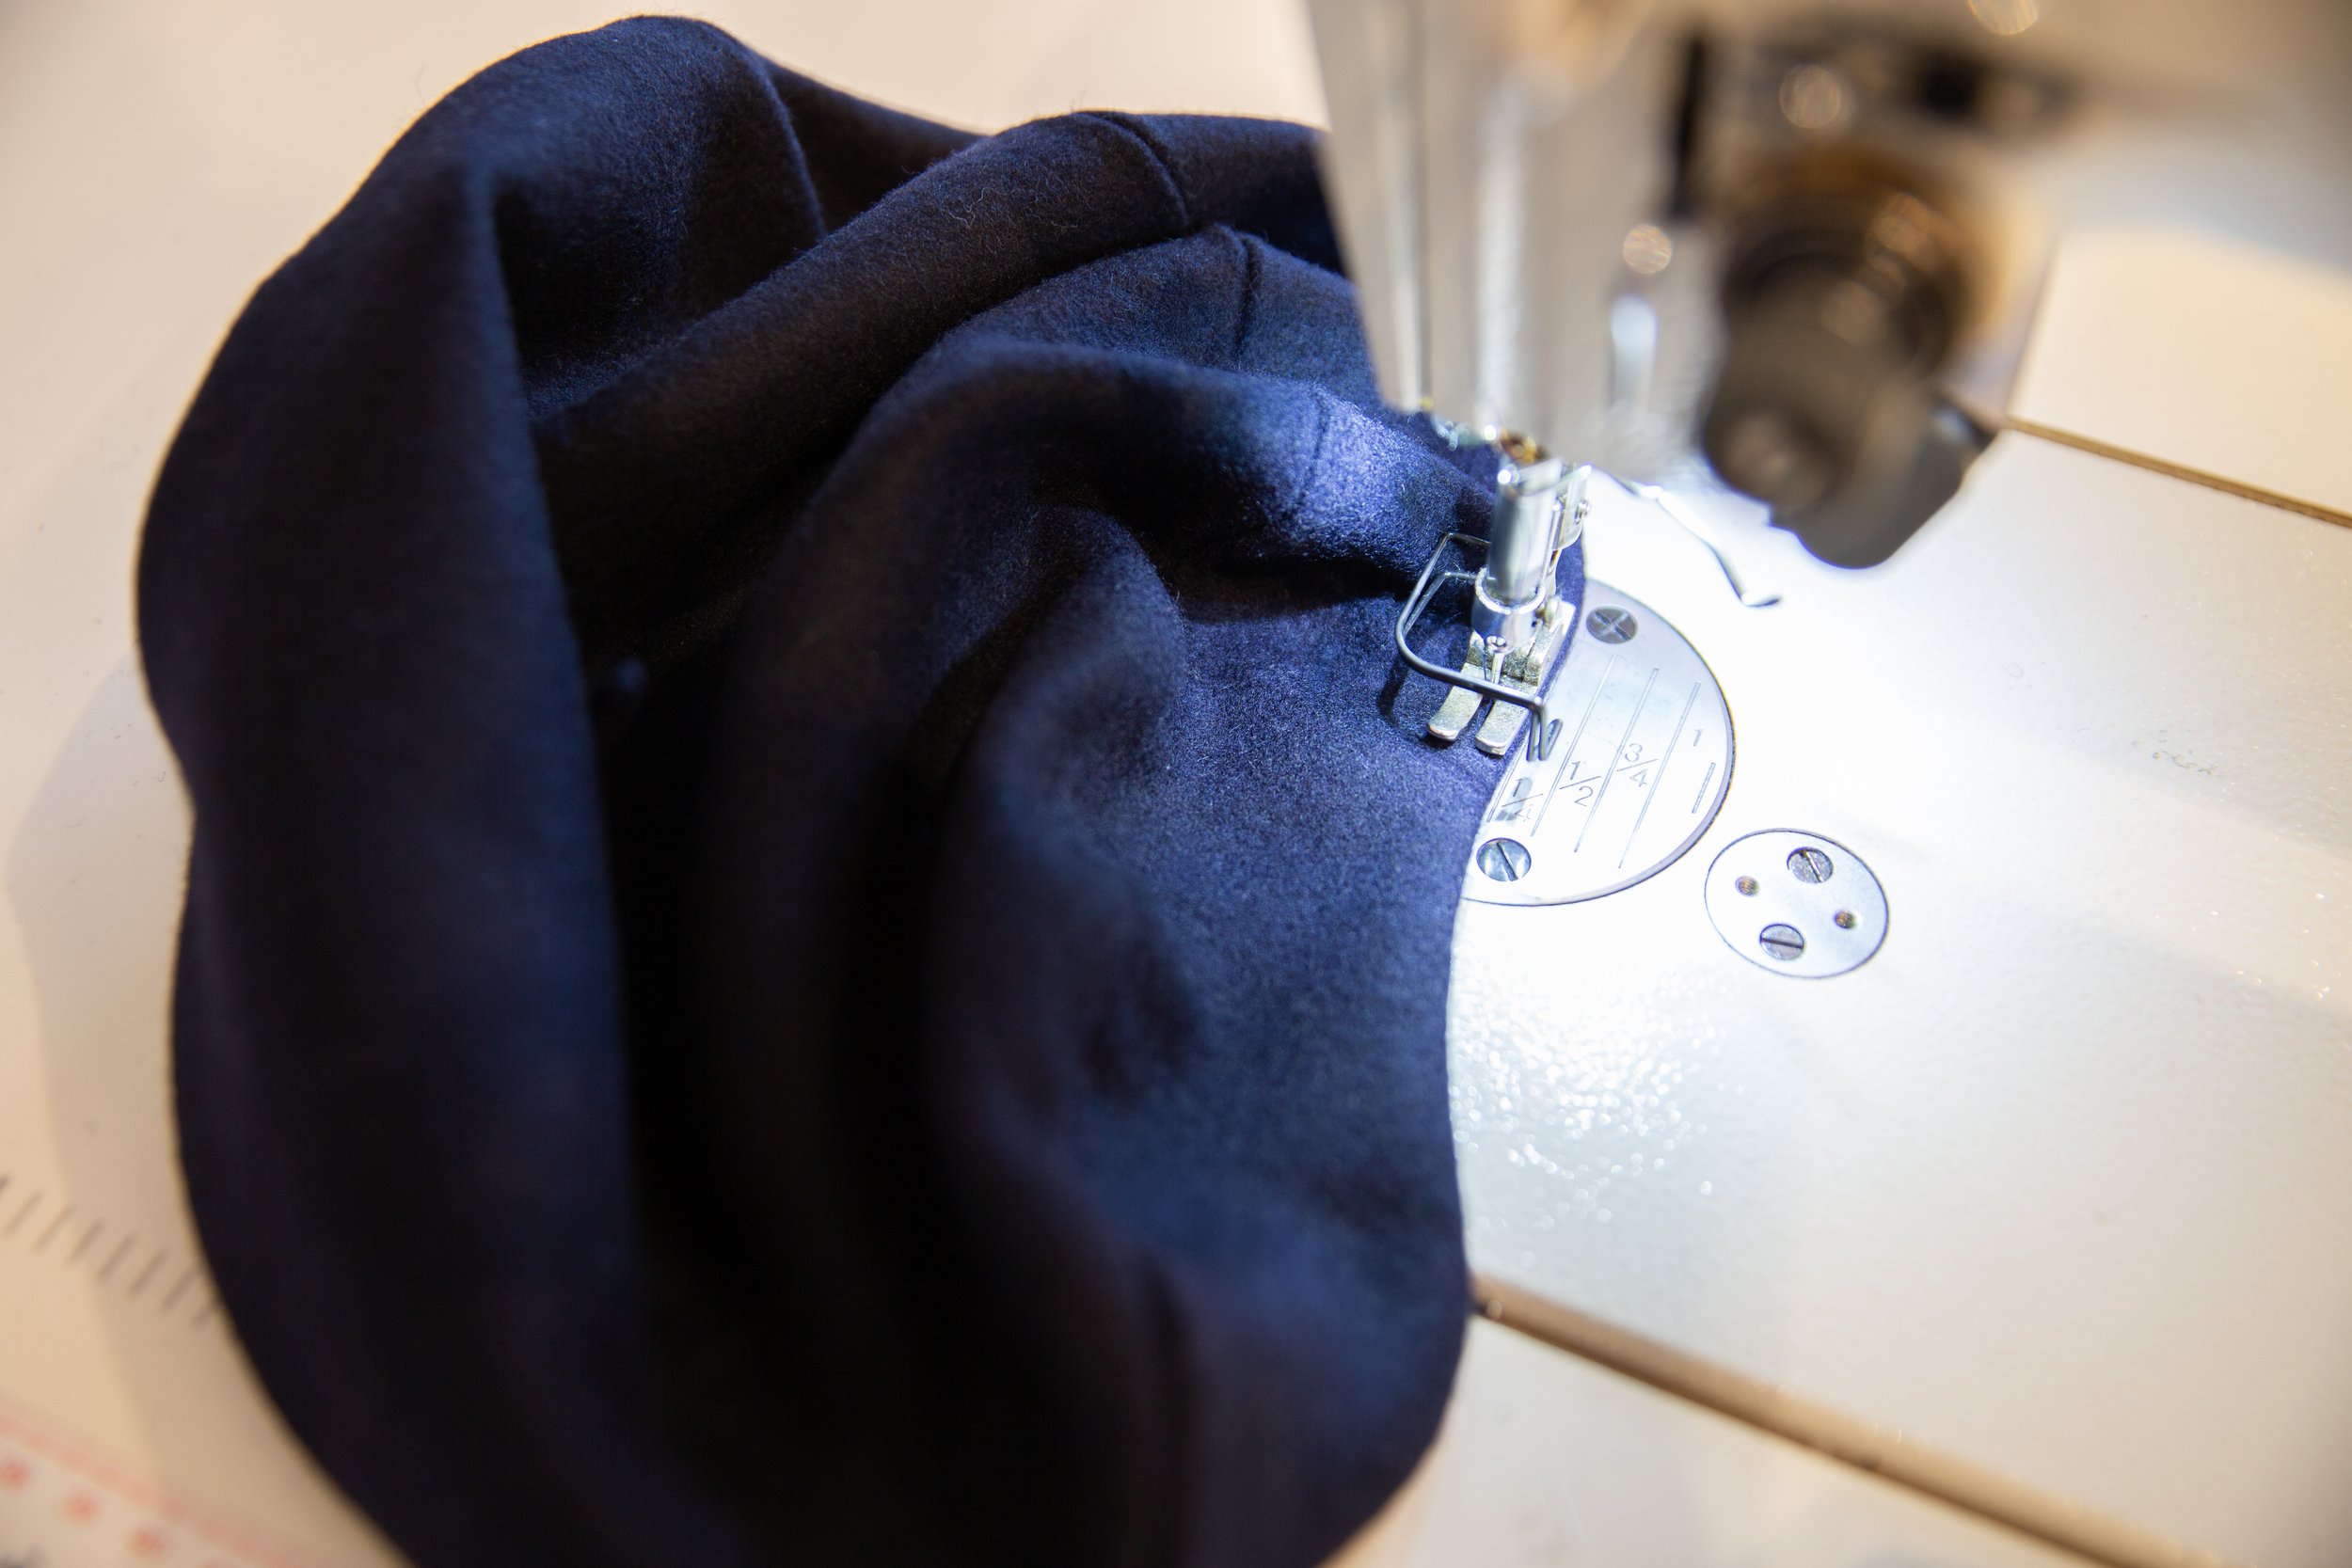
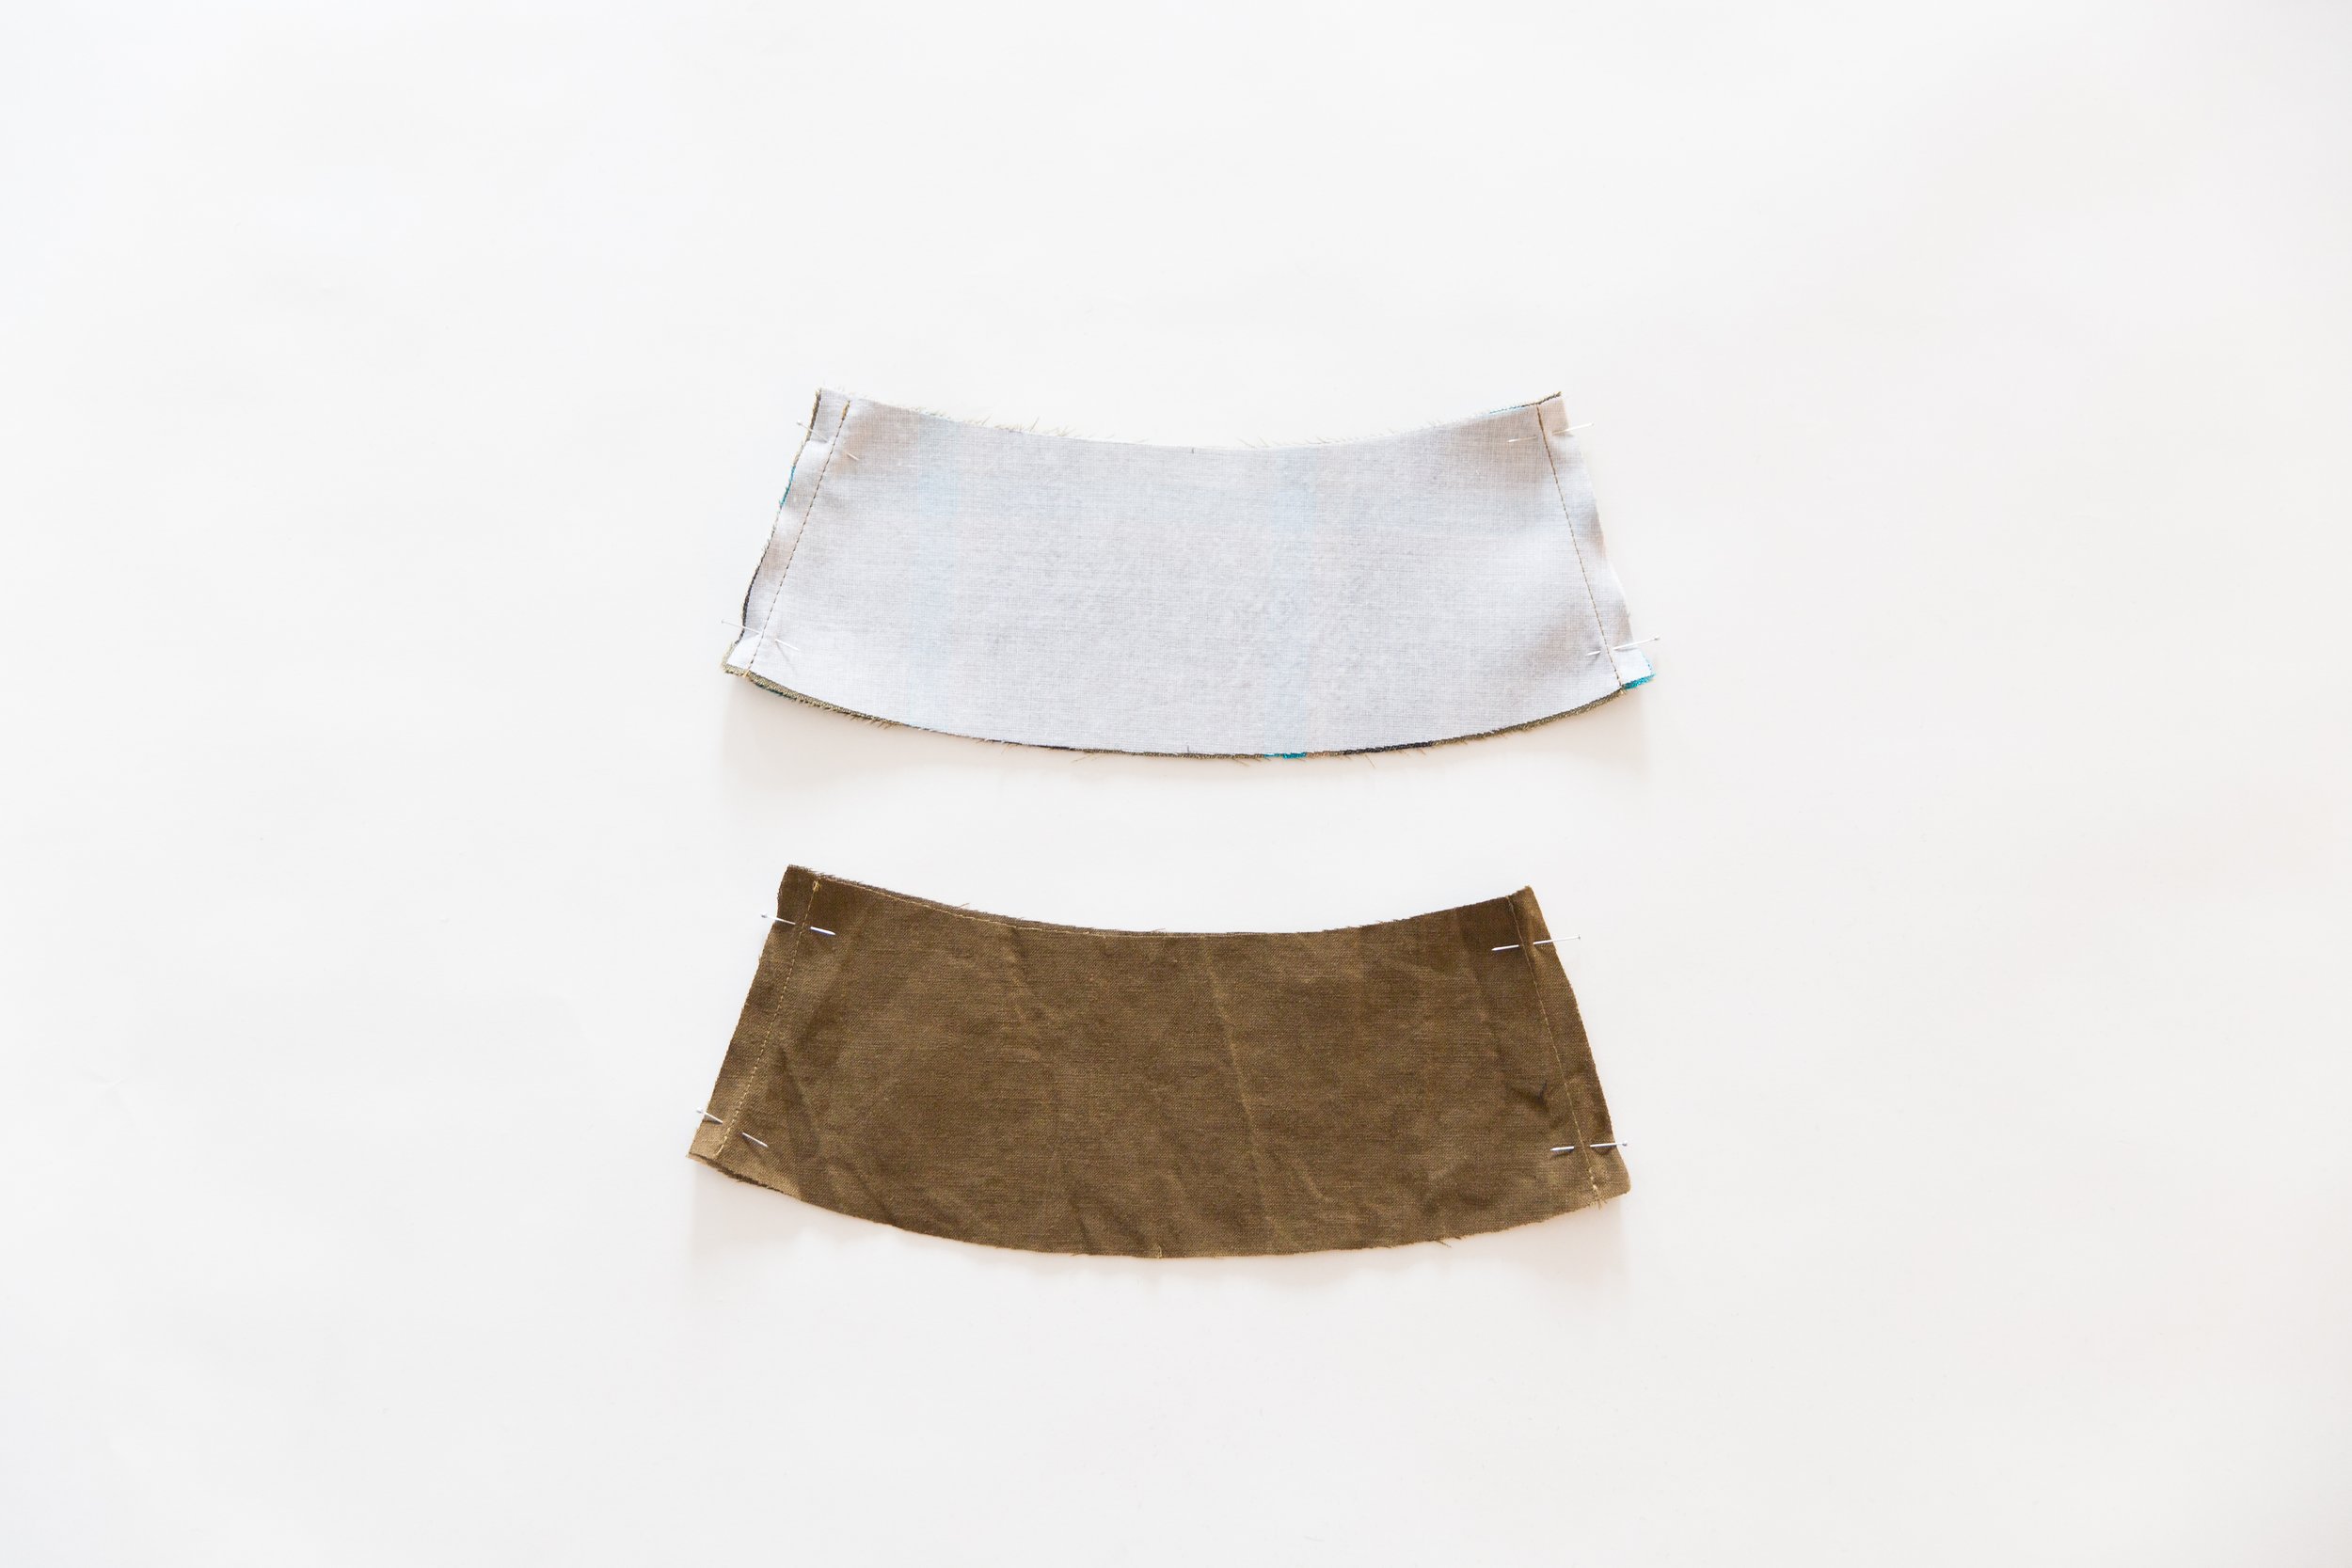
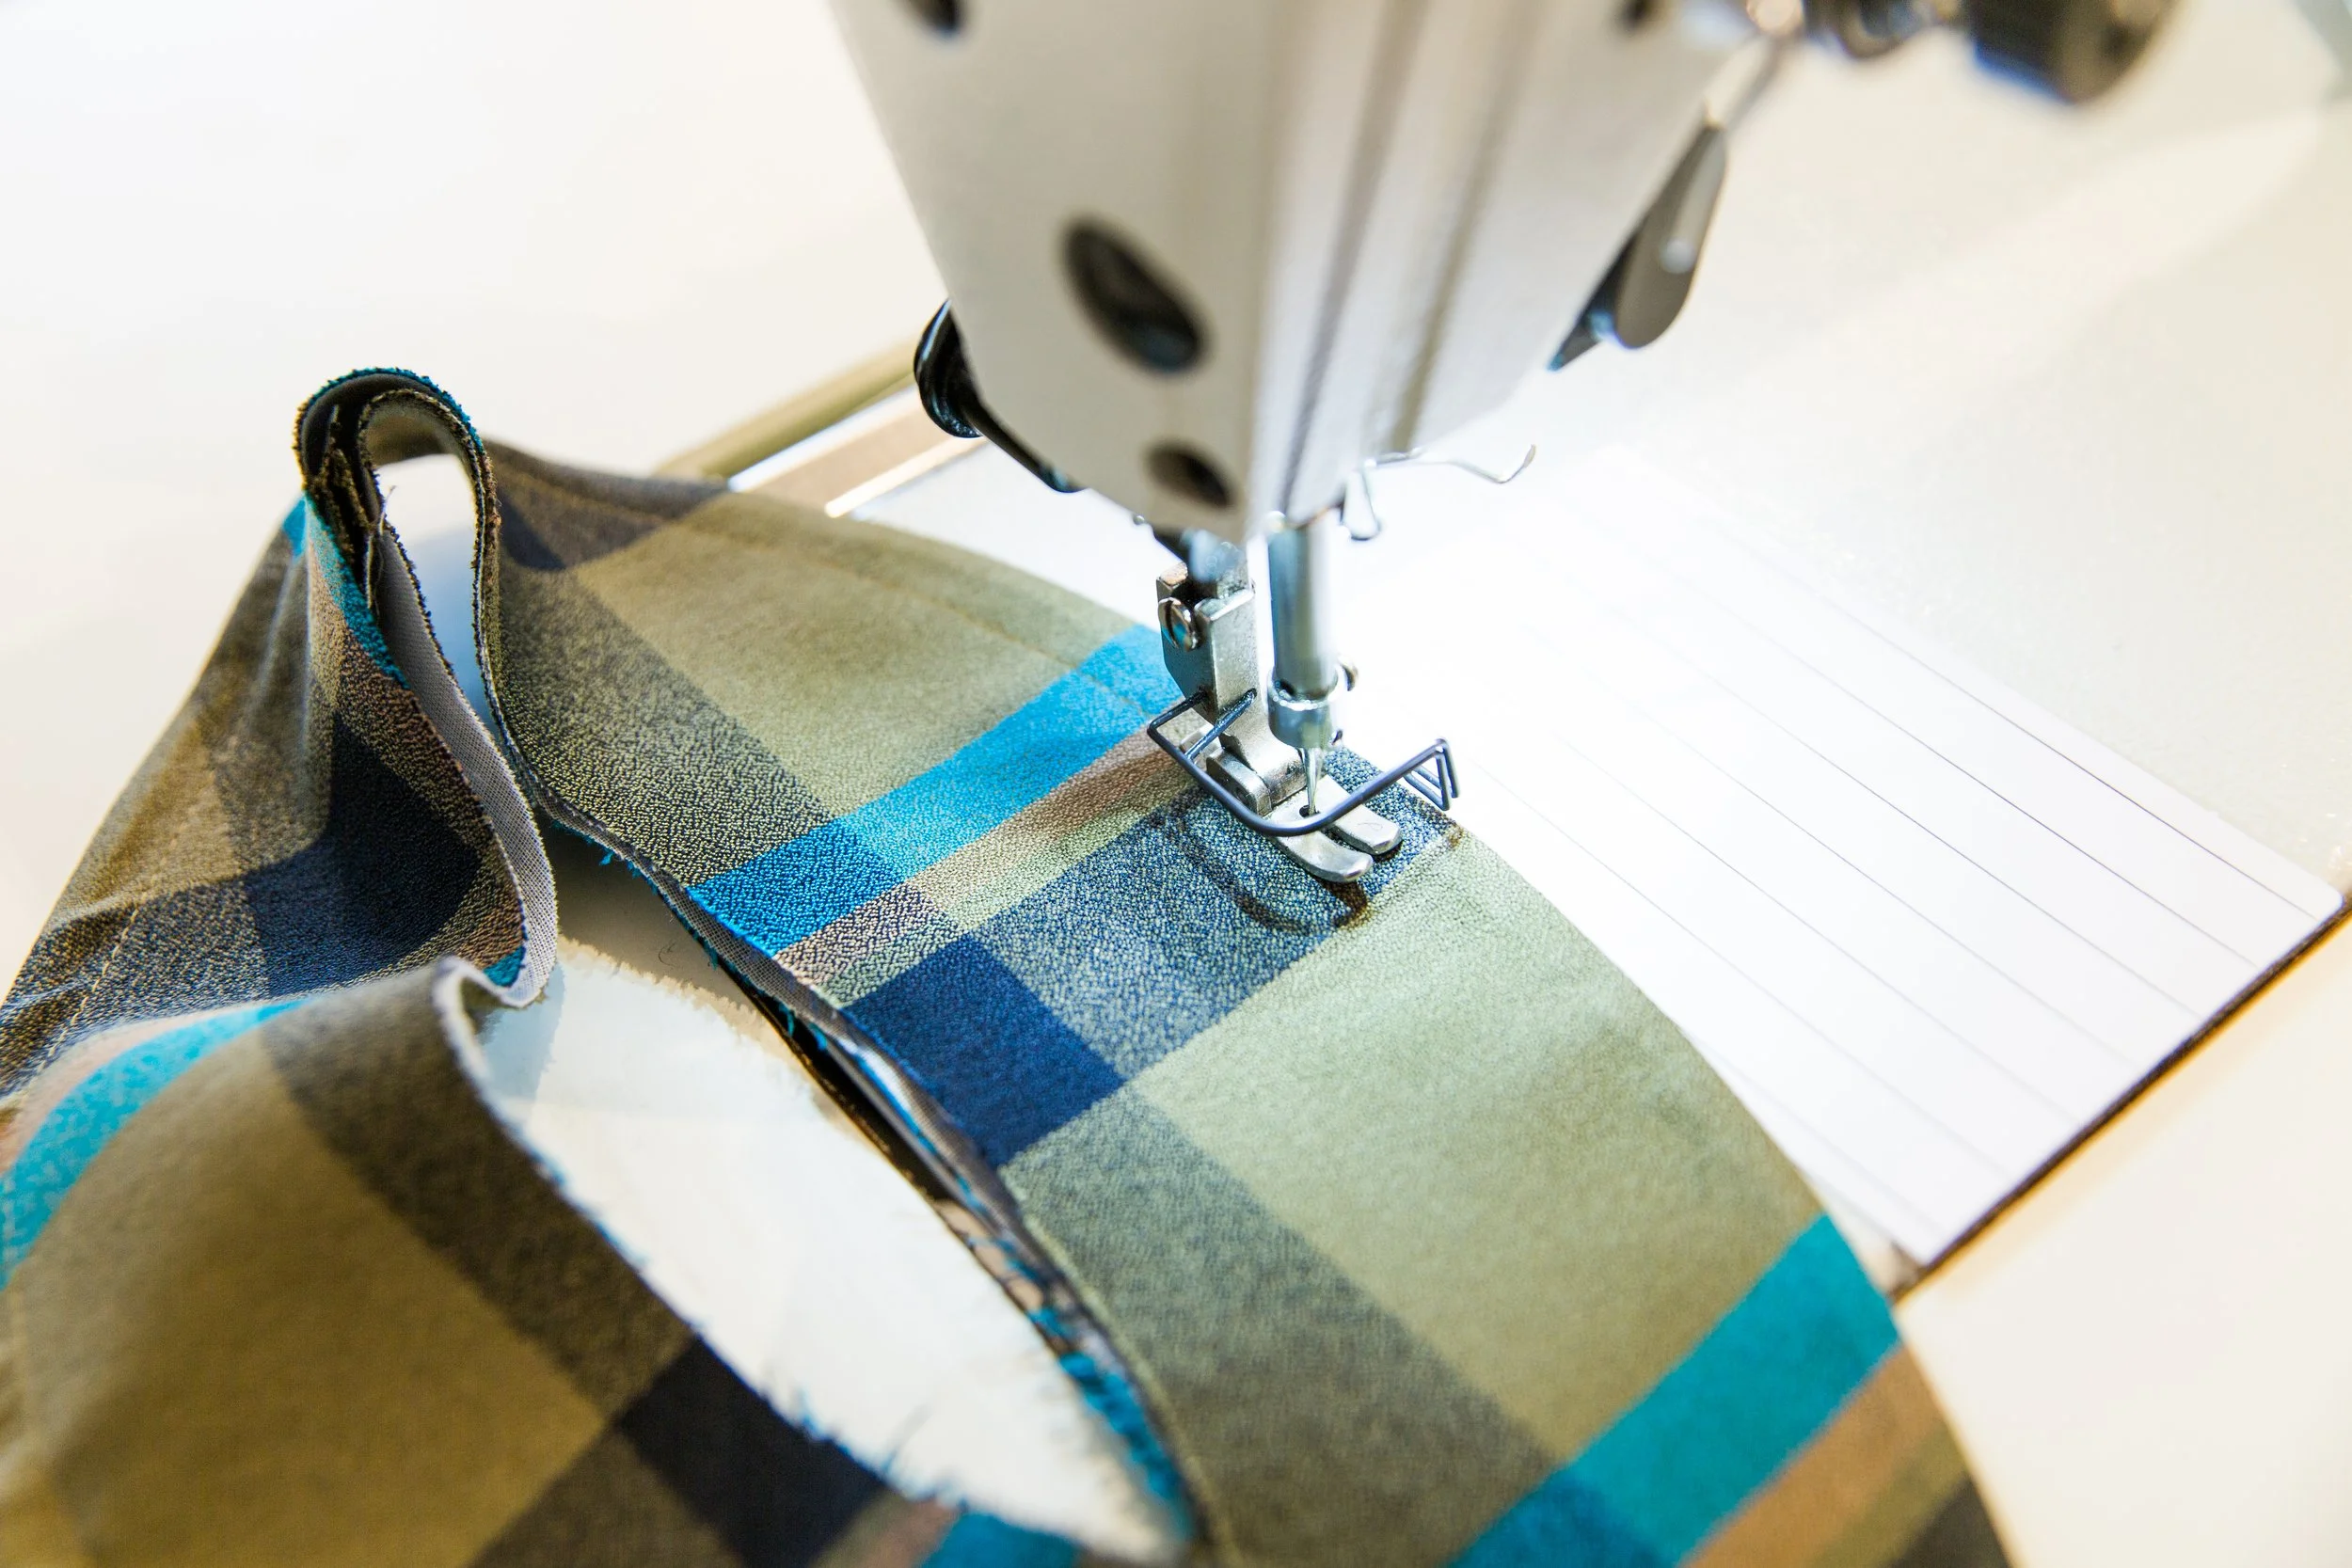
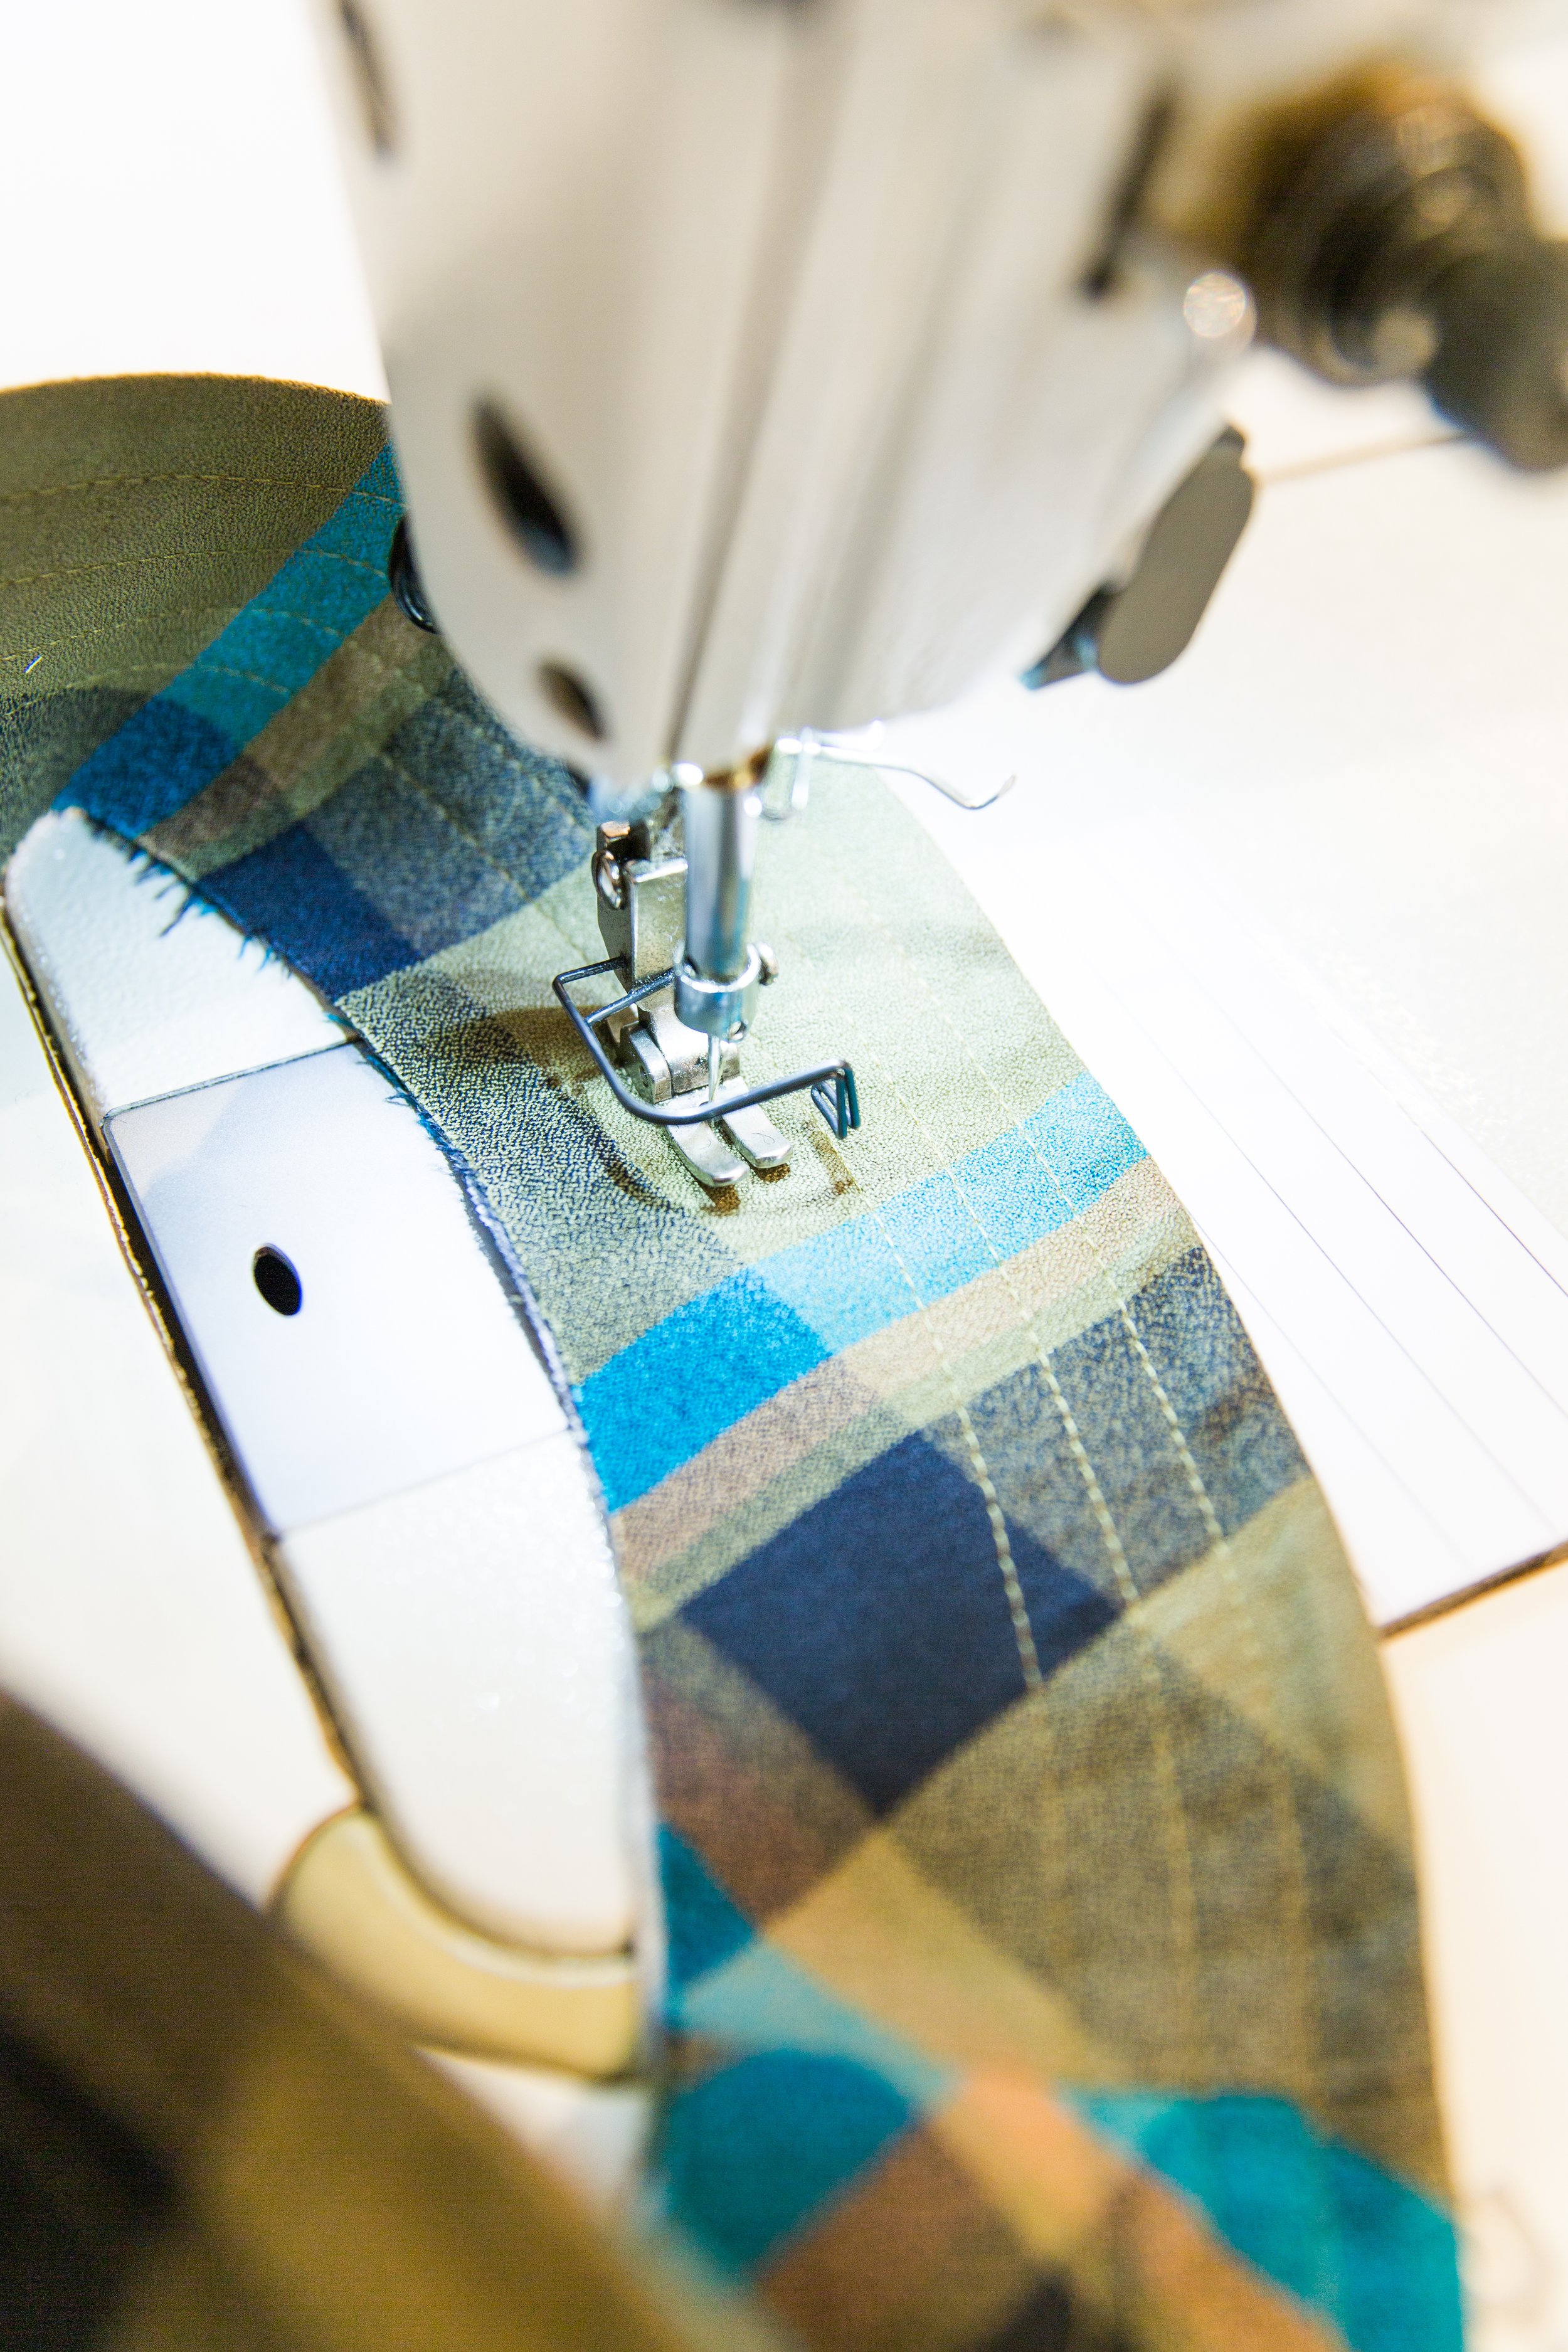
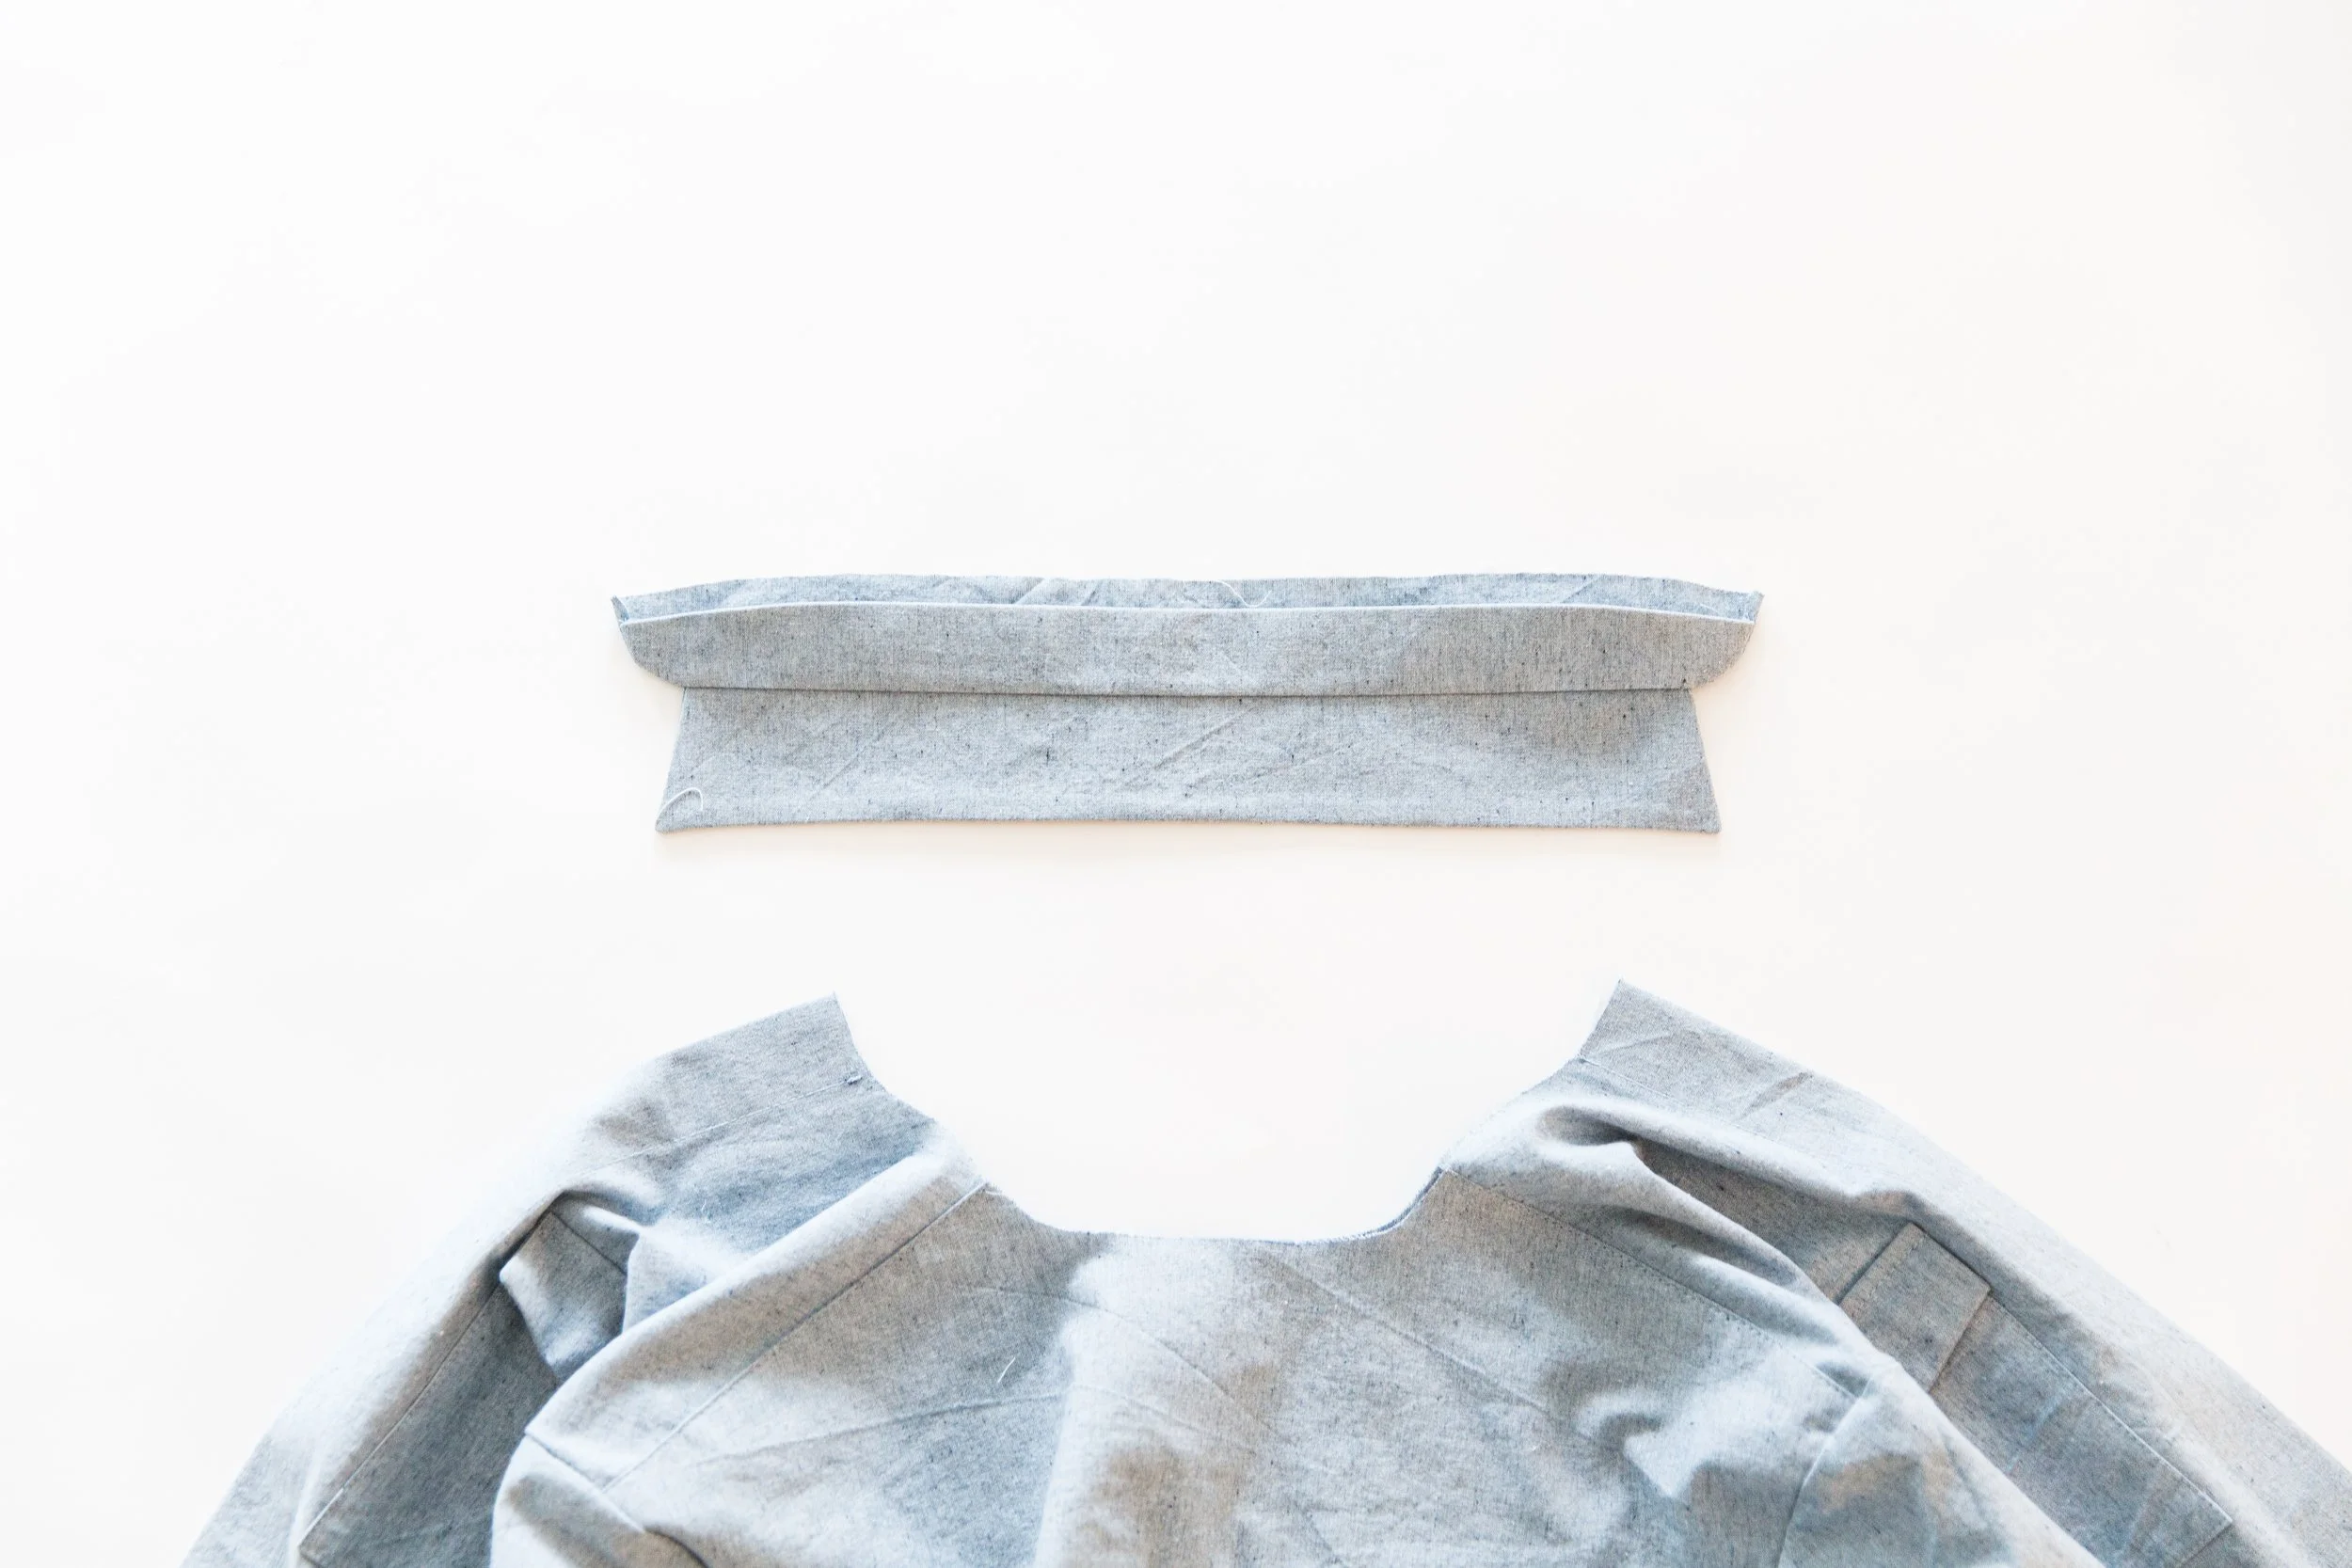
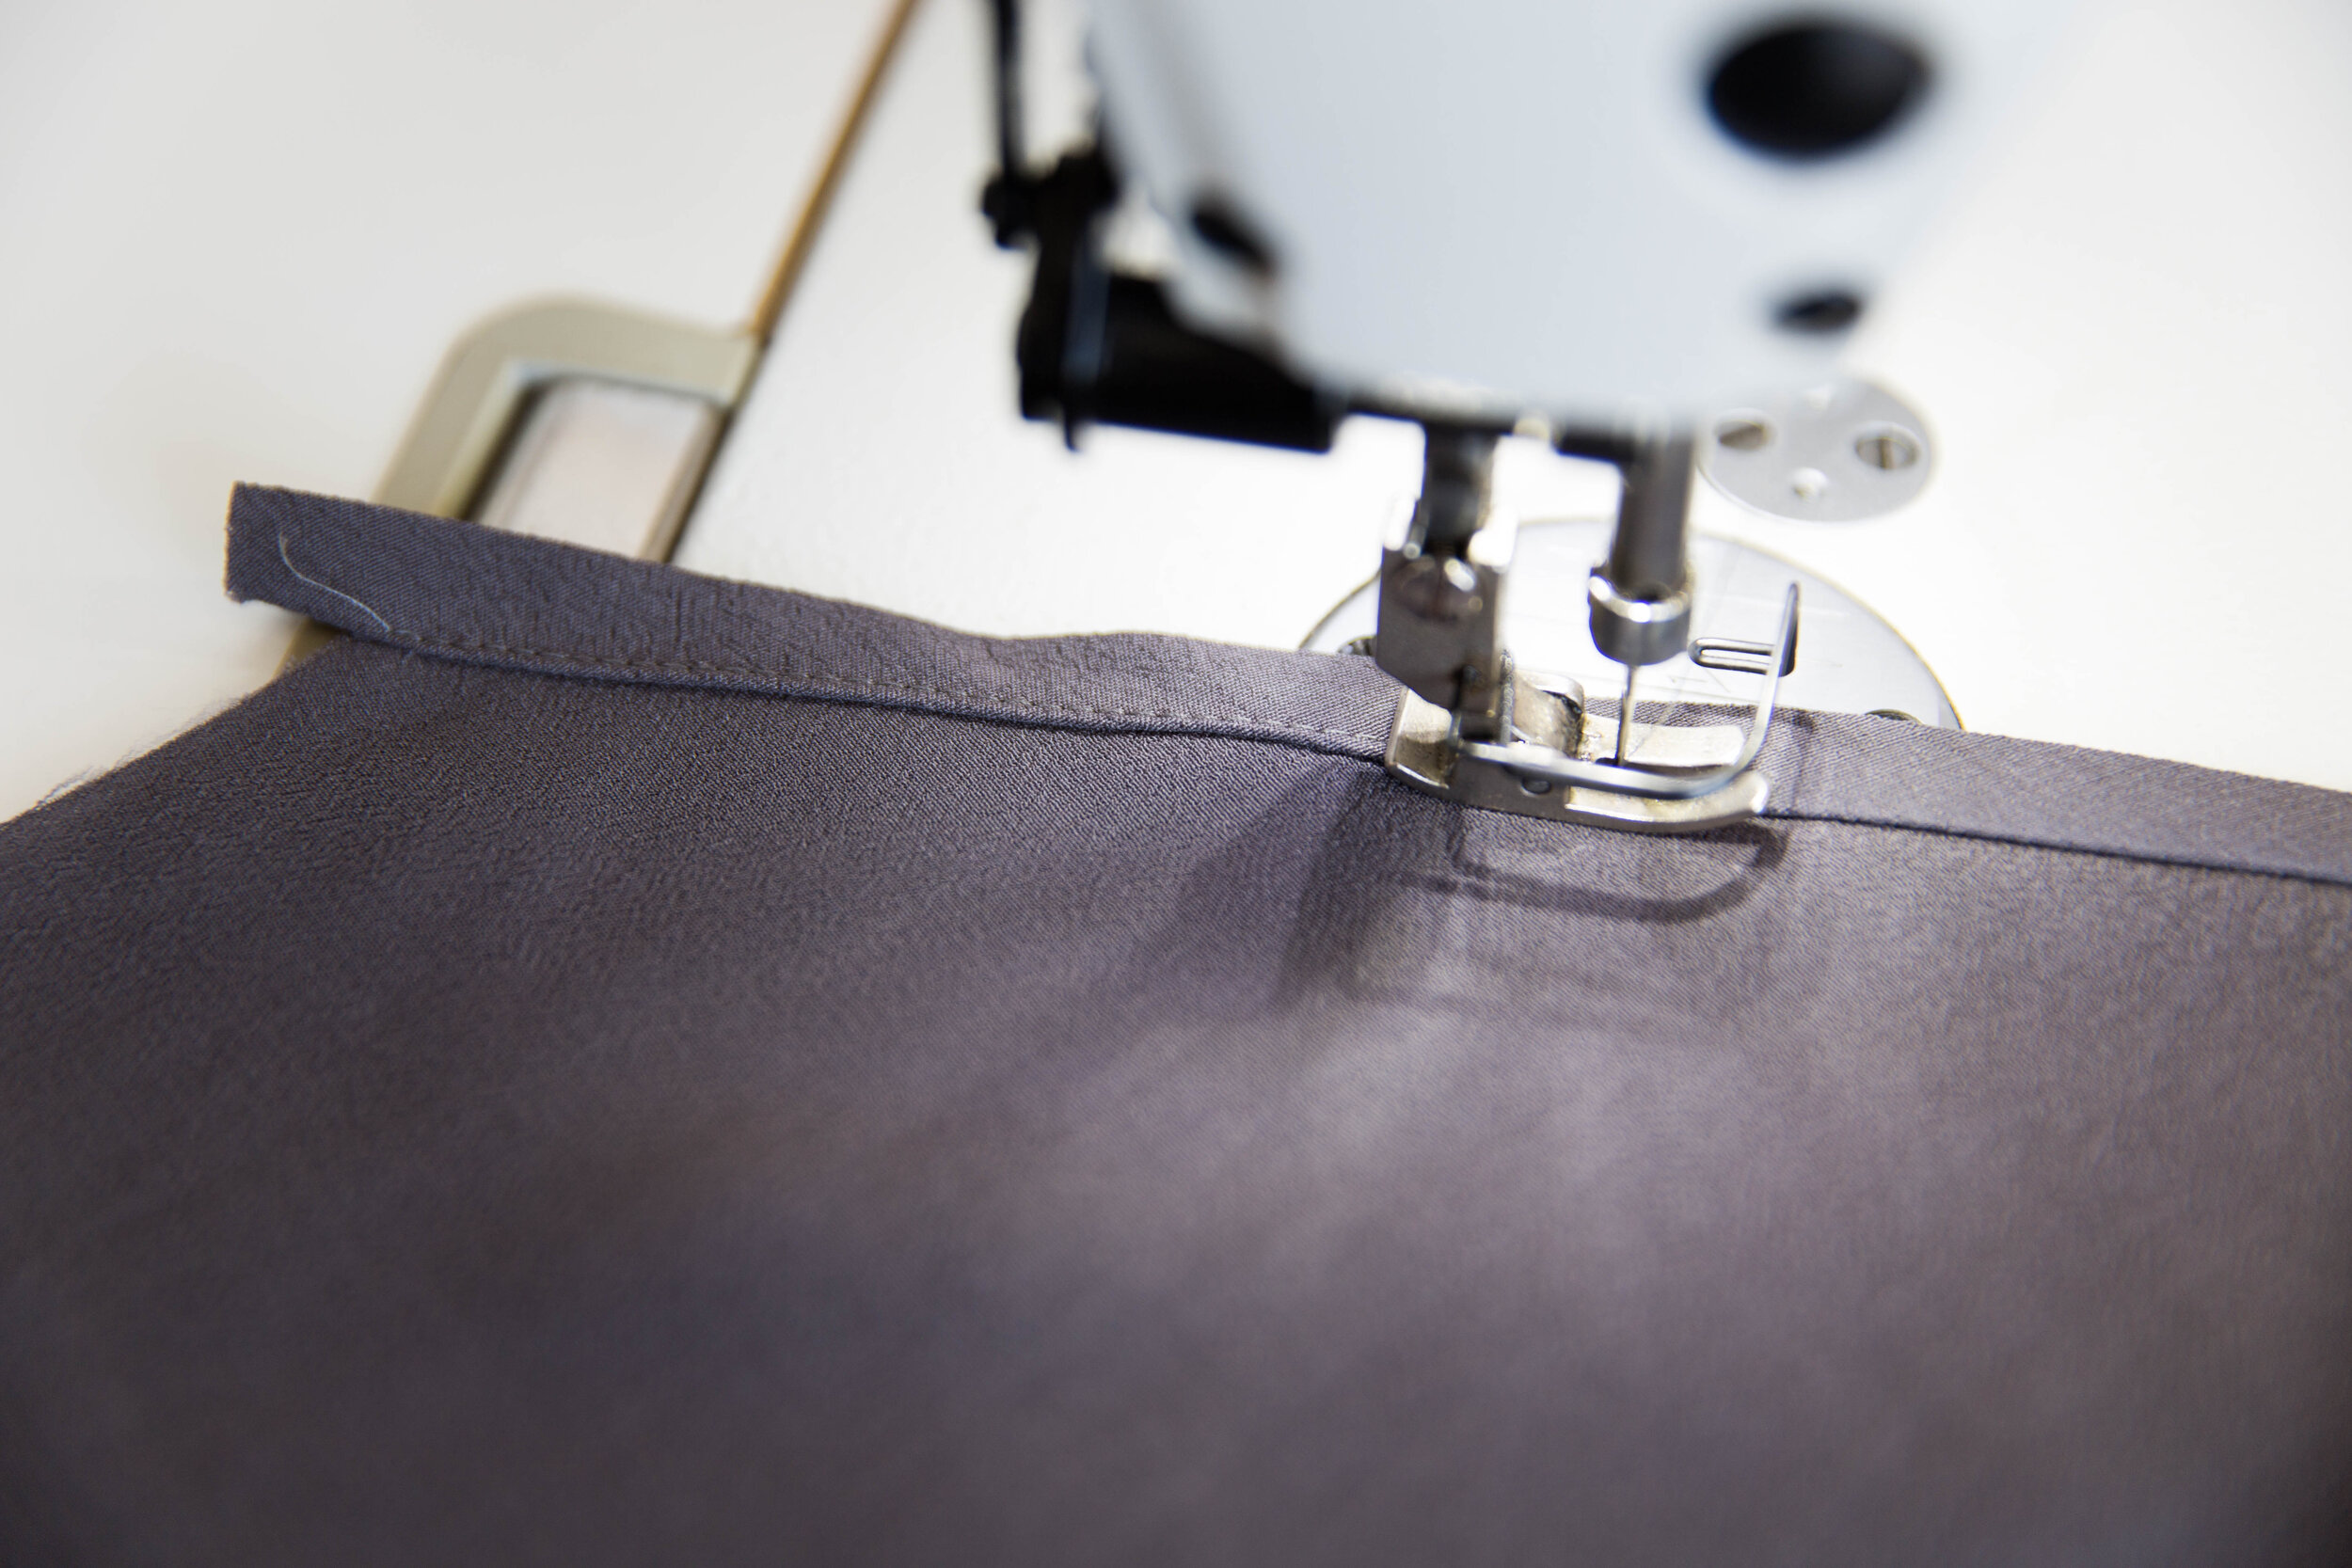
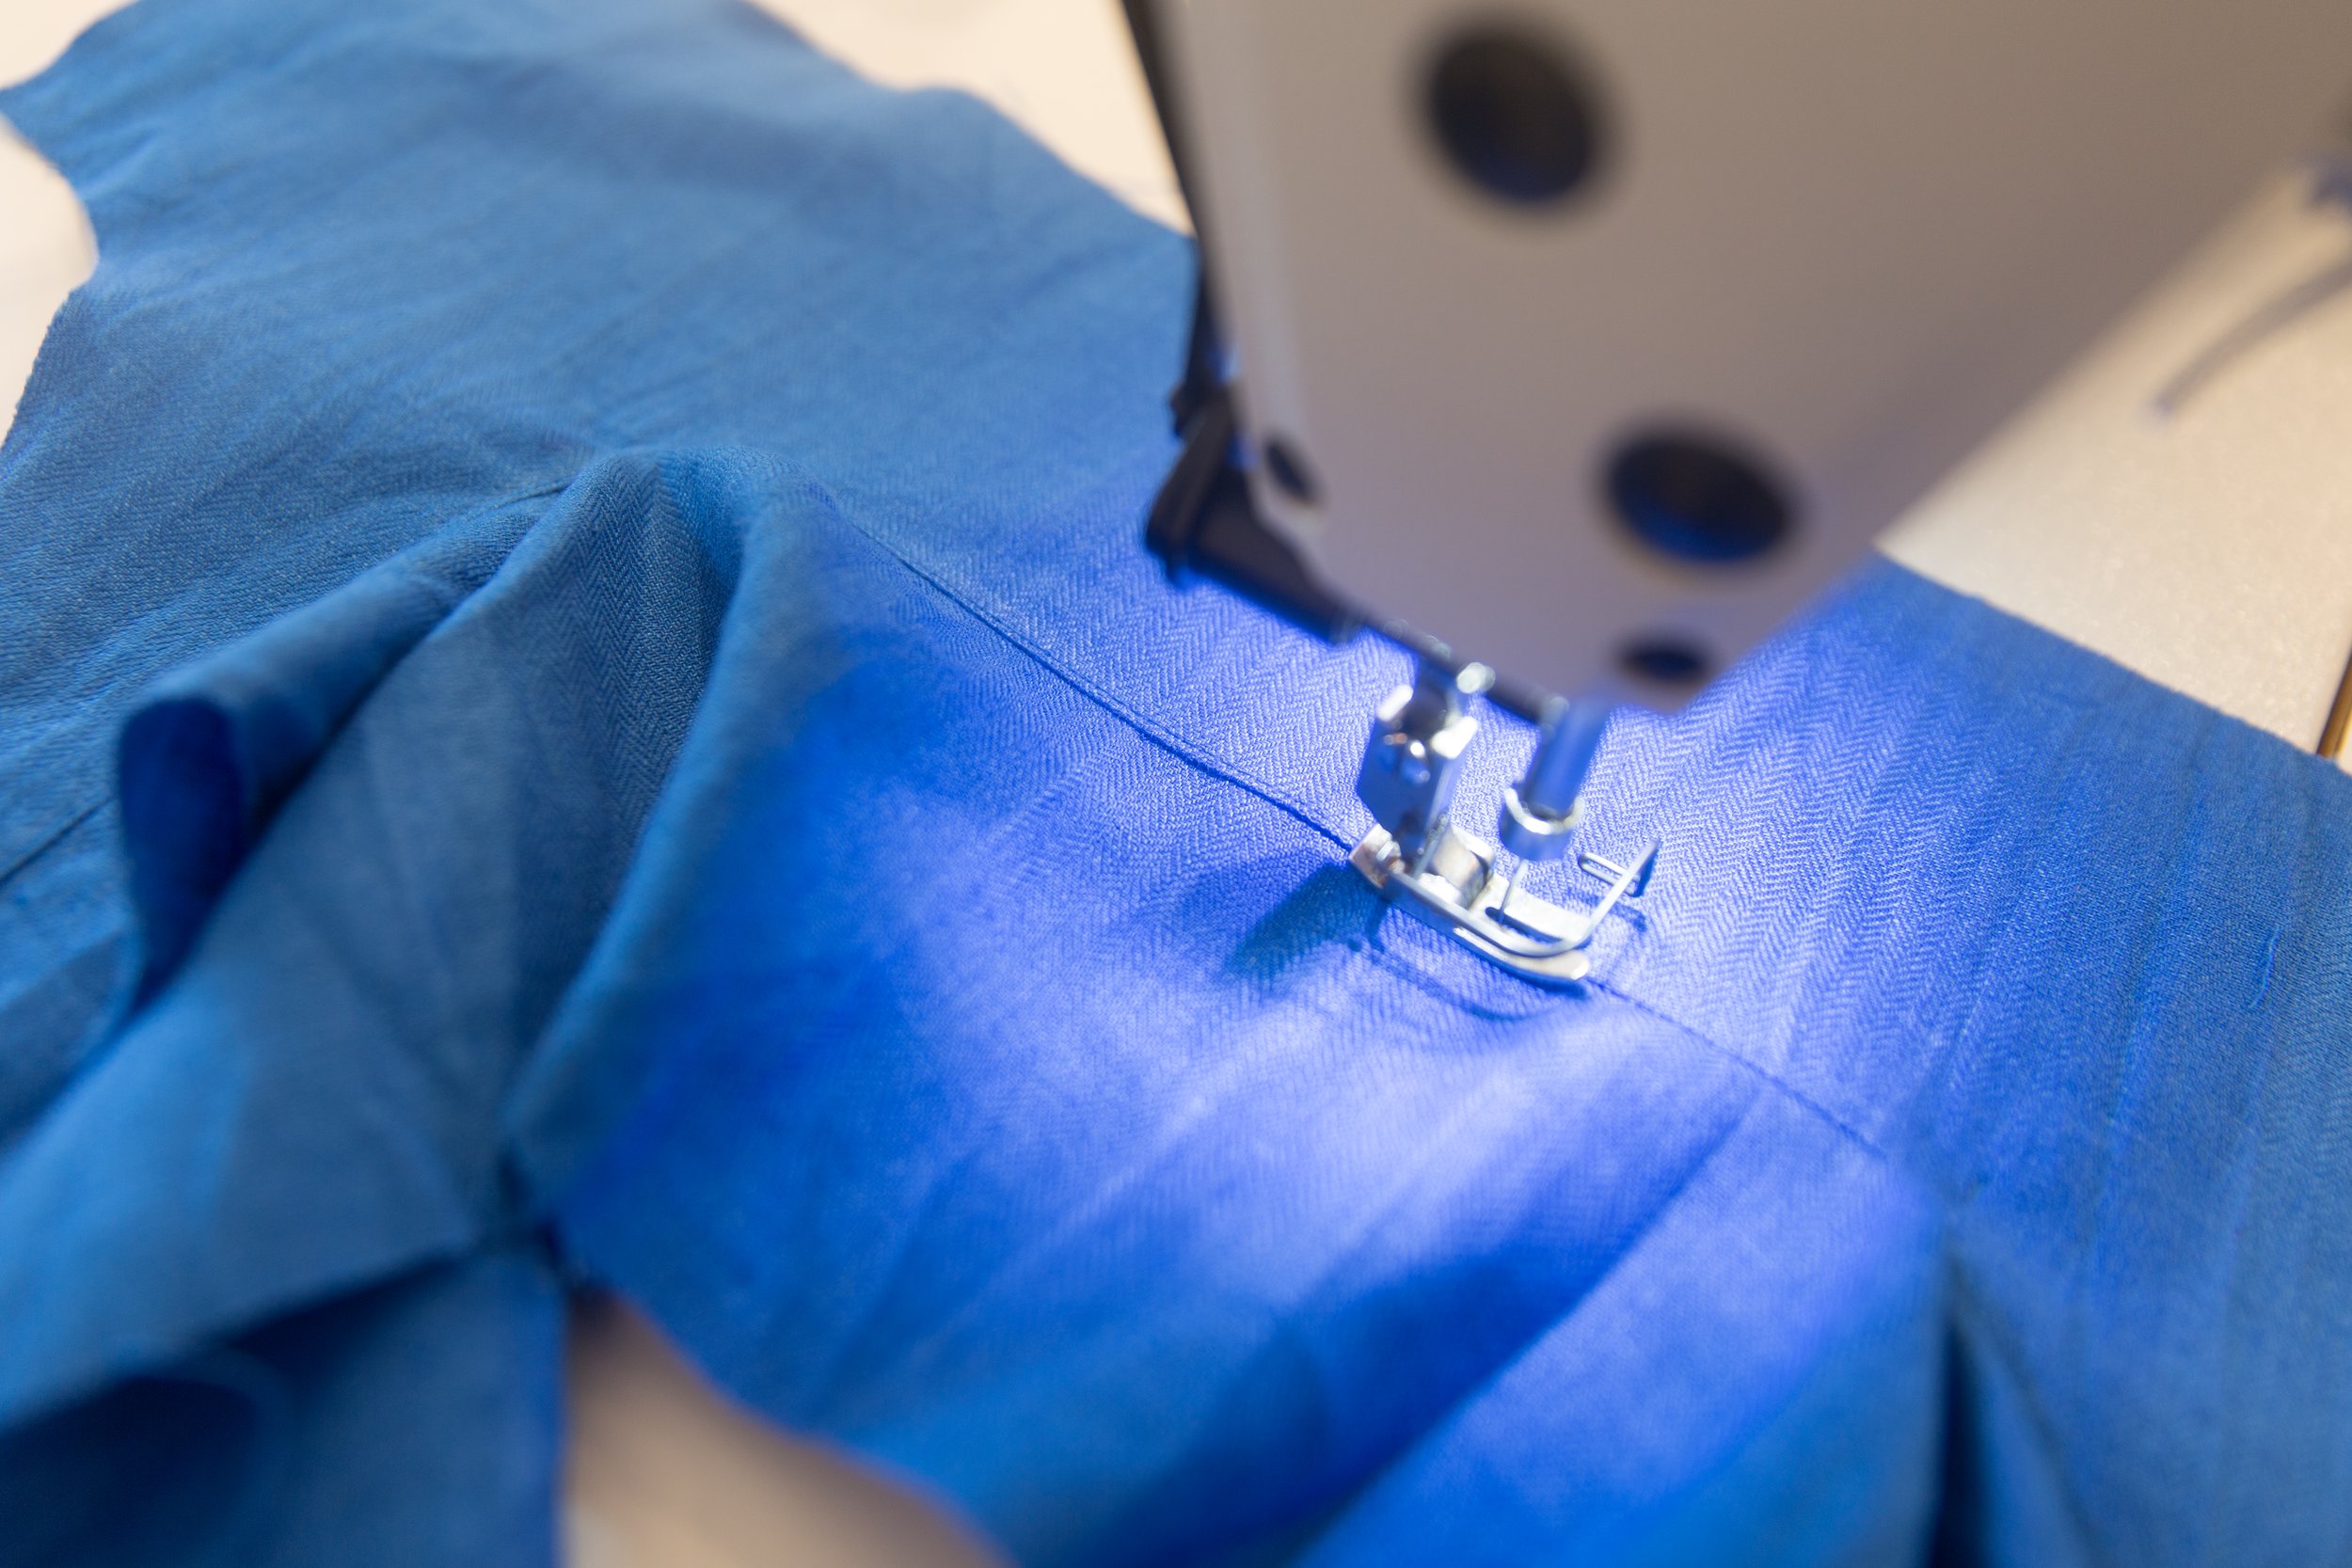
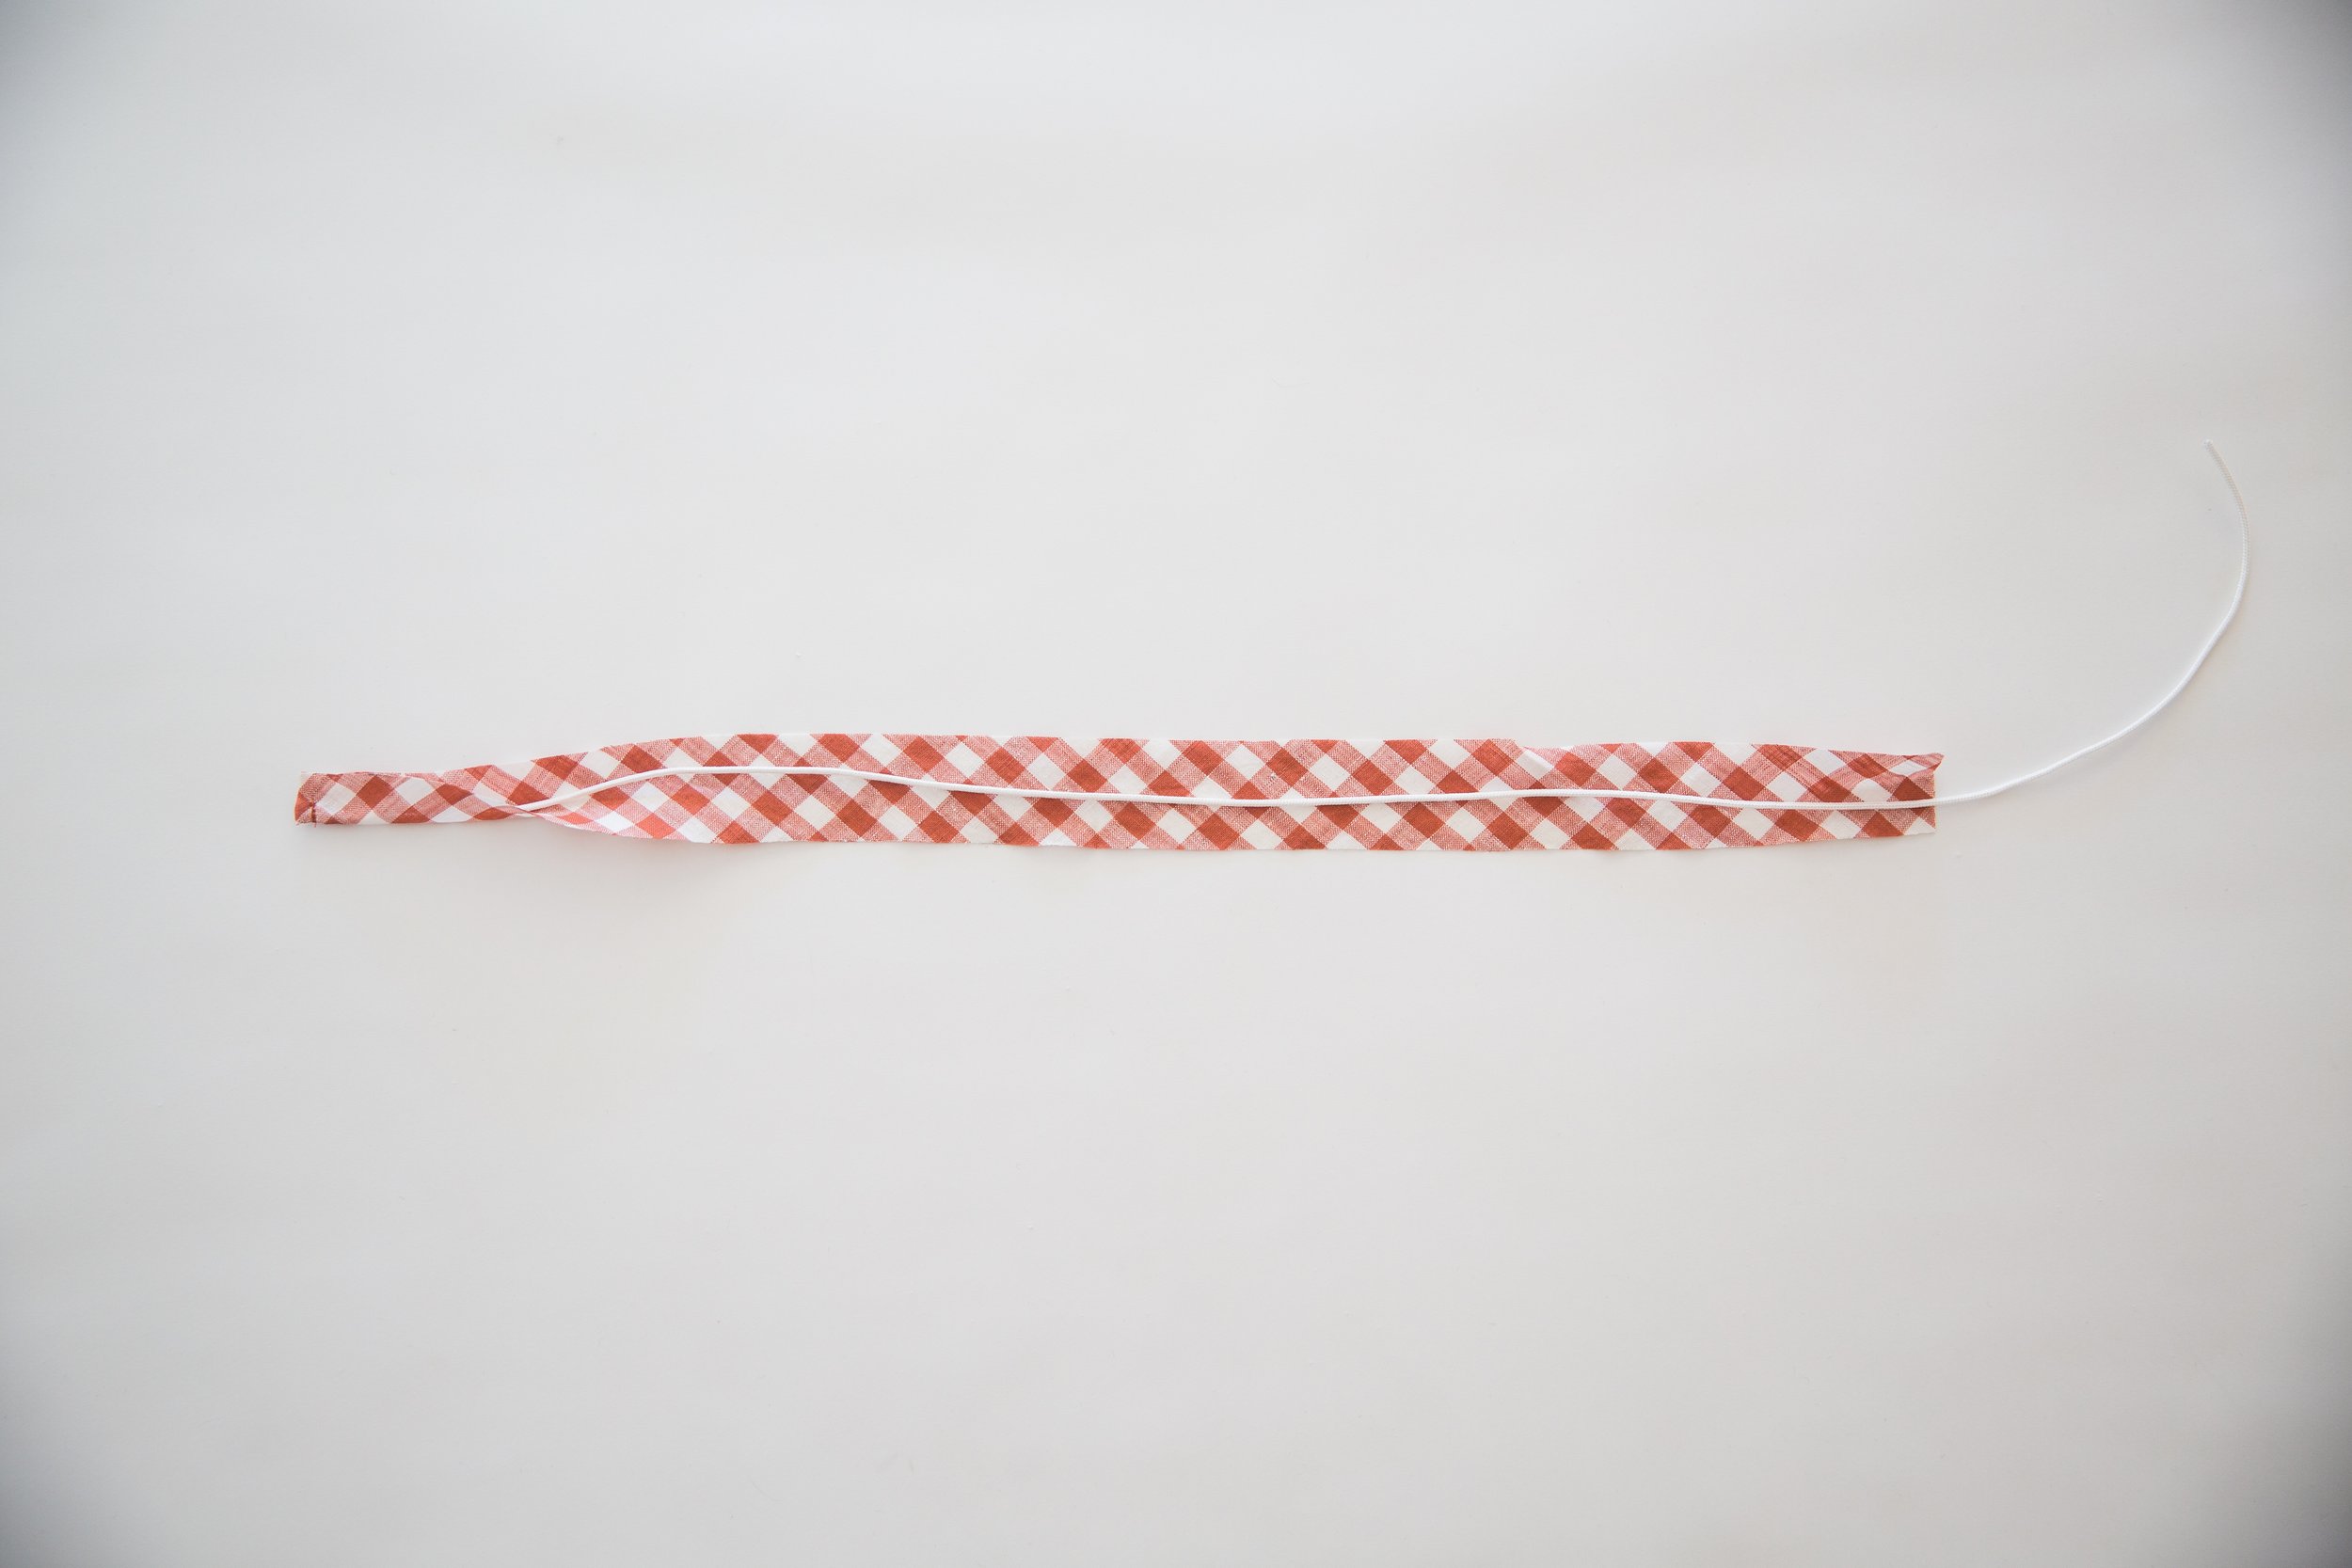
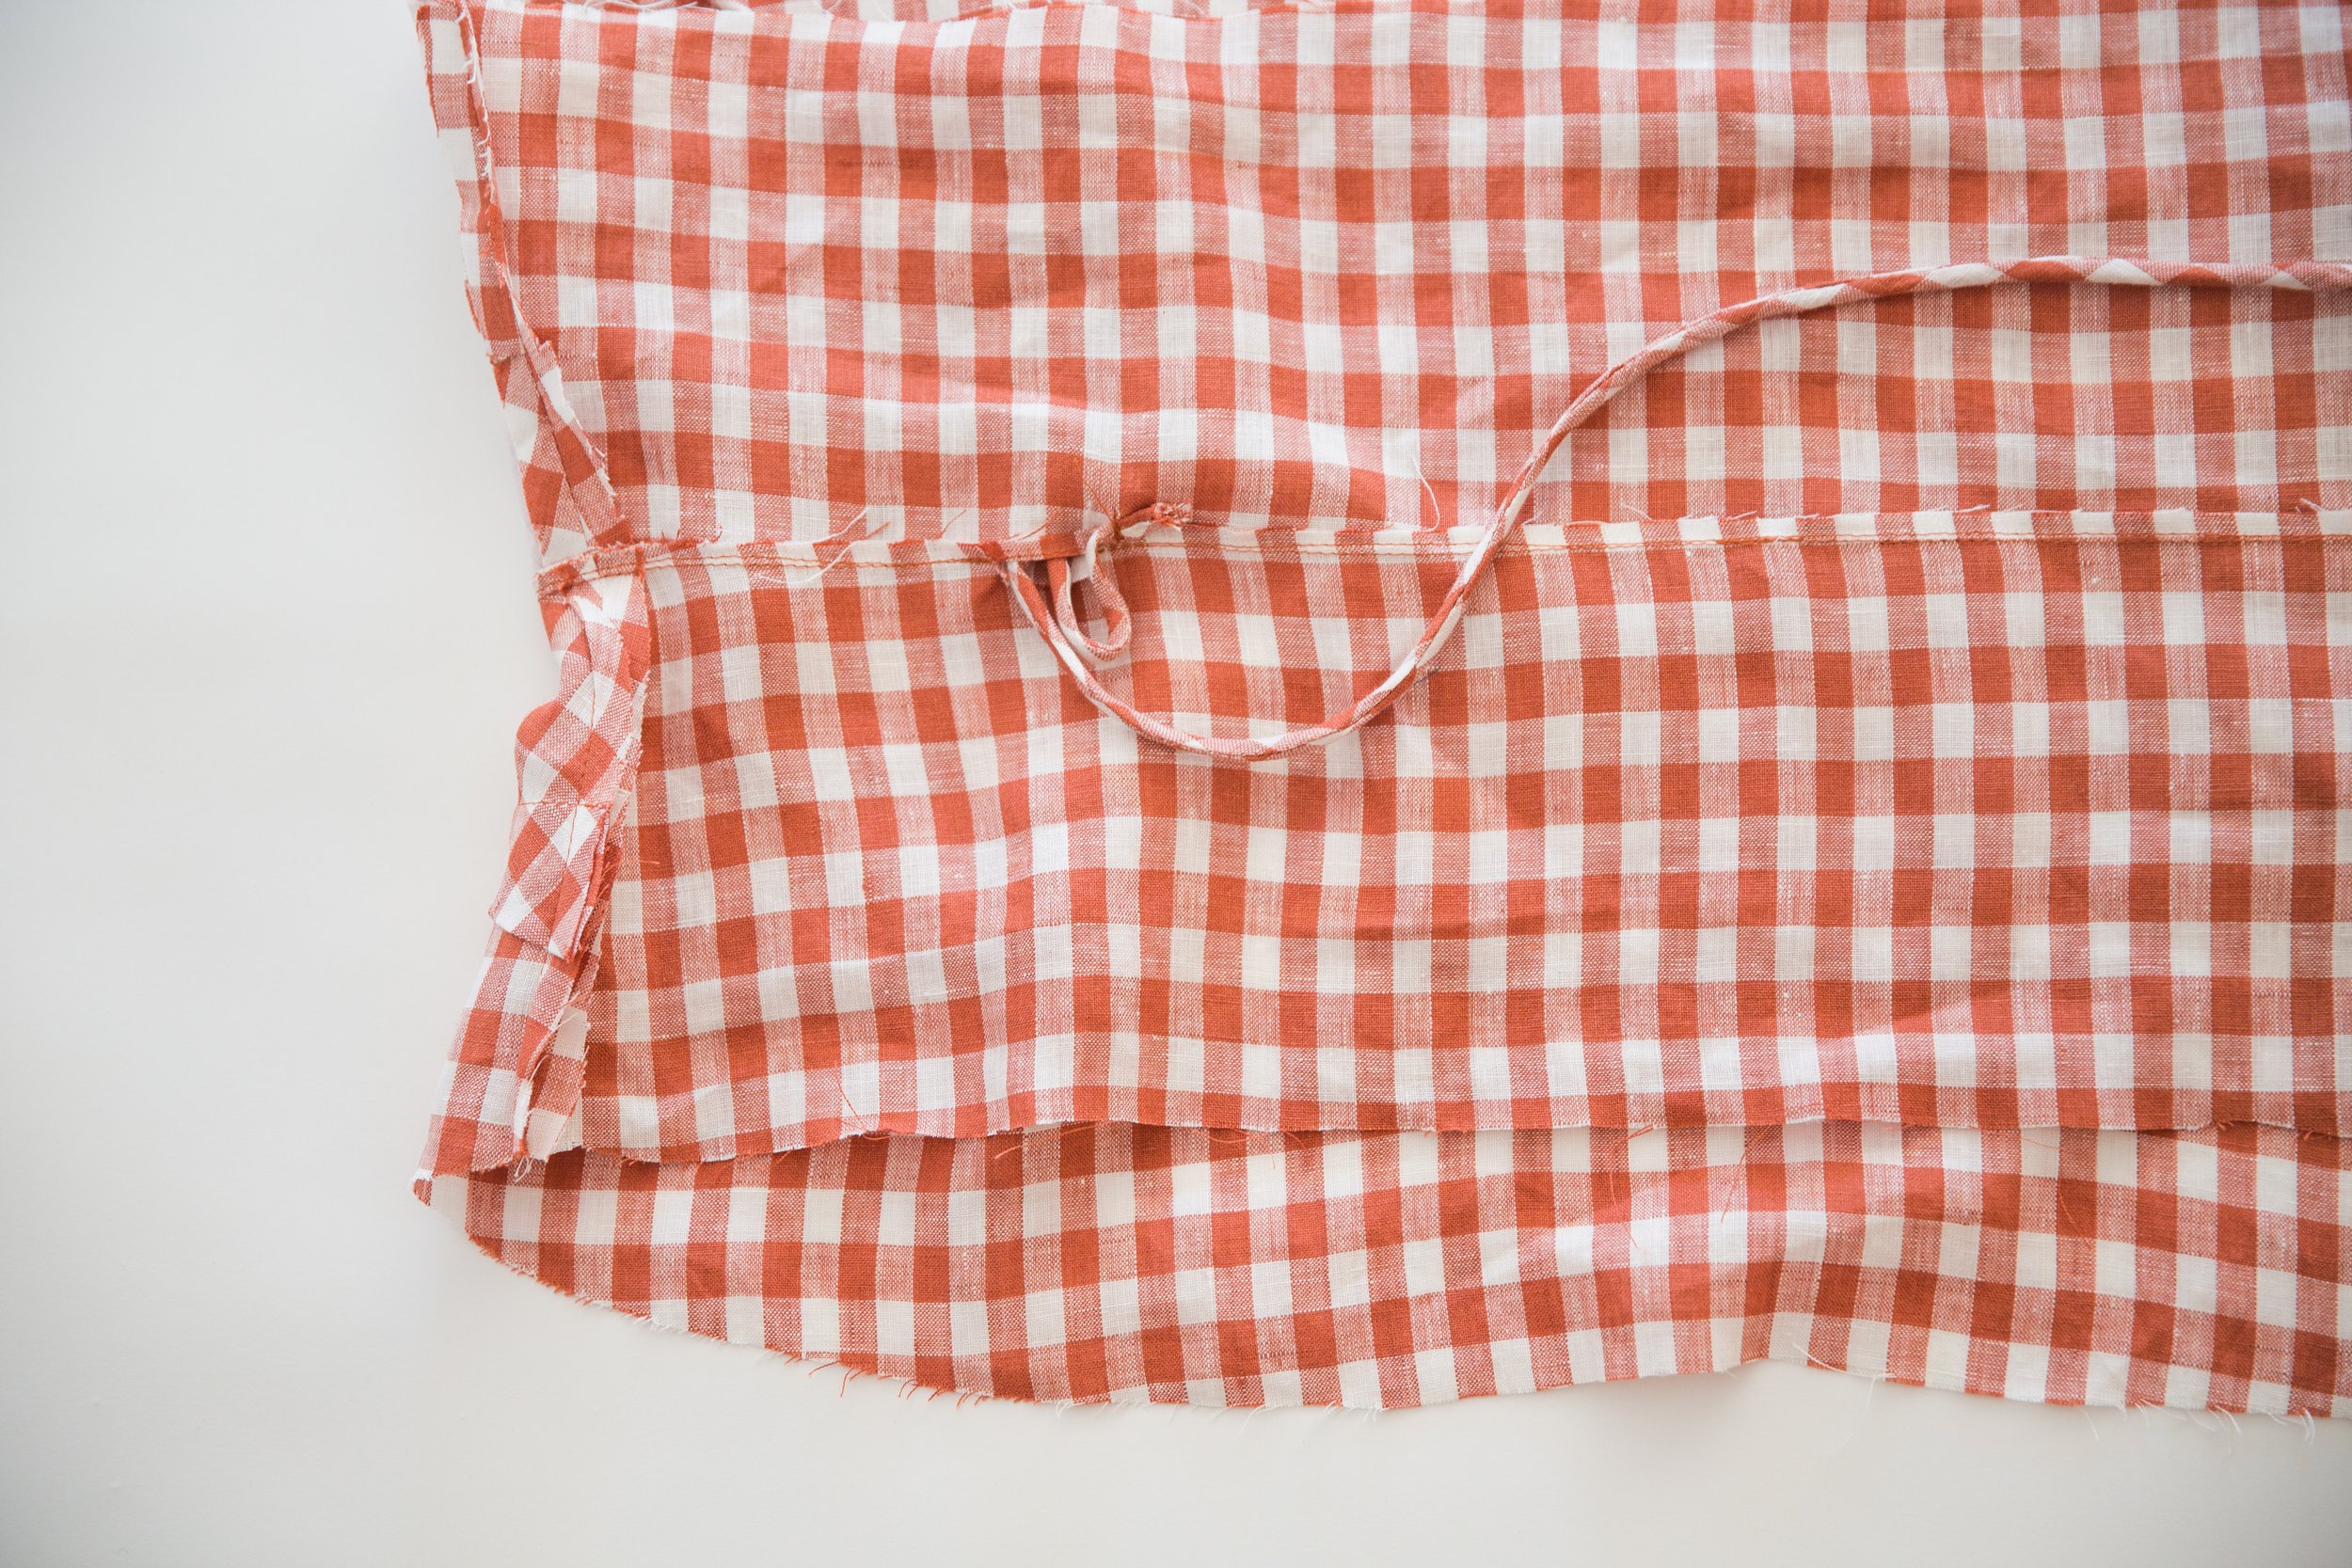
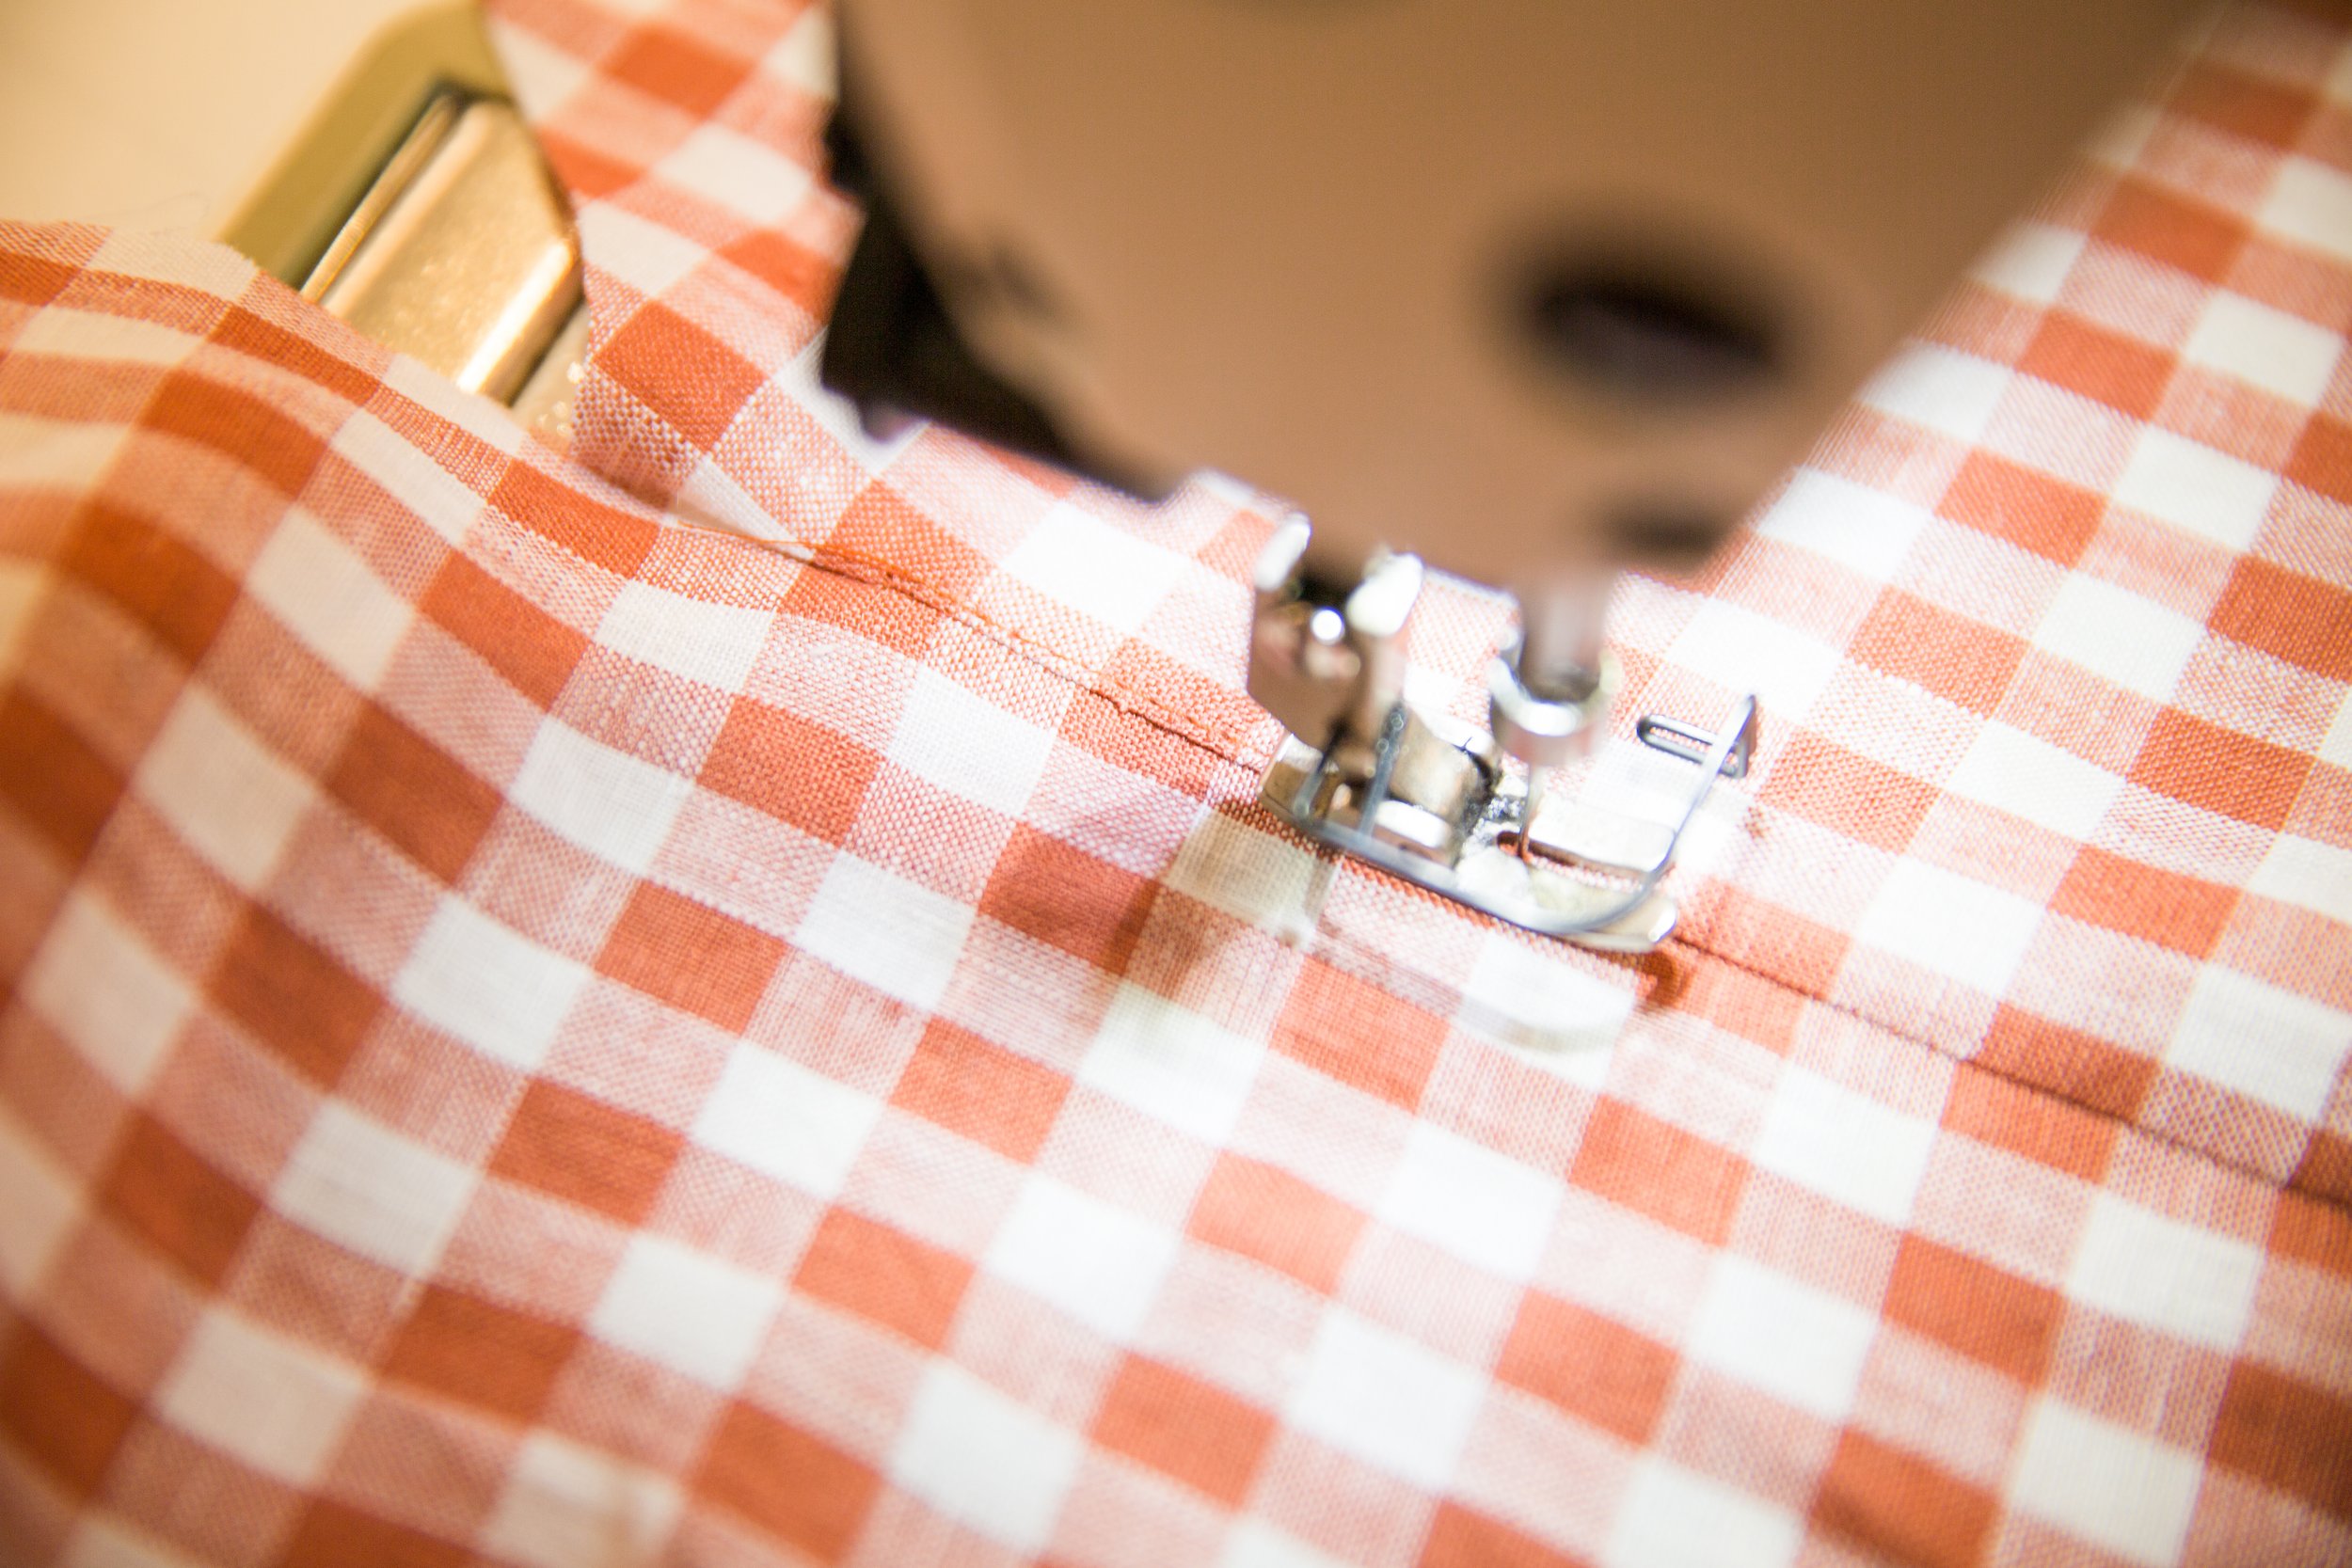
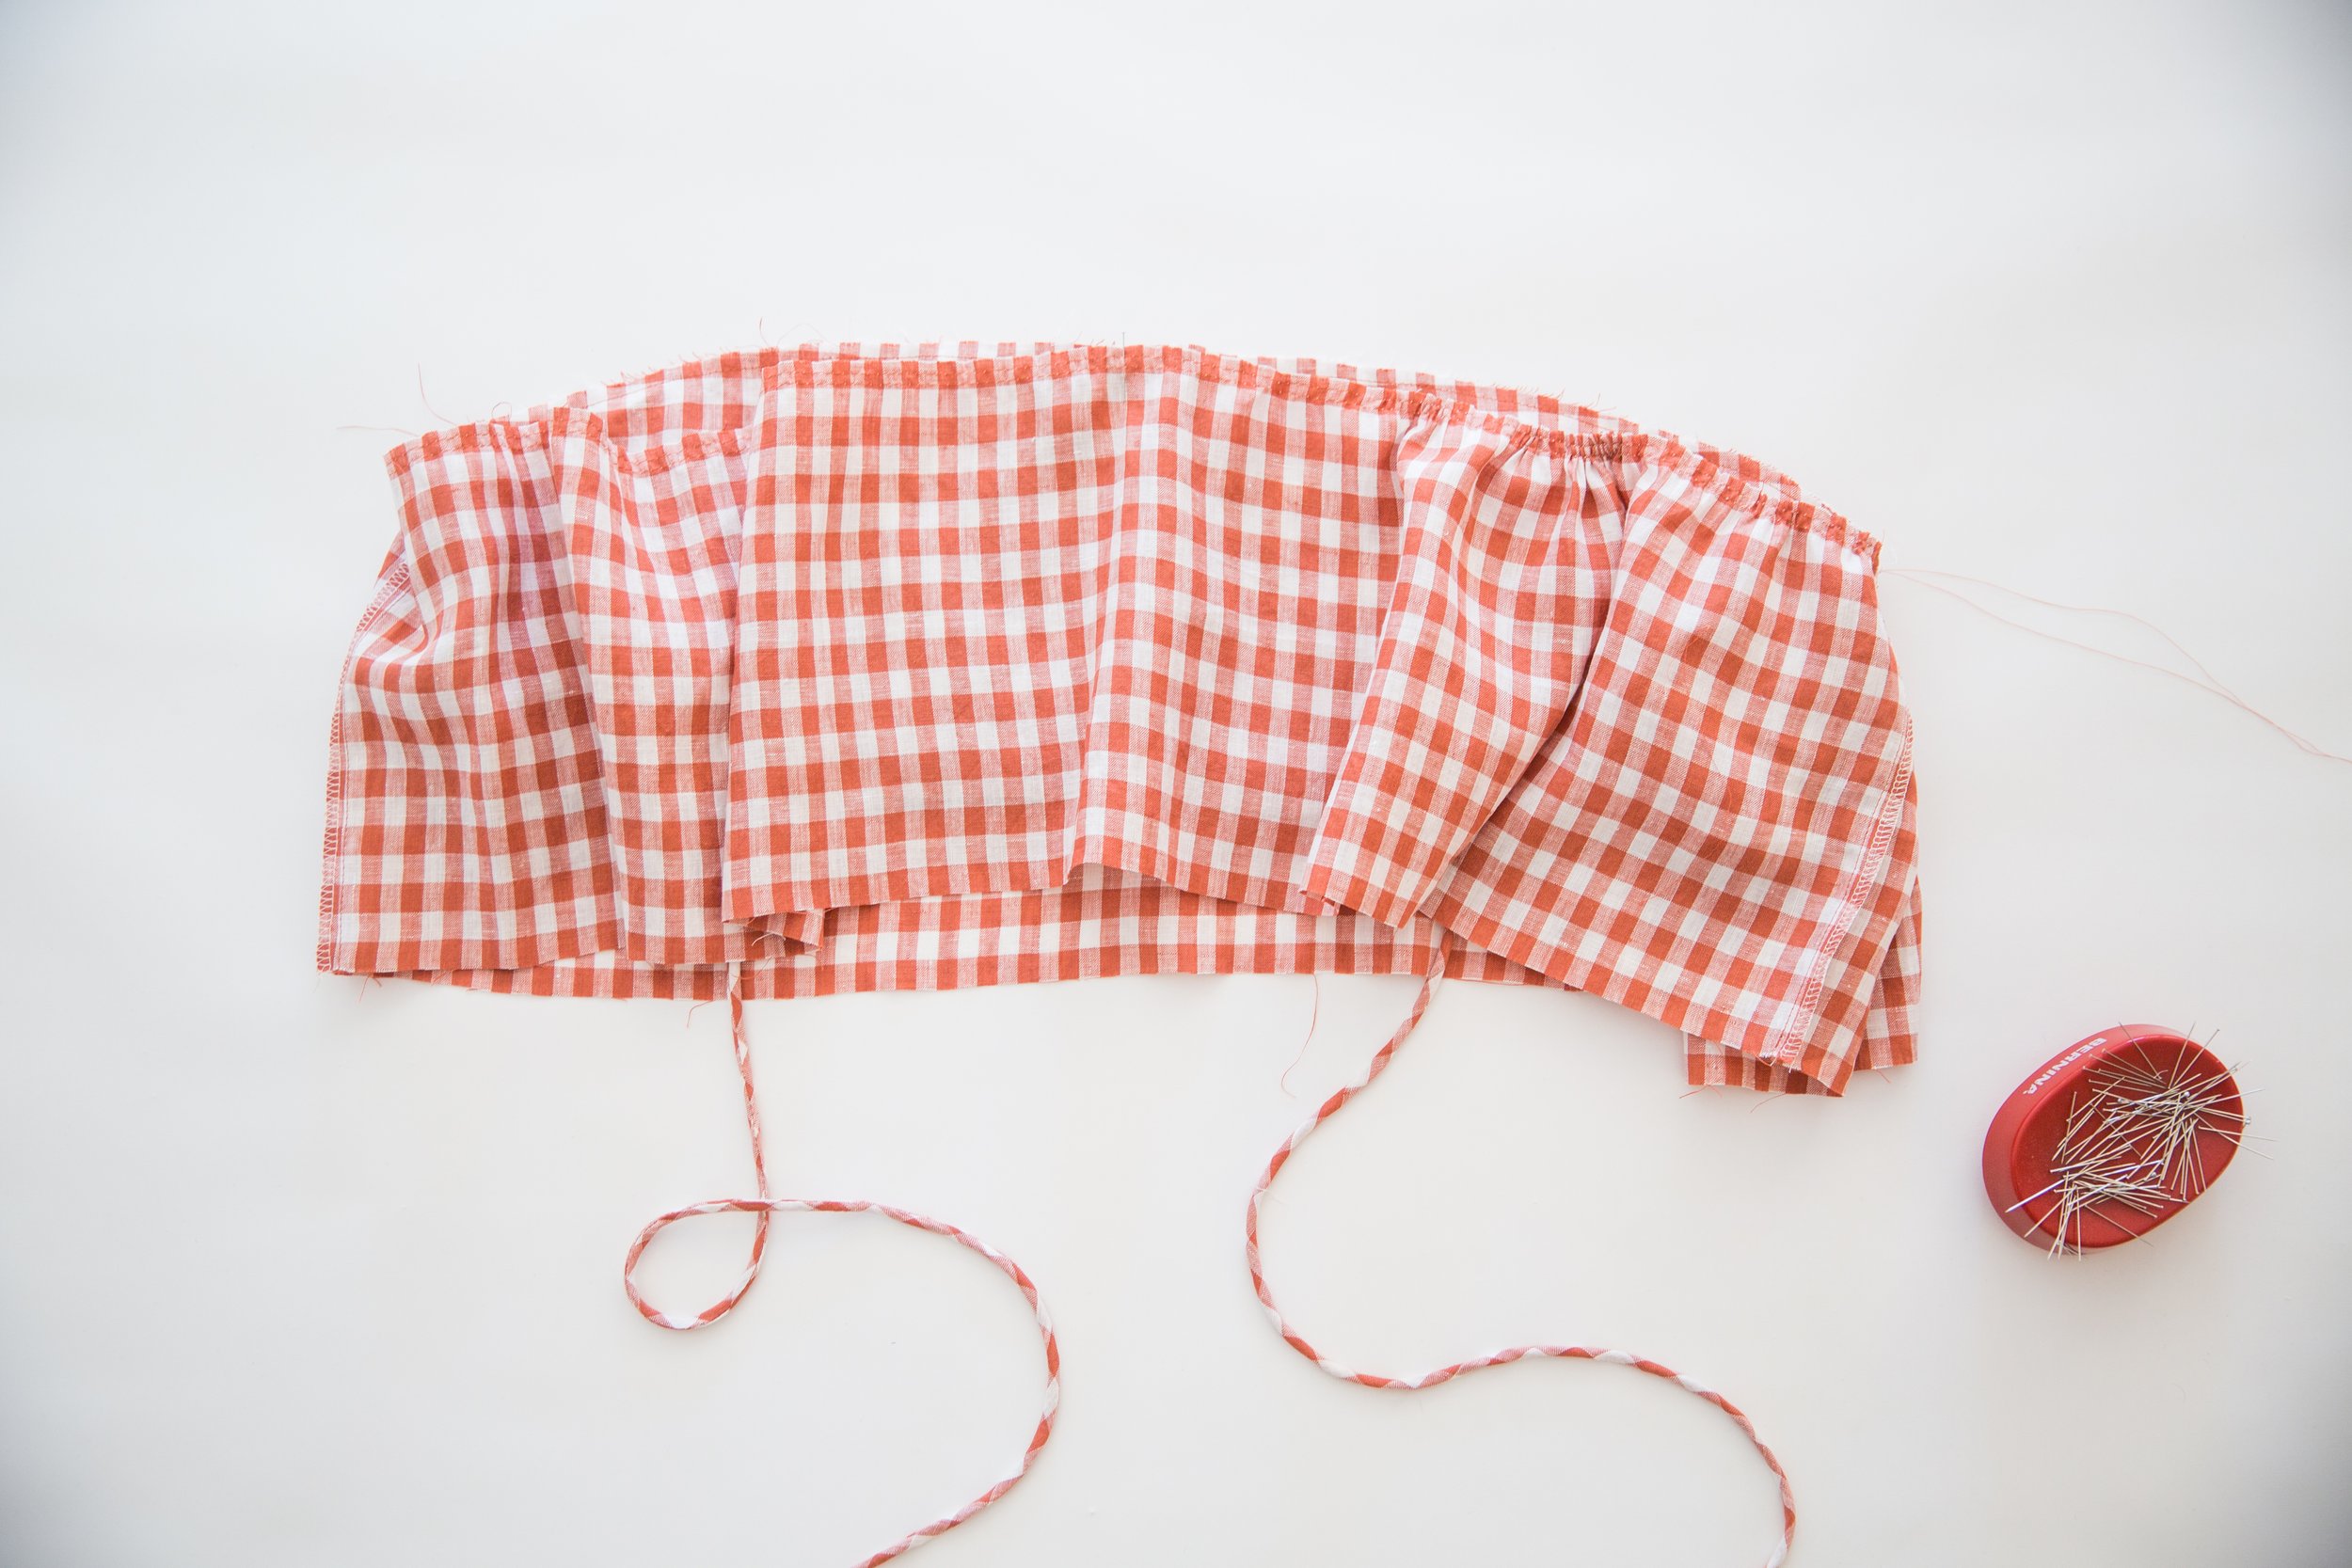
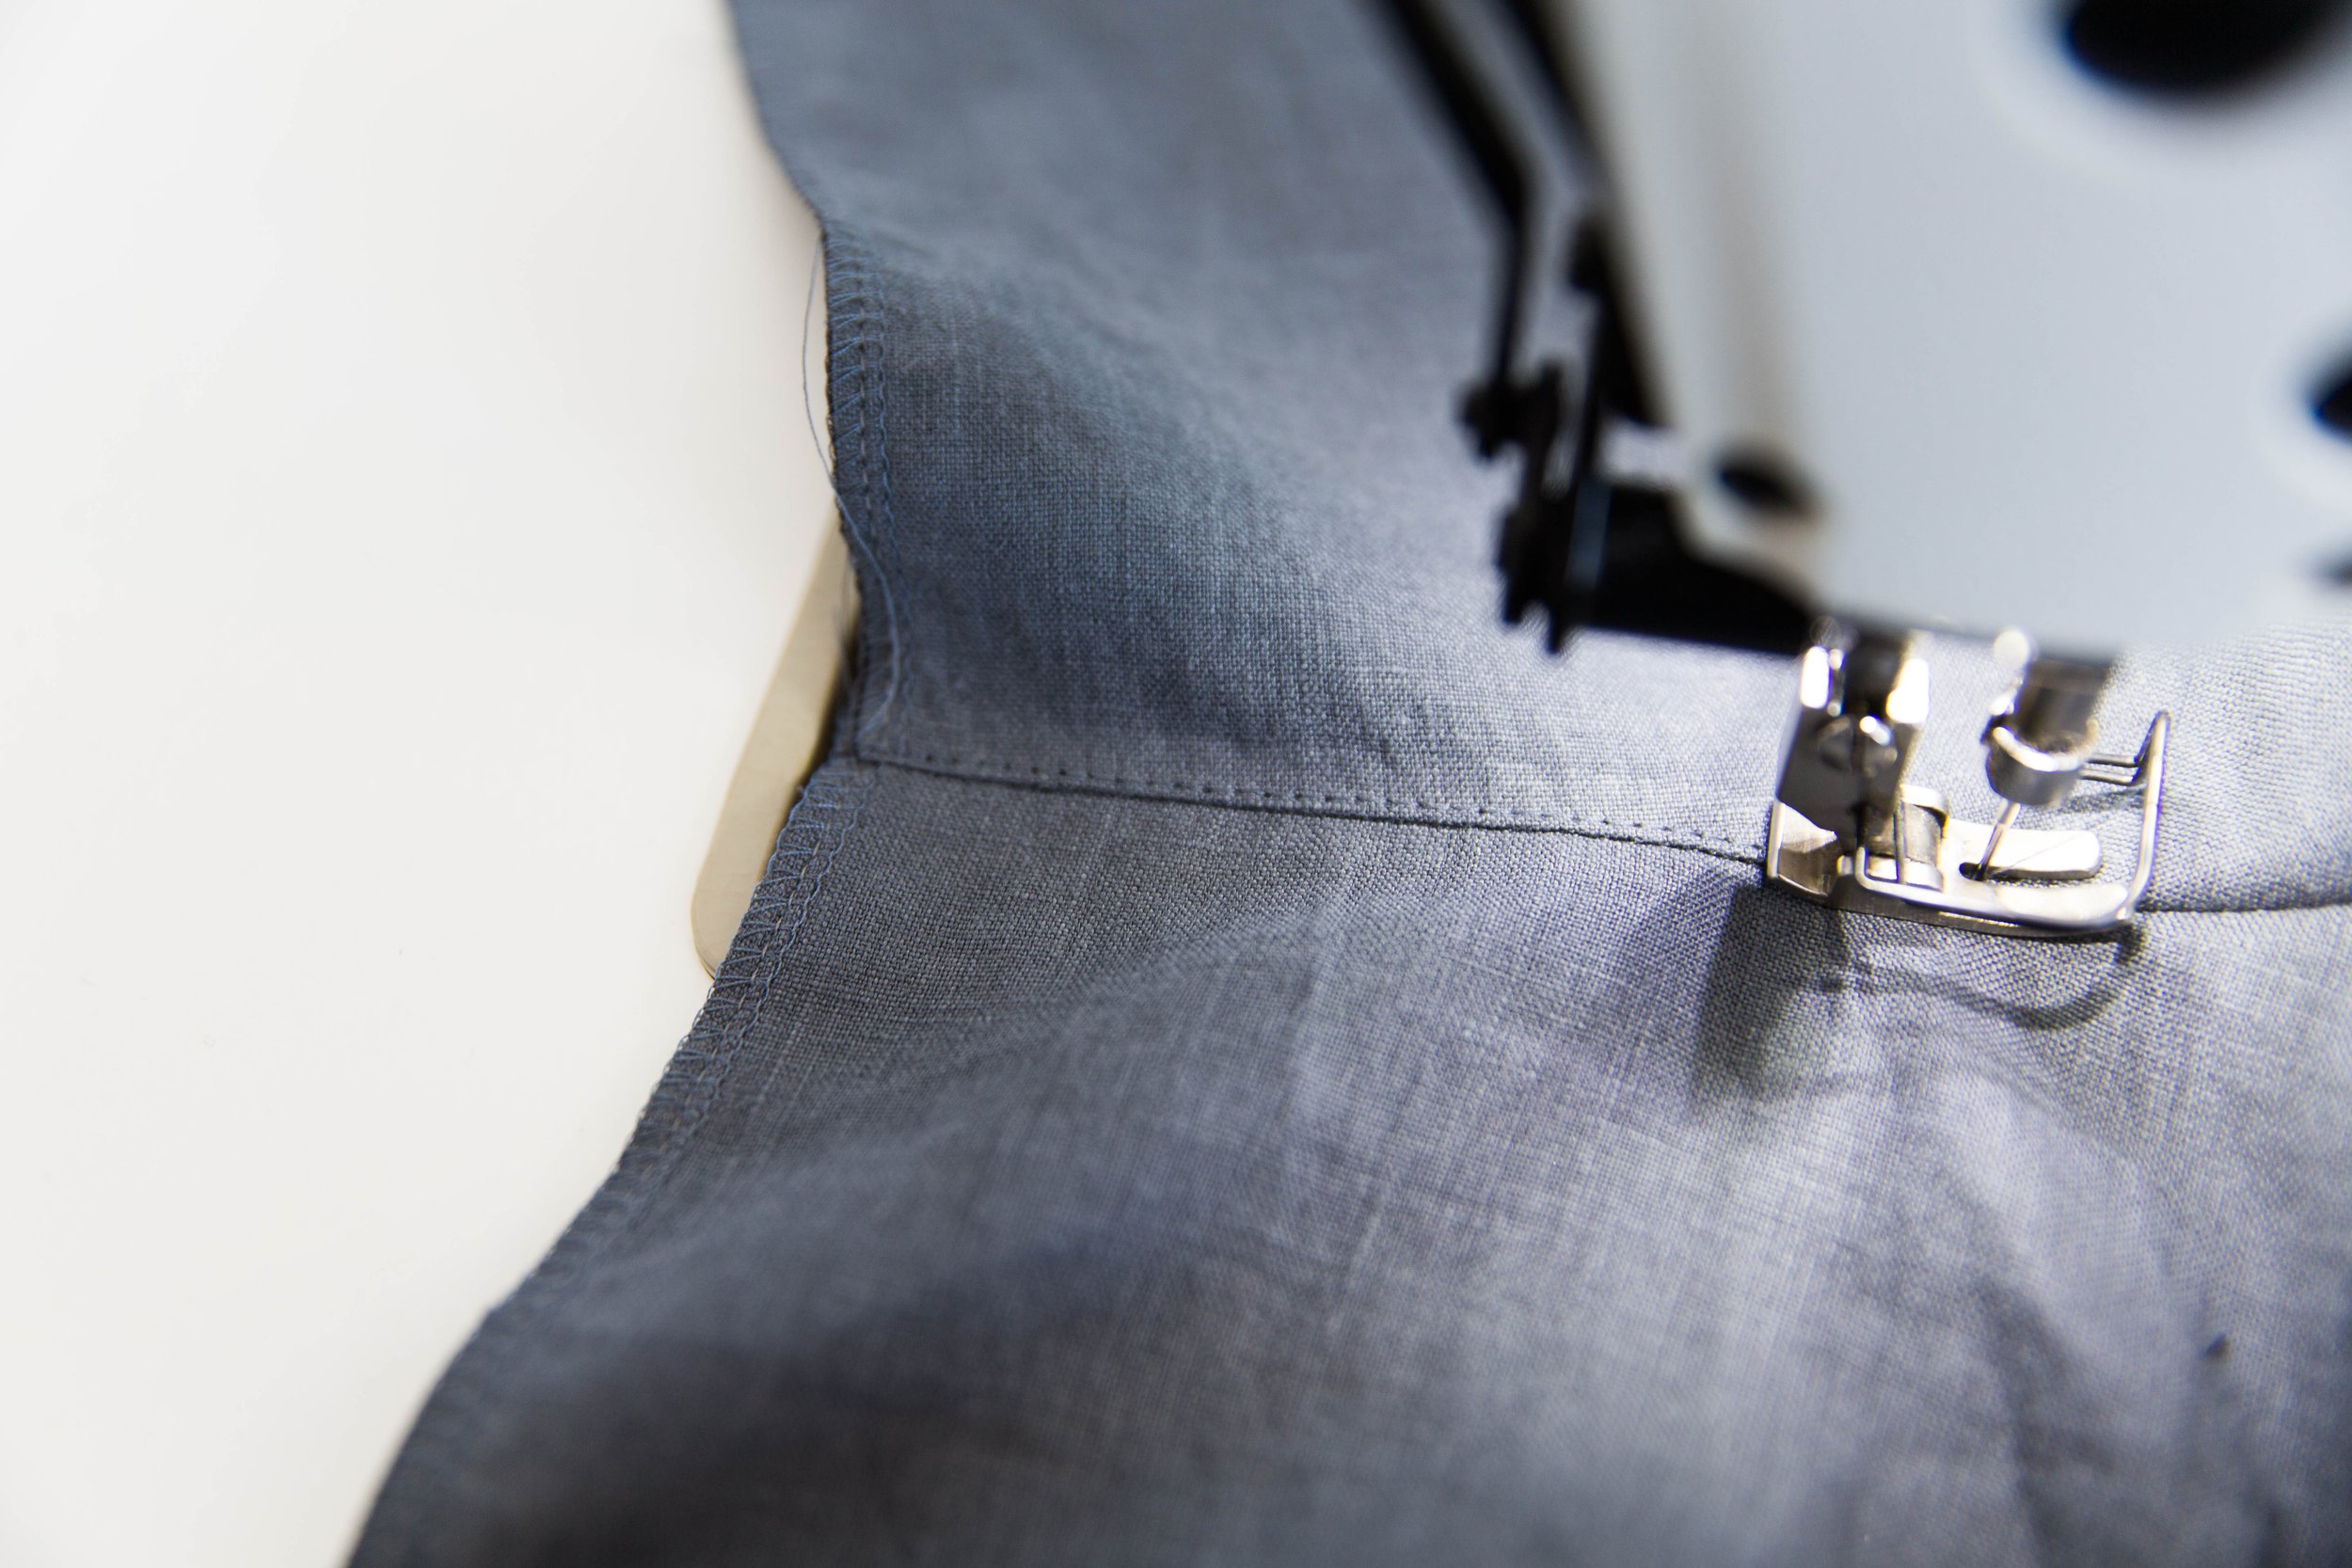
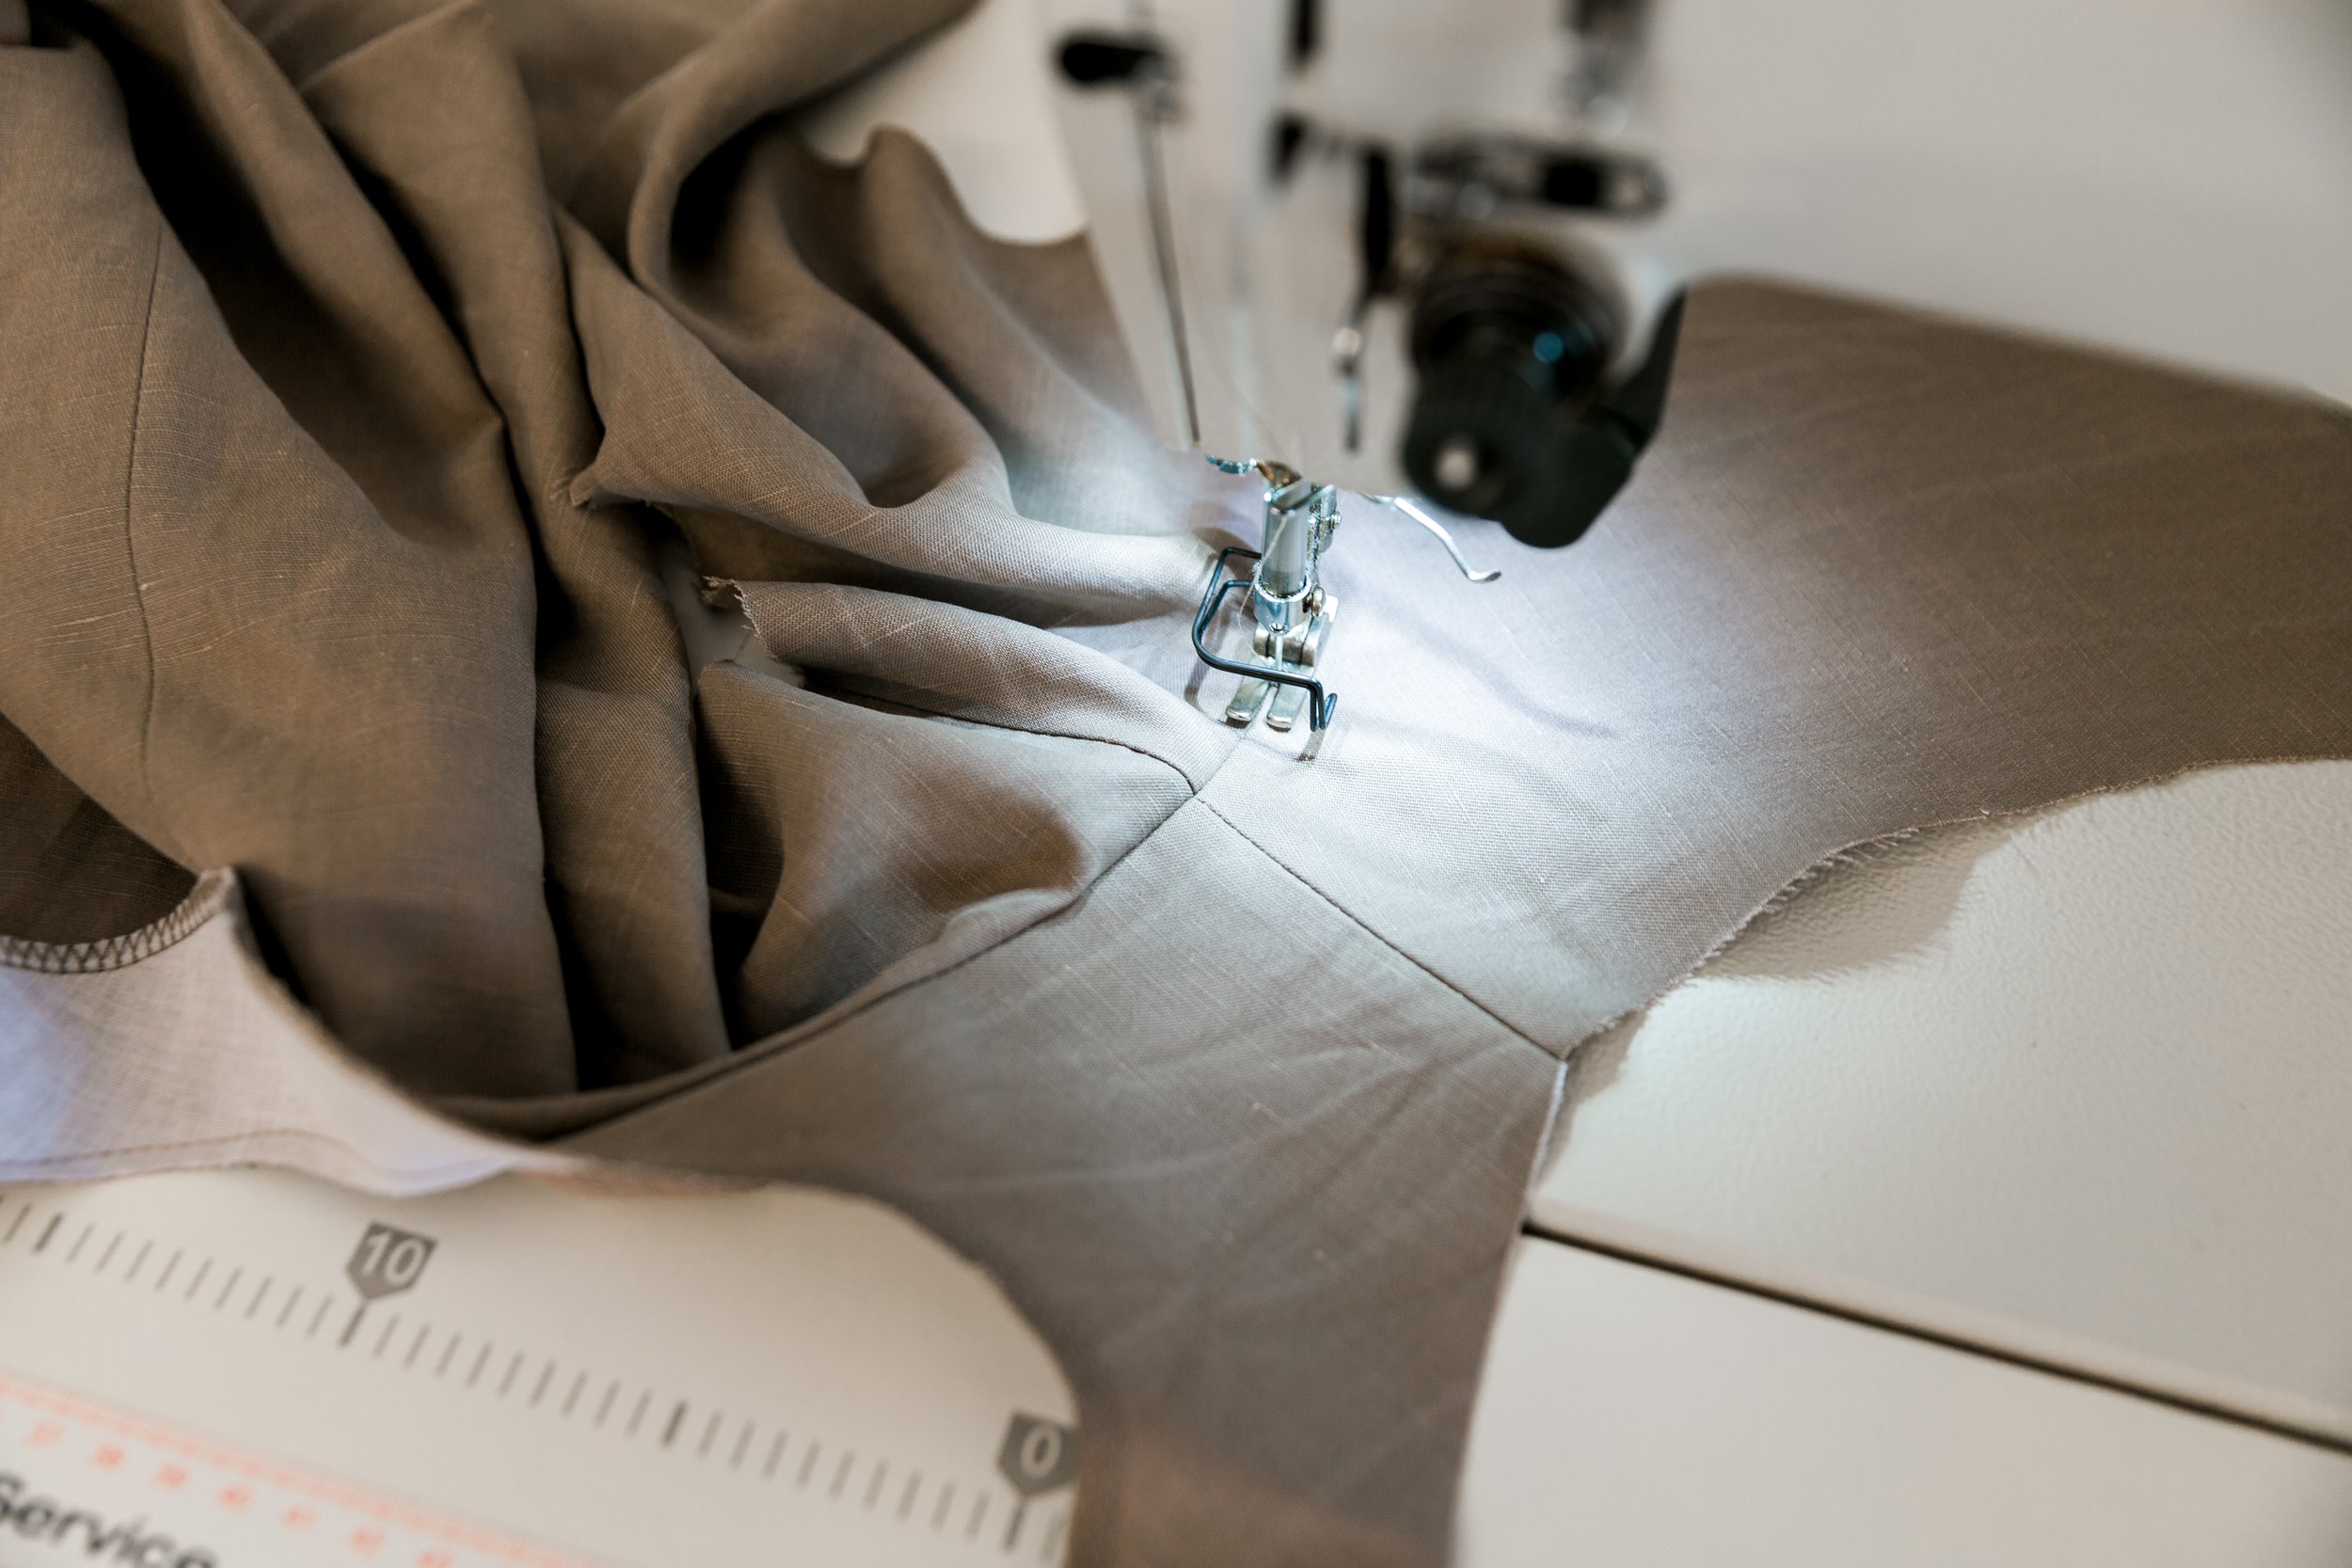
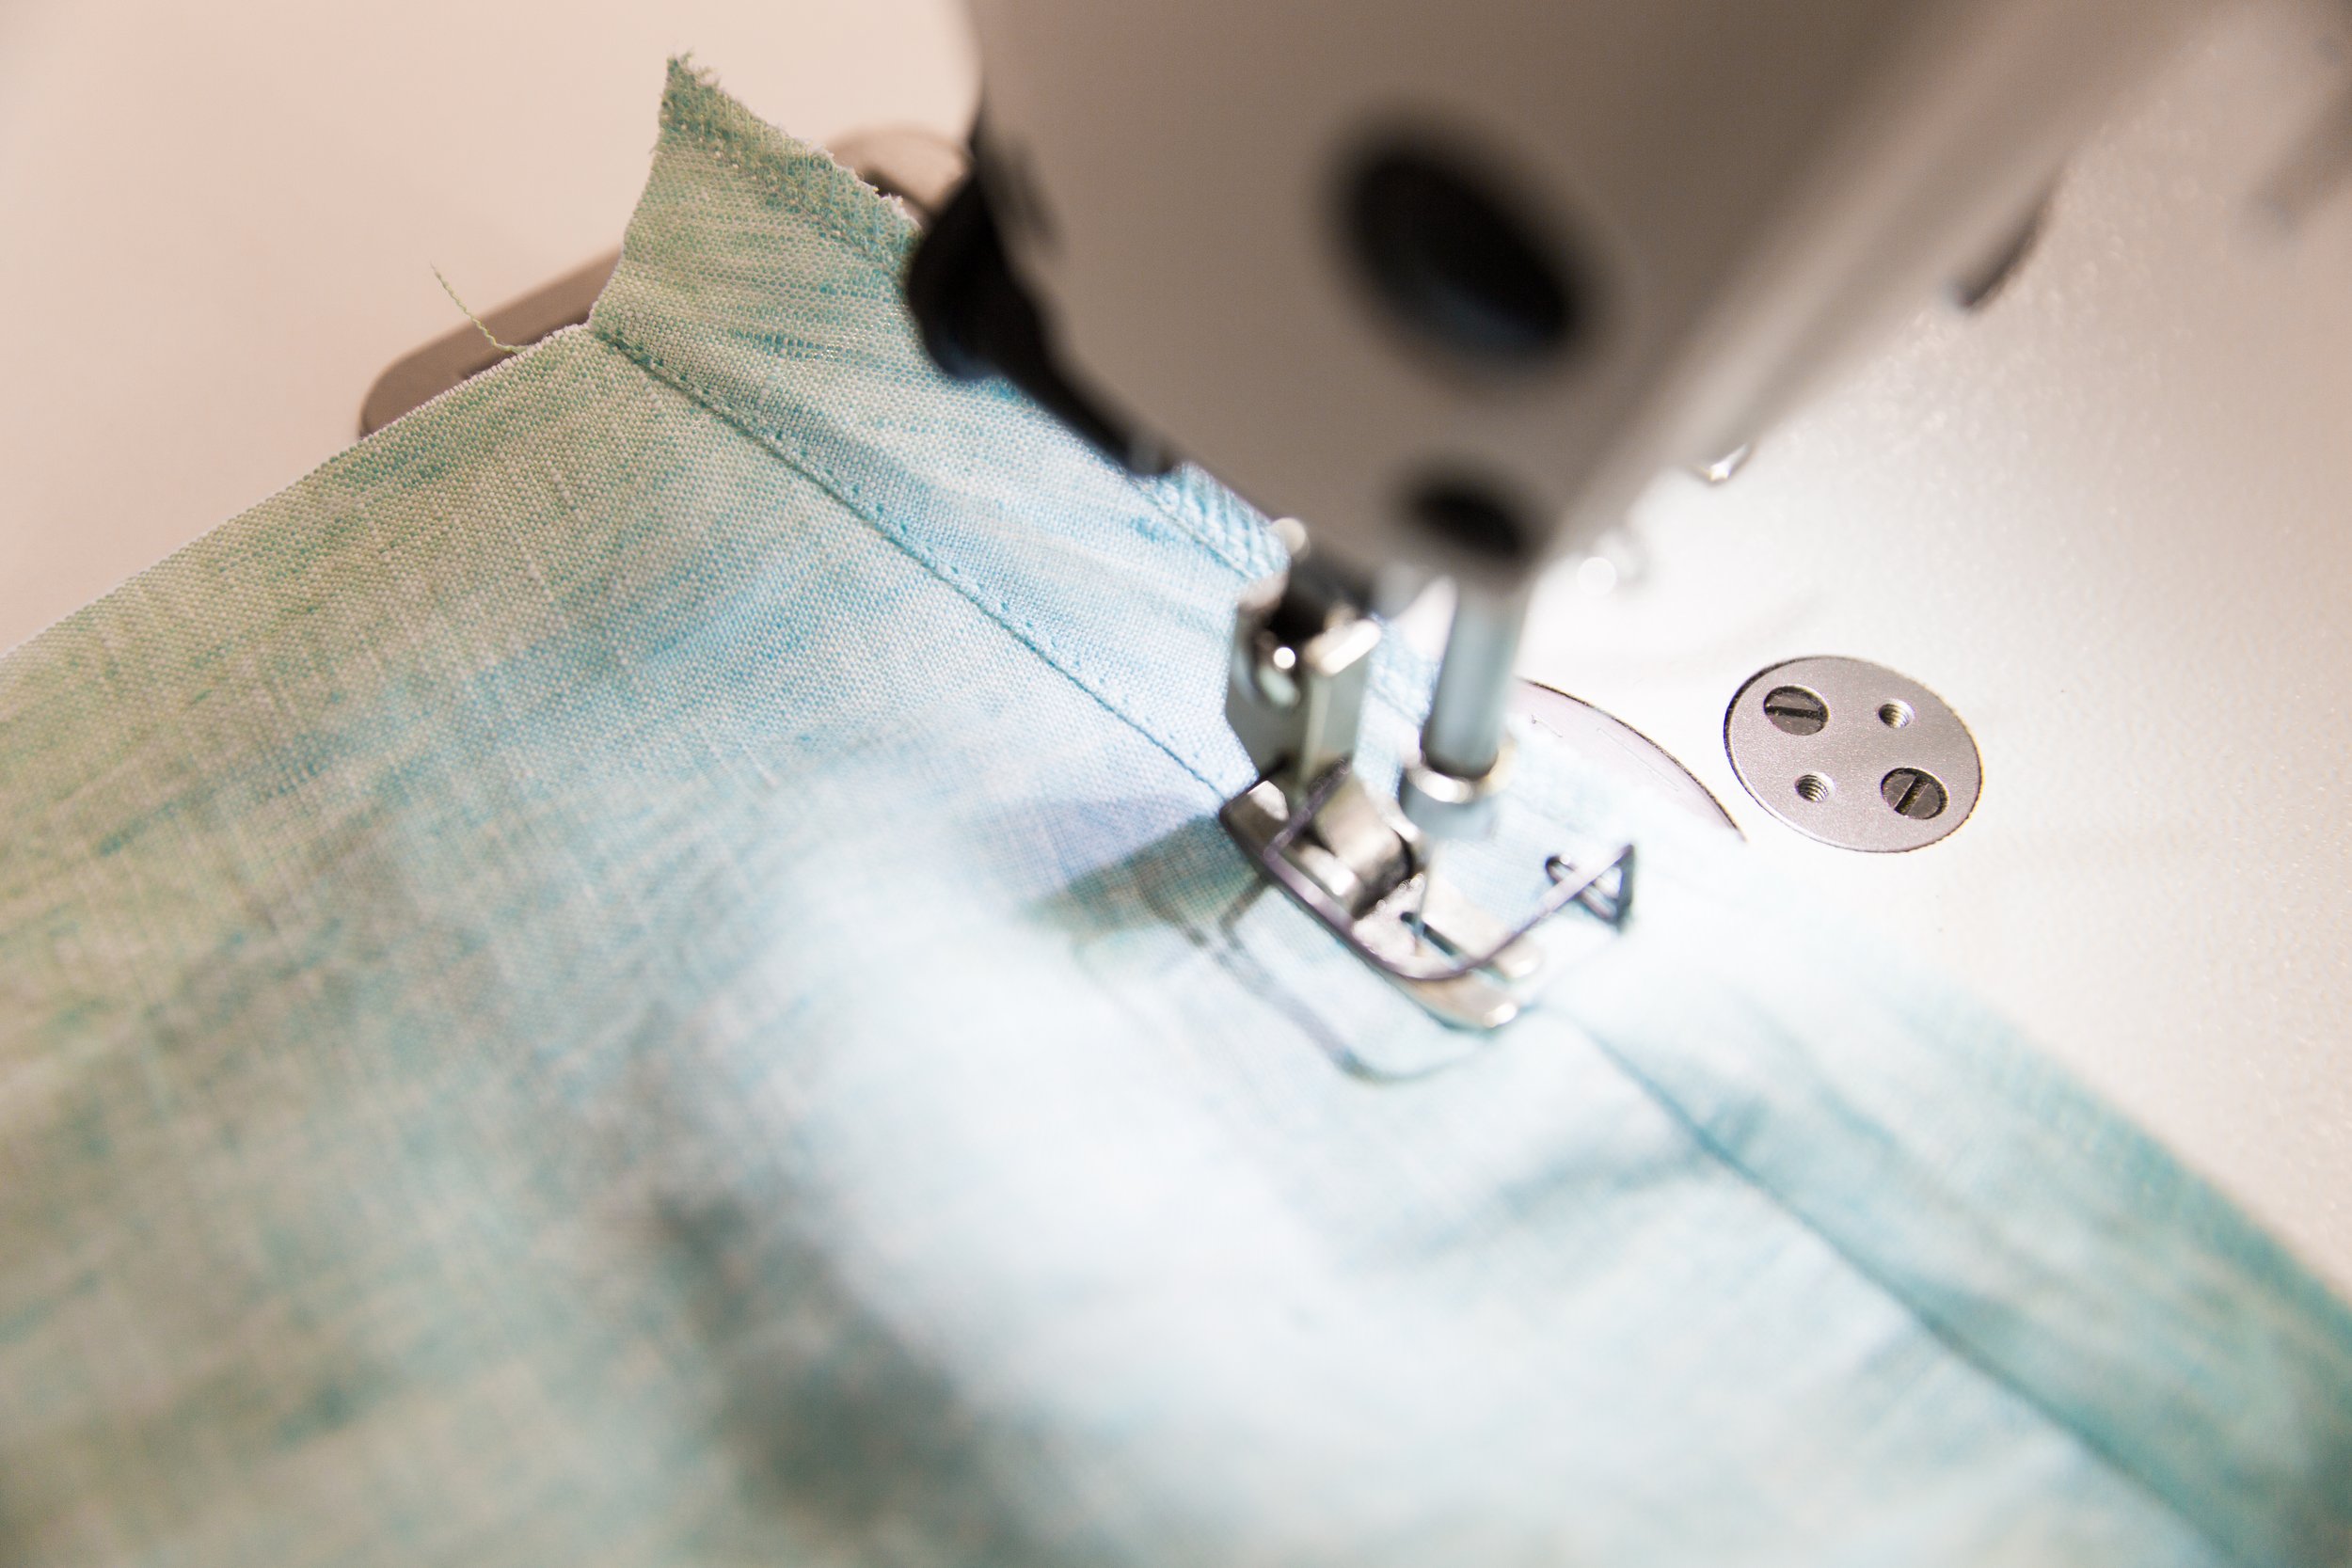
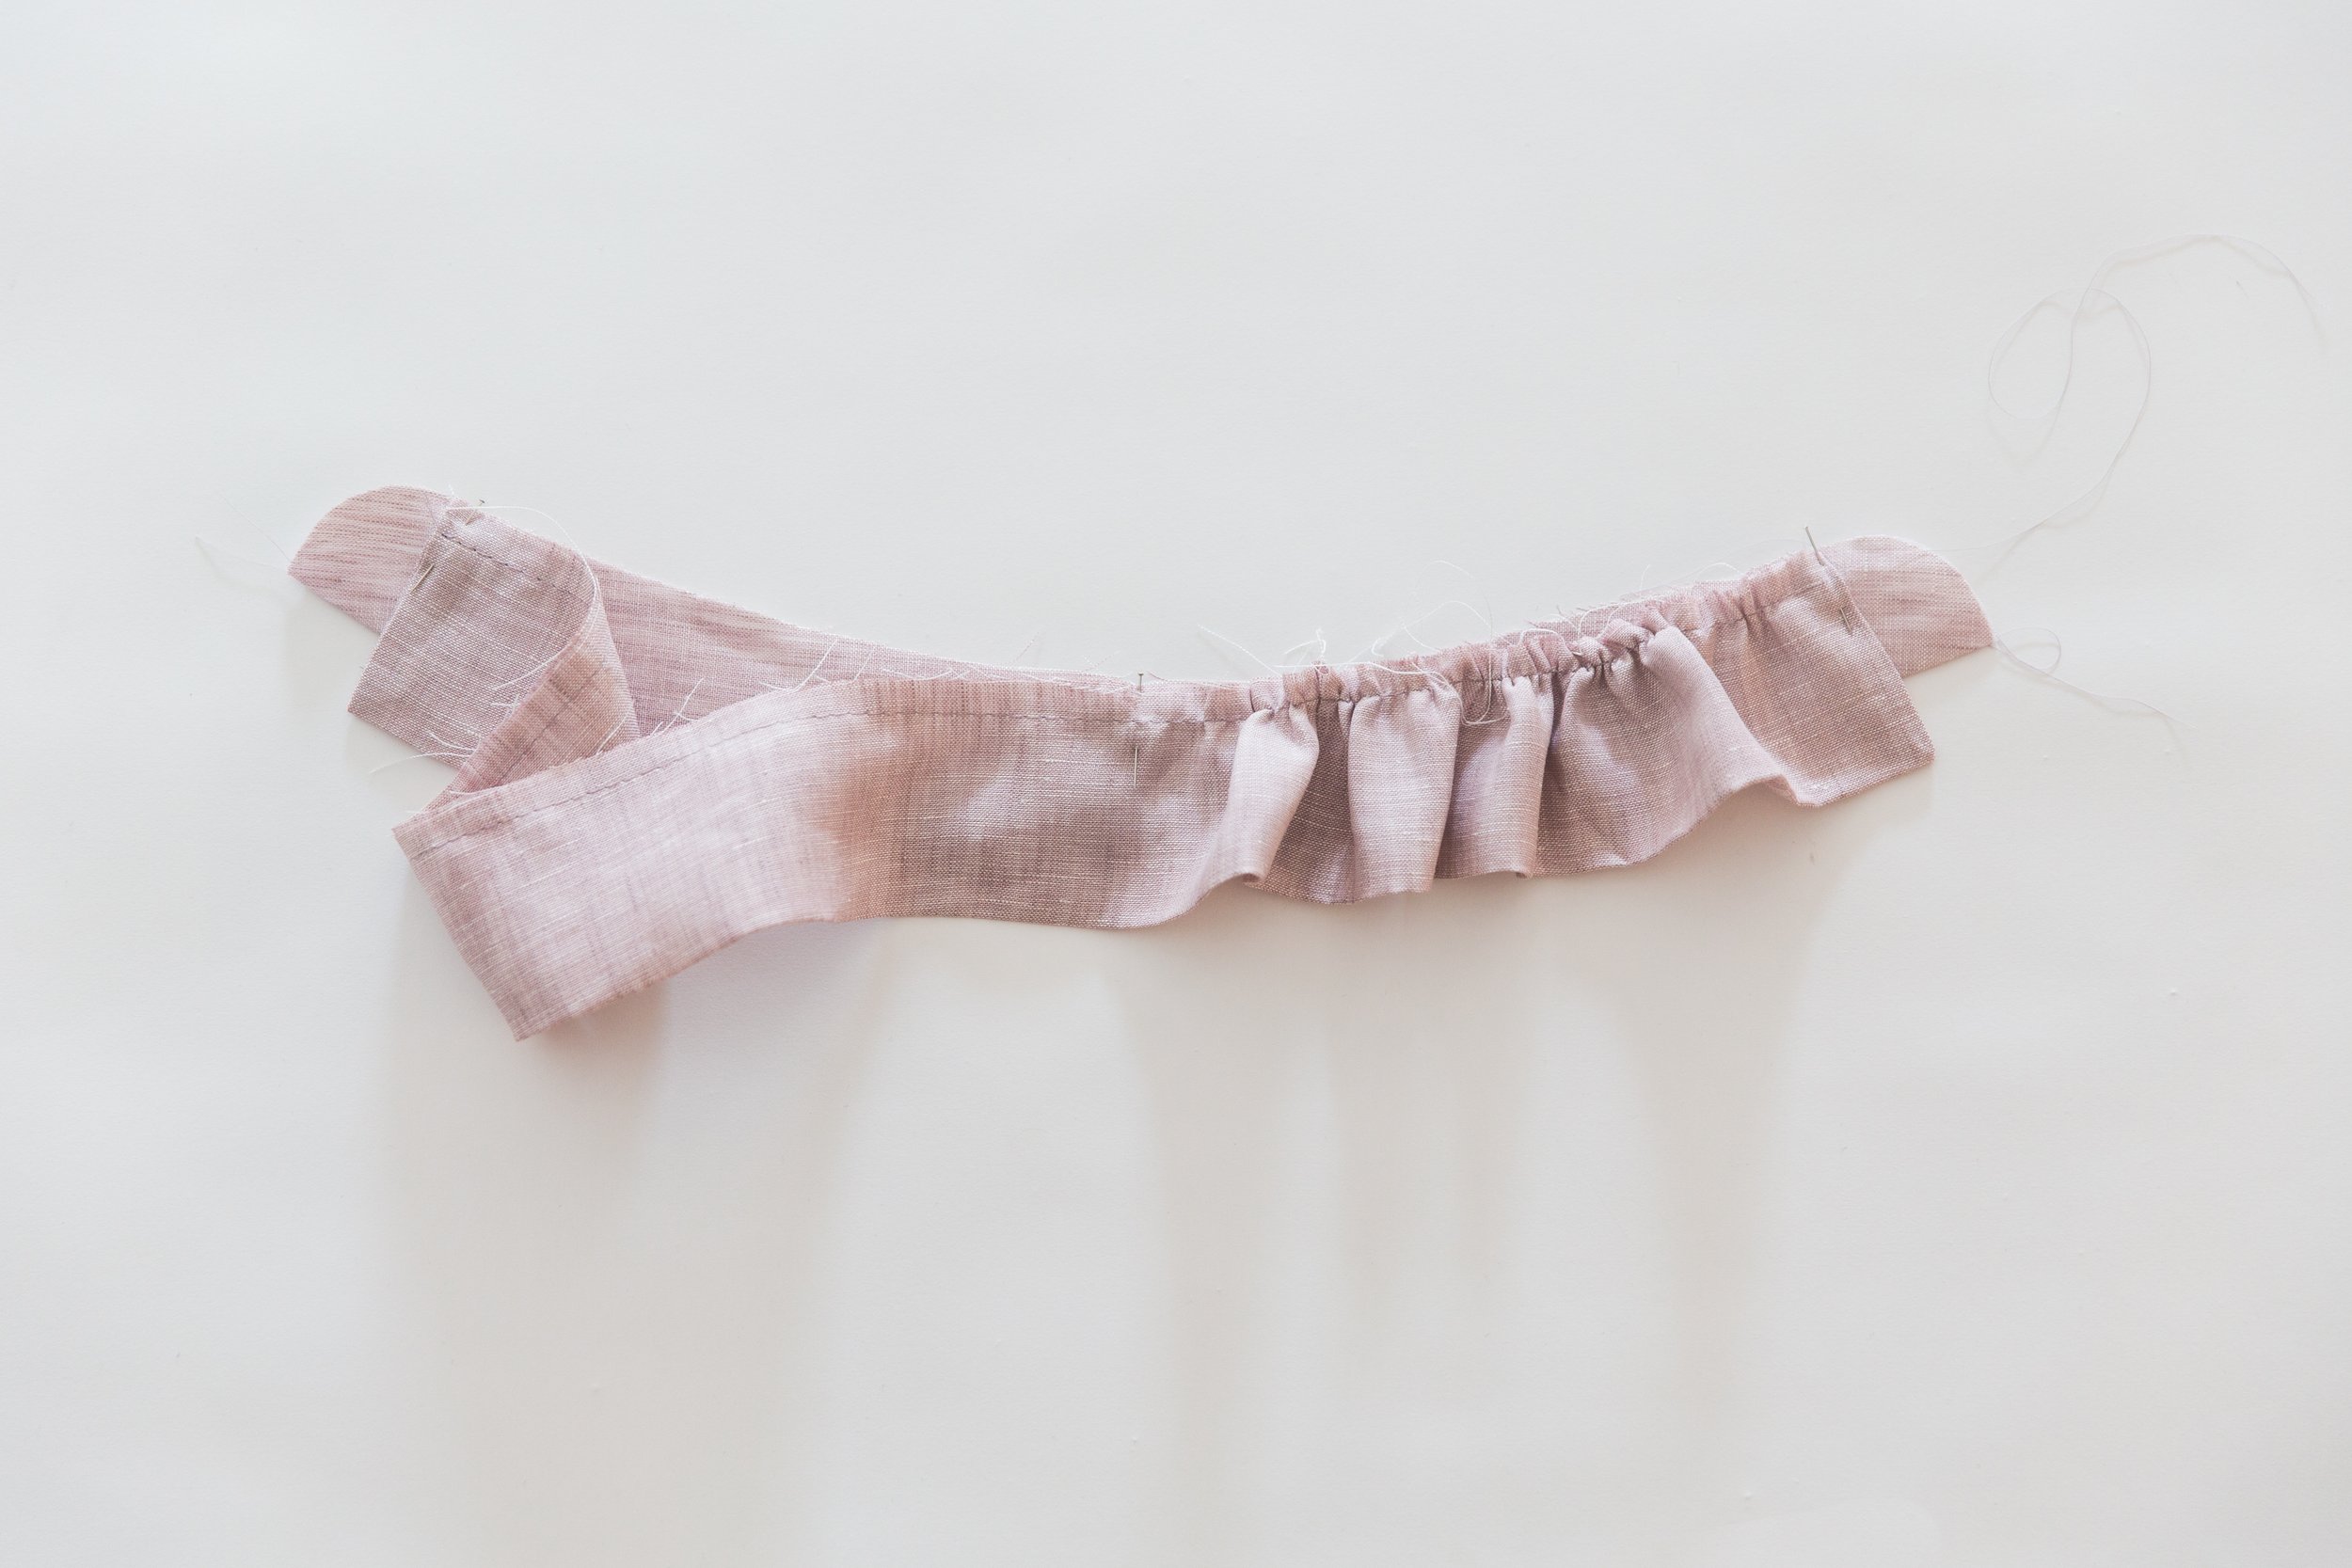
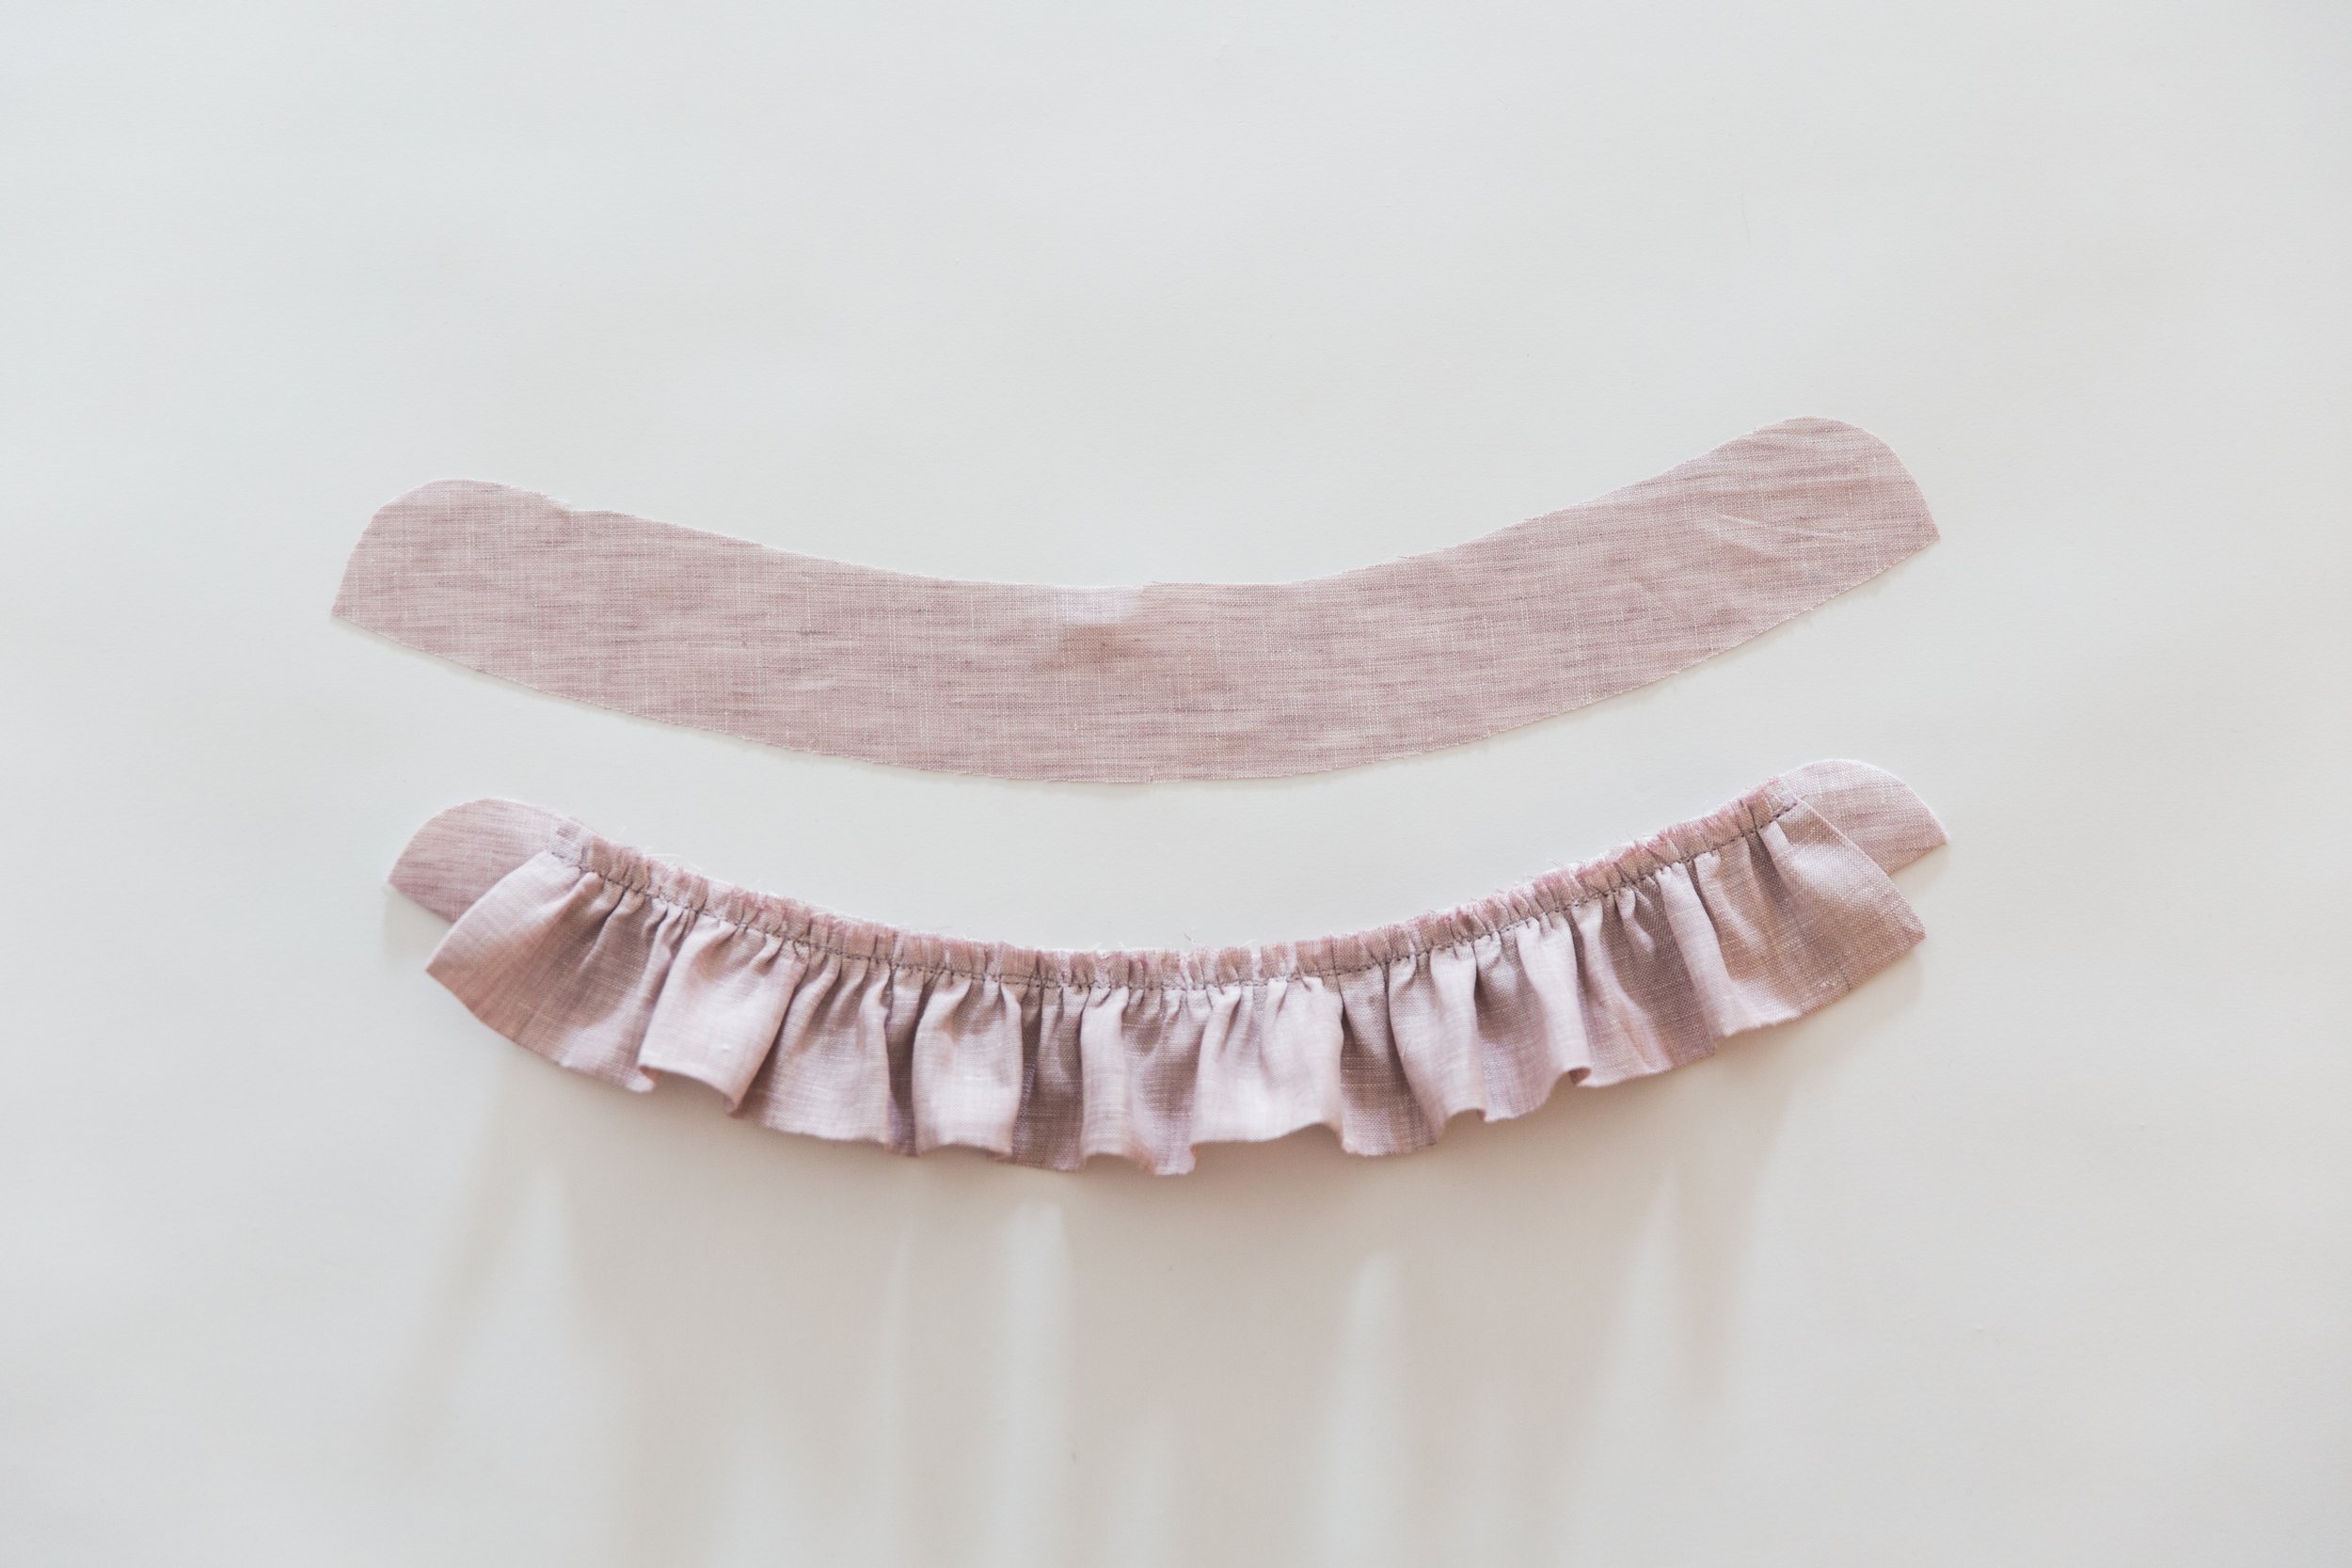
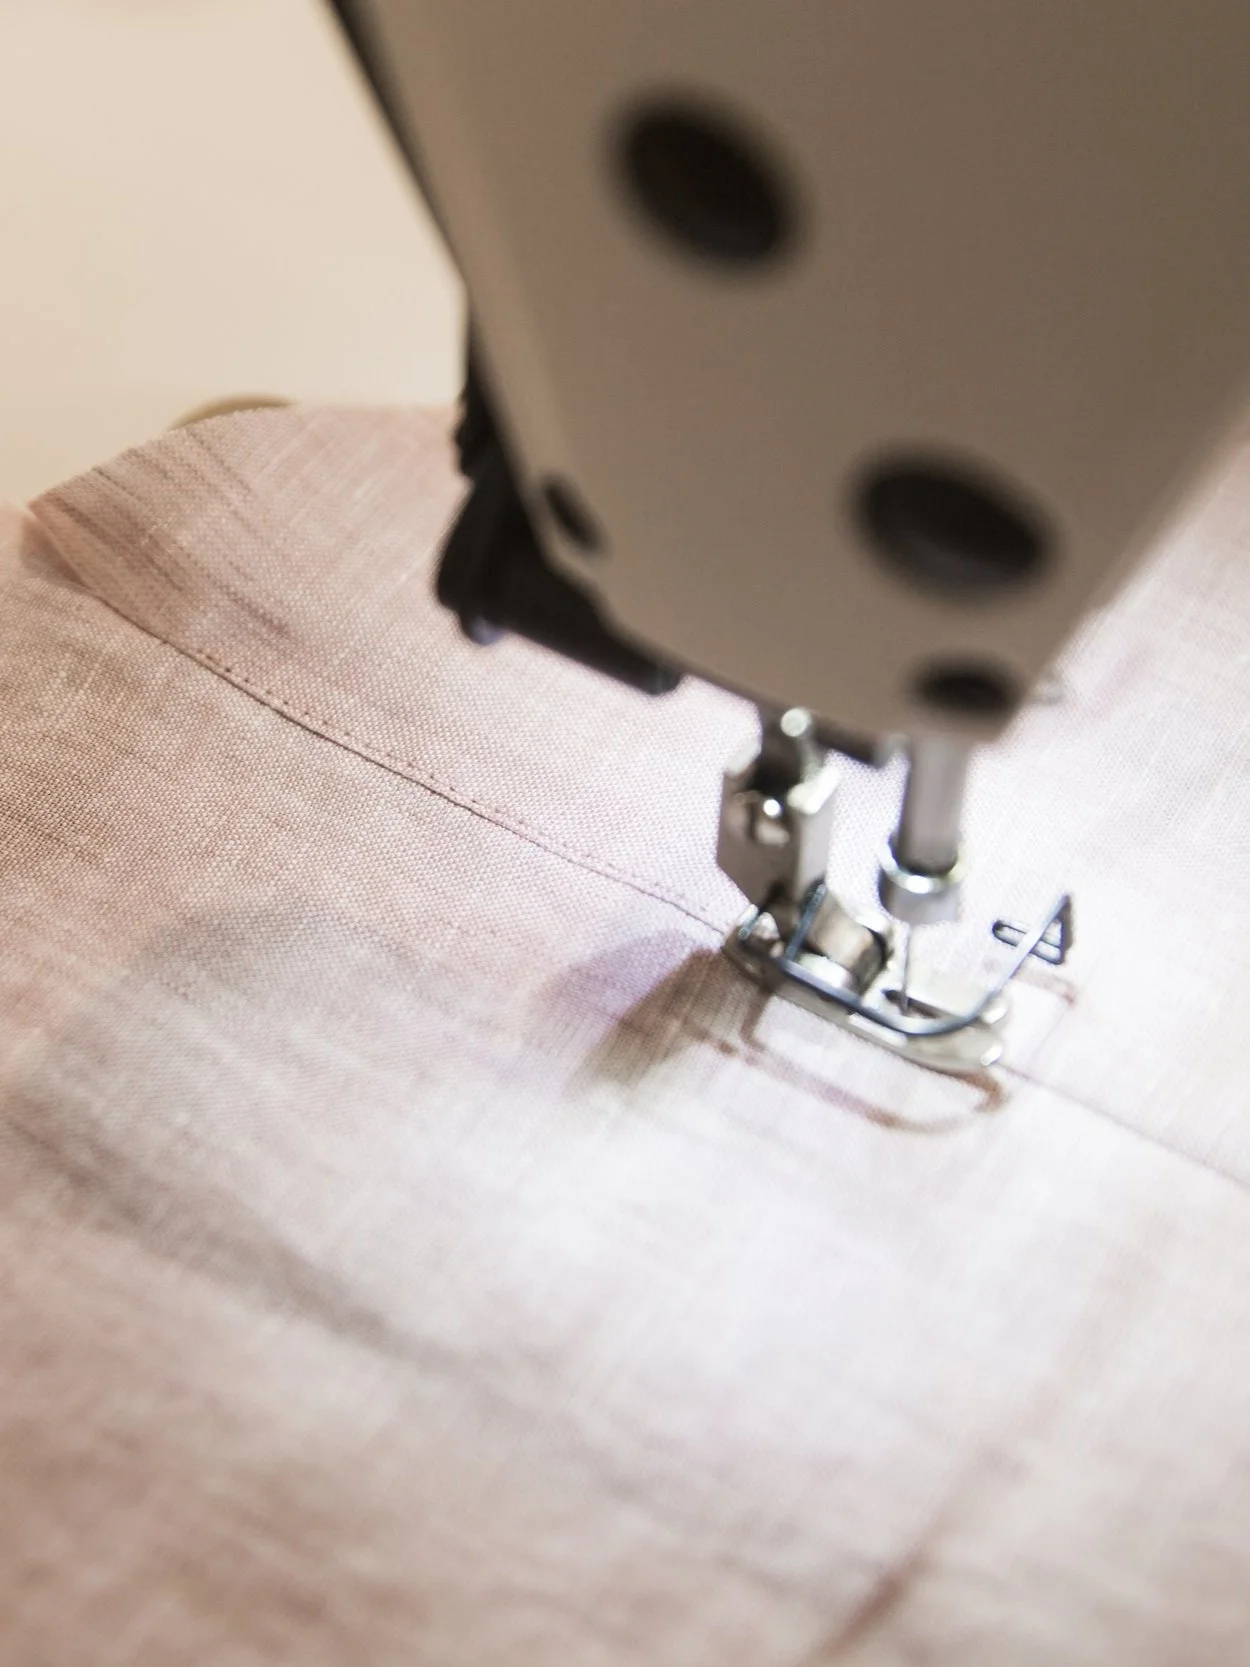
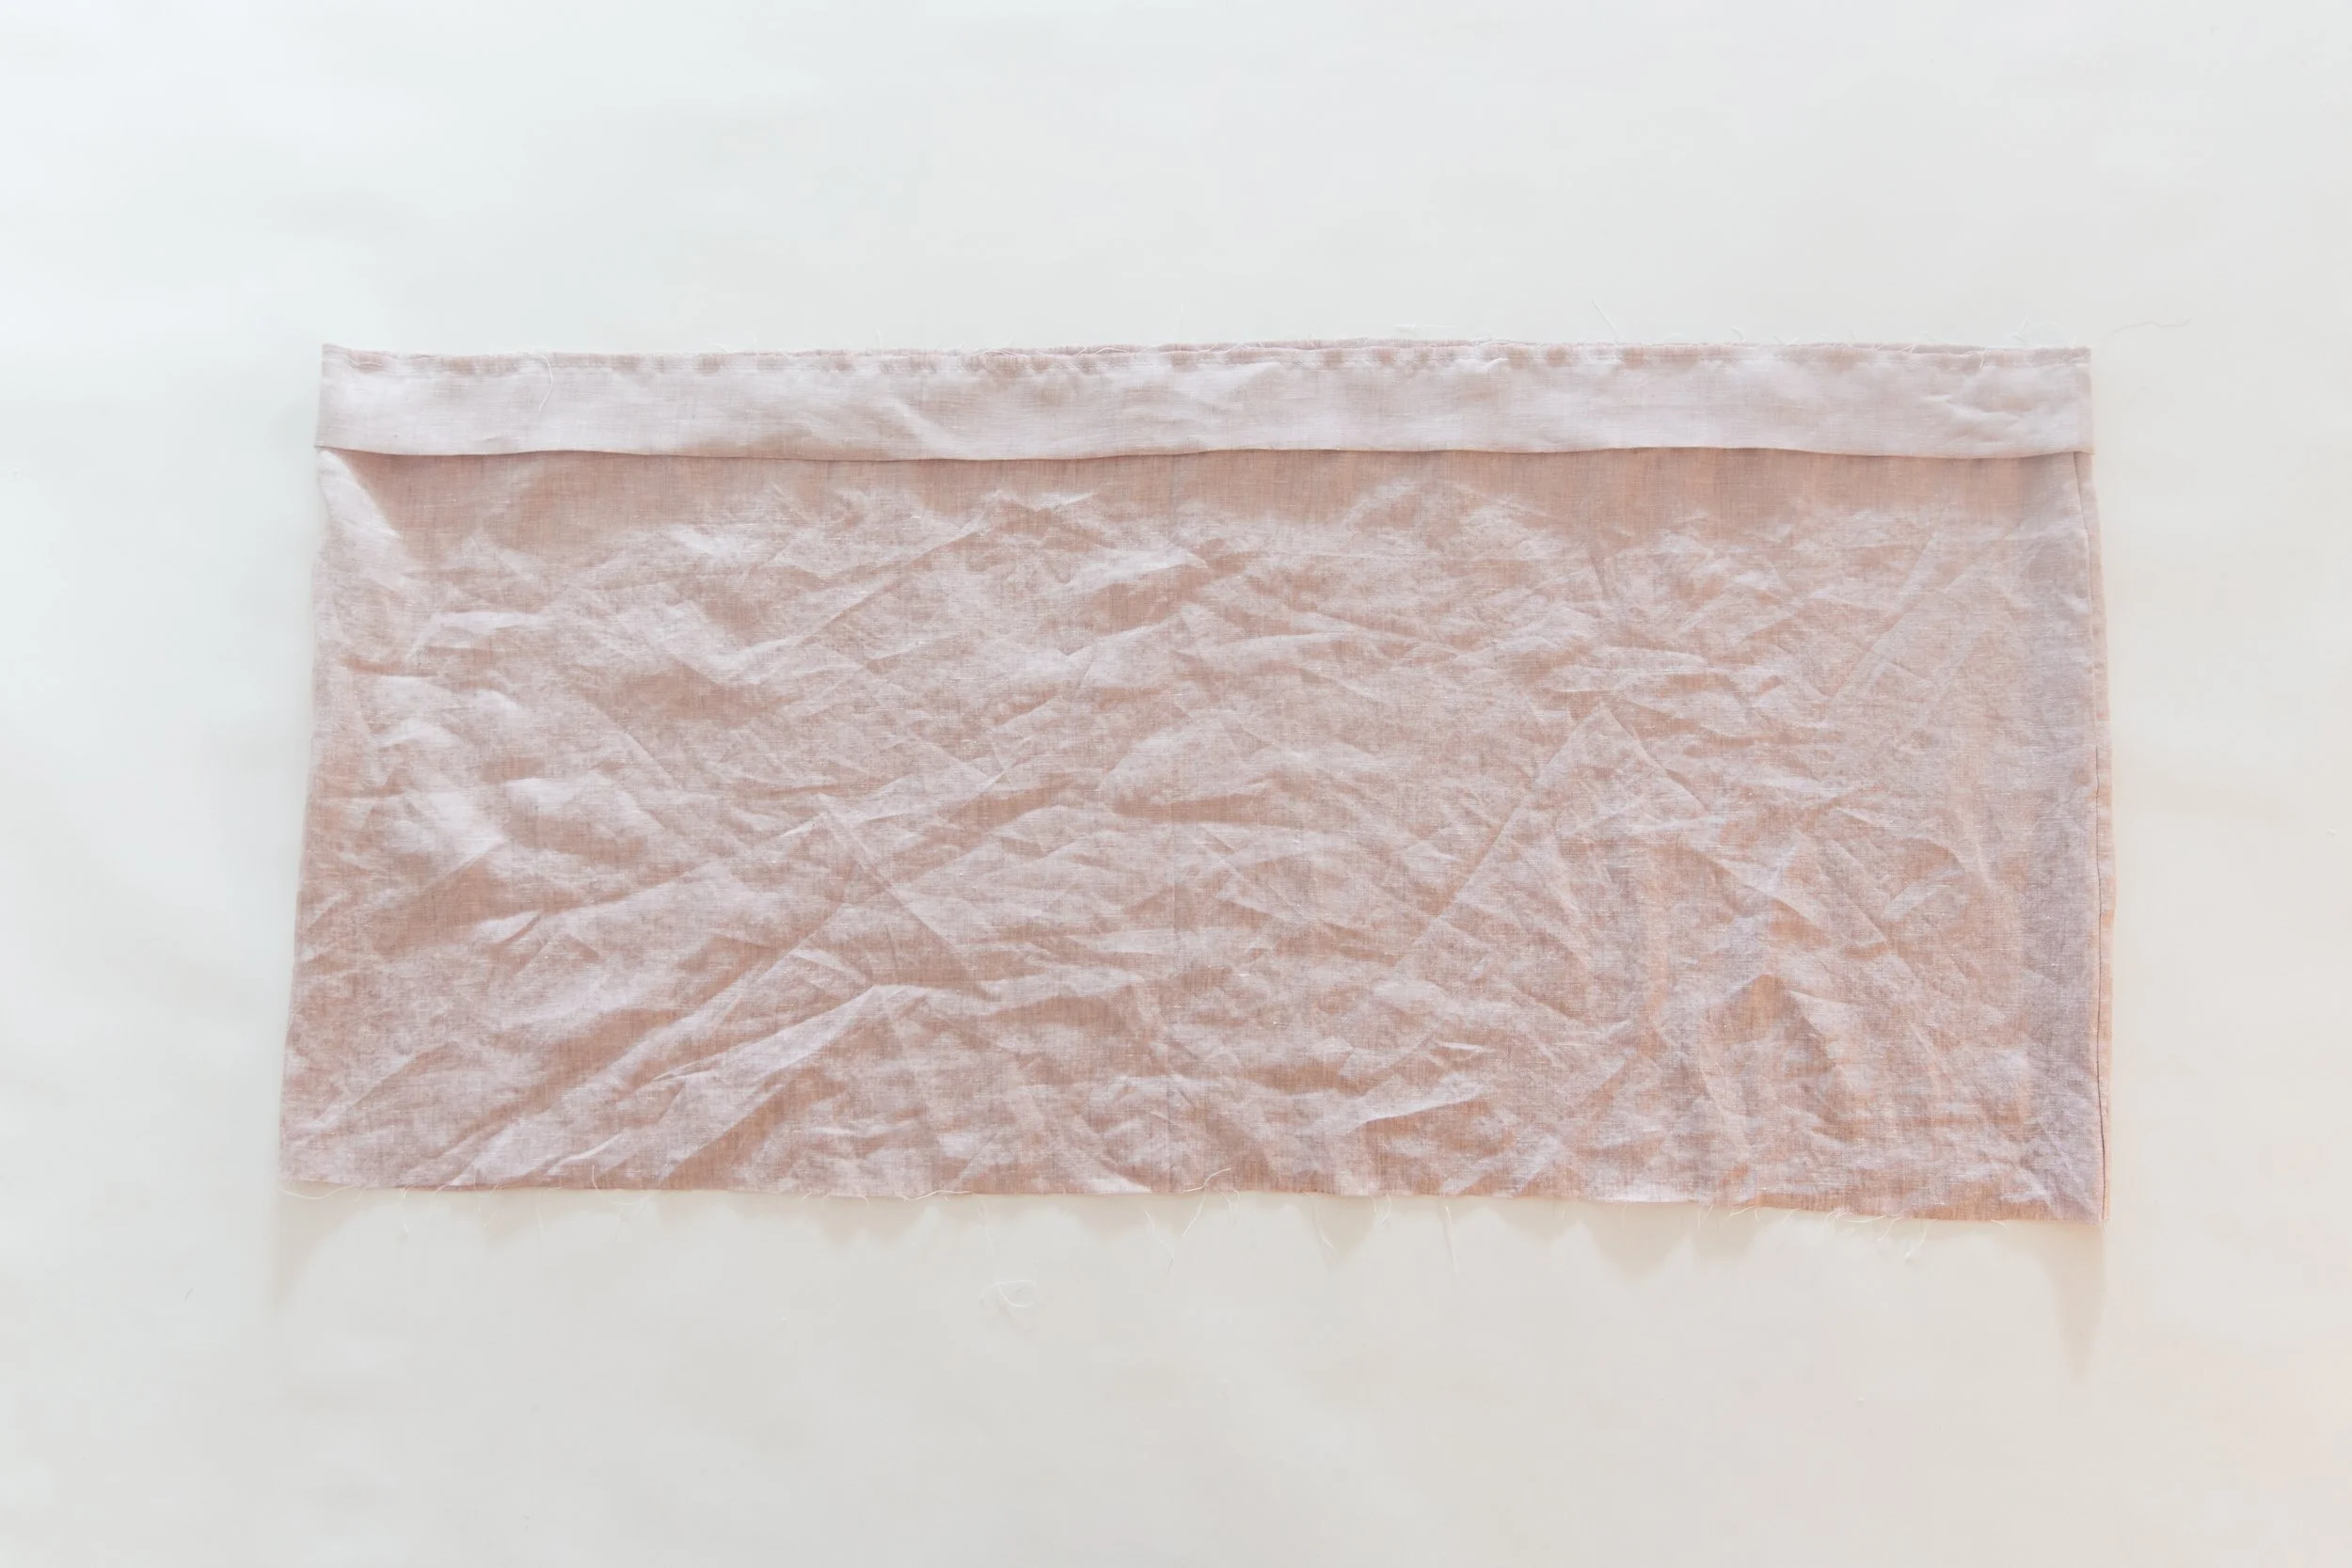
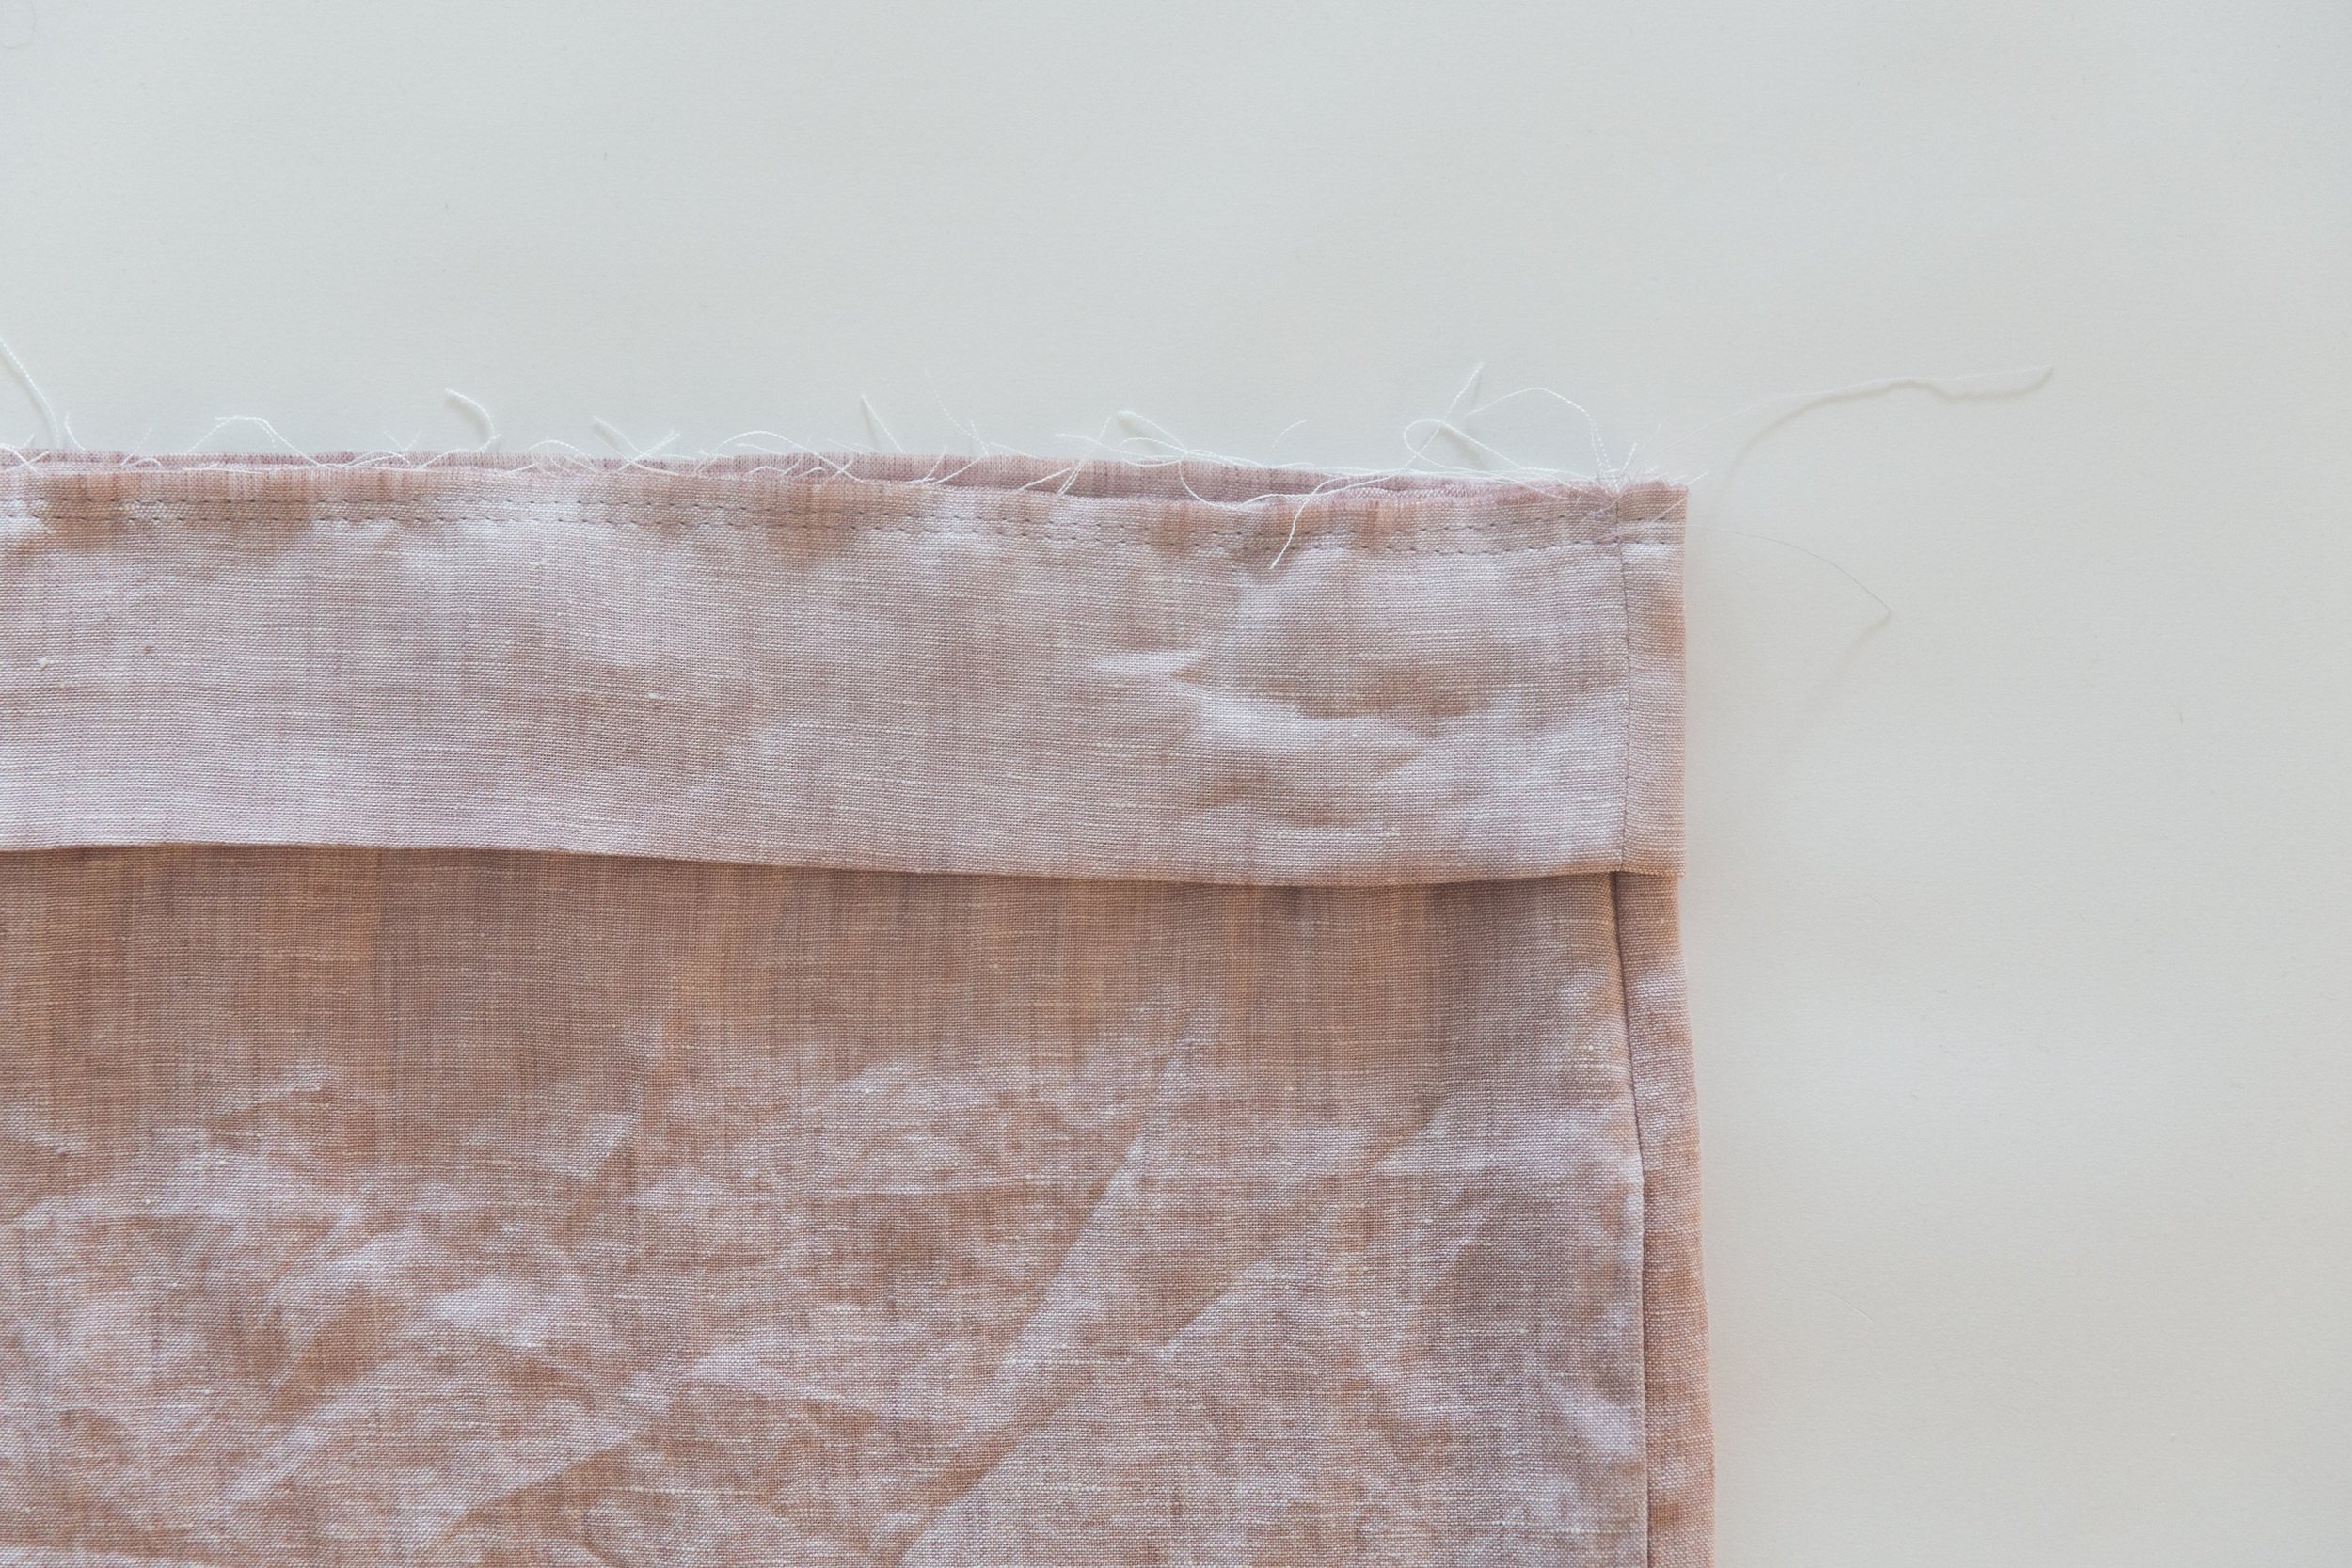
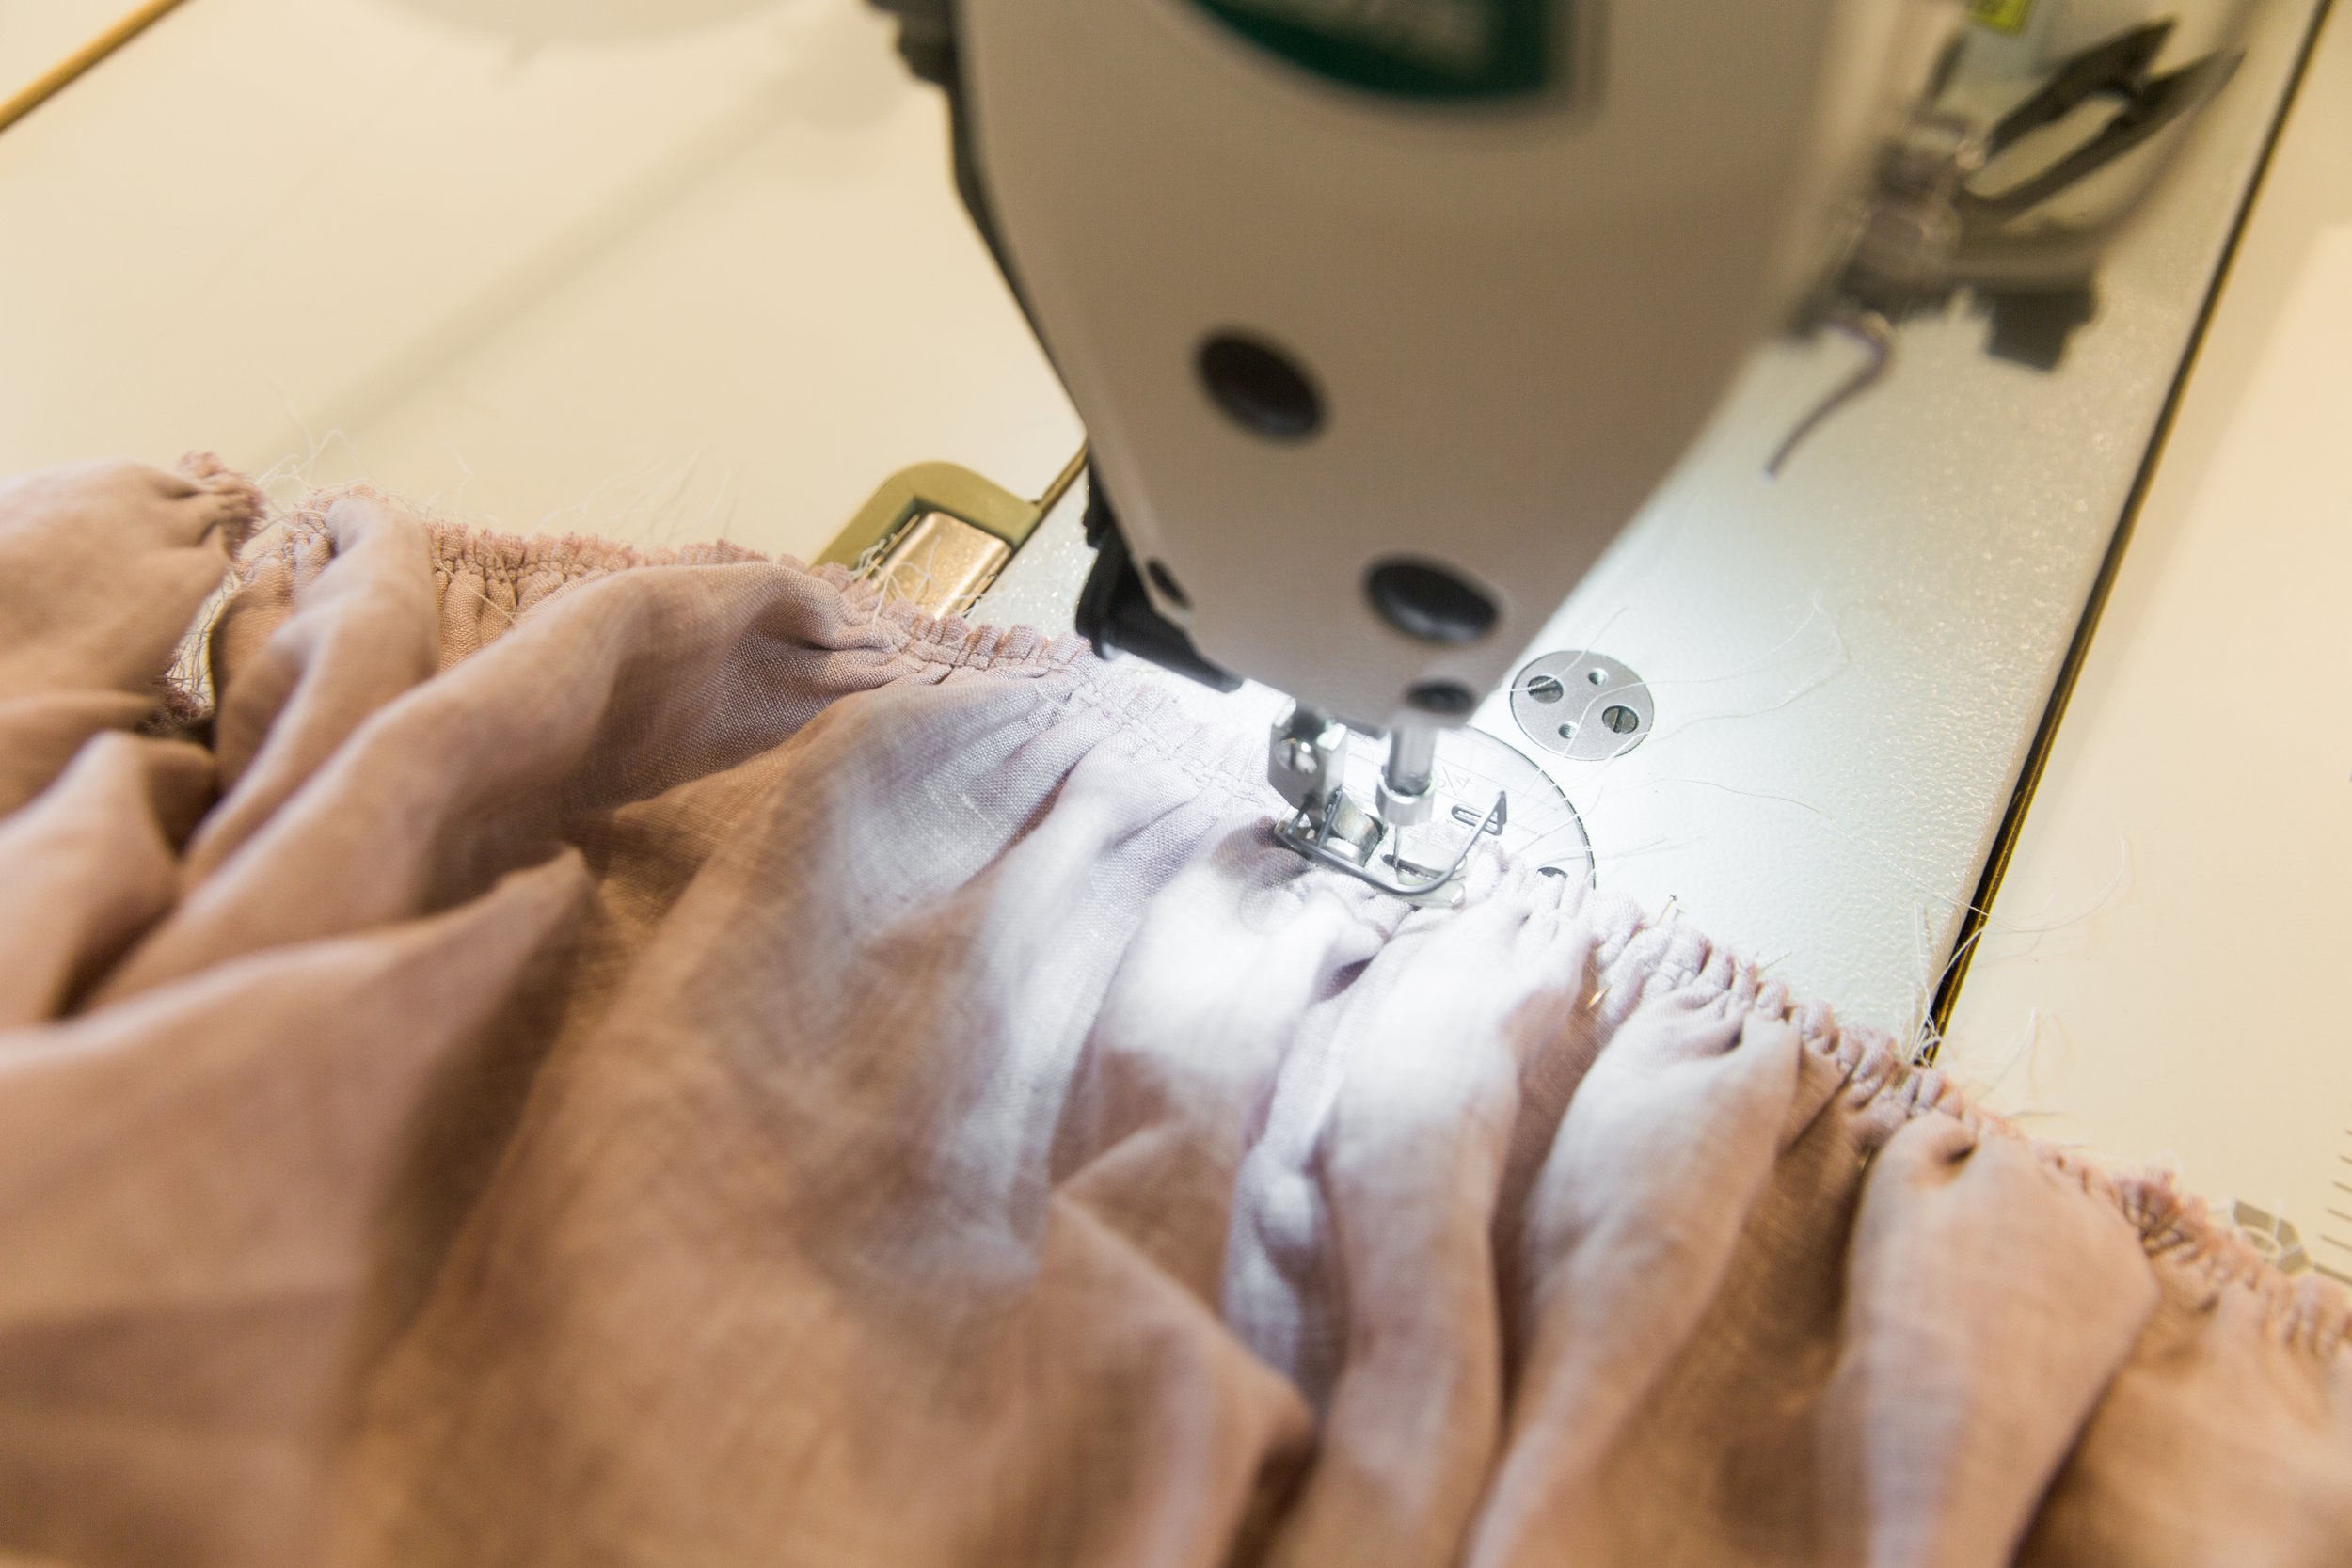
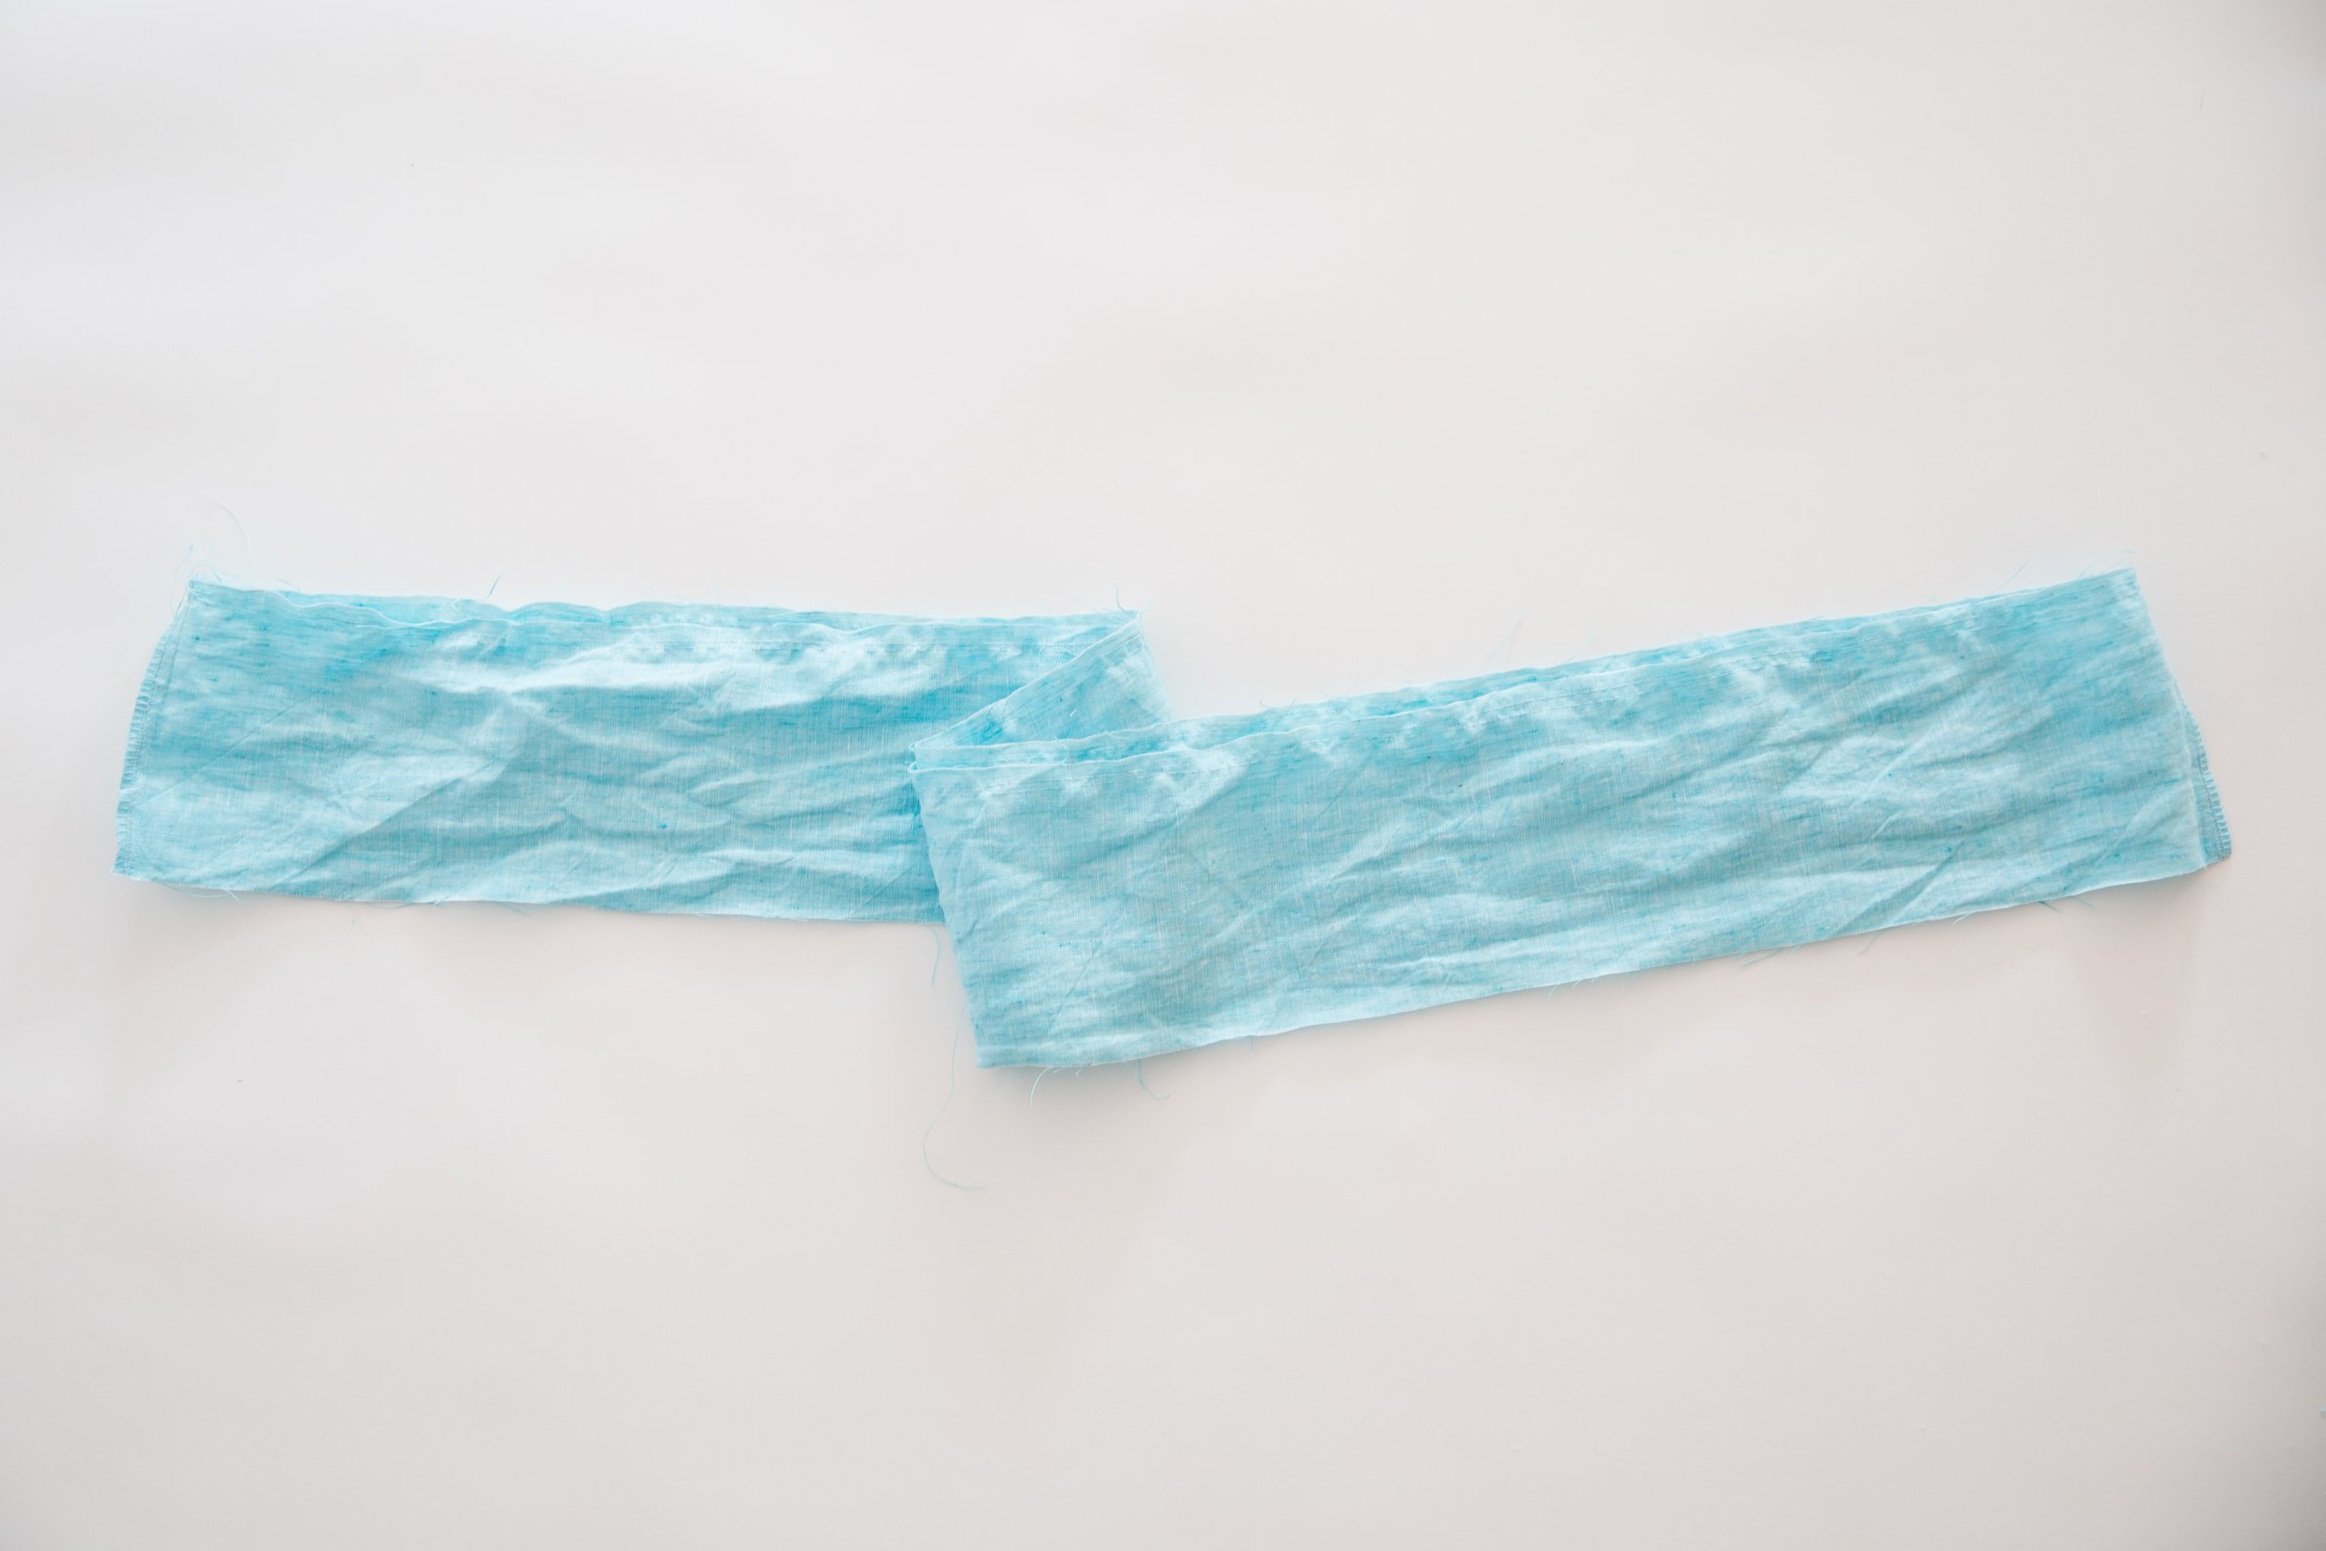
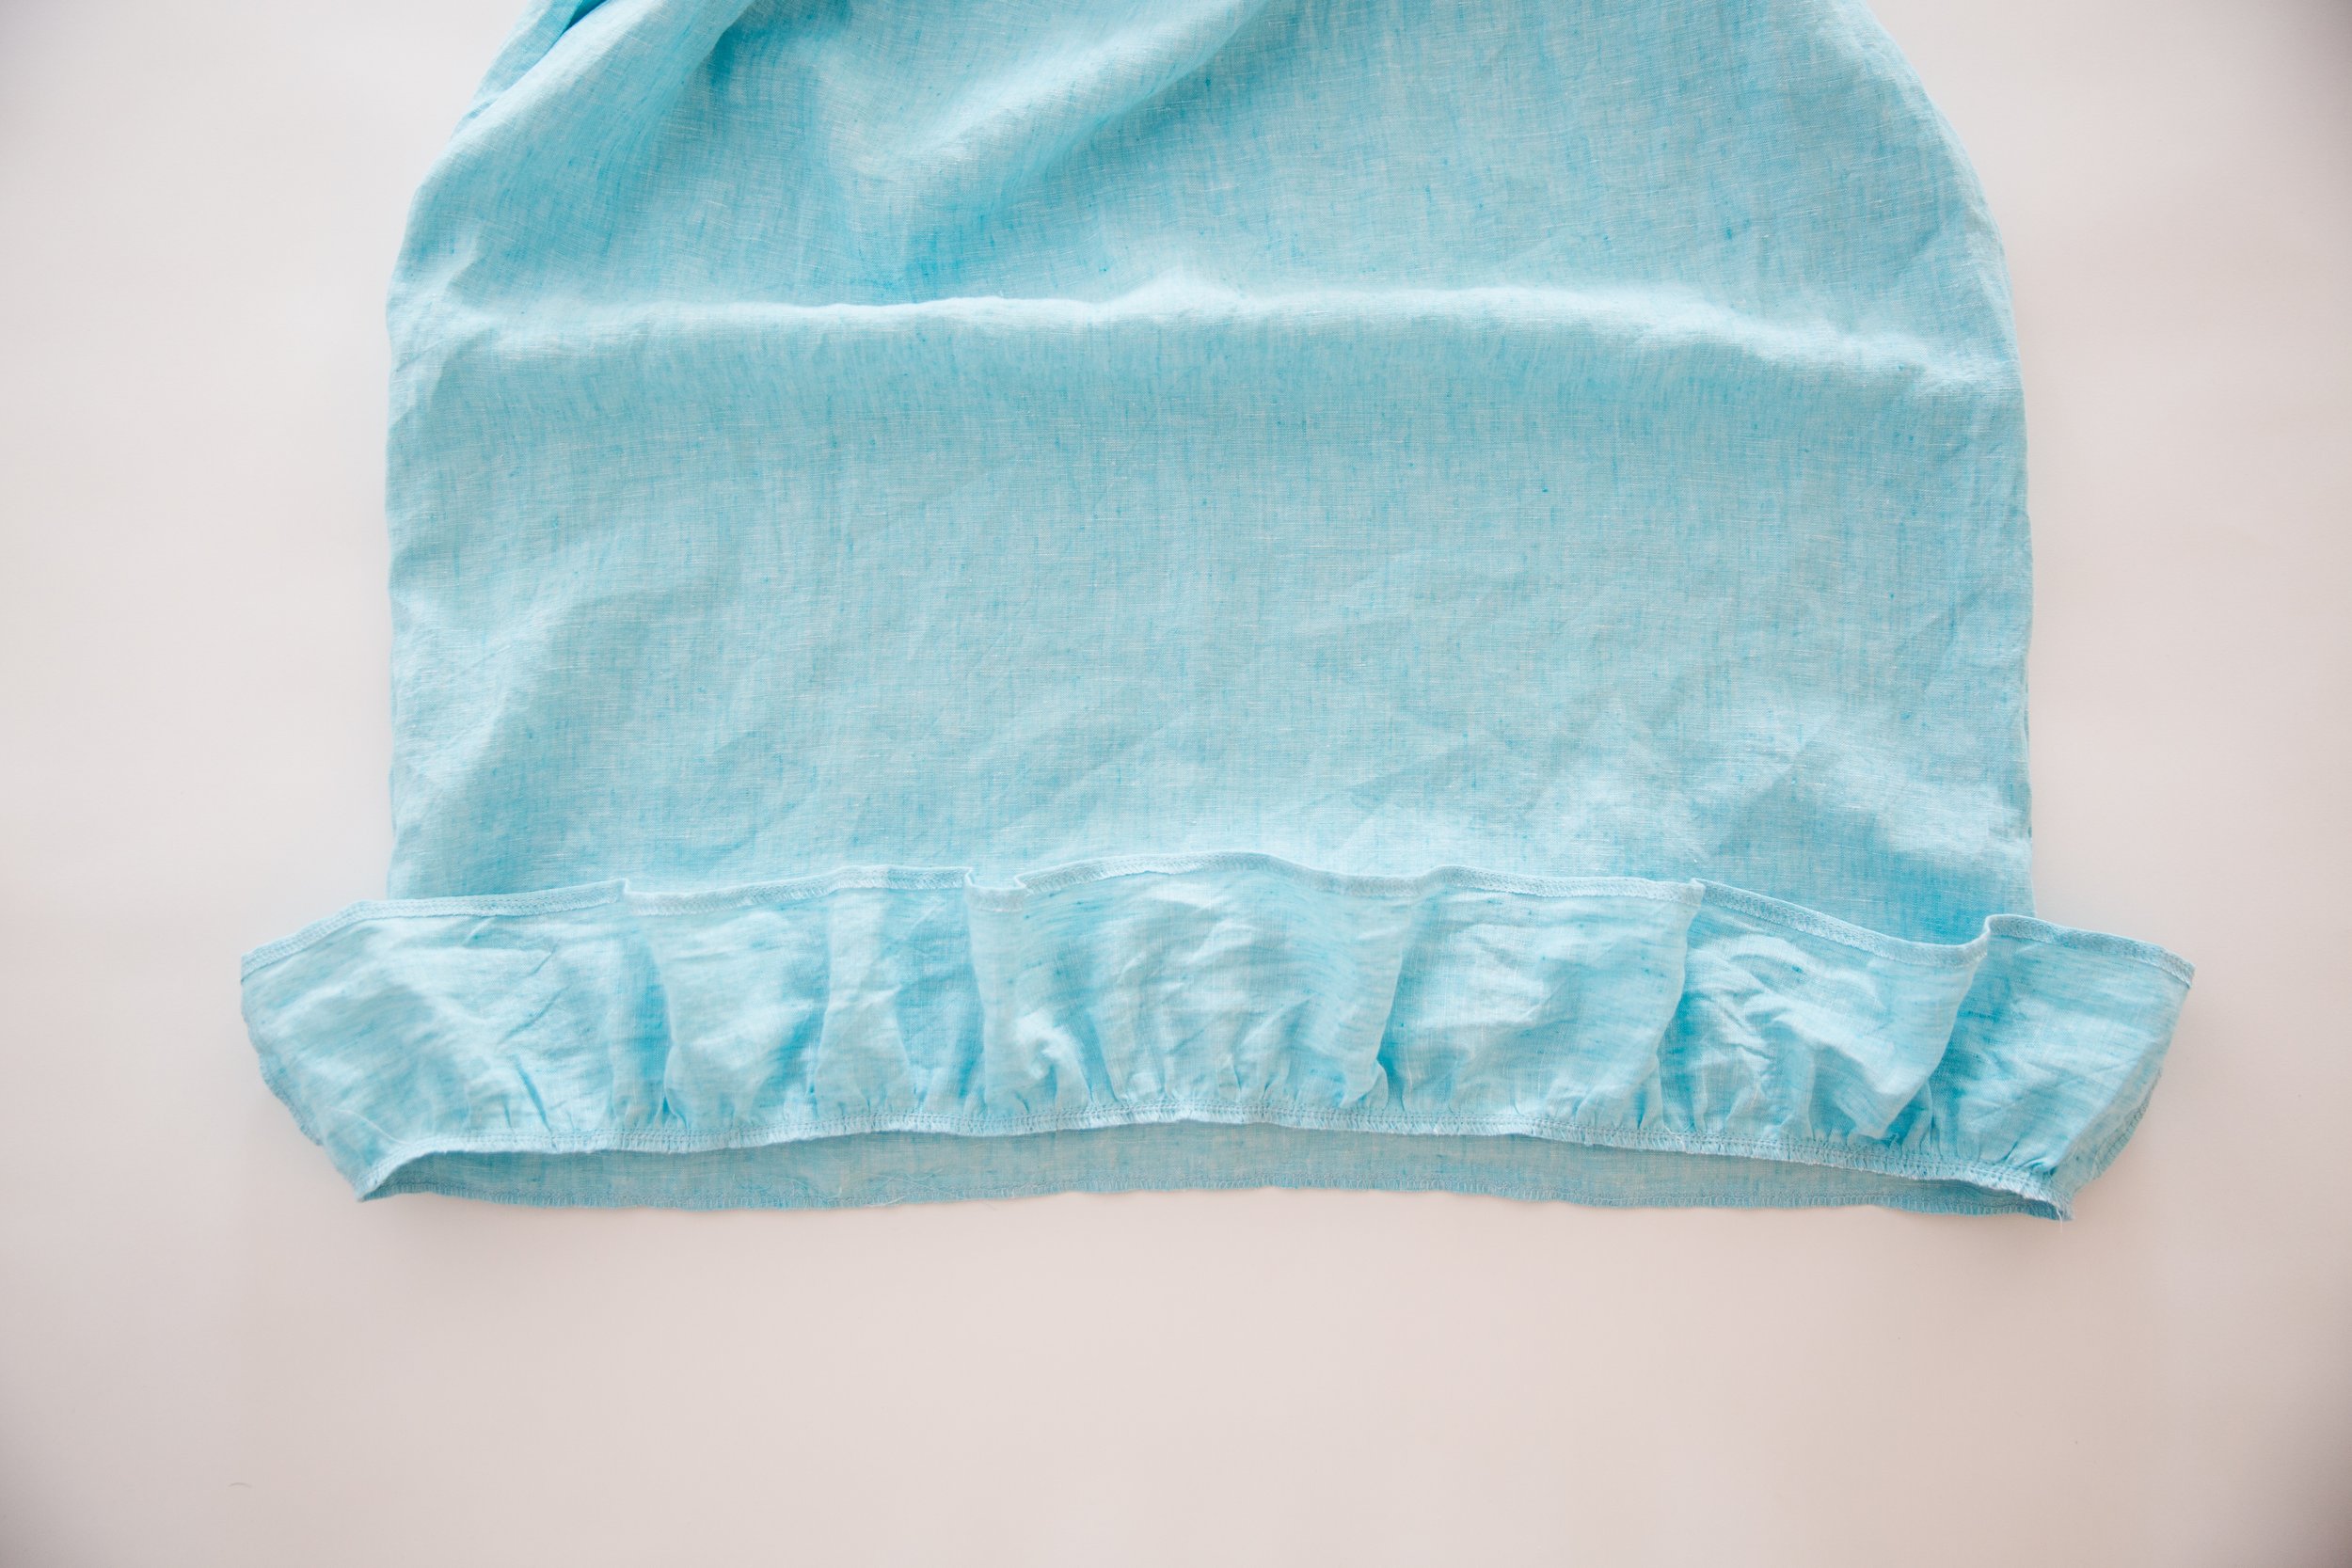
Stitch a row of gathering stitches (the longest stitch length on your machine) along the top edge of both frill pieces, keeping it sitting within the 1cm / 0.39” seam allowance.

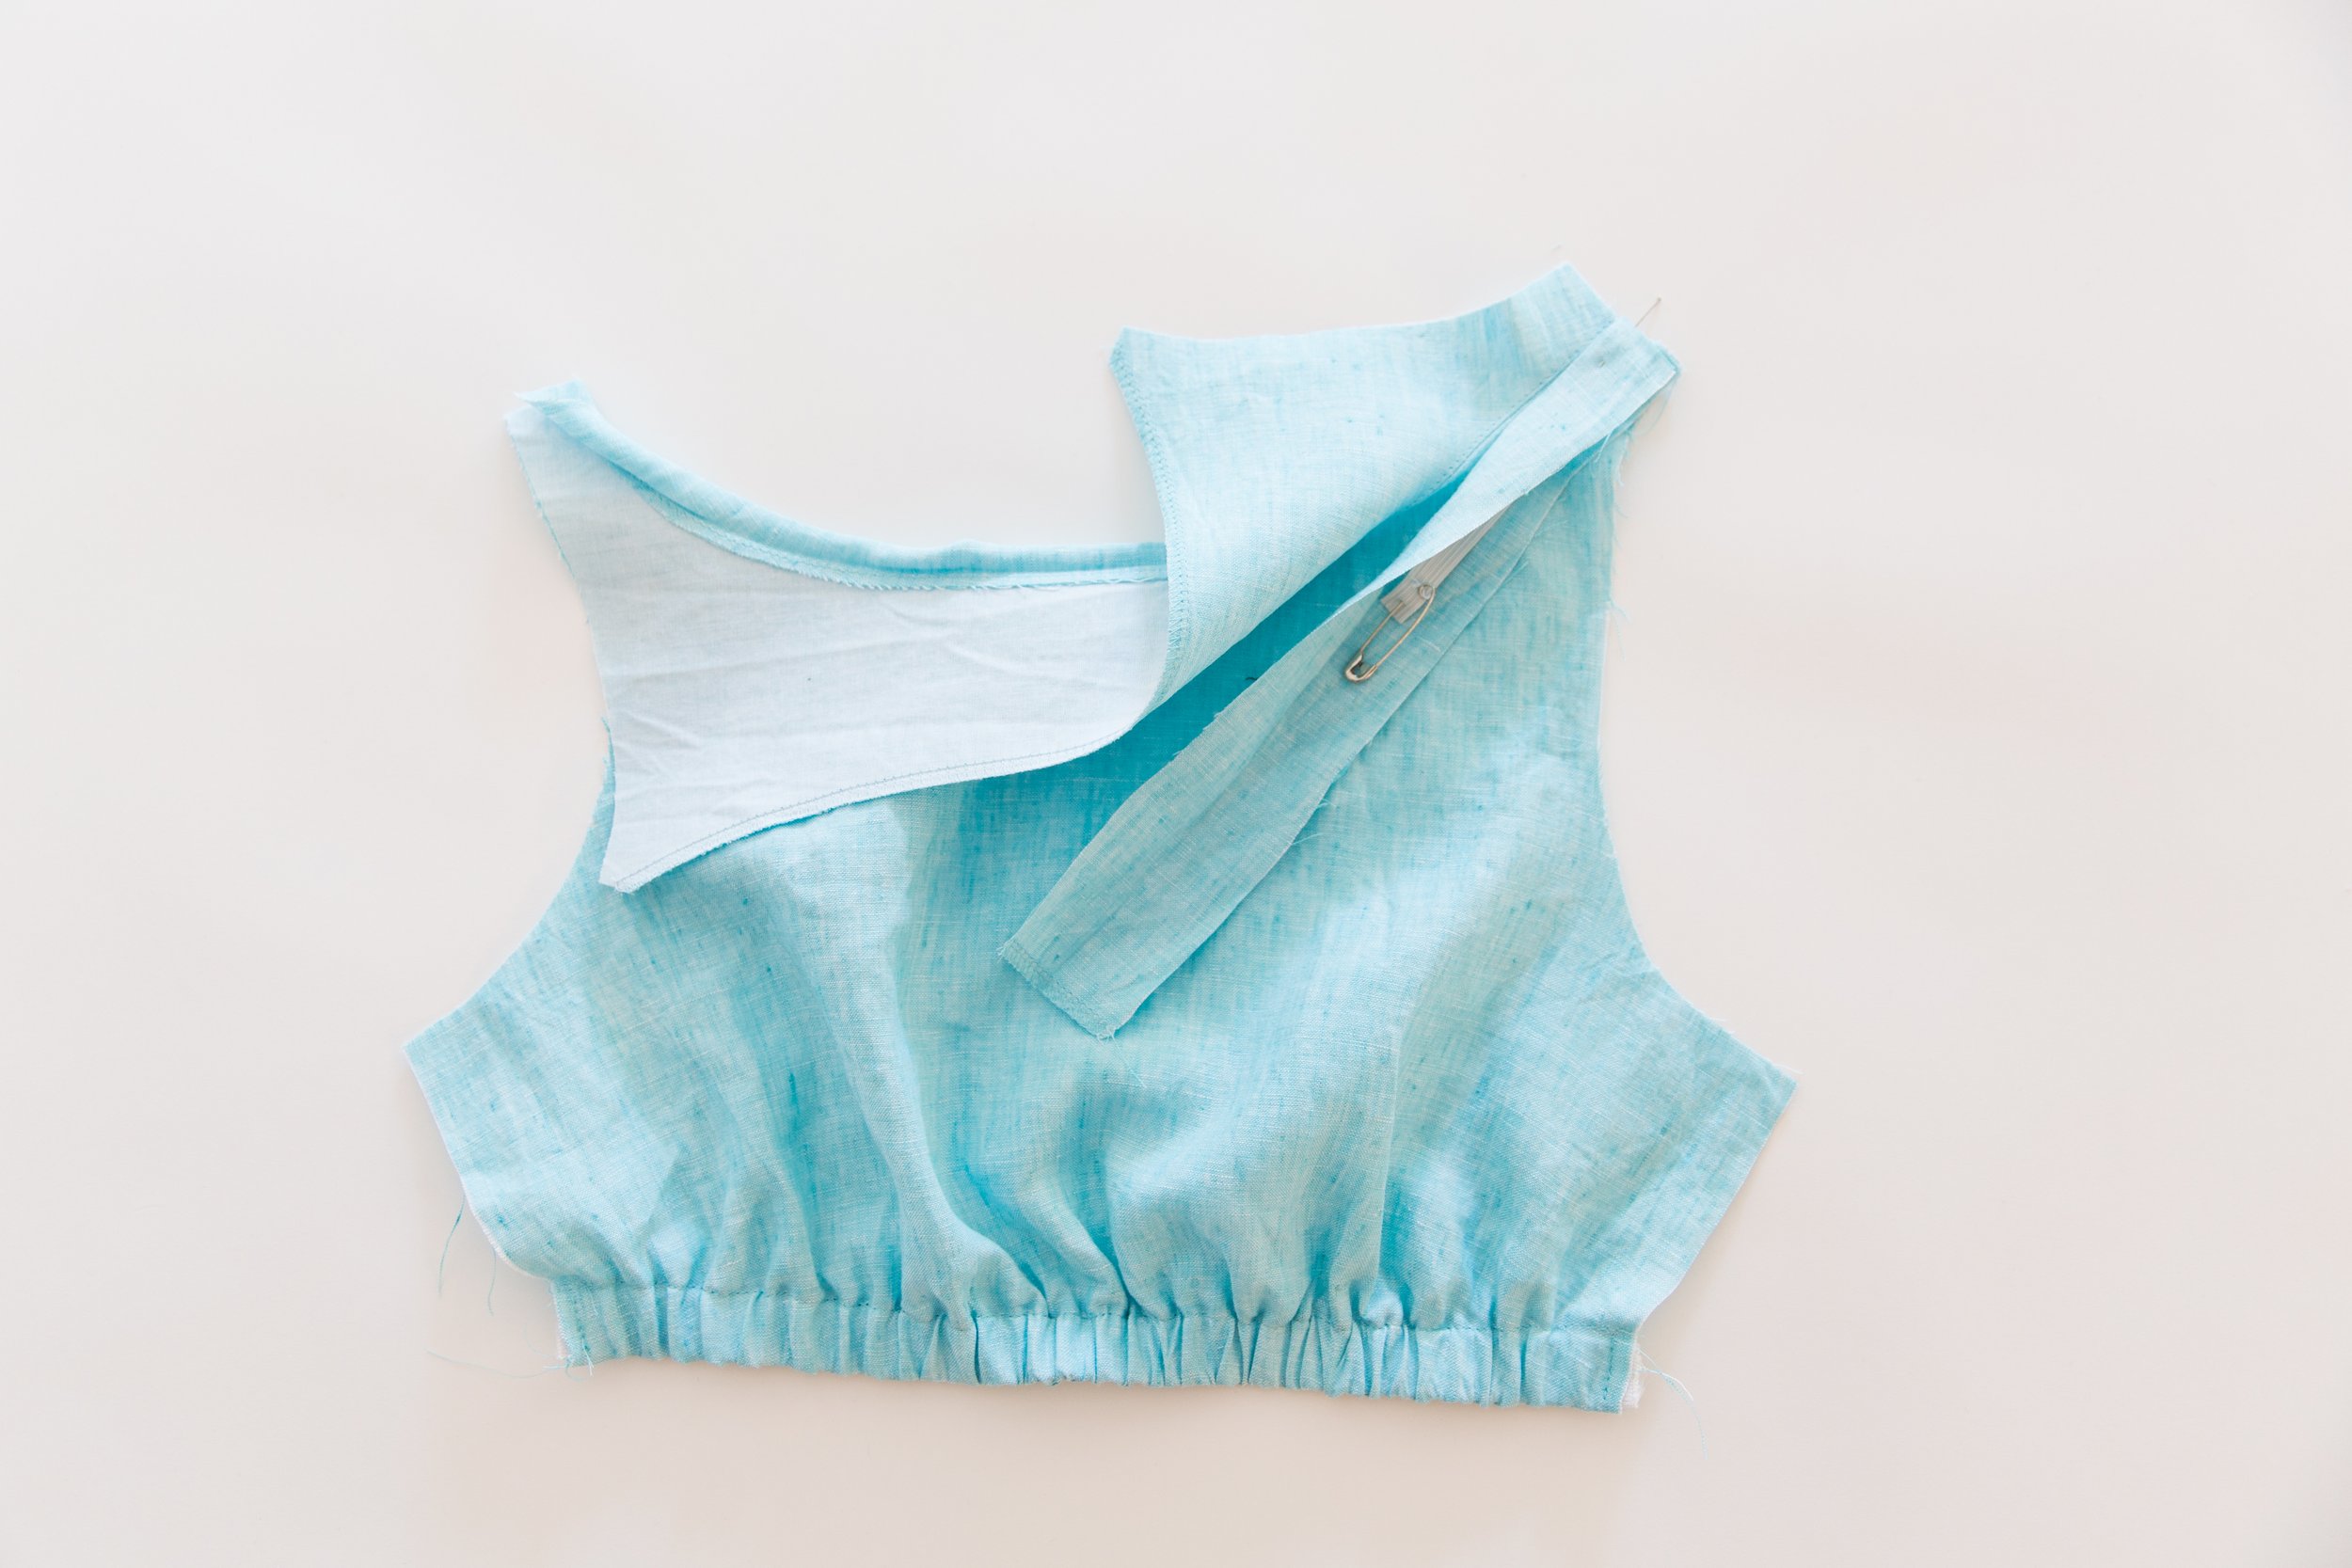
Step 3
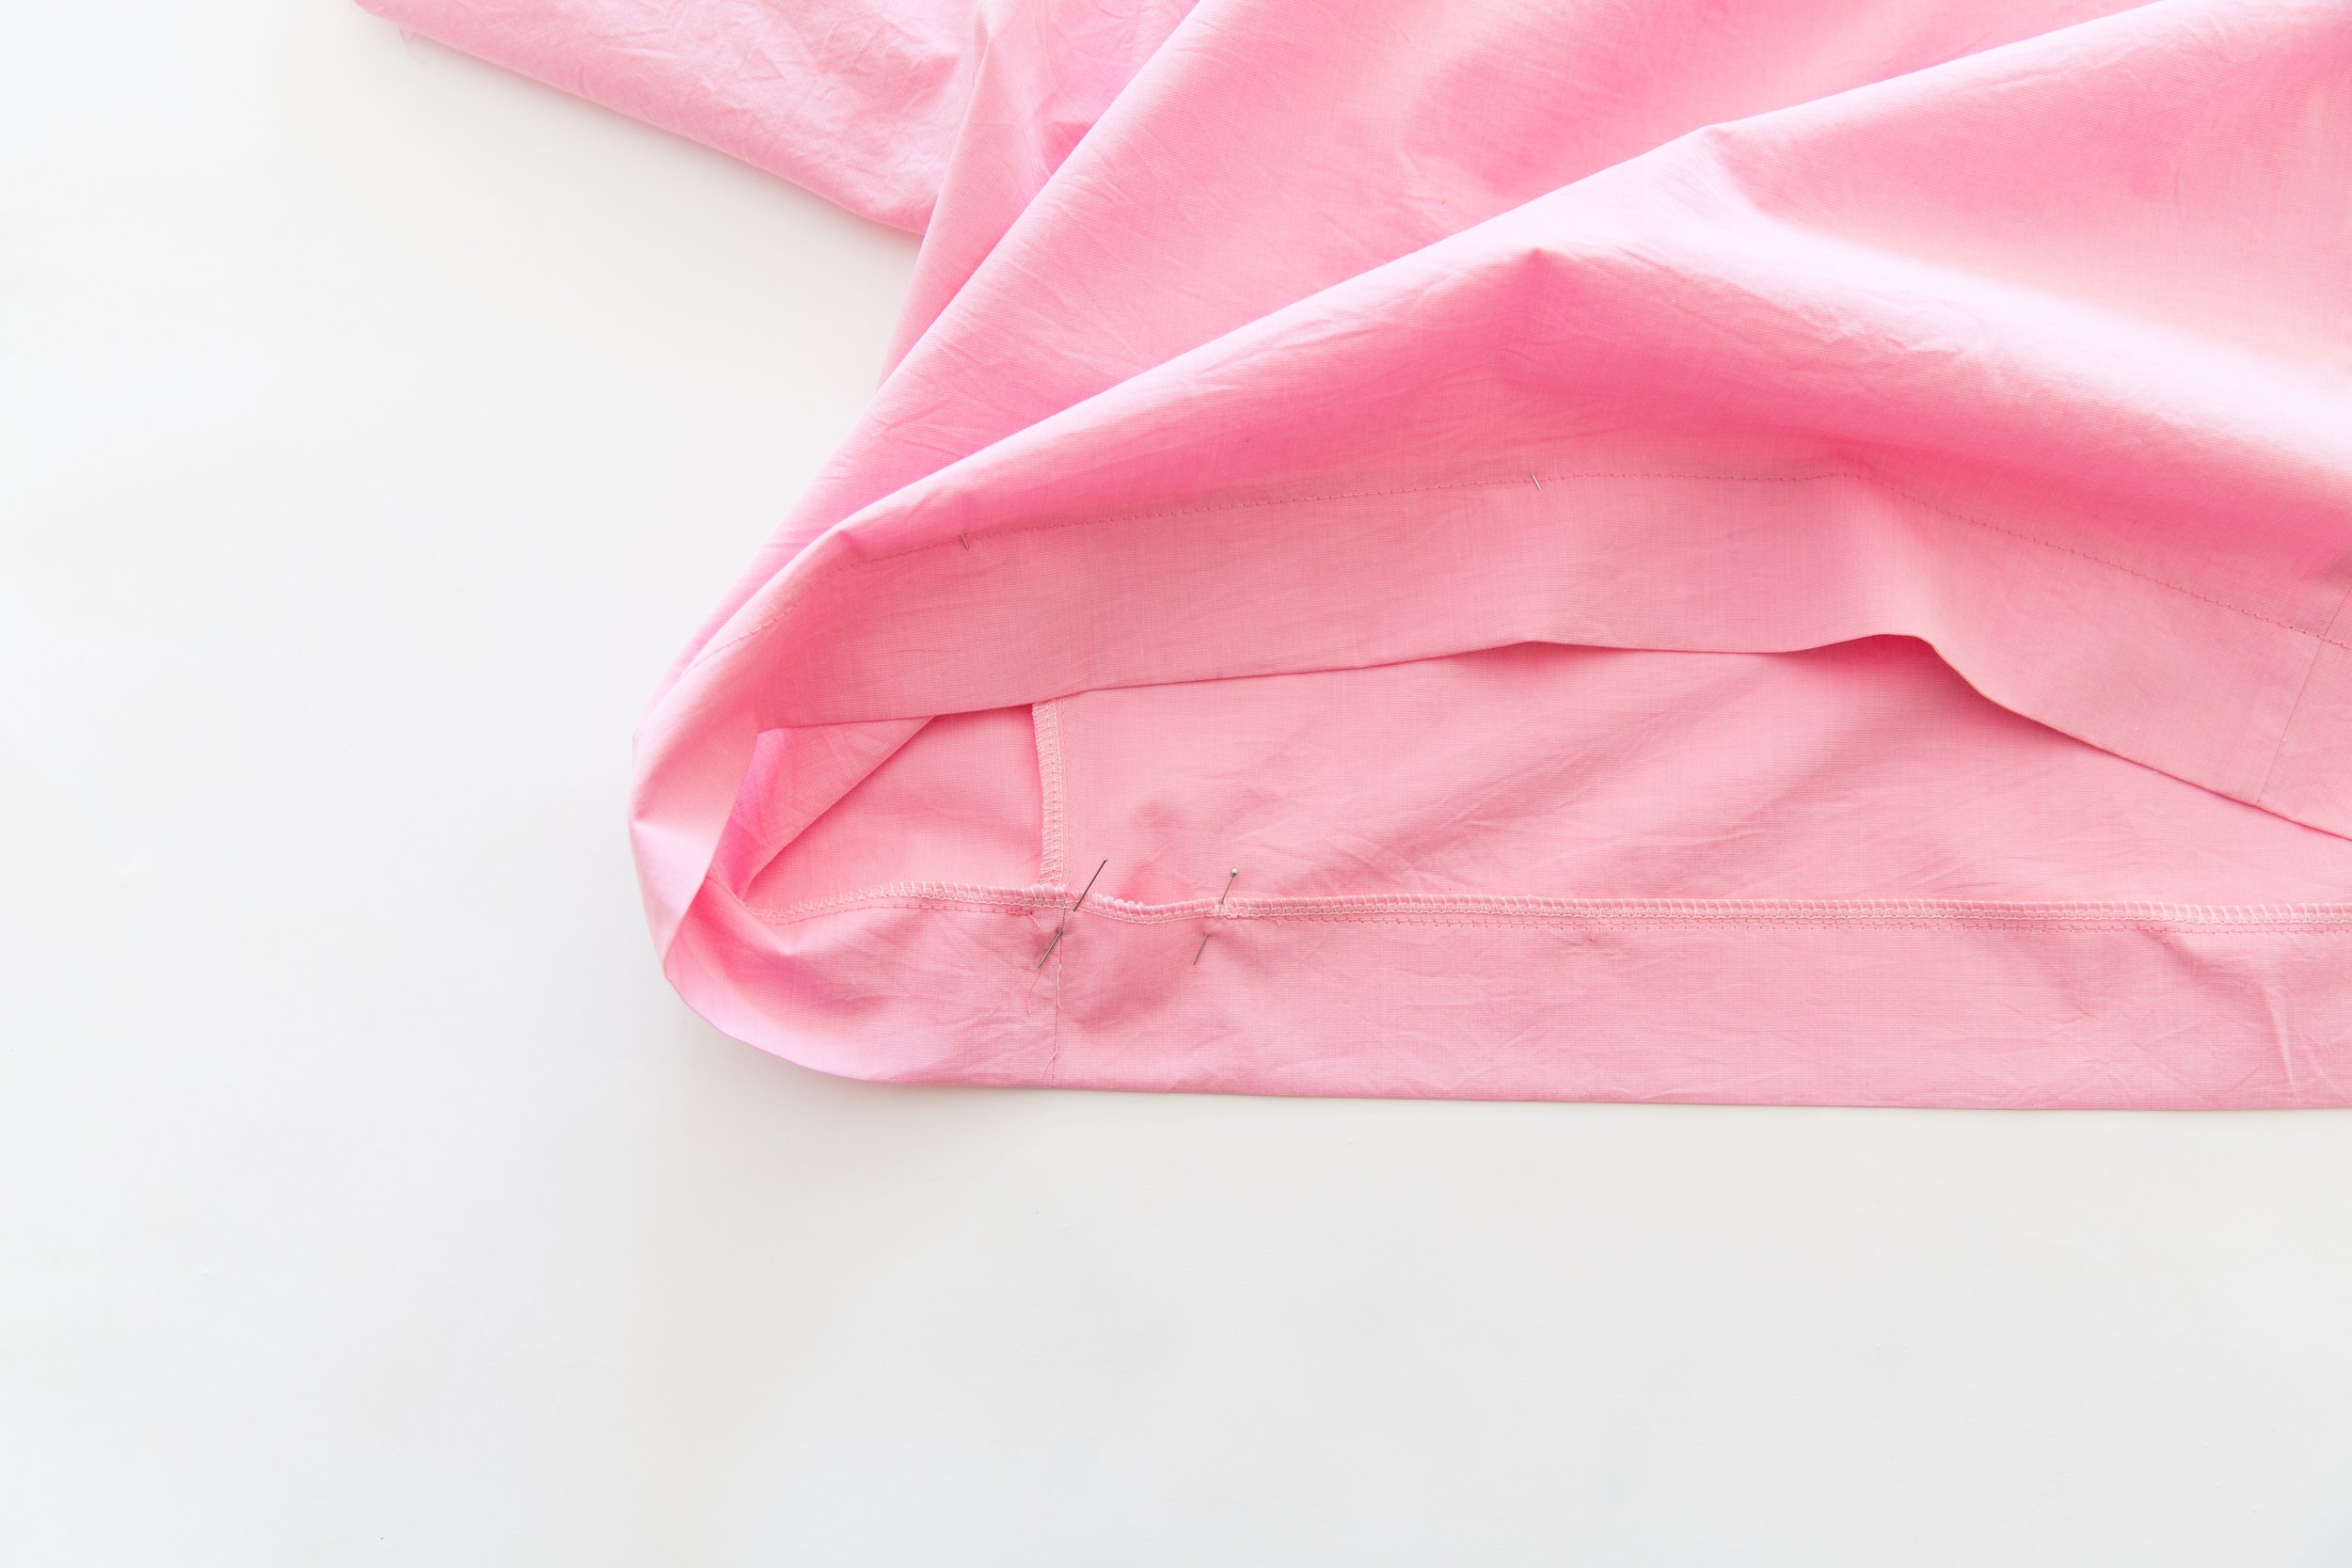
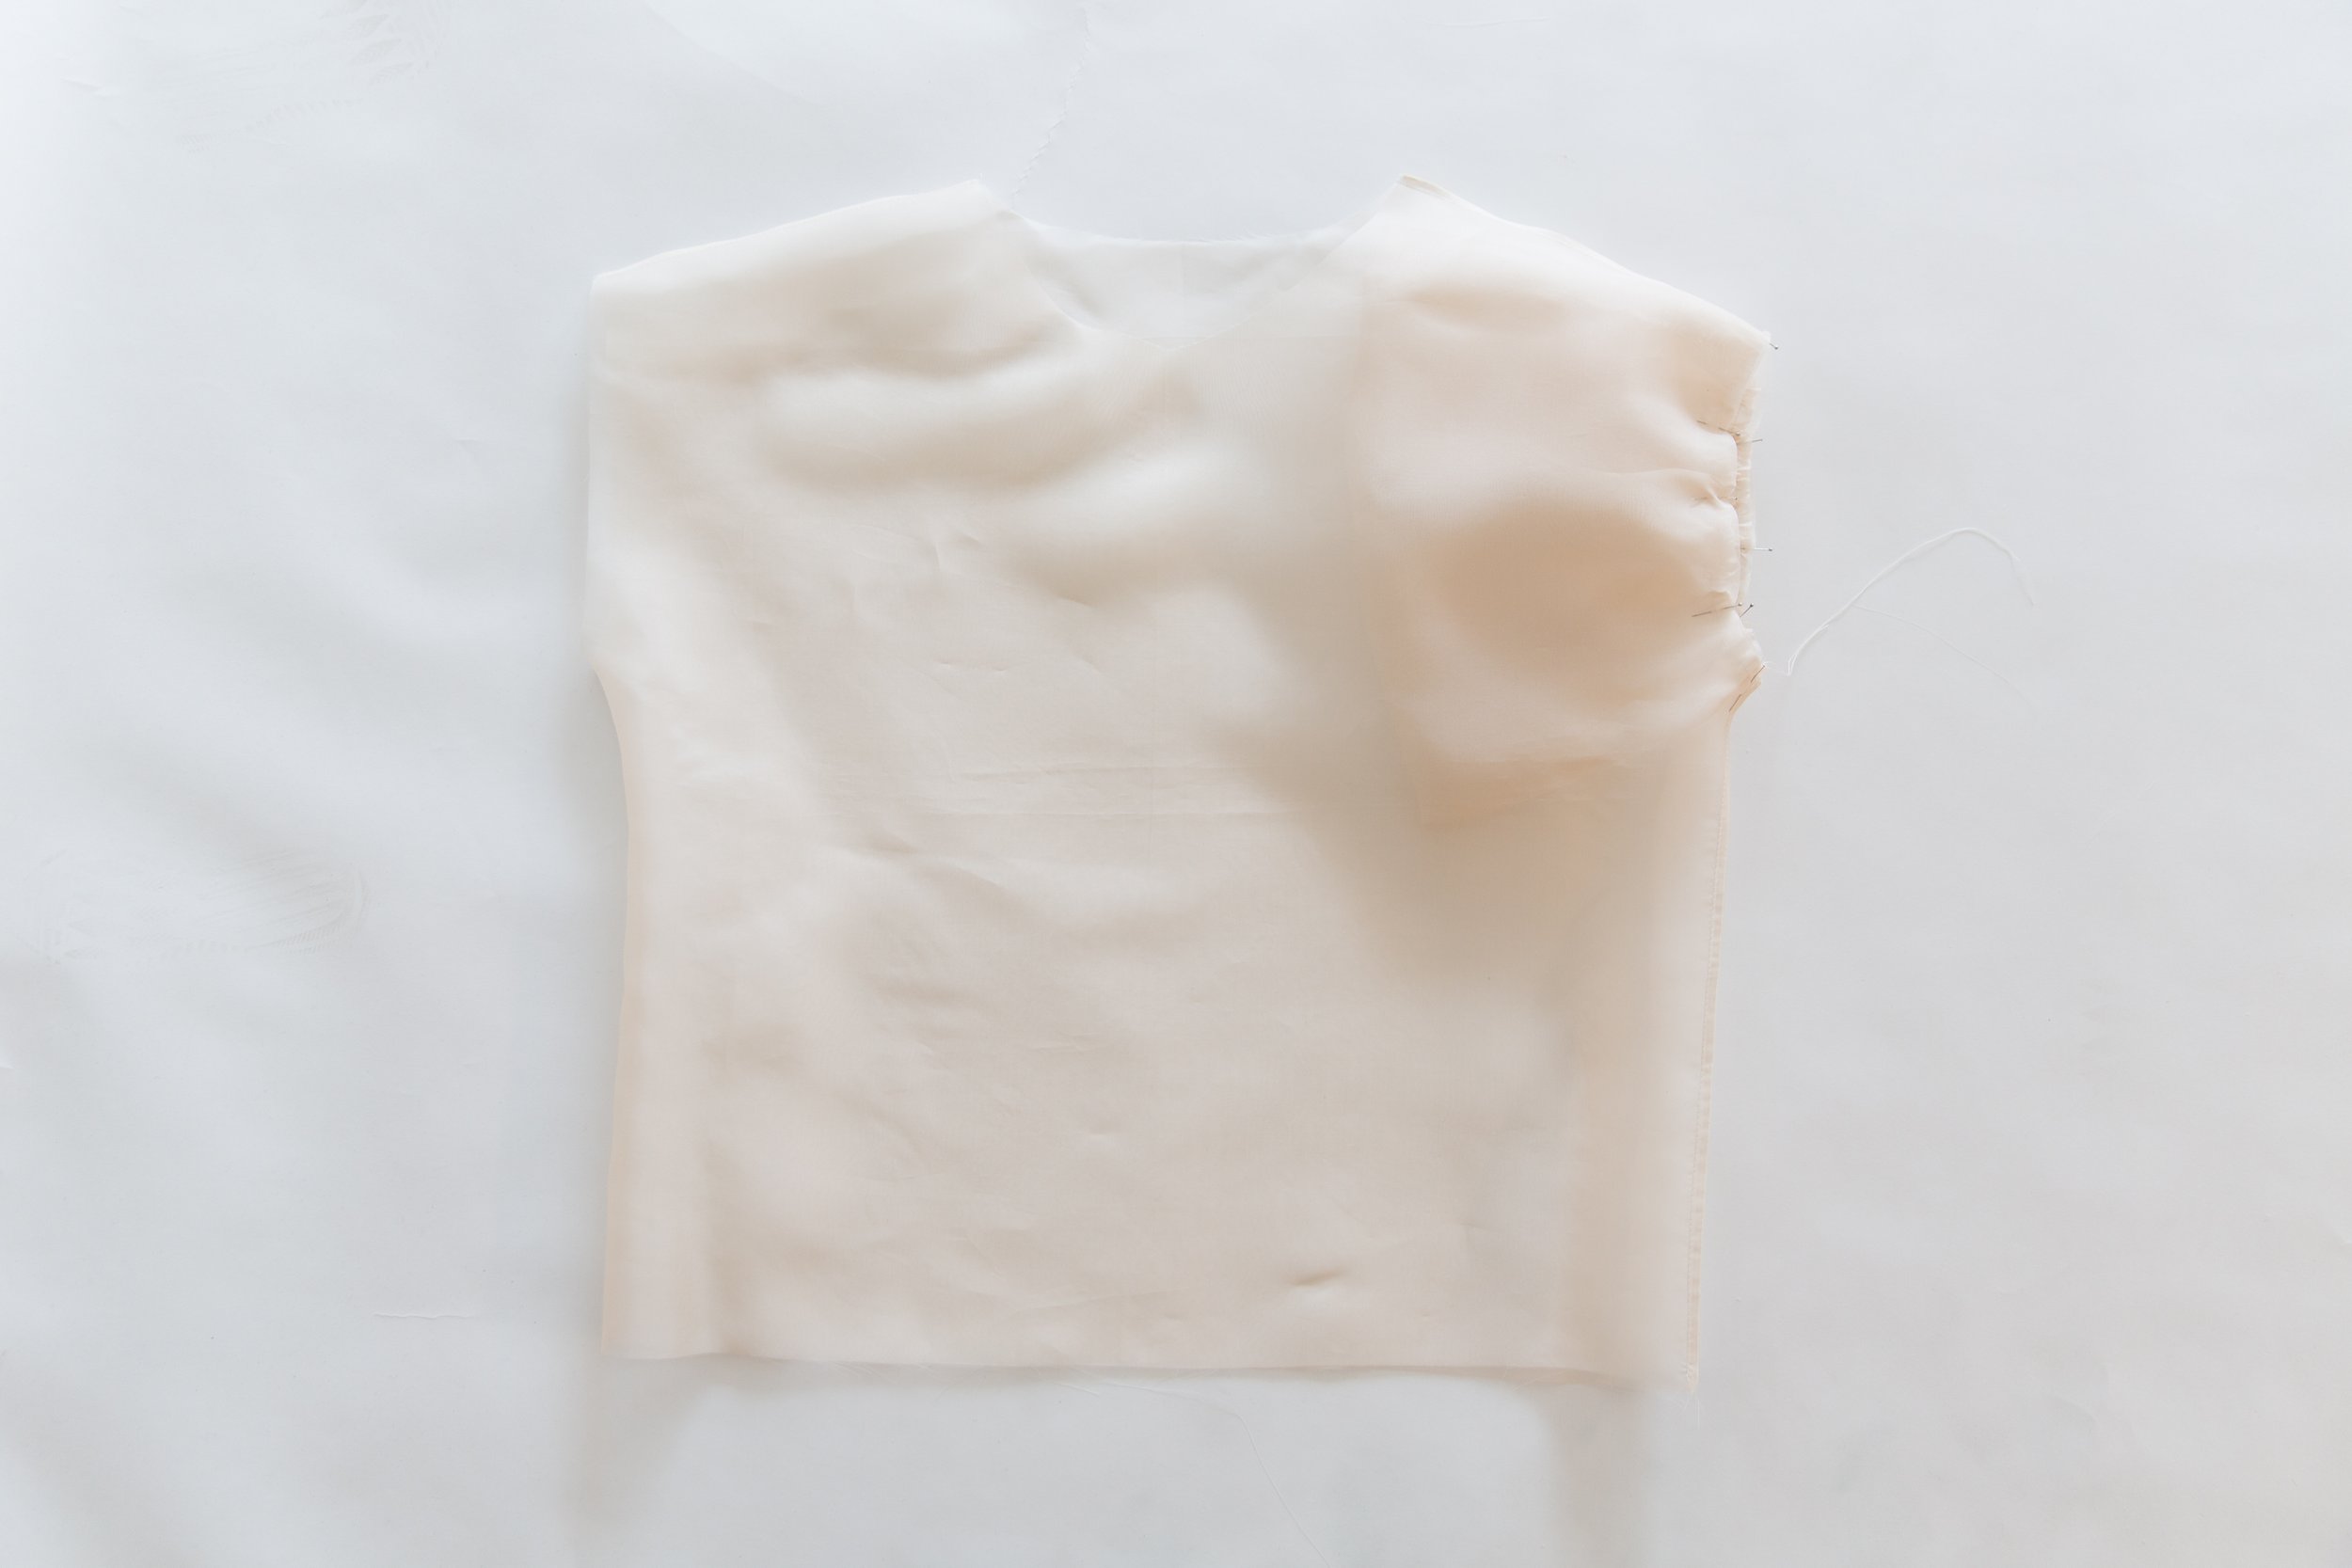
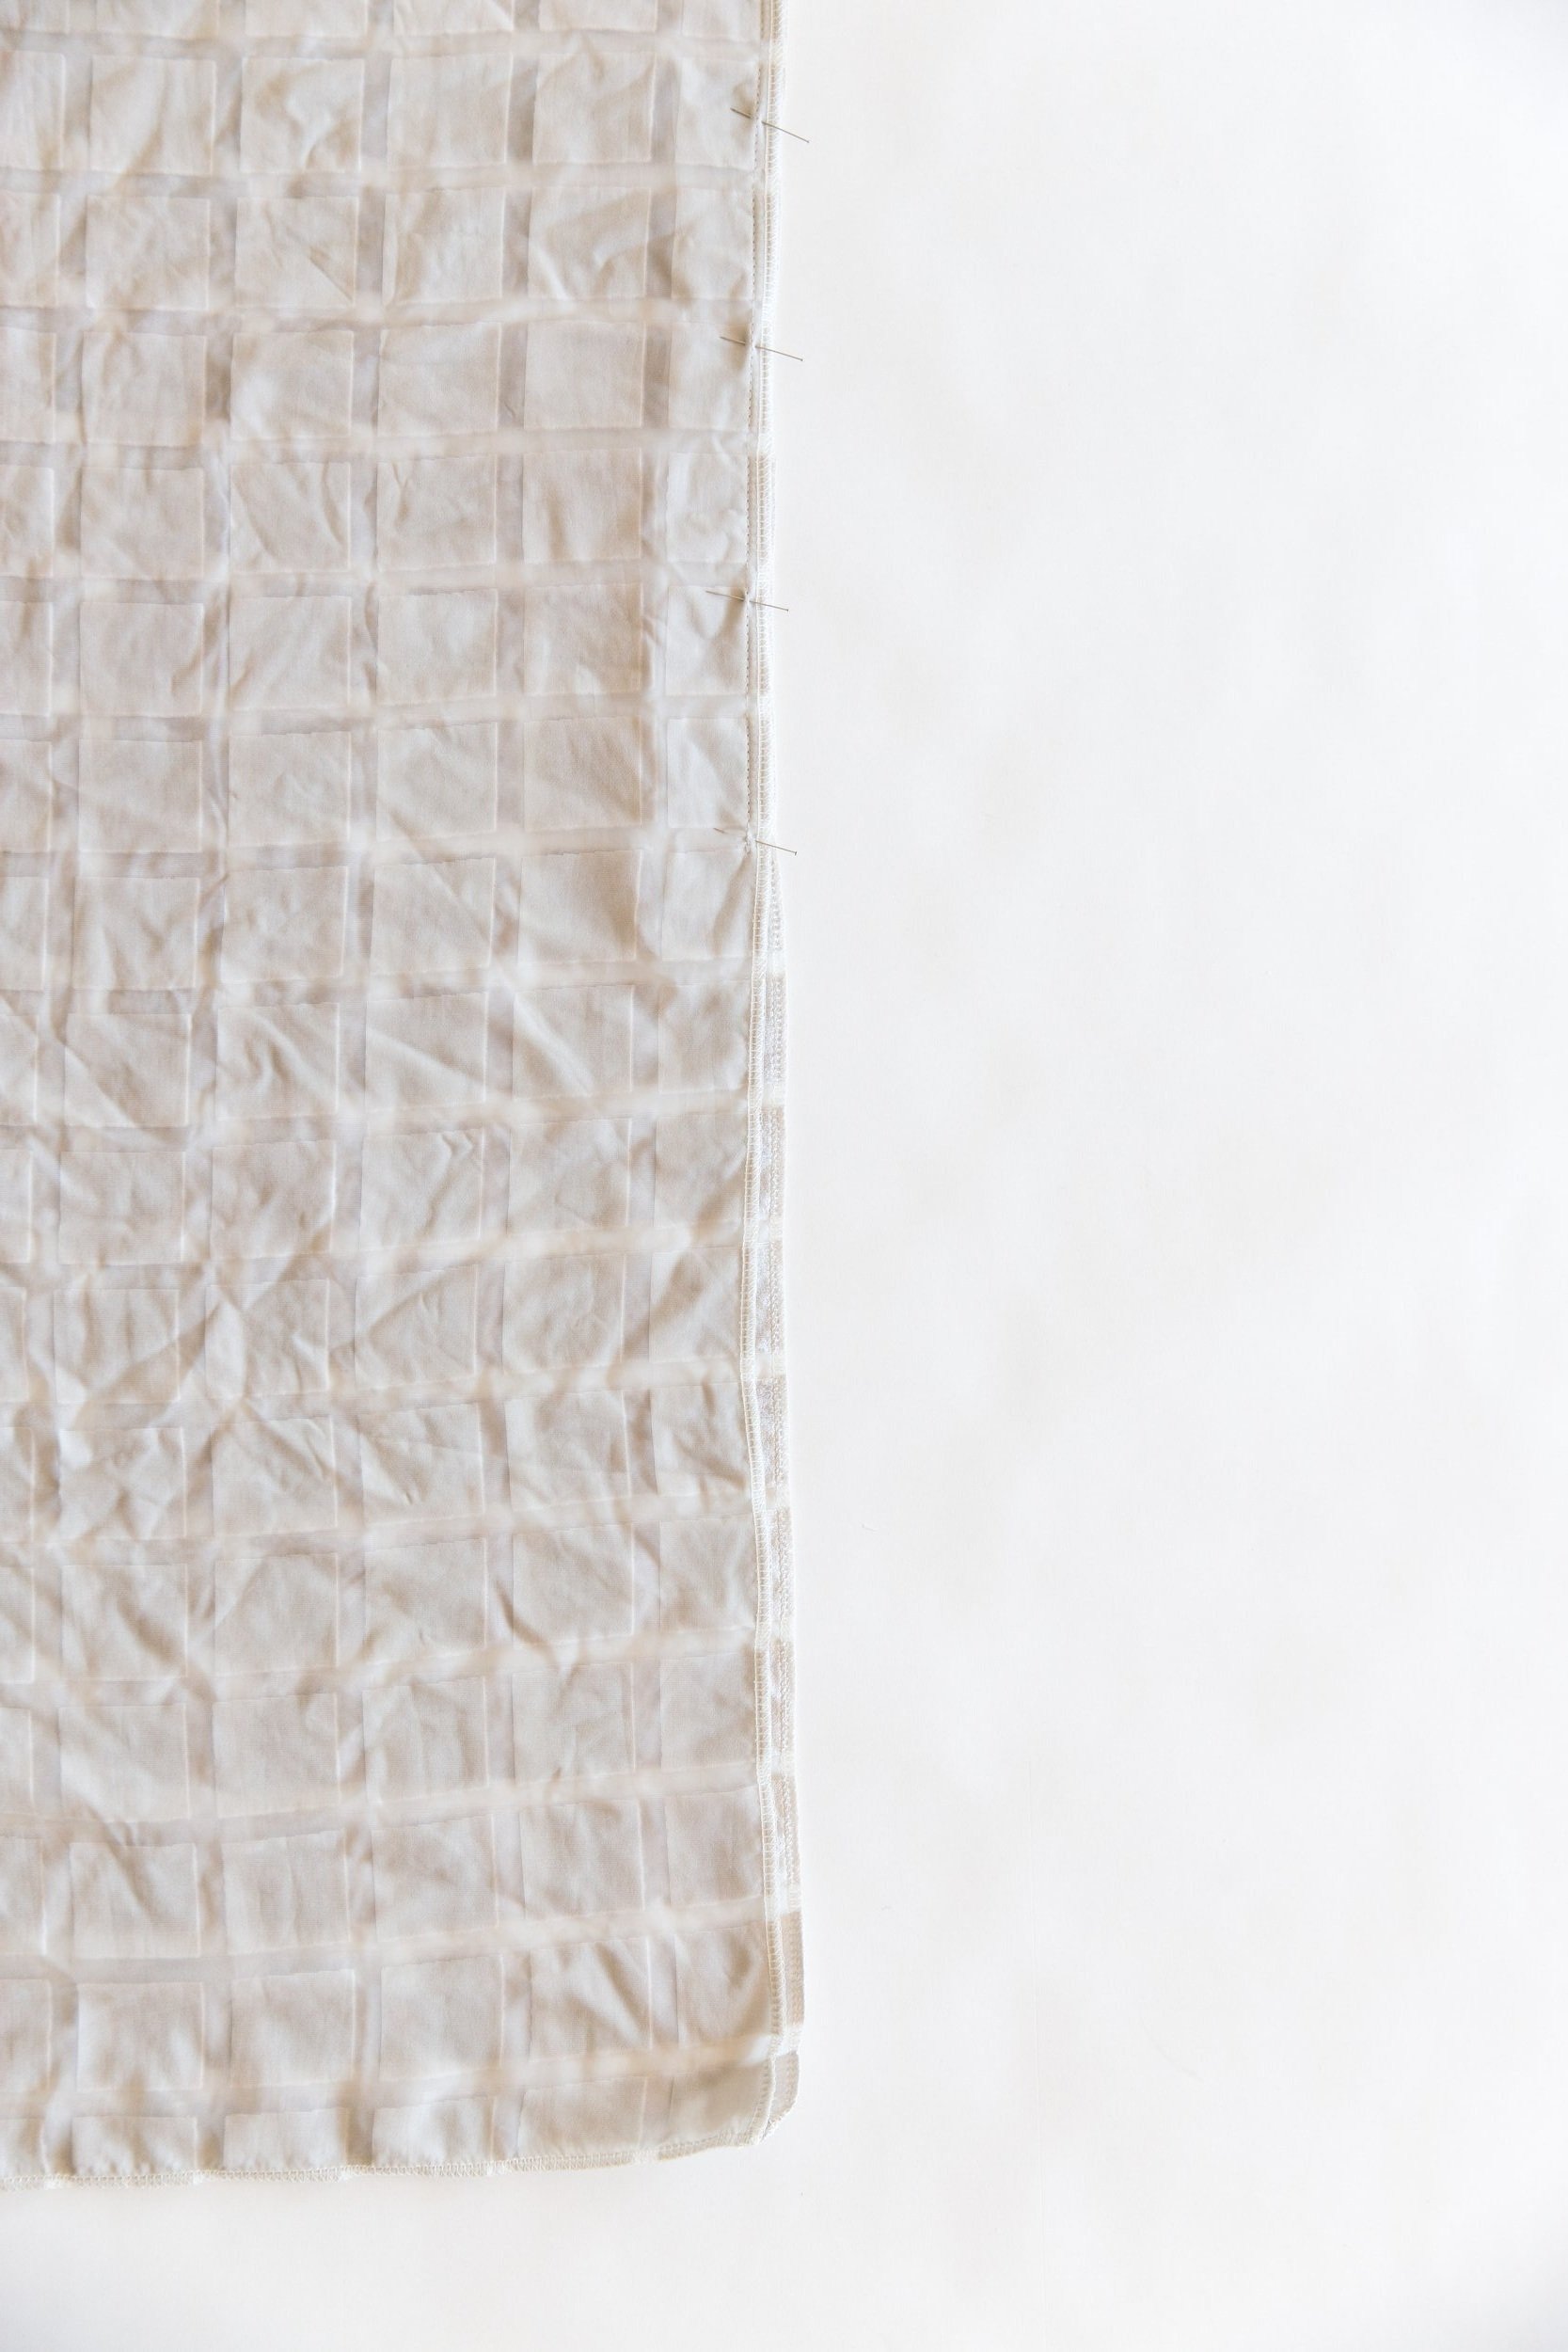
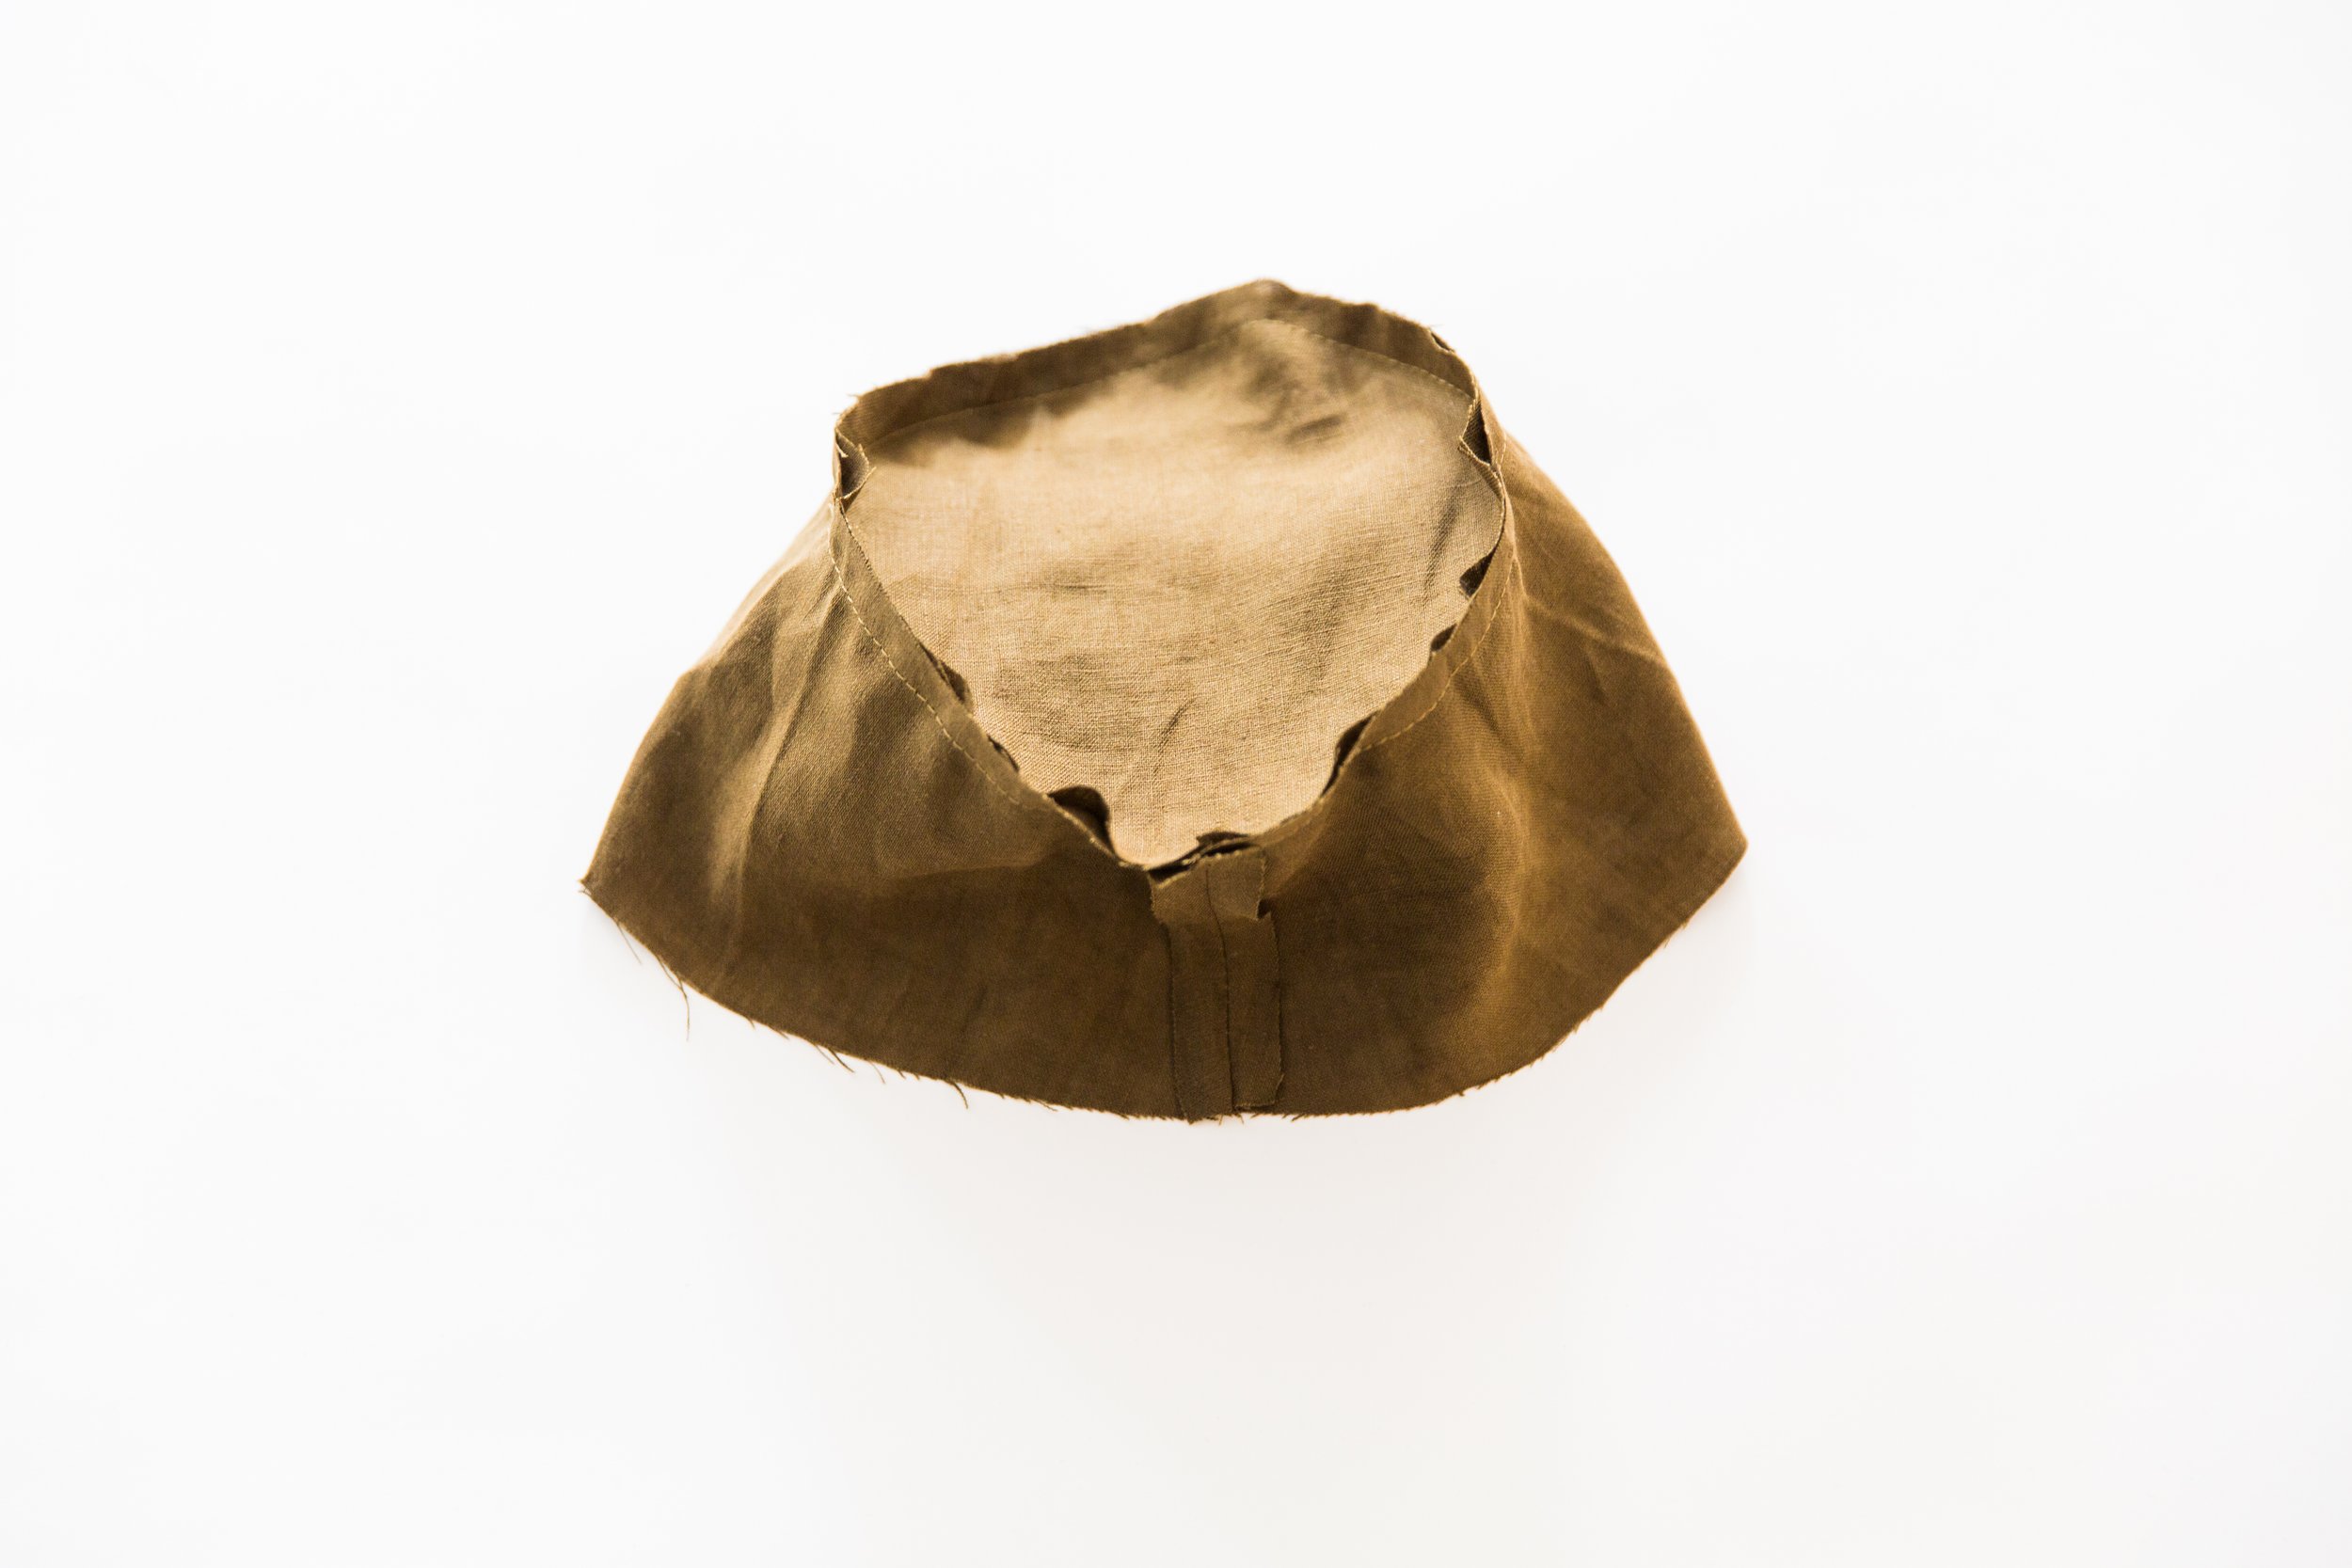
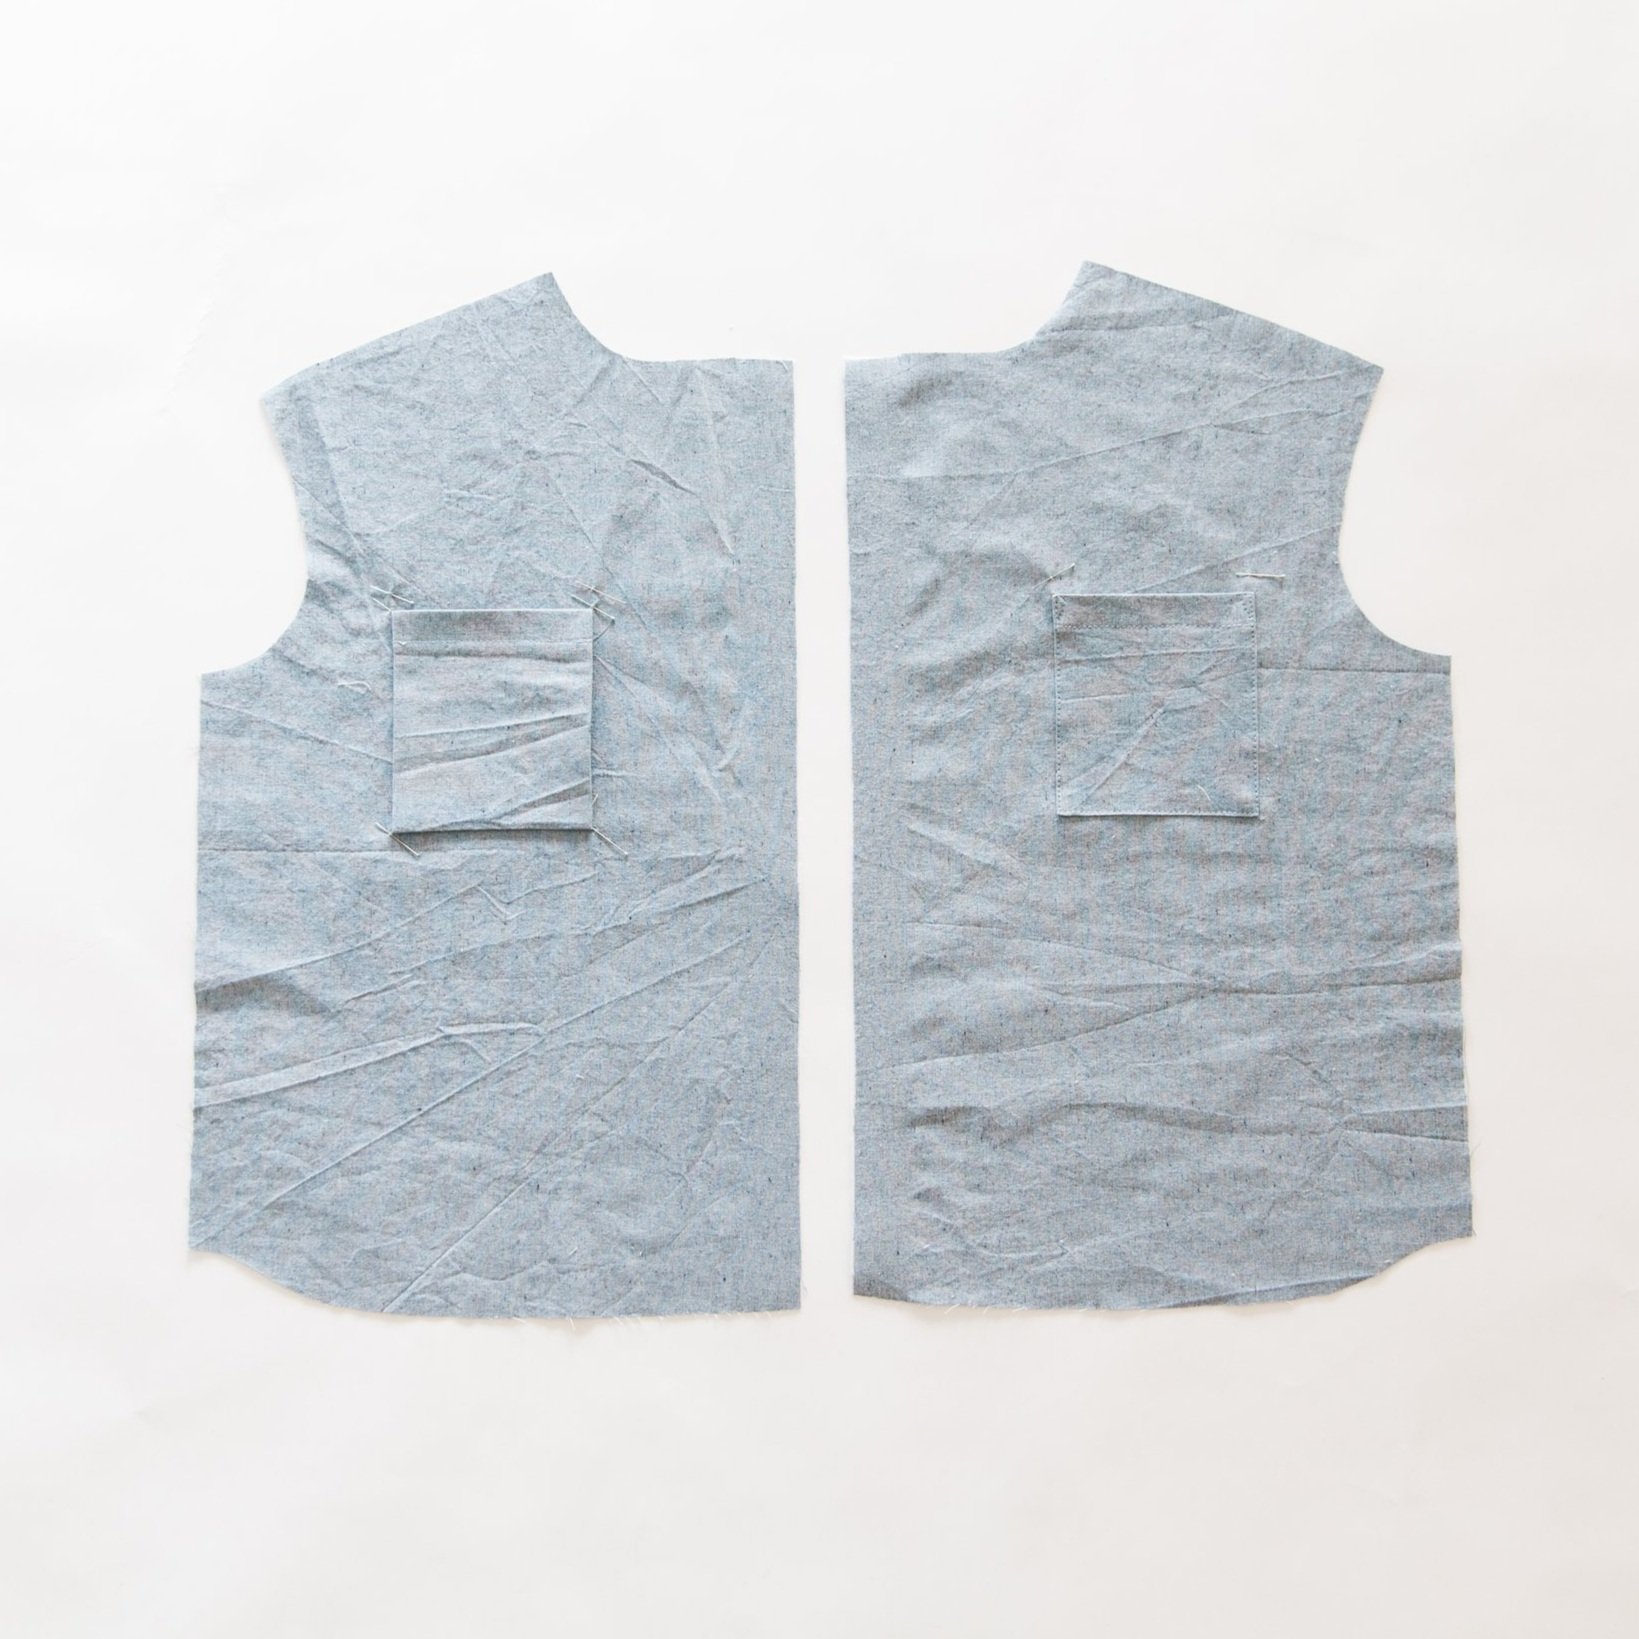
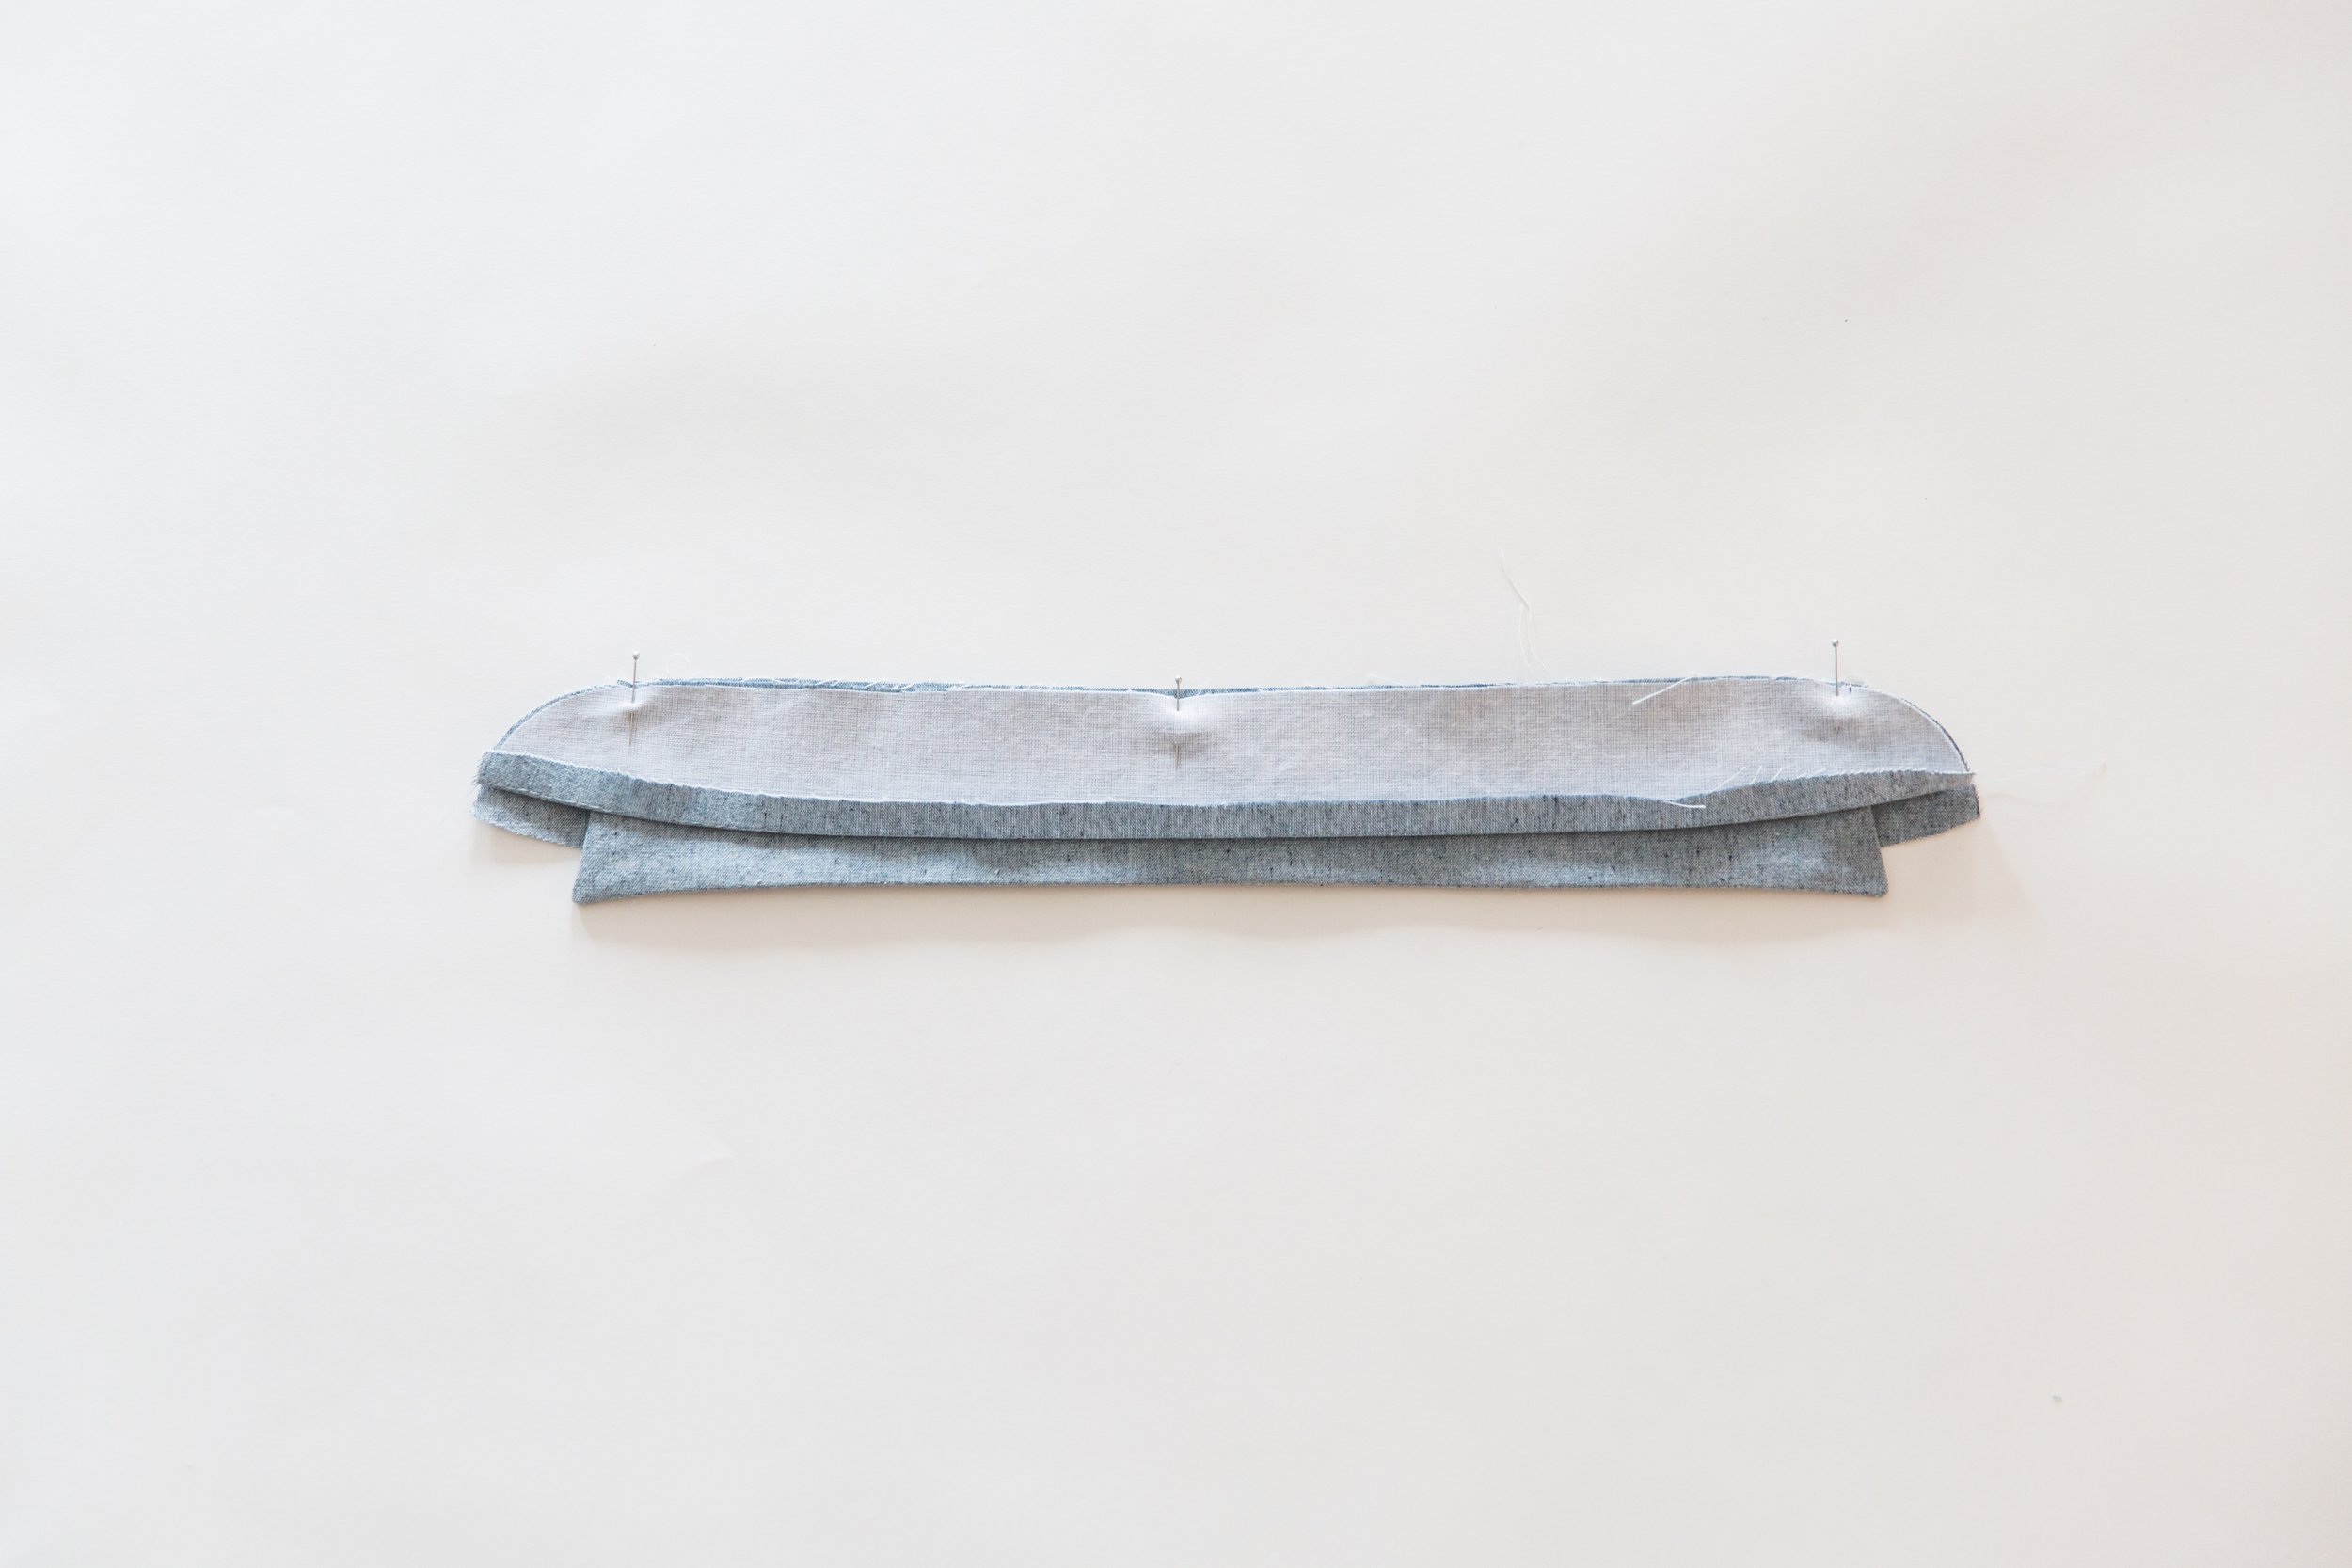
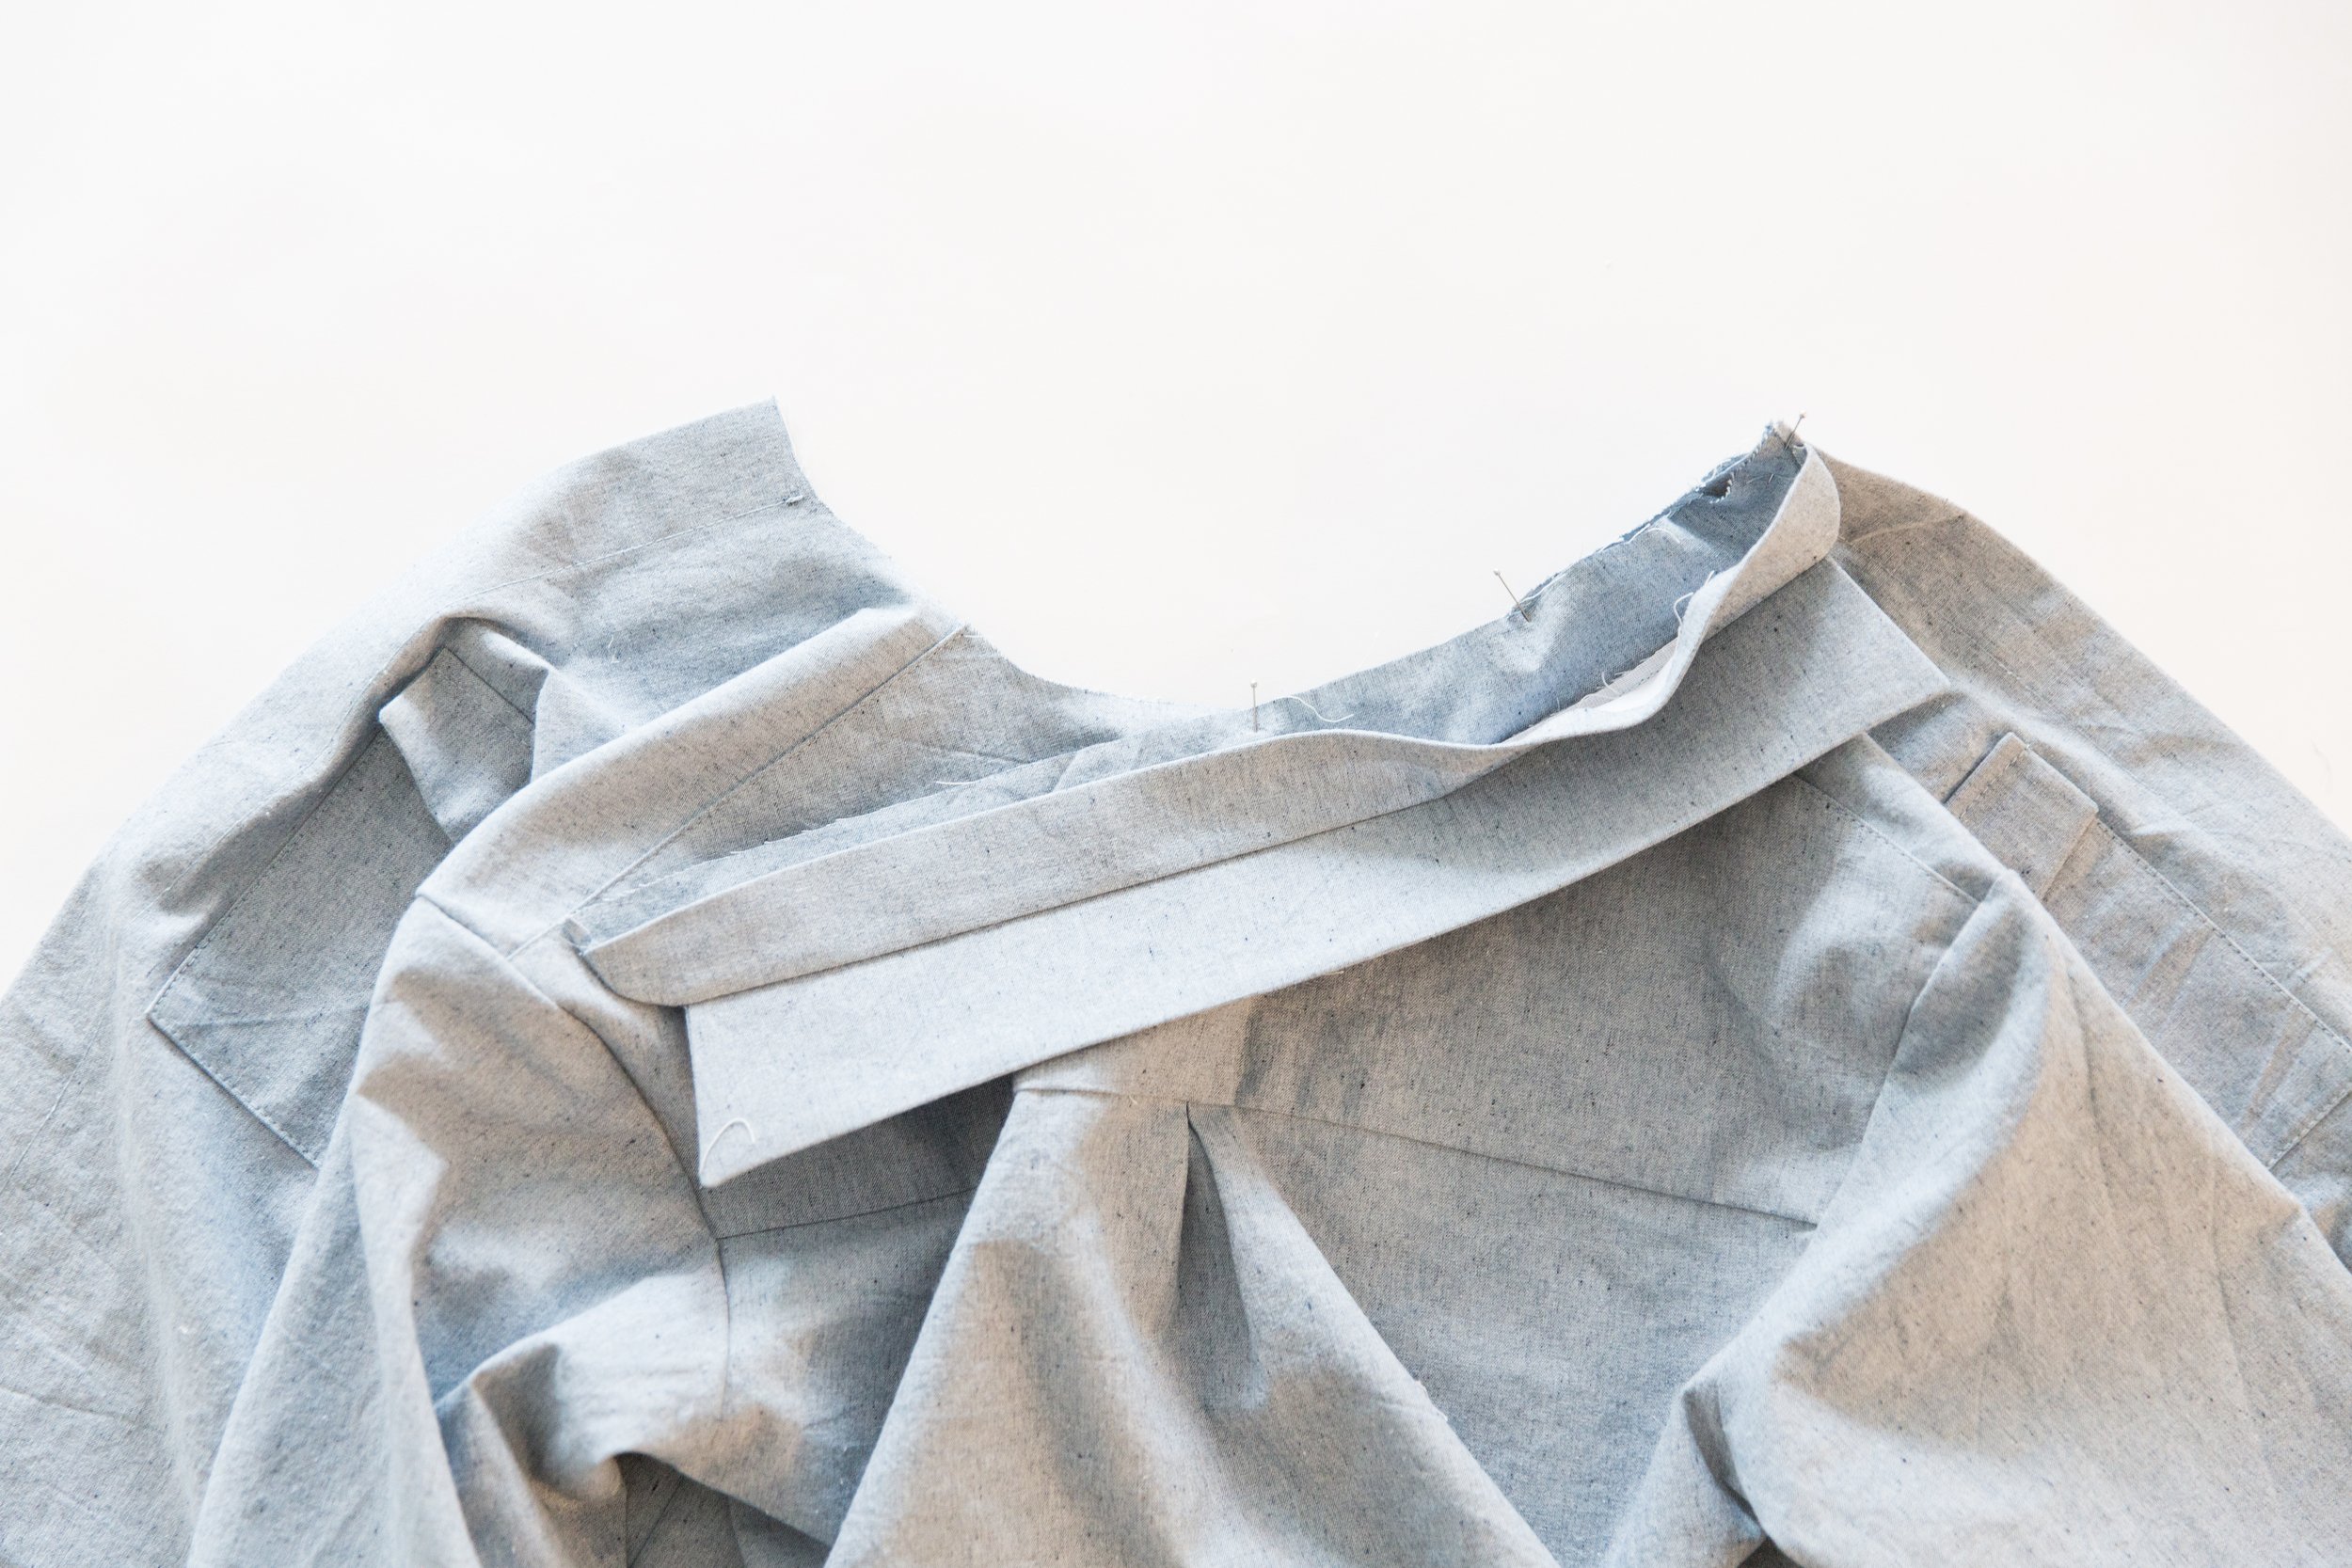
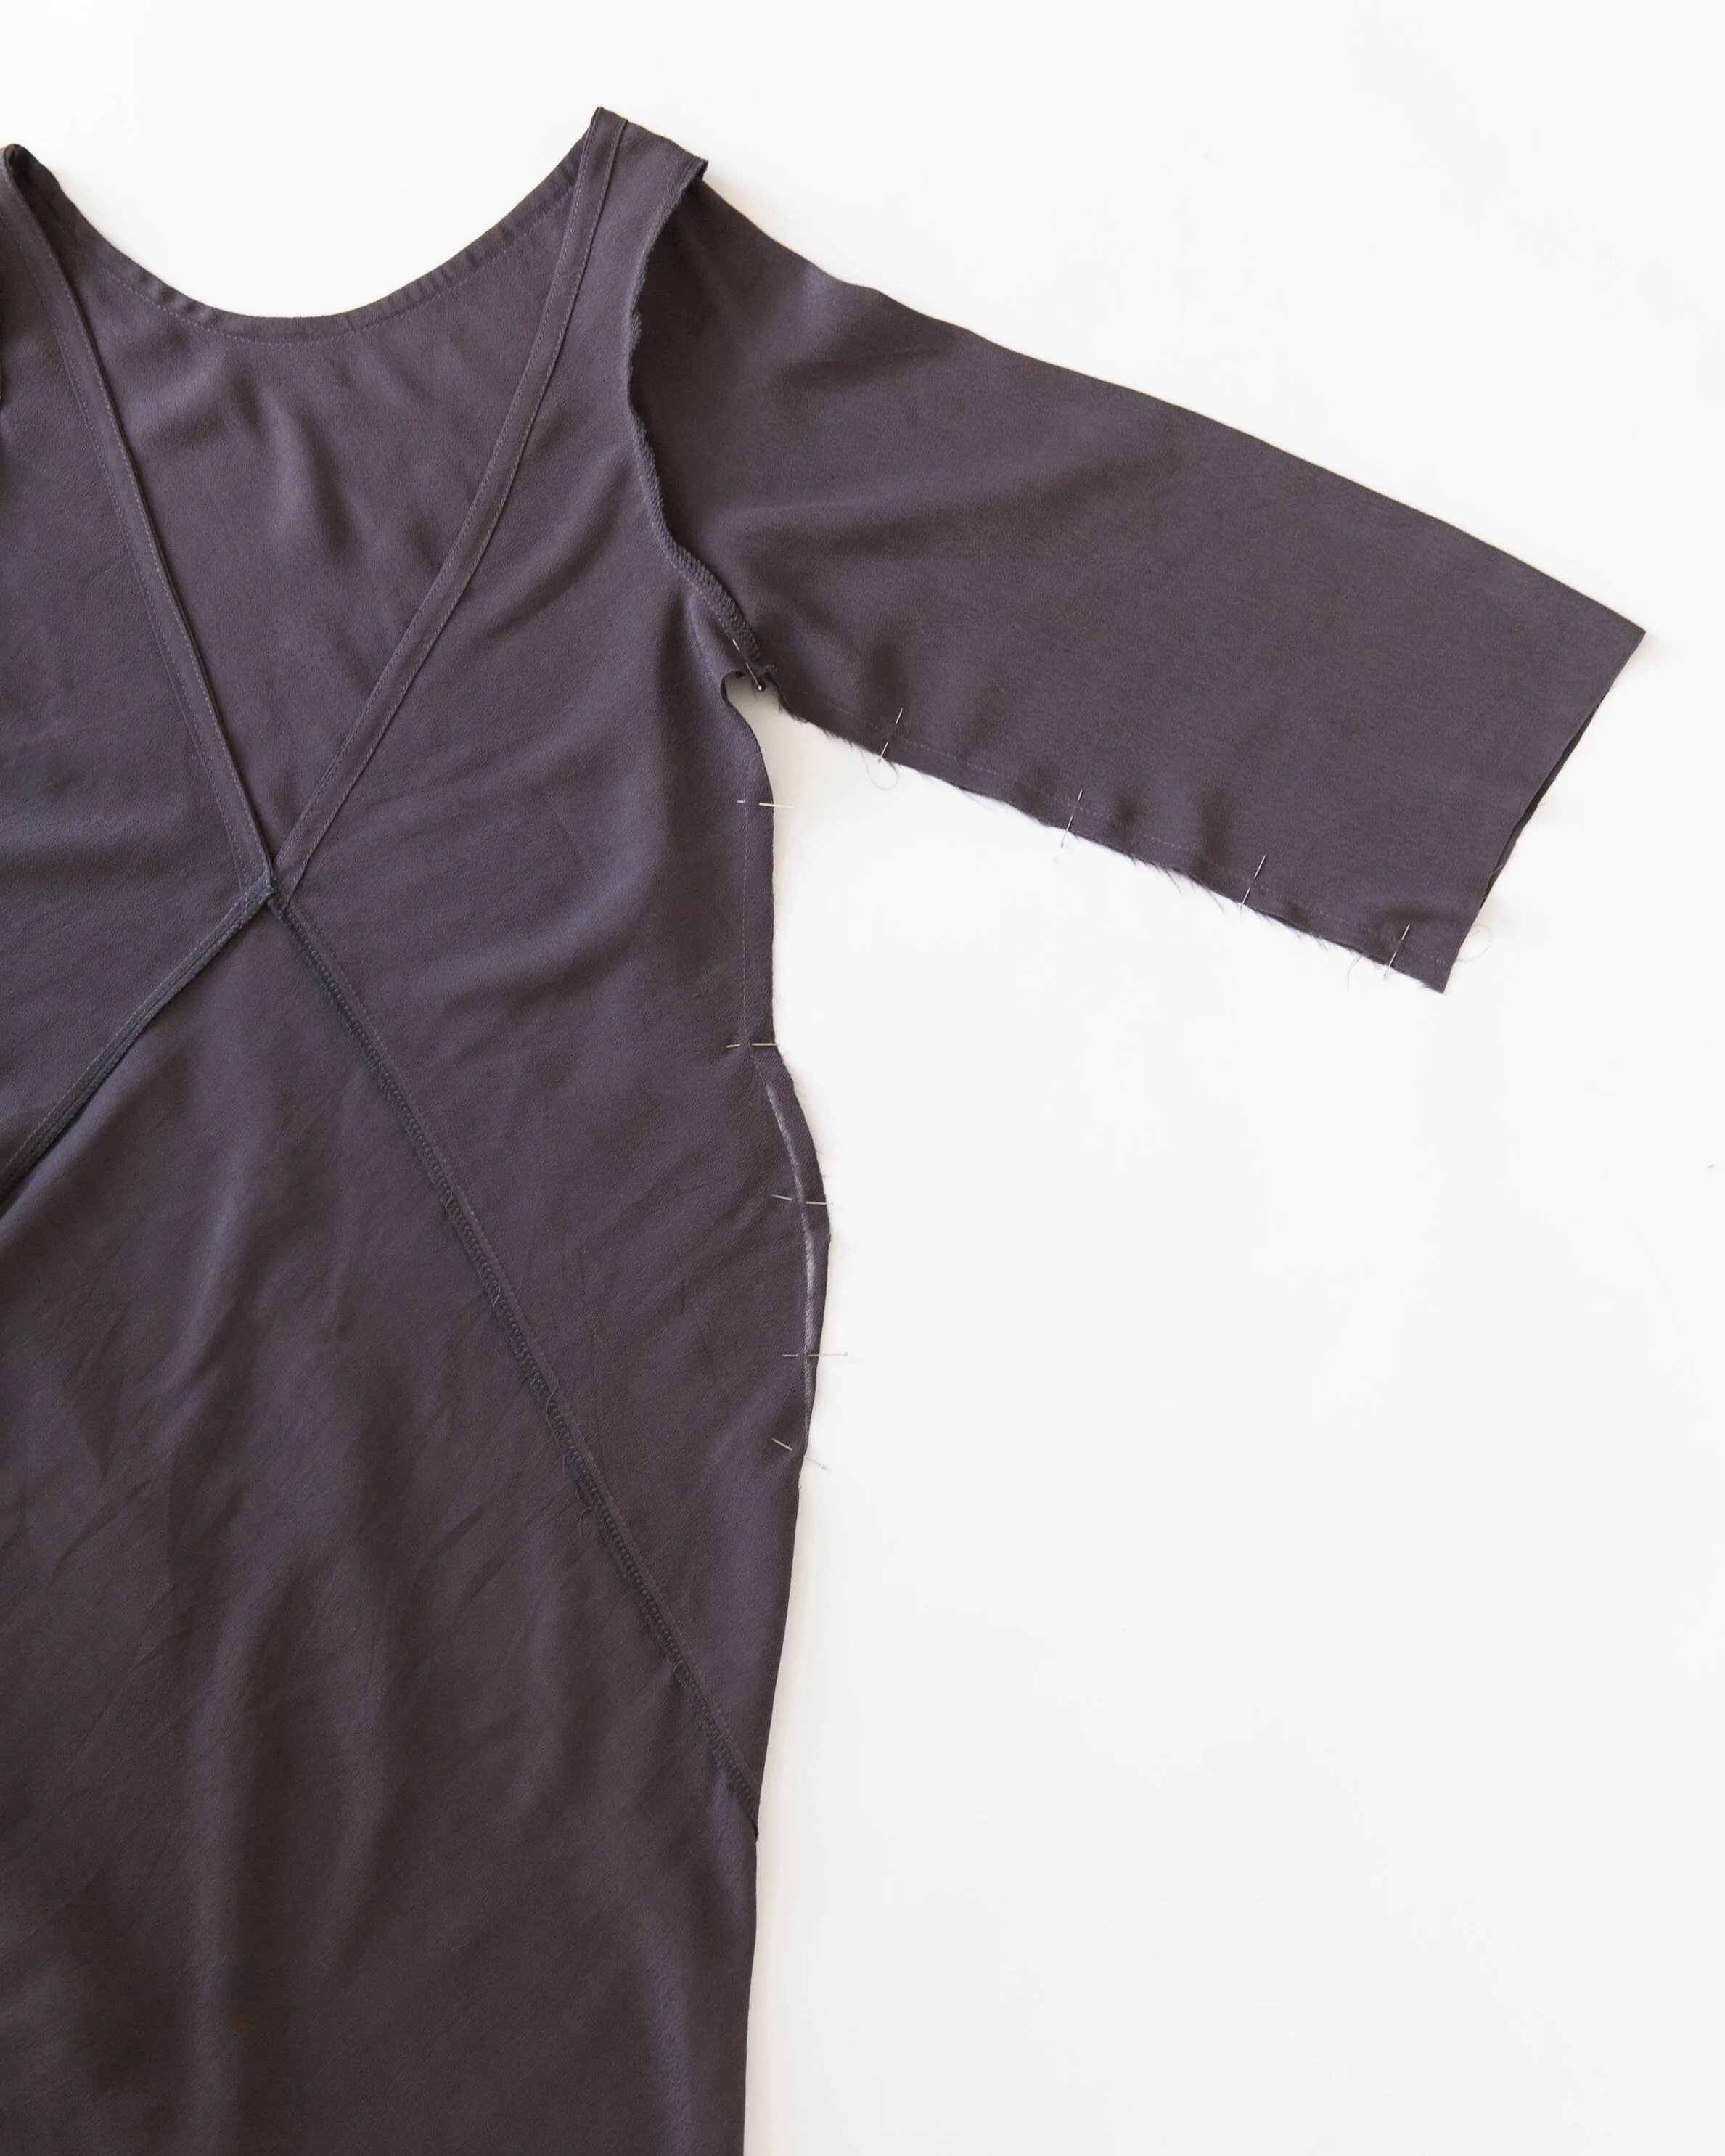
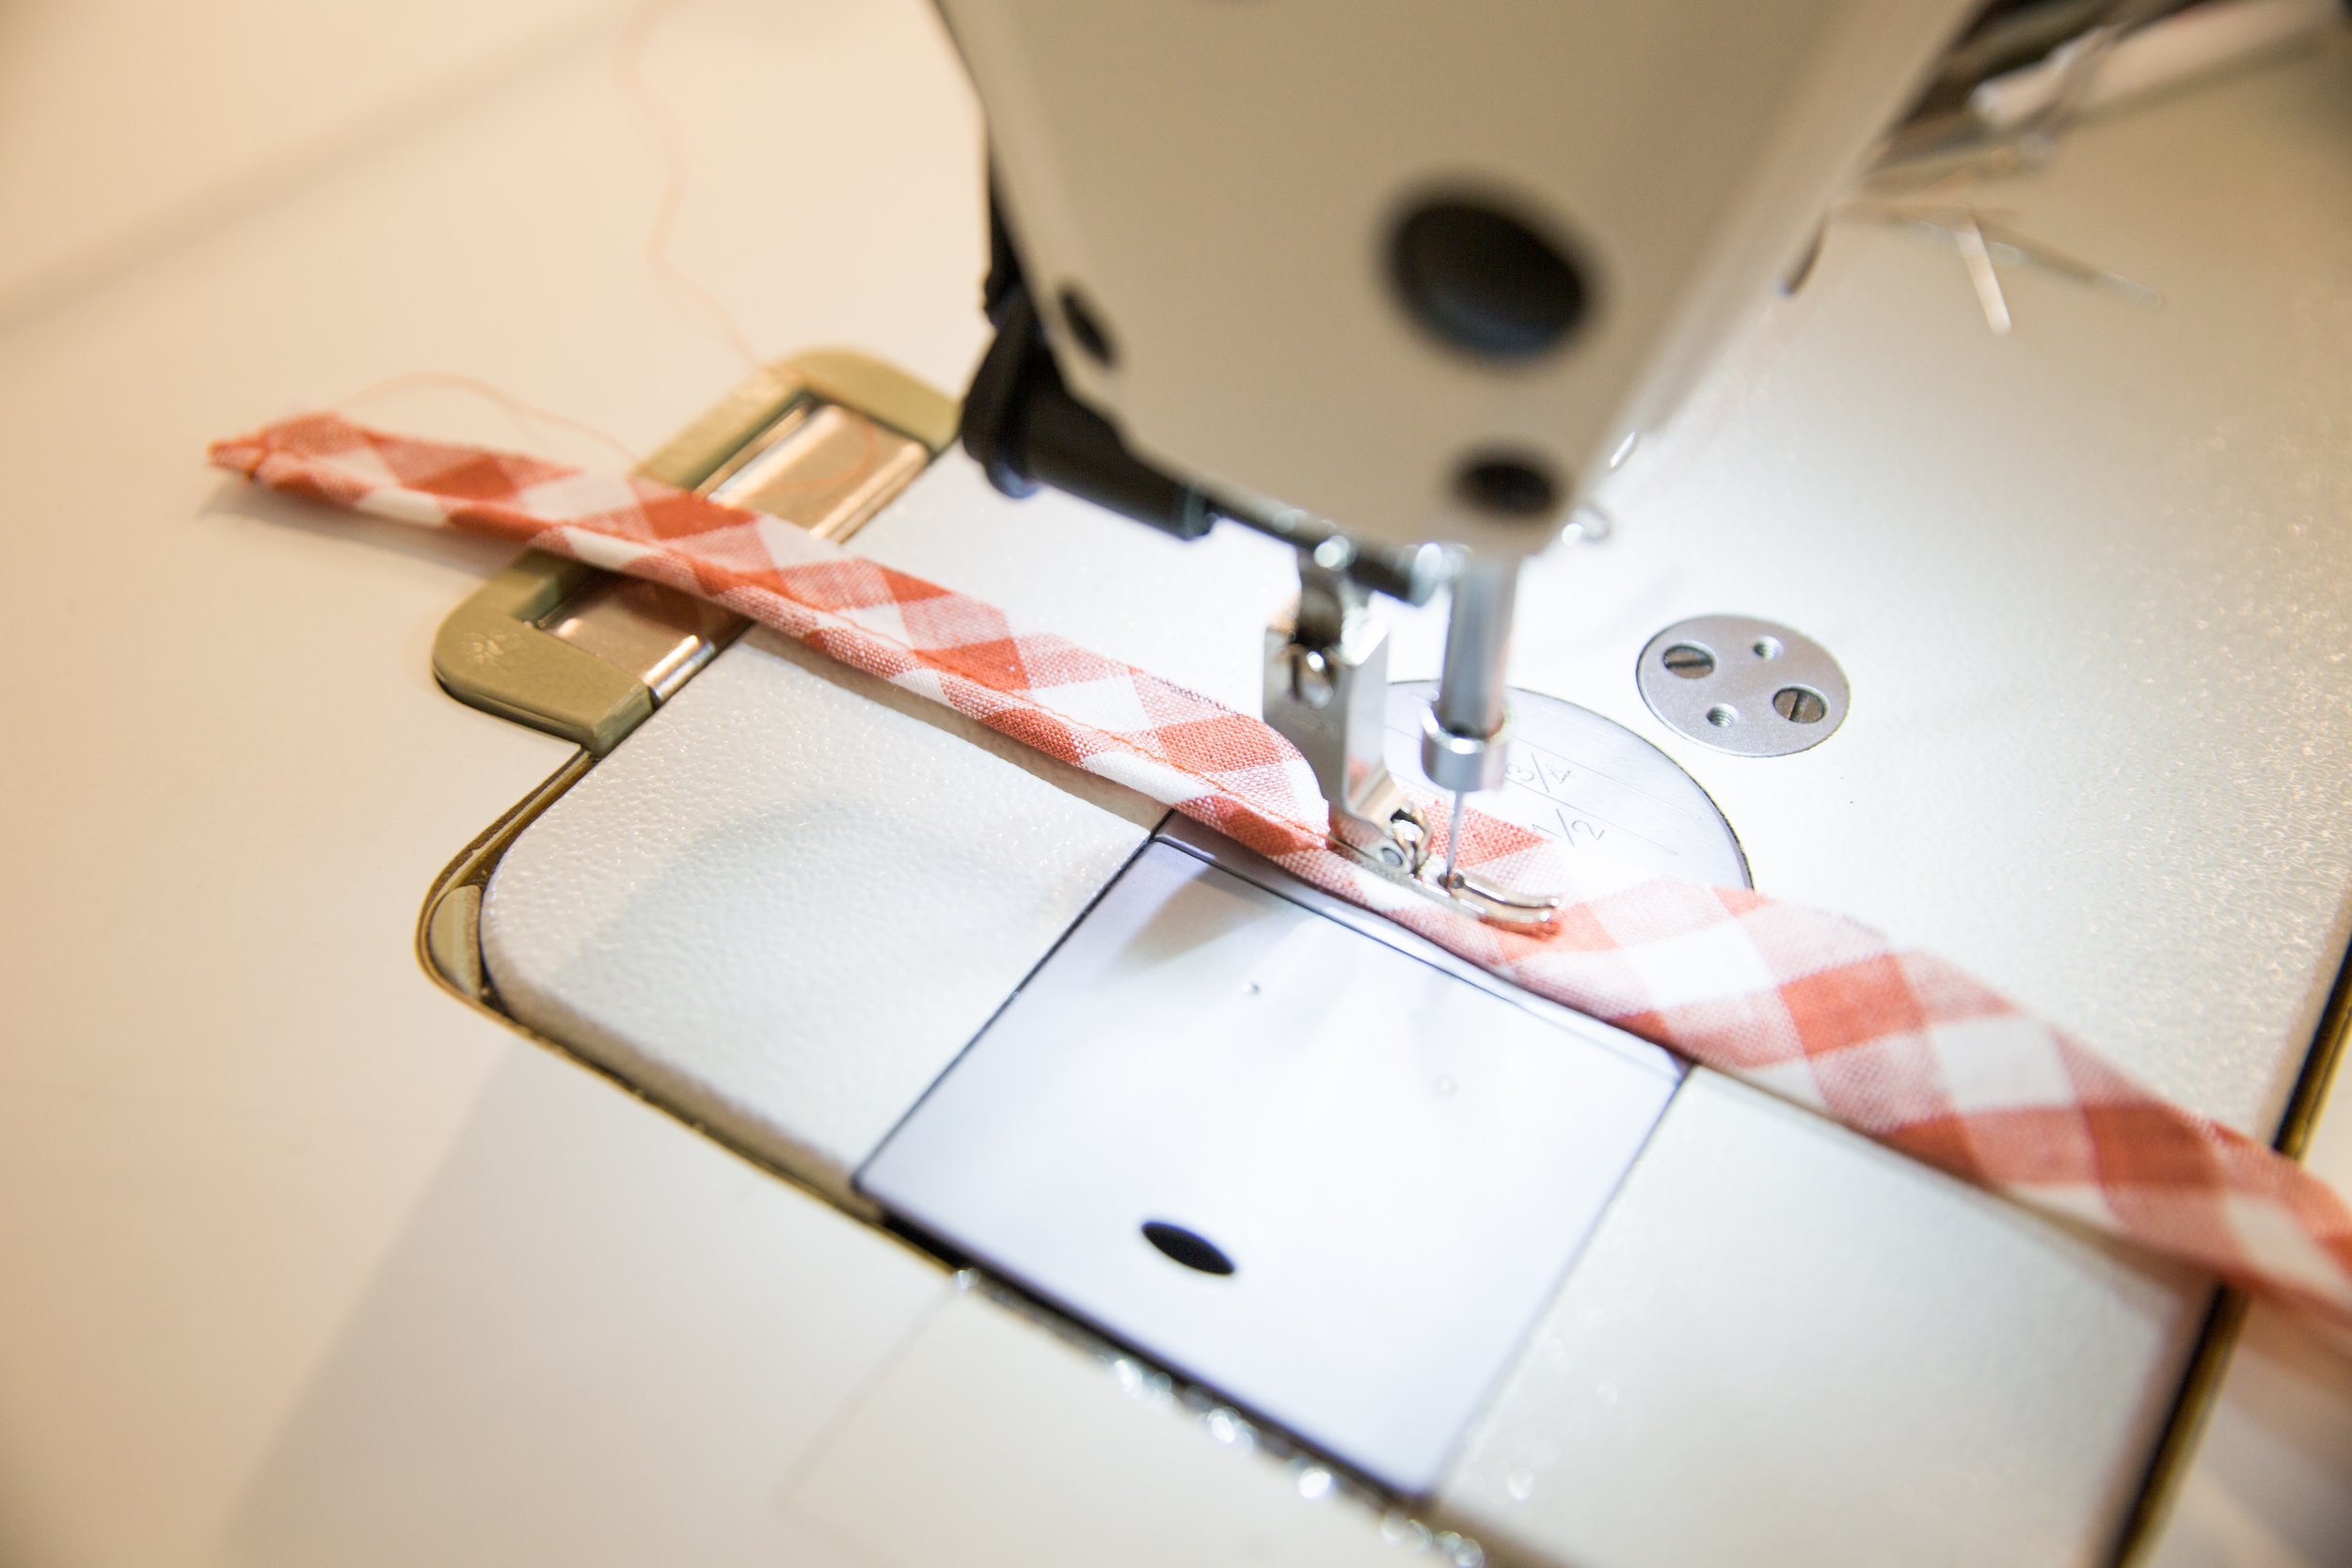
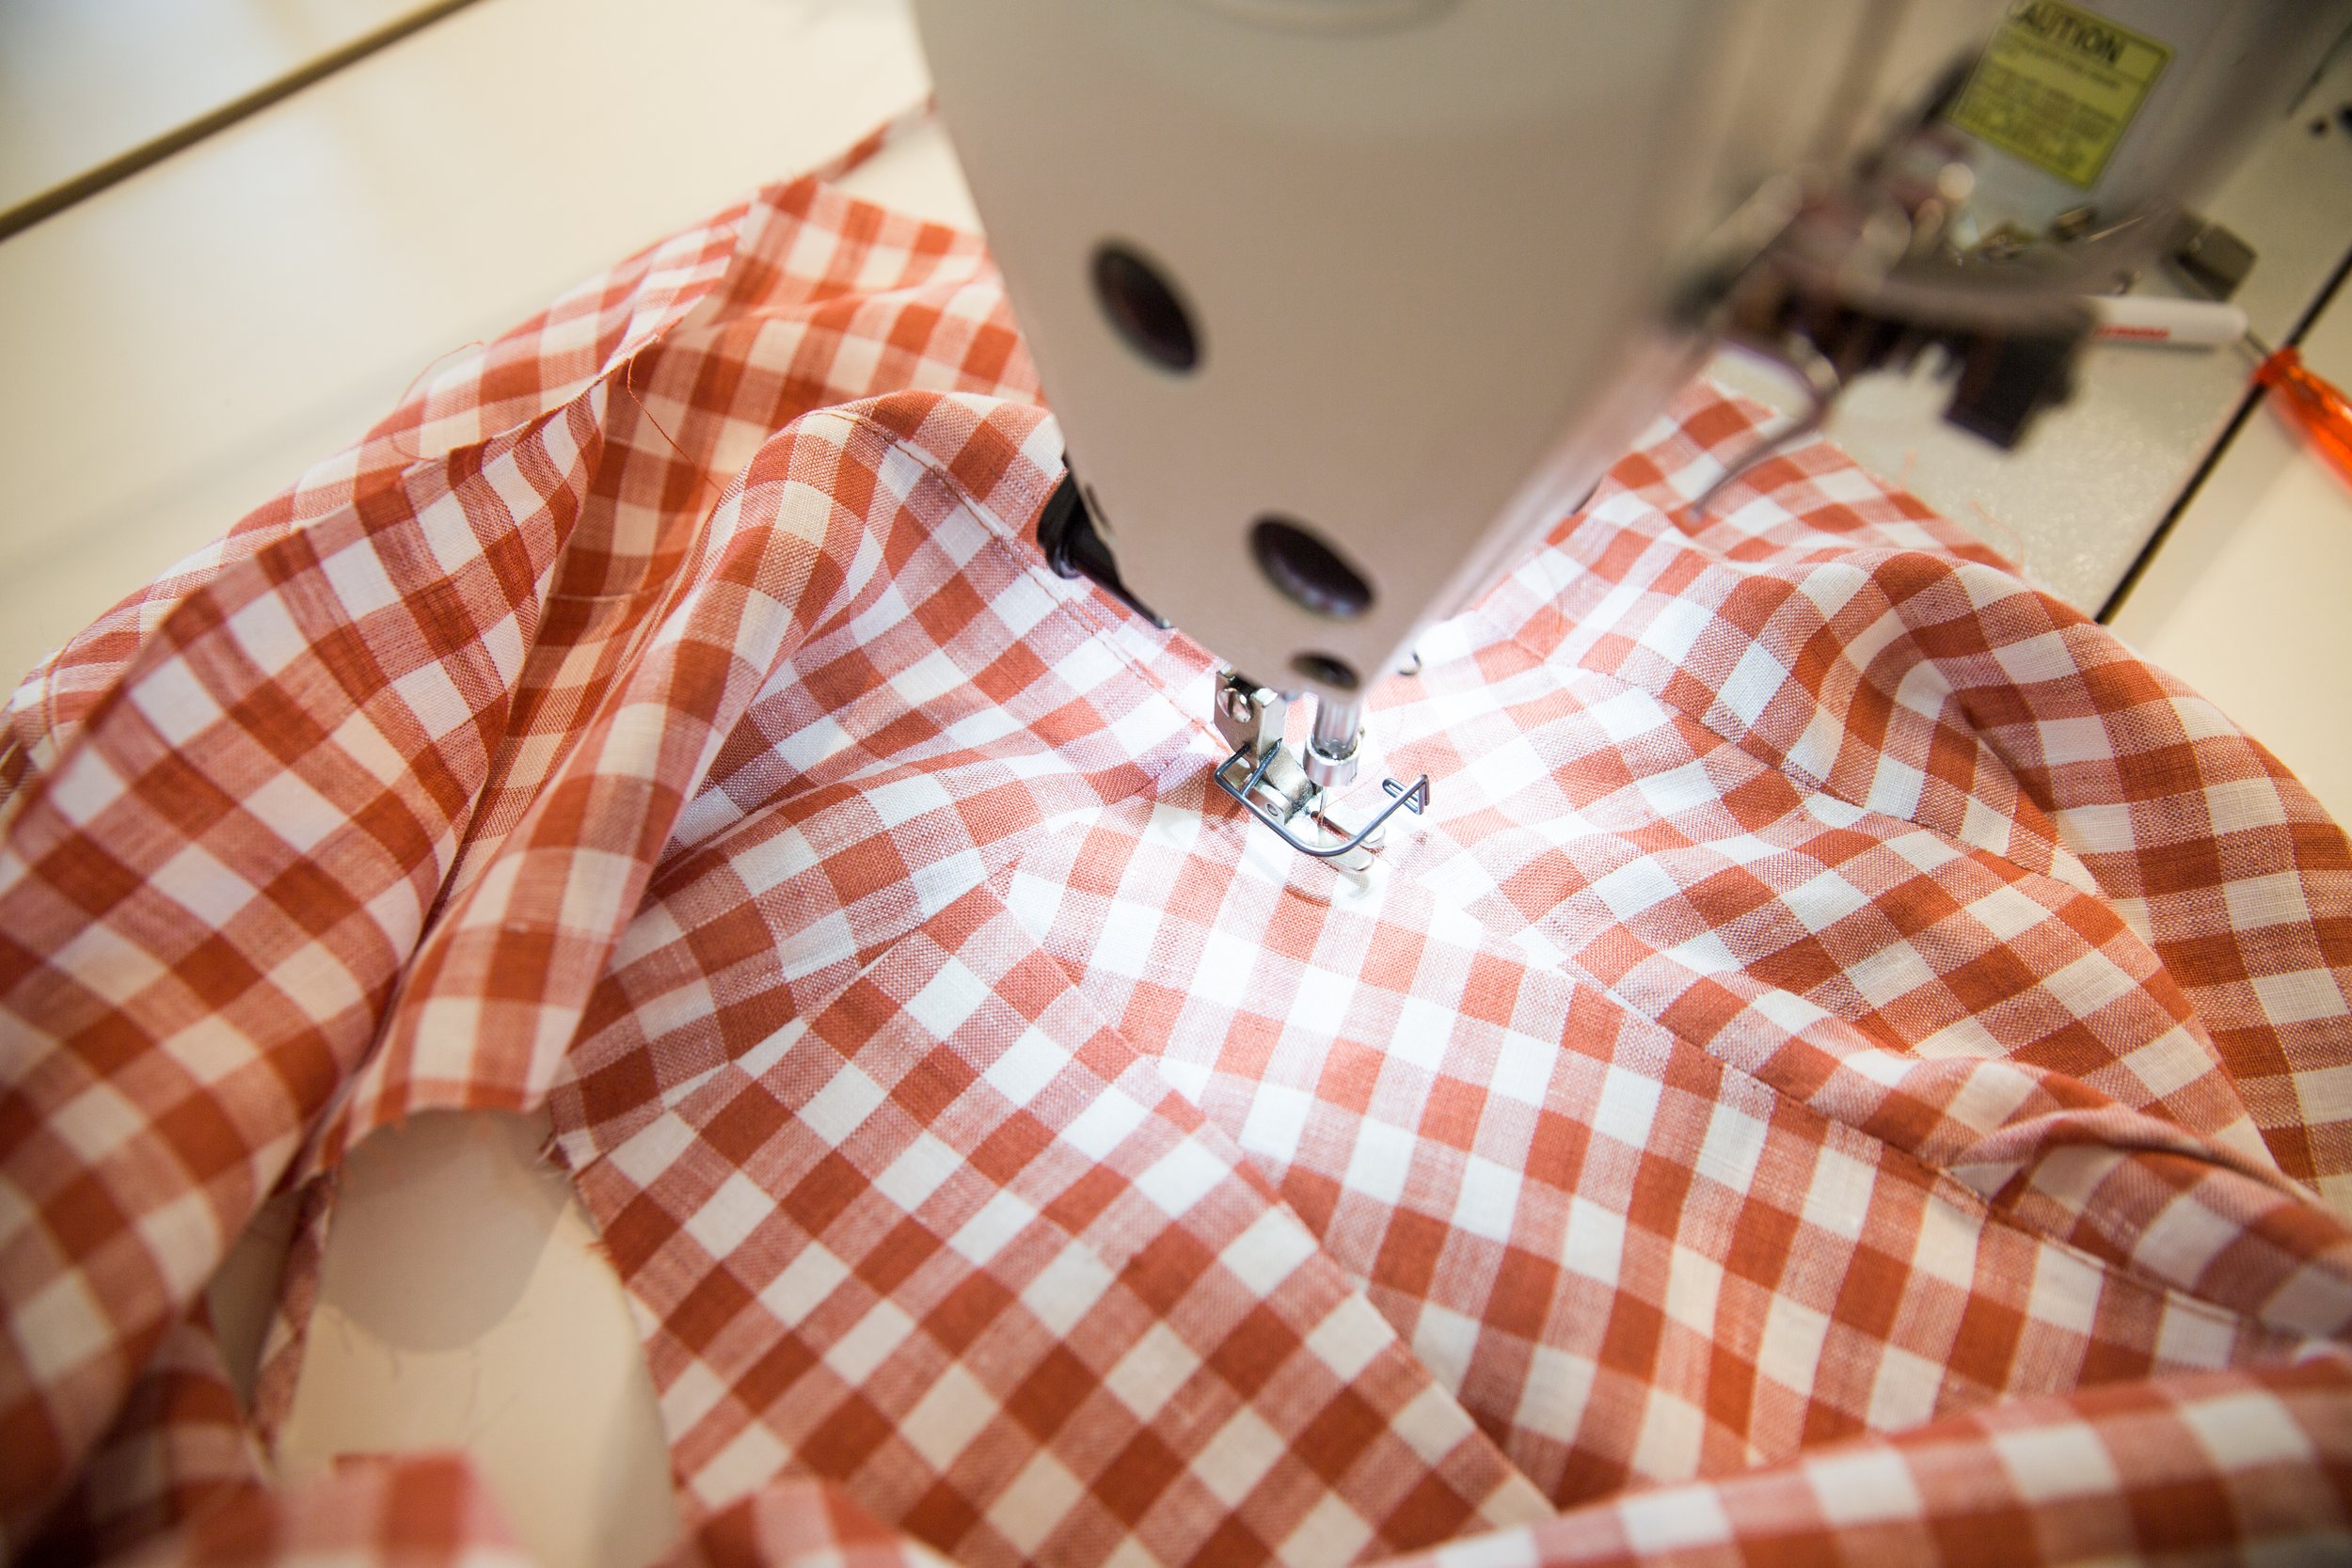
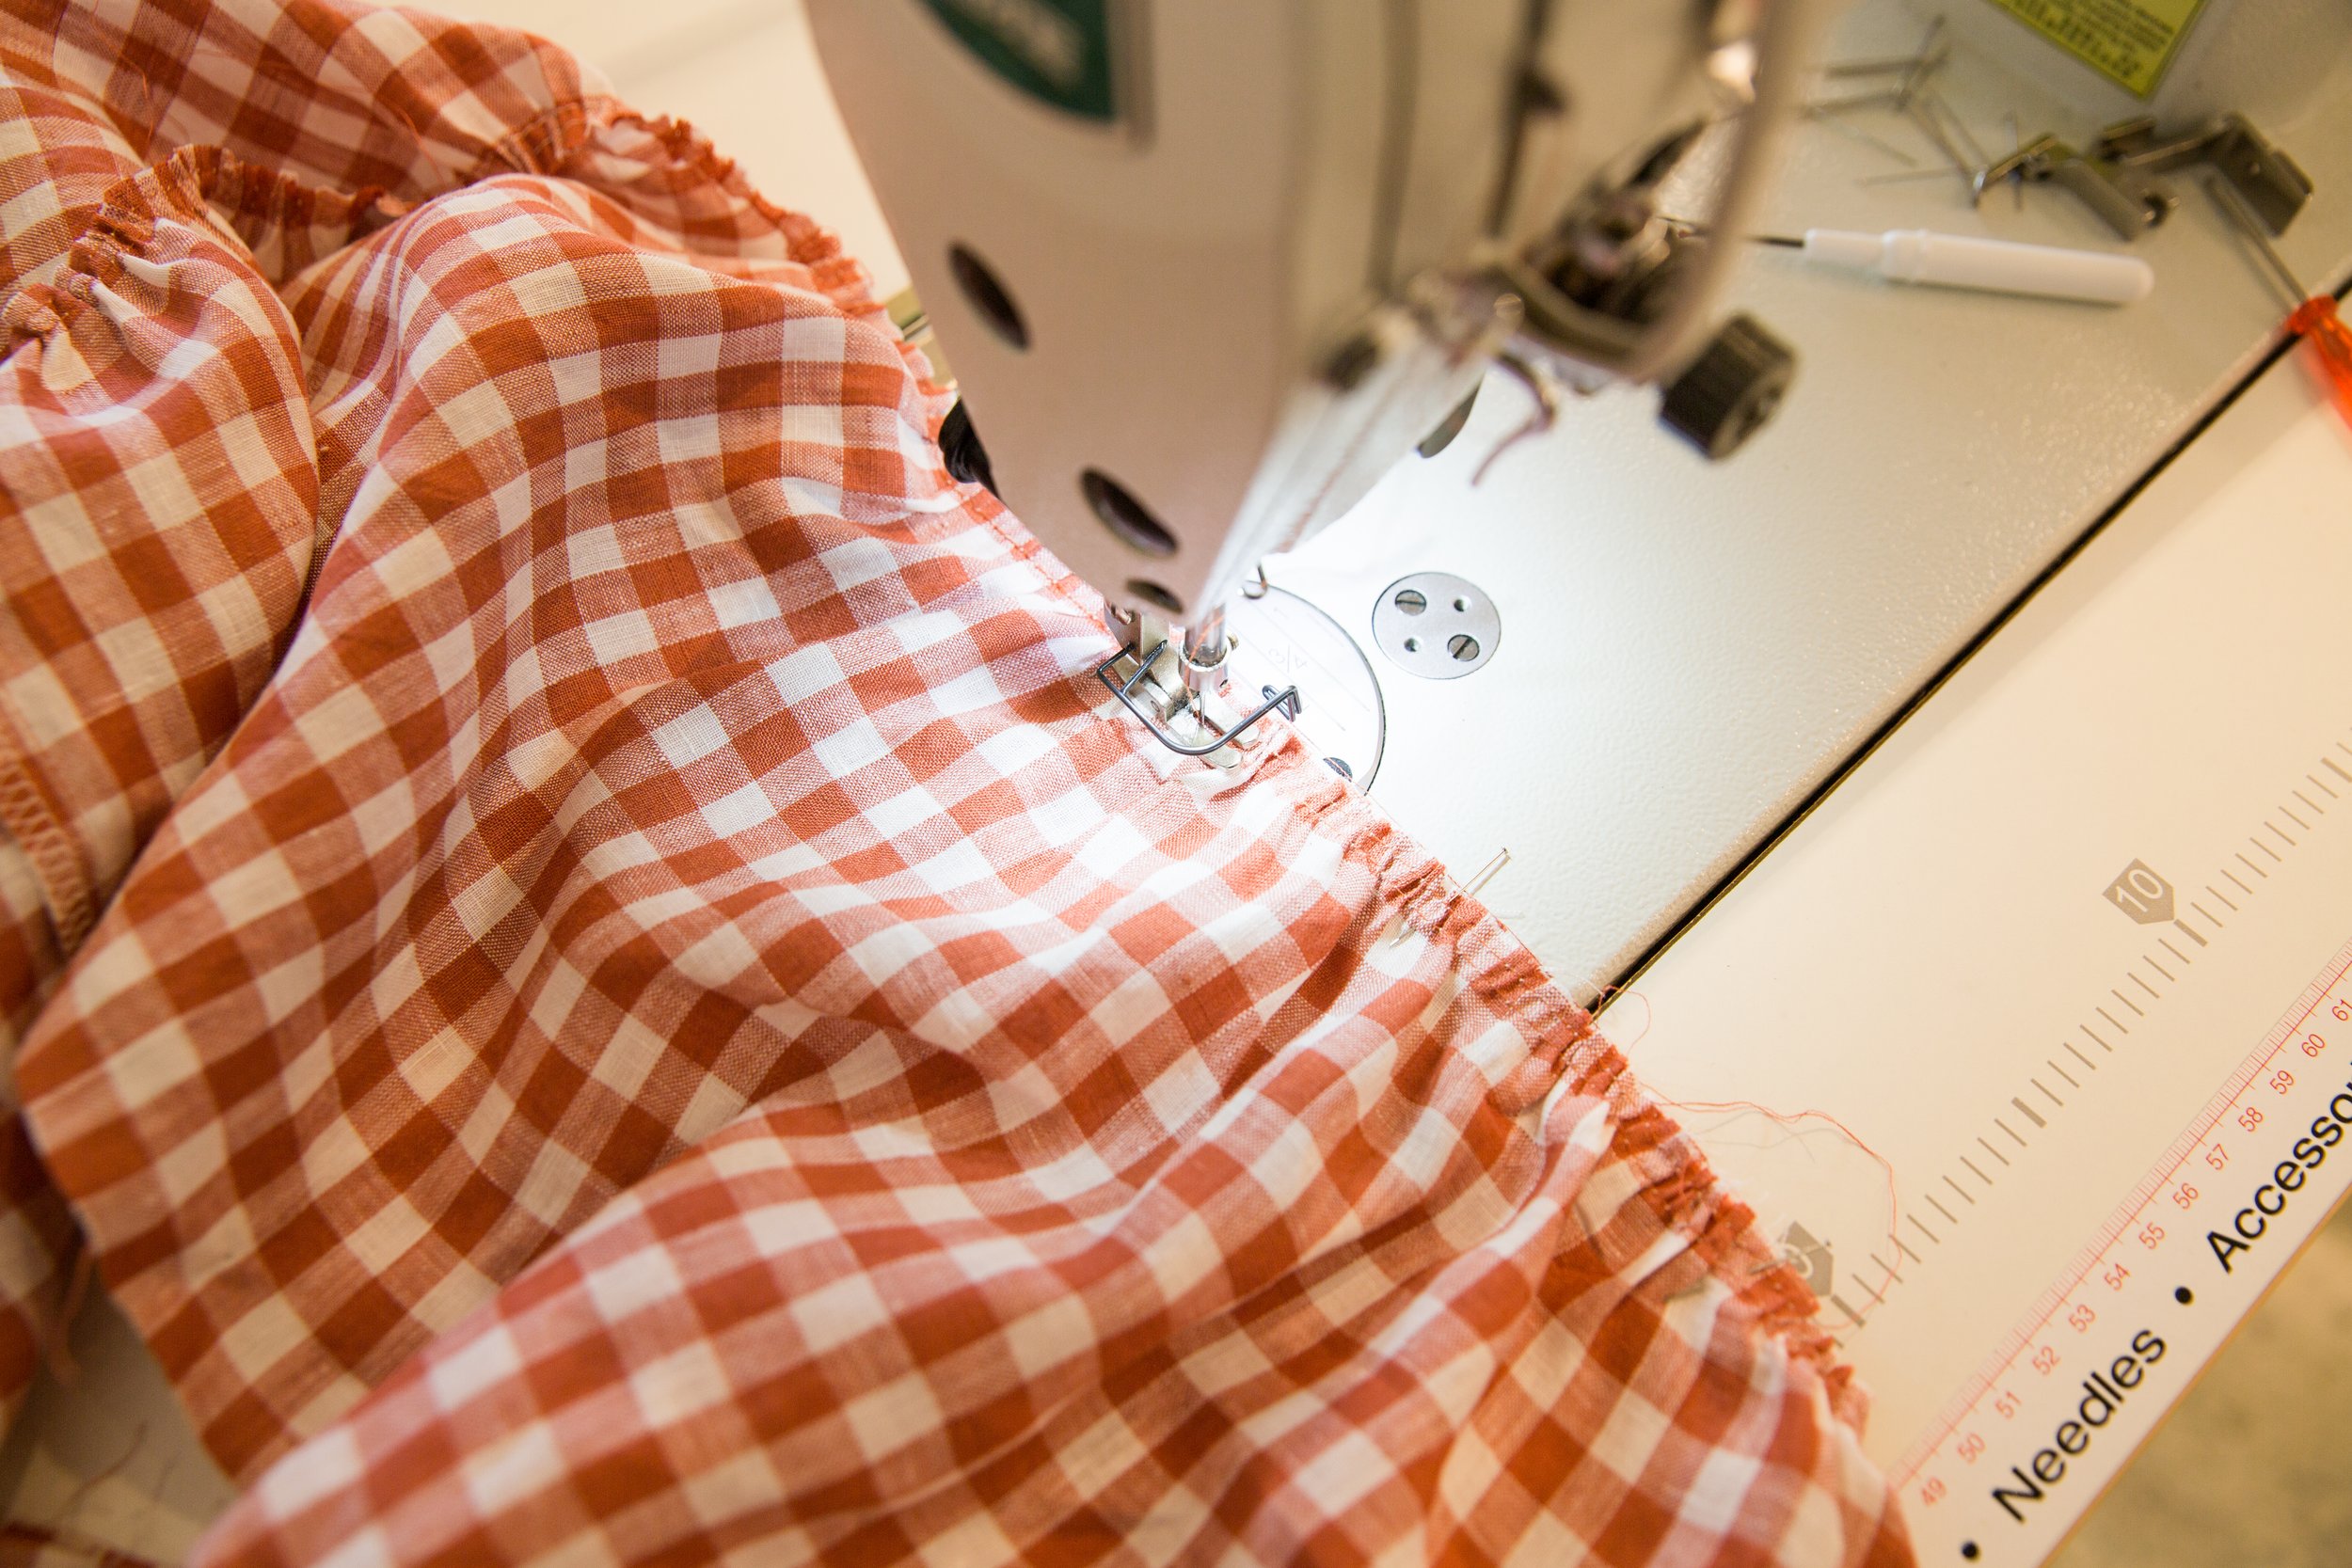
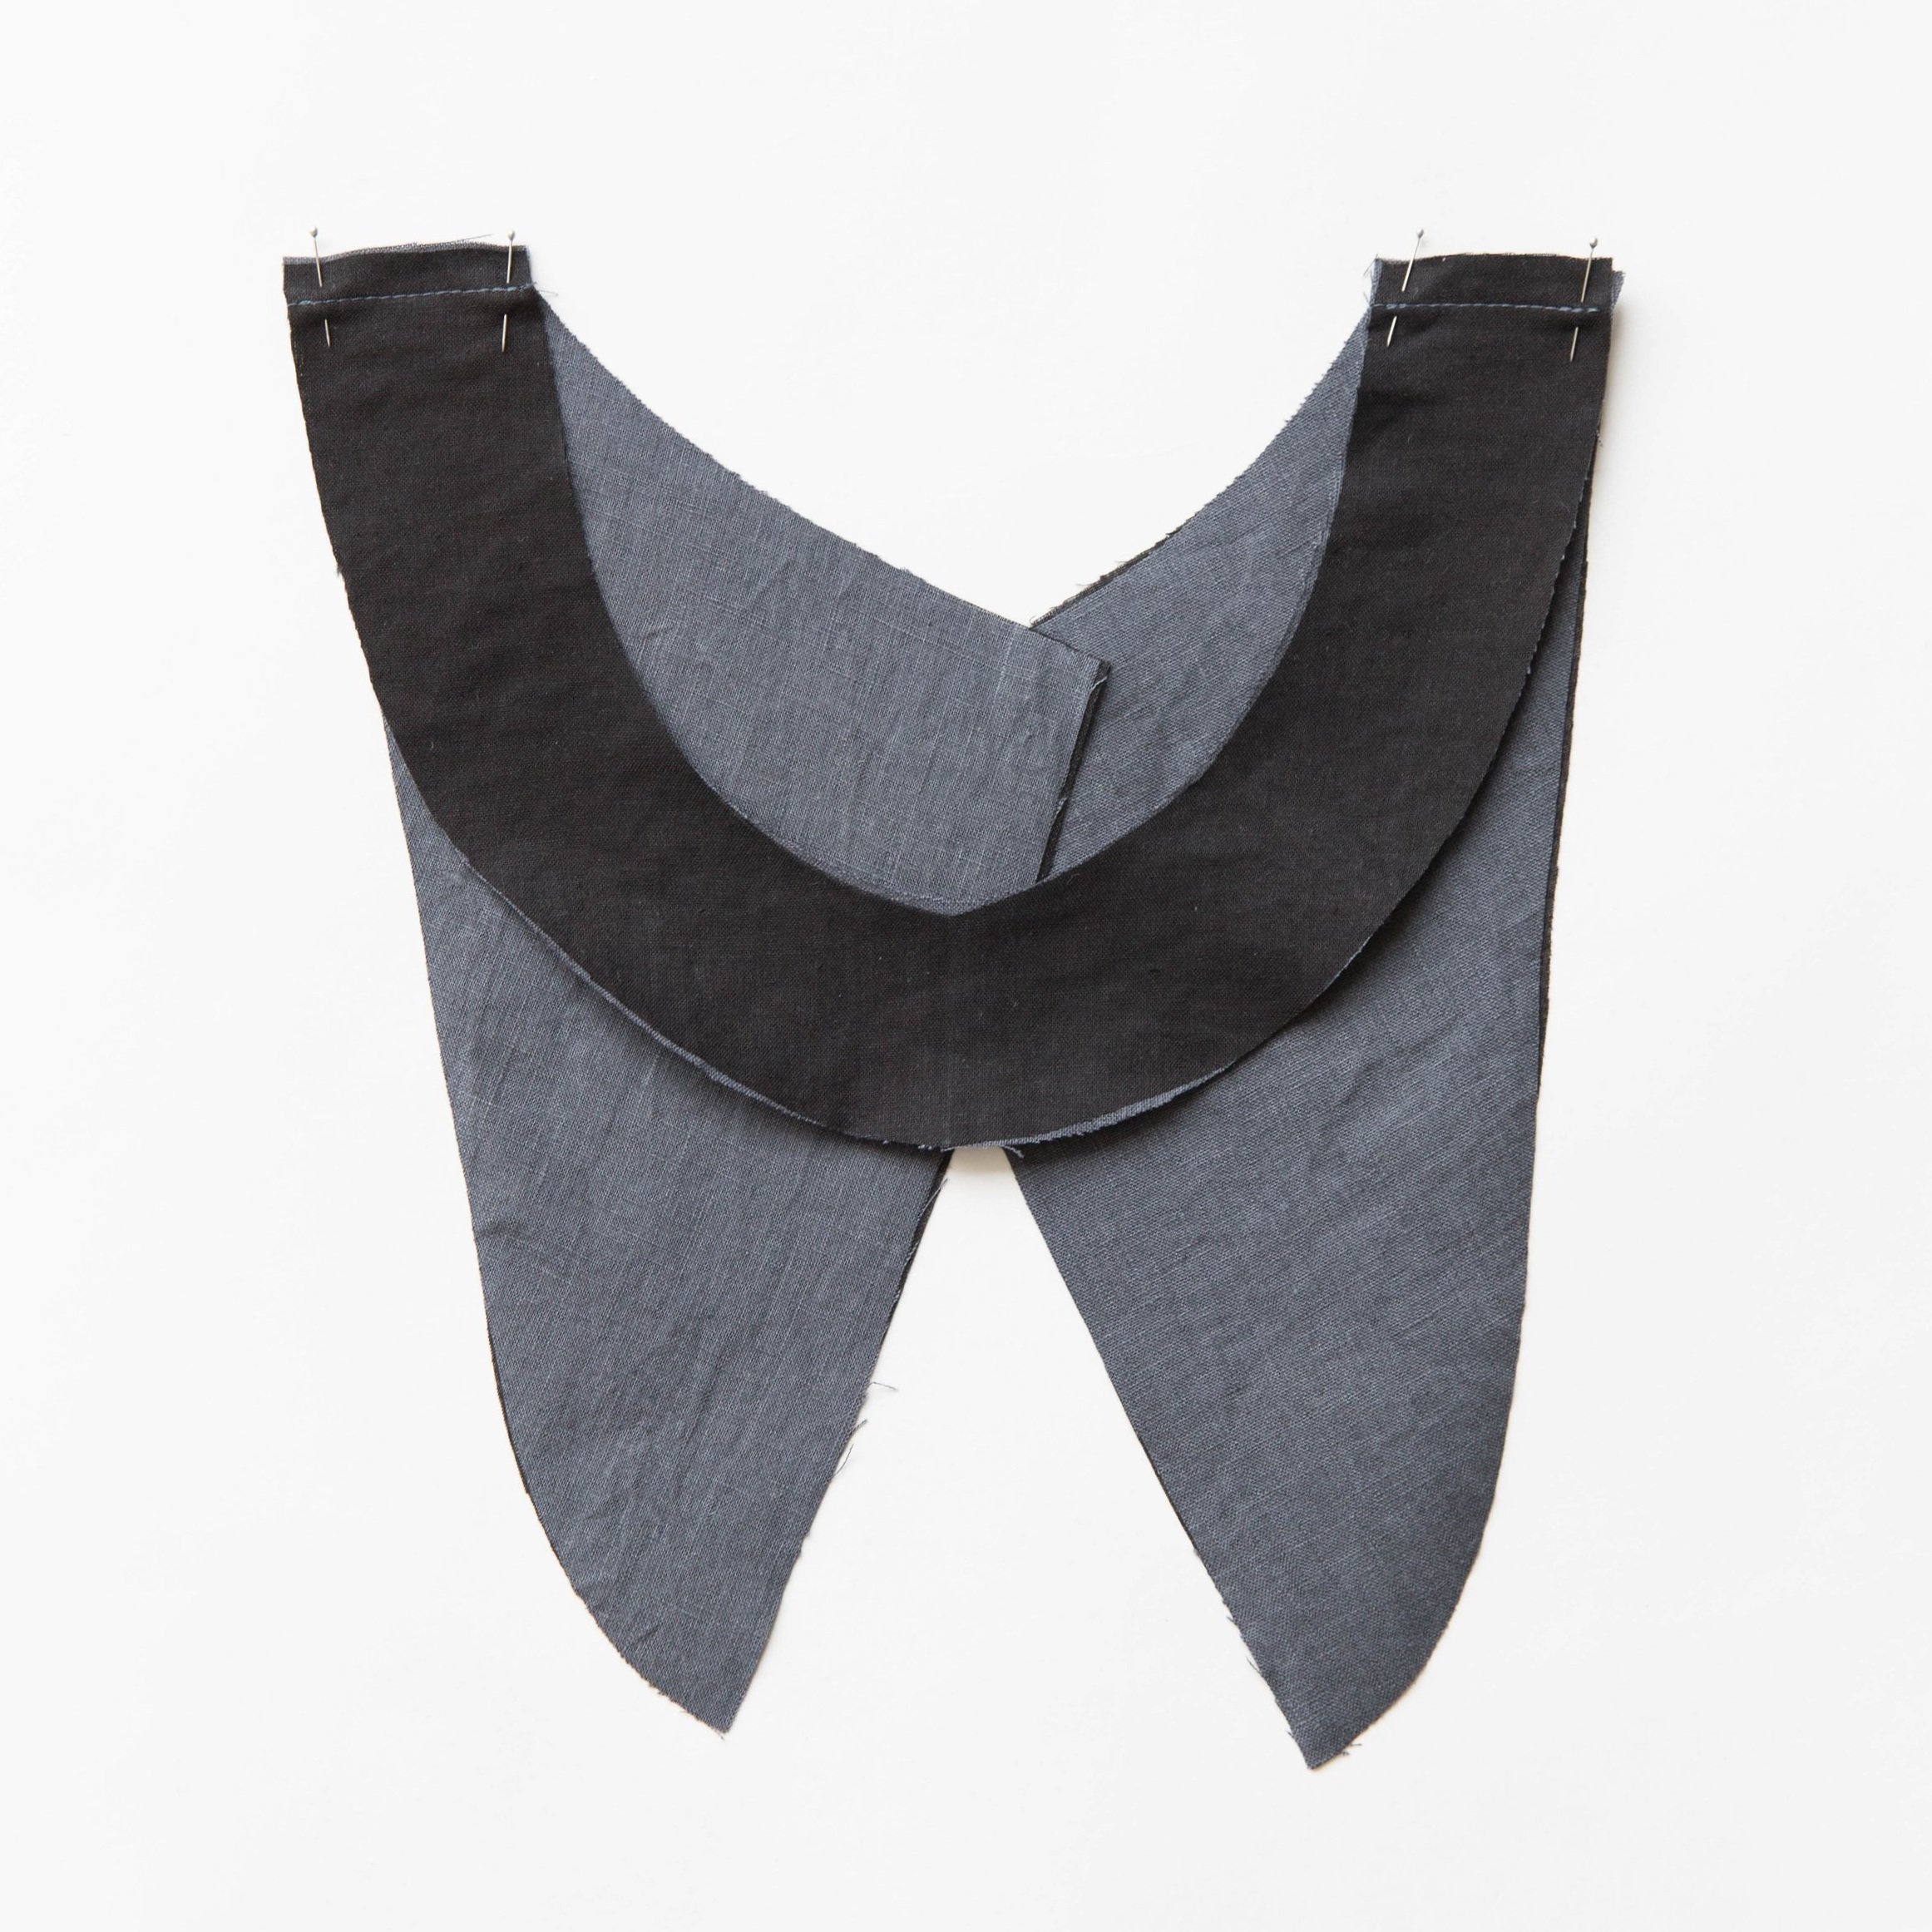
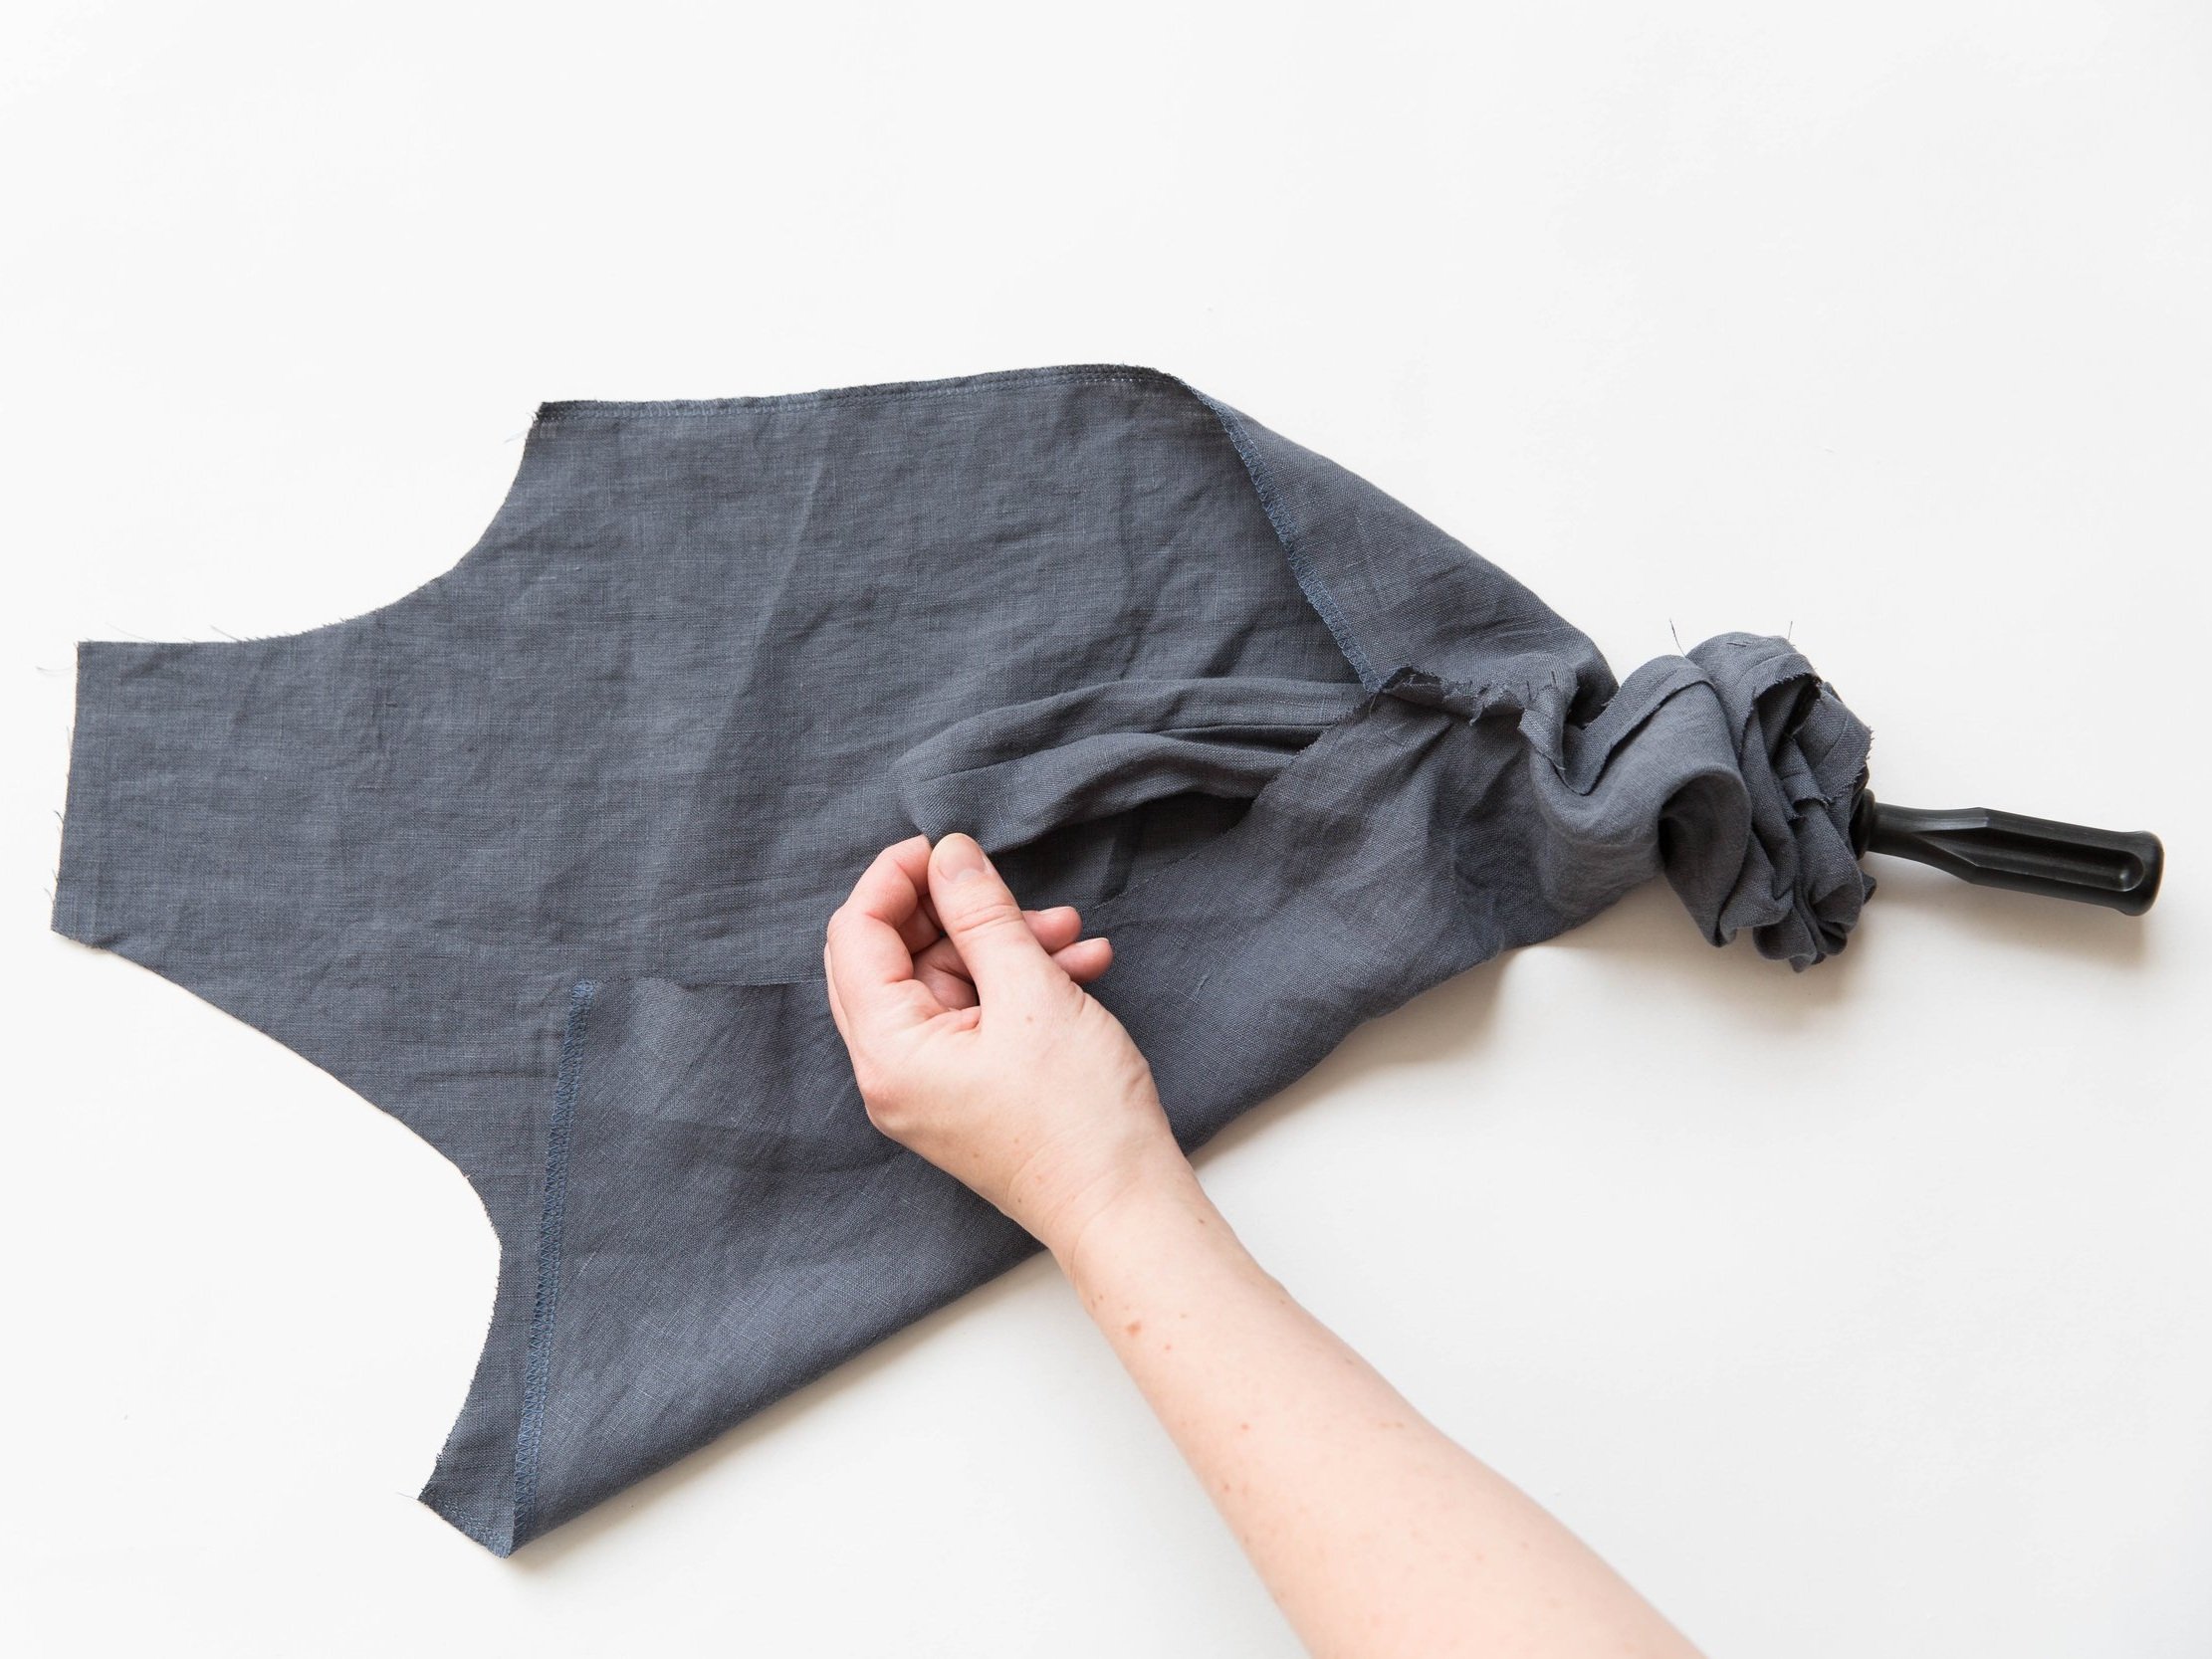
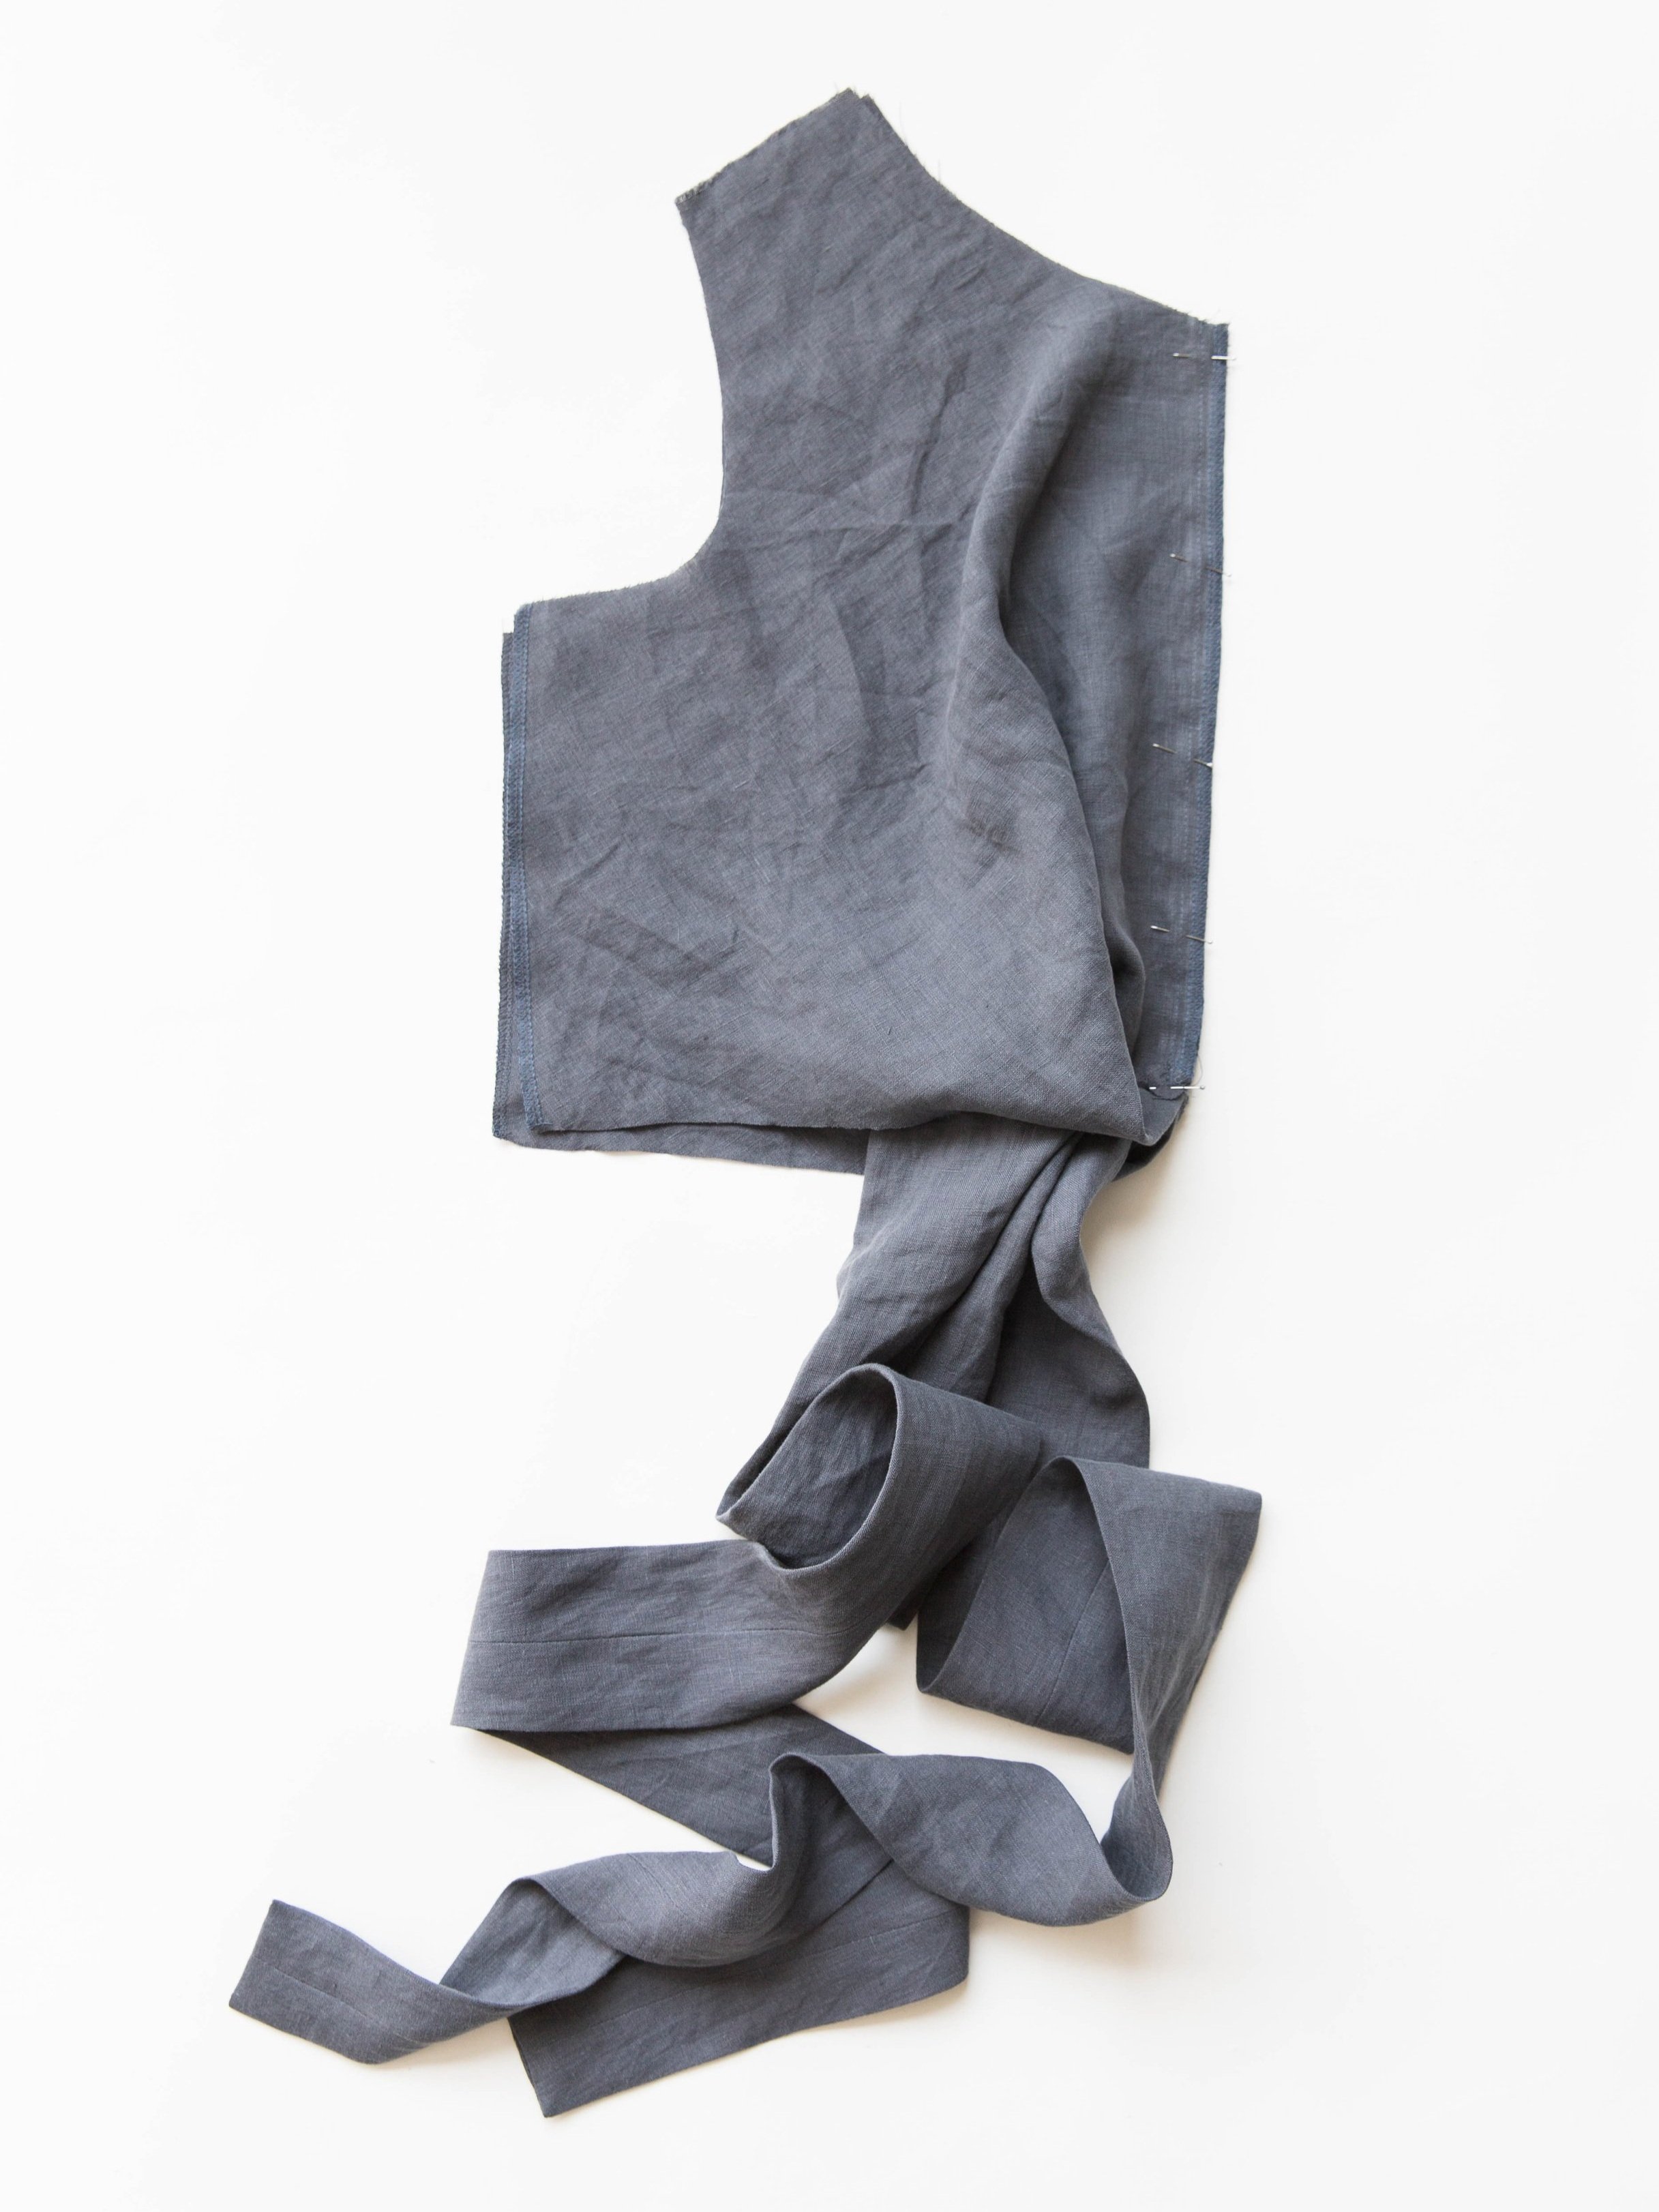
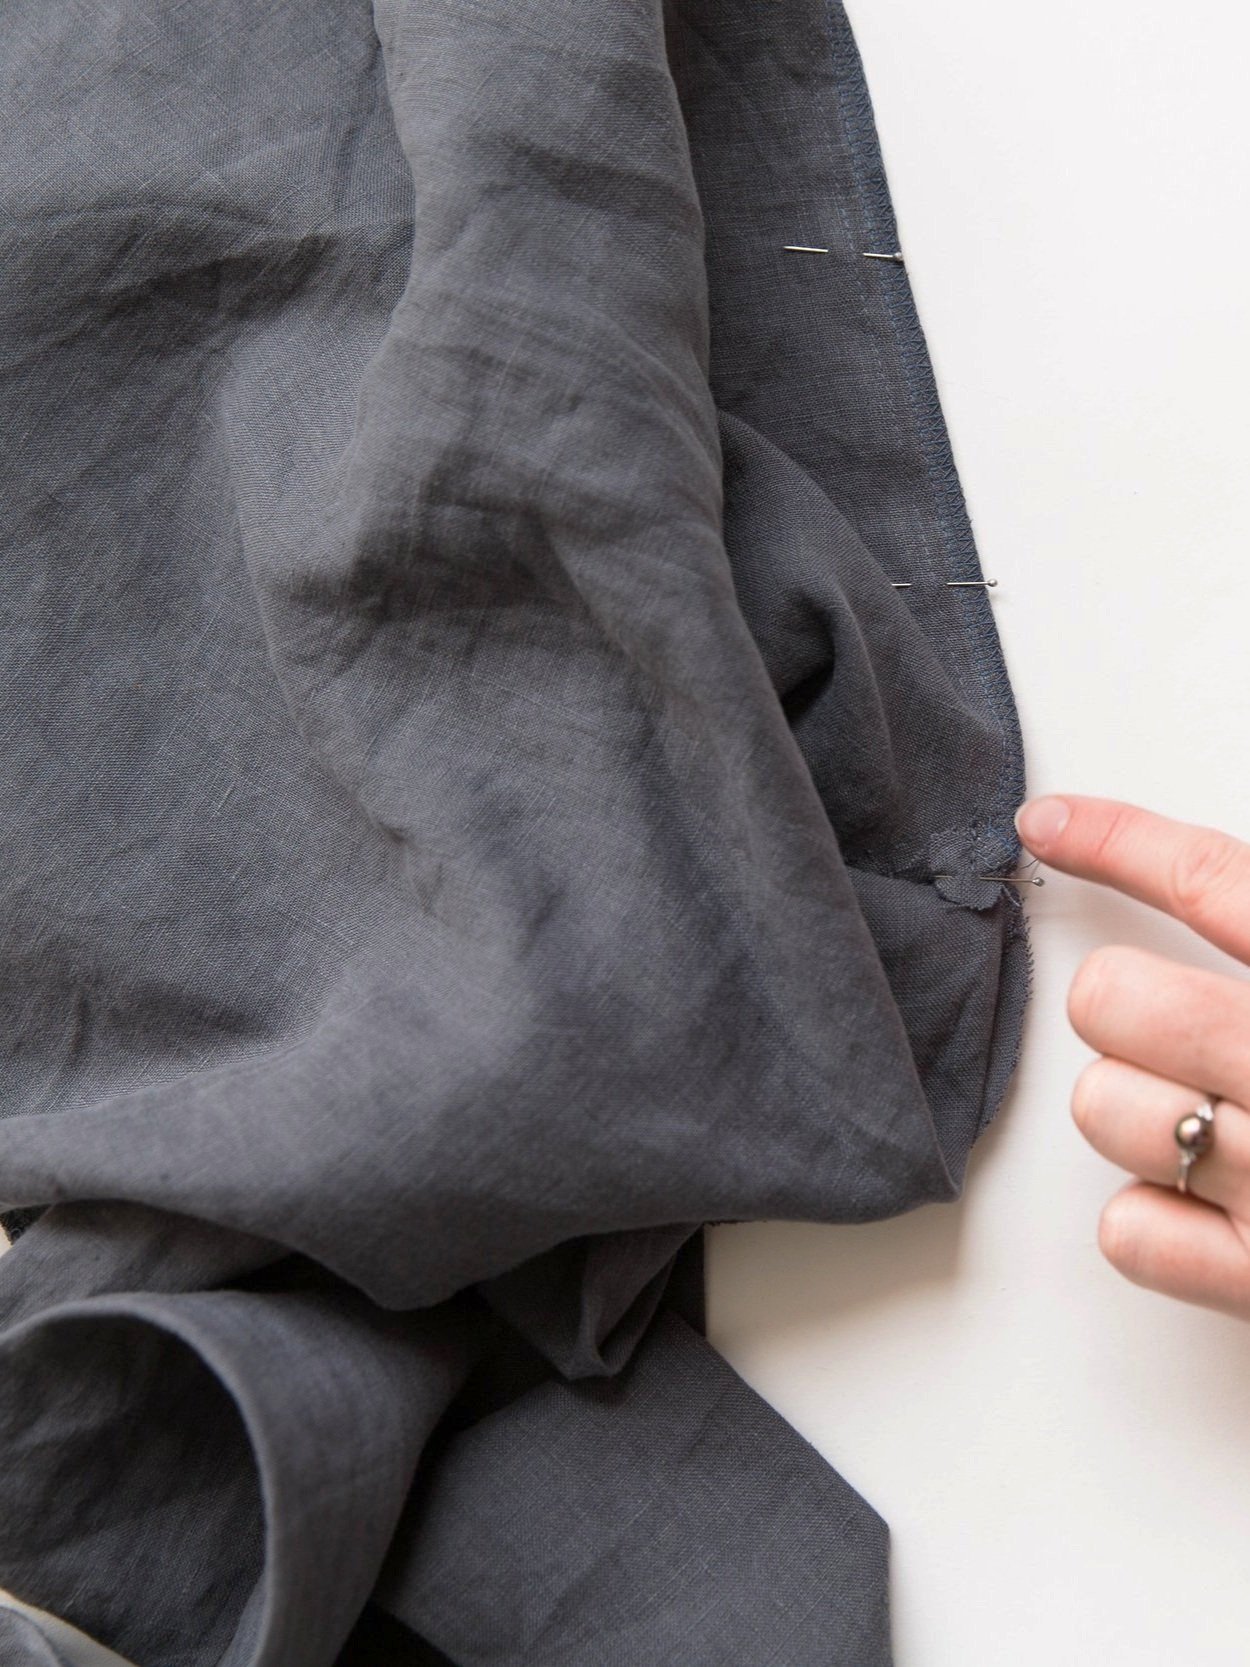
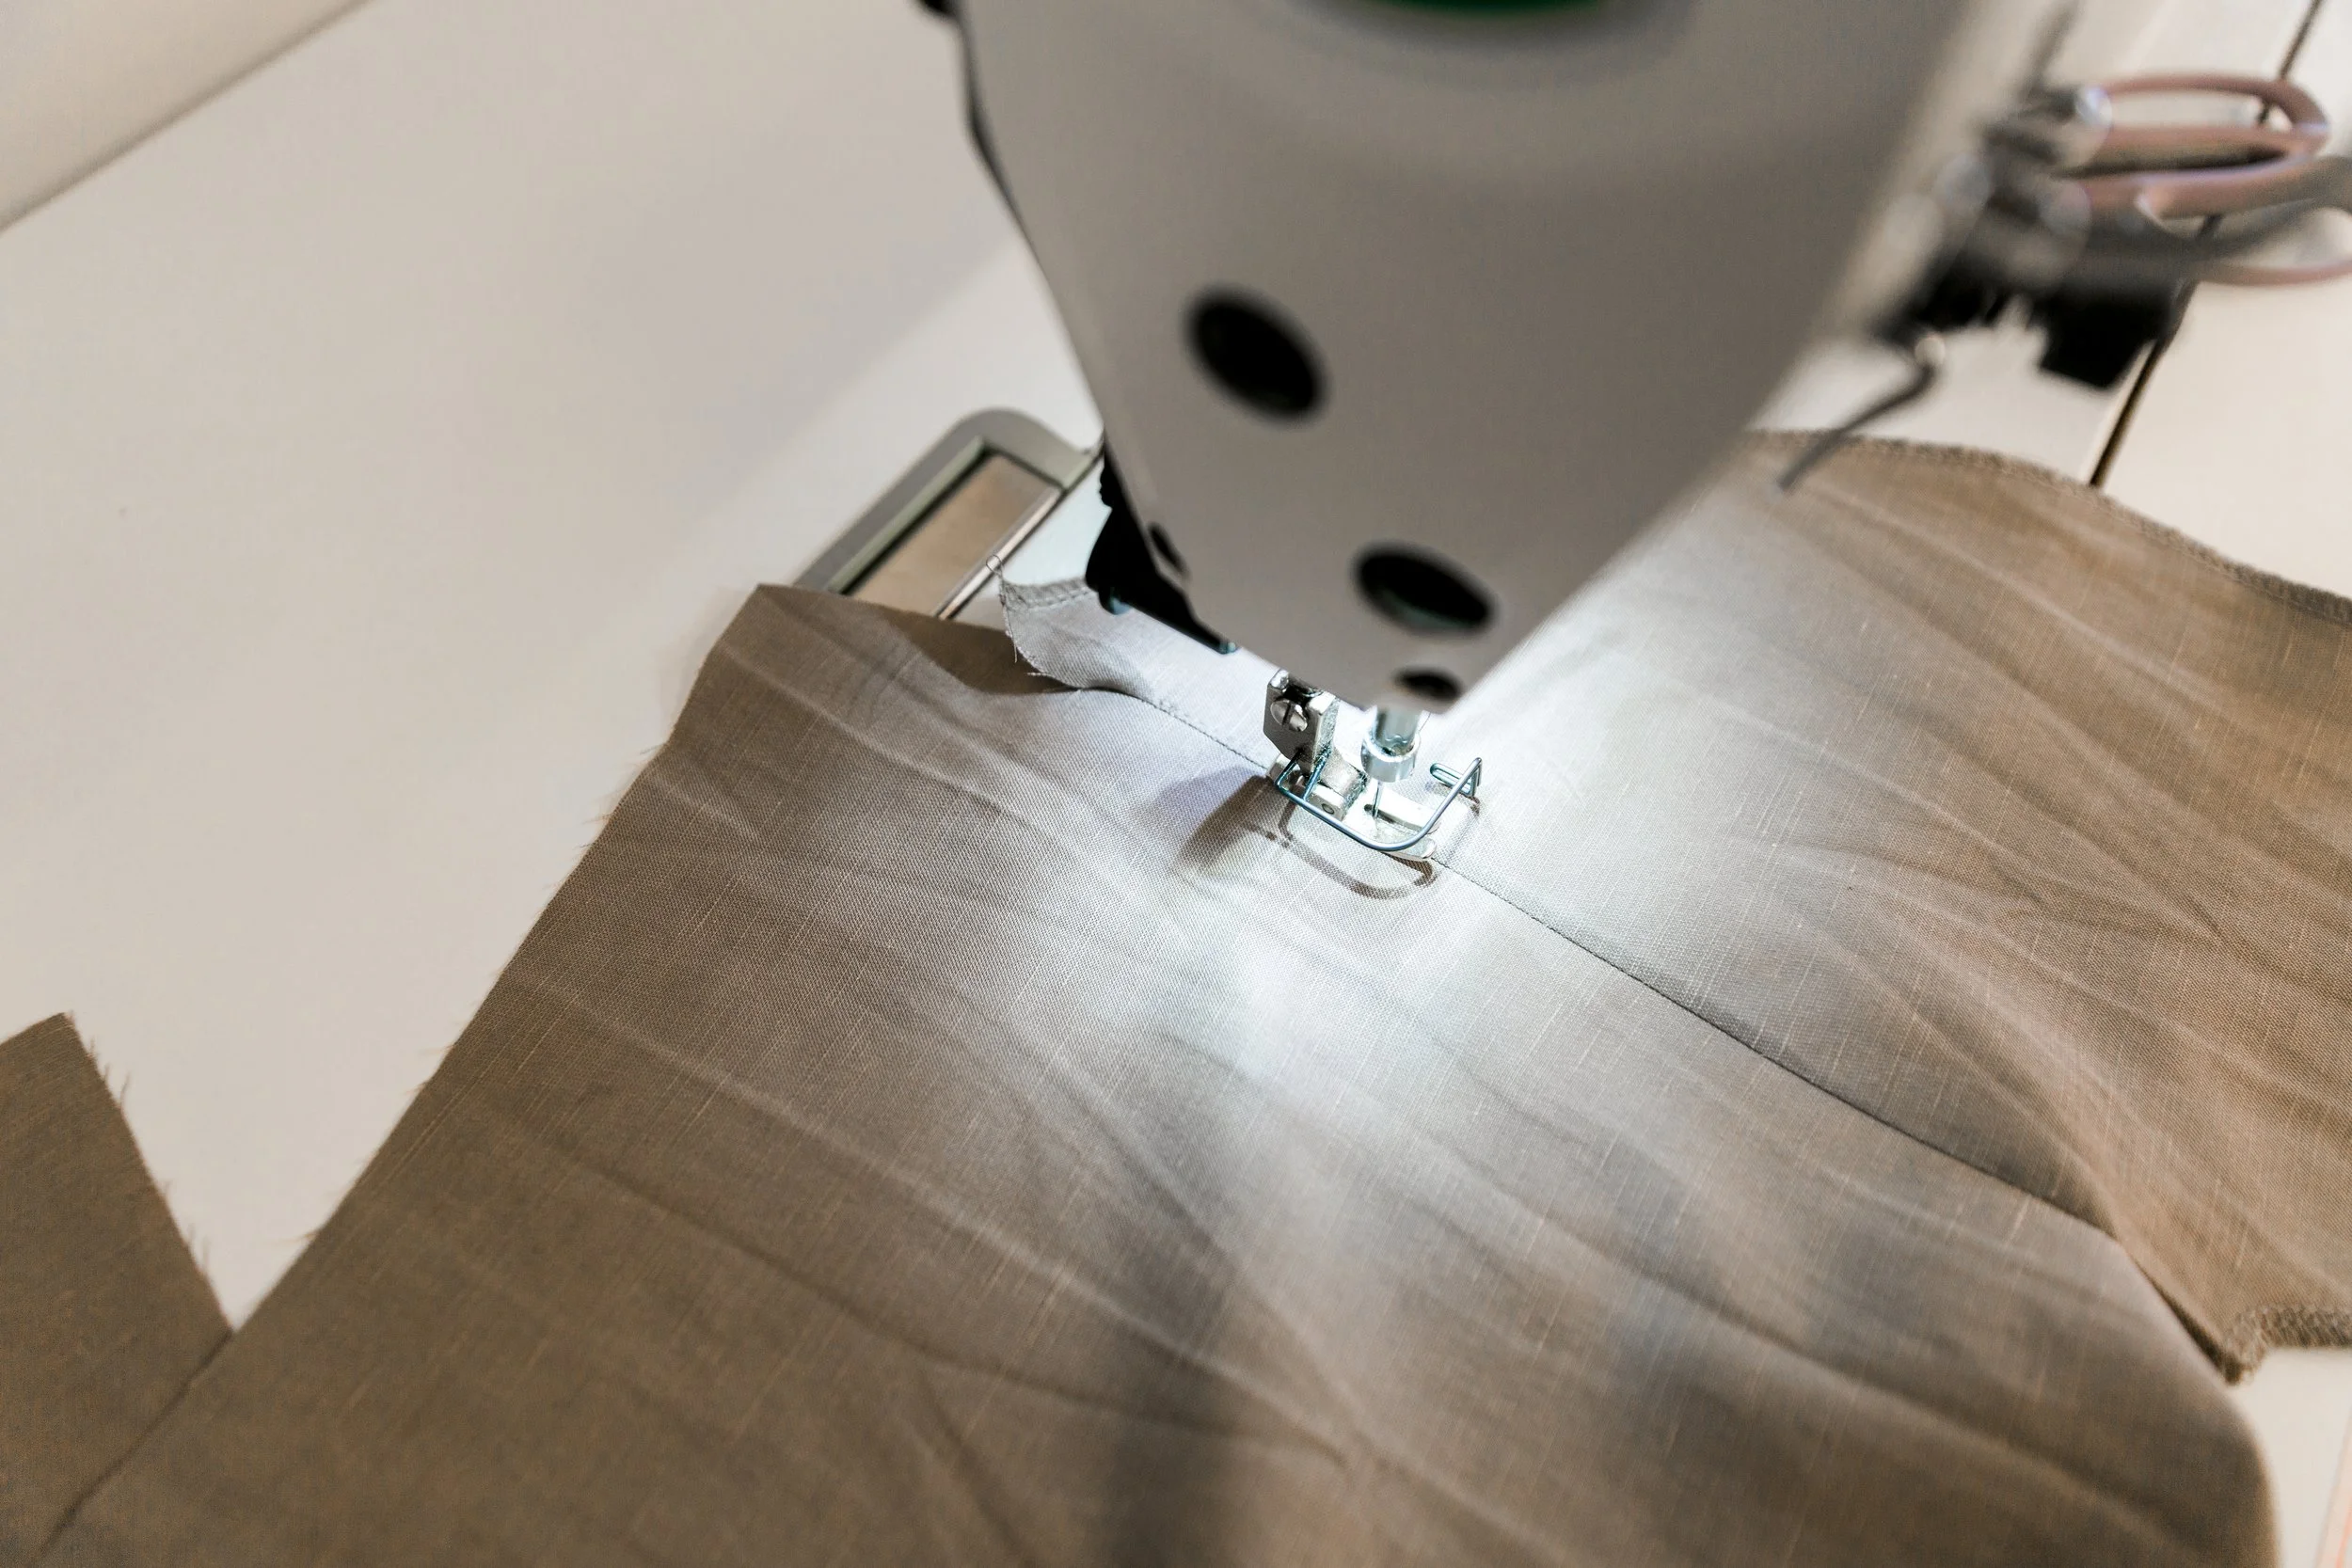
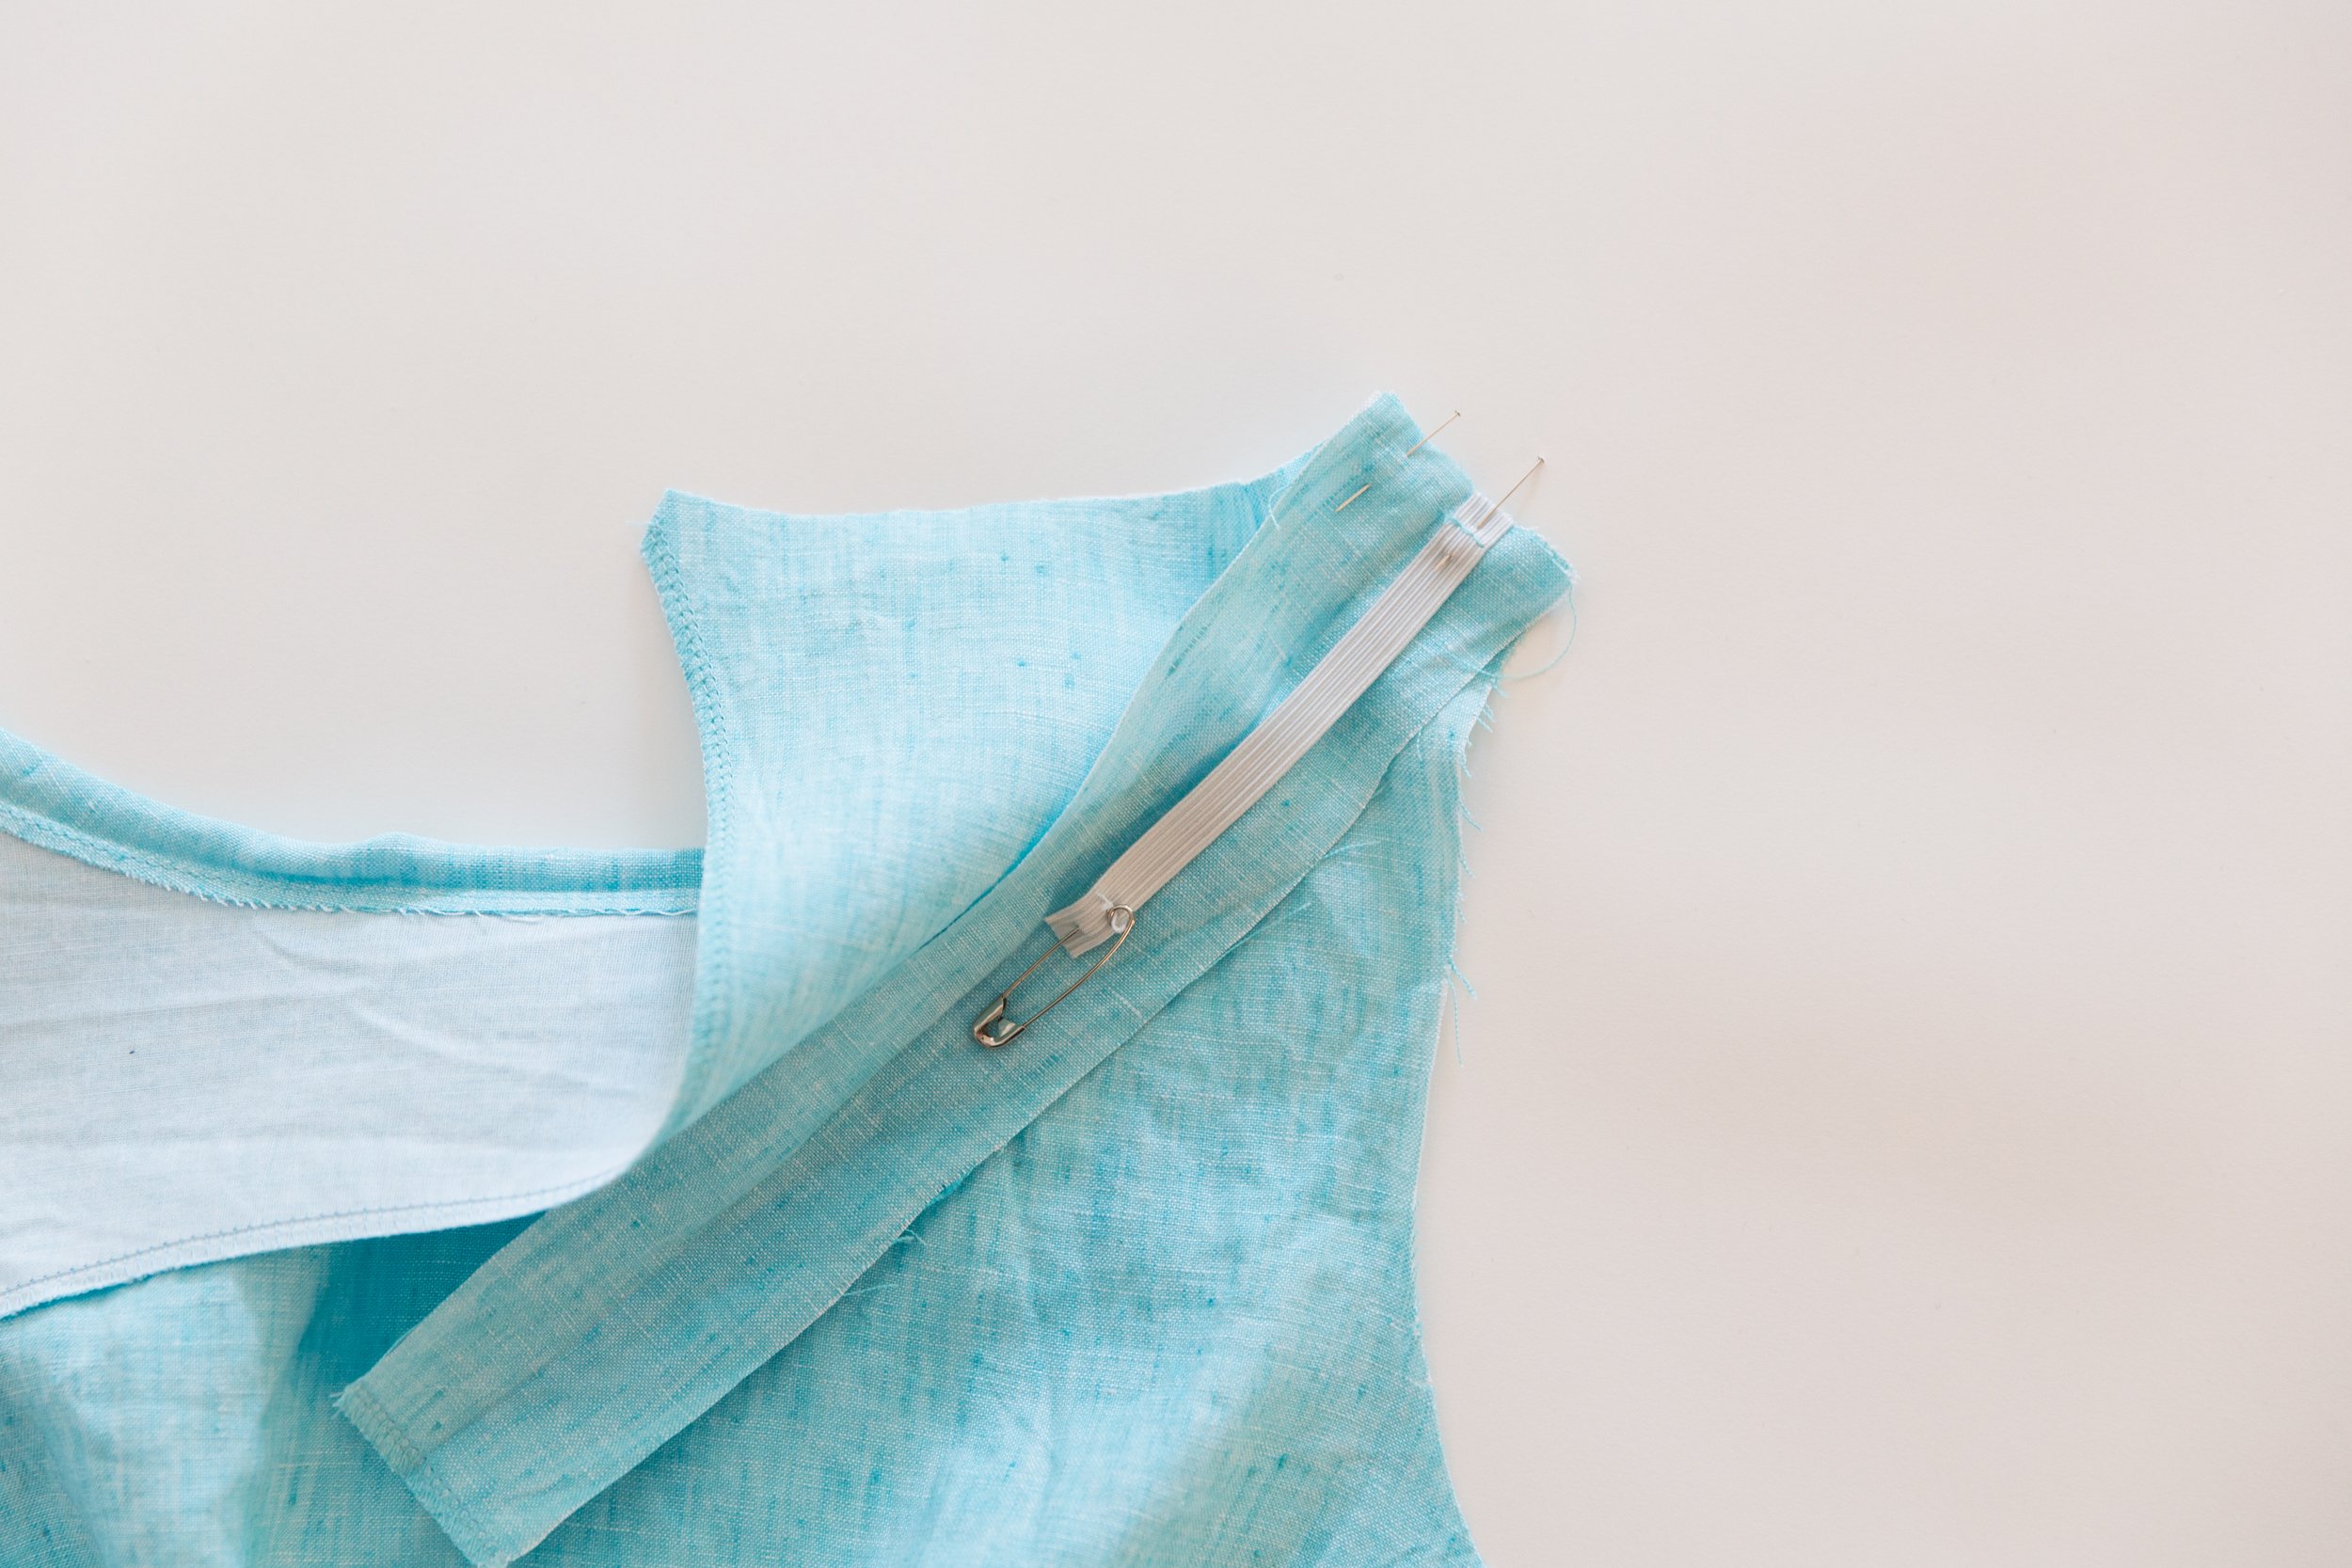
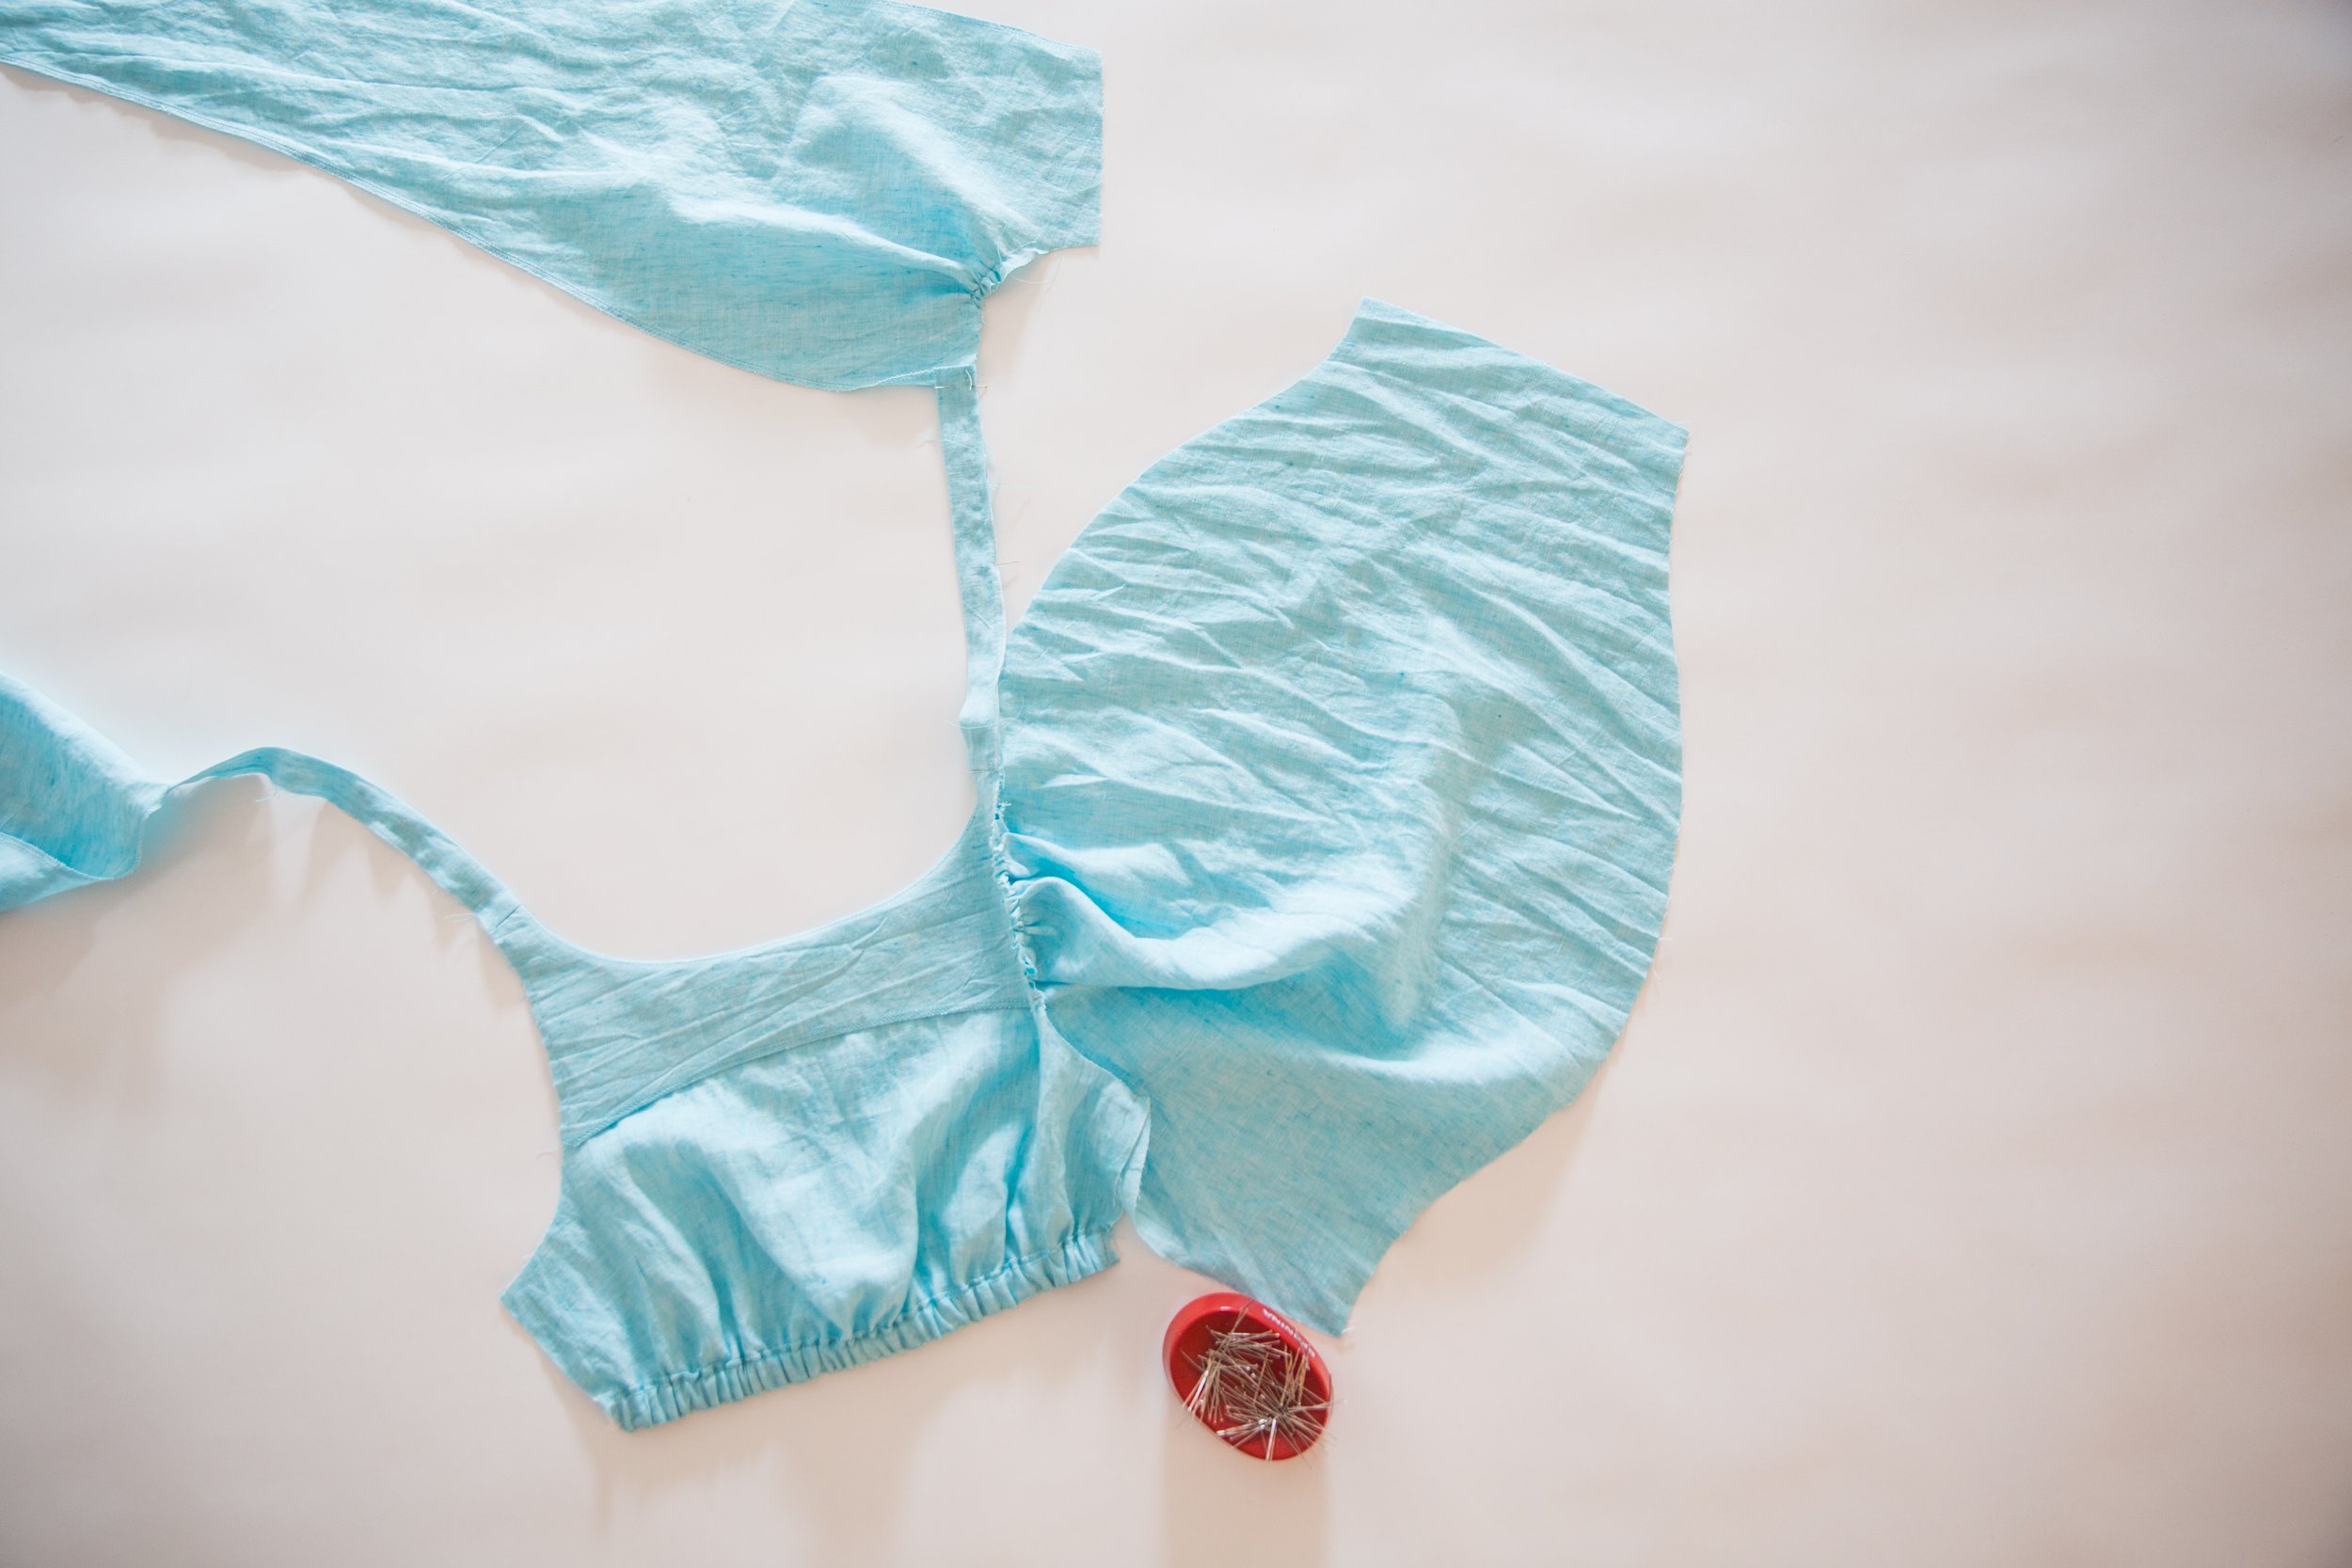
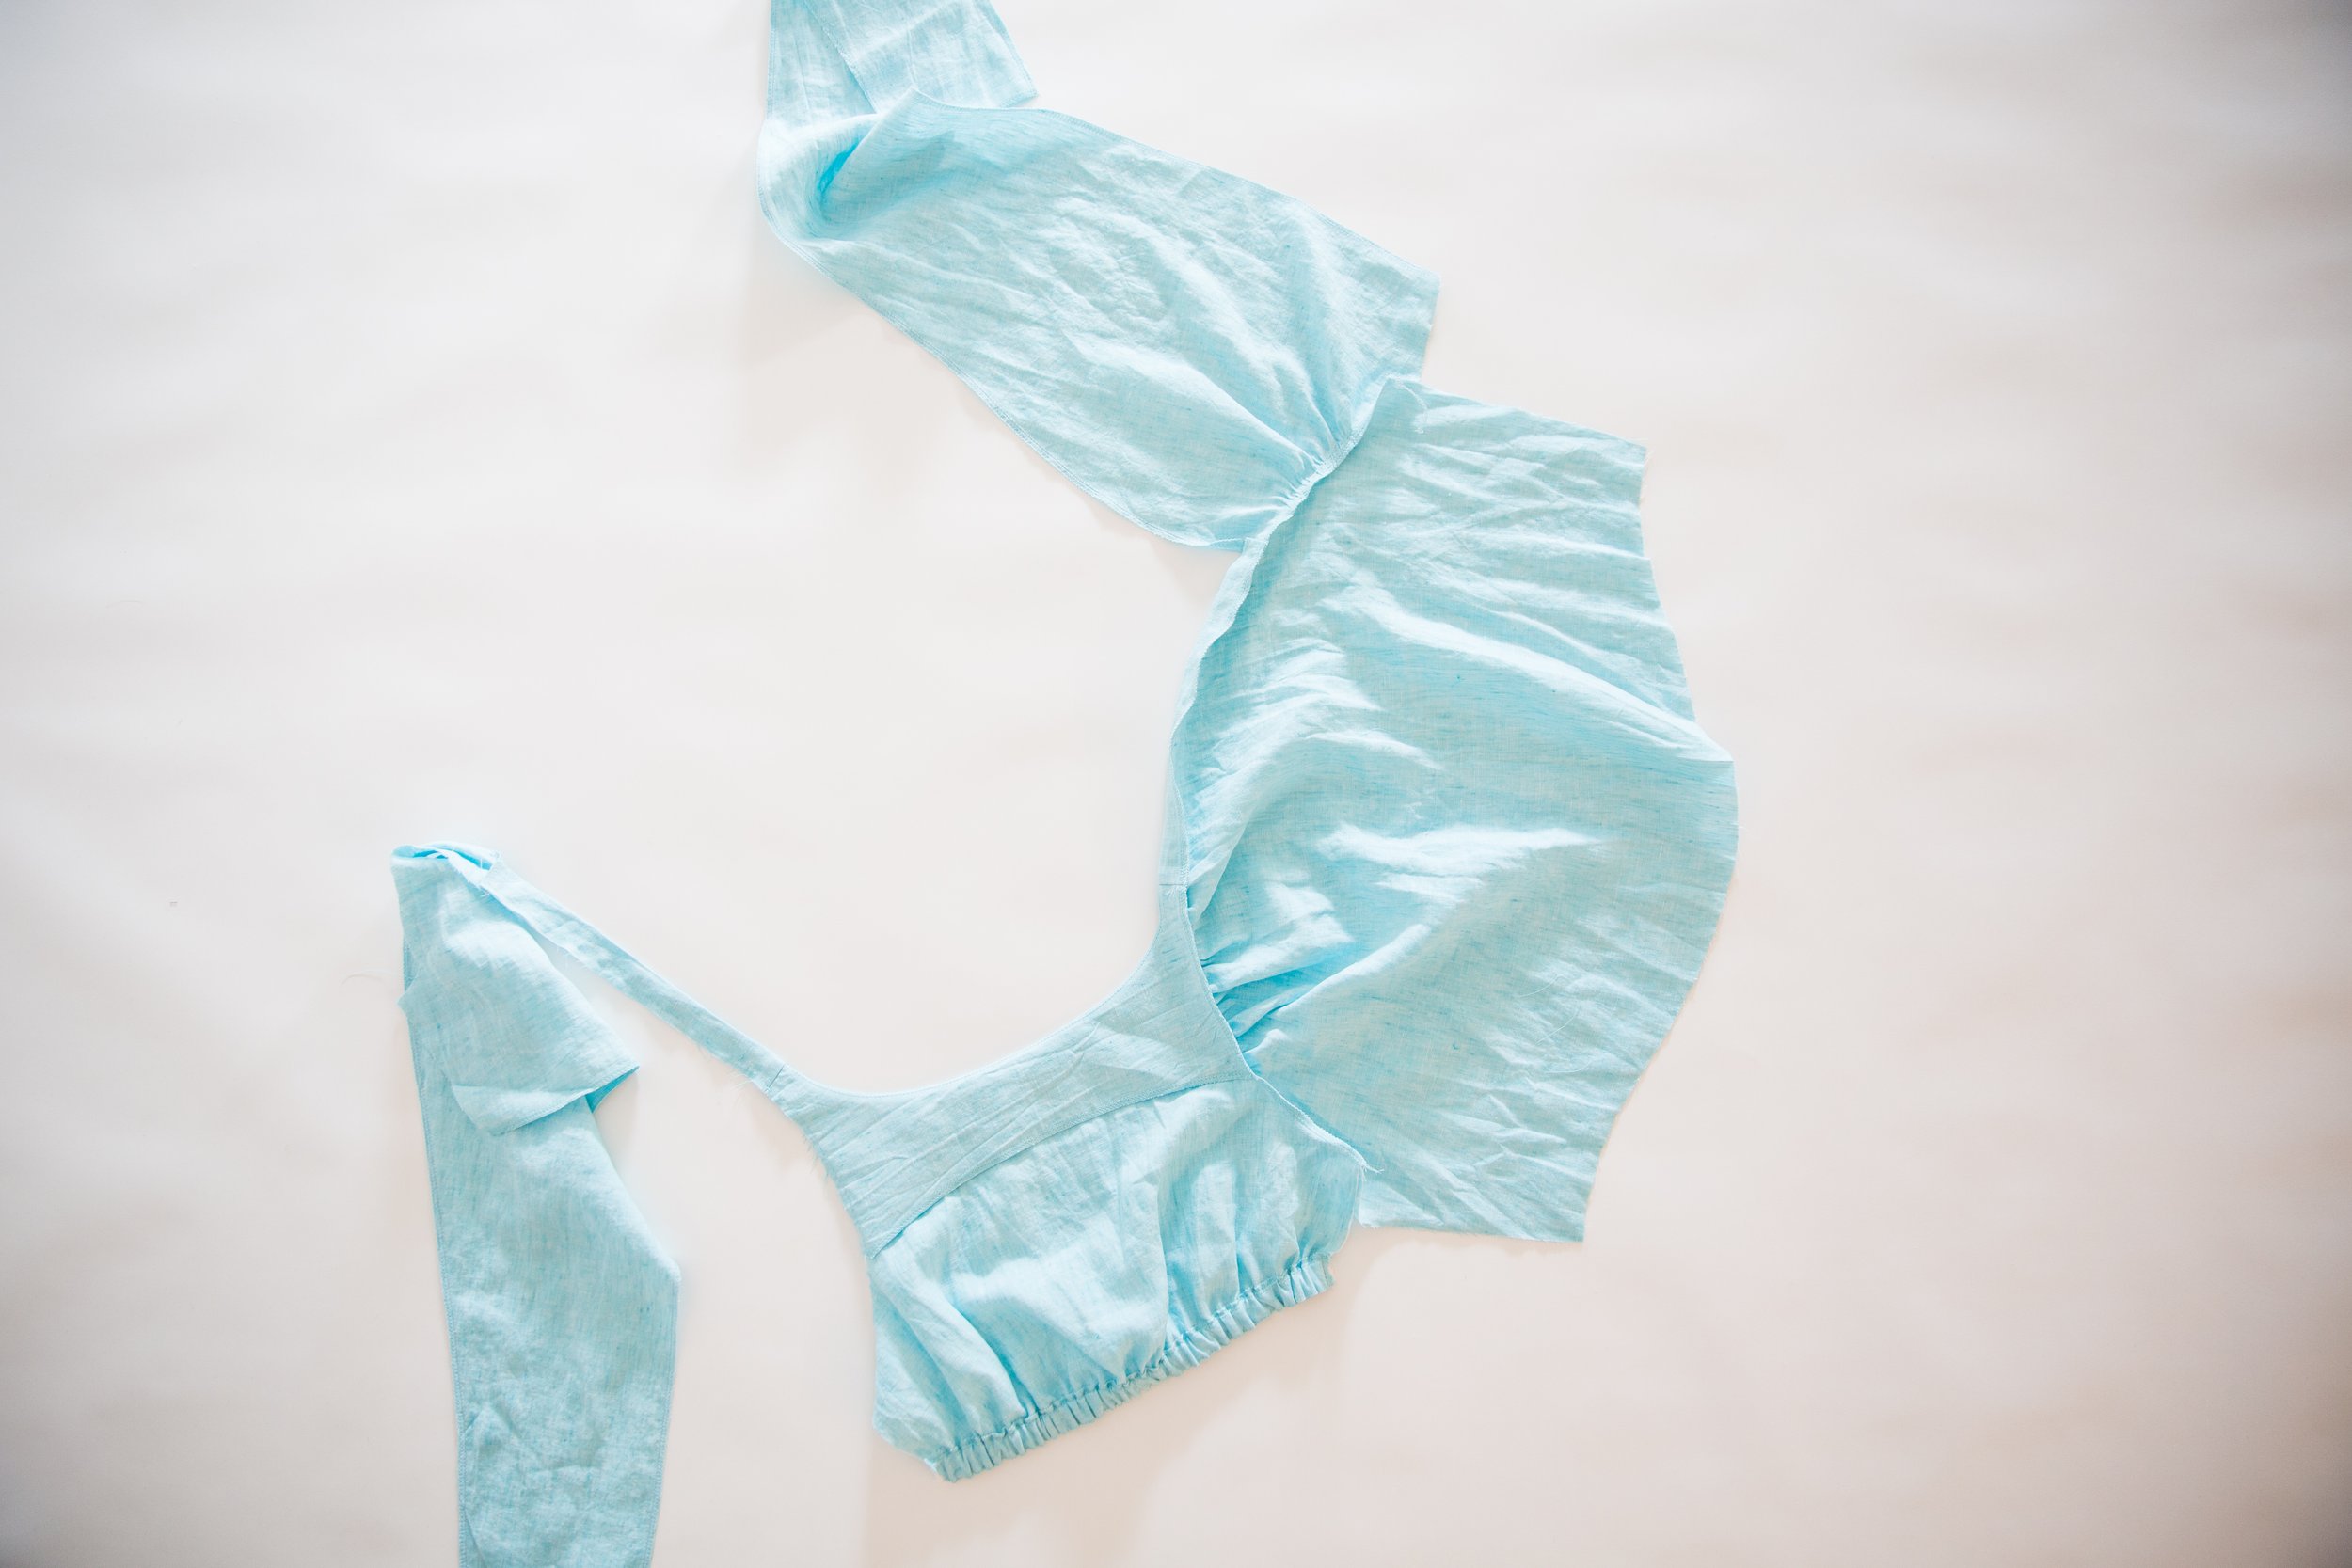
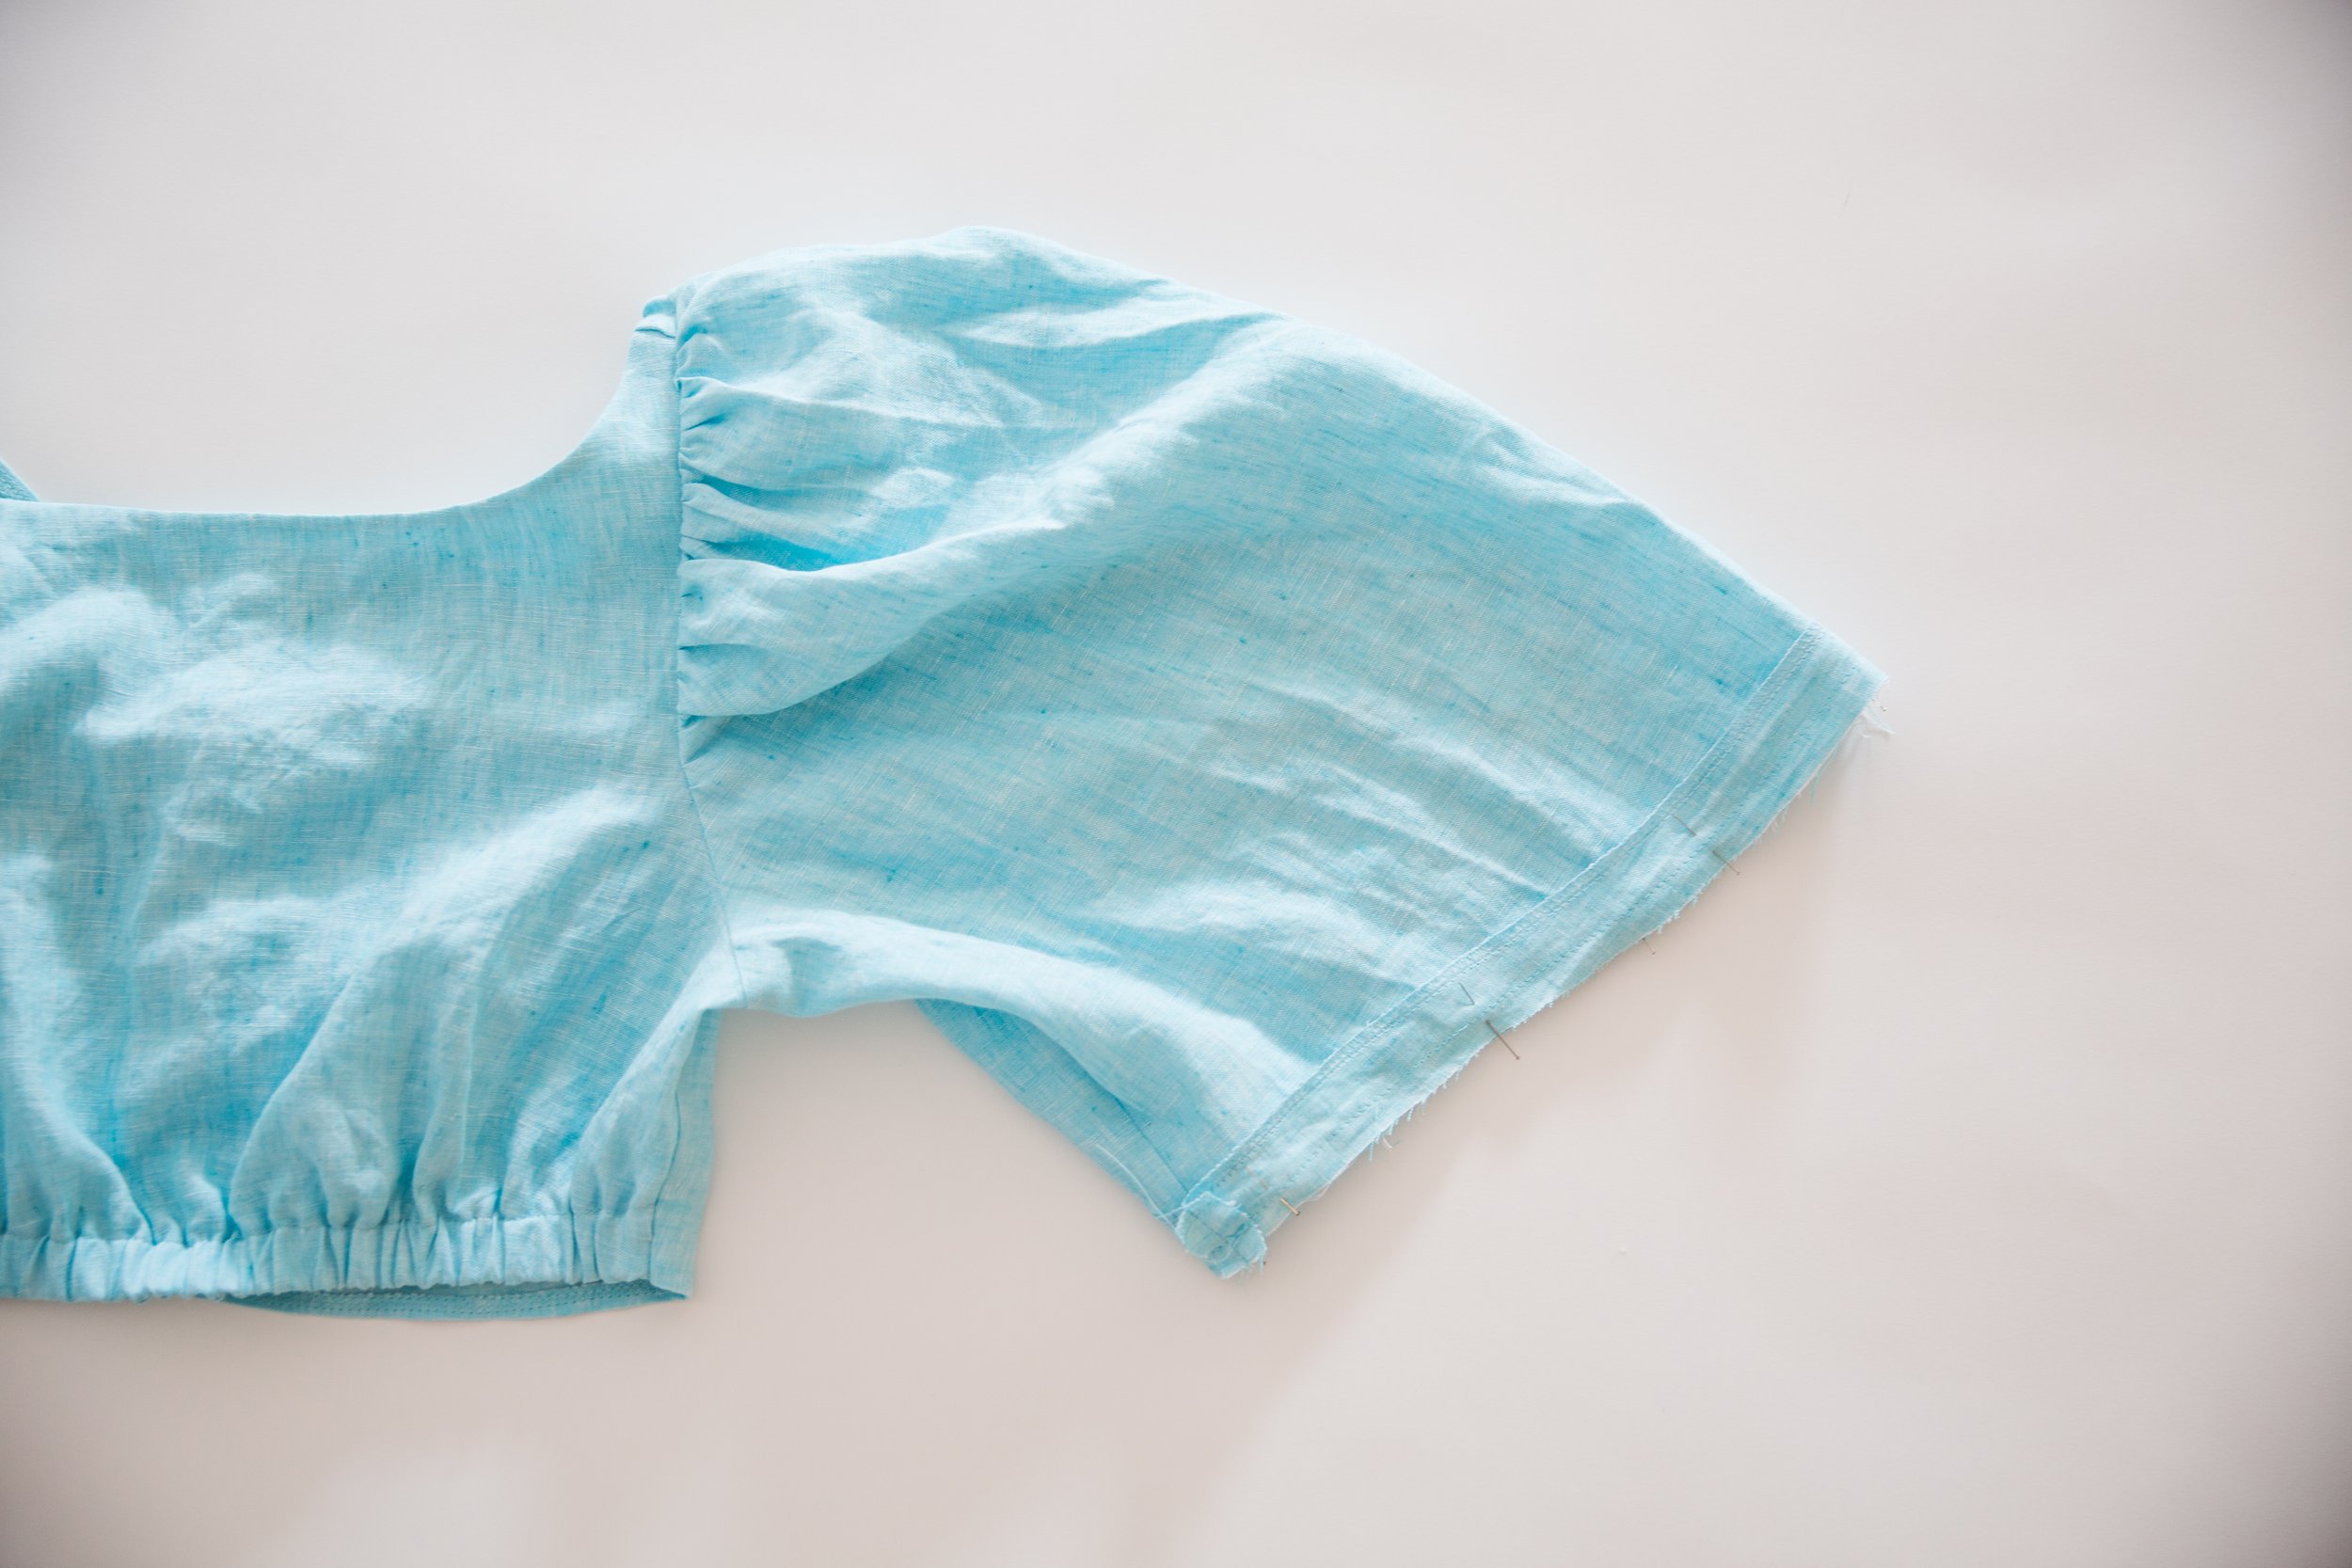
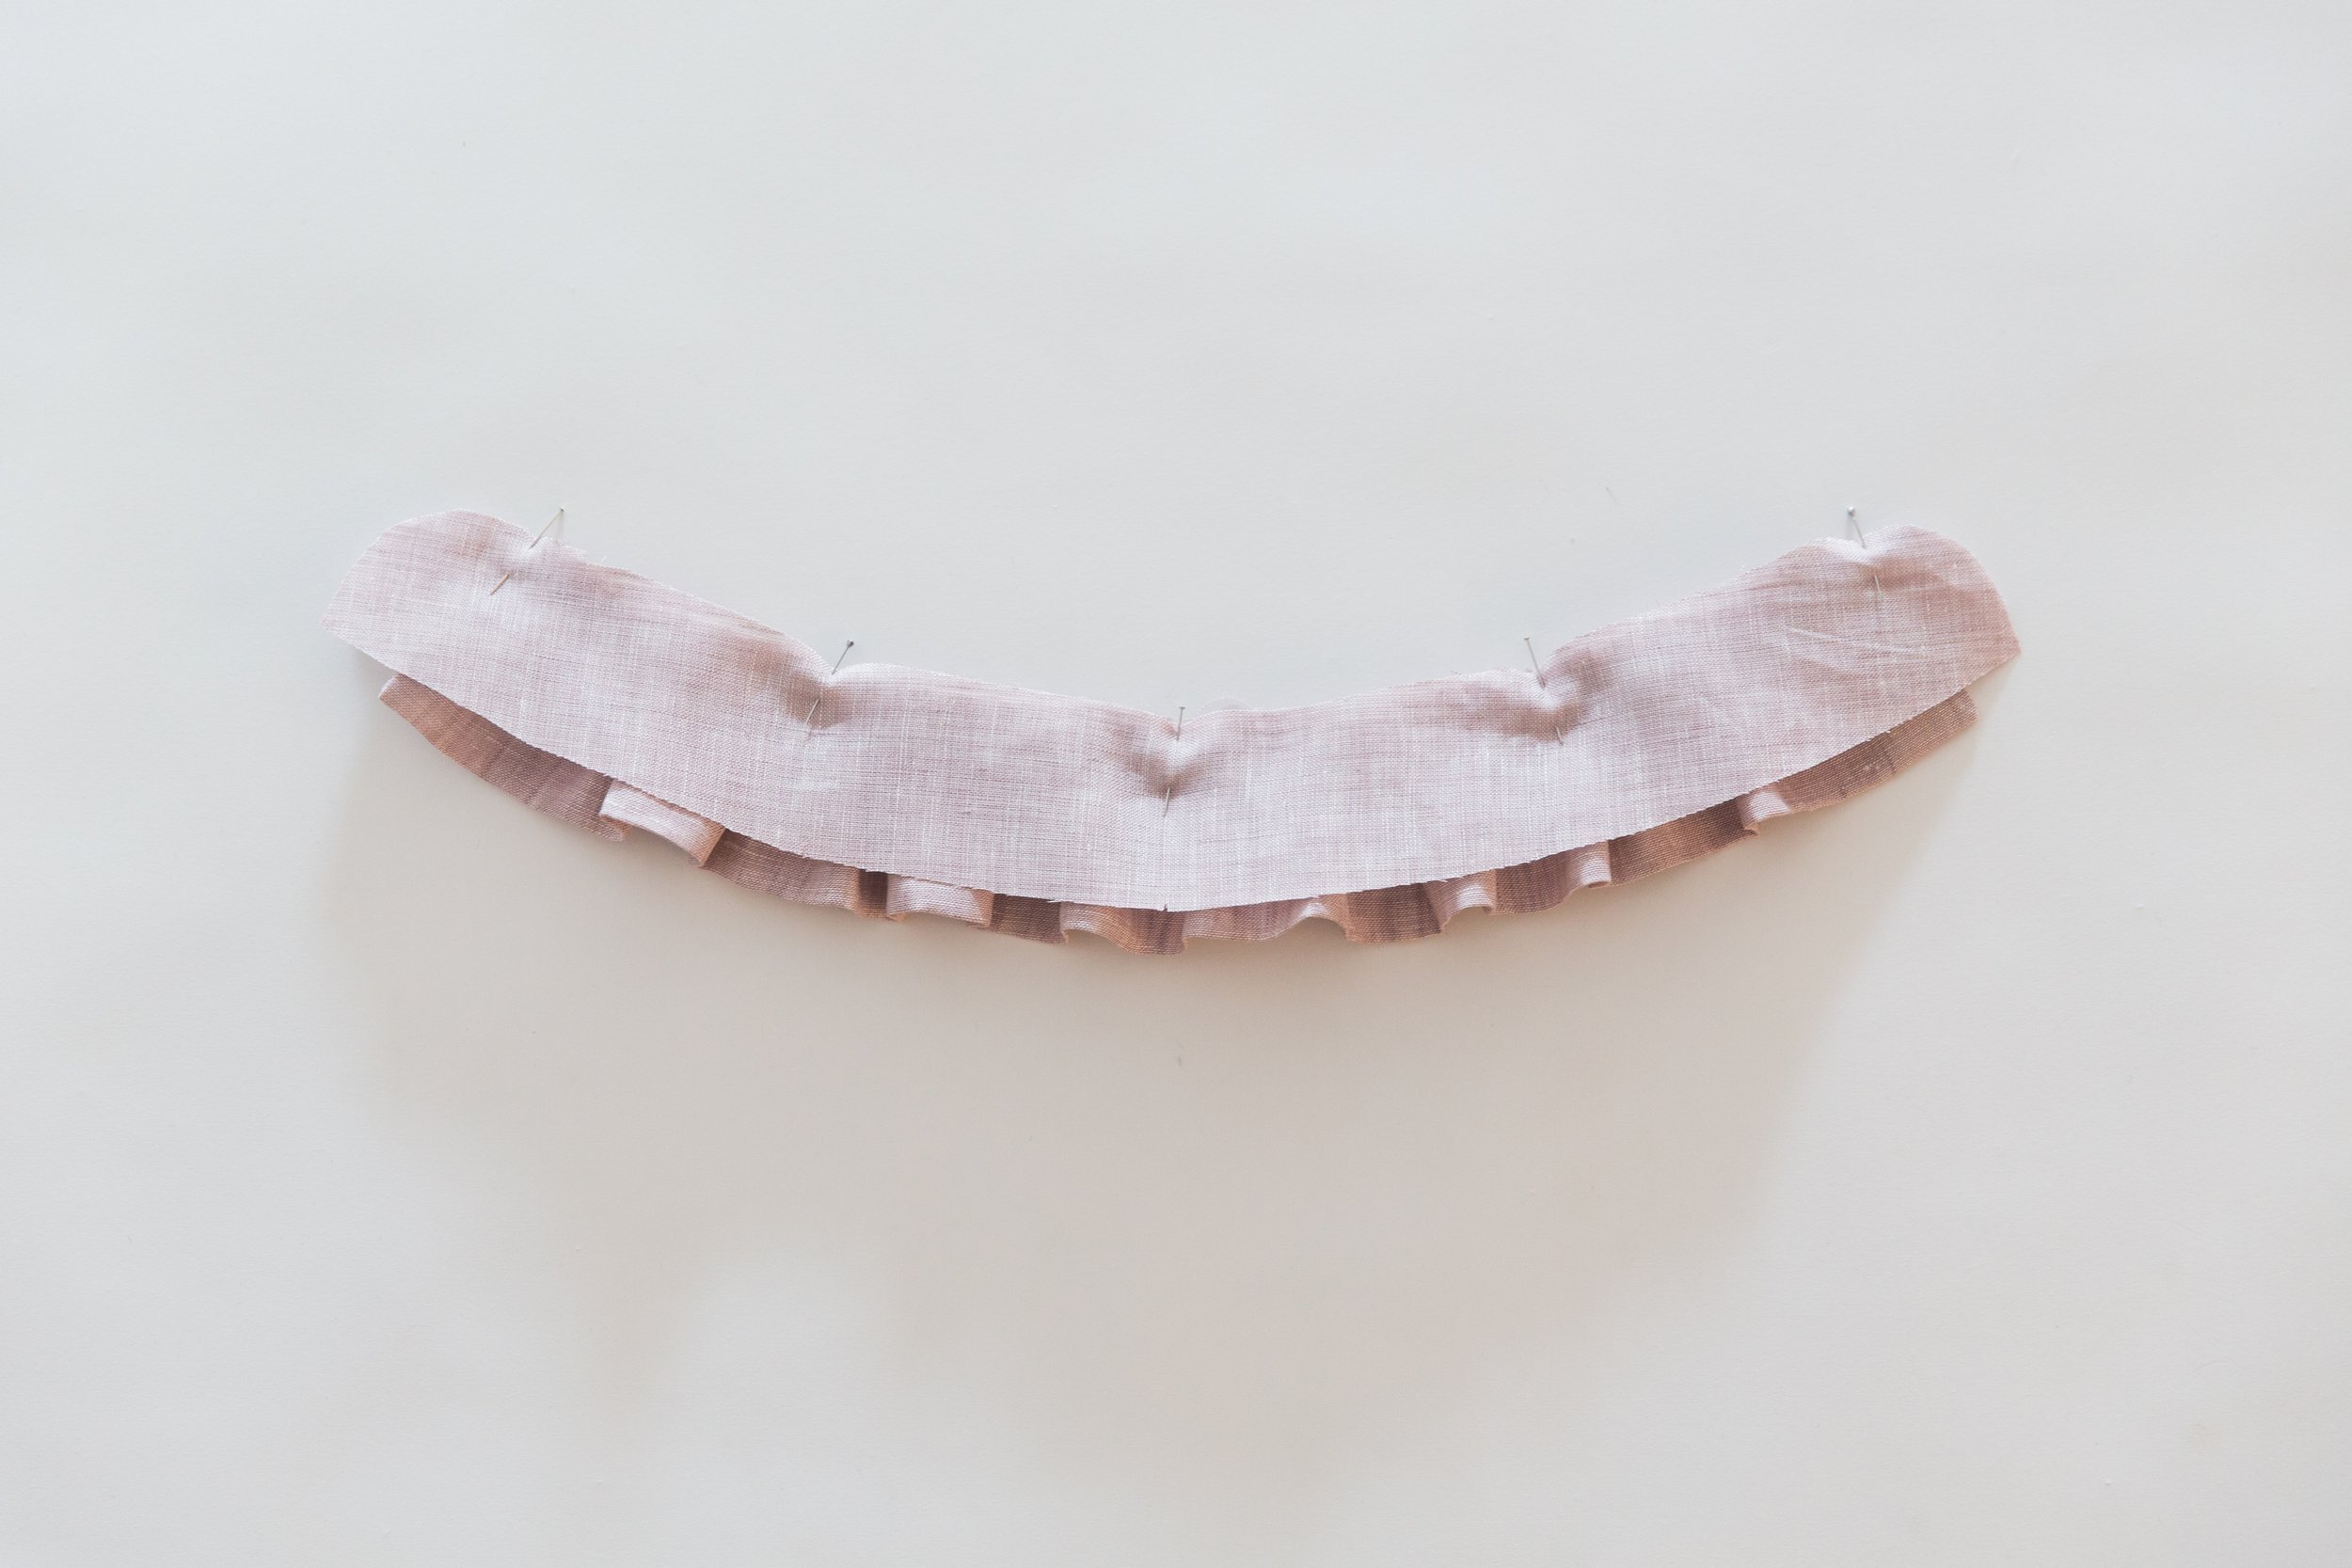
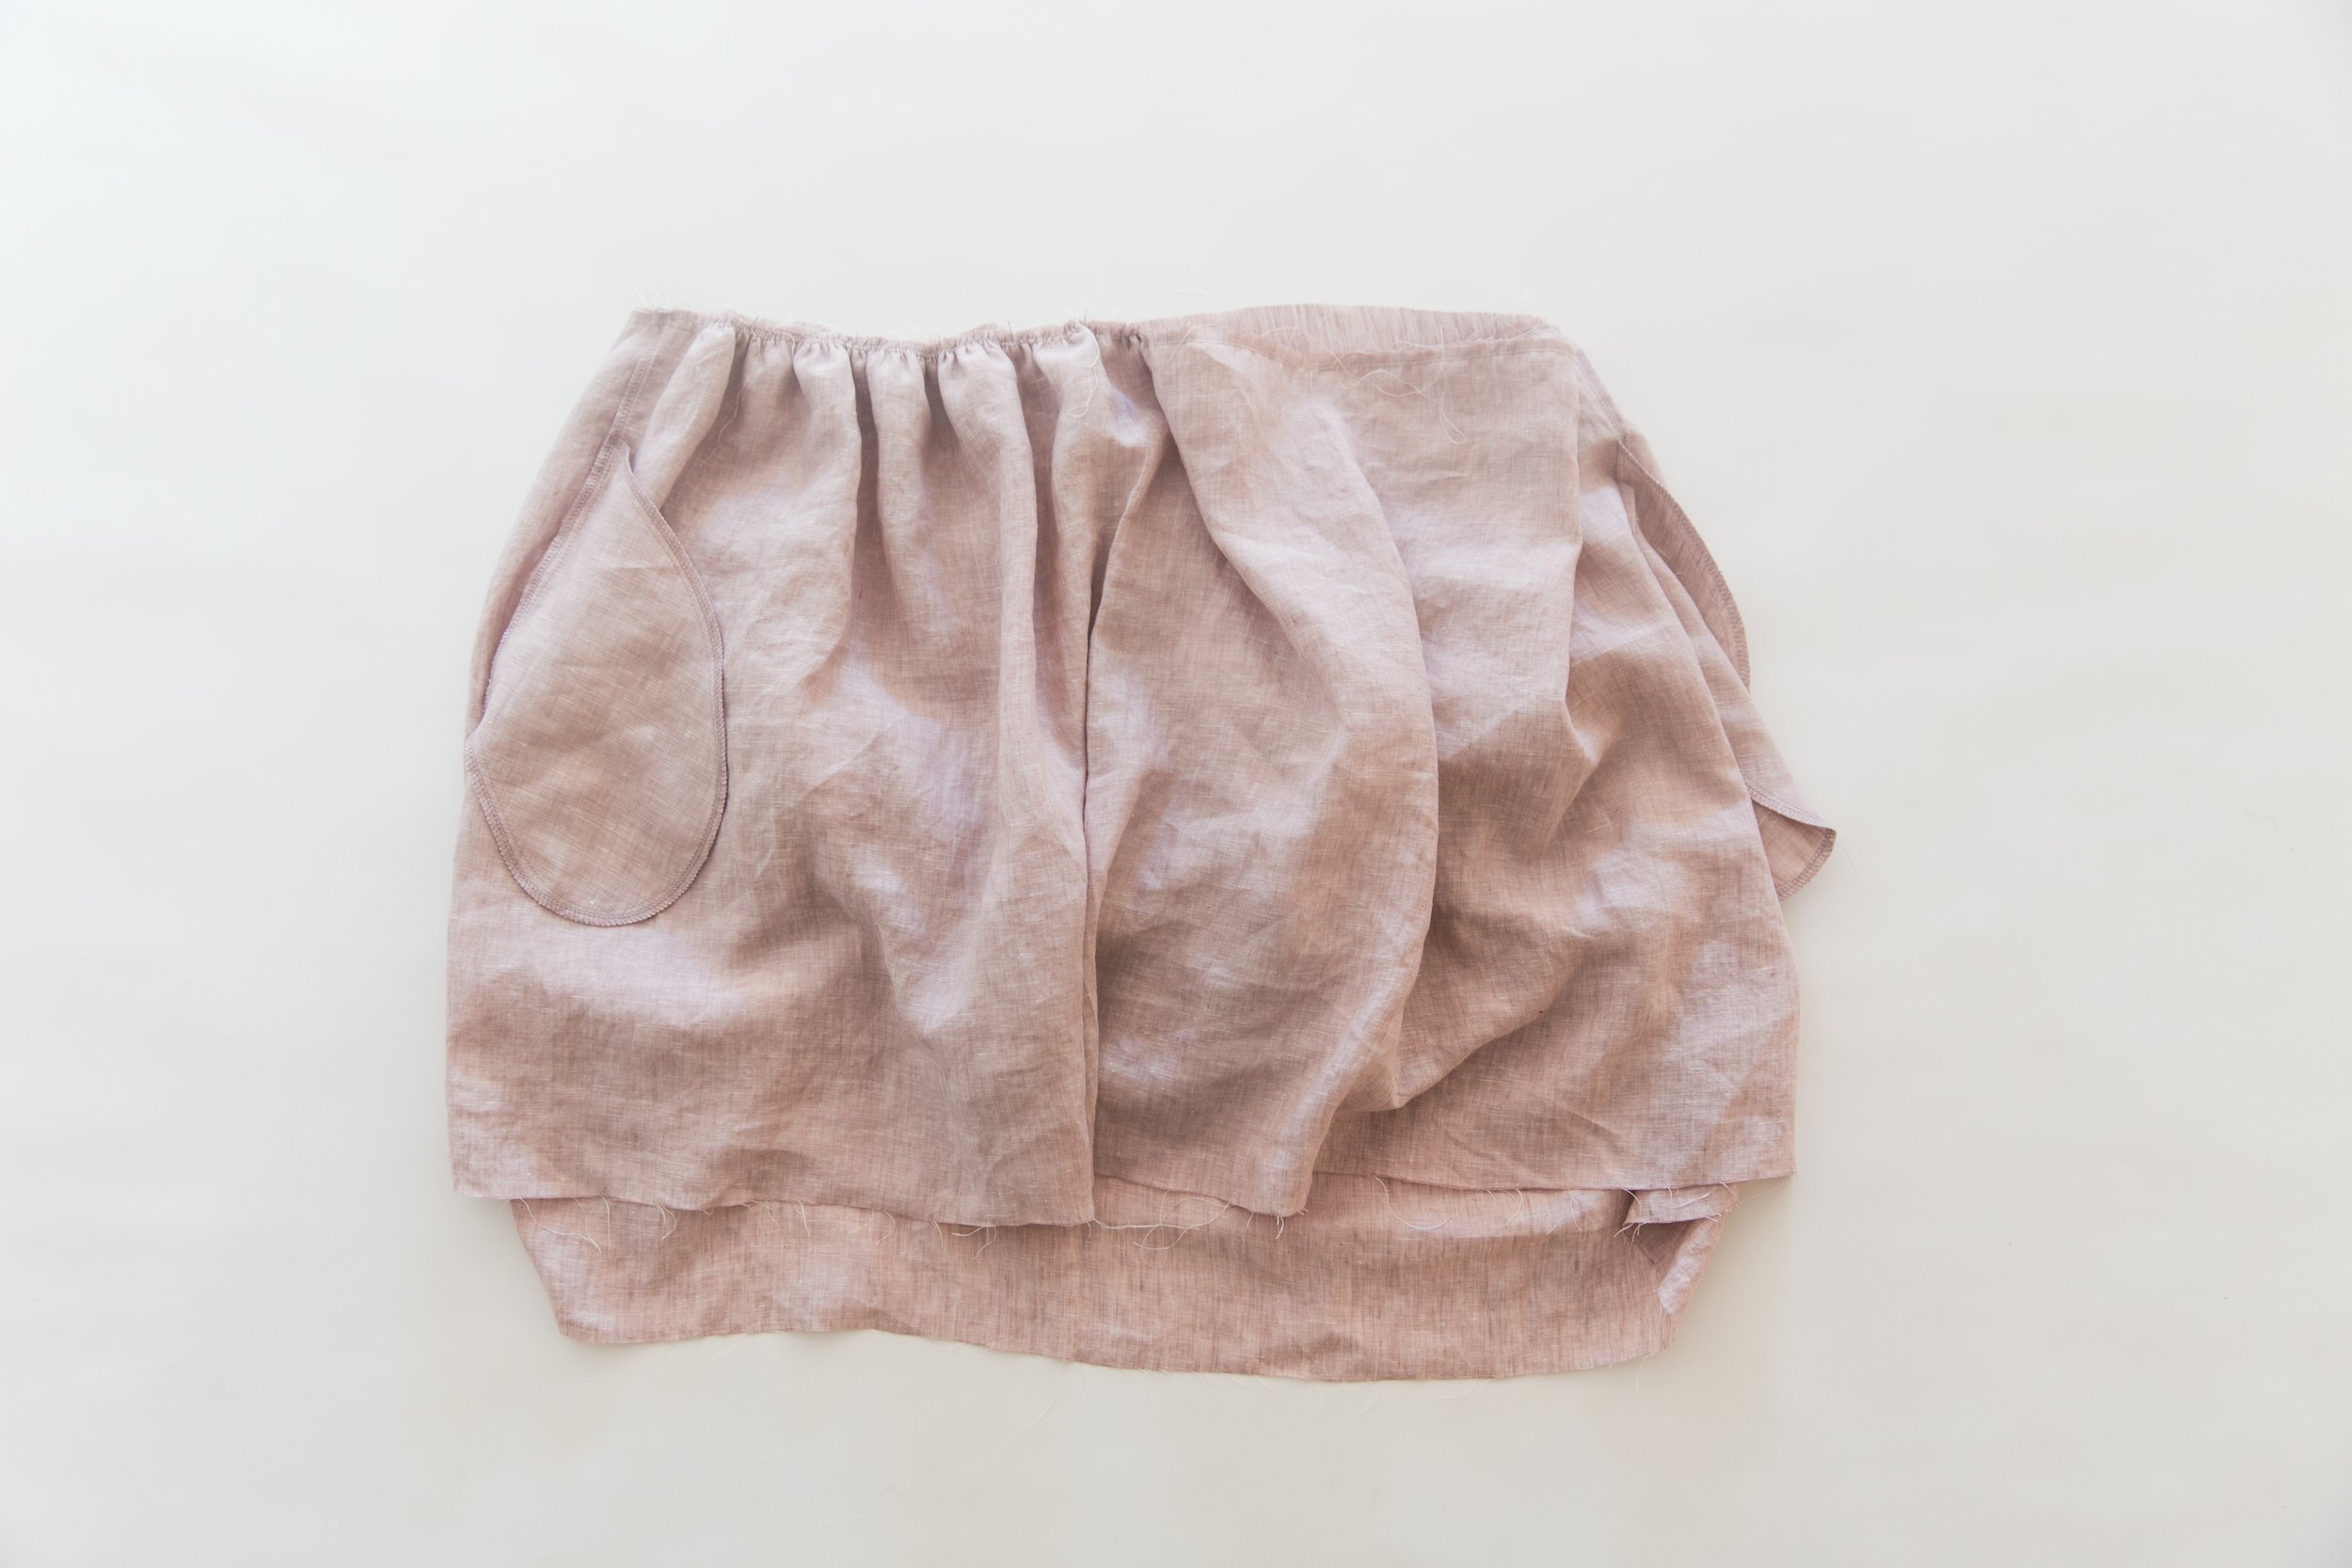
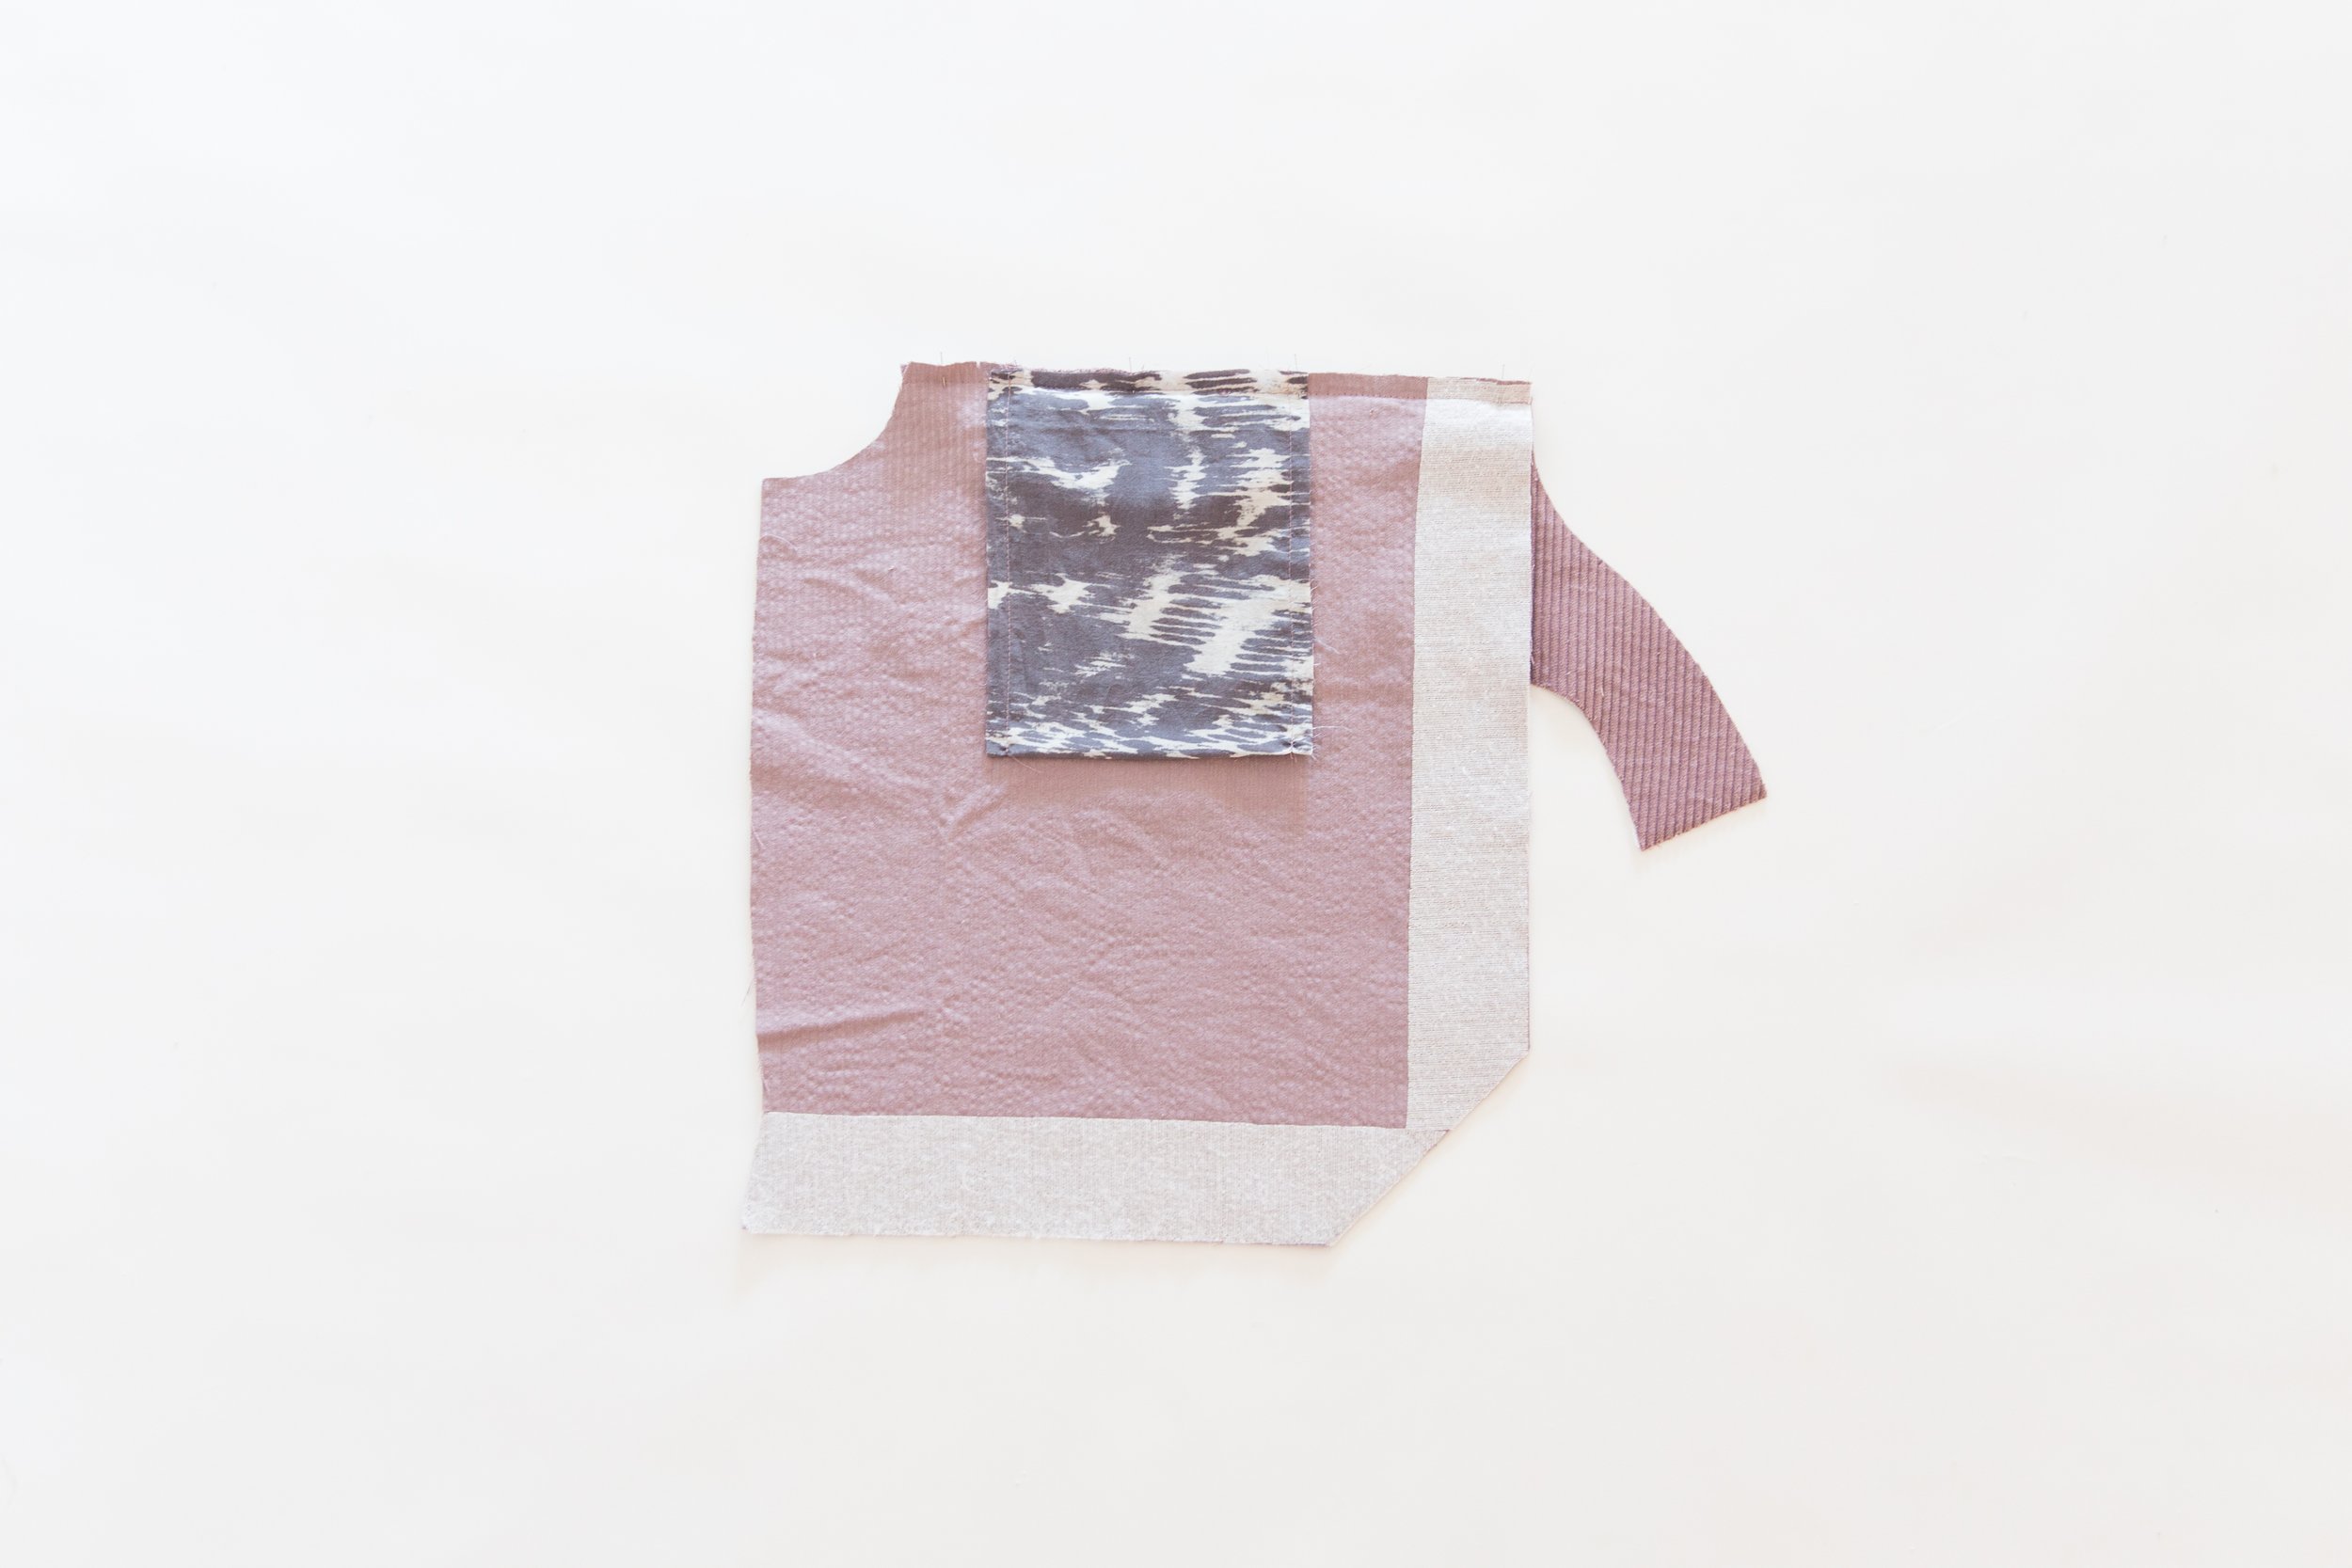
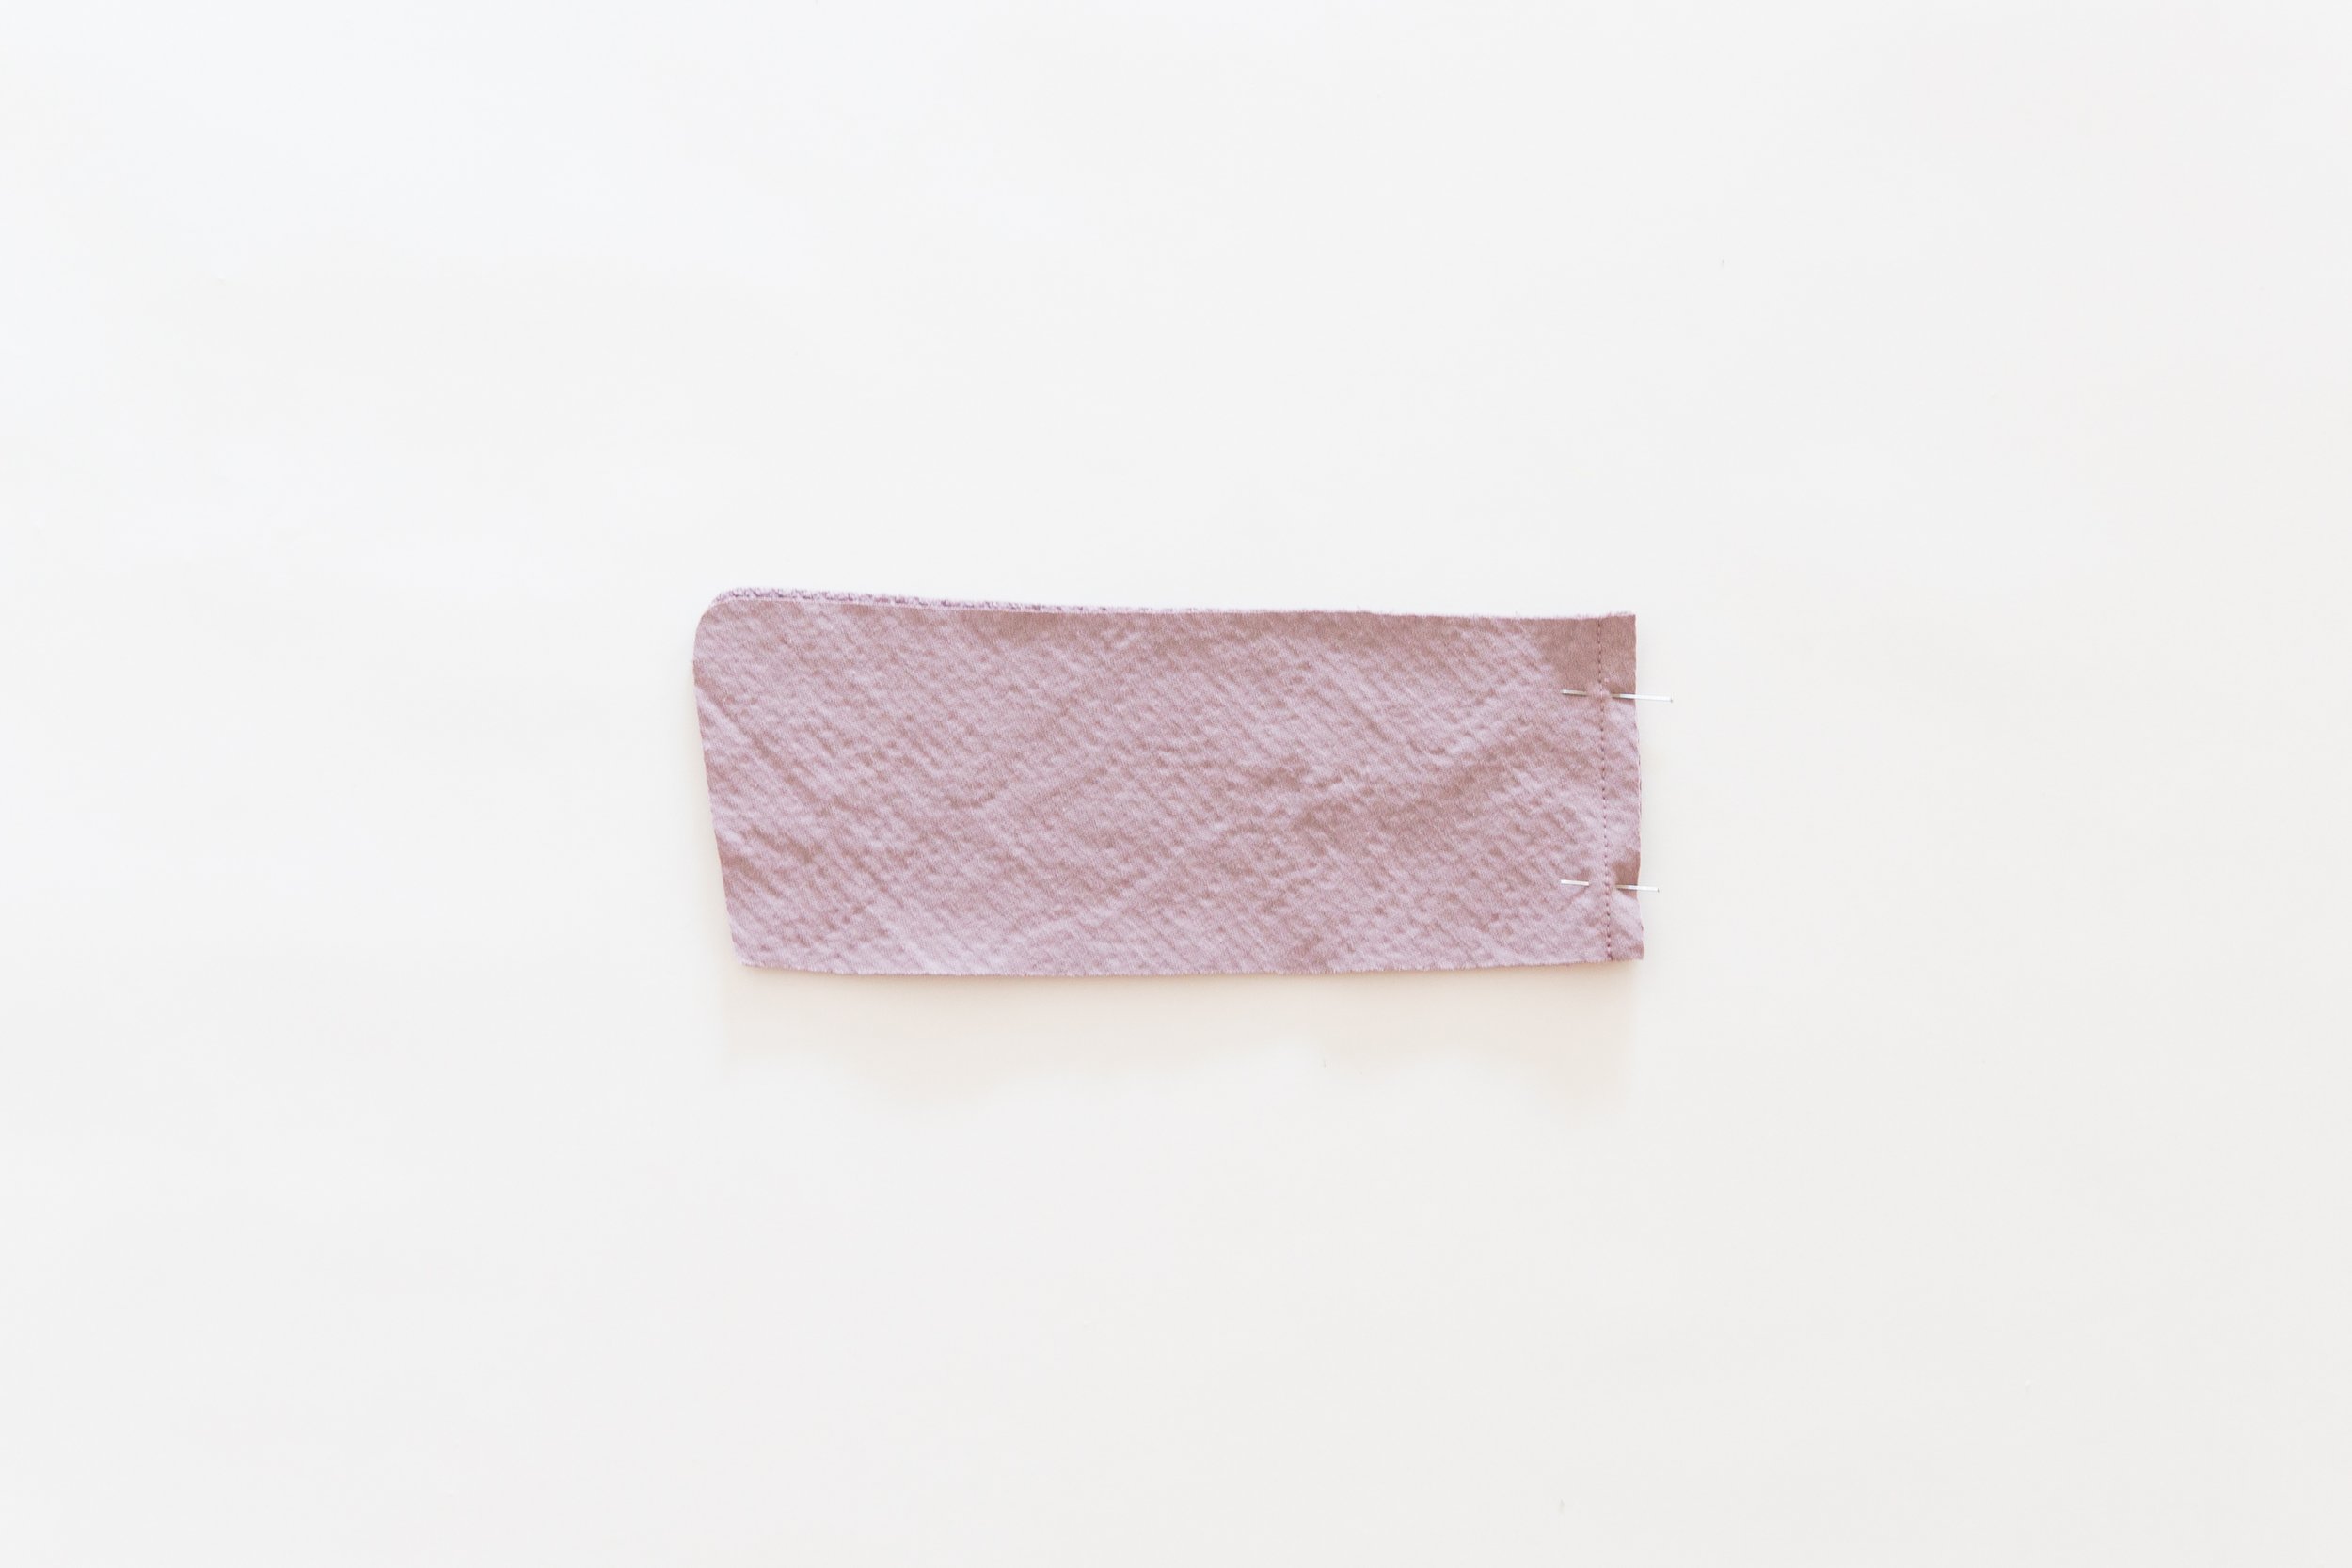
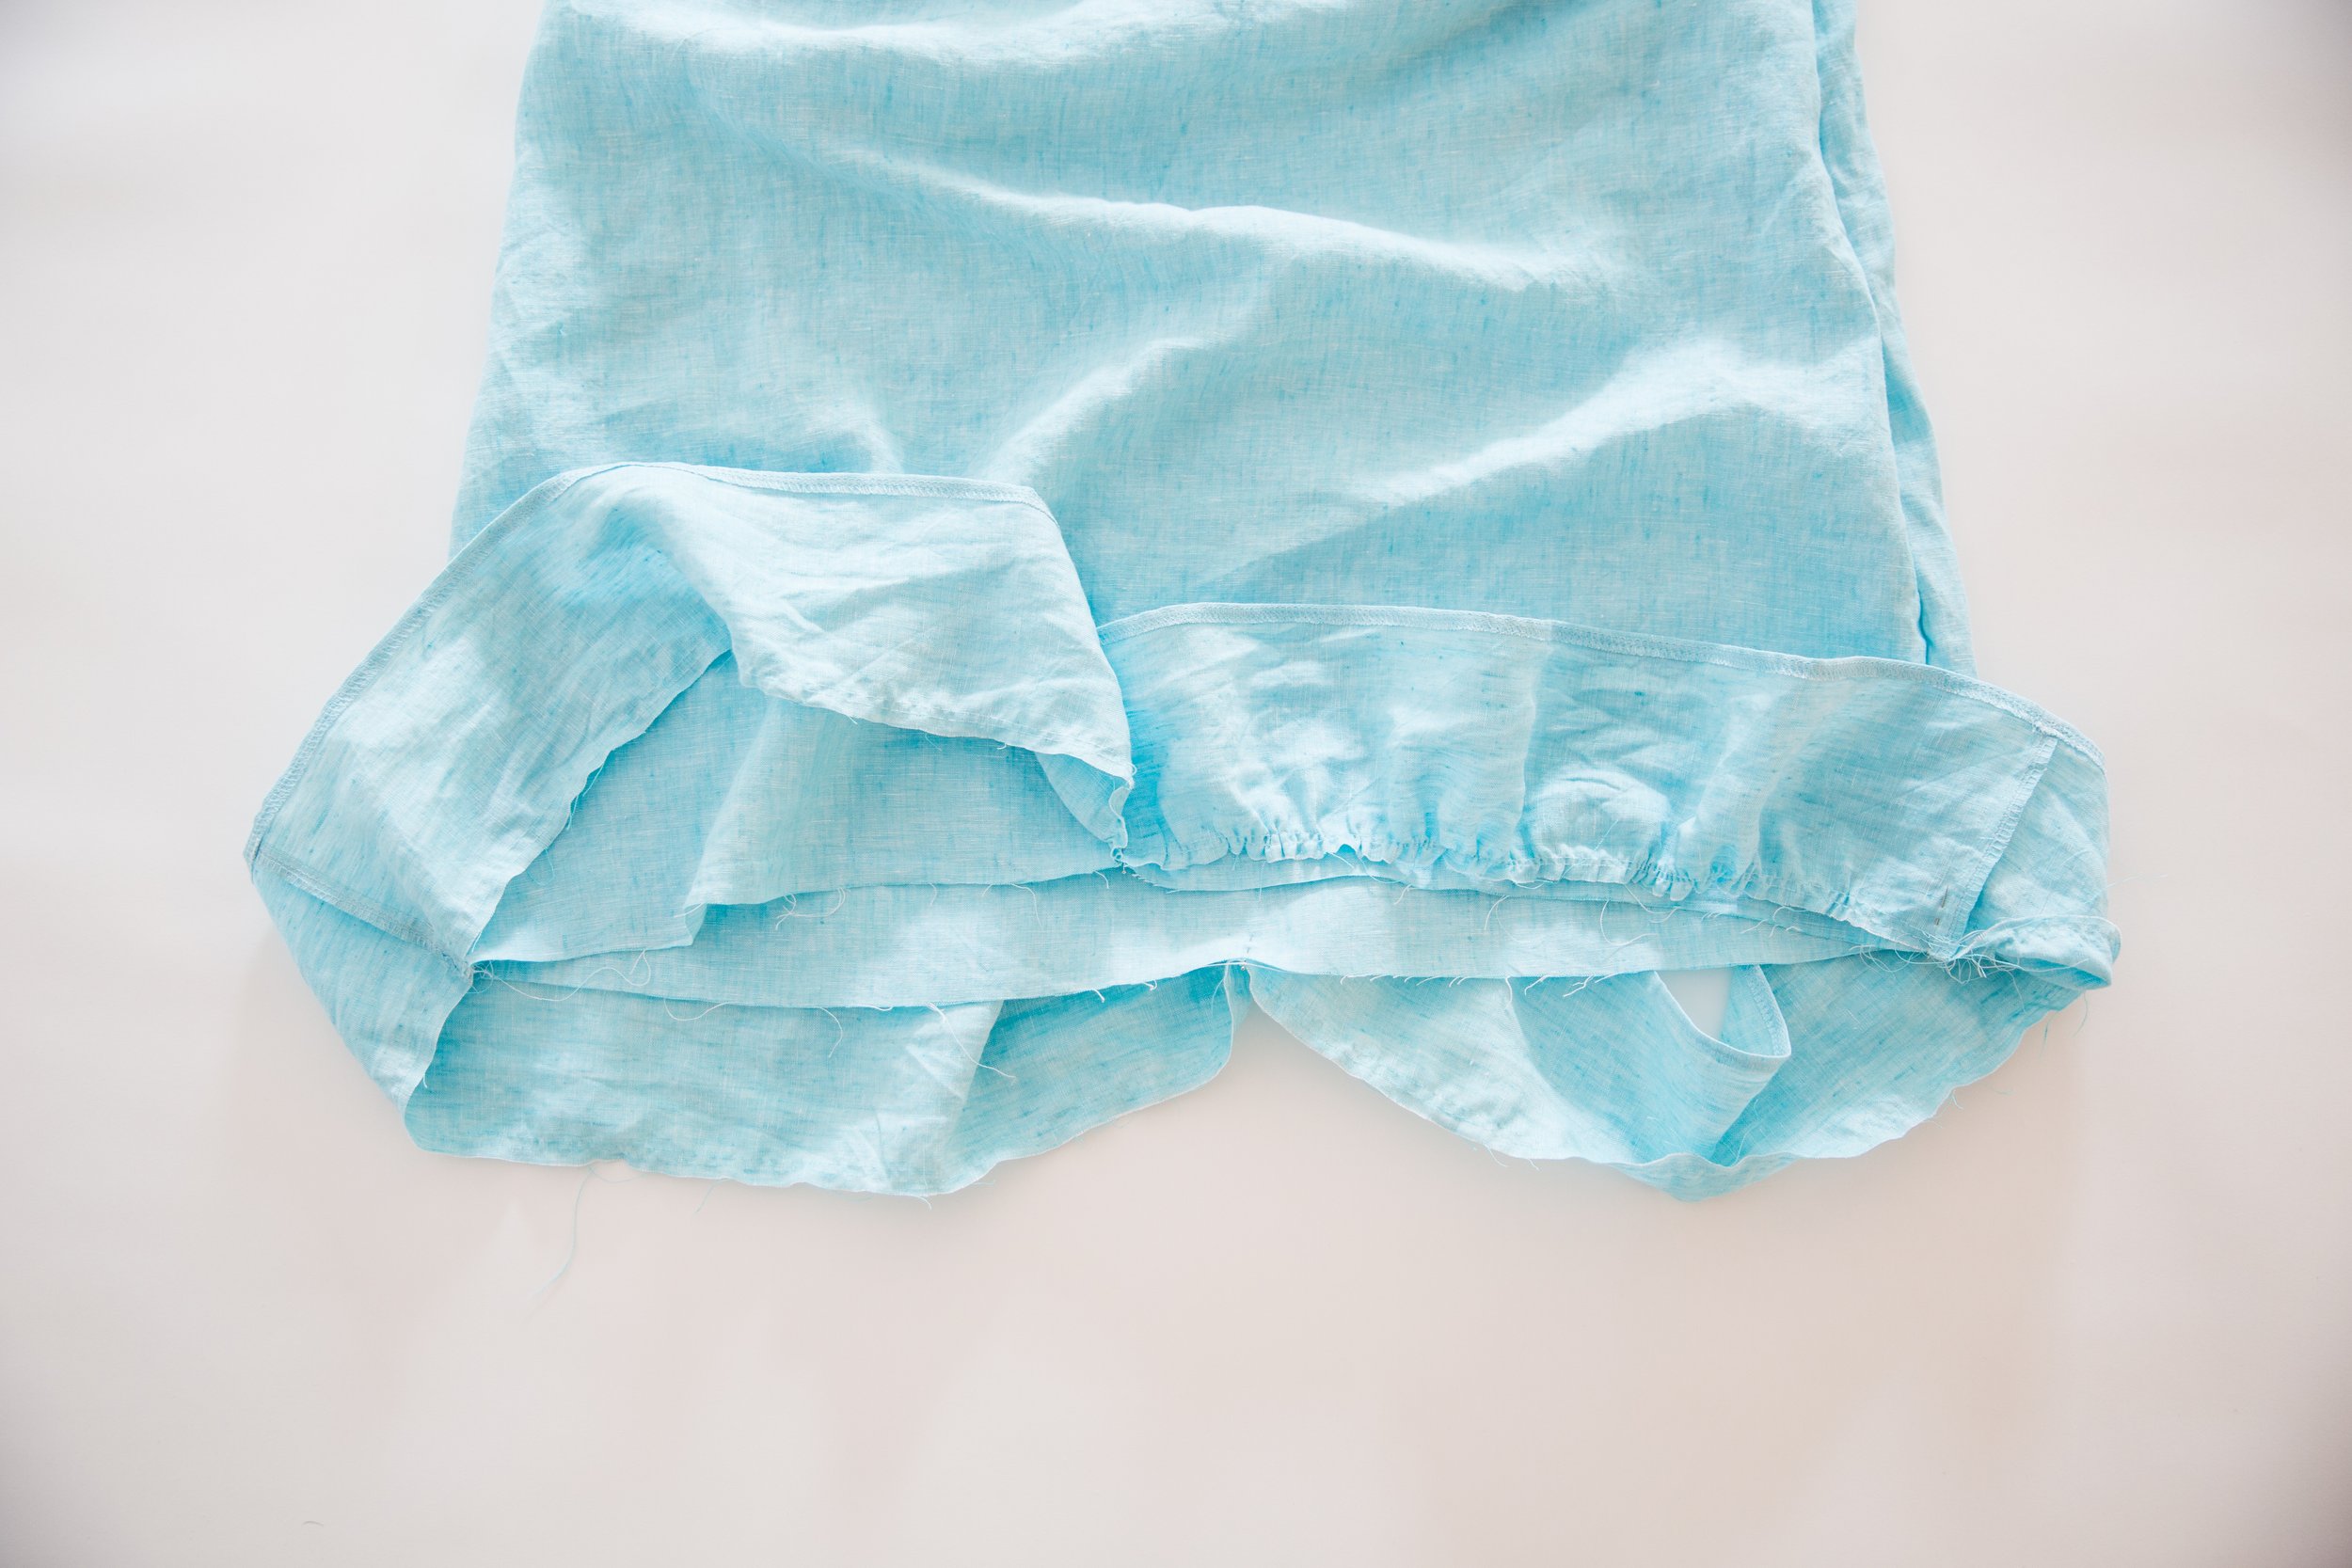
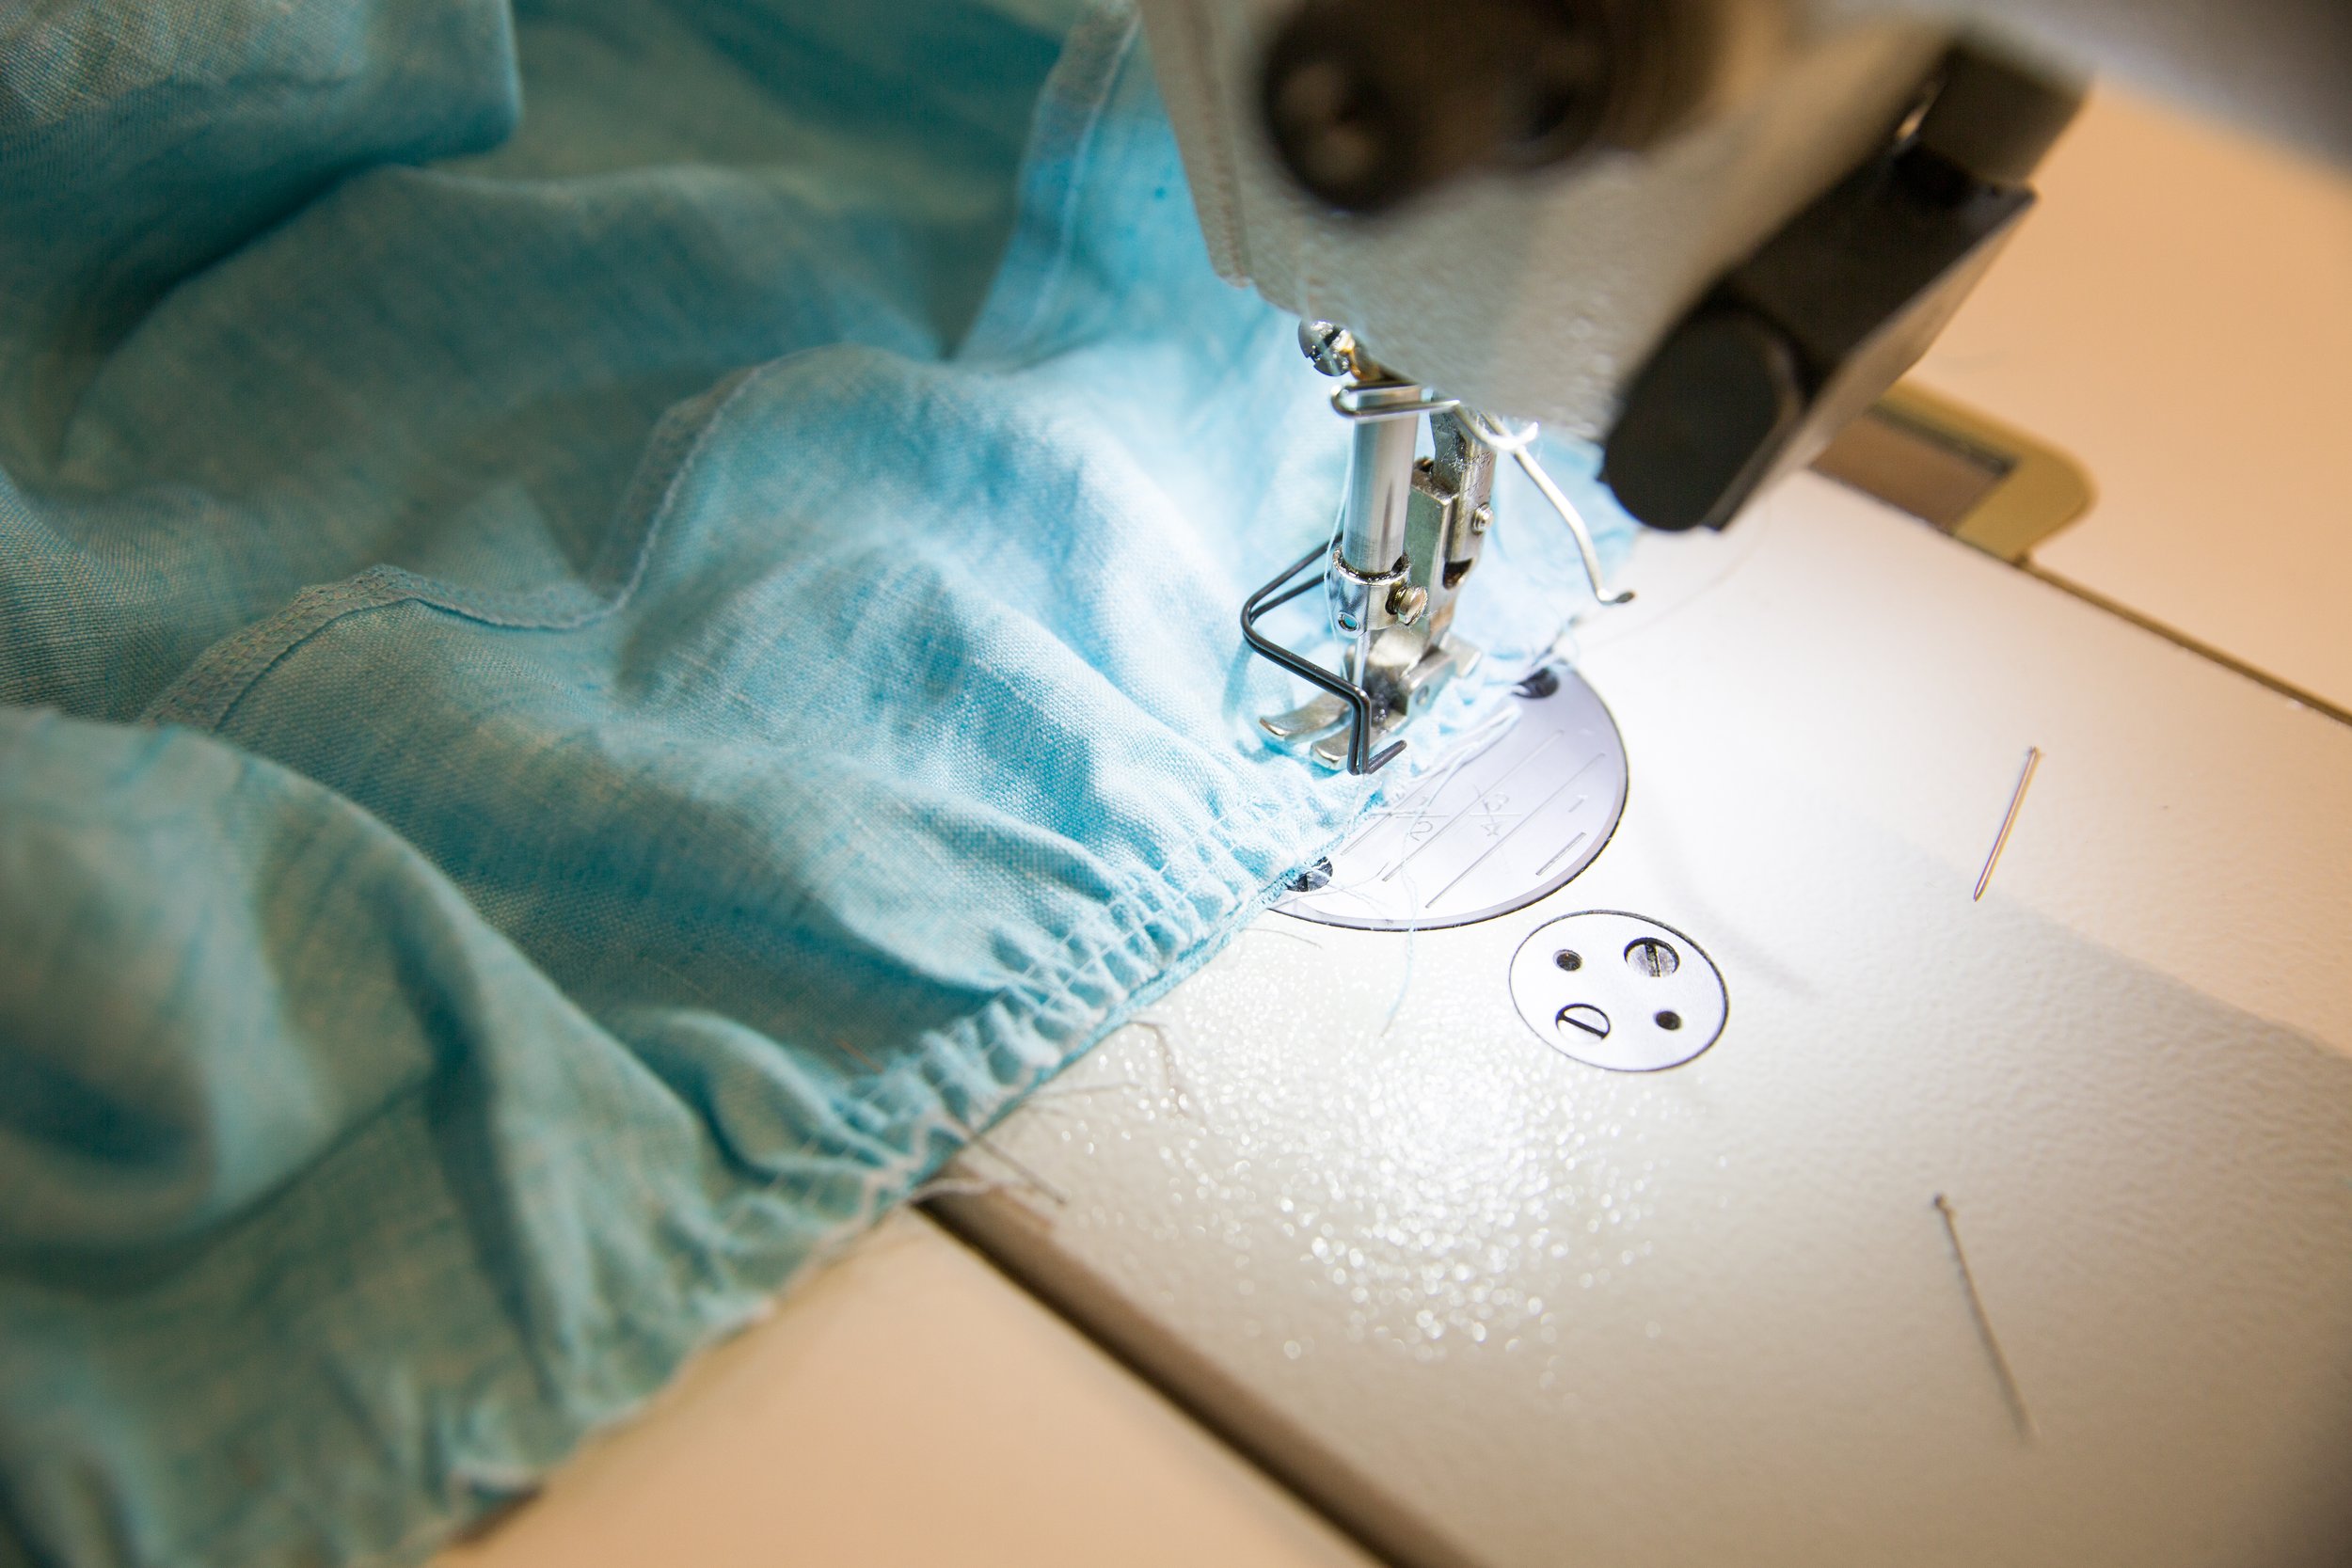
With right facing, pin your frill piece along one bust cup edge of the dress front panel.
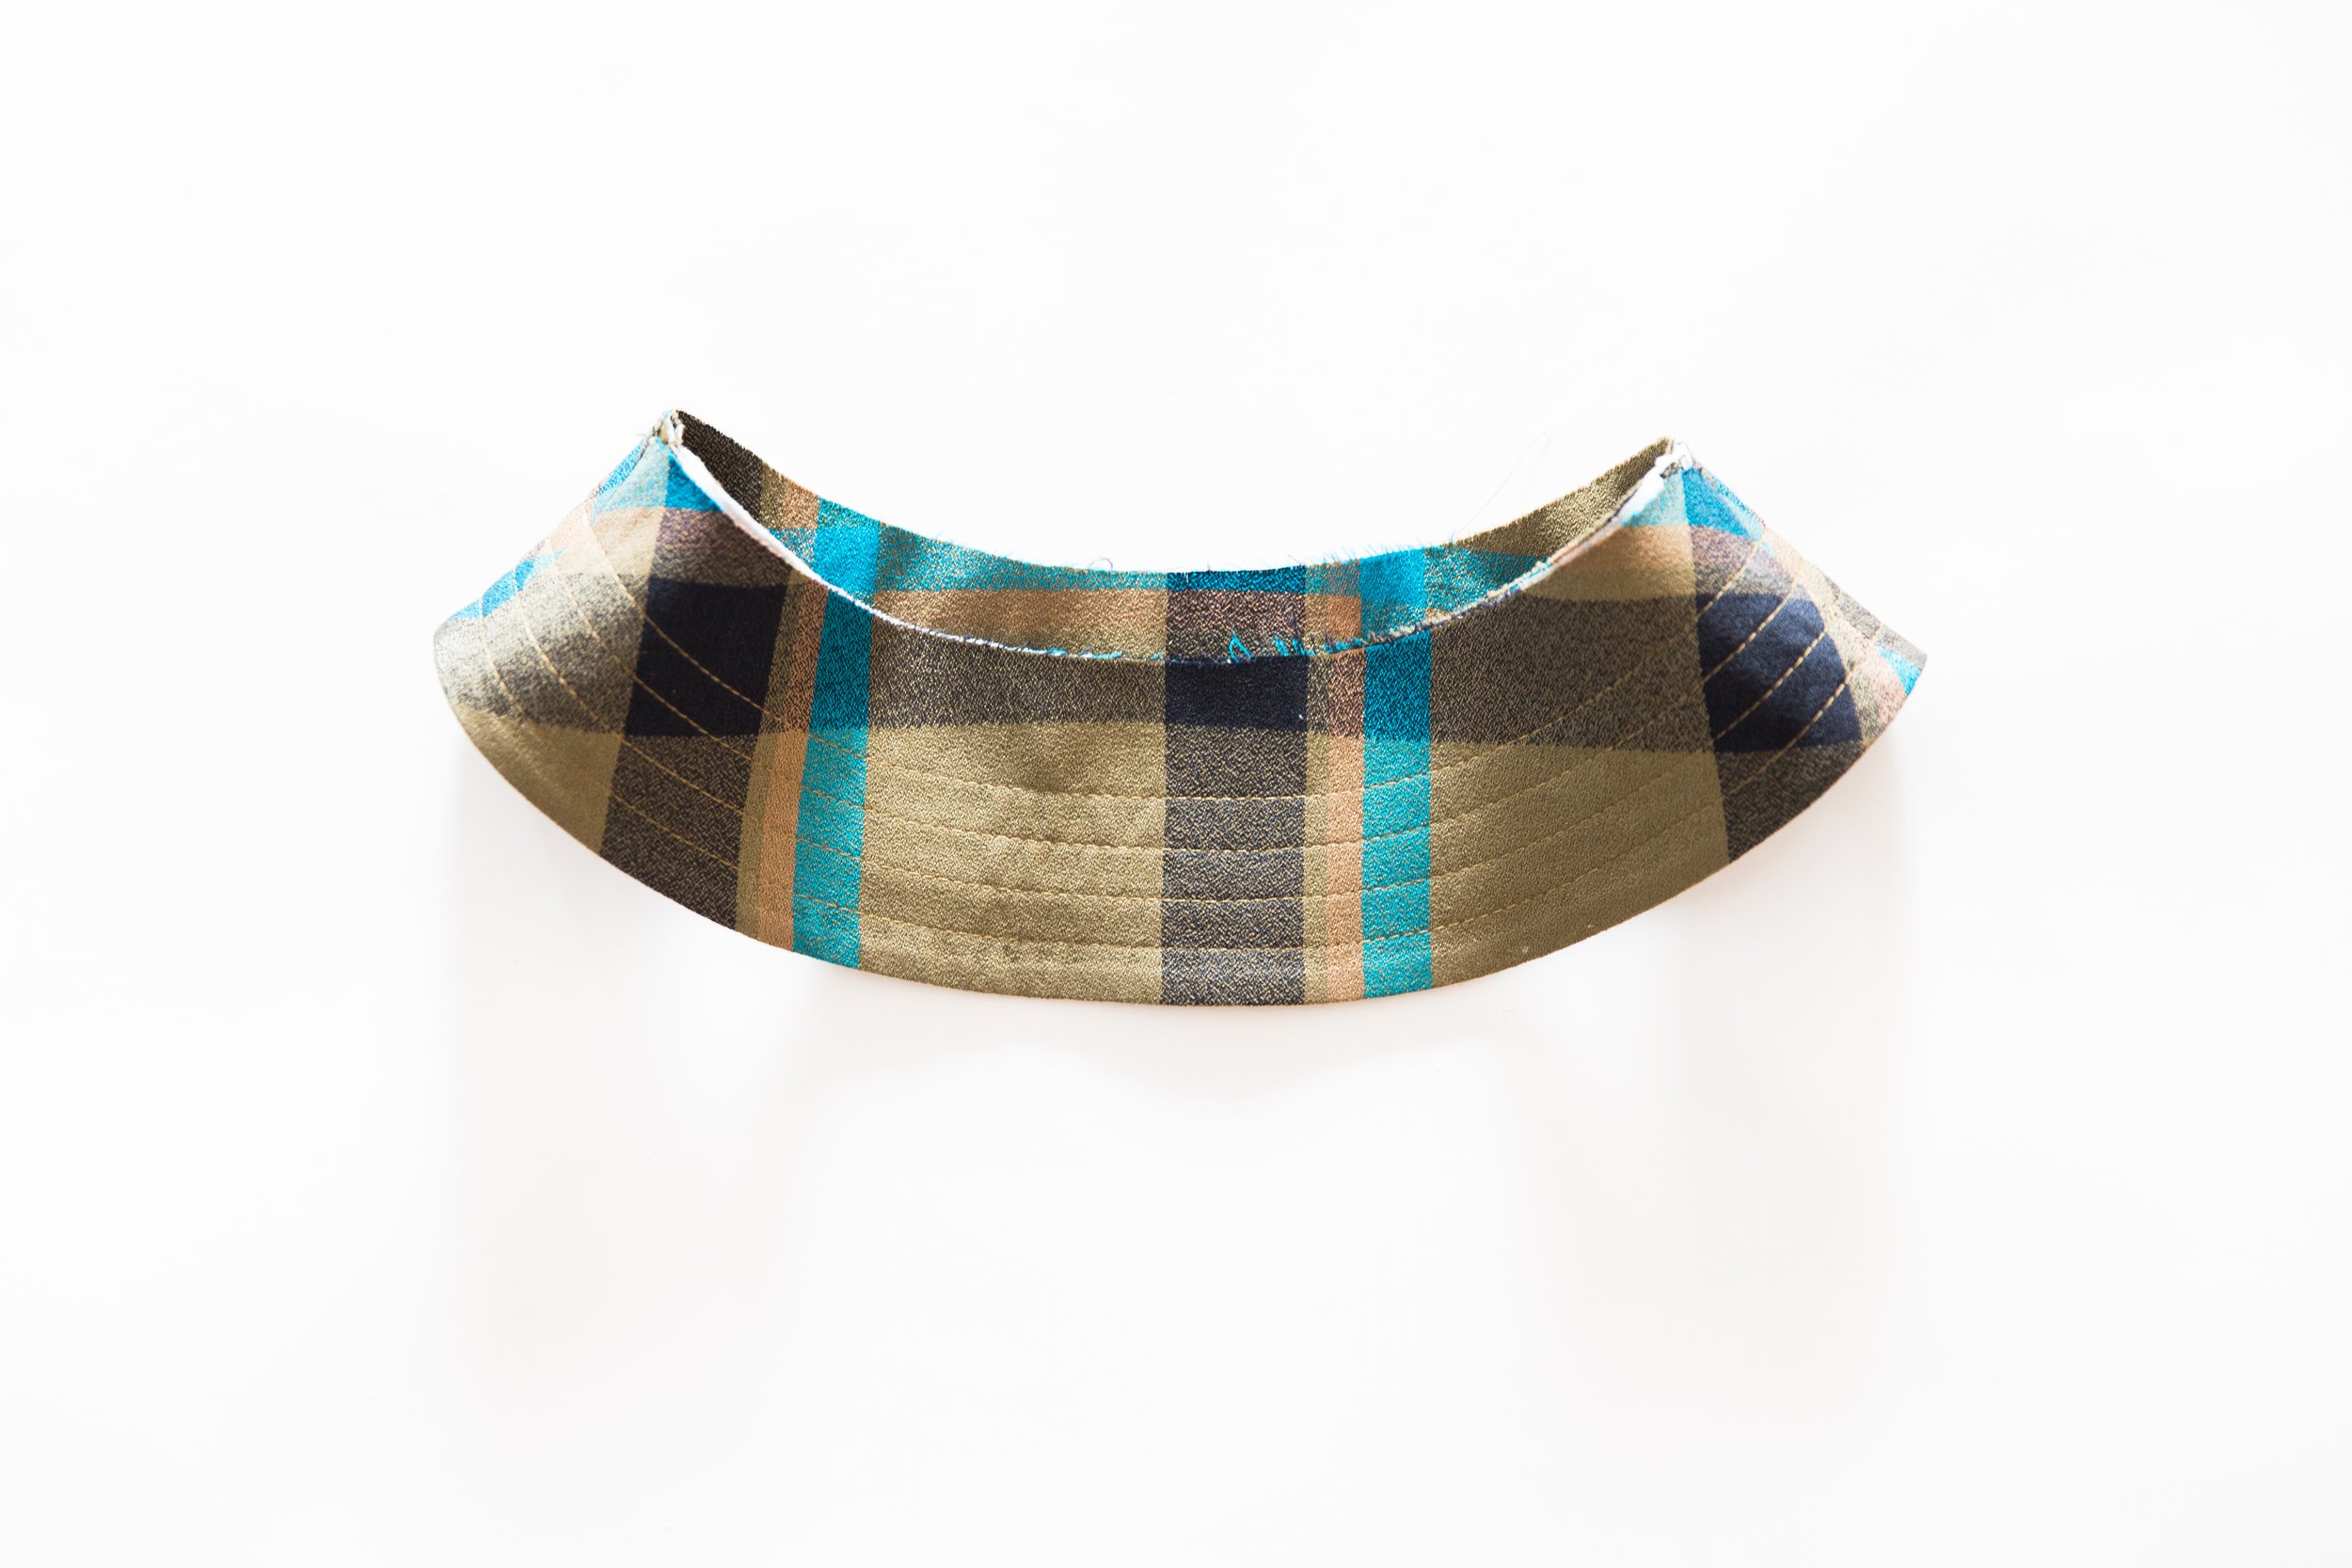
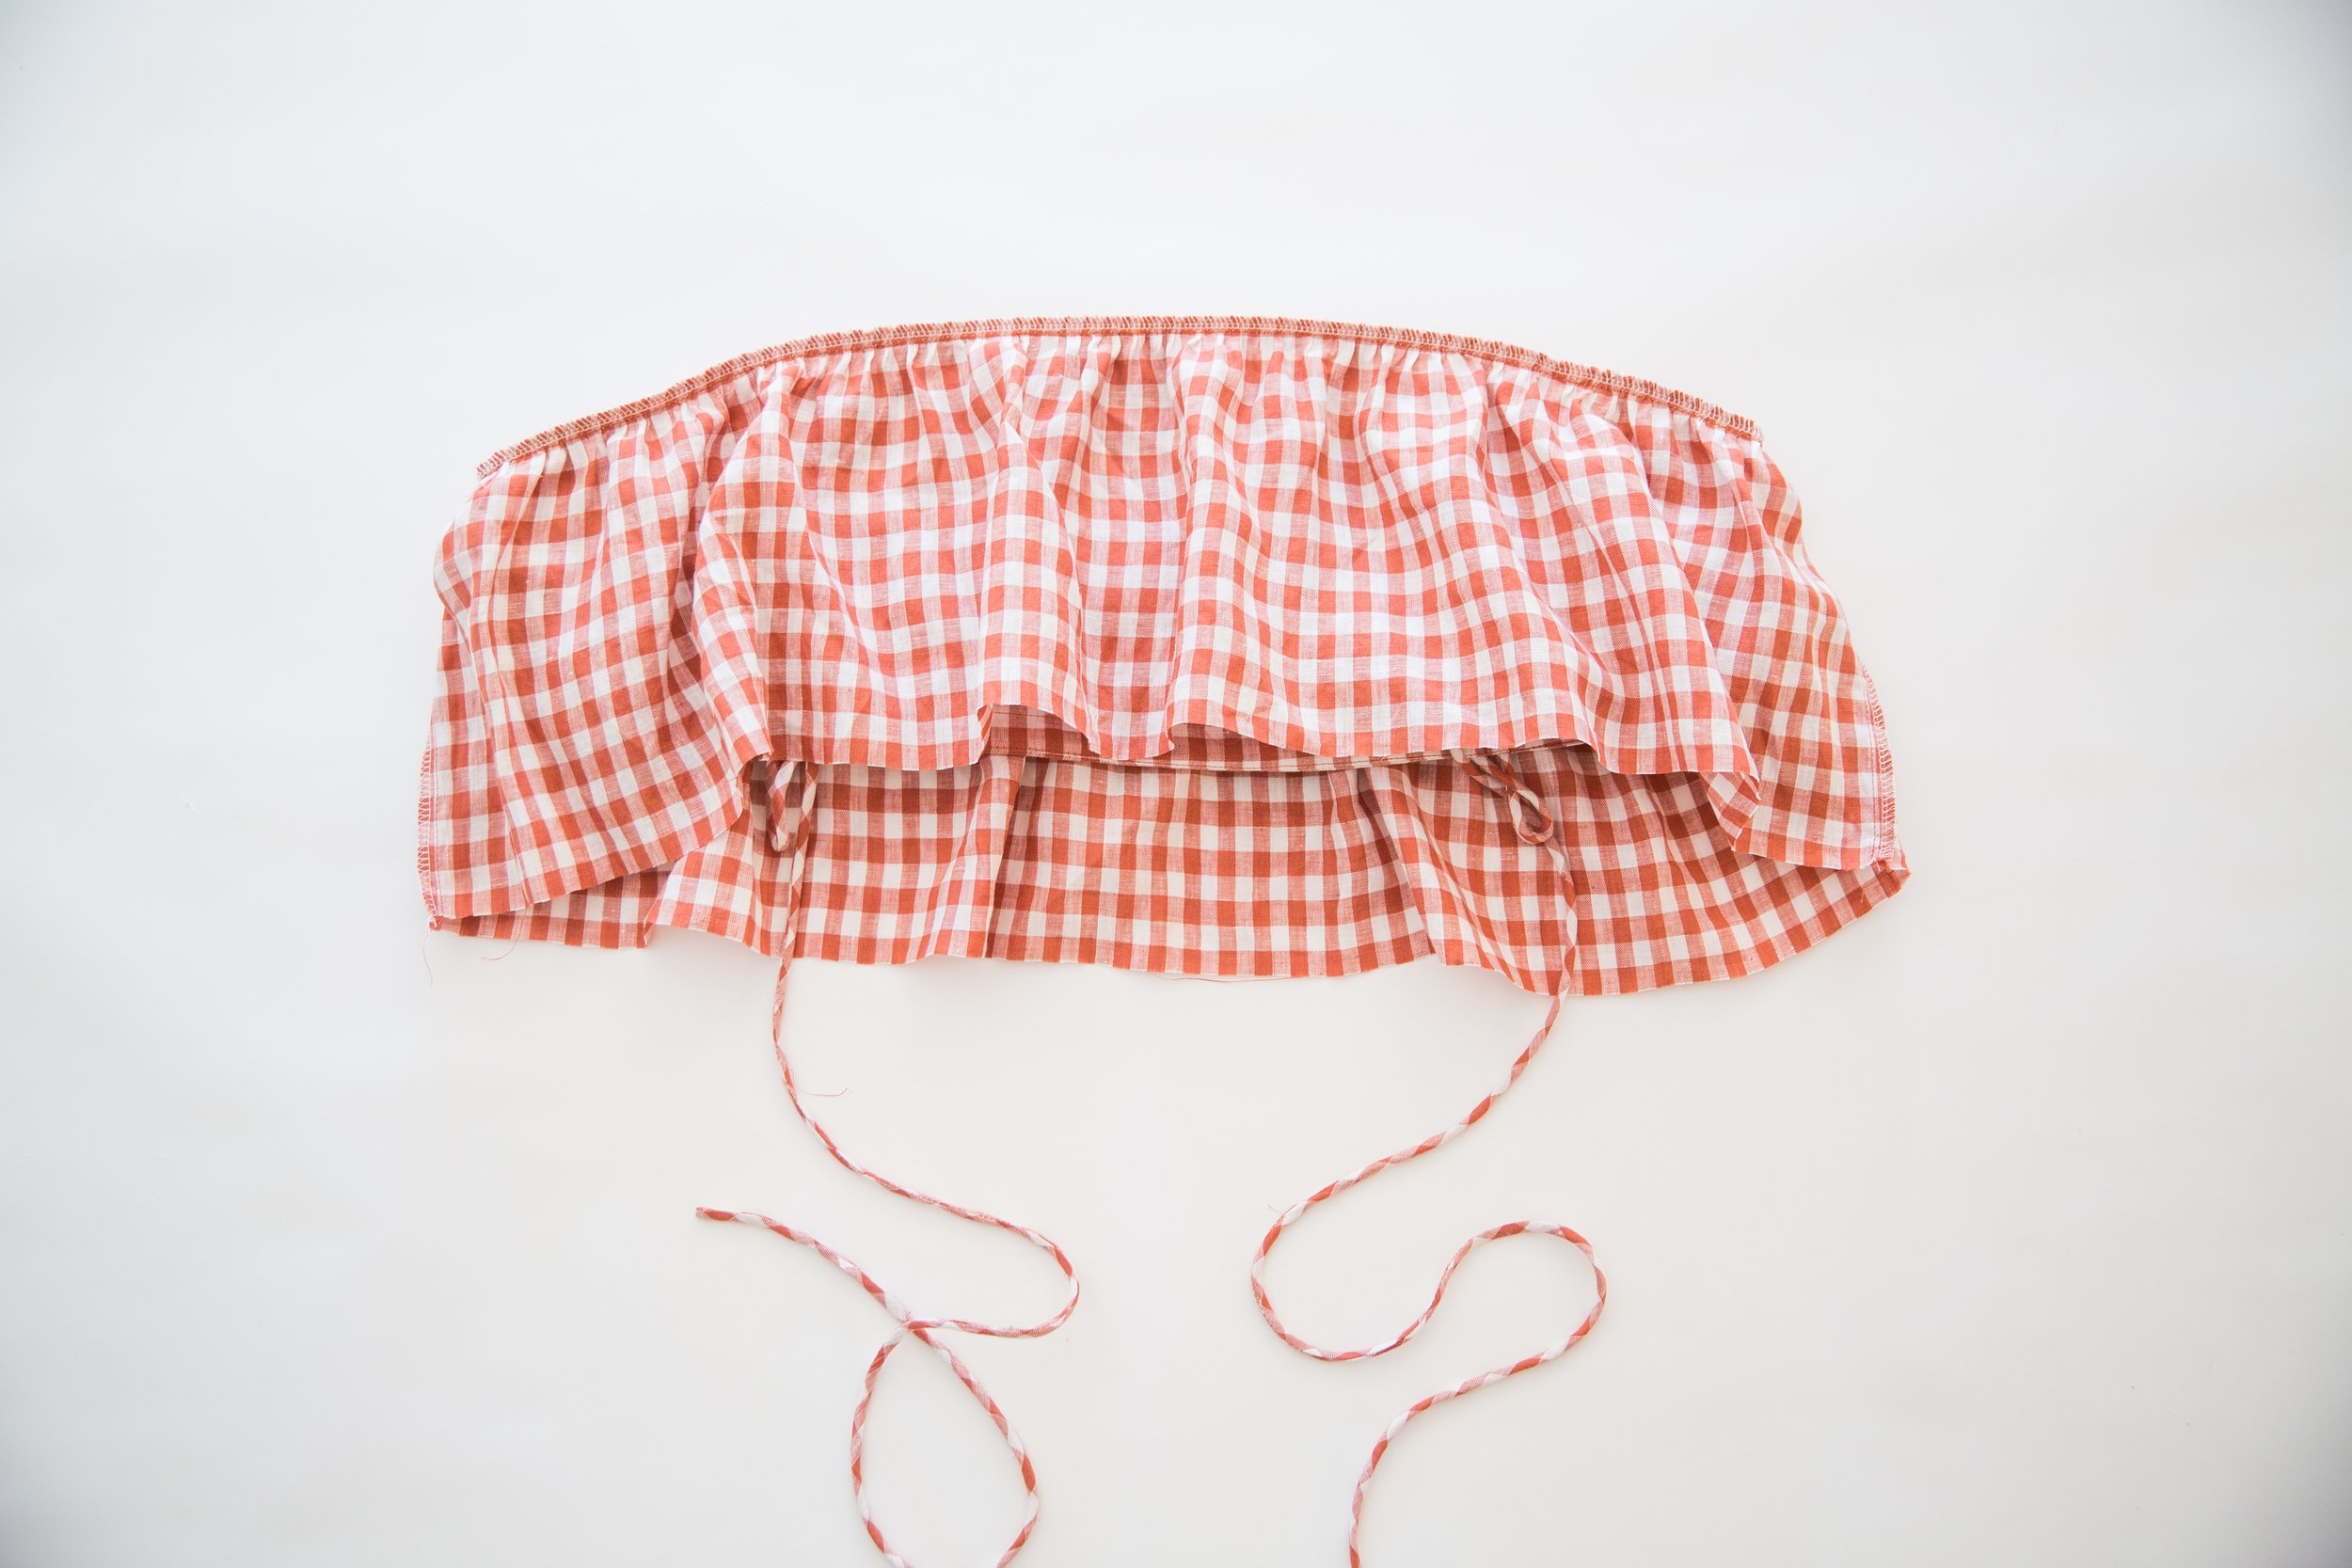
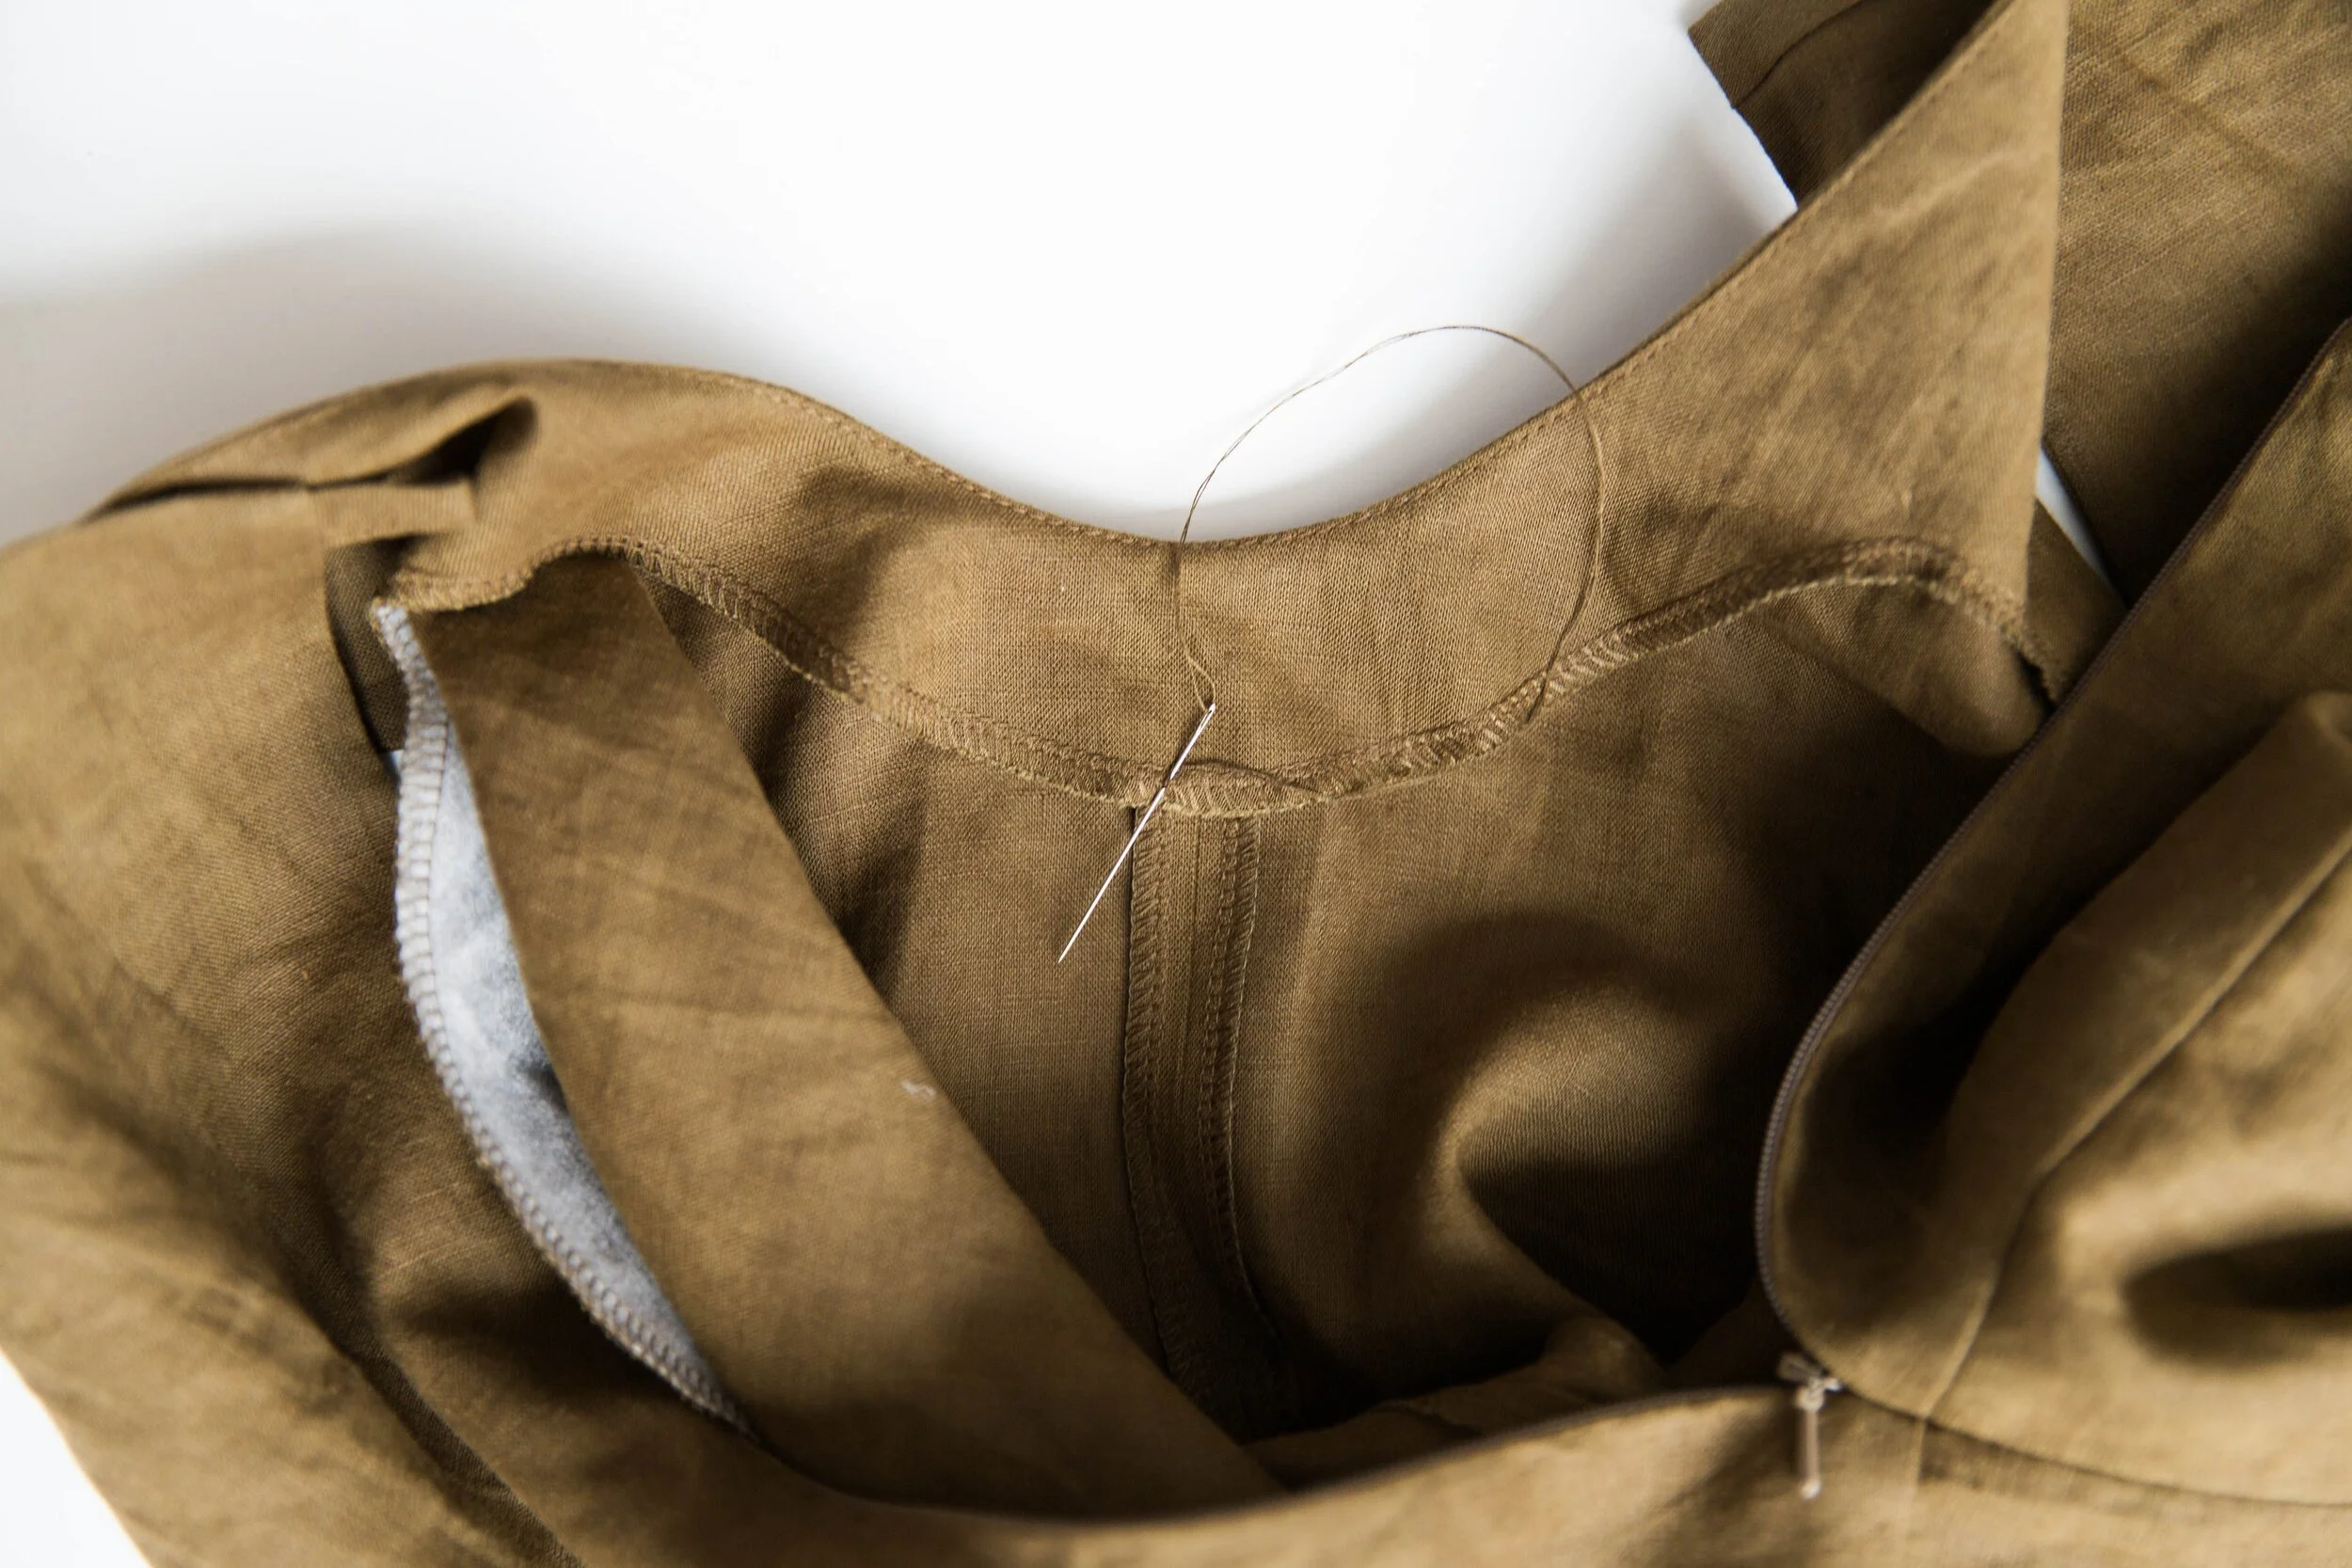
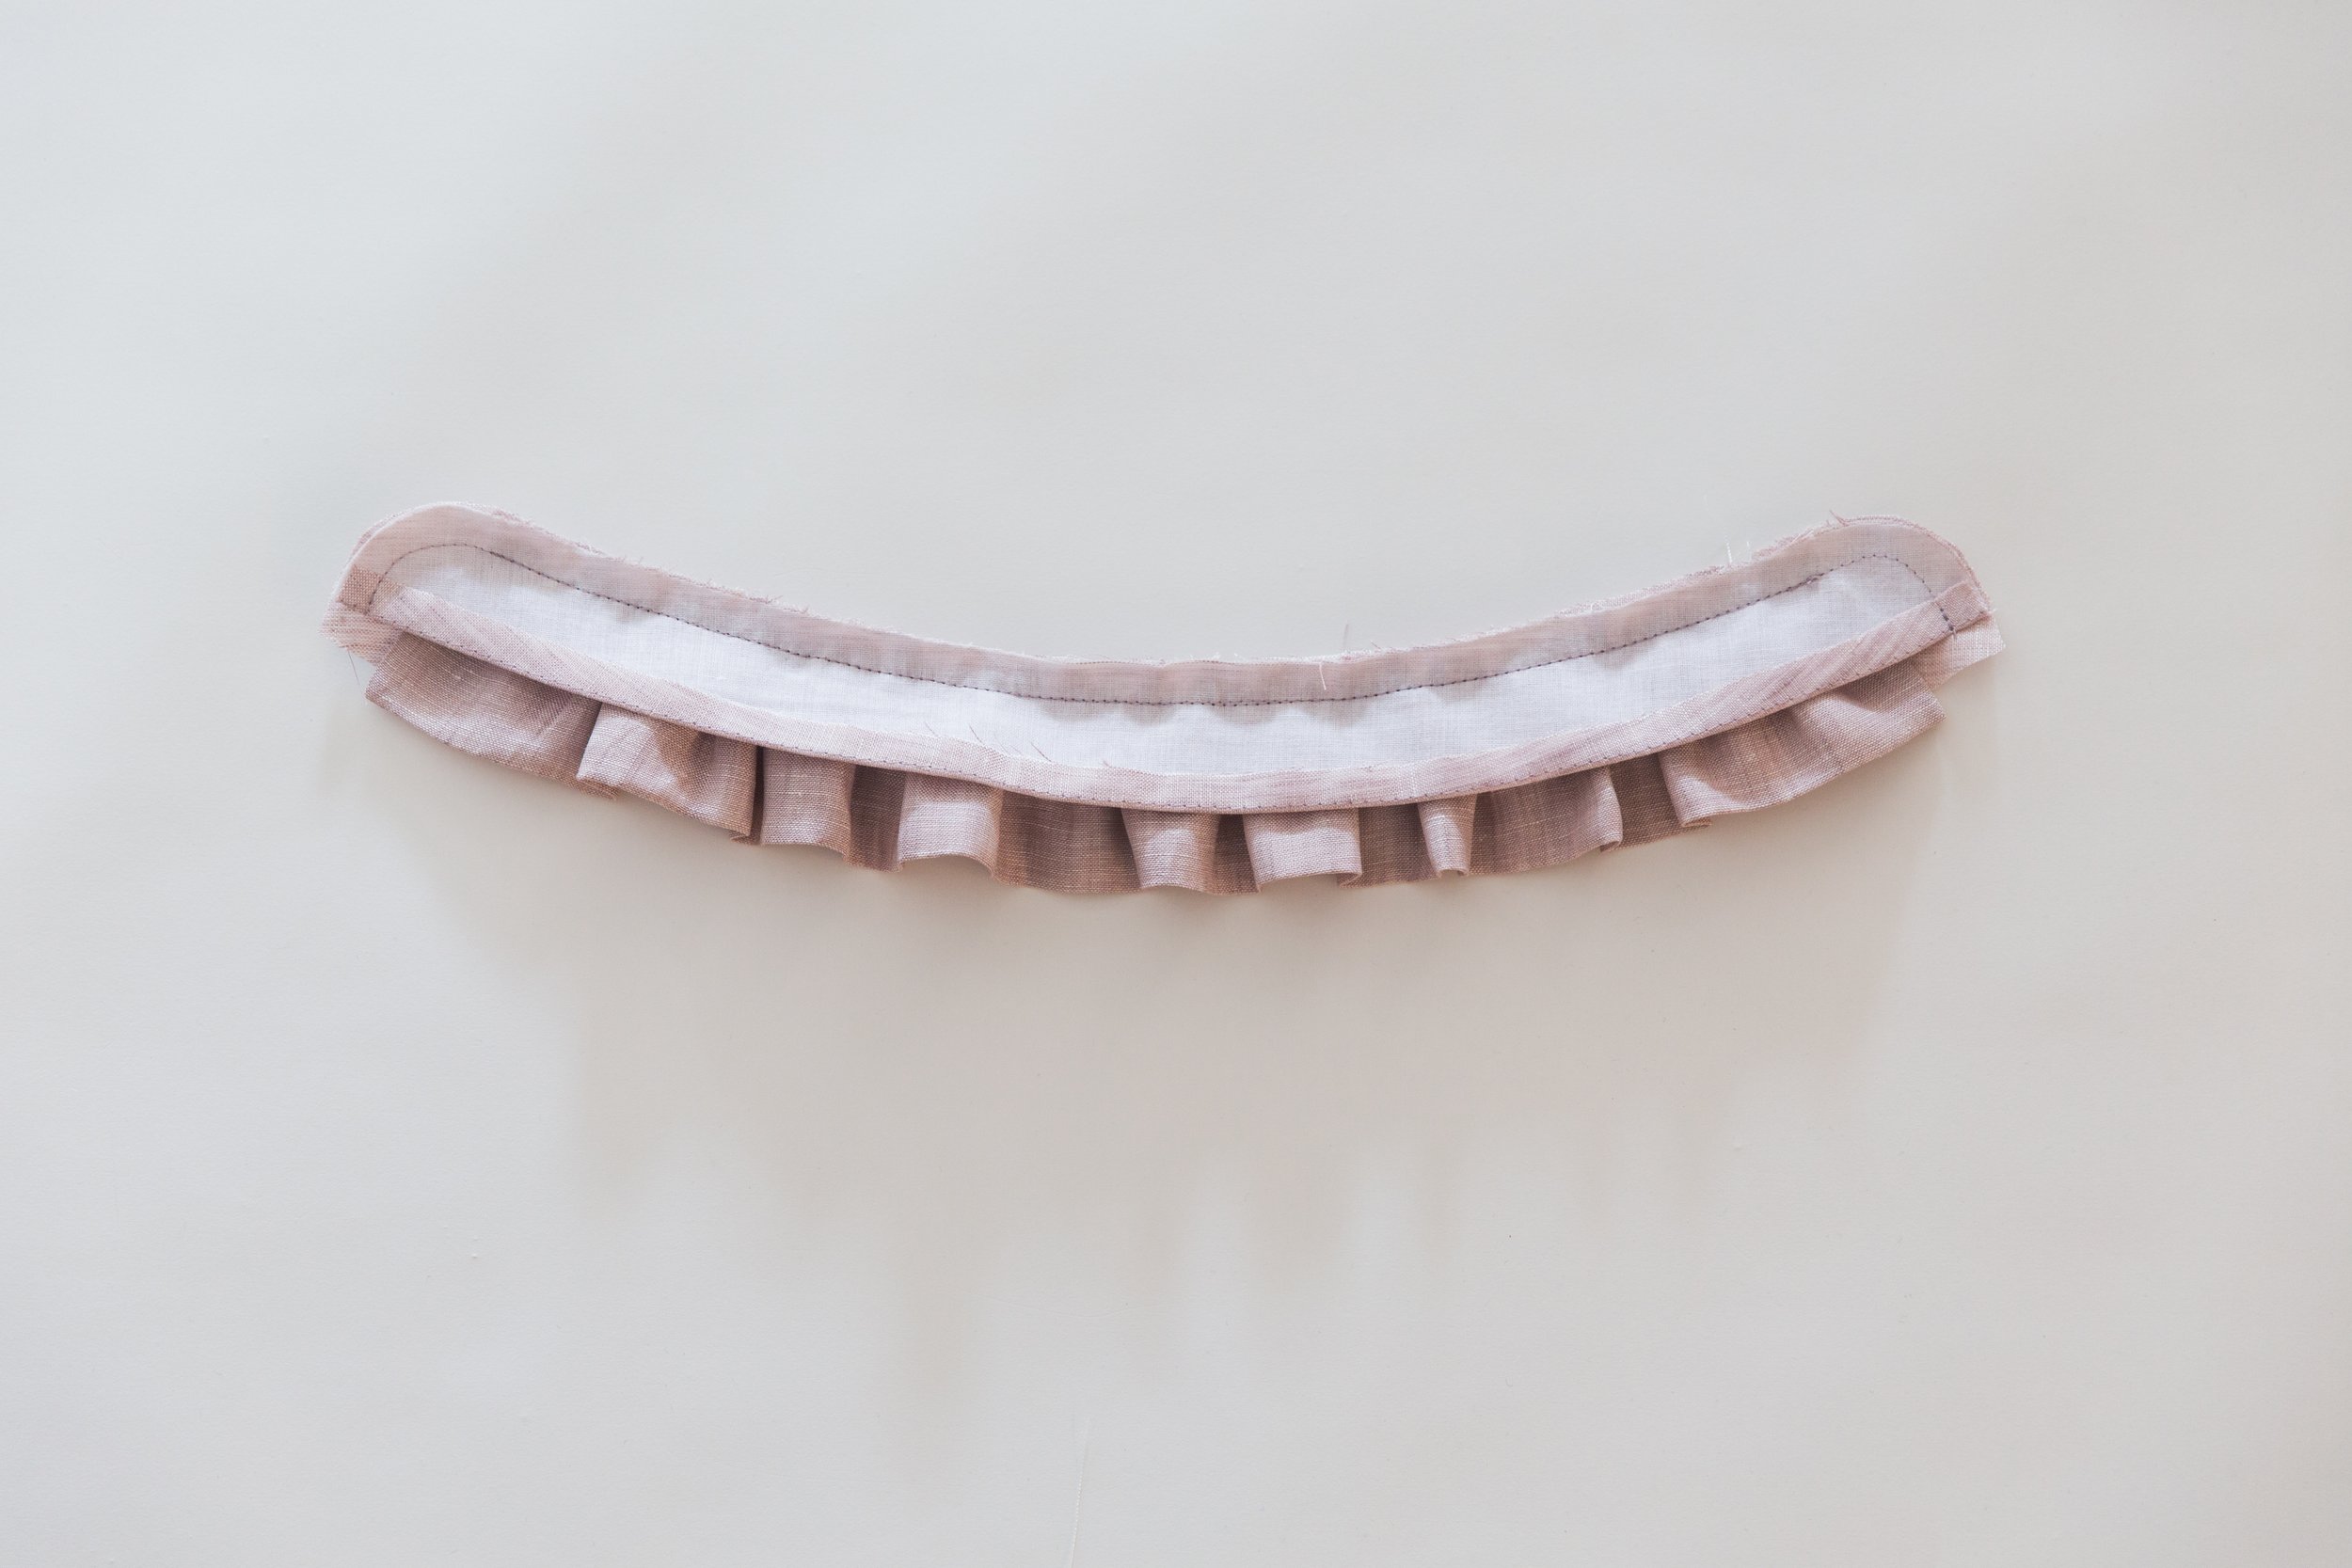
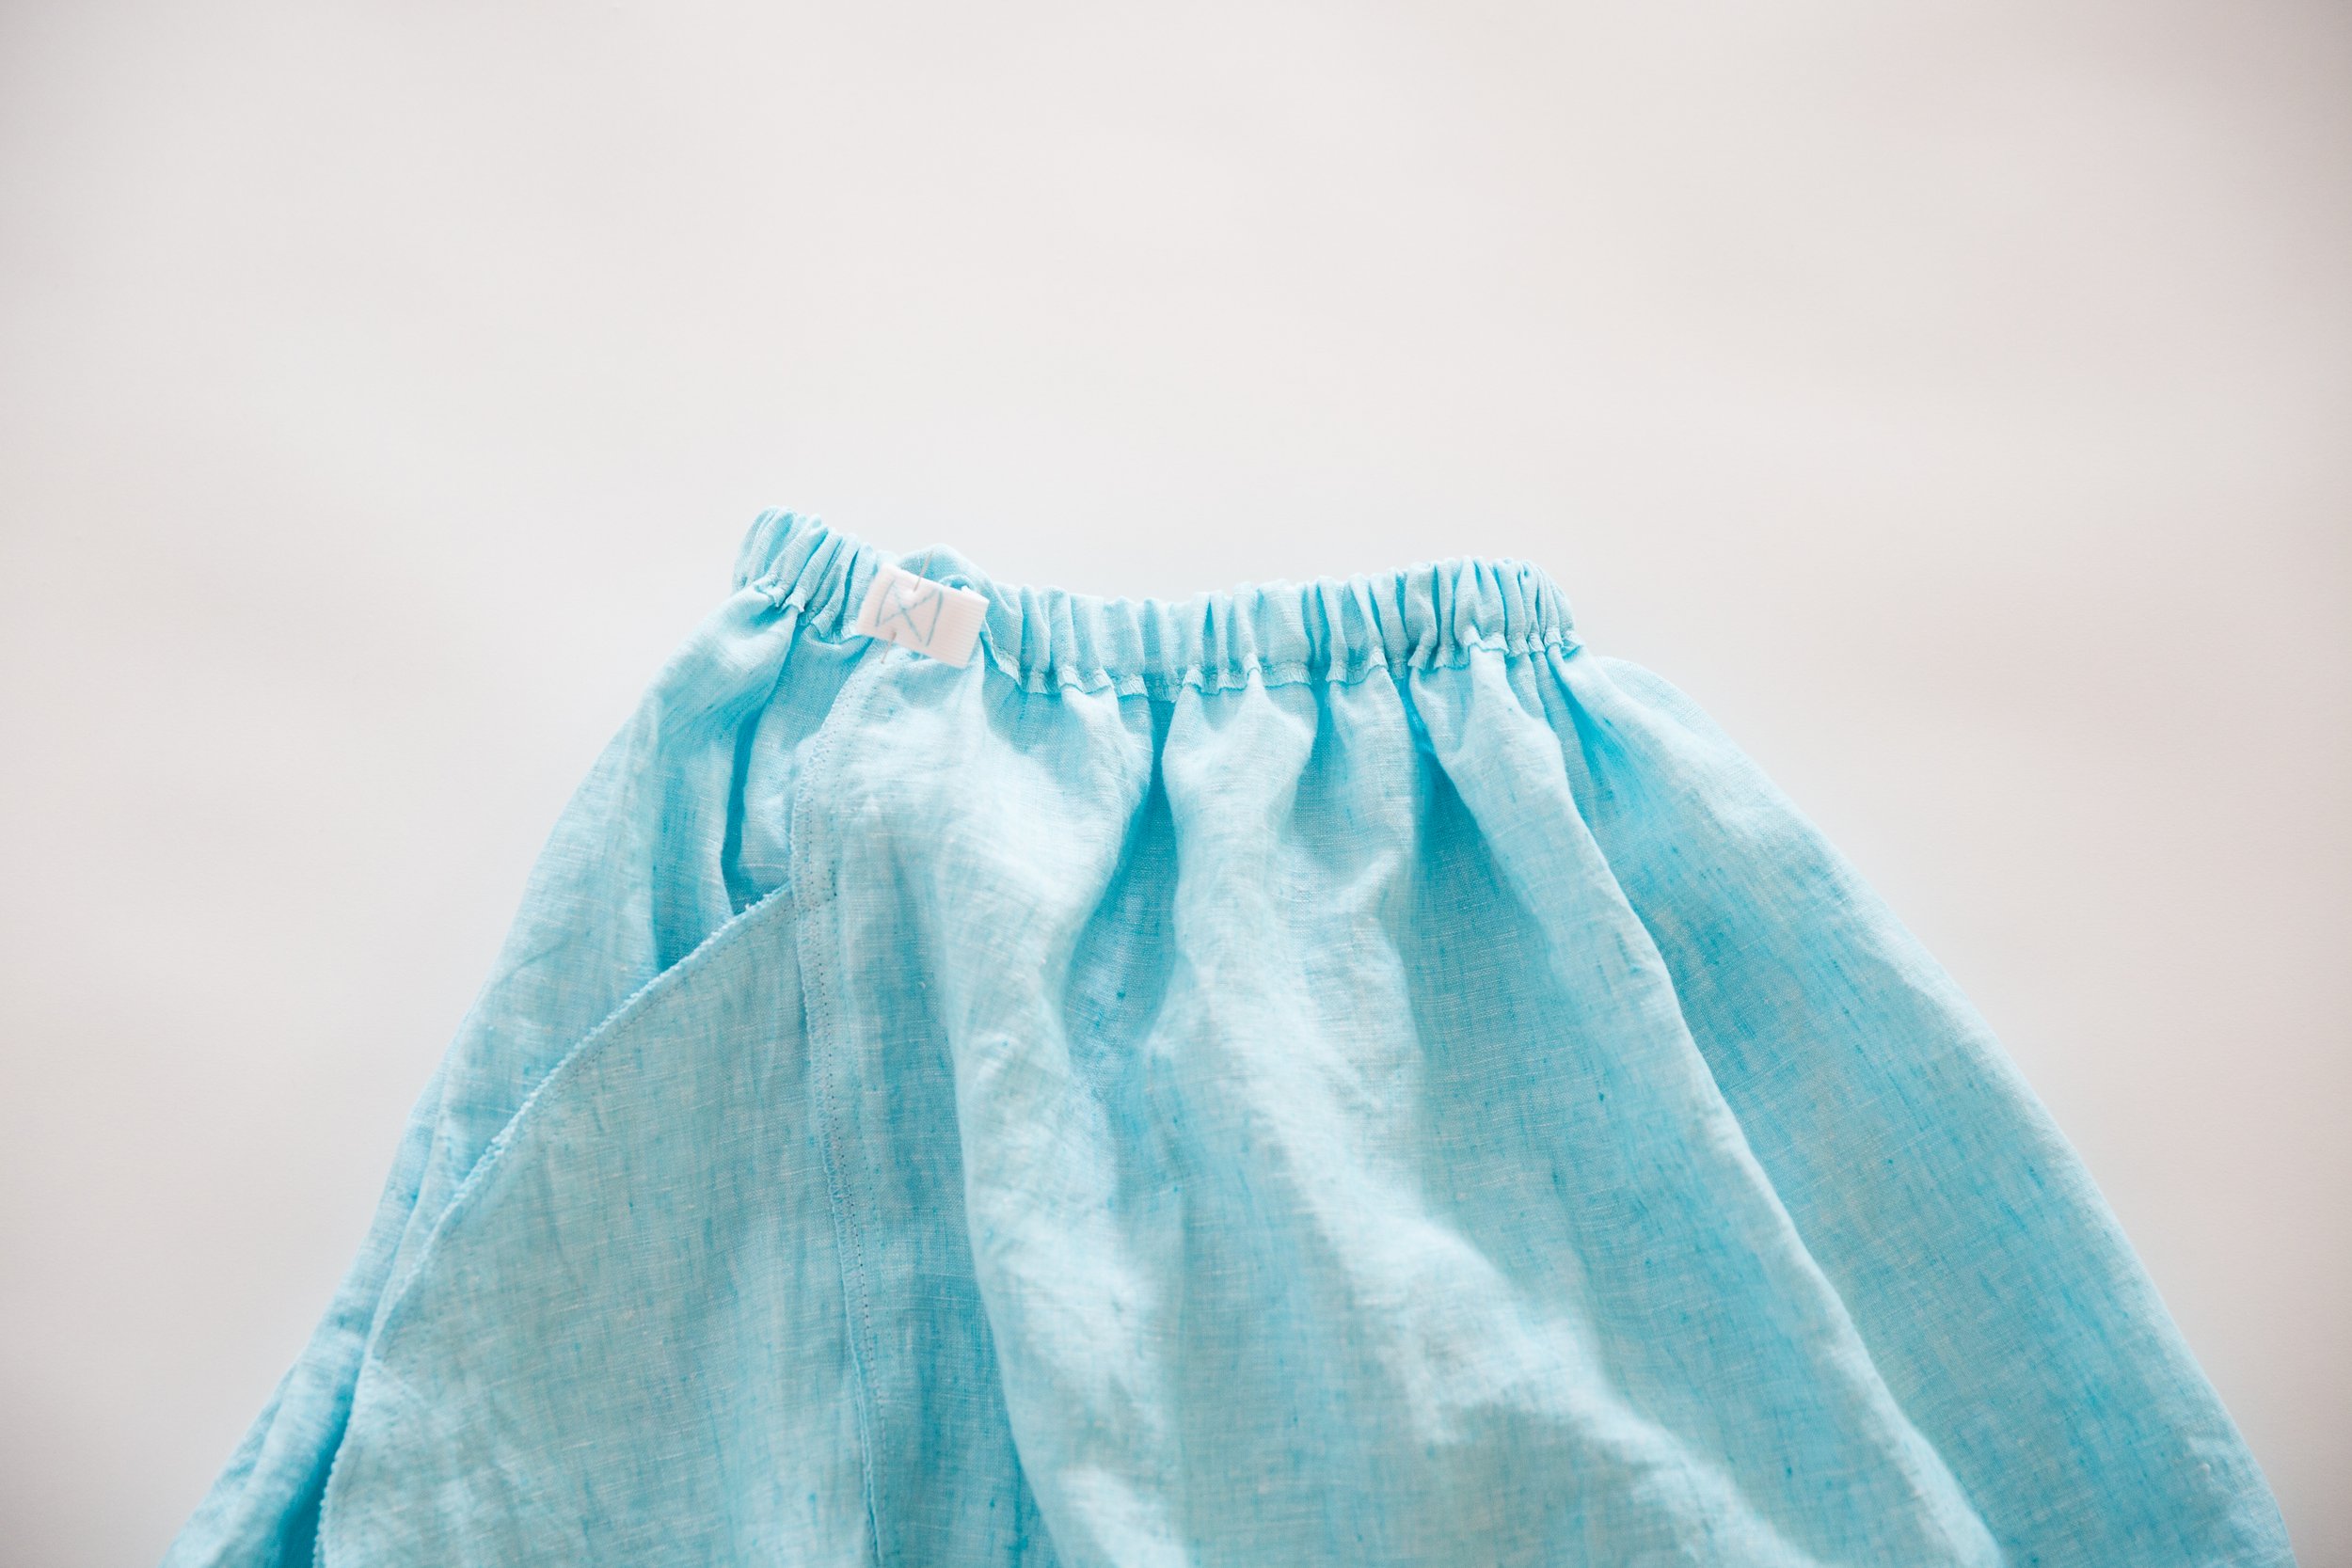
Pull the gathering threads and evenly distribute gathers until it fits. Pin securely in place then stitch together. Neaten seam.


Step 4
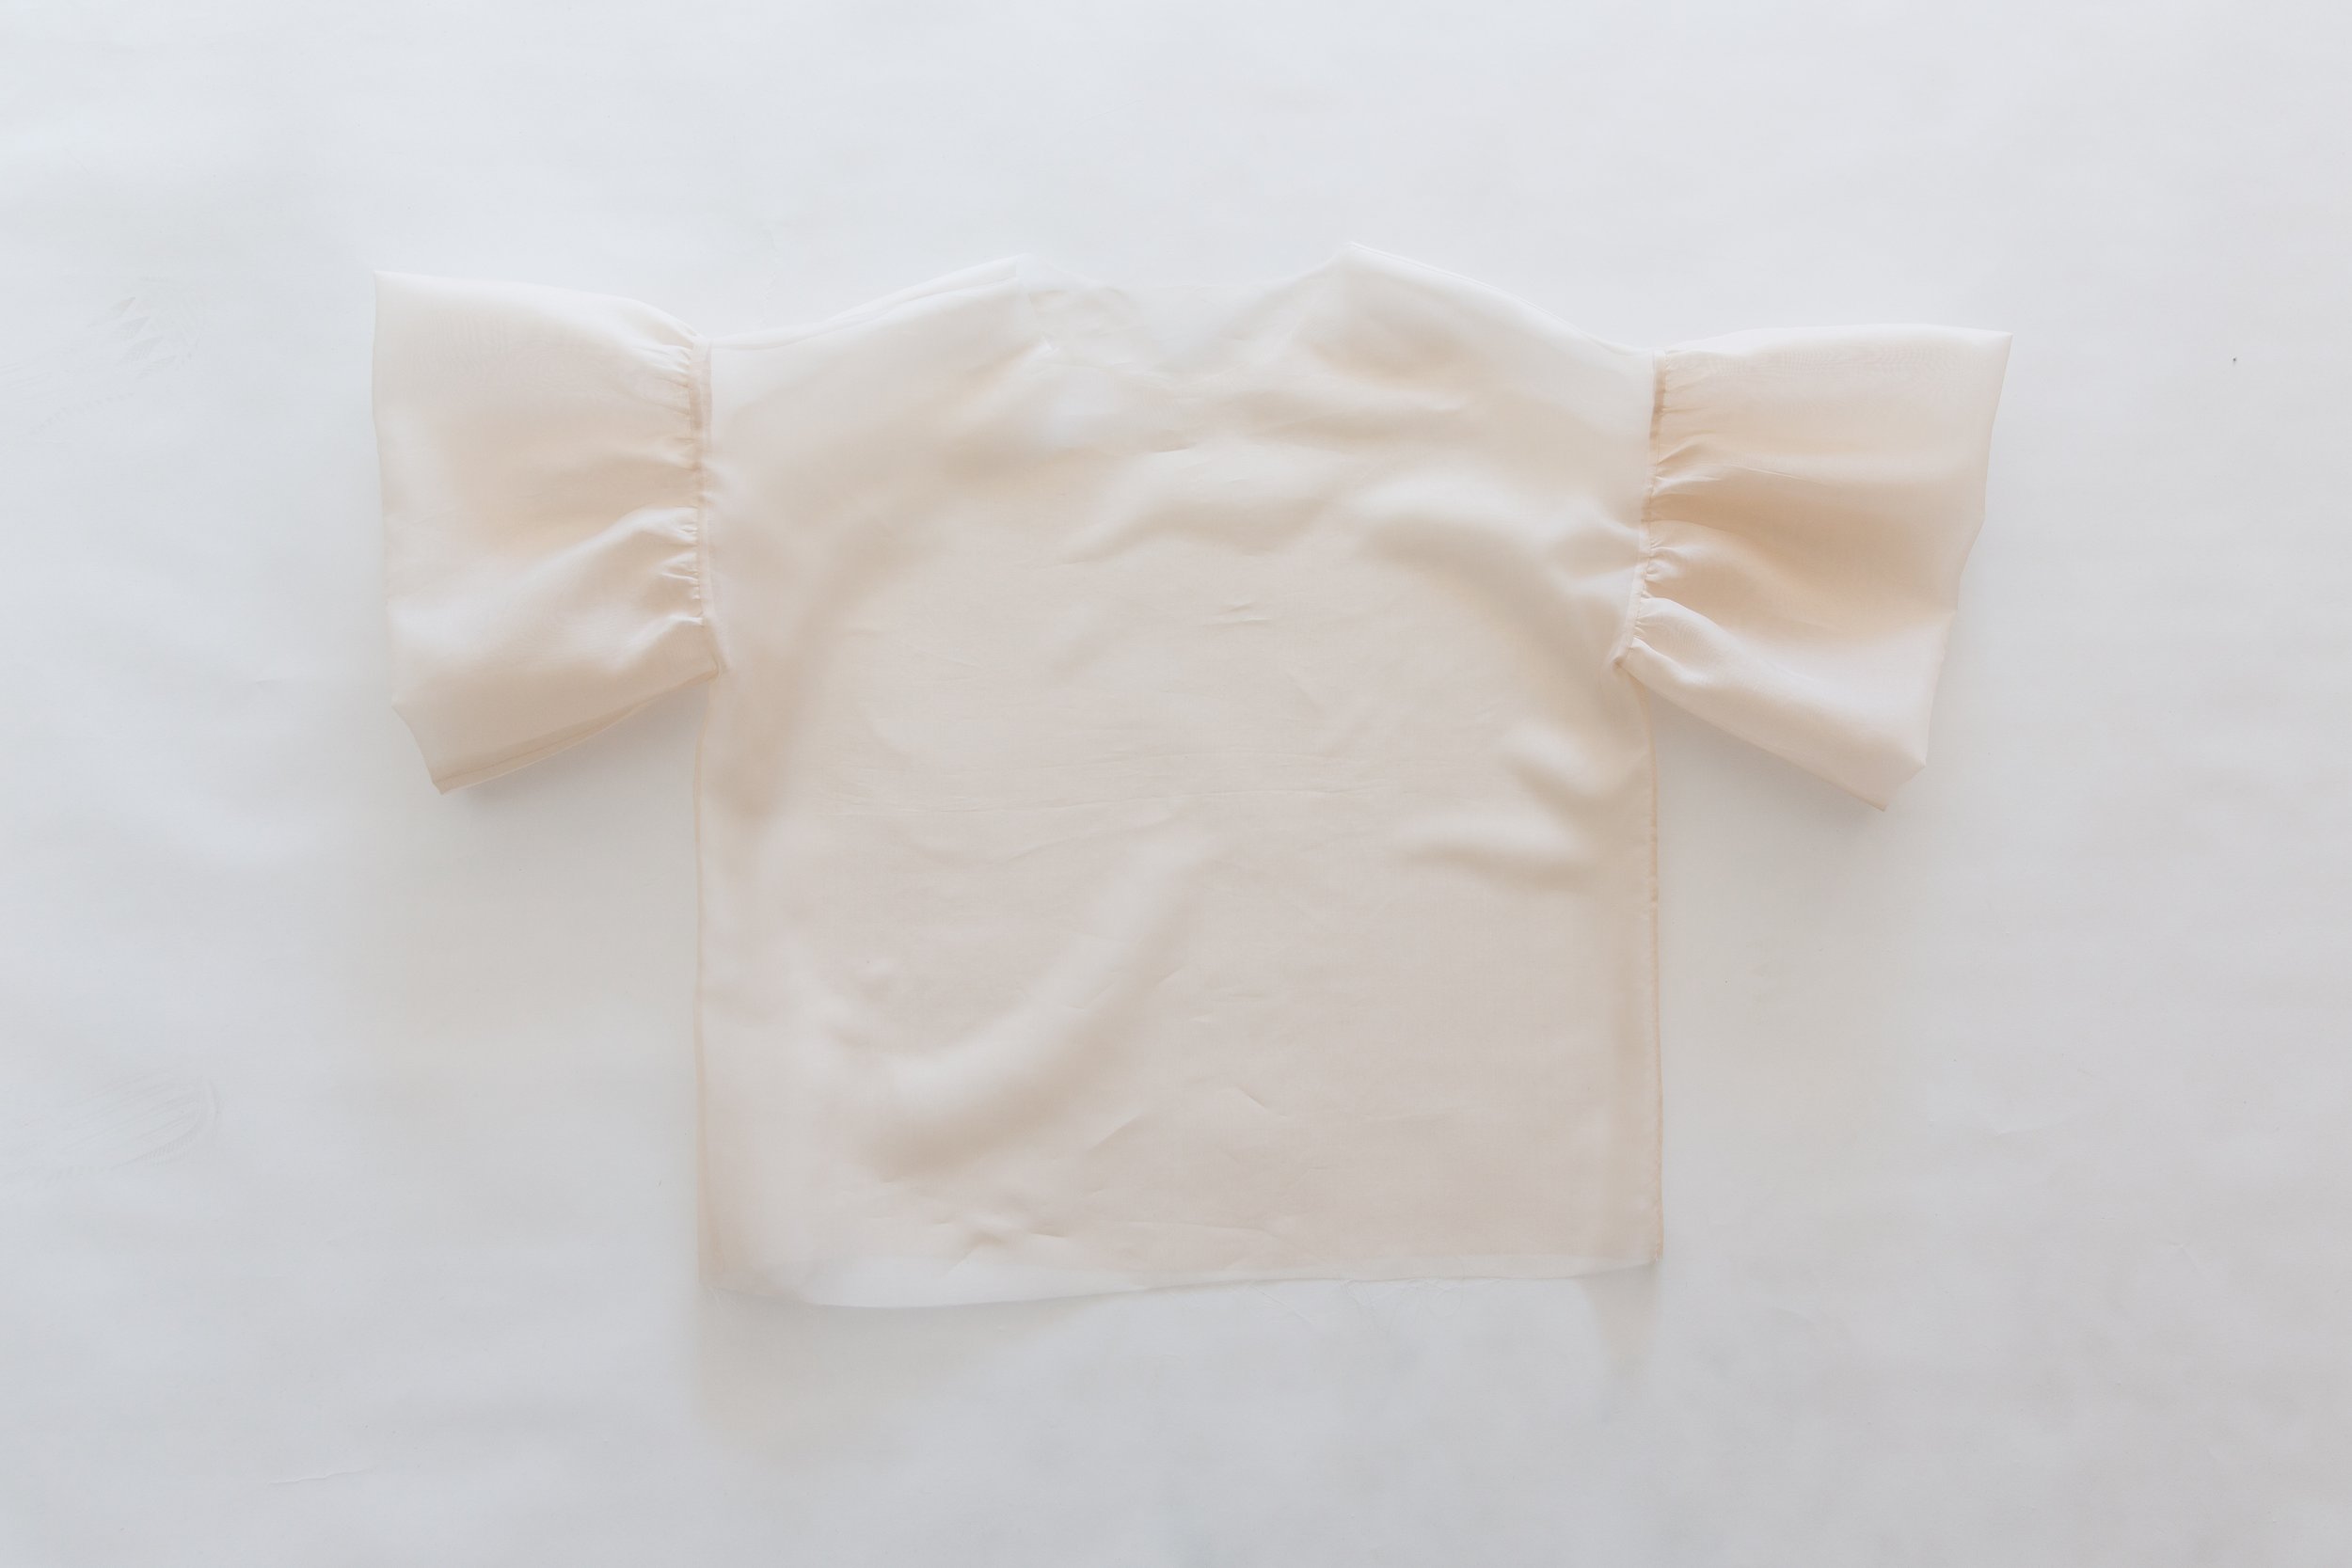
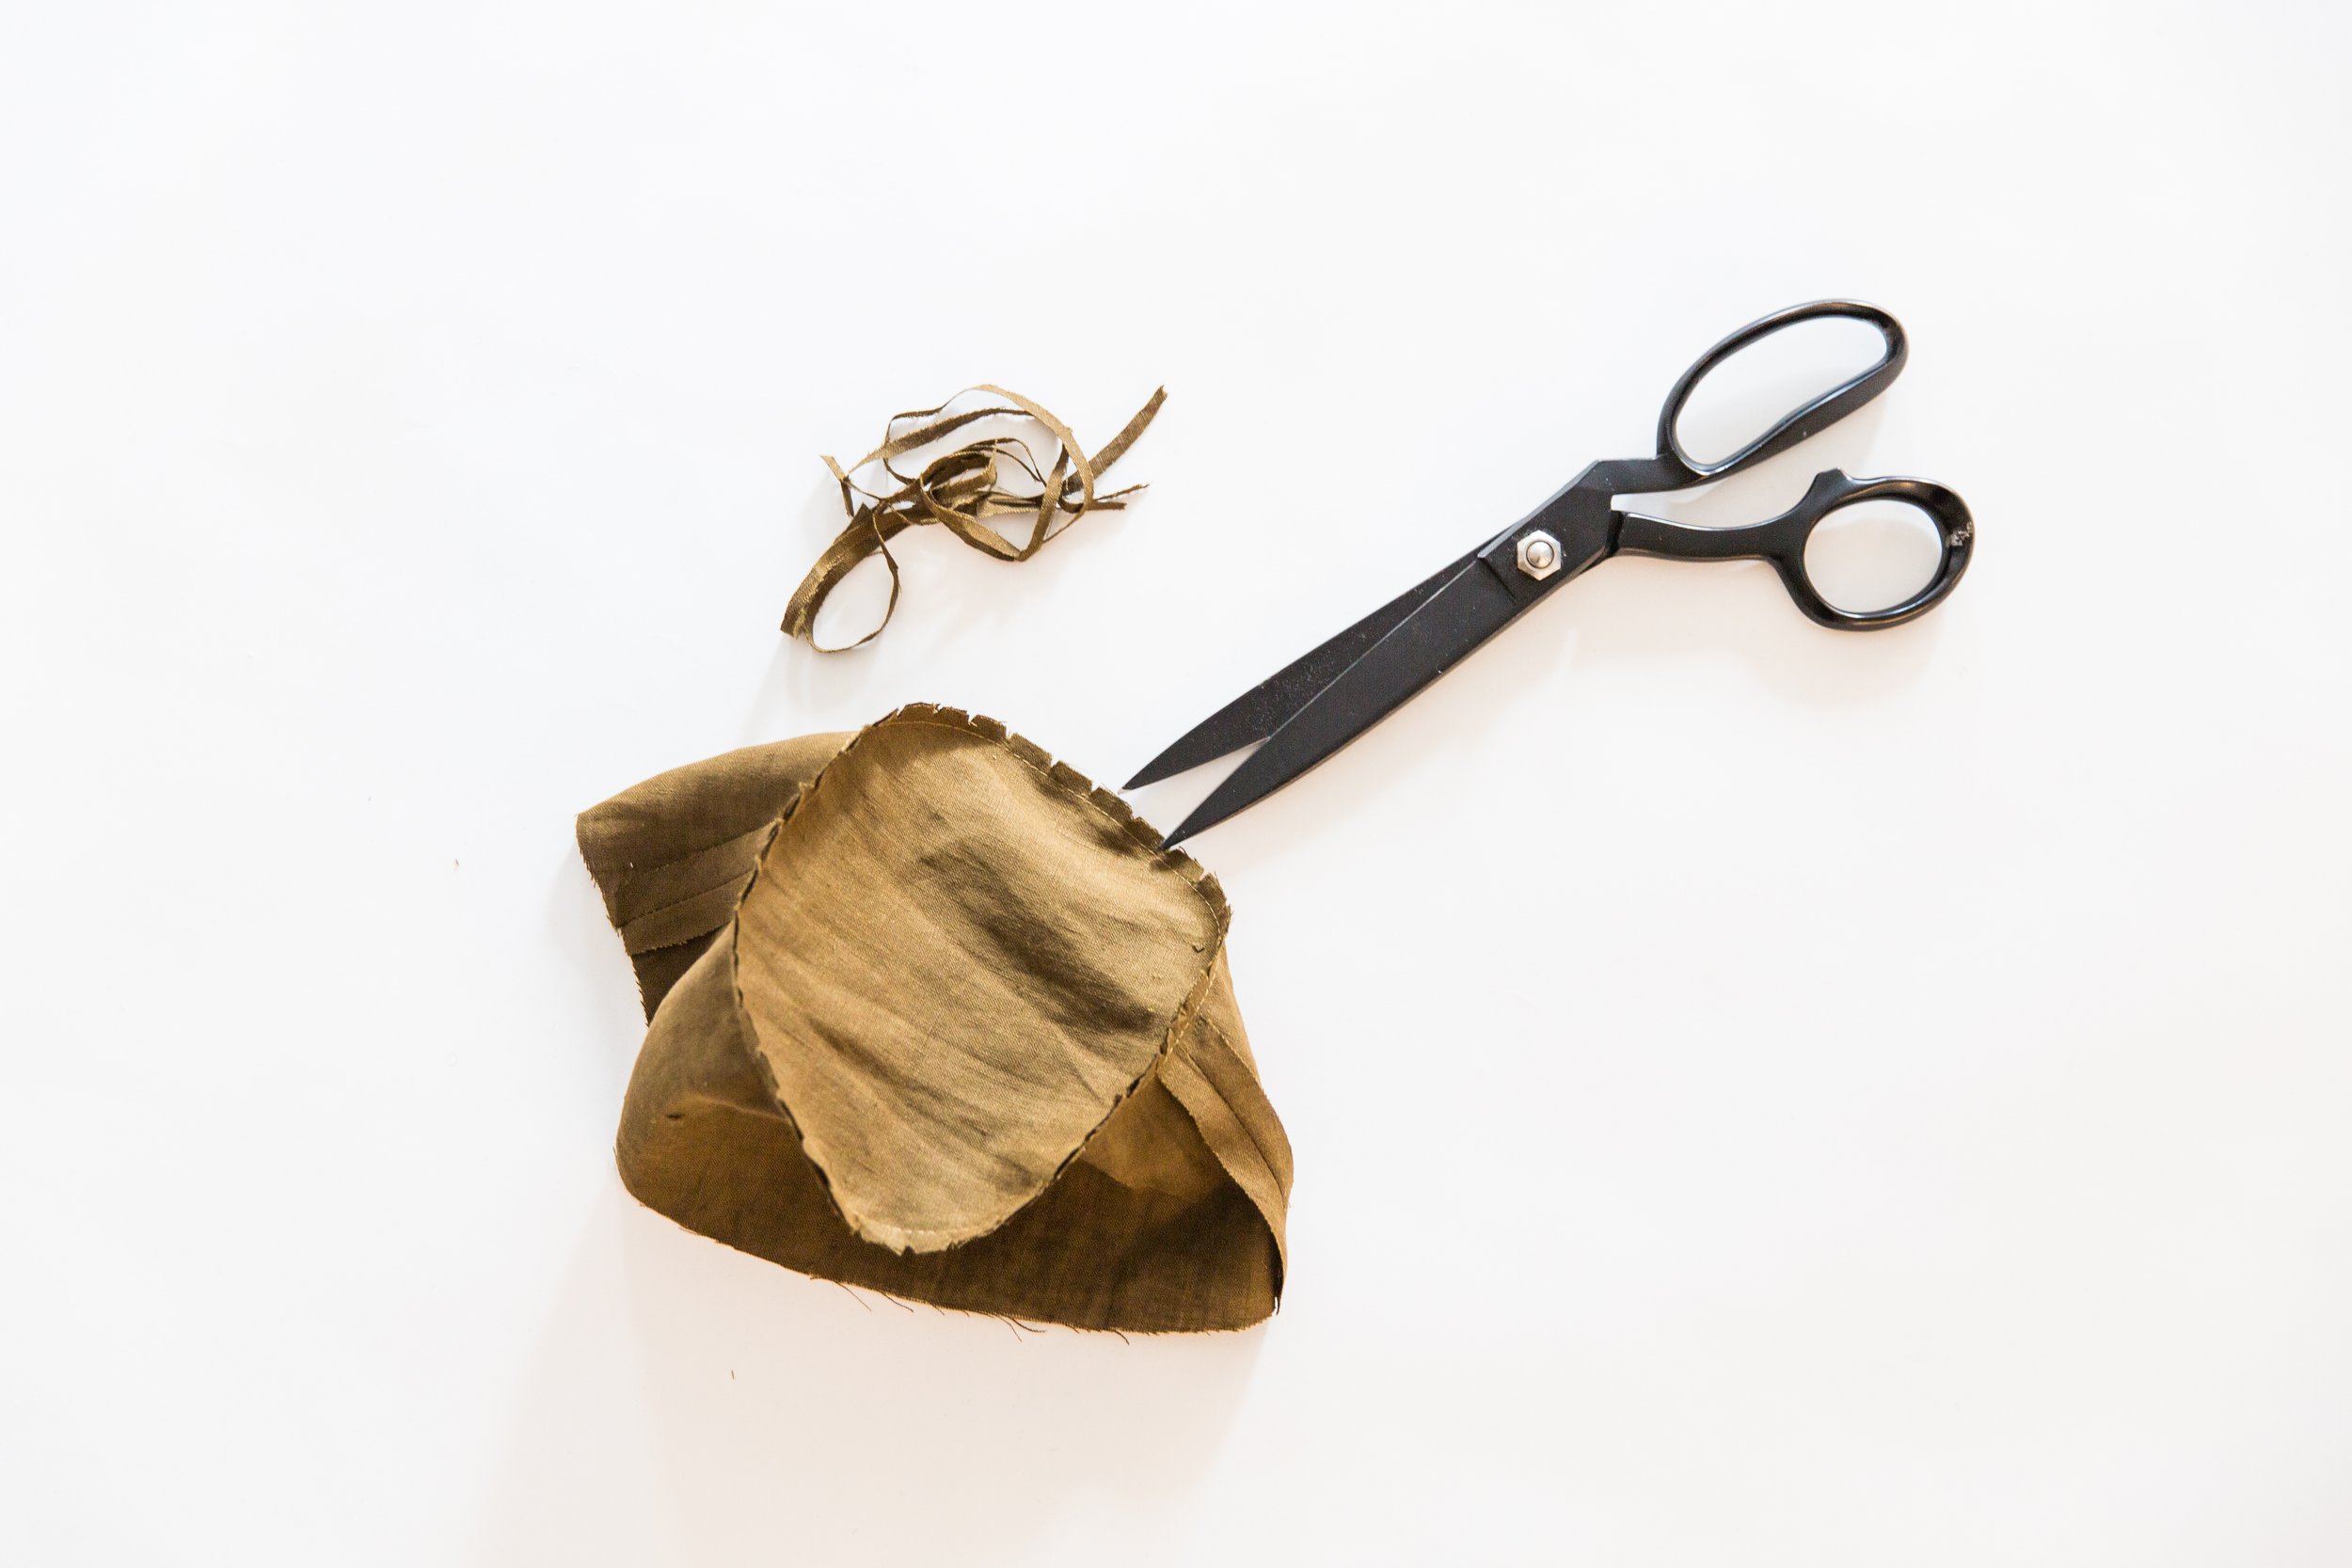
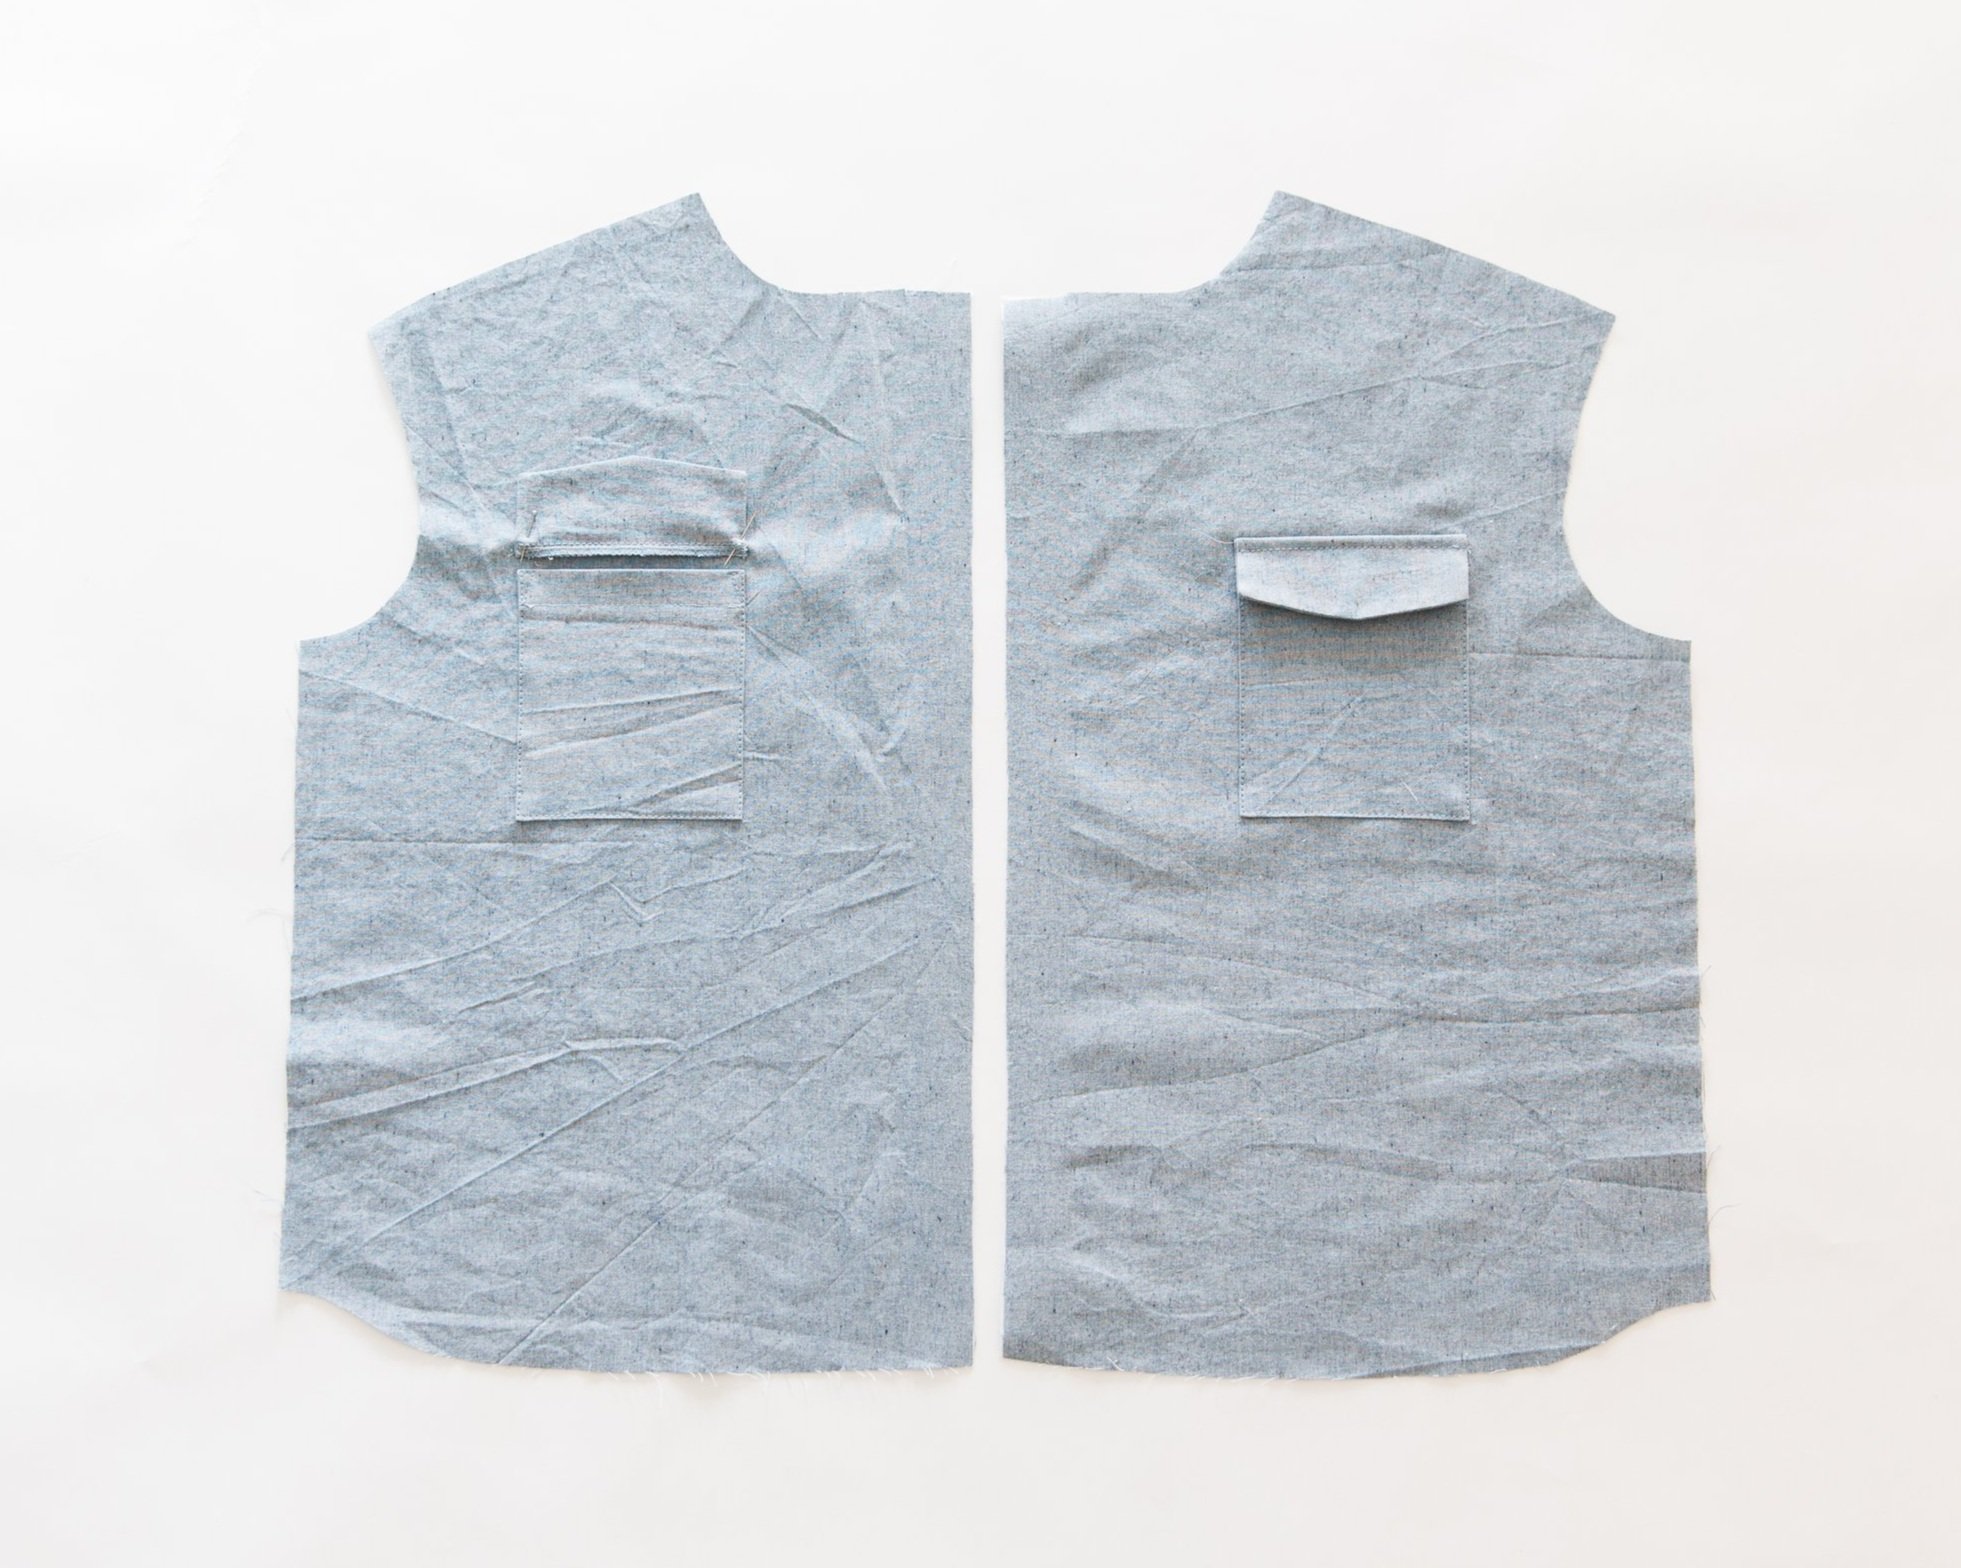
Repeat with second frill piece on other front bust cup seam.

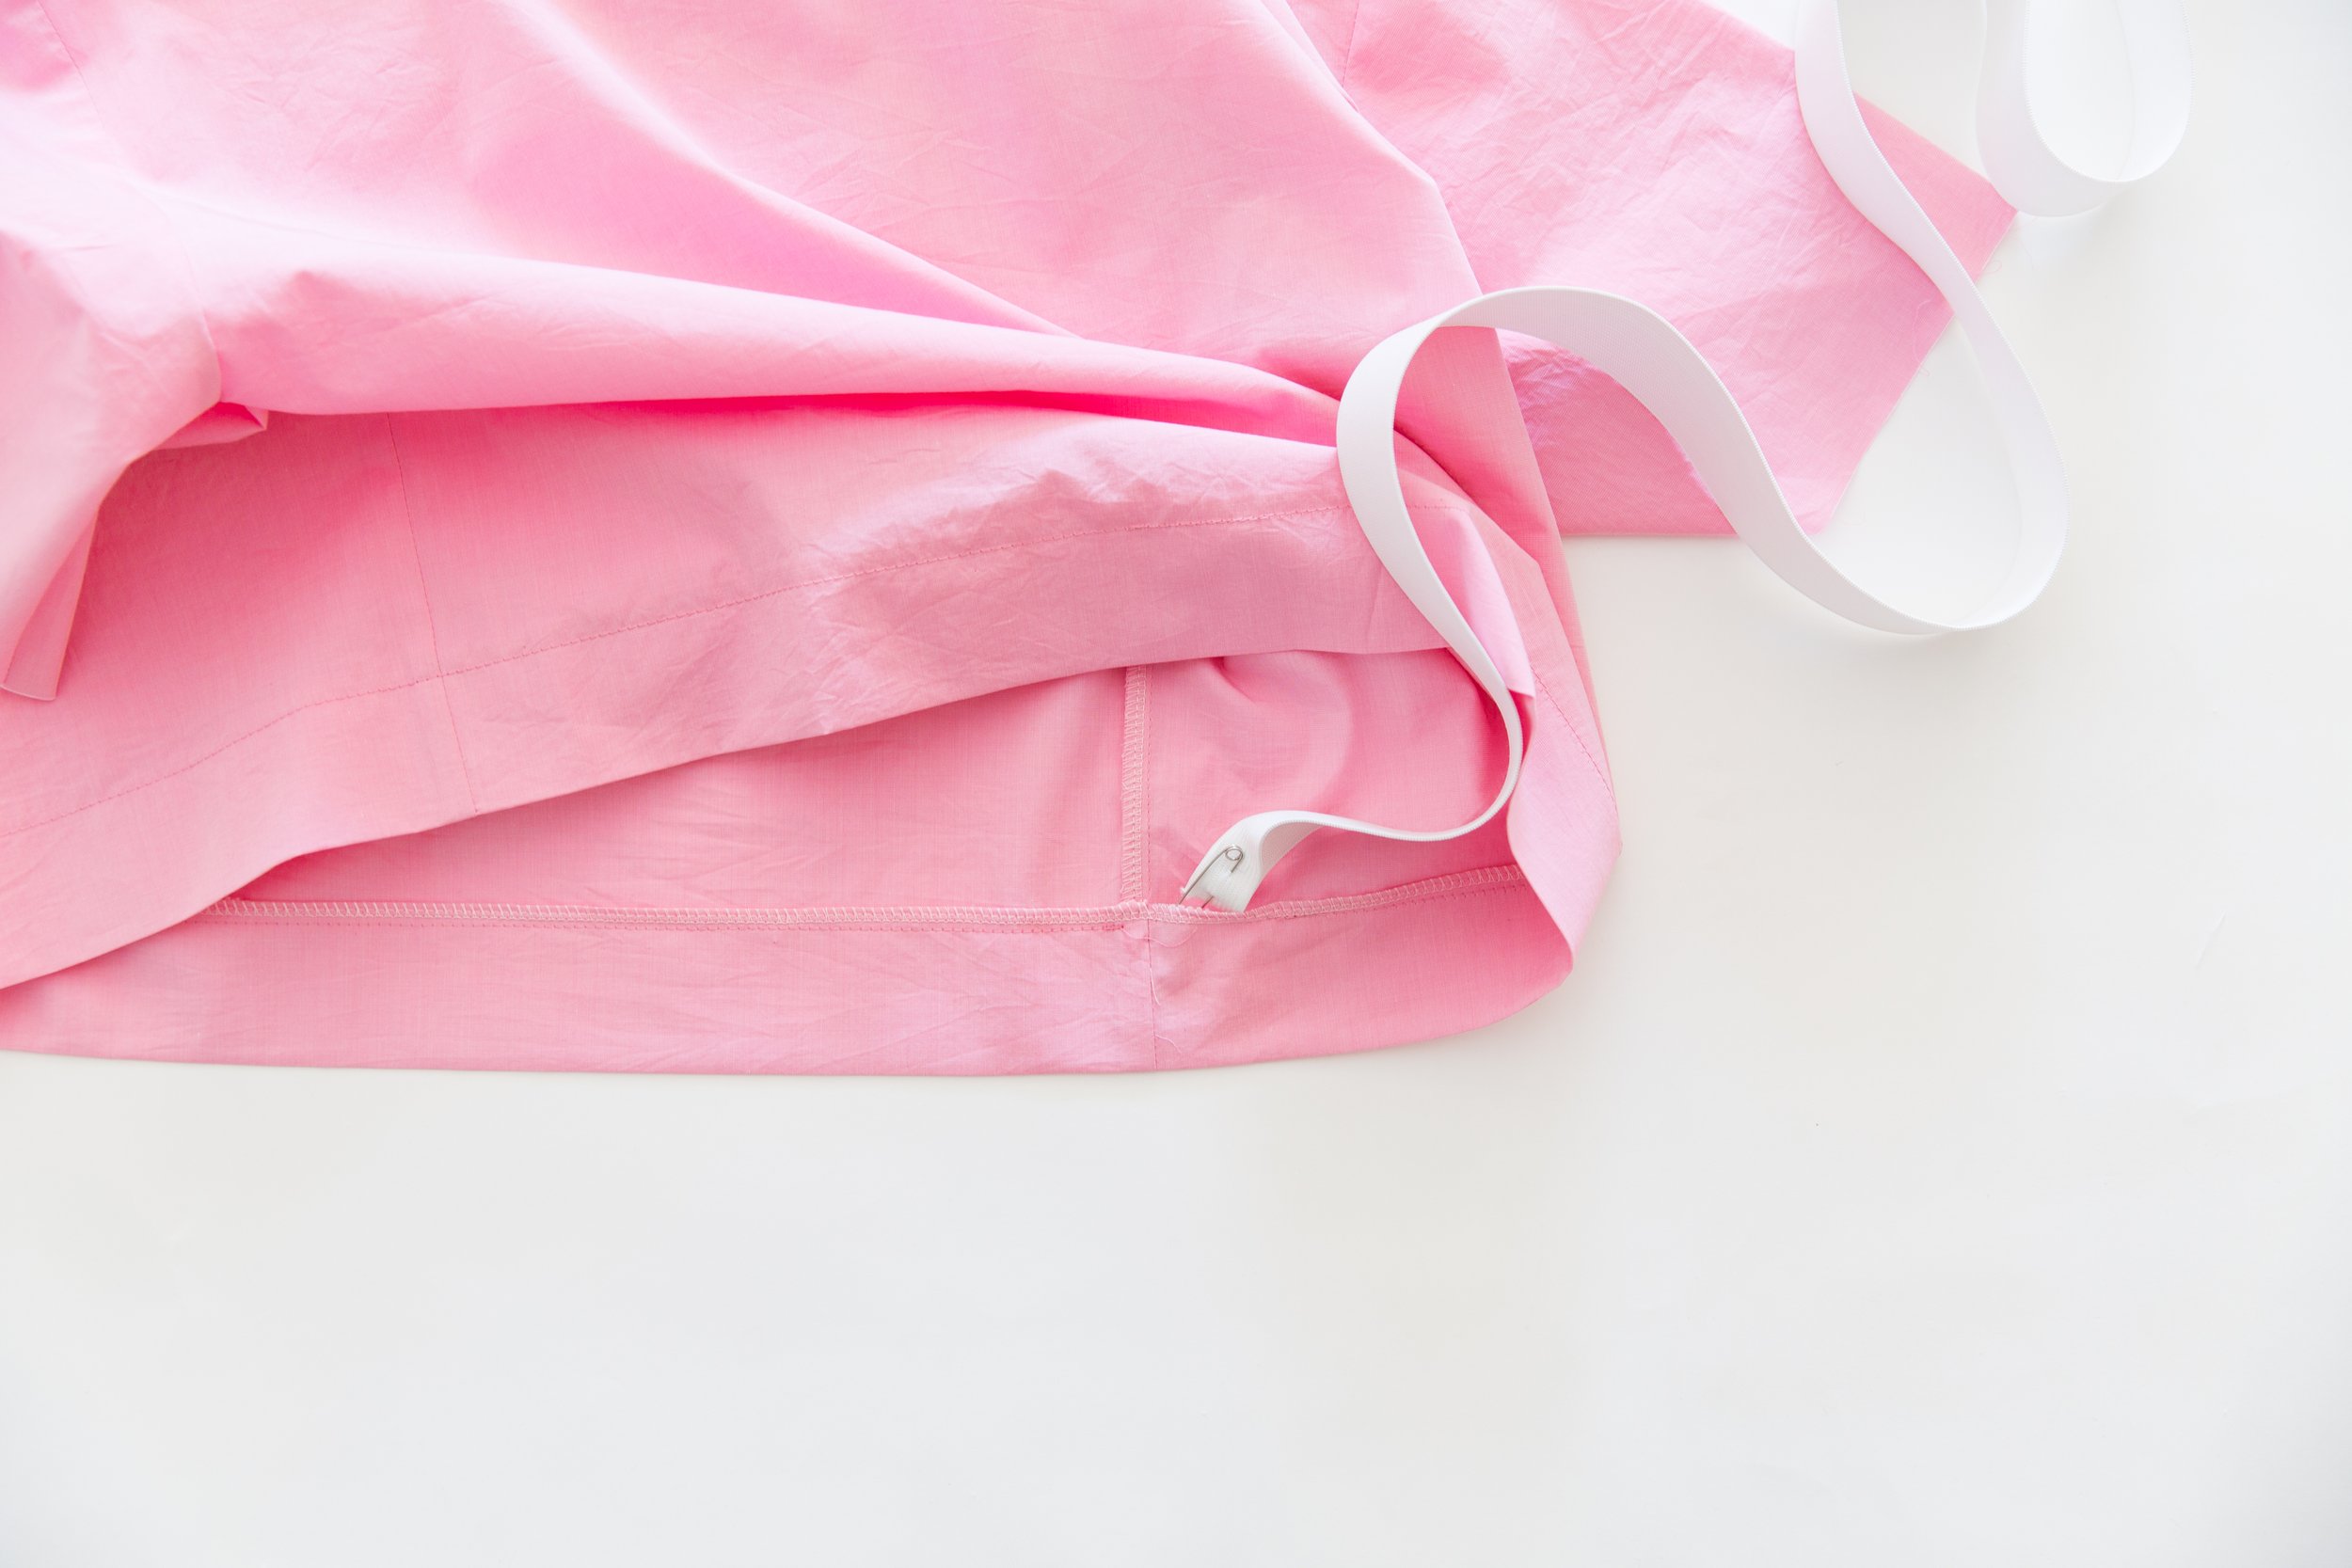
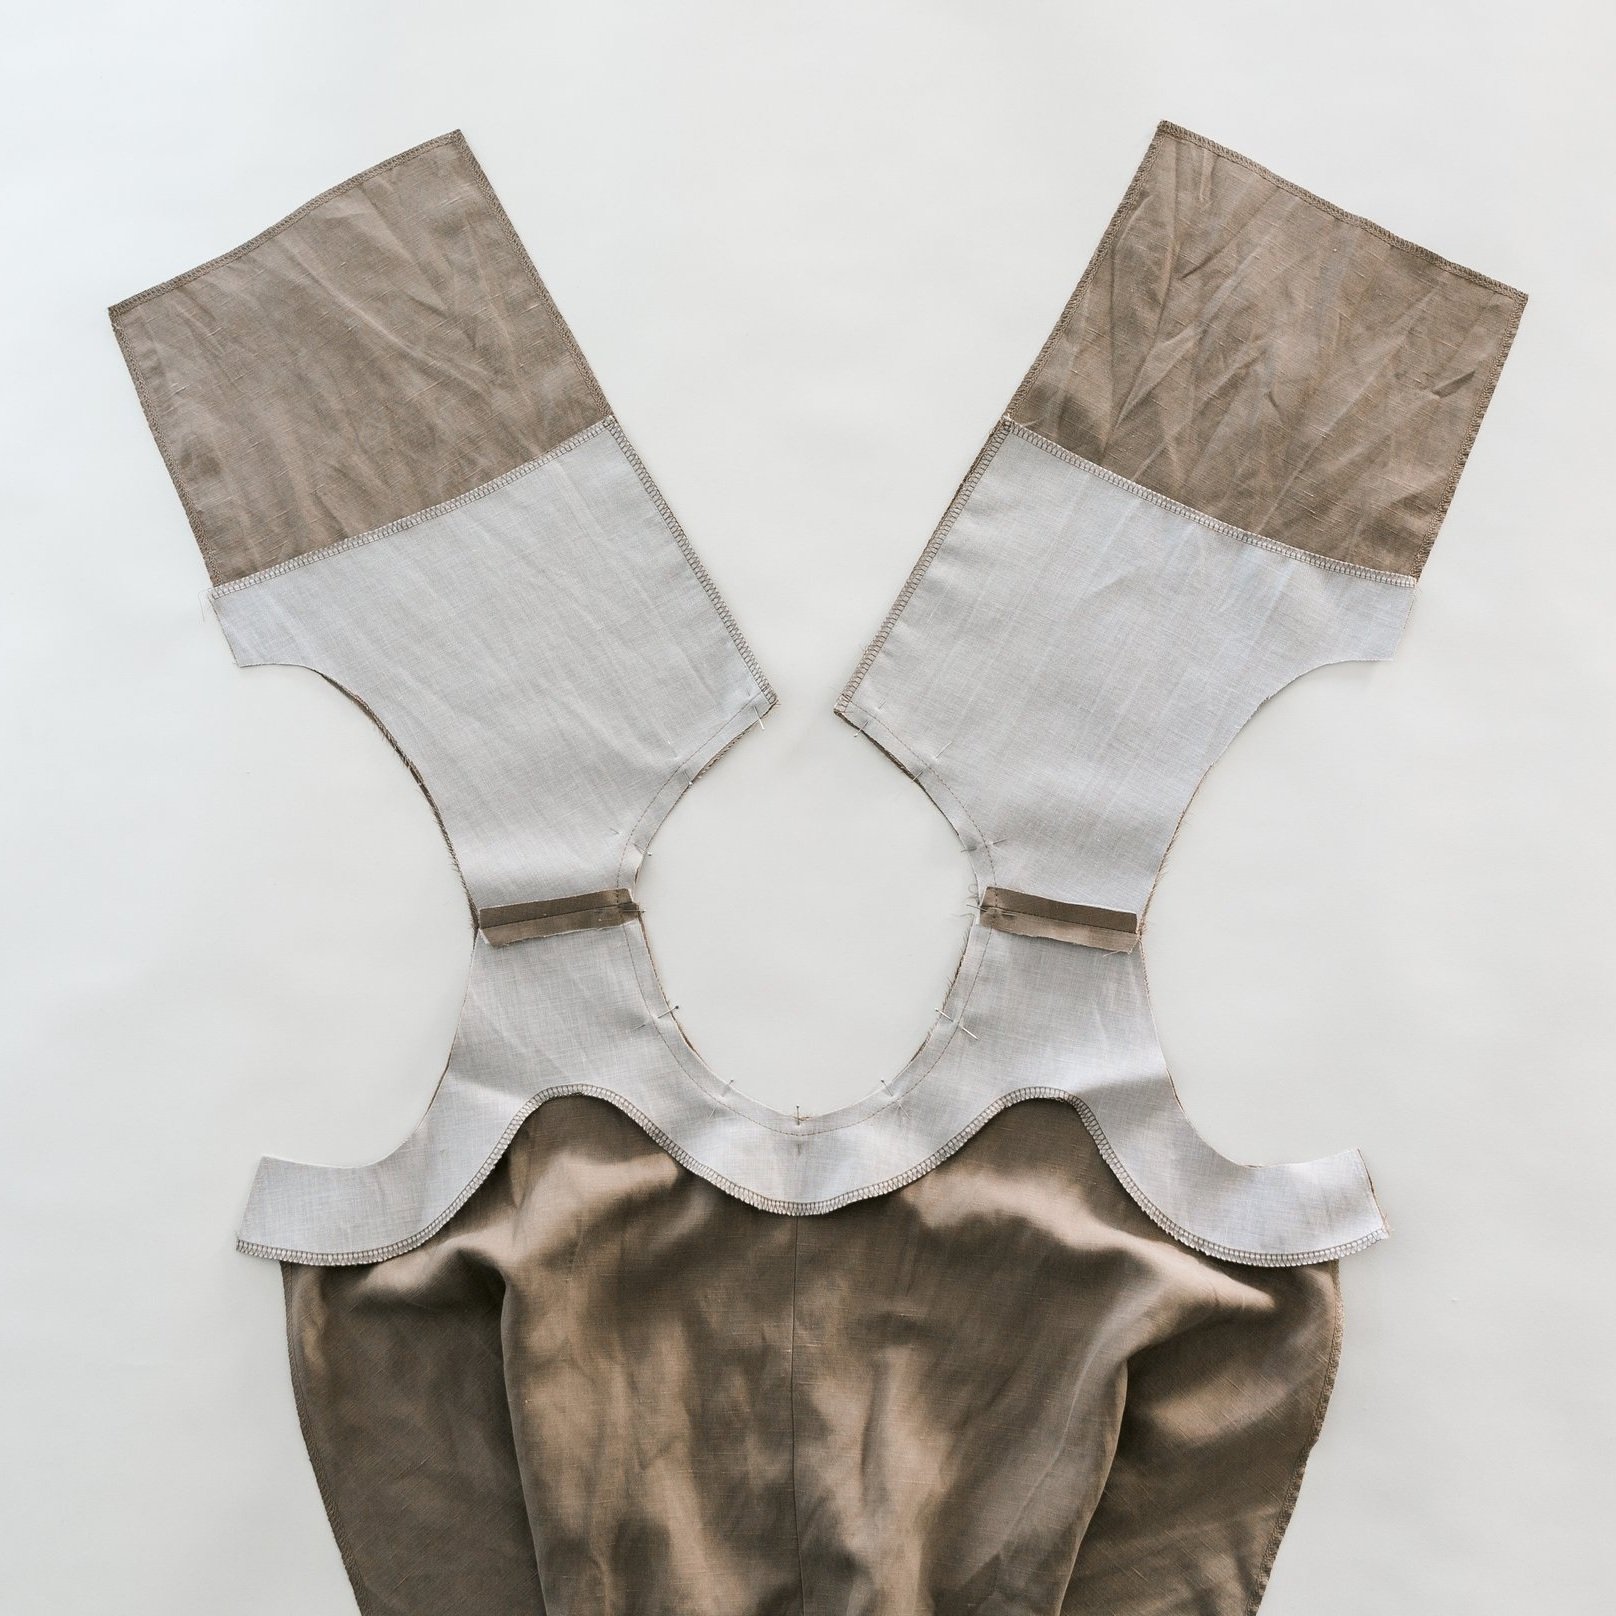
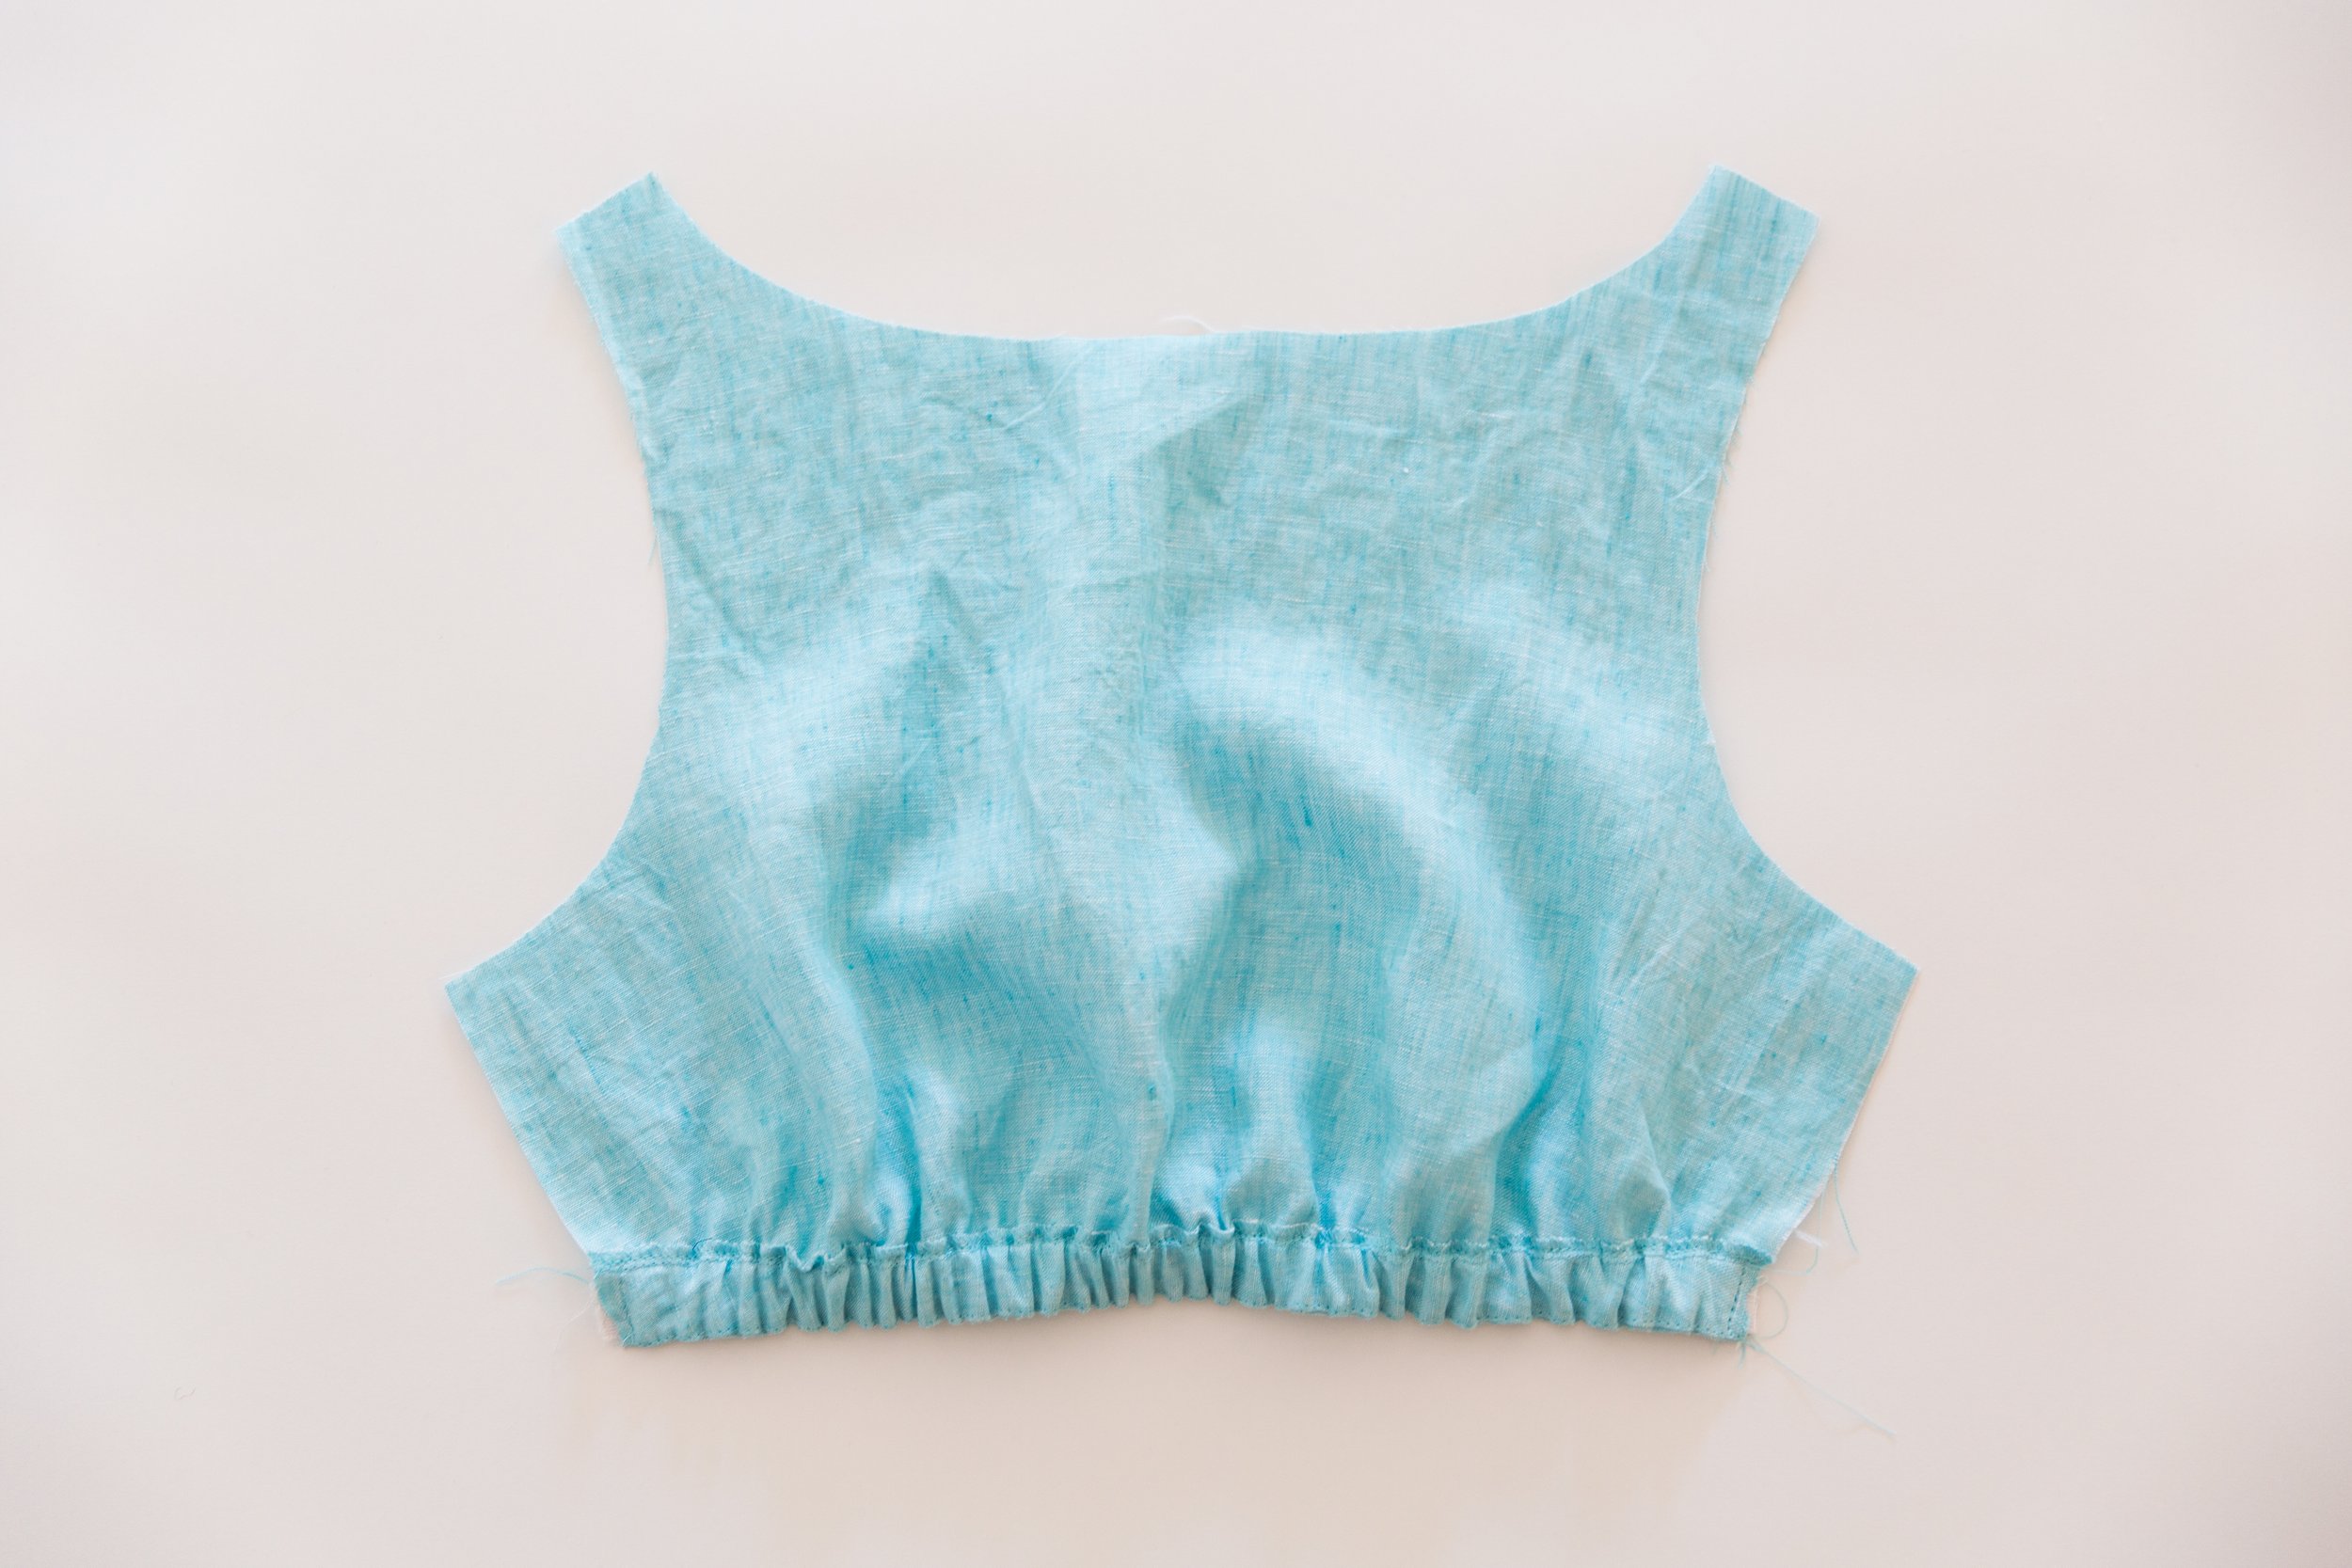
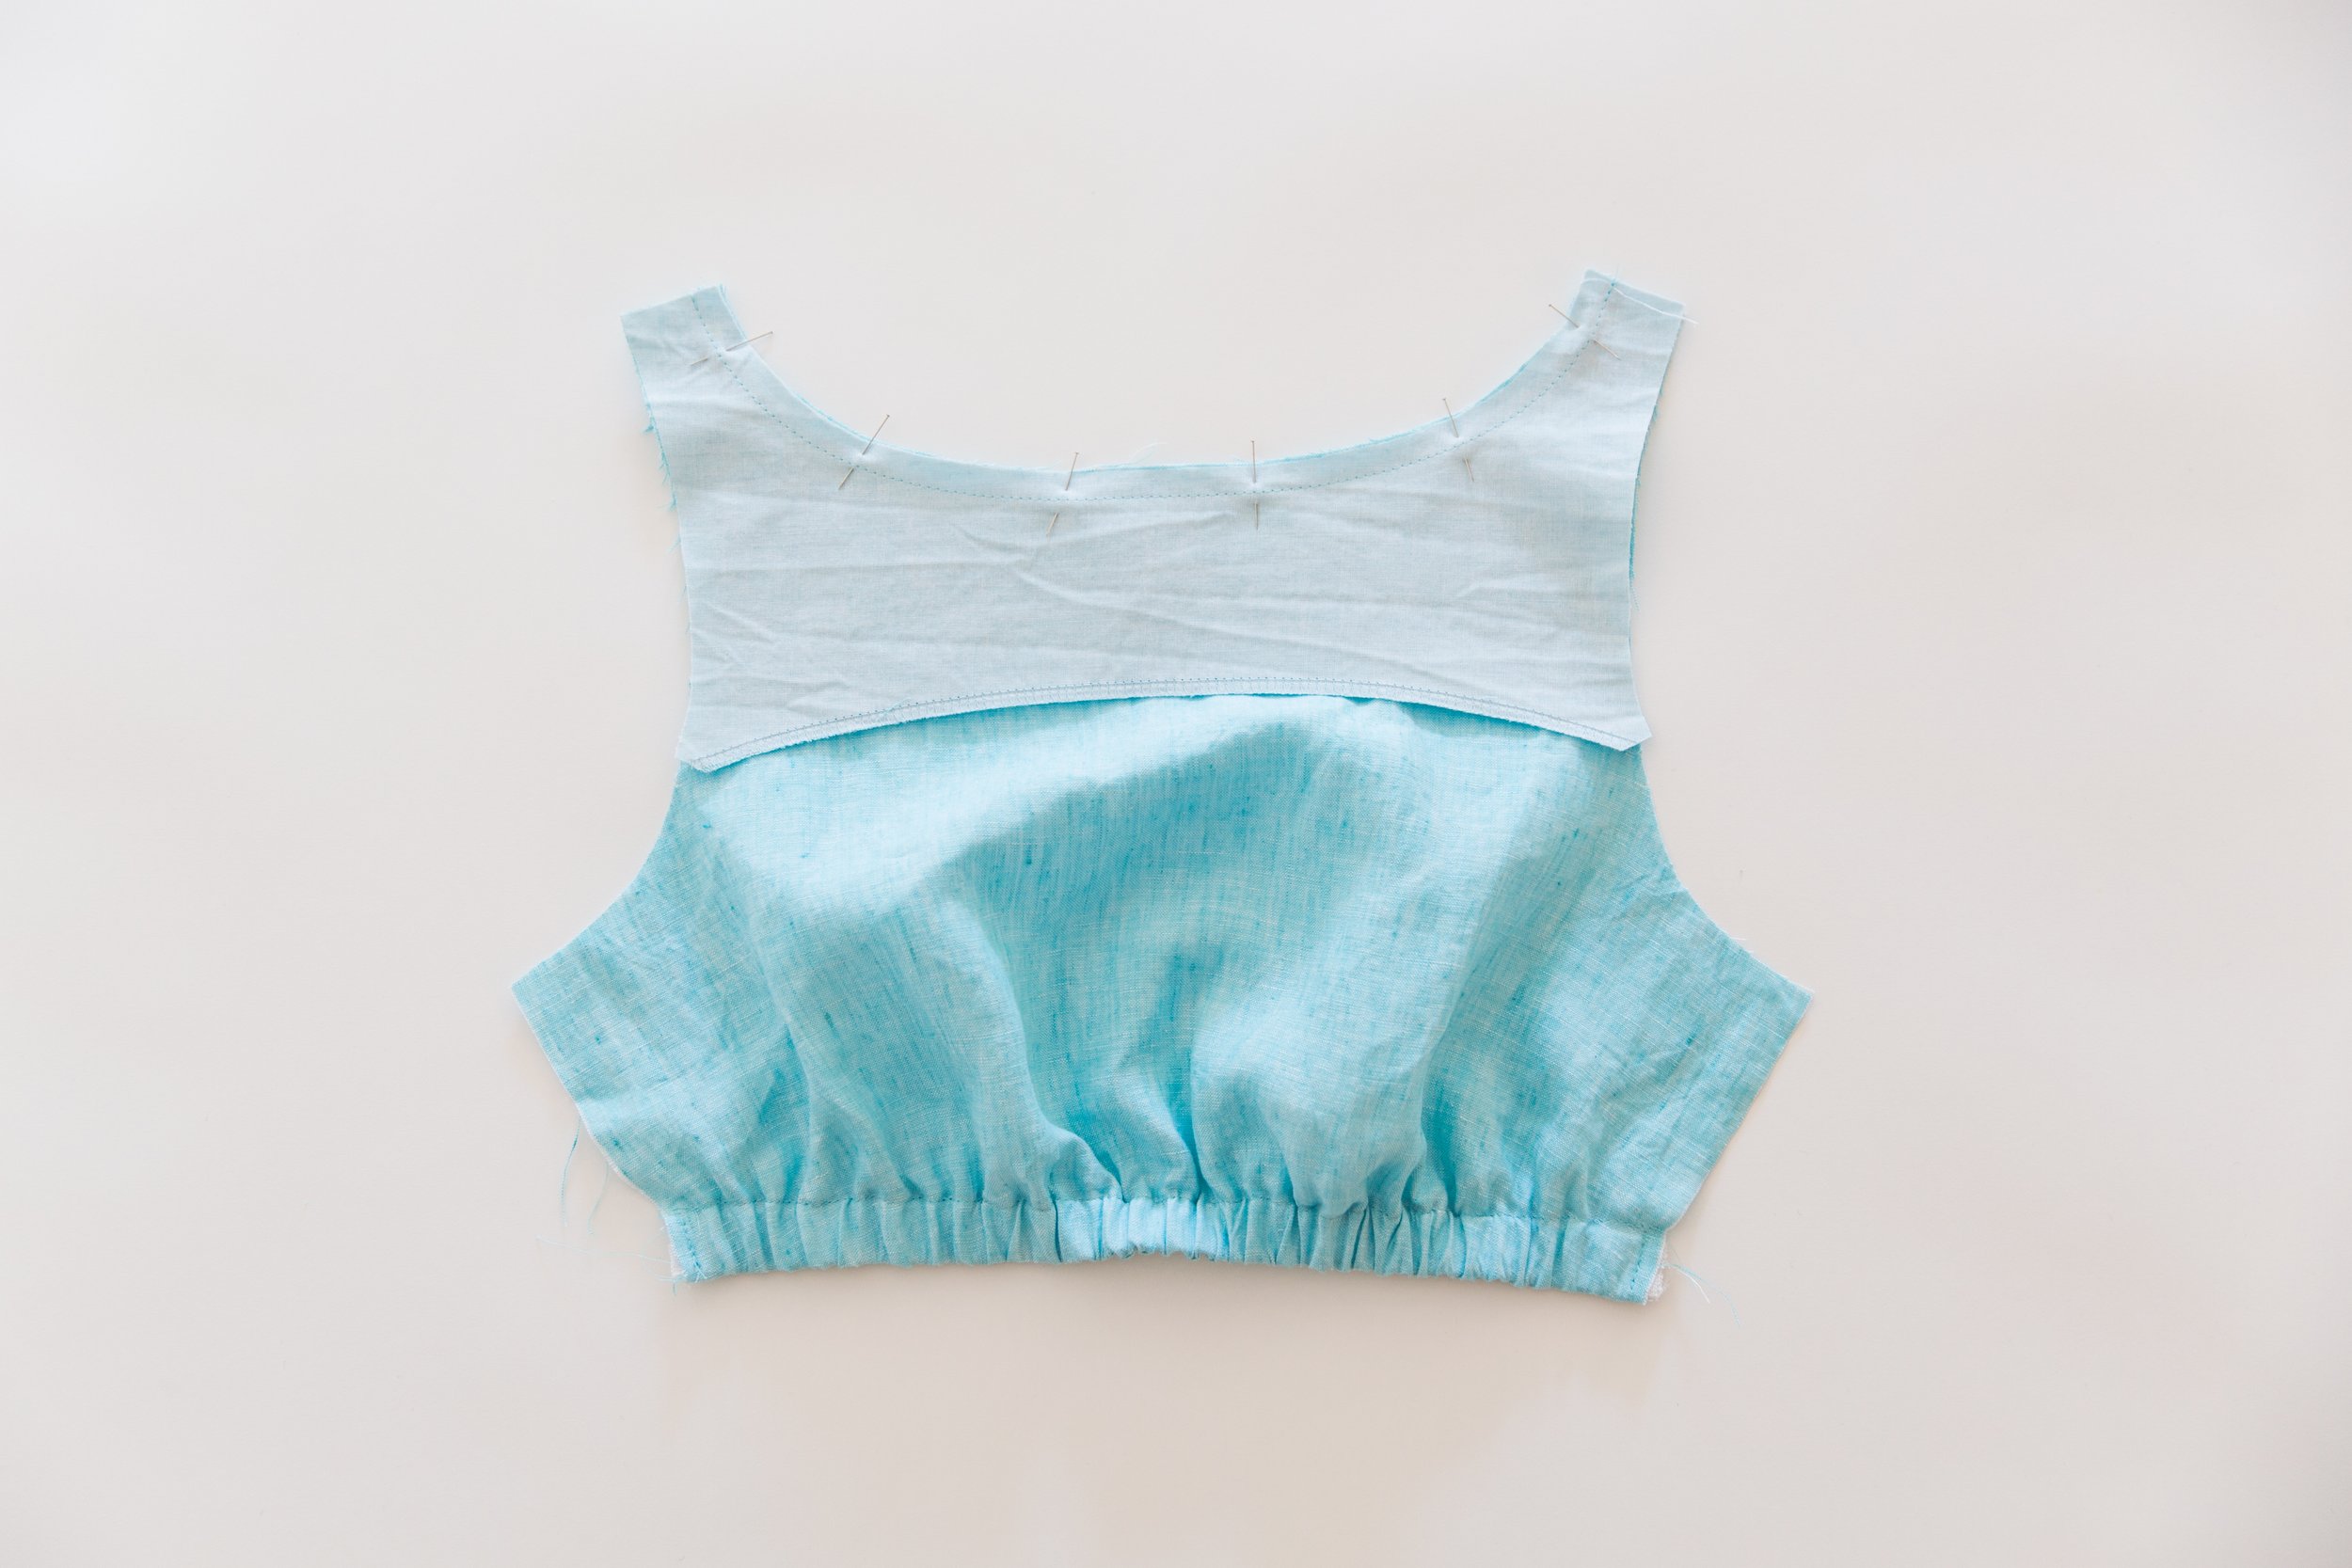
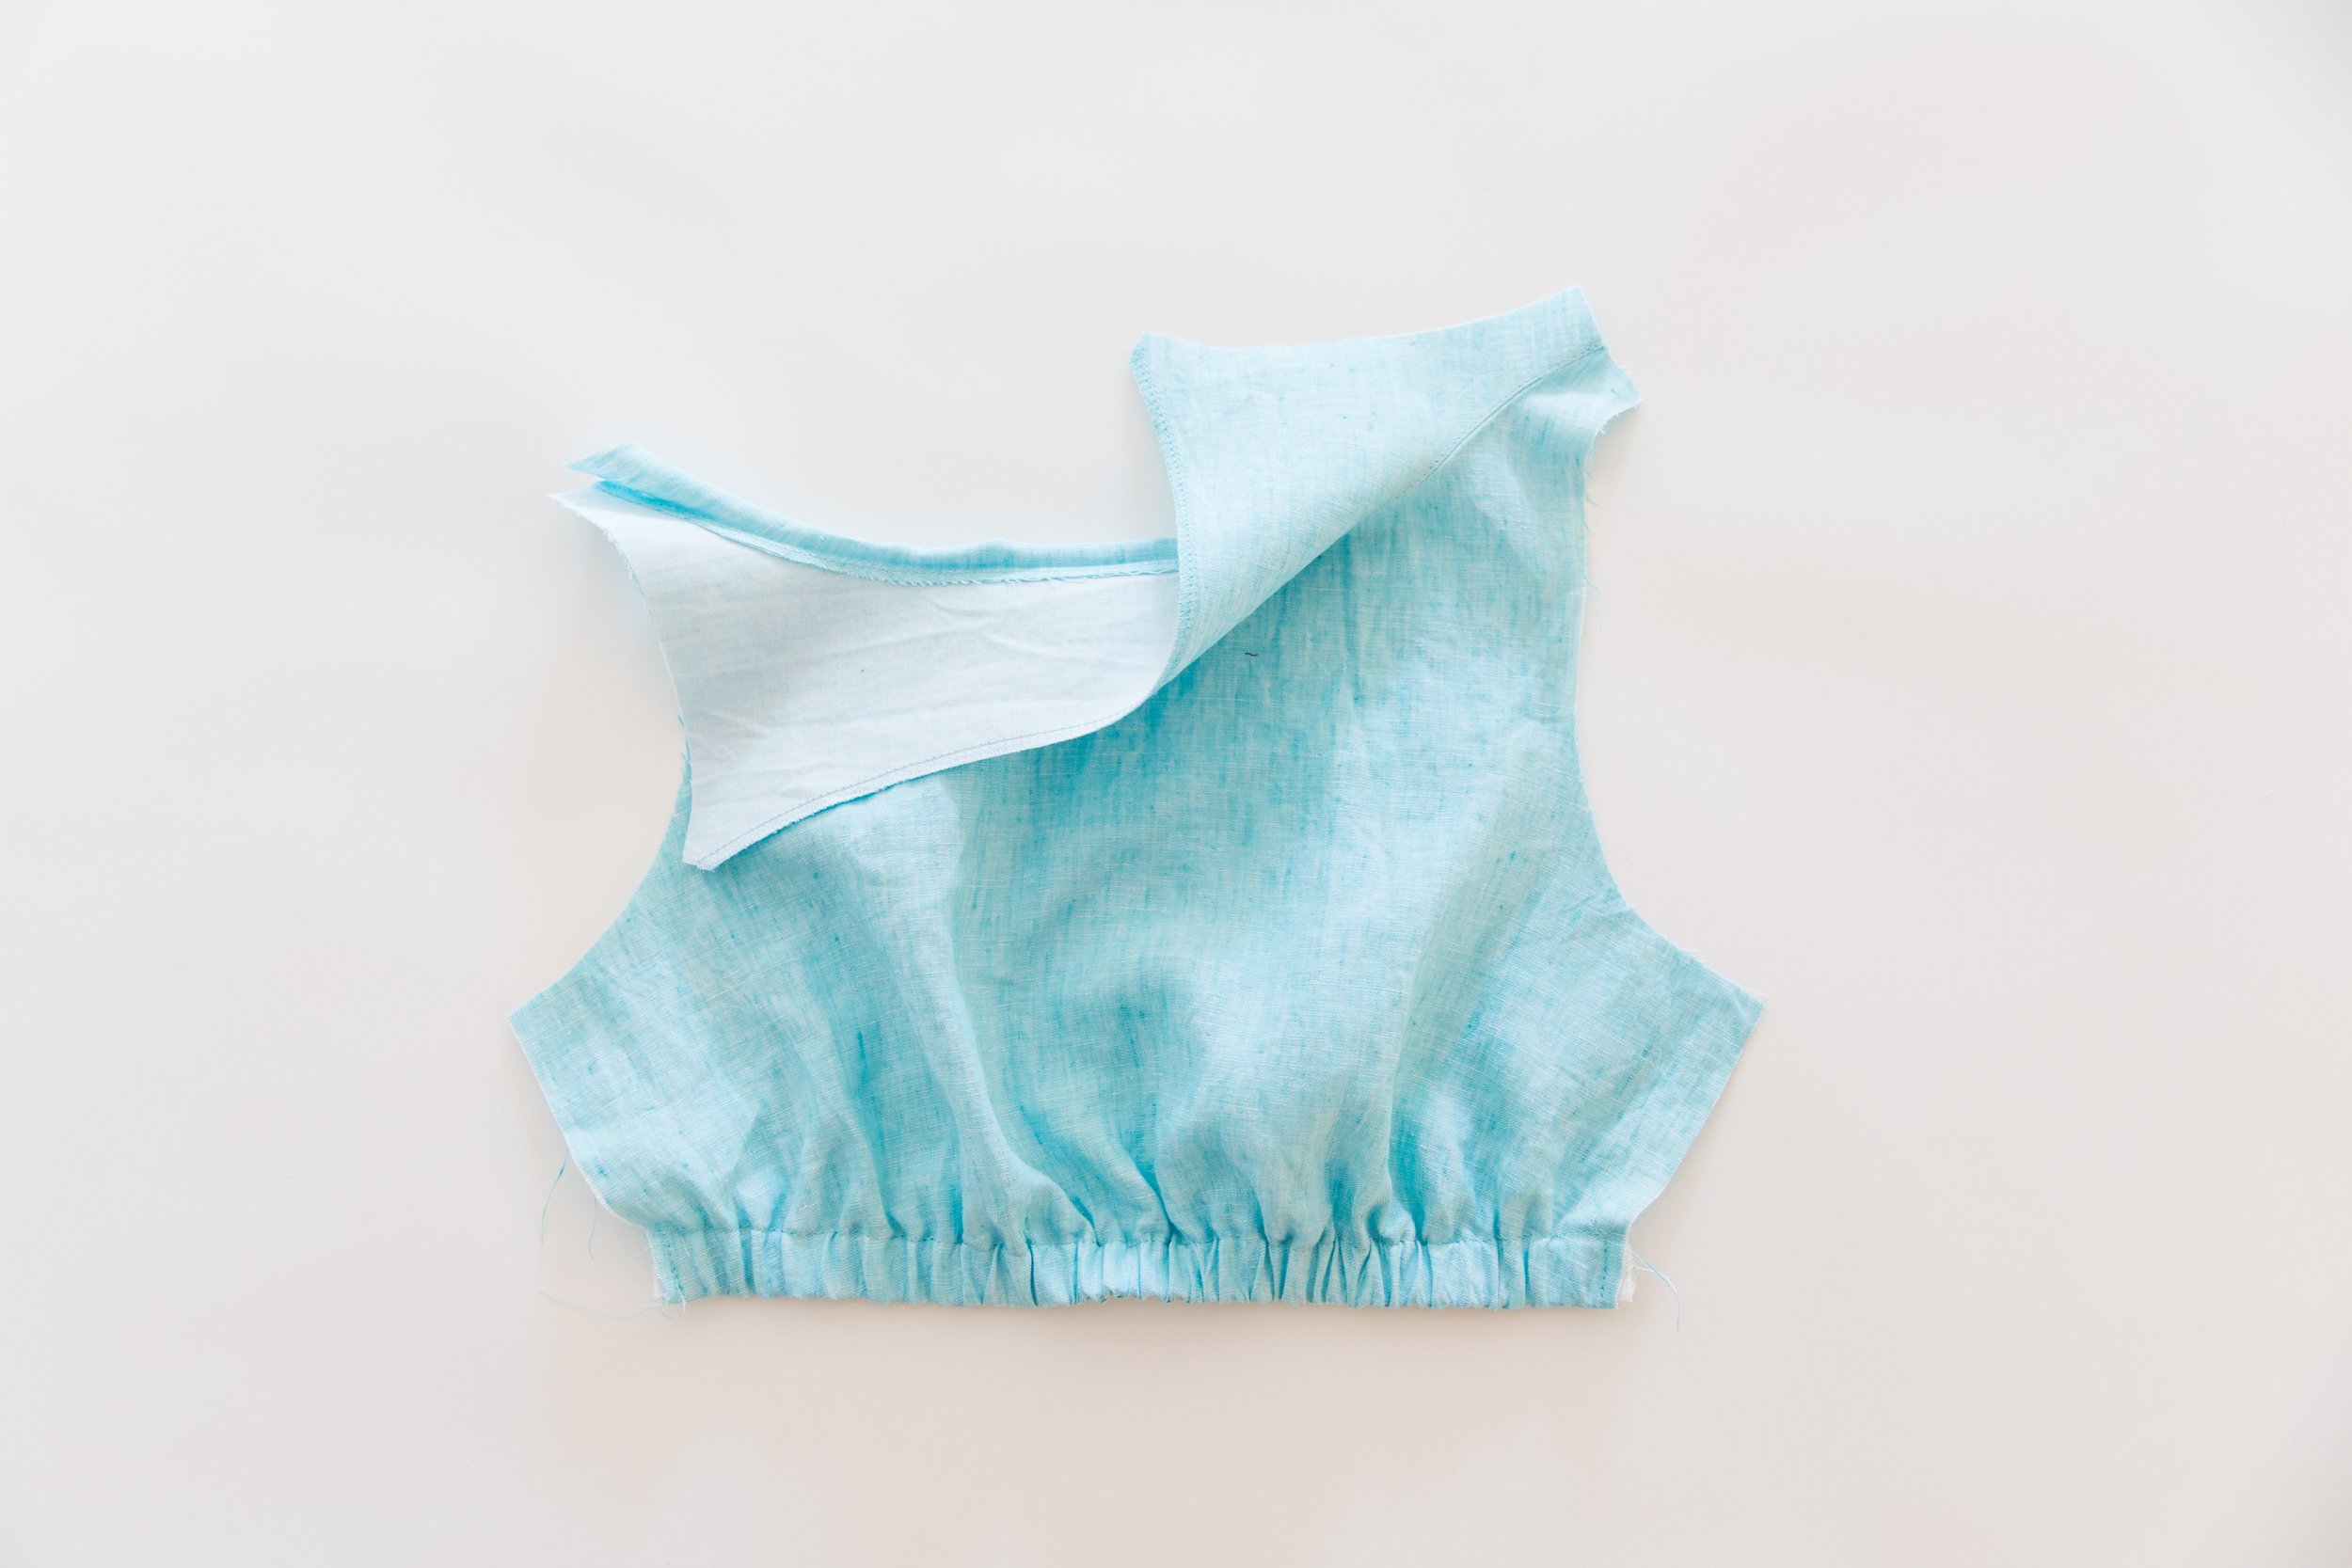
Step 5
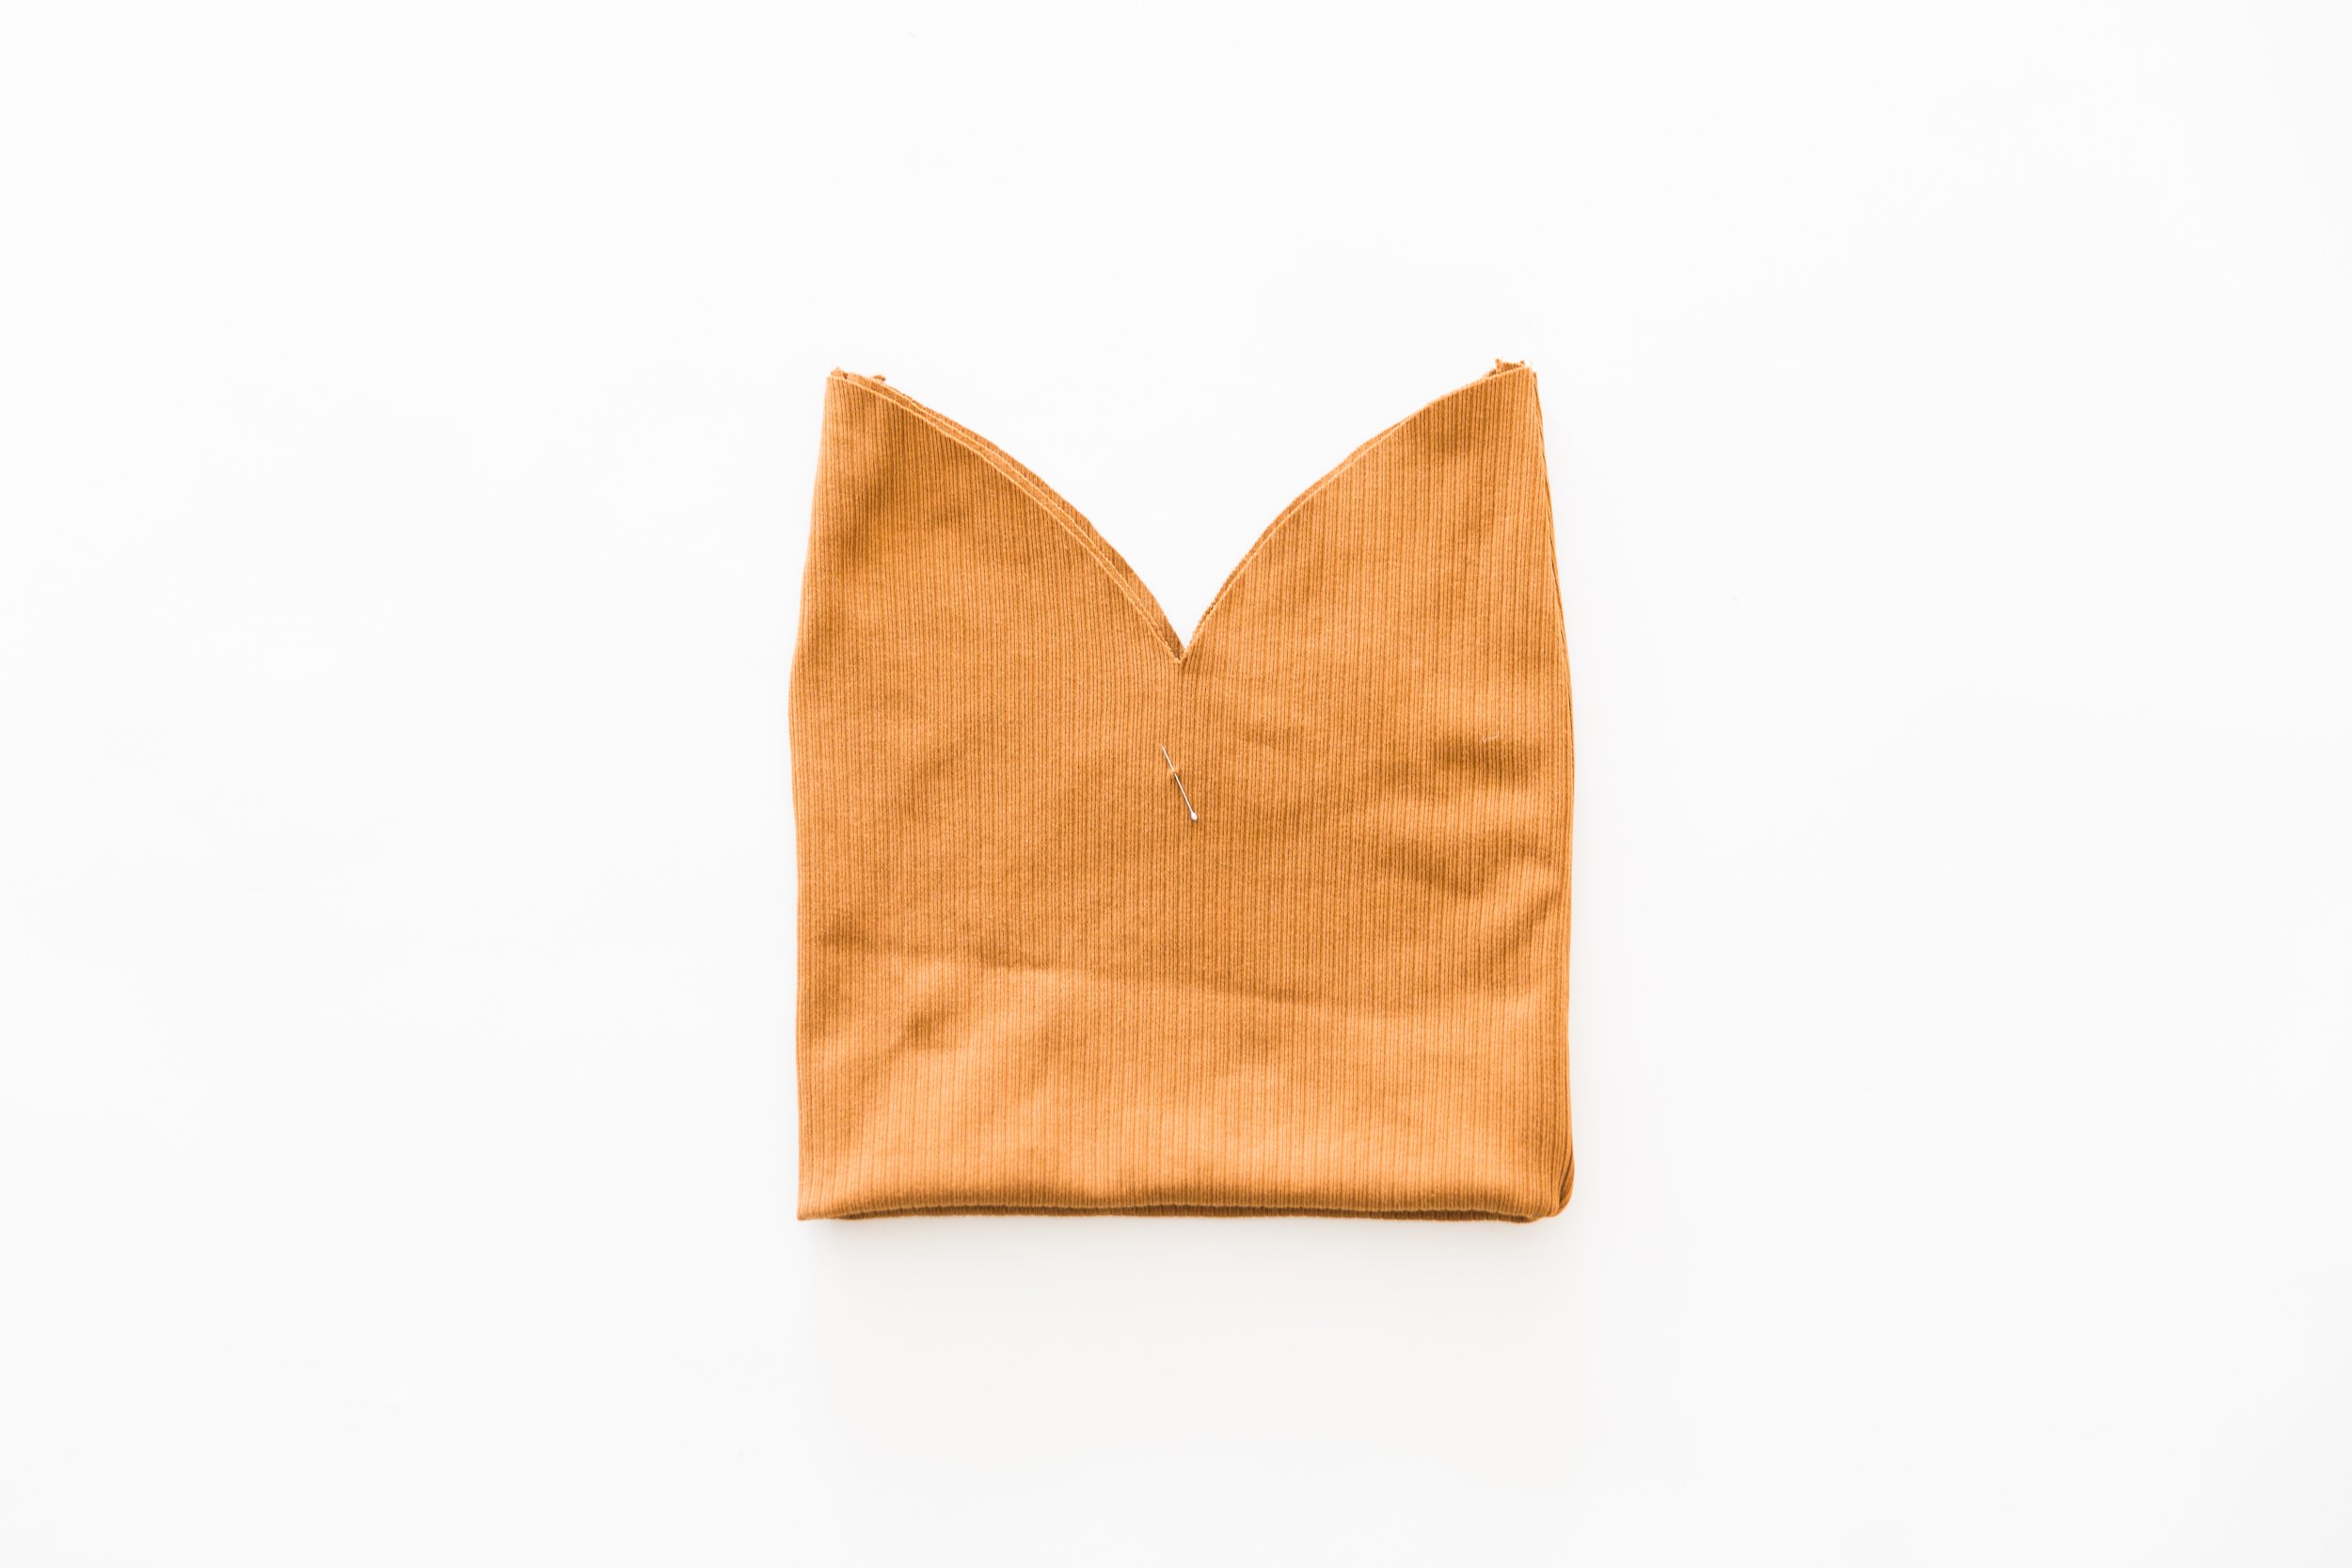
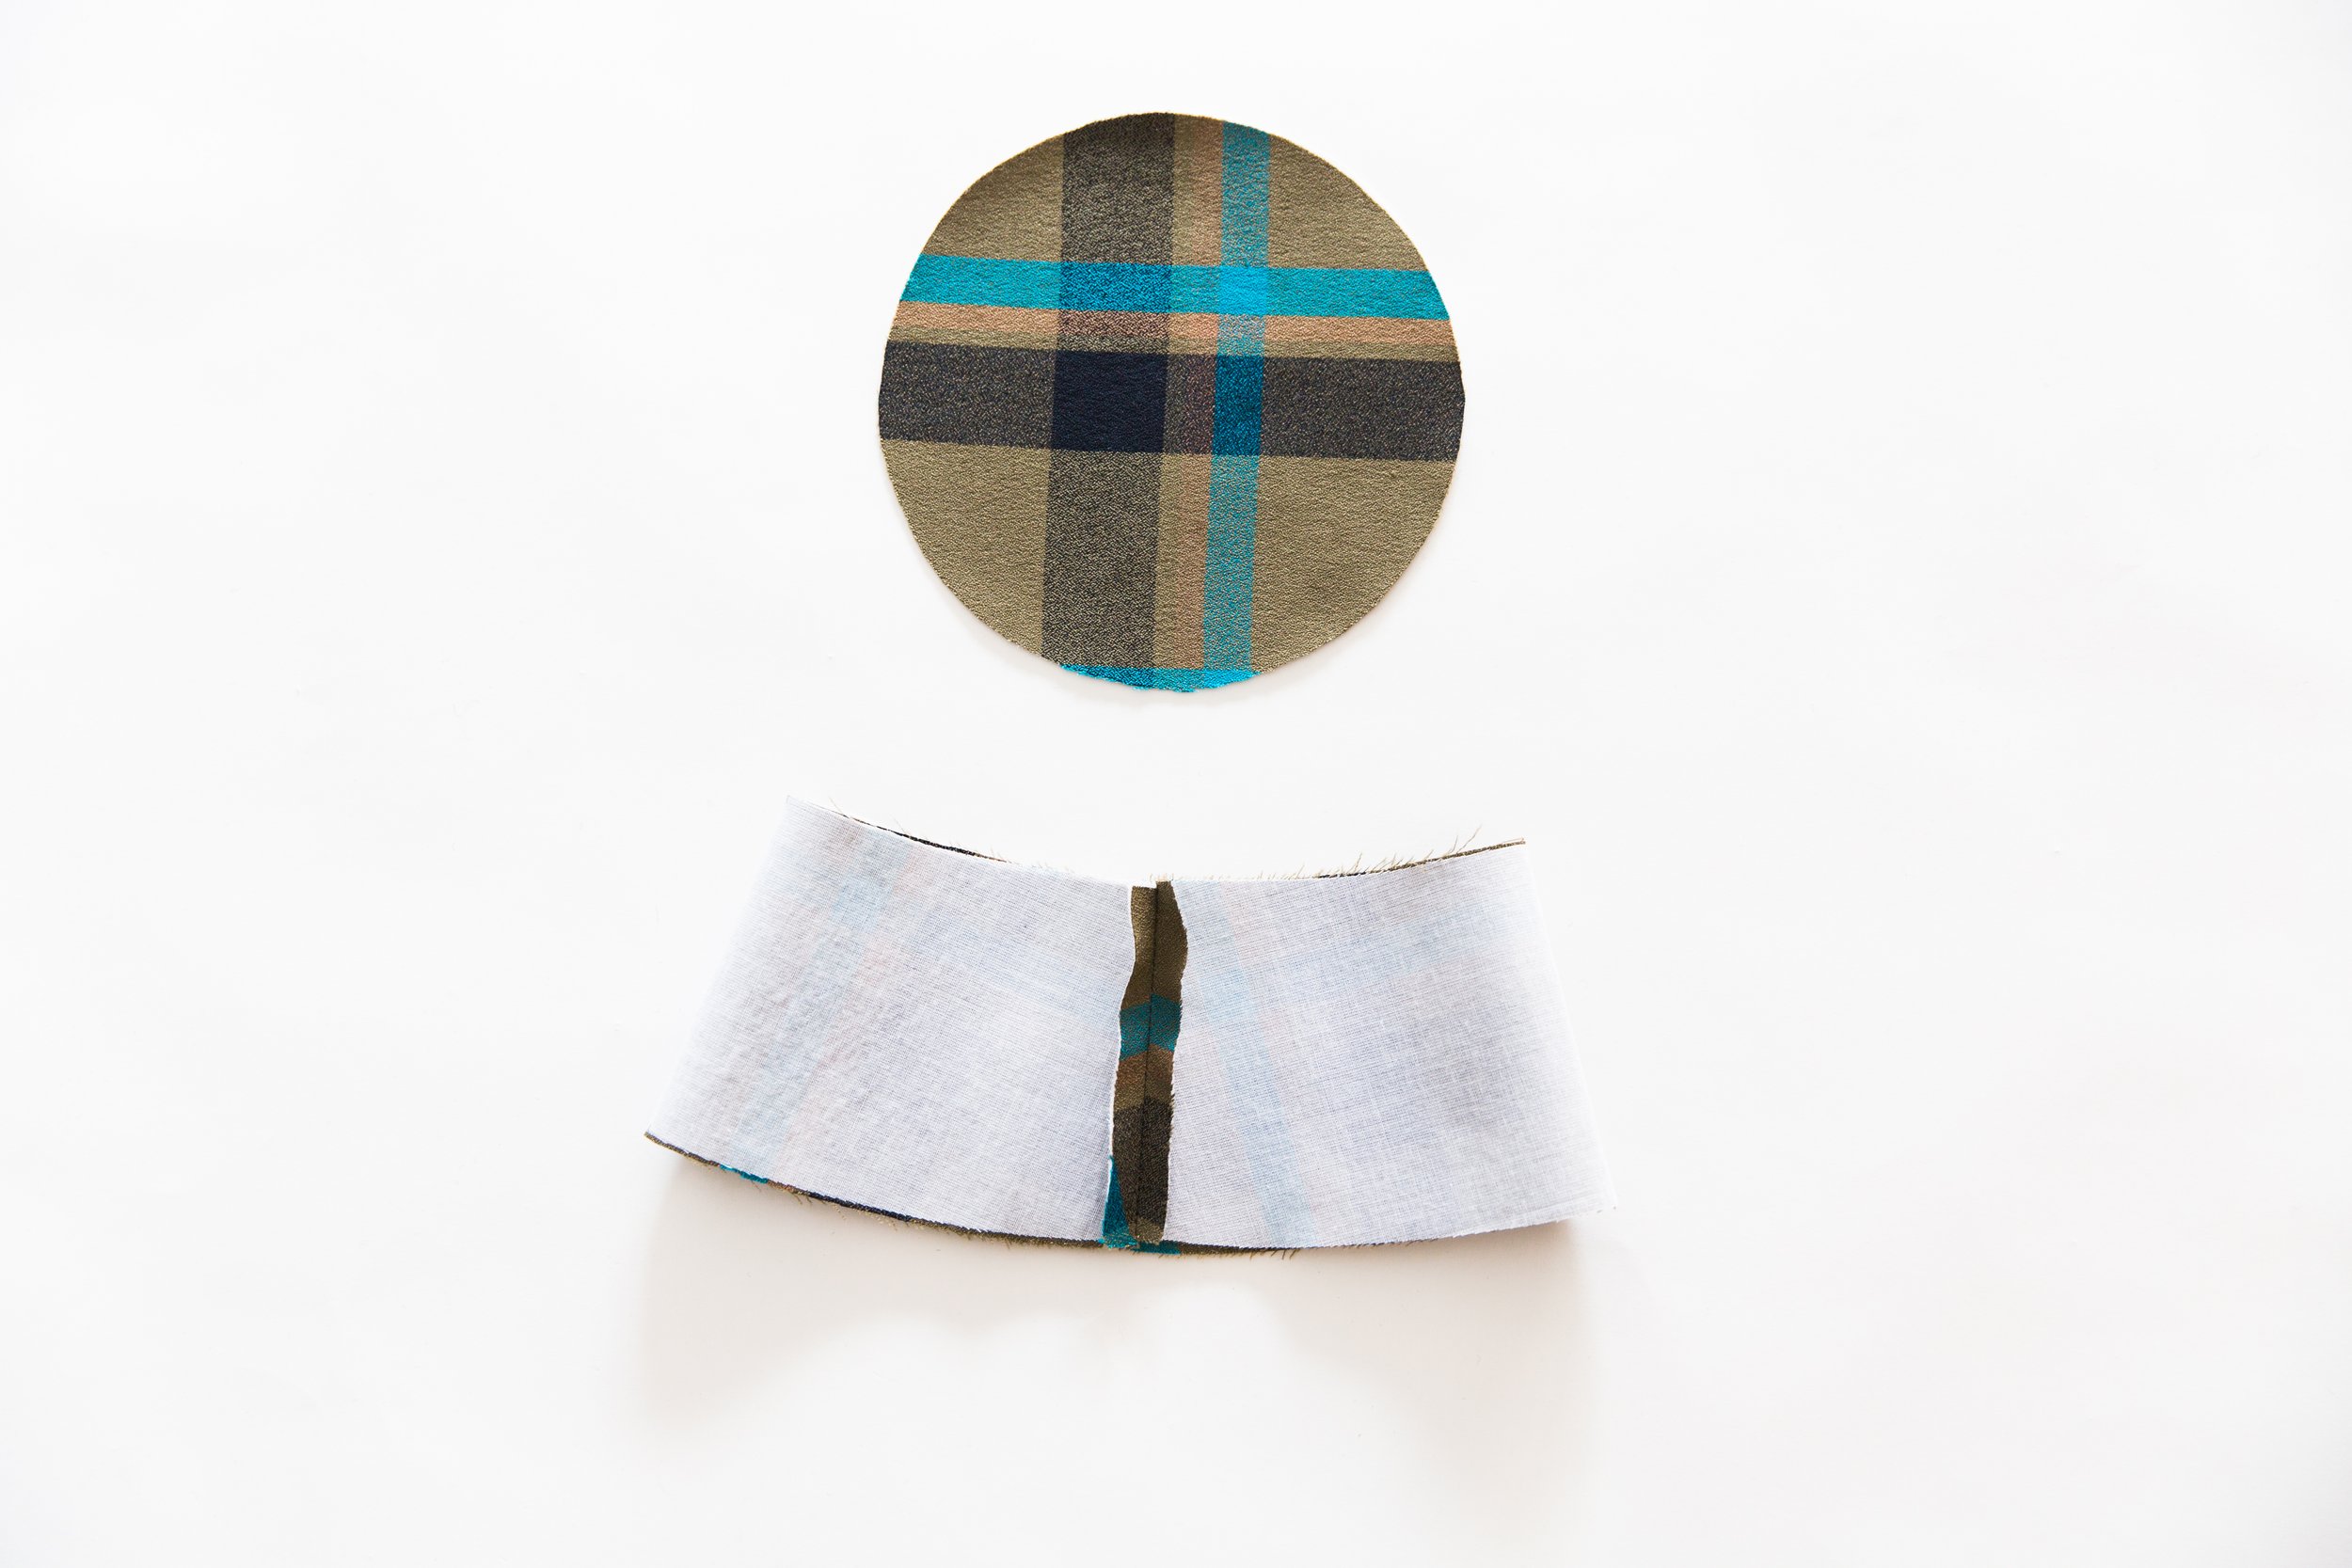
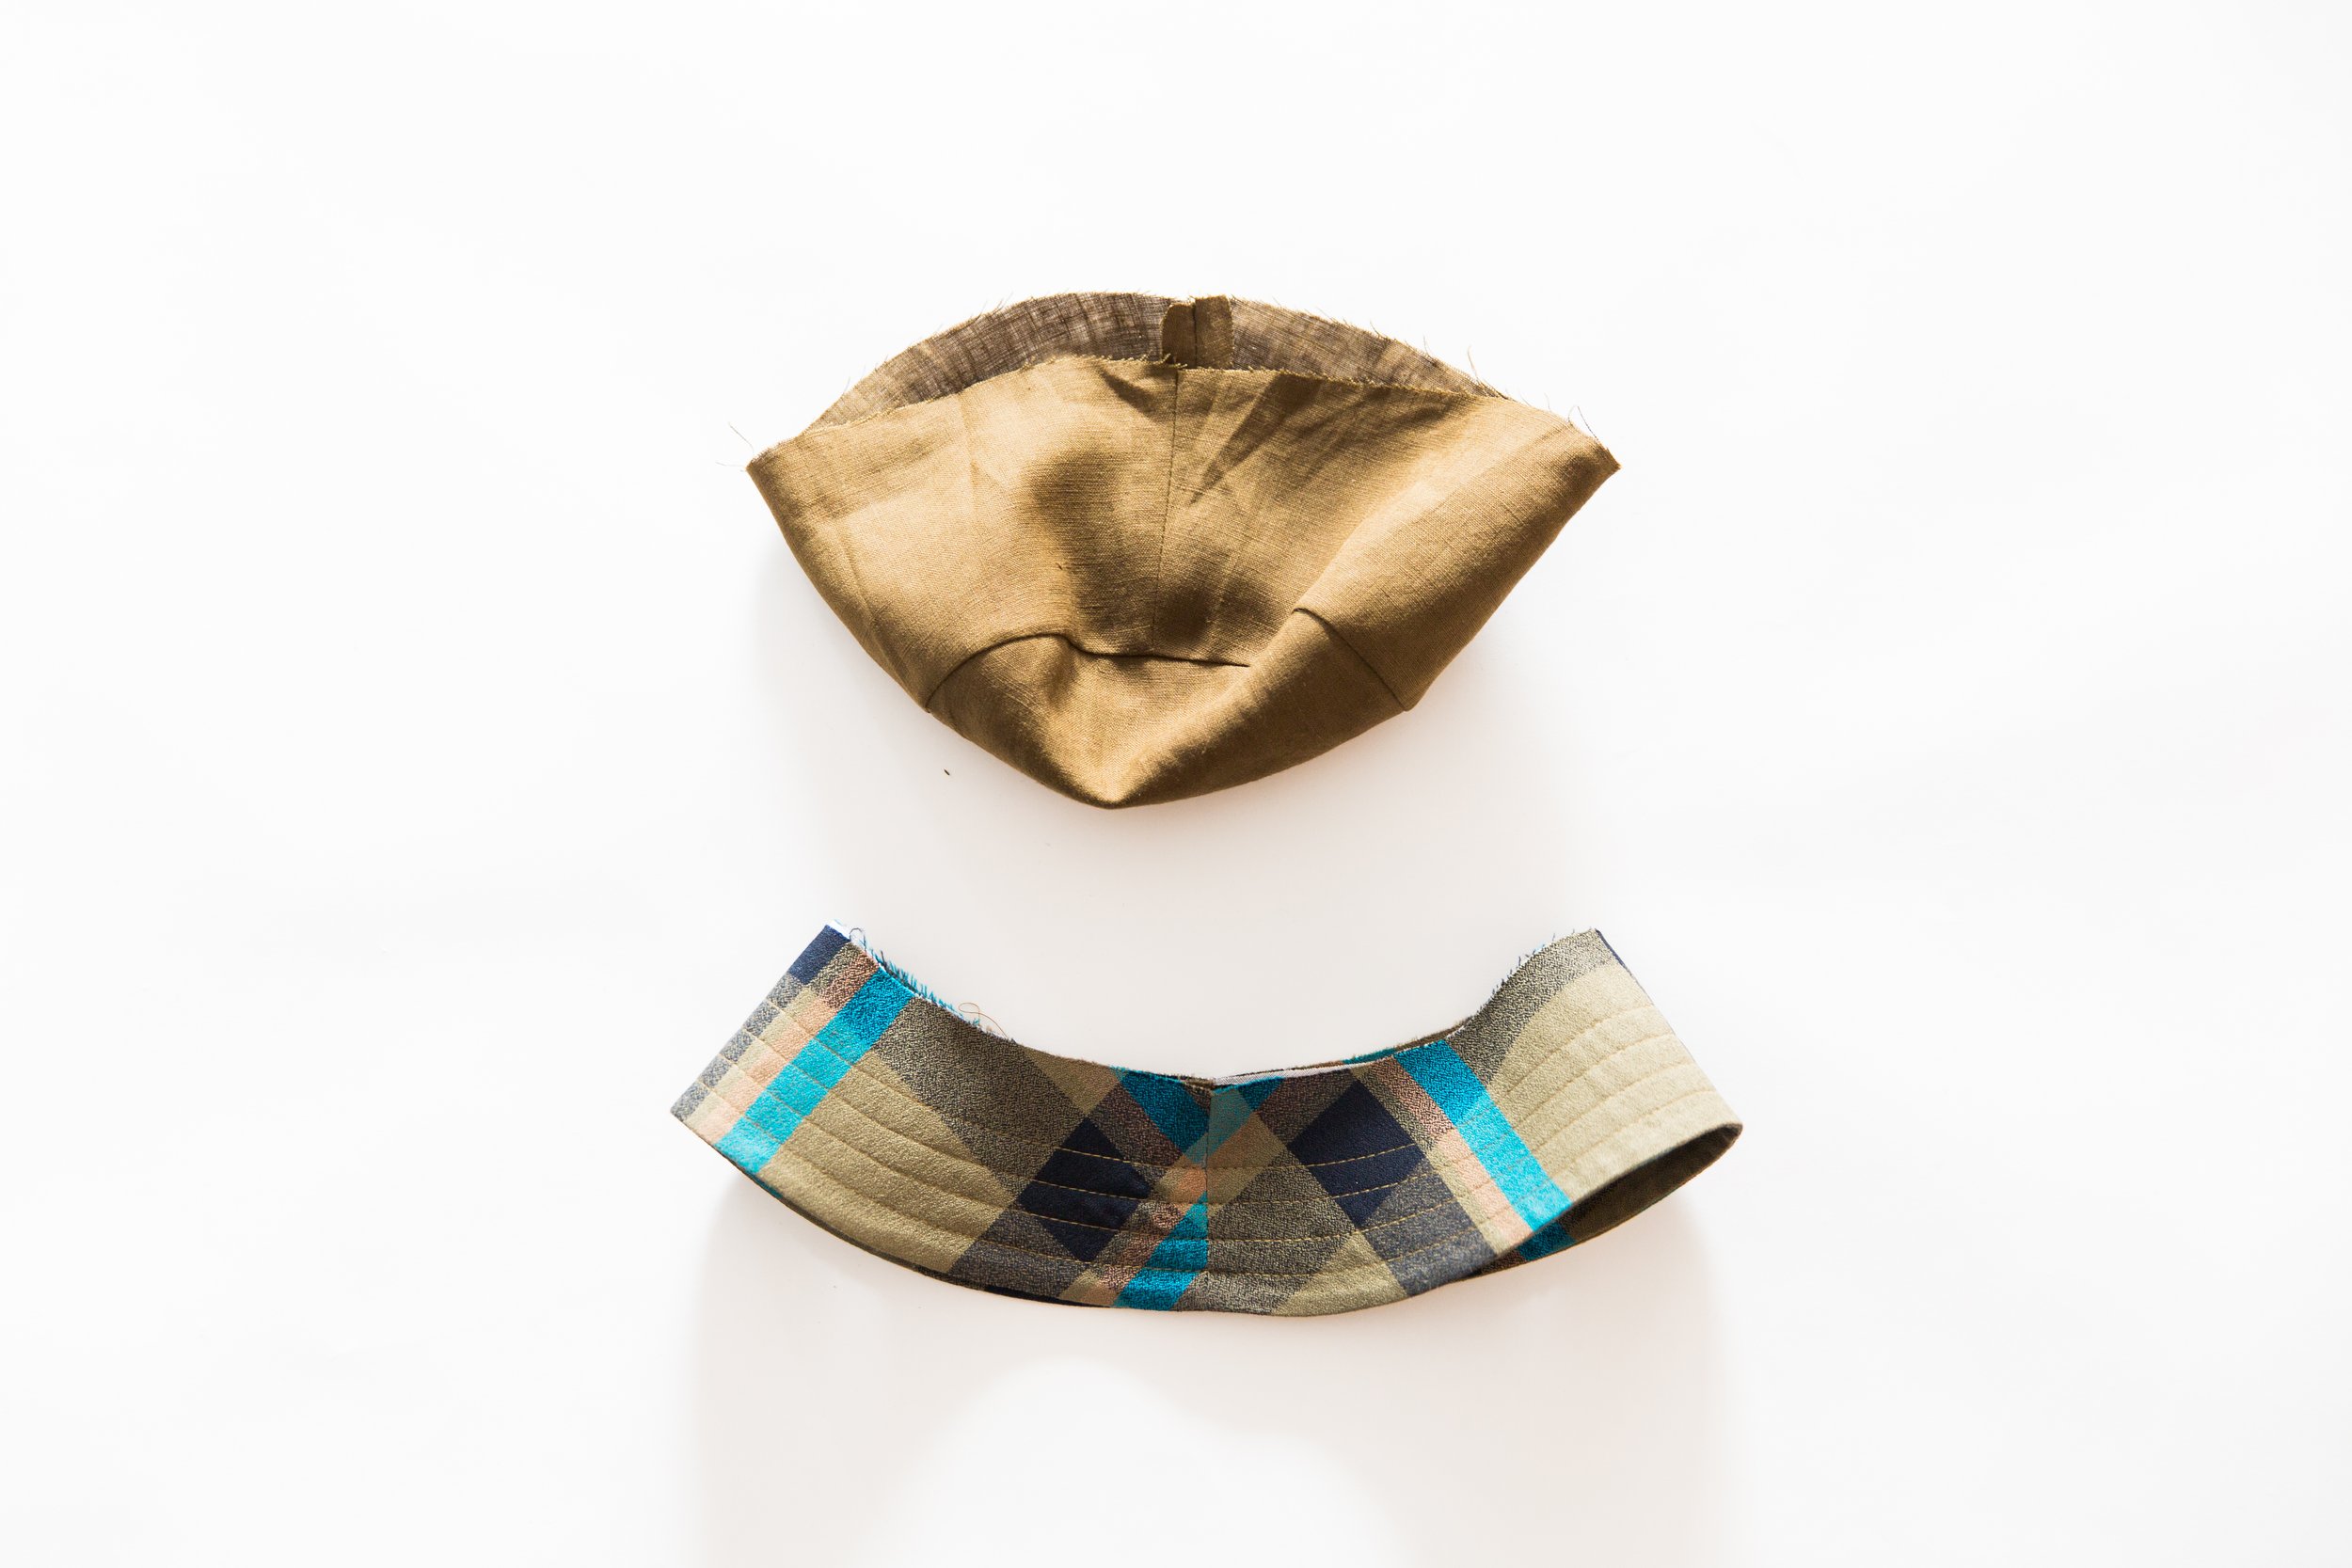
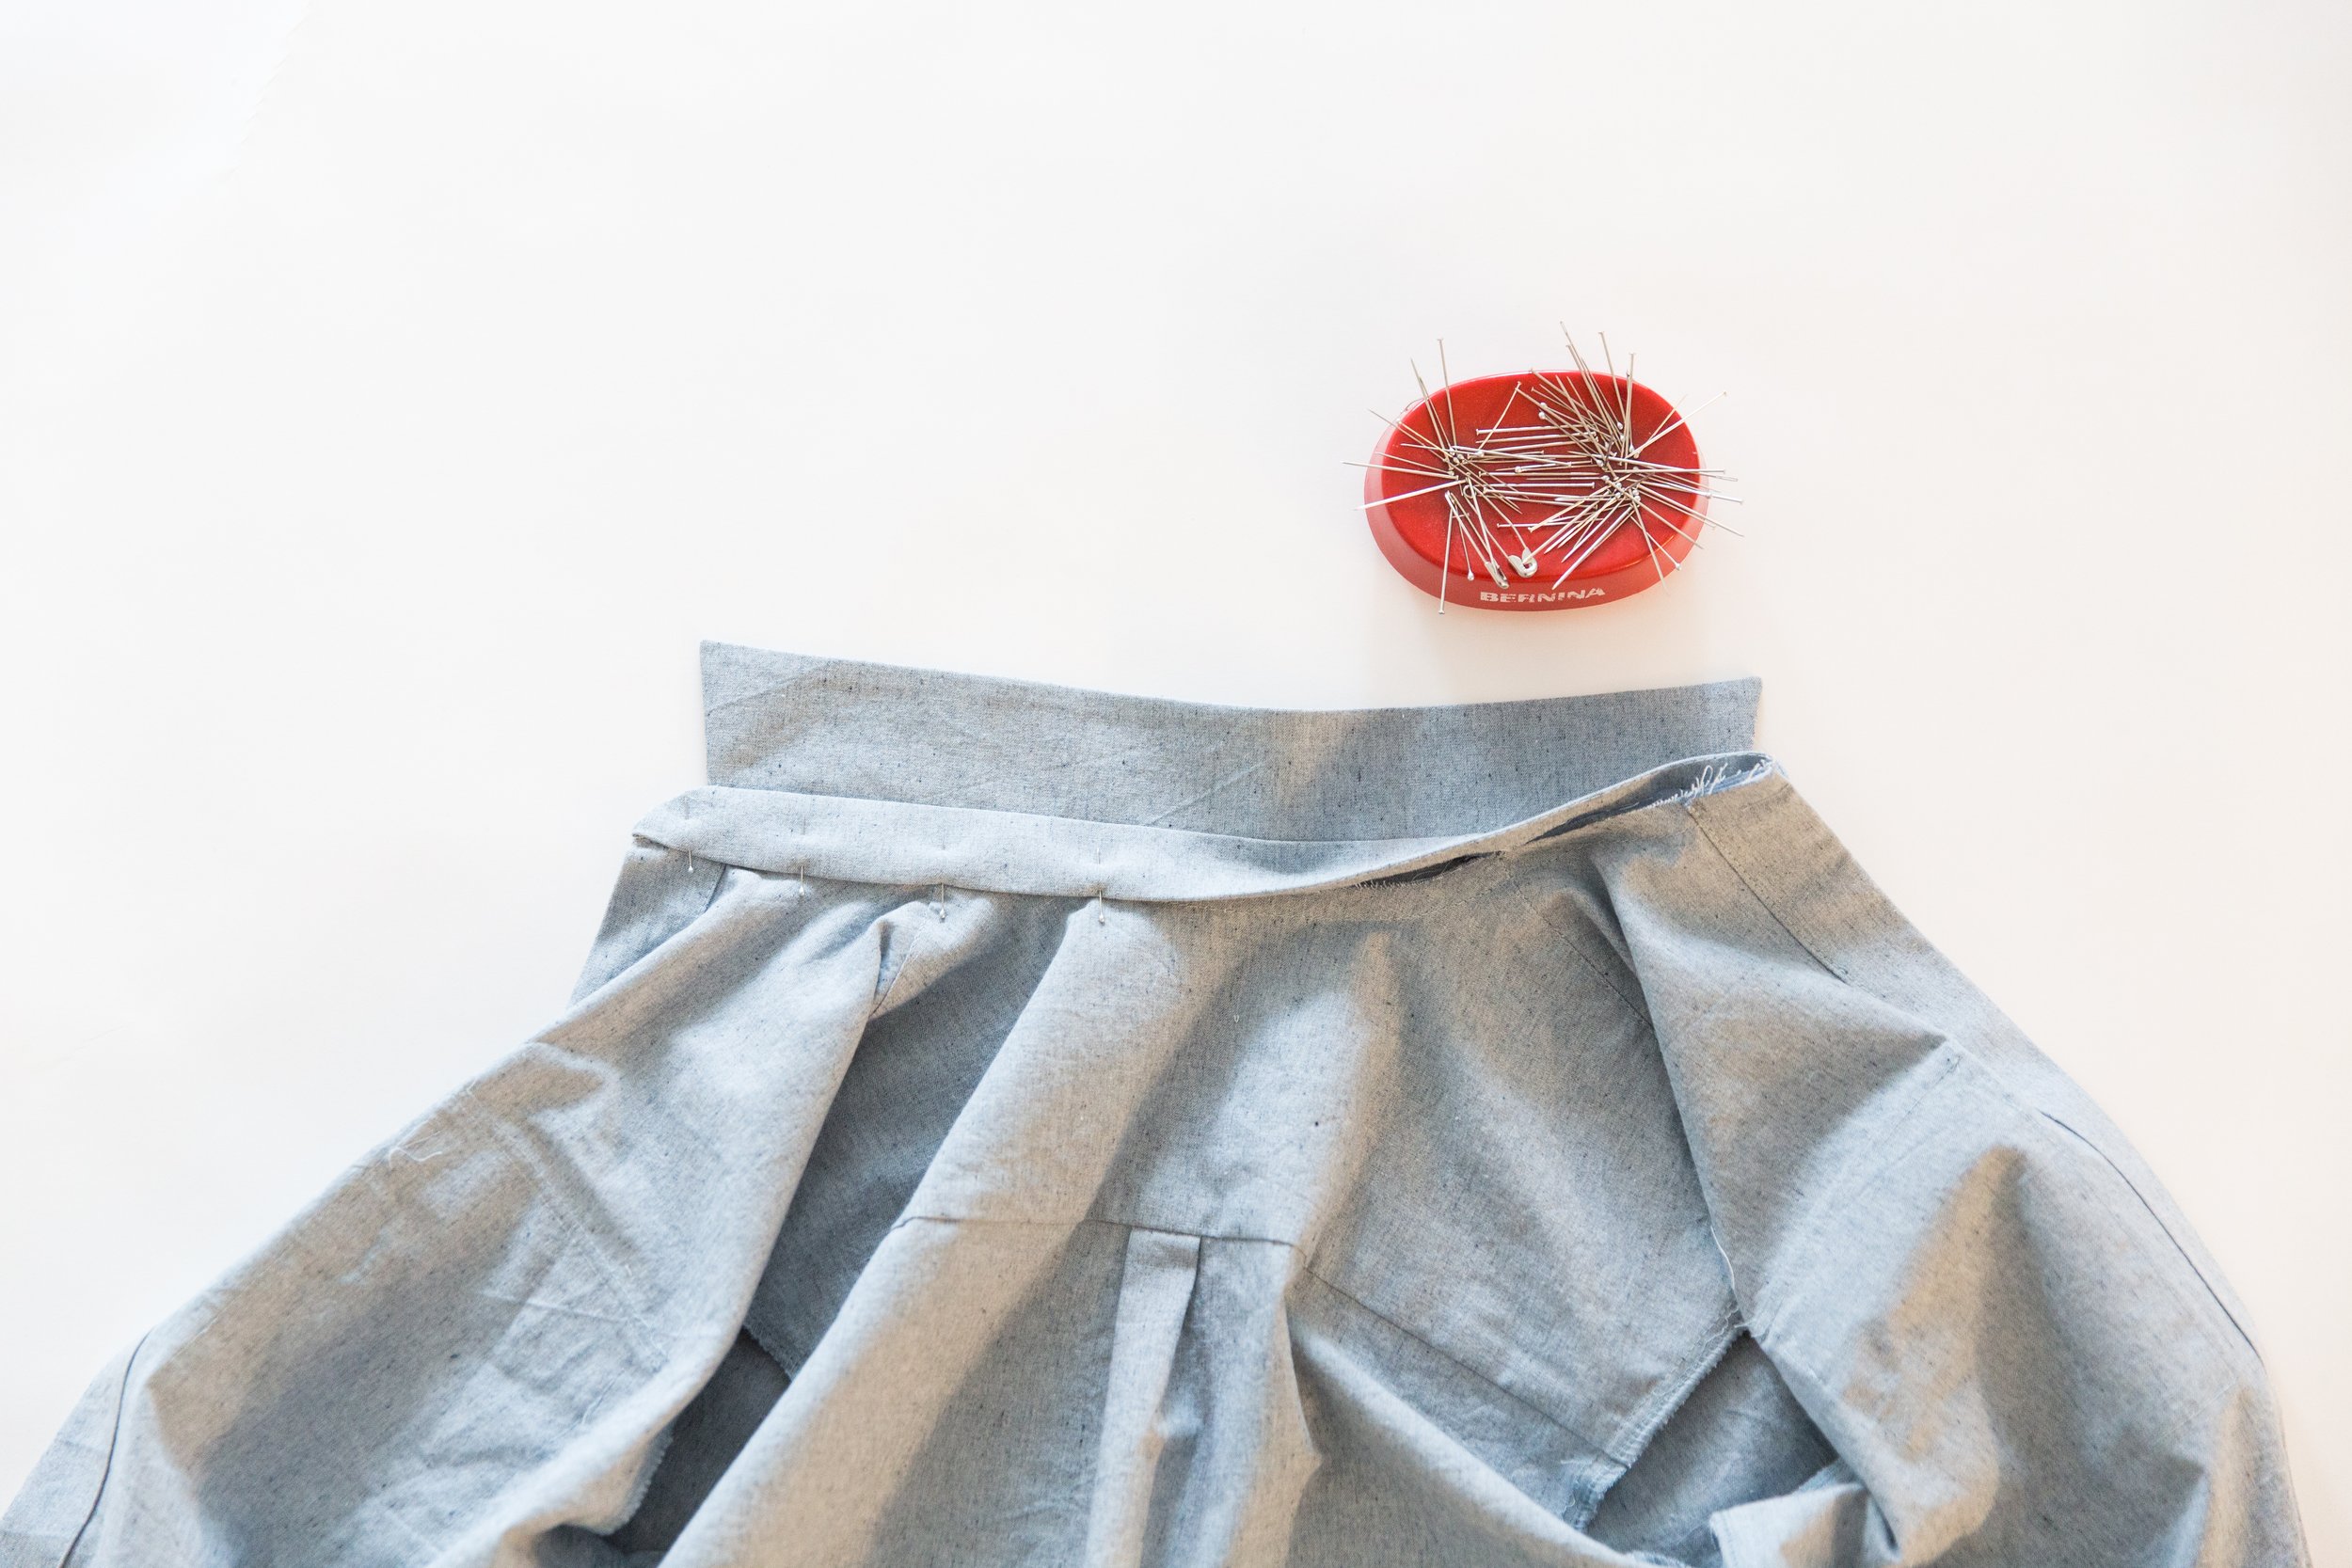
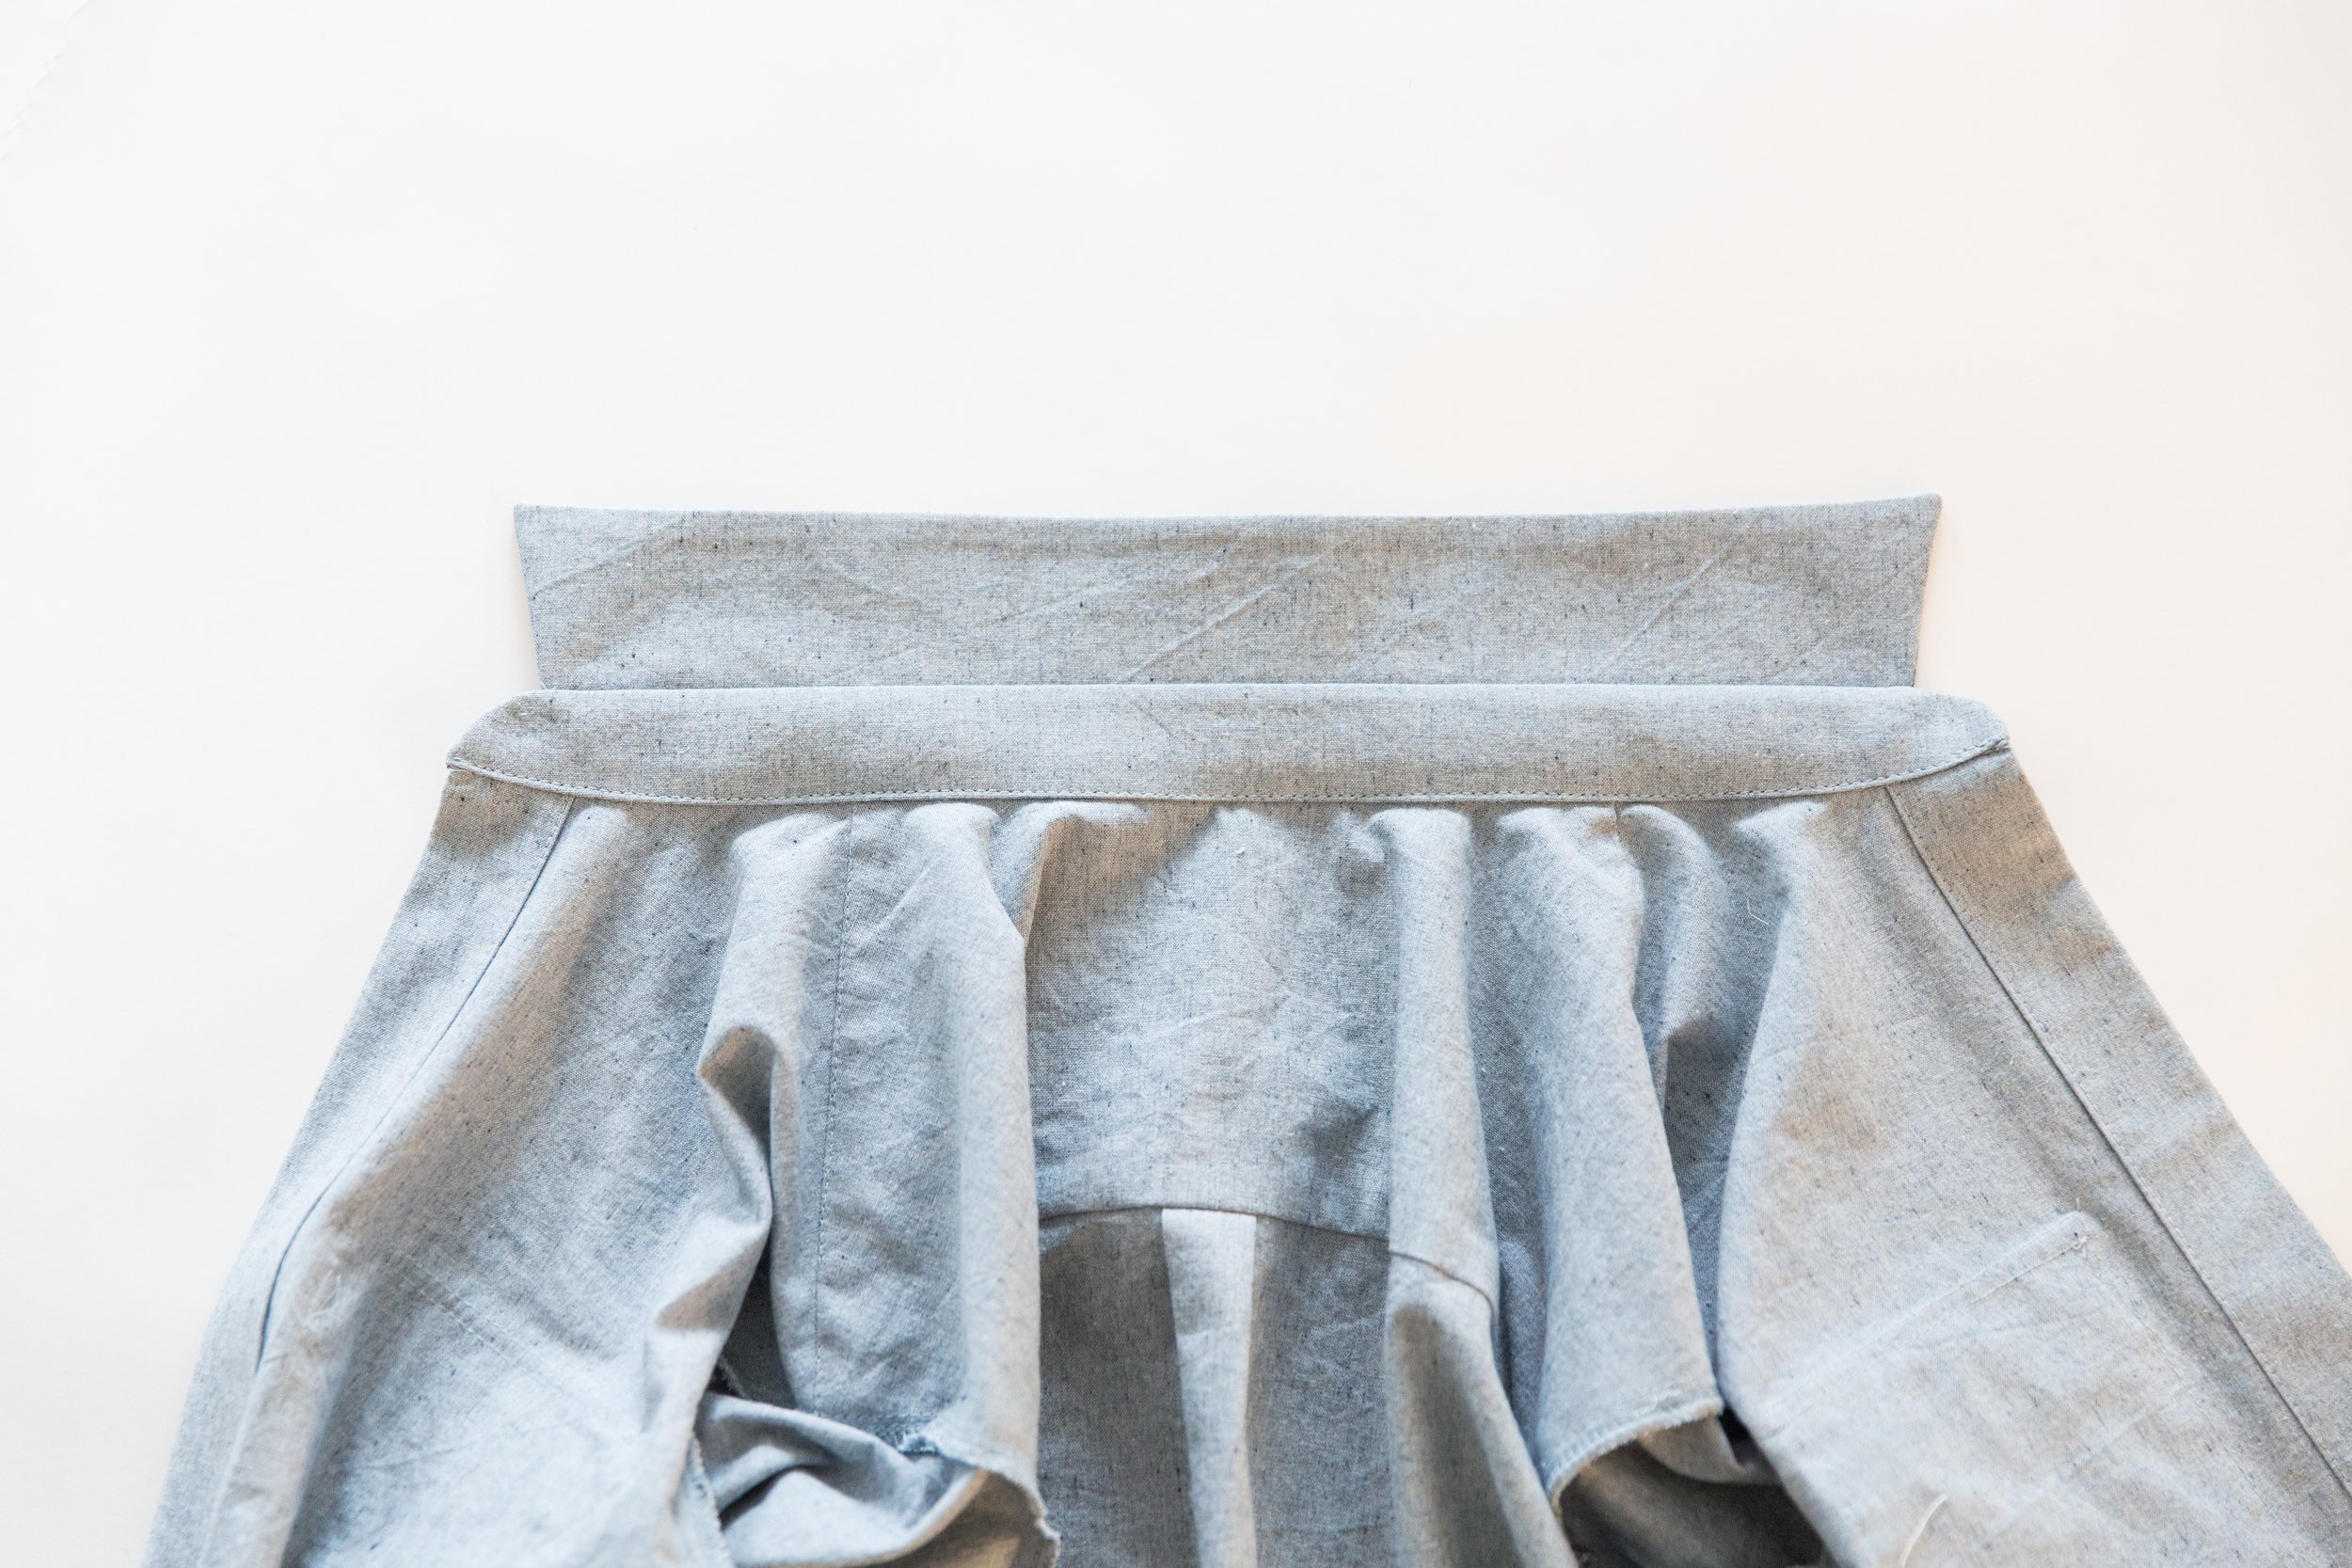
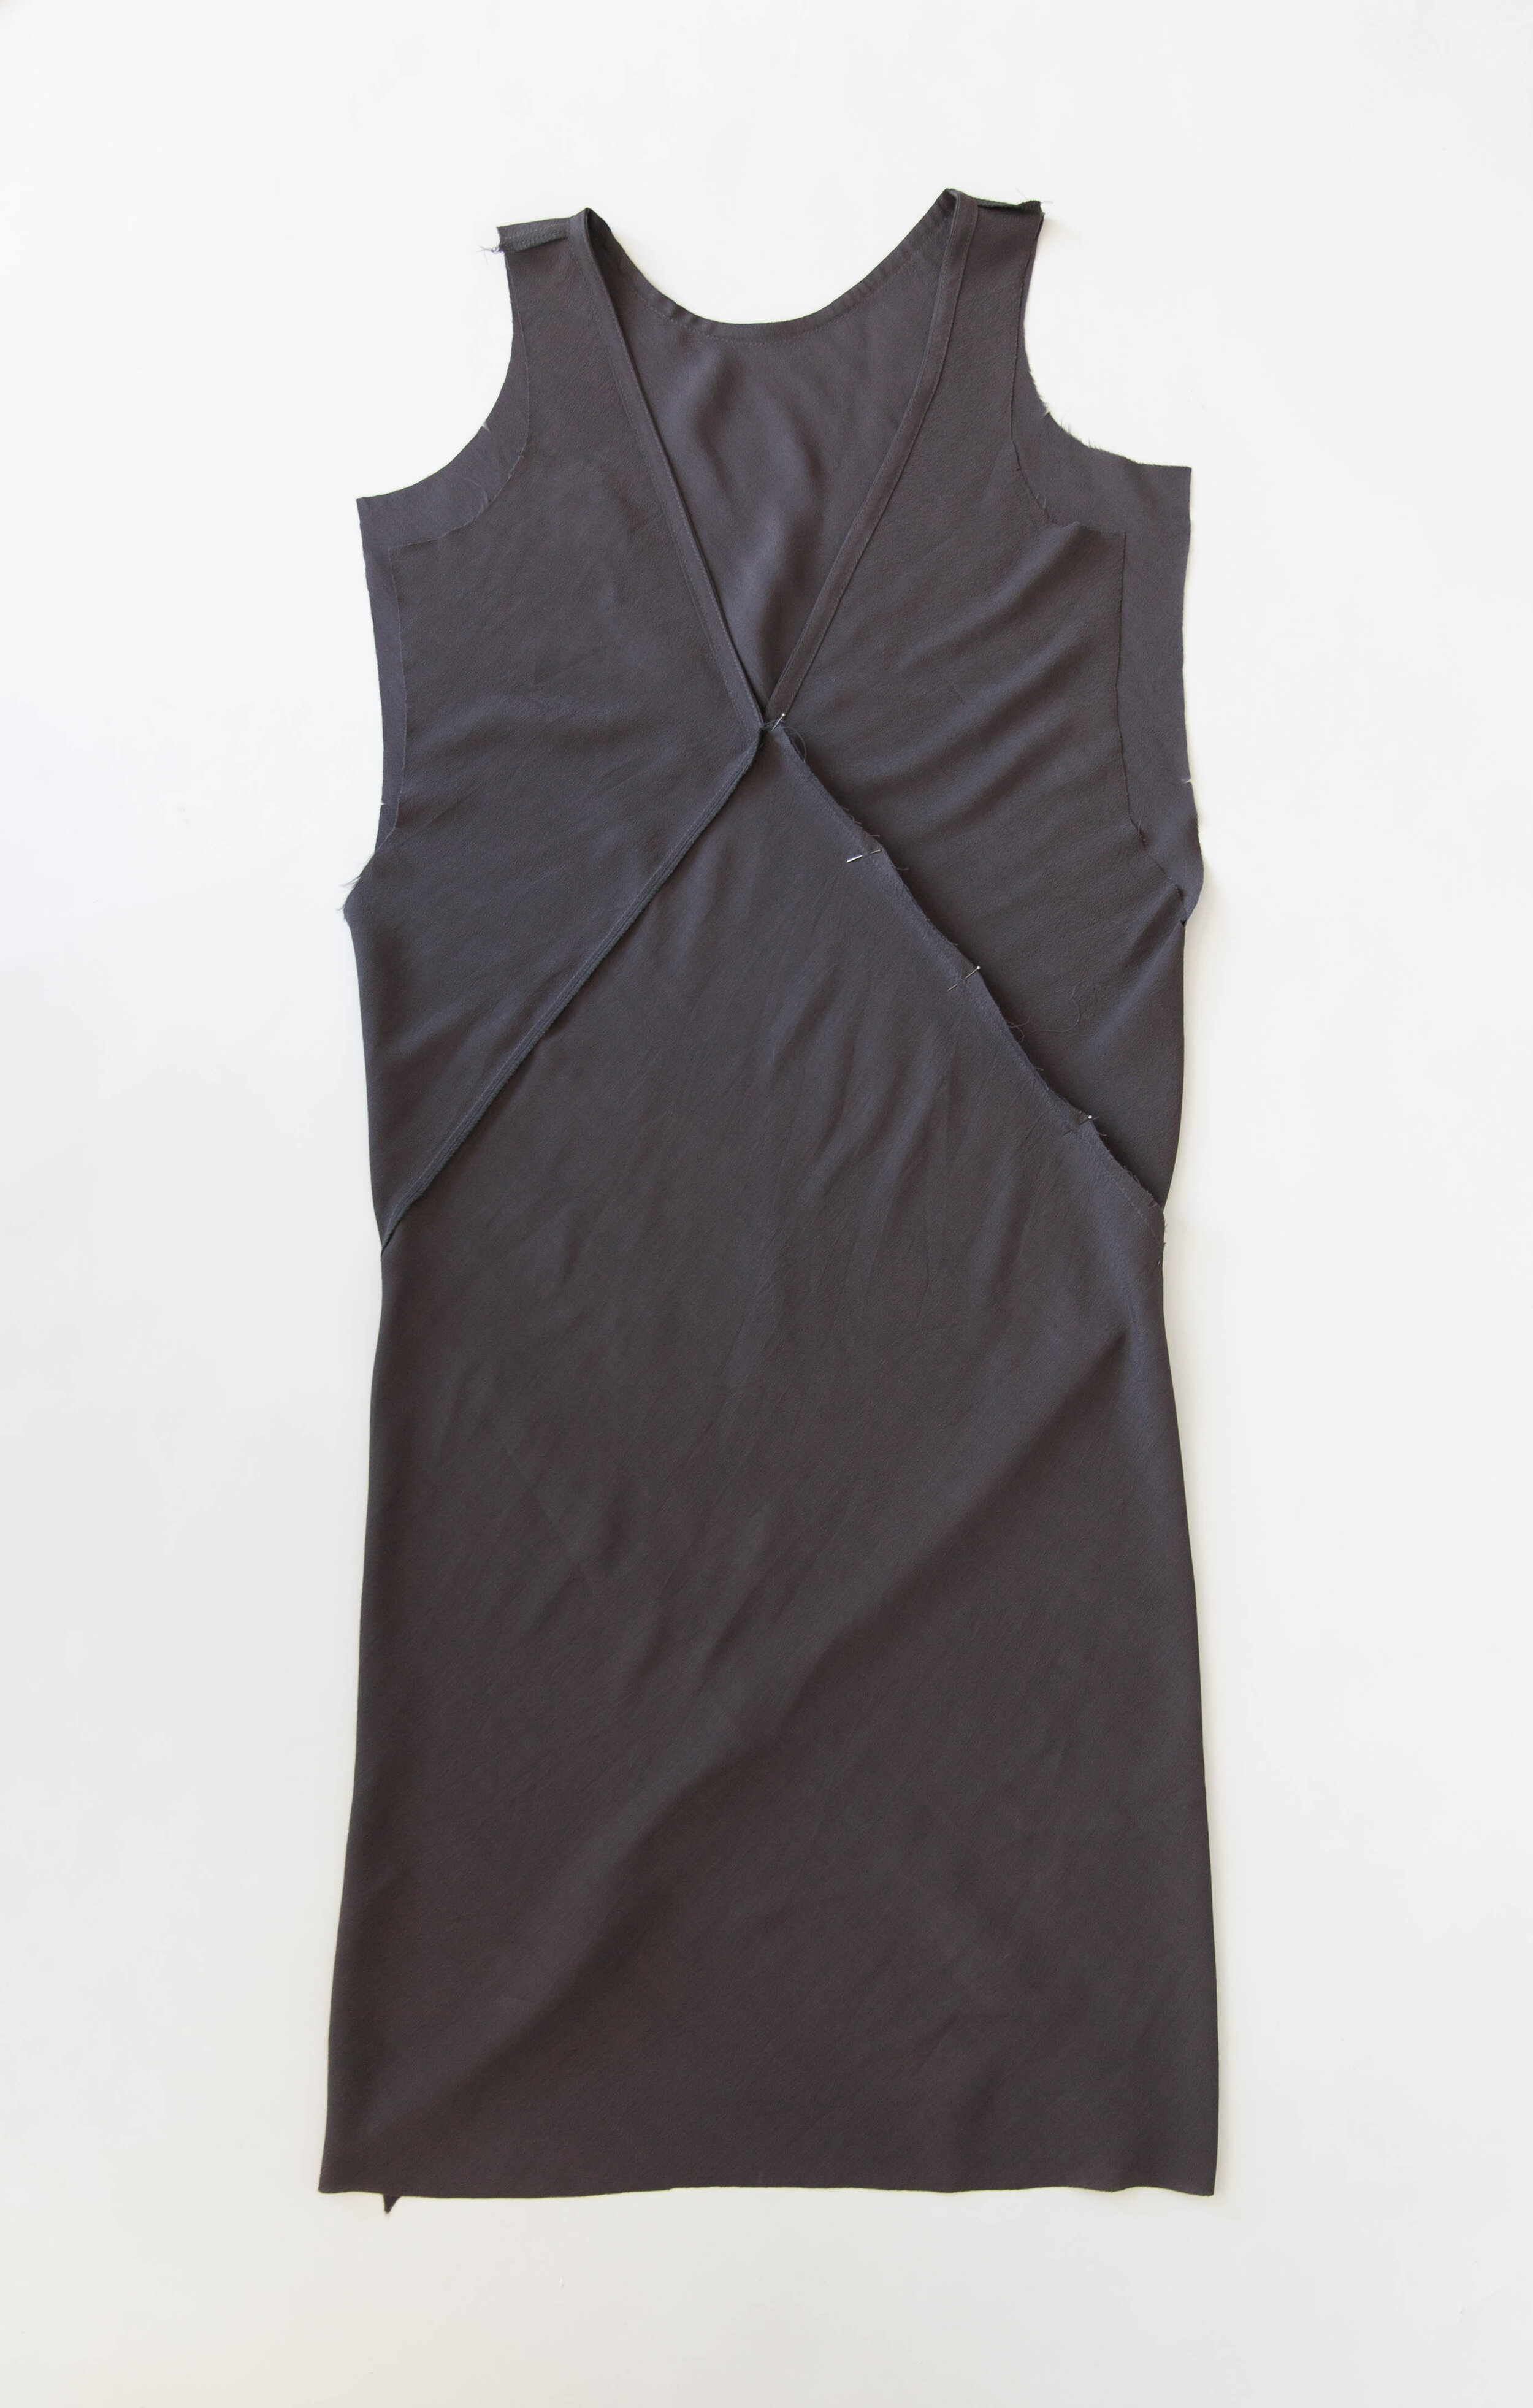
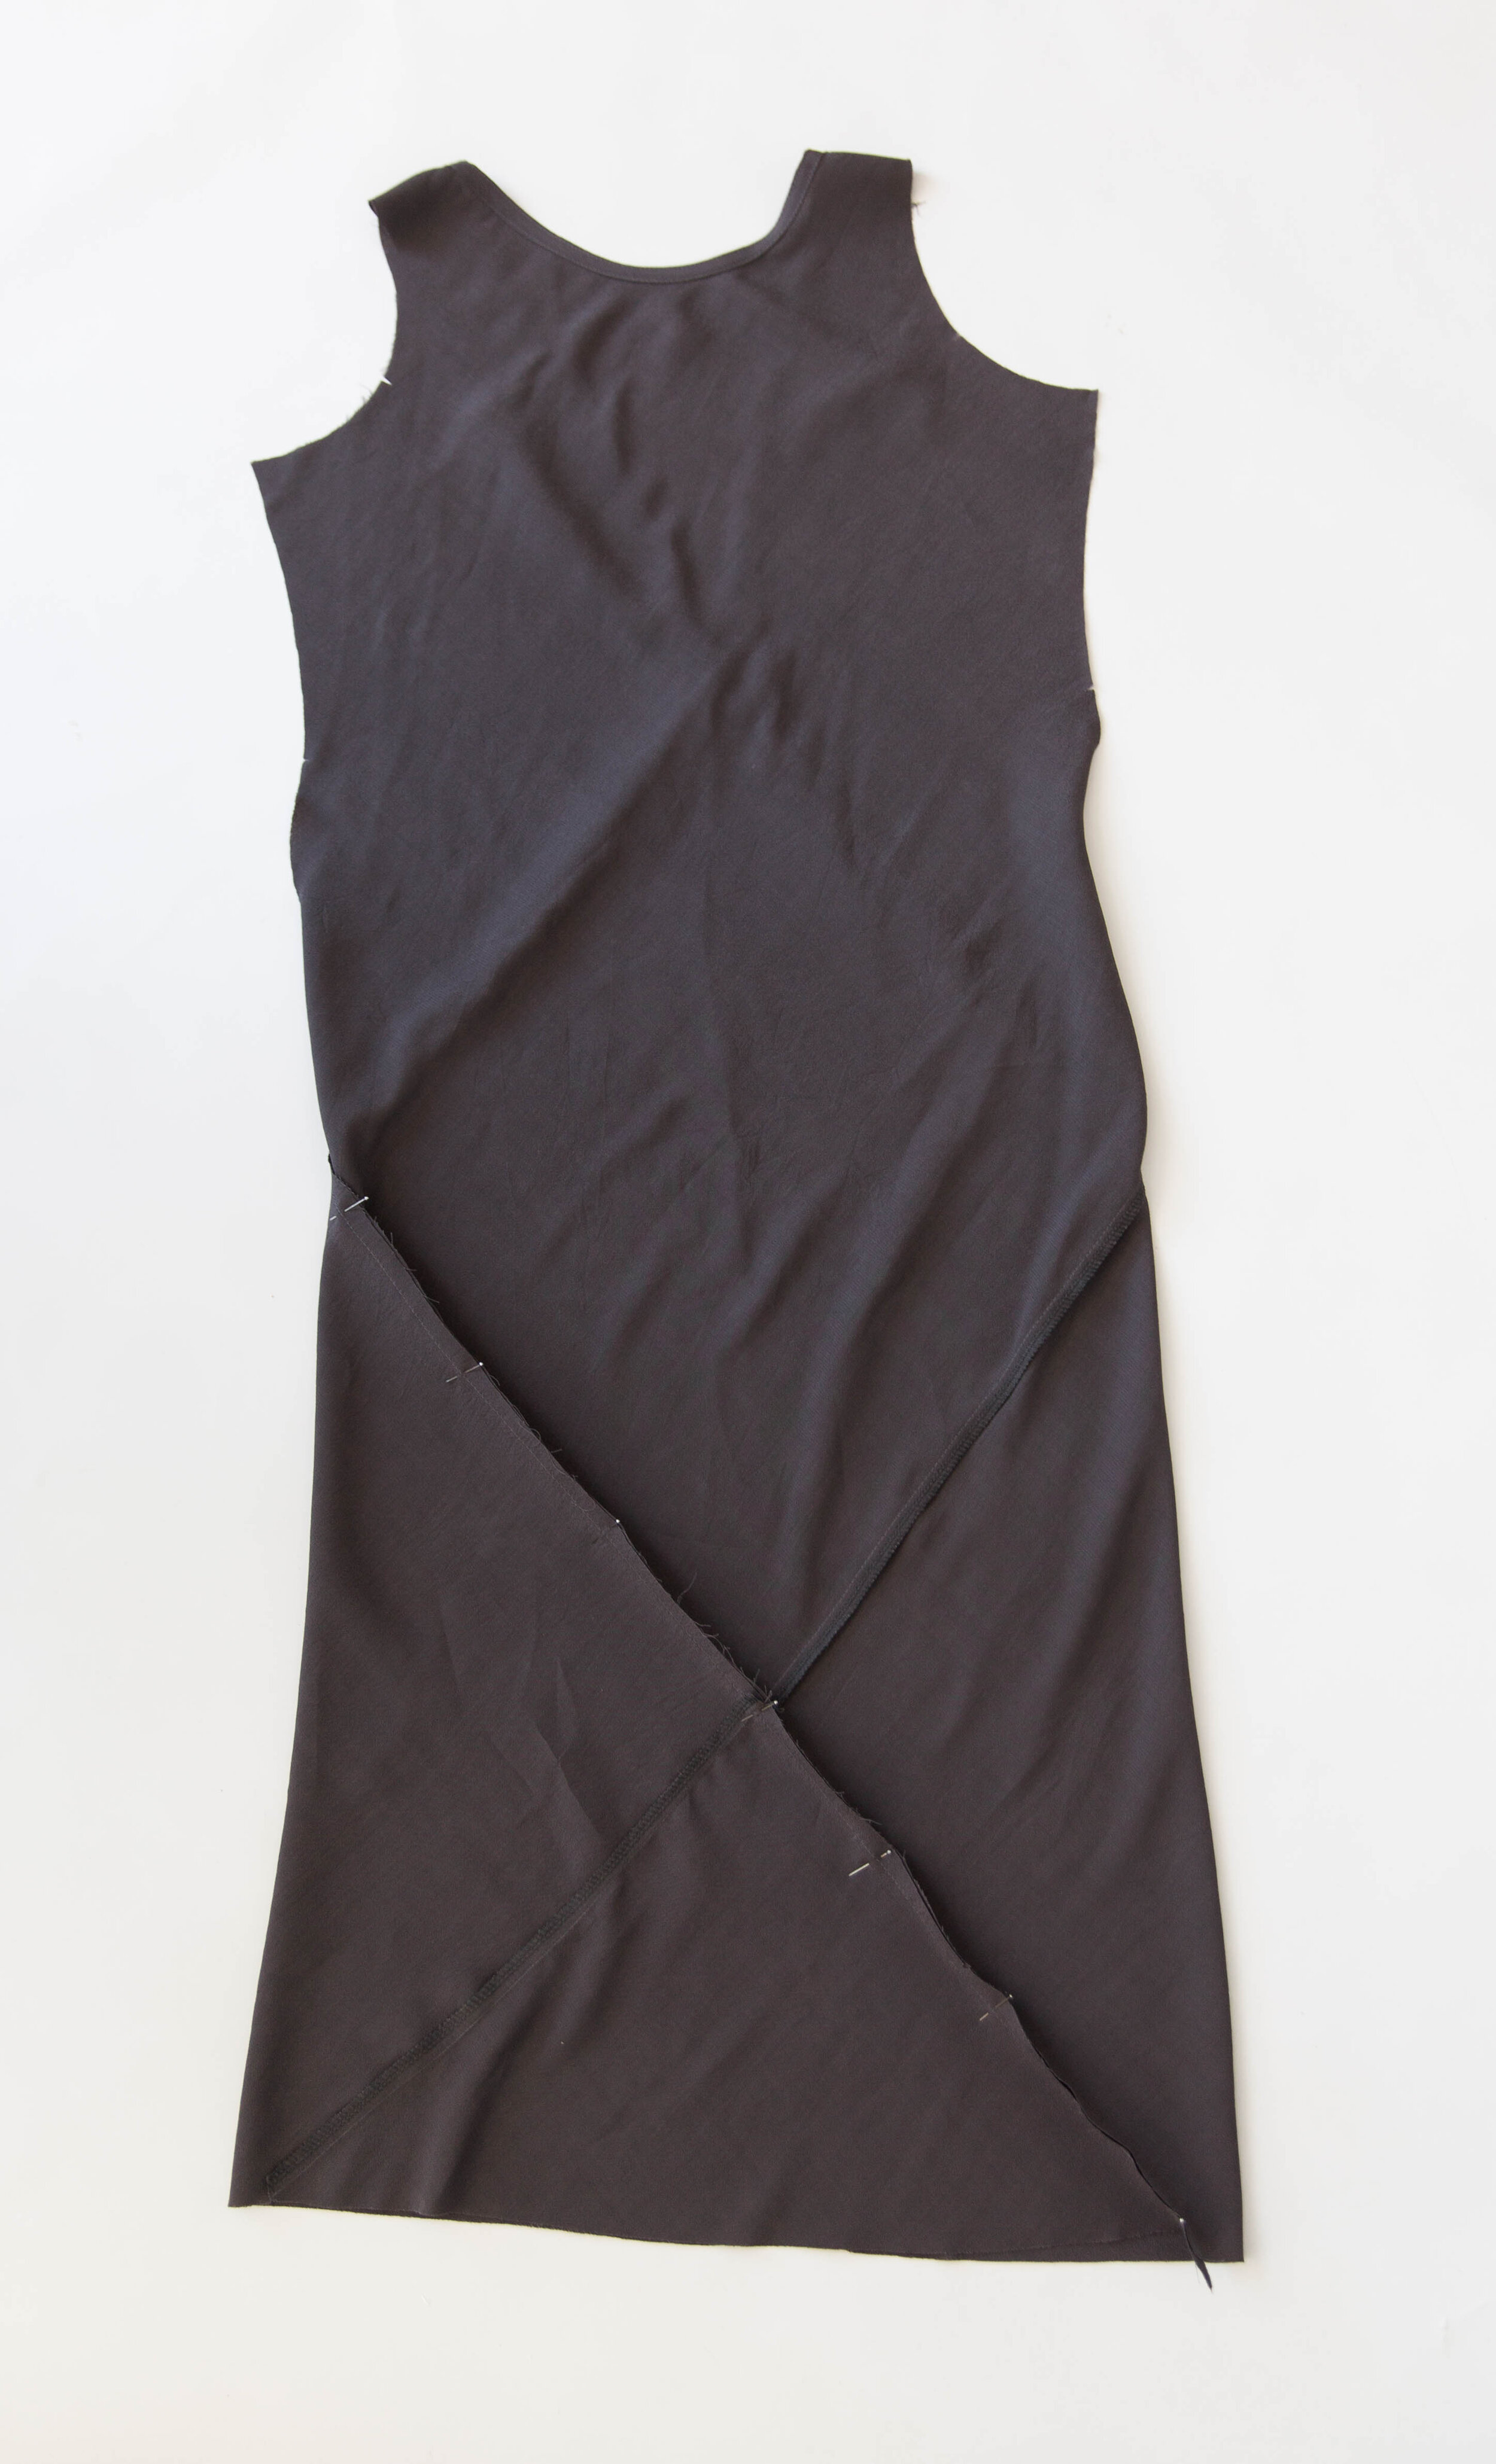
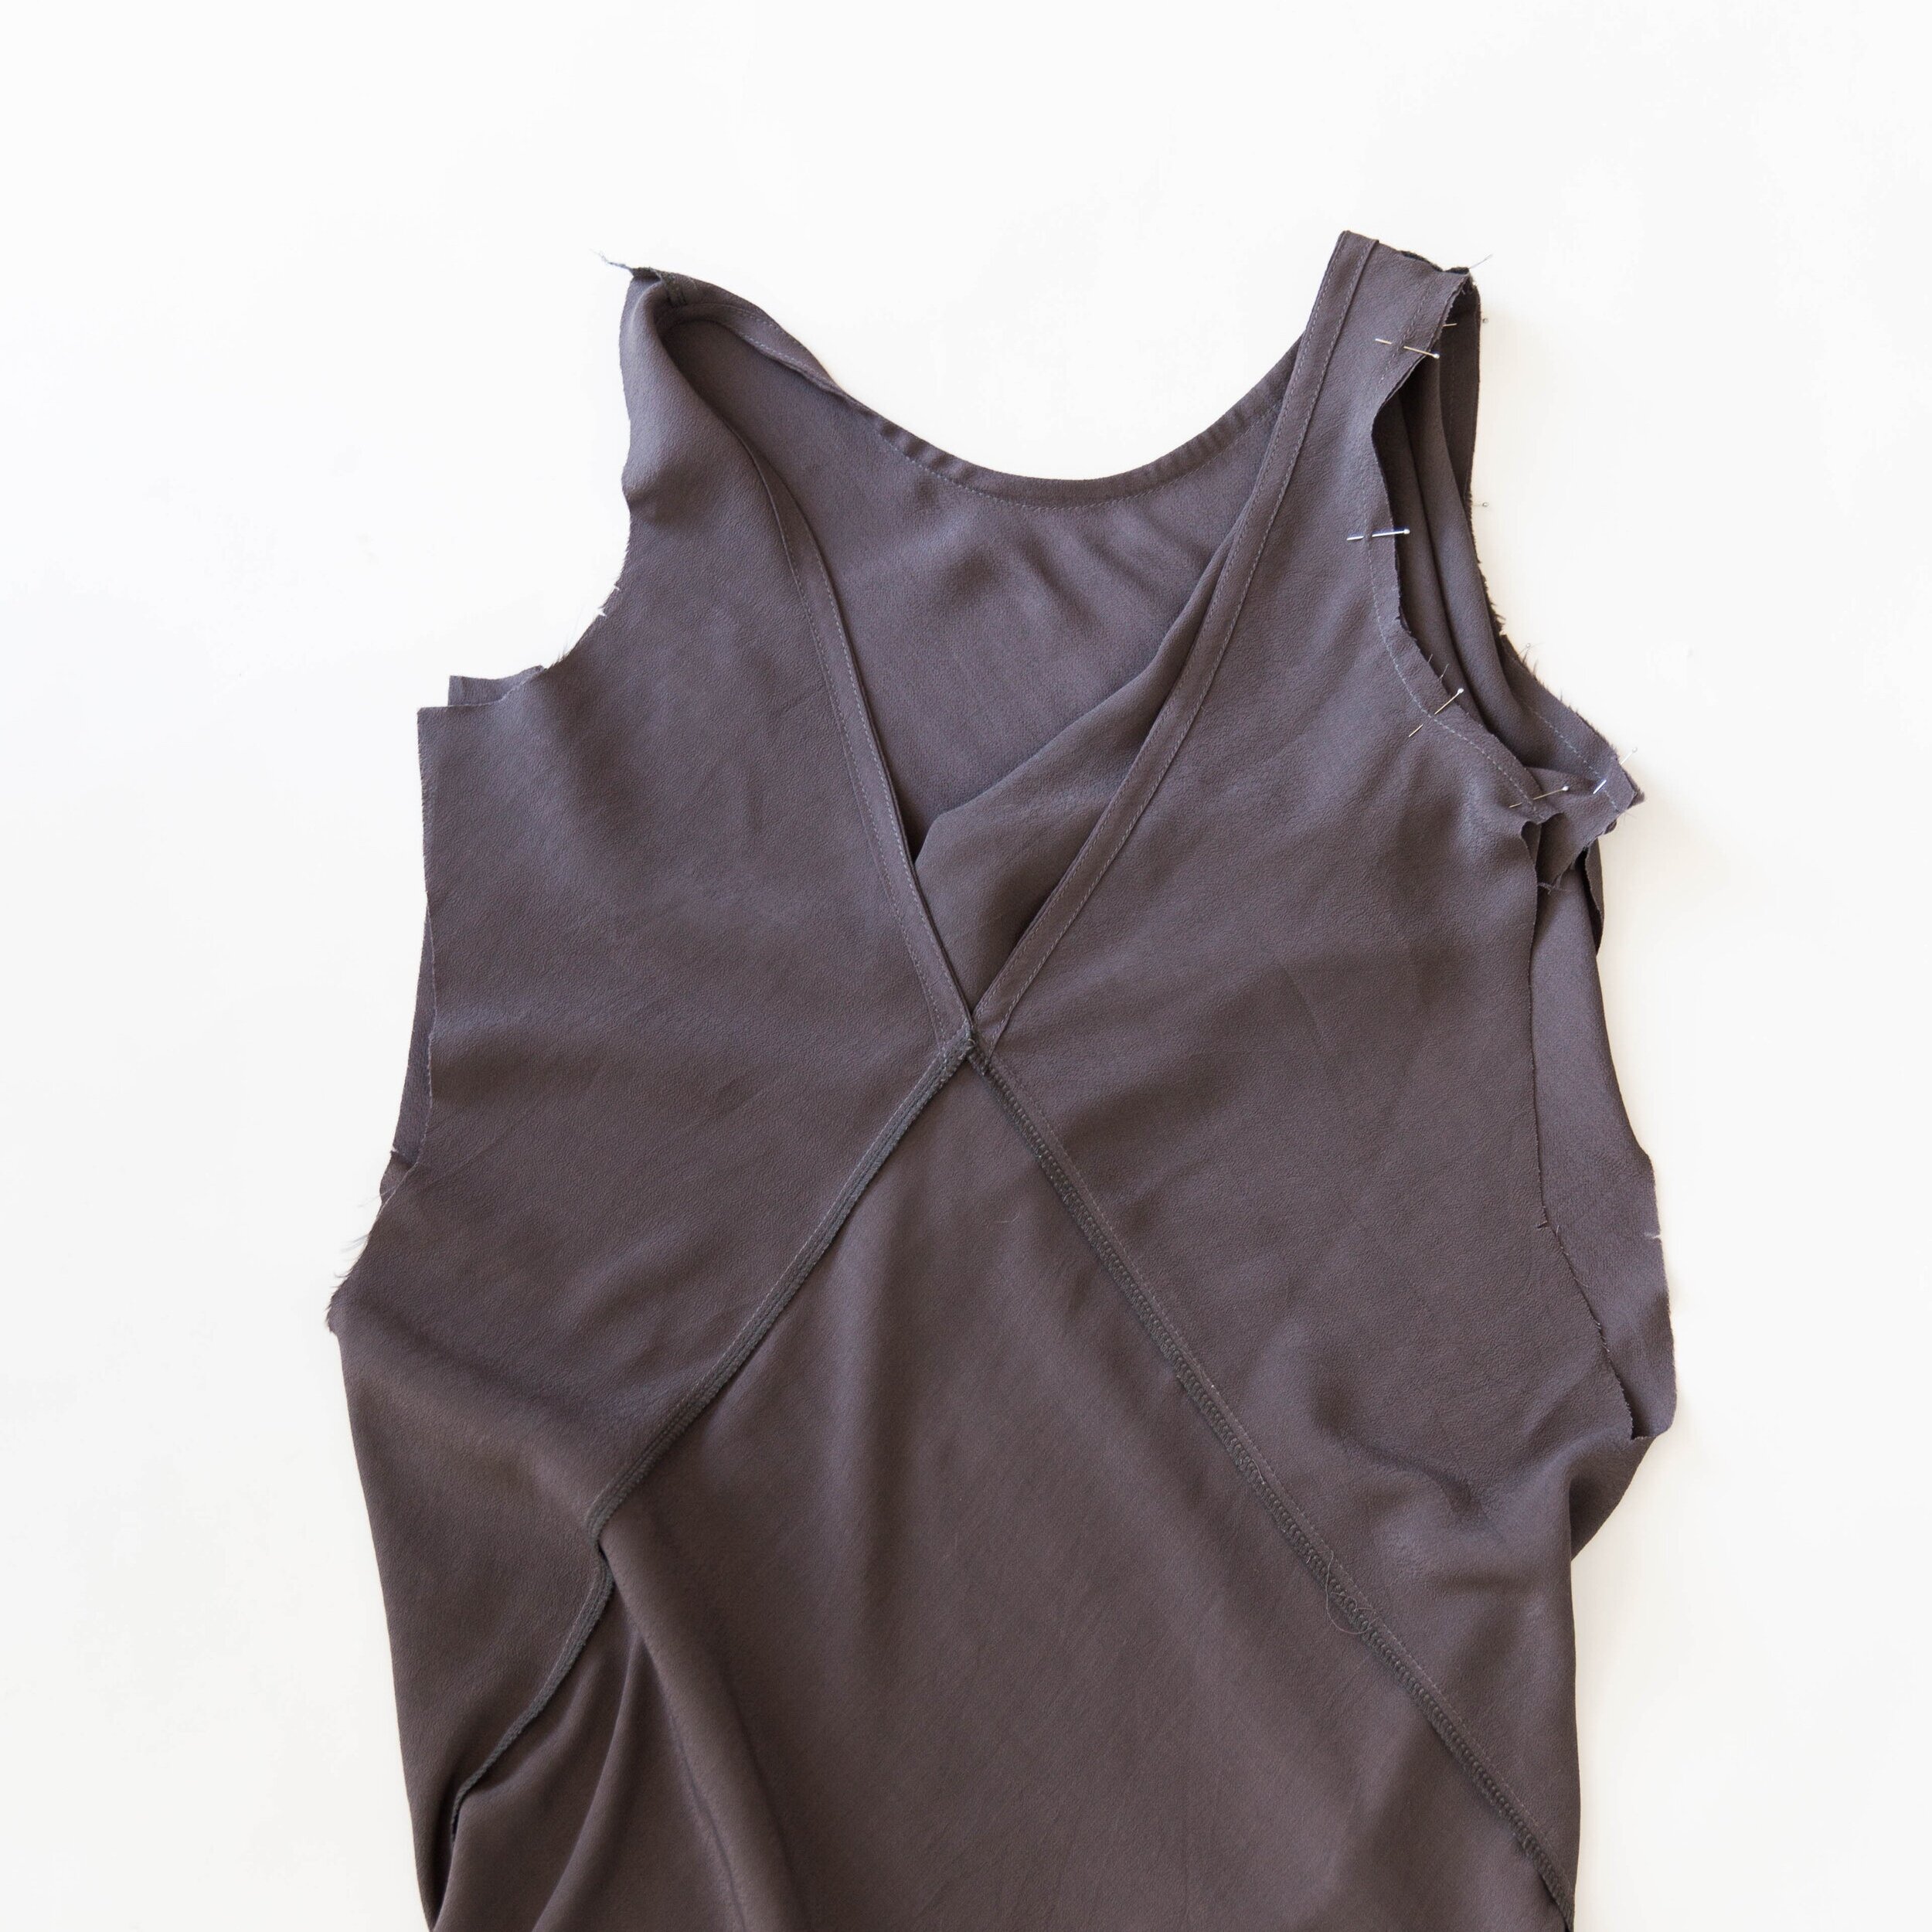
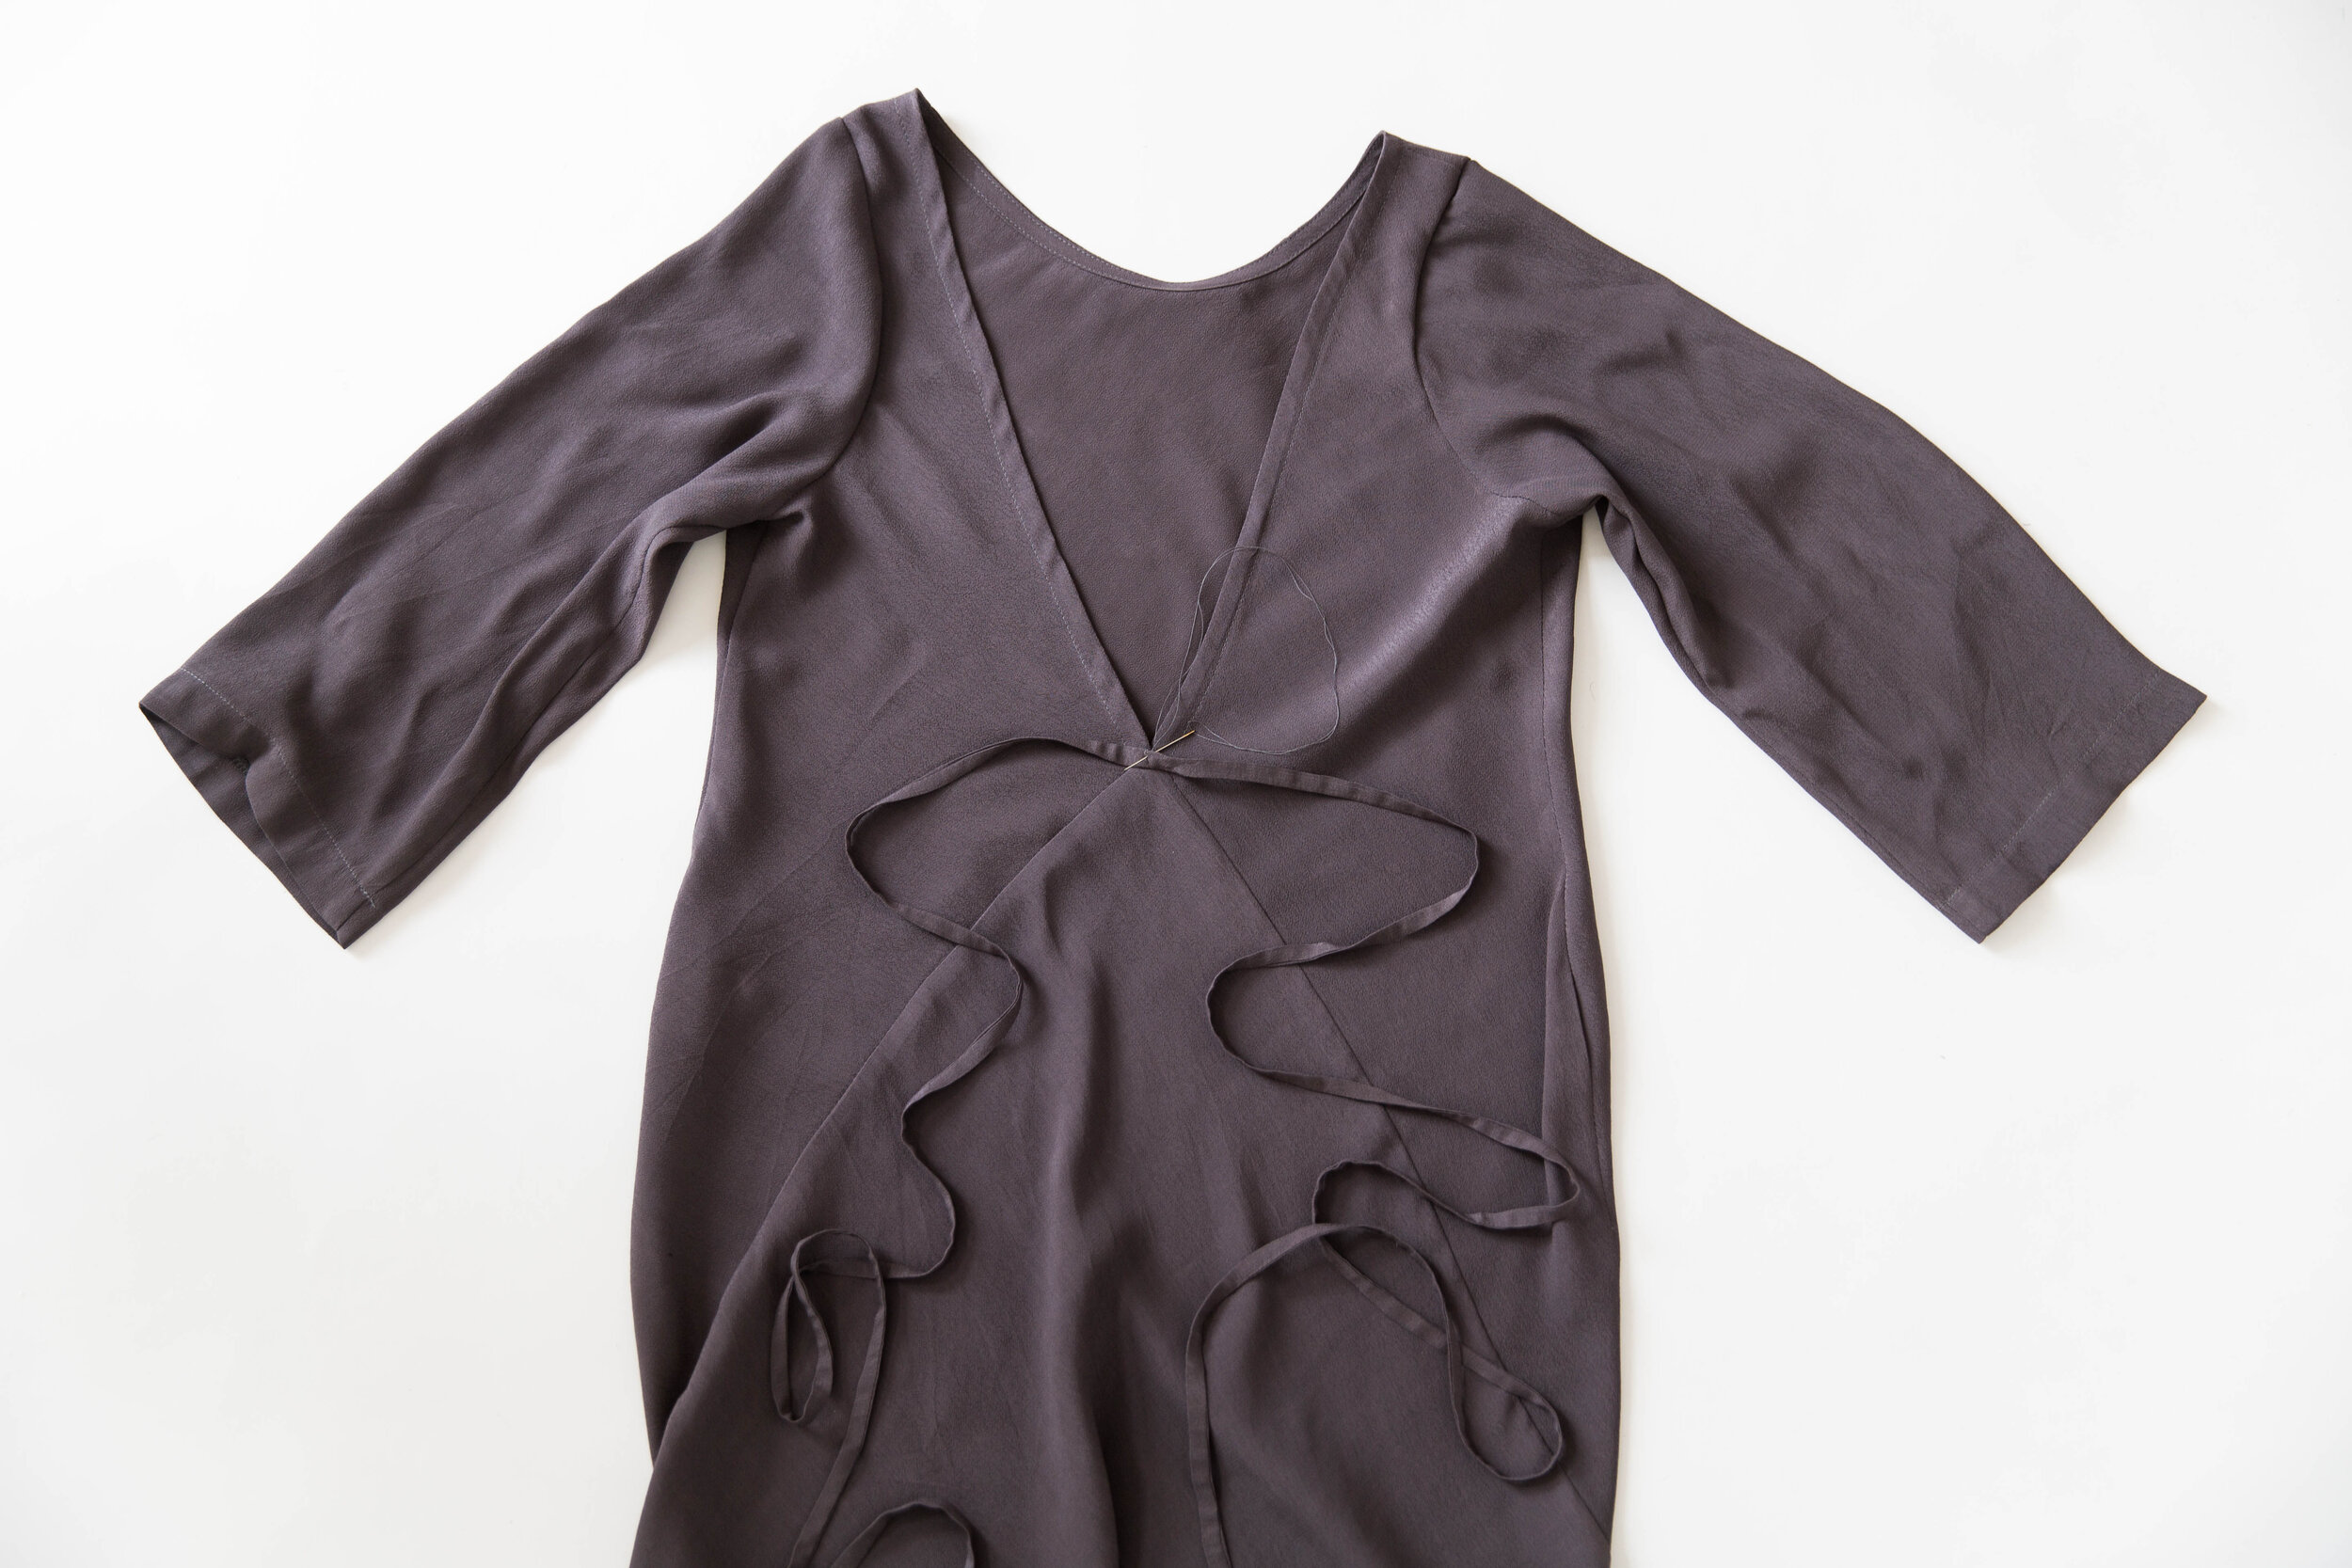
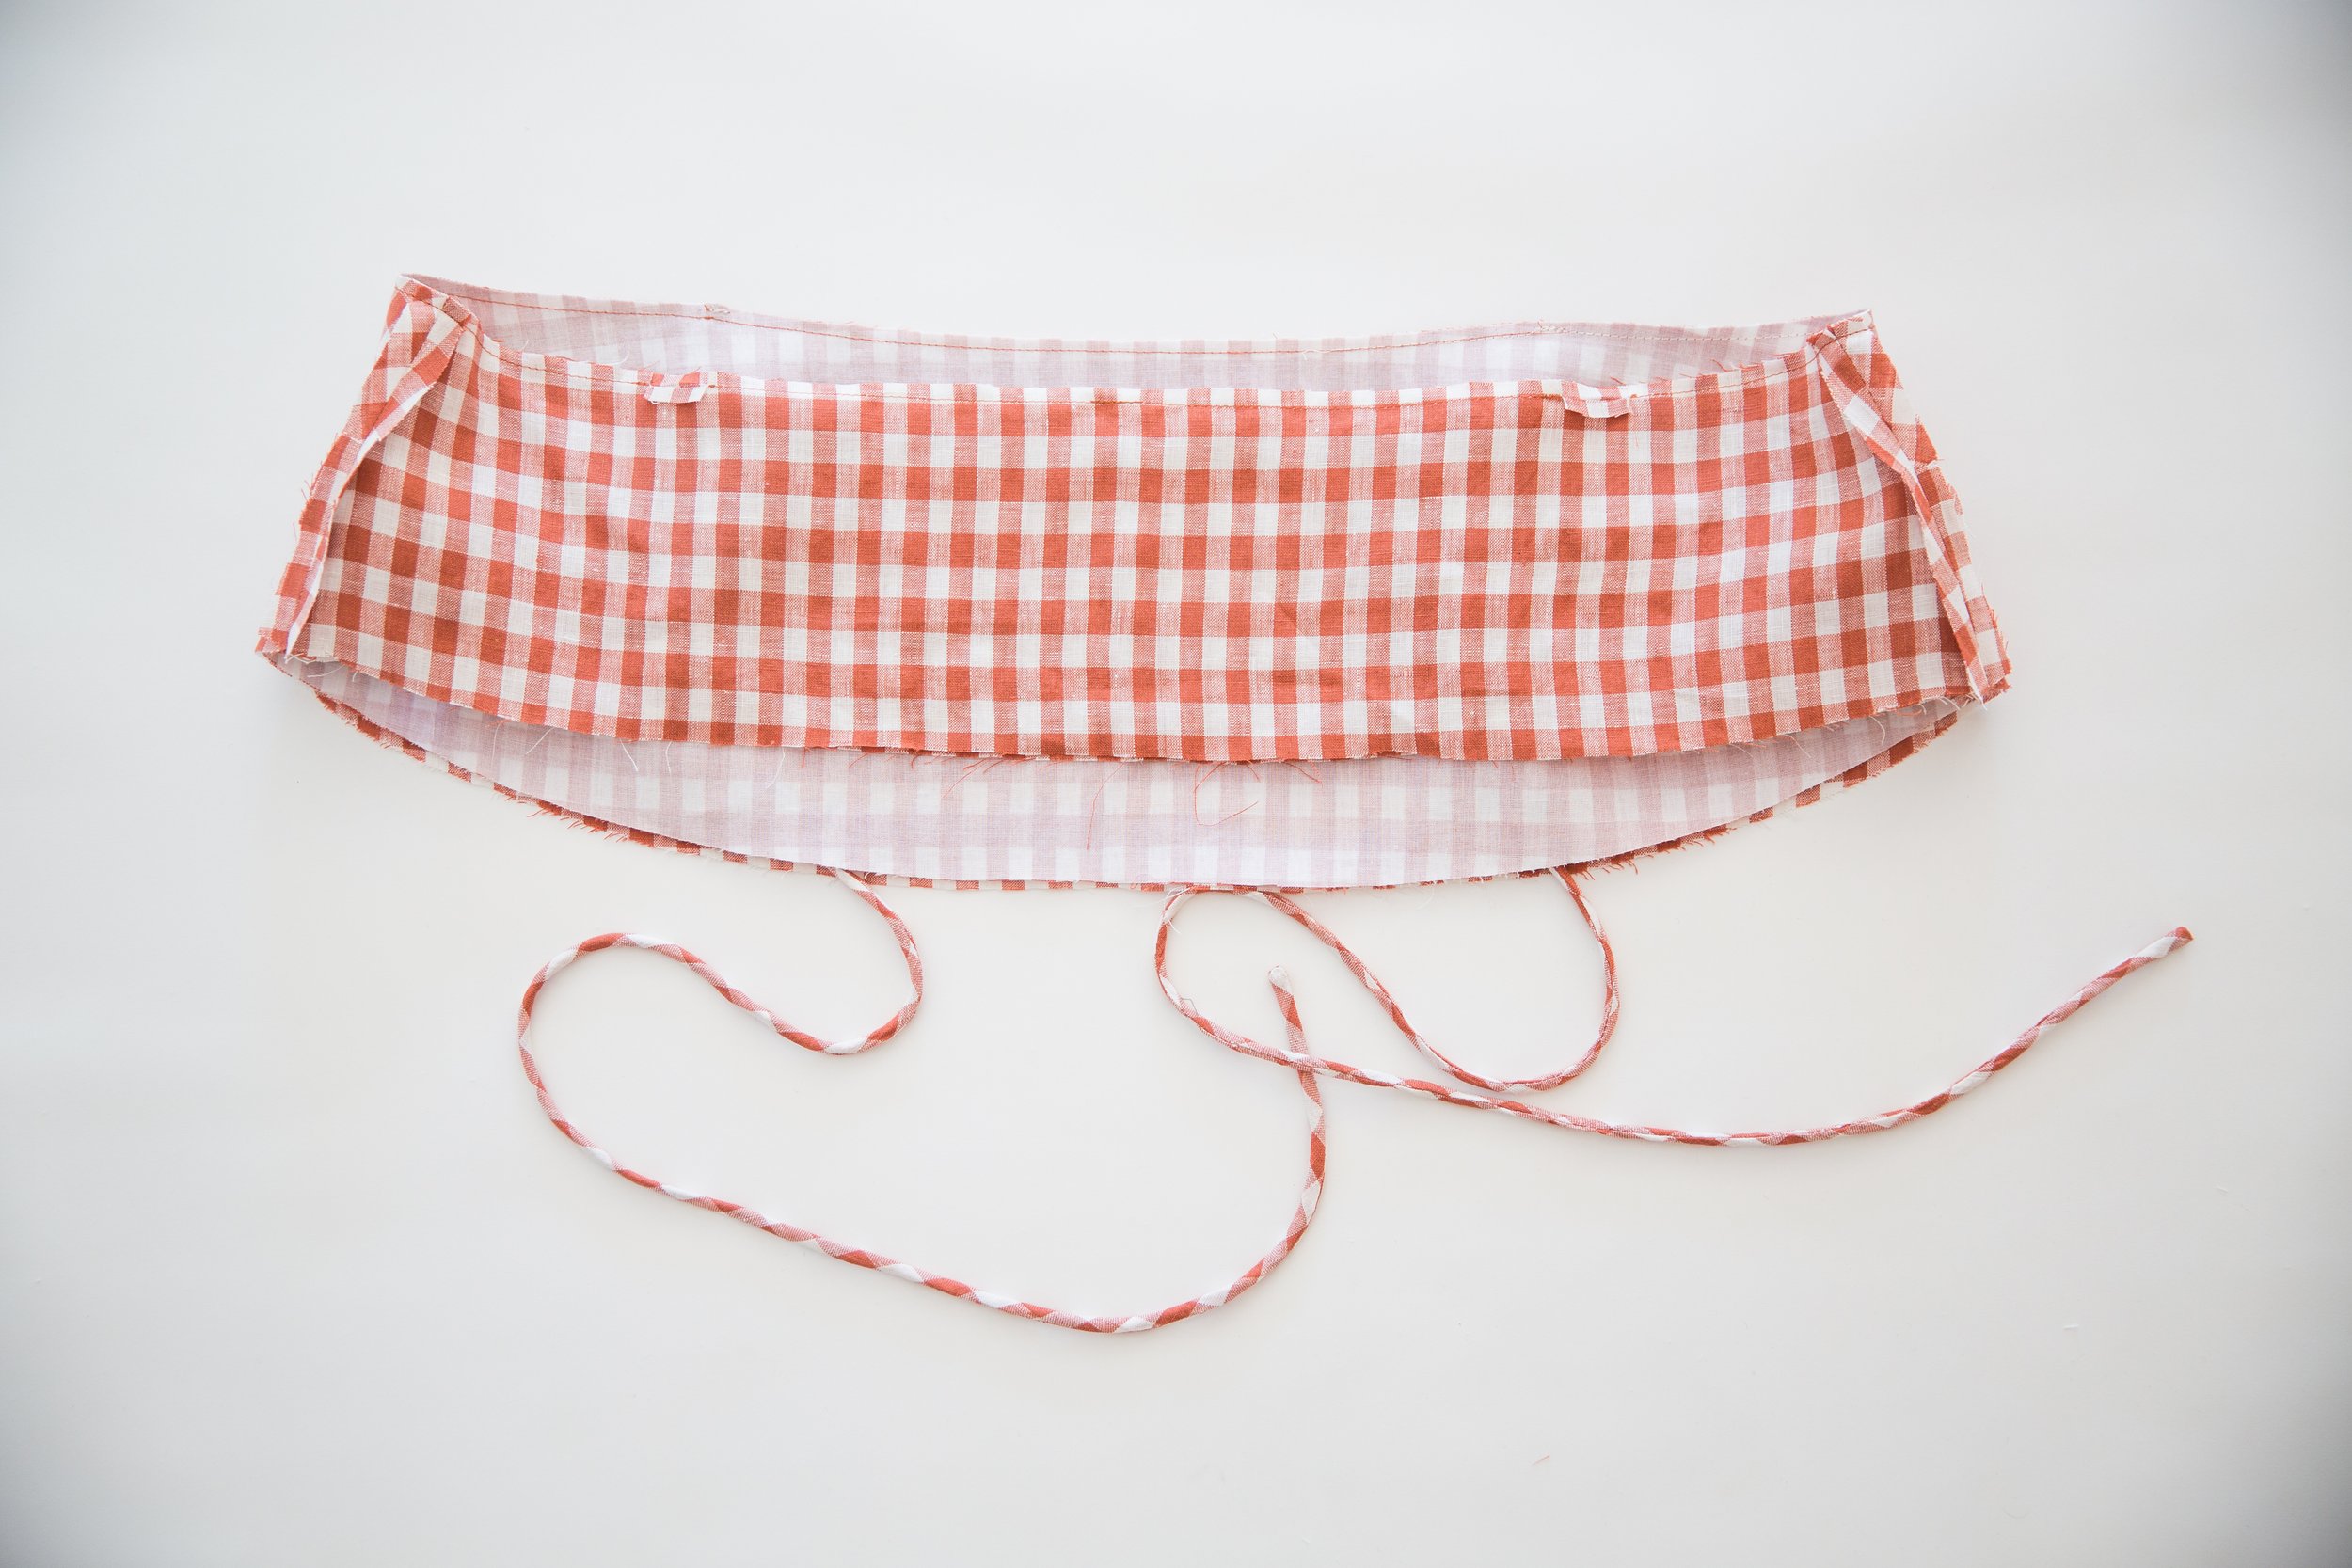
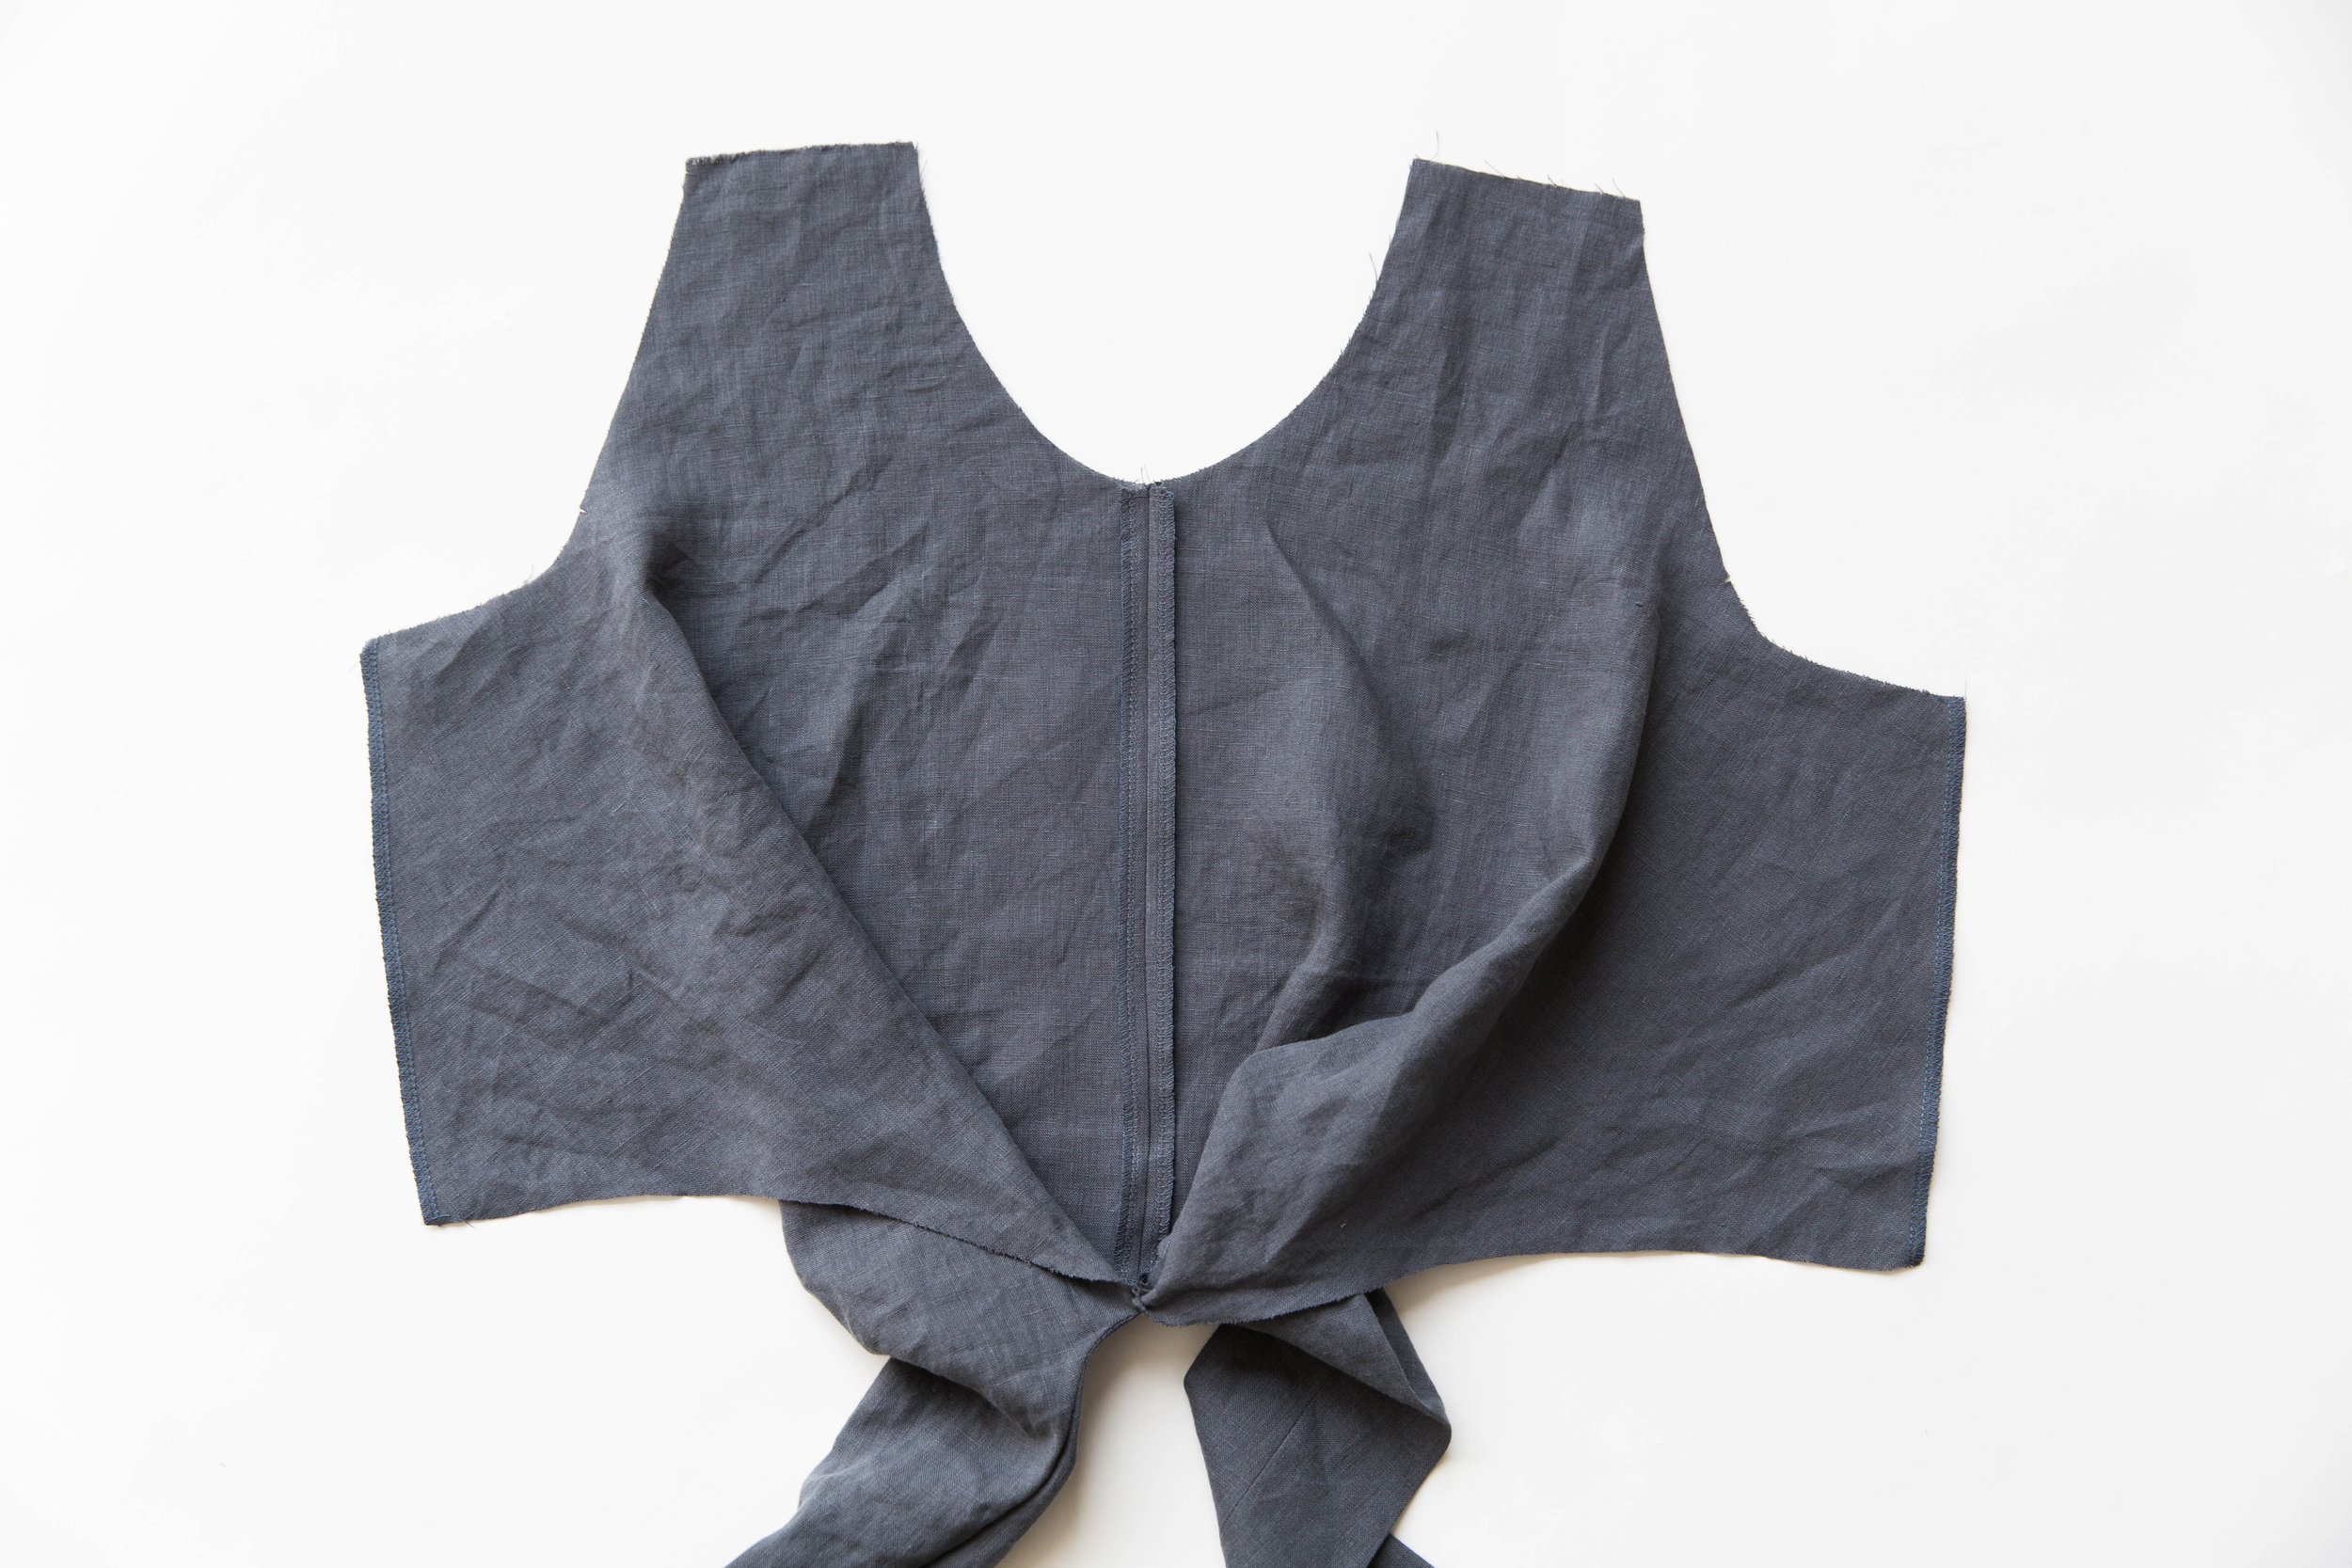
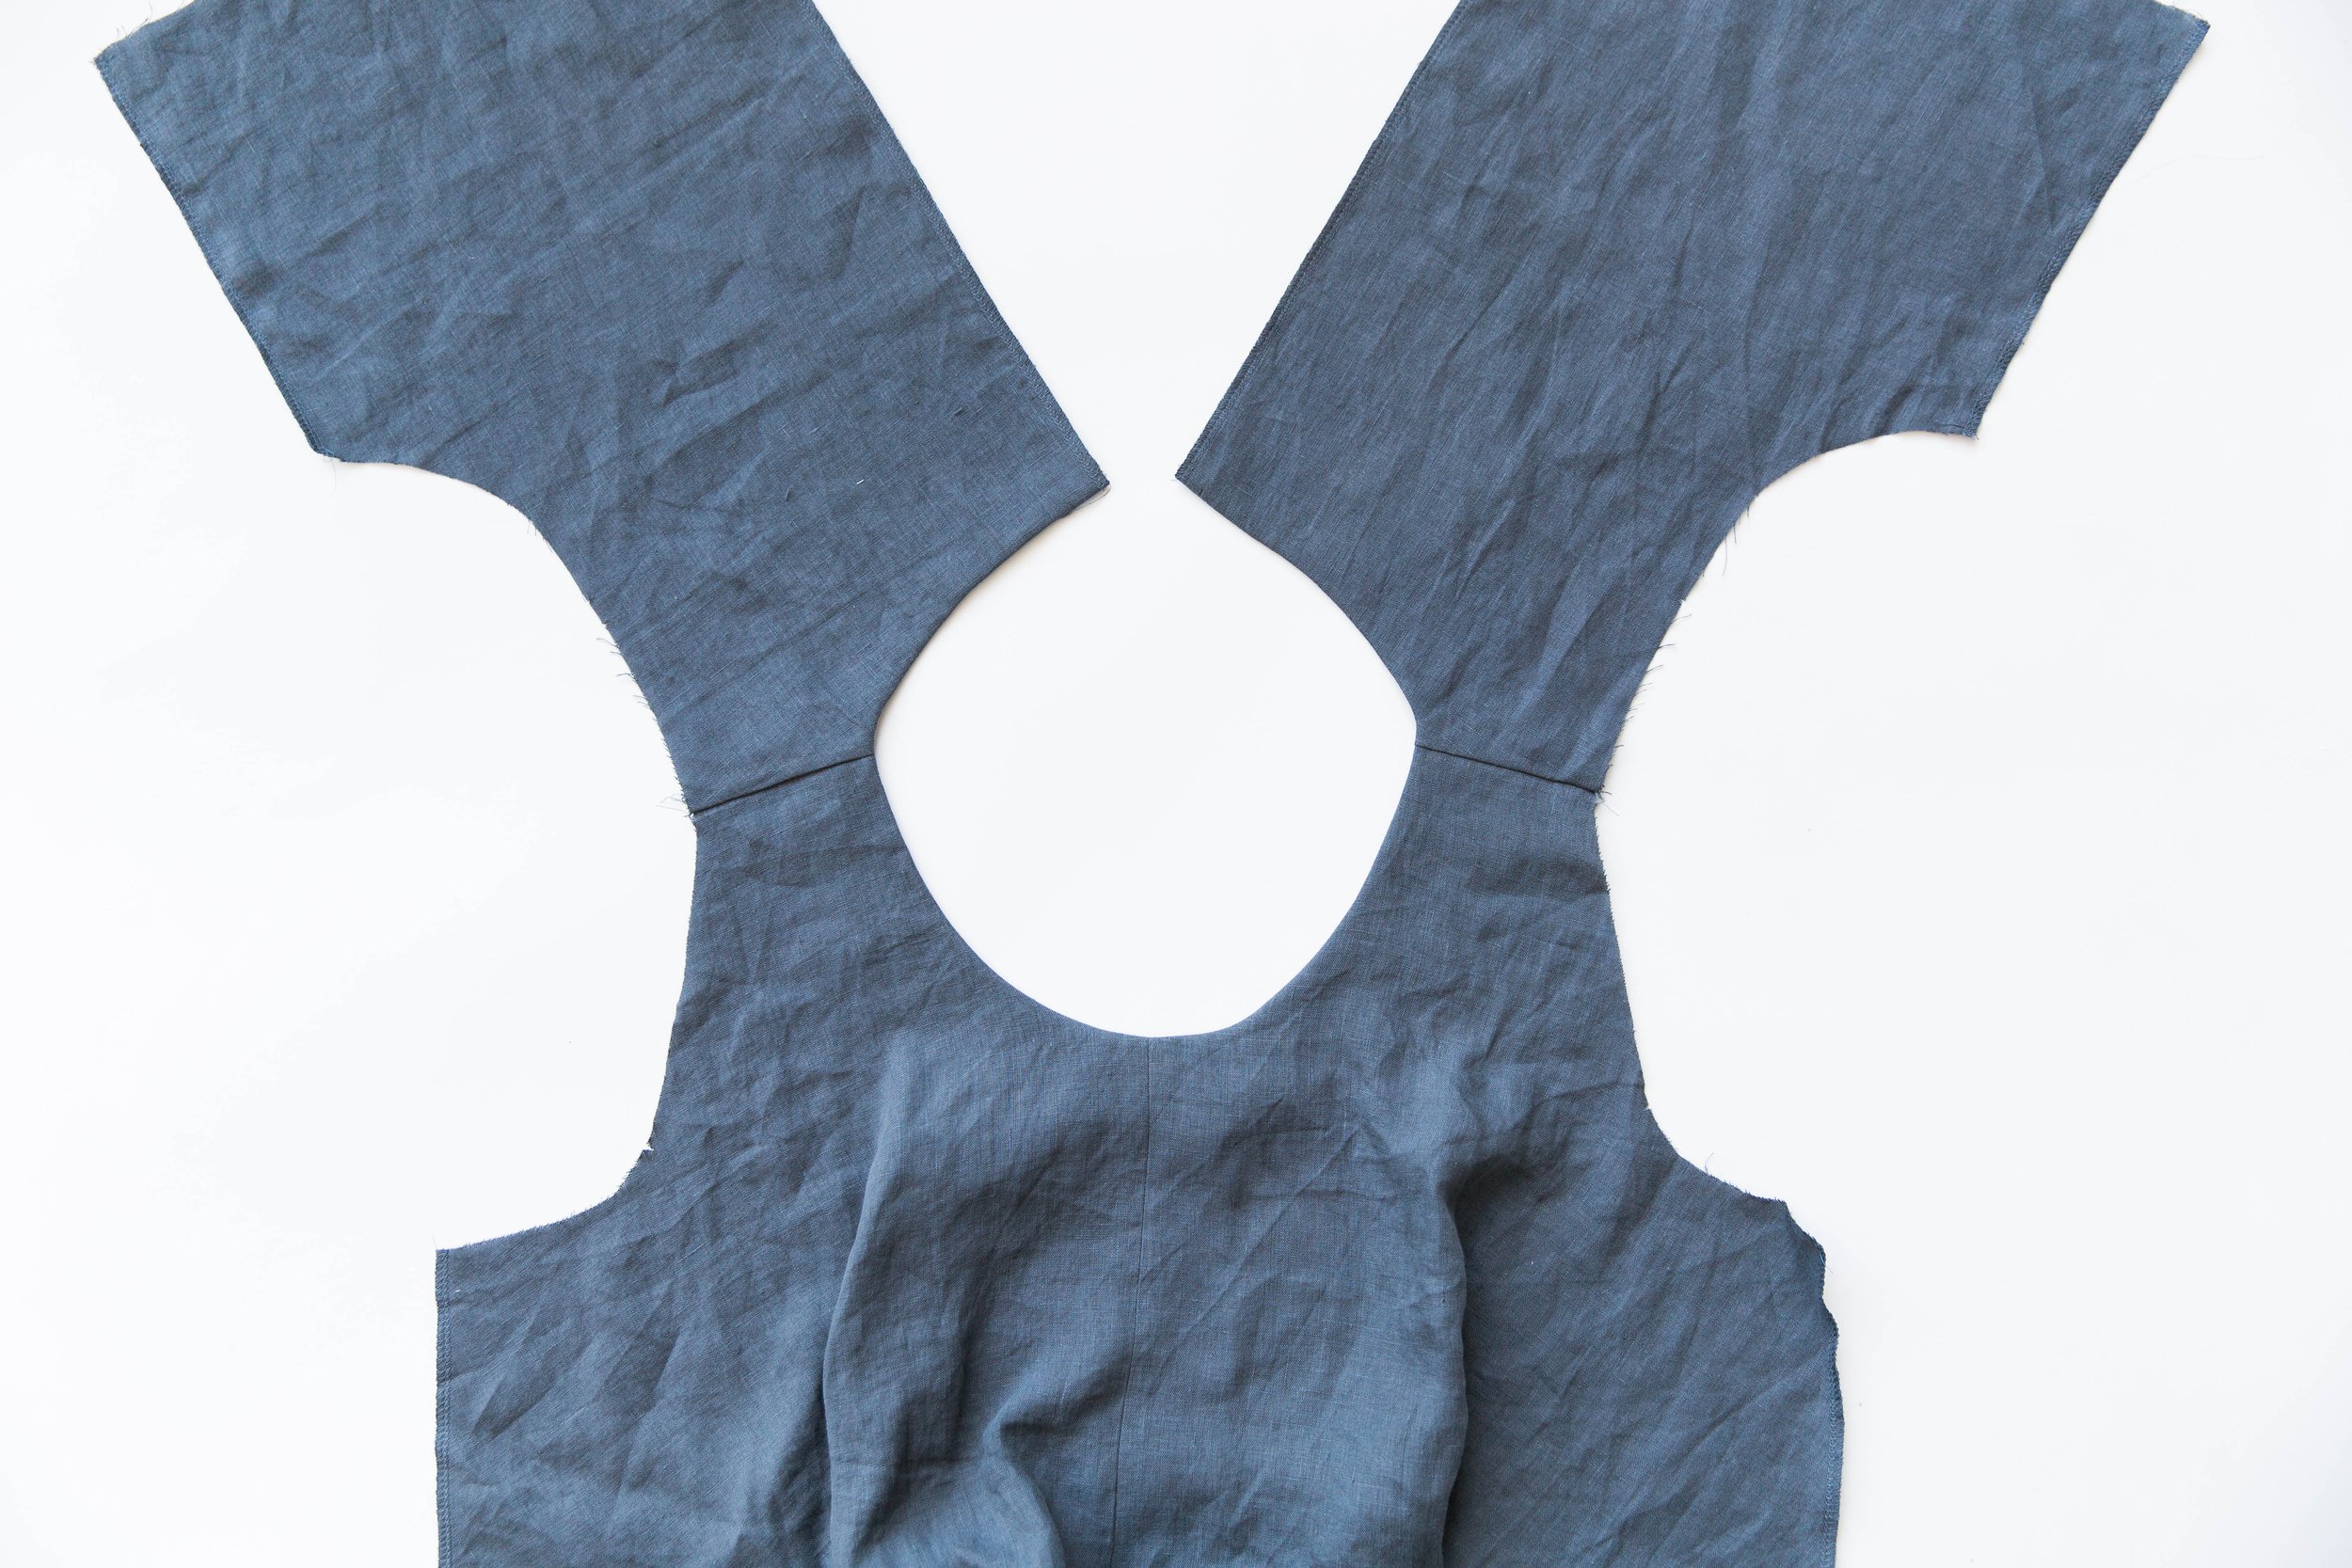
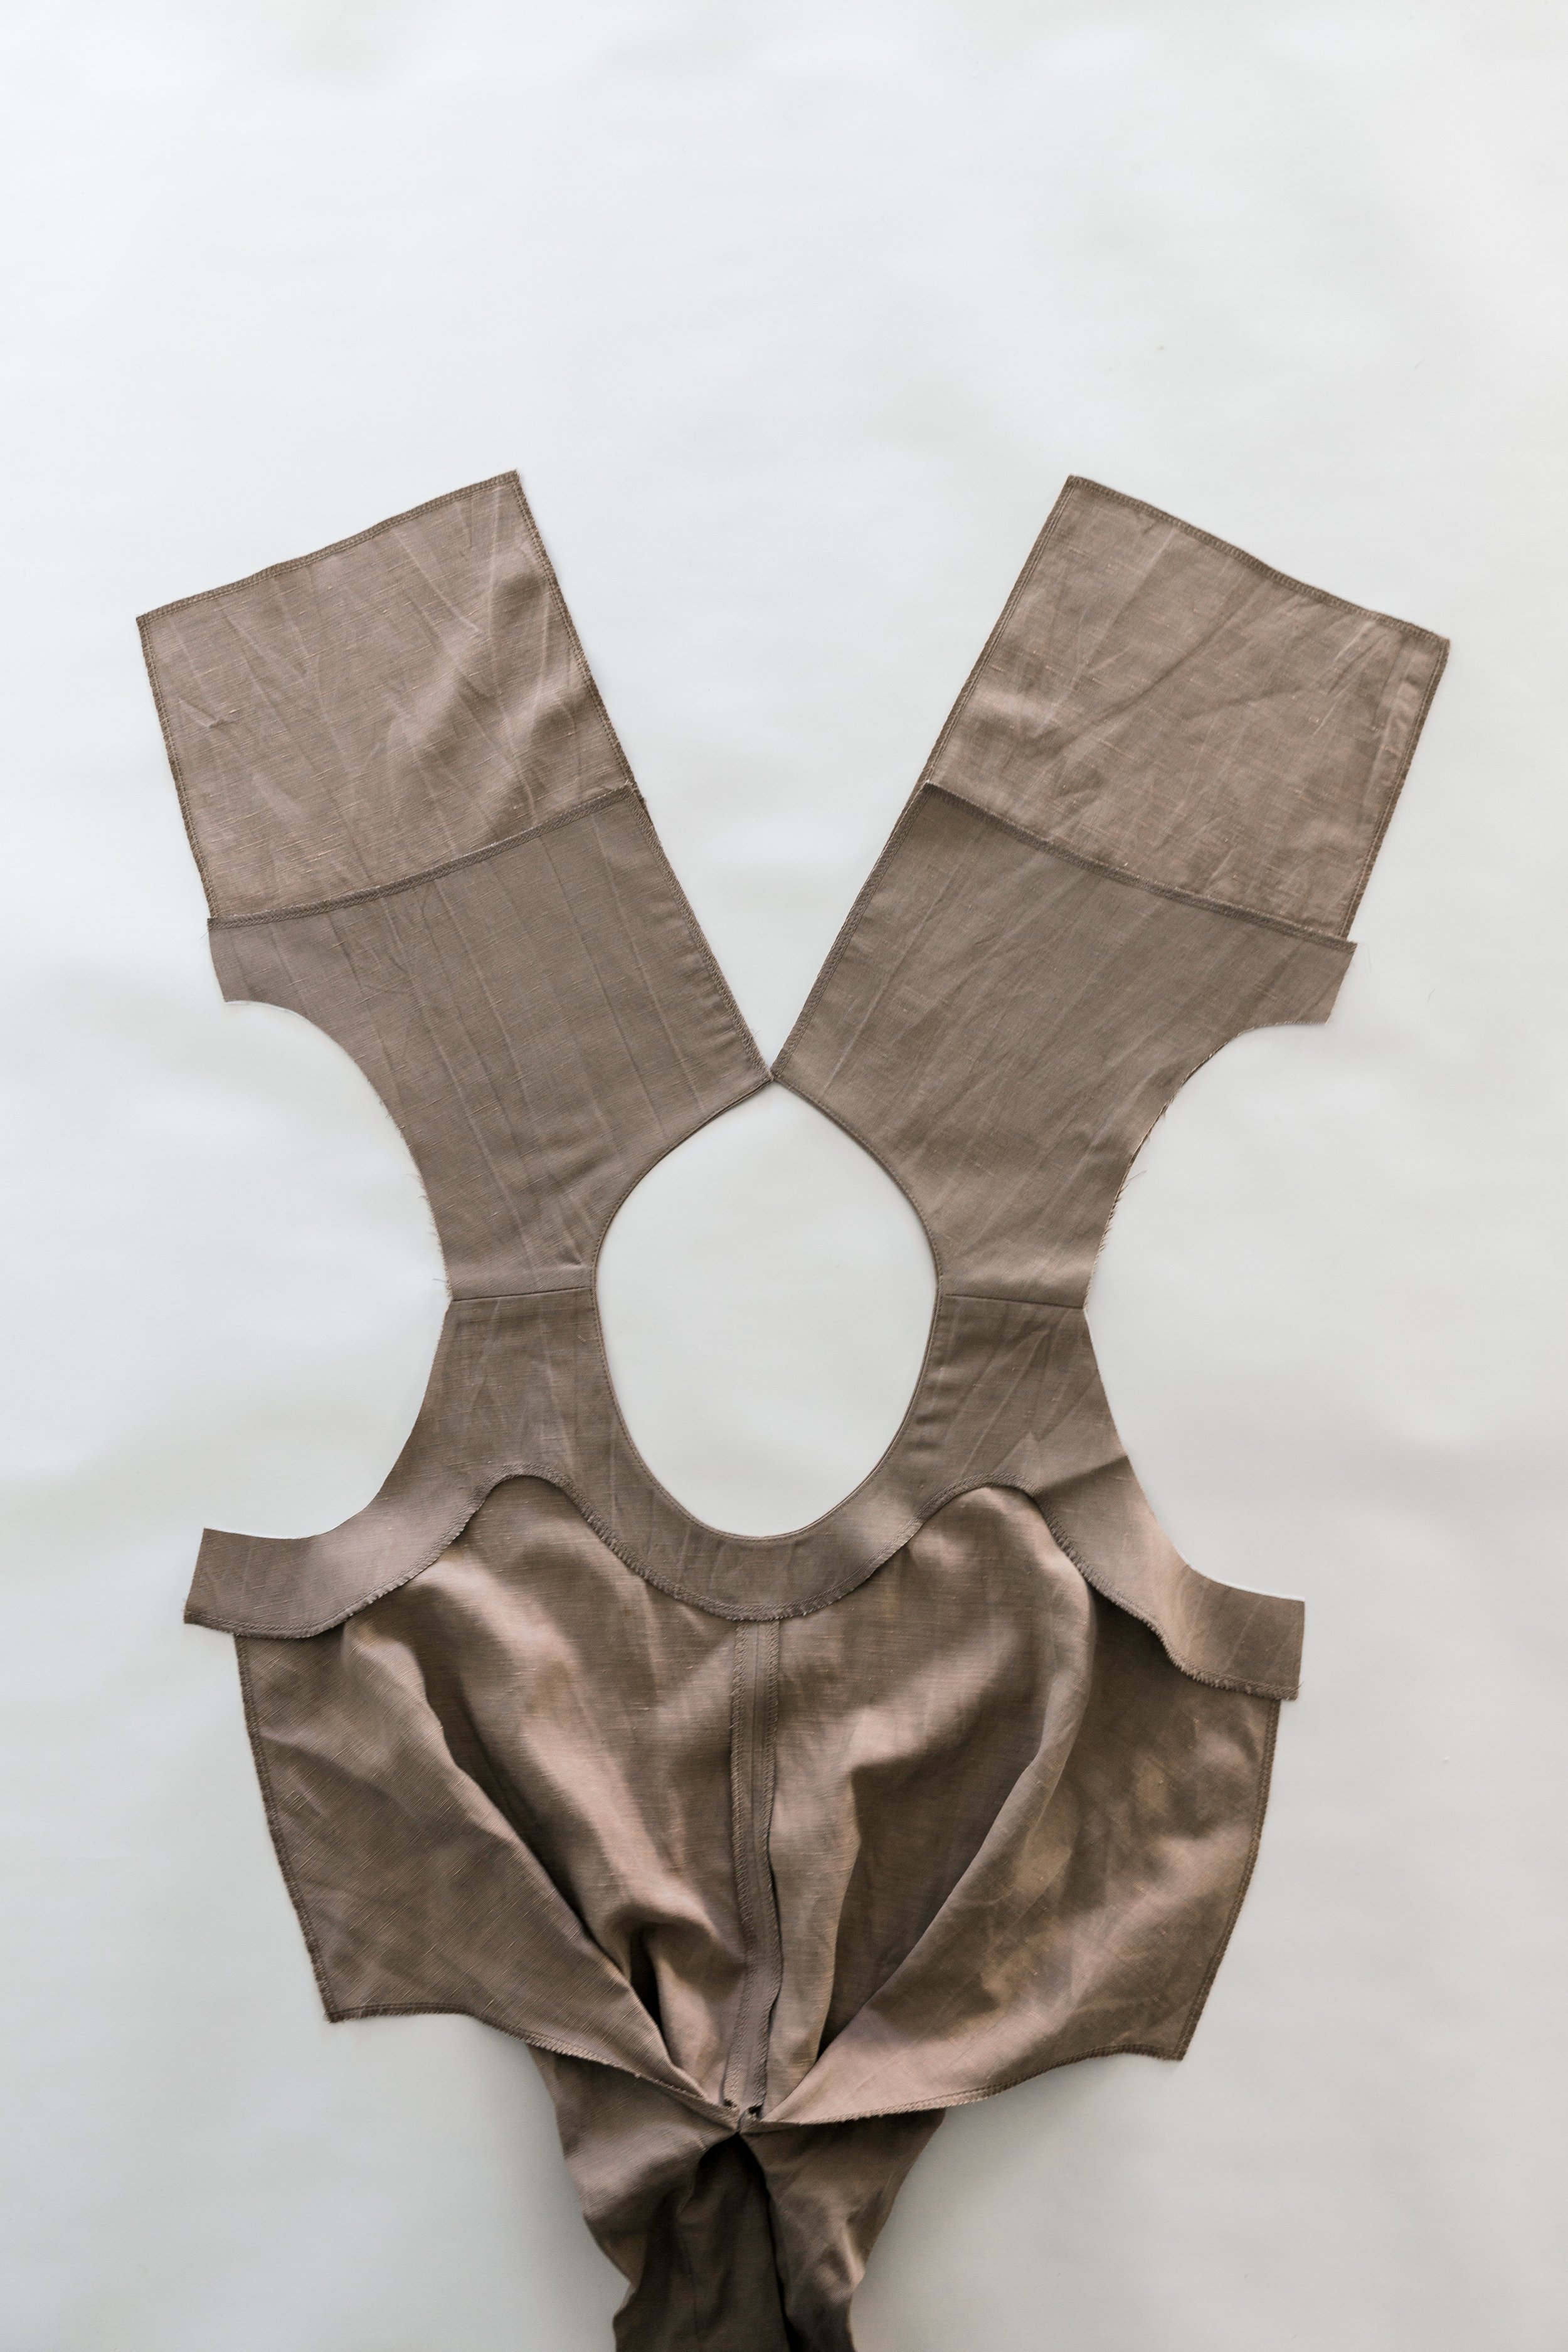
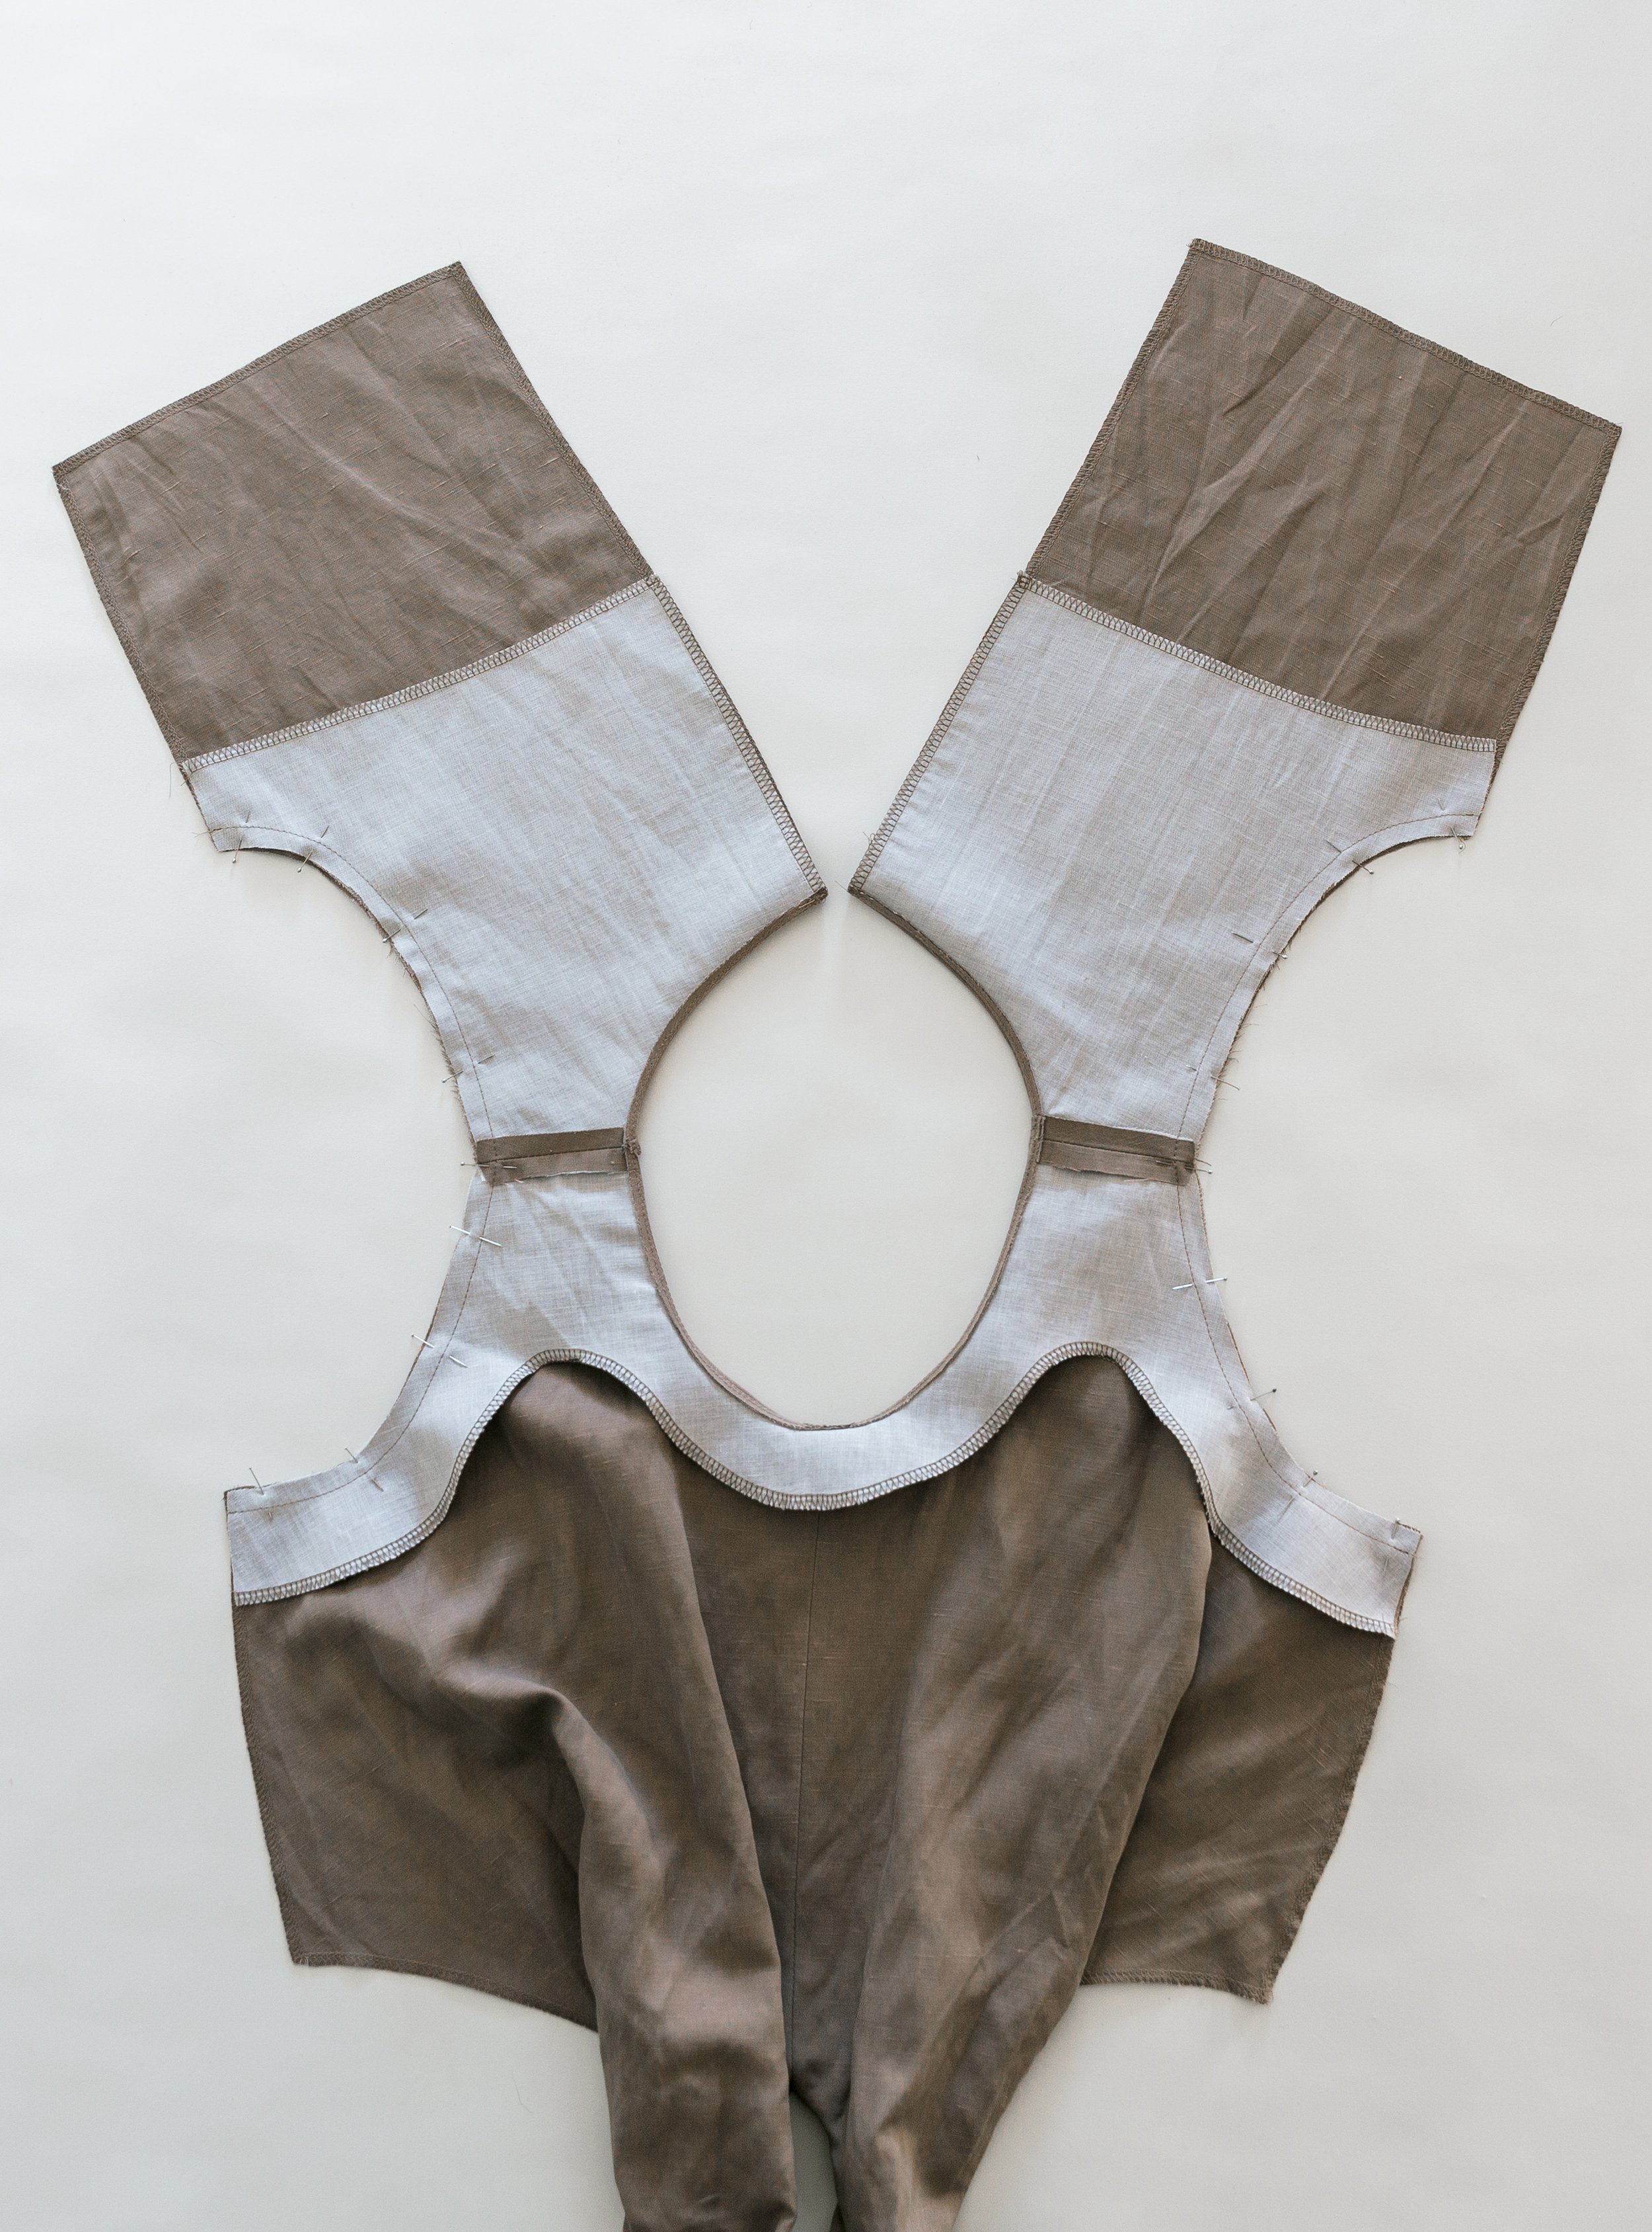
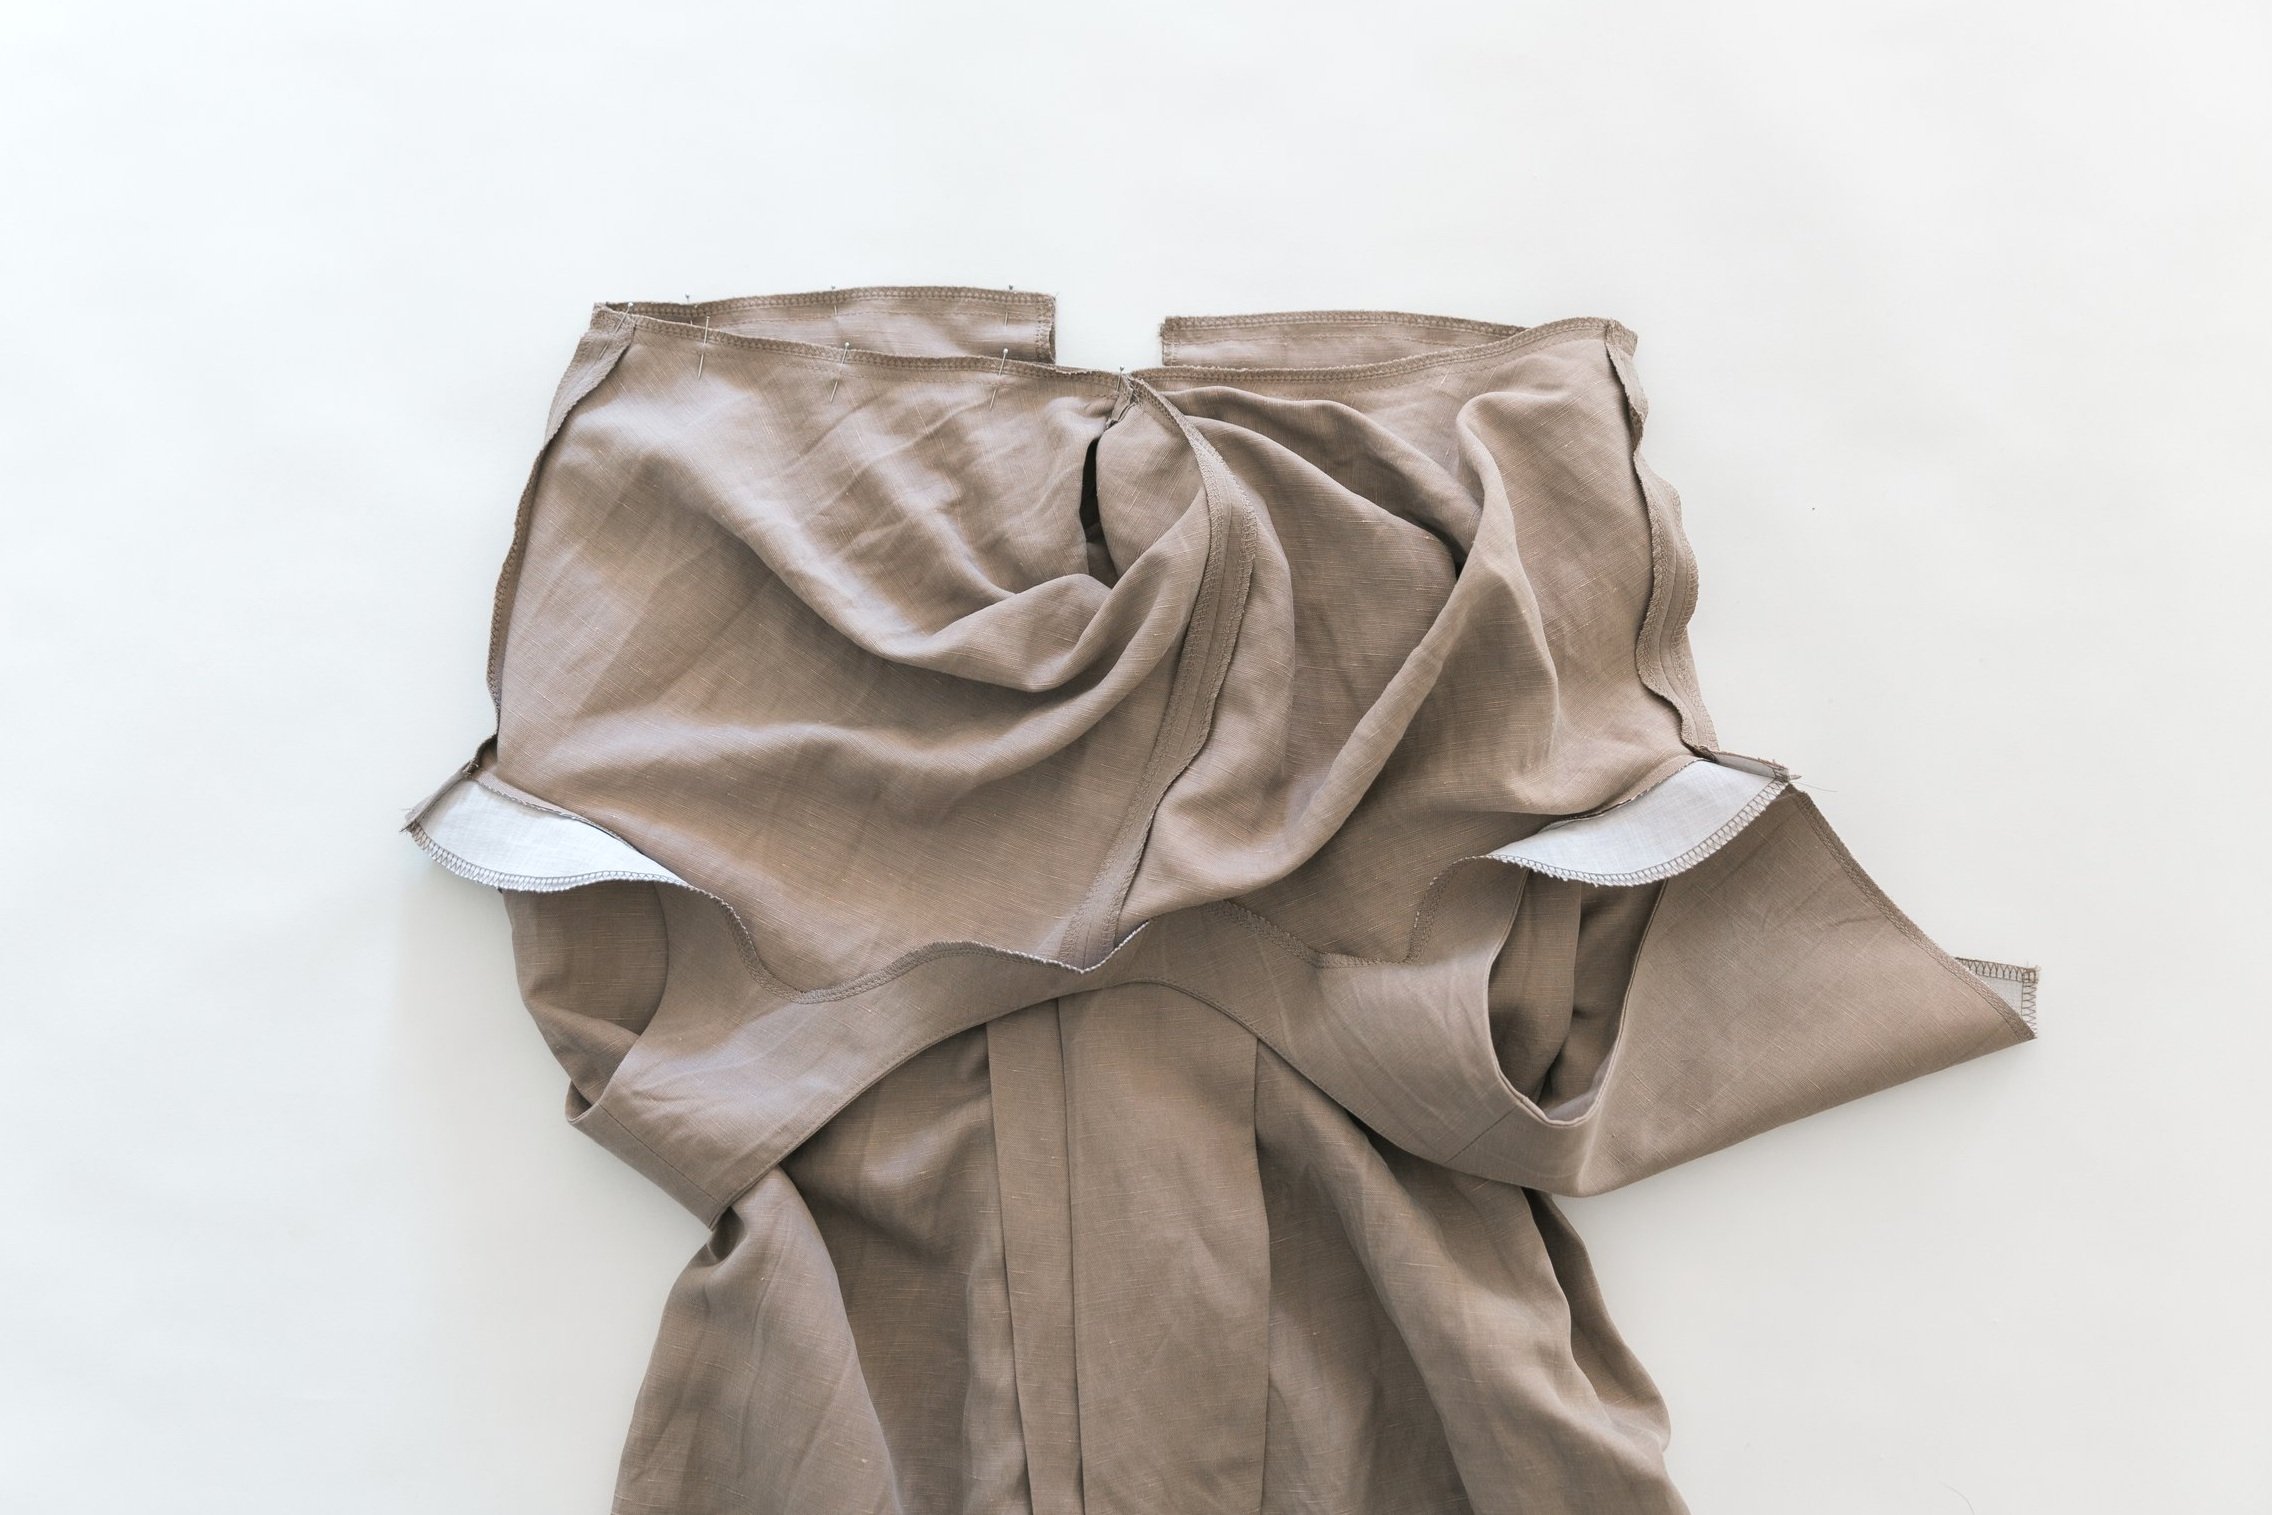
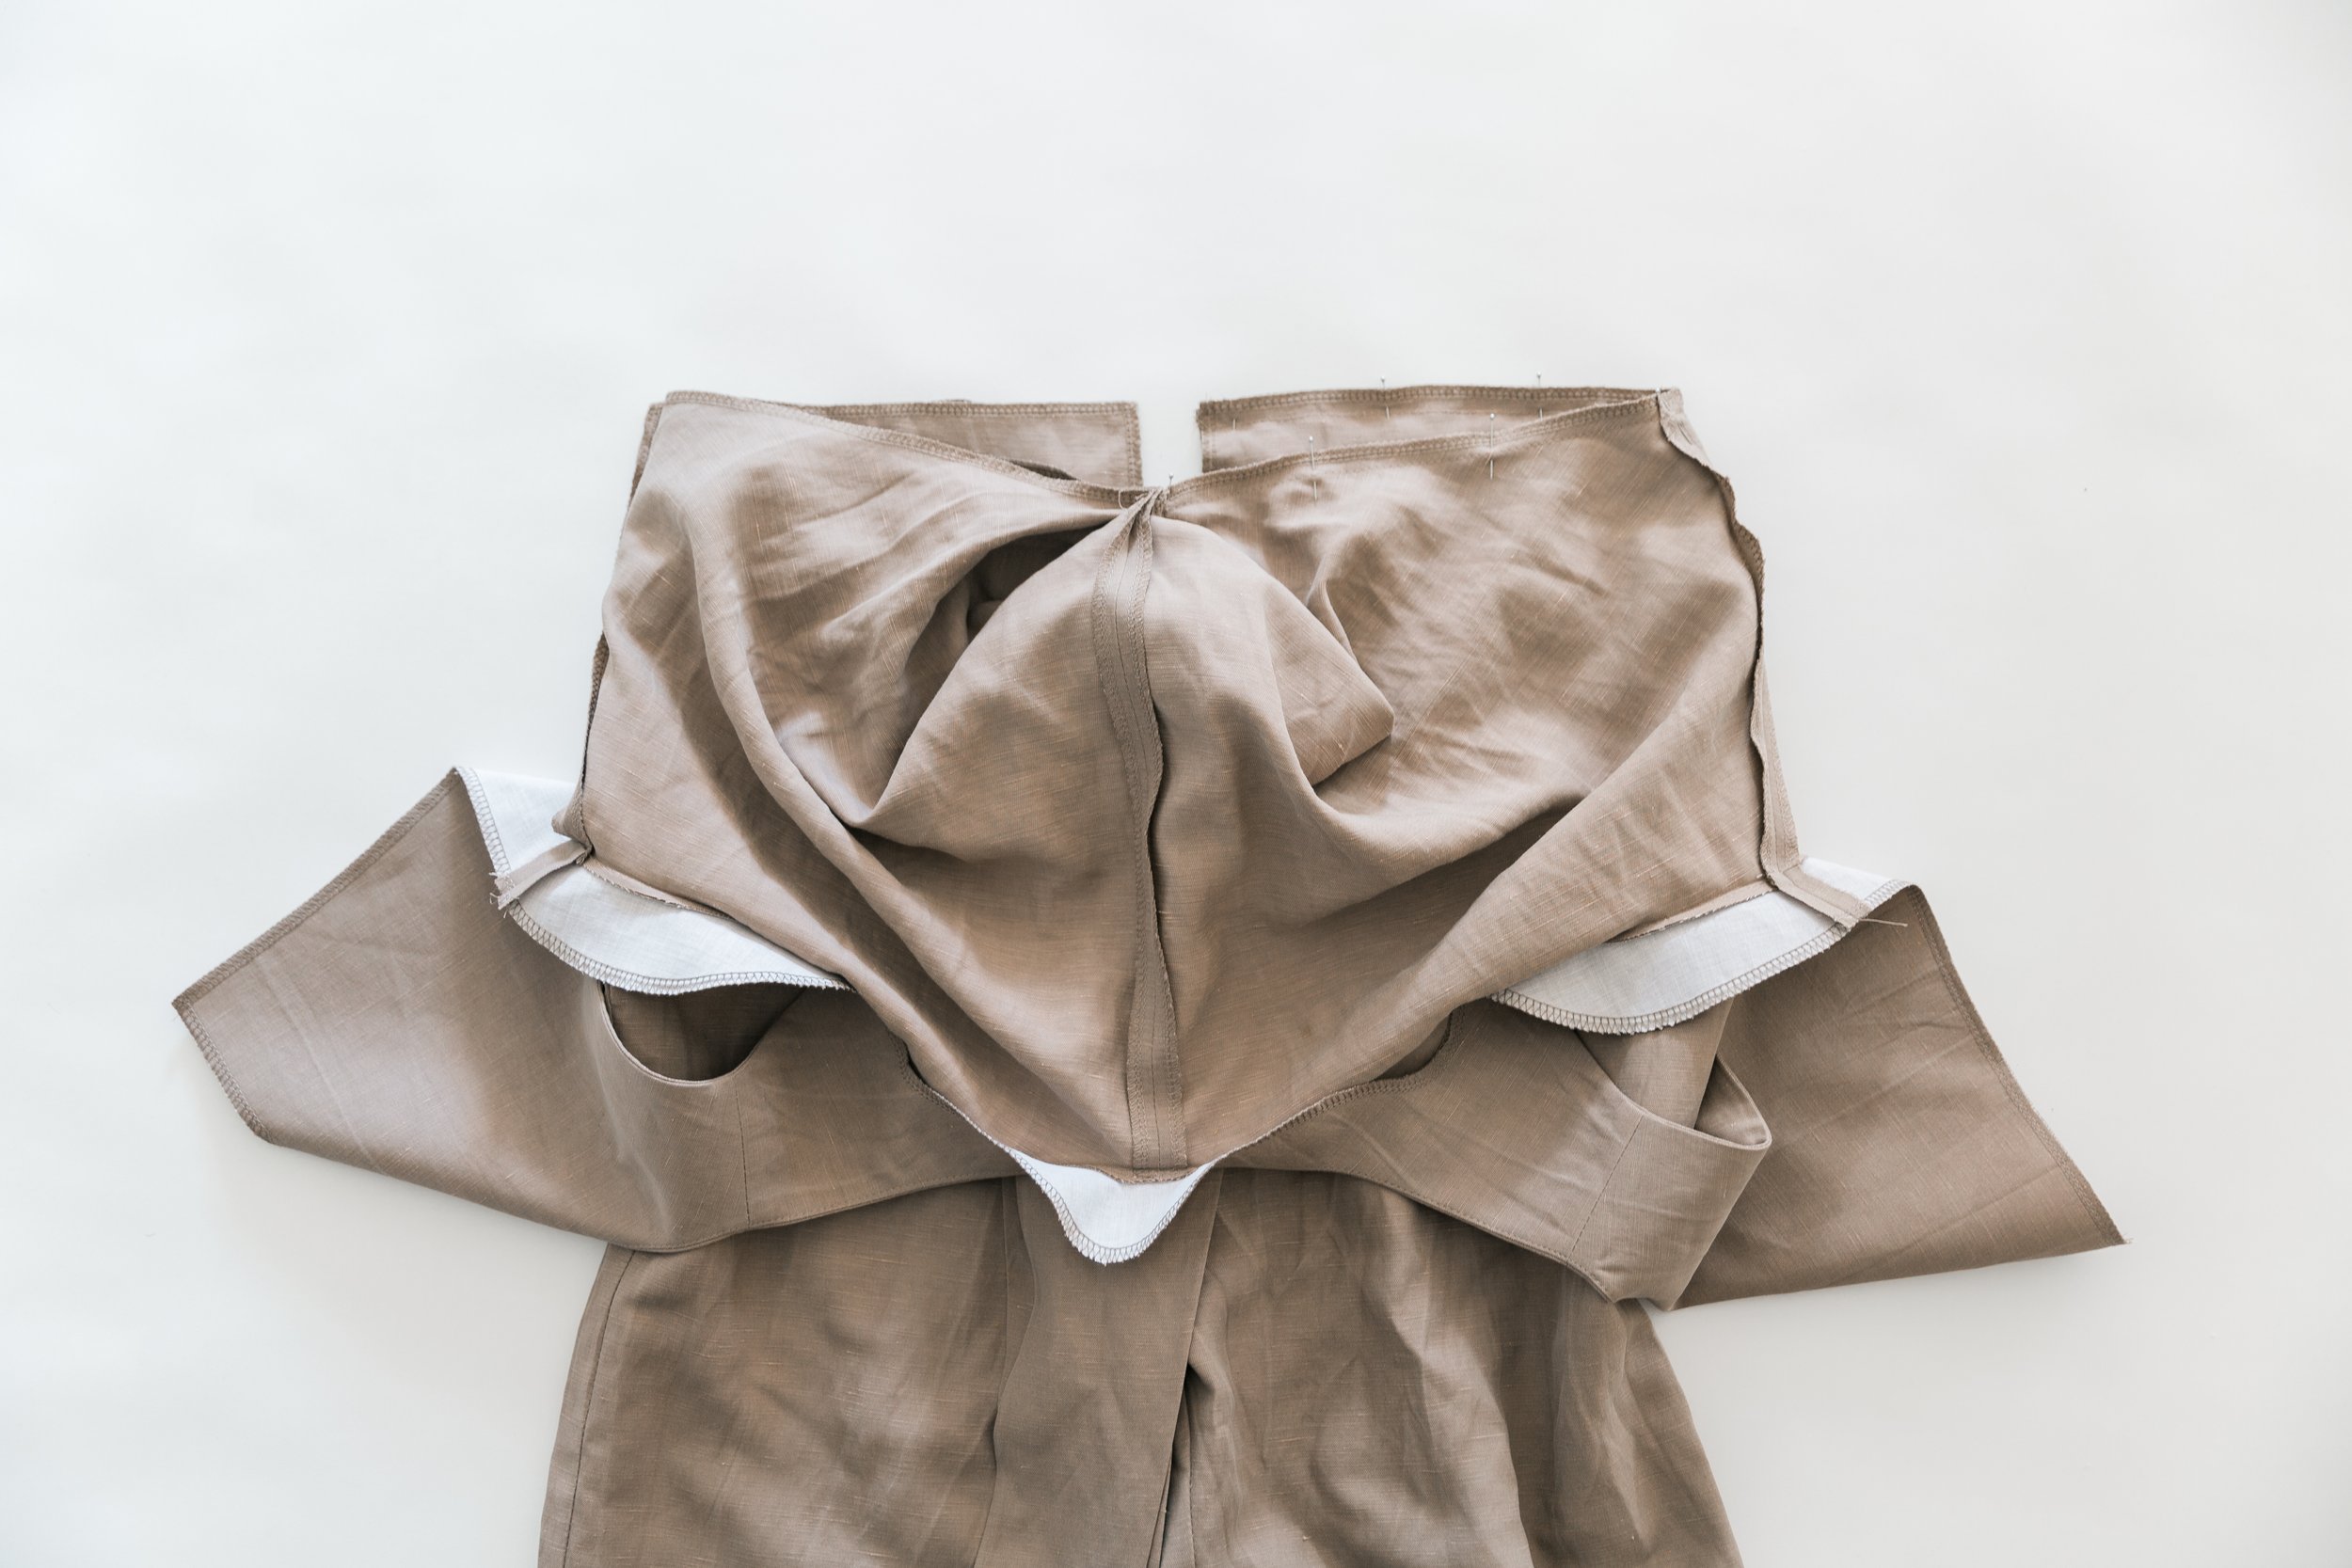
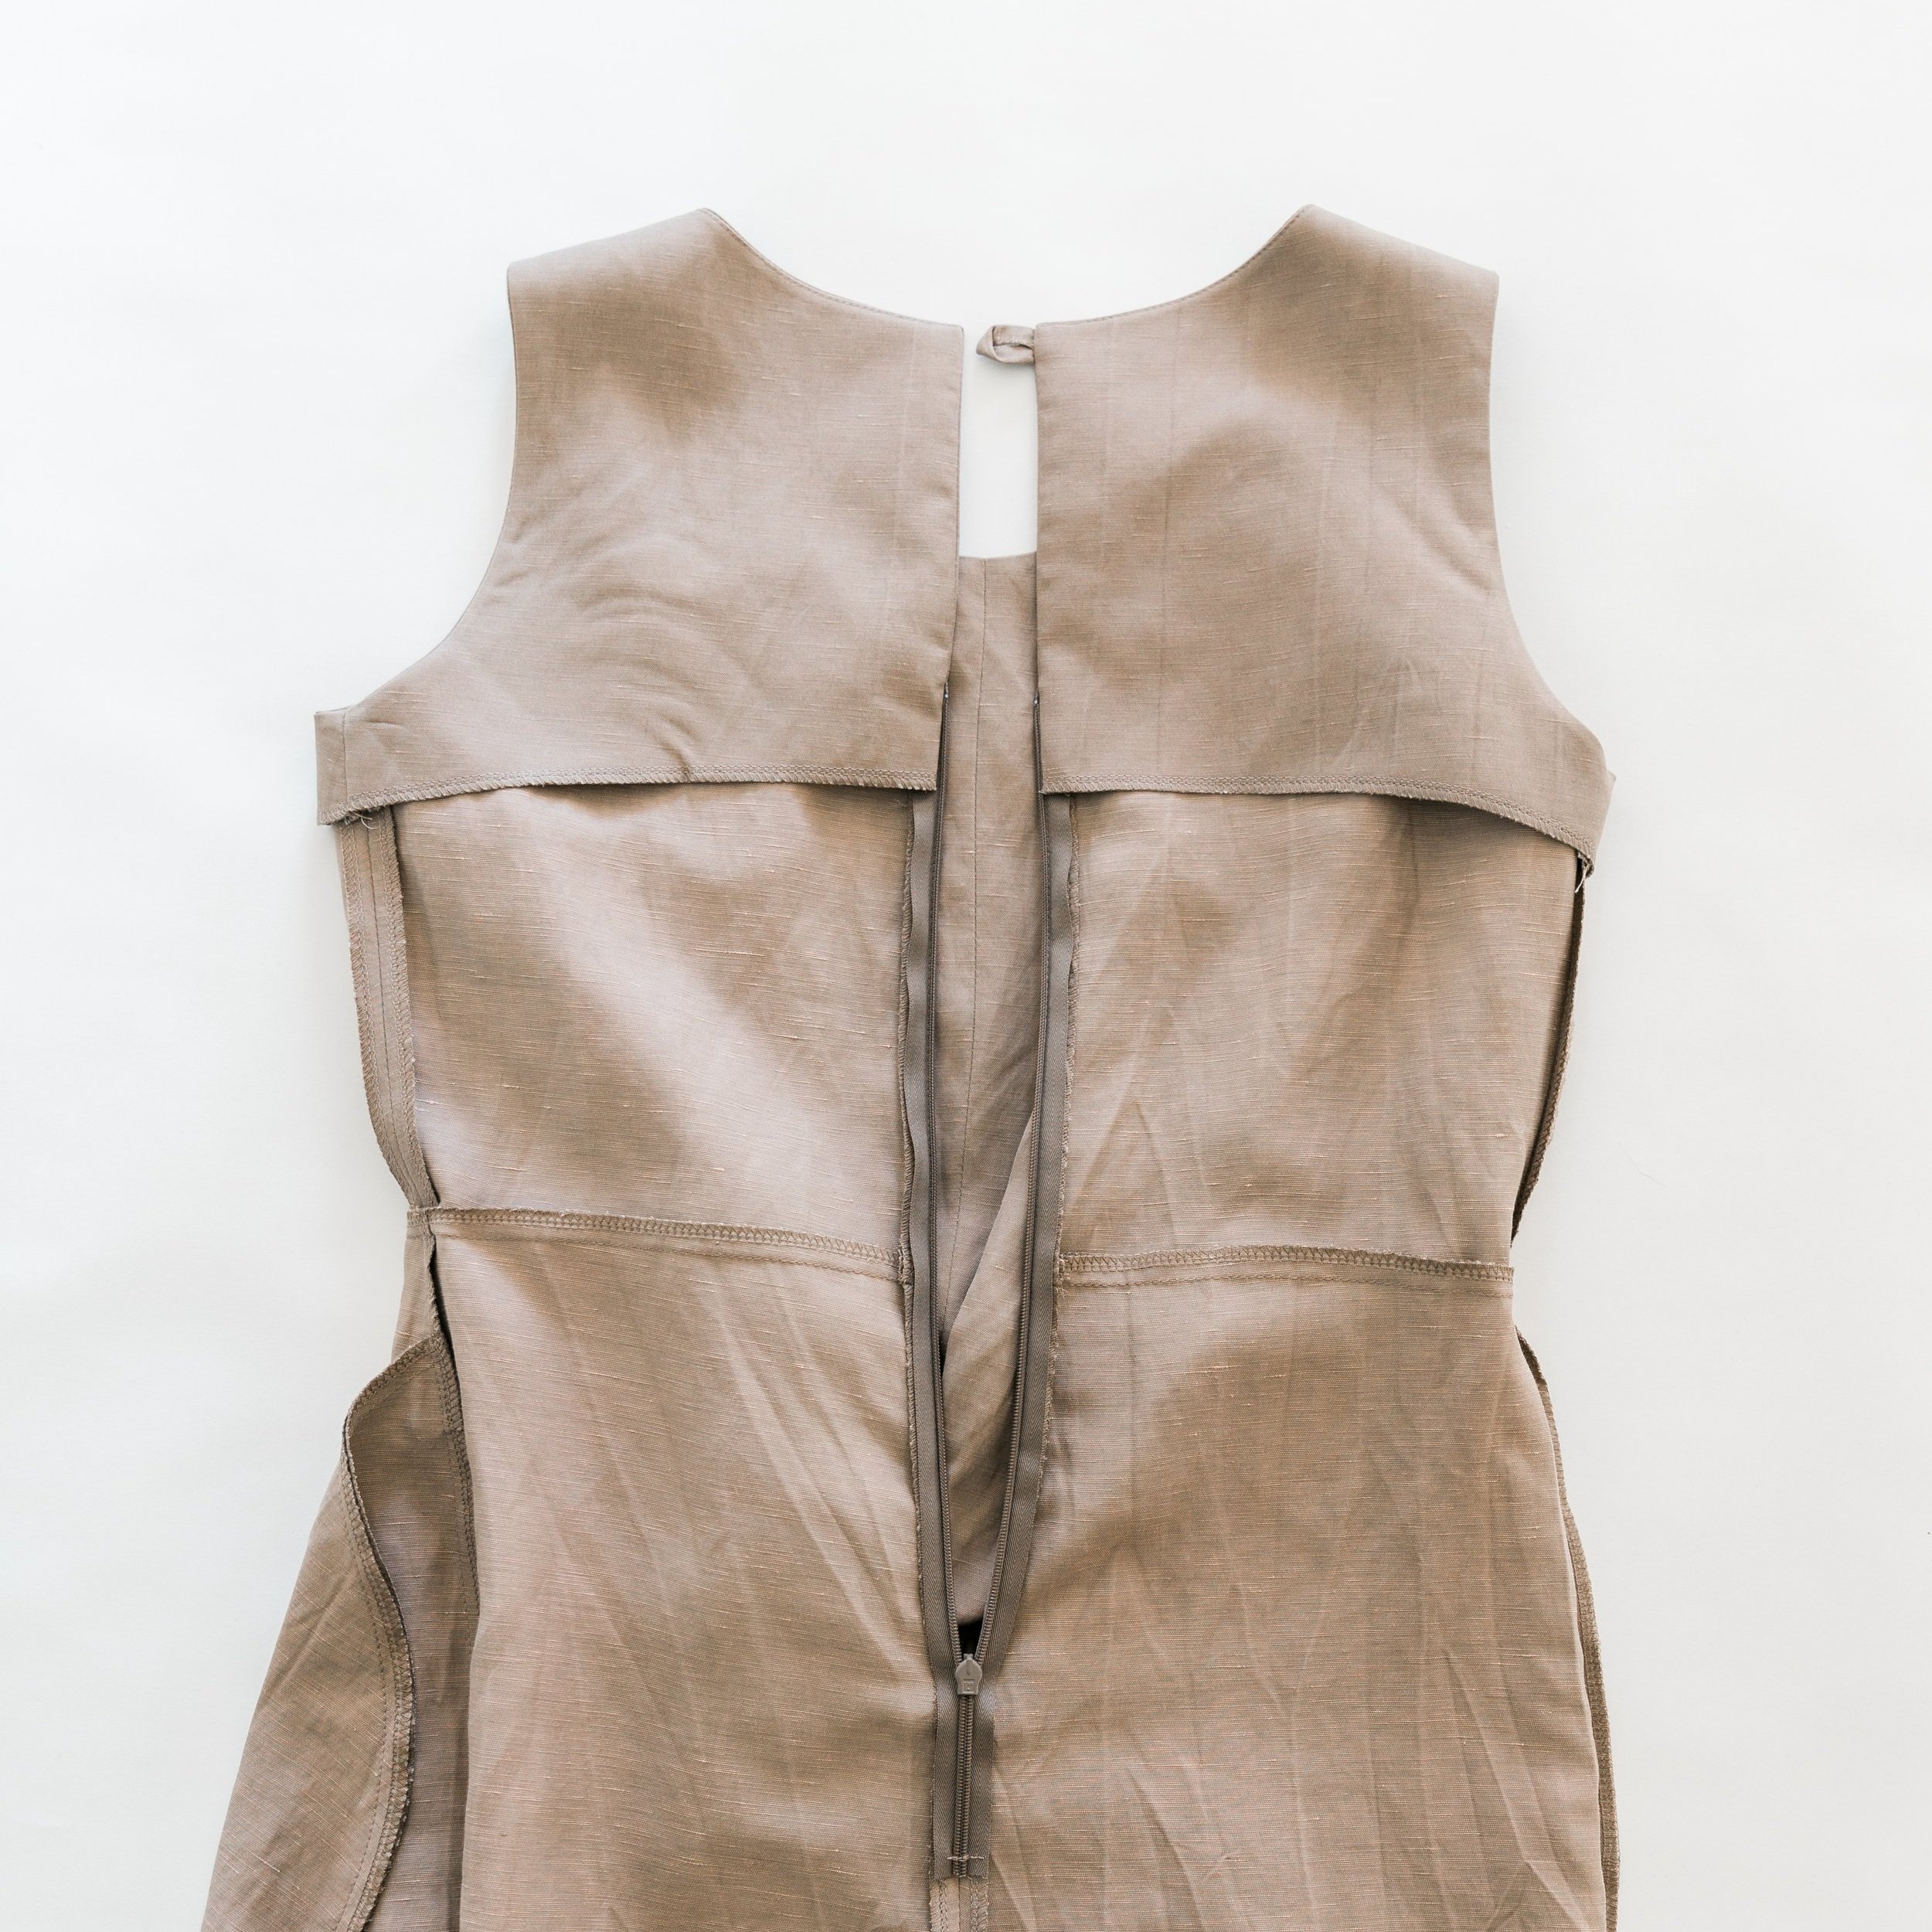
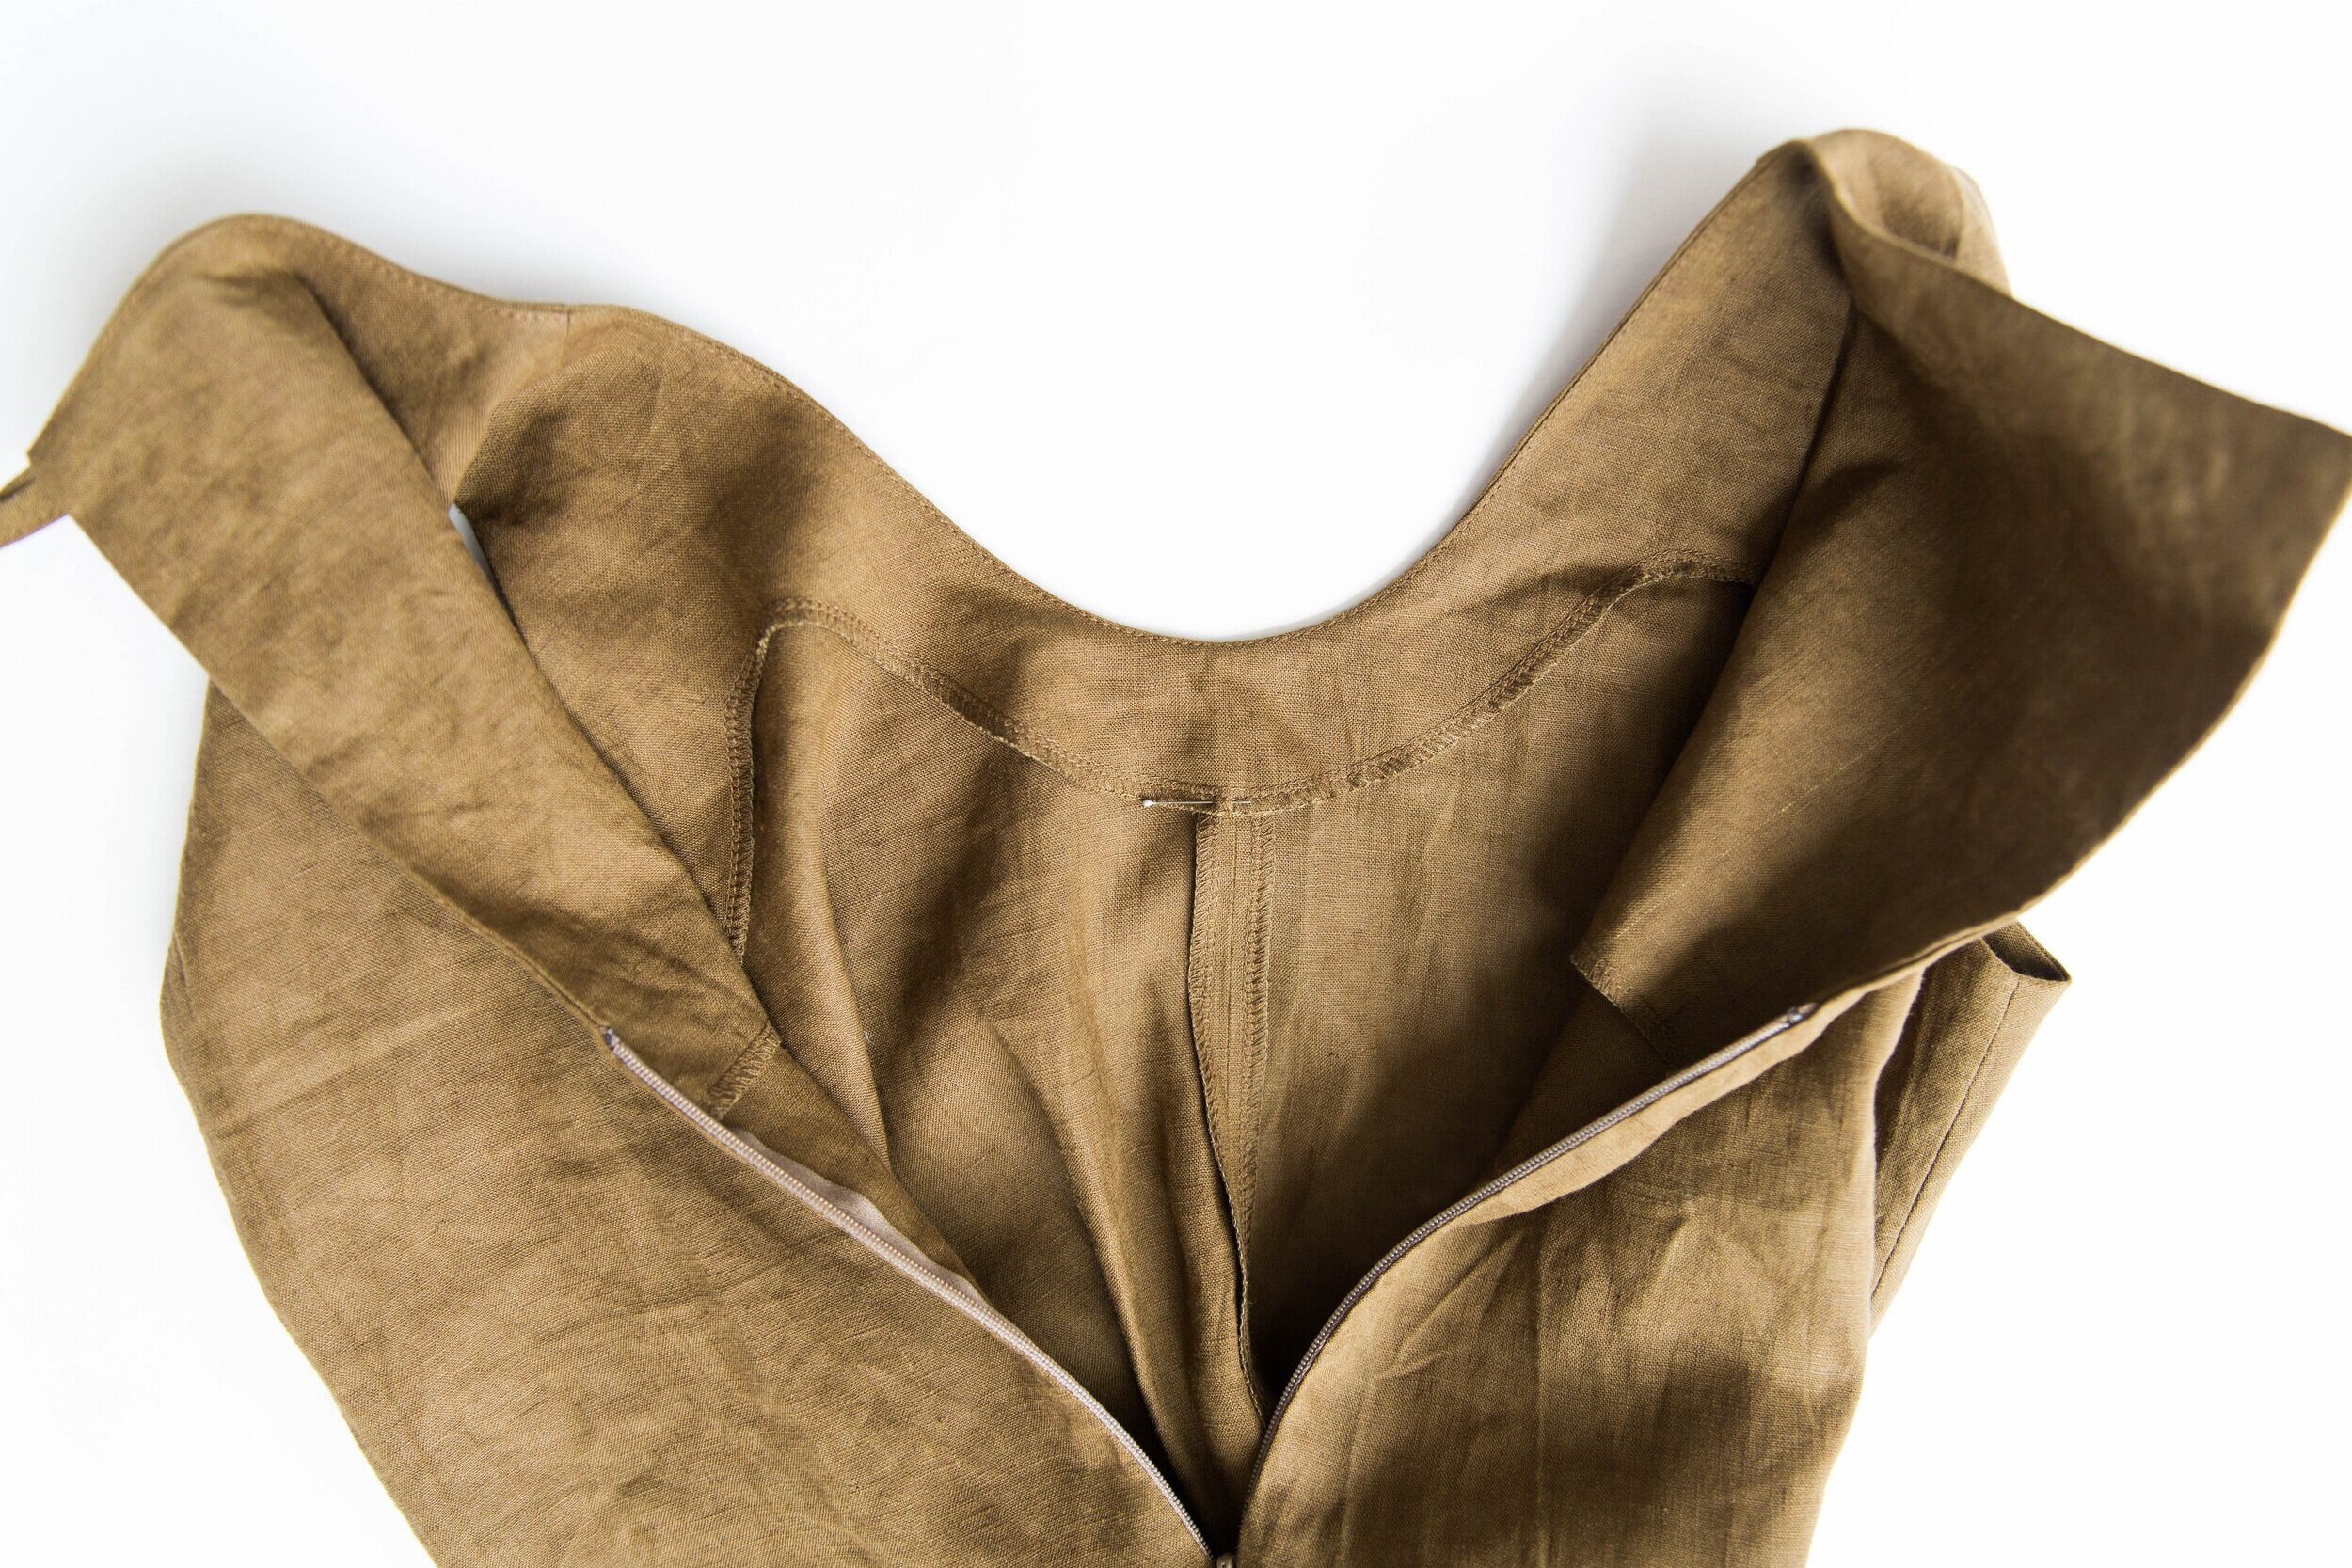
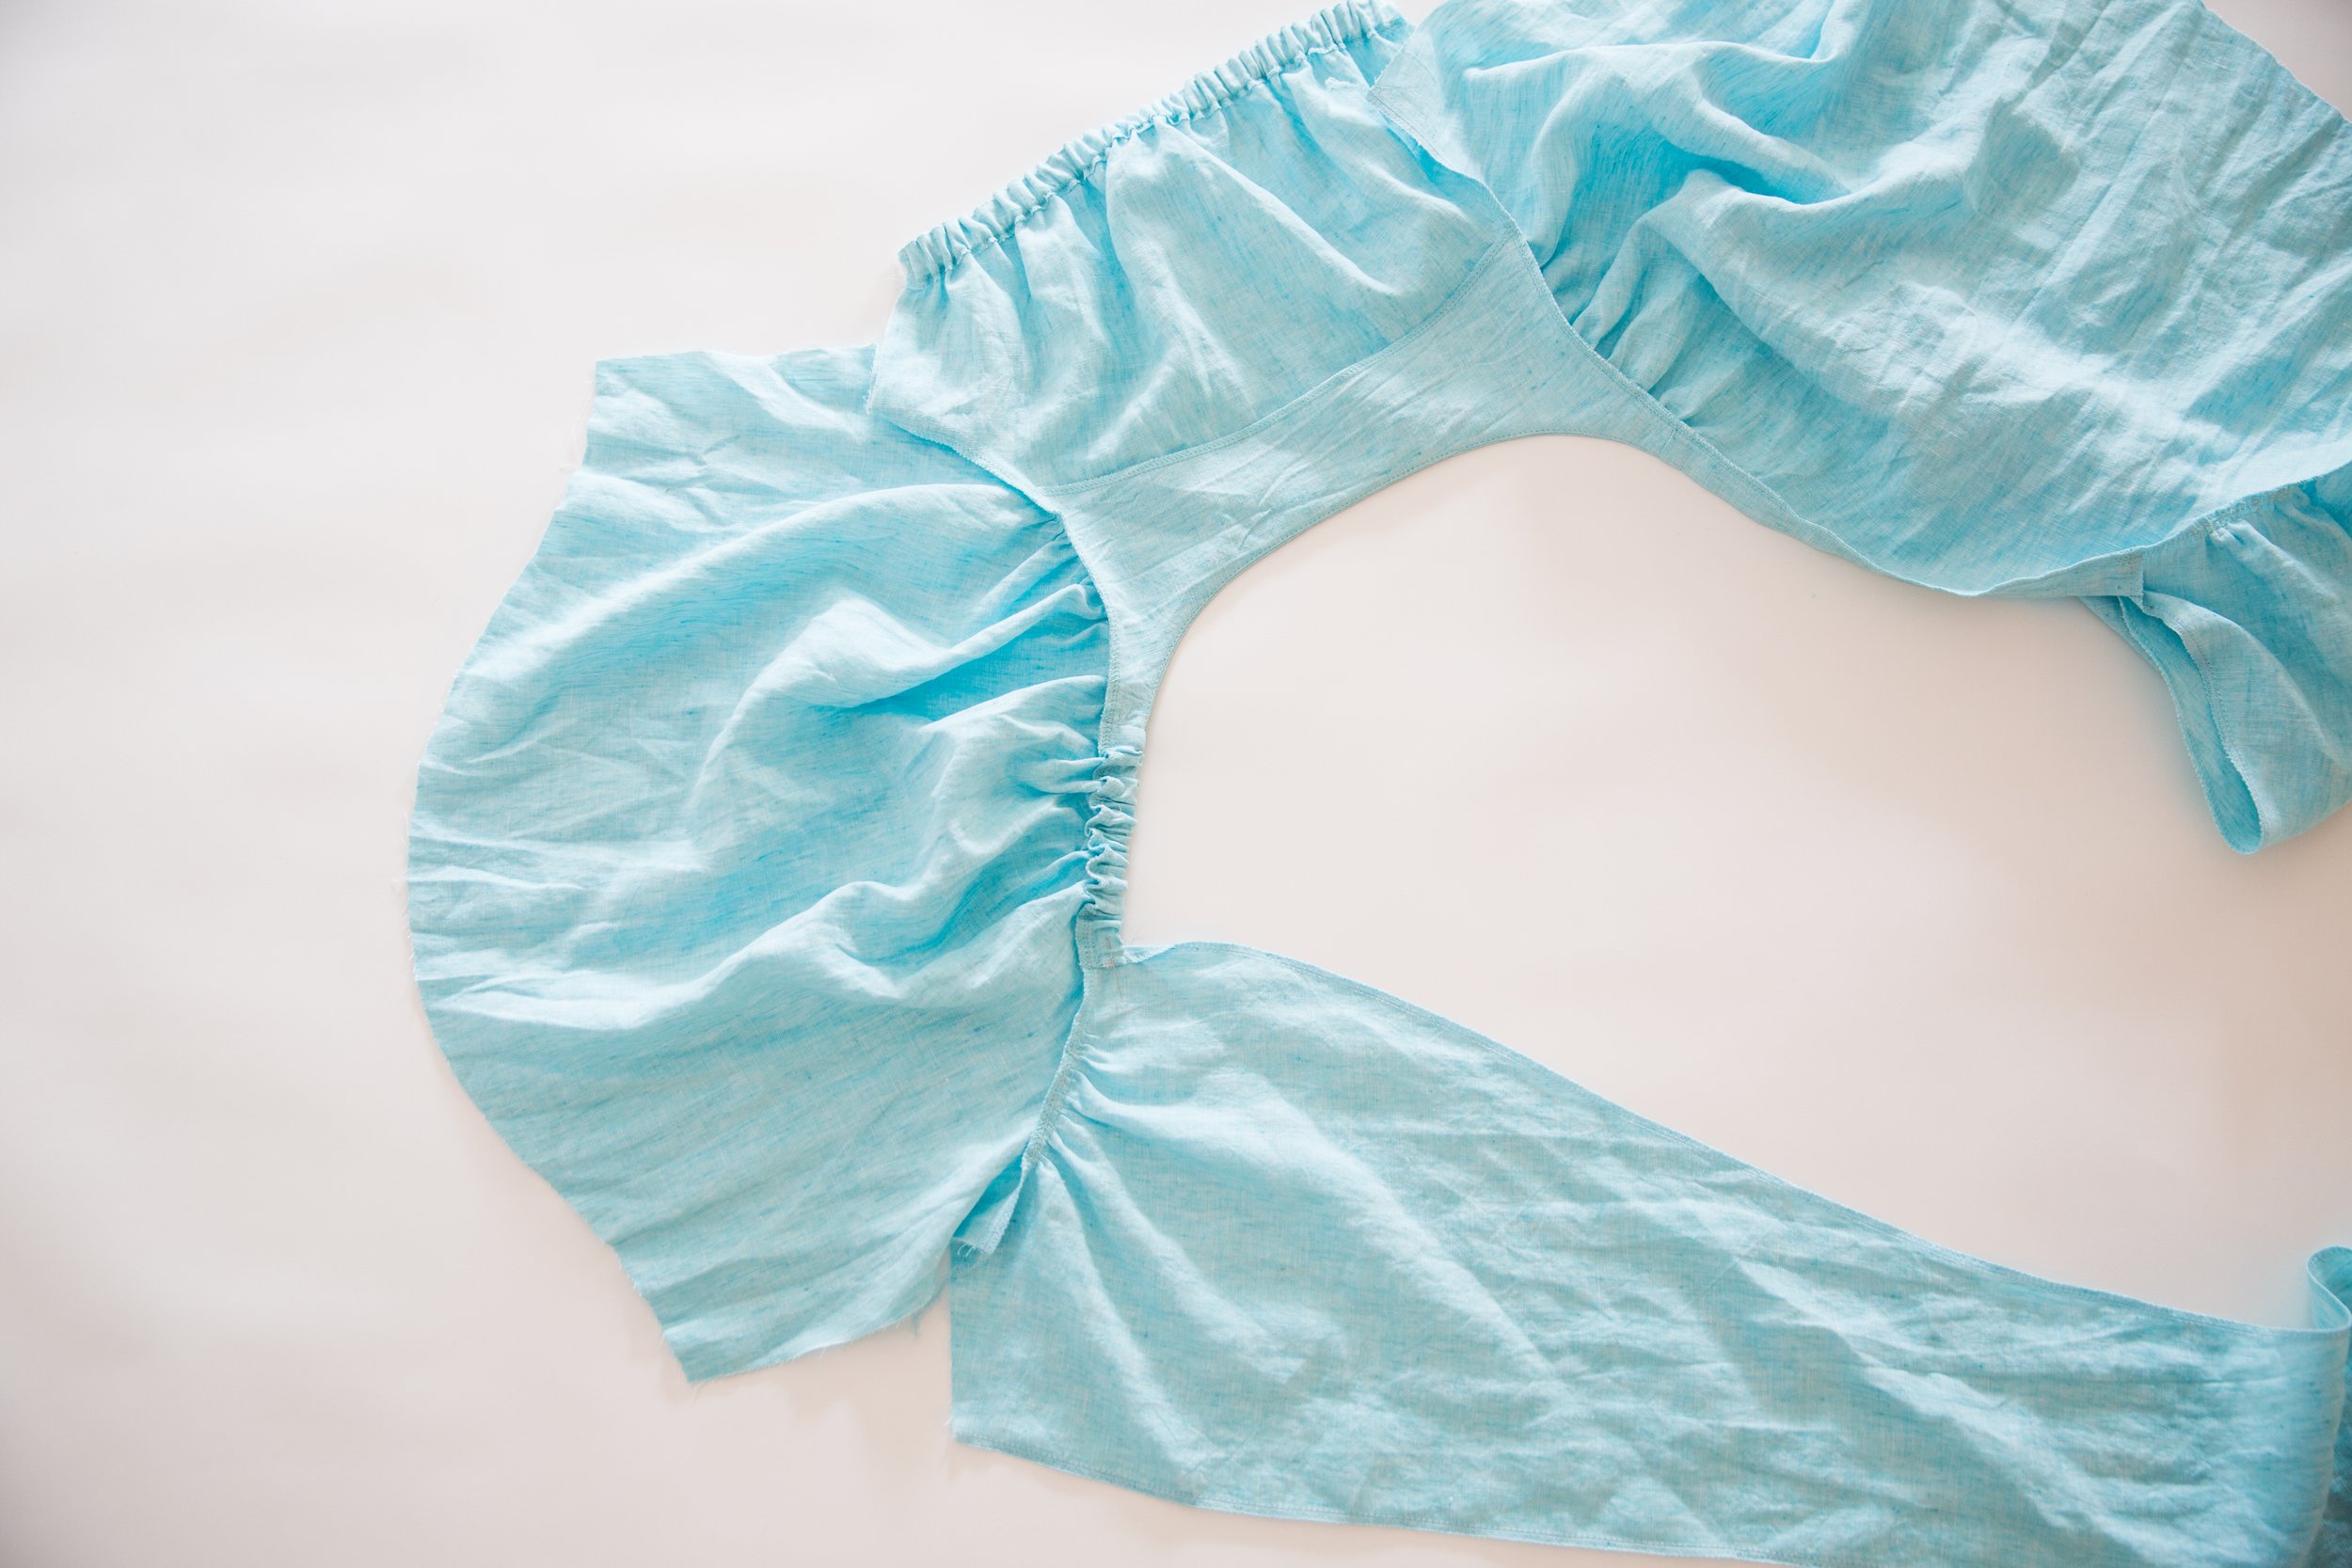
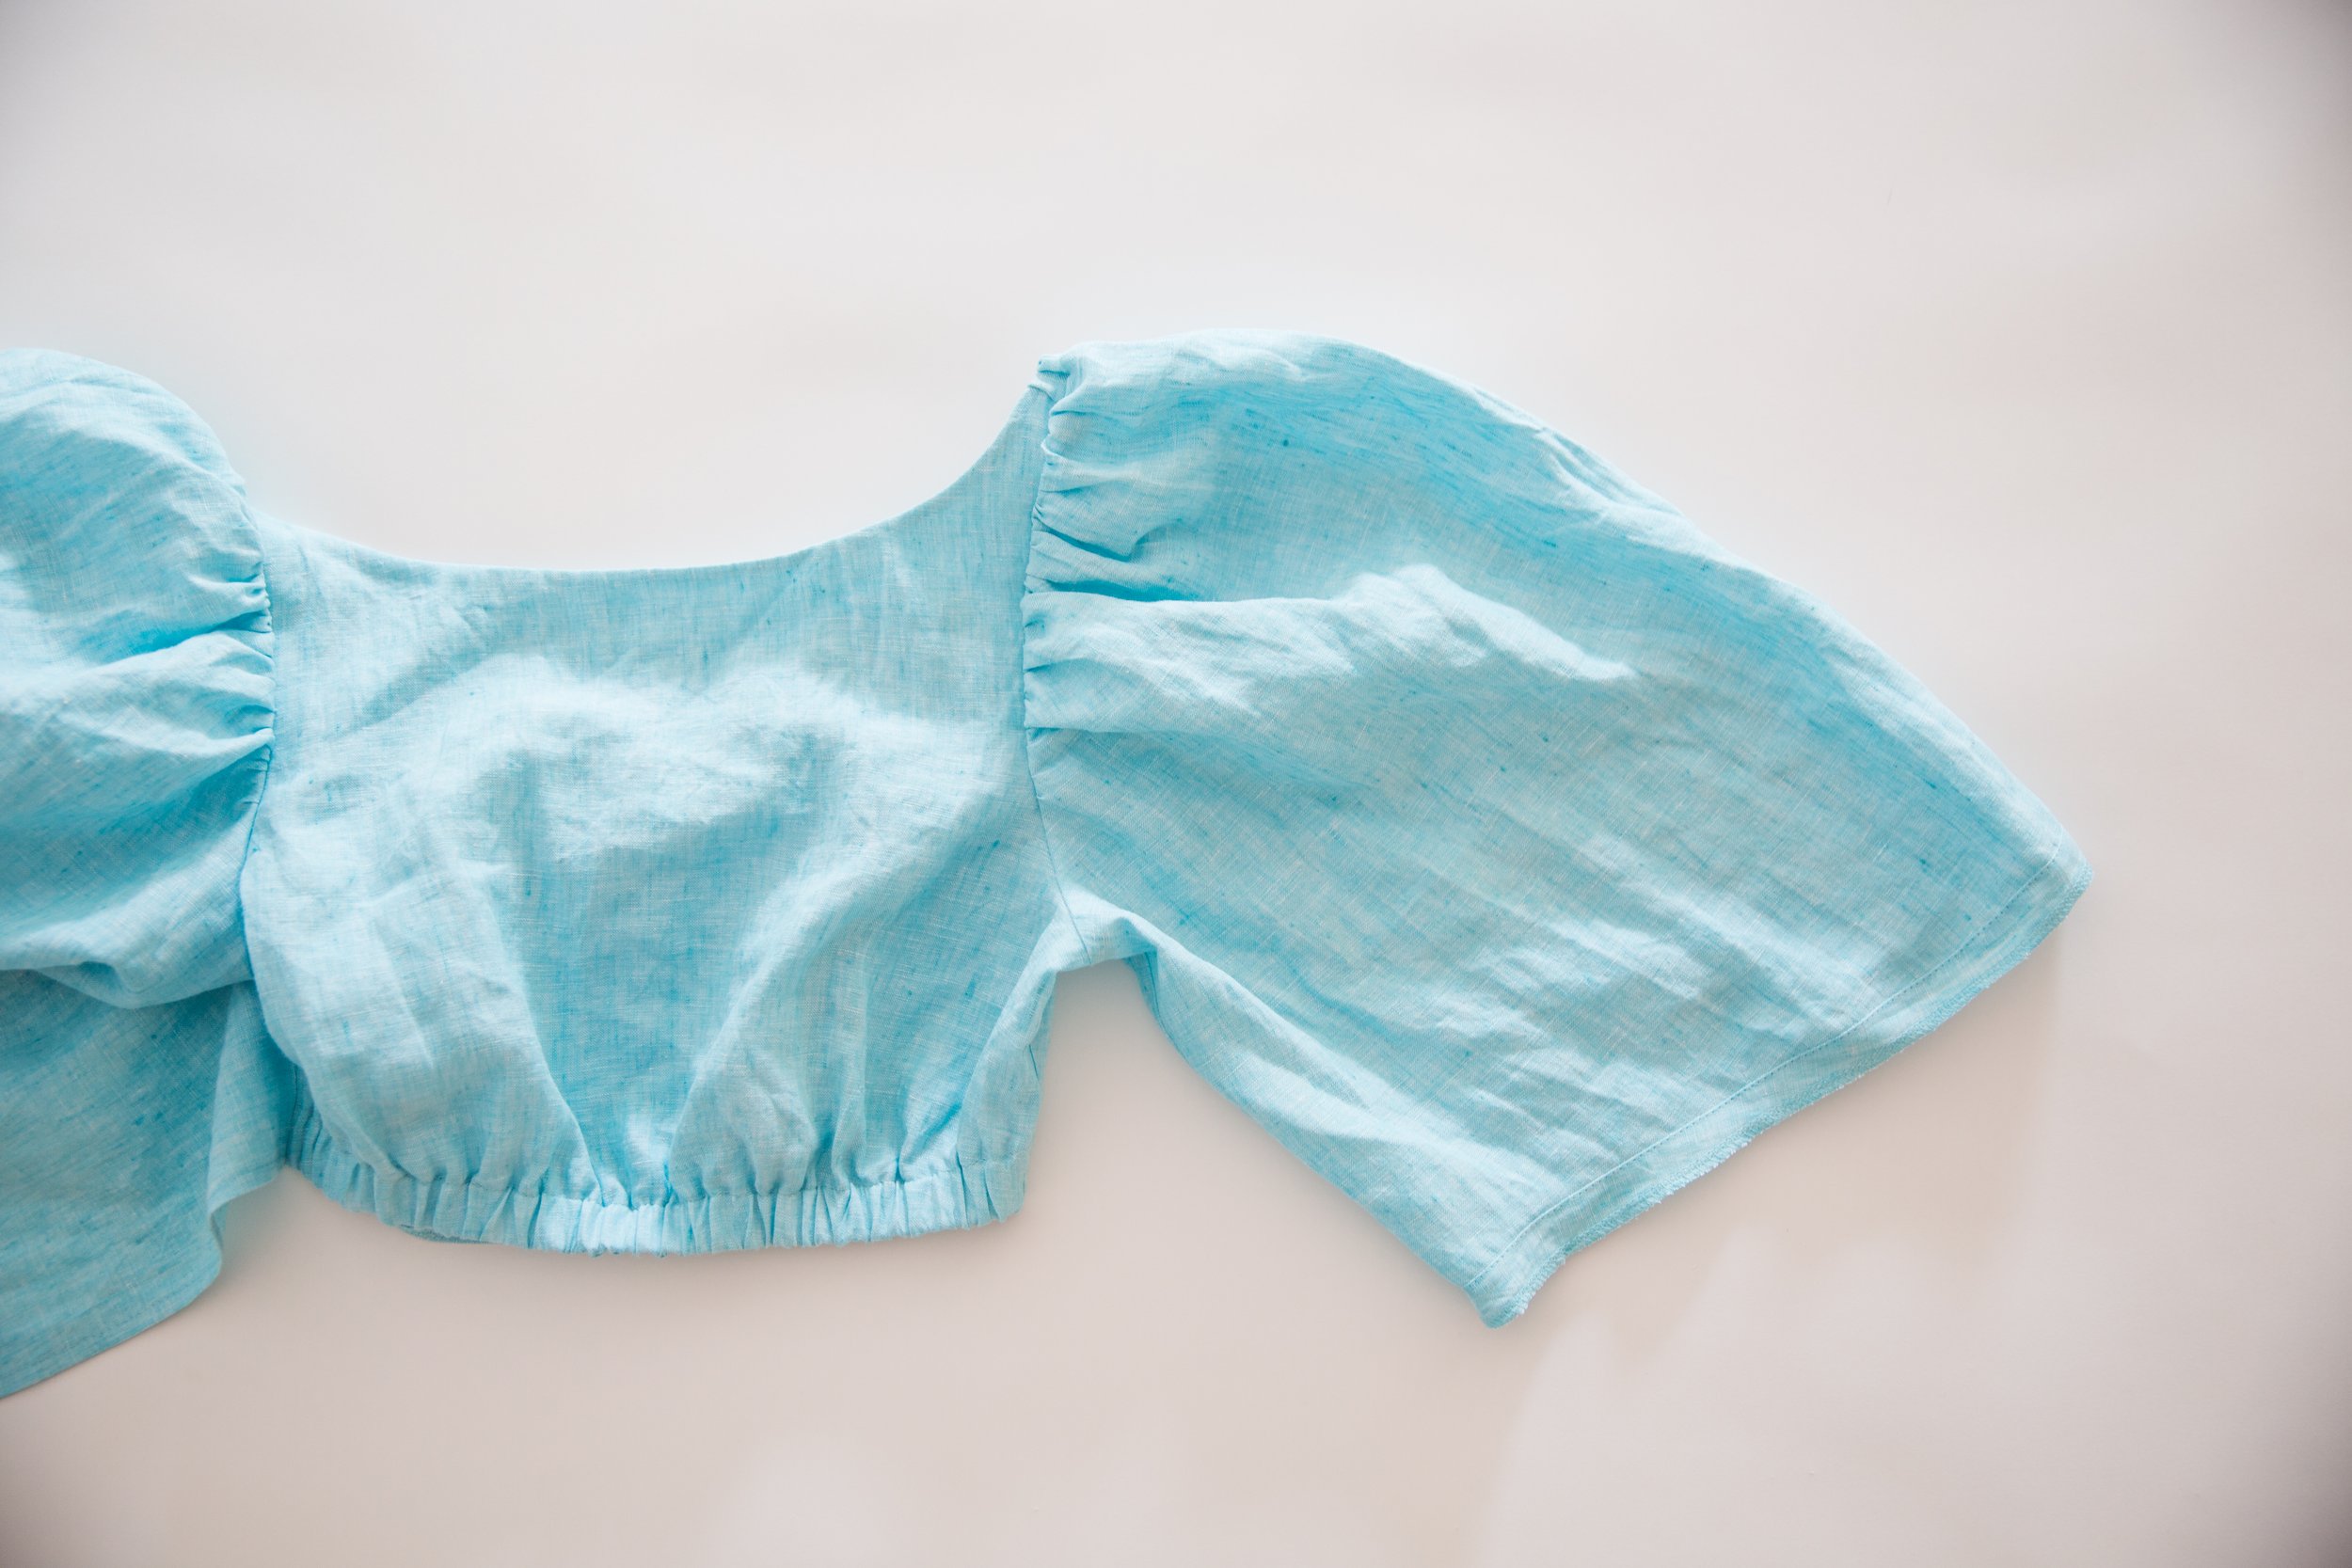
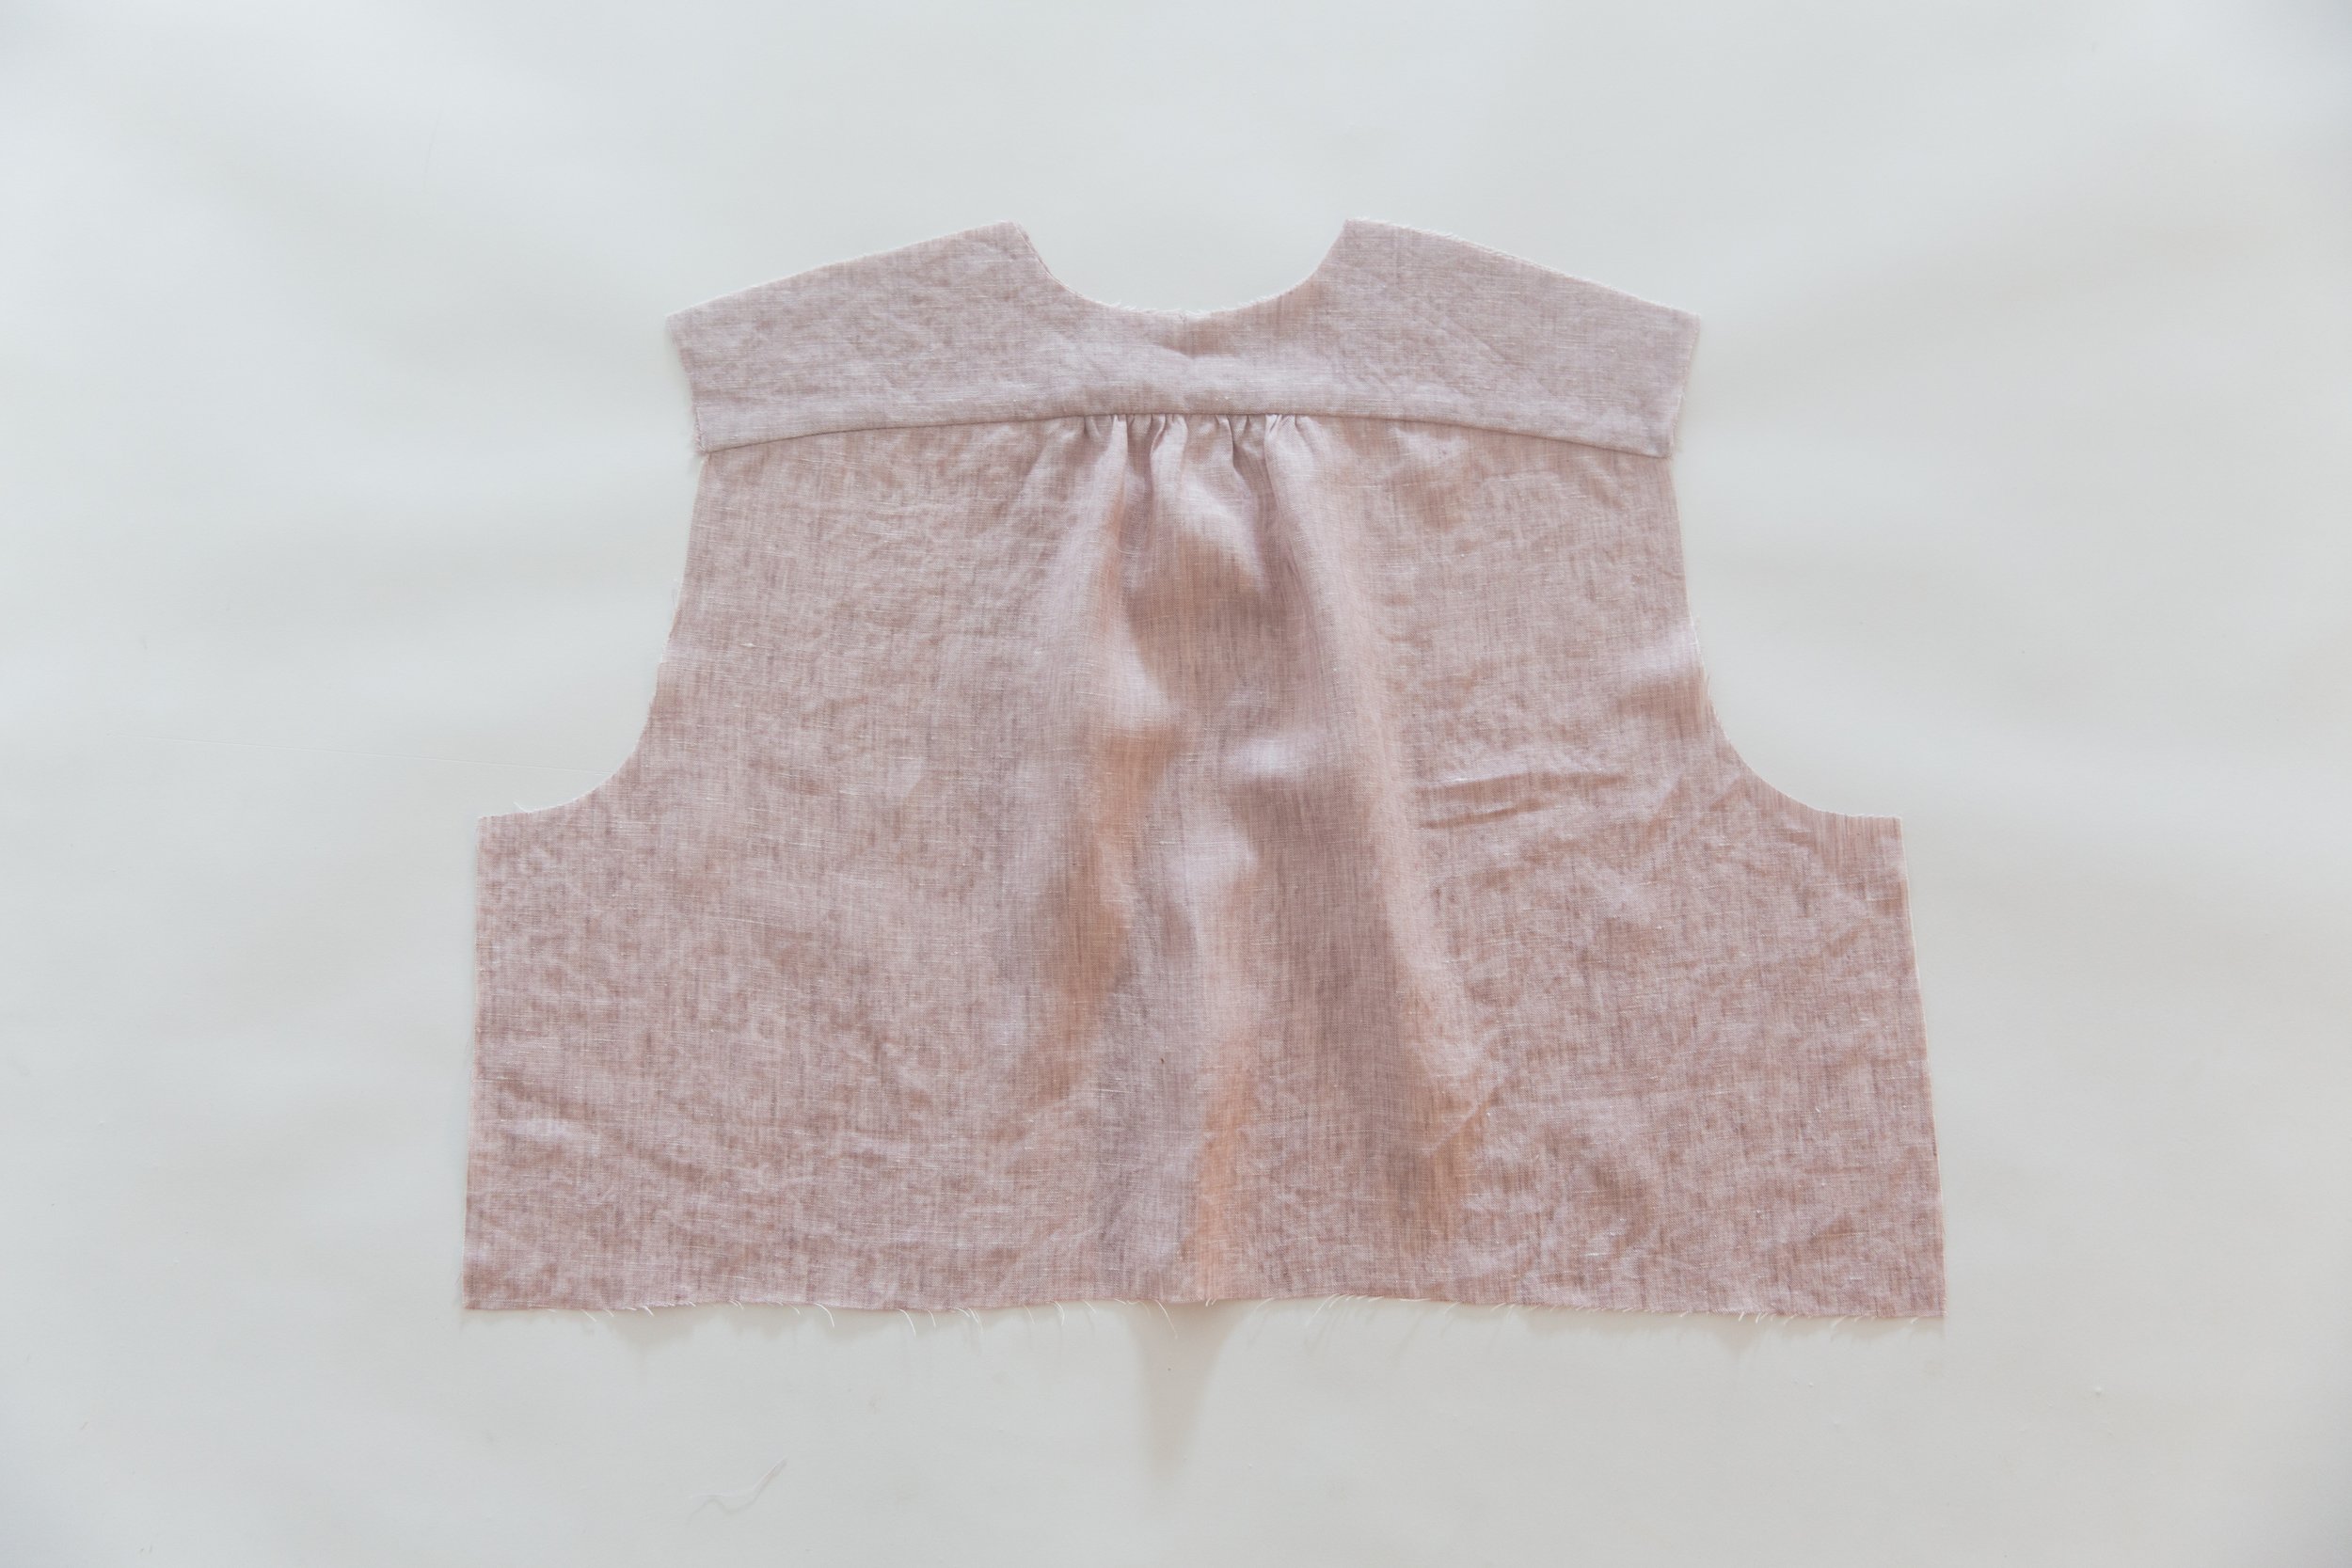
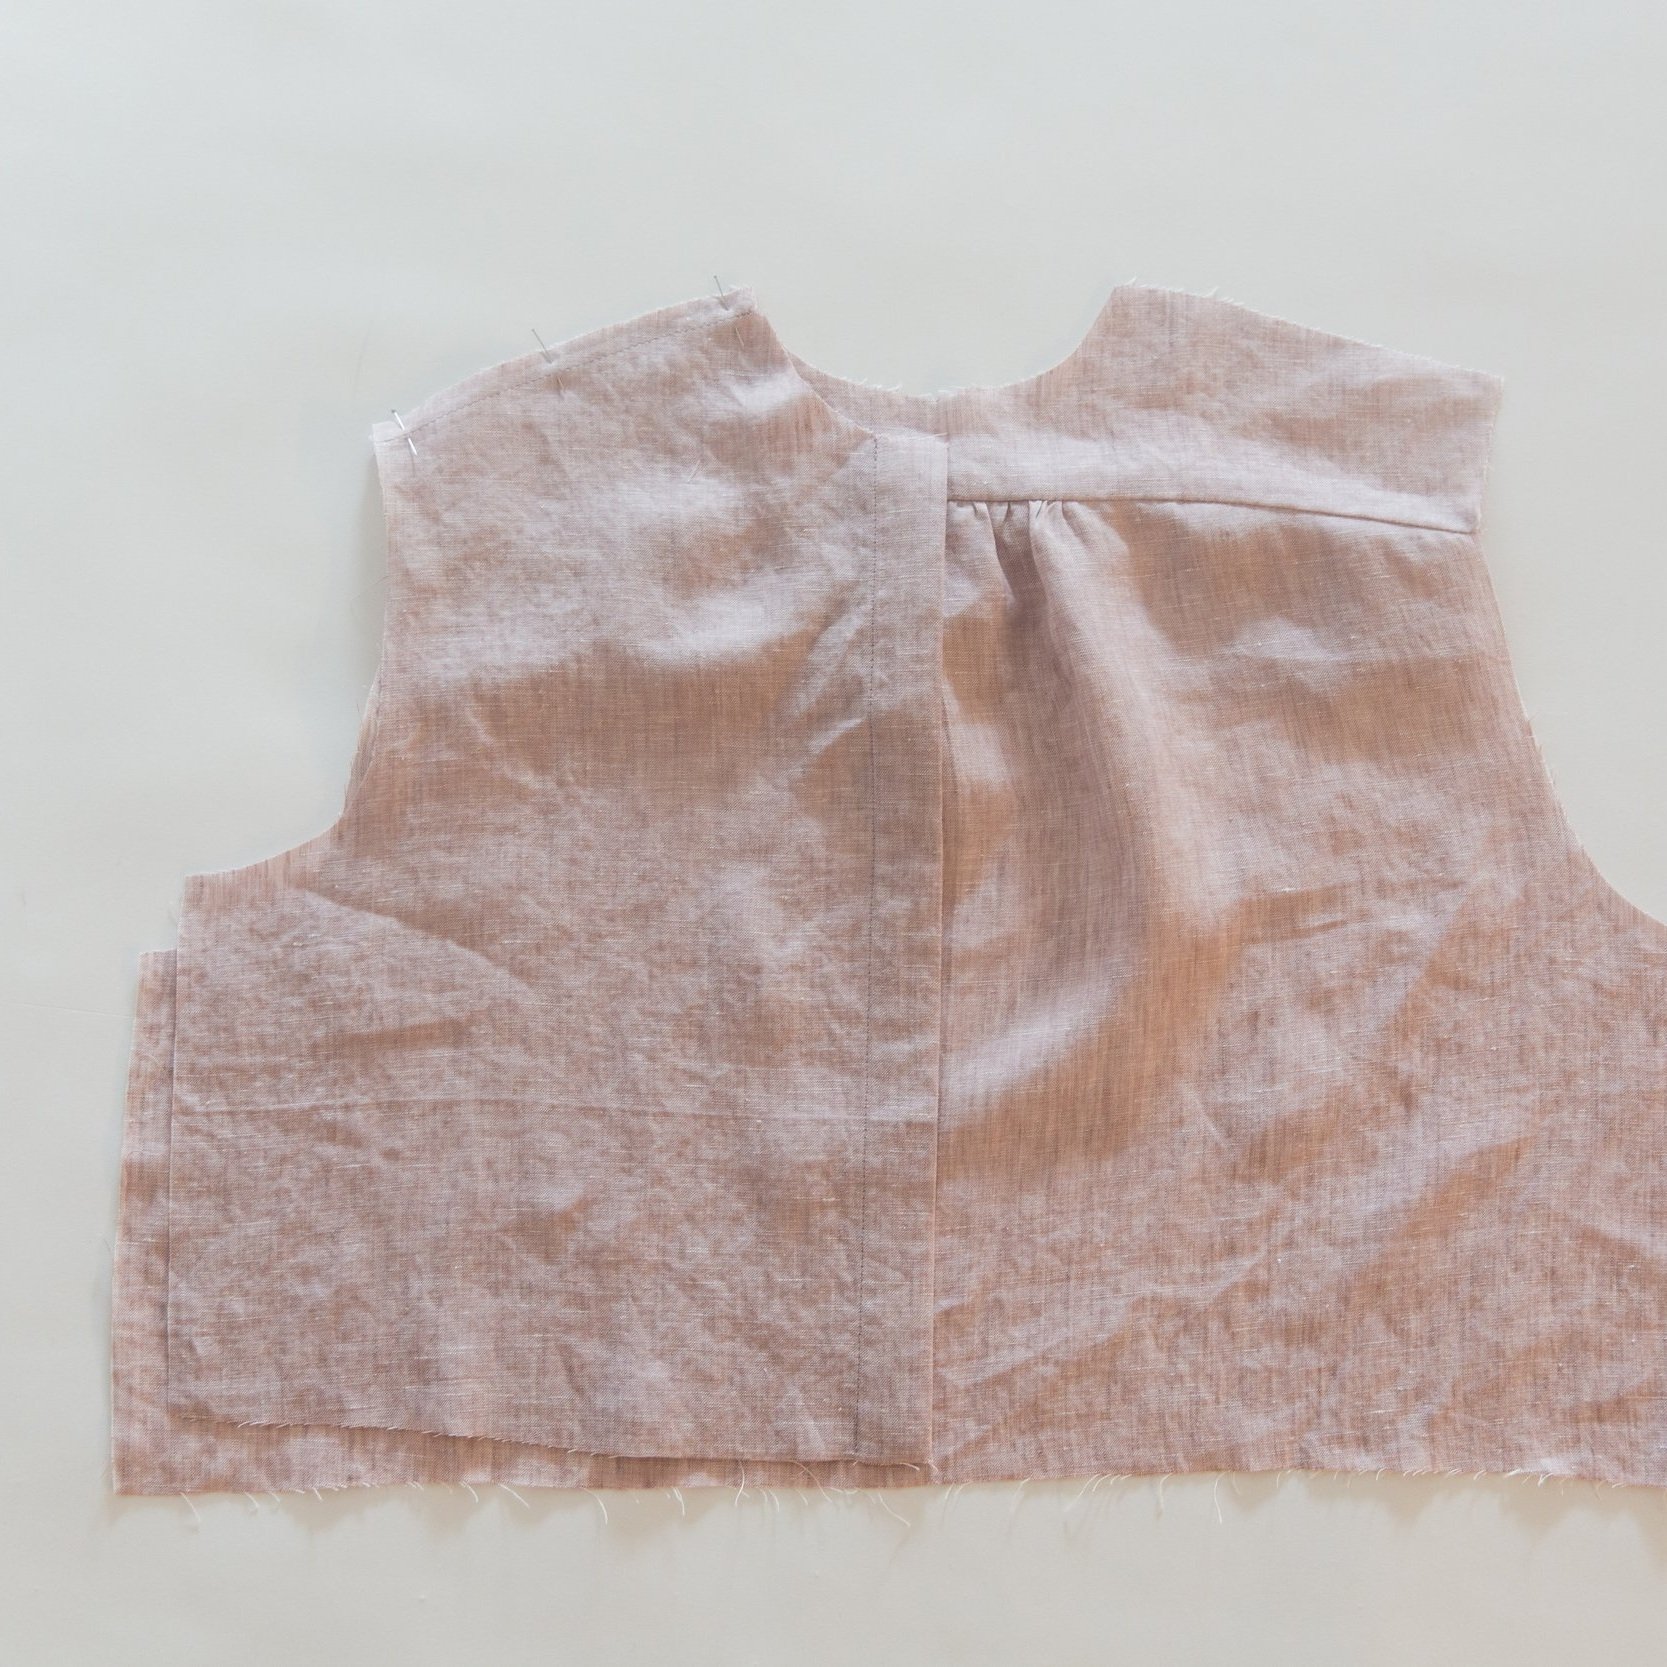
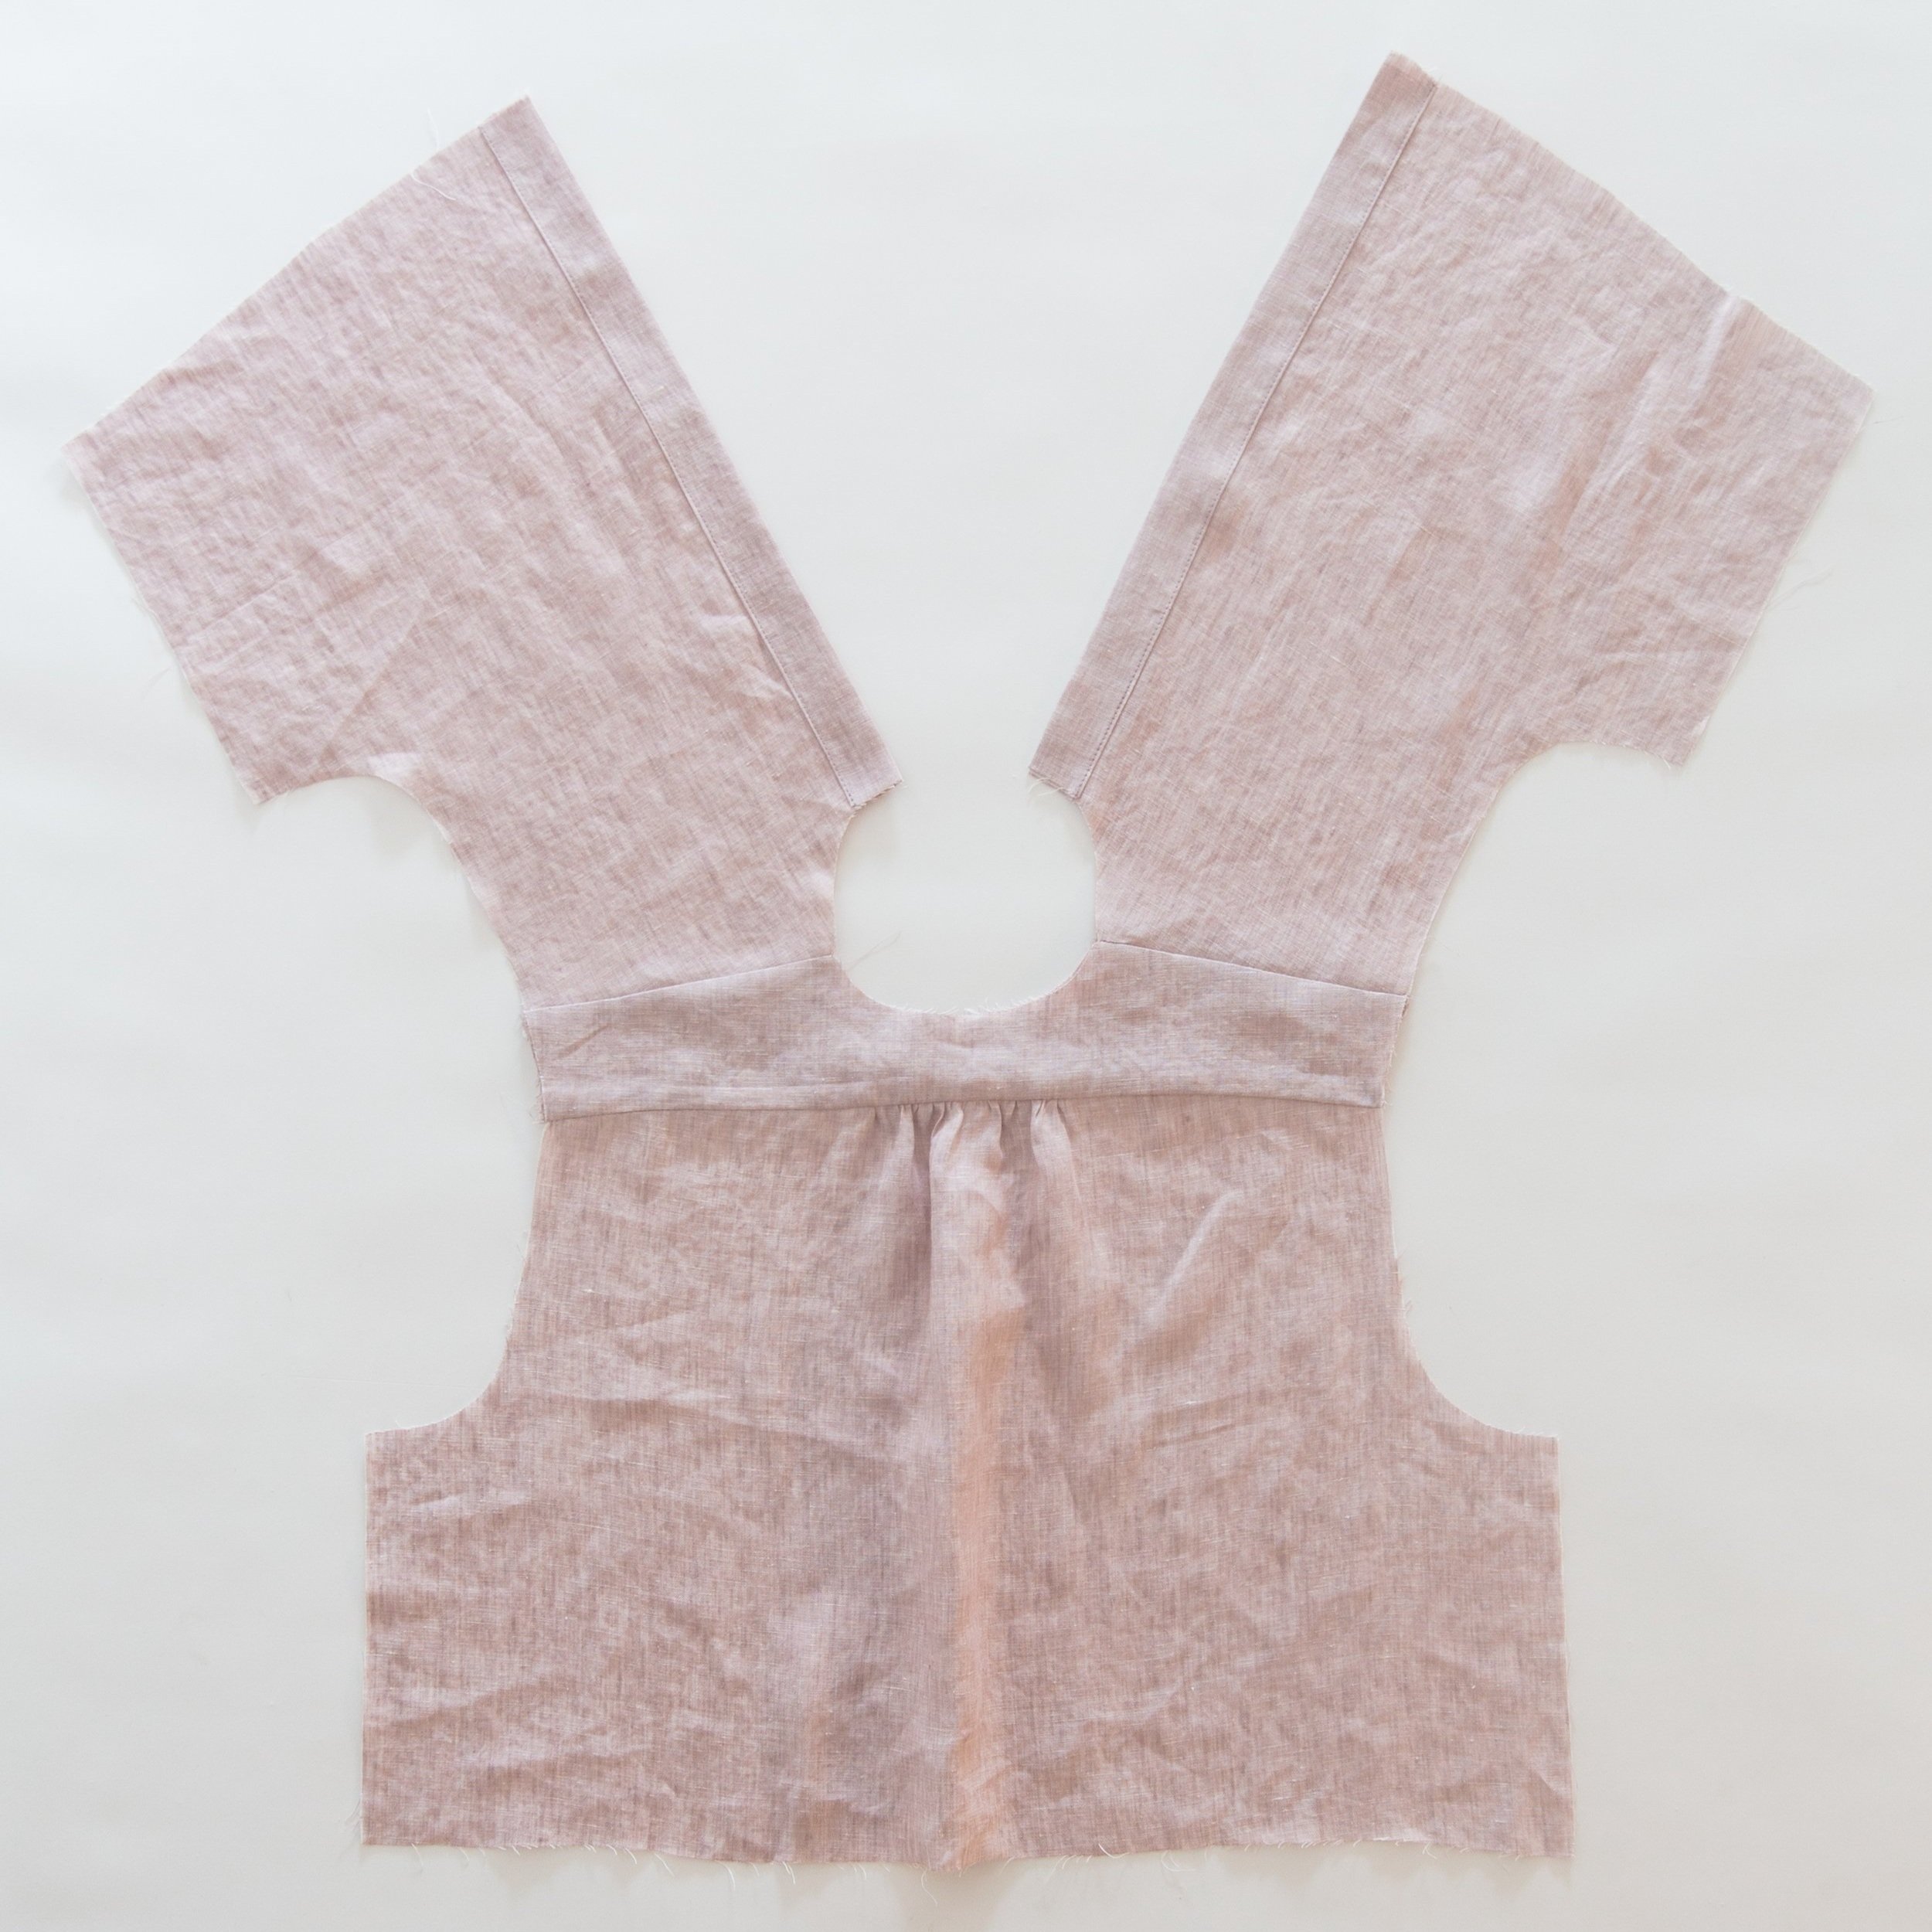
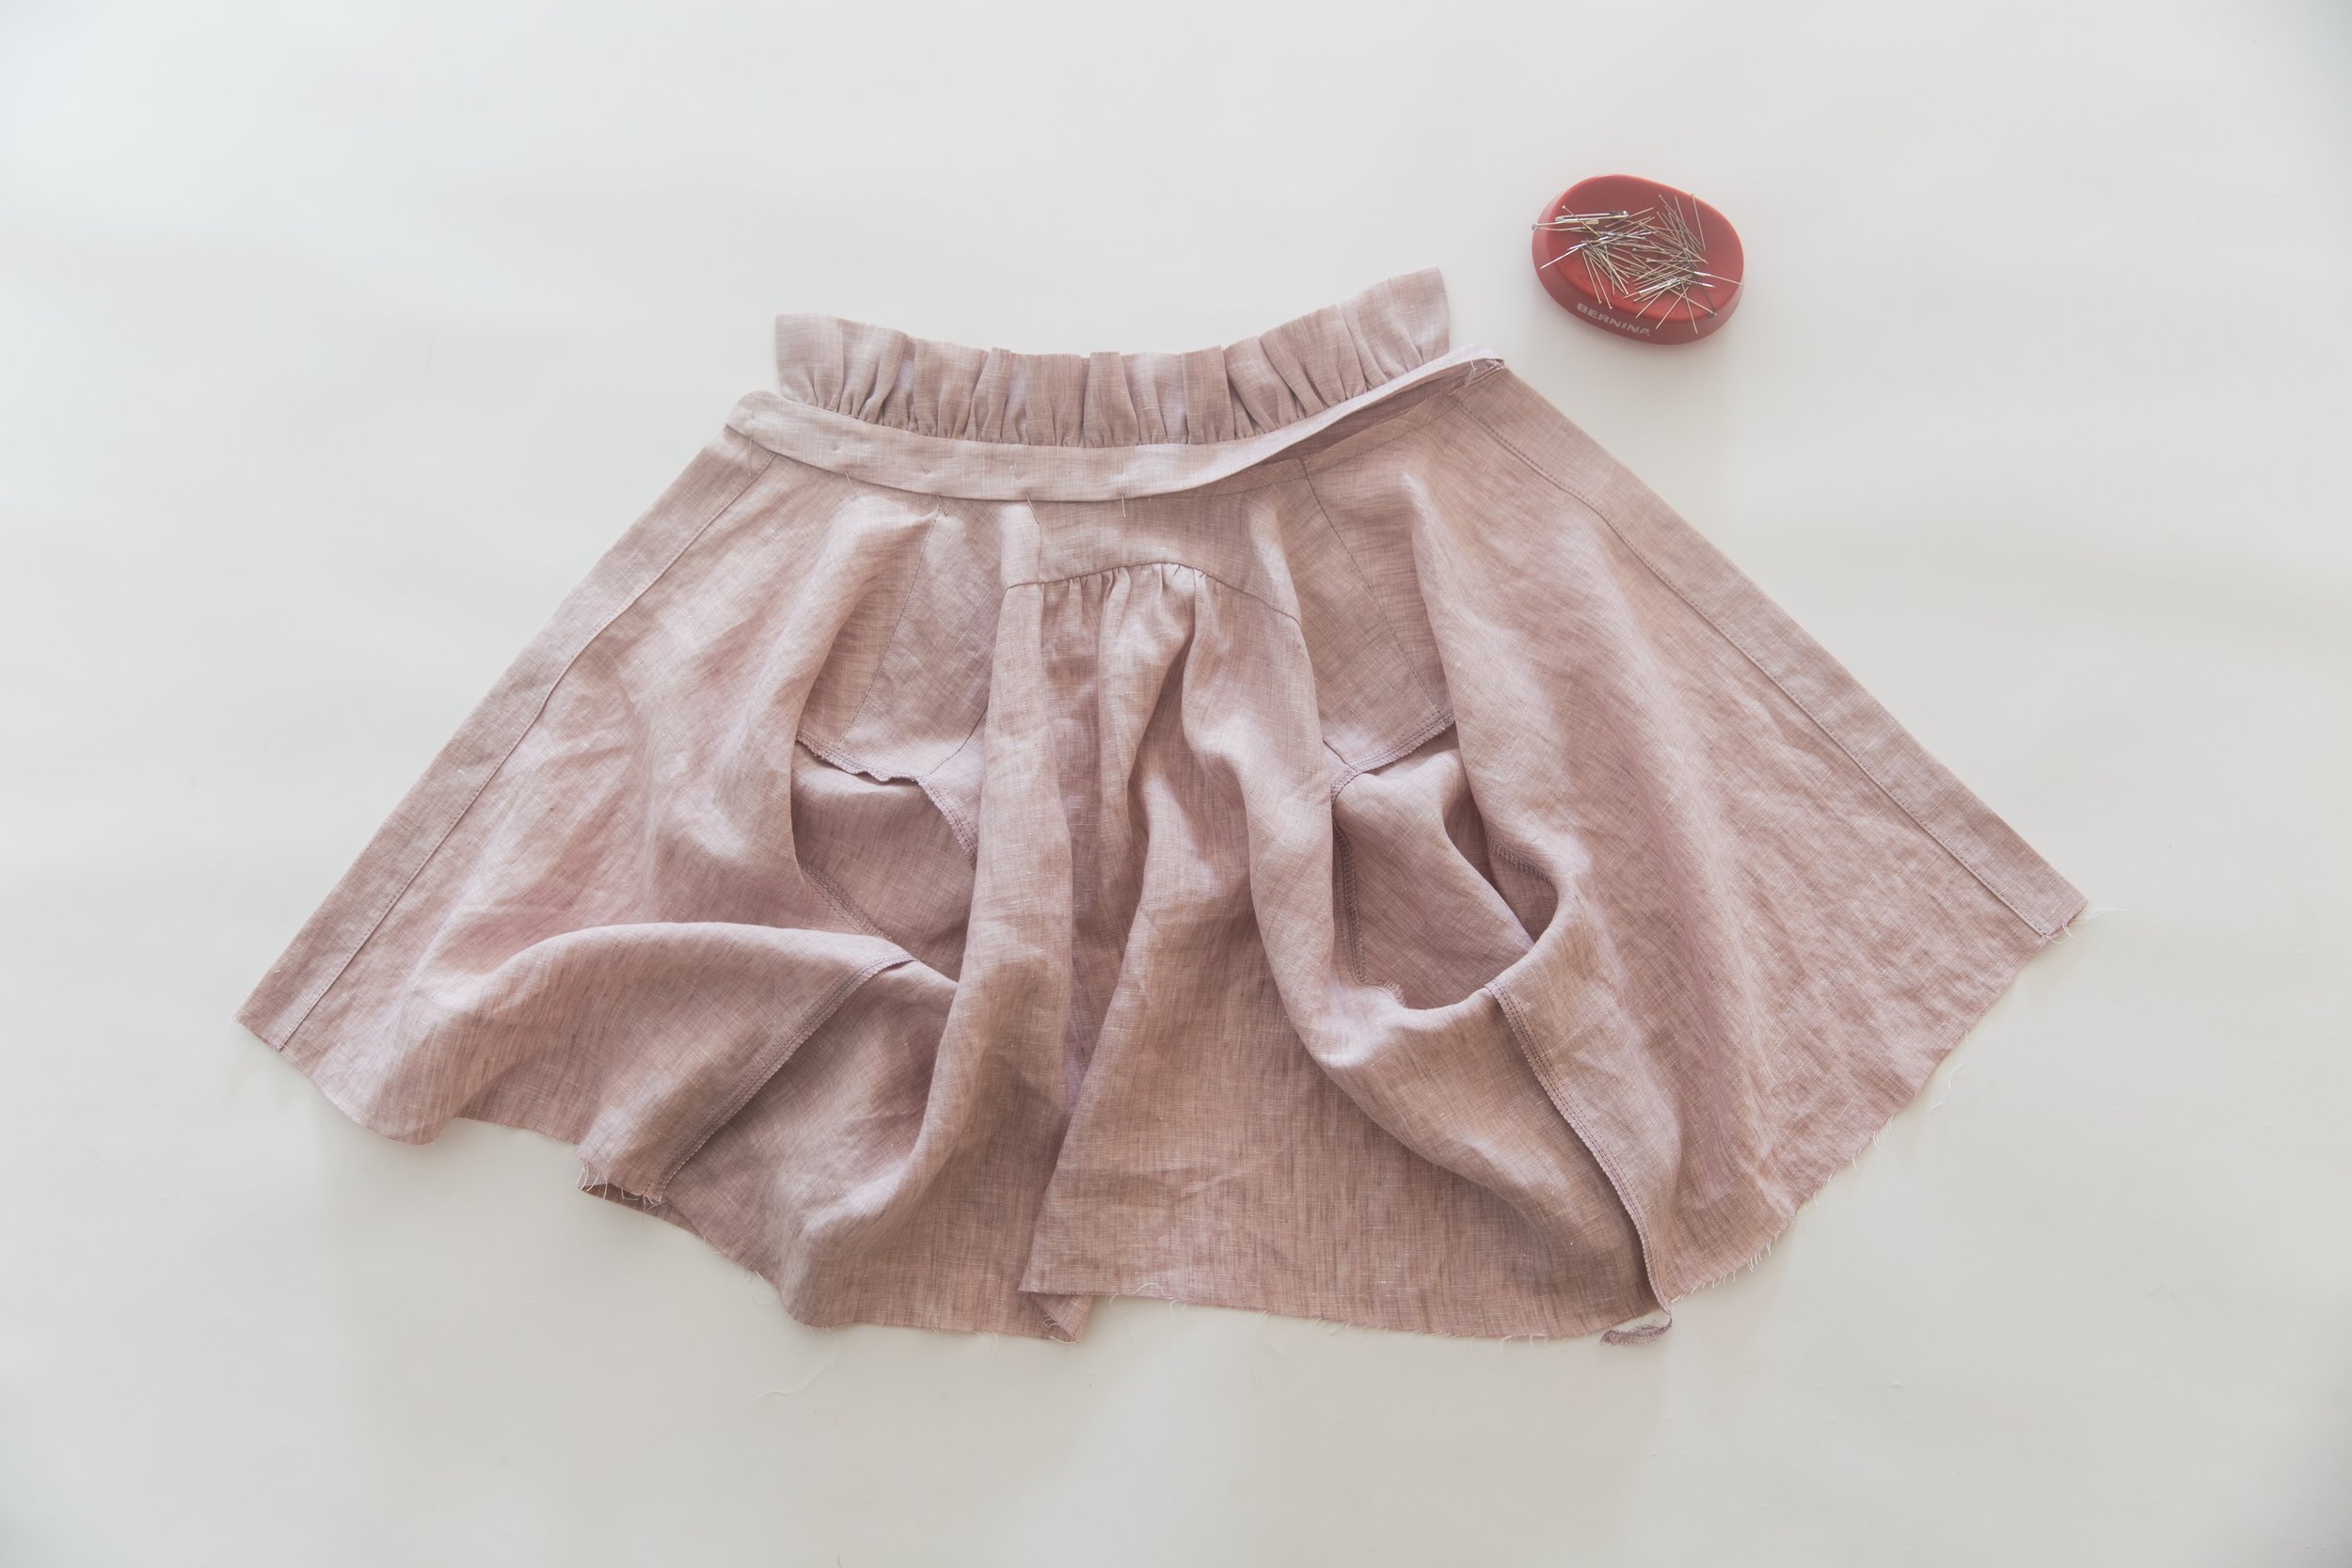
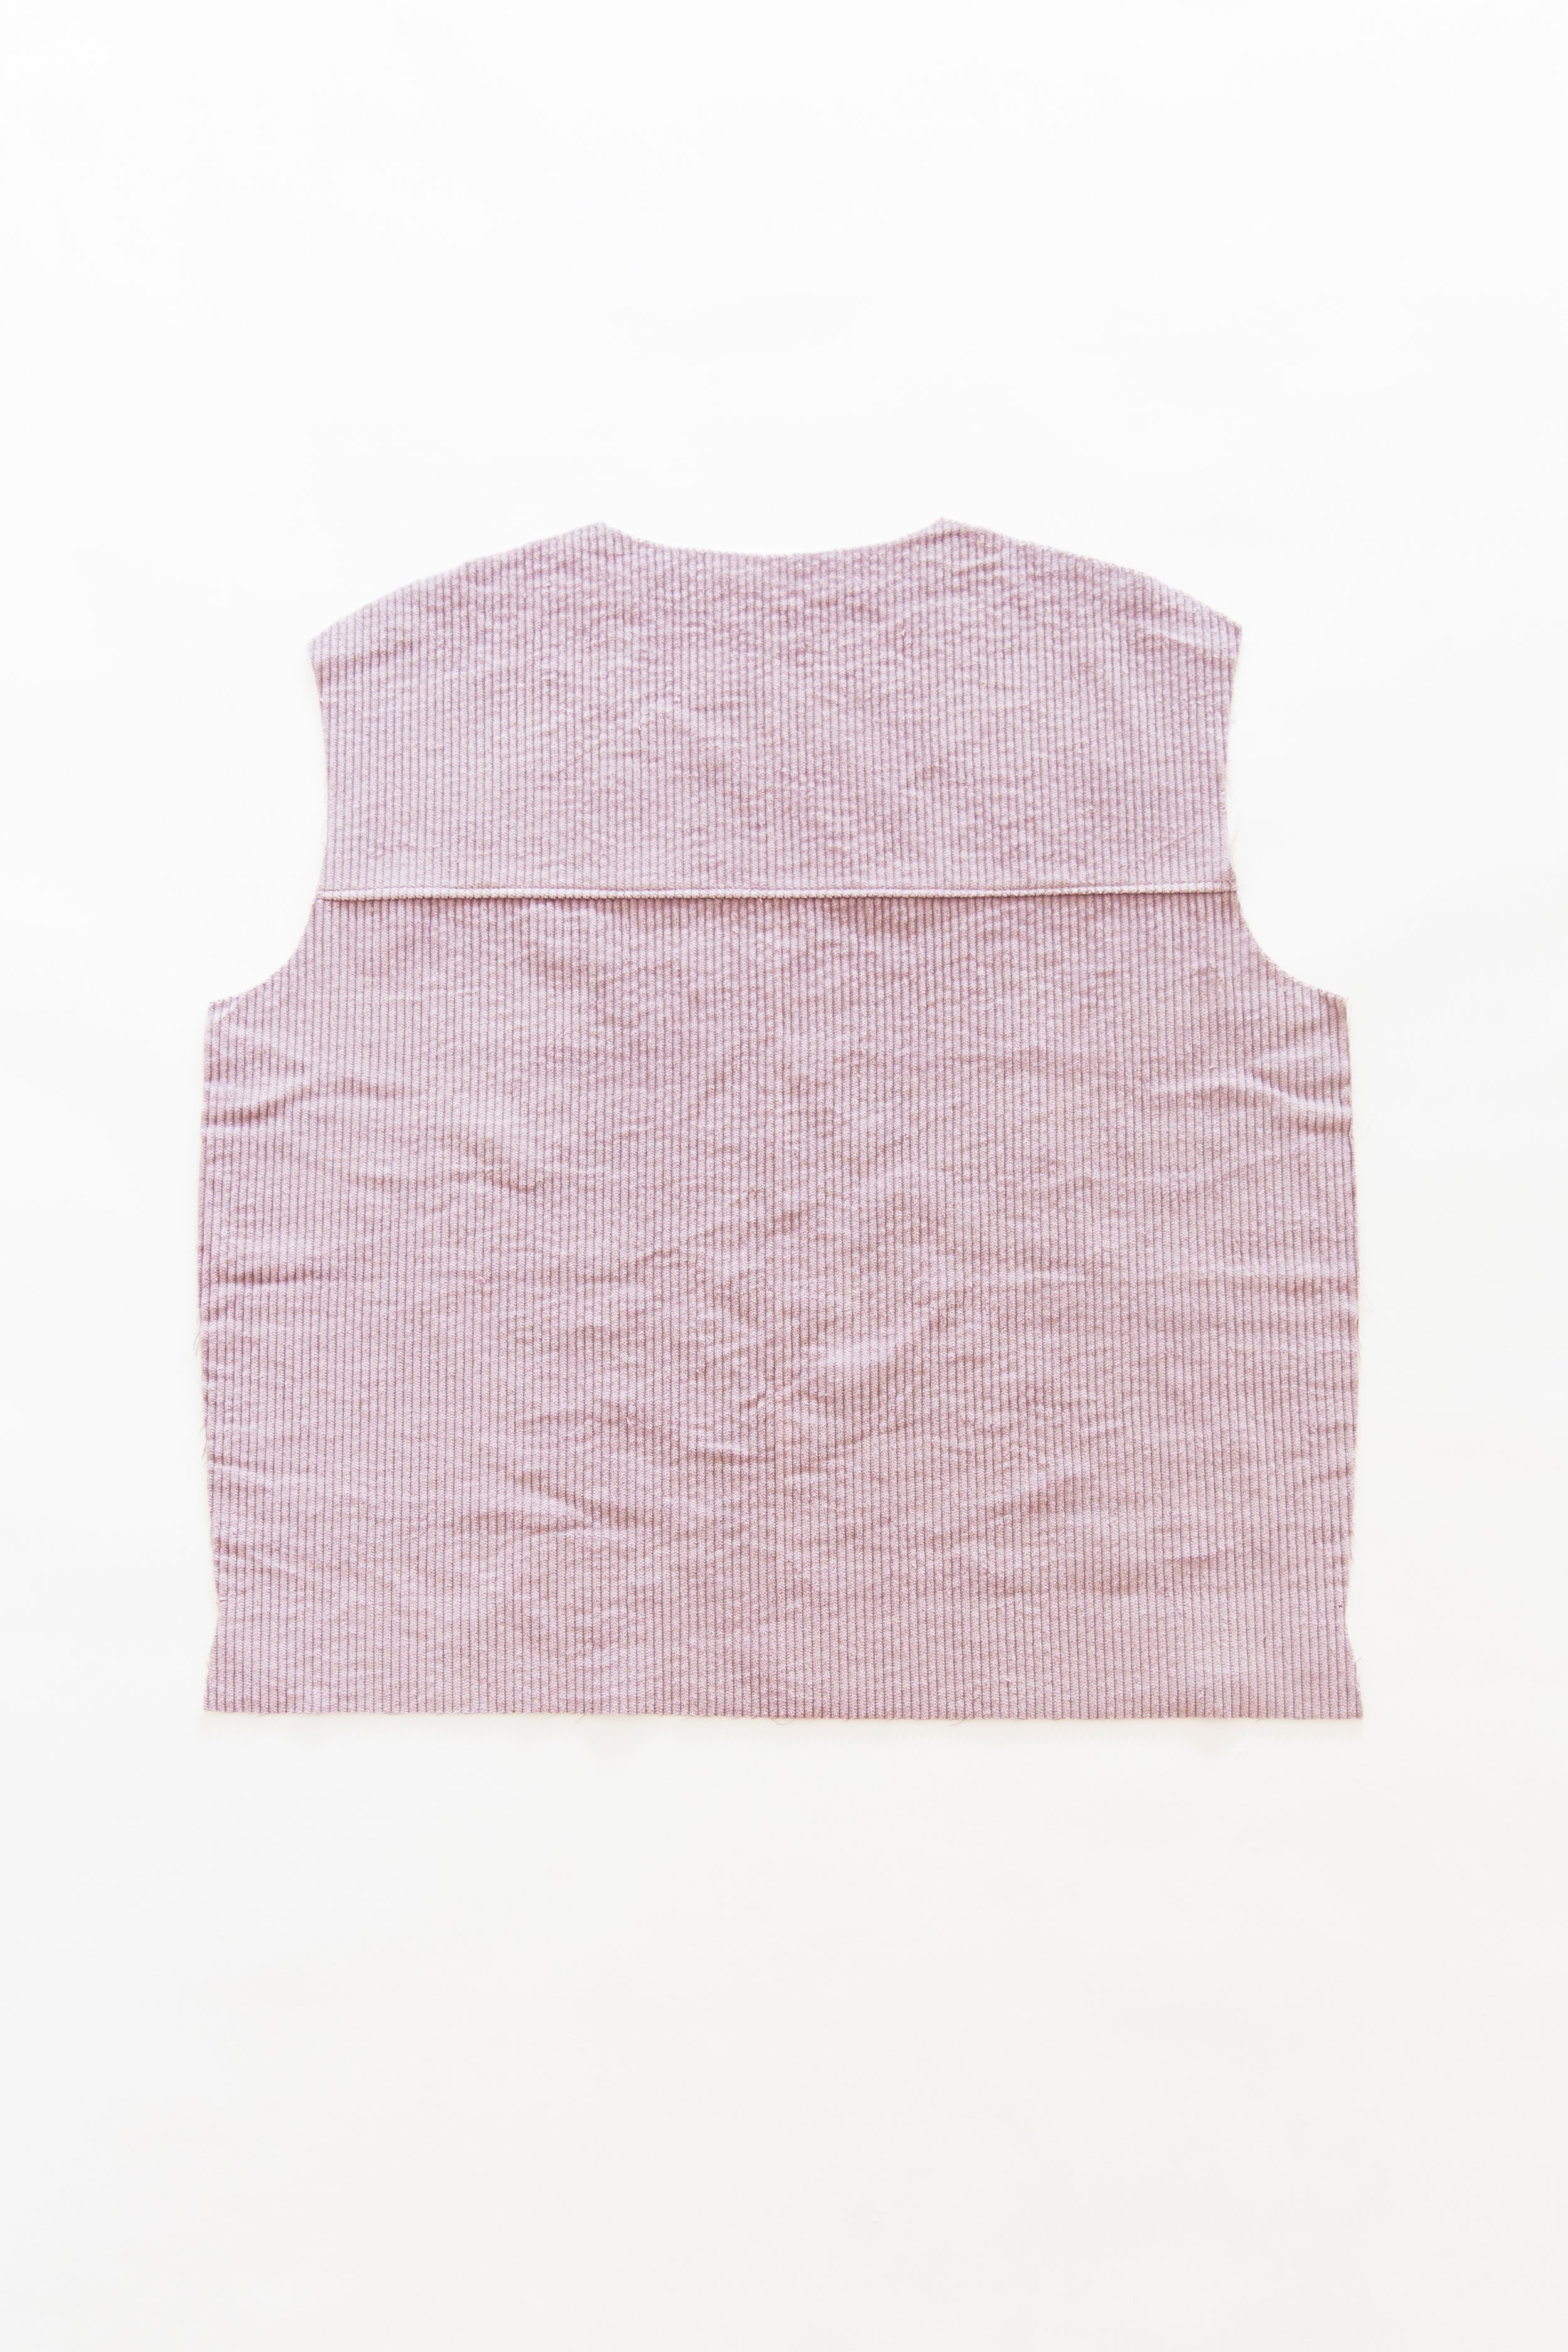
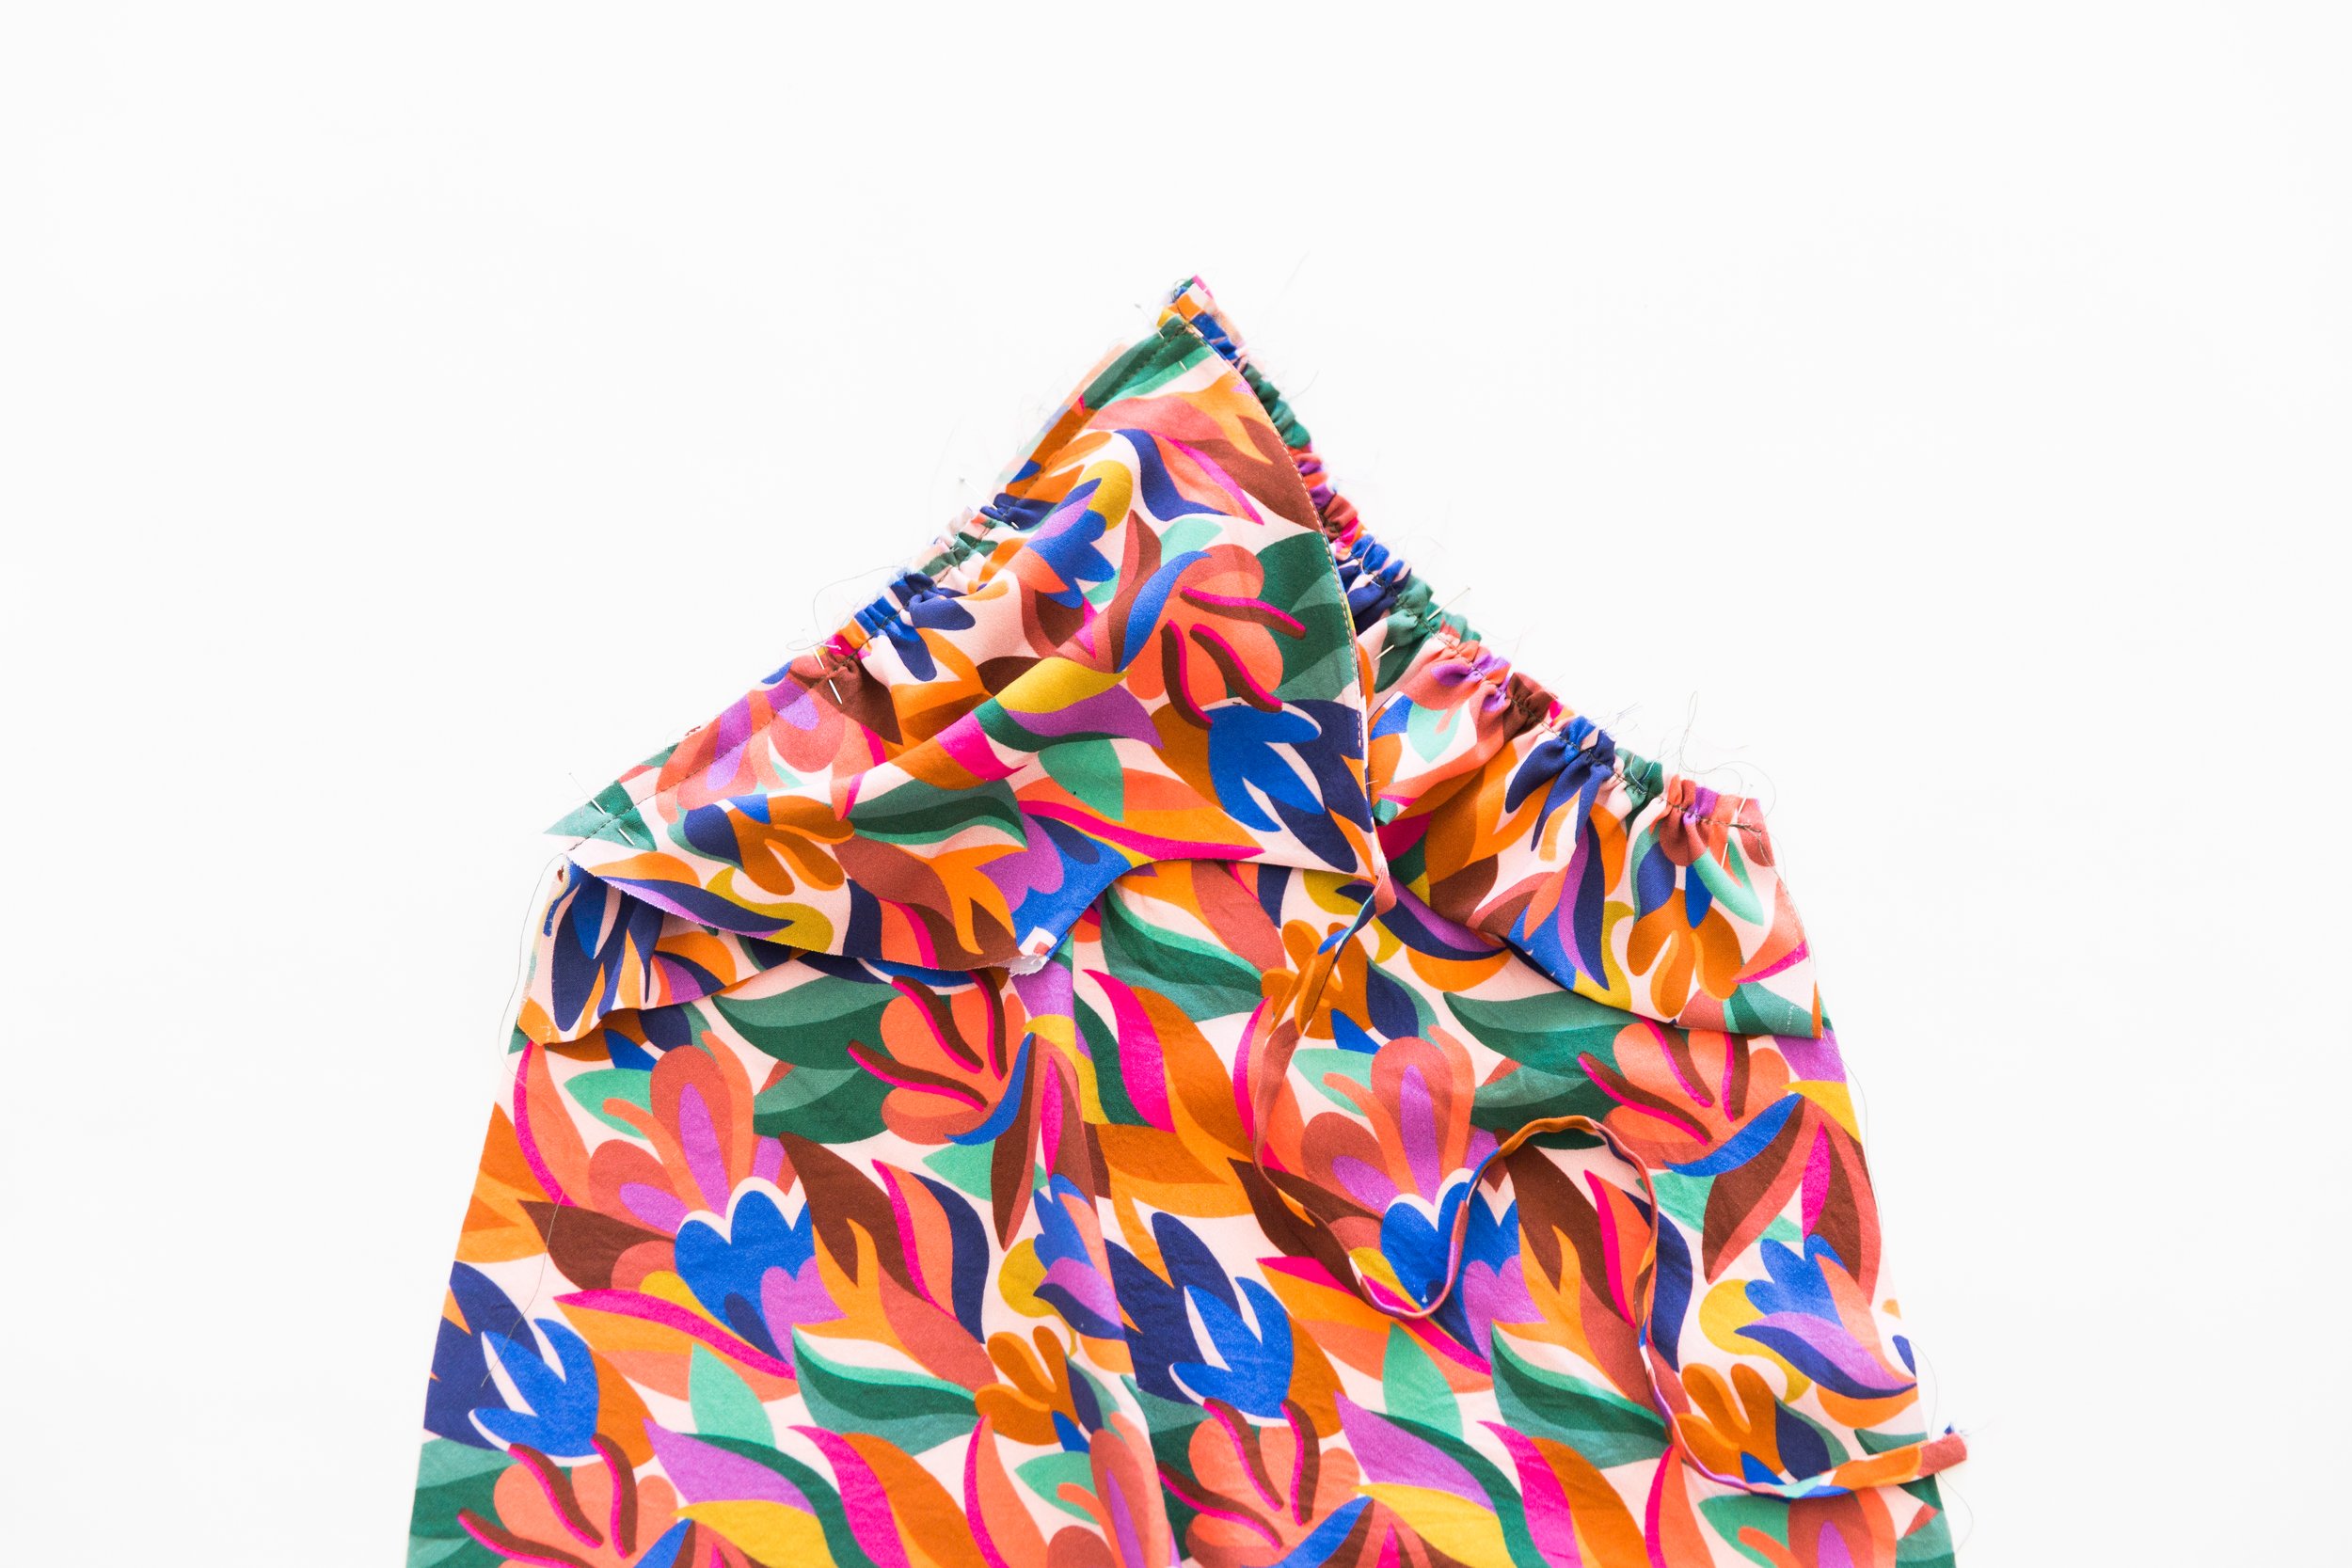
With right sides facing, pin the two gathering notches on the bust cup to the two notches on the top edge of front panel. Pin, matching the bust cup side seam with the front panel side seam, then pin out so that the centre front edge of bust cup intersects with your centre front marking. Pull gathering stitch on bust panel taut so that it forms a nice even gather between the two gathering notches. Stitch together. Neaten seam. Repeat on other side.

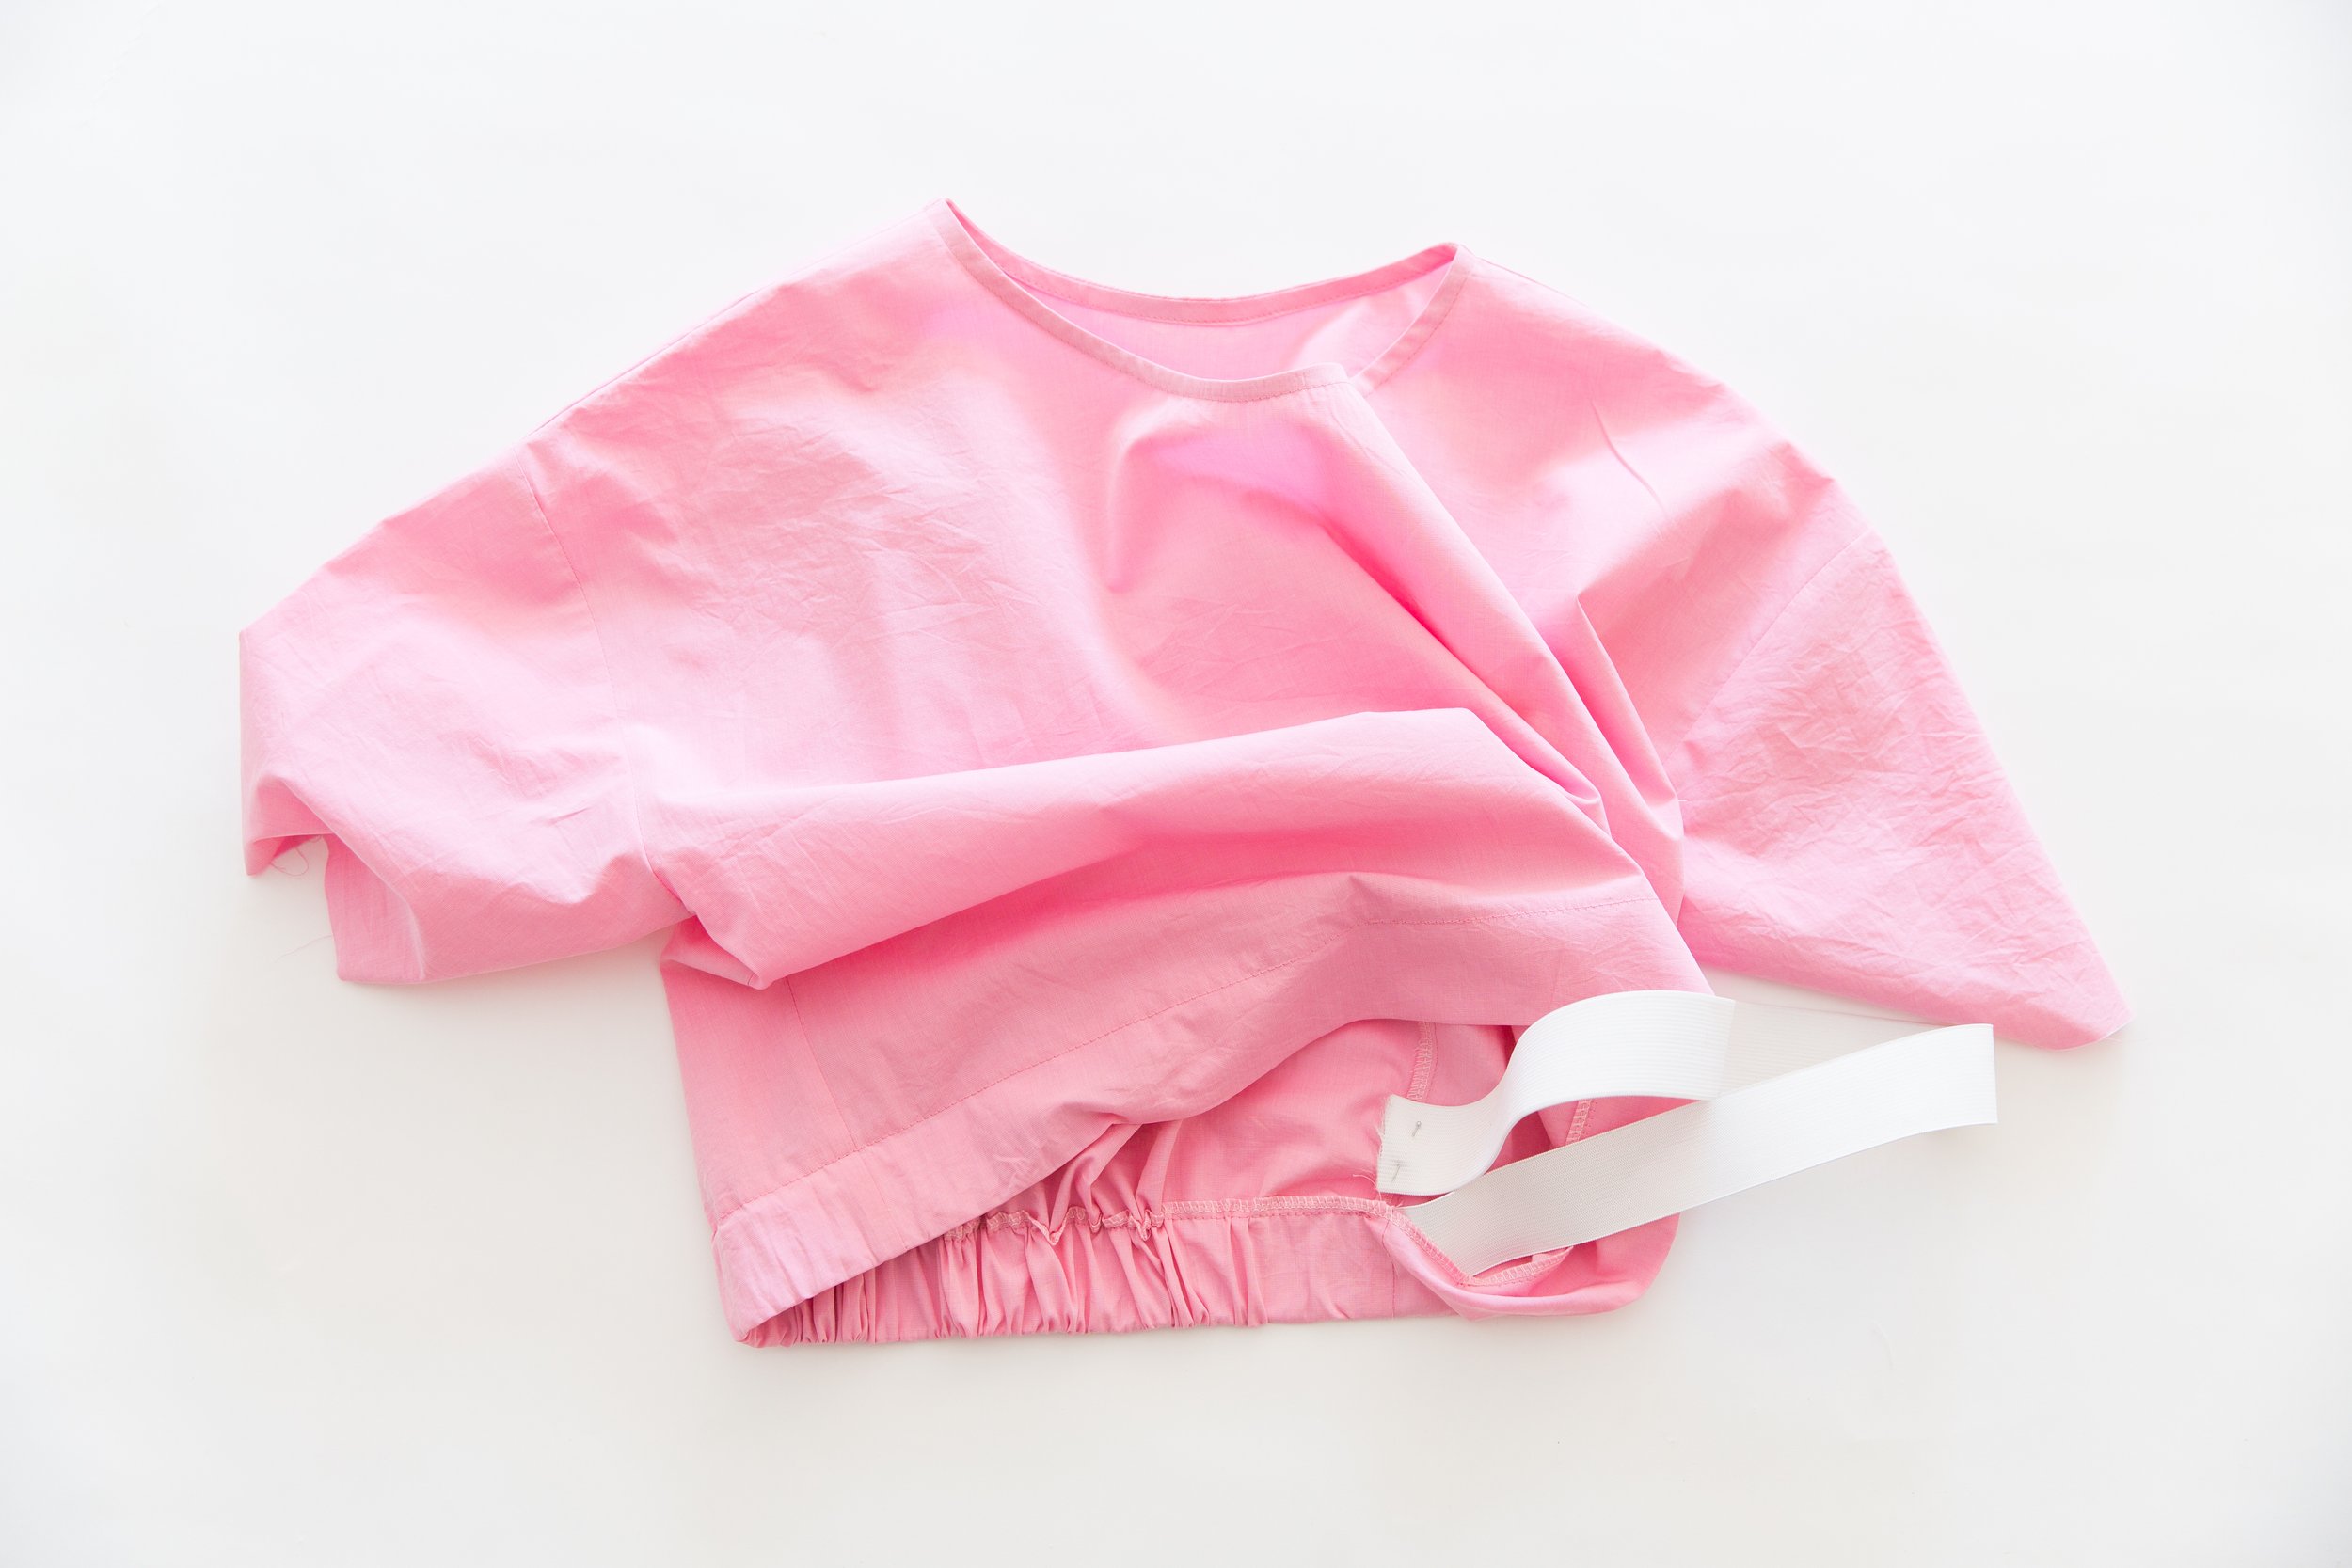
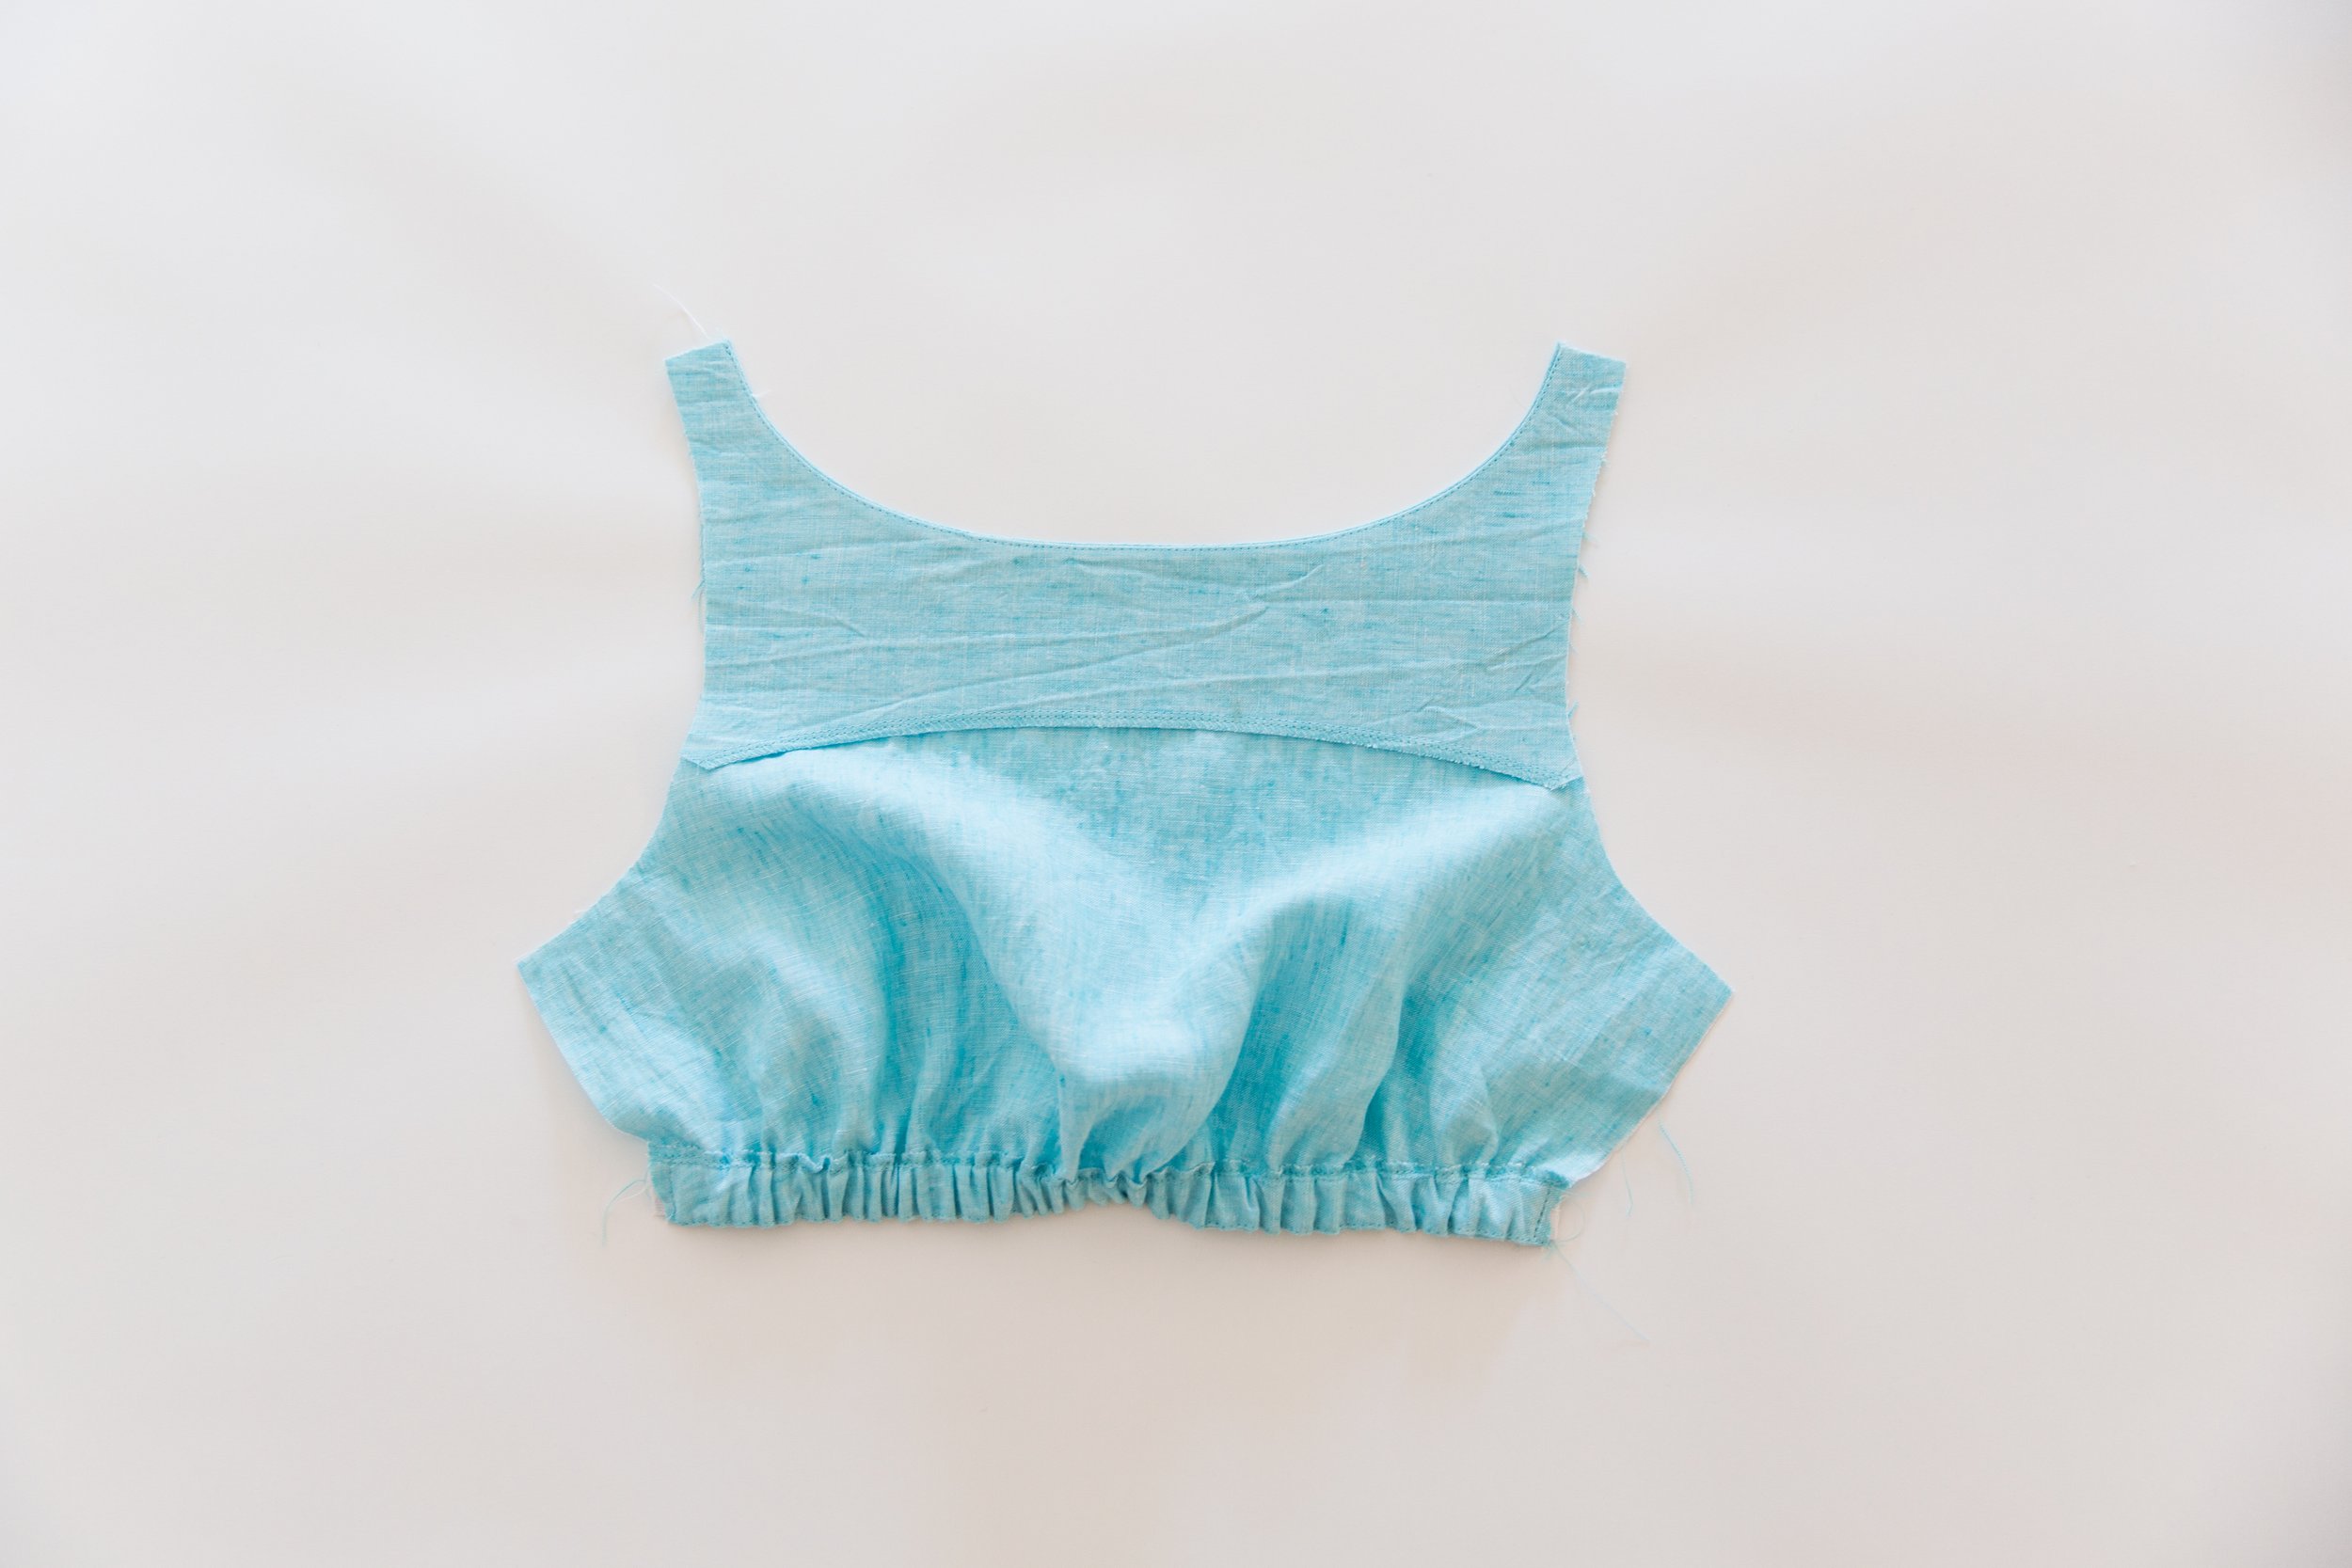
Step 6
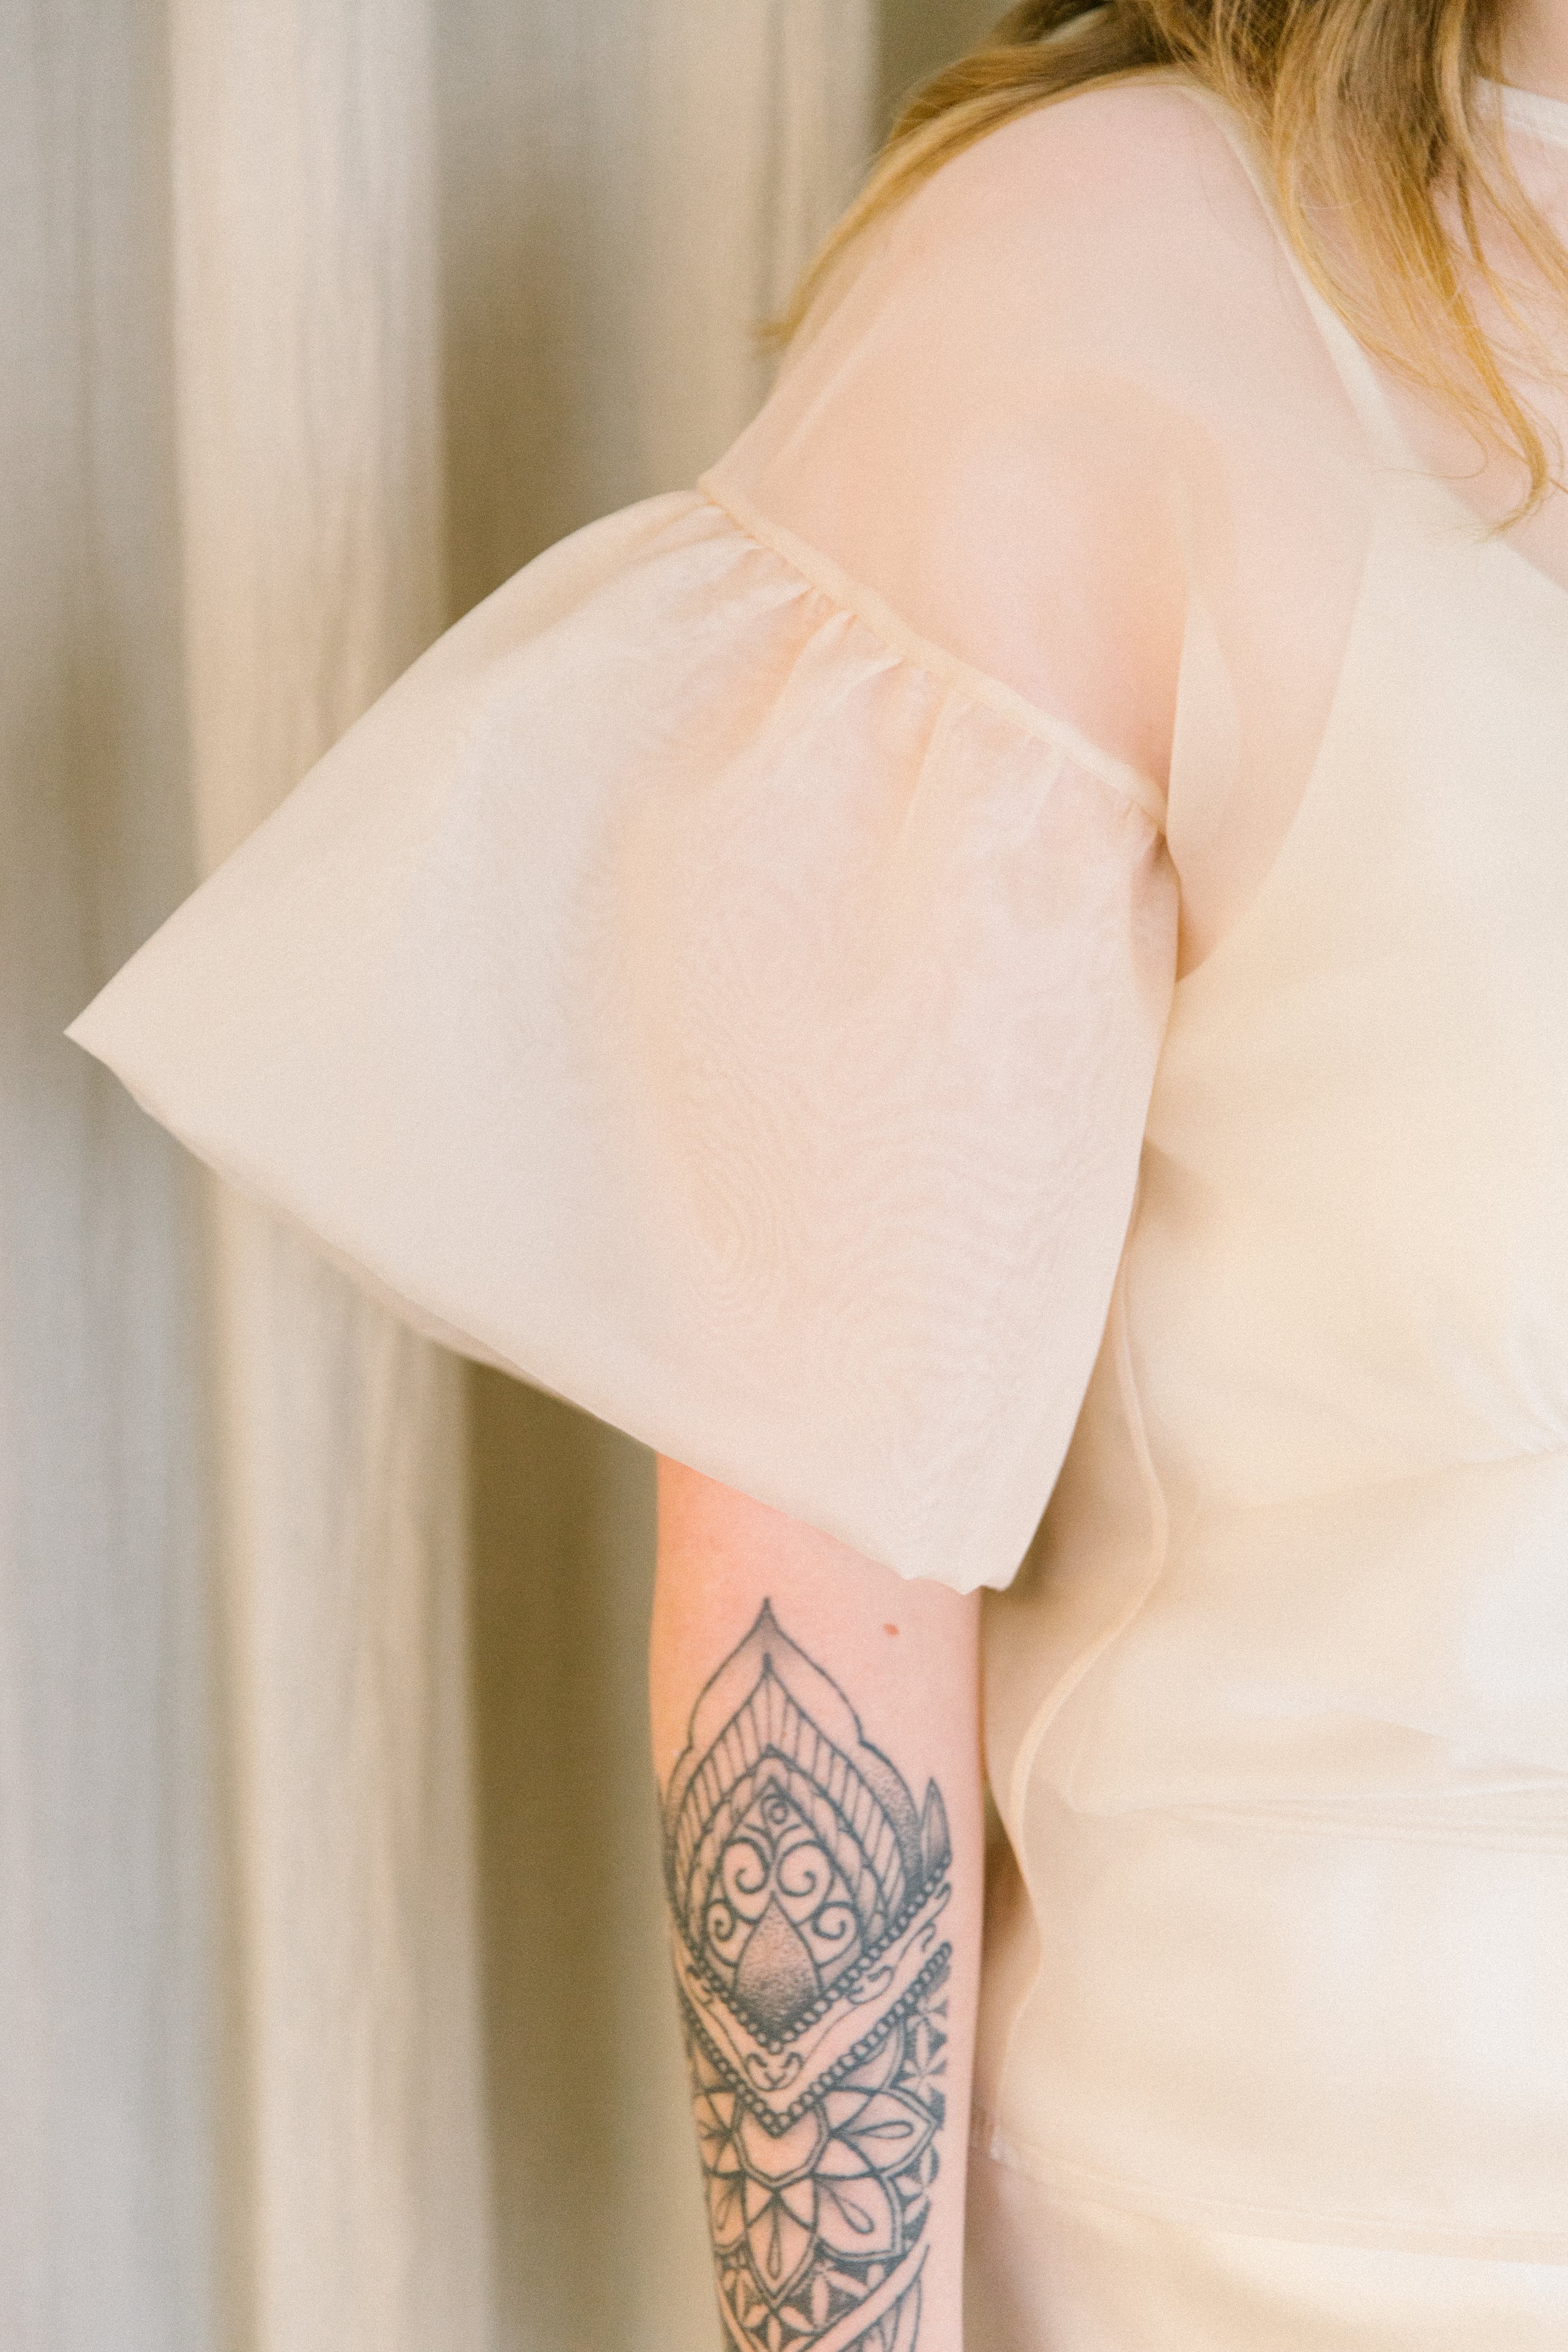
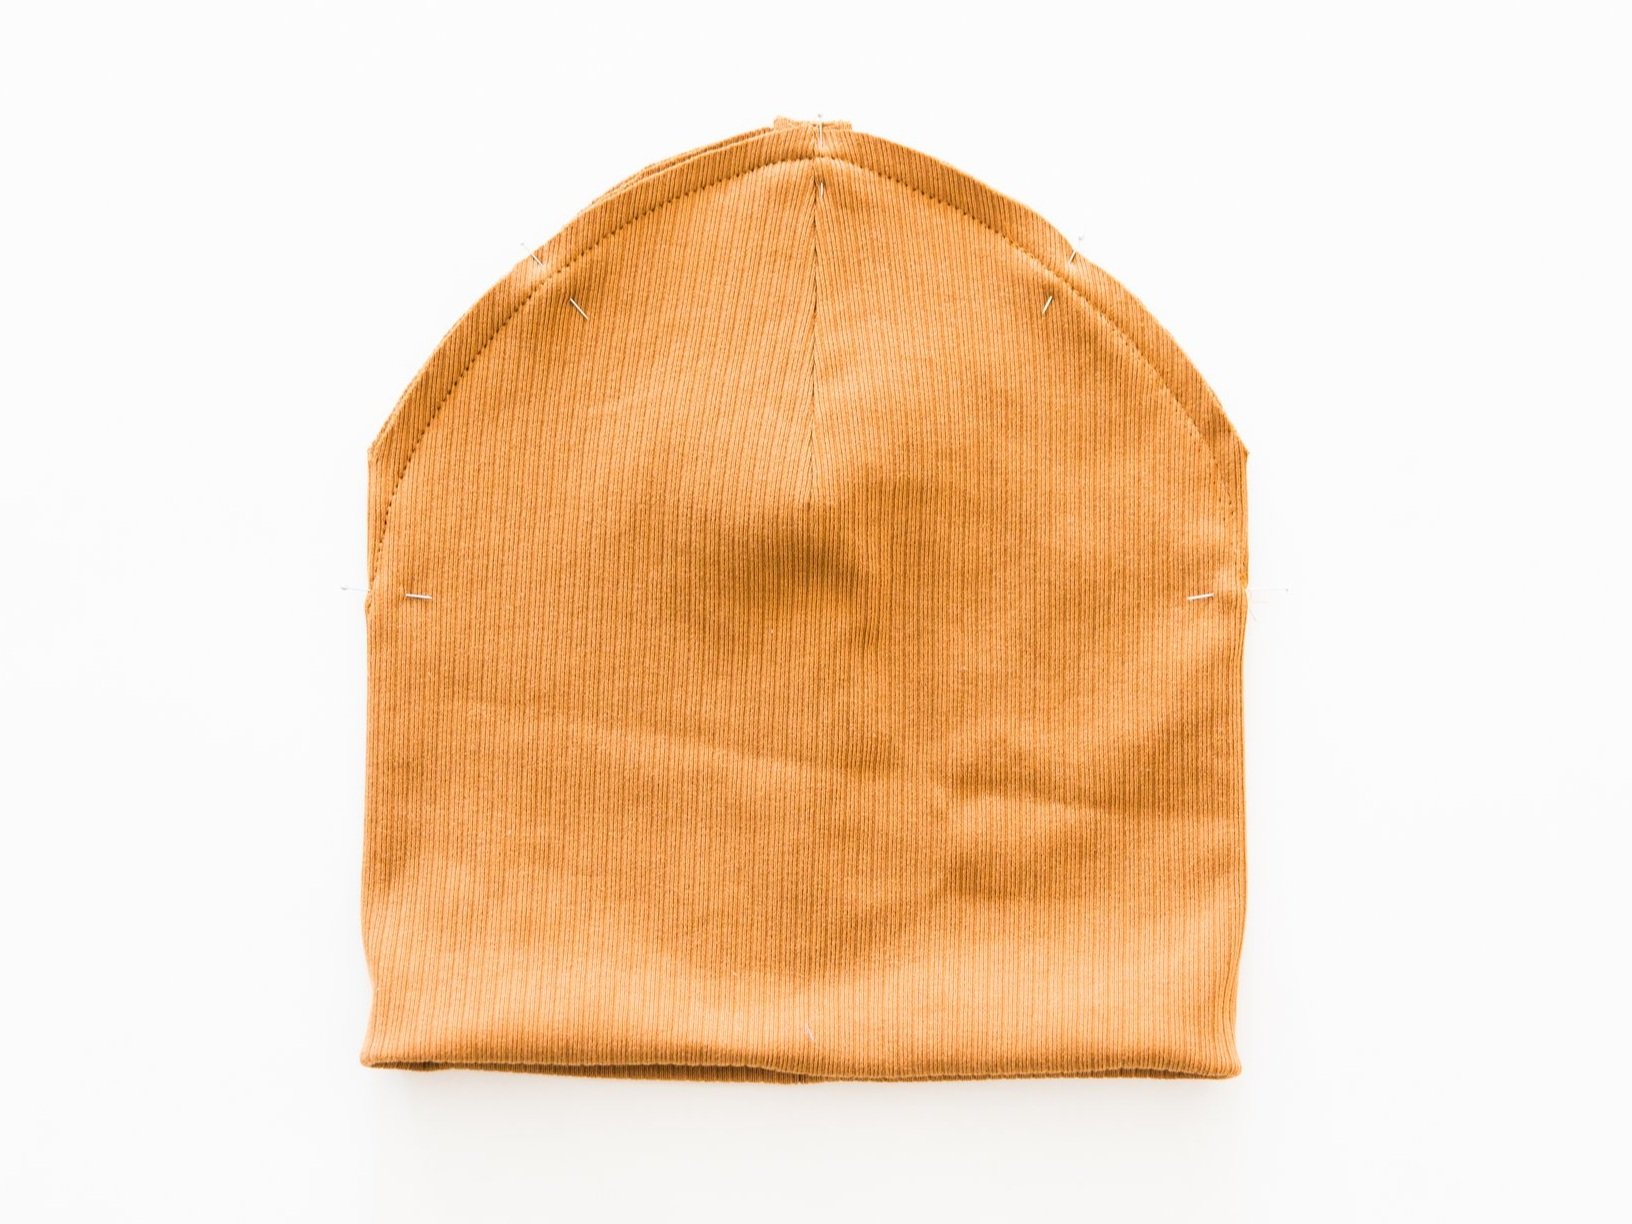
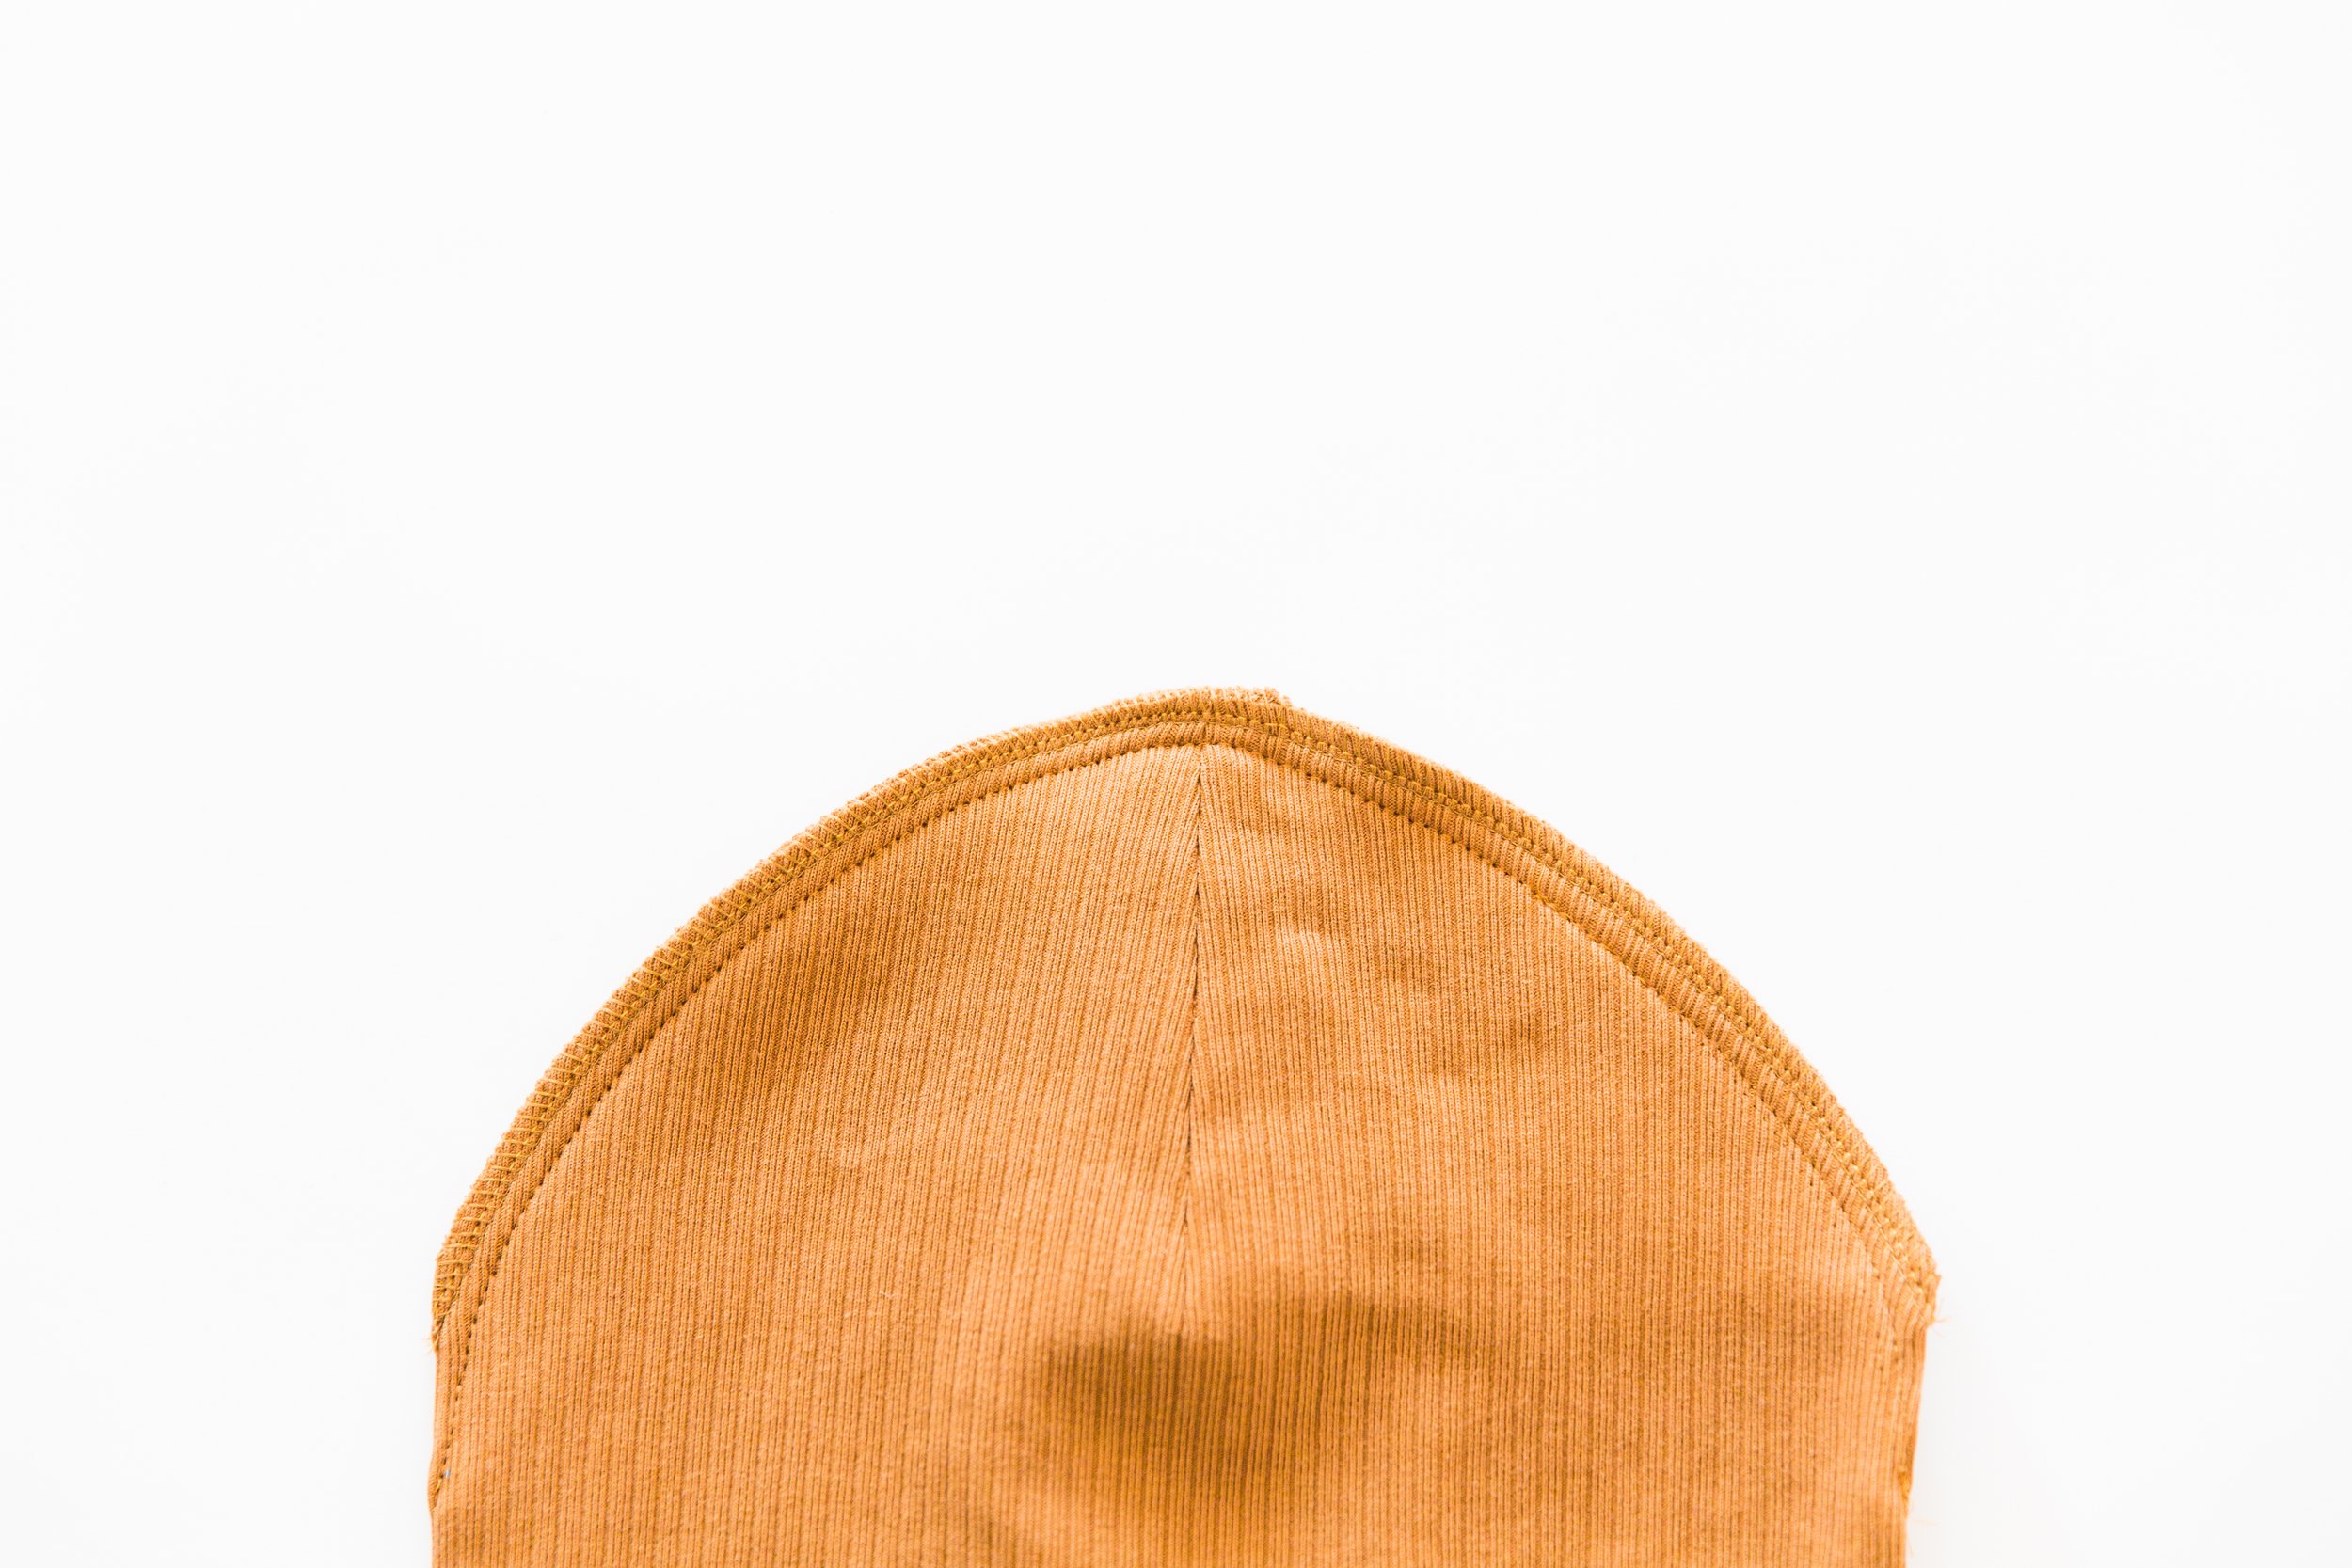
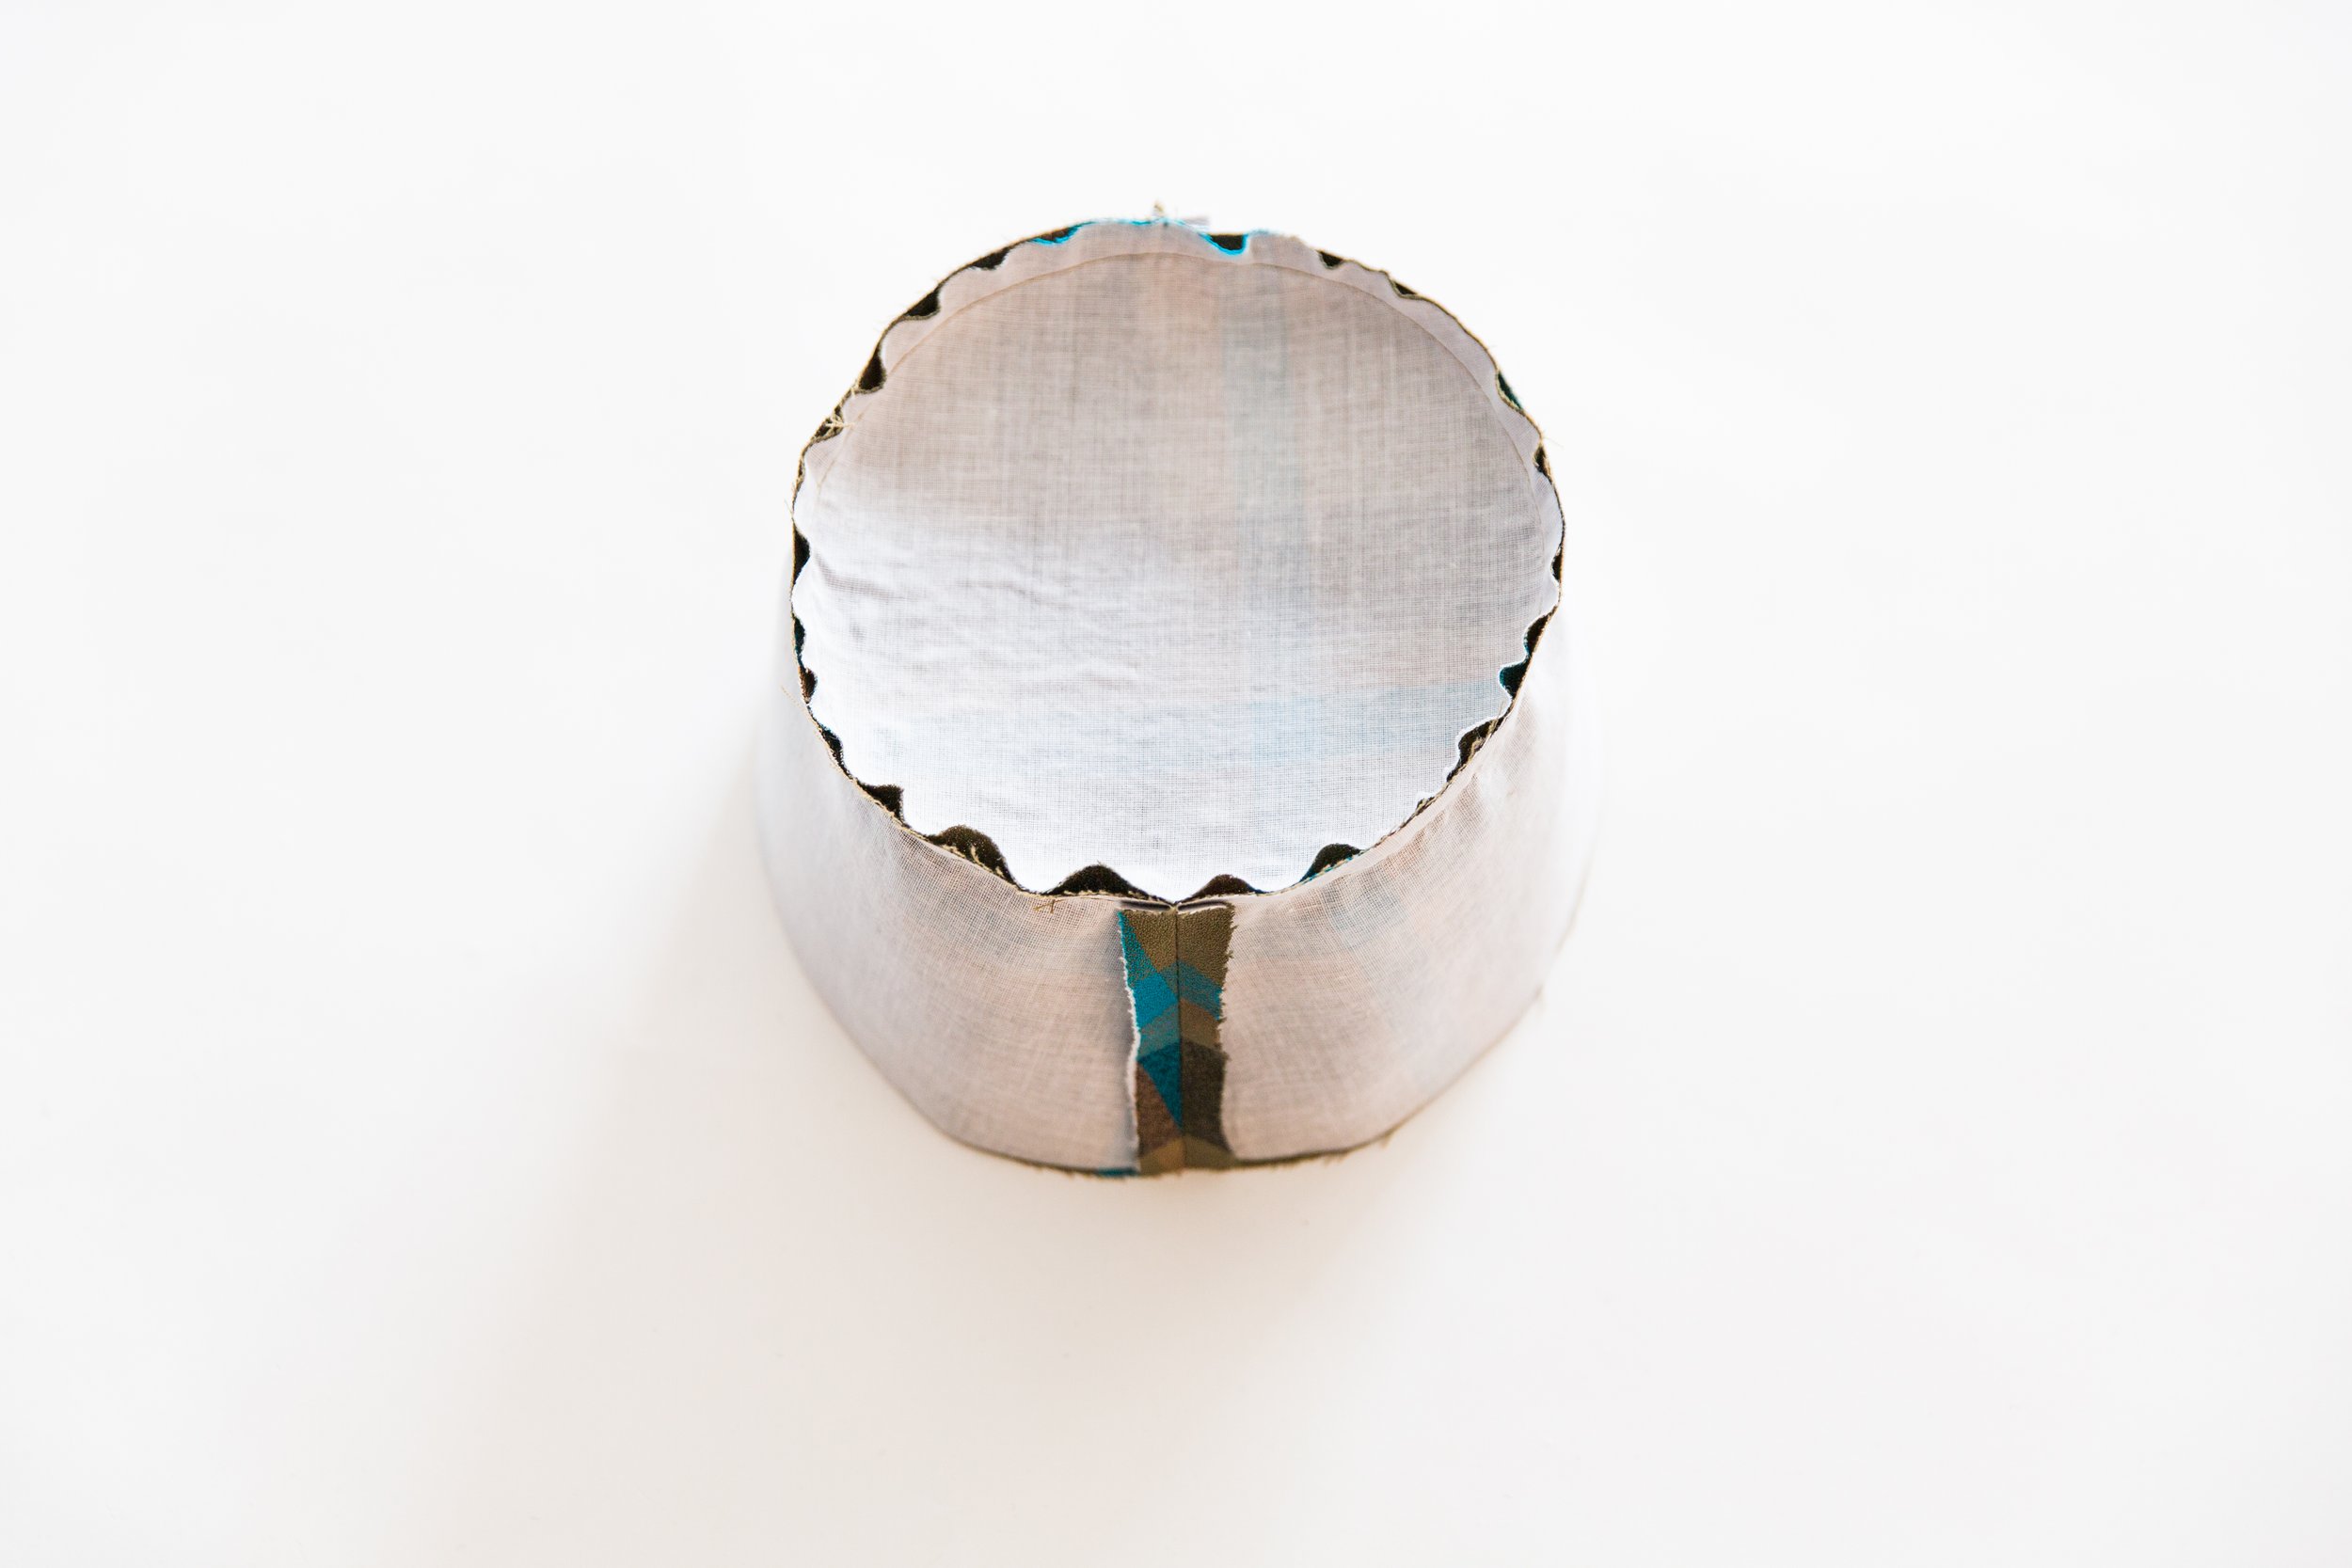
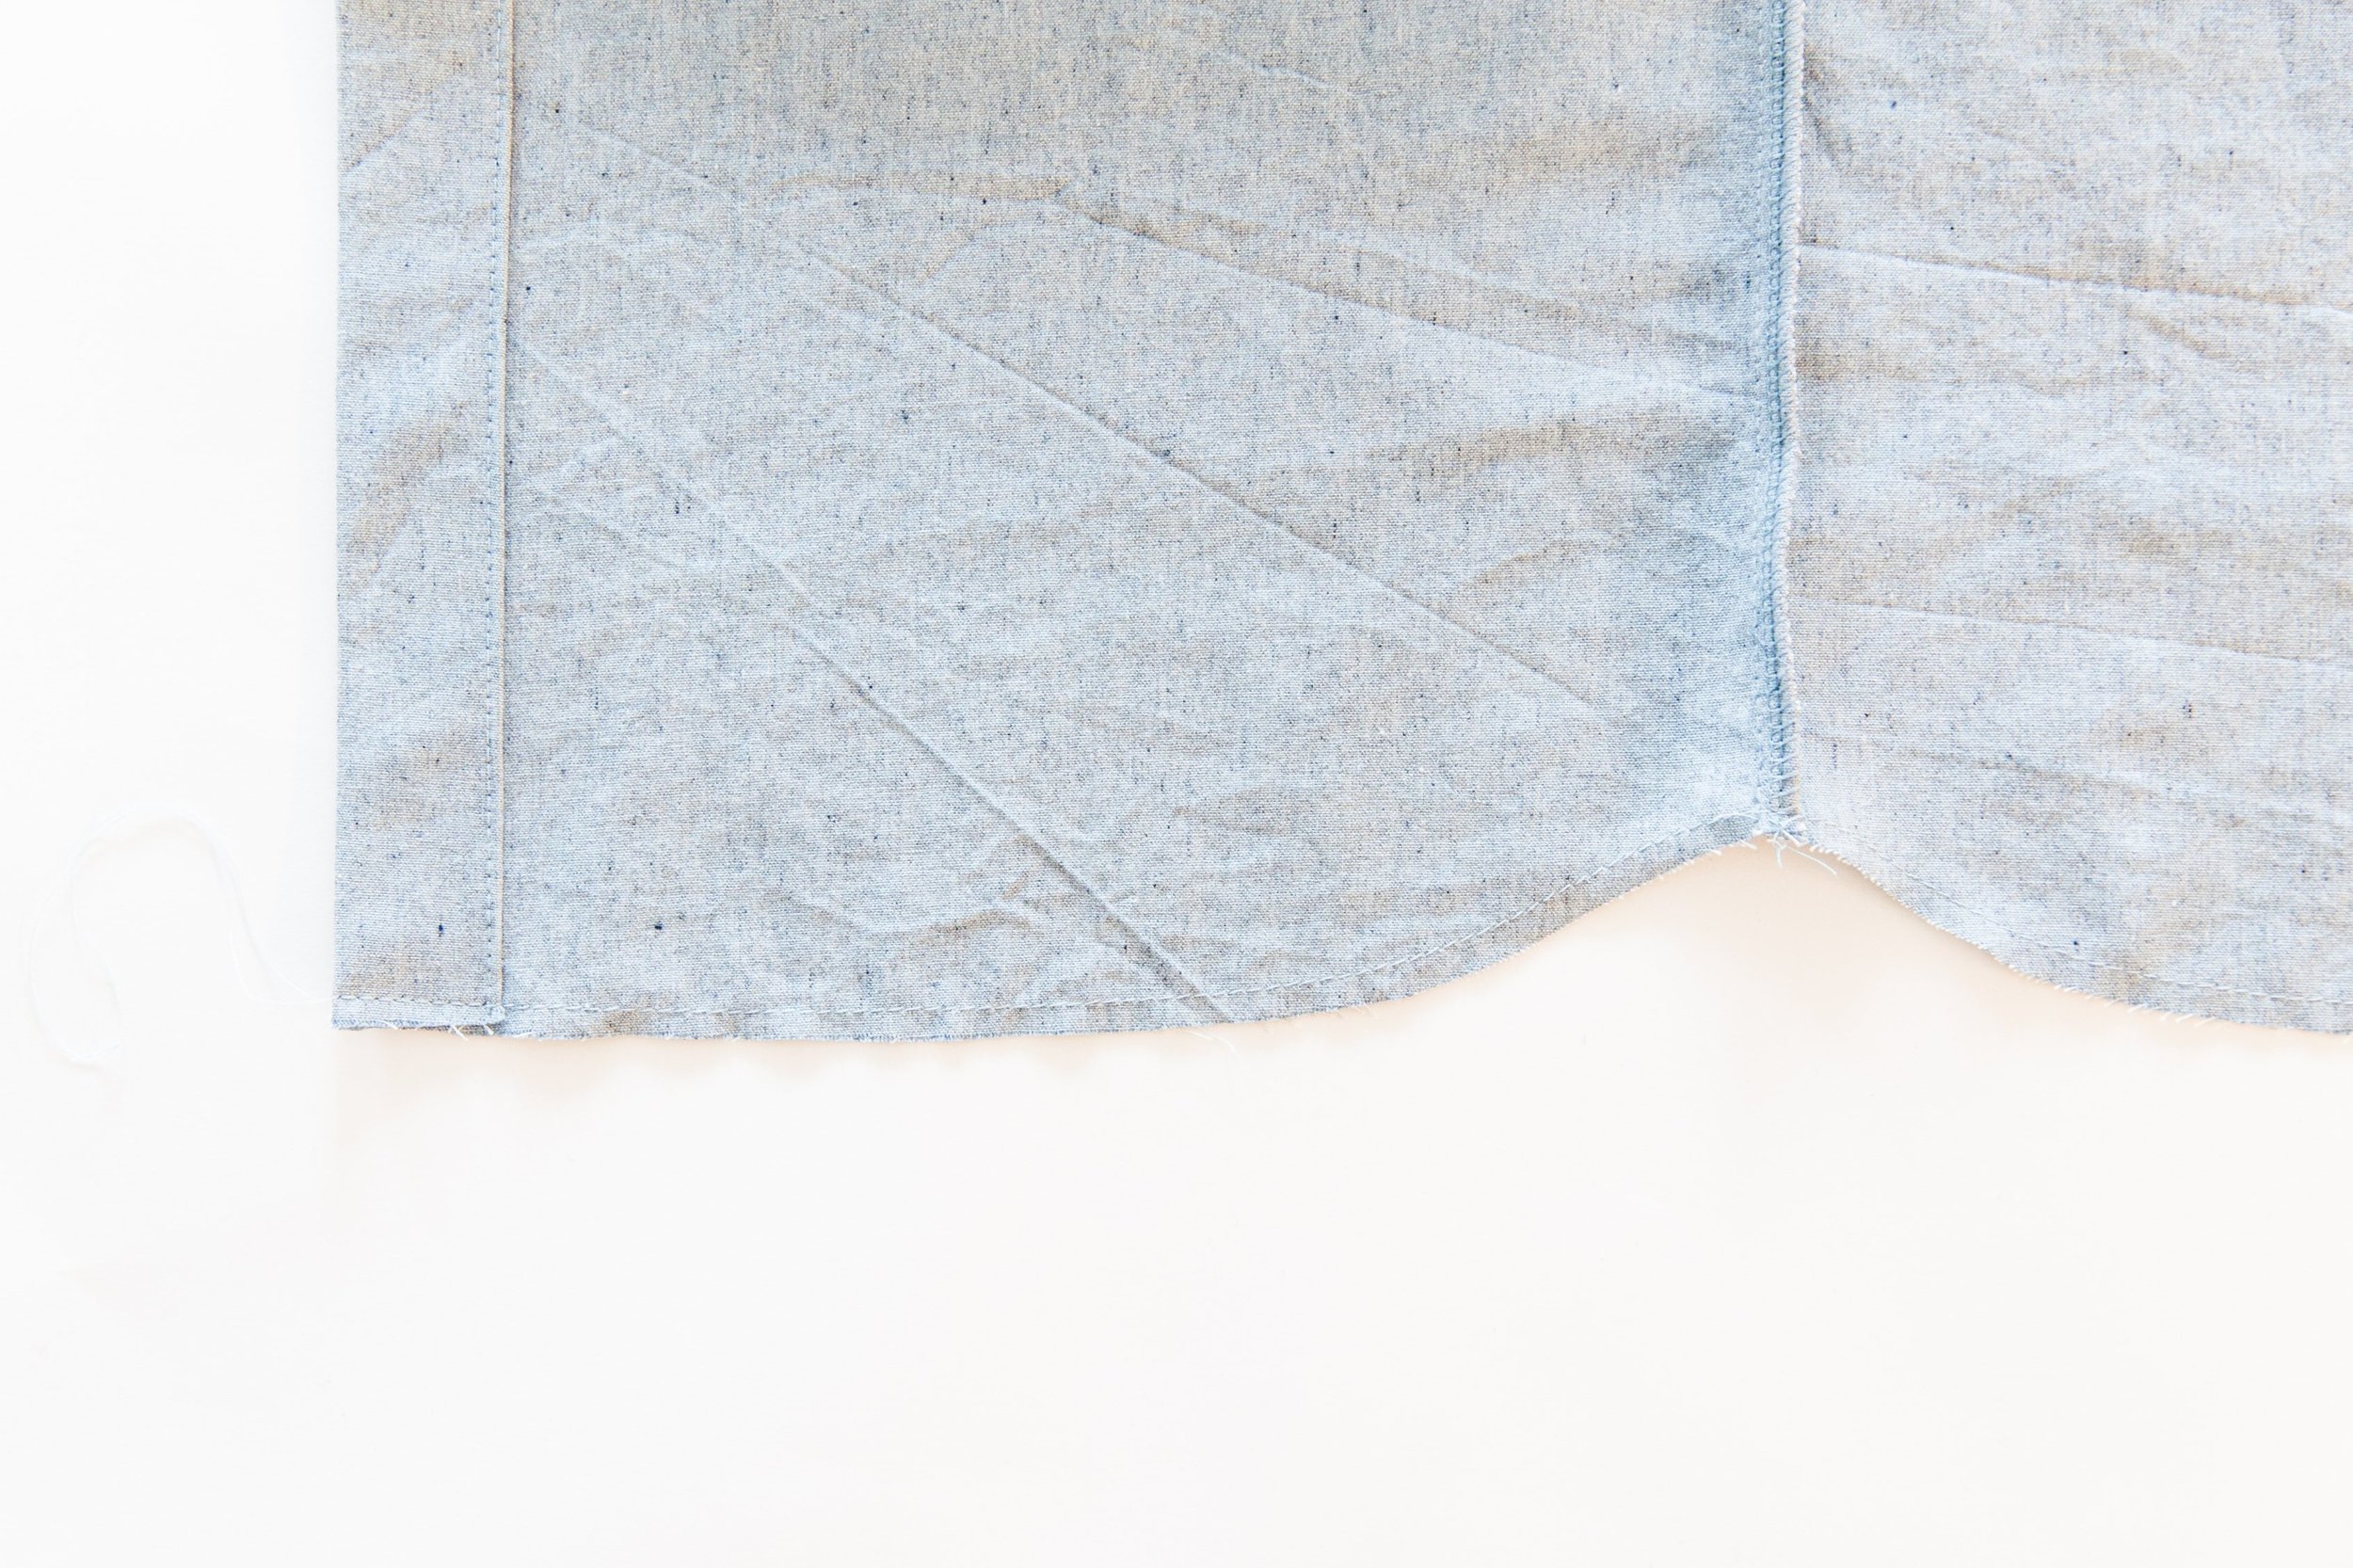
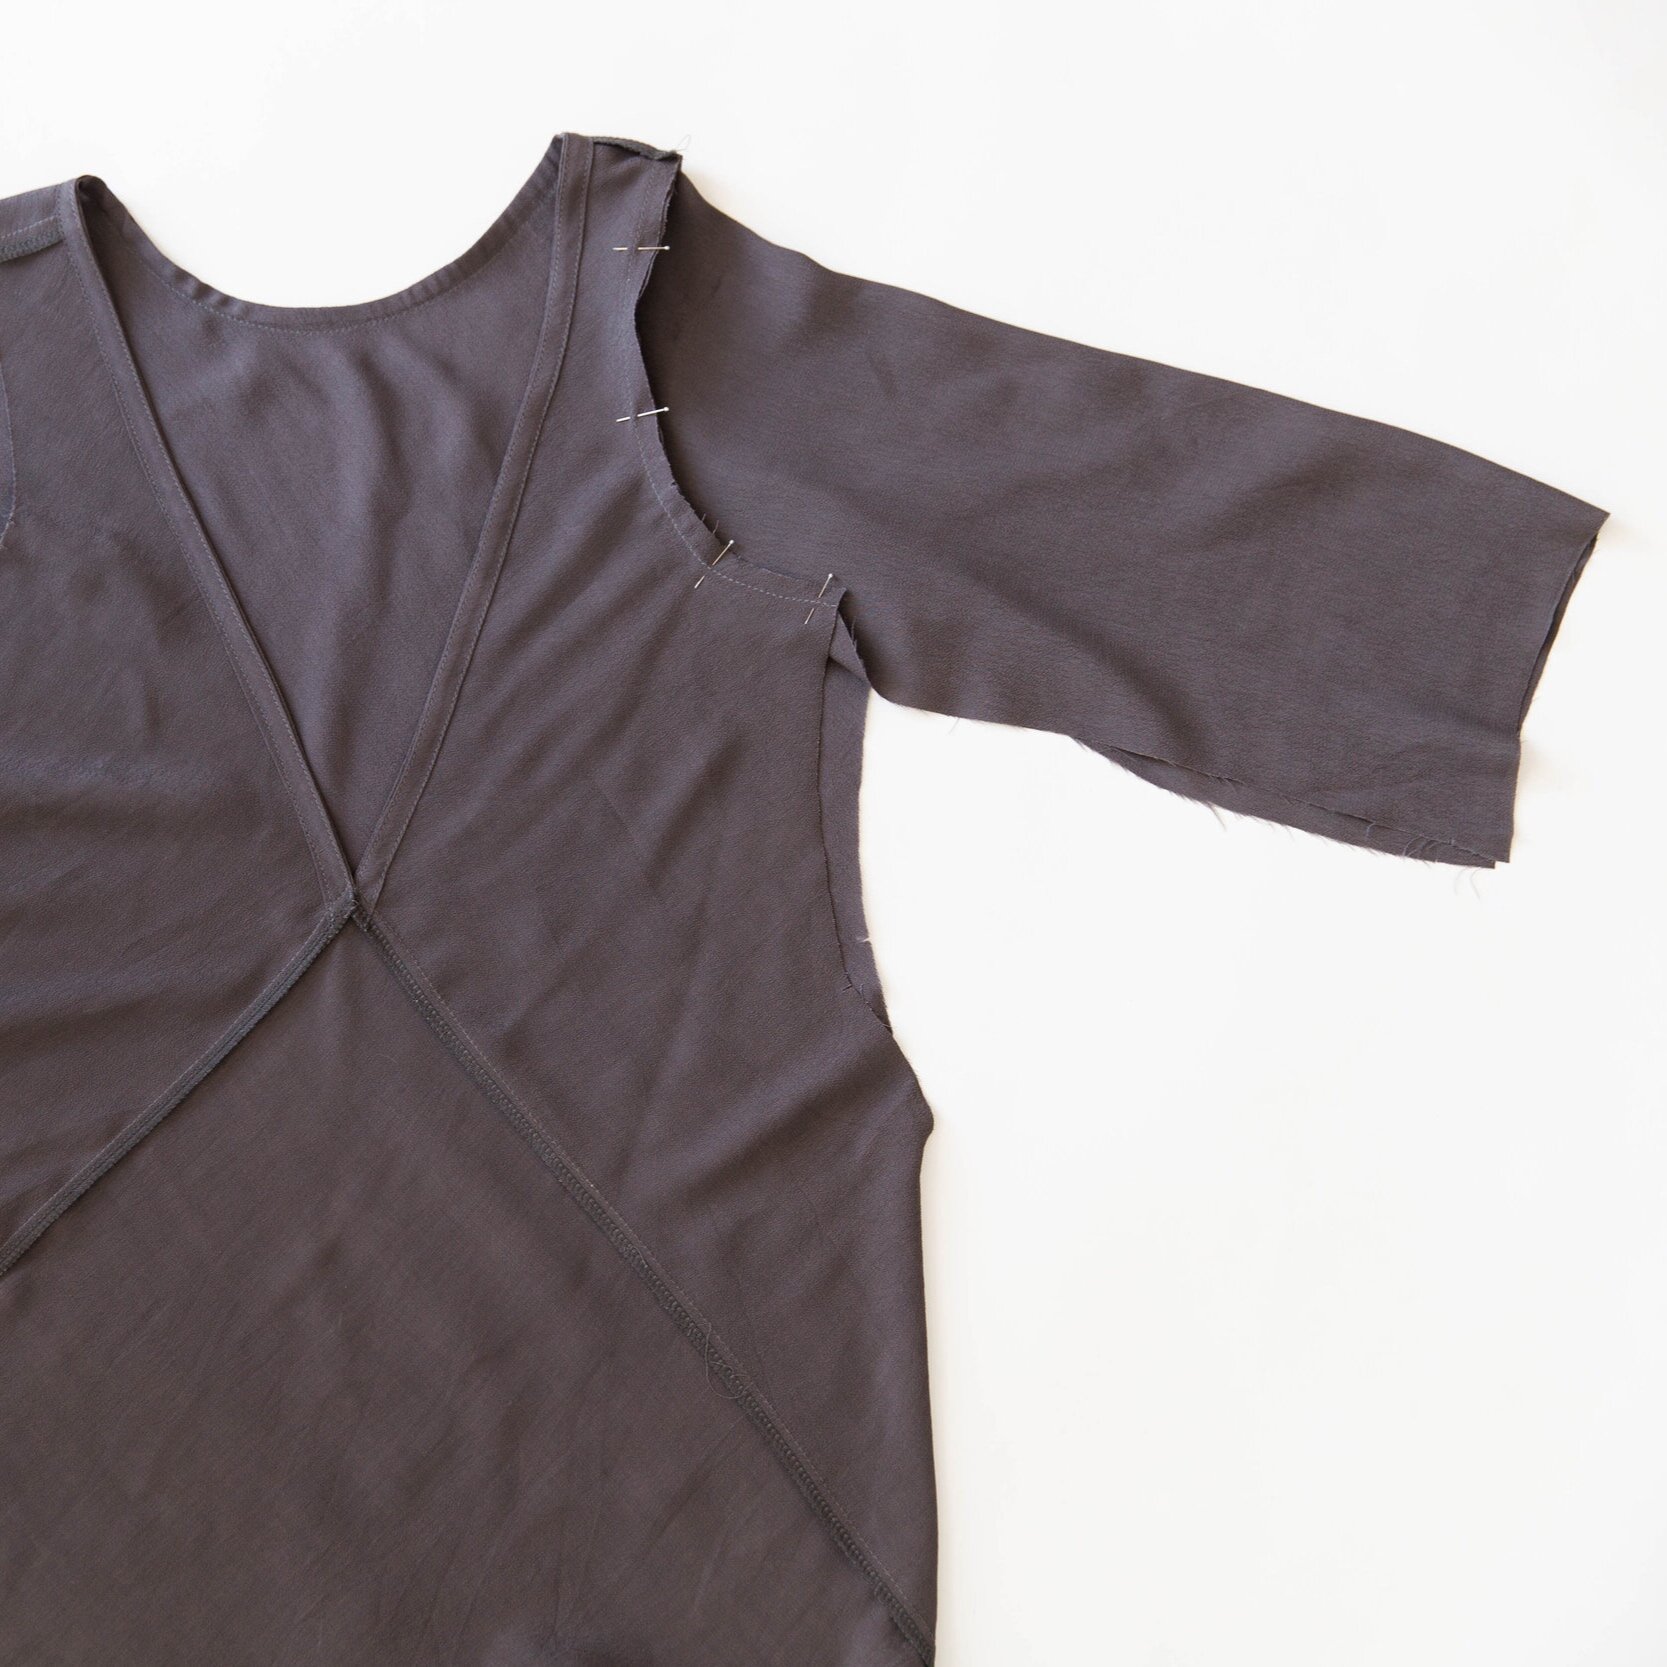
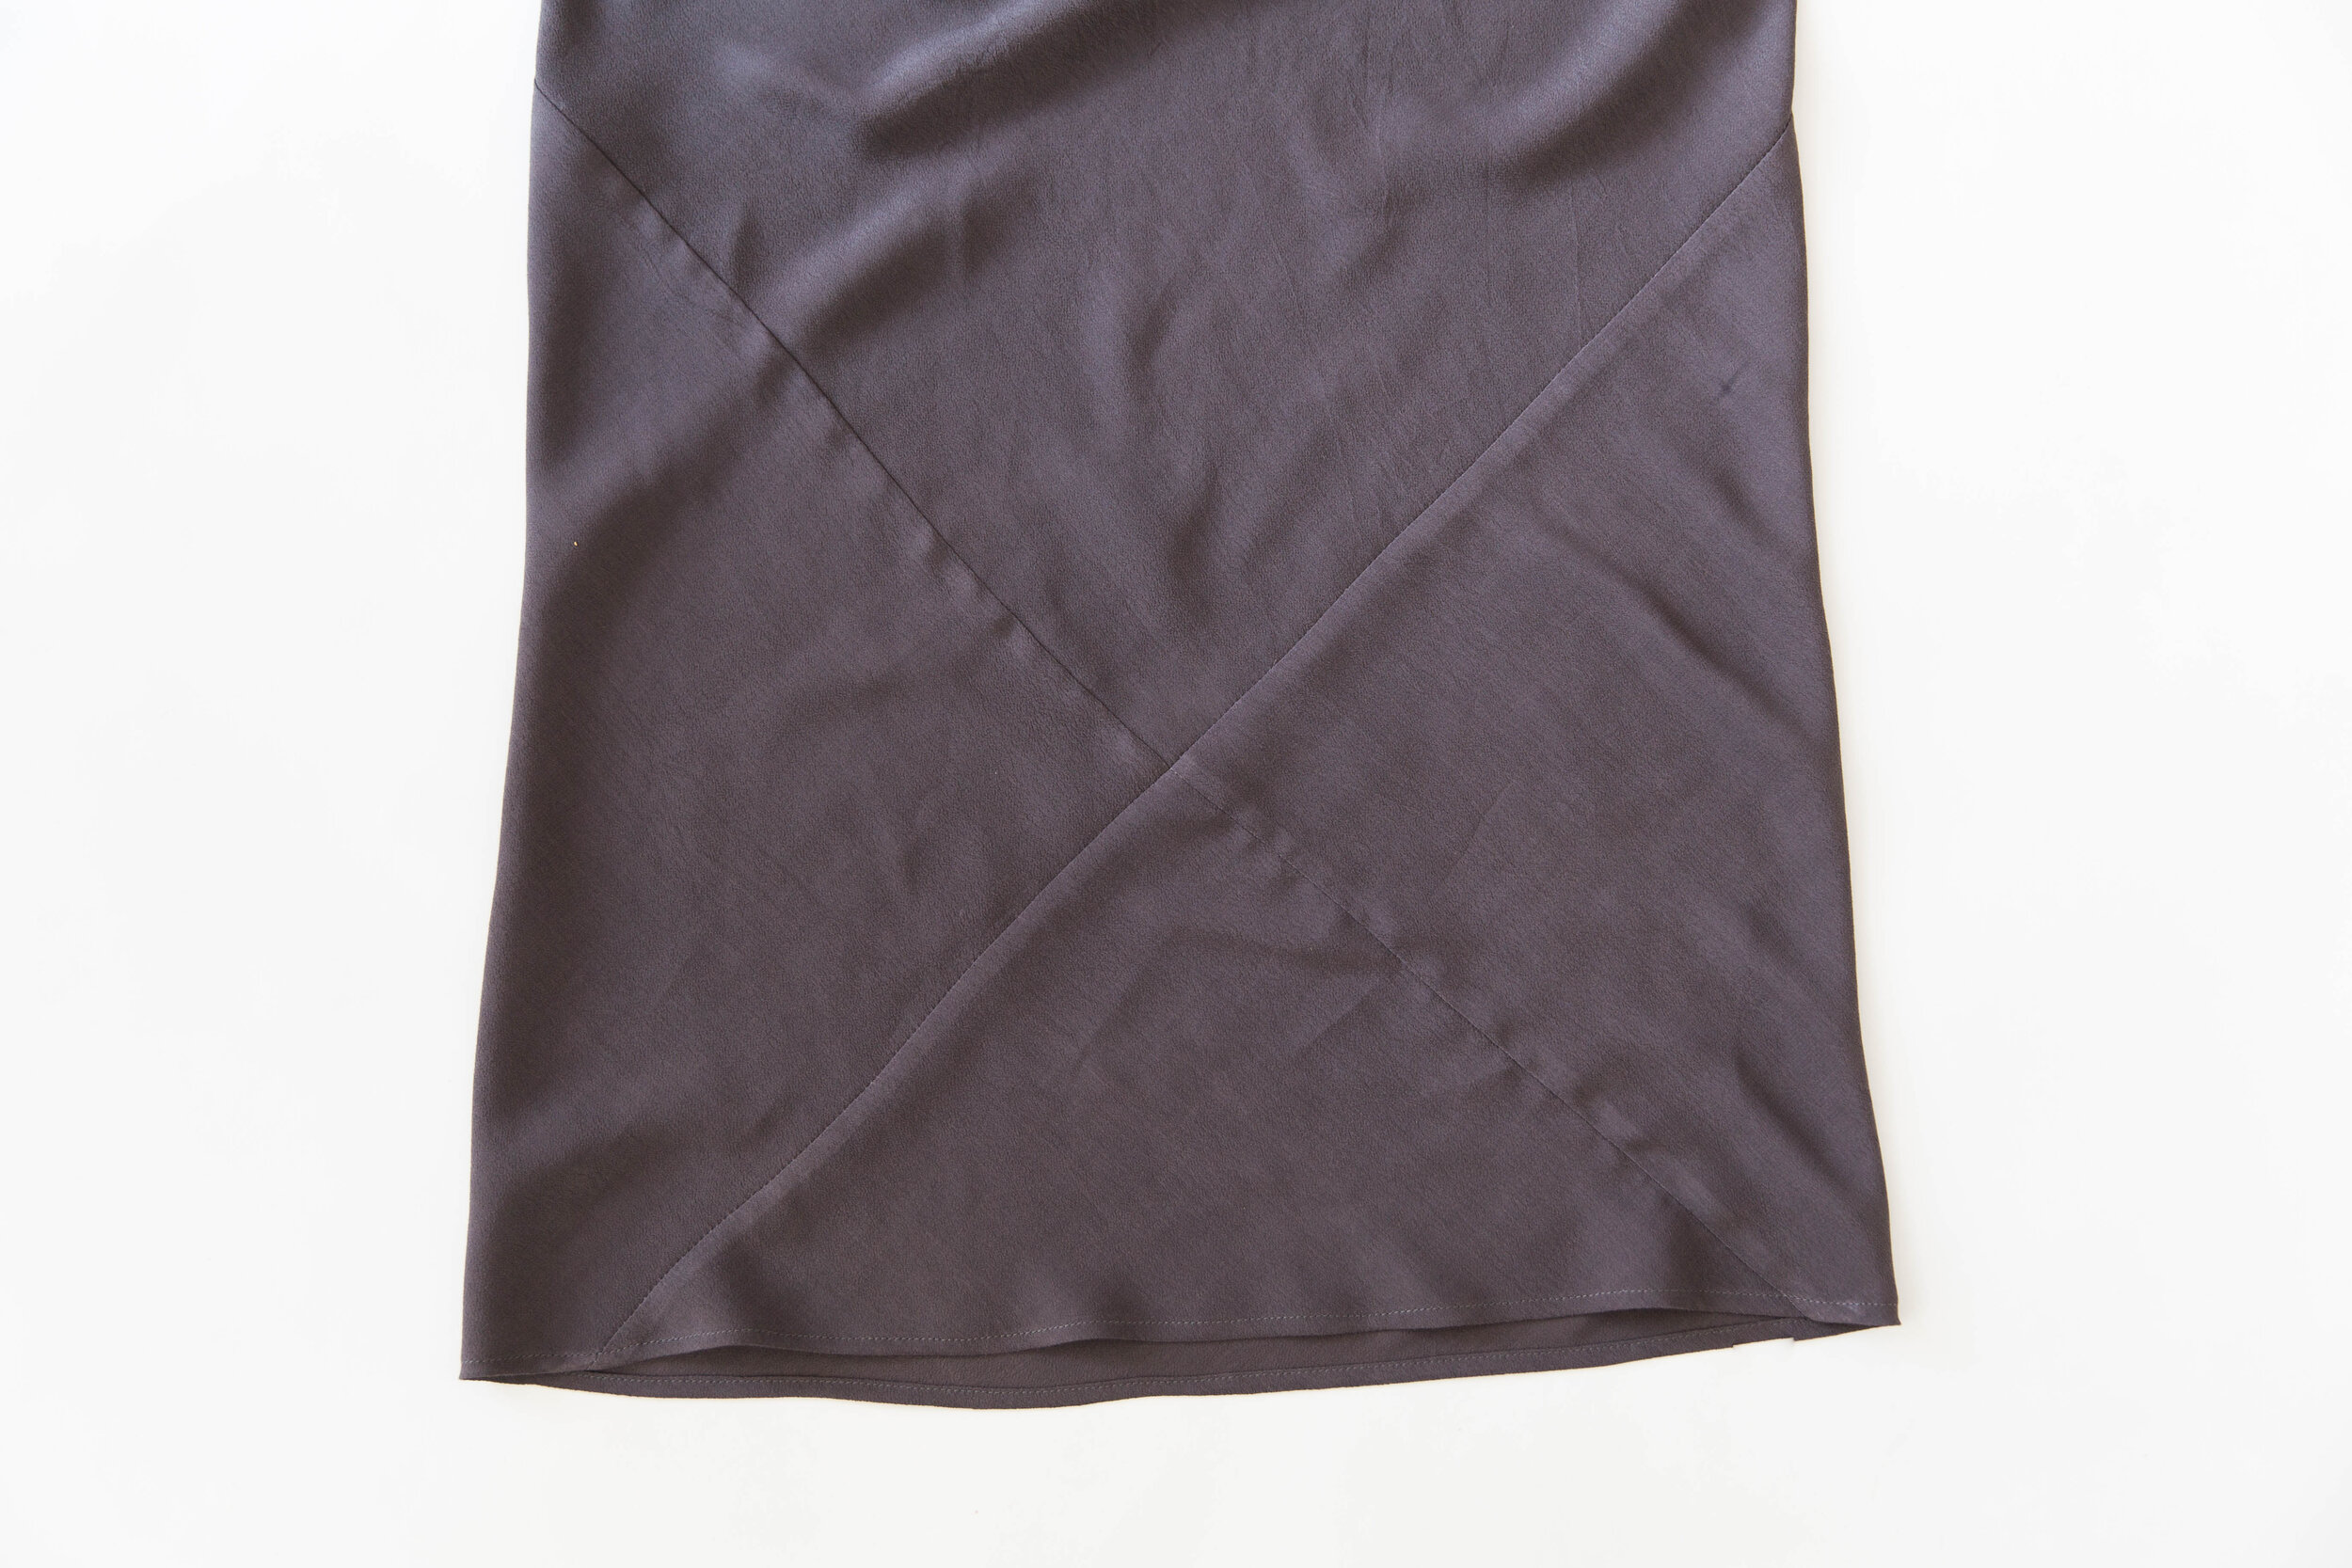
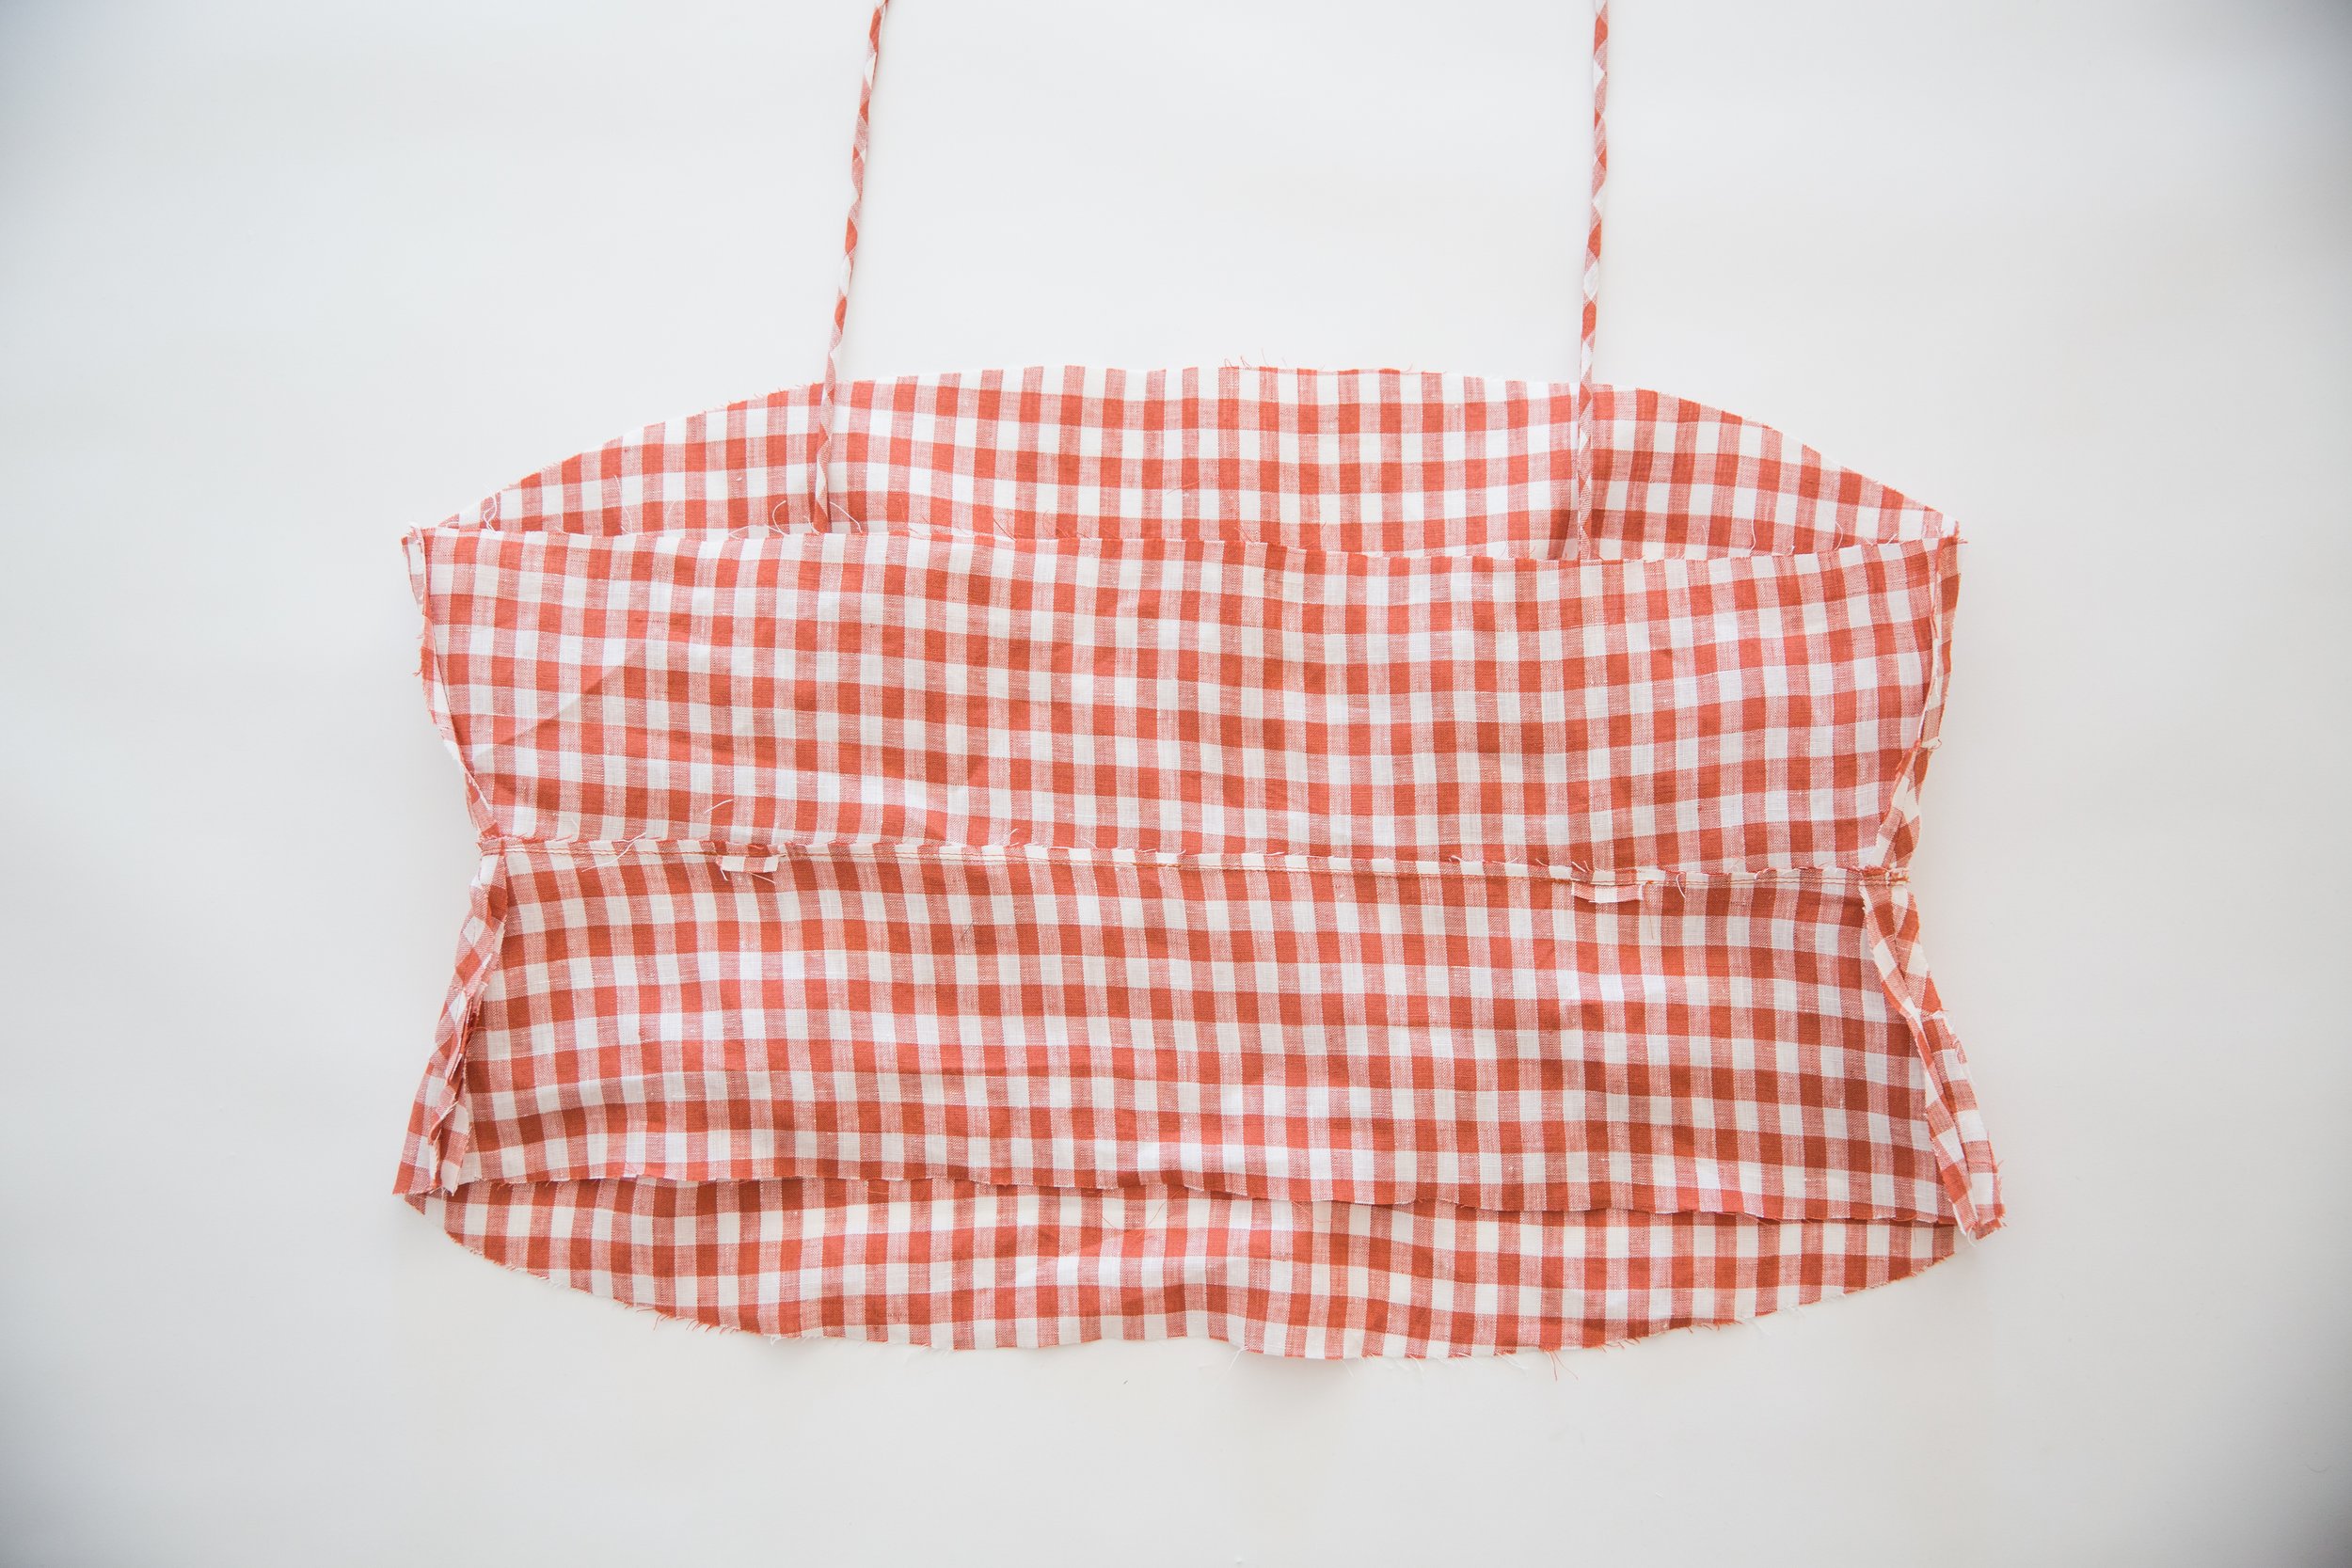
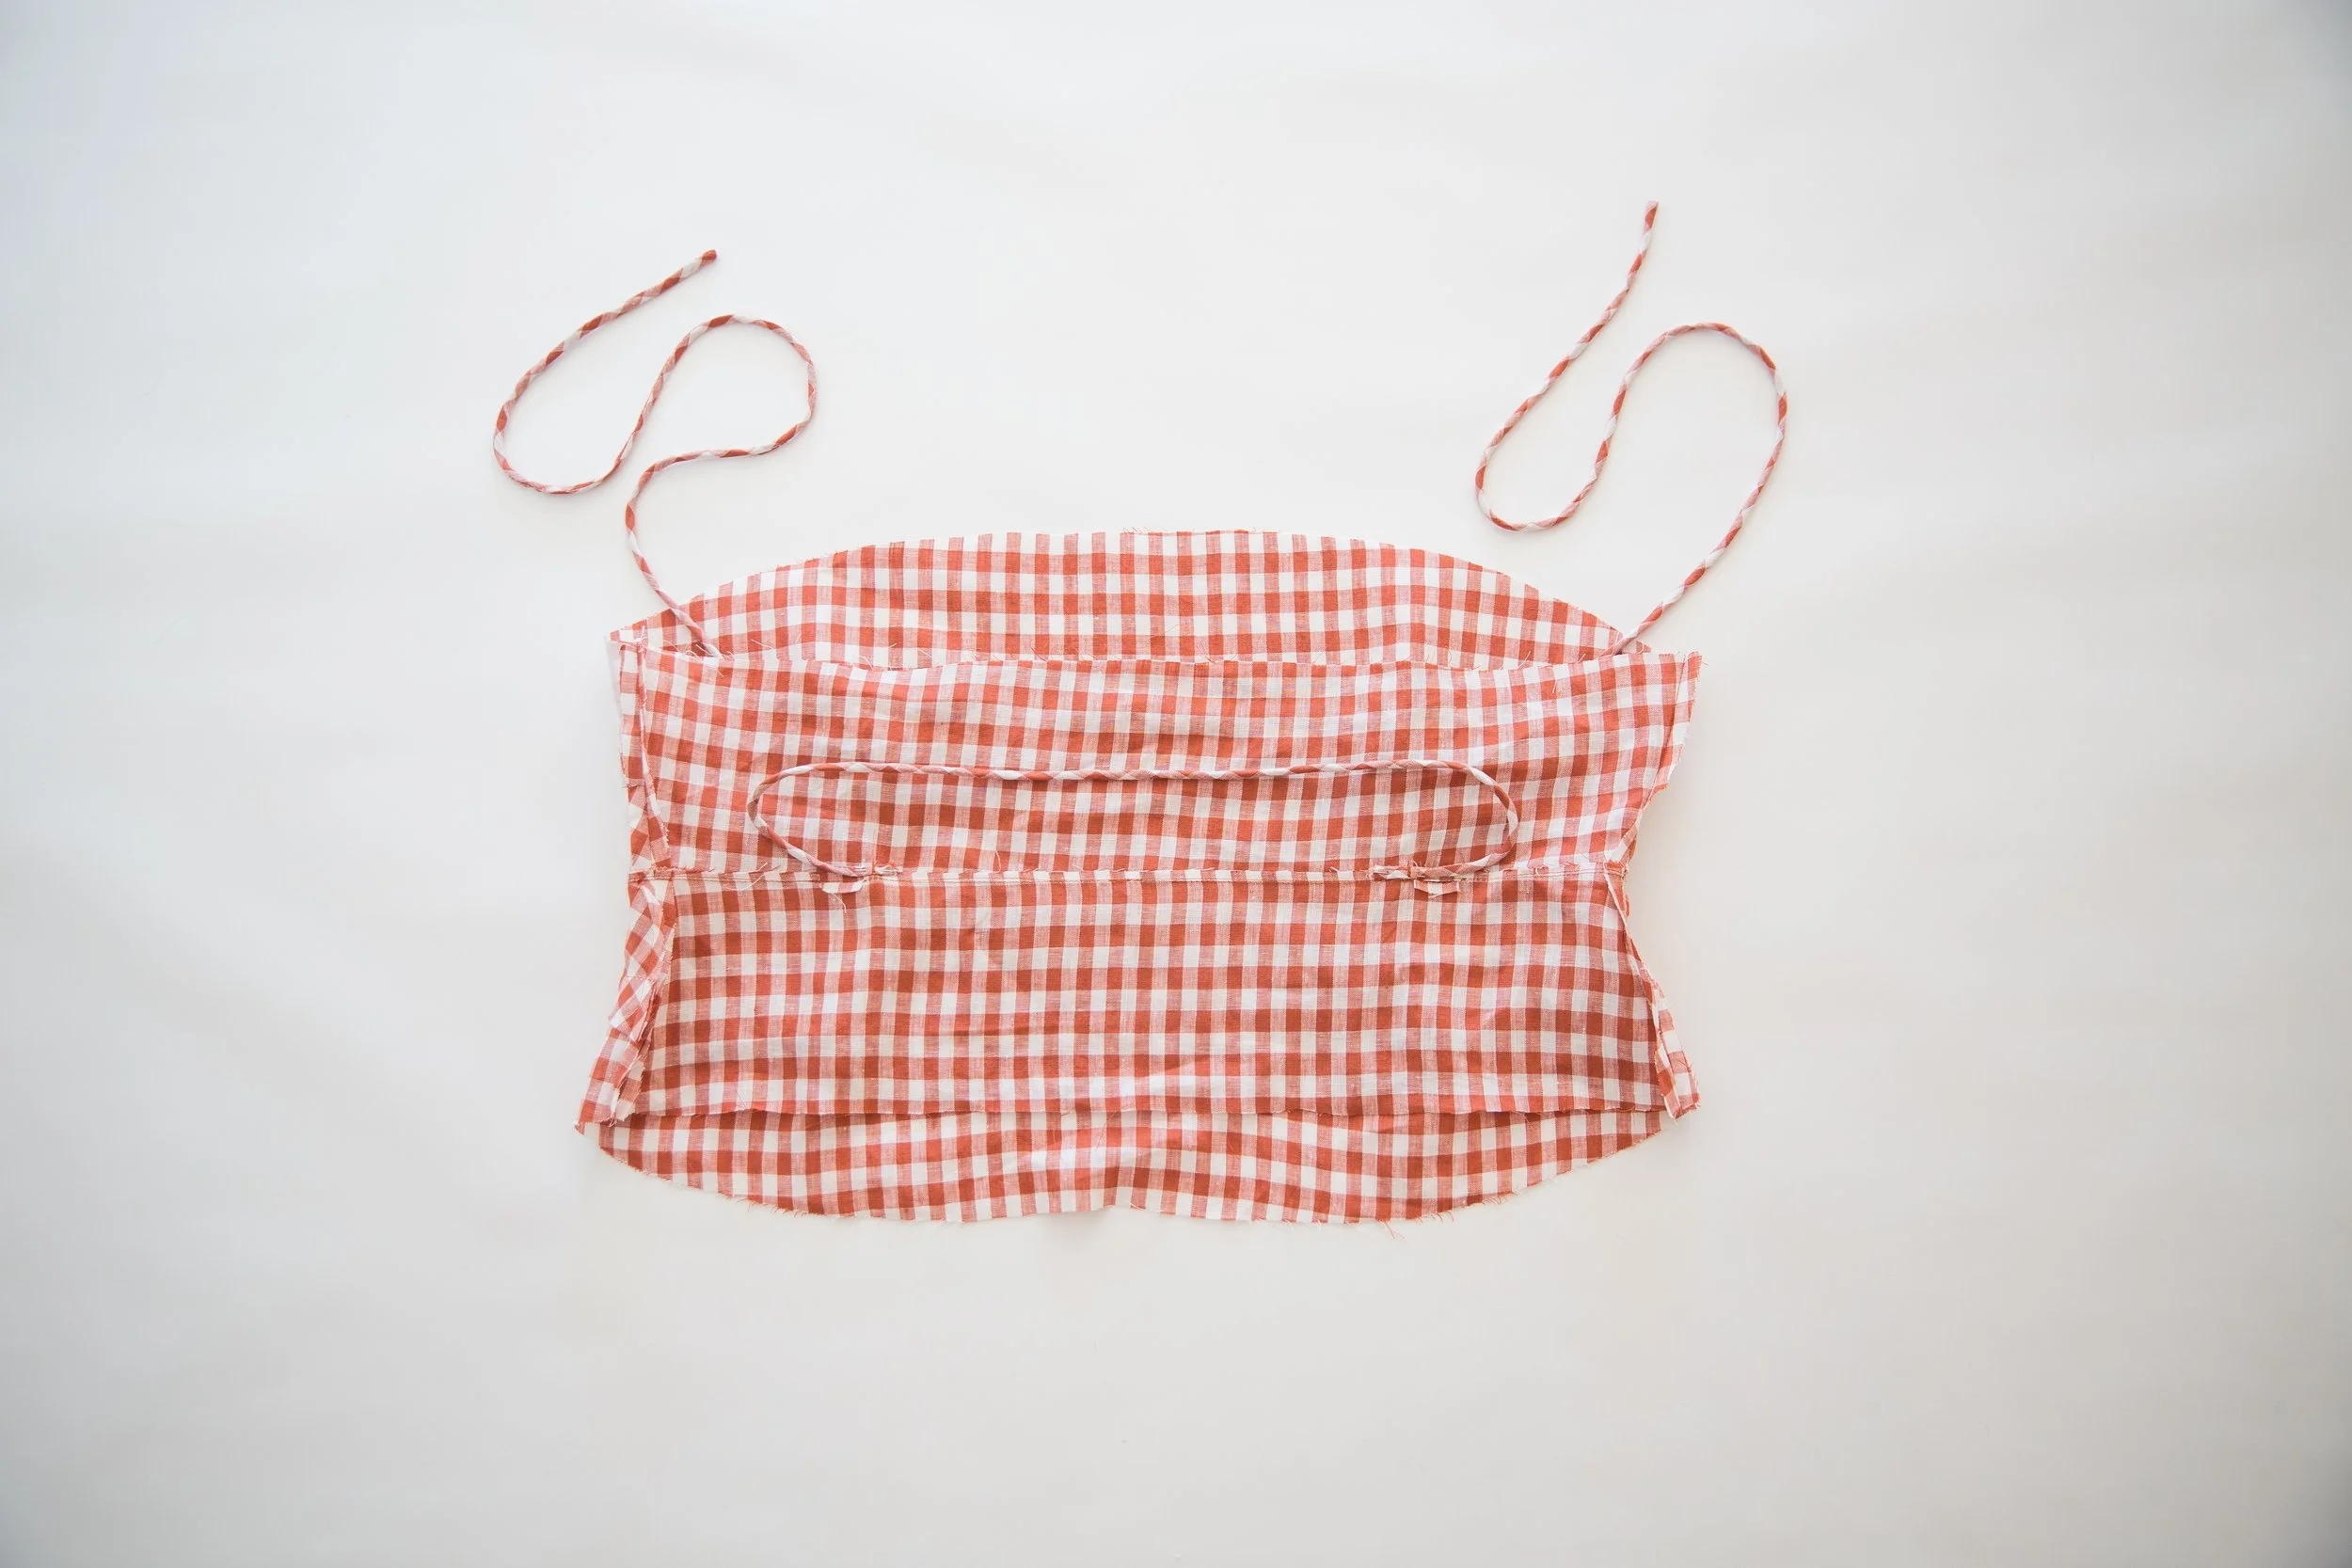
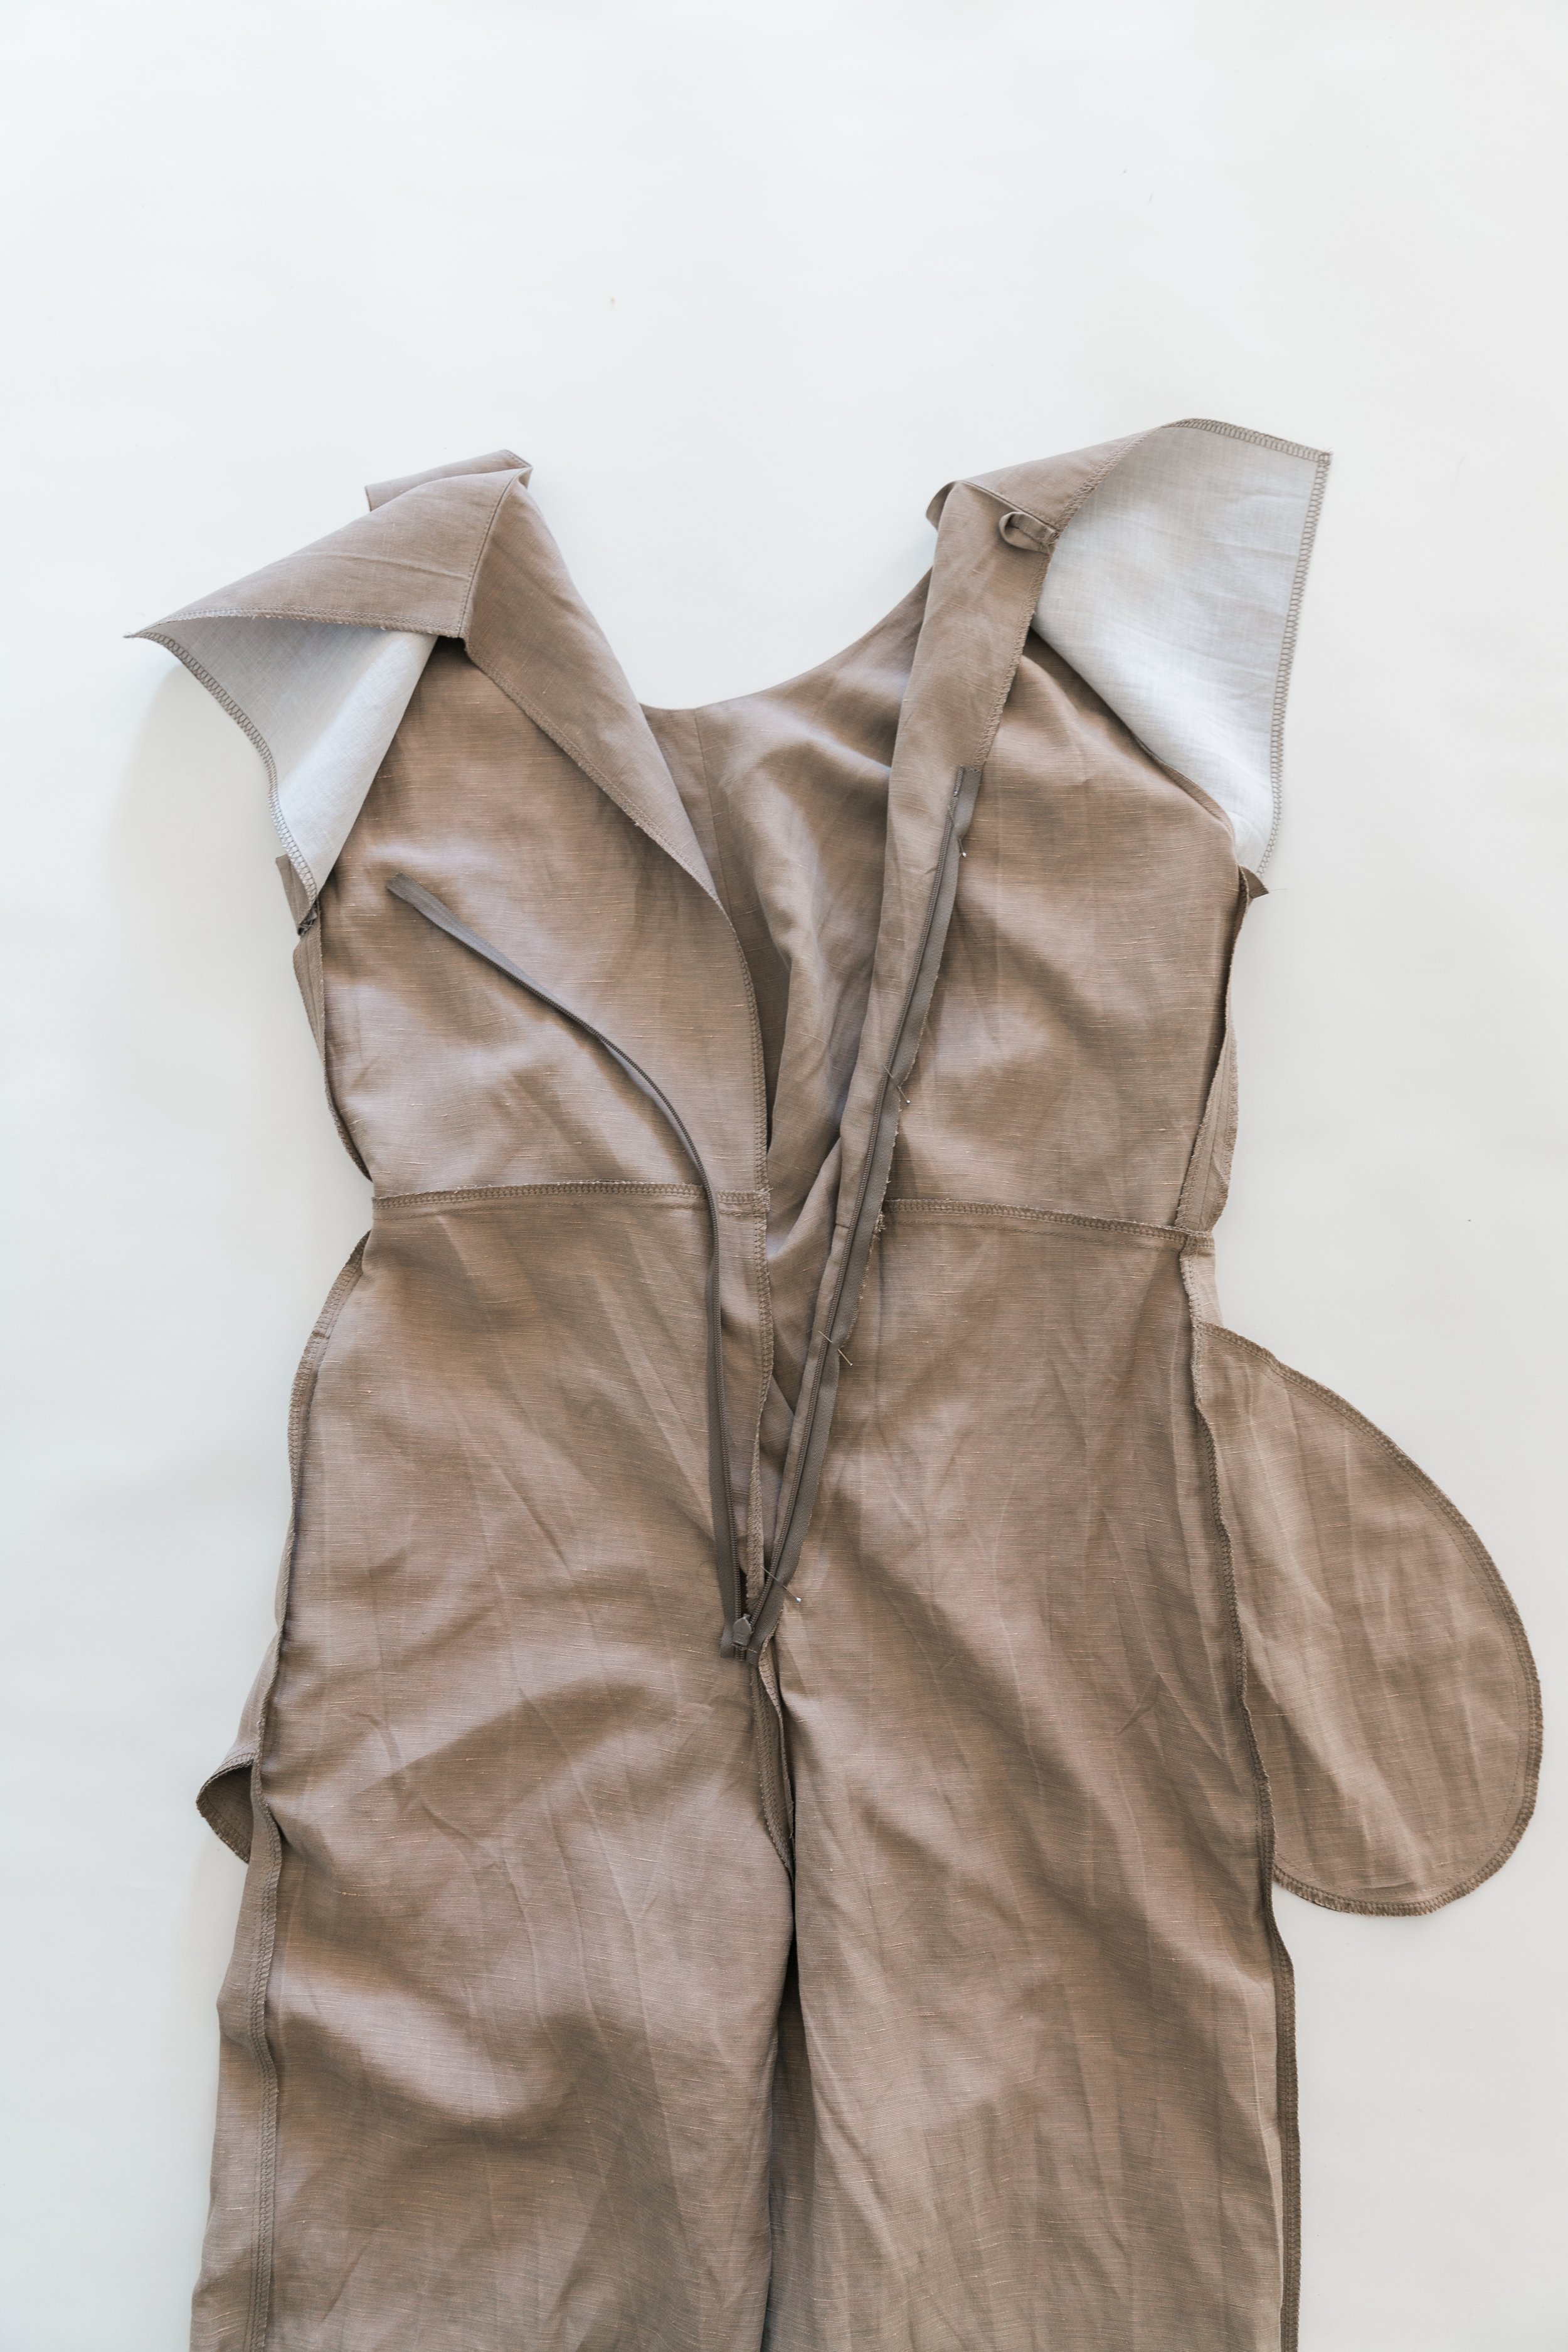
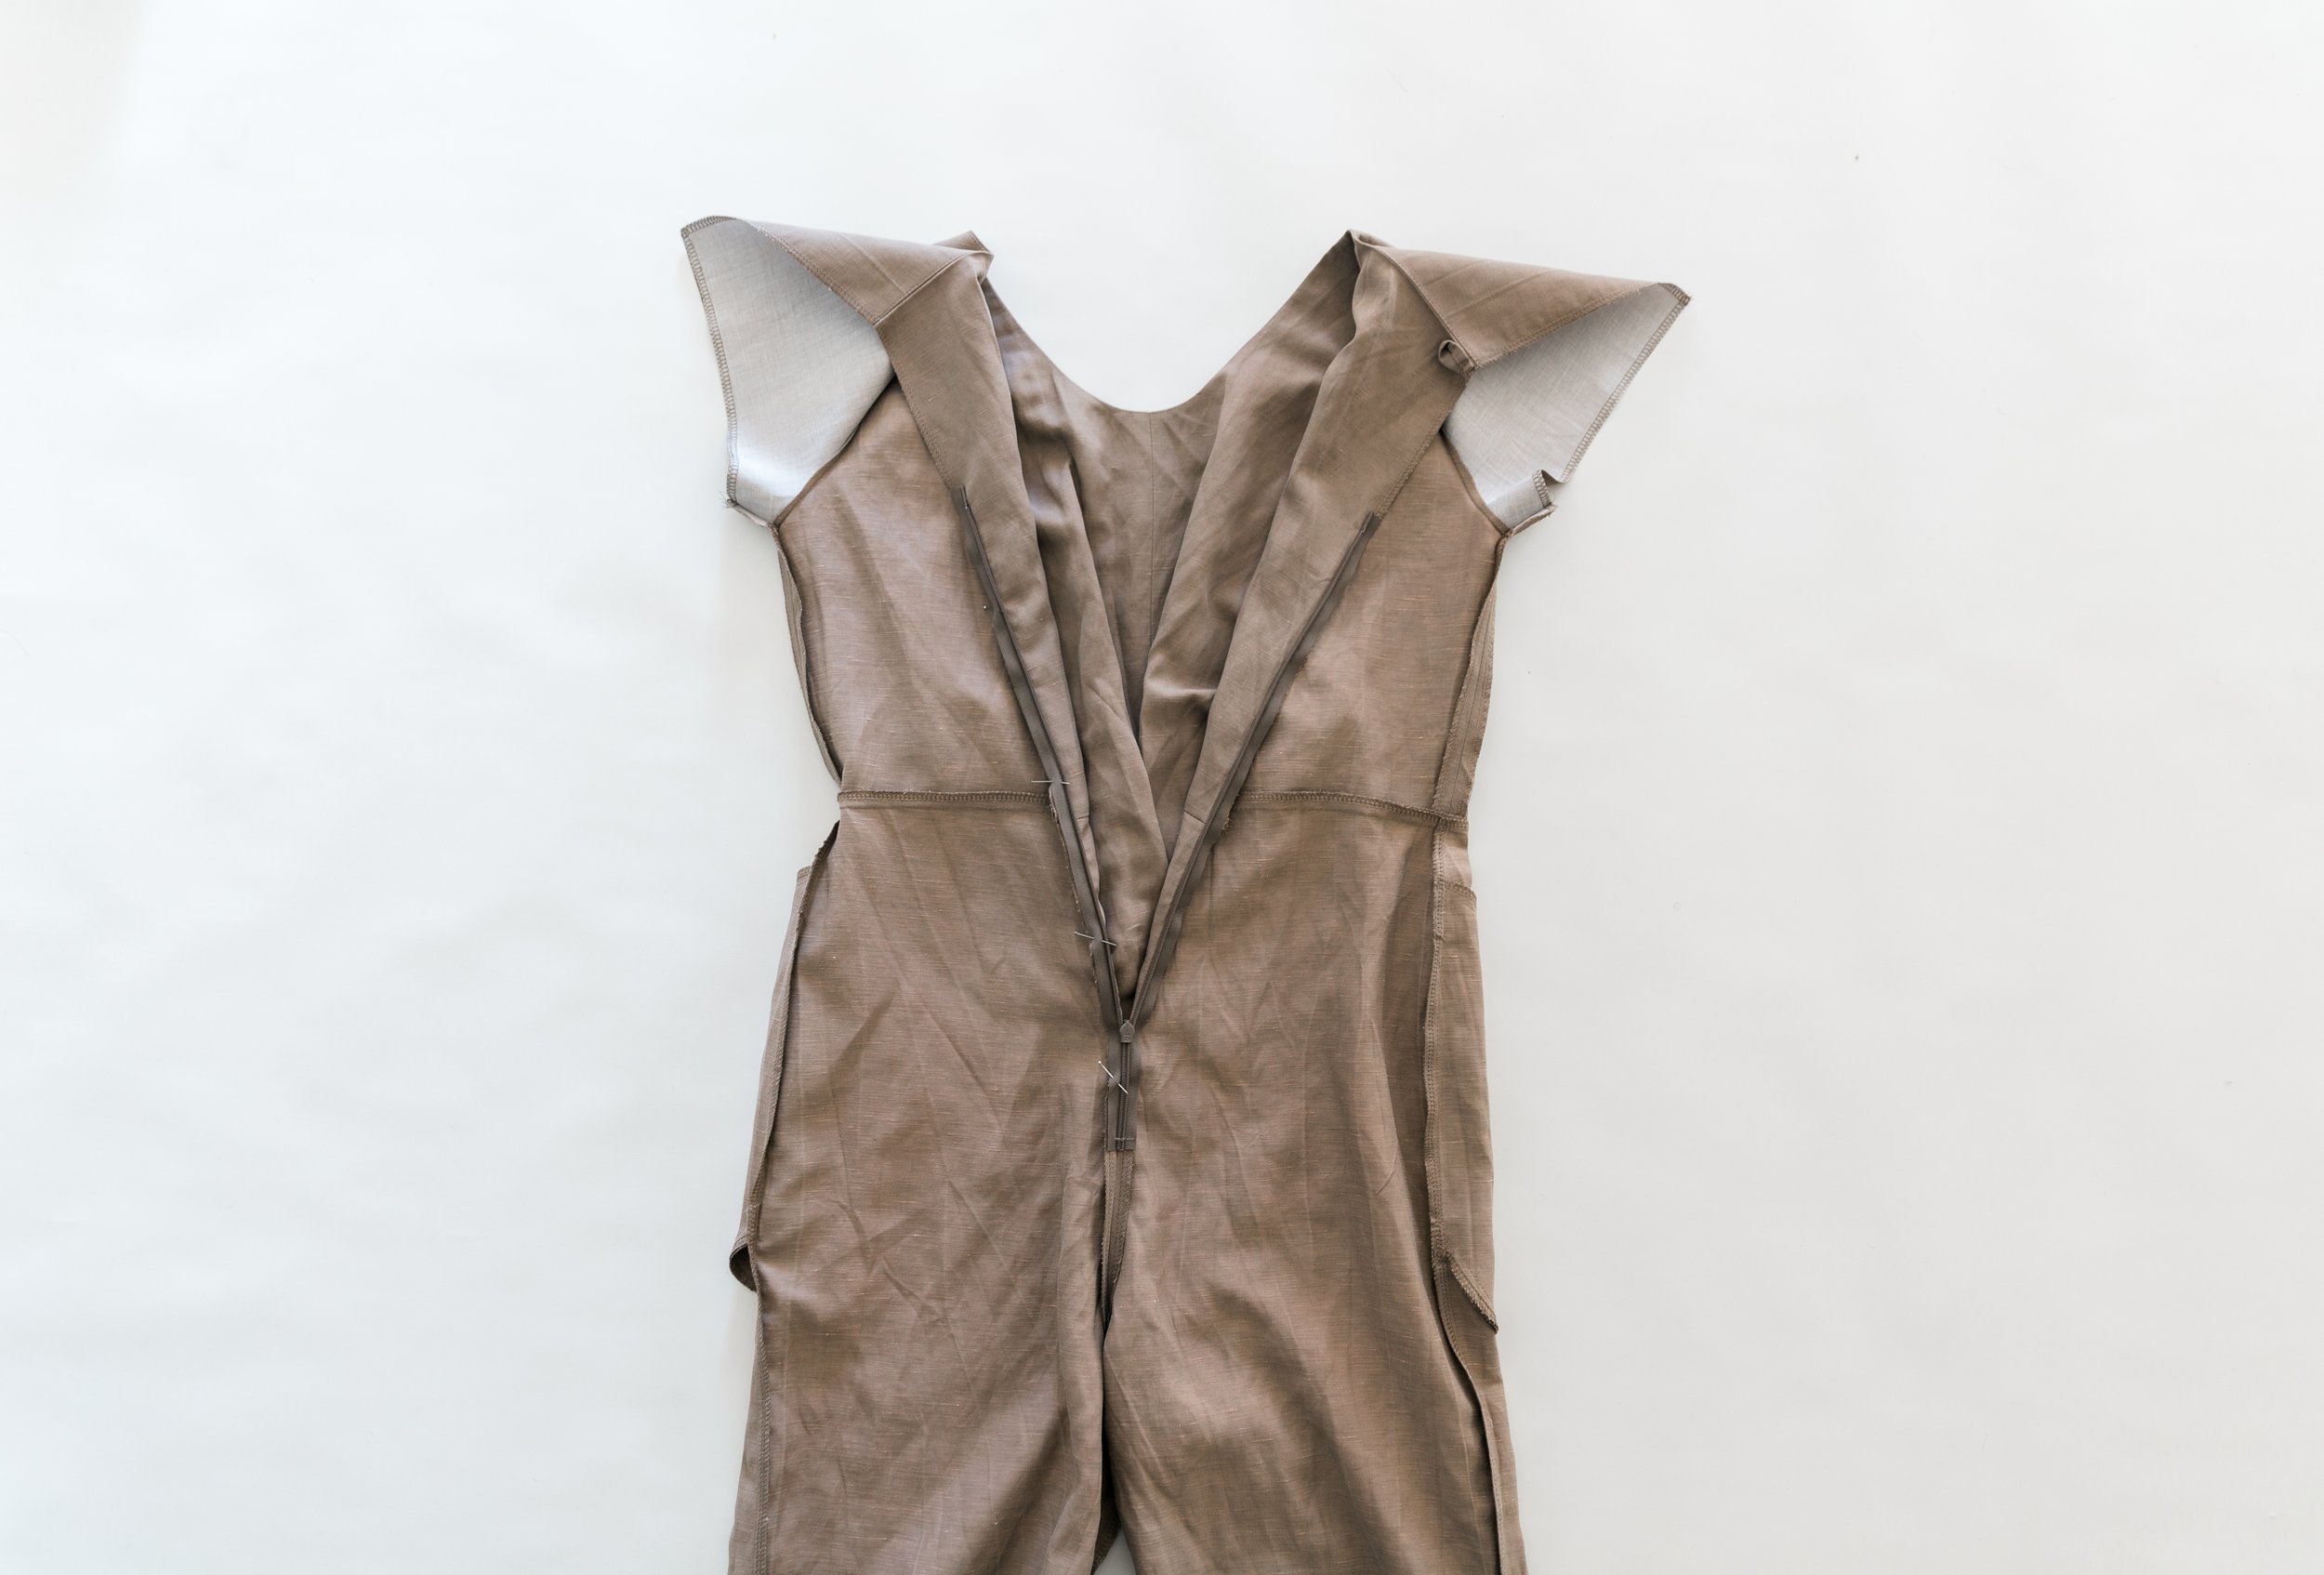
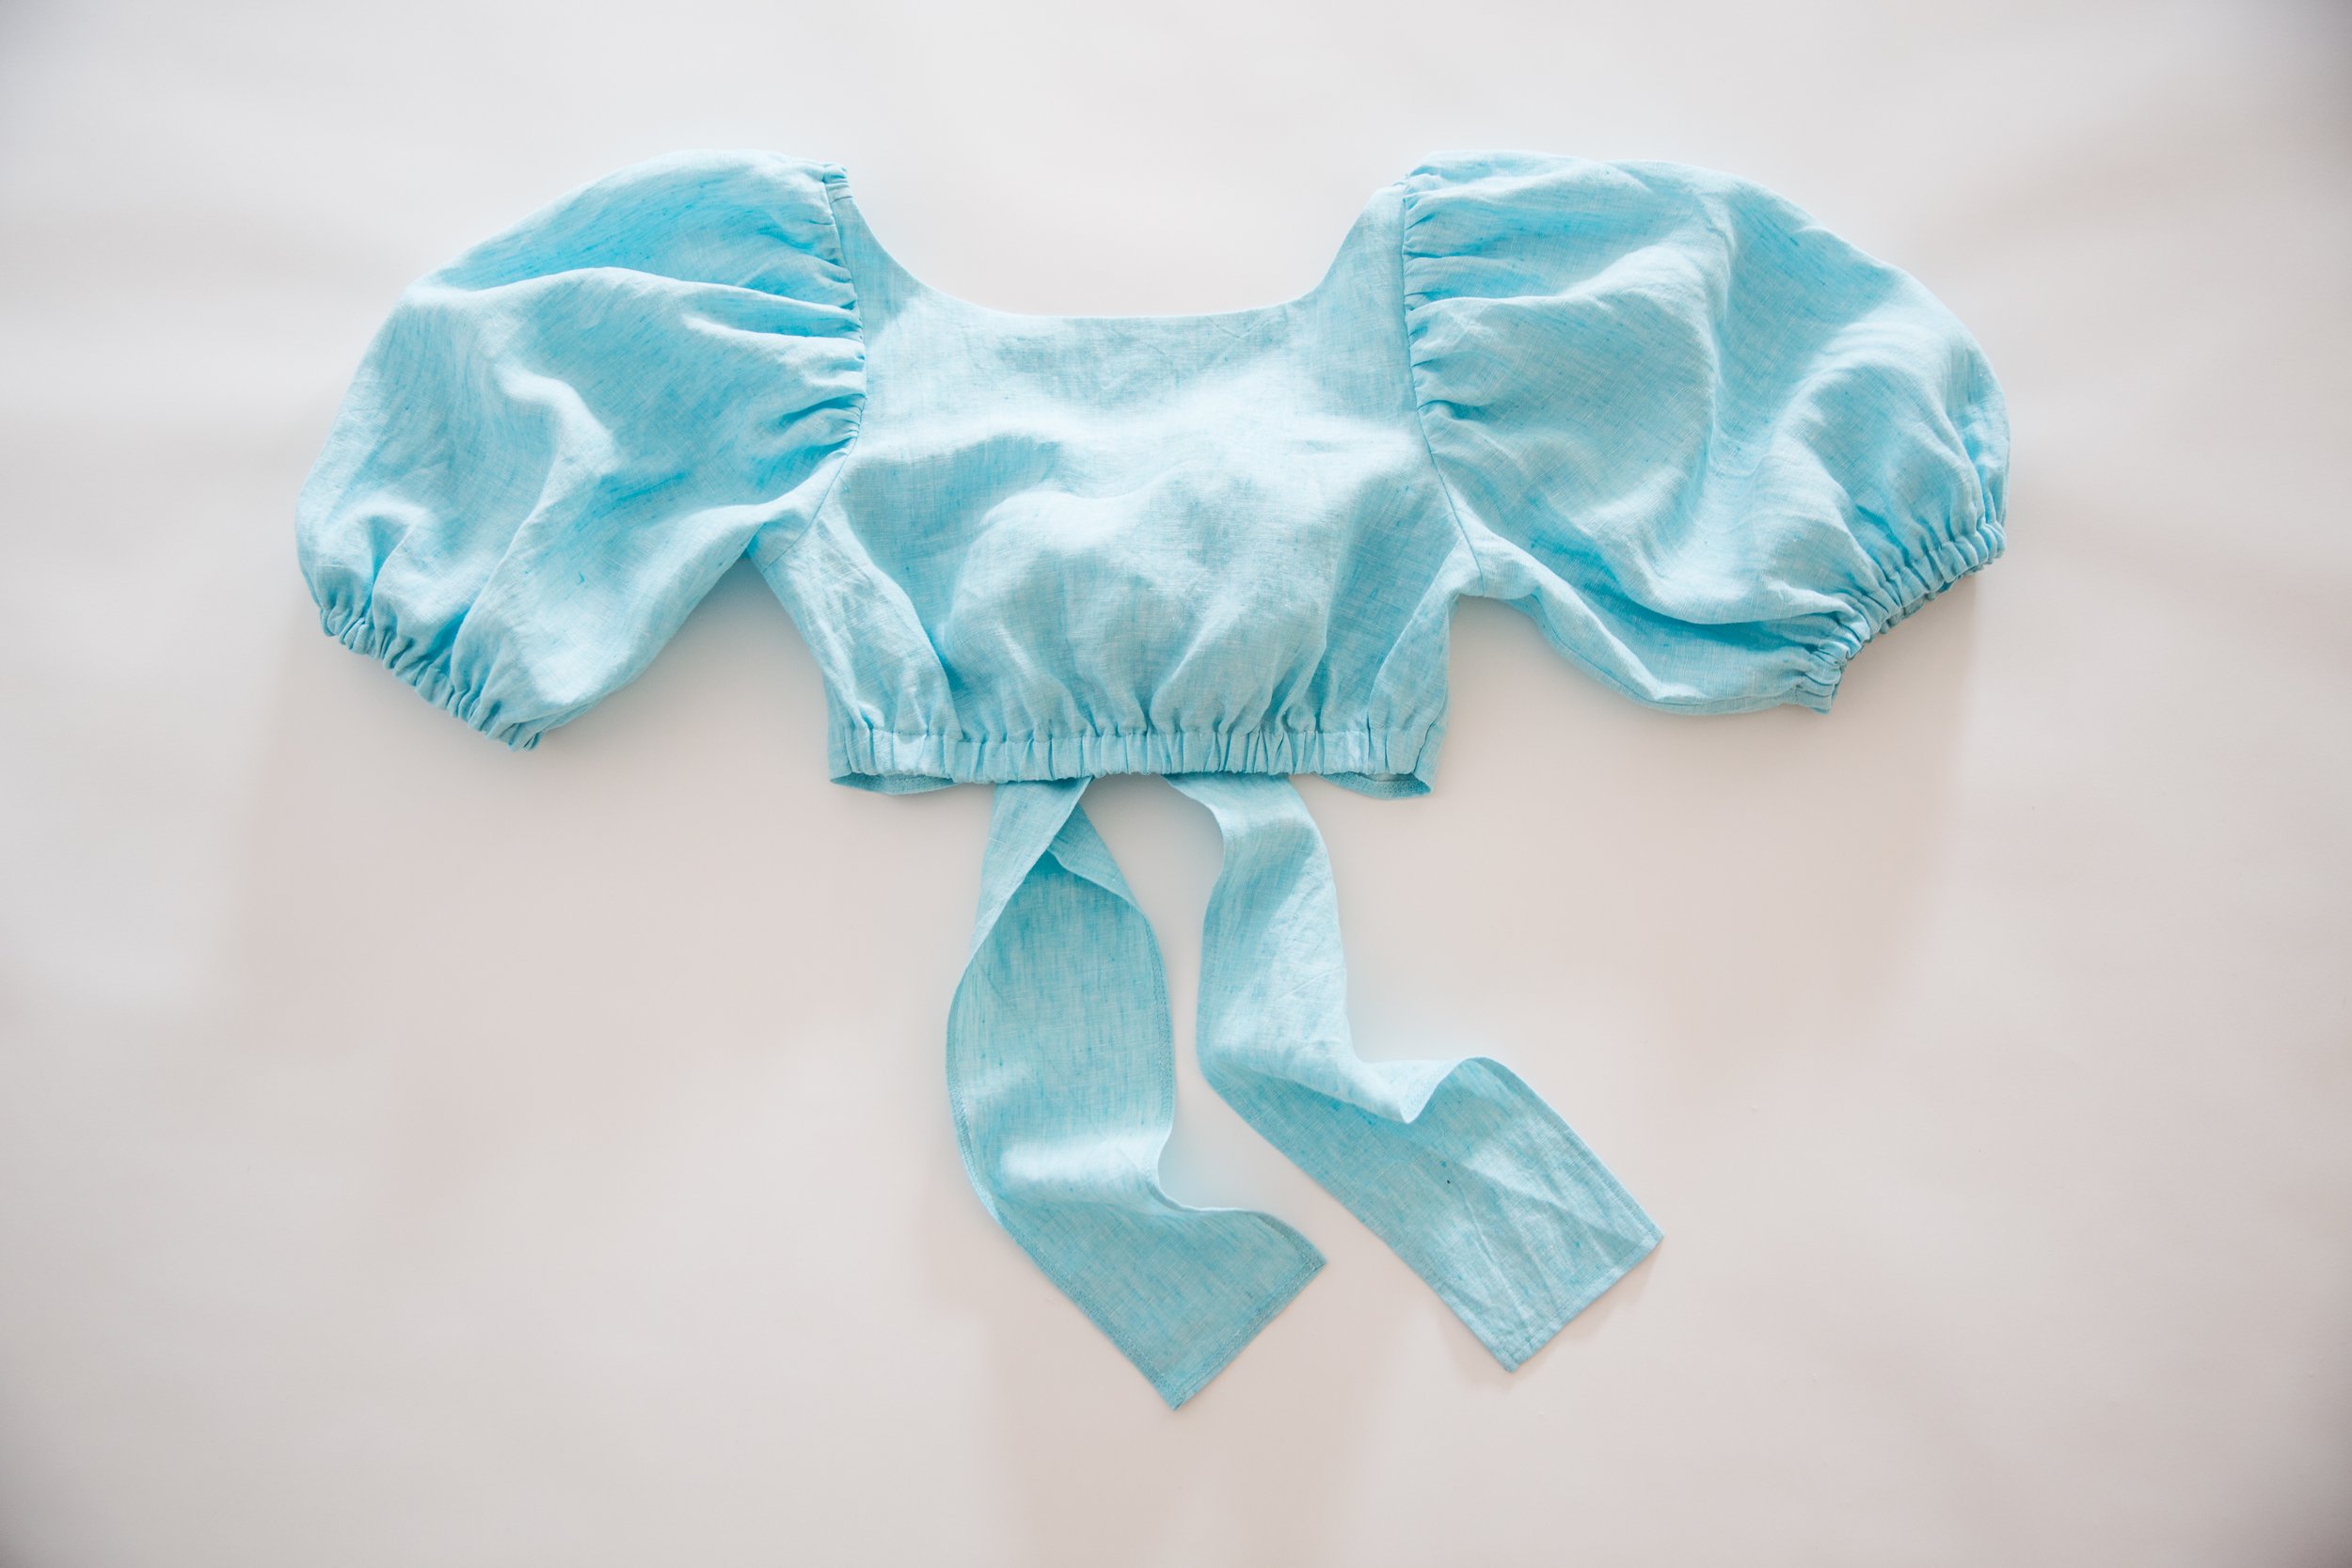
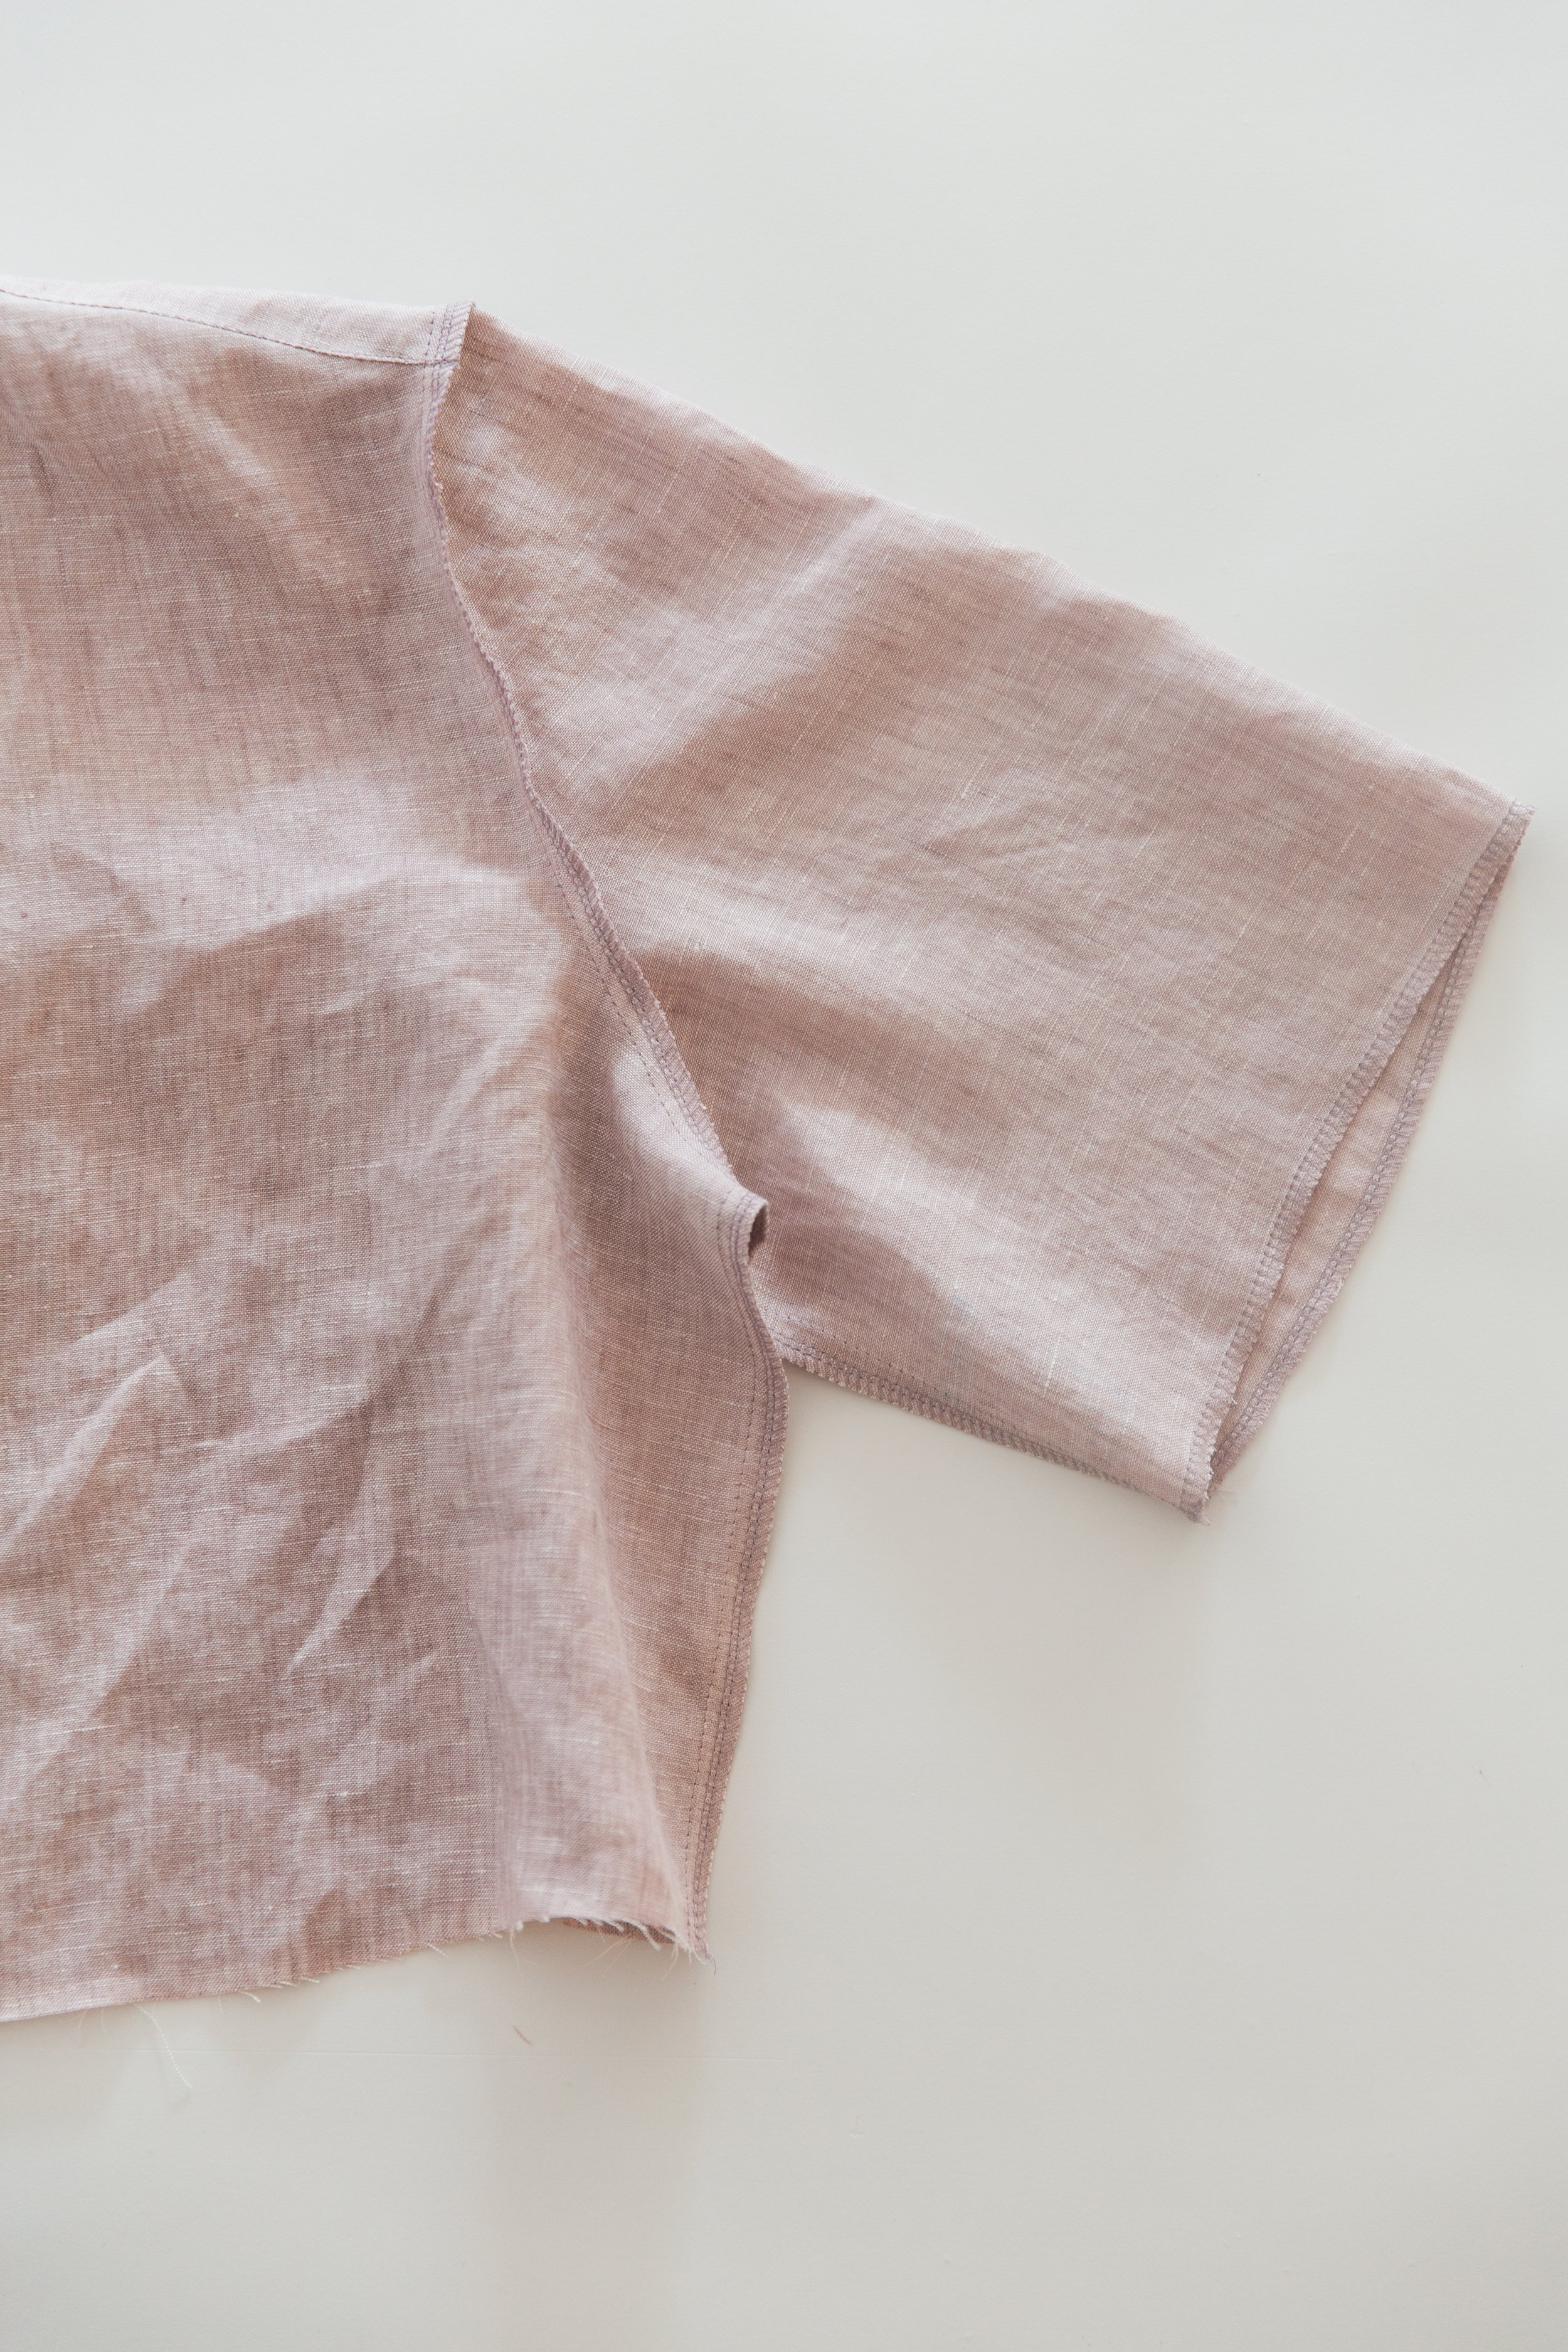
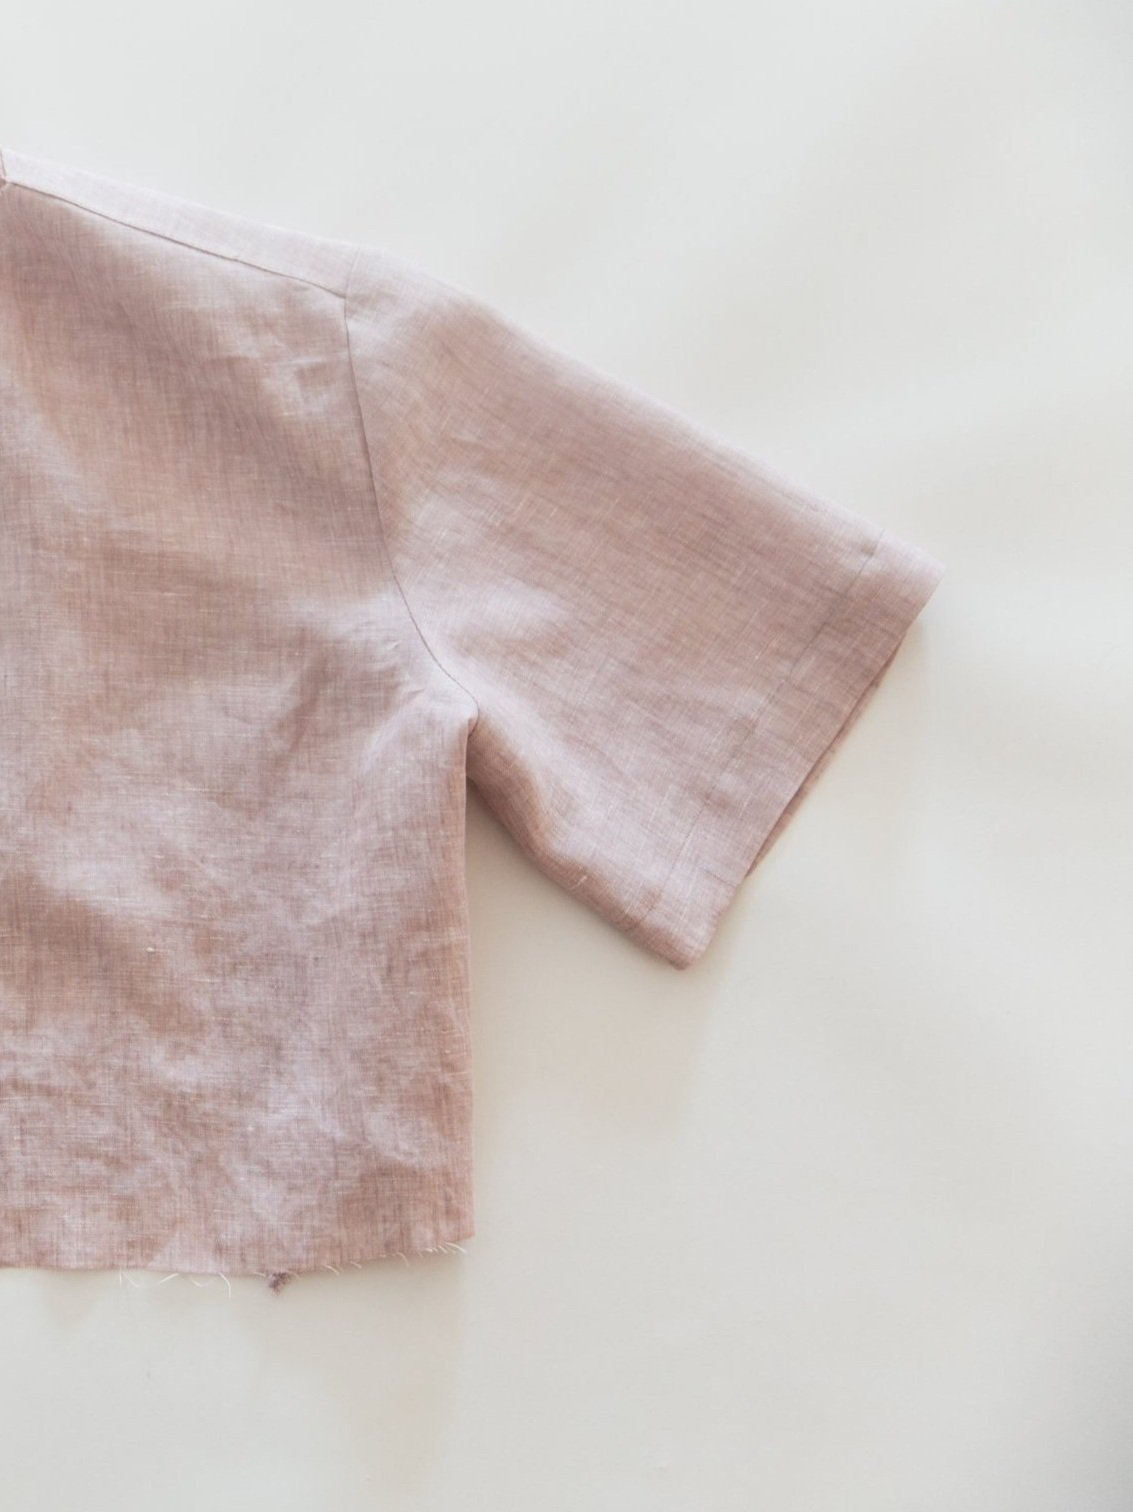
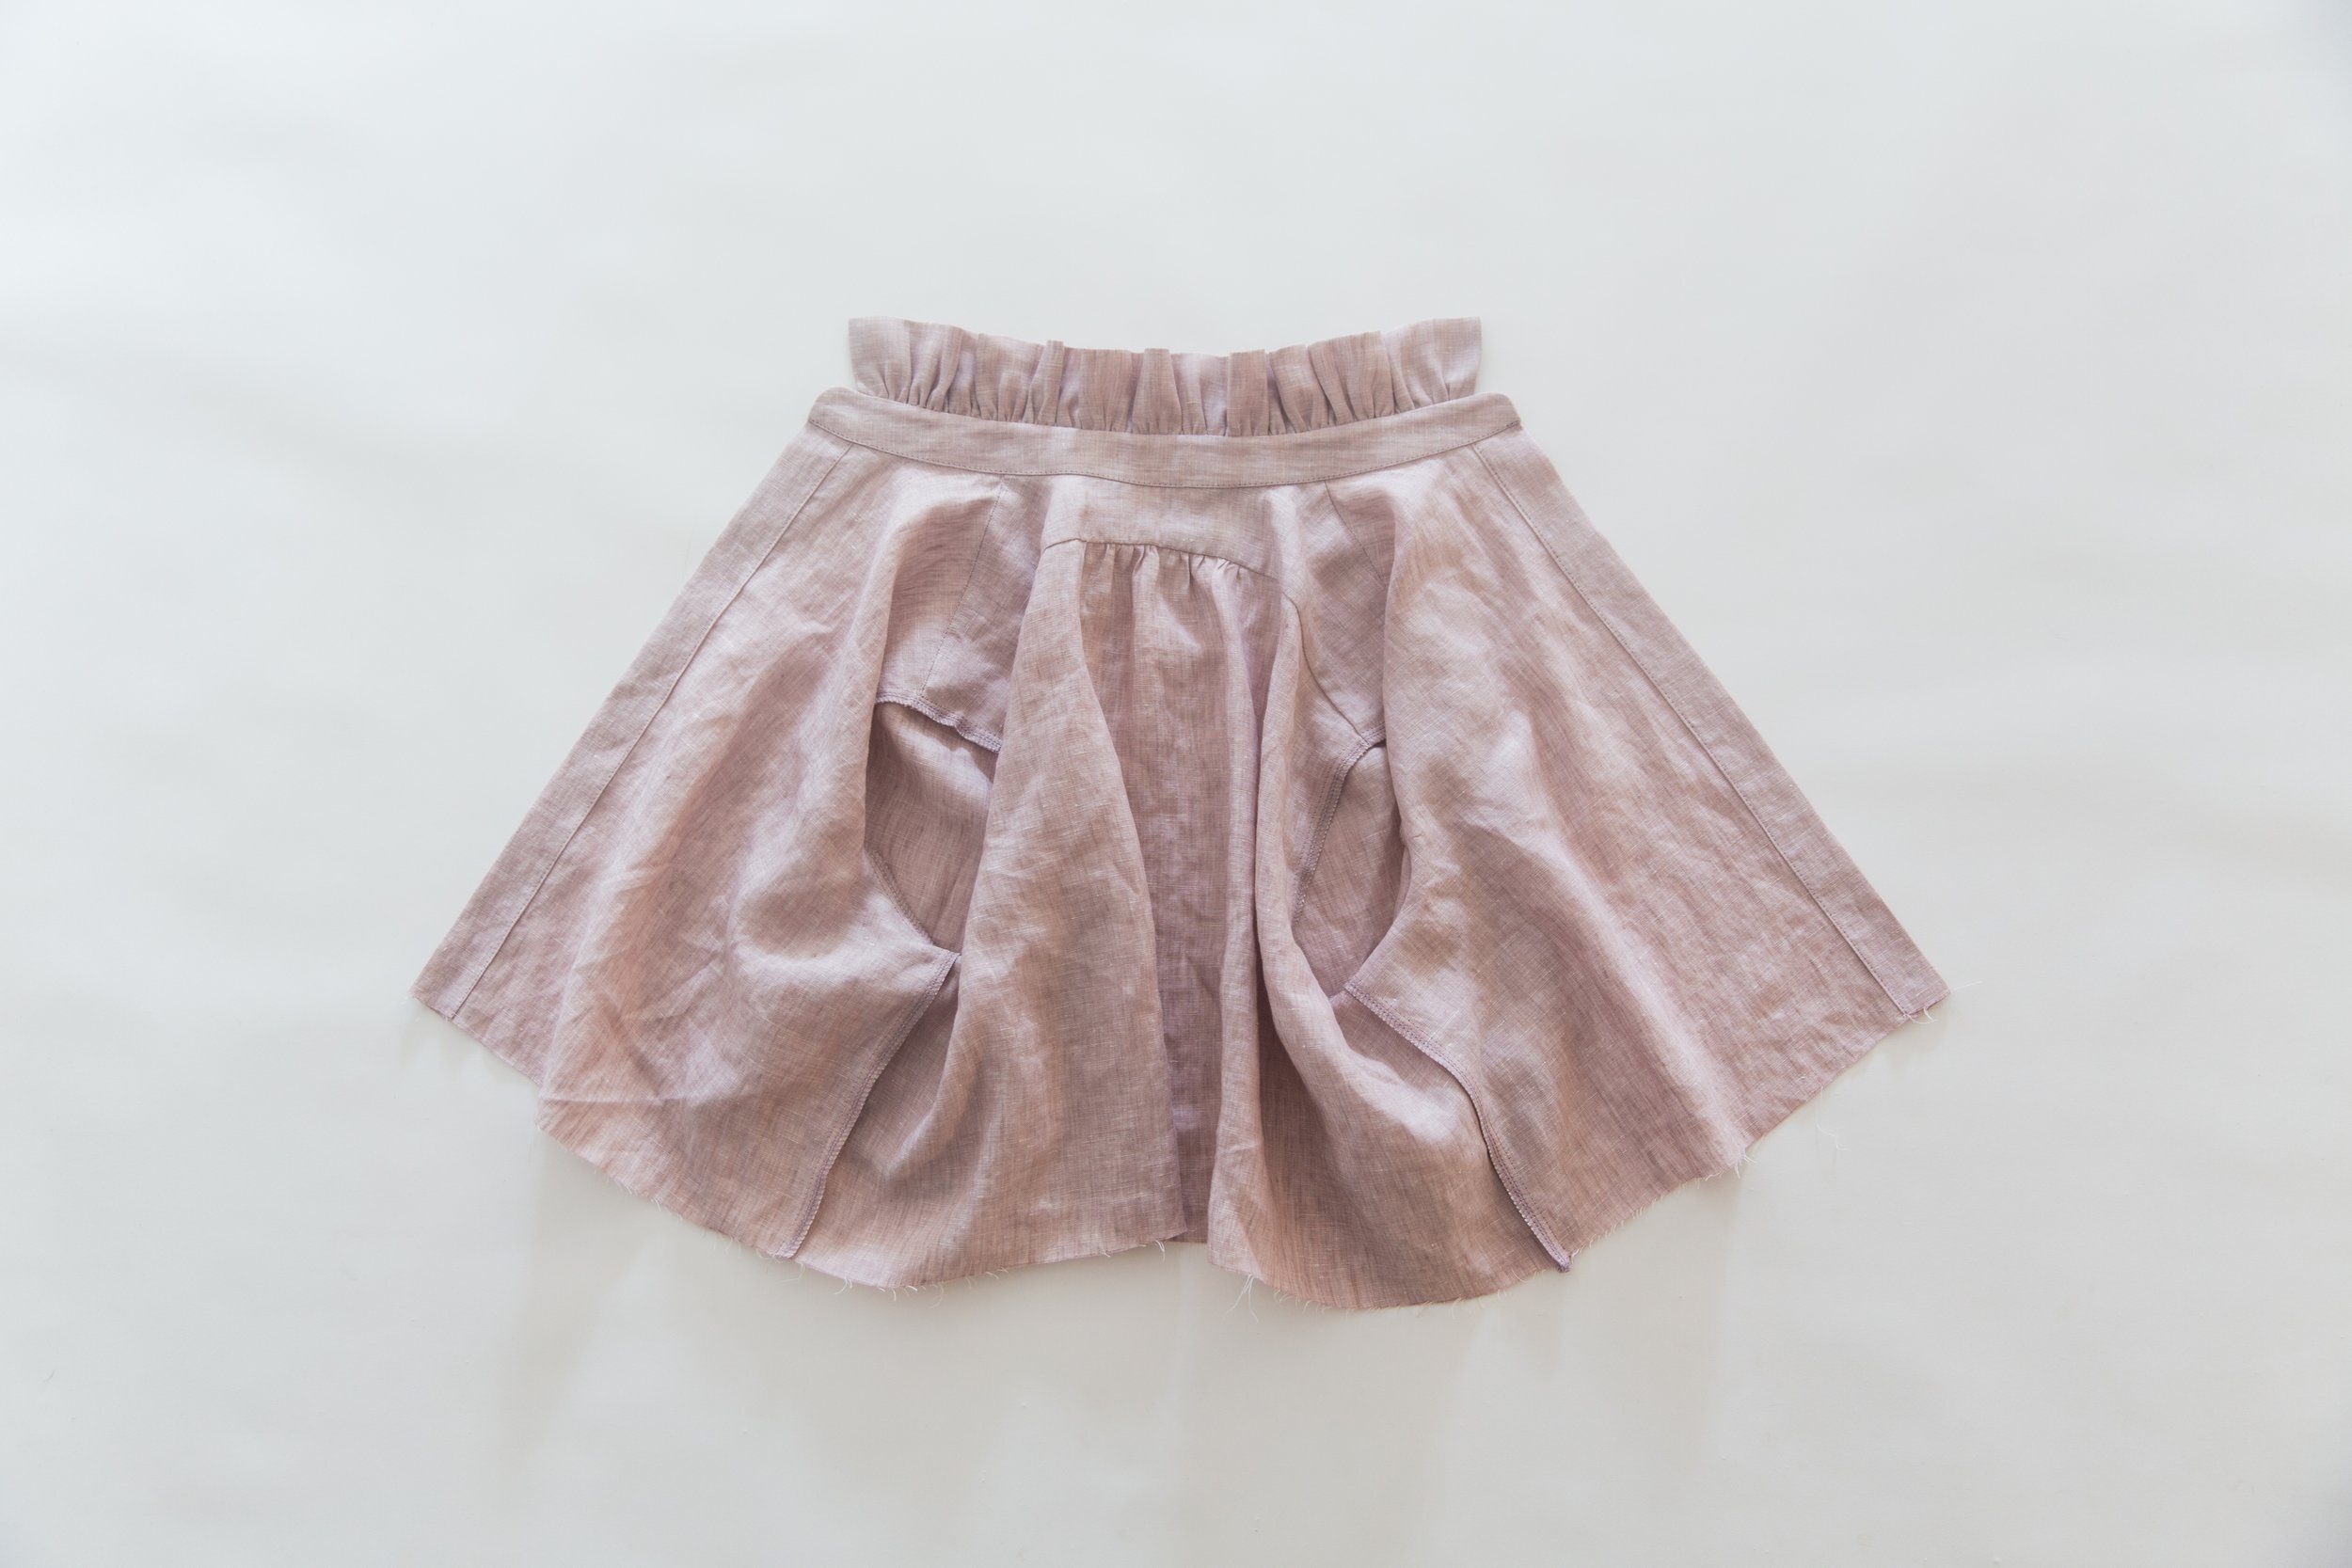
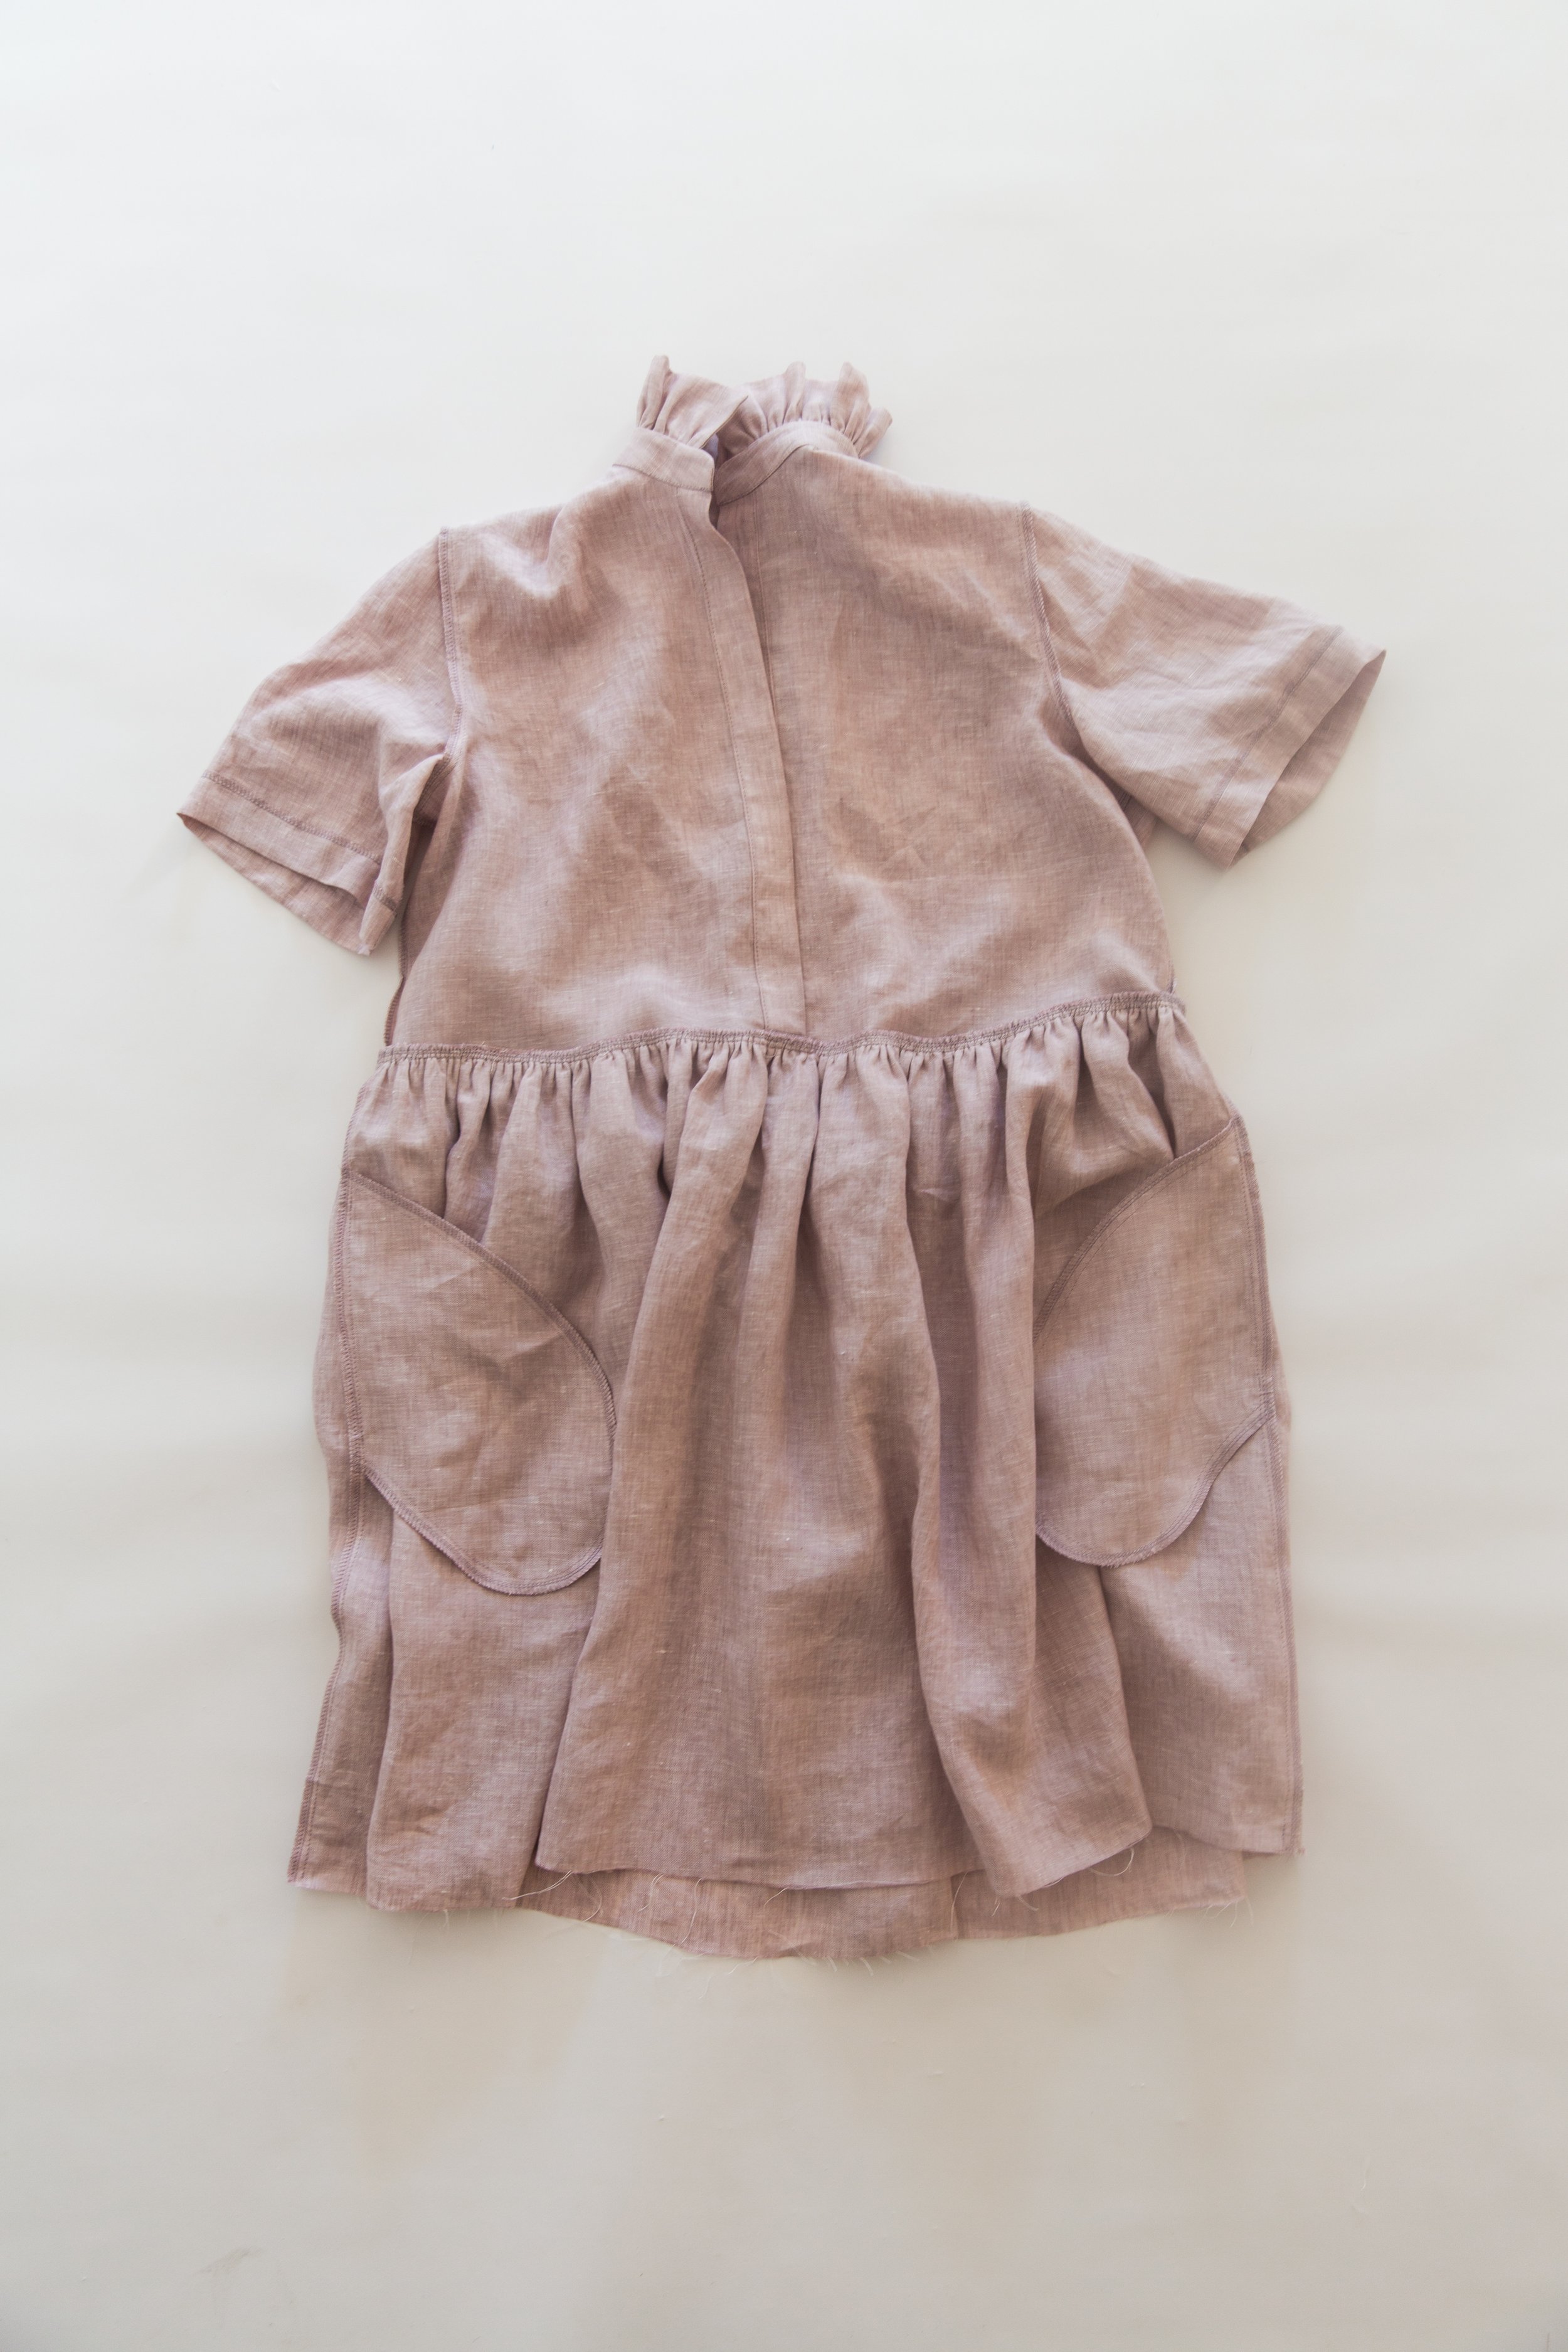
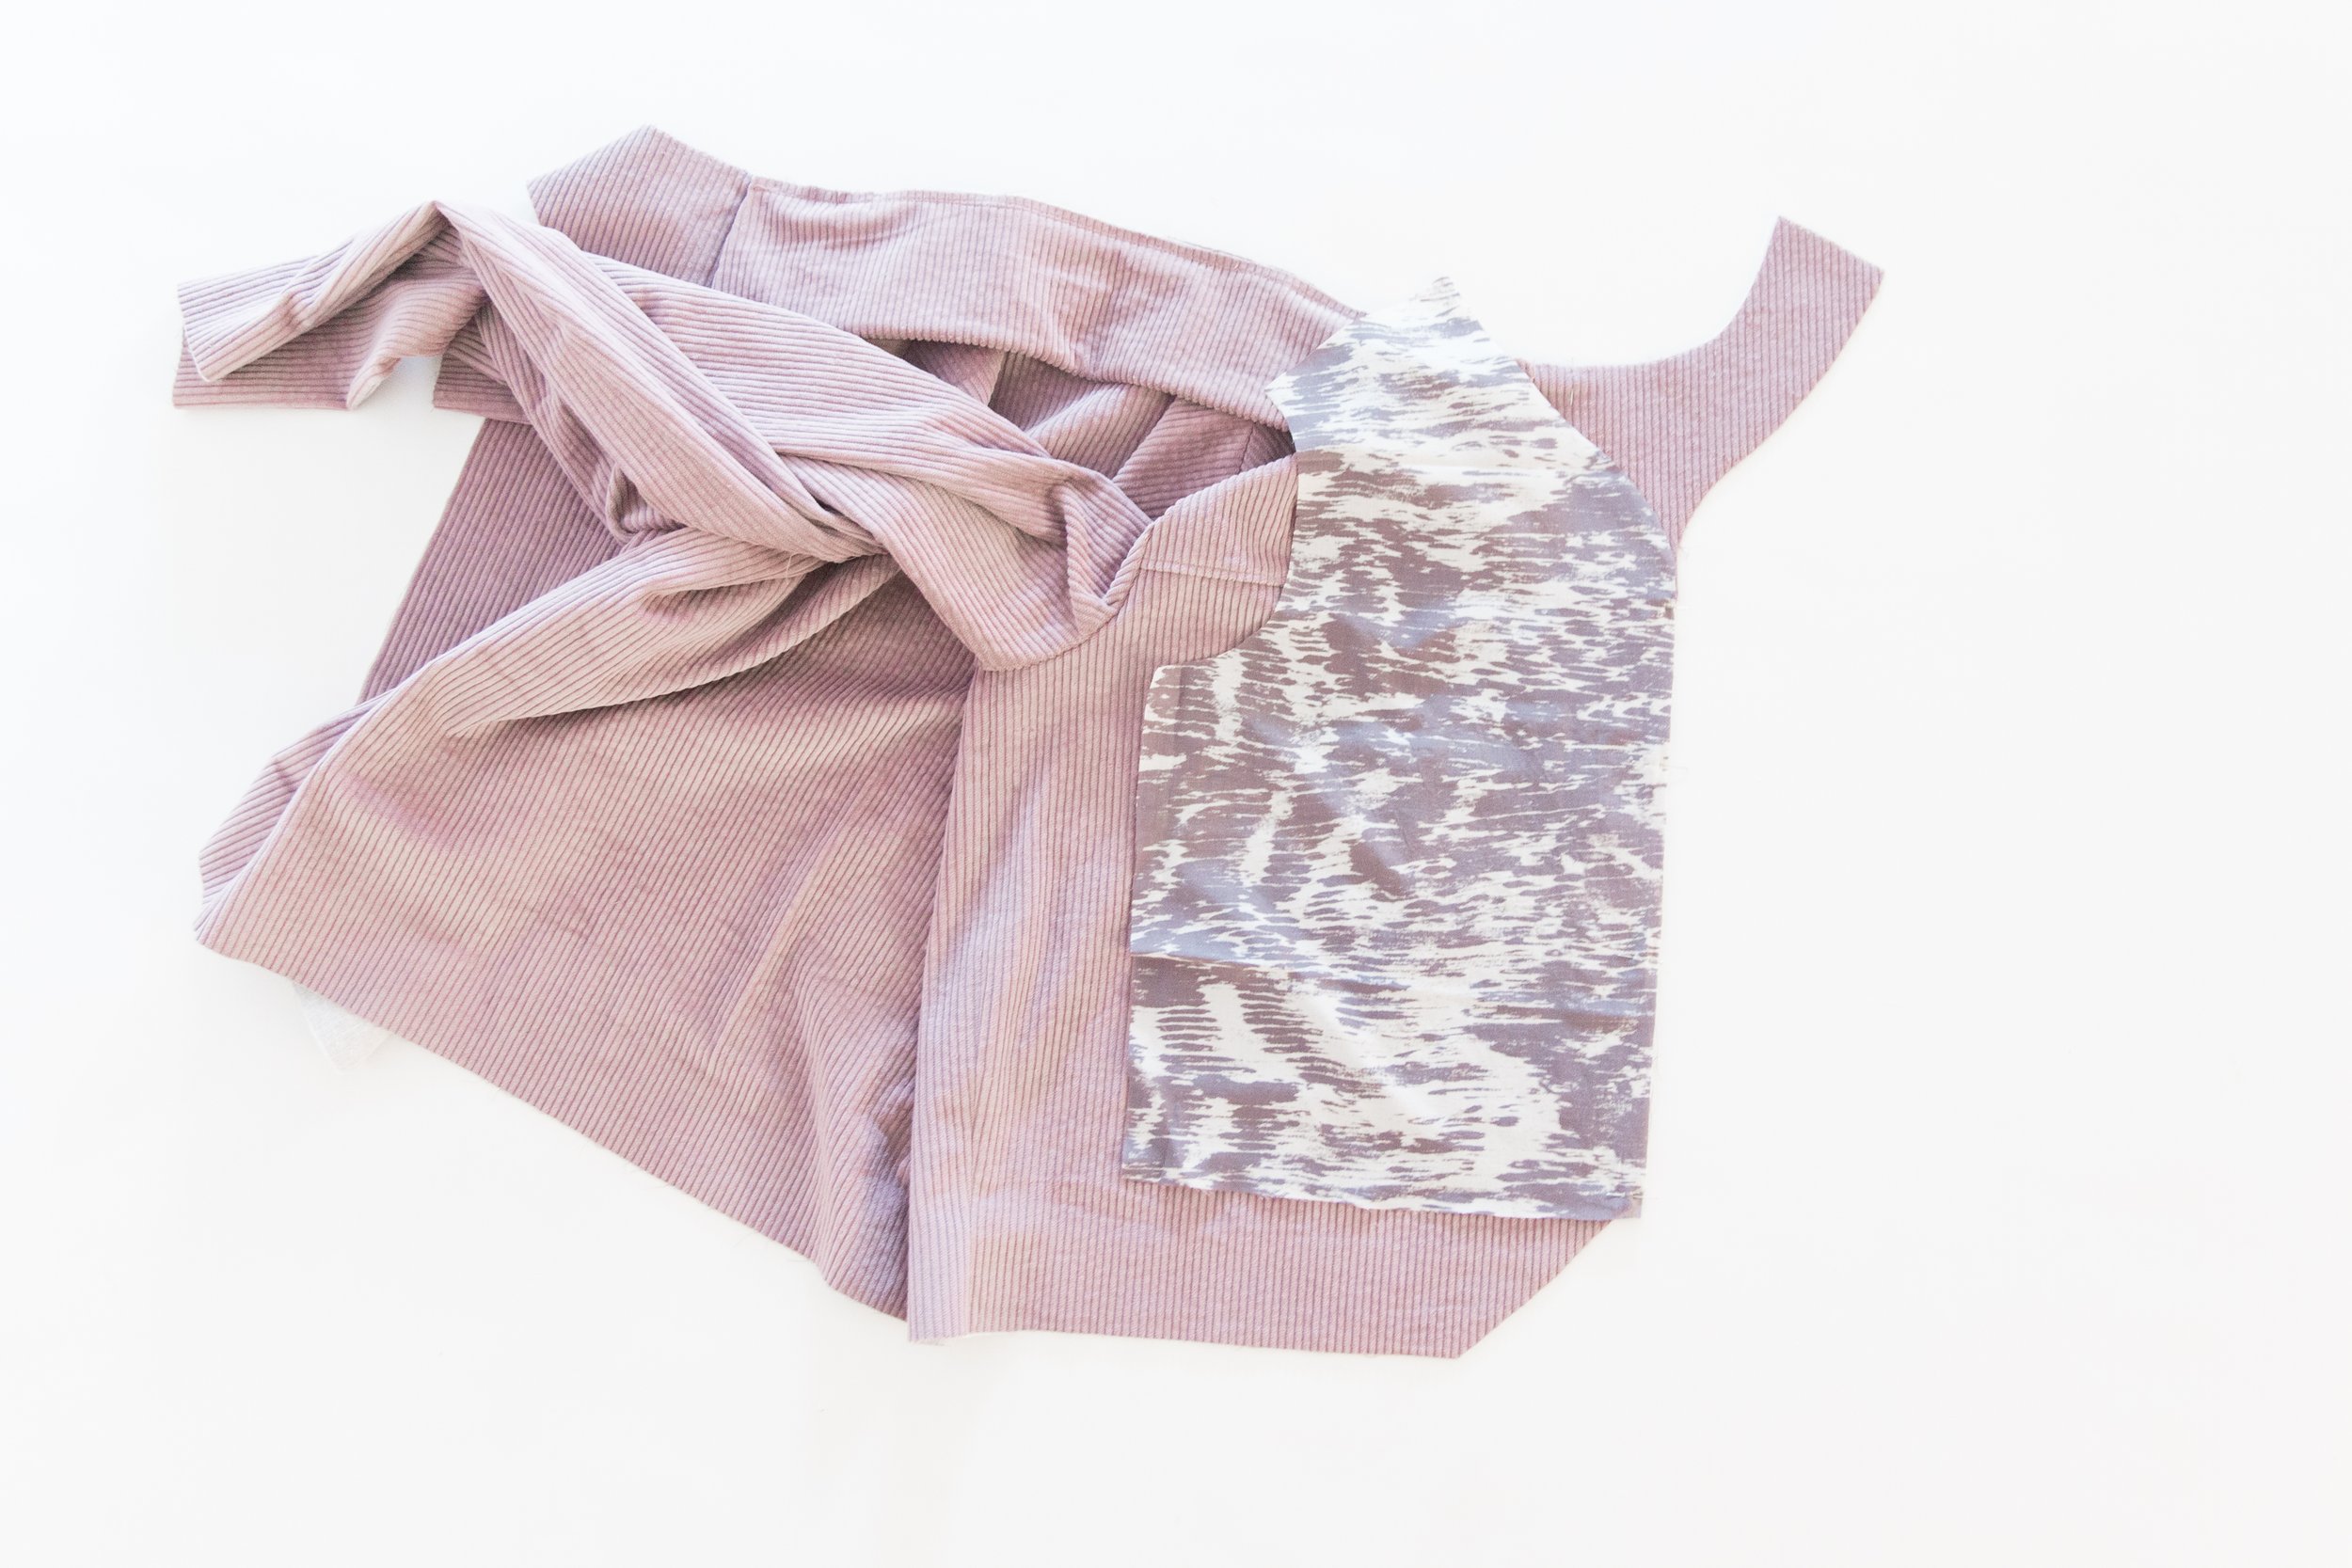
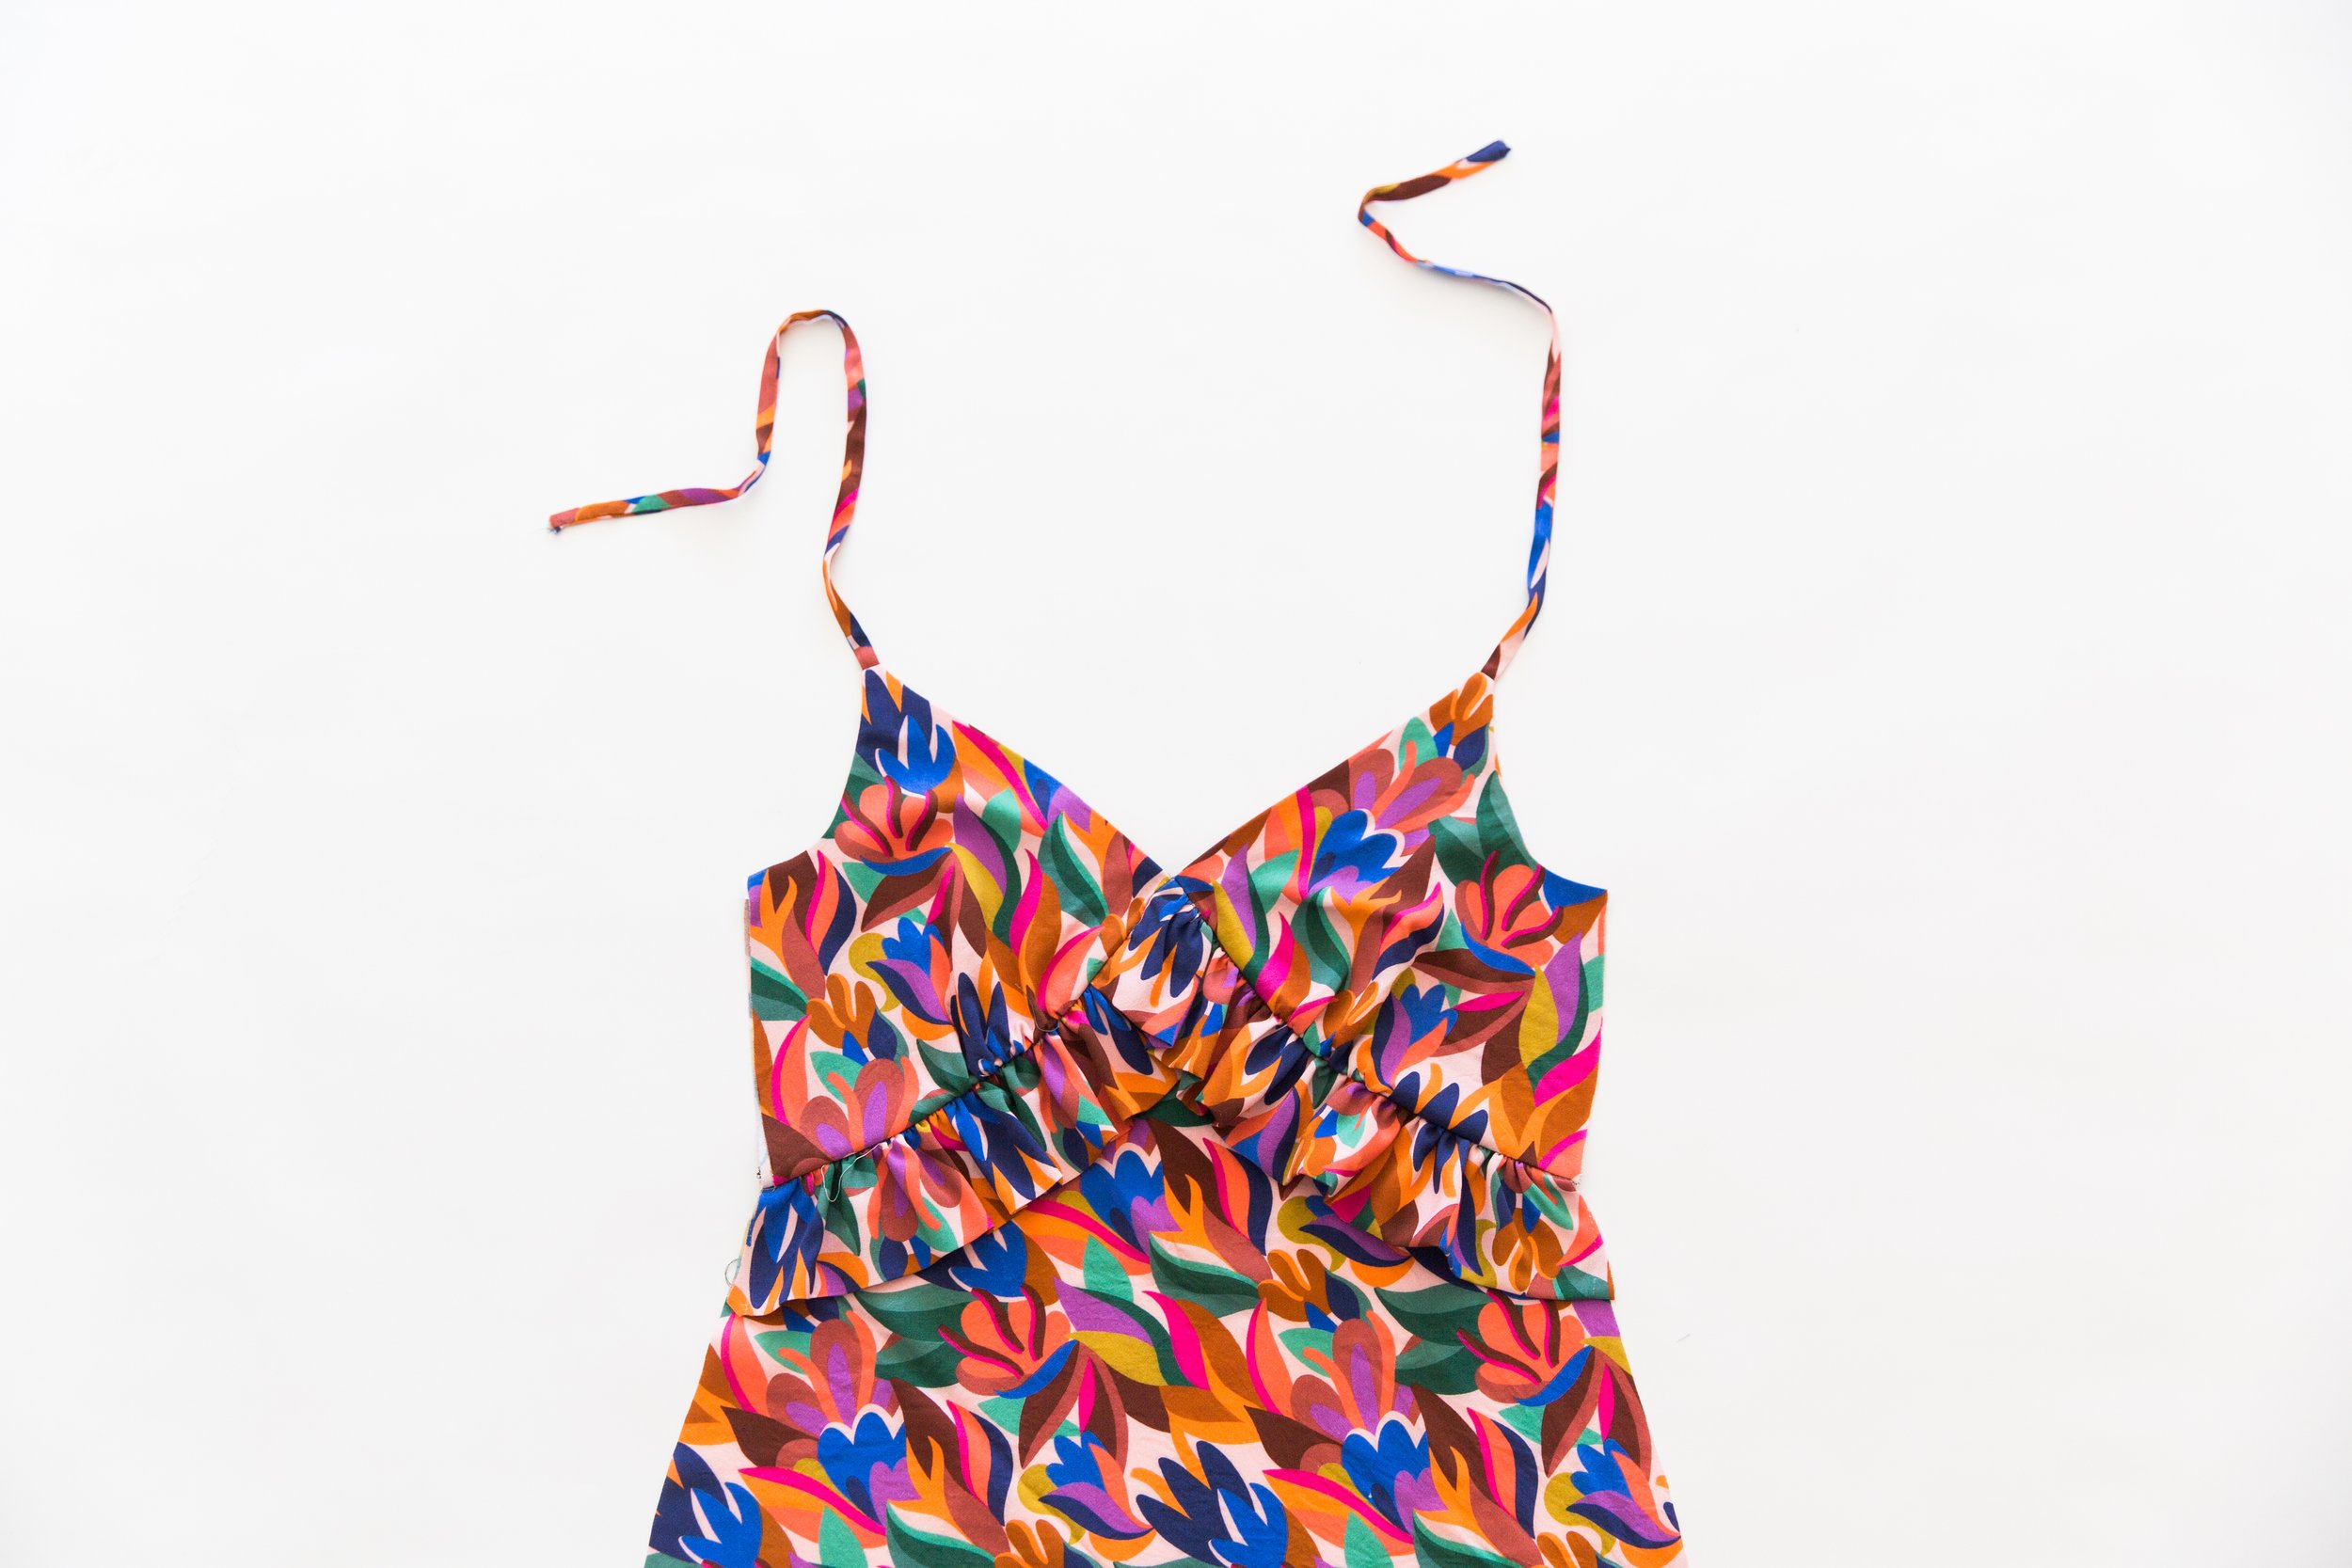
Continue to follow the instructions 9 to 17 to complete the construction of your new frilly Maya!

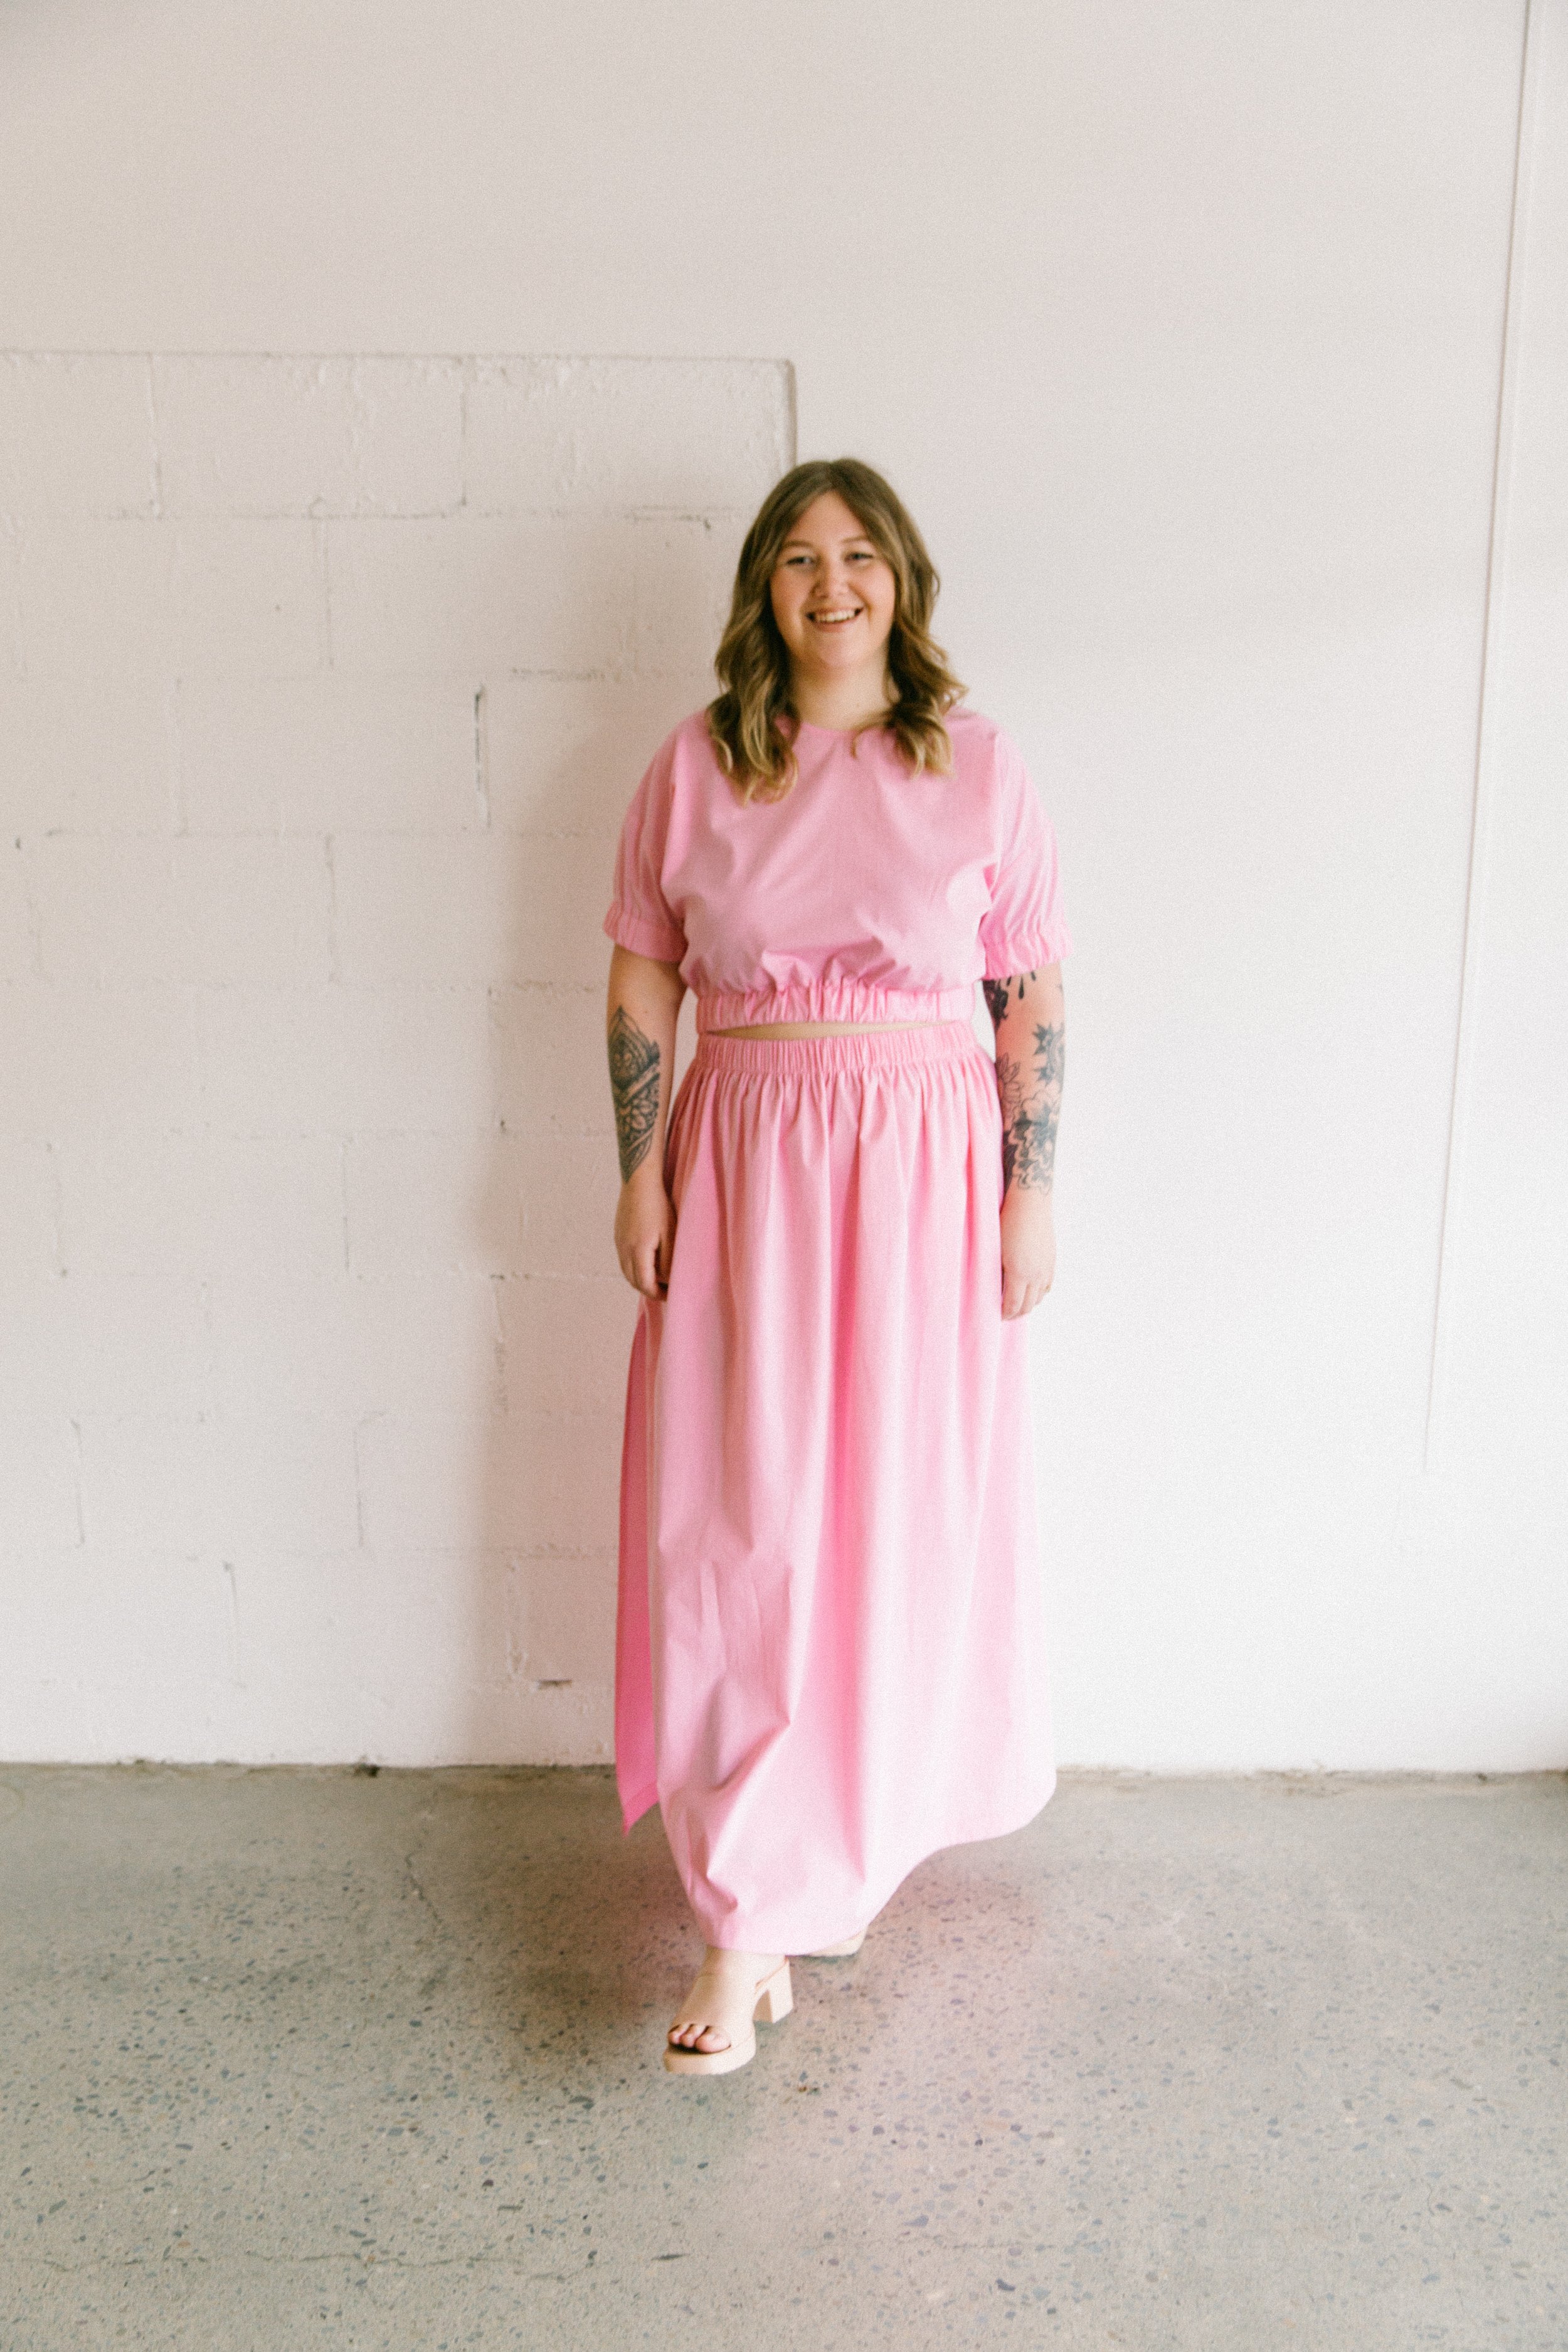
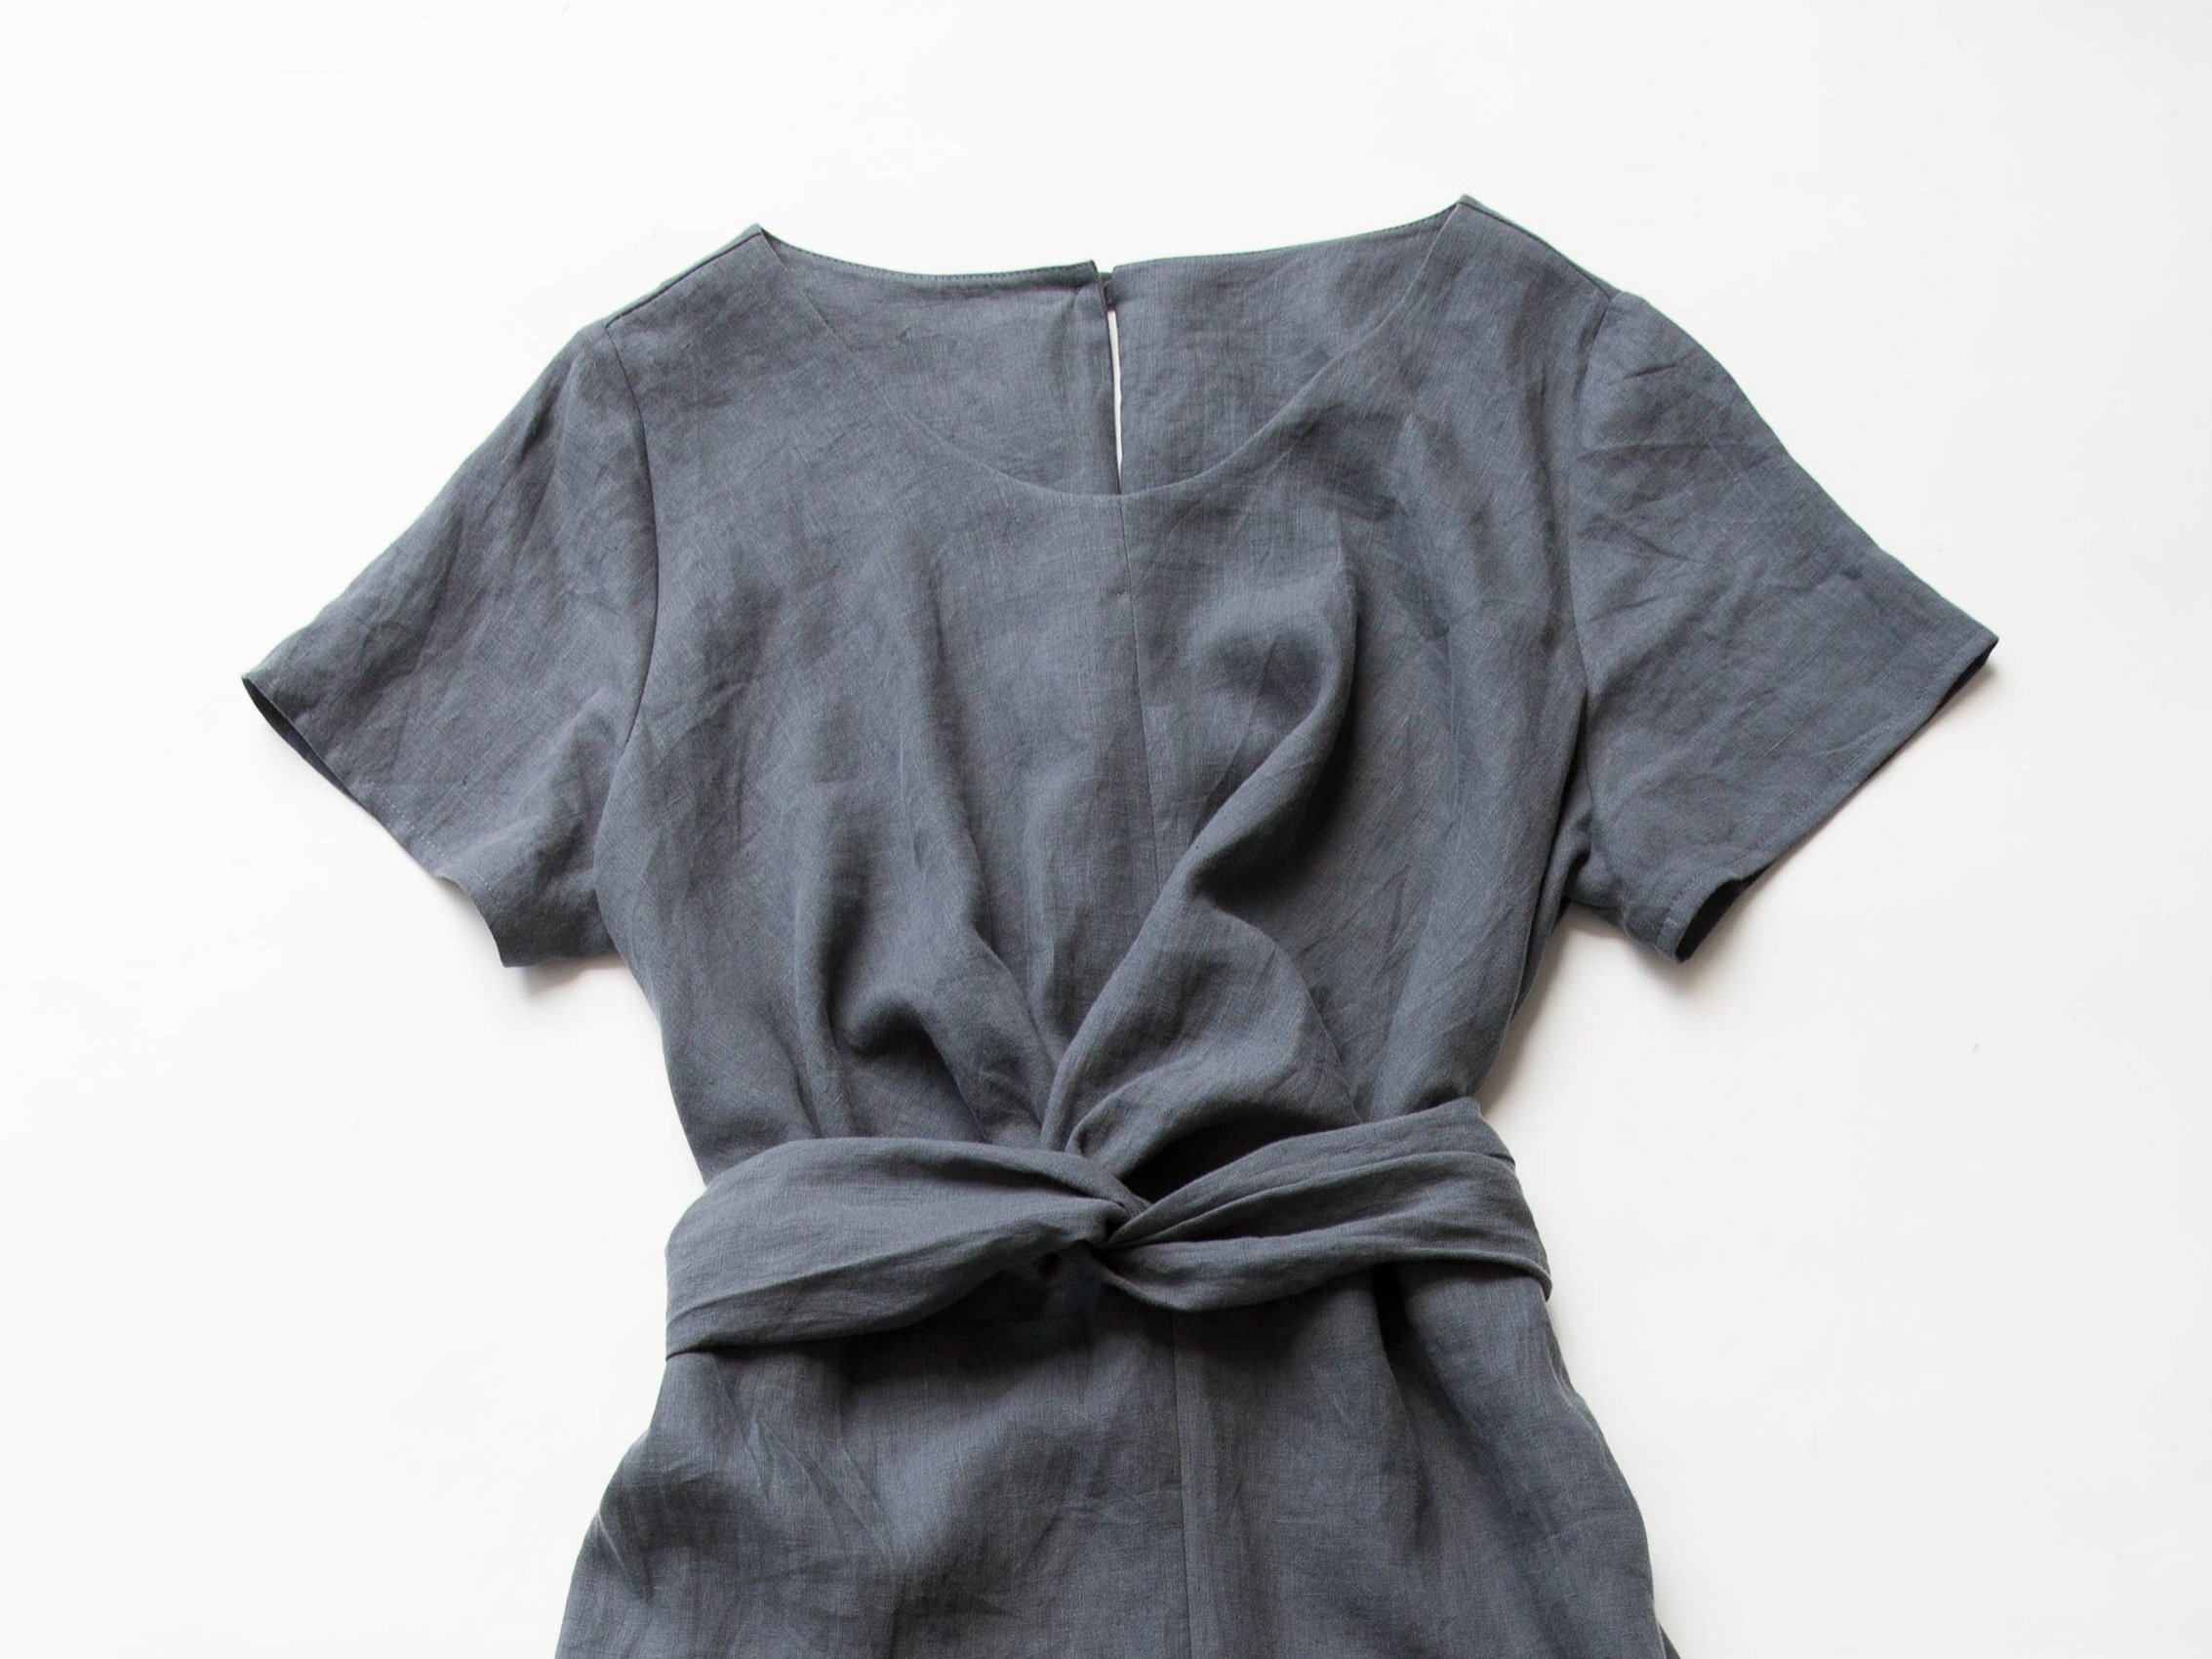
You did it!