

Fusing
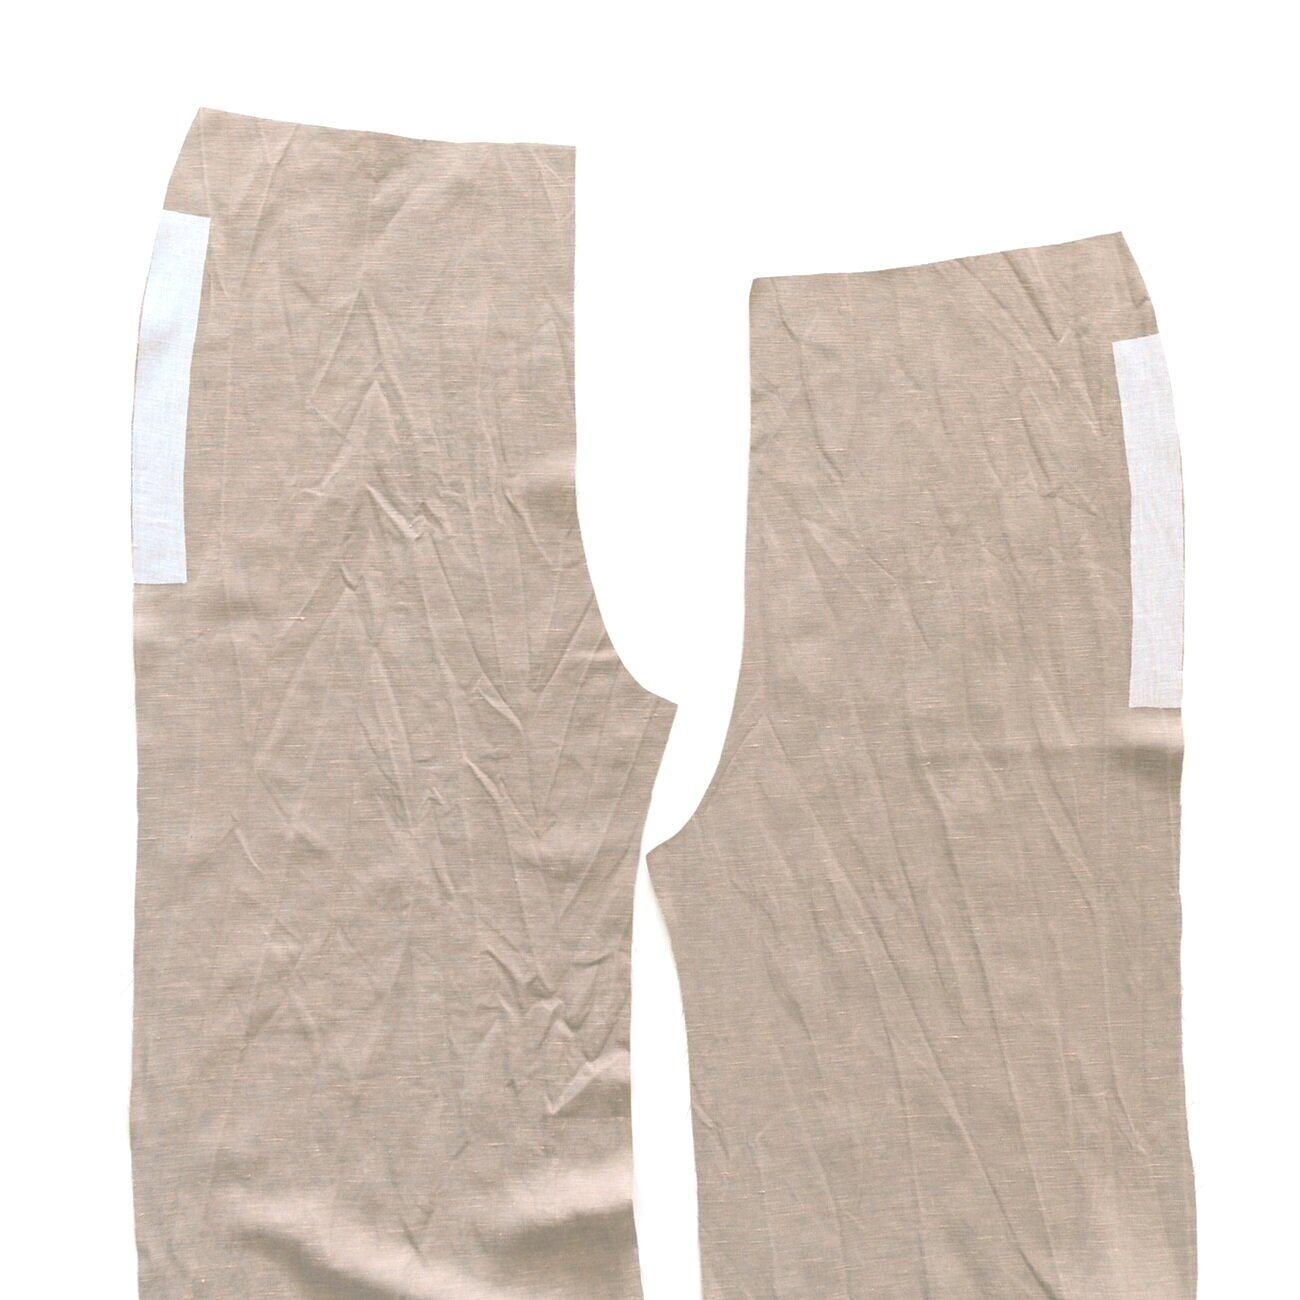
Fuse front and back neck facing pieces. Place pocket fusing over notches on the wrong side of front trouser pieces and fuse in place.

Step 1
With right sides facing, pin the front facing piece to the back facing pieces at shoulder seams. Stitch together and press open. Neaten outer edges and down centre back.

Step 2
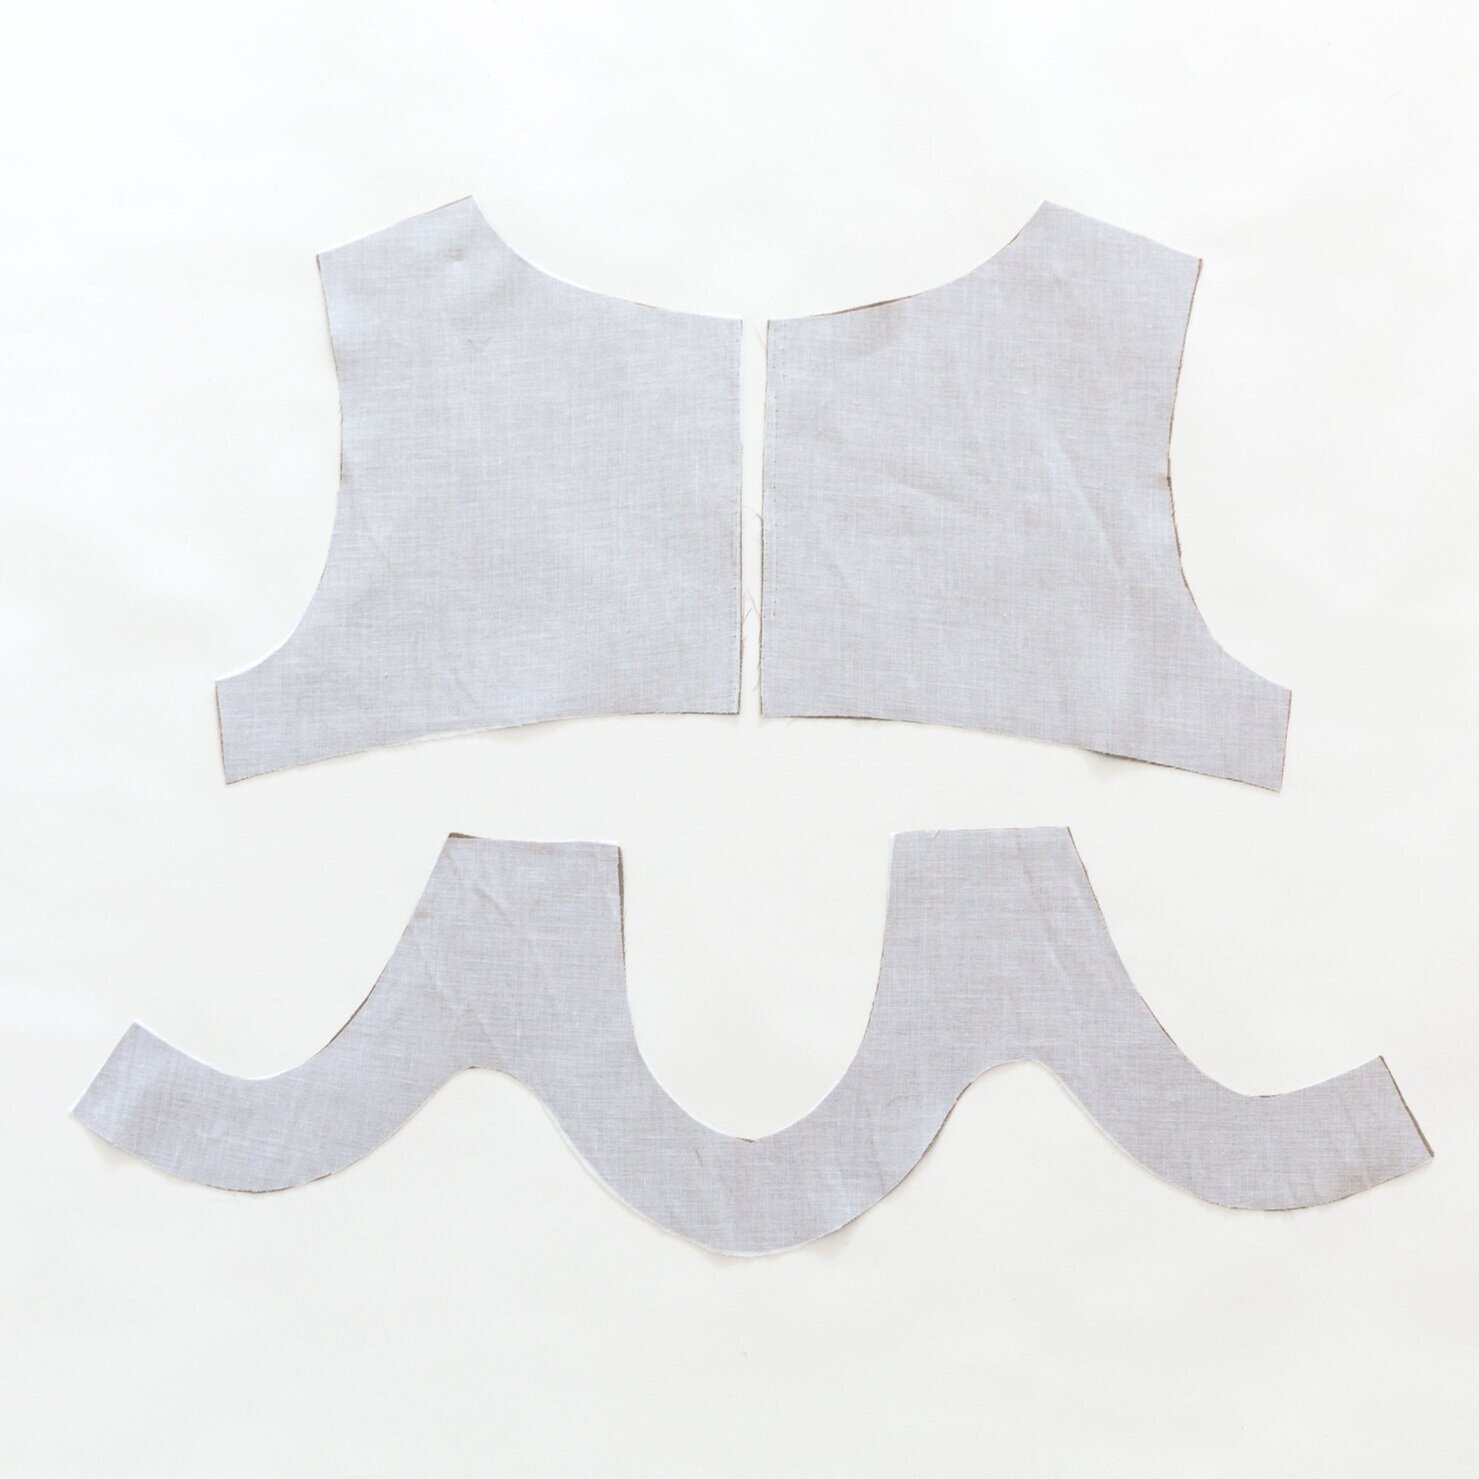
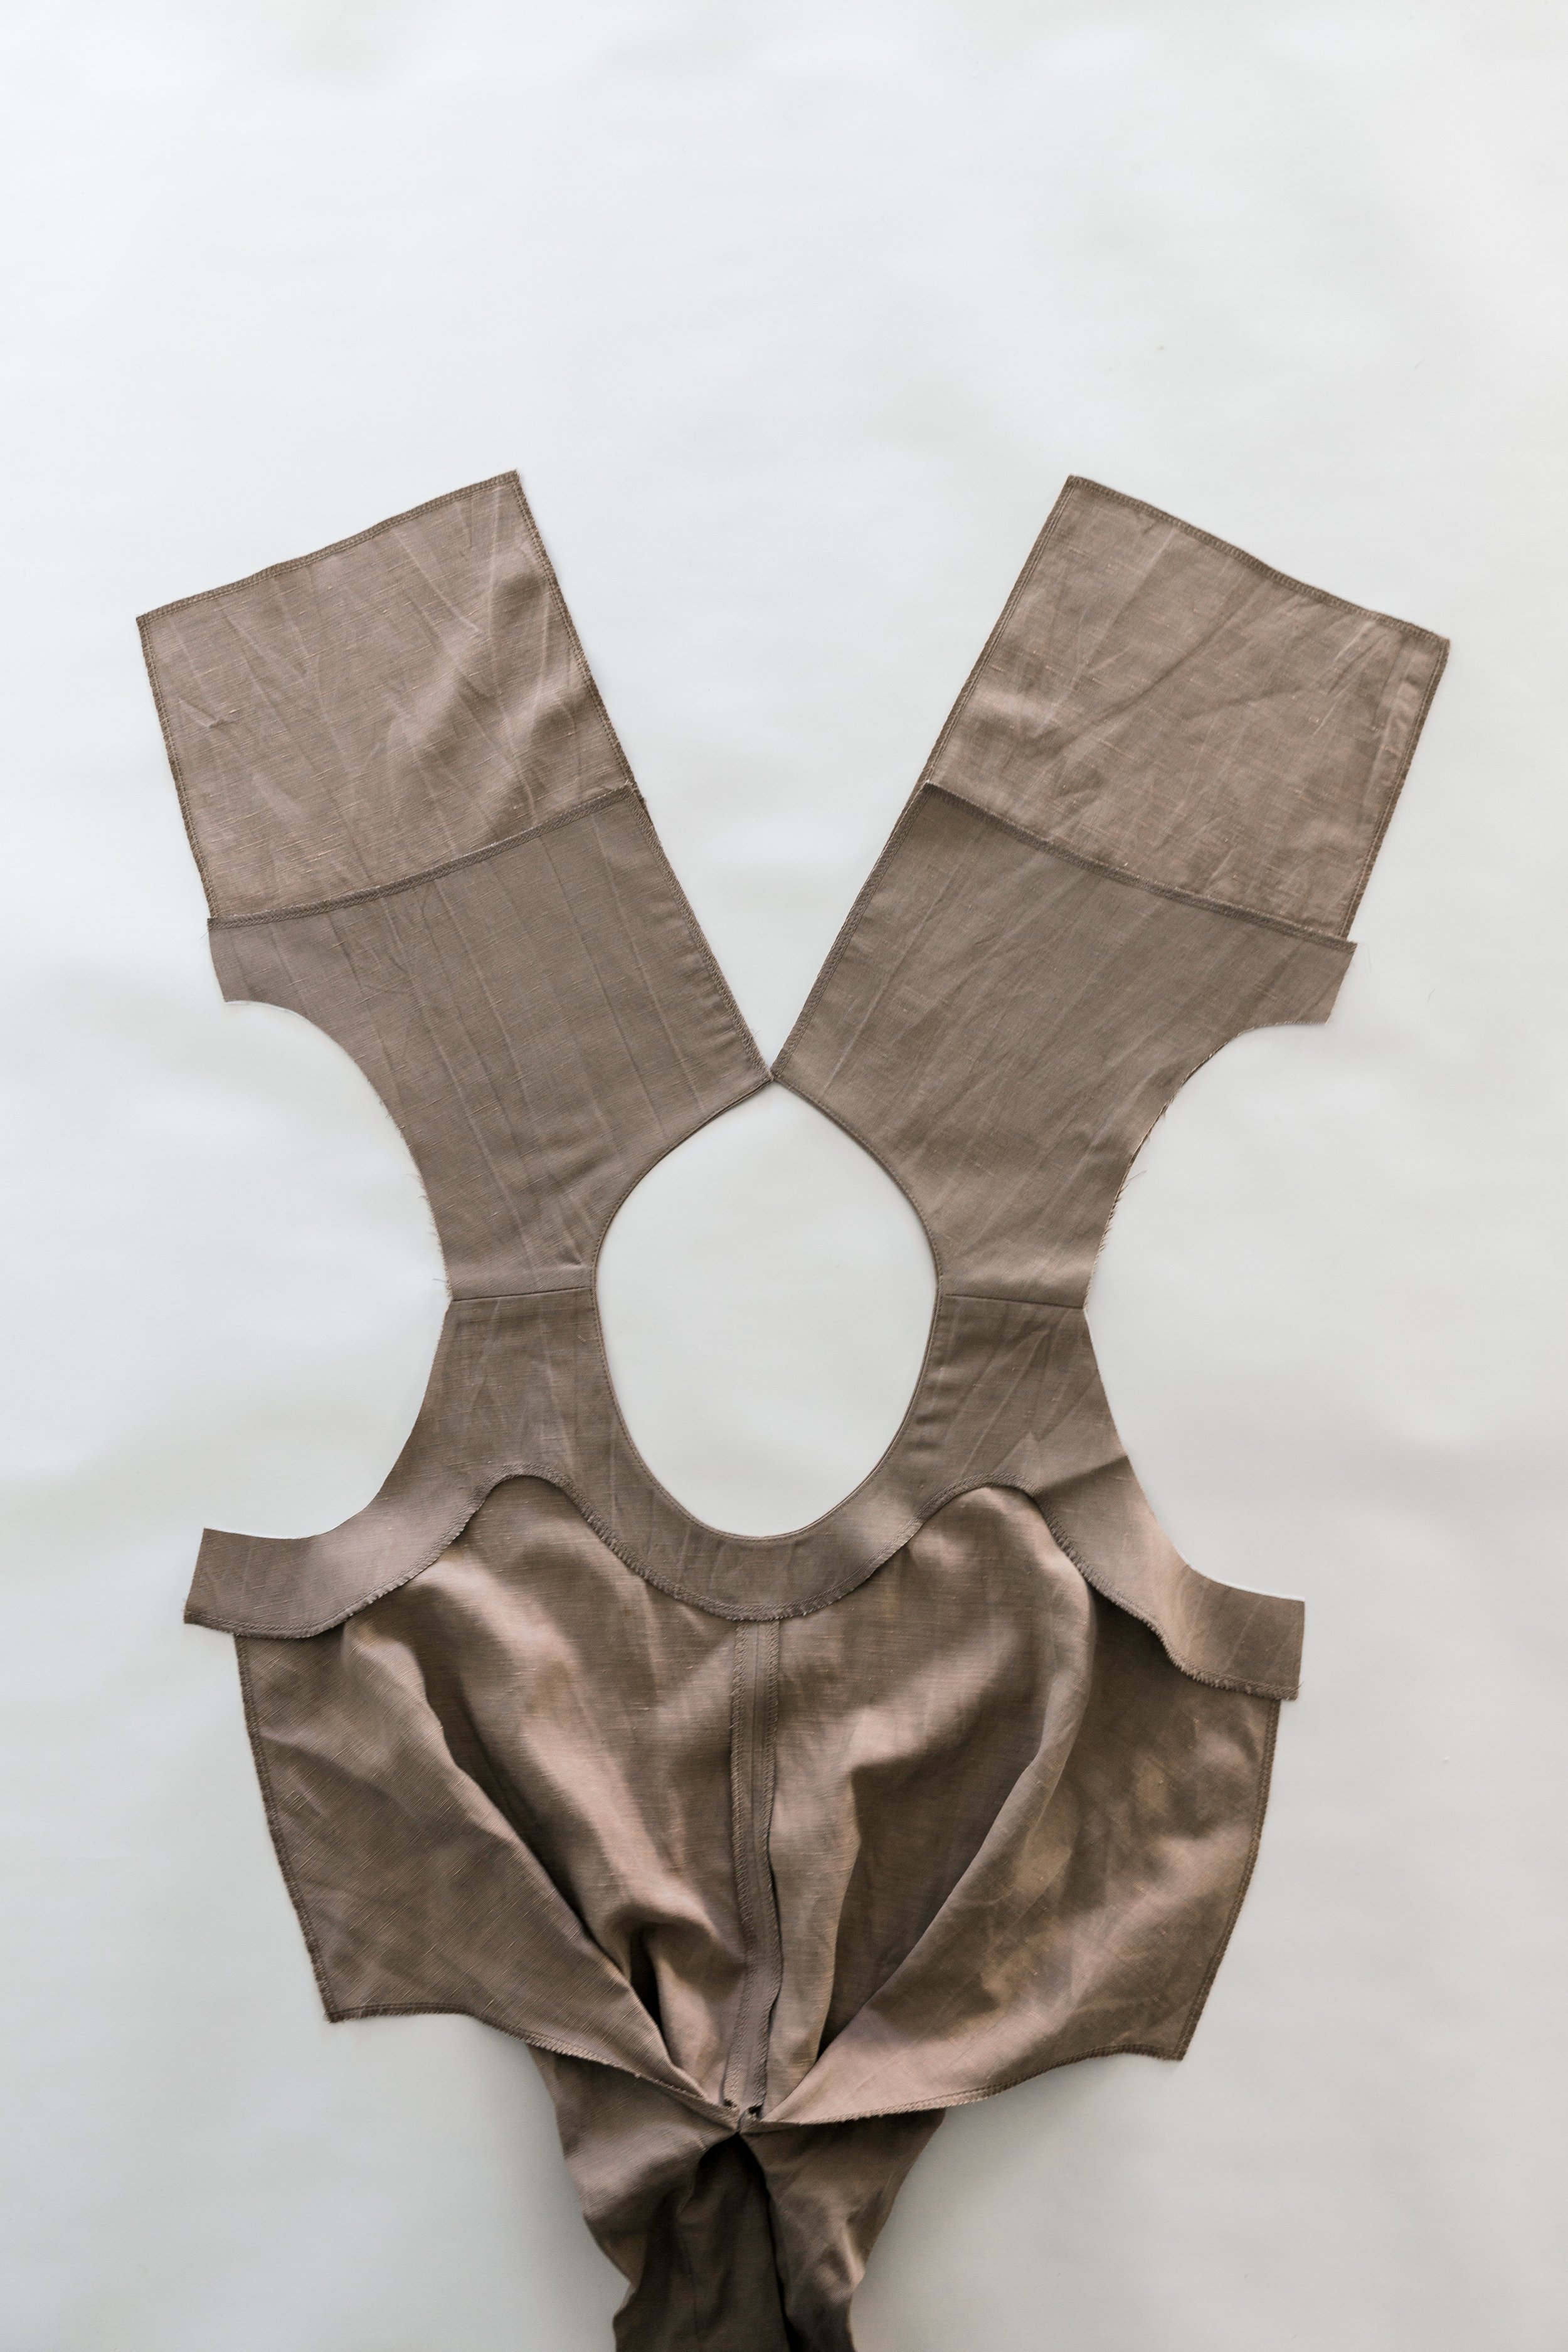
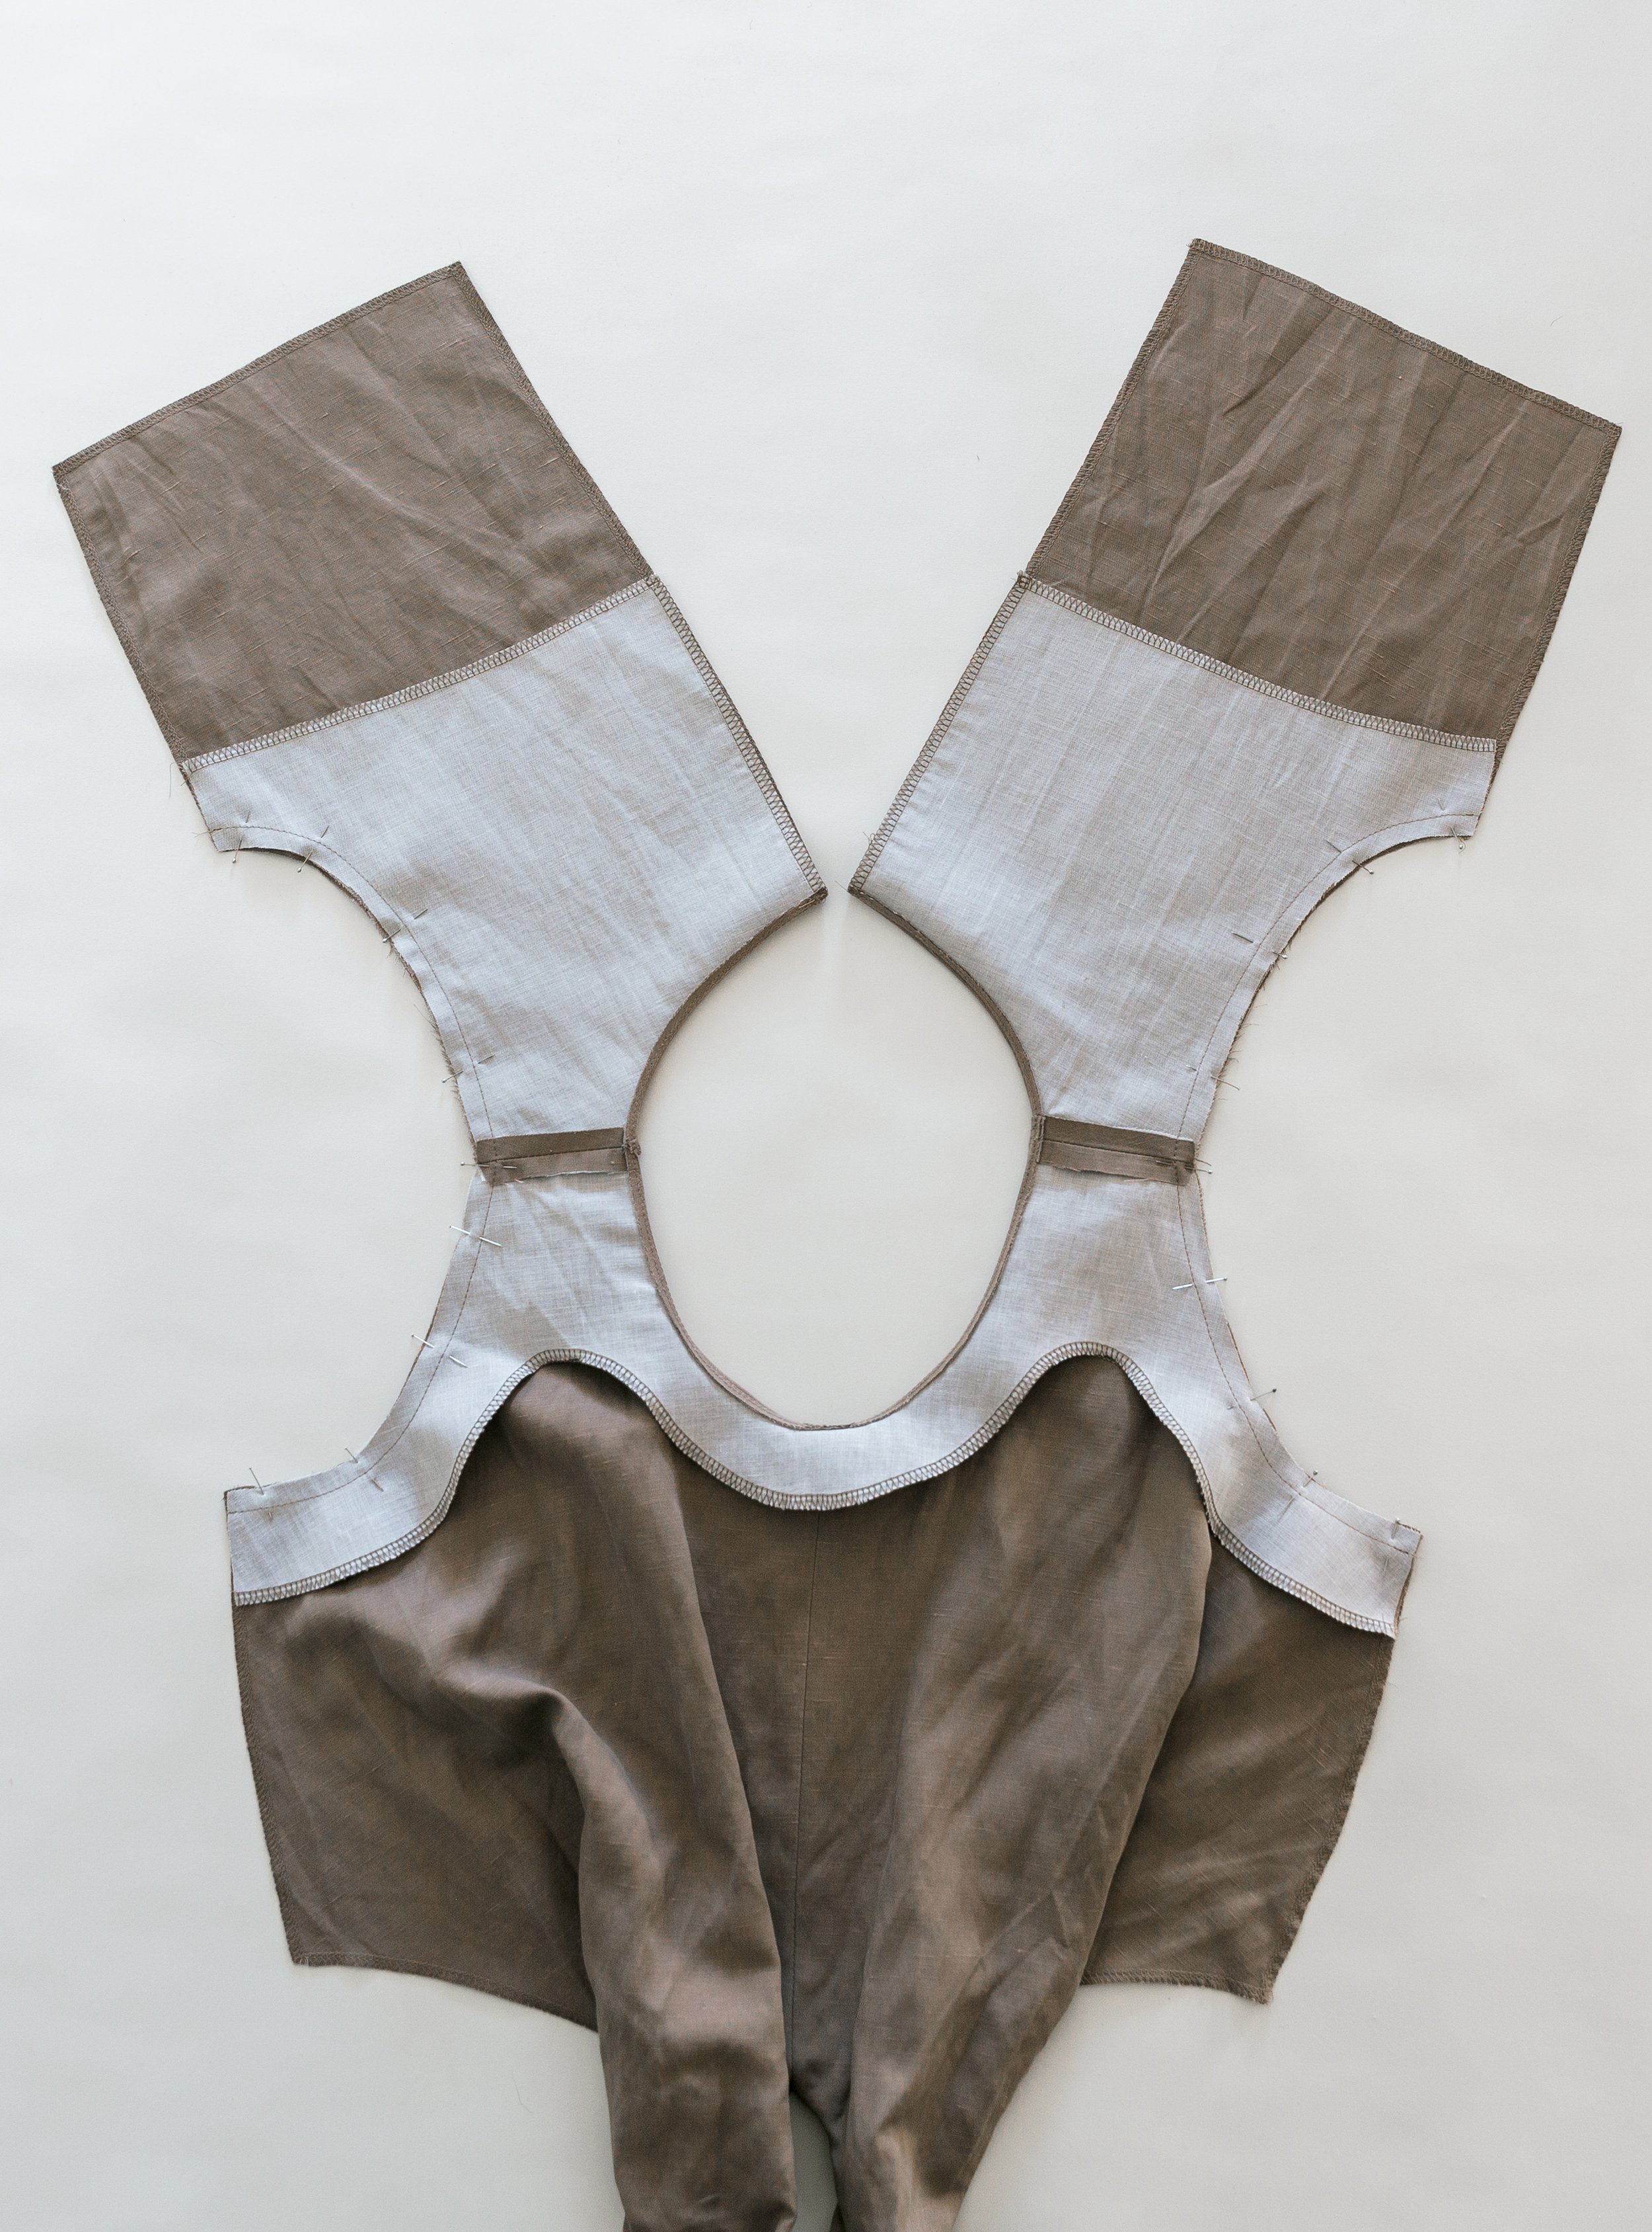
Neaten centre front edge, side seams and waist seams of front bodice pieces. Neaten centre back seam, side seams and waist seams of back bodice pieces.

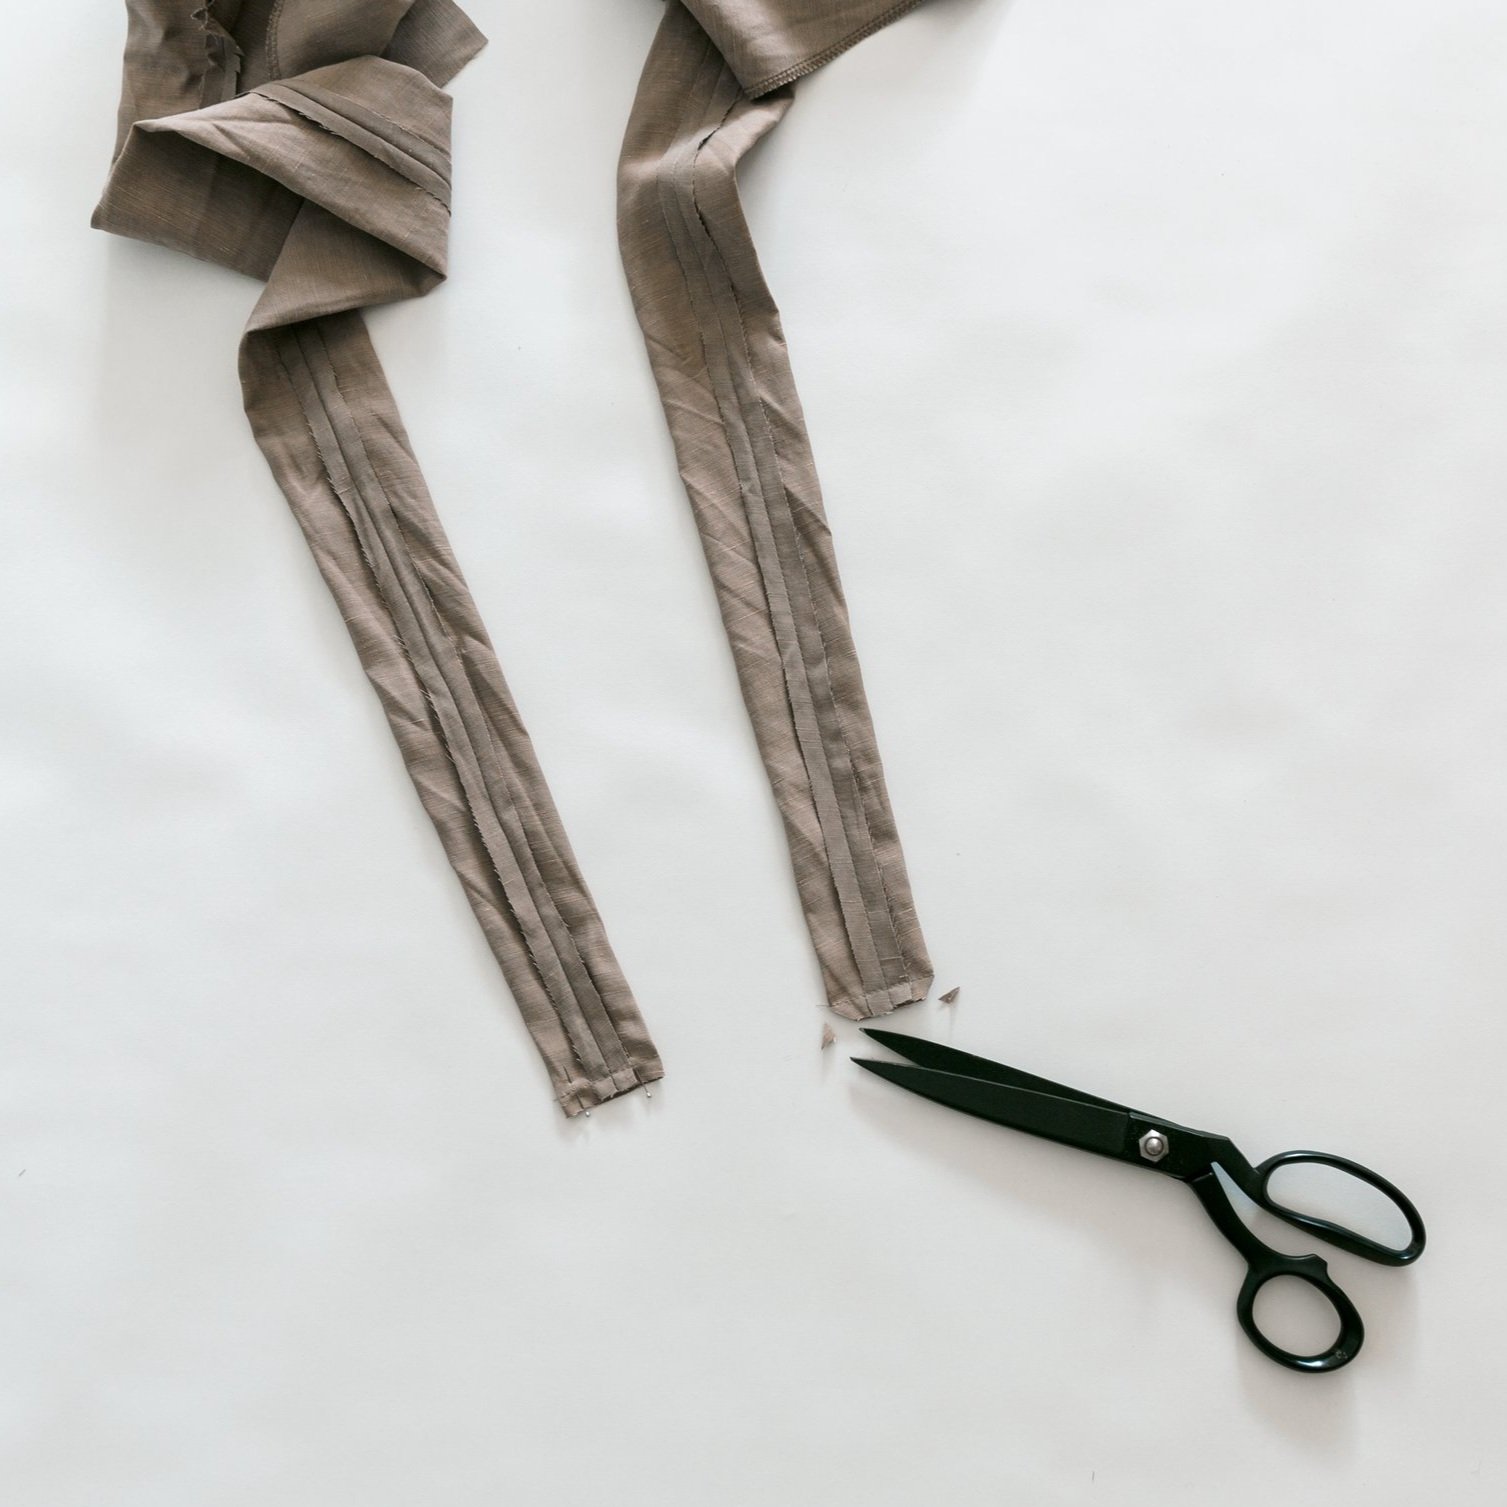
Step 3
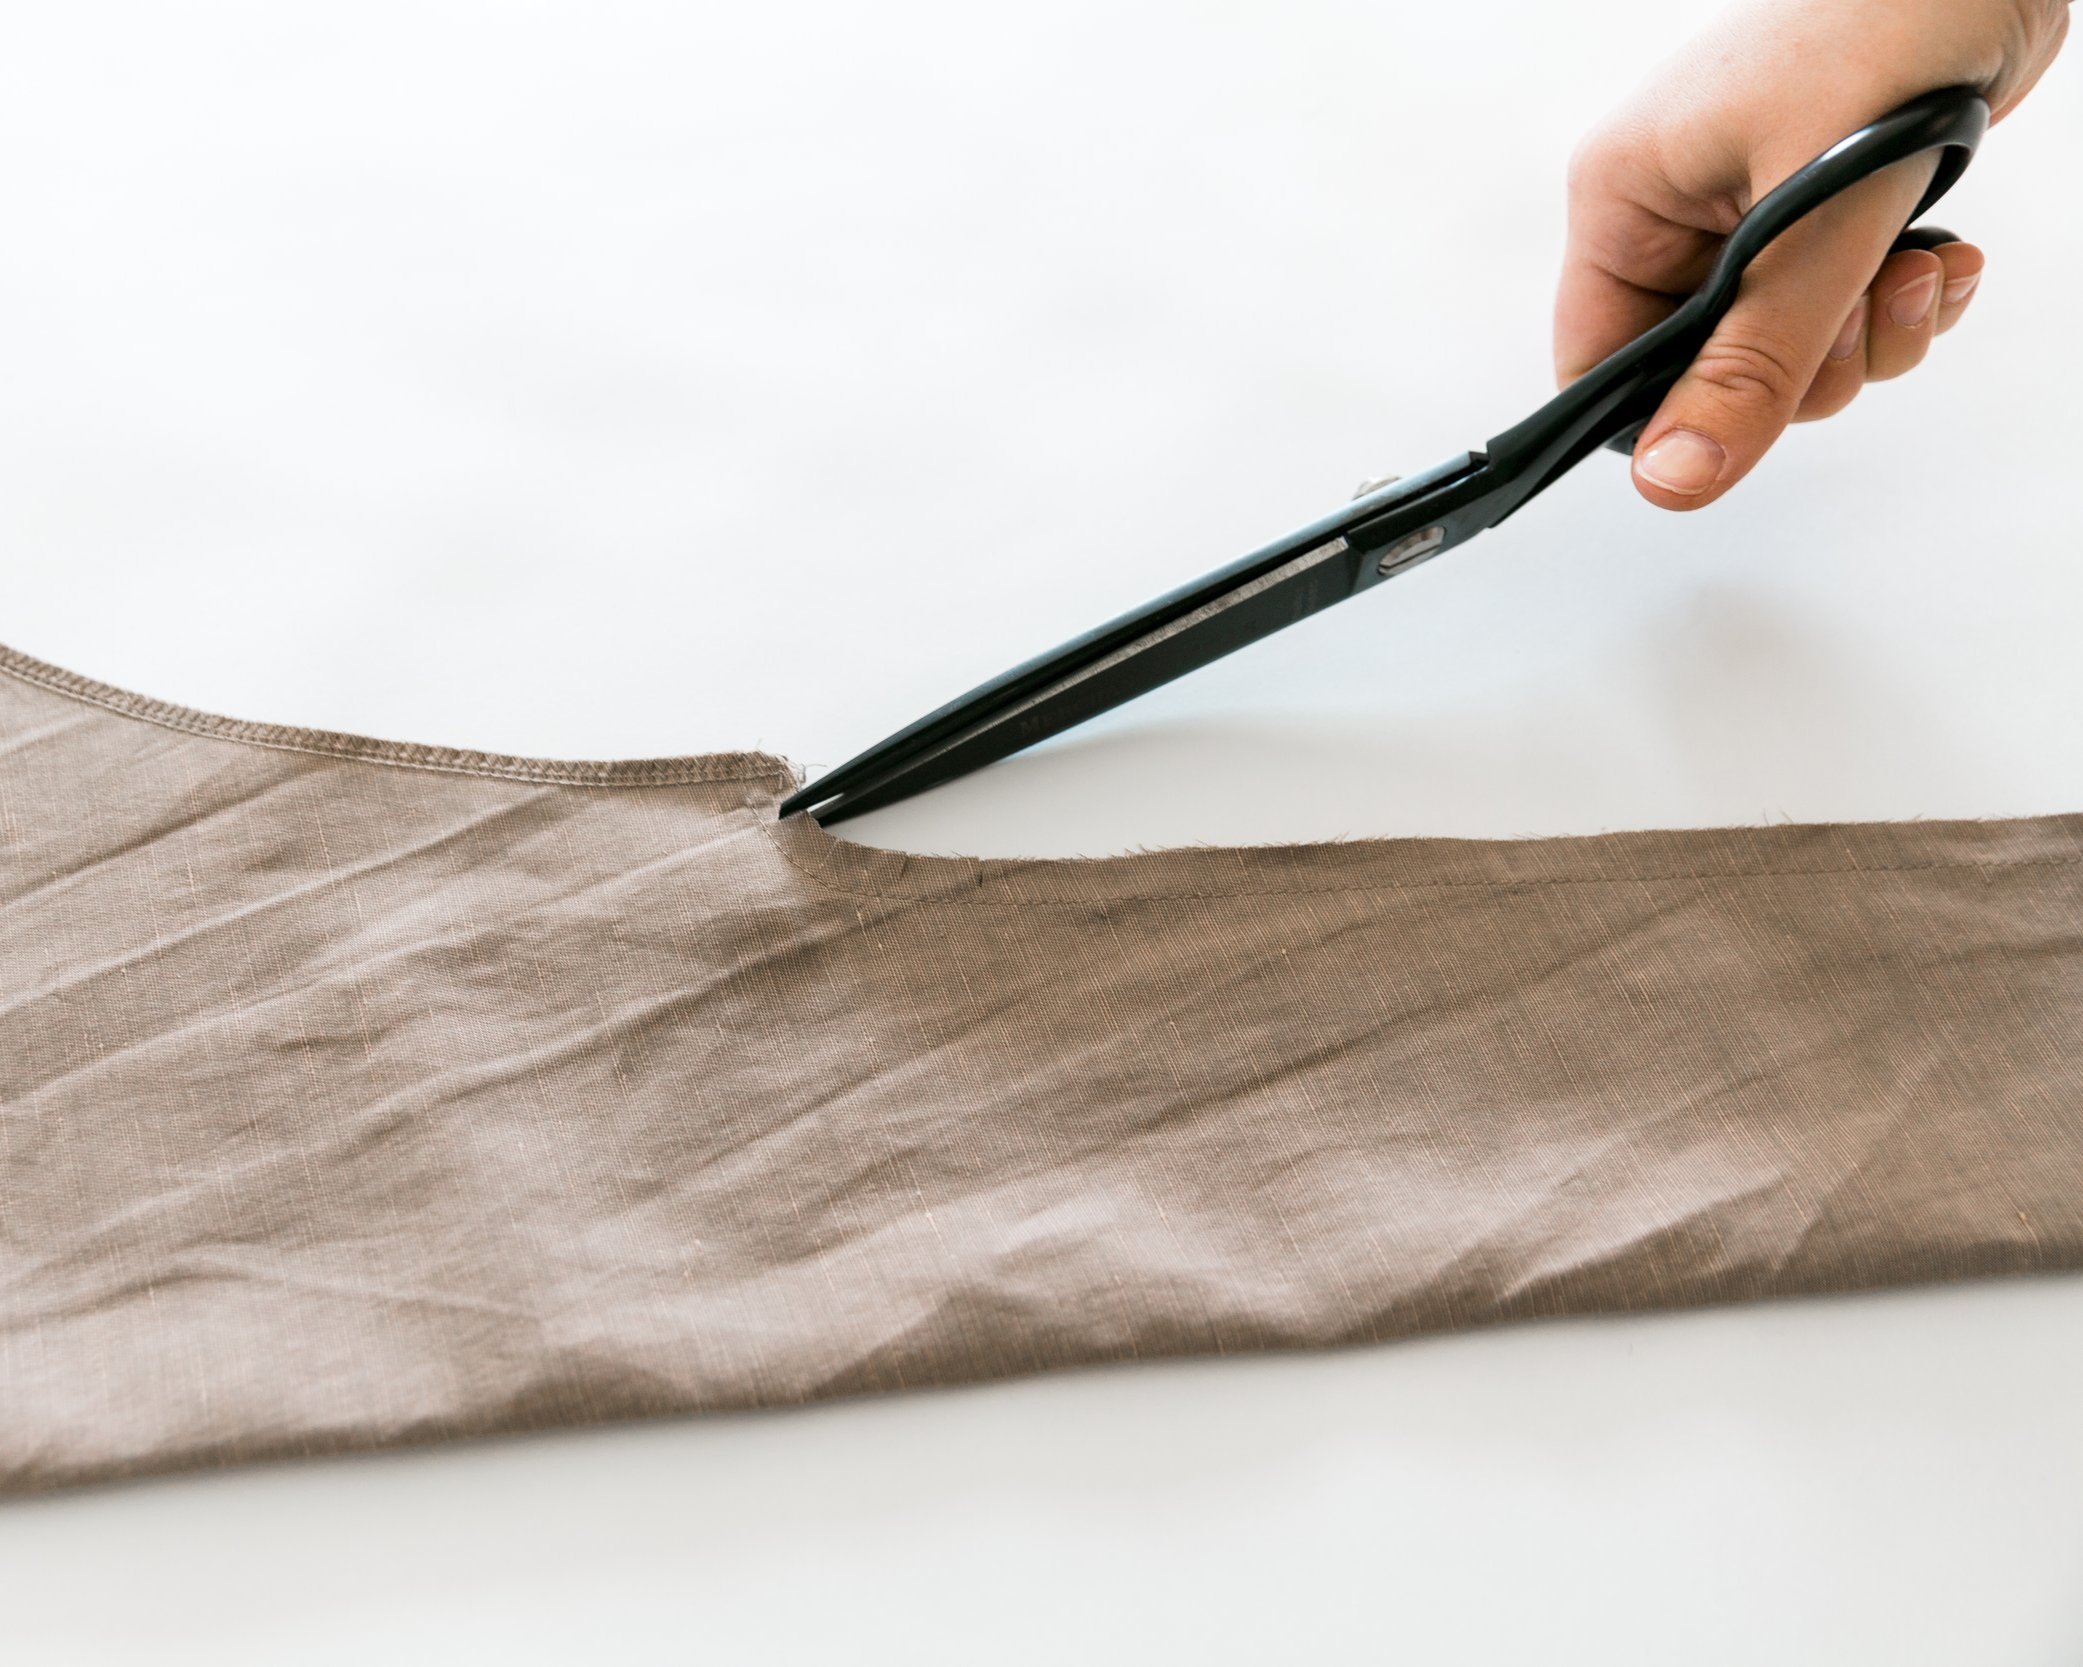
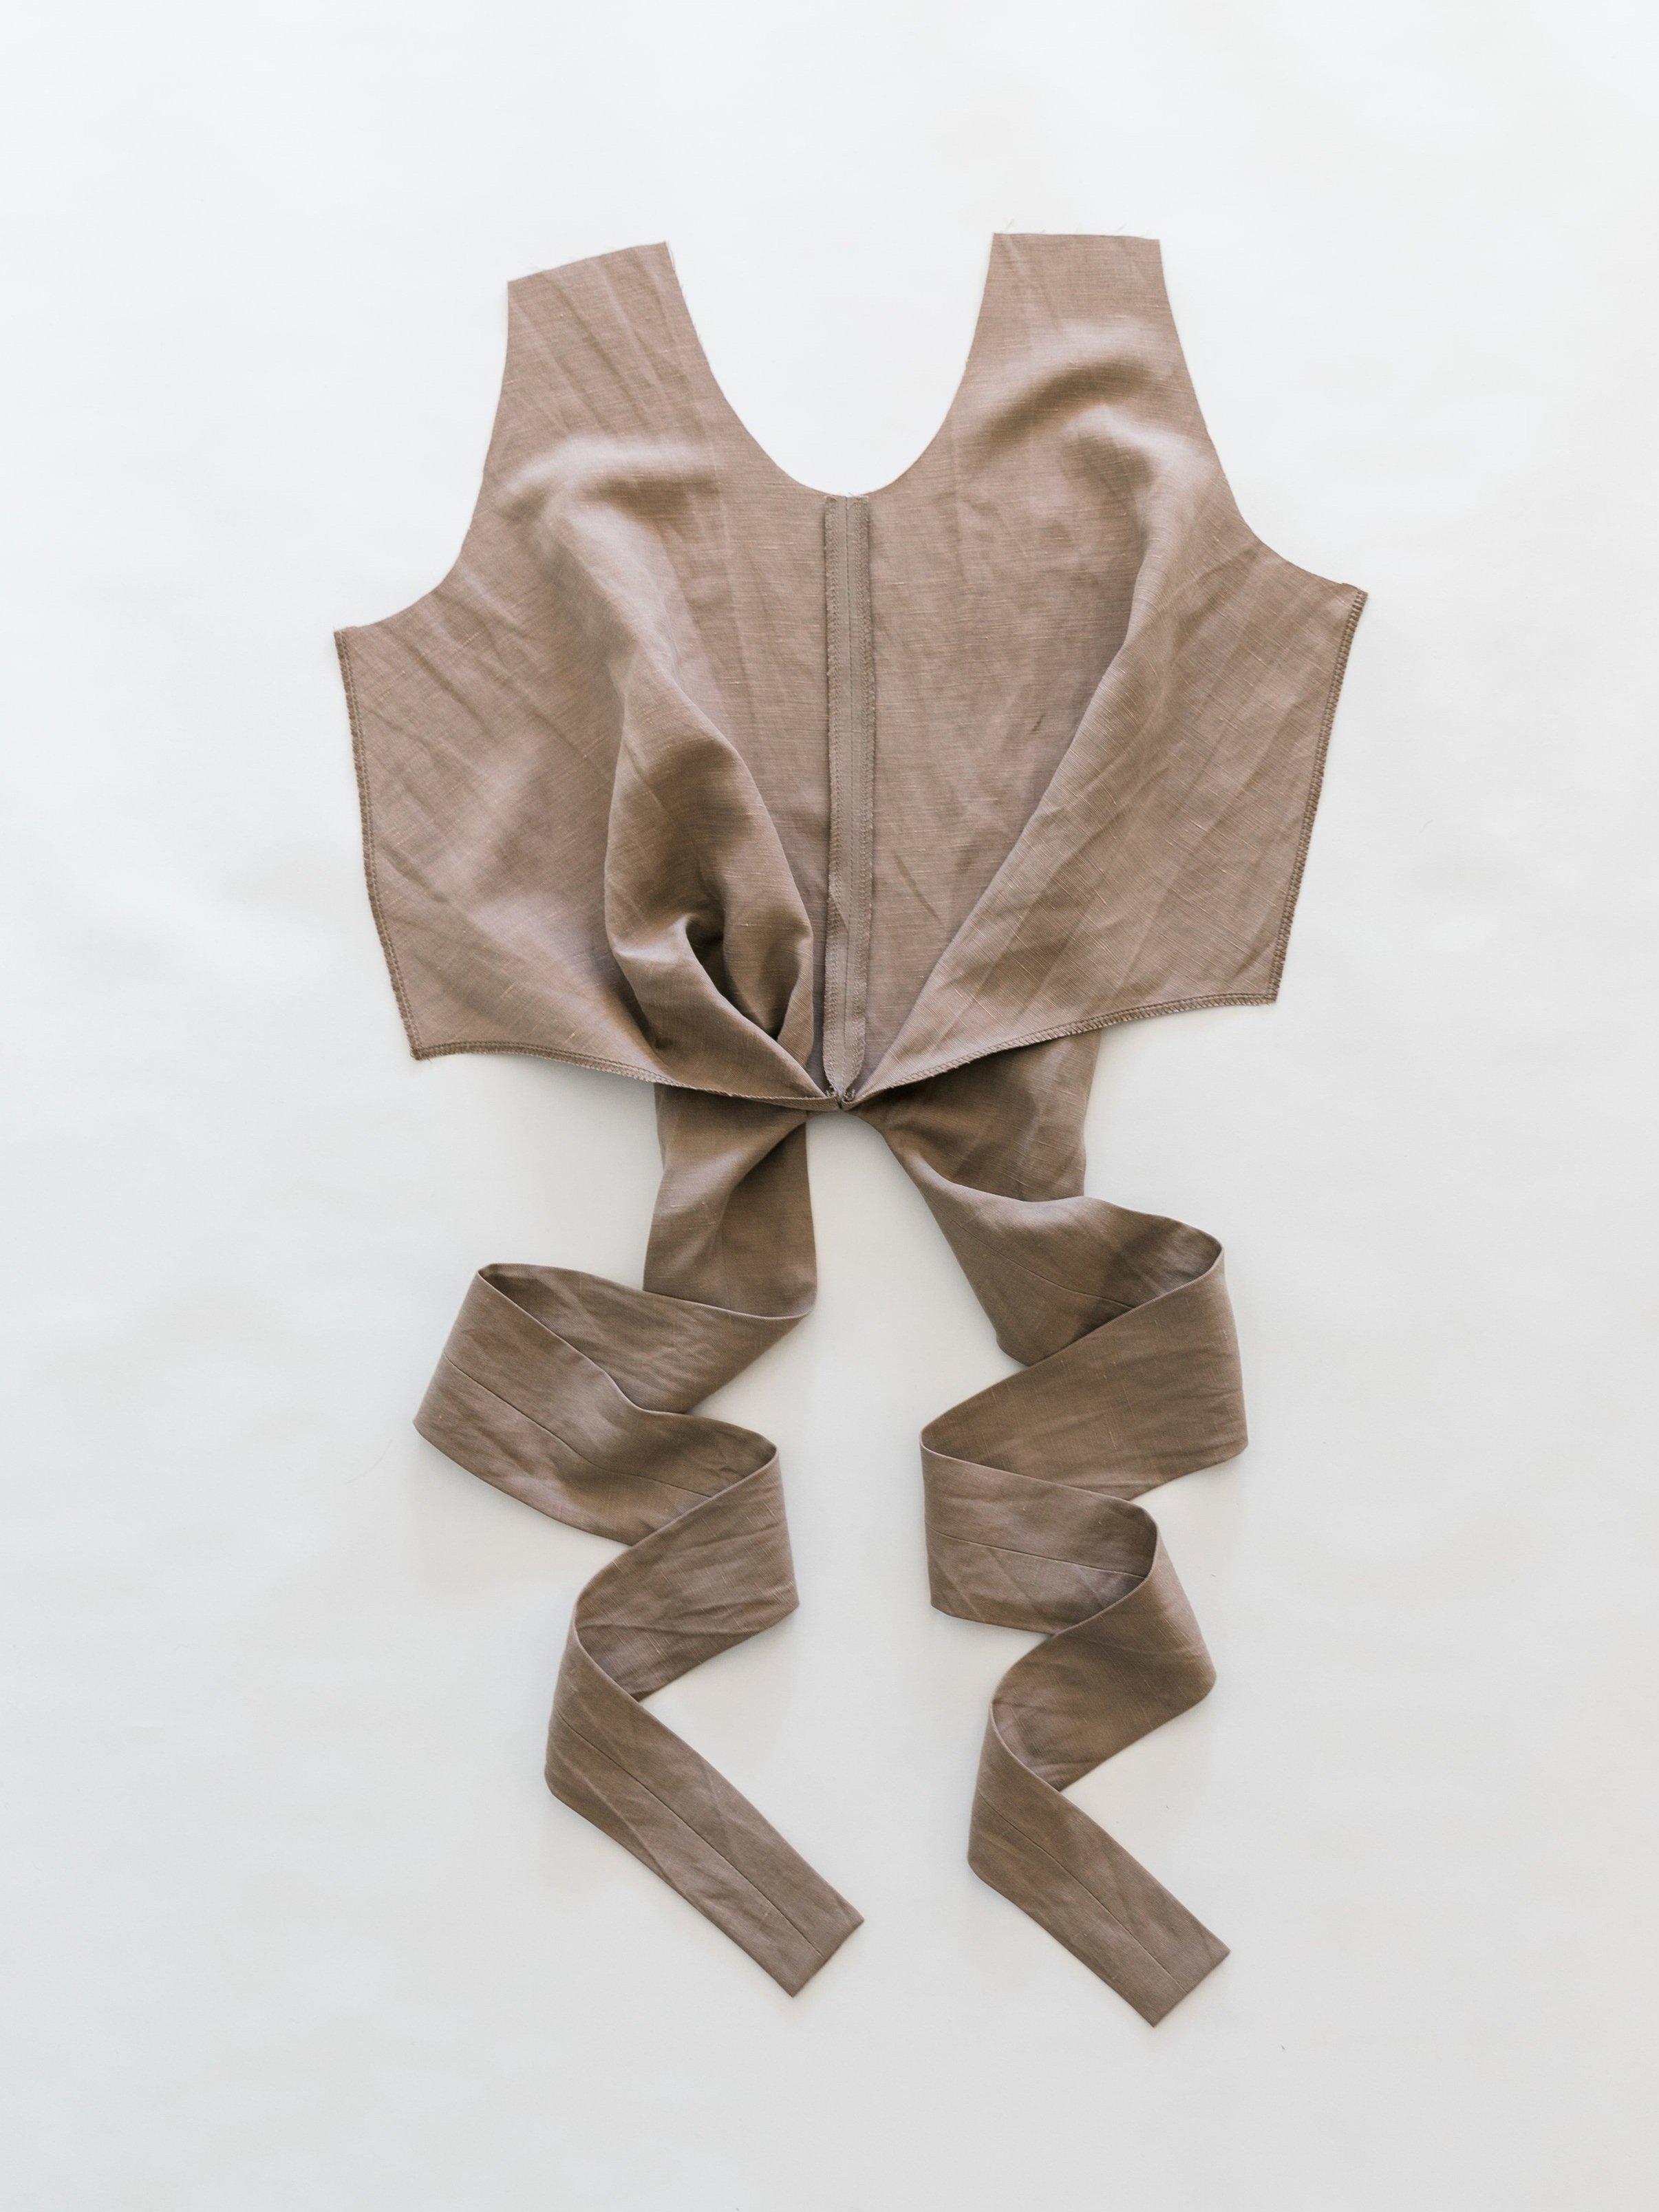
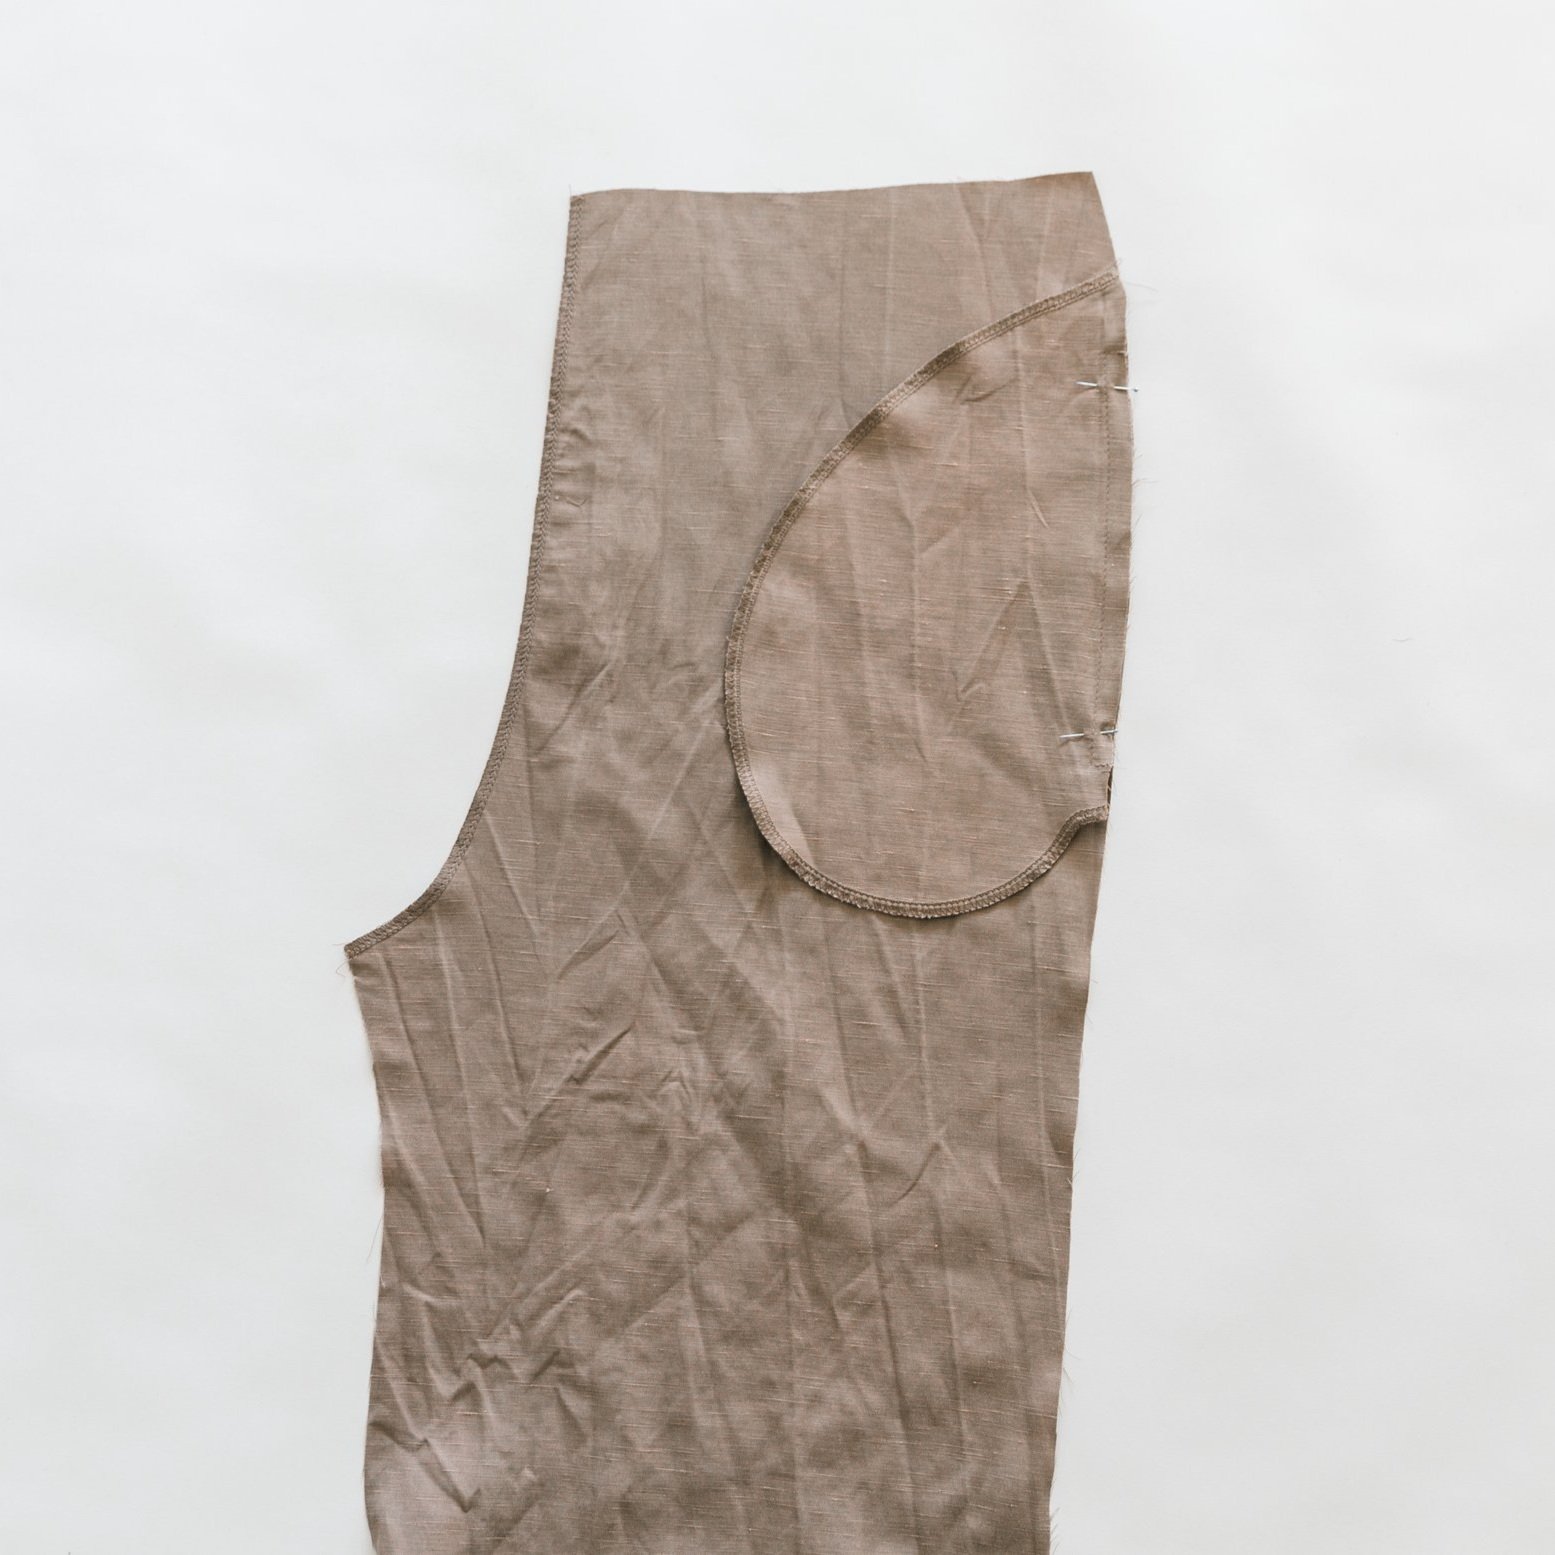
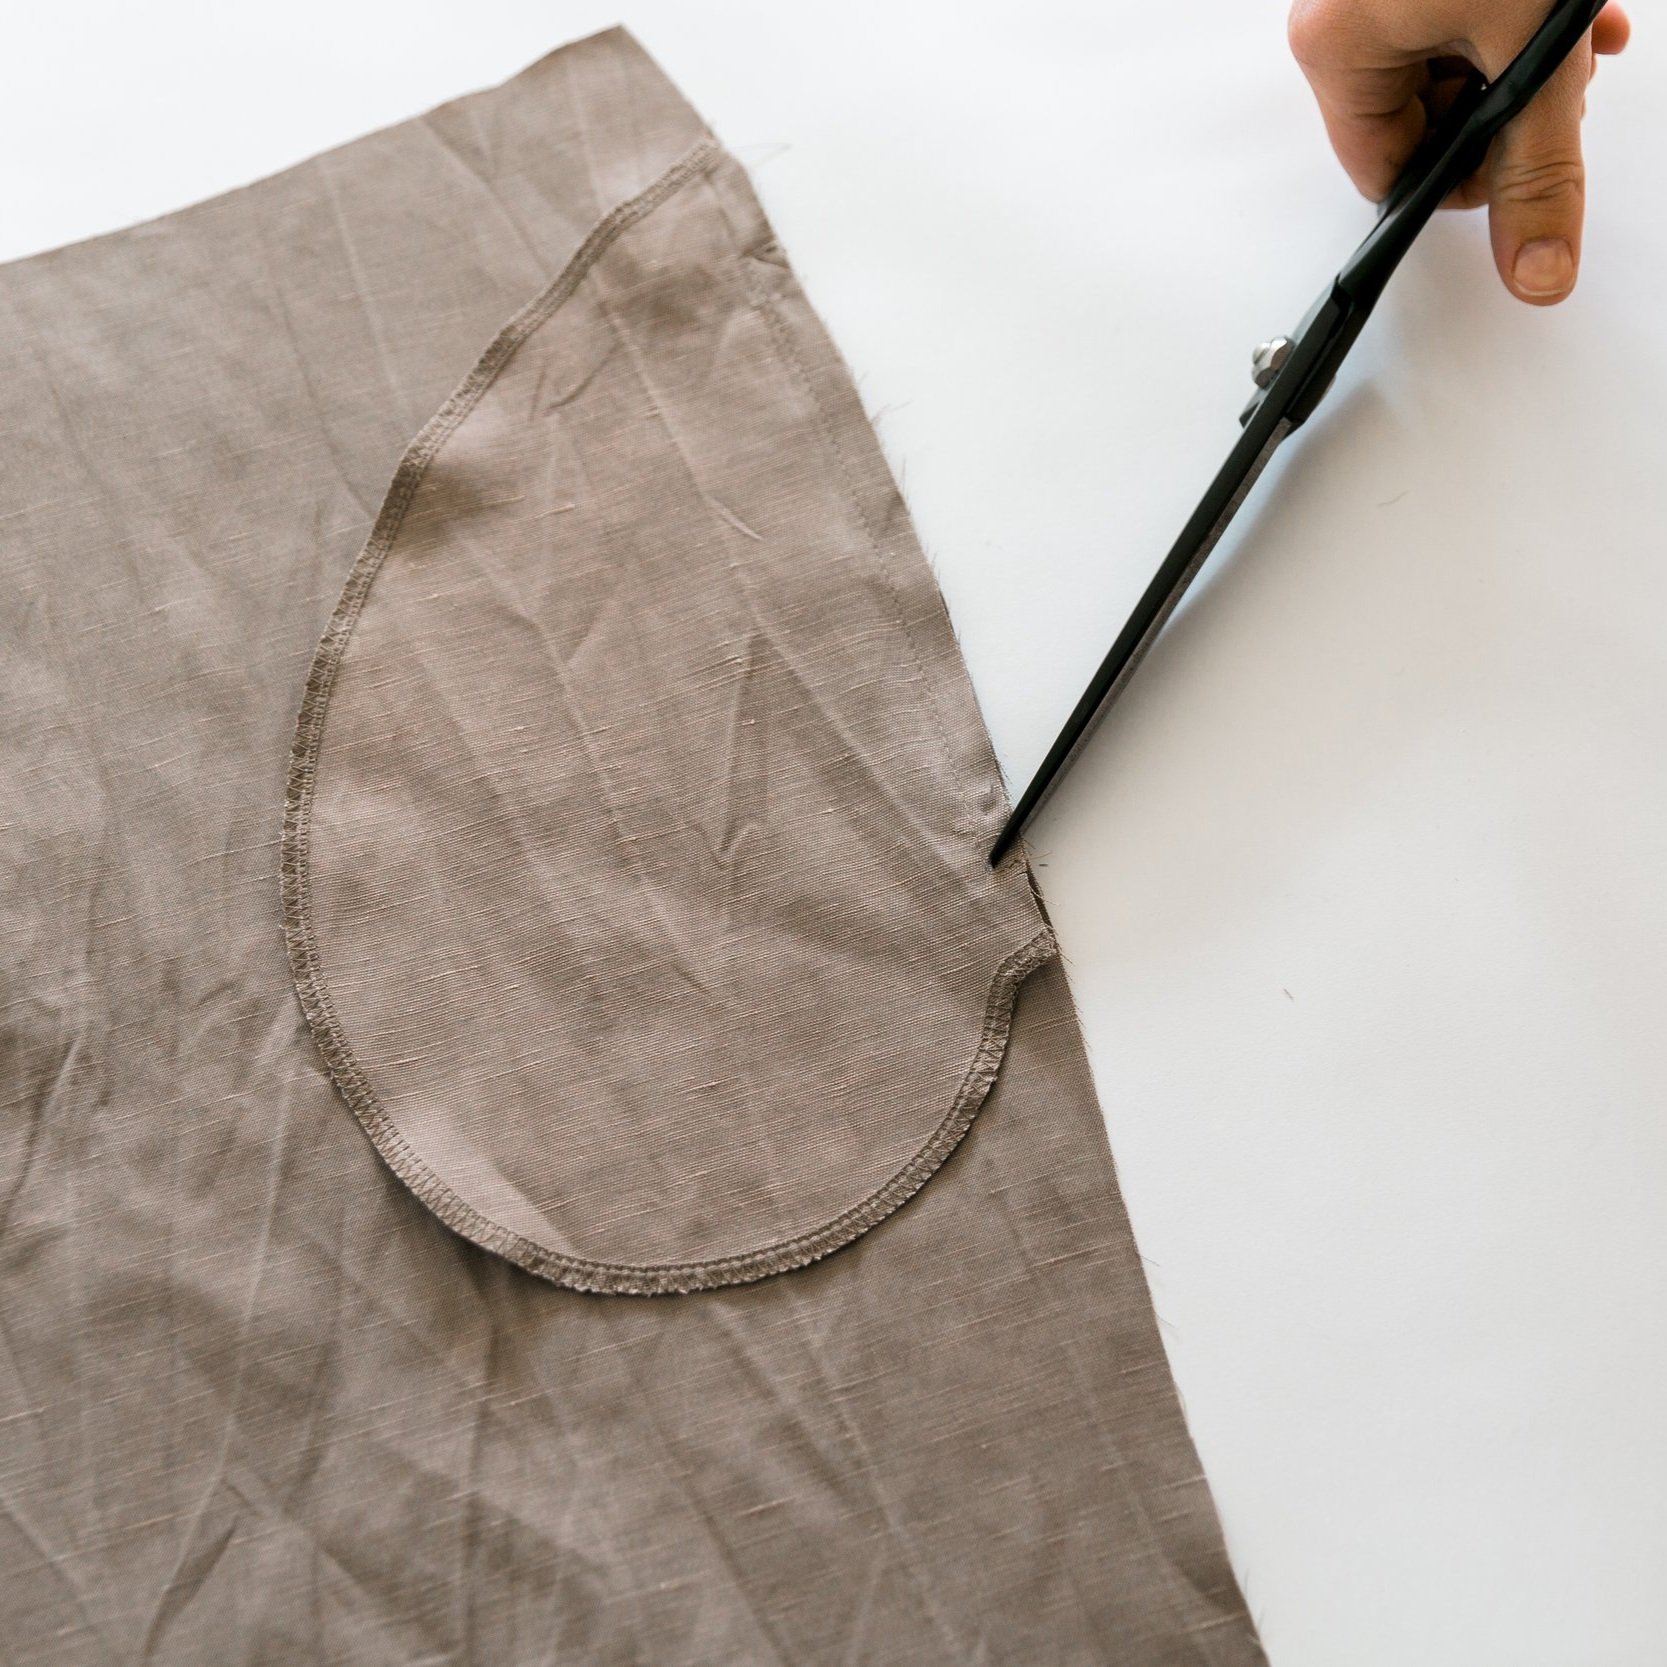
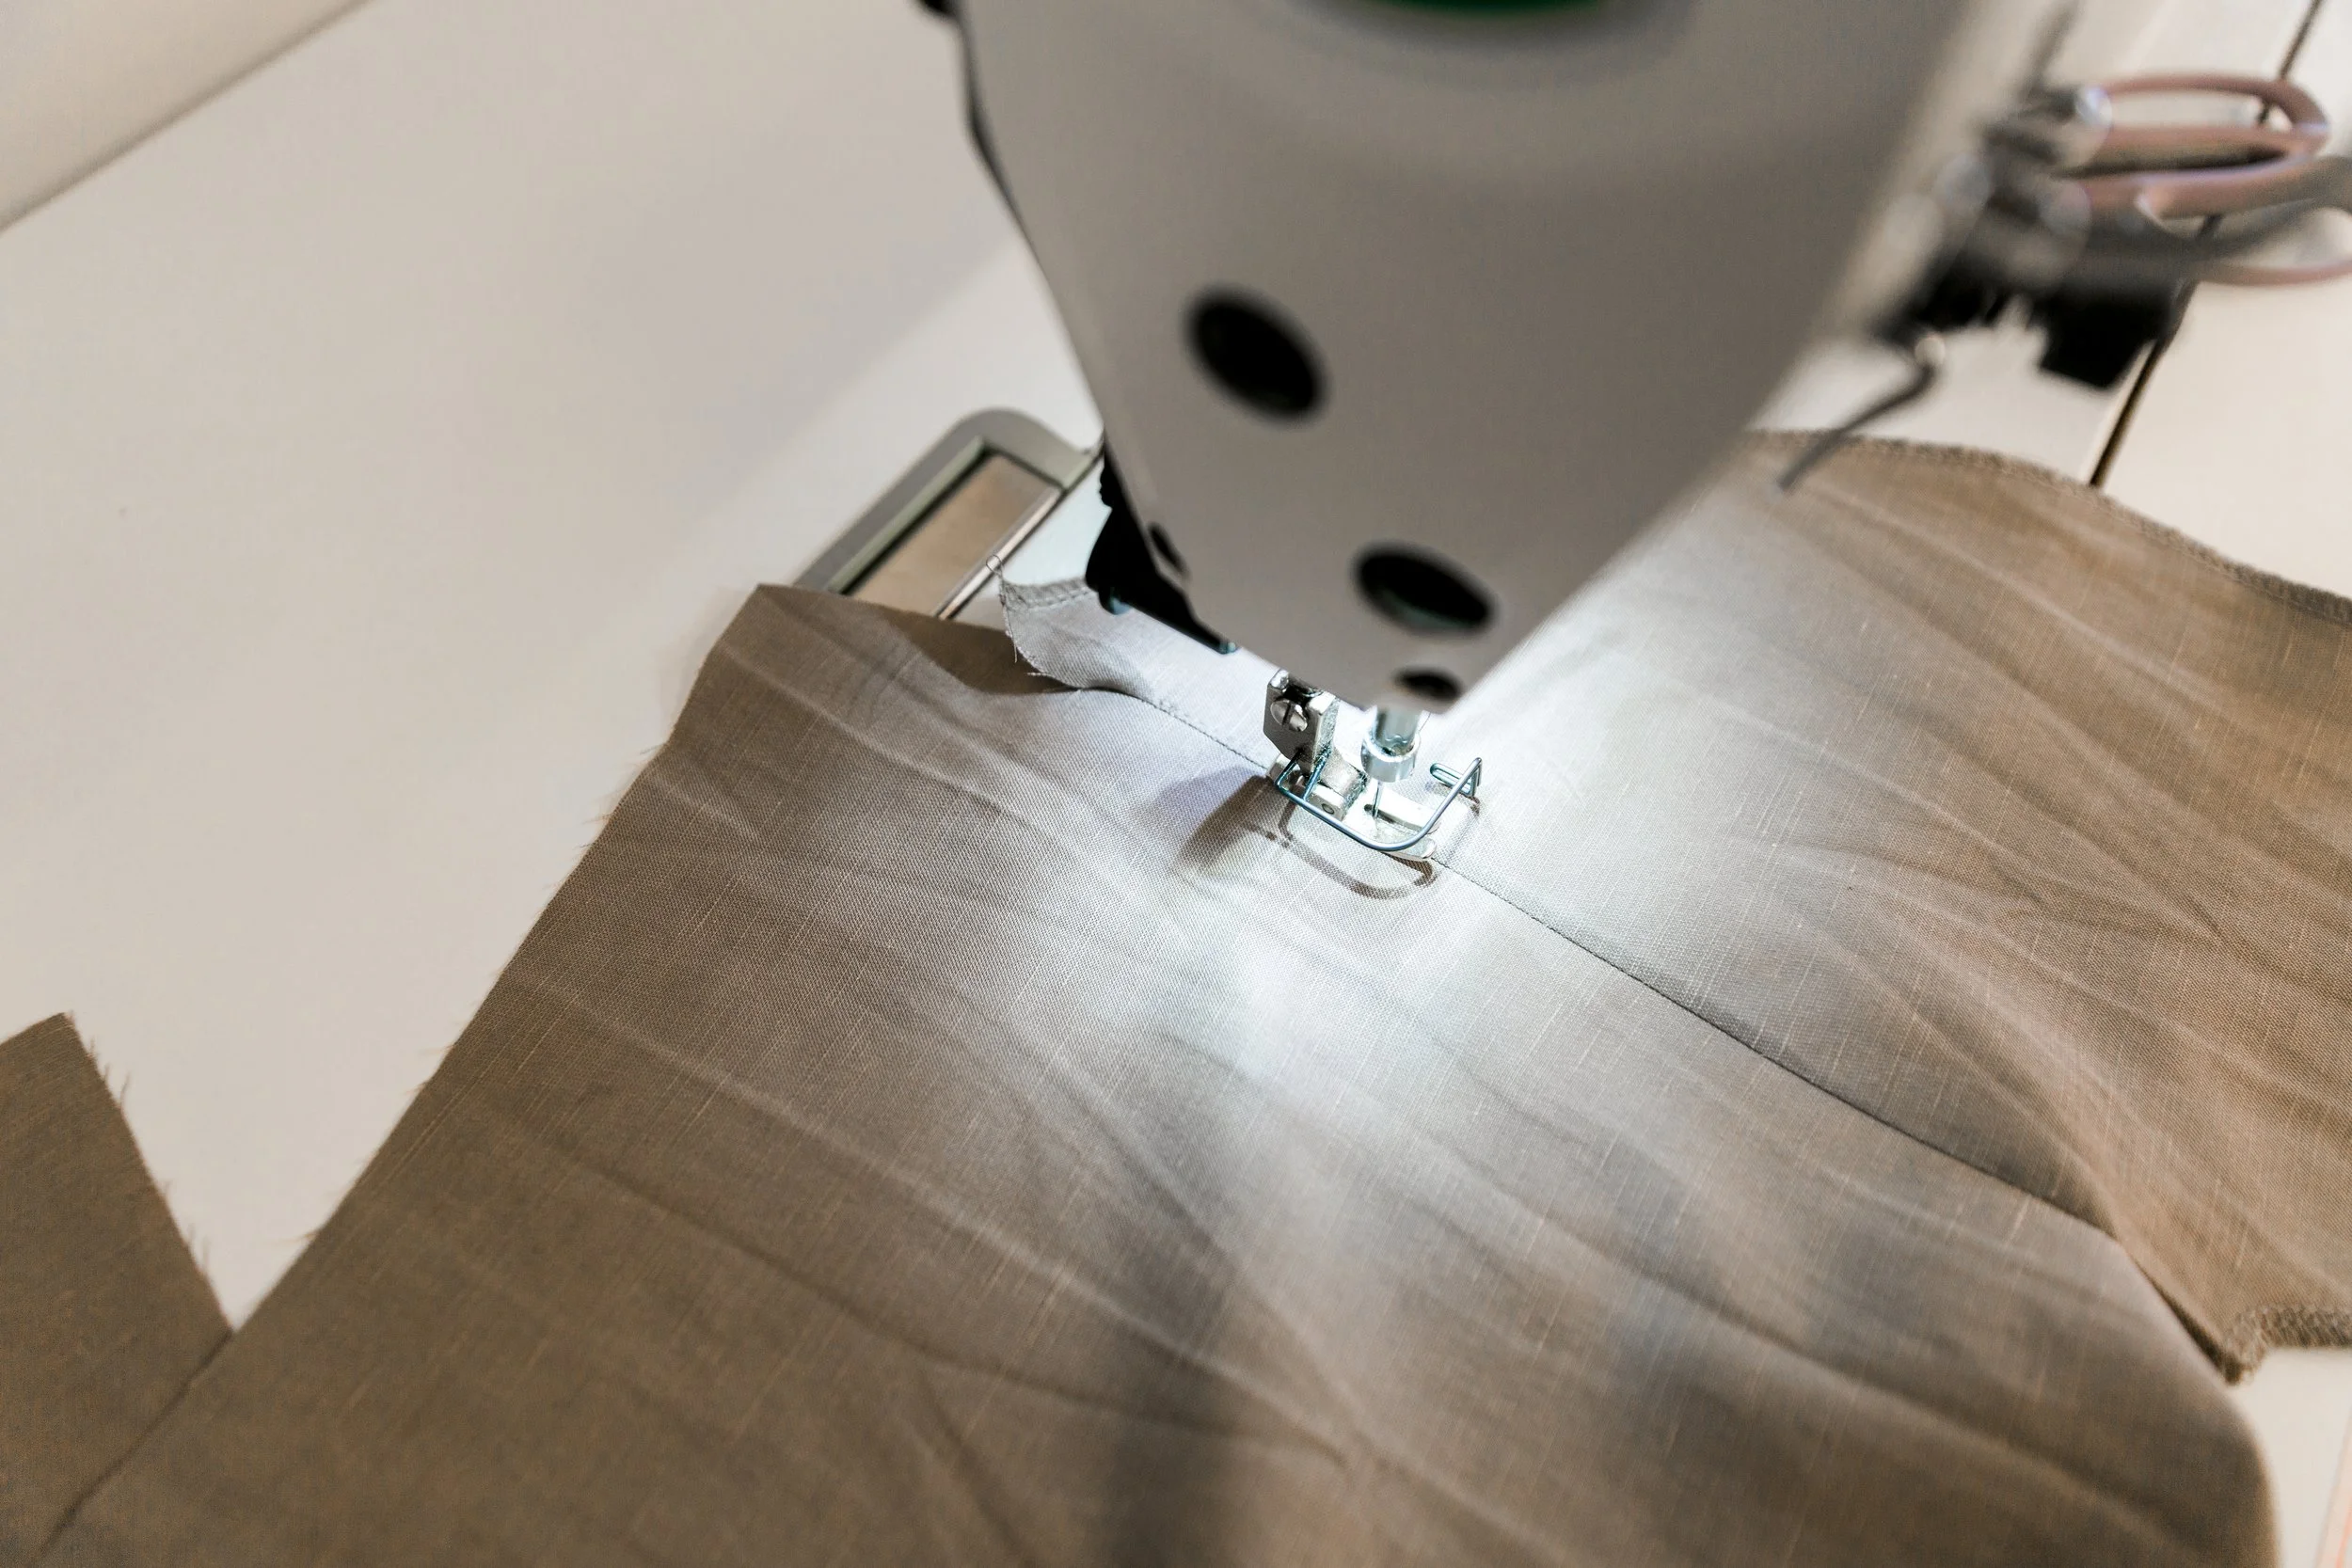
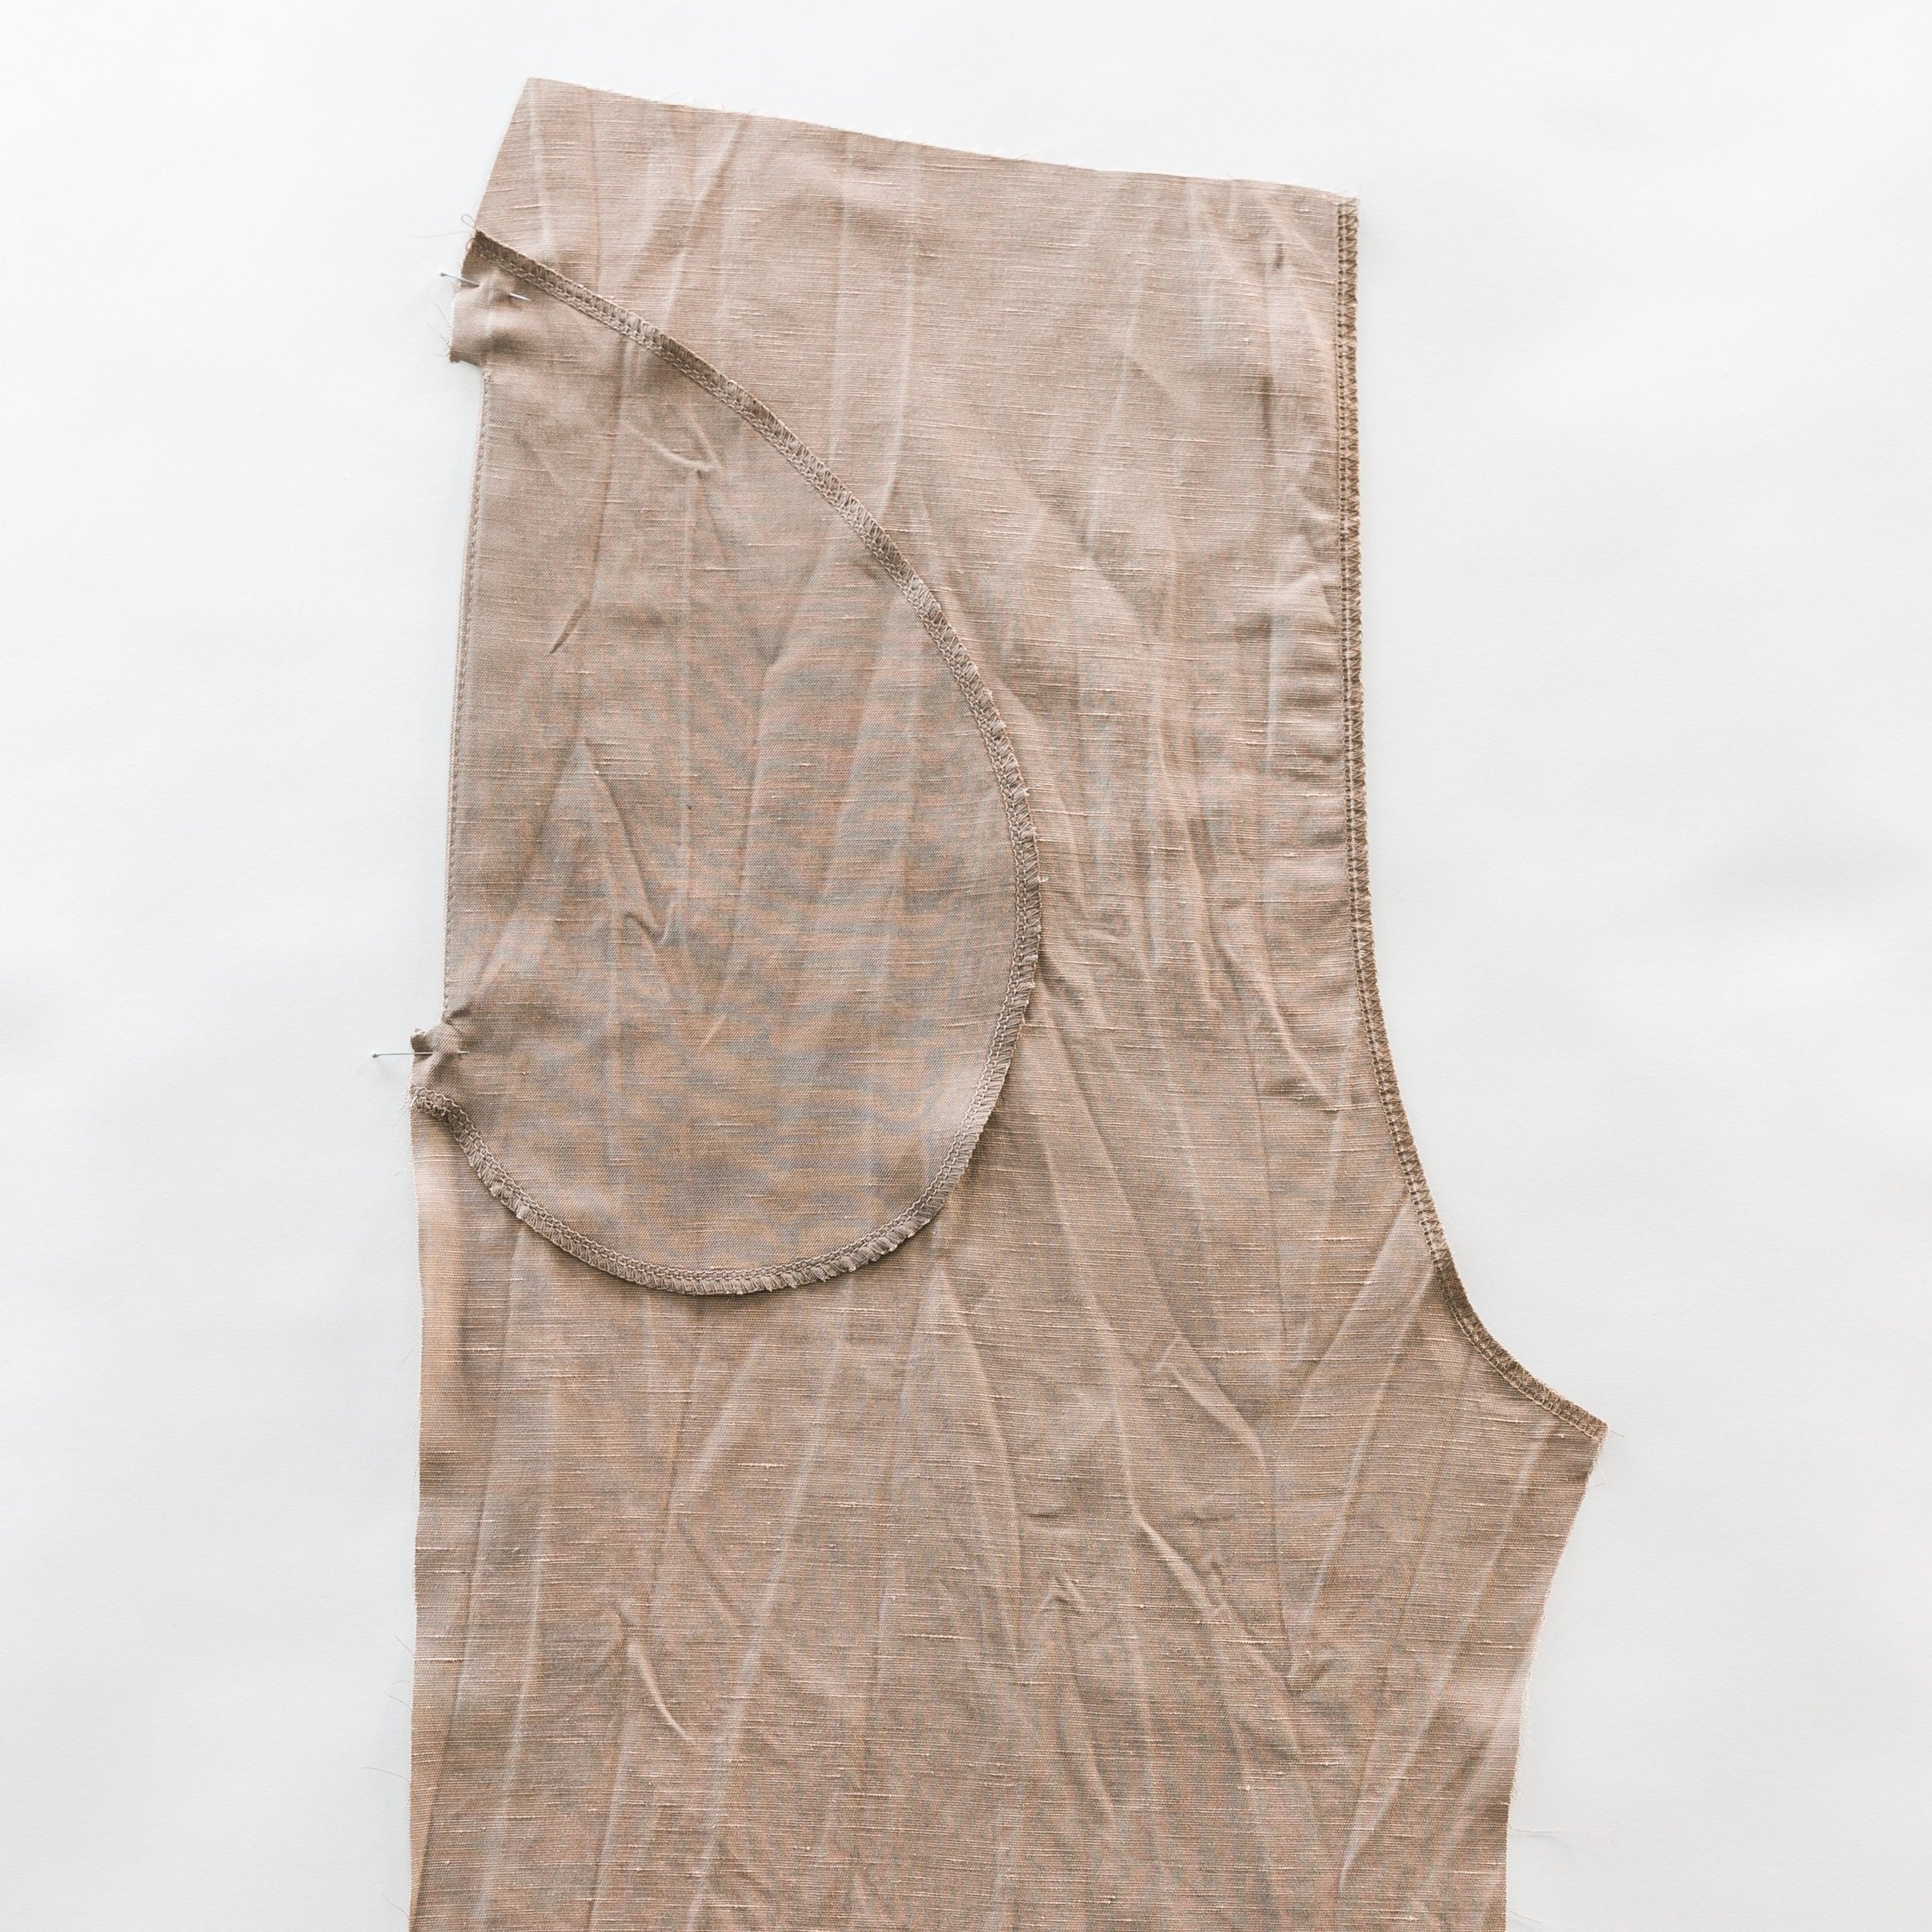
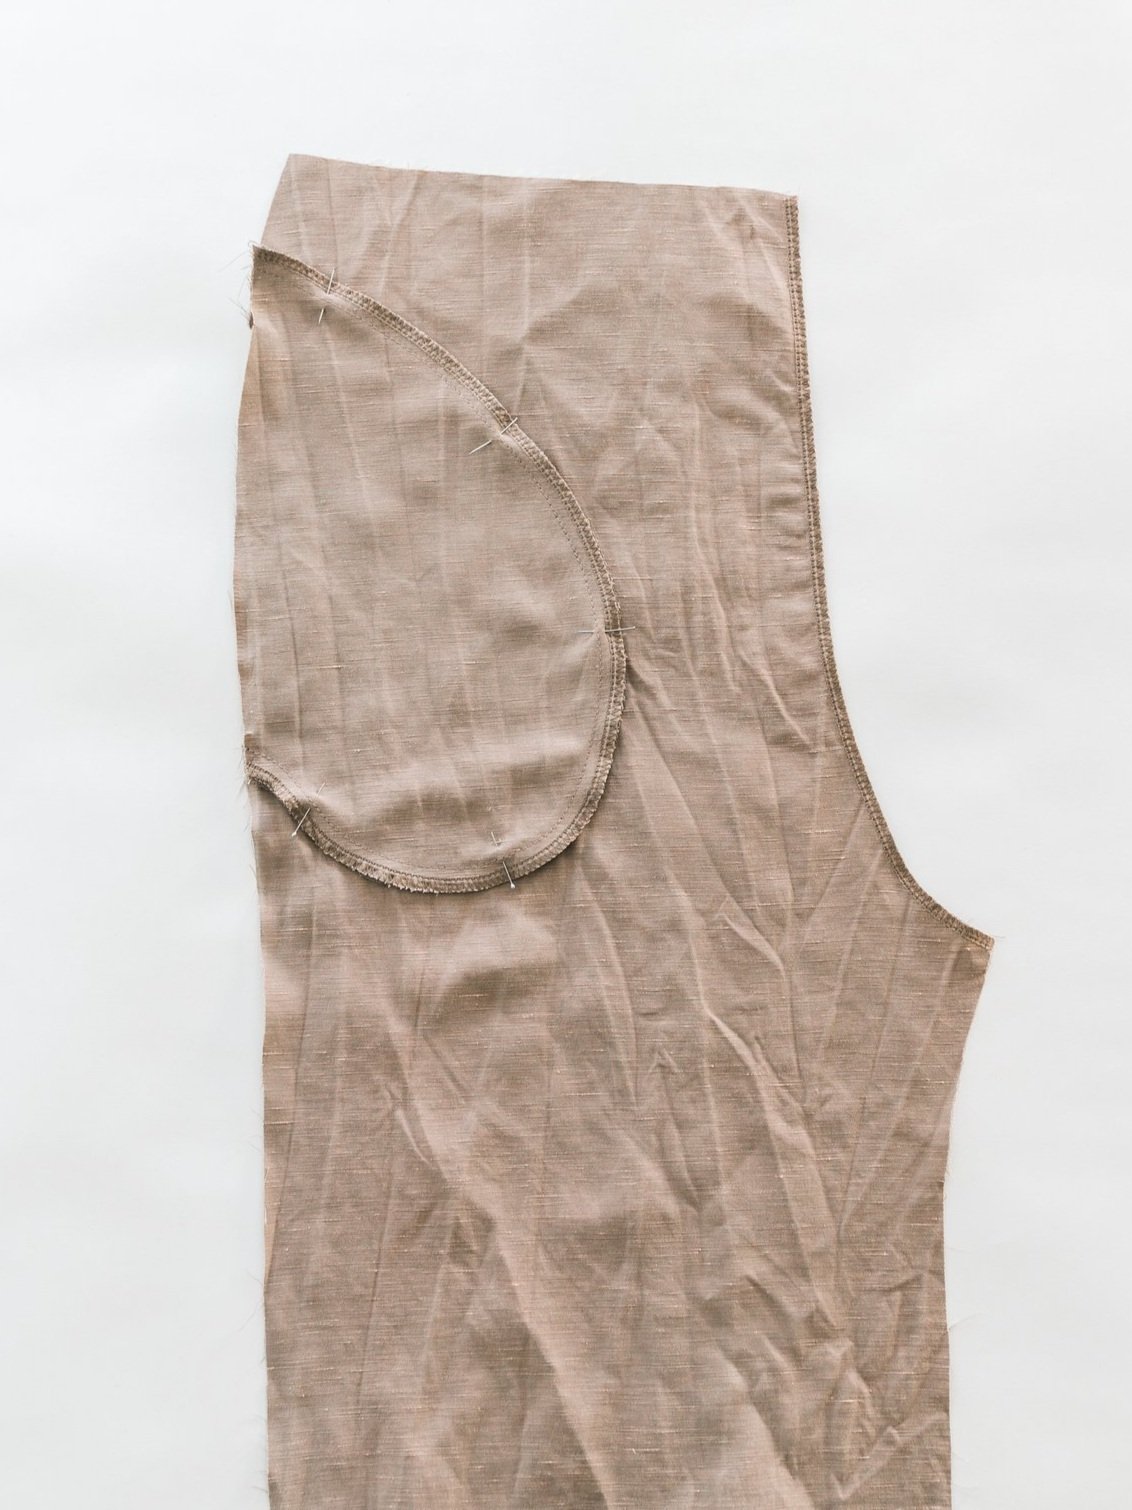
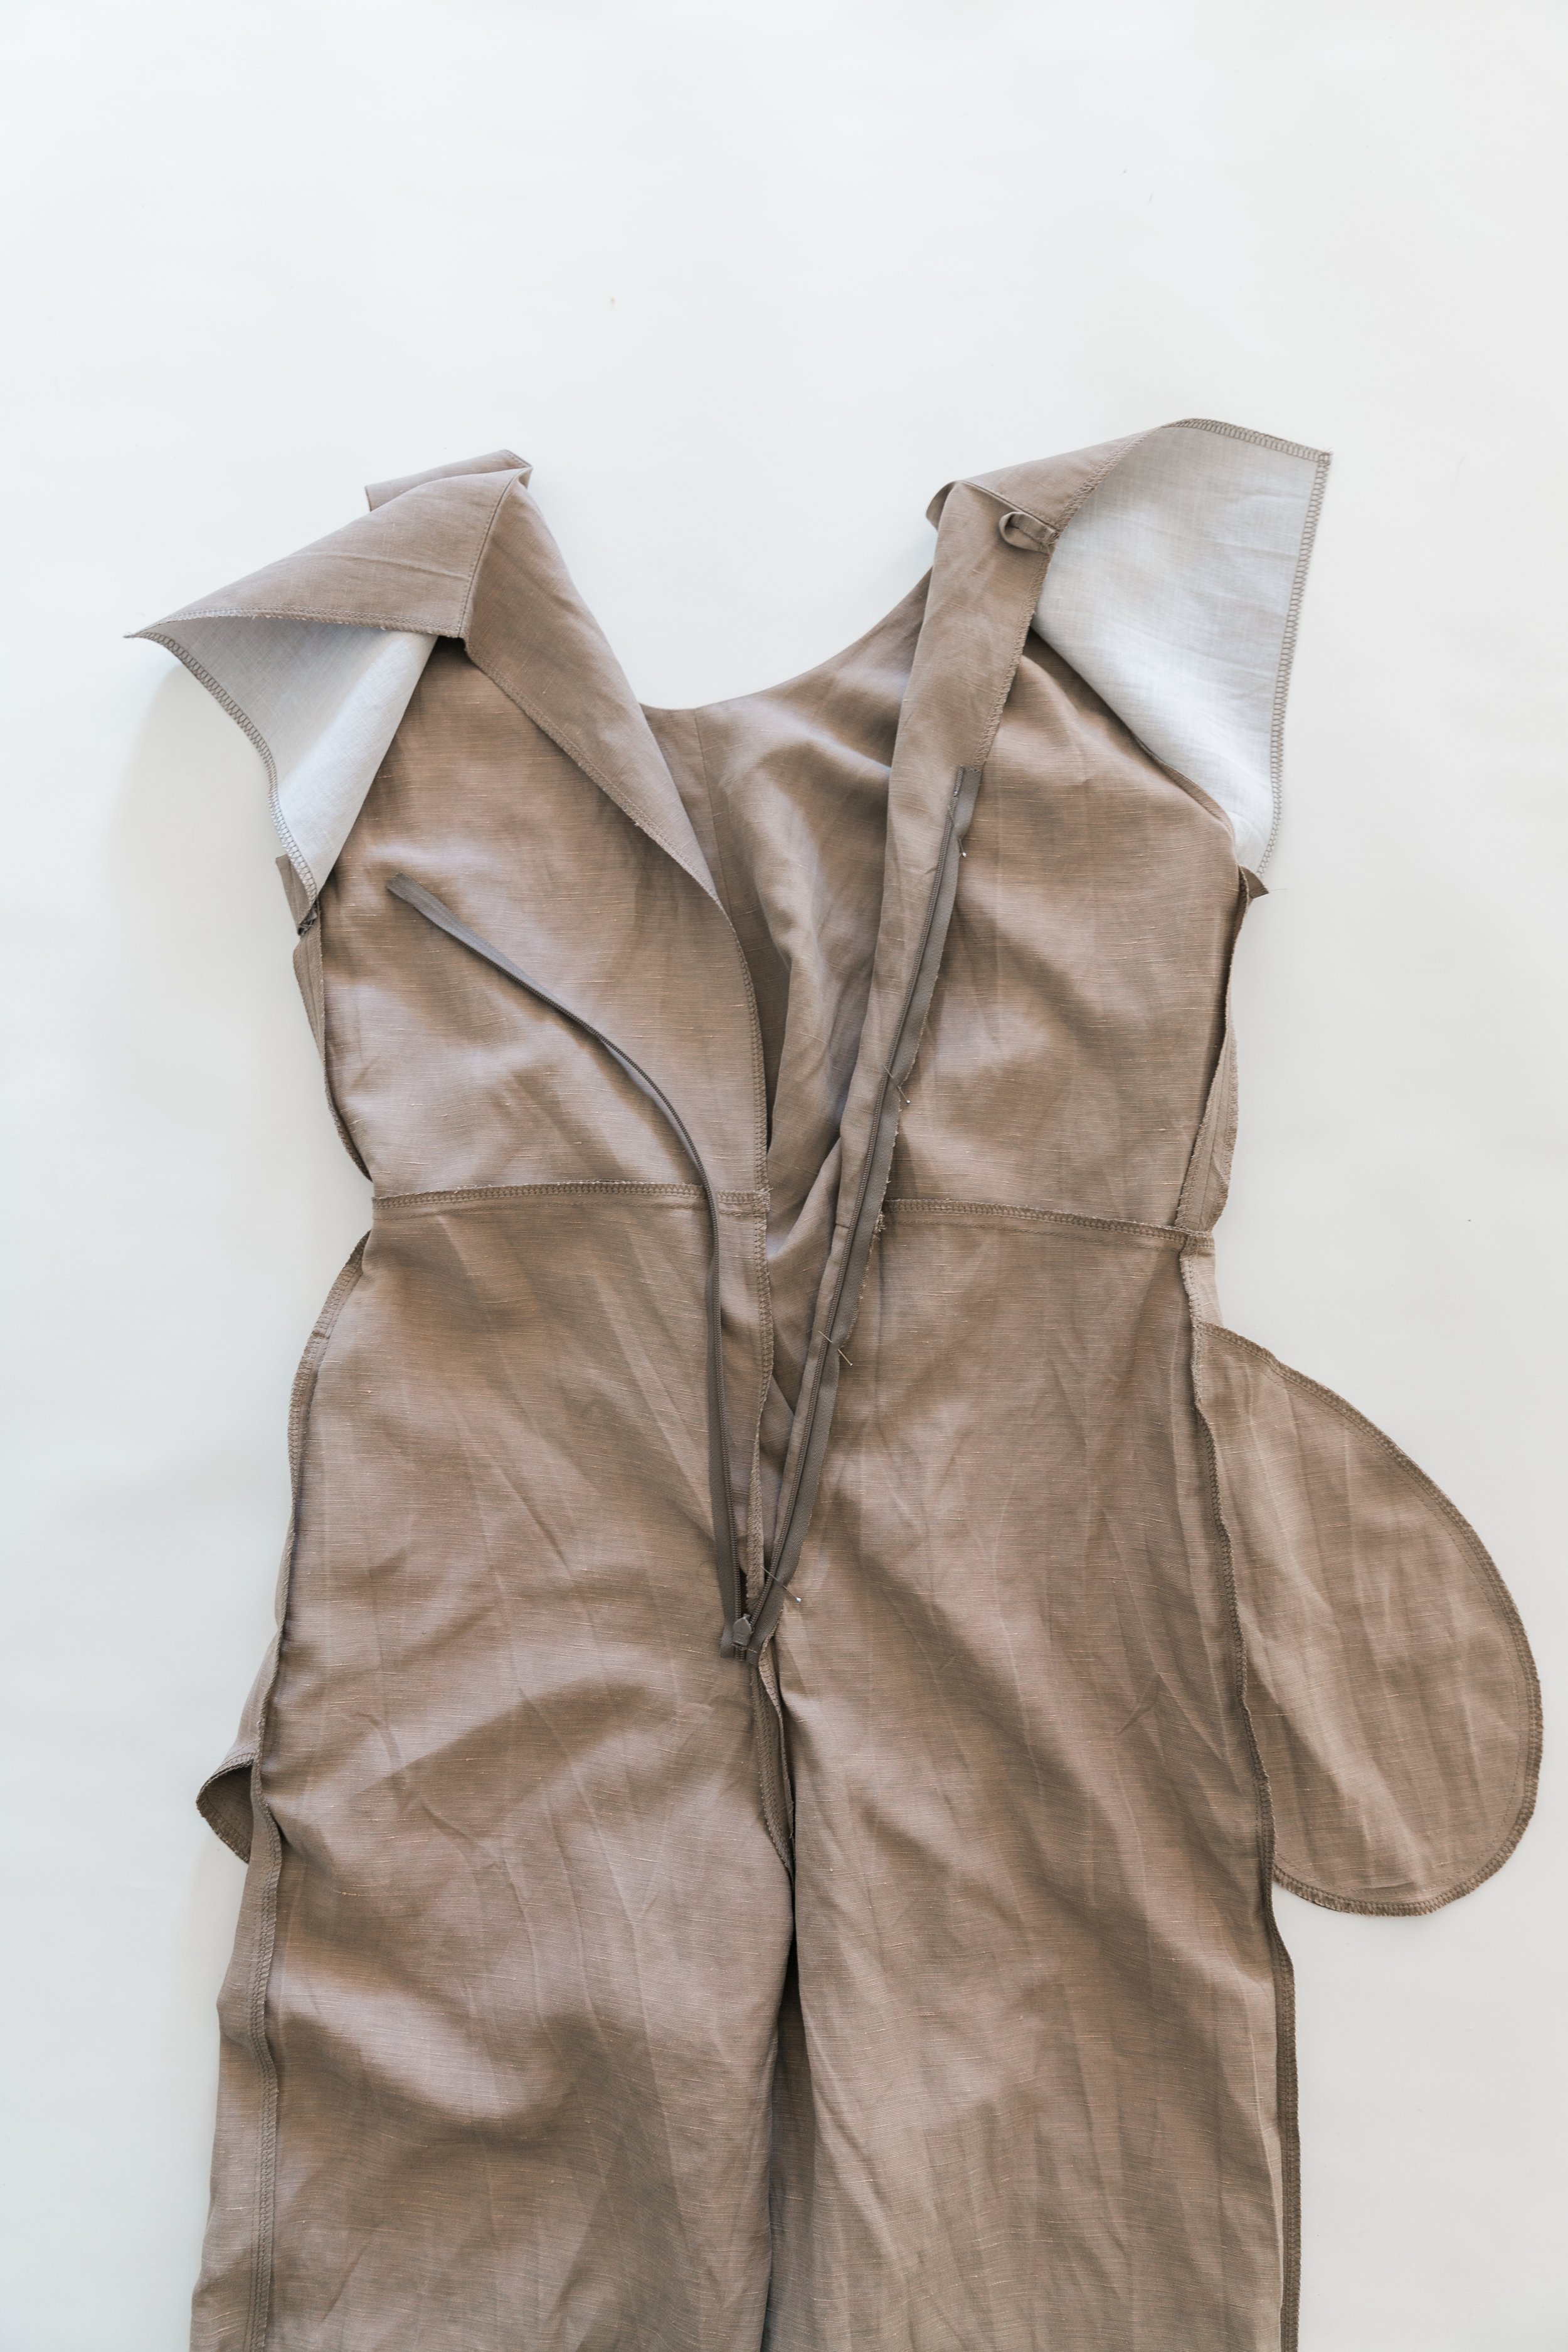
Fold long edges of tie on front bodice together with right sides facing and pin. Stitch together from centre front, around curve and all the way down the edge to the end of the tie. Clip around curve and press seam allowance open.
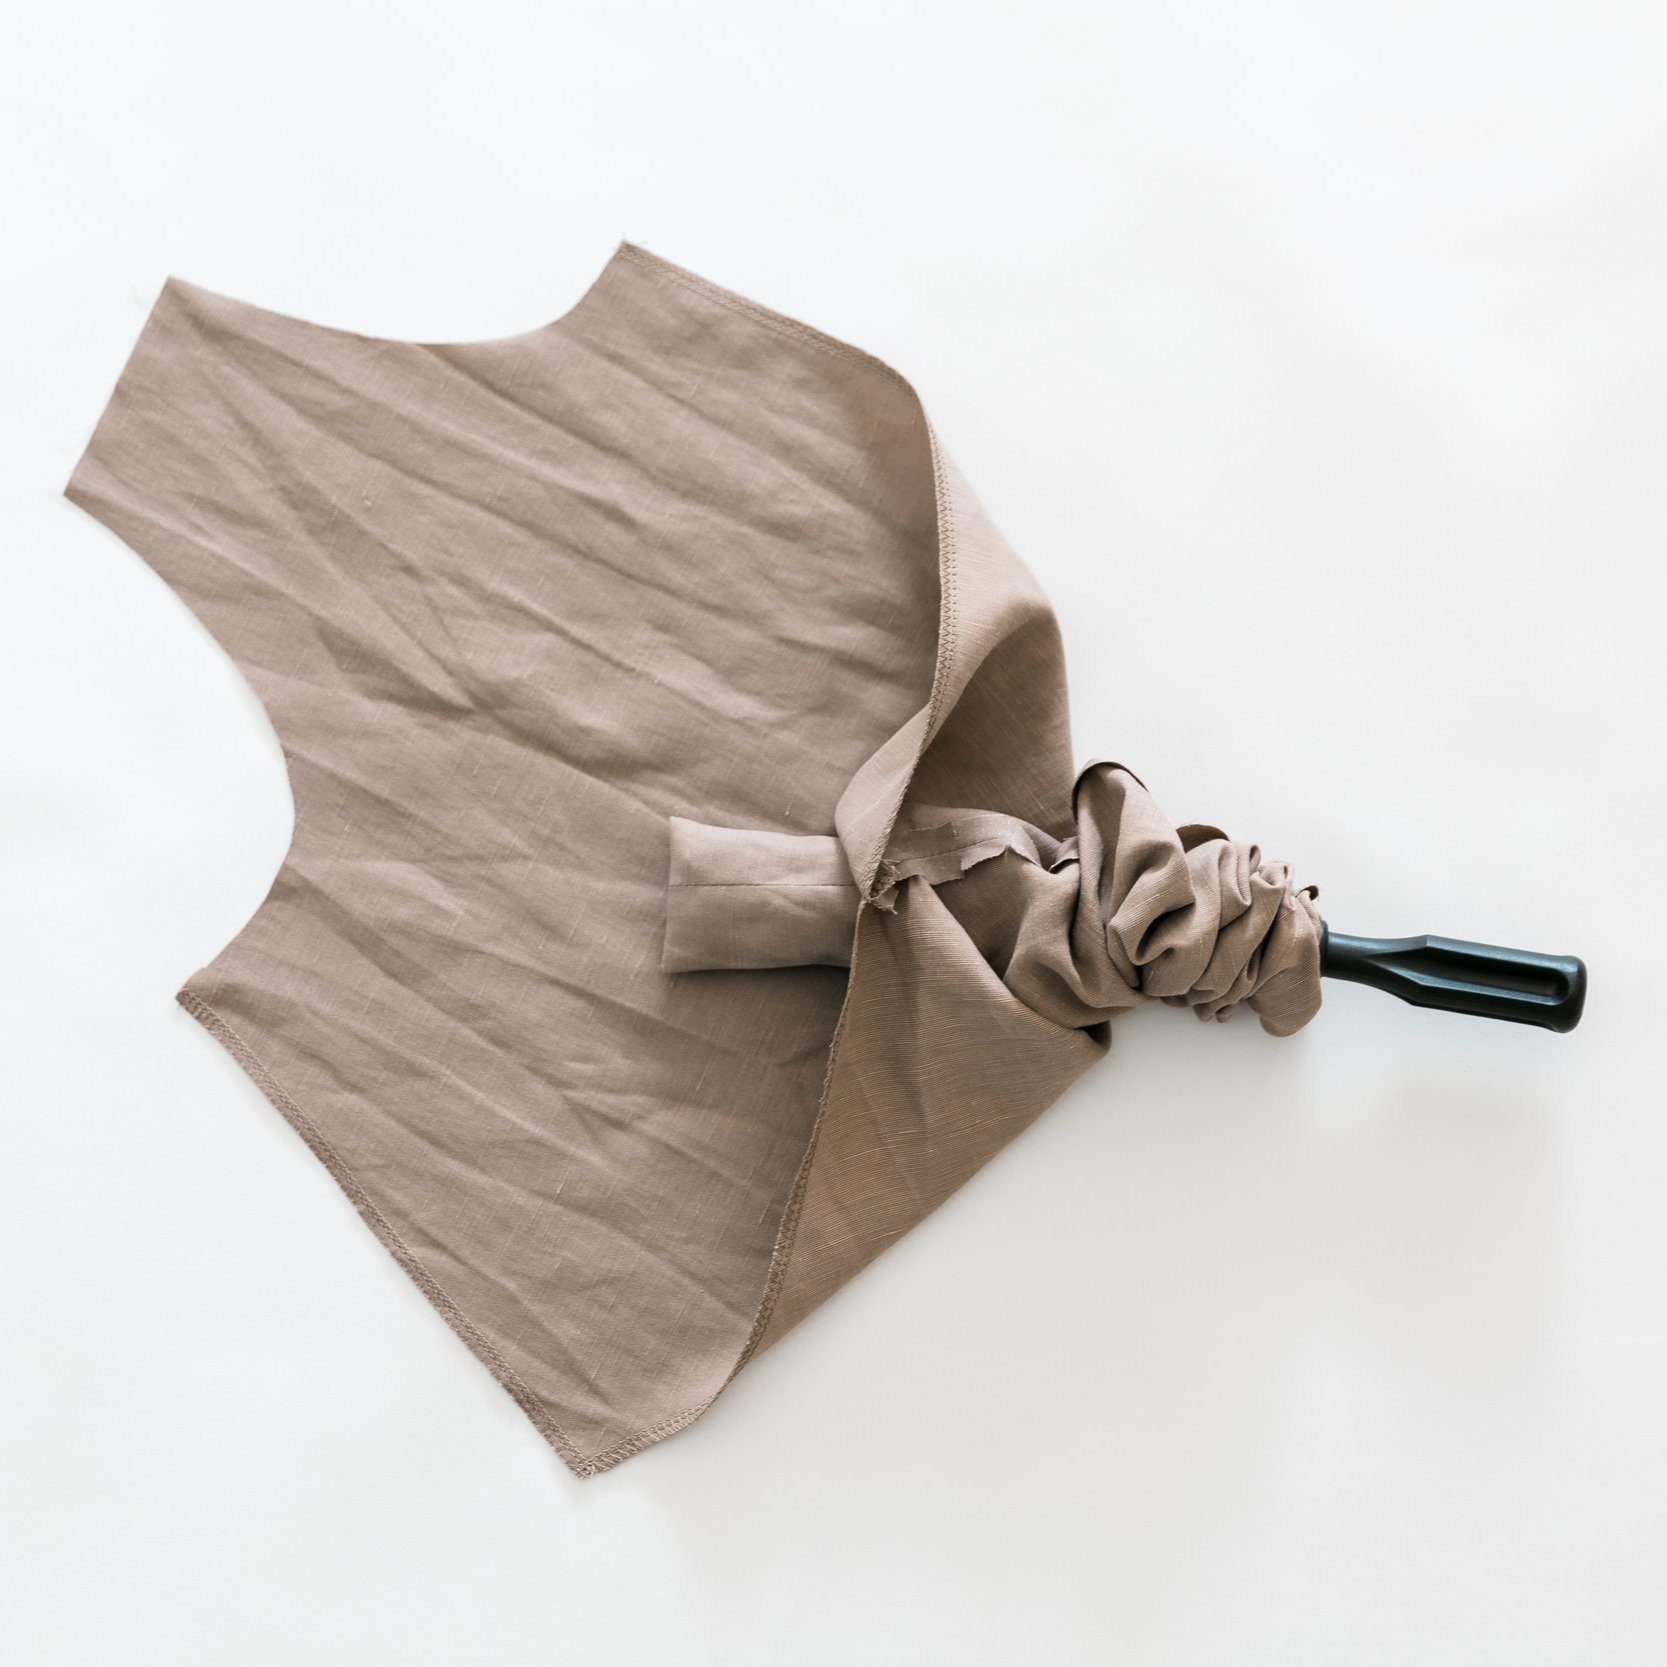
Step 4
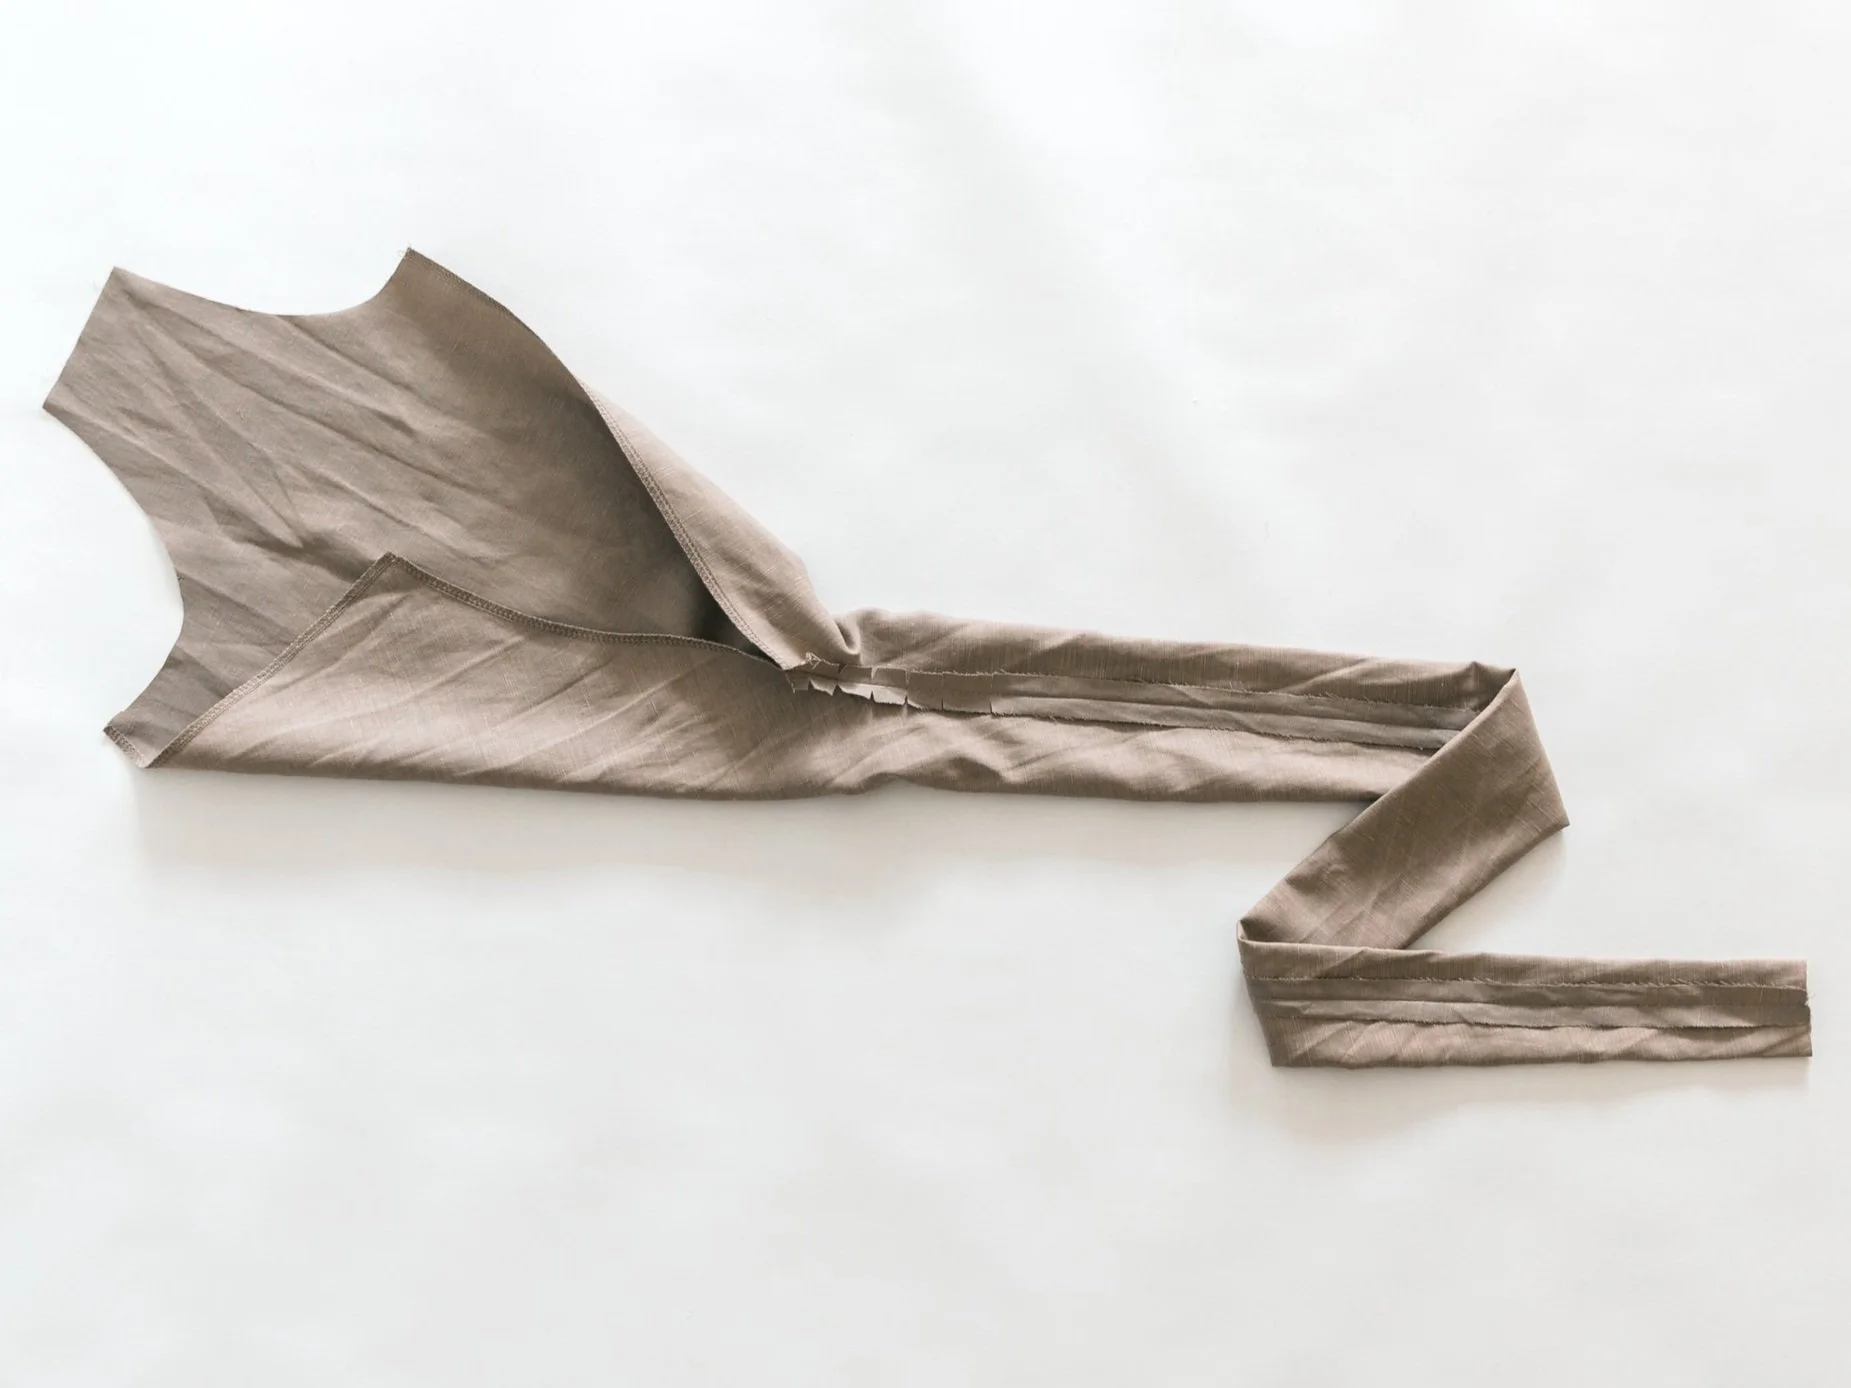
At the end of the tie, line up the centre of seam allowance with notch. Stitch both layers together. Clip corners then pull tie through to the right side and press, keeping the seam allowance of tie in the centre. Repeat for other tie.
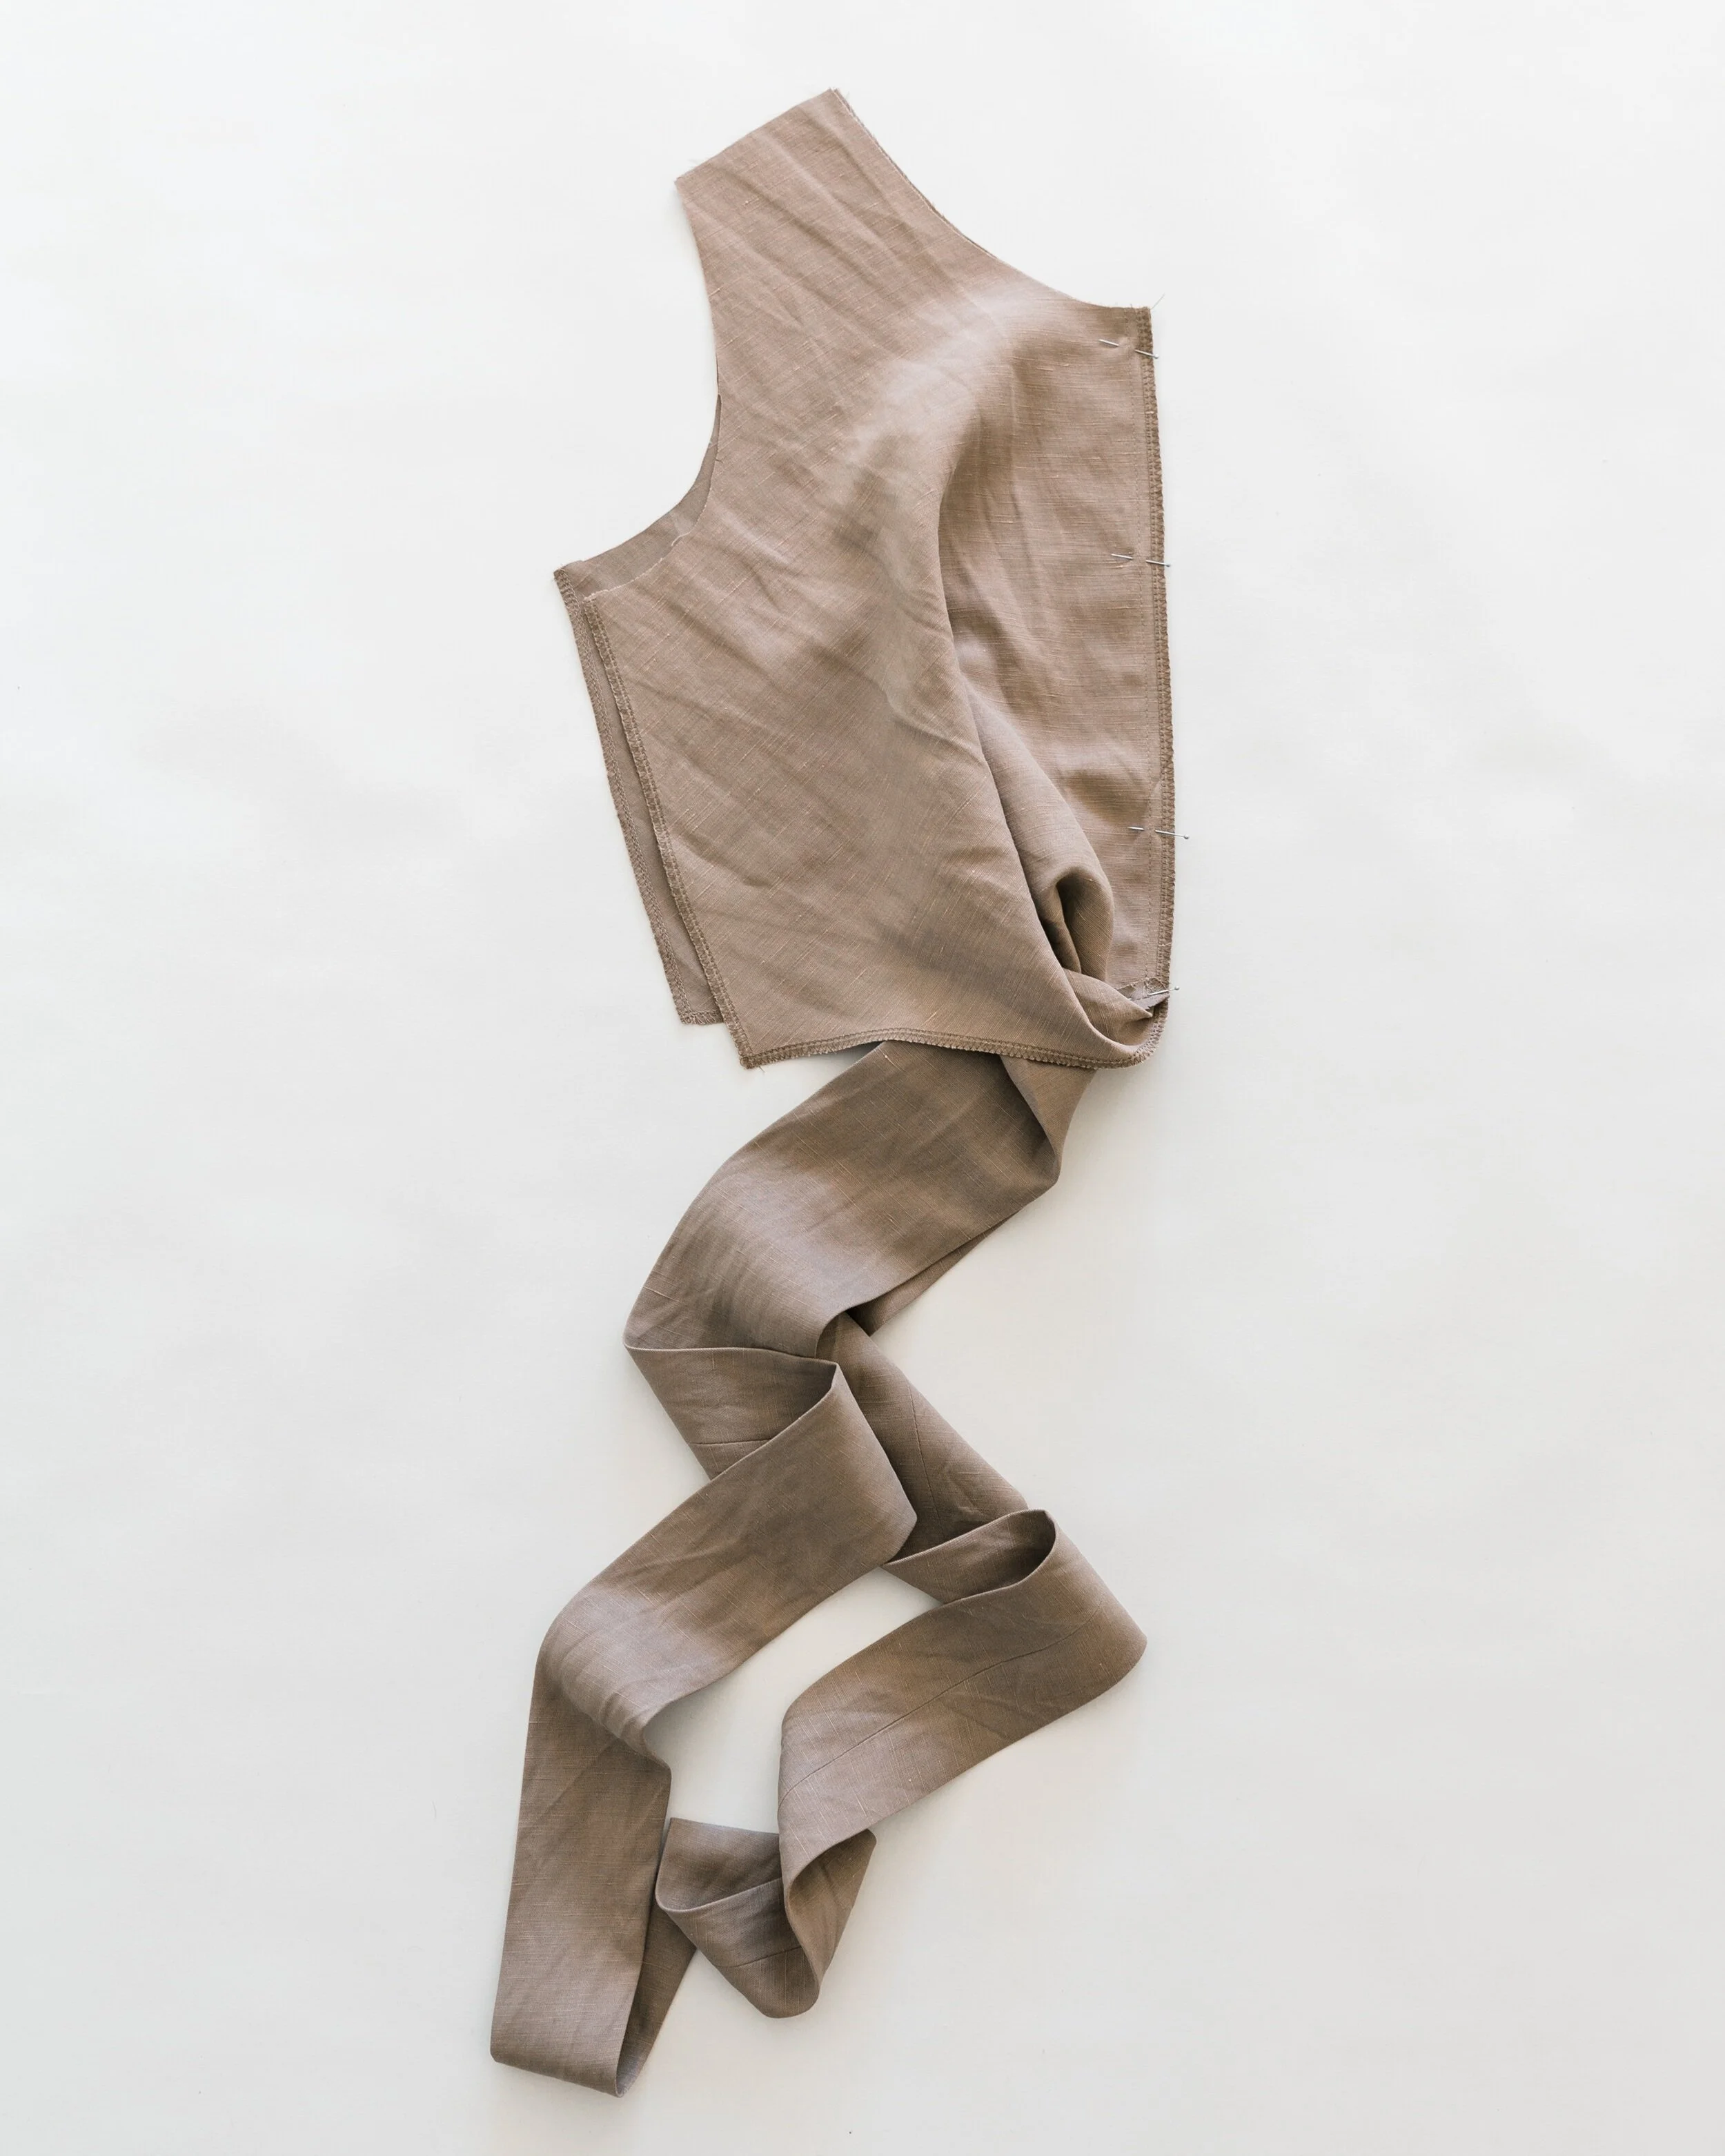
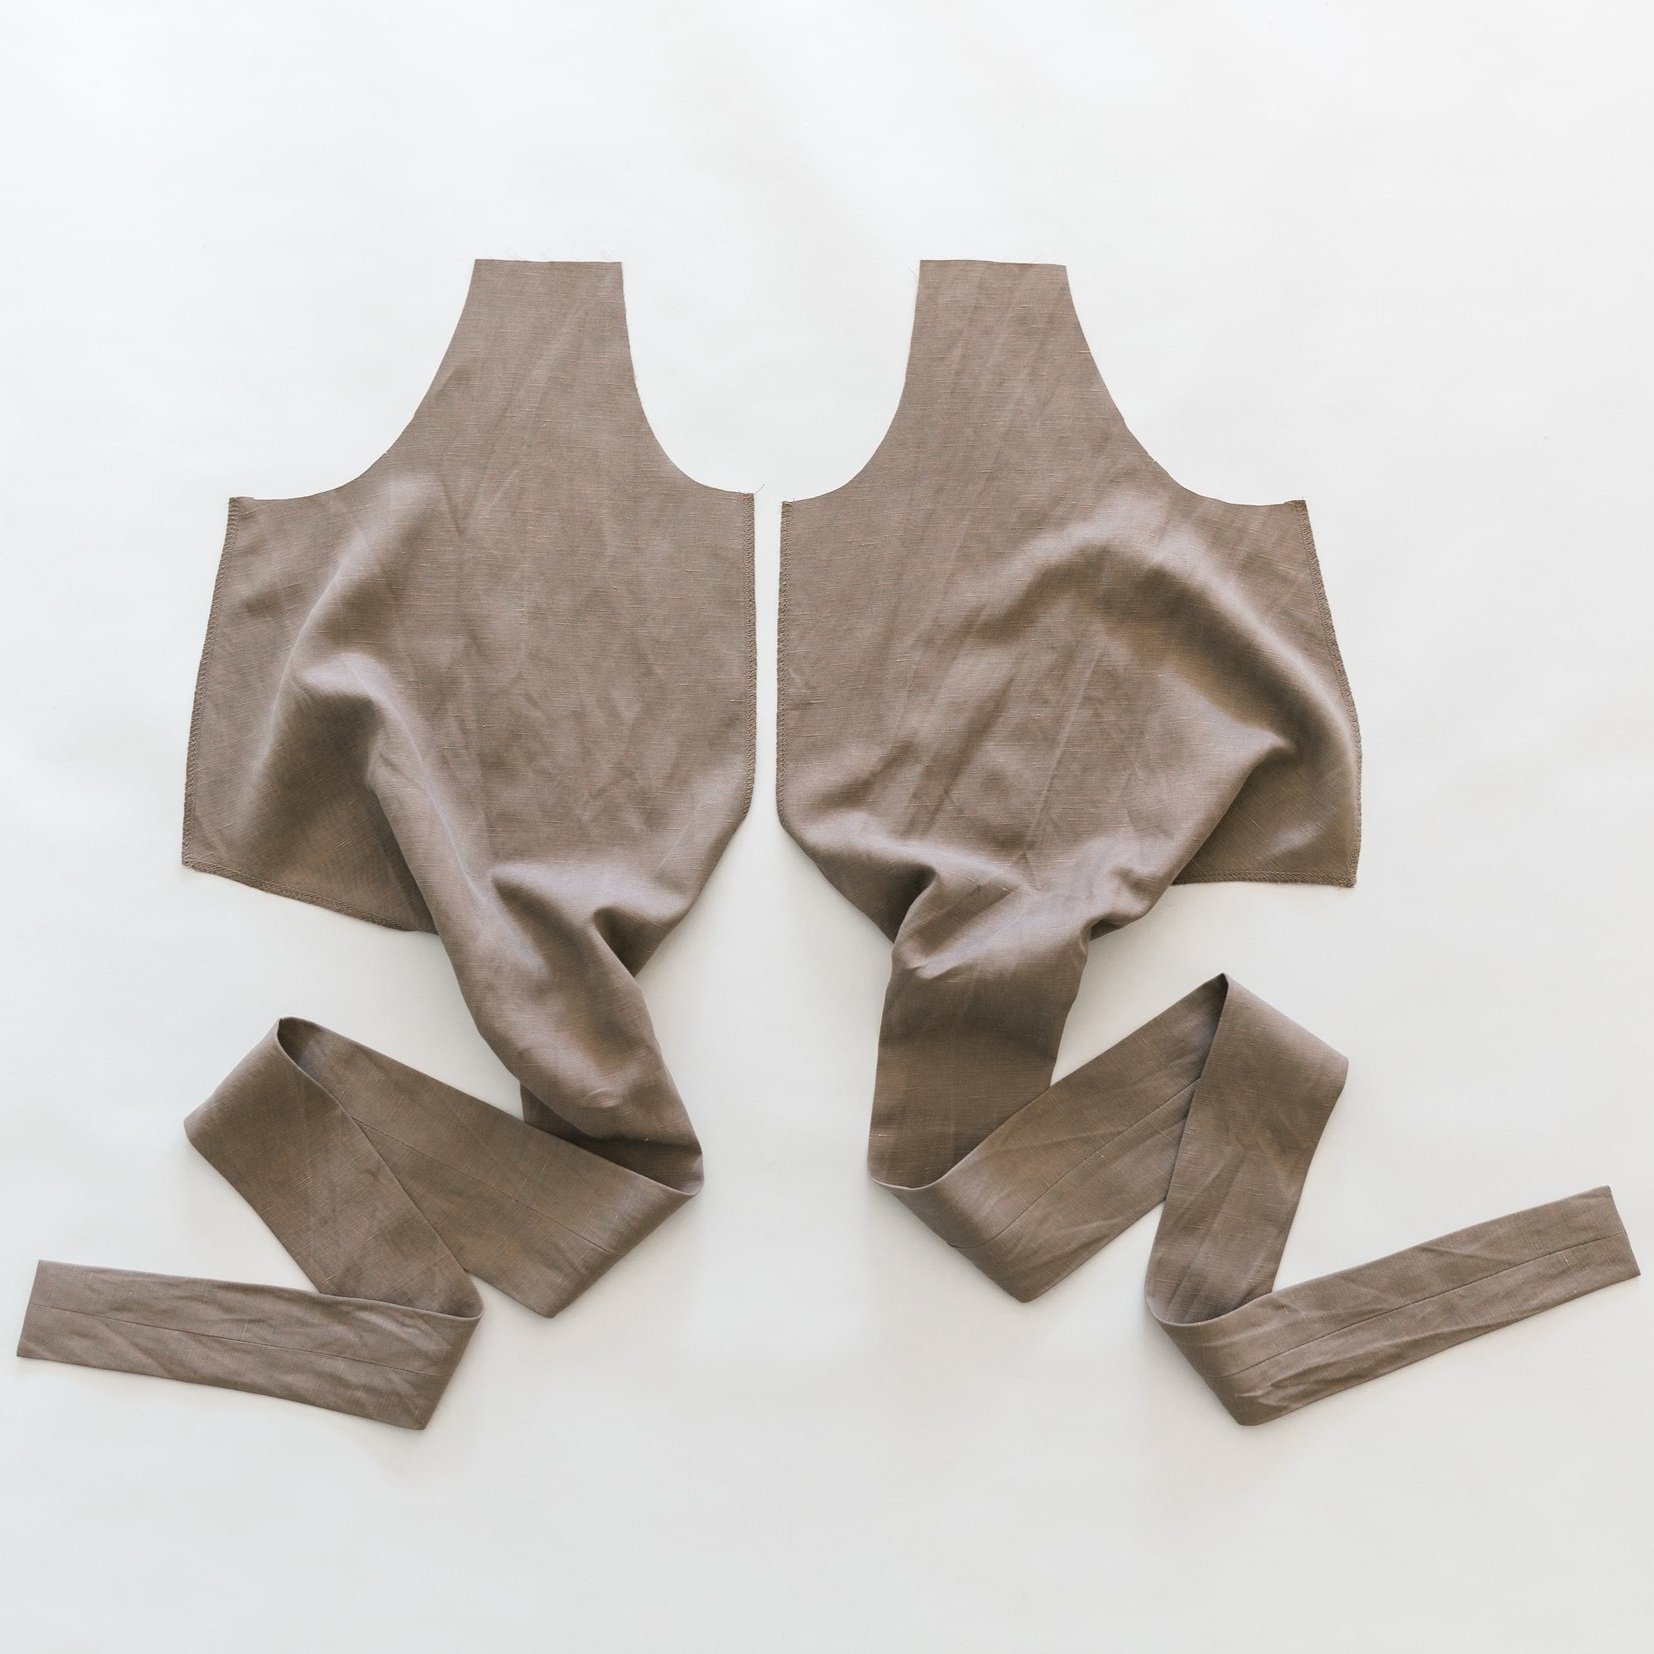
Step 5
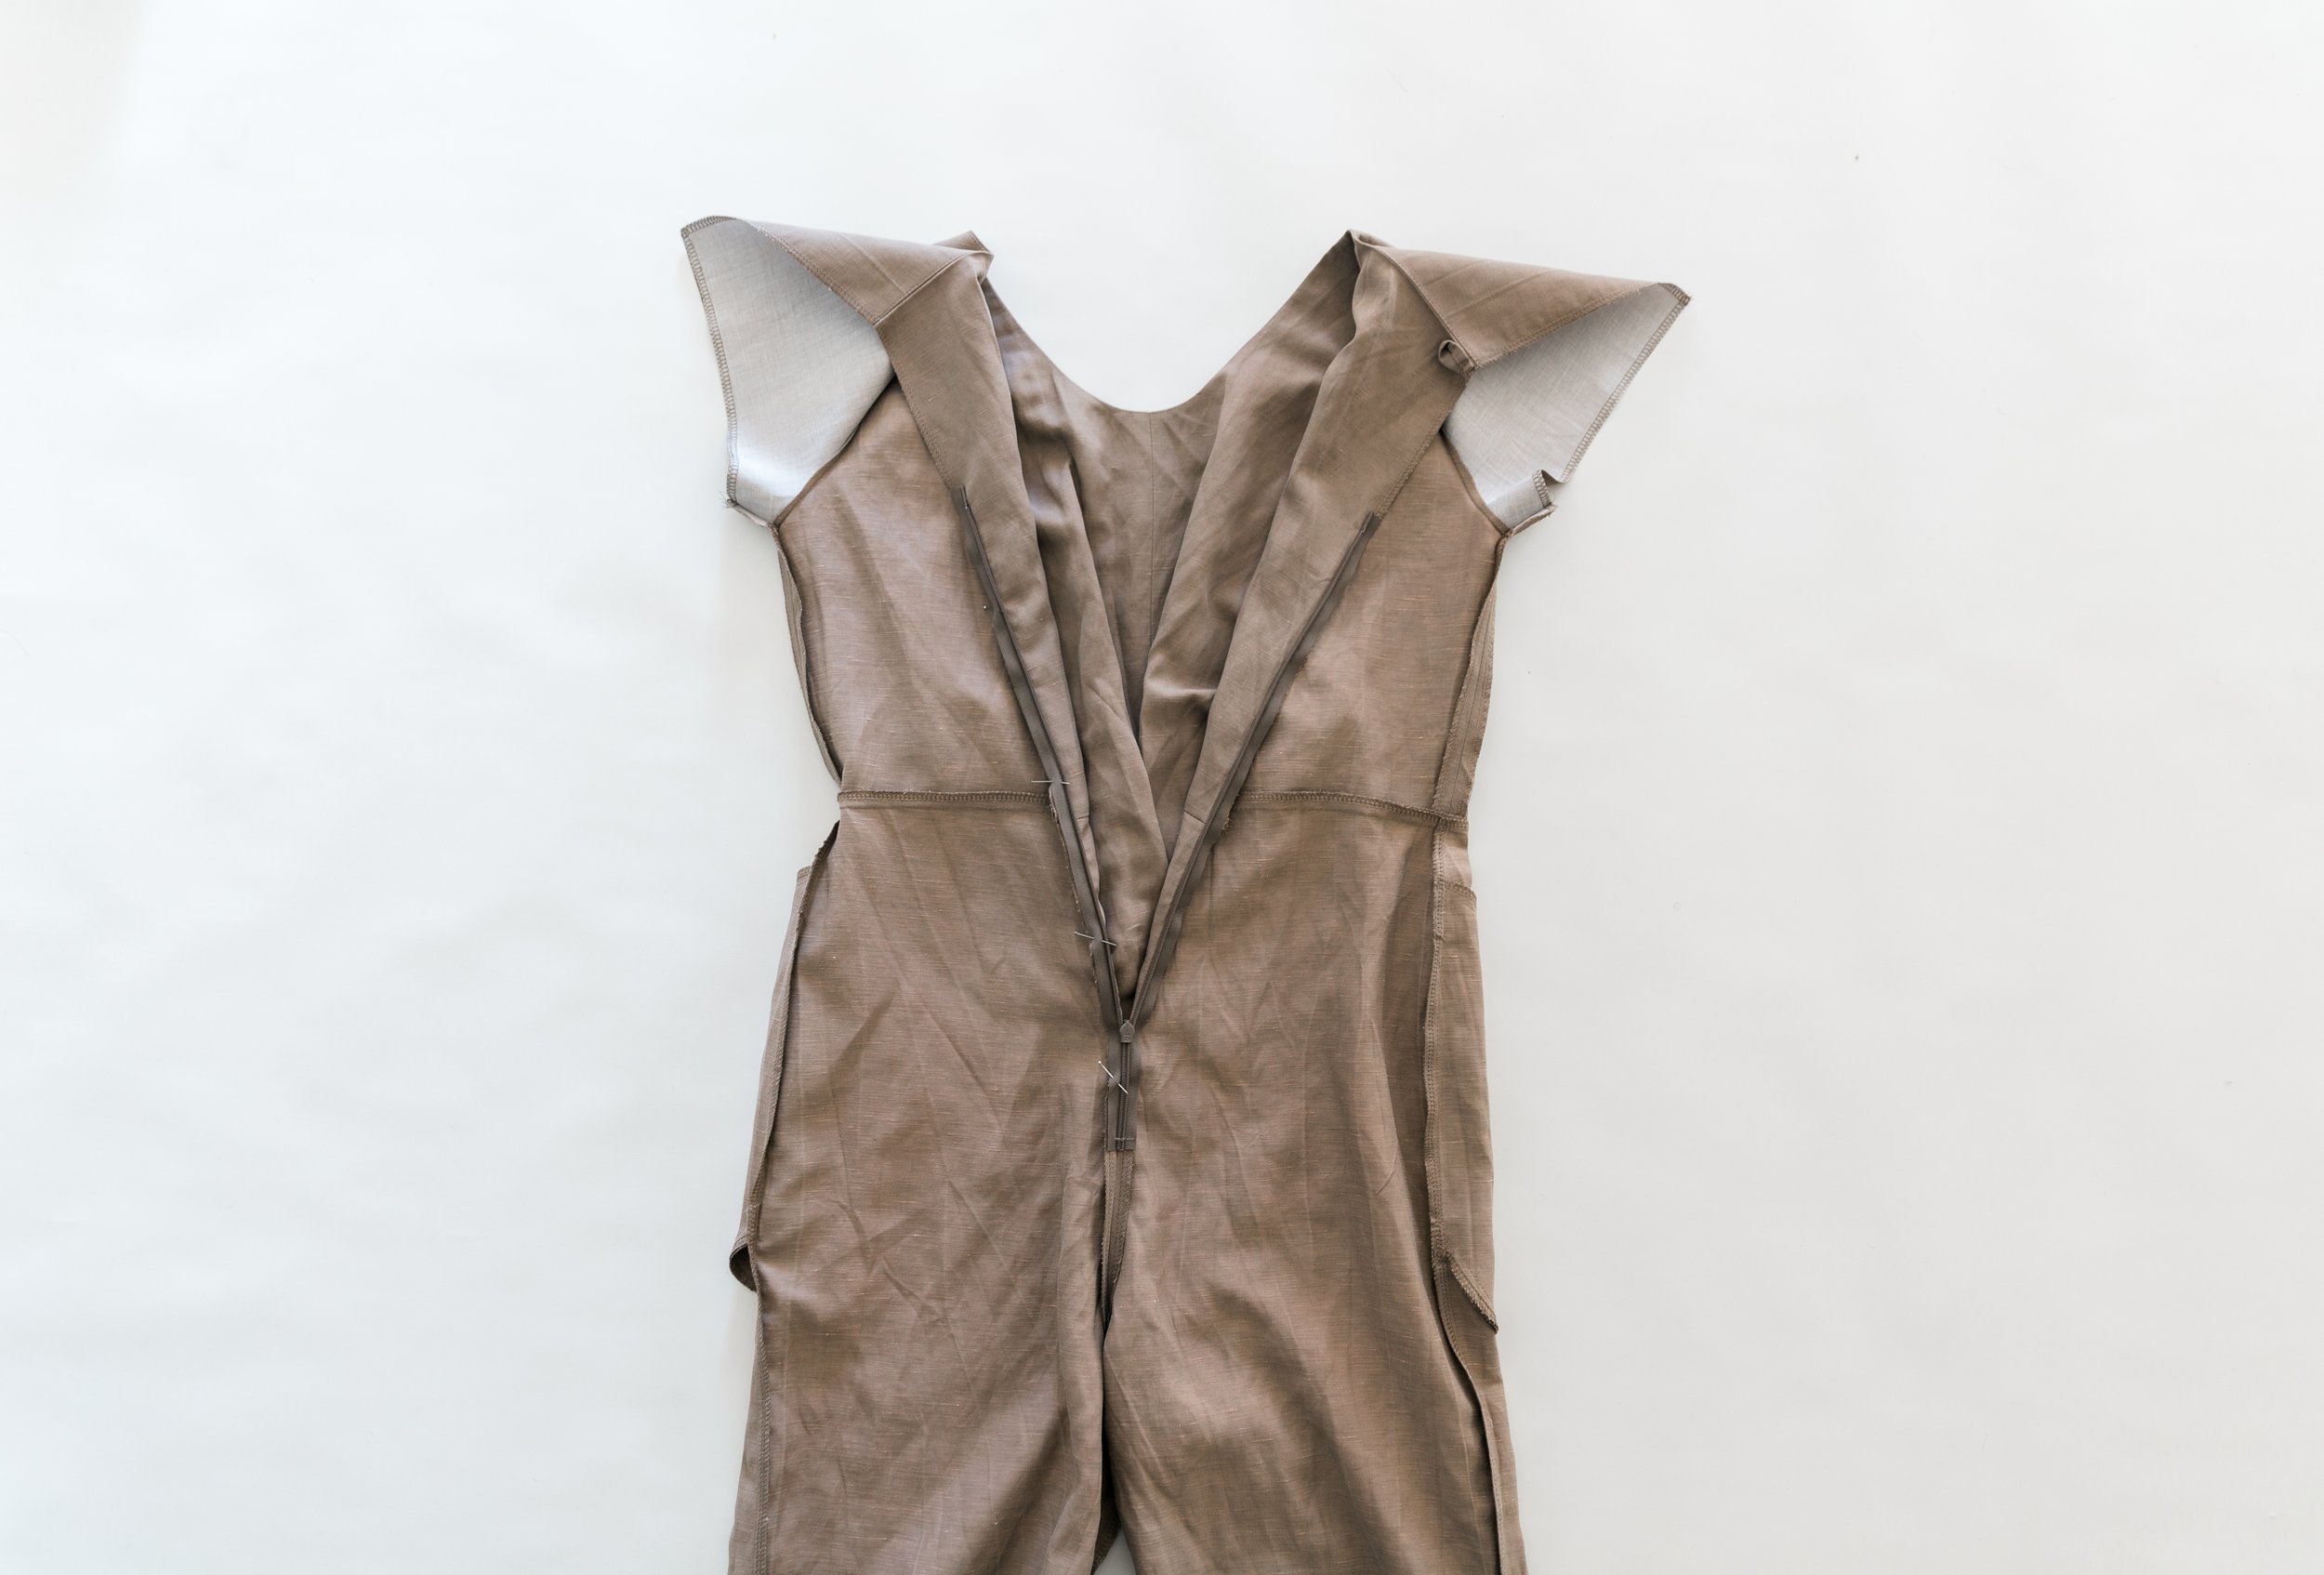
With right sides facing, pin front bodice pieces together at centre front seam. Stitch together, making sure to stop exactly at the tie stitch line. Press seam allowances open.

Step 6
With right sides facing, pin back bodice pieces to
the front bodice at shoulder seams. Stitch together. Neaten seams and press the seam allowances towards the back.
Step 7
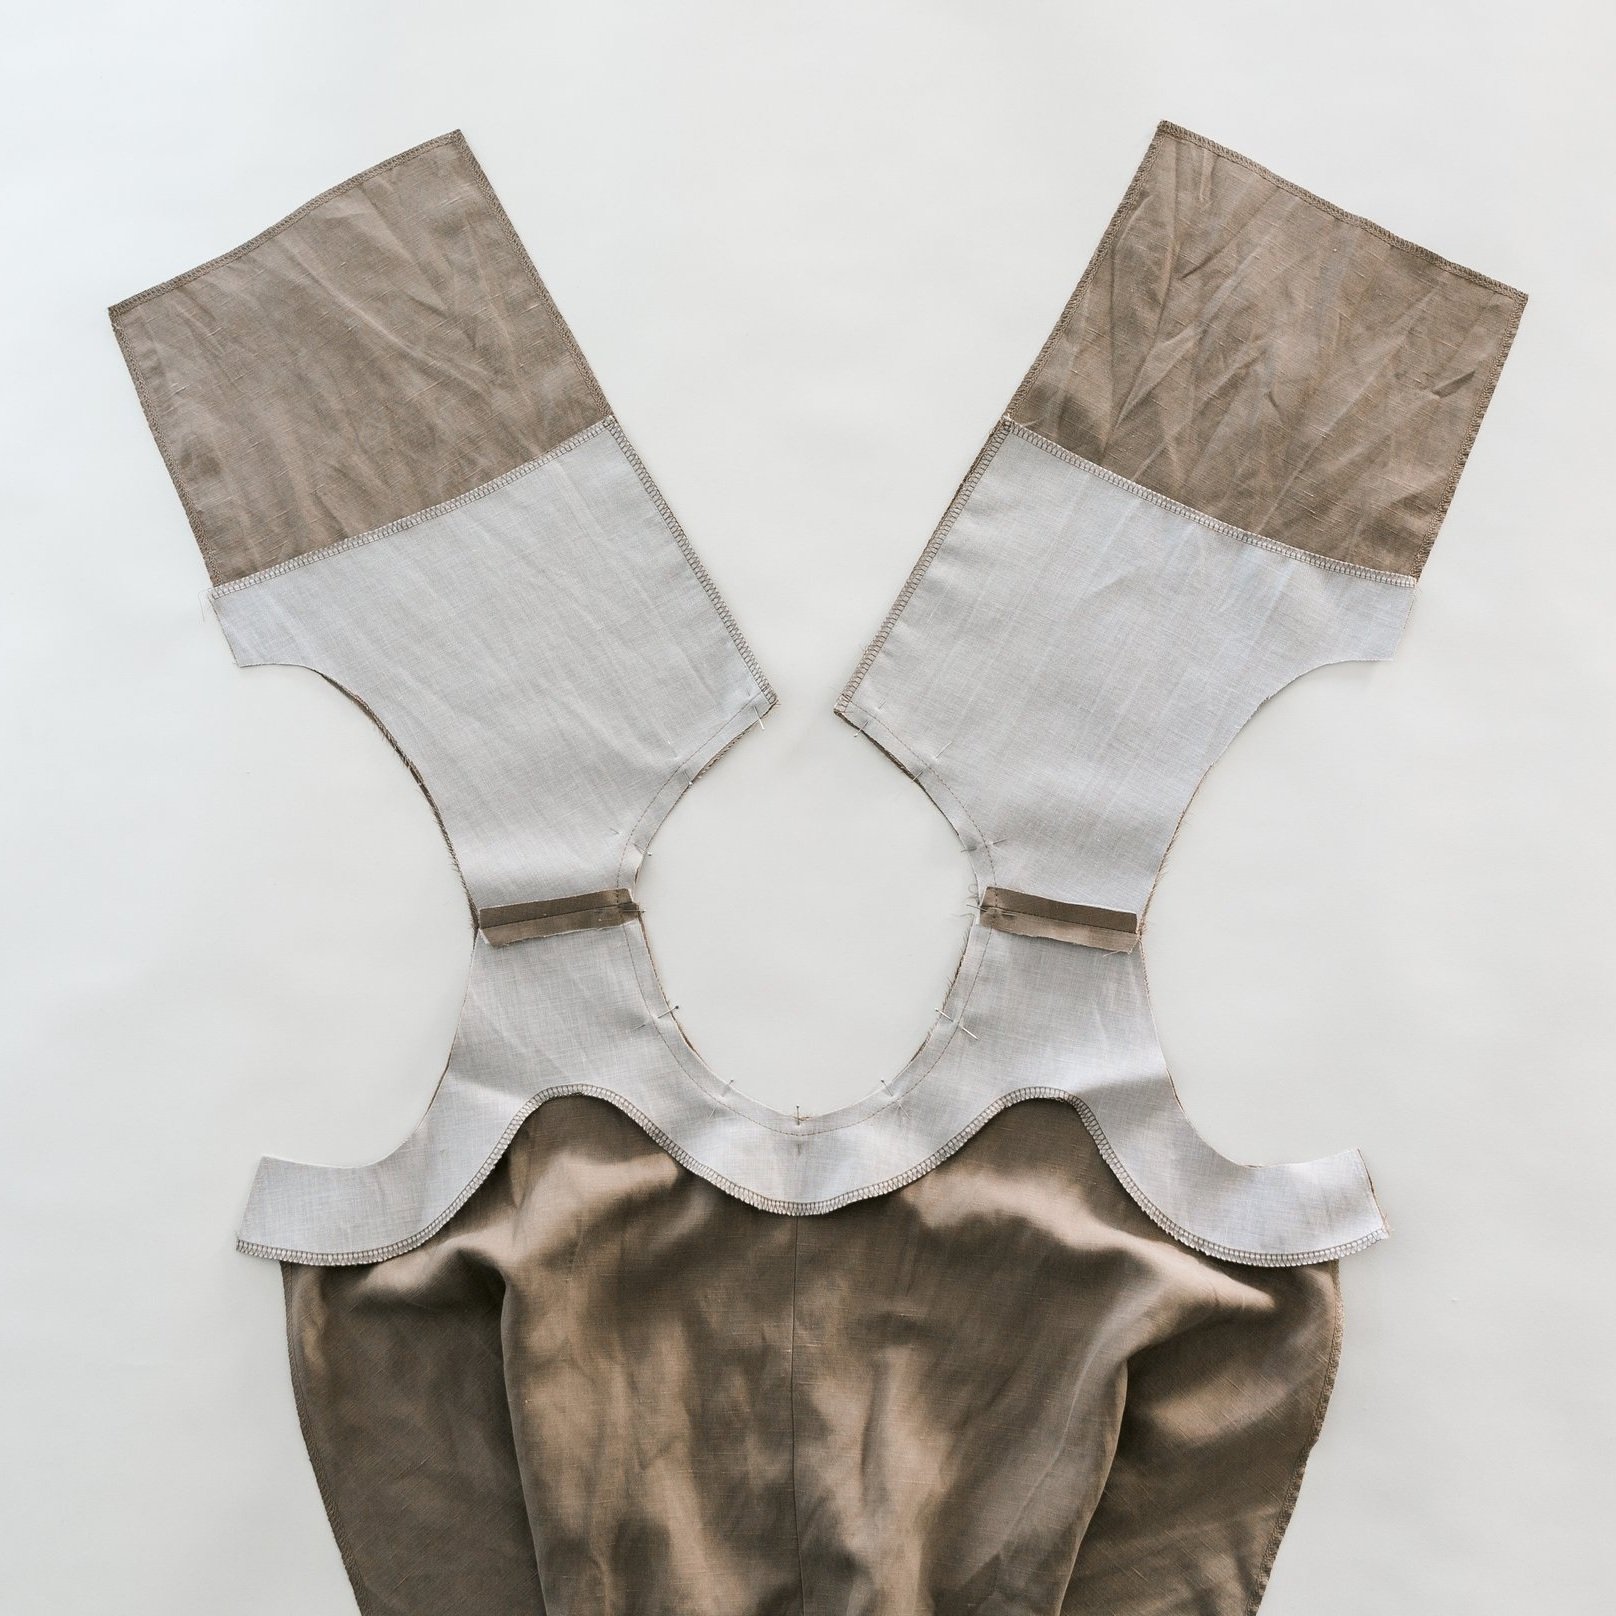
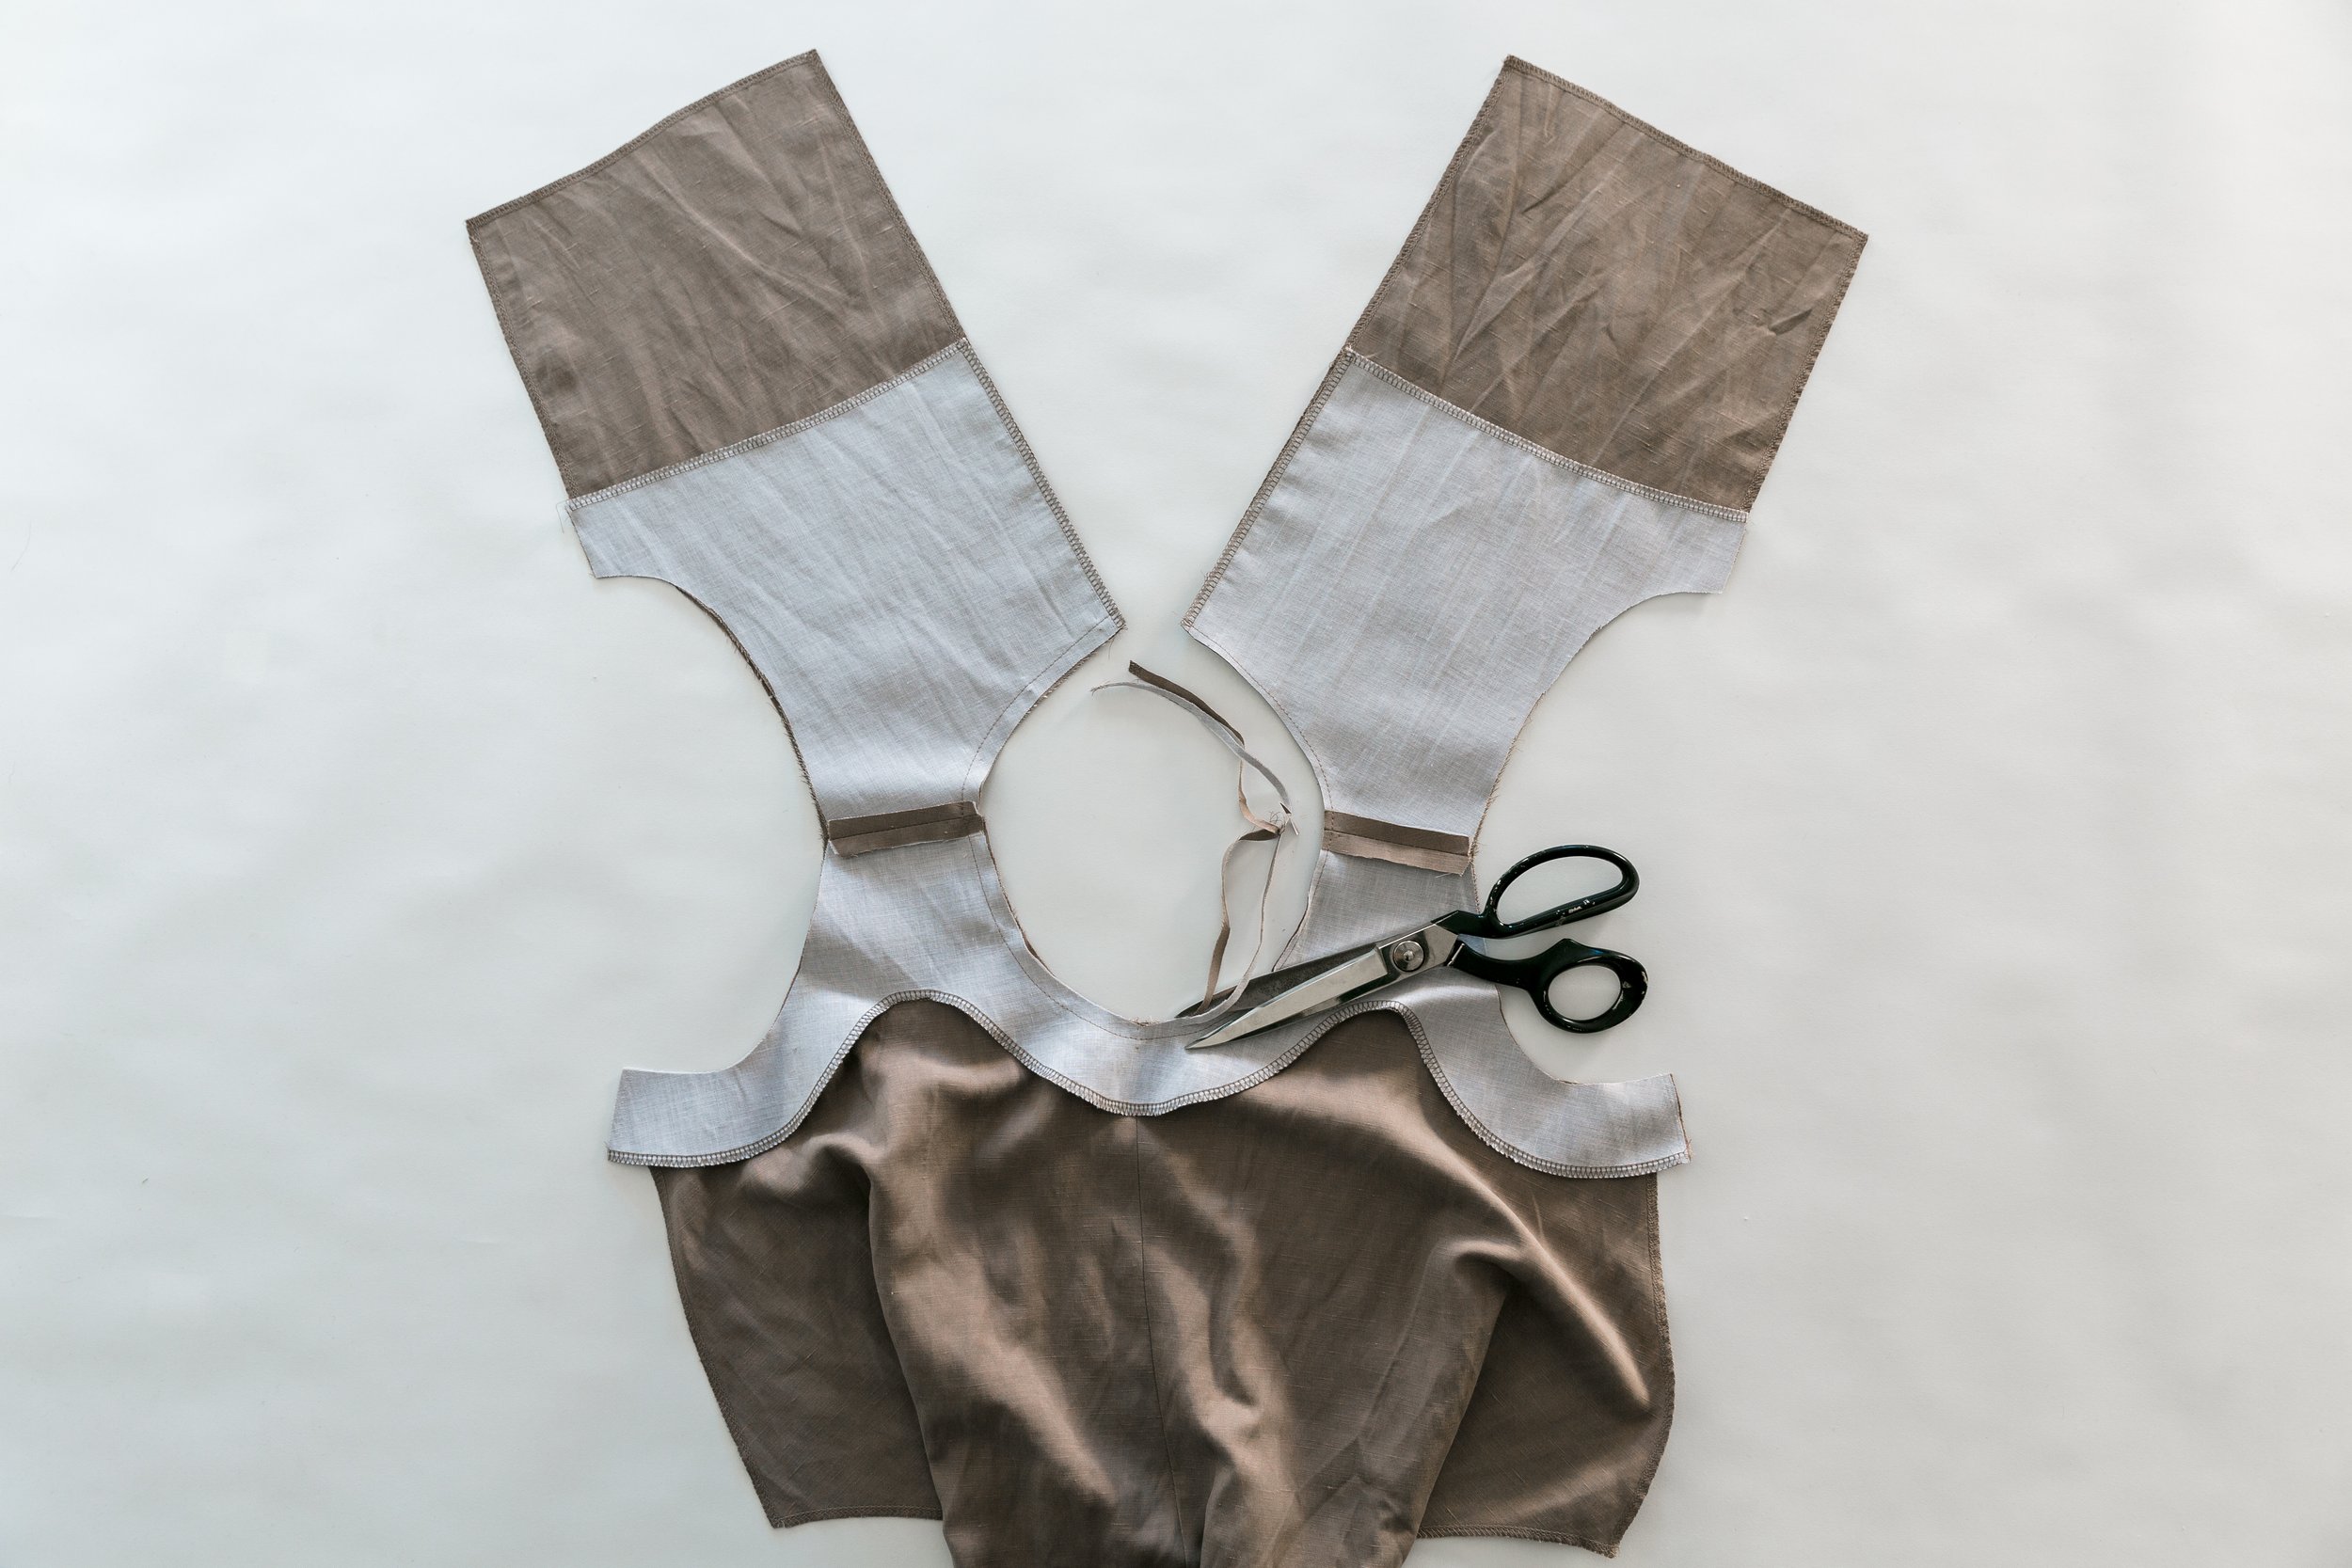
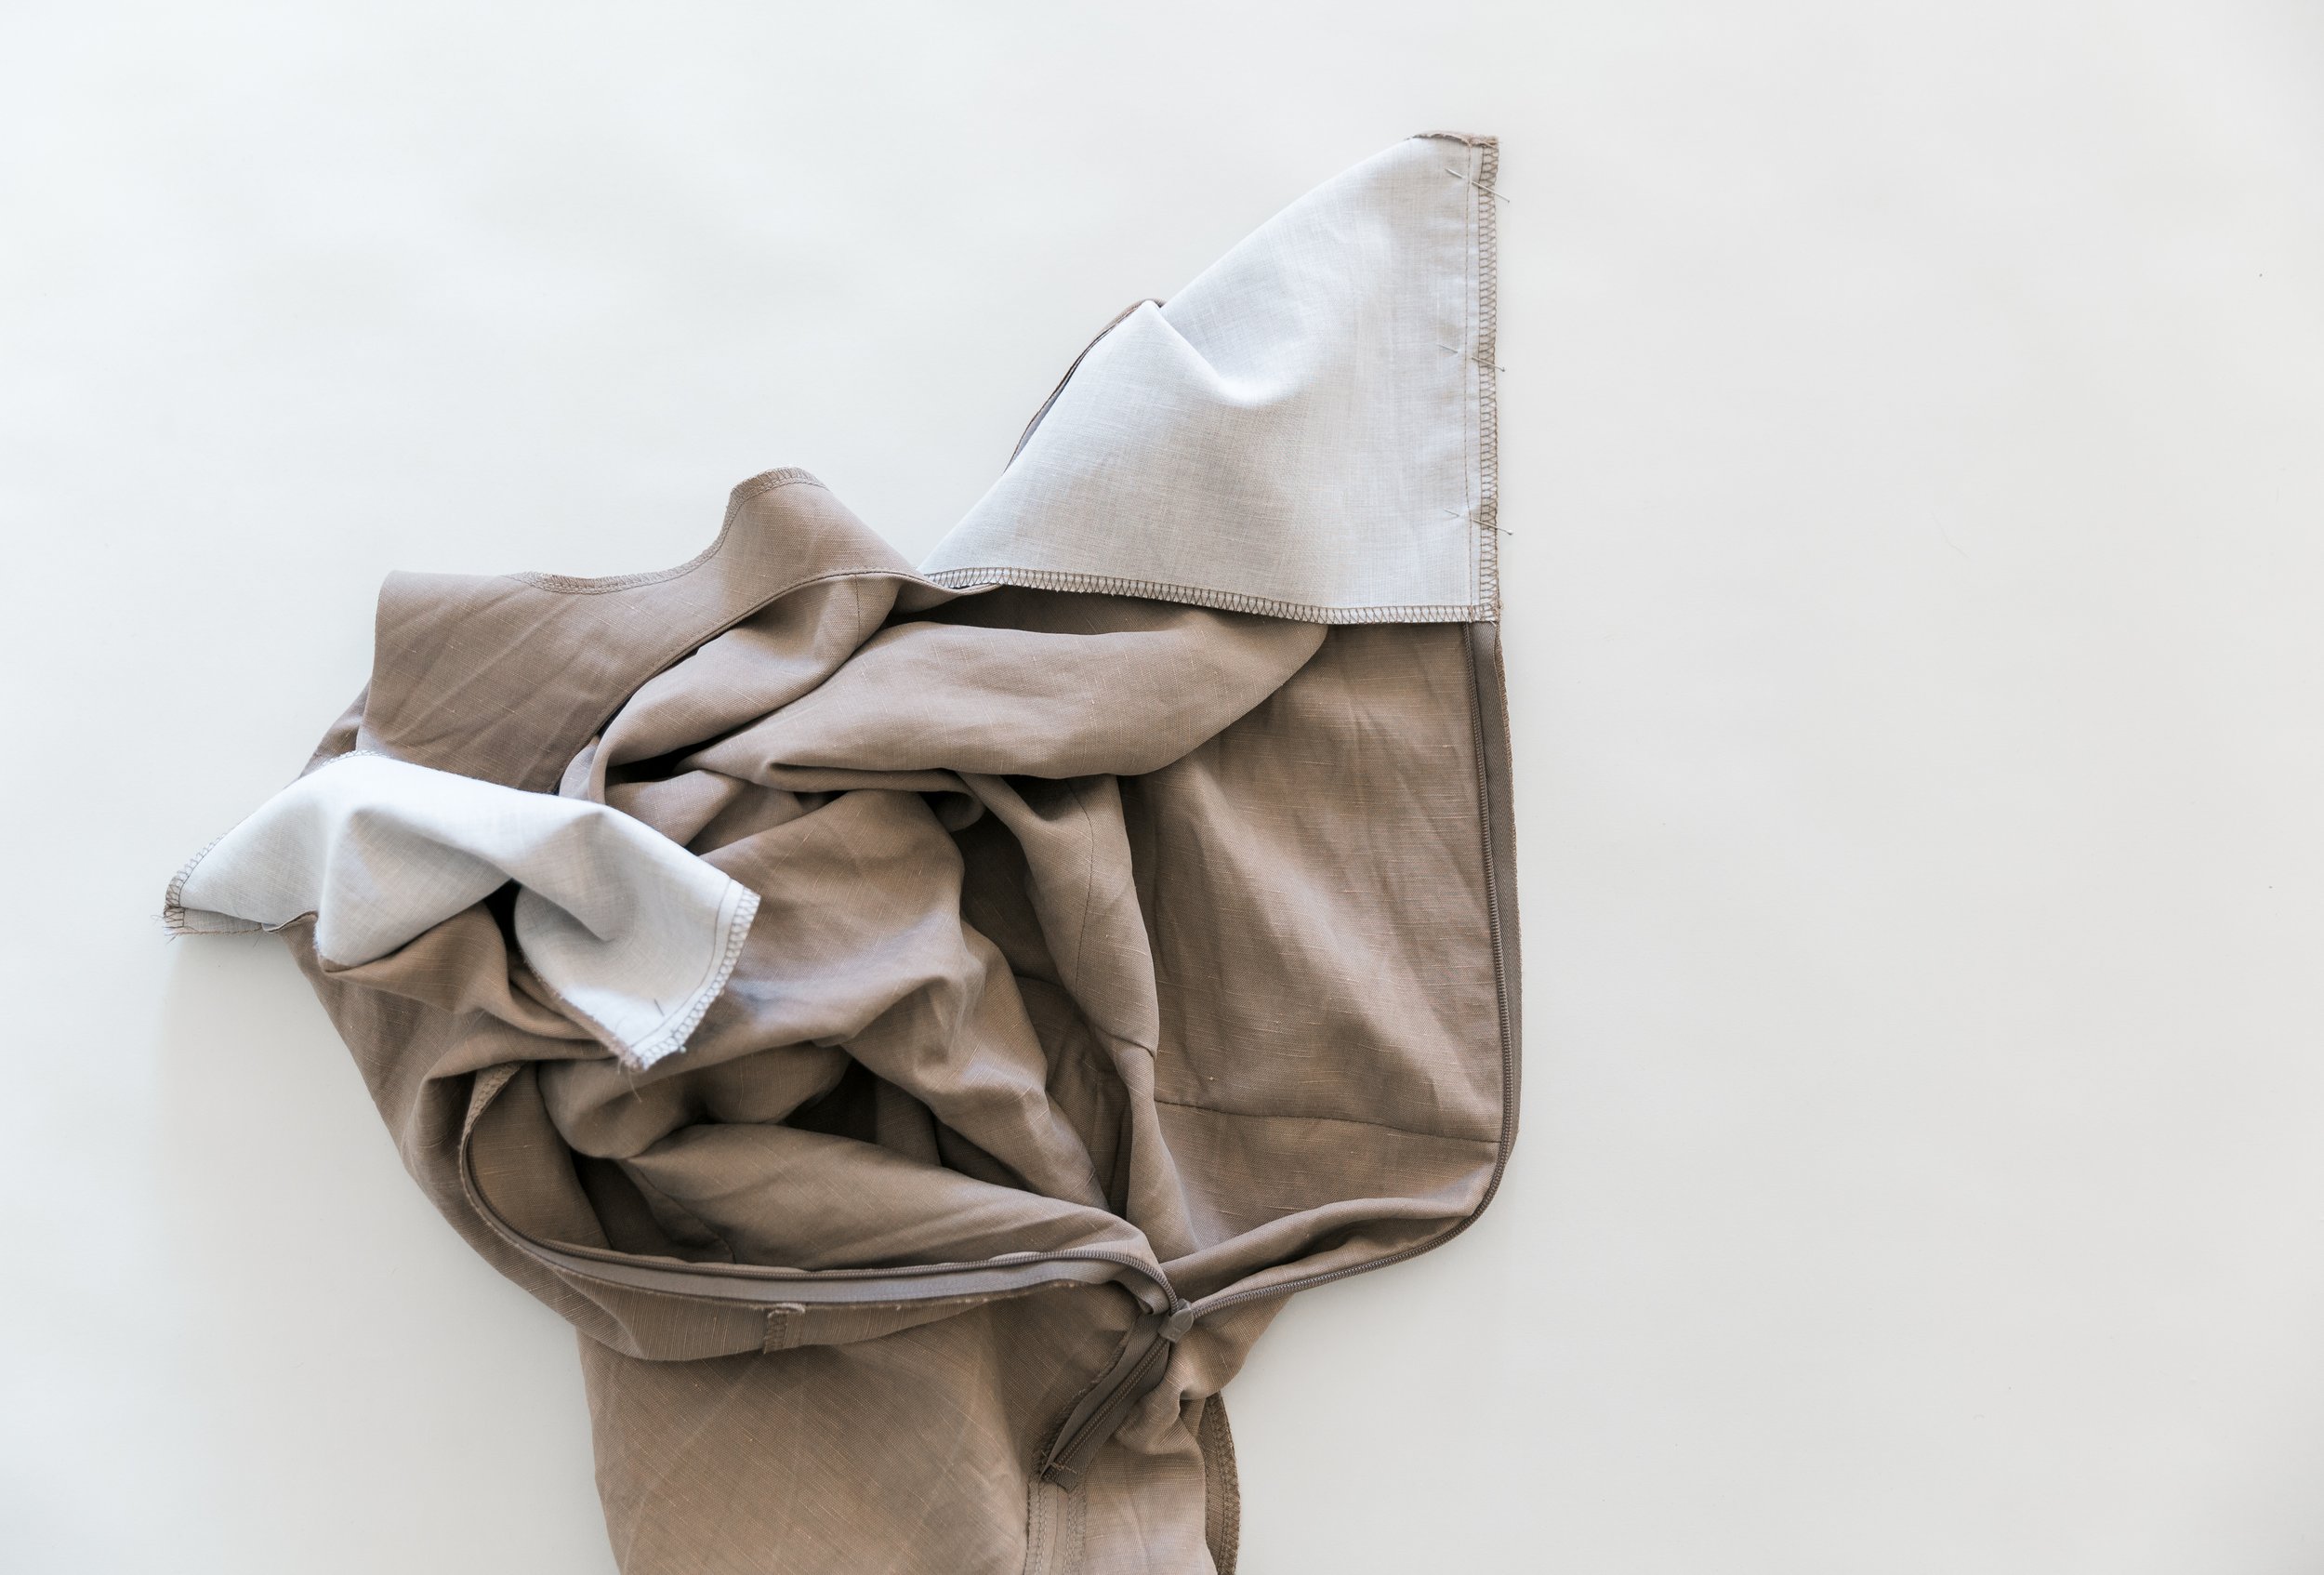
With right sides together, pin neck facing to the bodice around neckline. Stitch. Trim seam allowance in half. Under stitch seam allowance in half. Under stitch seam allowance toward facing pieces and press.


Step 8
With right sides together, pin facing to bodice around armholes, matching notches. Stitch. Trim seam allowance in half. Thread the bodice through the facings to the right side. Press around both armholes.
Step 9
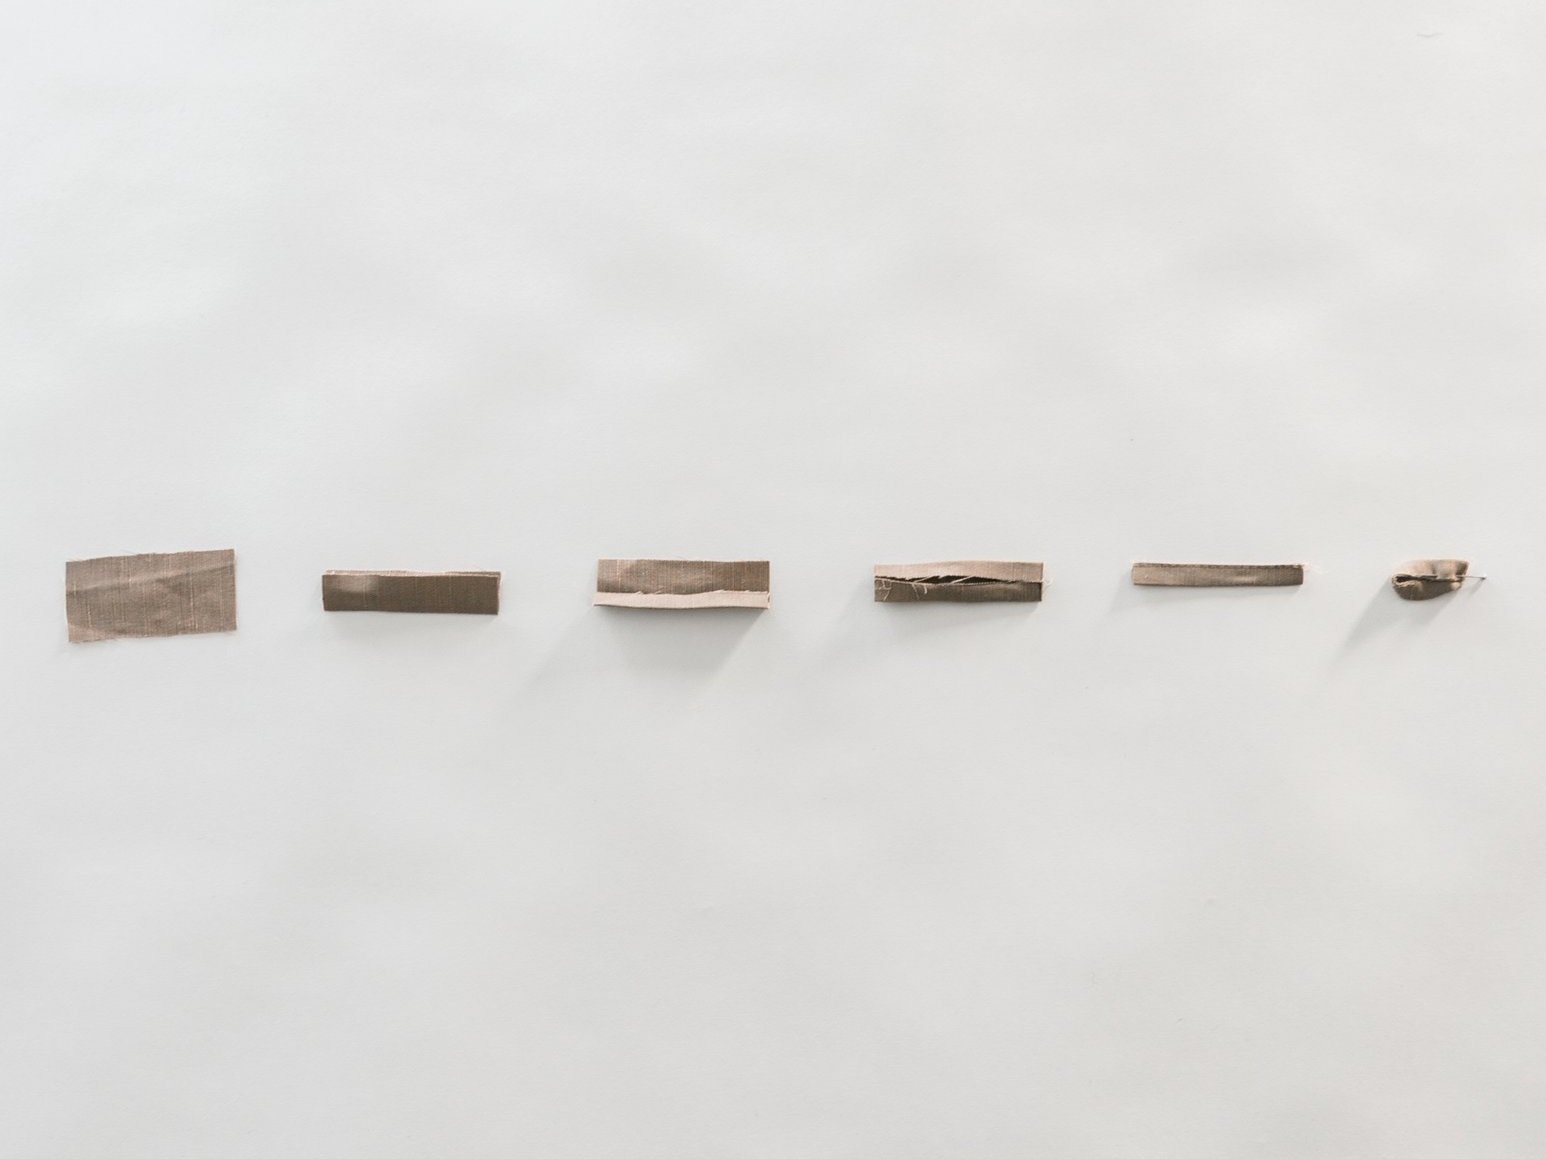
Cut a small piece of fabric approximately 3cm x 6cm (1.2” x 2.4”) on the bias.
Fold edges to centre, press.
Fold in half again and stitch along edge. Press.
Fold in half ready to stitch onto garment.
* You could also use a small piece of bias binding.

Step 10
Pull back neck facing out of the way, and place raw edges of loop on the right side of centre back seam. Pin in place with top edge of loop
at stitch line between bodice and facing. Stitch.

Step 11
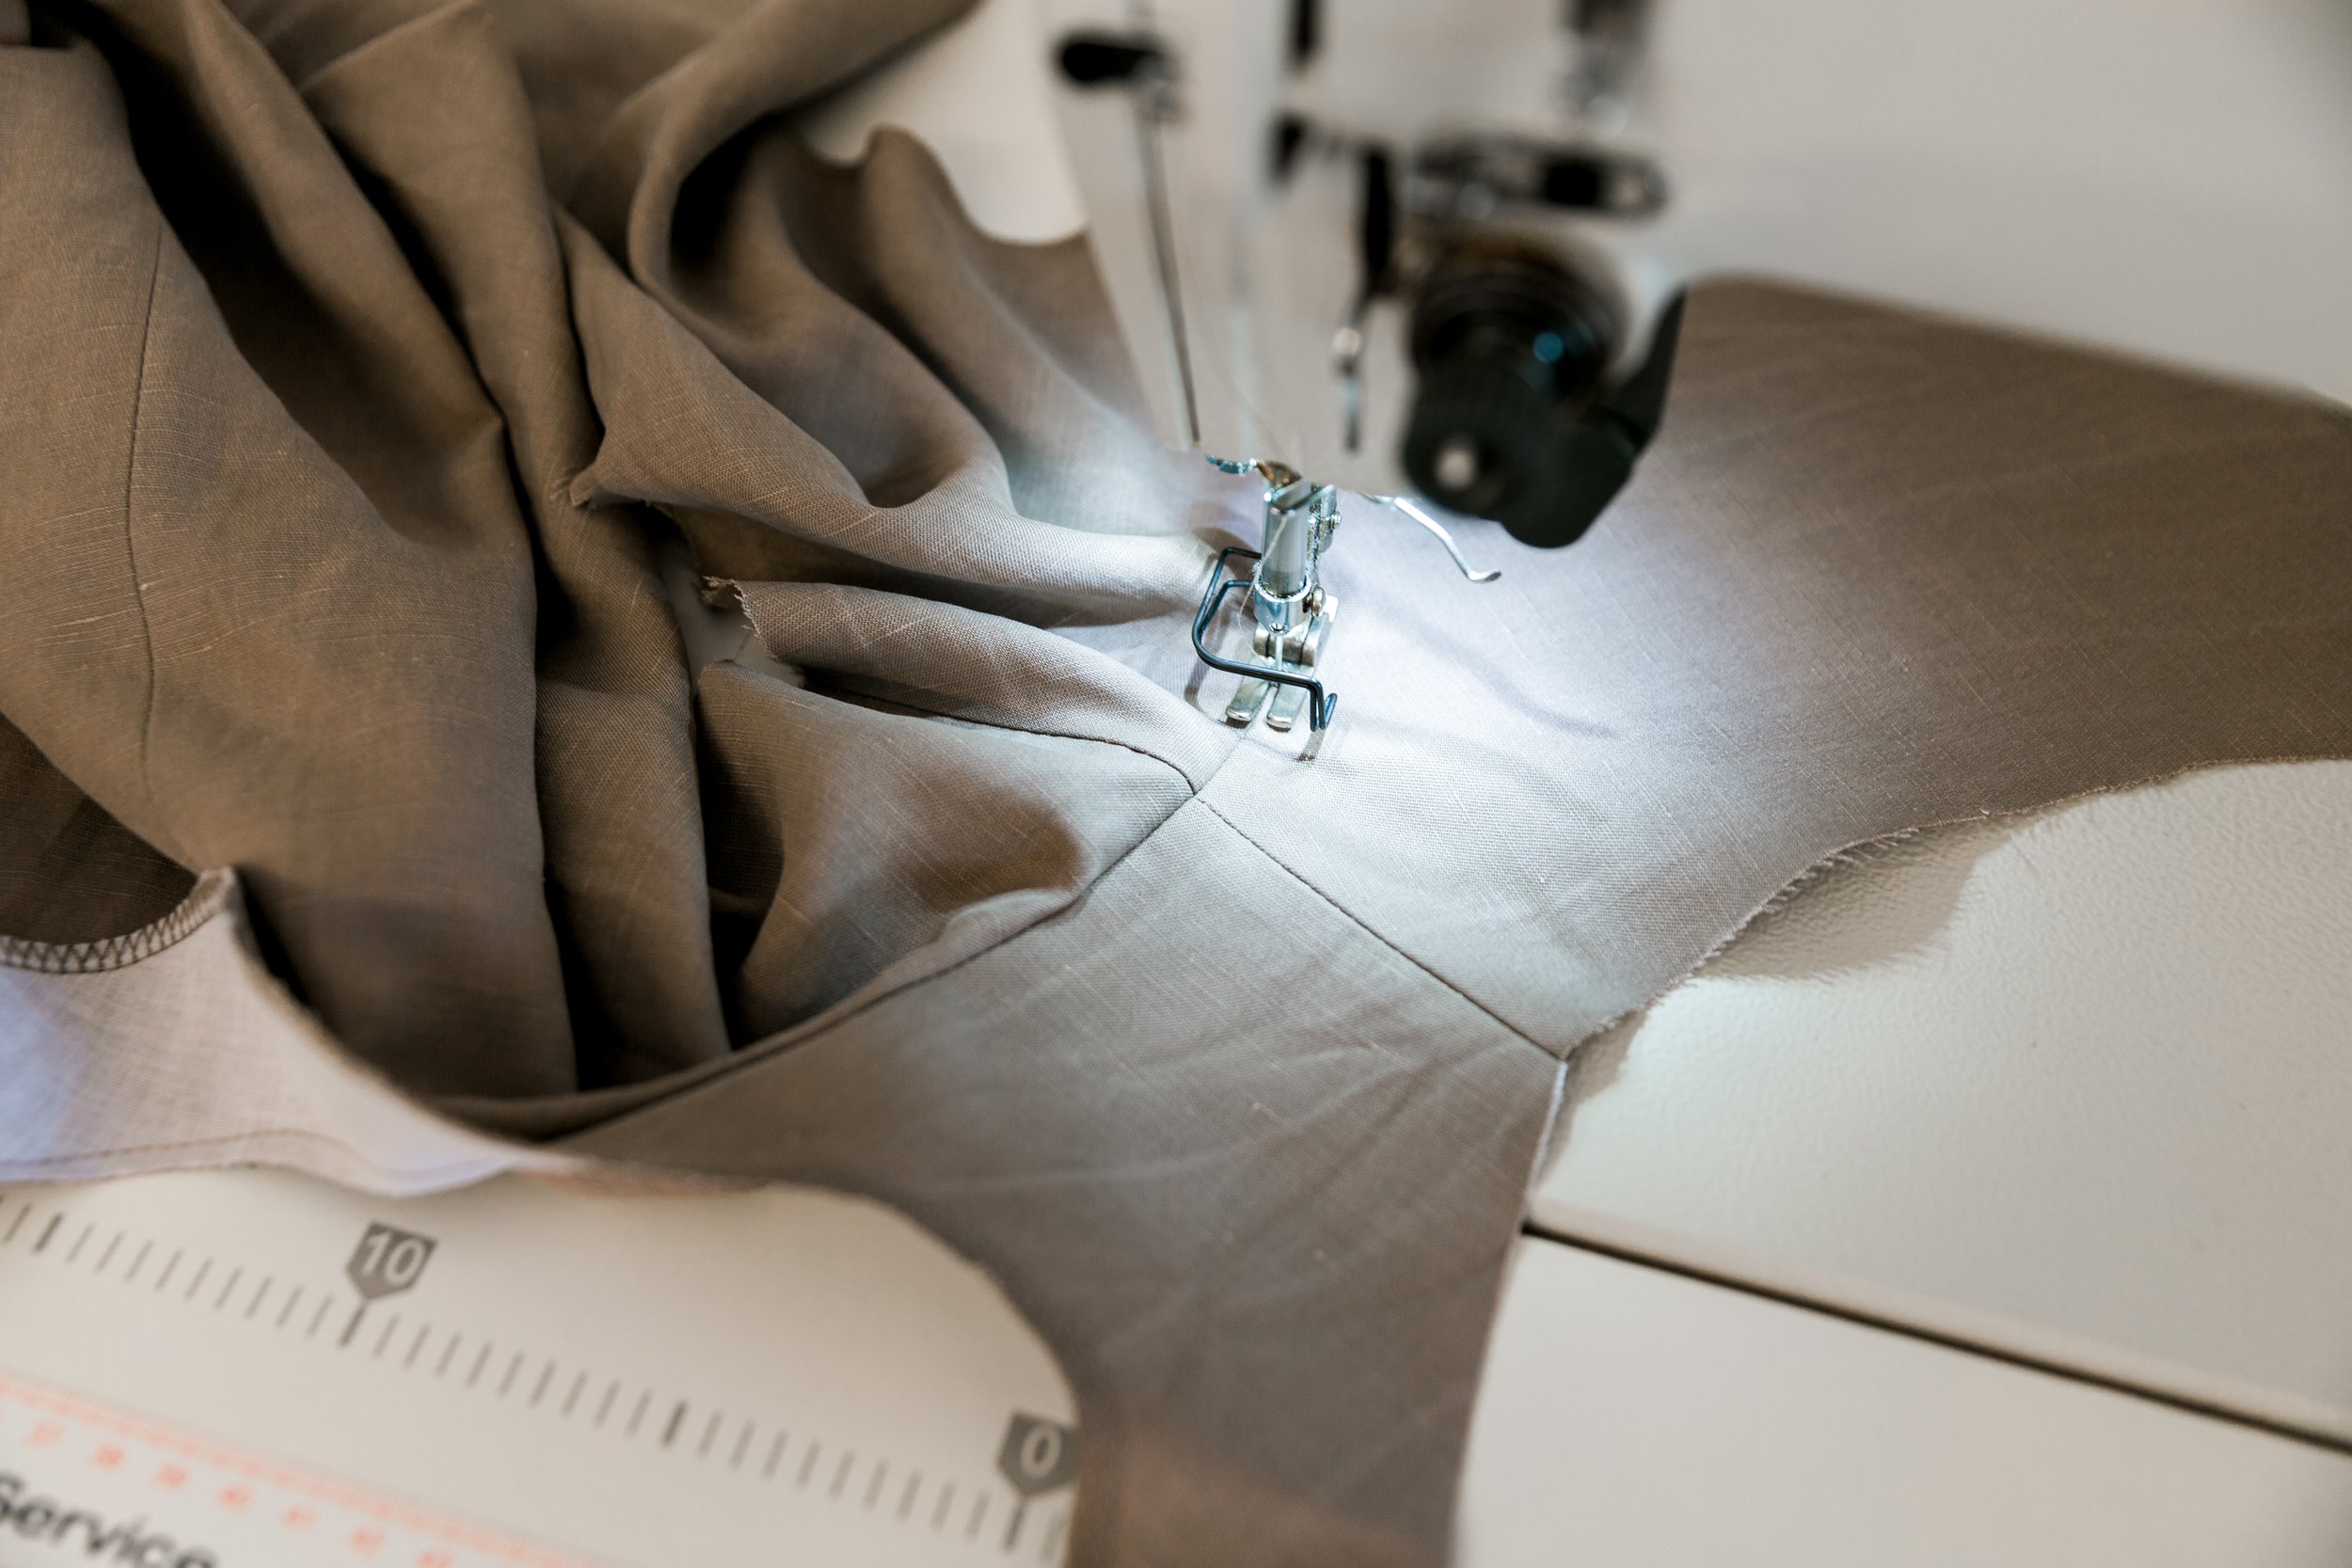
With right sides together, place a pin where front and back underarm seams meet up. Pin down bodice side seams to waistline and up to facing edge. Stitch and press seams open.

Step 12
Neaten the crotch seam of front and back trouser pieces. If you want pockets in your jumpsuit, neaten the rounded edges of all four pocket bags. If you are making your jumpsuit without pockets, skip to step 18.
Step 13
Place pocket bag on to front pant with right sides facing and match up notches. At the top notch on one side seam, stitch in 1.2cm/0.5”. With needle down, pivot your foot and stitch down to the second notch, then pivot your foot again and stitch out to the side seam. Clip into corners, being careful not to cut through your stitches. Understitch seam allowance toward pocket 15 bag along pocket opening. Press.
Step 14
Place another pocket bag on top with right sides facing and stitch together around edges. Neaten seam. With pocket bag pressed in place behind front pant panel, edgestitch in place at top and bottom of pocket opening to secure. Repeat steps 16 - 17 for other side.

Step 15
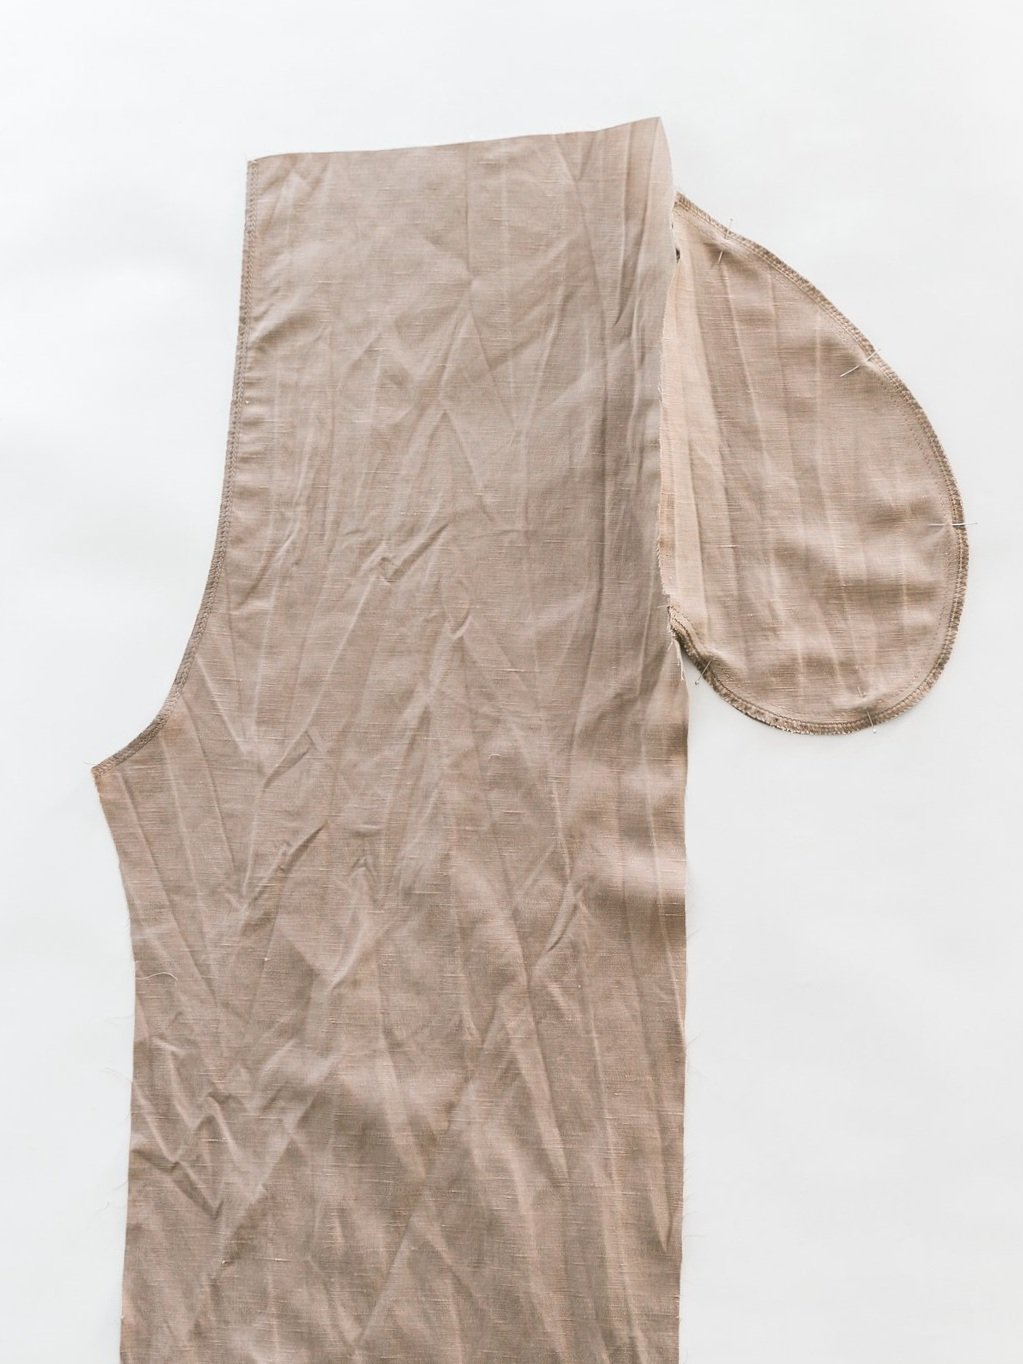
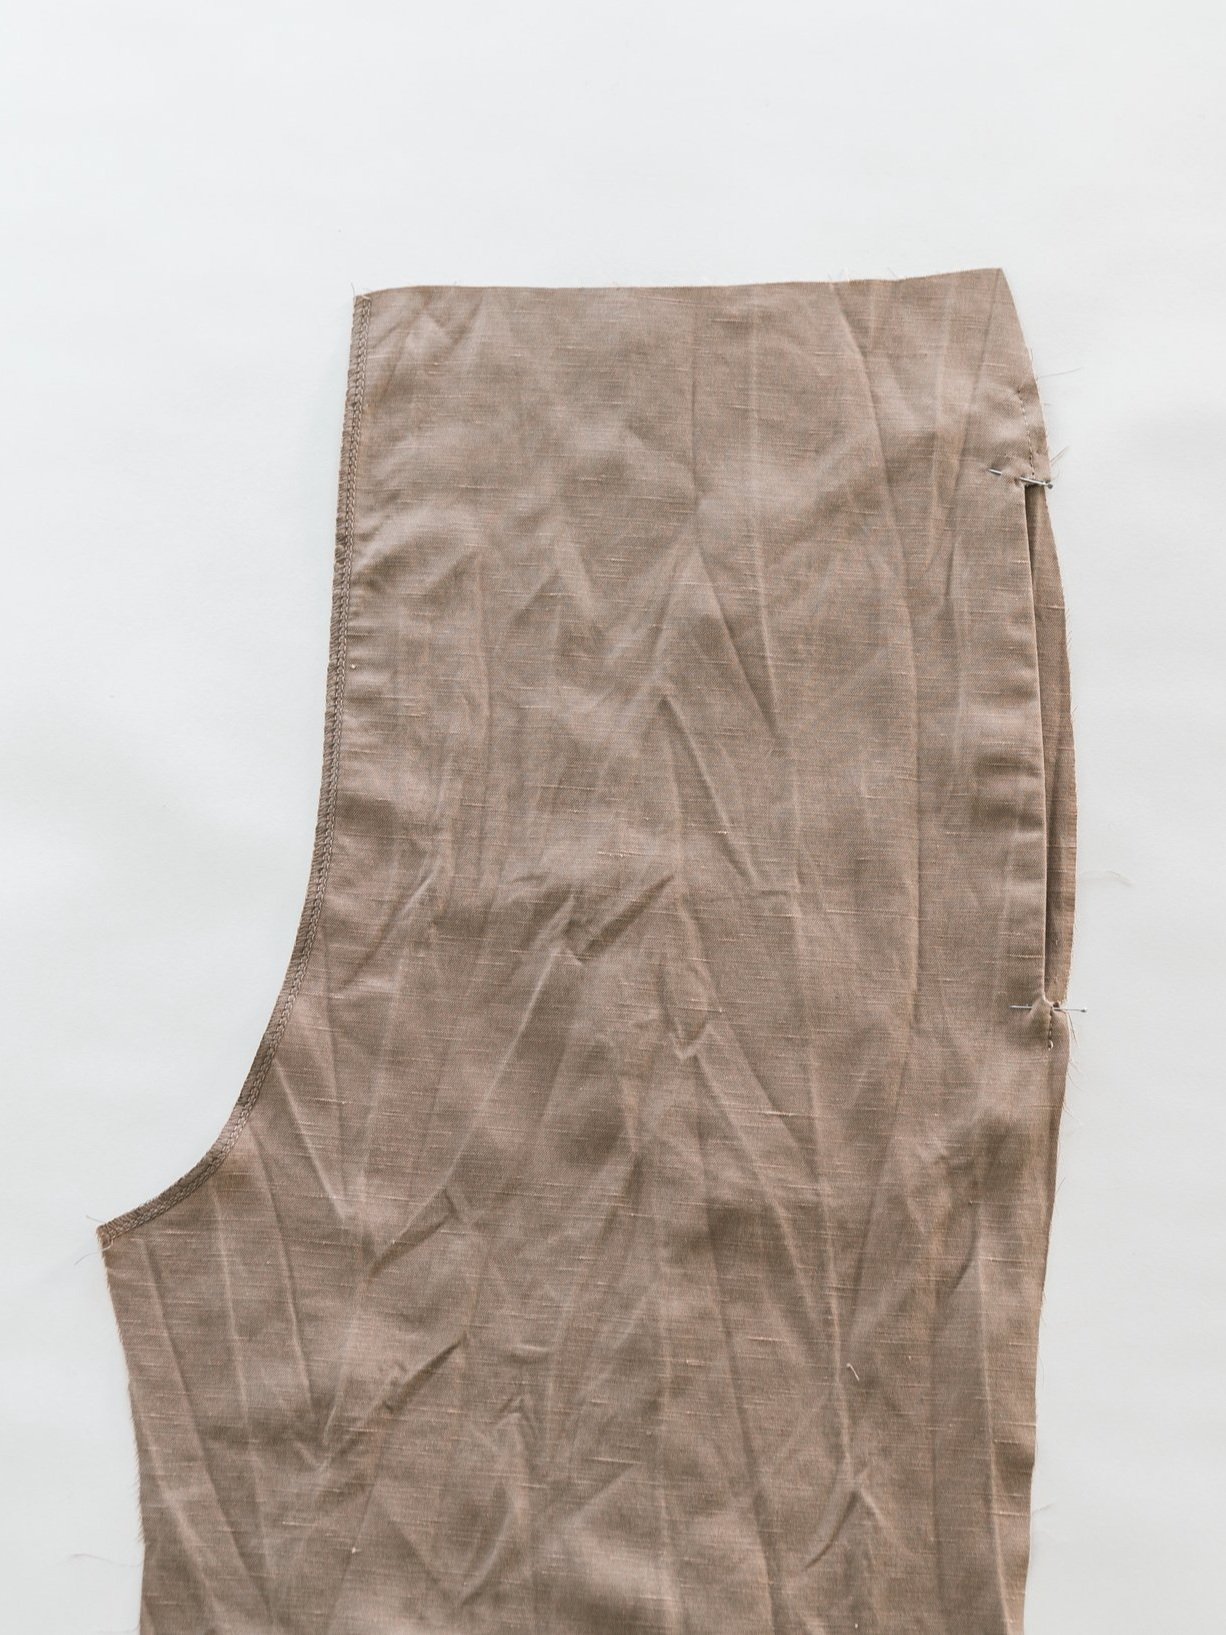
With right sides facing, pin front crotch pieces together from waistline to inside leg. With right sides facing, pin back trouser pieces together from zip notch around crotch to inside leg. Stitch together. Press seam allowances open.

Step 16
With right sides facing pin front leg to back leg along side seam. Stitch together. Neaten and press seam allowance toward the back. Repeat for both leg side seams.

Step 17
Pin front inside leg to back inside leg with right sides together and stitch. Neaten seam allowance and press toward the back.

Step 18
Neaten the waist seam of pants.
Step 19
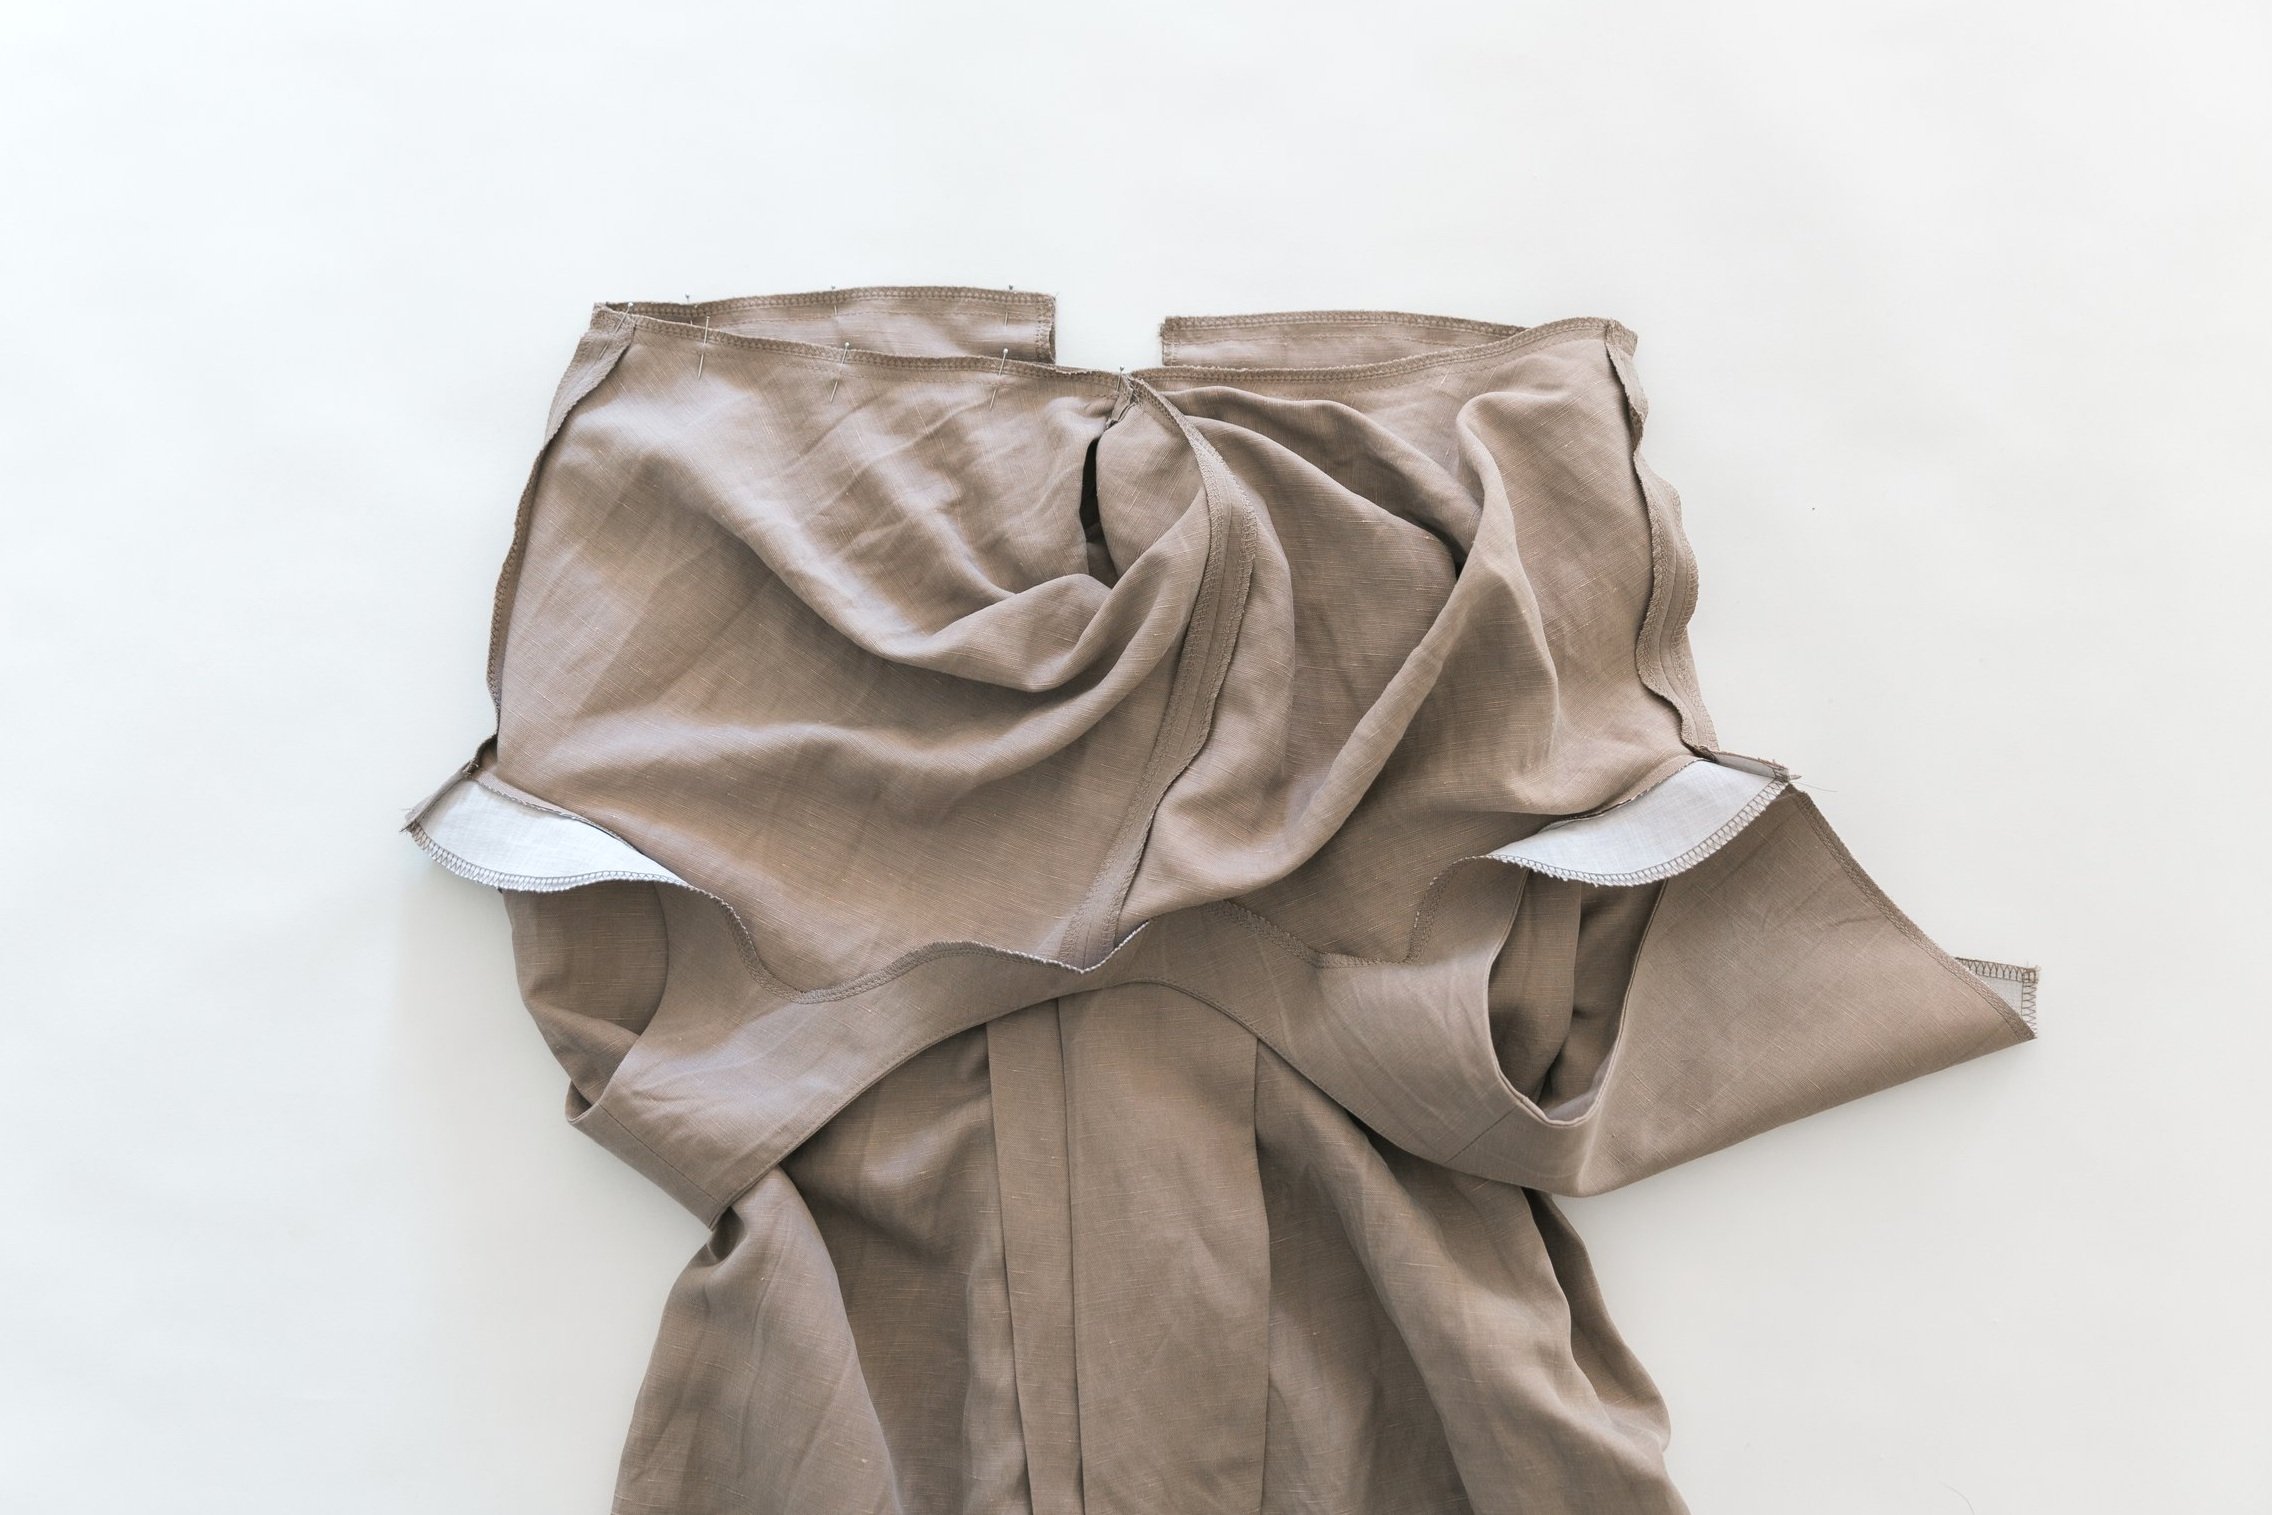
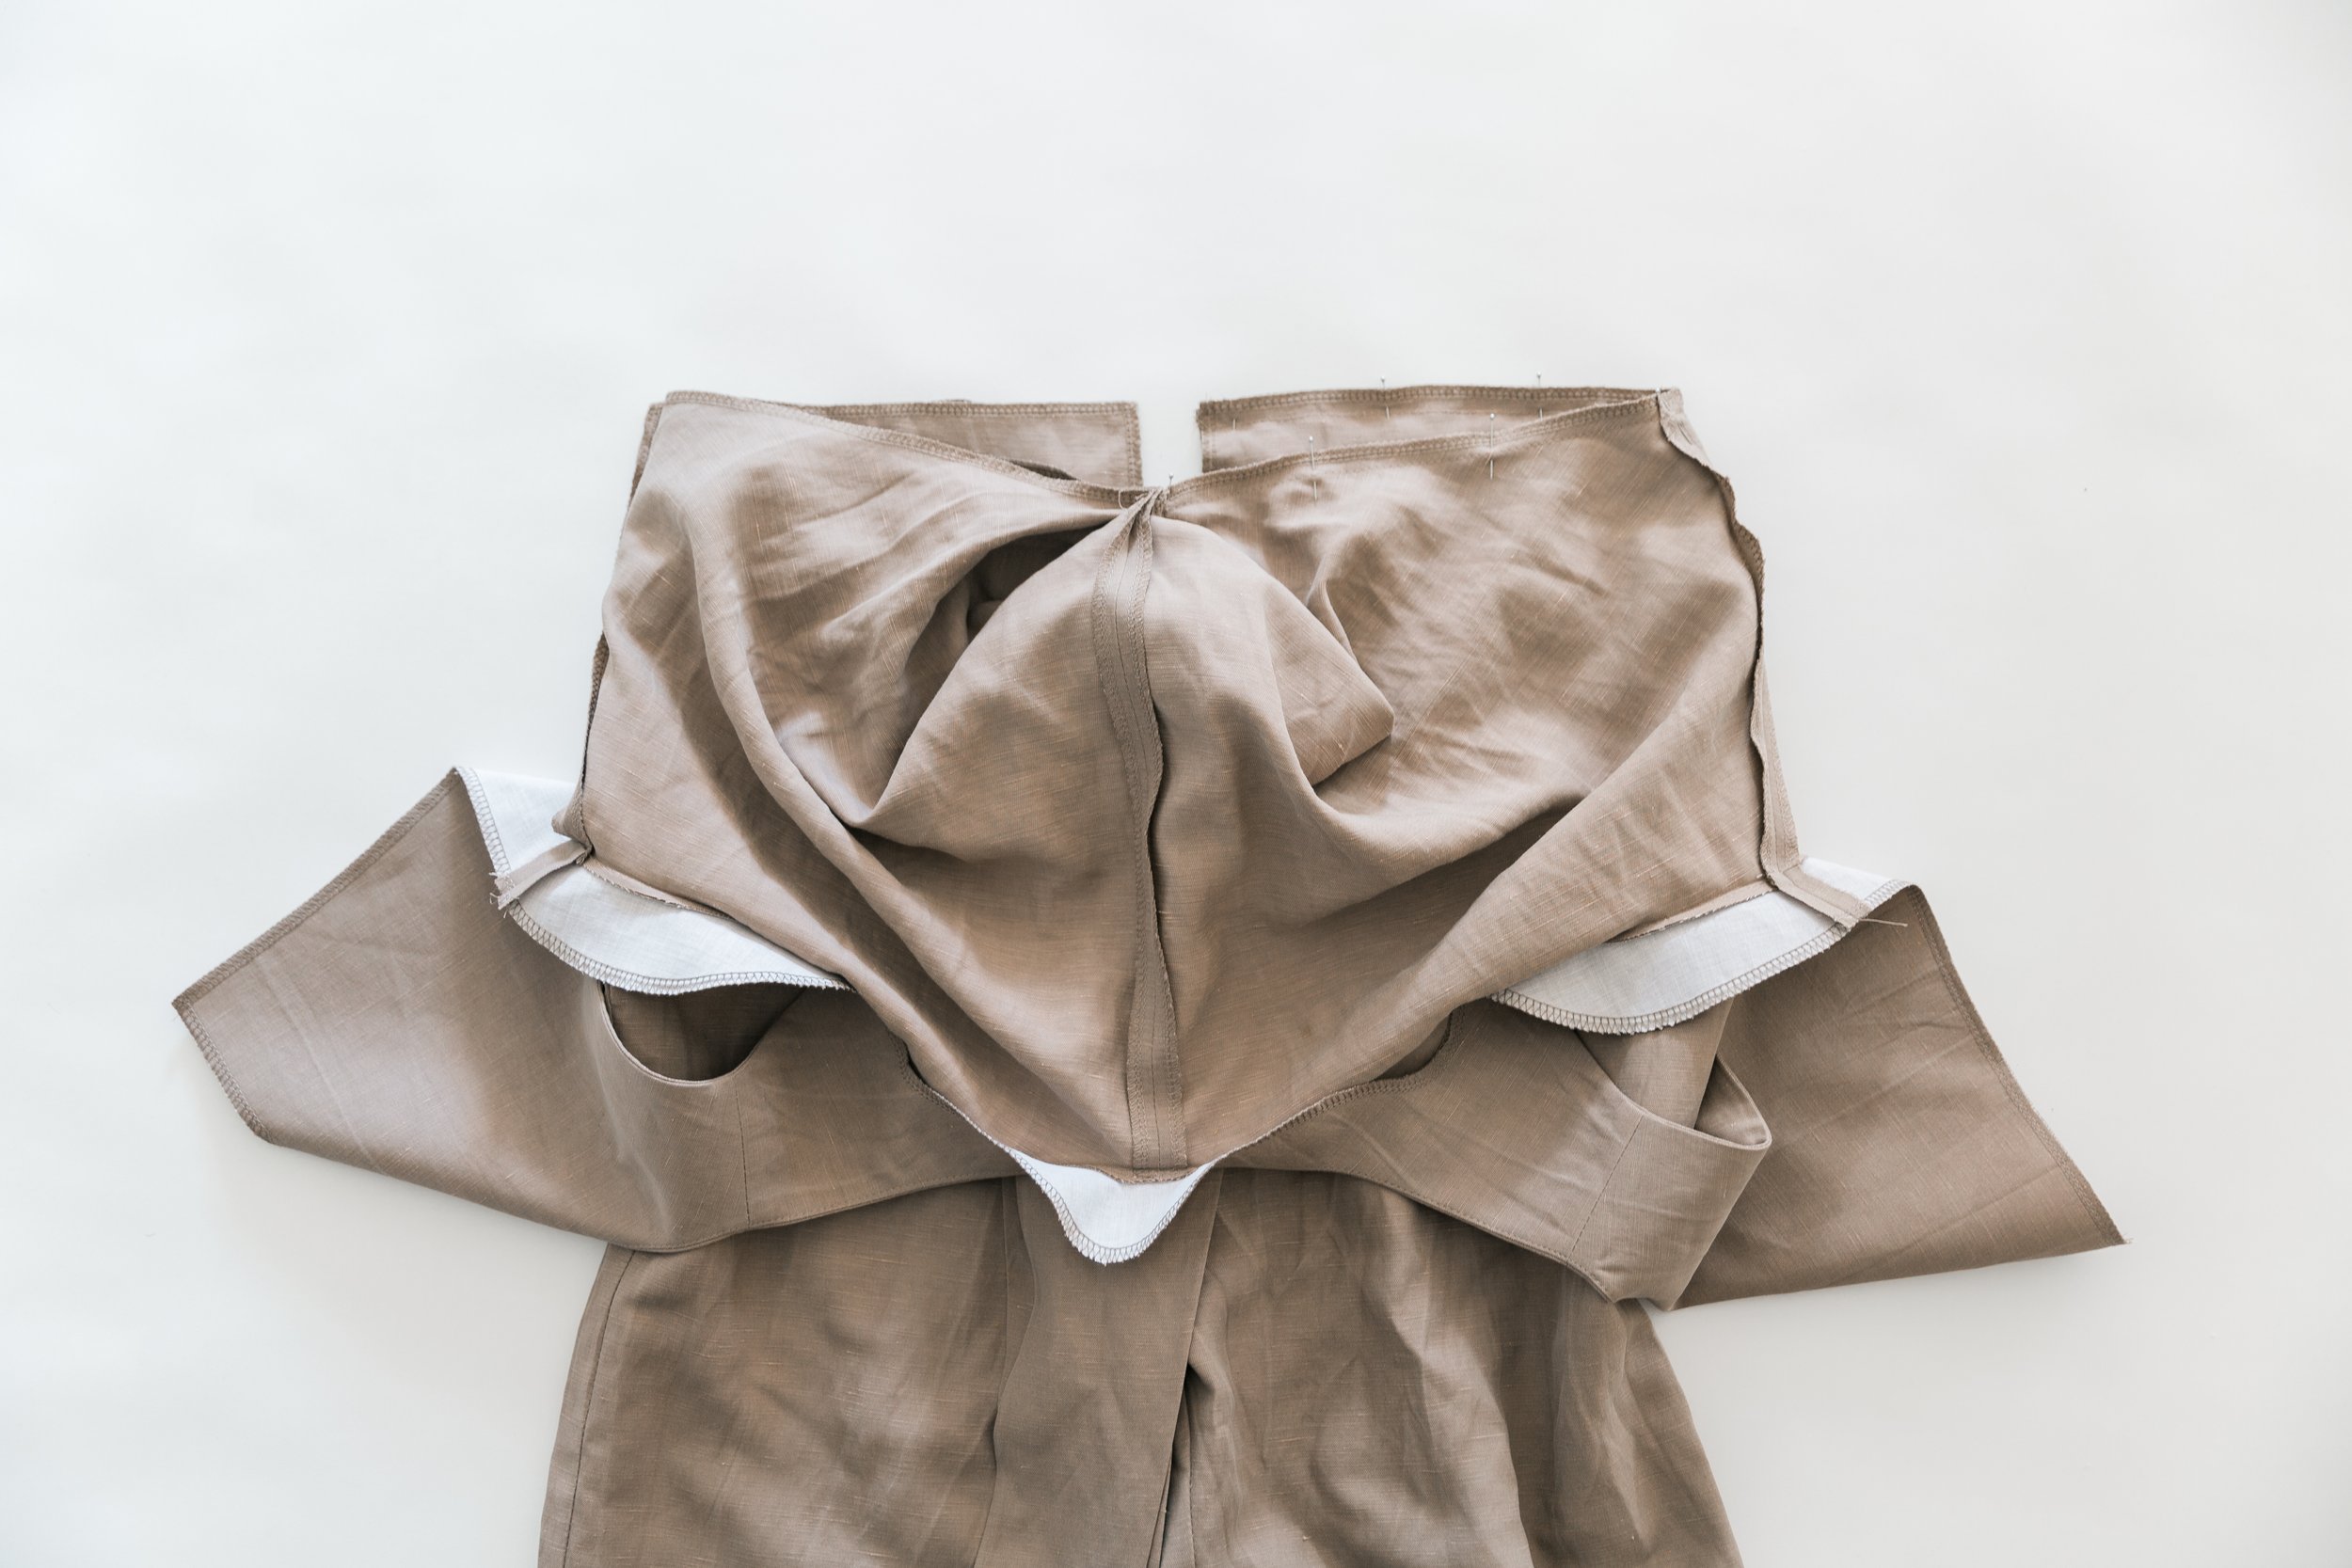
Attach the waistline of the bodice to the waistline of the trousers. With right sides together pin the centre front bodice seam to the centre front trouser seam. Pin out along from the centre front to match the bodice side seem to trouser side seam, to the bodice centre back matching the trouser centre back. Stitch pieces together making sure to start exactly at the centre front seam stitch line. Repeat for the other half of waist seam. Neaten seam and press seam allowance upward.
Step 20
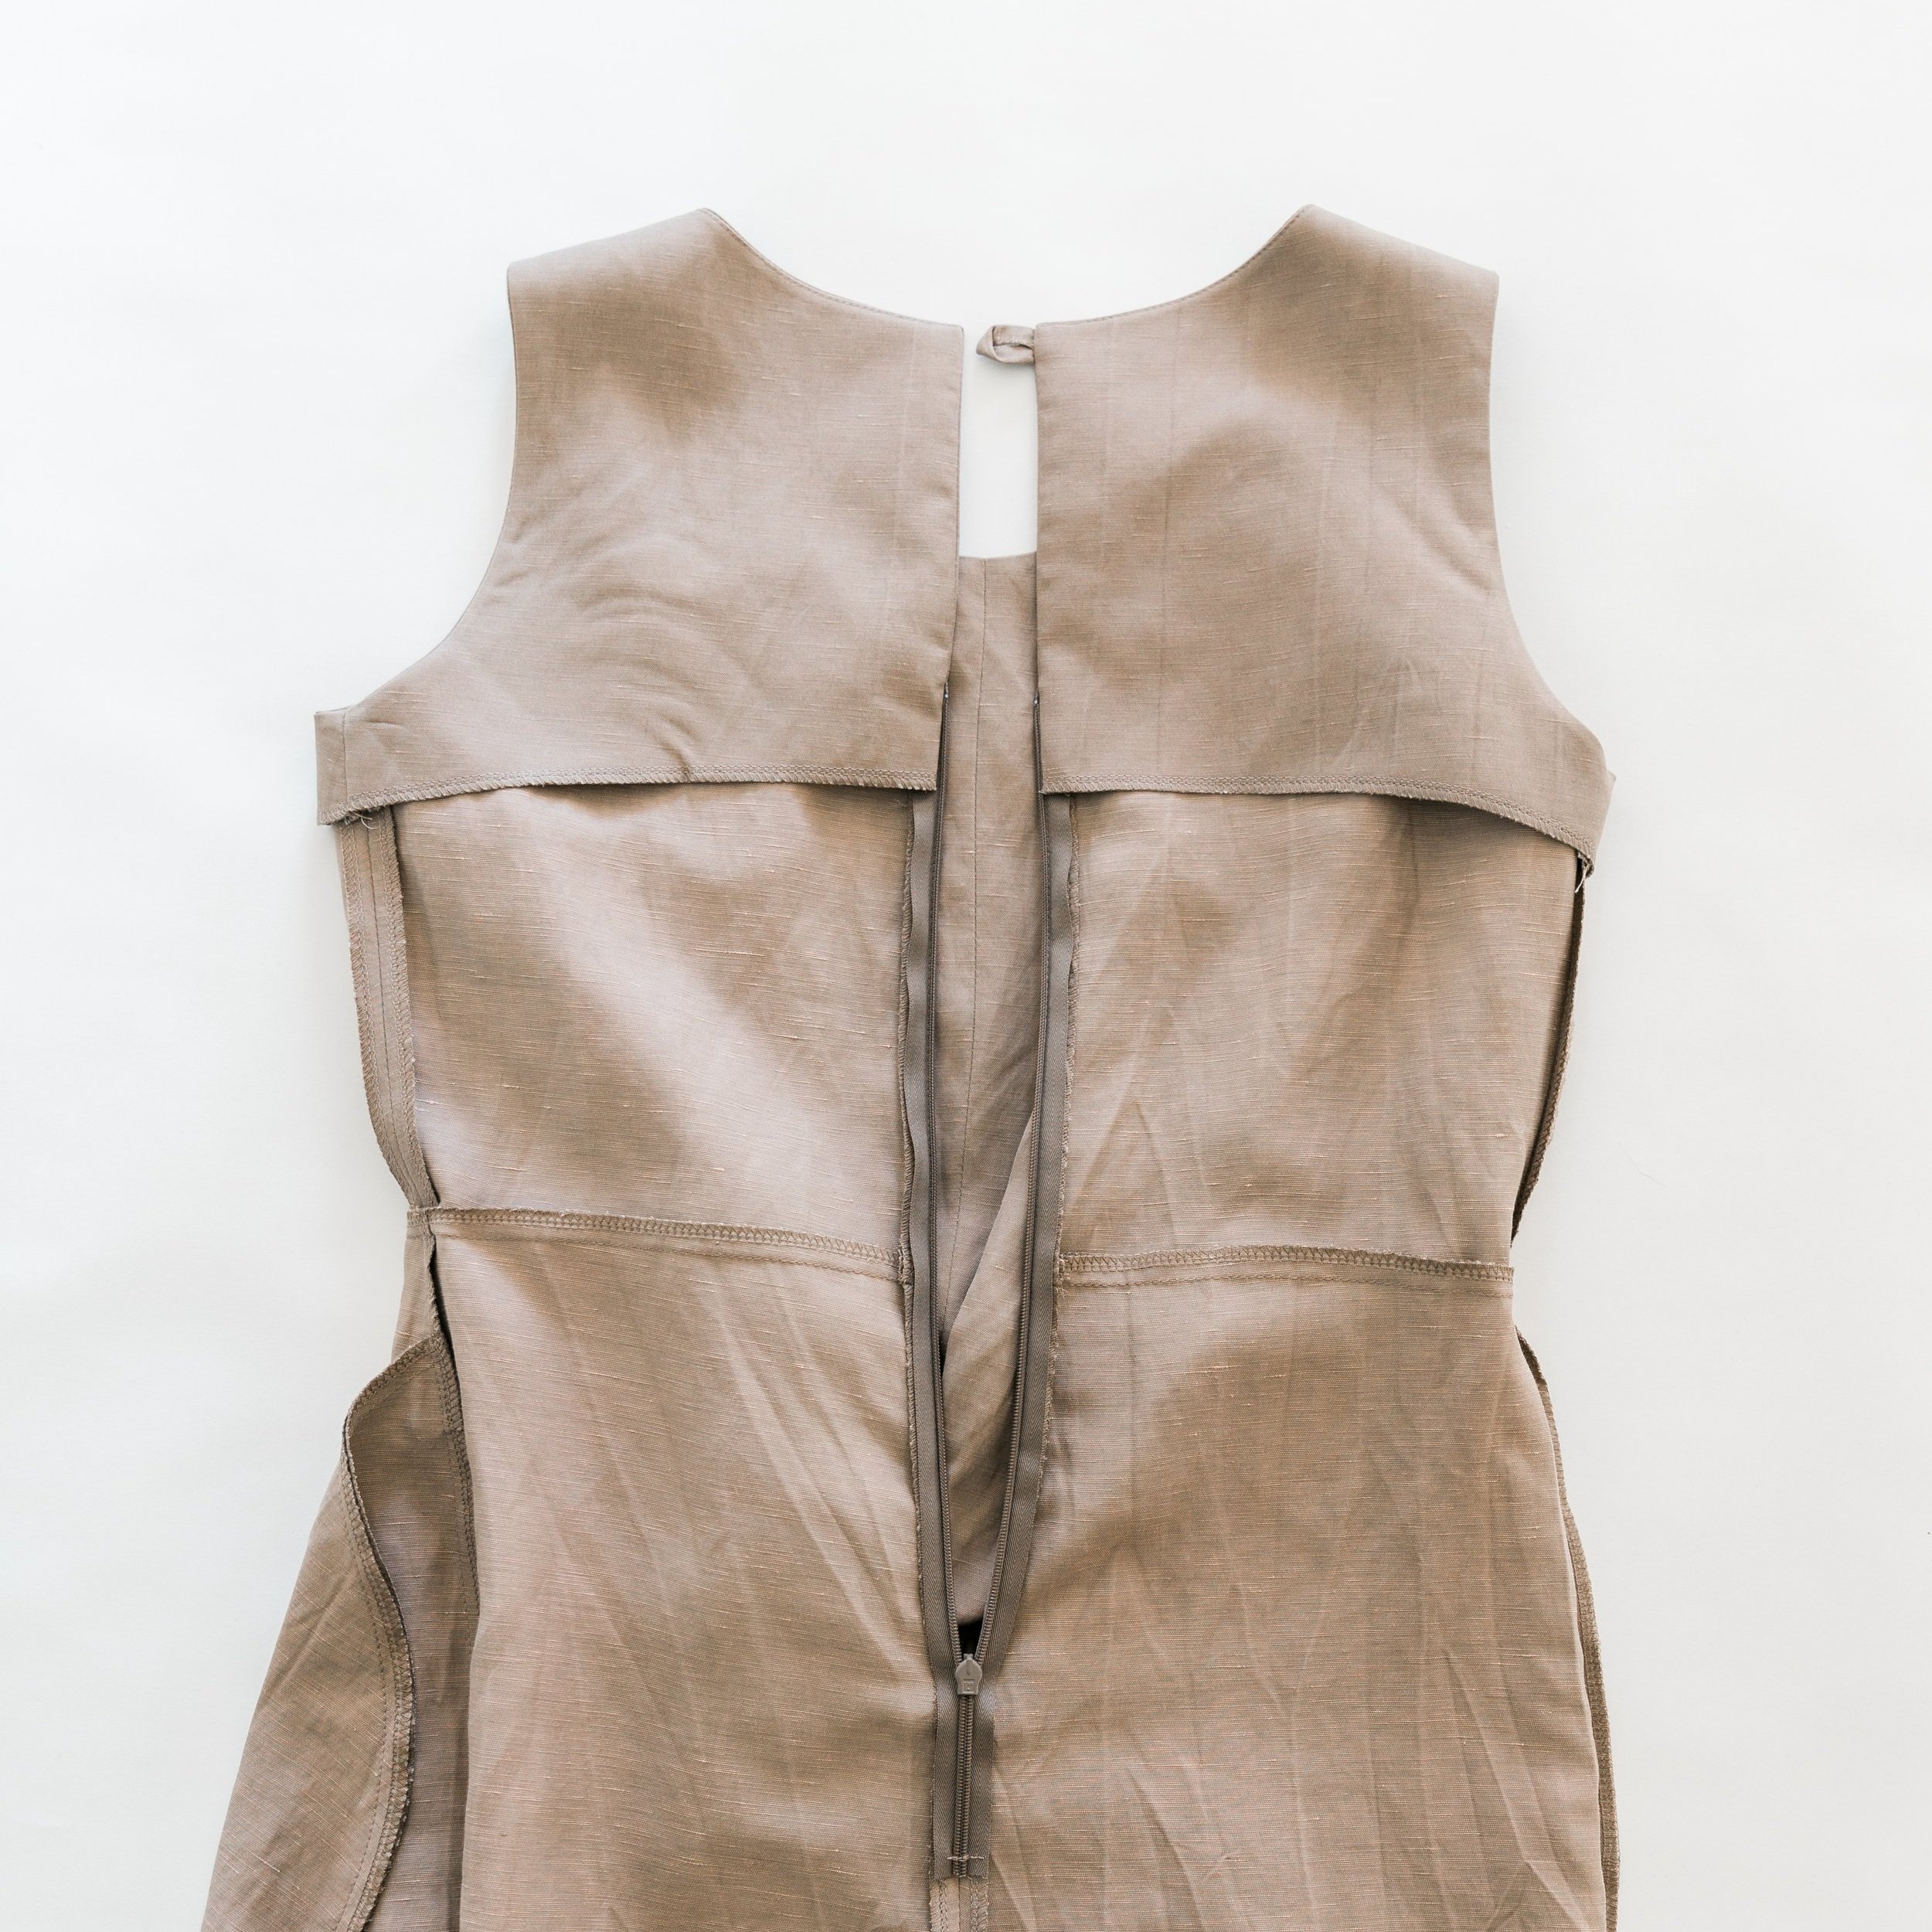
Stitch left side of zip down centre back seam, starting at zip notch. Stitch right side of zip to other side of centre back seam. Pin at zip to match the centre back waist seam aligns in a straight line.
Step 21
Fold back neck facing over top of button loop, so that right sides are facing to the back shell. Pin in place down centre back seam, overlapping the top of the zip. Stitch. Turn through to right side and press.

Step 22
Neaten trouser hem edges and turn up 3cm/1.3”. Stitch in place.
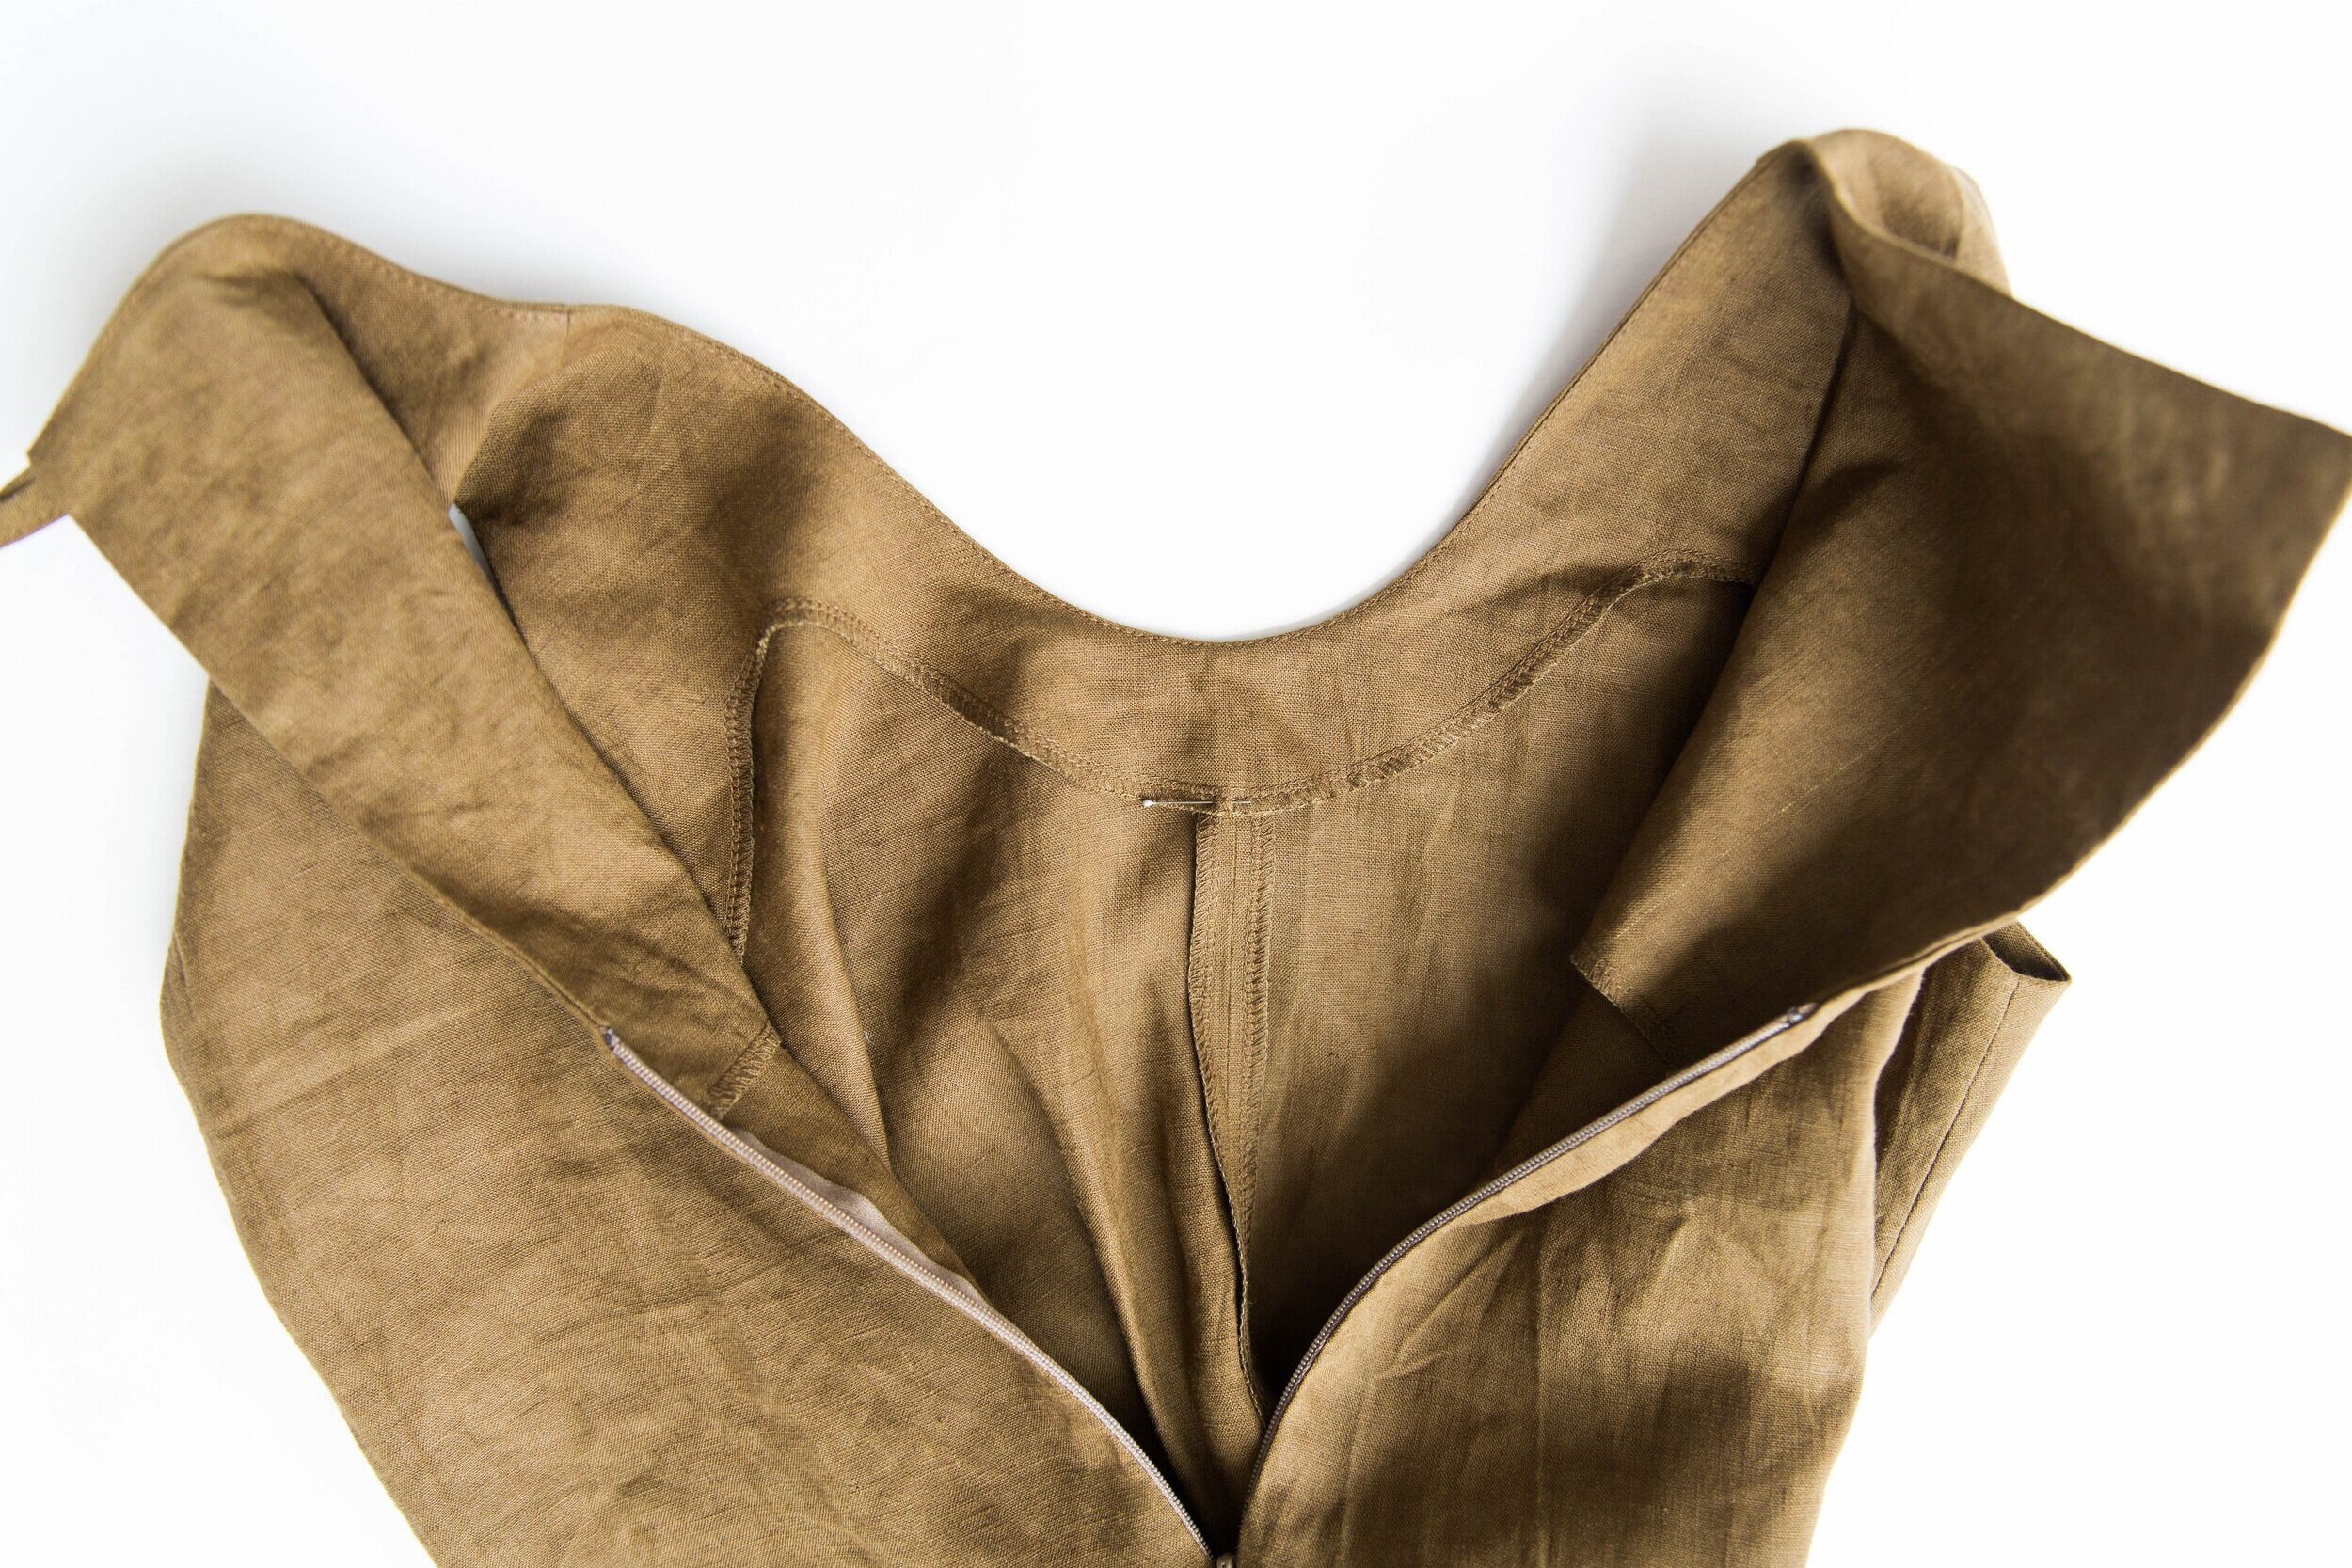
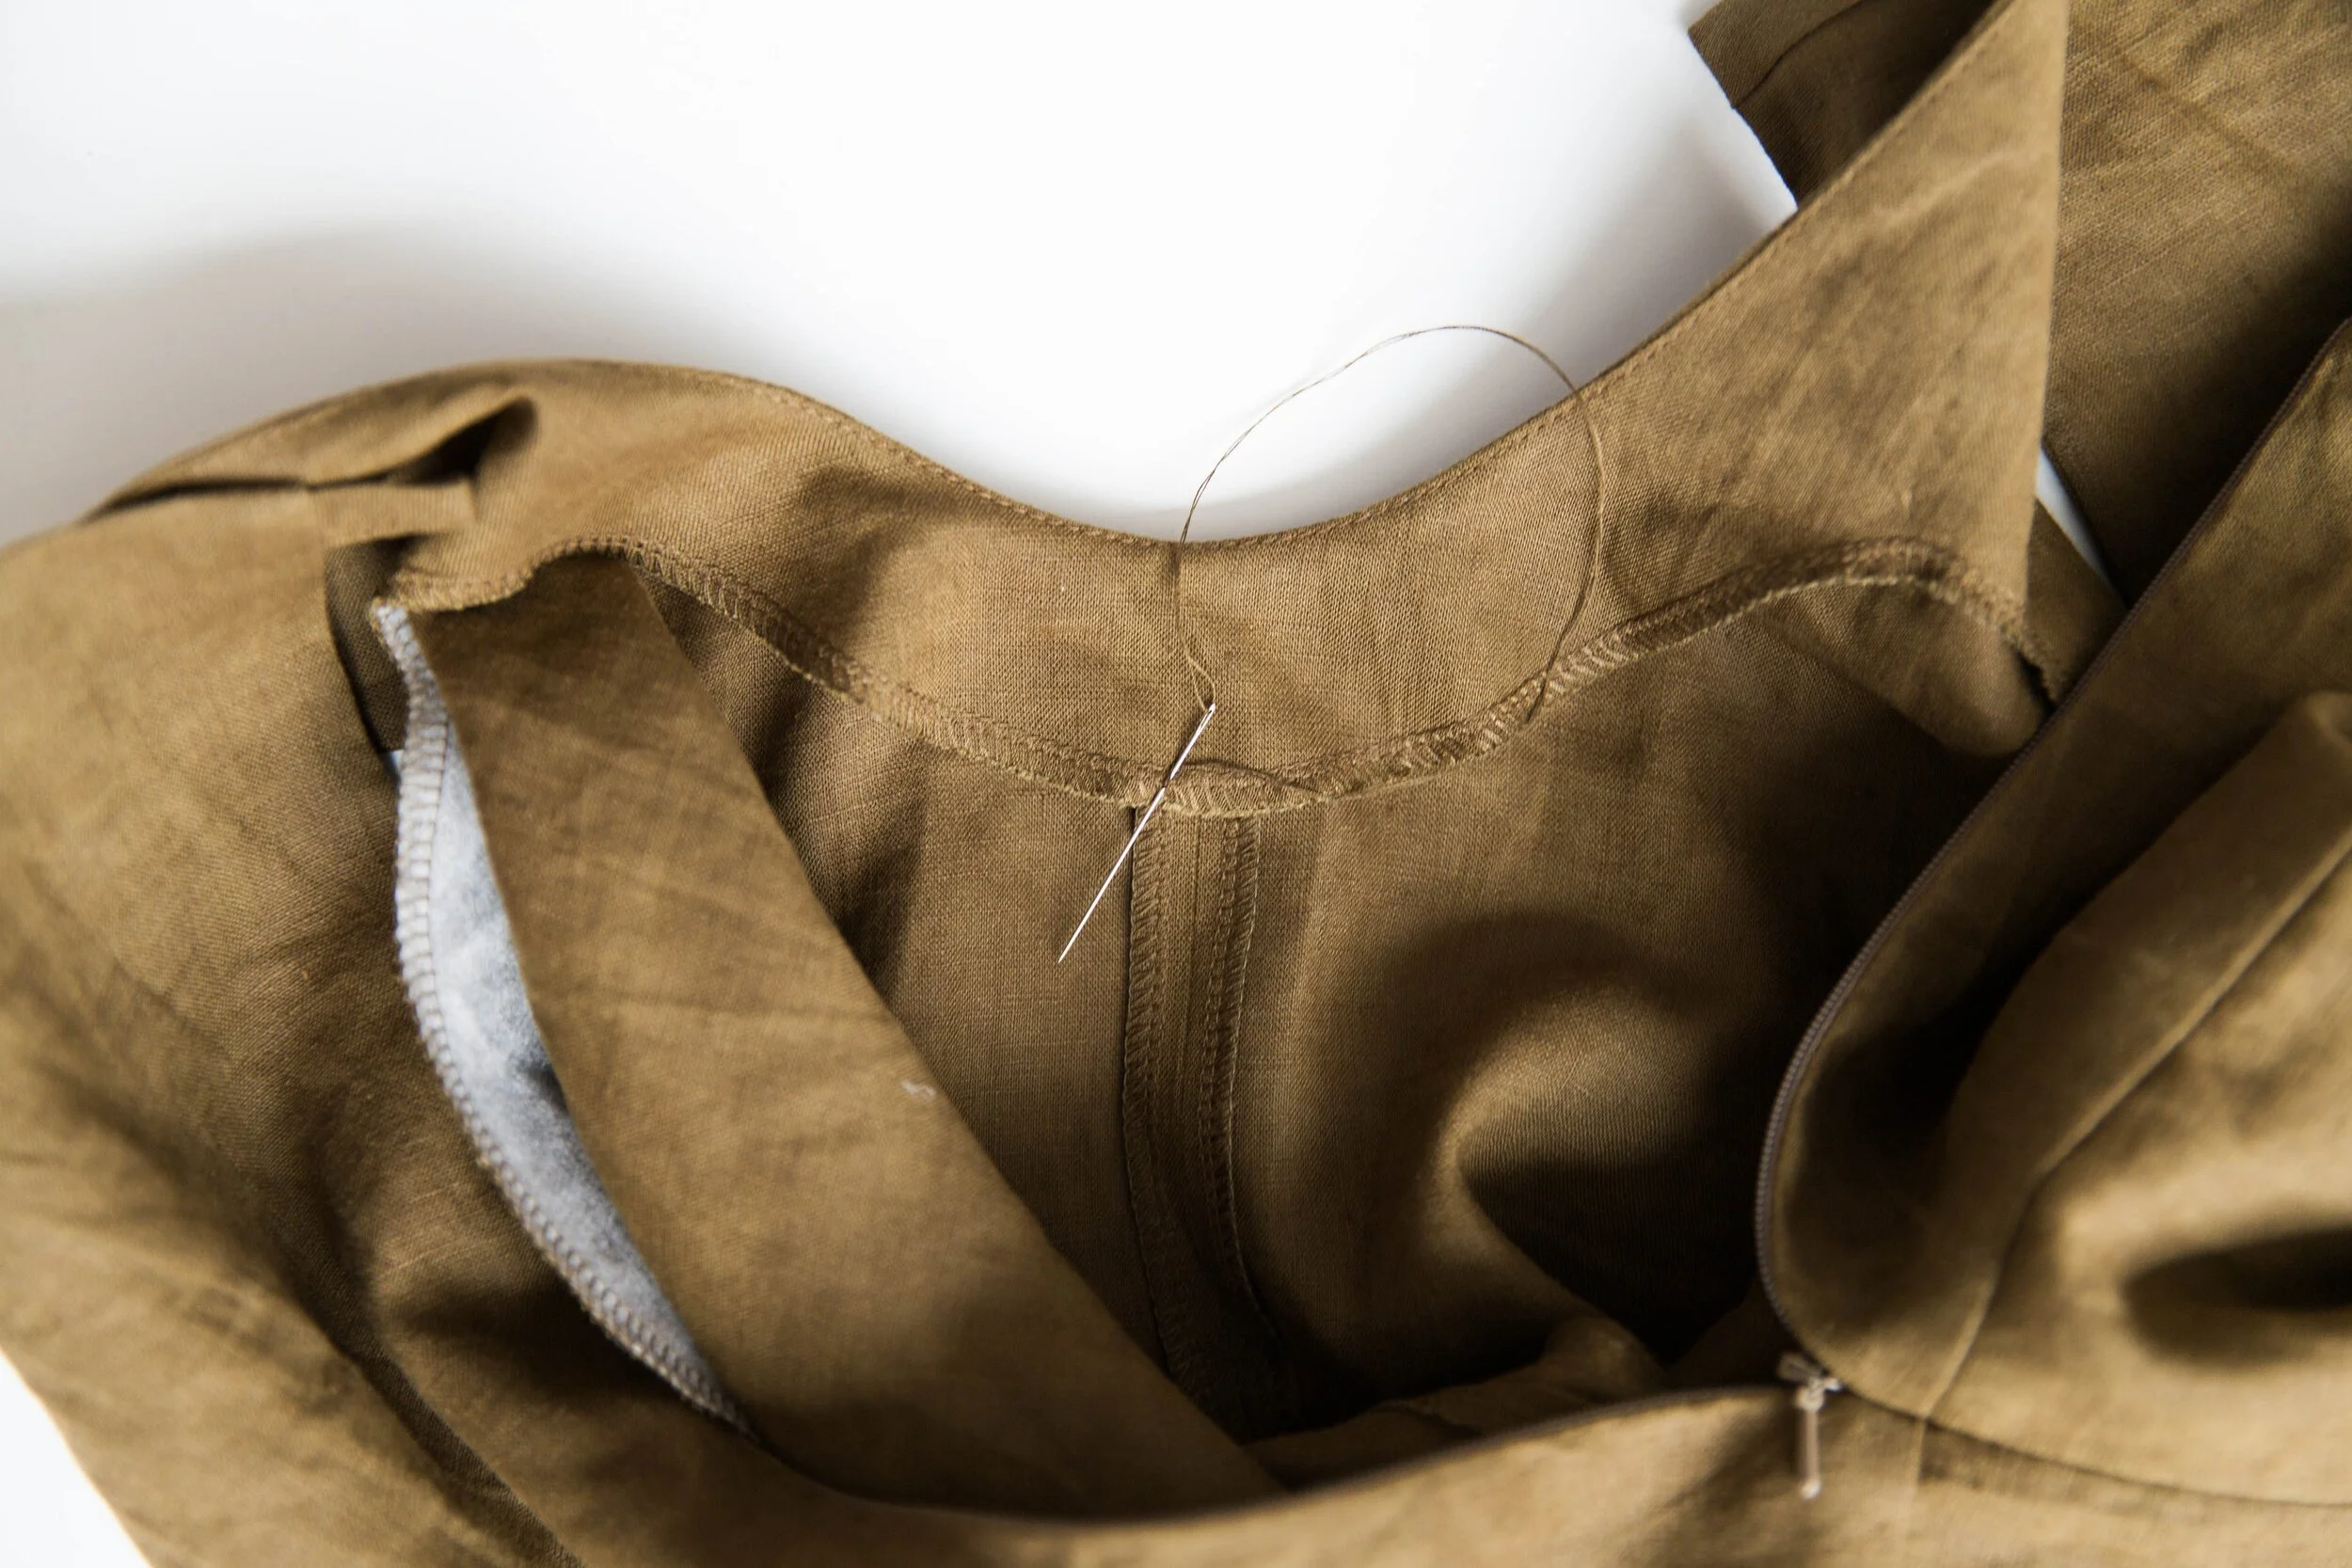
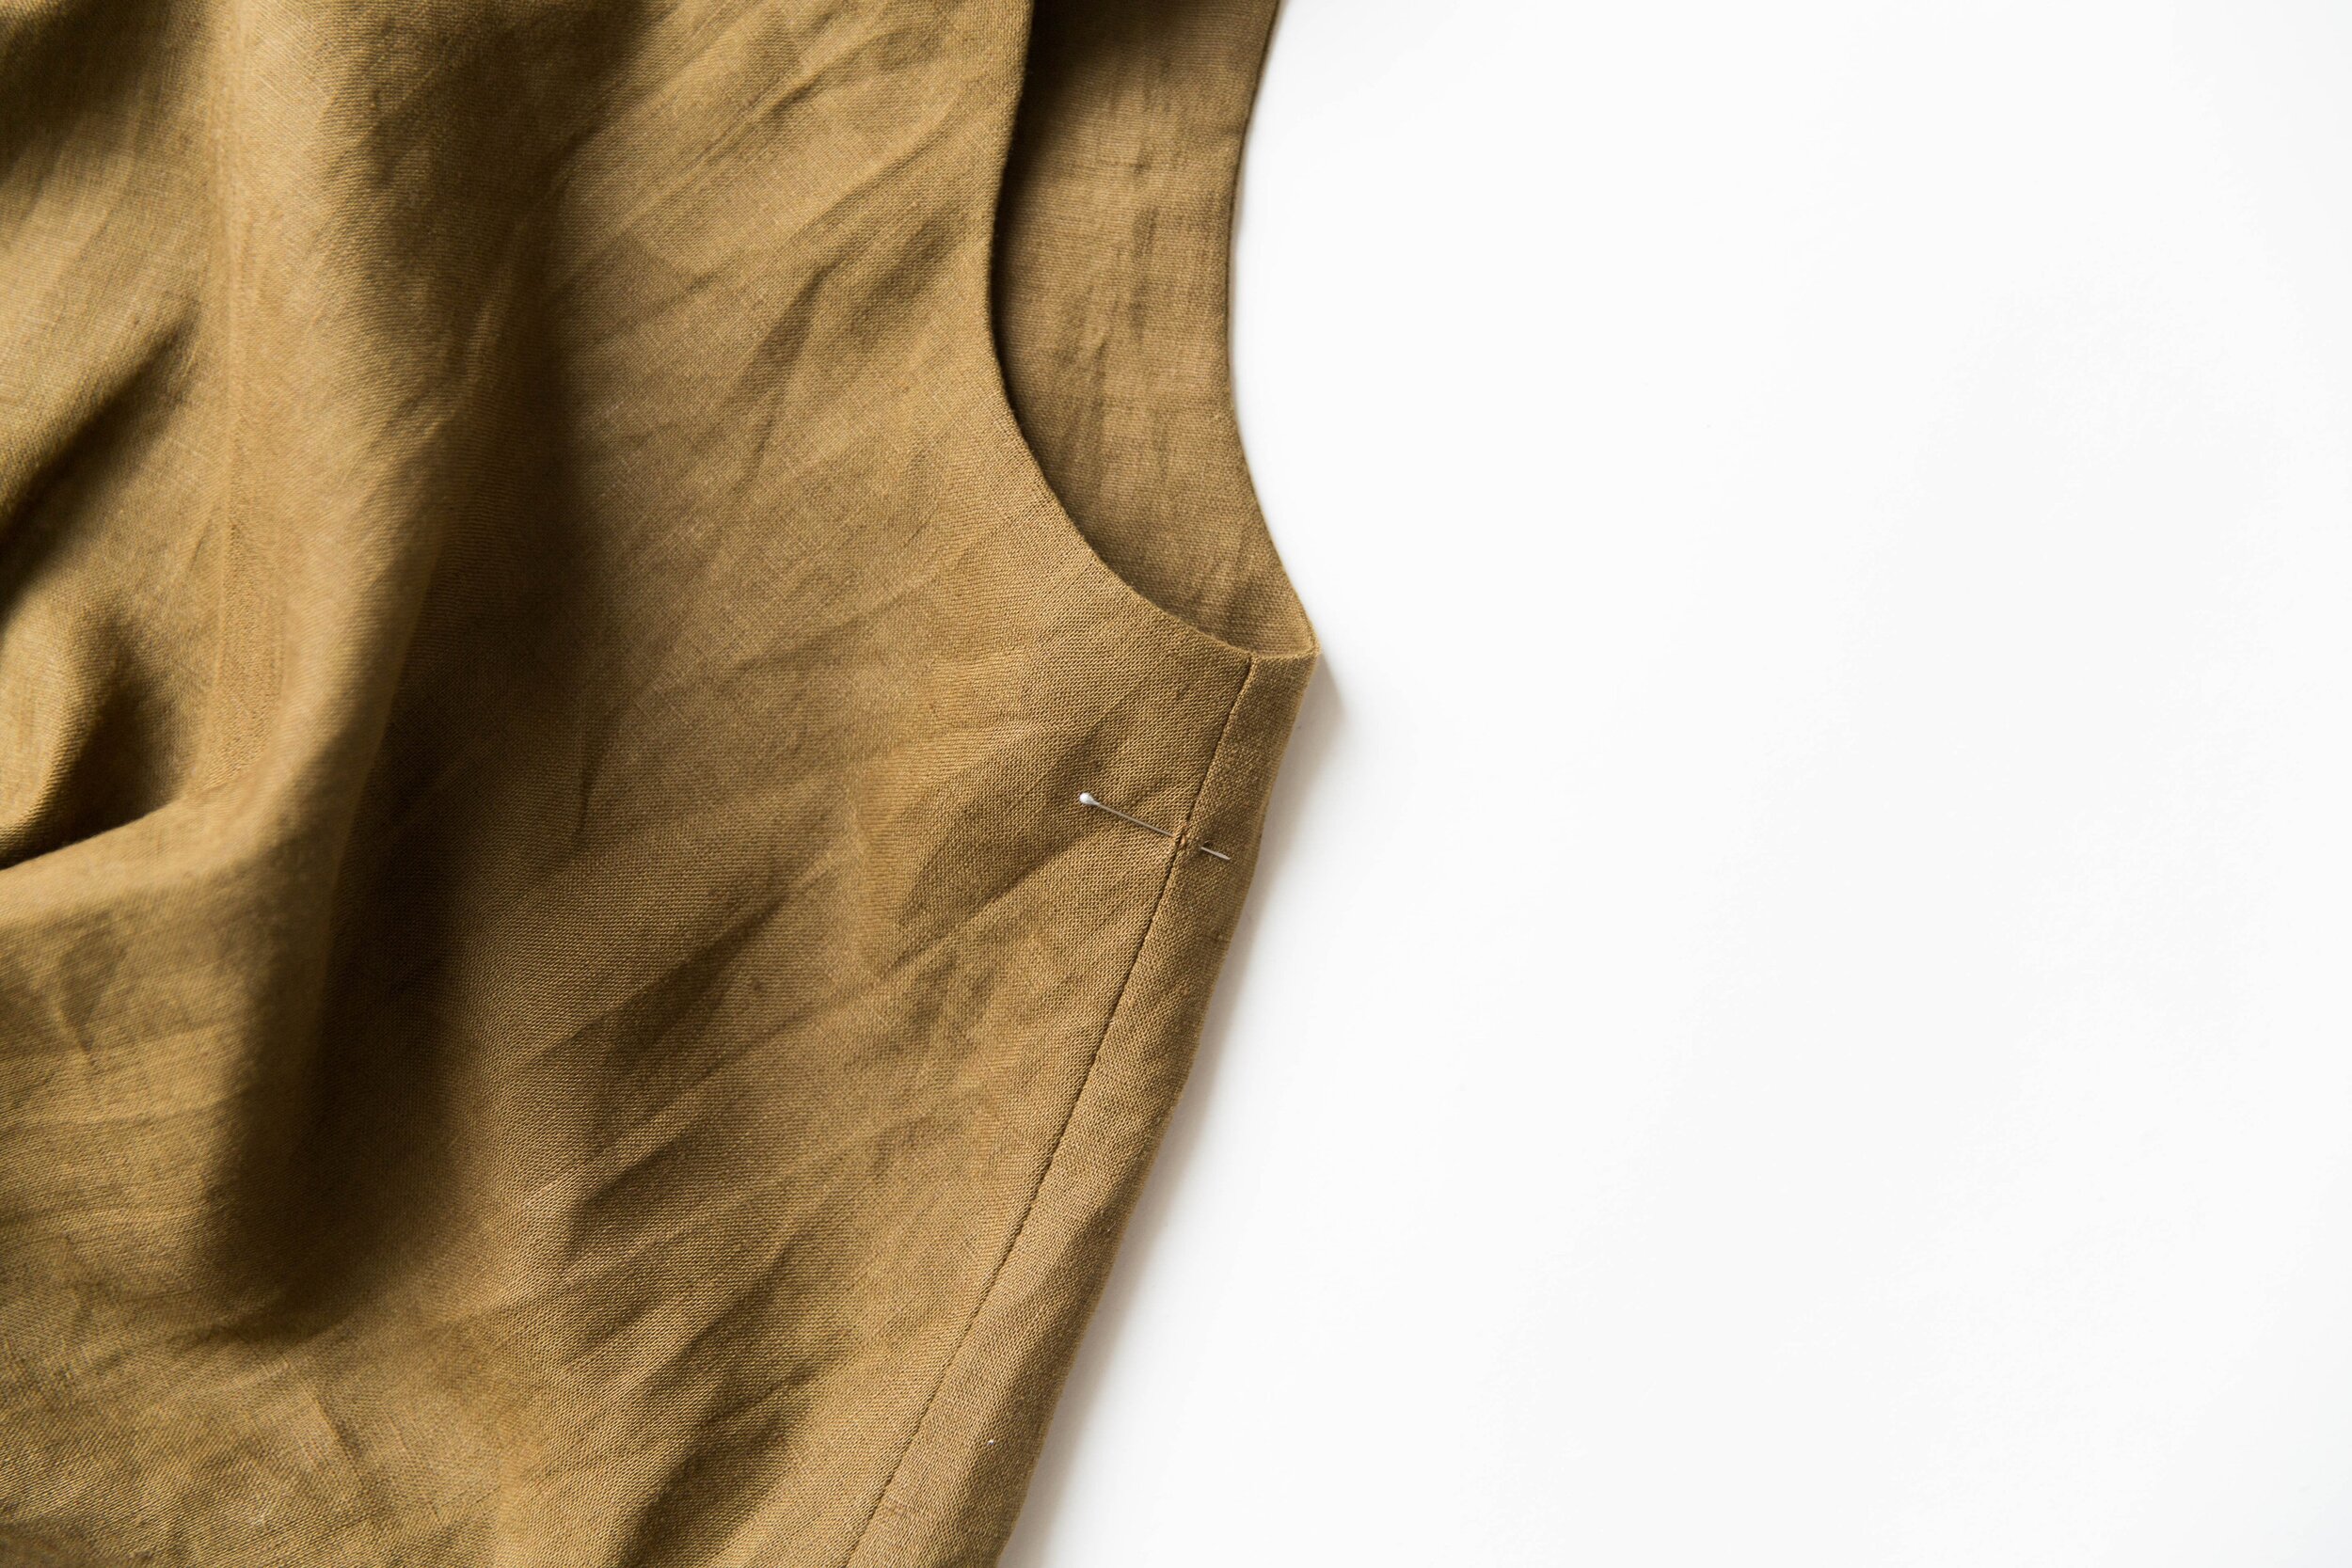

Step 23
Pin seam allowance to facing at centre front neckline and under both armholes. Hand stitch in place.

Voilà!