
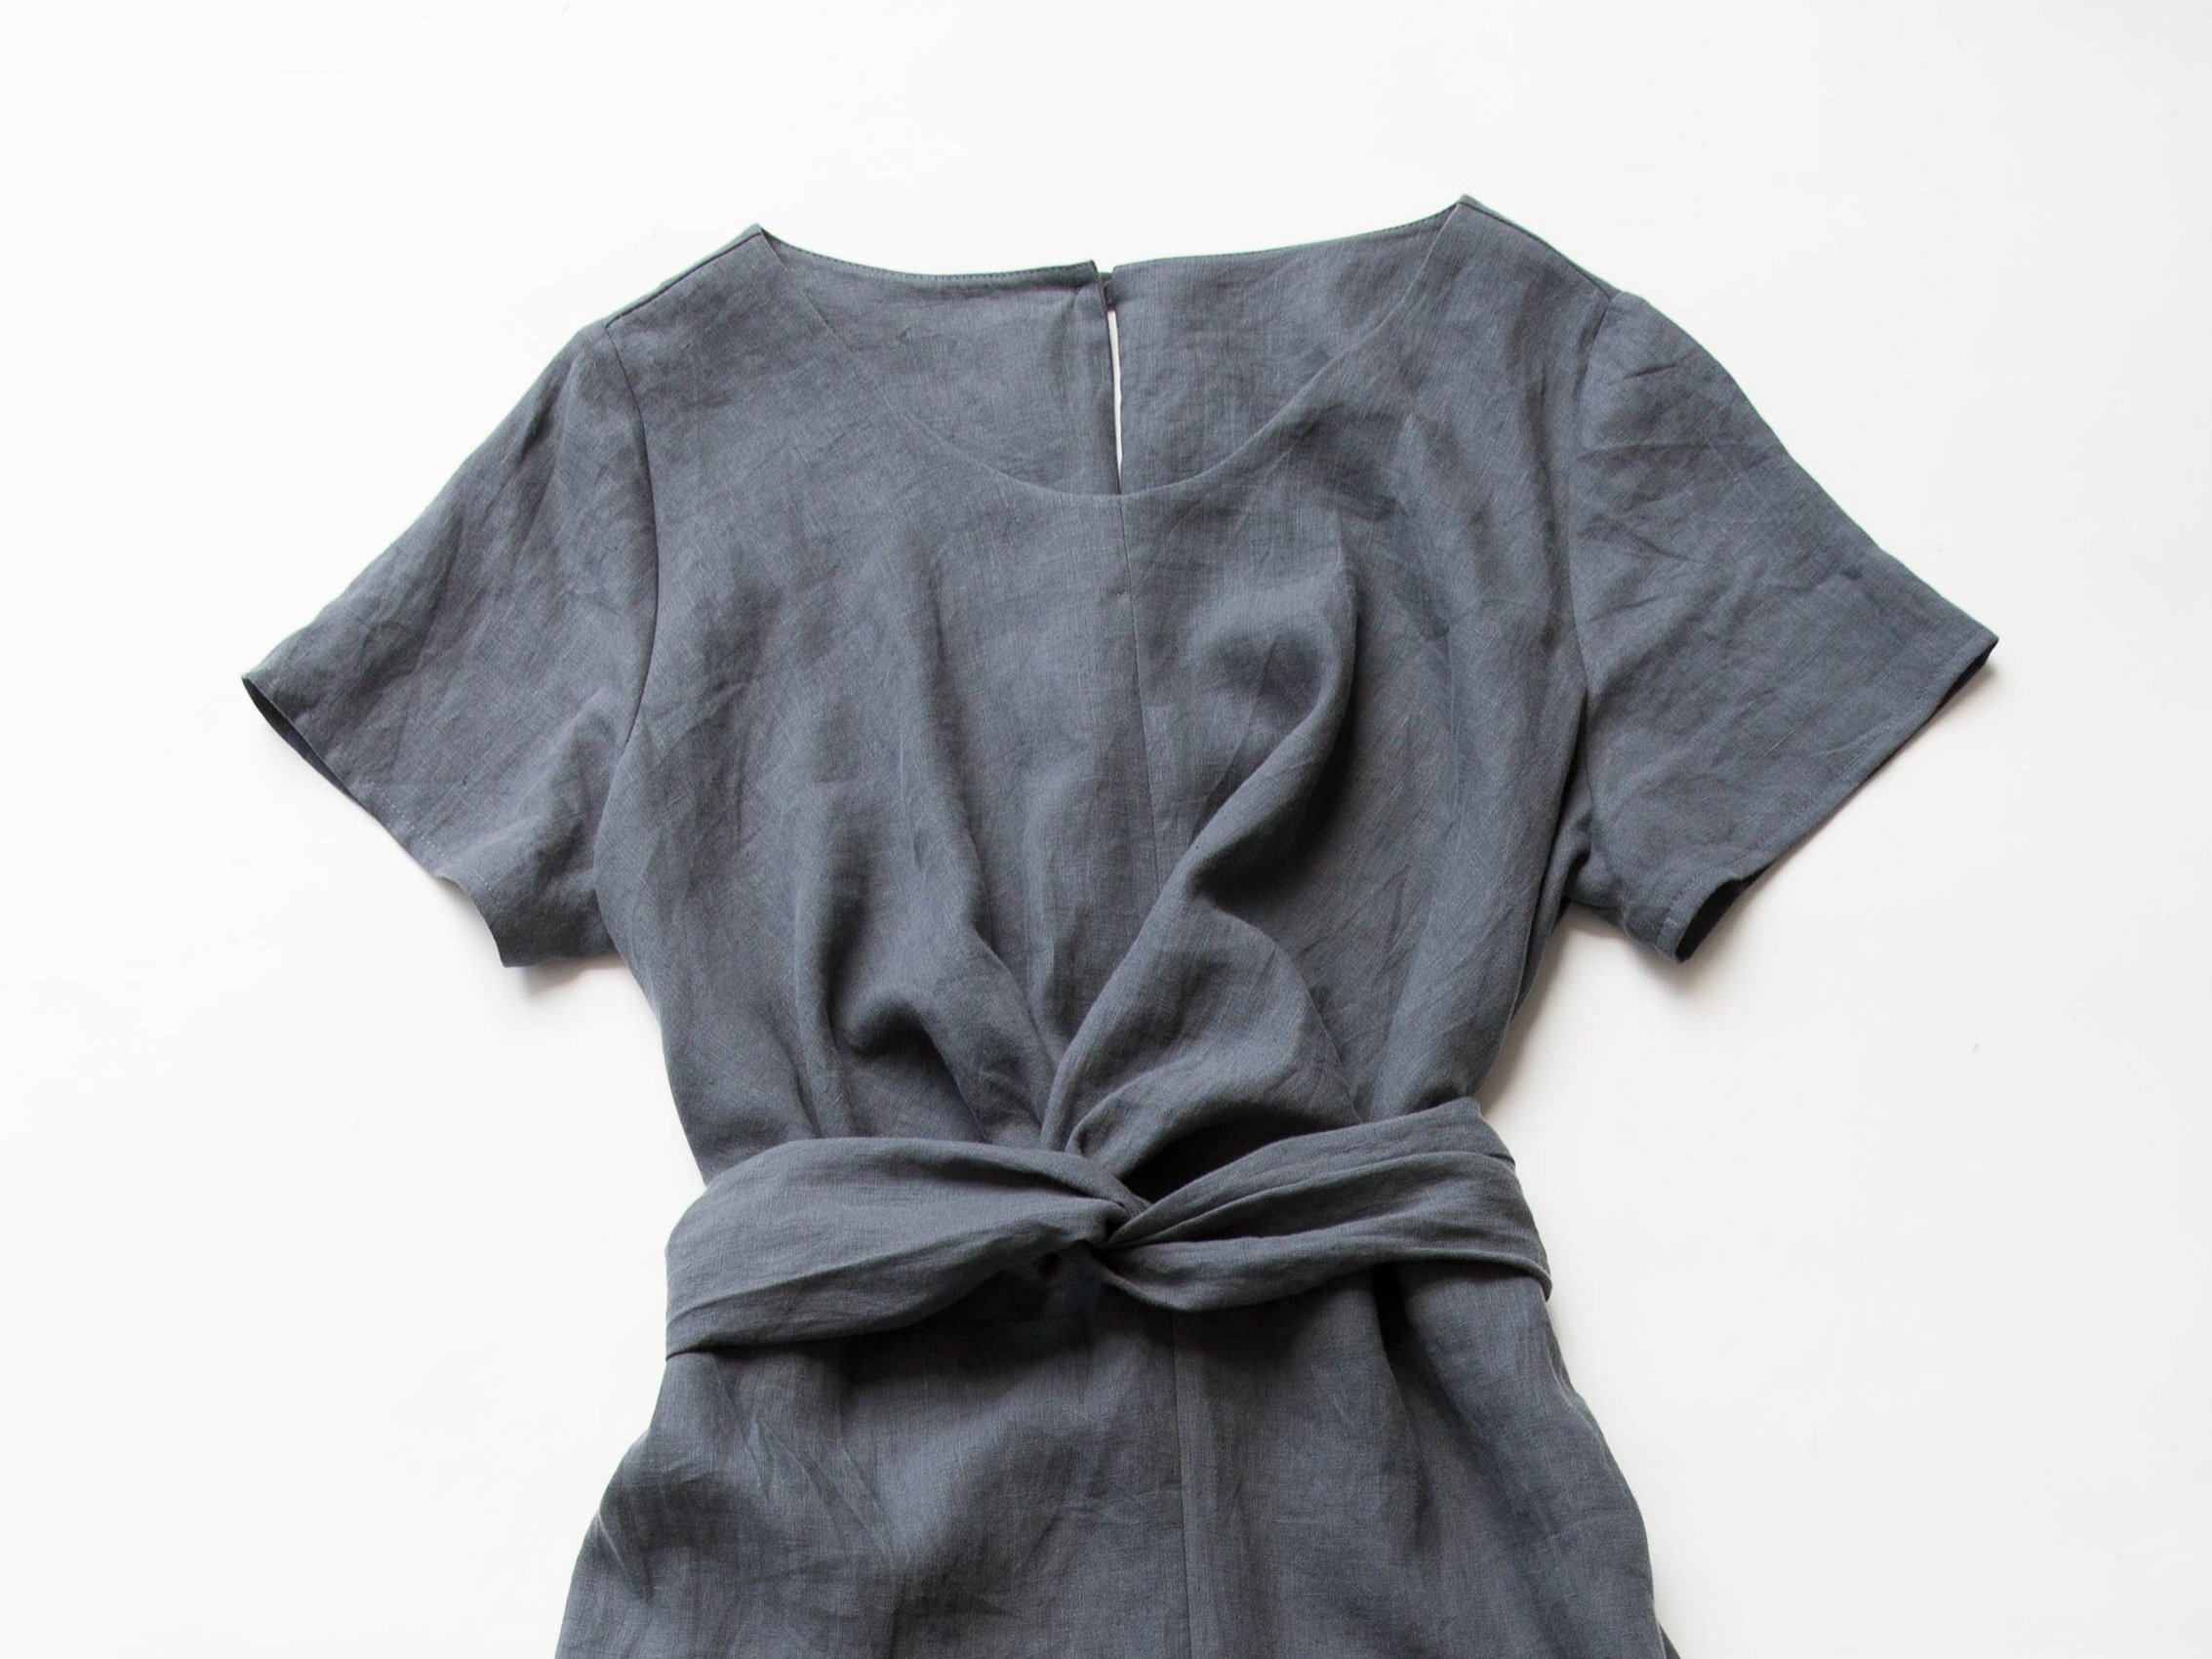

Fusing
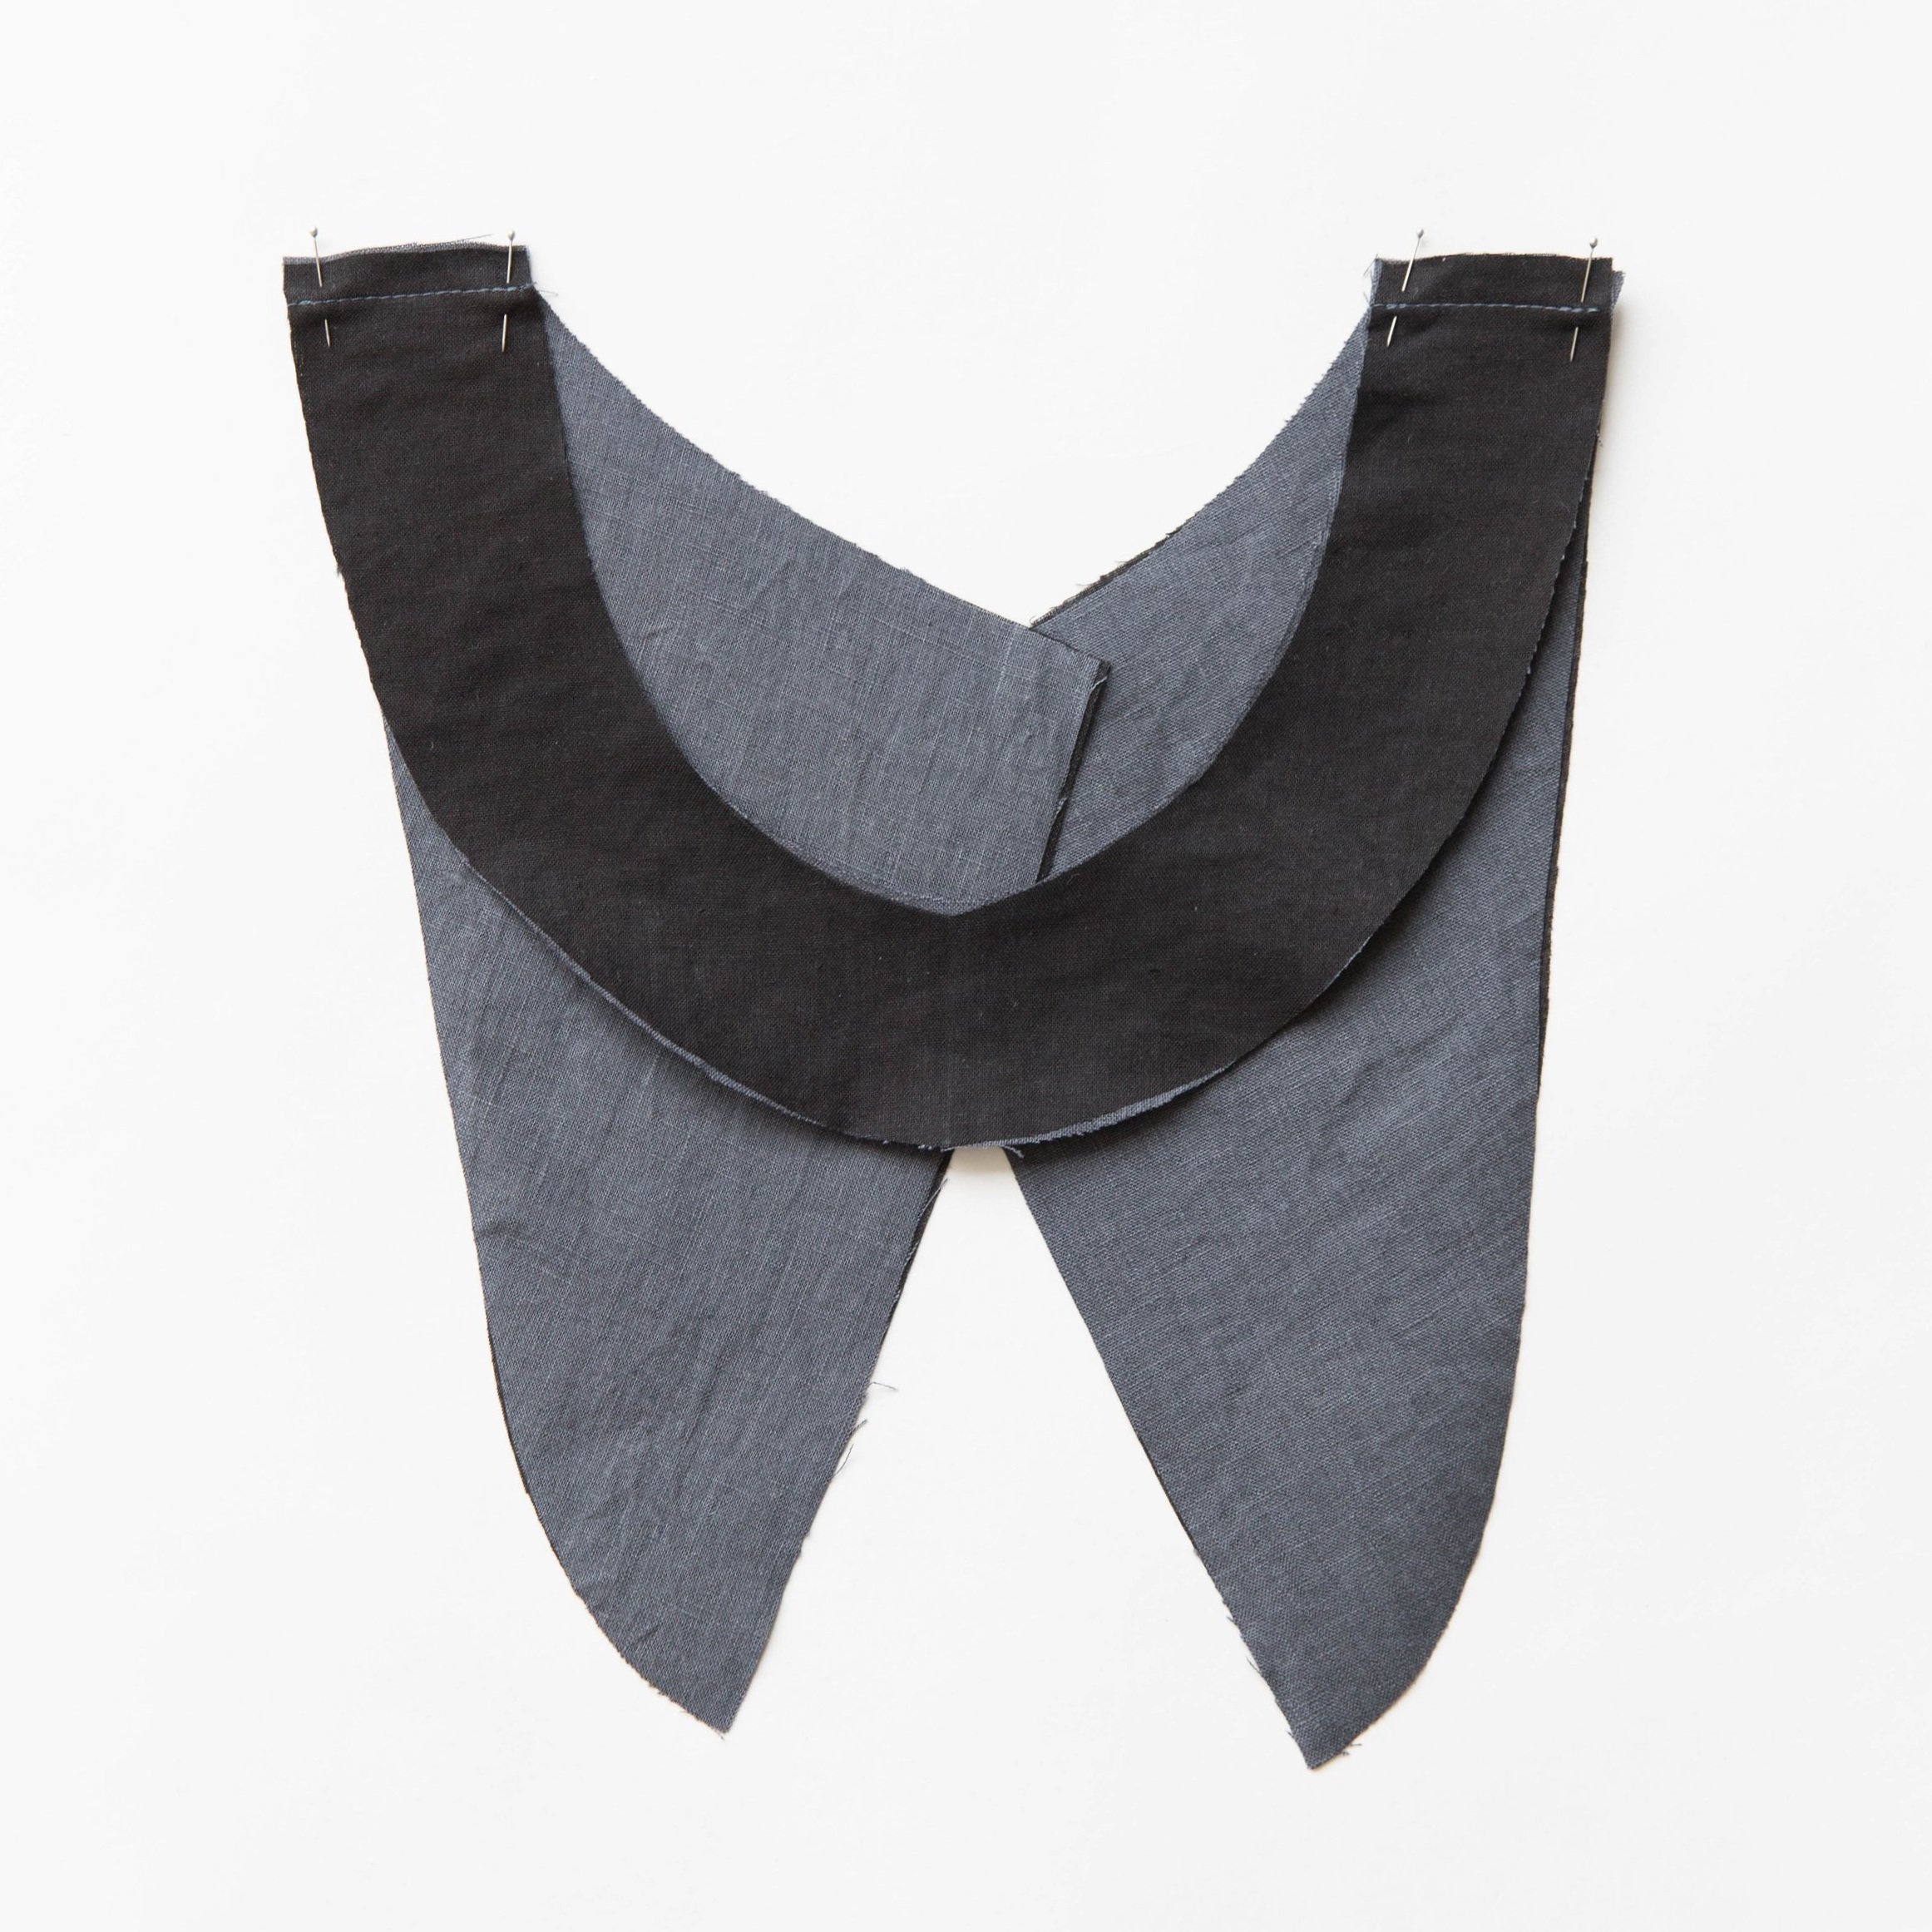
Fuse front and back neck facing pieces.
Step 1
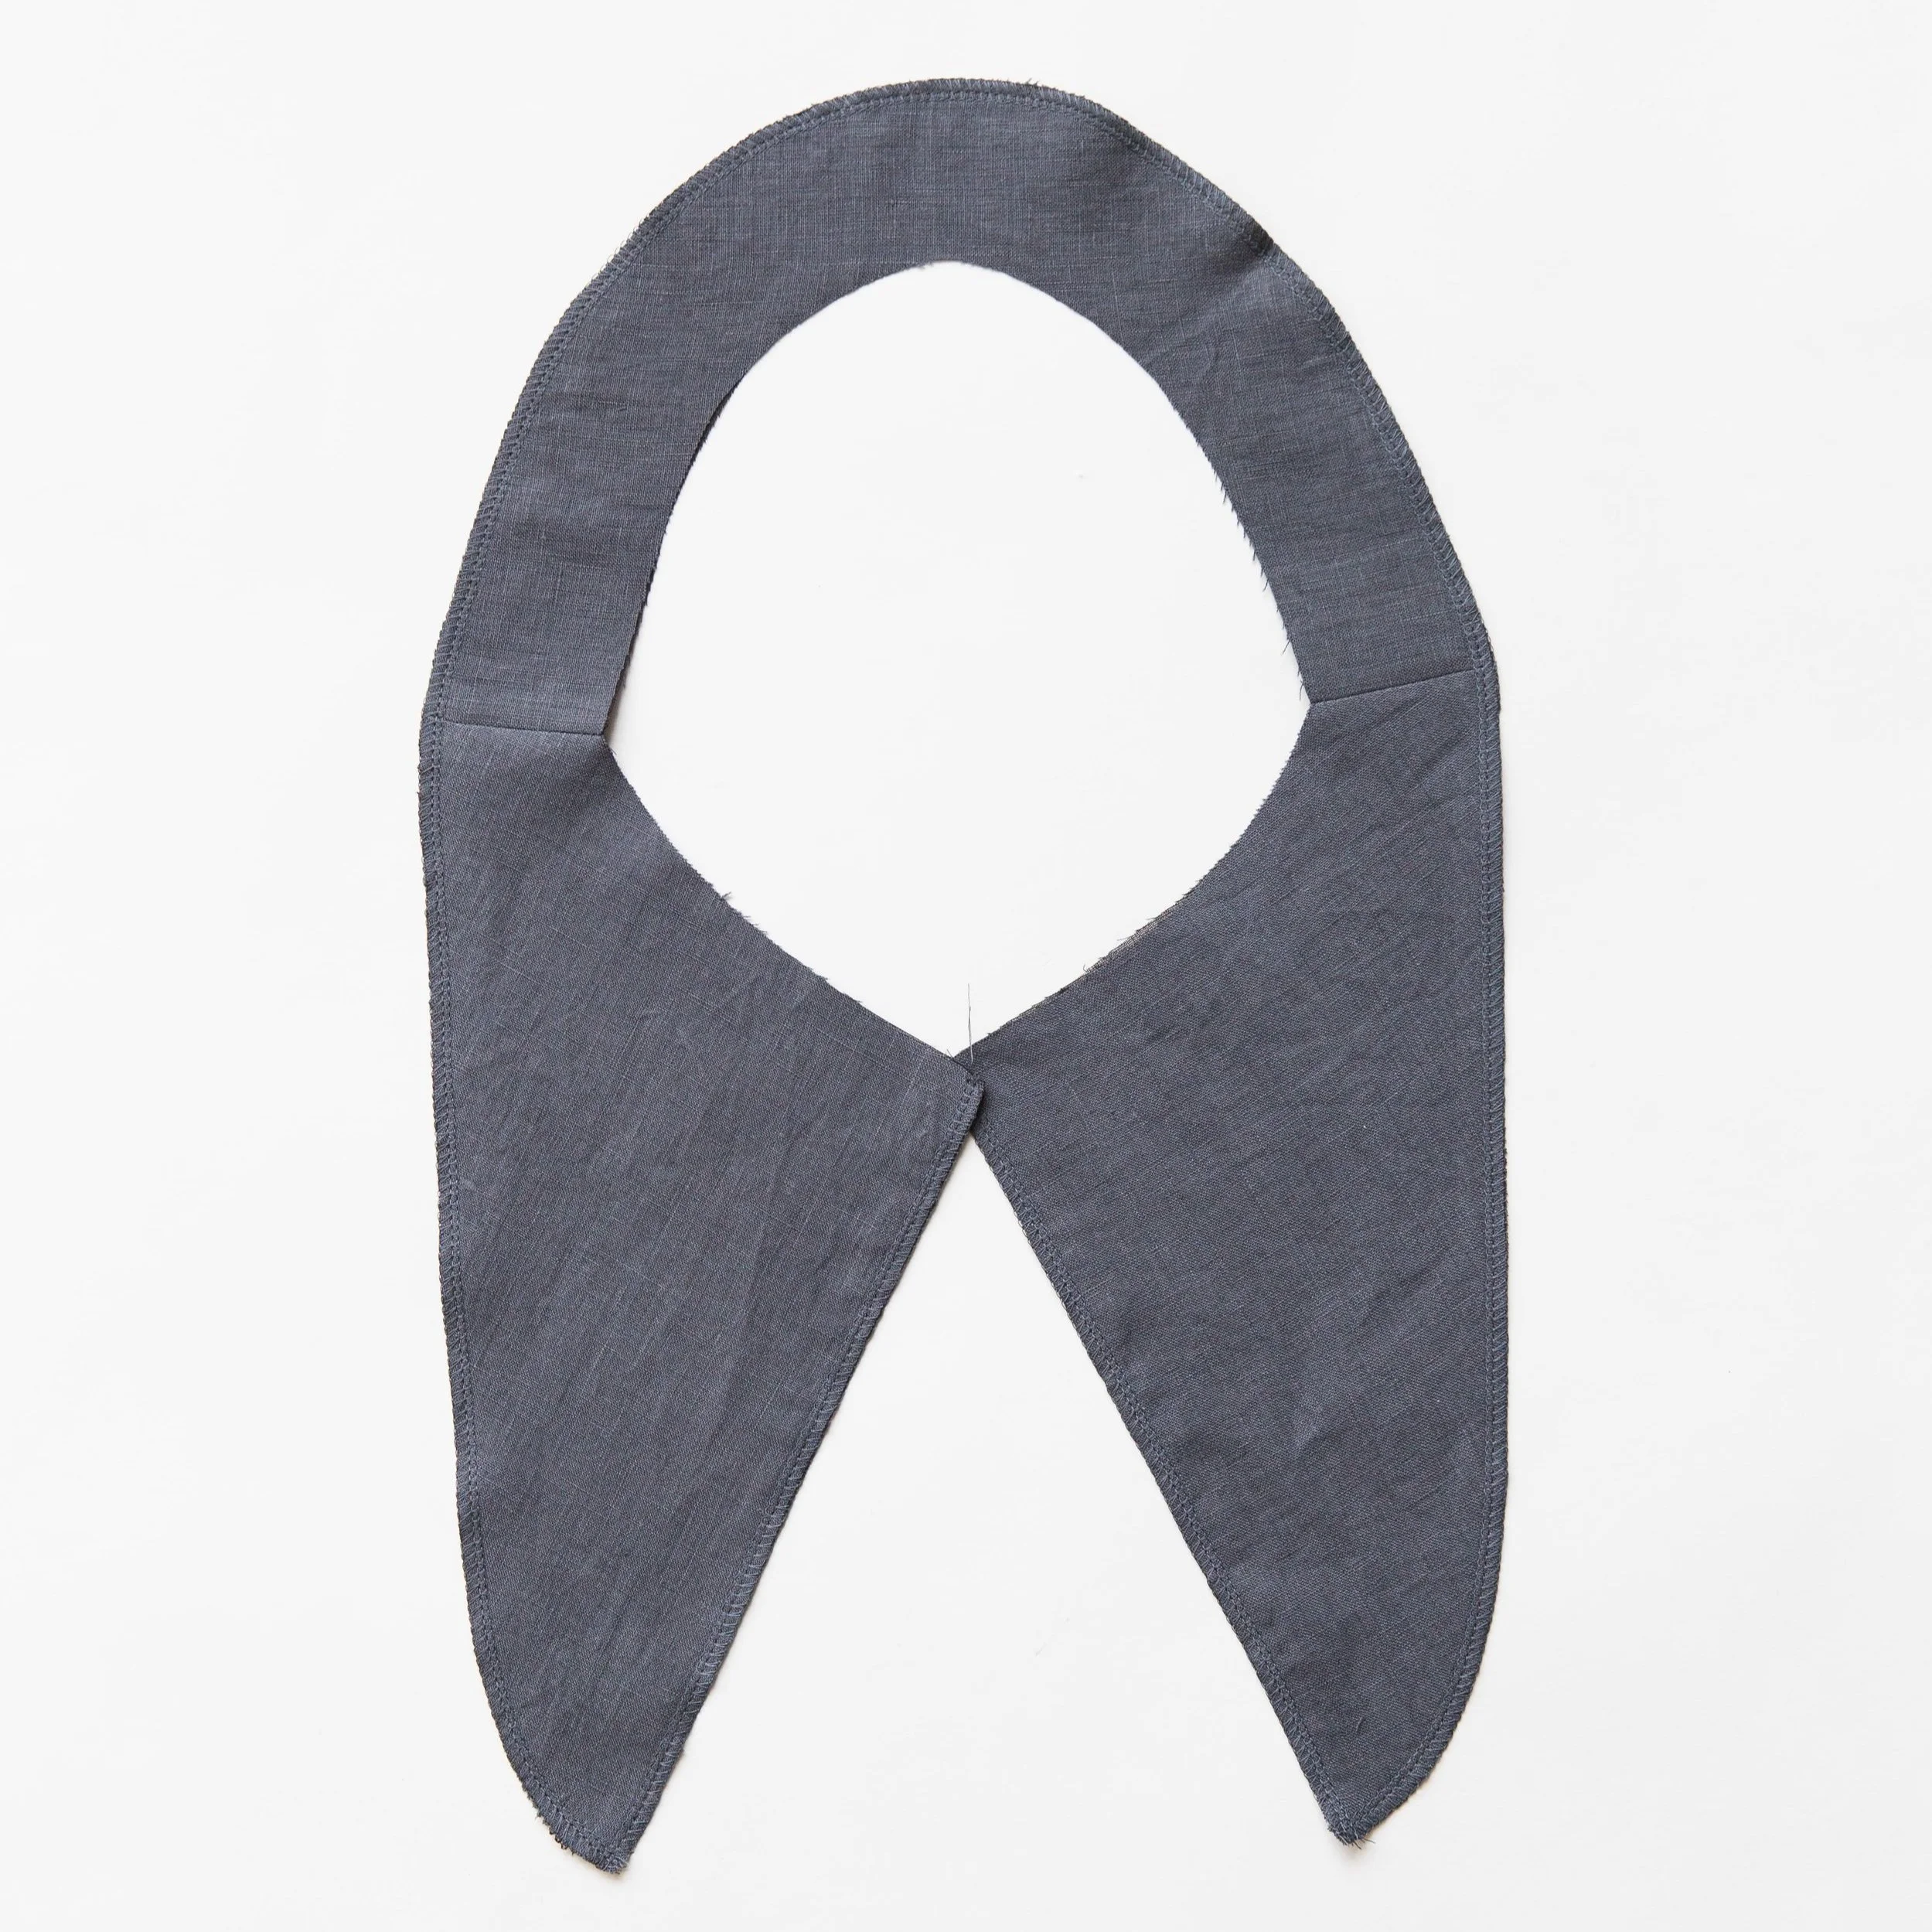
With right sides facing, pin the front facing piece to the back facing pieces at shoulder seams. Stitch together and press open. Neaten outer edges and down centre back.

Step 2
Neaten centre front edge, side seams and waist seams of front bodice pieces. Neaten centre back seam, side seams and waist seams of back bodice pieces.

Step 3
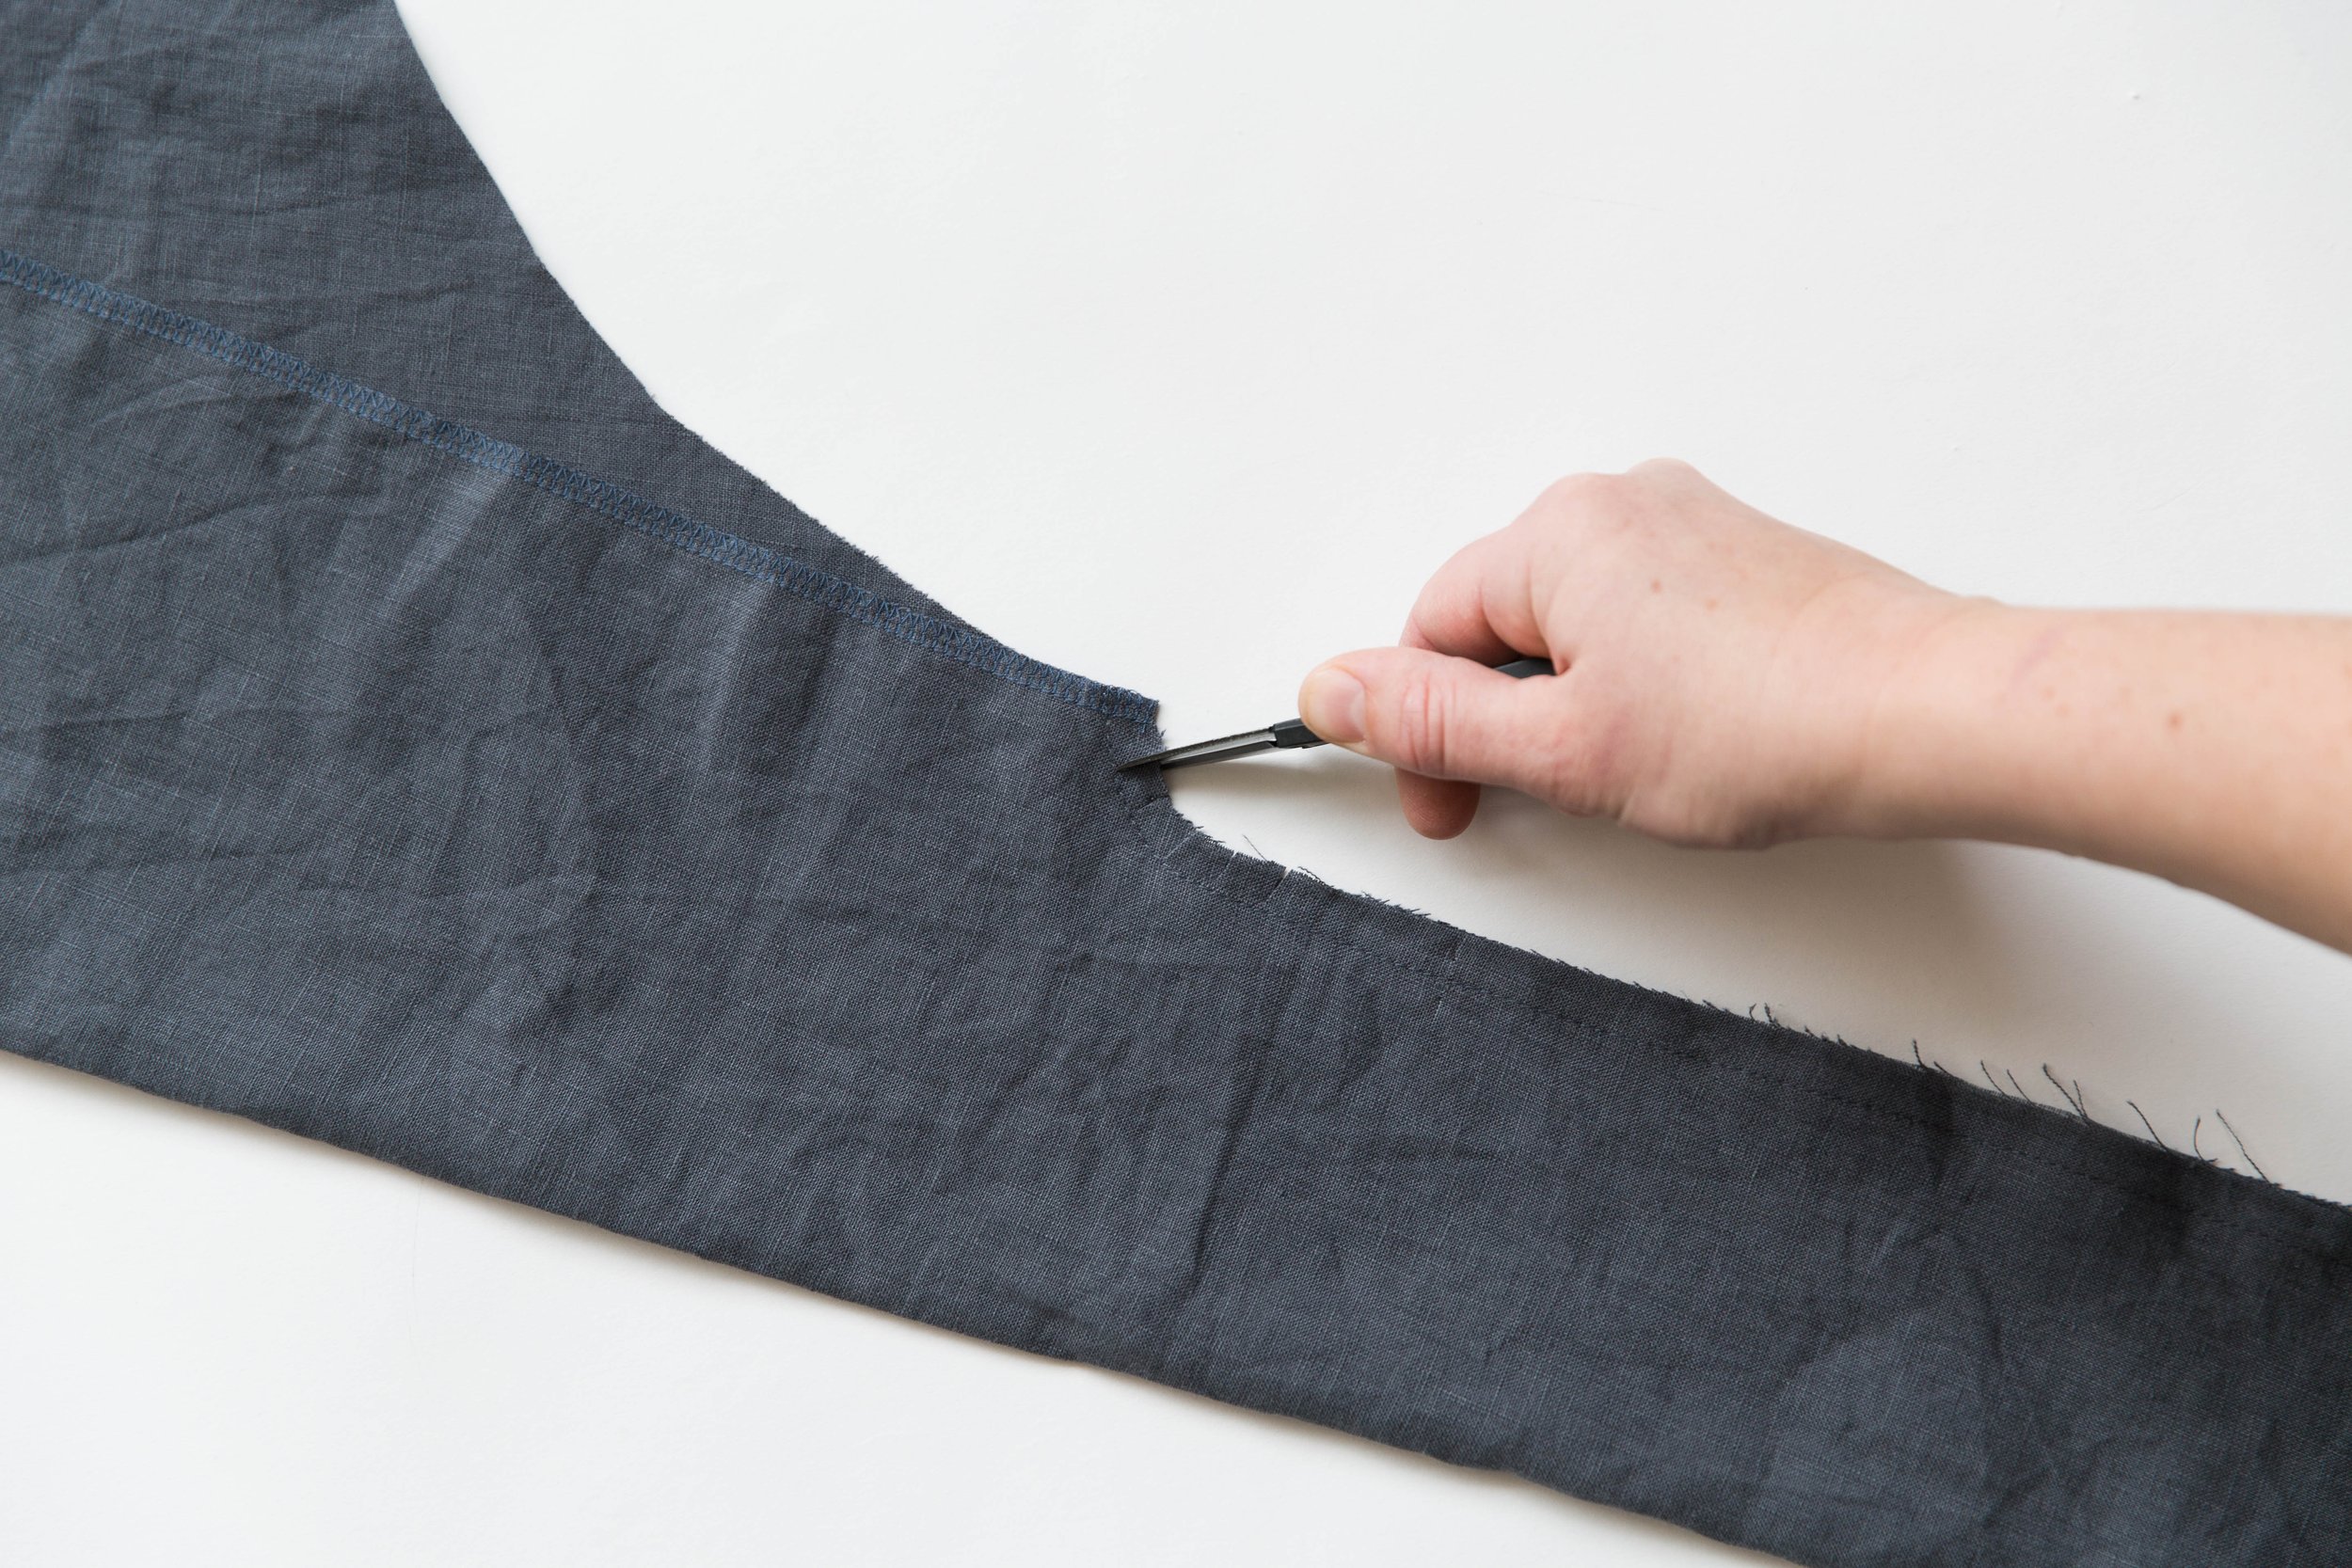
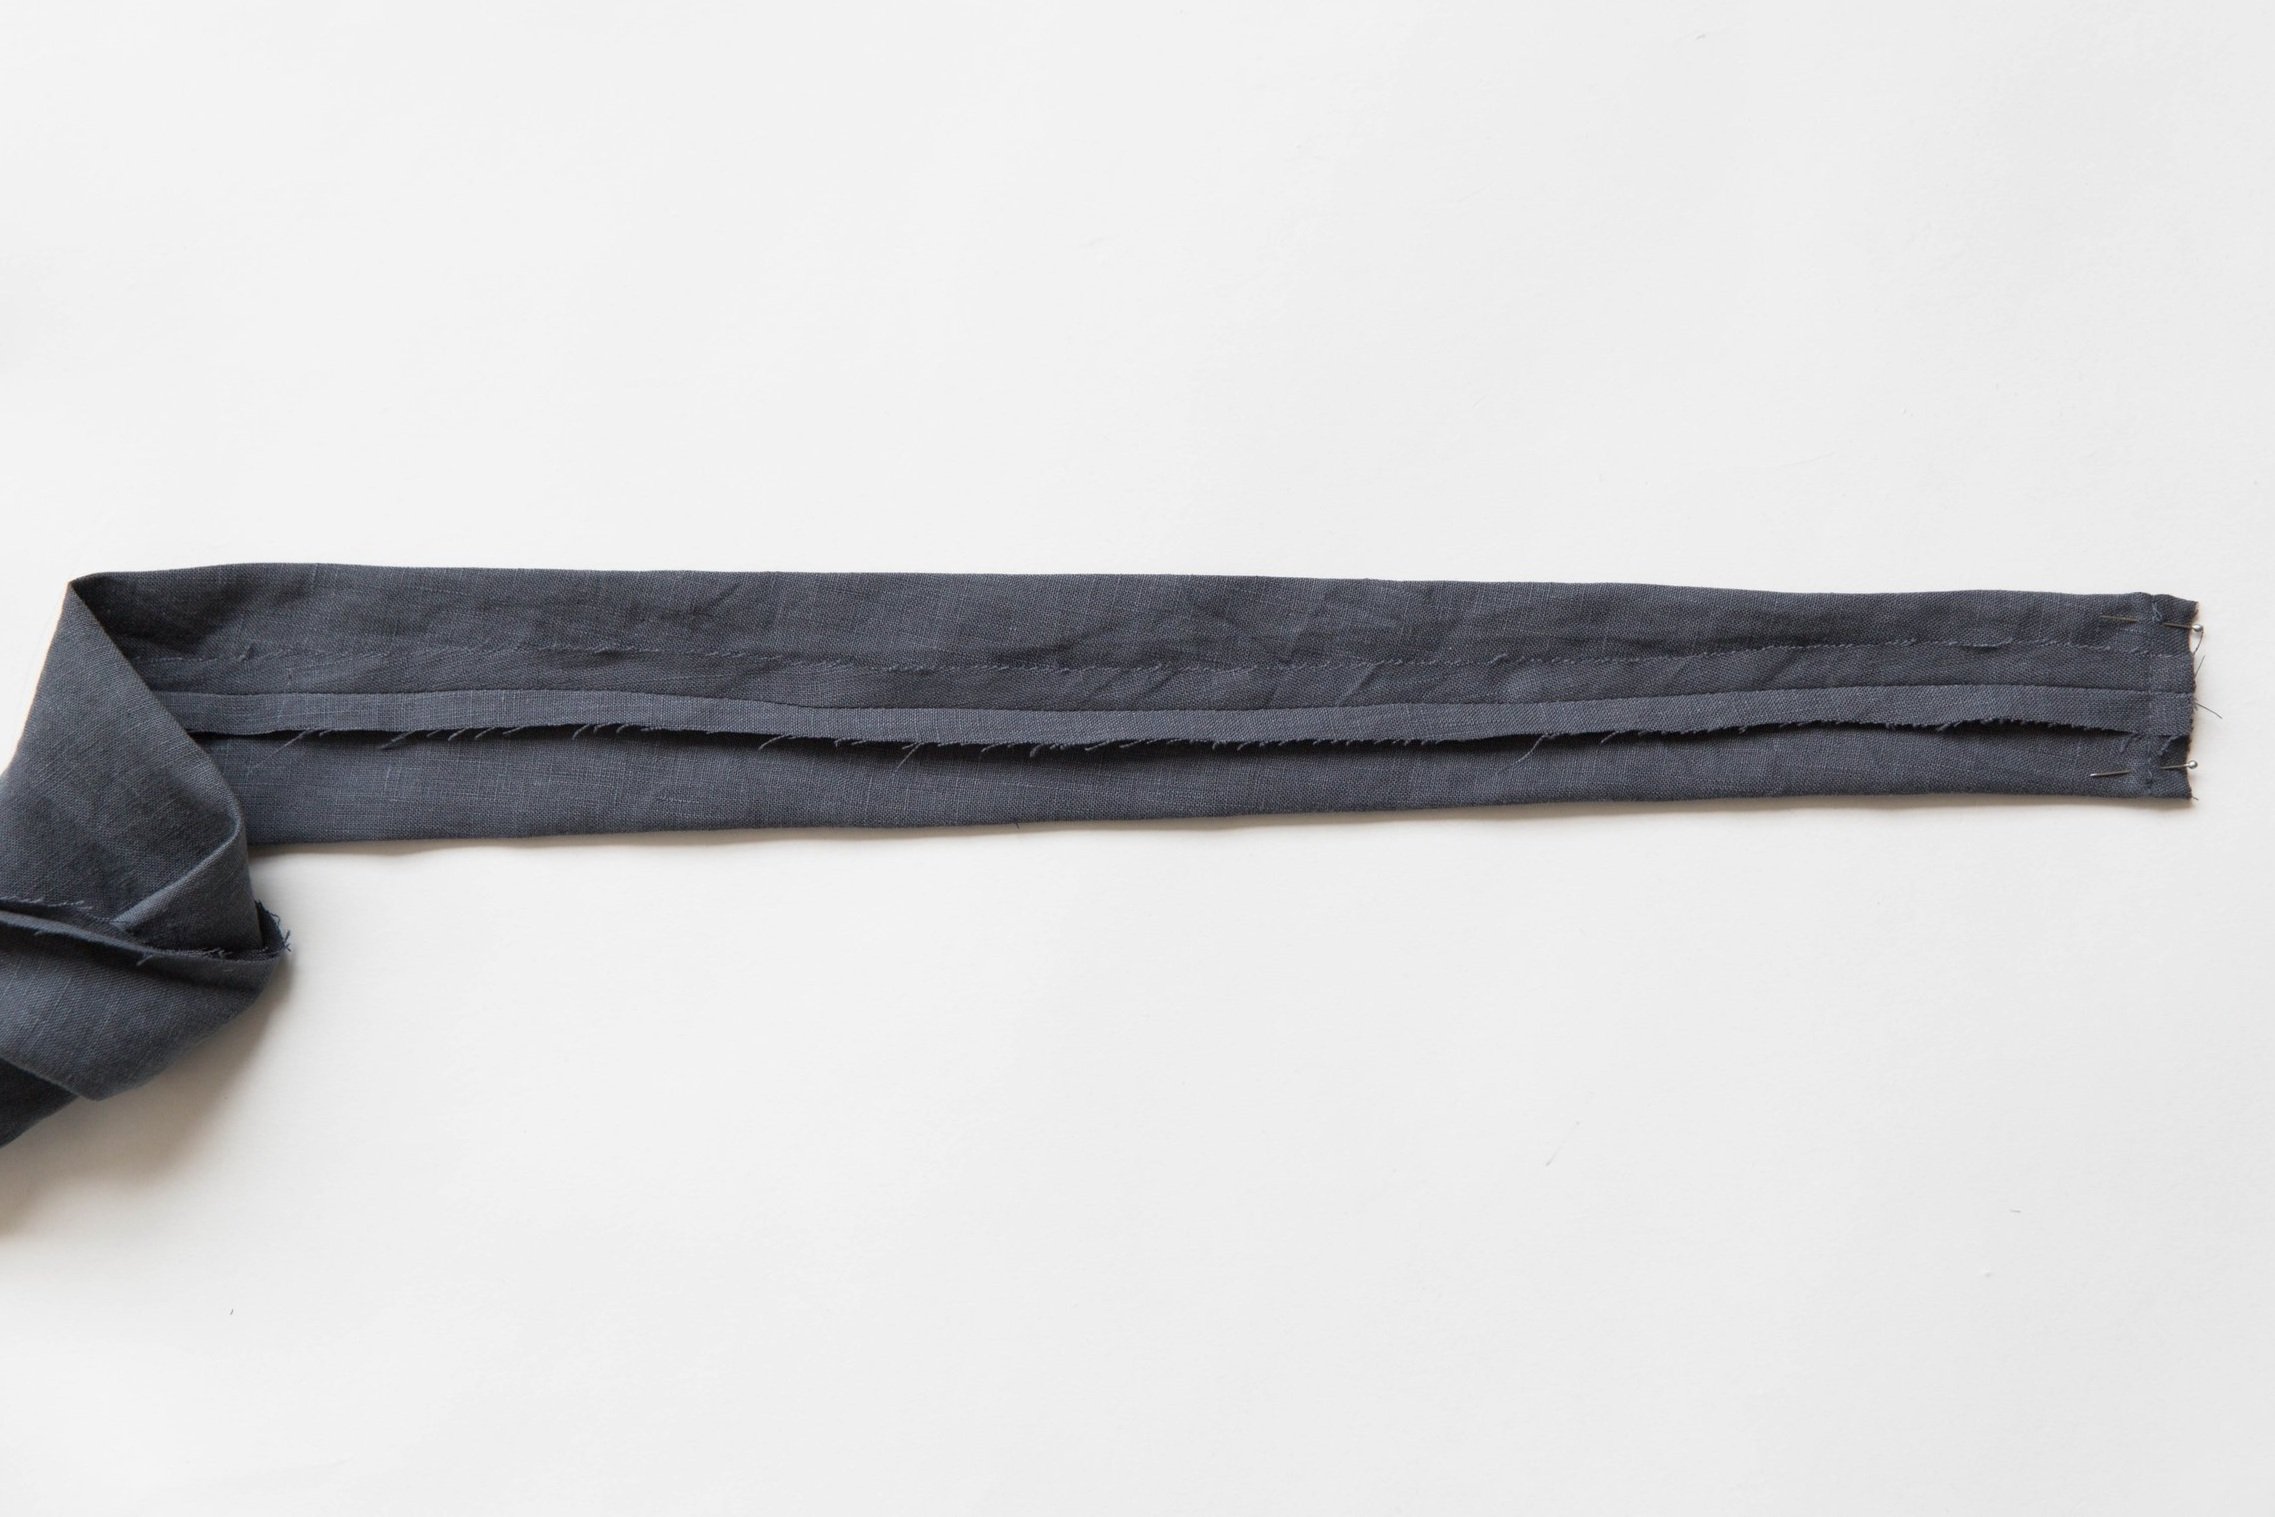
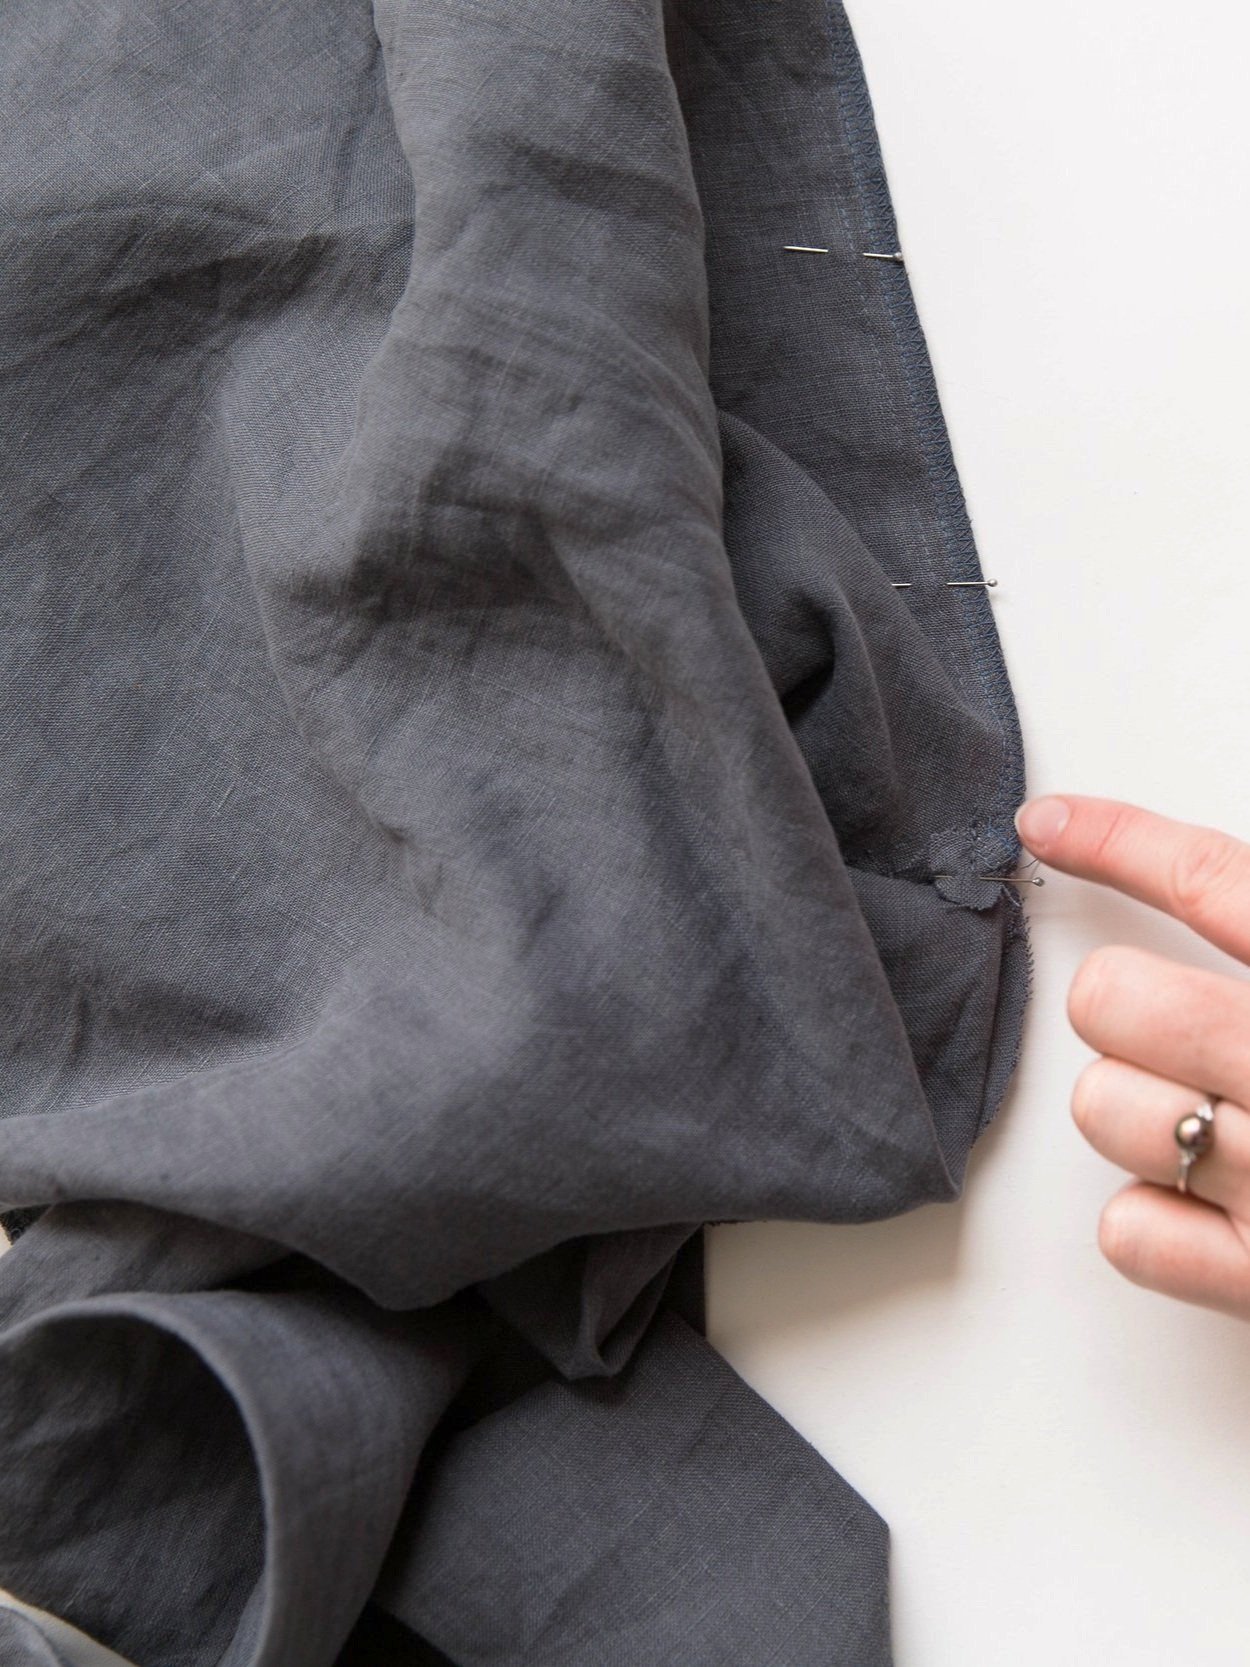
Fold long edges of tie on front bodice together with right sides facing and pin. Stitch together from centre front, around curve and all the way down the edge to the end of the tie. Clip around curve and press seam allowance open.
Step 4
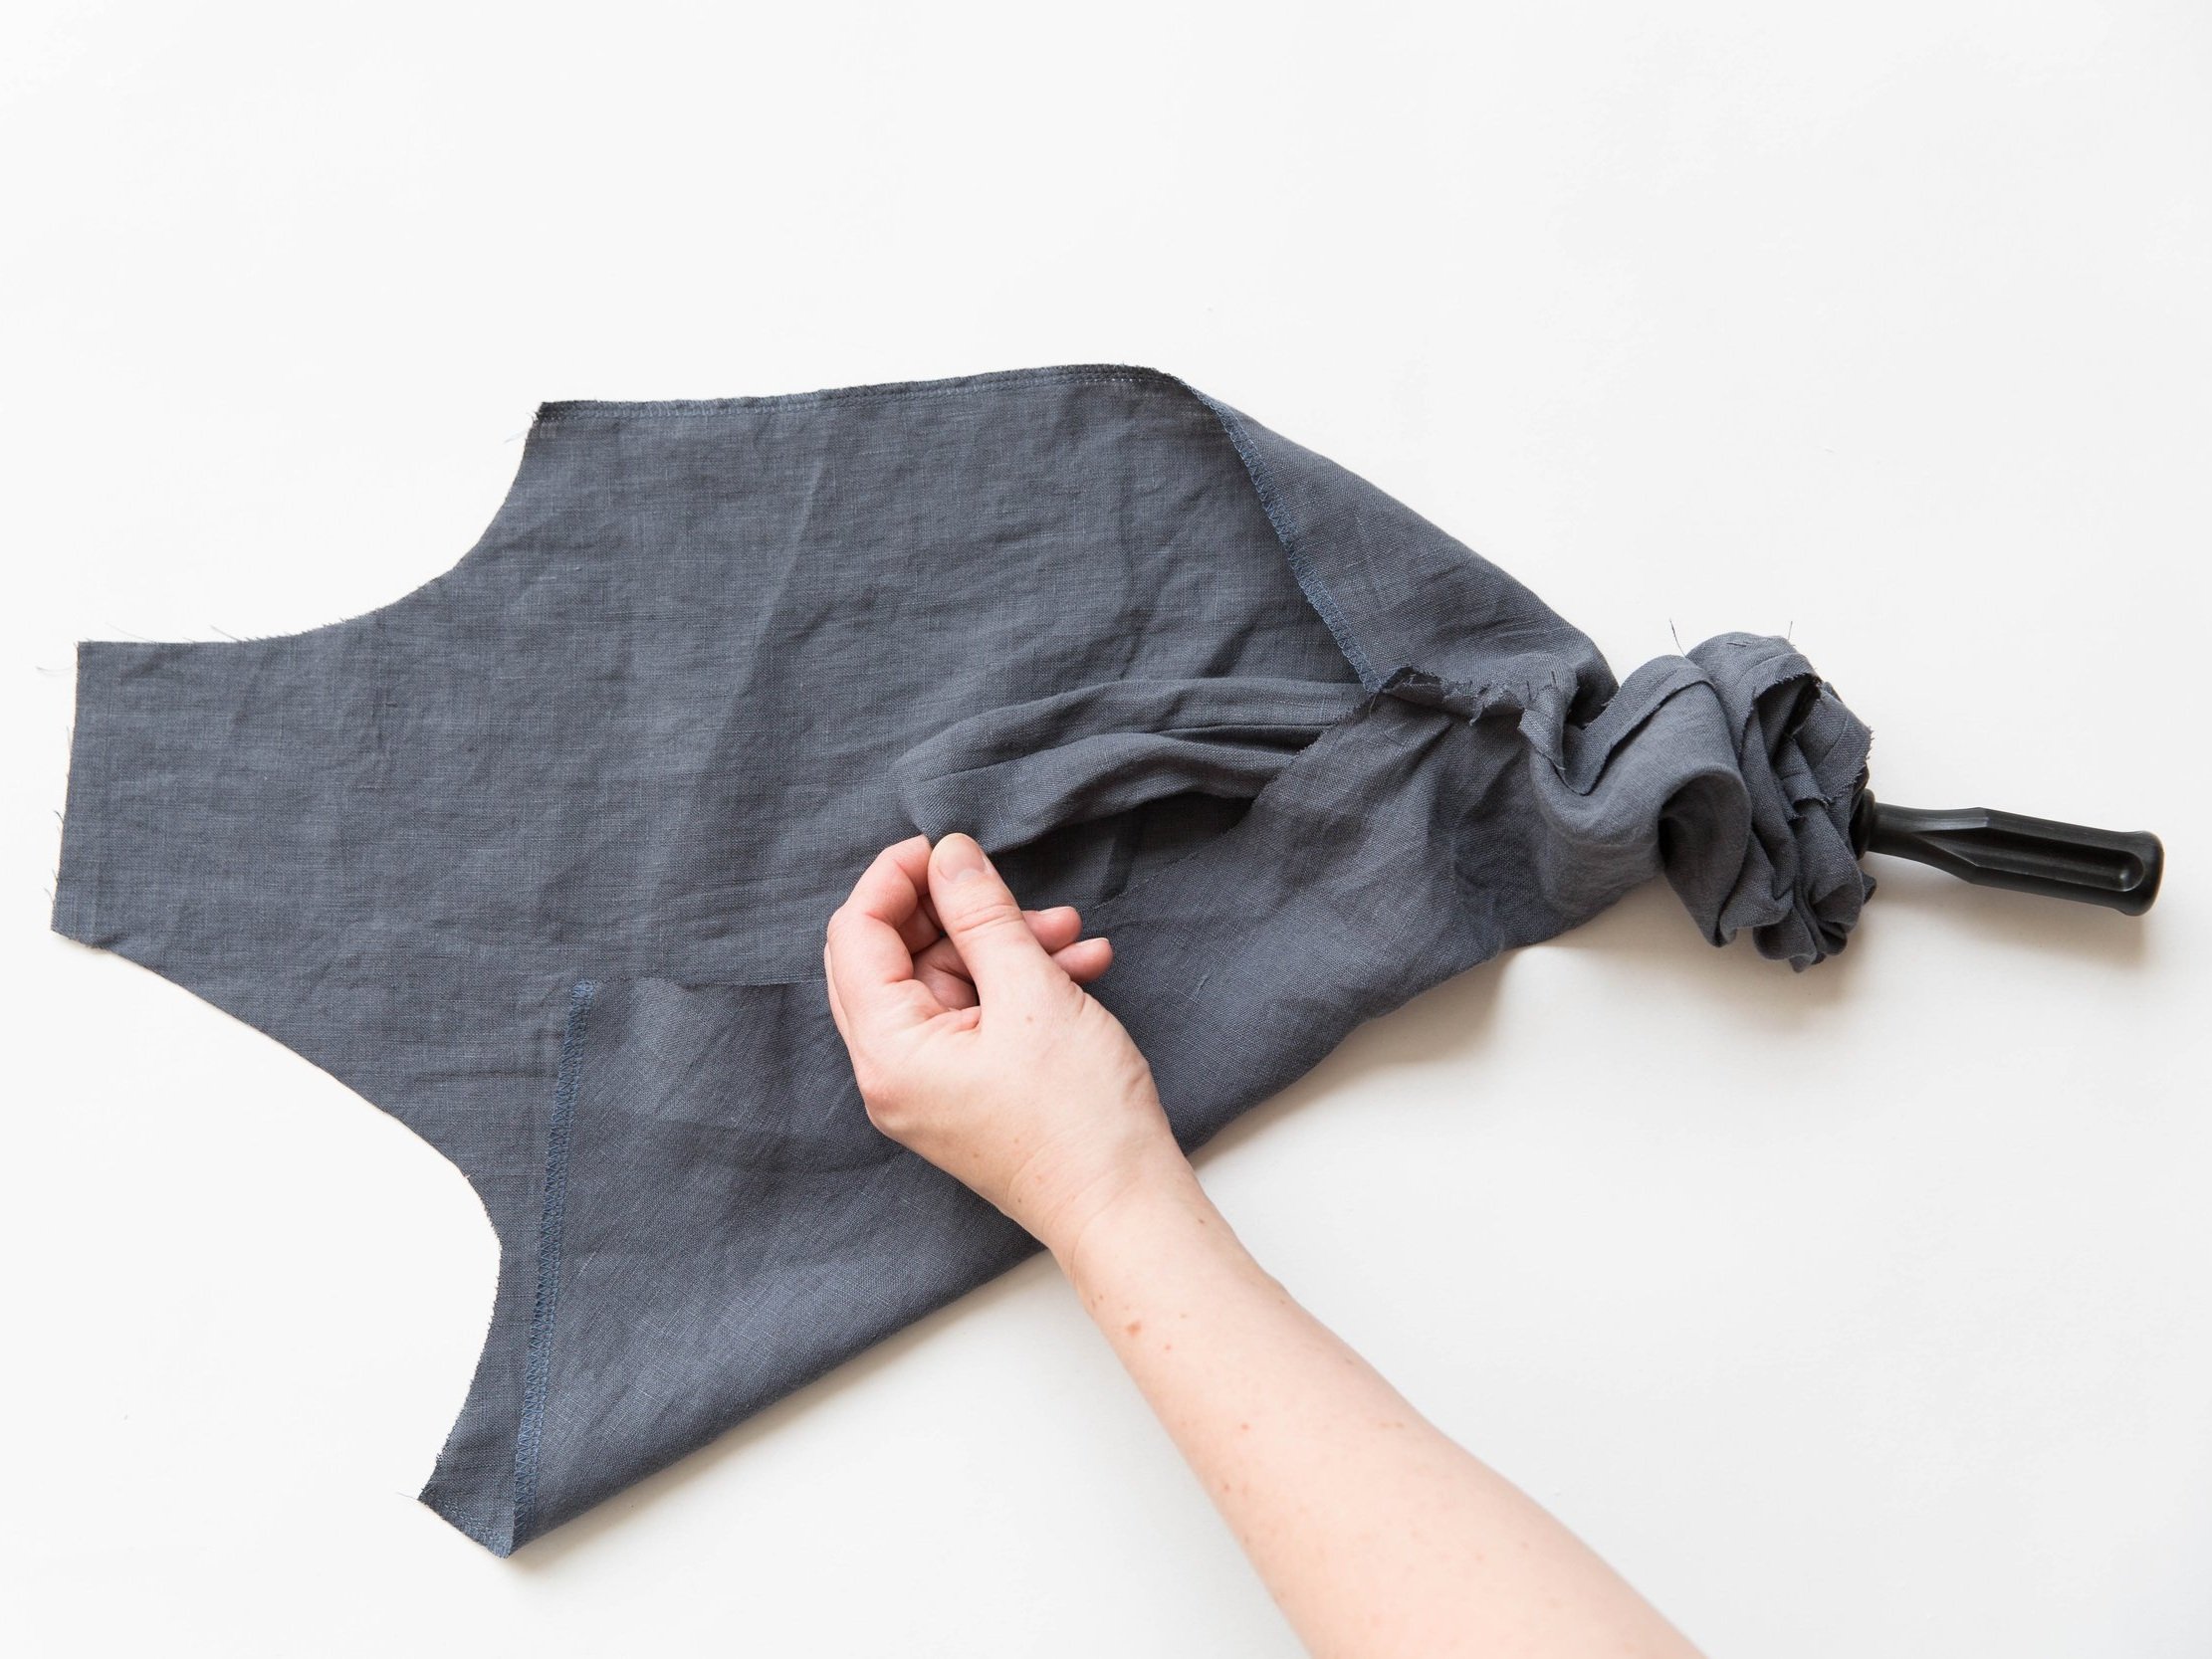
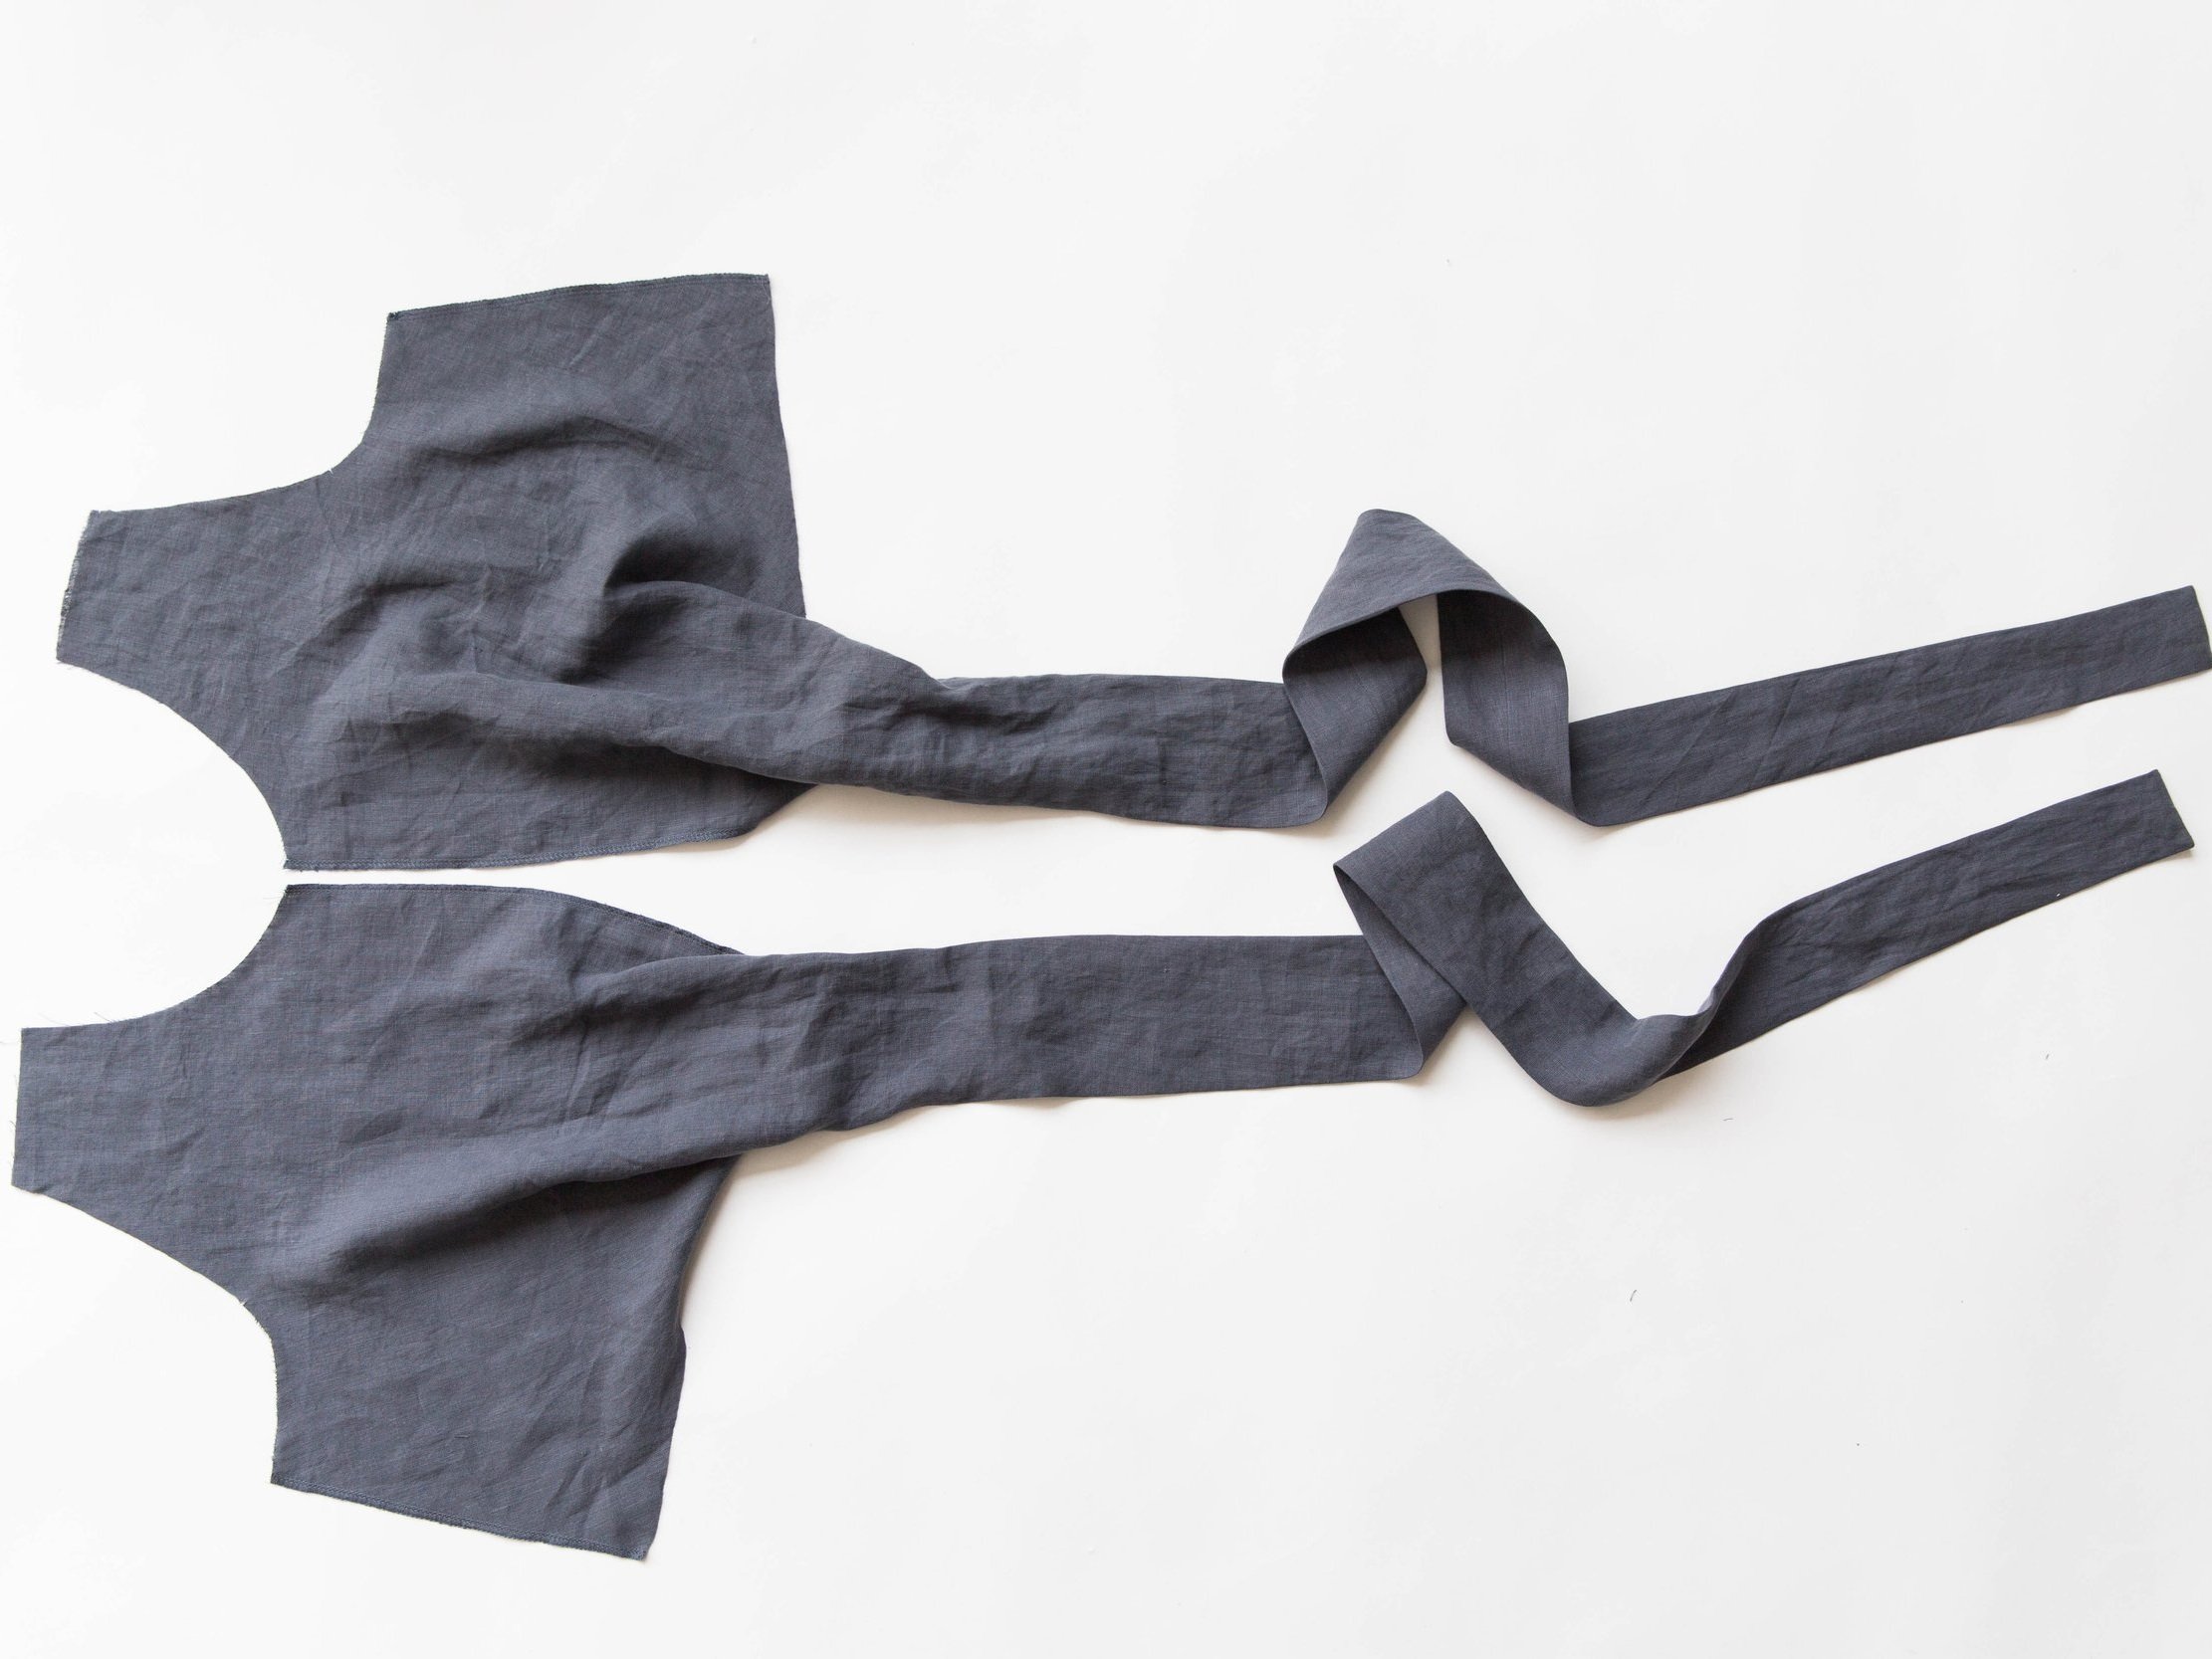
At the end of the tie, line up the centre of seam allowance with notch. Stitch both layers together. Clip corners then pull tie through to the right side and press, keeping the seam allowance of tie in the centre. Repeat for other tie.
Step 5
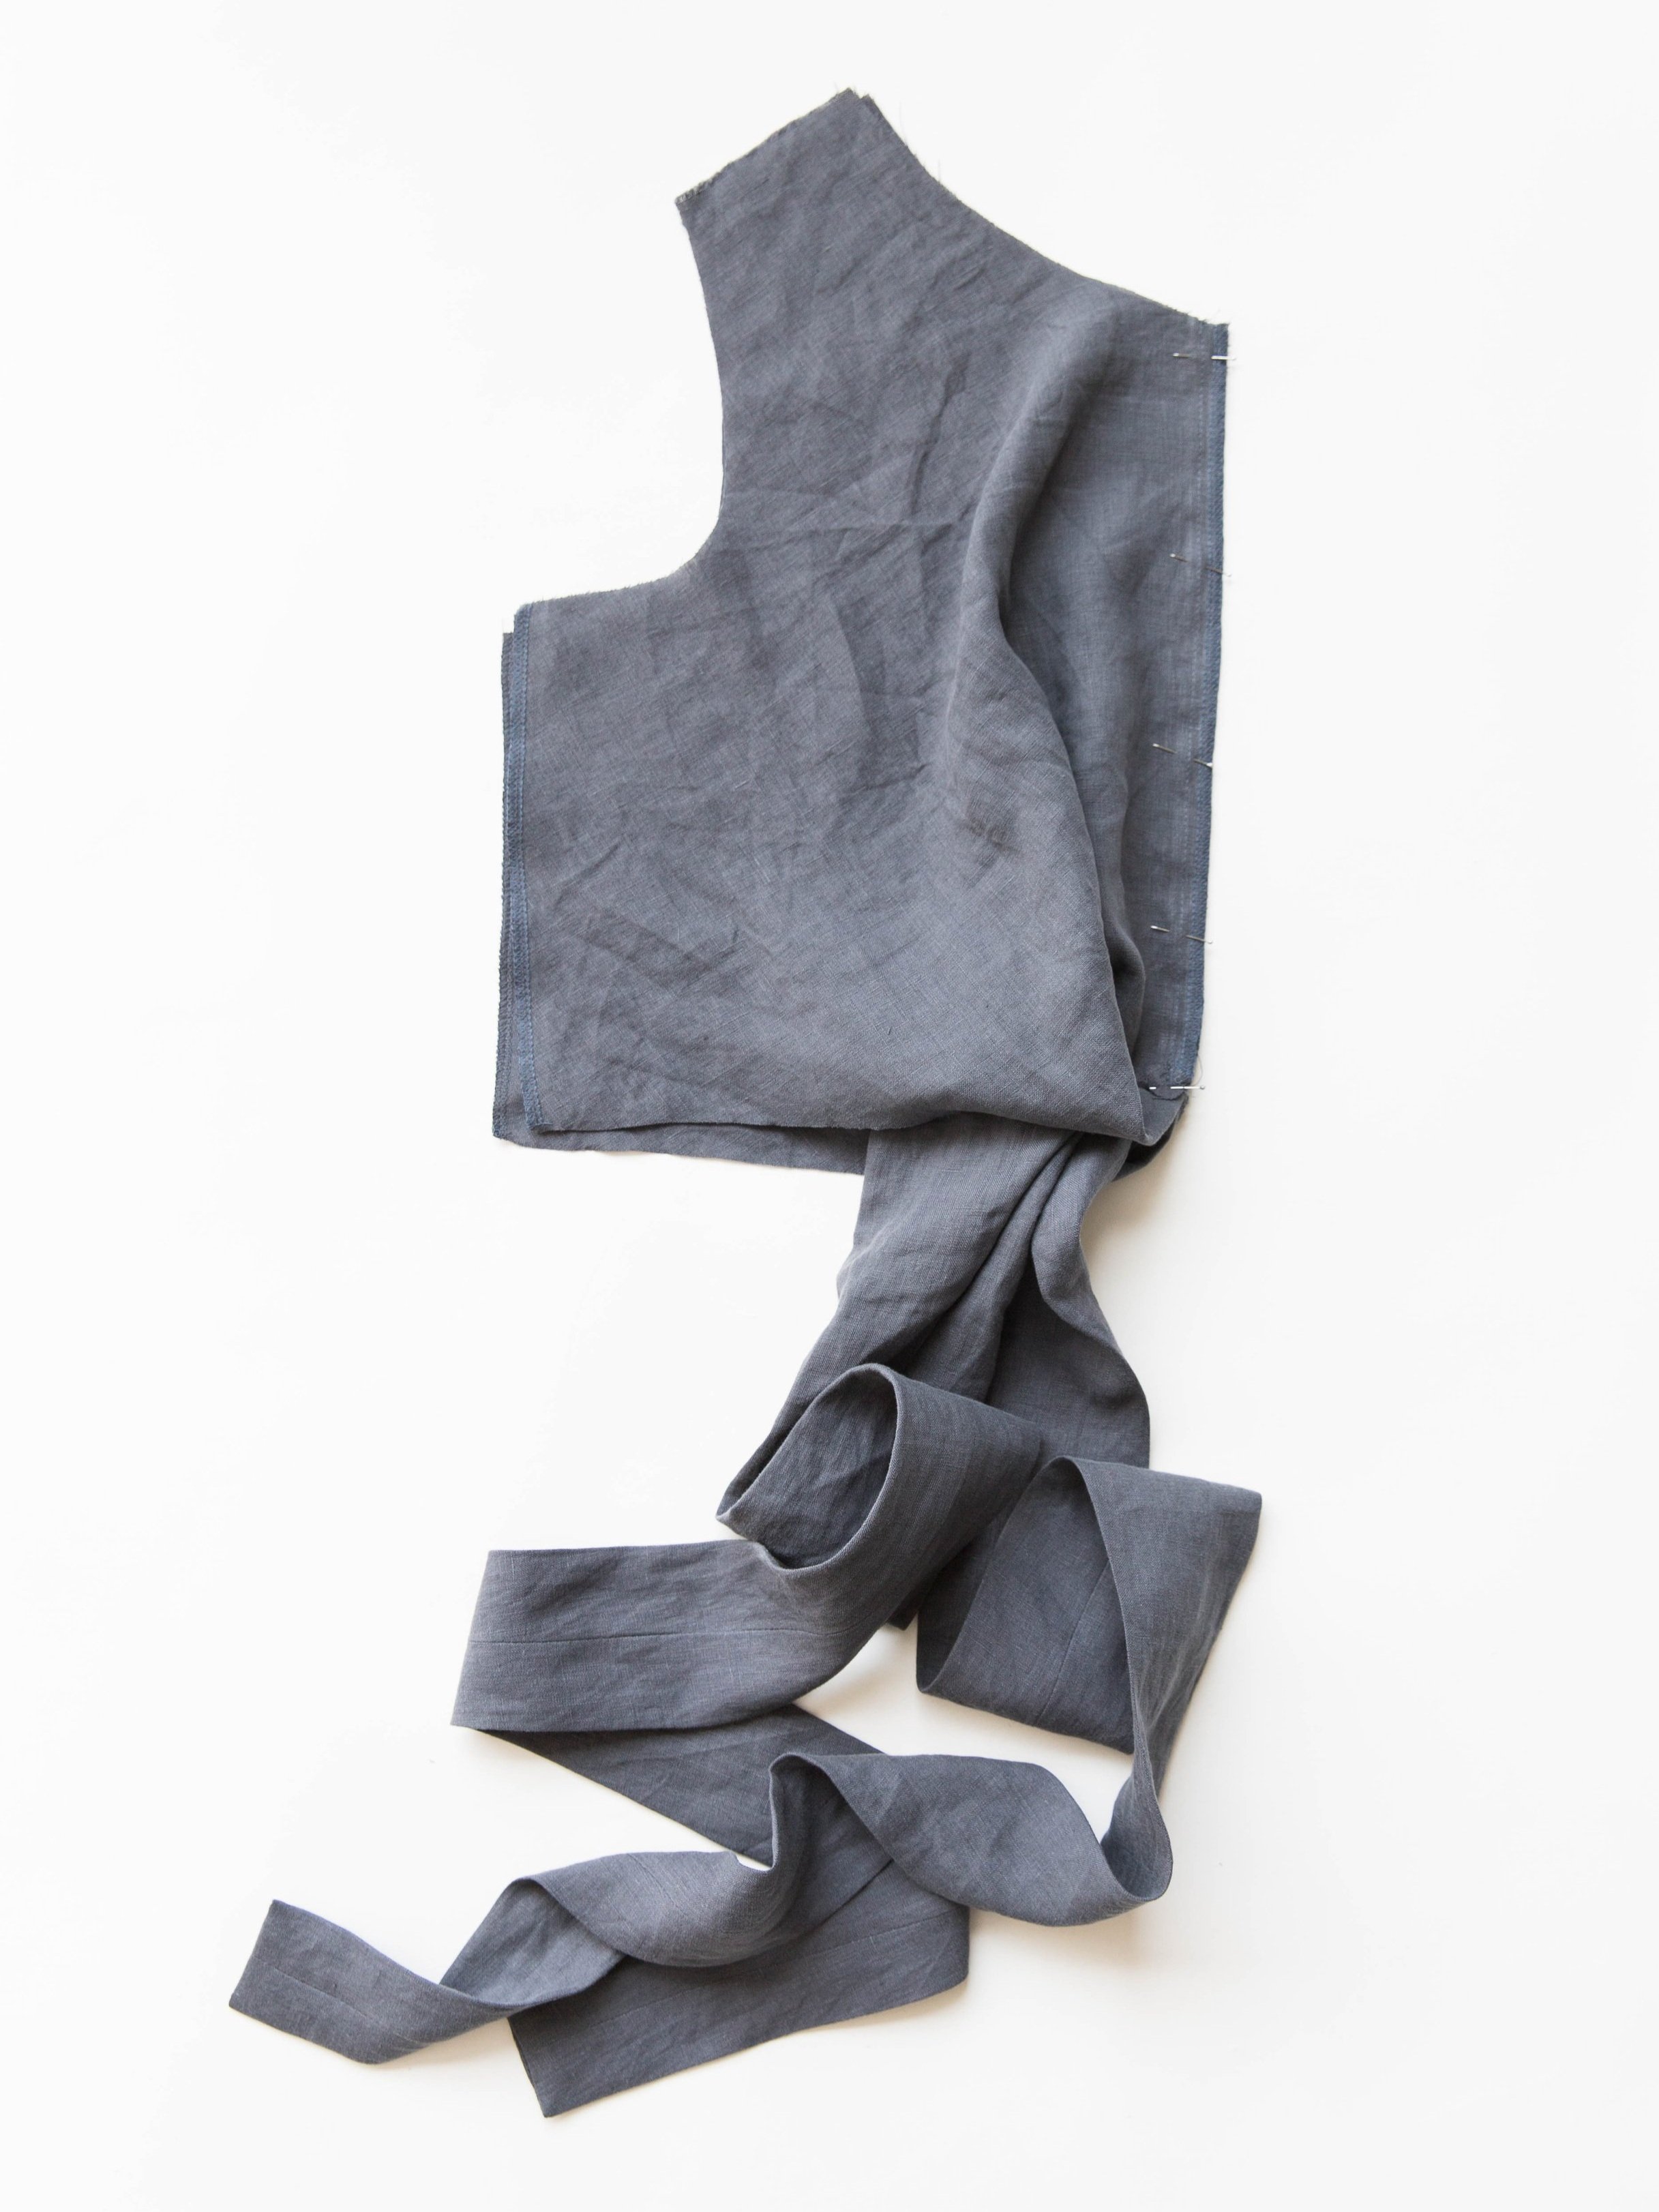
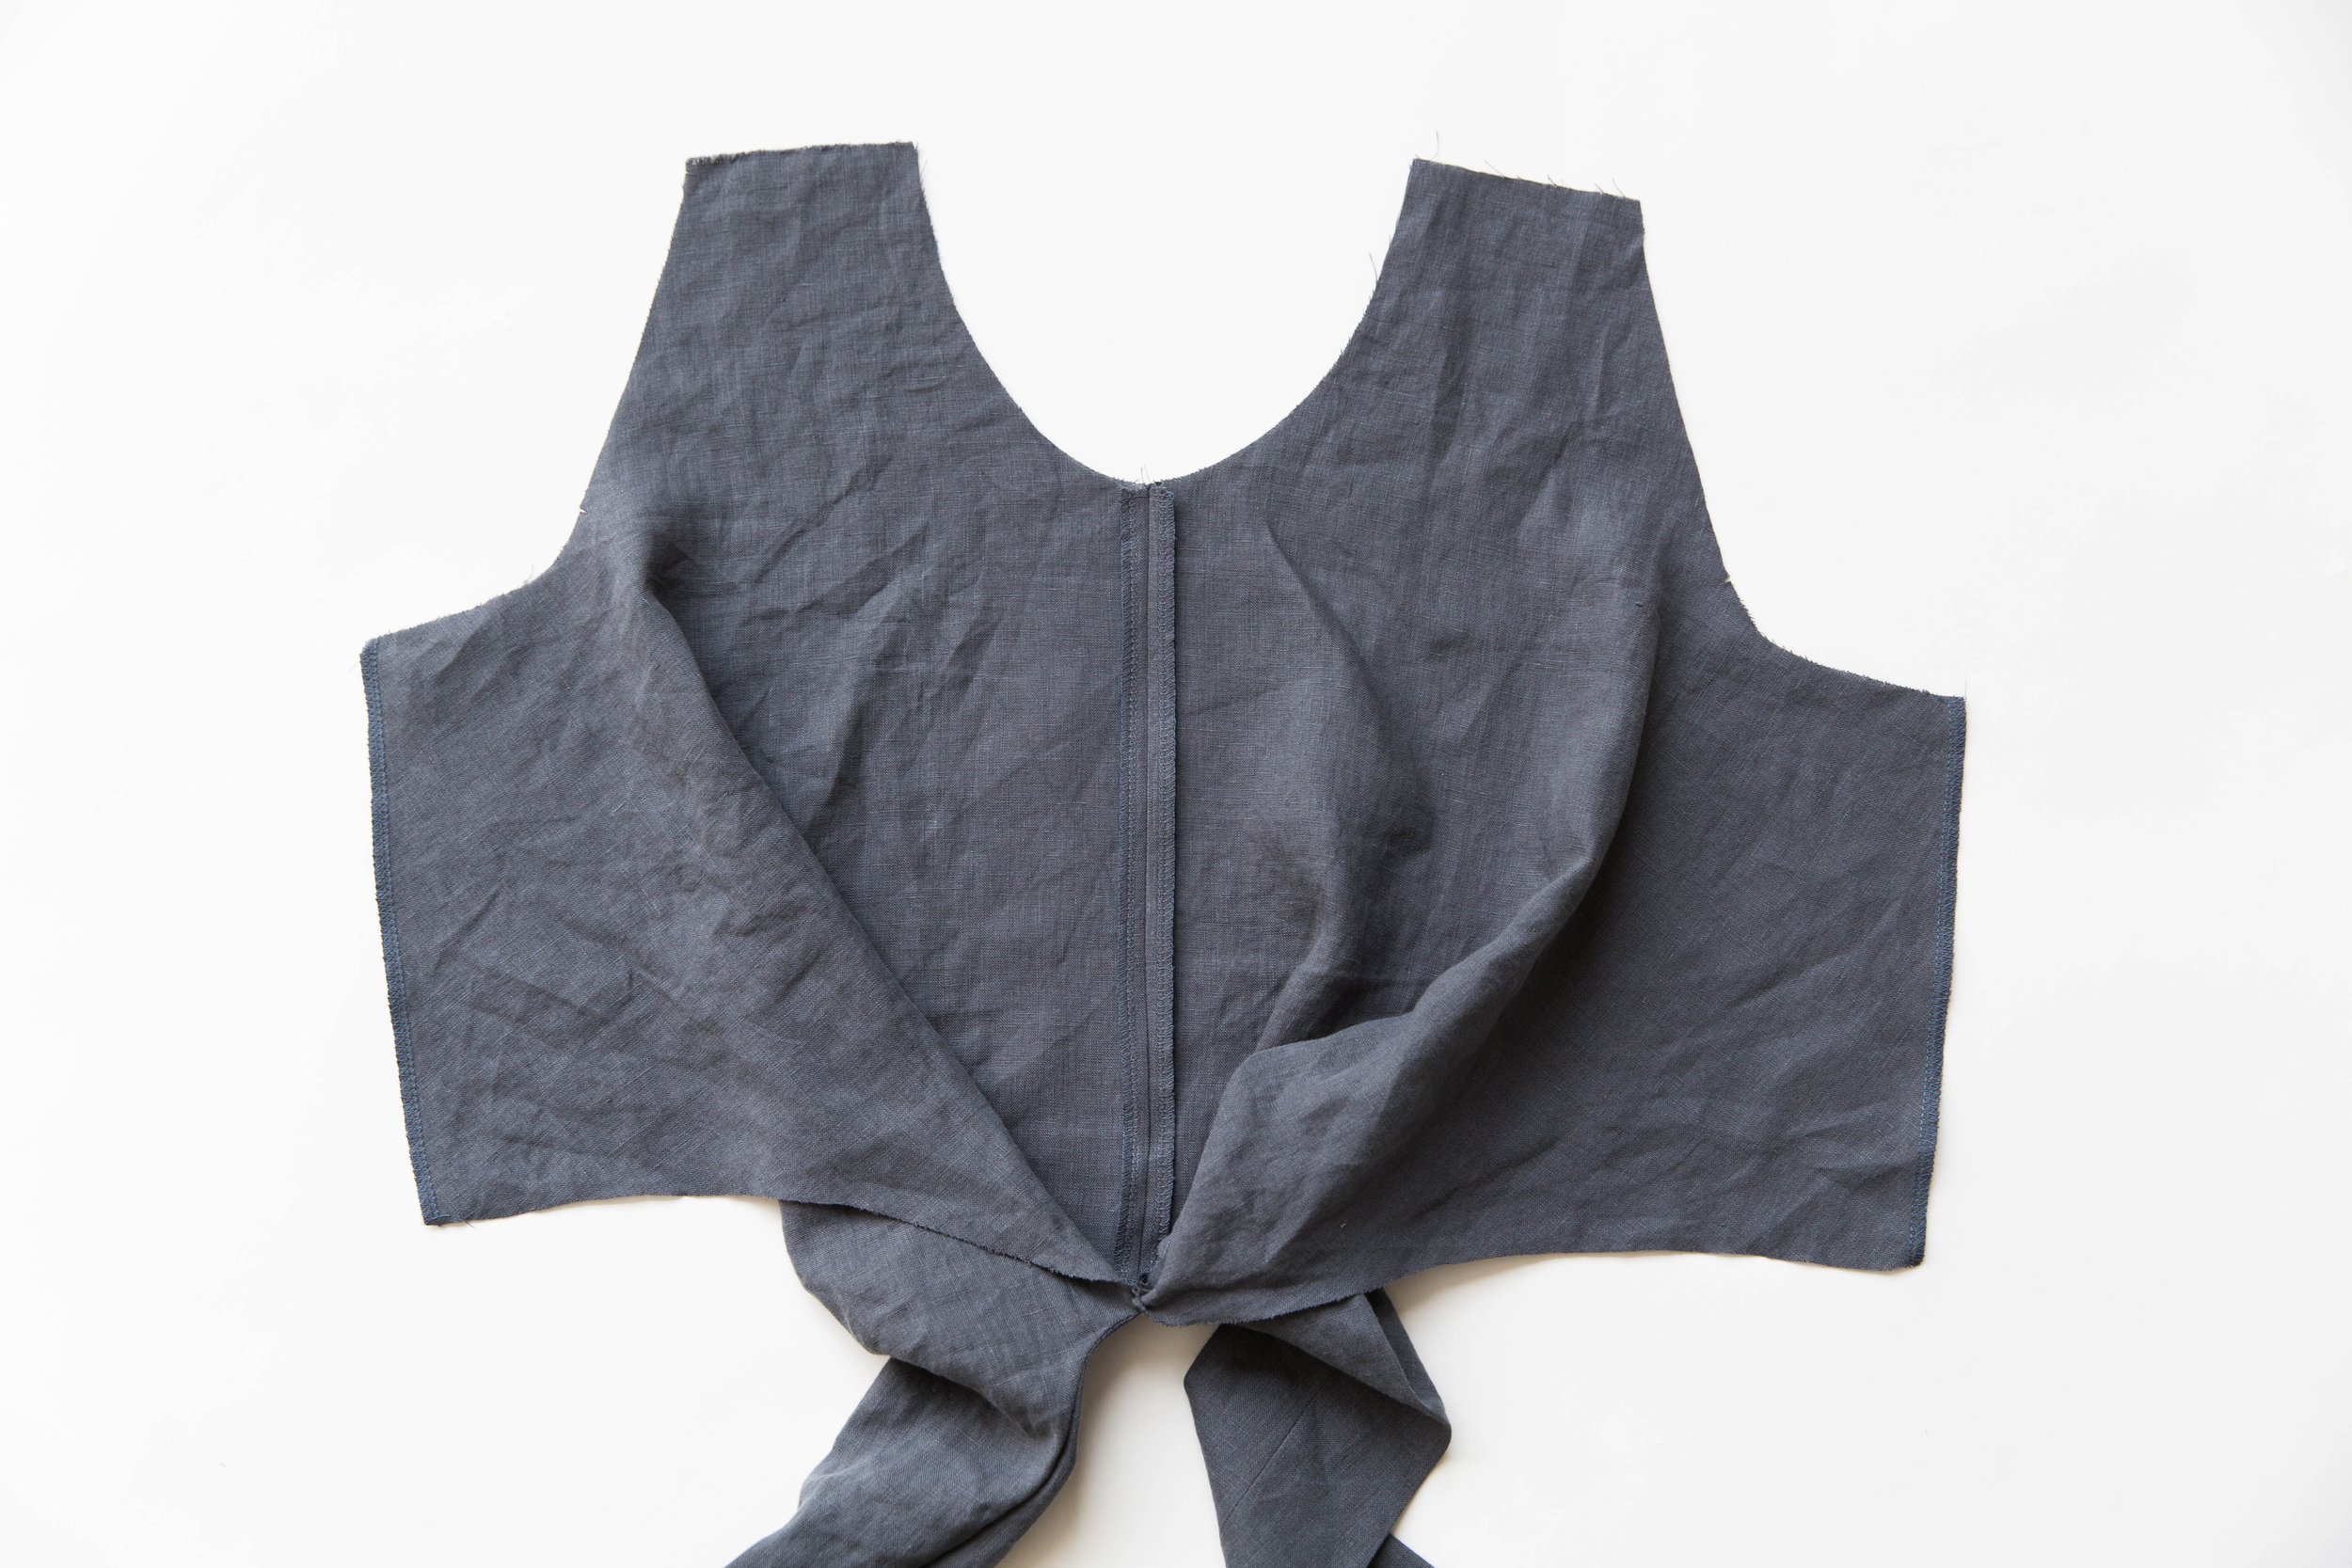
With right sides facing, pin front bodice pieces together at centre front seam. Stitch together, making sure to stop exactly at the tie stitch line. Press seam allowances open.
Step 6
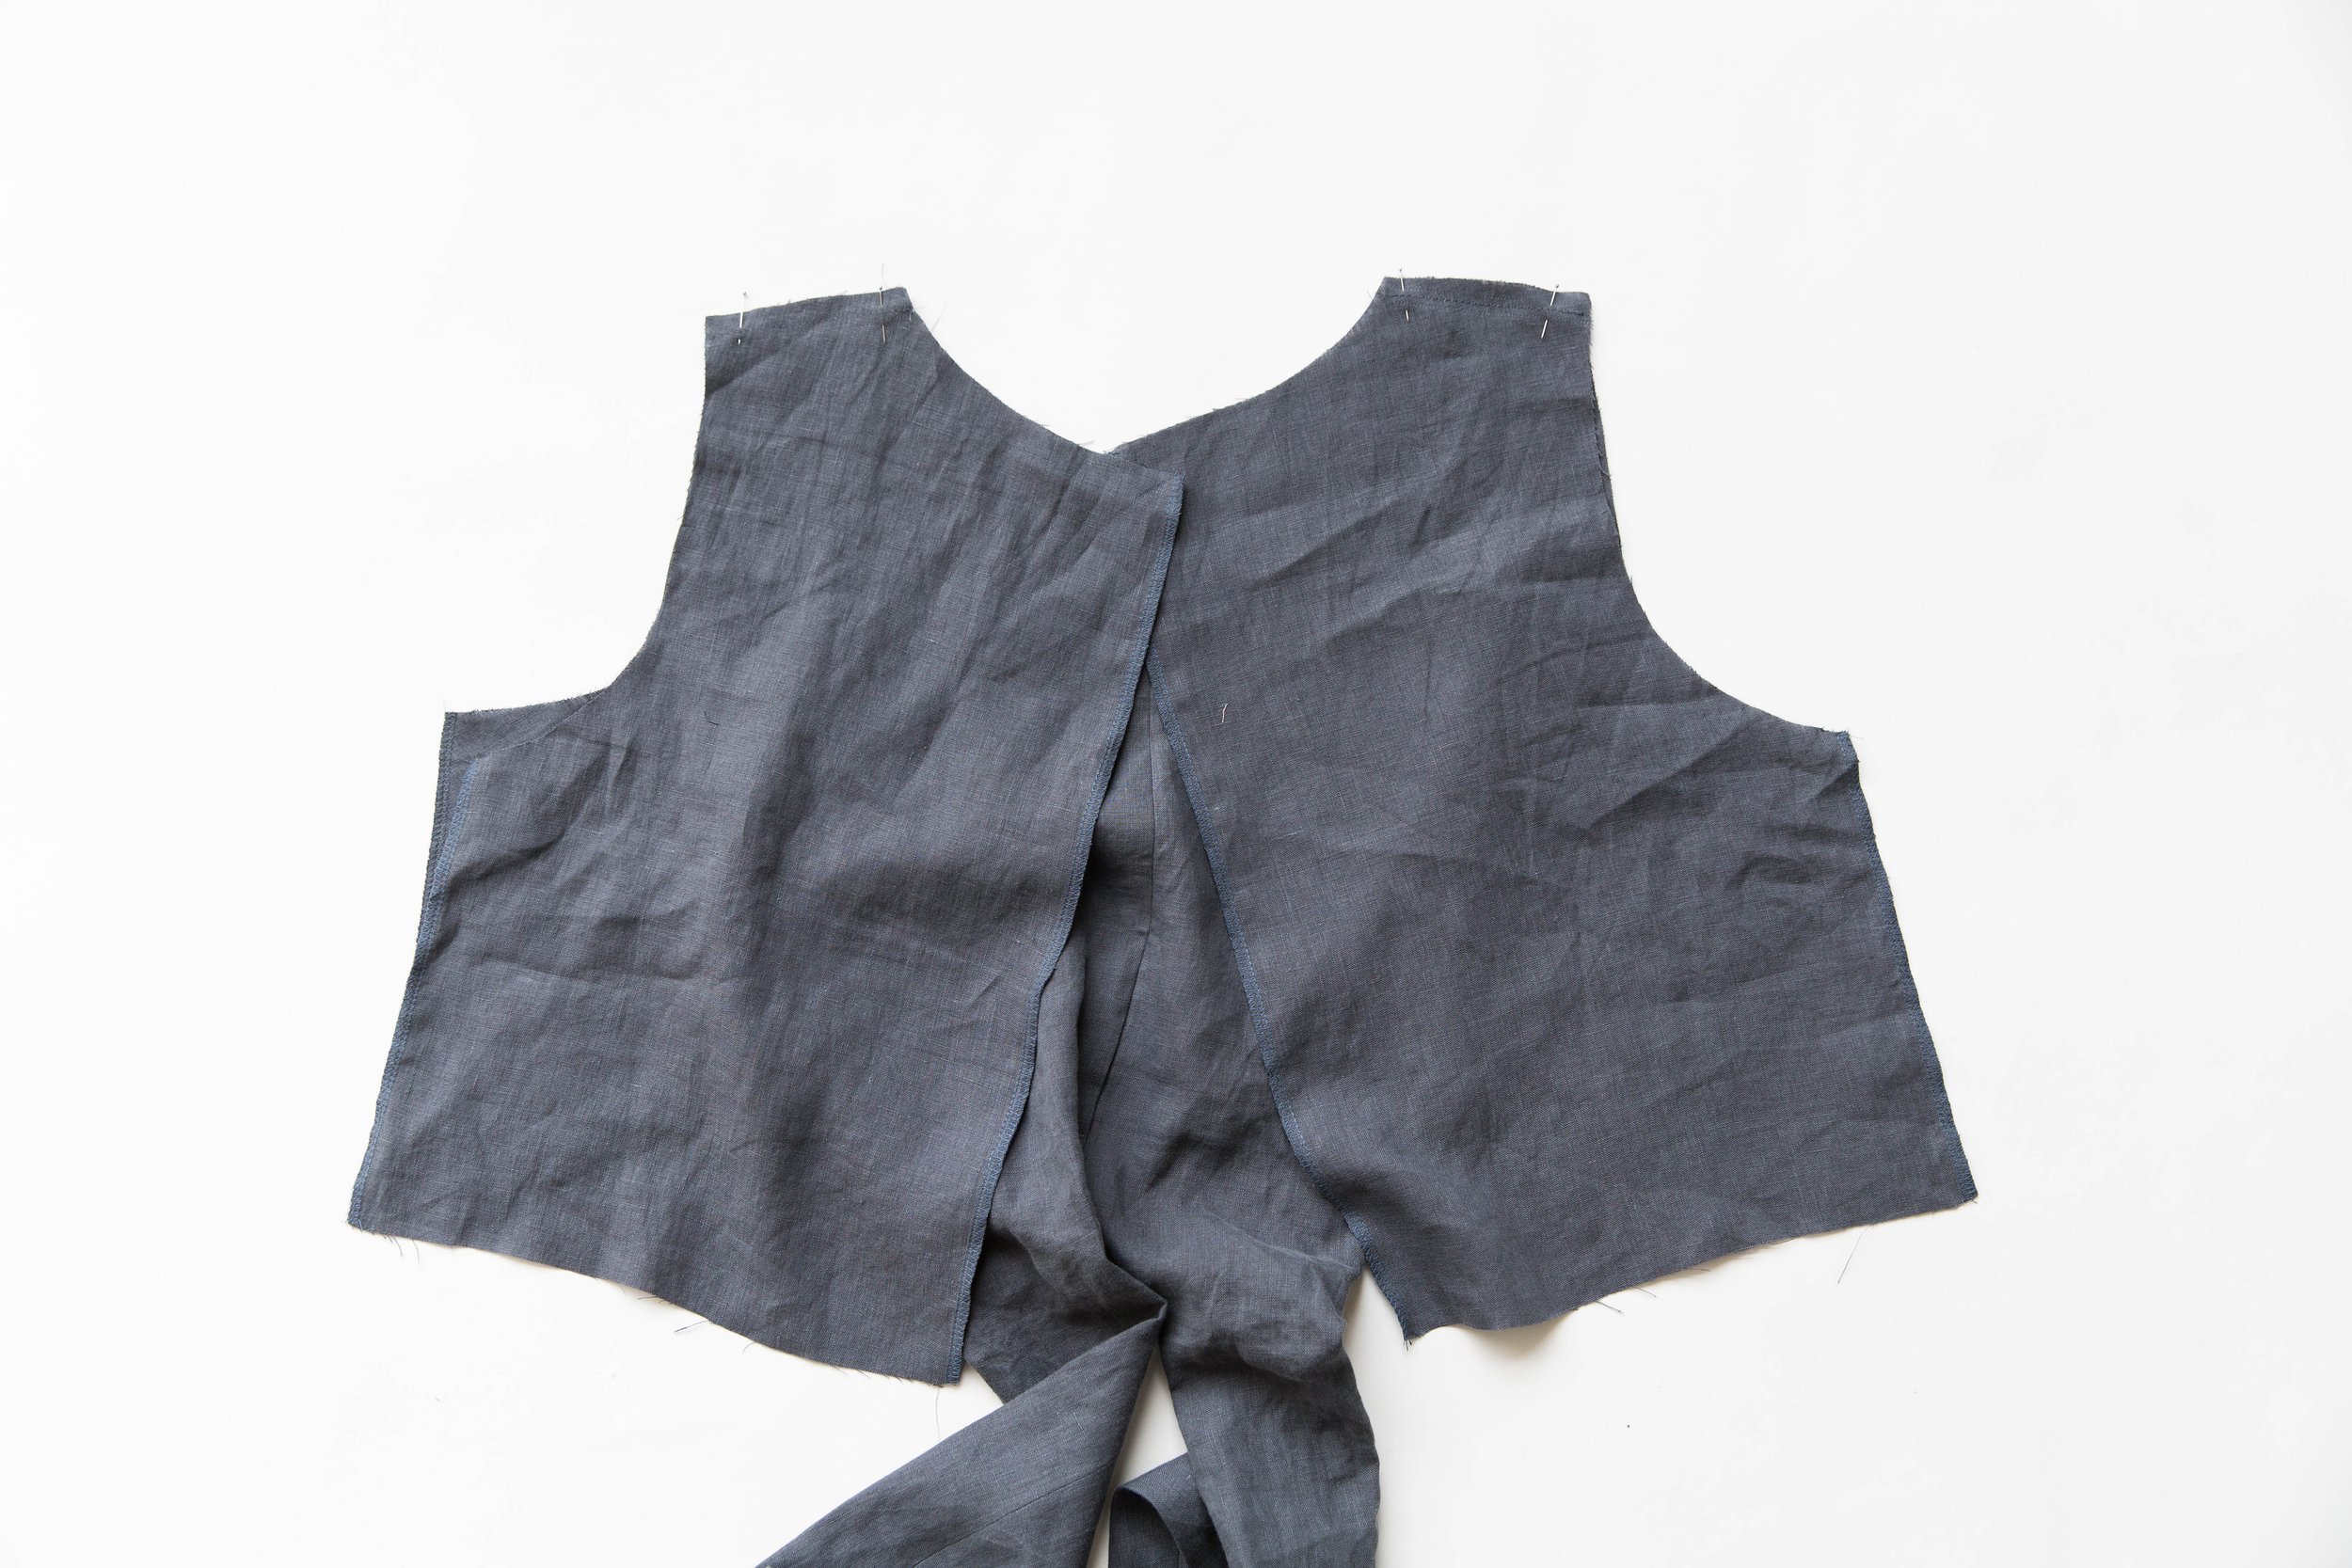
With right sides facing, pin back bodice pieces to
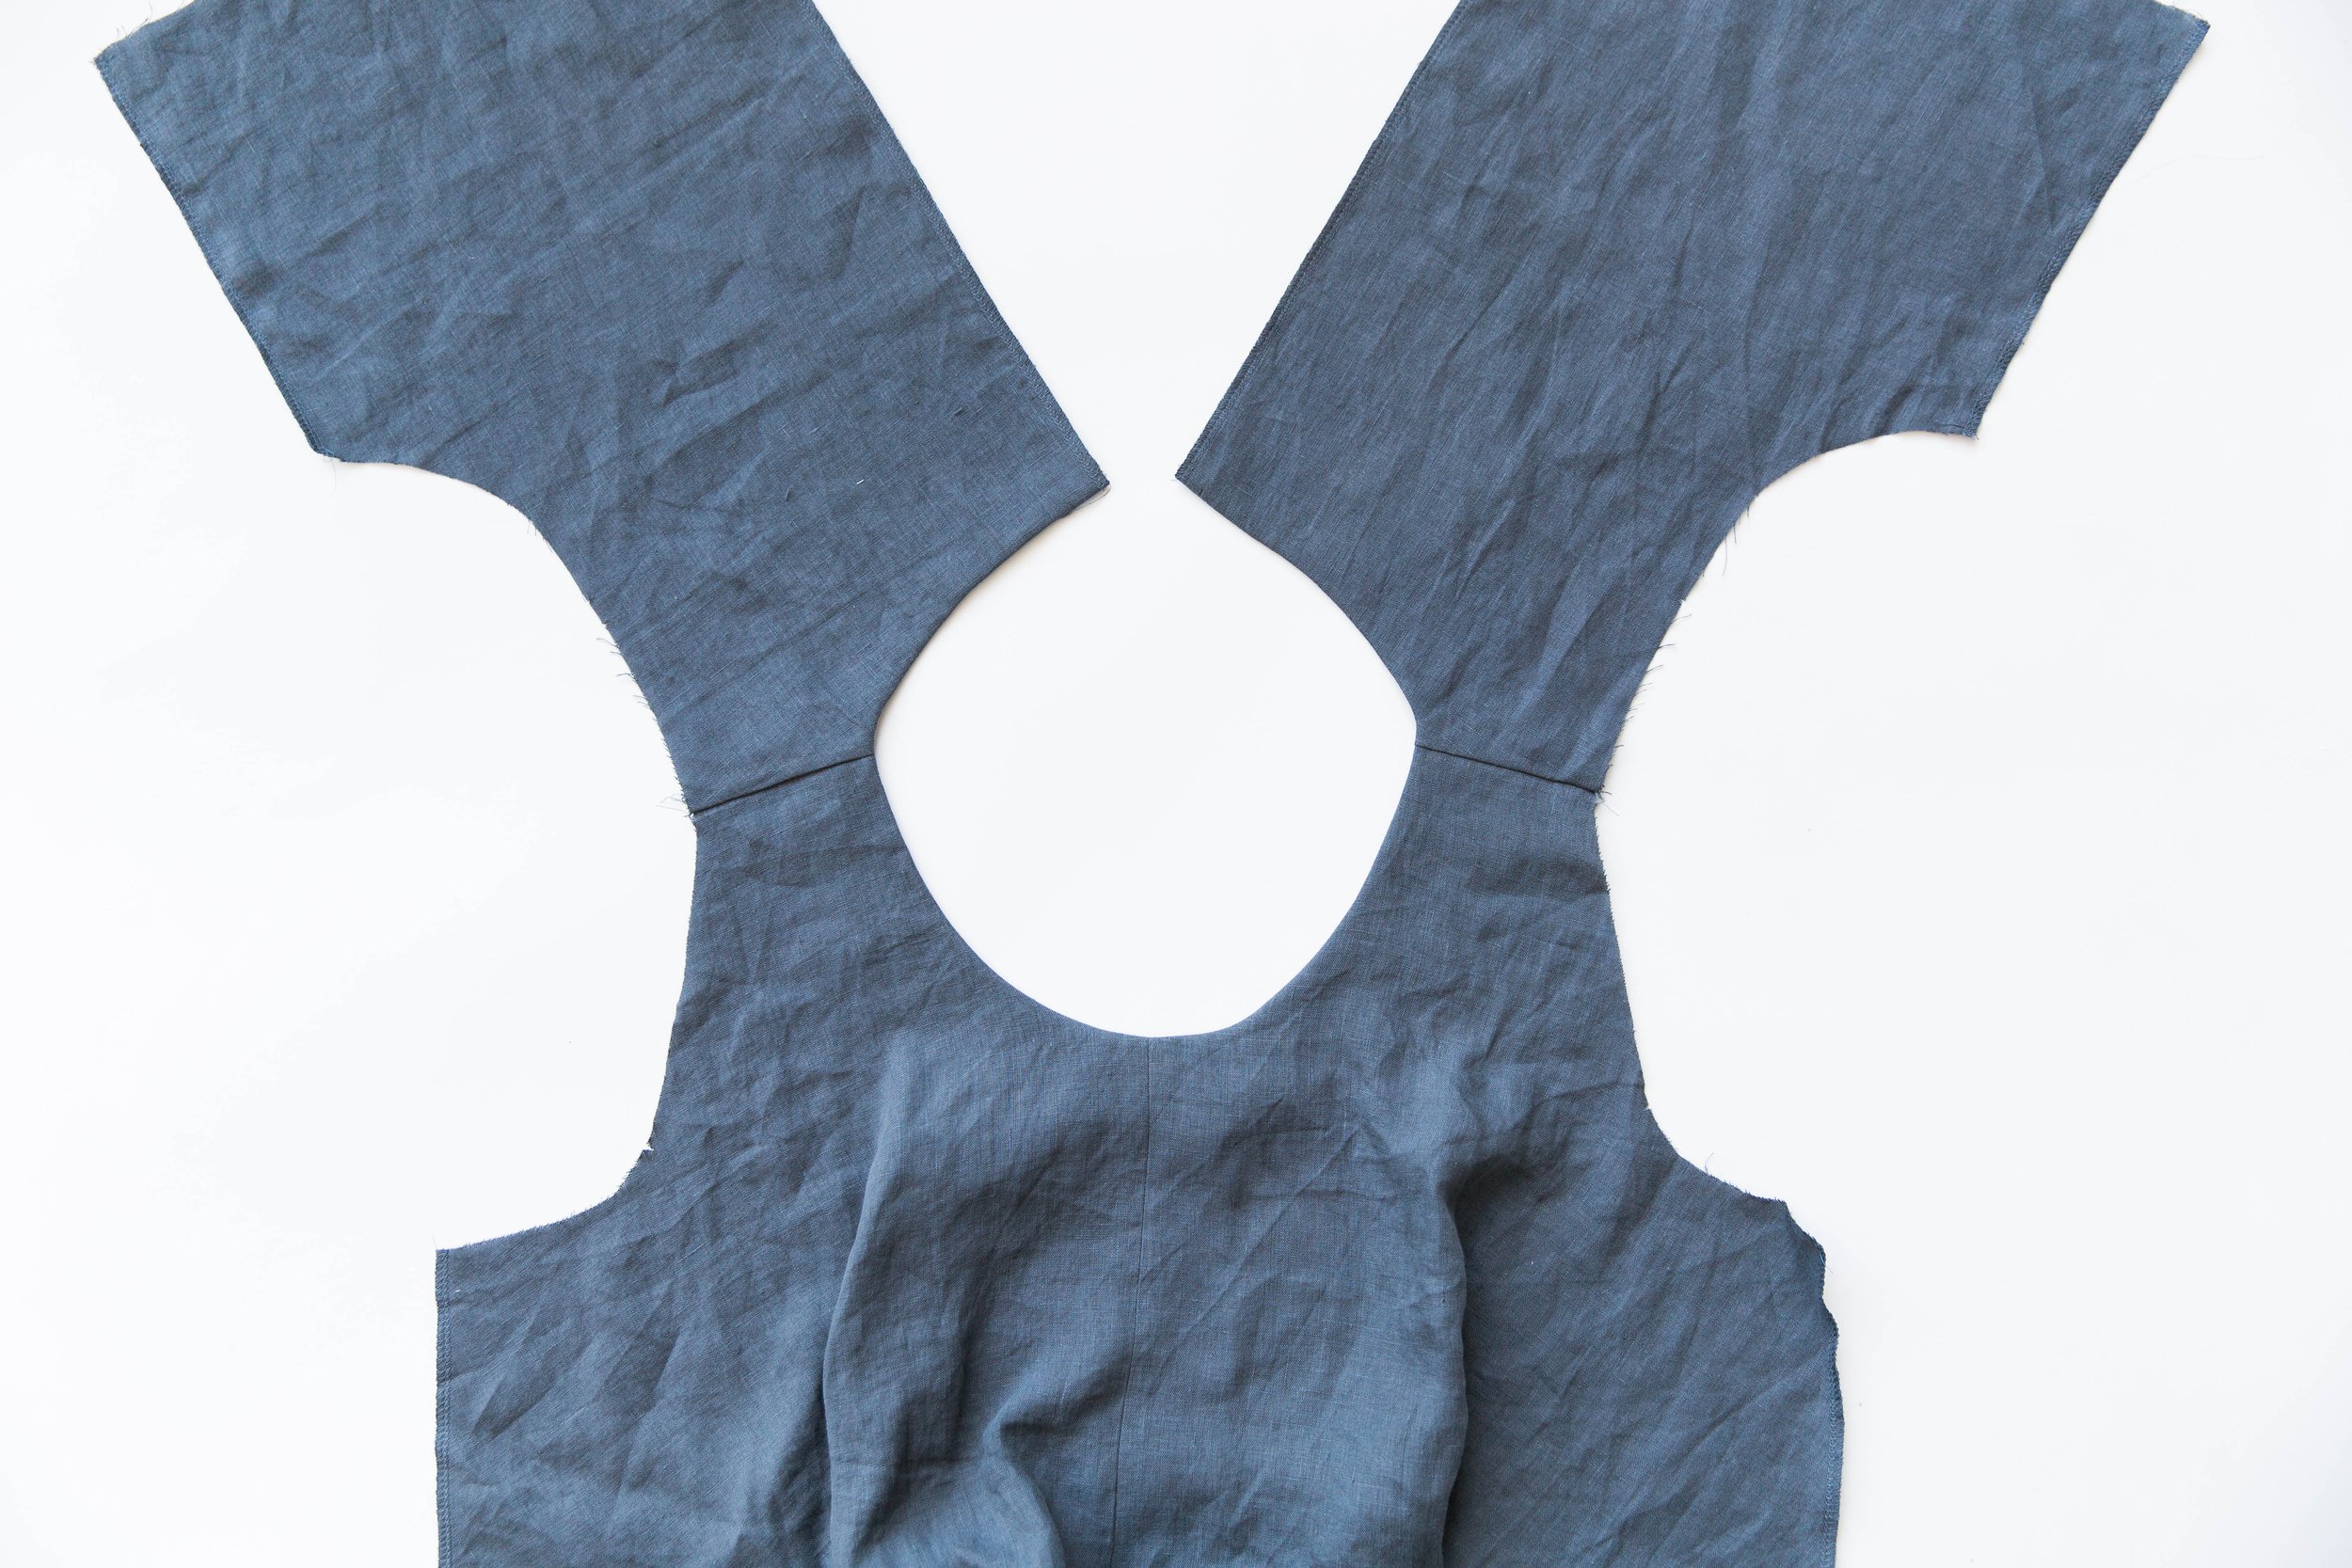
the front bodice at shoulder seams. Stitch together. Neaten seams and press the seam allowances towards the back.
Step 7
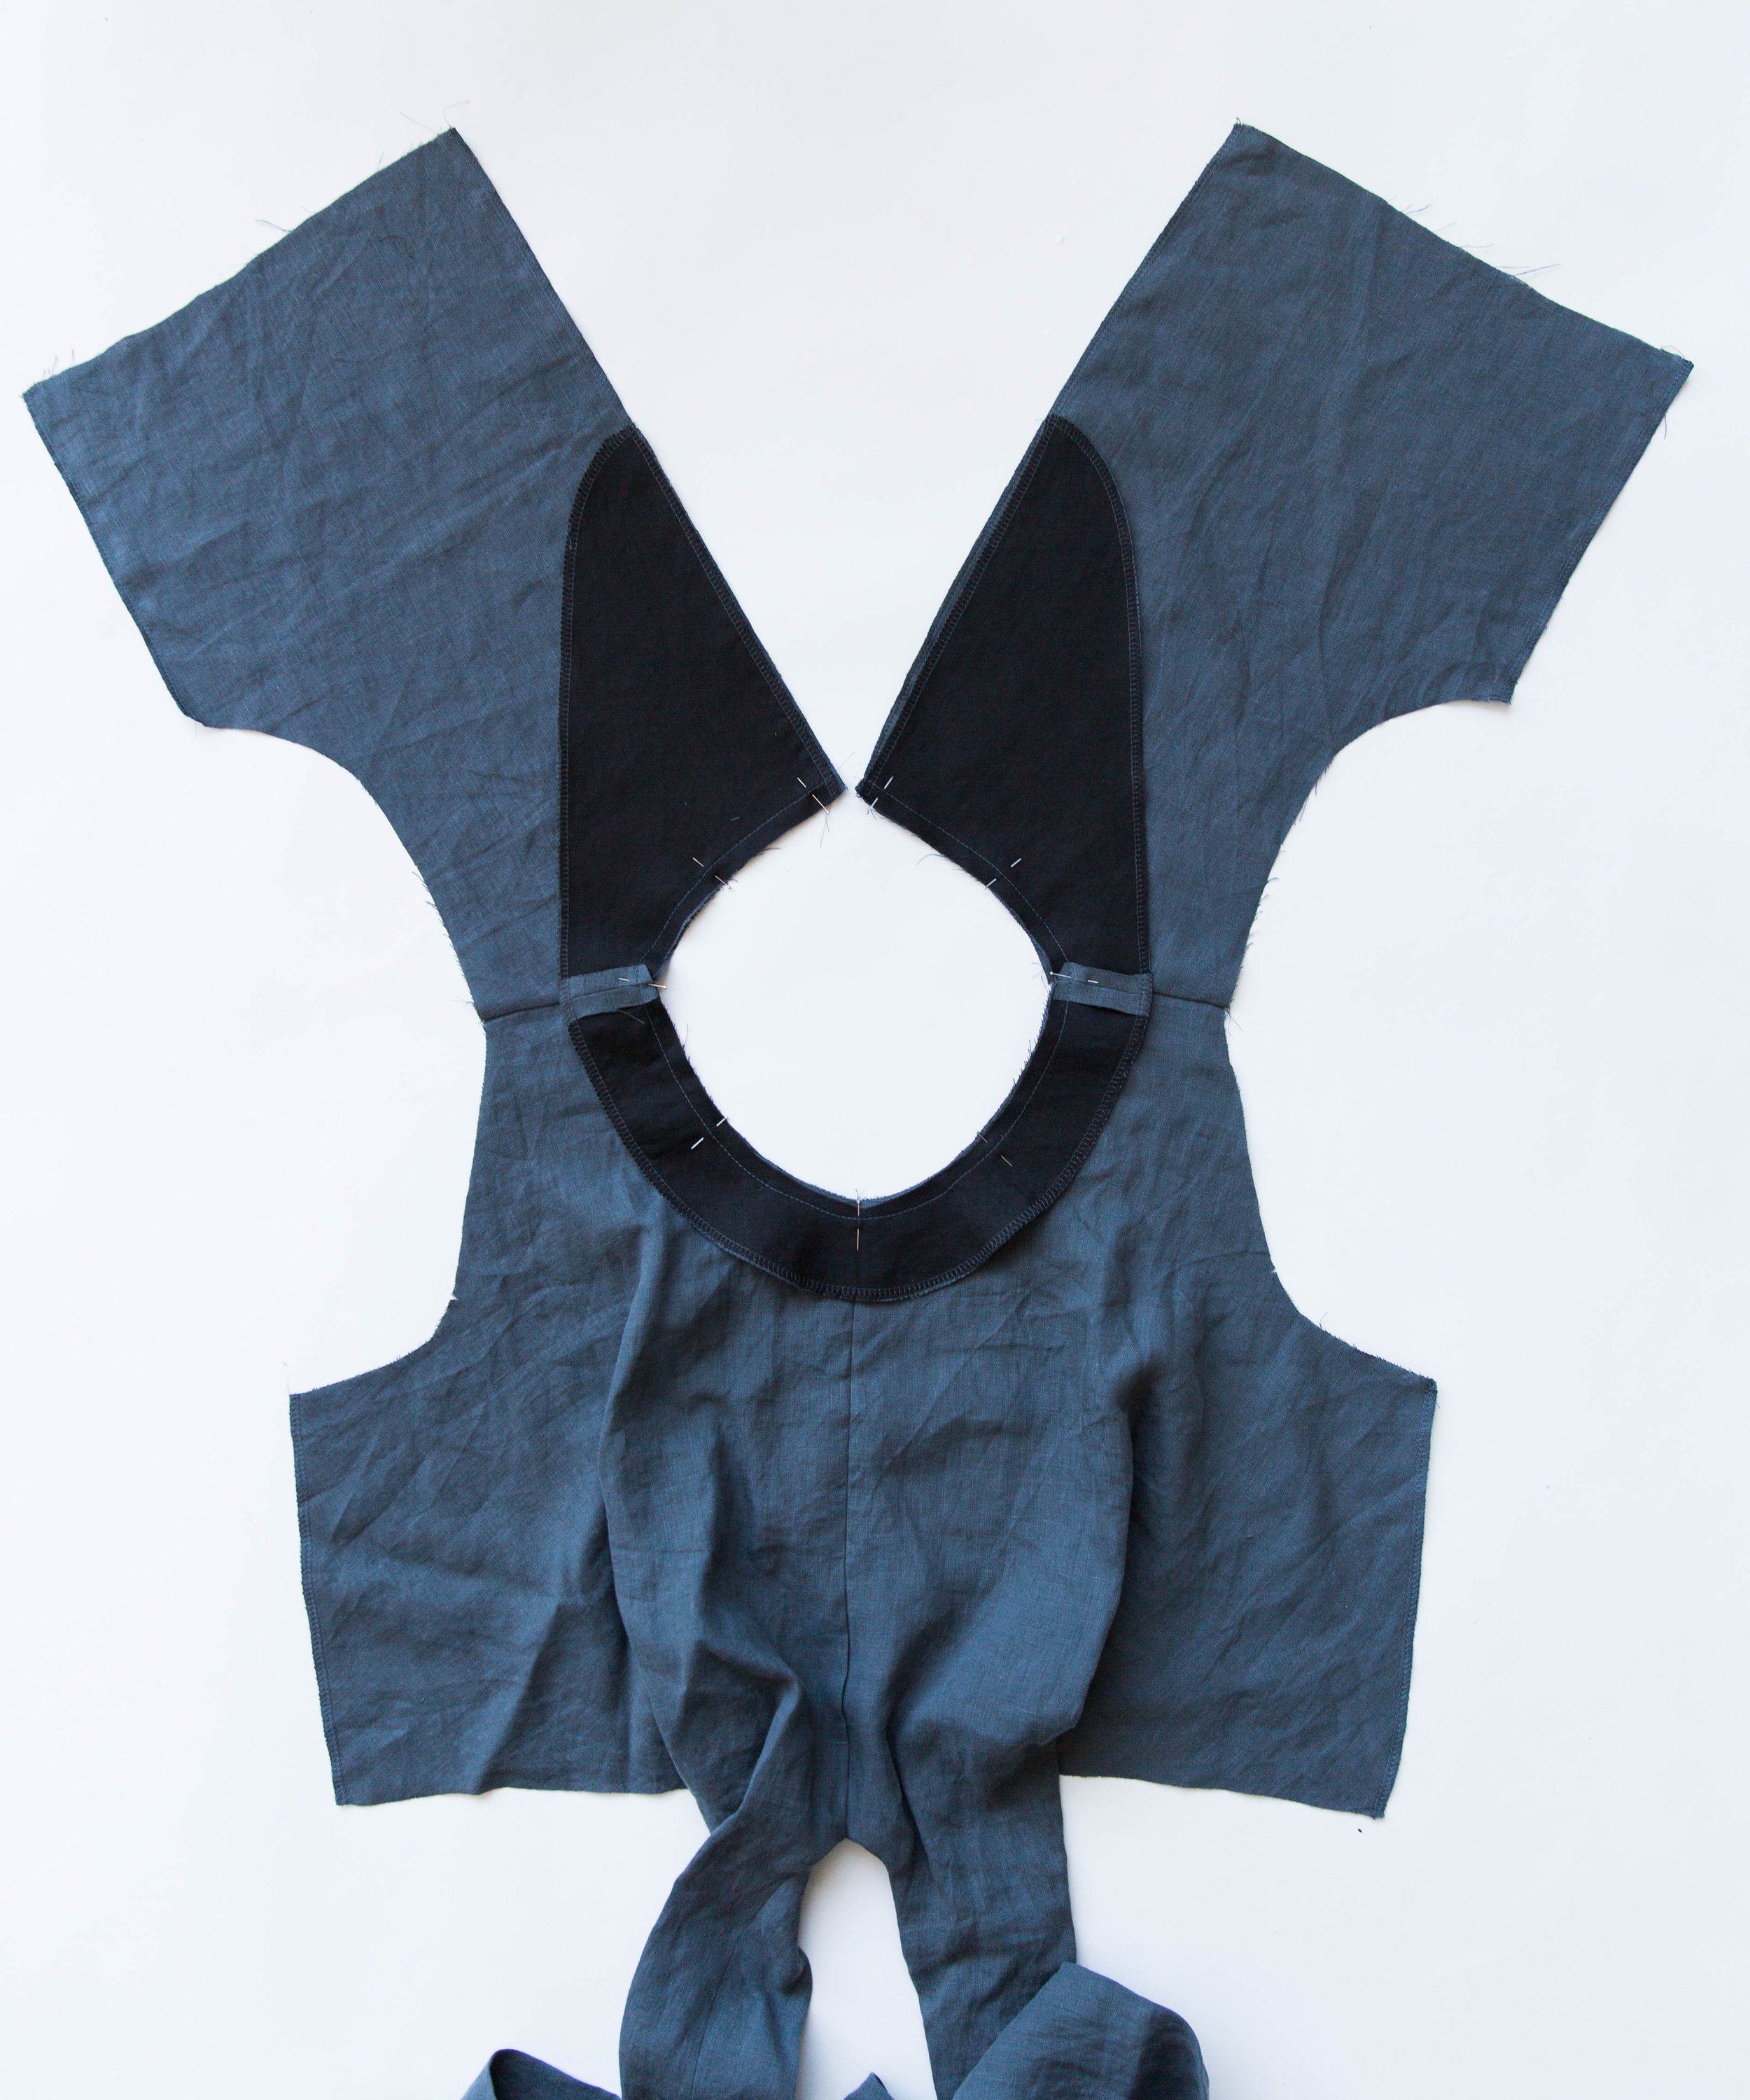
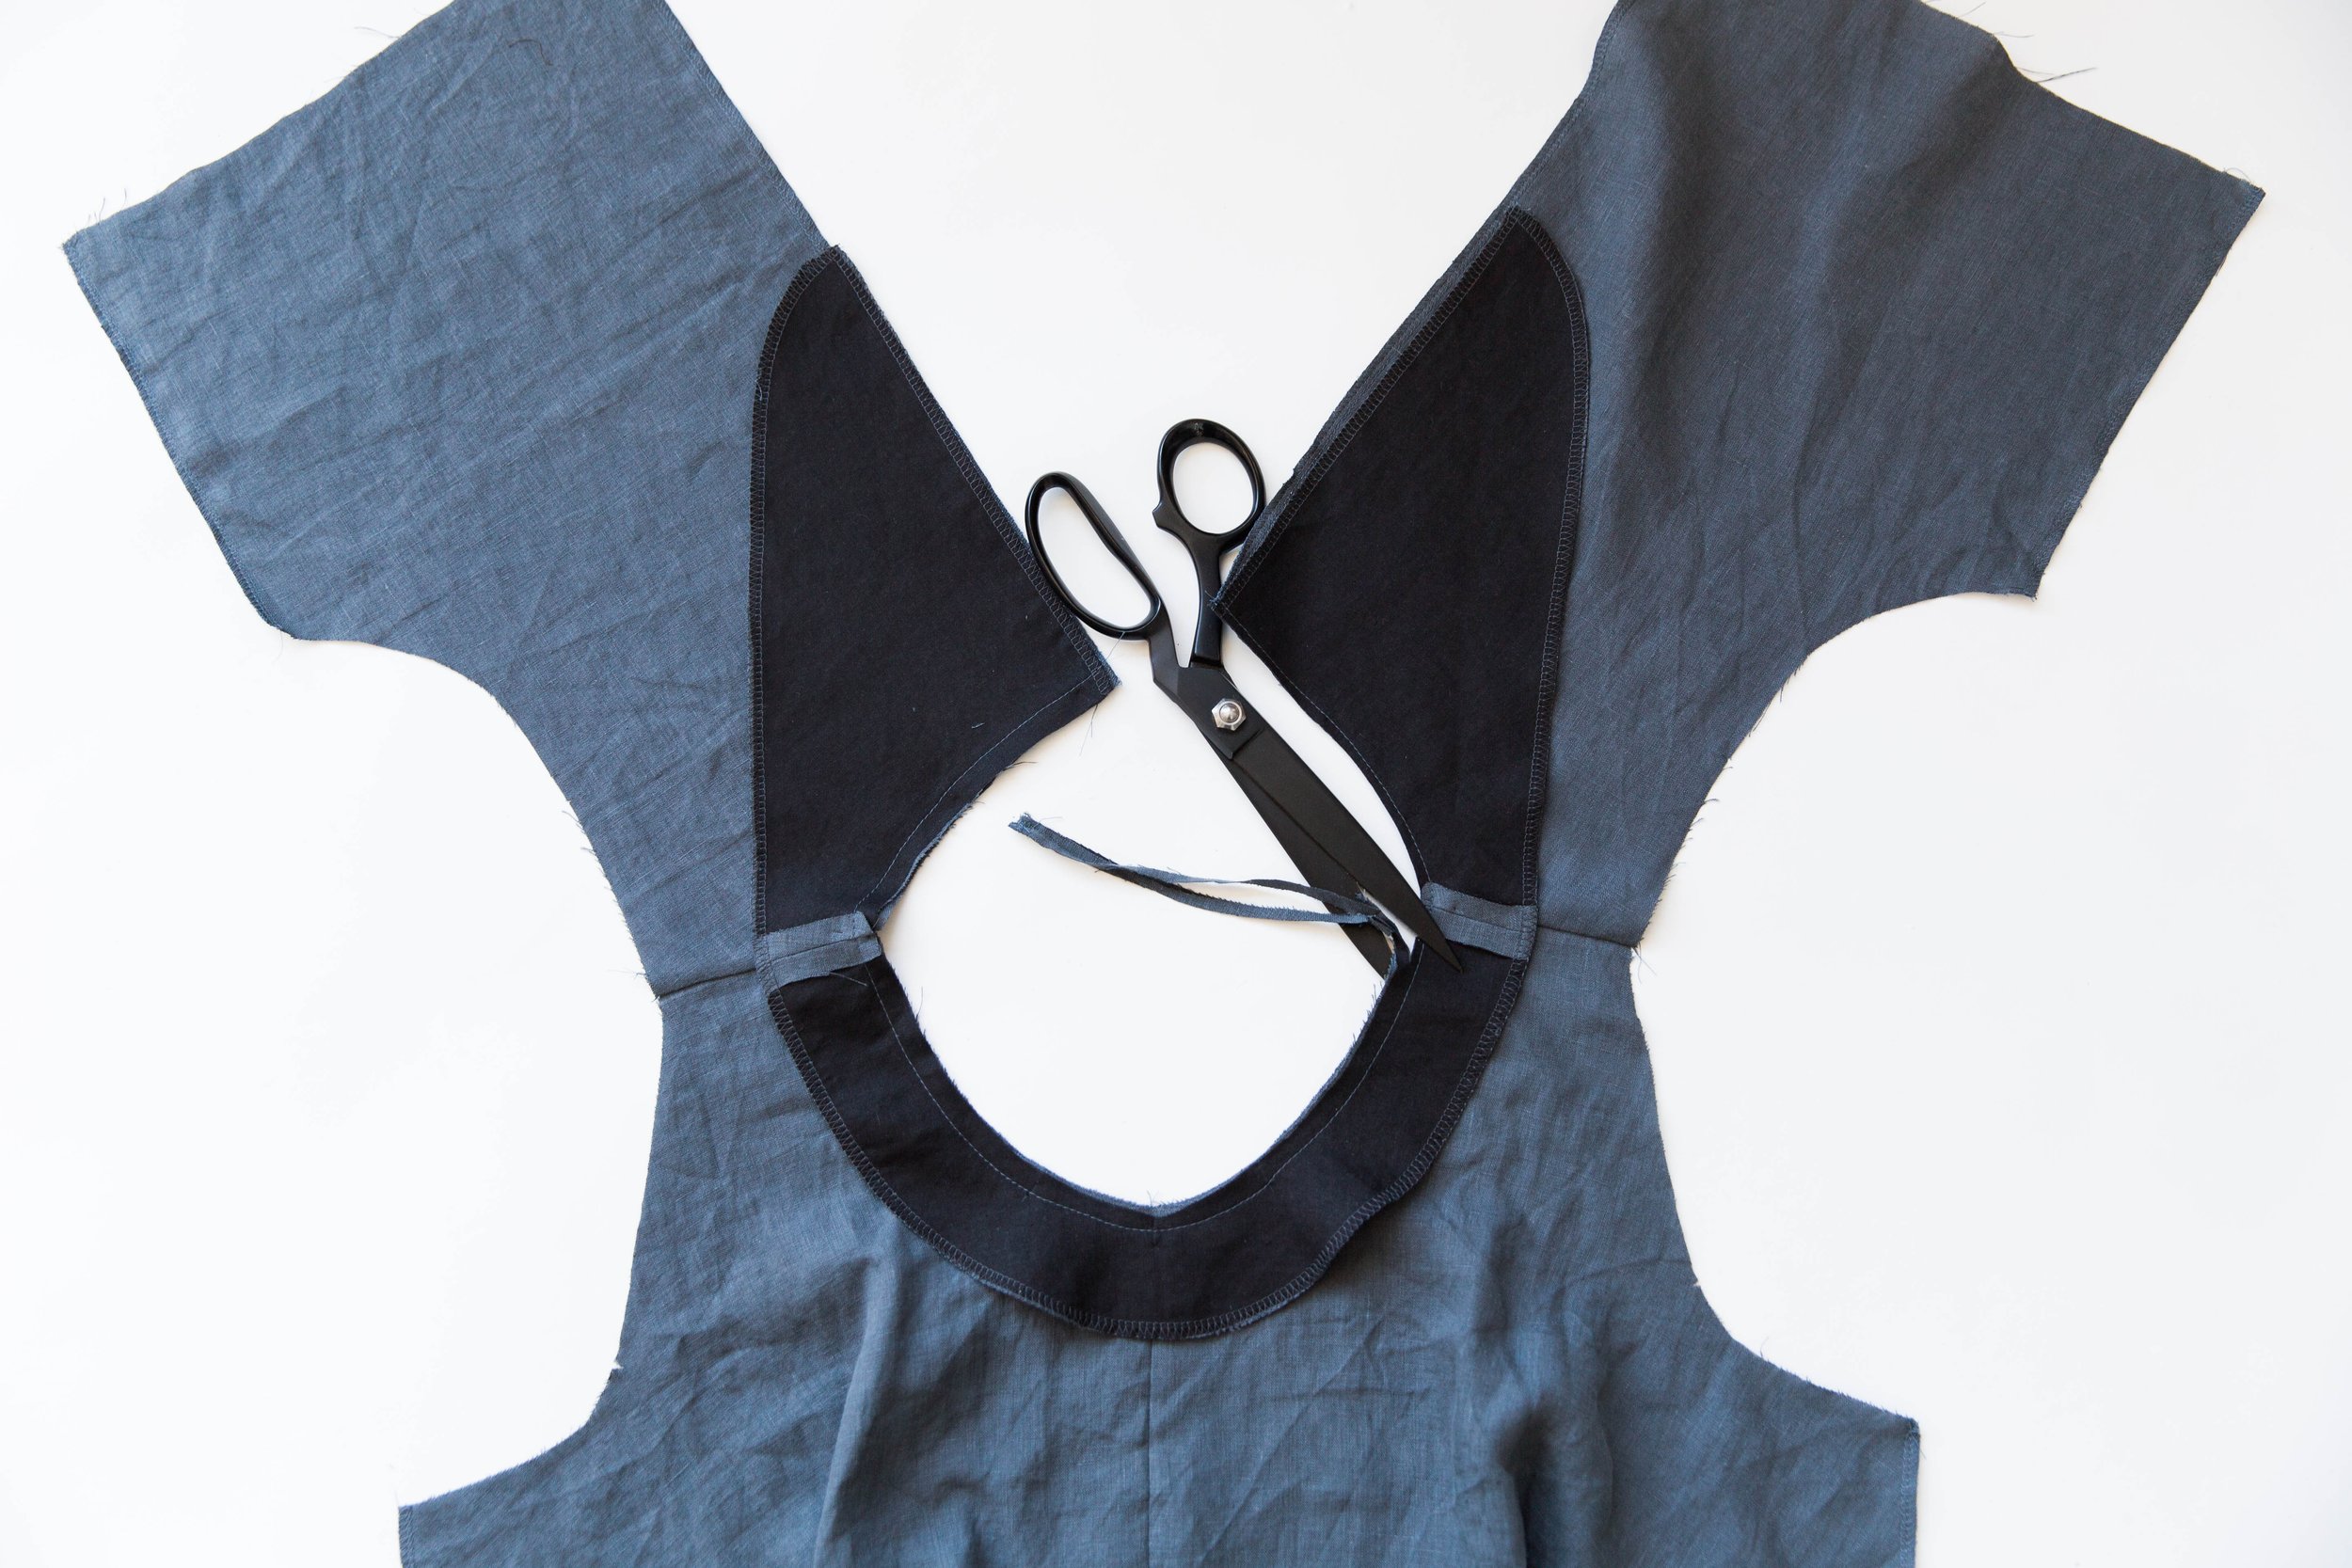
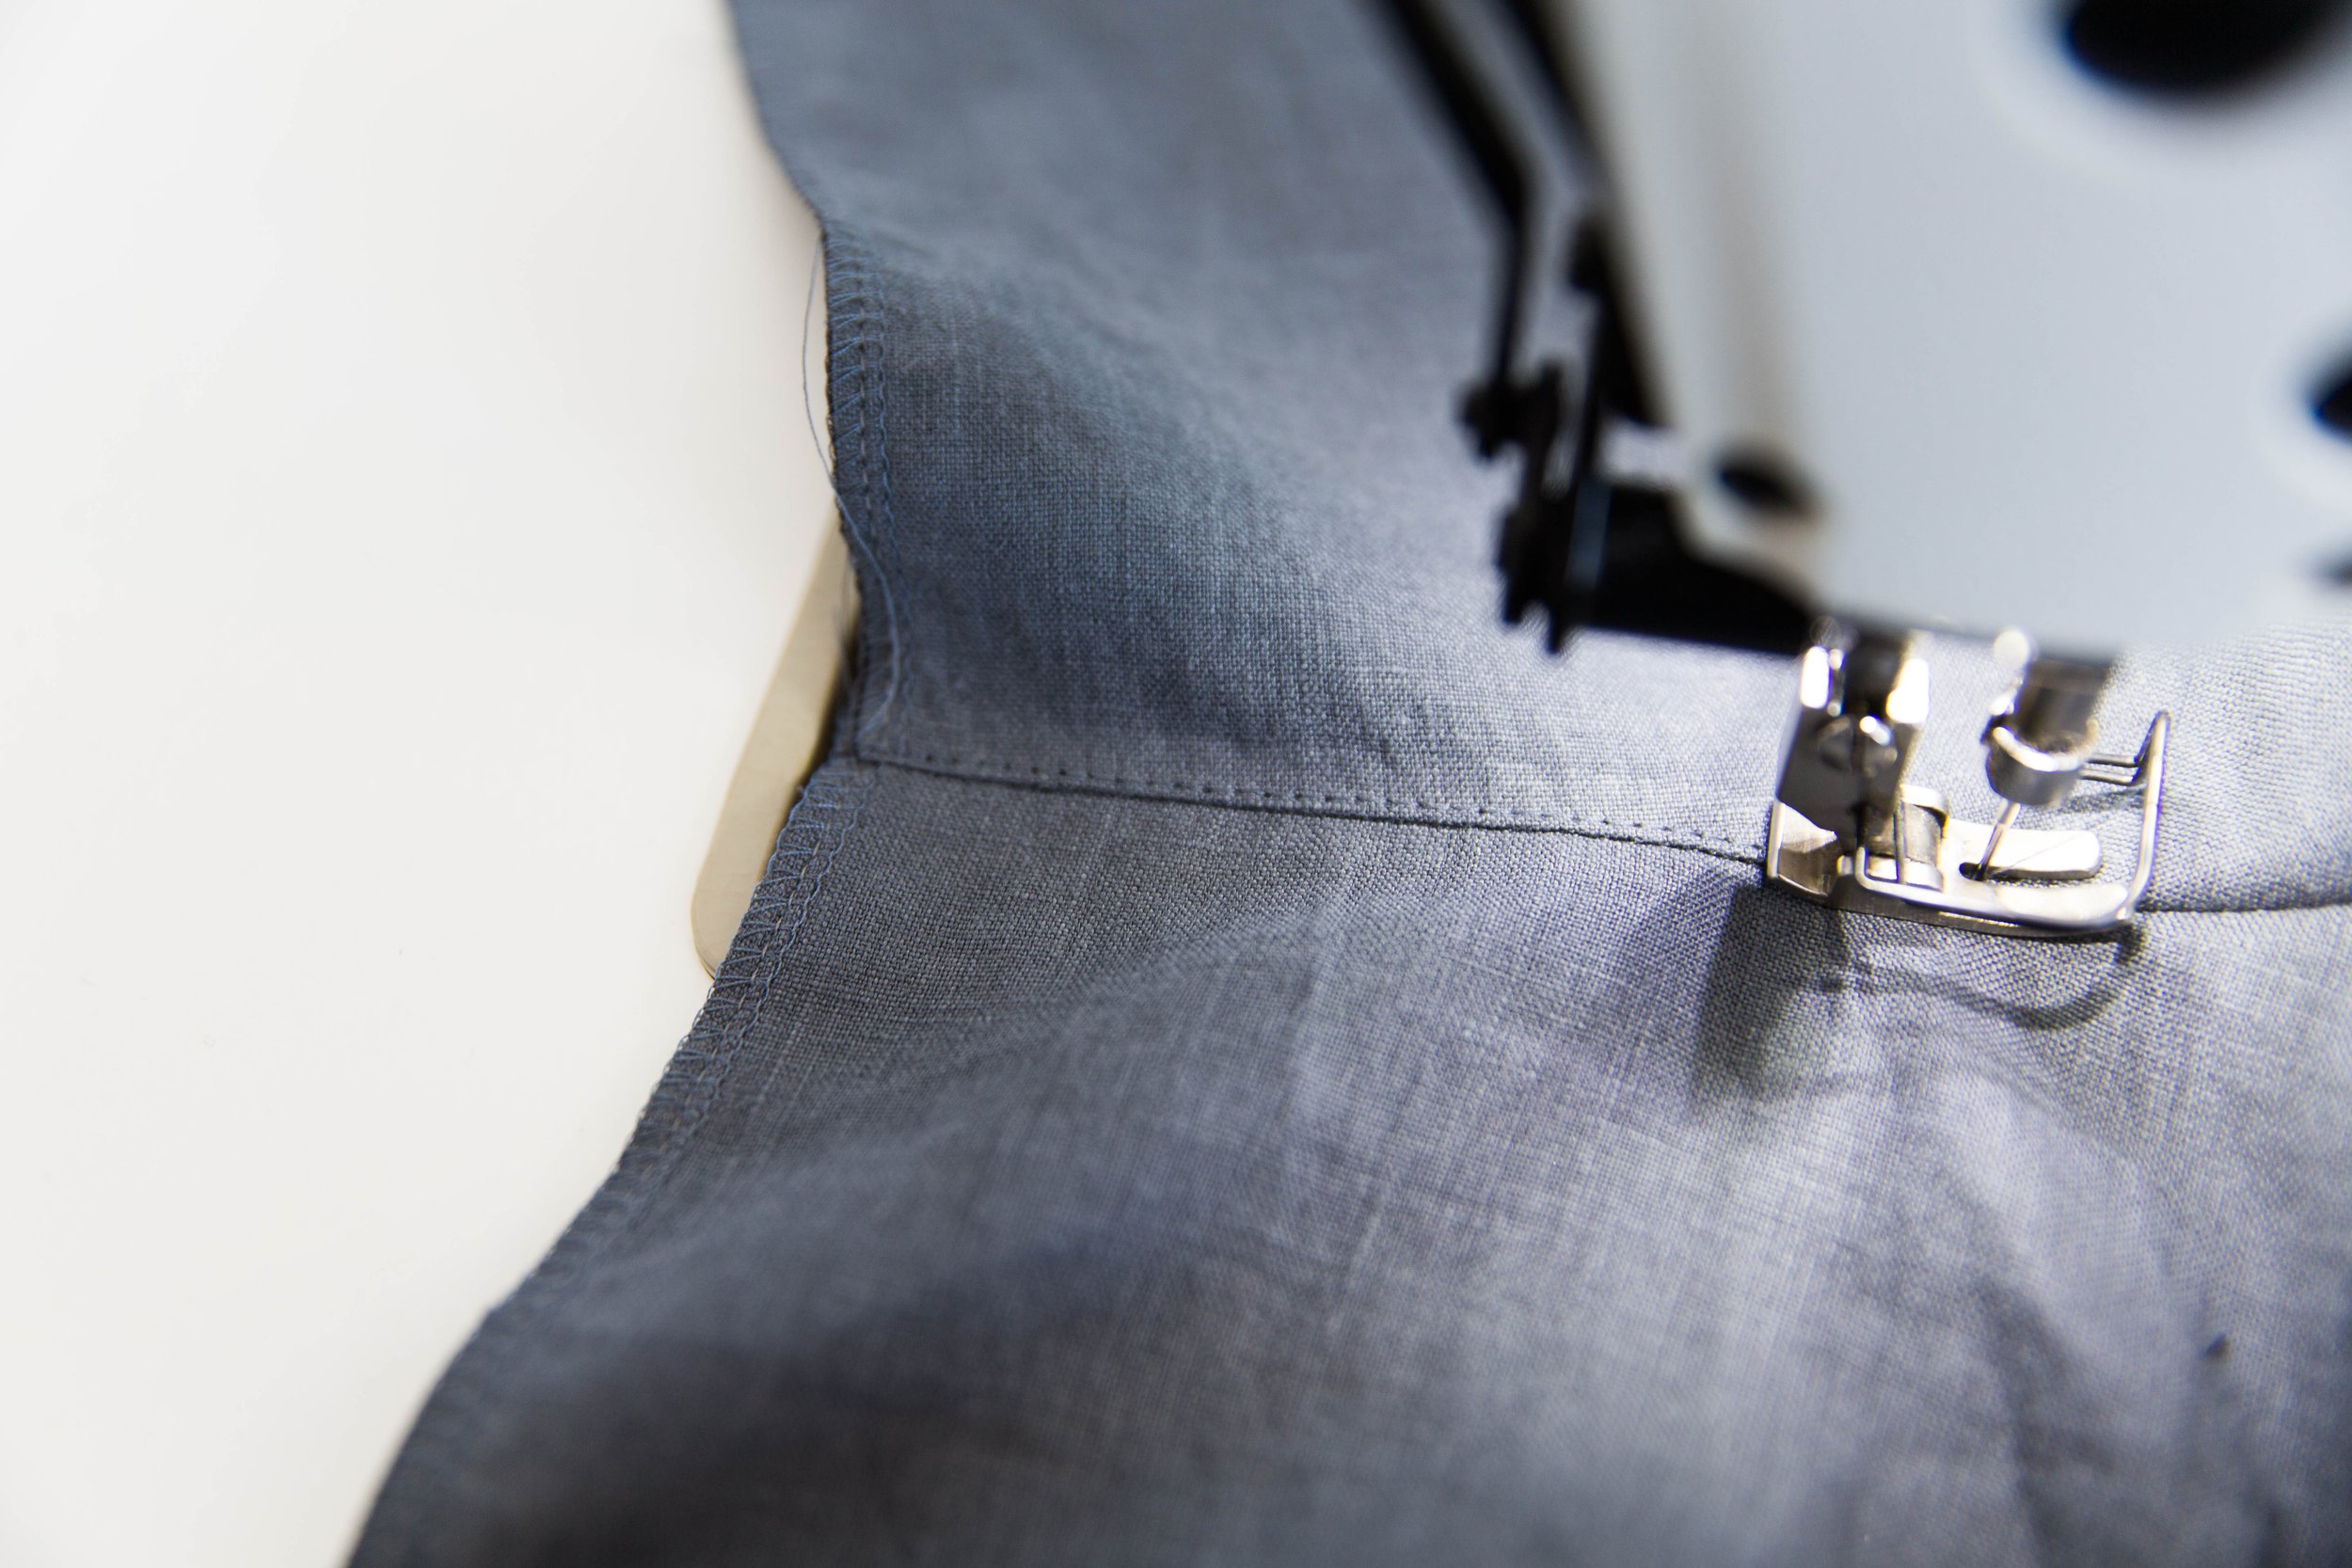
With right sides together, pin neck facing to the bodice around neckline. Stitch. Trim seam allowance in half. Understitch seam allowance toward facing pieces and press.

Step 8
Neaten side and hem edges of sleeve pieces.

Step 9
Lay bodice over sleeve with right sides facing. Pin in place starting from bottom of armhole upwards on both front and back, matching up front, back and shoulder notches. Evenly distribute any ease in the sleeve head while pinning. Stitch with sleeve laying under garment as the differential feed on your machine will help work in any ease. Neaten edge and press seam allowance toward sleeve. Repeat for opposite sleeve.
Step 10
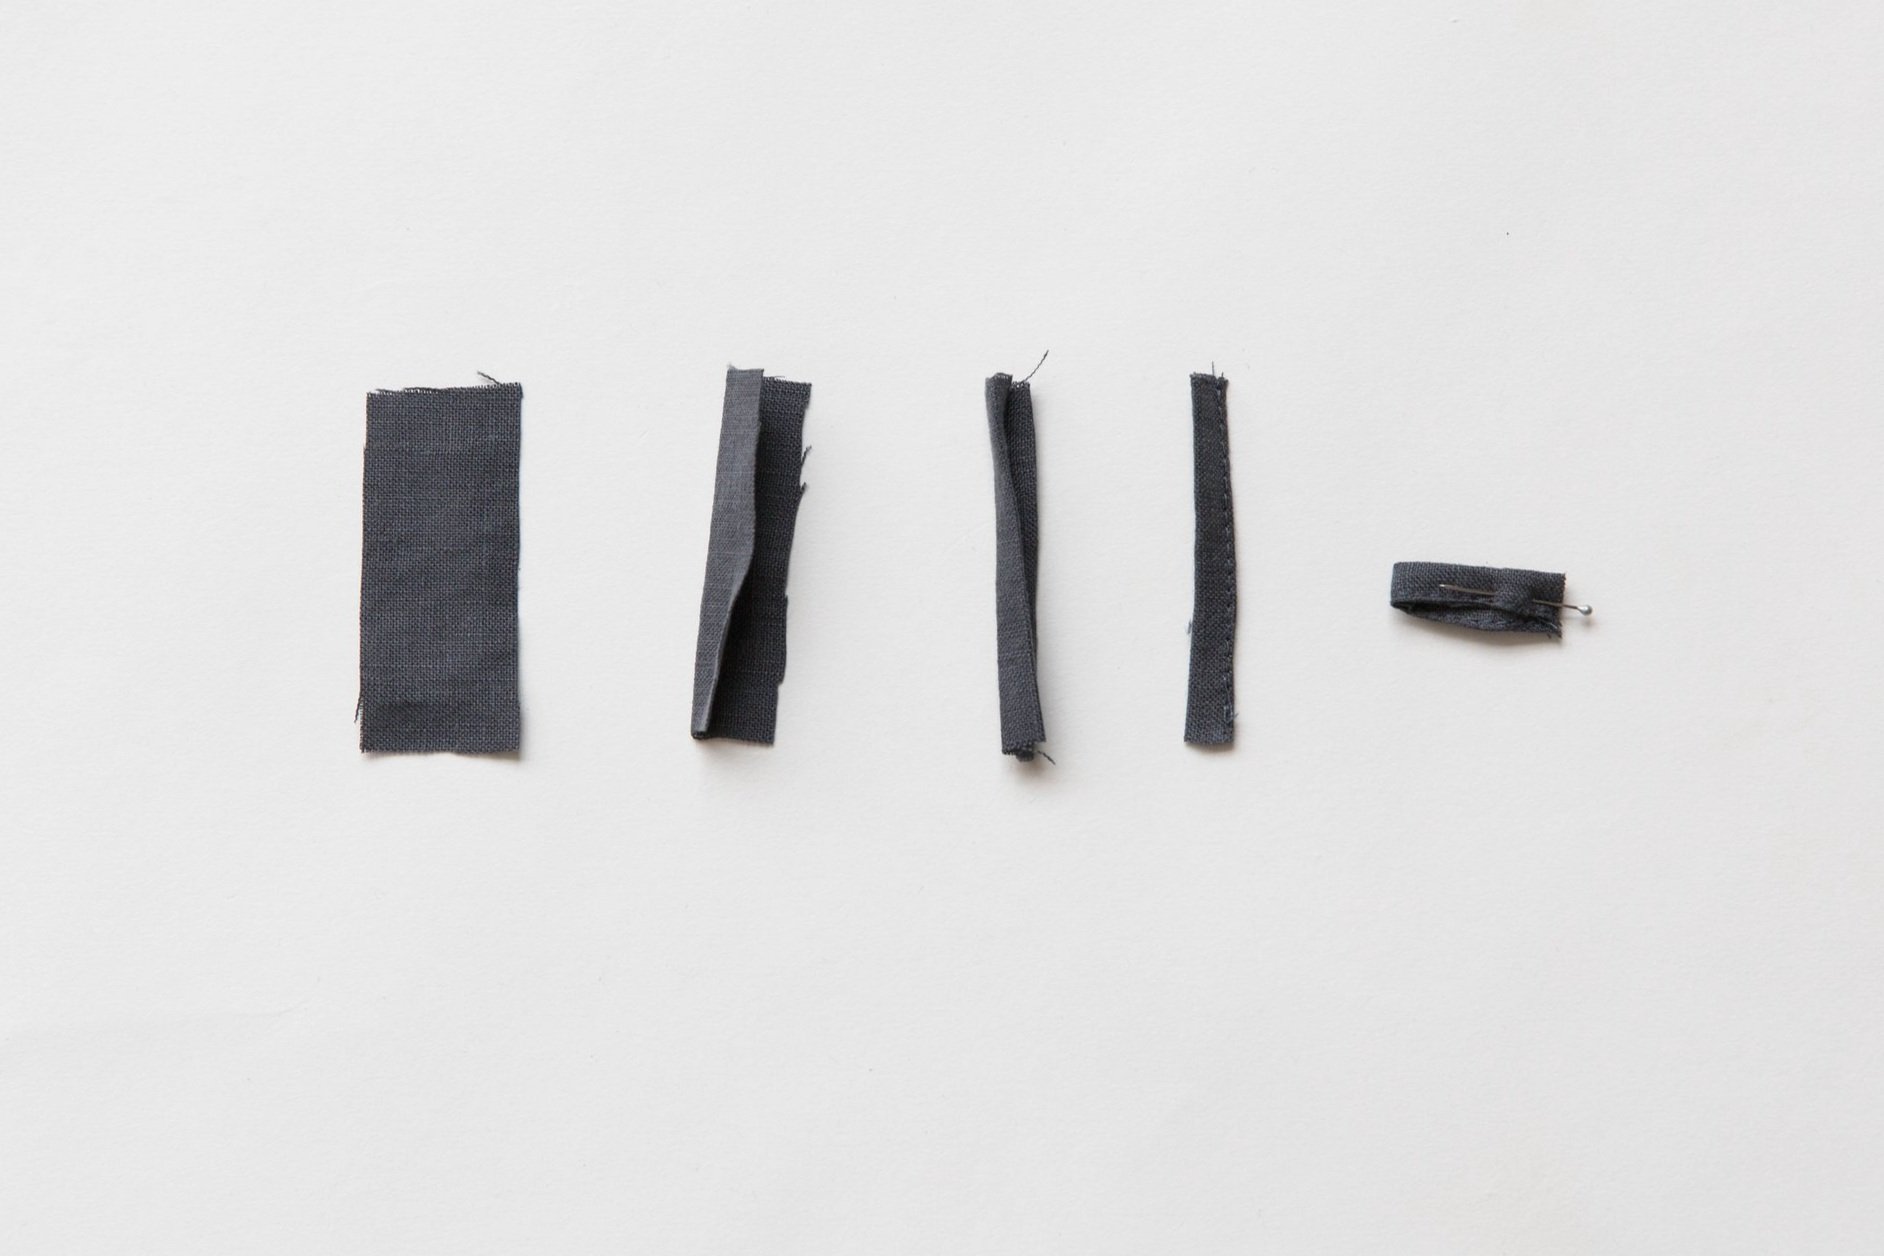
Cut a small piece of fabric approximately 3cm x 6cm (1.2” x 2.4”) on the bias. Fold edges to centre, press. Fold in half again and stitch along edge. Press. Fold in half ready to stitch onto garment.
* You could also use a small piece of bias binding.

Step 11
Pull back neck facing out of the way, and place raw edges of loop on the right side of centre back seam. Pin in place with top edge of loop
at stitch line between bodice and facing. Stitch.

Step 12
Cut a small piece of fabric With right sides together, place a pin where front and back underarm seams meet up. Pin down bodice side seams to waistline and up to sleeve or facing edge. Stitch and press seam allowances open.

Step 13
Turn sleeve hem up at notches and stitch in place.
Follow the rest of the steps for the pocket, trouser construction and finishings on the Mirri Jumpsuit-sleeveless tutorial here.