

Celestia Curve Dress
Bodice B
a step-by-step tutorial
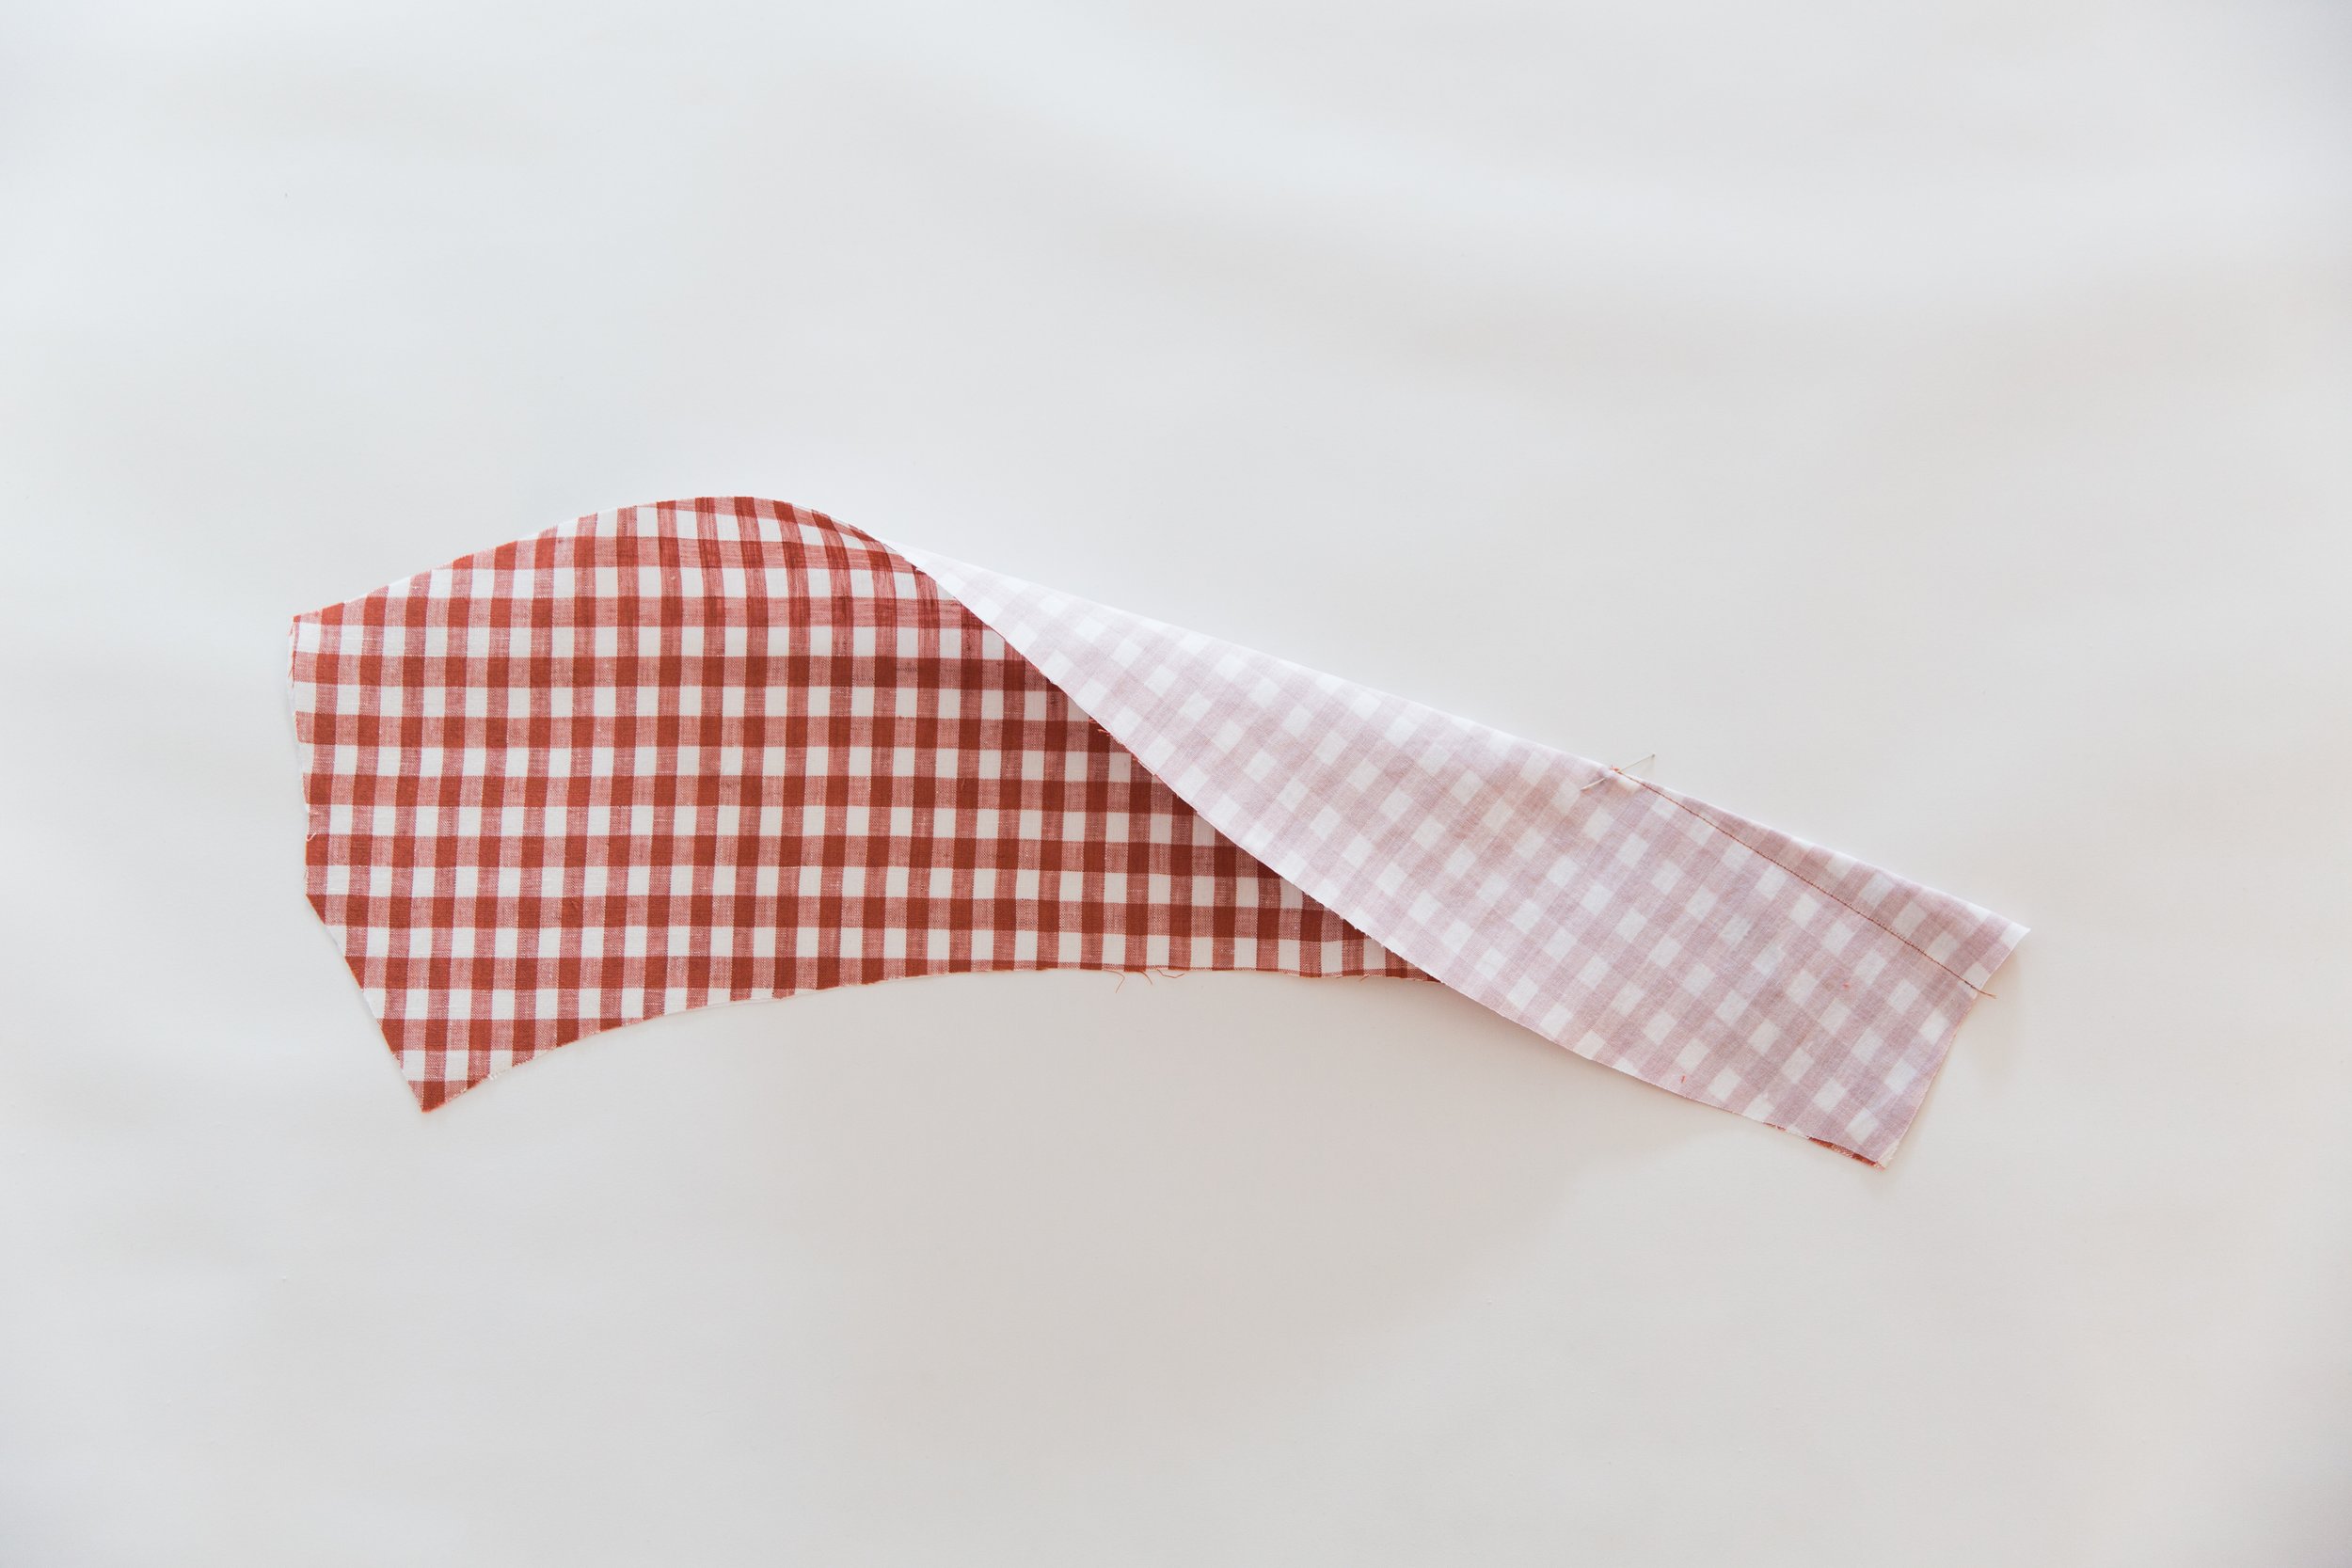
Fusing
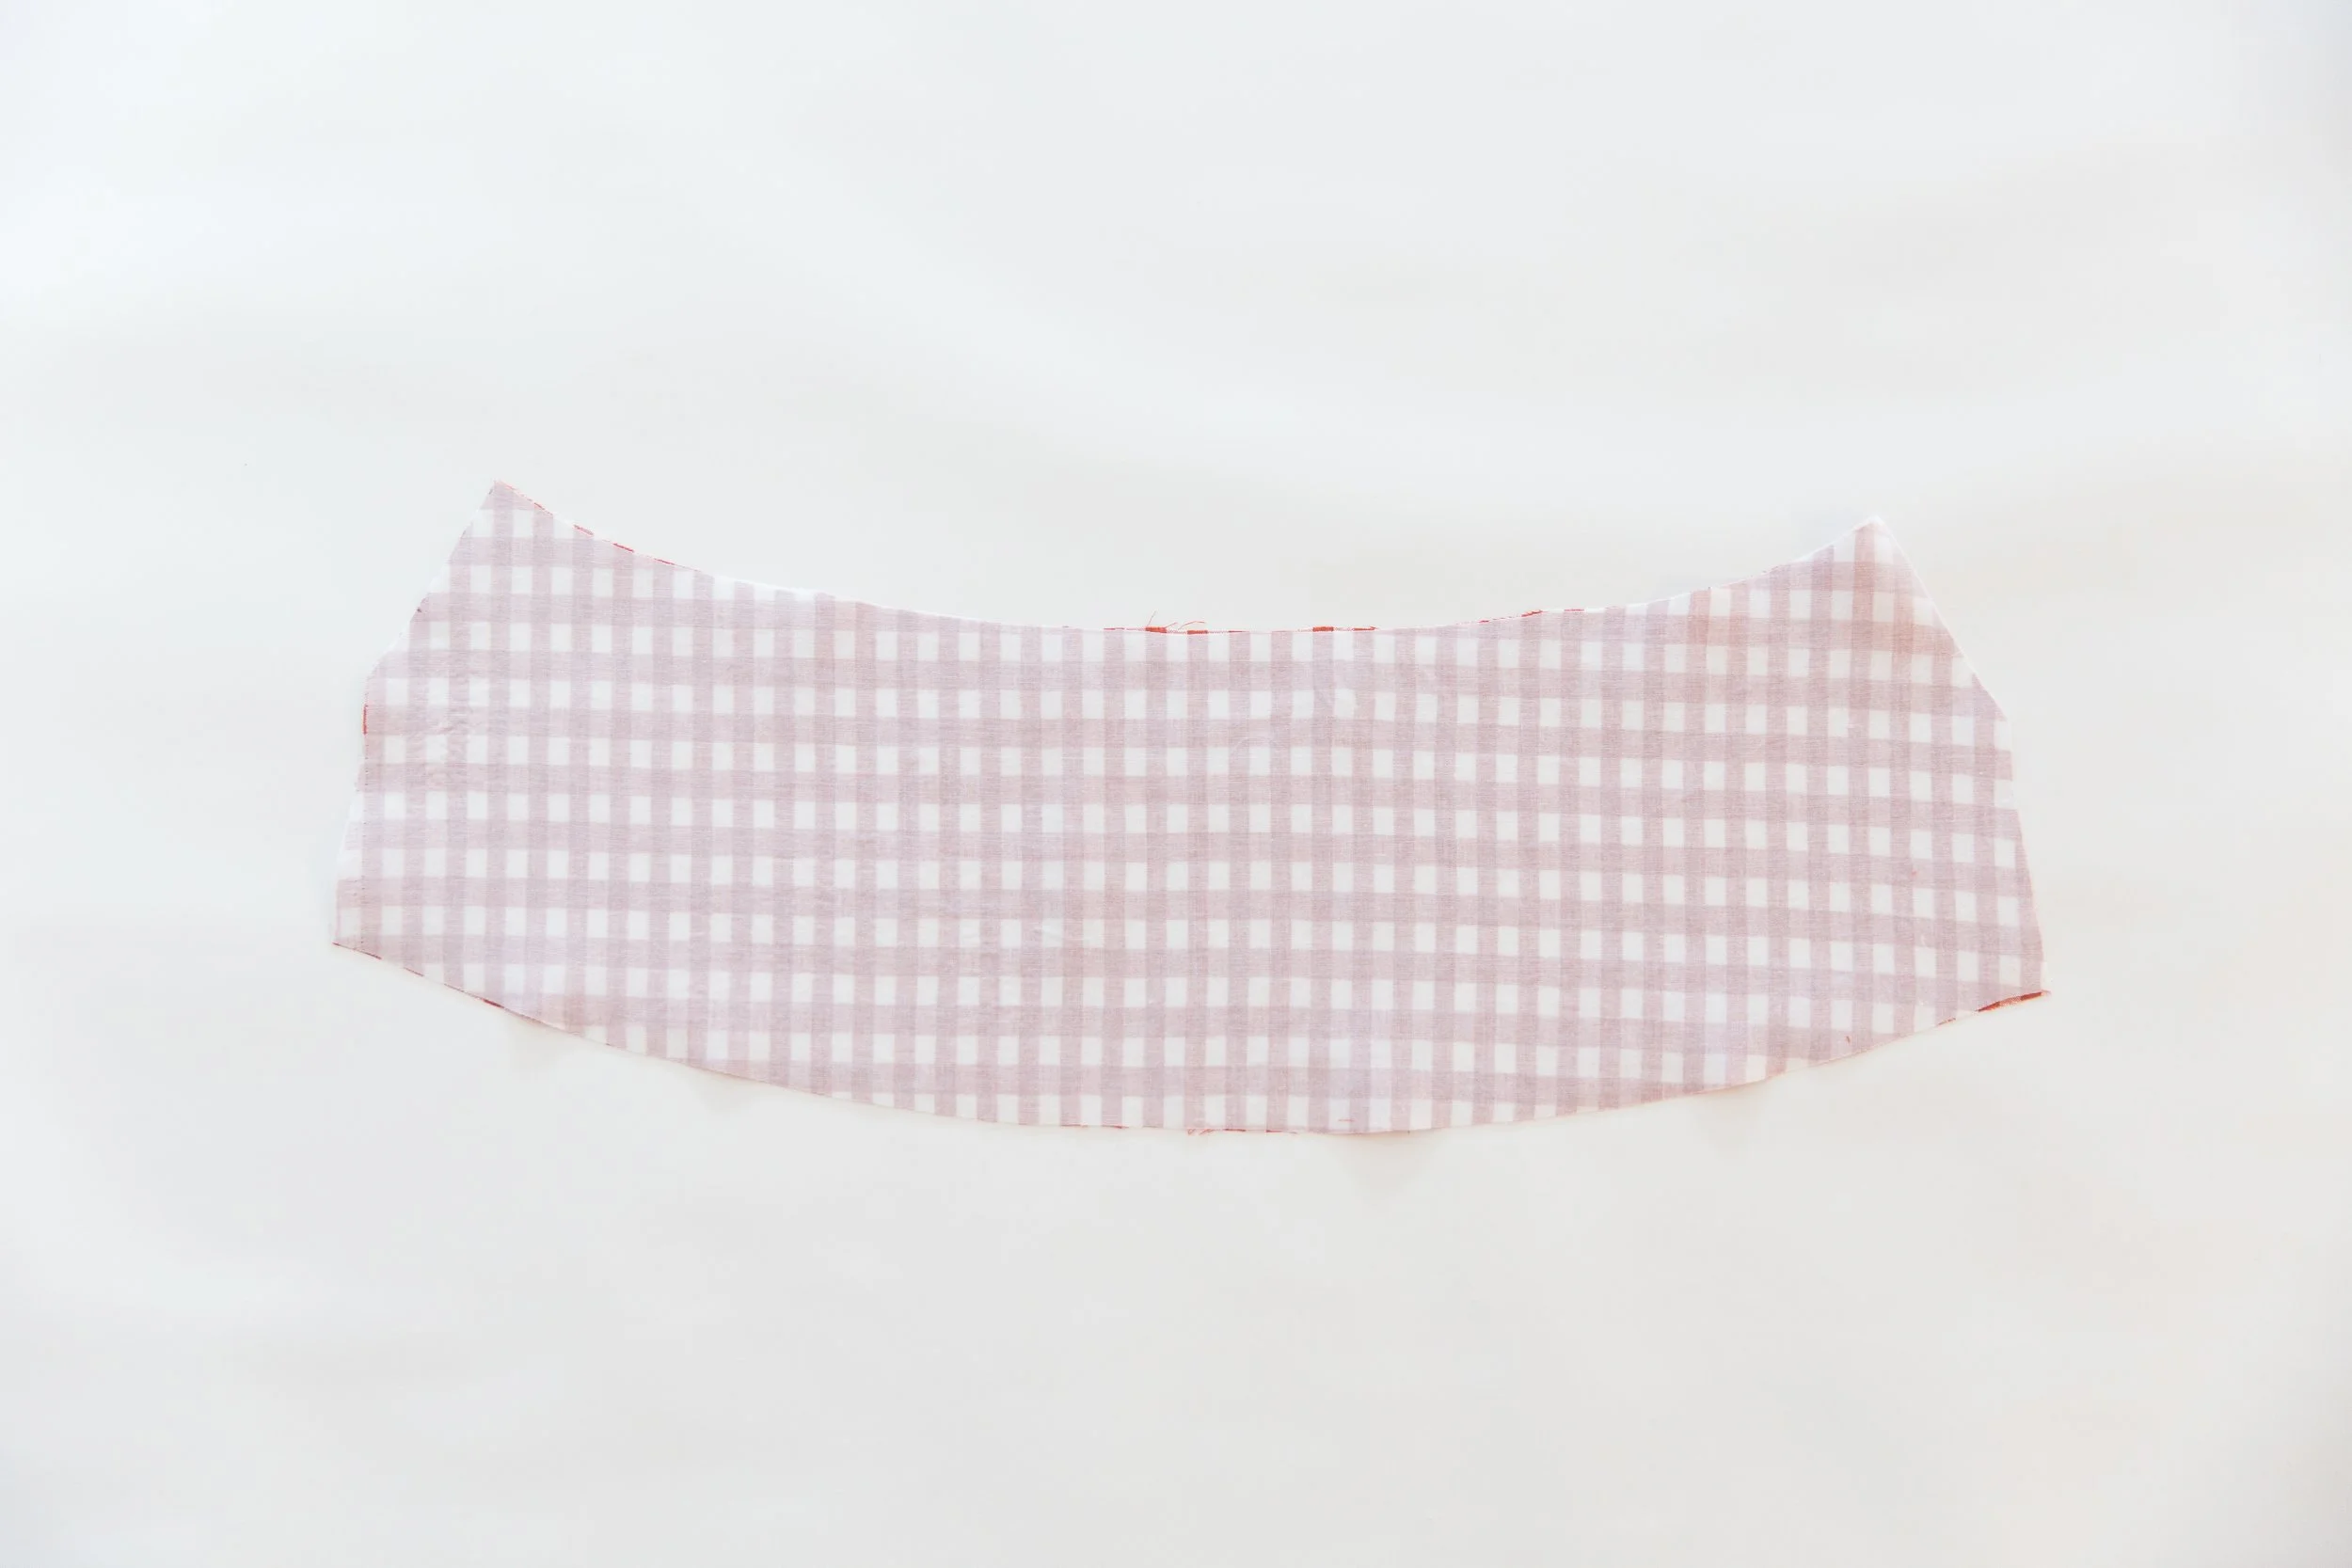
Bodice B one front only

Step 1
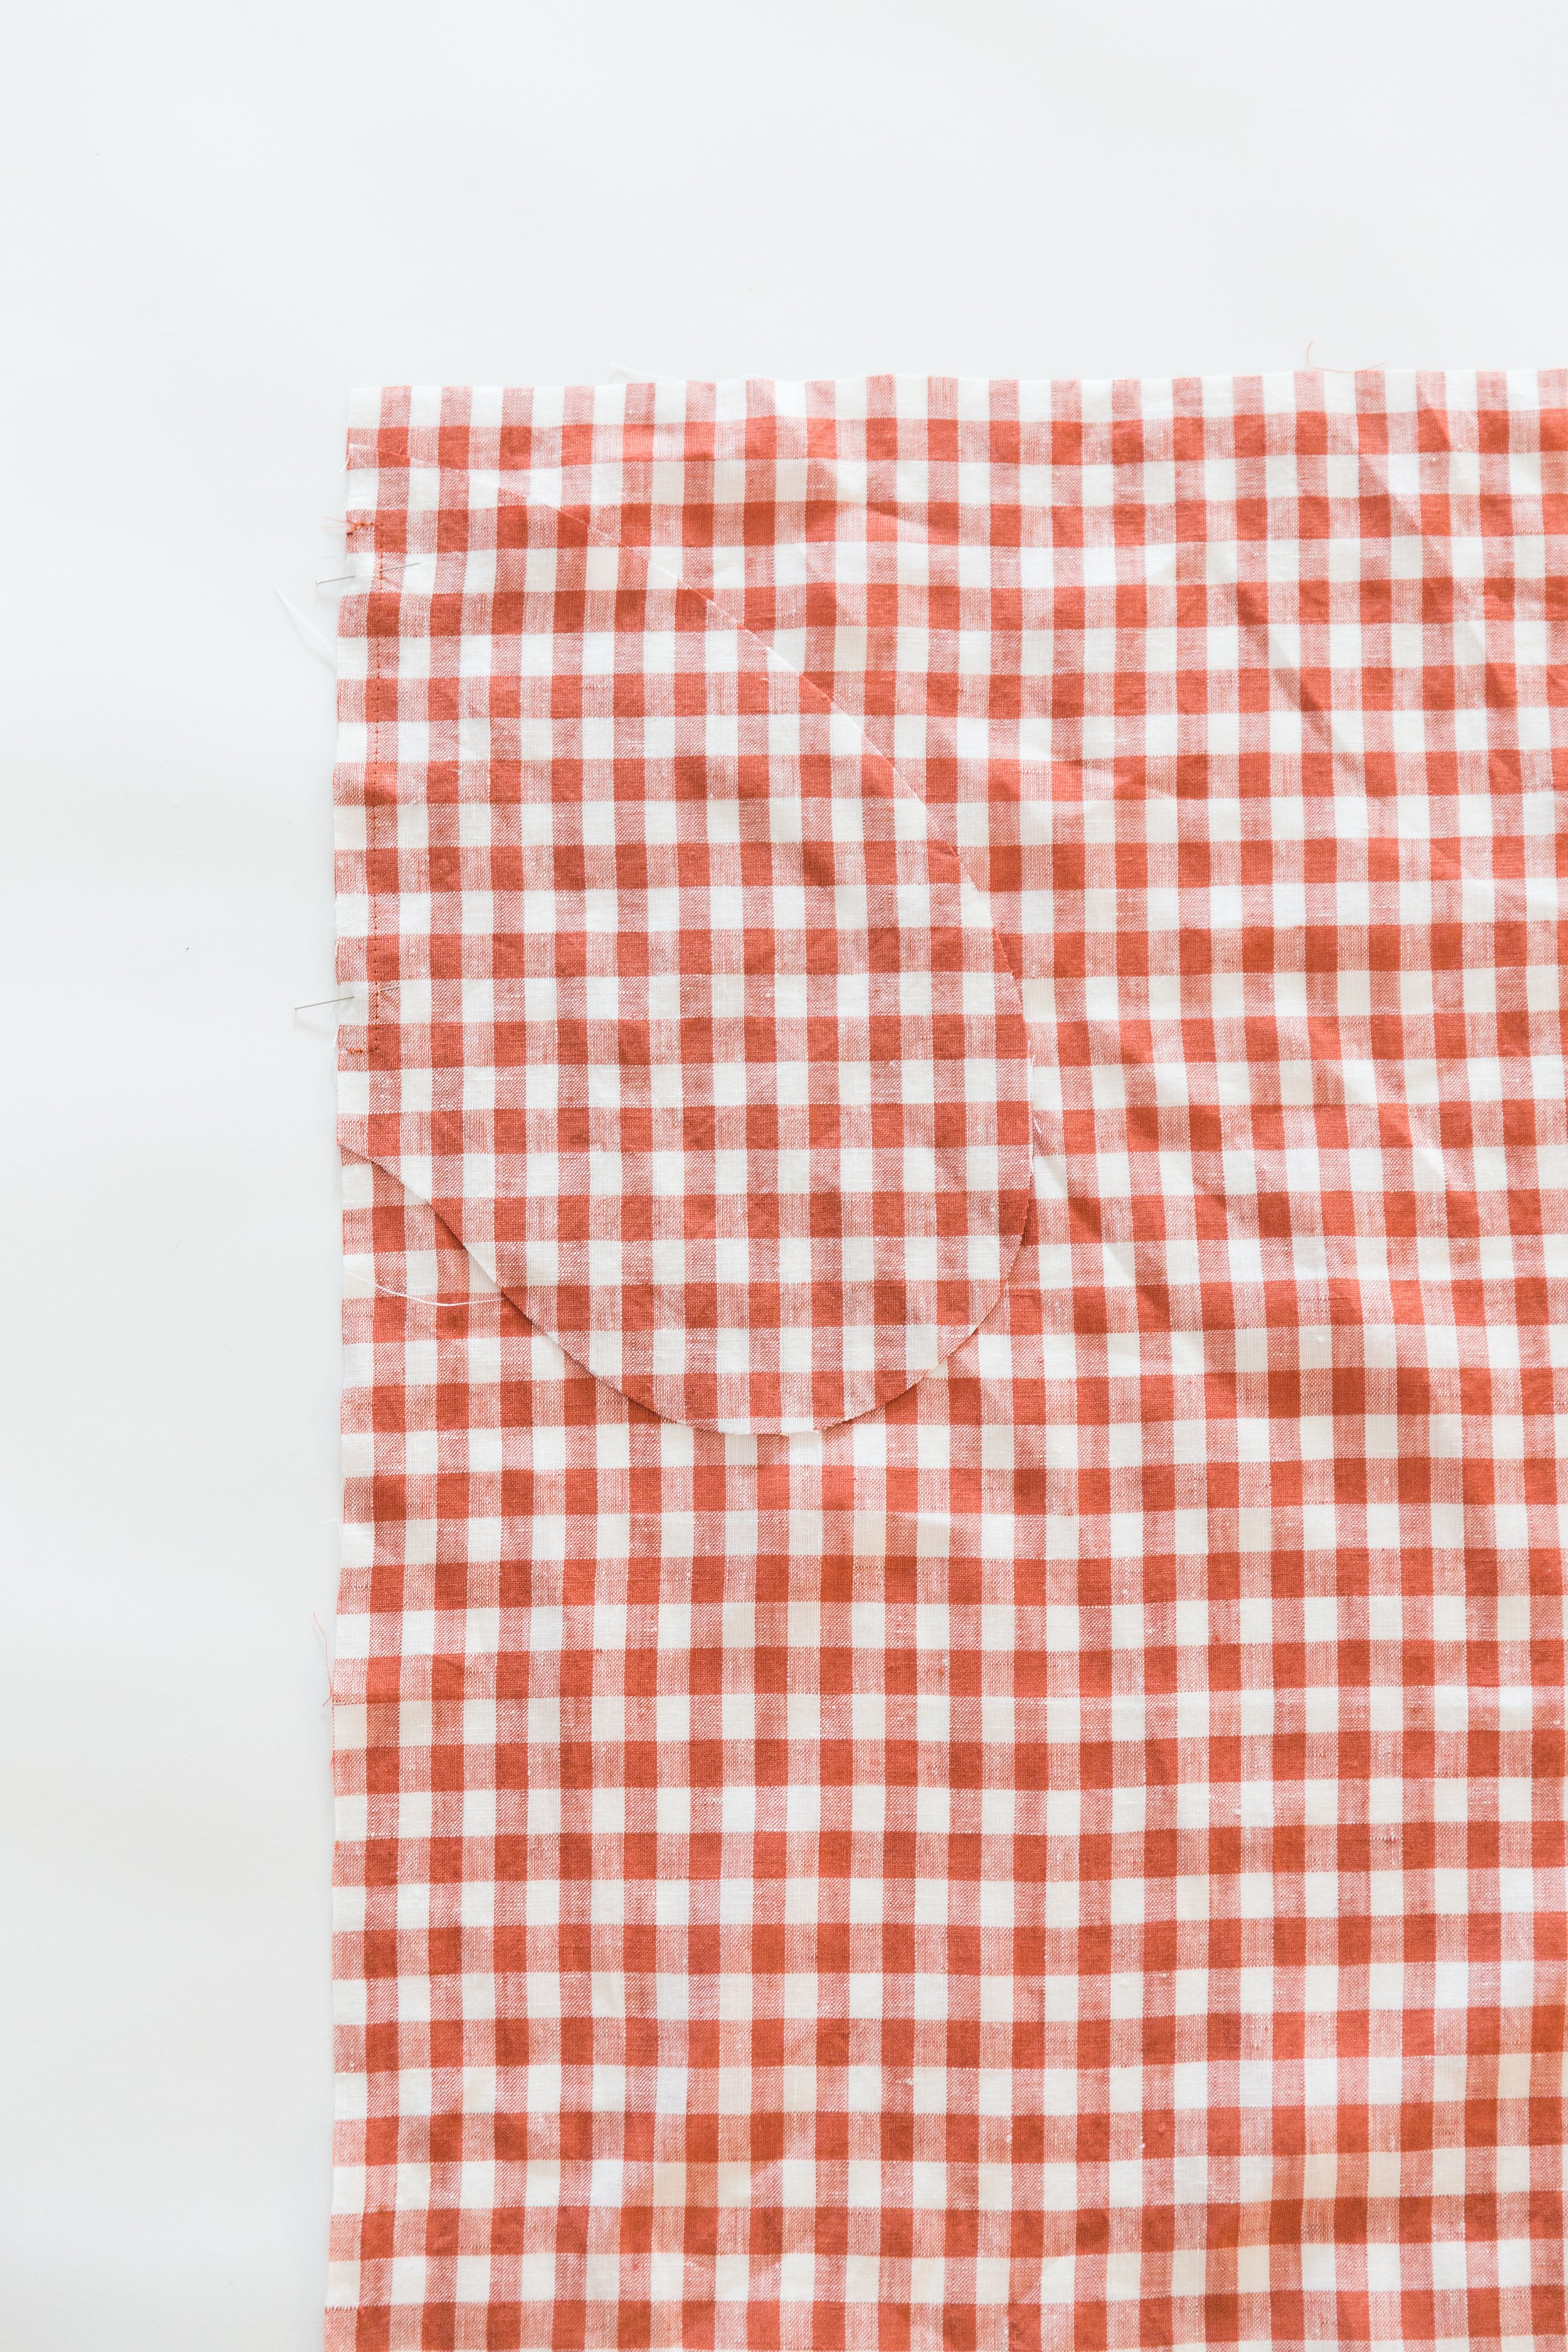
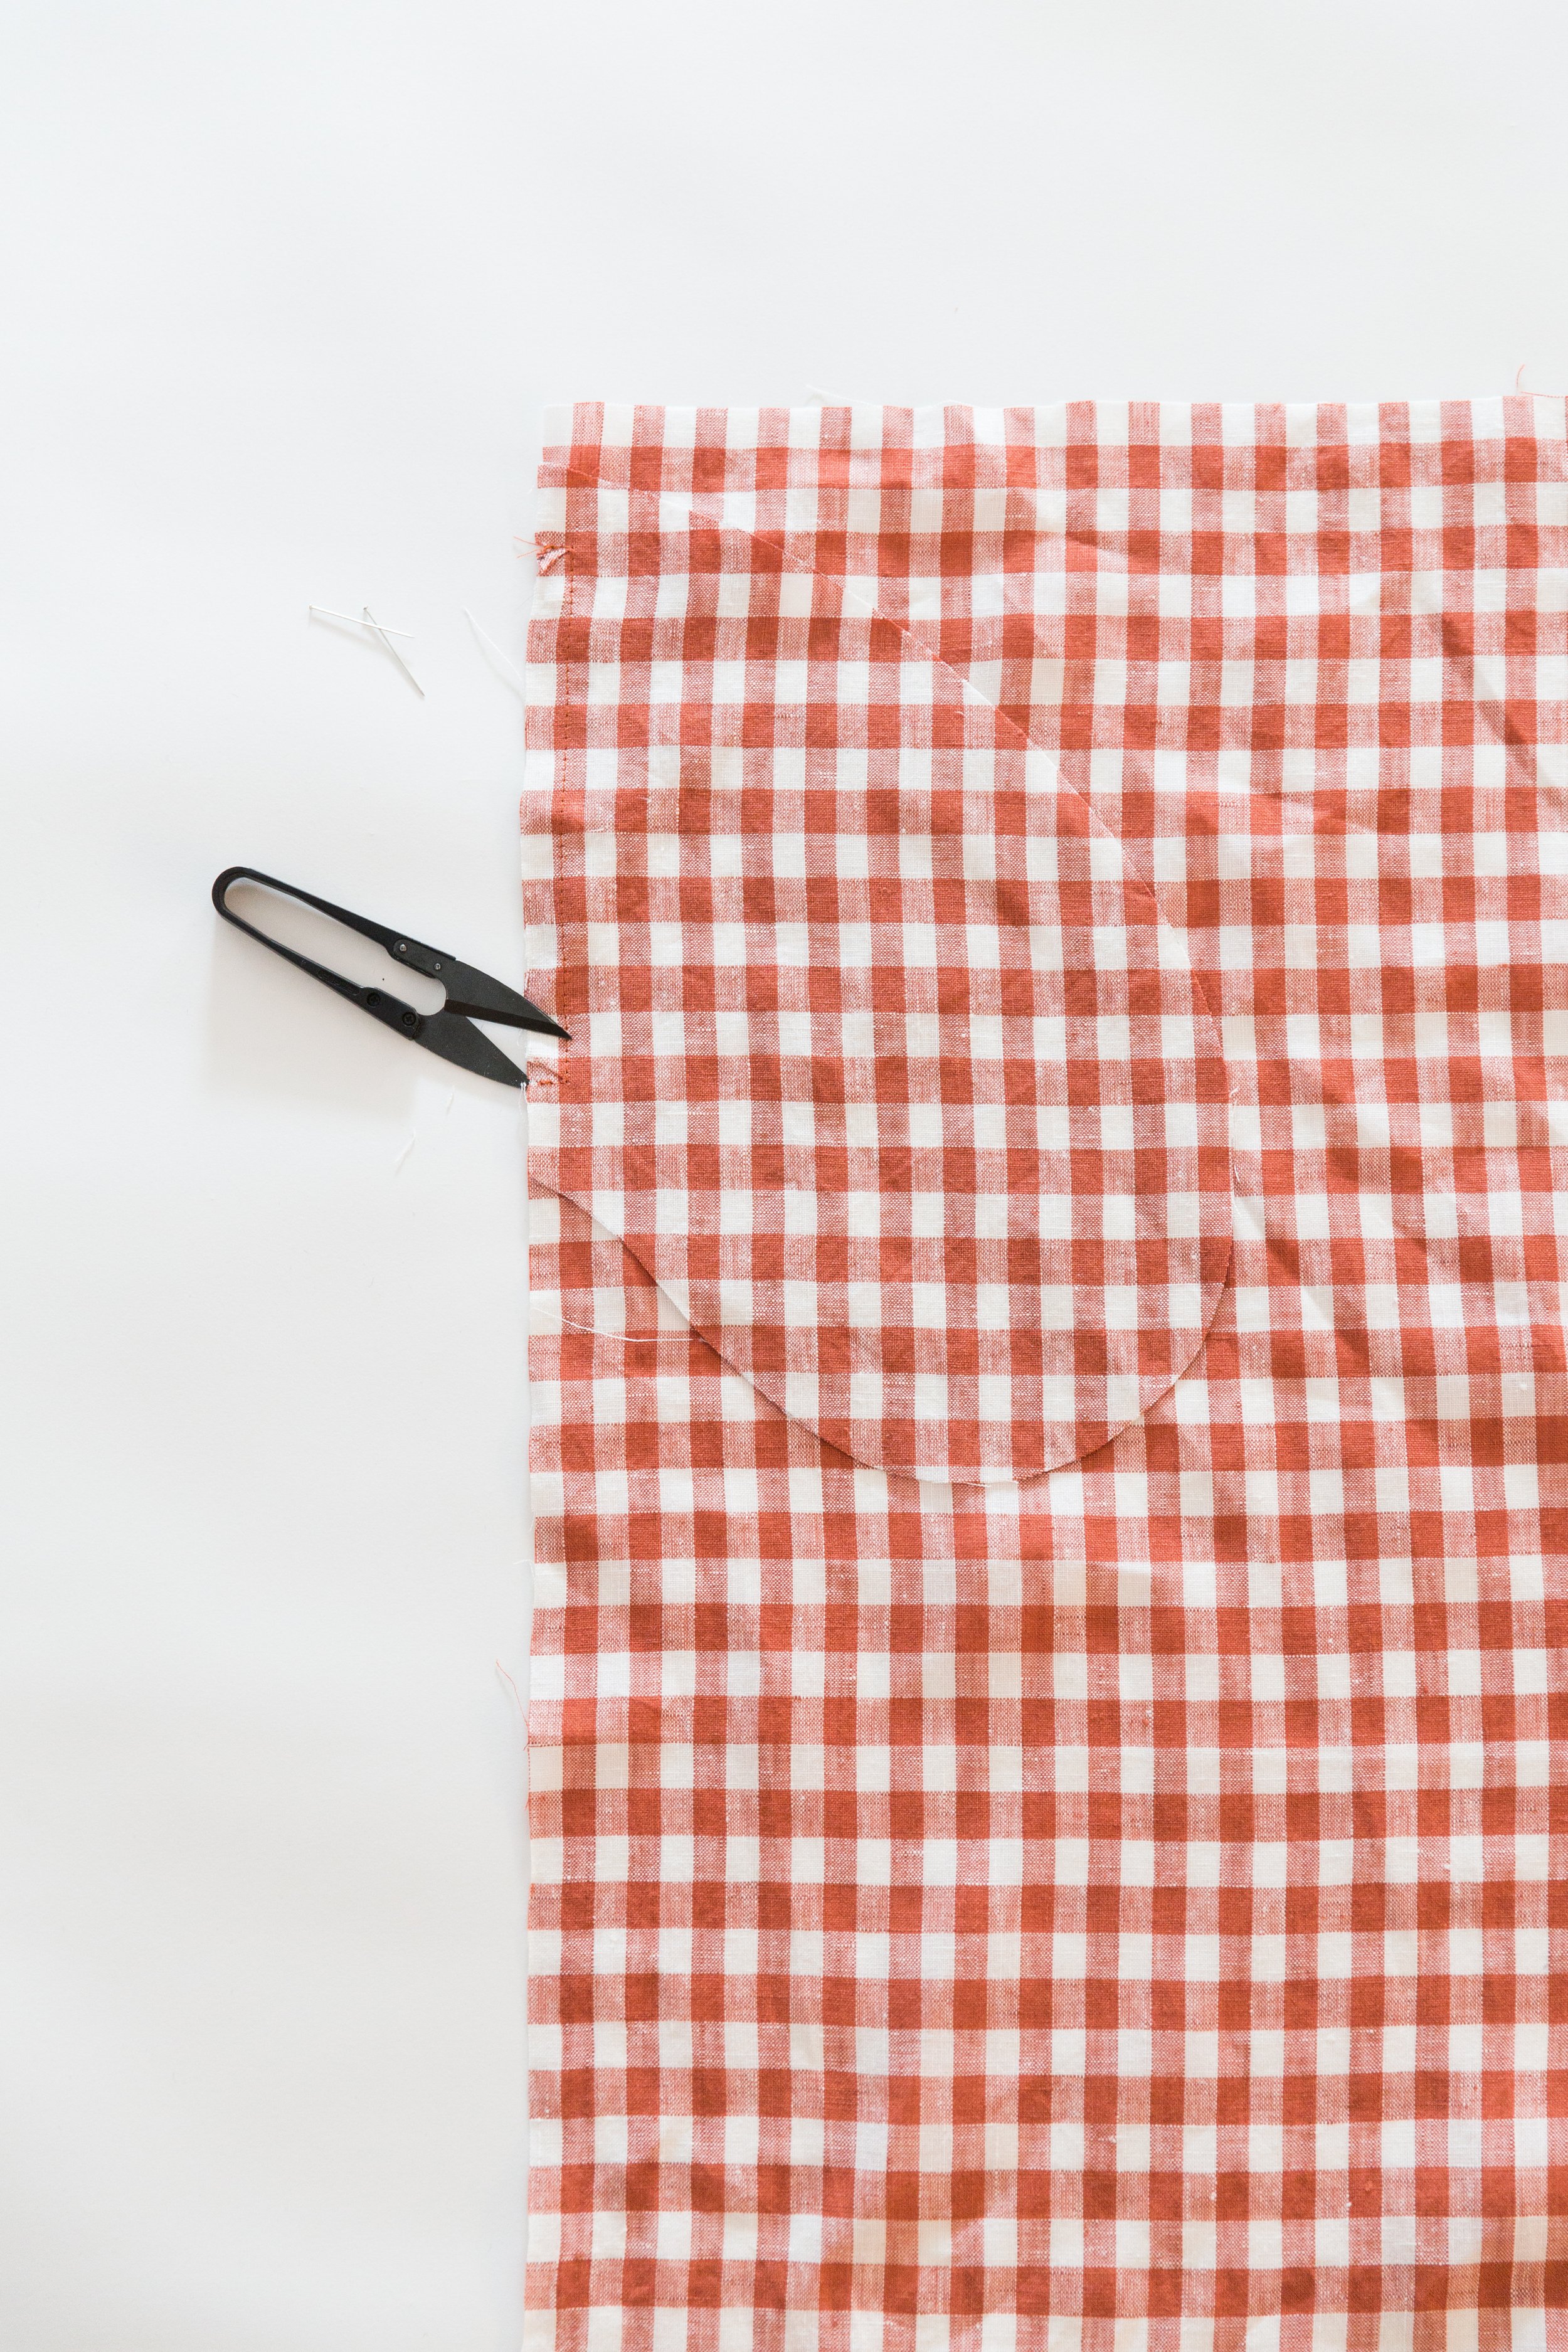
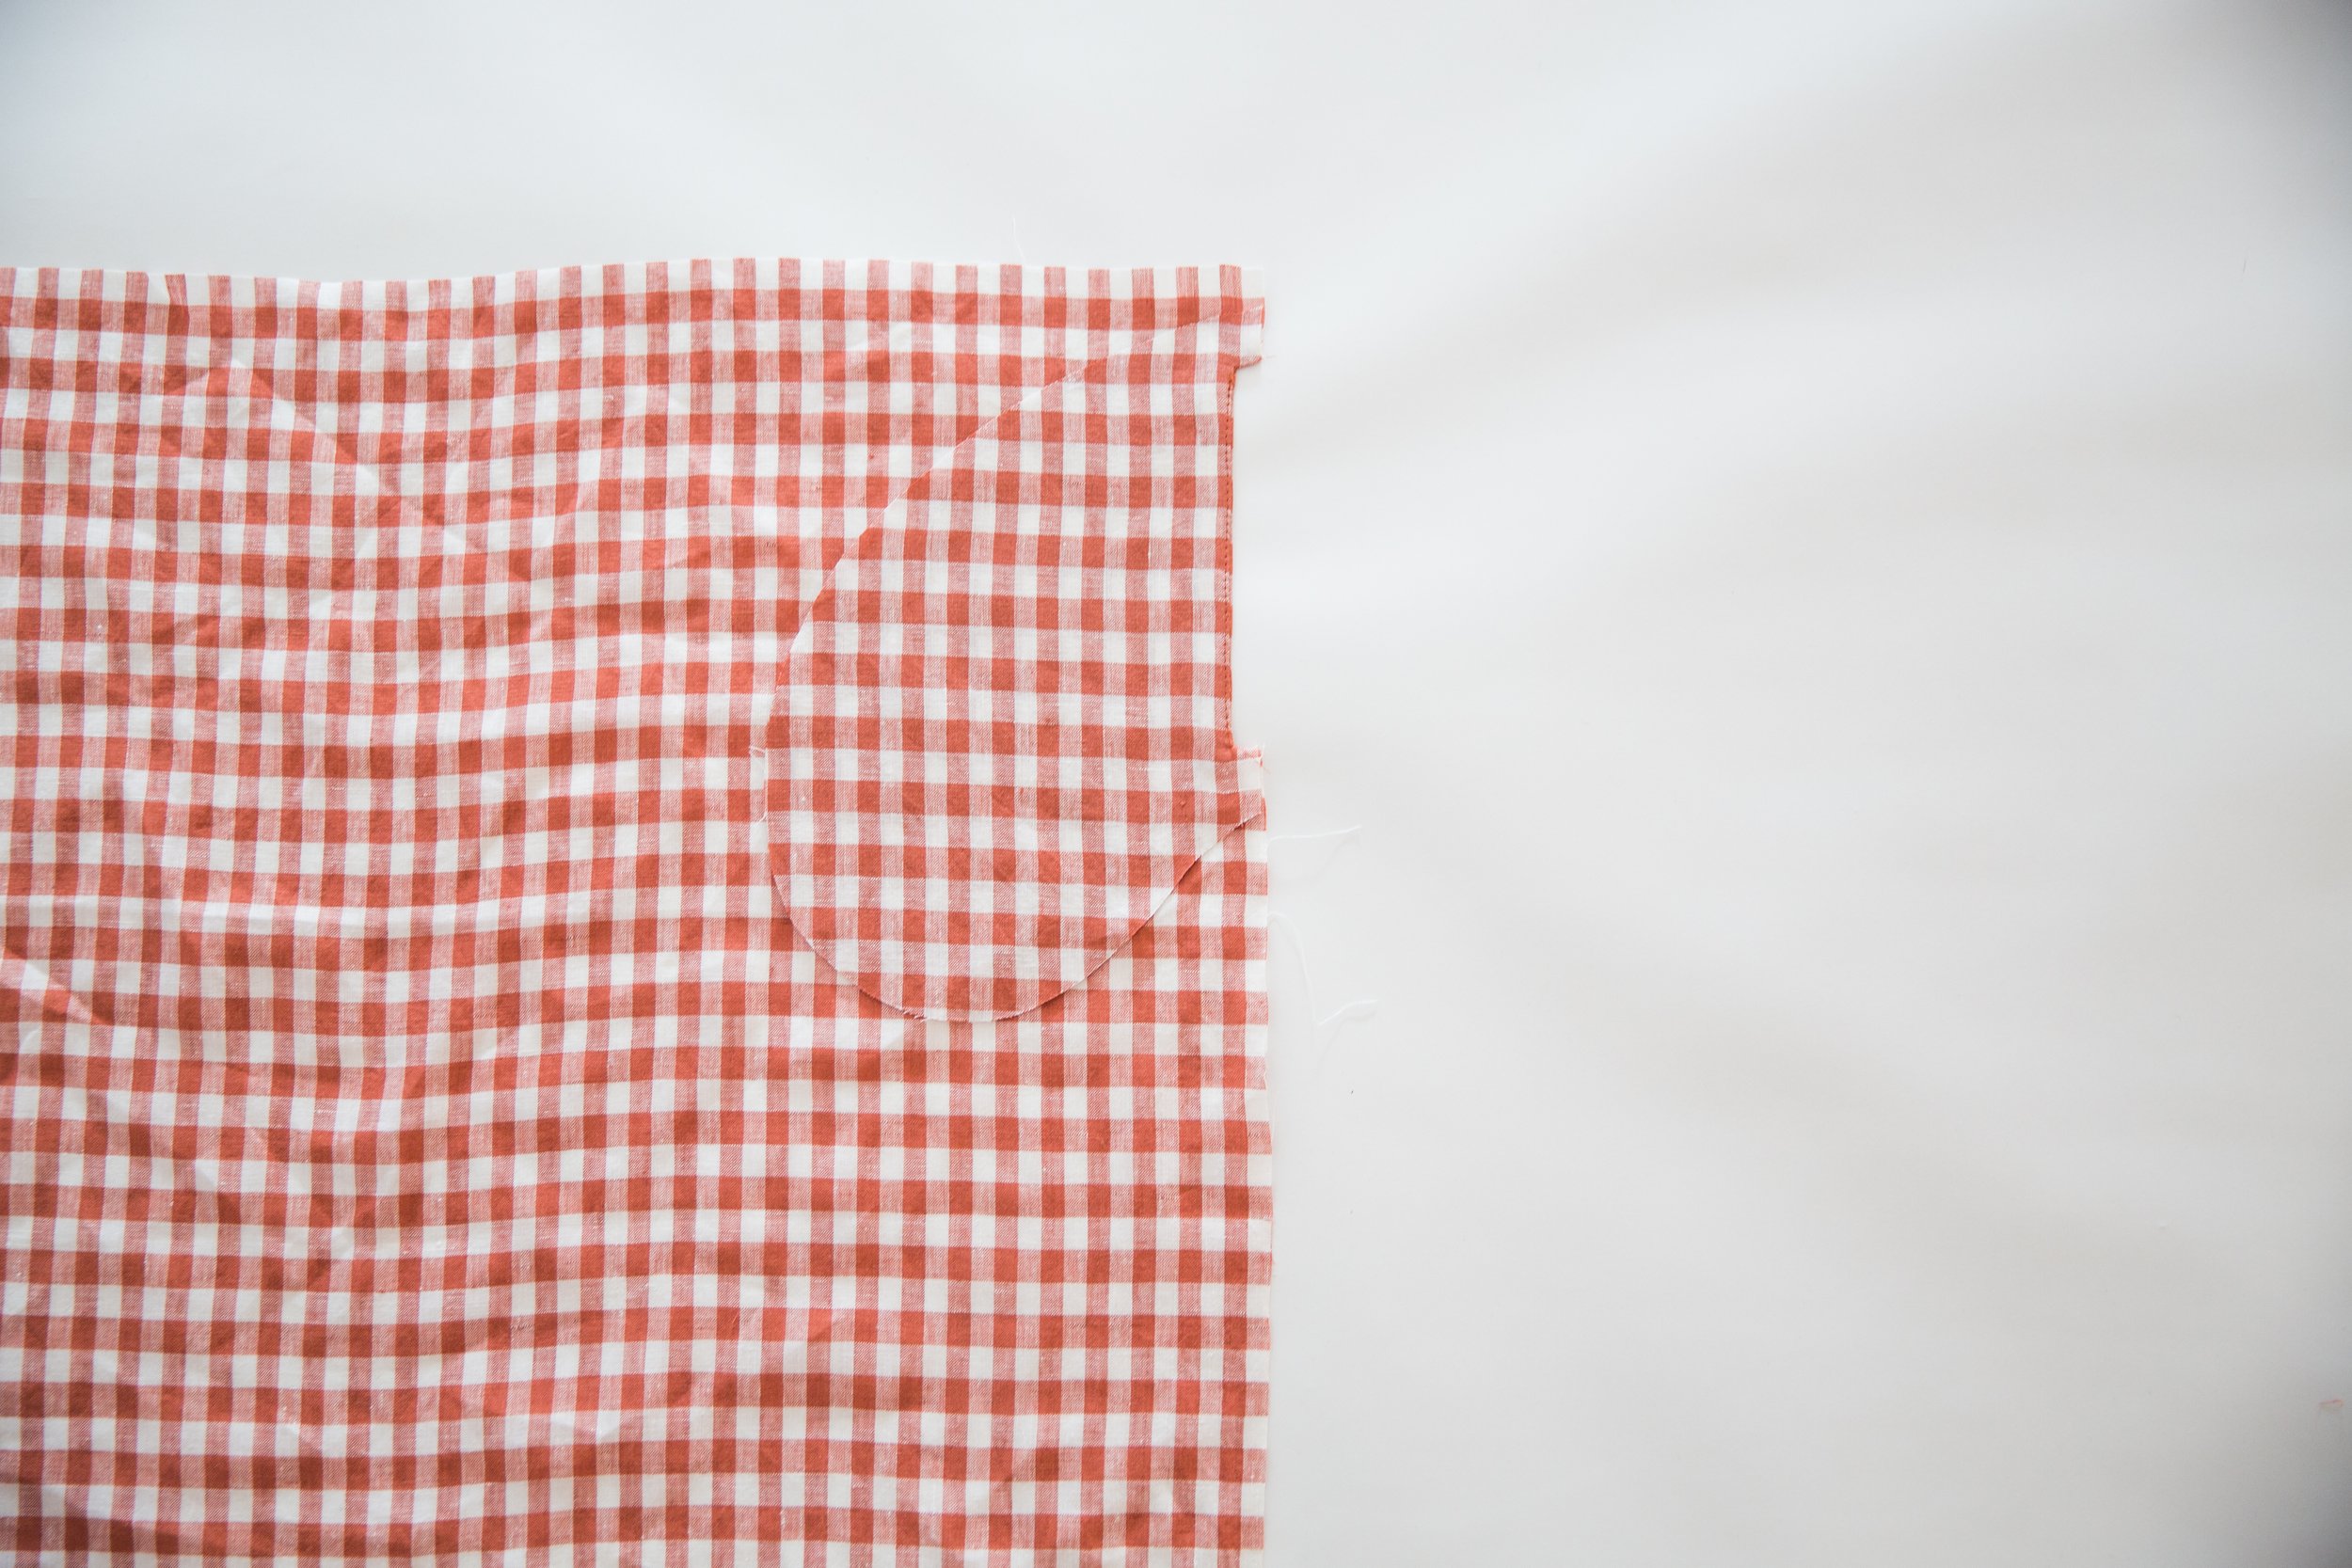
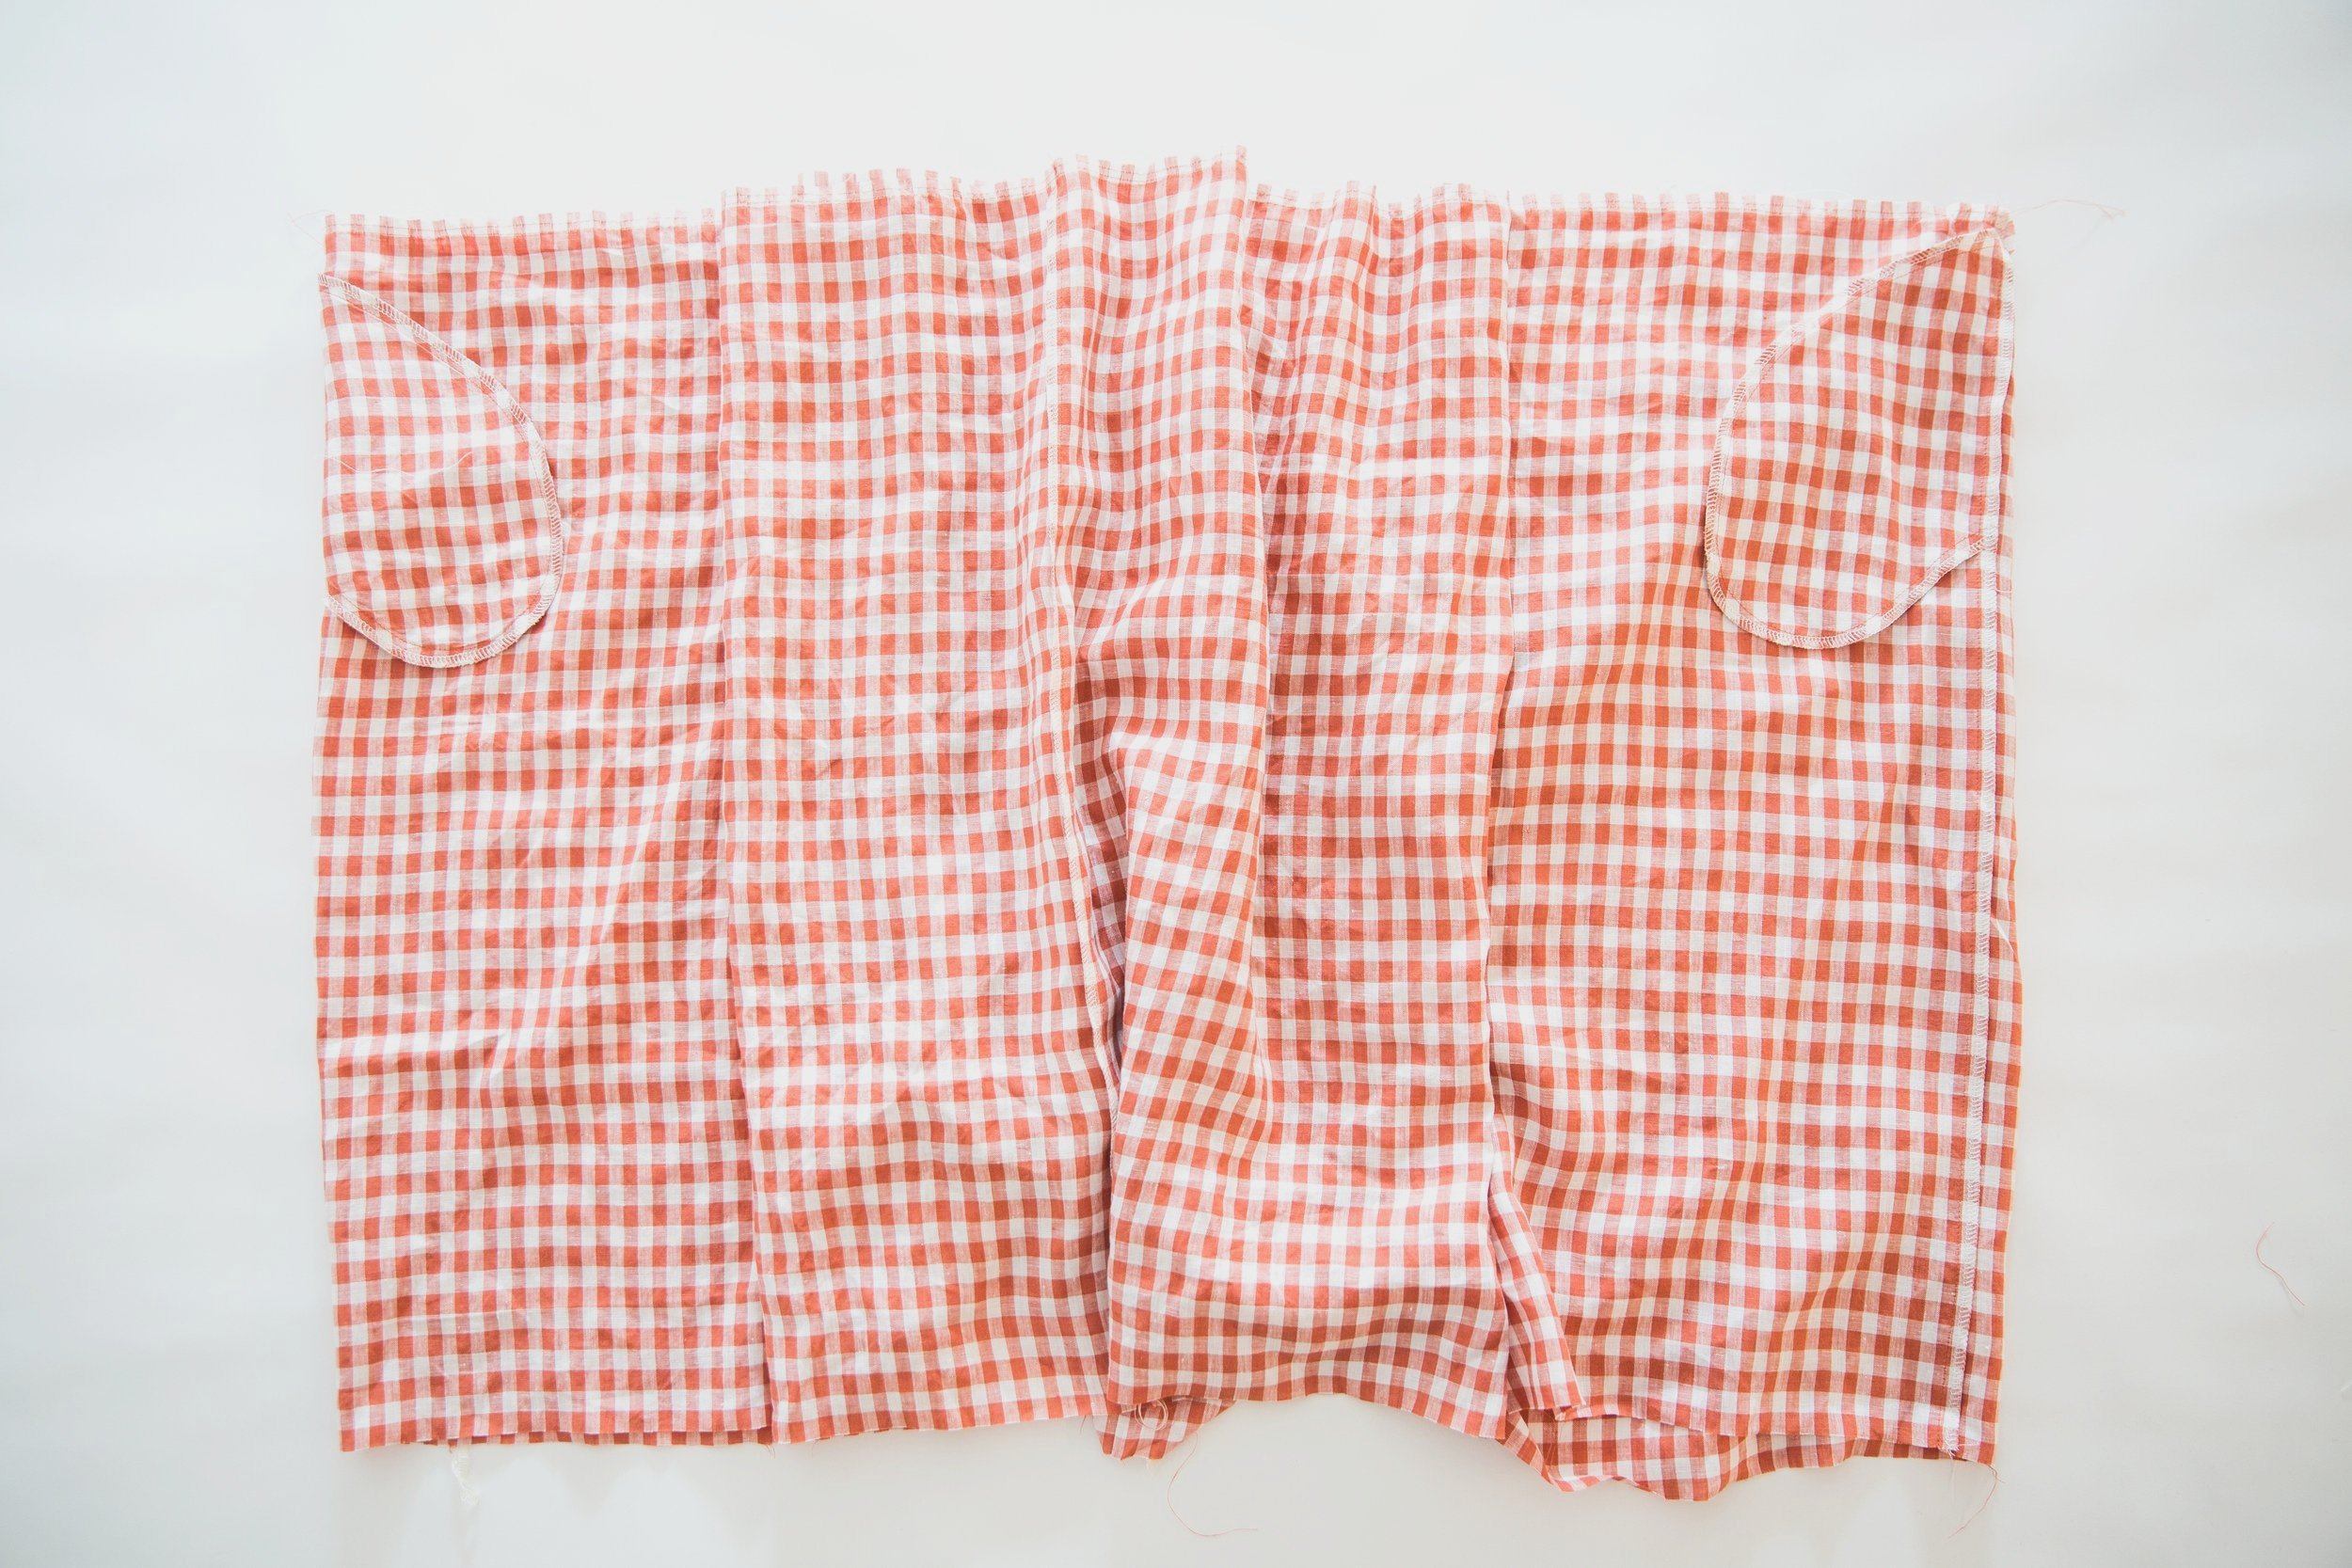
Pin darts into place, matching up the notches on side seams with right sides facing. Pin to the punch hole as marked on your pattern piece. Stitch. Press dart excess downward. Repeat for other side and other front bodice.
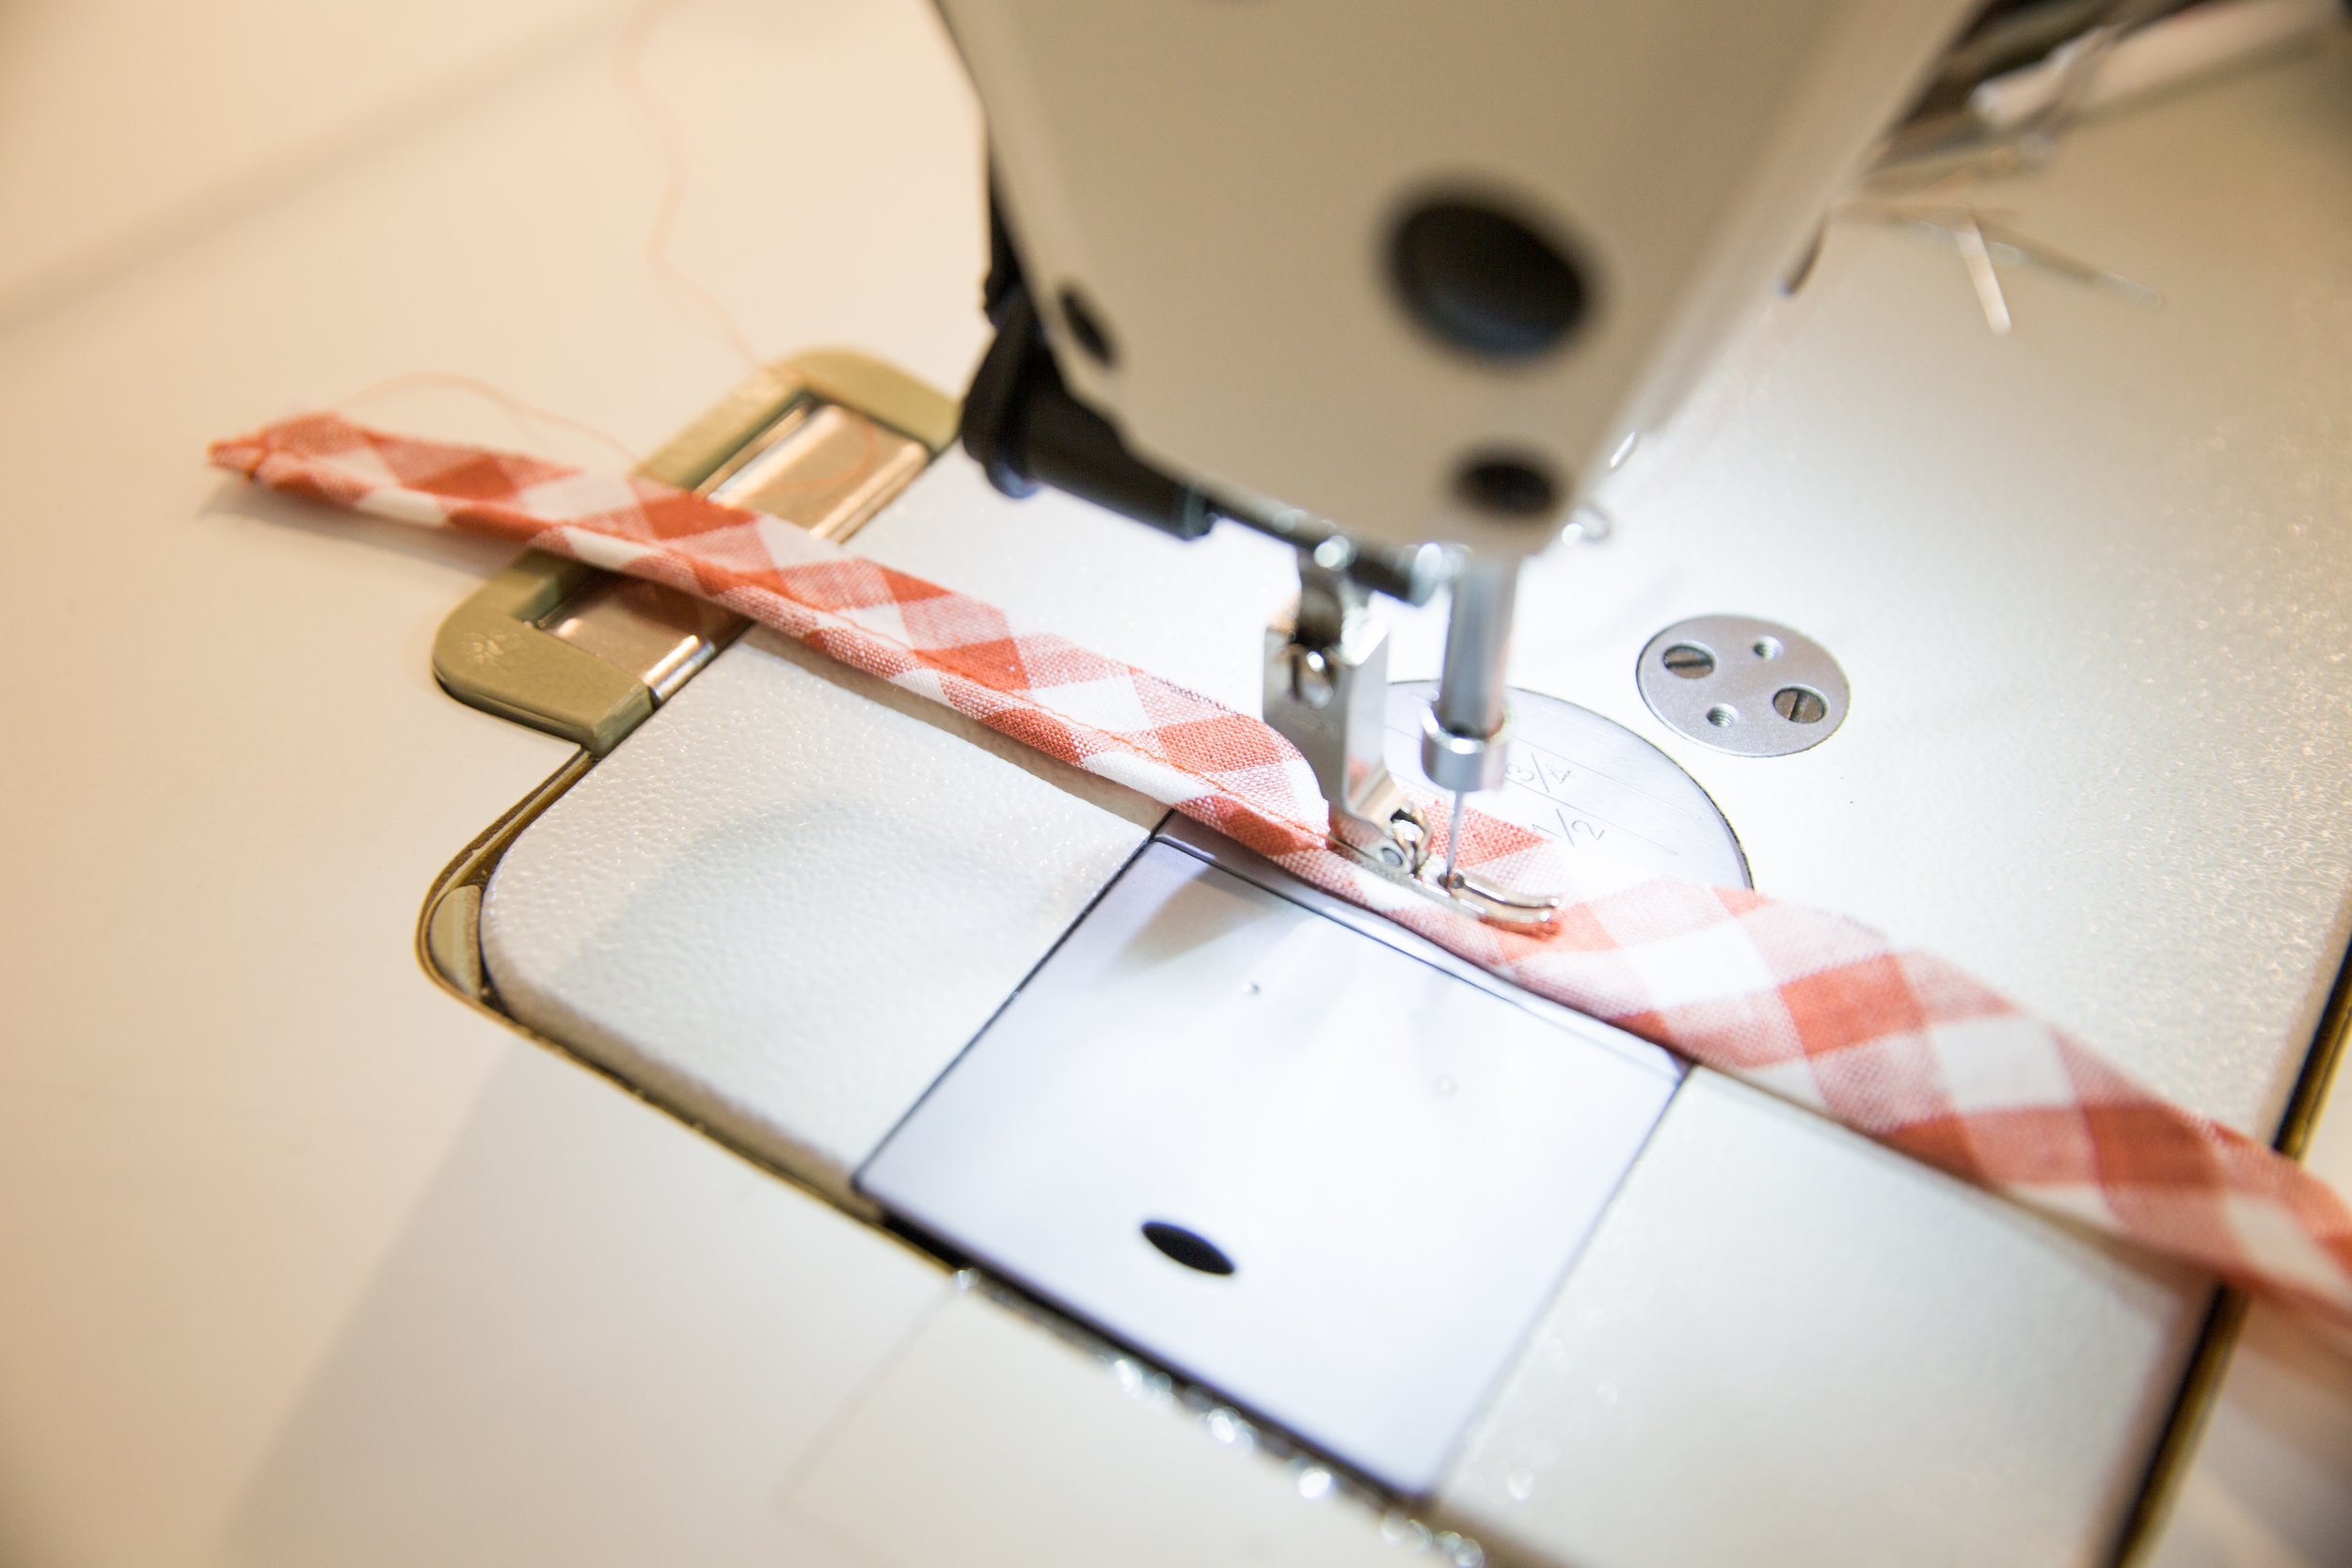
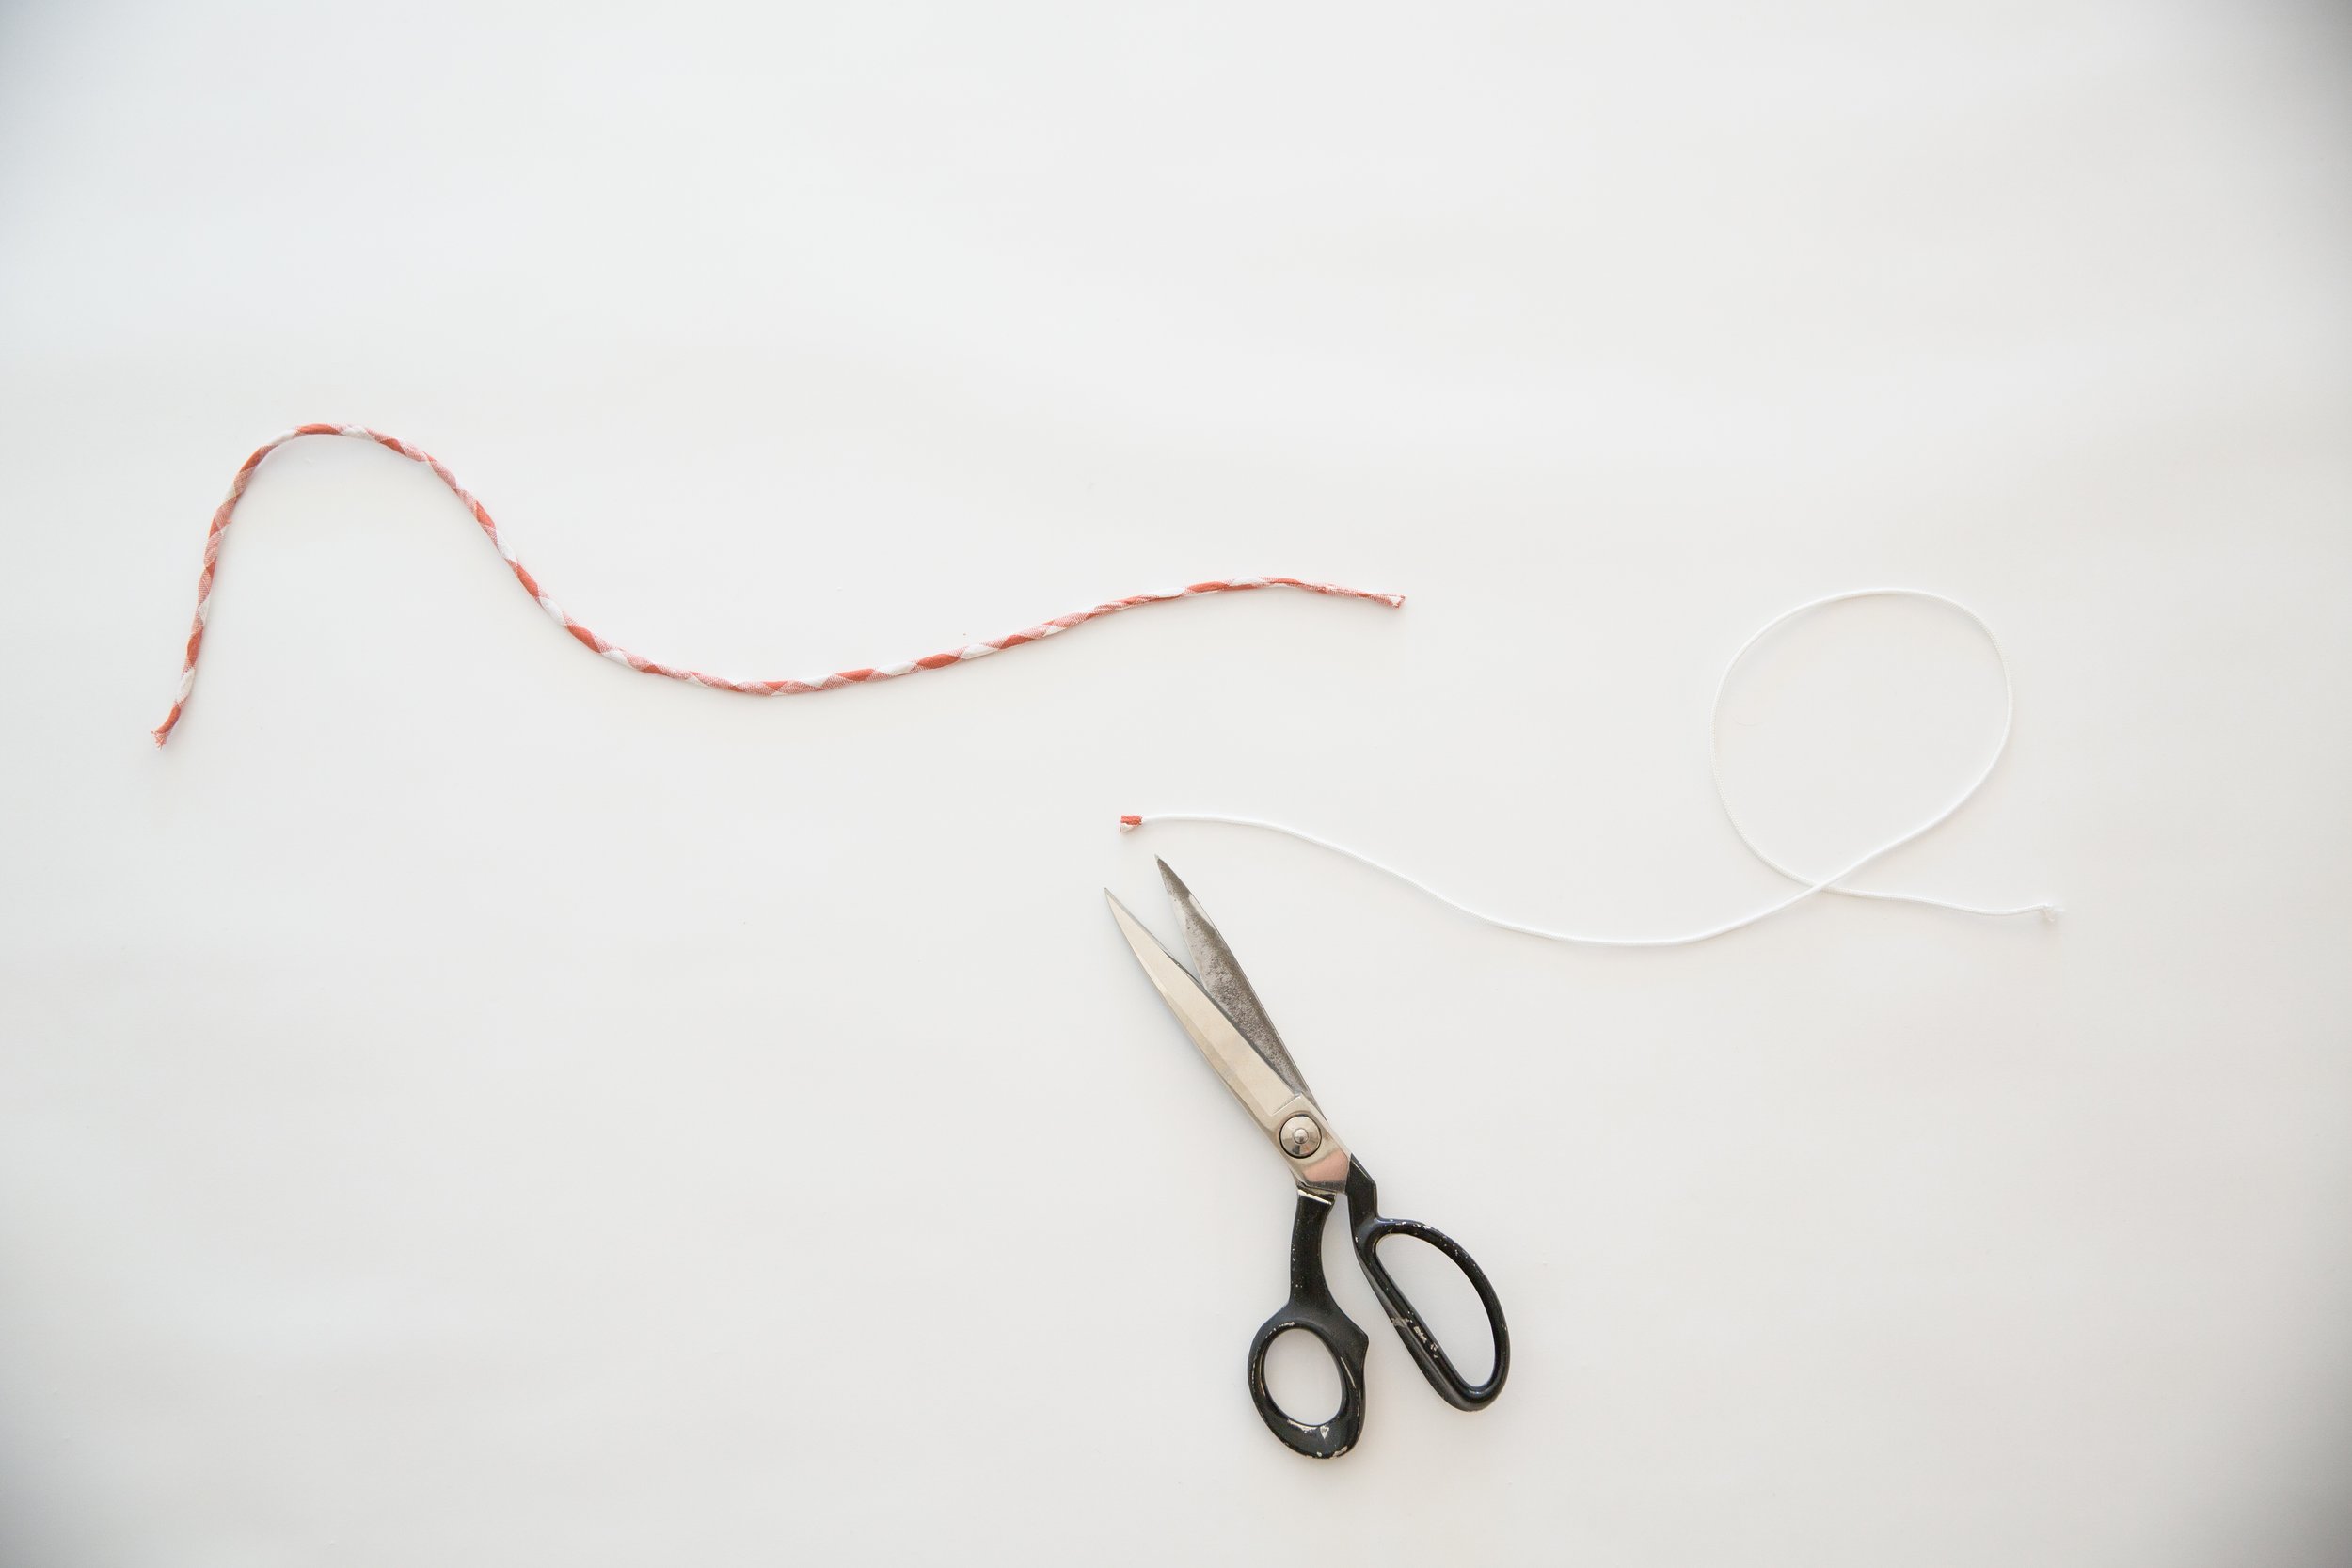
Step 2
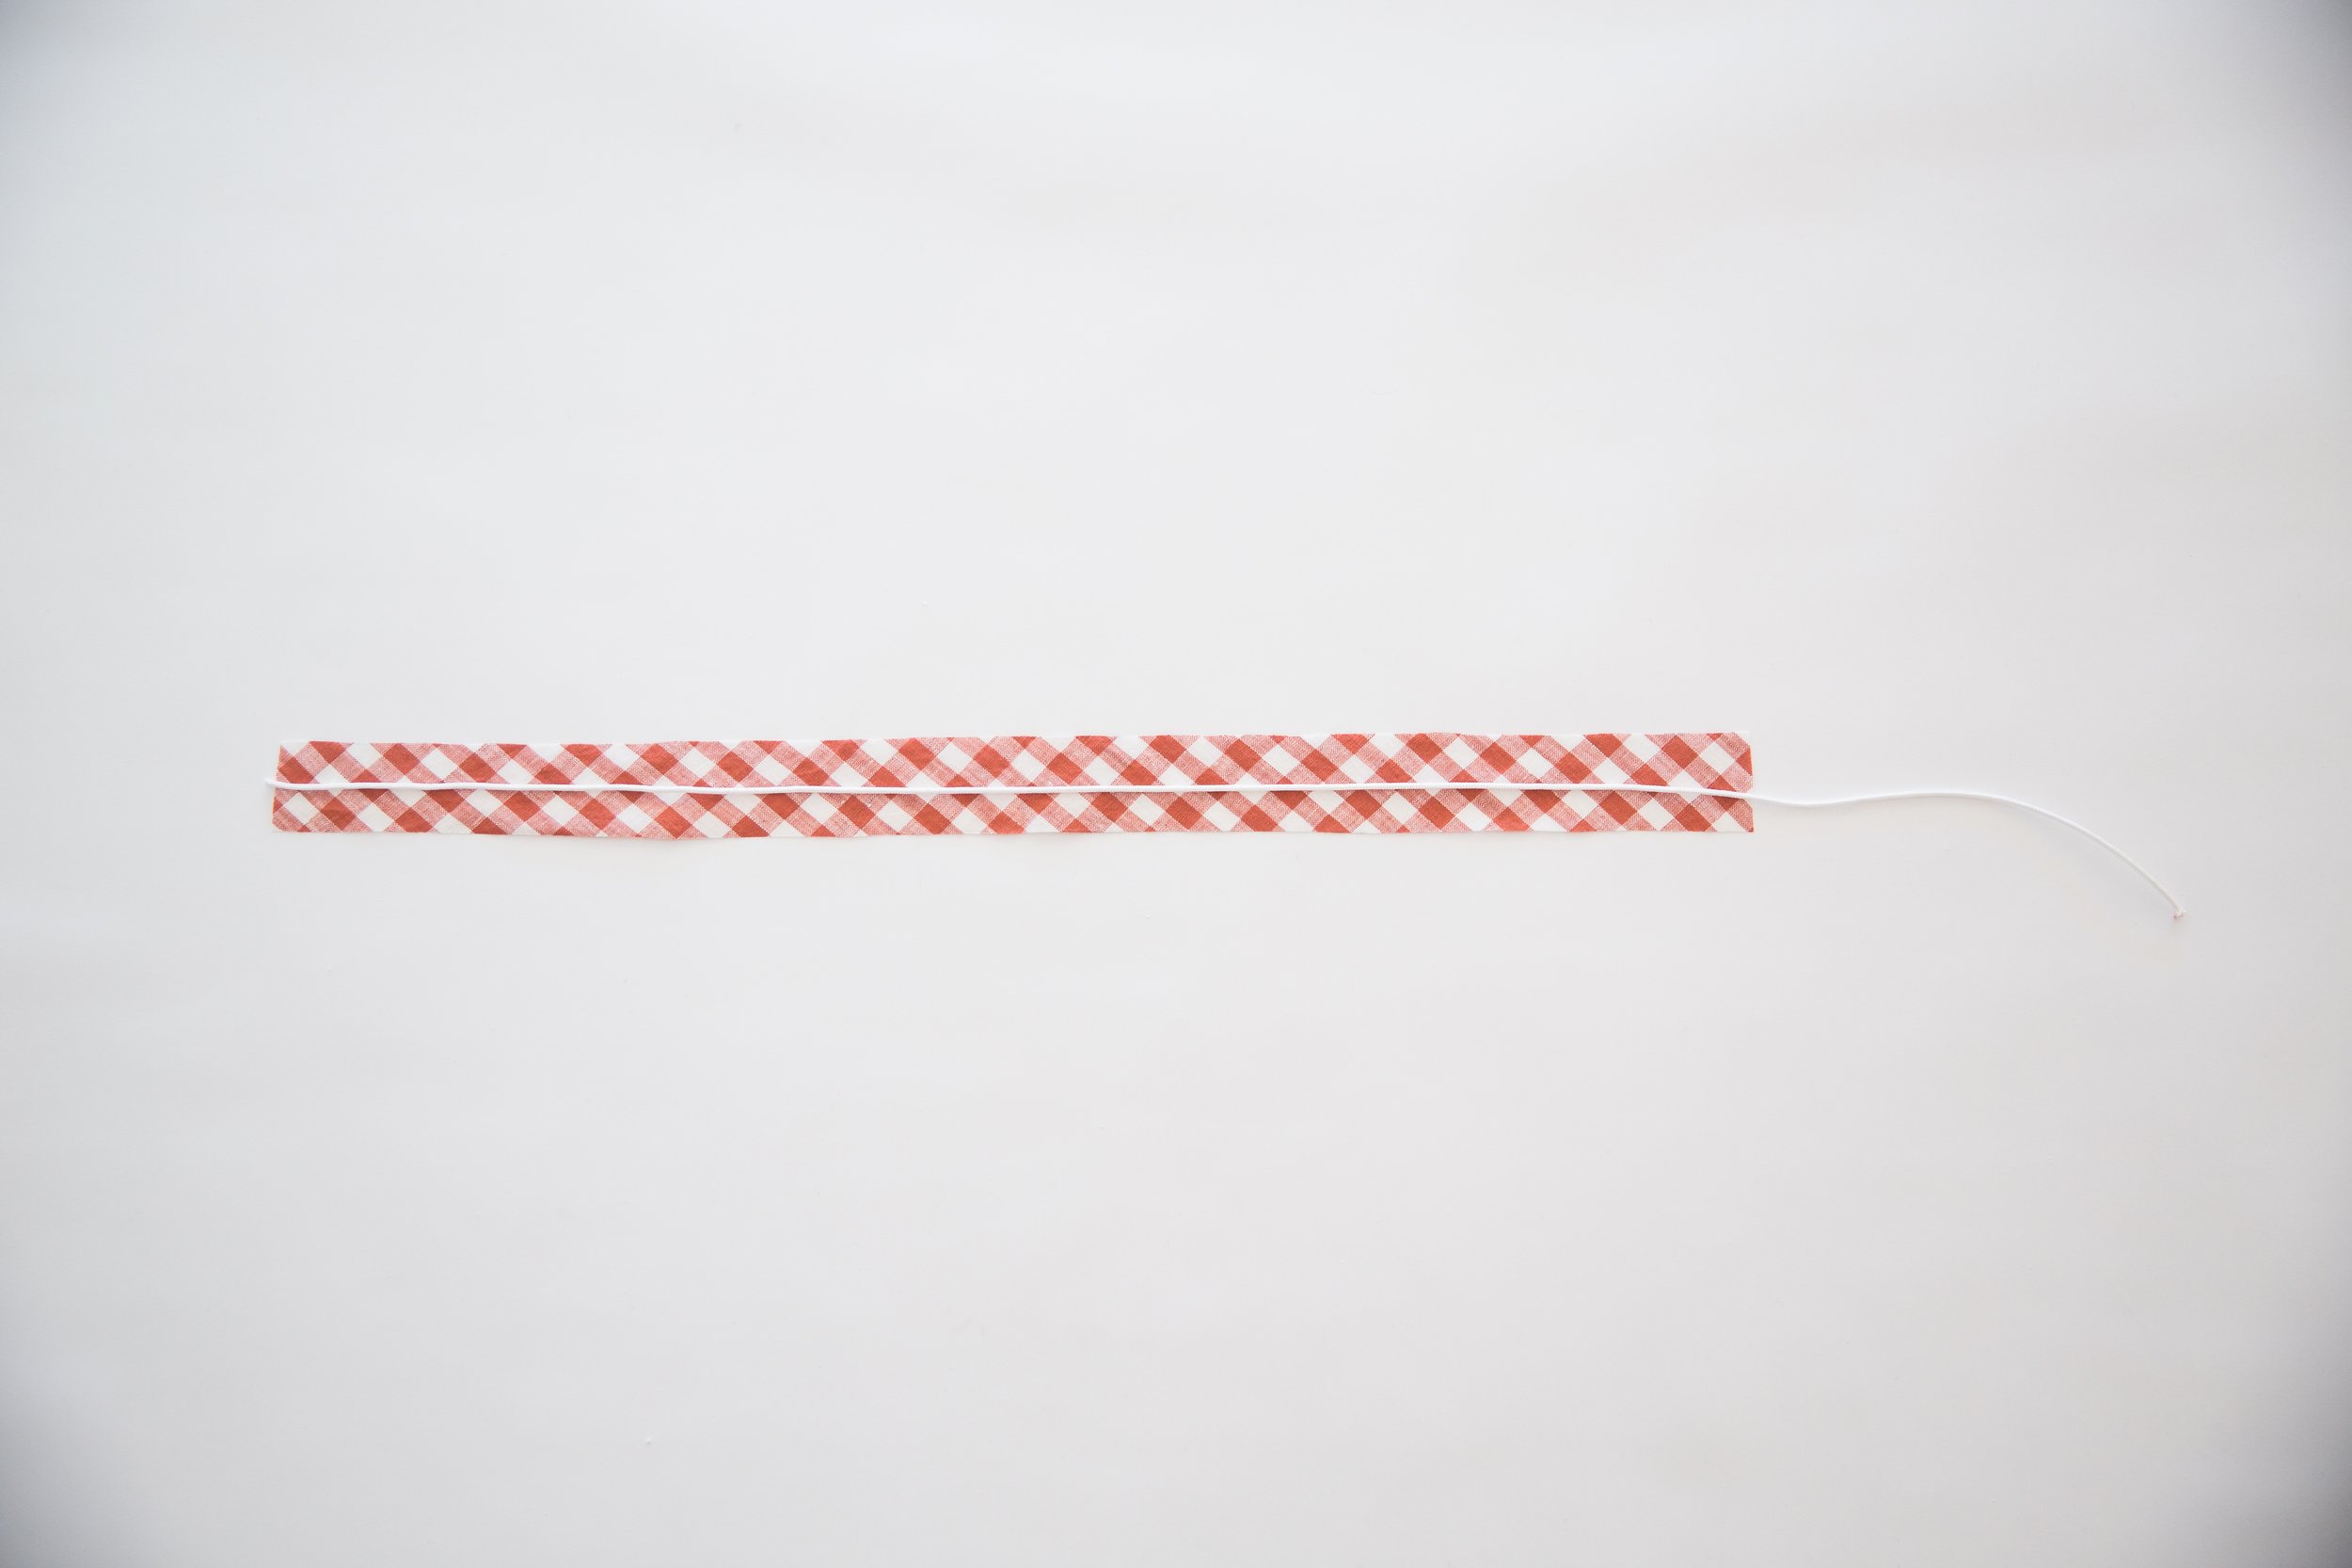
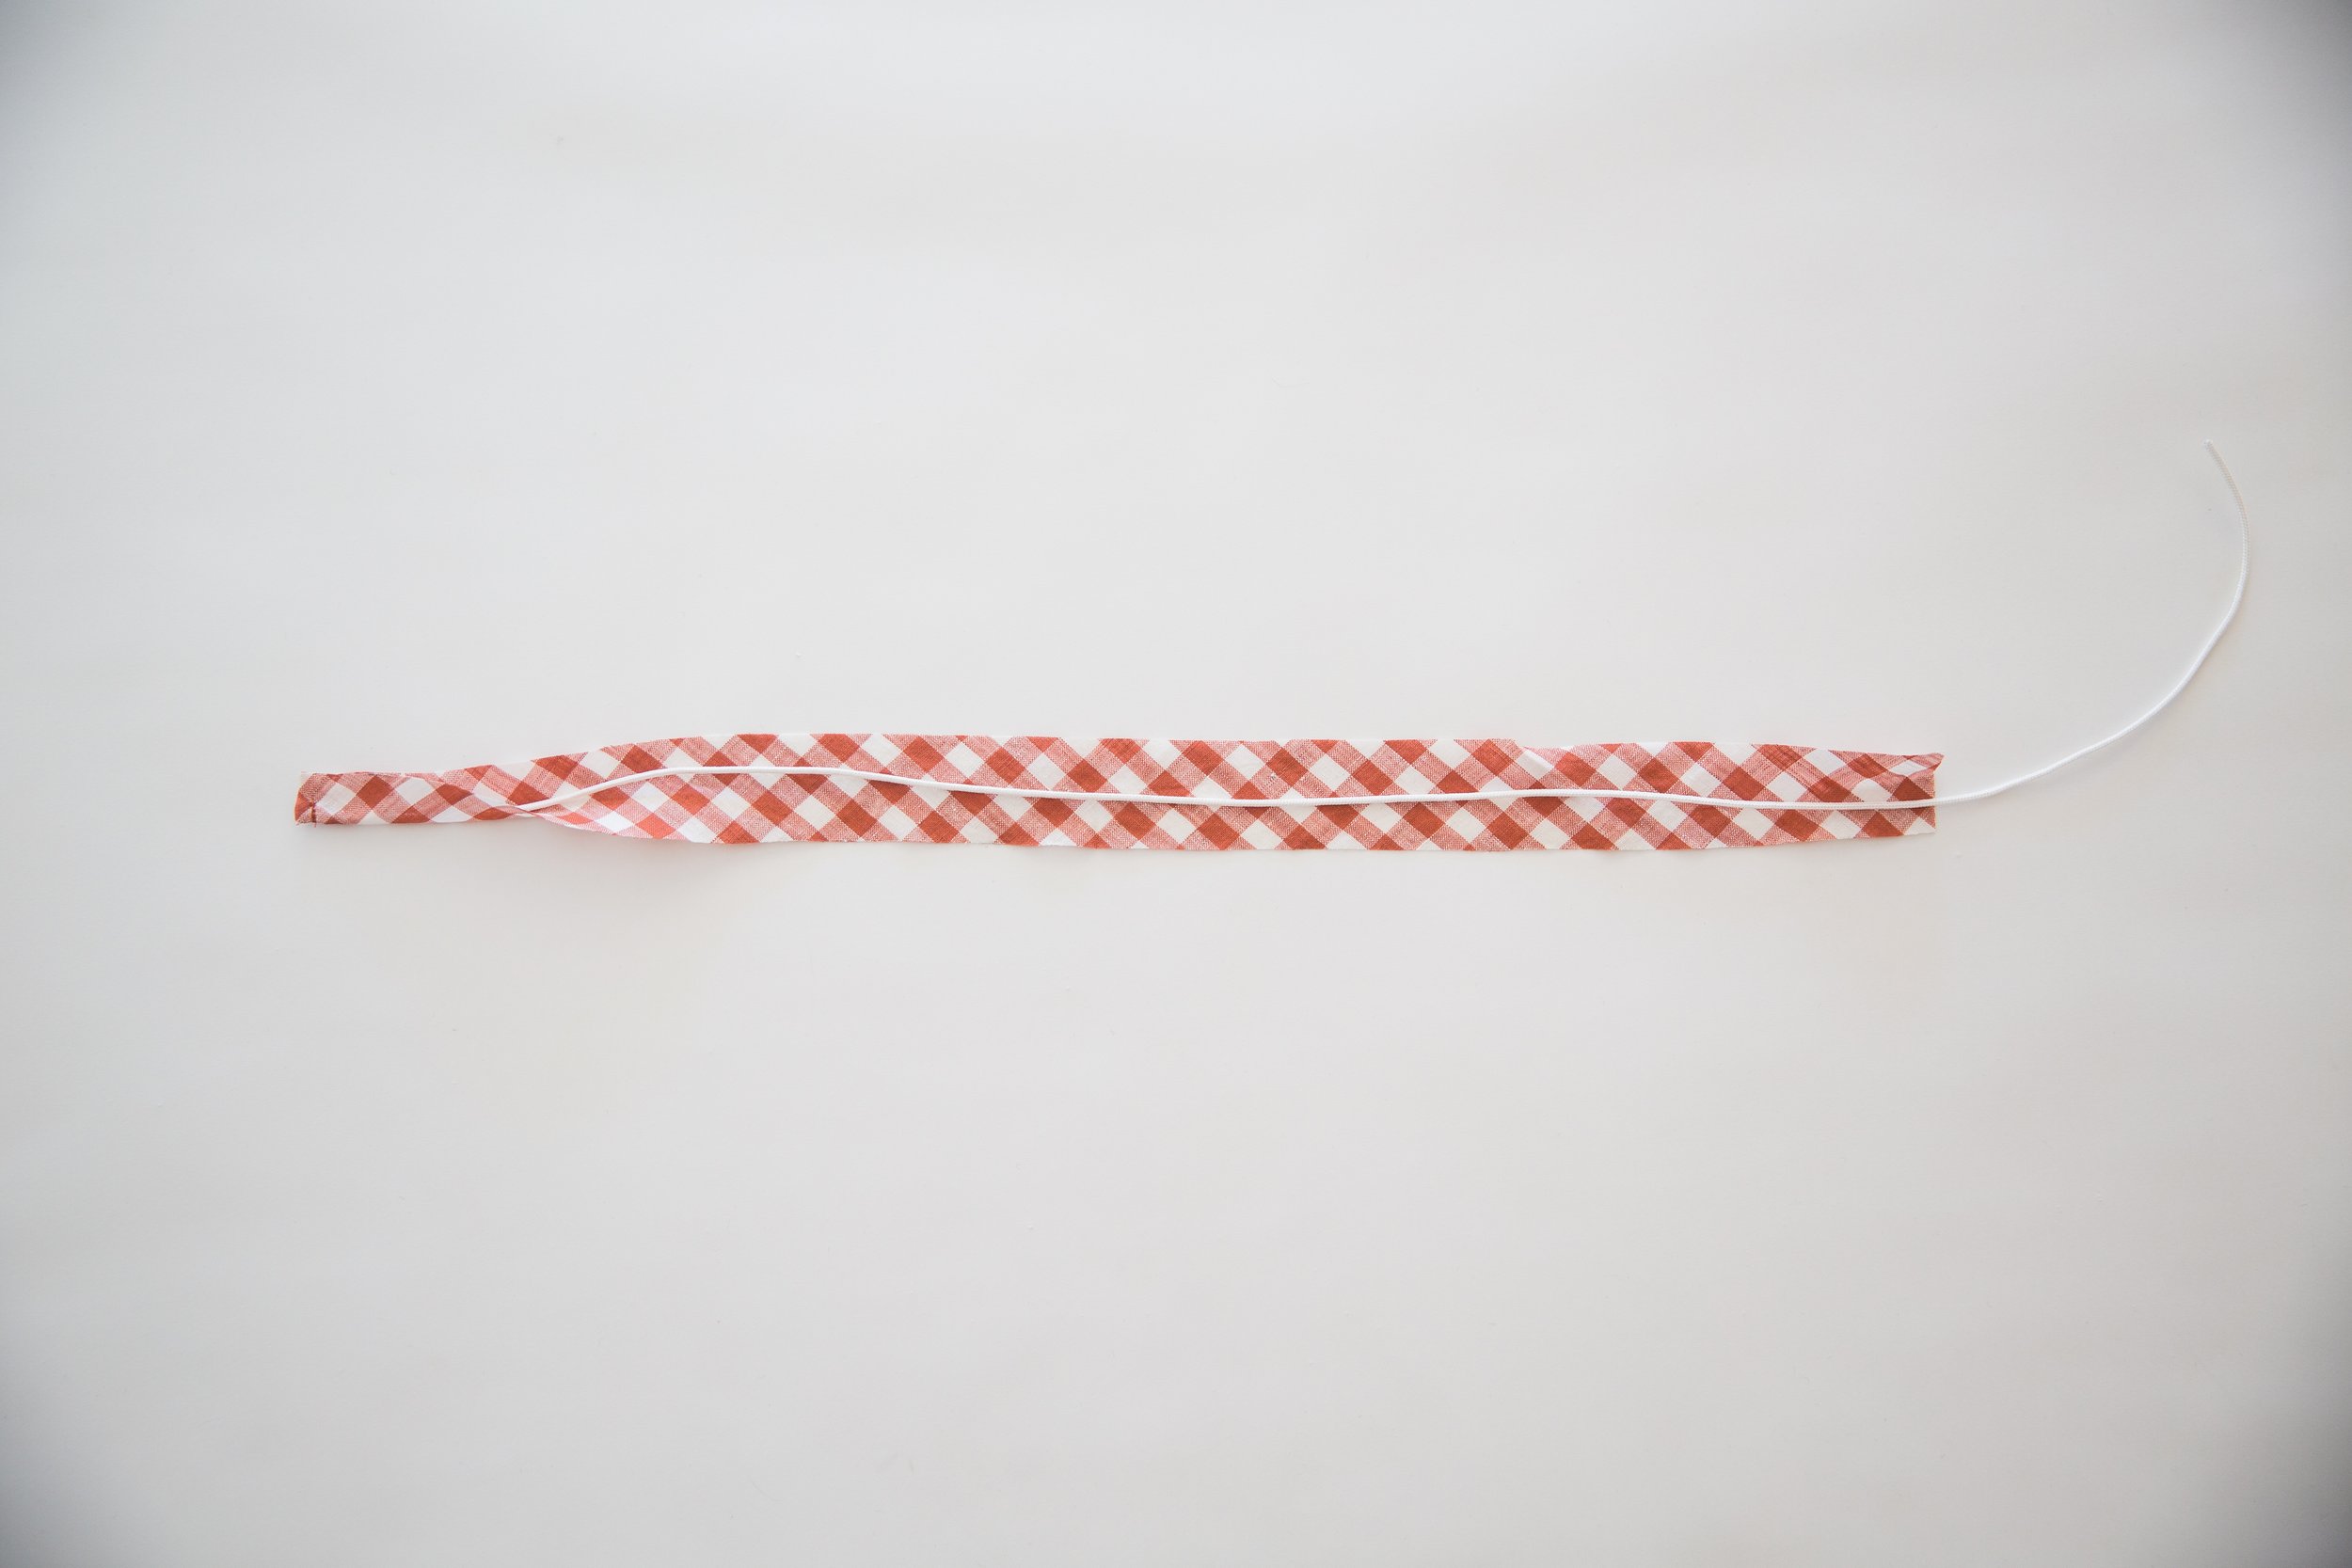
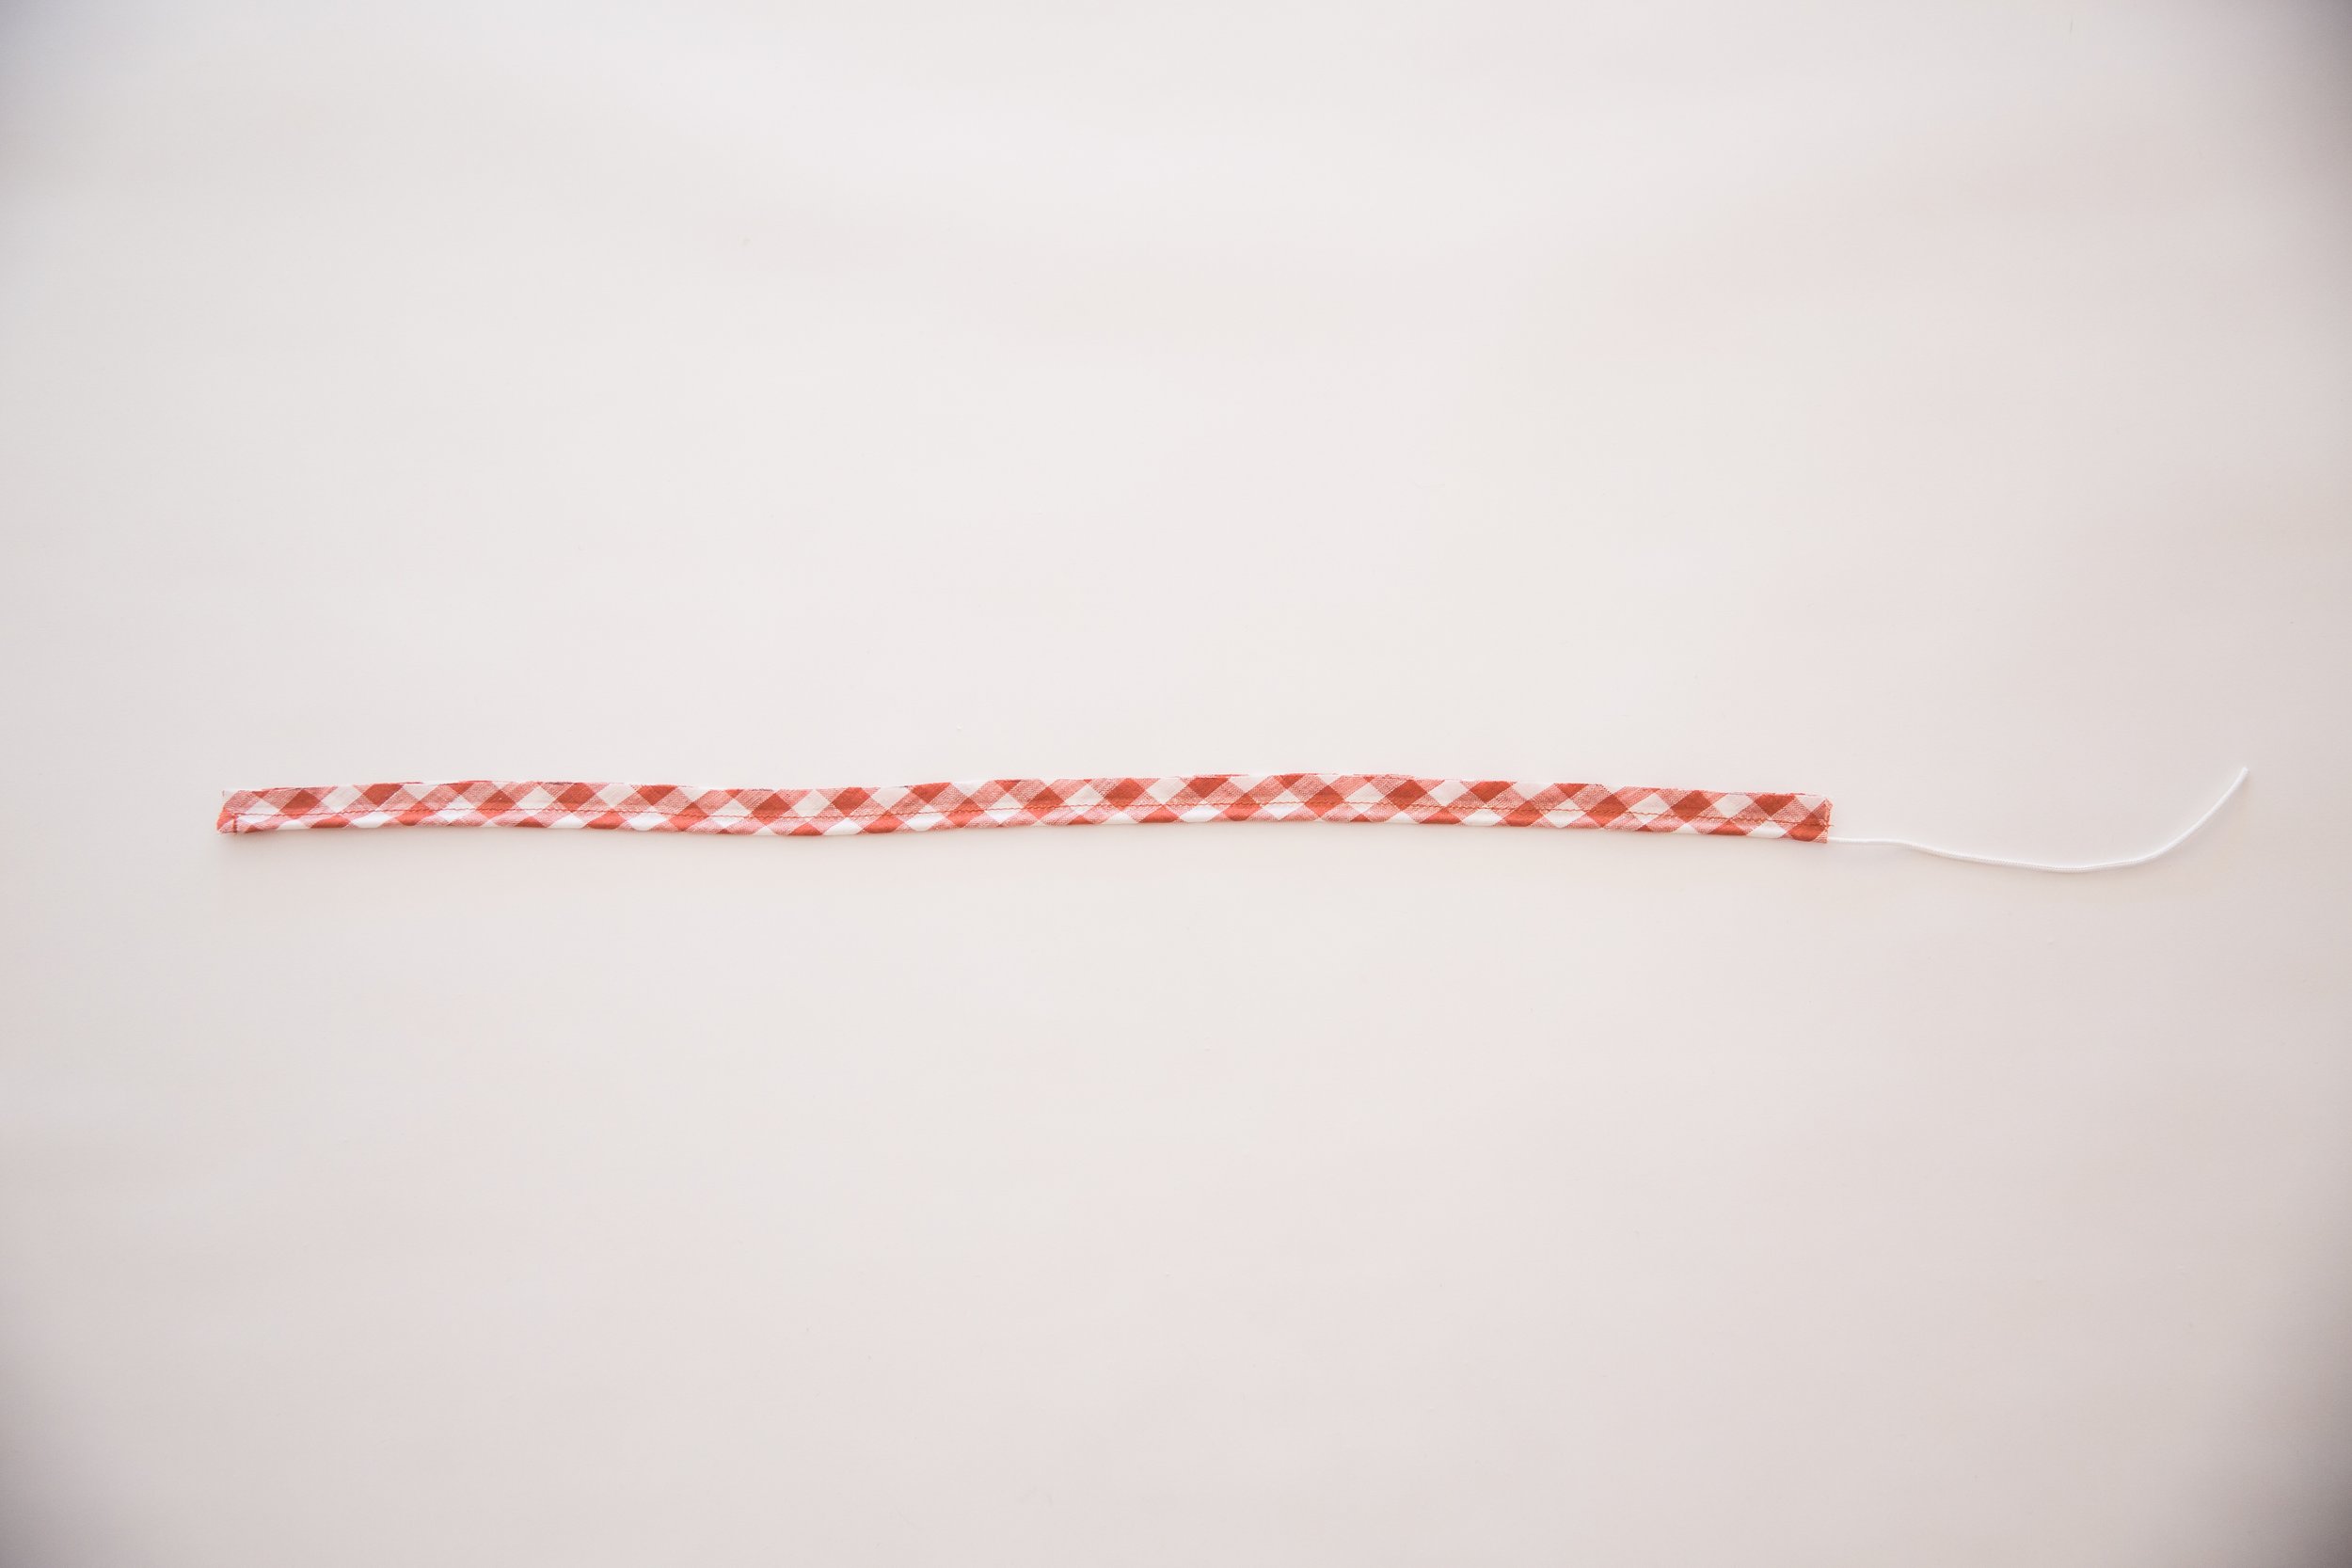
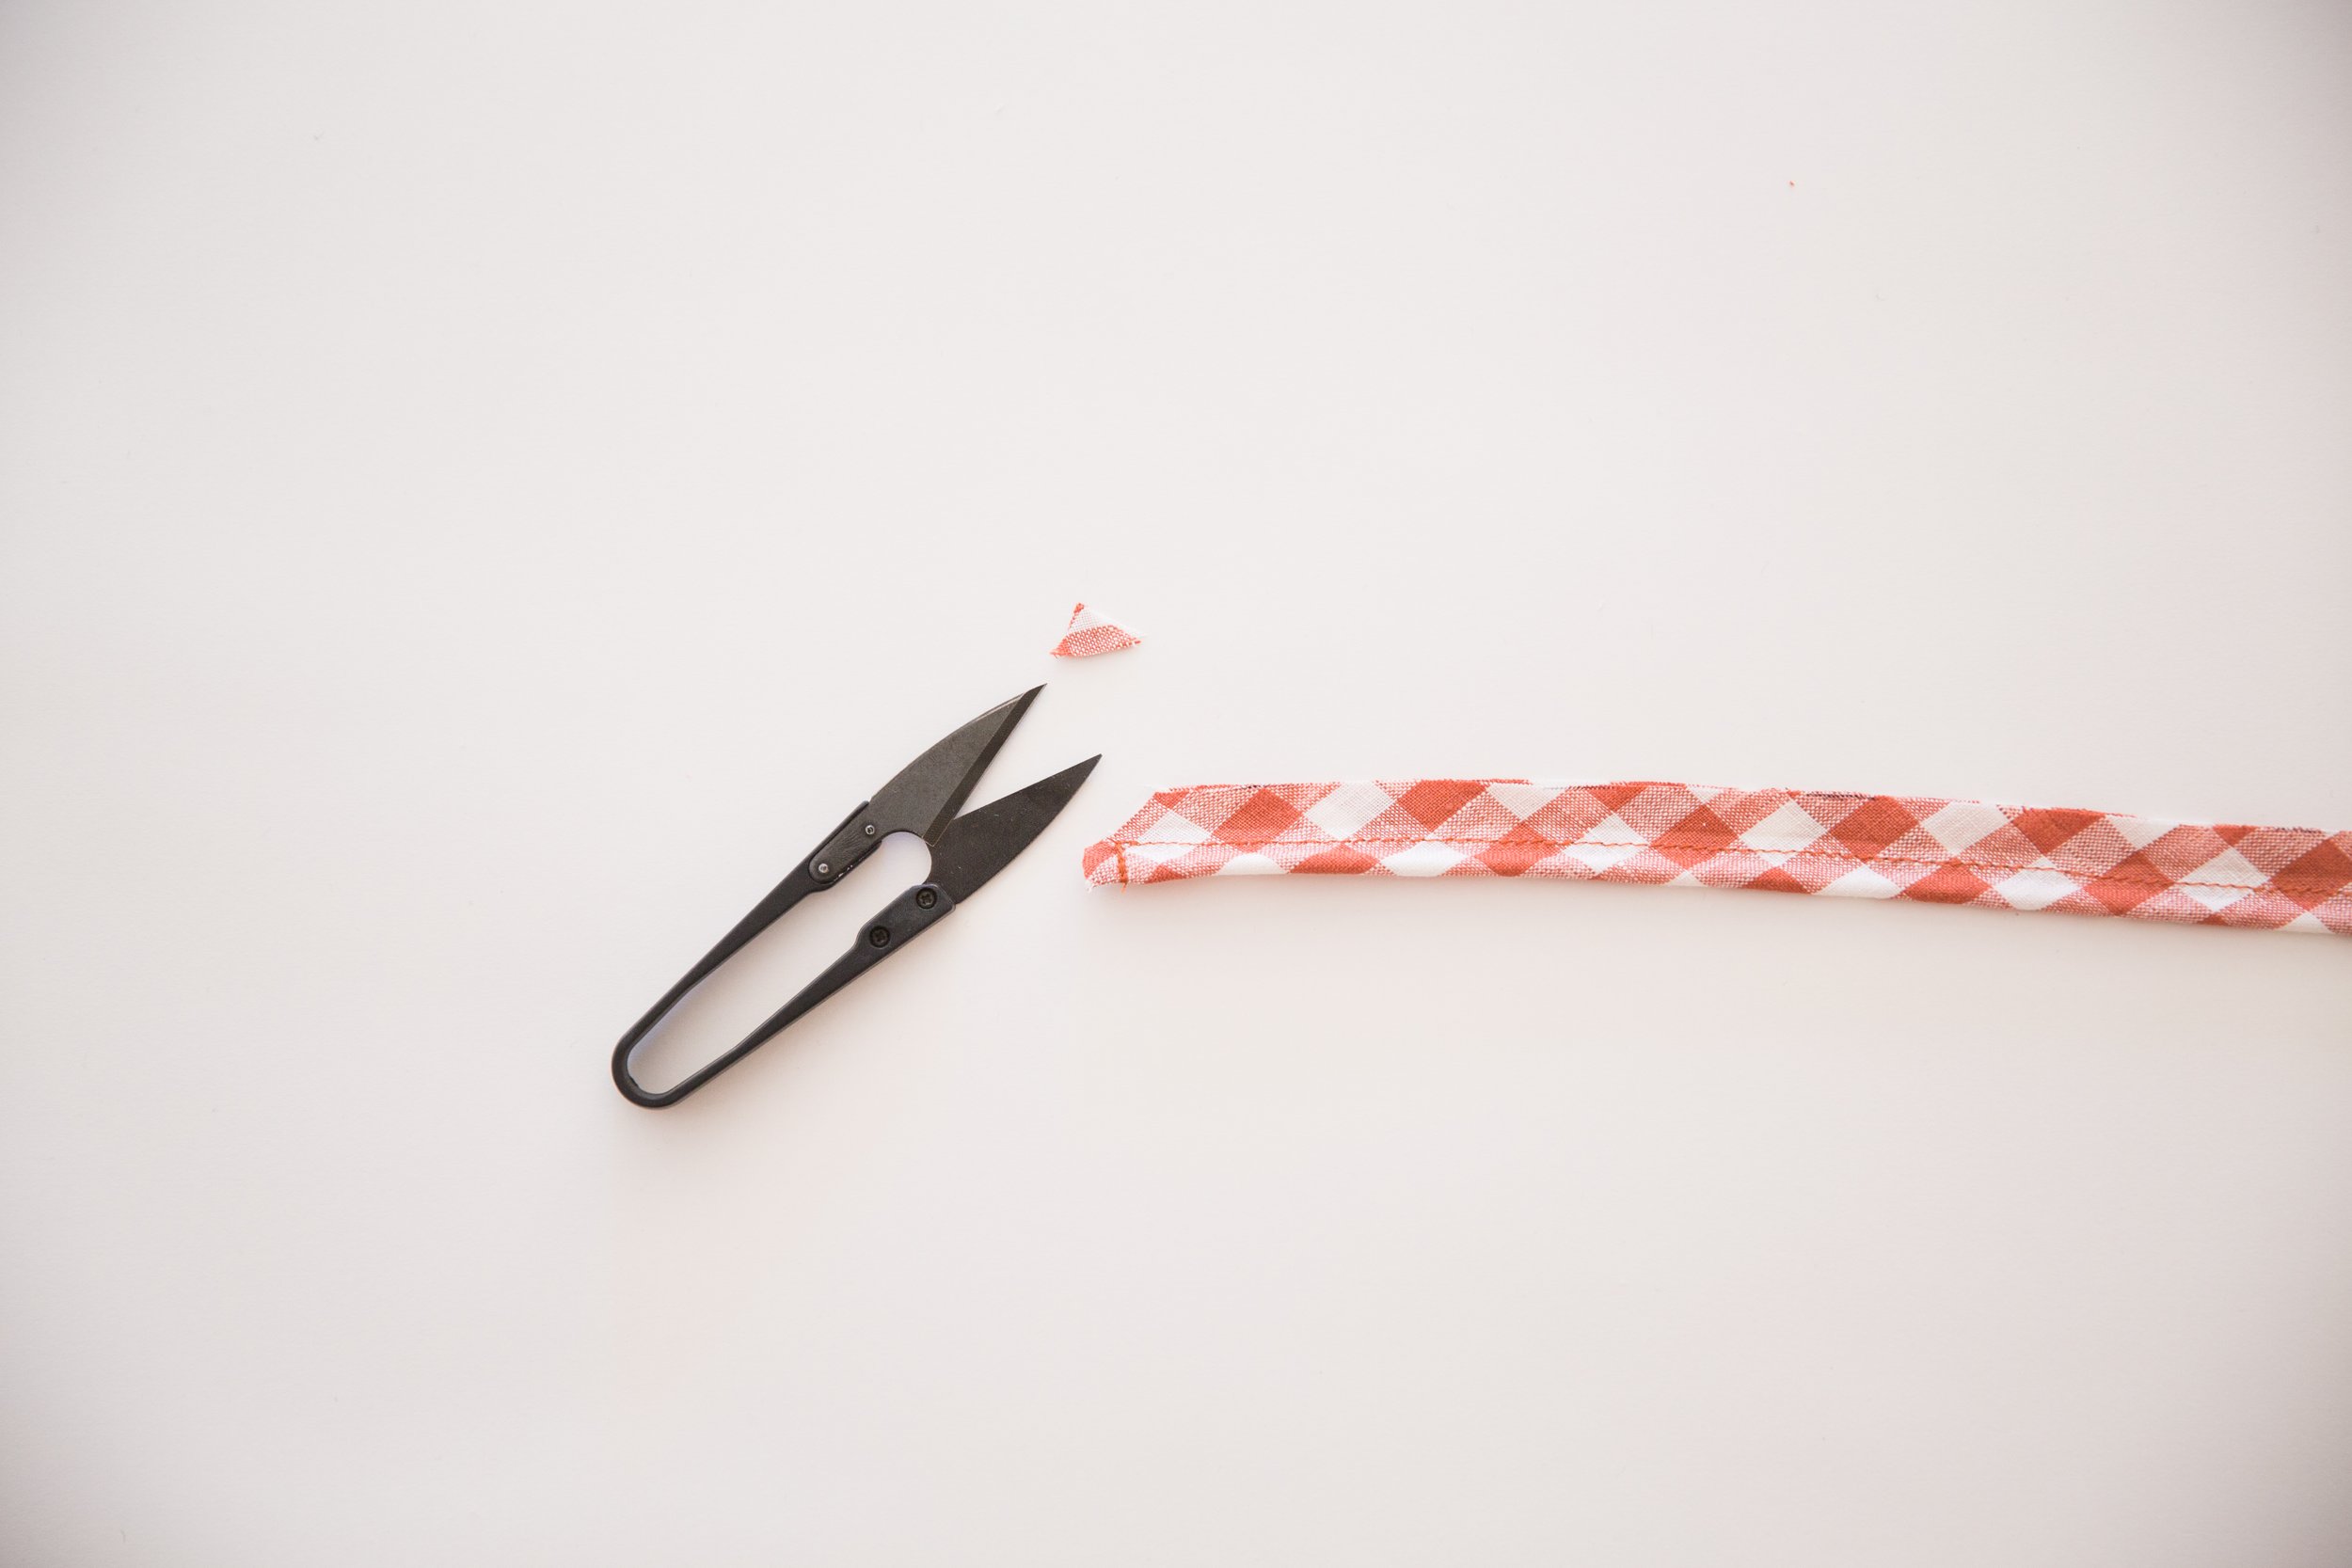
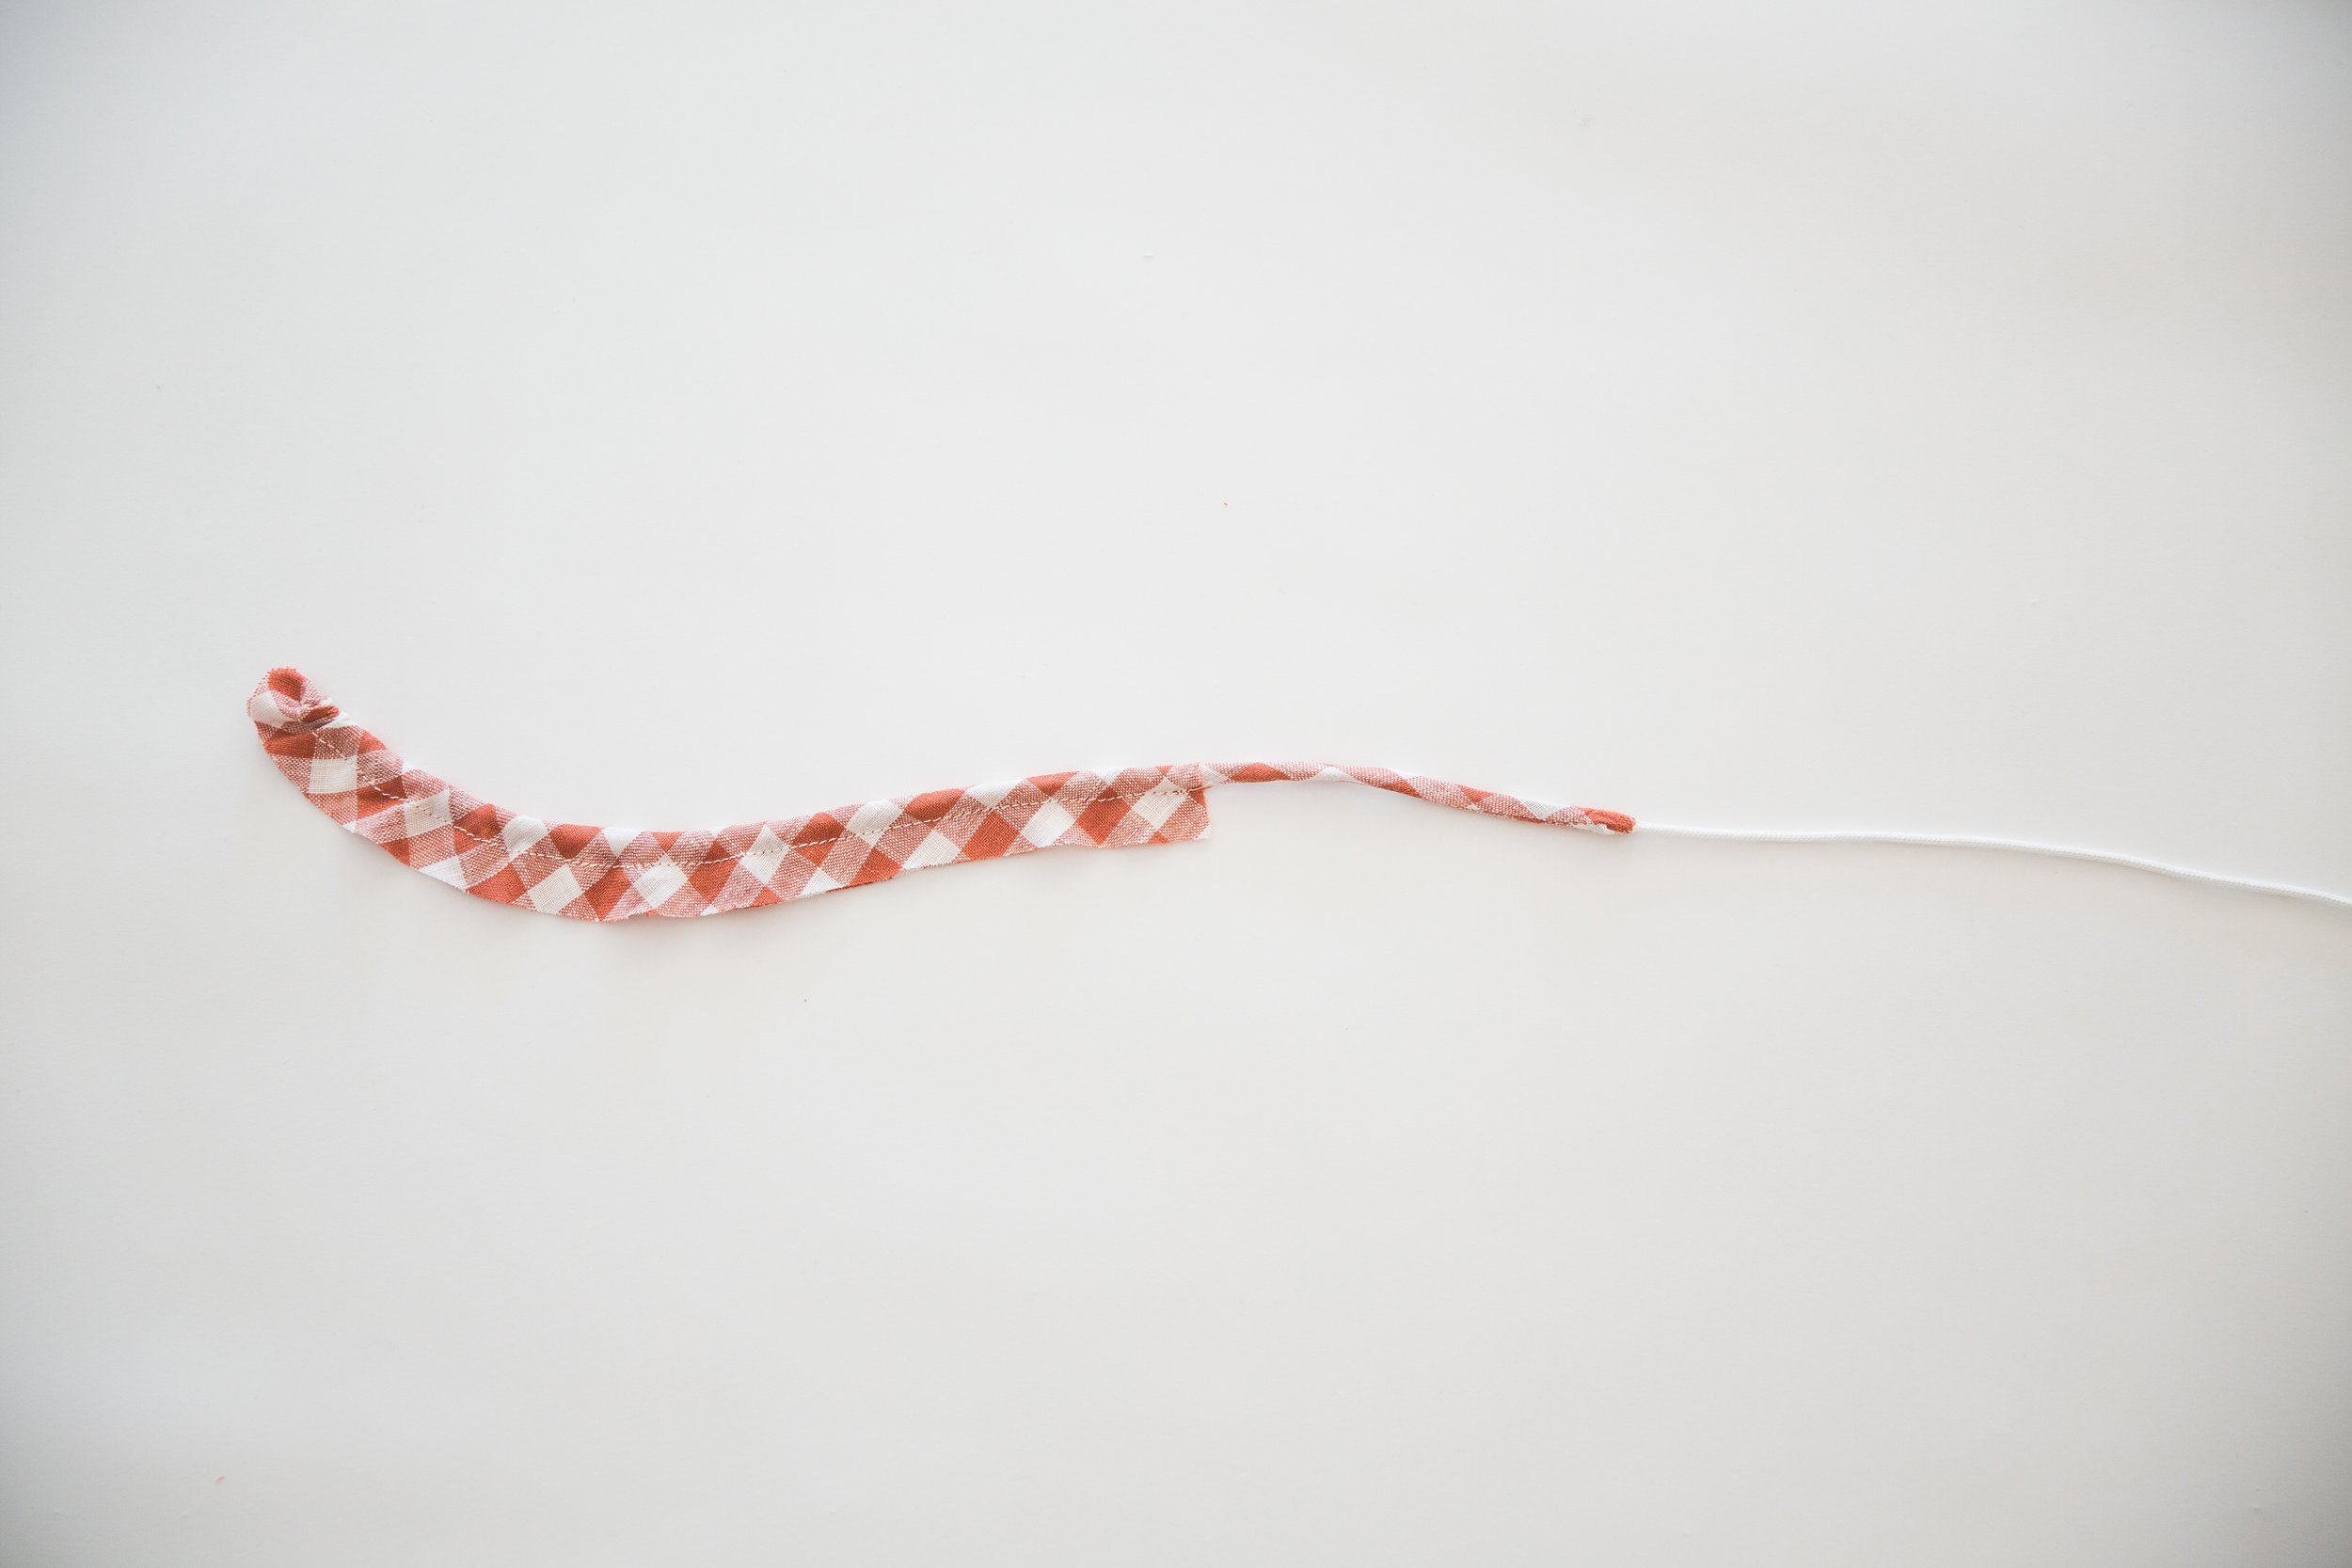
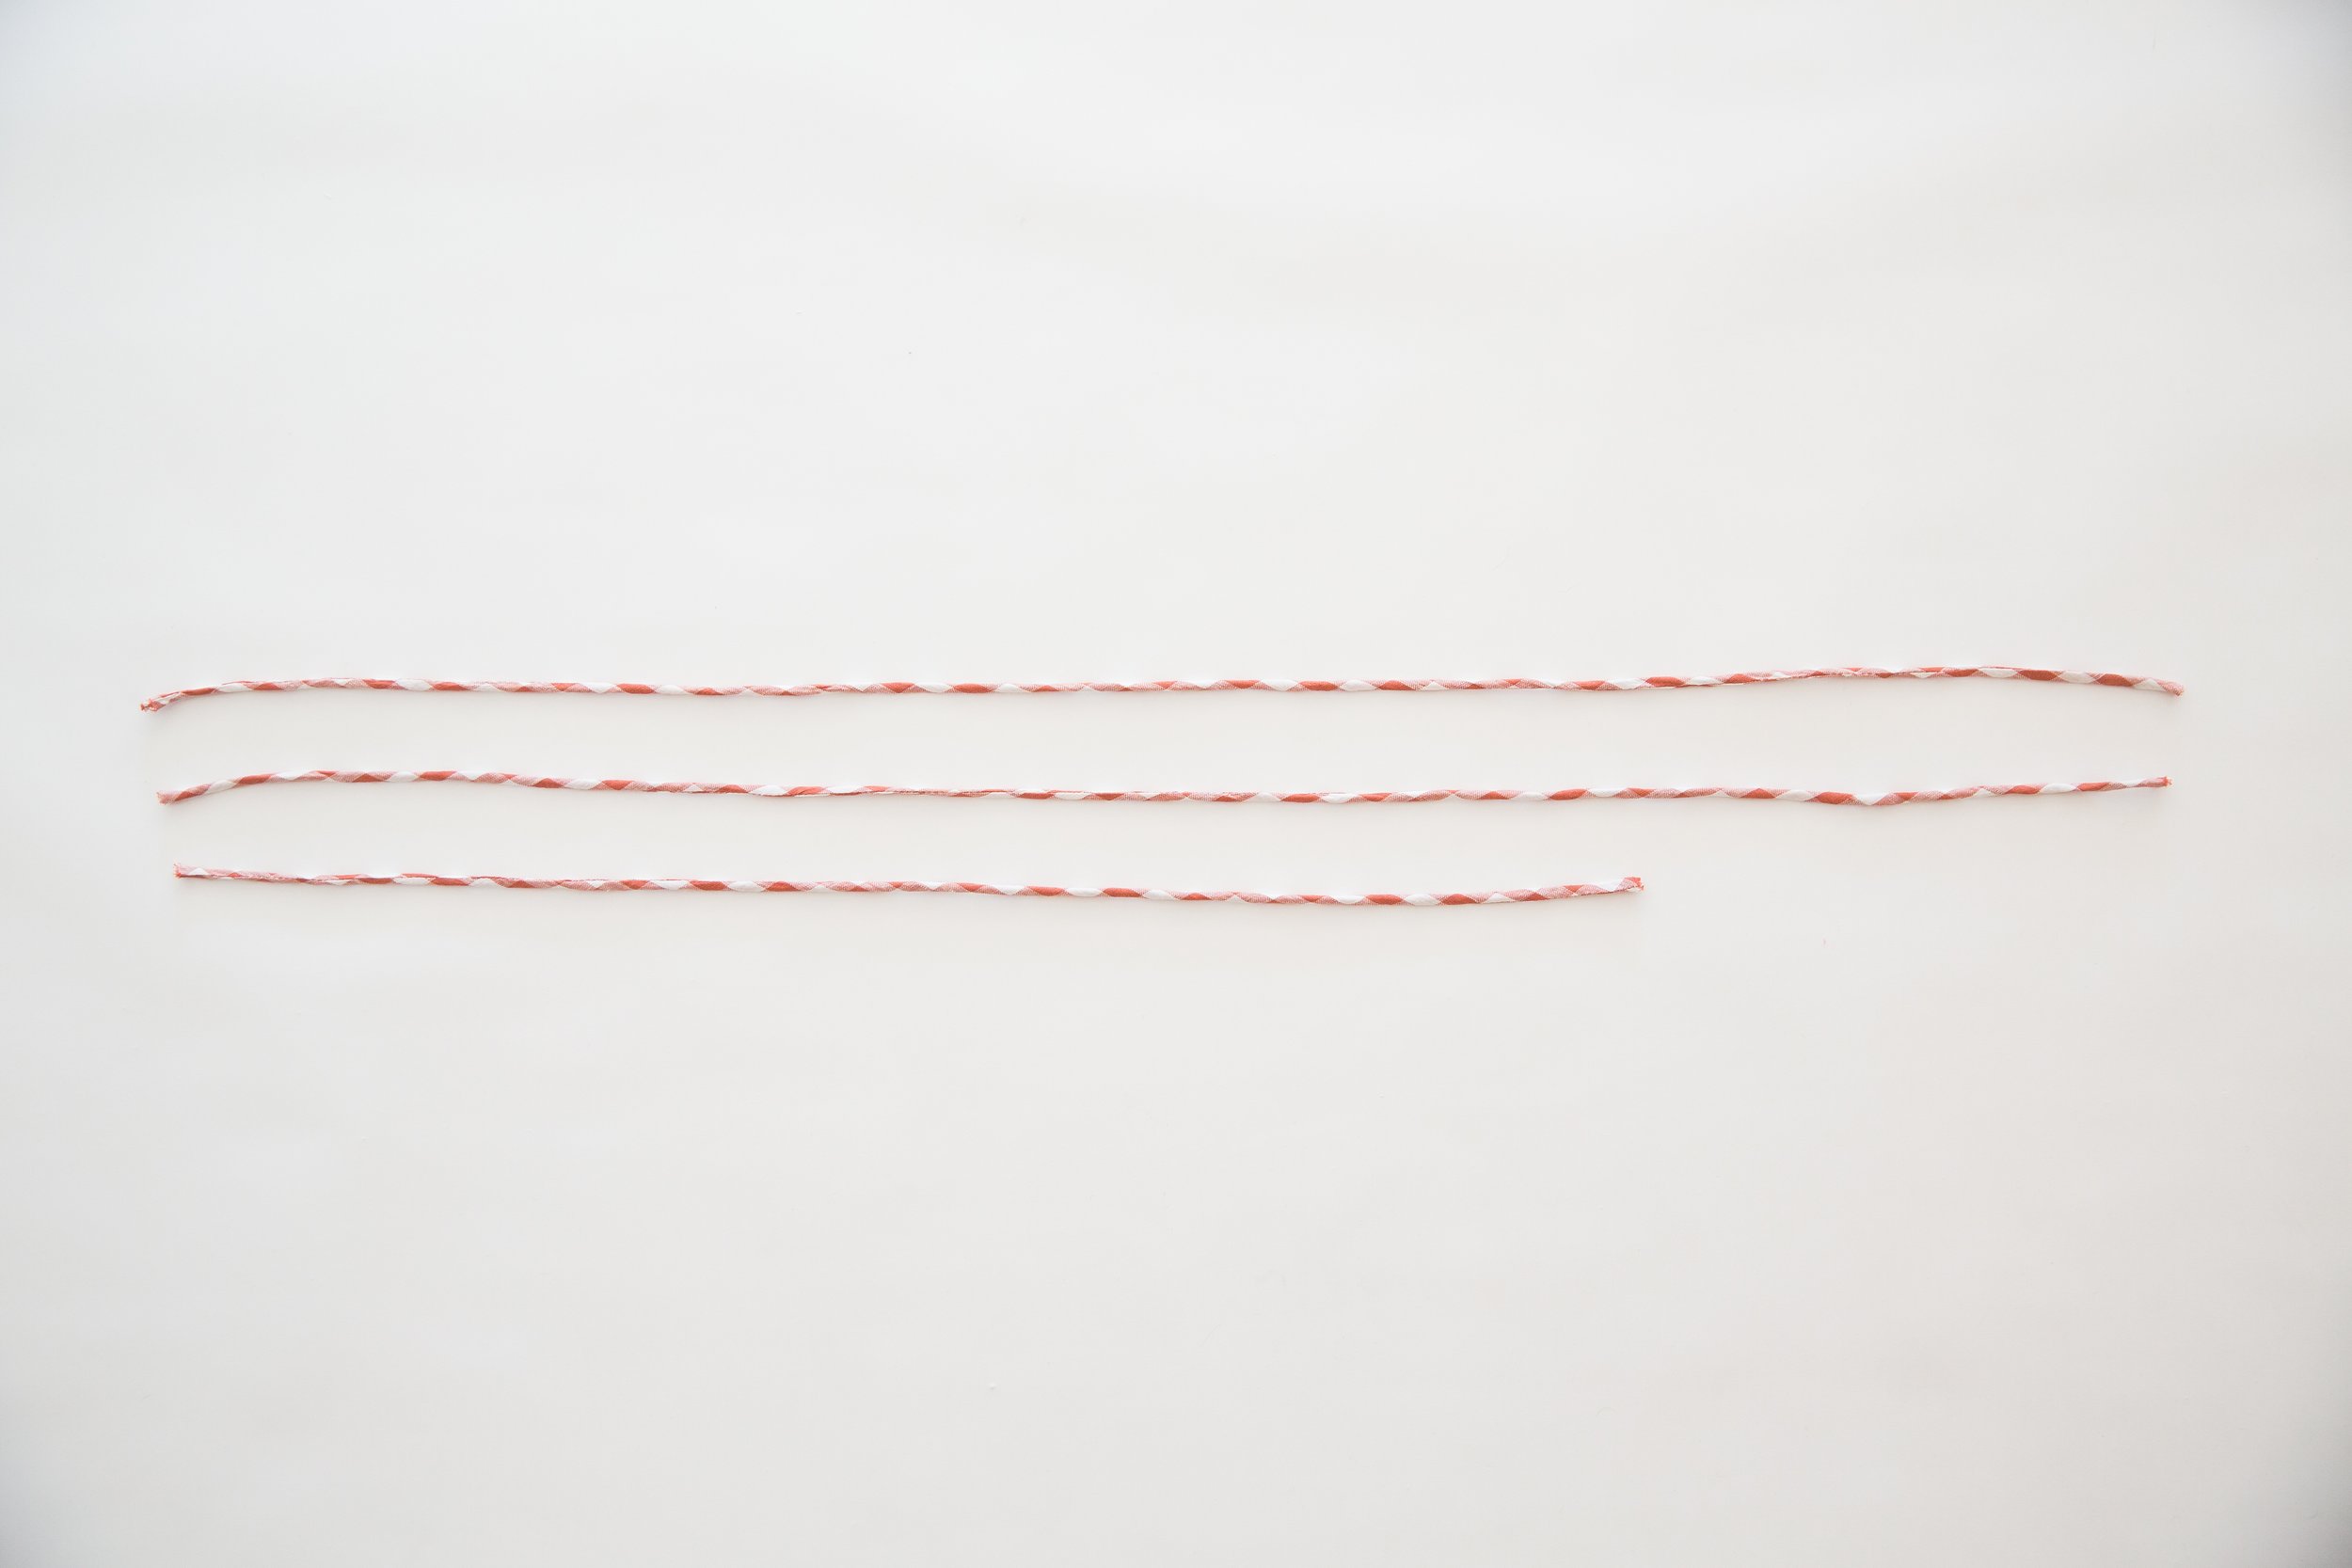
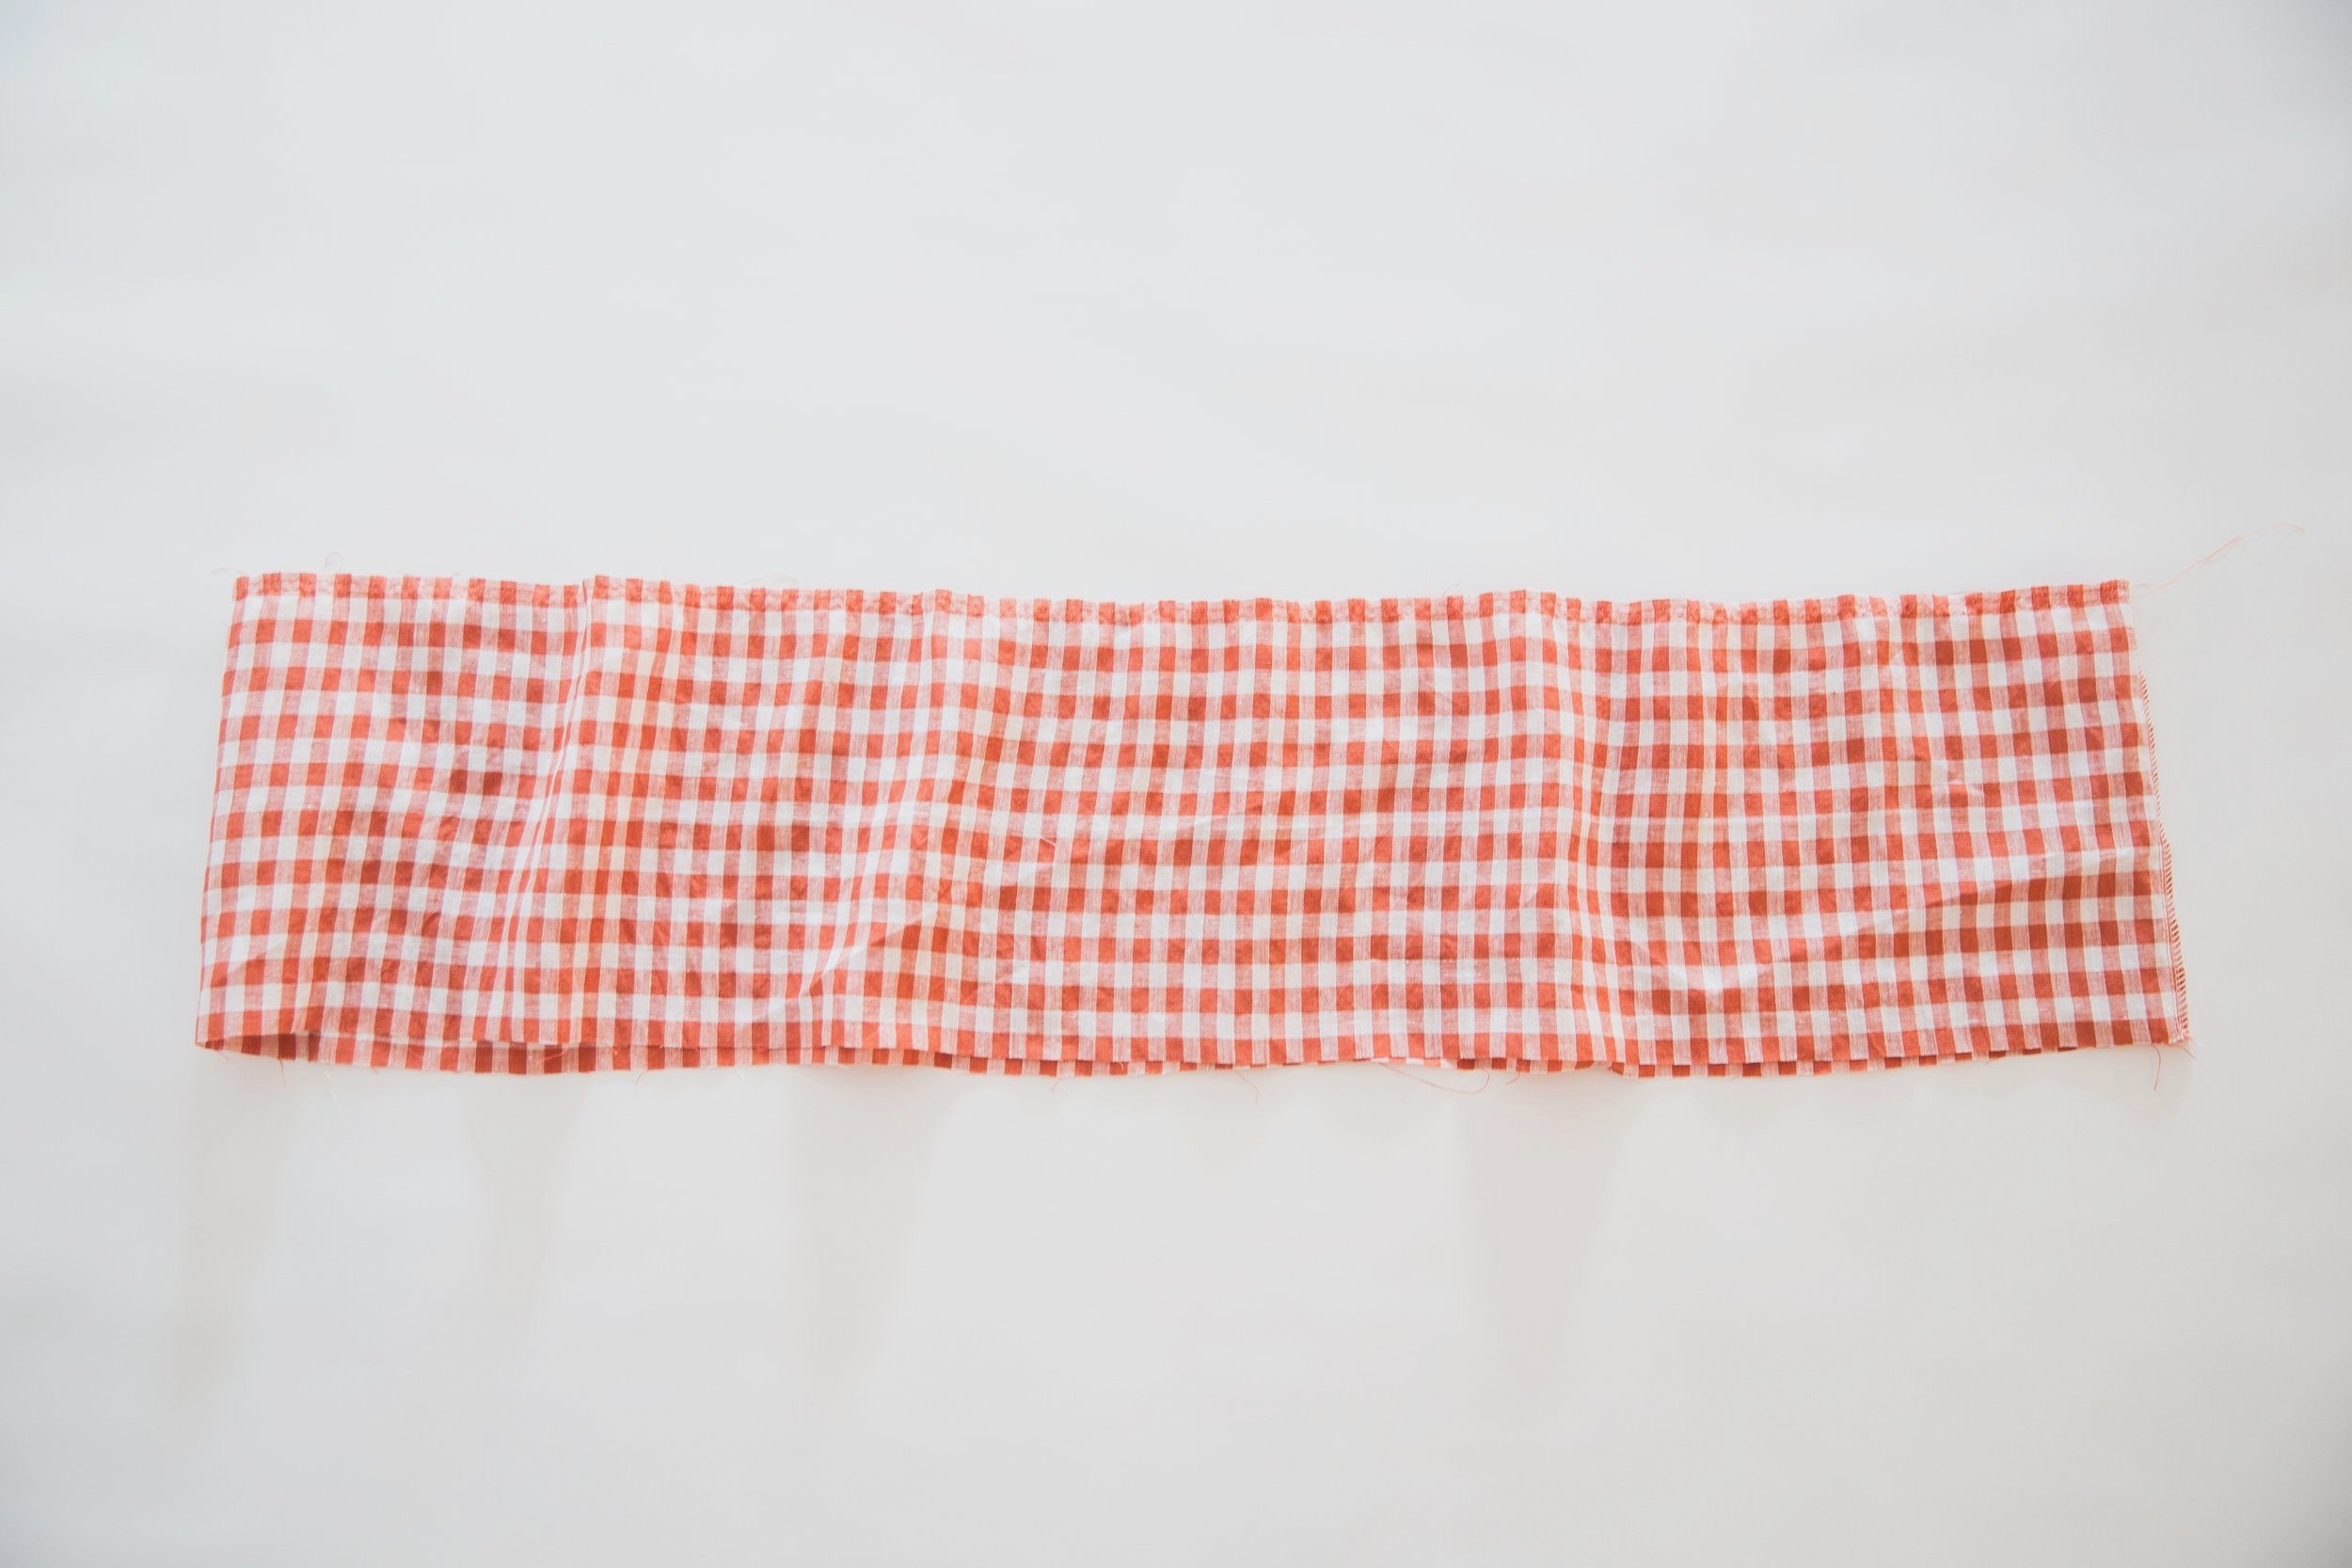
Cut a piece of string slightly longer than your strap piece and place it on top of the right side of strap. Fold strap in half lengthwise with right sides facing, sandwiching the string between. Stitch together securely at one end. Stitch down the long edge with a 1cm/0.39” seam allowance using a zipper foot so you can get nice and close. Be really careful not to stitch over the string inside. Clip the corner of the seam allowance on the string end, but do not trim seam allowance as this will bulk out your tie to give it a nice round look. Carefully pull the string, pulling the strap right side out. Trim string edge off. Repeat for other two straps.

For the two long straps, poke the ends of tie inwards with a needle and hand sew closed on one end.
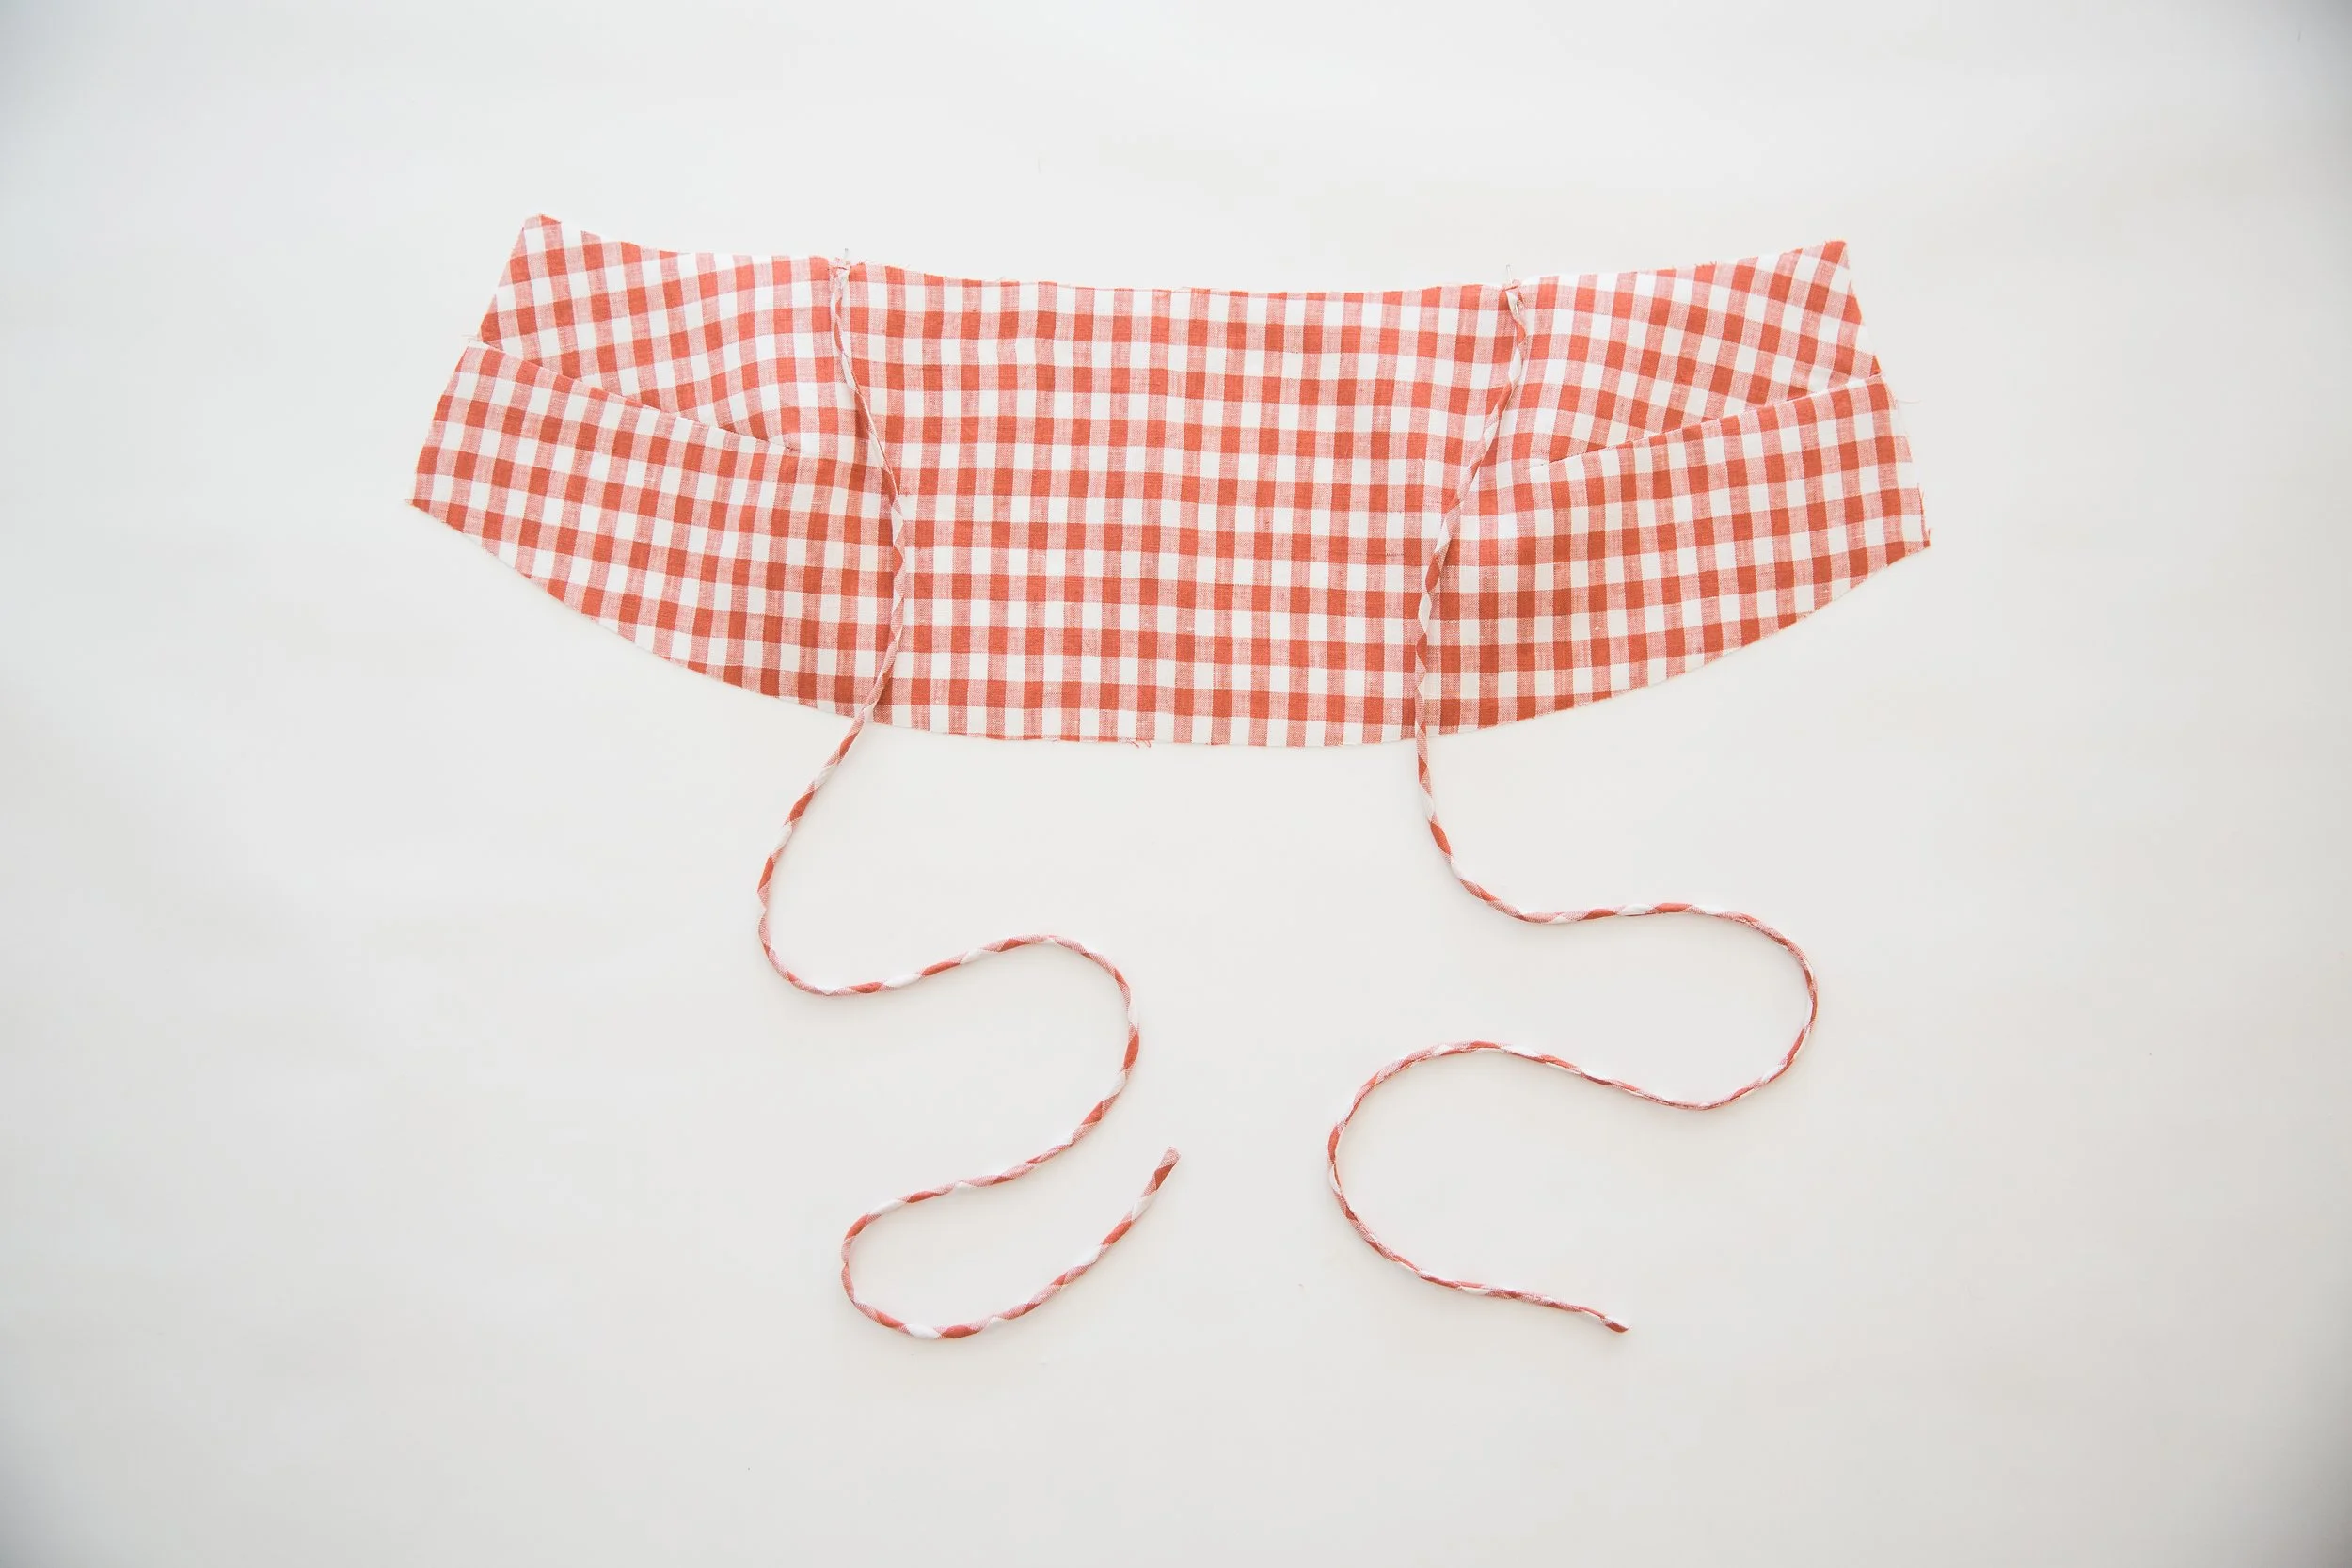
Step 3
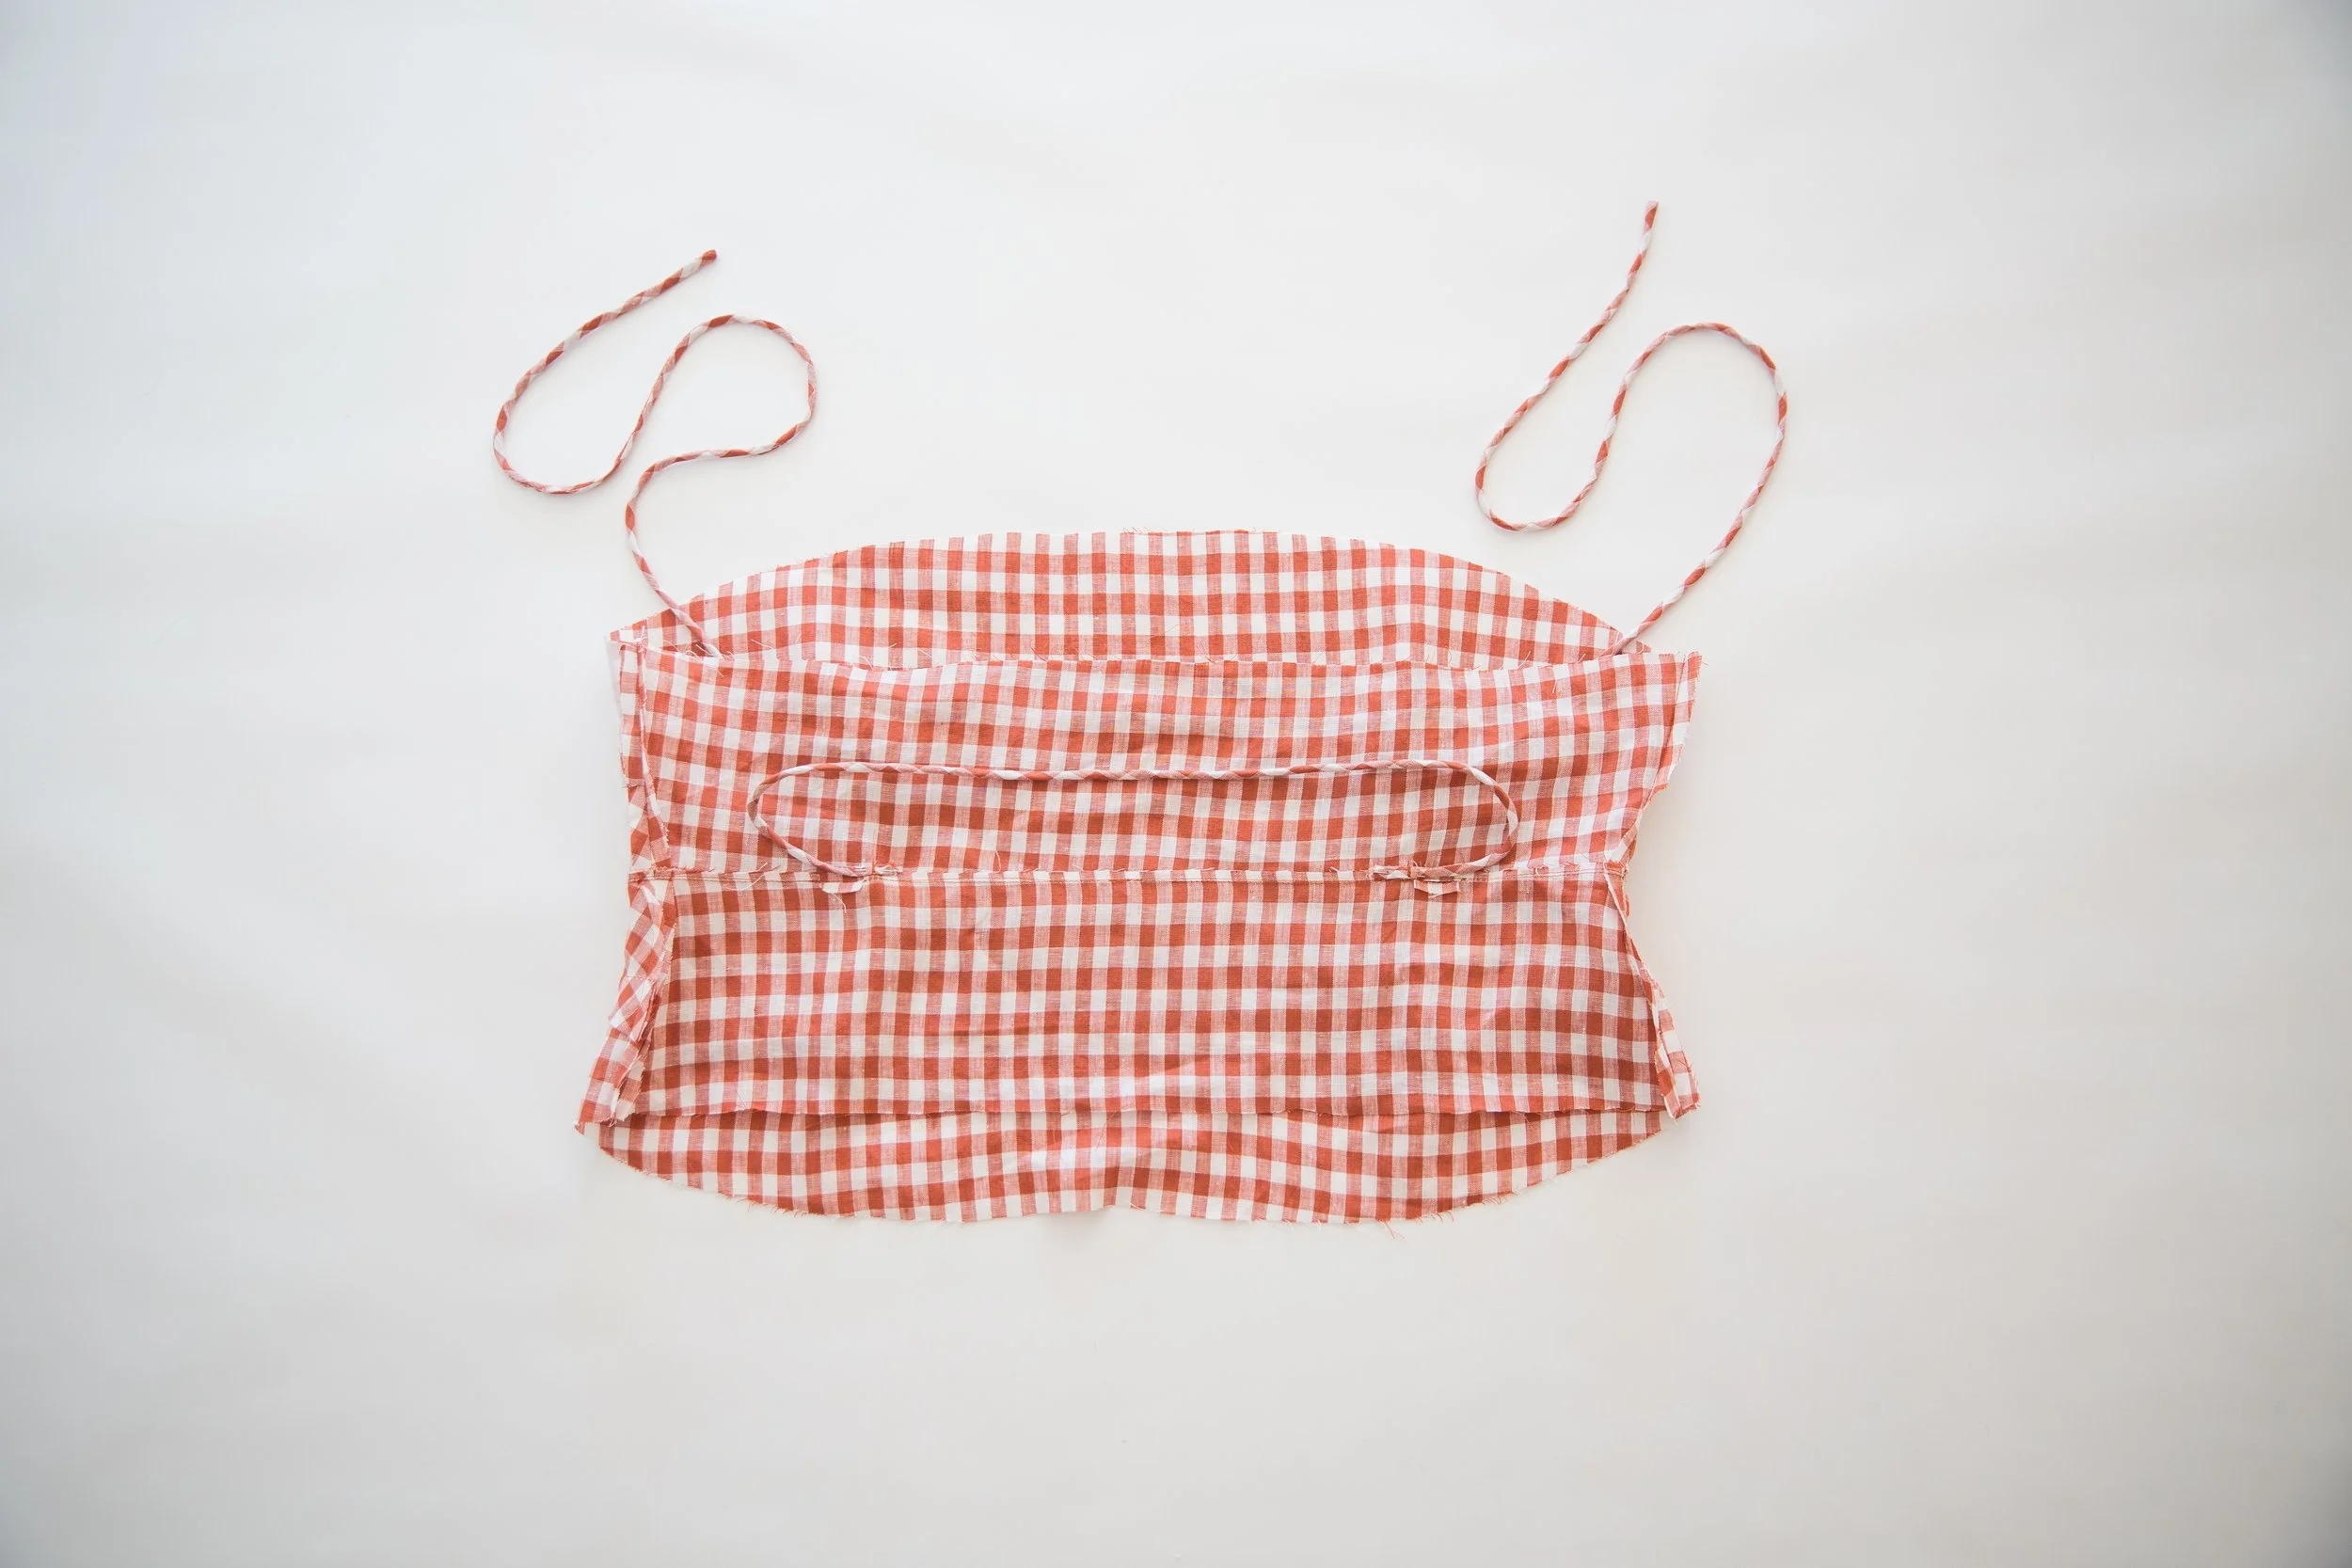
On the right side of fused front bodice, pin the open edges of the two long straps at notches. Stitch.

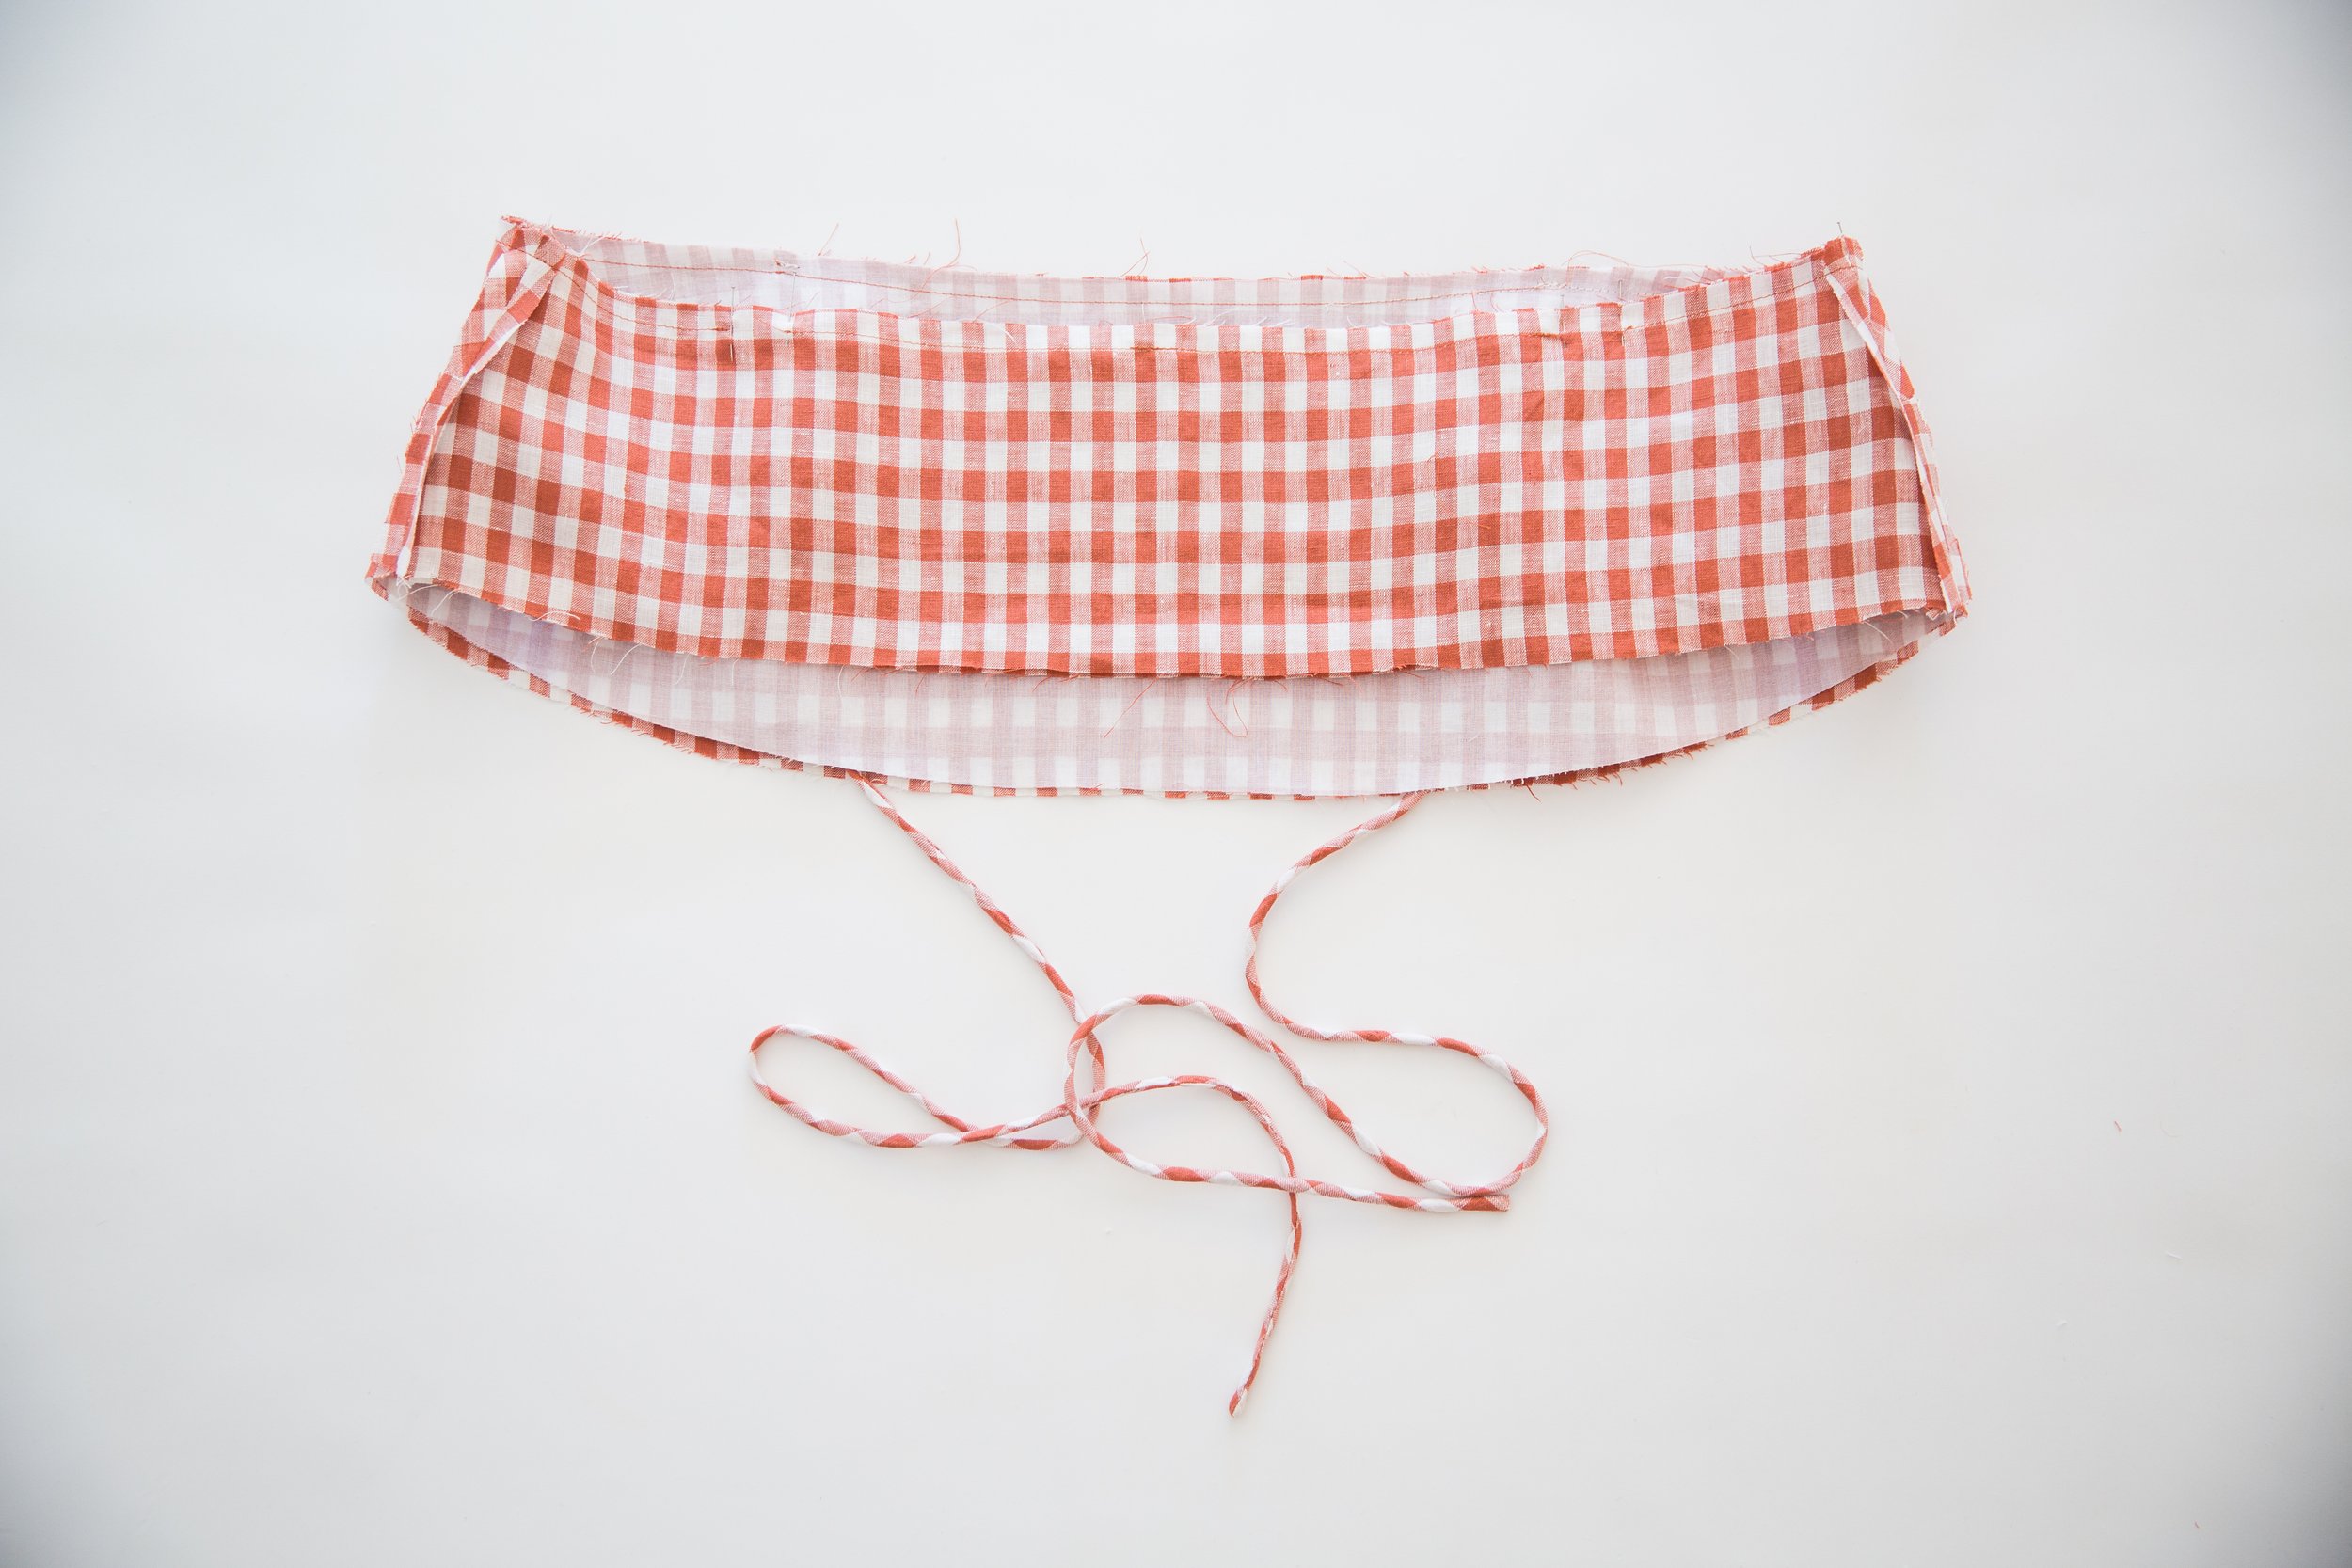
Step 4
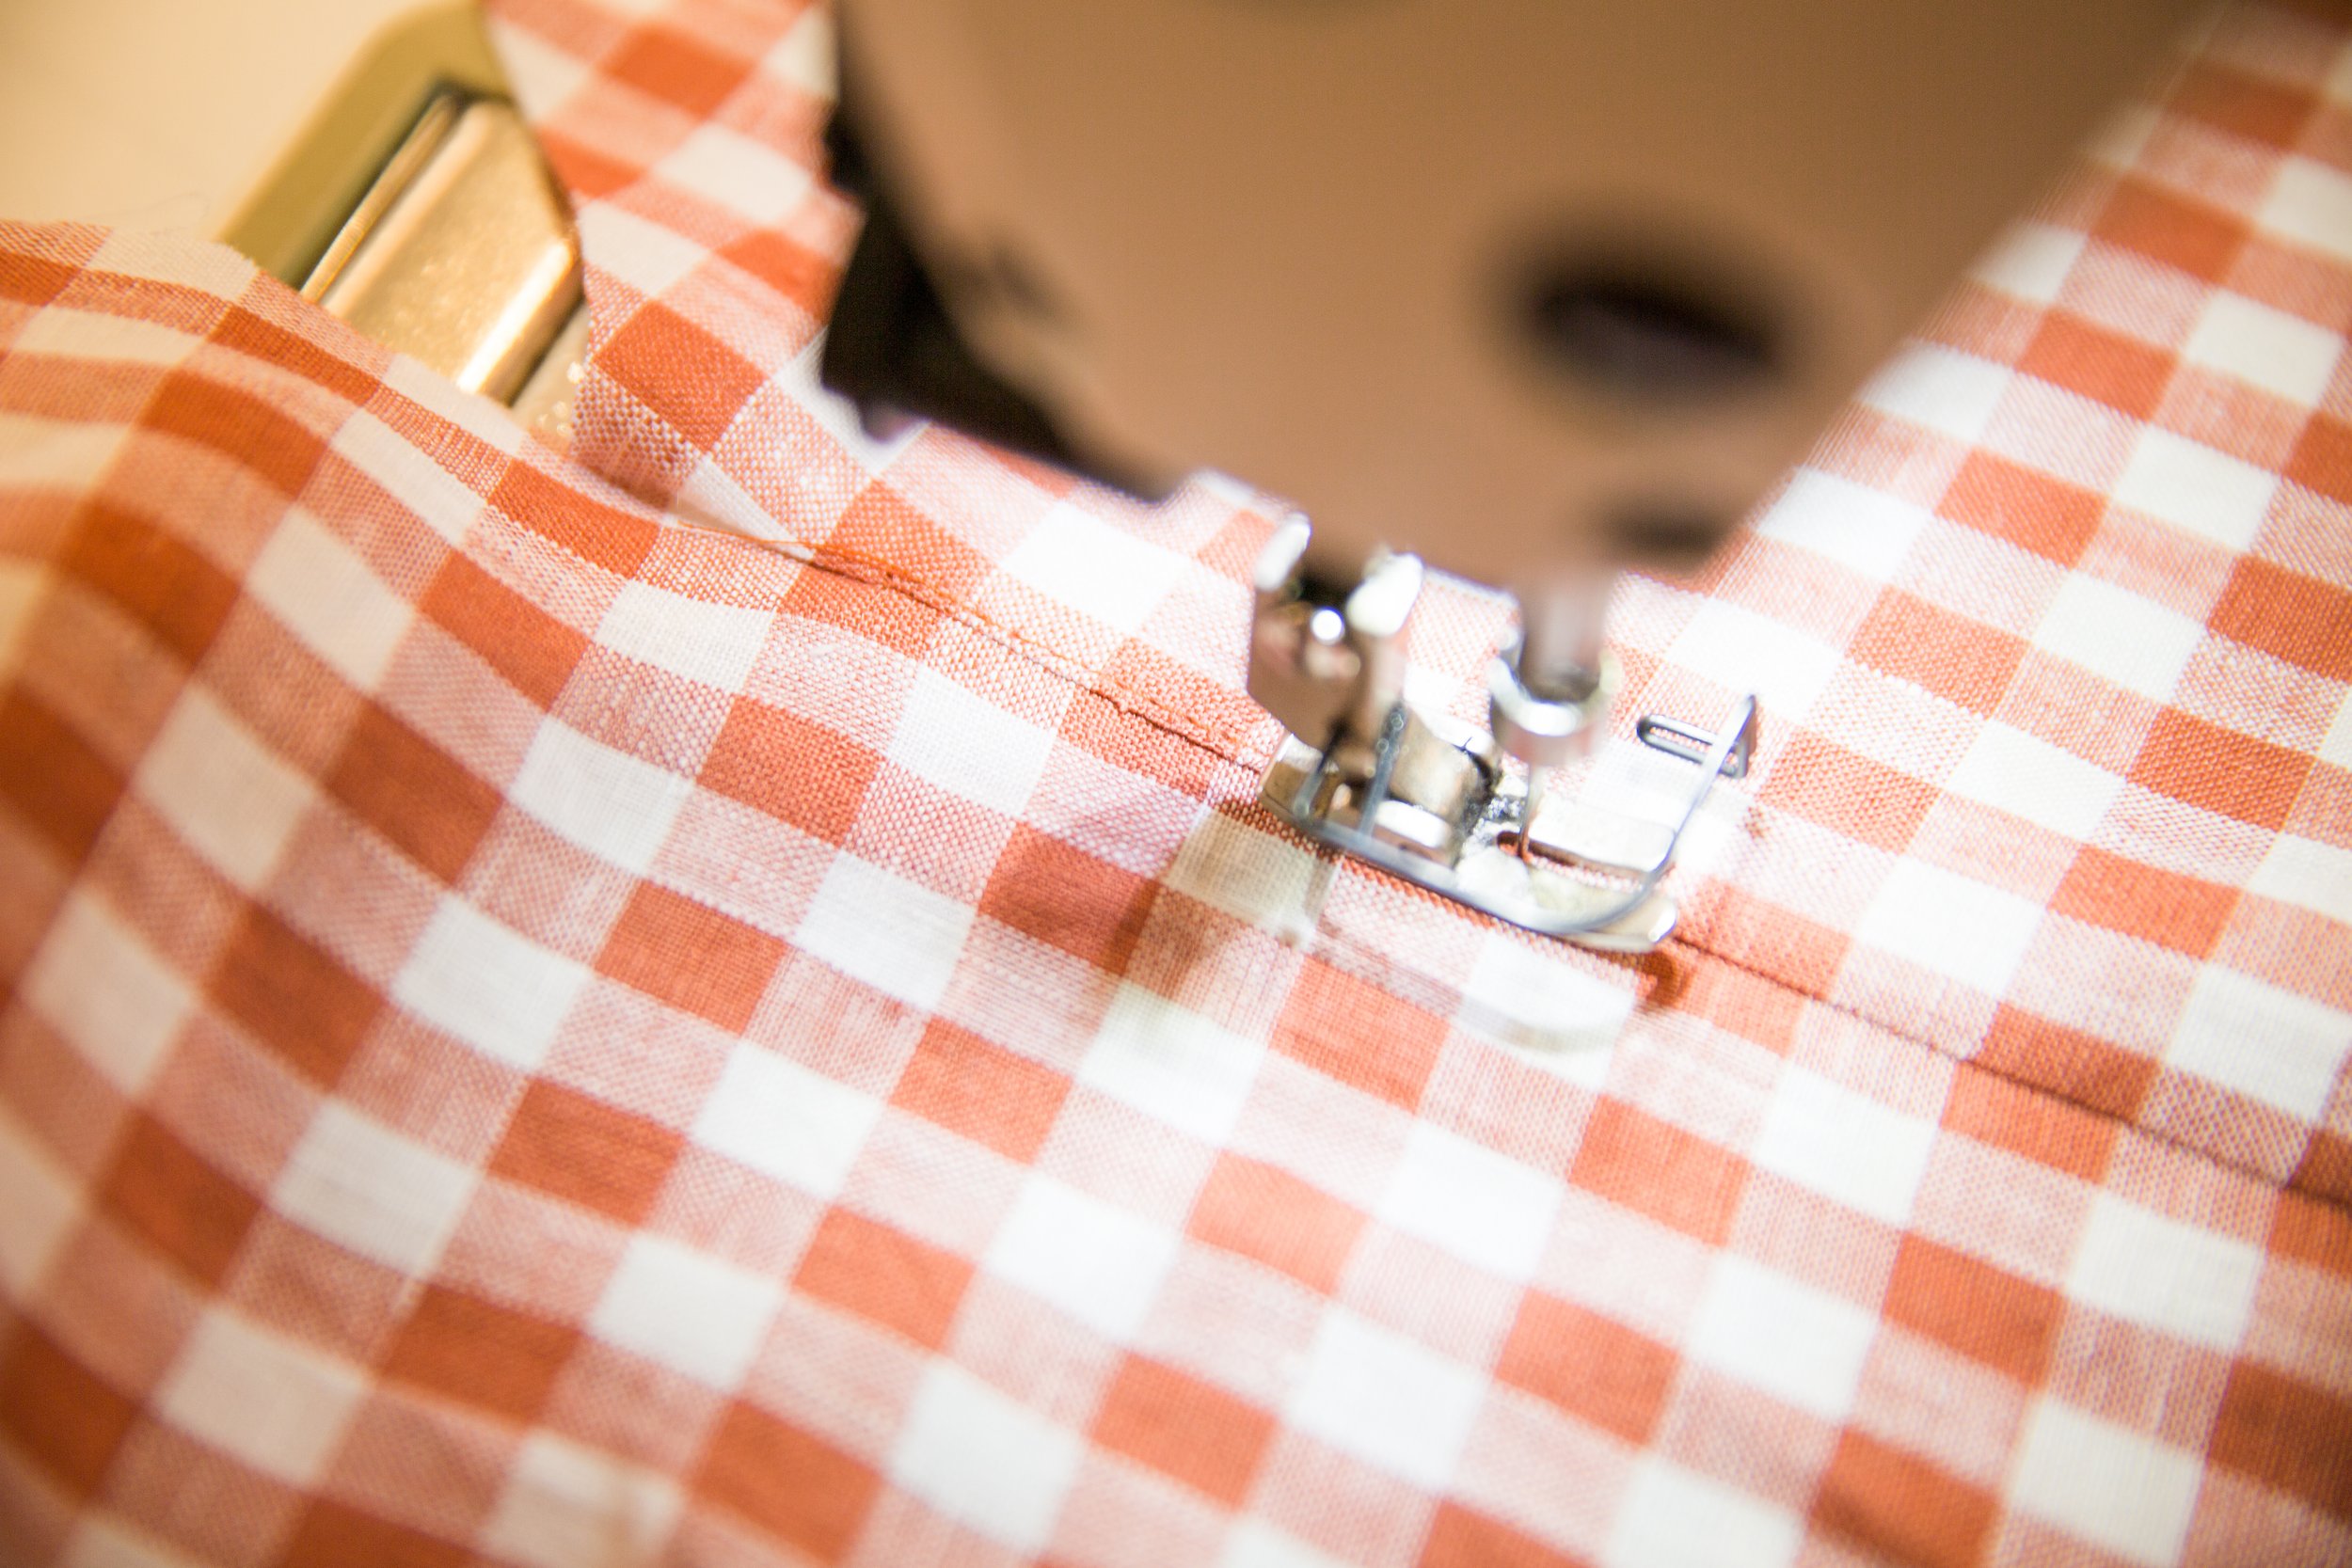
With right sides facing, pin your front and back bodice pieces together at side seams. Stitch. Press seams open. Do this for both bodice sections.

Step 5
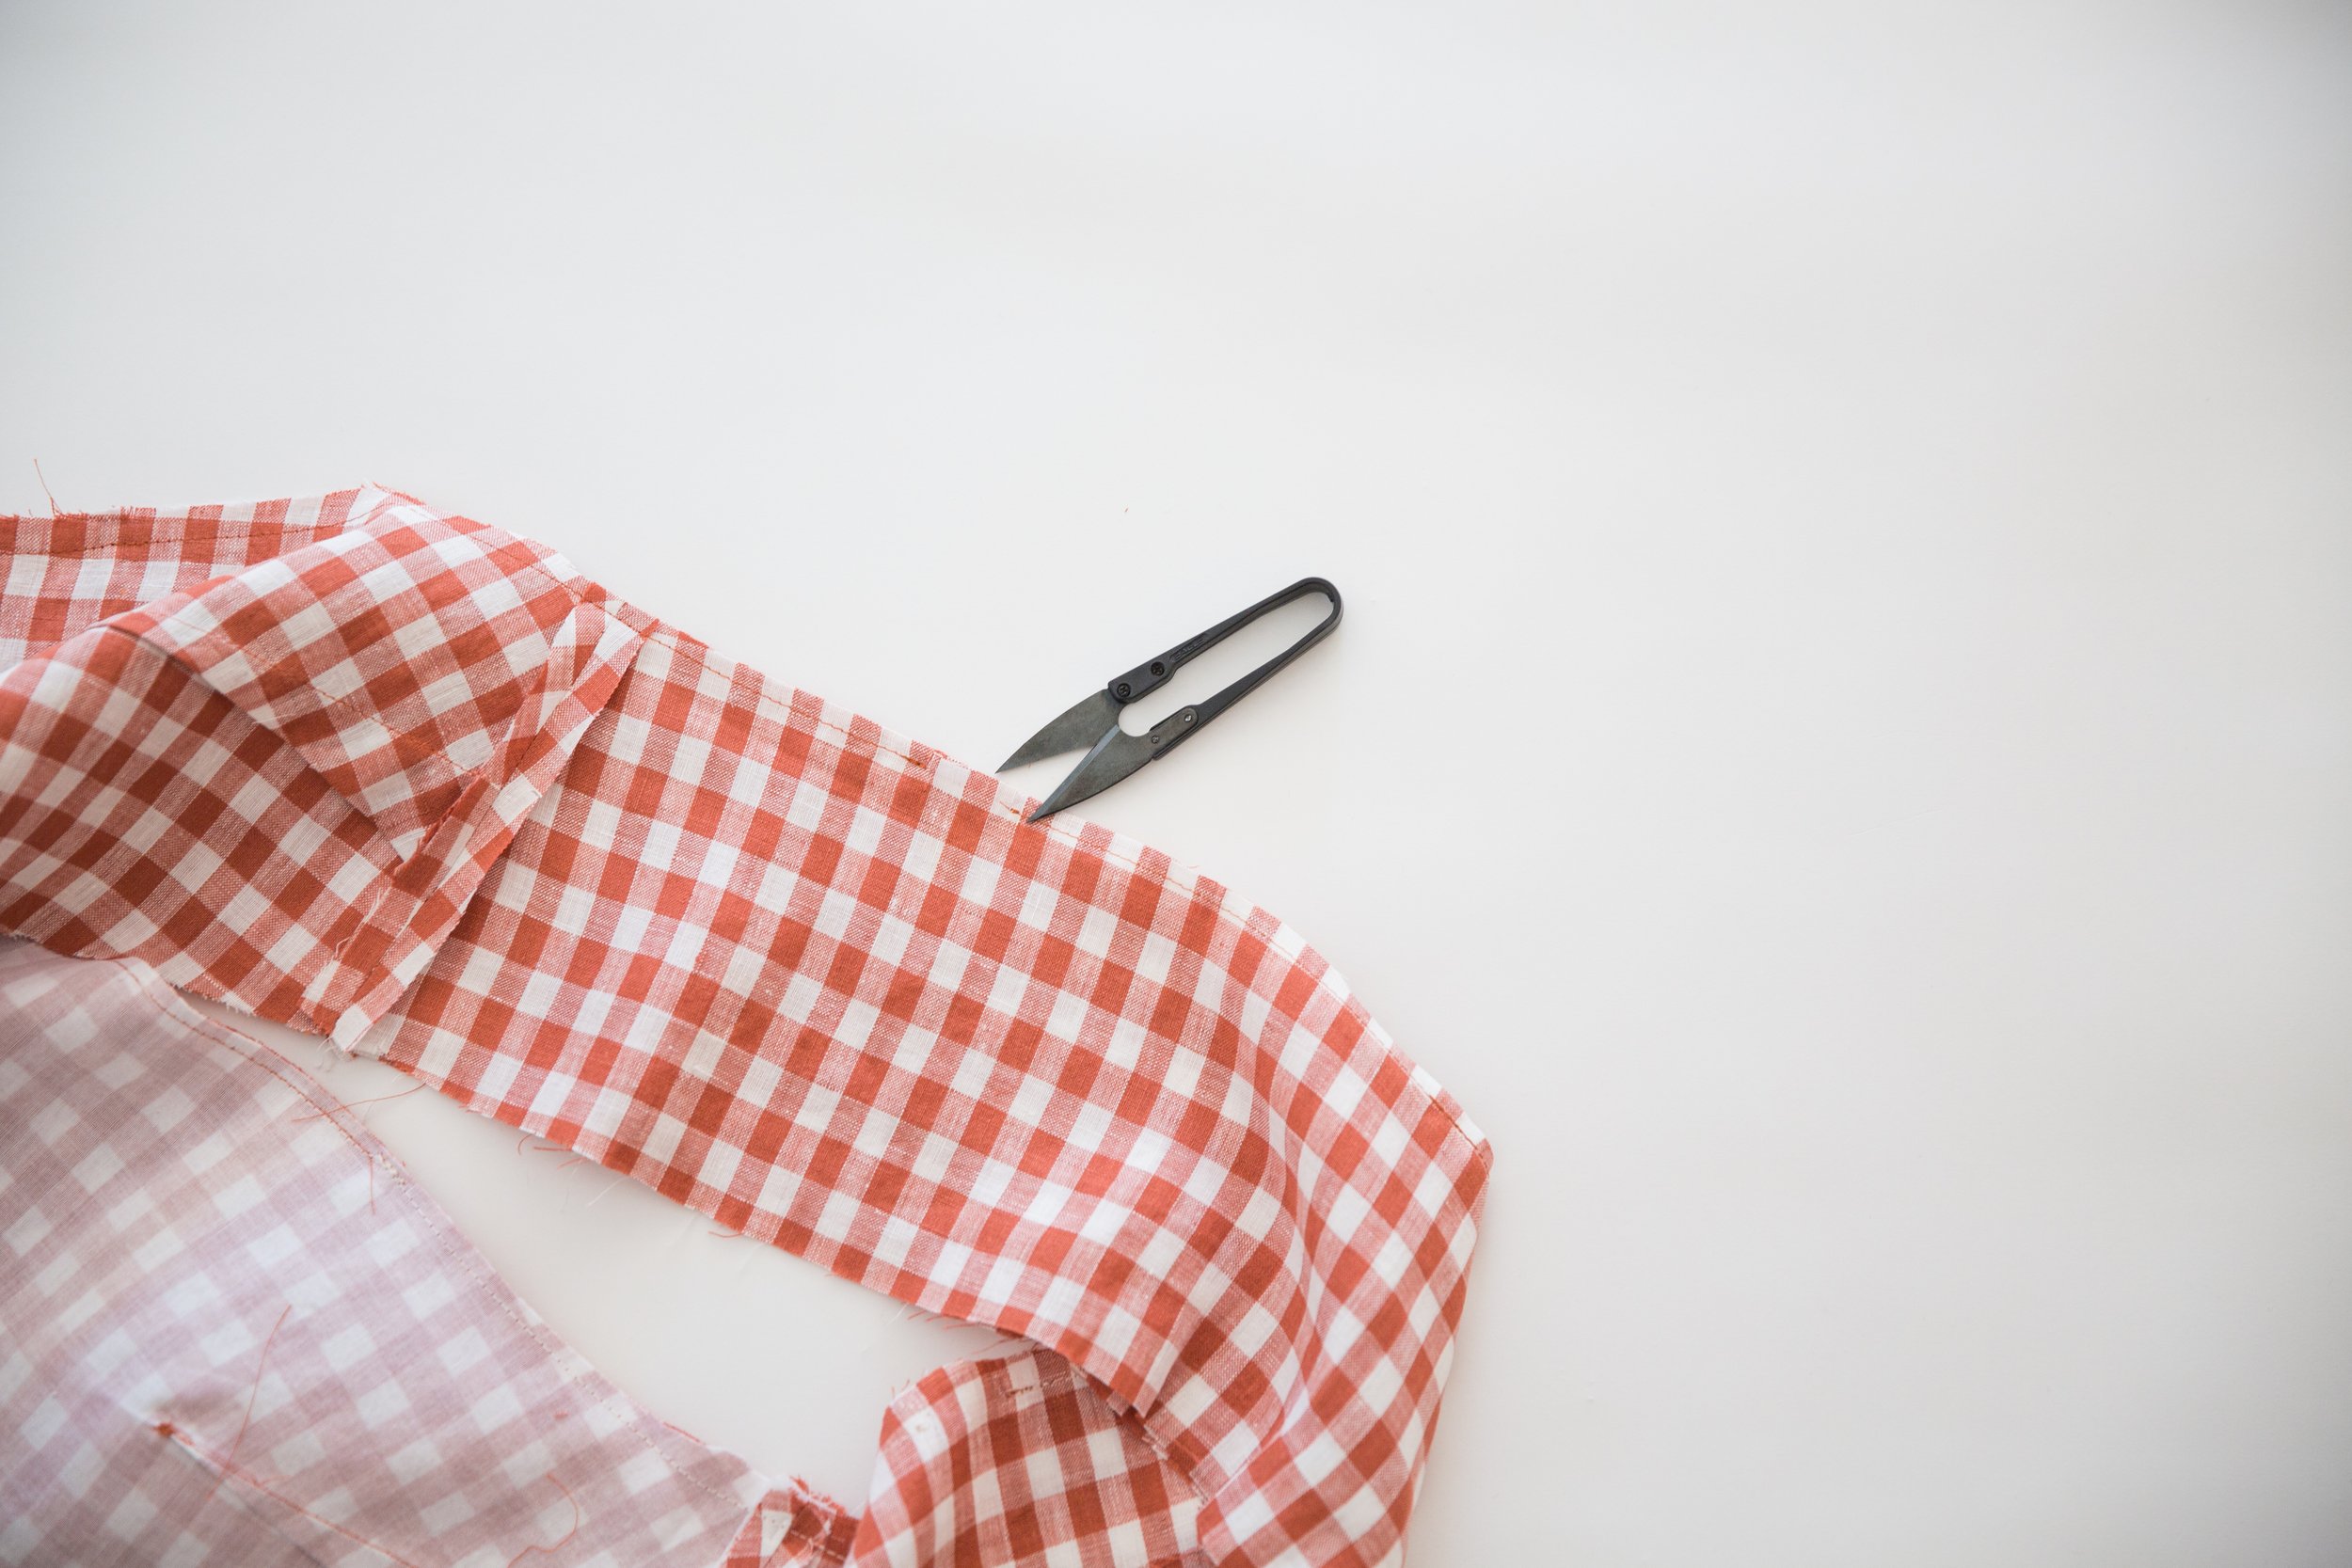
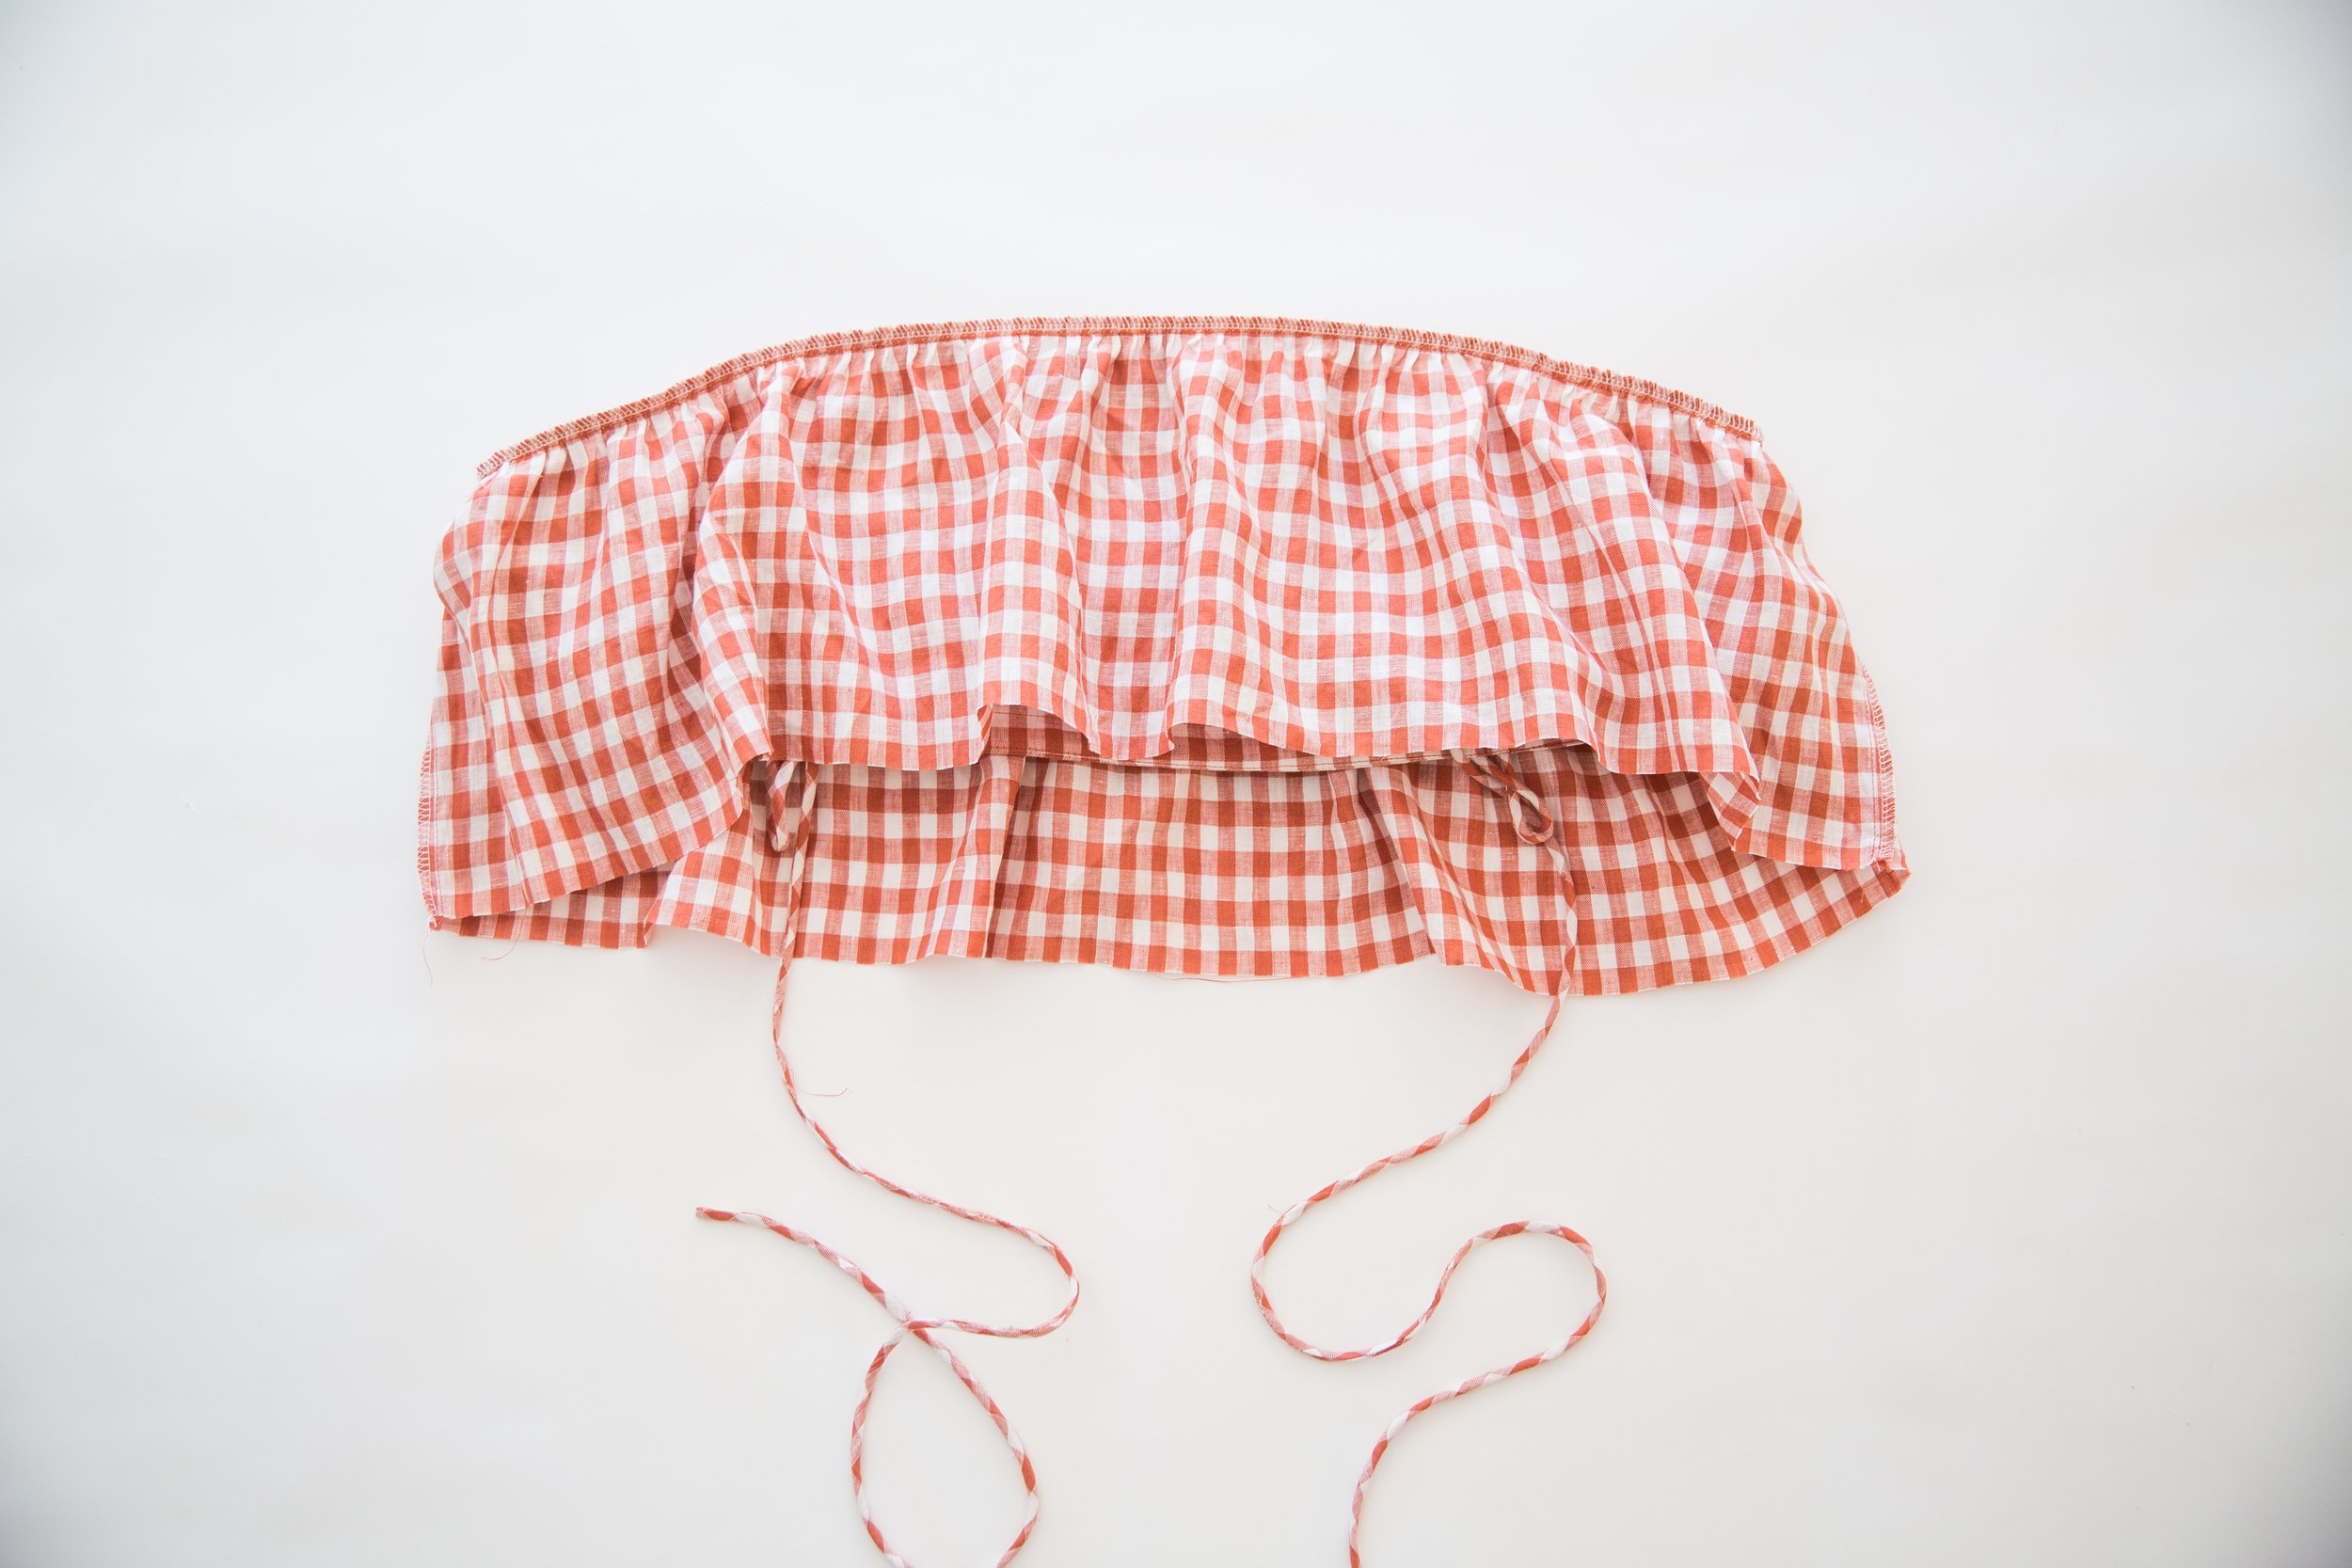
Turn the fused bodice section right side out and wrap the unfused bodice section around it wrong side out so that right sides are facing. Line up side seams and strap notches and pin together. Stitch around top edge, stopping and starting your stitch line on either side of your back notches. Trim seam allowances in half and clip up to the stitch line at back notches on the outer layer only, being careful not to clip through your stitches.
Step 6
Press the clipped part of seam allowance open and the rest of the seam allowance toward the fused bodice section. Understitch in place.
Step 7
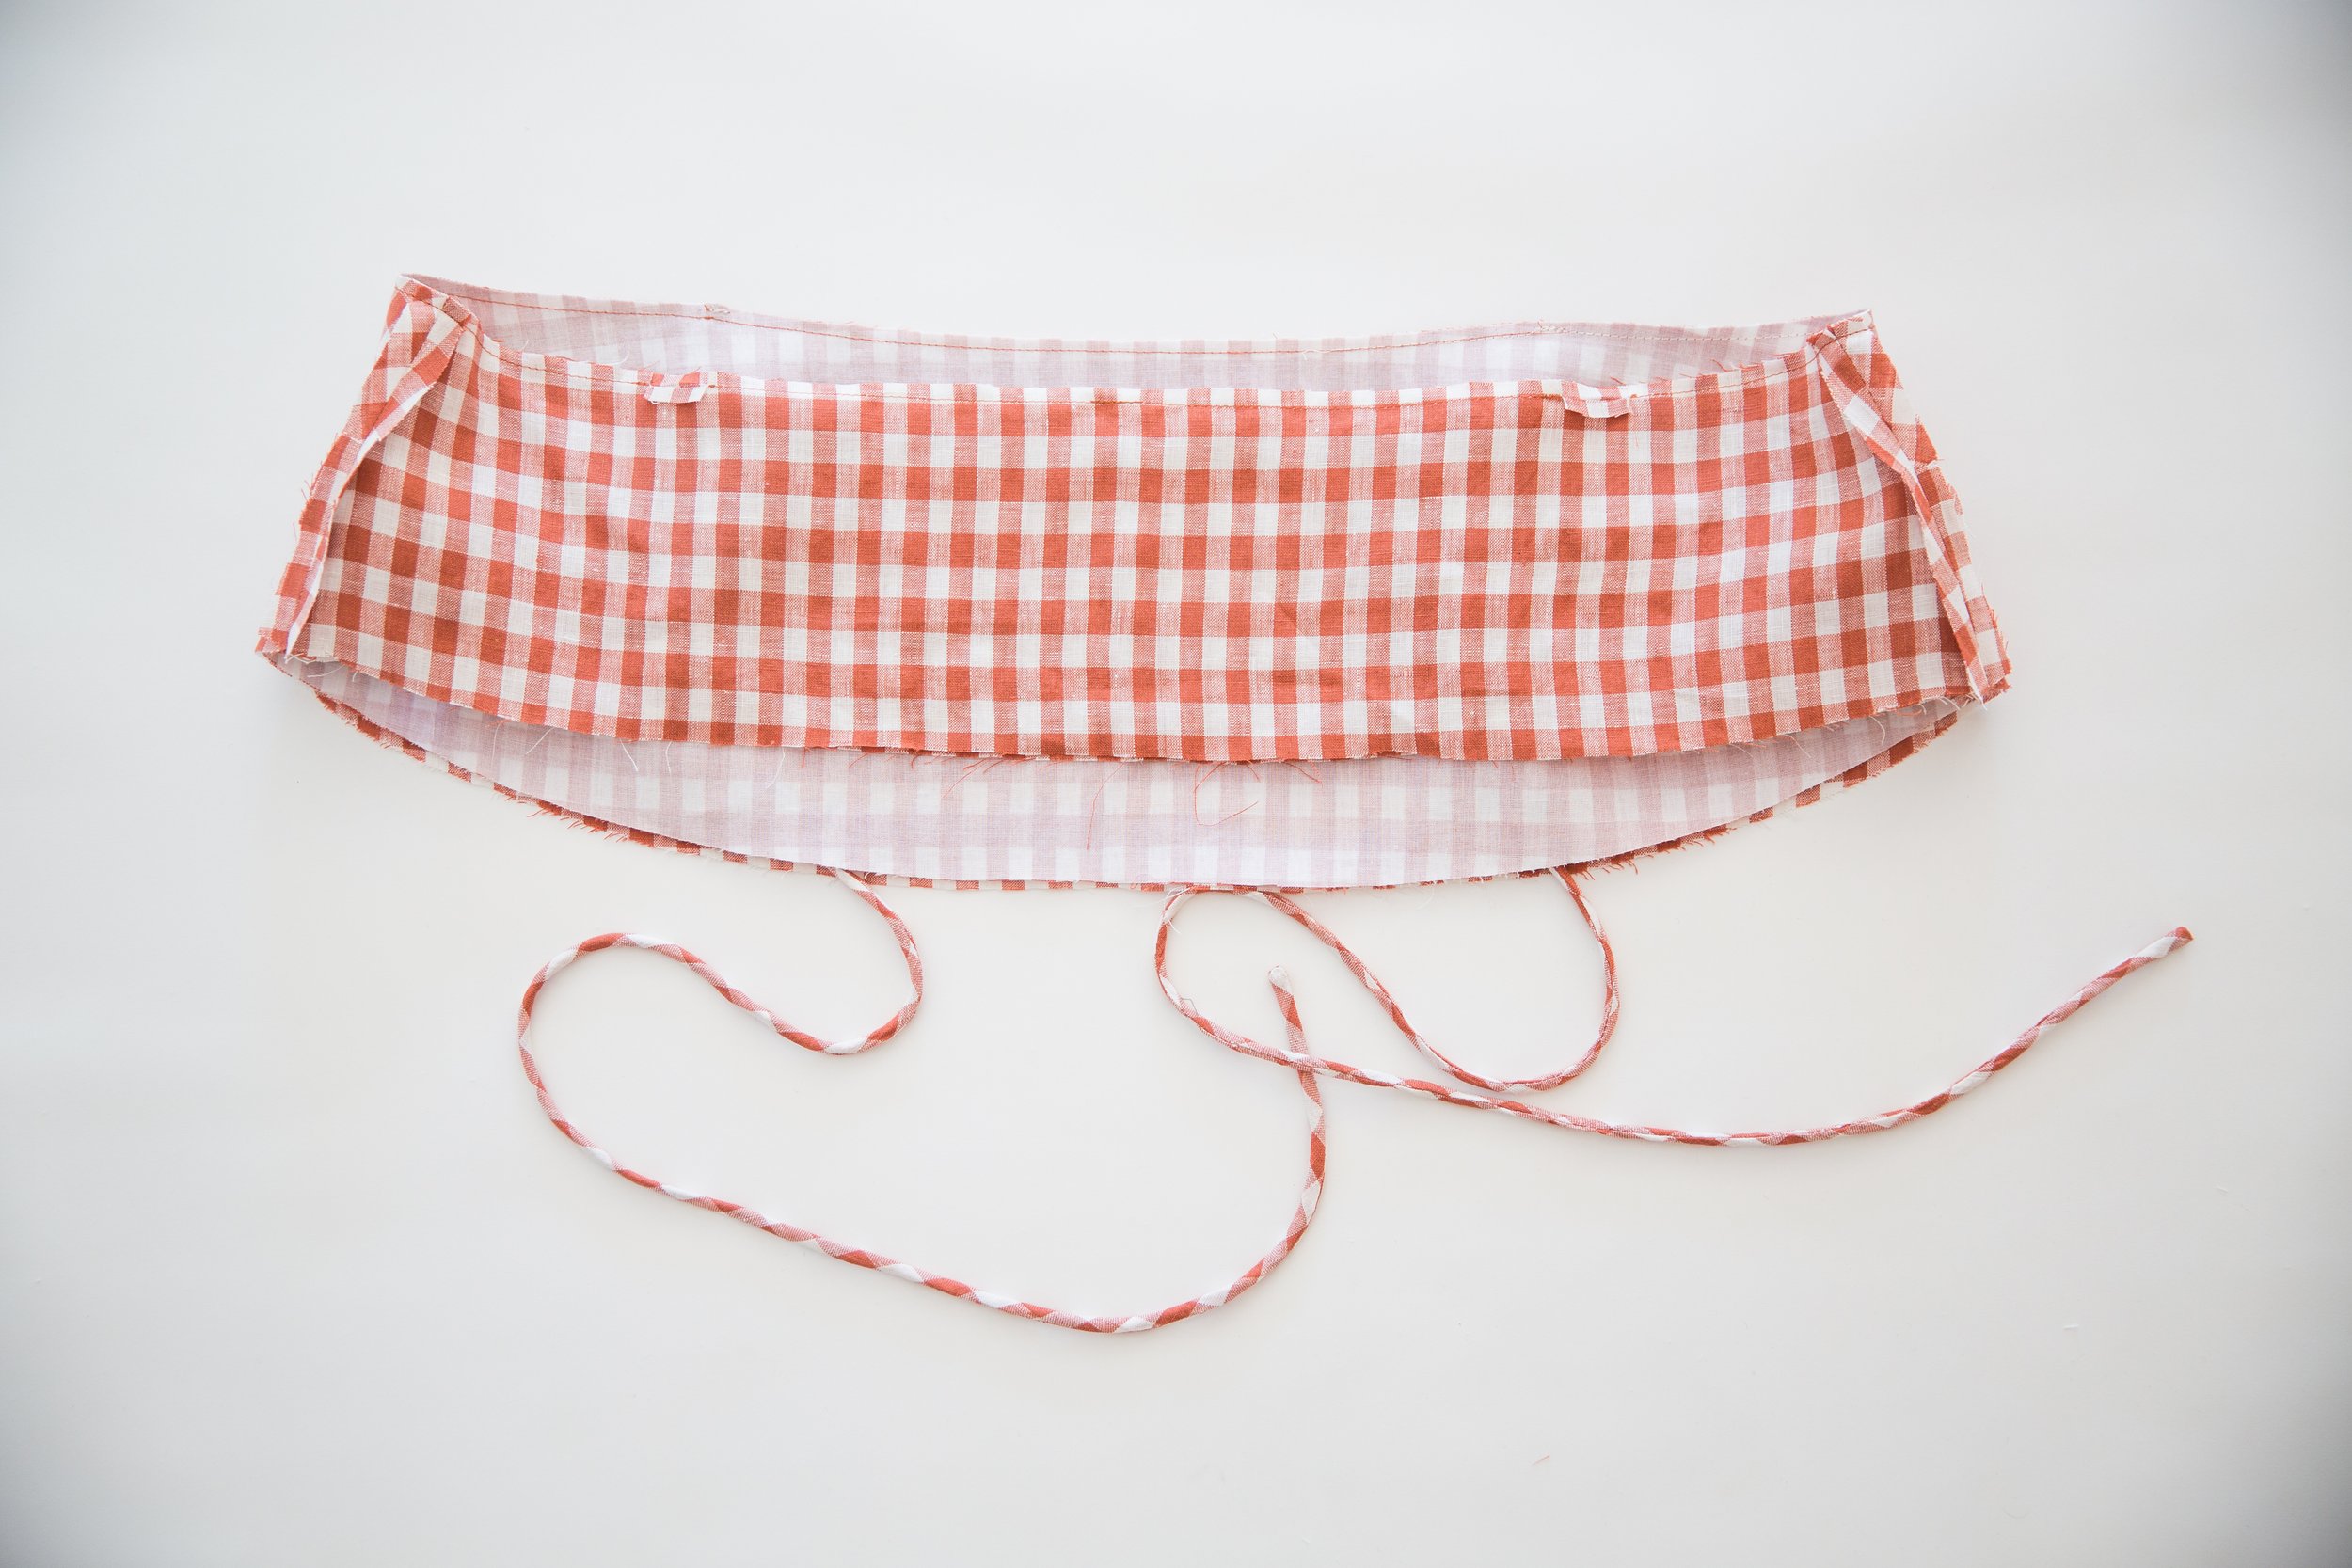
Place your back strap piece (strap 2) onto the understitched side of back bodice with the ends of strap overlapping the openings by about 2.5cm/1” with the raw ends facing each other. Stitch in place securely.
Poke the strap through the openings on each side until the strap has no excess.

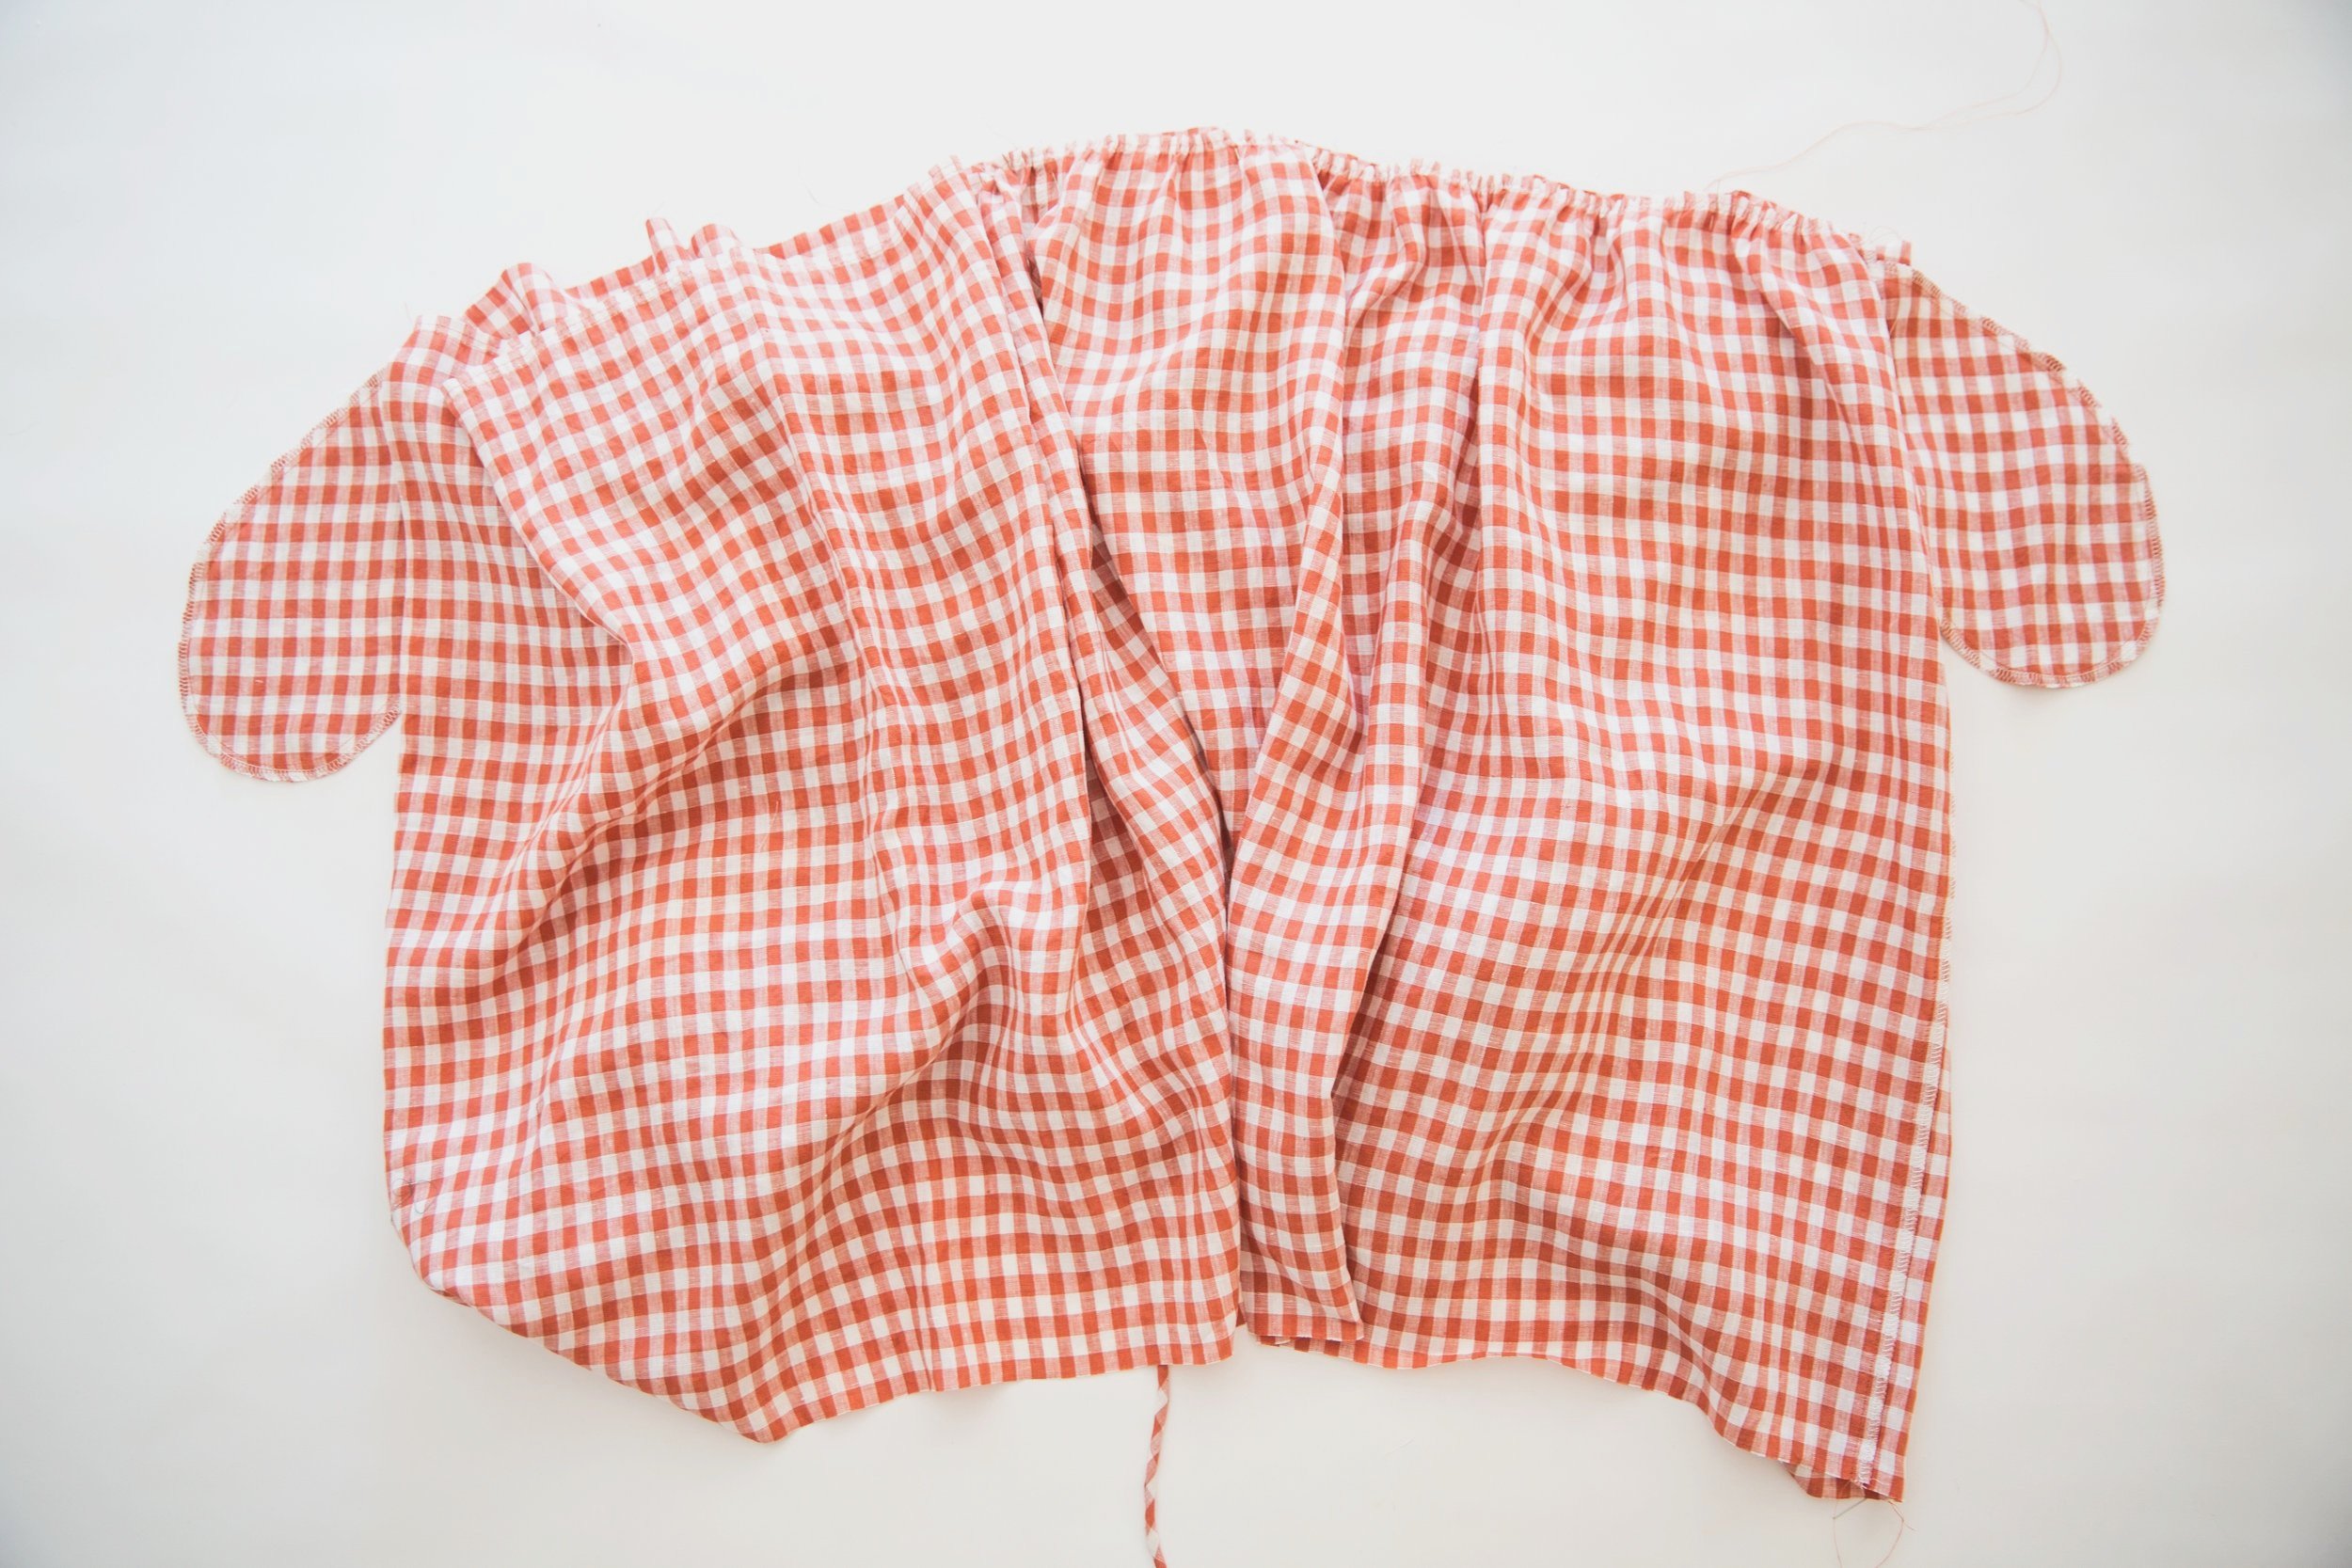
Step 8
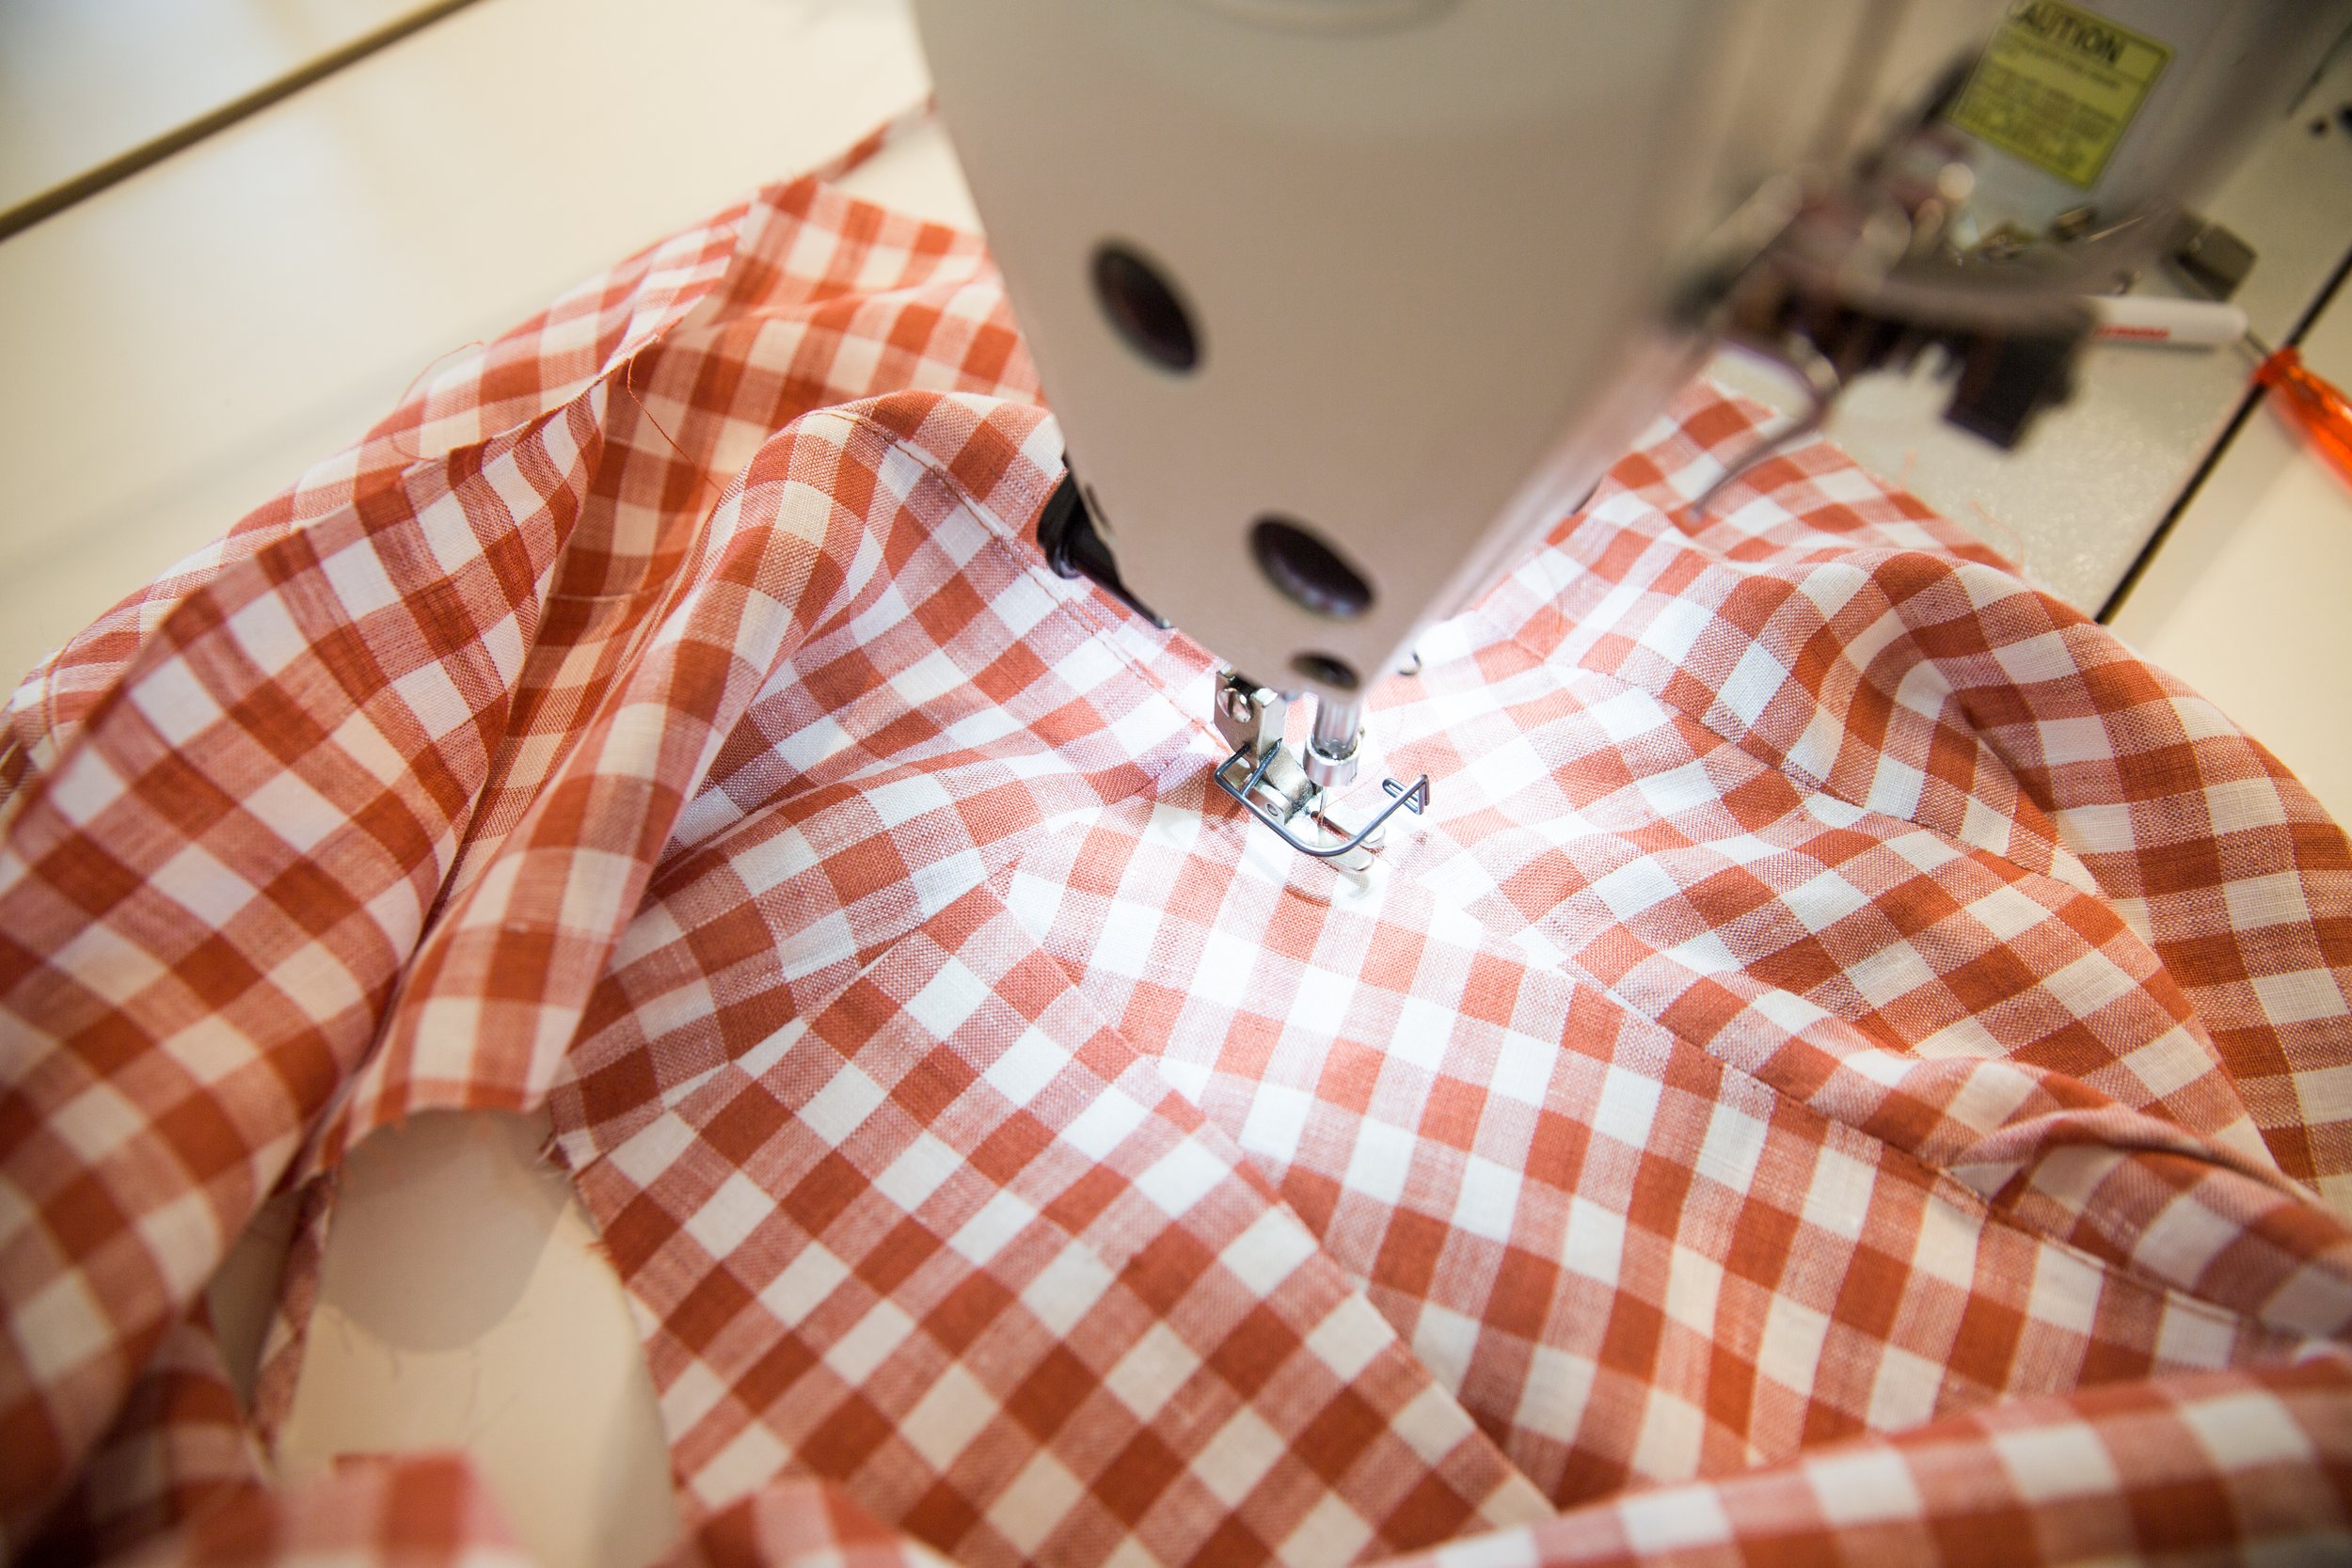
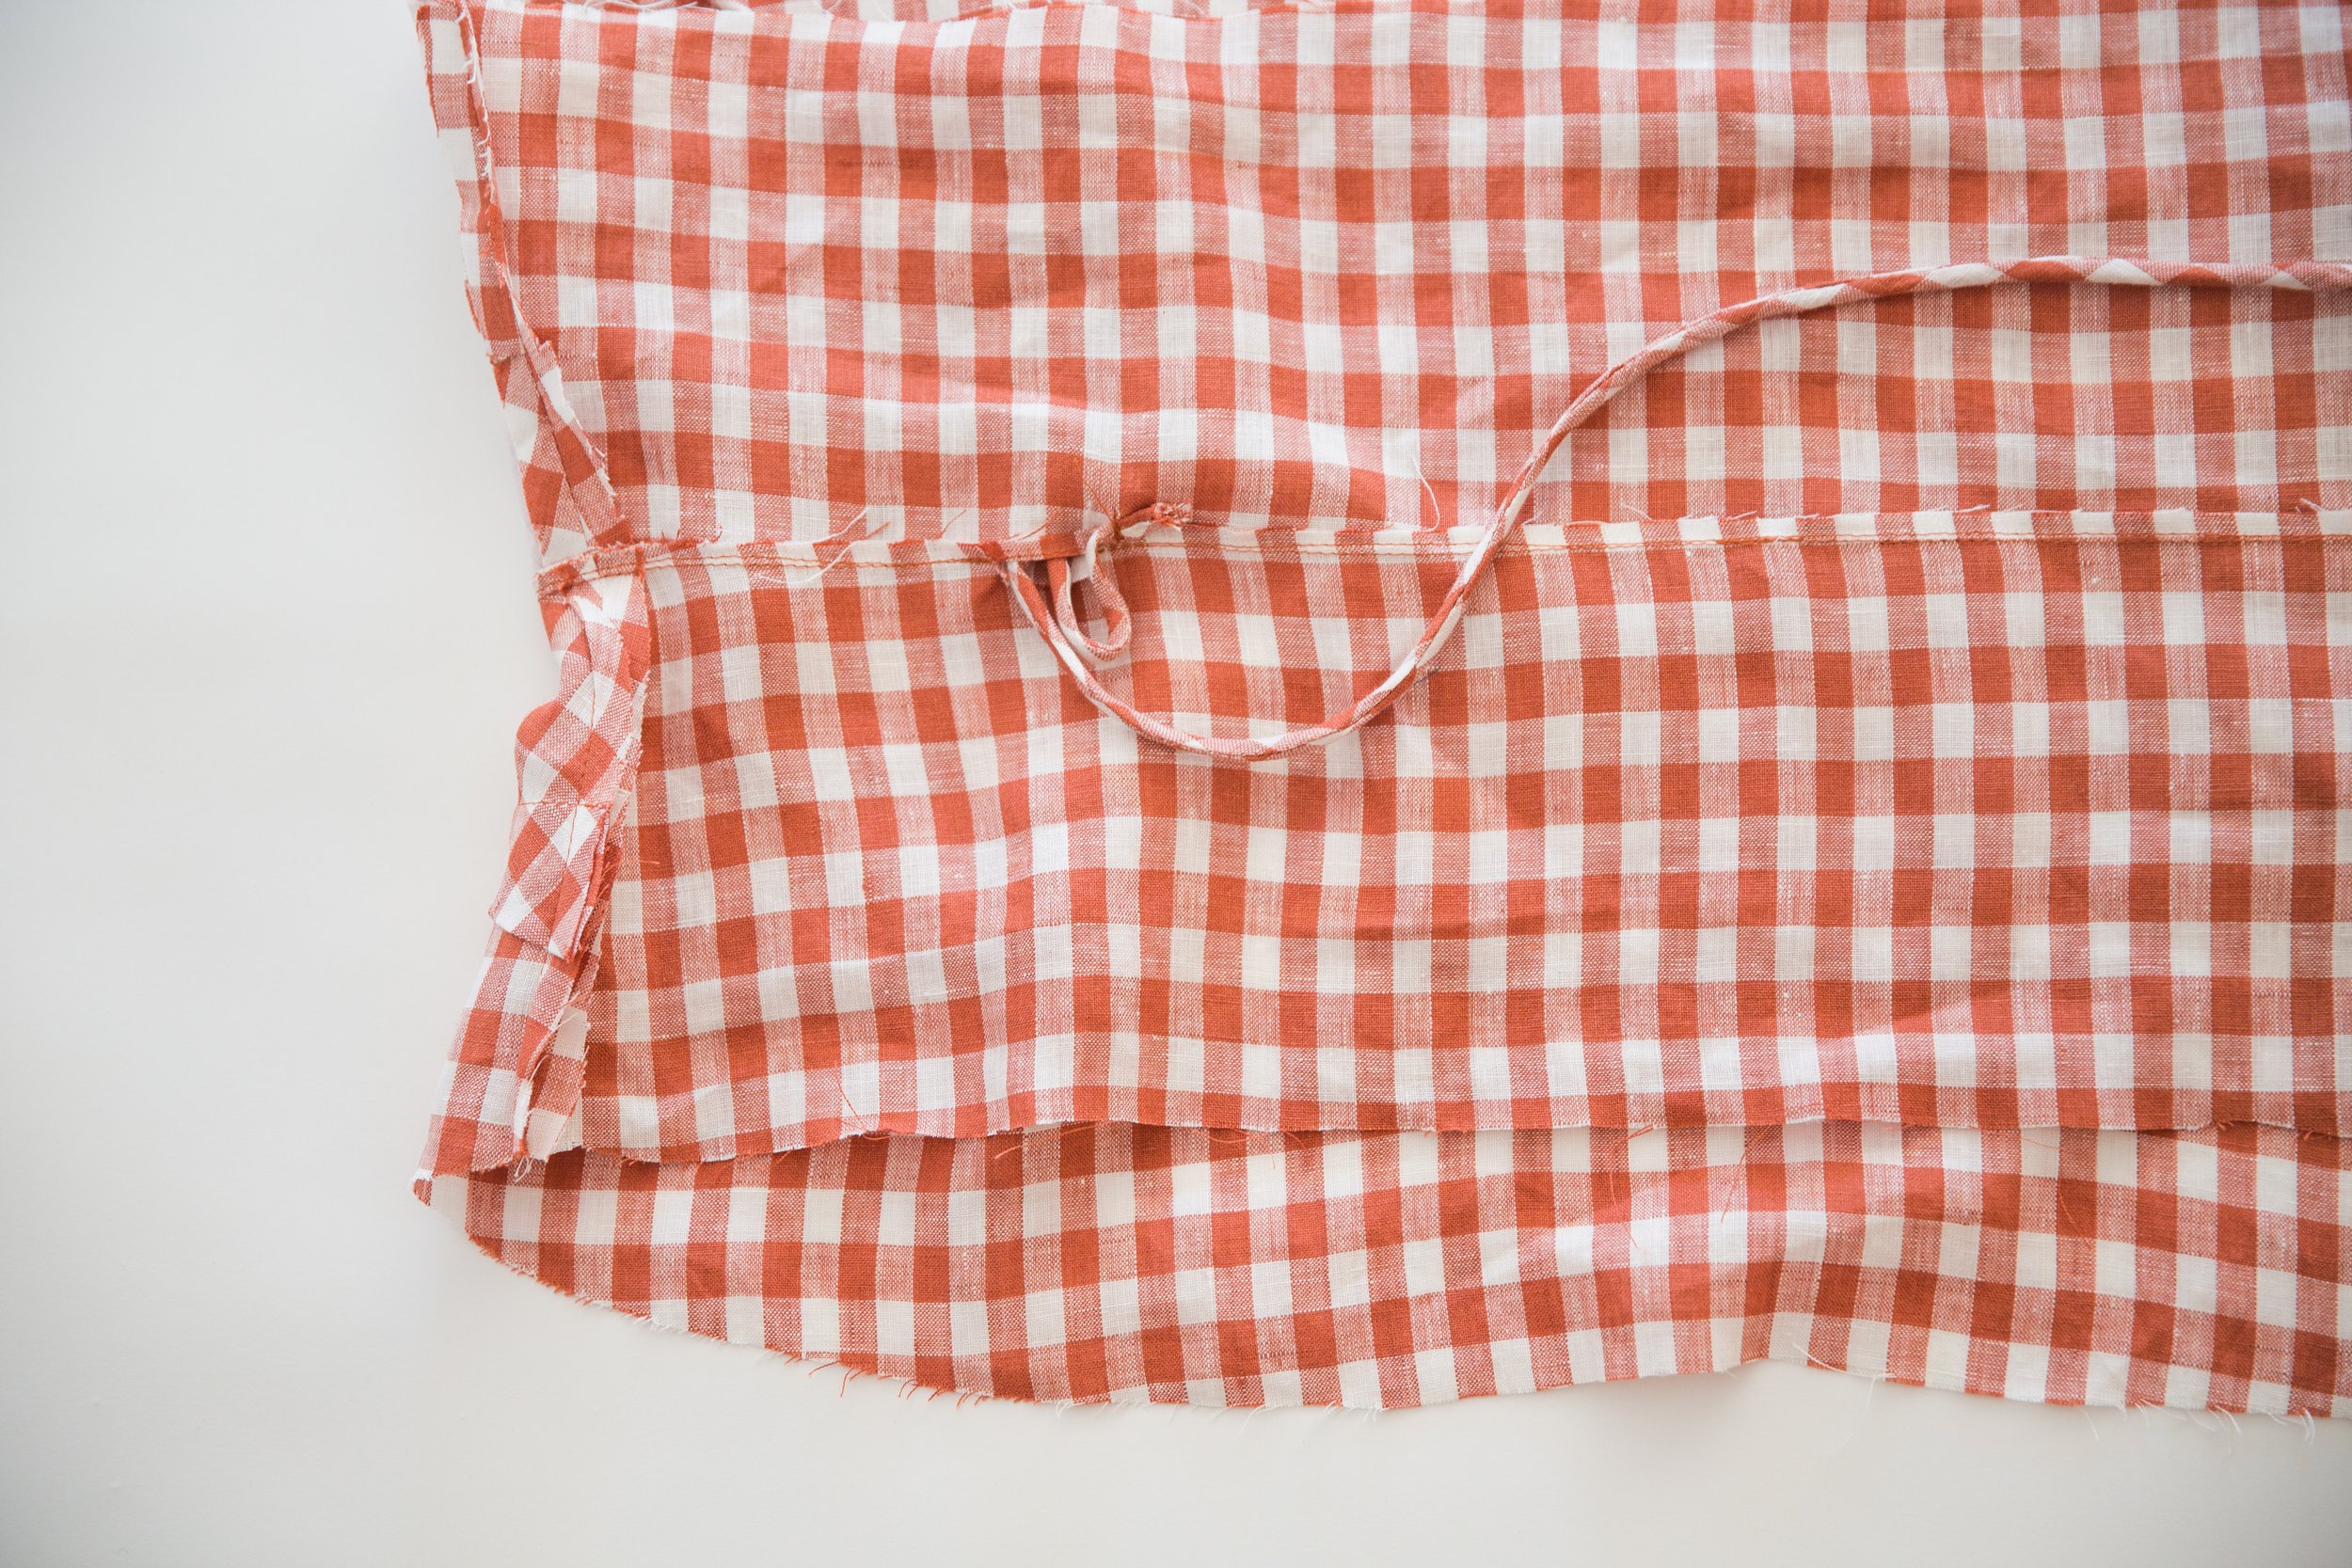
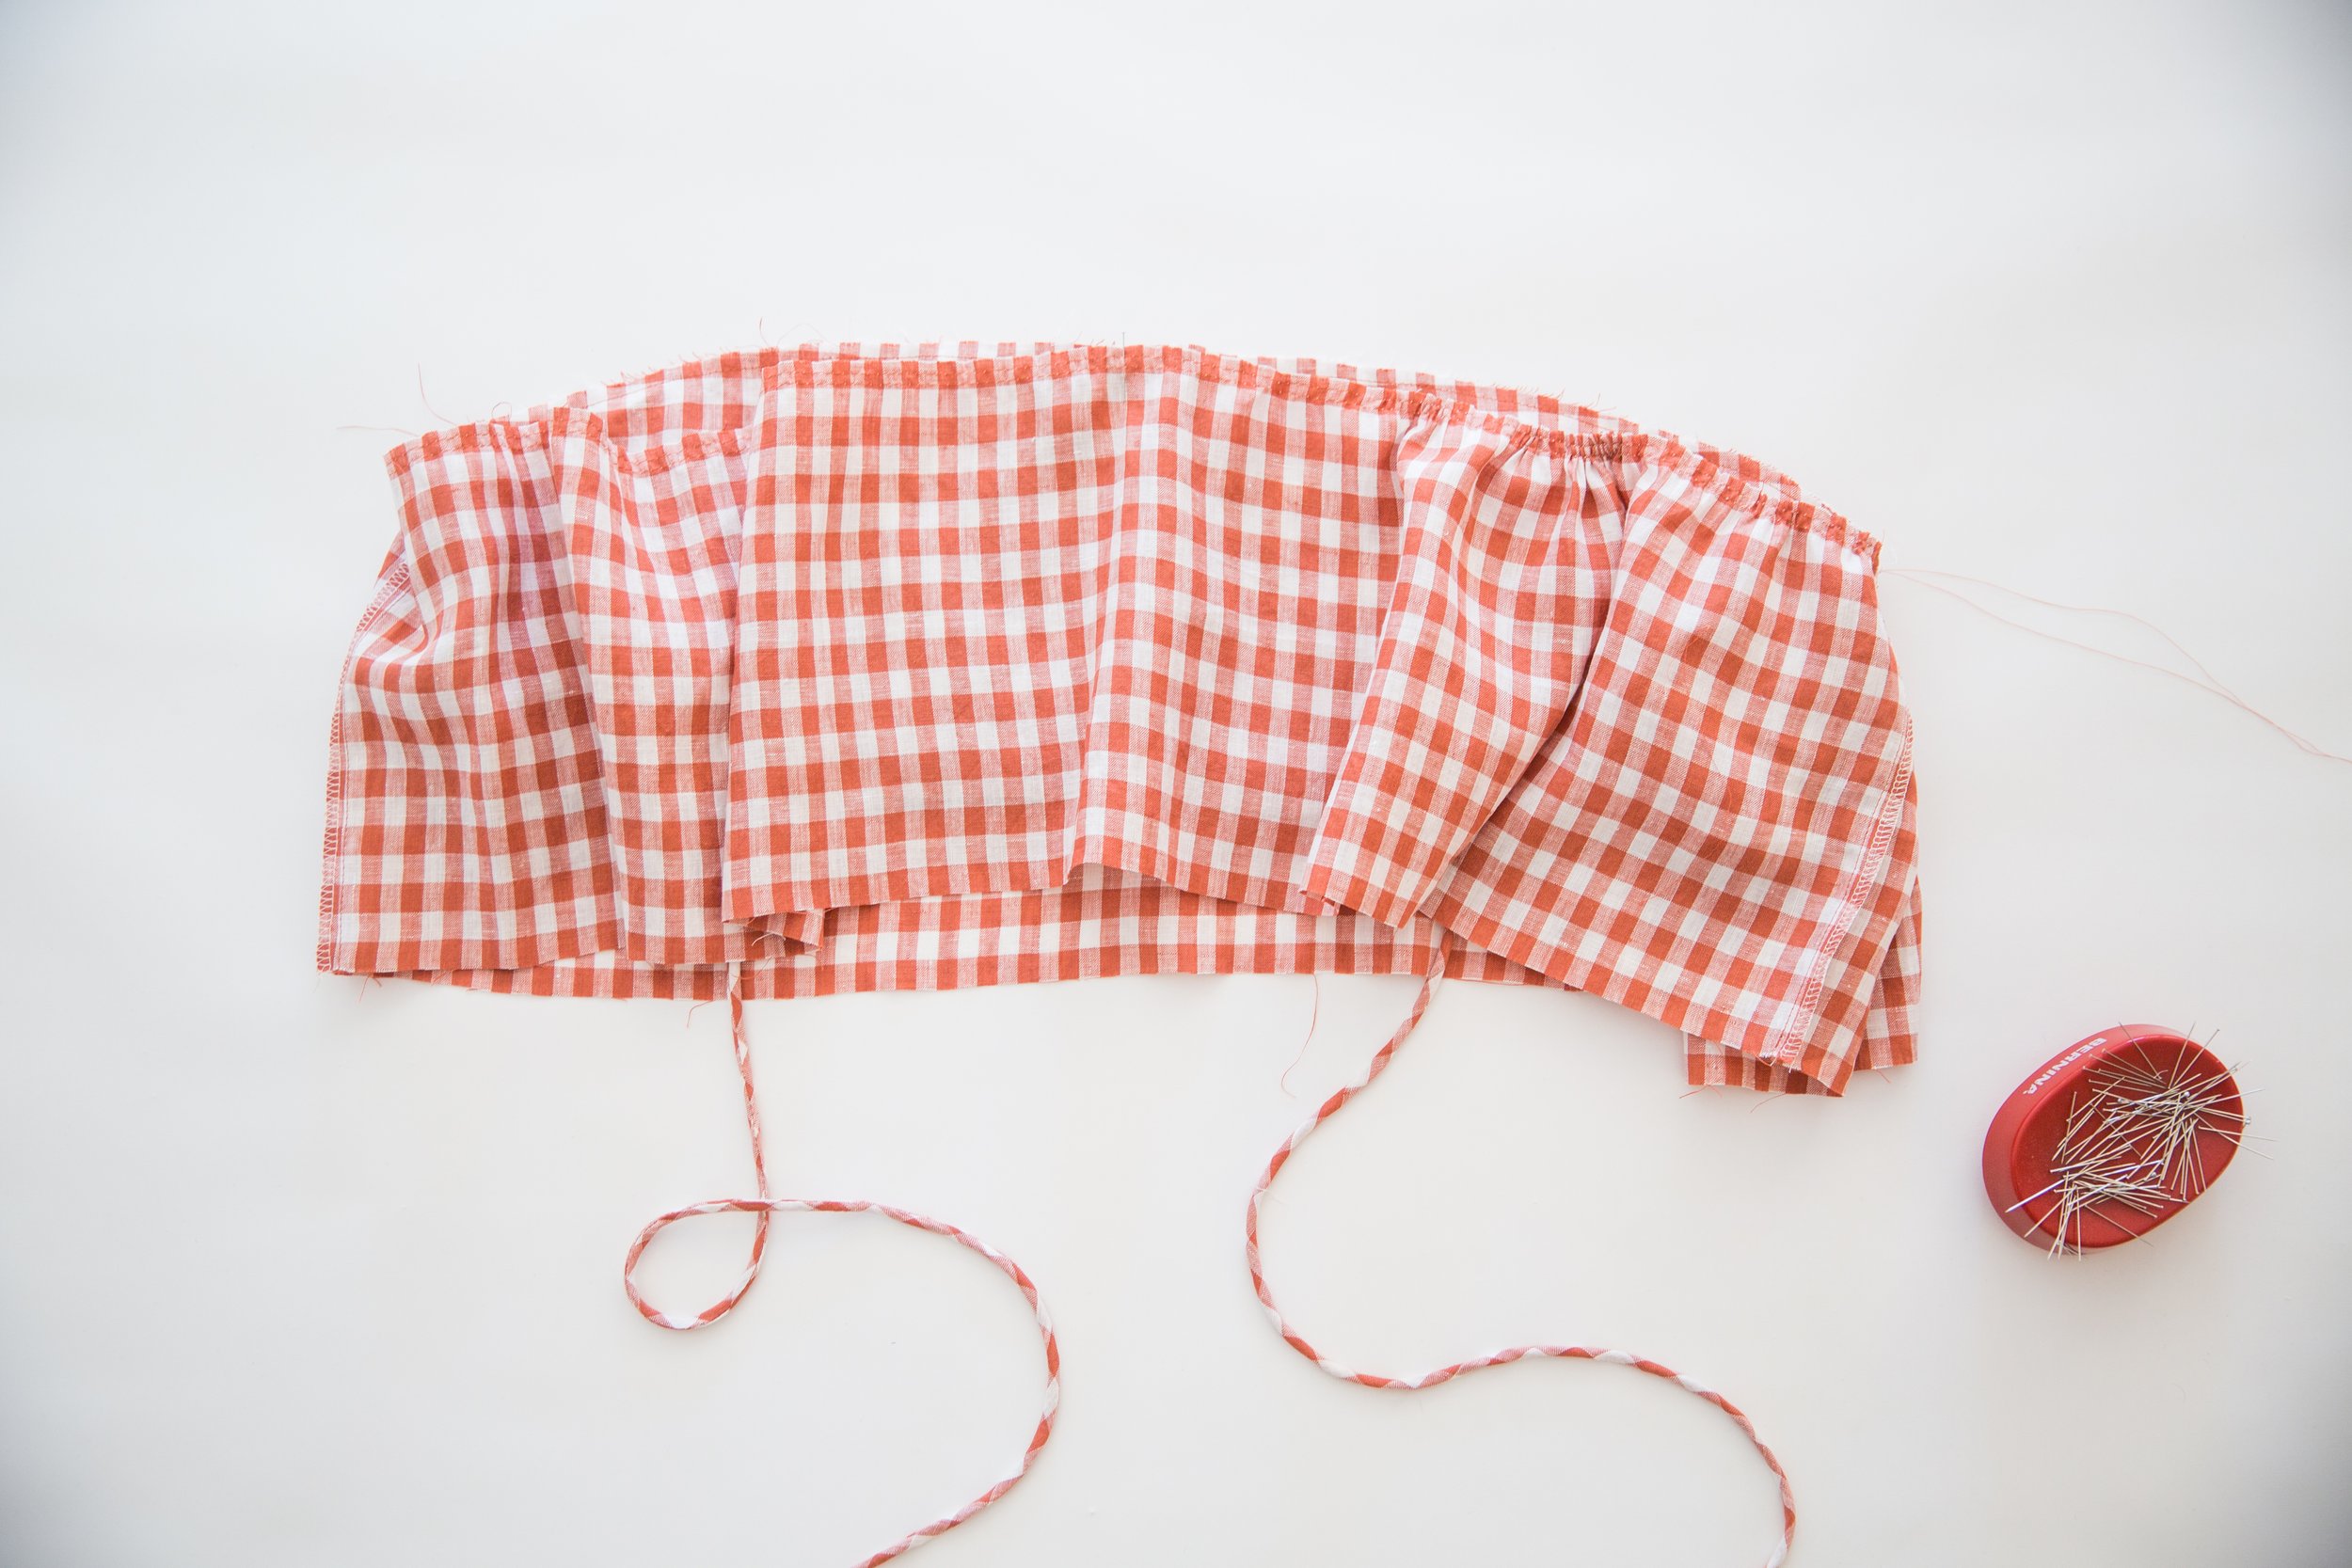
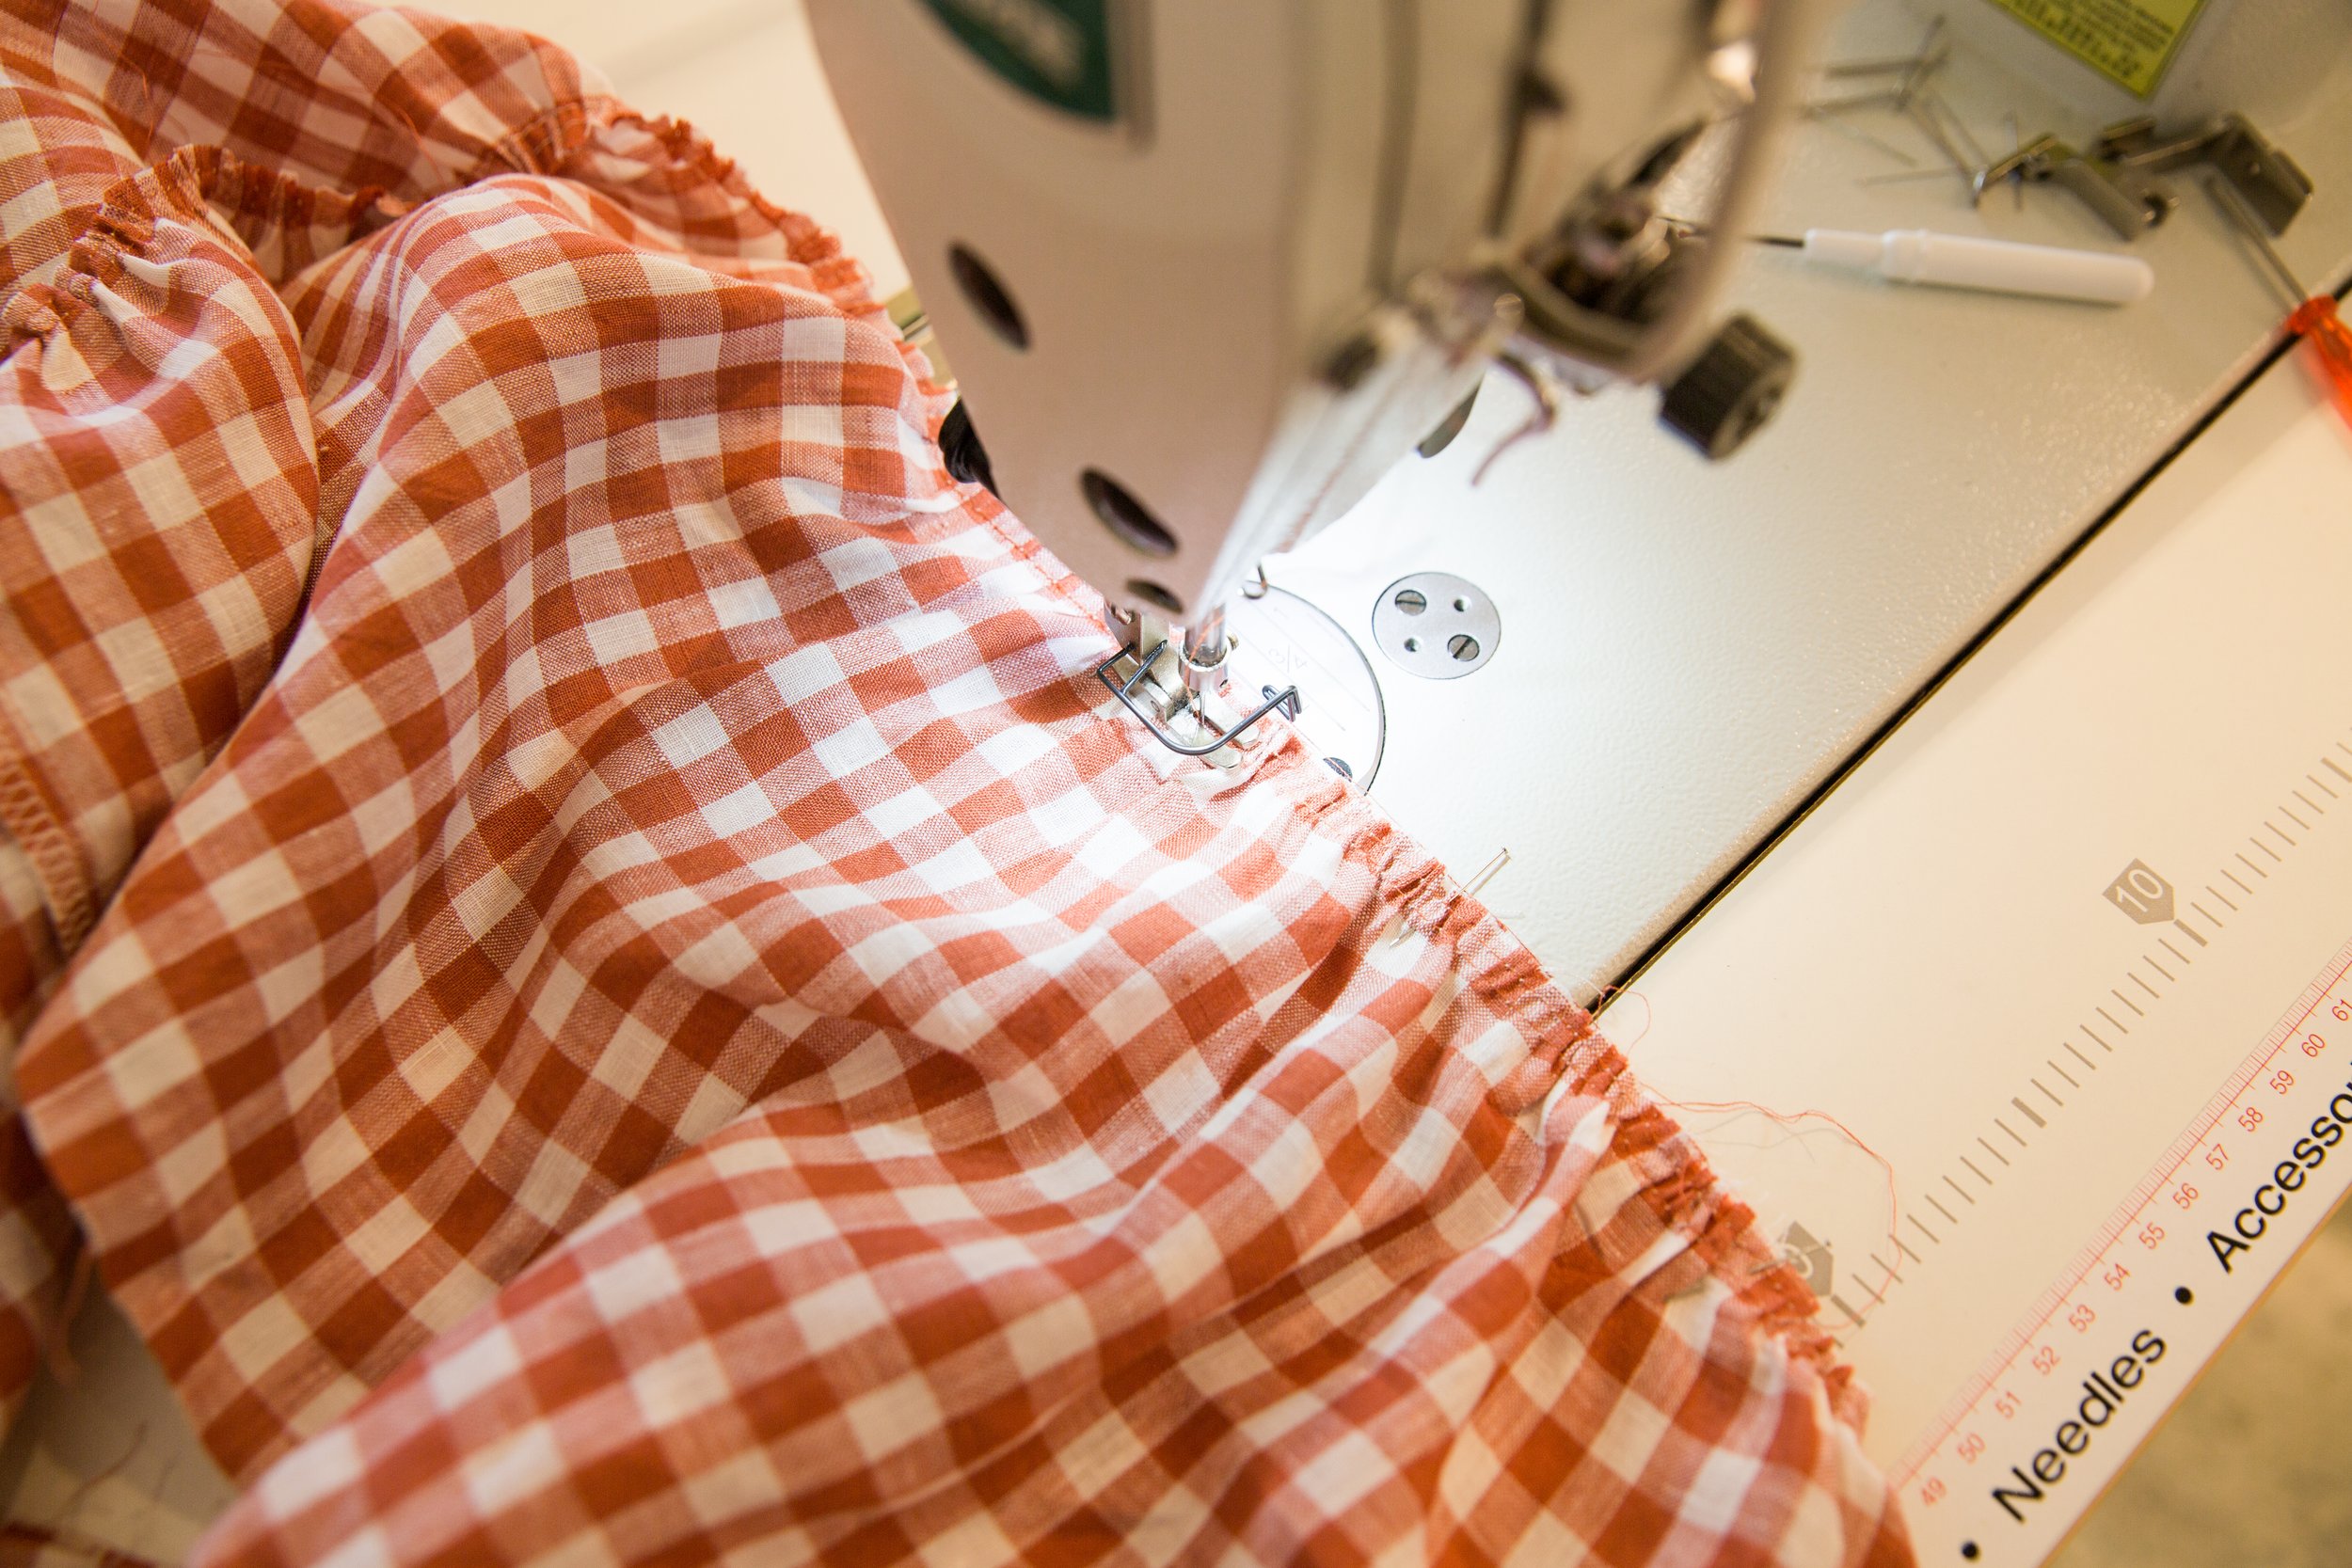
Form a casing by stitching 2.5 cm/1” from top edge through all layers of back bodice being really careful not to stitch through your strap.

Pull apart back strap loops and stitch just a couple of stitches between each loop. This will stop the strap from disappearing into the casing.

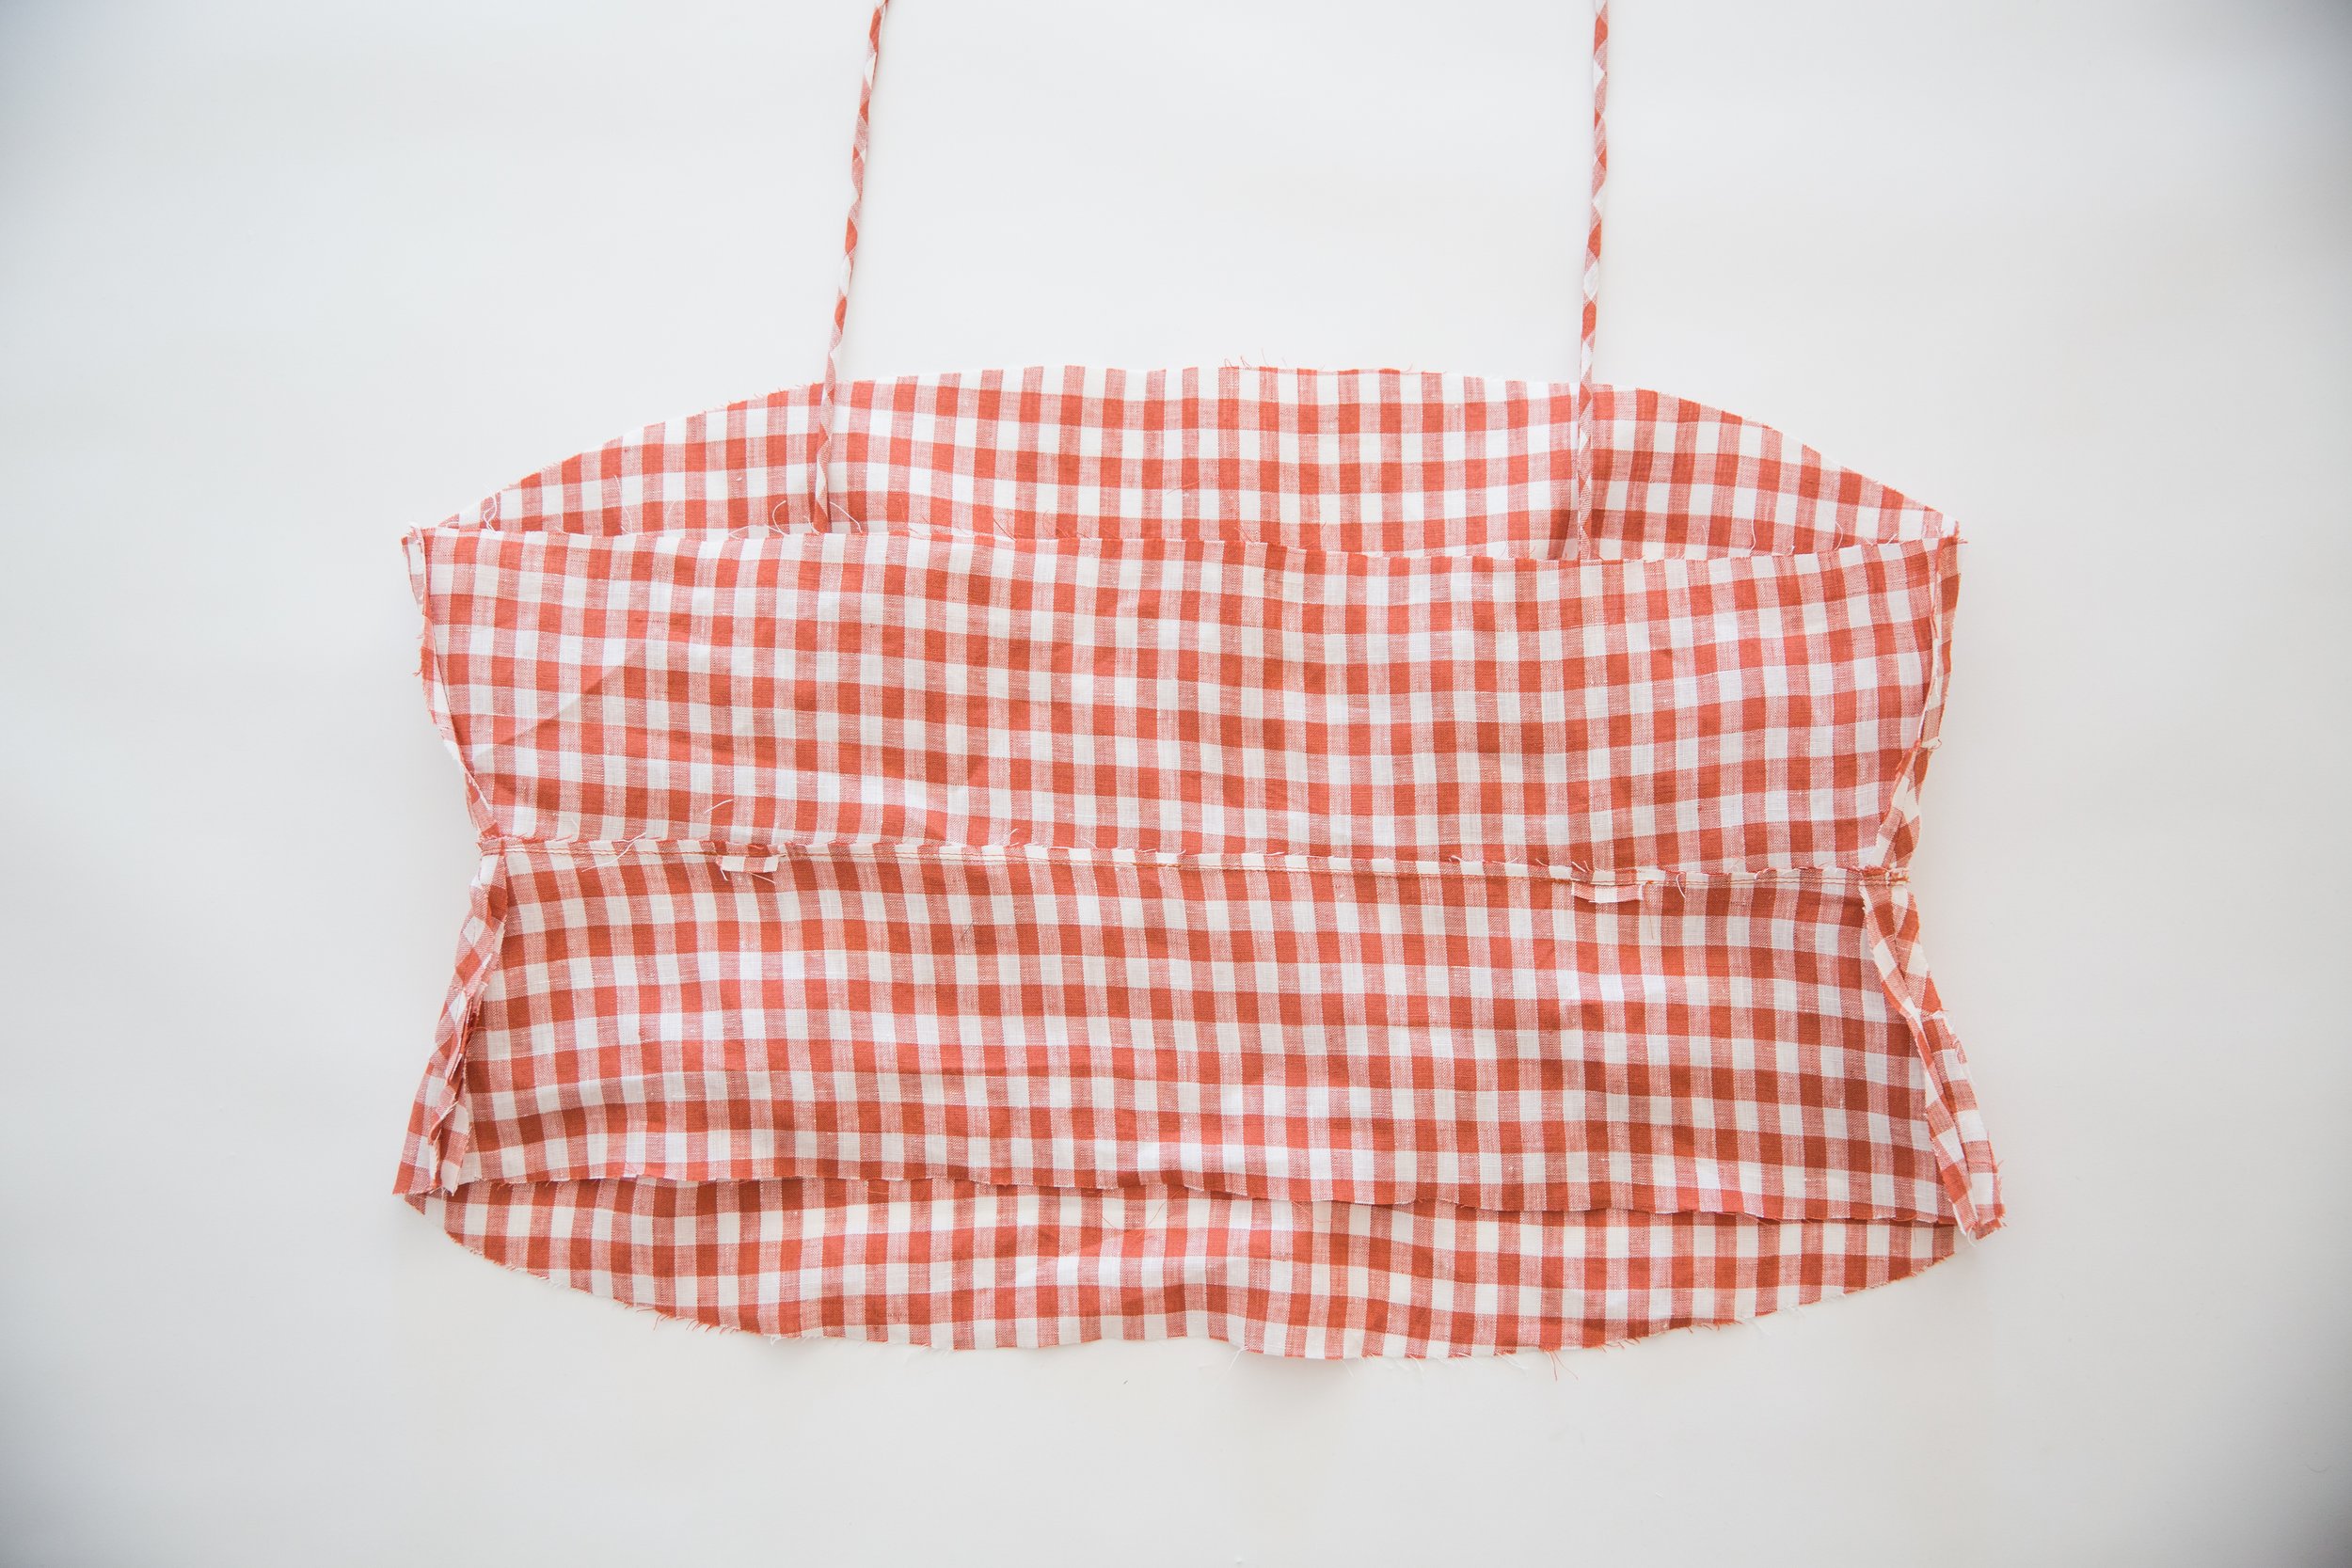
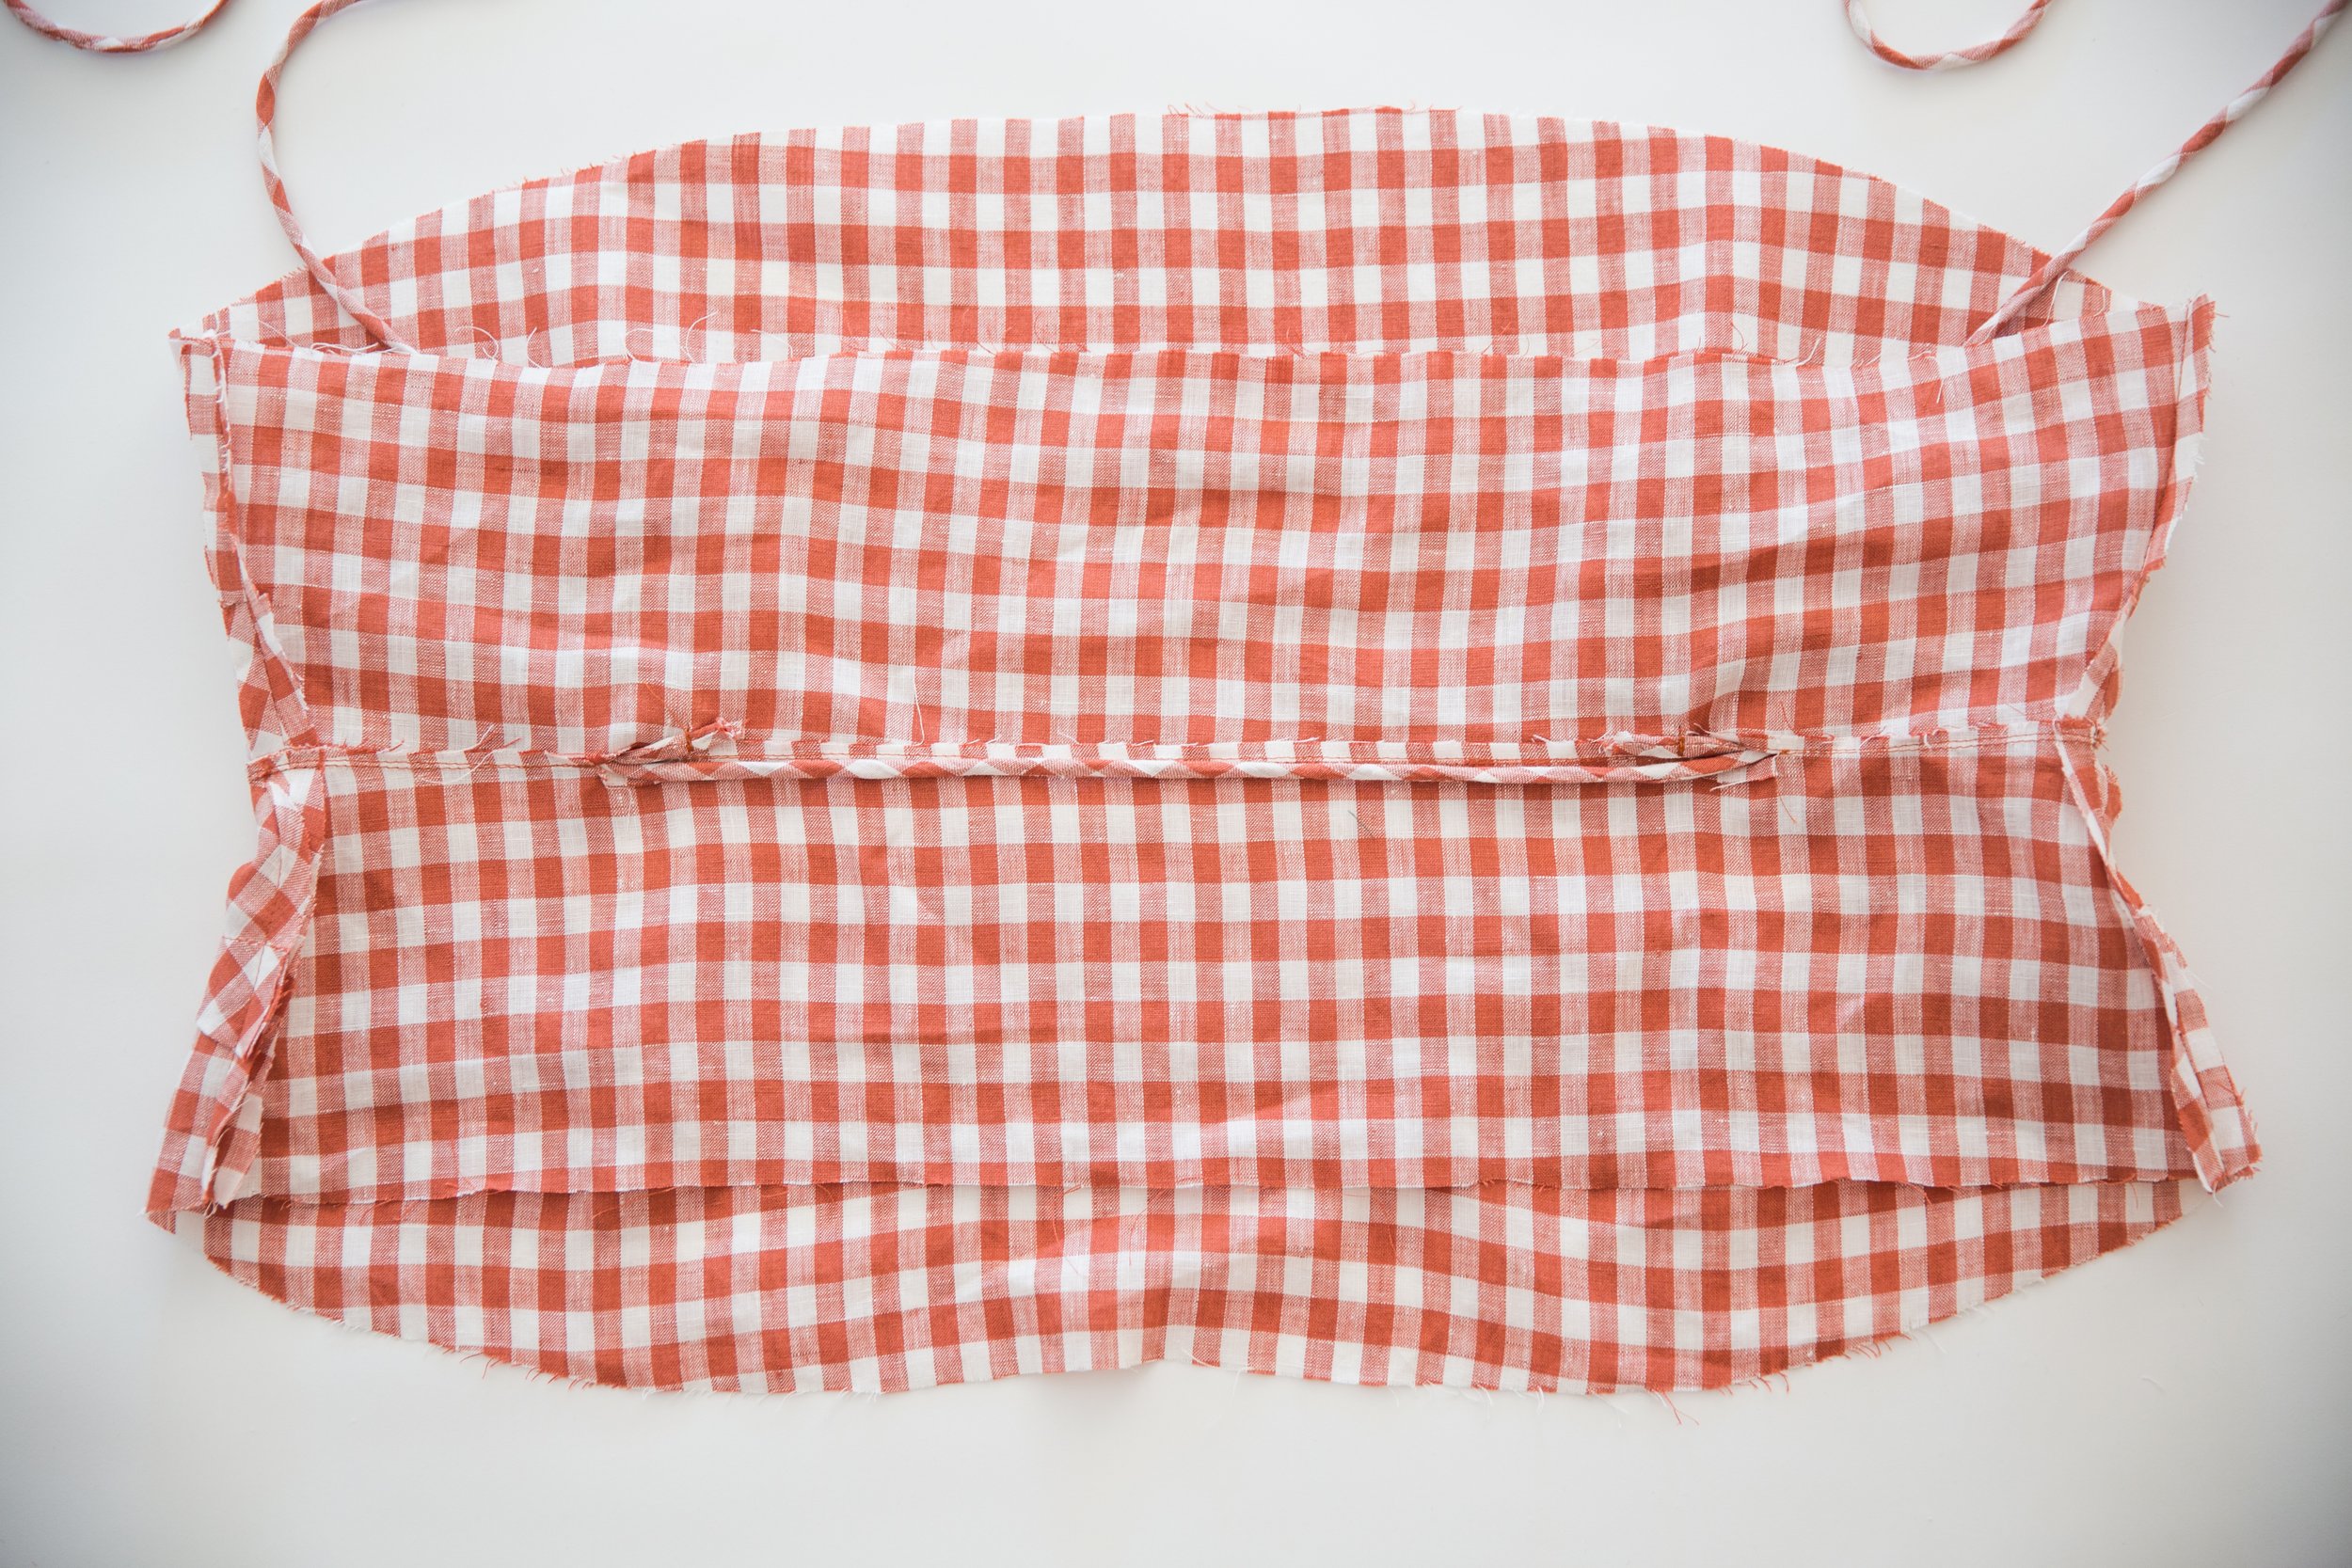
Step 9
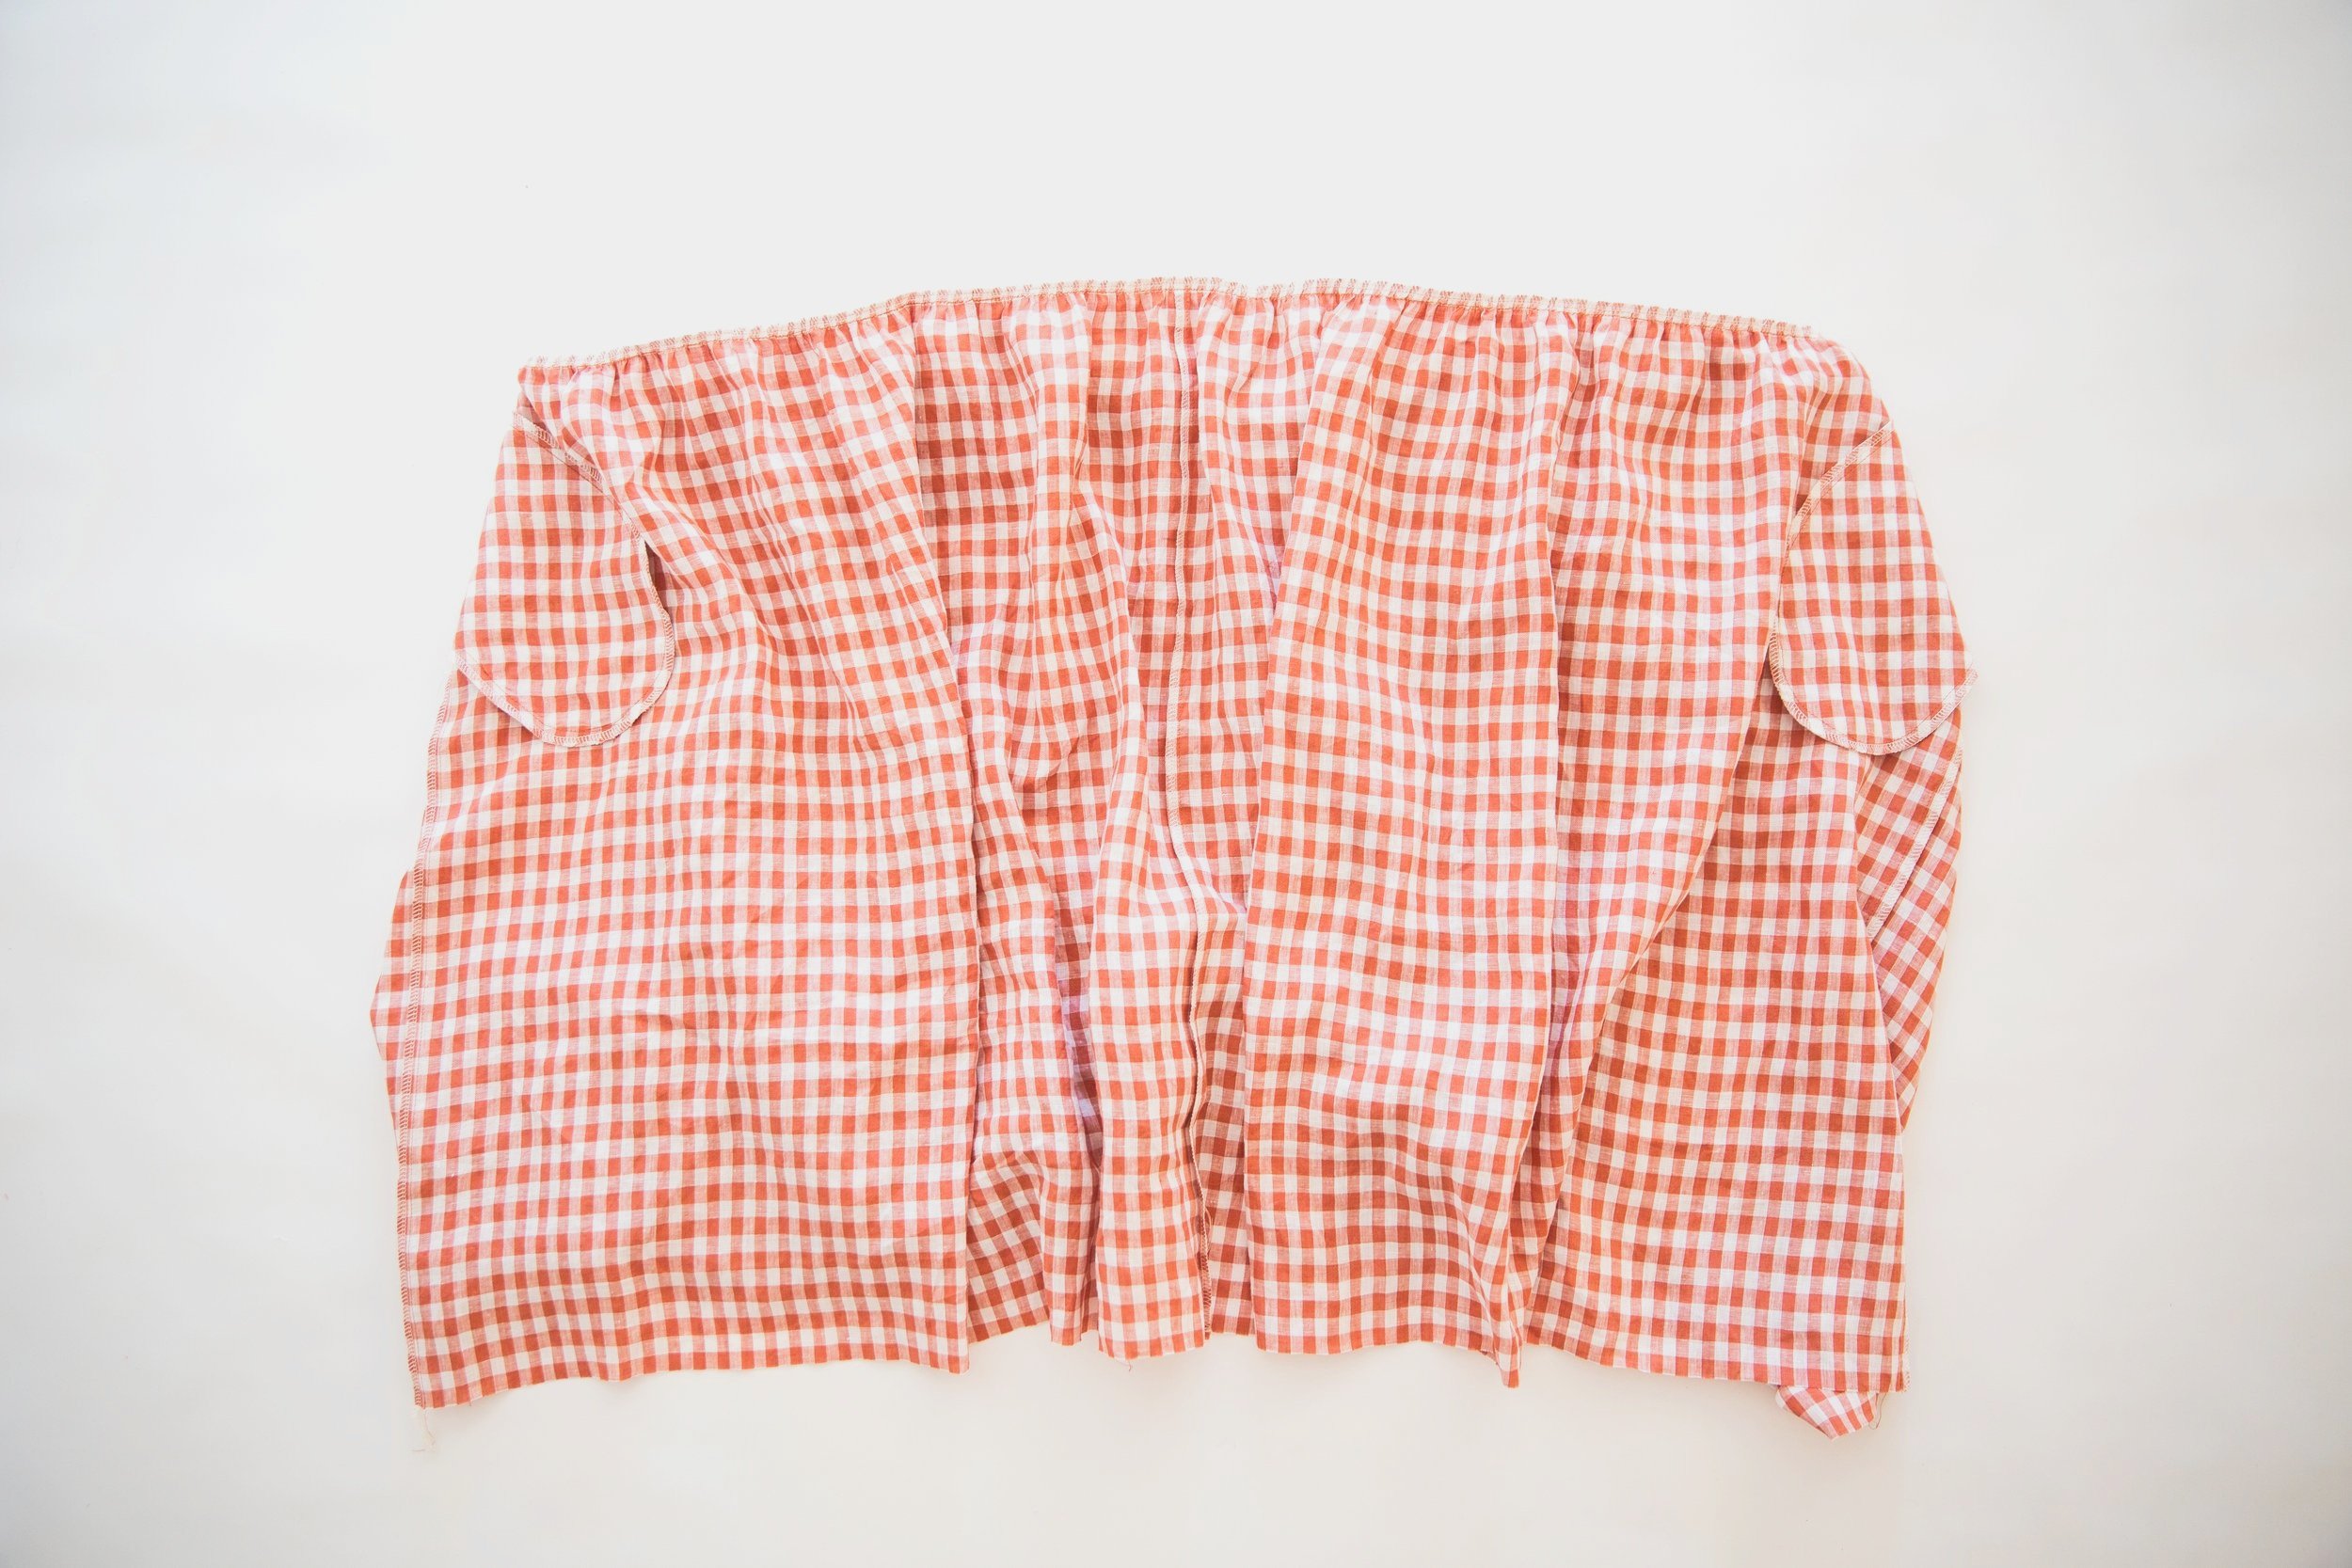
Press bodice section well, then pin together bottom edges and baste closed 5mm/0.19” from edge.
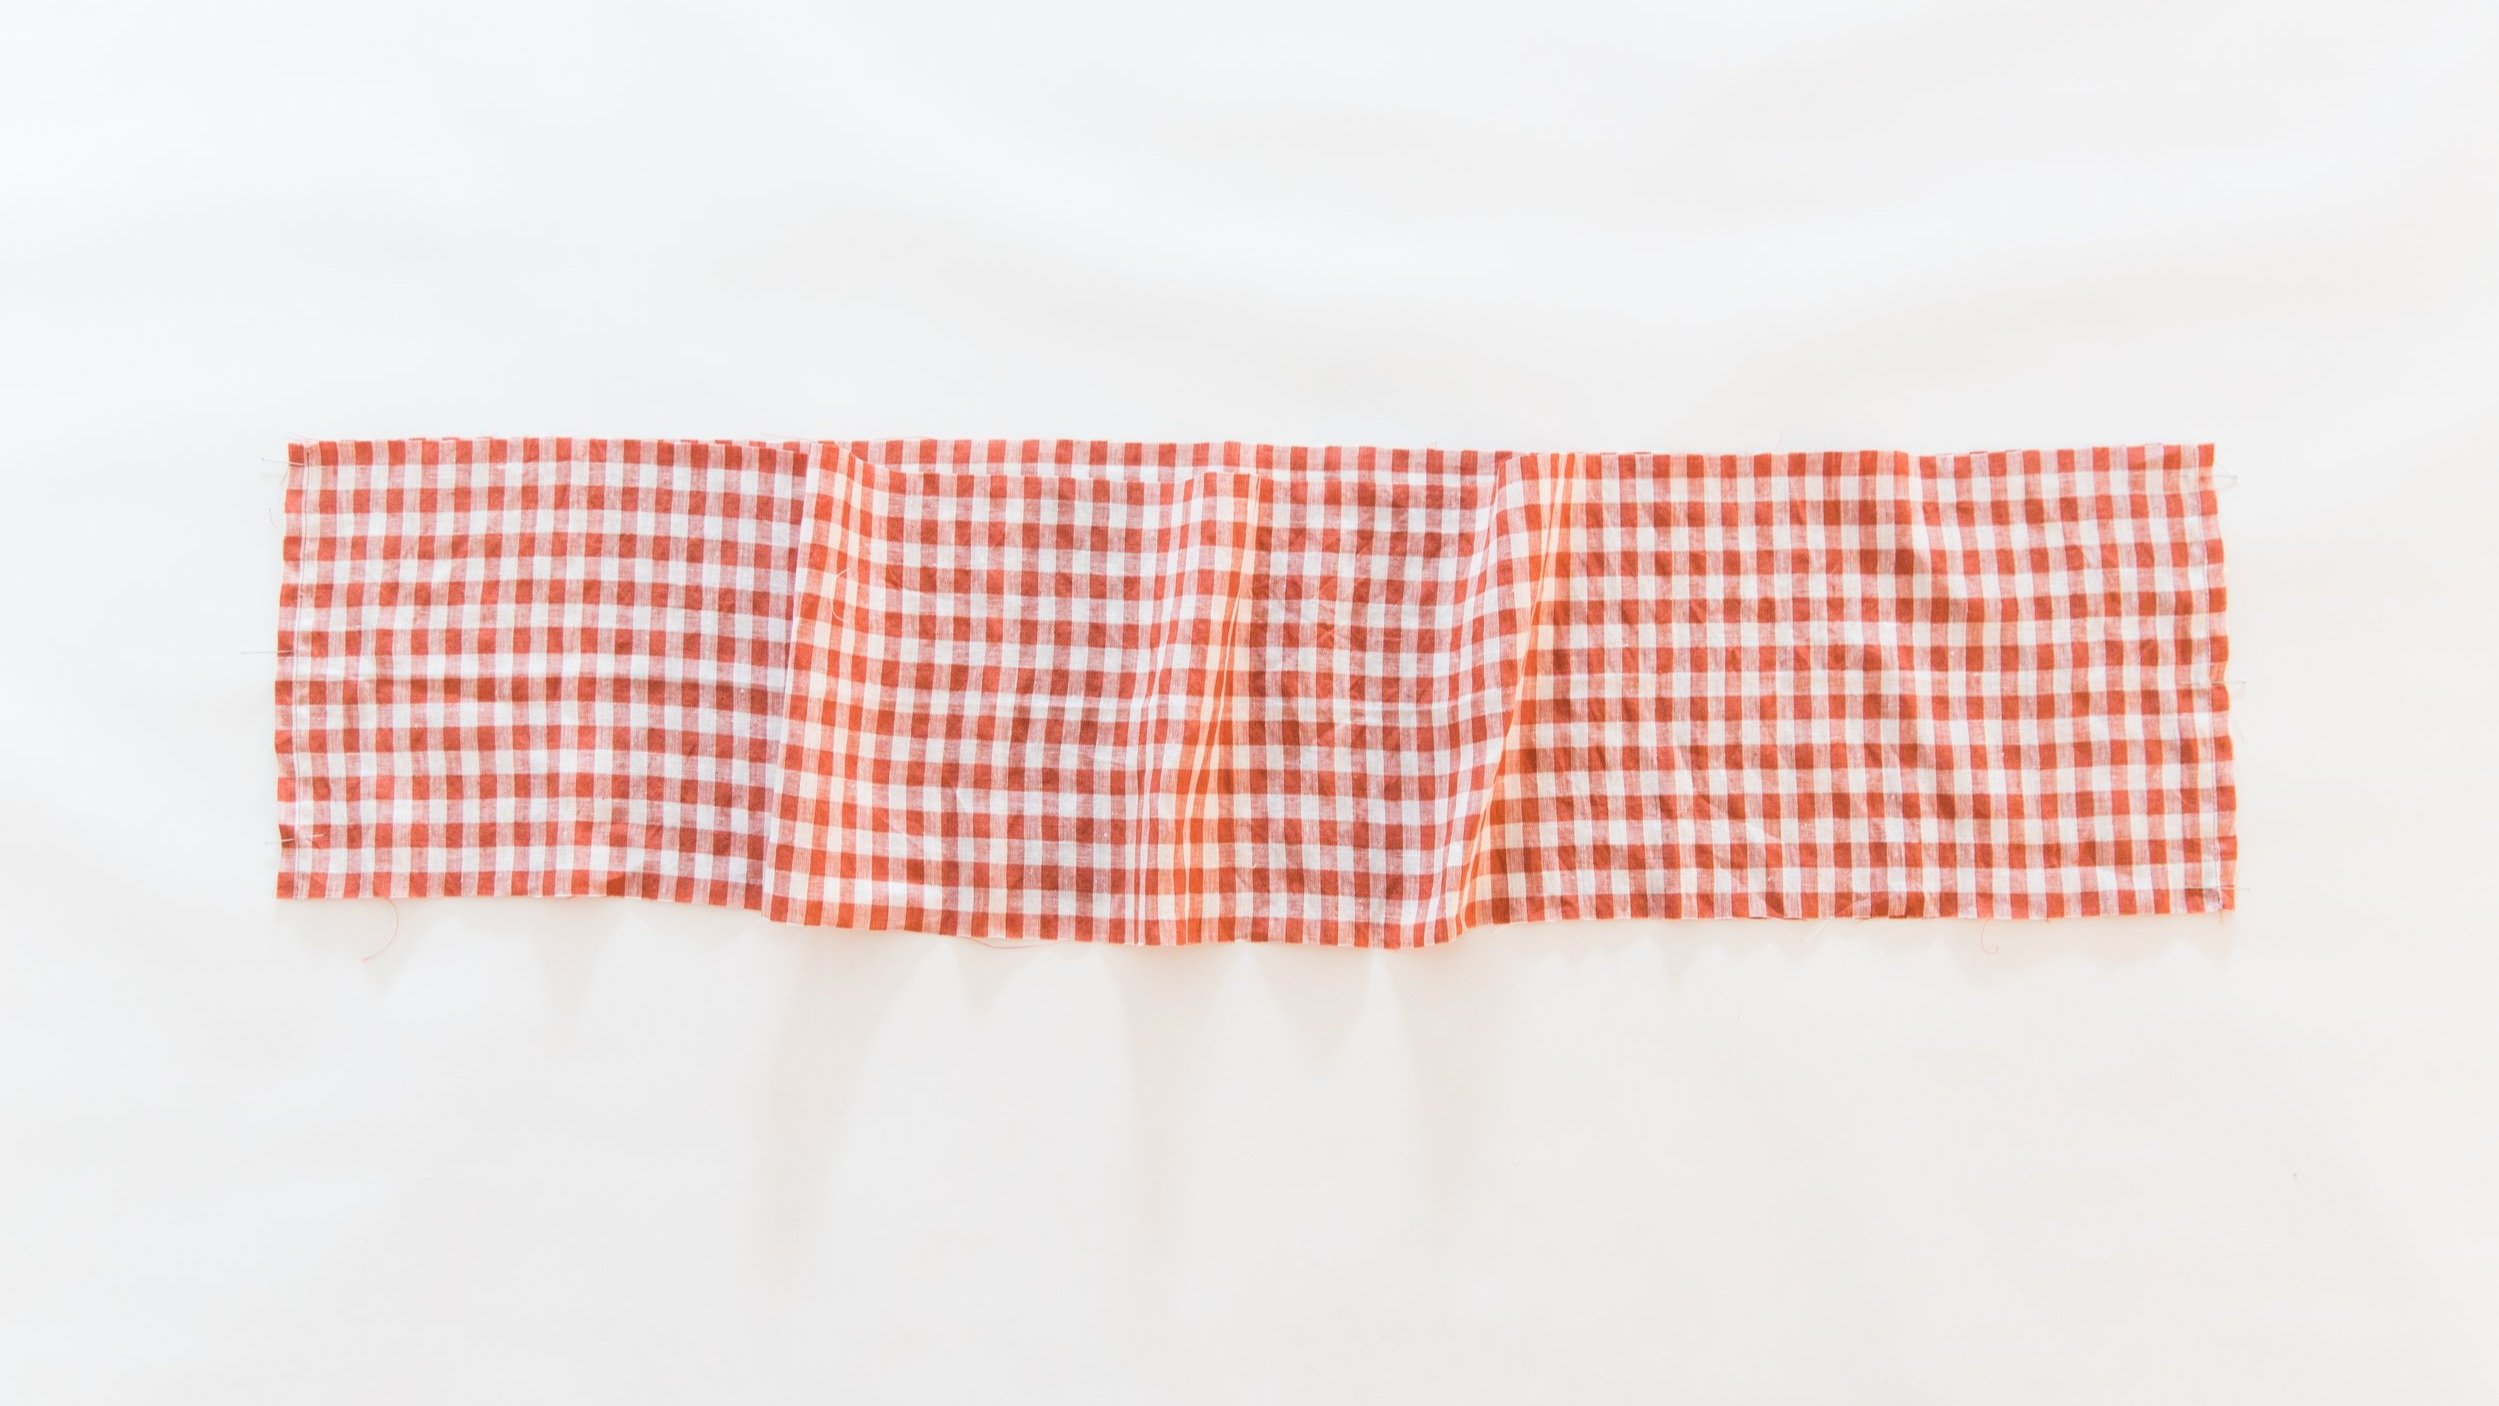
Step 10
Place your front and back skirt tier 1 pieces together with right sides facing. Pin side seams together. Stitch. Neaten seams.

Step 11
With right sides facing, pin together your front skirt panels, matching up the four notches. Stitch together. Neaten seam. Press seam to one side. Repeat for back skirt panels.
Step 12
Place a pocket on a skirt tier 2 panel with right sides facing and match up notches. At the top notch on one side seam, stitch in 1.25cm/0.5”. With needle down, pivot your foot and stitch out to the side seam. Clip into corners, being careful not to cut through your stitches. Under stitch seam allowance toward pocket bag along pocket opening. Press pocket bag along pocket opening. Press pocket bag to wrong side of skirt, matching the top and bottom edges. Repeat for other side.

Step 13
Place another pocket bag on top with right sides facing and stitch together around edges. Neaten seam. Repeat for other side.

Step 14
Place your front and back skirt panels together with right sides facing. Pin side seams together. Stitch, being careful not to stitch your pockets closed. Neaten seams. Press.
Step 15
Stitch two rows of gathering stitches (the longest stitch length on your machine) along the top edge of both skirt tier 1 and skirt tier 2, keeping them sitting within the 1cm/0.39” seam allowance.


Step 16
Pin skirt tier 1 around bodice with right sides facing, matching the centre front, centre back and side seams. Pull the gathering threads and avengingly distribute gathers until it fits the bodice. Pin securely in place then stitch together. Neaten seam. Press.

Step 17
Pin skirt tier 2 around the bottom edge of skirt tier 1 with right sides facing, matching the centre front, centre back and sides seams. Pull gathering threads and evenly distribute gathers until it fits skirt tier 1. Pin securely in place then stitch together. Neaten seam. Press.

Step 18
Neaten hem edge of skirt, then turn up at notches toward the wrong side and top stitch in place.

Step 19
All that’s left to do is thread the front straps through the back loops for bodice B!

you did it!