


Fusing
Fuse one of your front and back bodice pieces.
Step 1
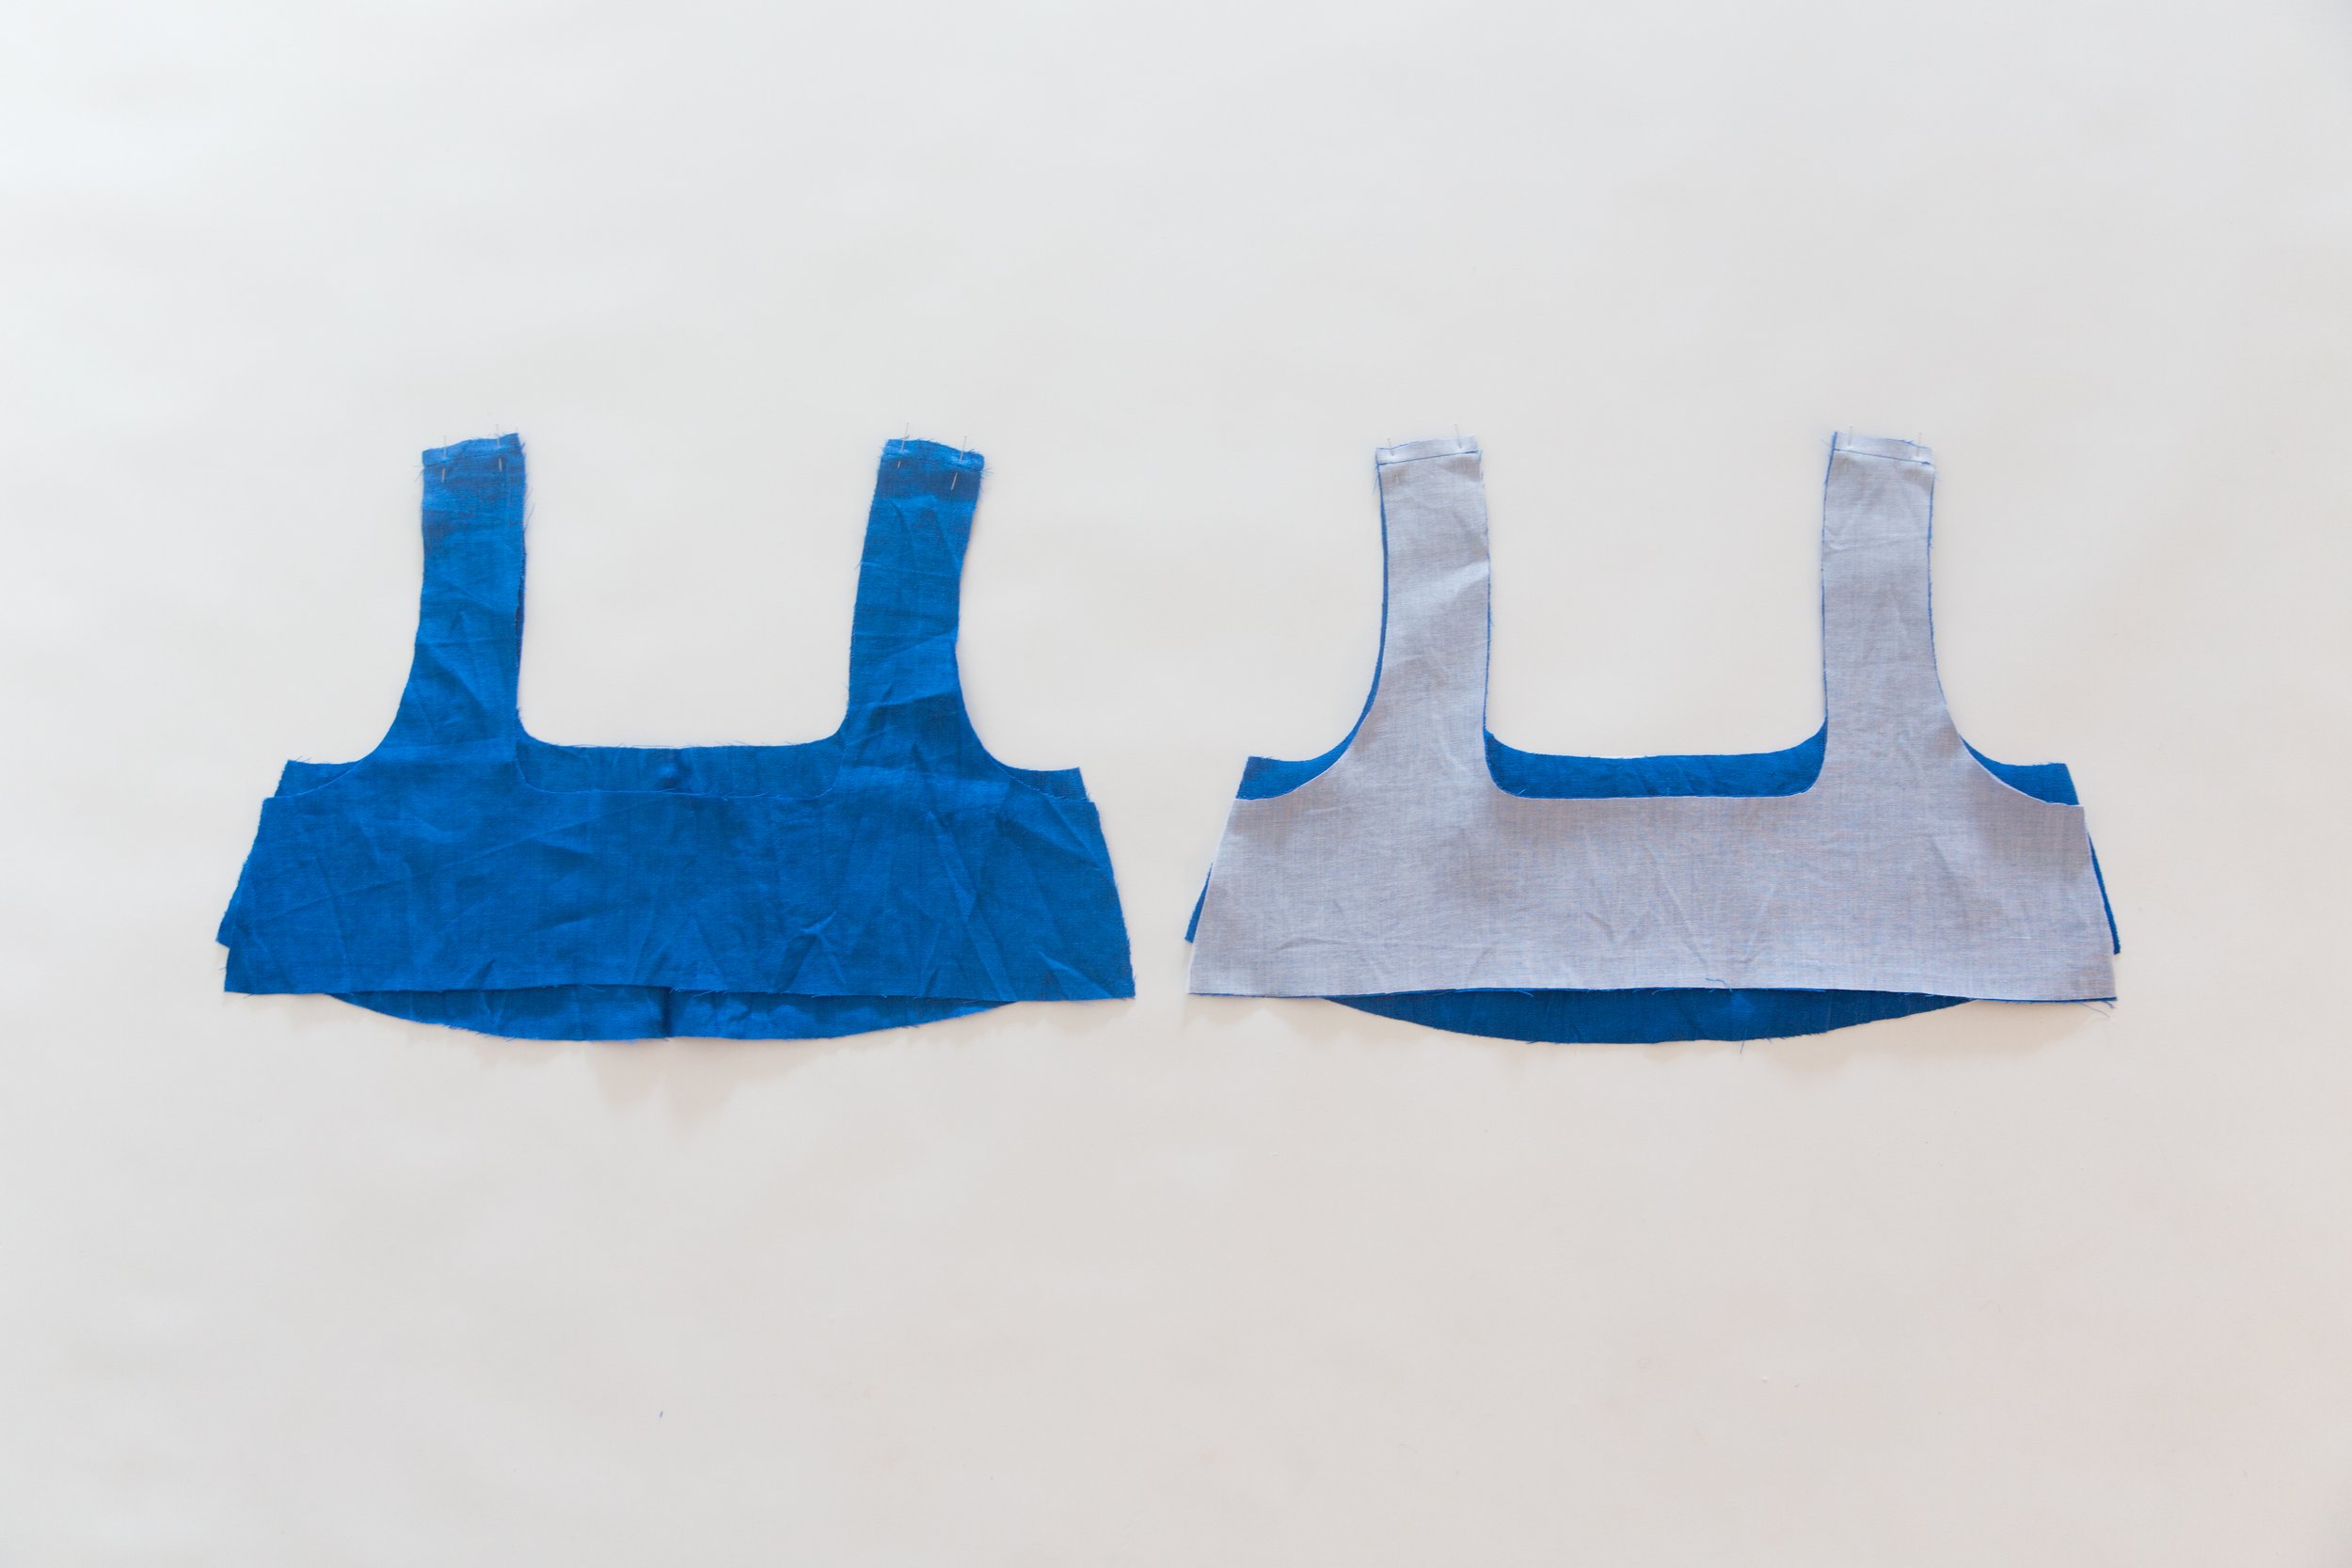
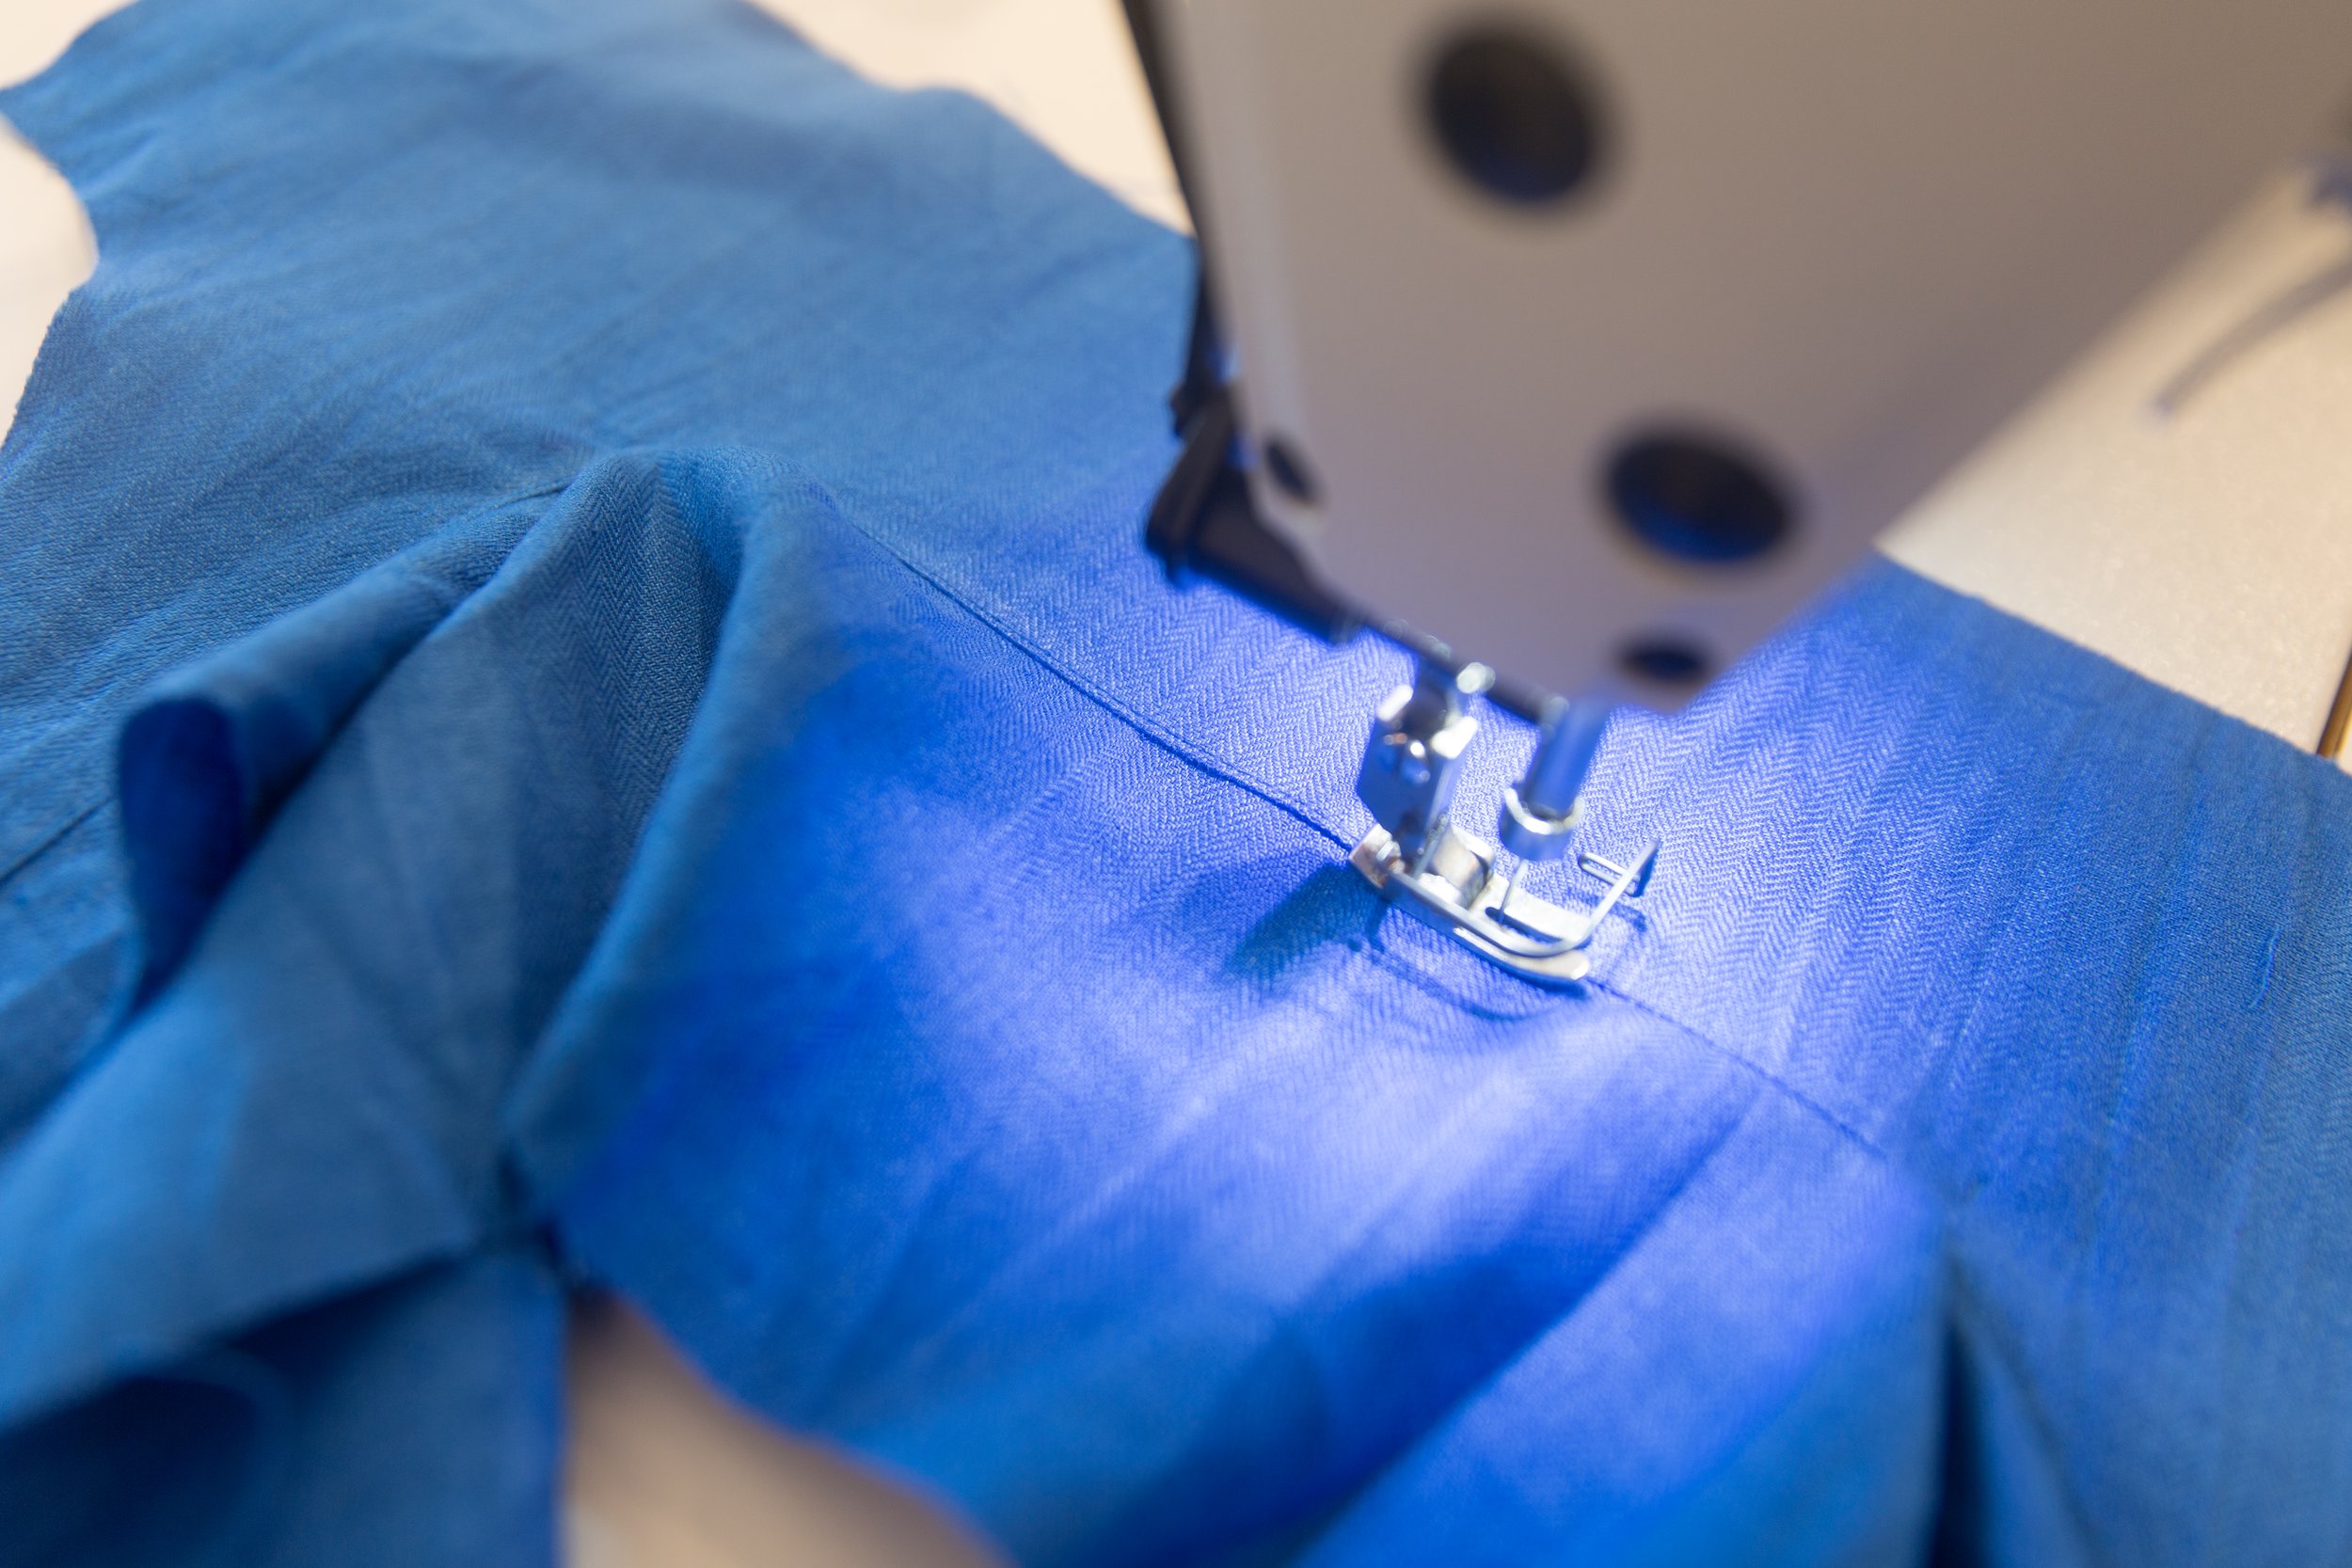
Pin your unfused front & back bodice A pieces together at shoulder seams. Stitch together. Press seam allowances open. Repeat for your fused bodice A pieces.
Step 2
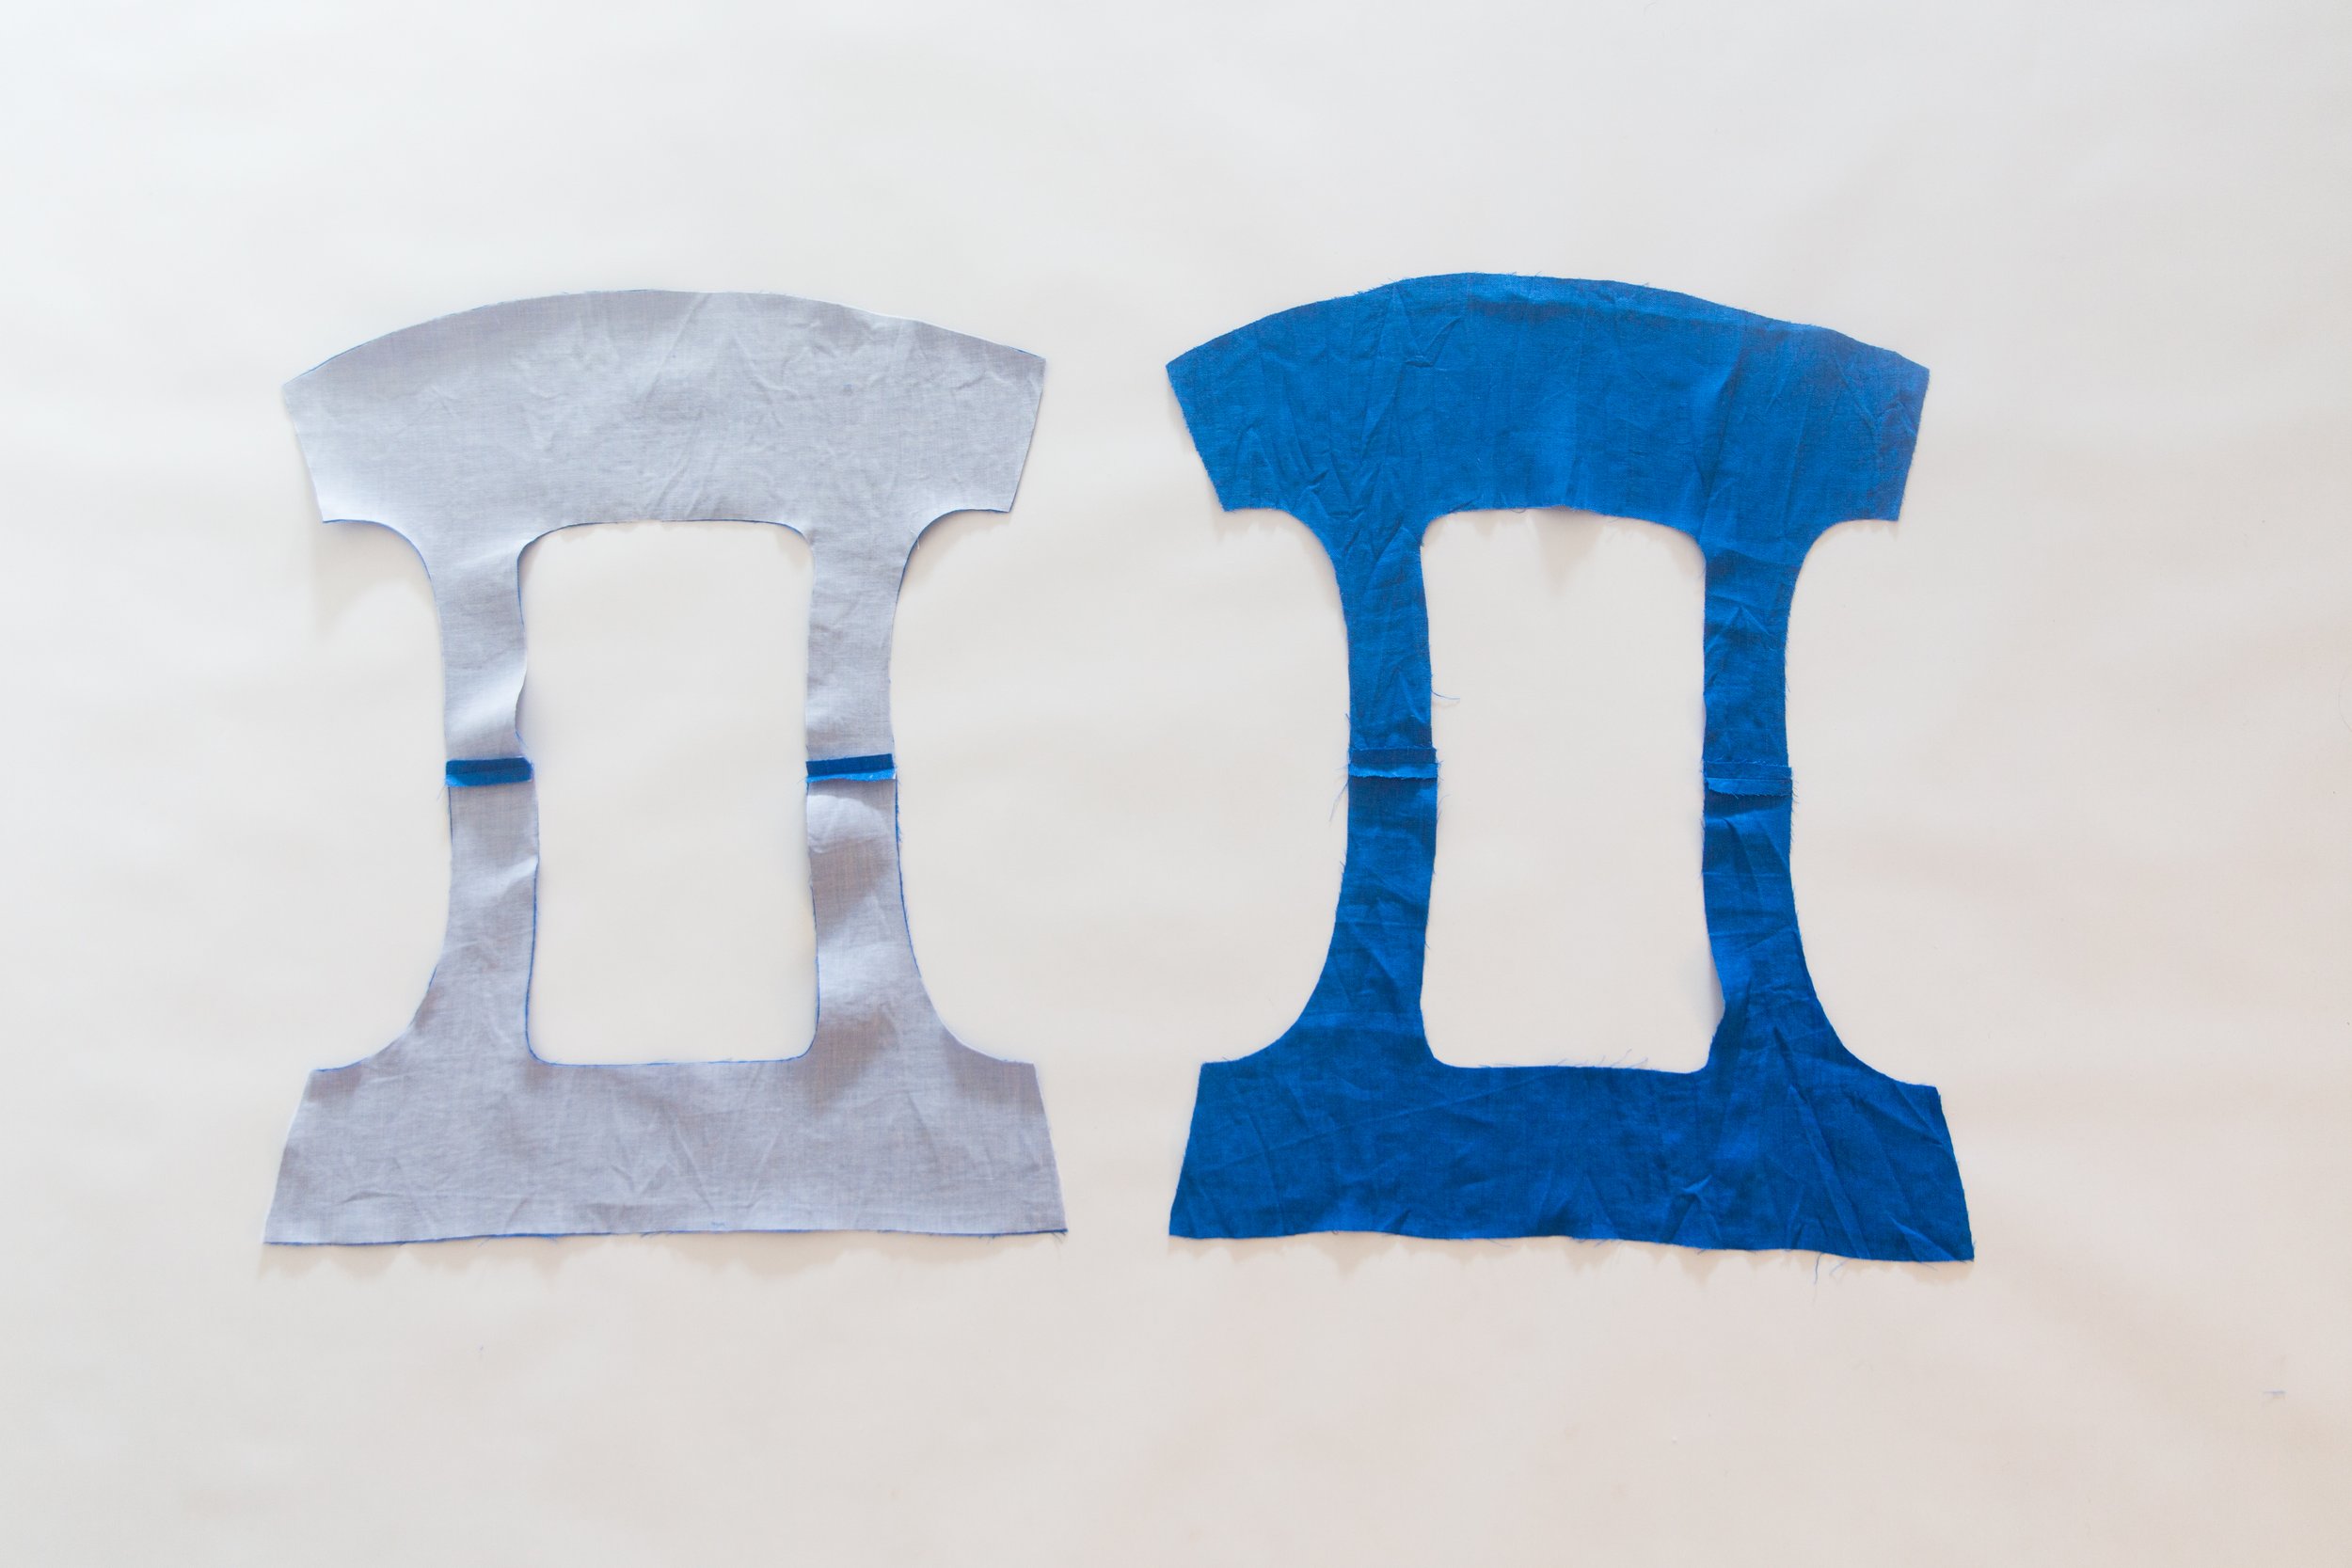
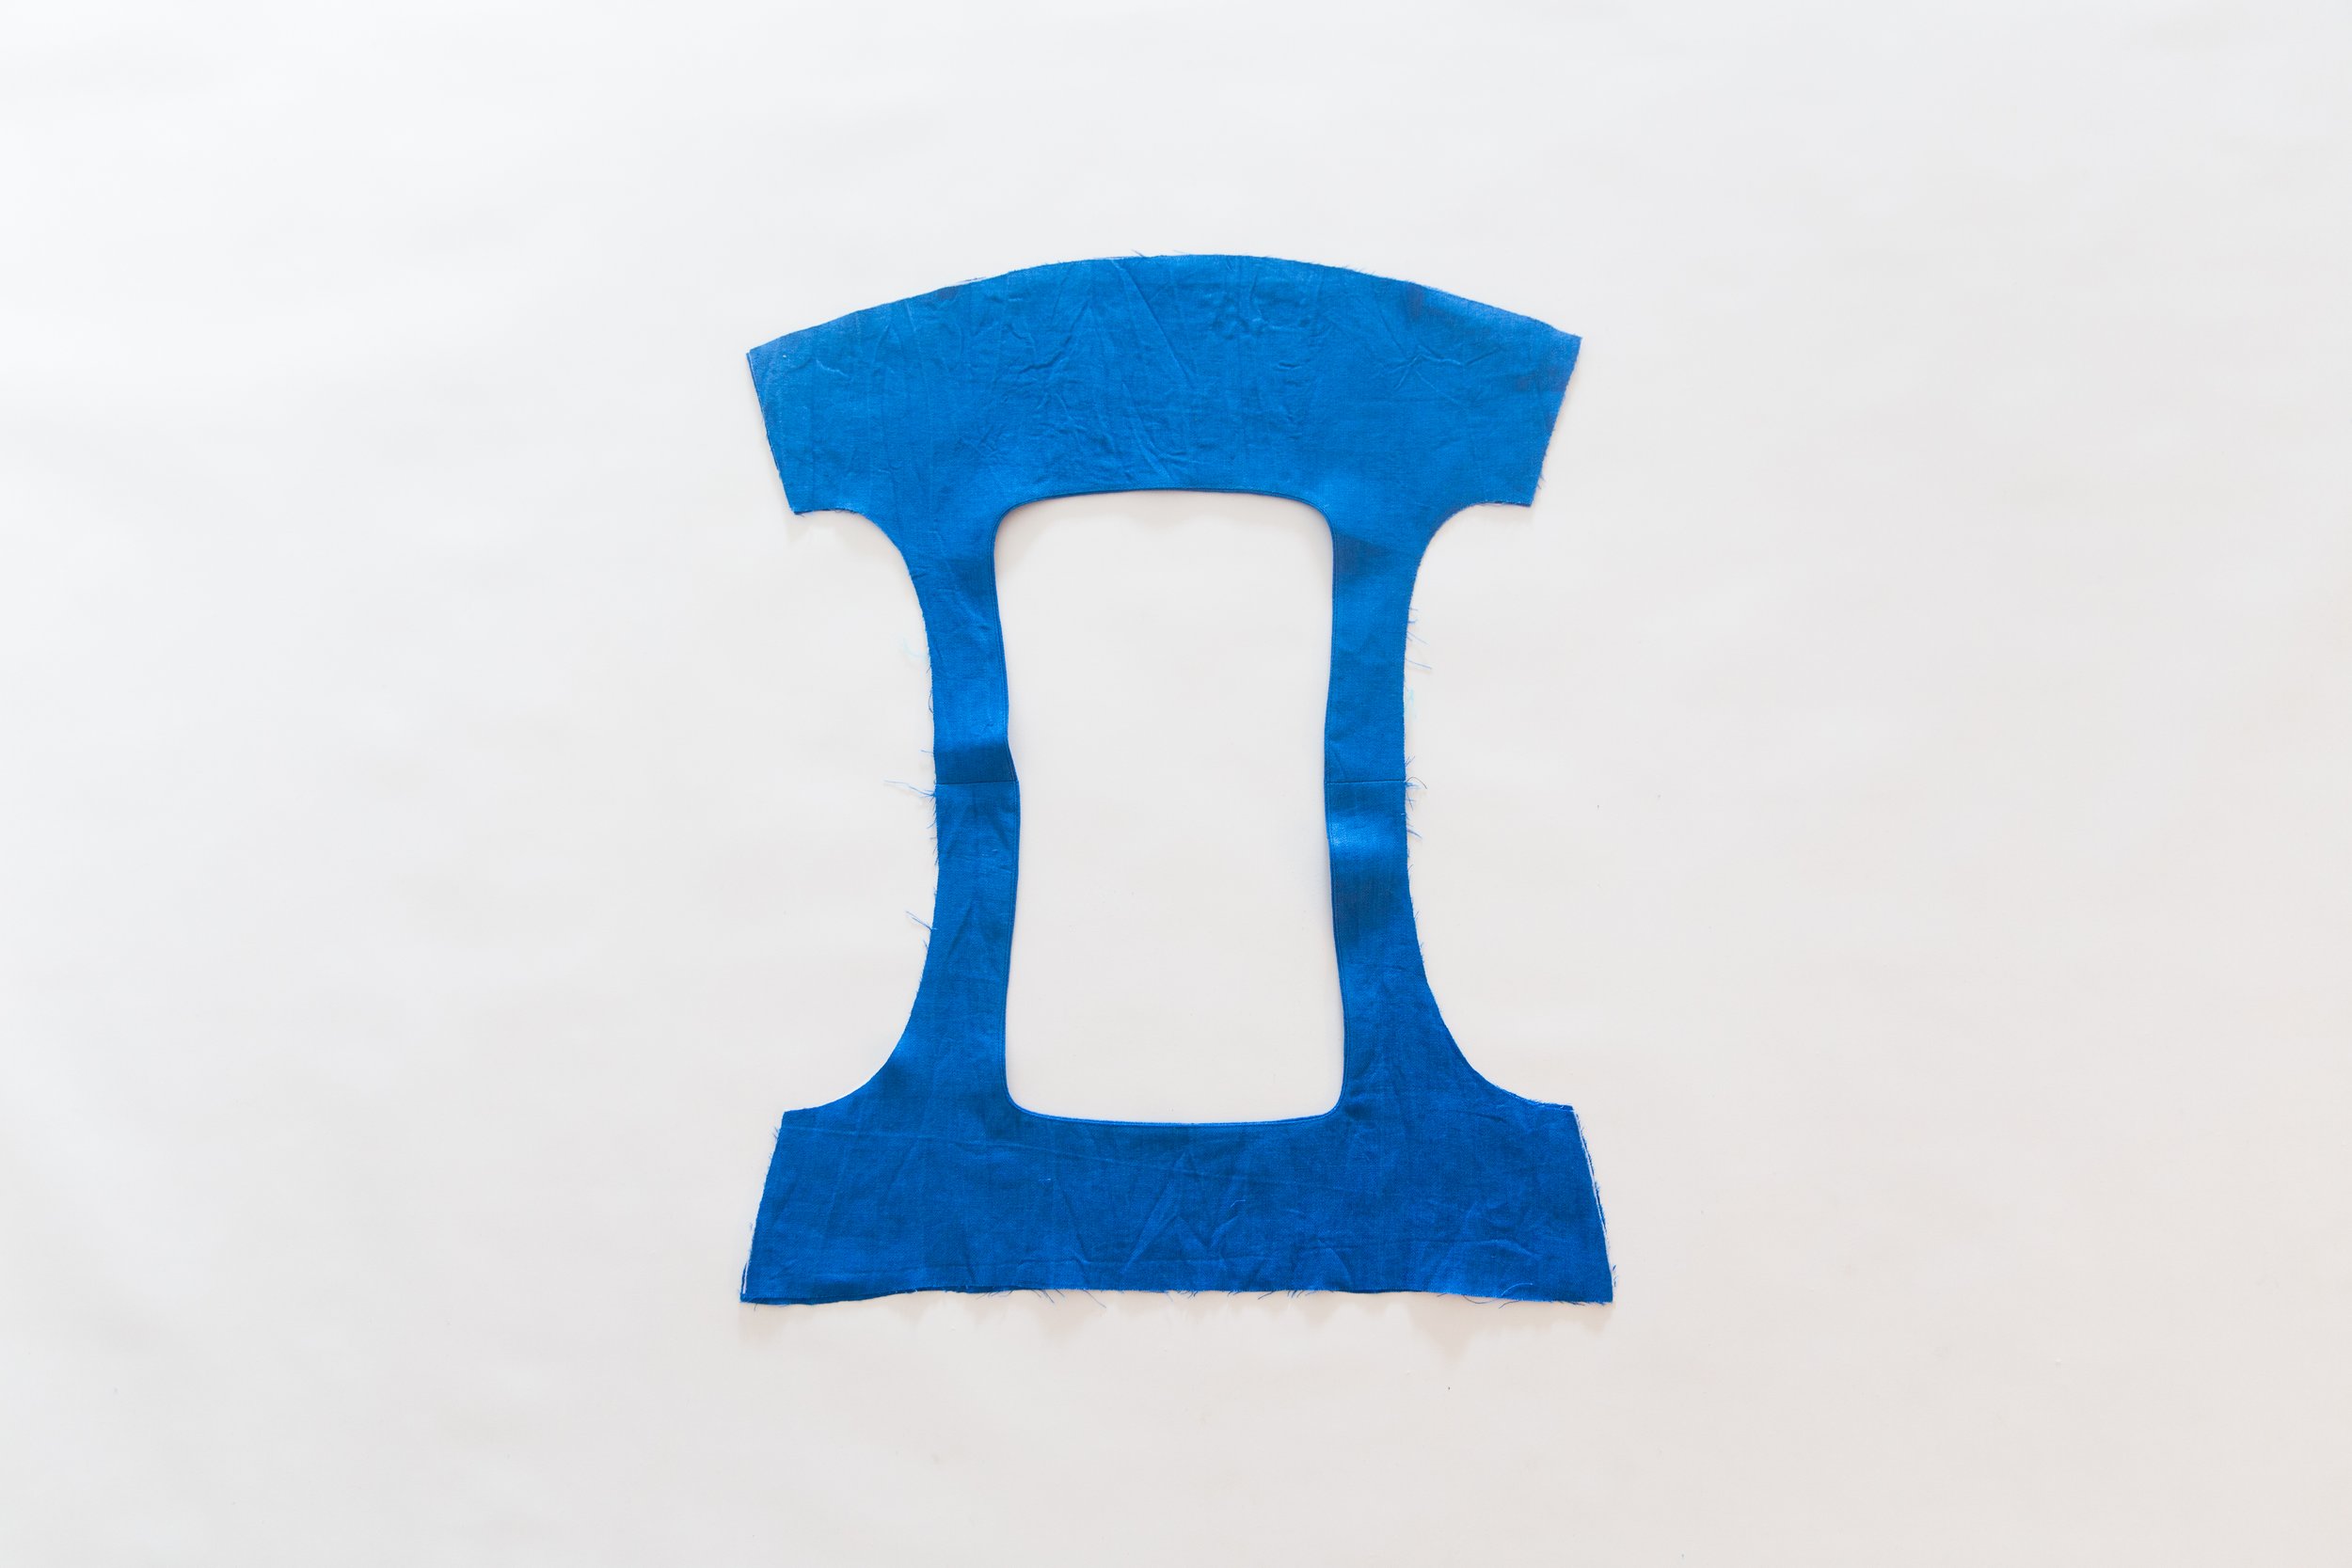
Place your fused and unfused bodice pieces together with right sides facing and pin together around neckline. Stitch. Trim seam allowances in half and clip around curves. Unerstitch seam allowance toward fused bodice. Turn through to the right side and press neckline well.
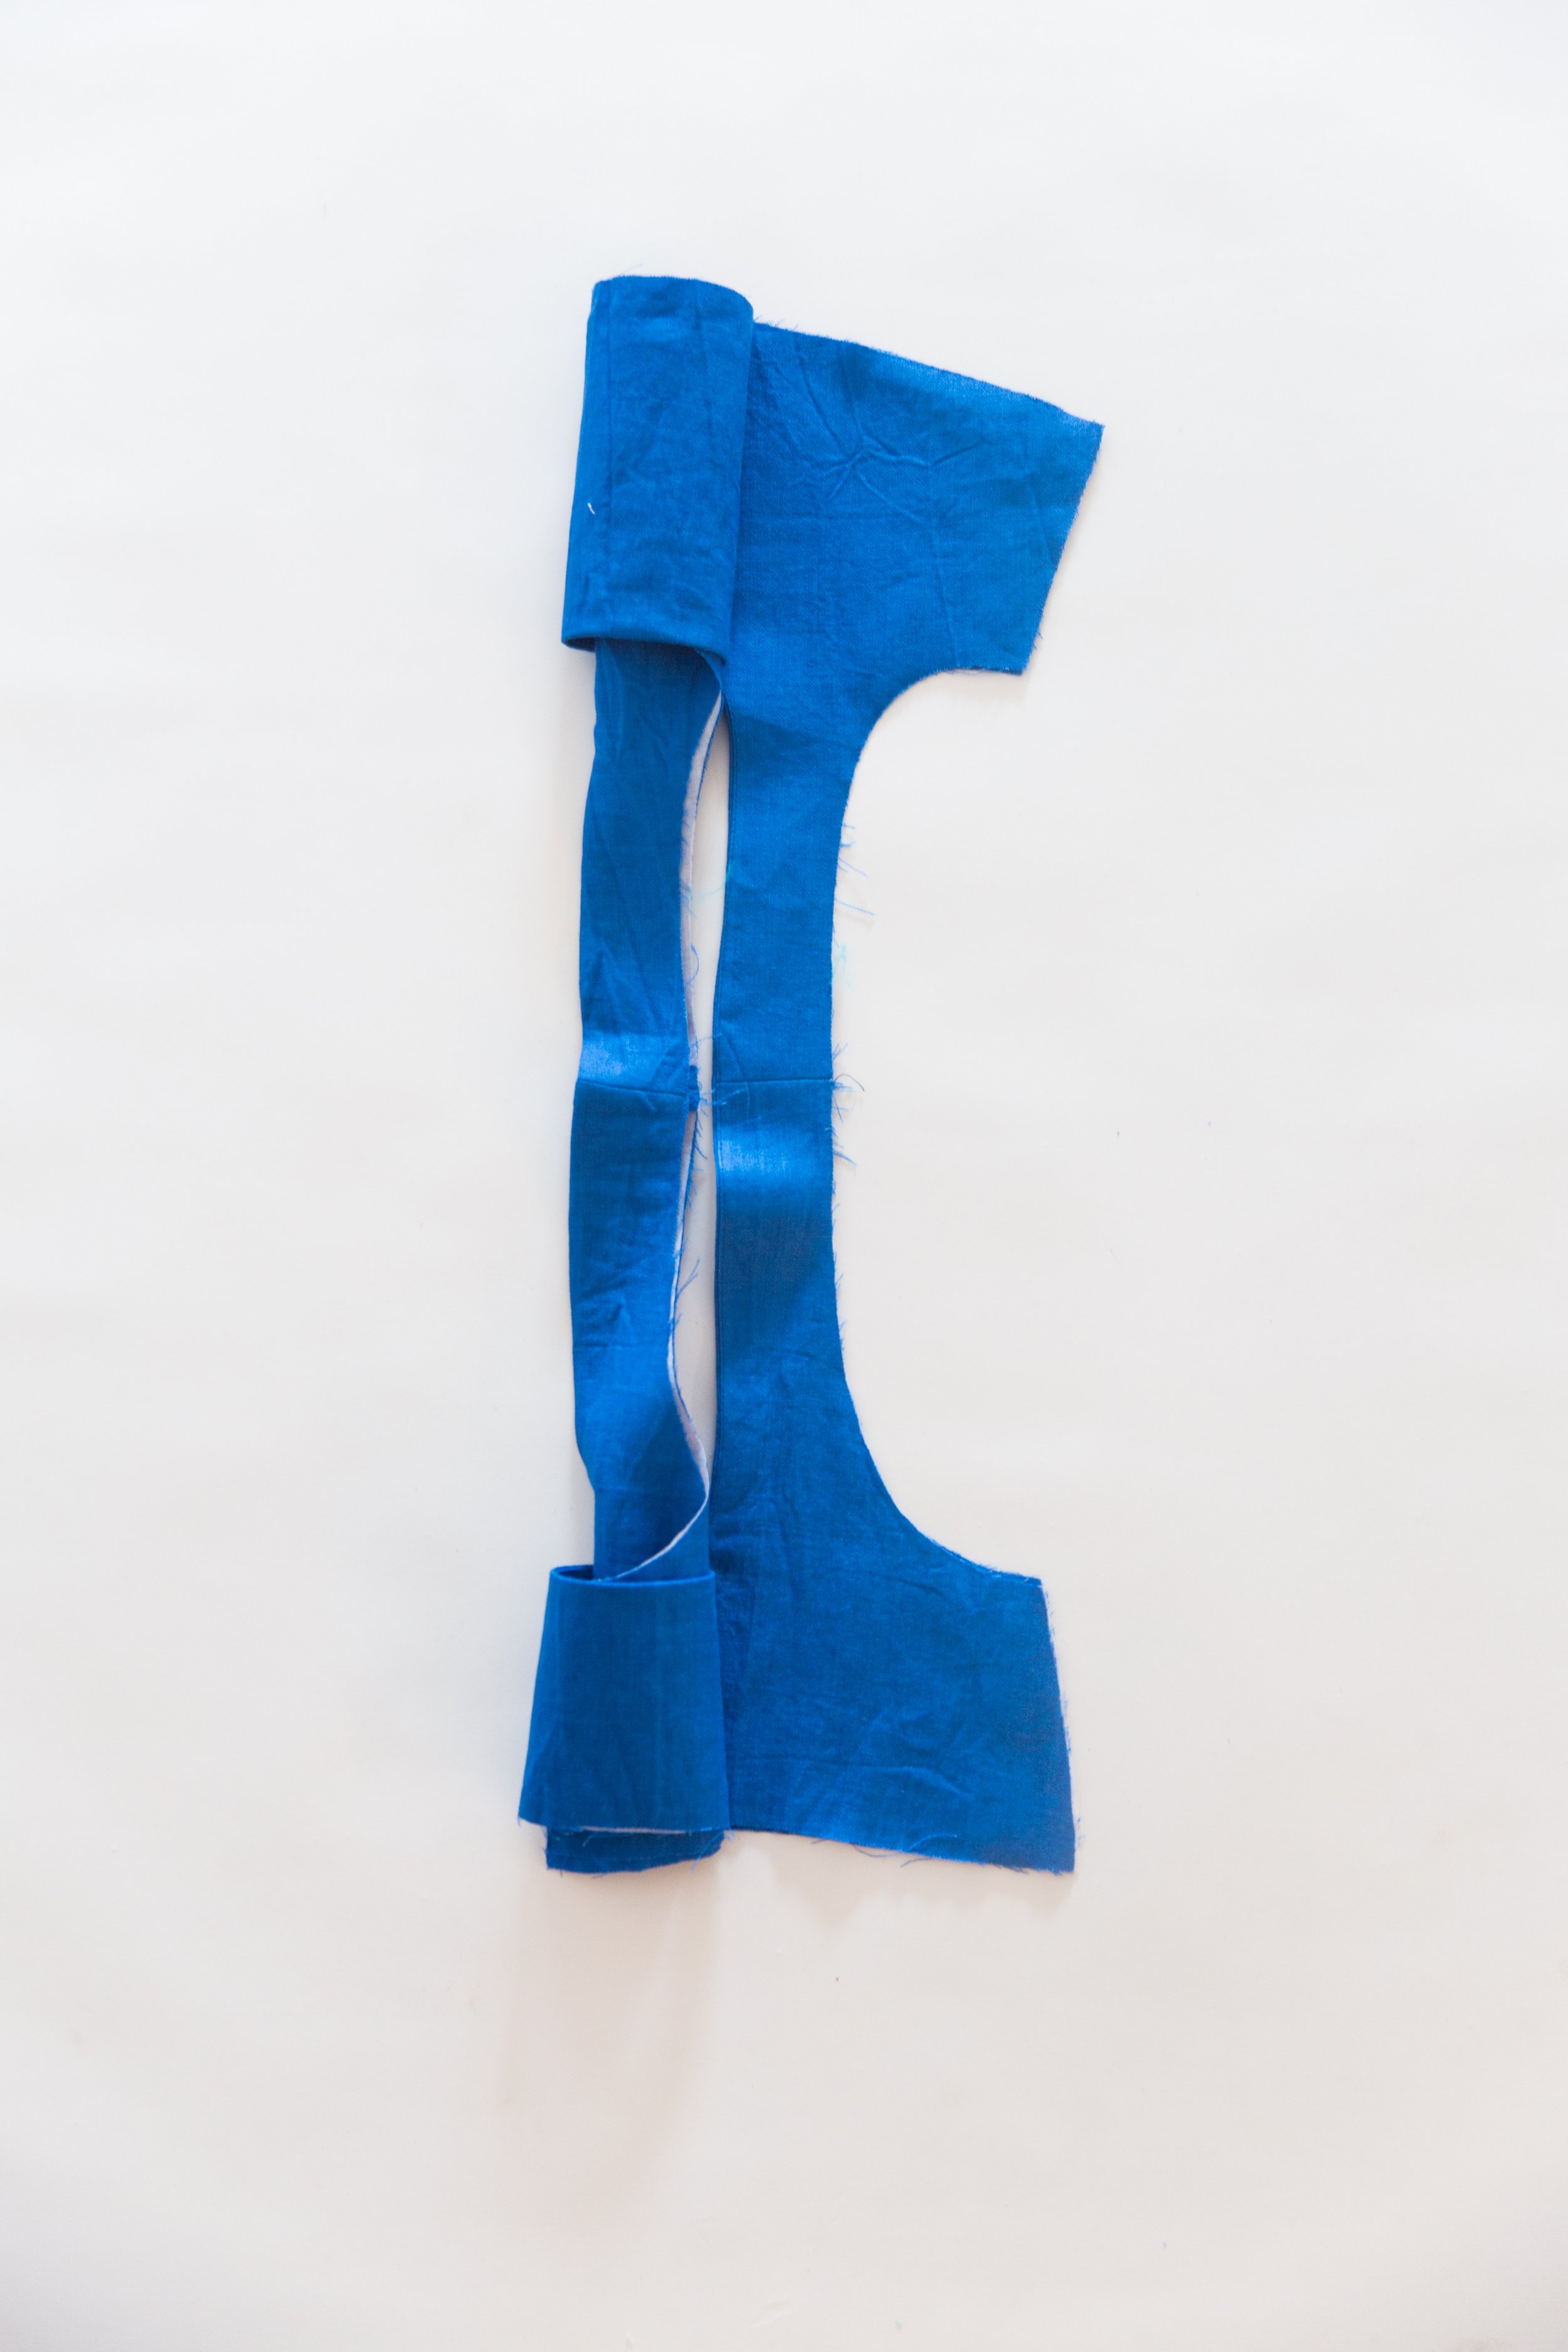
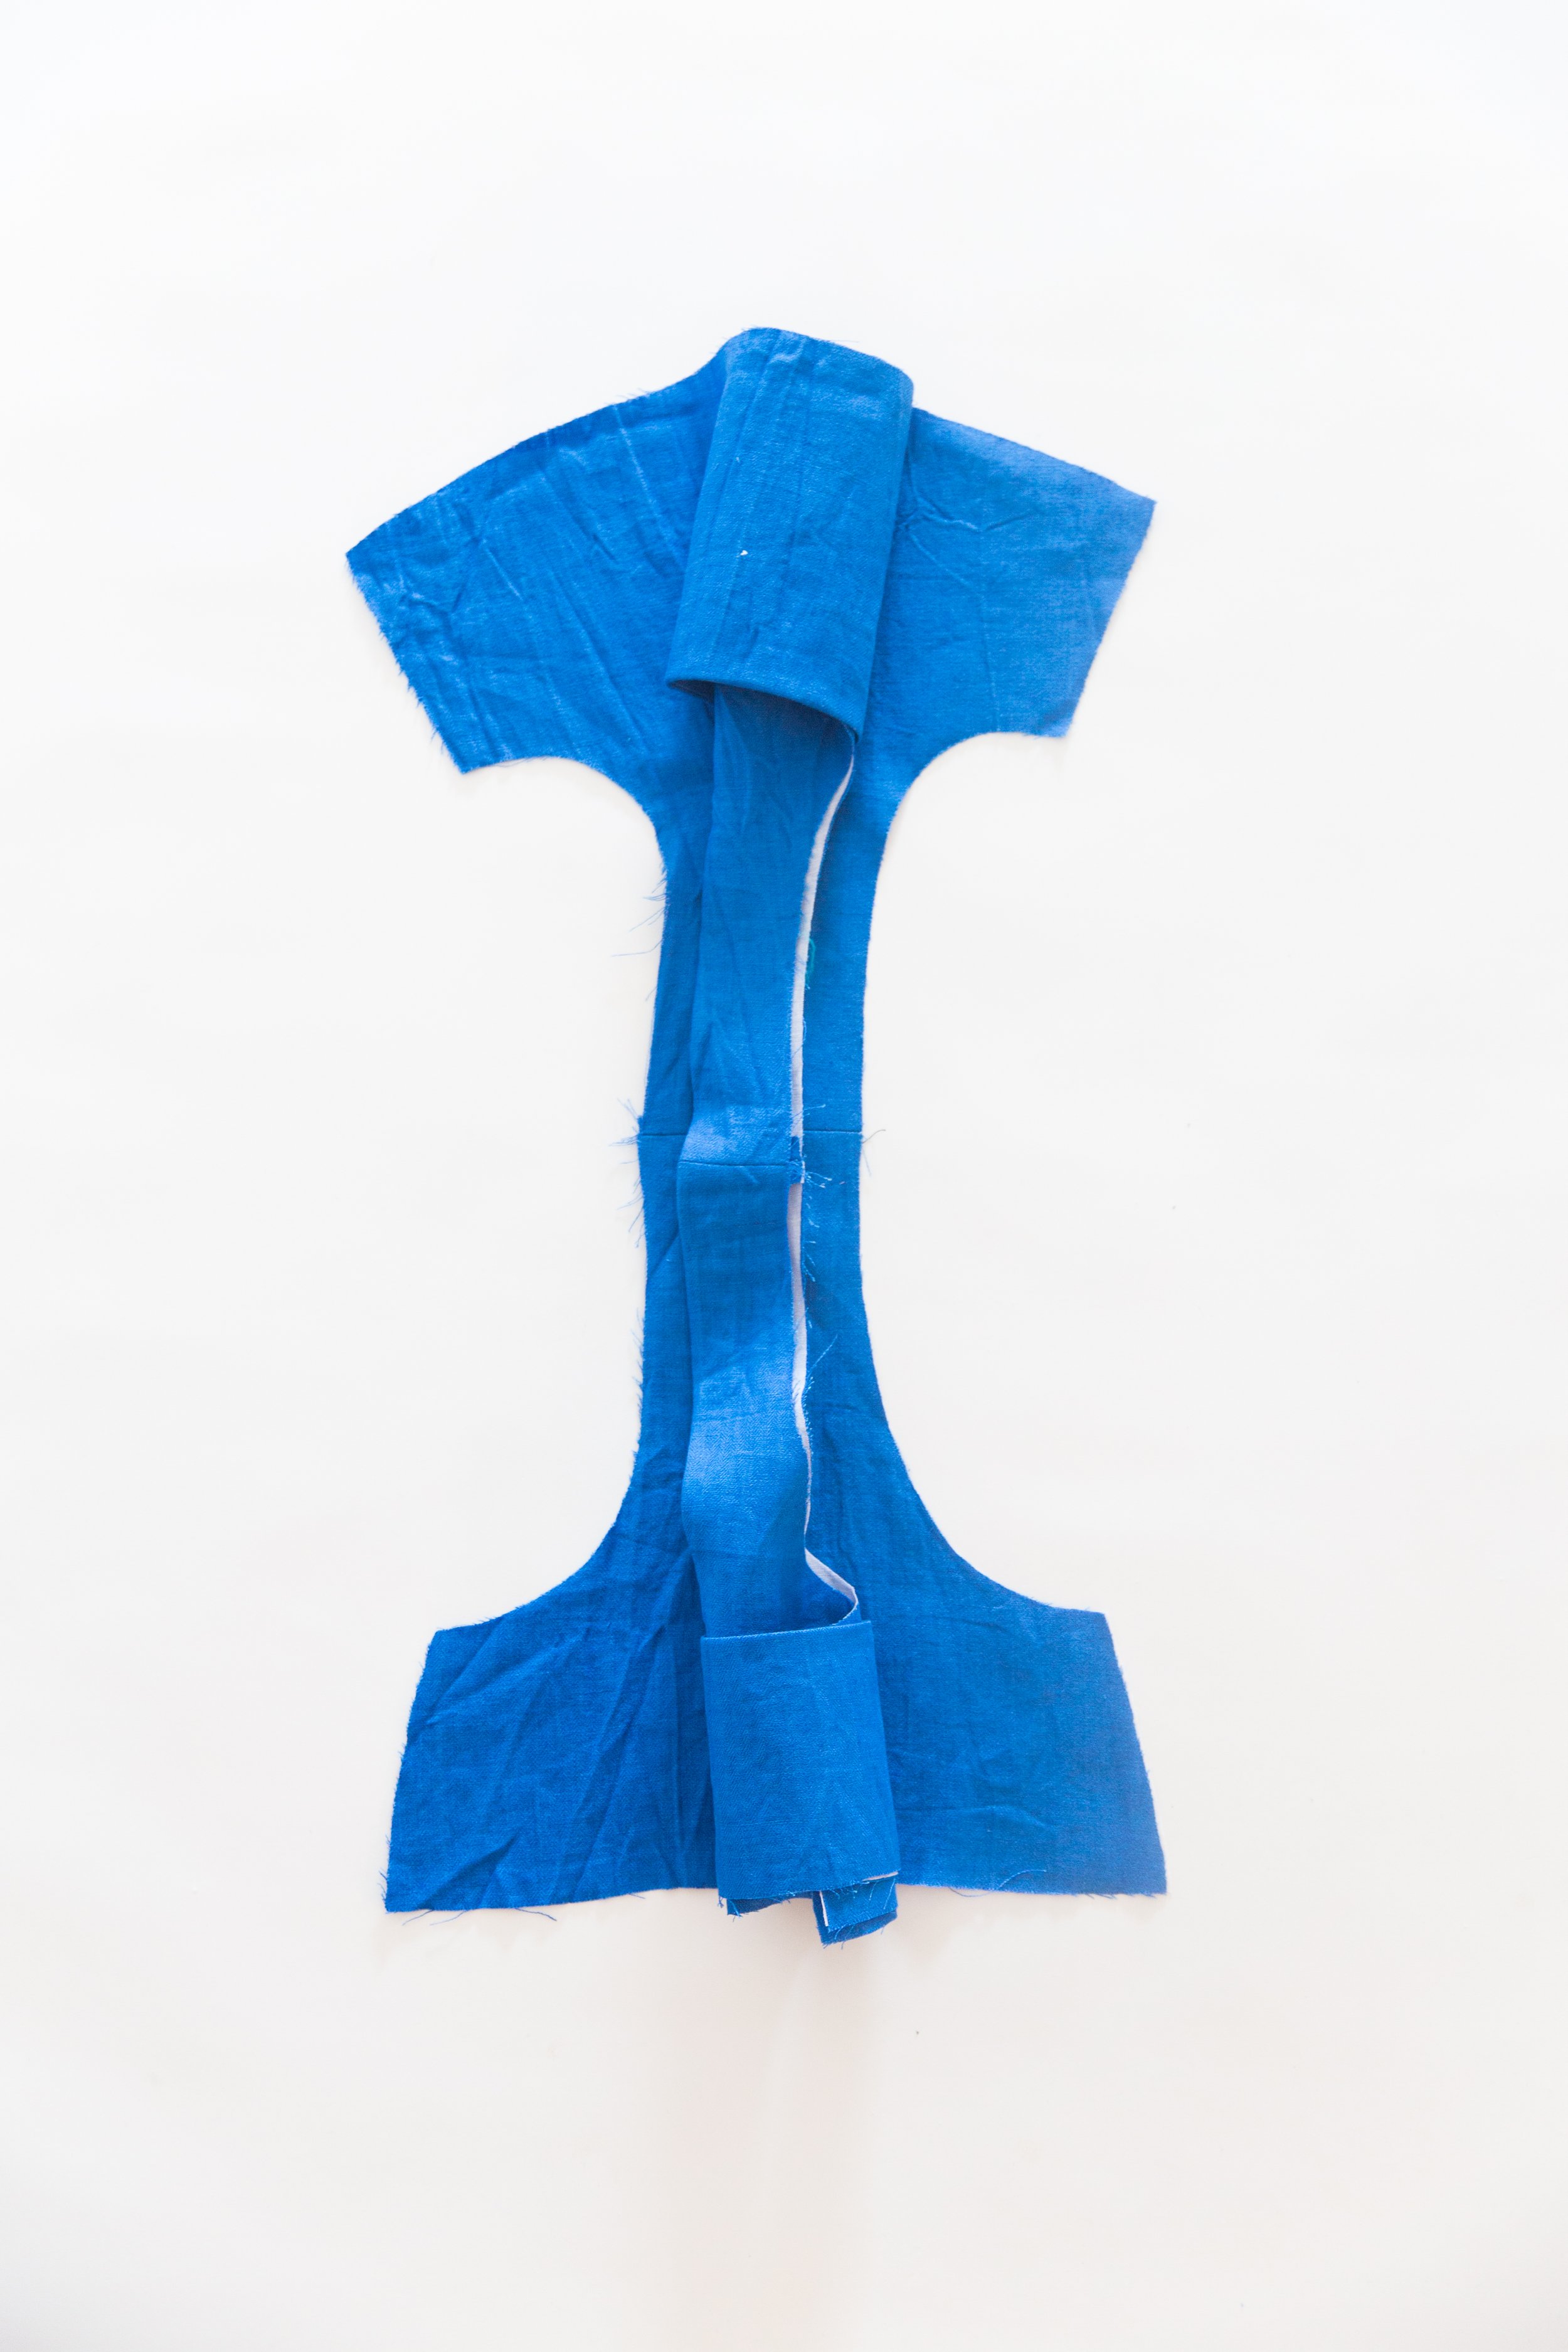
Step 4
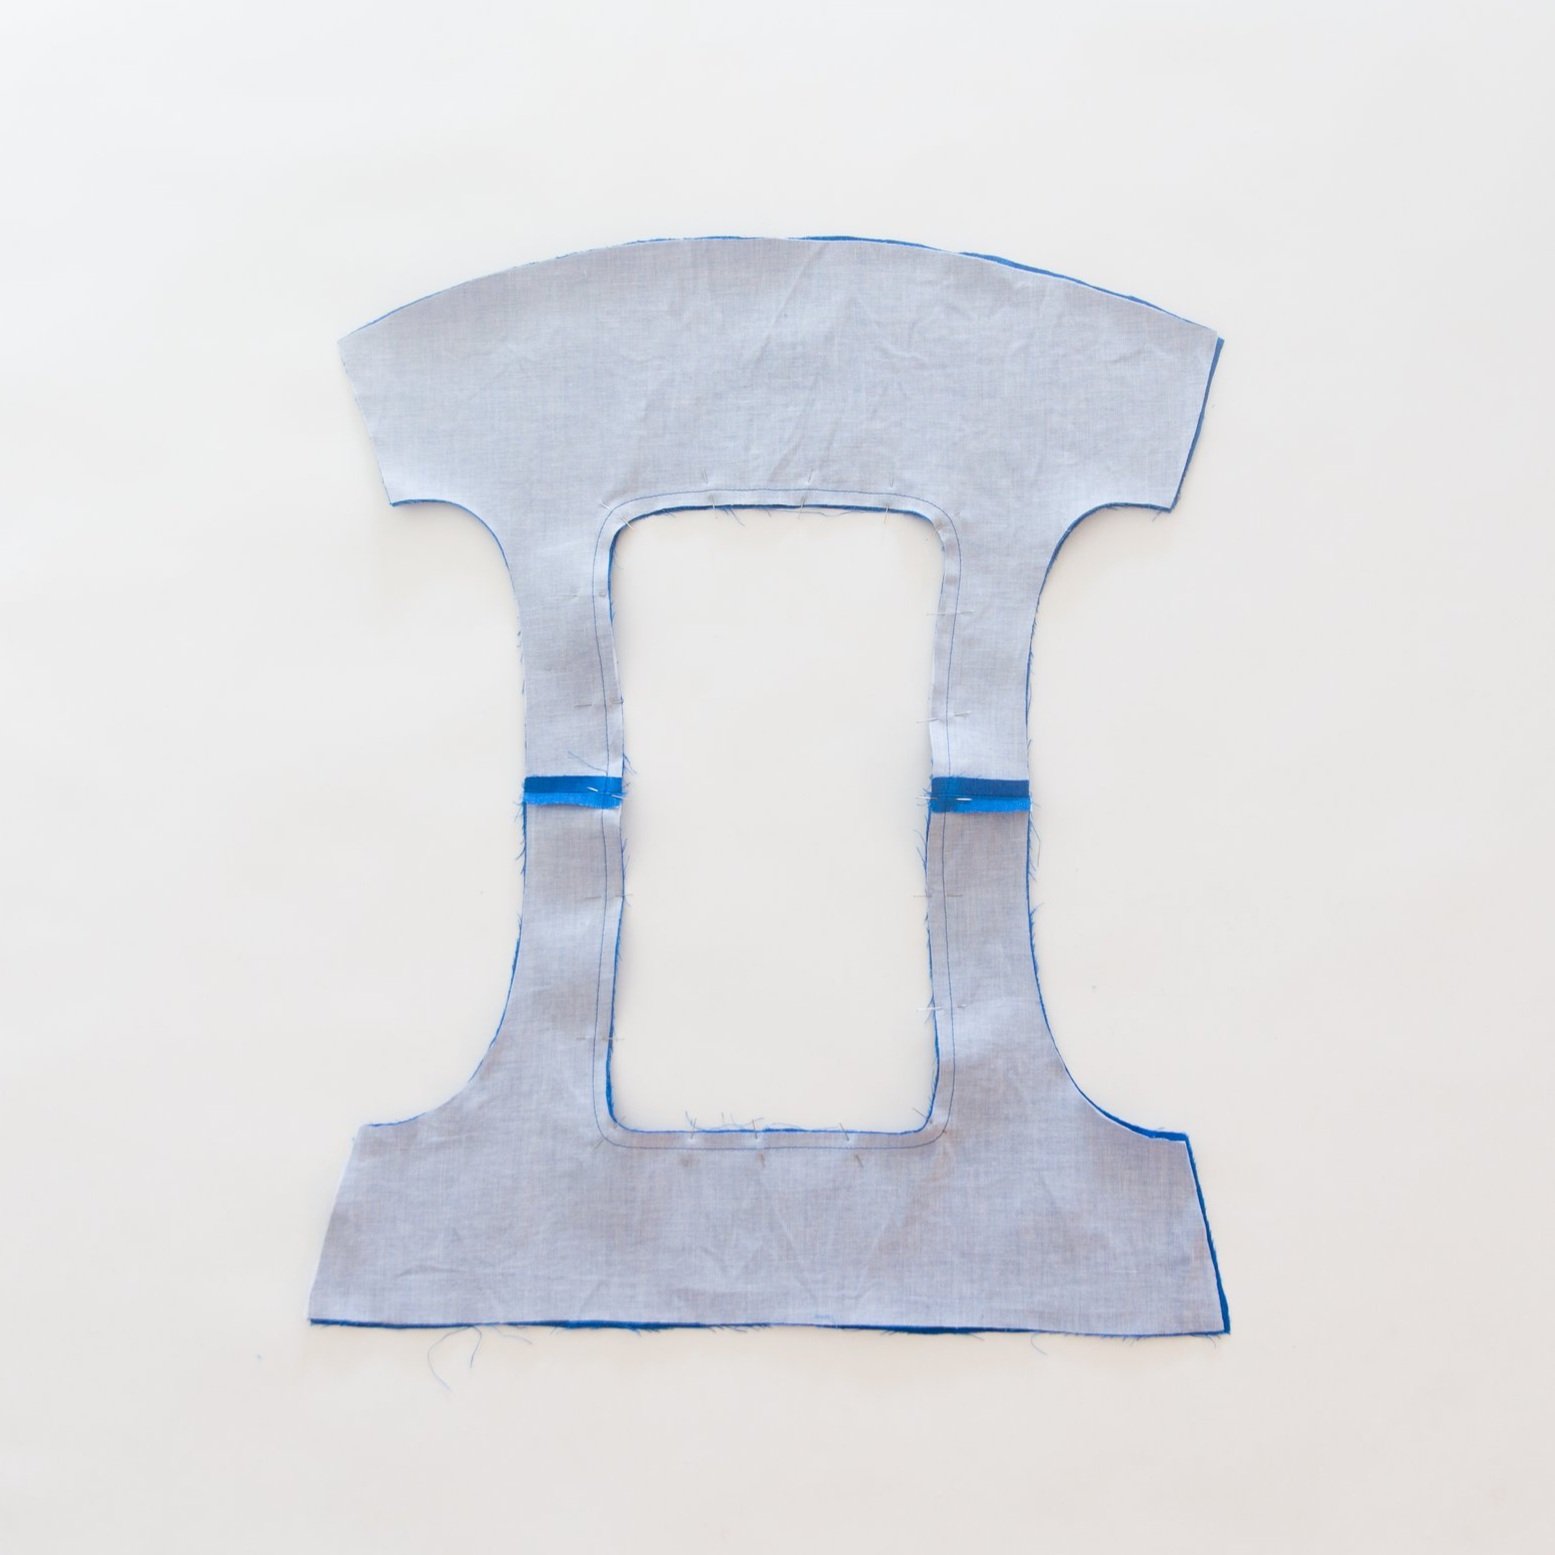
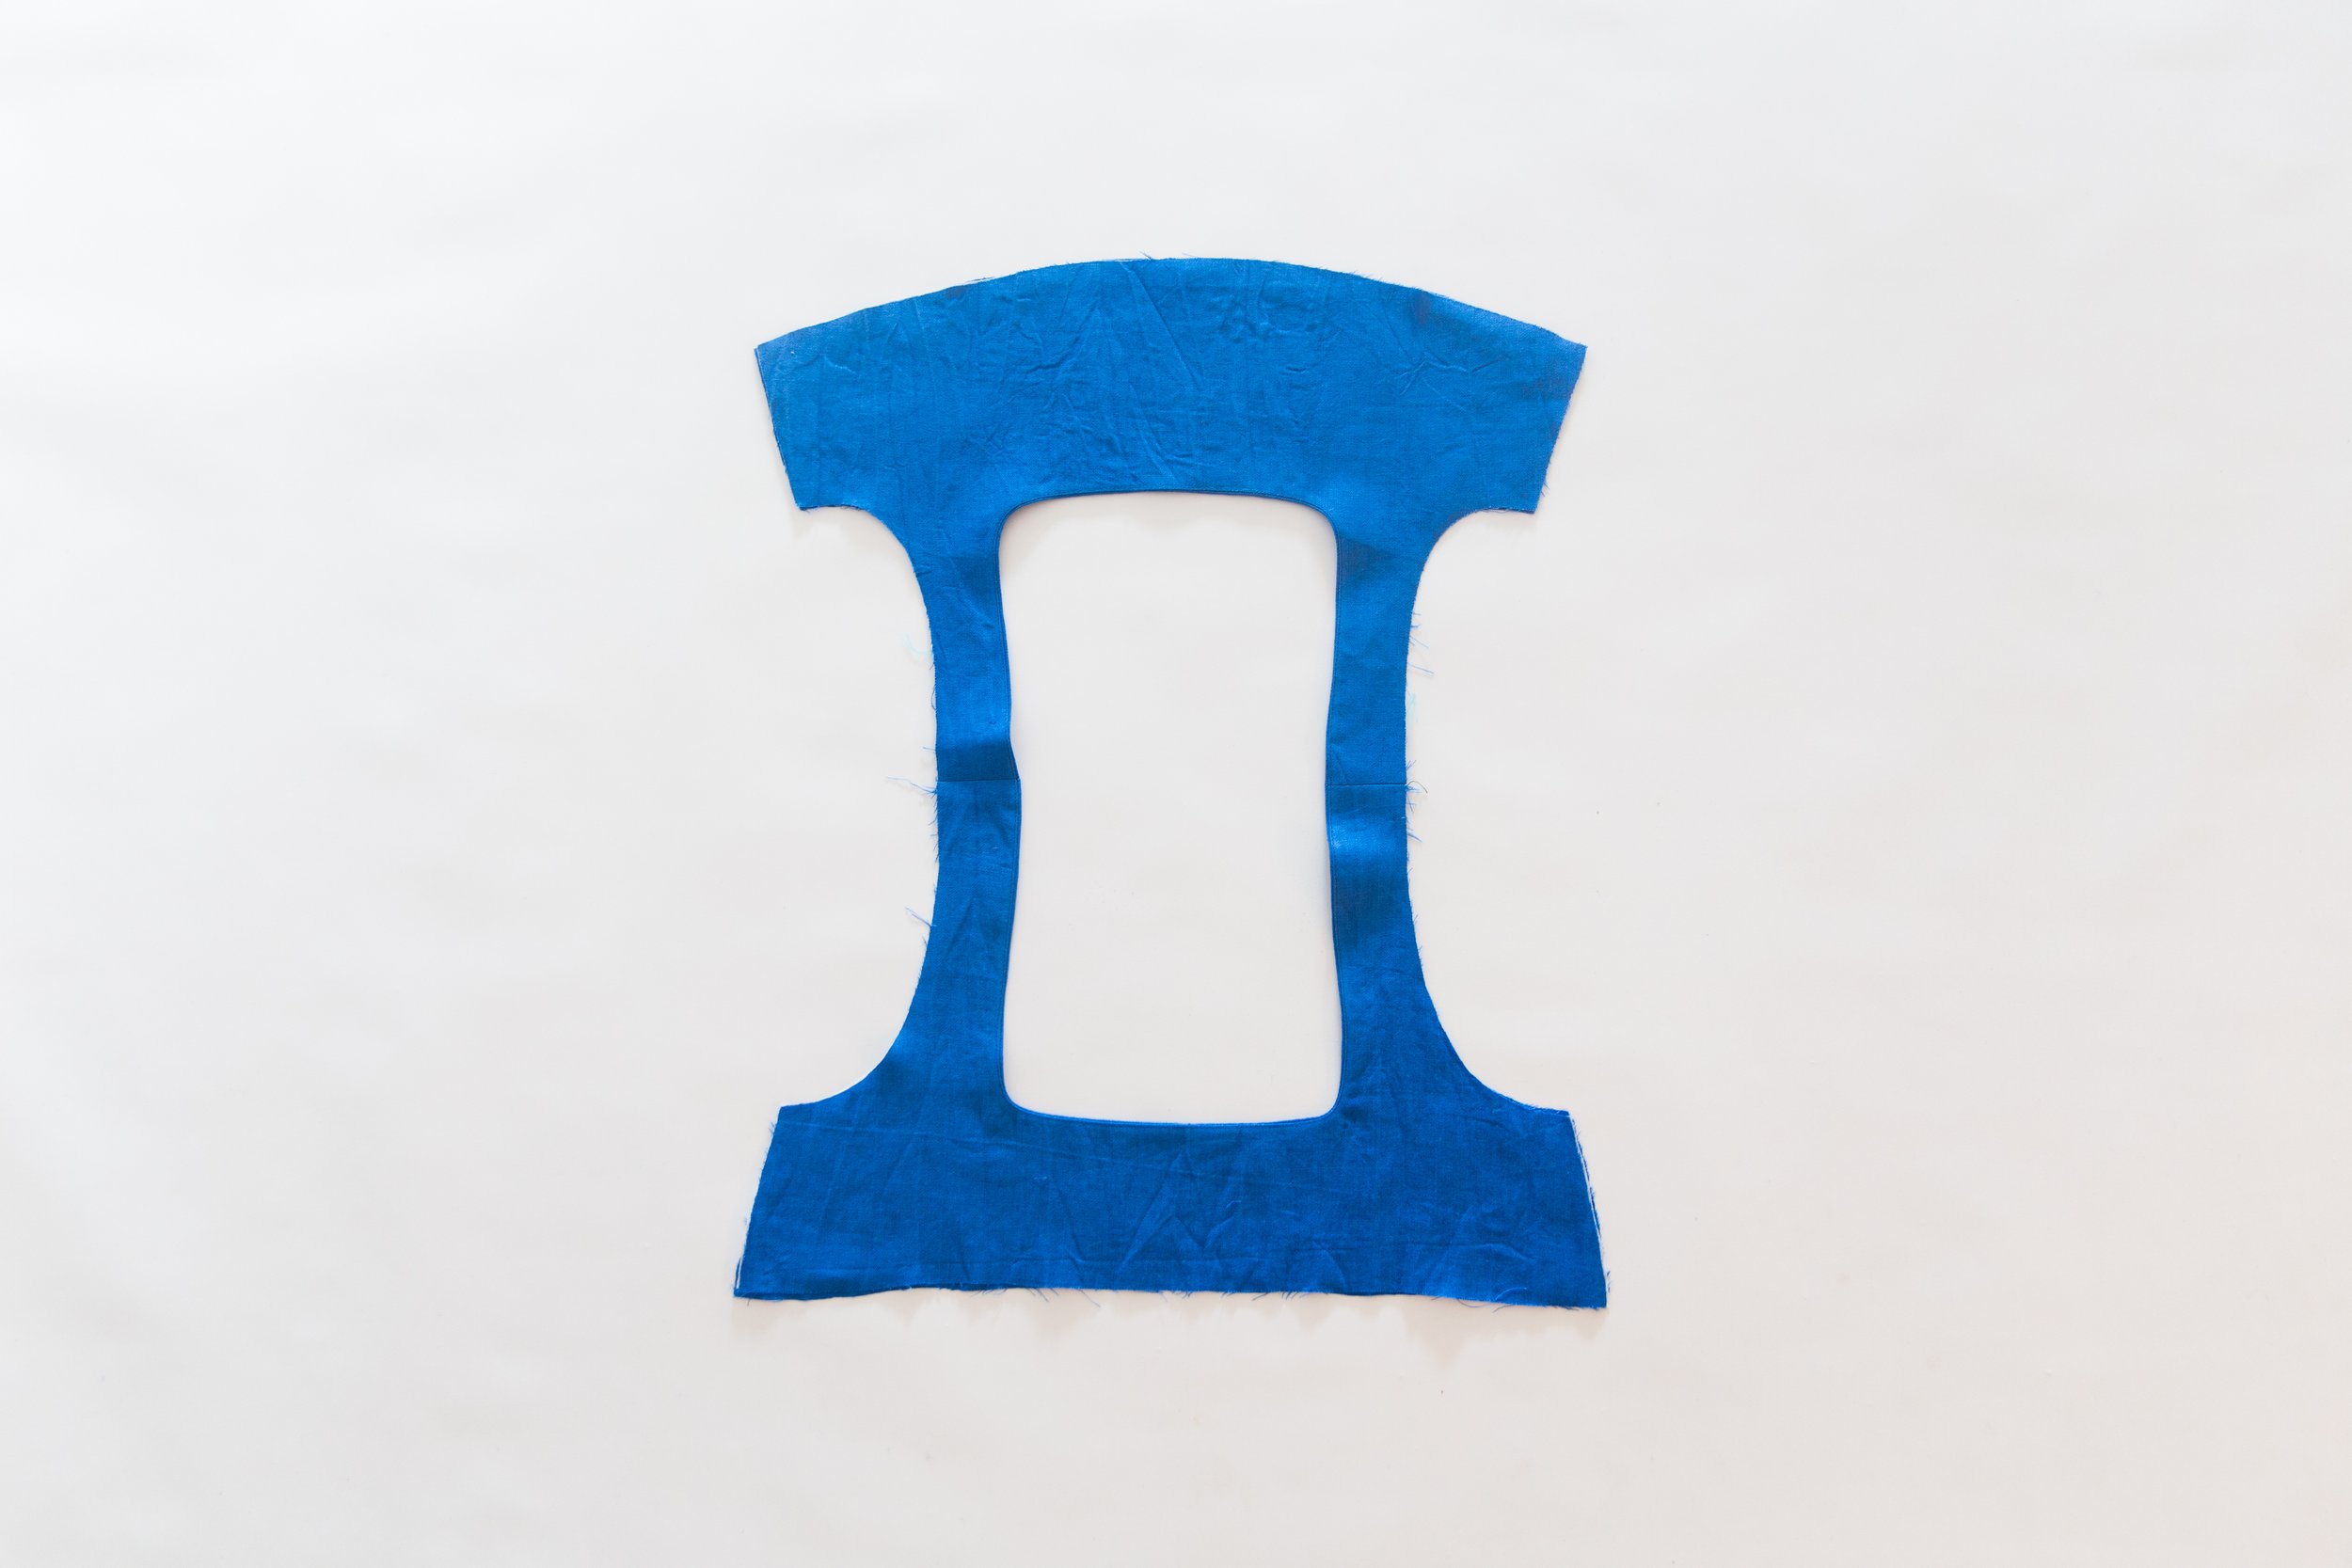
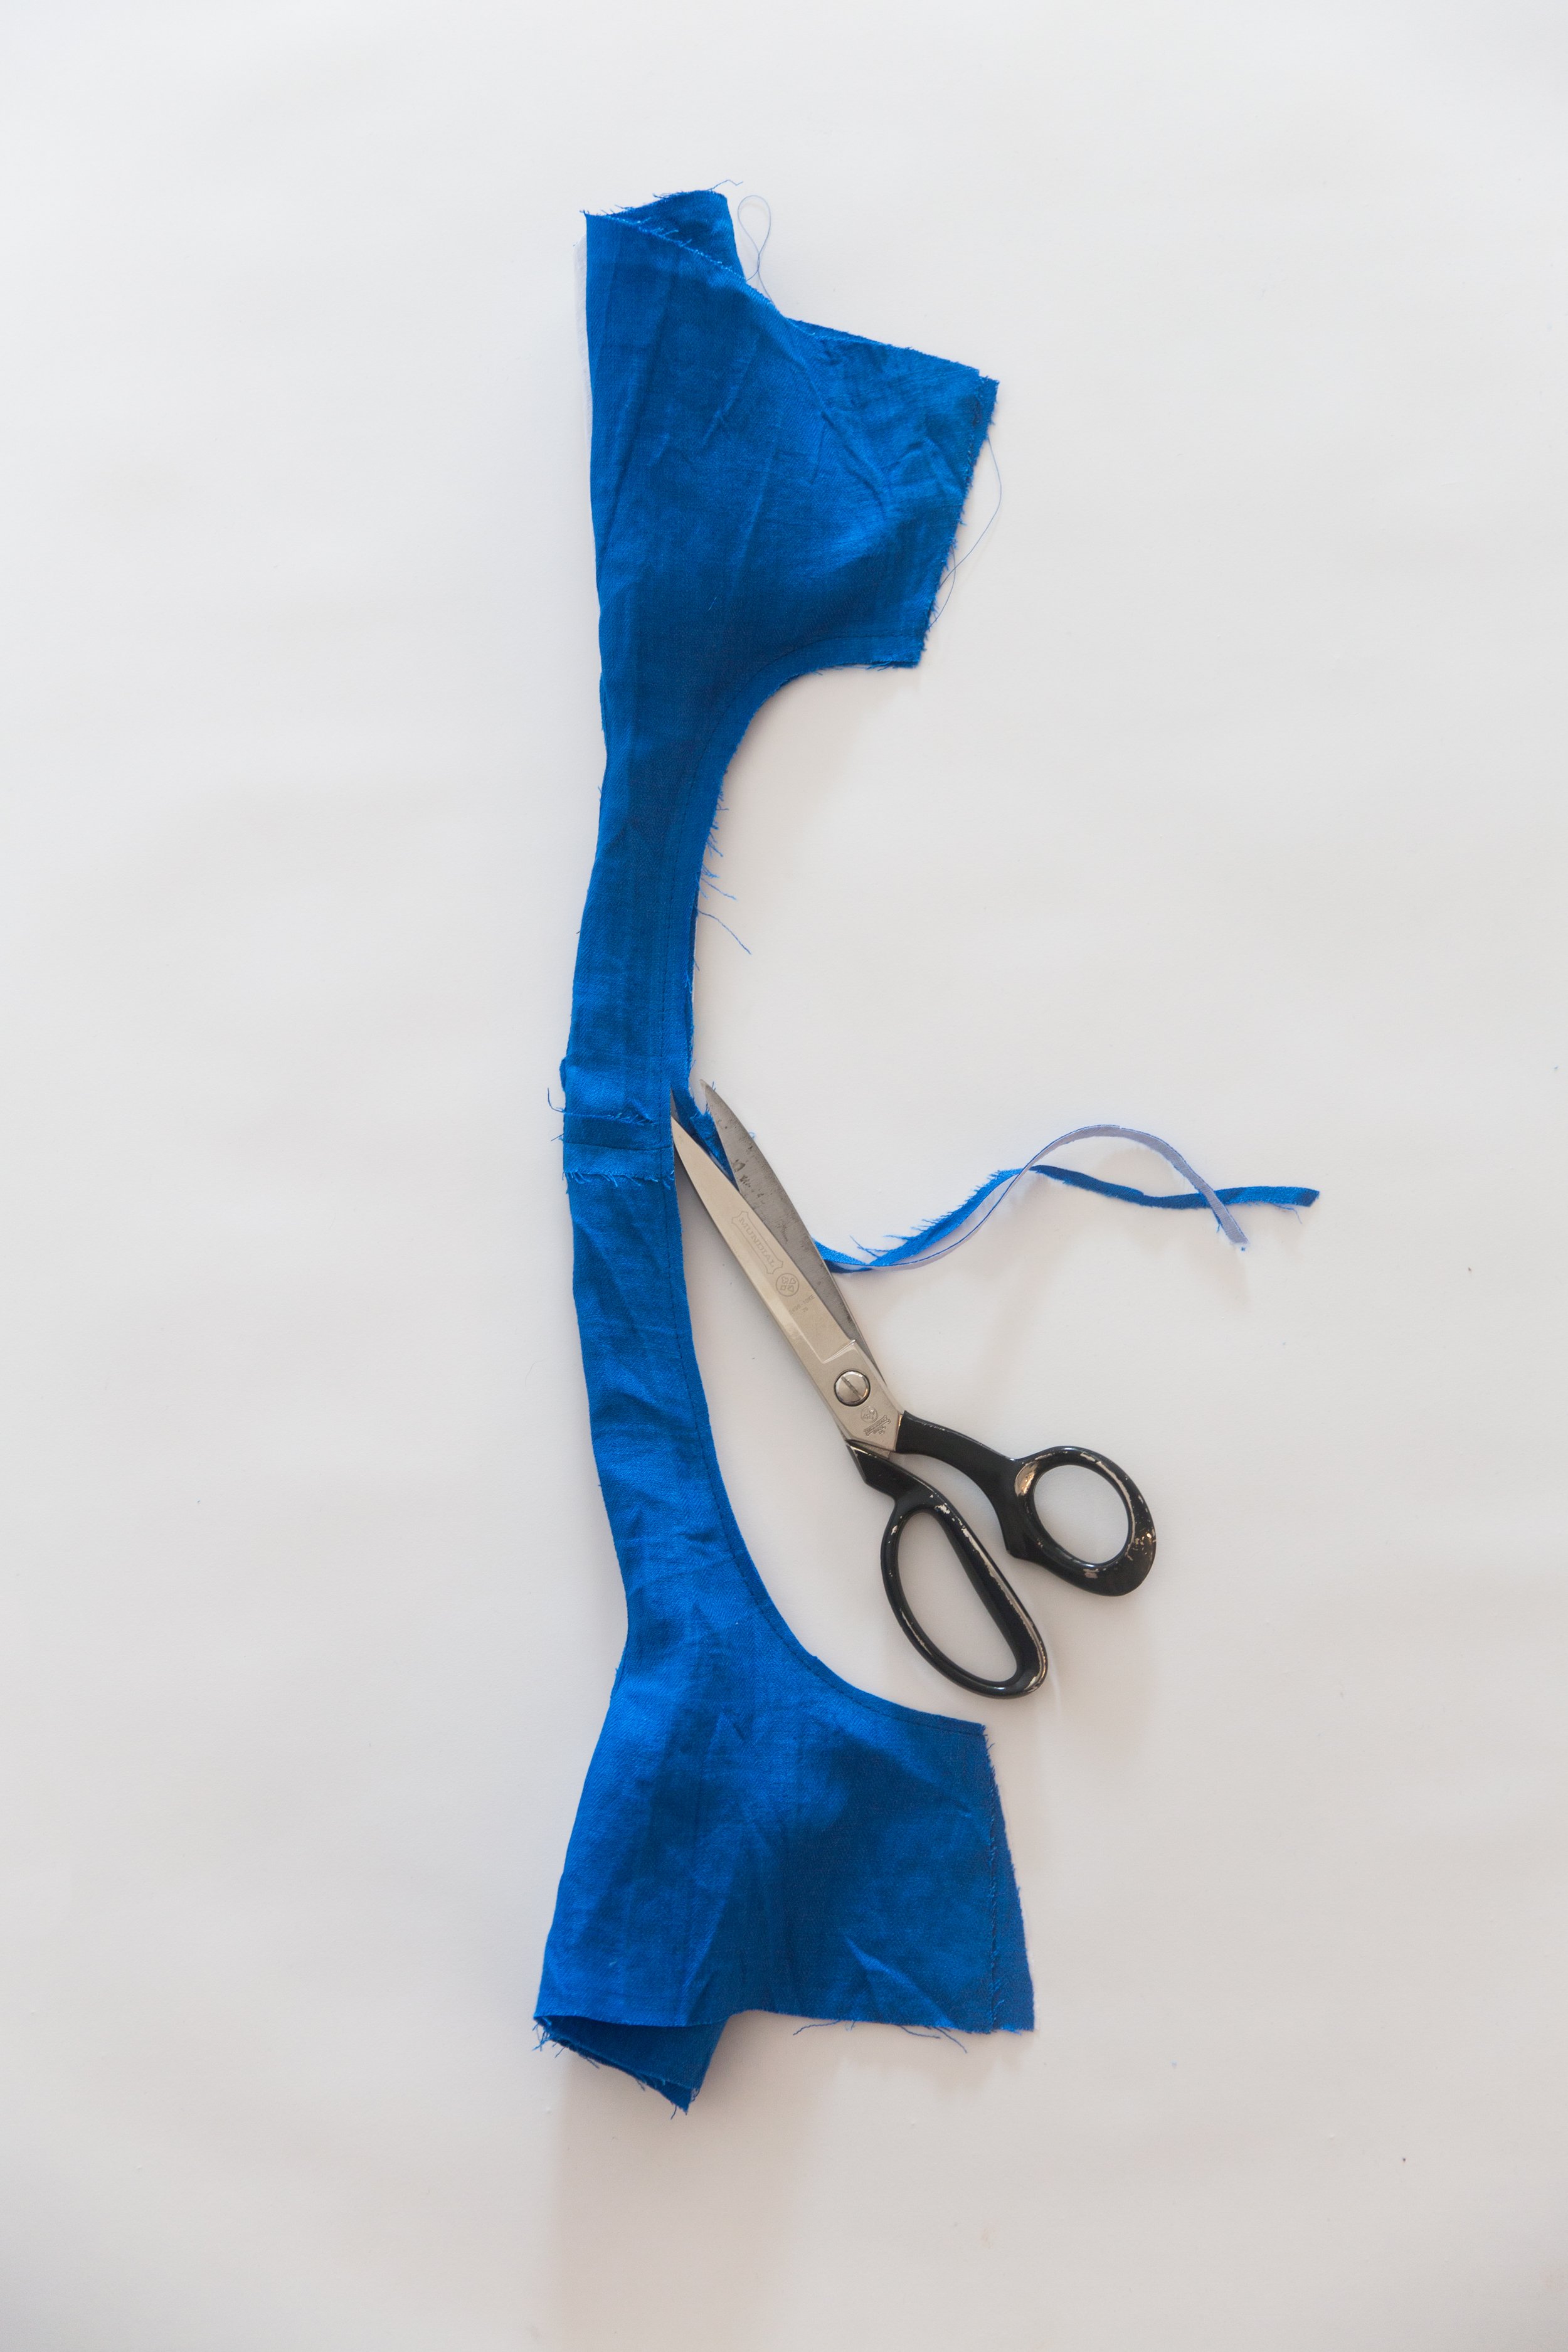
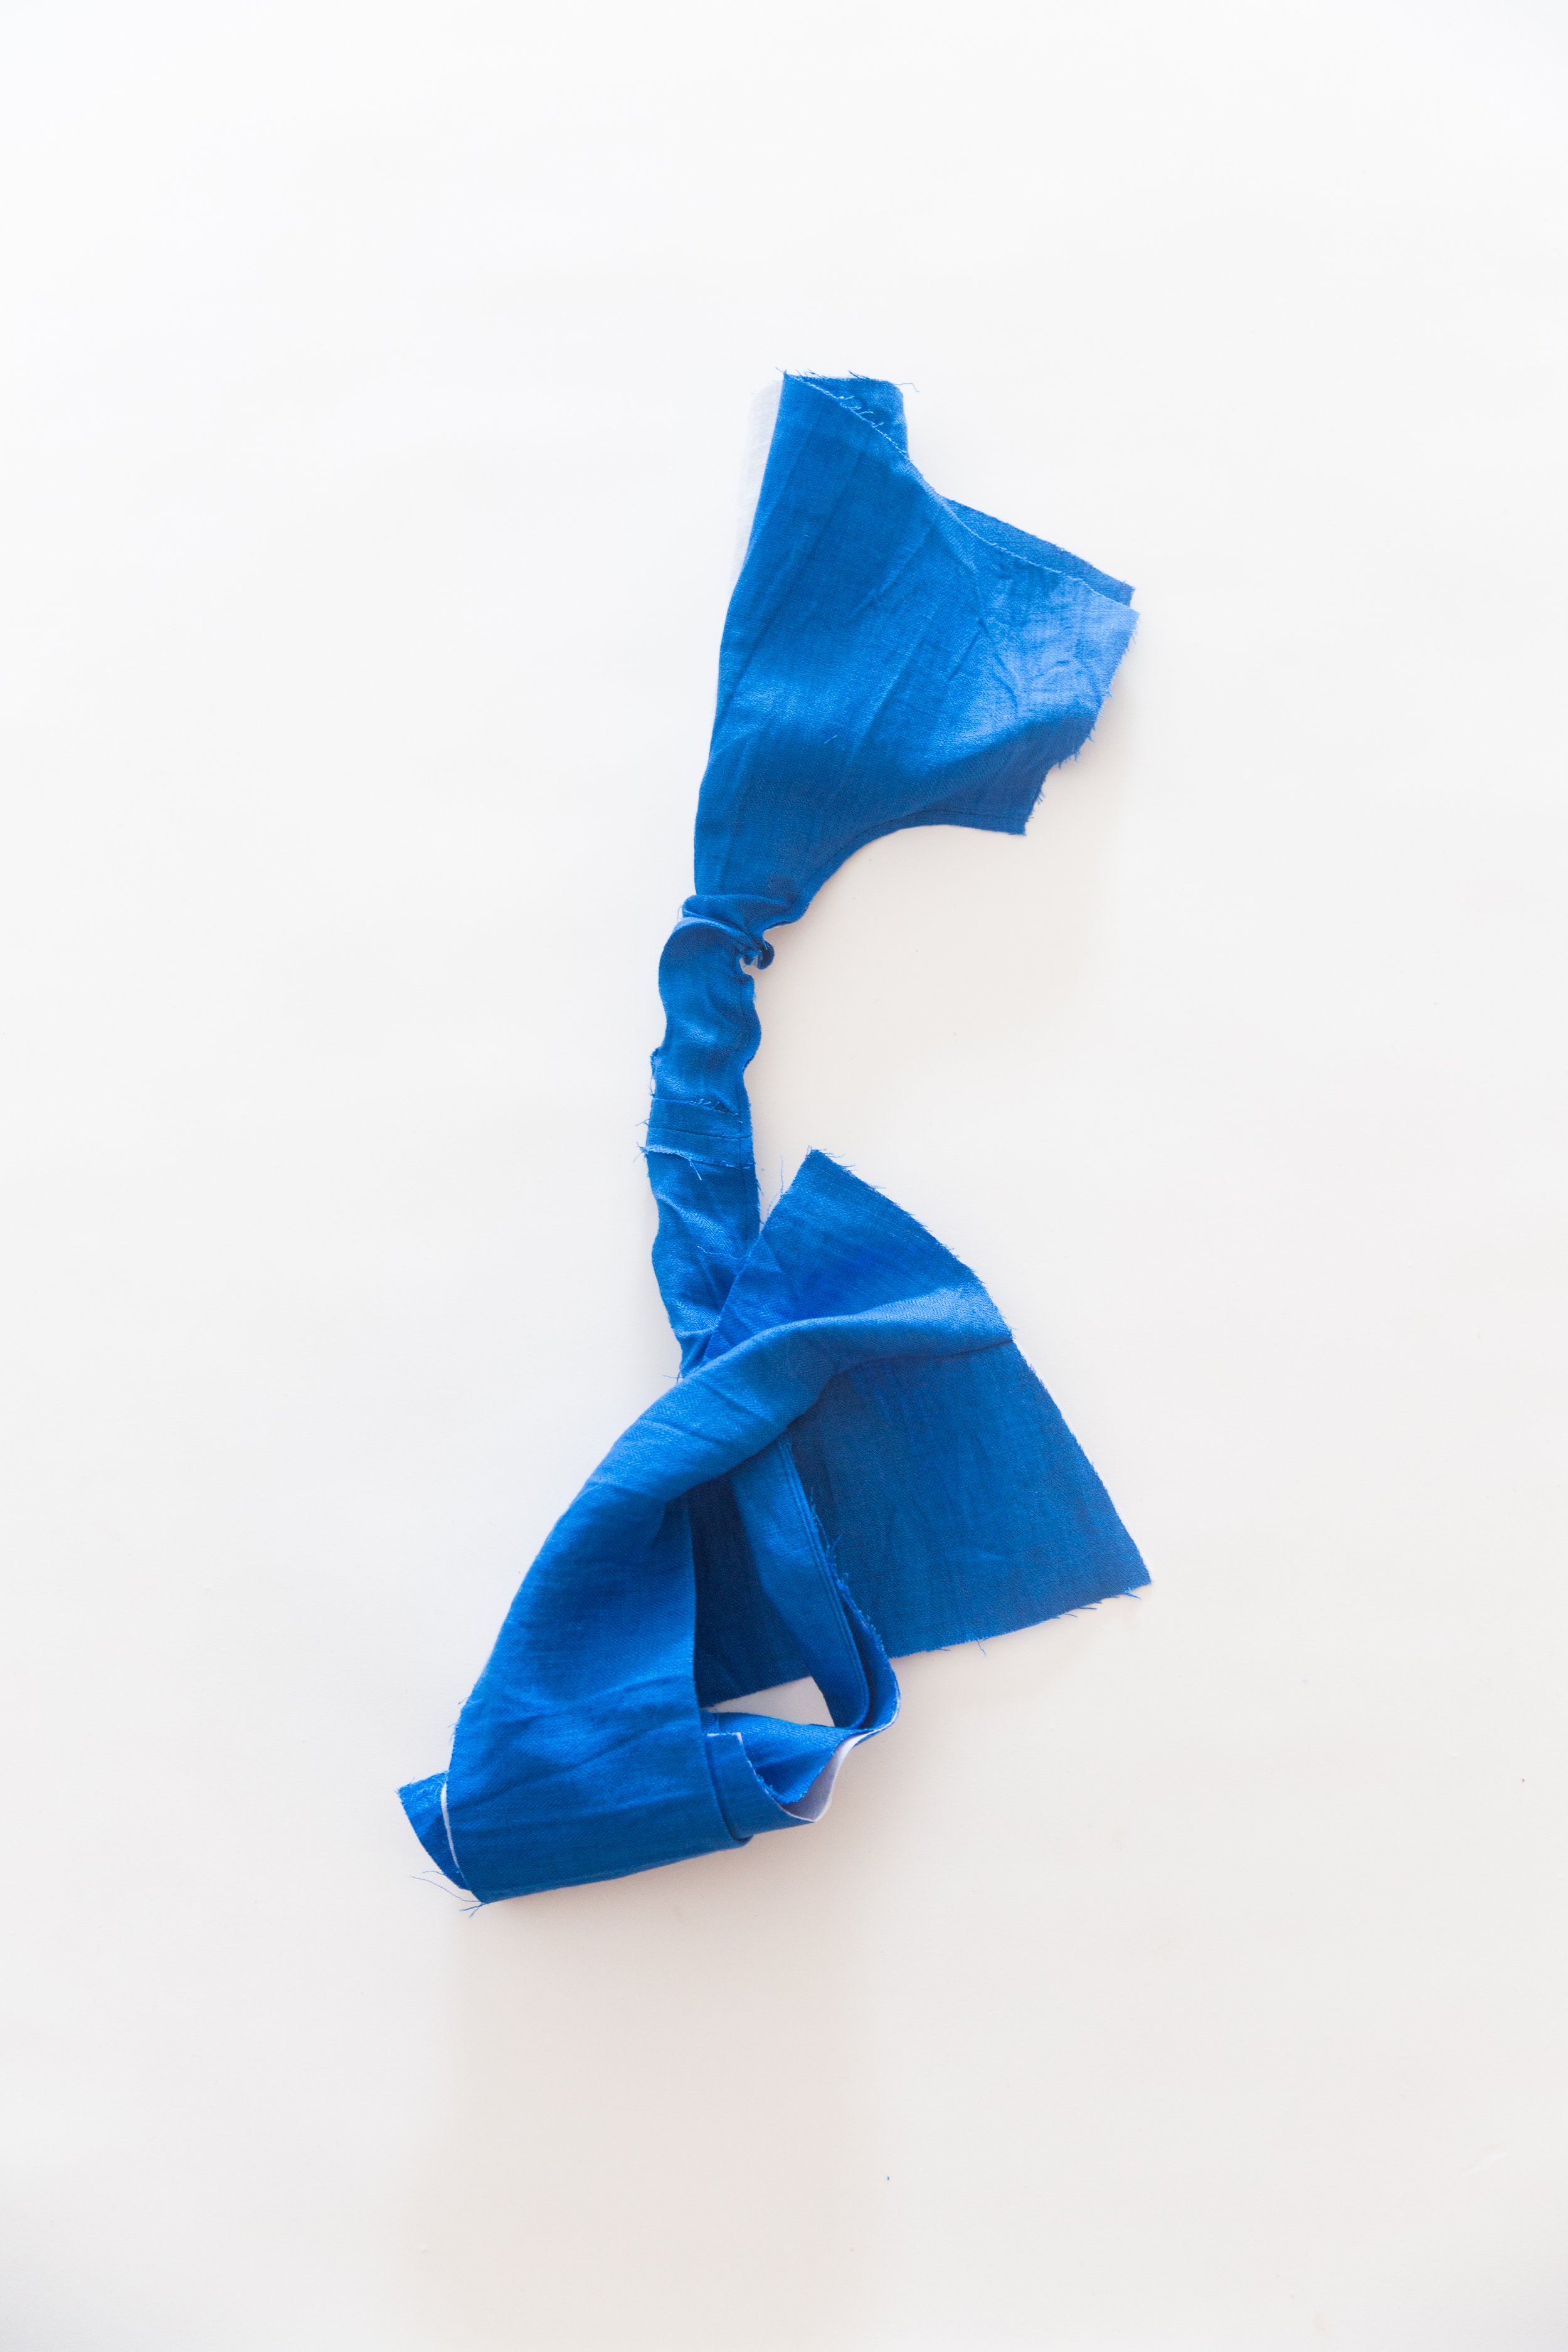
Starting from one side seam of bodice, tightly roll bodice until you reach the armhole of the other side. Open up the two layers of armhole, and wrap around rolled portion of bodice sandwiched in half and clip around curves.
Carefully pull through to the right side and press armhole well.
Repeat on the other side.

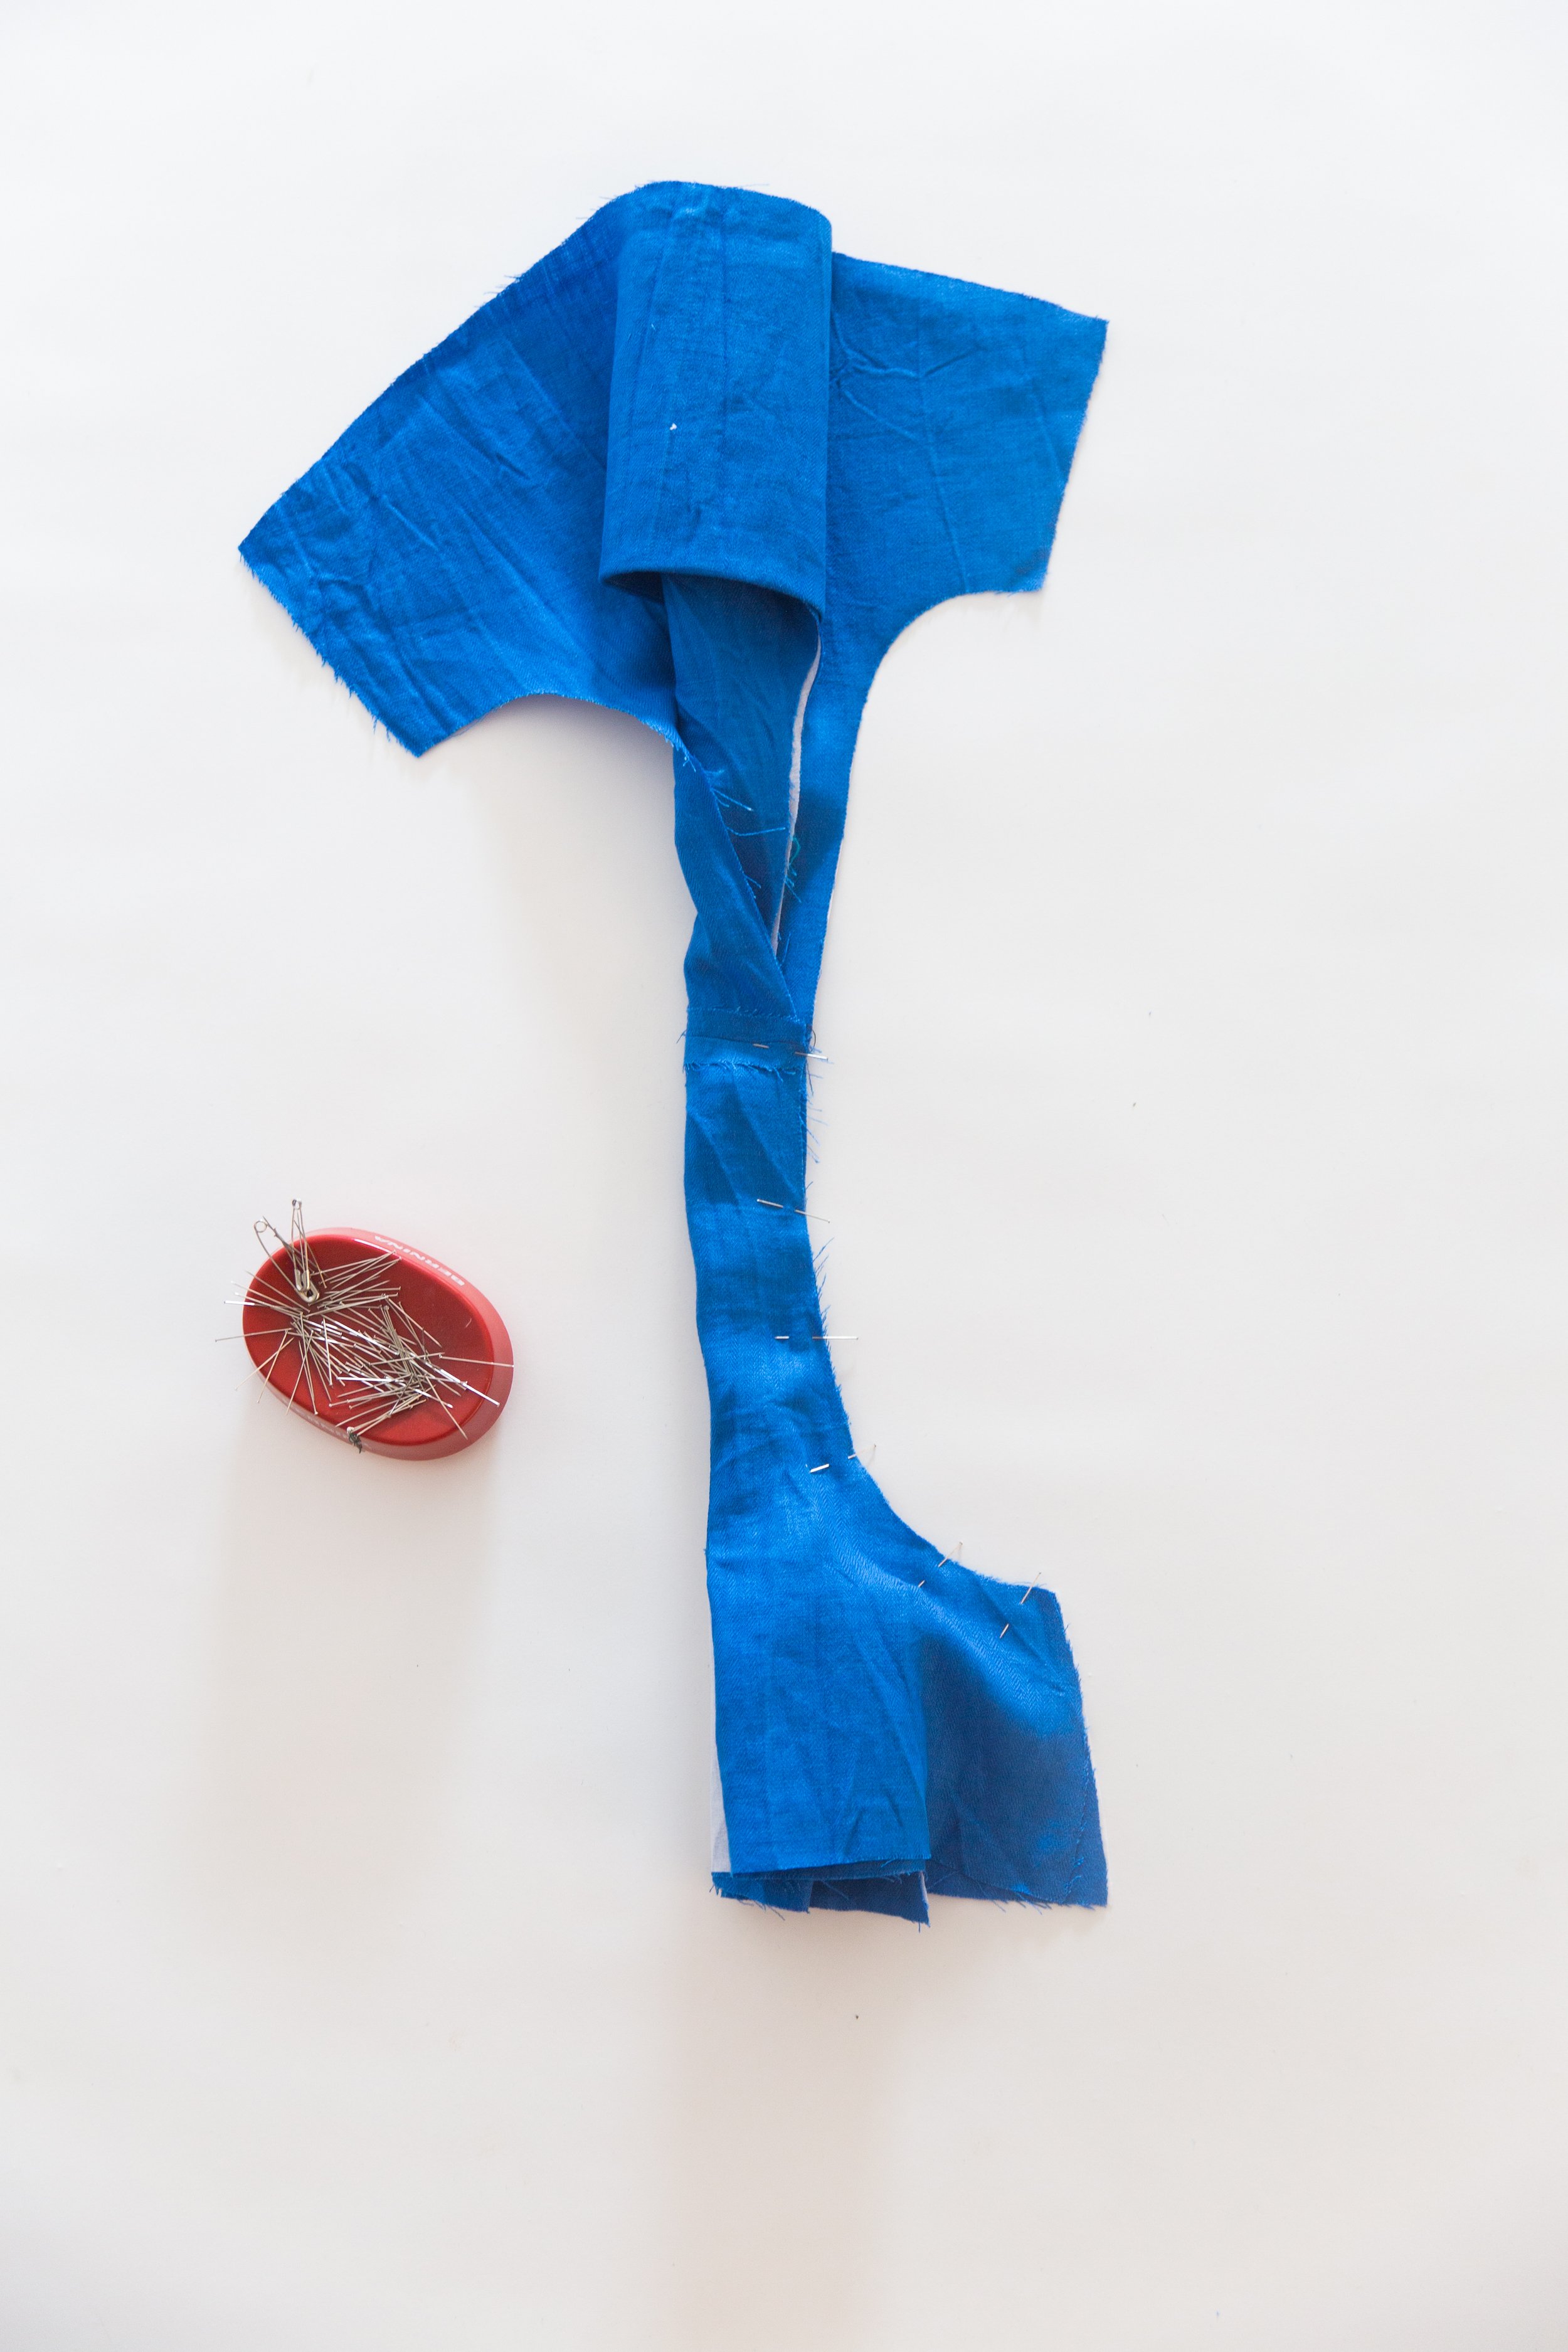
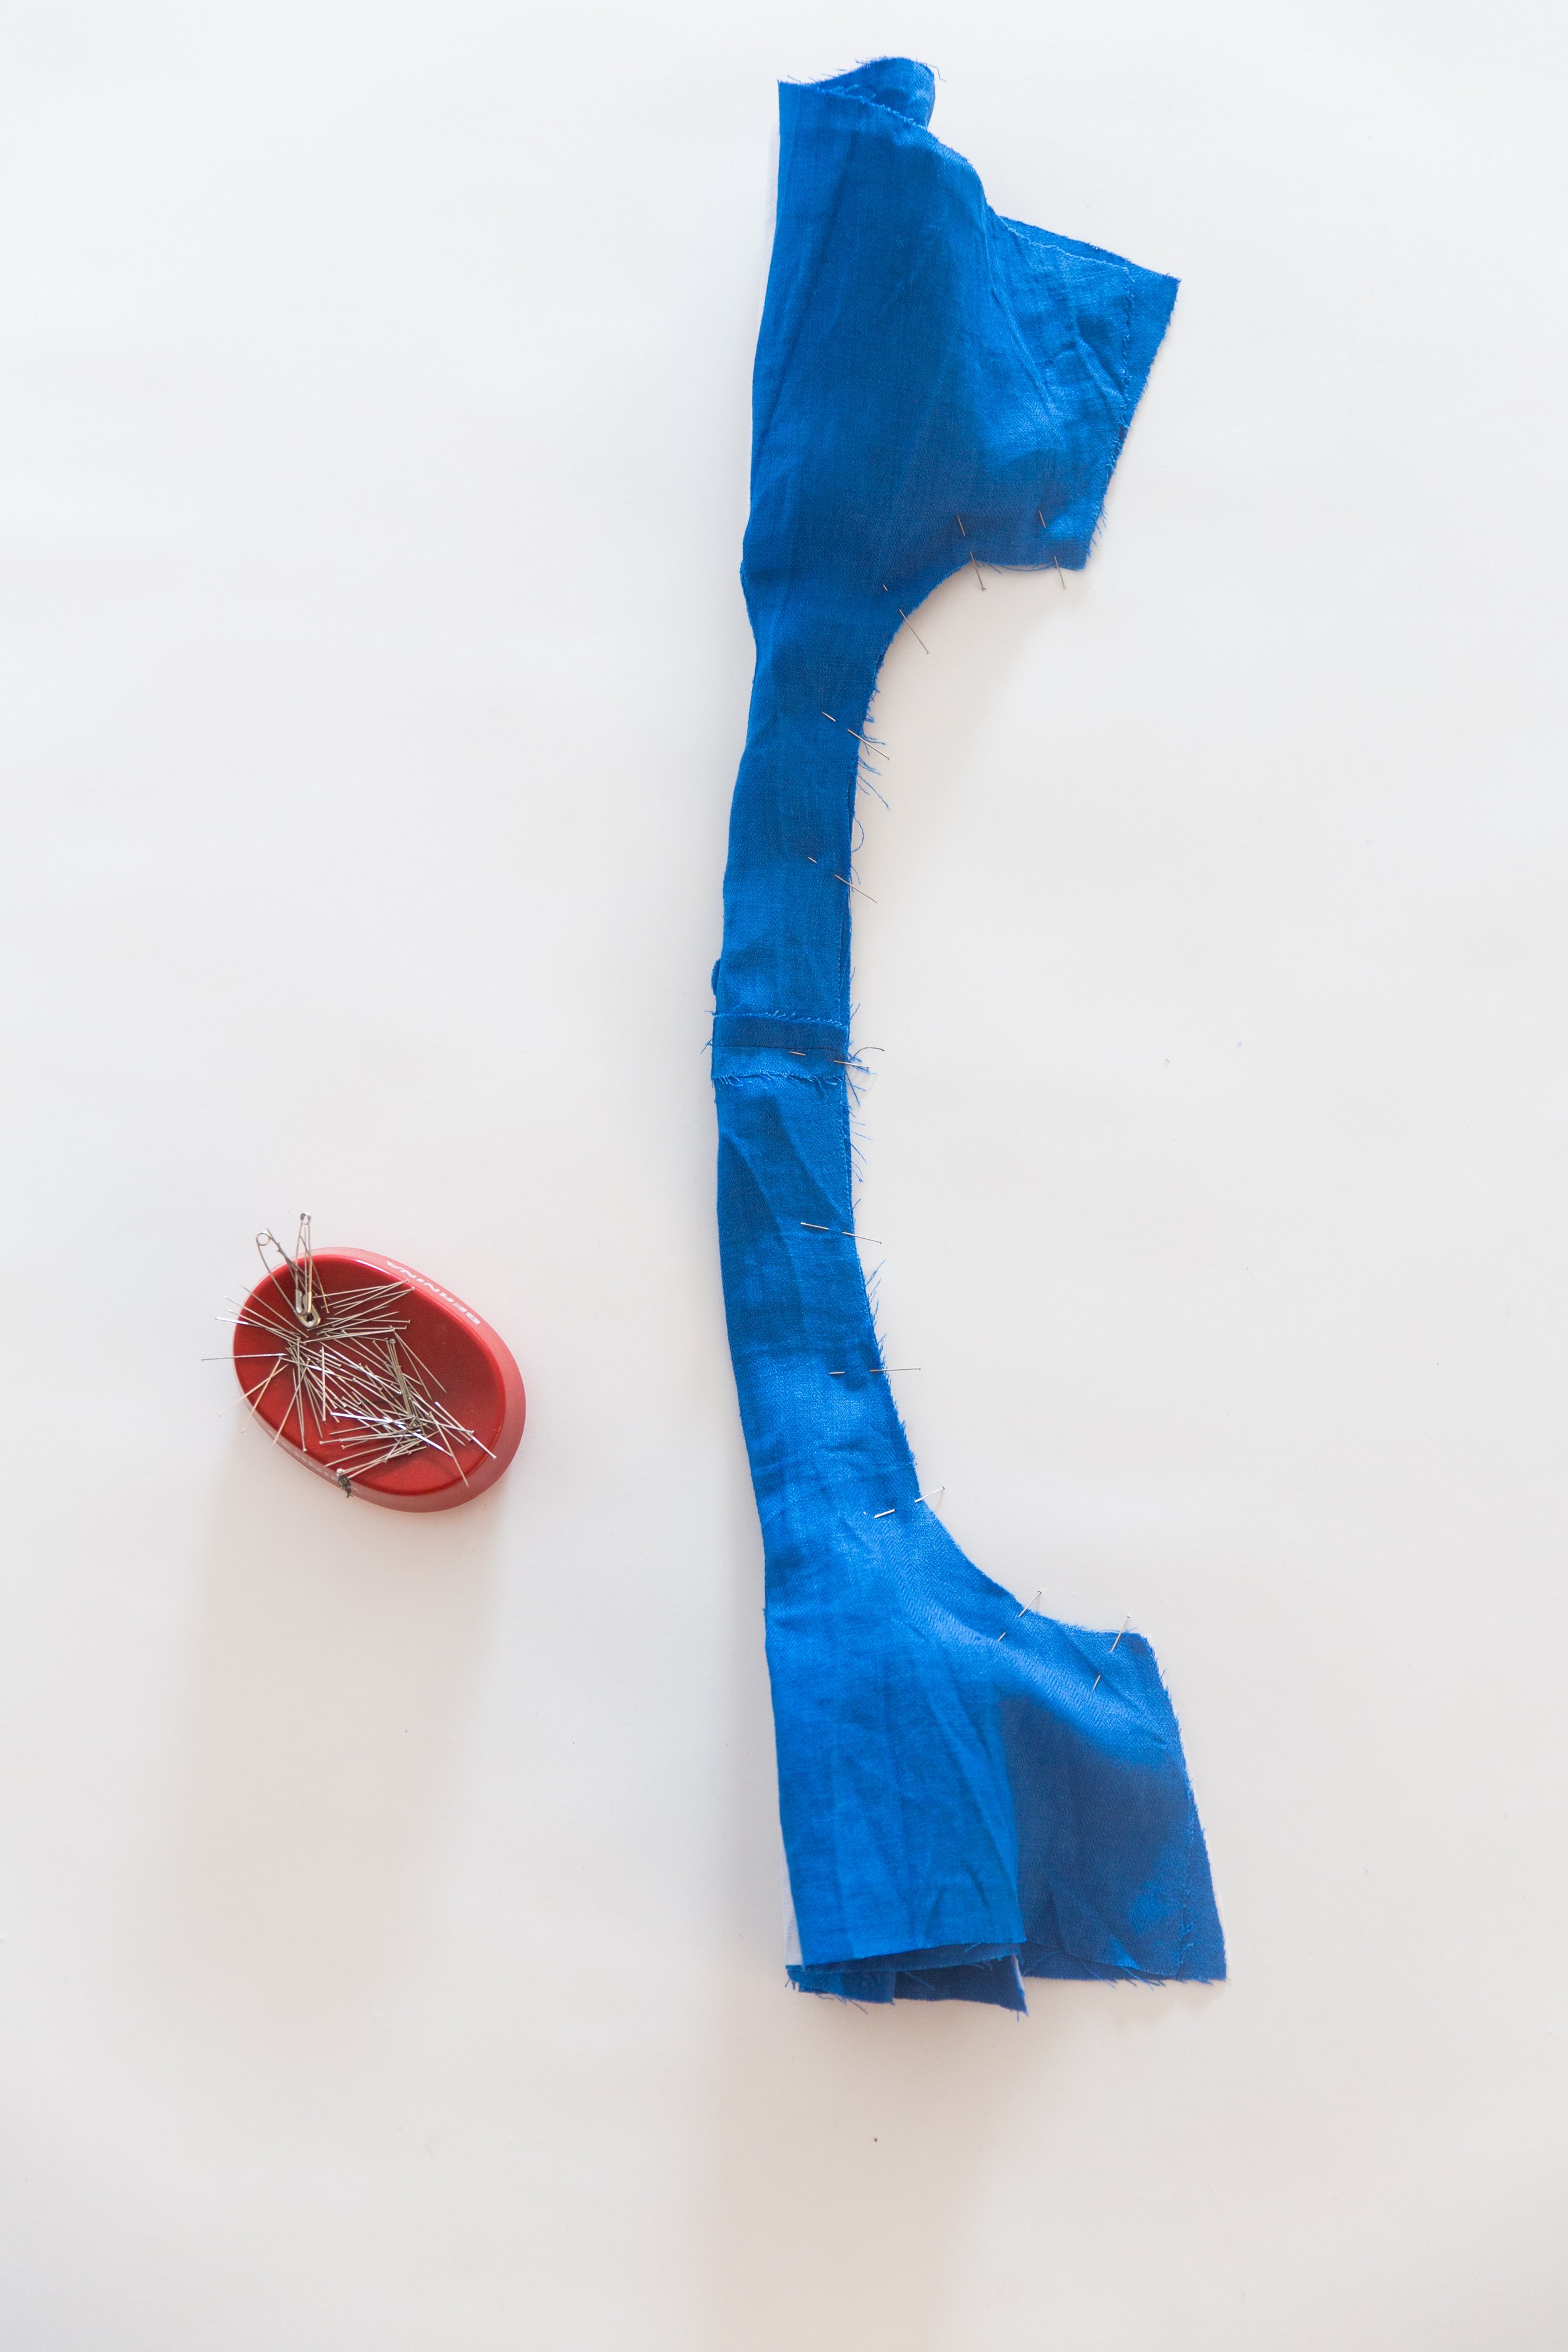
Step 5
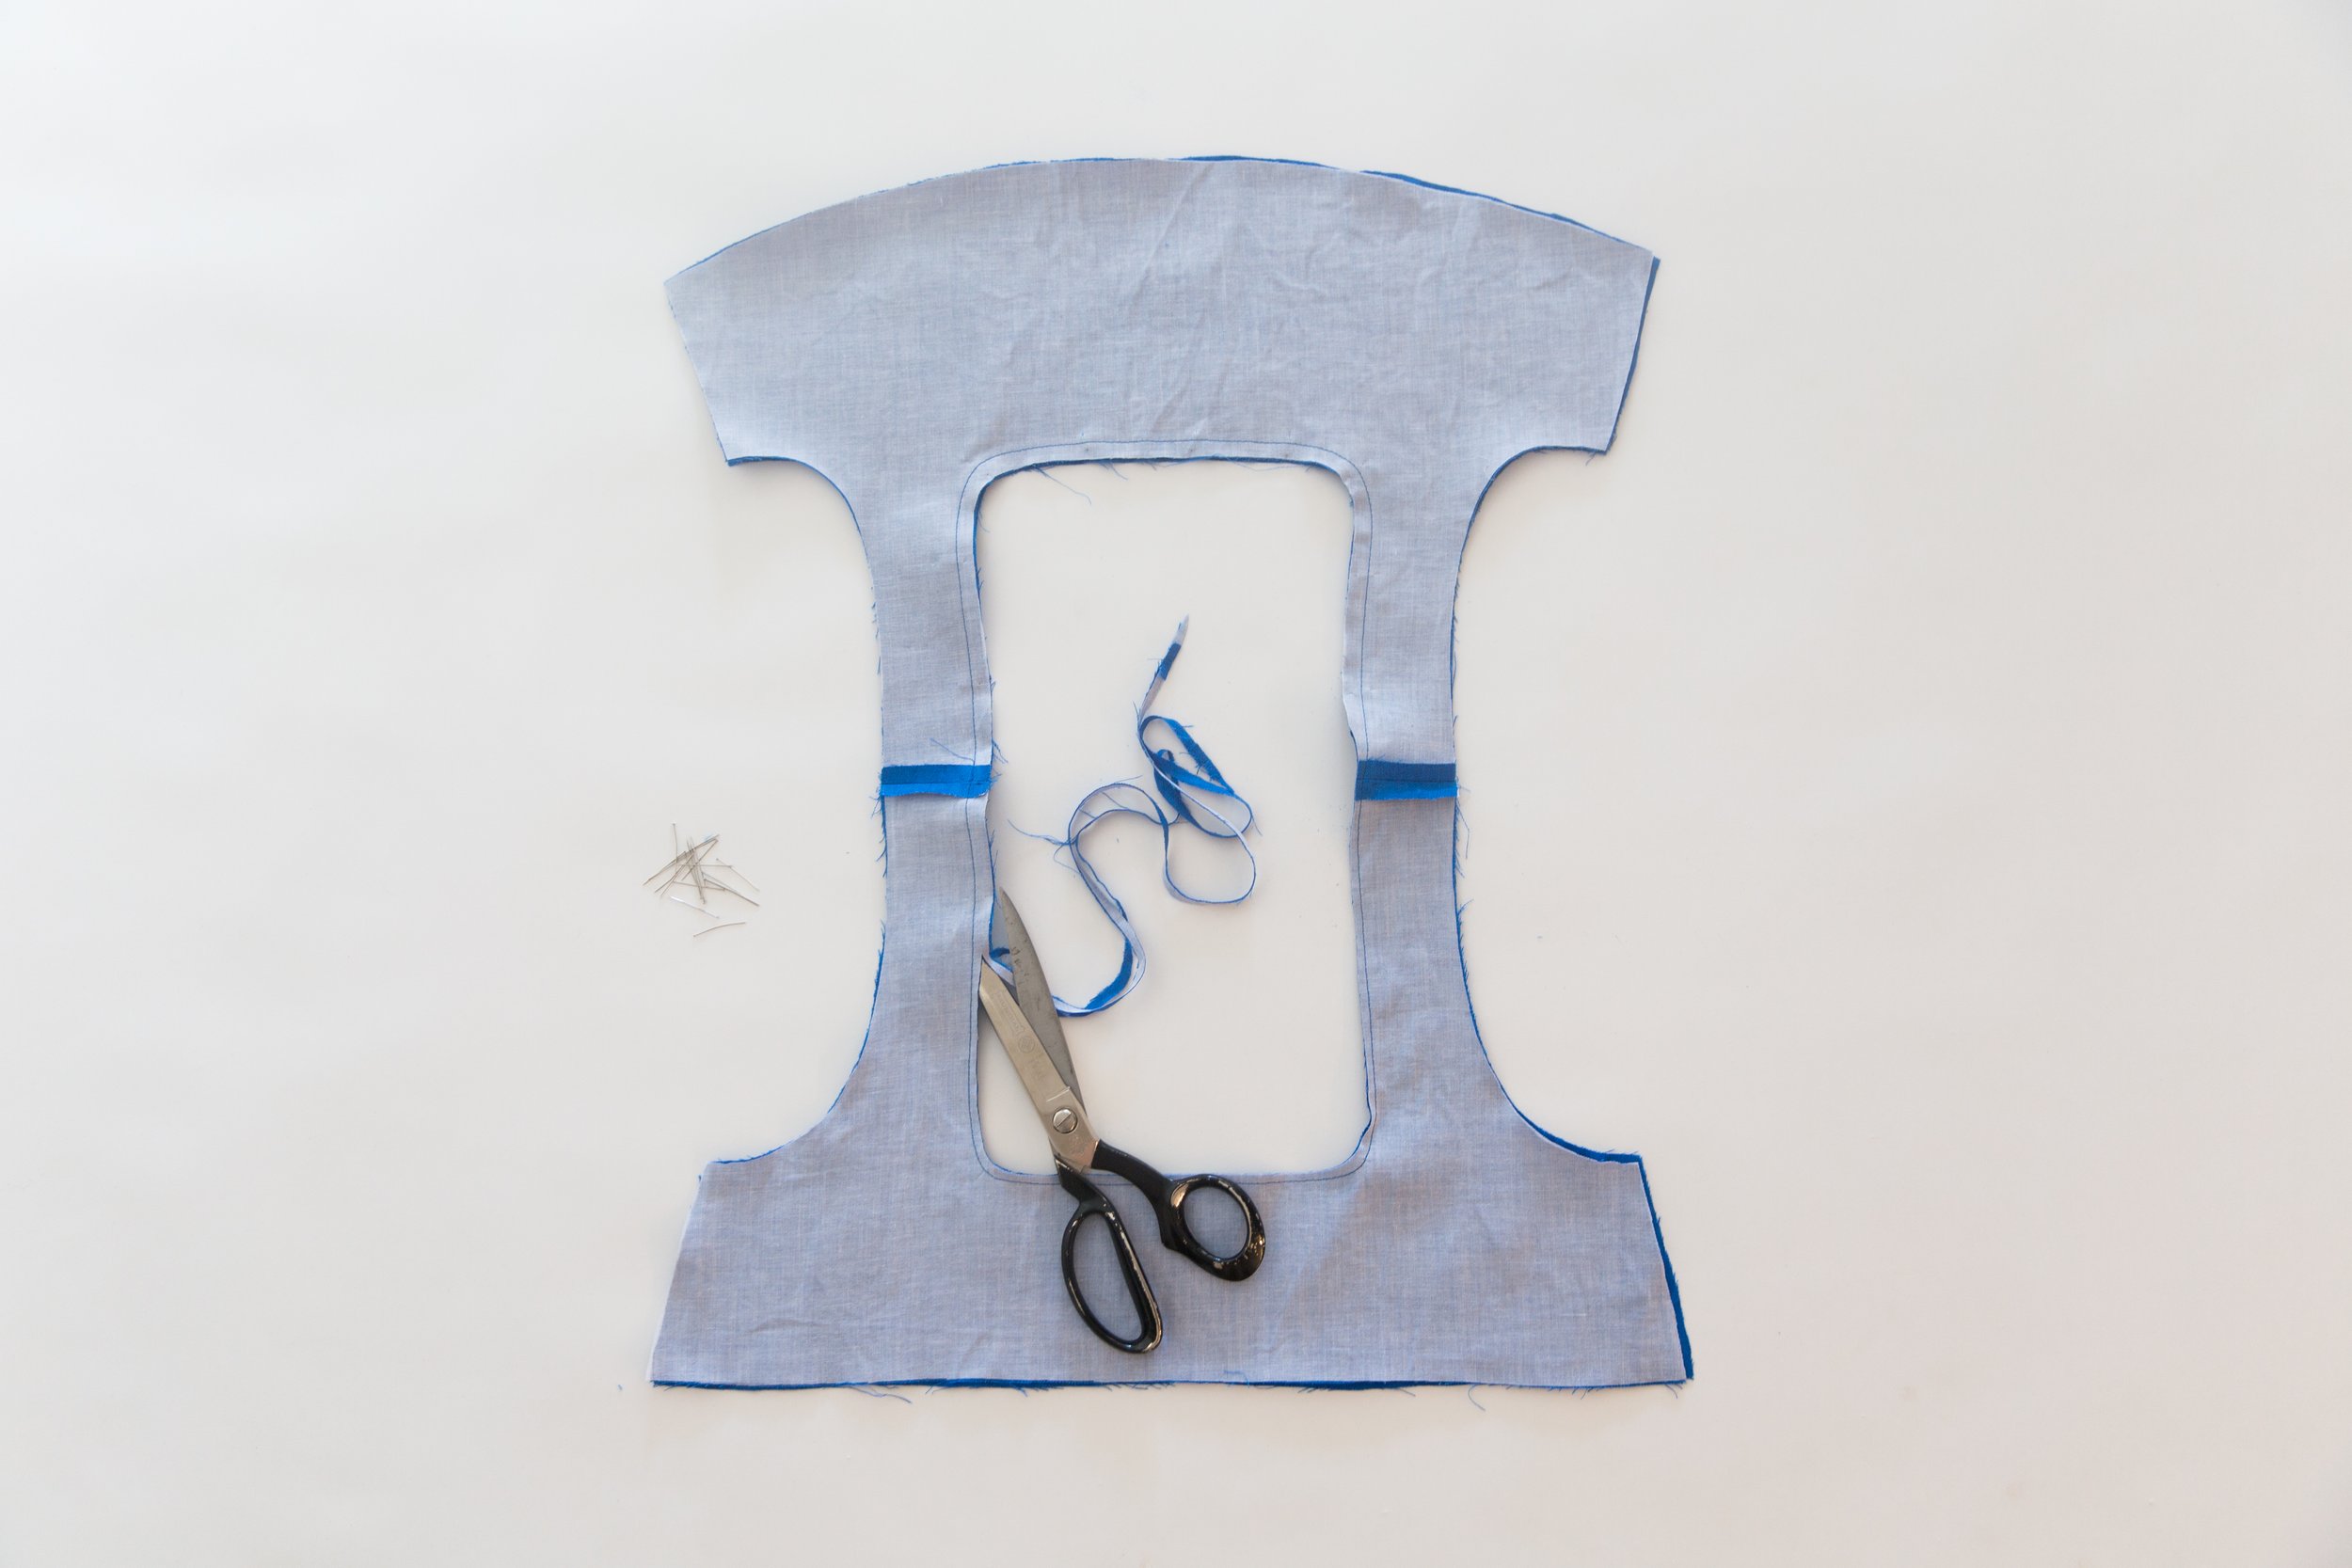
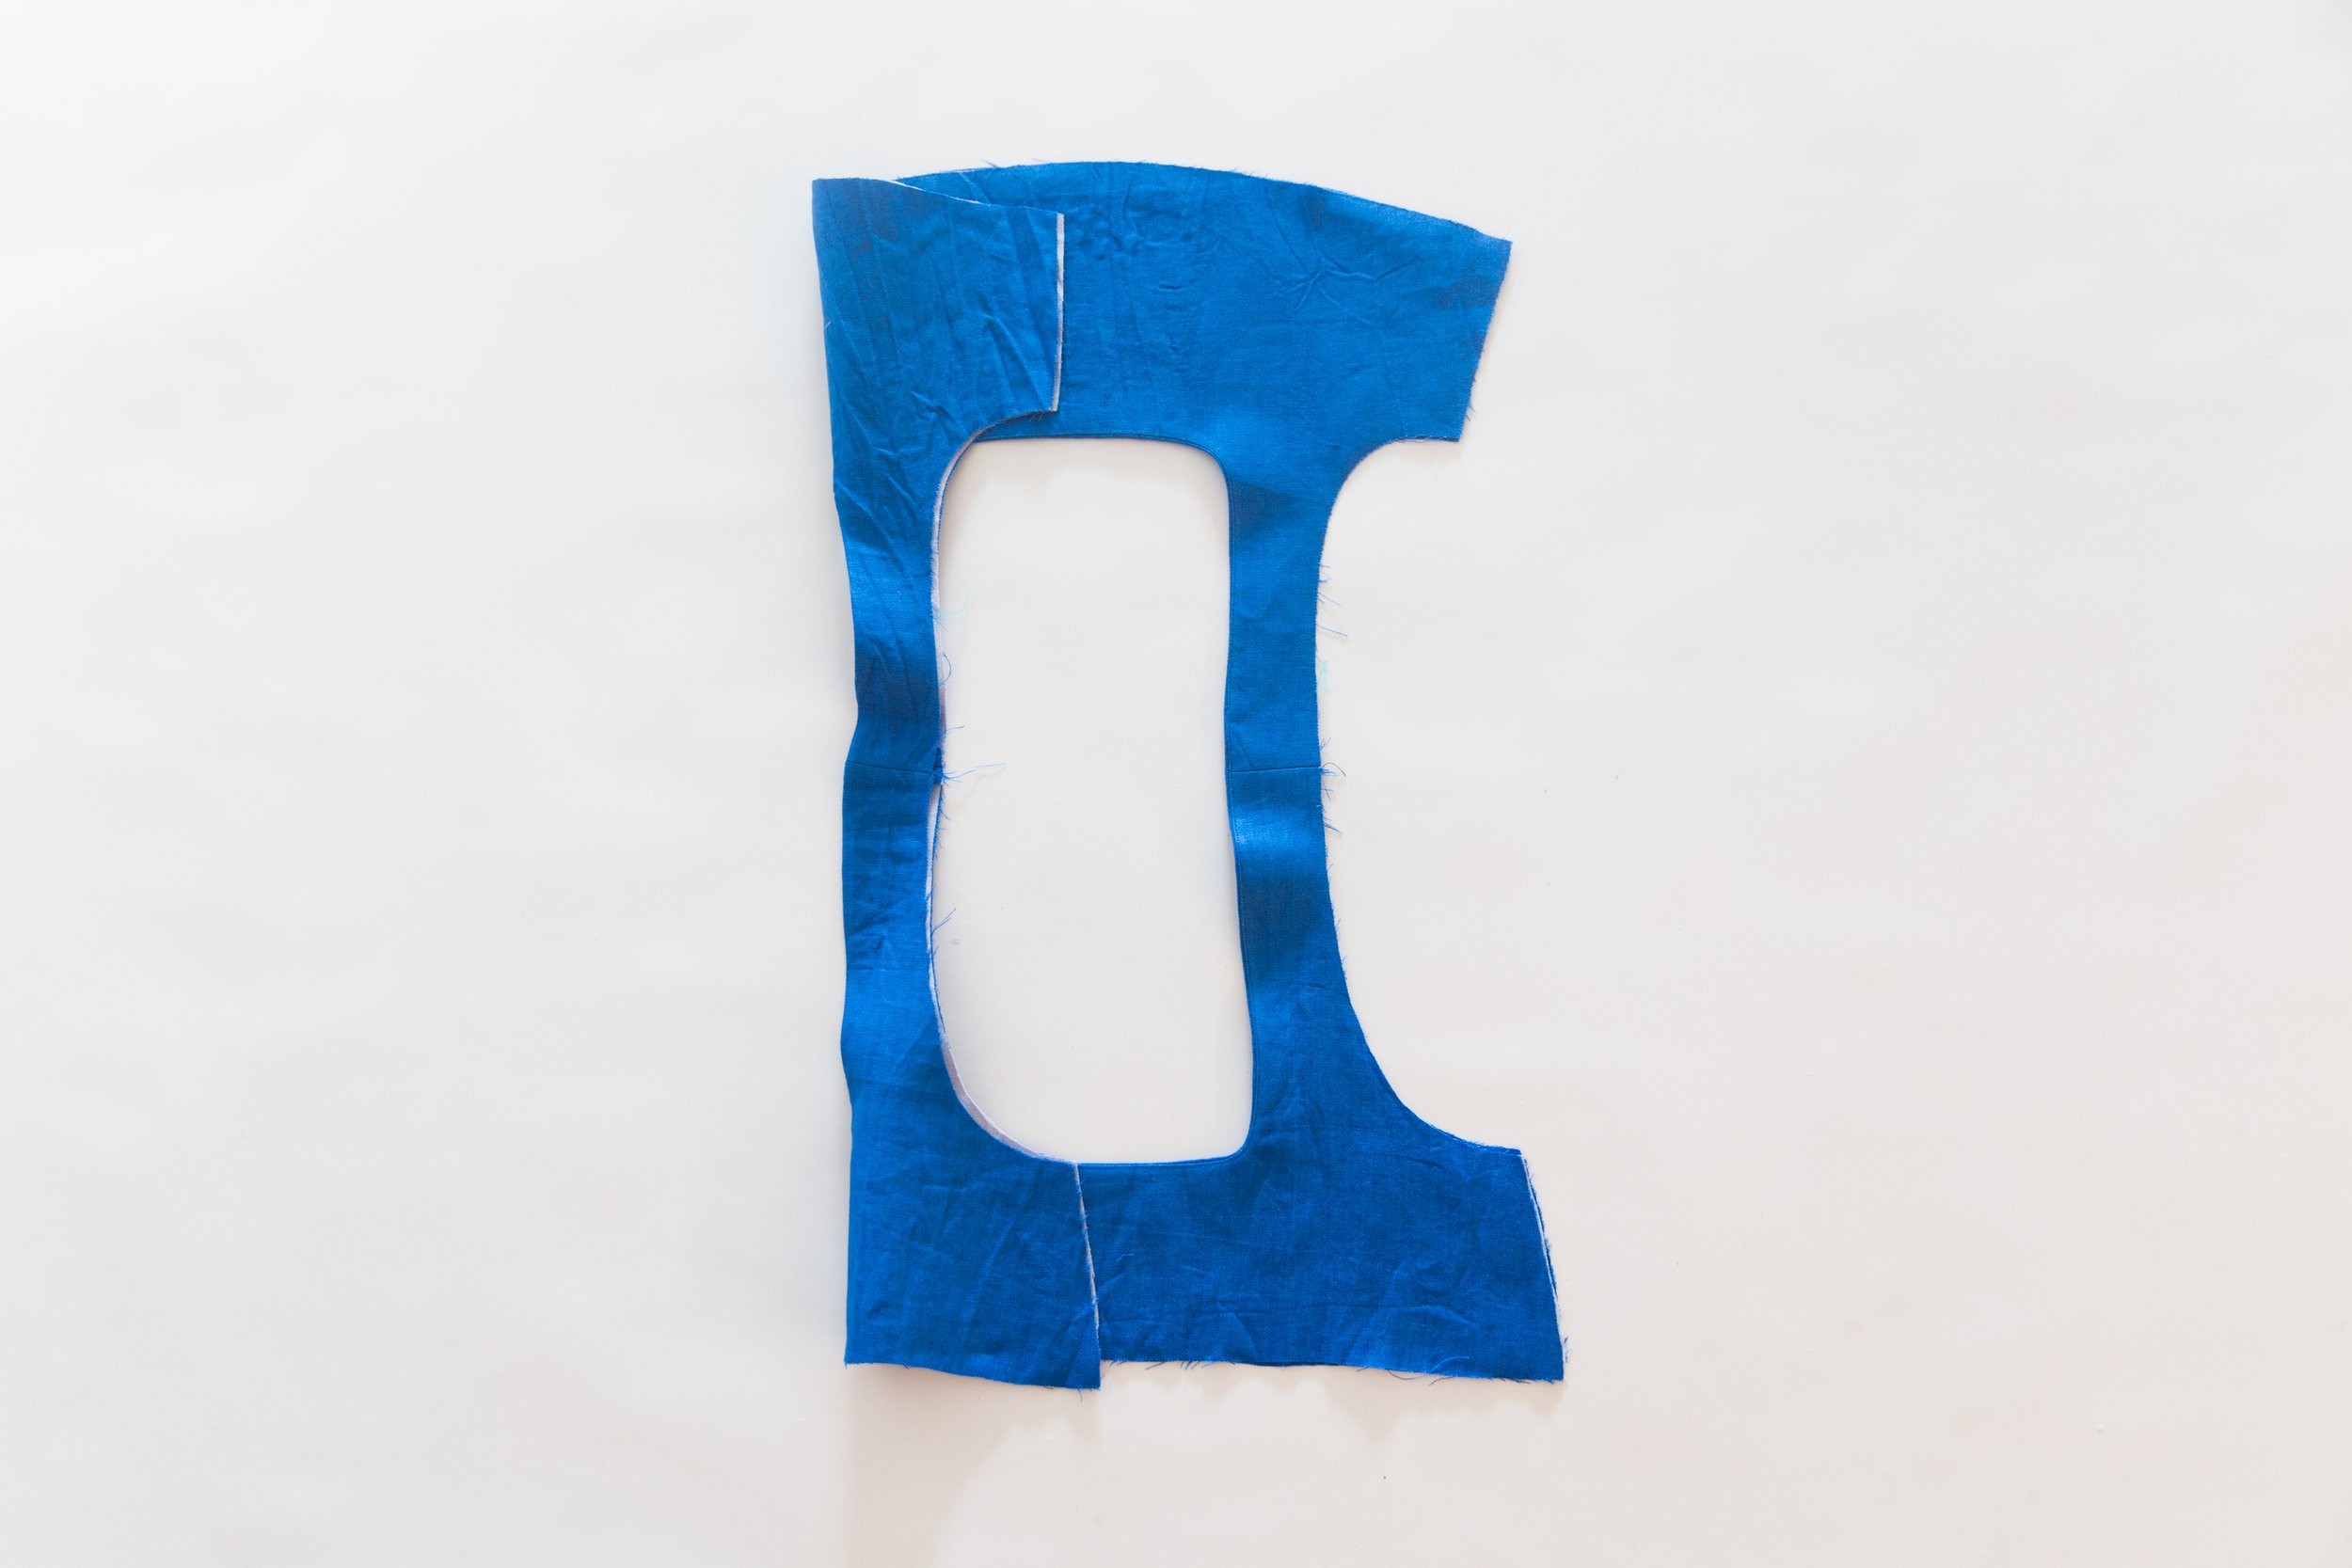
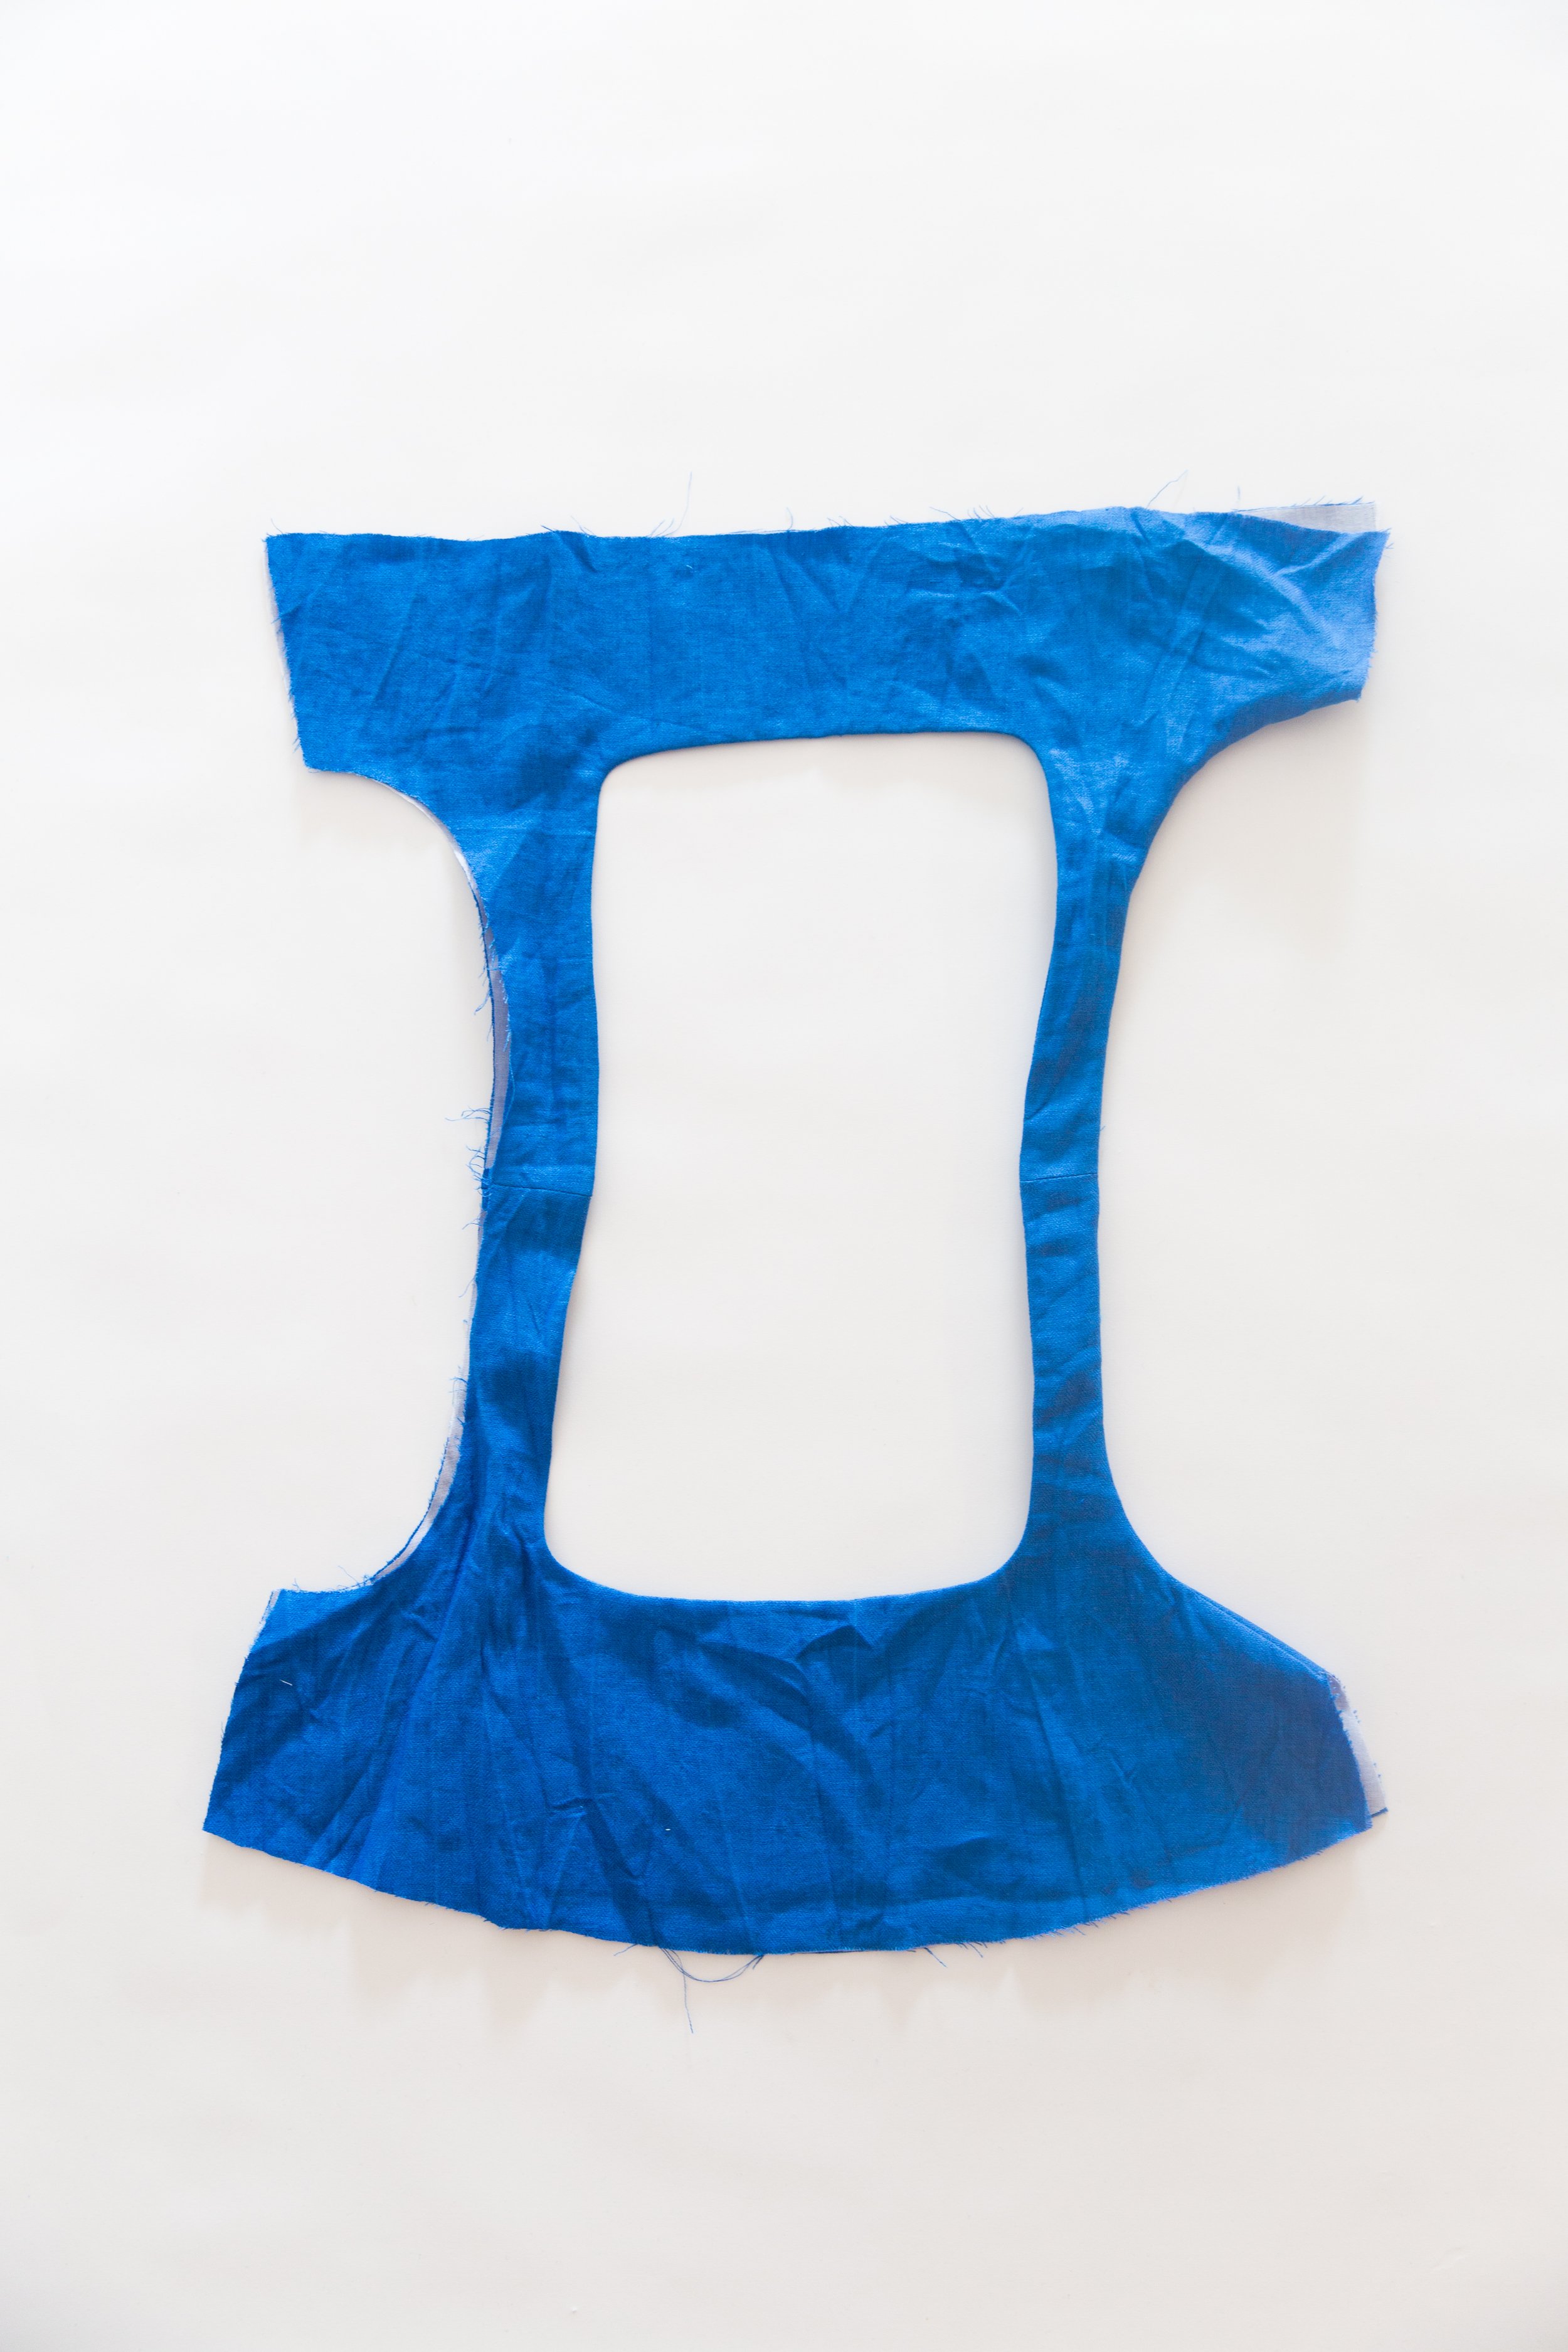
With right sides facing, pin together front and back bodice pieces at side seams, lining up armhole seam of fused and unfused sections. Stitch together. Press seams open. Fold down, so that all seams are on the inside.

Step 6
Press bodice sections well, then pin together bottom edges and baste closed 5mm/0.19” from edge.
Follow the rest of the steps for the skirt tiers, pockets and finishing on the Celestia dress B tutorial here.