


Step 1
Fold the shoulder seams of bodice section together with right sides facing. Stitch together. Neaten seams. Press seam allowances towards the back.

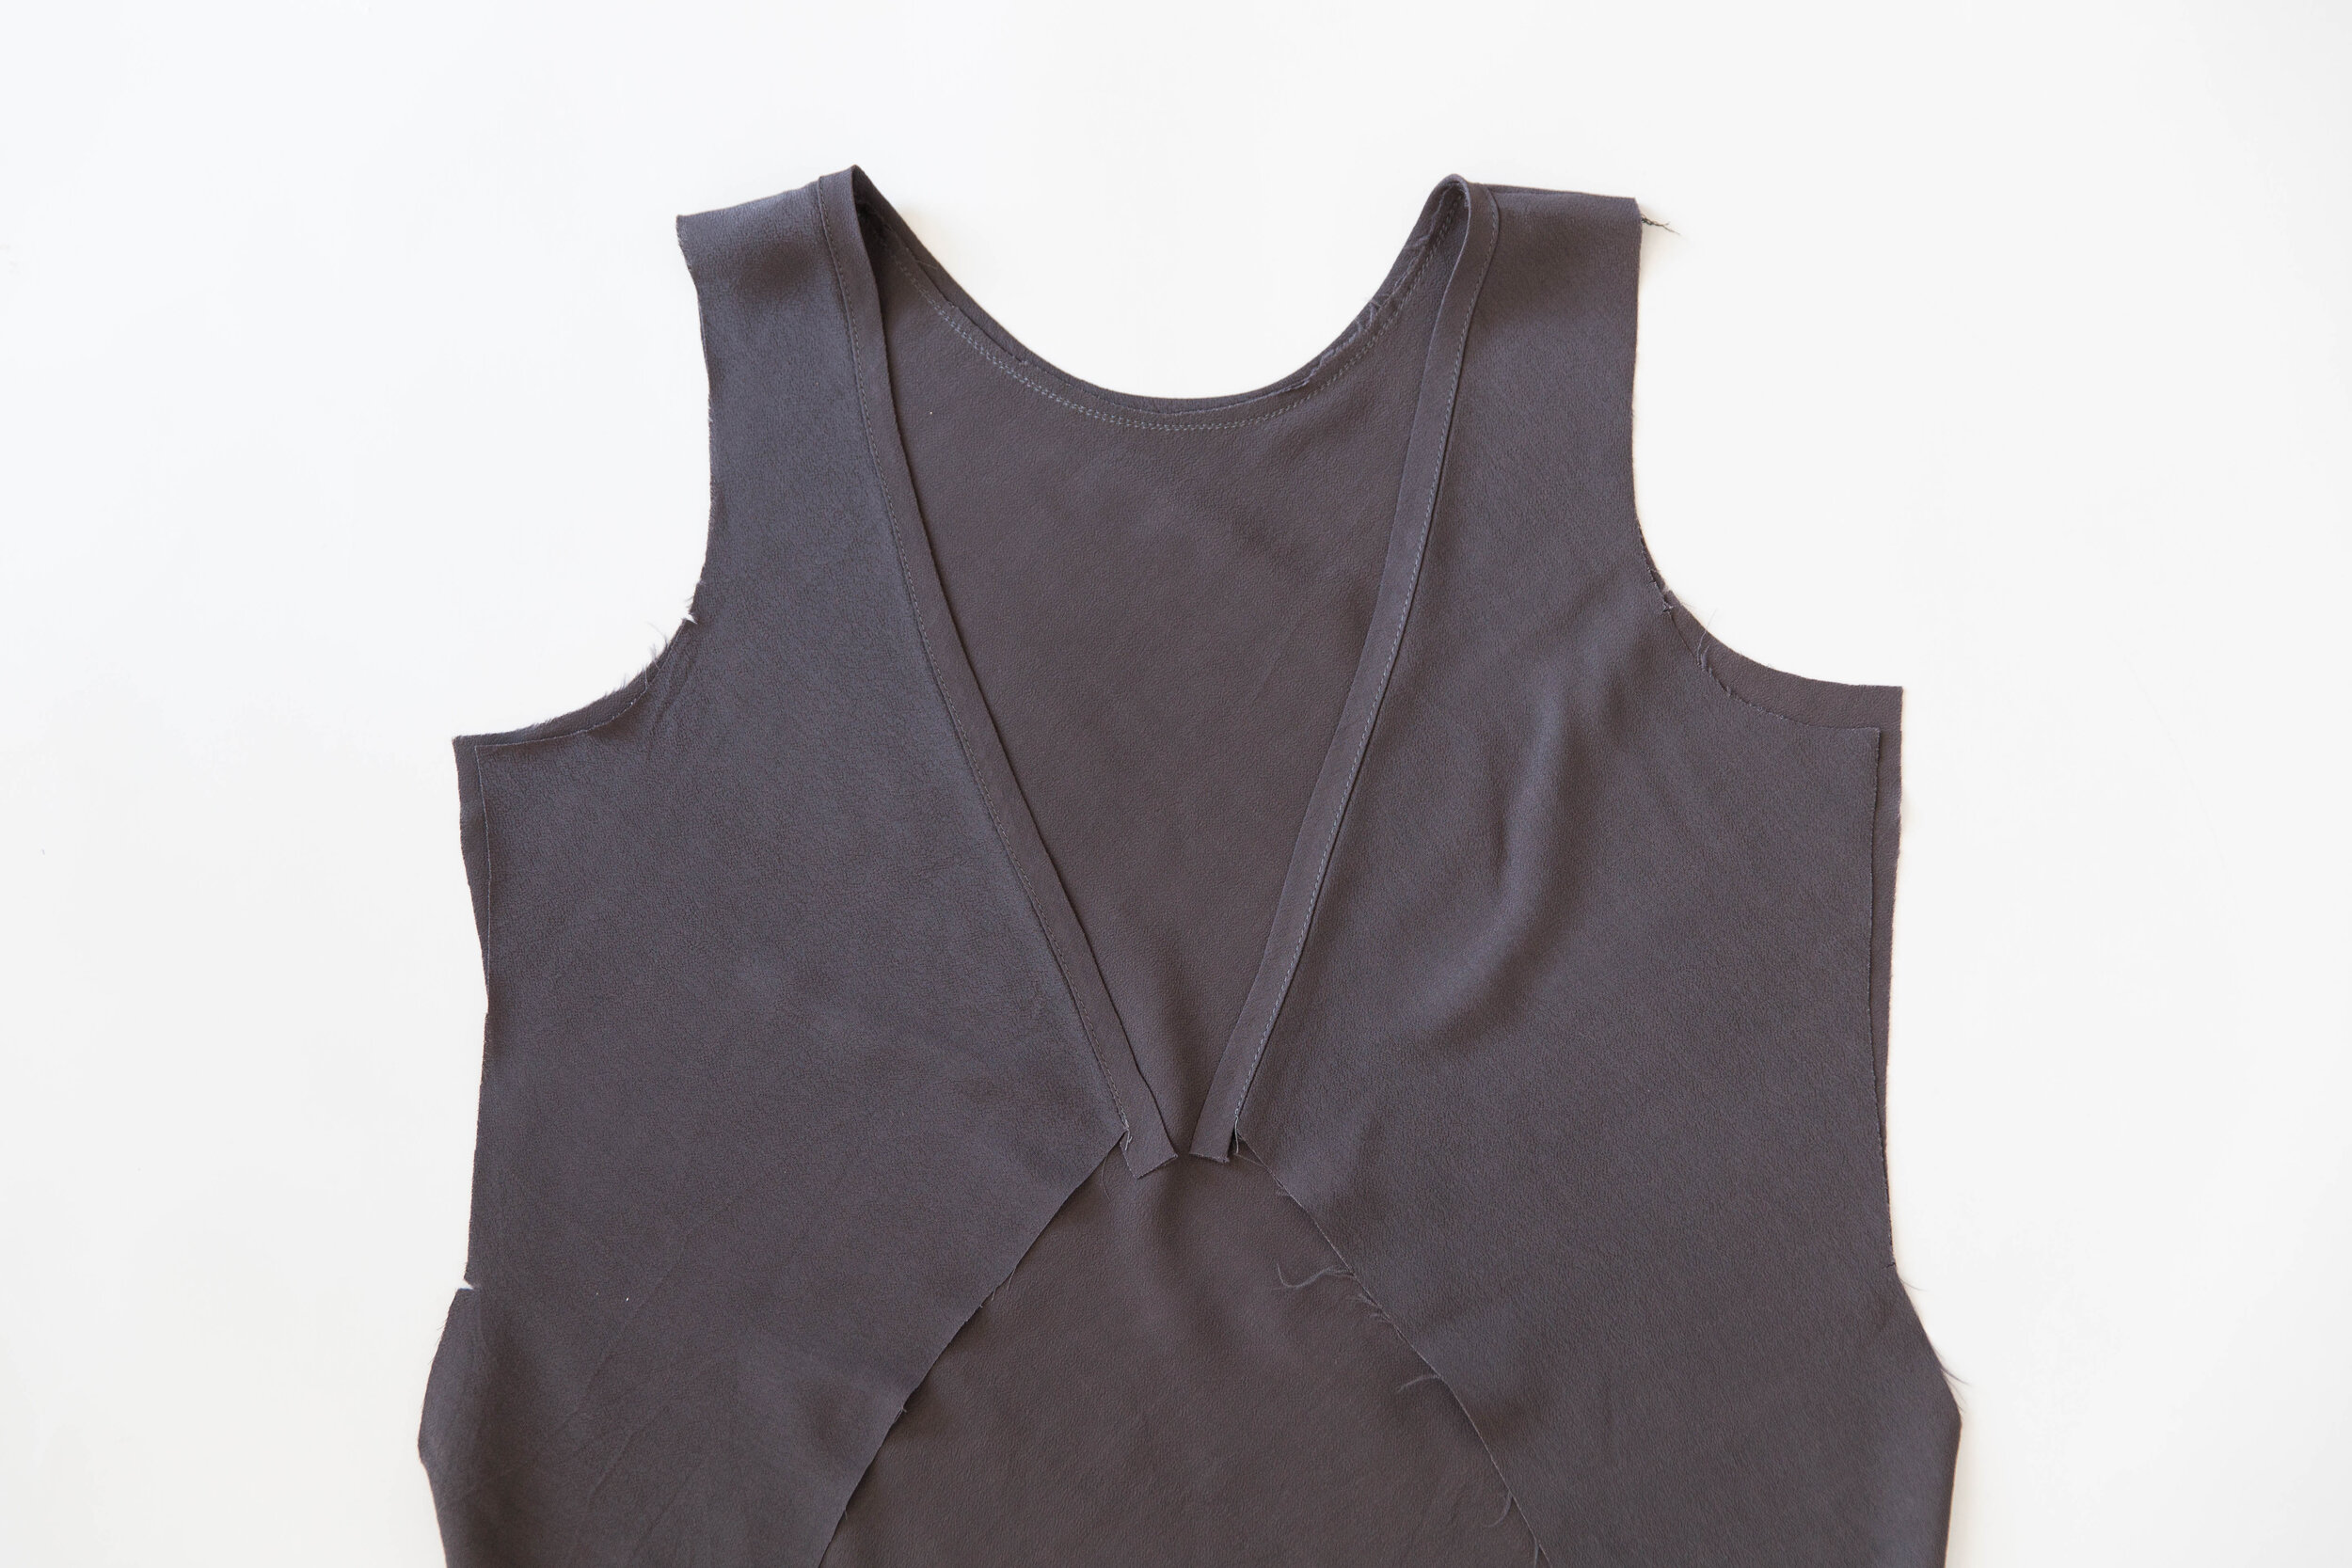
Step 2
Press your neck binding piece in half lengthwise with wrong sides facing. Pin binding around neckline on the right side with the open ends of binding facing neck edge. You should have three layers of fabric, the neckline of dress and the two open edges of binding. Stitch together. Trim seam allowance in half and understitch toward binding. Fold binding through to the inside and press. Topstitch in place along the edge of binding.
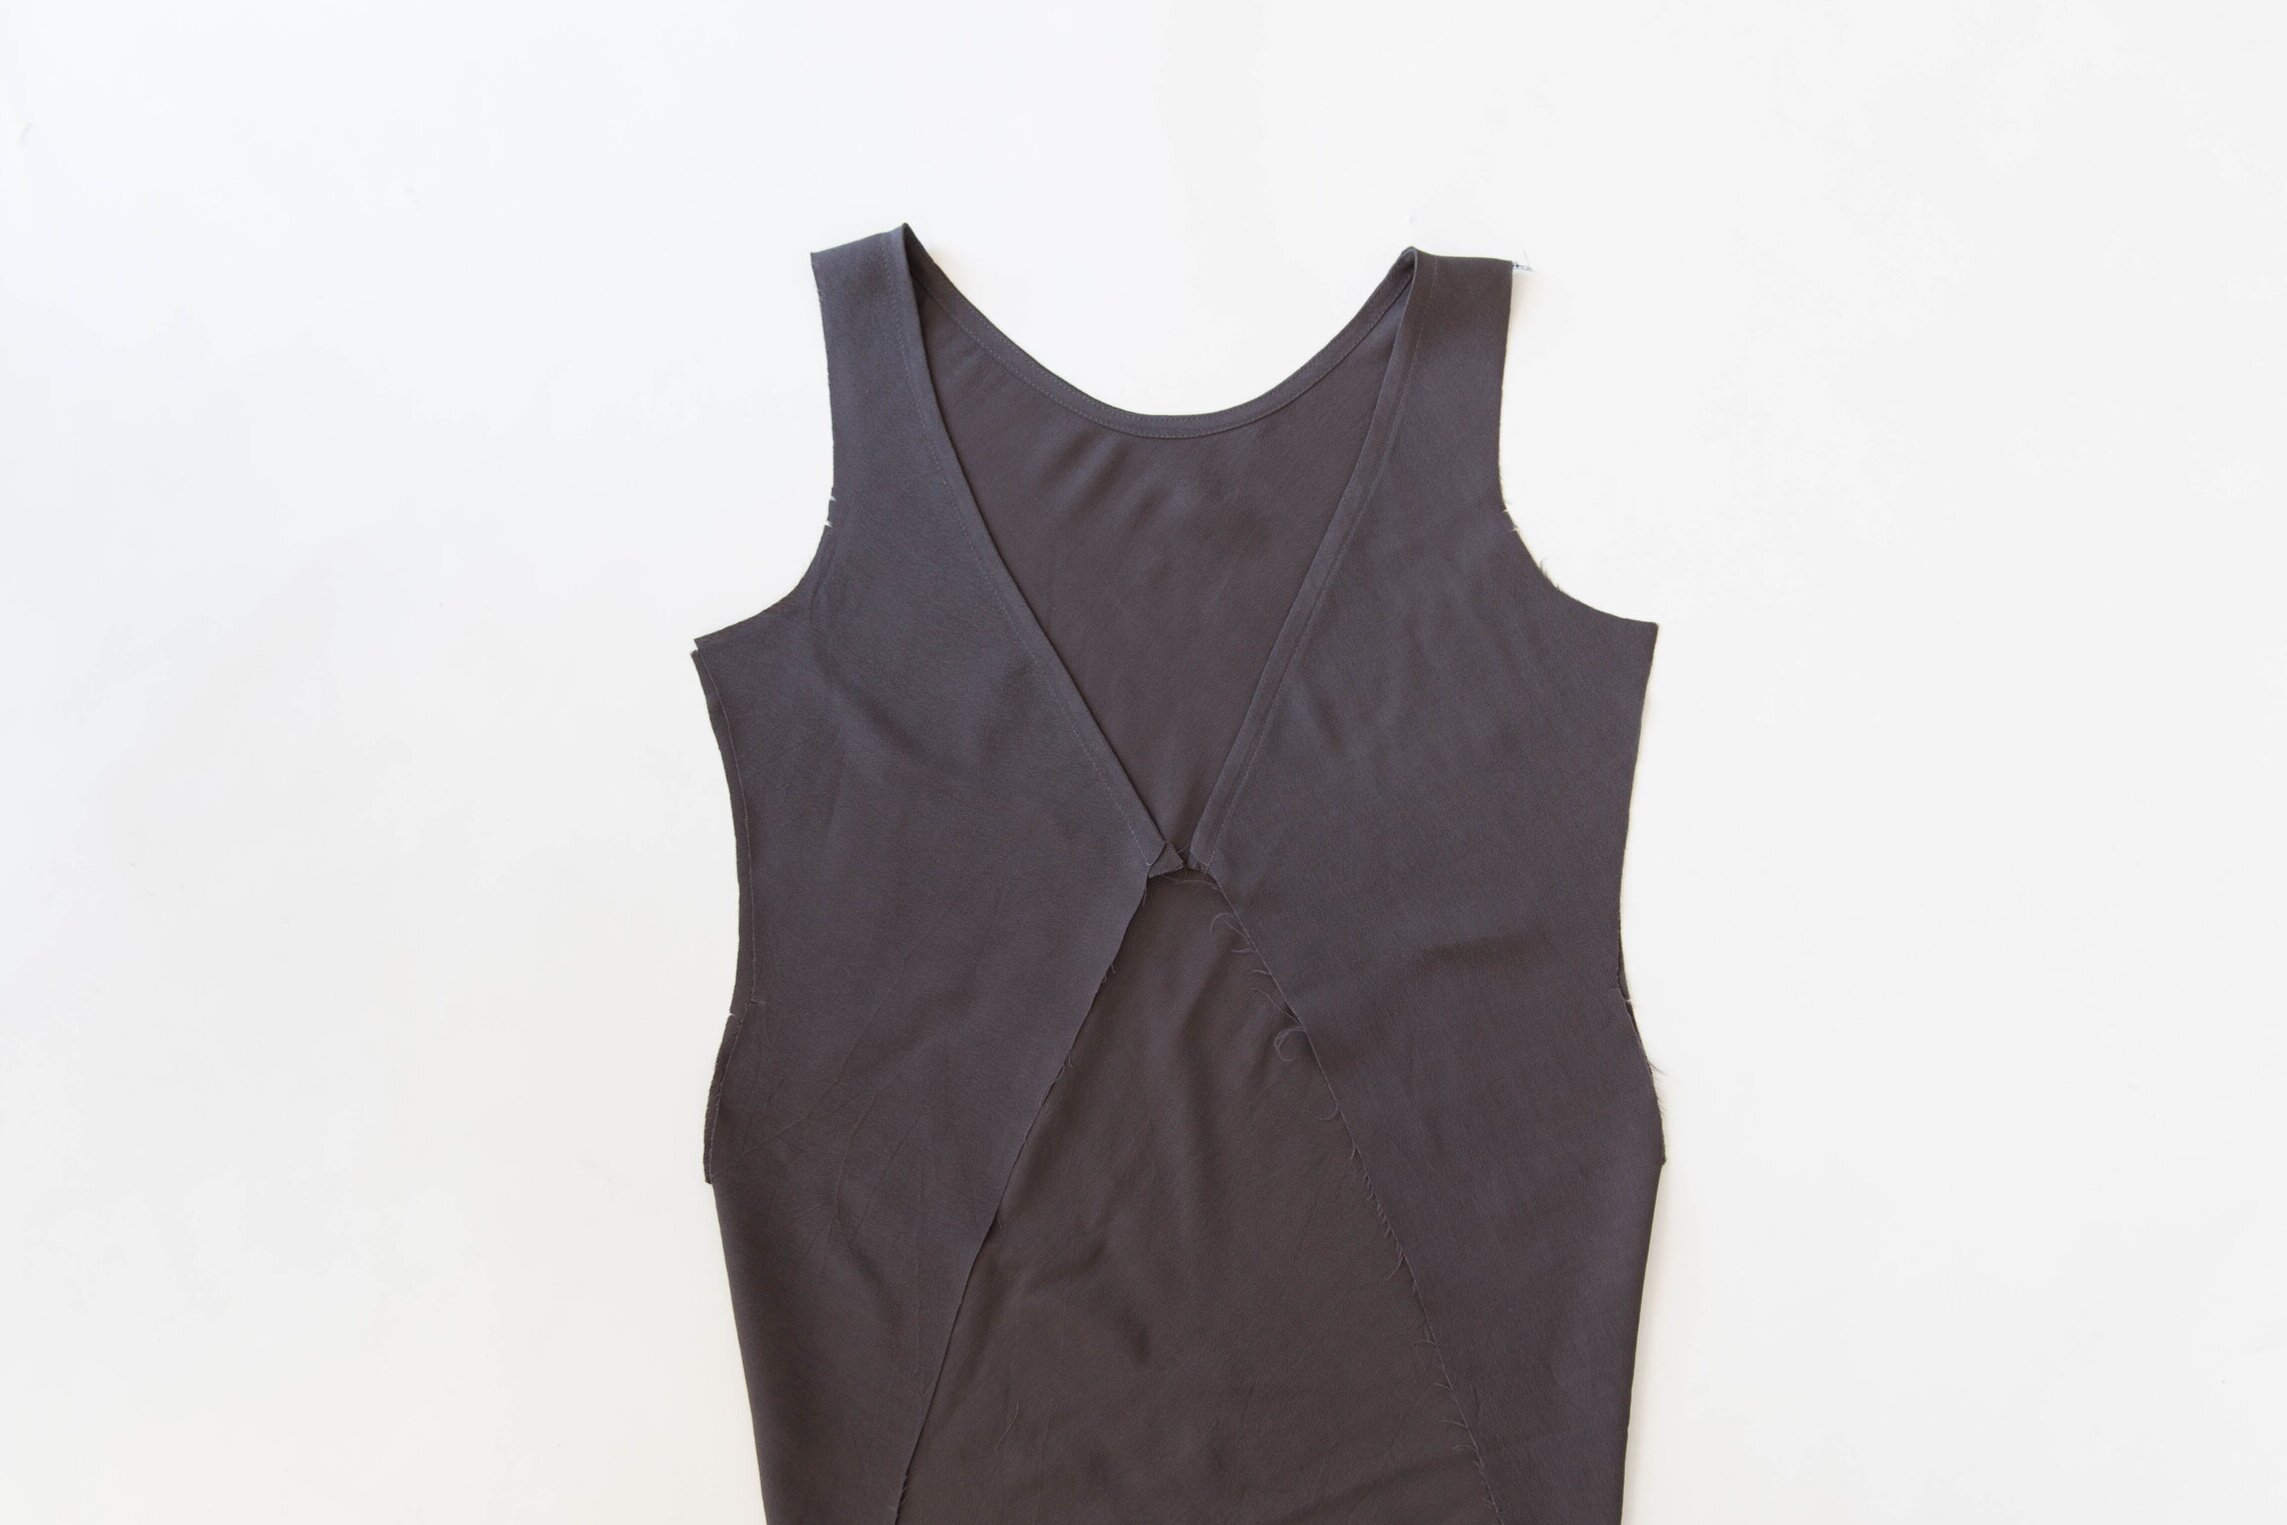
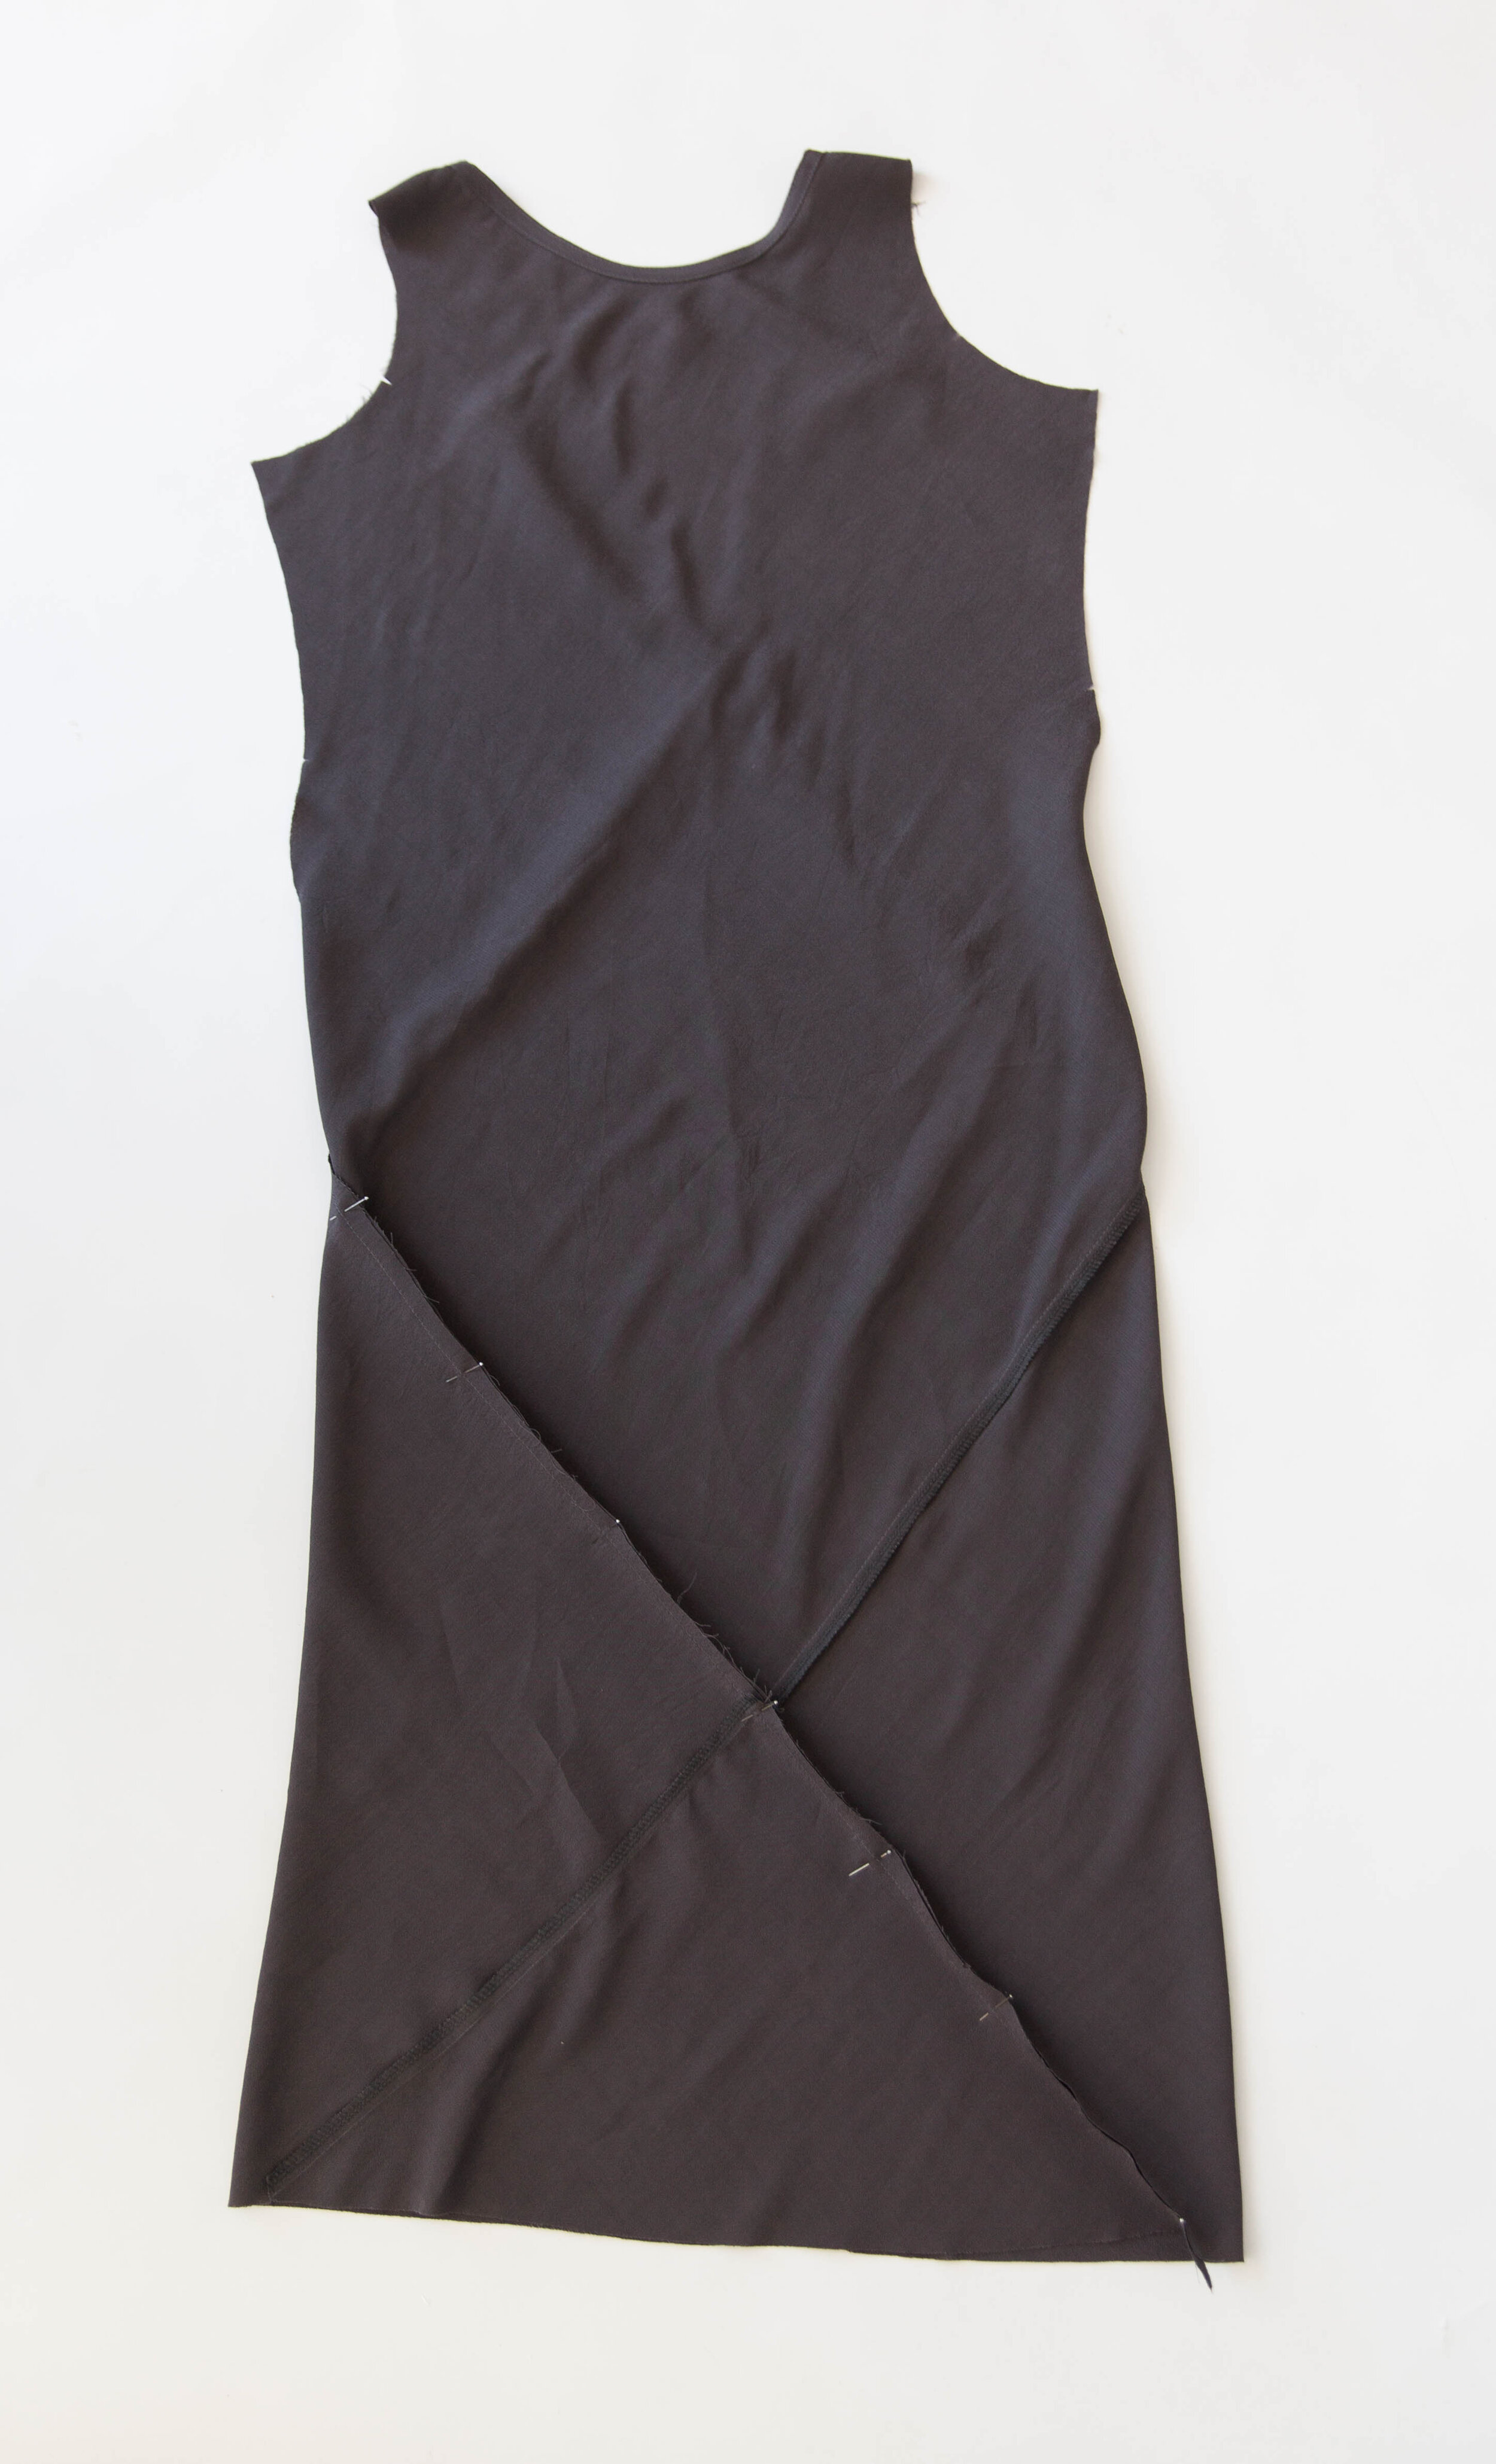
Step 3
With right sides facing, place the front triangle piece onto the bottom corner of back triangle piece, matching notches. Stitch together. Neaten seam. Press.

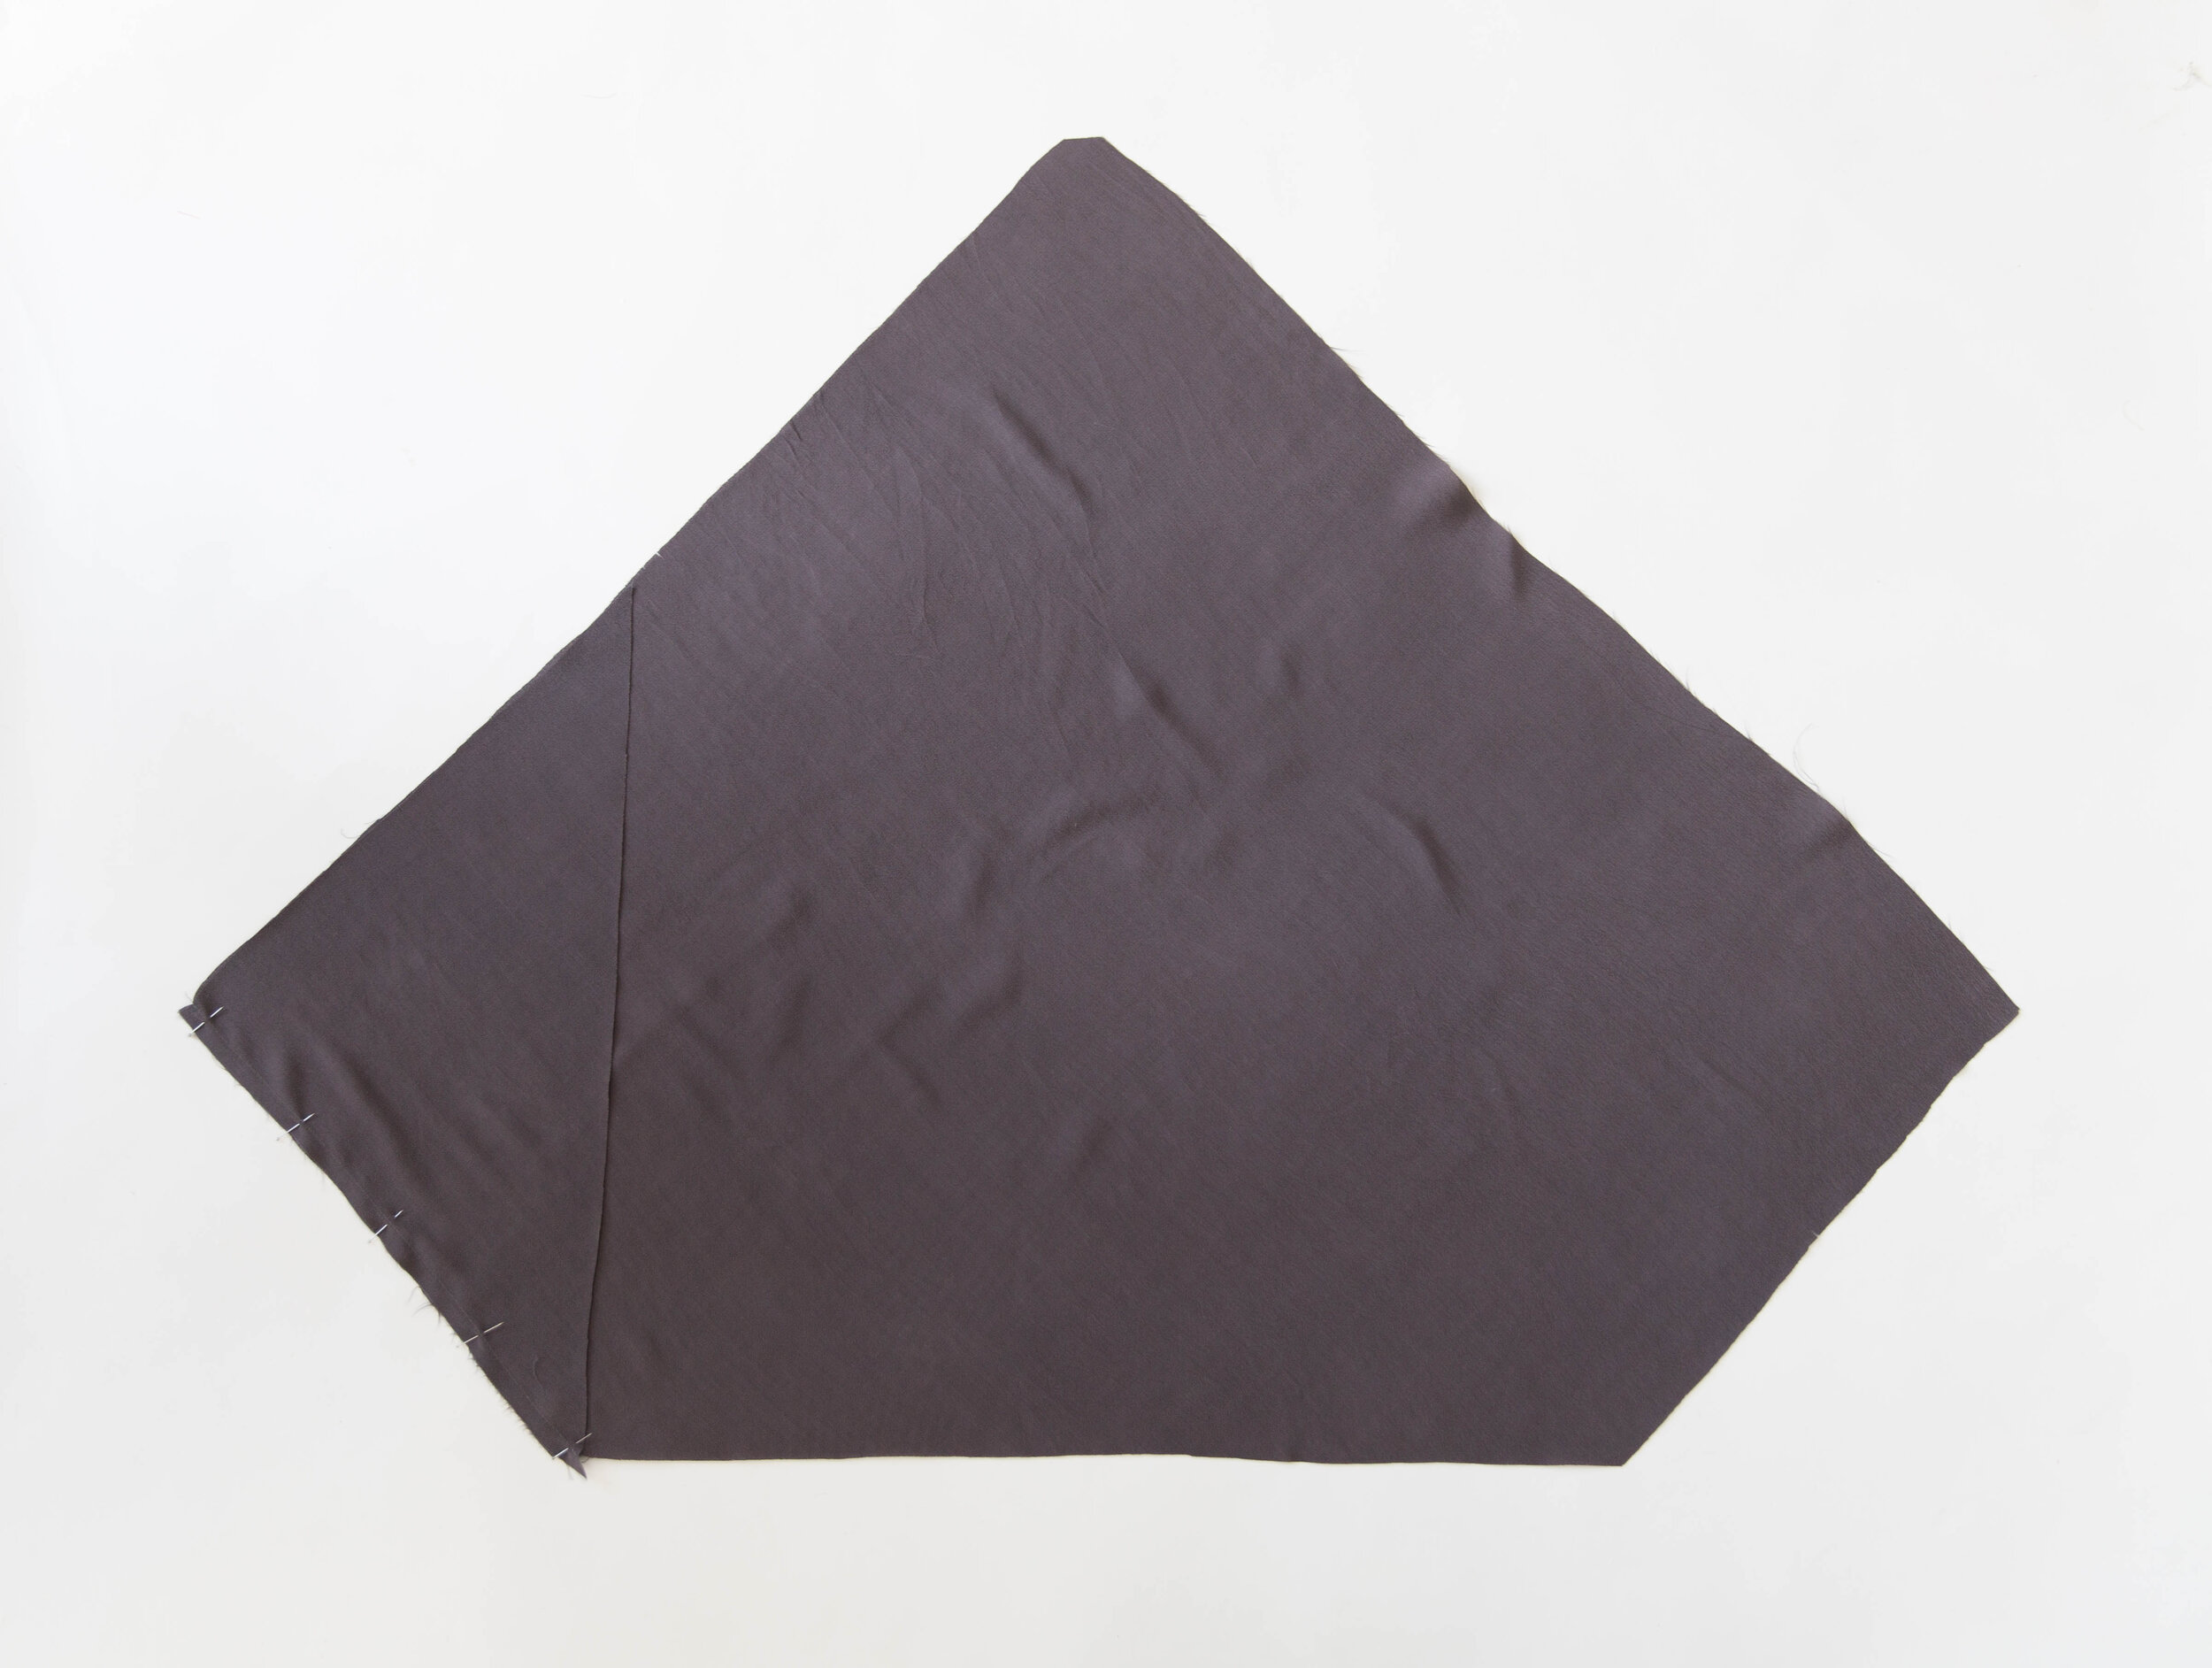
Step 4
With right sides facing, pin the shorter edge of back triangle piece to bodice section, matching up notches. The top point of back triangle should match up with centre back point of bodice section. Stitch together. Neaten seam. Press.
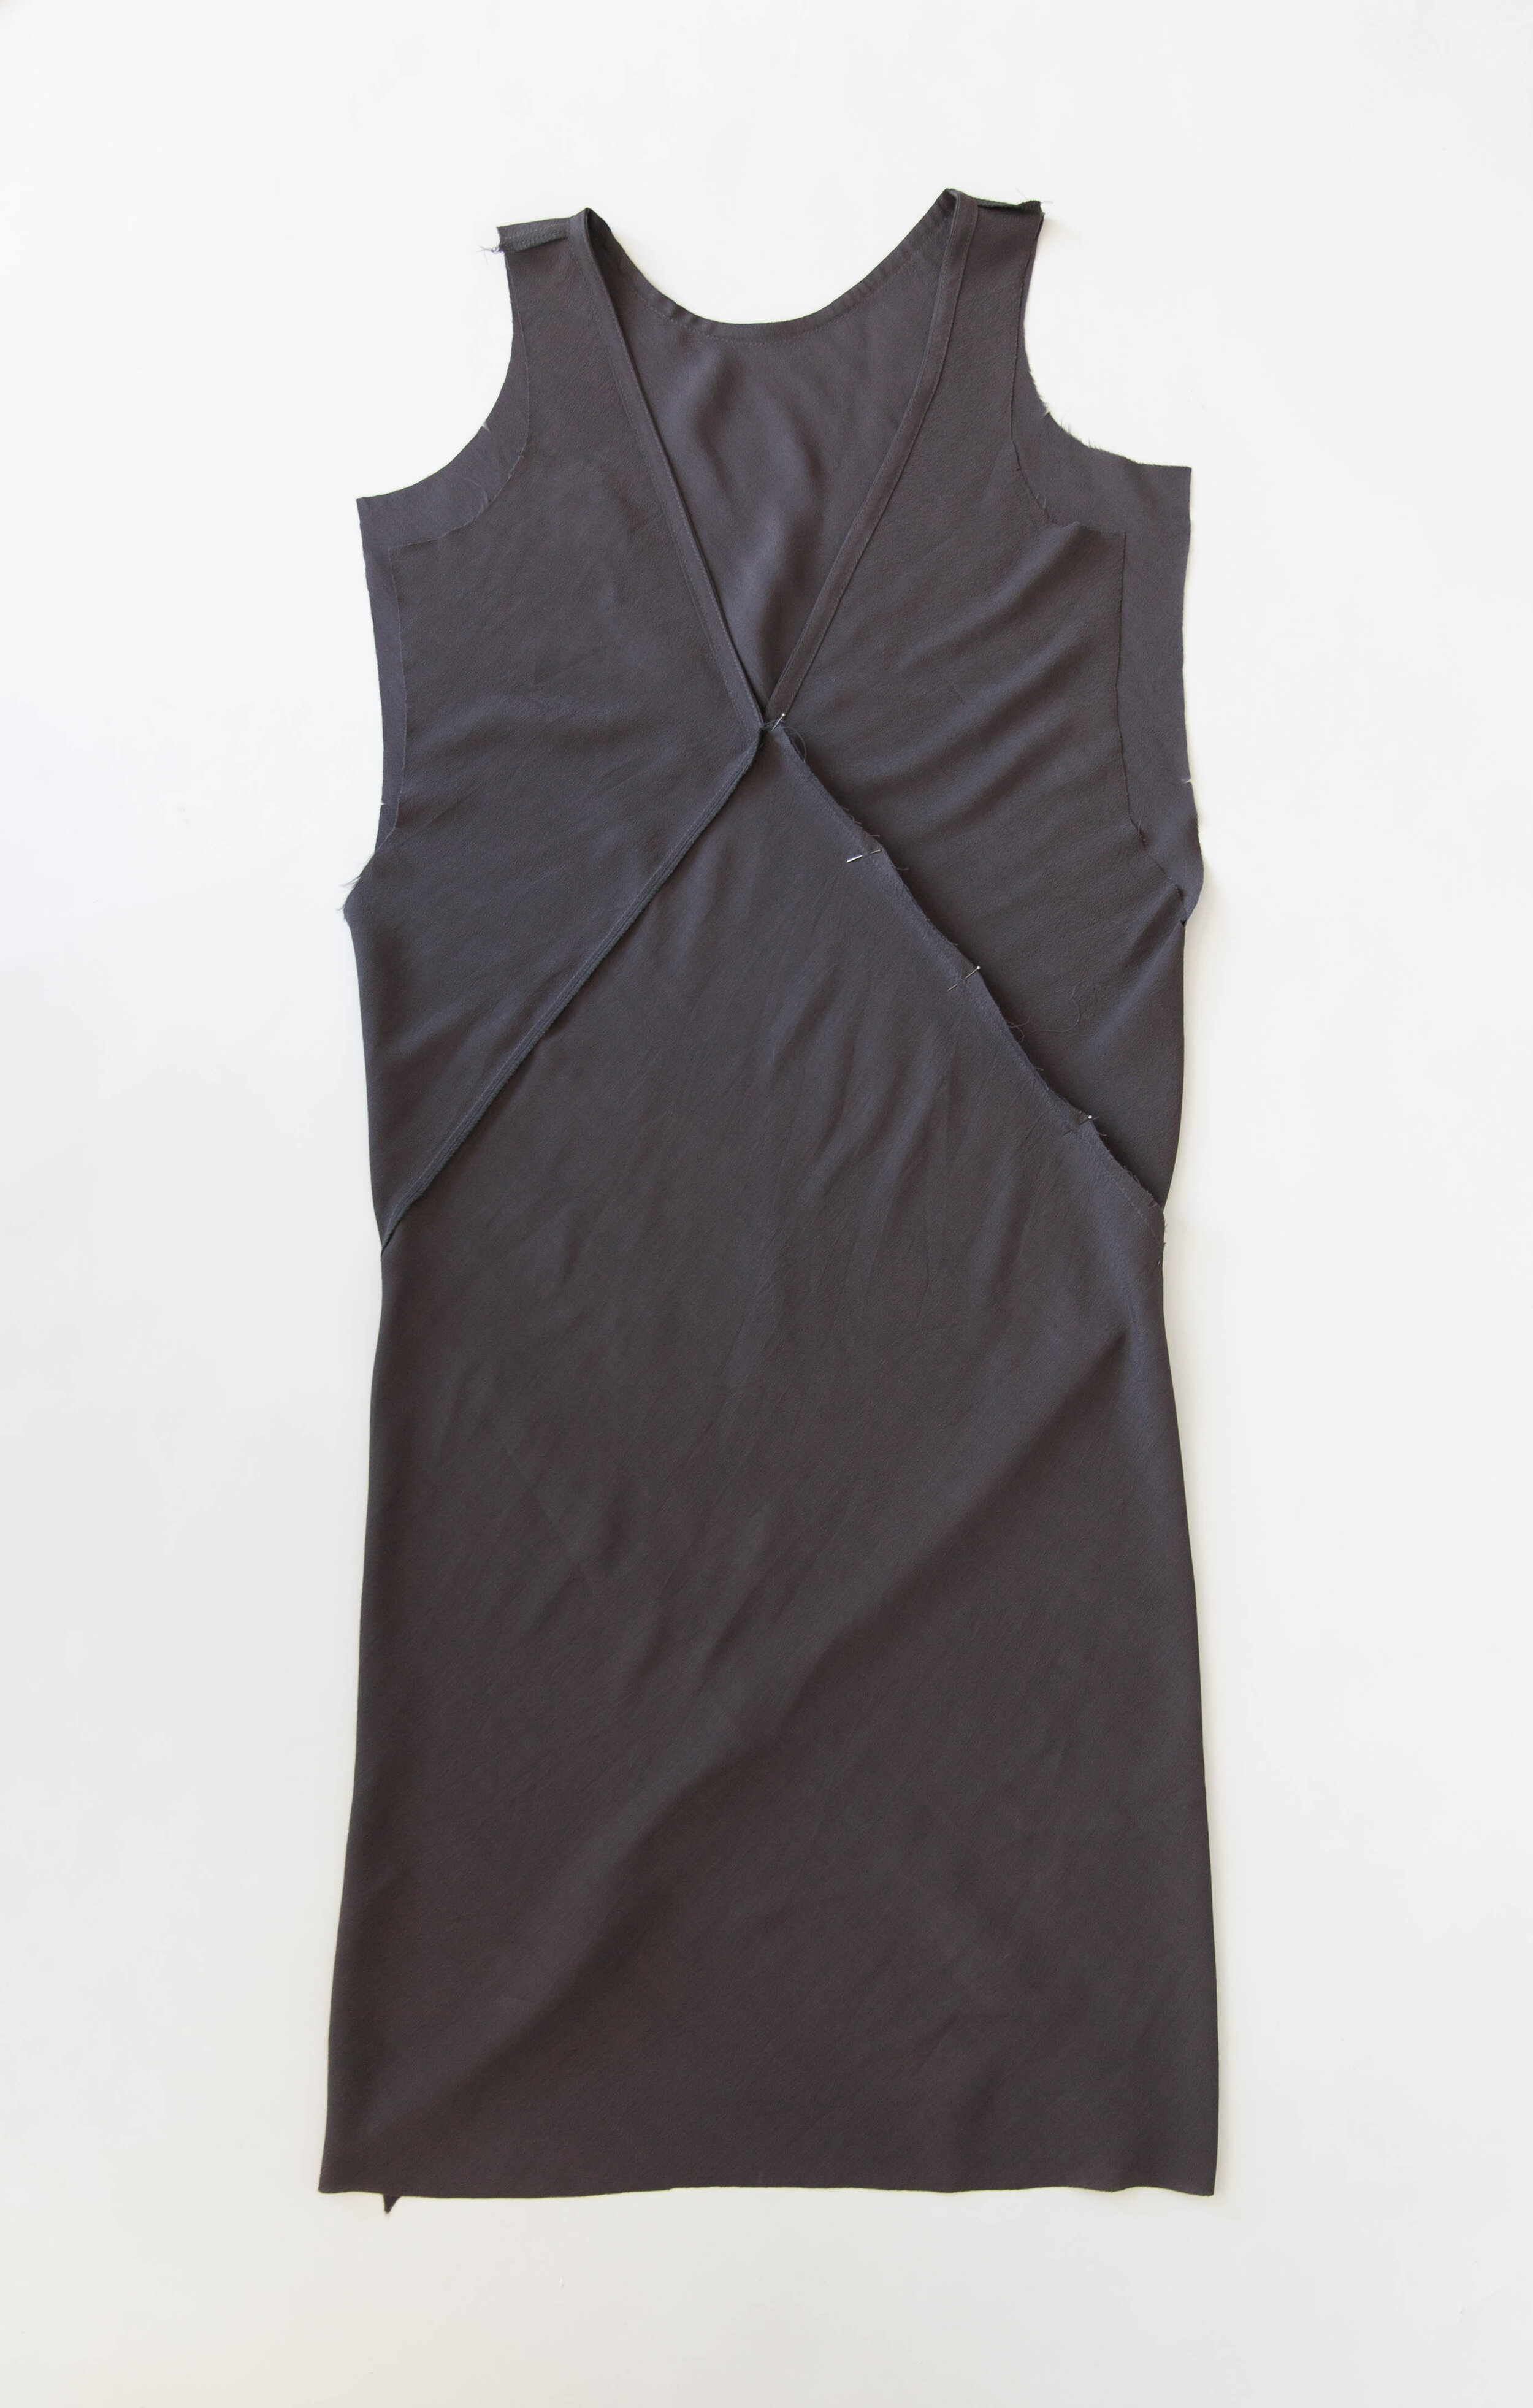
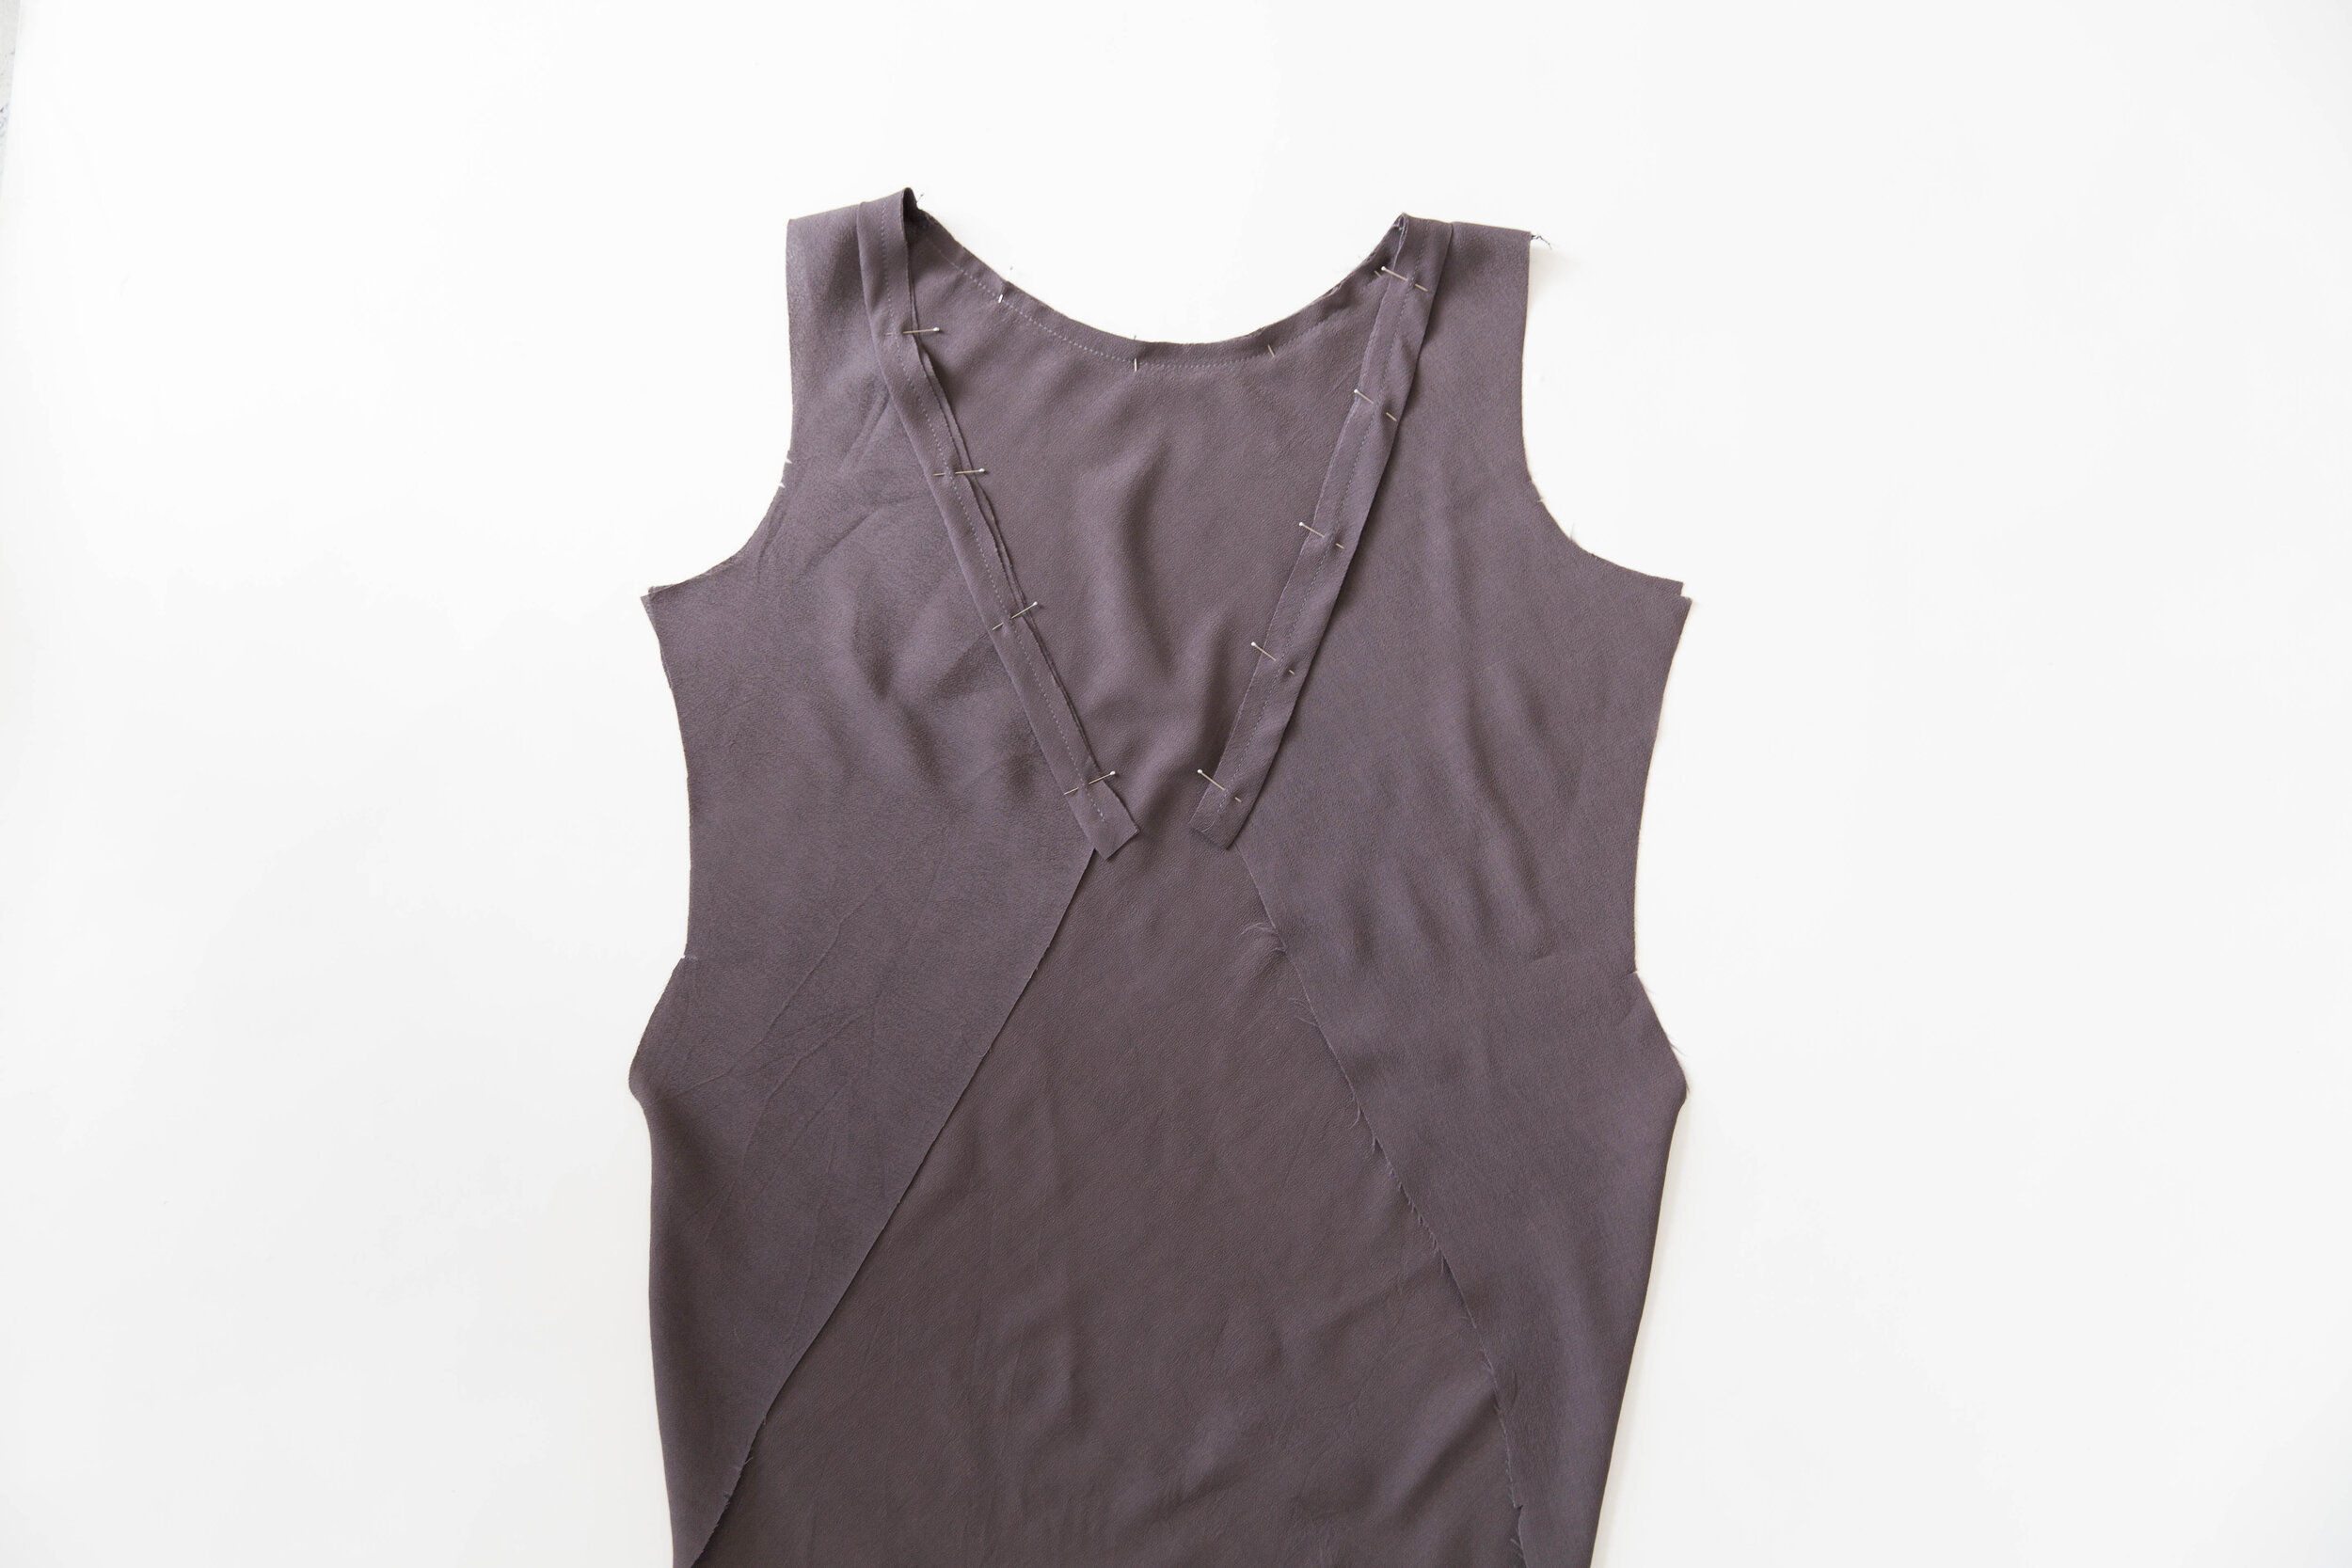
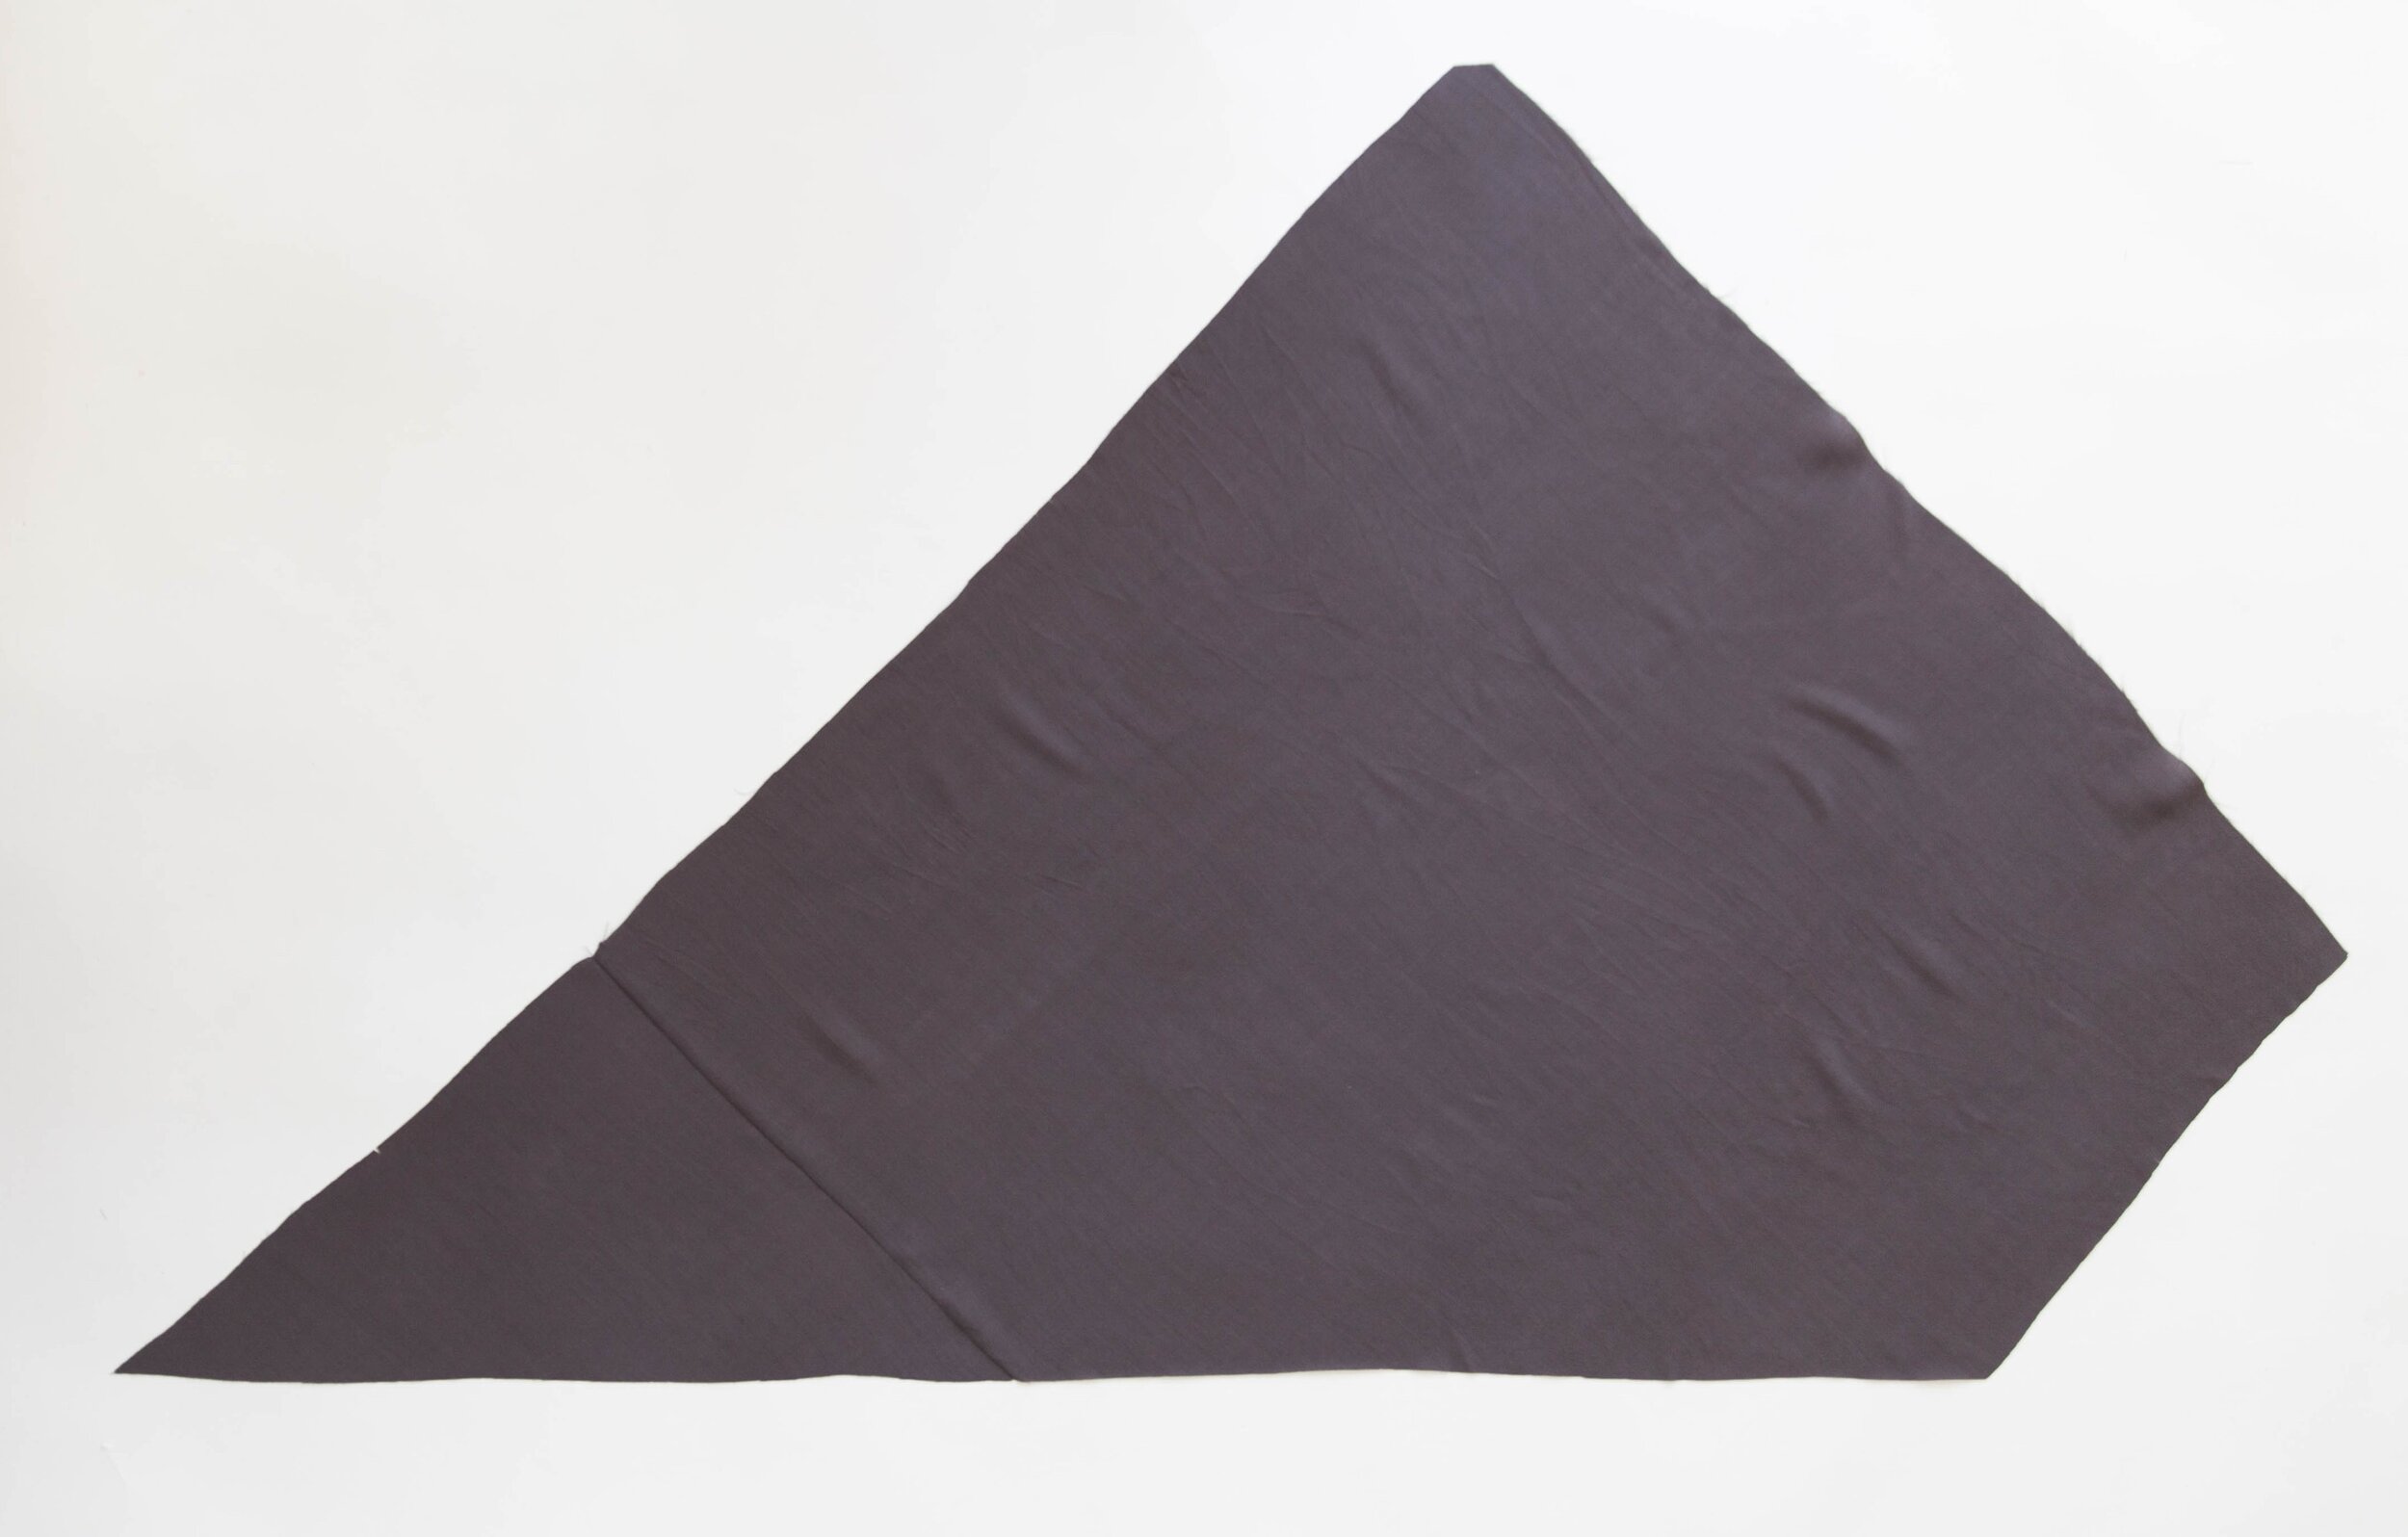
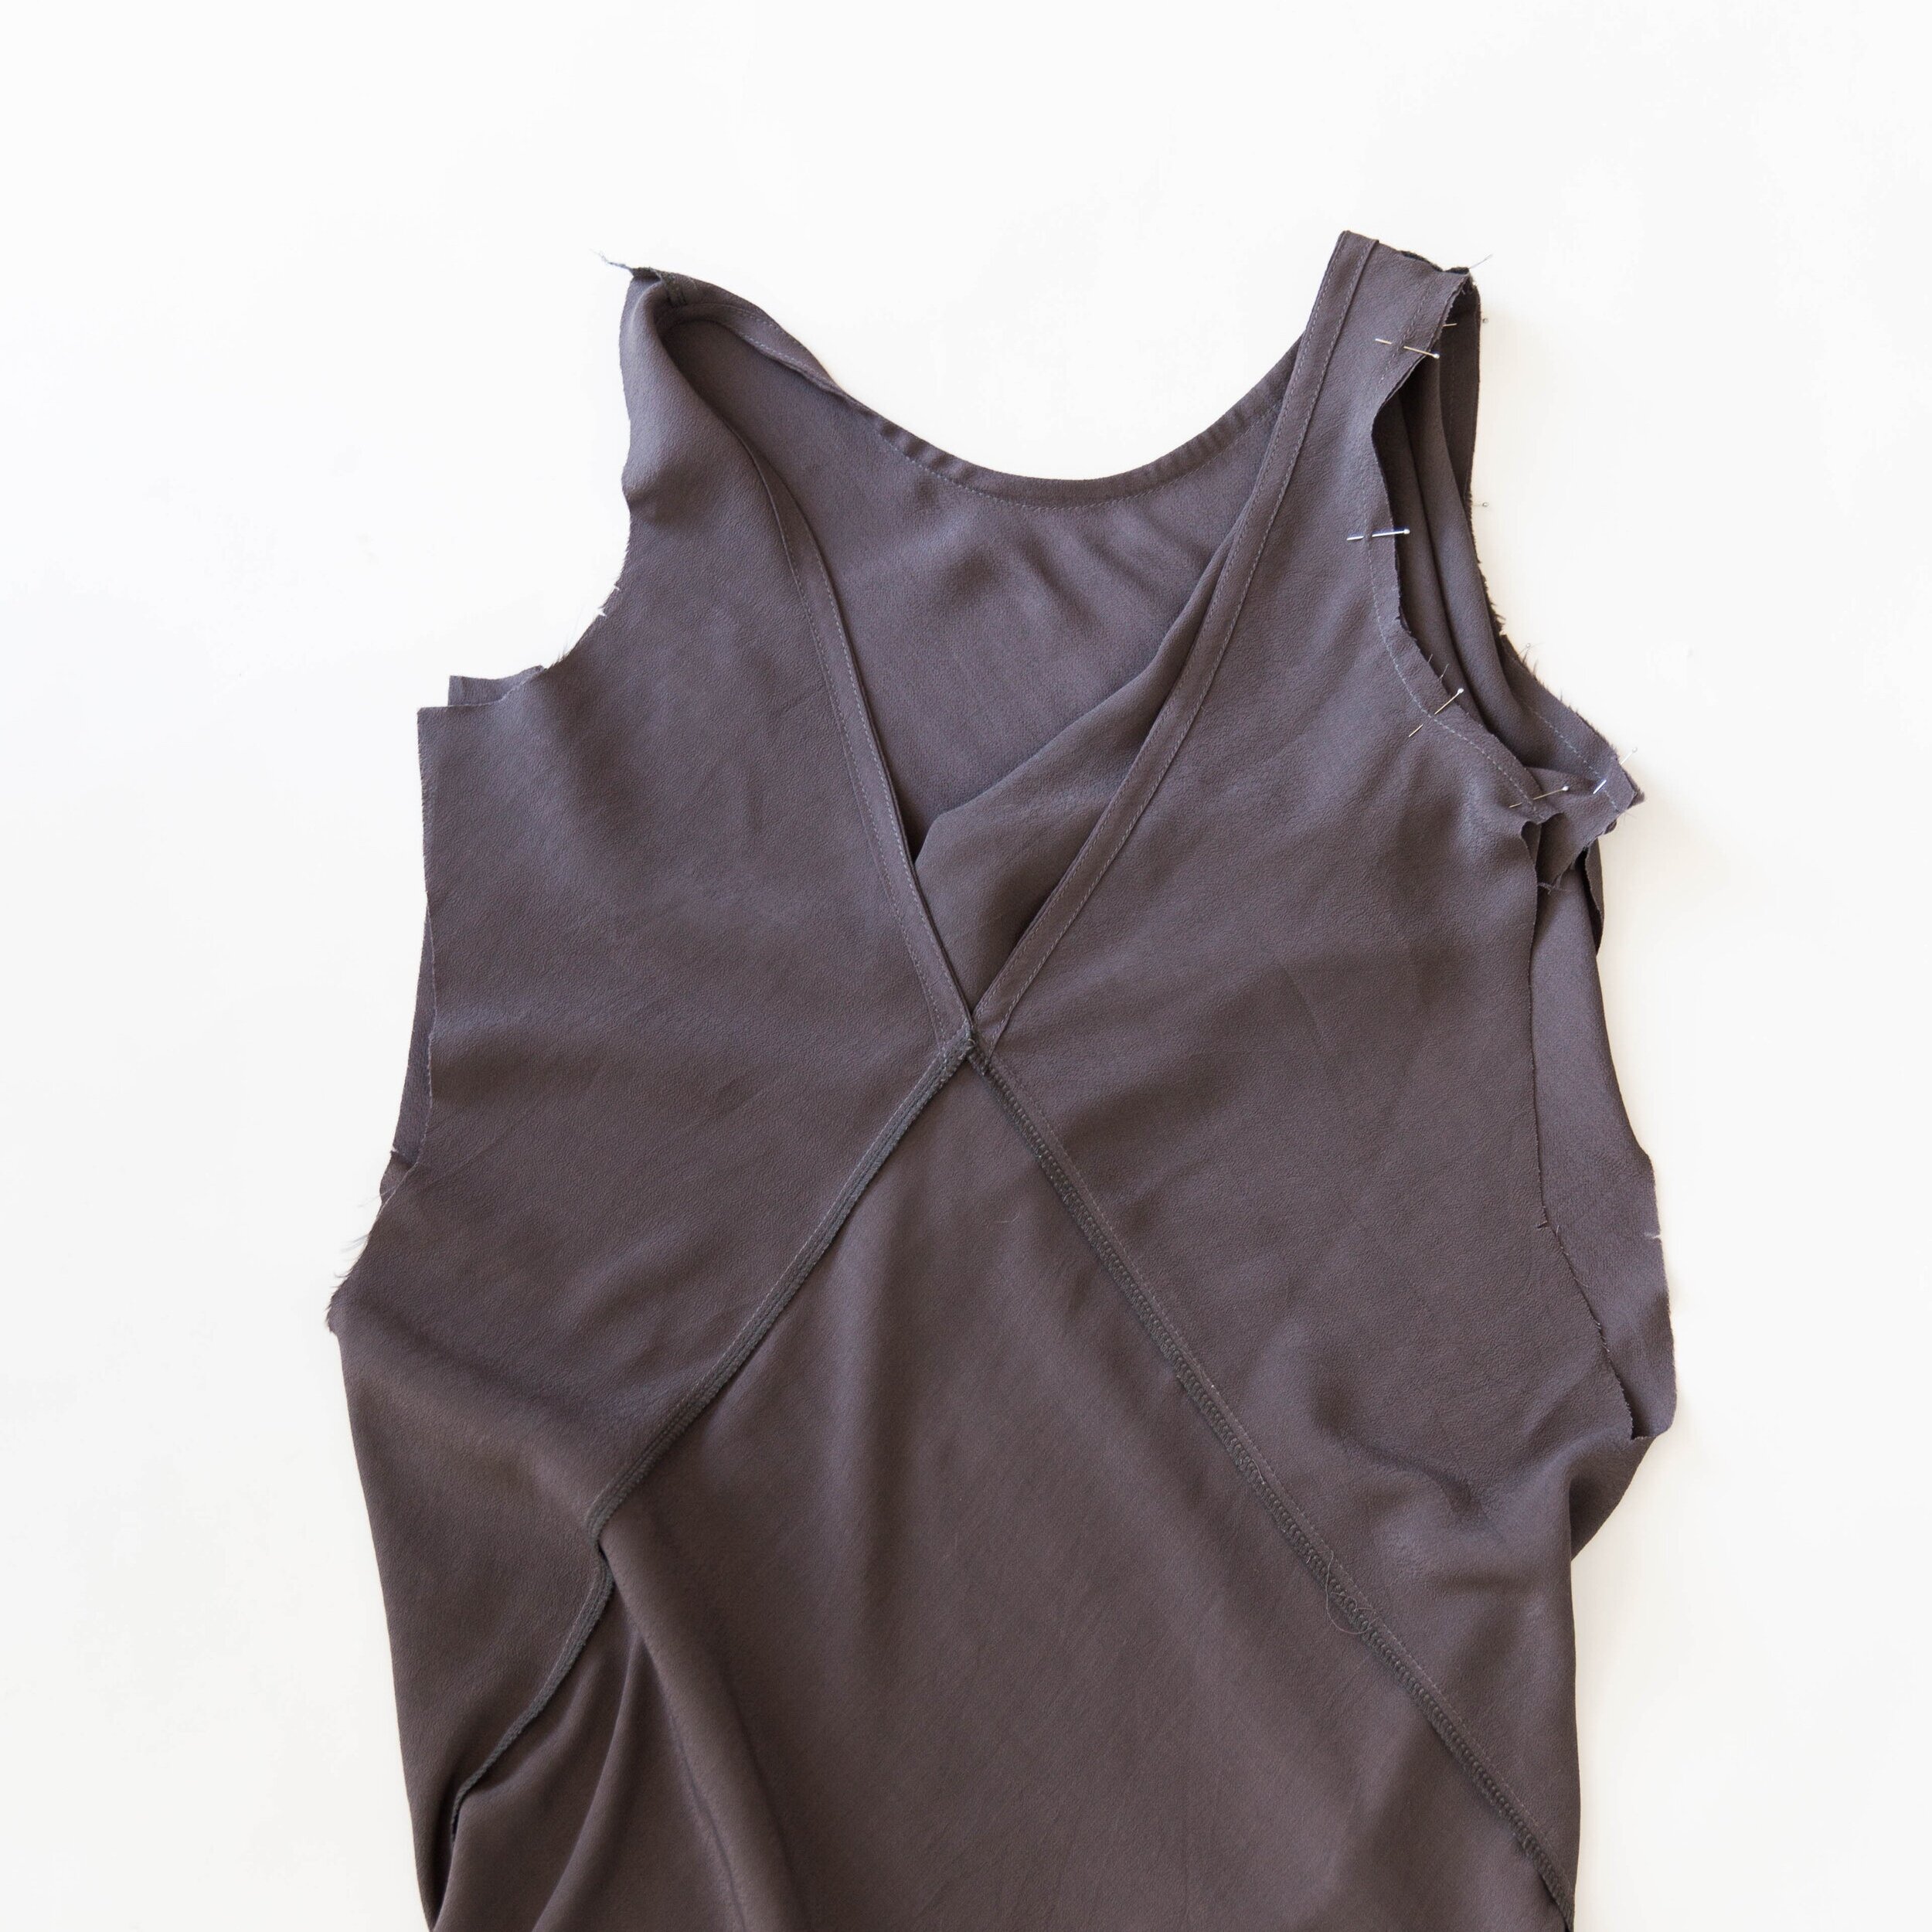
Step 5
With right sides facing, pin the long edge of back triangle piece to bodice section, so that the top point of back triangle matches up with centre back point of body section. Pin, wrapping around the bodice until you reach the other end. Stitch together. Neaten seam.
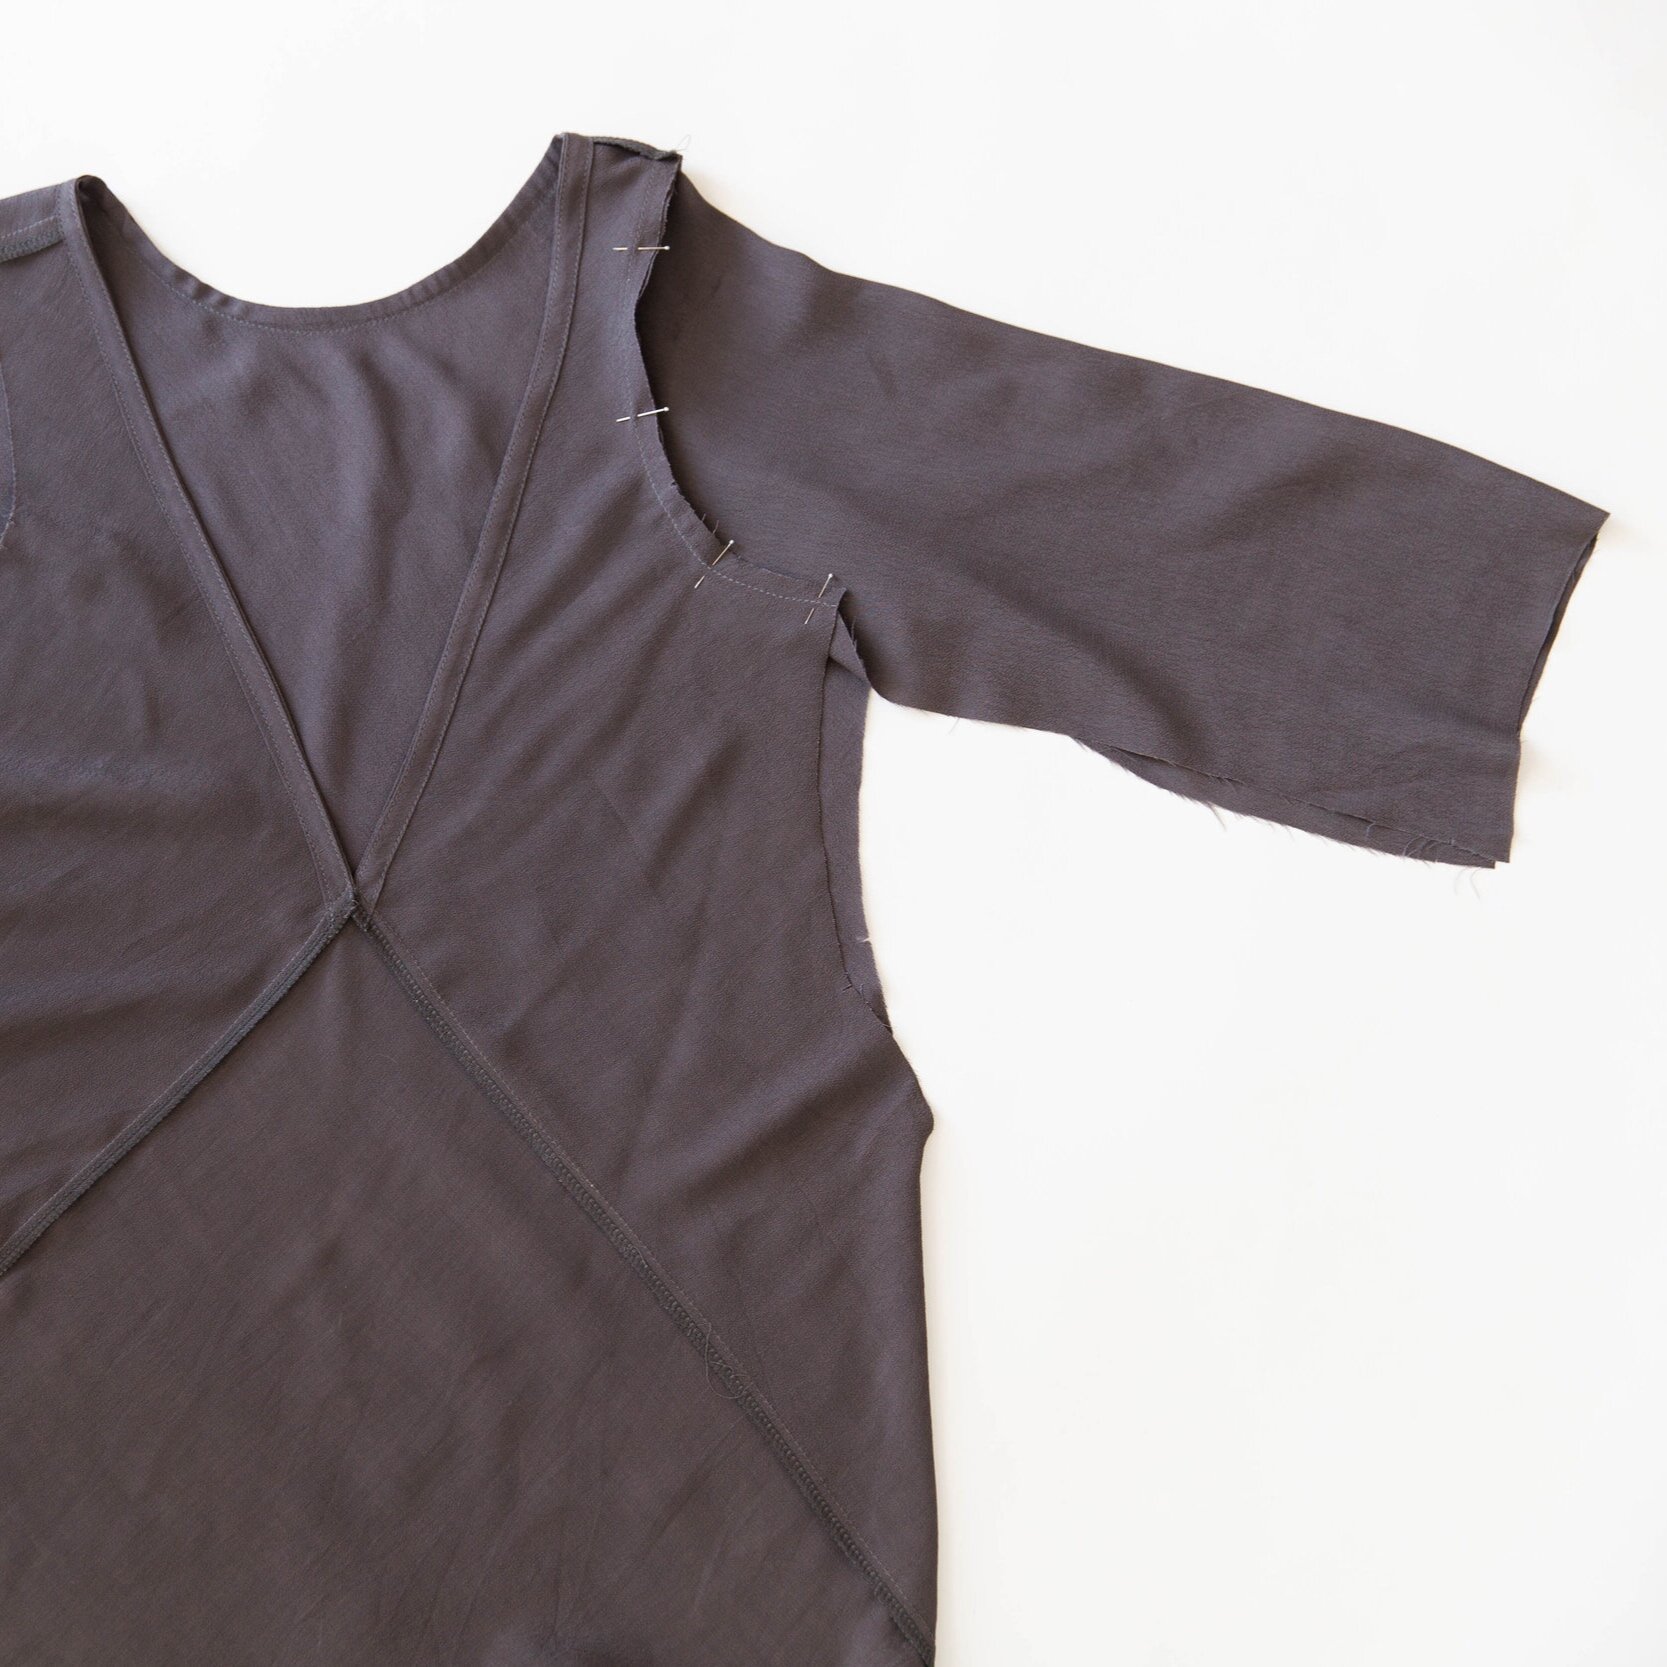
Step 6
Pin sleeve and armhole together with right sides facing, matching notches. Stitch together. Neaten seam. Repeat for other sleeve.
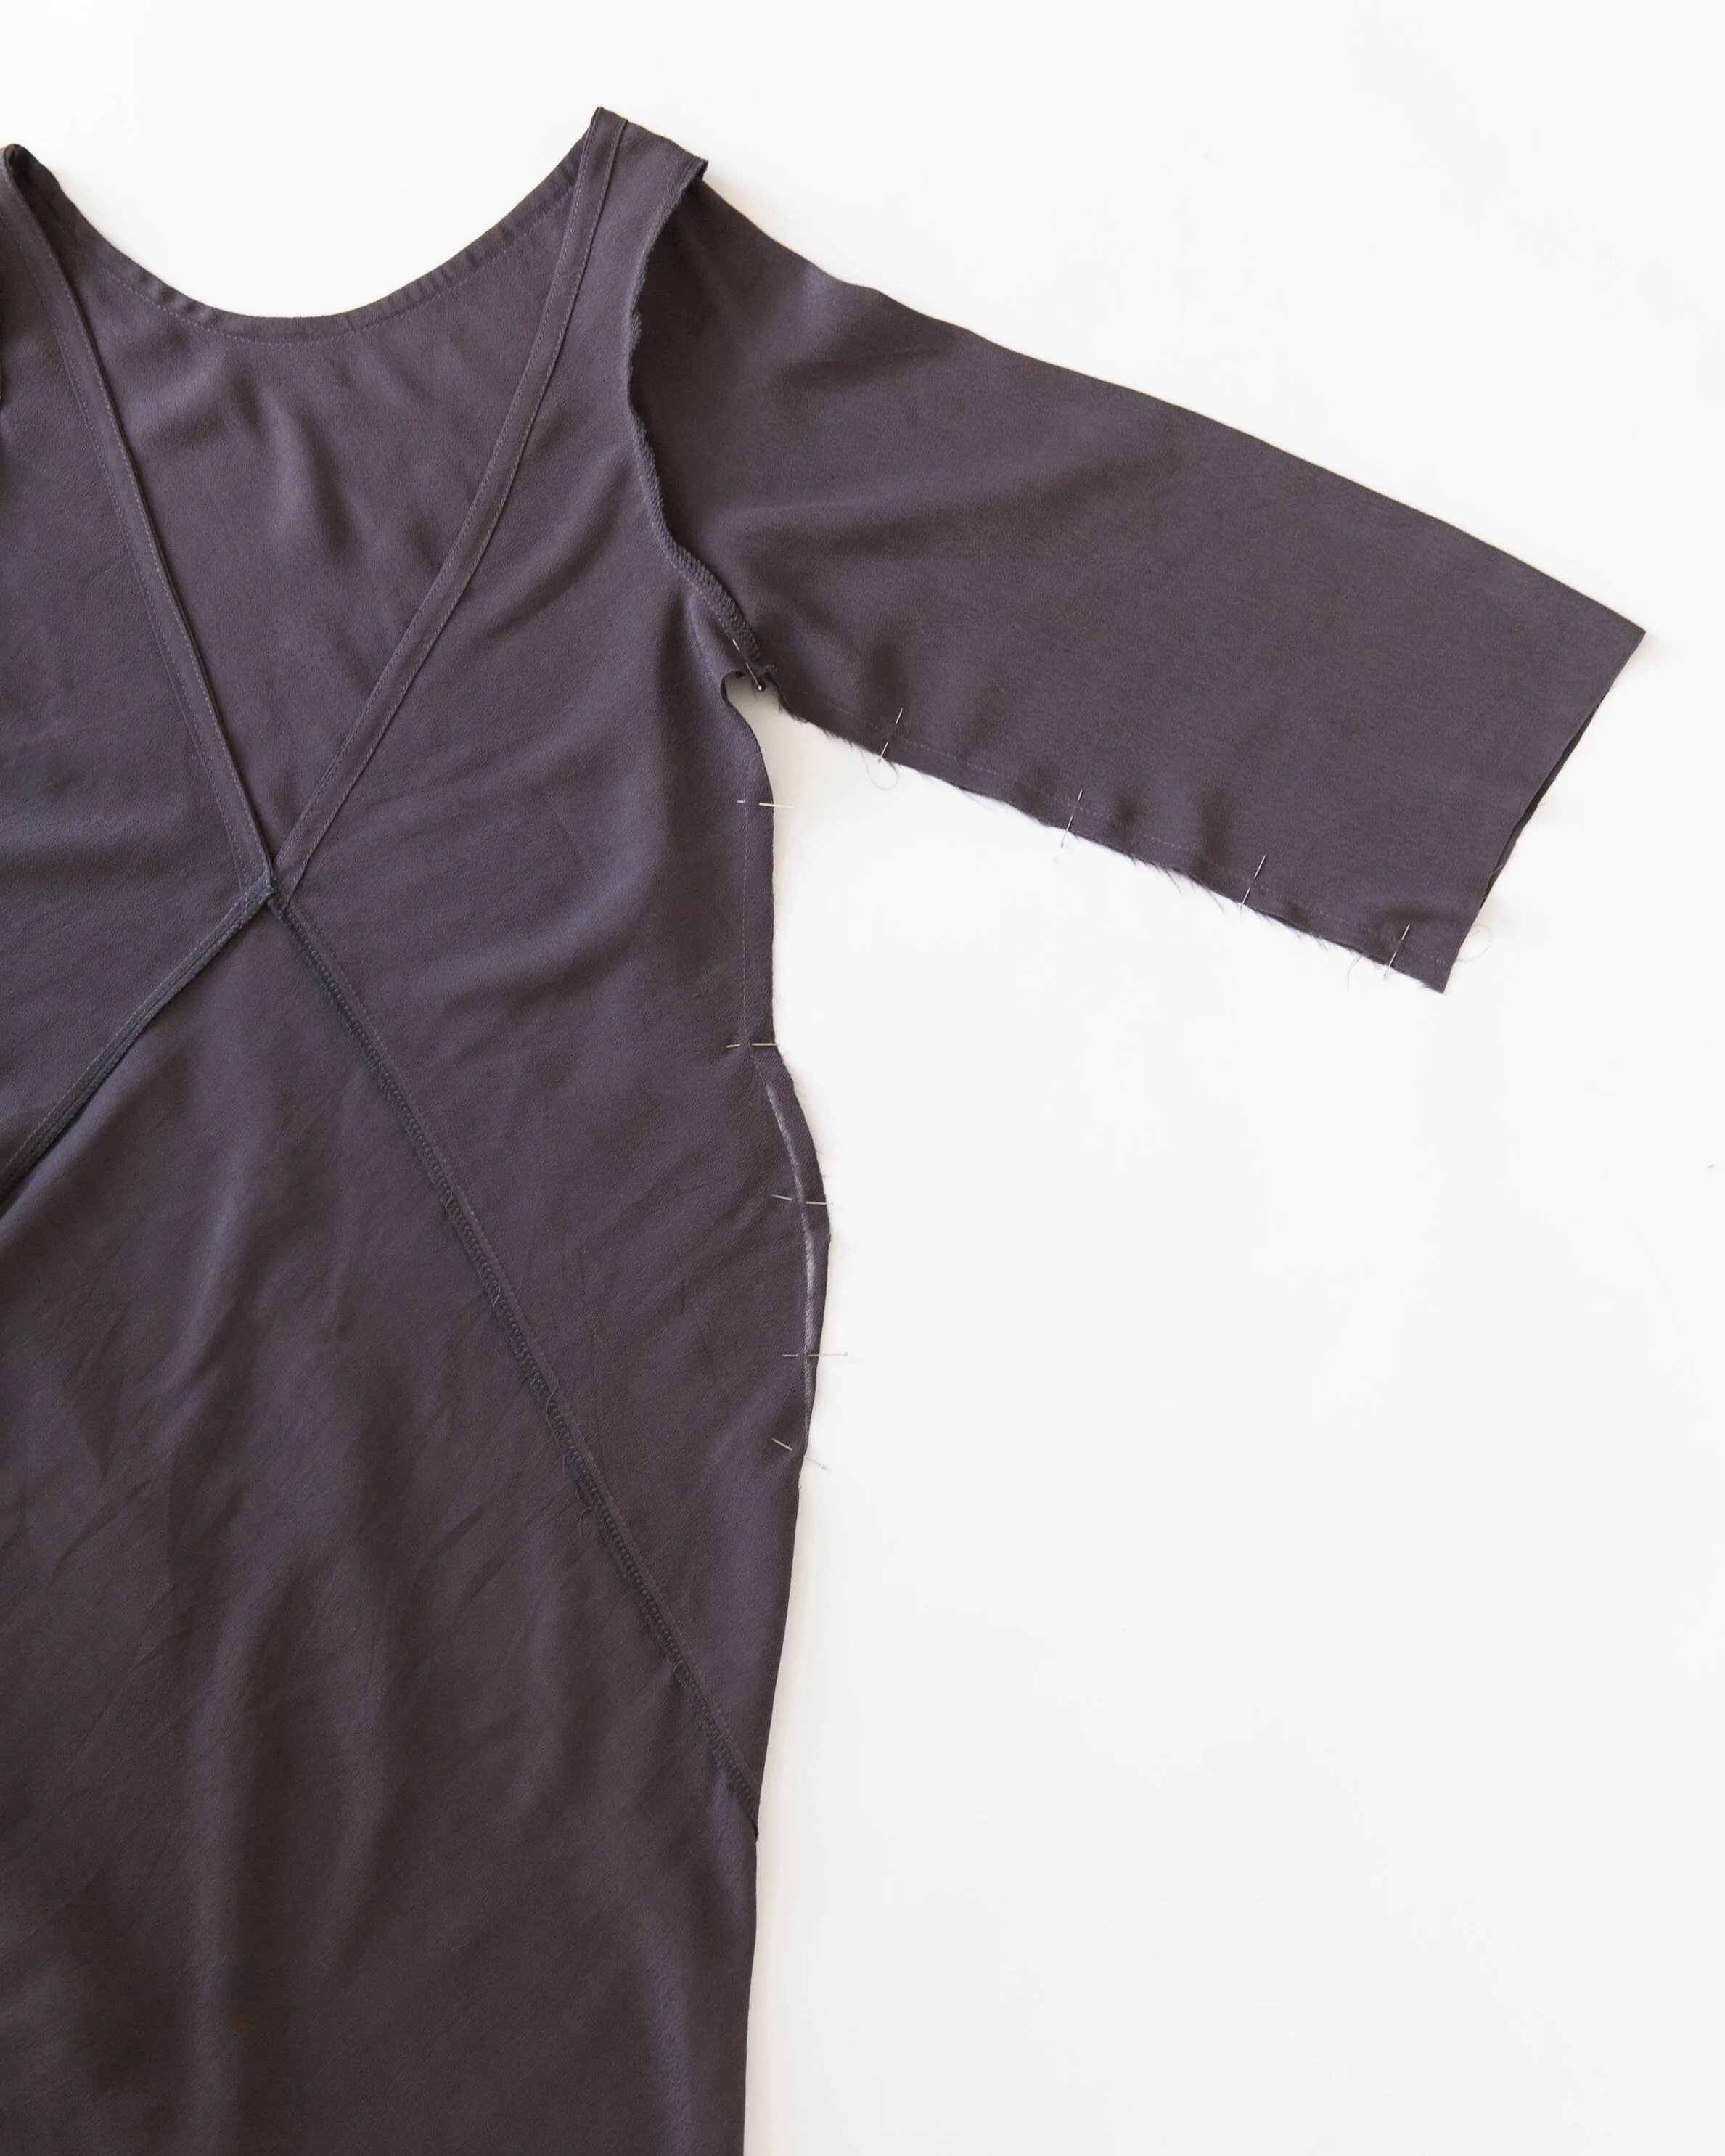
Step 7
Pin sleeve and side seam dart together with right sides facing. Using chalk, mark on your stitch line, tapering from the 1cm stitch line through waist to a dart point about 8.5cm below dart opening. Stitch. Neaten seam and press seam allowance toward the back.
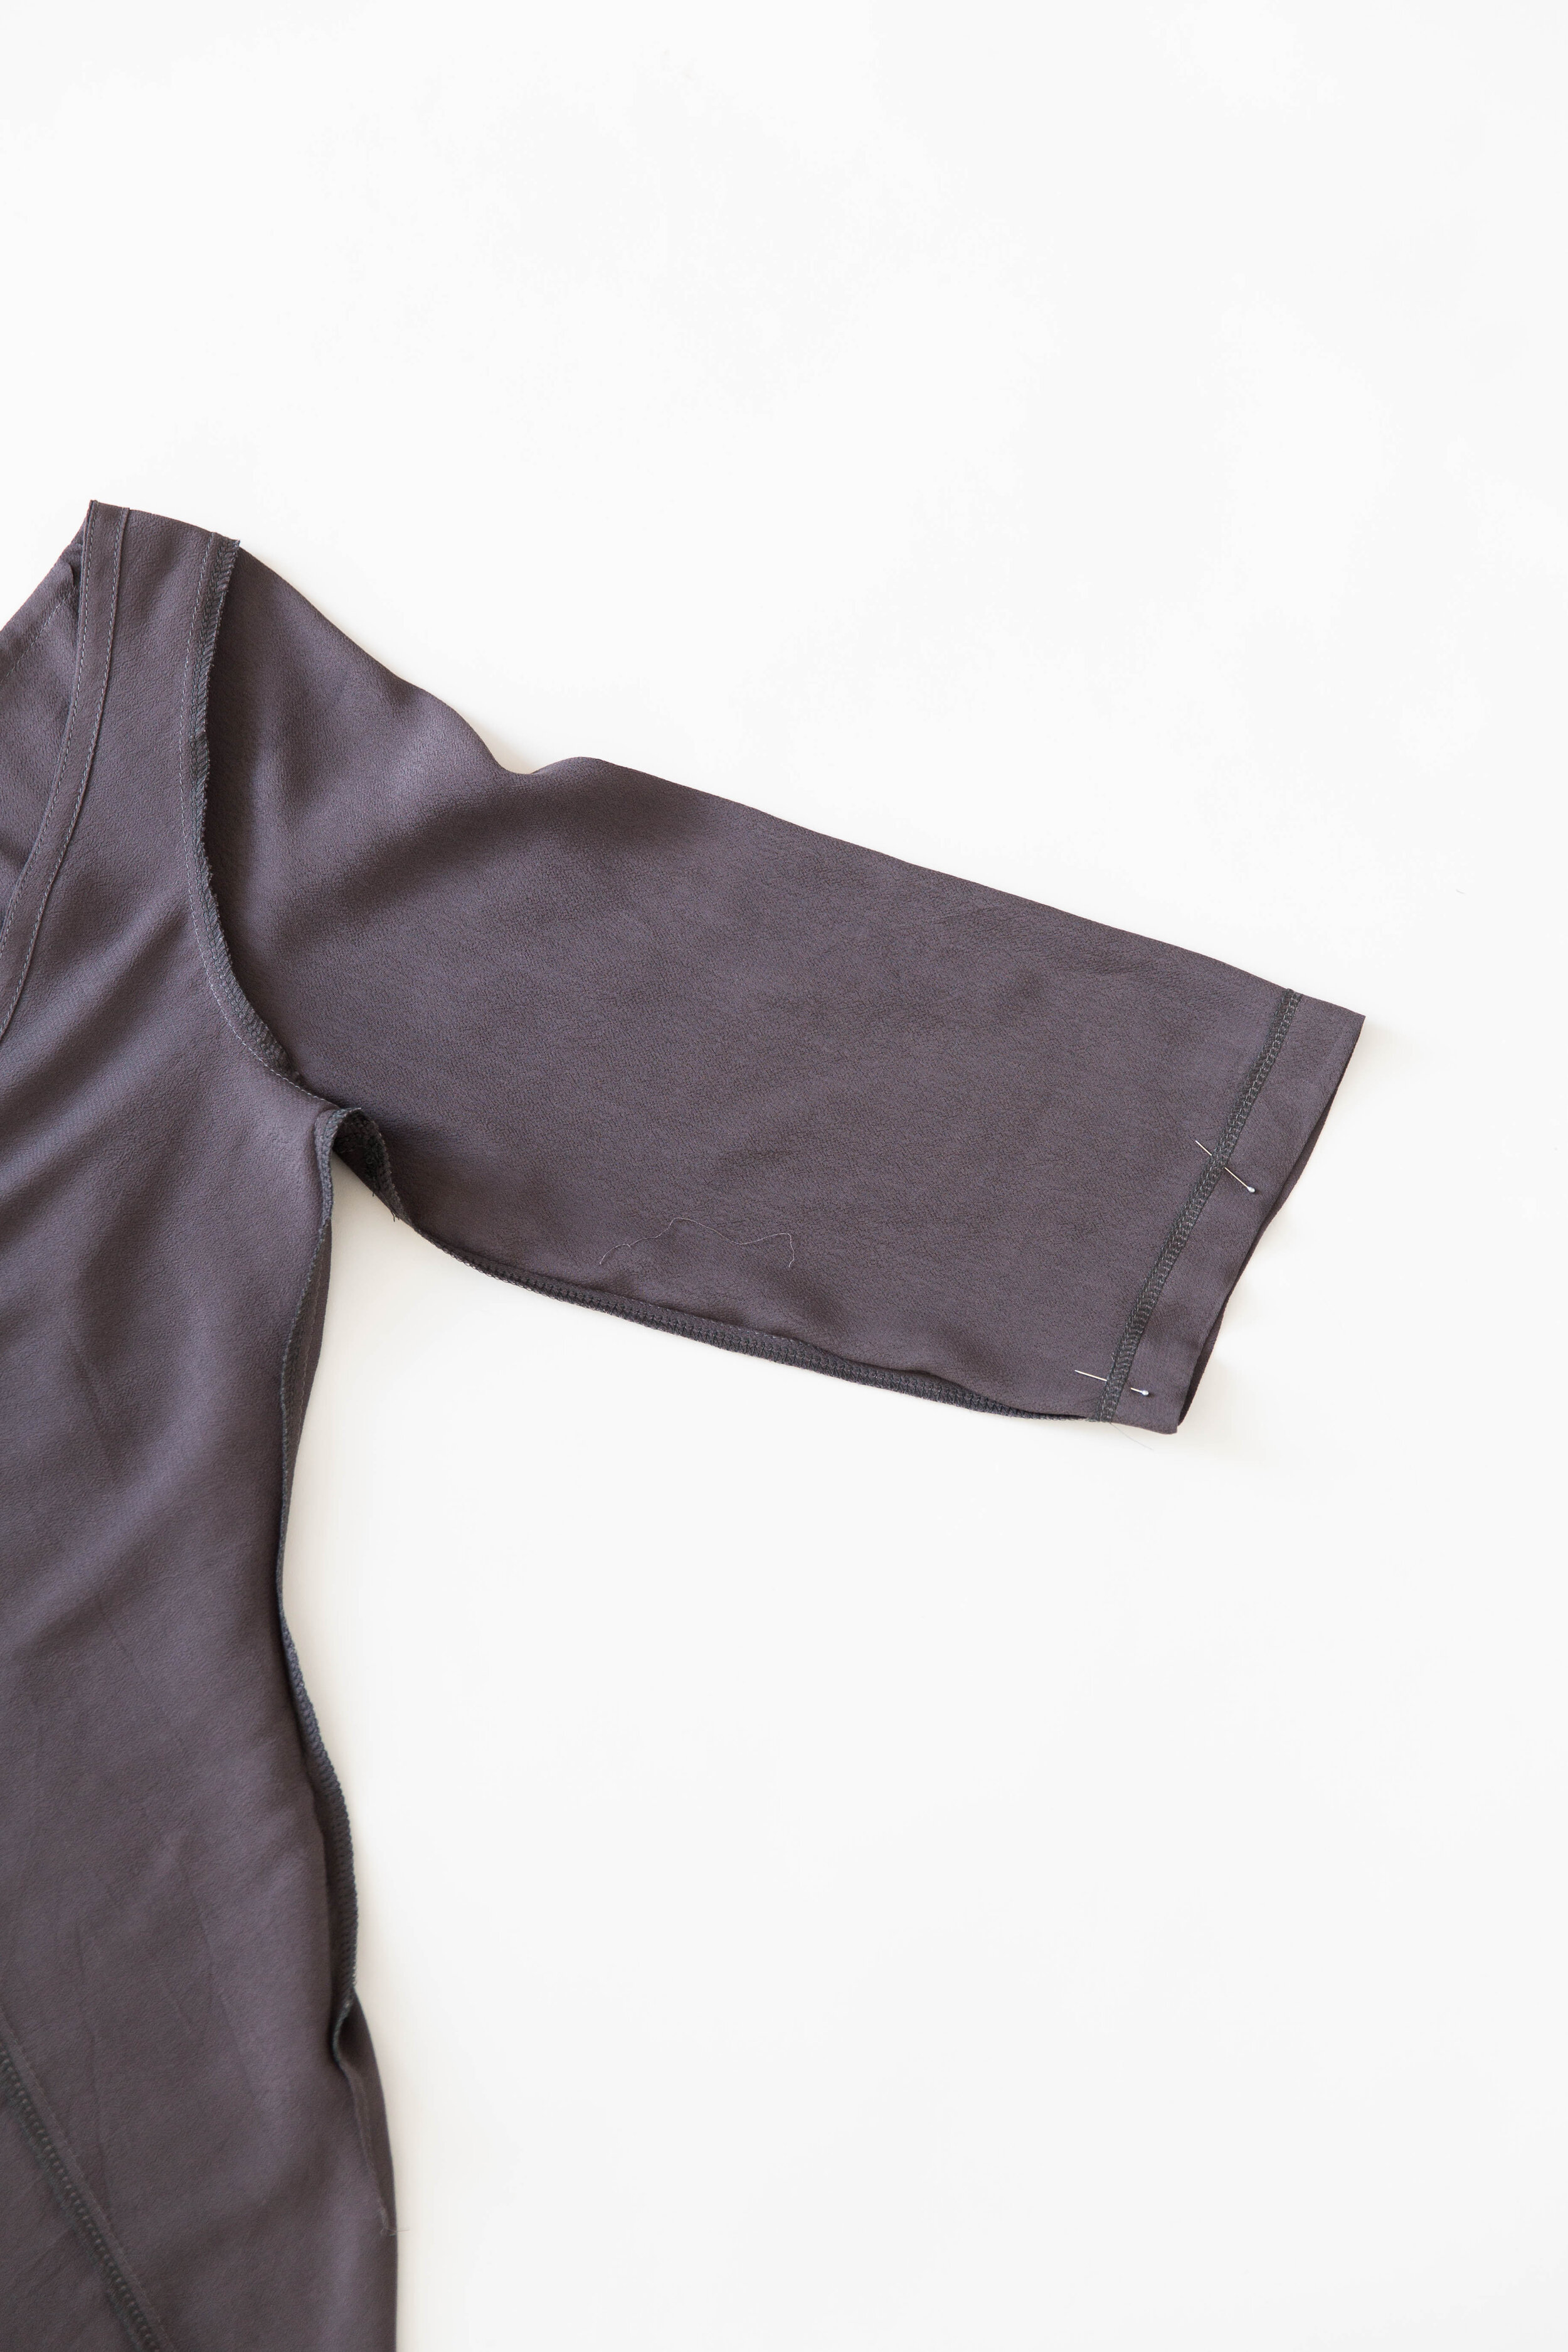
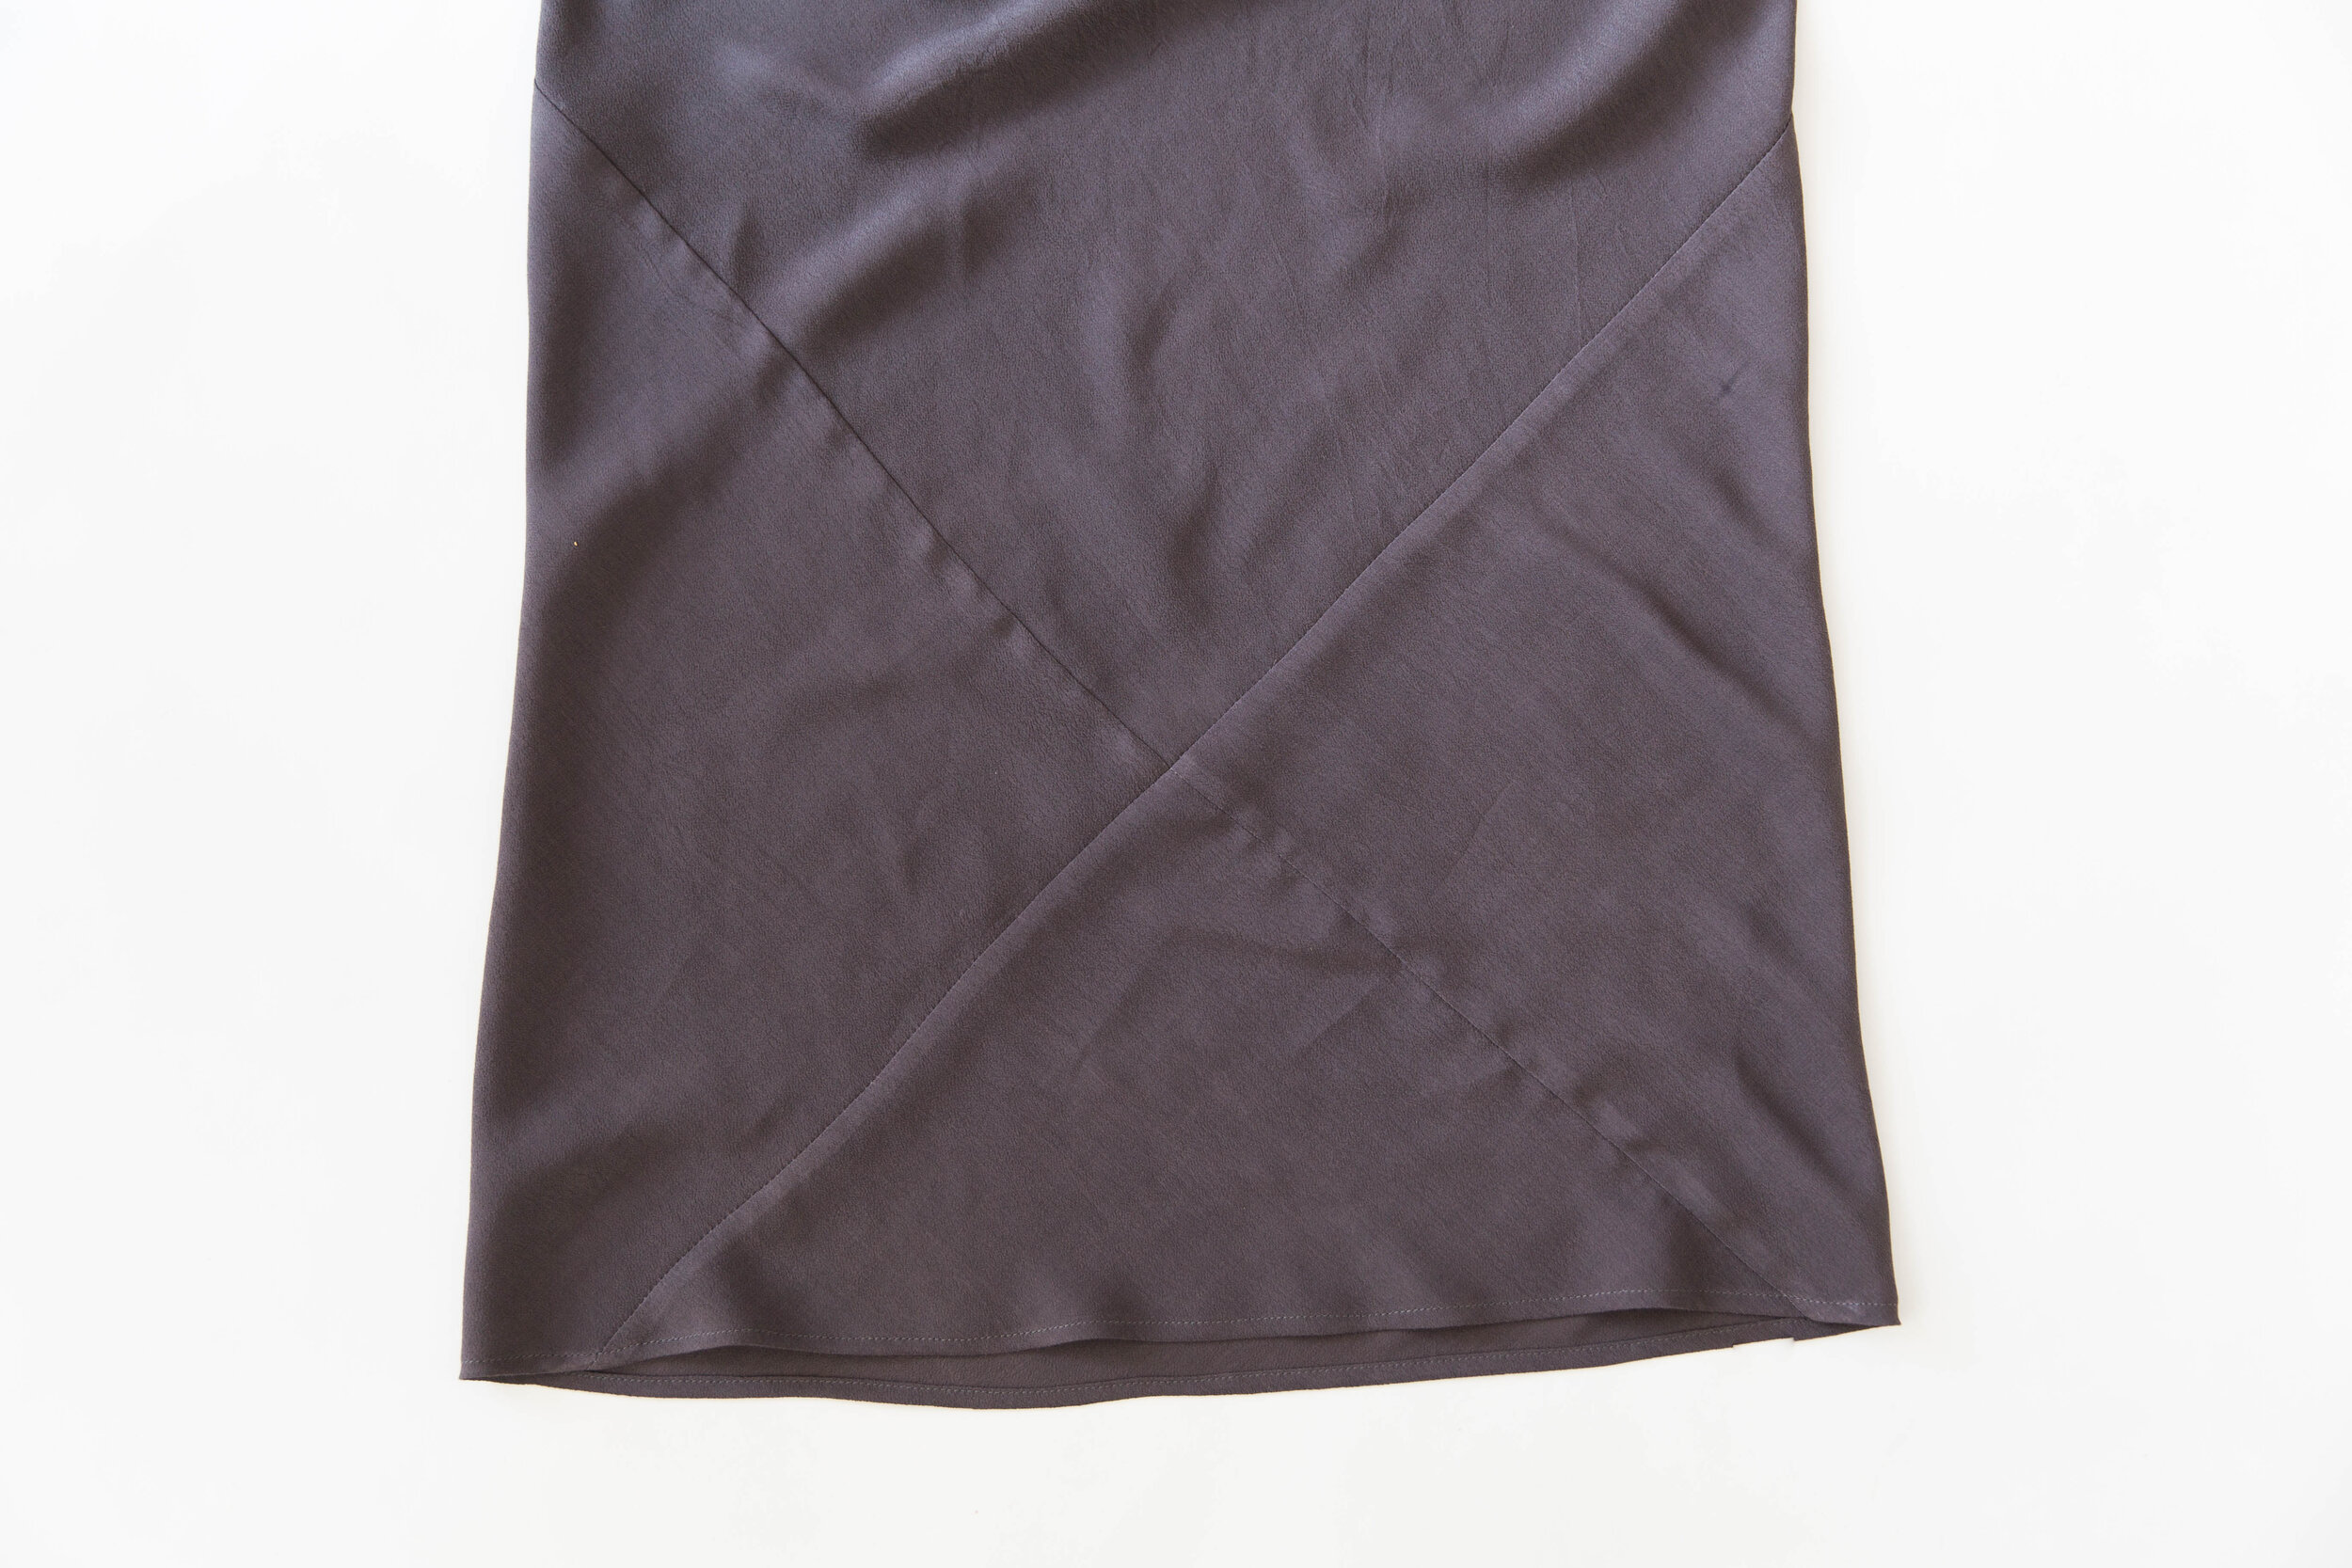
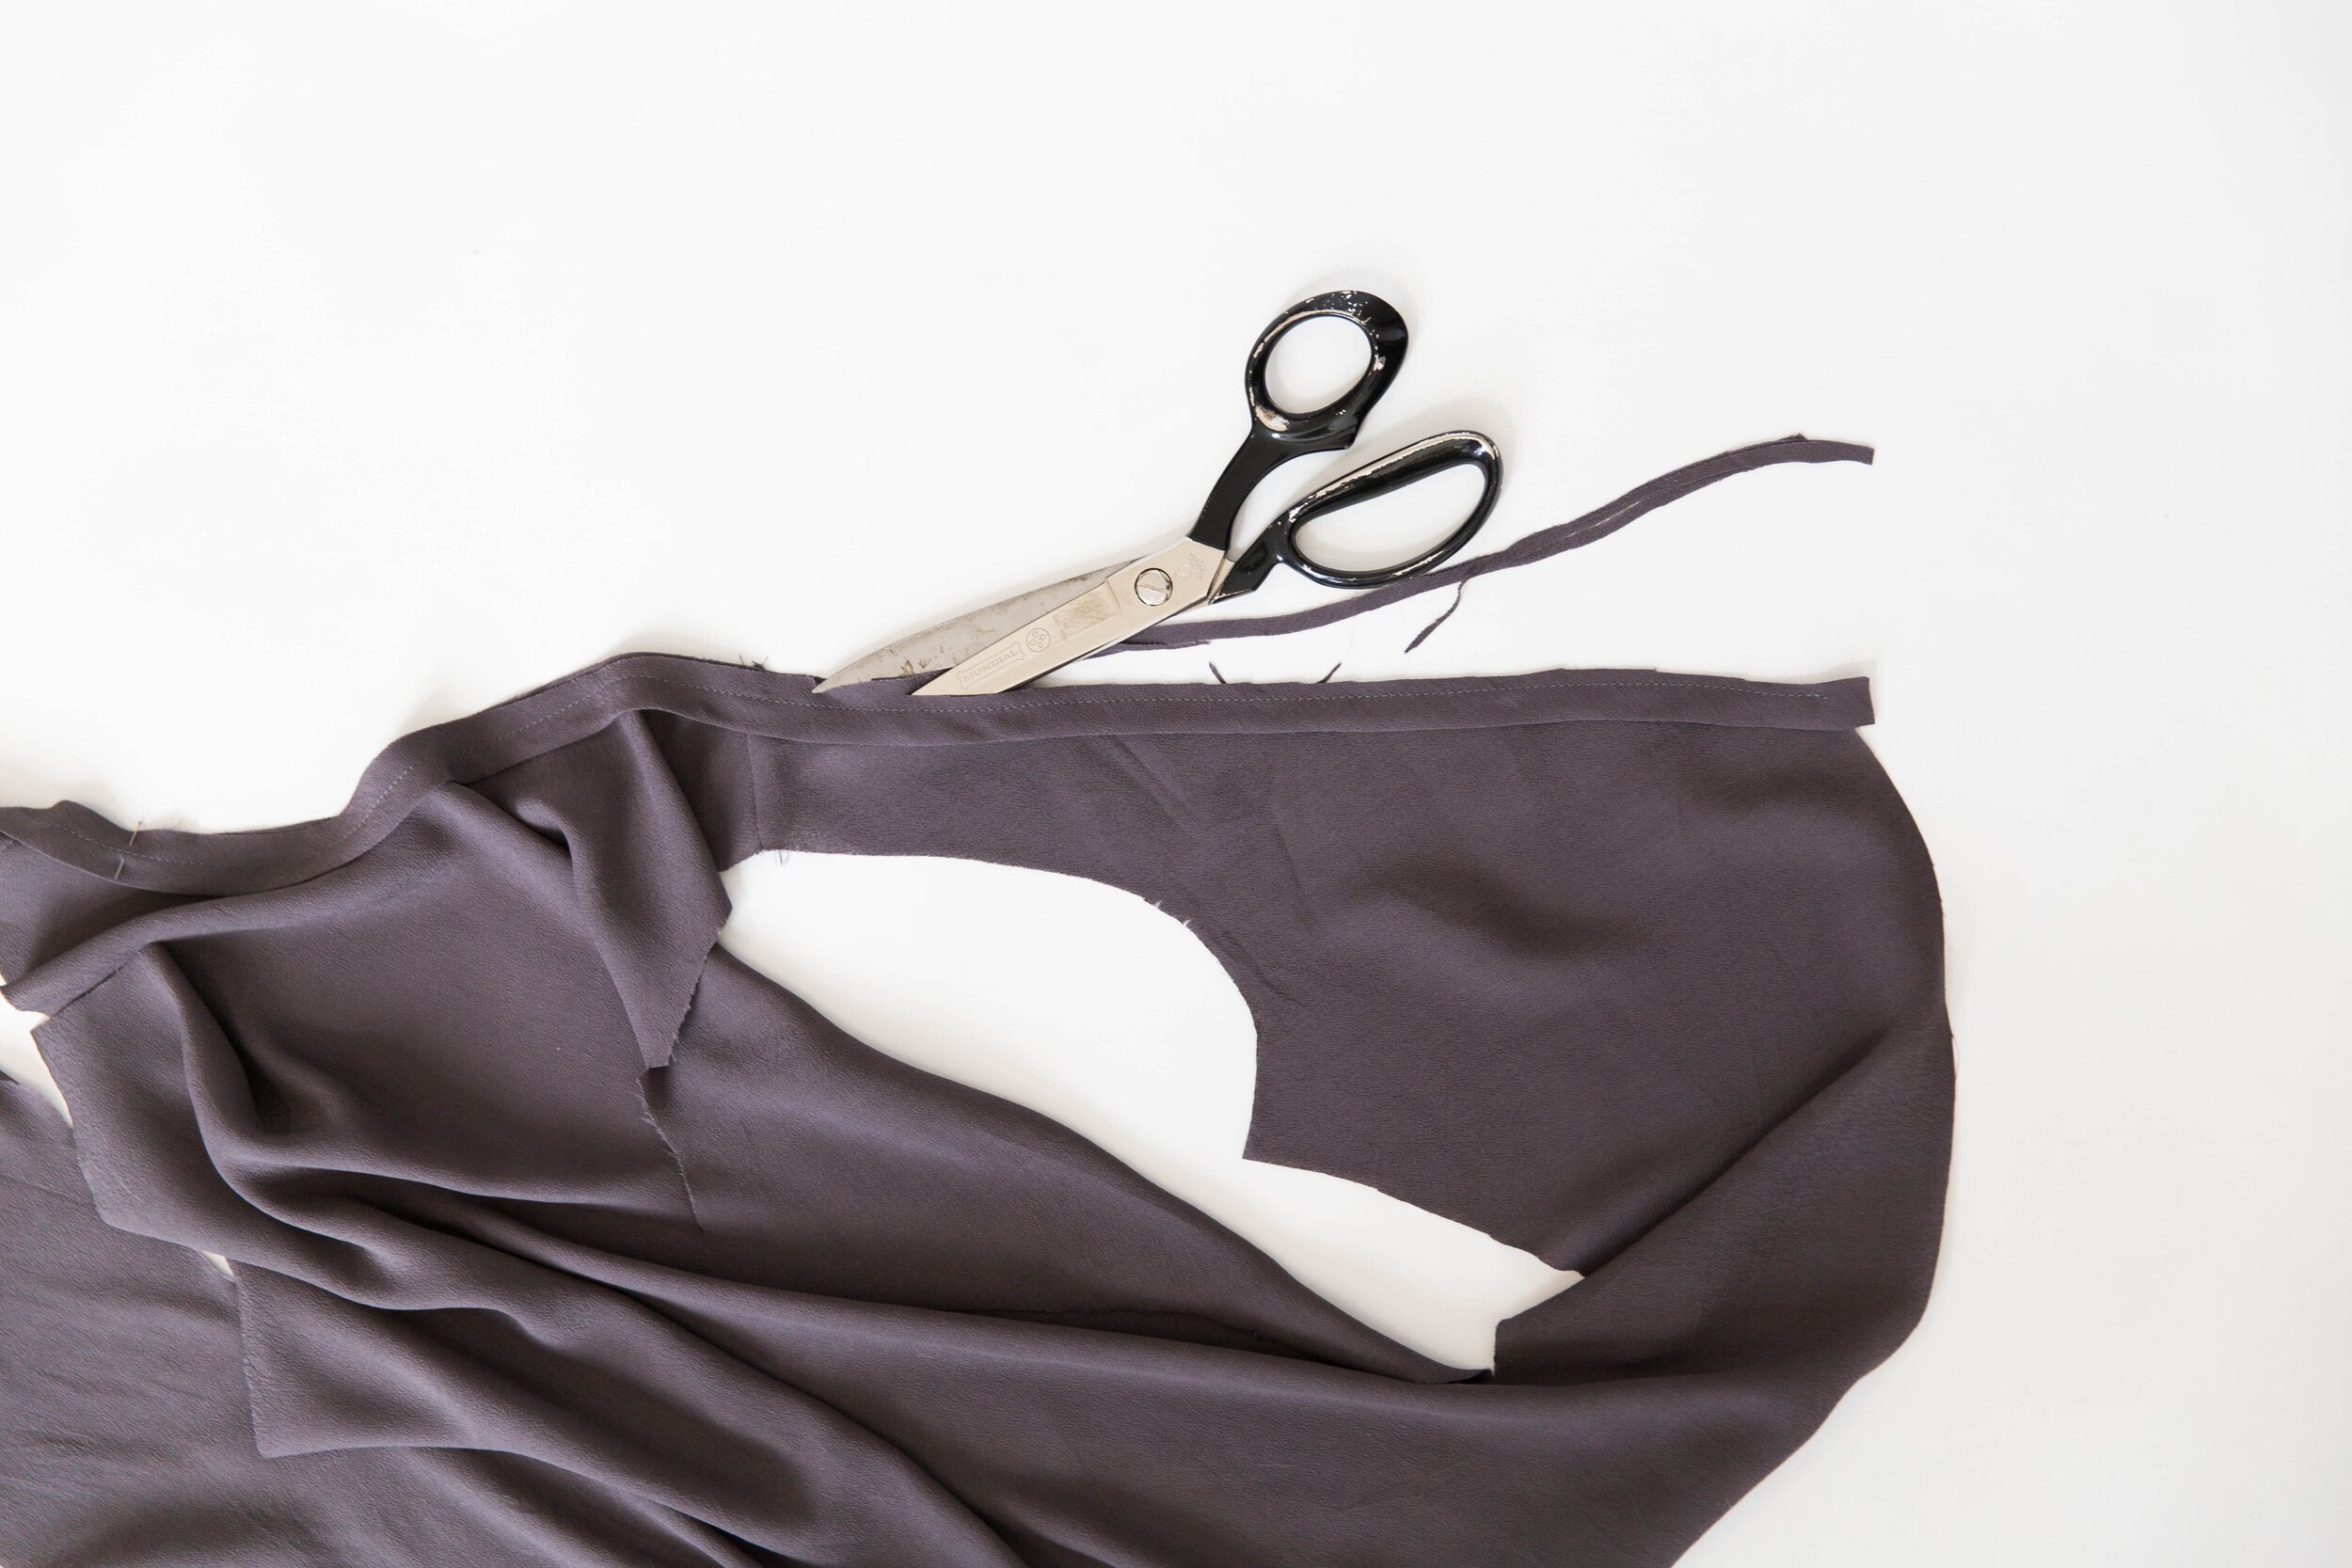
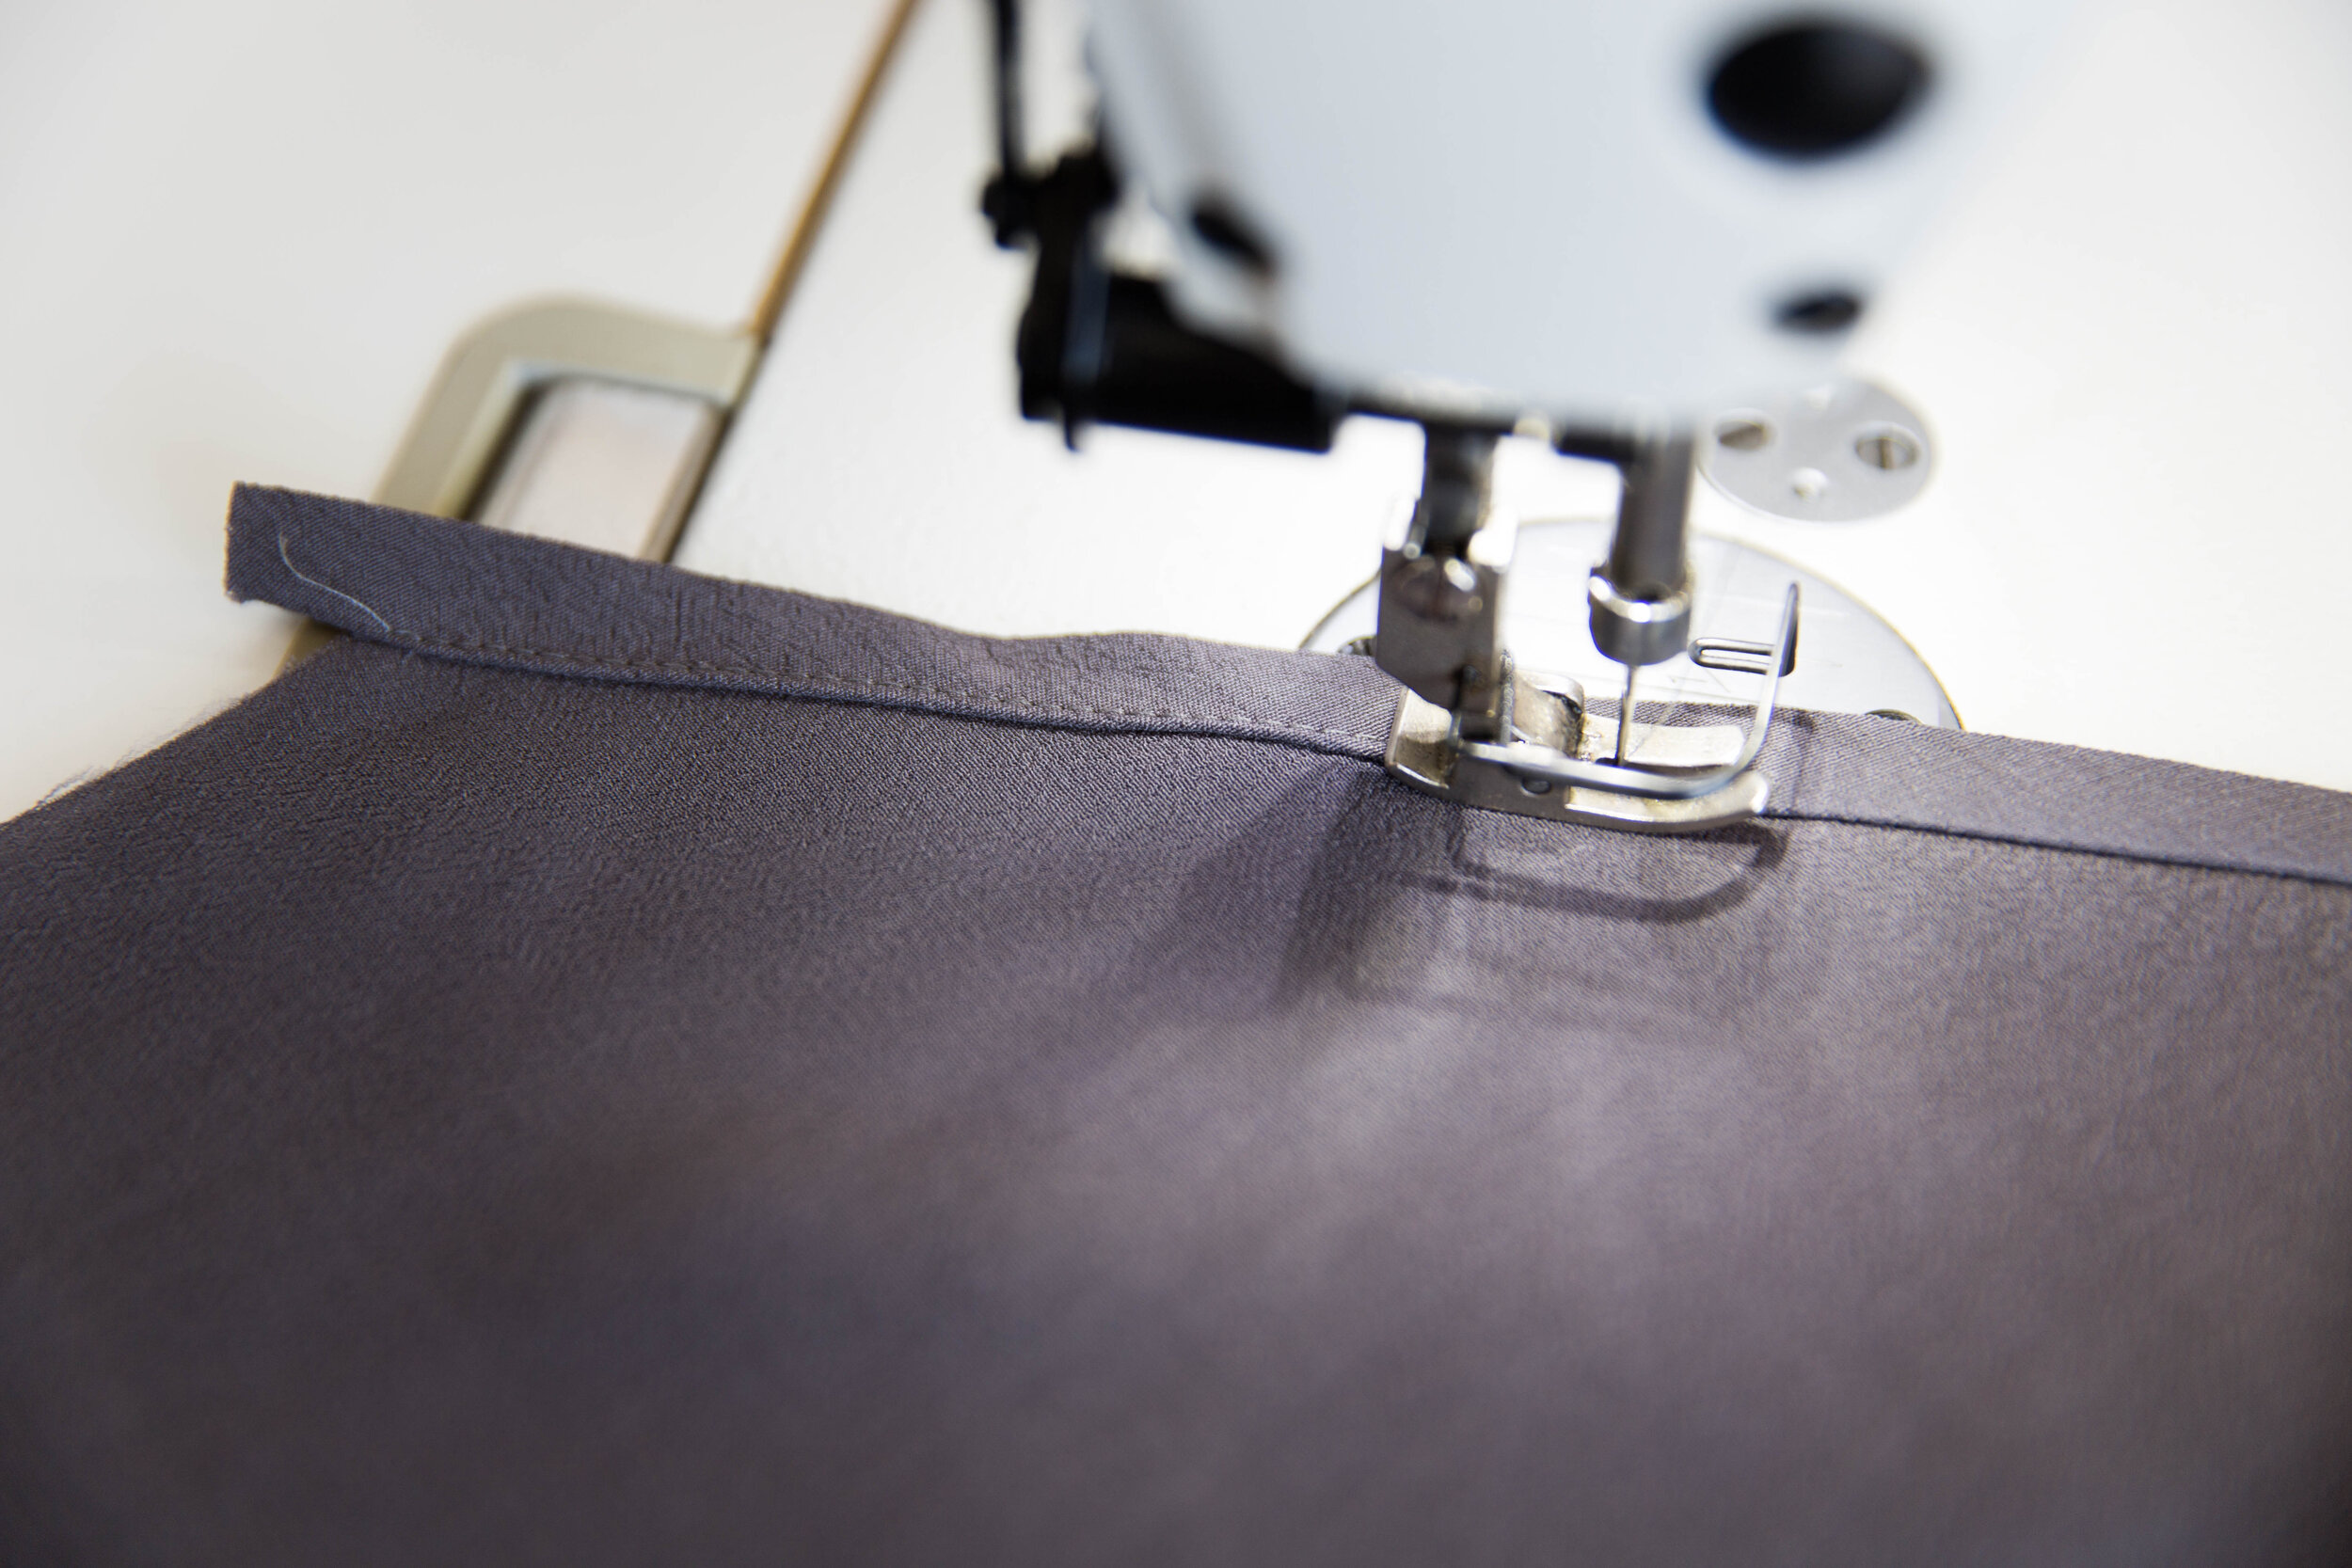
Step 8
Neaten both sleeve and hem edges. Turn sleeve hem up 2.5cm/1” and skirt hem up 5mm/0.2”. Pin in place then stitch. If you have a rolled hem foot, you might prefer to use that for the skirt hem.
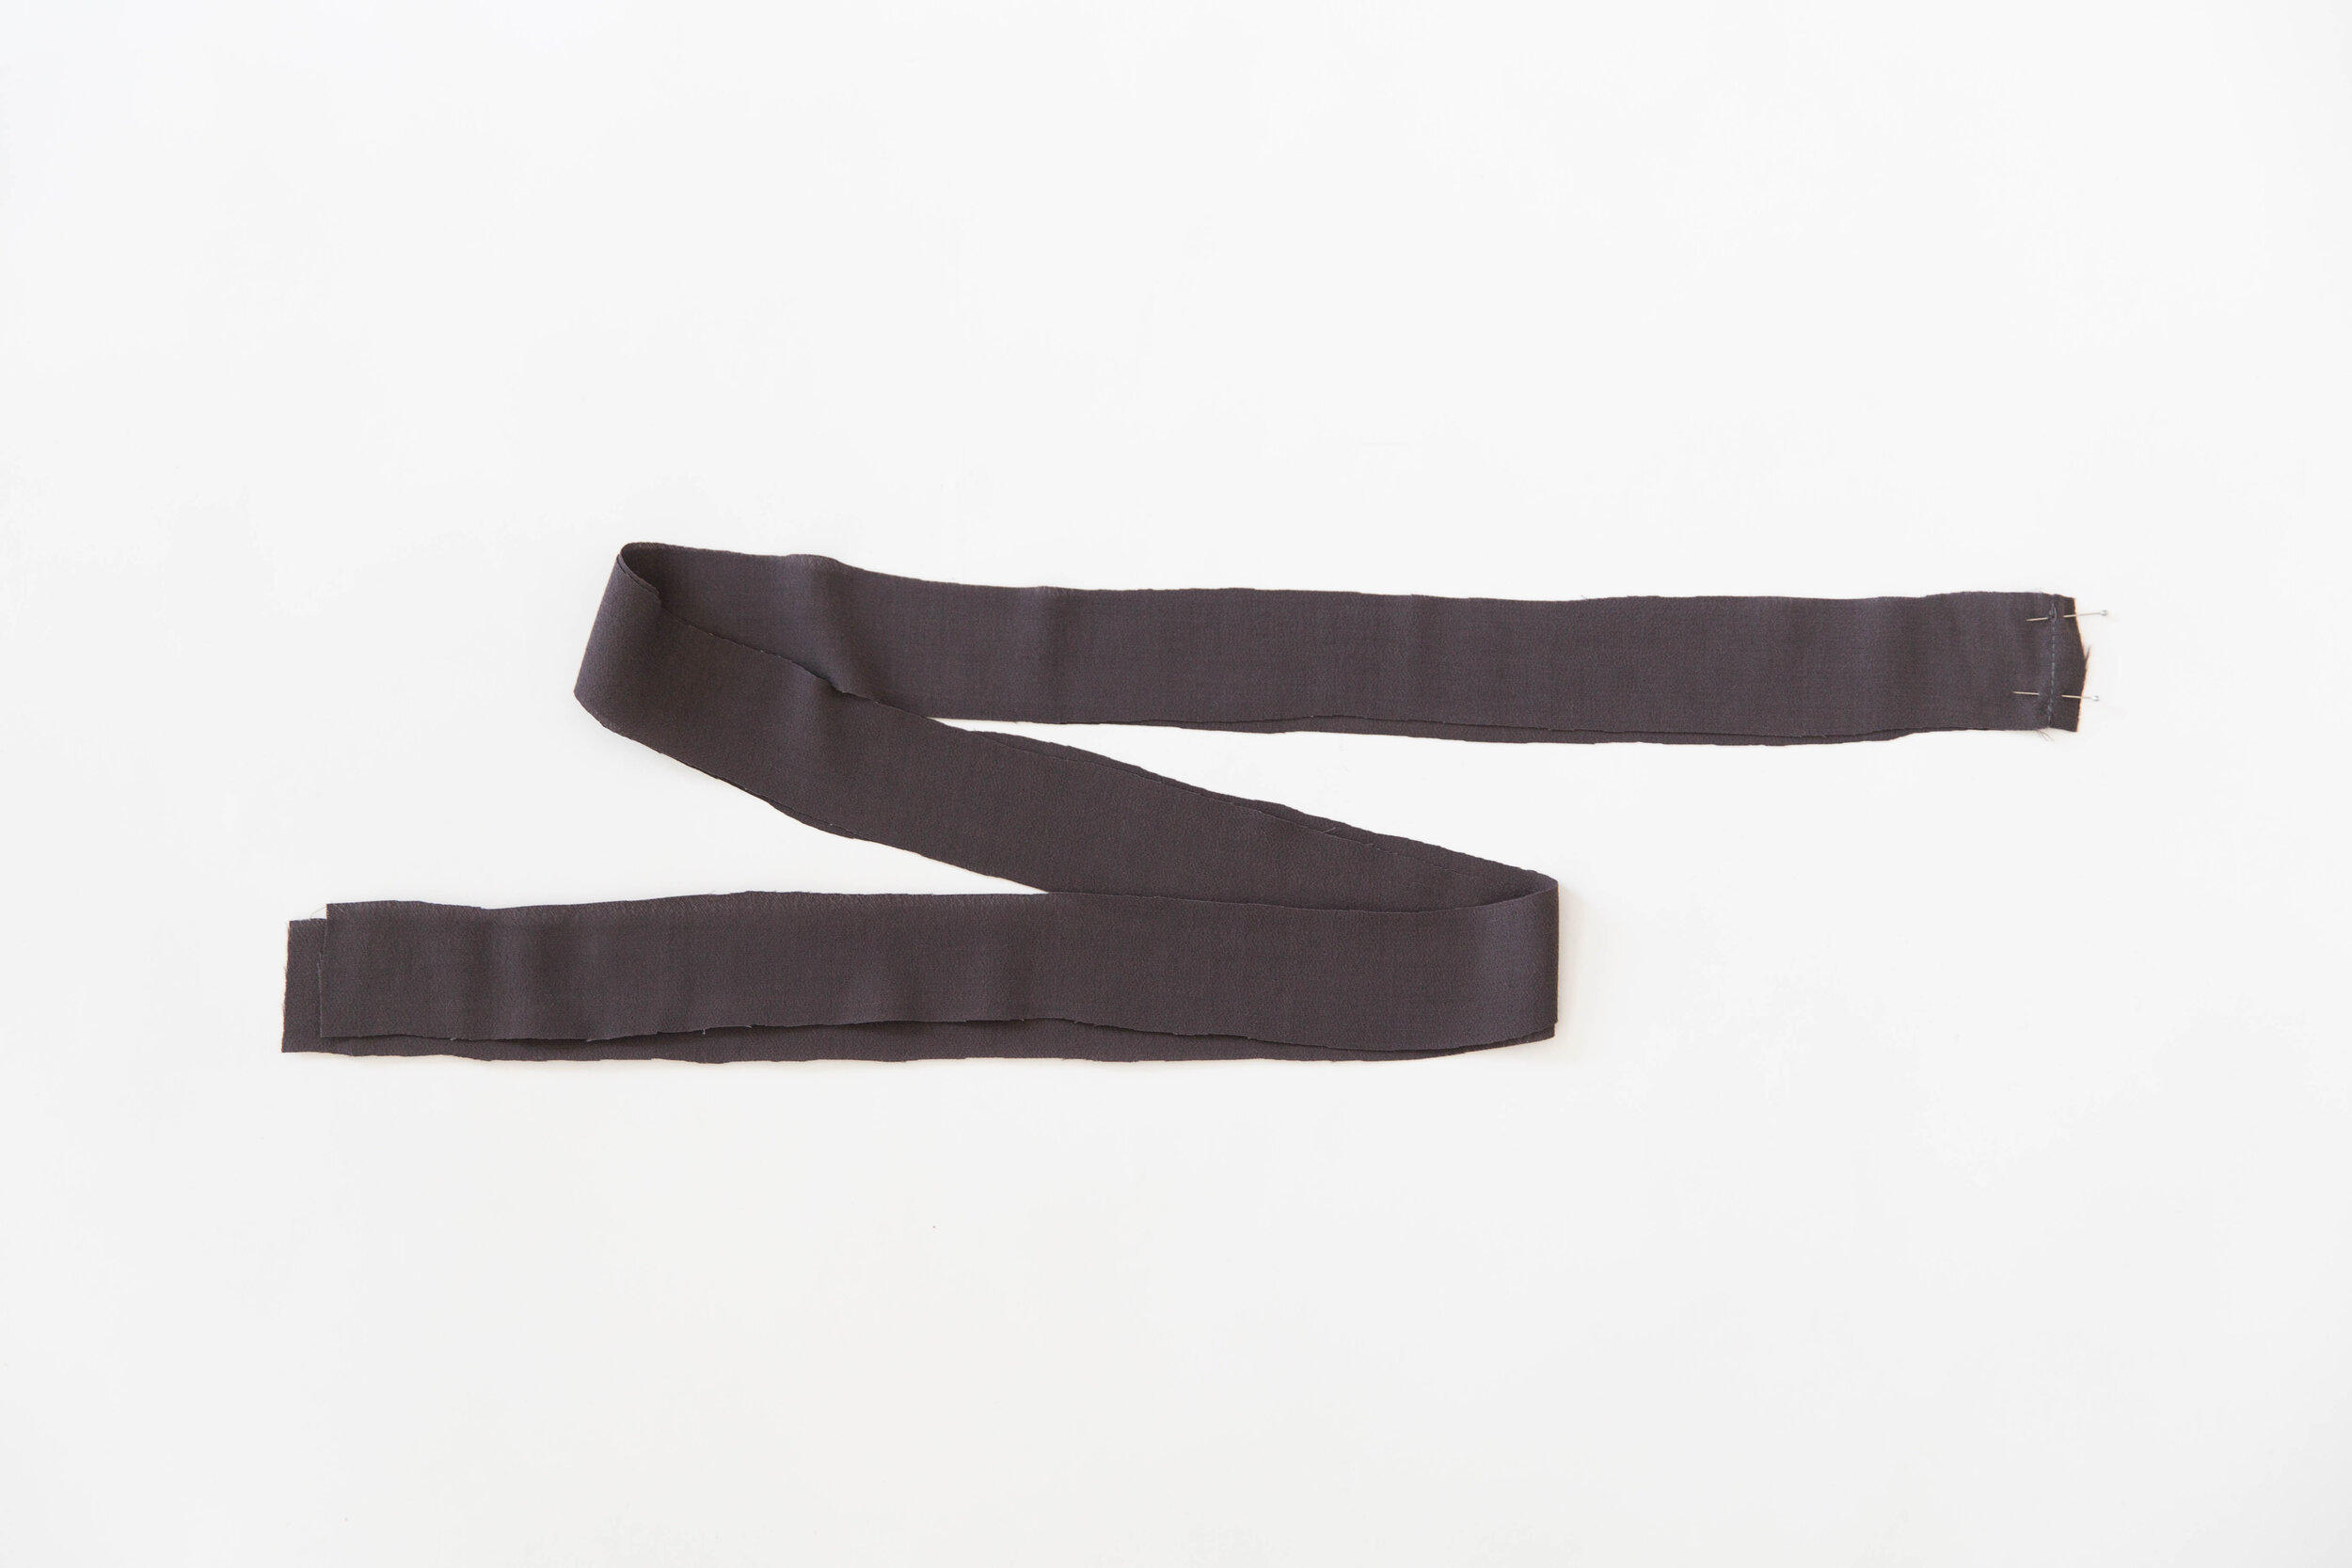
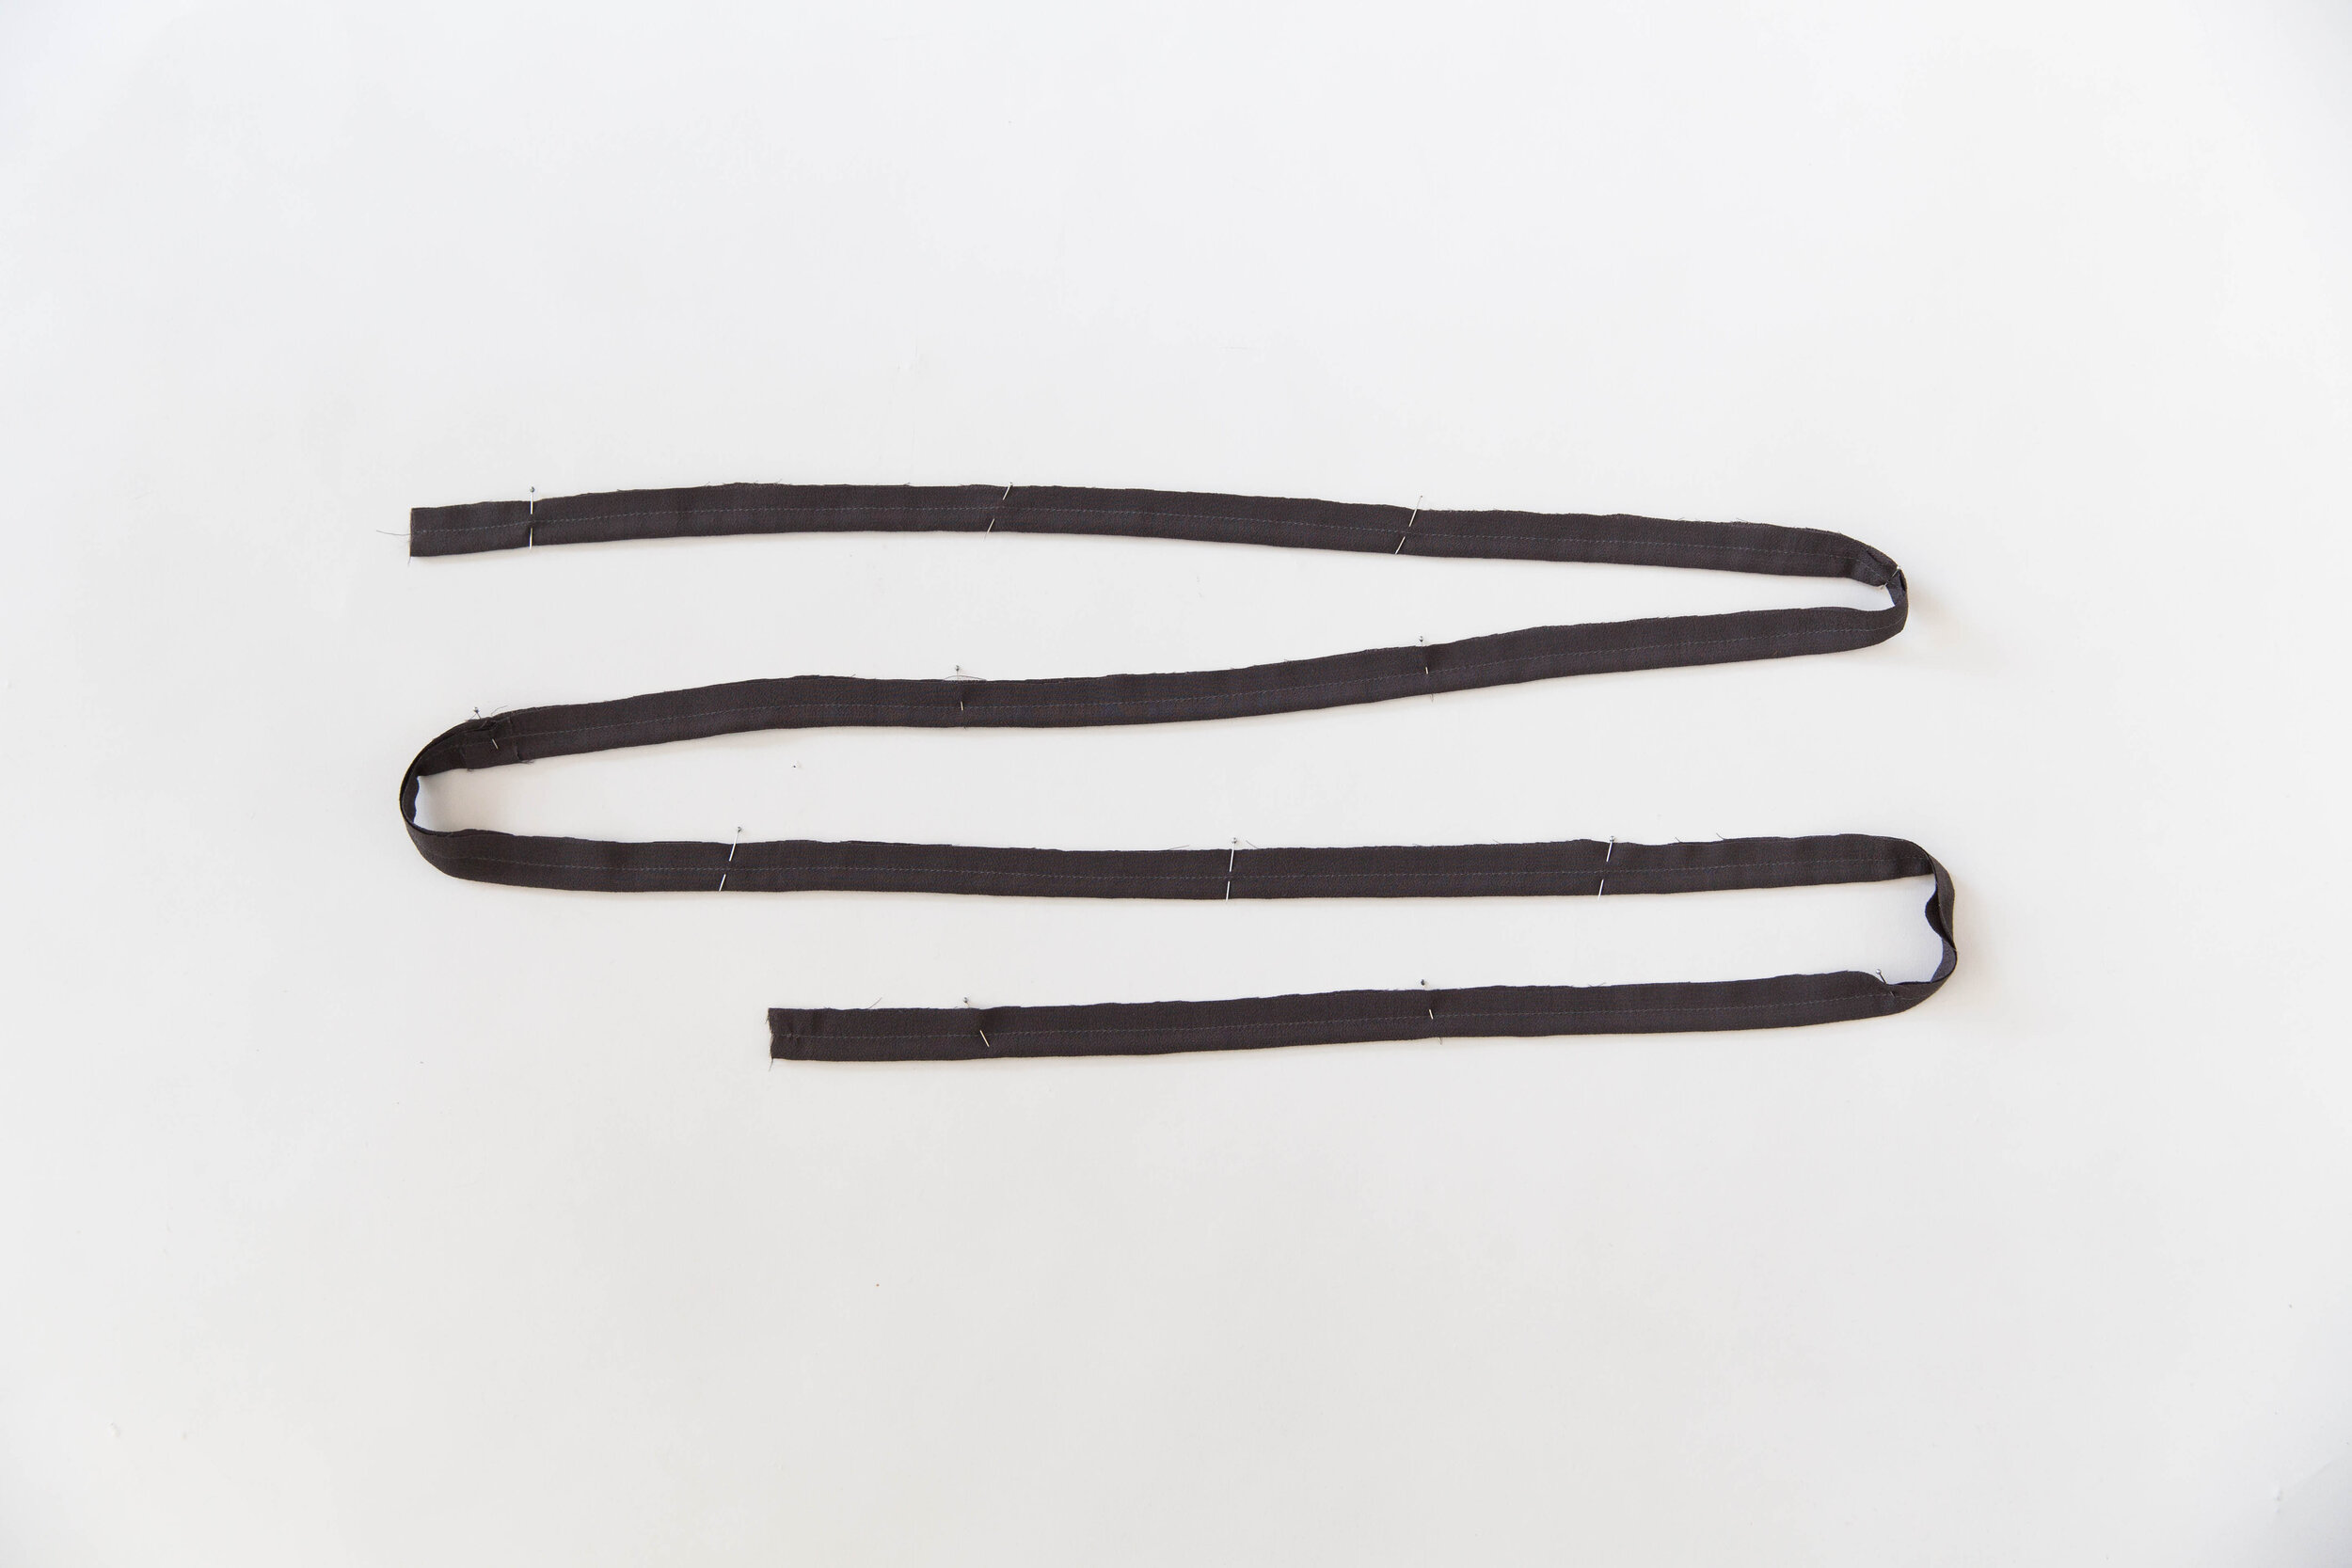
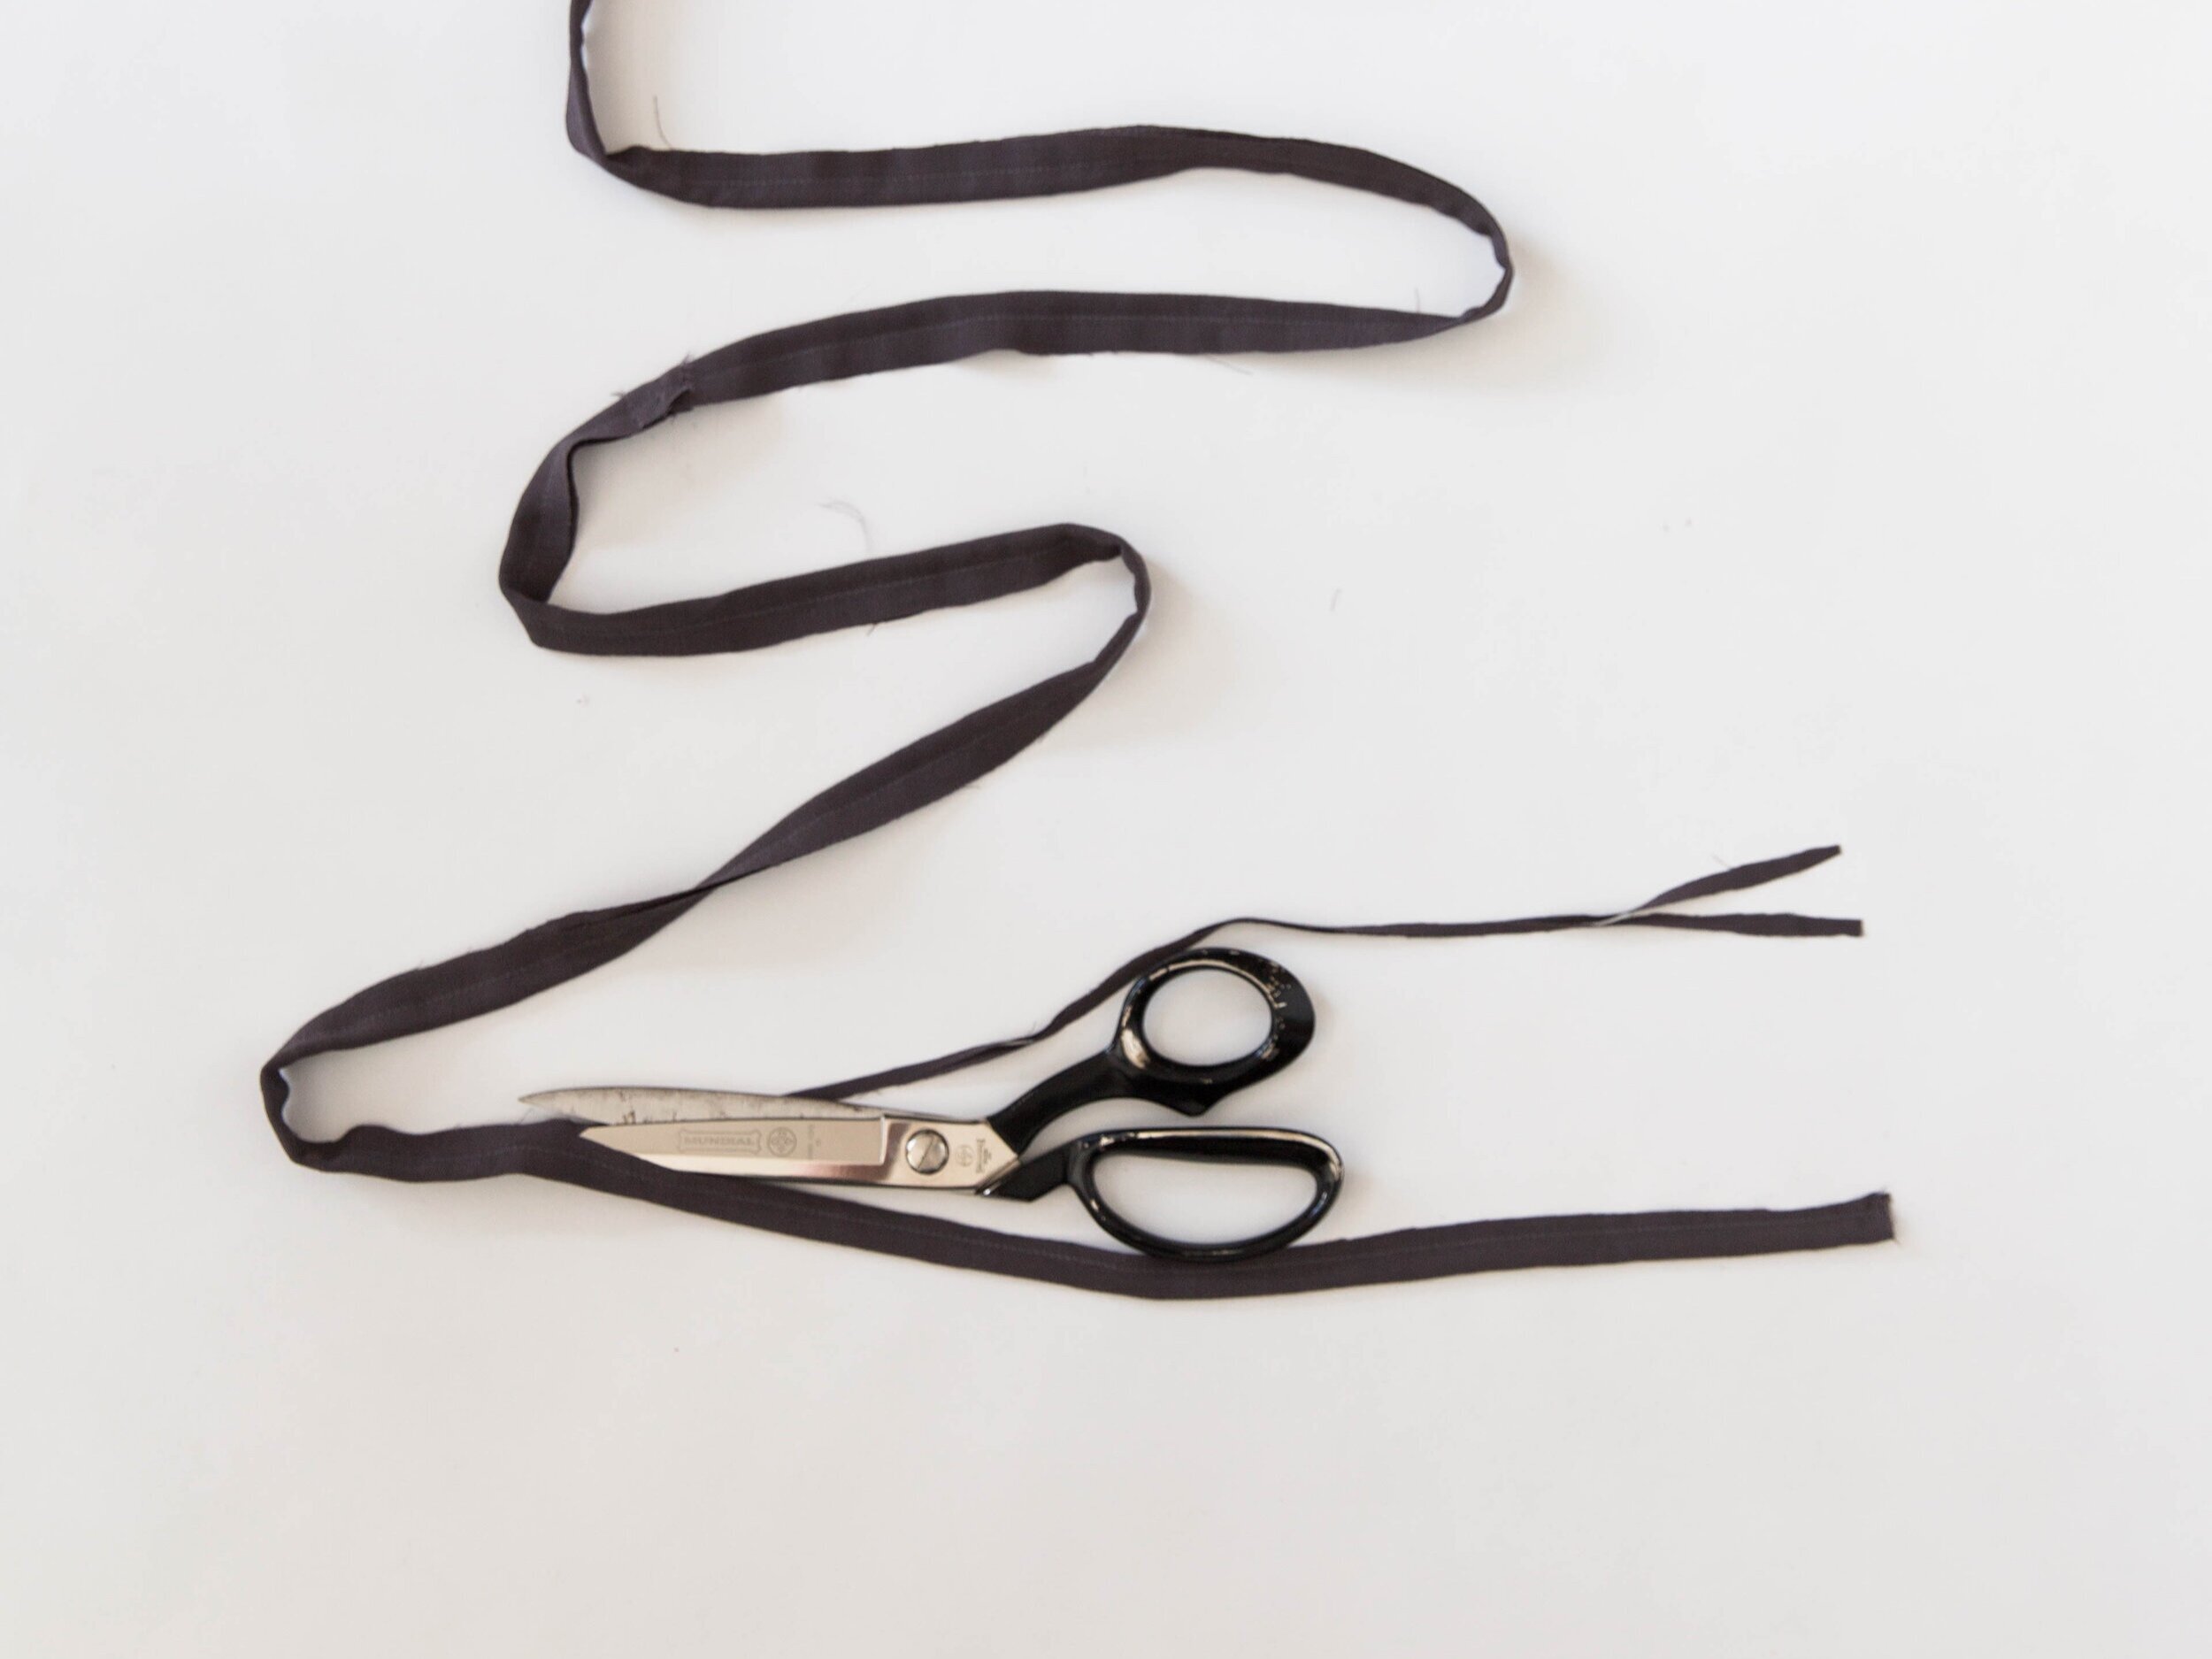
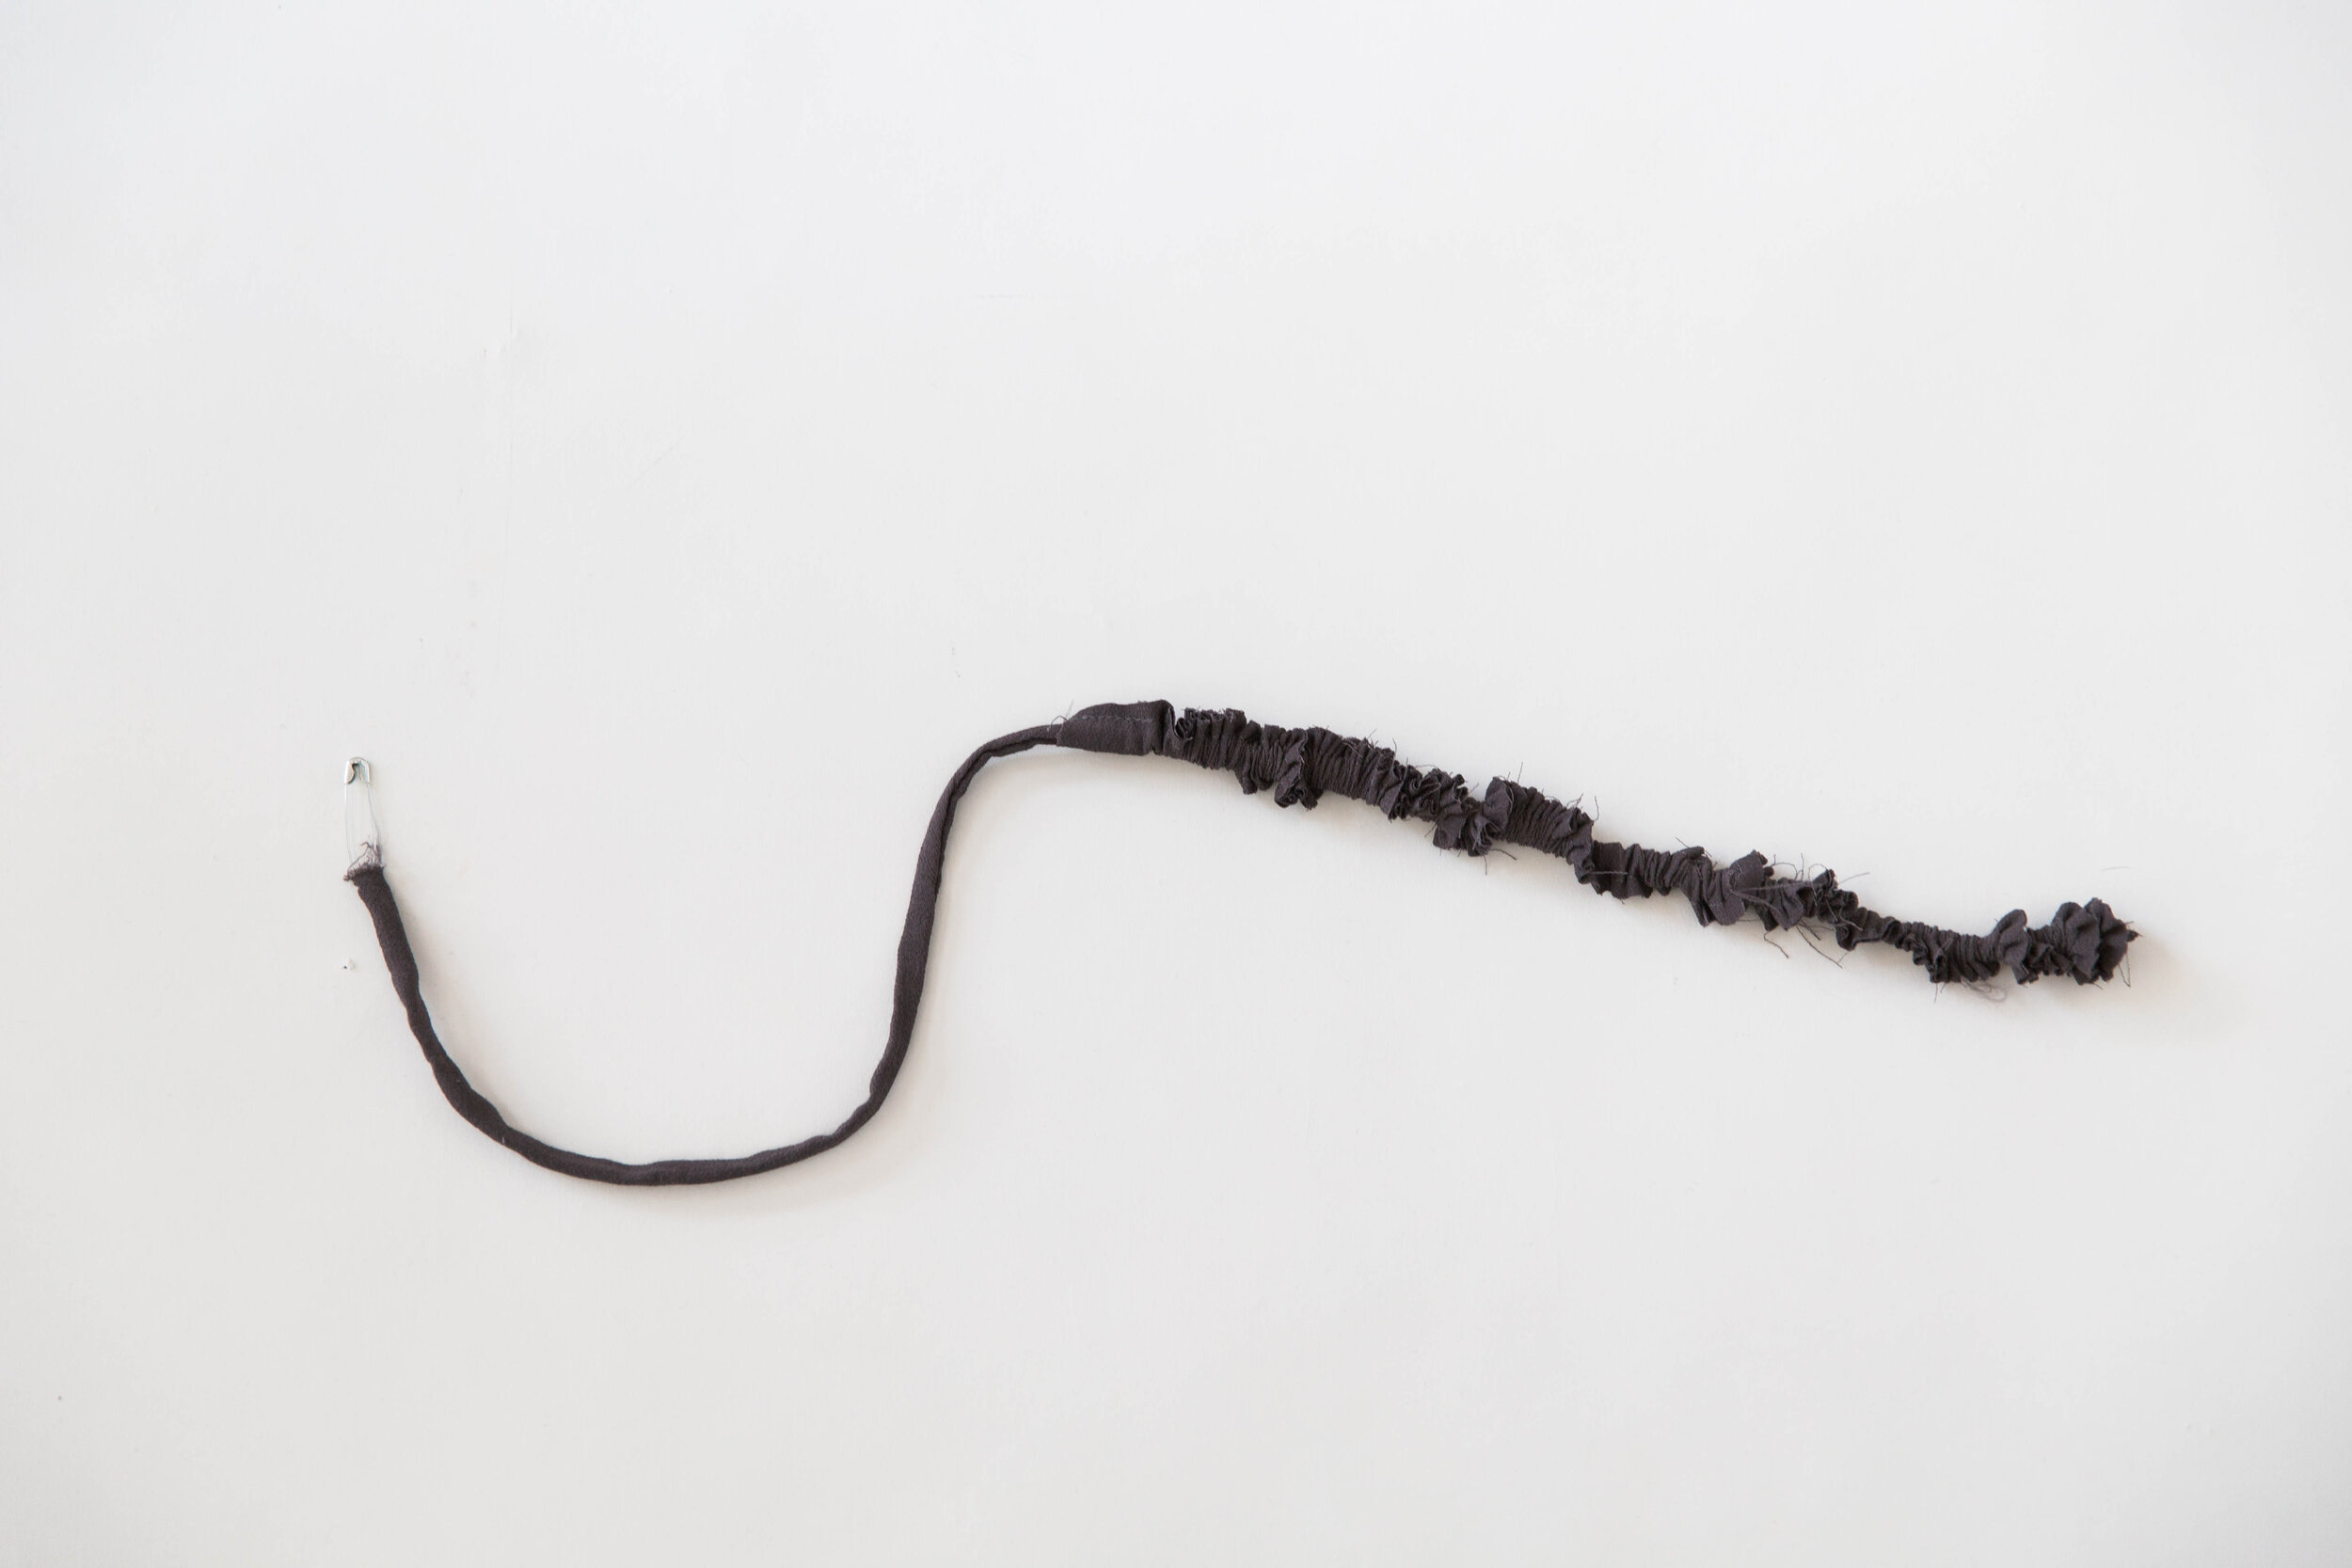

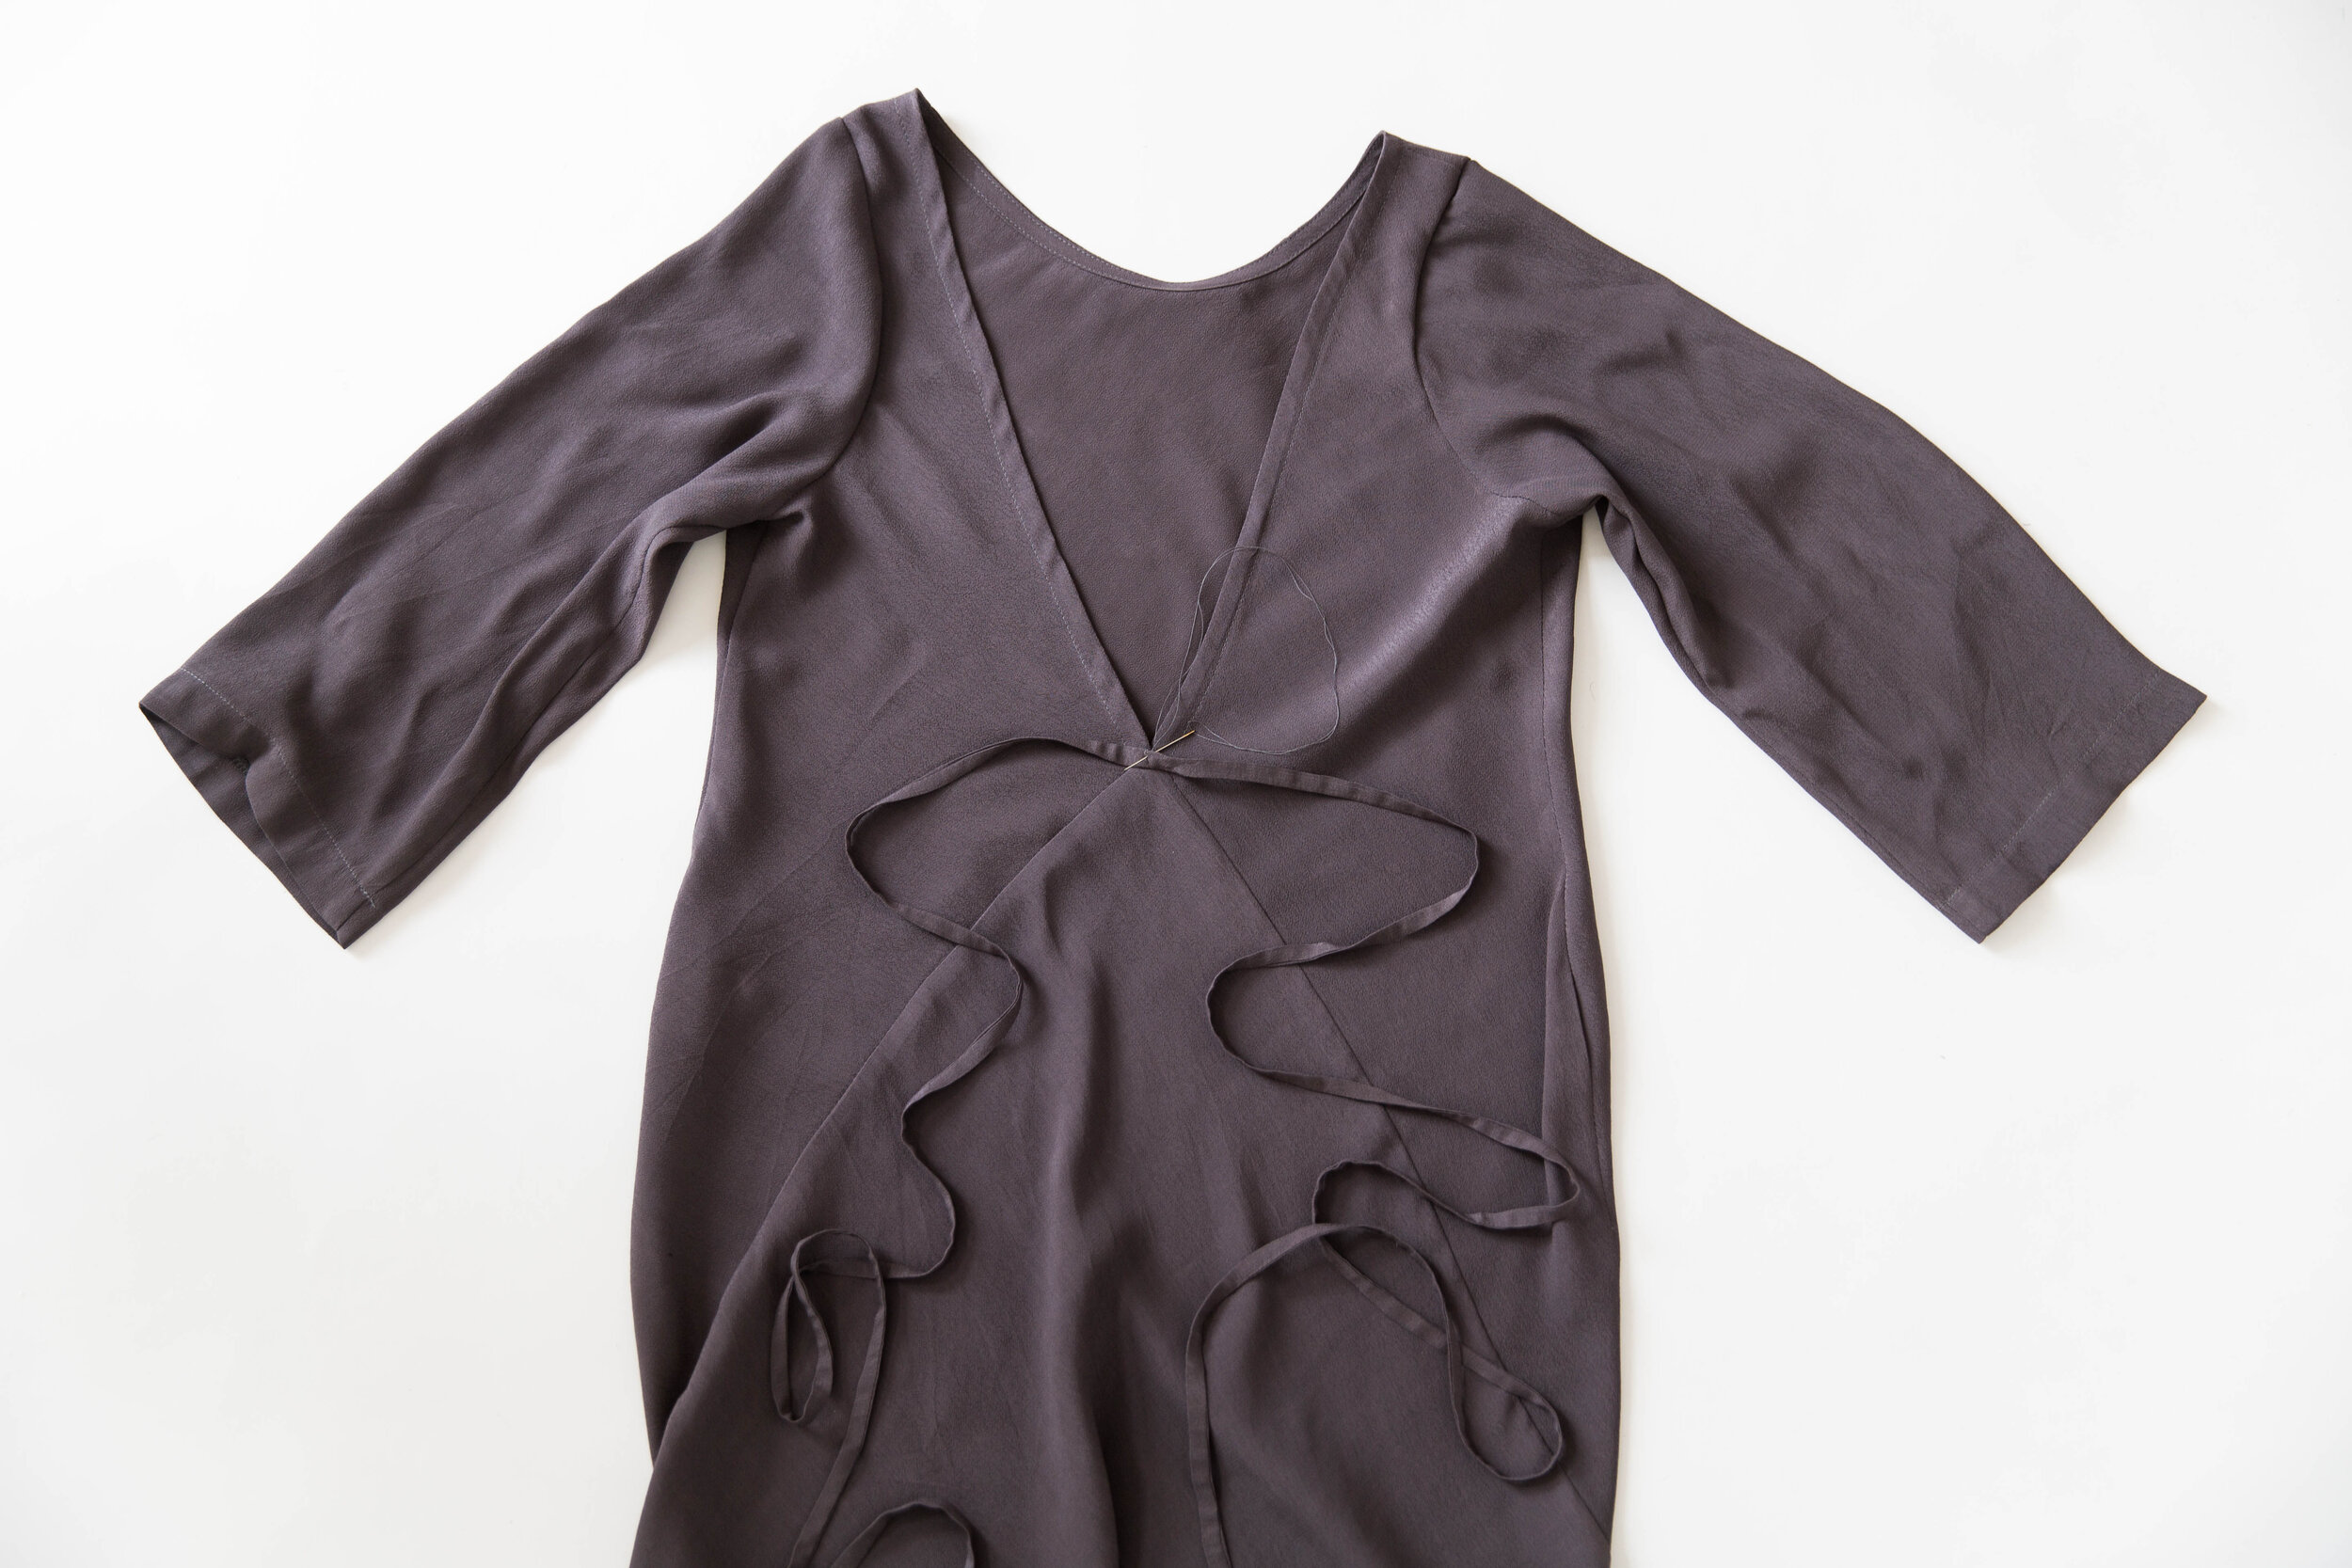
Step 9
With right sides facing, stitch the two short edges of waist tie pieces together at one end. Press seam allowance open. Fold in half the other way with right sides facing, and stitch the long edges together. Trim seam allowance in half. Attach a safety pin to one end of tie and thread the tie through itself until it comes out the other end through the right way. Press. Tuck the ends of tie inwards and edgestitch closed. Pin the centre of your tie to the centre back point of the V on your dress. Attach with a couple of stitches. Give your dress a good press.

Voilà!