

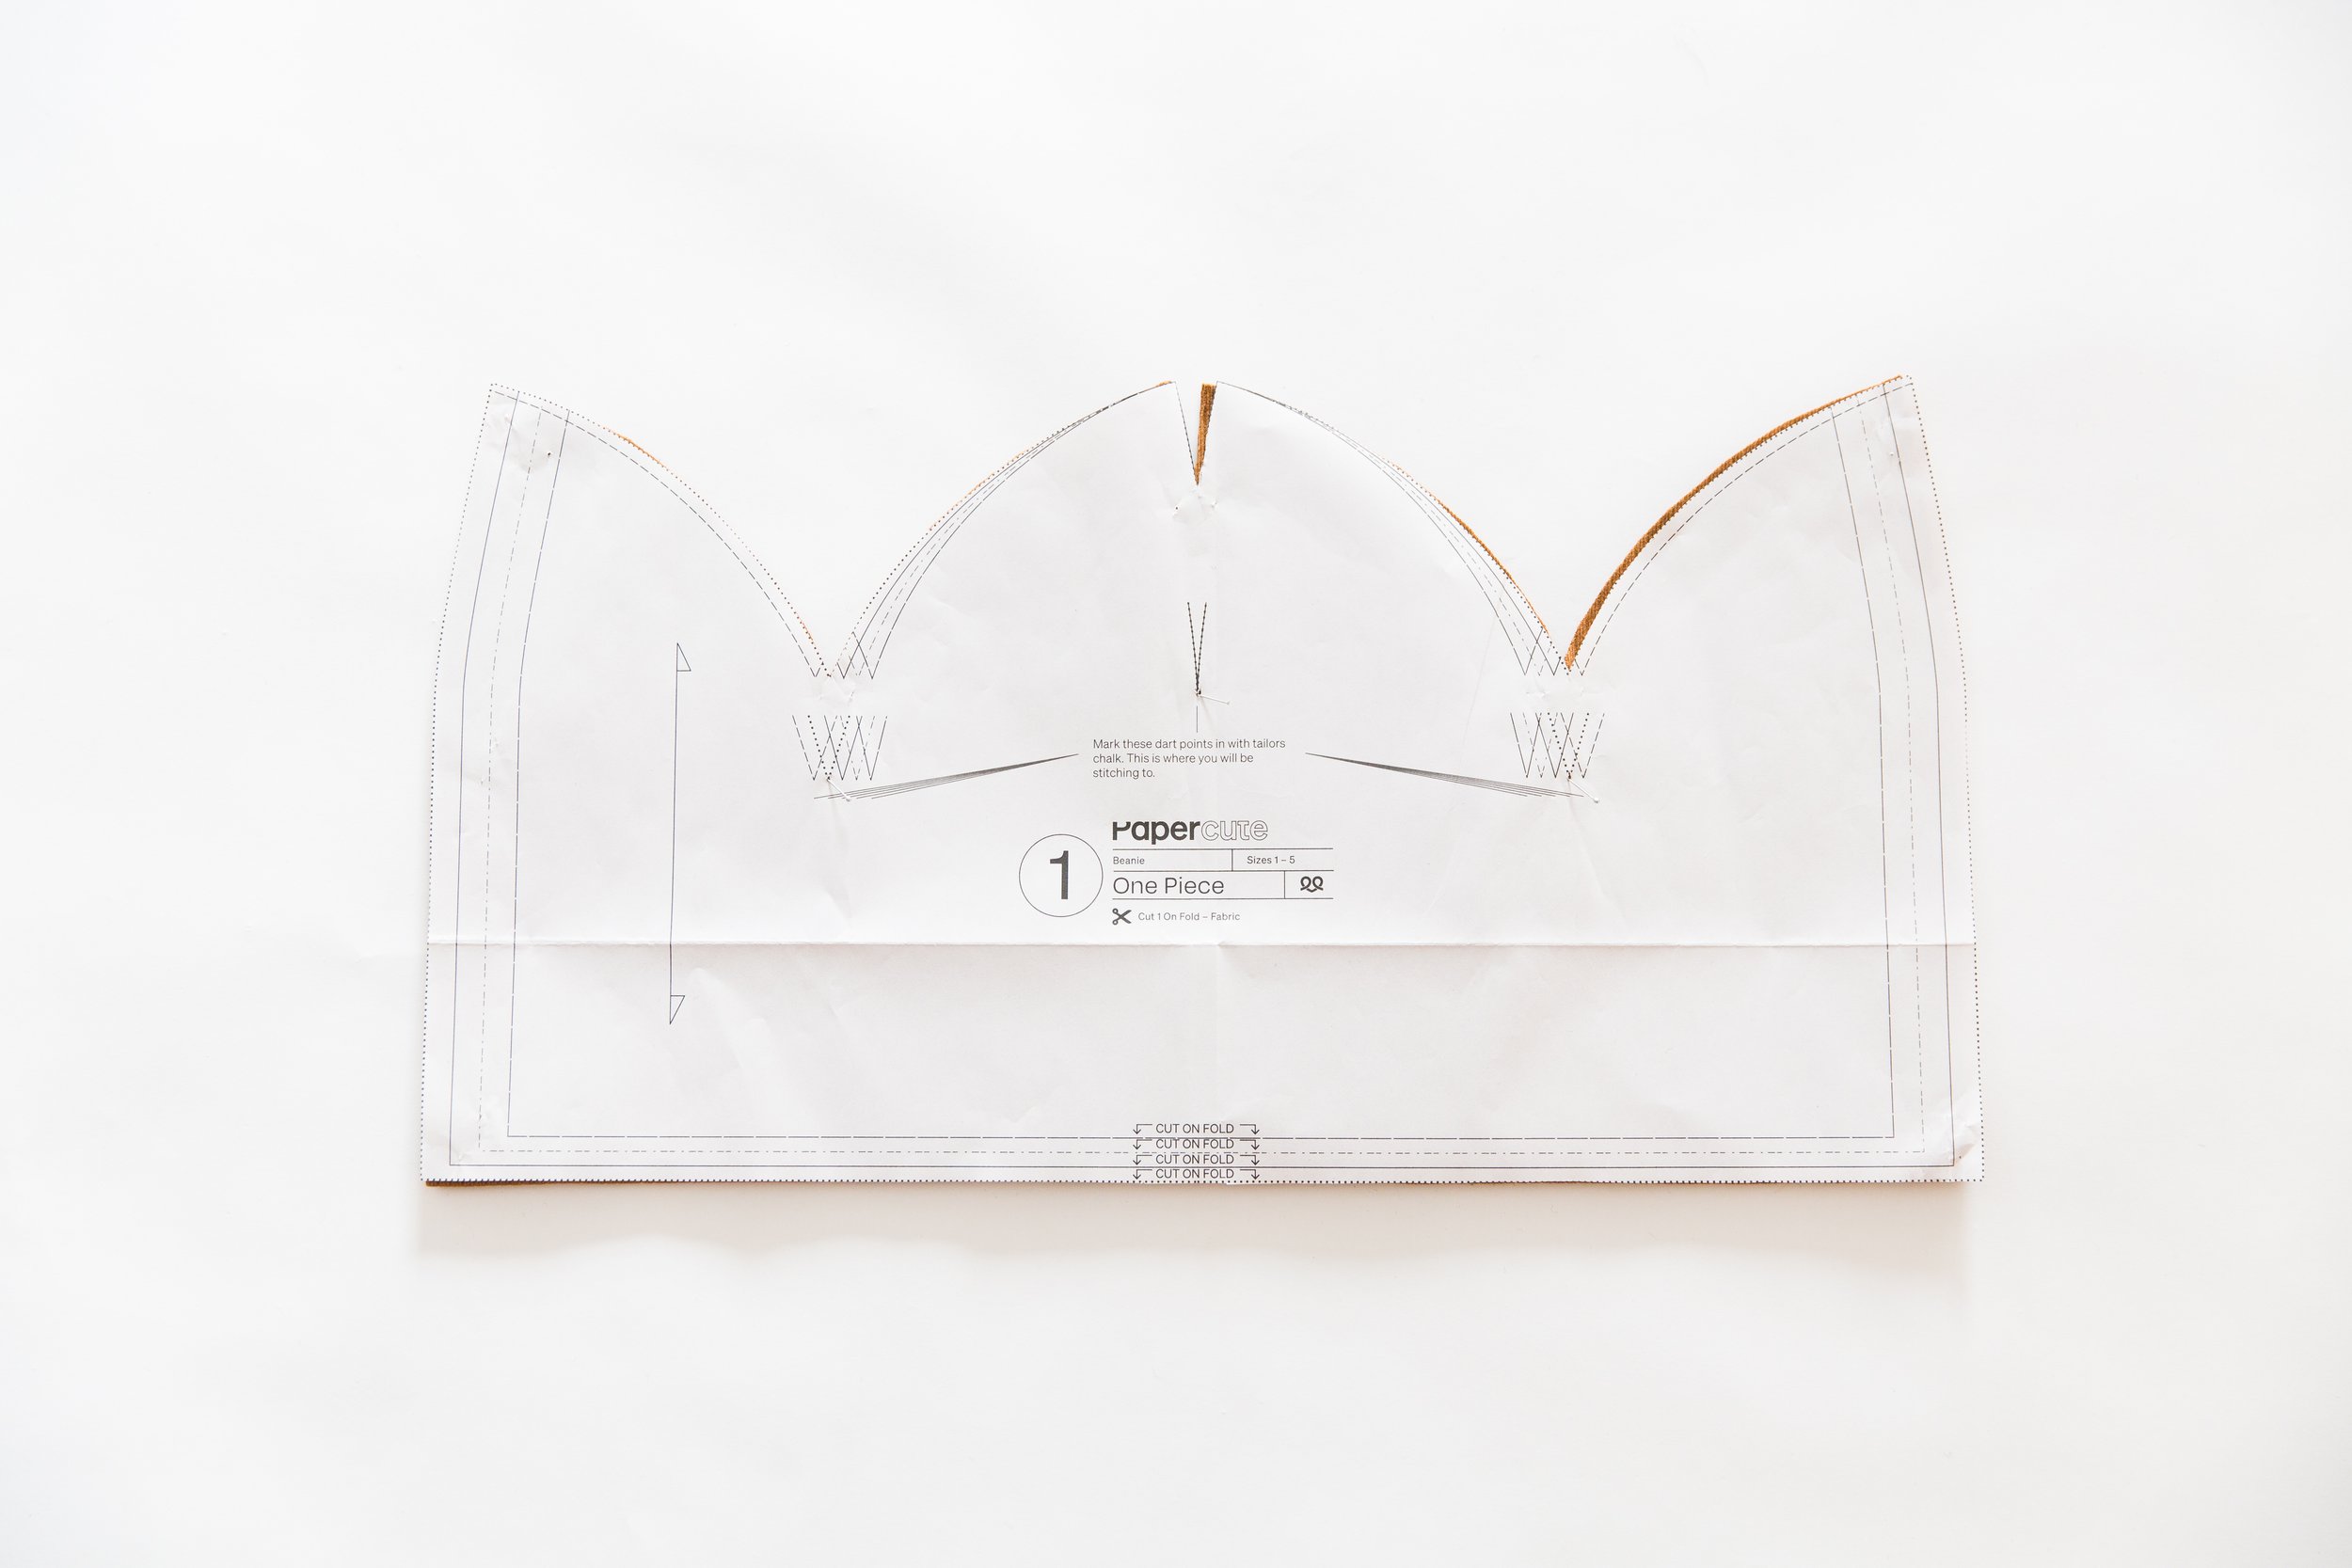
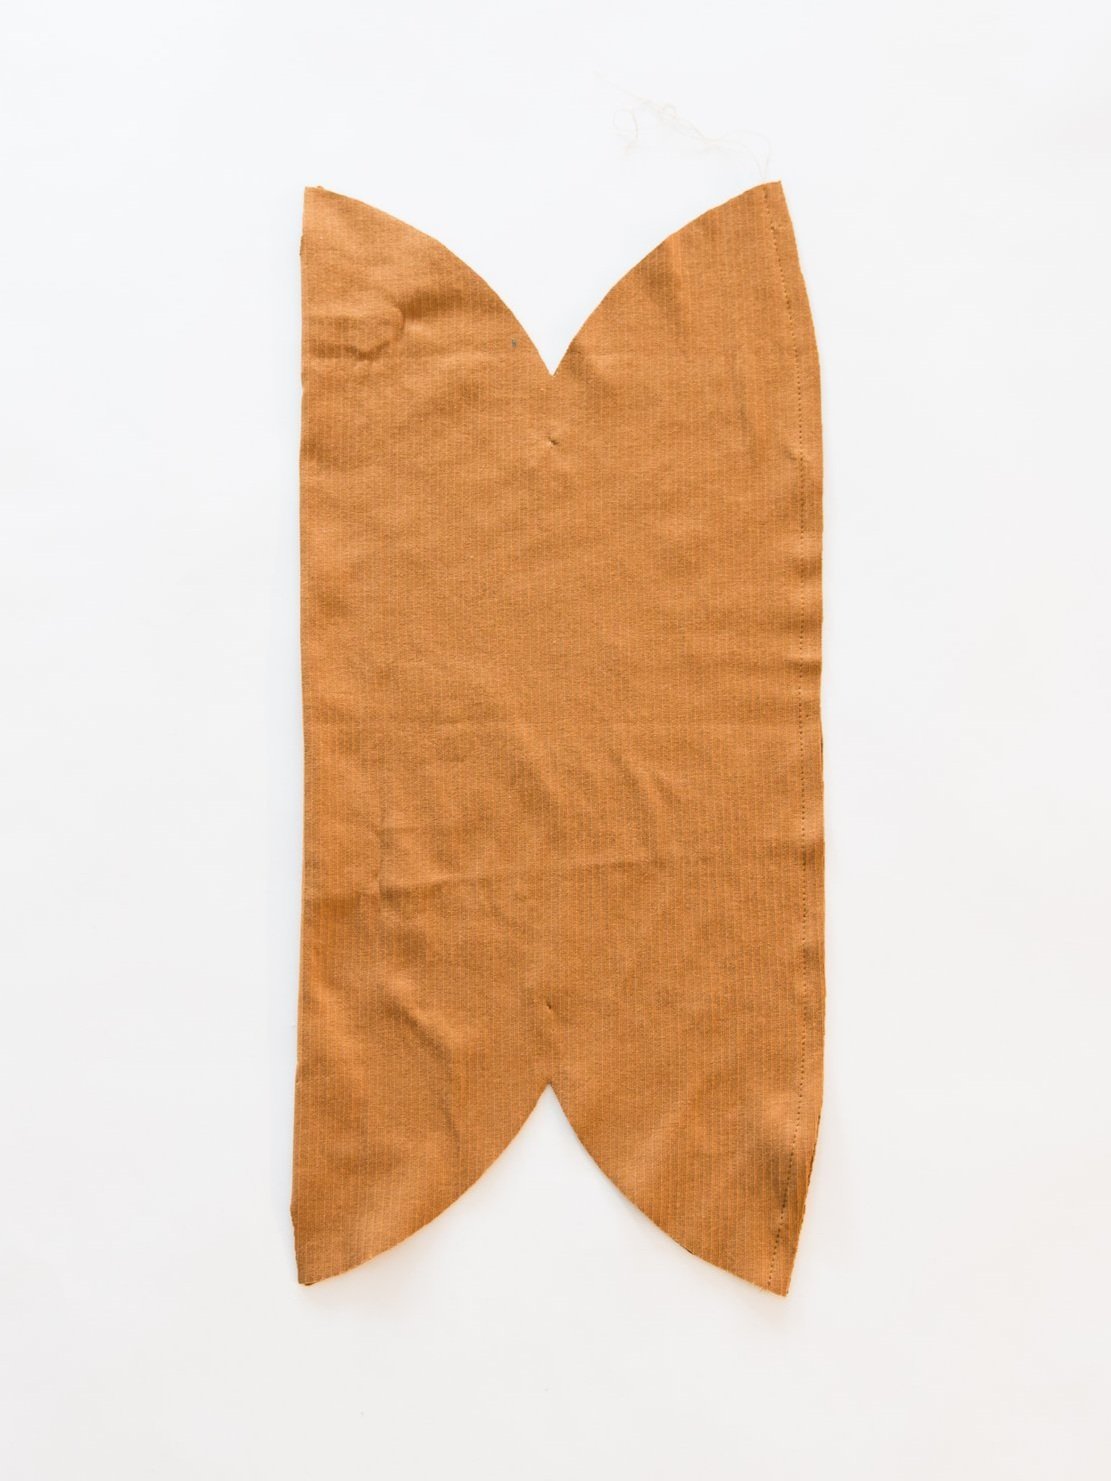
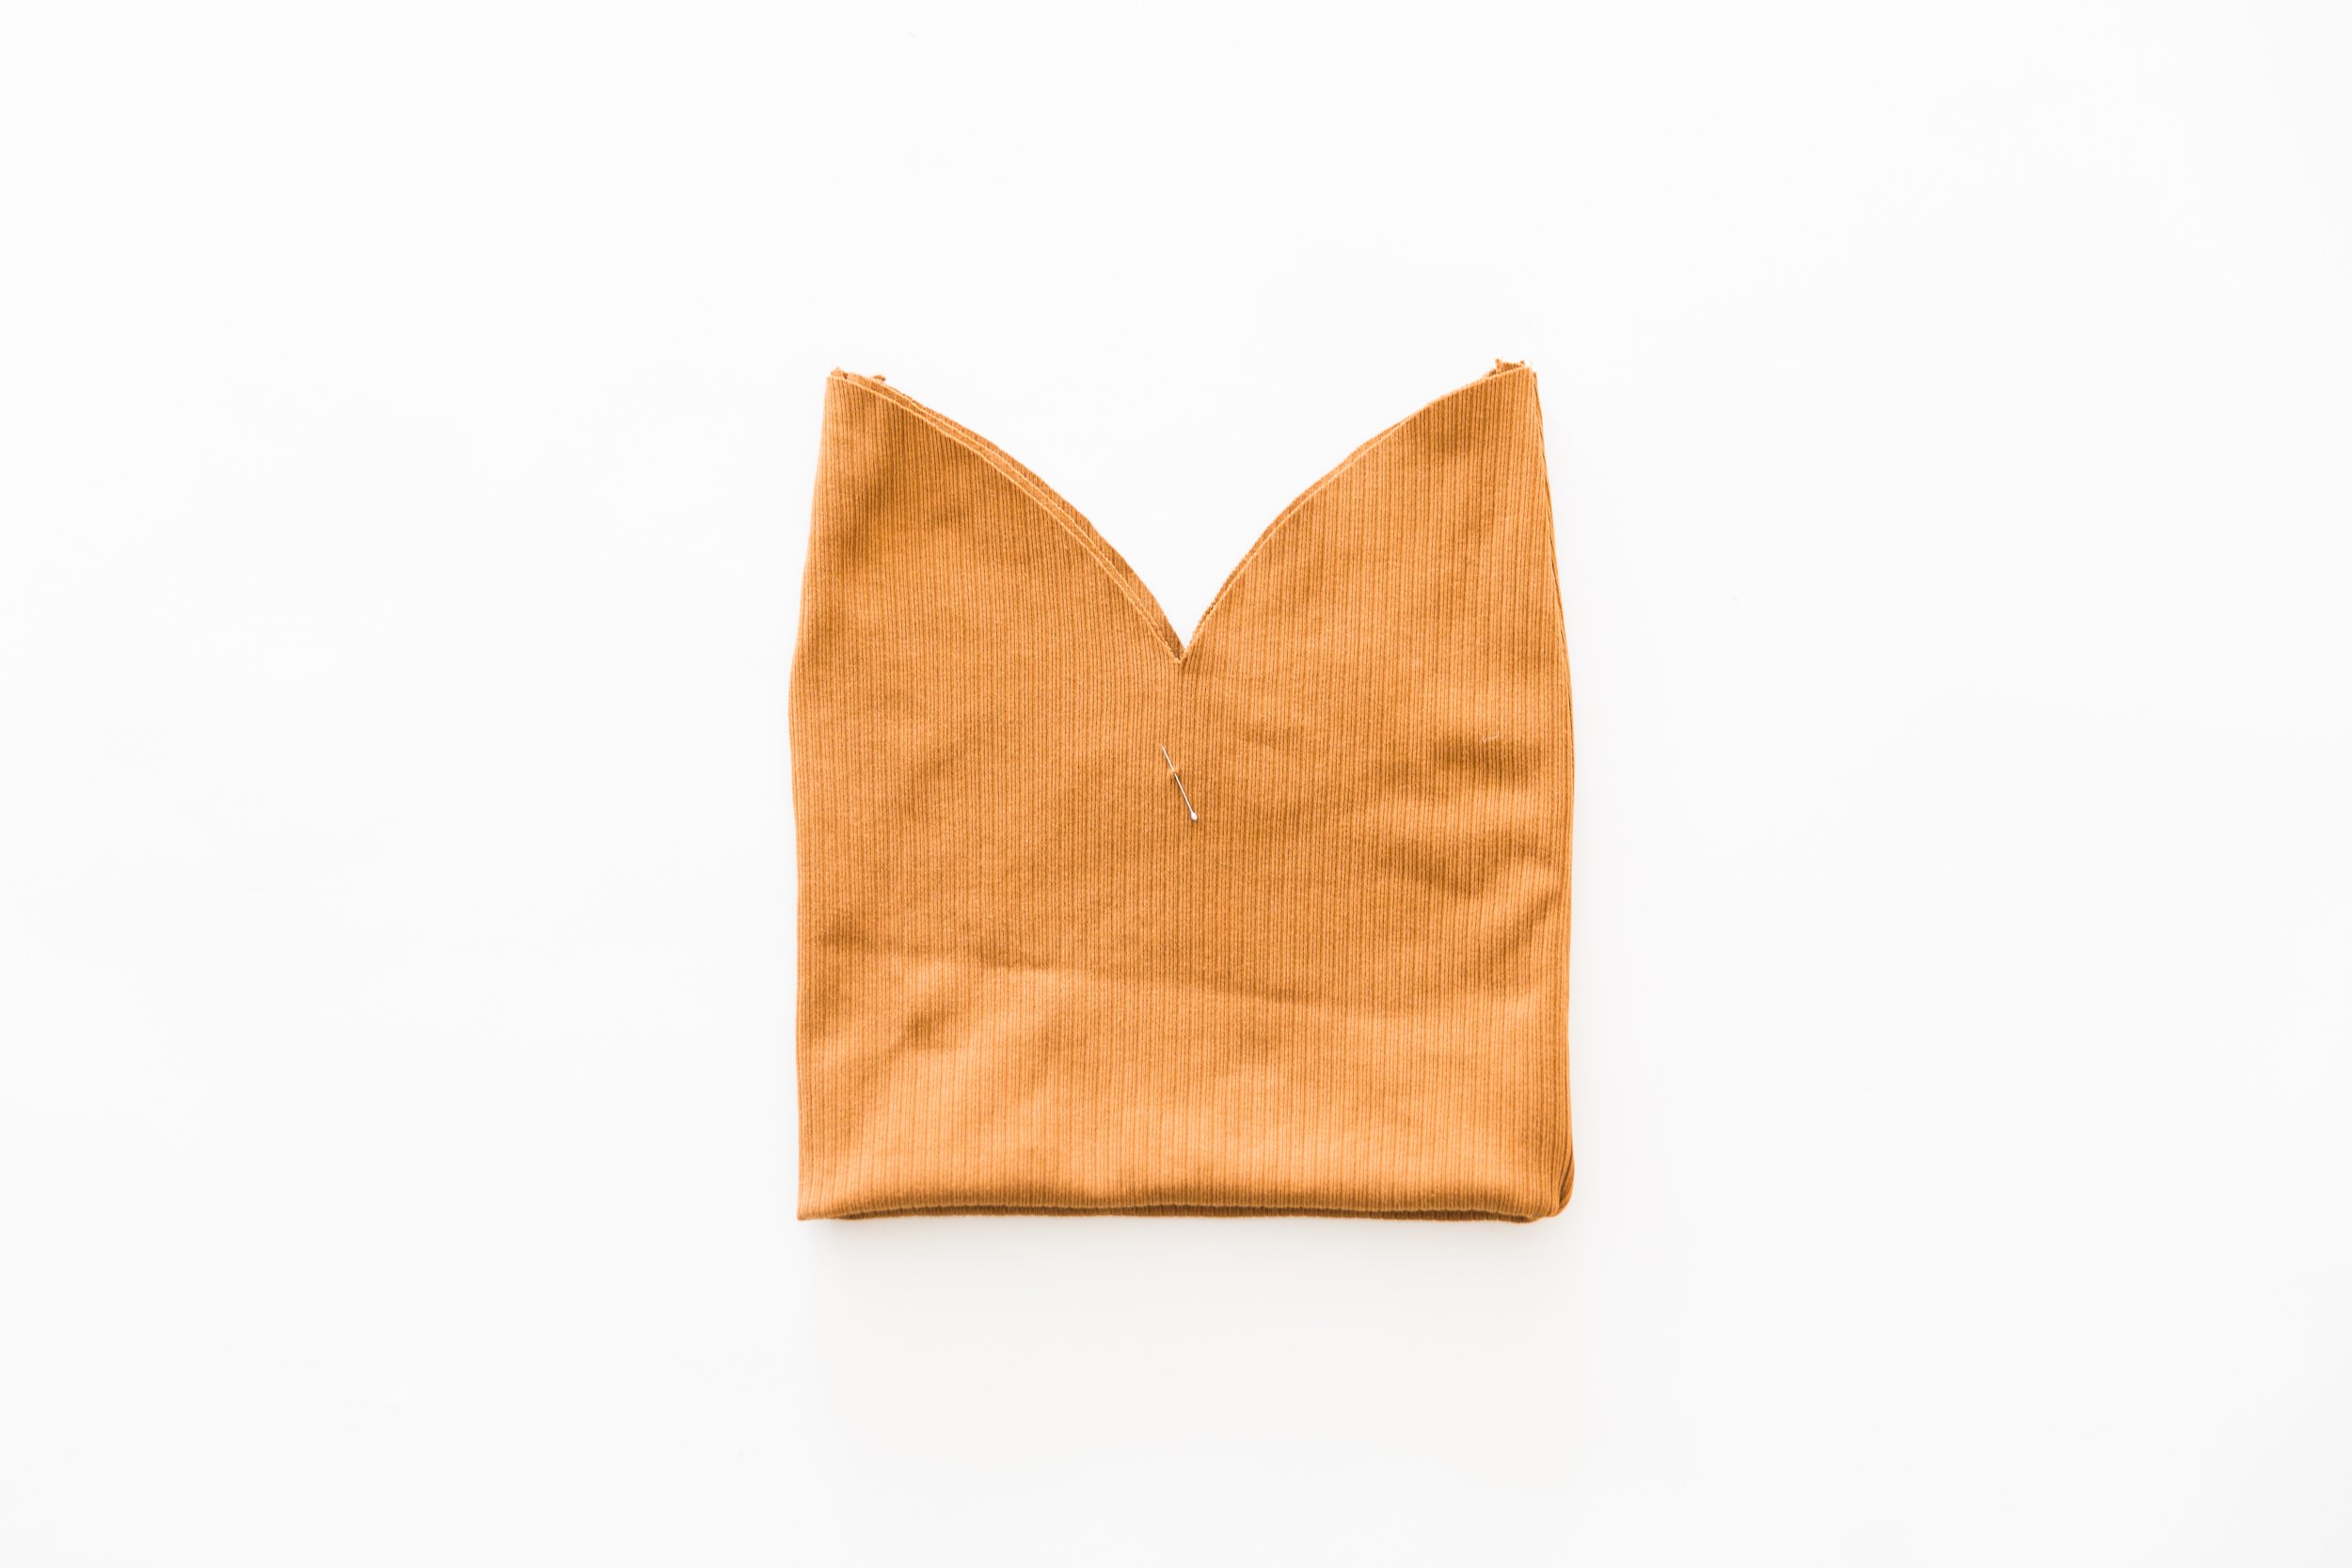
Step 1
Start by marking in your dart points from your pattern piece on the wrong side of fabric.
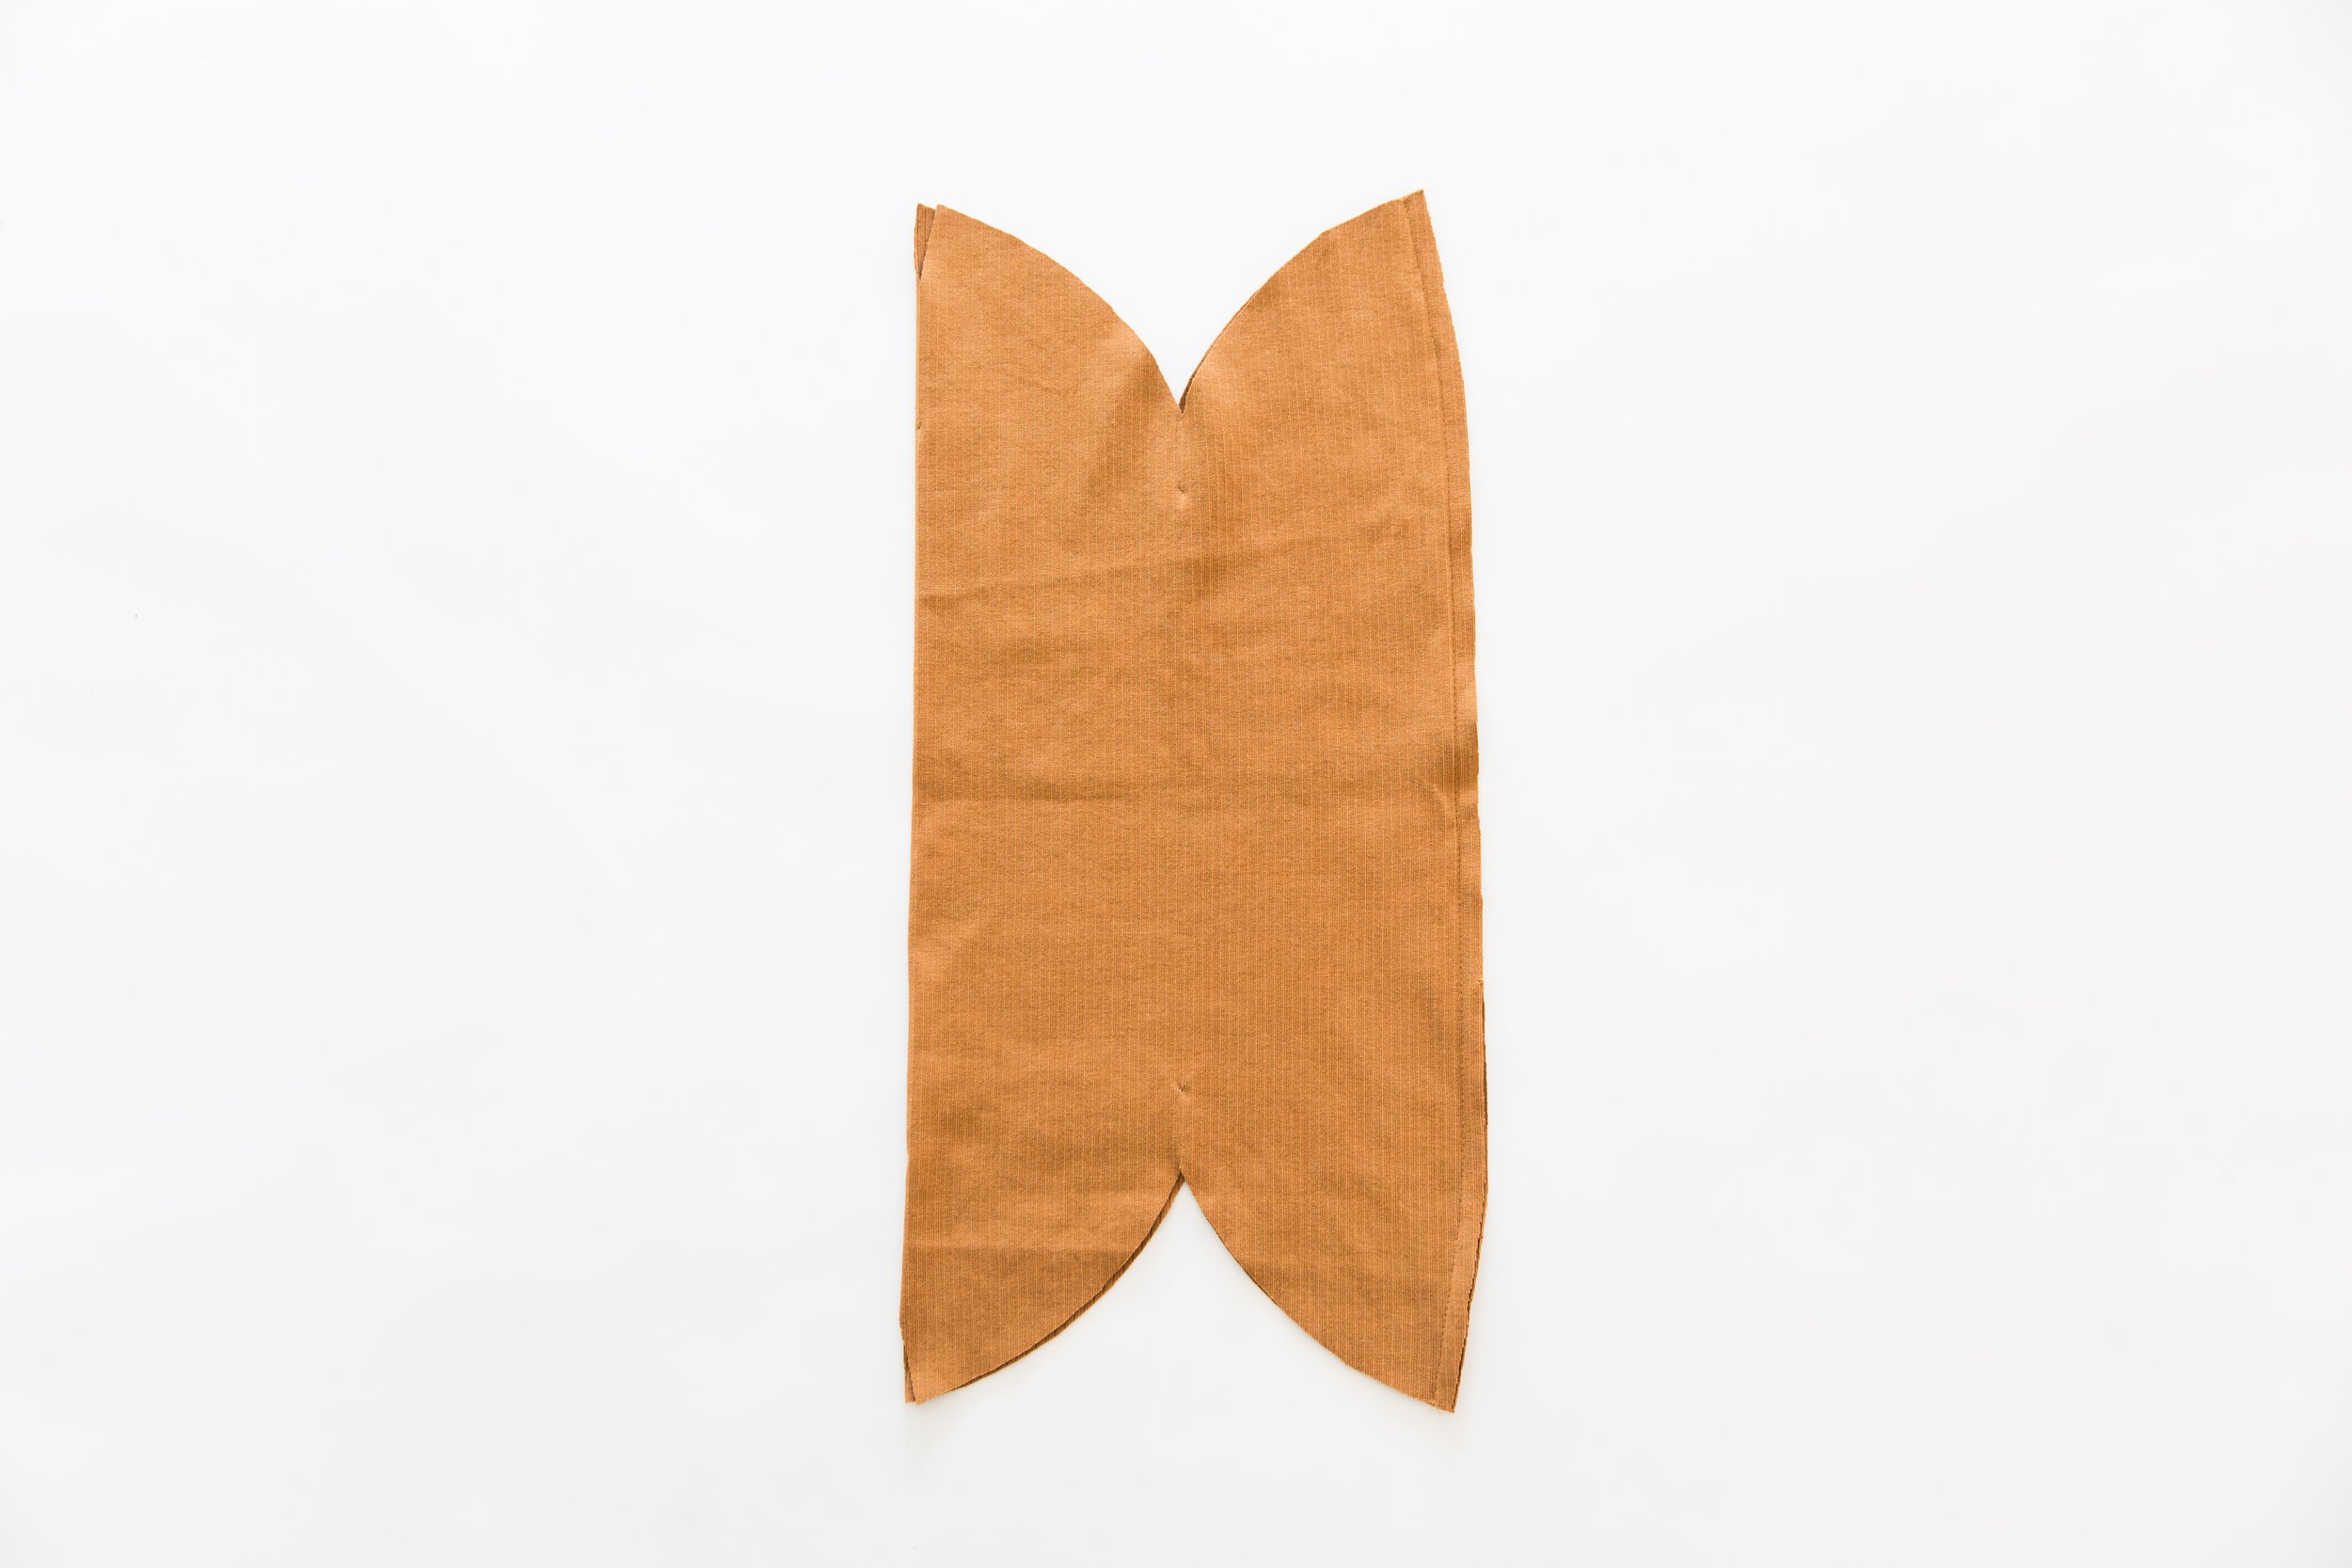
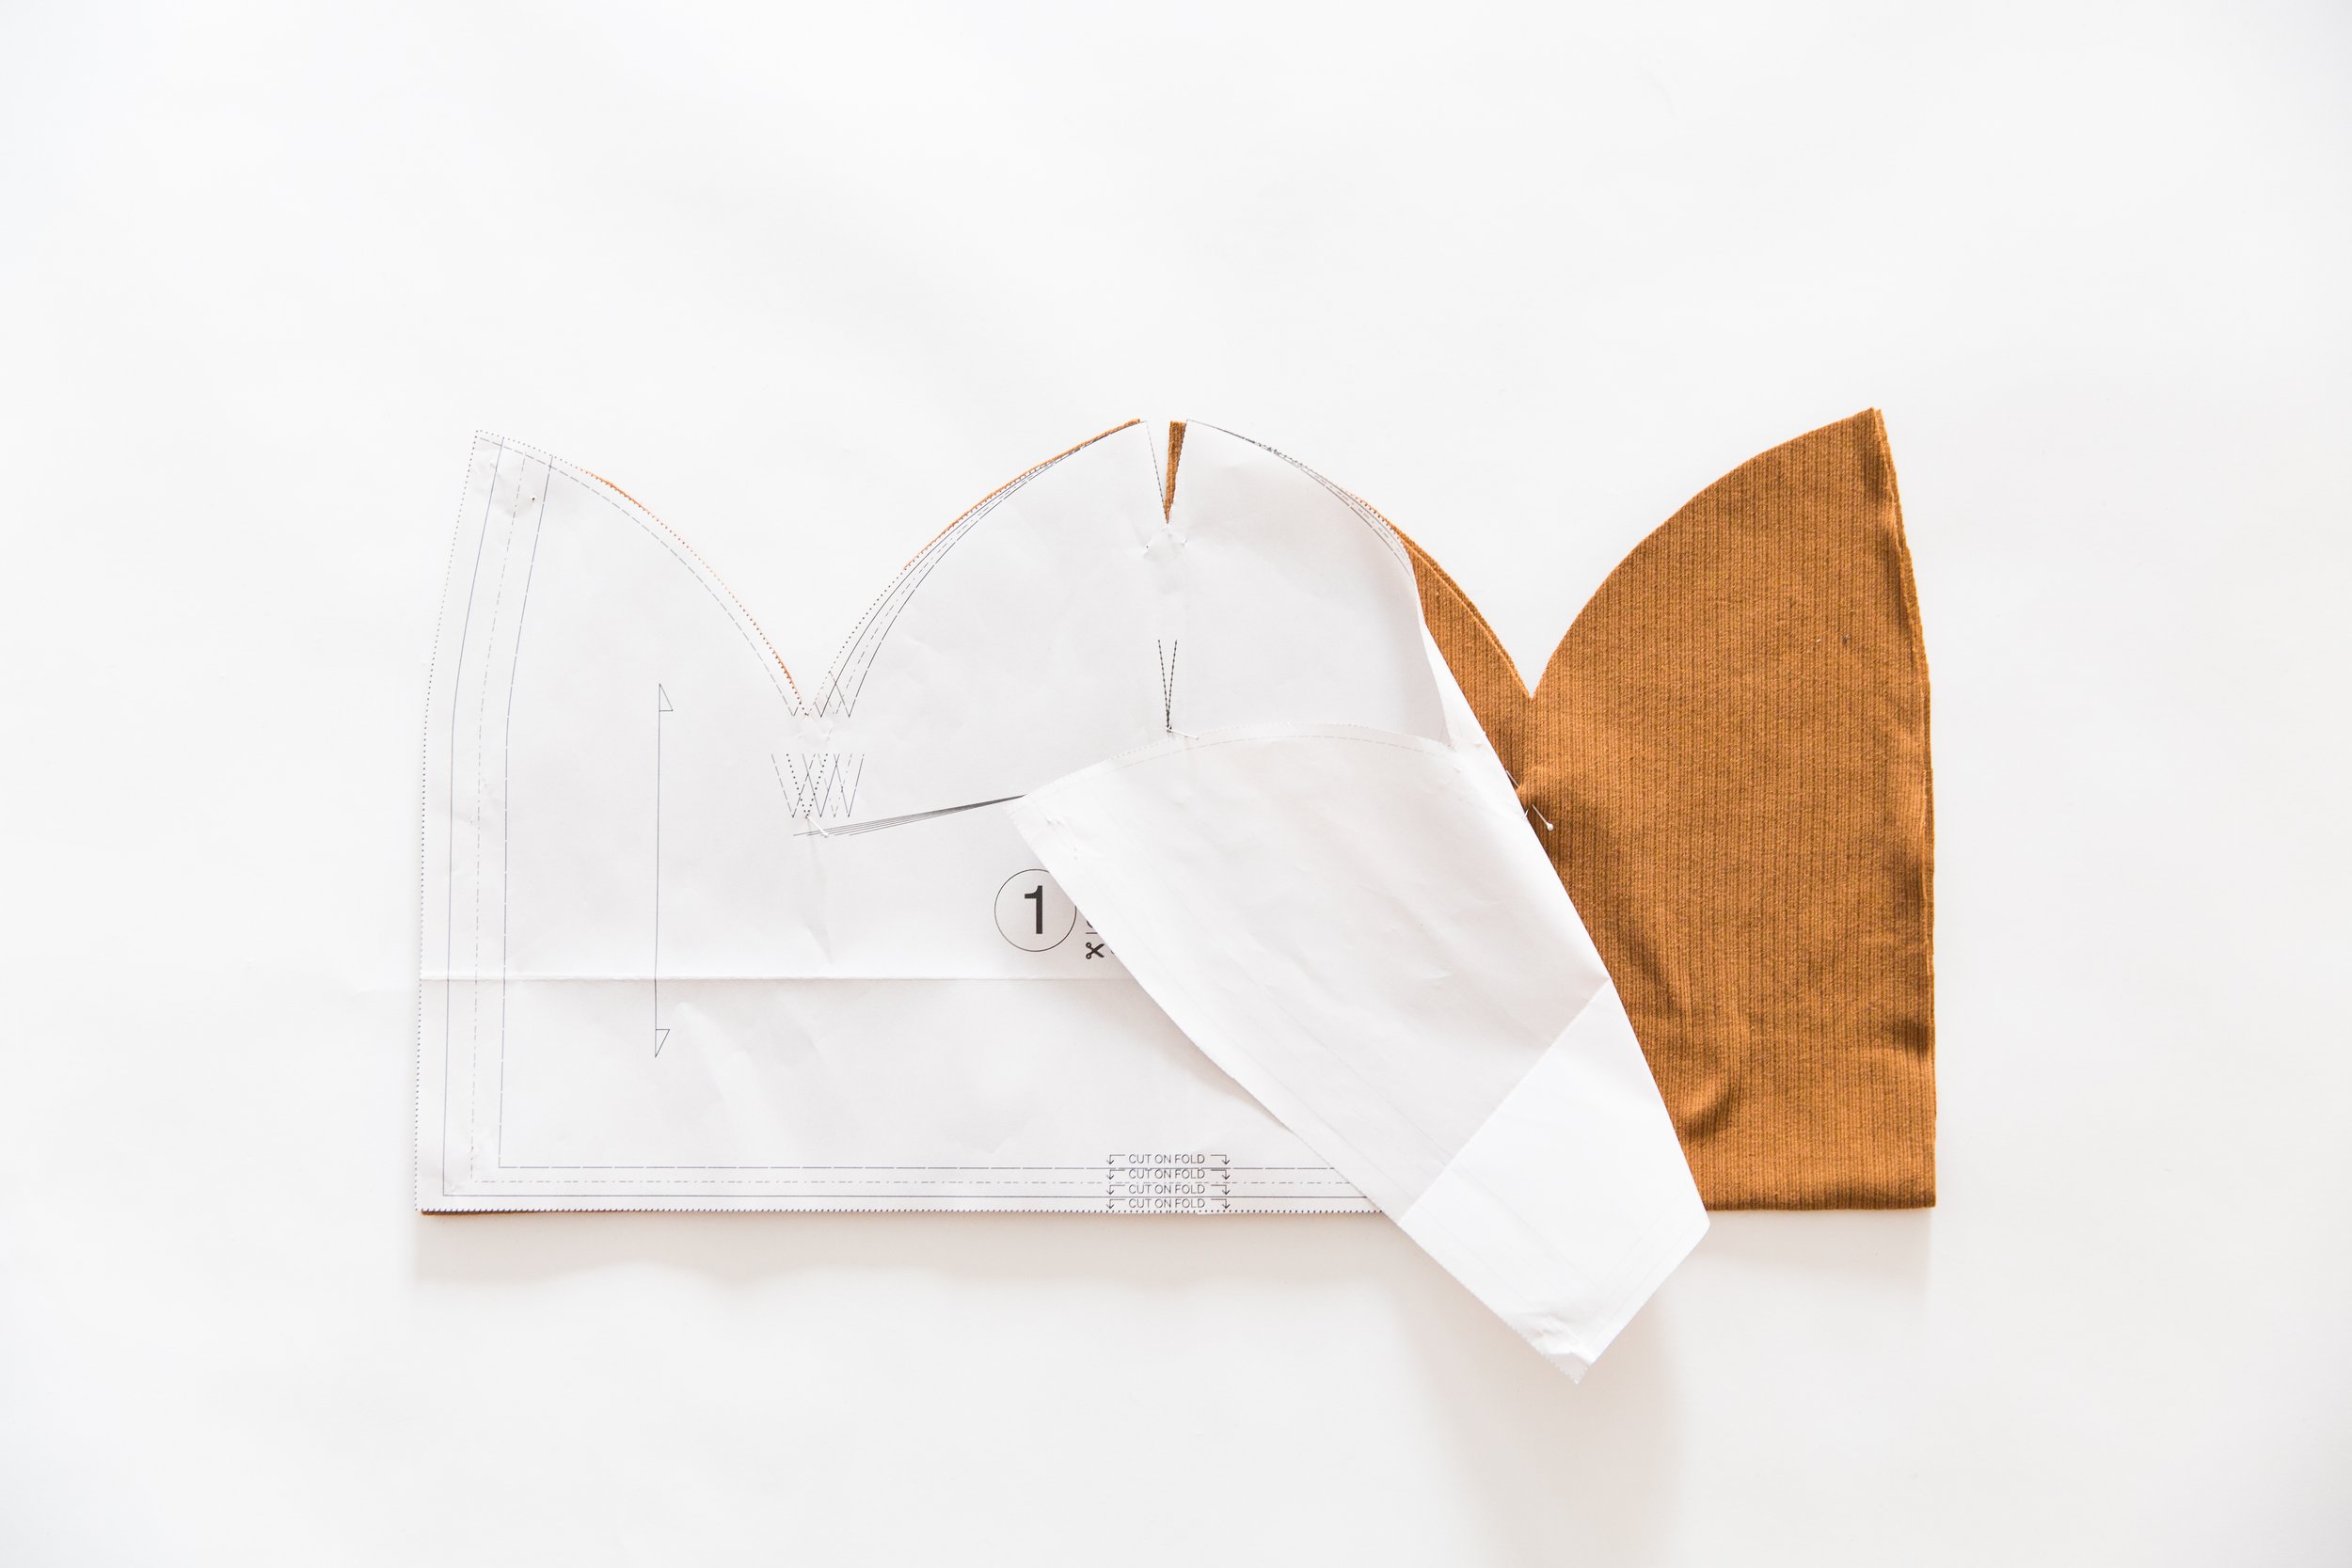
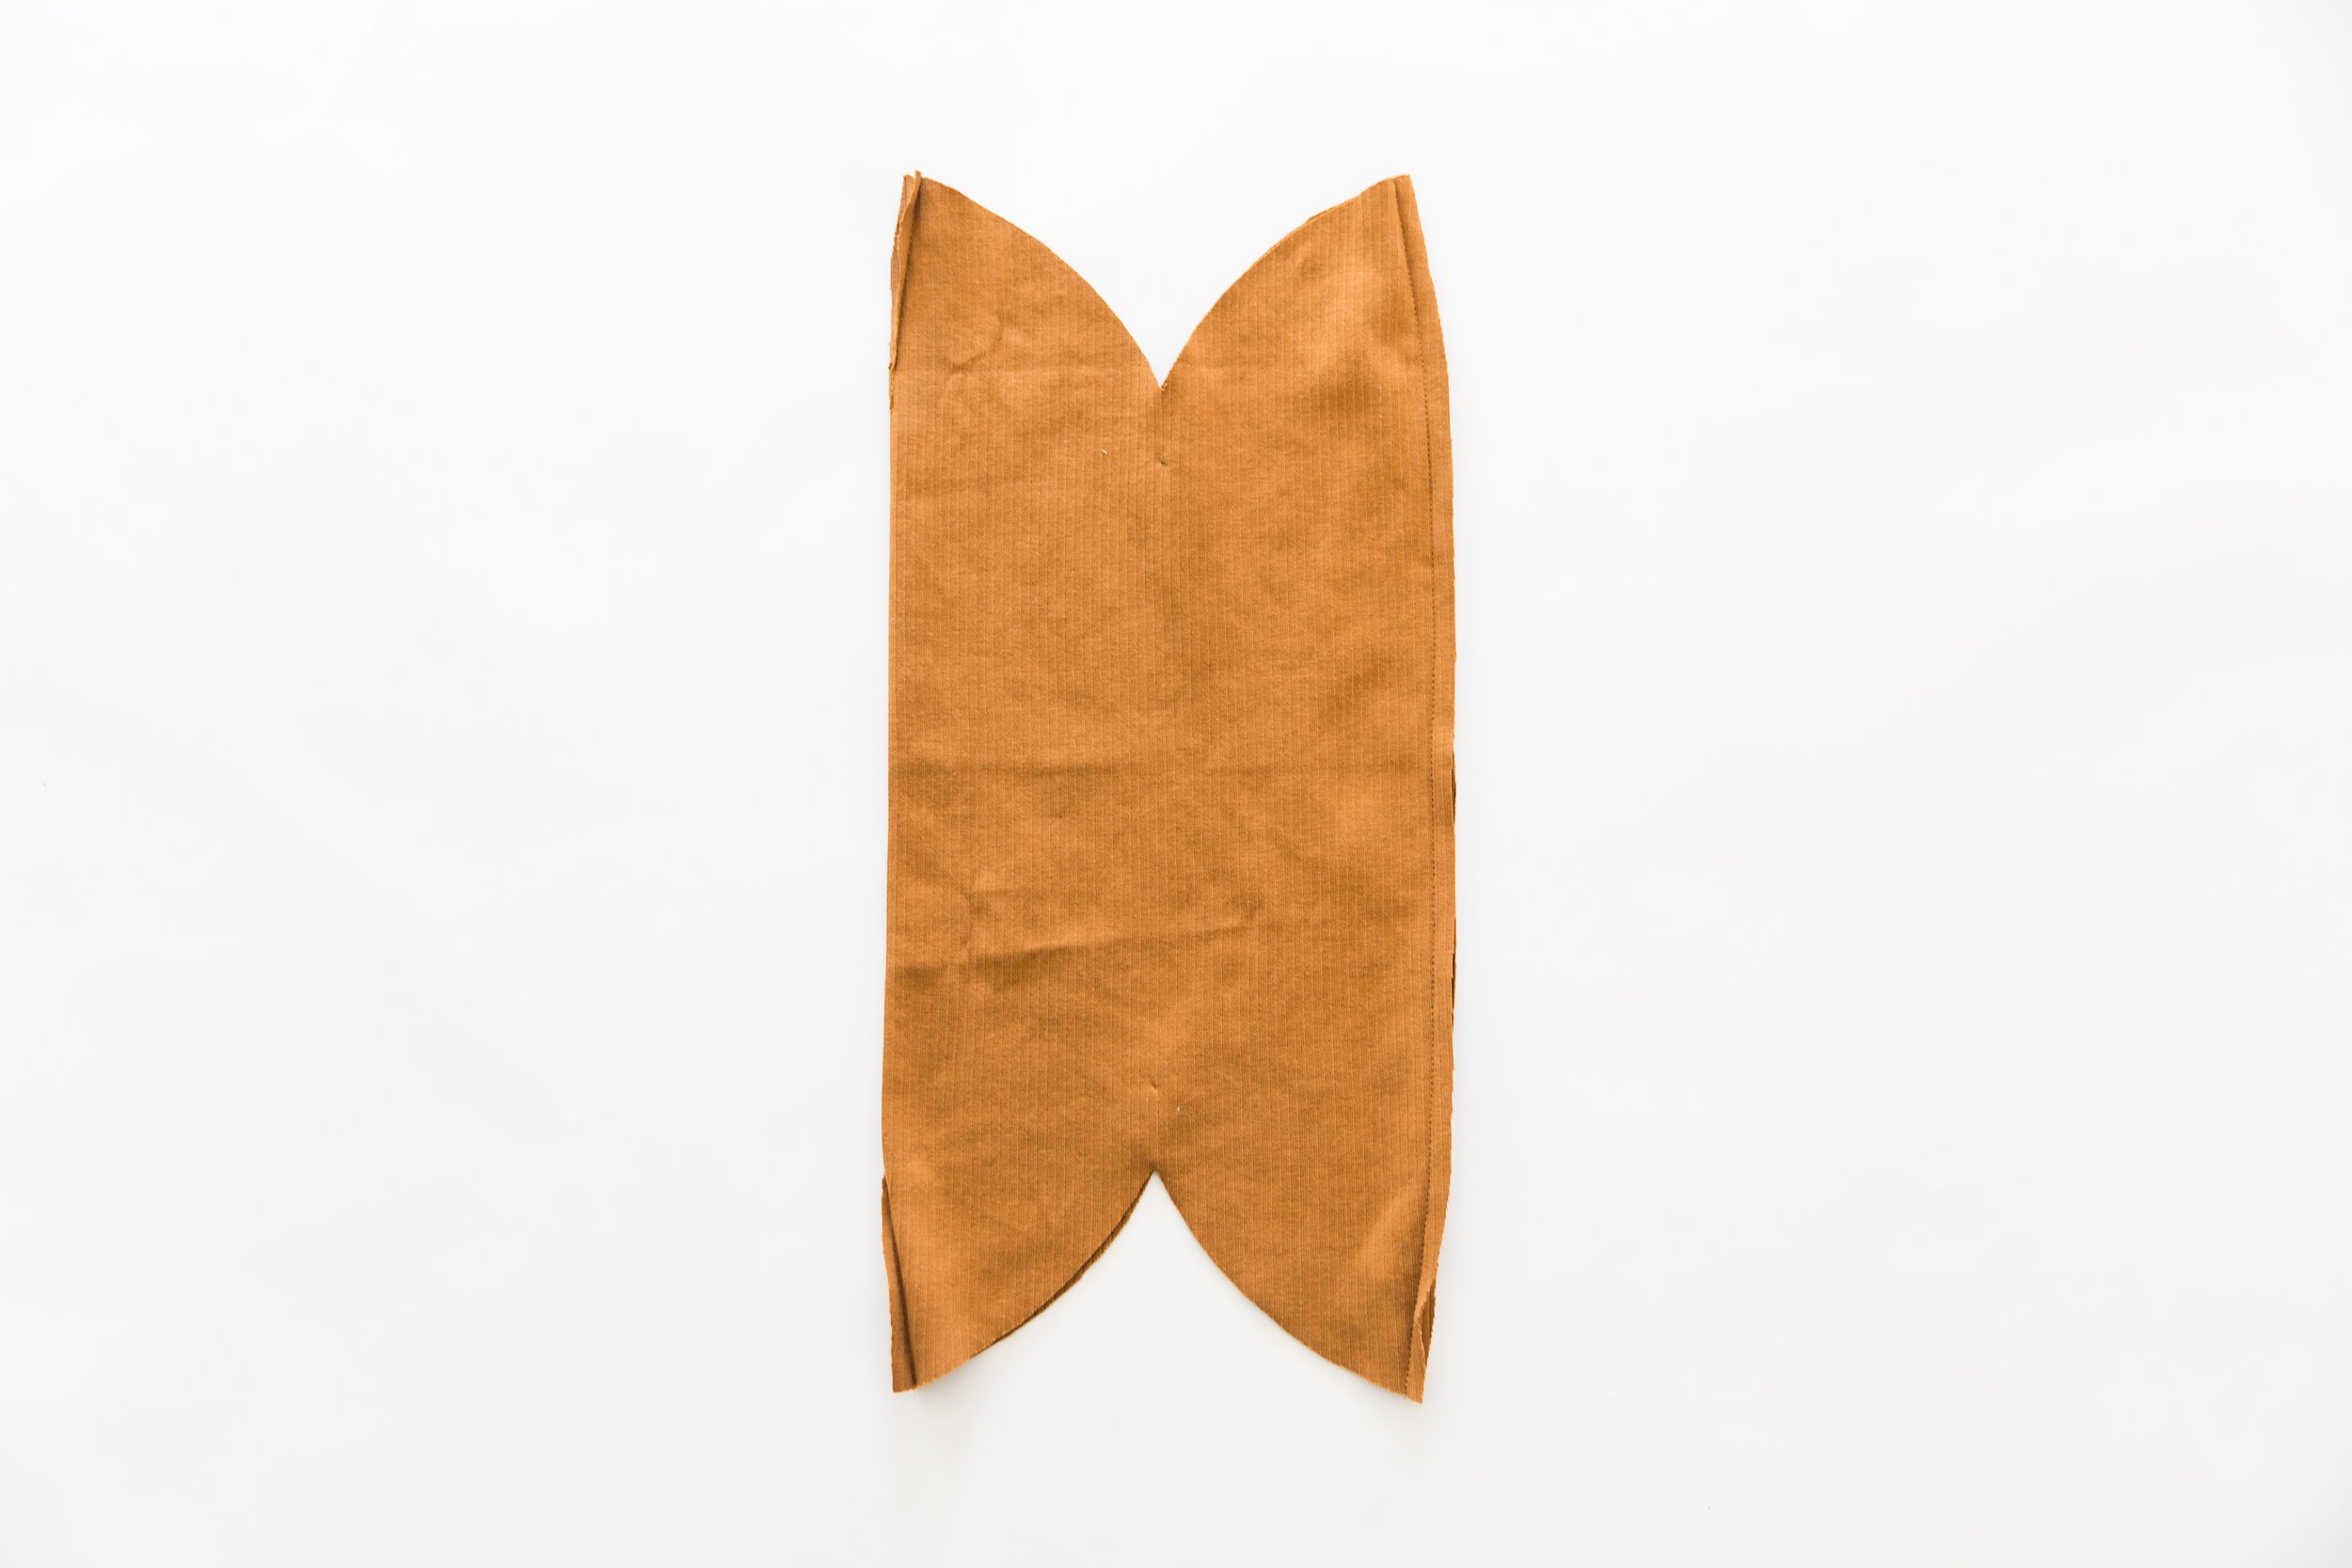
Step 2
With the right side of fabric up, fold in half as illustrated, lining up the two open edges. Stitch together. Press seam allowance open.
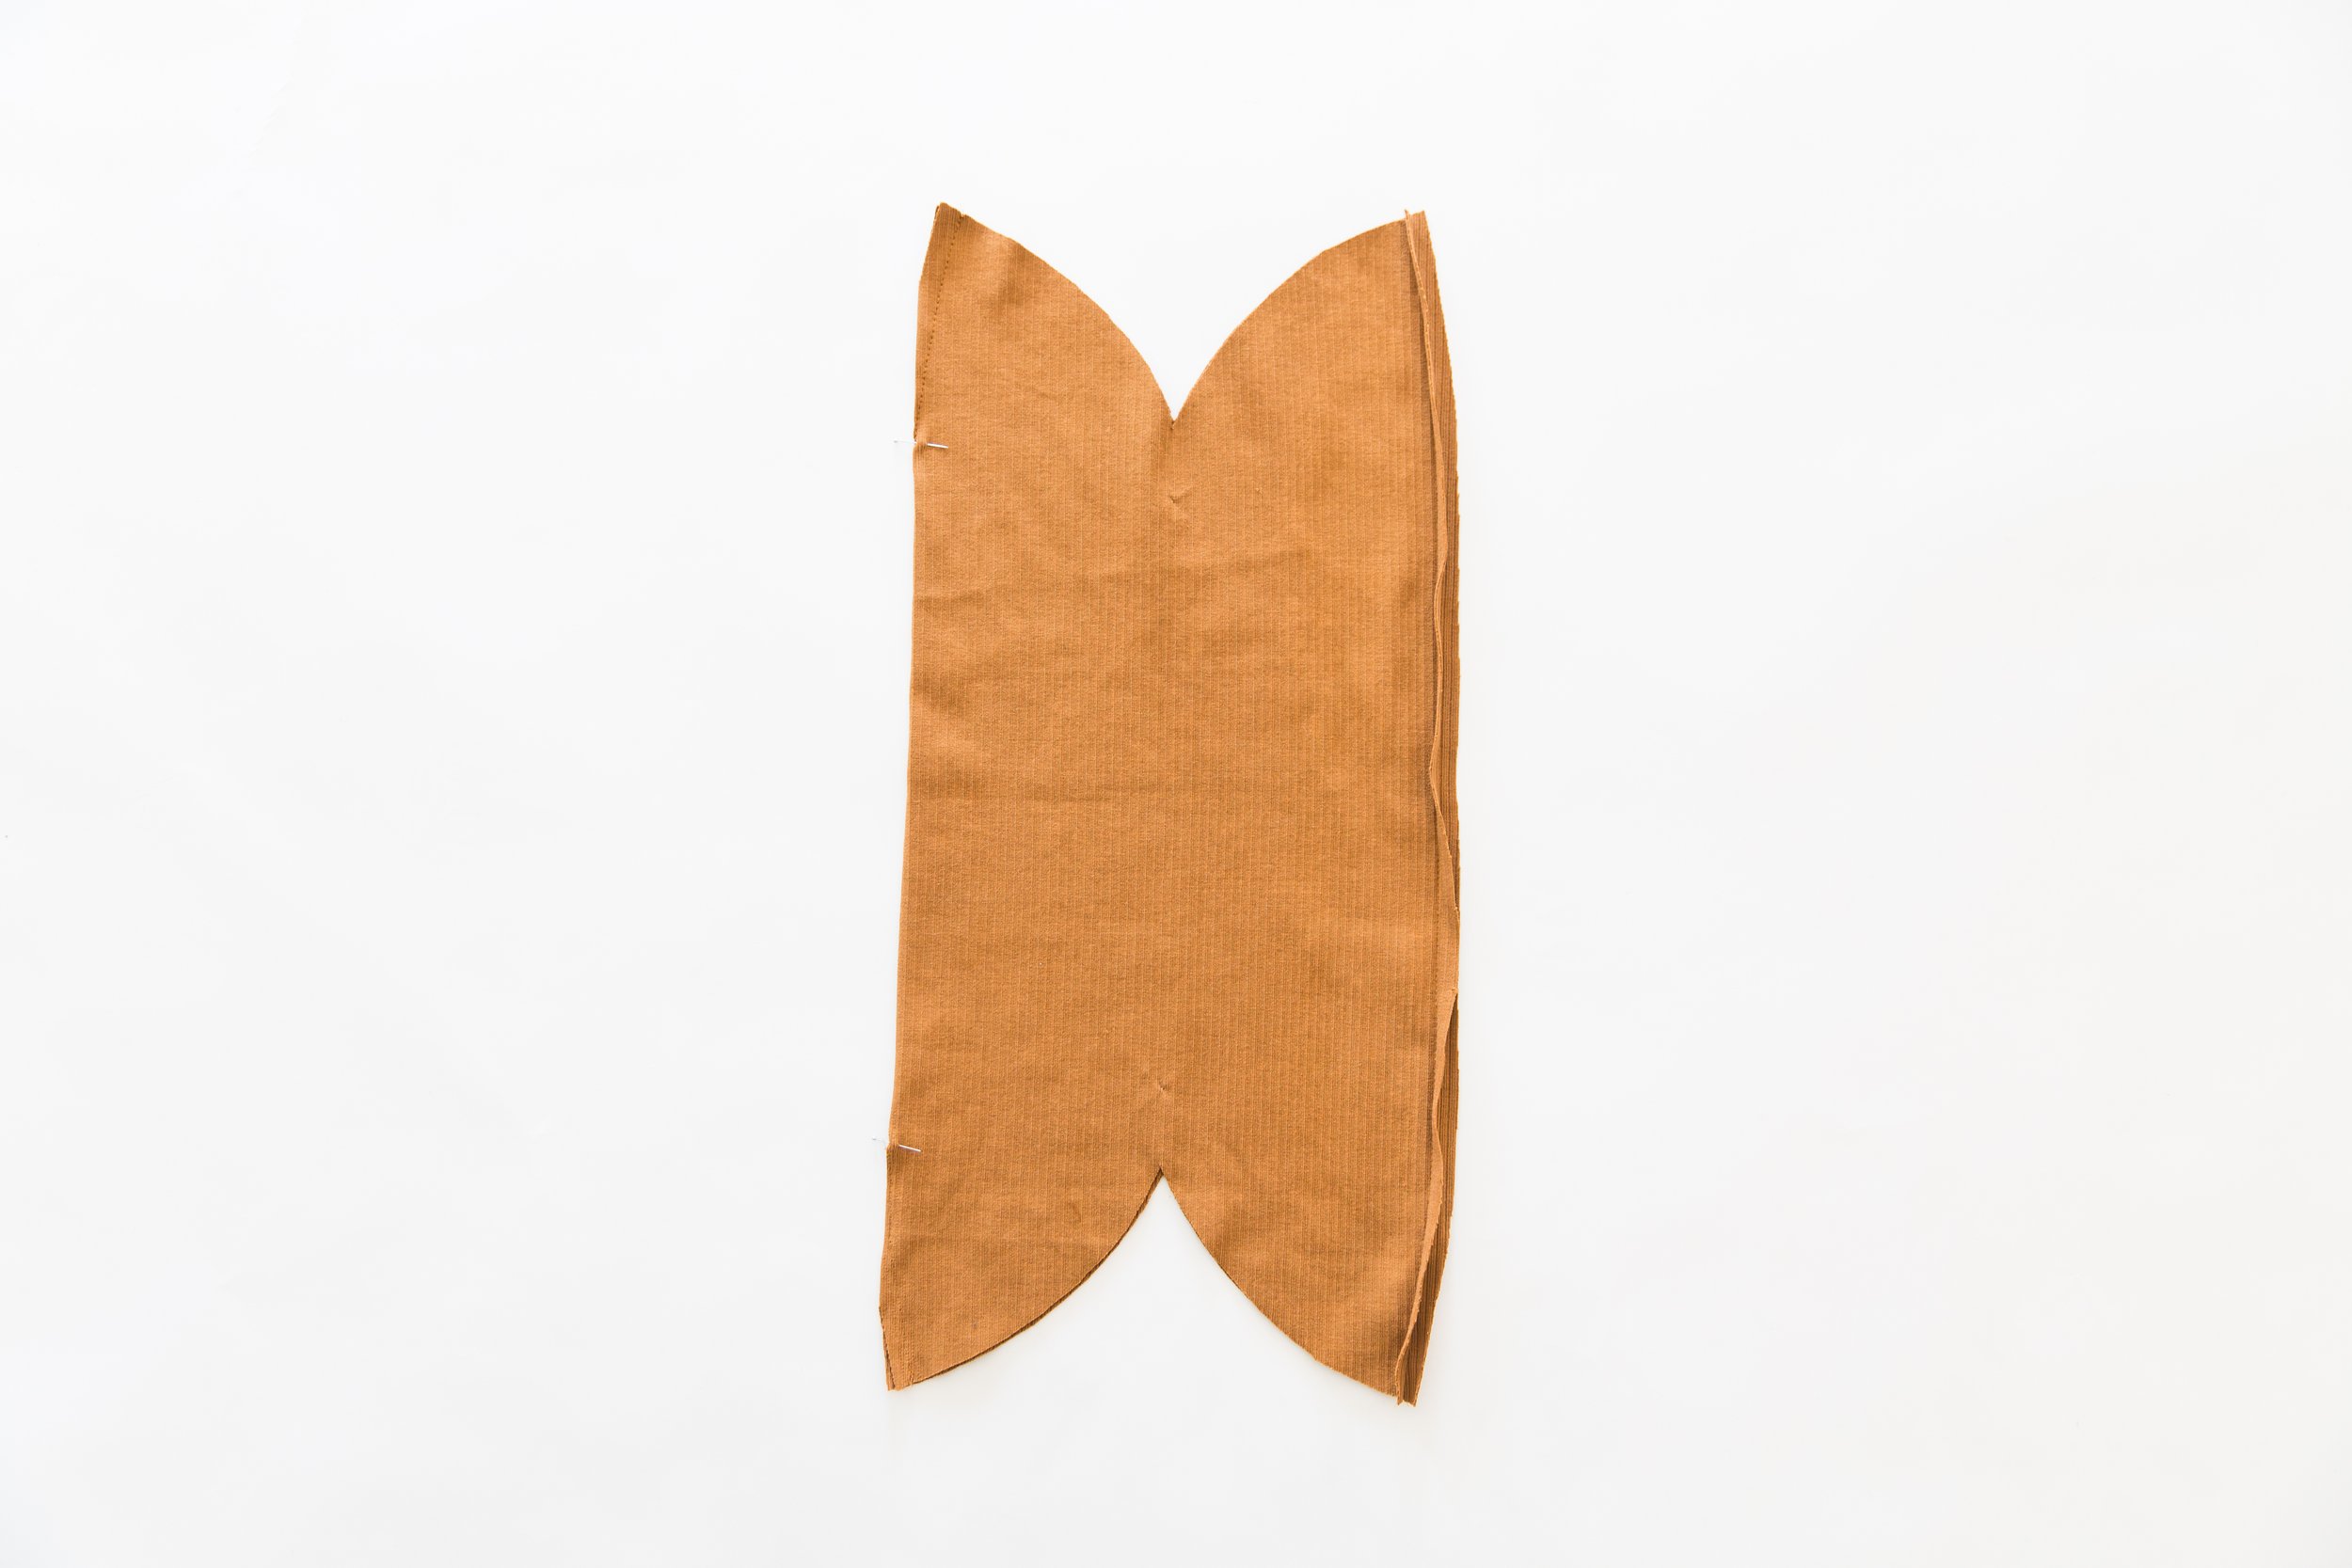
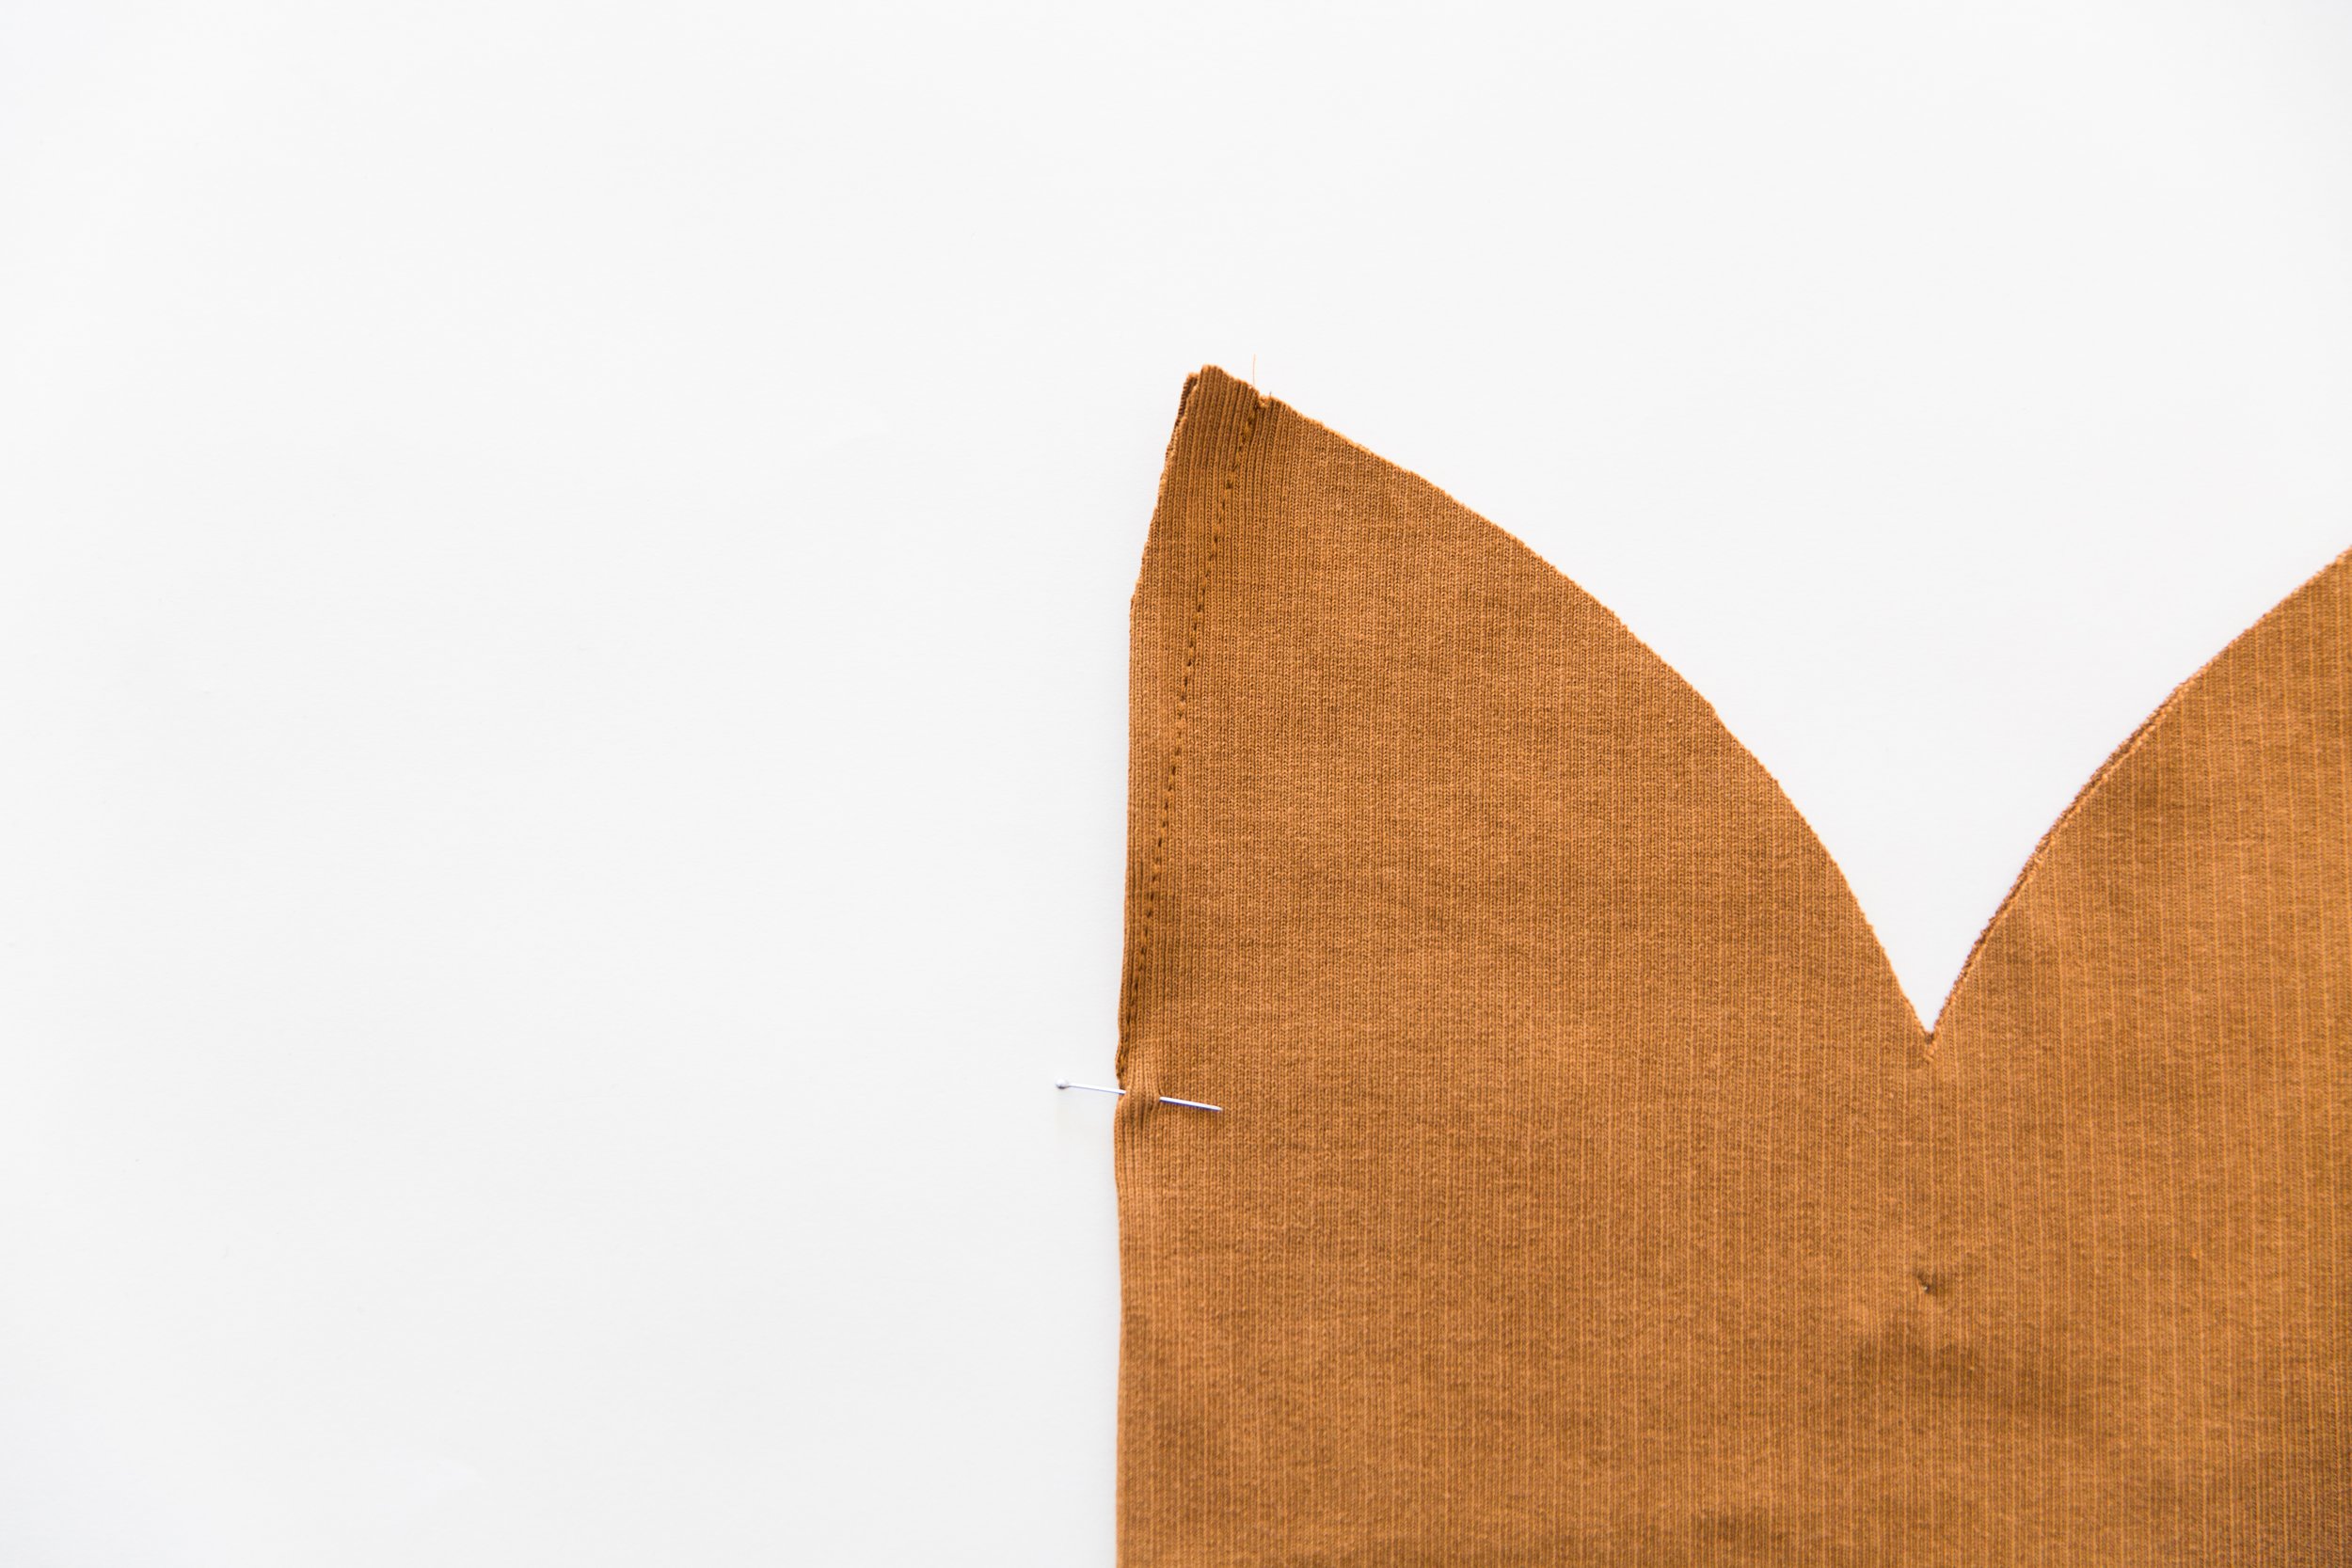
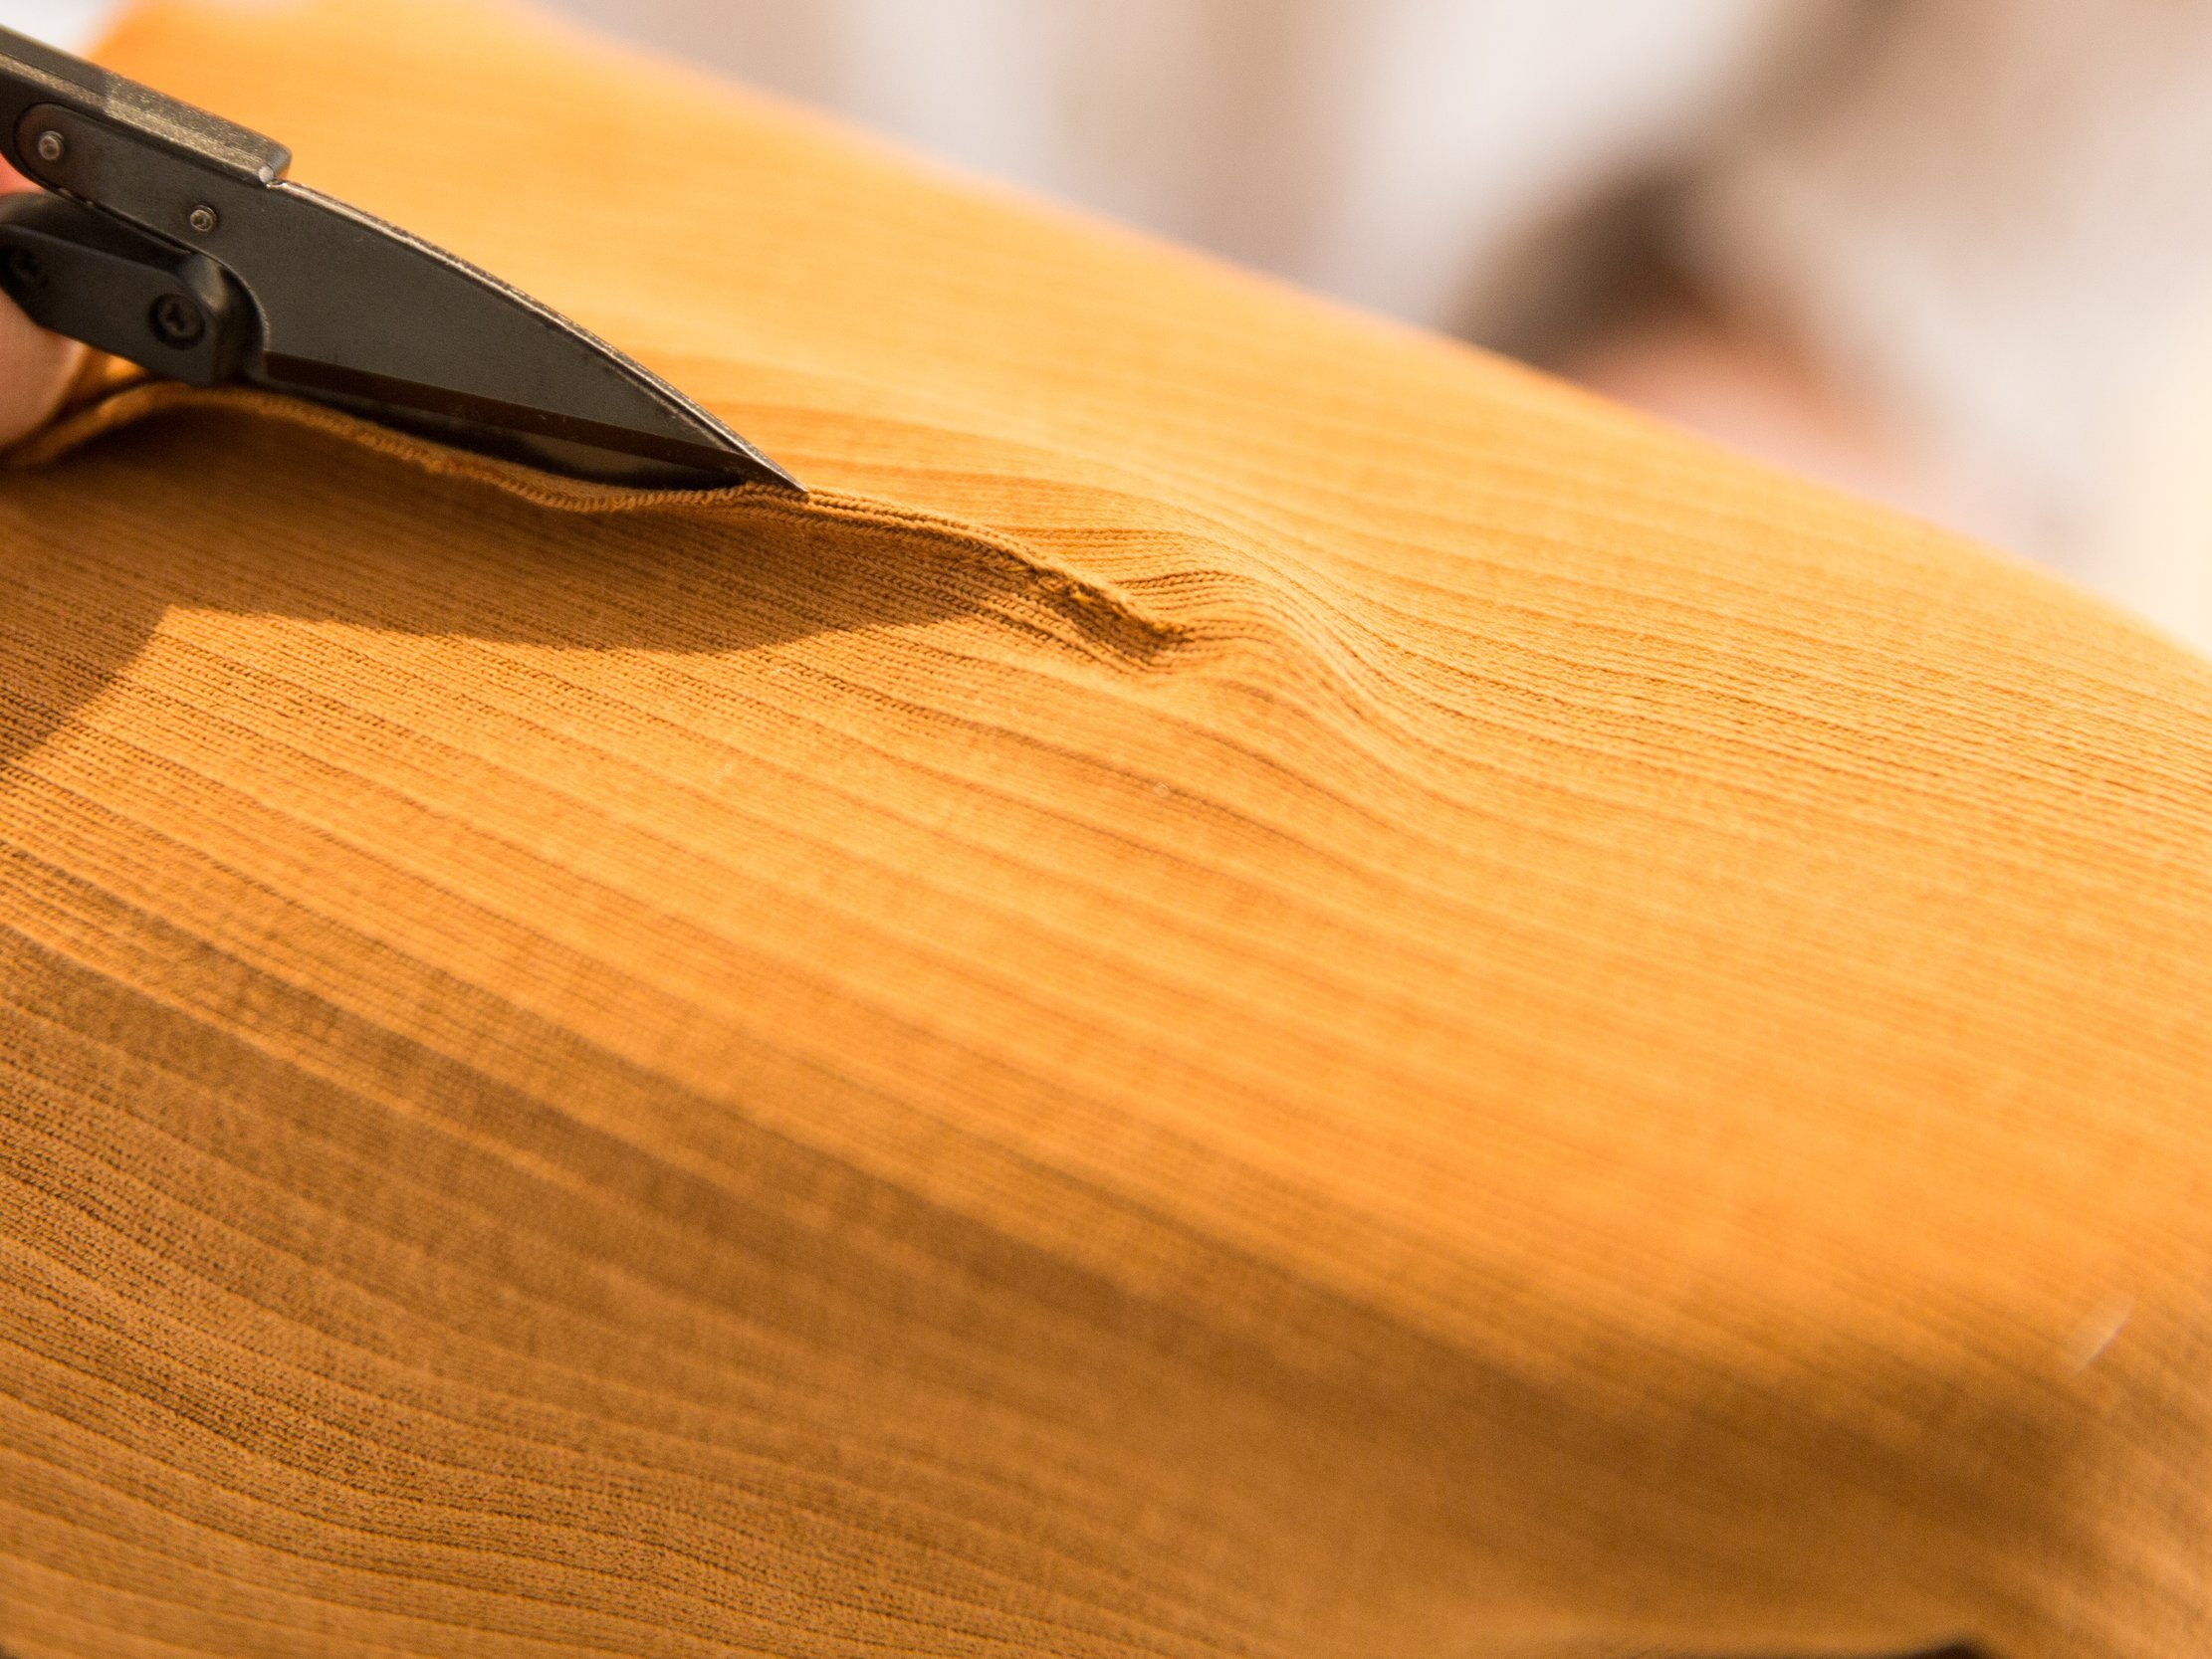
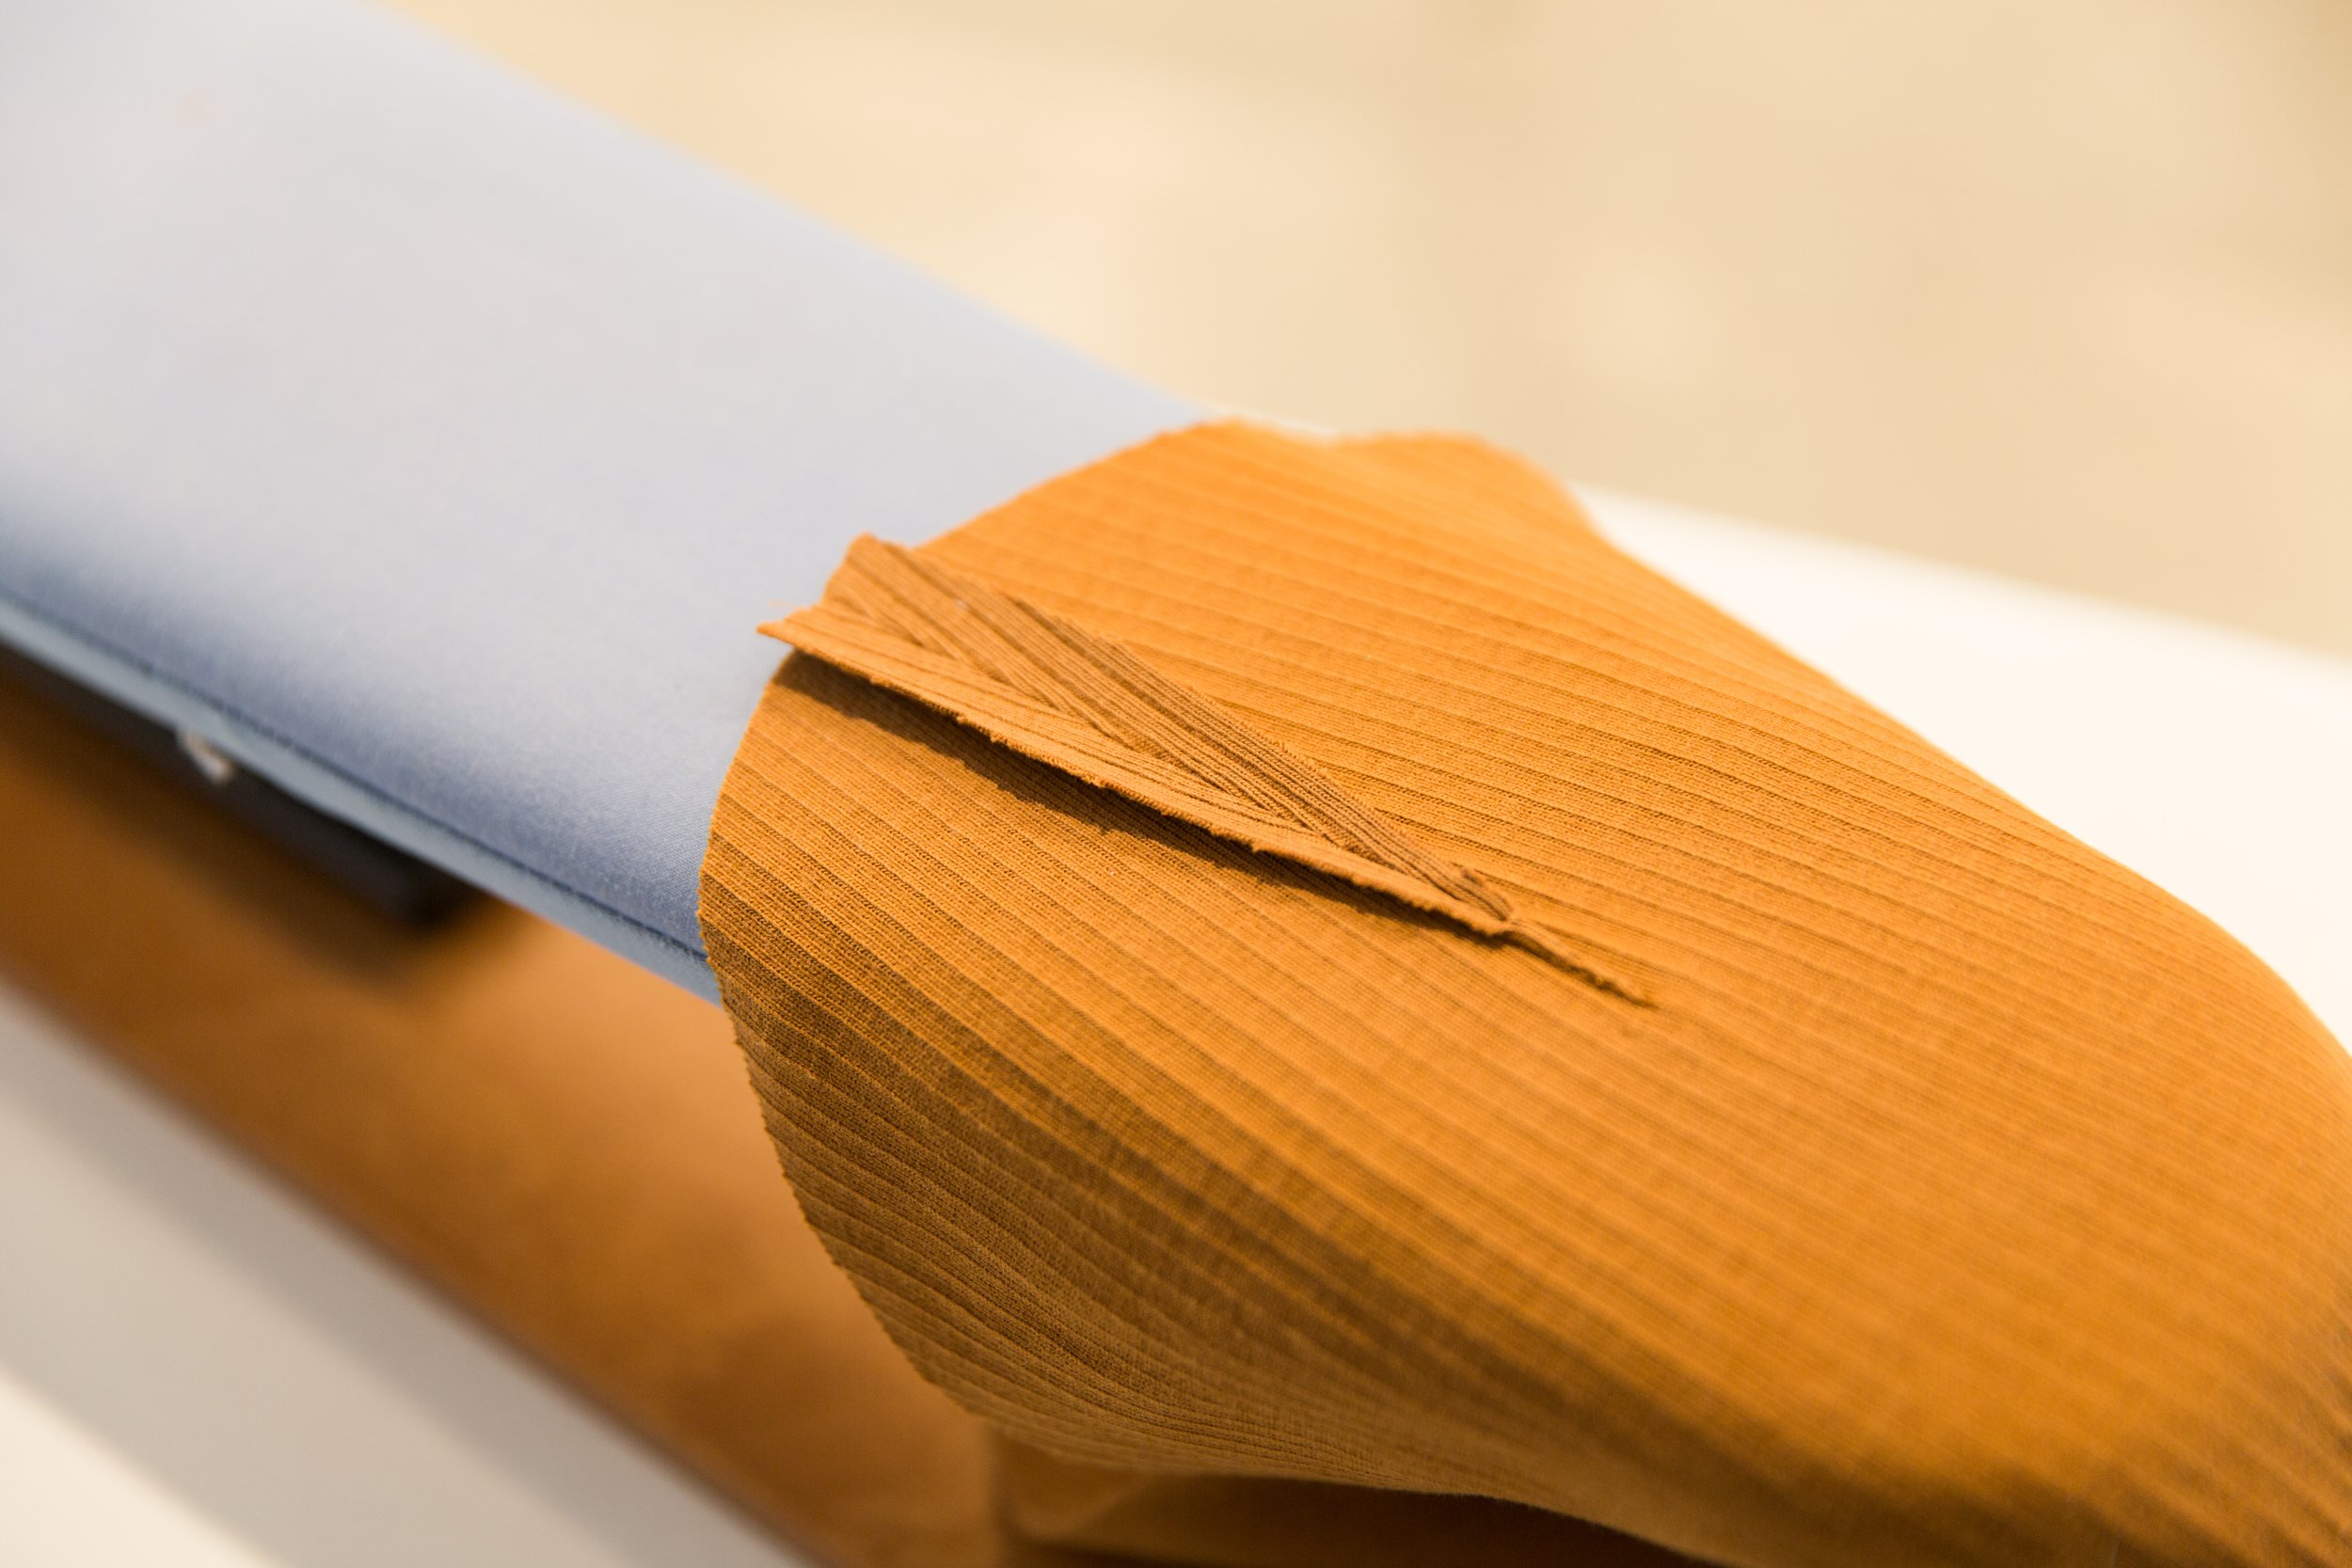
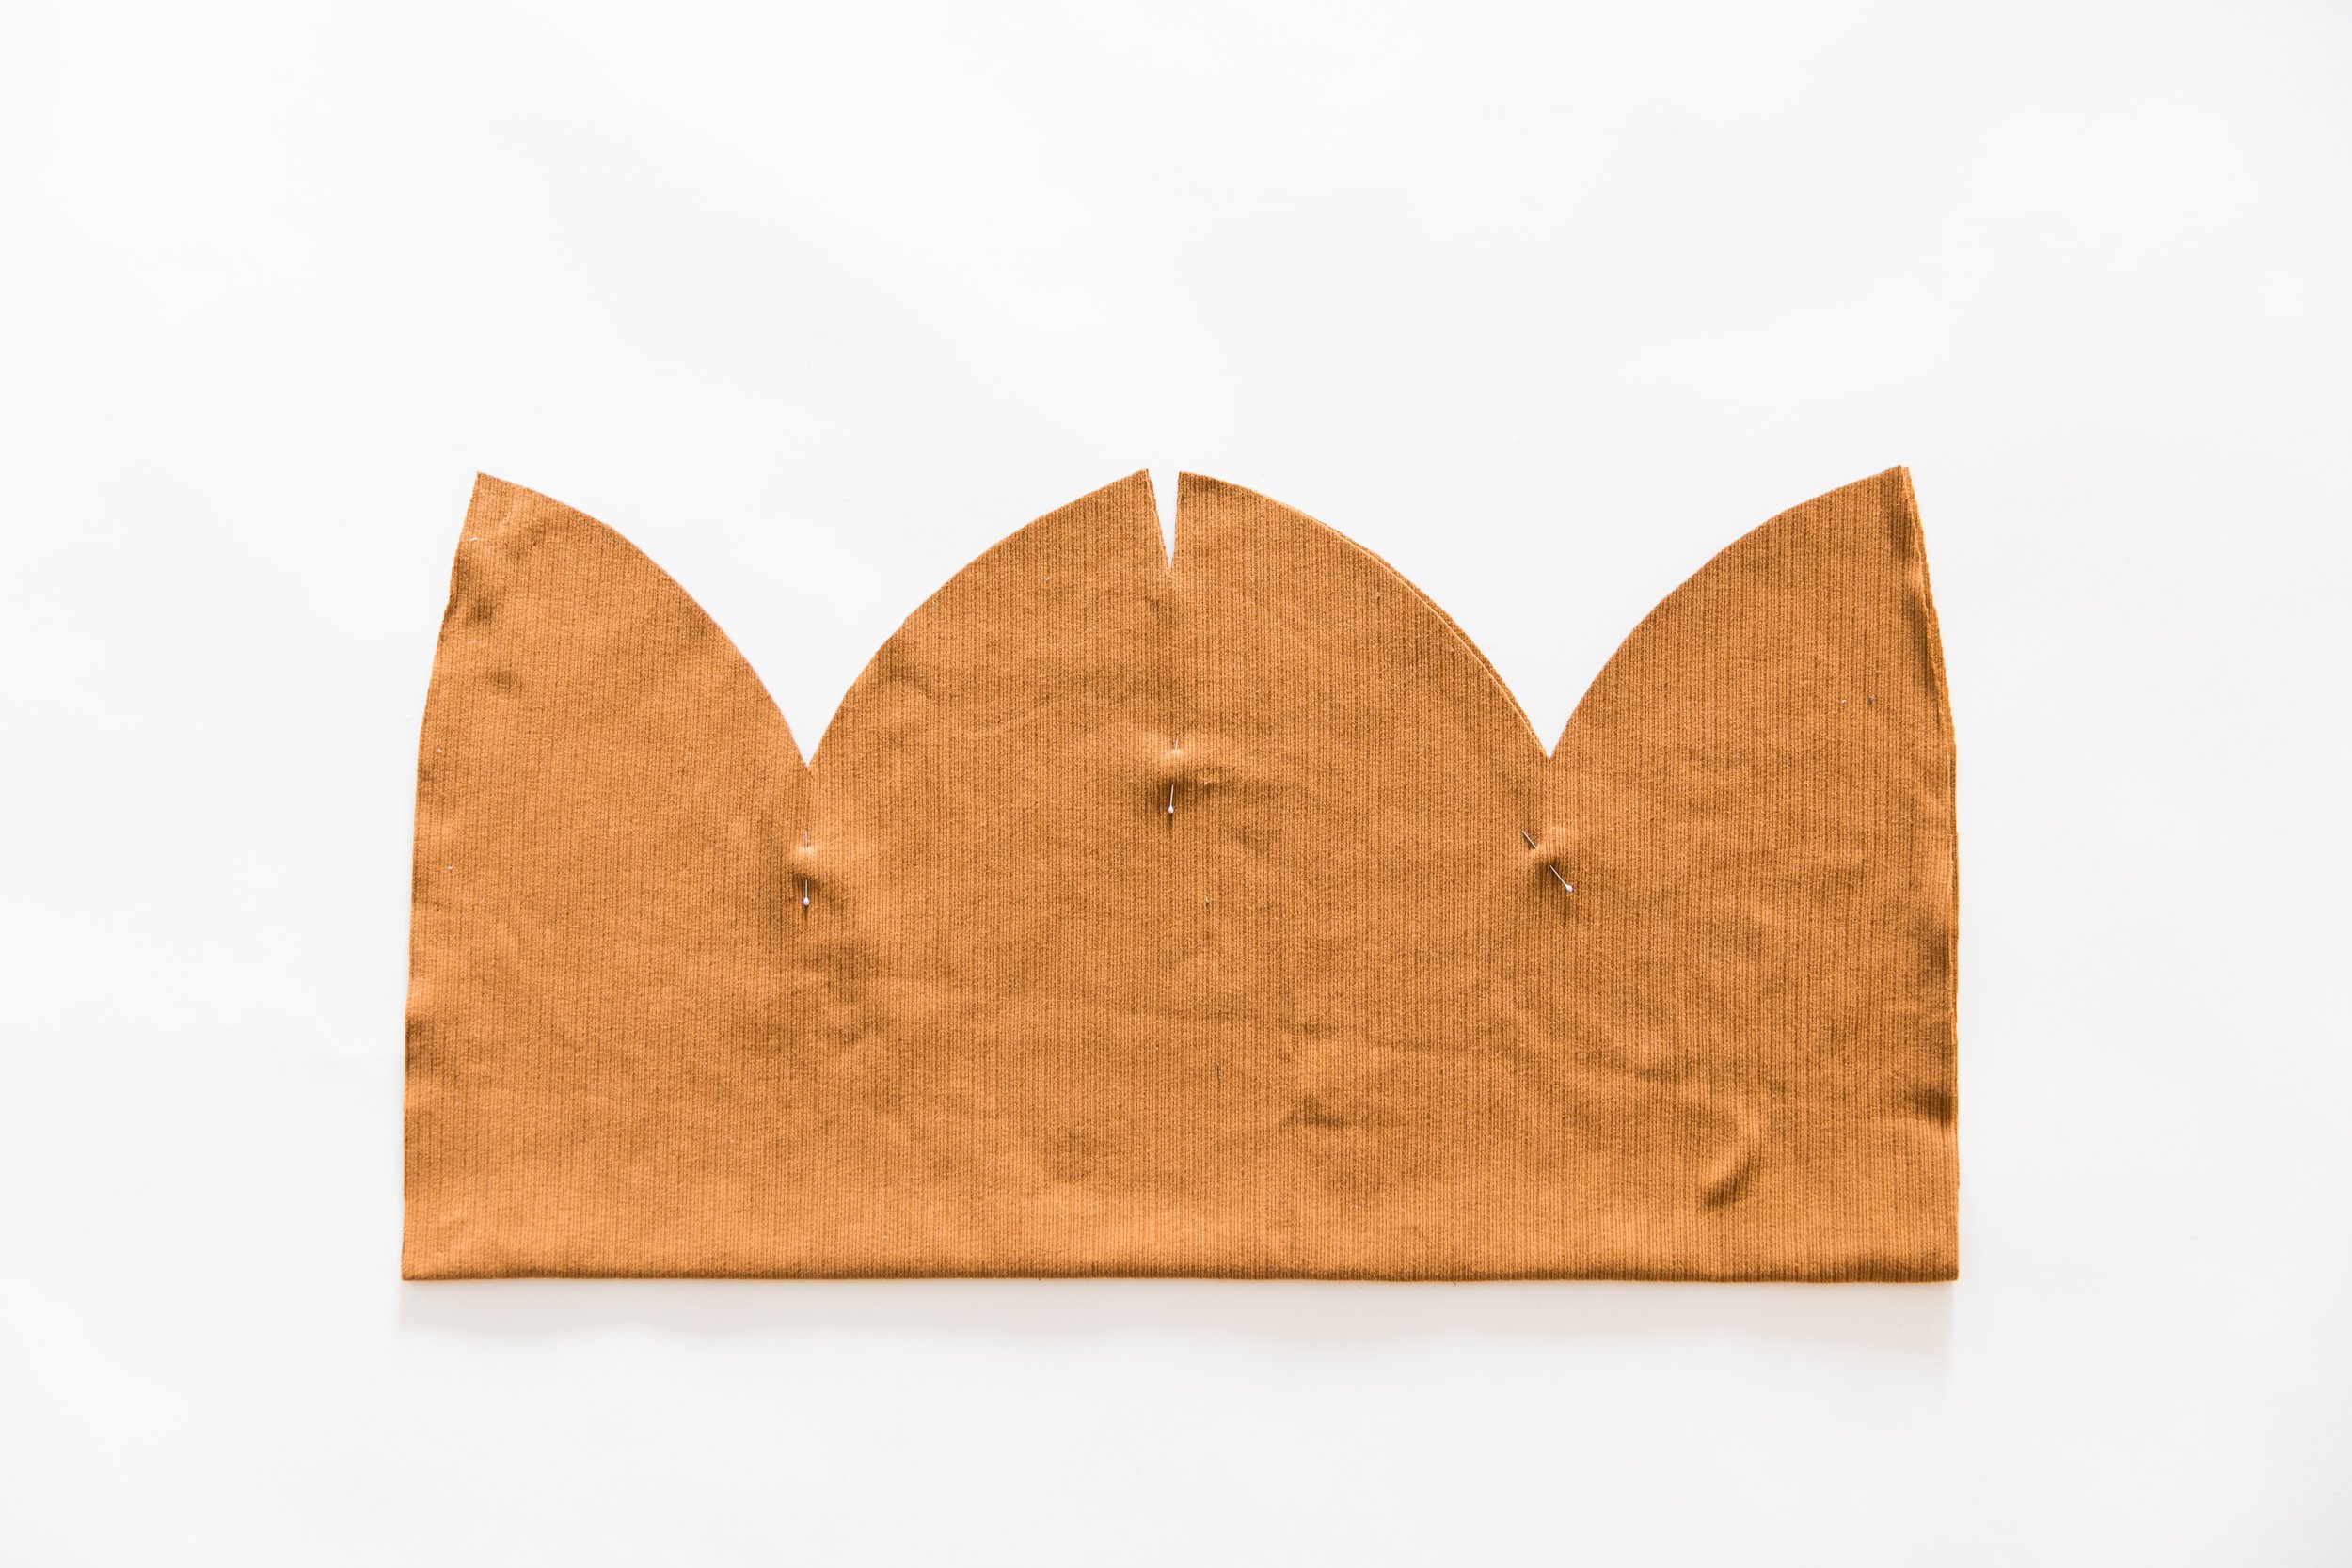
Step 3
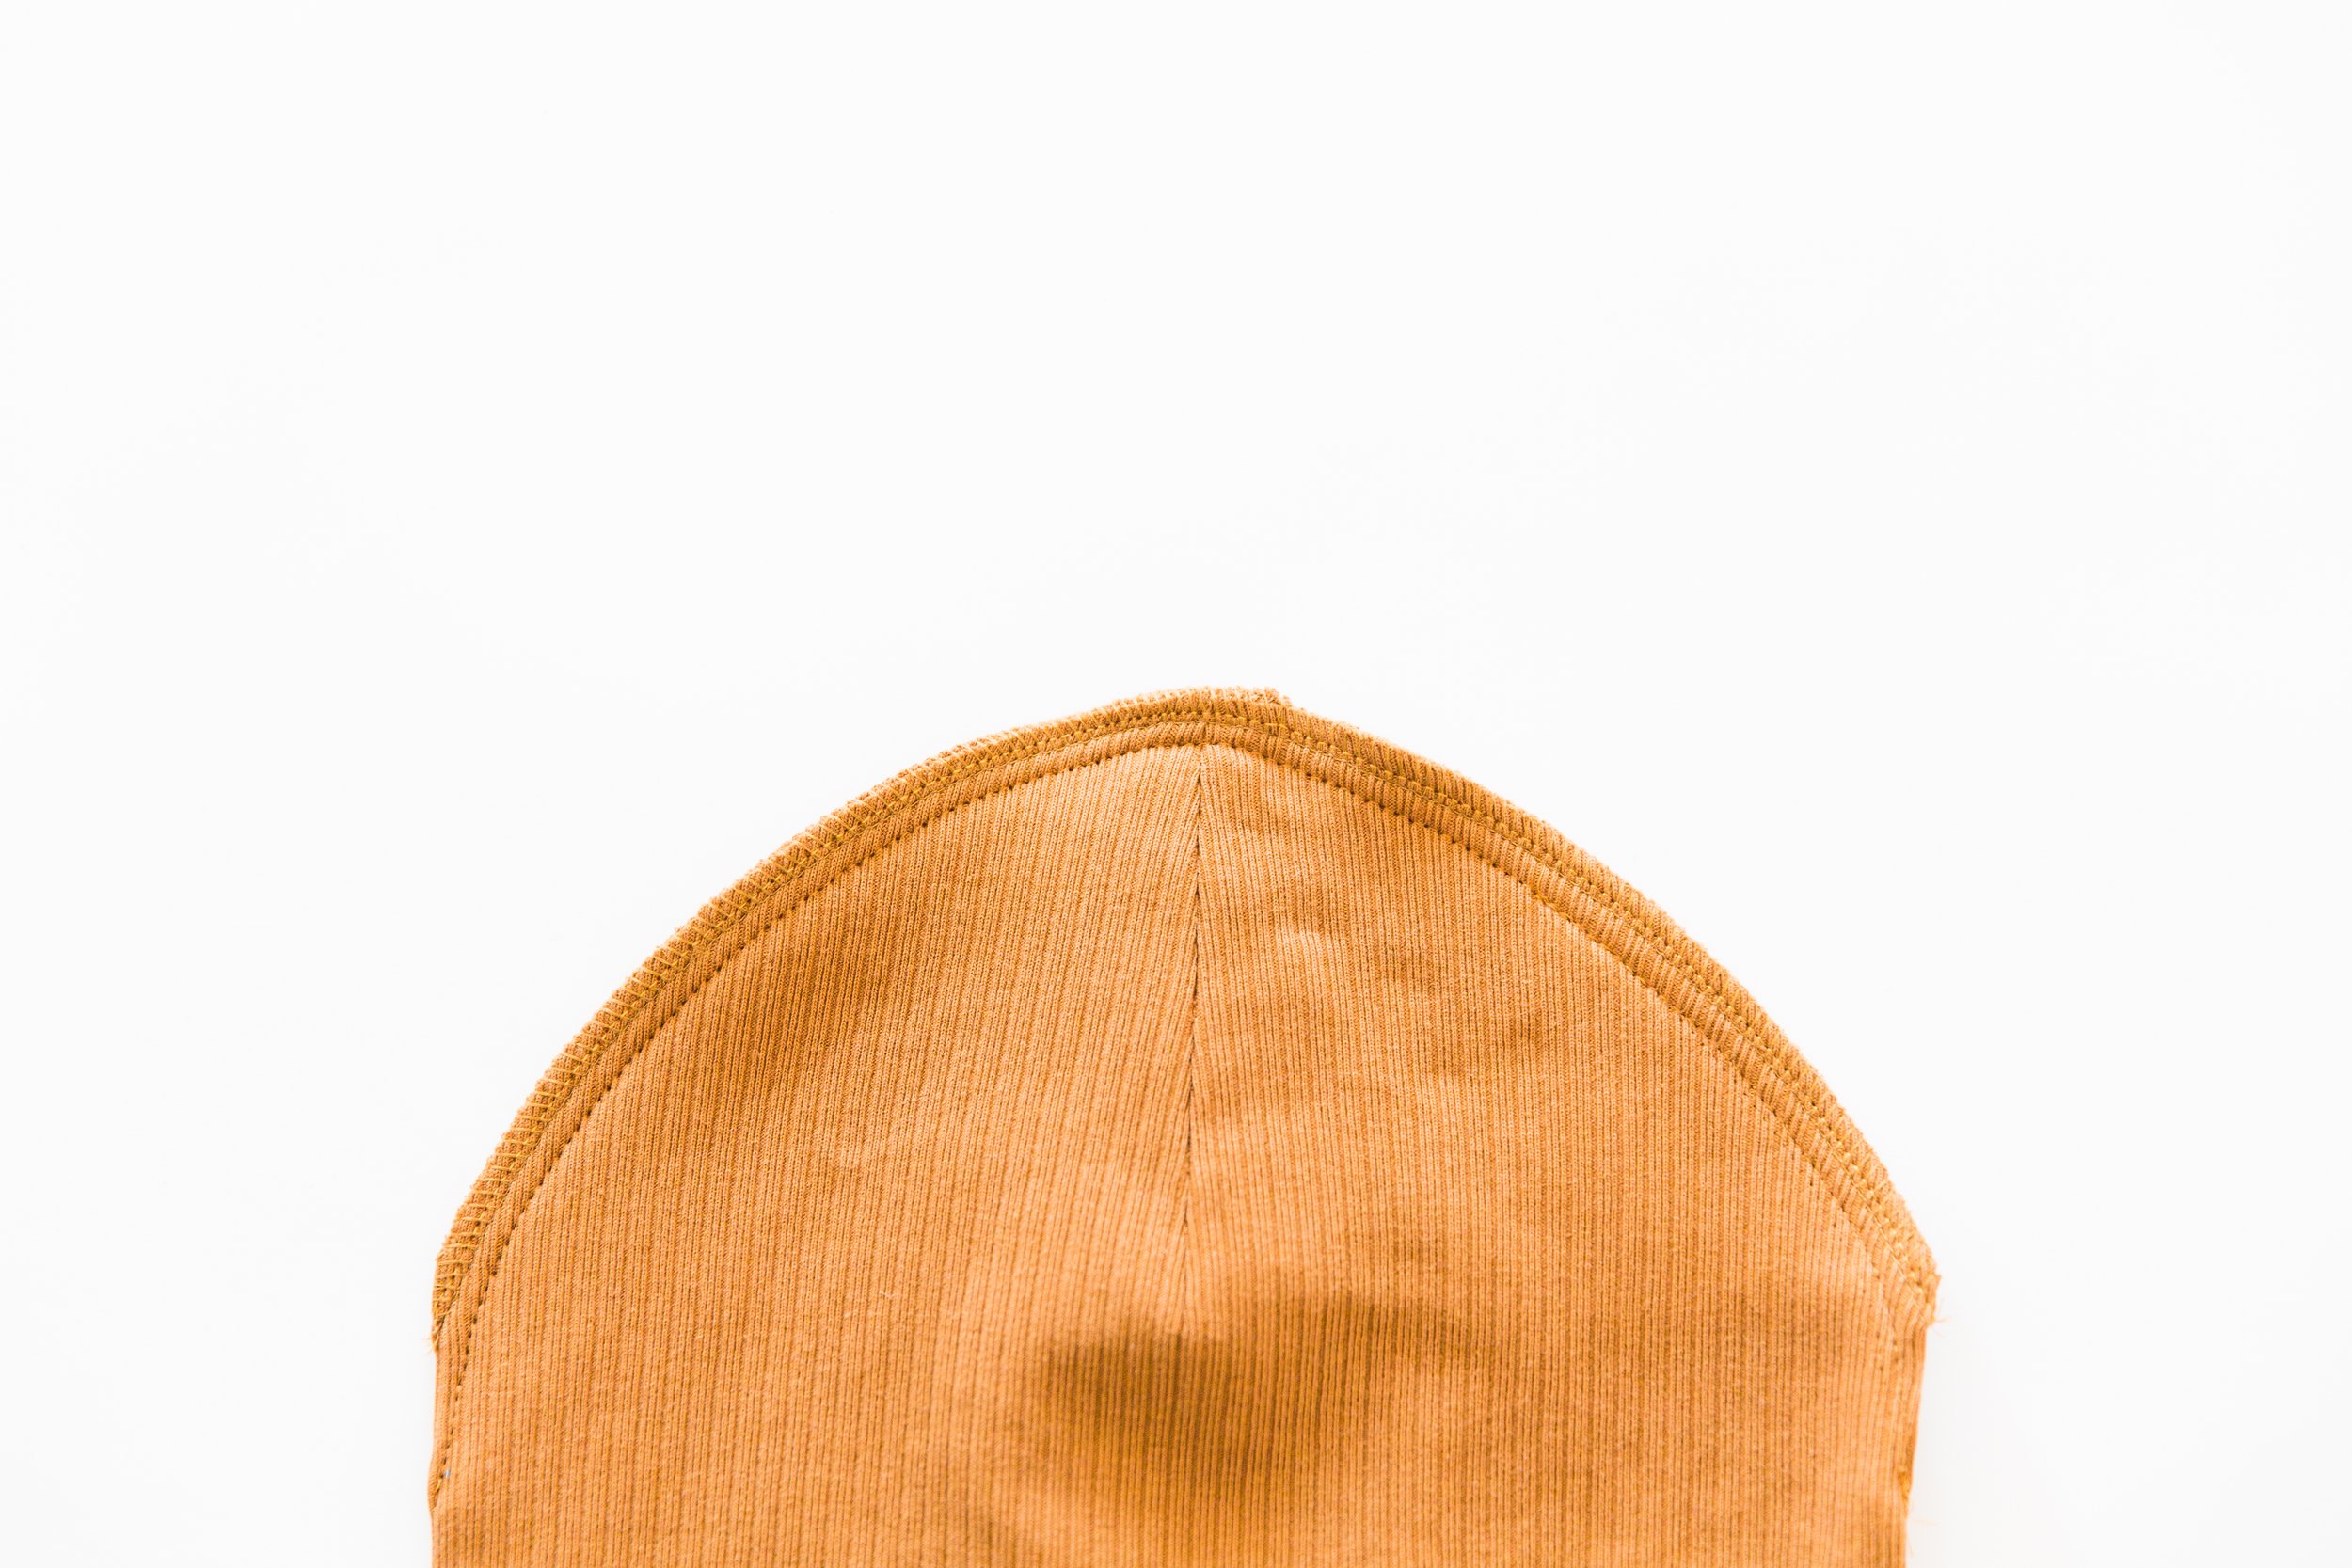
On the opposite side, stitch together darts, taking your stitchline down to the marked point. Clip down dart opening as far as possible, being careful not to clip main fabric or any stitches. Press open.
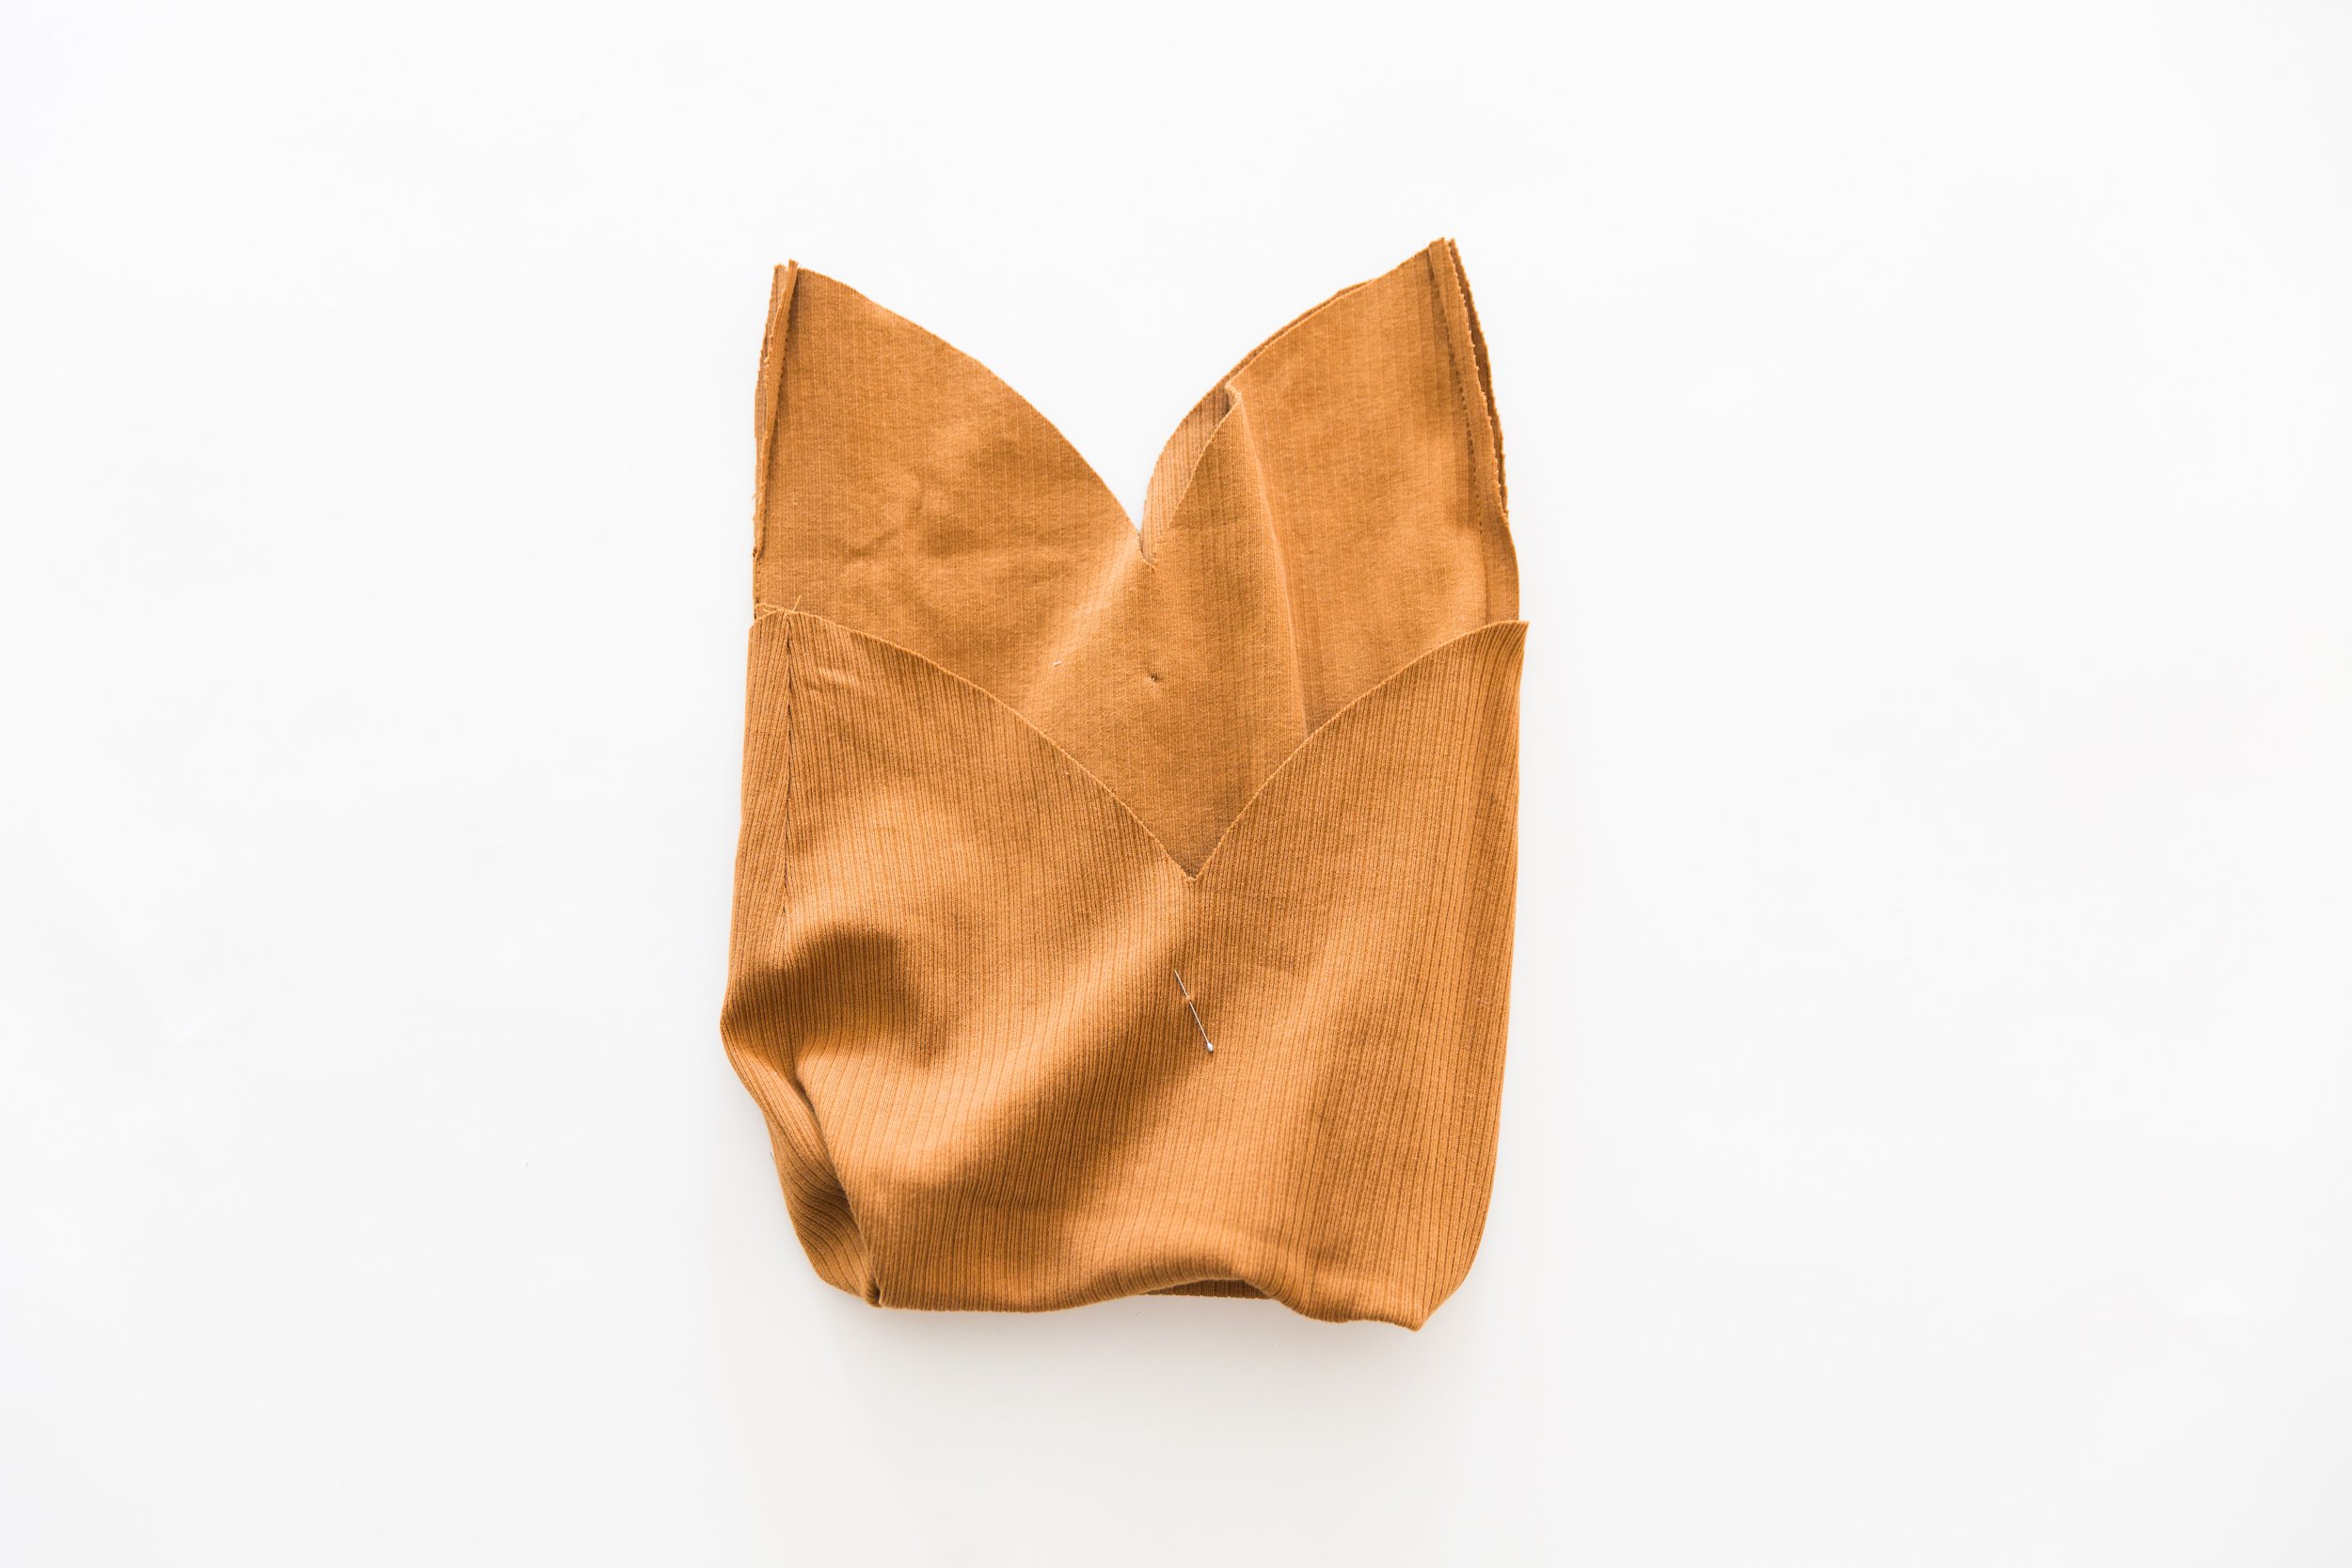
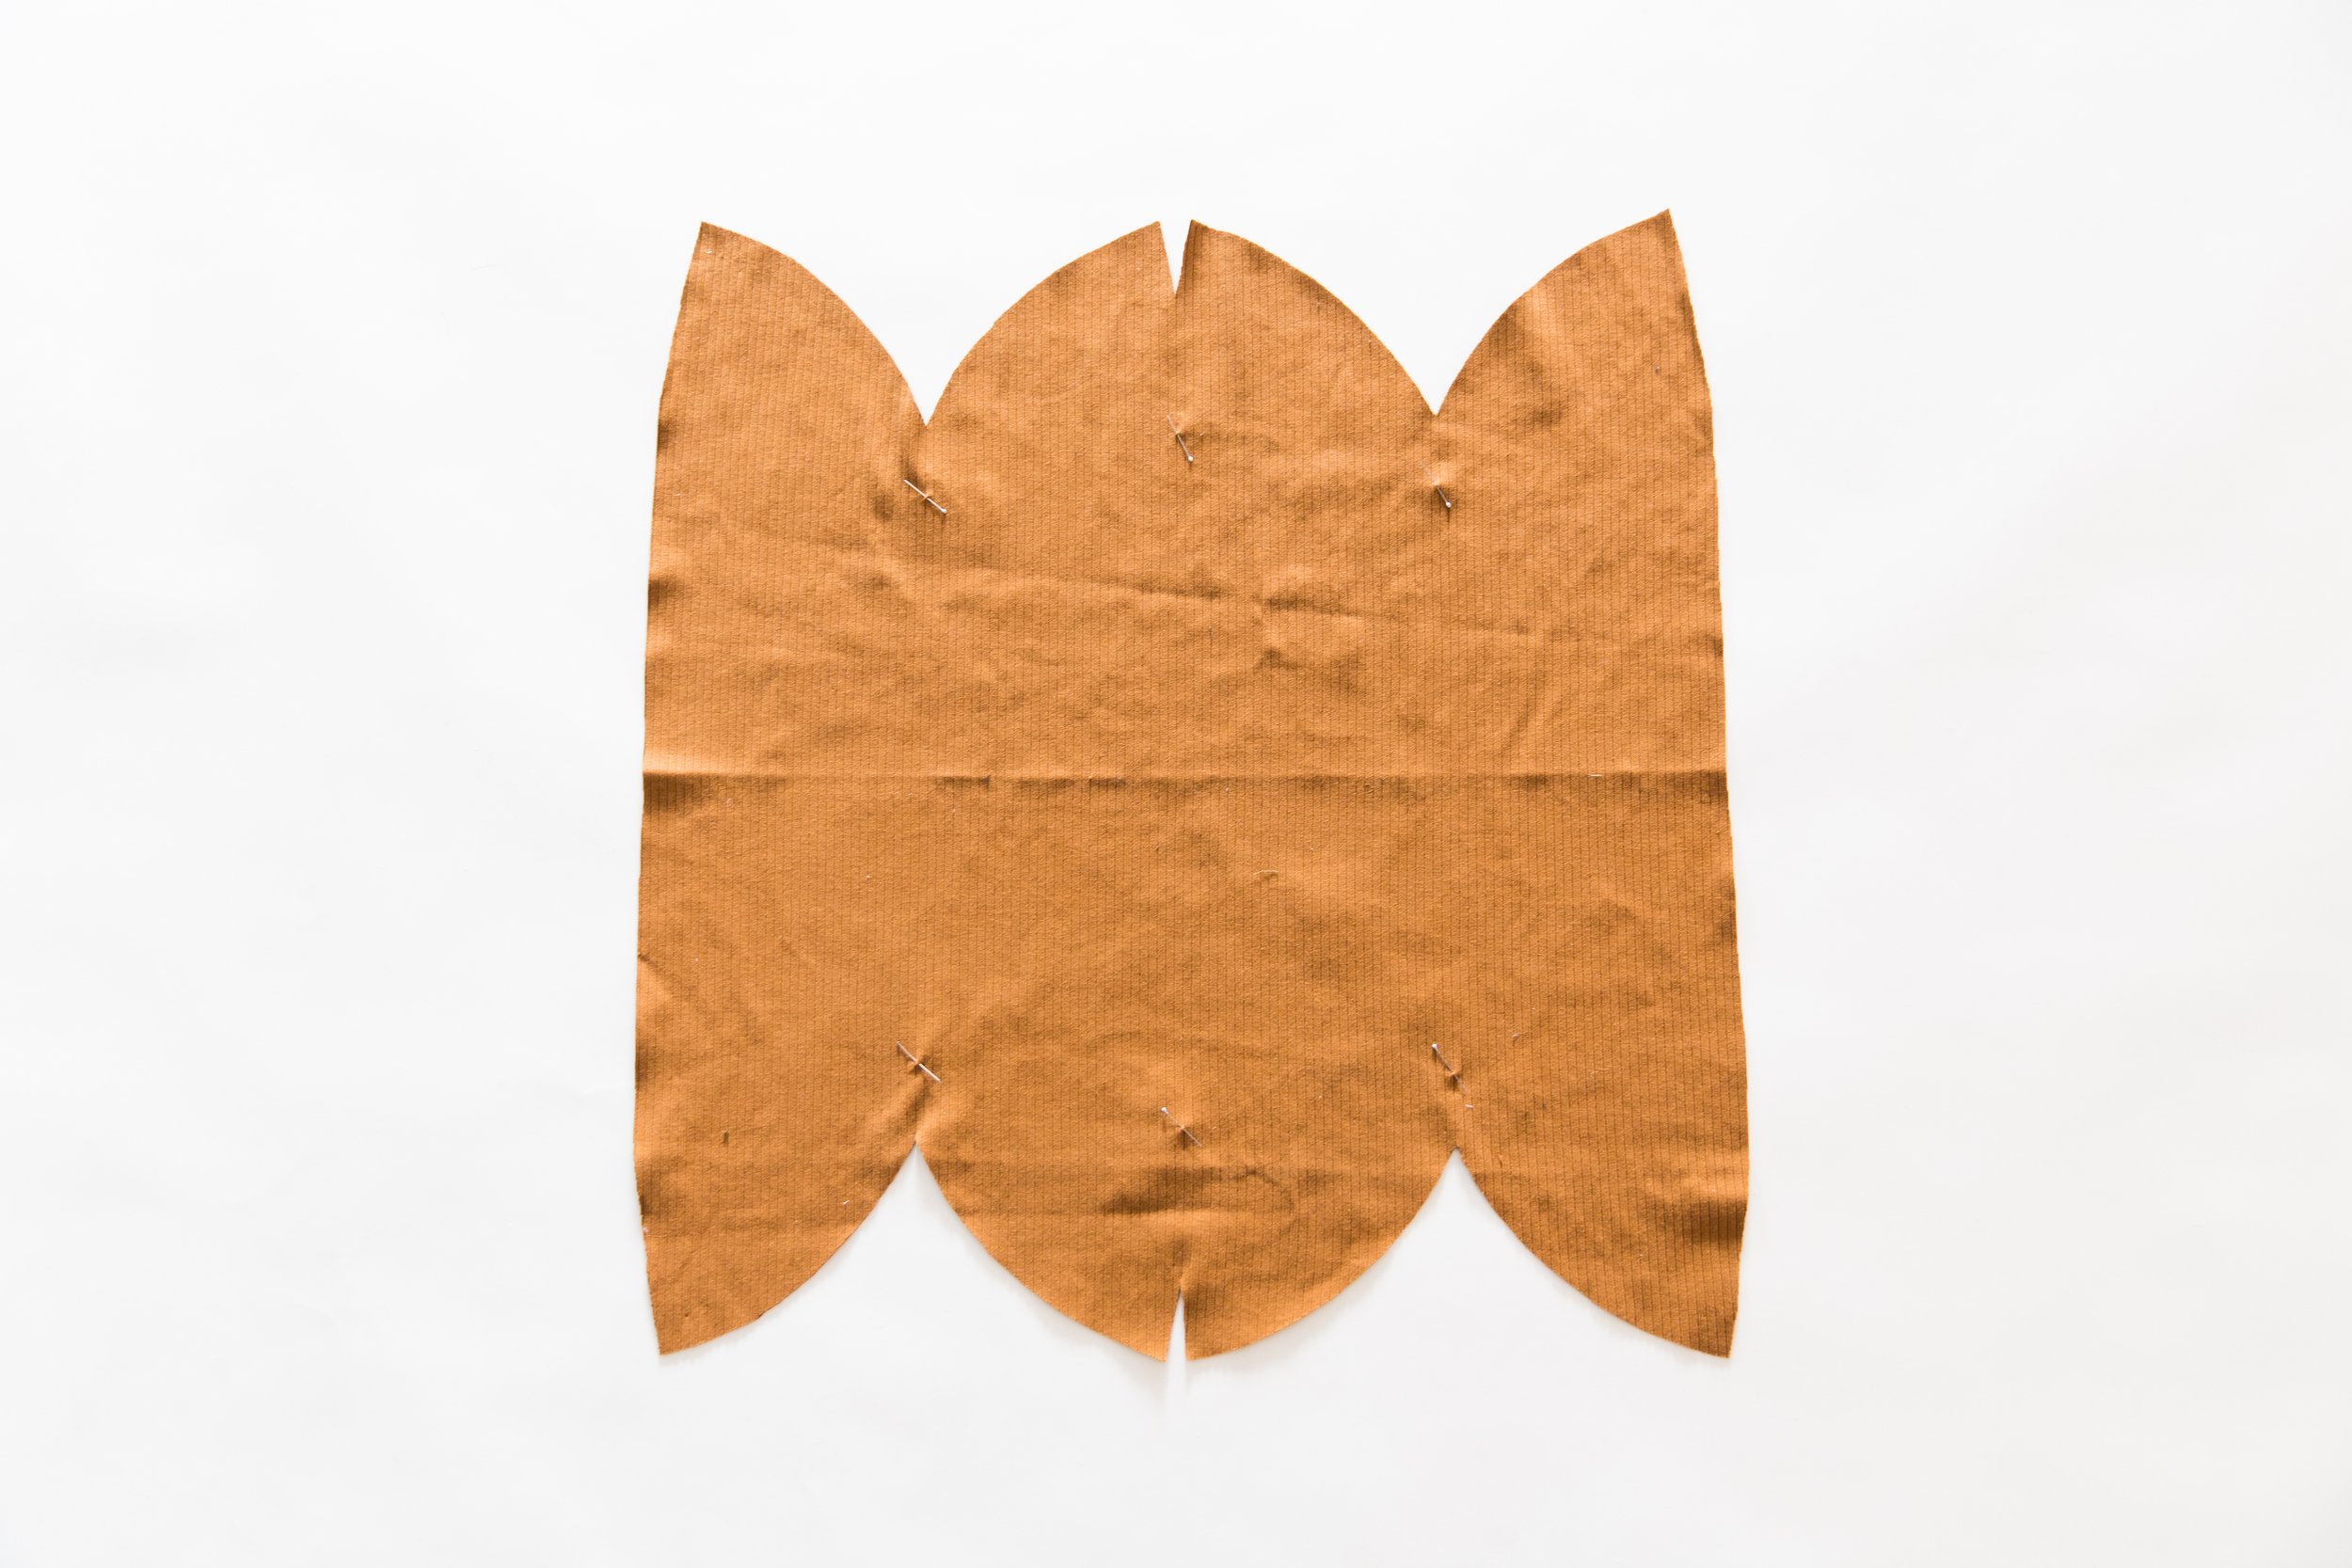
Step 4
Fold the bottom edges up to meet the top edges folding it over itself to form a tube with all the seams on the inside.
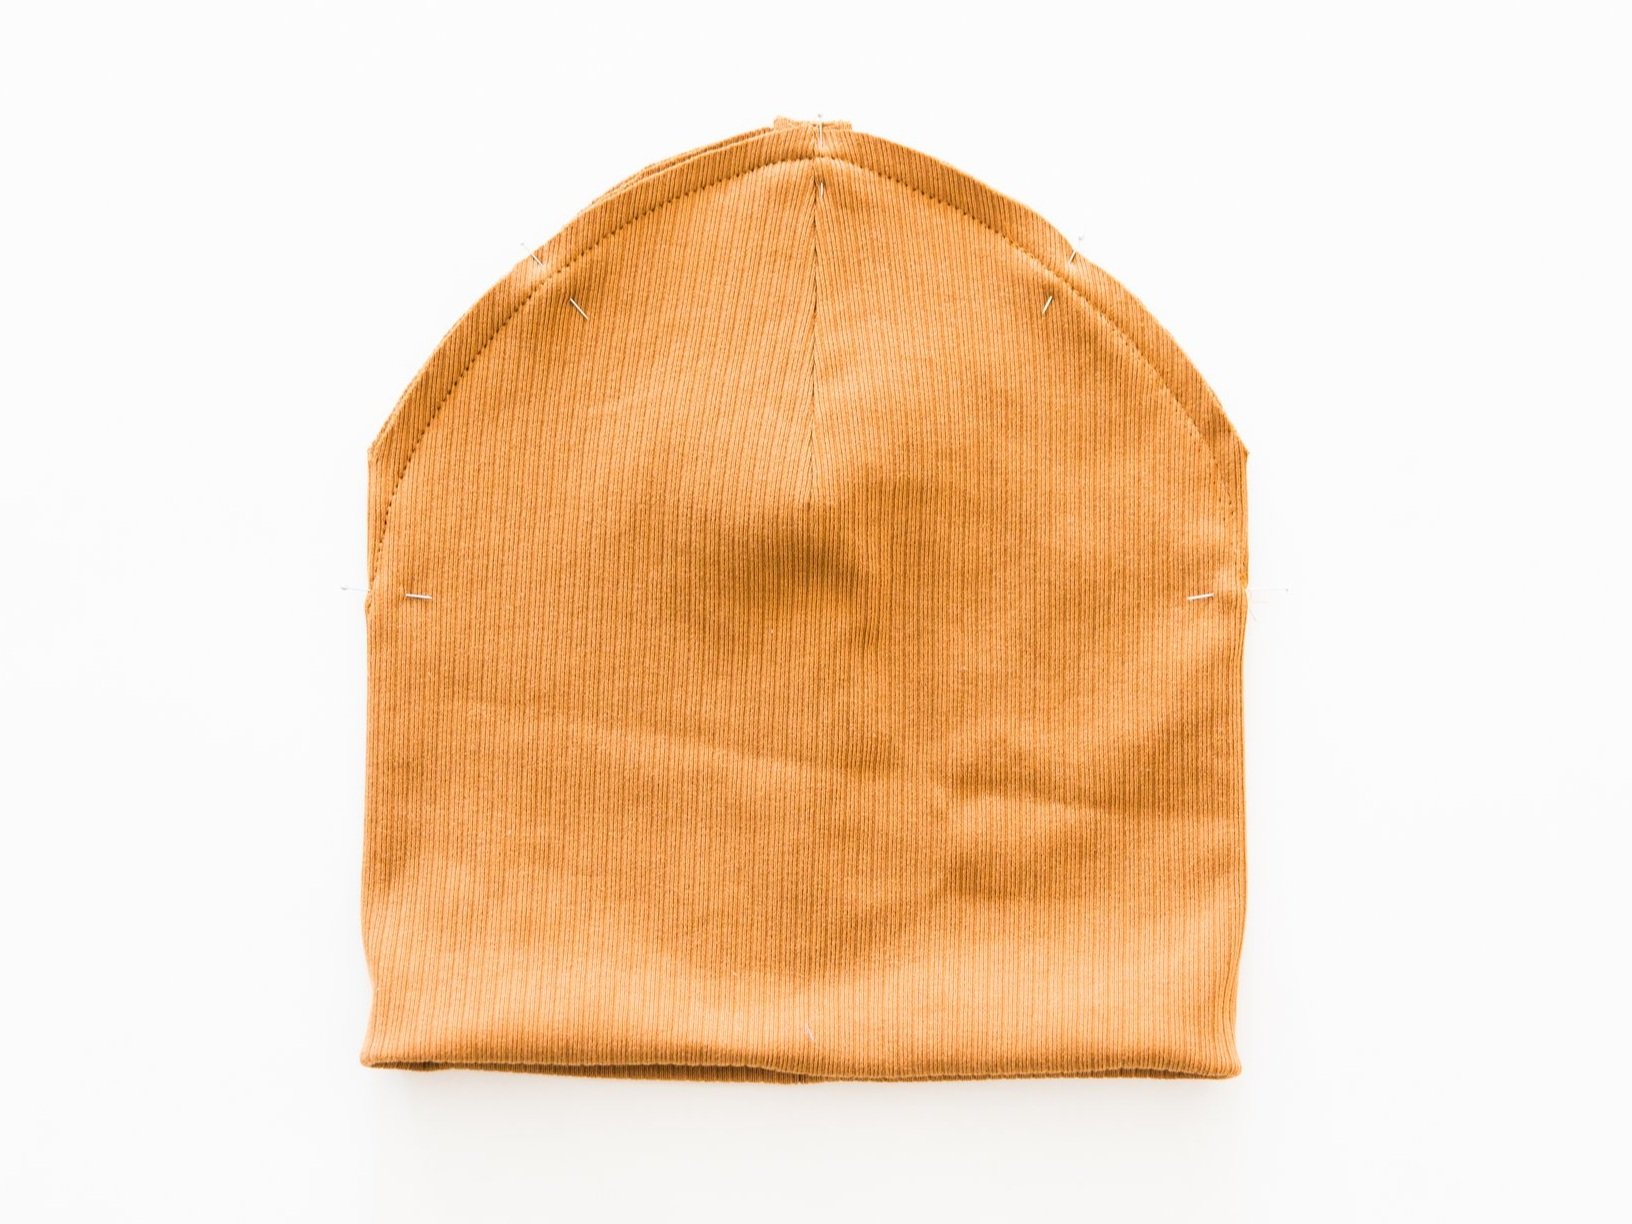
Step 5
Making sure all the seams and darts are lined up through all layers, Stitch the last seam, through all layers, ending your stitch line at the dart points. Neaten seam.

Step 6
Turn through to the right side and give your beanie a good press. Voila!
You can wear it long or roll it up for a cuffed look!