


Fusing
Fuse top layer of both pocket flaps.
Step 1
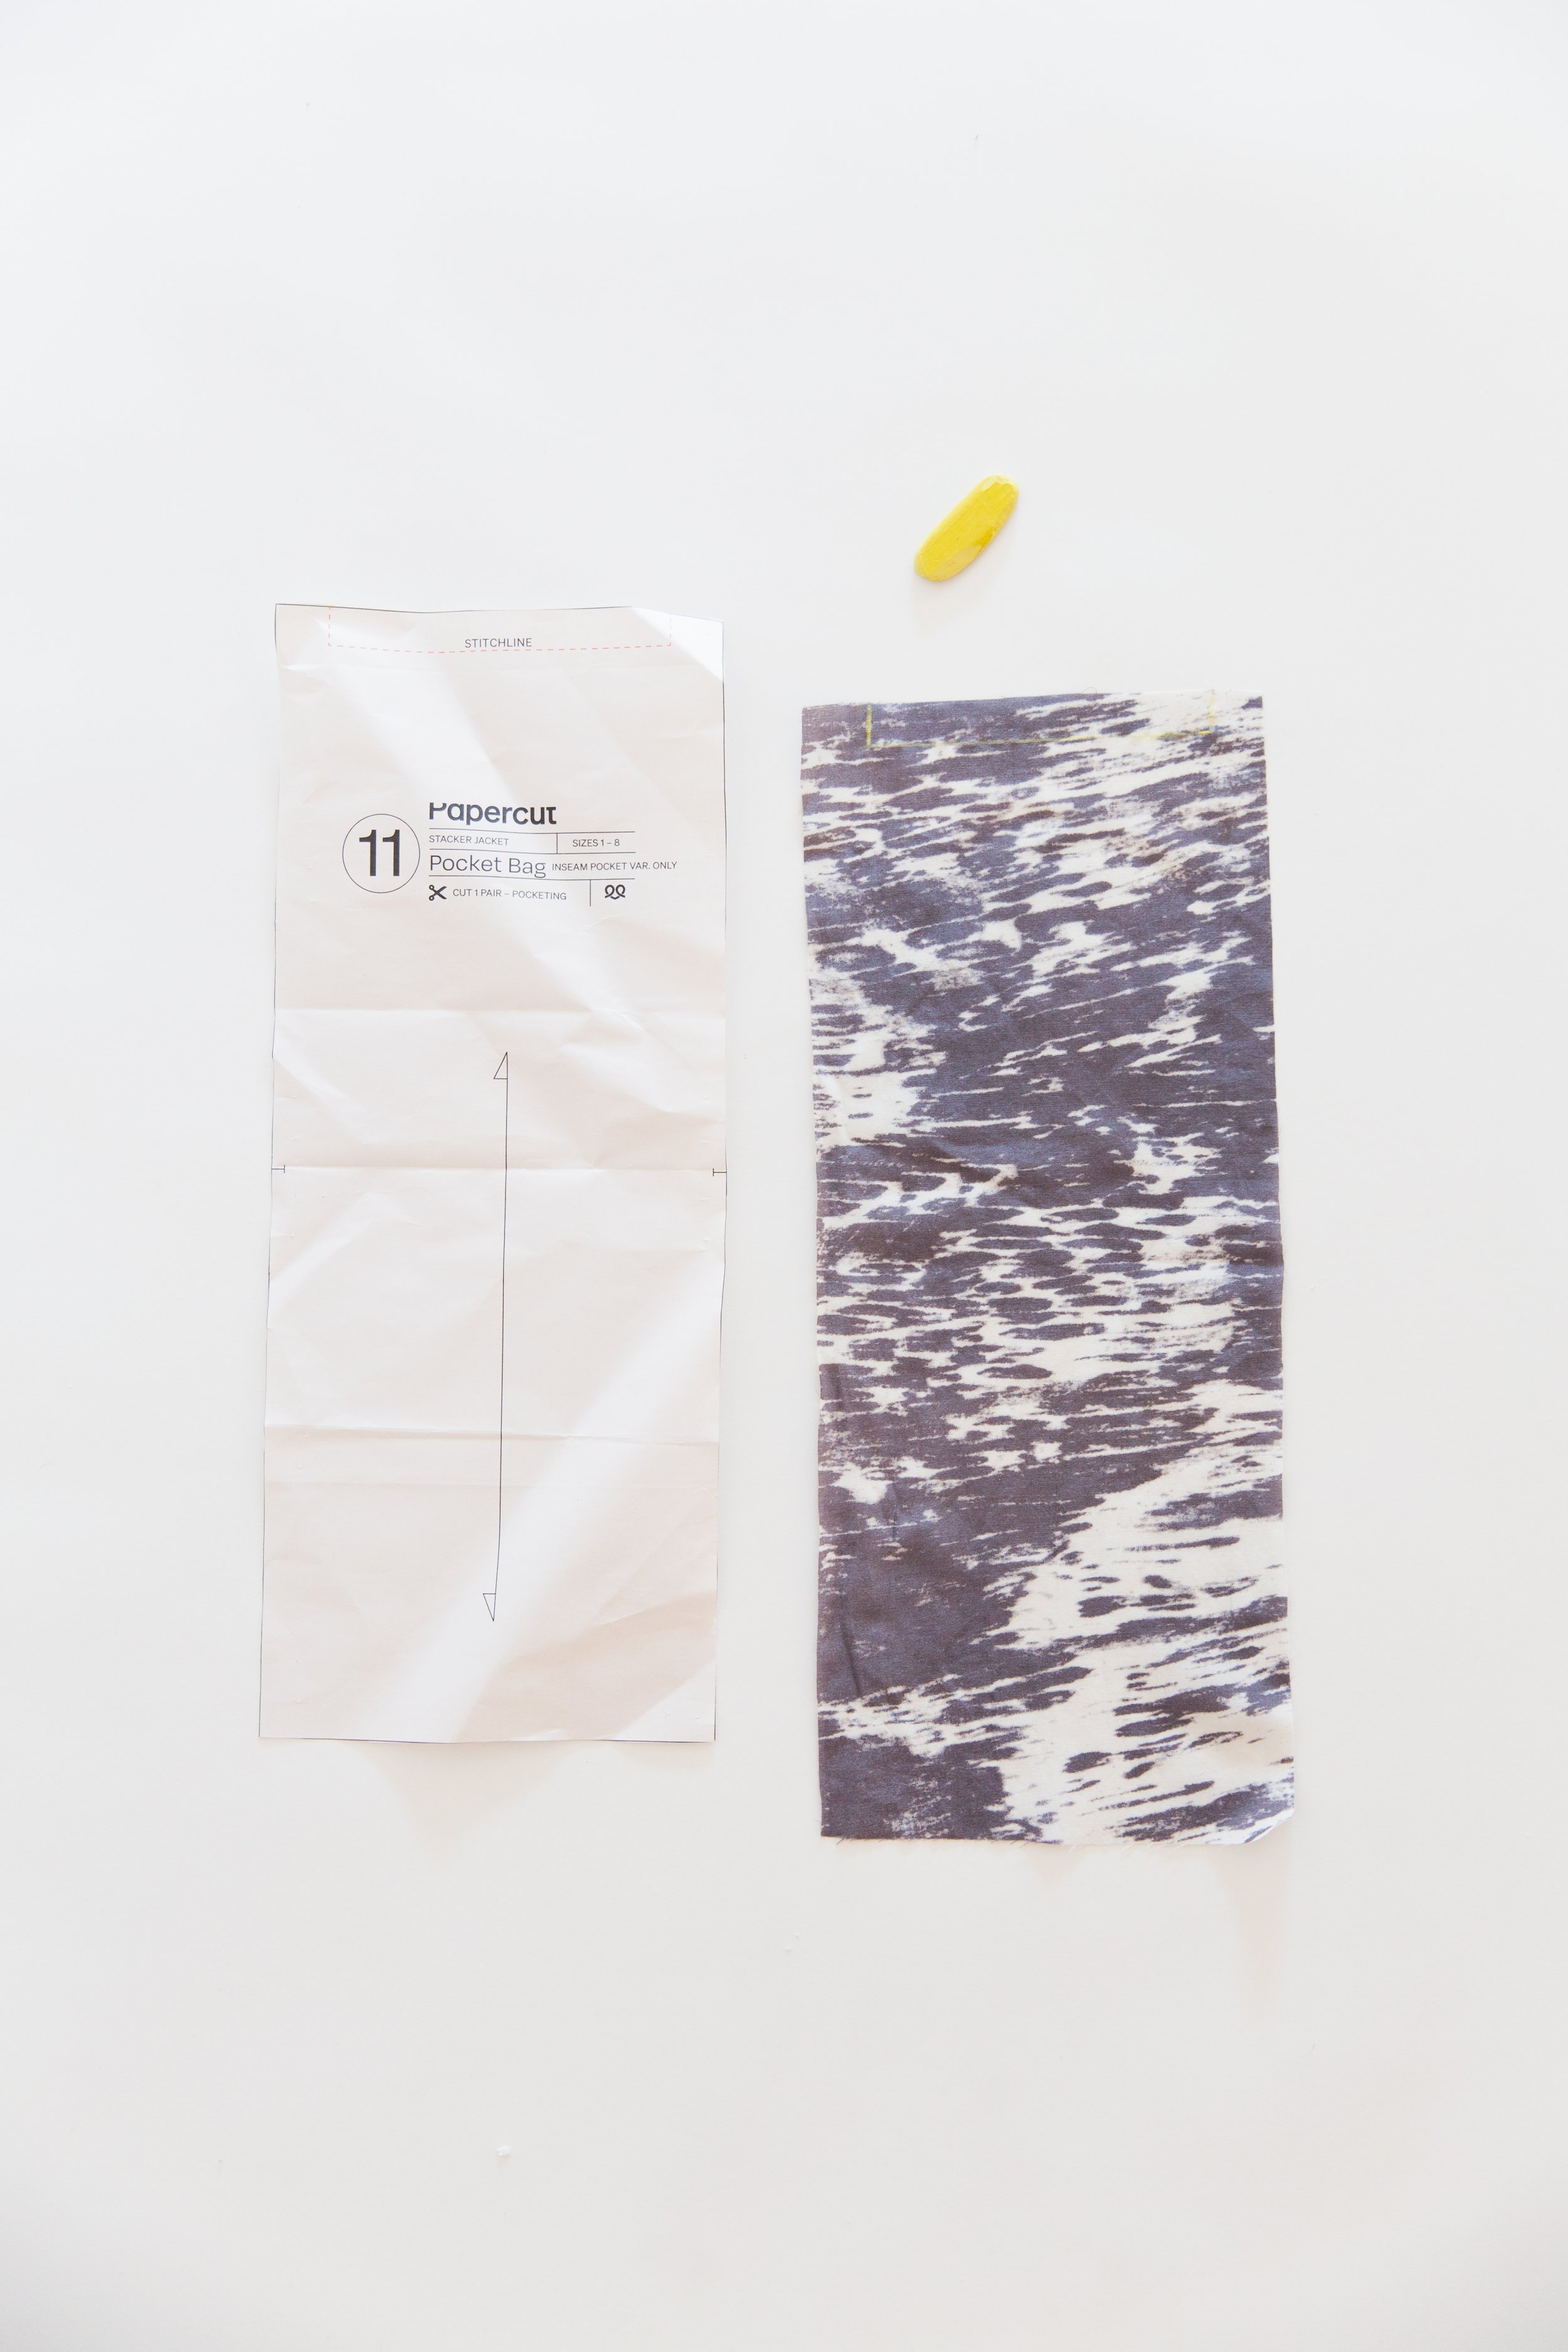
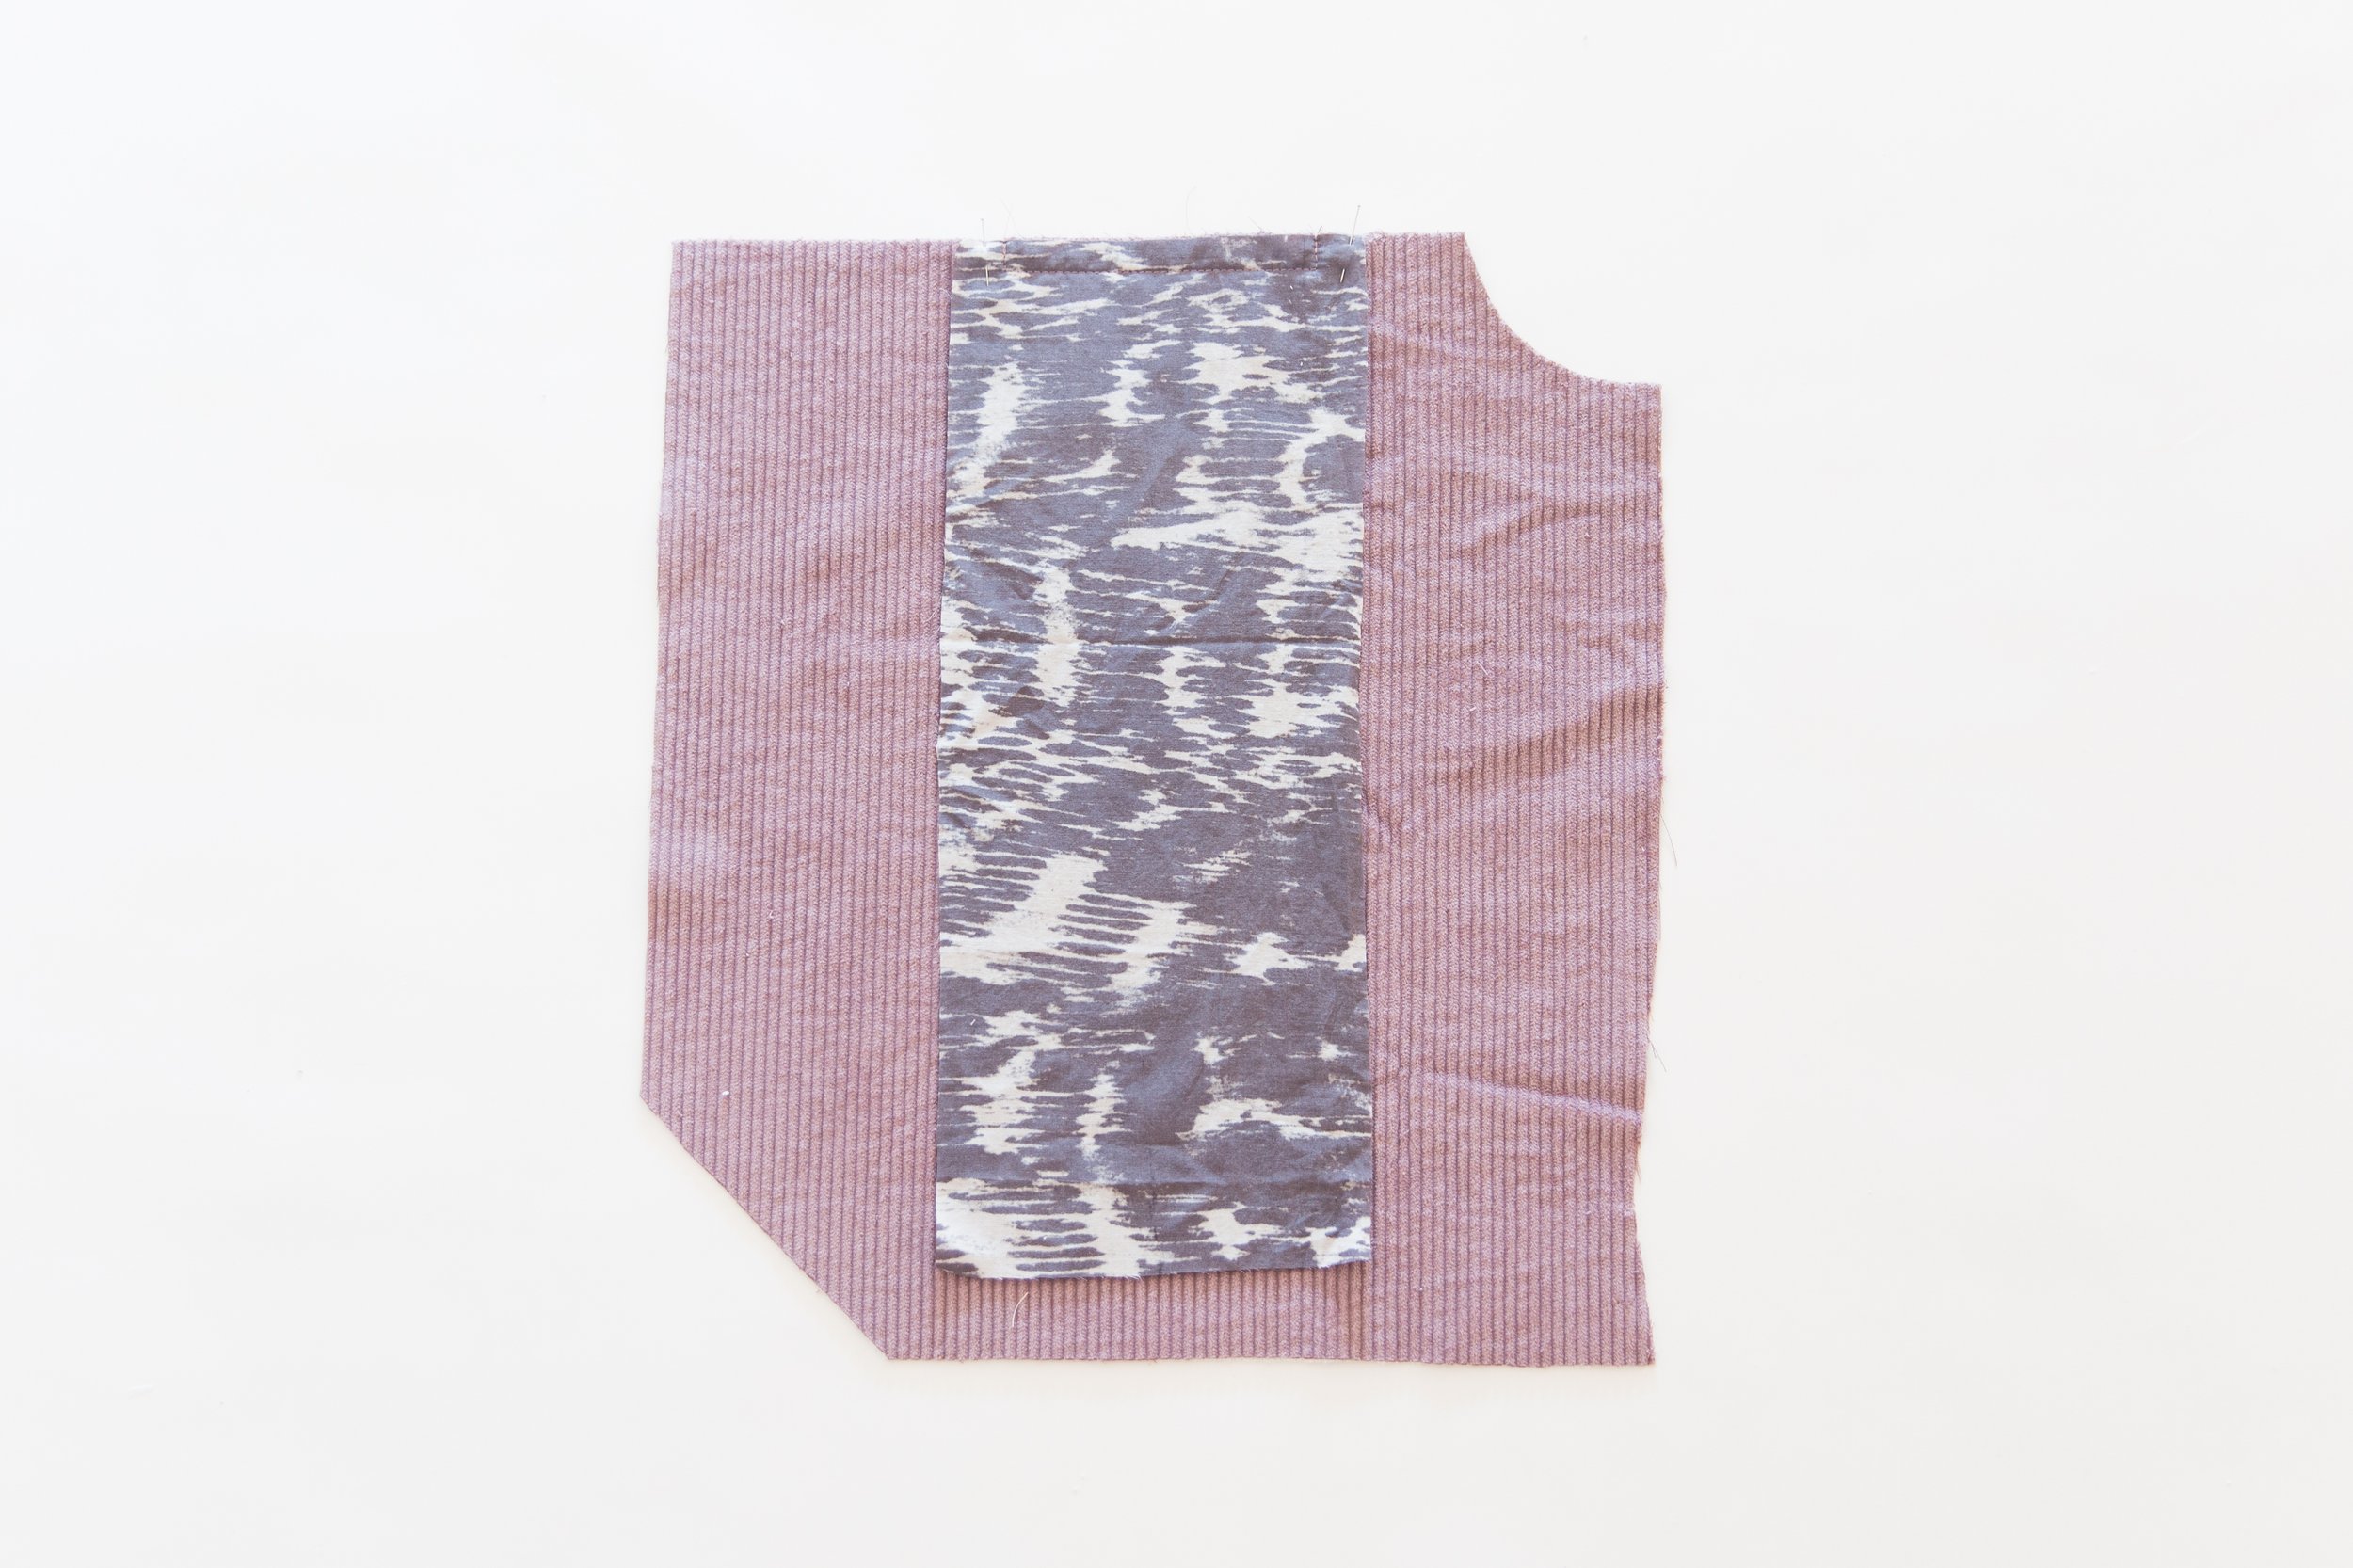
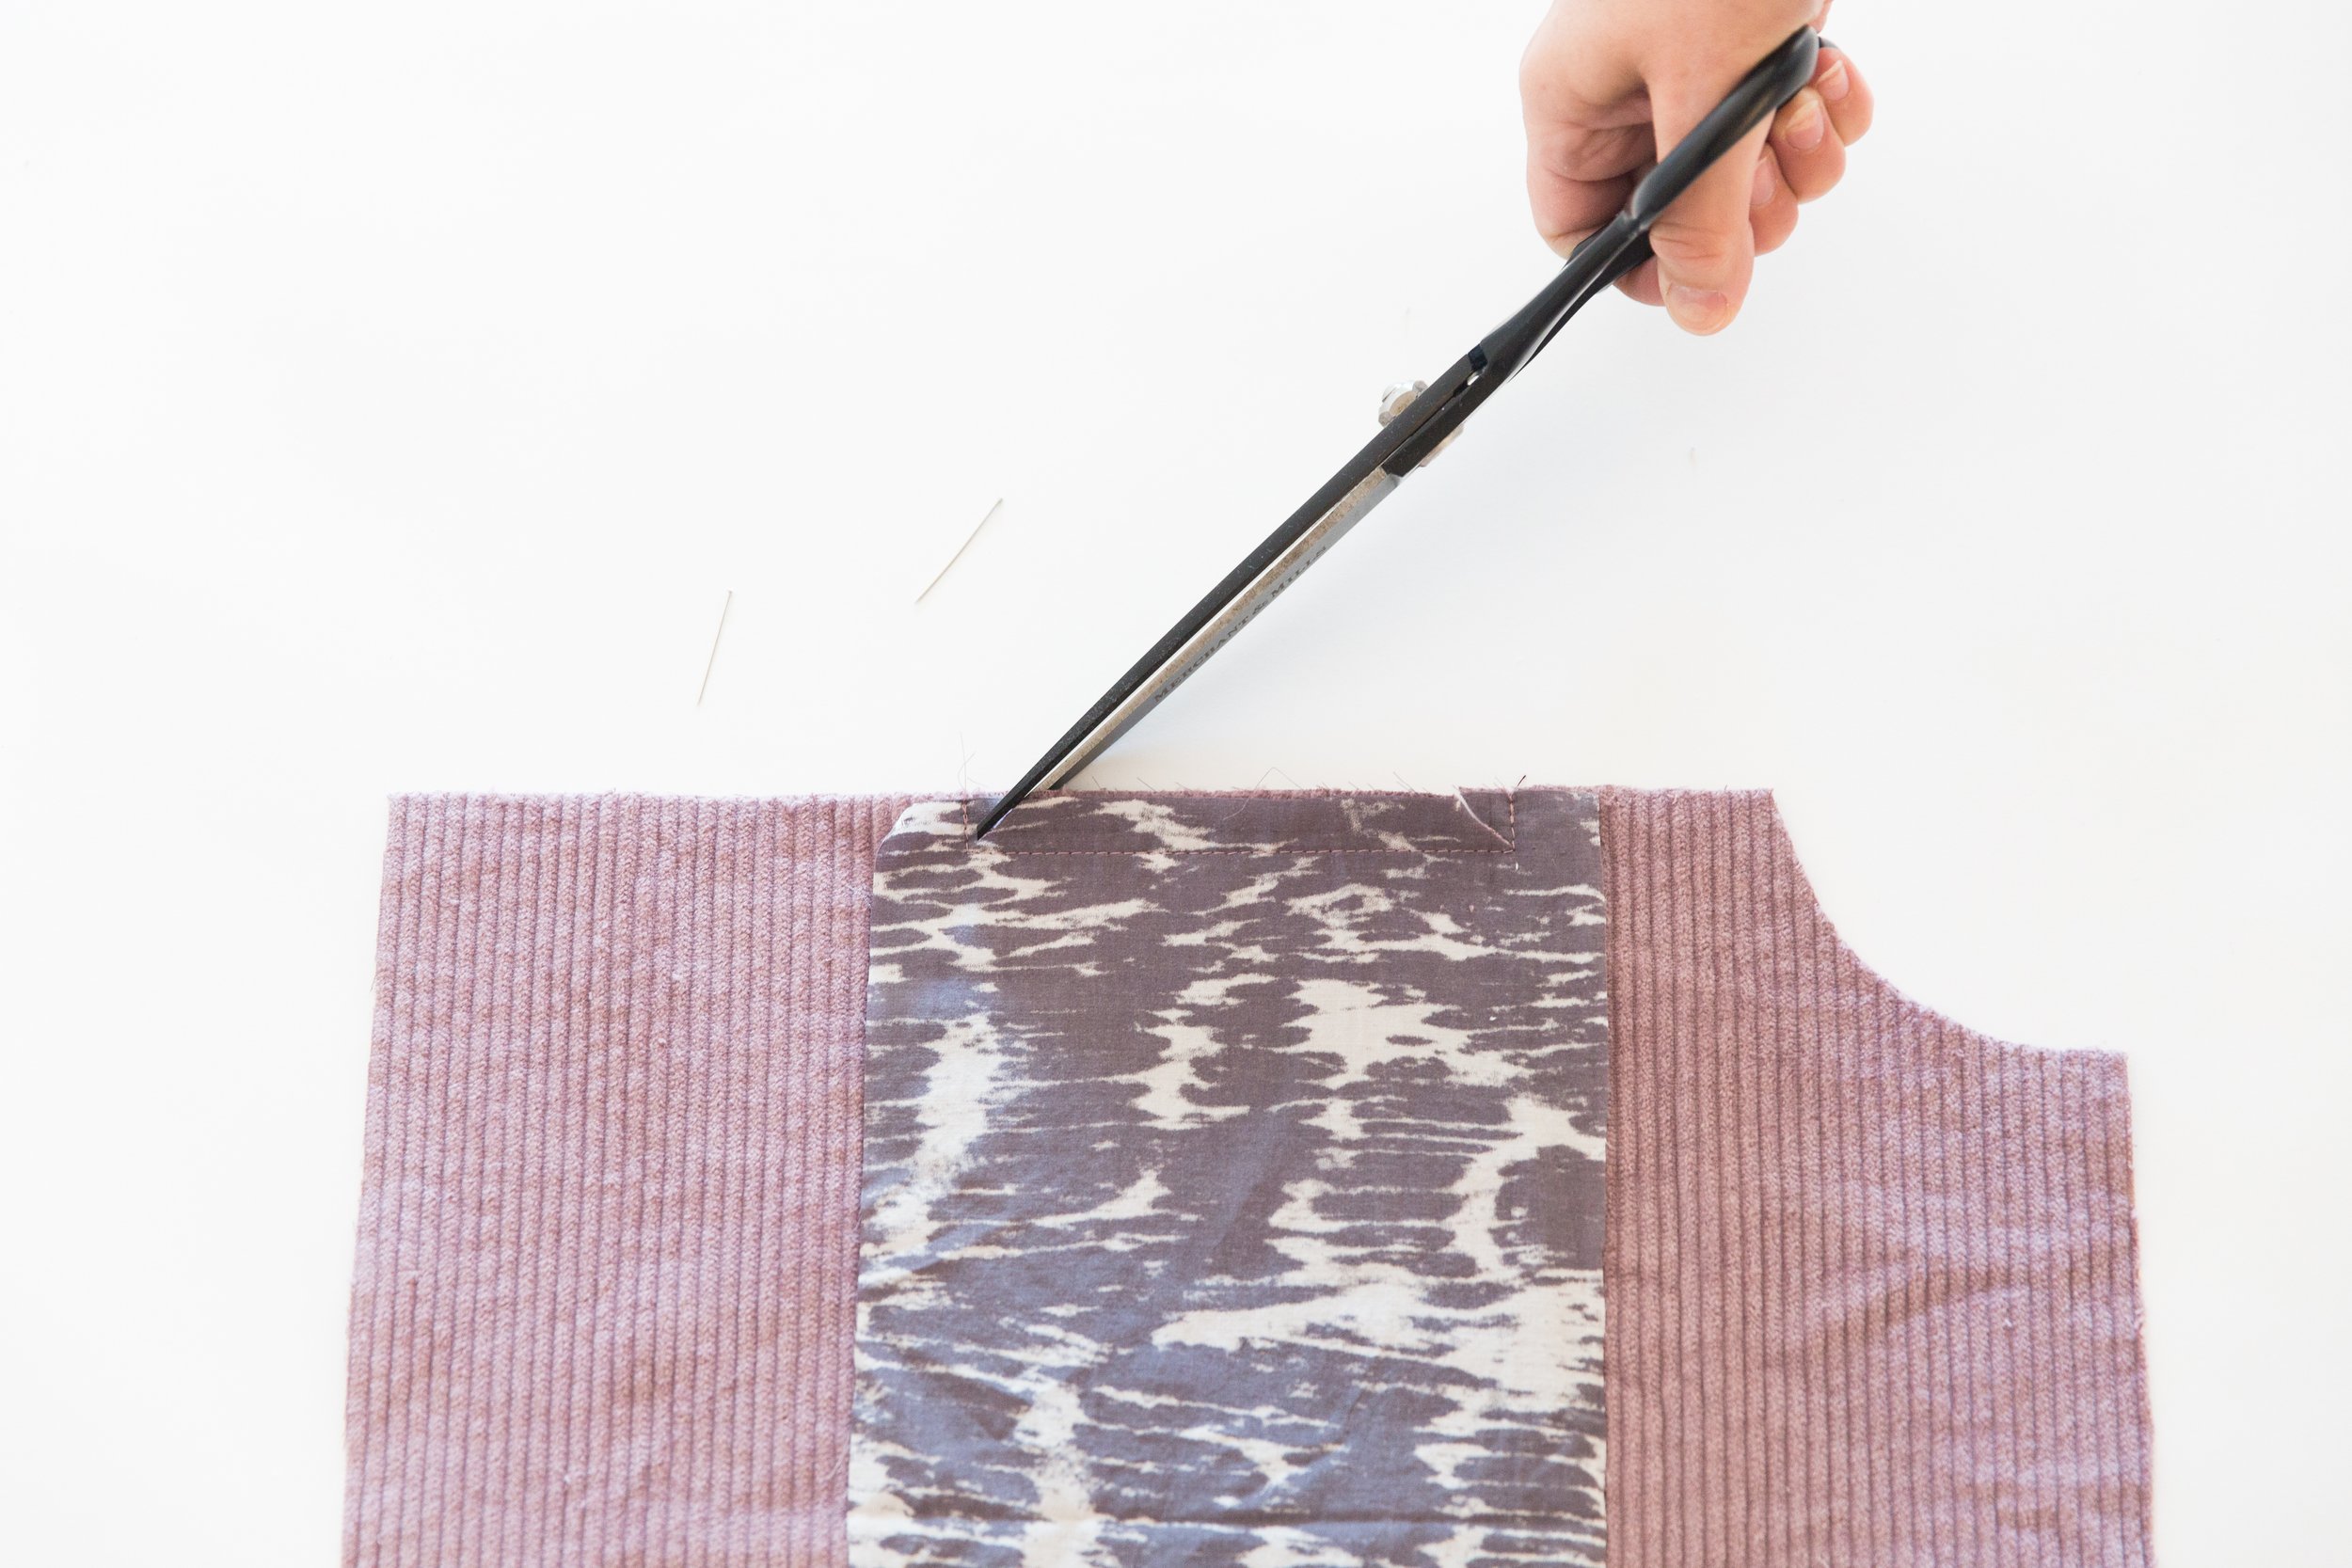
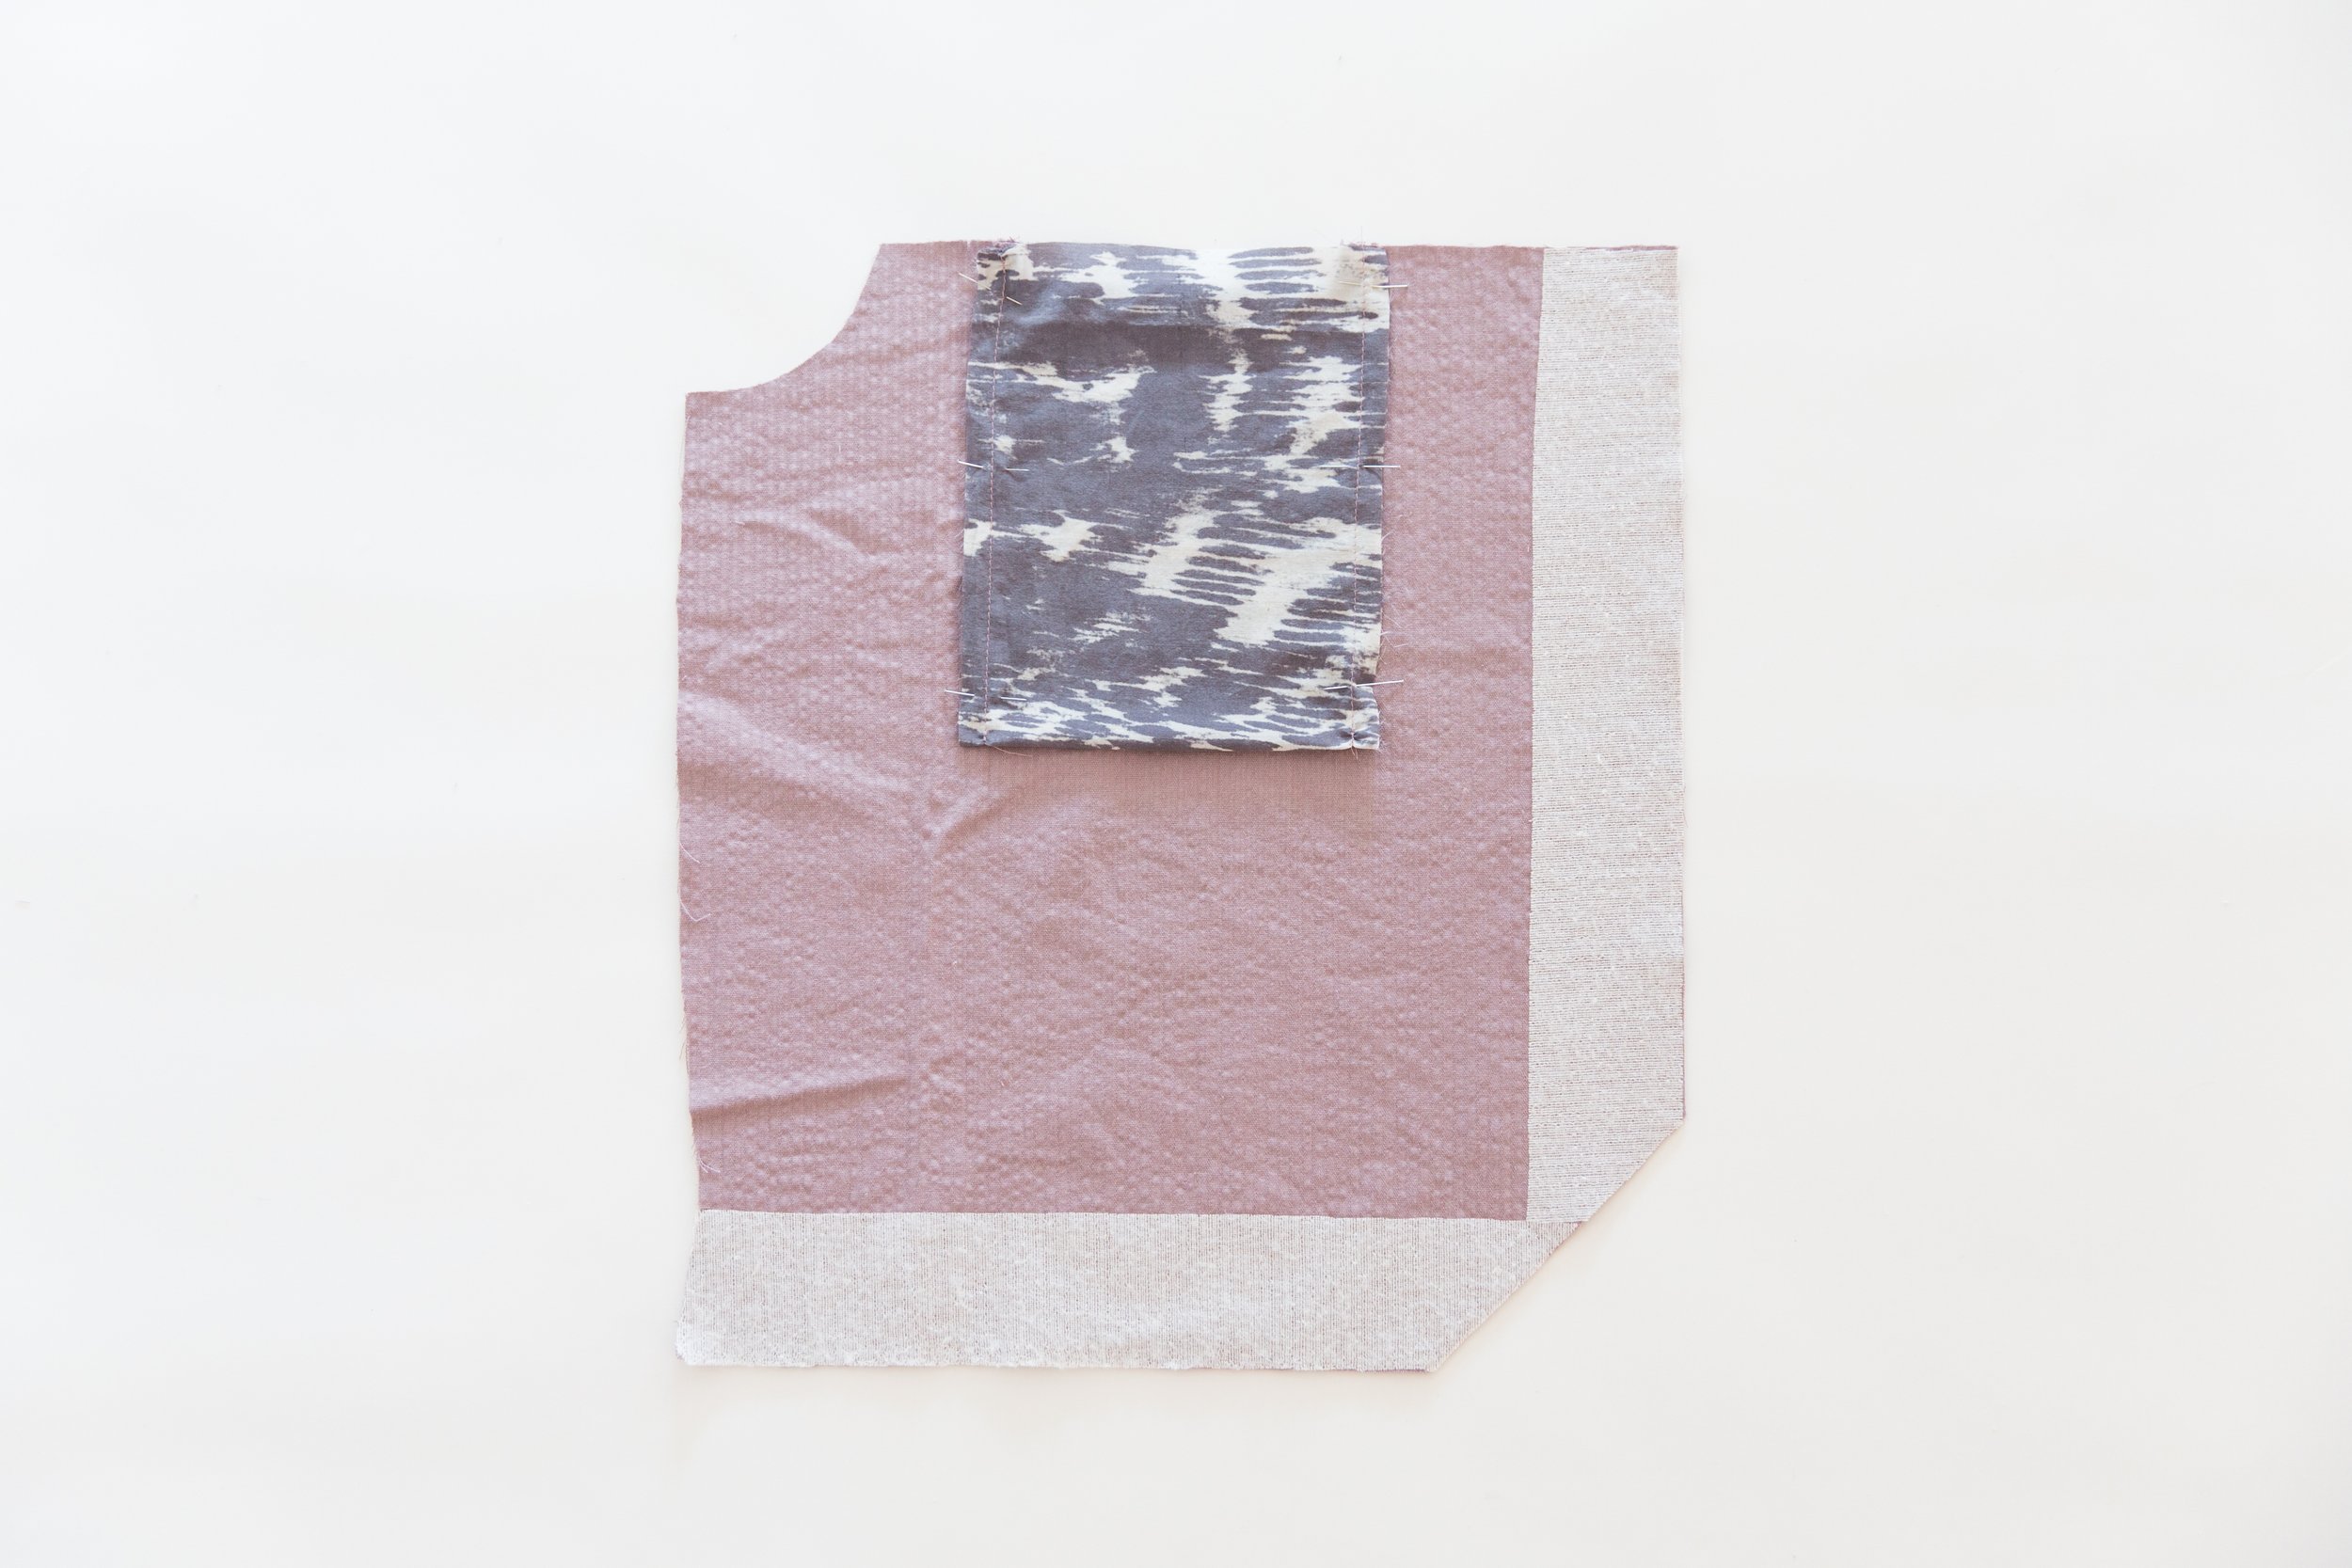
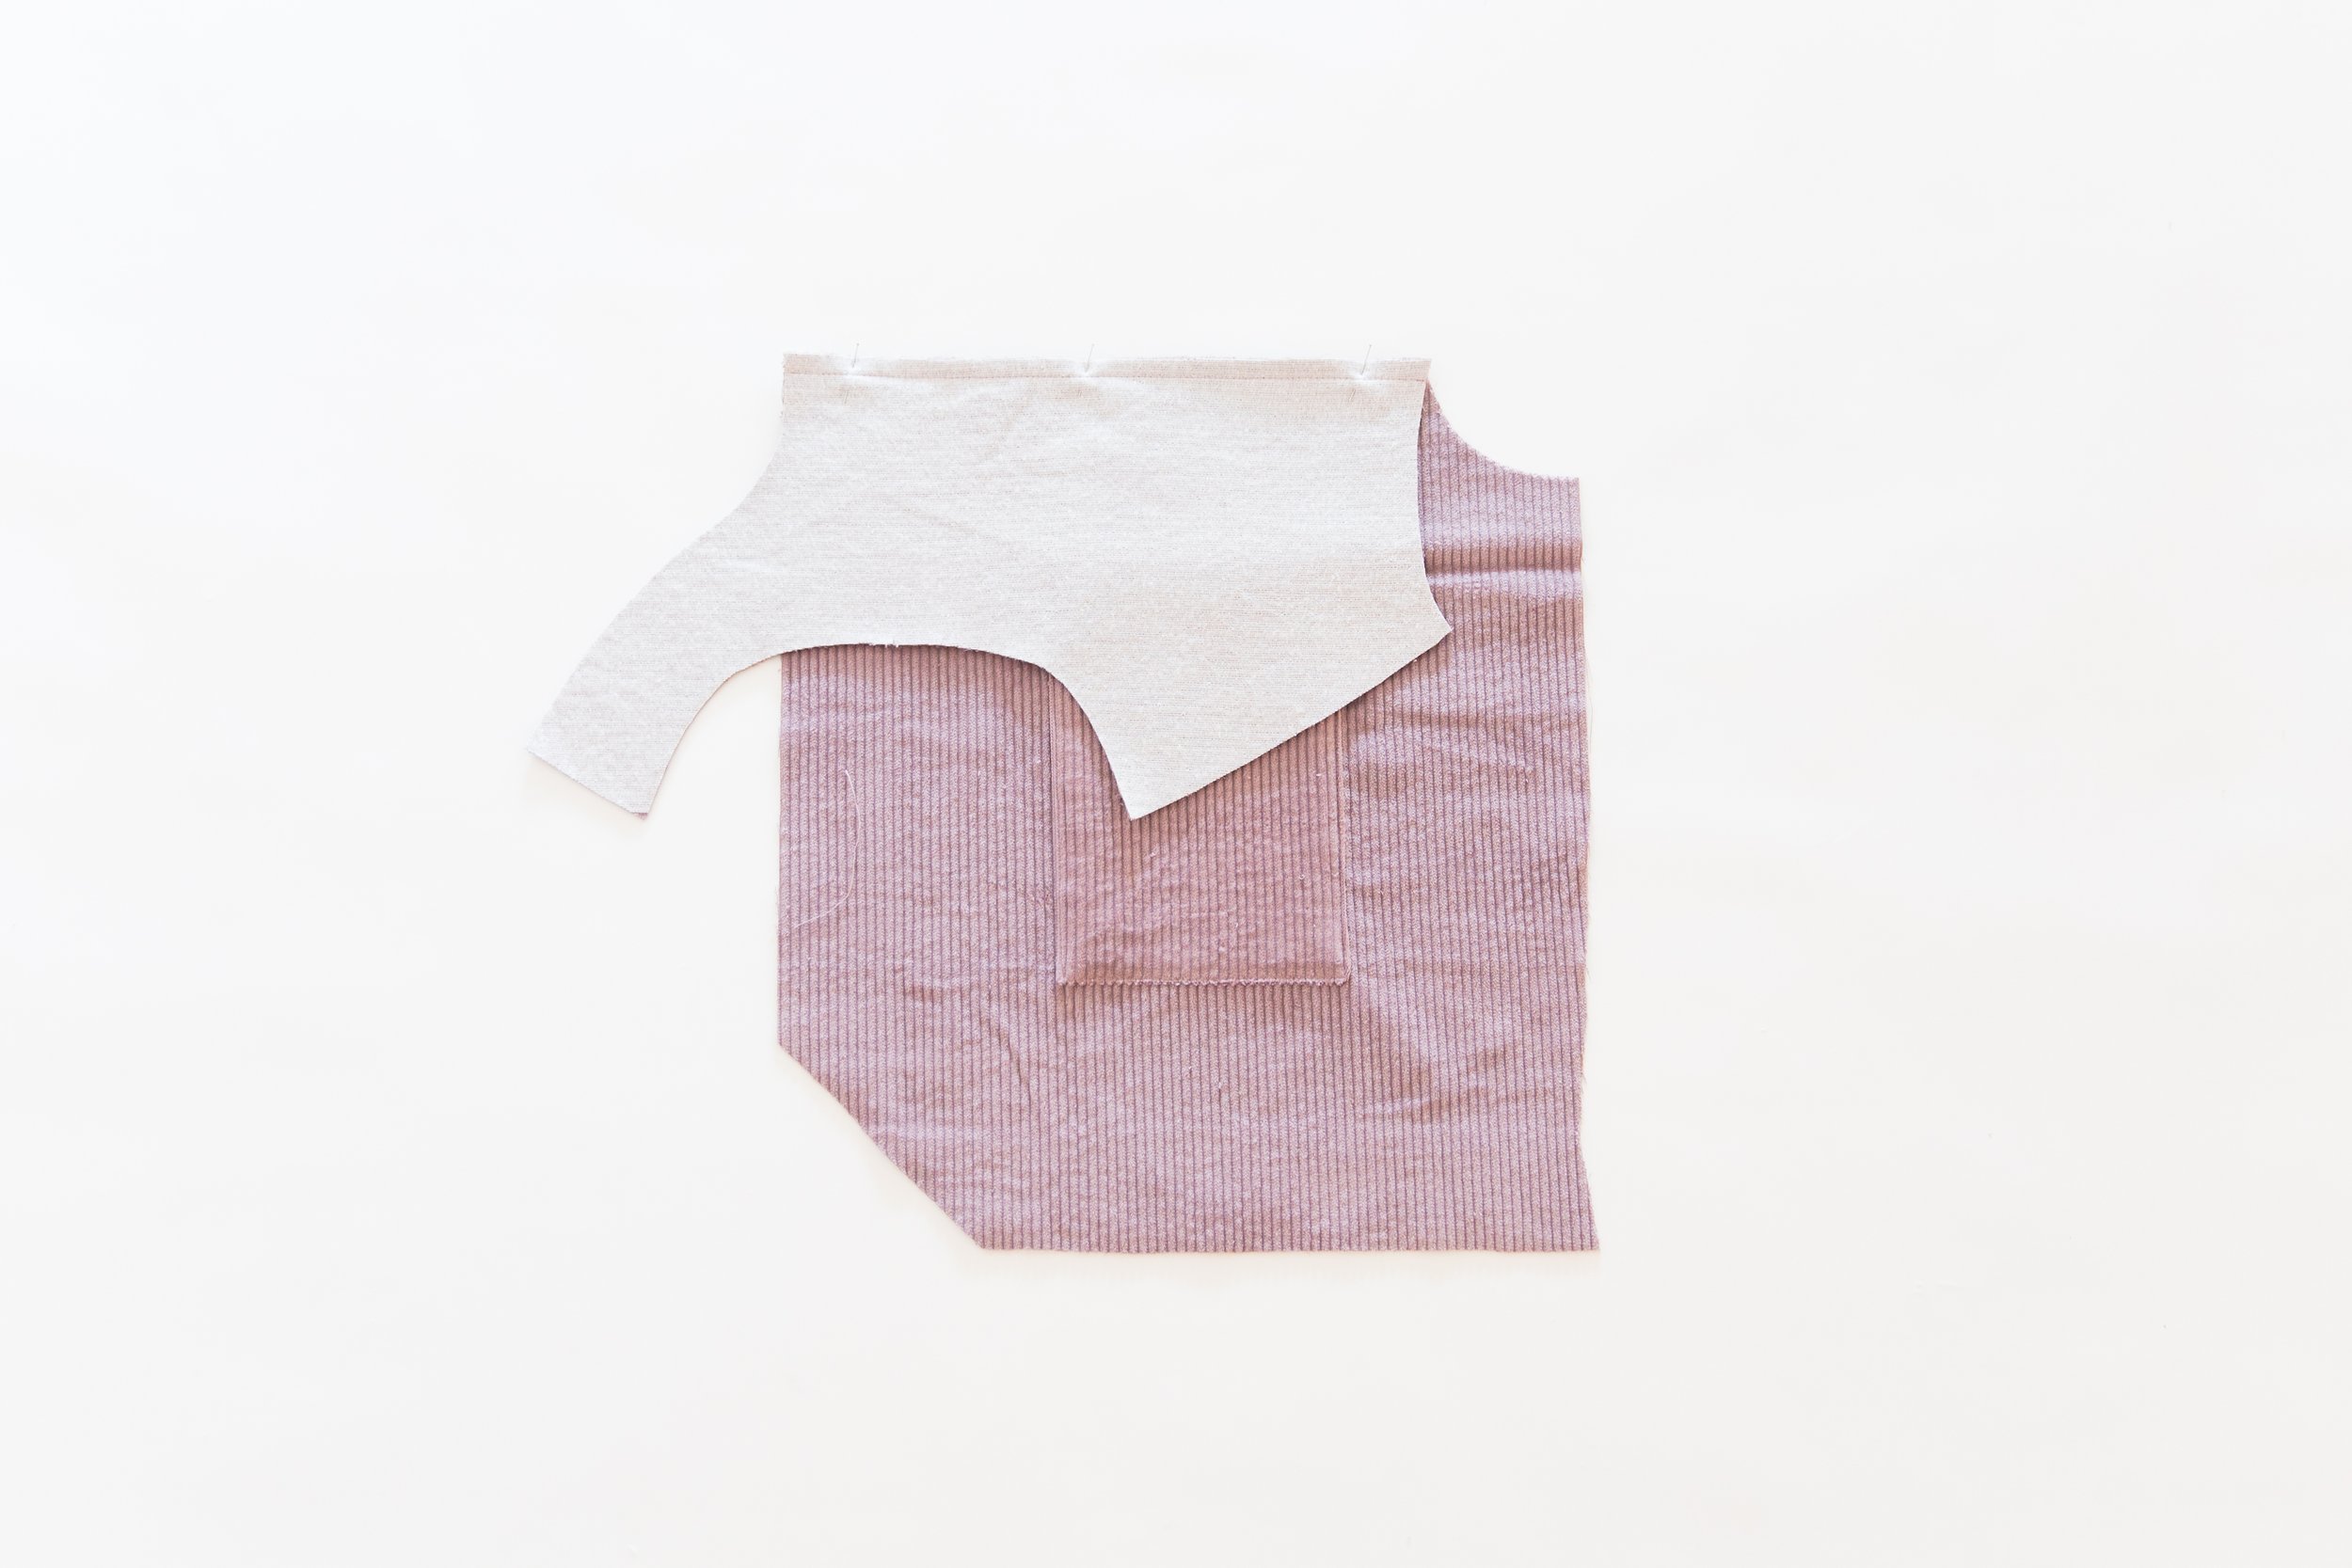
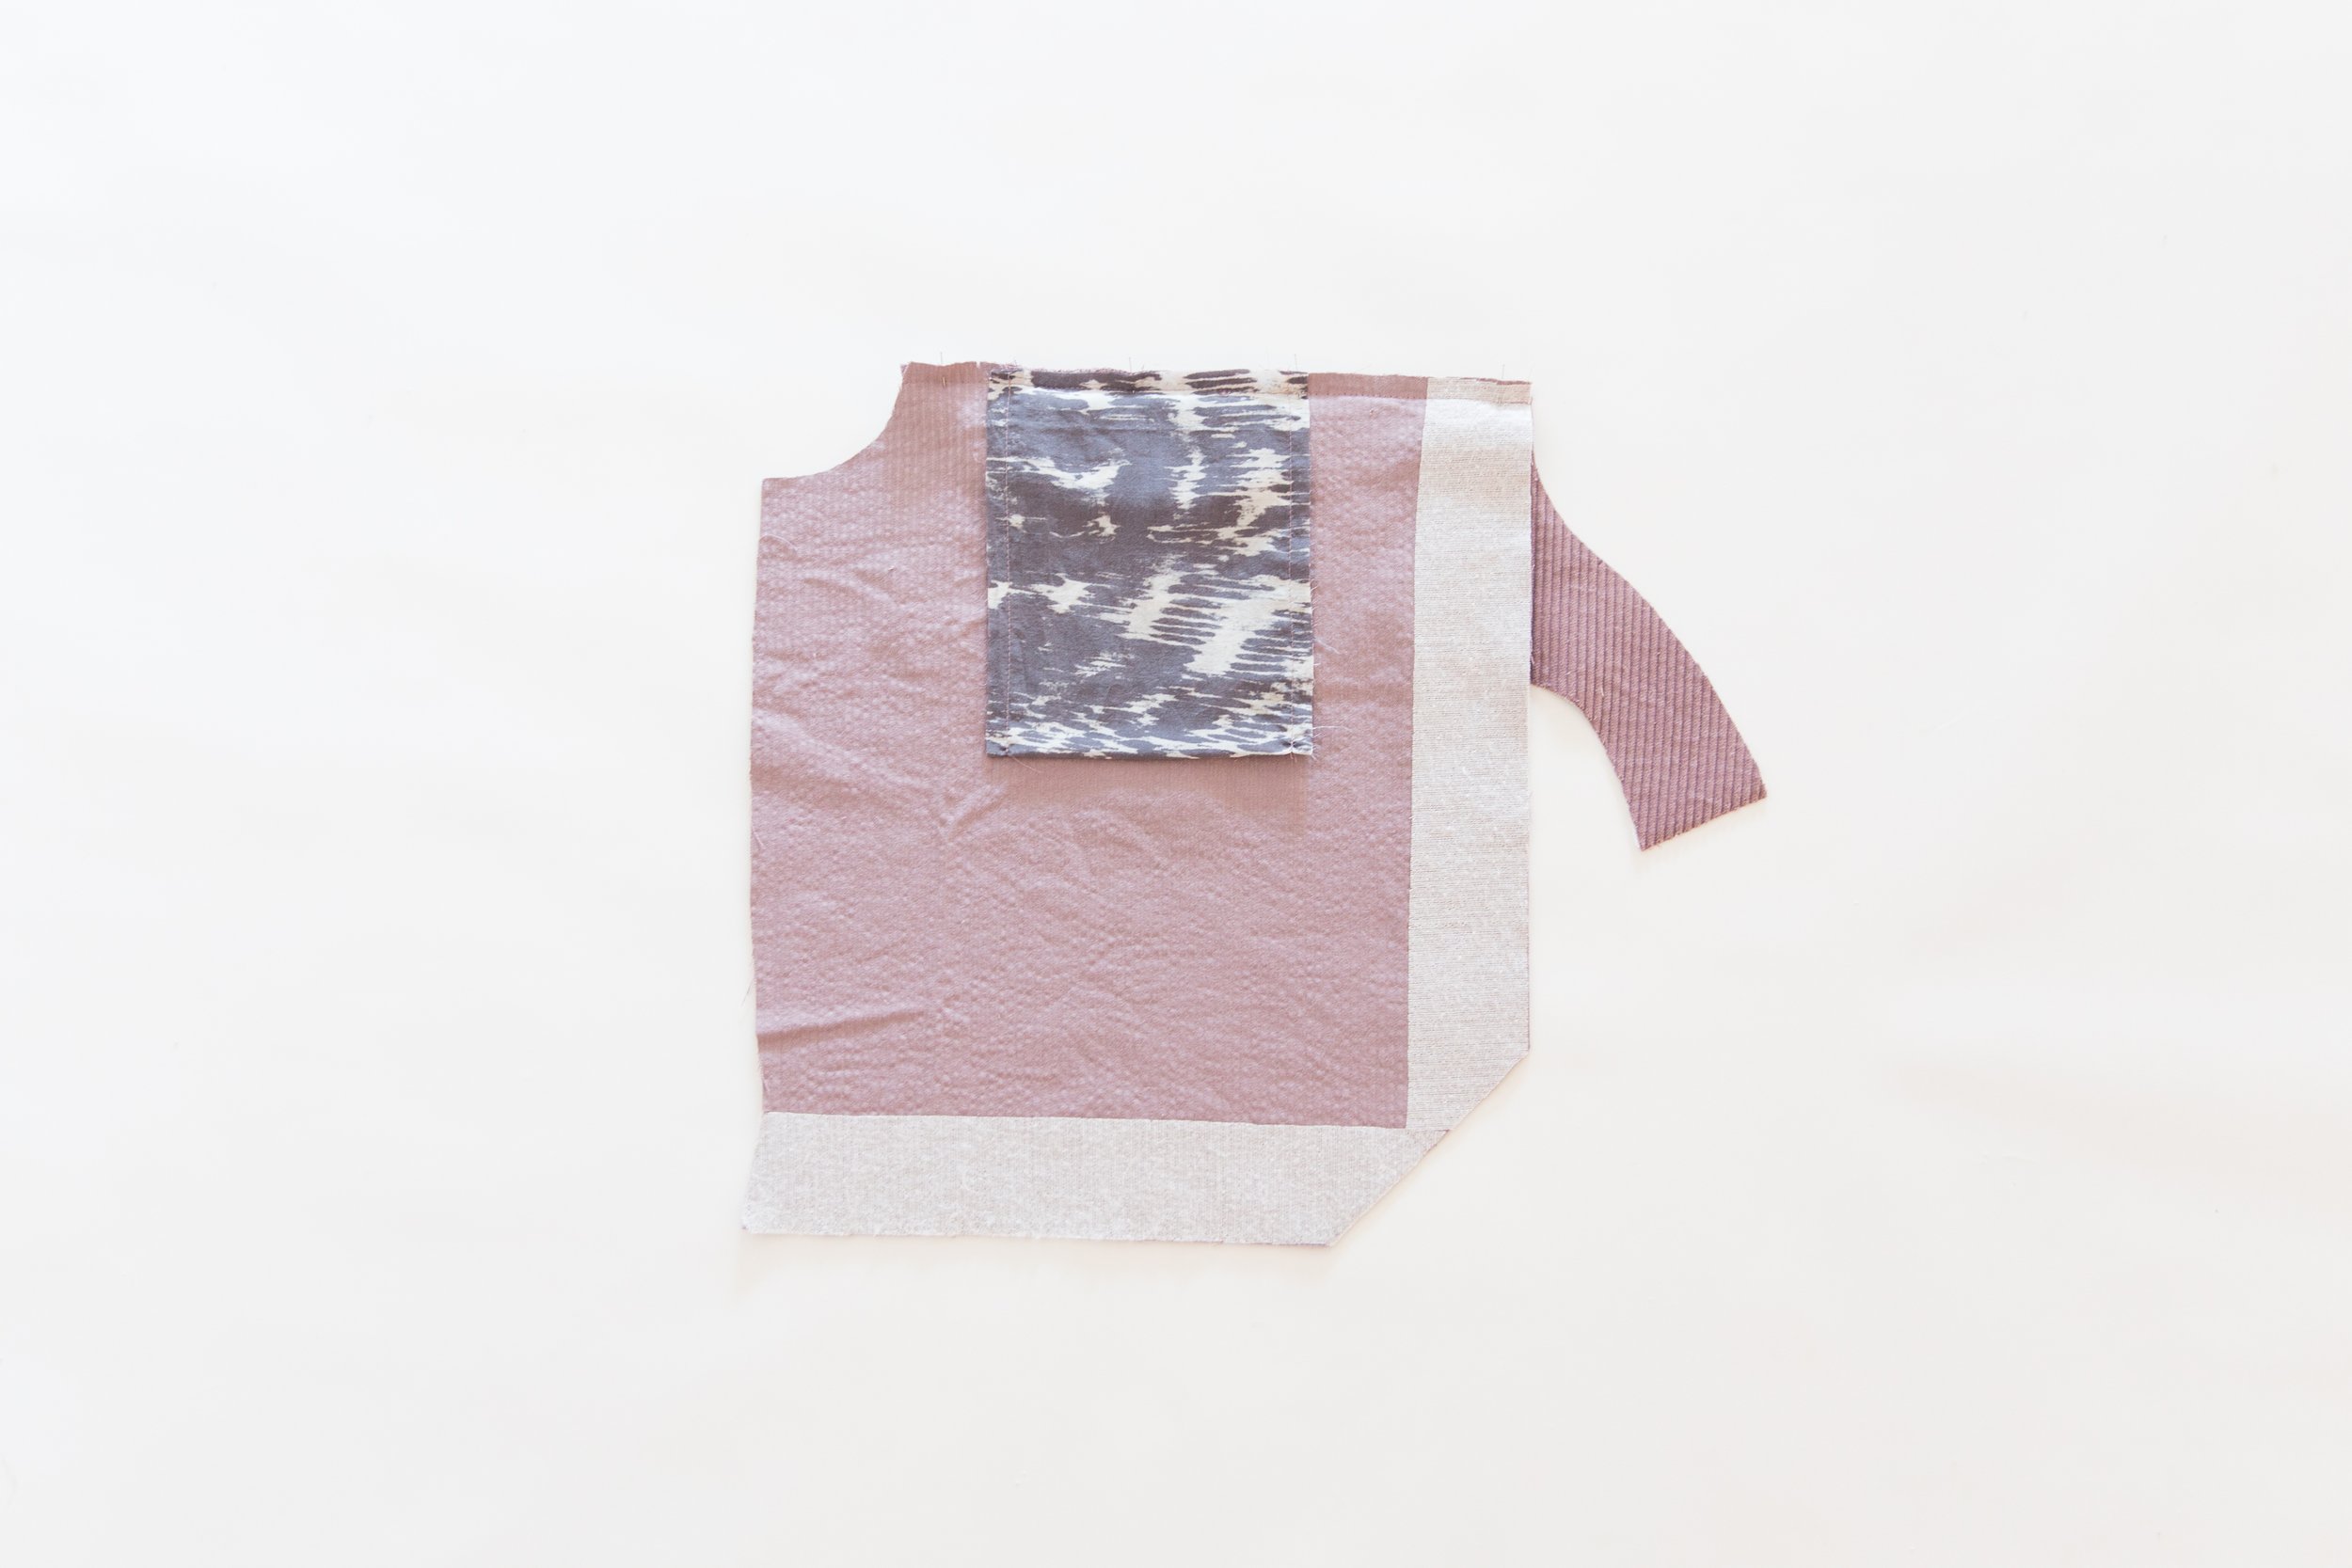
Place pocket bag between notches on the front piece (Piece 2) with right sides facing. Transfer stitch line guide from pattern piece. Stitch together along stitch line. Clip into corners. Turn pocket bag over to the wrong side and press. Fold bottom edge of pocket bag up to meet the top edge of pocket bag with right sides together. Holding the lower front panel out of the way, stitch pocket bag side seams together. Repeat for other pocket. Alternatively you could top stitch pocket bag edges onto front panel for a visible stitch line from the right side.
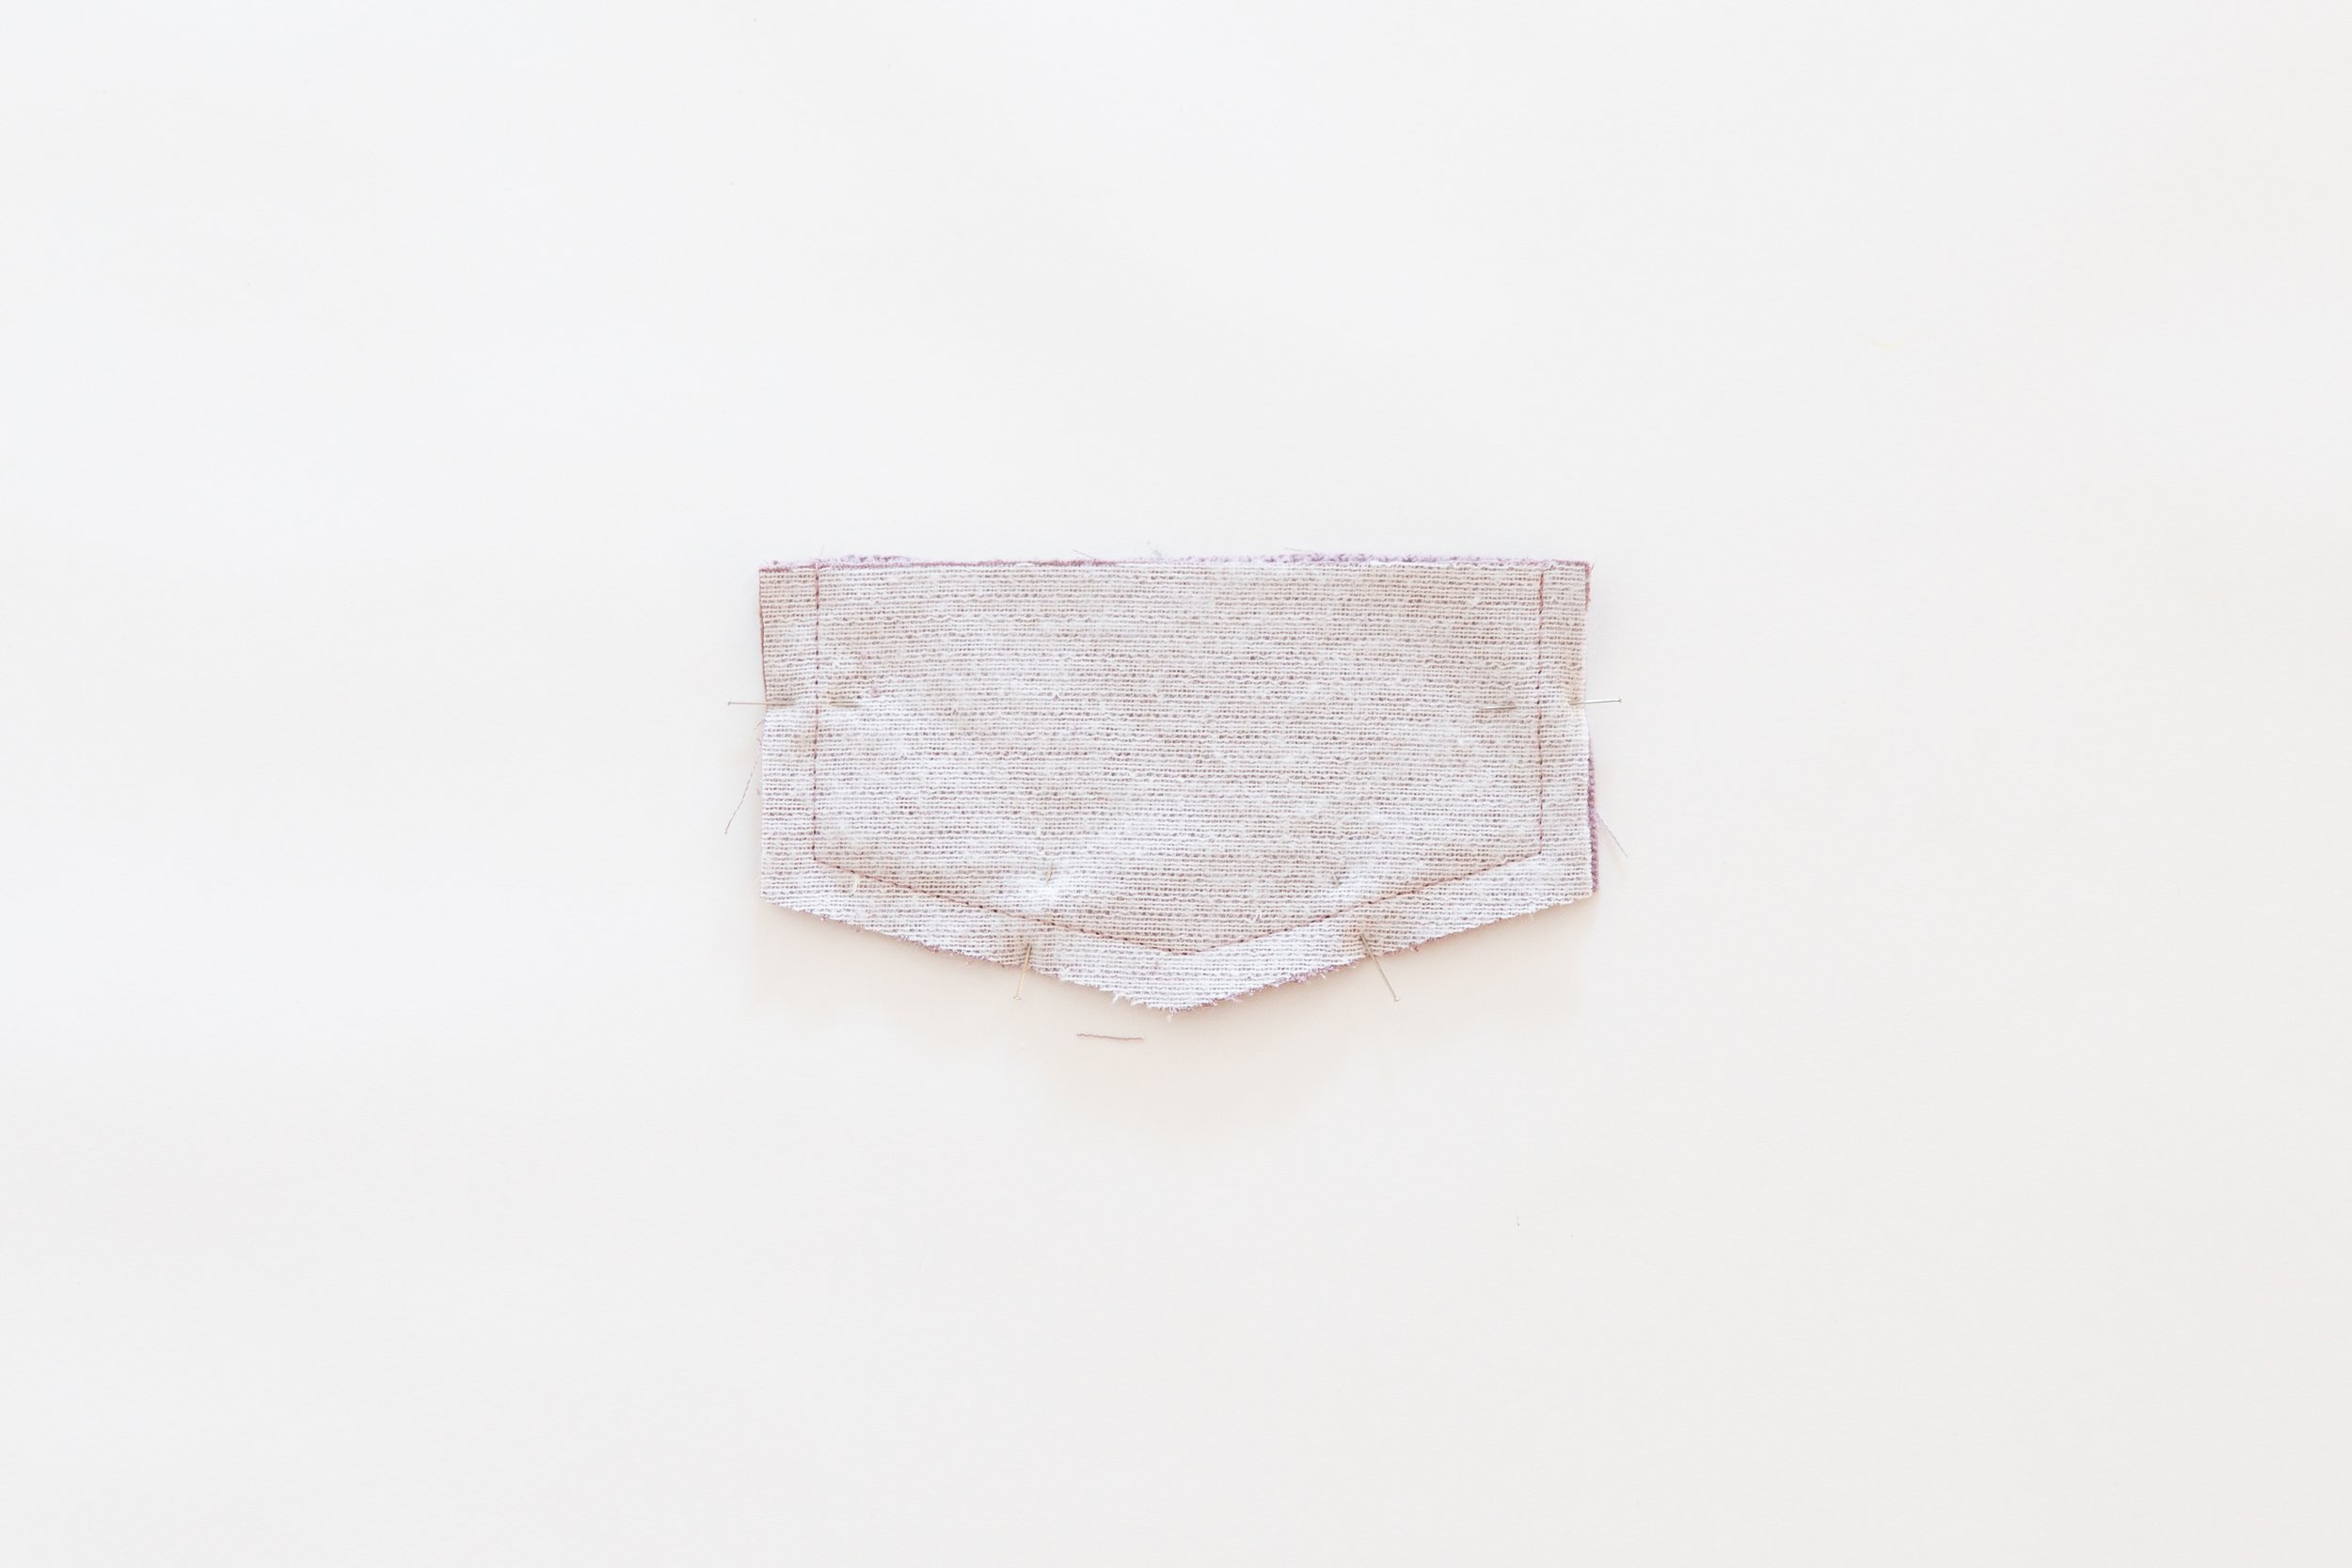
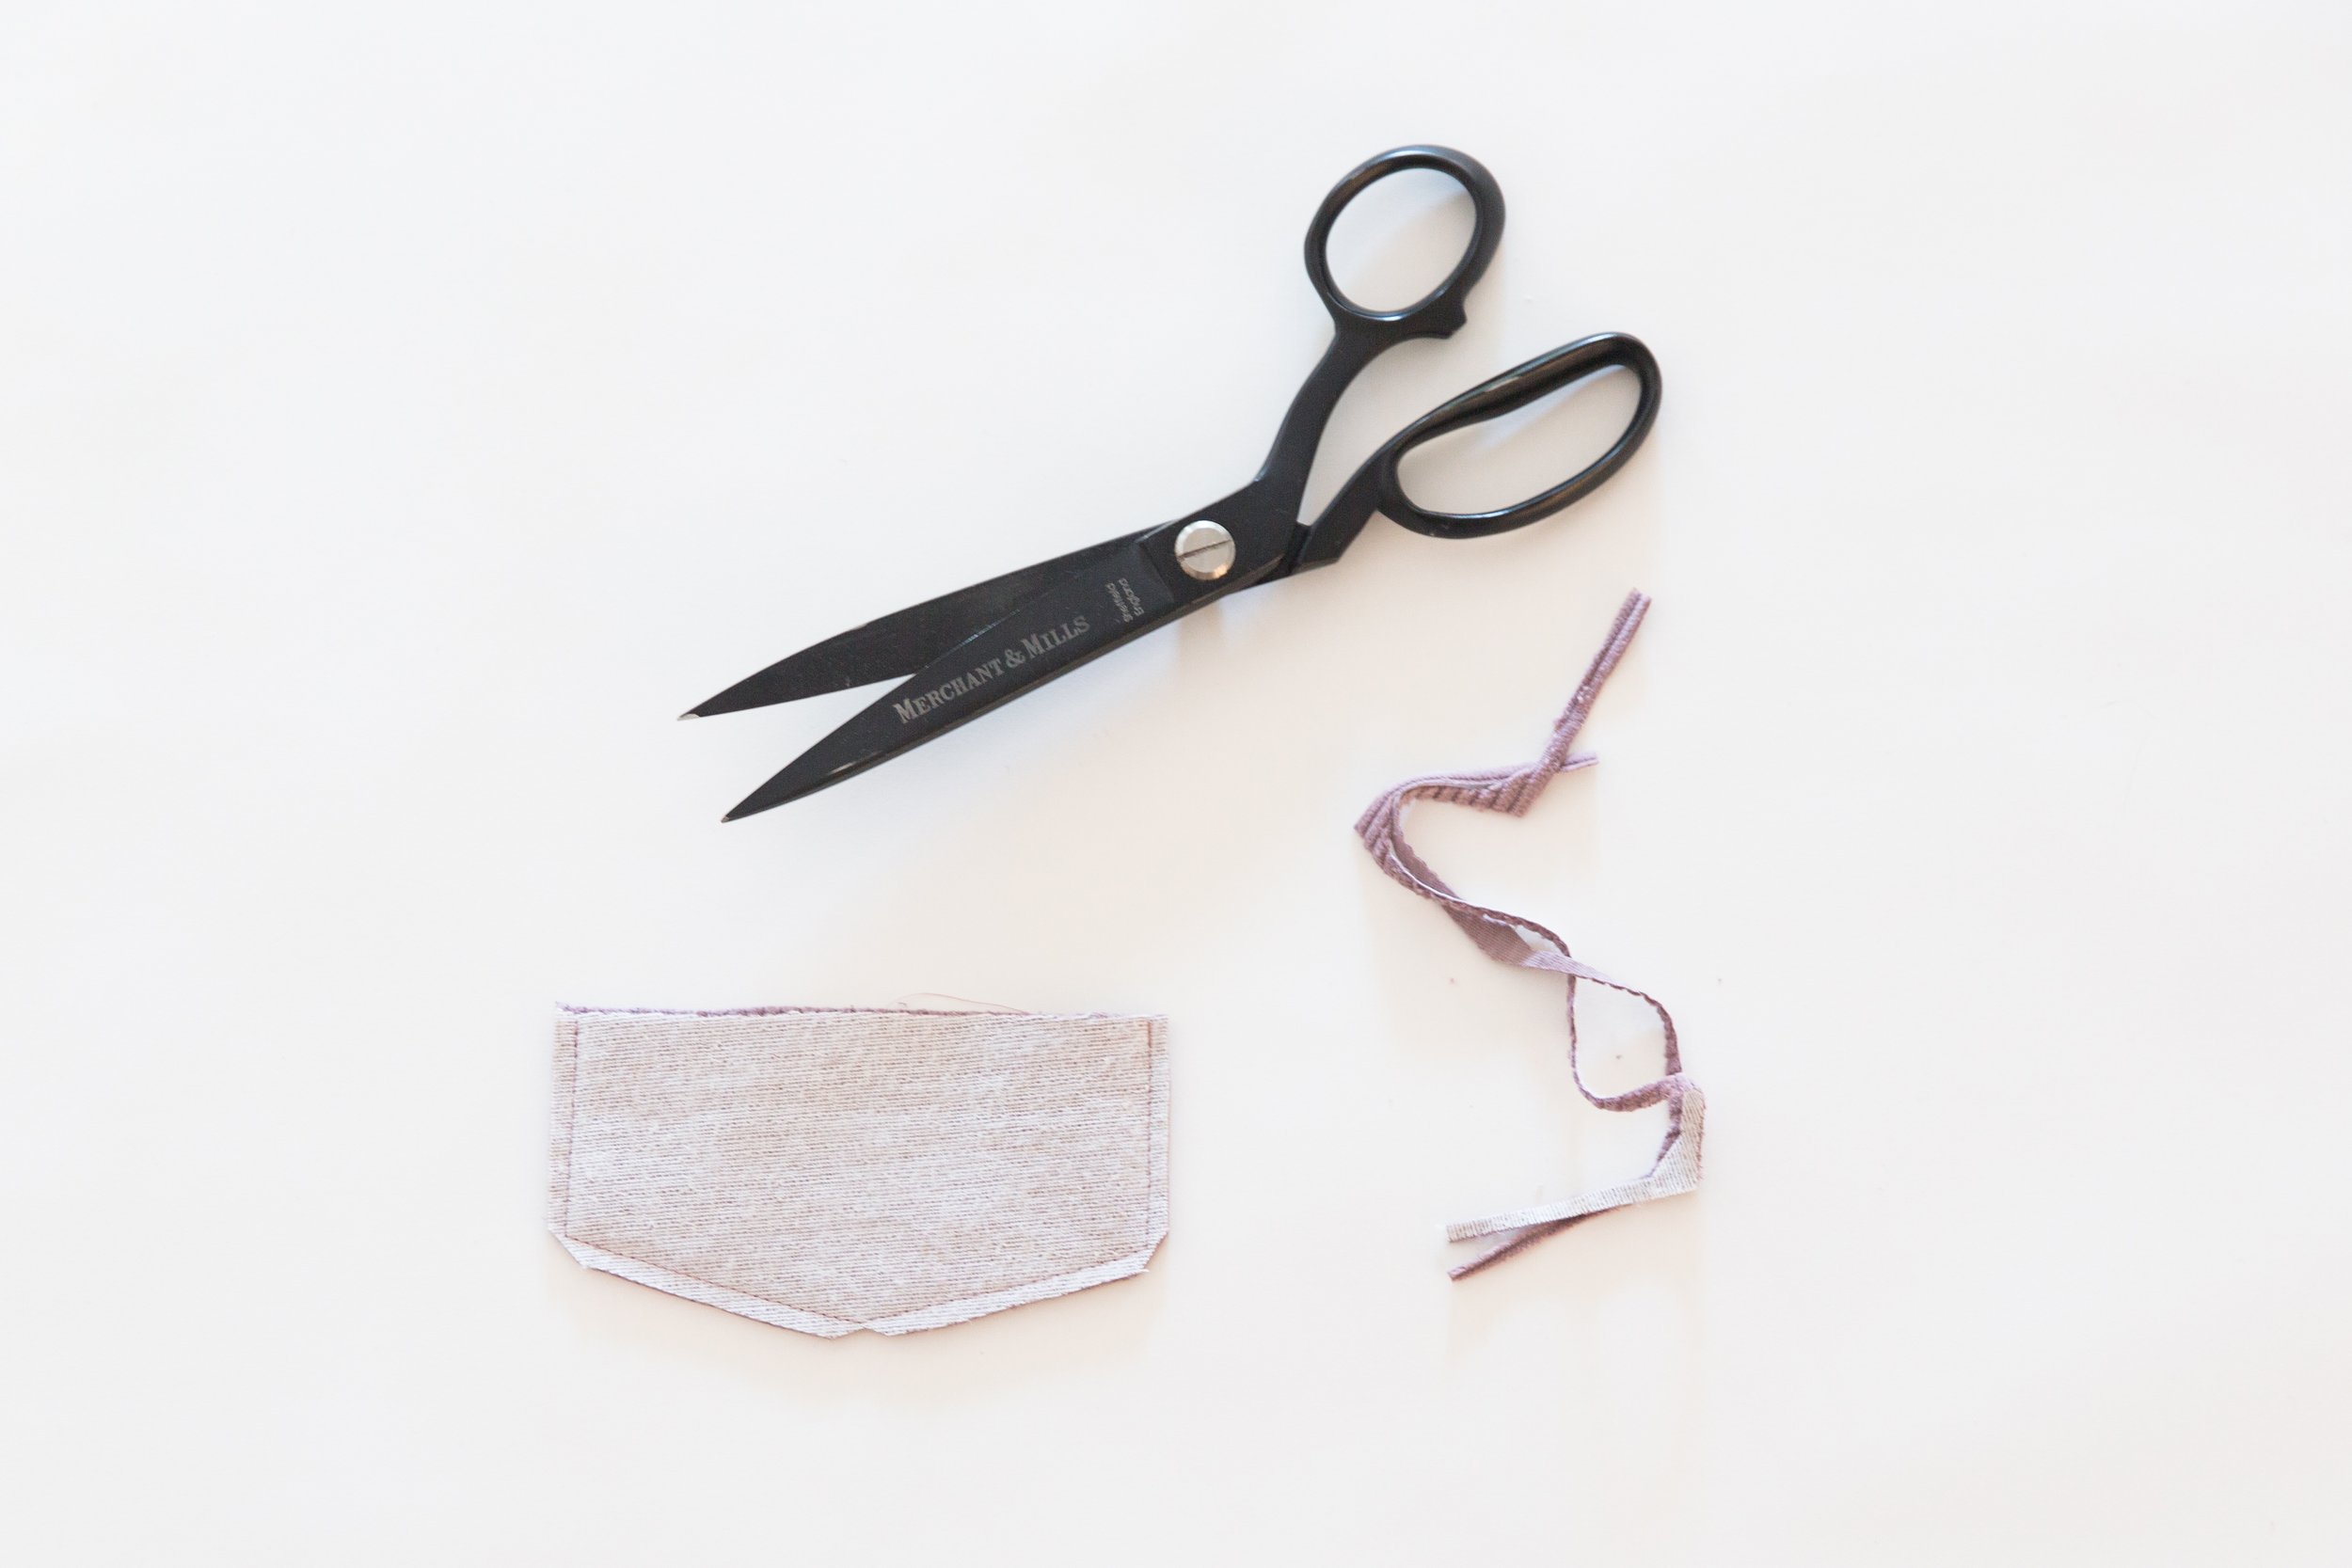
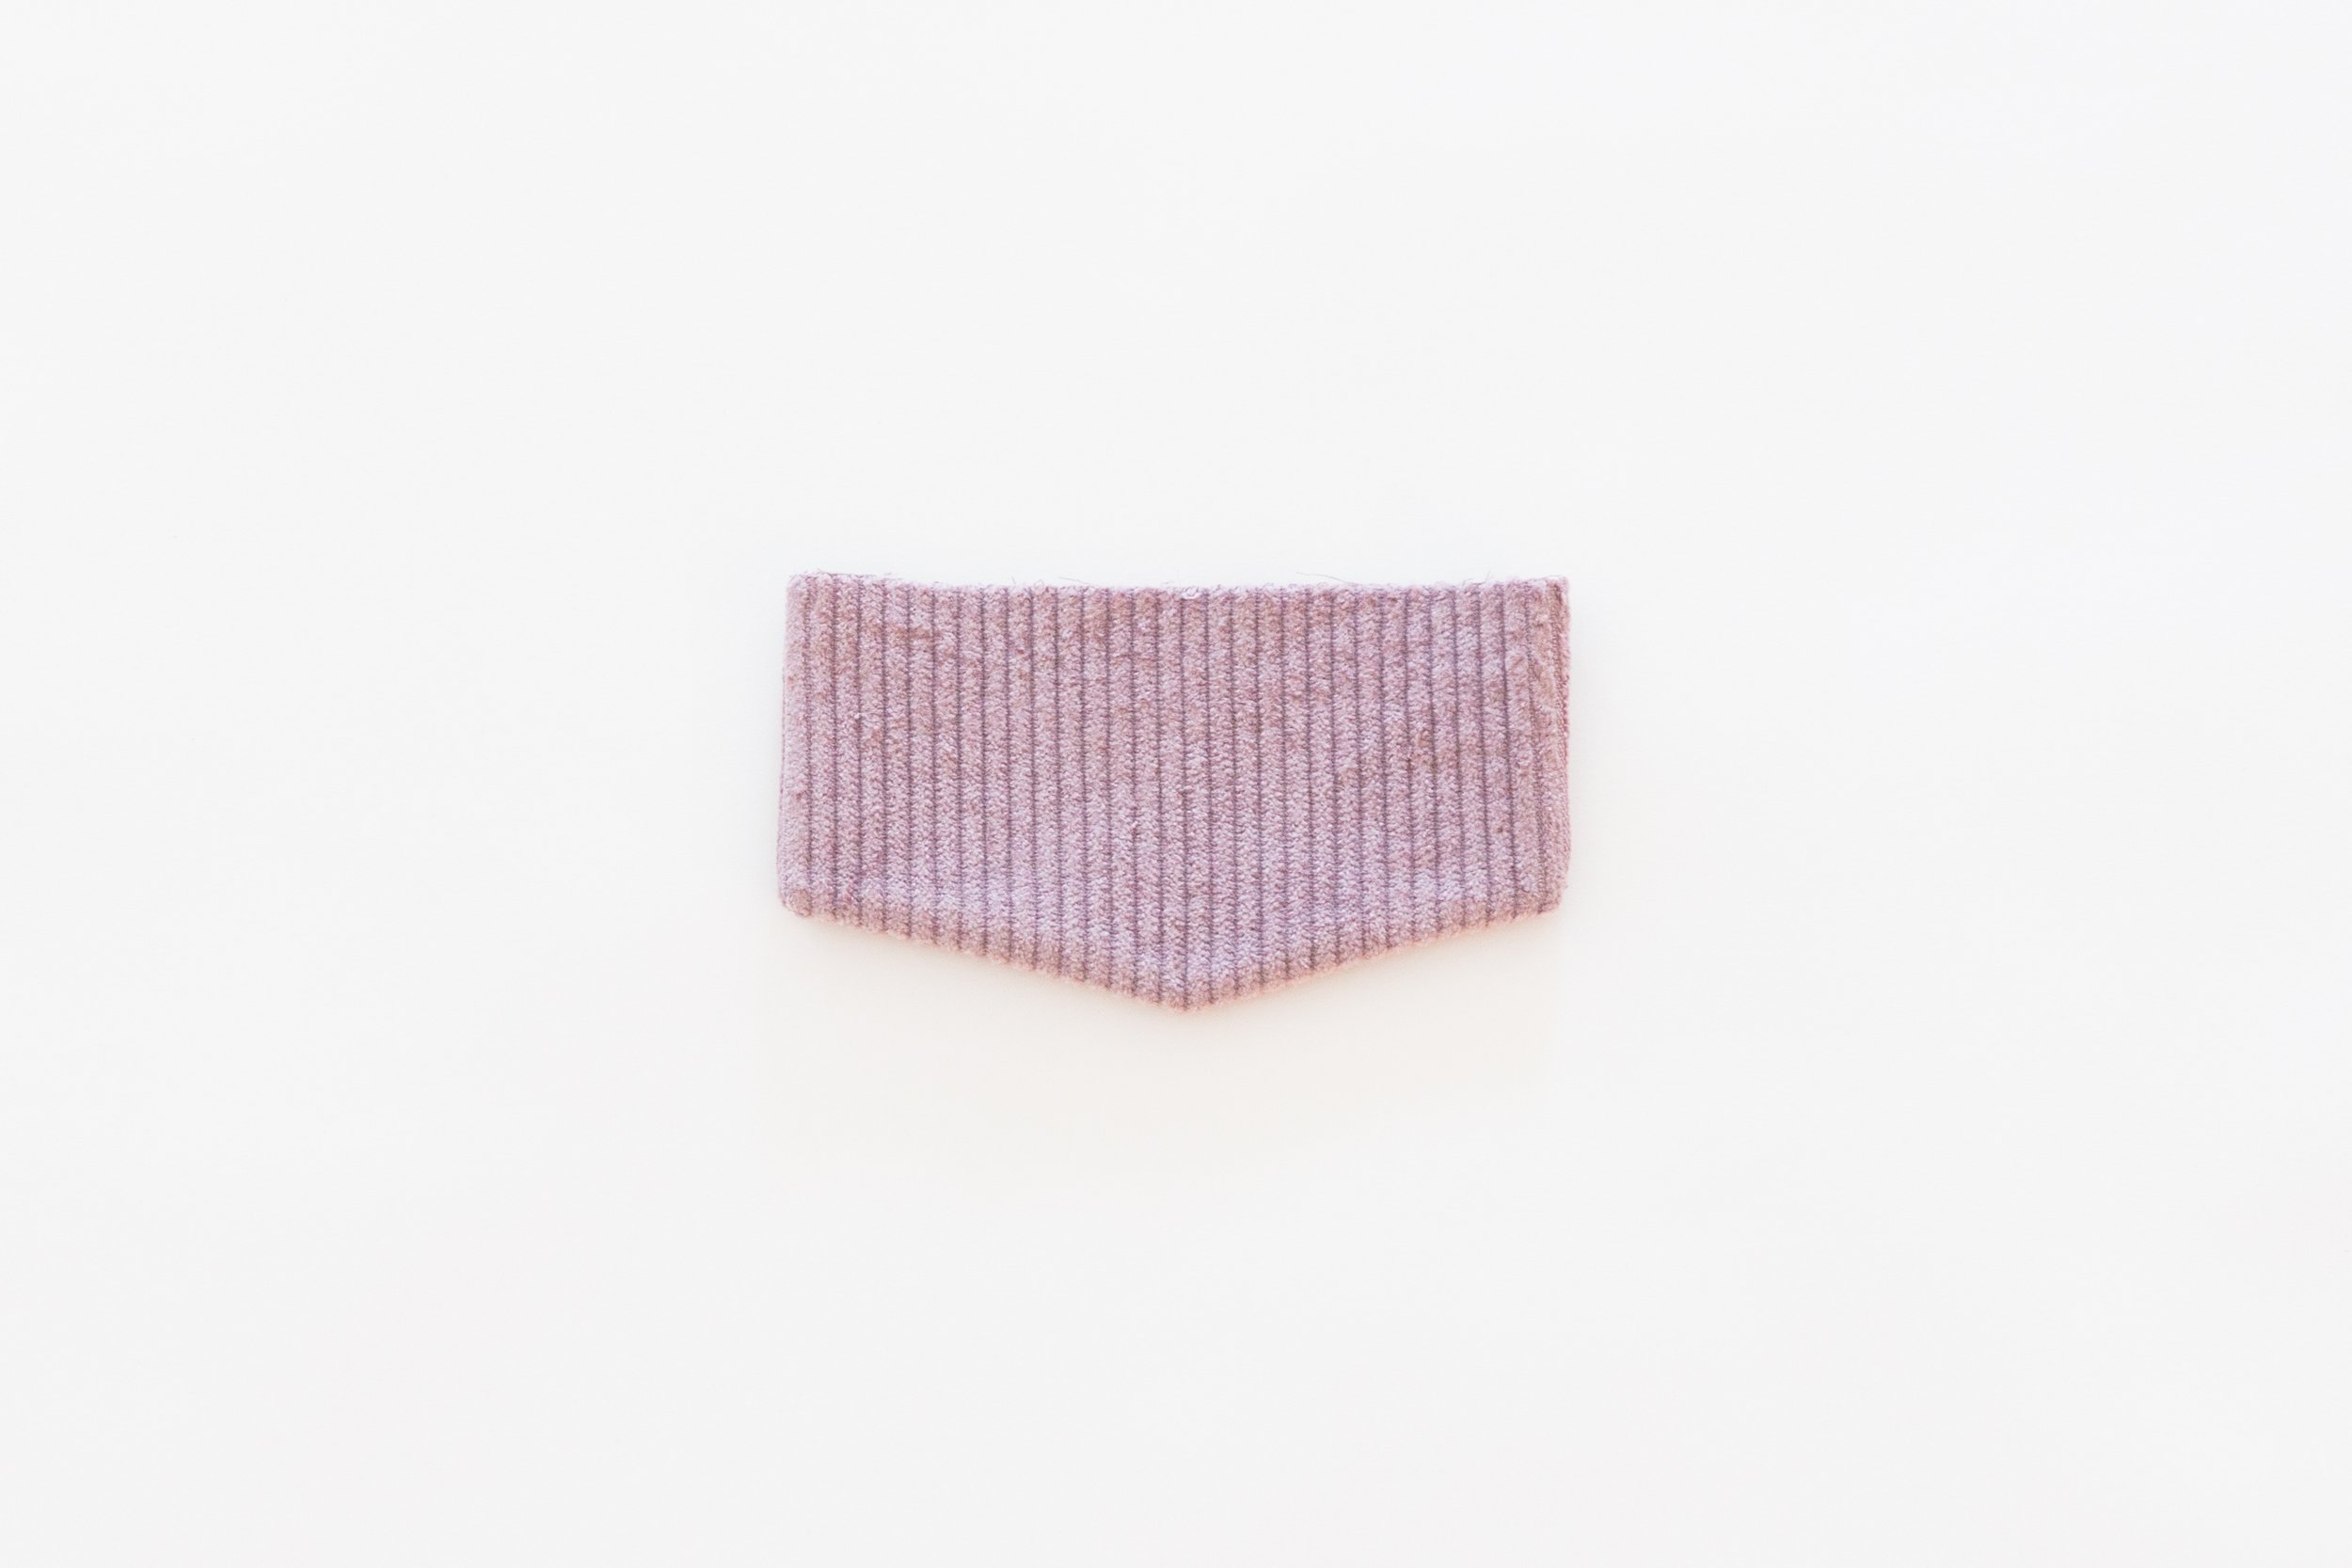
Step 2
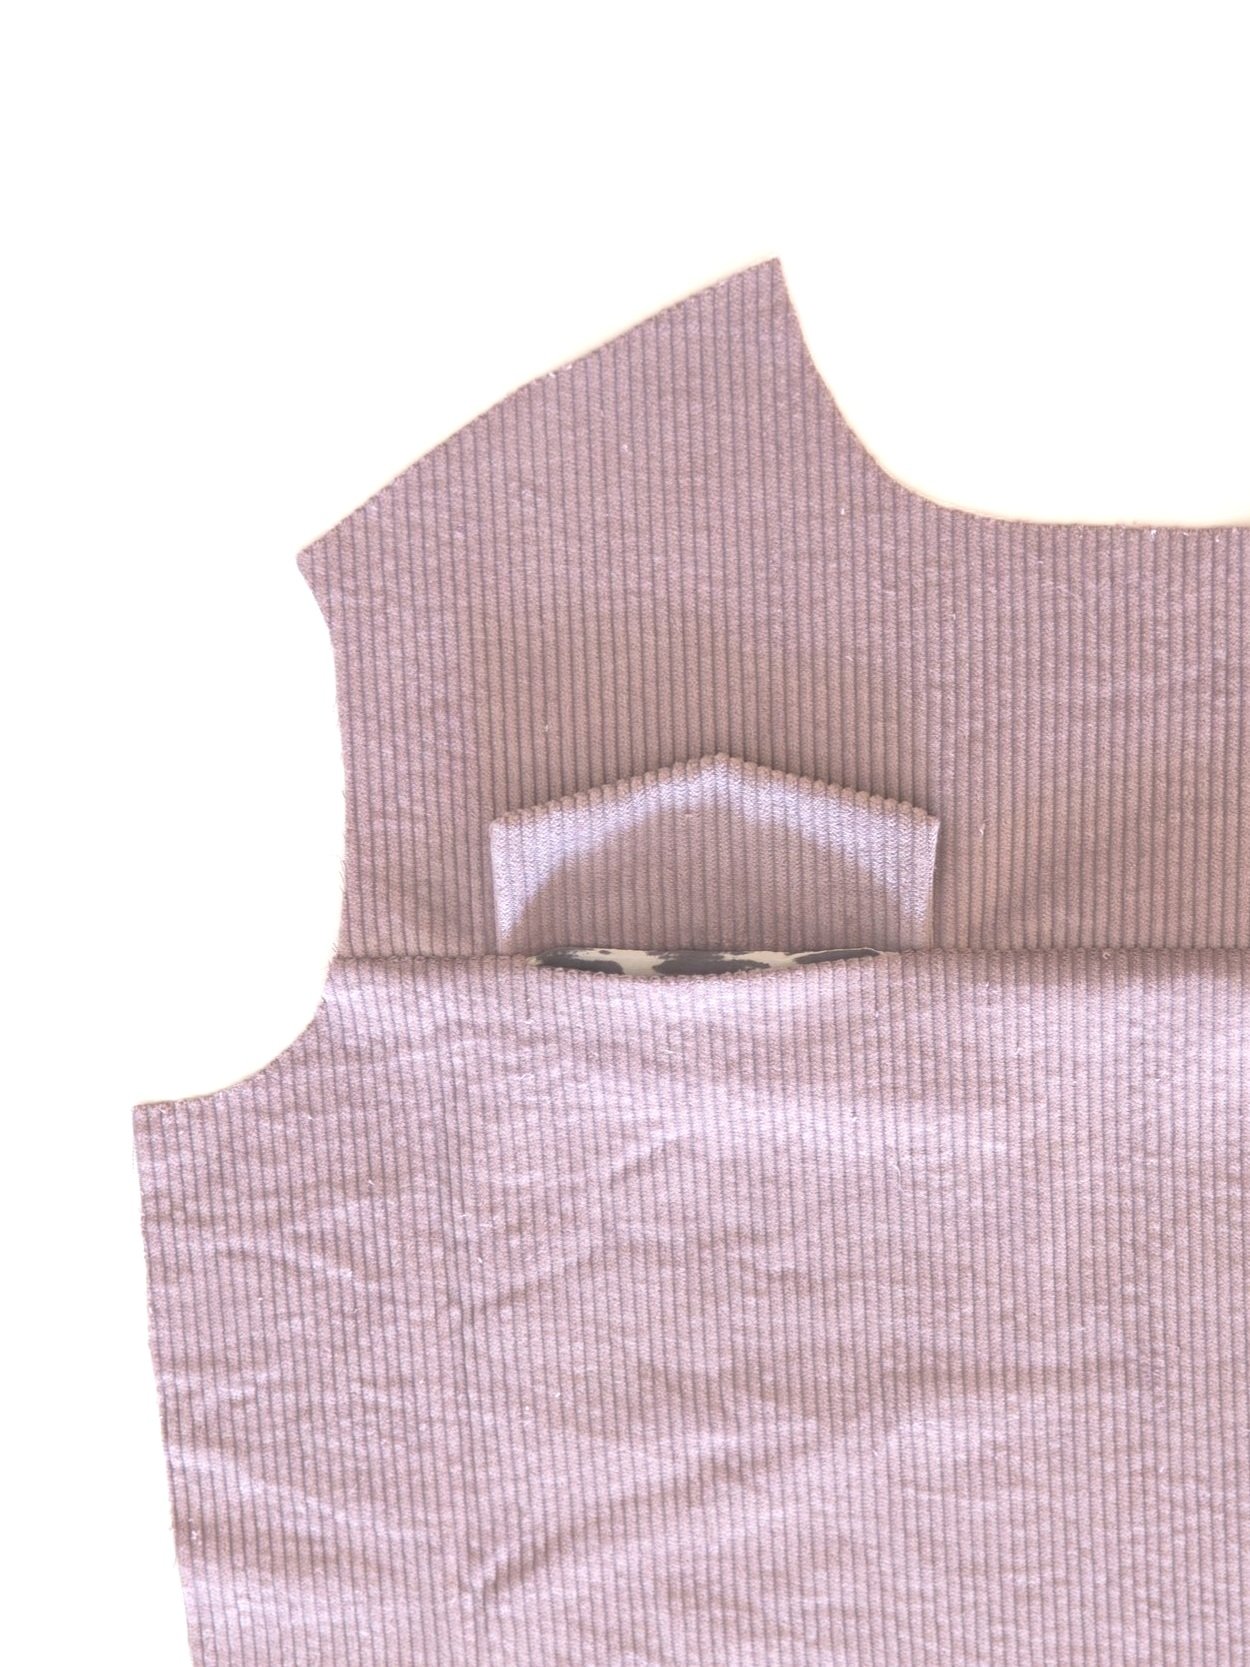
Pin pocket flap pieces together with right sides facing. Stitch around the three edges as illustrated. Clip corners and trim seam allowance in half. Turn through to the right side. Press well. Line open edge of flap up with notches on upper front piece with right sides facing. Baste in place with a 5mm seam allowance. Repeat for other pocket.
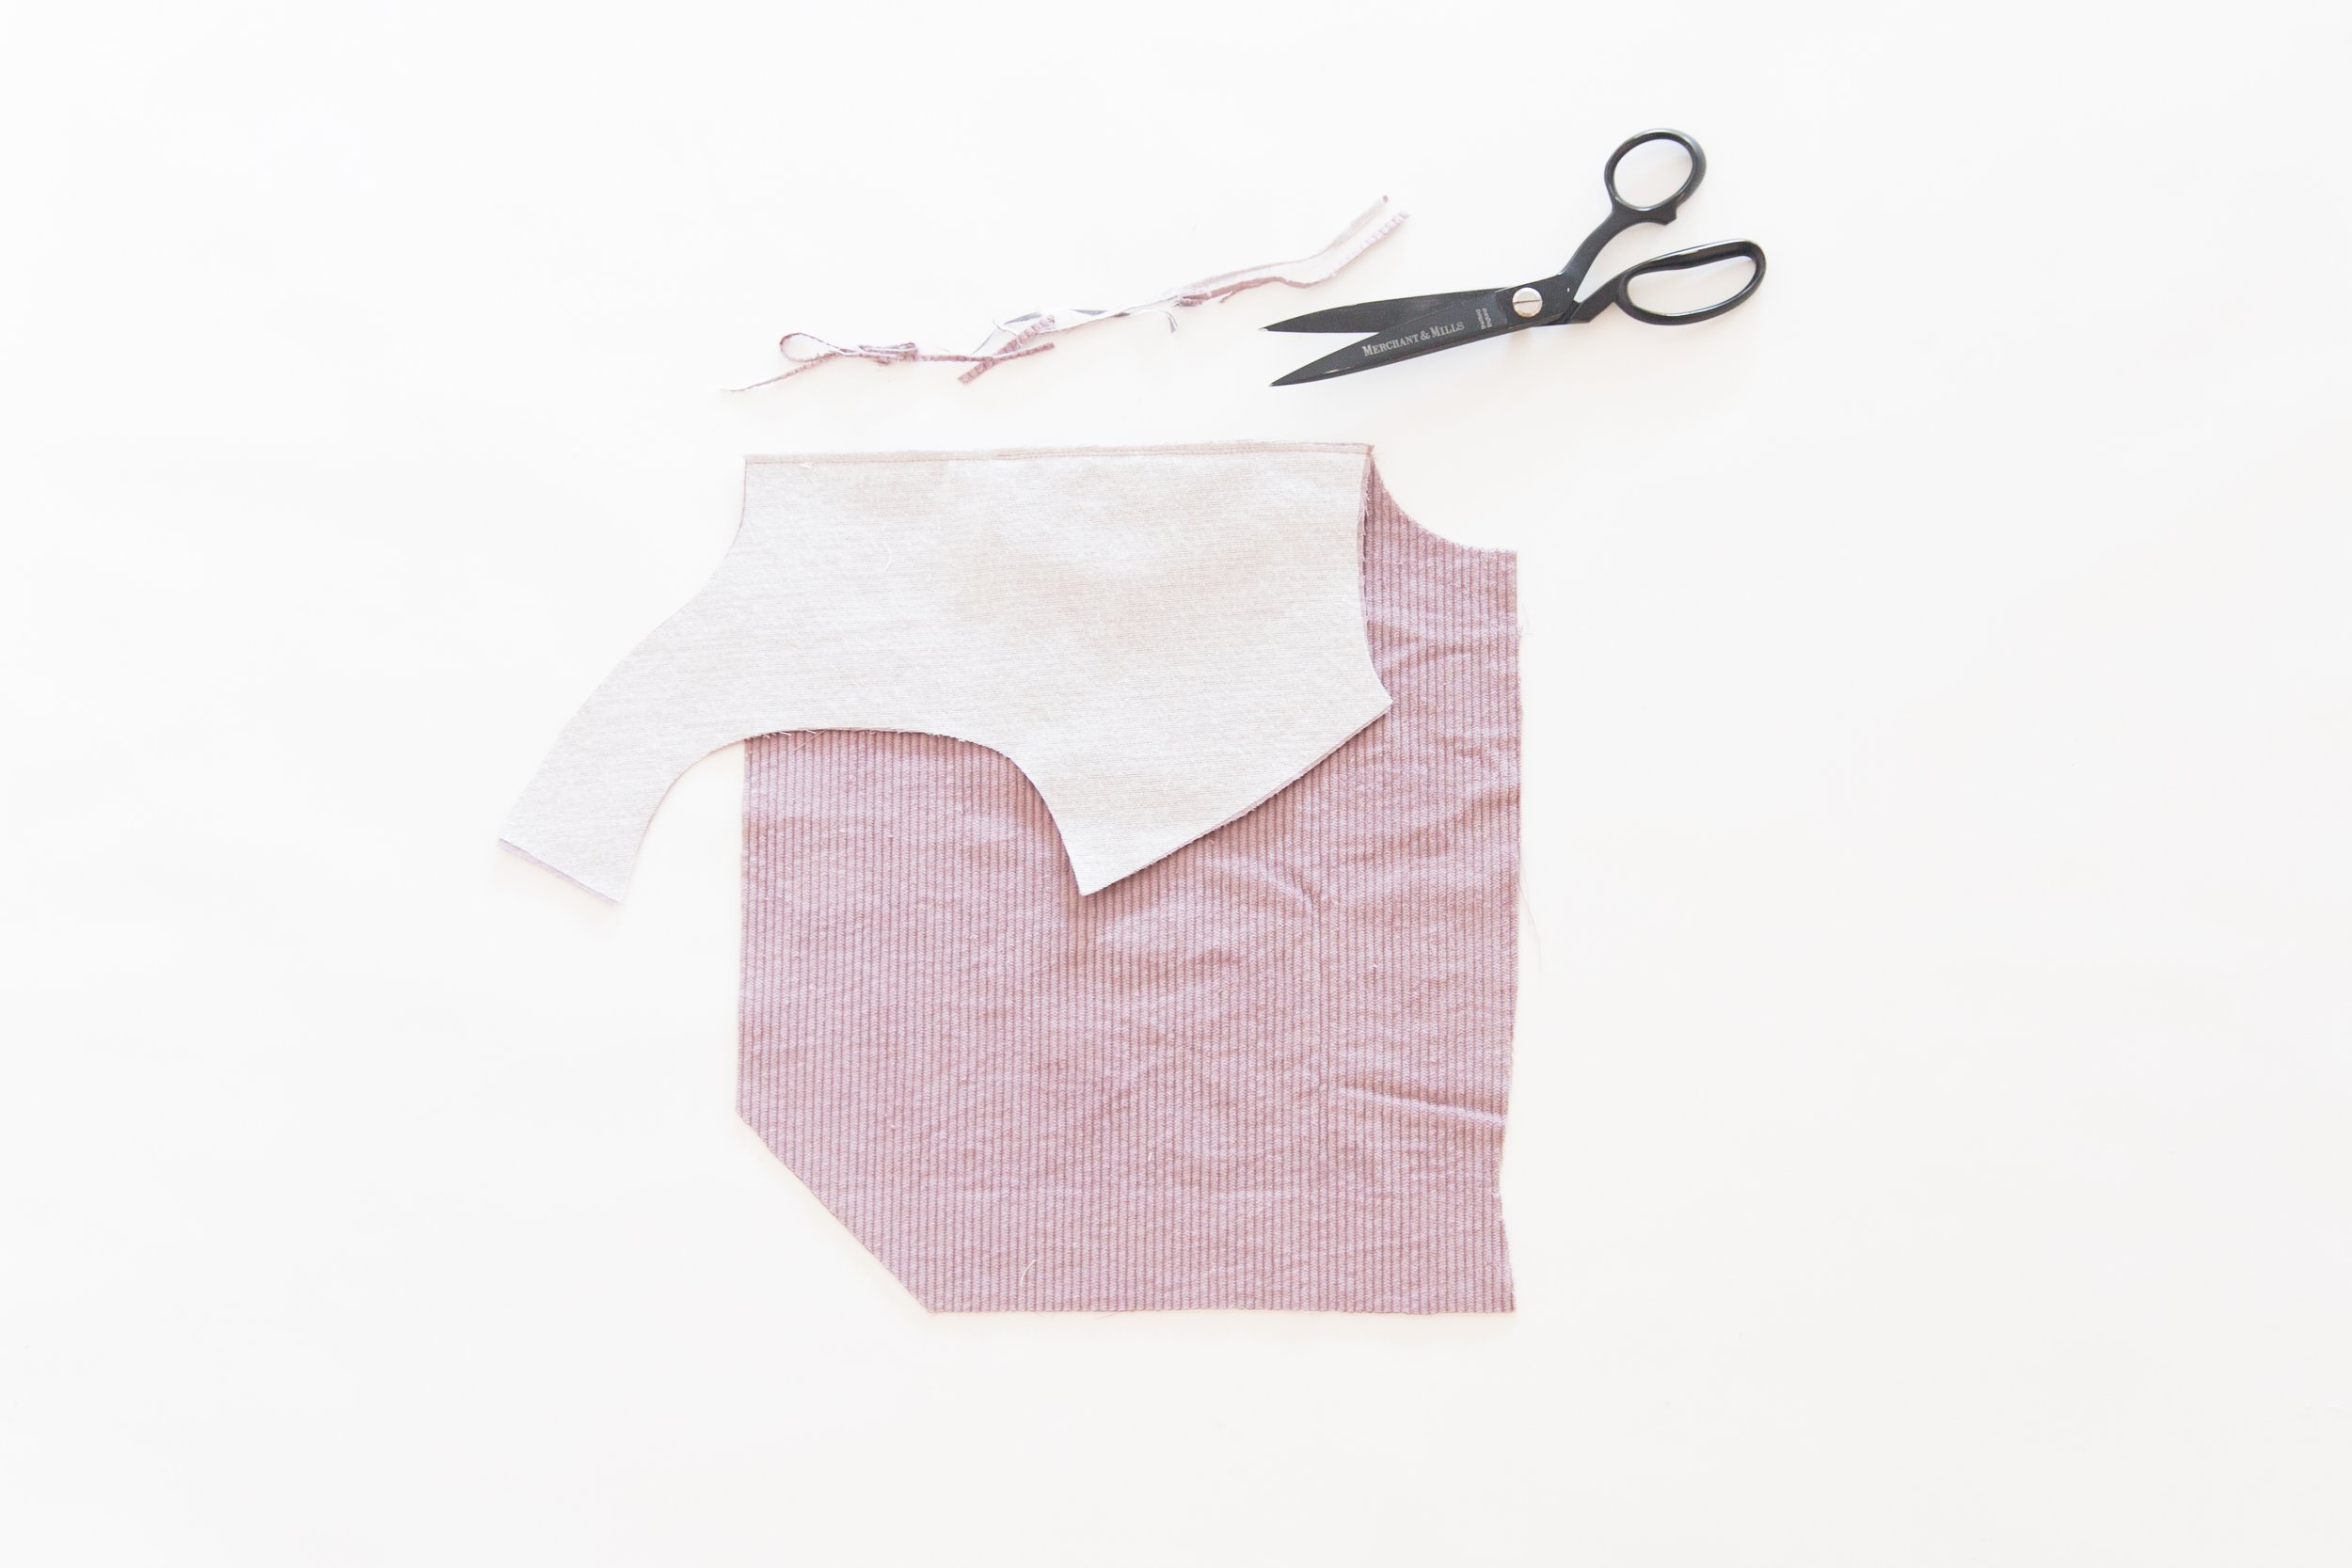
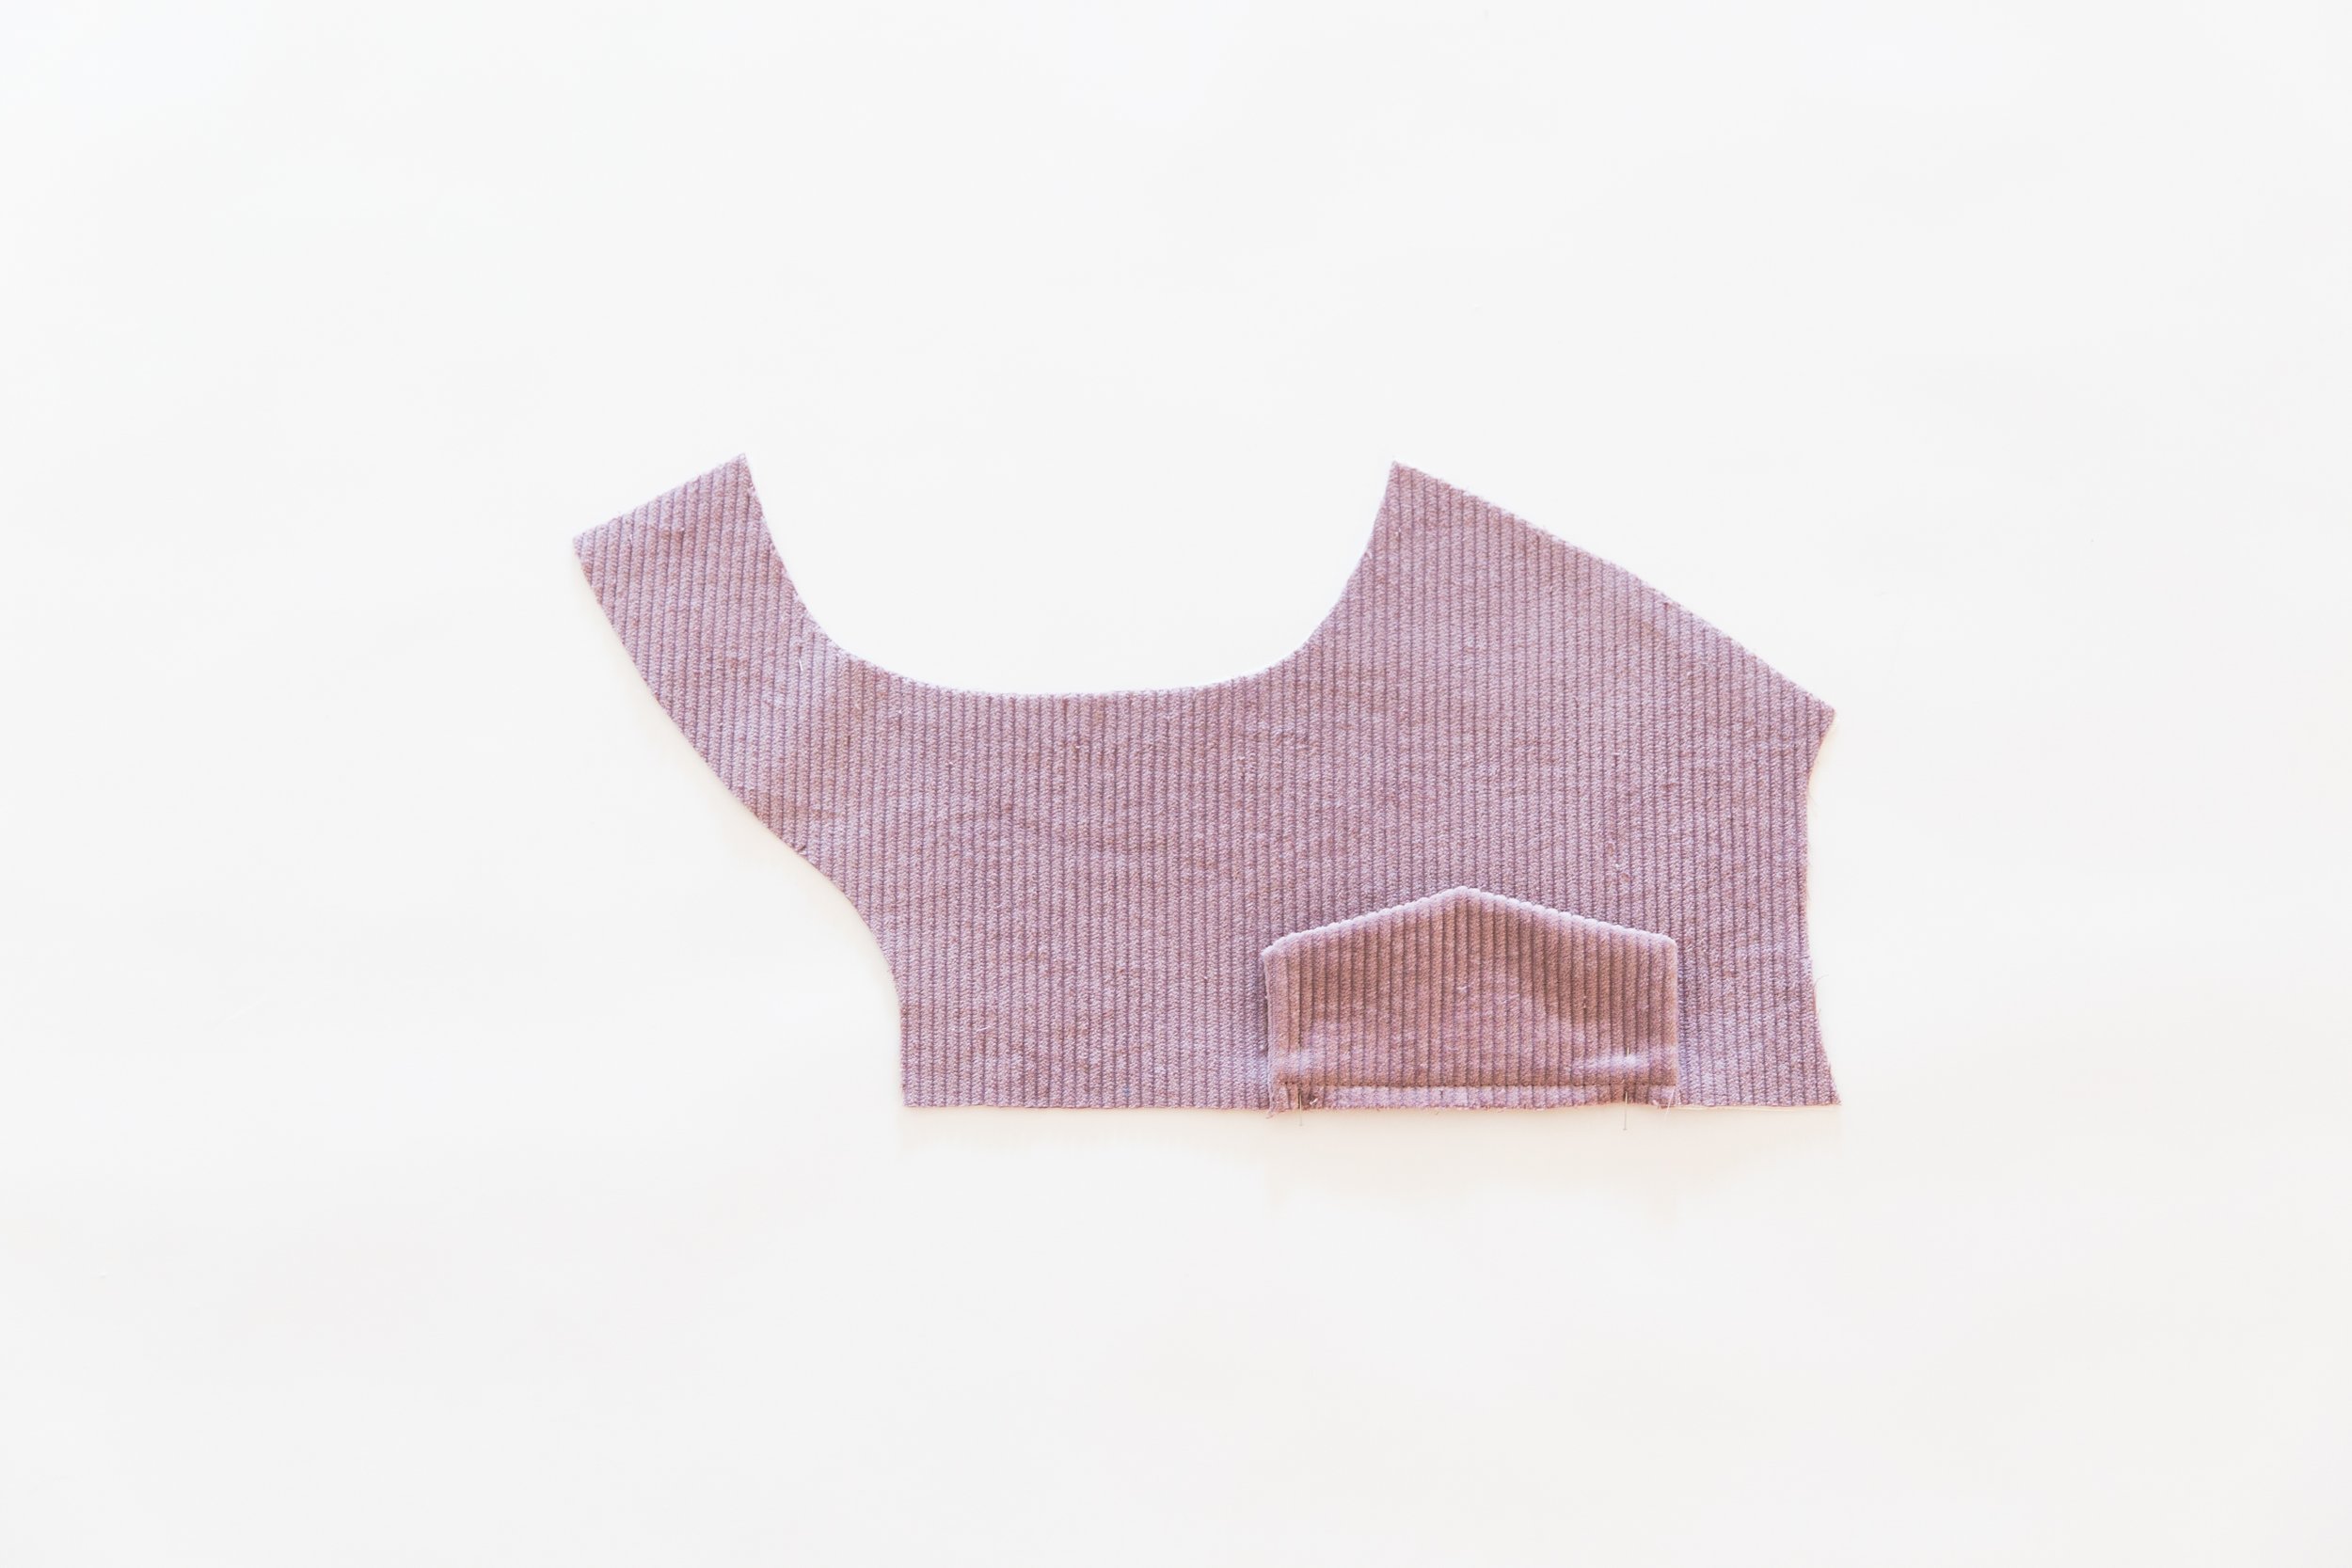
Step 3
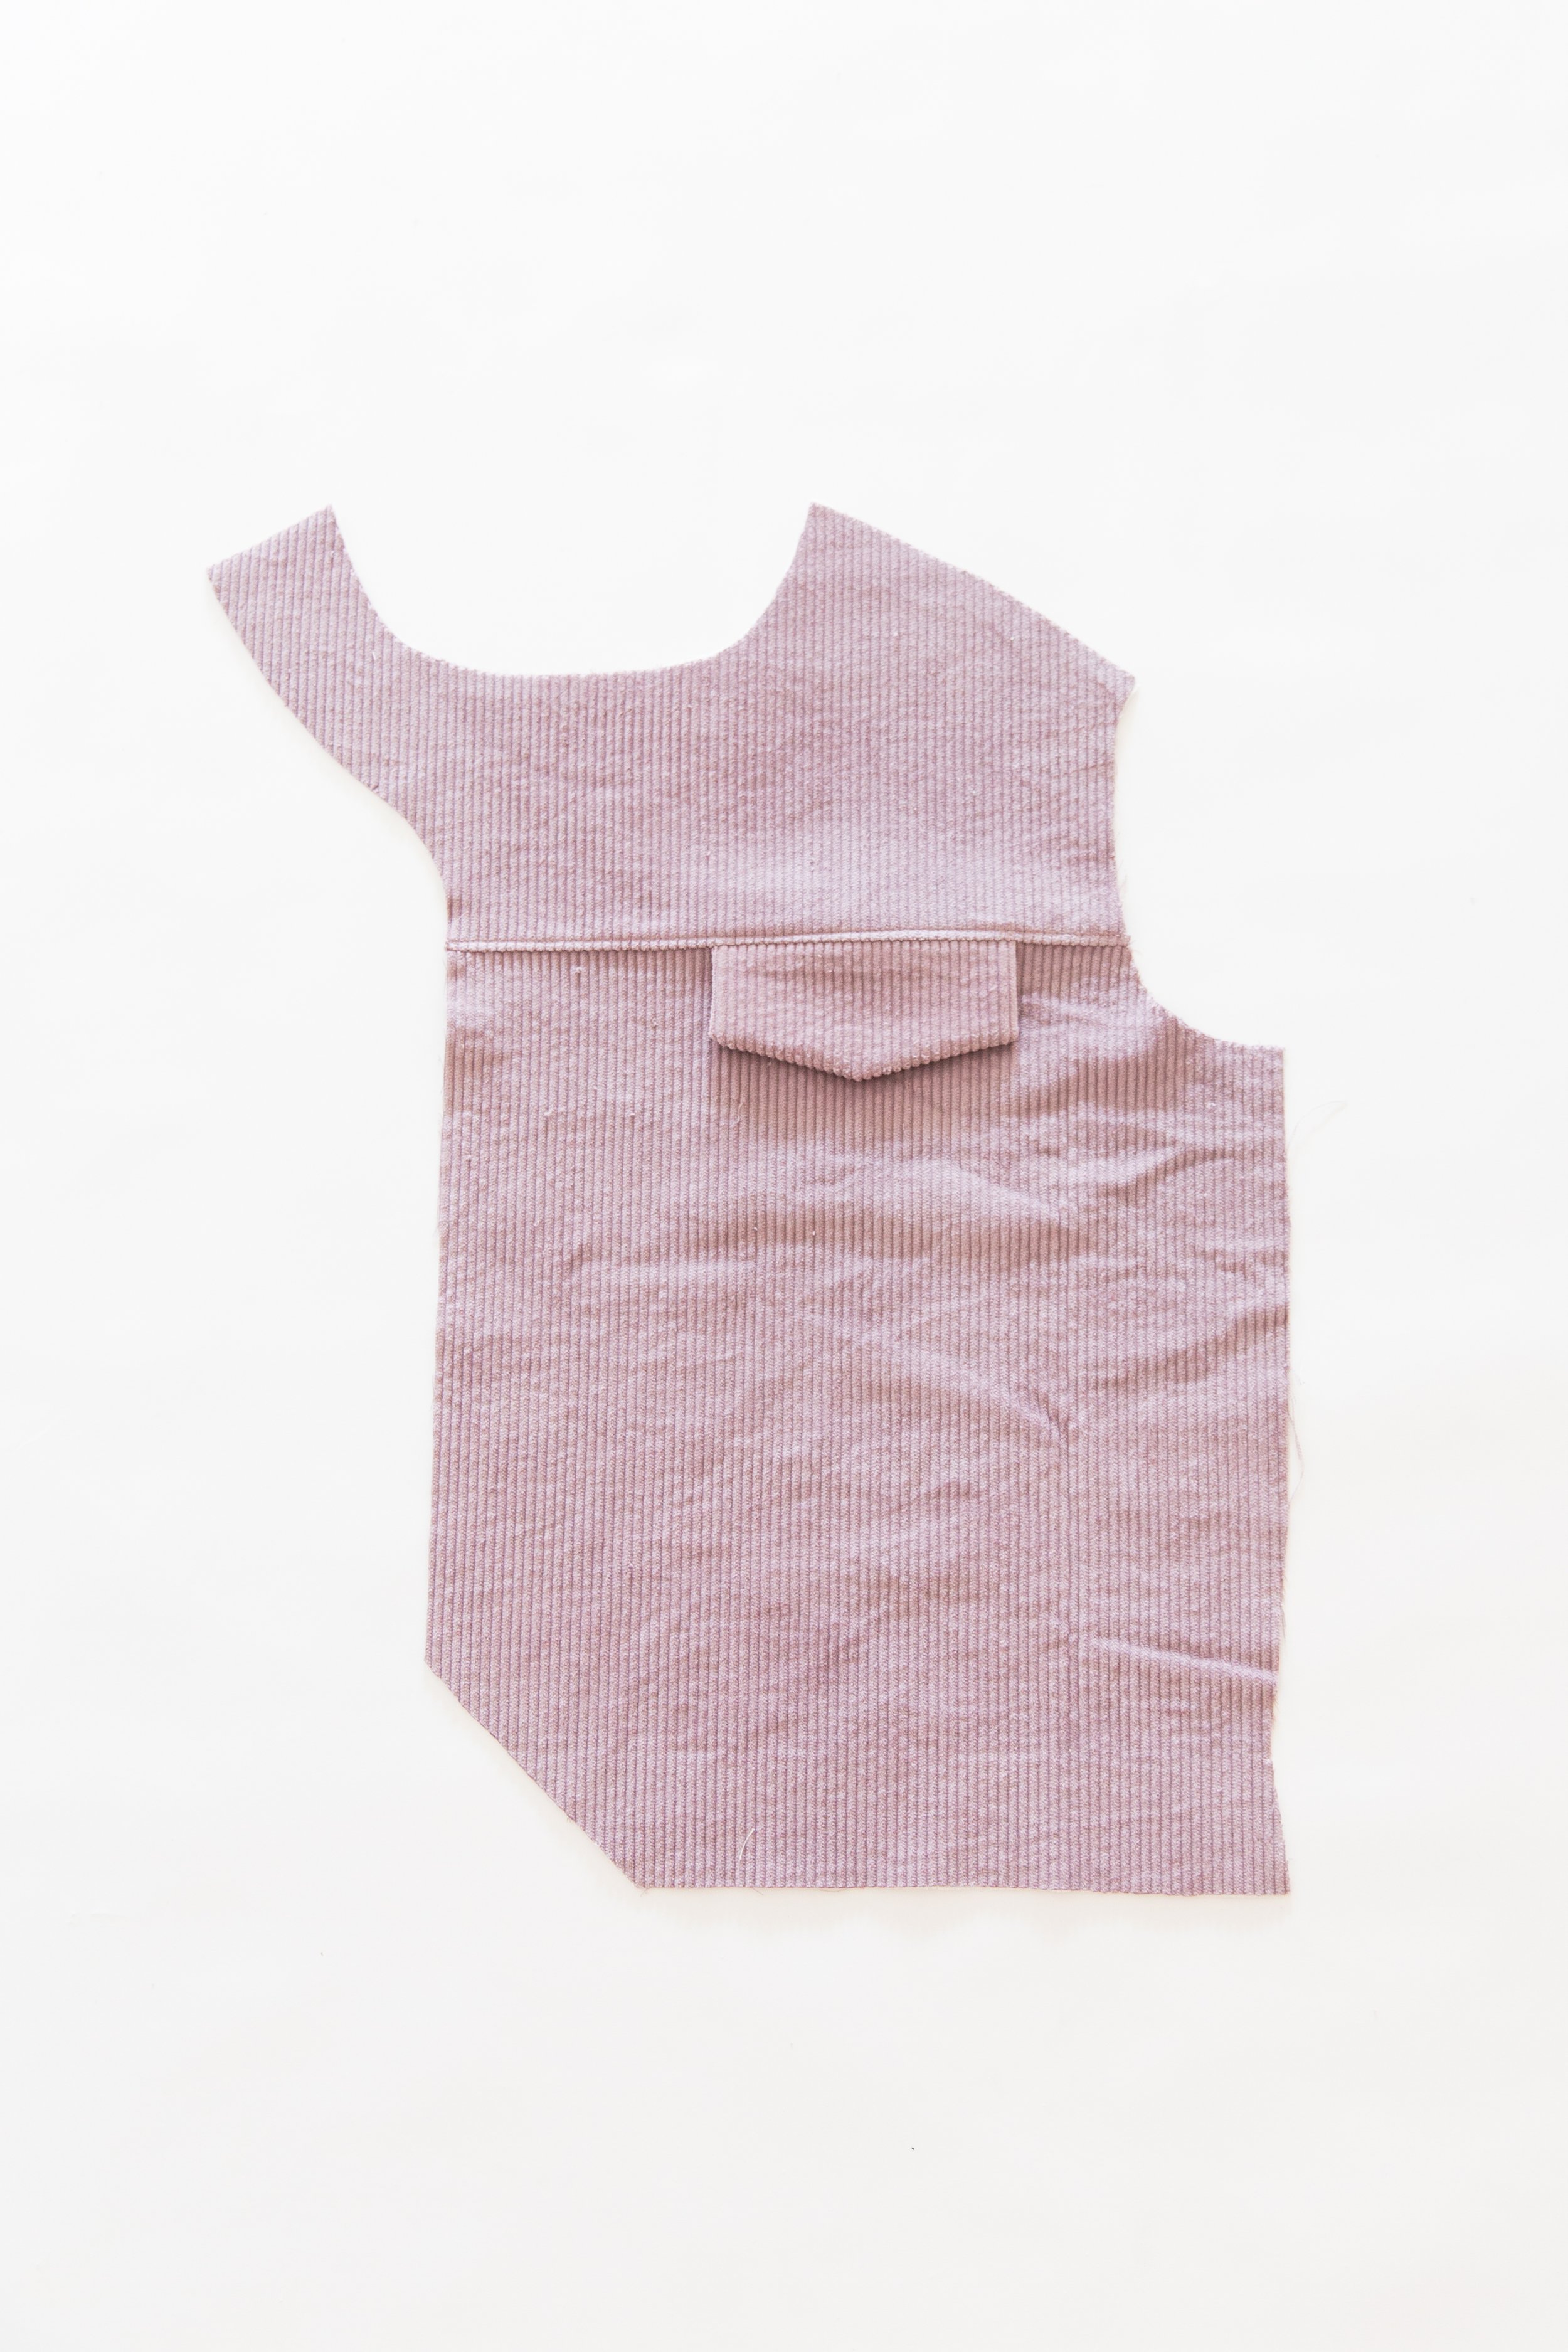
Place front yoke and front piece together with right sides facing. For Variation 2, the pocket flap should be sandwiched between, lining up with pocket bag below. Stitch together. Trim seam allowance in half and press towards yoke. Top stitch in place. Repeat for other side.
Follow the rest of the steps for the jacket construction and finishings on the Stacker Jacket tutorial here.