


Fusing
On the wrong side of fabric, fuse front and armhole edges of front bodice lining pieces. Fuse Back Facing. Place pocket fusing over notches on front trouser pieces and fuse in place.
Step 1
Stitch tie facing to bodice B lining. Apply bias binding to bottom edges of front bodice A lining & back facing pieces.

Step 2
Stitch darts in place on both front bodice pieces & both bodice lining pieces. Press dart excess downwards.

Step 3
With right sides facing, pin tie pieces to front bodice A & front bodice A lining, at side edge. Stitch together. Press seam allowance toward tie.

Step 4
With right sides facing, pin front lining pieces to back facing piece at shoulder seams. Stitch. Press seam allowances open.
Step 5
With right sides facing, pin back pieces together along centre back seam. Stitch. Neaten seam. Press.

Step 6
With right sides facing, pin front bodice pieces to back panel at shoulder seams. Stitch. Press seam allowances open.
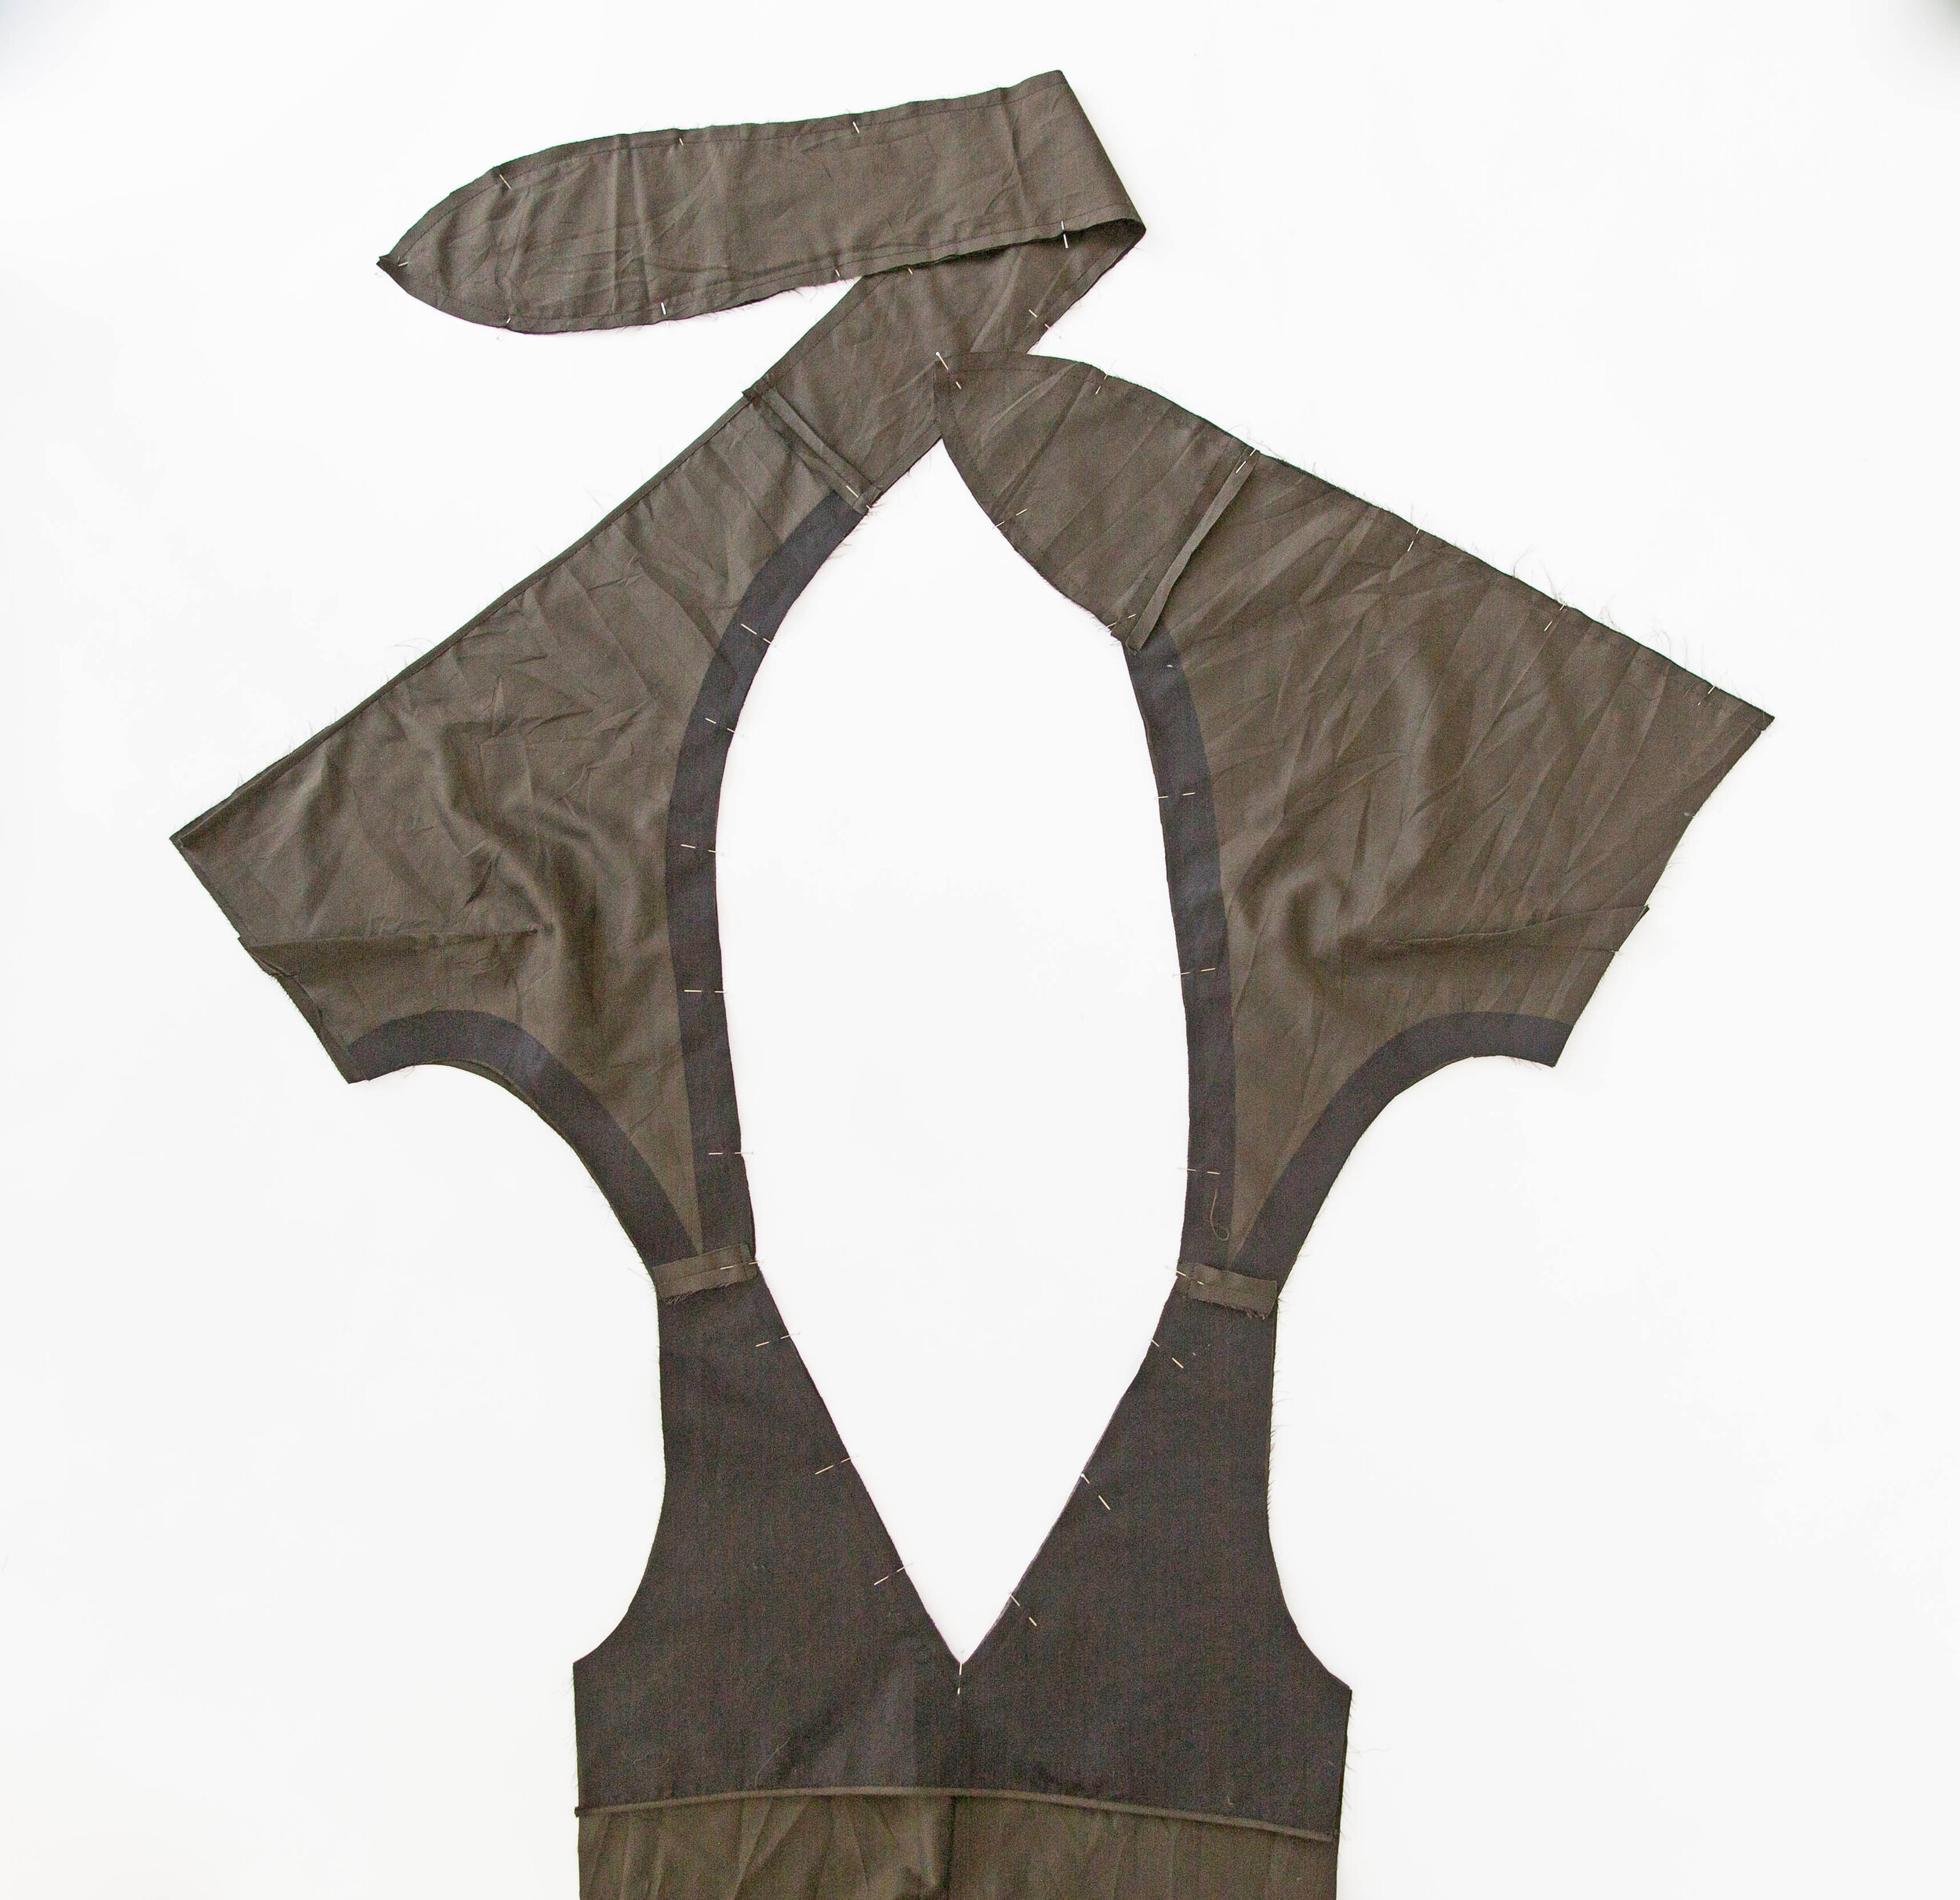
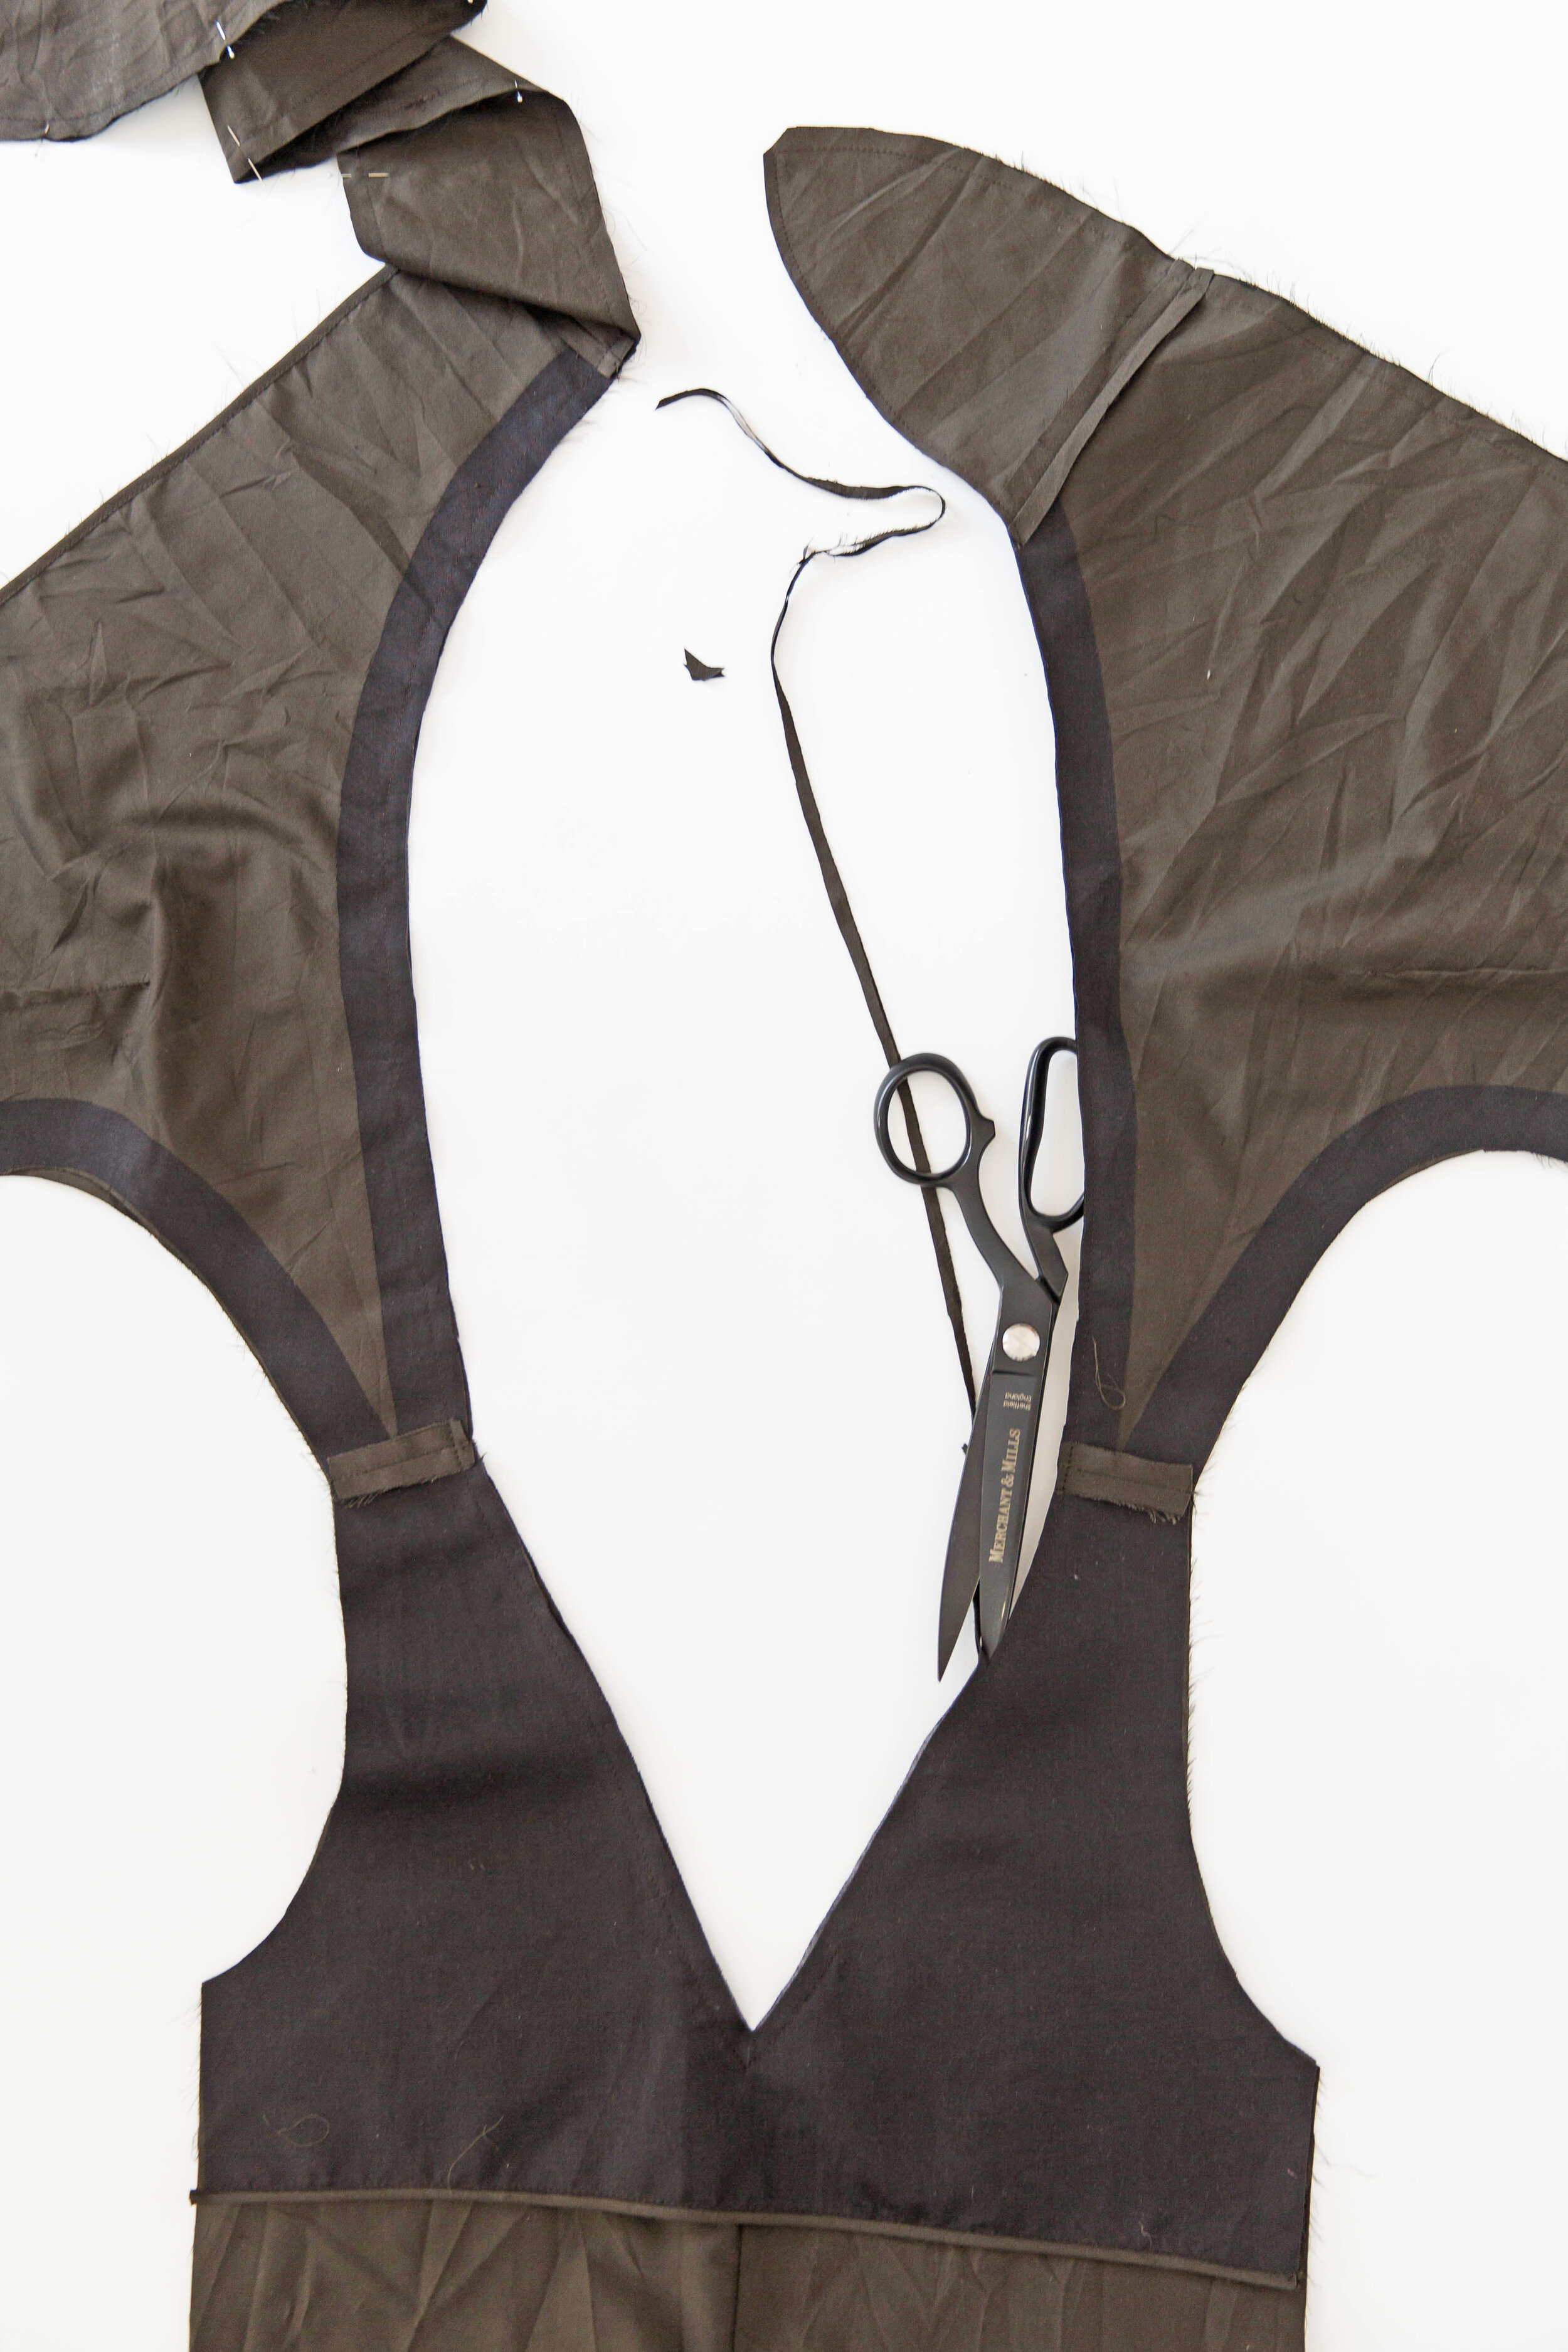
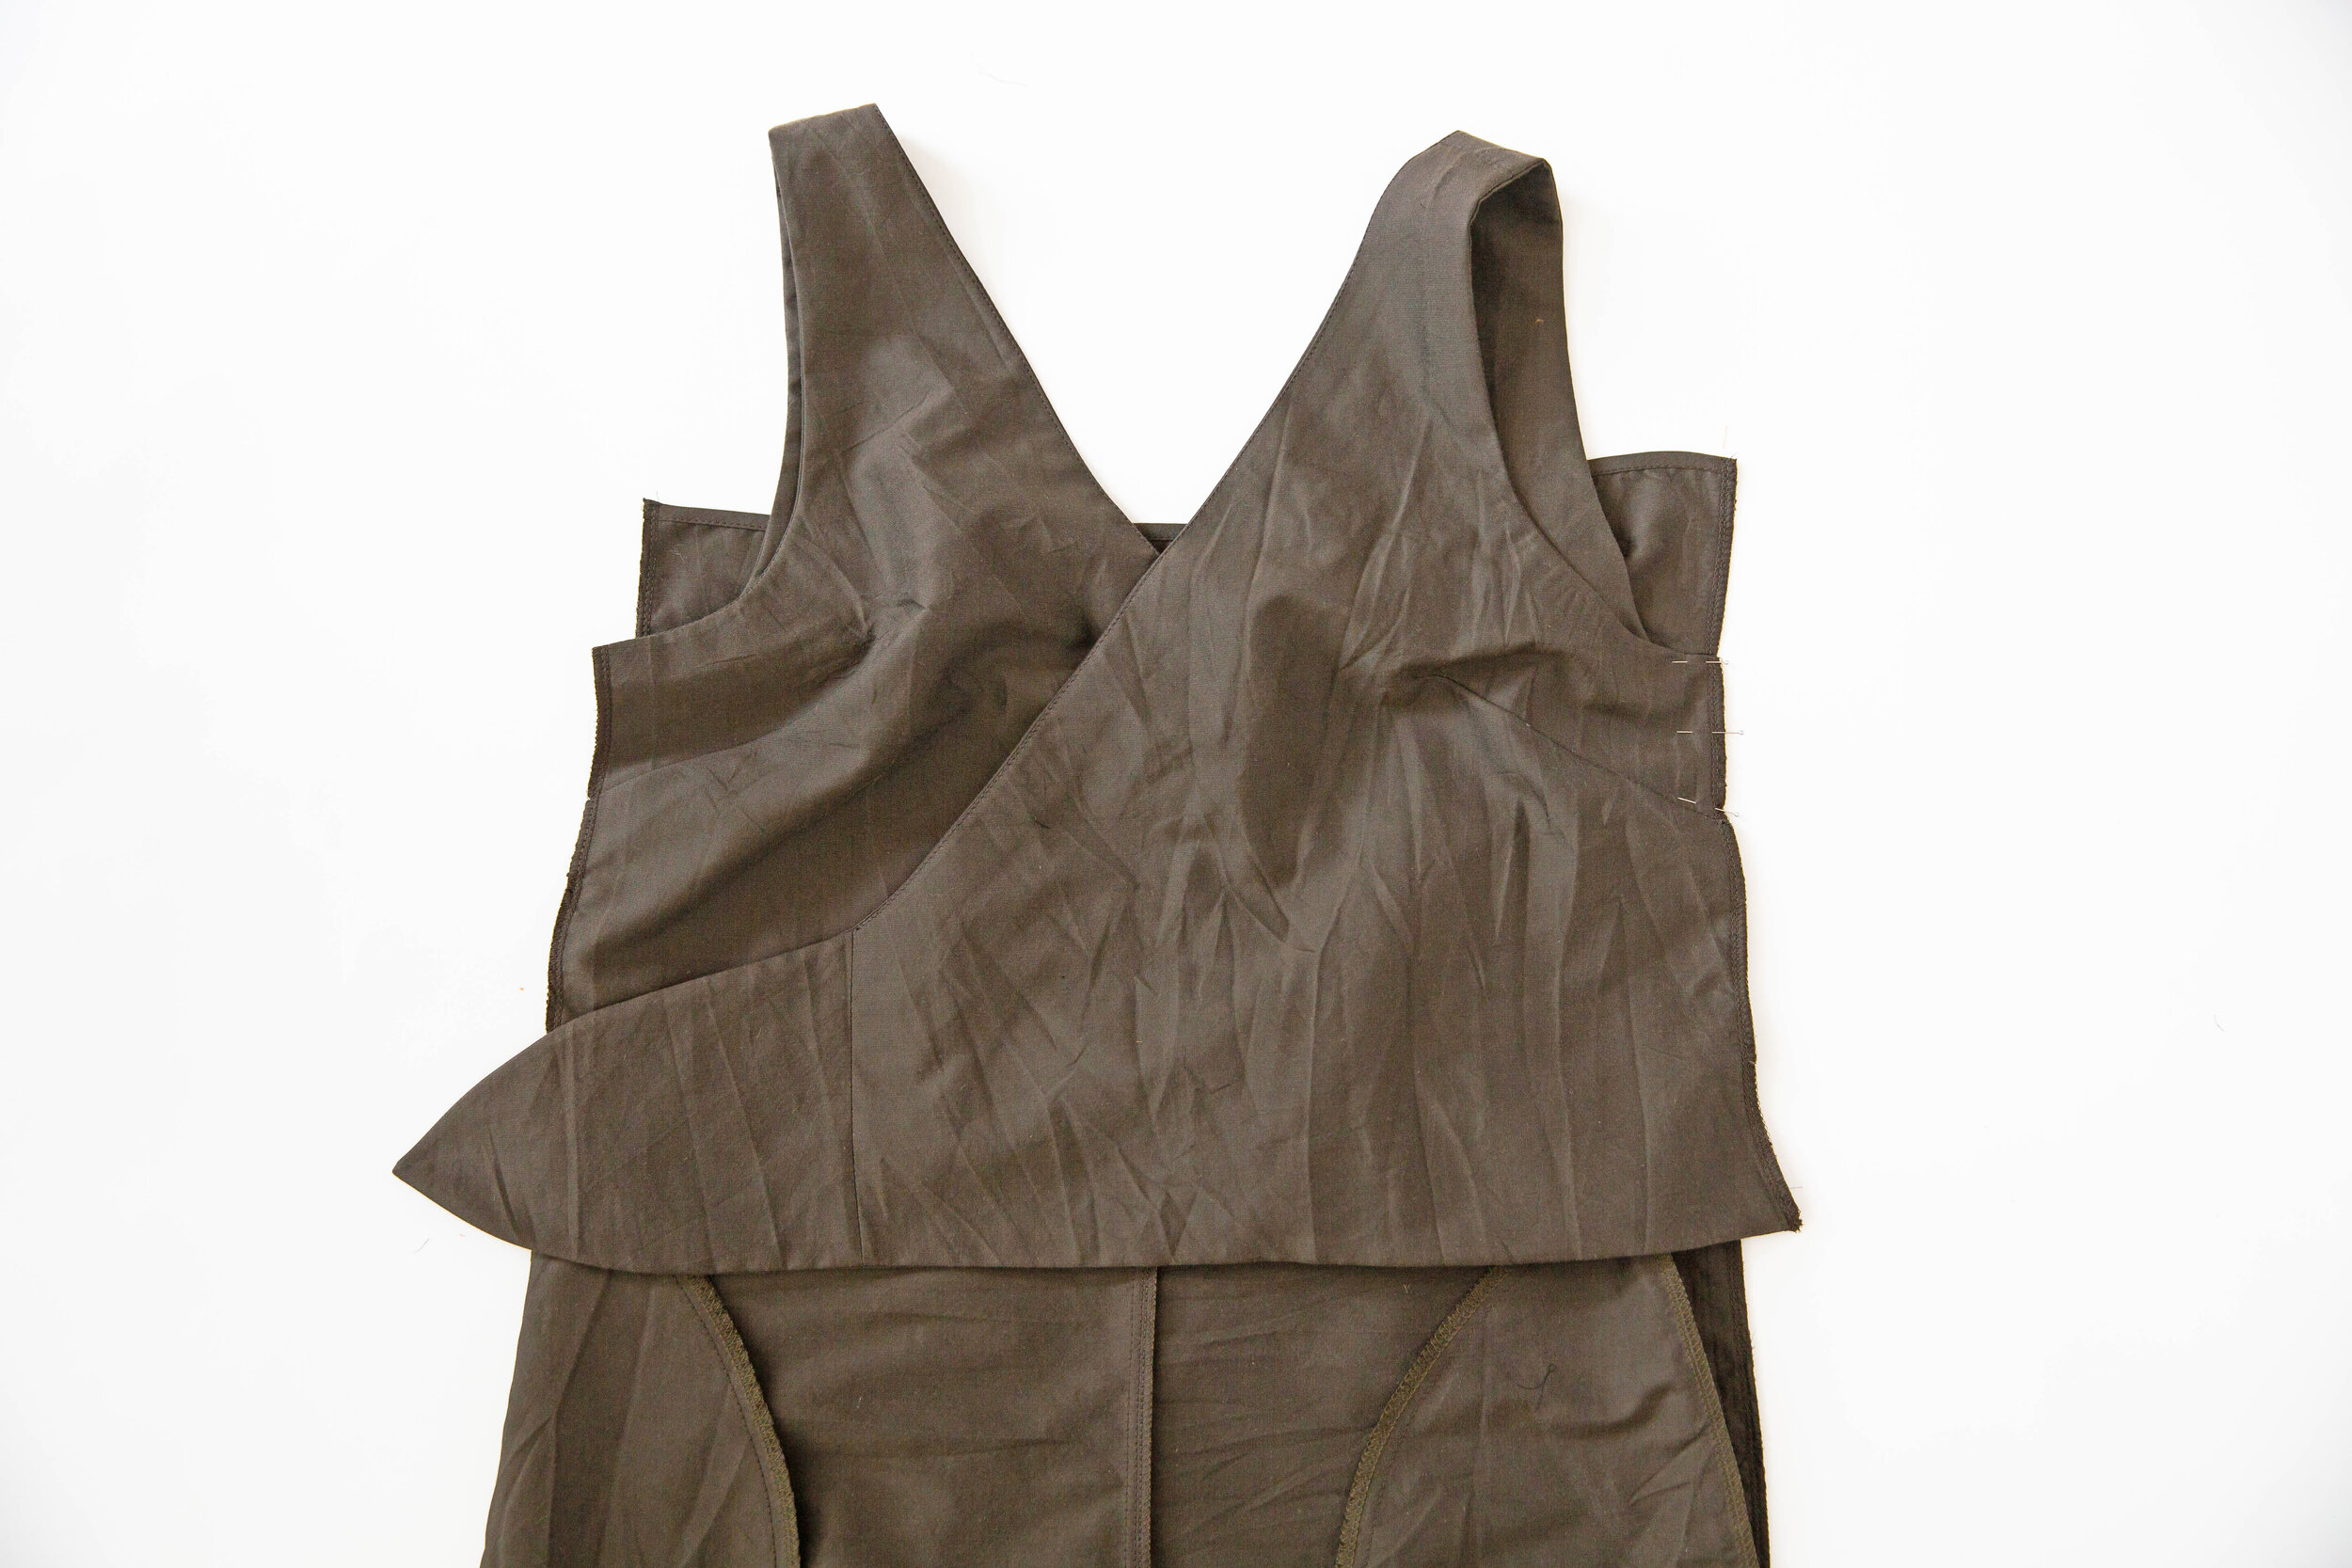
Step 7
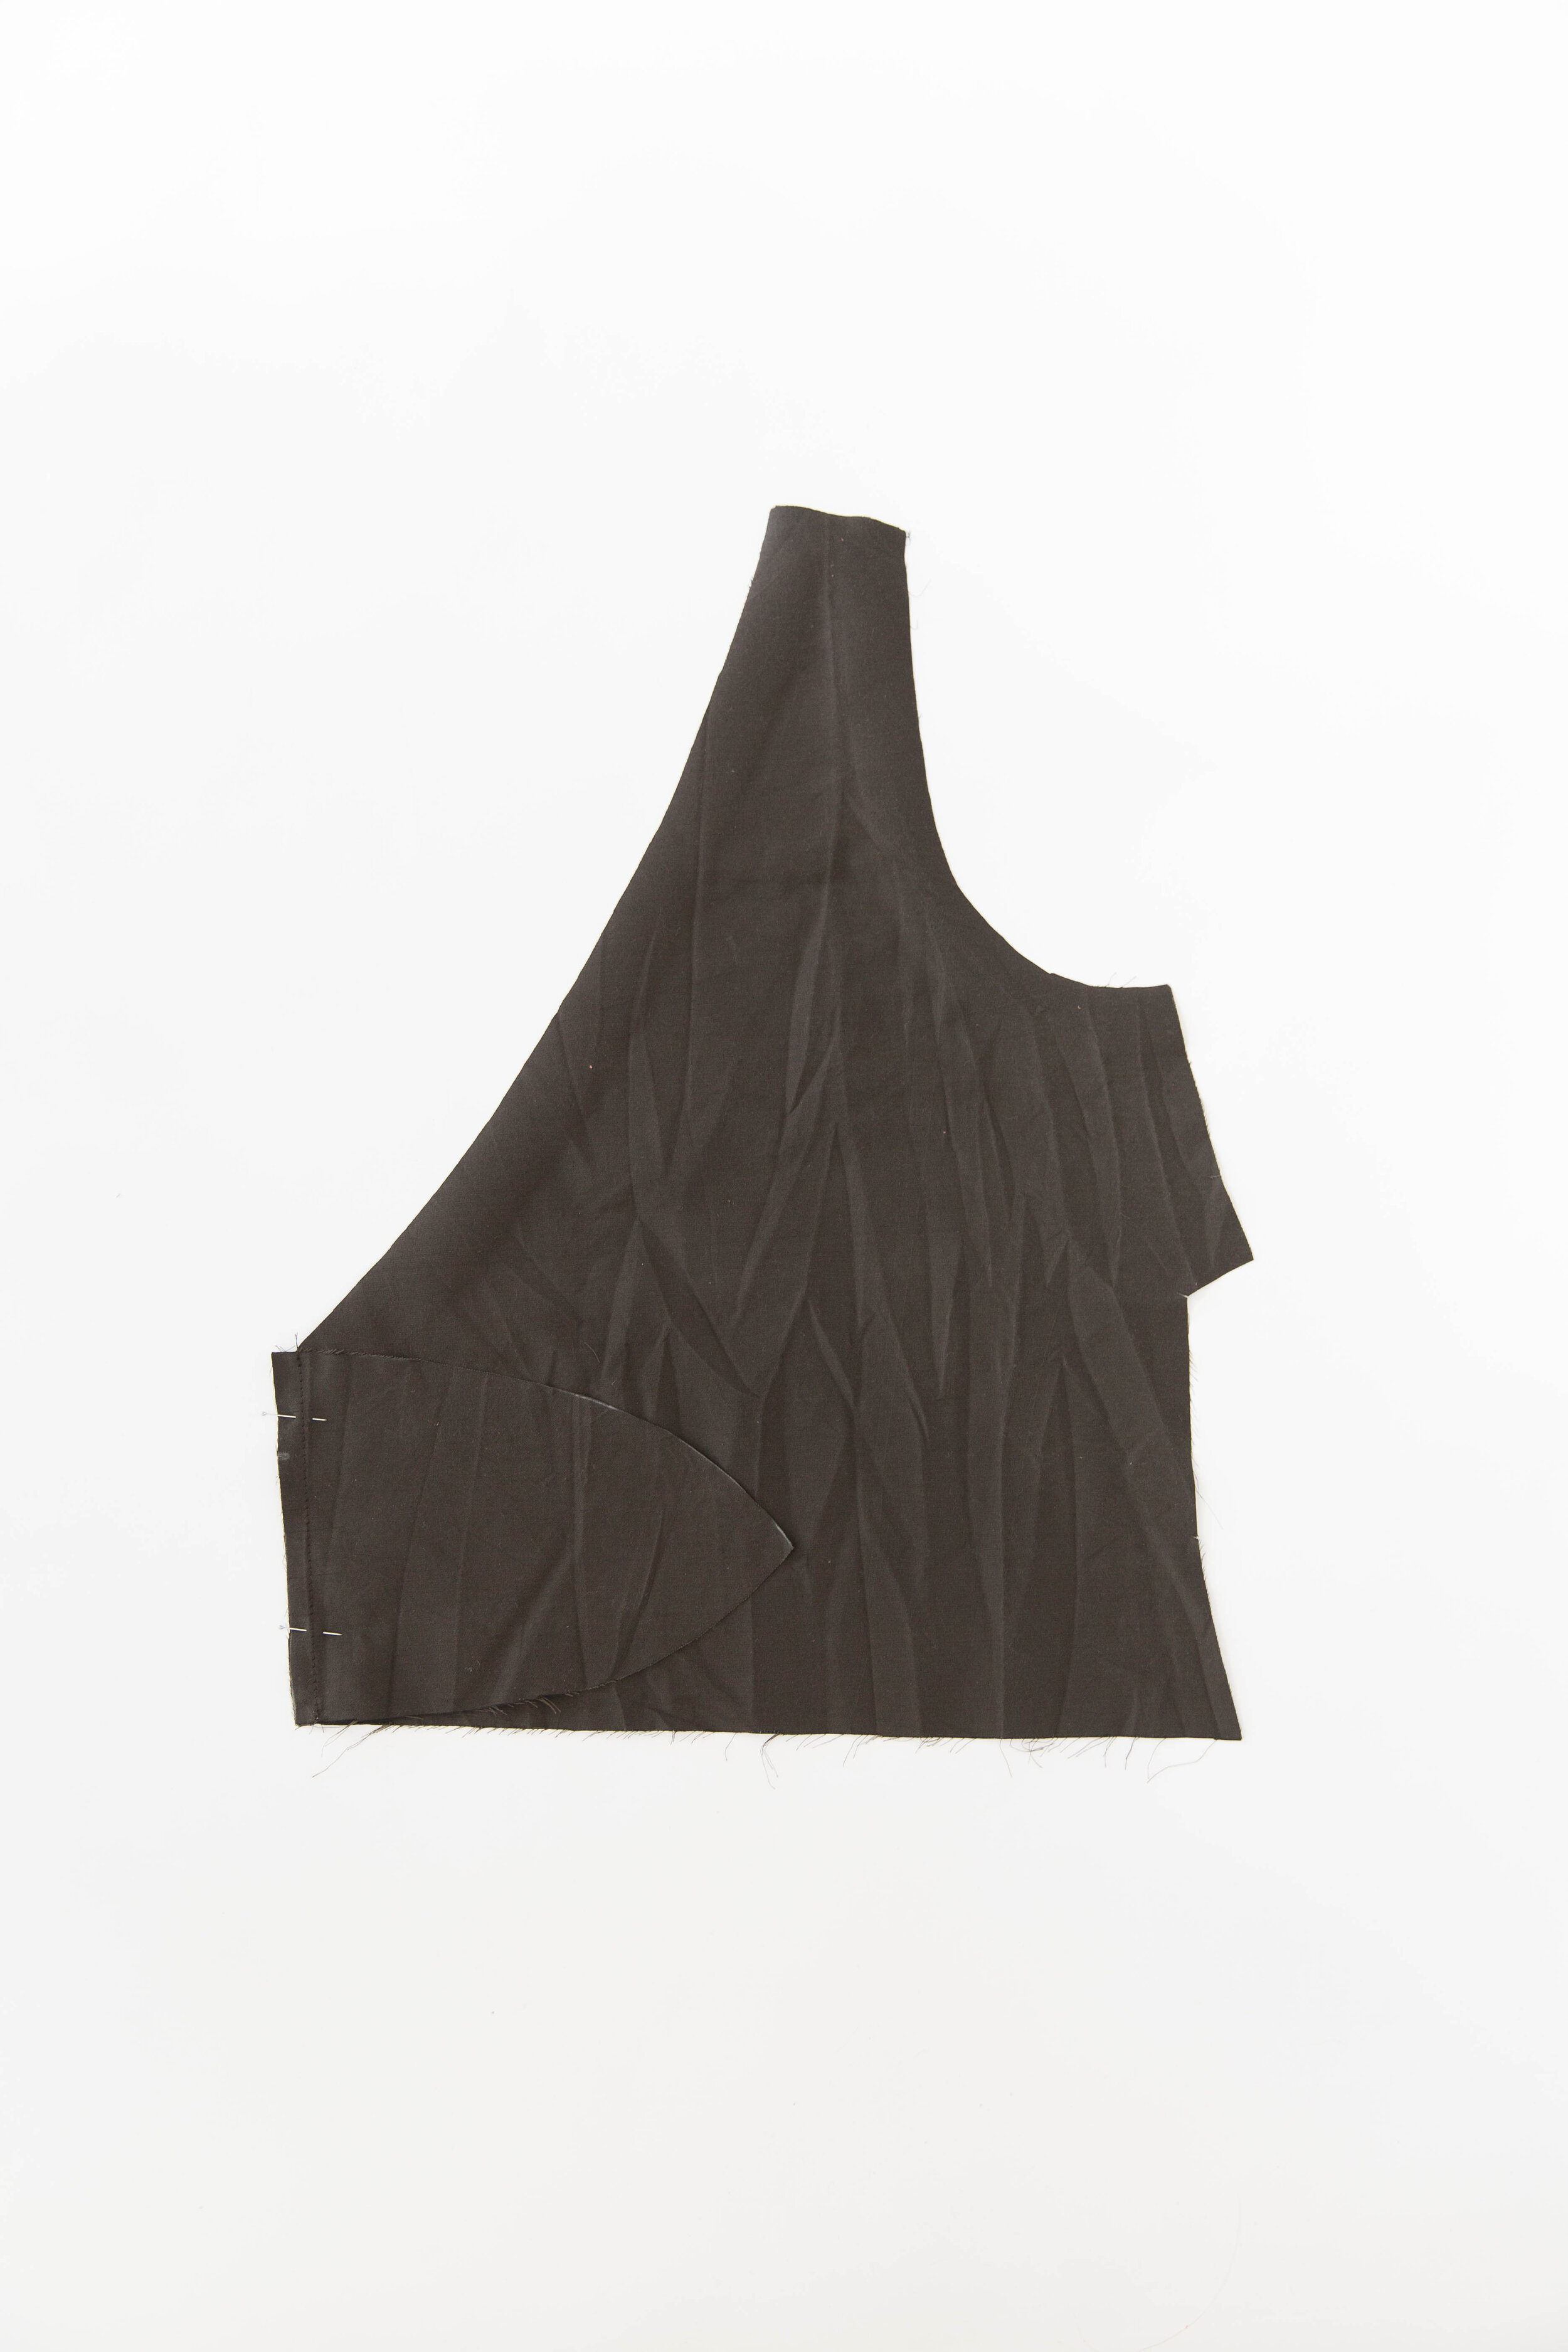
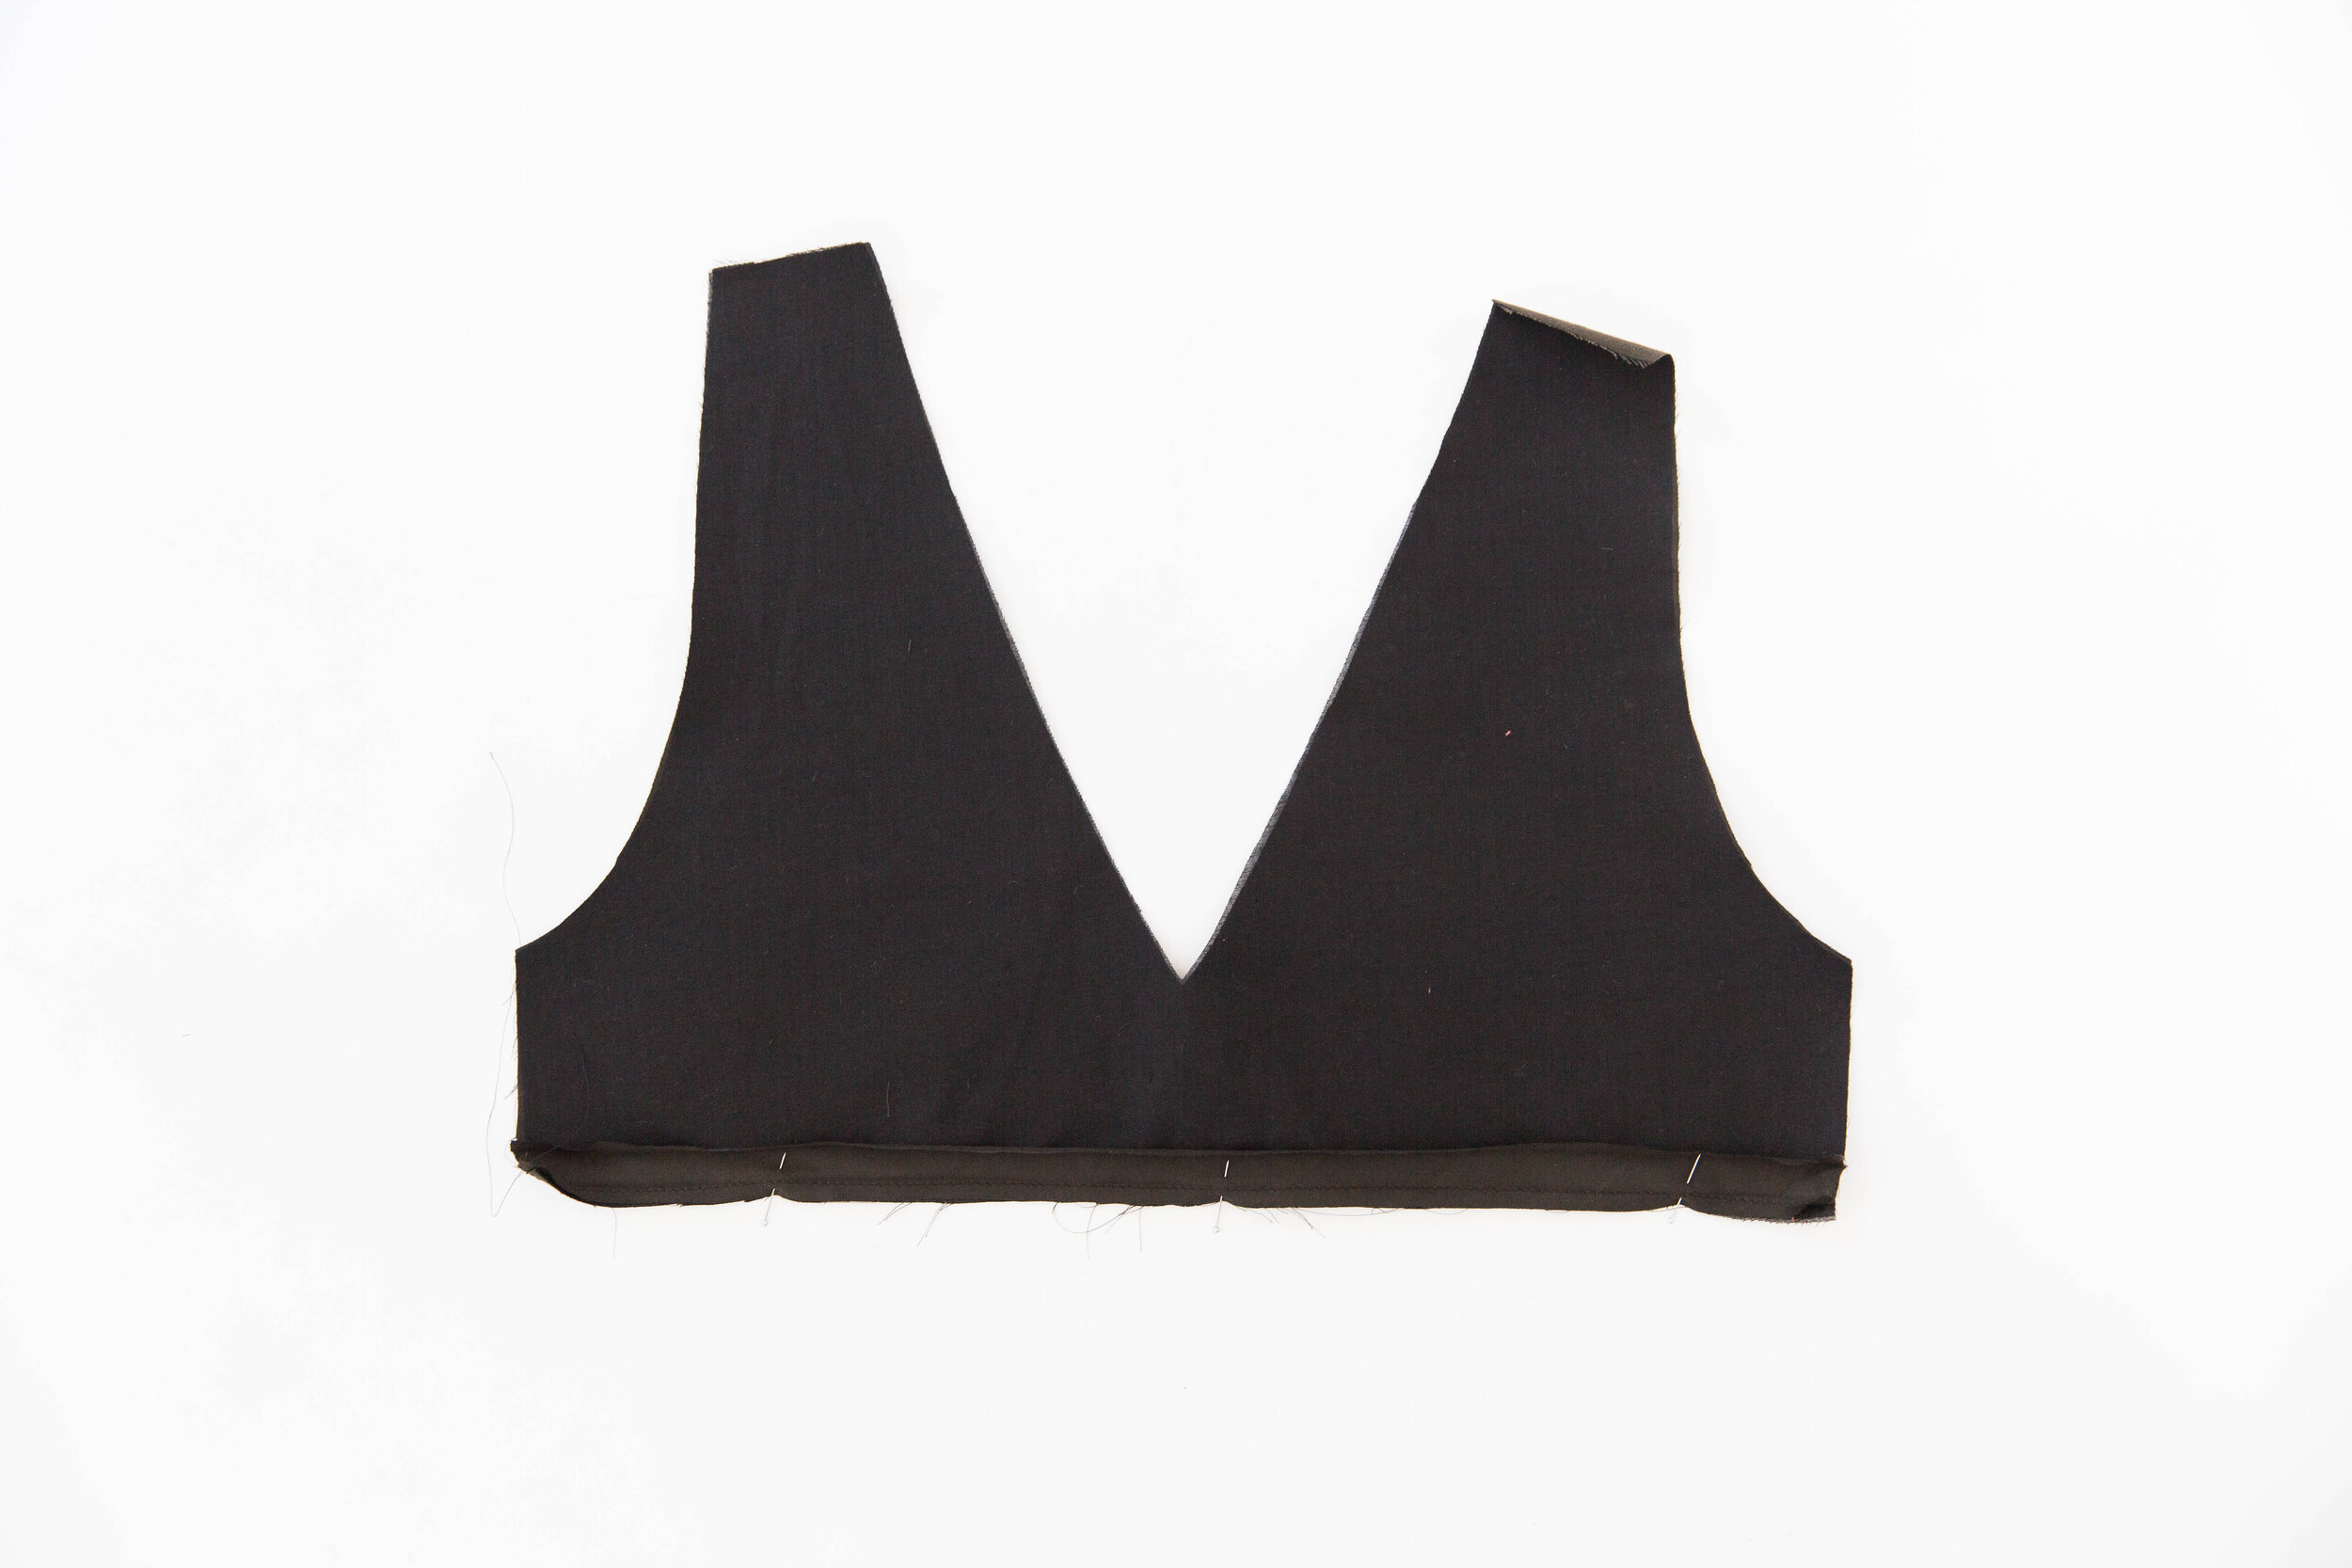
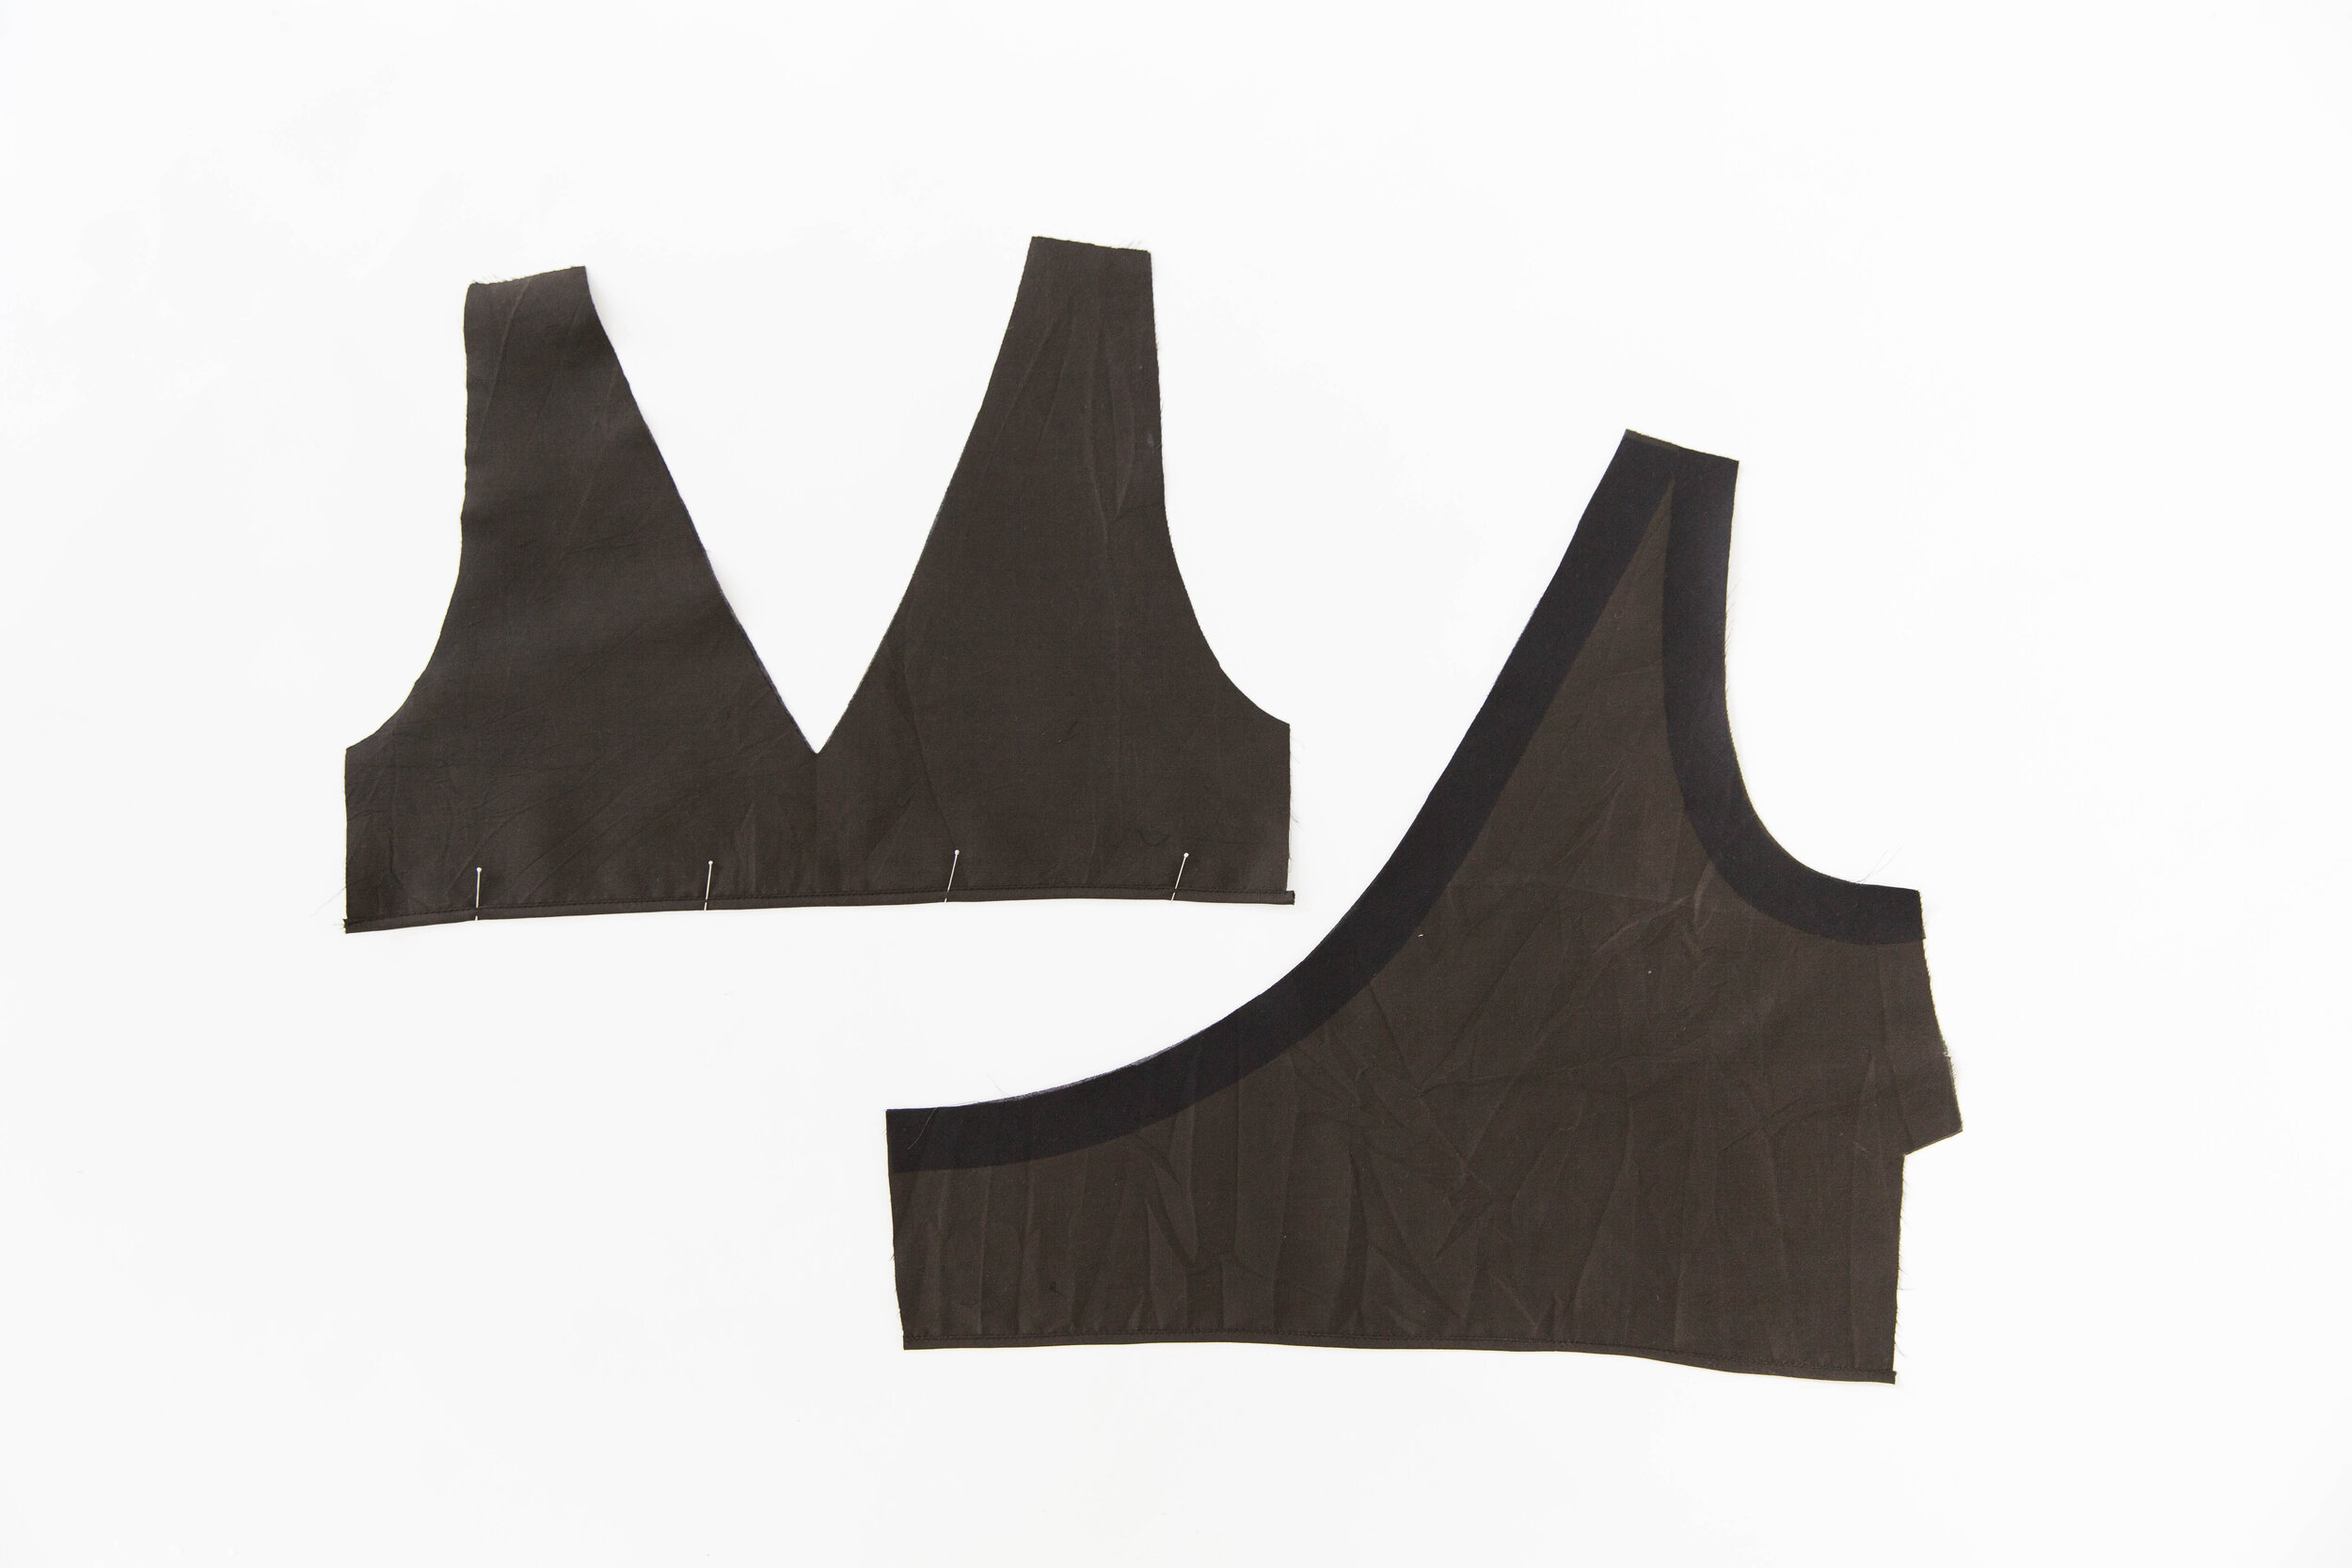
With right sides facing, pin bodice lining/facing pieces to shell all the way around edges. Stitch together, following diagram as to where to start & stop stitching. Trim seam allowance in half & clip corners. Under-stitch seam allowance toward lining where you can. On bodice side B, stitch in 1.2cm/0.47” from the side seam at notch A. Stitch between notches keeping a 1.2cm/0.47” seam allowance. Pivot your needle again at notch B and stitch out to the side seam. Clip into corners, being careful not to cut through your stitch line.
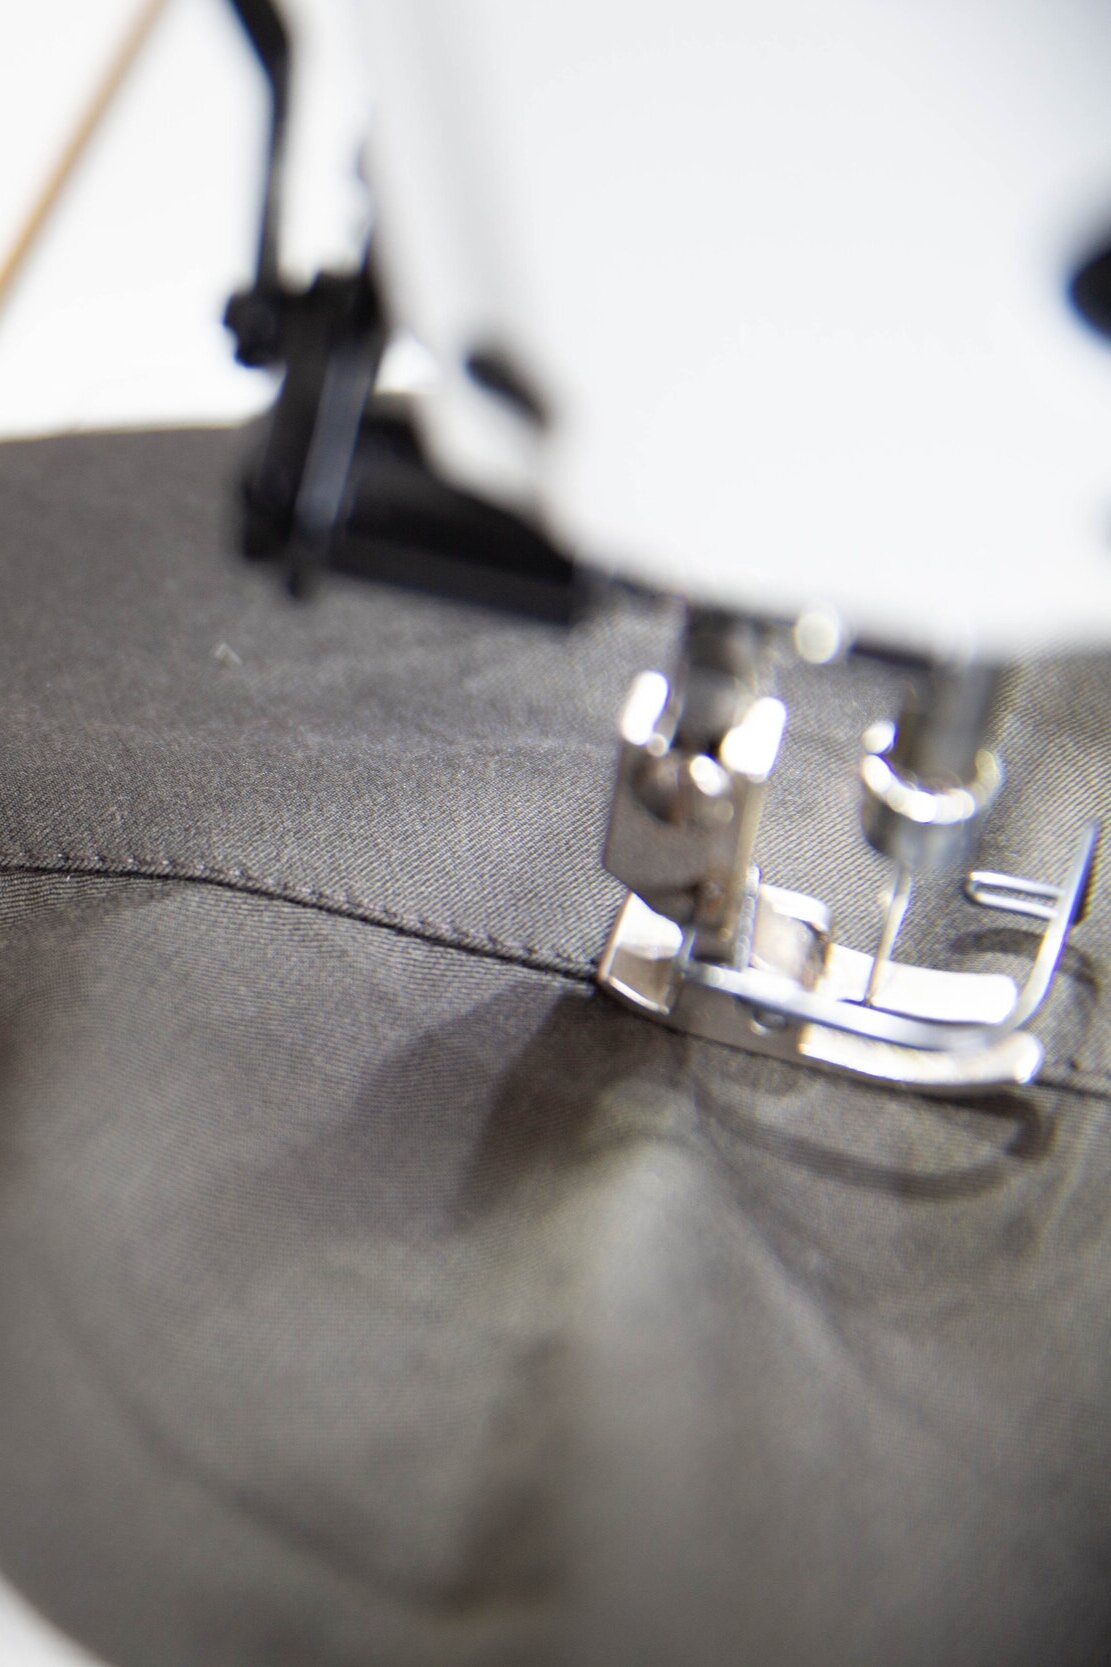
Step 8
Stitch armholes of shell and lining together. Trim seam allowances in half. Pull through to right side and press all edges well.

Step 9
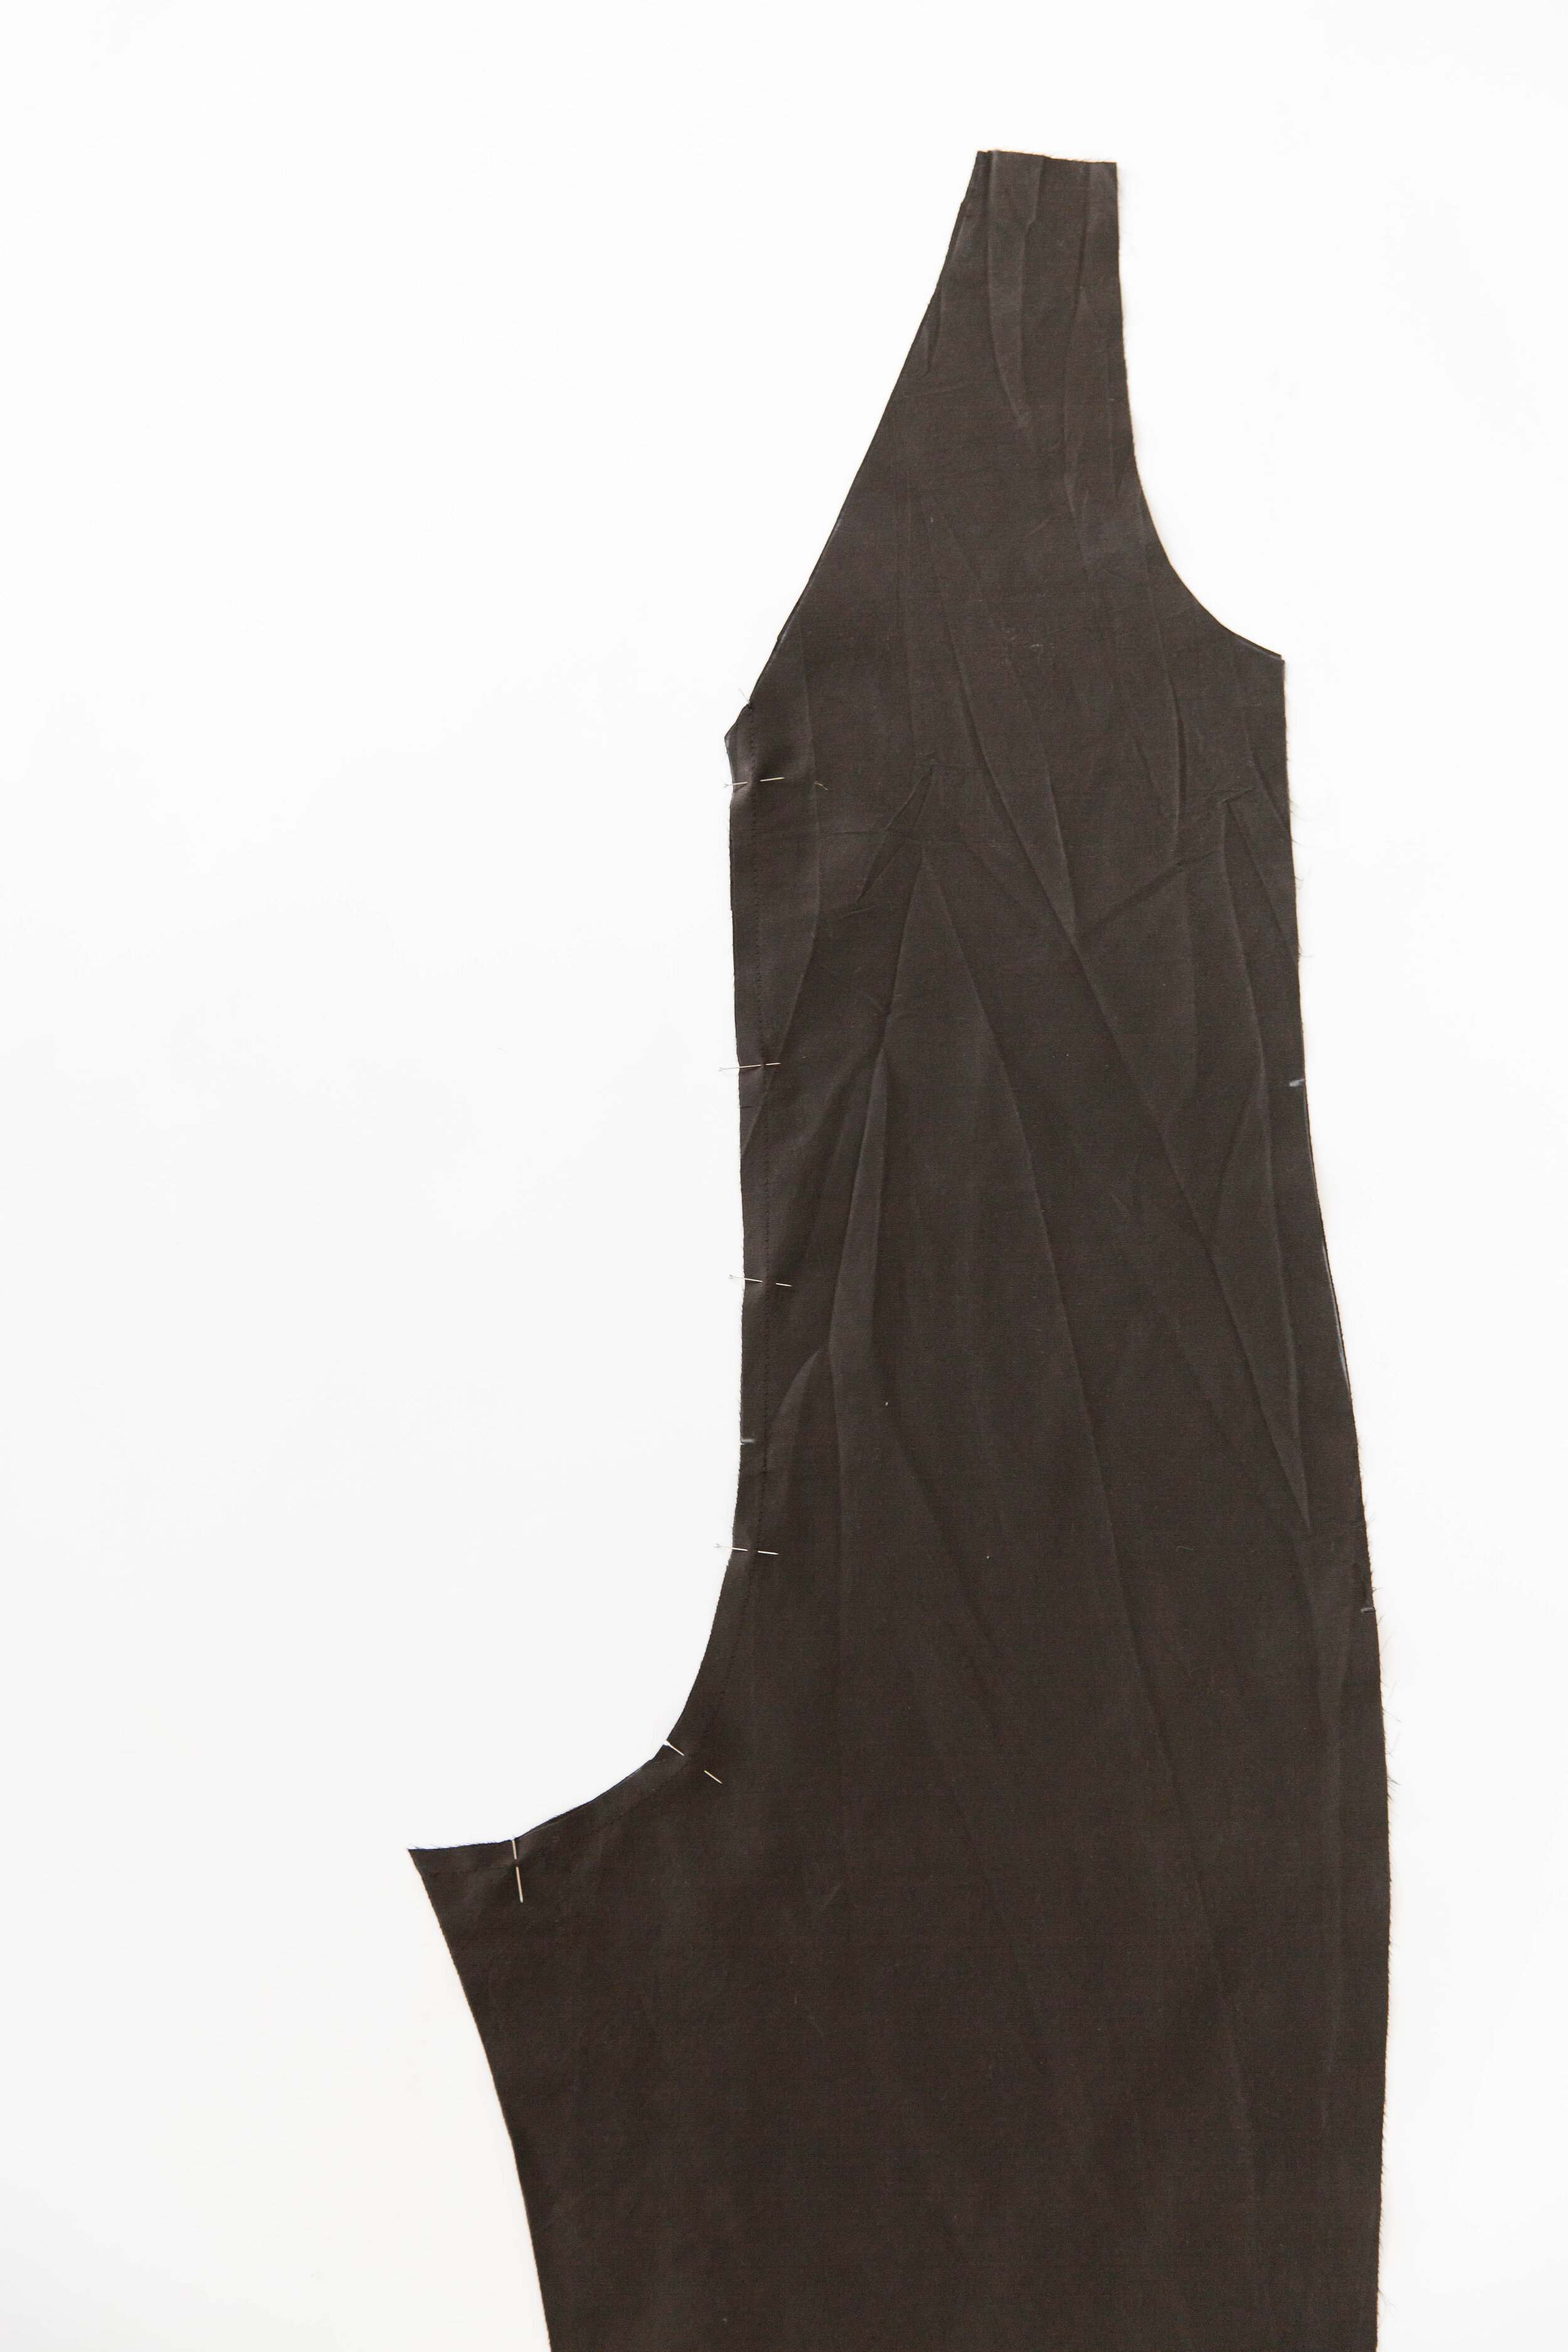
Baste together side seams of Bodice B & Bodice B lining. Neaten seam on either side of waist tie slit. Open out the side seams of bodice A/bodice A lining and back/back facing and neaten seams.
Step 10
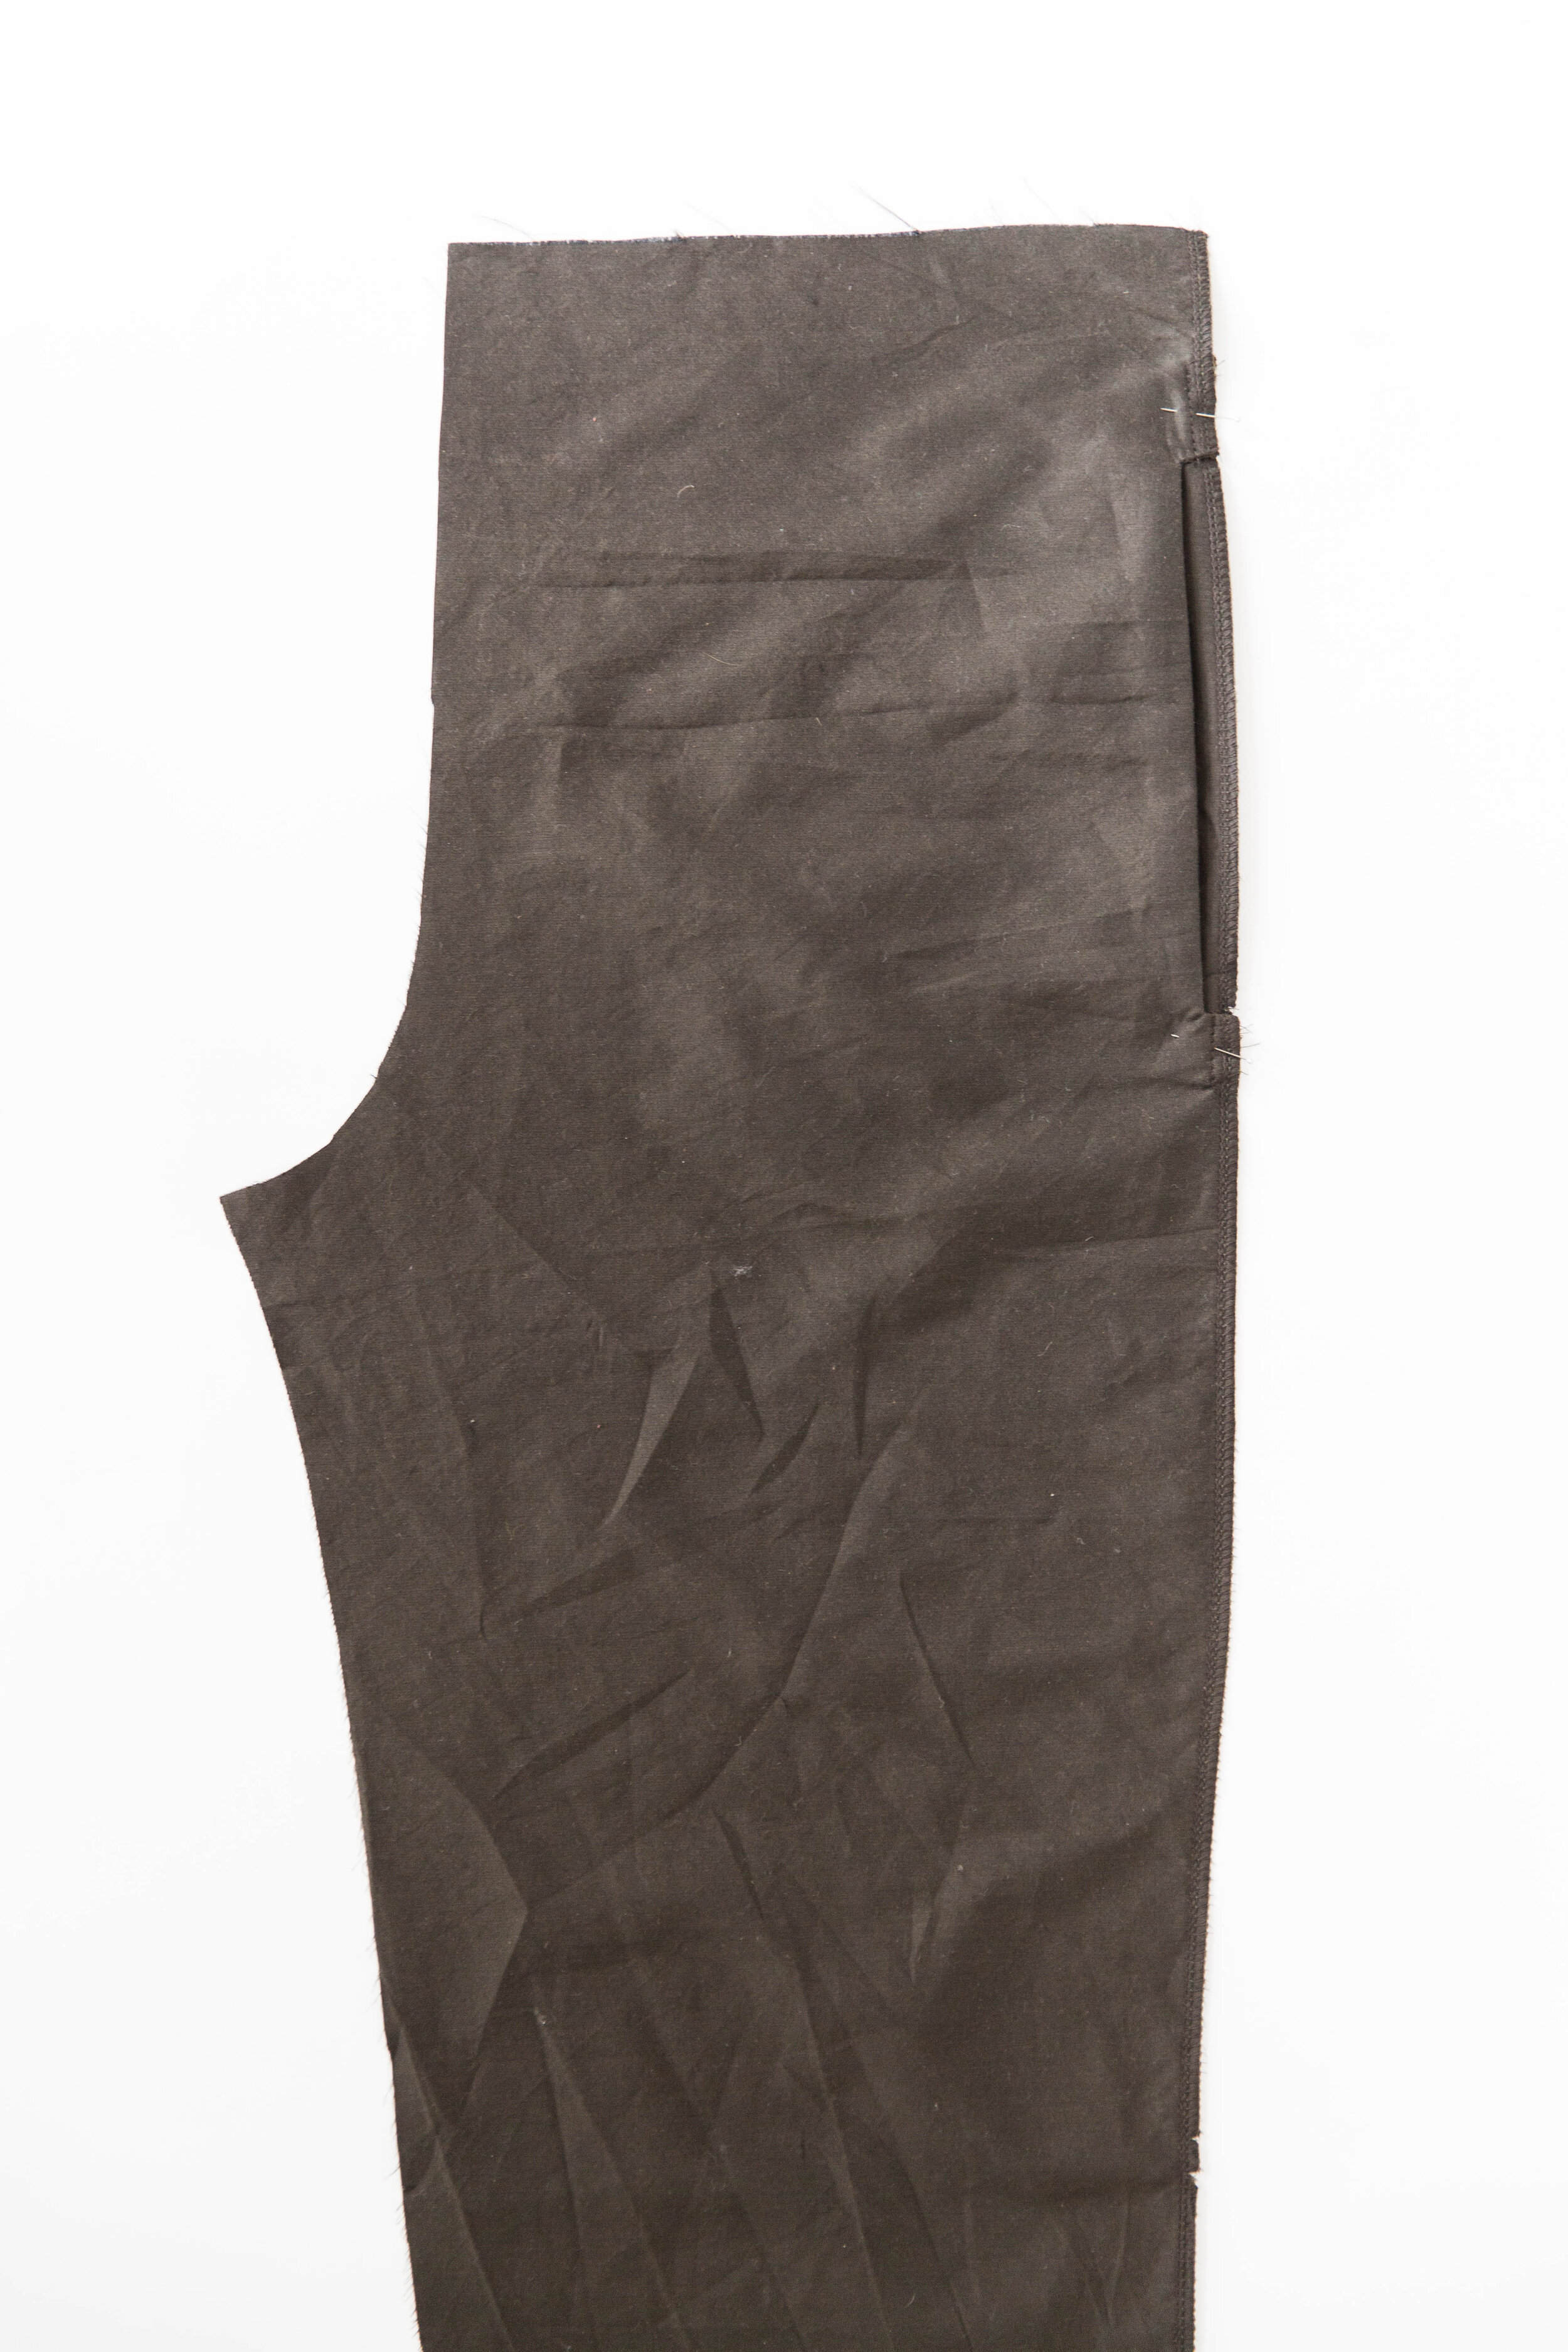
Neaten edges of all four pocket pieces and side seams of trouser fronts.
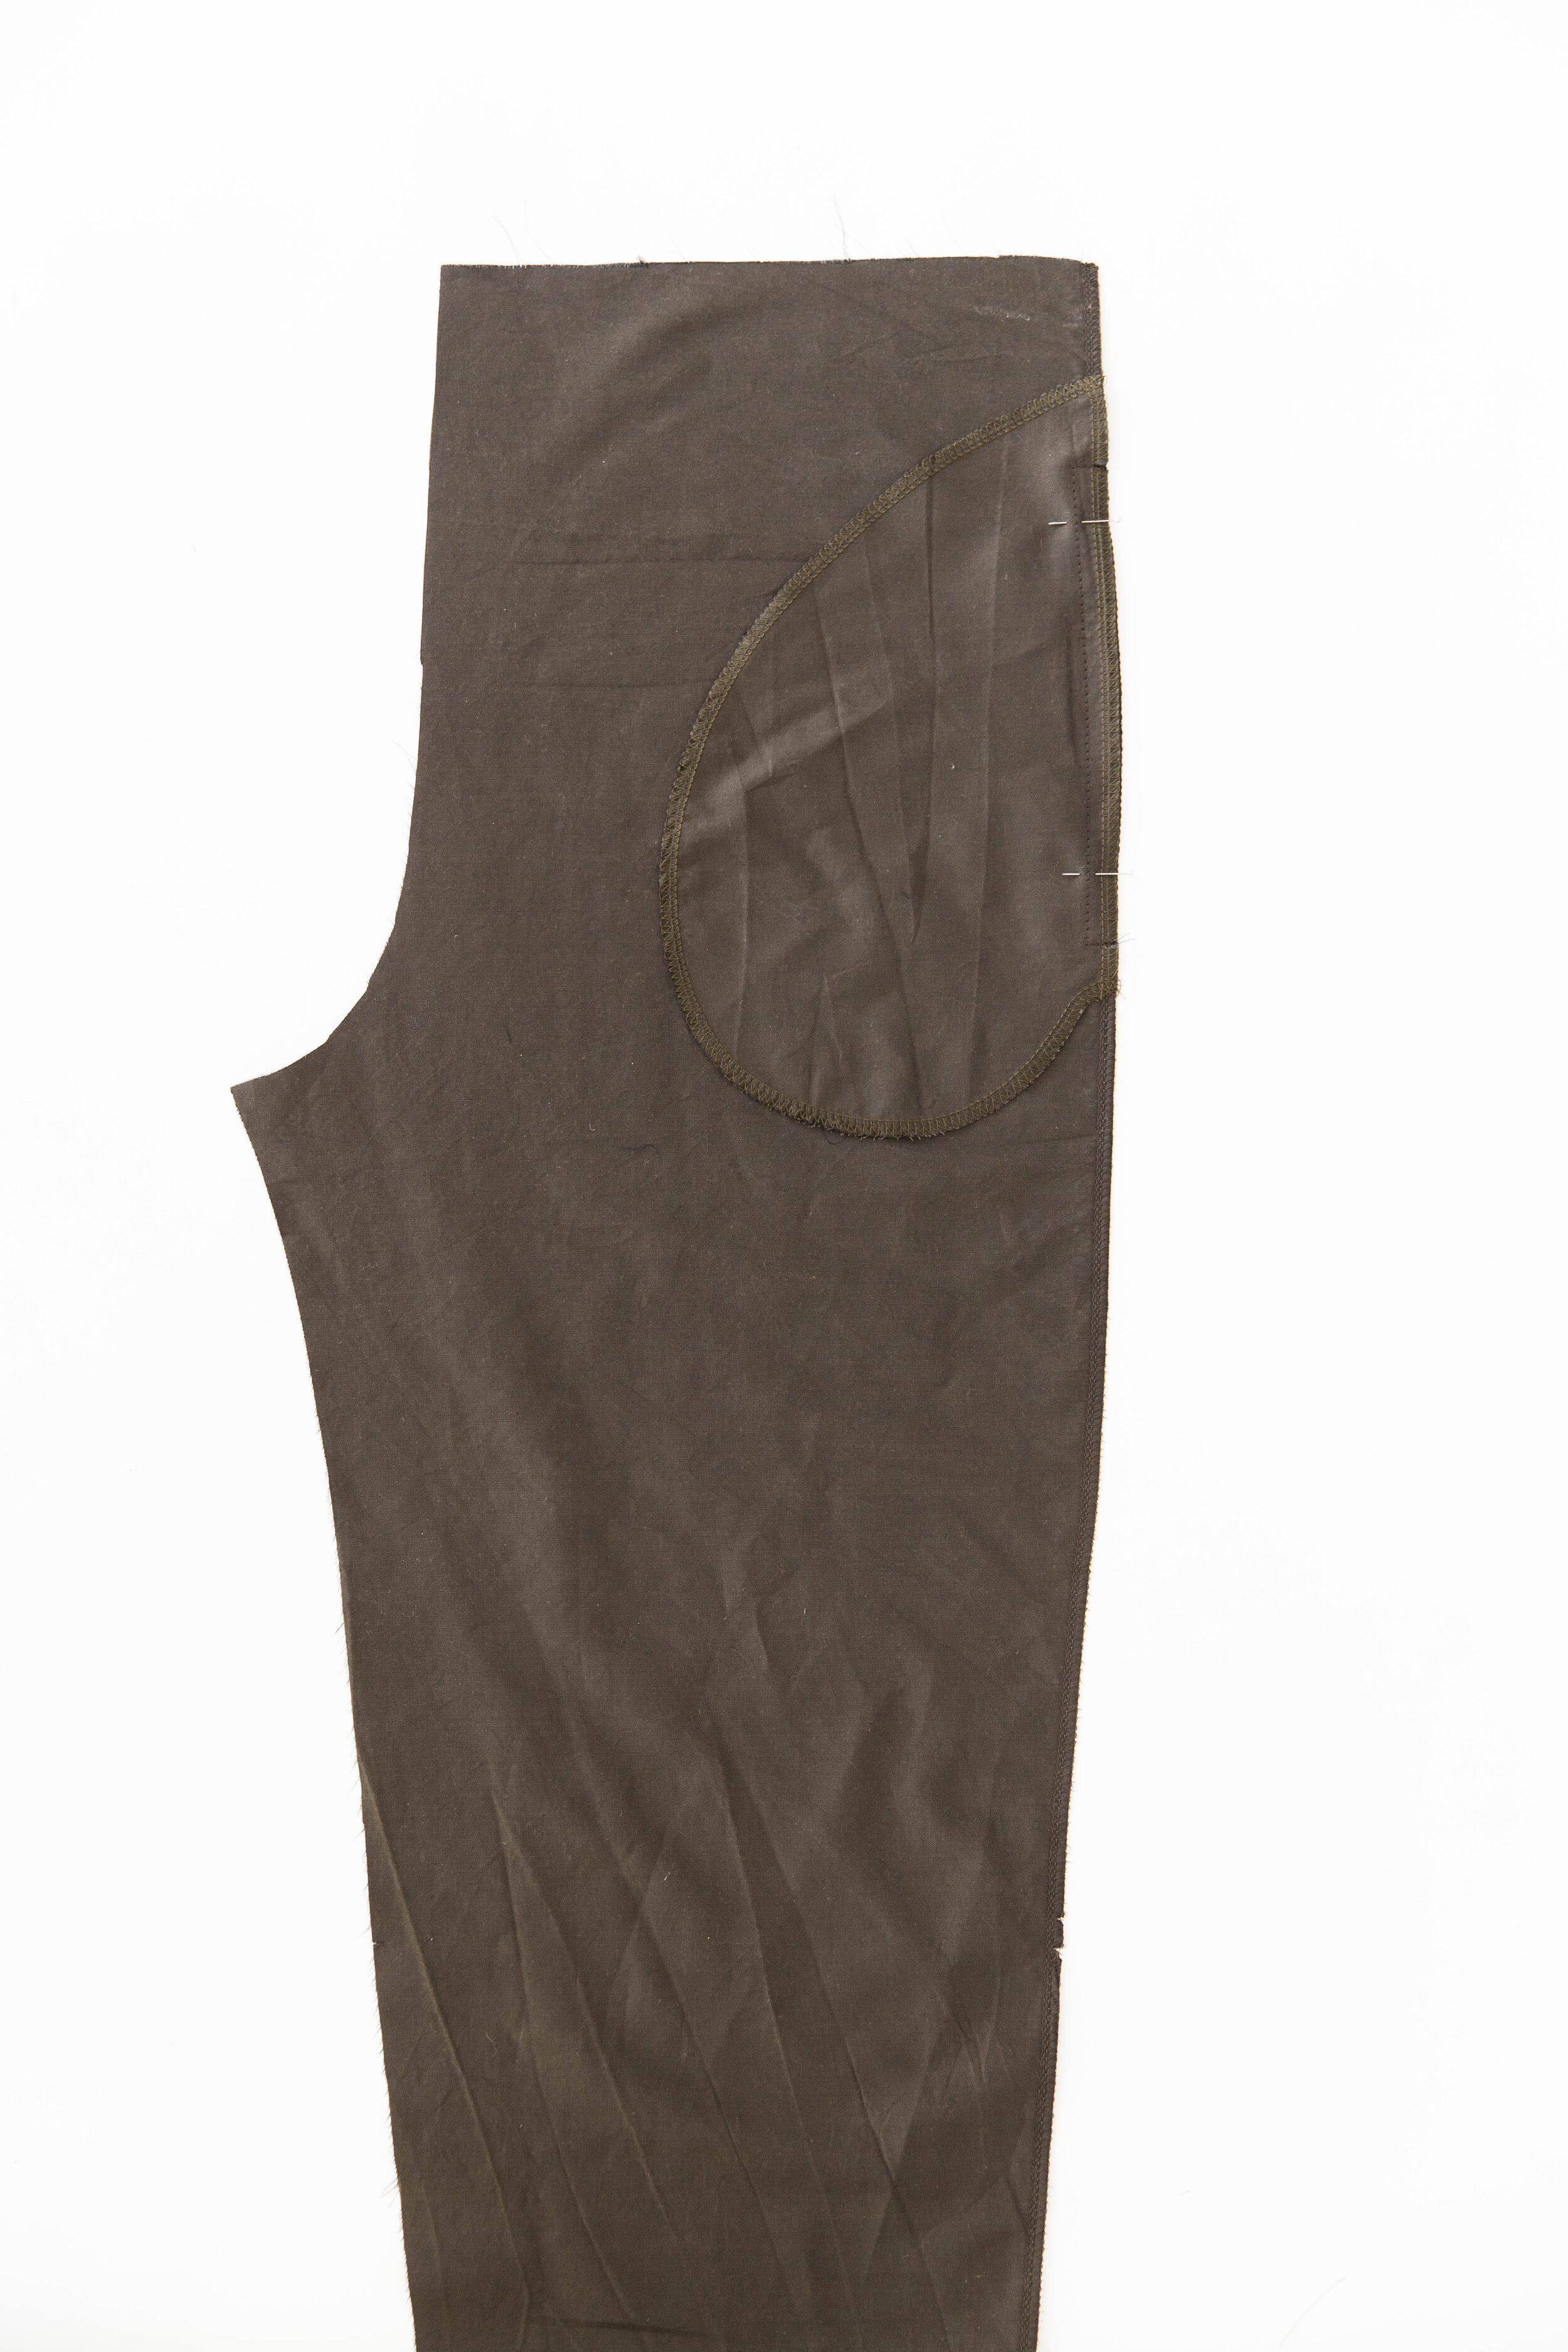
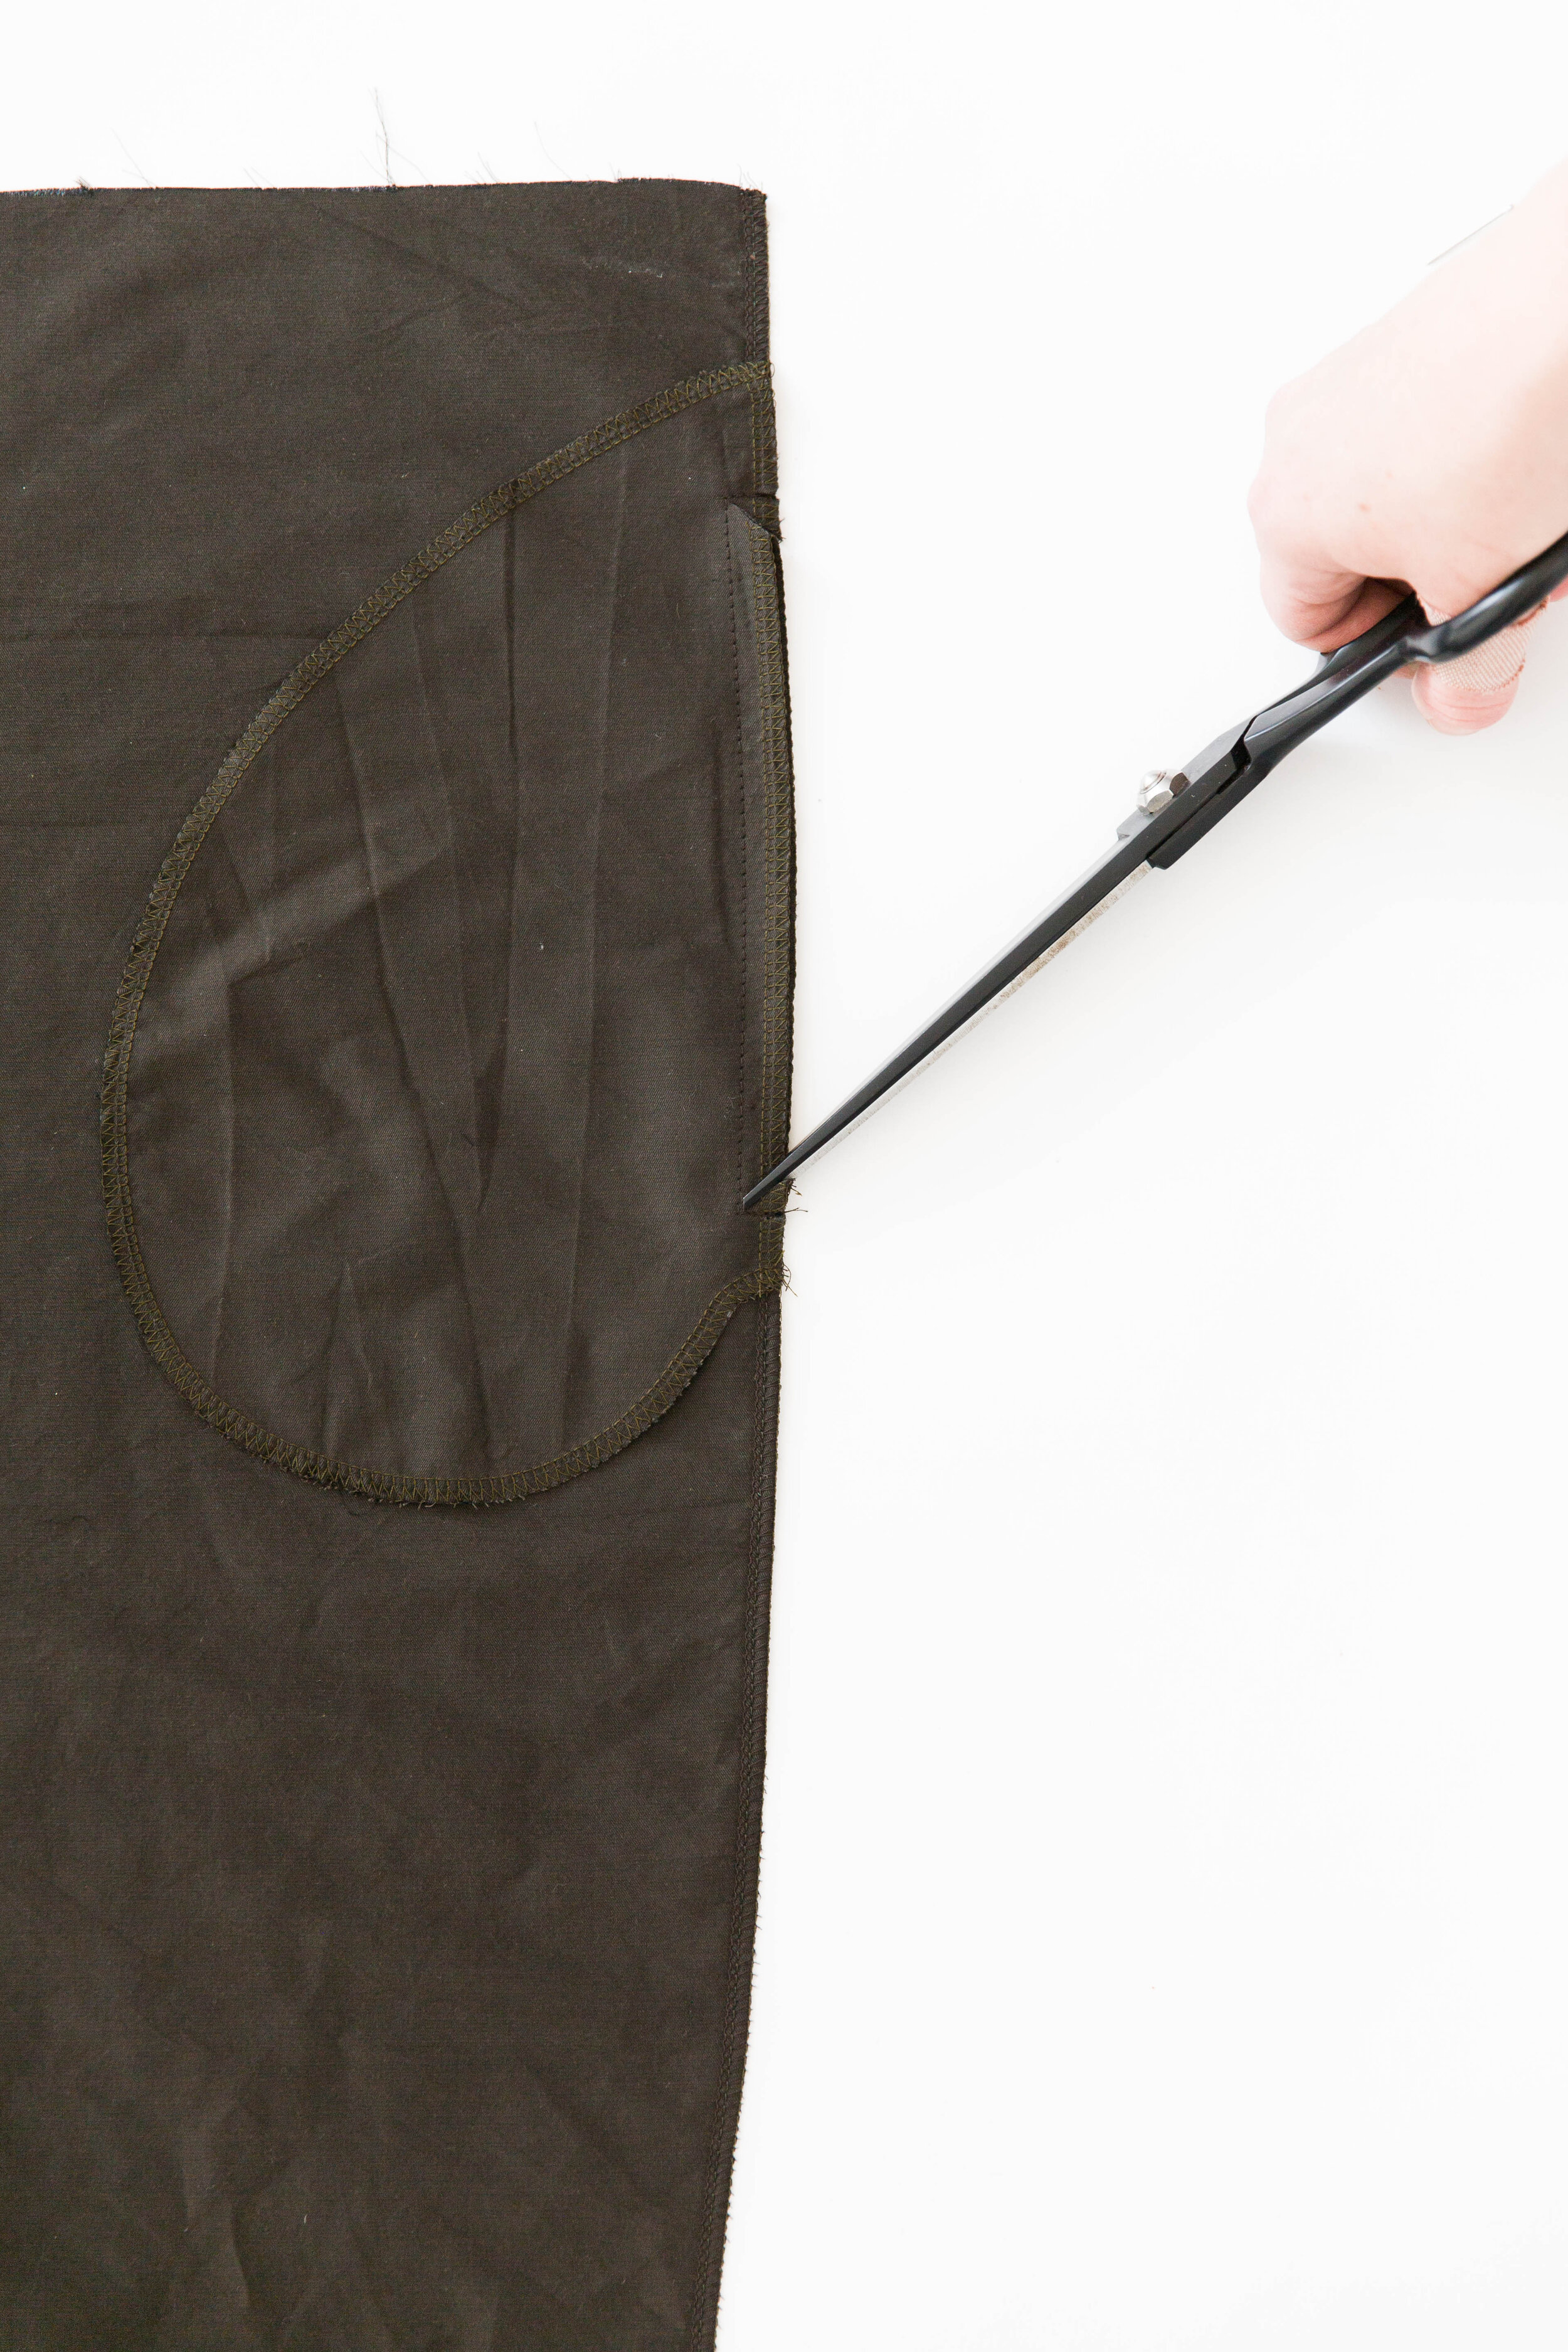
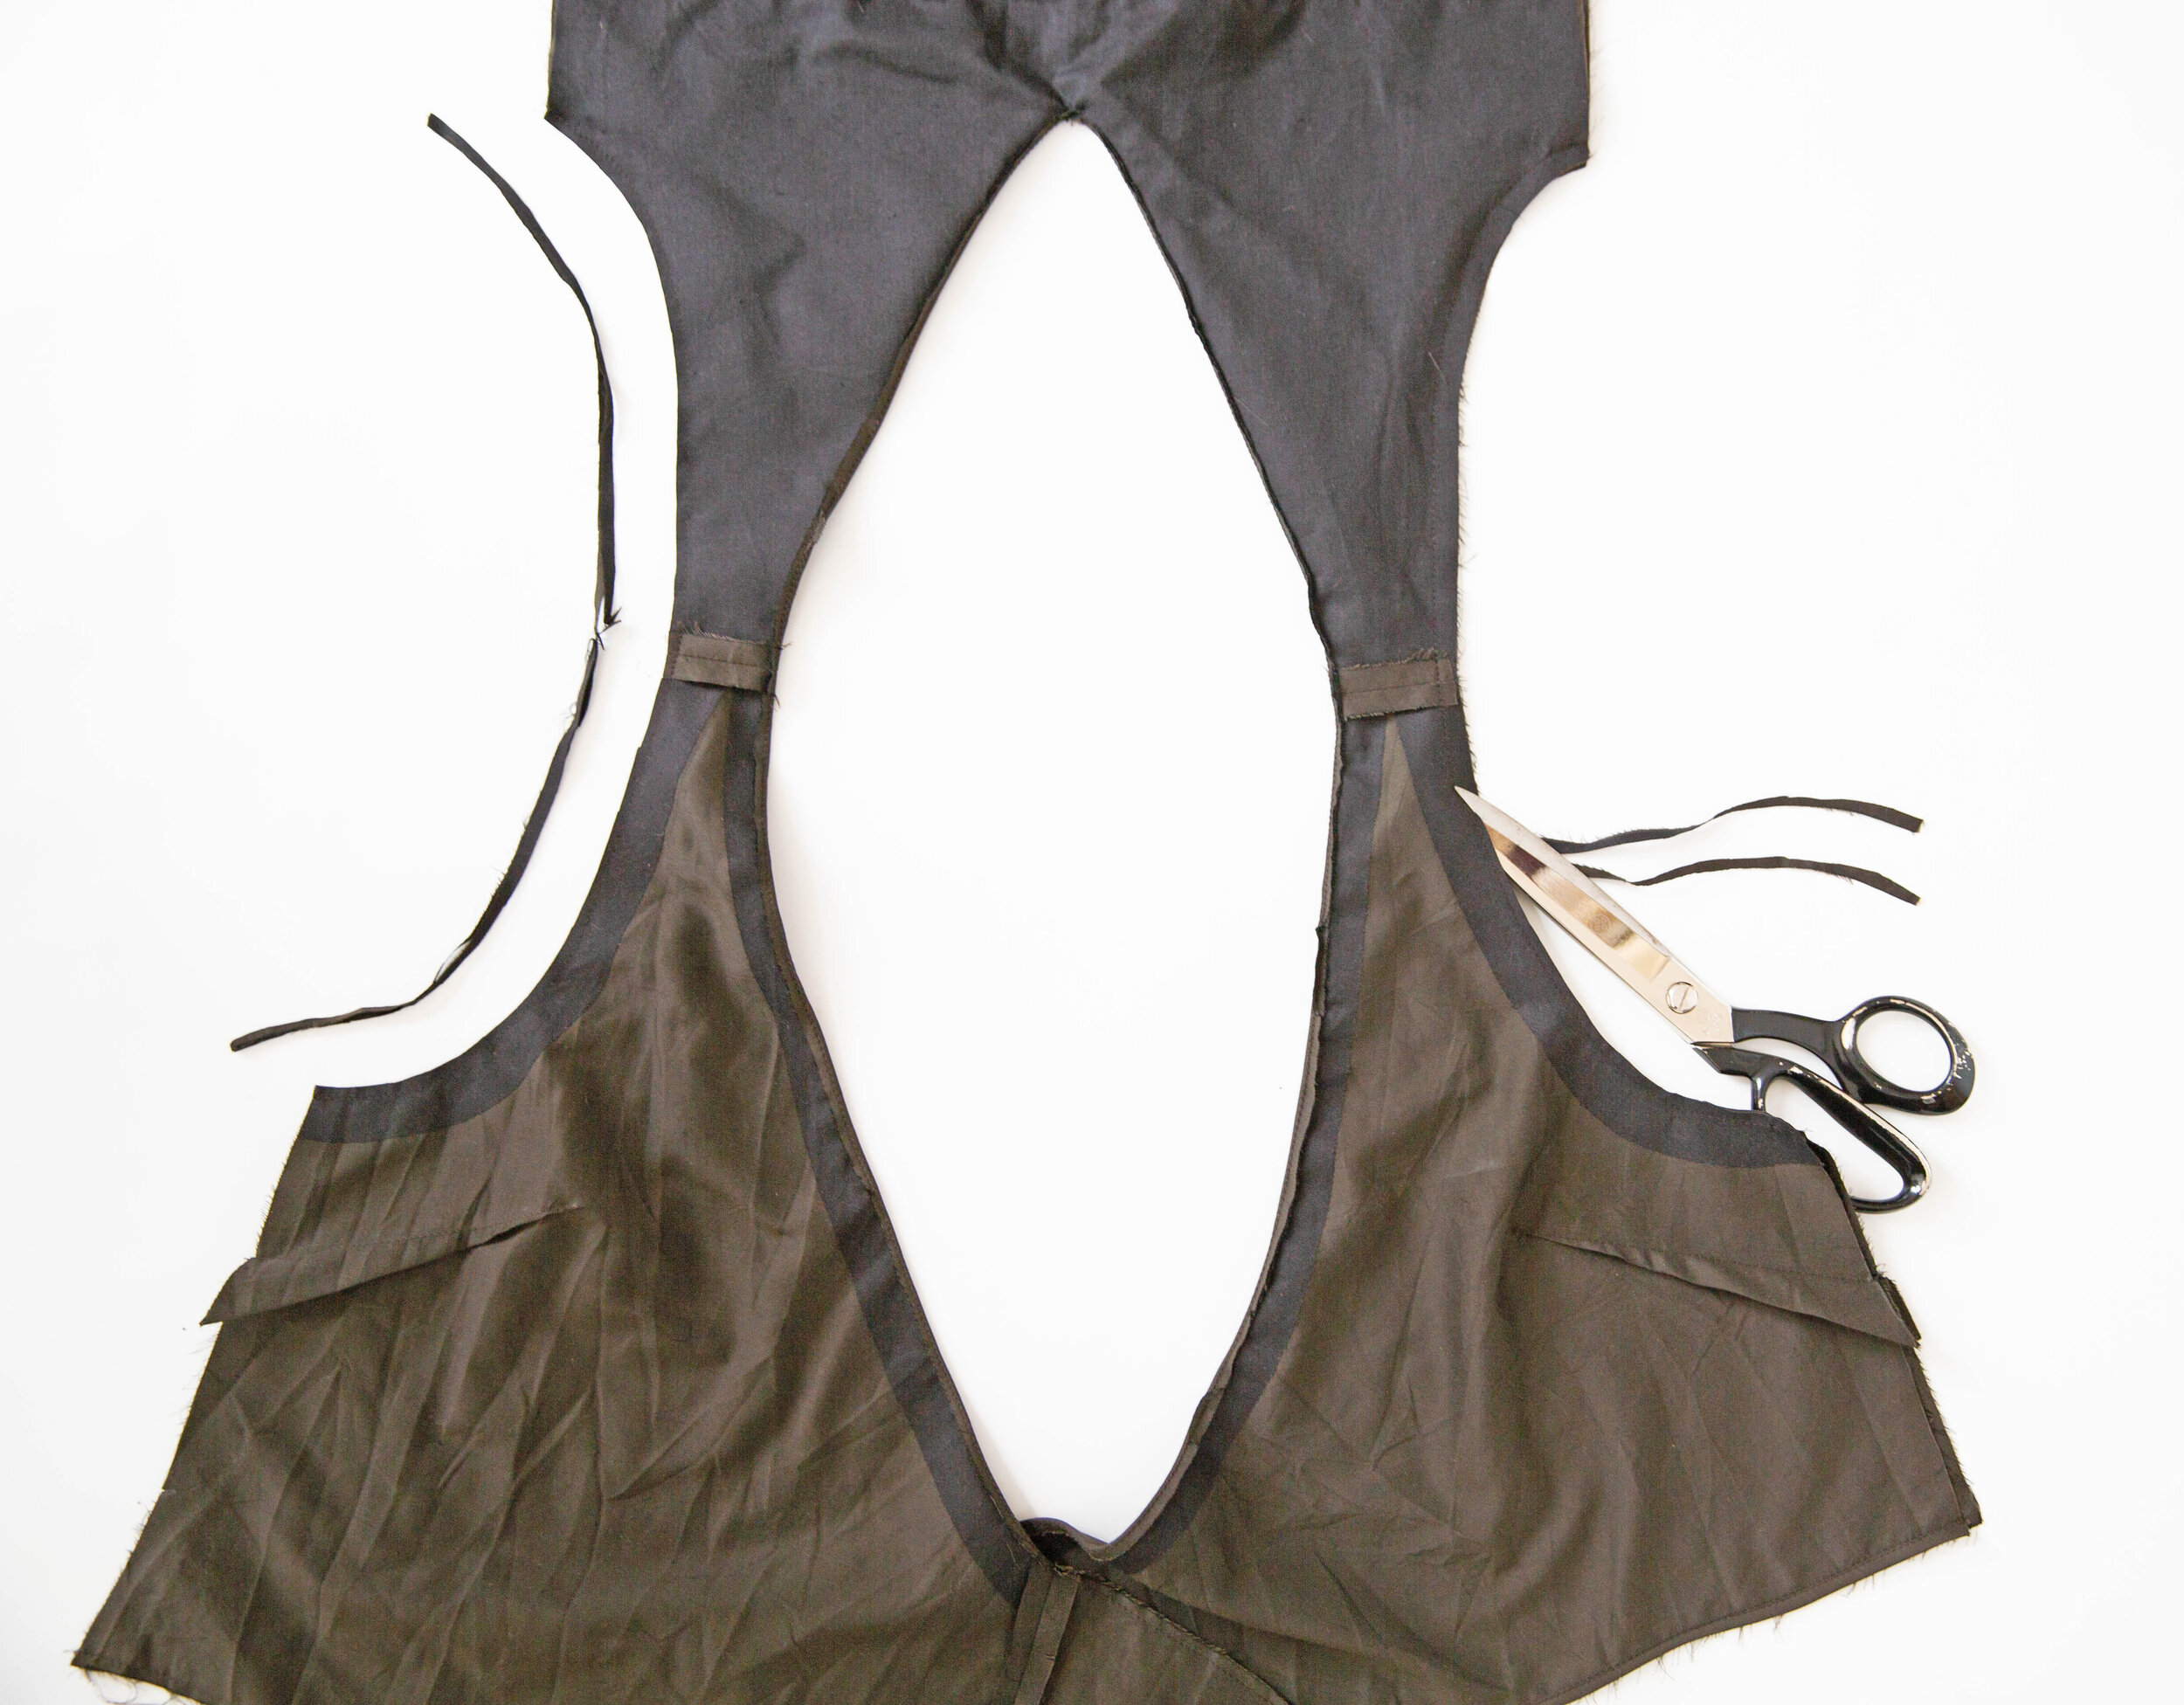
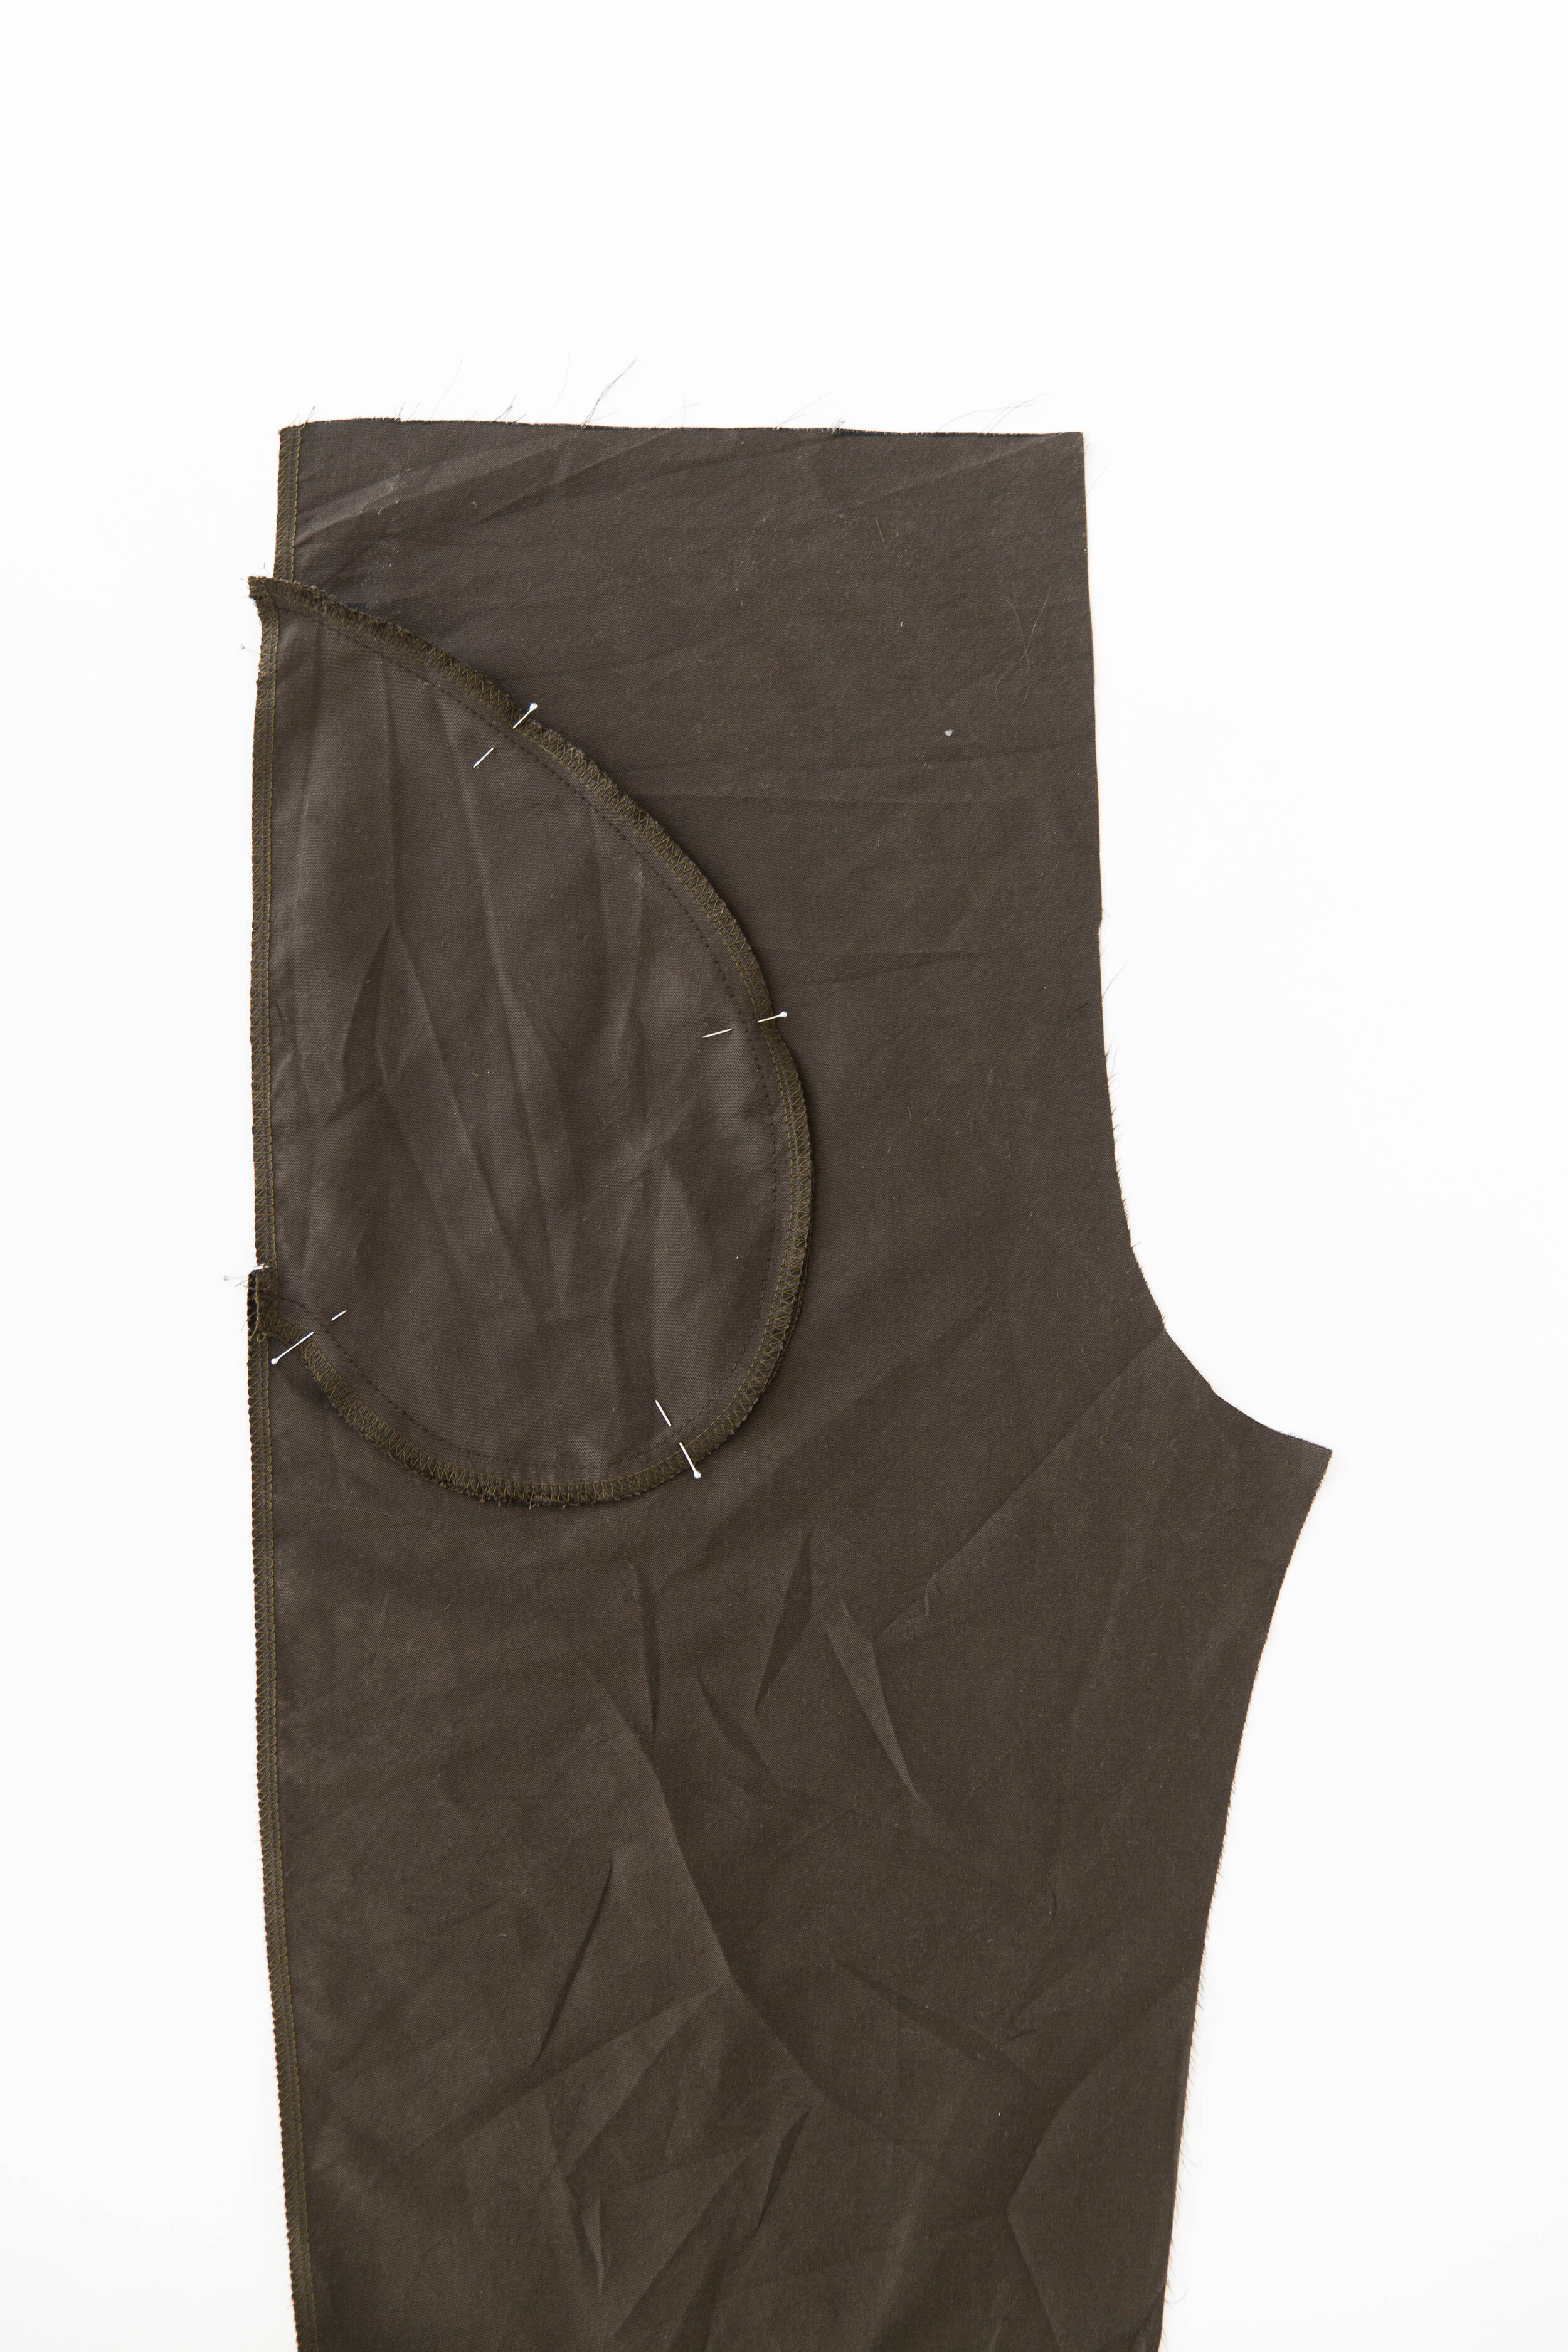
Step 11
Place pocket bag over trouser front at side seam with right sides facing, matching up notches. Starting at side seam, stitch 1.2cm/0.47” in, then pivot needle and stitch between notches keeping a 1.2cm/0.47” seam allowance. Pivot needle again, and stitch out to side seam. Clip into corners, being careful not to cut through your stitch line. Under-stitch seam allowance toward pocket bag. Turn through to inside and press.
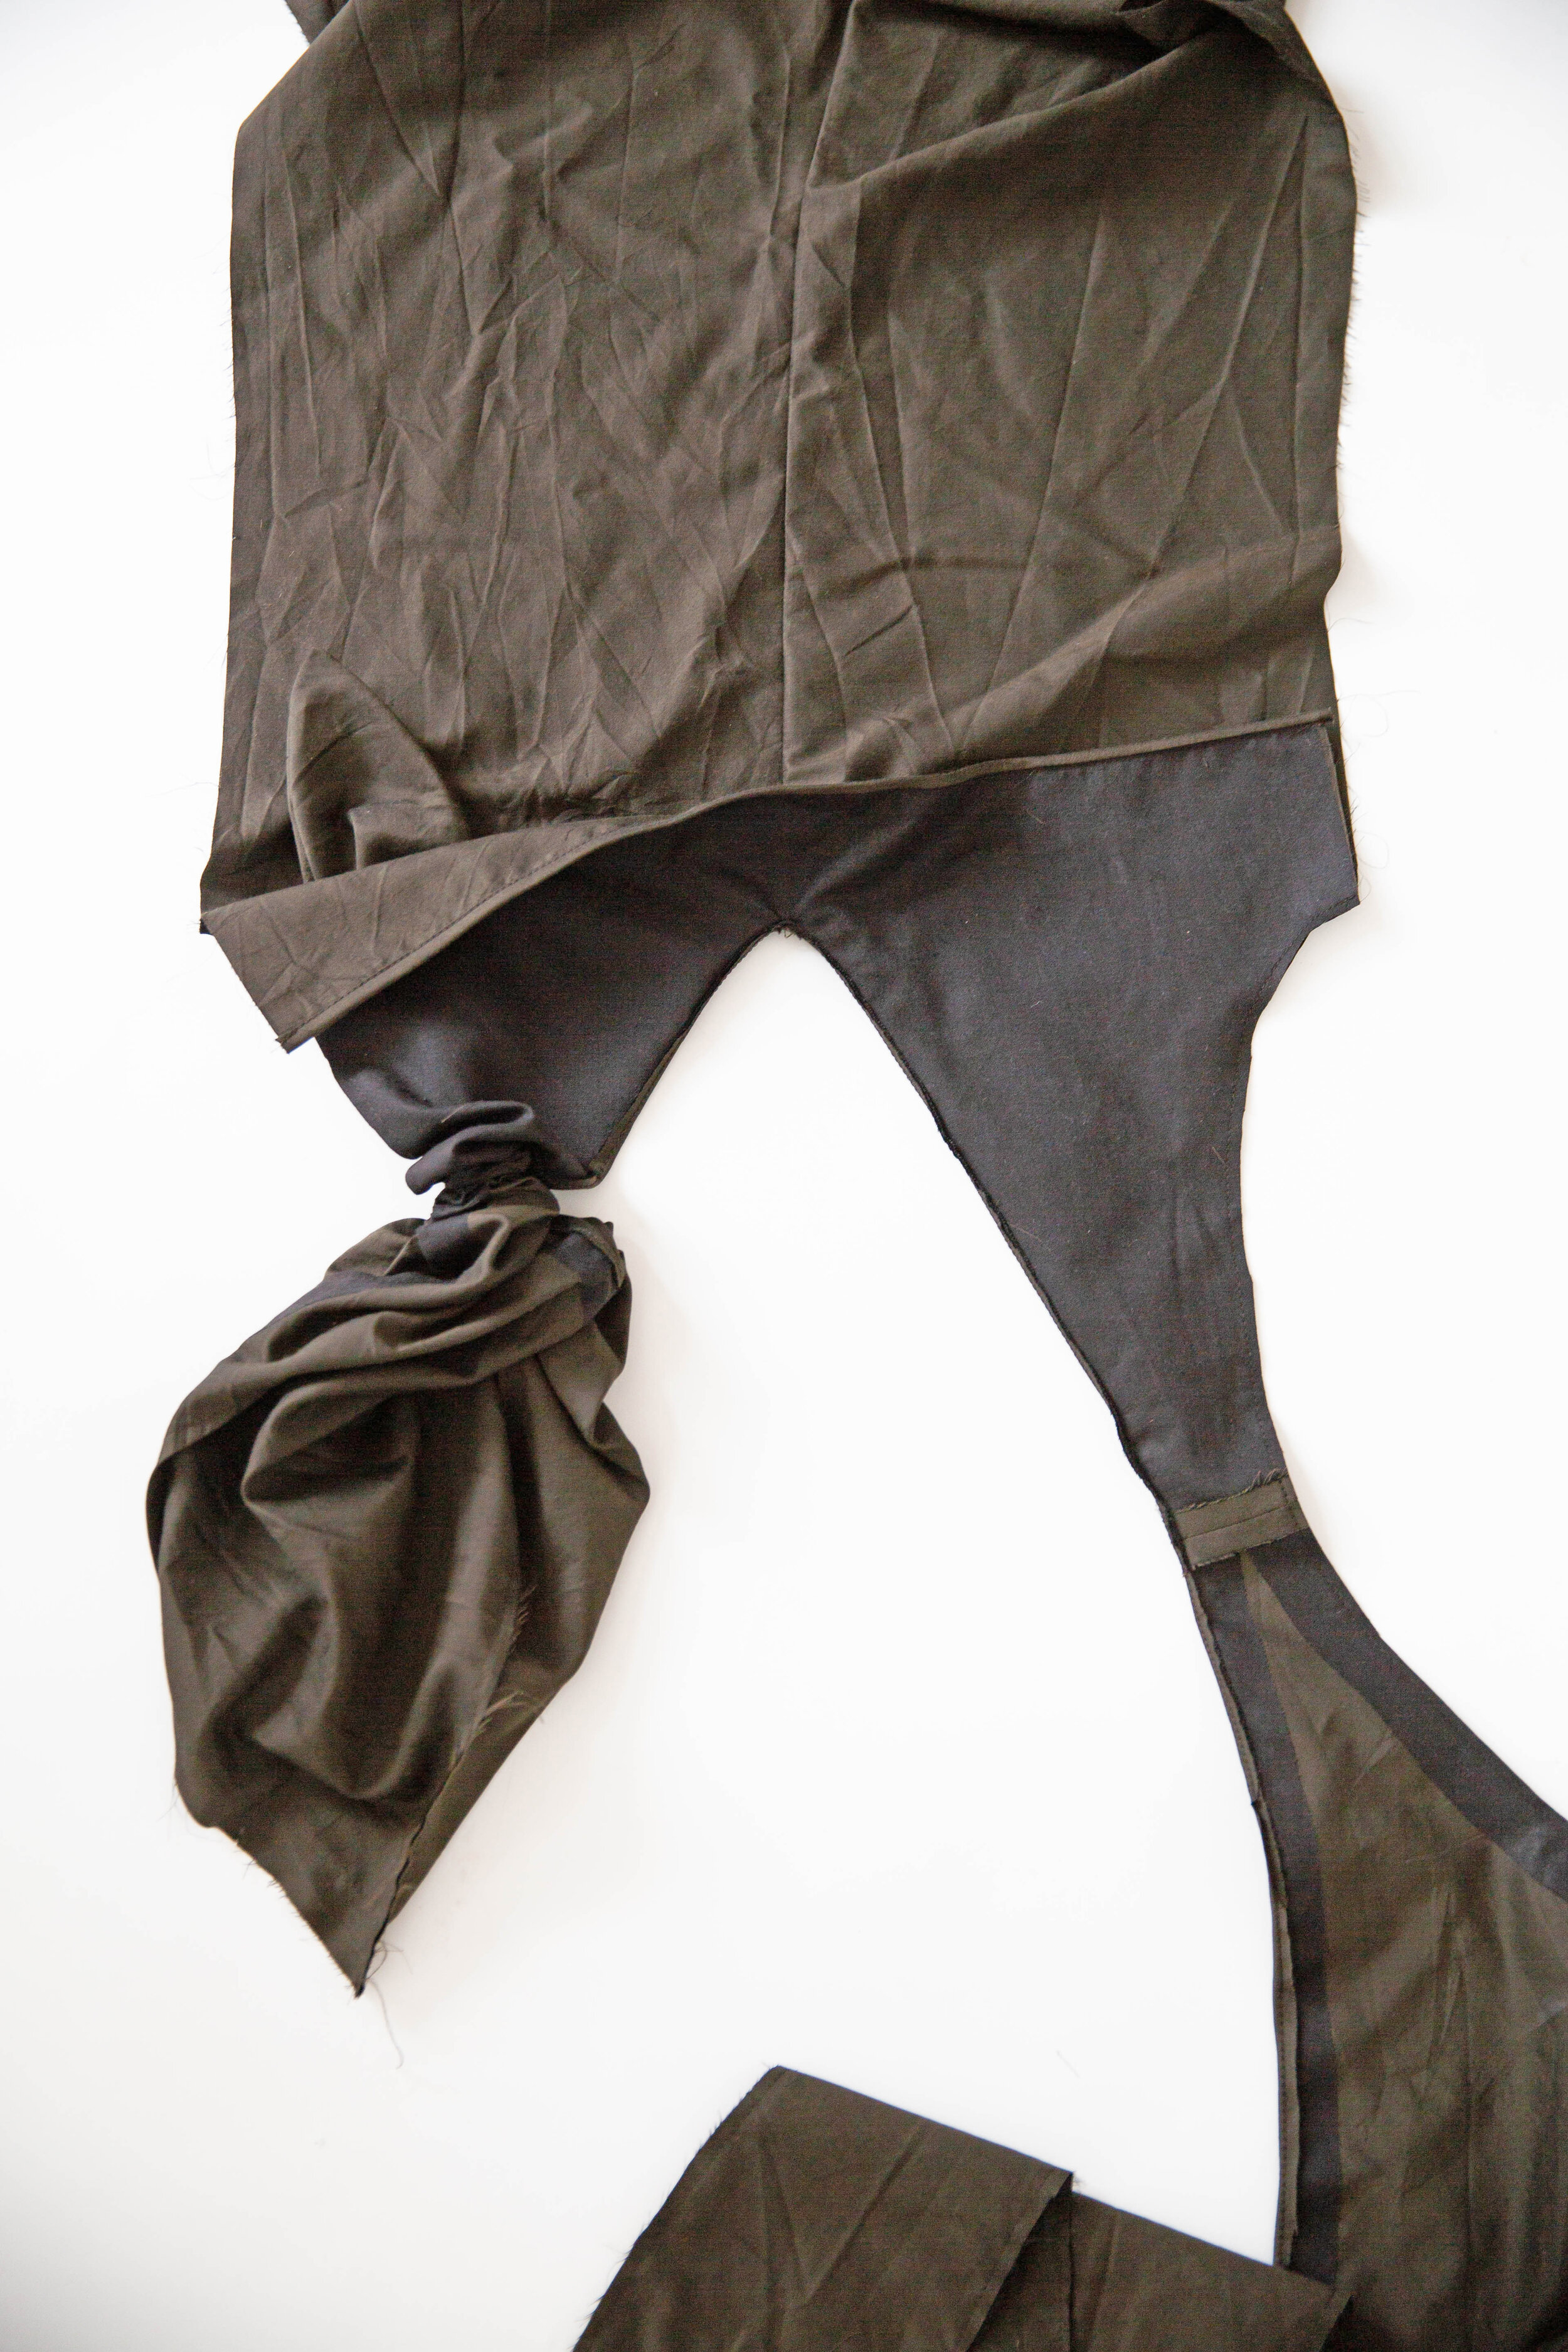
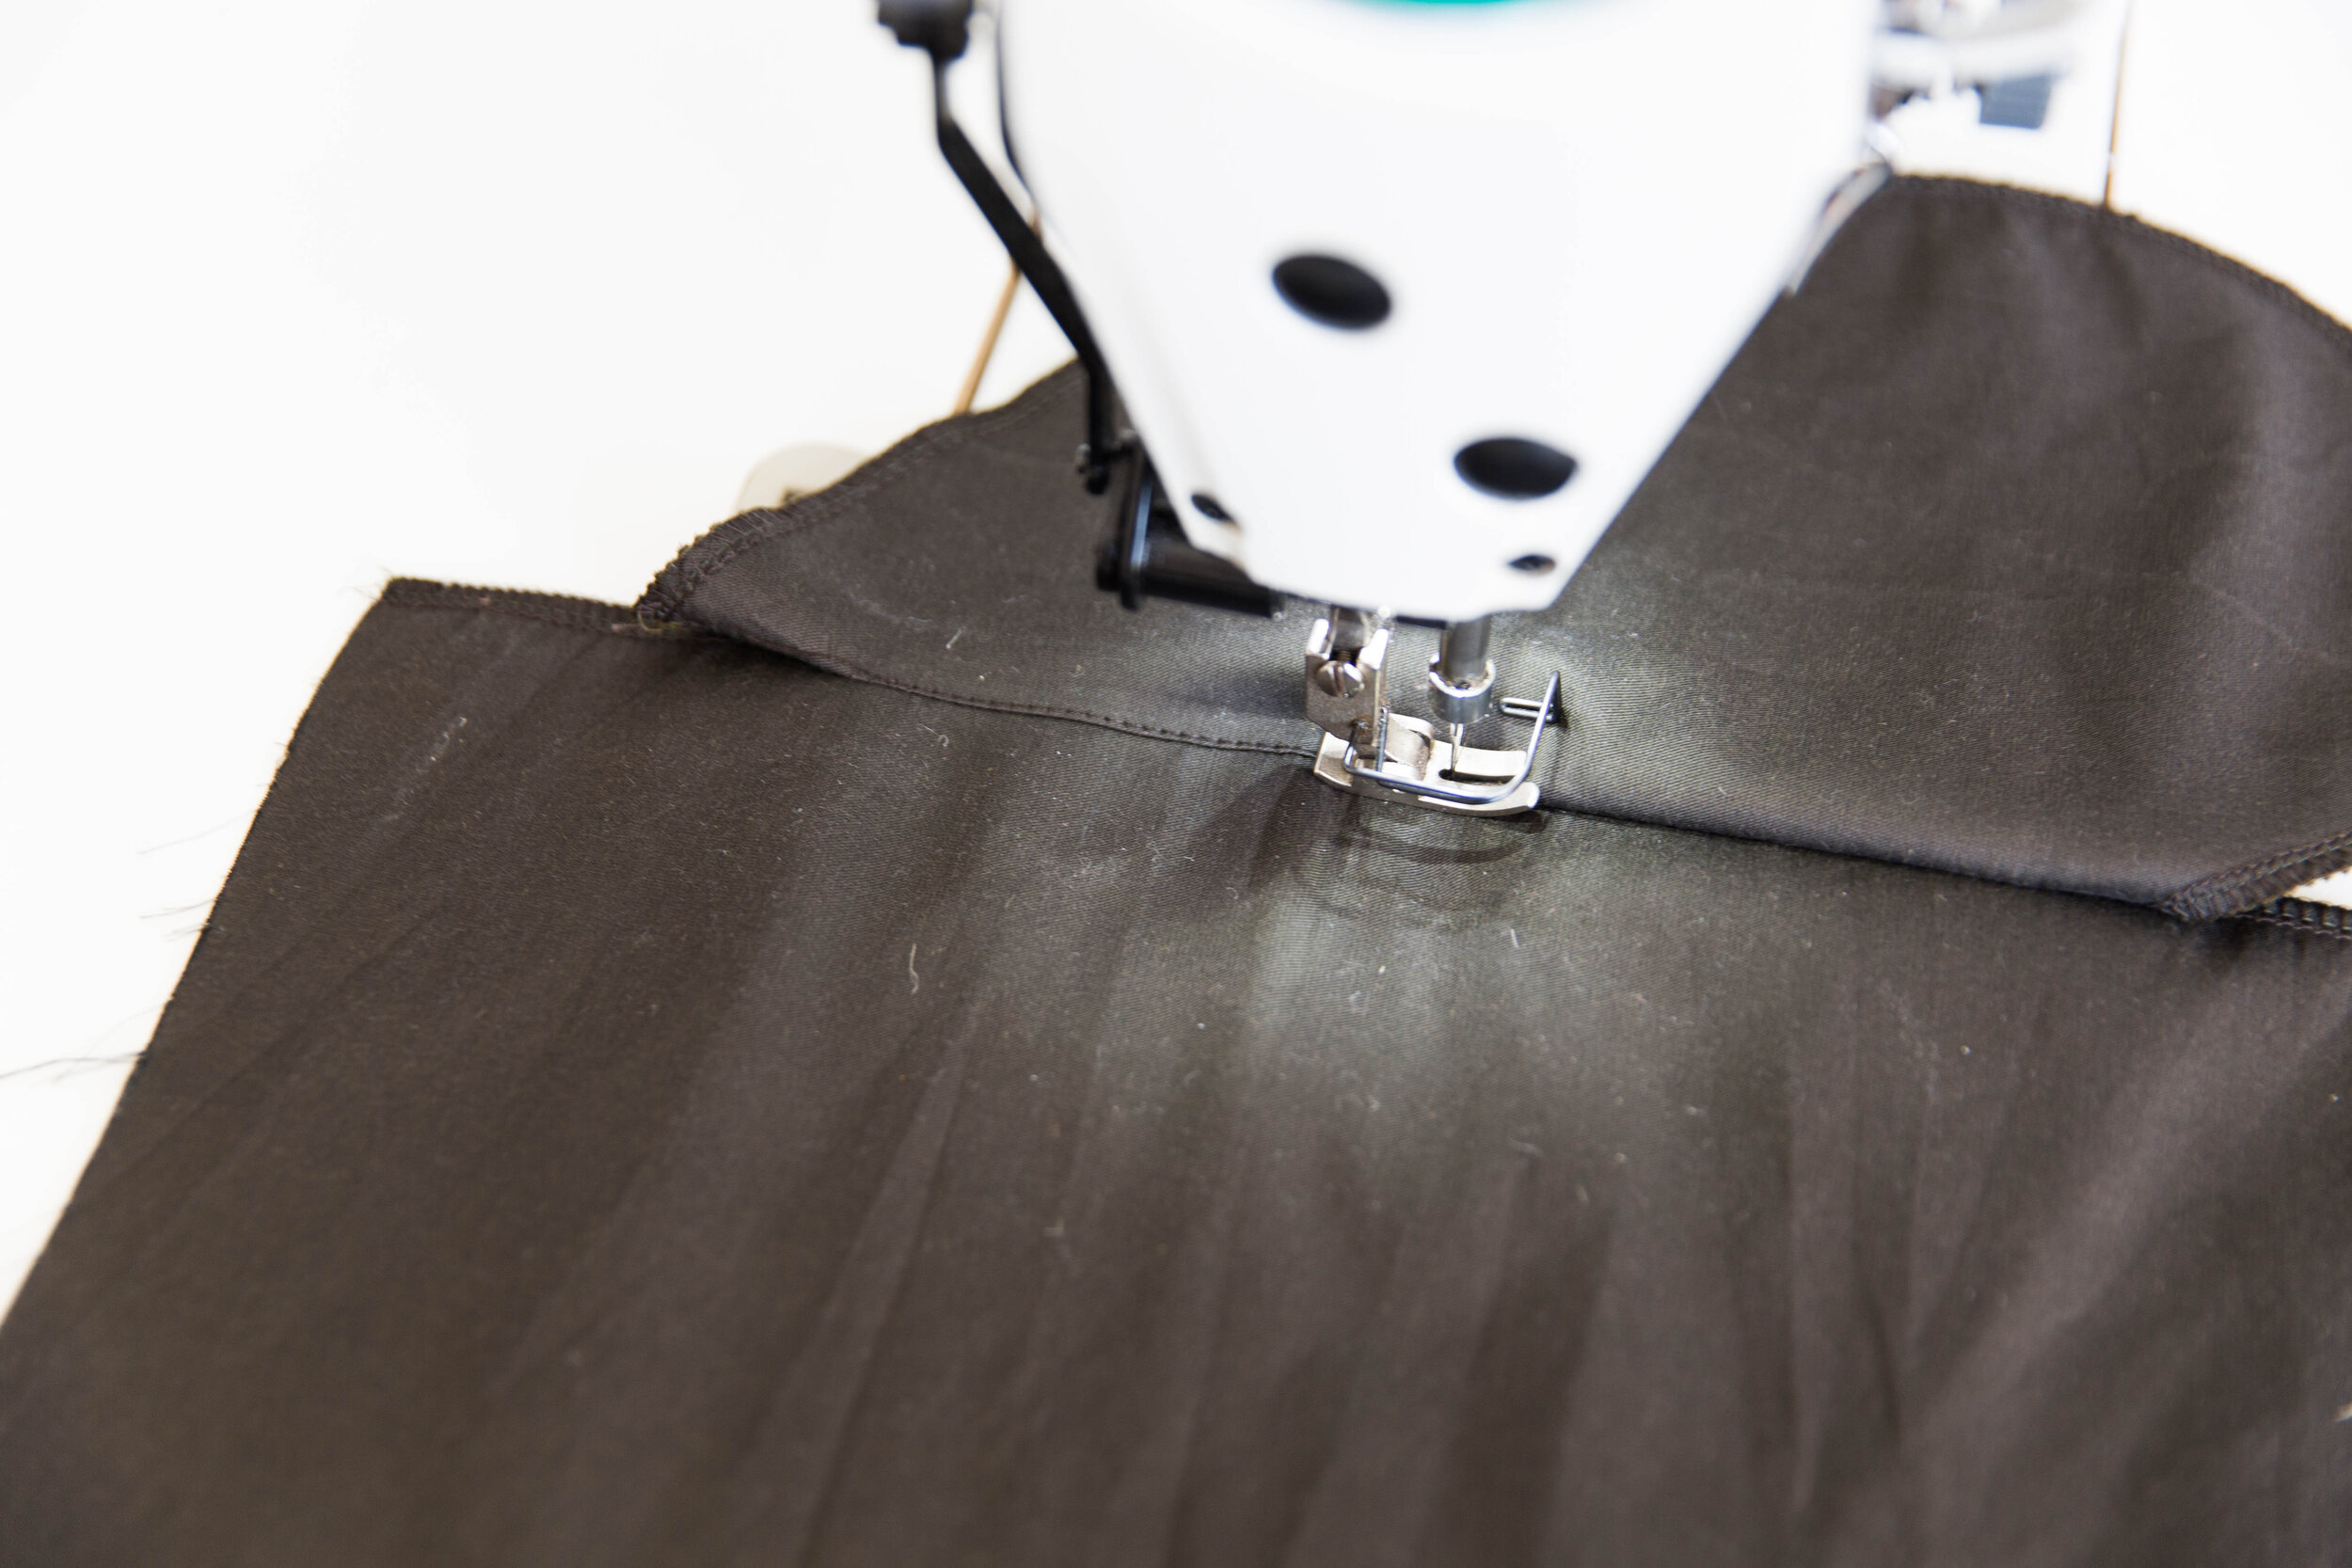
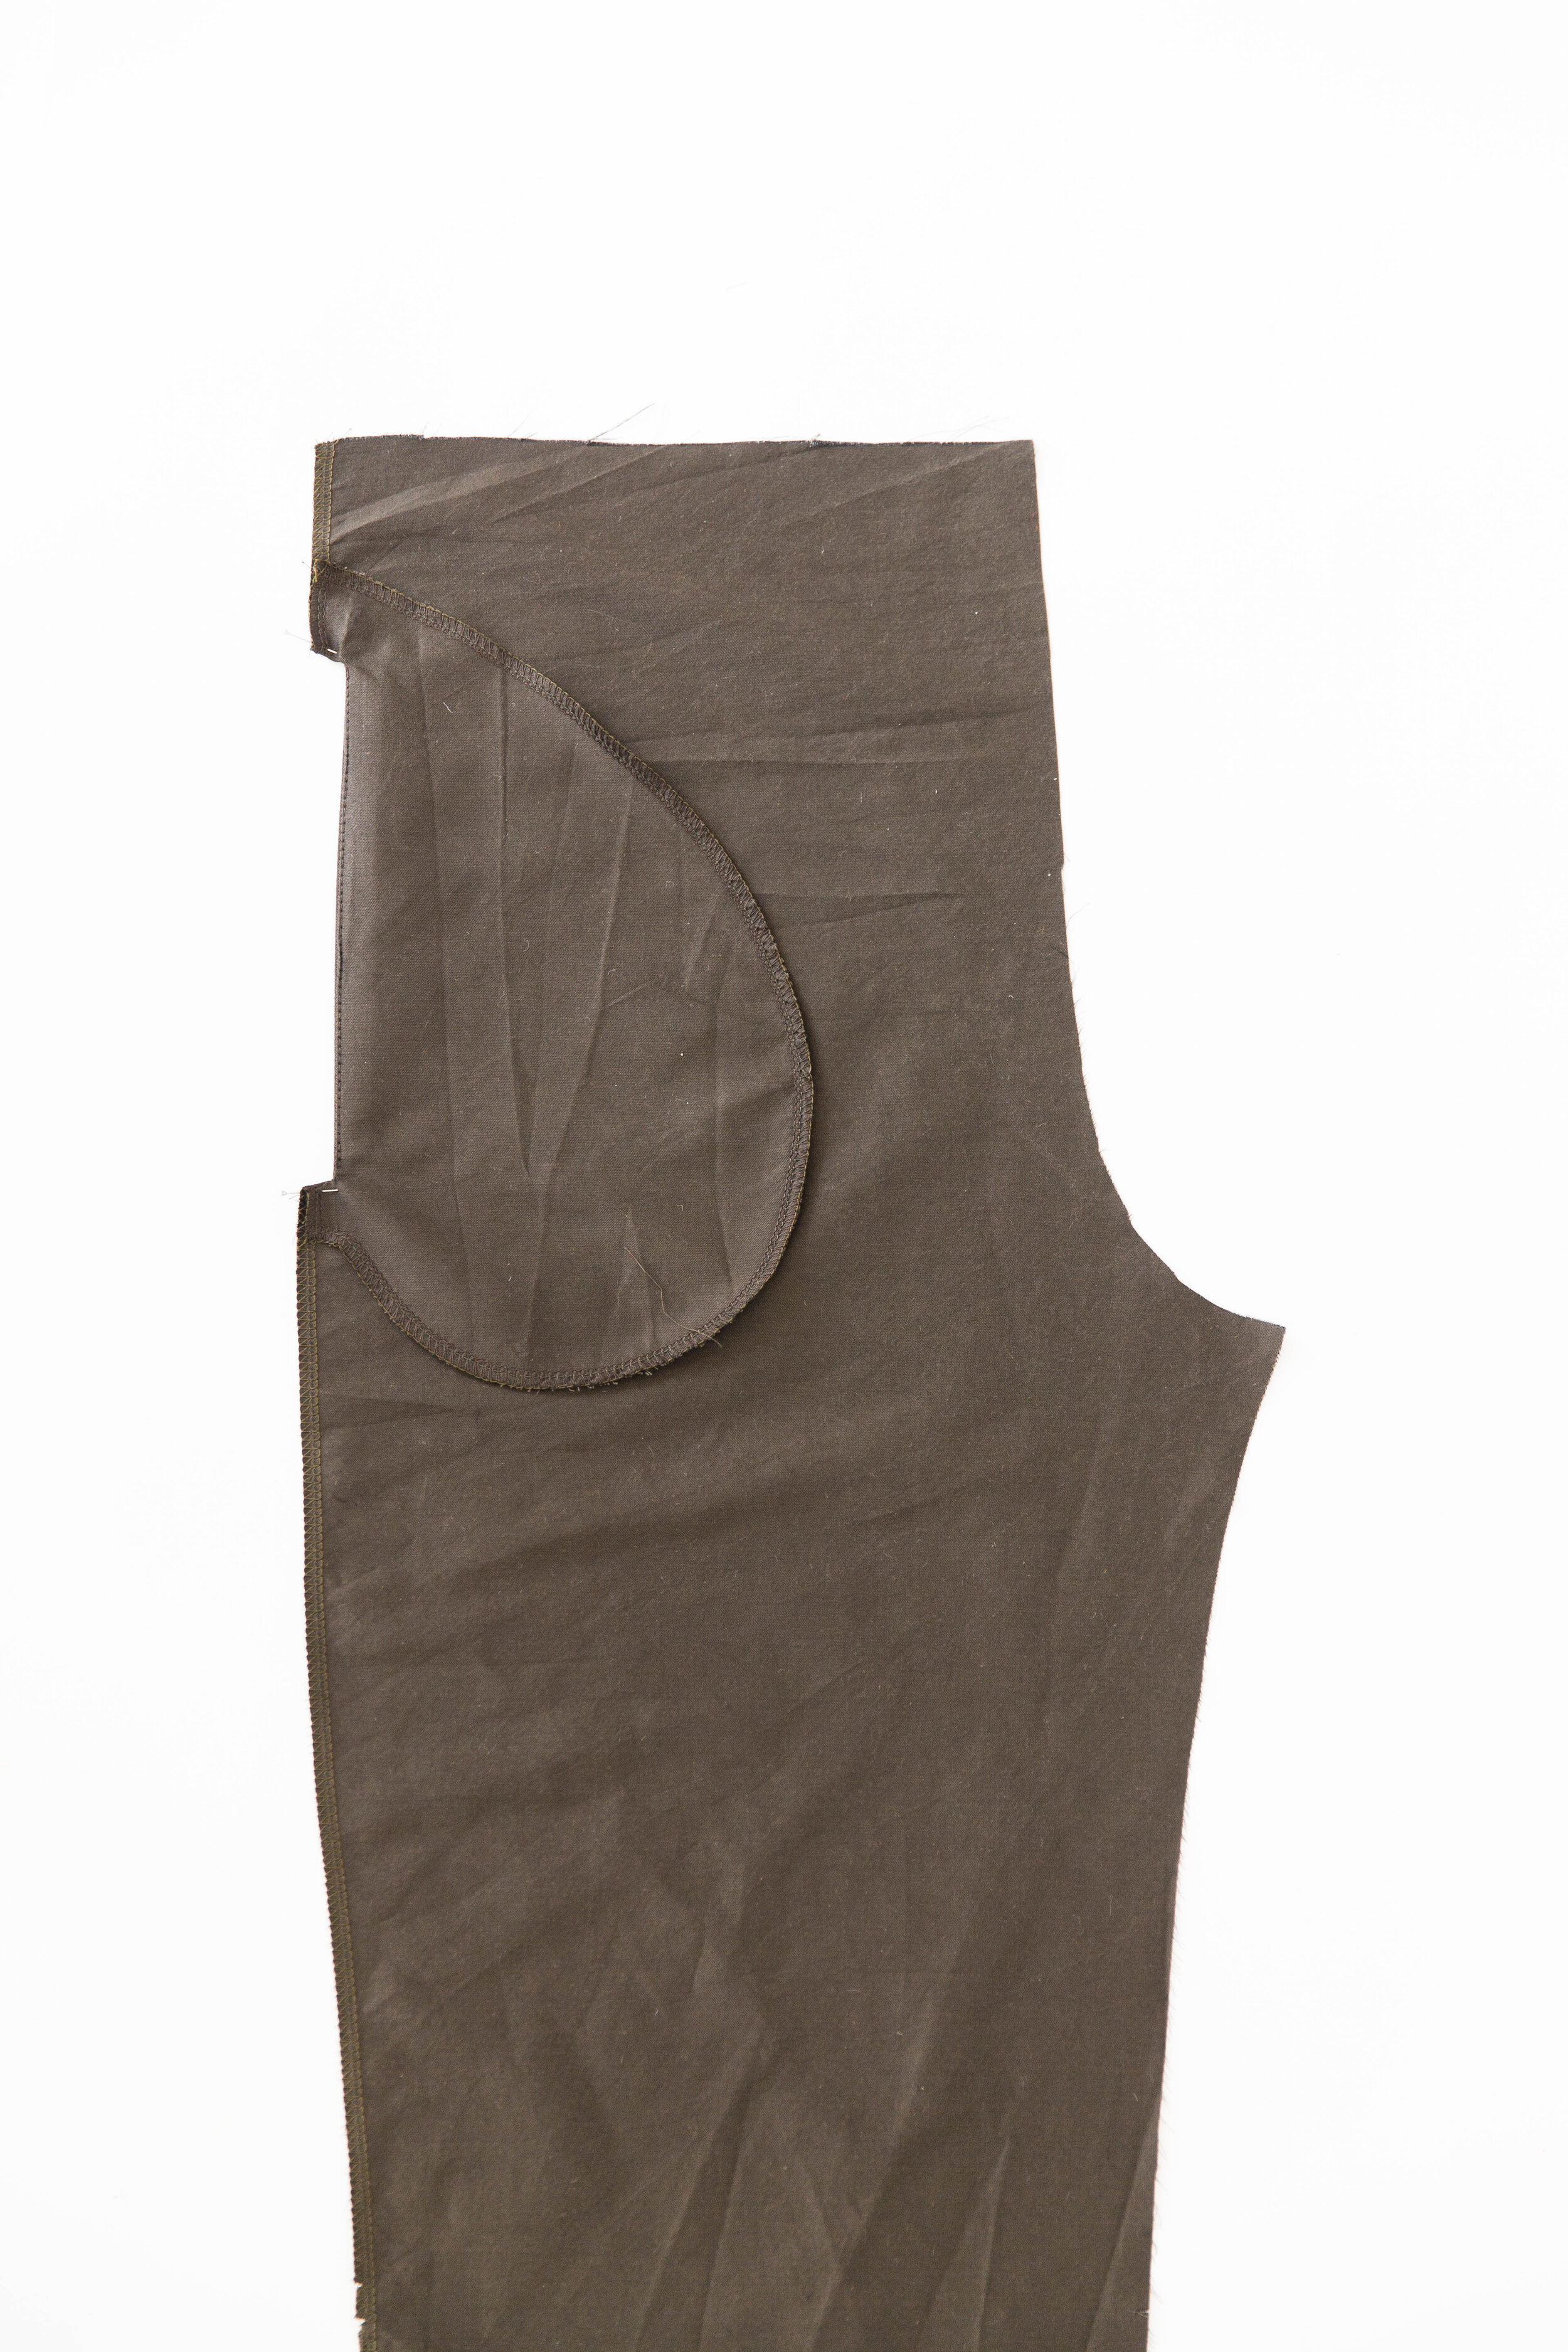
Step 12
With right sides facing, place matching pocket bag over attached pocket bag, and stitch together around edges. Fold pocket bag behind trouser front. Press, then edge-stitch at top and bottom edges of pocket to secure in place. Repeat for other pocket.

Step 13
With right sides facing, pin front trouser pieces together along front crotch seam. Stitch. Neaten seam. Press.
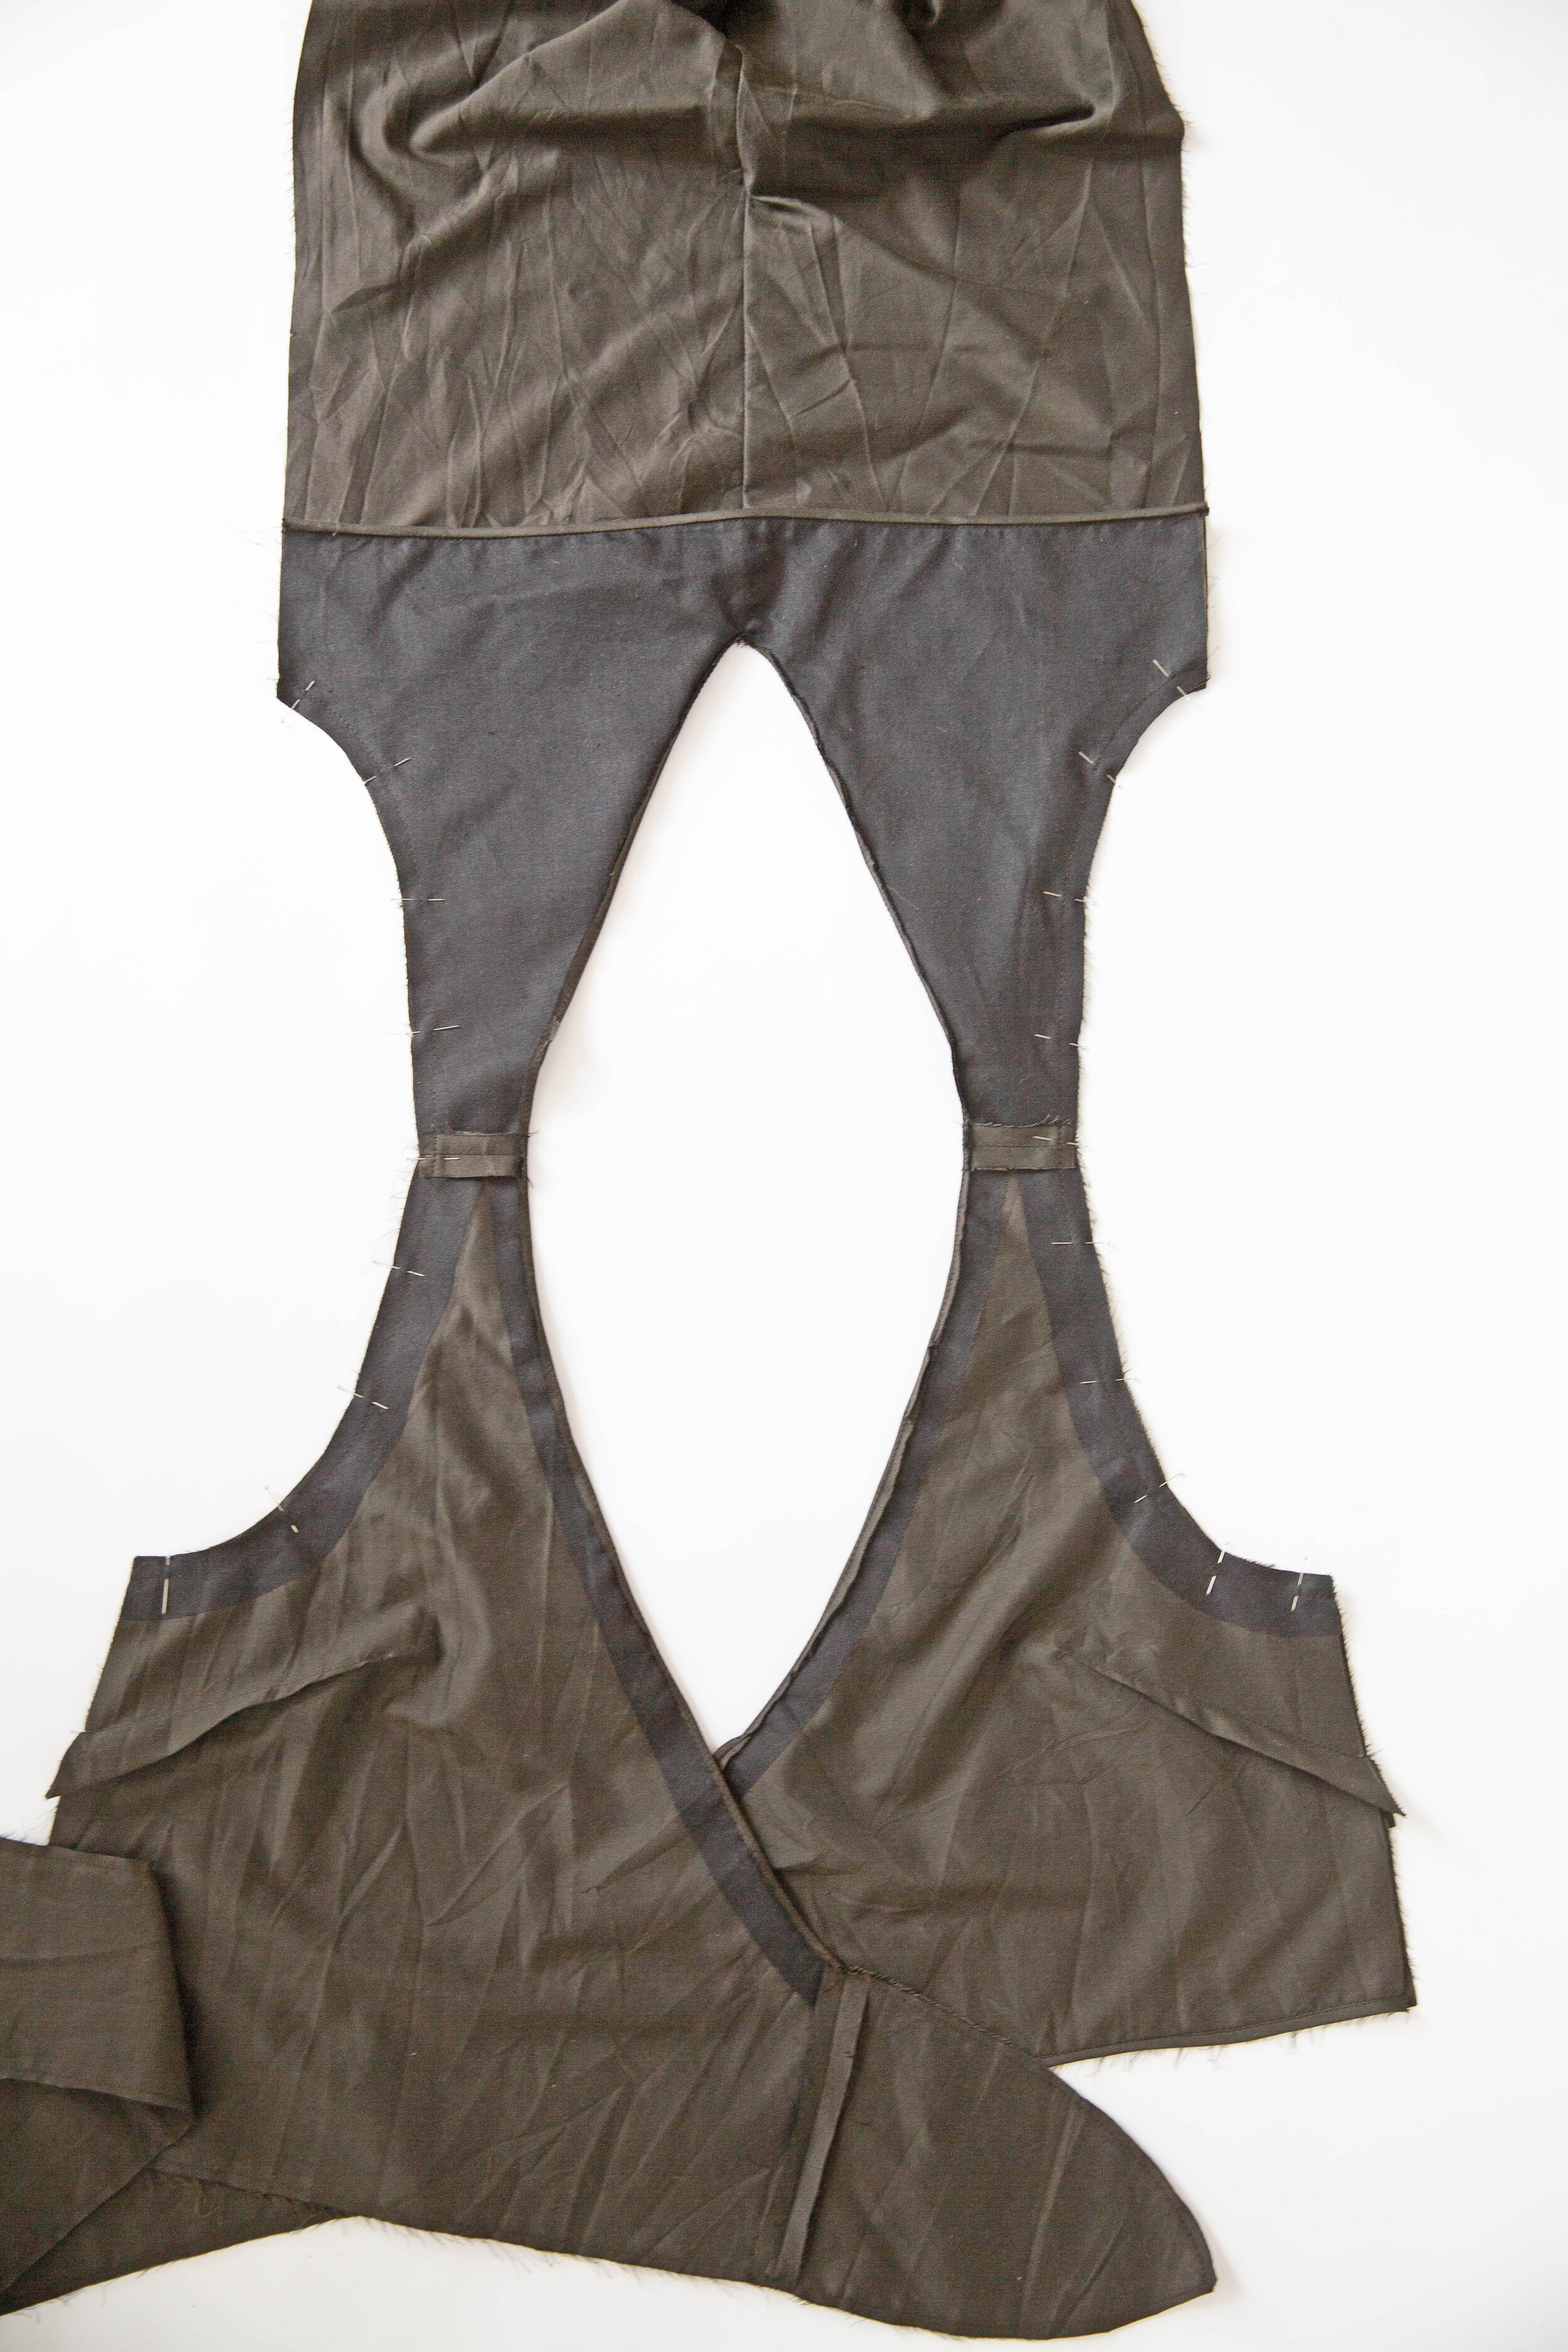
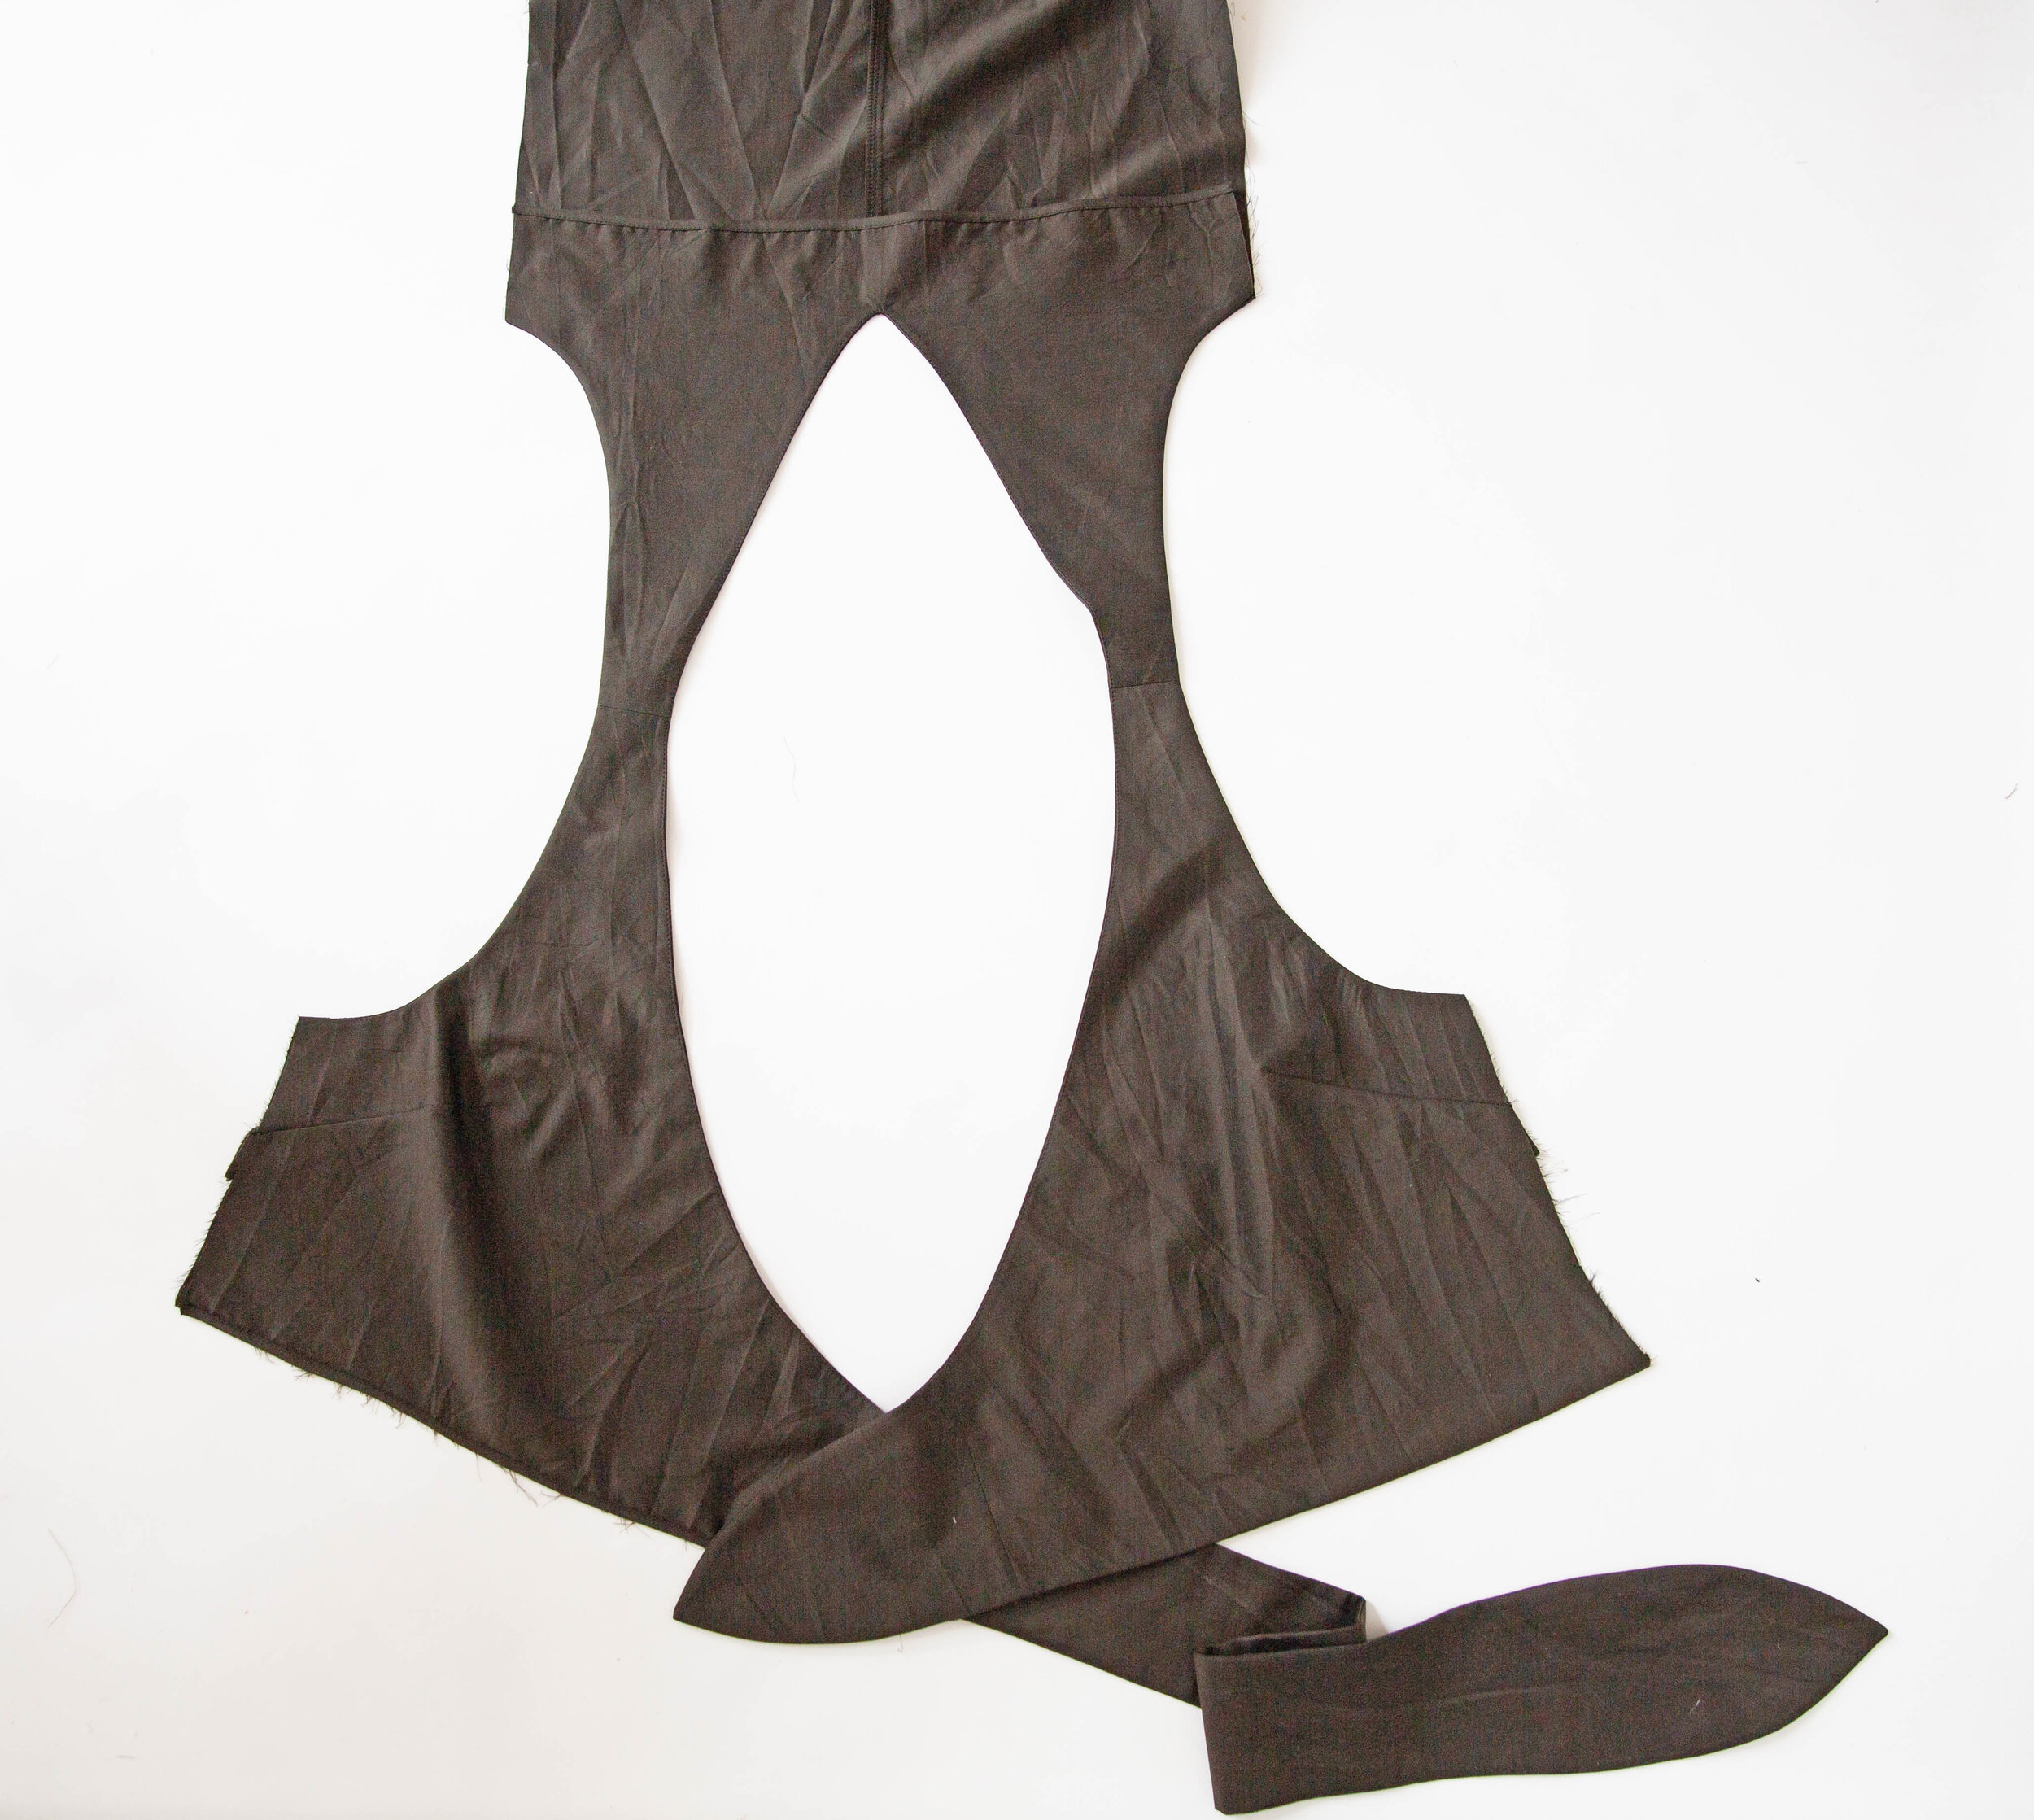
Step 14
Pin top edge of front trouser panel to waist seam of bodice piece A. Stitch together stopping your stitch-line 1cm/0.39” from the edge of trouser on the tie end. Press seam up toward bodice.
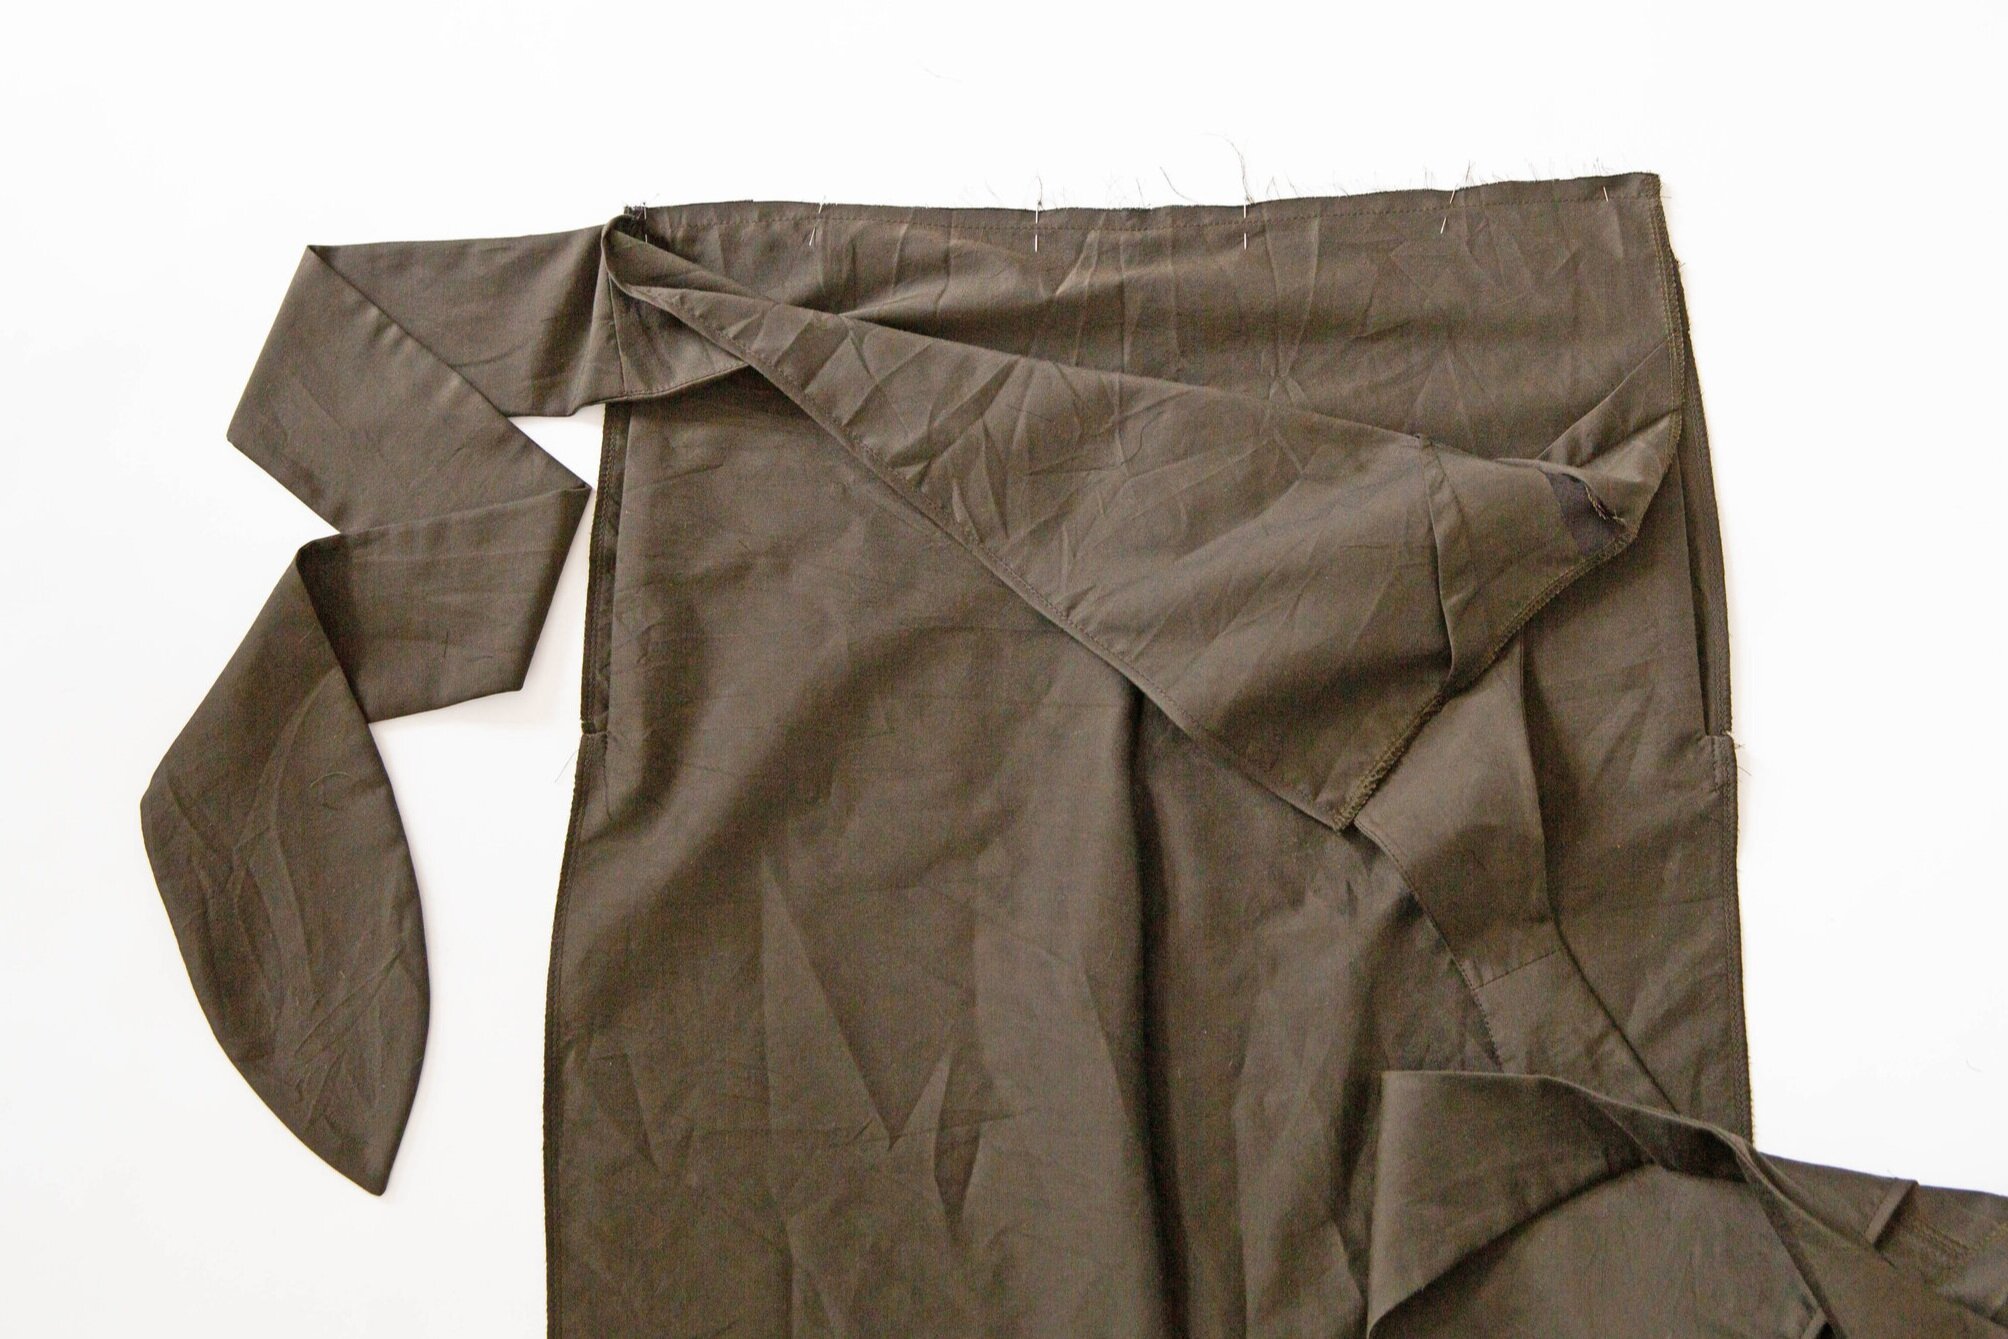
Step 15
With right sides facing, match up the side seam of front bodice B with corresponding back side seam, lining up the top edge of bodice B with the seam-line between back and back facing. Fold the back facing over the top, sandwiching the top edge of bodice B between. Stitch together, stopping your stitch-line at the top edge of waist tie slit. Clip top corner of facing then turn through to the right side. Press.

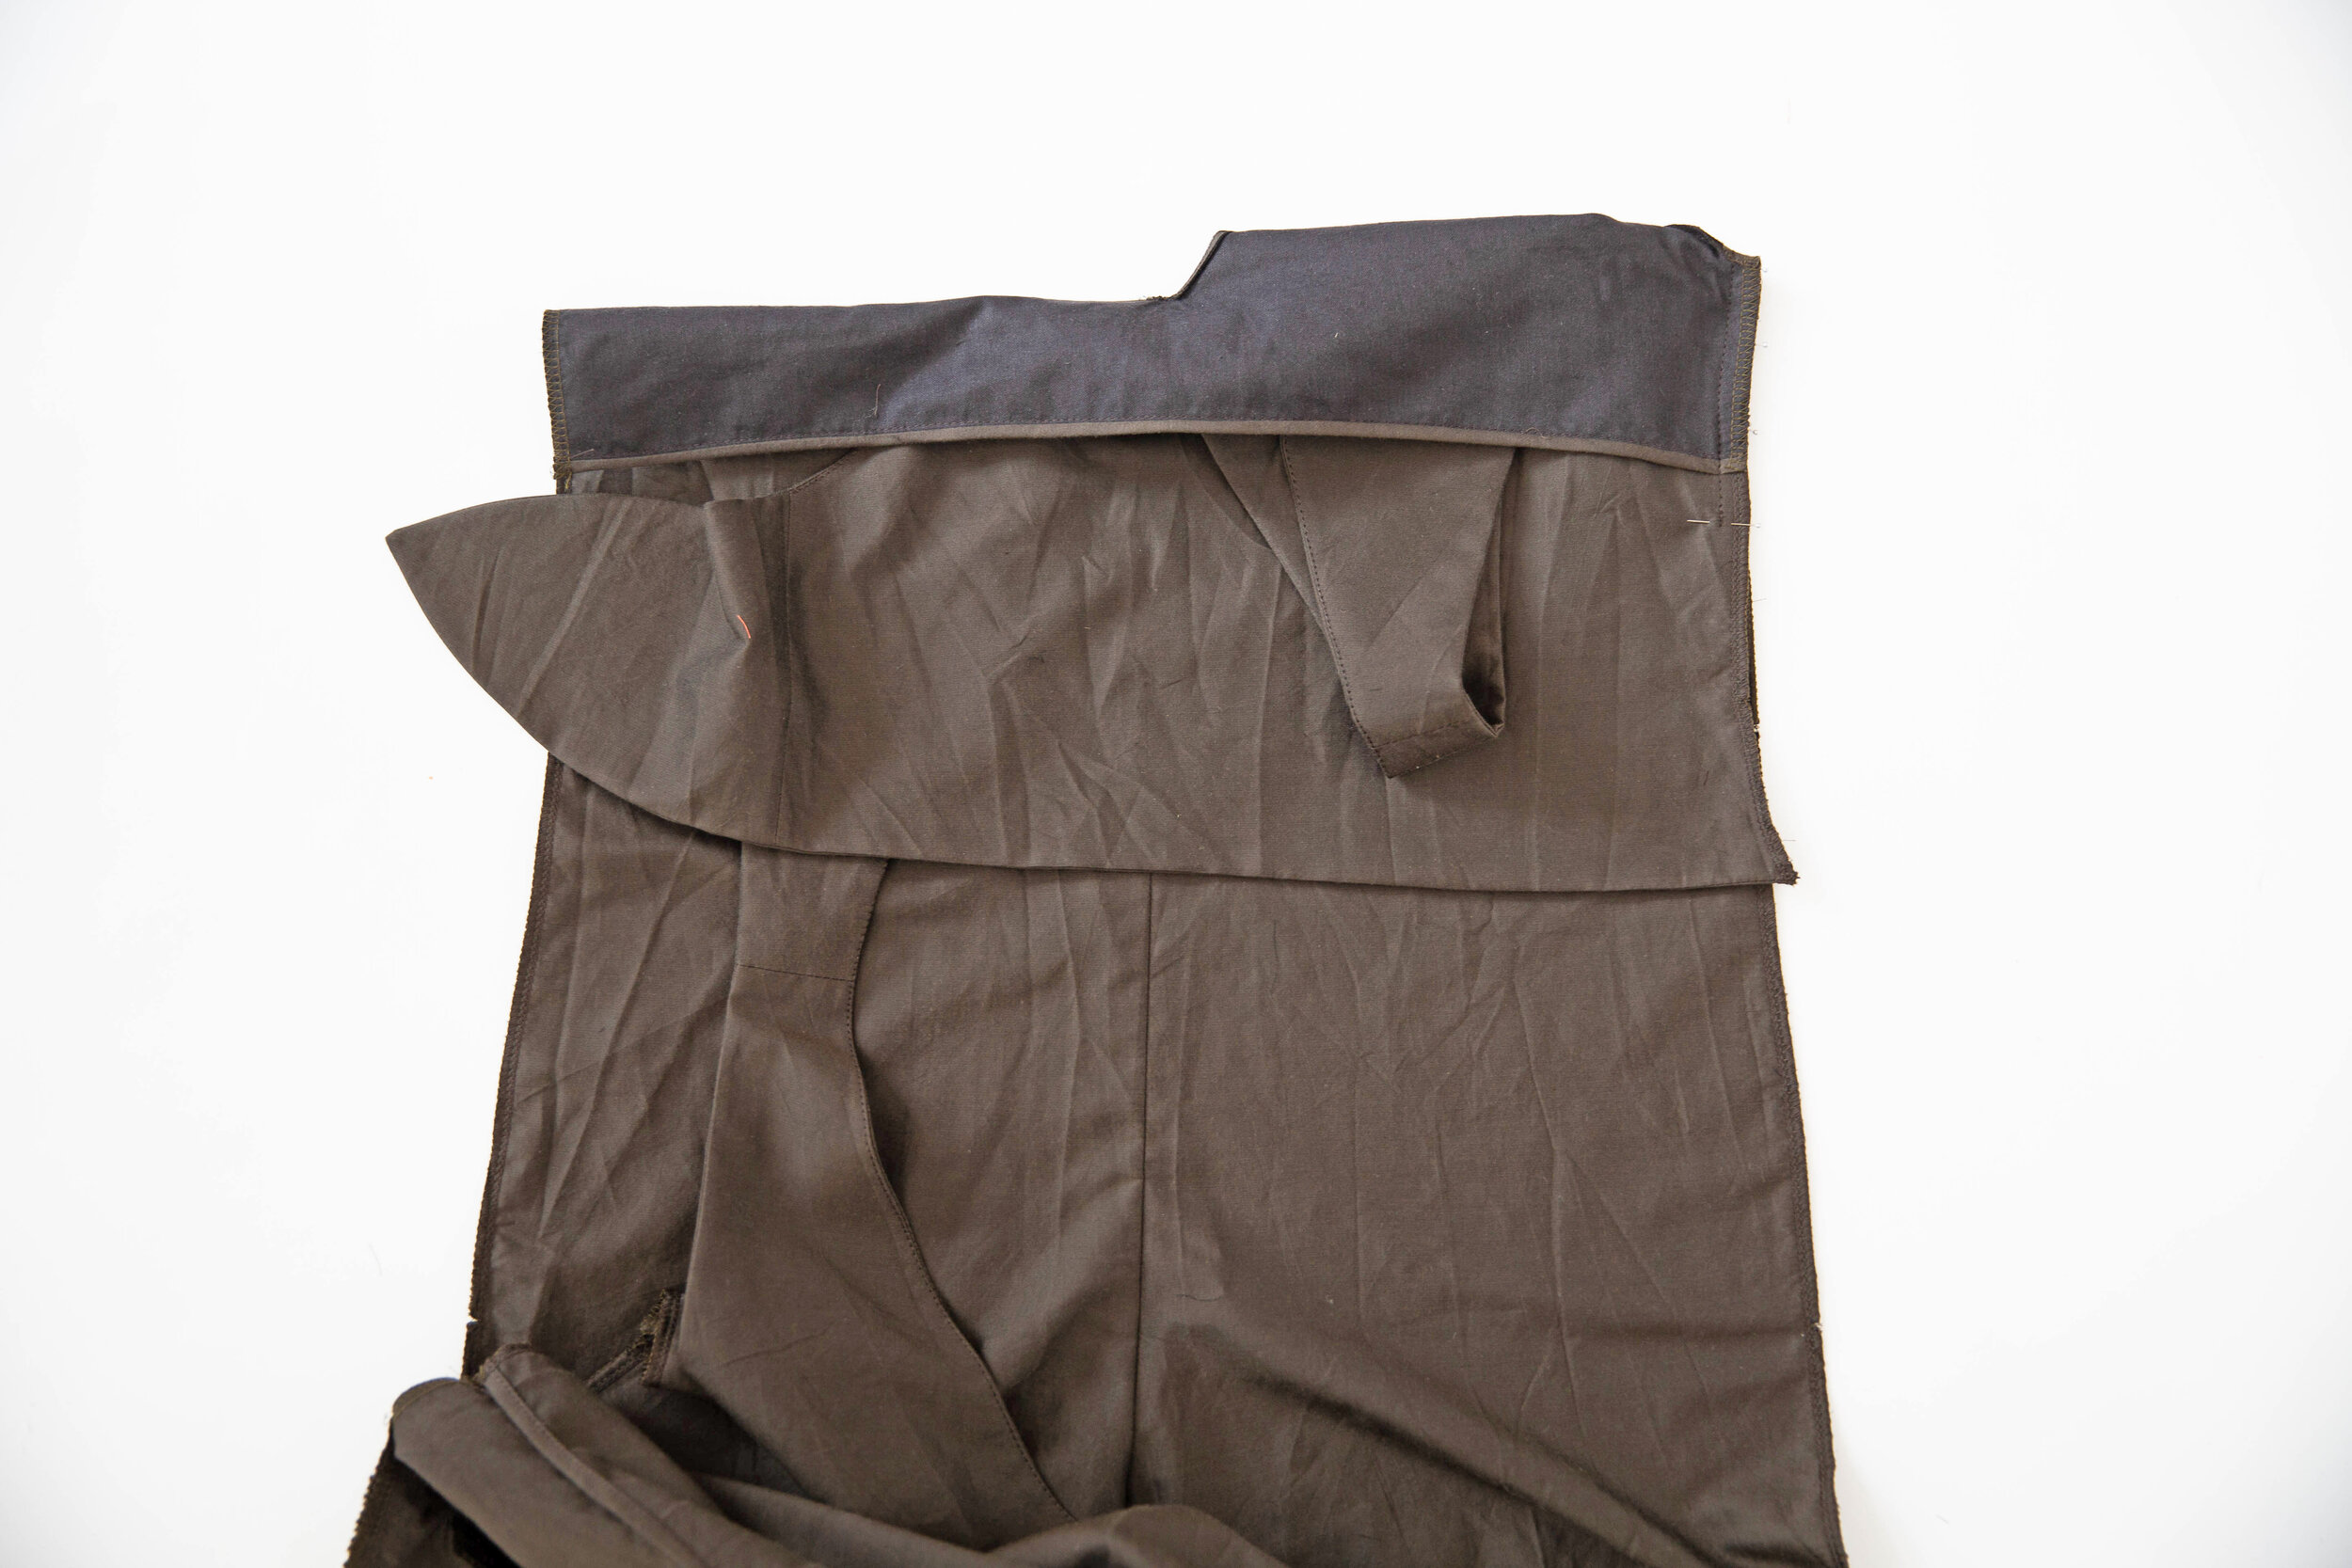
Step 16
With right sides facing, overlay your front leg panel onto the same seam. Folding the tie out of the way, line up waist seam-line of pant with bottom edge of waist tie slit. Pin front and back side leg seam together, sandwiching the bottom edge of bodice B between. Stitch together starting at bottom edge of waist tie slit. Press

Step 17
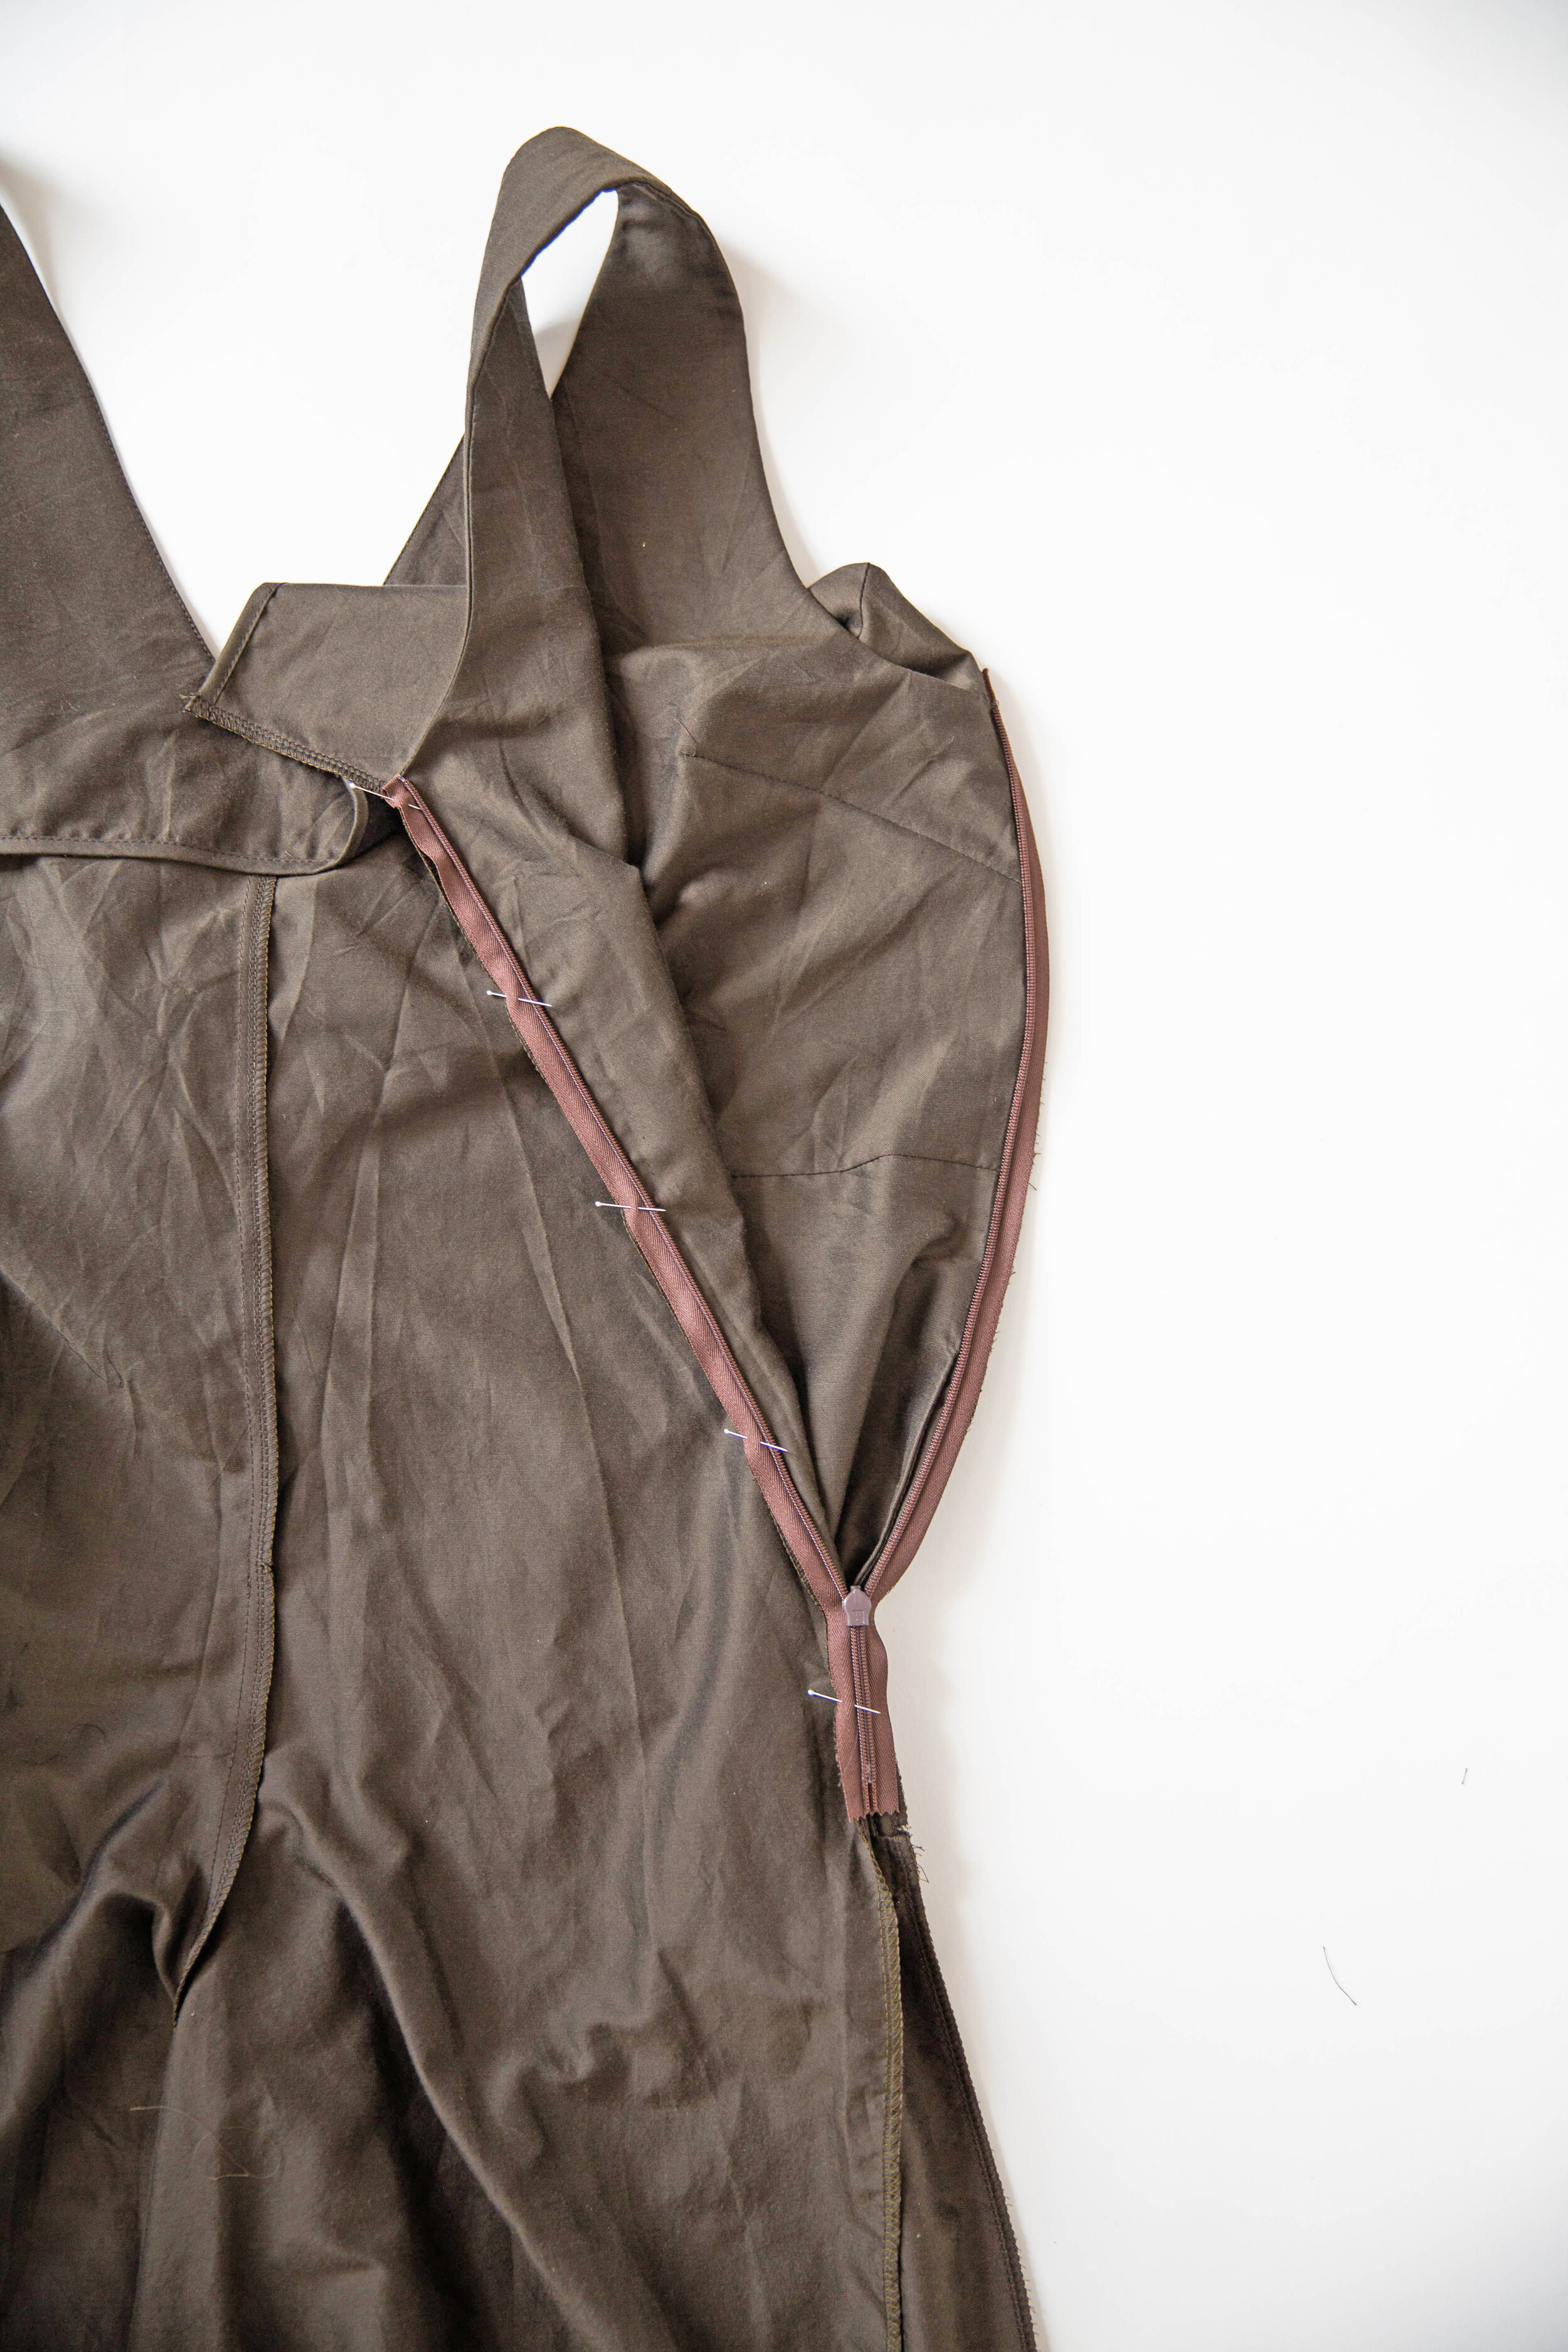
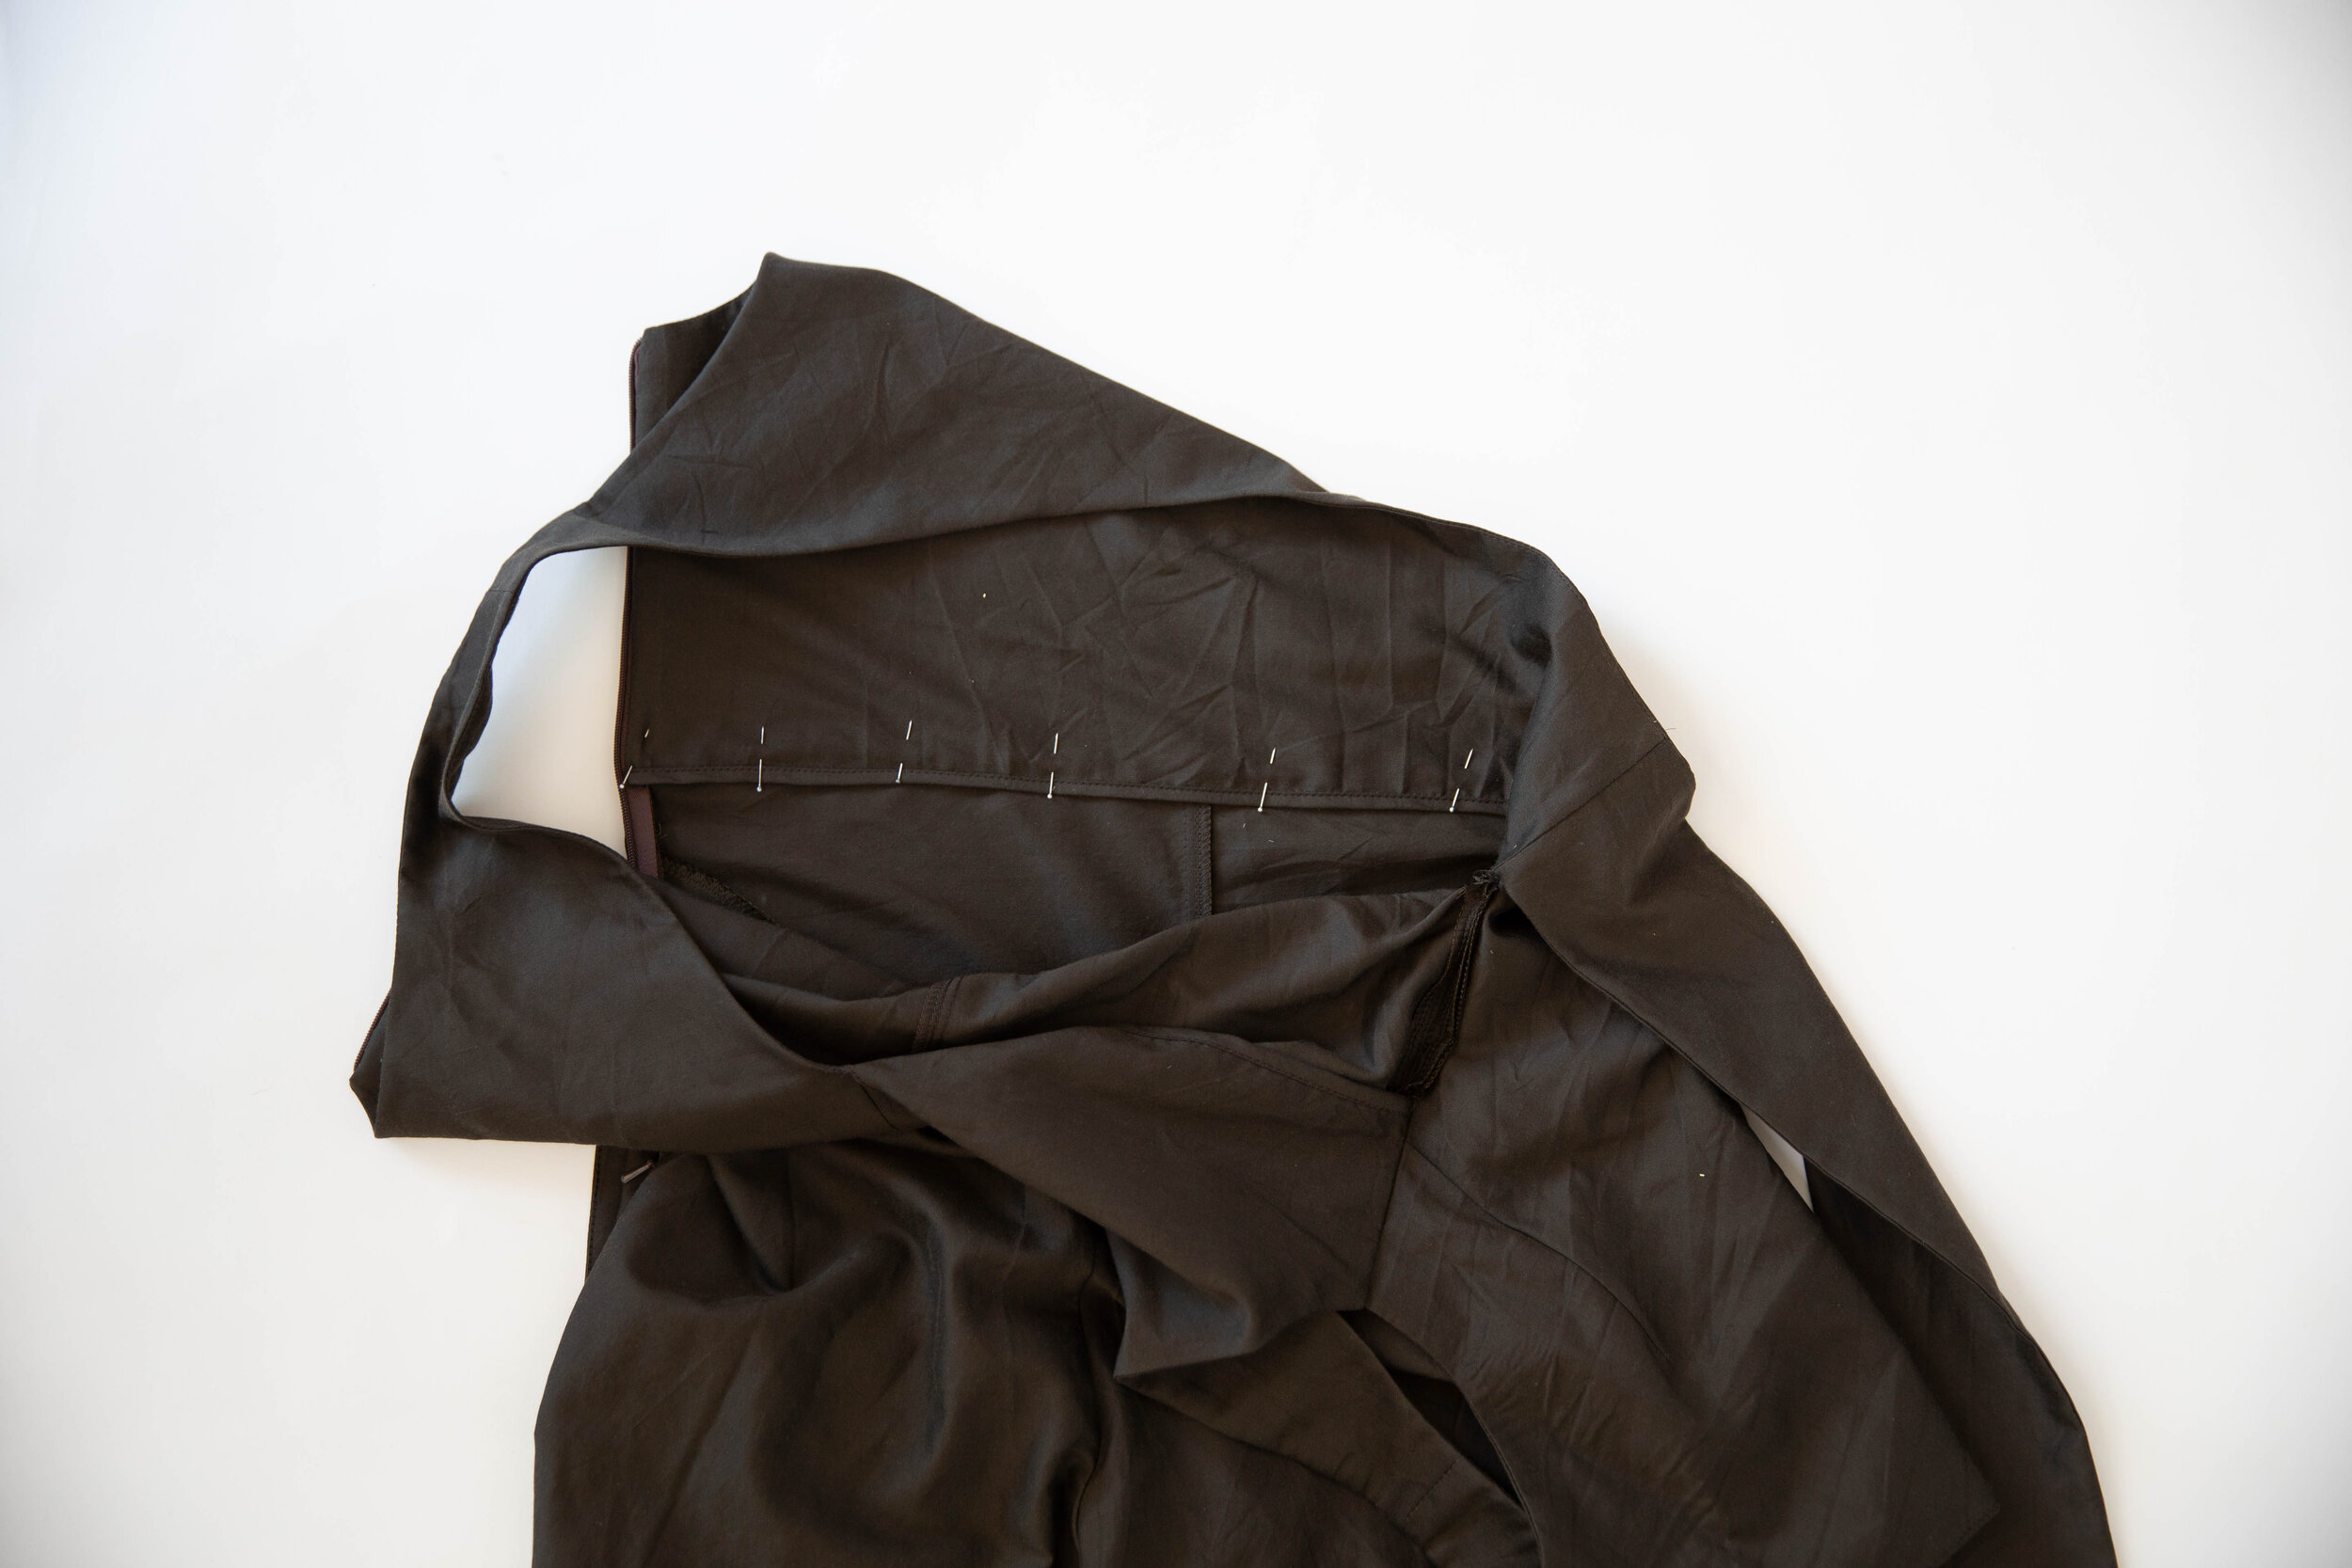
On the opposite side seam, fold your facings up out of the way and insert invisible zipper.

Fold facings over to the right side and bag out along edge of zipper tape. Clip top corners and turn through to the right side.

Step 18
Pin together leg side seams below zipper and stitch. Press seams open.

Step 19
Pin together inside leg seams, matching up front and back crotch seams and leg notches. Stitch together. Press.

Step 20
Neaten hem edges. Fold hems up to desired length, pin in place, then stitch.
Step 21
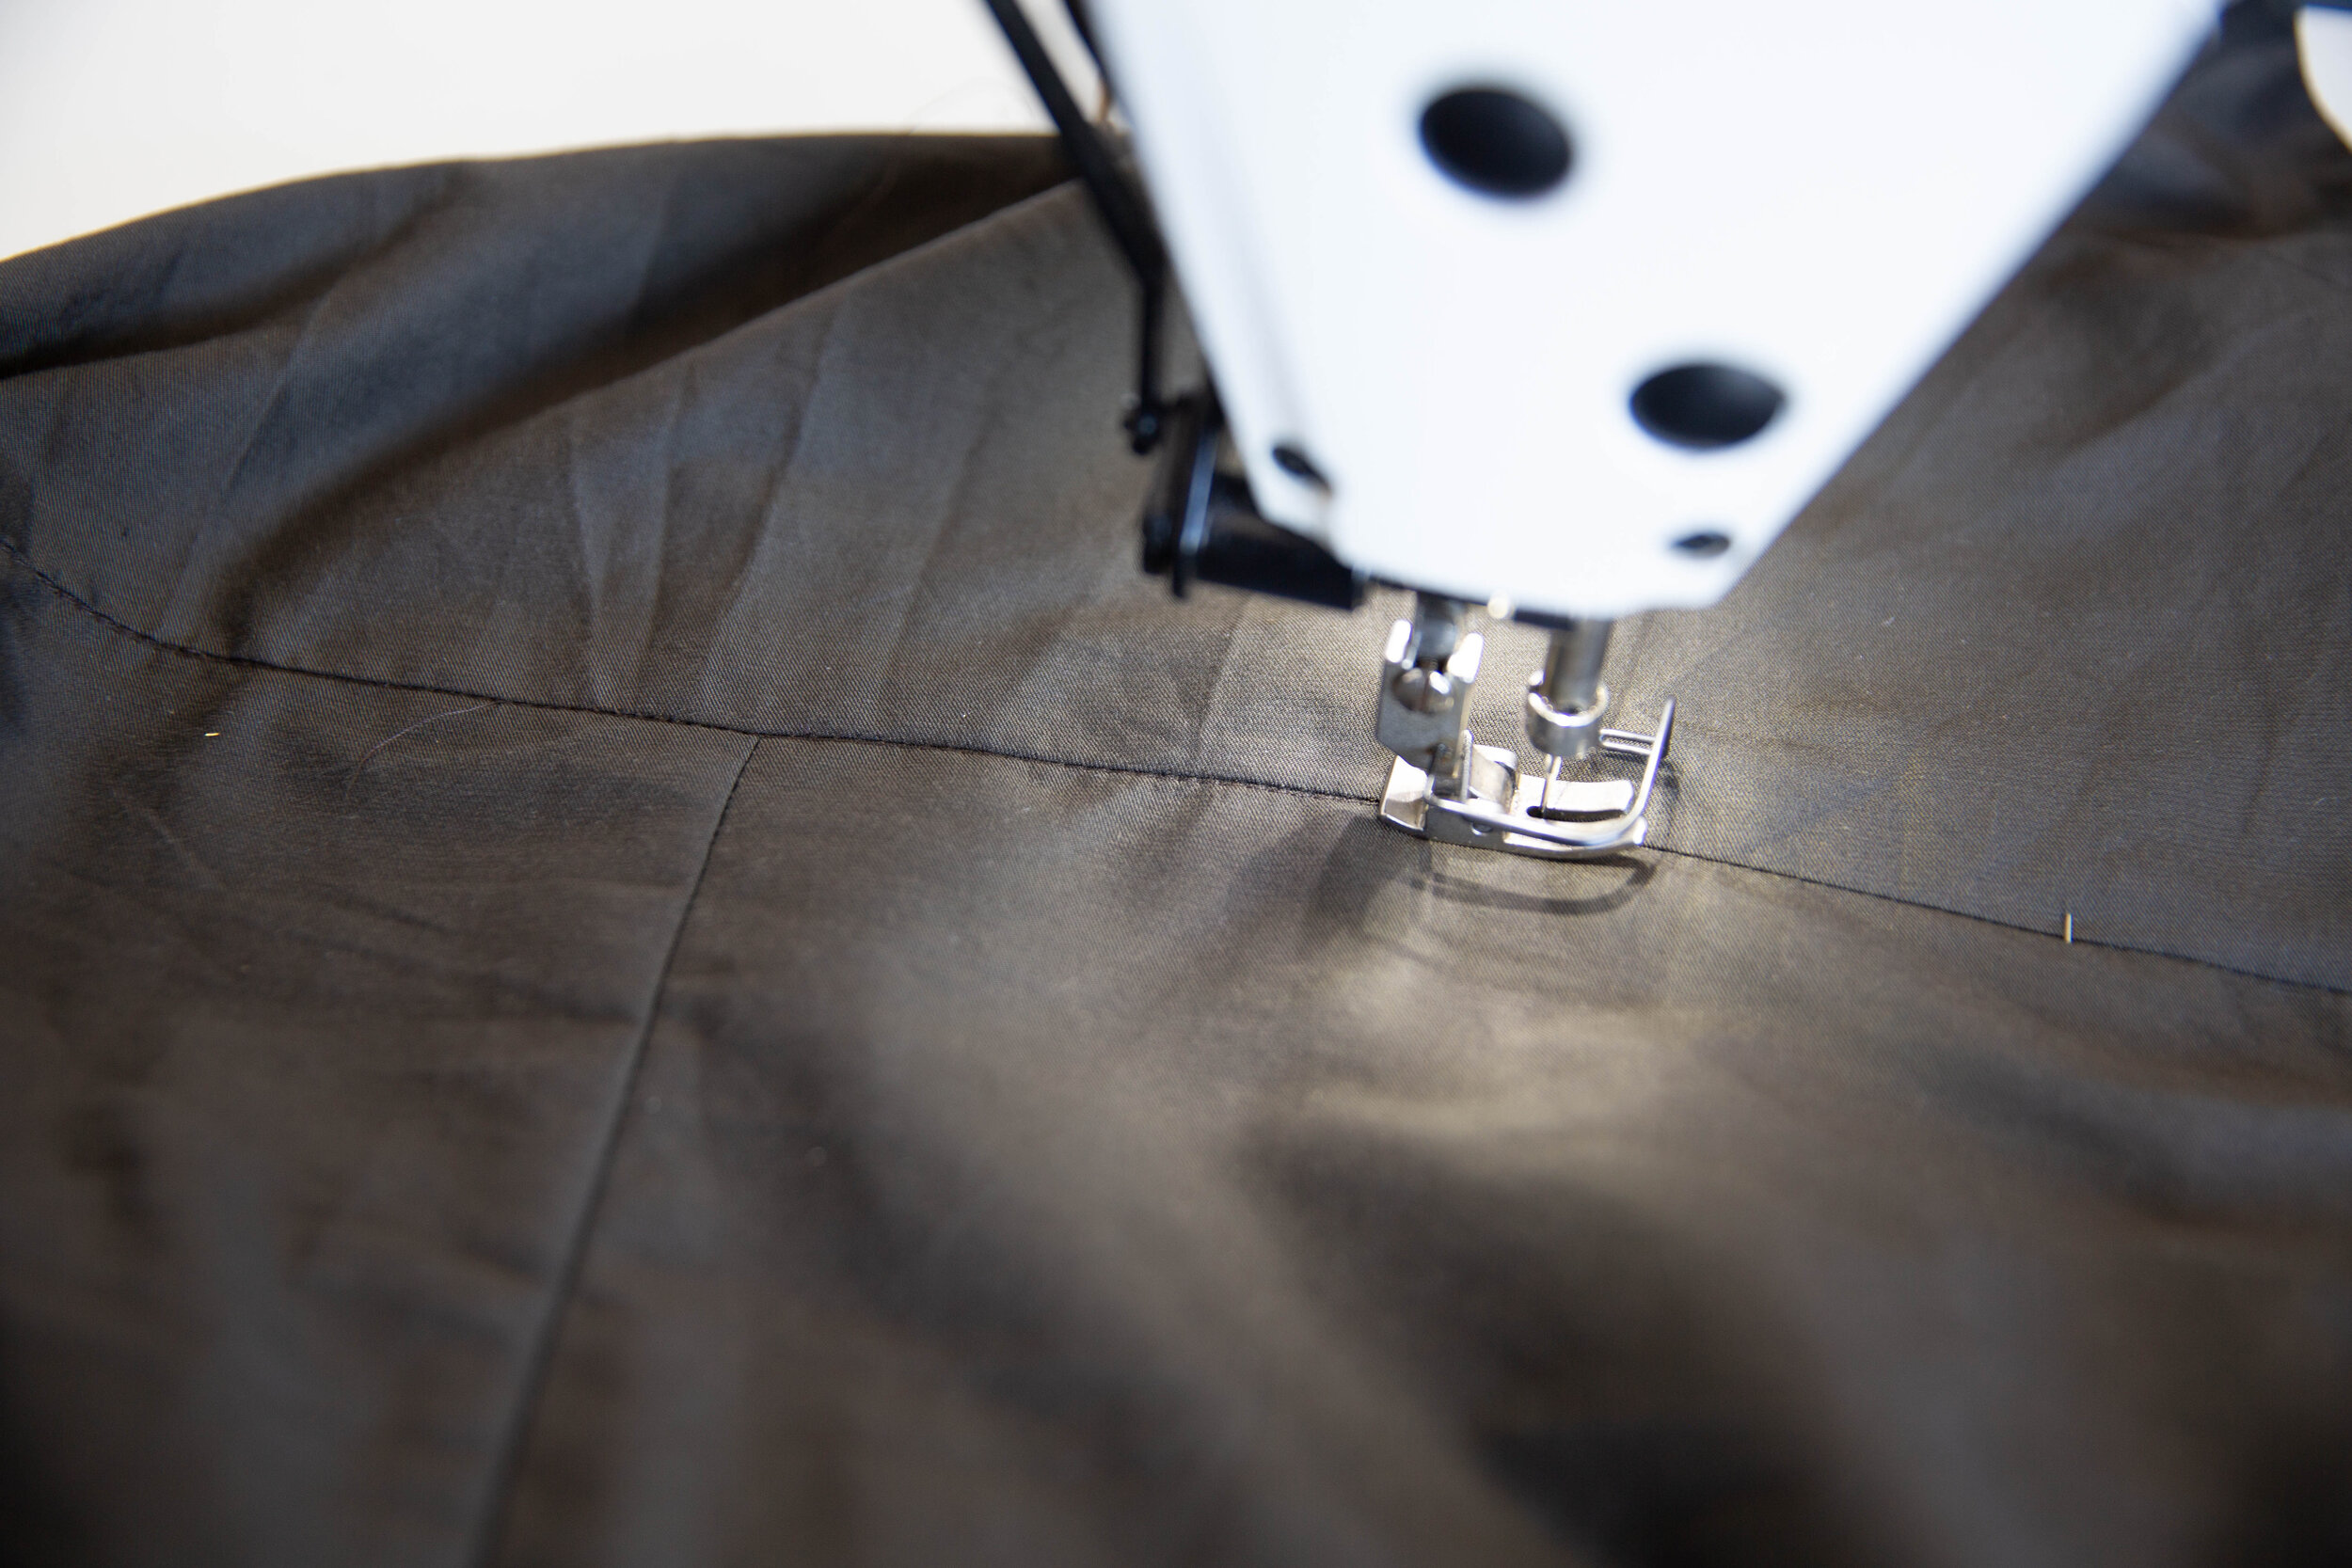
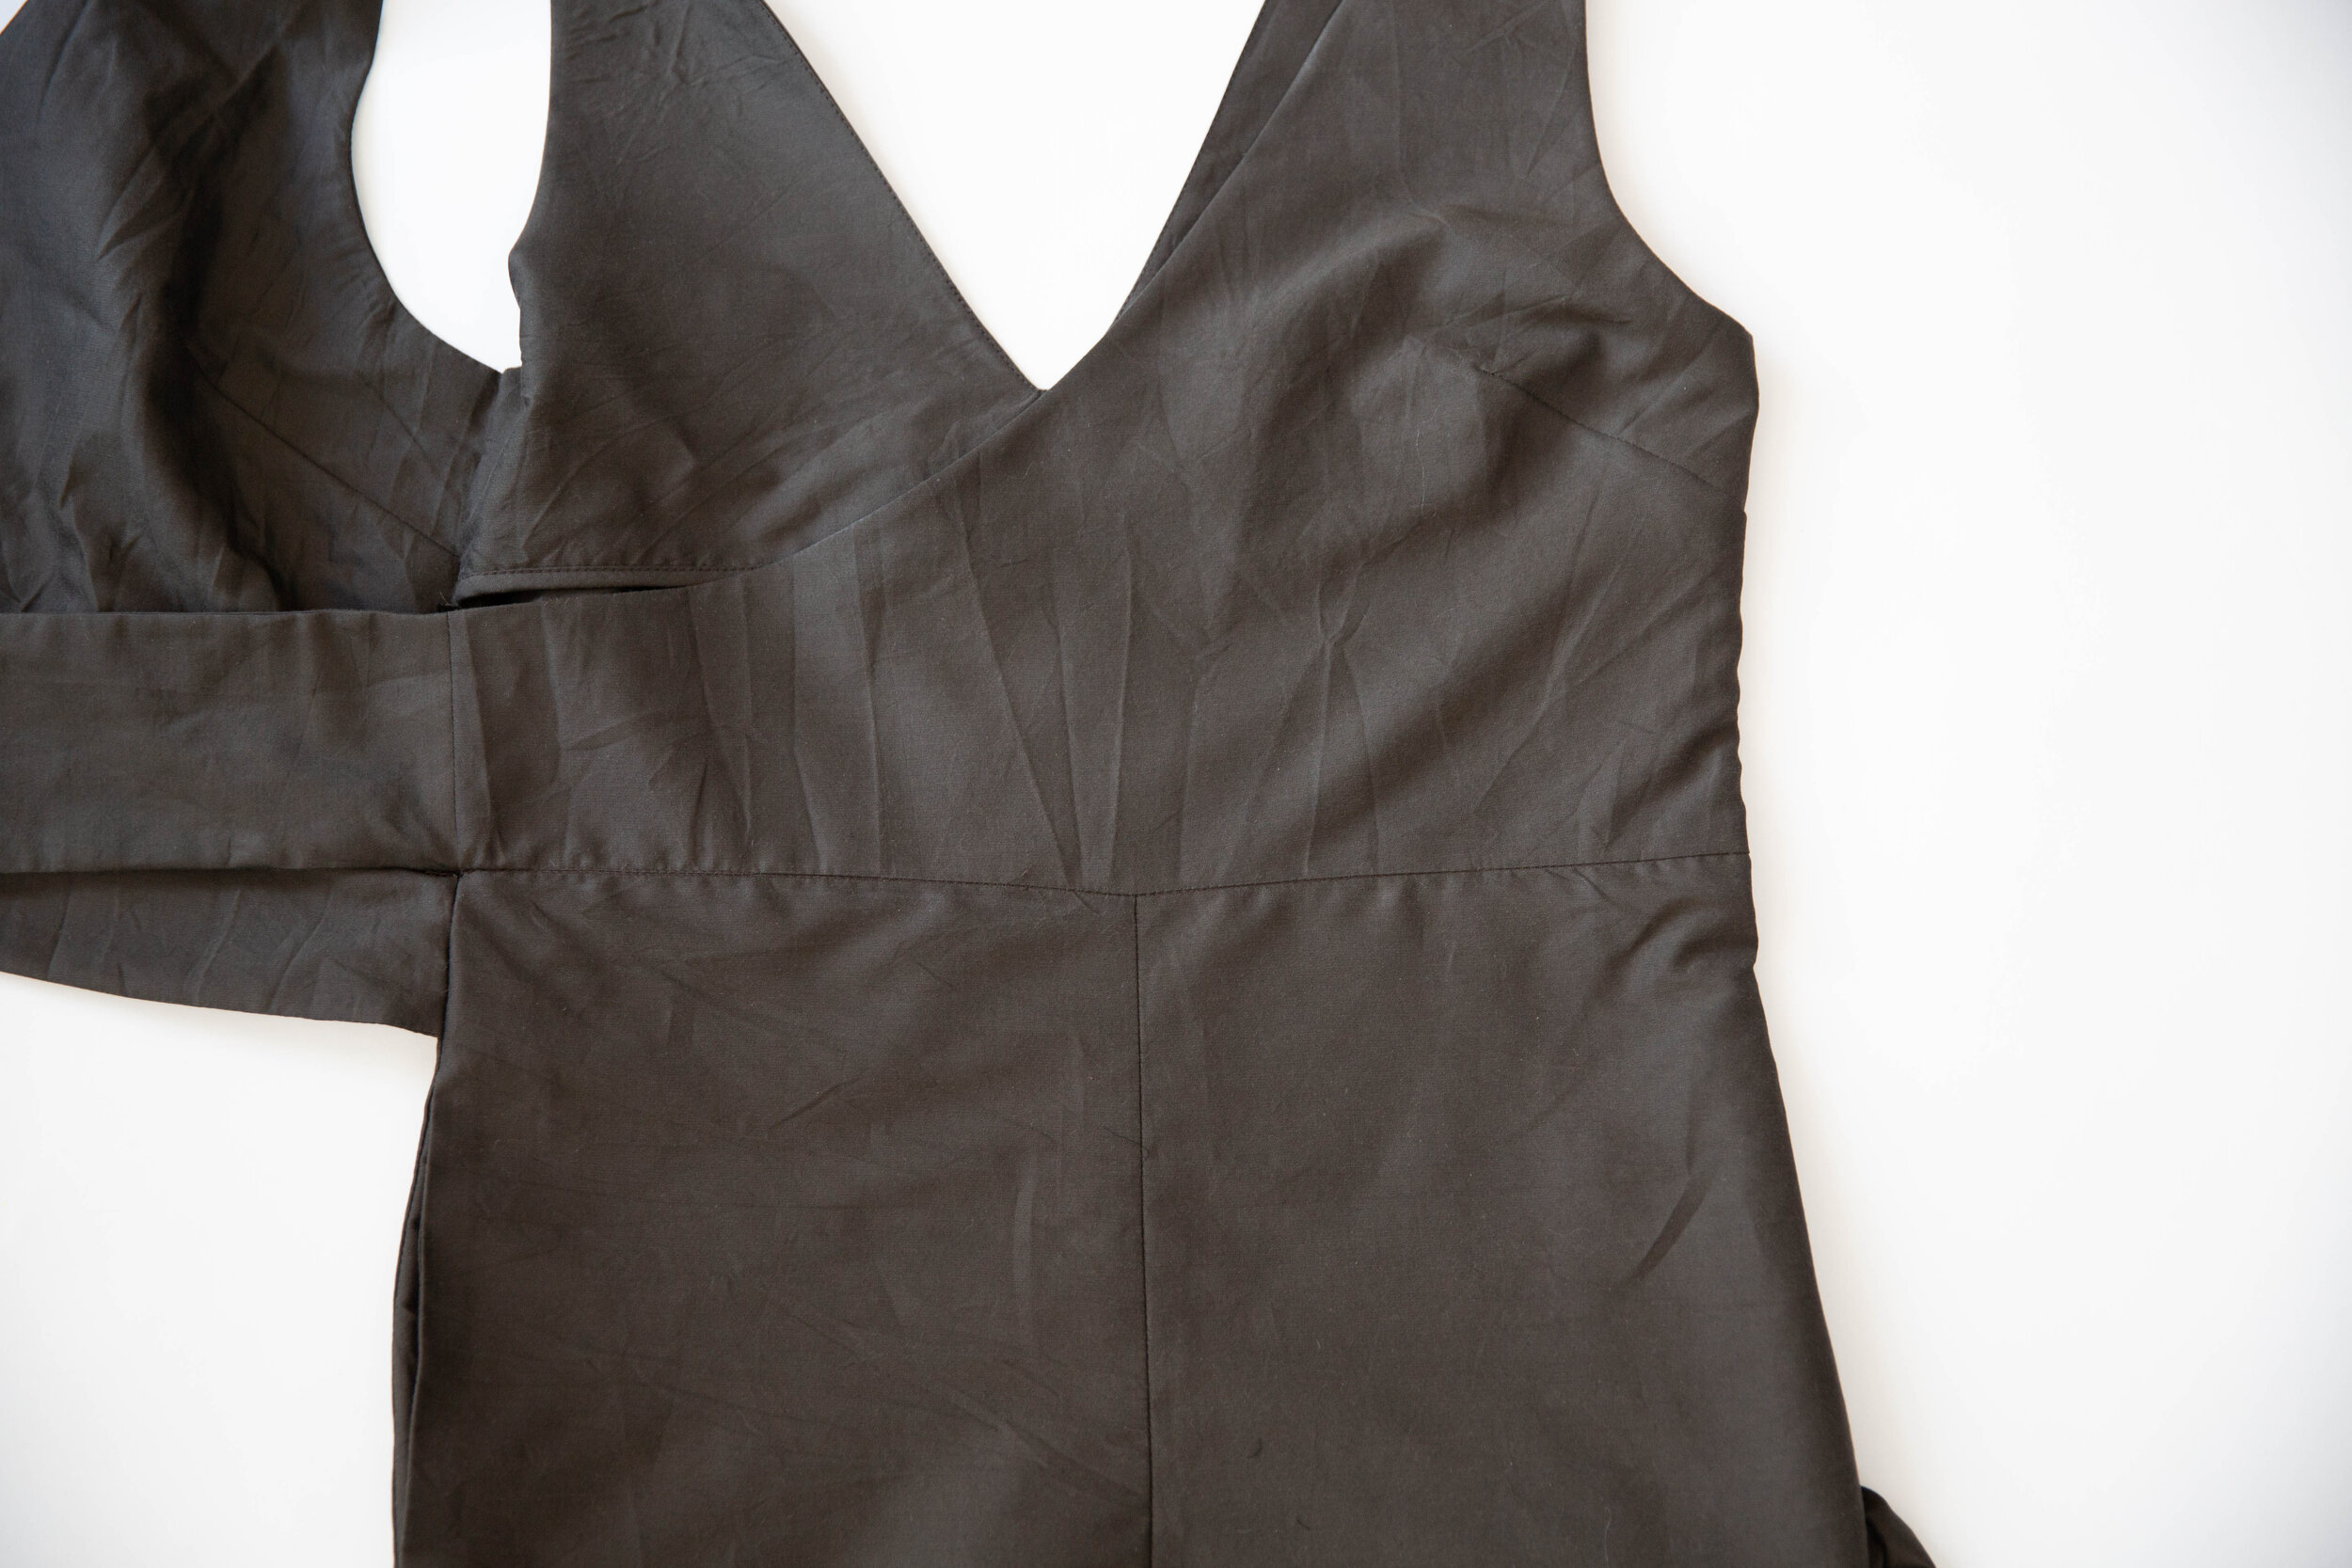
From the right side, stitch in the ditch along waistline to catch facing underneath. Alternatively you could hand-stitch for a neater finish.
Voilà!