


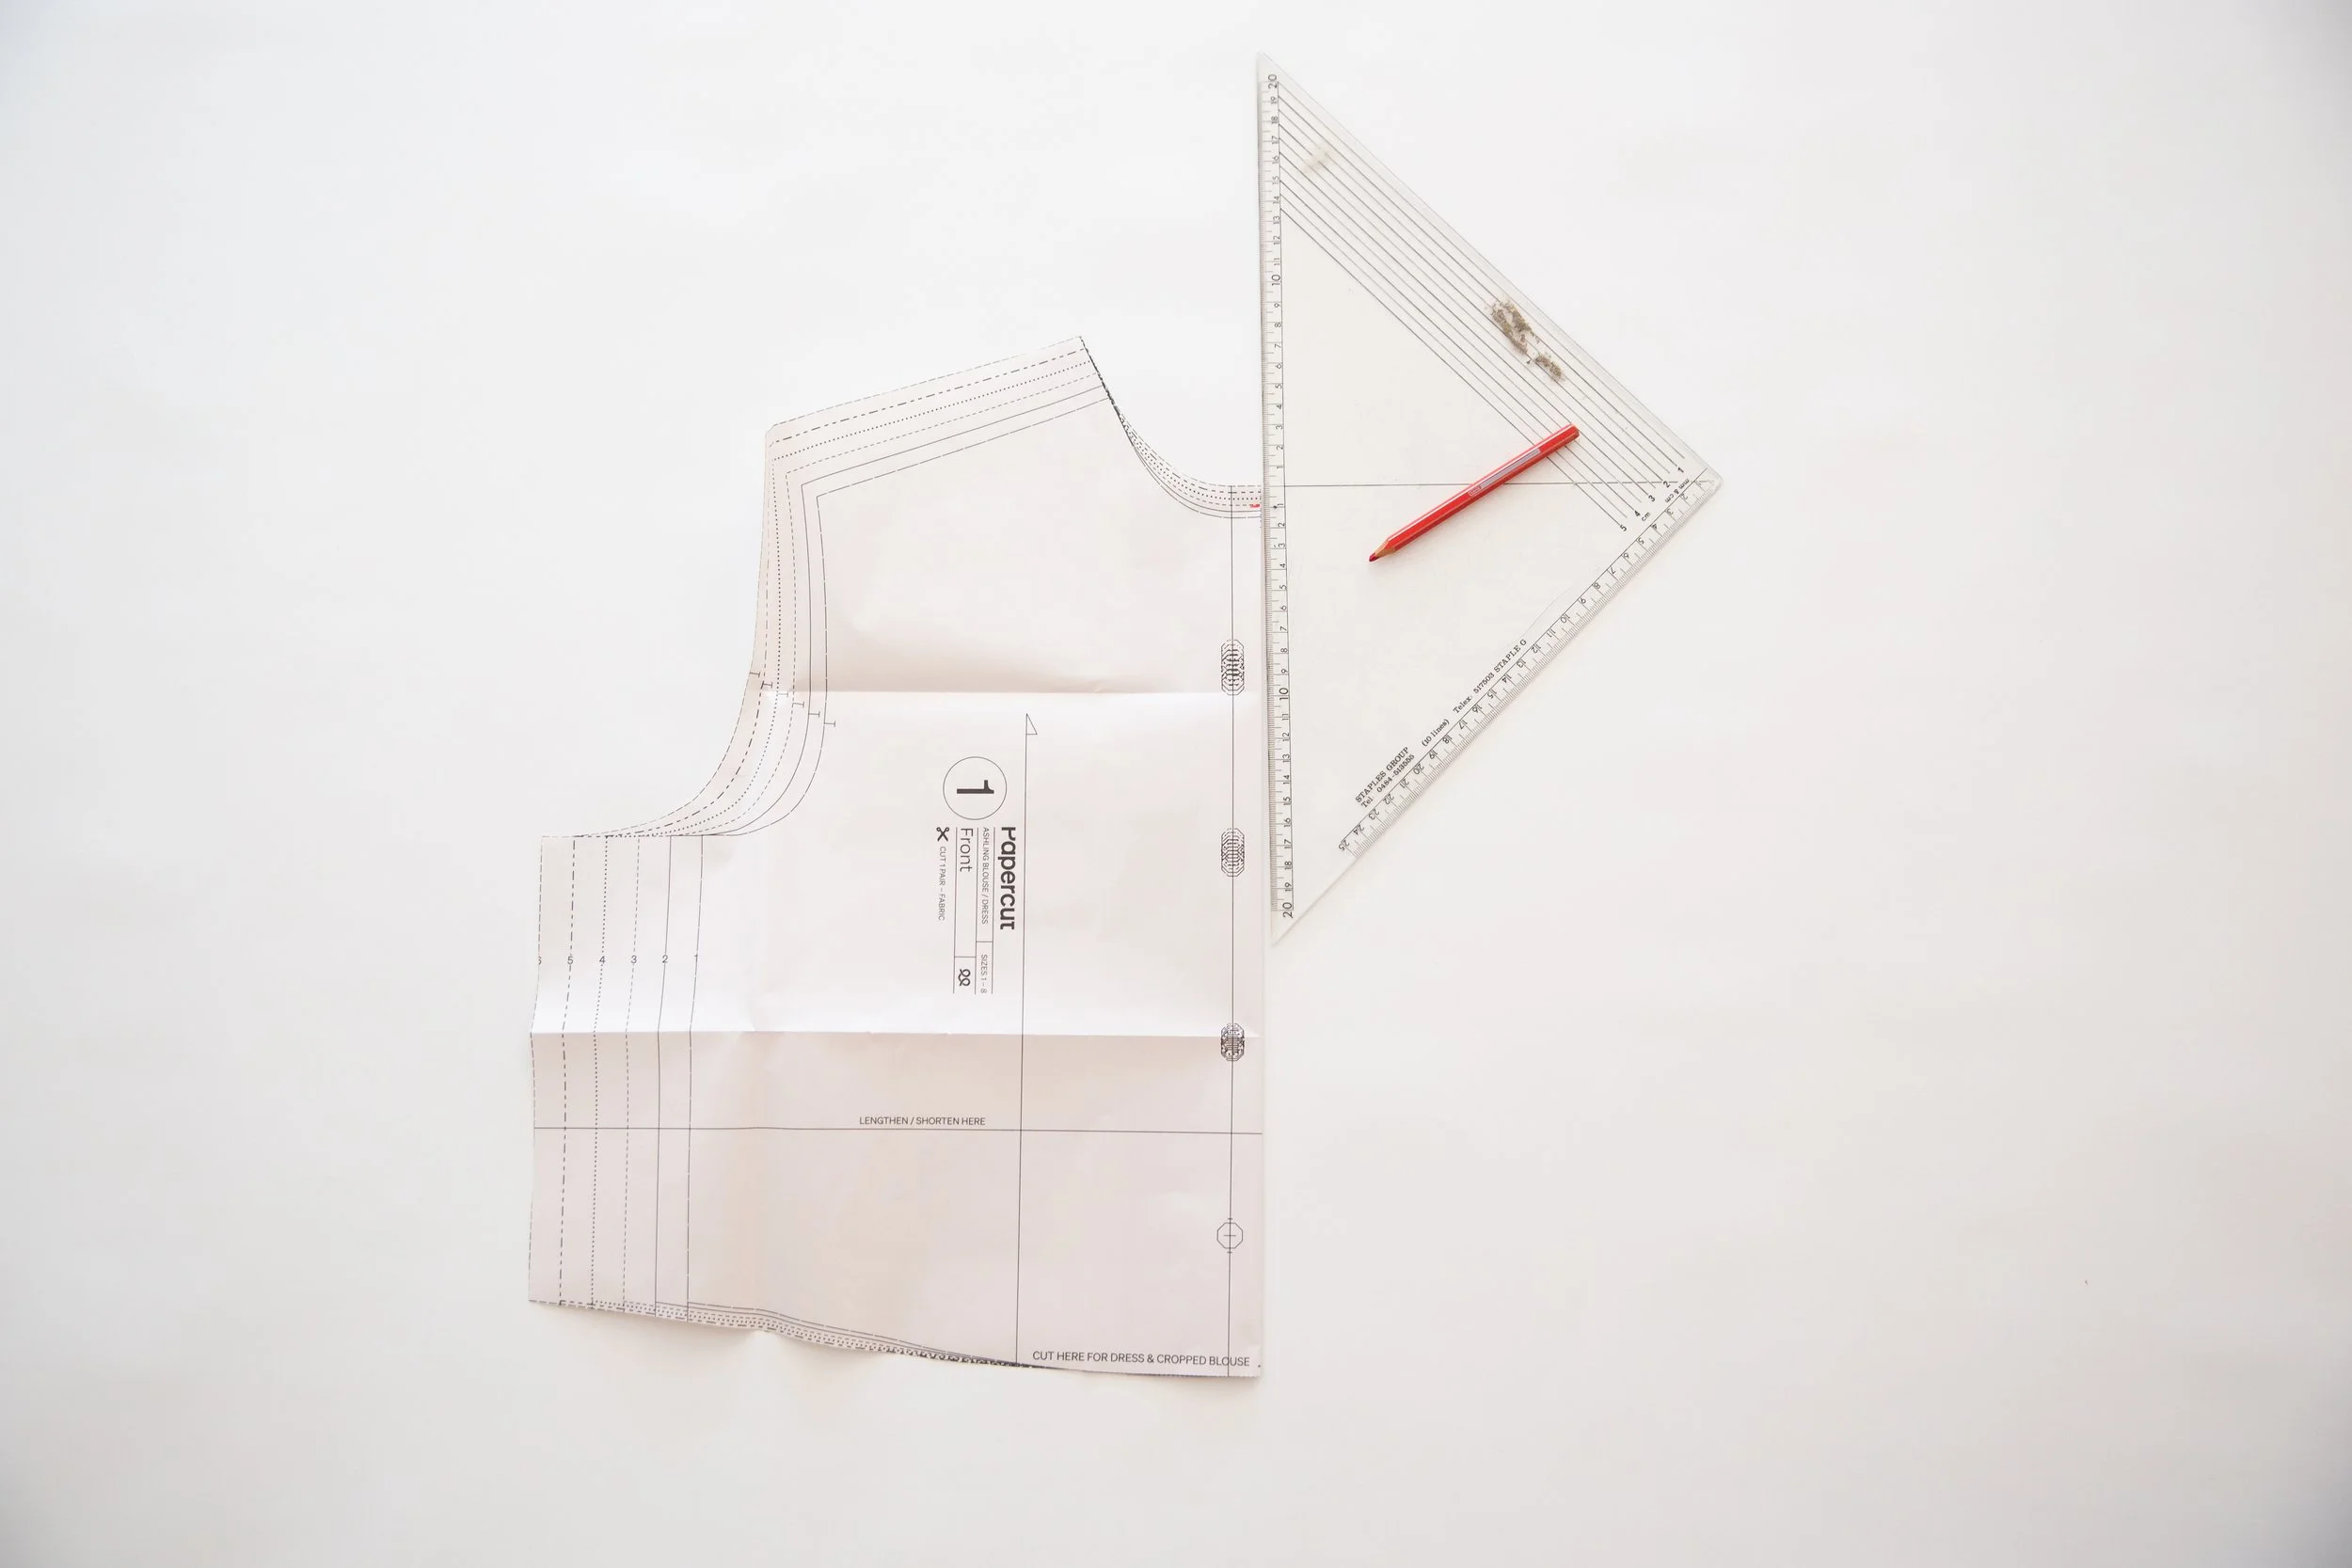
Fusing
On the wrong side of fabric, fuse one of your collar stand pieces, your upper collar and two cuff pieces.
With the fusing strips you cut, fuse the centre front edge of each front blouse up to the first notch.


Step 1
Fold the front placket towards the wrong side of fabric at the edge of fusing pice. Press. Fold over again the same width and press in place. Repeat for other front.

Step 2
Top stitch down along edge of placket to secure. Press. Repeat for other front.

Step 3
Stitch a long gathering stitch (the longest stitch length on your machine) between notches on back section.


Step 4
Sandwich back section of blouse between bottom edge of yoke pieces, with right sides together. Pin yoke to back panel, starting from the outside edges, pinning together as far as notches. Pull your gathering threads on back panel until it fits between notches on yoke. Evenly distribute your gathers.


Step 5
Stitch together through all three layers. Press yoke panels up away from back panel.

Step 6
Press the shoulder seams of the outer layer of back back yoke back by 0.8cm/0.31”

Step 7
Holding the outer yoke panel out of the way, pin the right side of inside yoke to wrong side of front panel at shoulder seam. Stitch together. Press seam allowance toward yoke. Repeat for opposite side.


Step 8
Working from the right side, place the pressed edge of yoke shoulder seam along the seam you just completed, slightly overlapping it and top stitch in place, enclosing the seam. Press. Repeat for opposite side.


Step 9
Open out sleeve at binding slit and place over sleeve binding piece with both right sides up. Stitch together, starting with 0.75cm/0.29” seam allowance at each end stitching to a 2mm/0.7”seam allowance at the centre point. Press seam allowance toward binding.


Step 10
Fold the other long edge of binding piece toward the wrong side 0.75cm/0.29” to meet the other edge. Press. Fold over again so that overlaps the stitch line and topstitch in place. Press.

Step 11
From the wrong side of sleeve, fold binding in half and stitch top point of binding together on a 45 degree angle starting from sleeve side of binding.

Step 12
Open sleeve out and press binding placket toward the wider section of sleeve. Baste binding in place along hem.
Repeat all sleeve placket instructions for the other sleeve.

Step 13
Lay body section over sleeve with right sides together and pin in place, starting from bottom of armhole upwards on both front and back matching up notches. The centre notch on sleeve head lines up with shoulder seam of yoke. Evenly distribute any ease in the sleeve head while pinning. Stitch with the sleeve on the underside. Neaten edge. Repeat for opposite sleeve.

Step 14
Place a pin where front and back underarm seams meet up and pin down to hemline and out to sleeve hem Stitch together then neaten seam. Press. Repeat on opposite side.

Step 15
Stitch a long gathering stitch (the longest stitch length on your machine) right along hem edge of sleeve on either side of placket.


Step 16
With right sides facing, fold the short ends of your cuff frill piece in half. Stitch together the short ends. Clip corners, then turn through to the right side. Press edges well. Stitch a long gather stitch through both layers of open edge within the seam allowance.

Step 17
You have two cuff pieces, one fused, one not fused. Fold the bottom edge of your fused cuff piece up toward the wrong side by 0.8cm/0.31”. Press in place. Make sure that it is accurately 0.8cm/0.31” all the way along.


Step 18
Lay your fused cuff piece right side up, place the raw edge of your cuff frill onto the cuff. Line up the two ends with notches on cuff and pin in place. Pull the gathering threads on your frill until it fits between the notches on cuff. Evenly distribute gathers, then baste together along edge with a 5mm seam allowance.
Place your unfused cuff piece over the top with wrong side up, sandwiching the frill between. Pin together along top and side edges. Stitch with the fused side on top. Trim seam allowance in half and clip corners. Turn through to the right side and give it a good press.


Step 19
With sleeve inside out, in the open edge of cuff to the seam opening of sleeve. Pull your gathering threads until the sleeve opening fits the cuff. Make sure your gathers are evenly spread, then stitch in place. Press seam allowance up so that it sits inside the cuff.


Step 20
Turn Sleeve through to the right side and pin pressed edge of cuff up slightly overlapping stitch line. Top stitch in place. Press.
Repeat the last five steps for opposite sleeve.


Step 21
Pin upper collar and under collar pieces together with right sides facing.
Stitch around side and top edges as illustrated. Trim seam allowance in half and clip around curves, being careful not to clip through your stitches.
Understitch seam allowances toward under collar.
Turn though to the right side and press, holding the bottom edges of upper collar and under collar together. The stitch line should roll toward the under collar. Baste open edges together,


Step 22
Working with your fused collar stand piece, stitch 0.8cm/0.31” from bottom edge to form a guide line. Fold the bottom edge up at stitch line toward the wrong side. Press in place.


Step 23
Lay your fused collar stand piece right side up. Place the raw edge of your collar or frill piece, under collar/ wrong side up, onto the collar stand. Line up the two ends with notches on collar stand and pin in place.
Baste collar and stand together along edge with a 5mm seam allowance.


Step 24
Pin your unfused collar stand piece over the top sandwiching collar between. Stitch with the fused side up. Trim seam allowance in half. Turn through to the right side and give it a good press.

Step 25
With your blouse/dress right side up, place the raw edge of collar stnad alog raw edge of neckline. Pin together, matching up notches. Stitch together with an accurate 1cm/0.39” seam allowance. Press seam allowance upward into collar stand.


Step 26
Pin collar stand closed, lining up the folded edge of collar stand, slightly overlapping the stitch line. Stitch together along edge. Press.


Step 27
Place your front and back waist frill pieces together with right sides facing. Pin side seams together. Stitch. Press seam allowances open. Fold in half lengthwise with right sides facing. Stitch together the short ends. Clip corners, then turn through to the right side. Press edges well.
Stitch two rows of gathering stitches along the open edge of frill through both layers, keeping them sitting within the 1cm/0.39” seam allowance.


Step 28
Place the open edge of waist frill along hemline with right sides facing. Pin together at centre front points and at both side seams. Pull the gathering threads on your frill until it fits the hemline. Evenly distrubute gathers, then stitch together. Neaten seam. Press seam allowance toward blouse.


Step 29
Transfer button / buttonhole markings from pattern piece with tailors chalk or pins. On your front bodice pattern piece fold along the centre front, using the top and bottom centre front notches, this will line up with the front outside edge of your bodice. On your pattern piece mark down 1cm from neckline edge, this will line up with your stitched neckline. Place the pattern piece ontop of you right bodice front, pin the placement of the buttonholes through the paper onto your fabric.

Sew buttonholes down one side of the blouse front. The buttonholes should be vertical expert for on the collar stand which should be horizontal. Make sure they are centred between your top stitch line and the edge.


Before sewing on your buttons, place the side with the buttonholes over top of the other side and use pins to mark where your buttons should be placed. Sew on your buttons.

Sew buttonholes onto sleeve cuffs. The buttonholes should be horizontal.
Sew on cuff buttons.

You did it!