

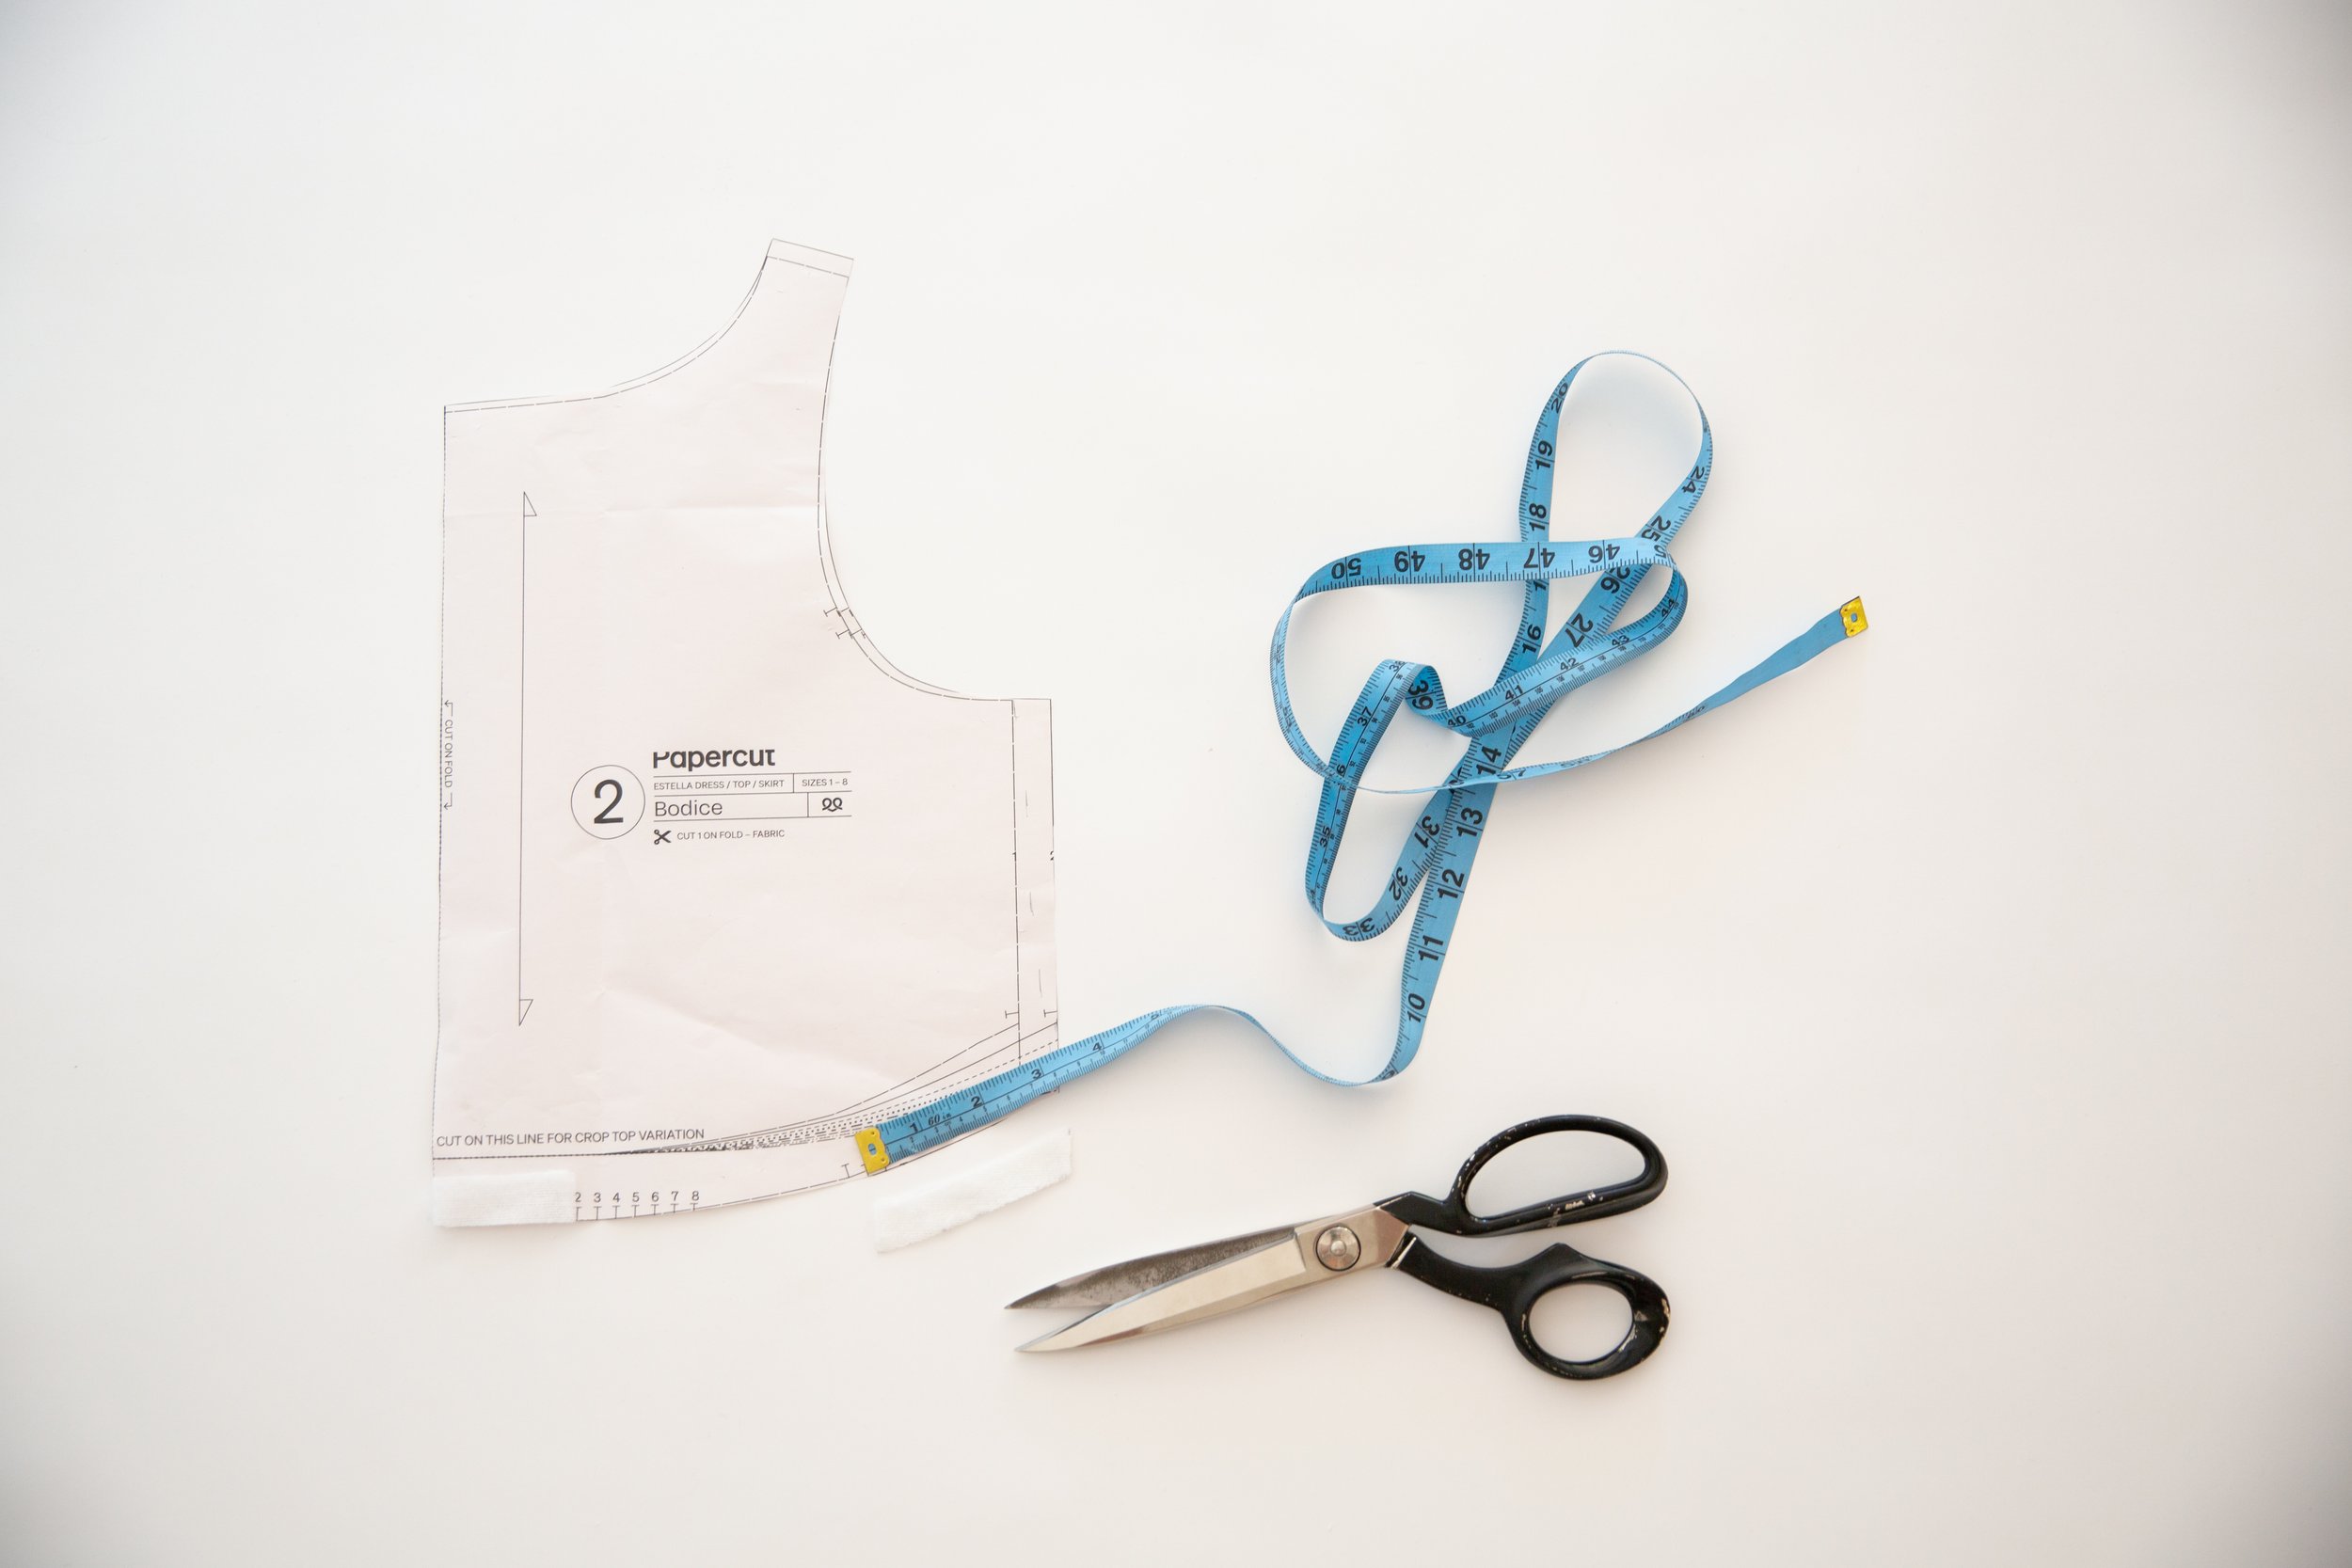
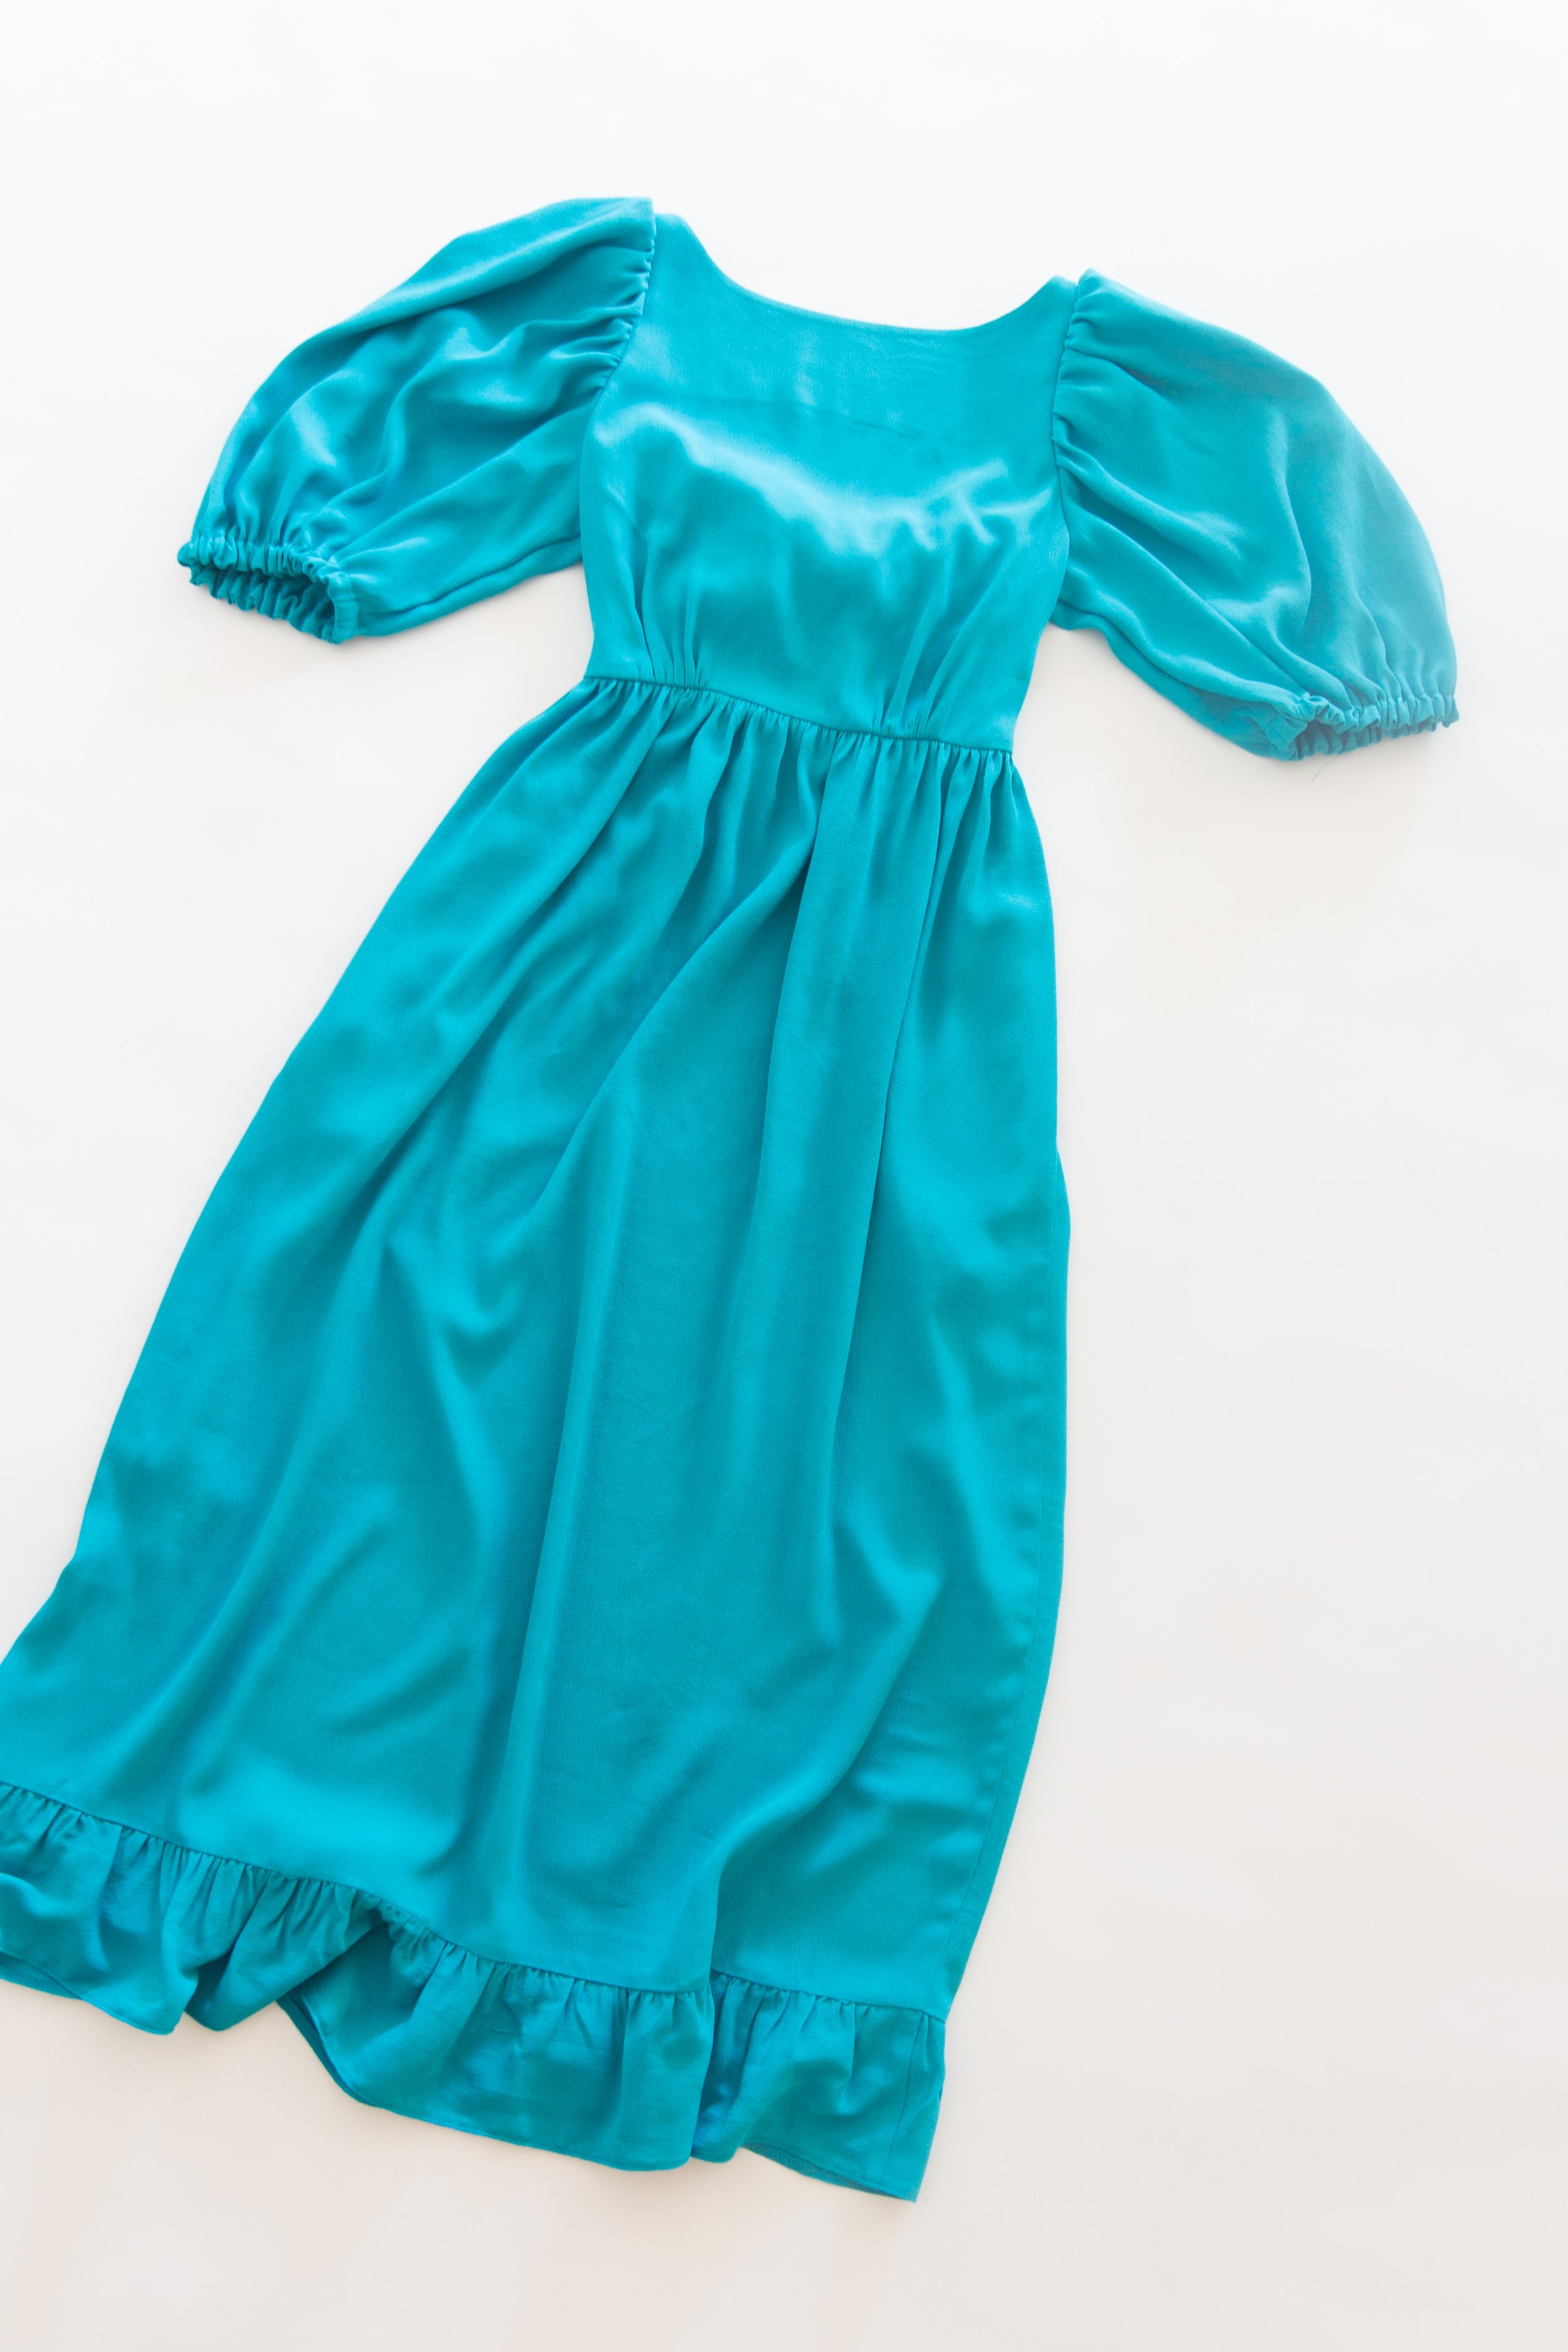
Fusing
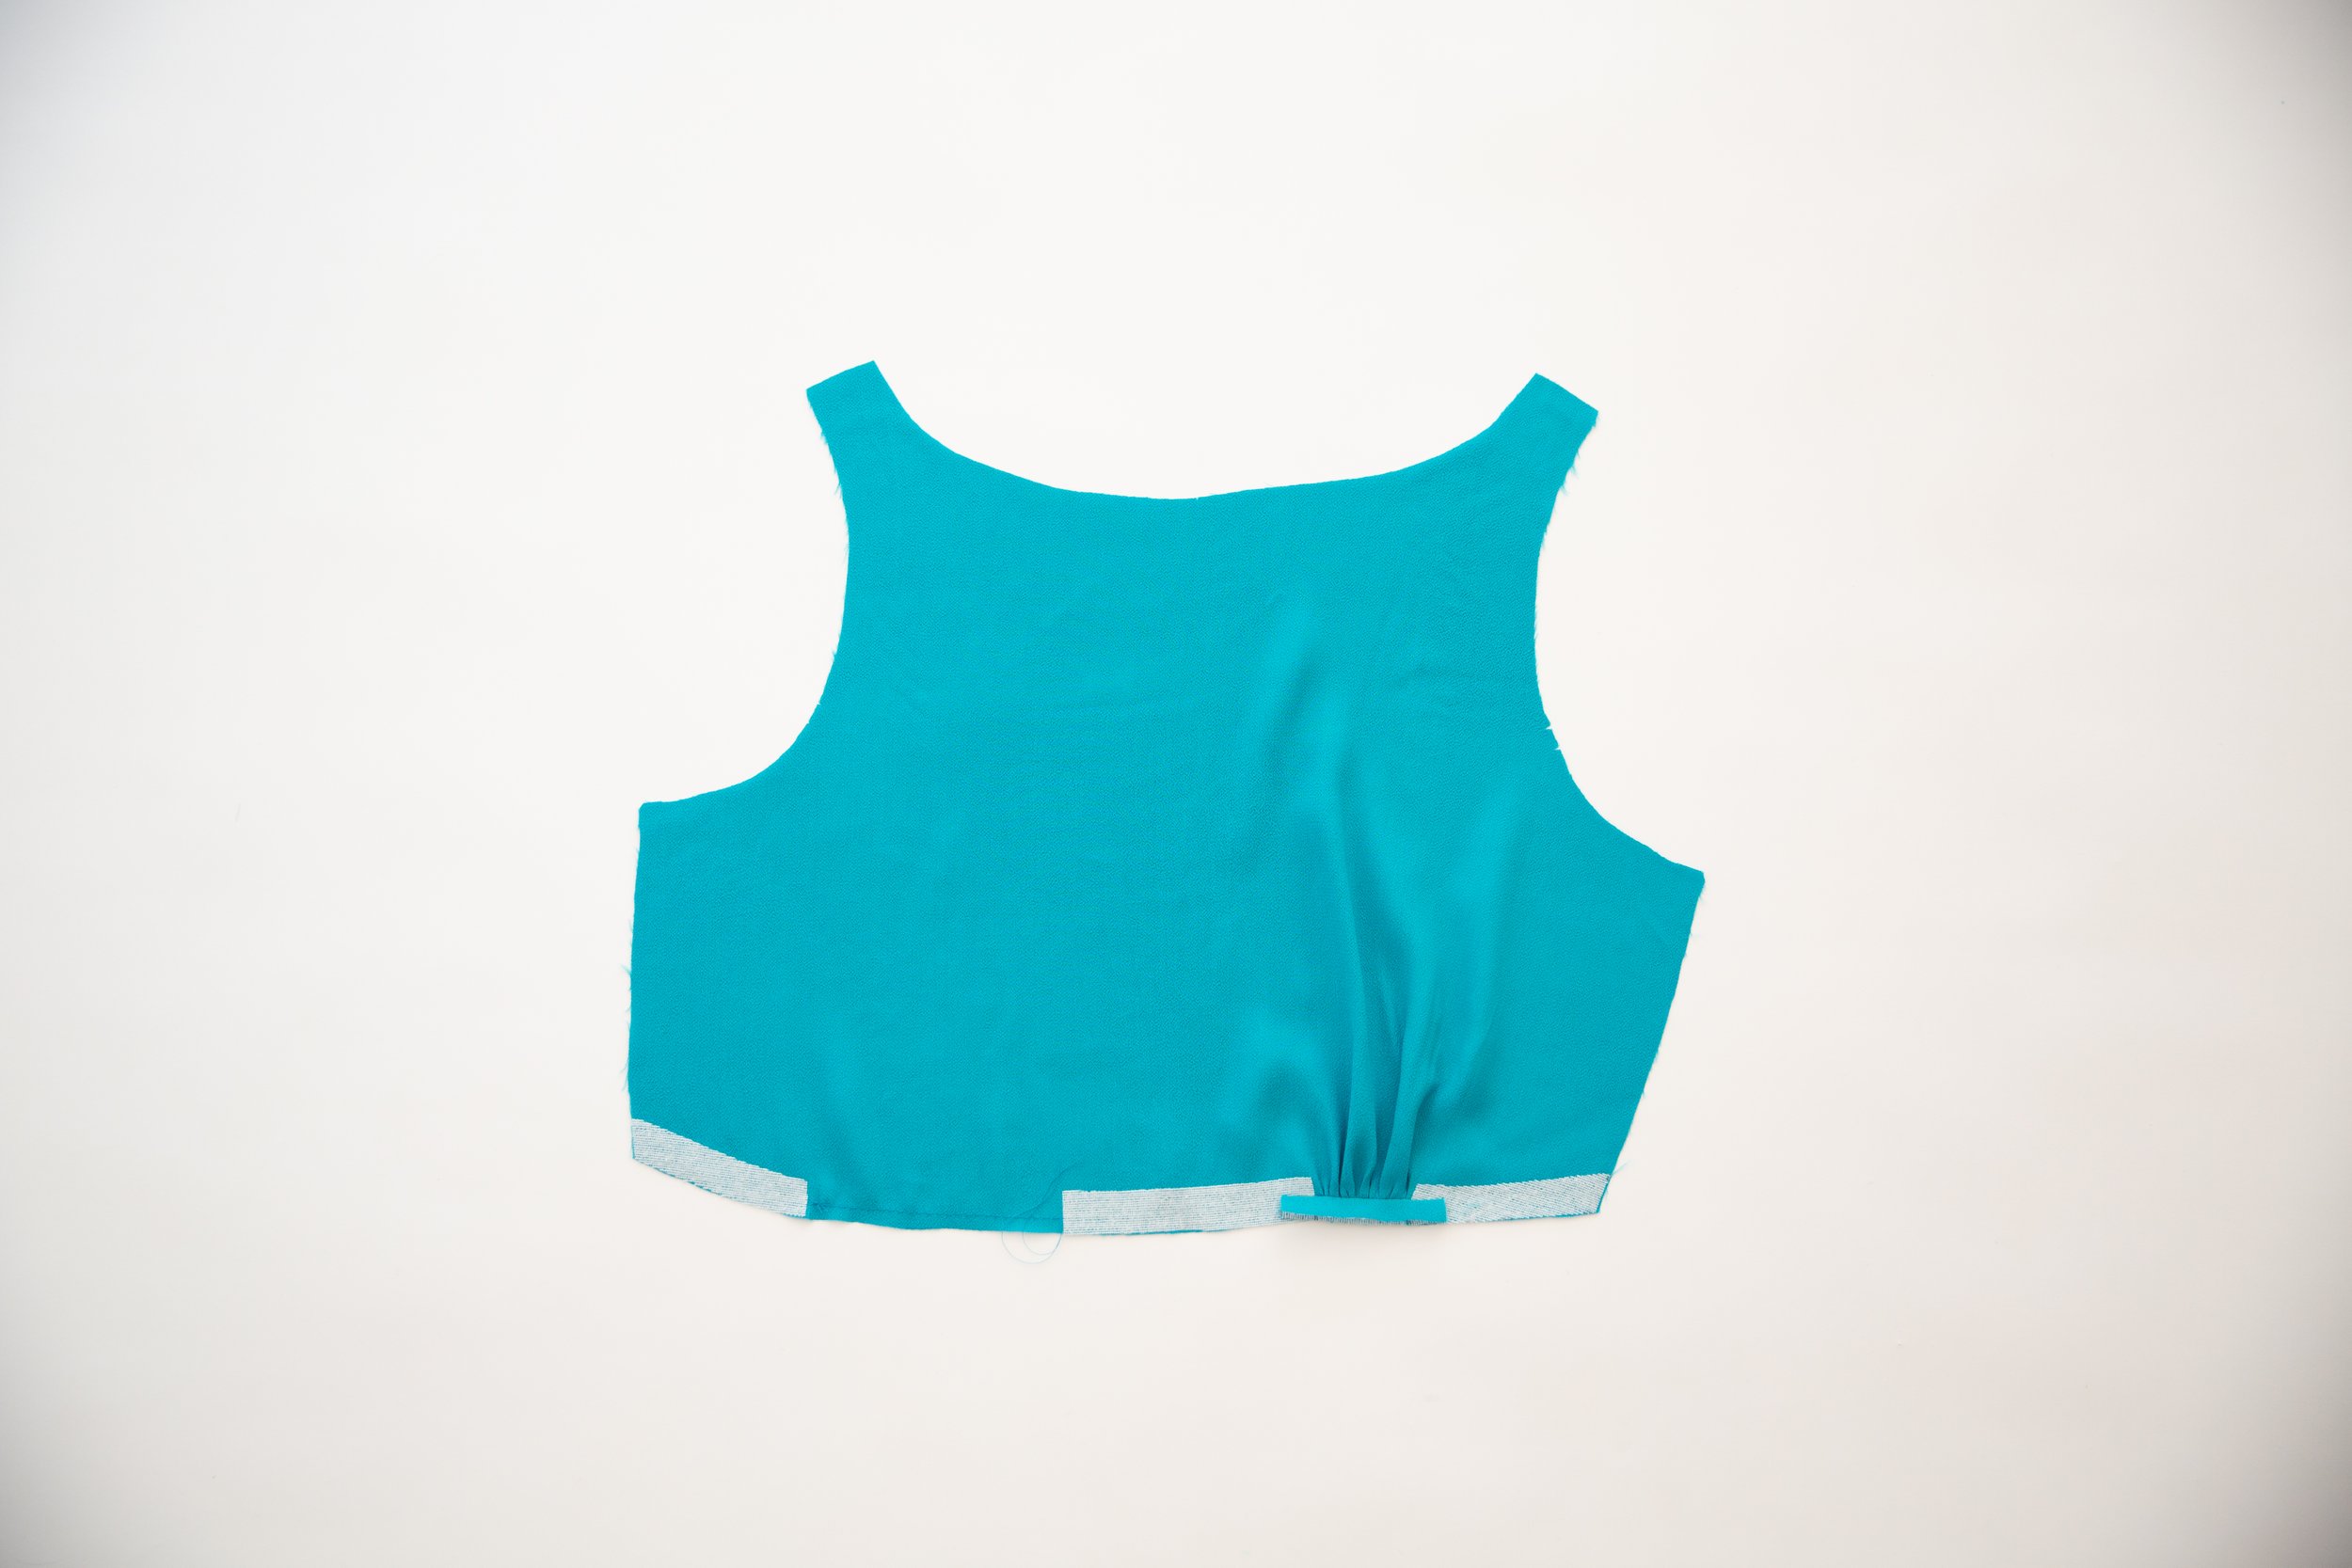
-On the wrong side of bodice piece, using either seam stay tape or 1.5cm/0.6” wide strips of fusing, fuse the waist seam, leaving the space between notches unfused. Make sure it measures the same as your pattern piece.
-Fuse neck facing piece
-Fuse both gather facing pieces

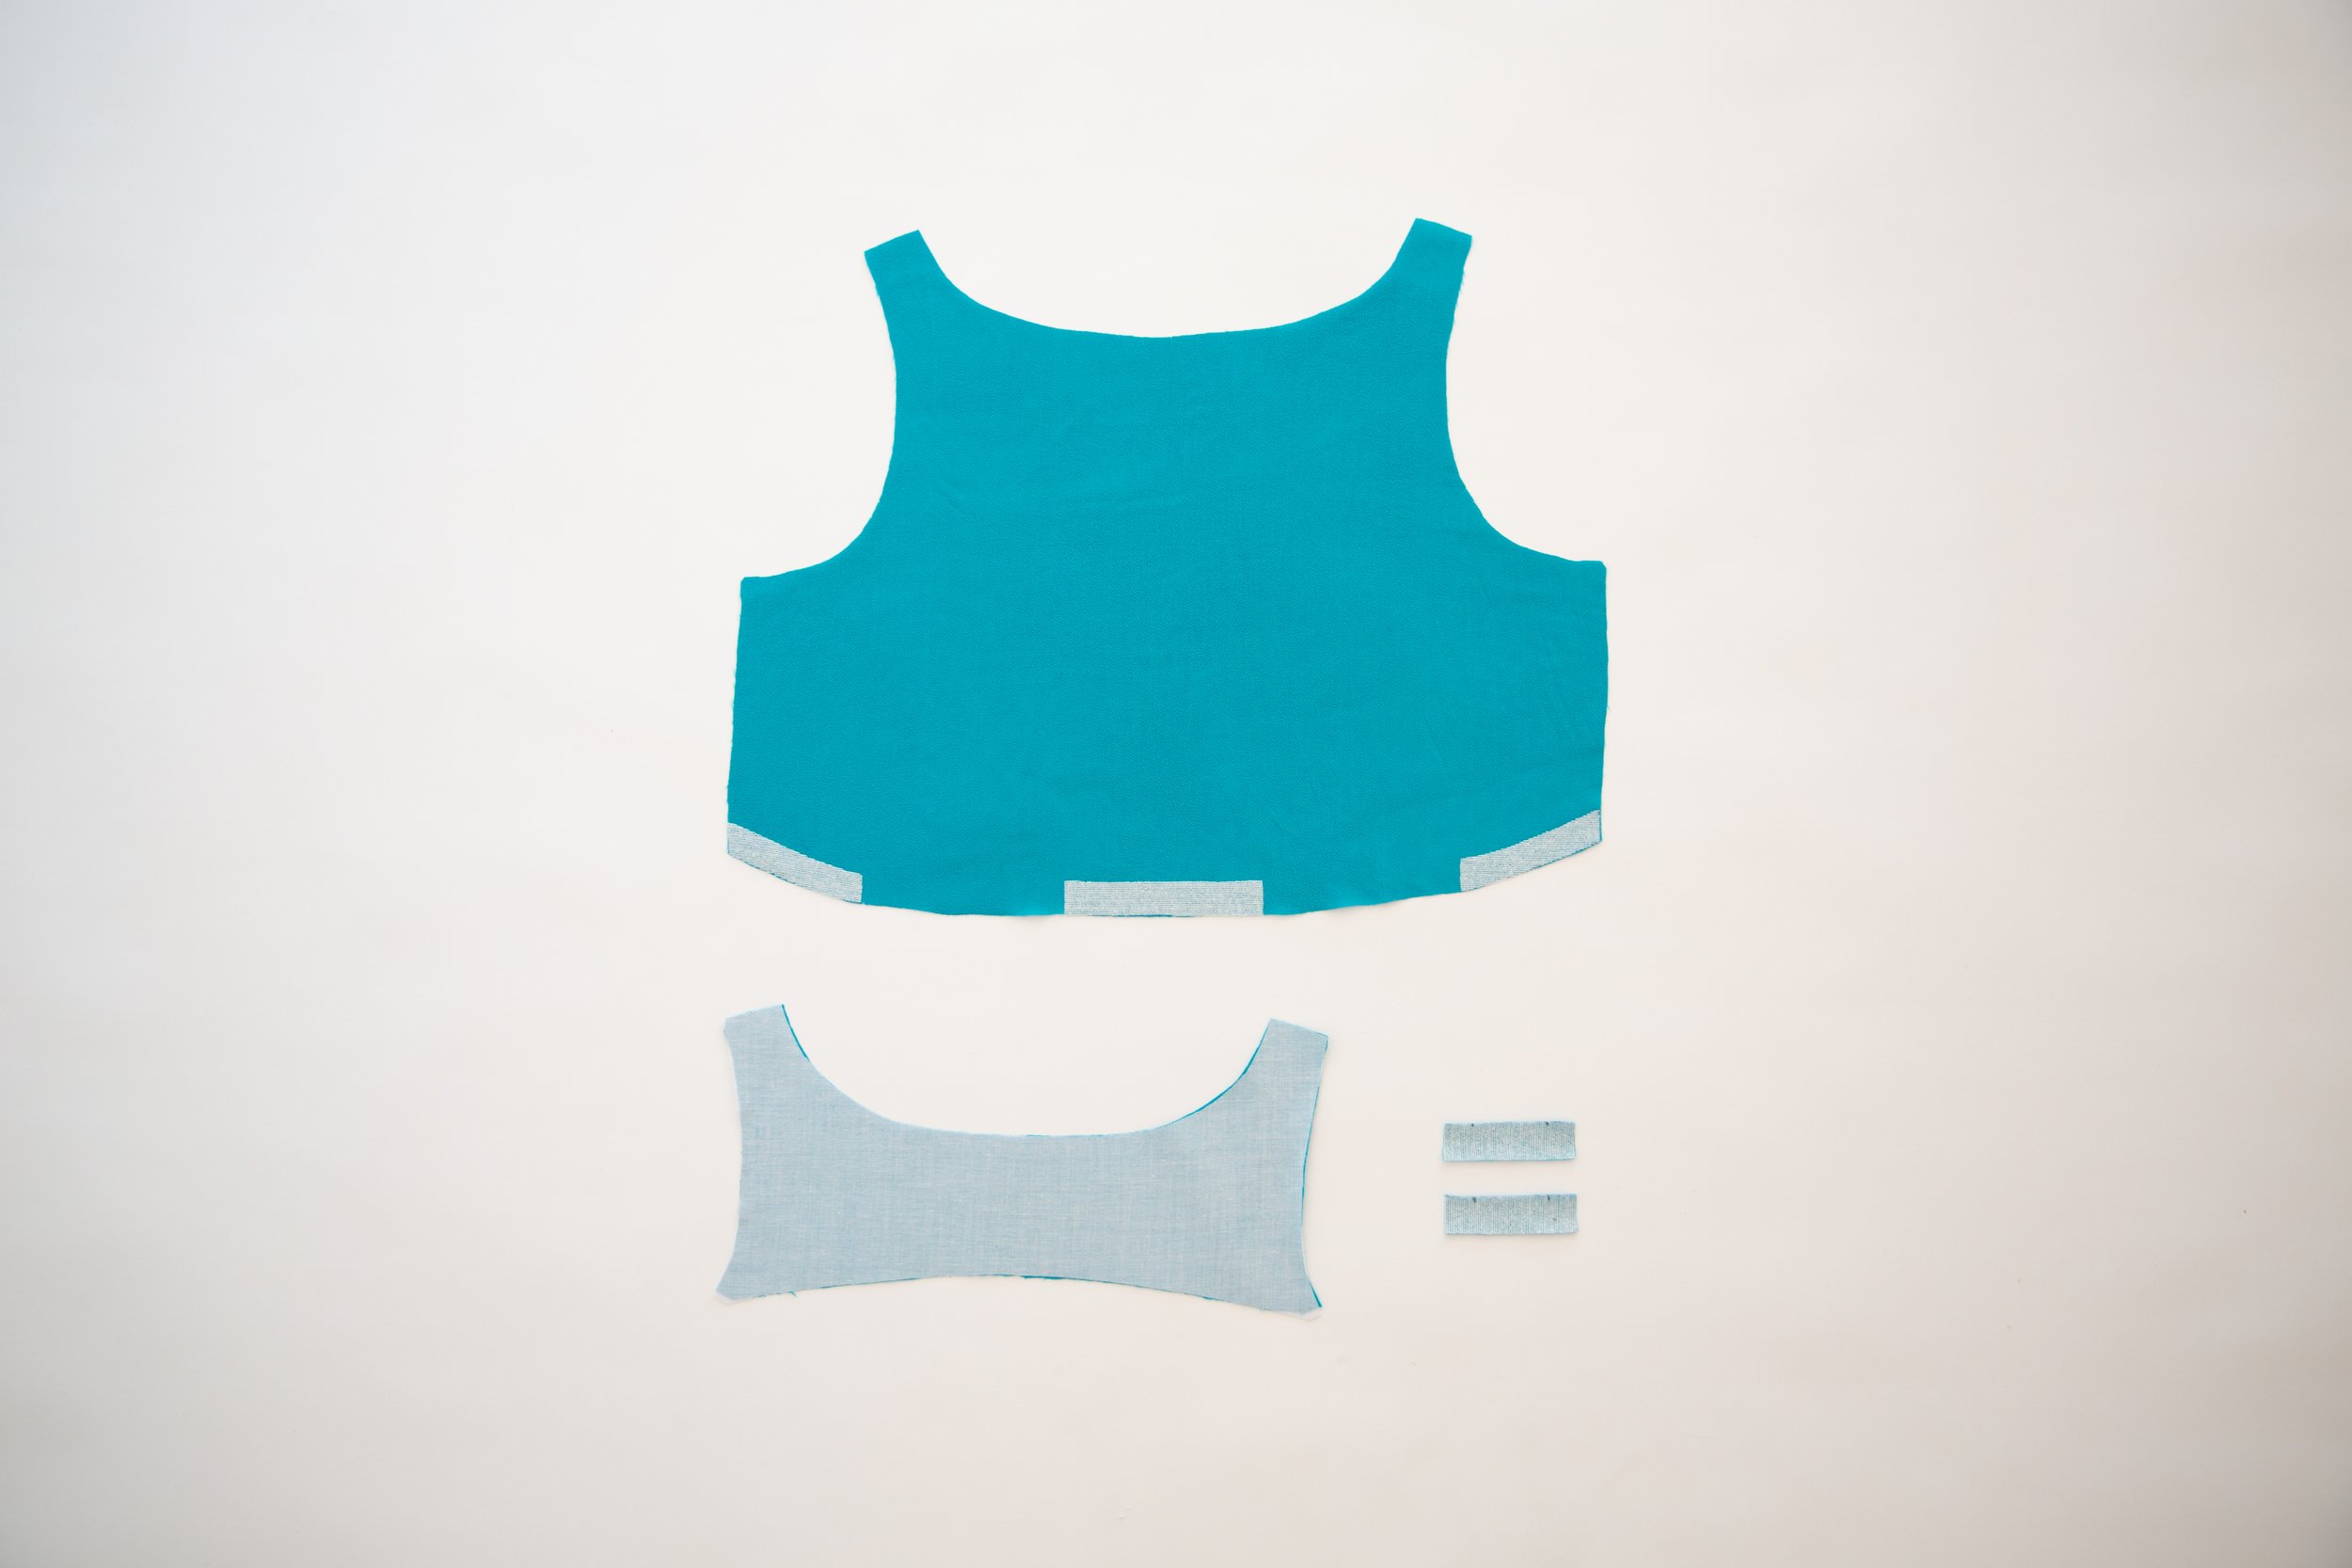
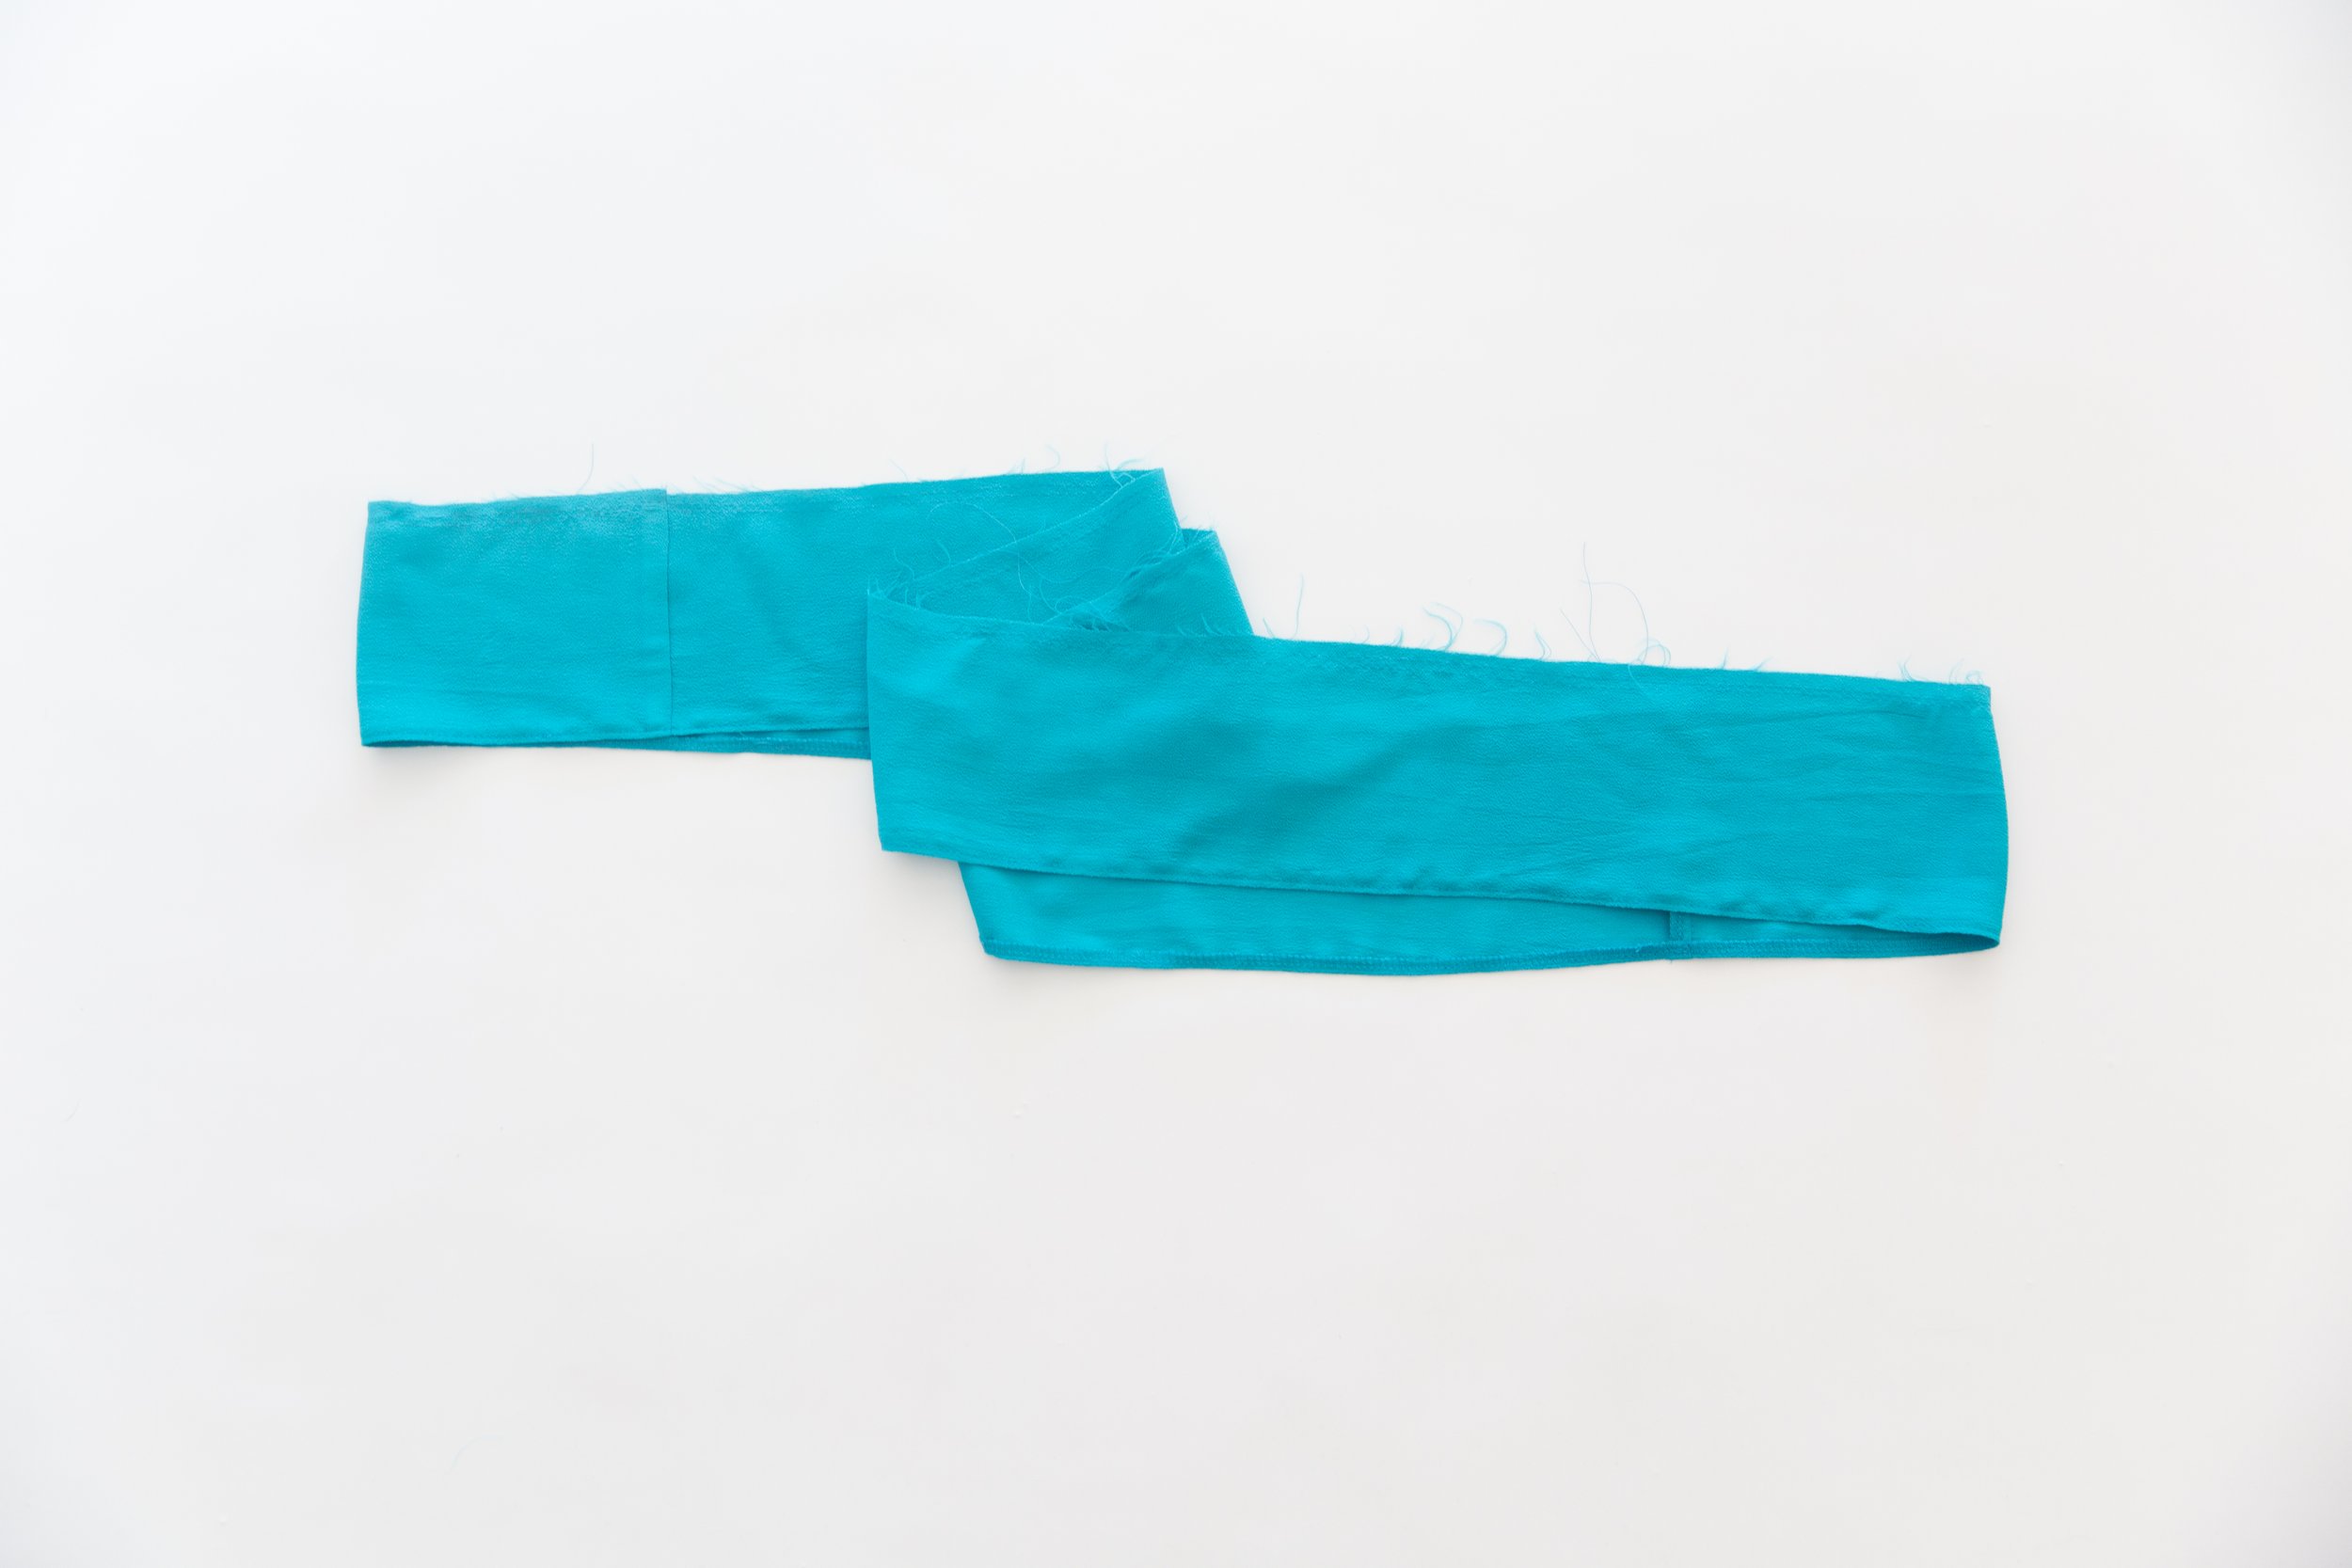
Neaten
-Bottom edge of neck facing piece
-One short end of each strap piece.
-The upper edge of each sleeve casing piece.
-All around each of your four pocket bags.

-The upper edge of skirt panel B
-The side seam of all skirt panels.

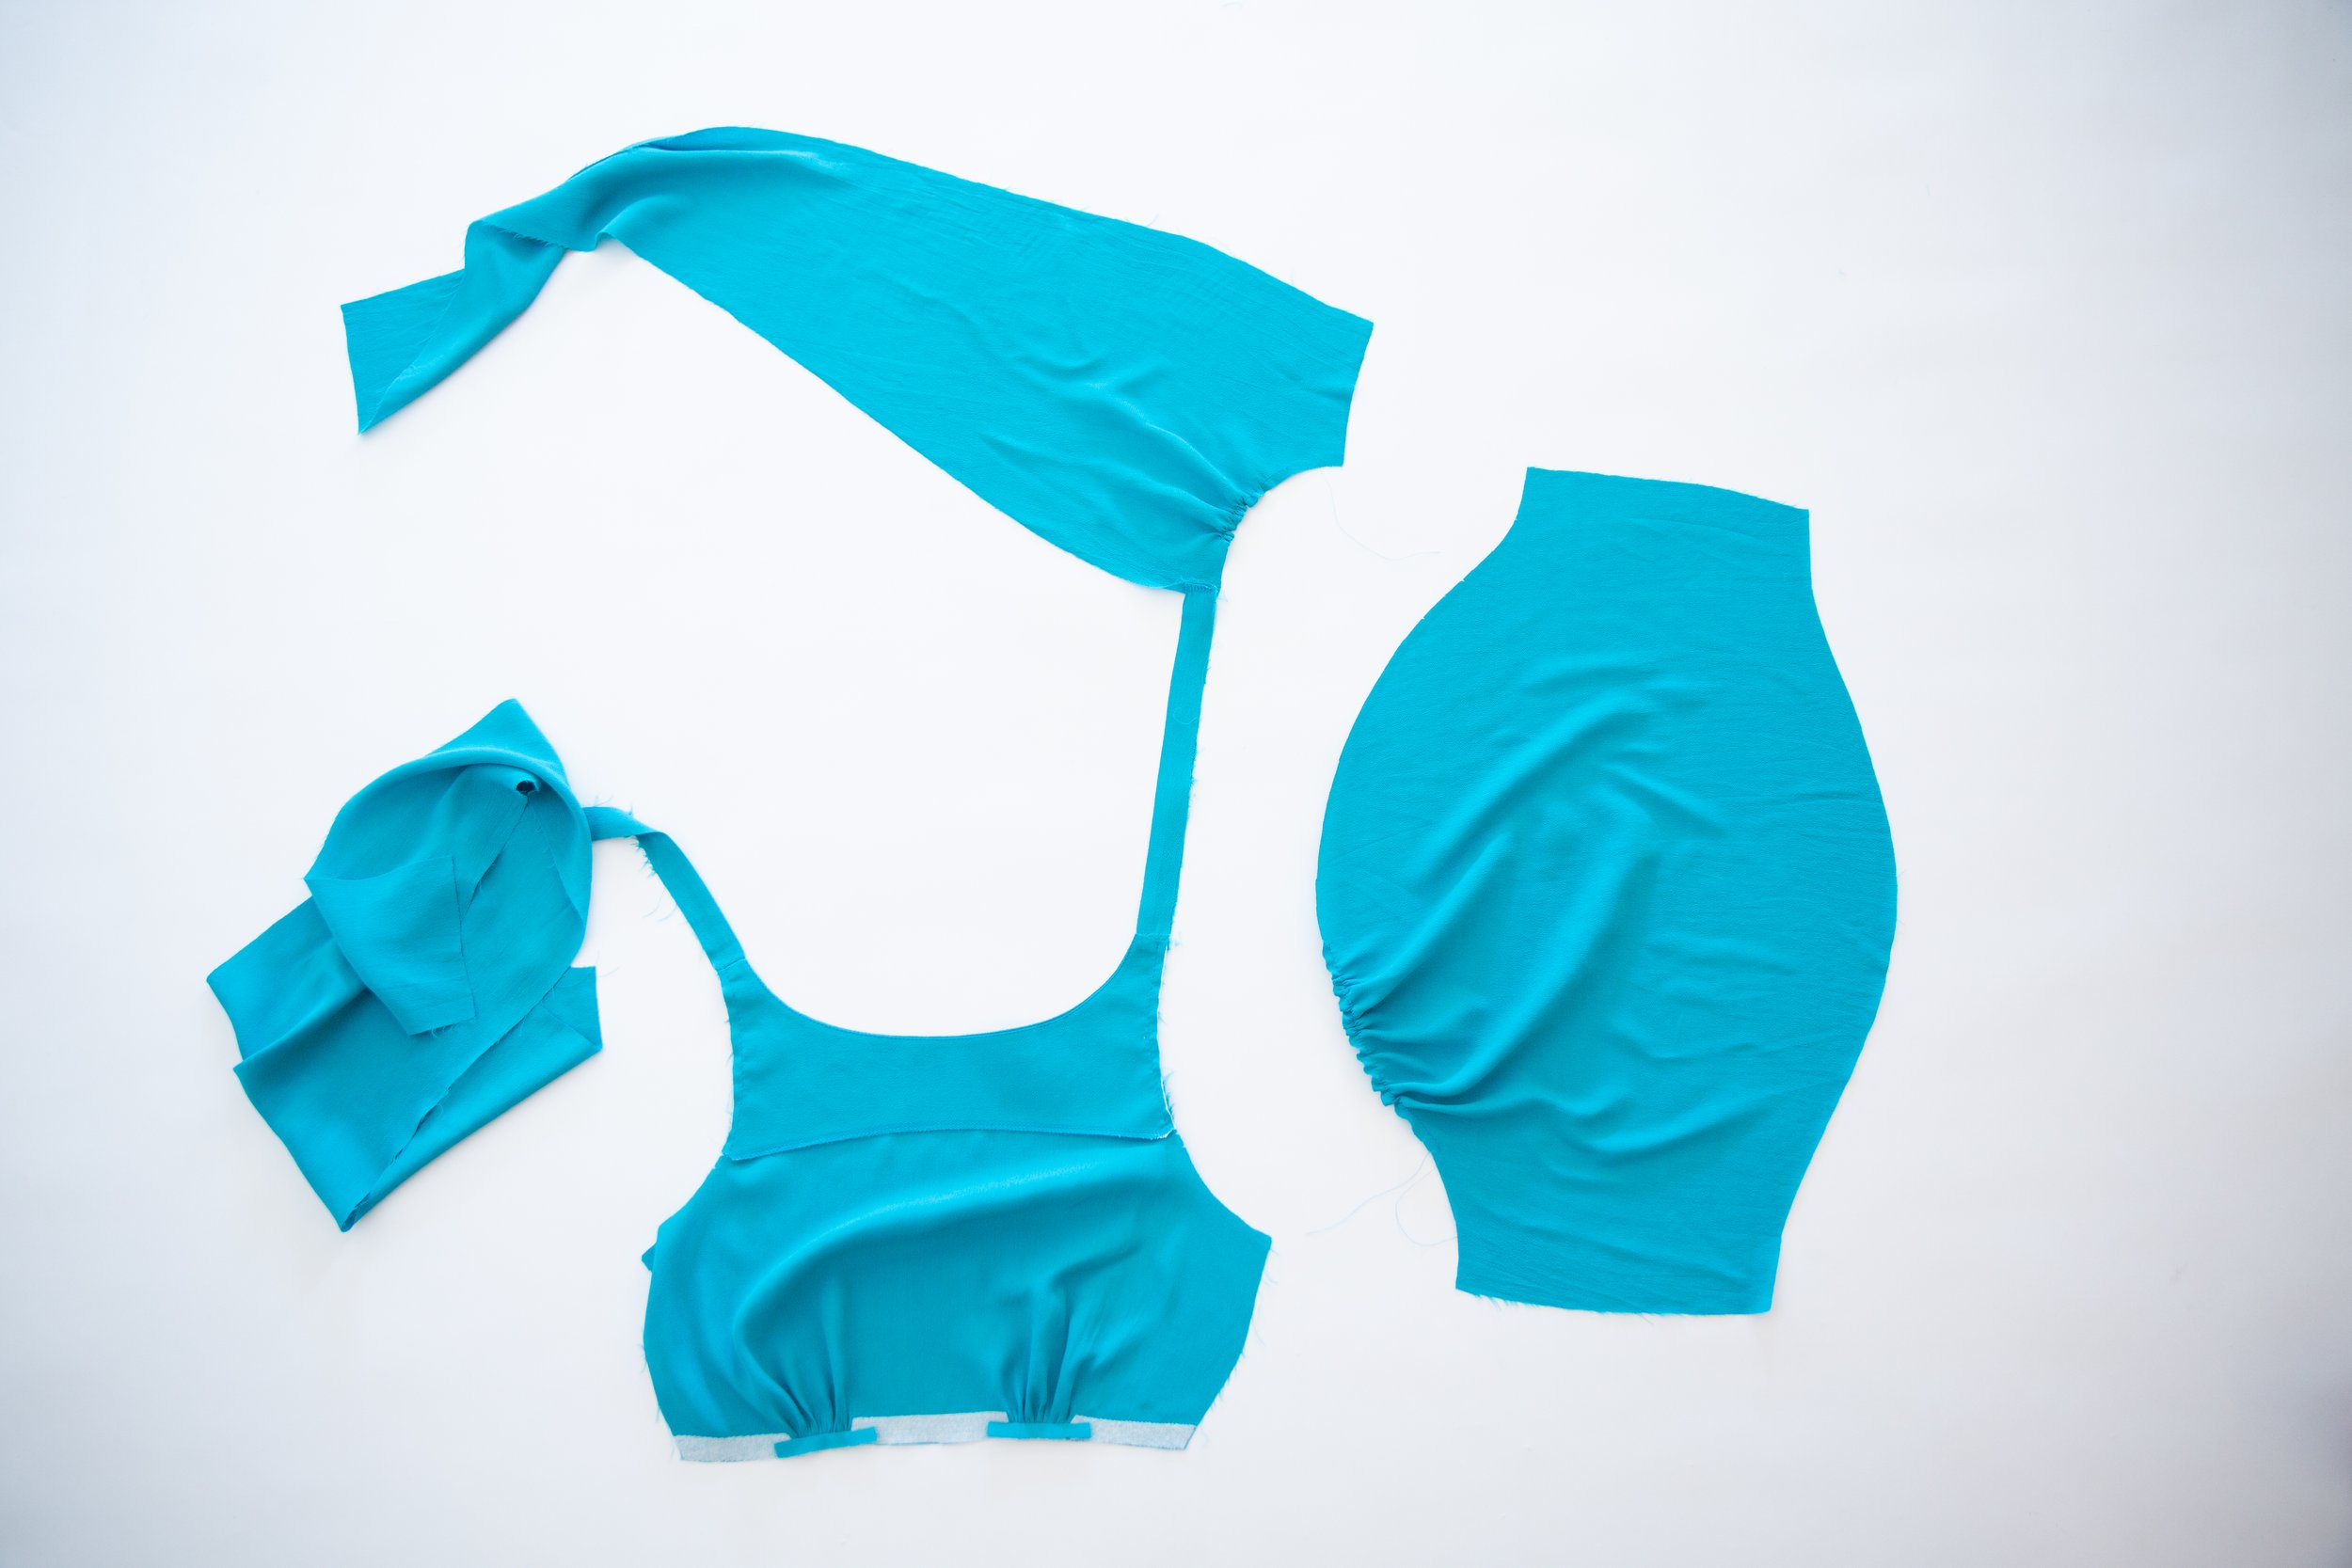
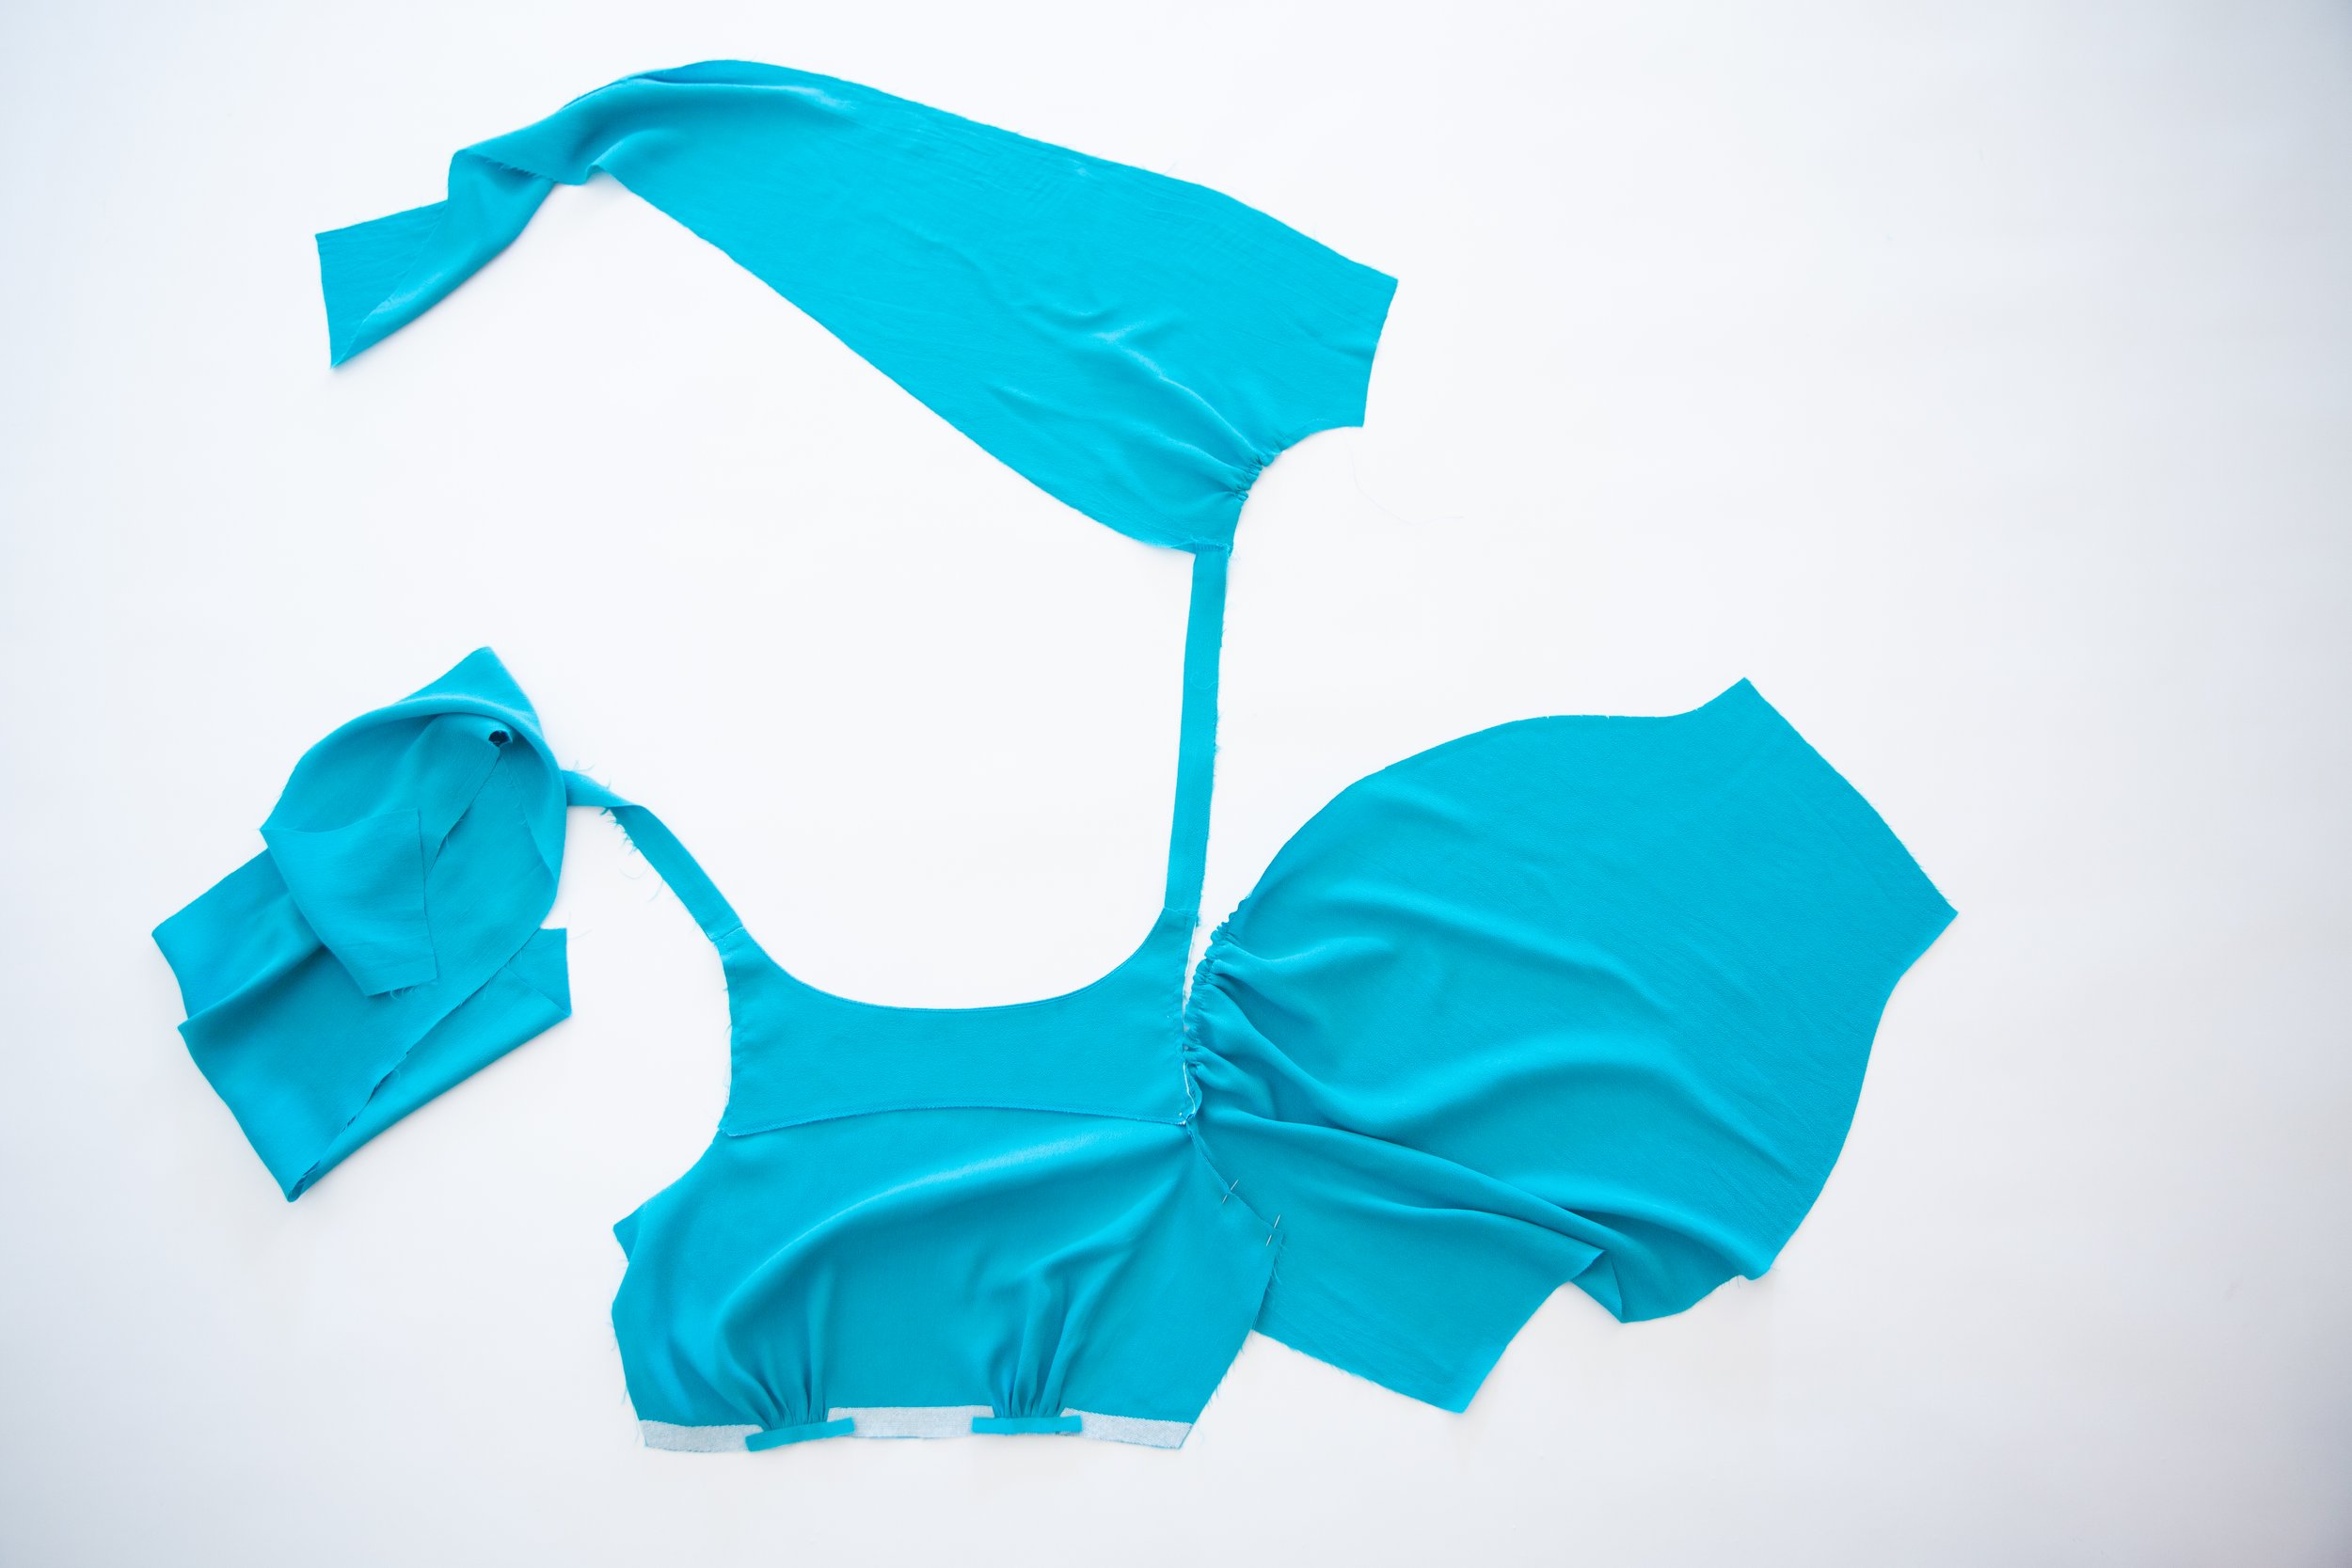
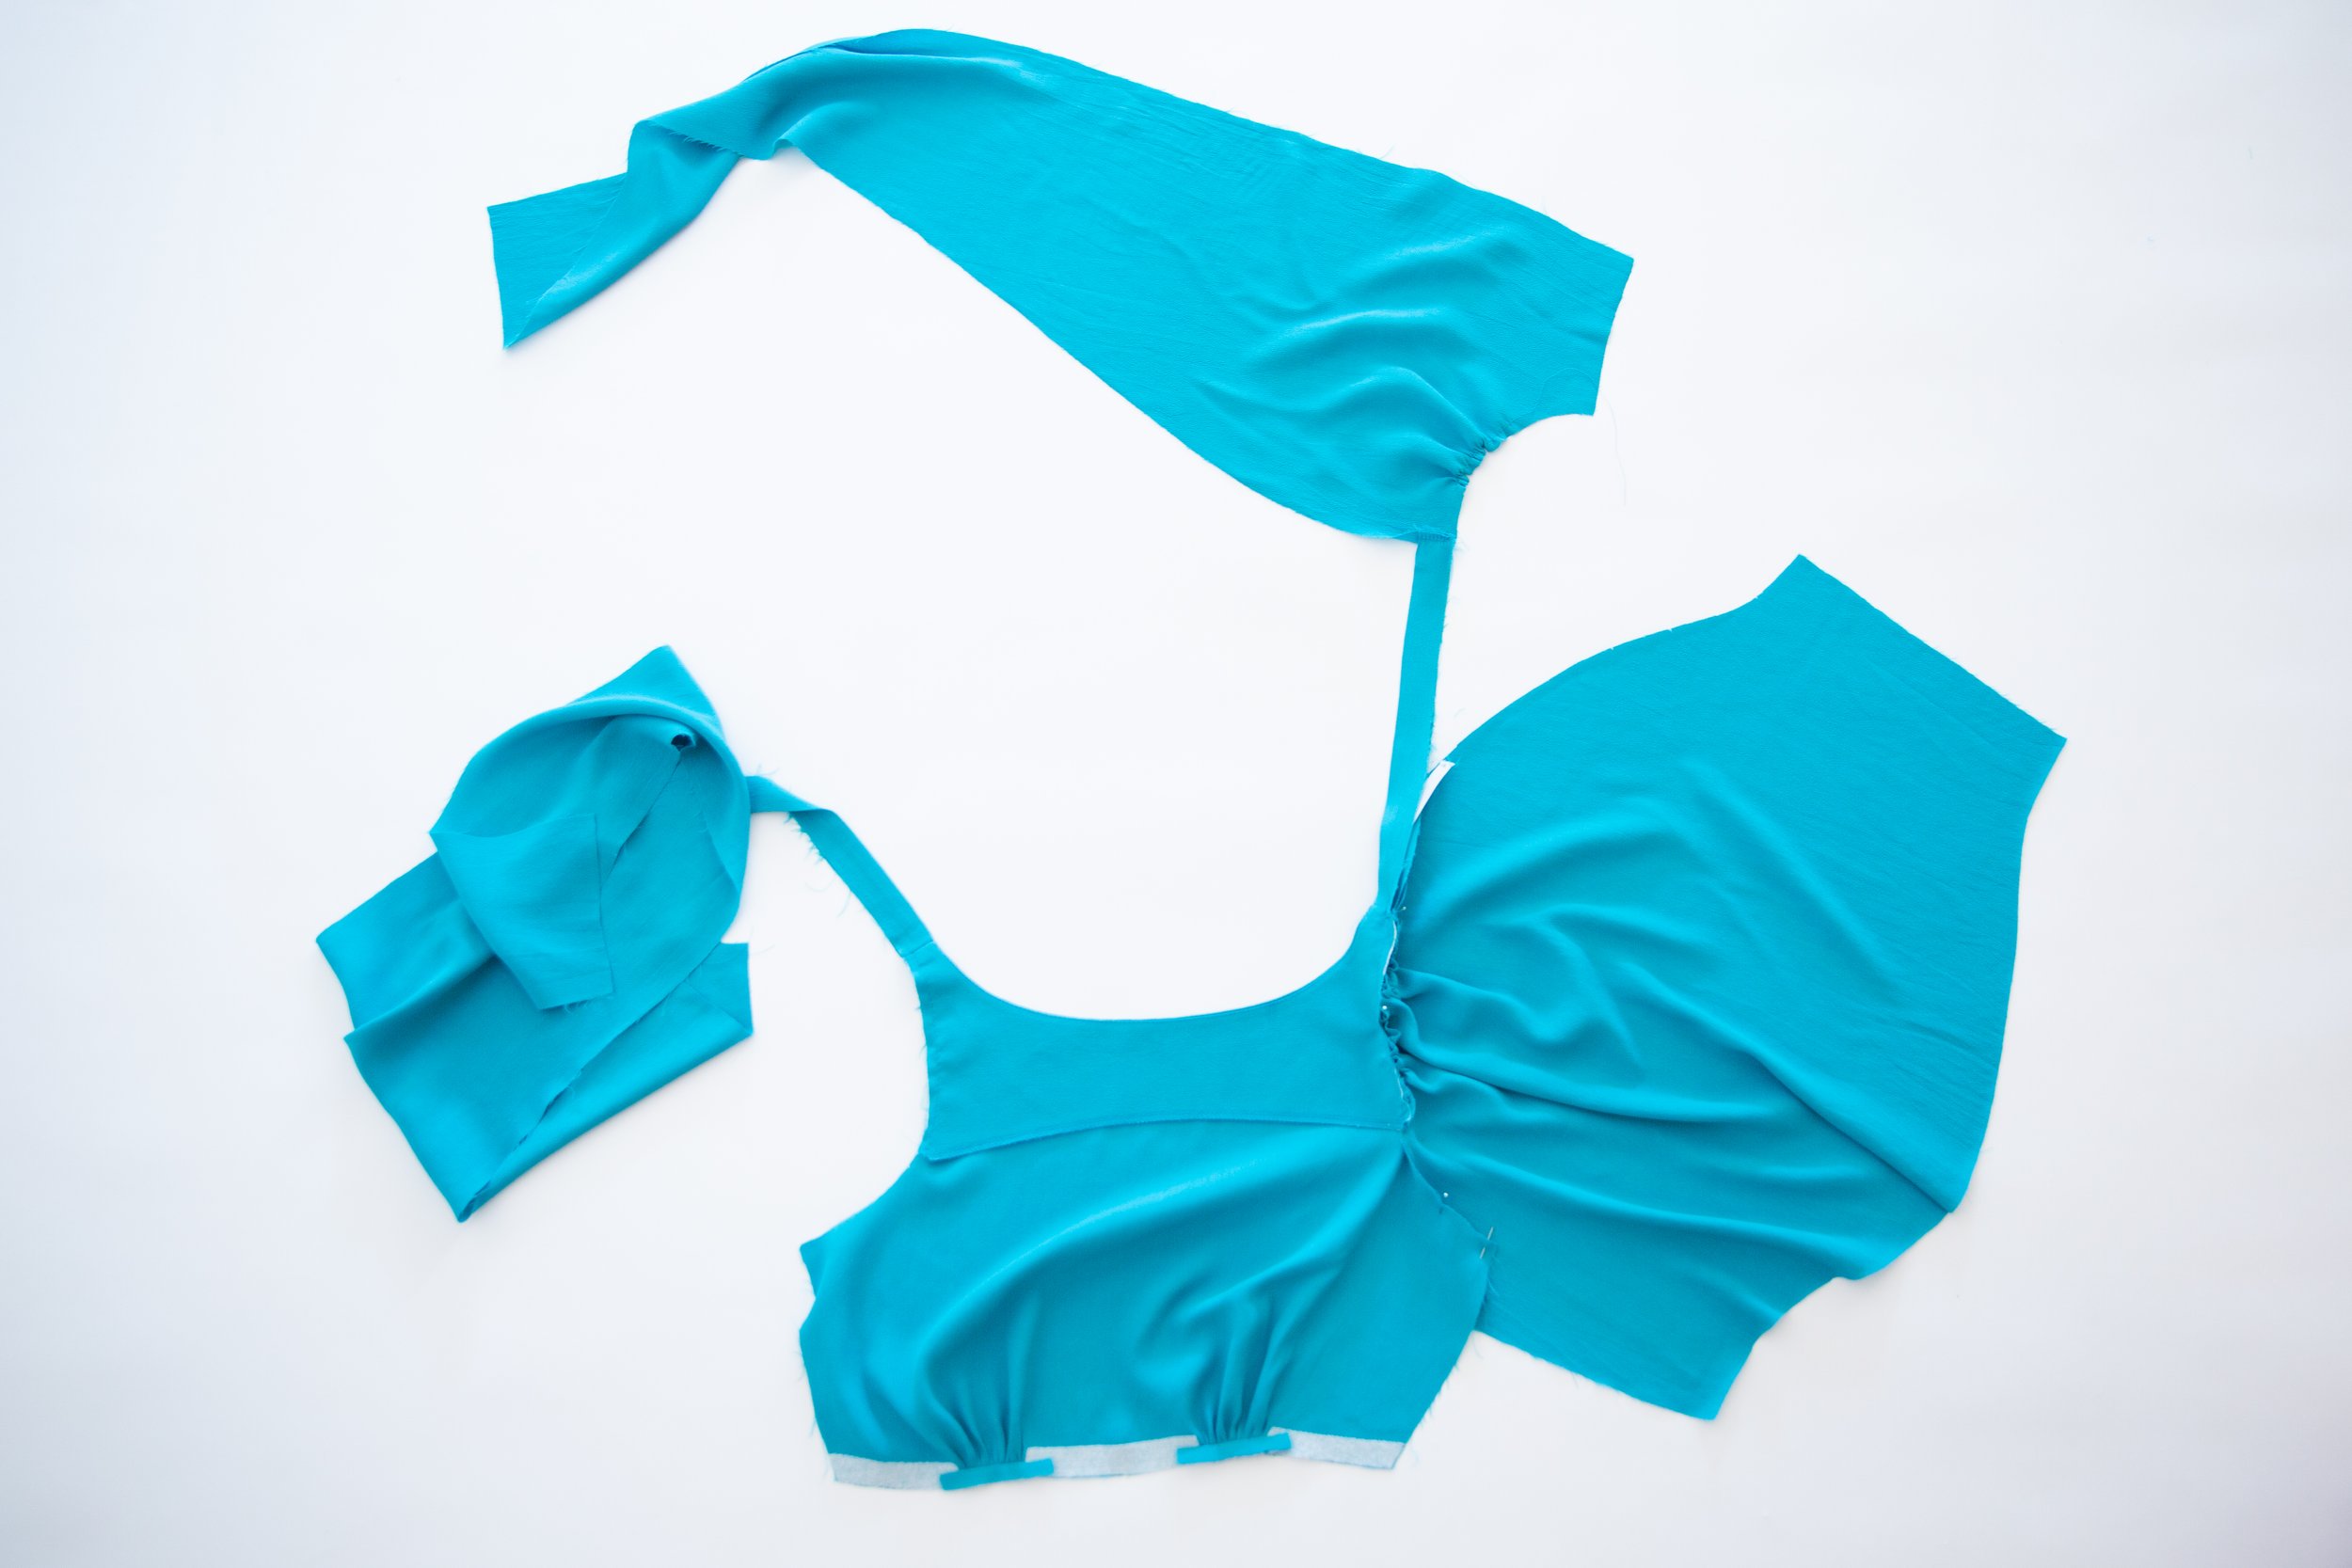
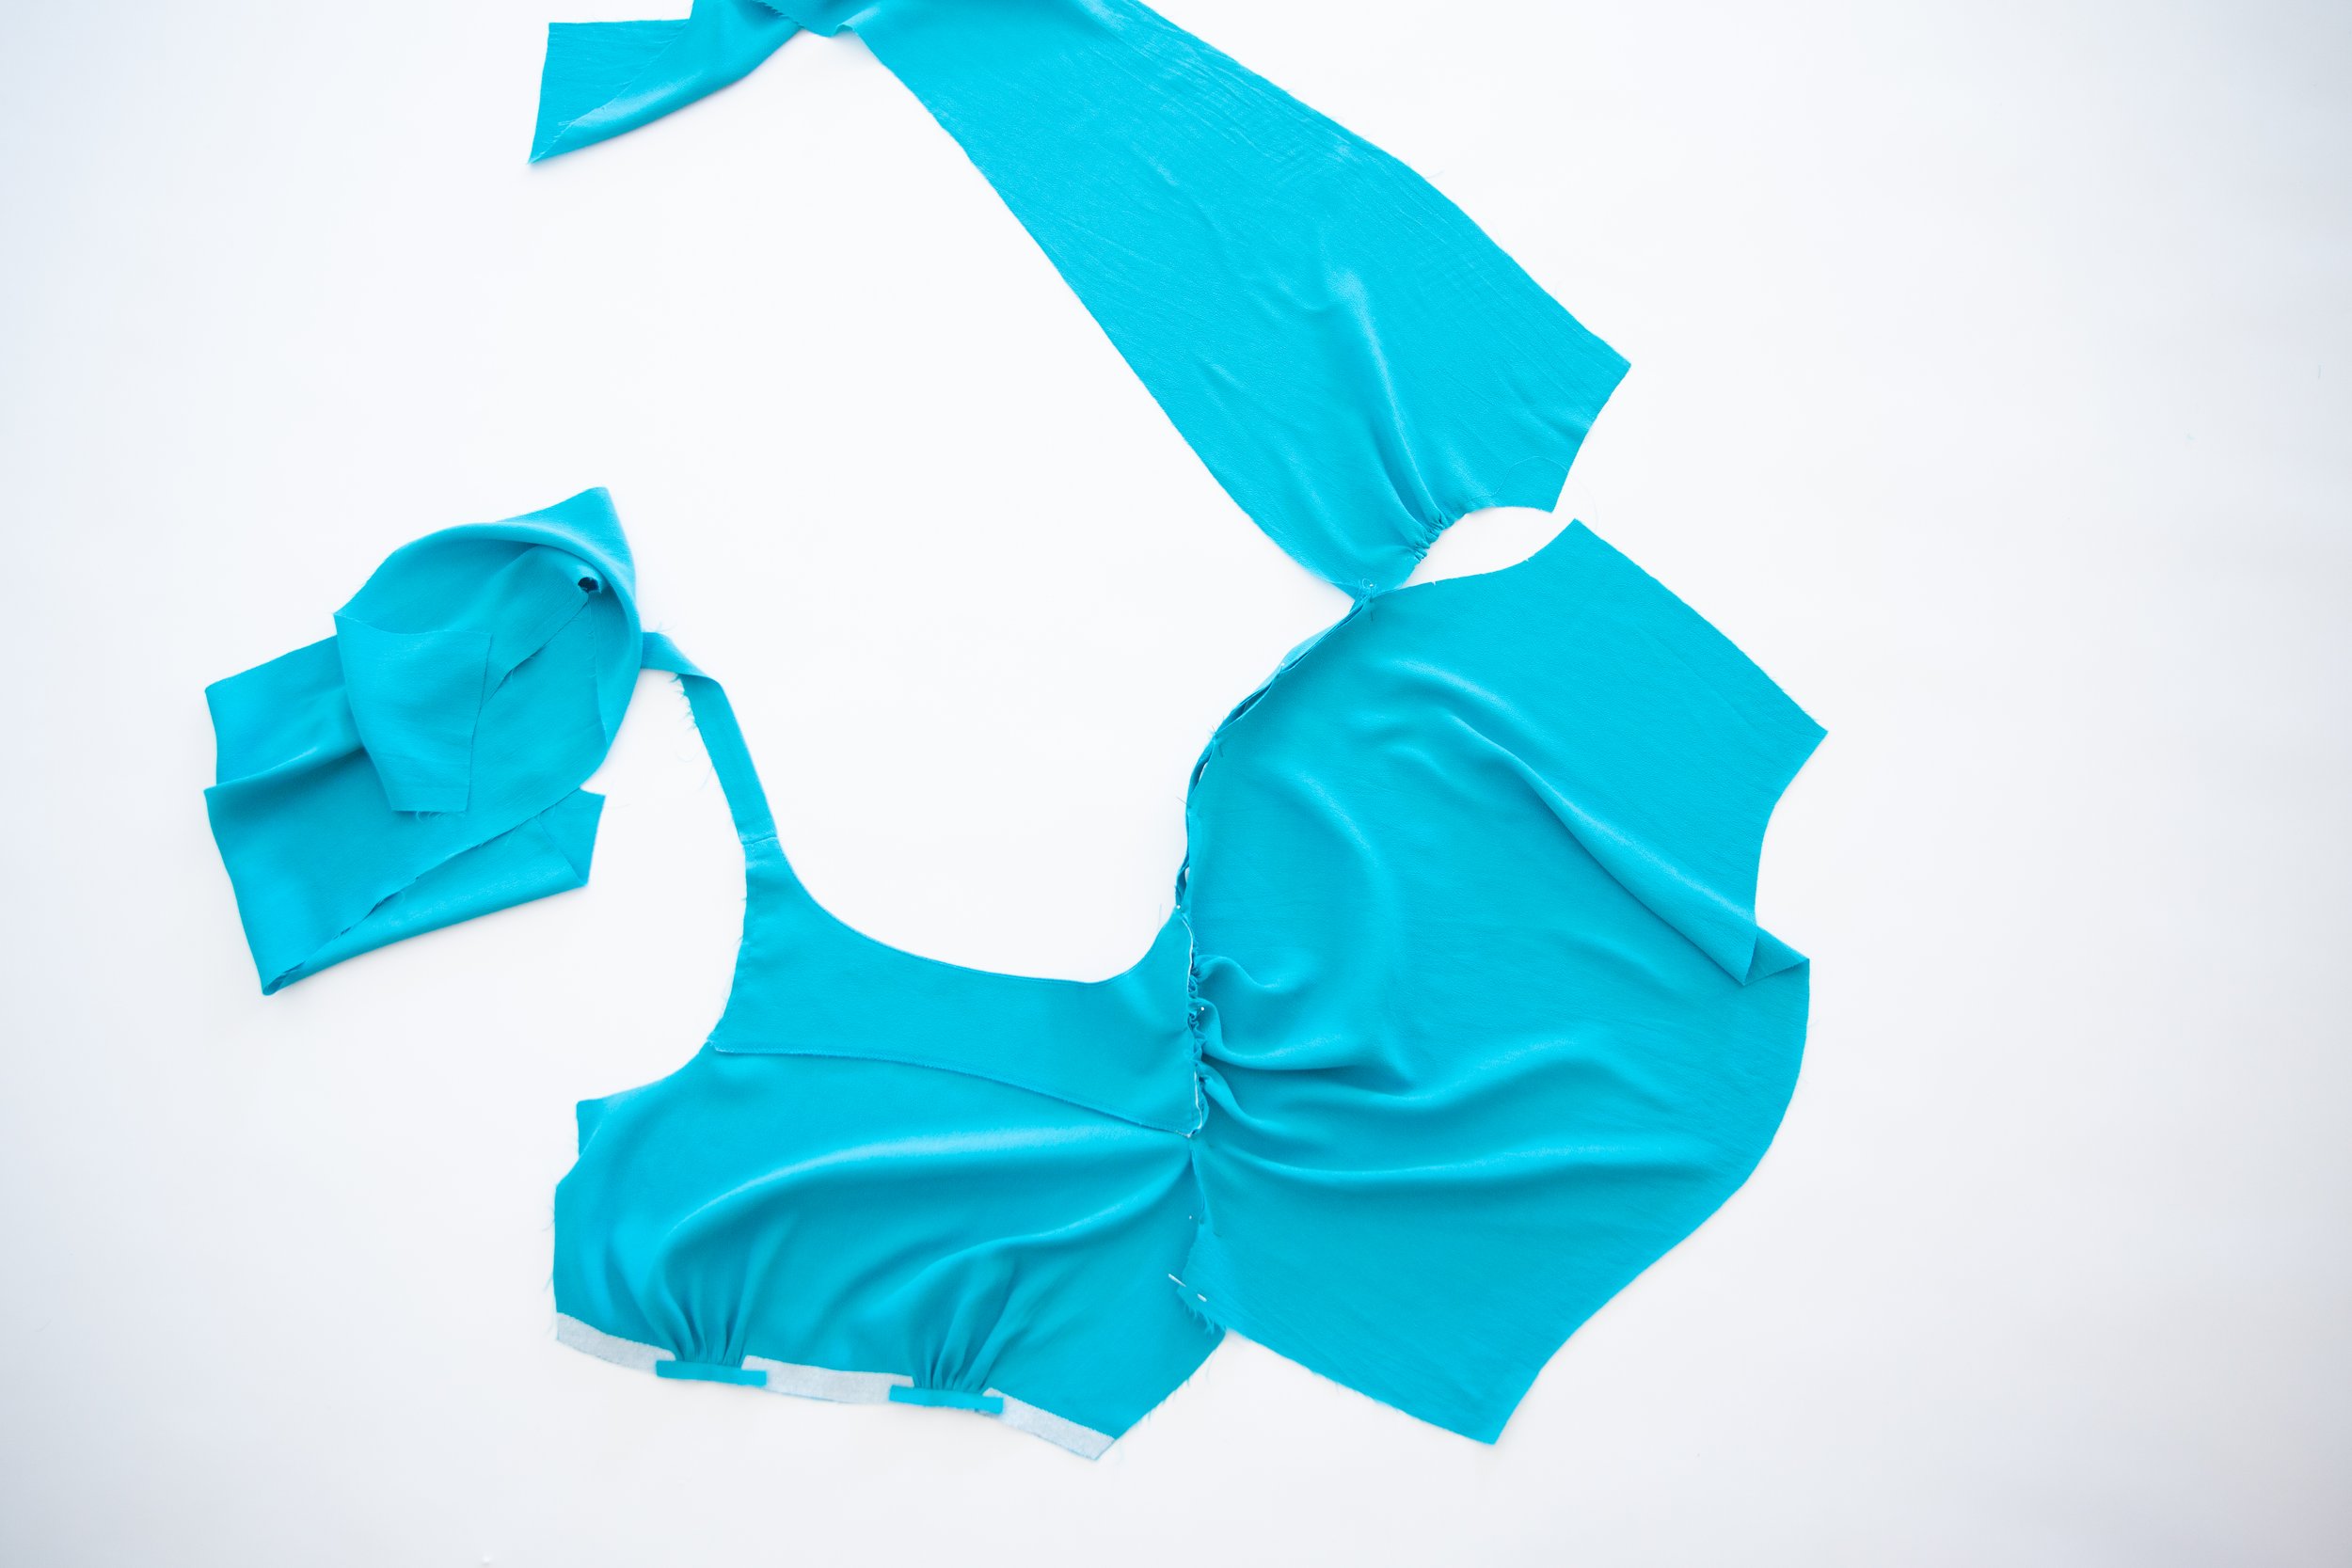
Step 1
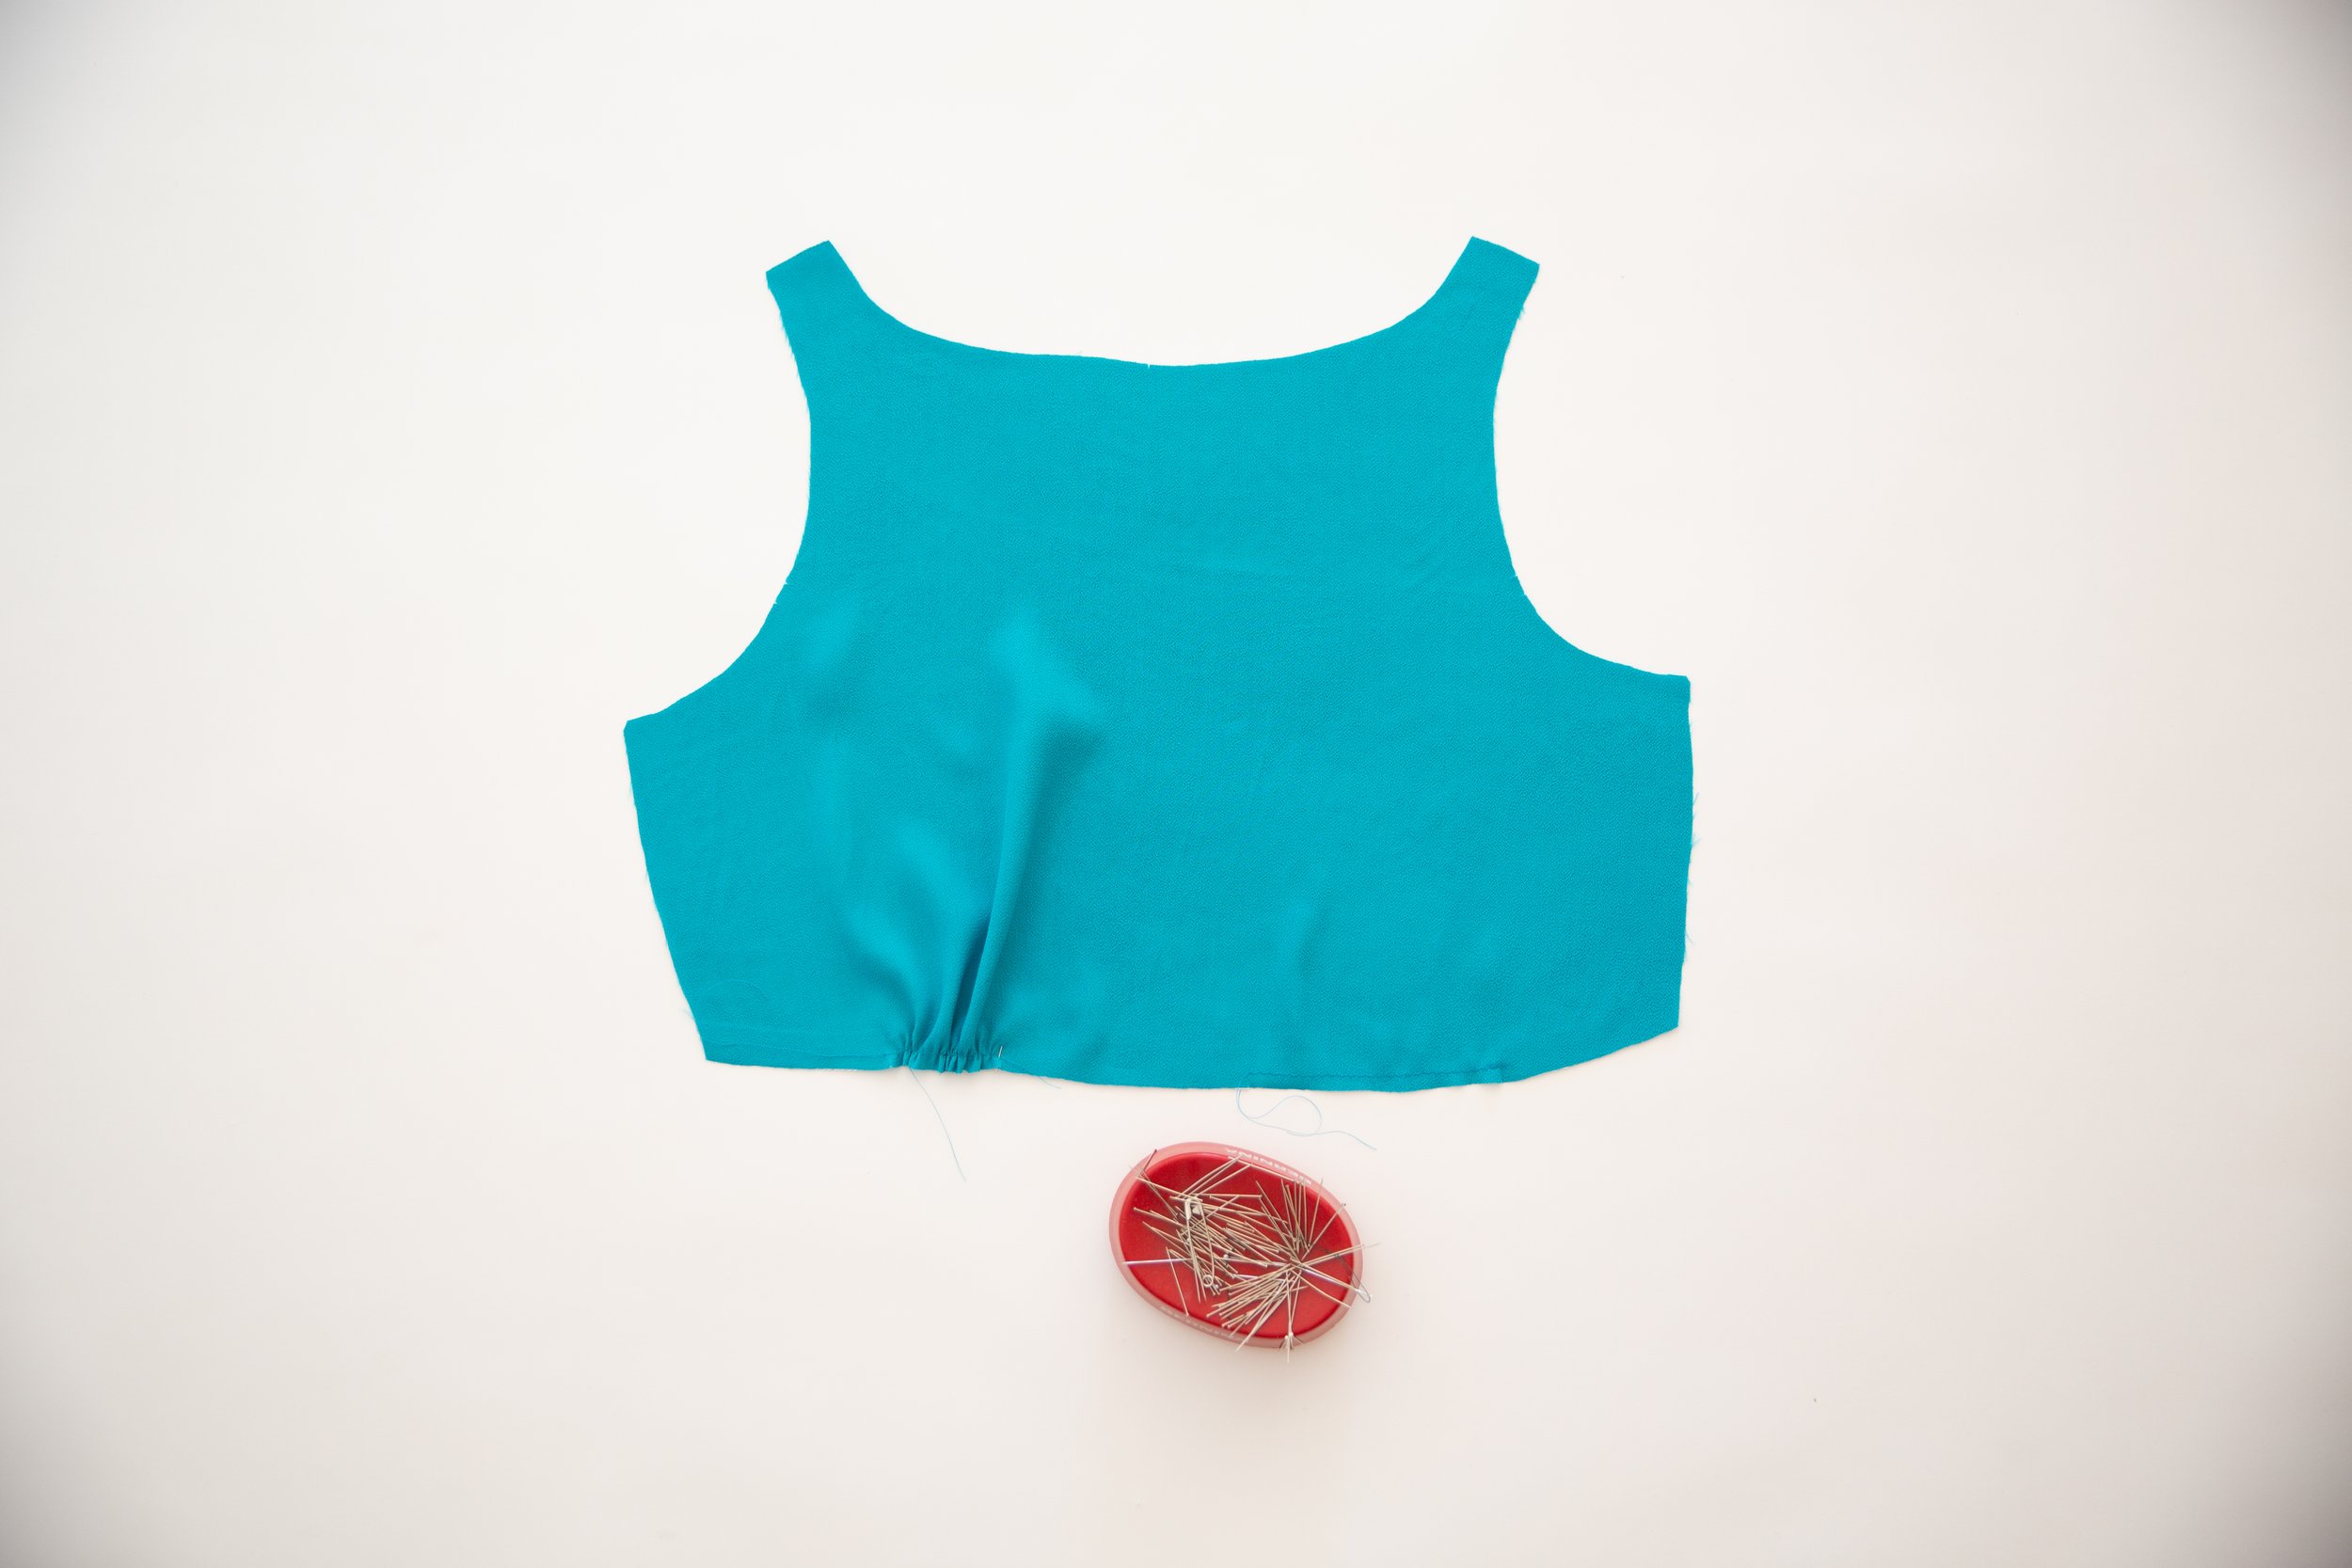
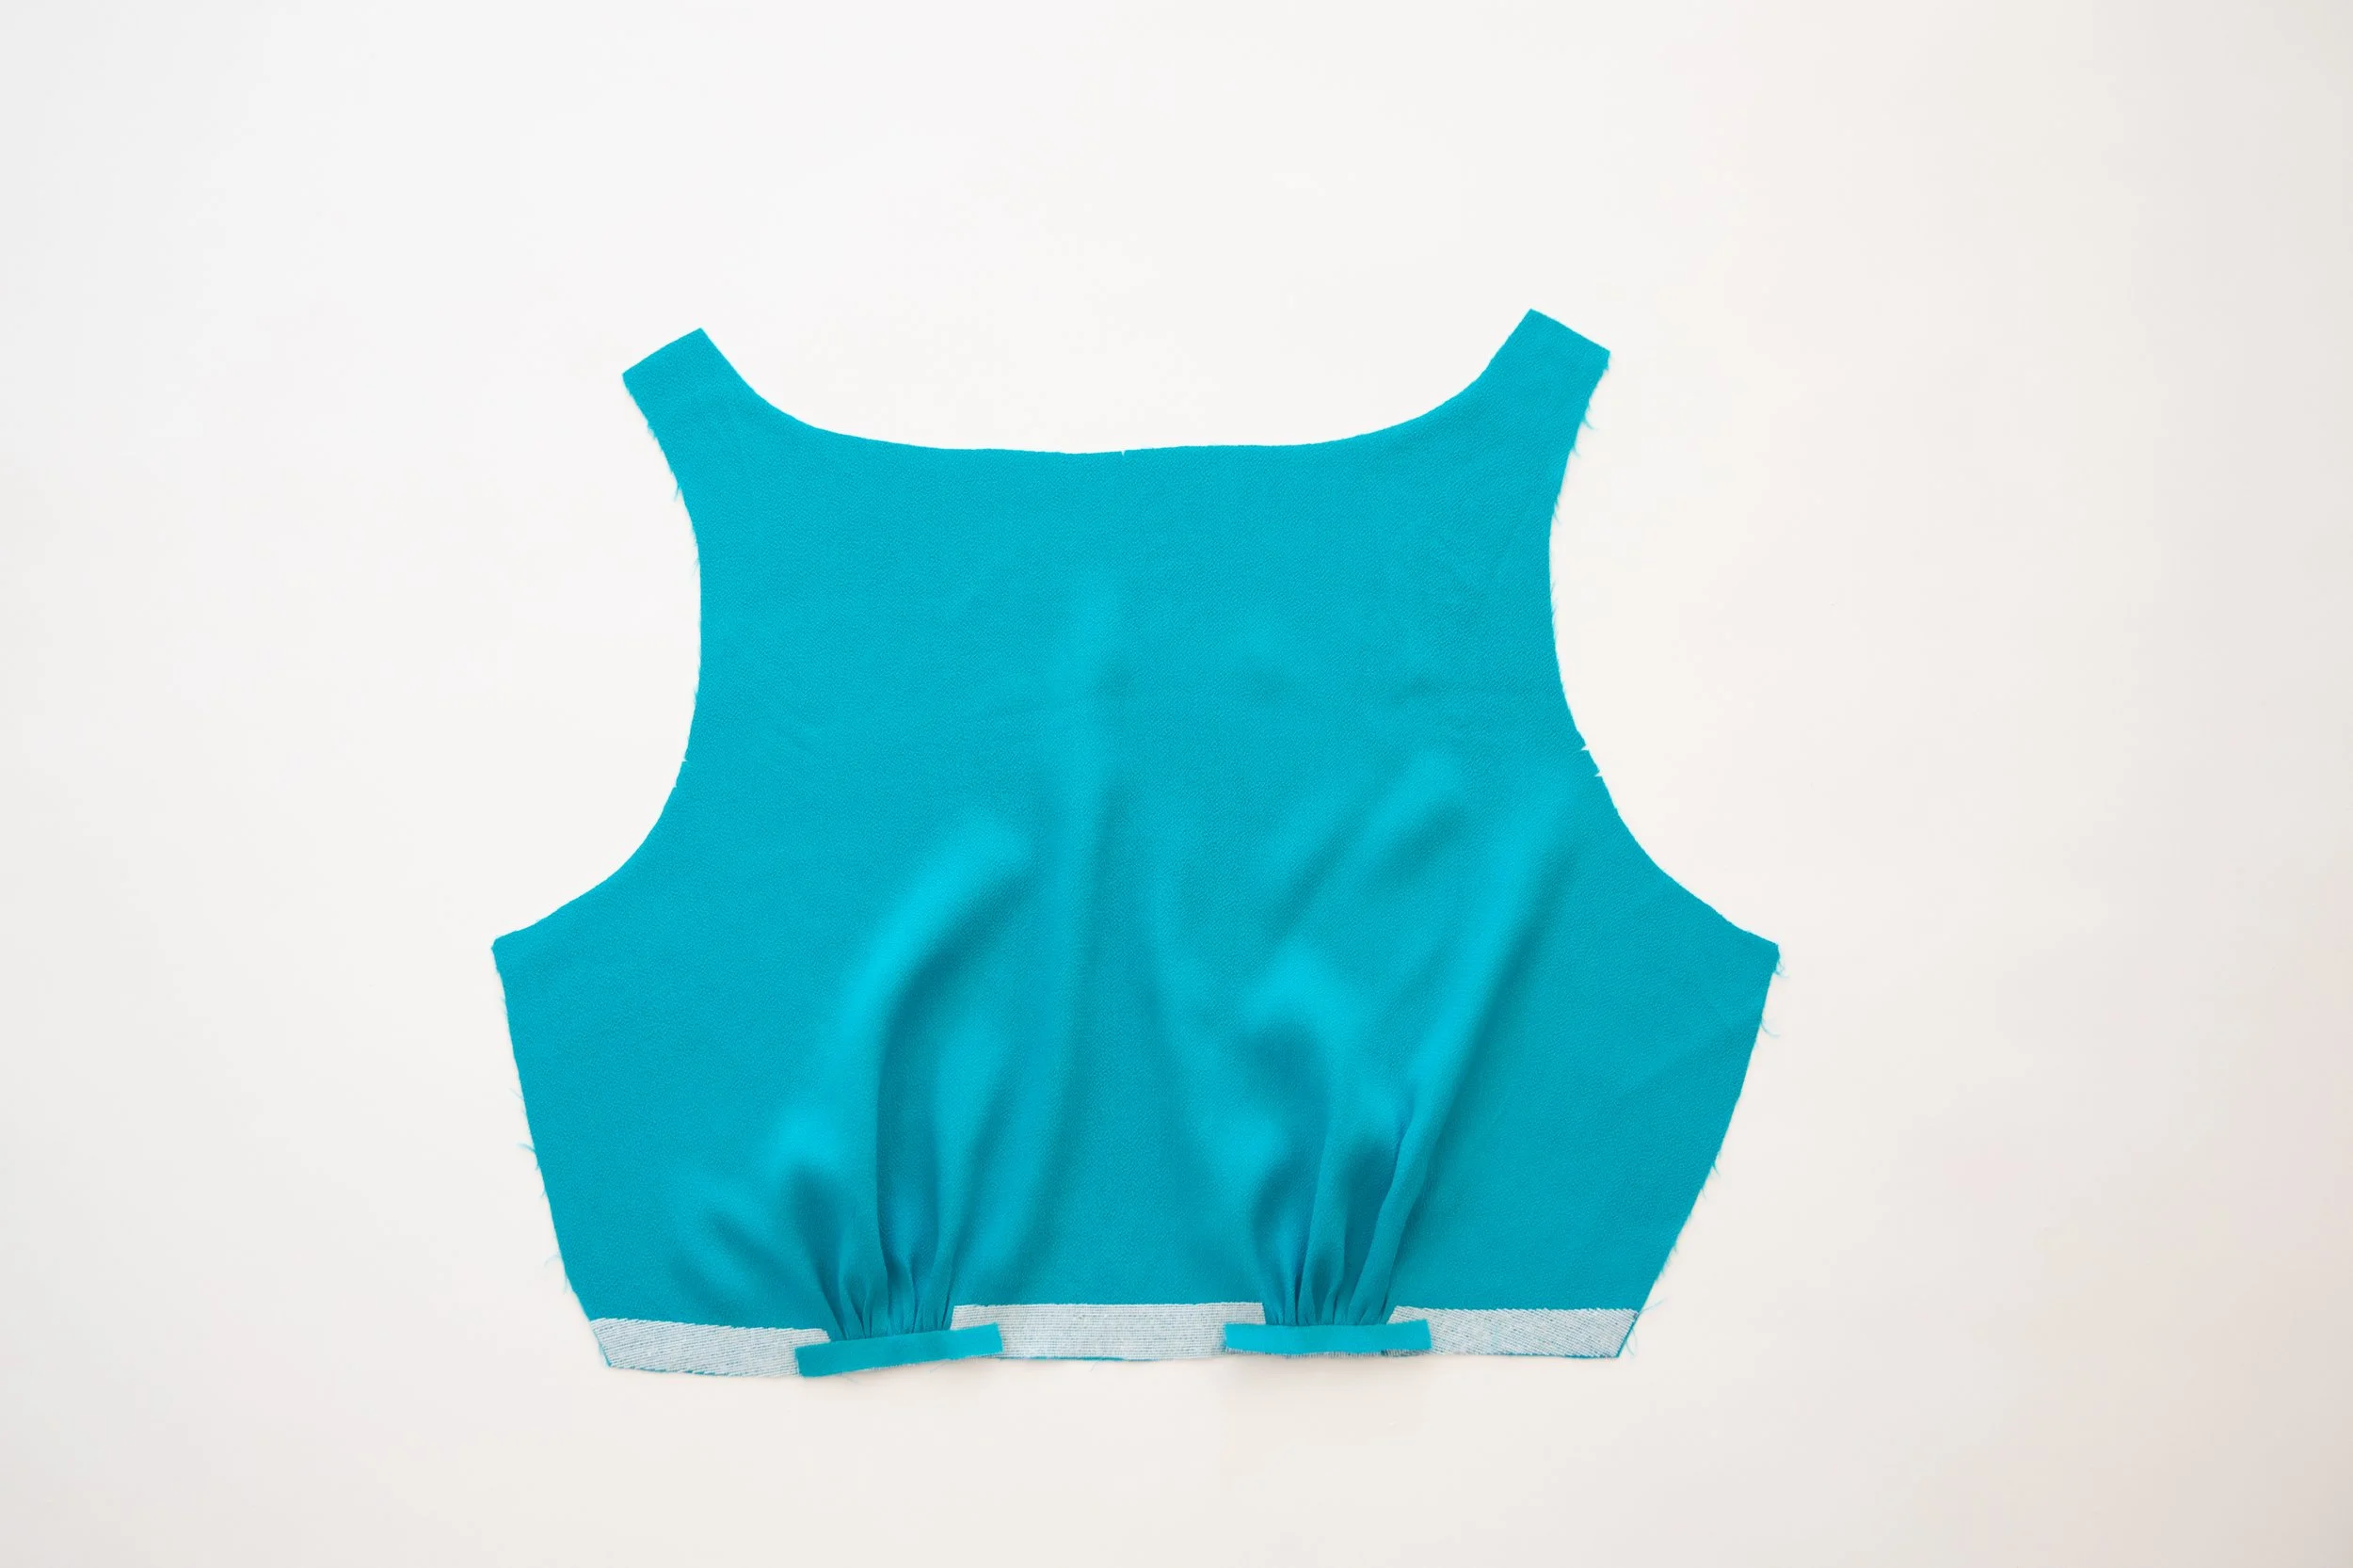
Stitch a gathering stitch (the longest stitch length on your machine) between the notches as illustrated about 5mm / 0.2” from the waist edge.
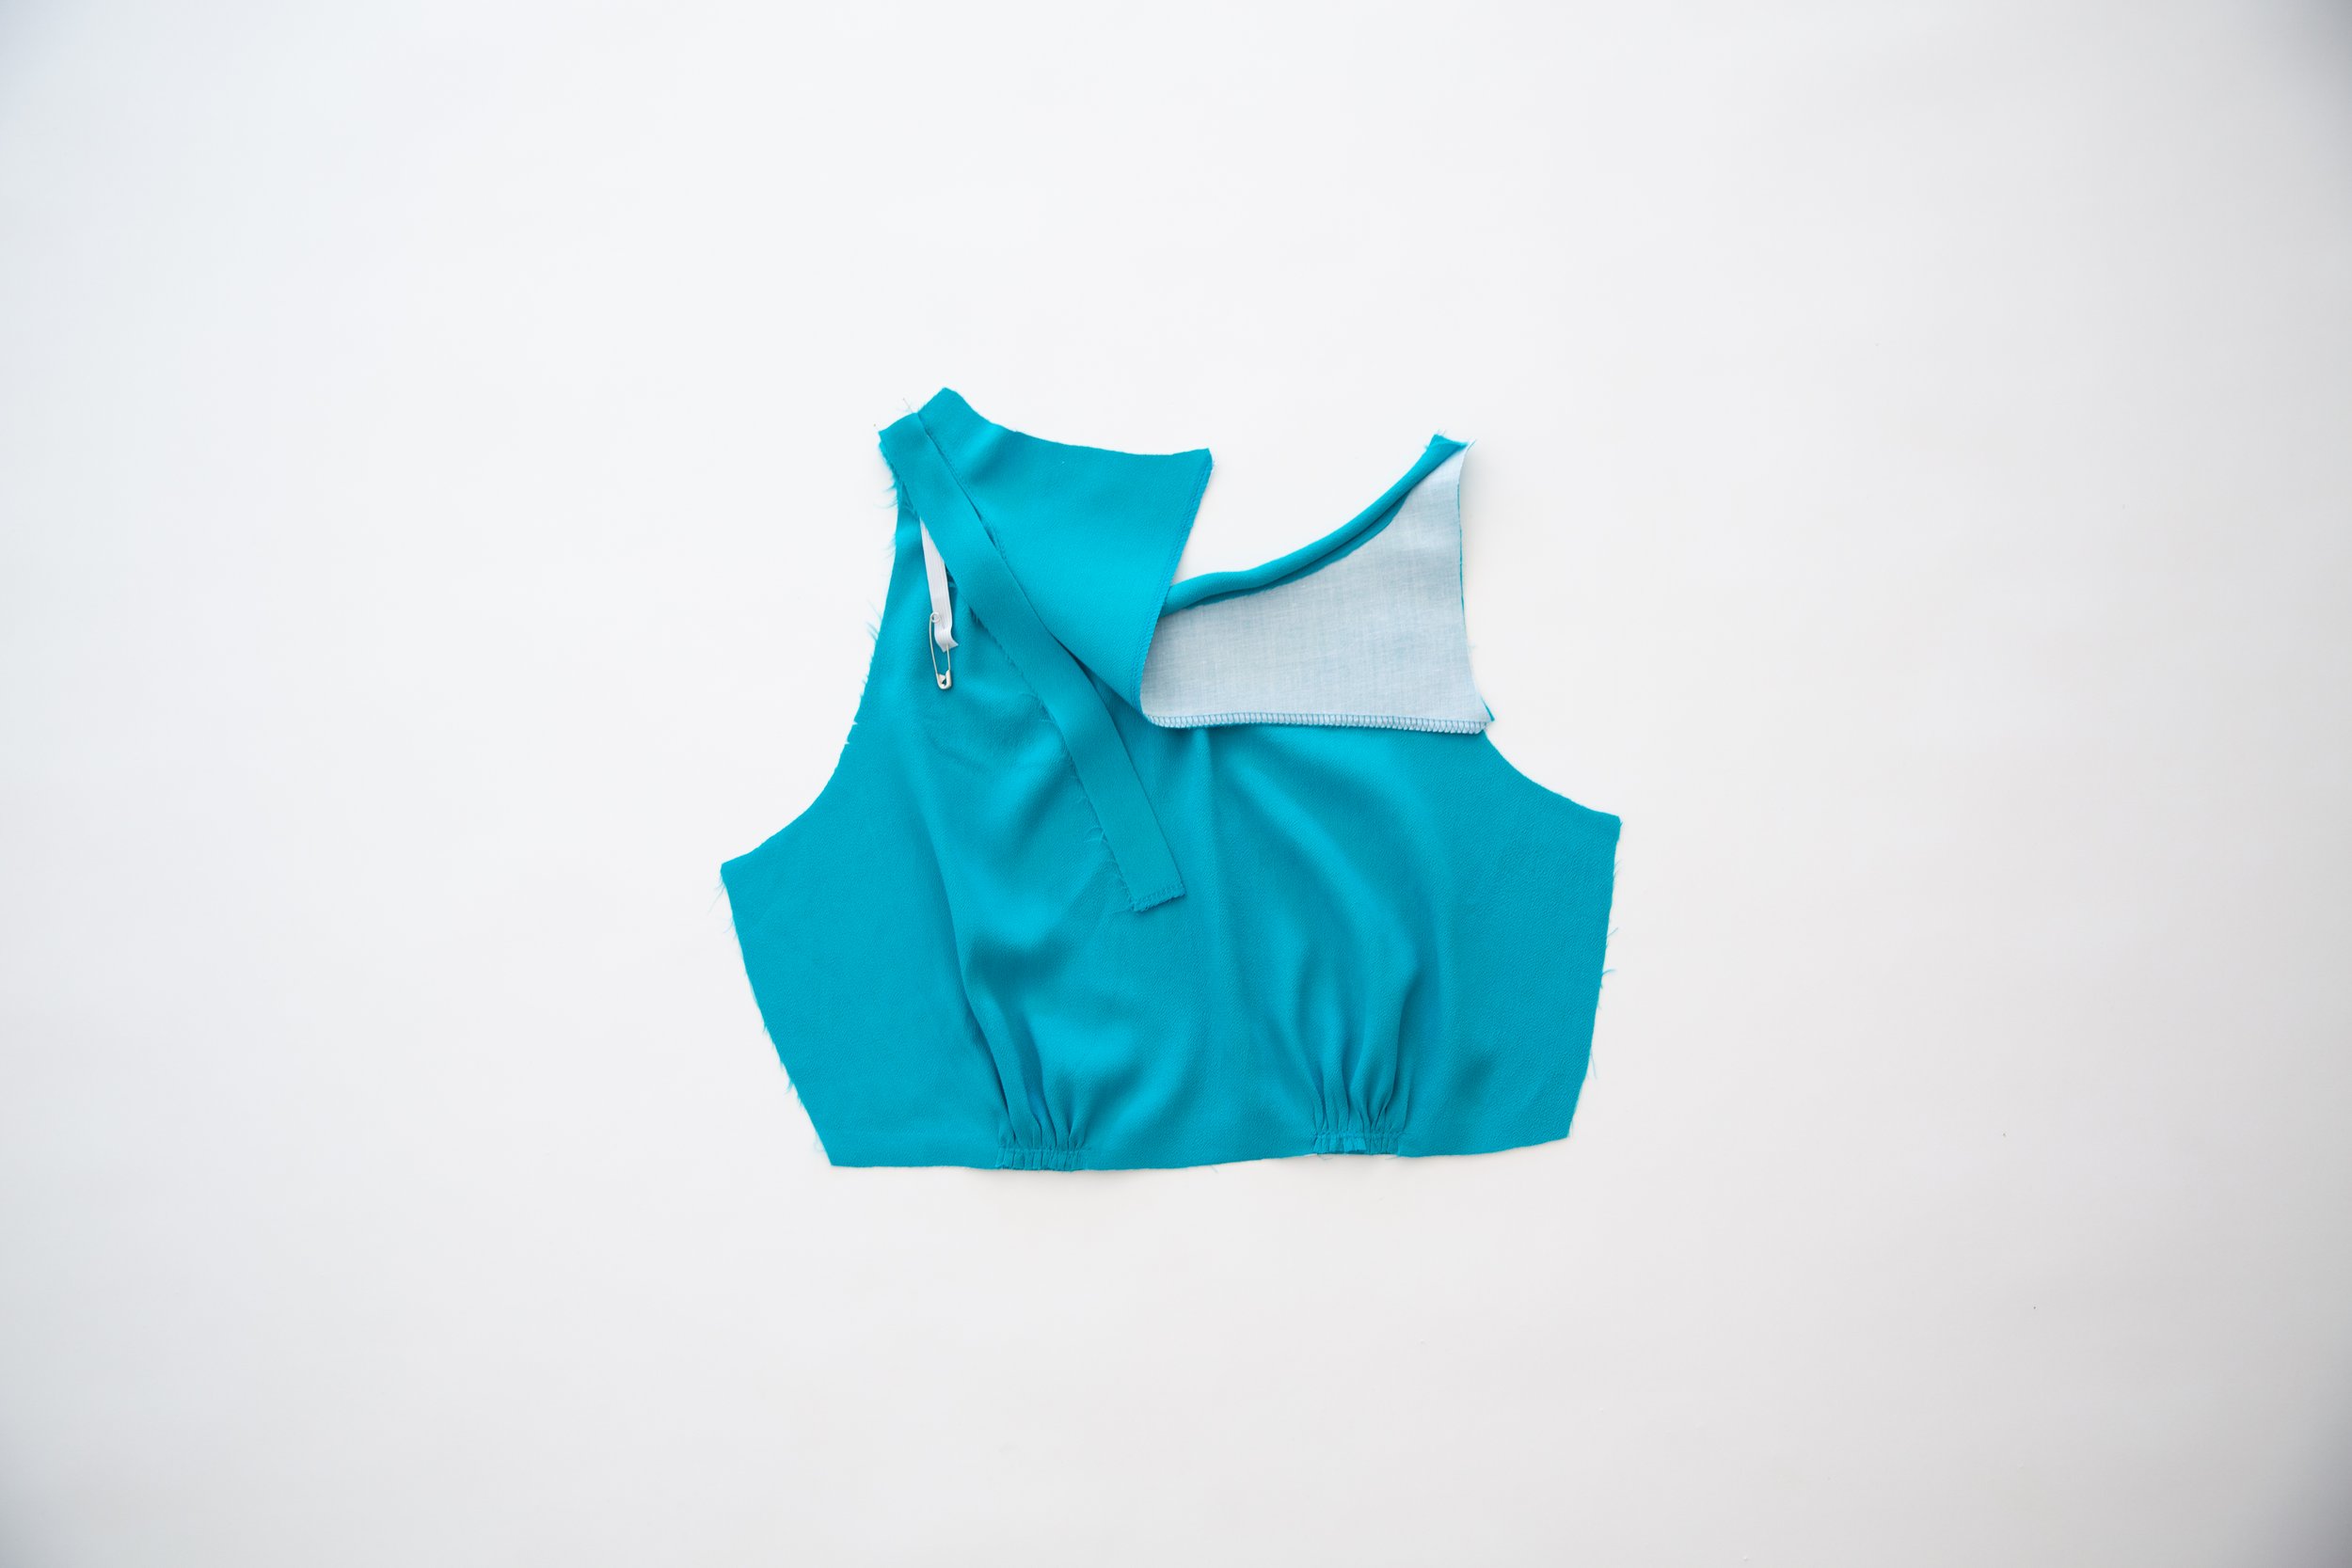
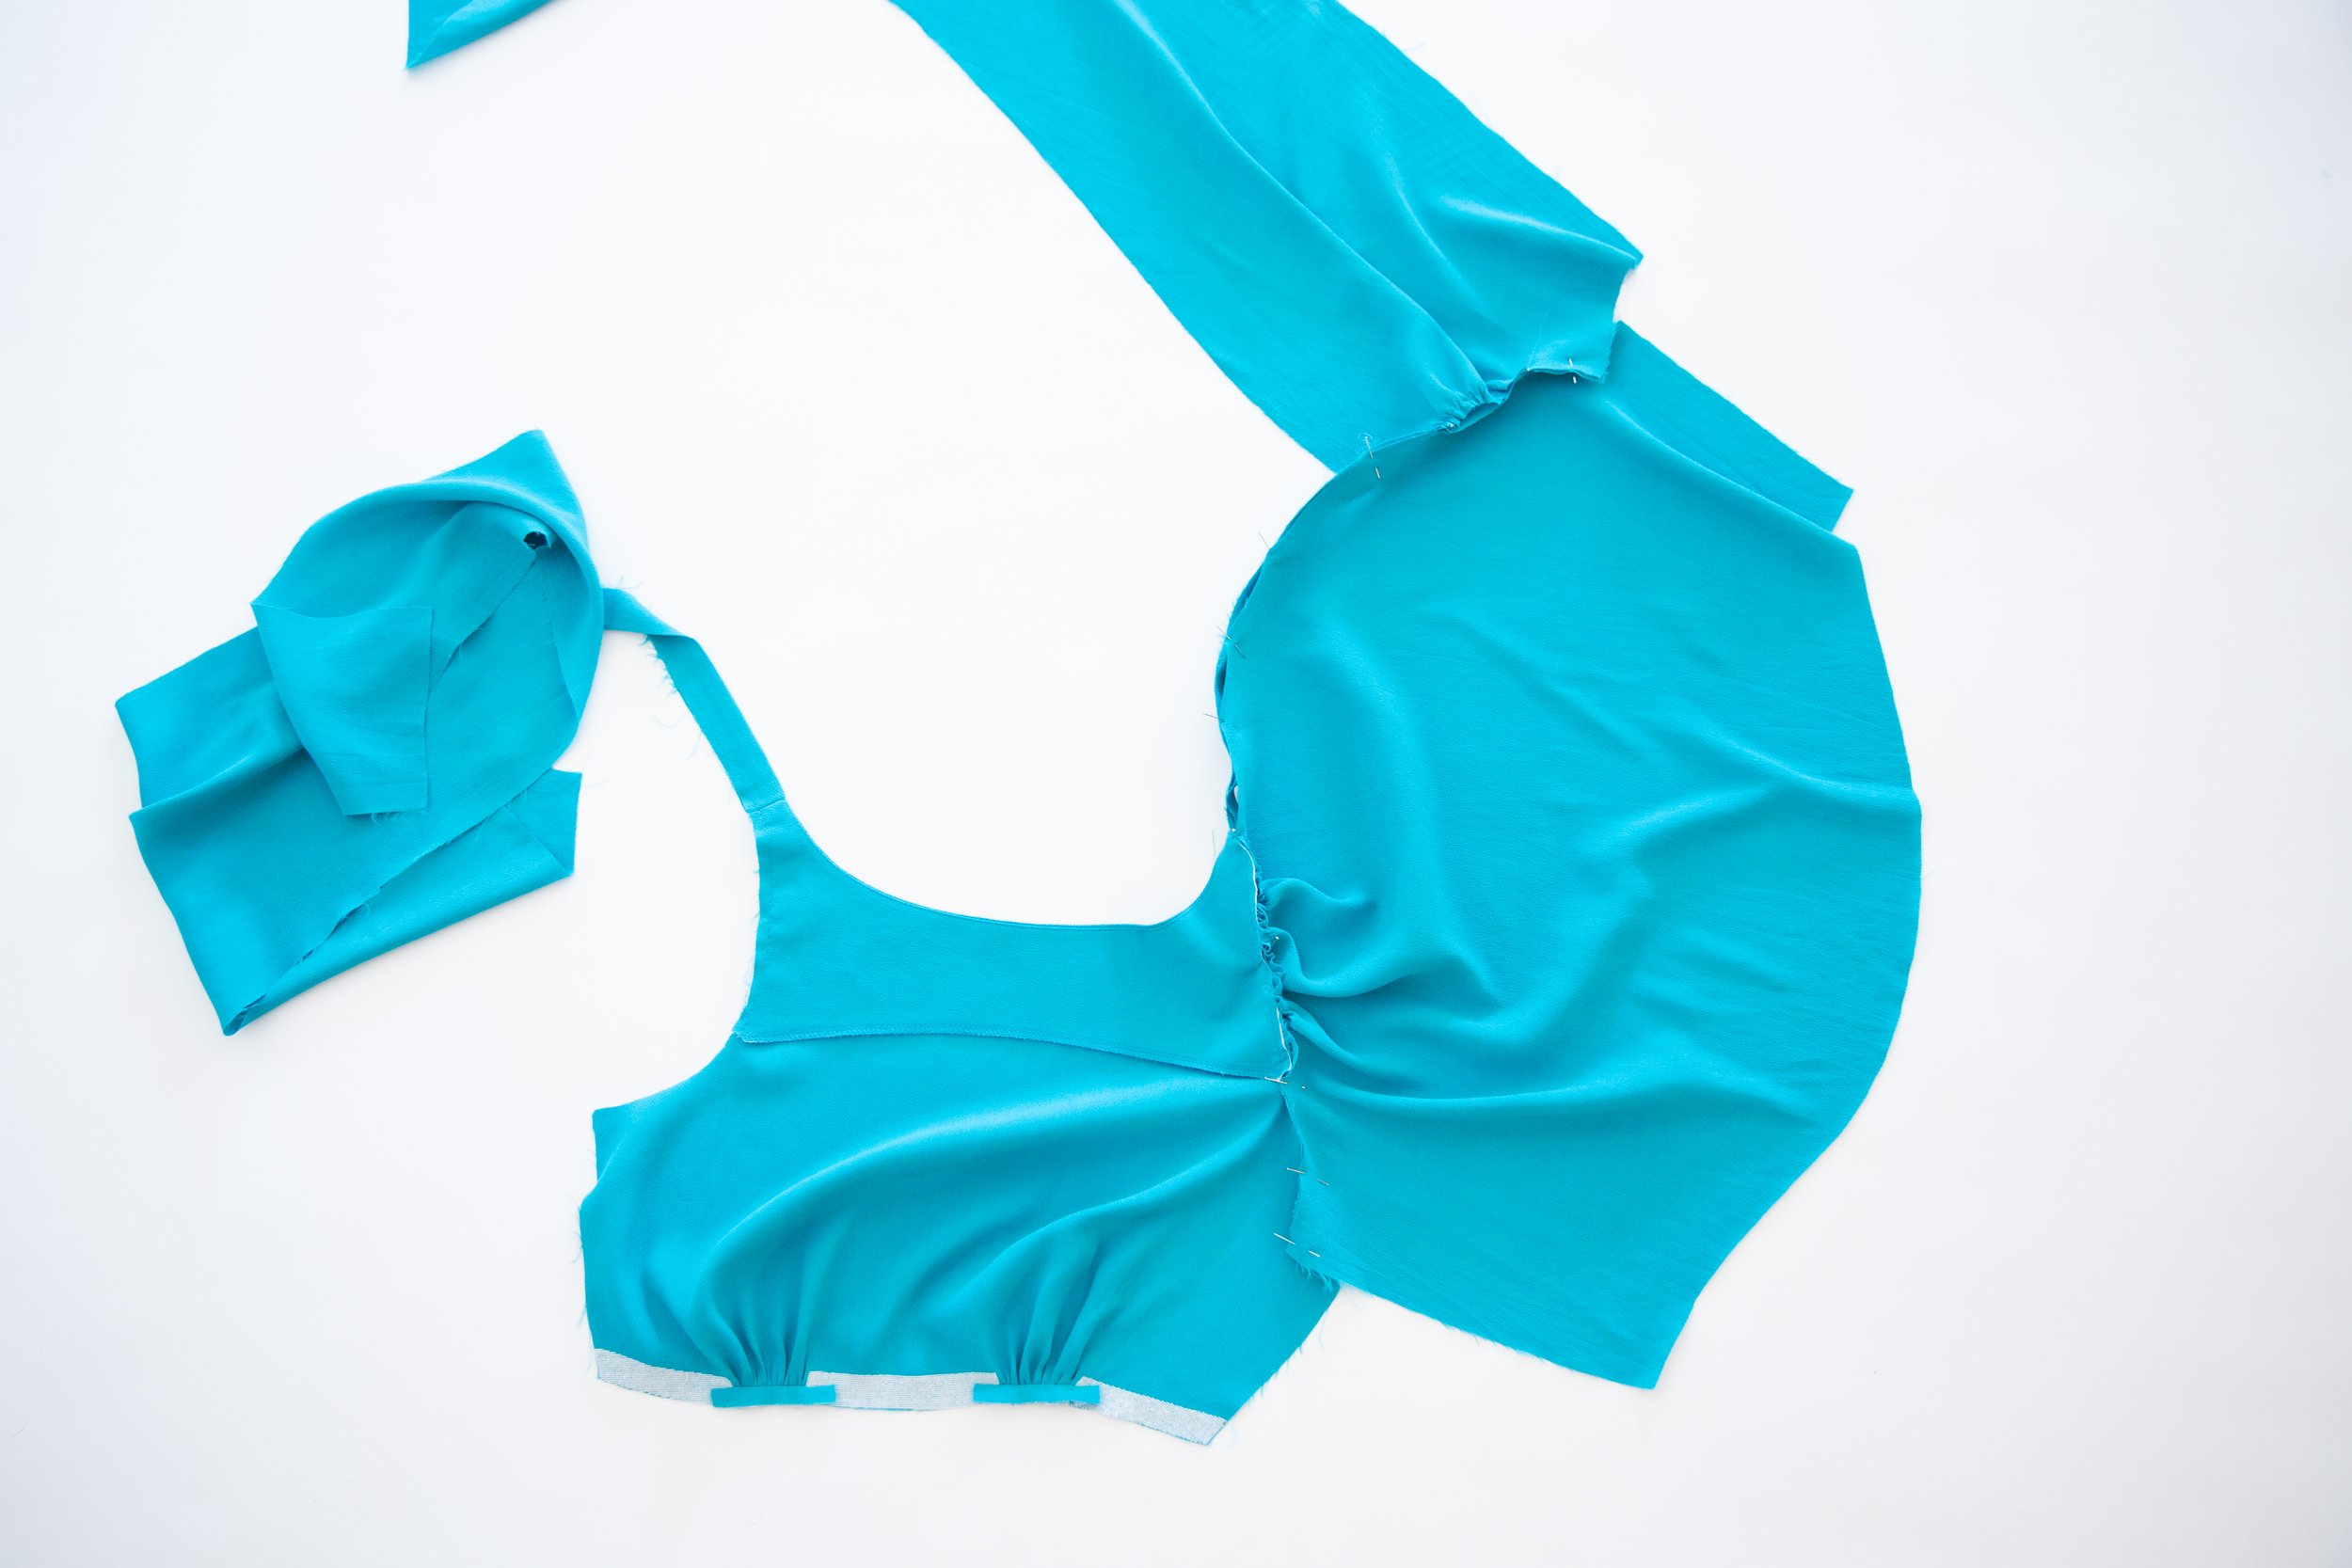
Step 2
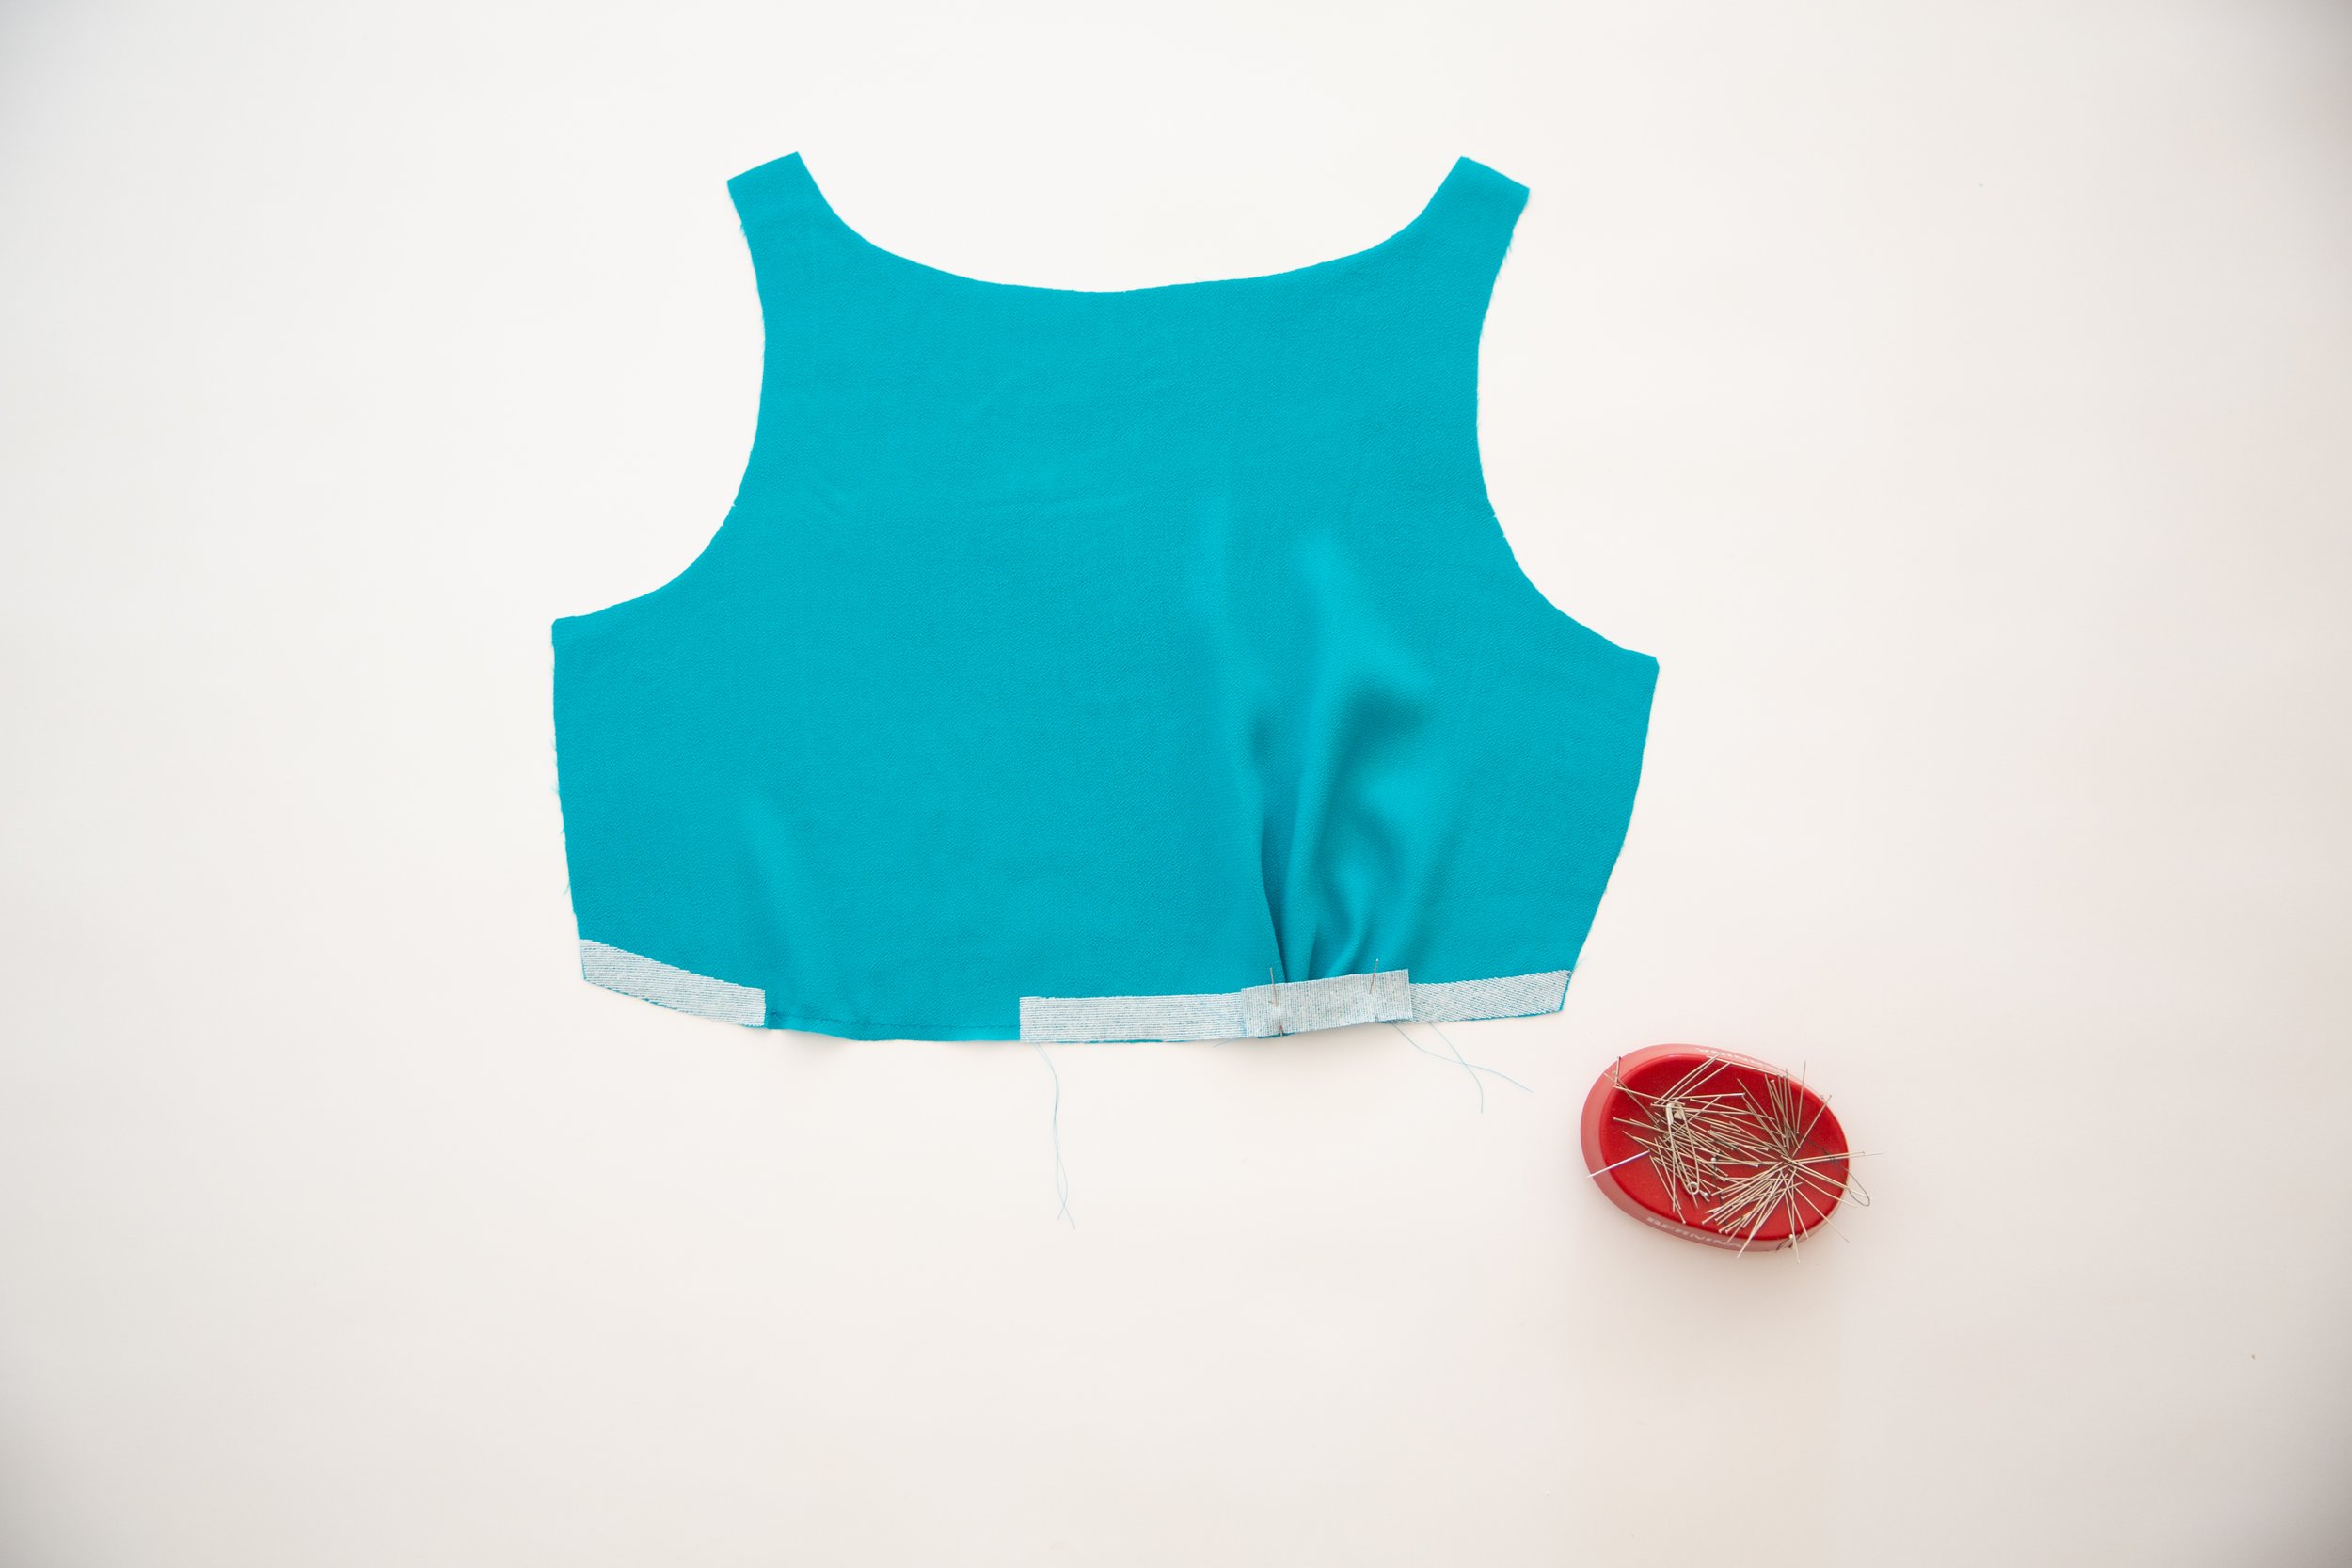
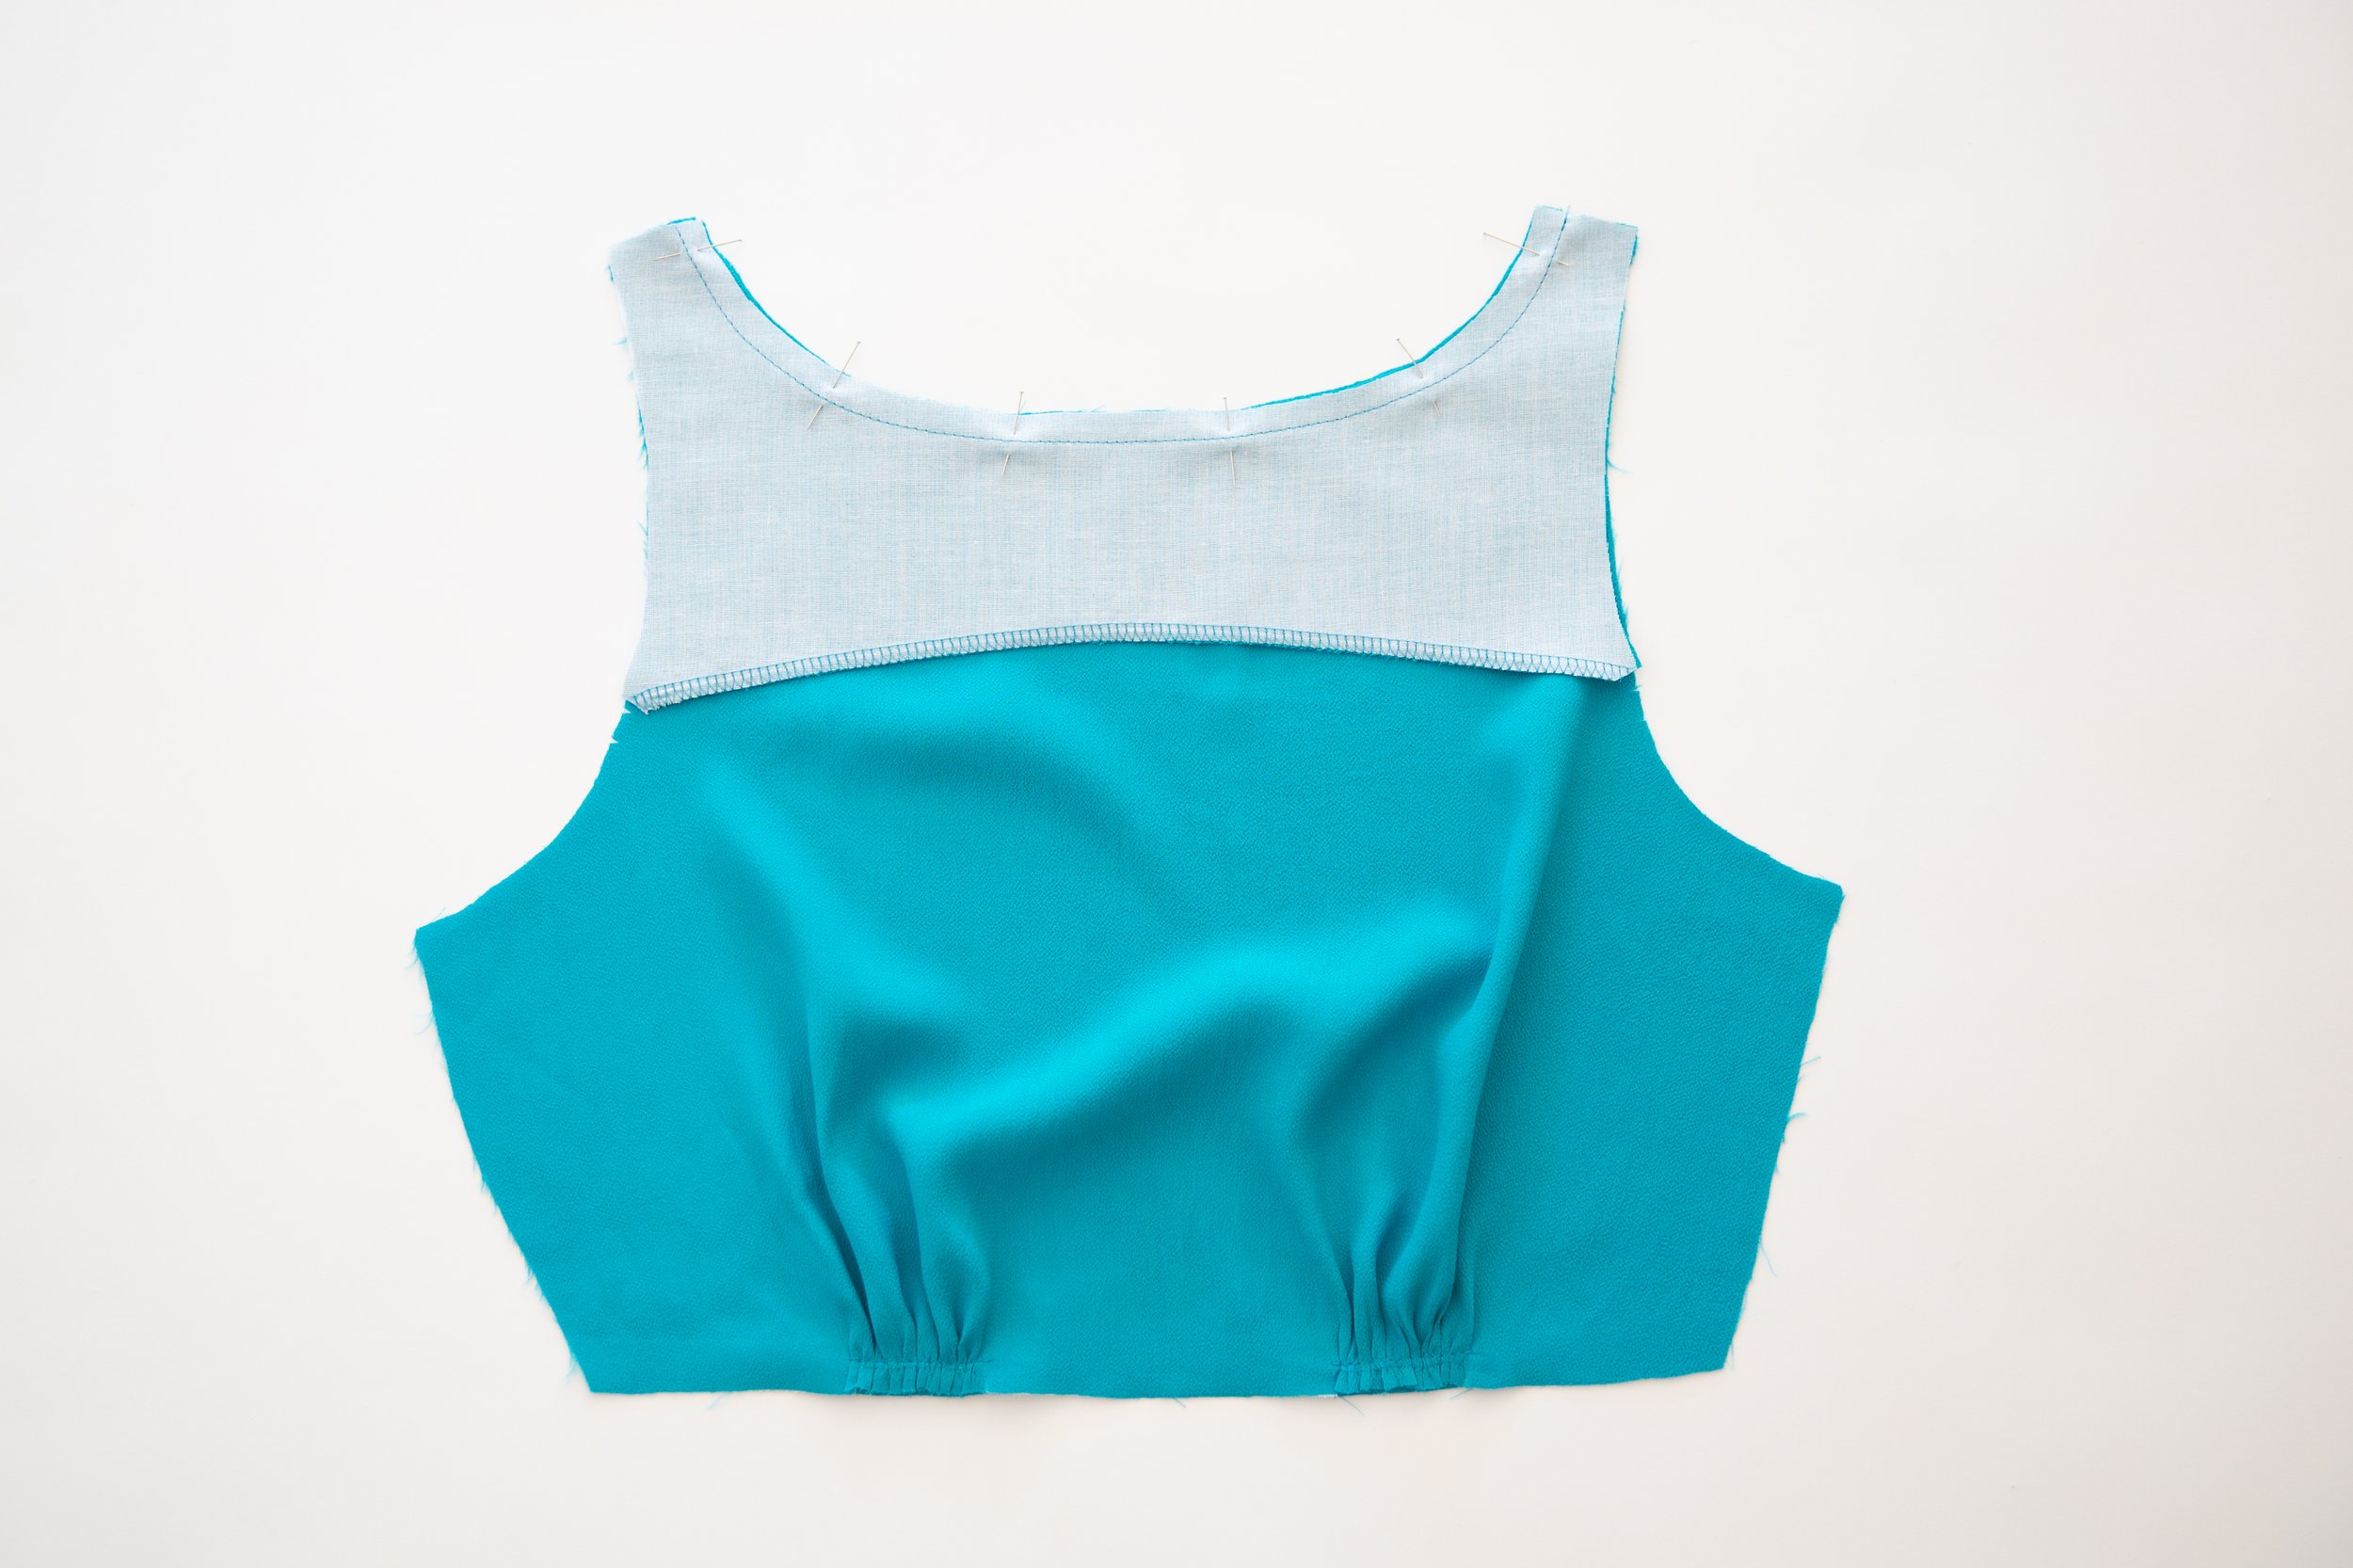
With the right side of gather facing piece, facing the wrong side of bodice, pin together at notches. Pull your gathering threads until it fits between the notches on the gather facing piece. Evenly distribute gathers, then stitch together 0.9cm/0.35” from edge. Press the gather piece along stitch line, so that the top edge meets the bottom edge. Repeat on other side.
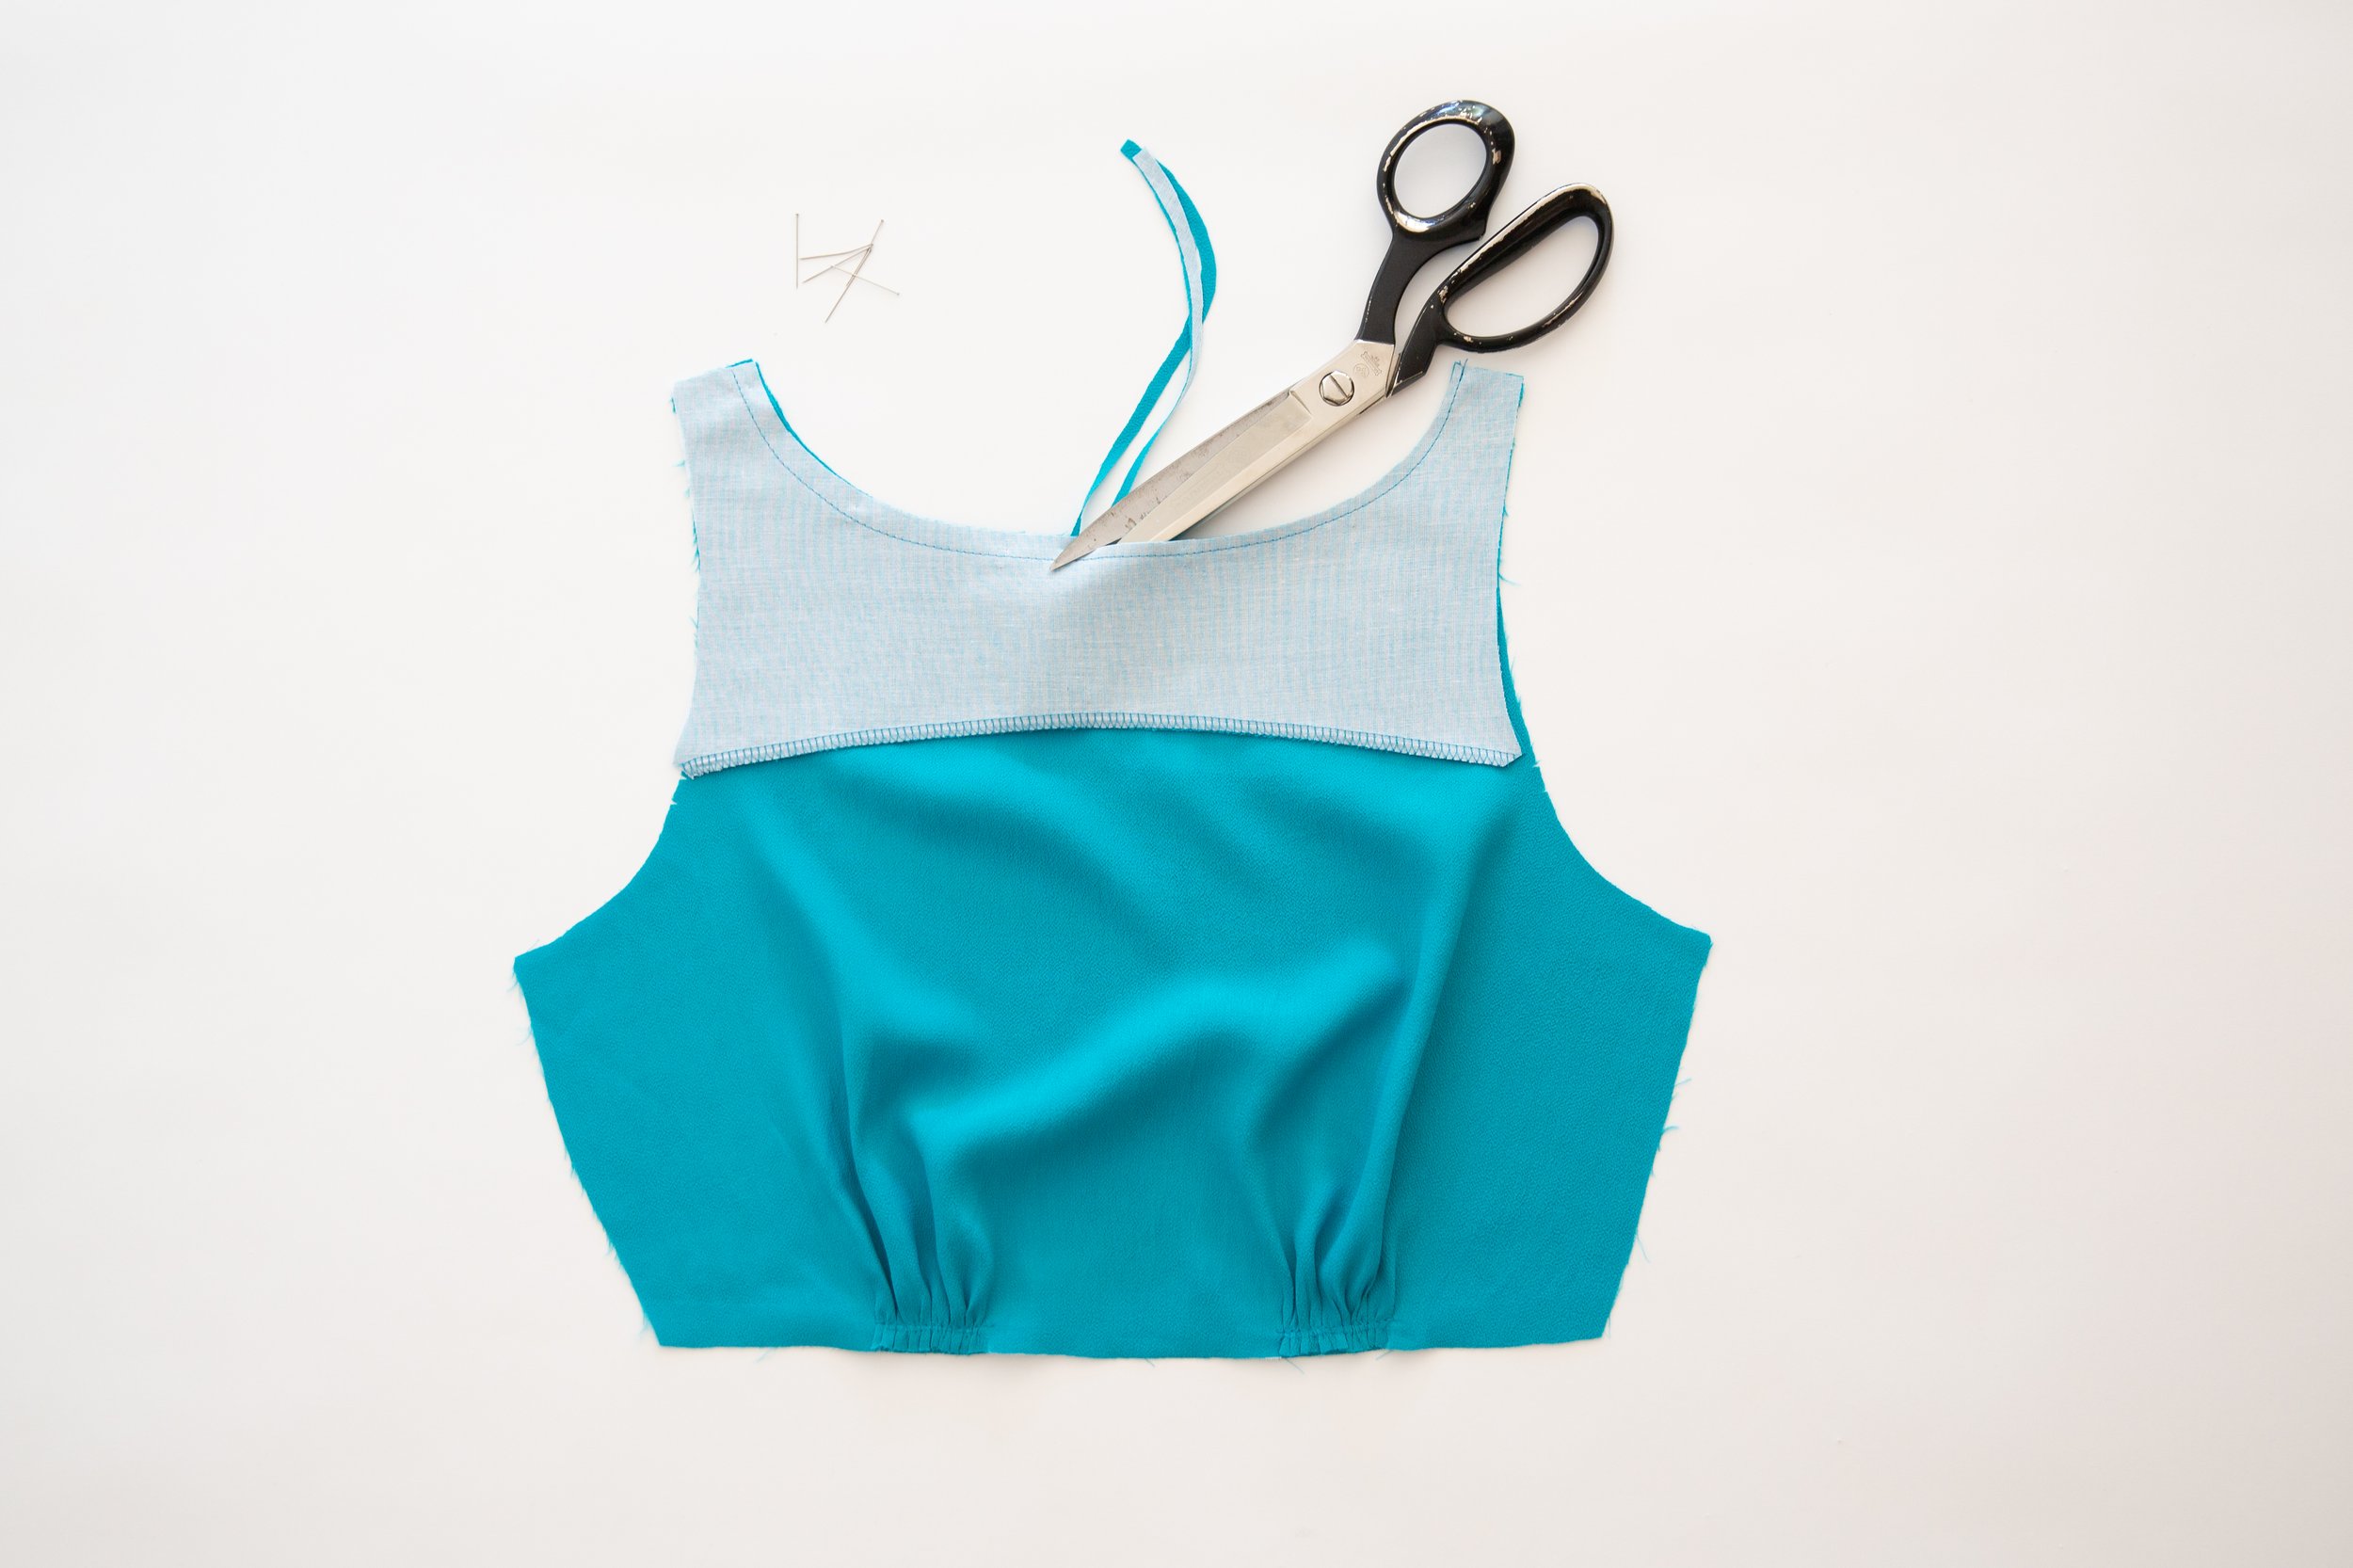
Step 3
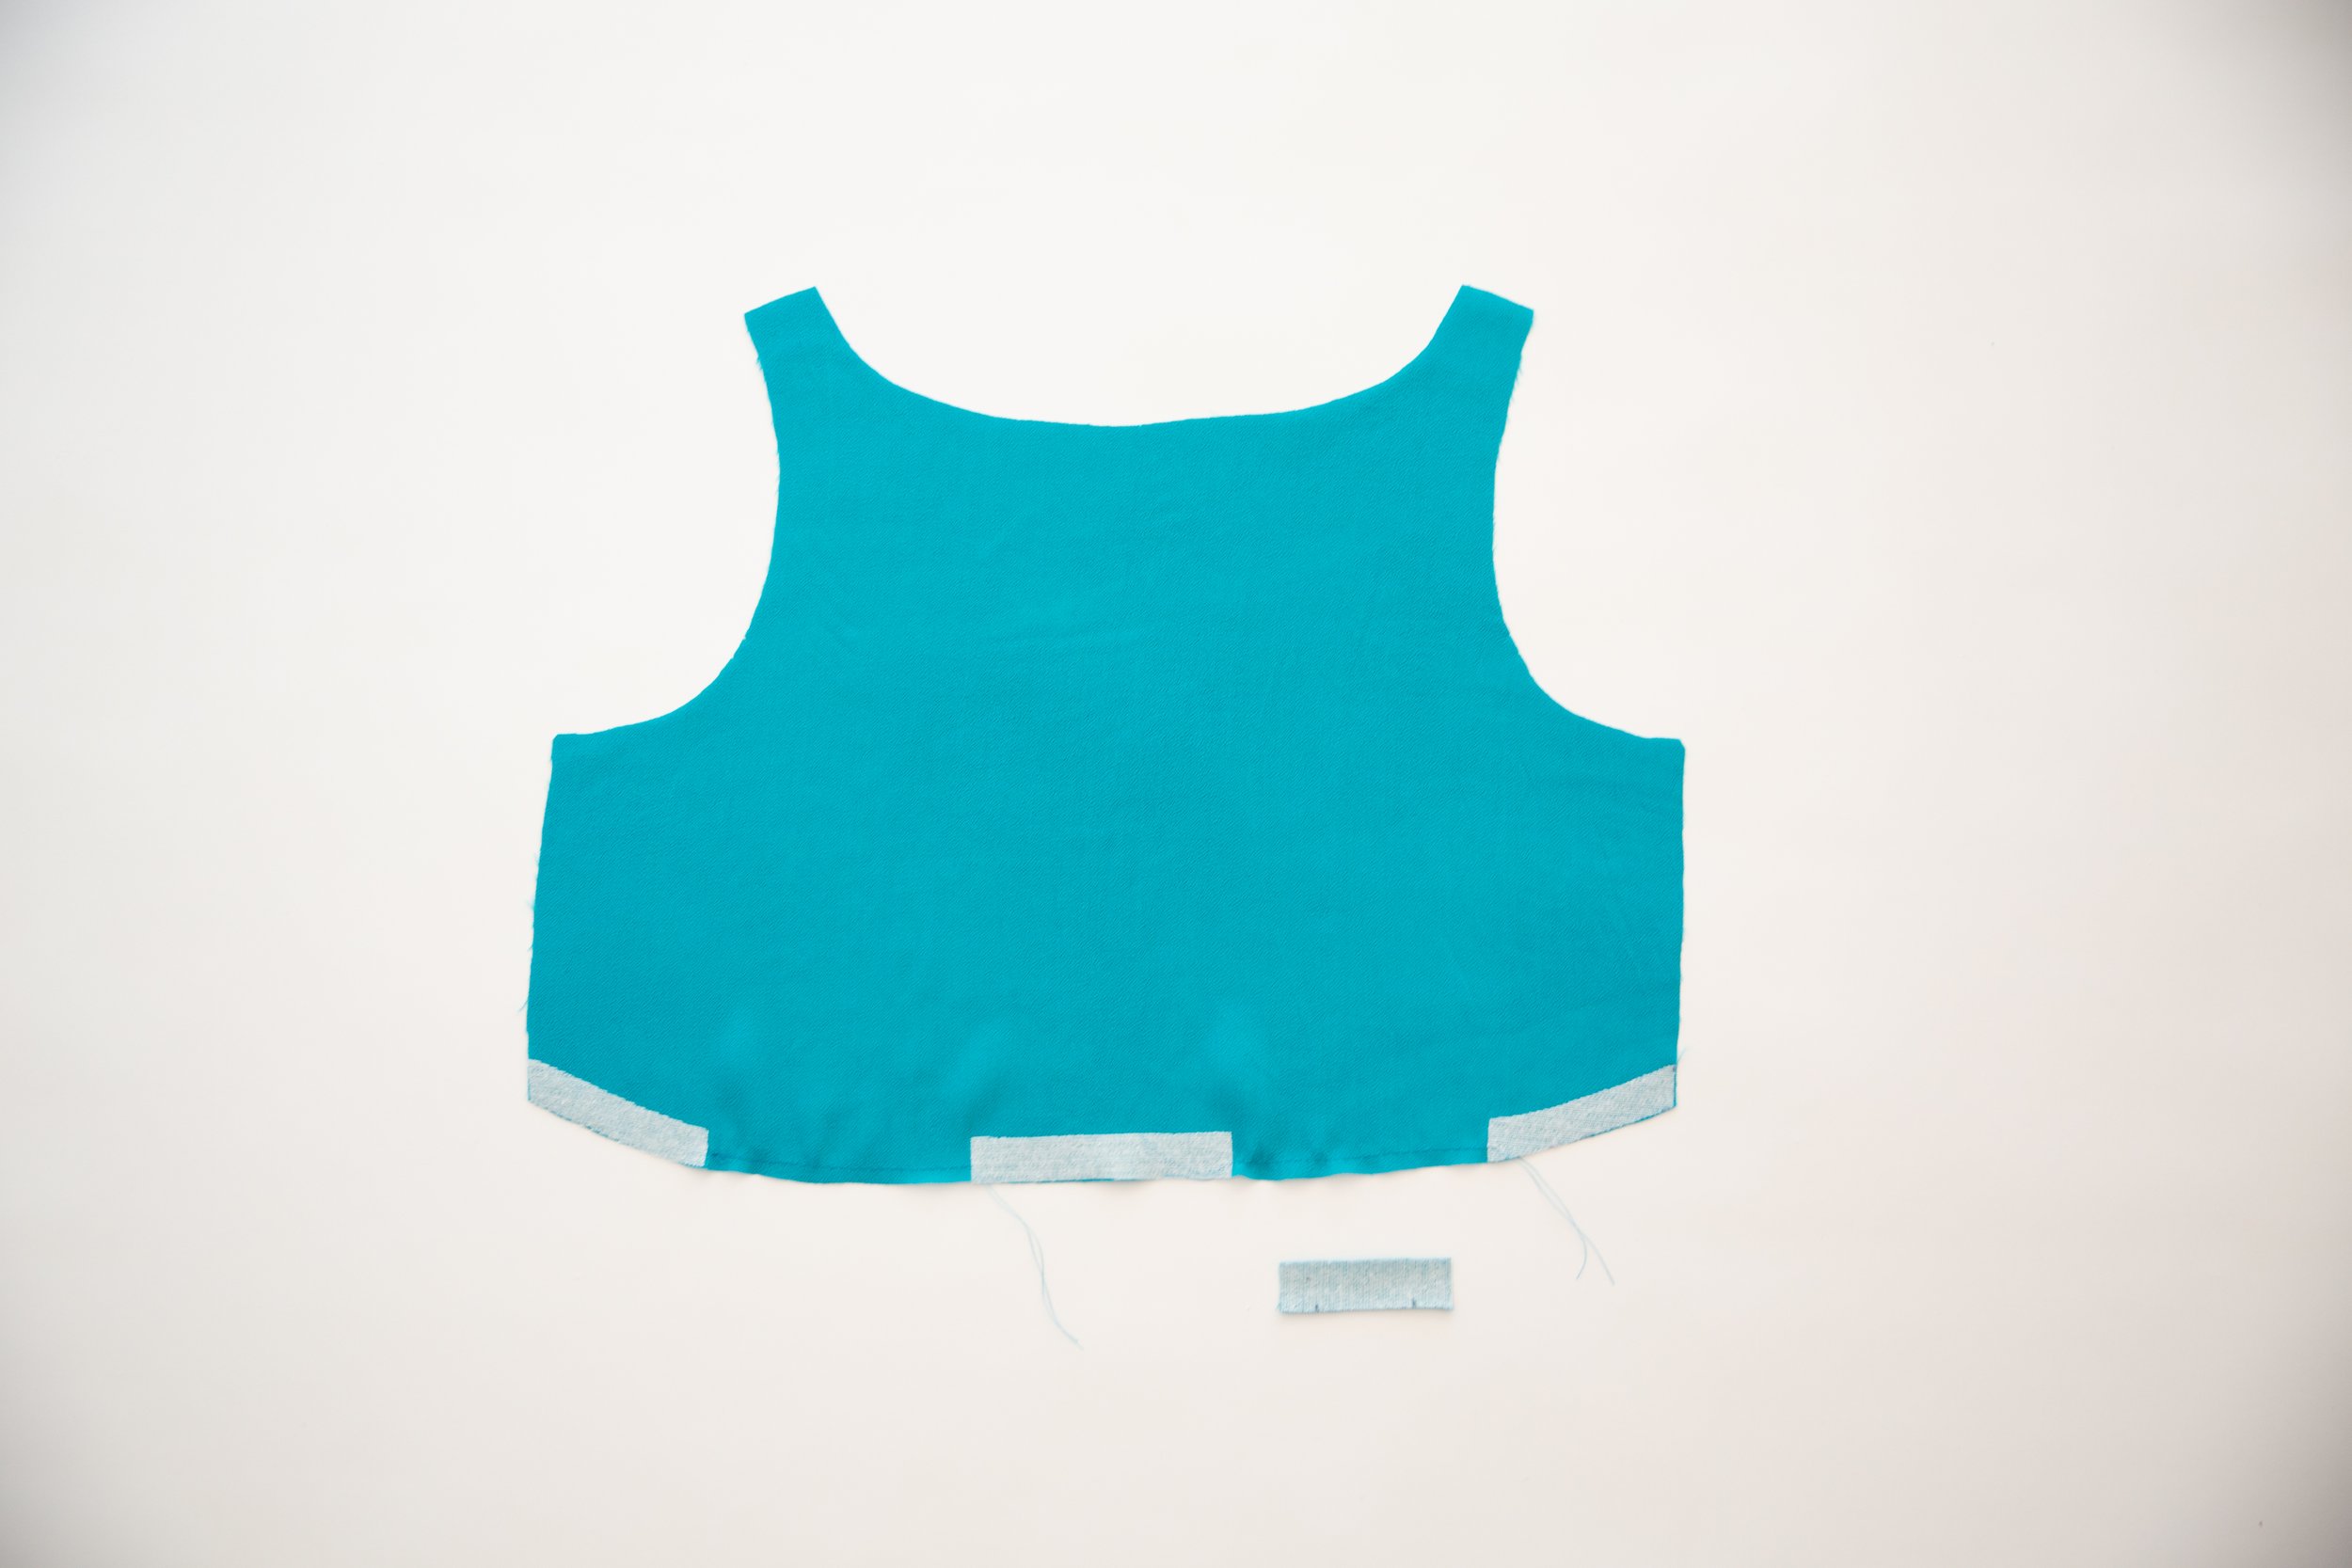
With right sides facing, pin neck facing piece to neckline. Stitch together. Trim seam allowance in half and clip around curves. Understitch seam allowance toward facing. Press.


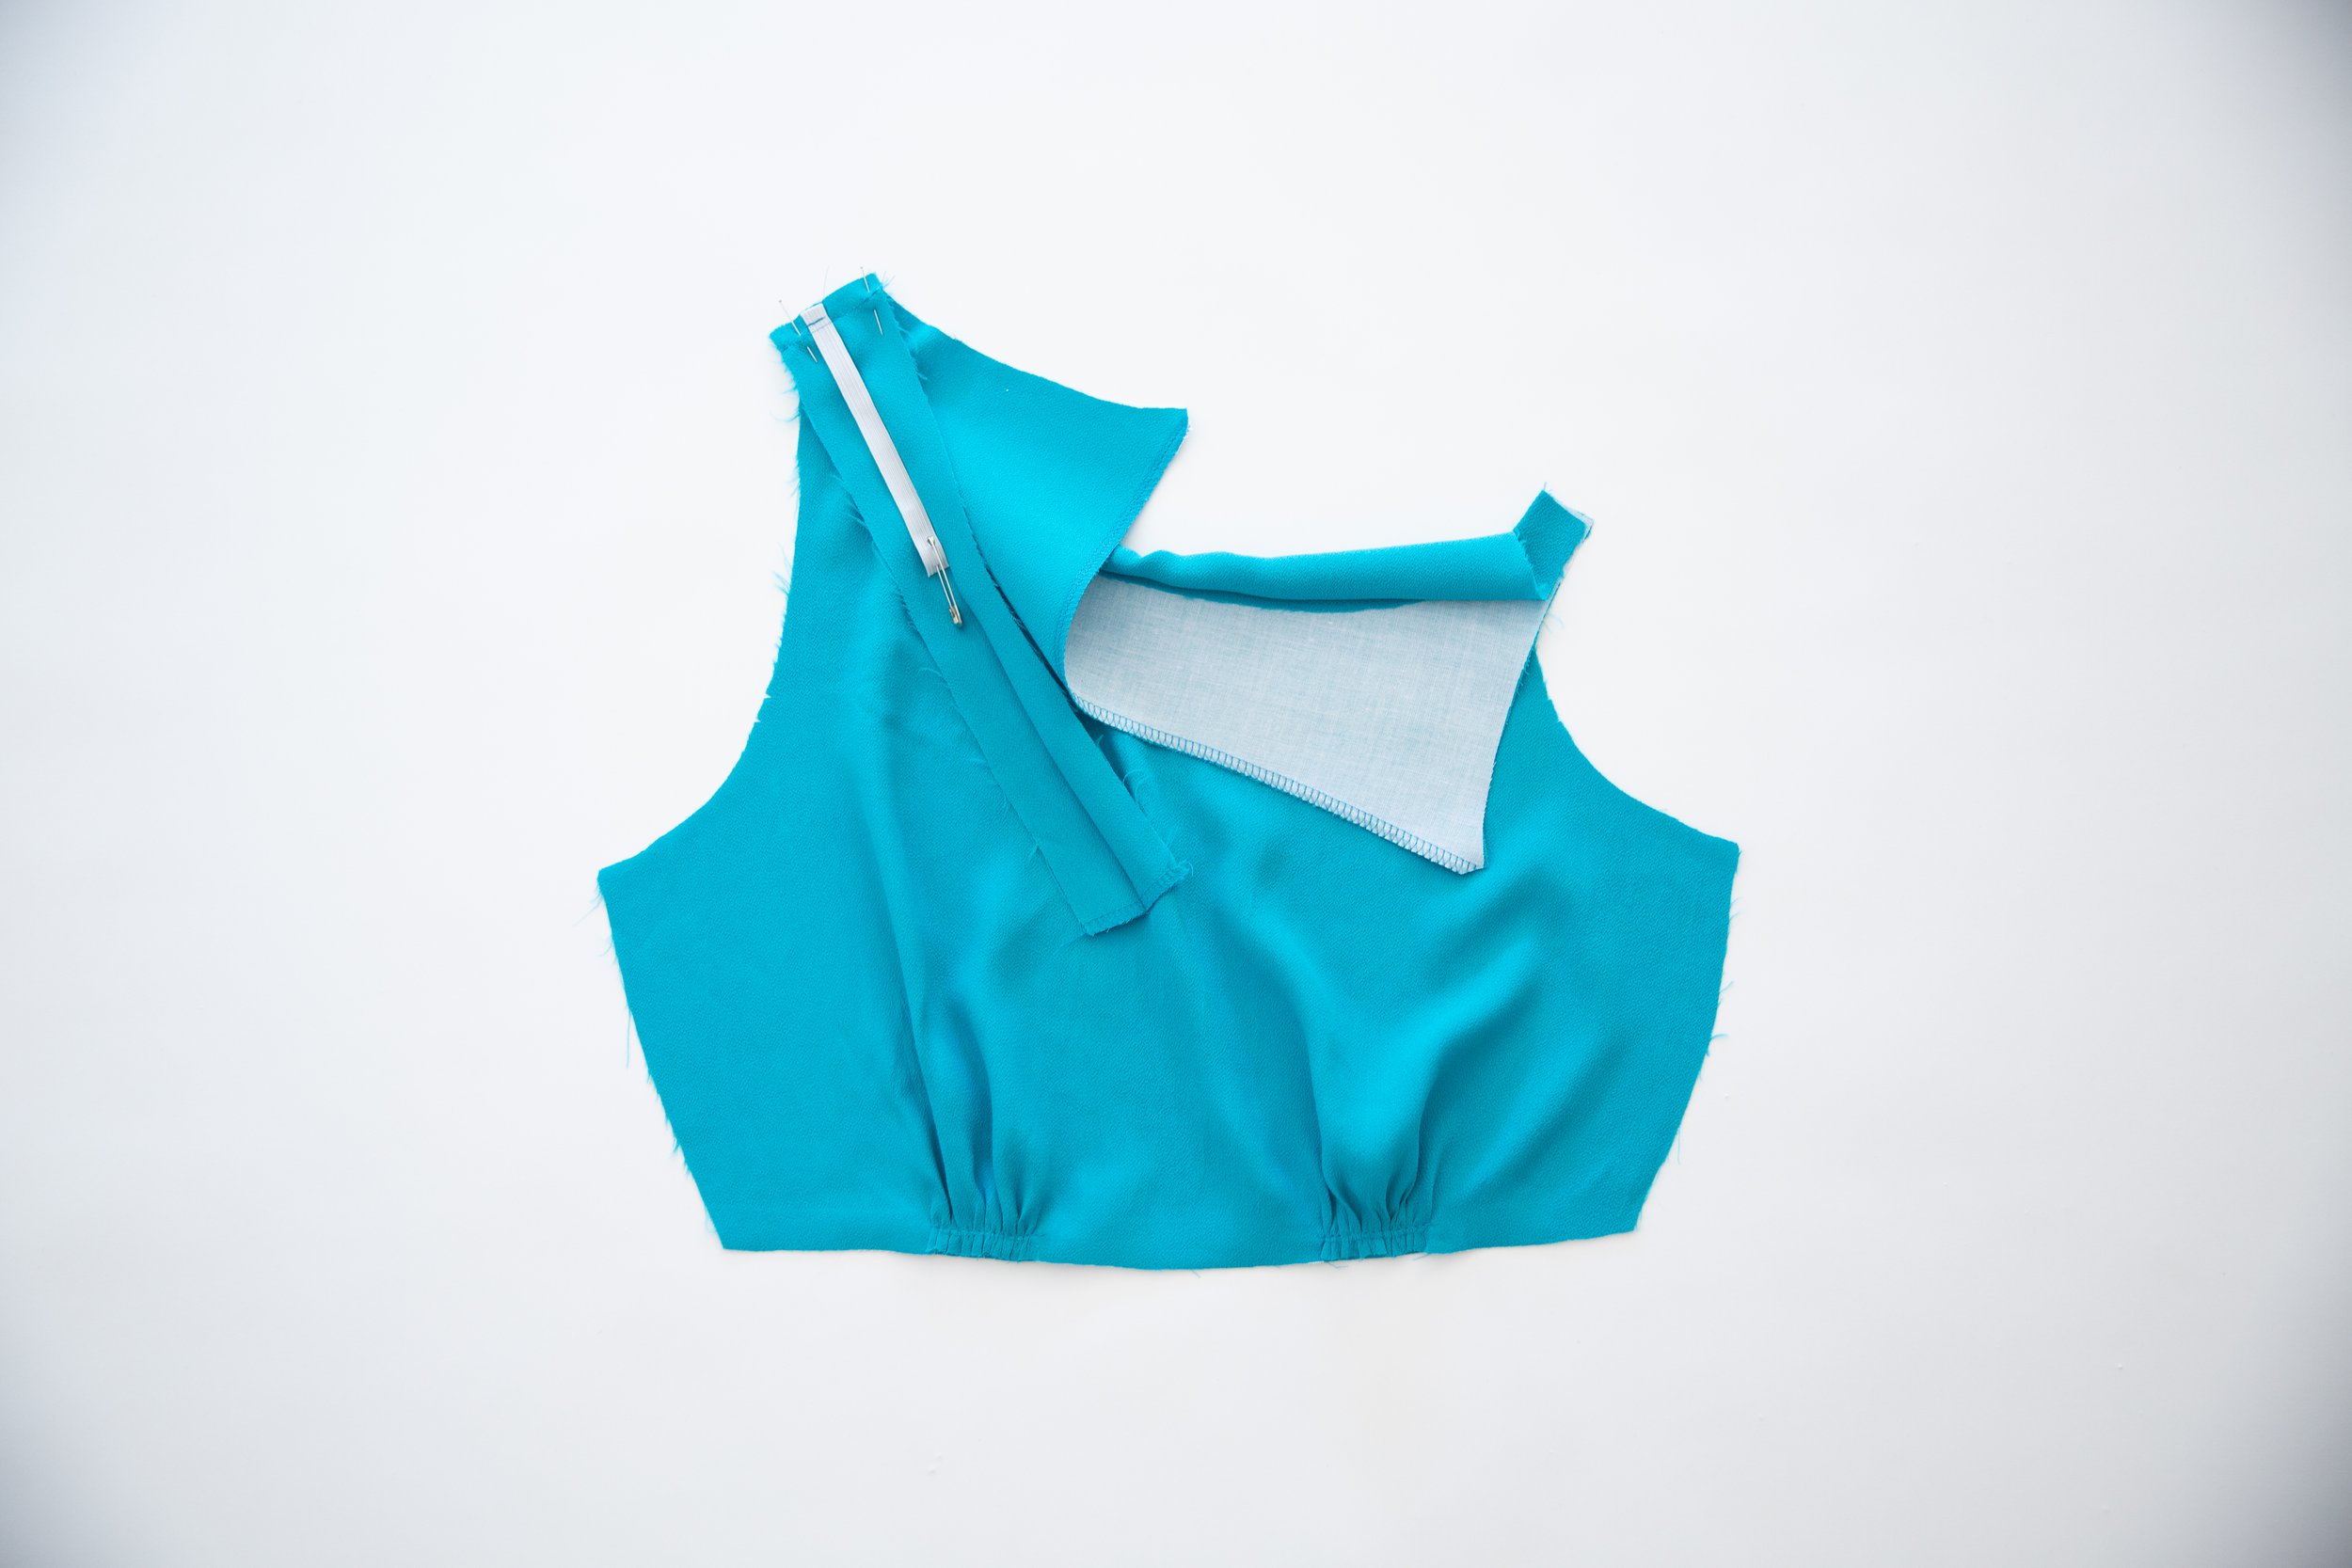
Step 4
Cut two 12cm/4.75” pieces of wide elastic.
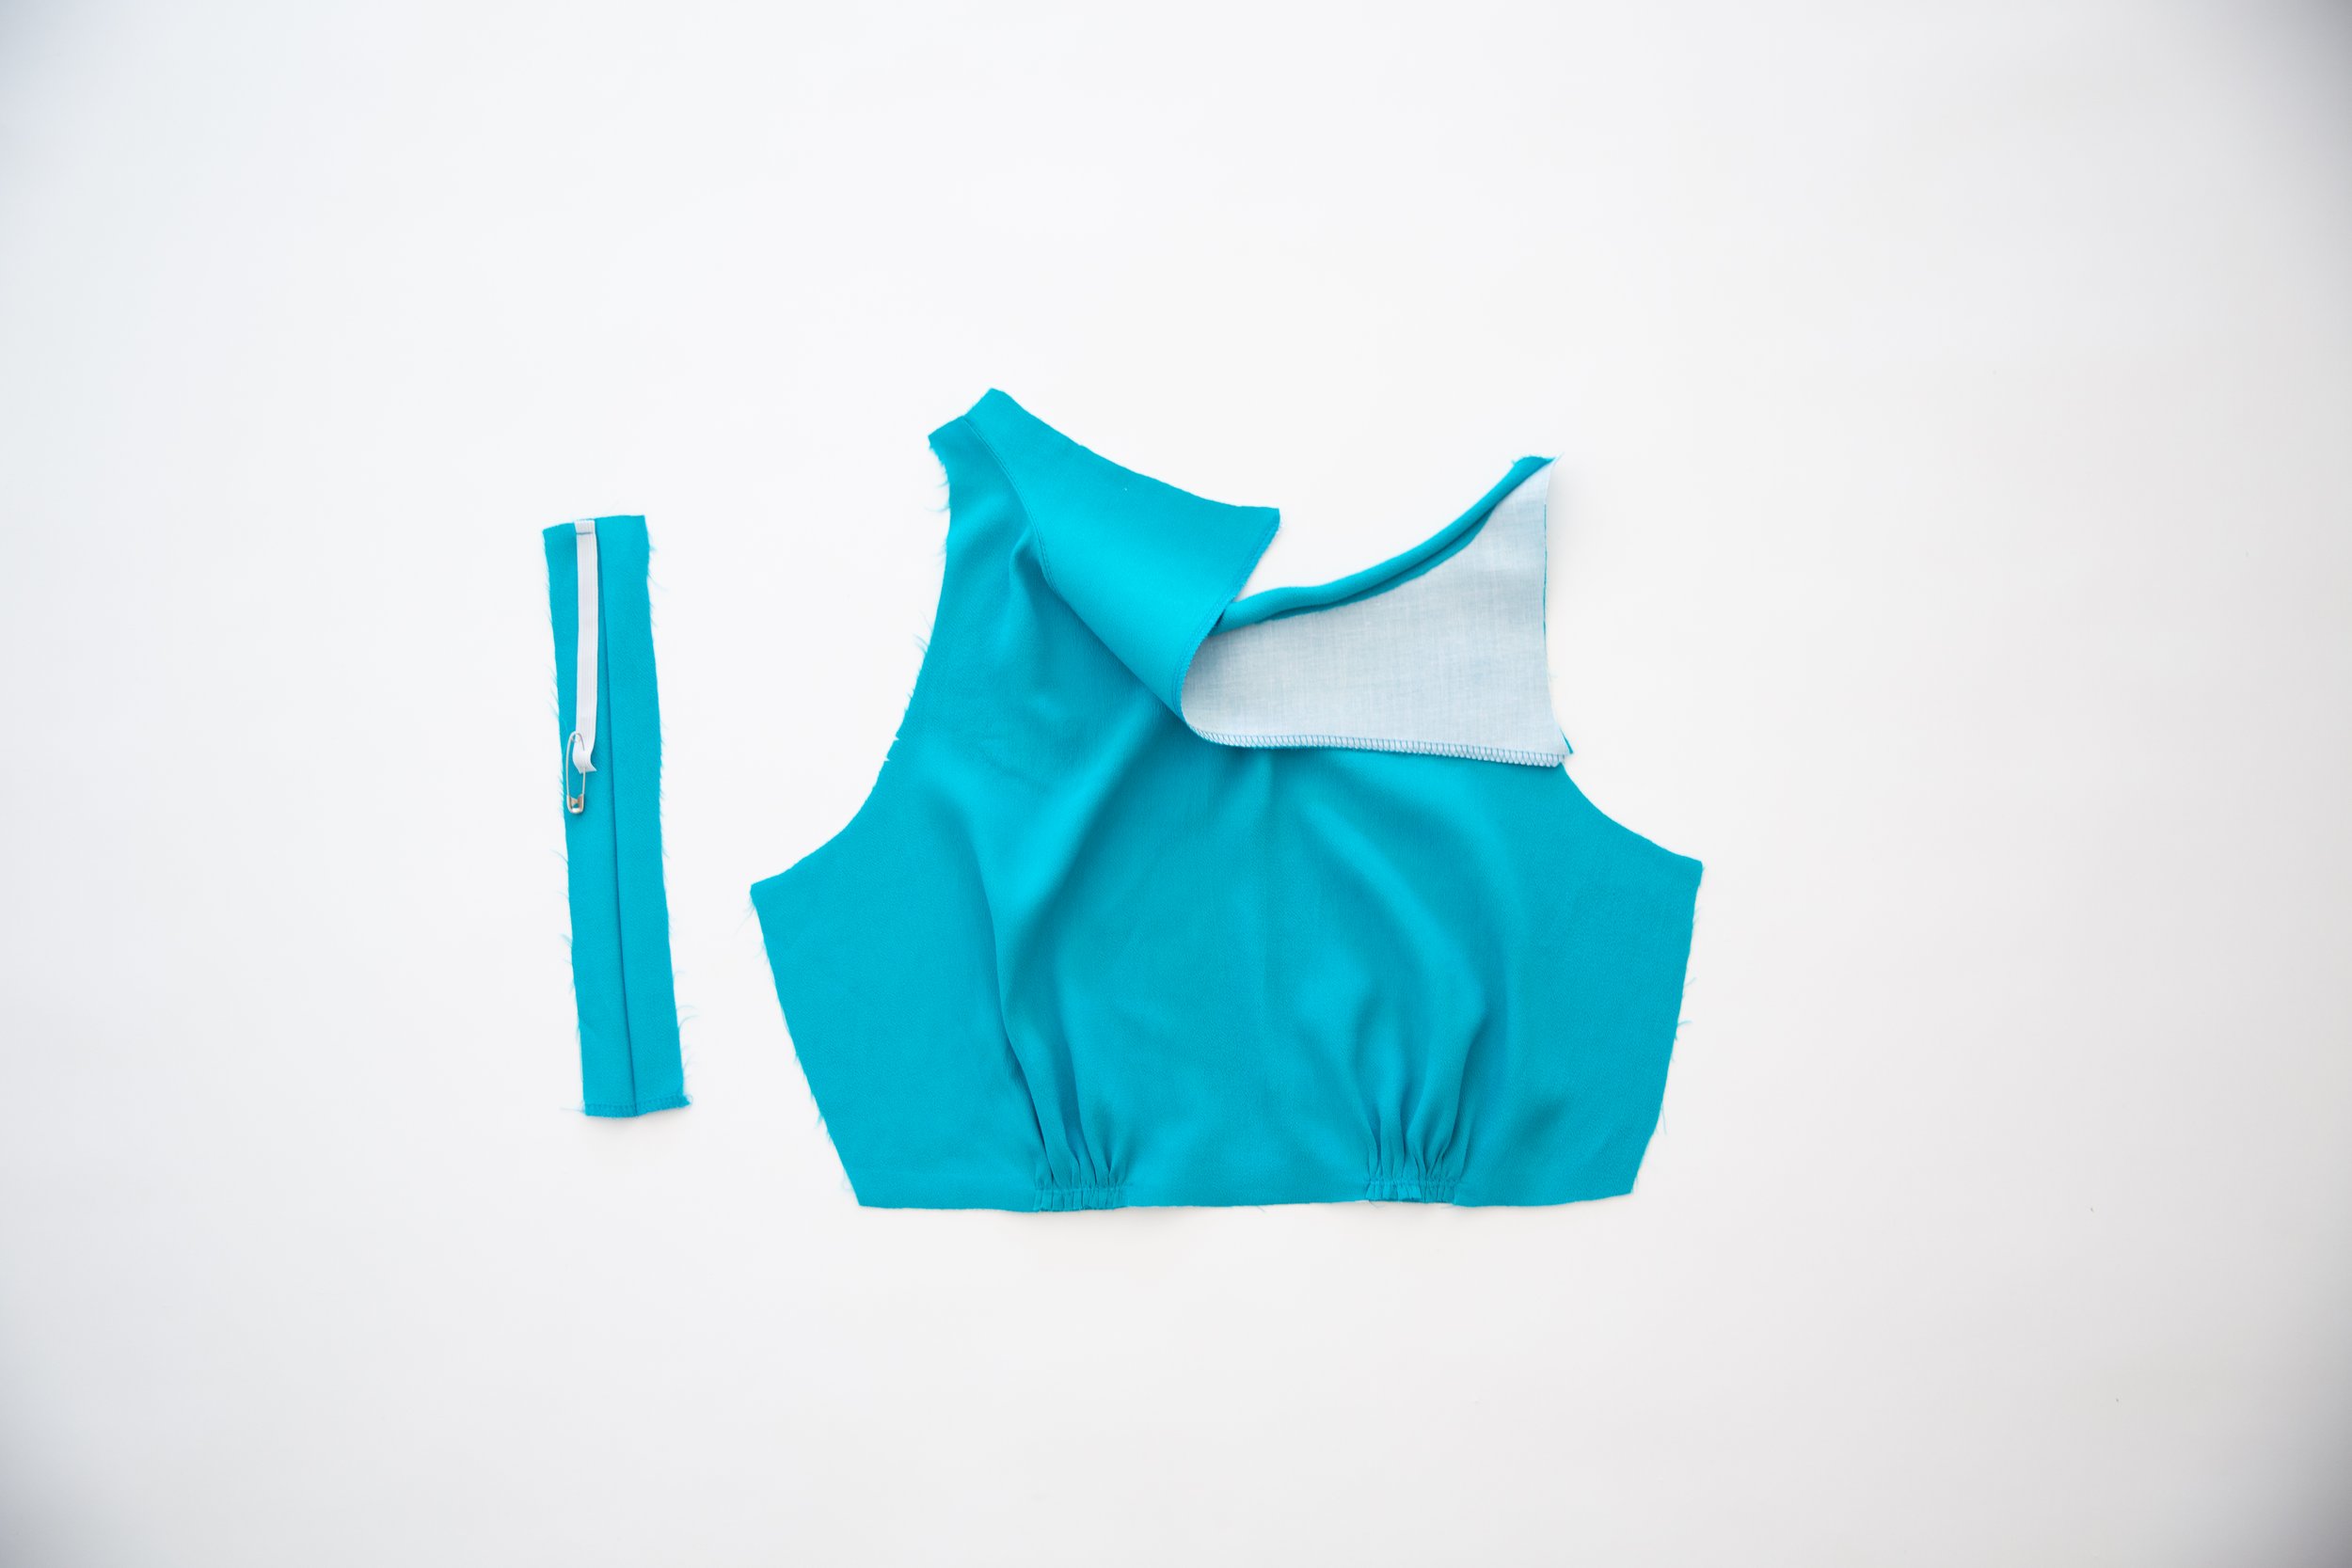
Fold strap piece in half with wrong sides together and press to create centre line. Open back up and pin one of your strap elastic pieces to one side of the centre fold line. Stitch to strap at top edge (opposite end to the neatened edge)/ Place a safety pin through the open end of elastic. This will be used later to pull the elastic through the strap. Repeat for other strap.
Step 5
Open out the shoulder edge of bodice and facing. Line up the centre fold of strap piece with the seam line between bodice and bodice facing. Stitch together. Repeat on other side.
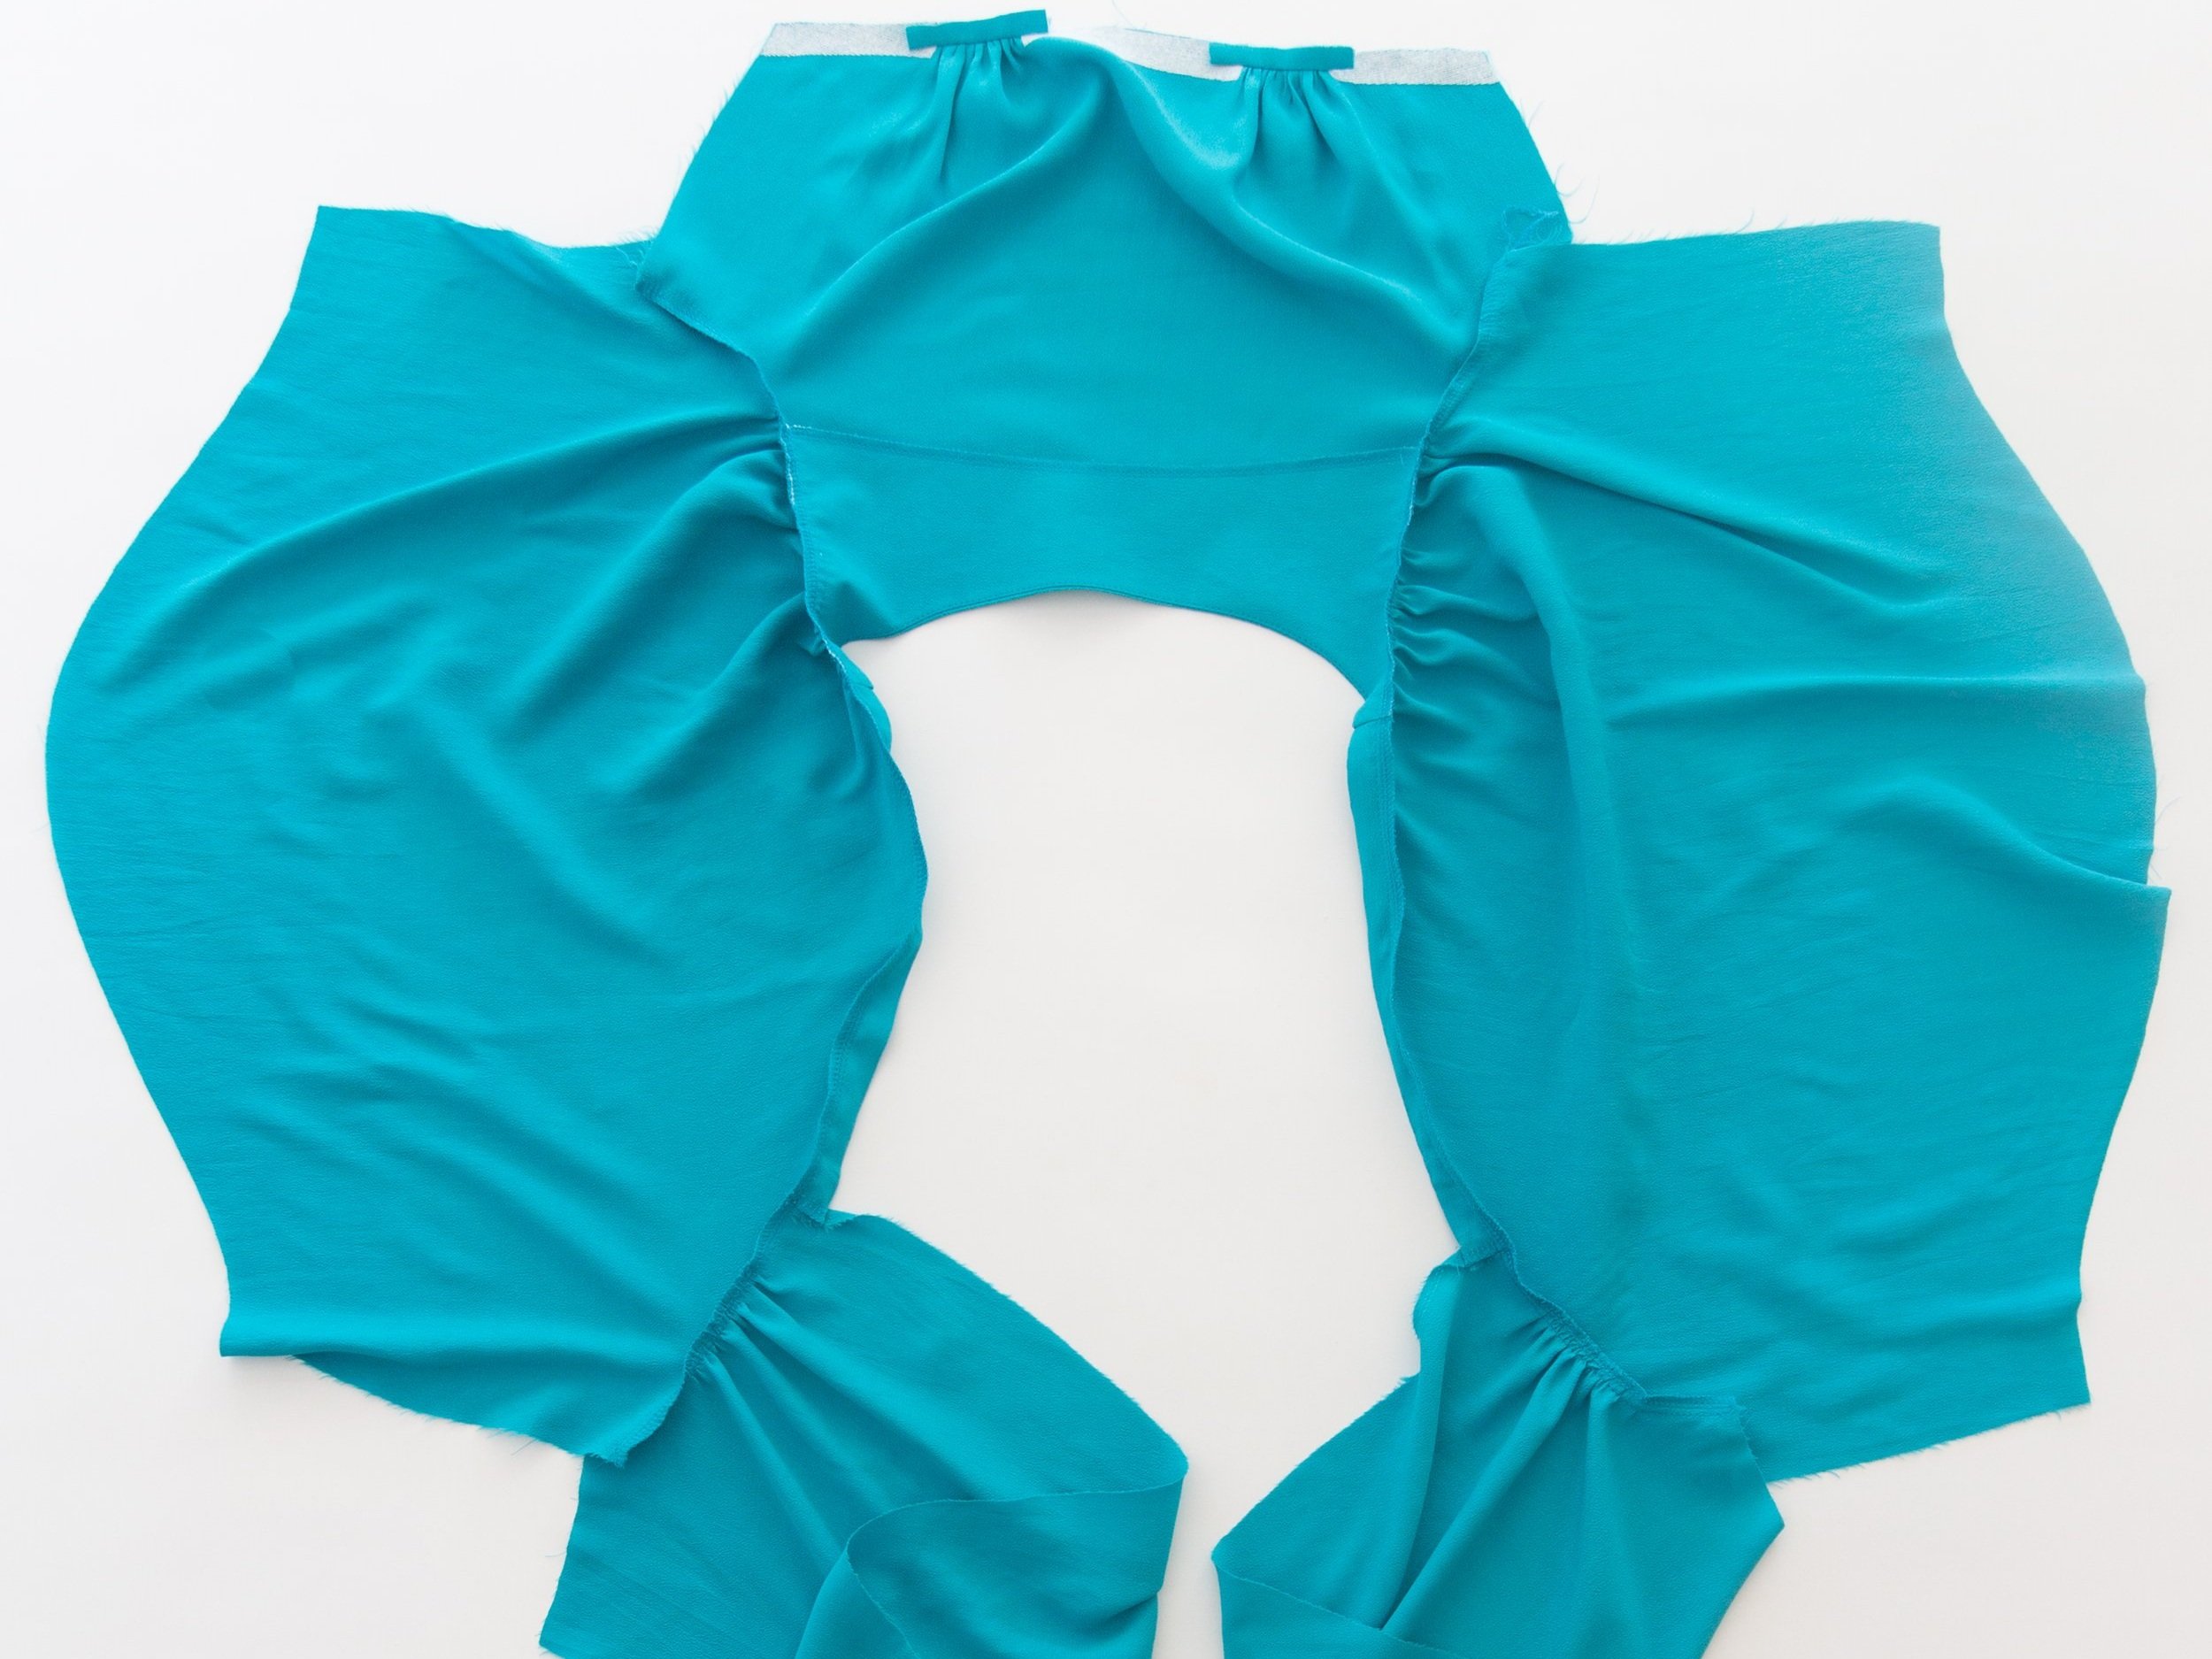
Step 6
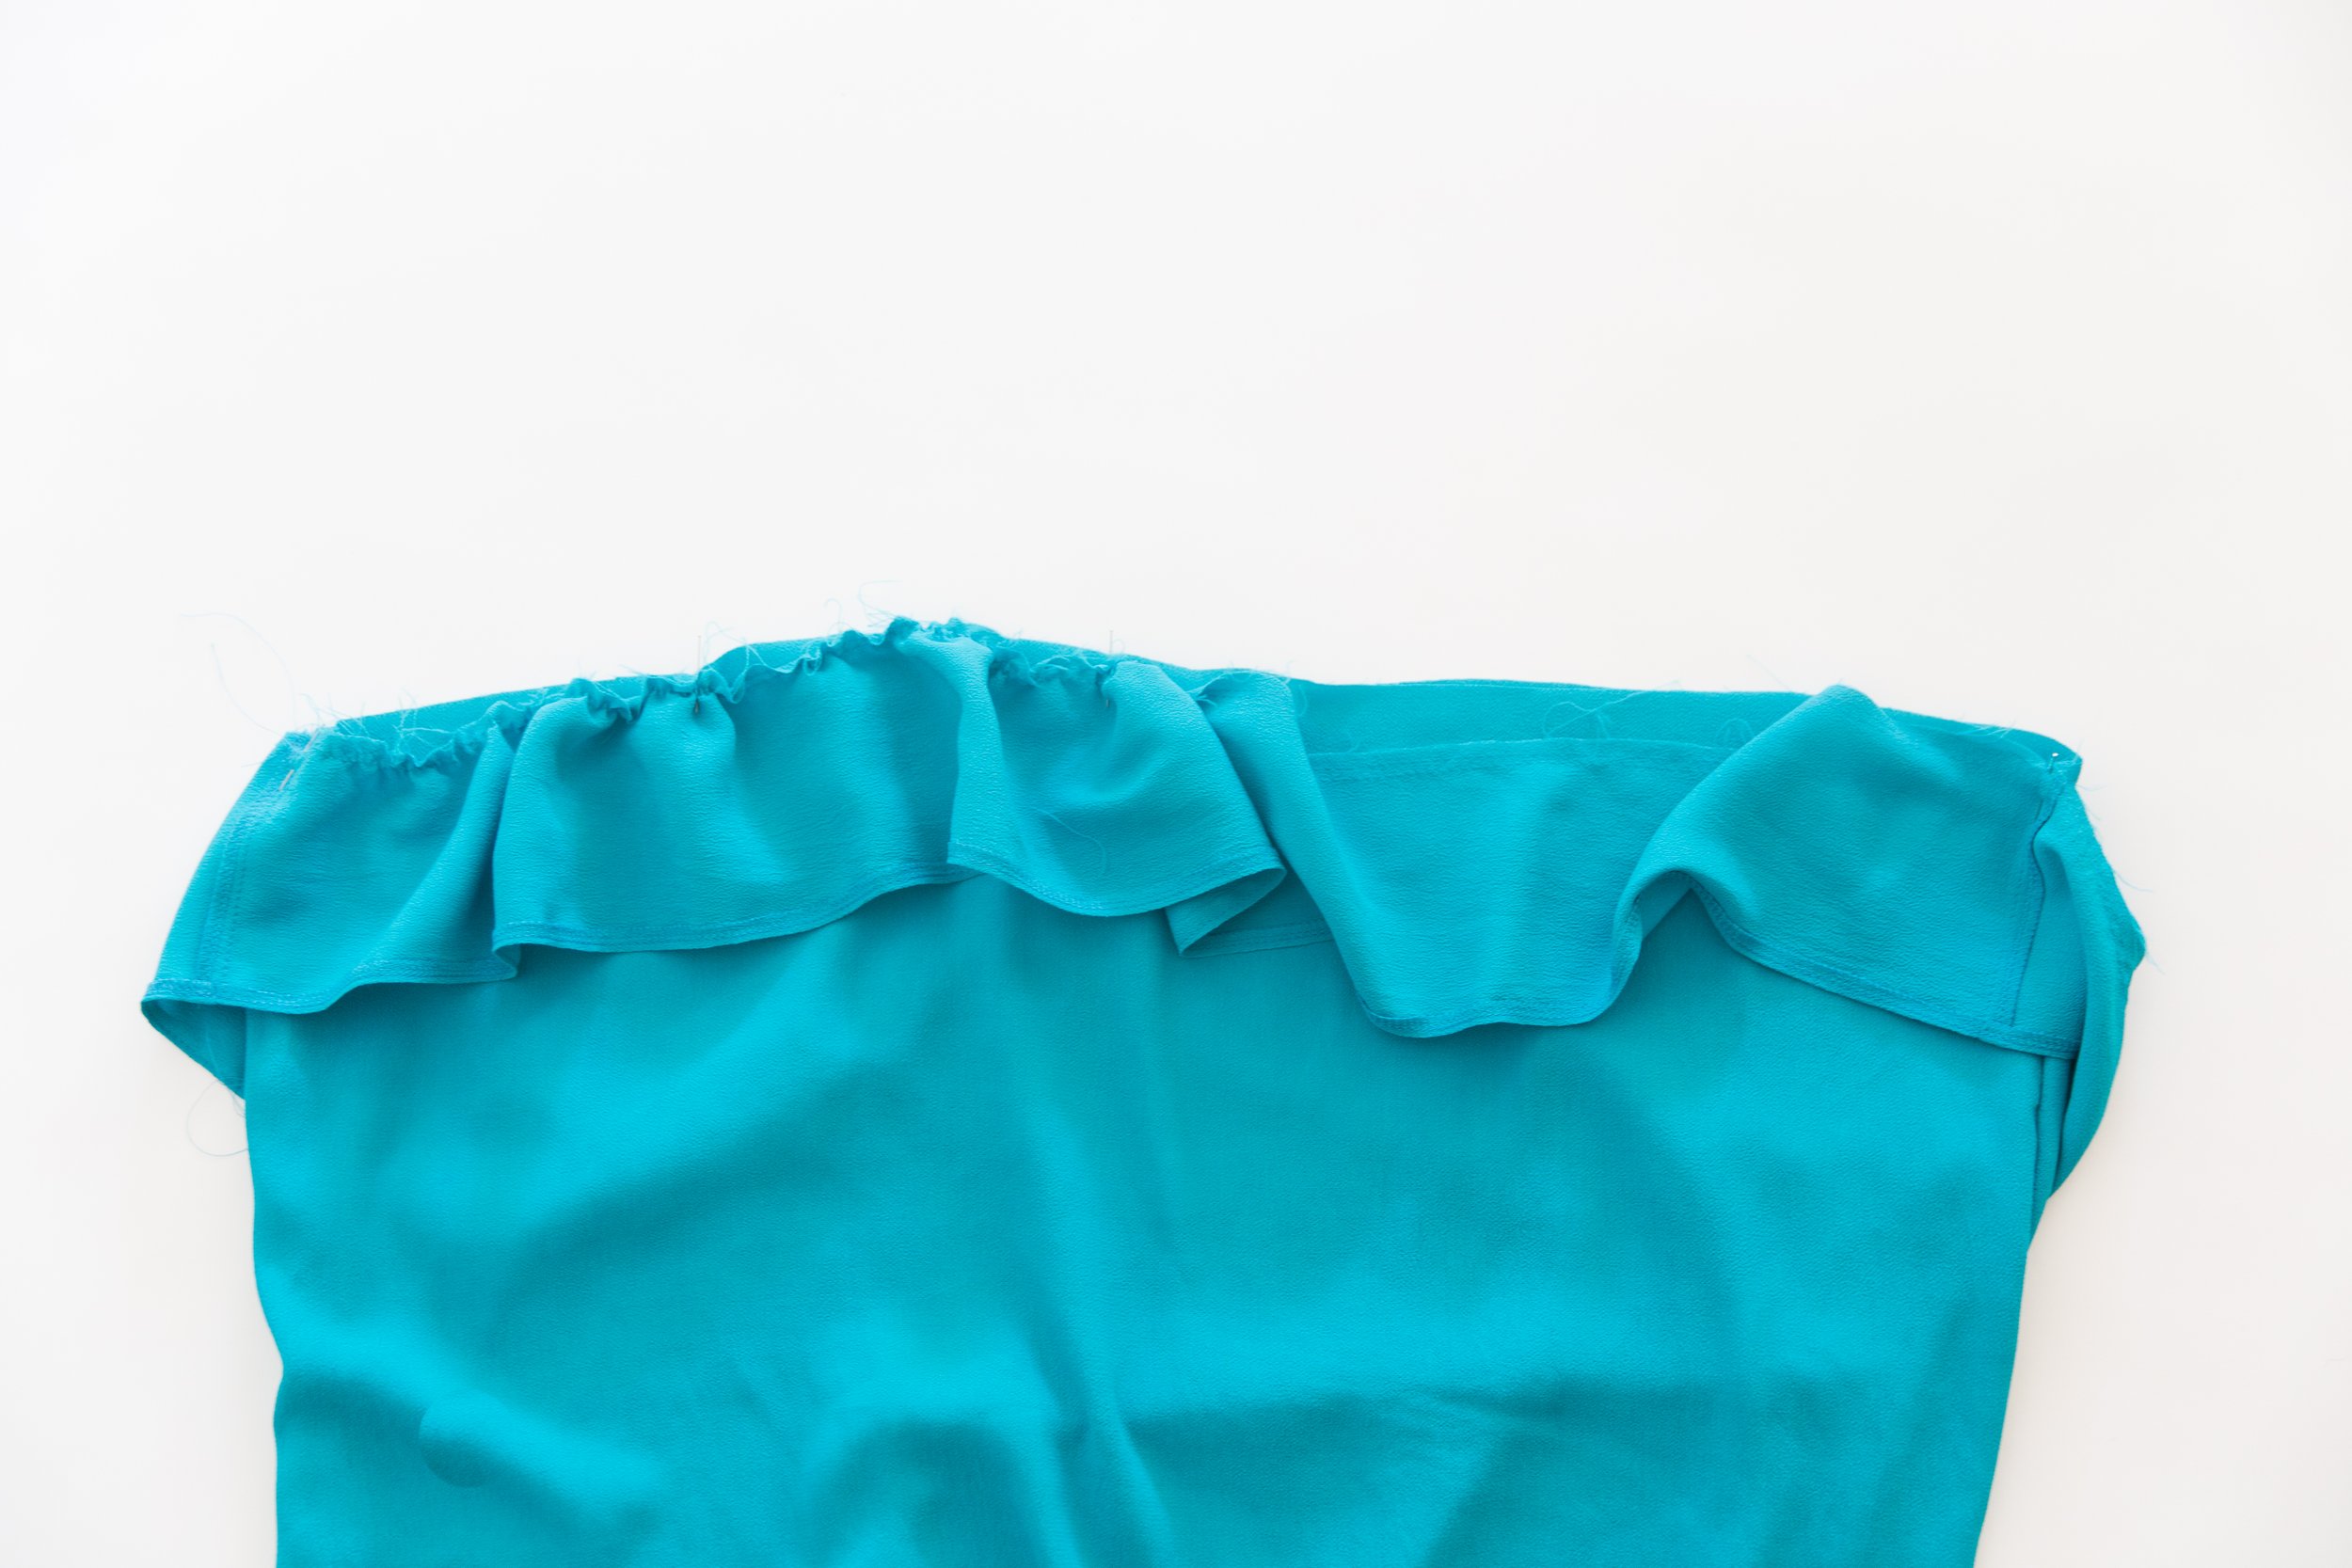
Fold neckline facing through to the inside and press edge well. Baste facing to bodice 5mm from the edge of armholes to hold in place.
Step 7
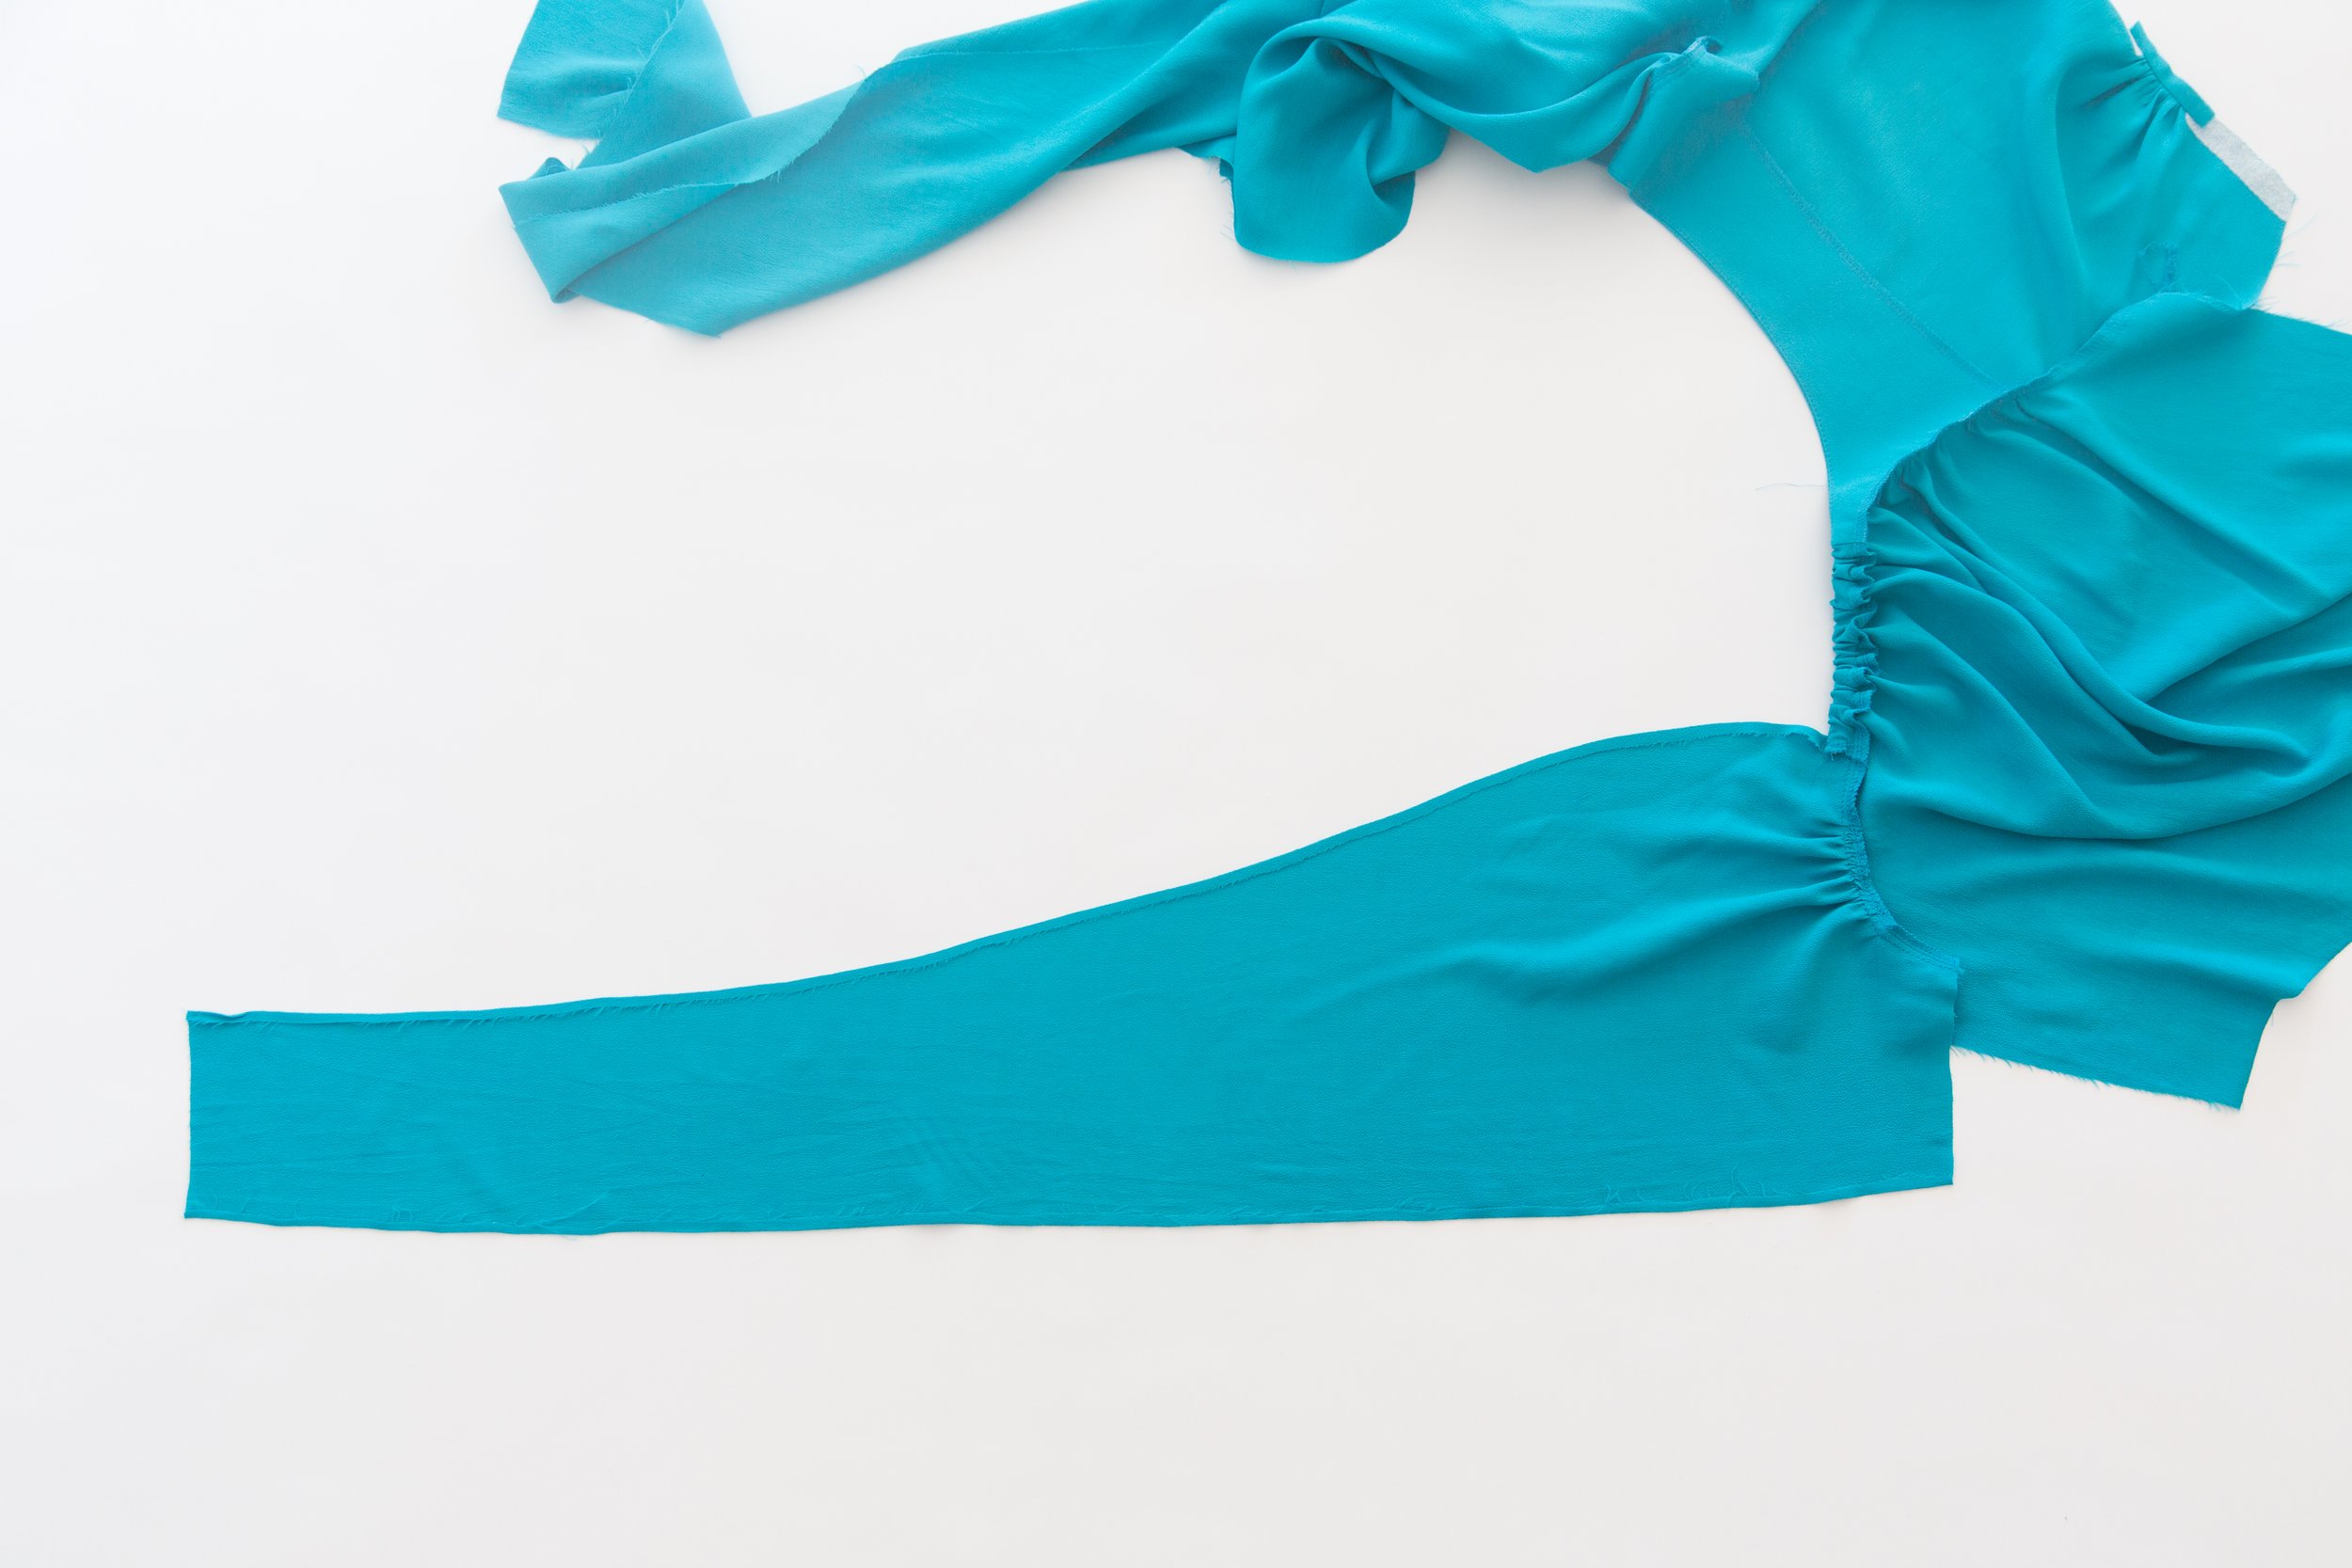
Stitch a long gathering stitch between centre notch and double notch on each sleeve, and between notches on armhole of each wrap bodice piece.

Step 8
With right sides facing, open up neatened edge of strap and stitch to wrap bodice, from the outer edge, only as far as the centre fold line of strap. Repeat on other side.

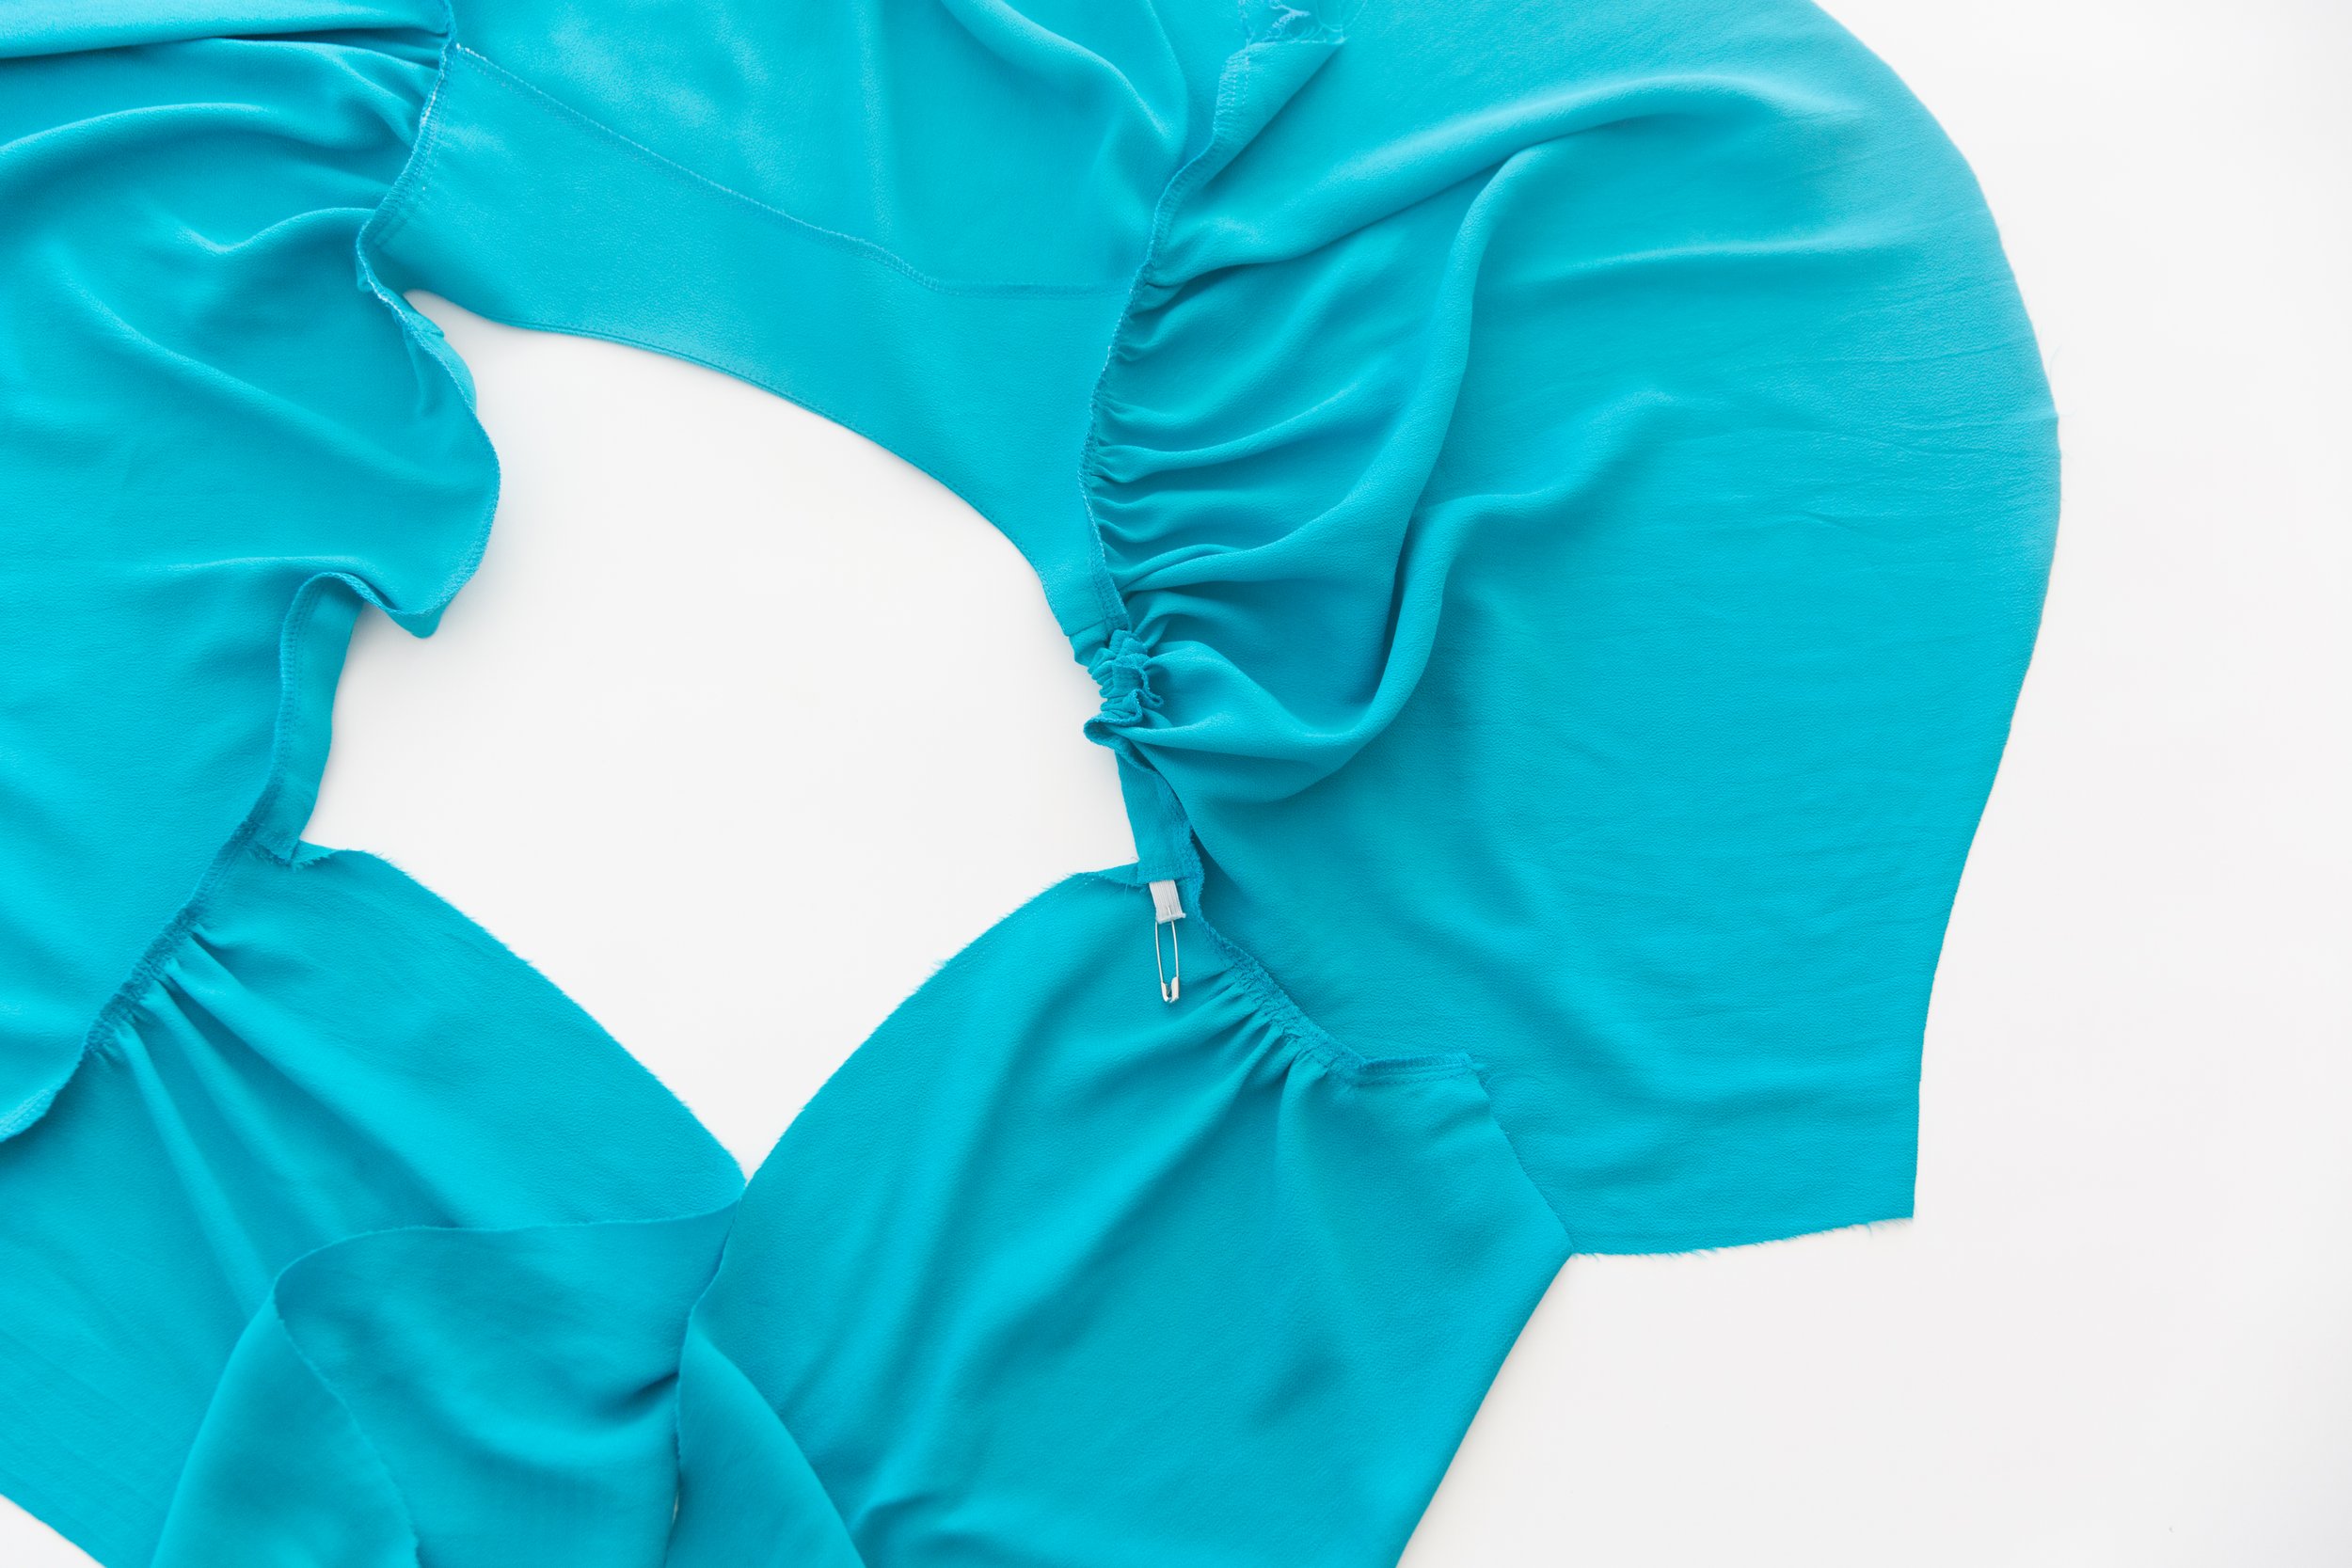
Step 9
Fold the strap closed and baste together along very edge to secure in place, being careful not to stitch through your elastic on the inside. Repeat on other side.
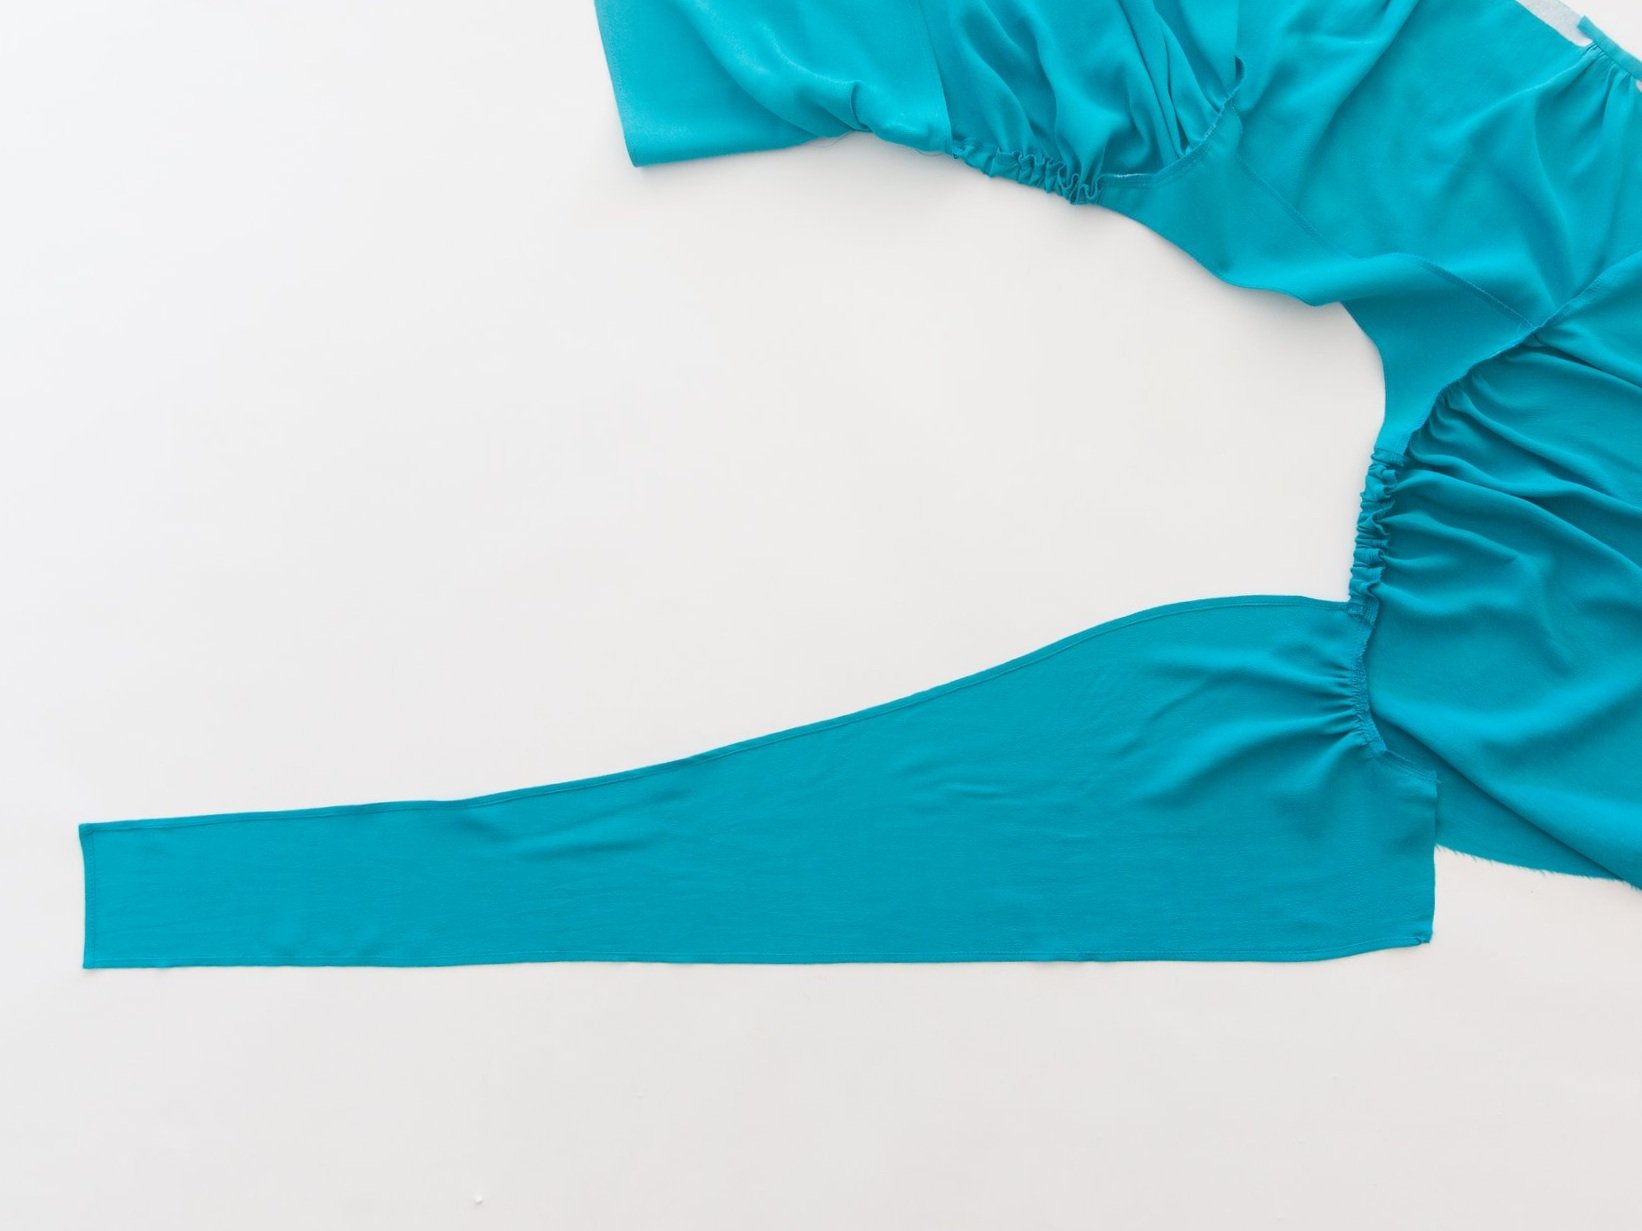
Step 10
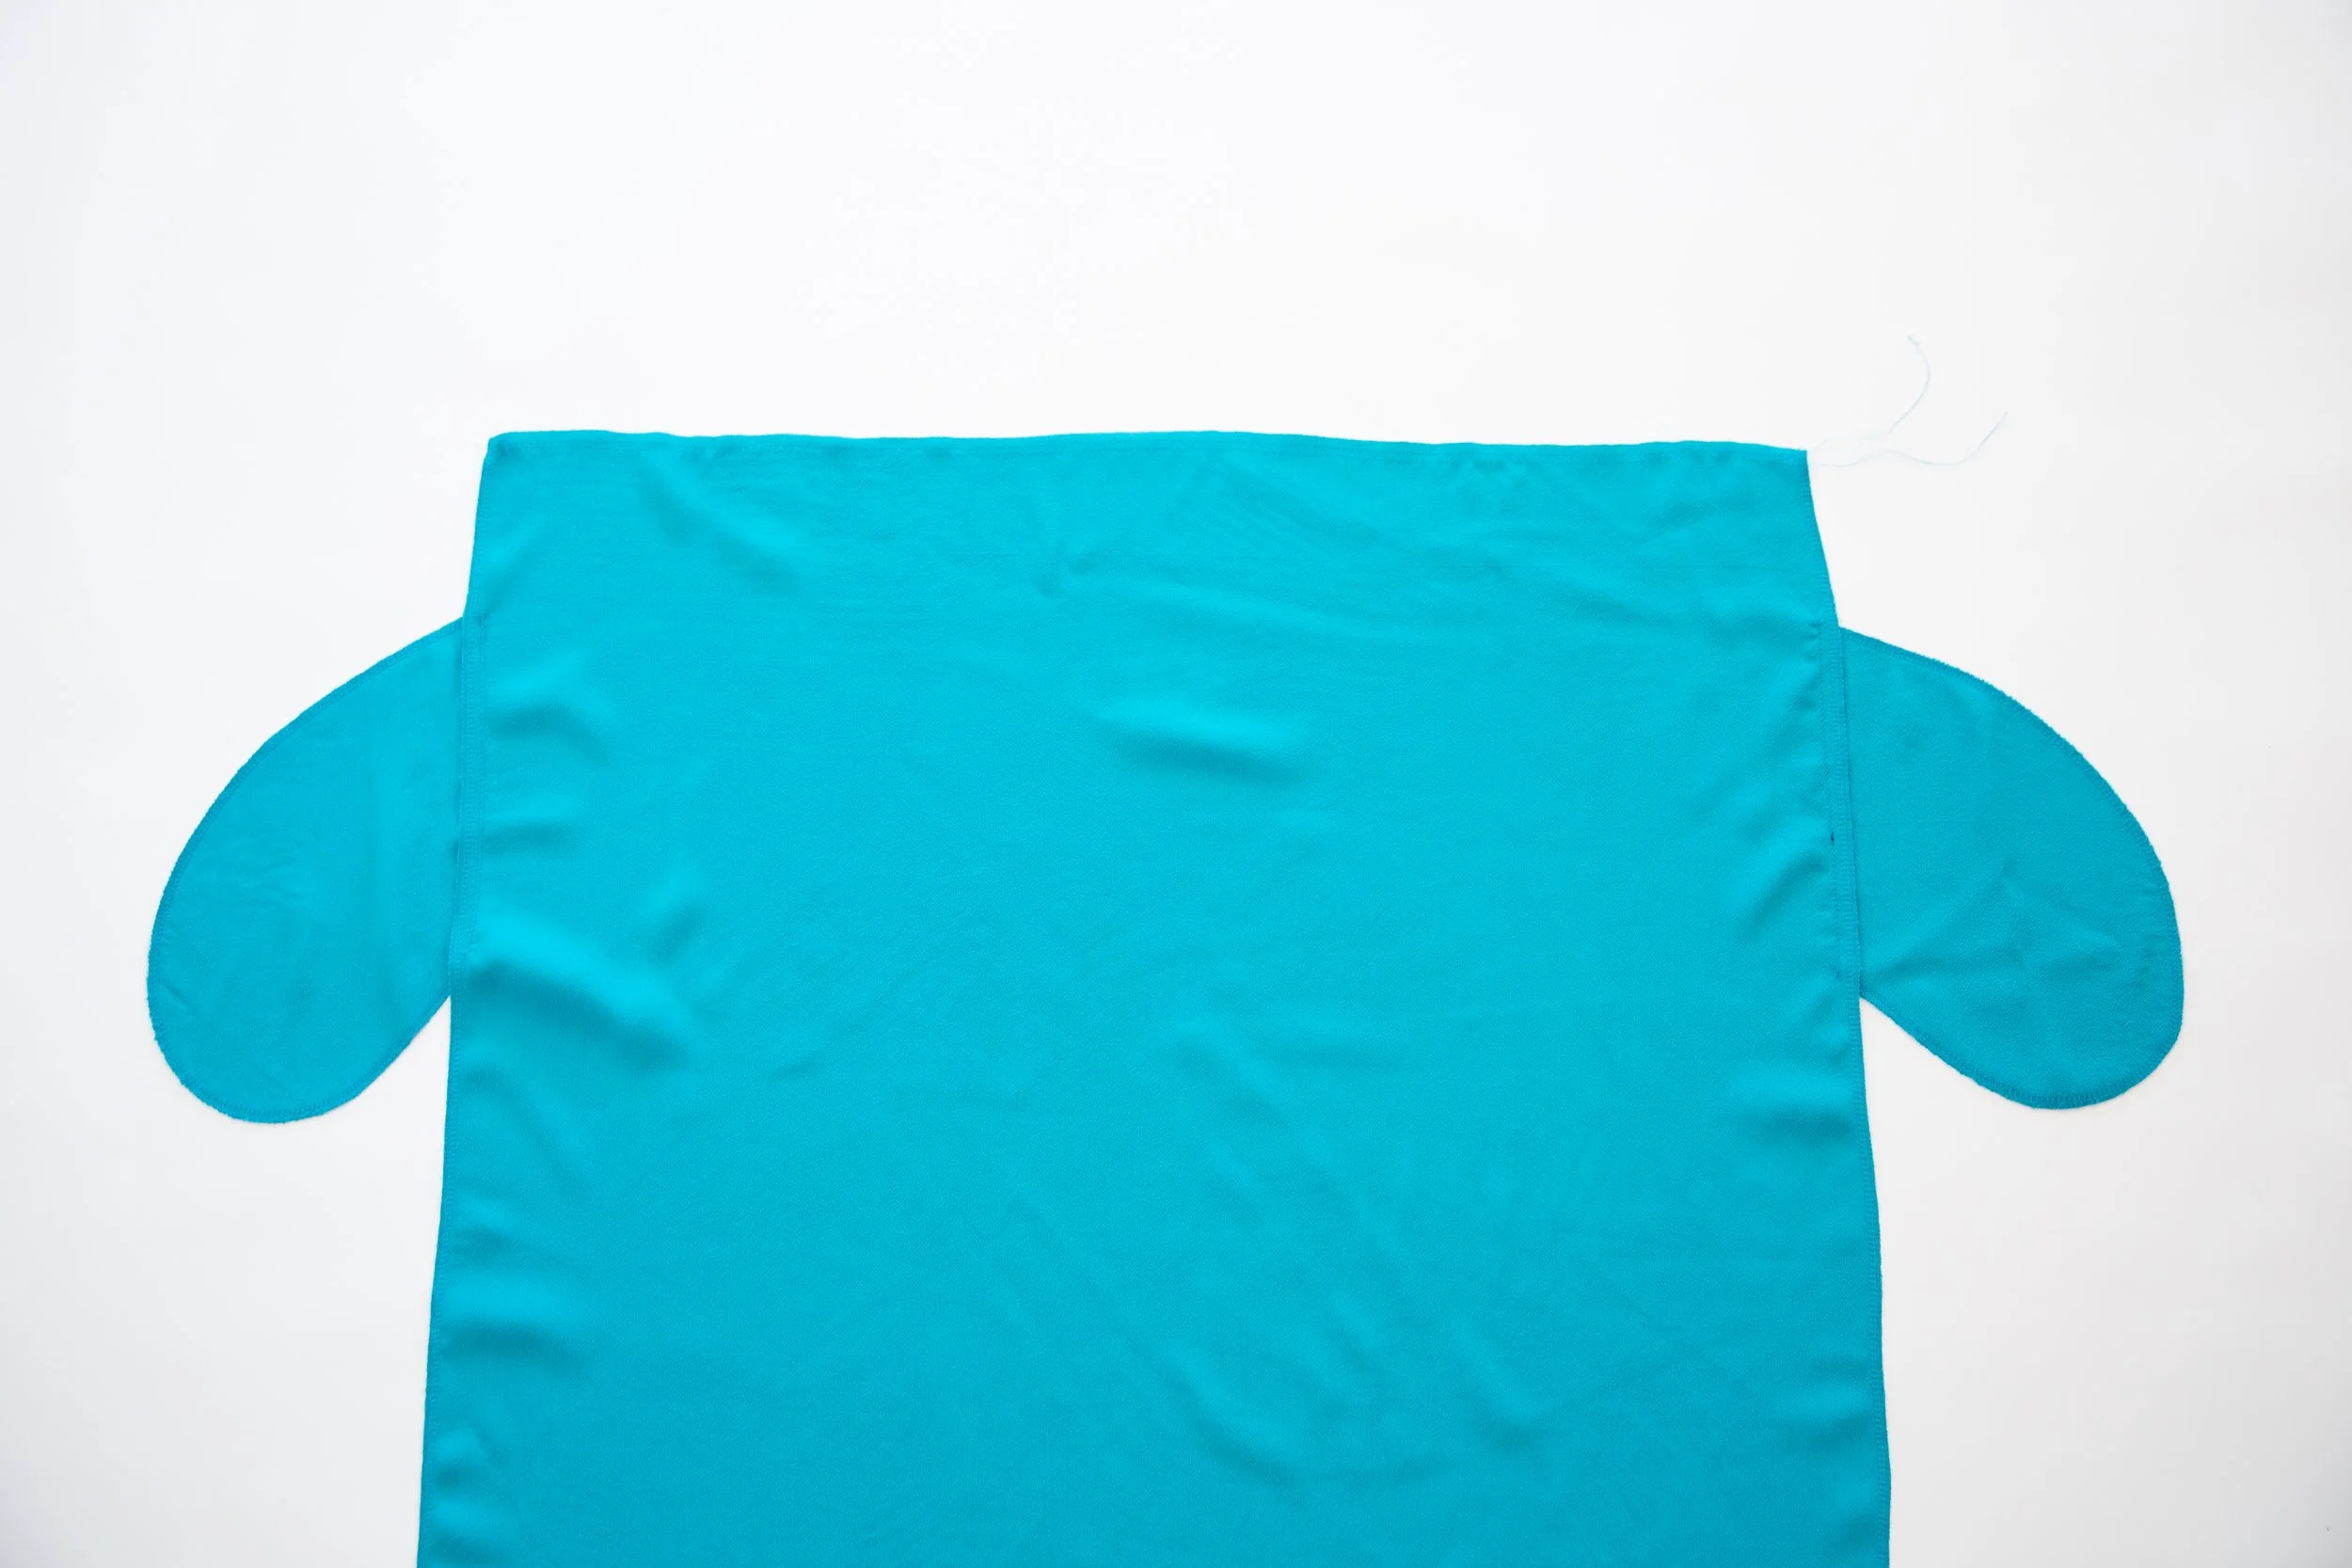
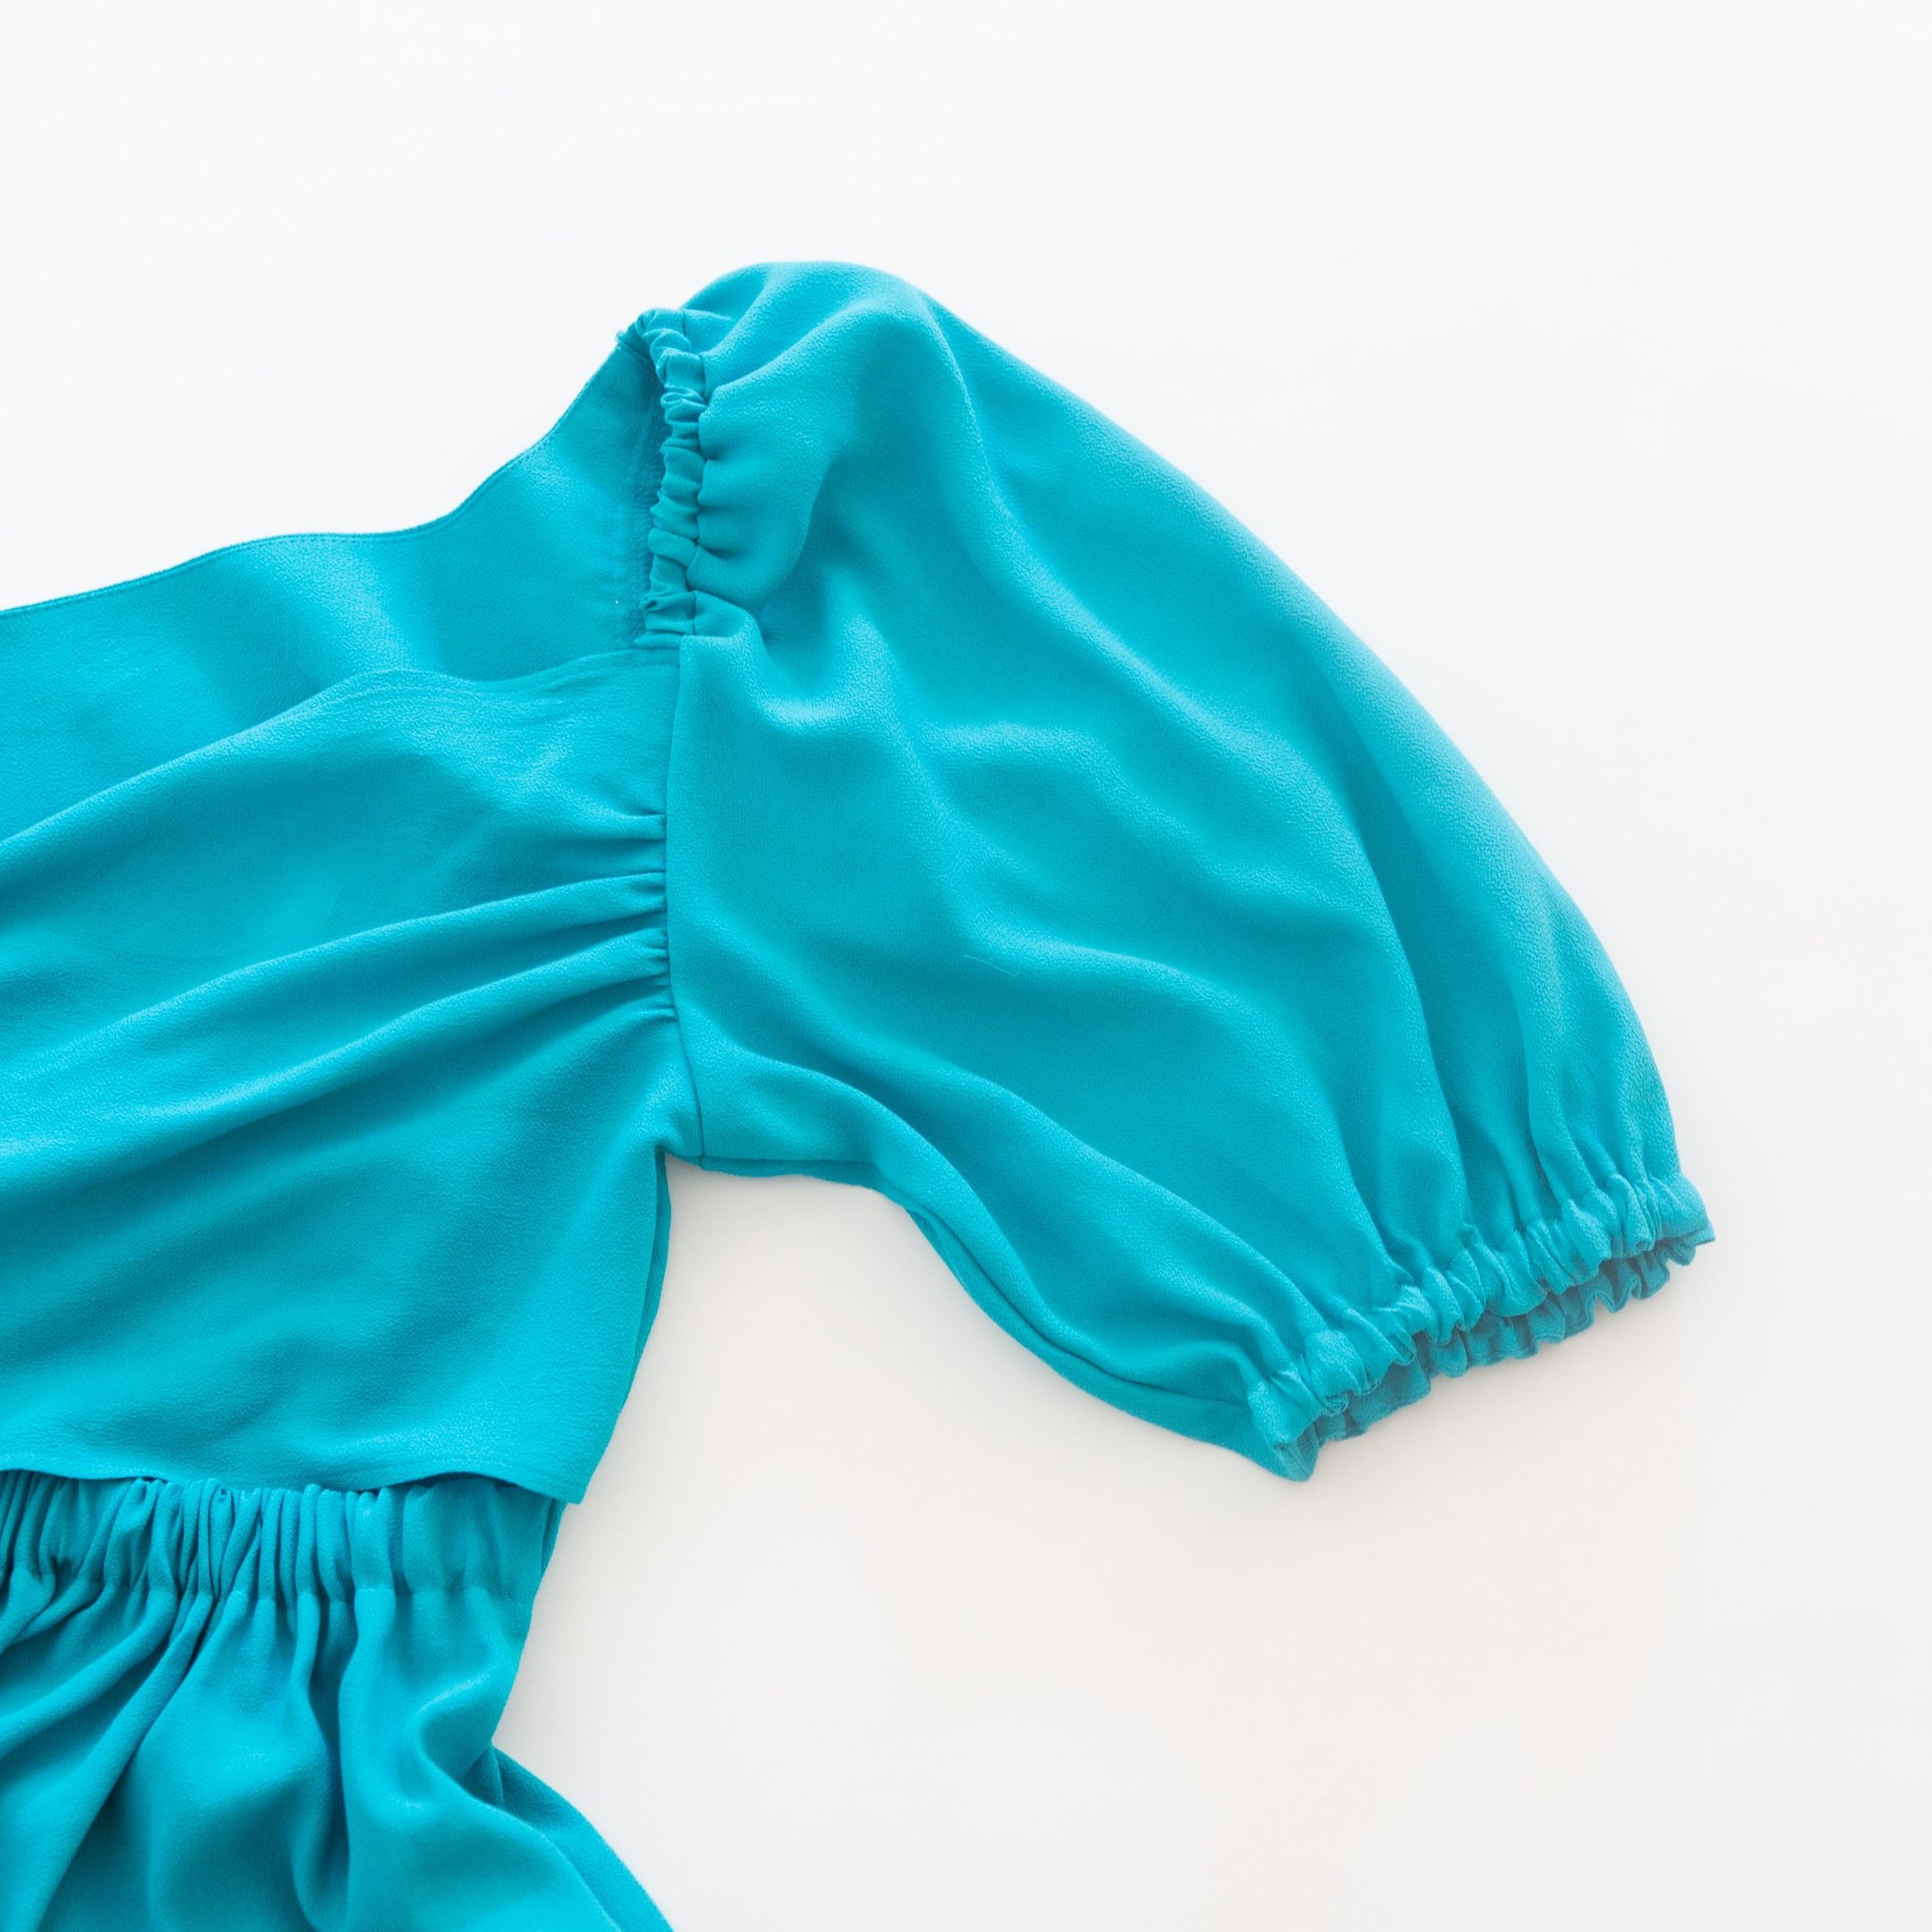
With right sides facing, pin sleeve and bodice together following the notch guidelines below. Once everything is gathered and lined up, stitch together. Neaten edge. Repeat for other sleeve.
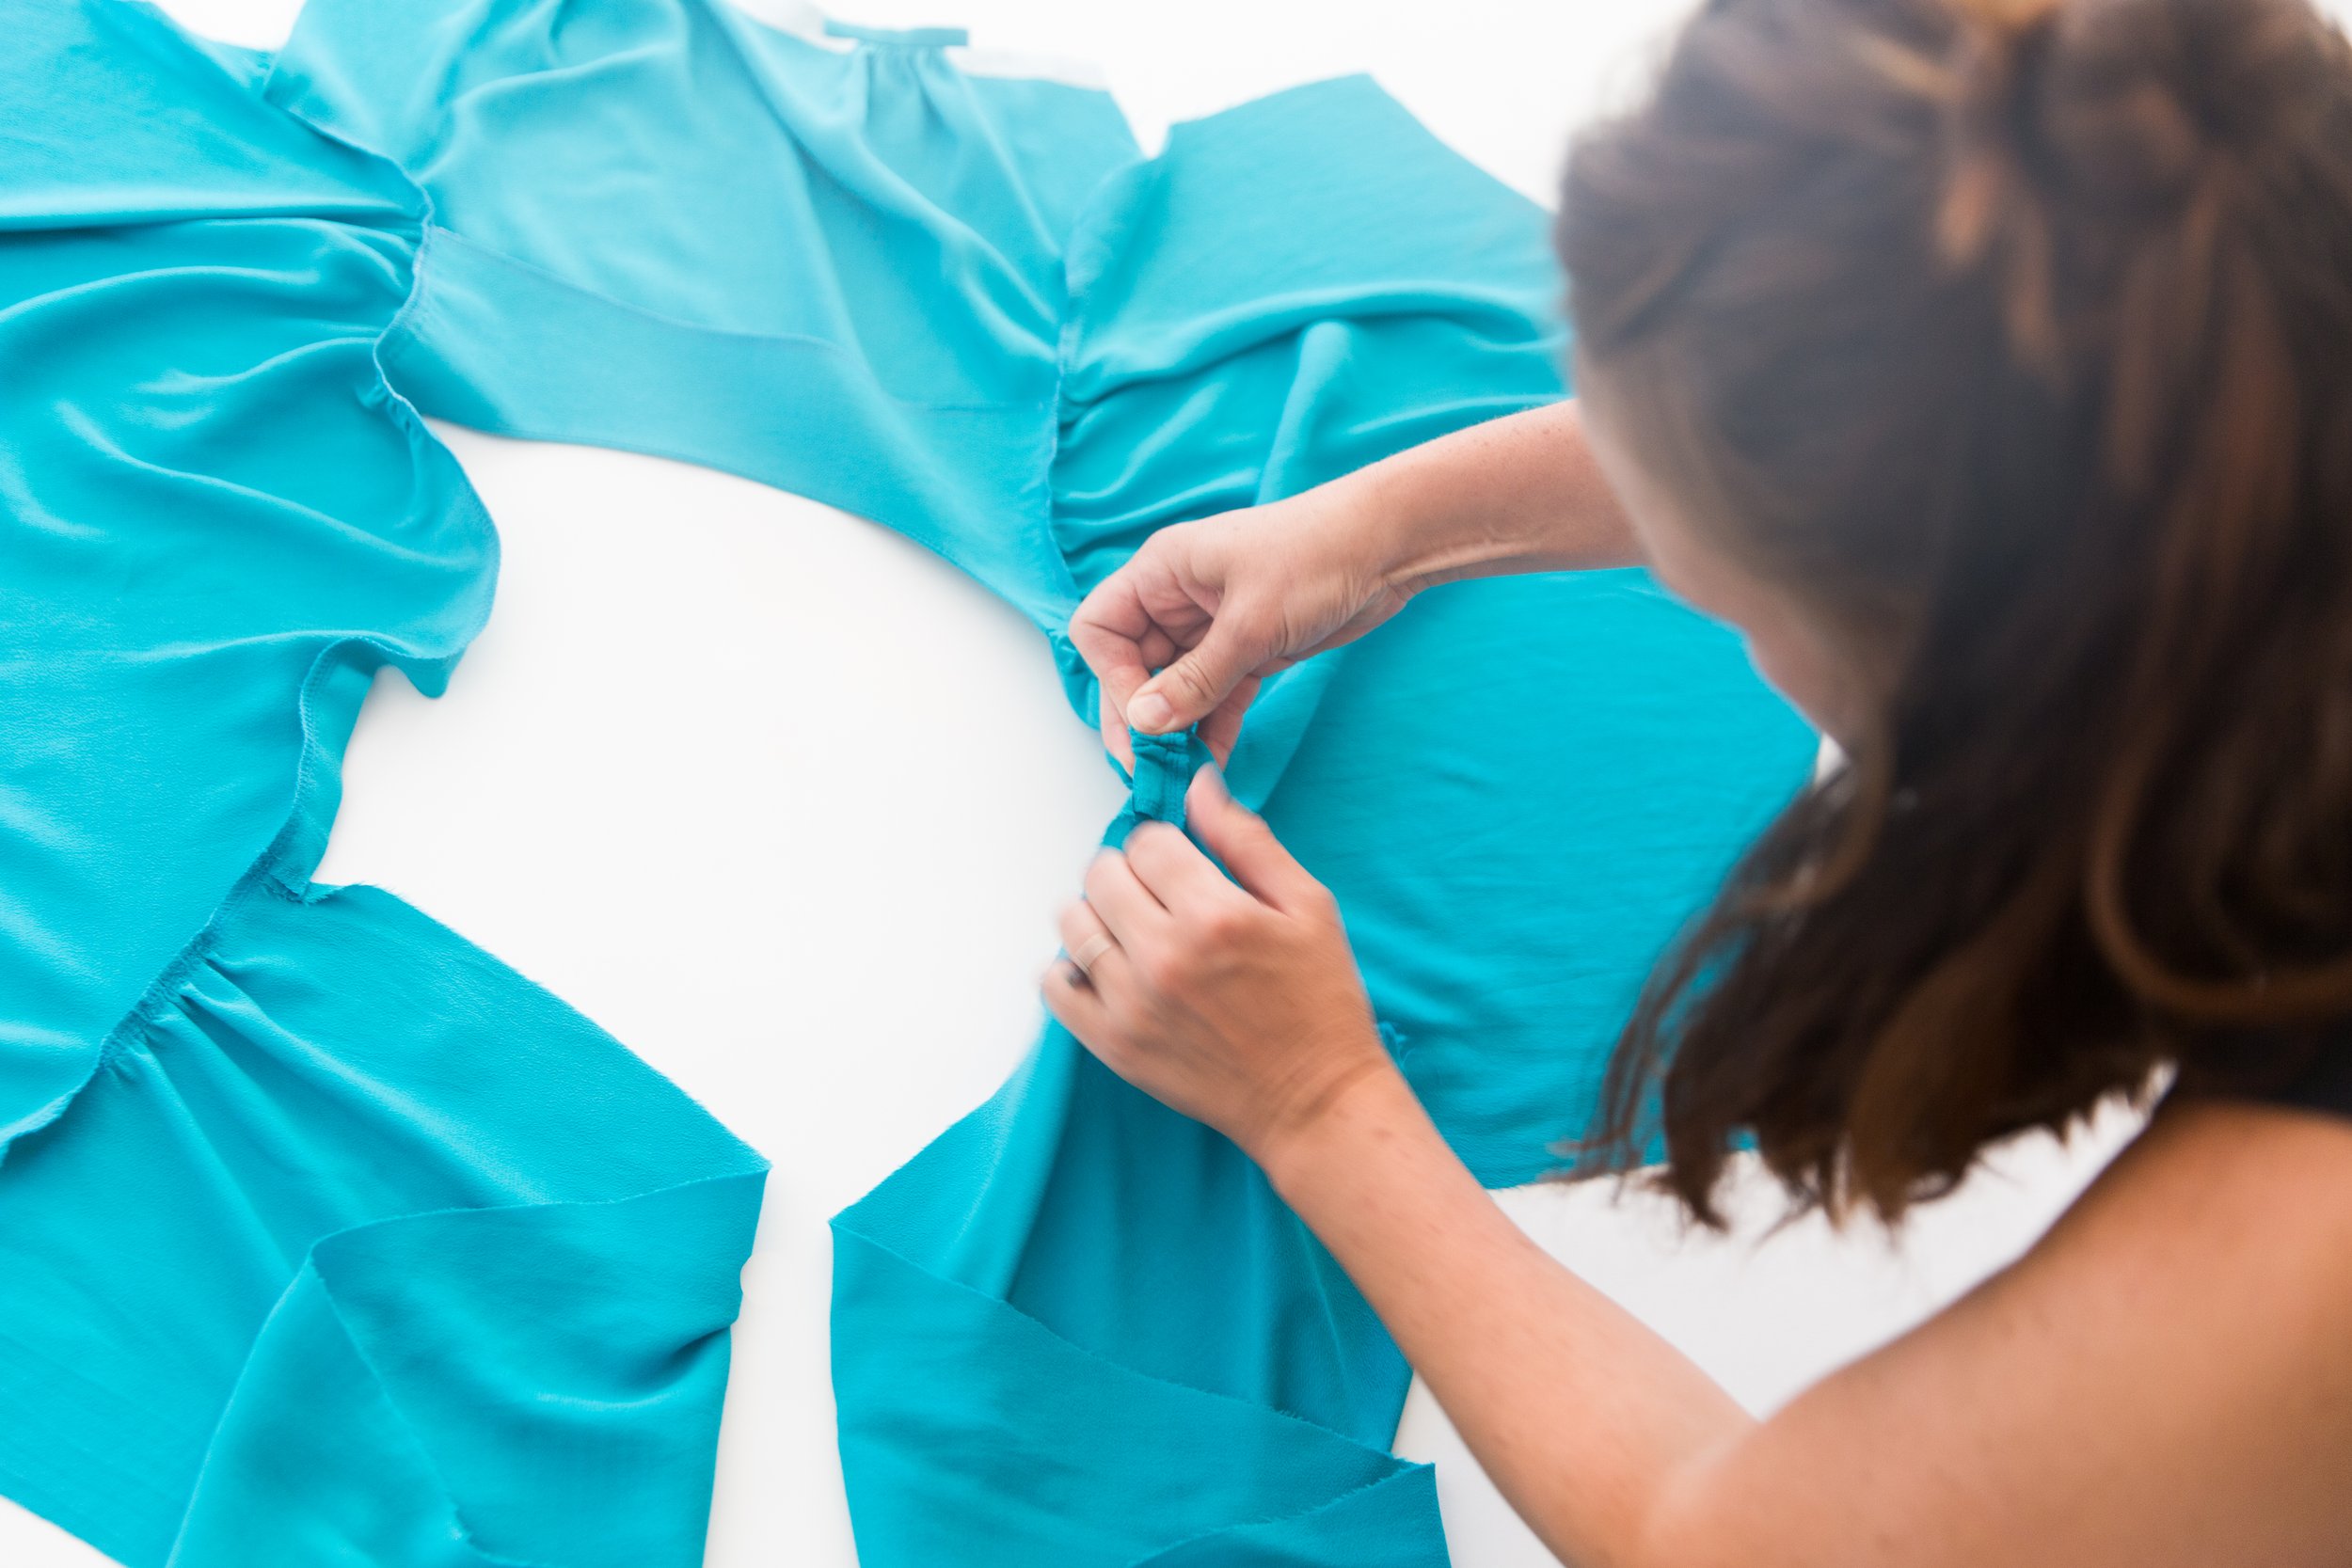
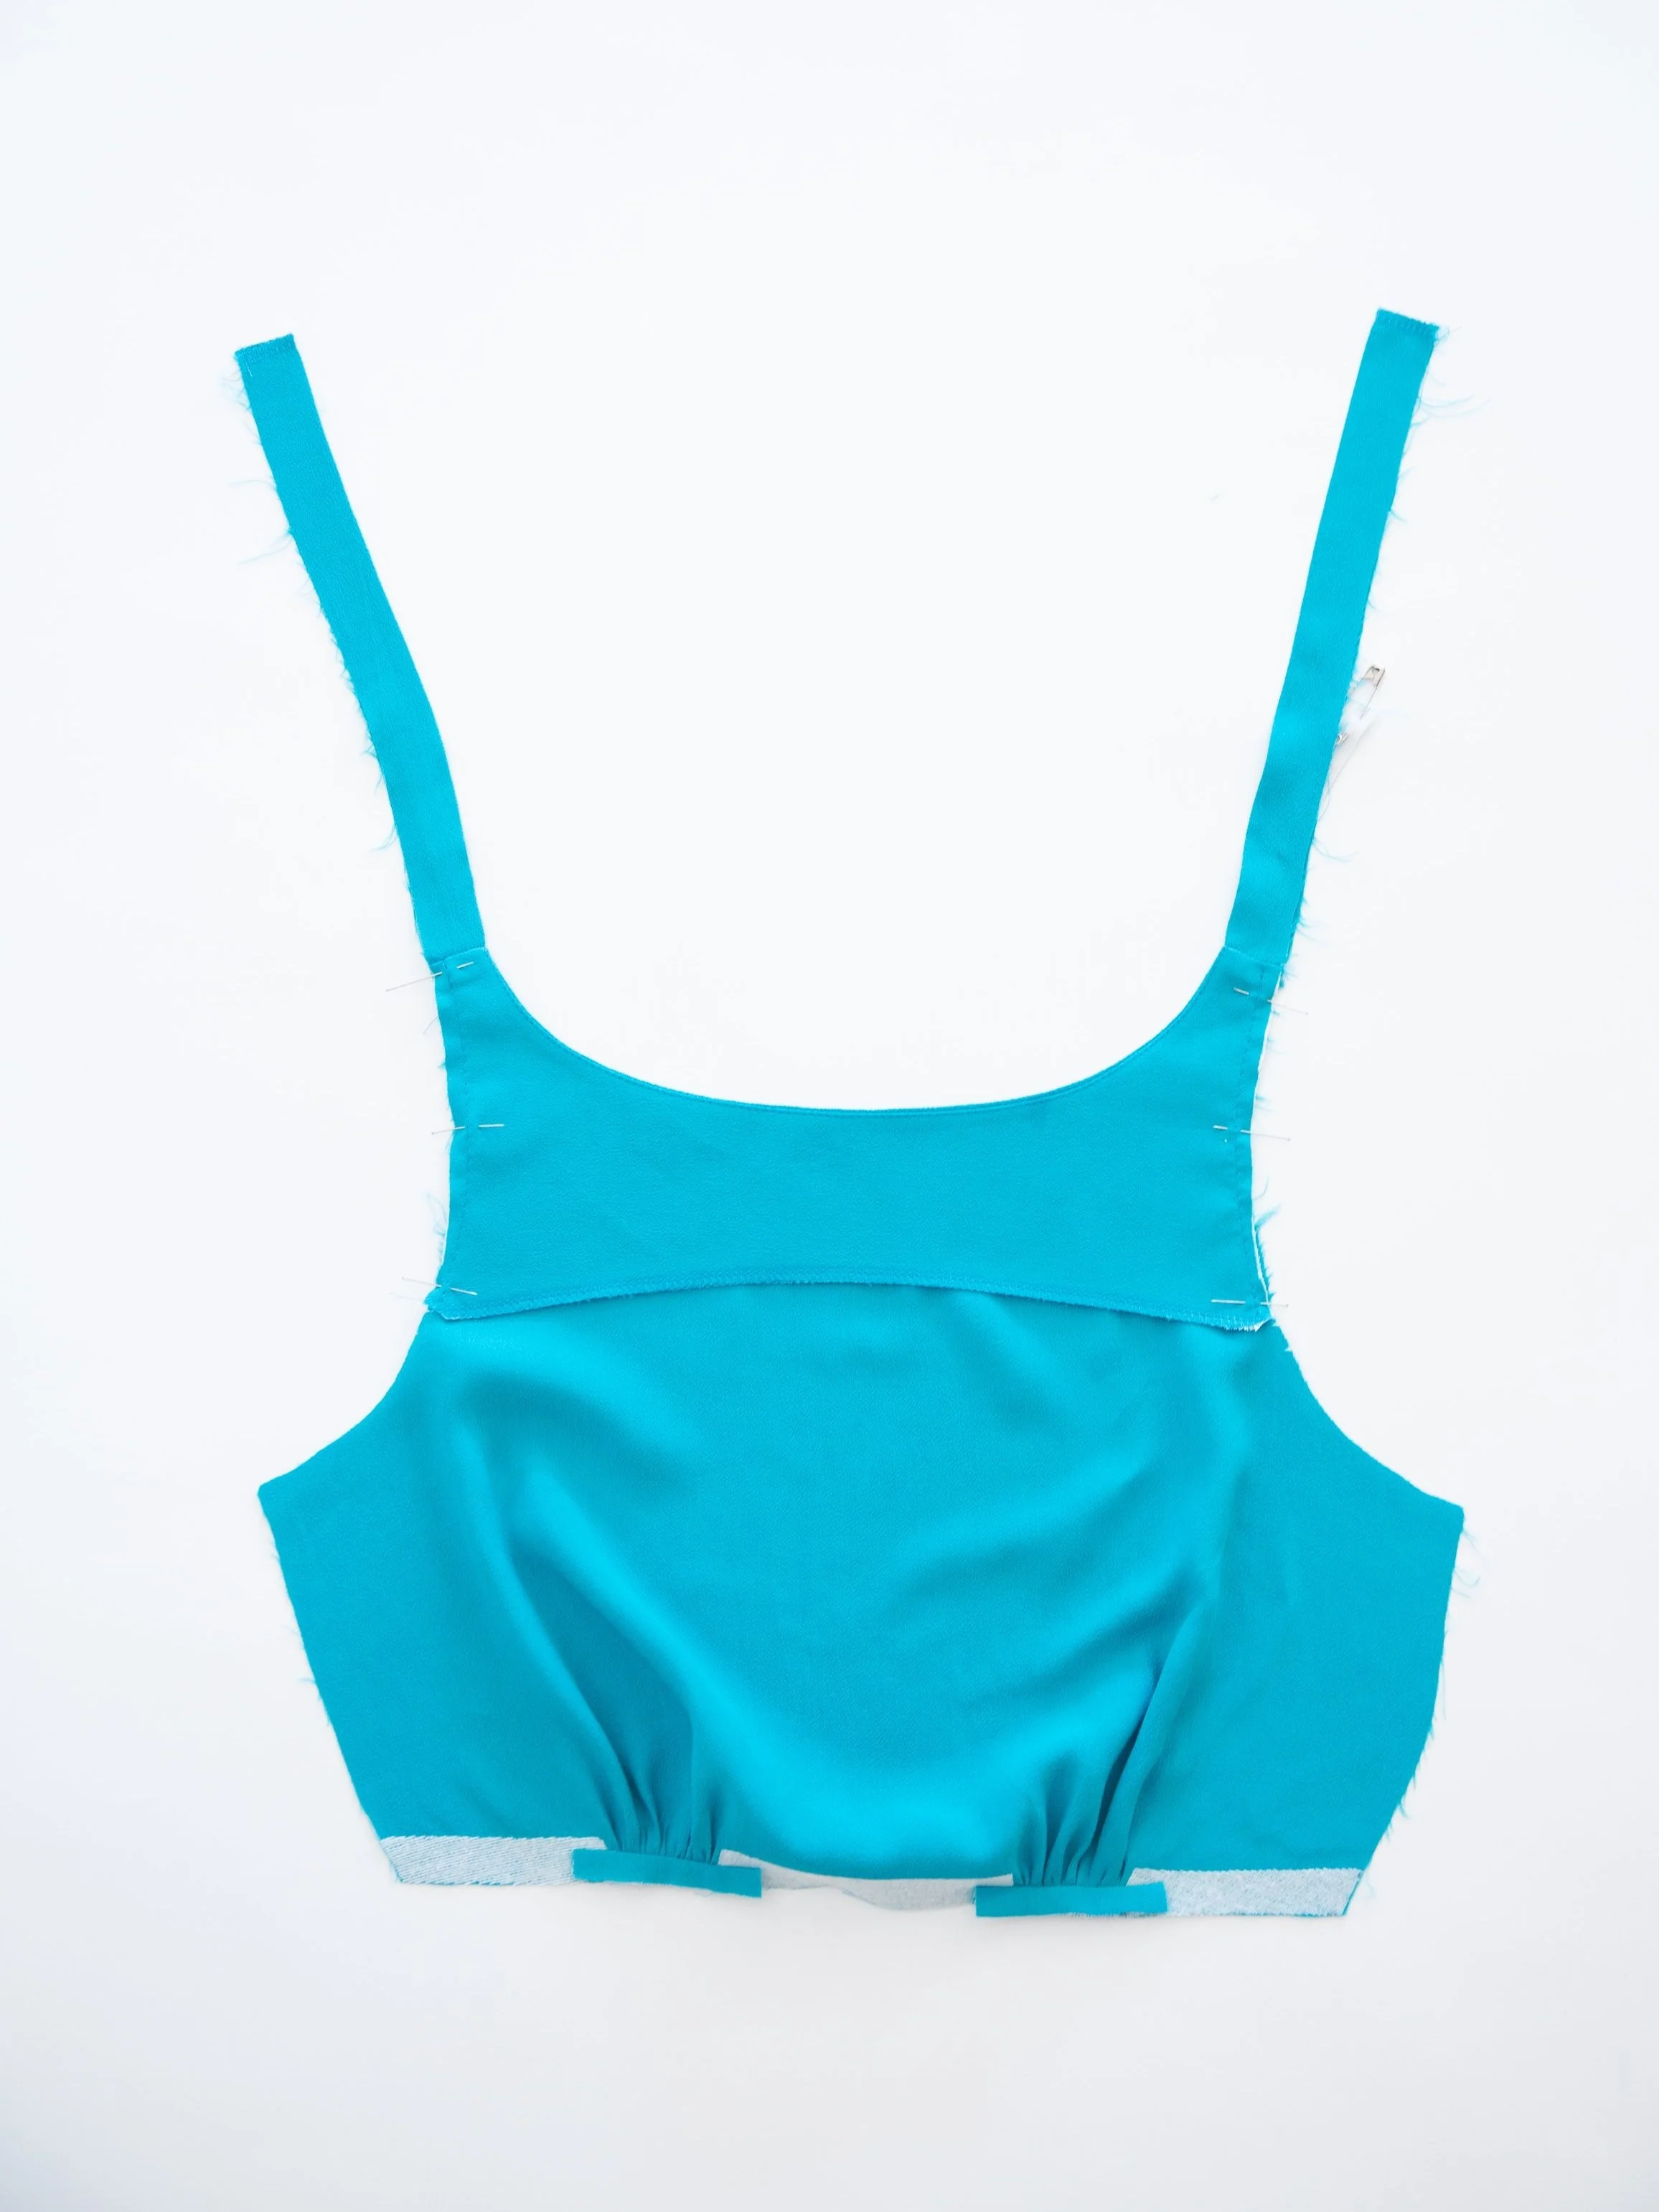
Step 11
Pull the strap elastic through strap casing. Remove safety pin and stitch securely in place. Repeat for other side.
Step 12
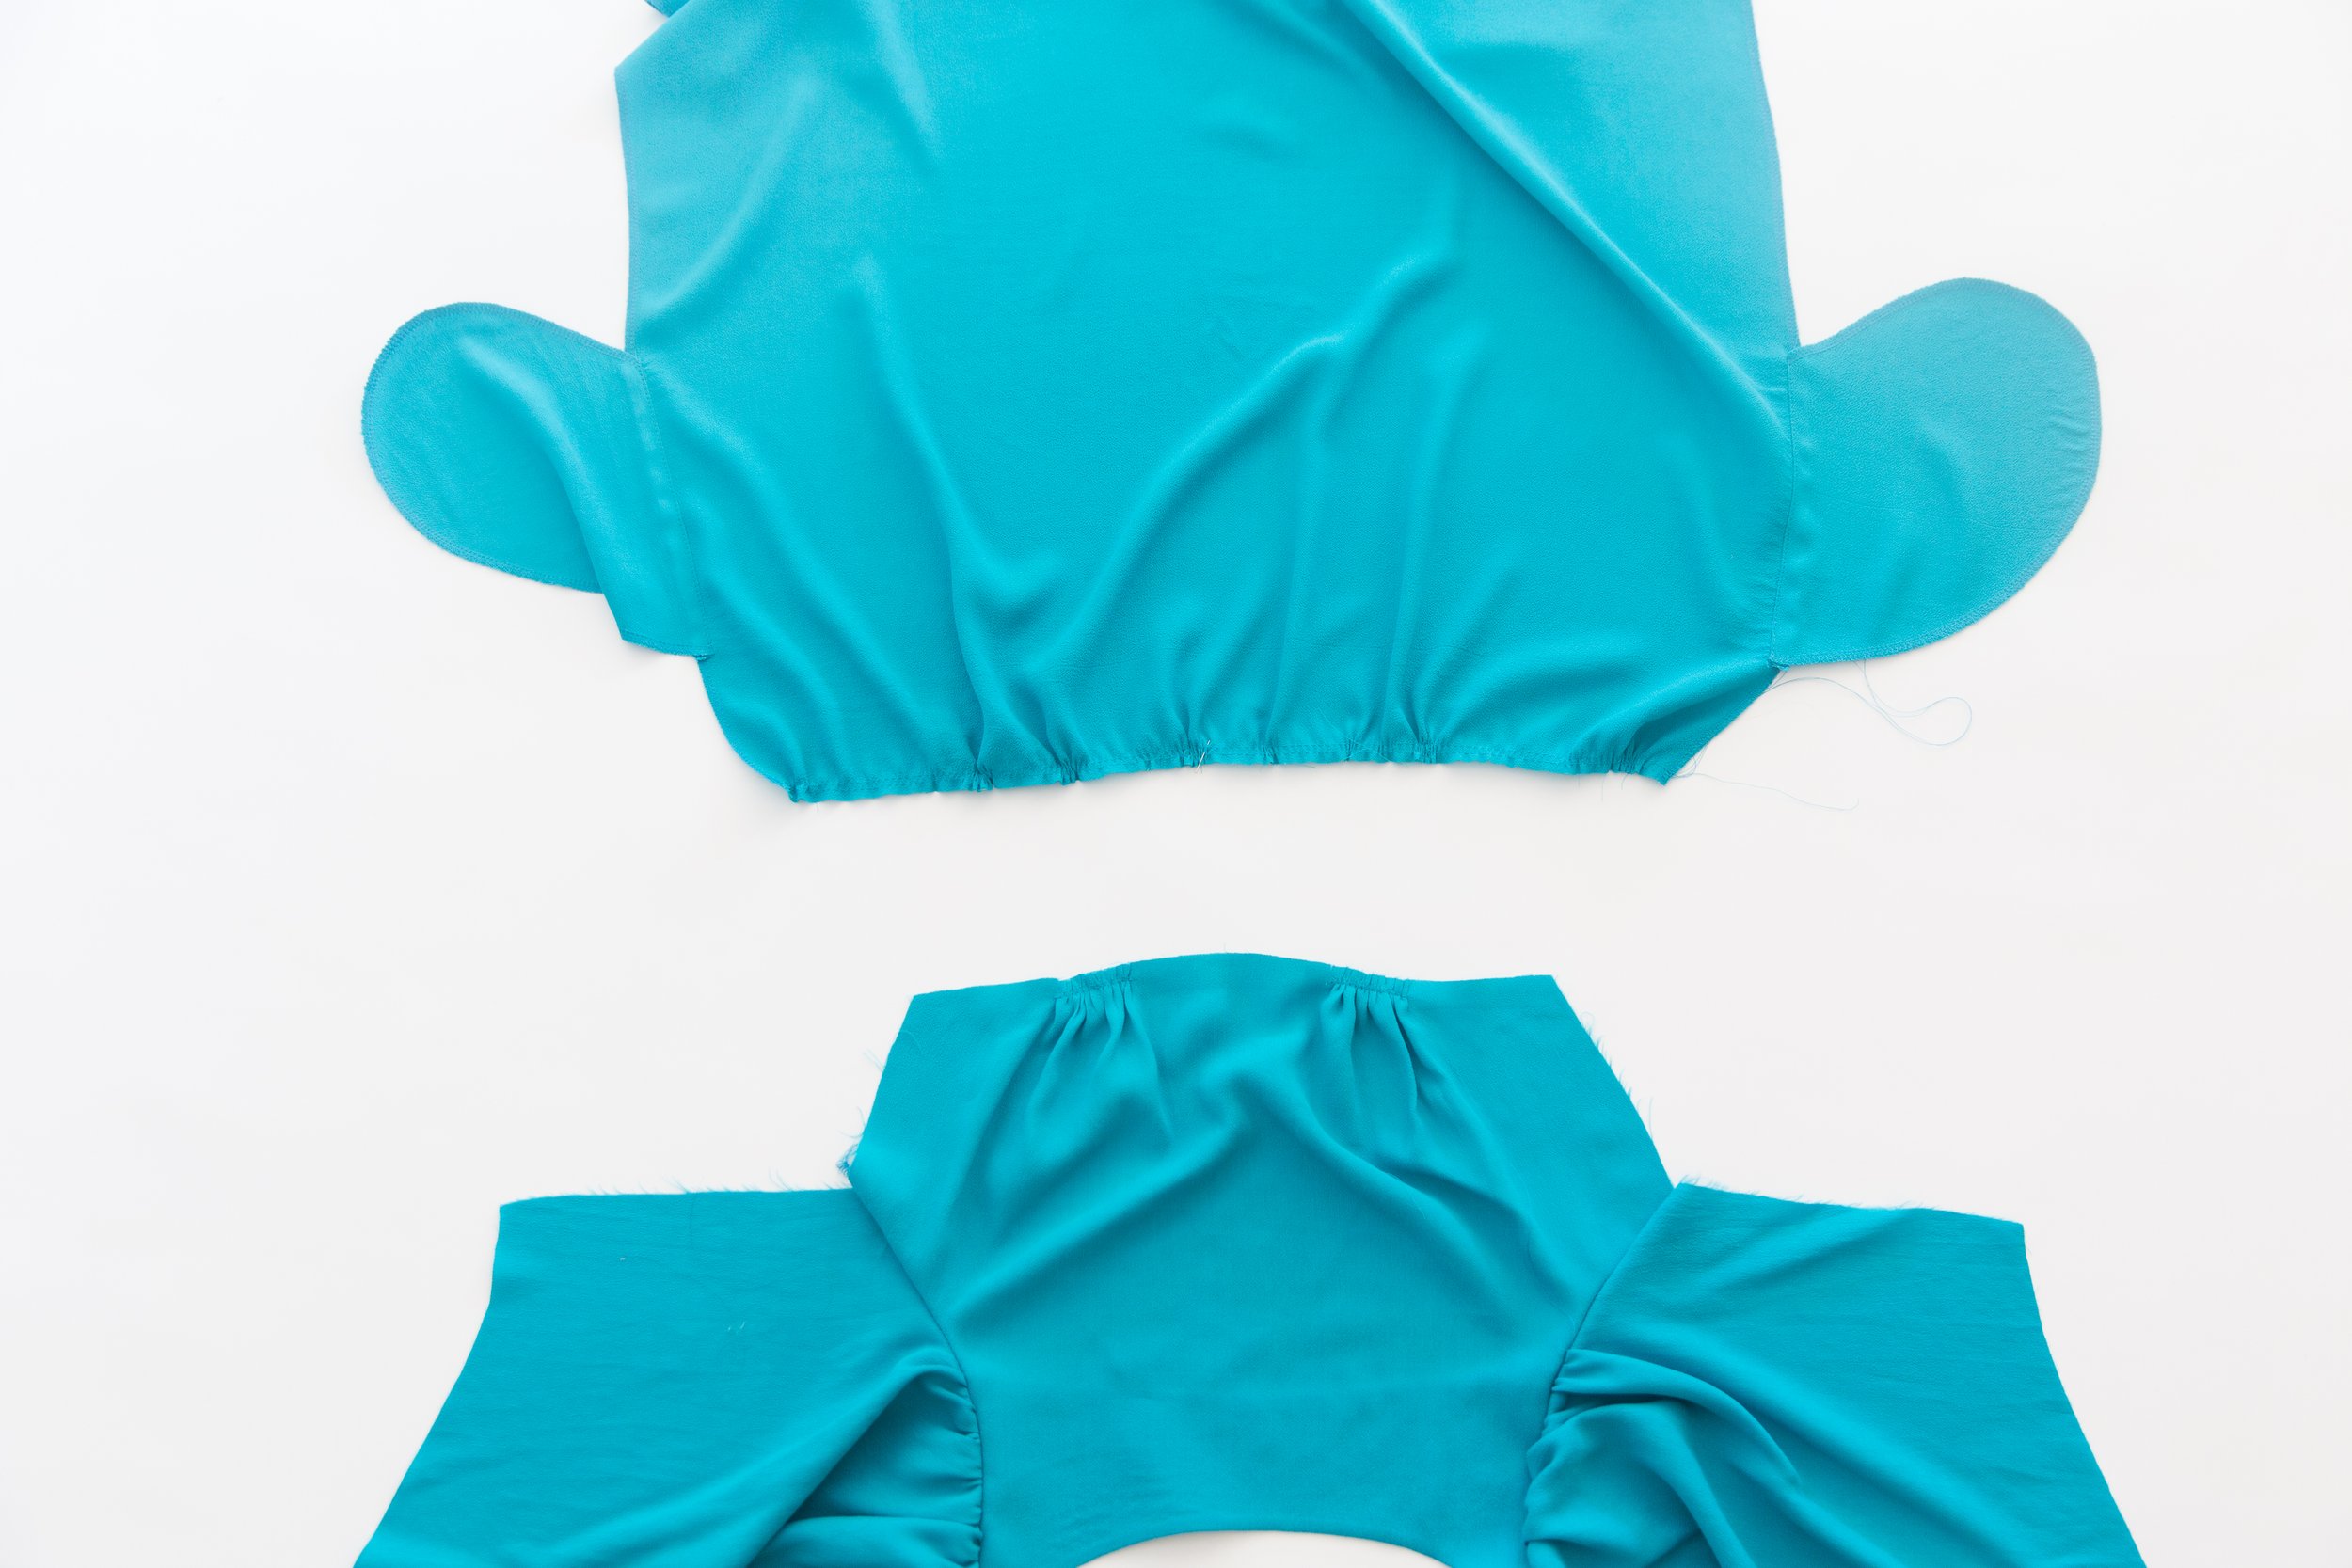
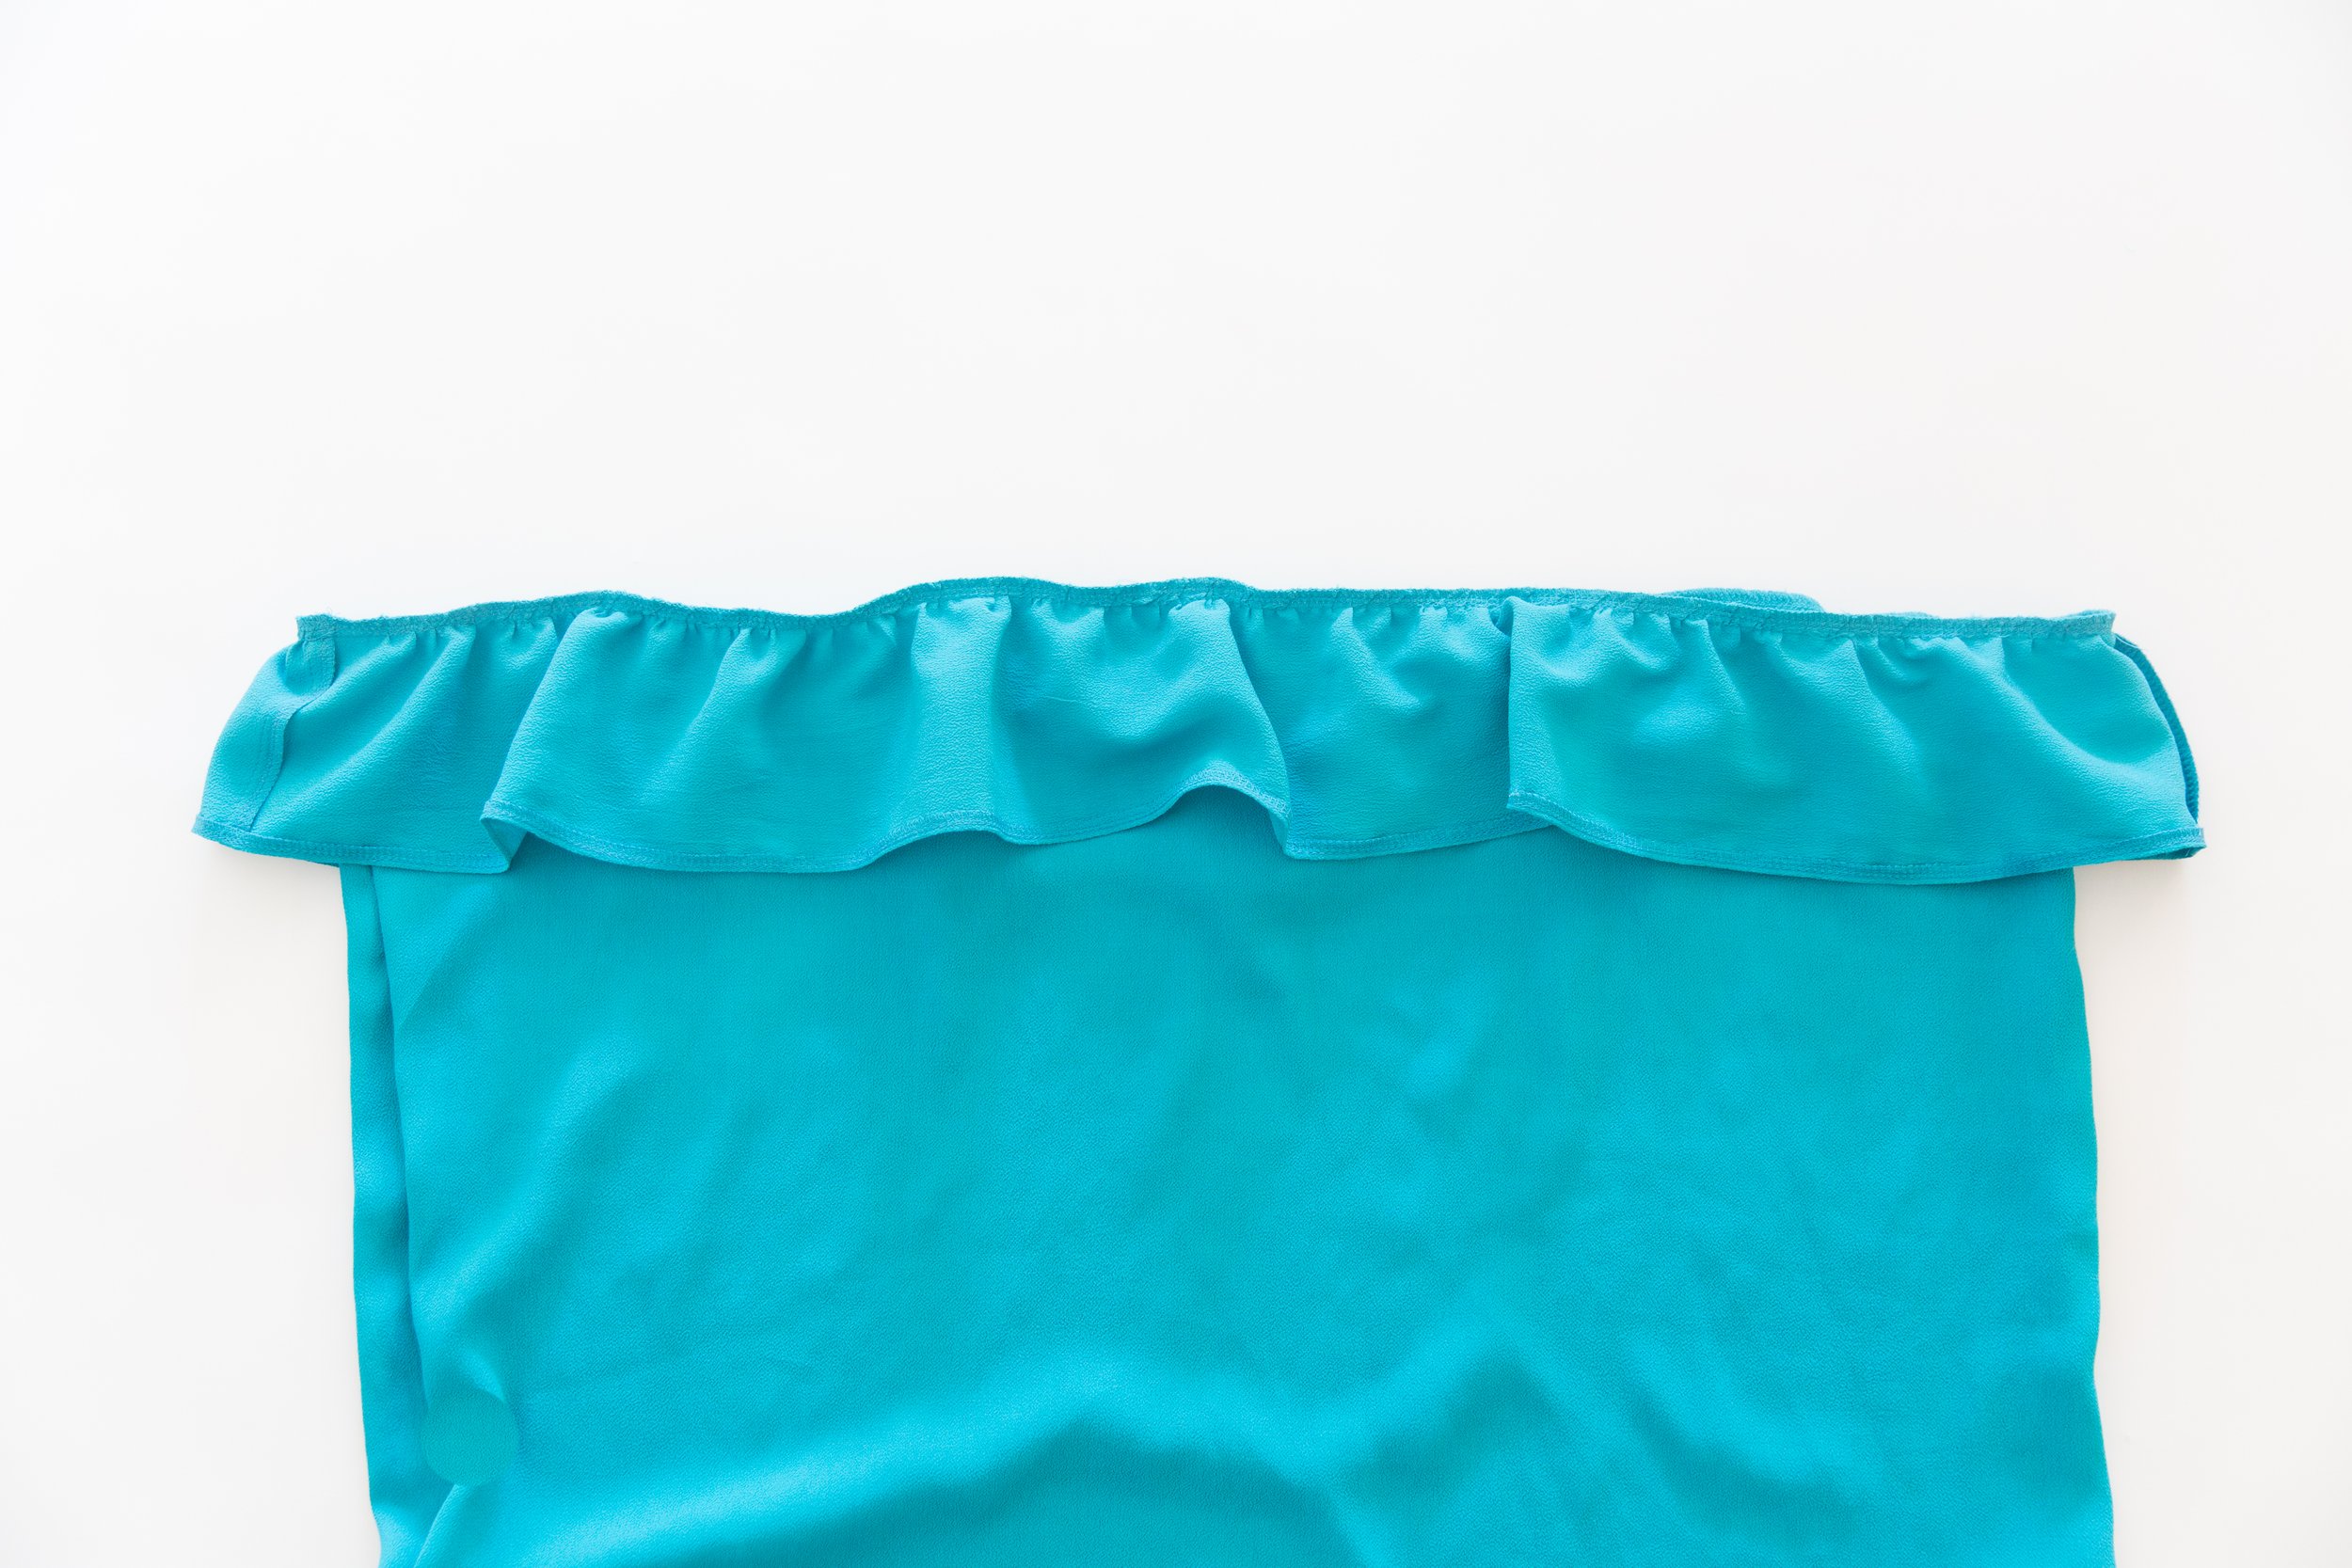
Press top and bottom edge of wrap piece in towards the wrong side 0.5cm/0.2”. Fold over again another 0.5cm/0.2” enclosing the raw edge. Top stitch in place. Now do the same double roll for the short end. Repeat for other side.
Step 13
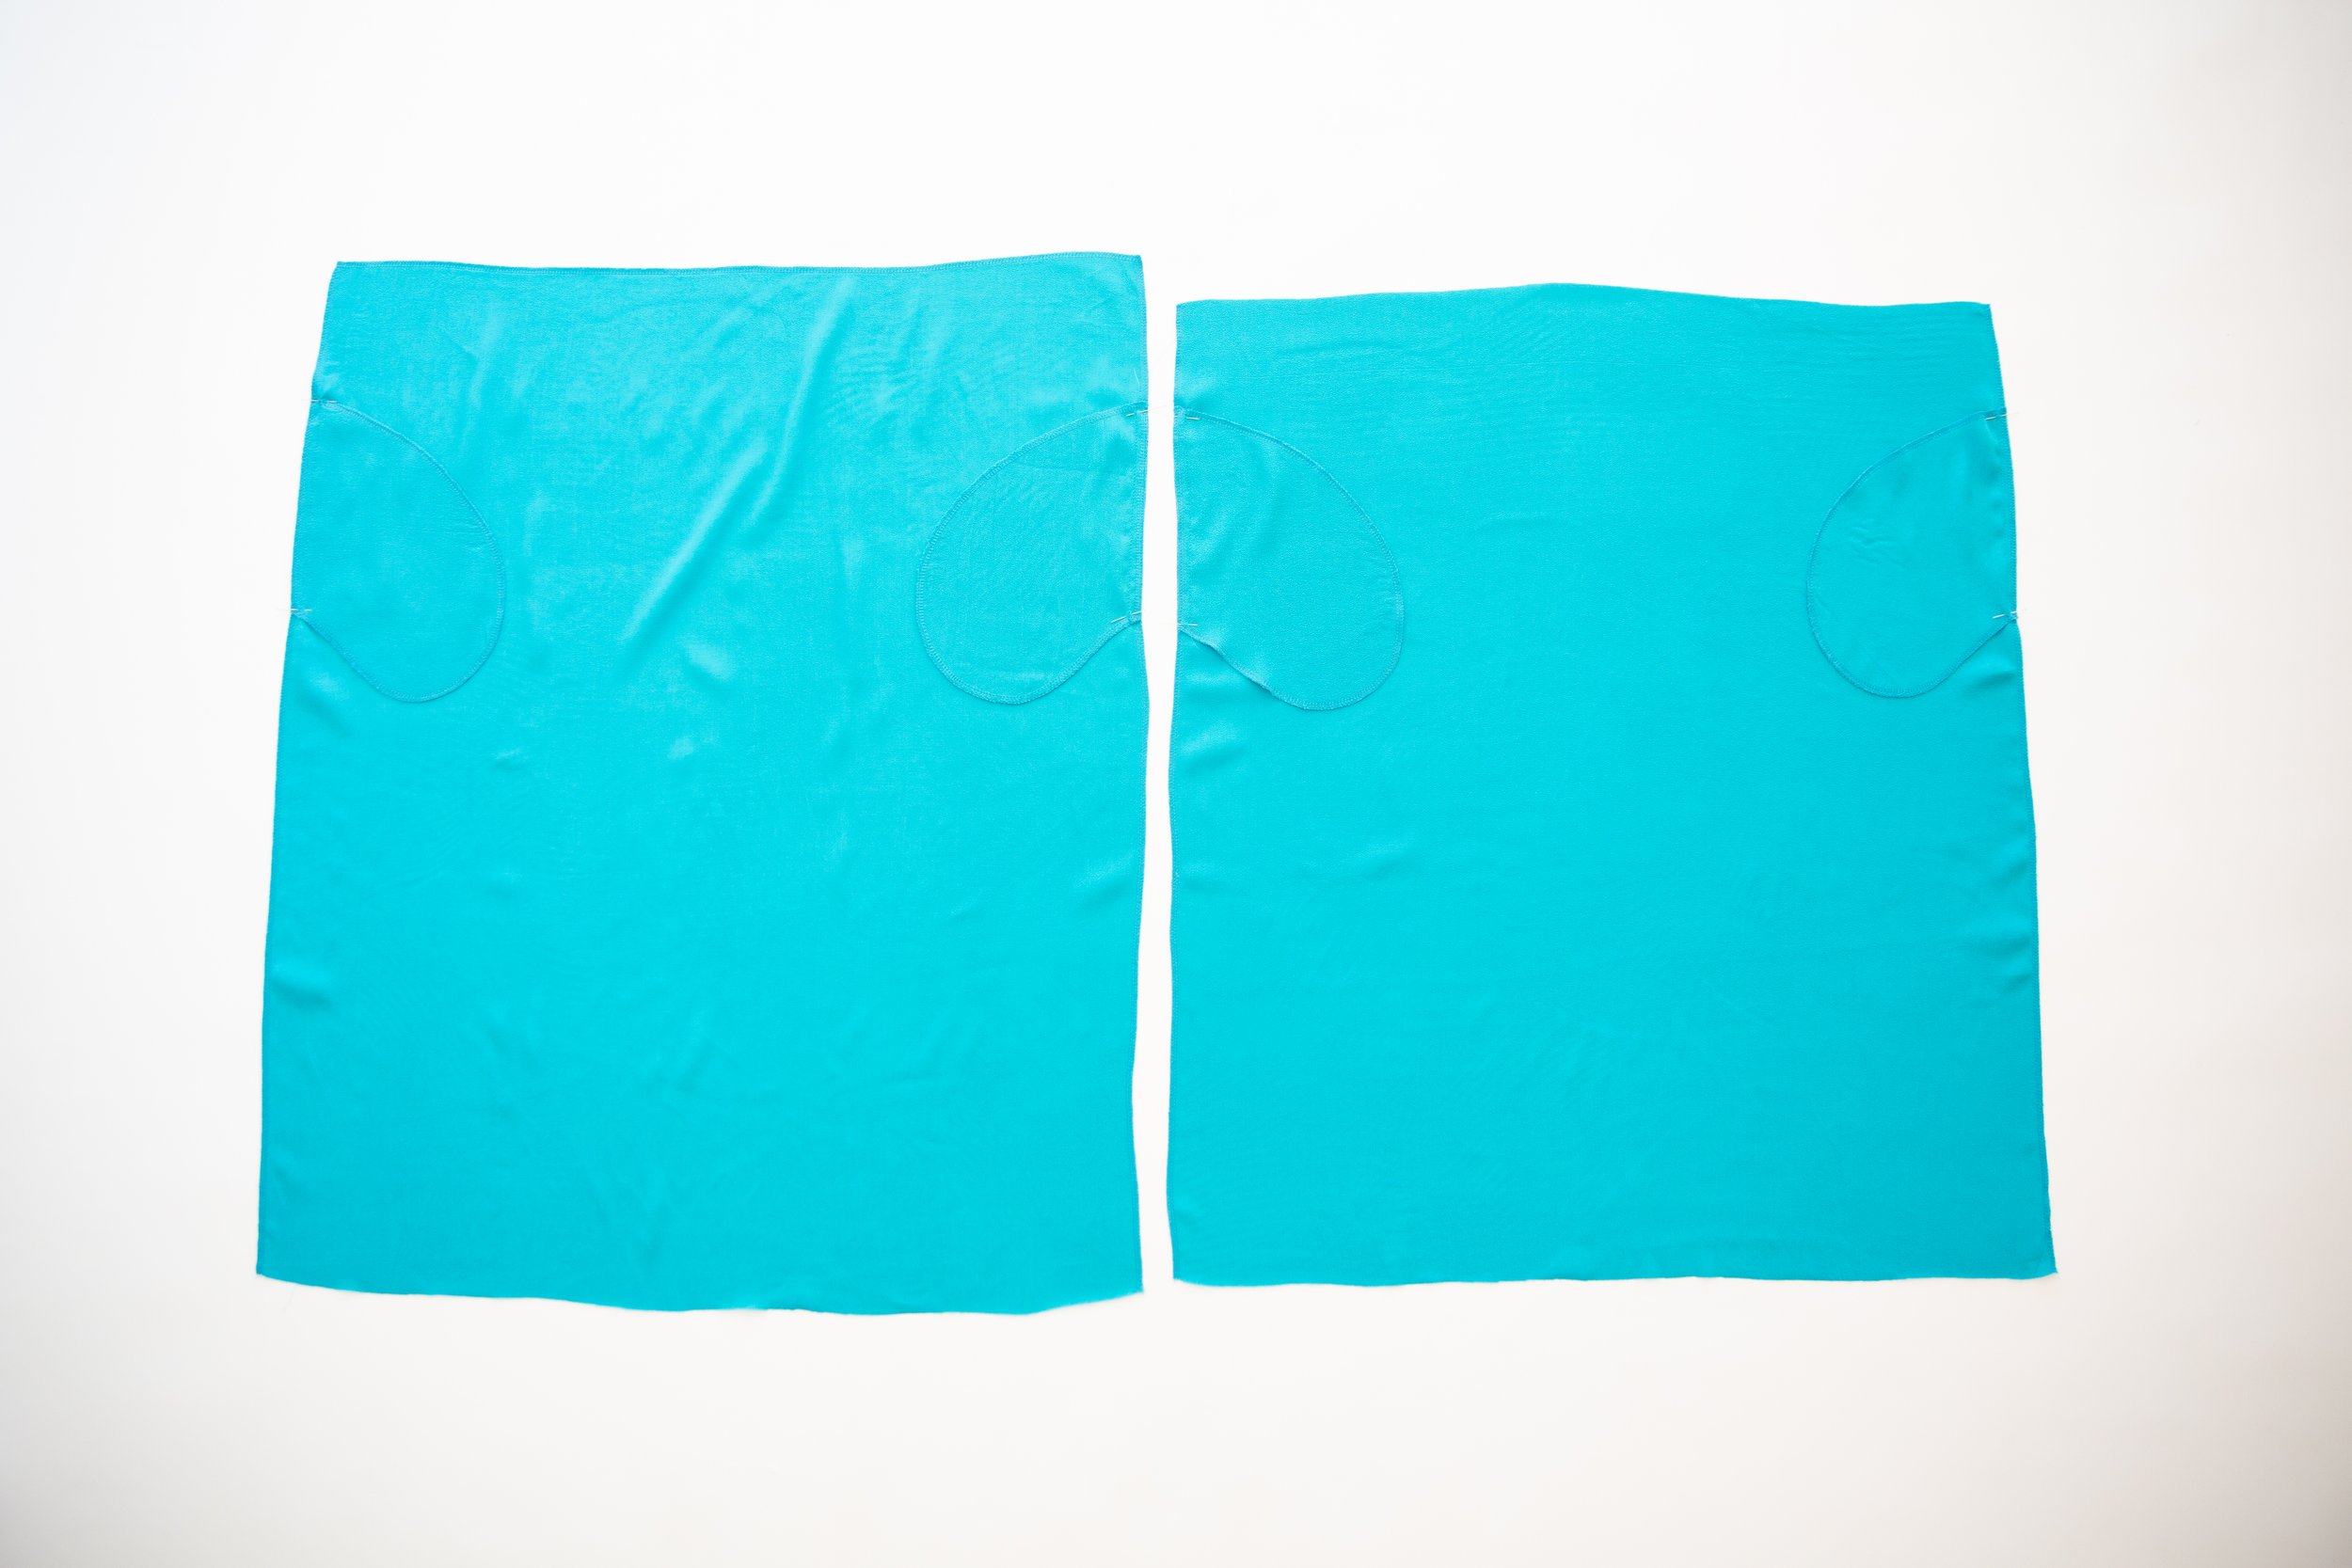
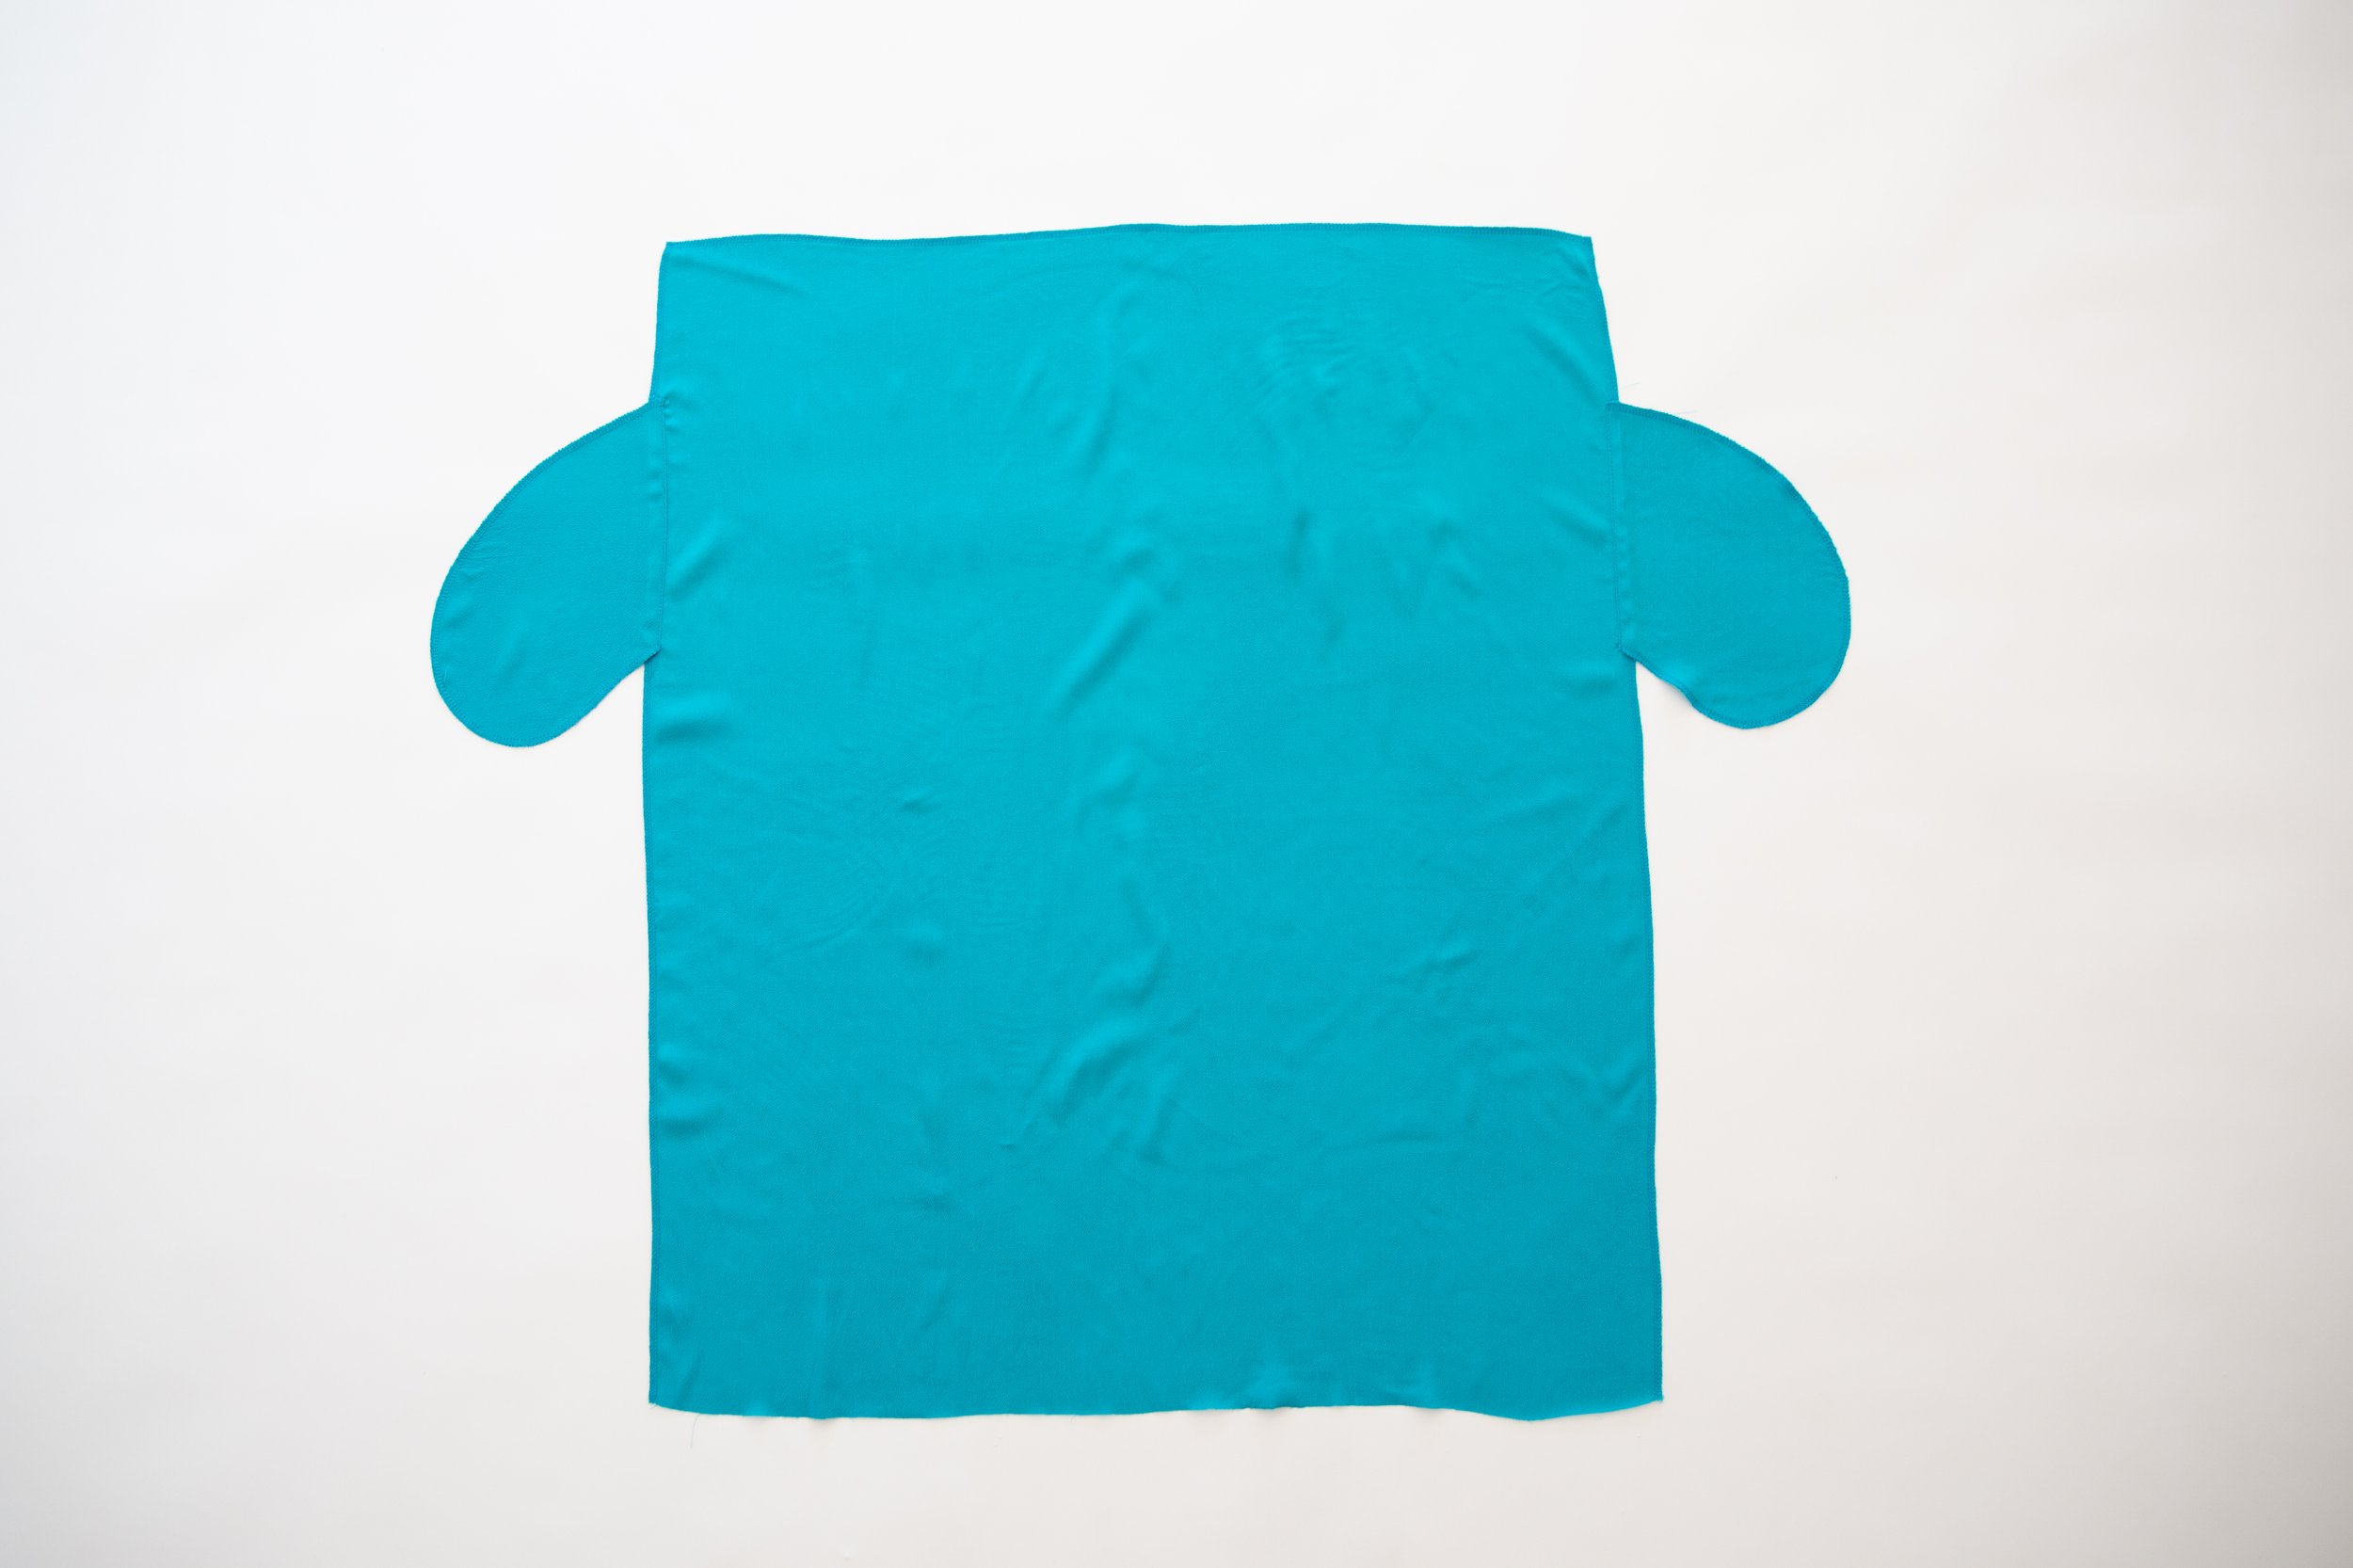
Place two pocket bags on to skirt panel with right sides facing and line up between notches. Stitch together. Understitch seam allowance toward pocket bag. Repeat for other skirt panel.
Step 14
Stitch two rows of gathering stitches (the longest stitch length on your machine) along the top edge of skirt side A, keeping them sitting within the 1cm / 0.39” seam allowance.

Step 15
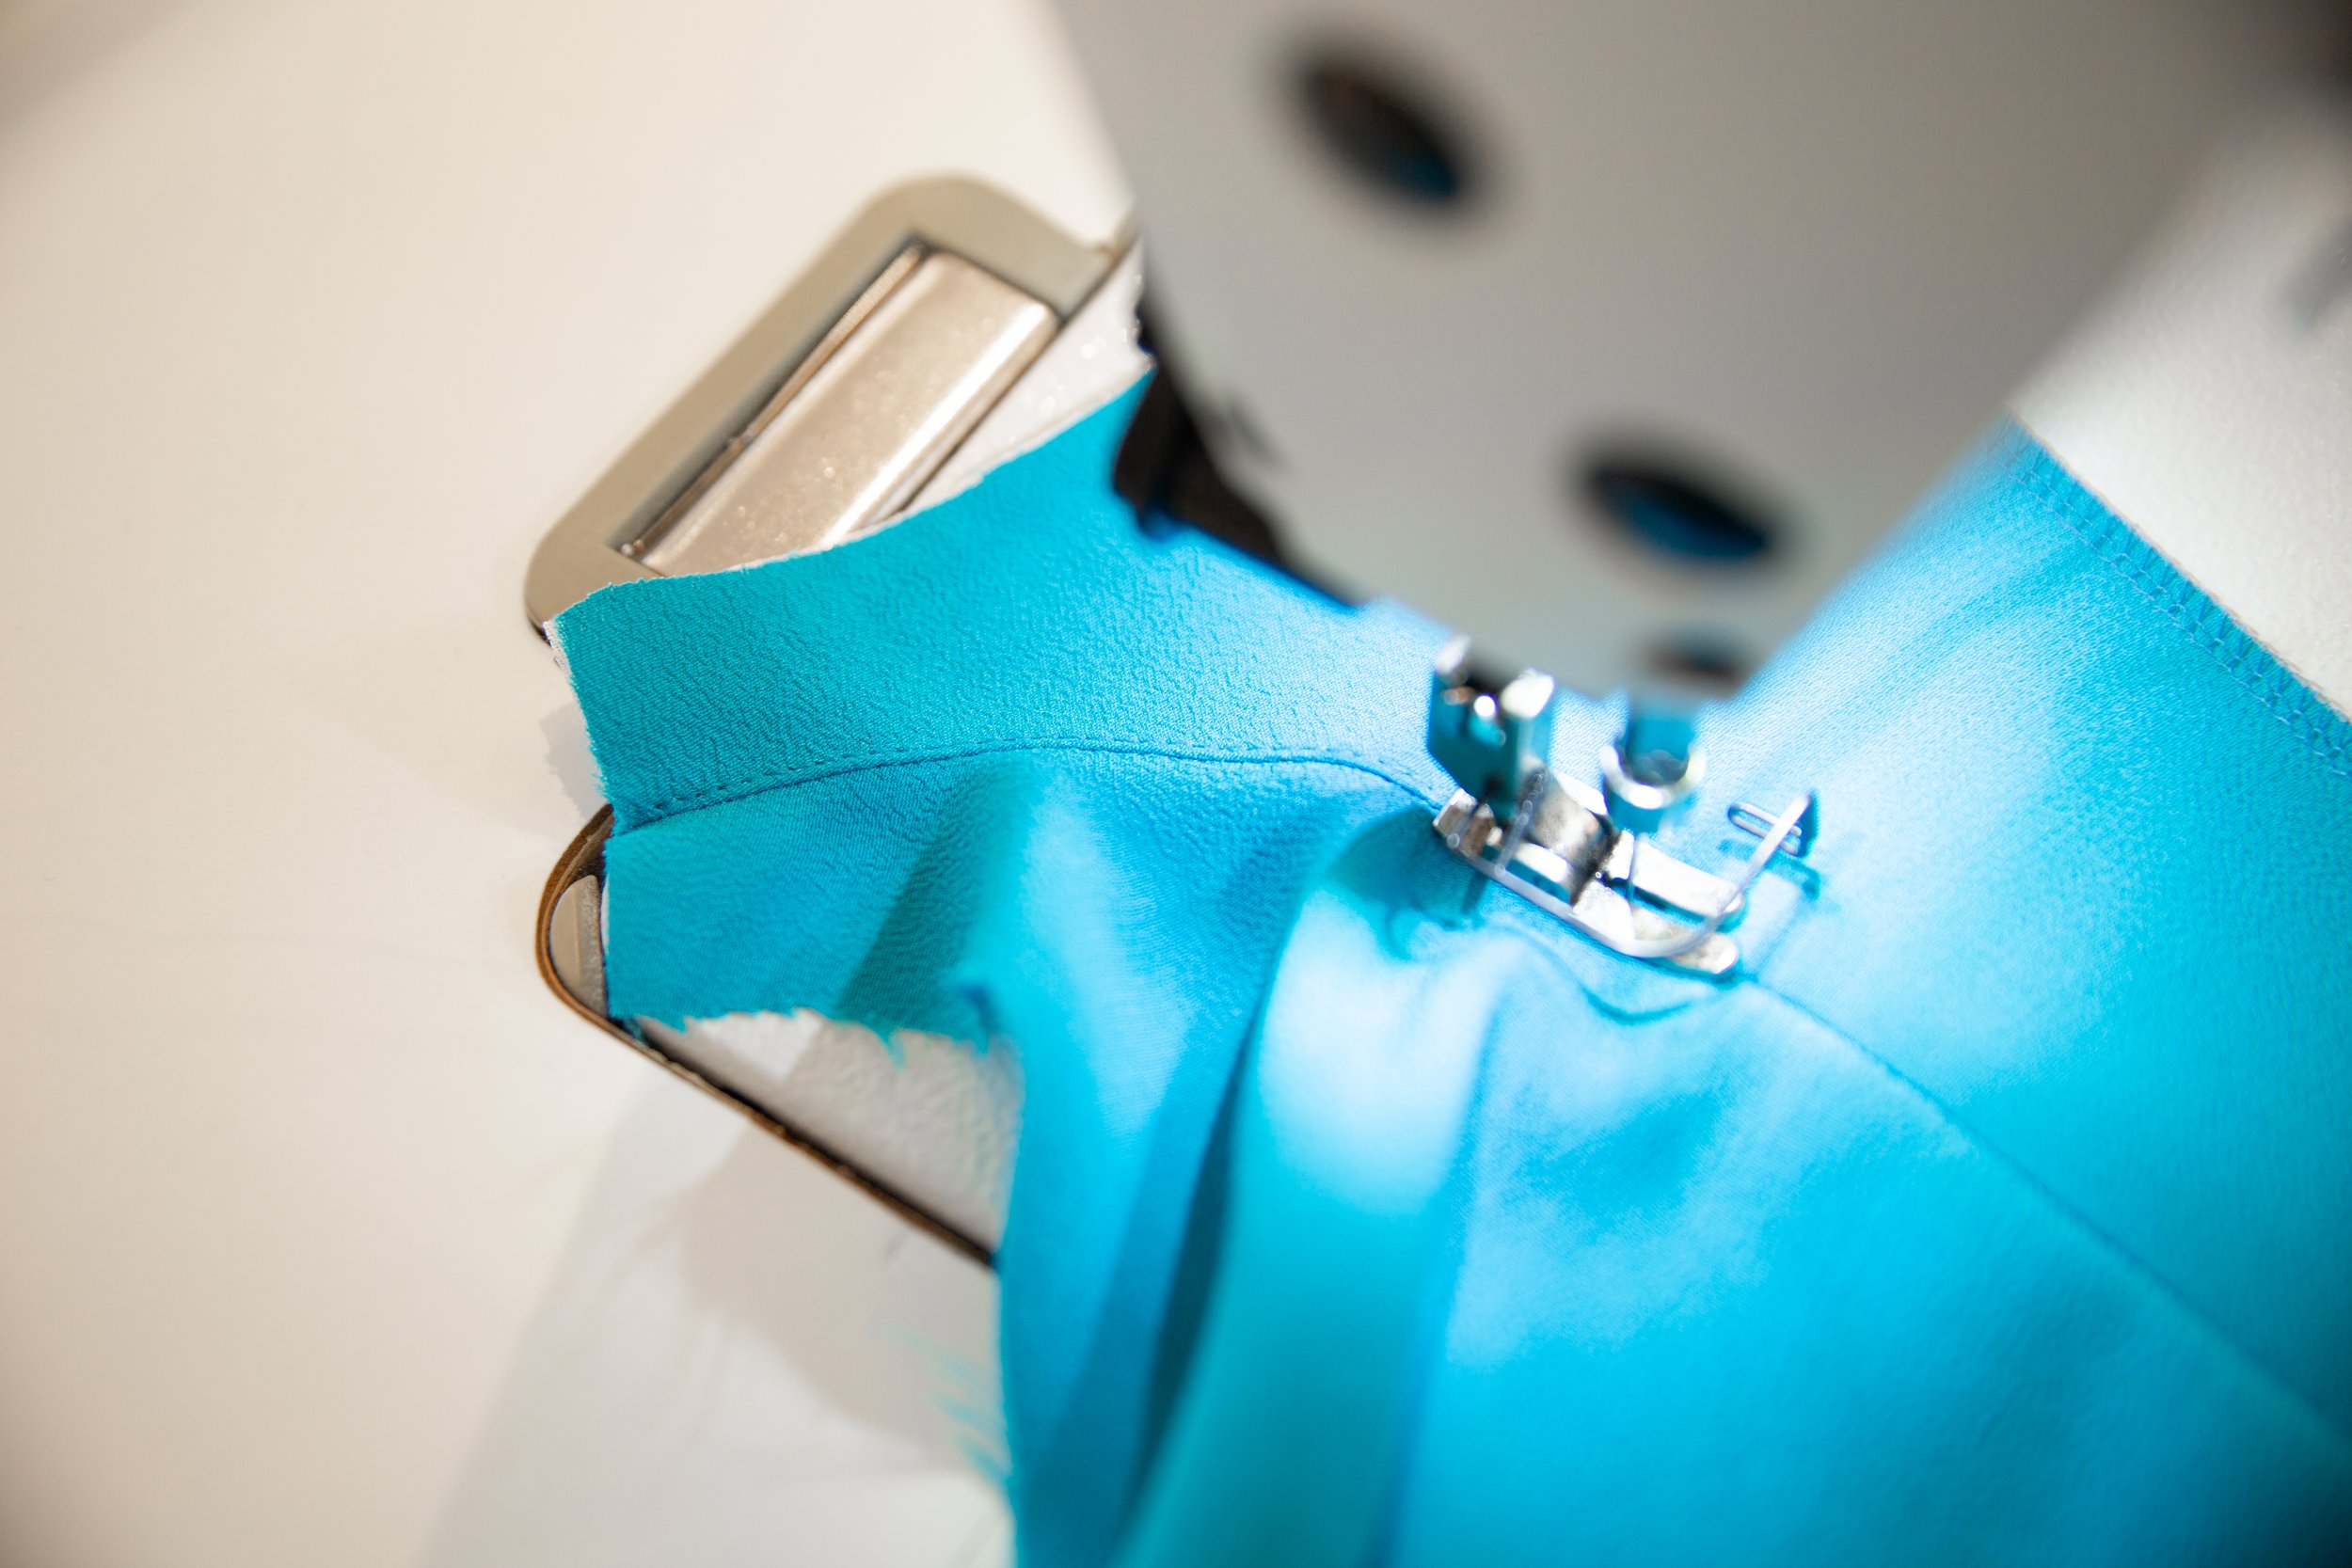
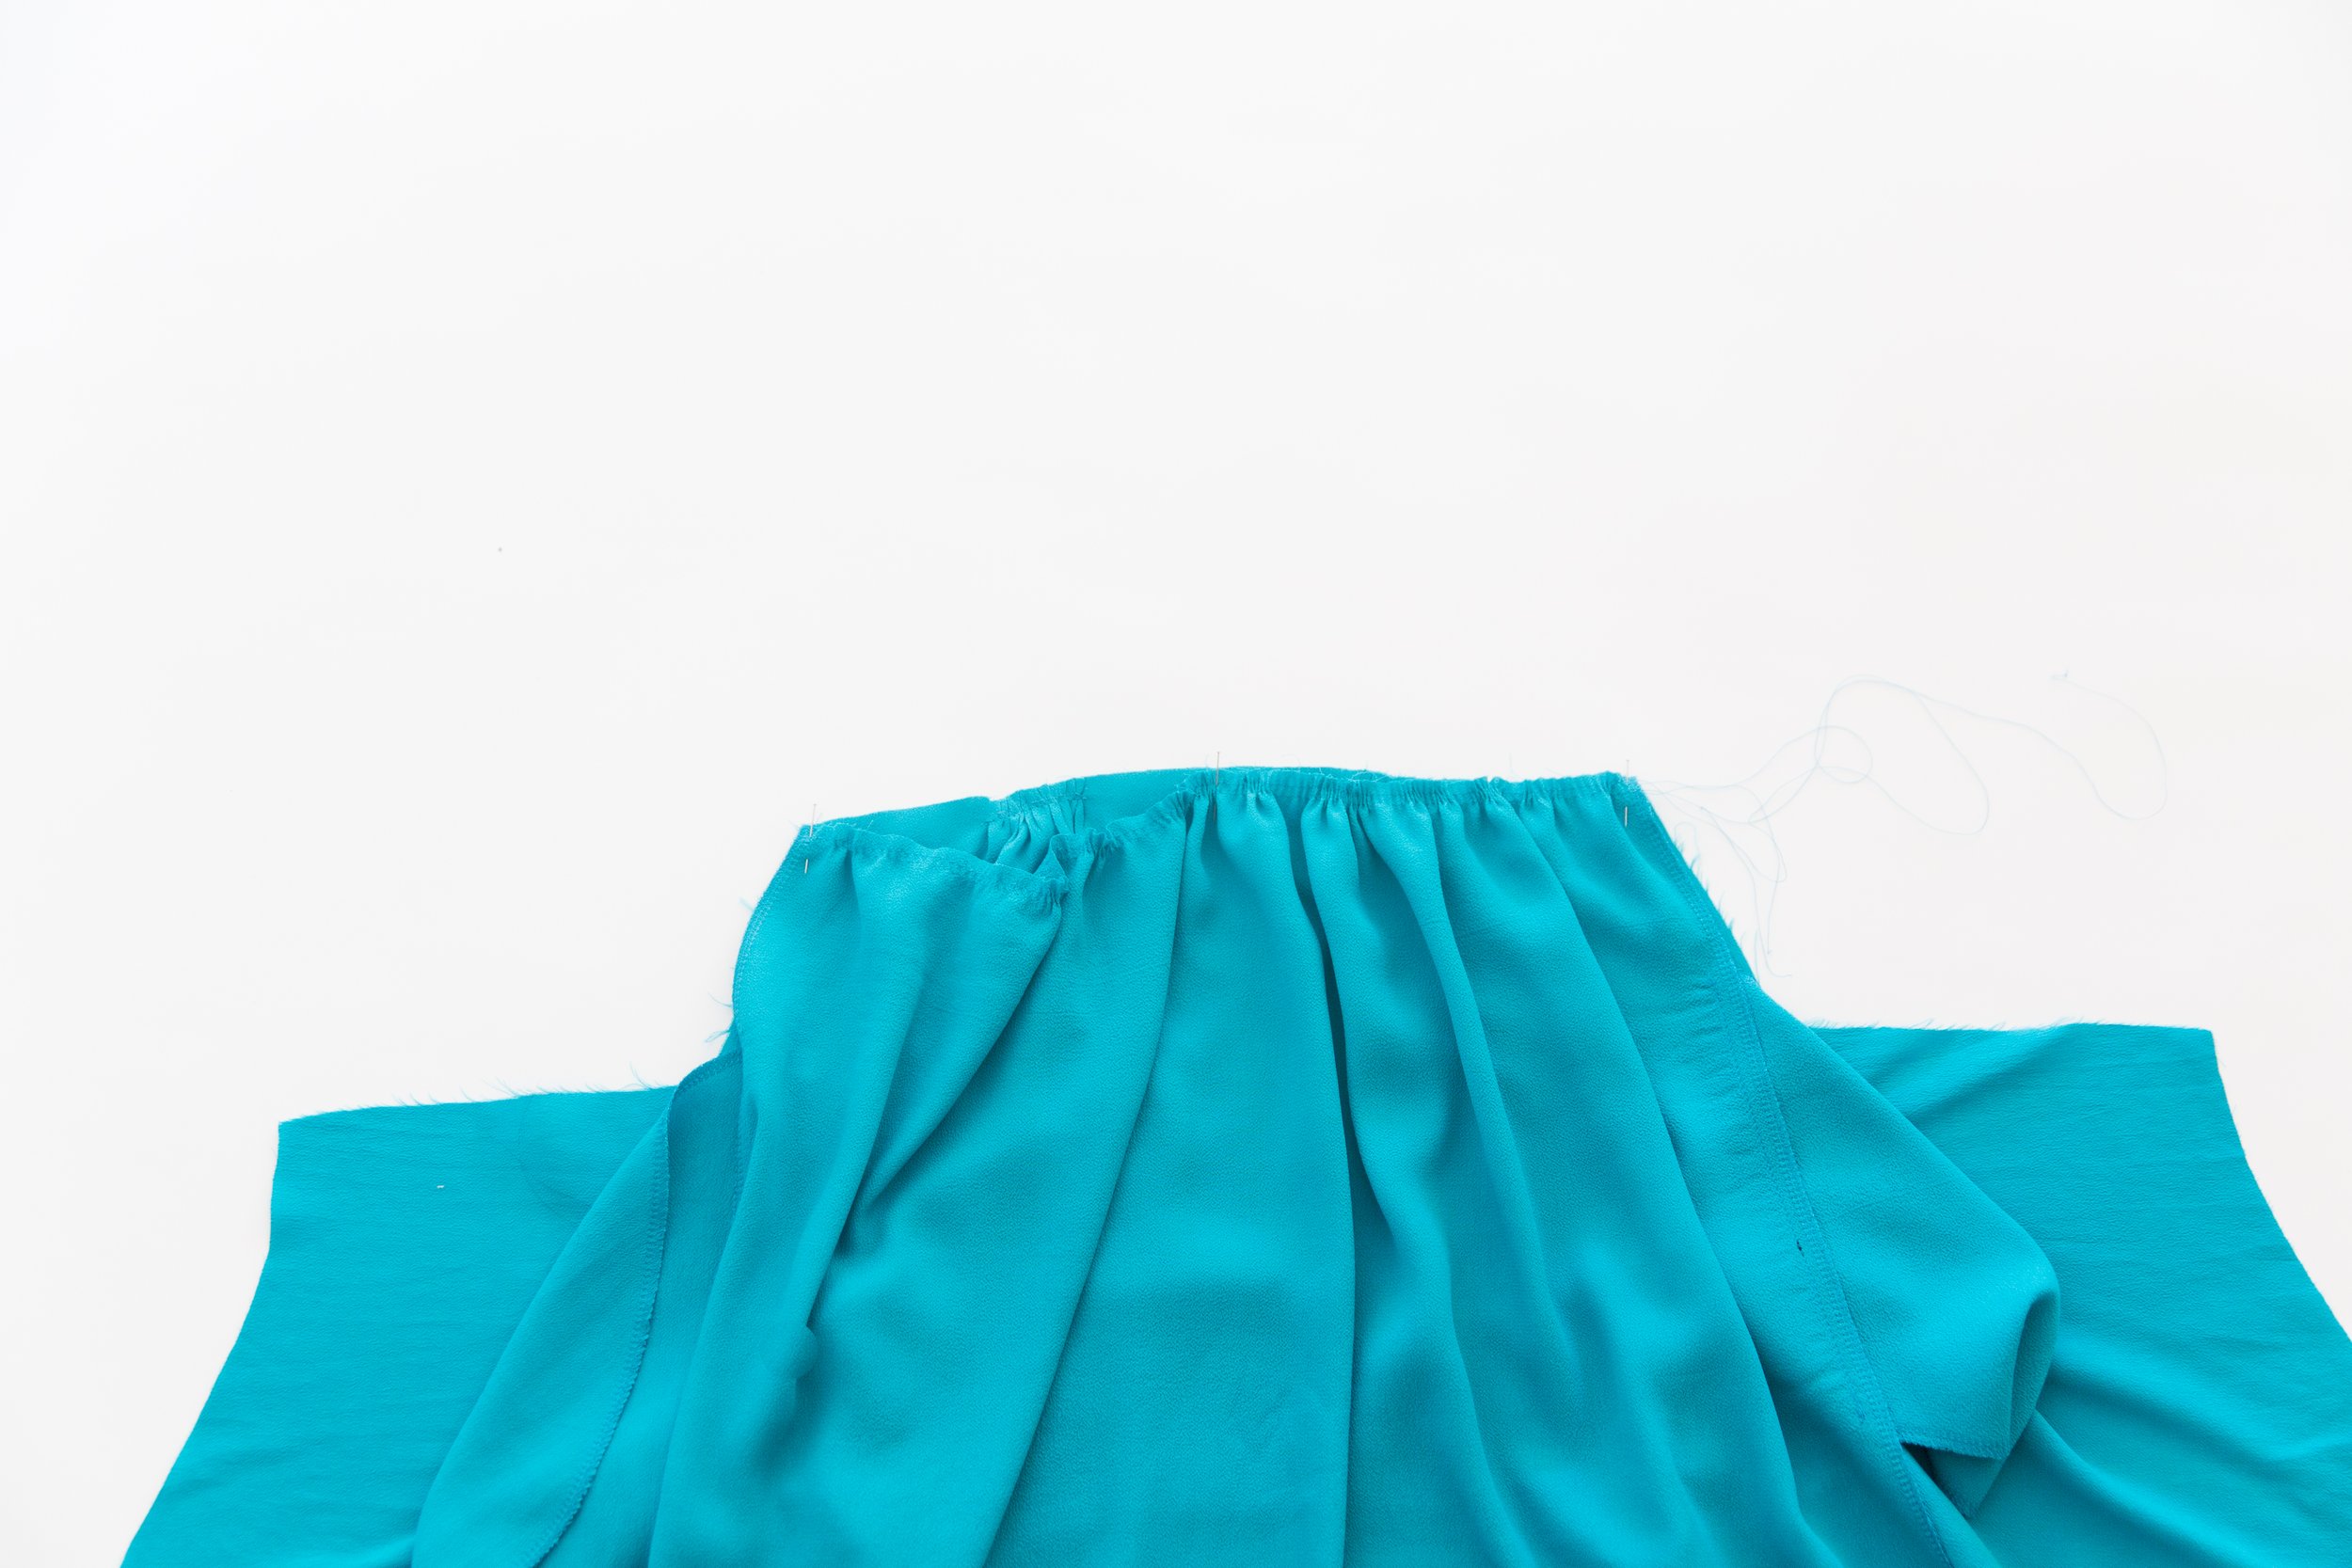
With right sides facing, line up the edges and centre points of bodice and skirt waist seams. Pin together at these points. Pull your gathering threads until the waist of skirt fits the waist of bodice. Evenly distribute gathers then pin securely together all the way along. Stitch. Neaten seam. Press seam allowance toward bodice.
Step 16
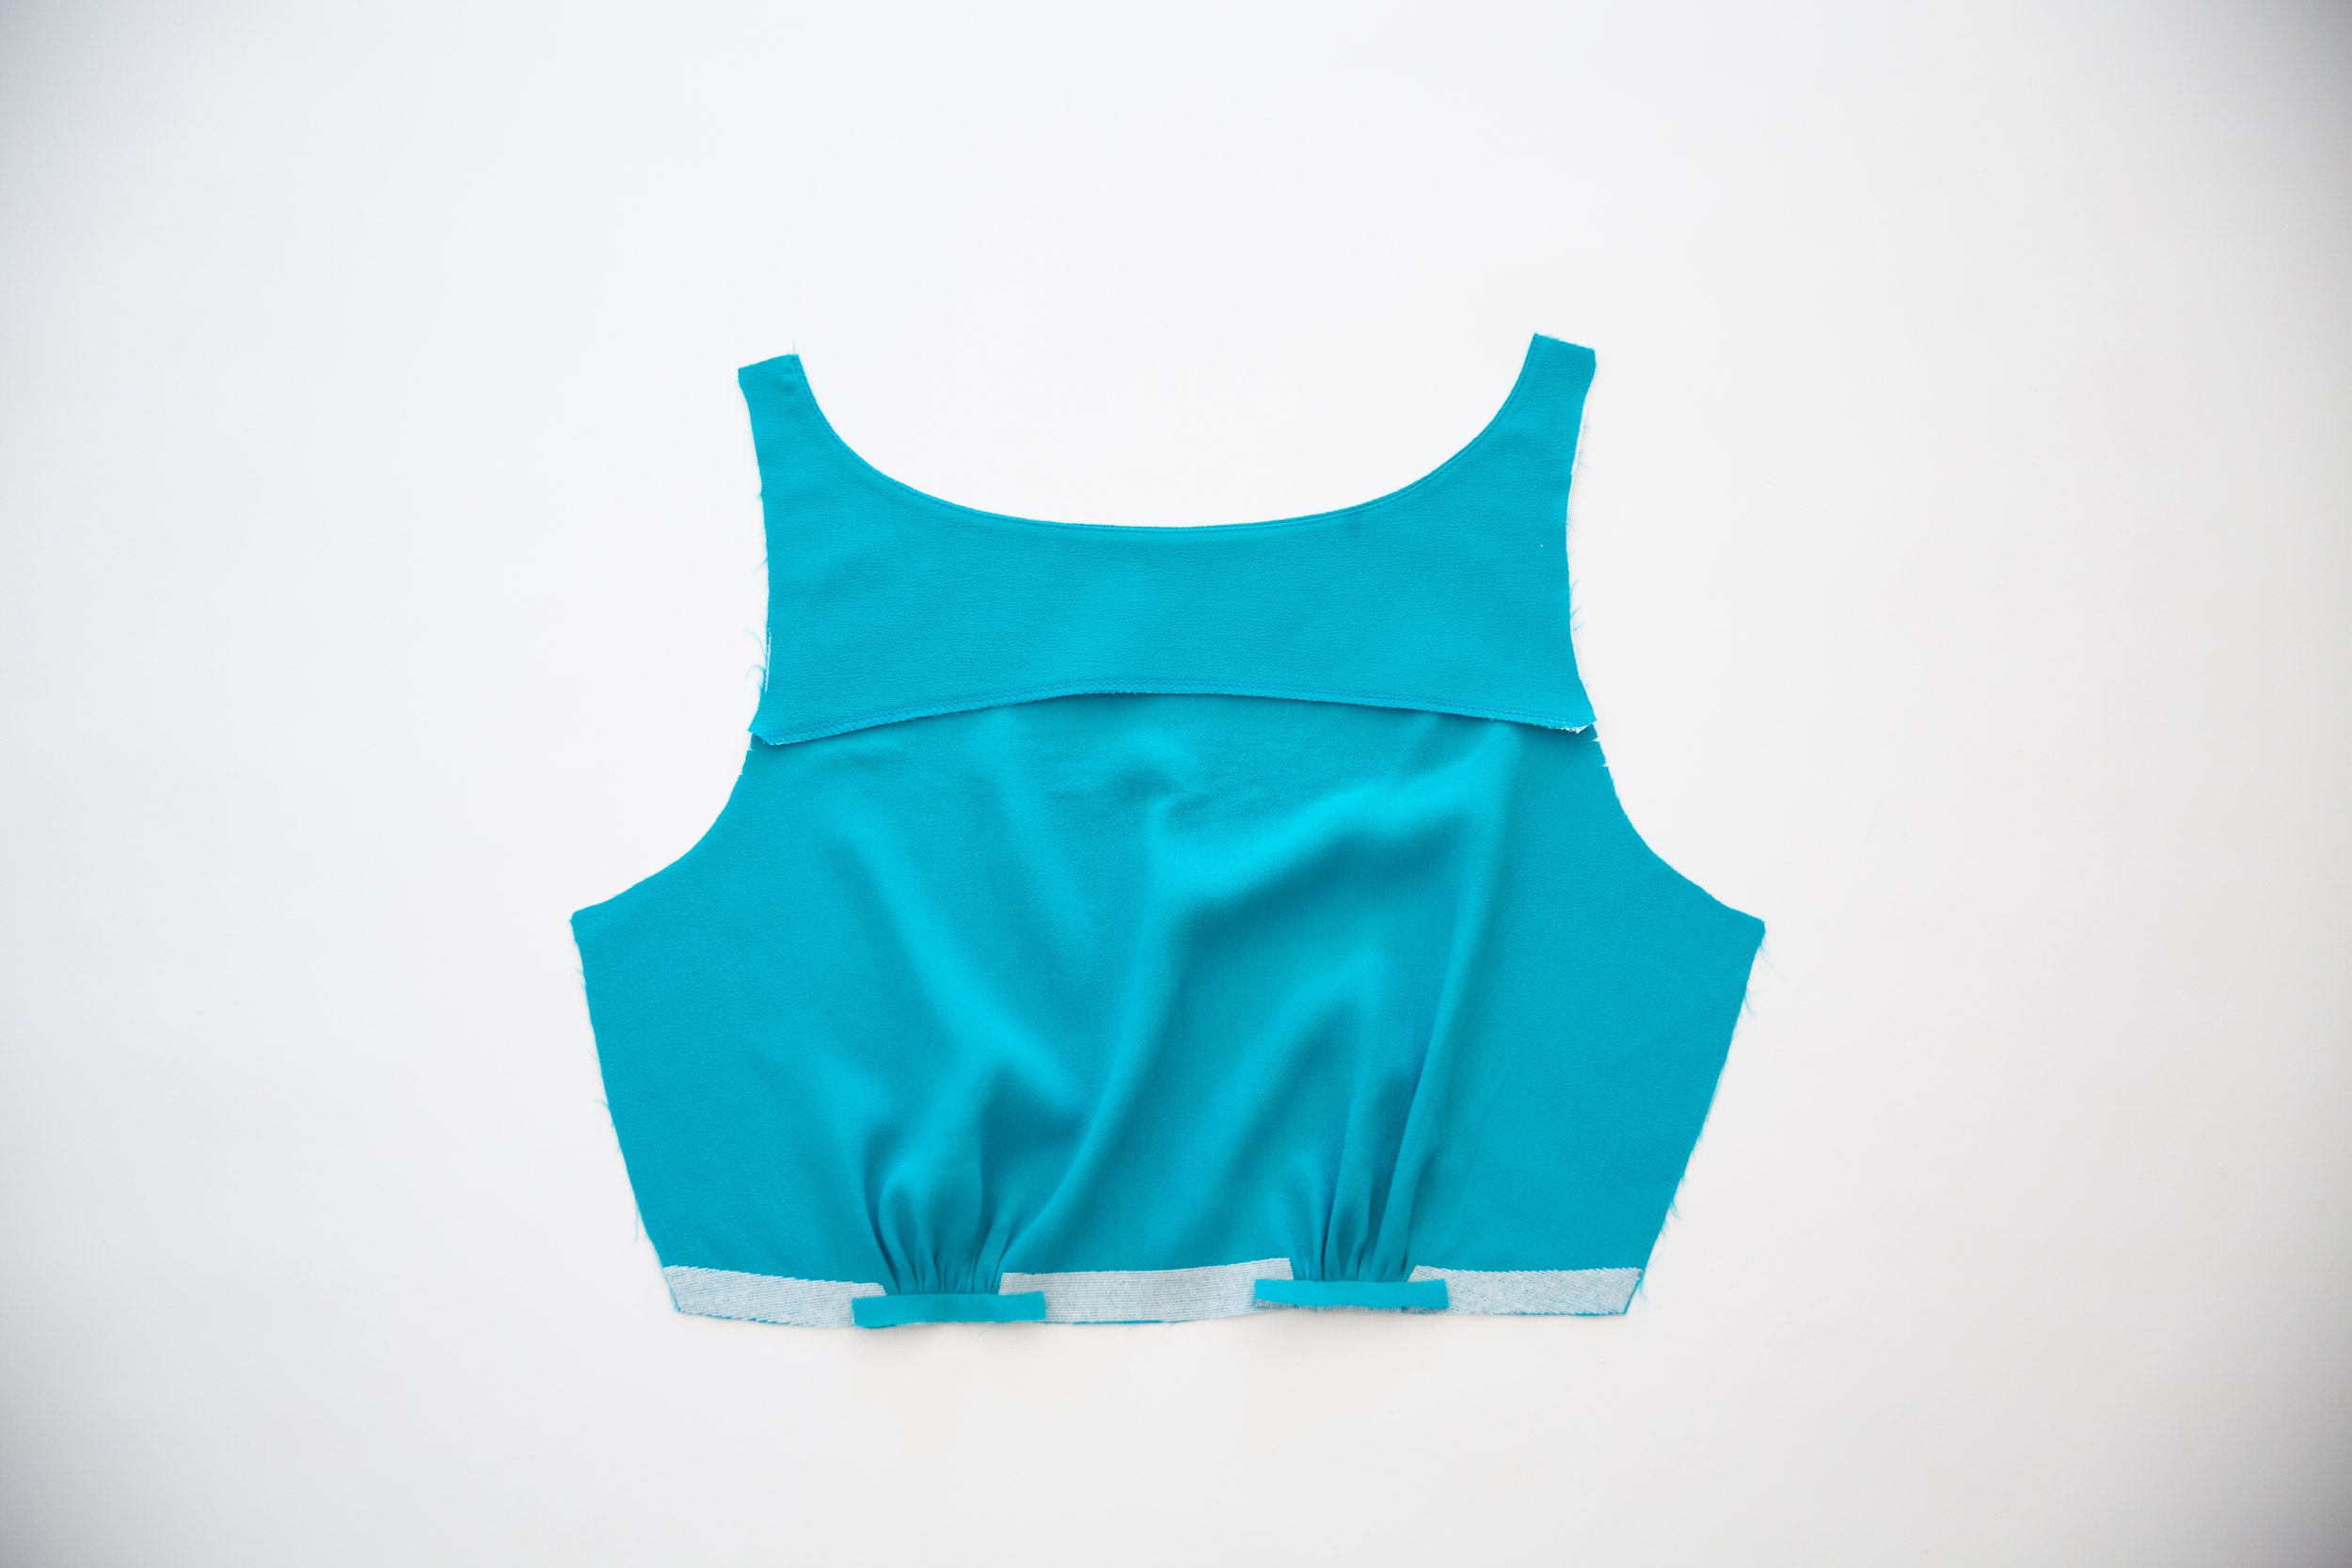
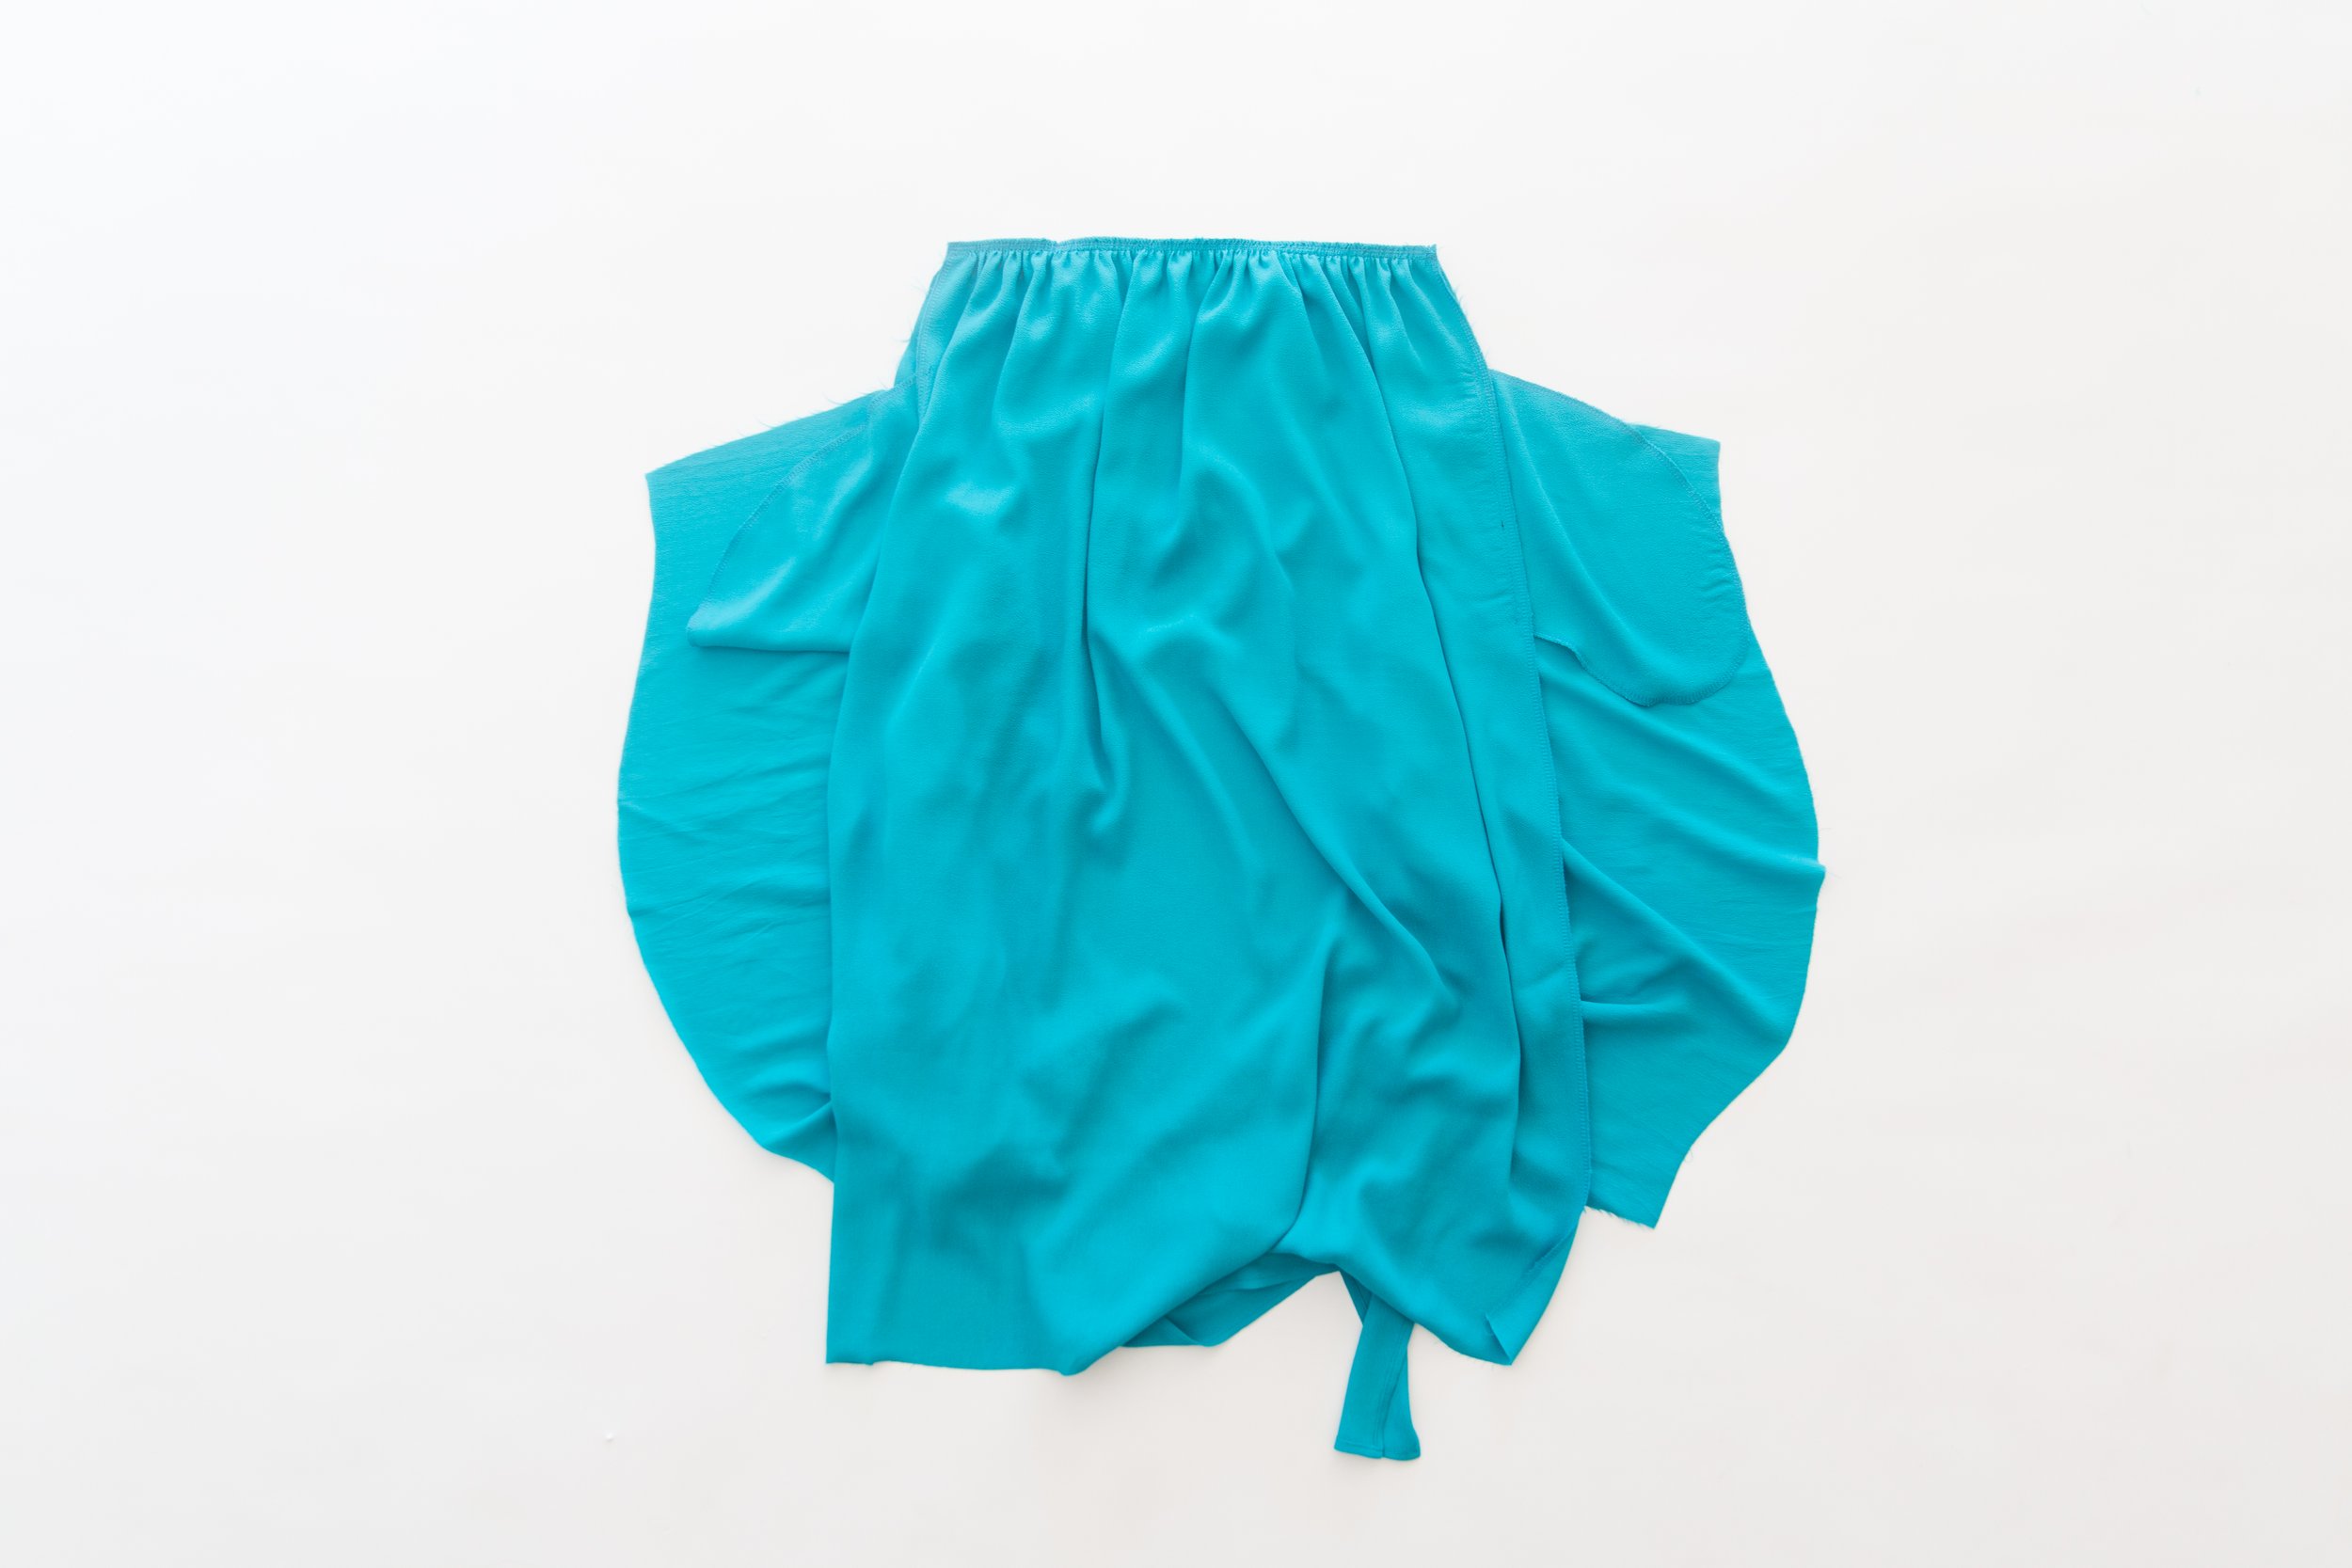
Fold top edge of skirt over to the wrong side at foldline (as indicated on your pattern piece). Stitch in place to form a casing. Press.
Step 17
Thread your waist elastic (2cm / 0.8” wide) through the casing. Stitch edge in place through all layers on one side only. Safety pin in place on the other side.

Step 18
Place skirt panel B onto skirt A with right sides facing. Line up waist seam of bodice/skirt A with the waistband casing stitch line of skirt B. The top of waistband should line up with notch on bodice. Pin together side seams and around pocket bags. Stitch, starting below the waistband on the safety pinned side.

Step 19
With right sides facing, pin your wrap bodice pieces in to place, matching up underarm and side seams. The hem of wrap pieces should meet top edge of skirt waistband. Stitch together. Try your dress on and adjust open edge of elastic to fit perfectly. Once that’s done, secure open edge of waistband and neaten edges from underarms down to waist on each side.

Step 20
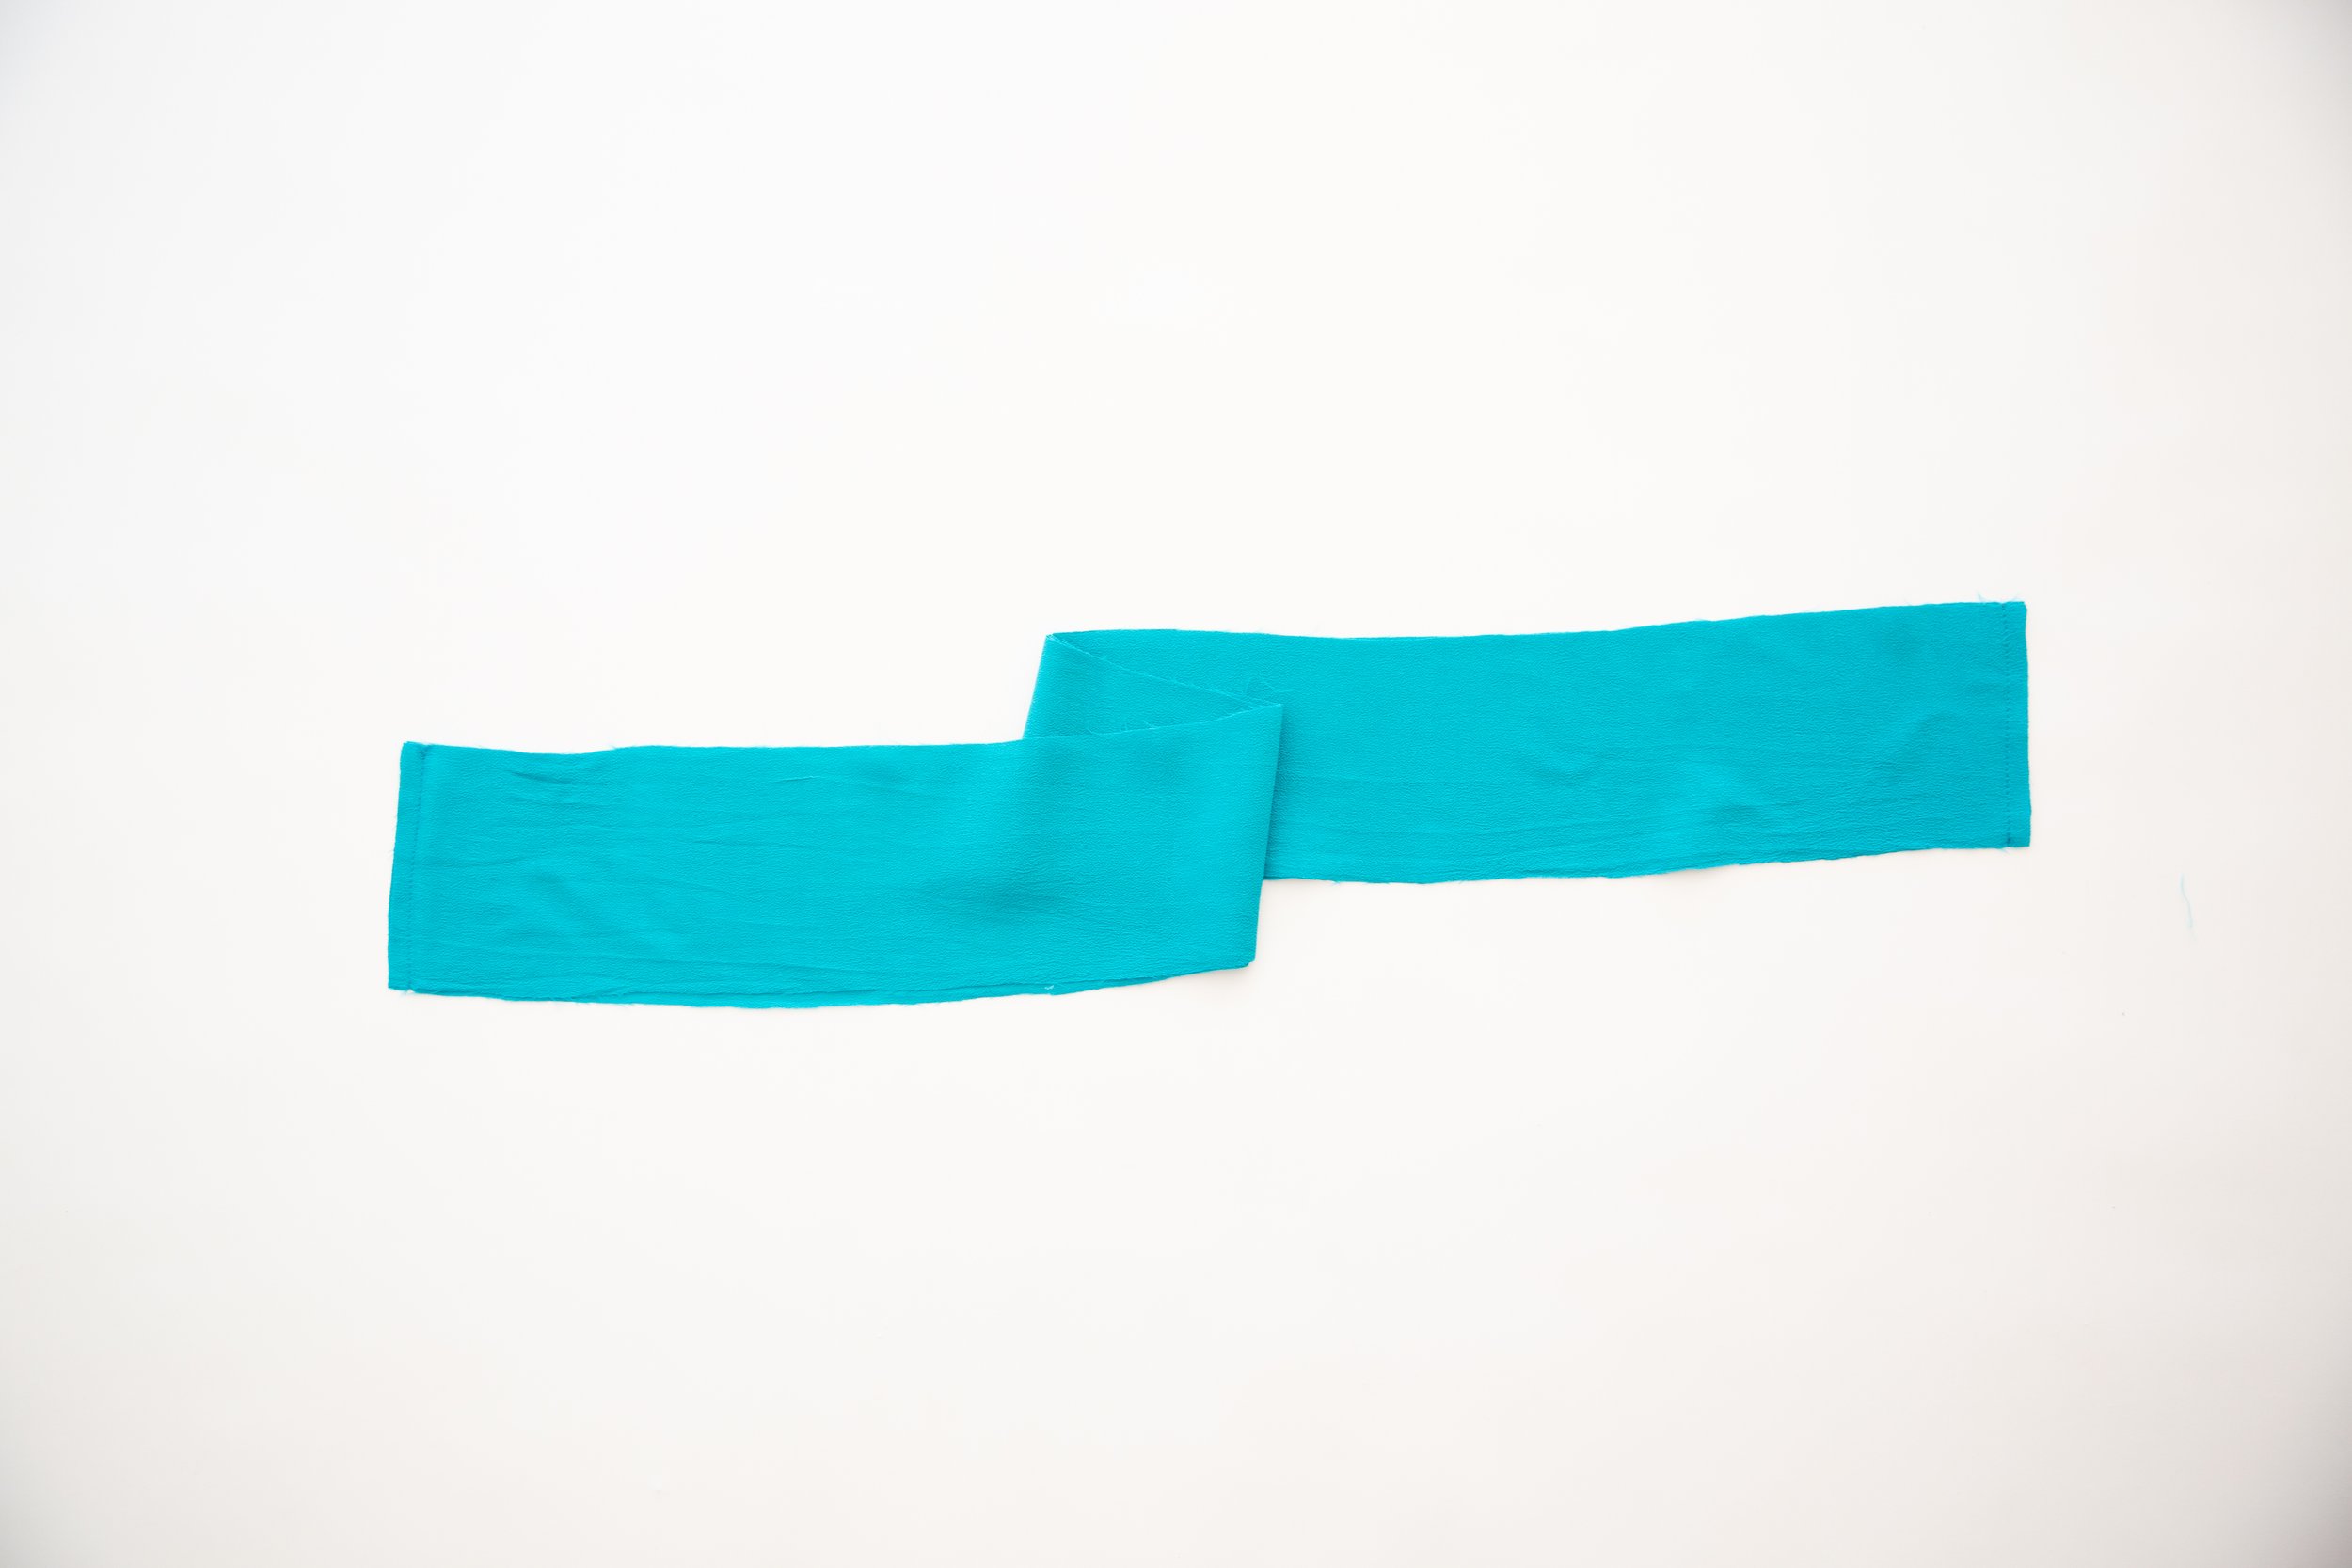
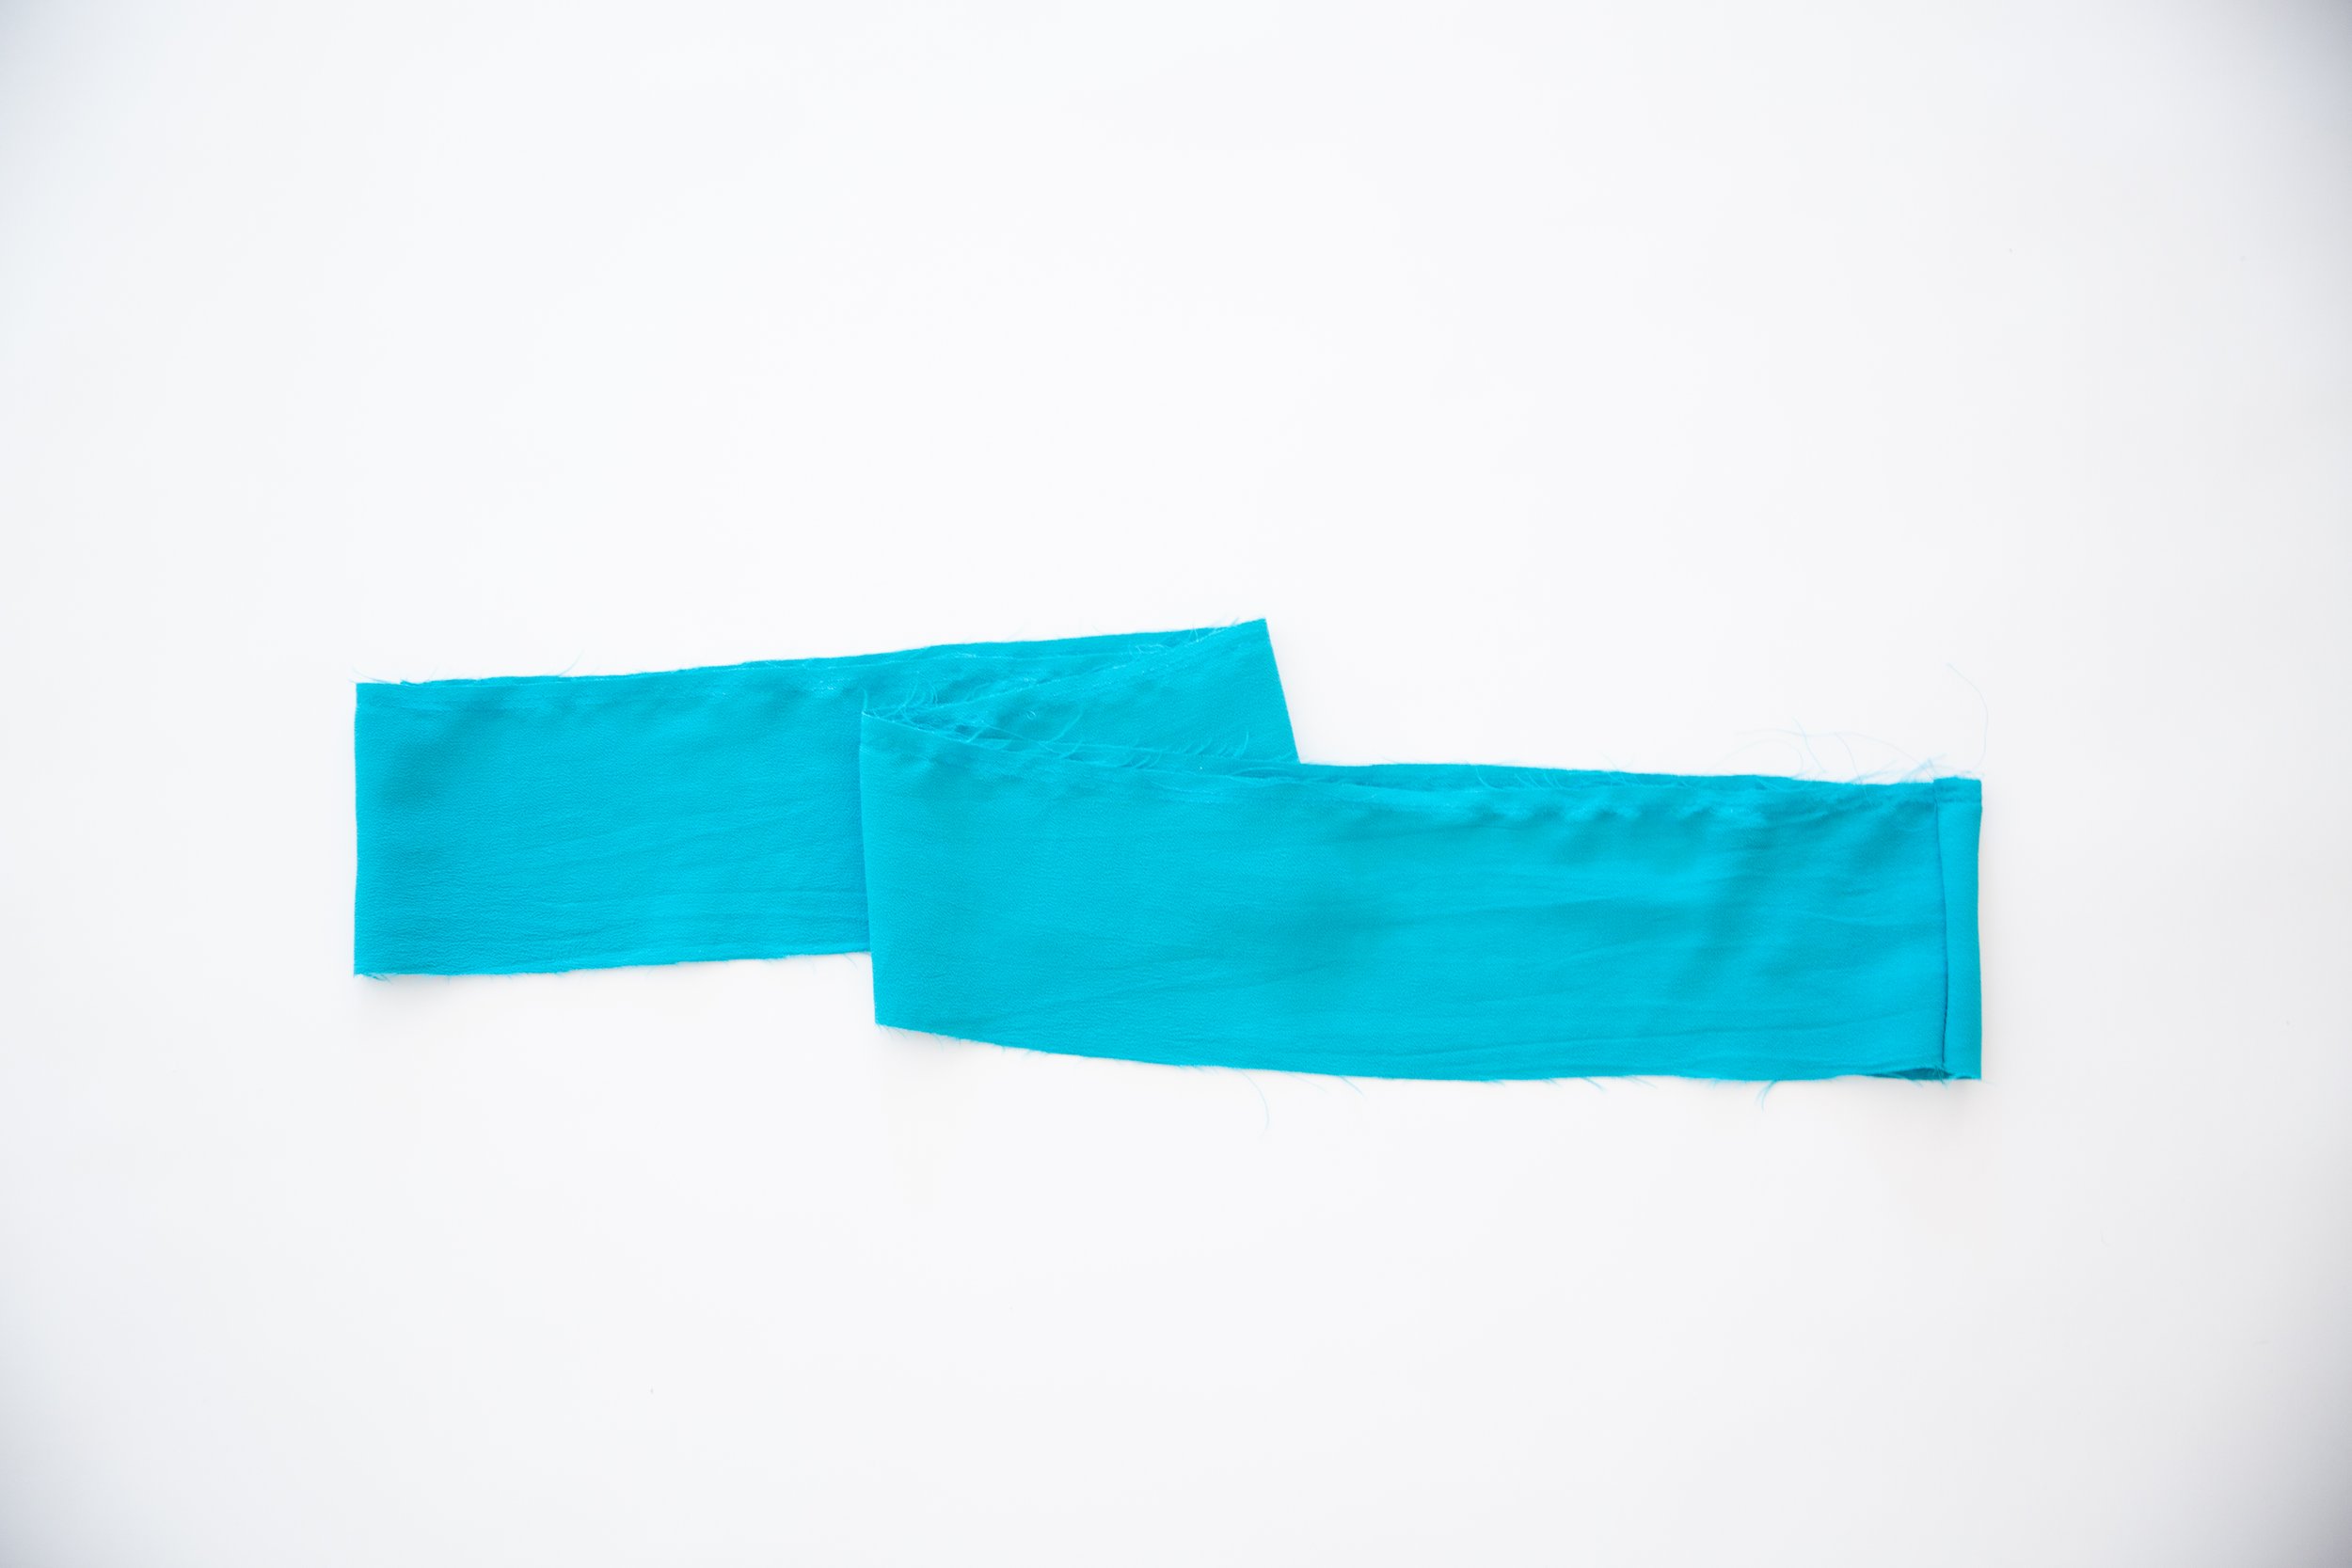
Fold sleeve casing in half with right sides facing. Stitch short ends together. Press seam allowance open. Repeat for other sleeve casing.

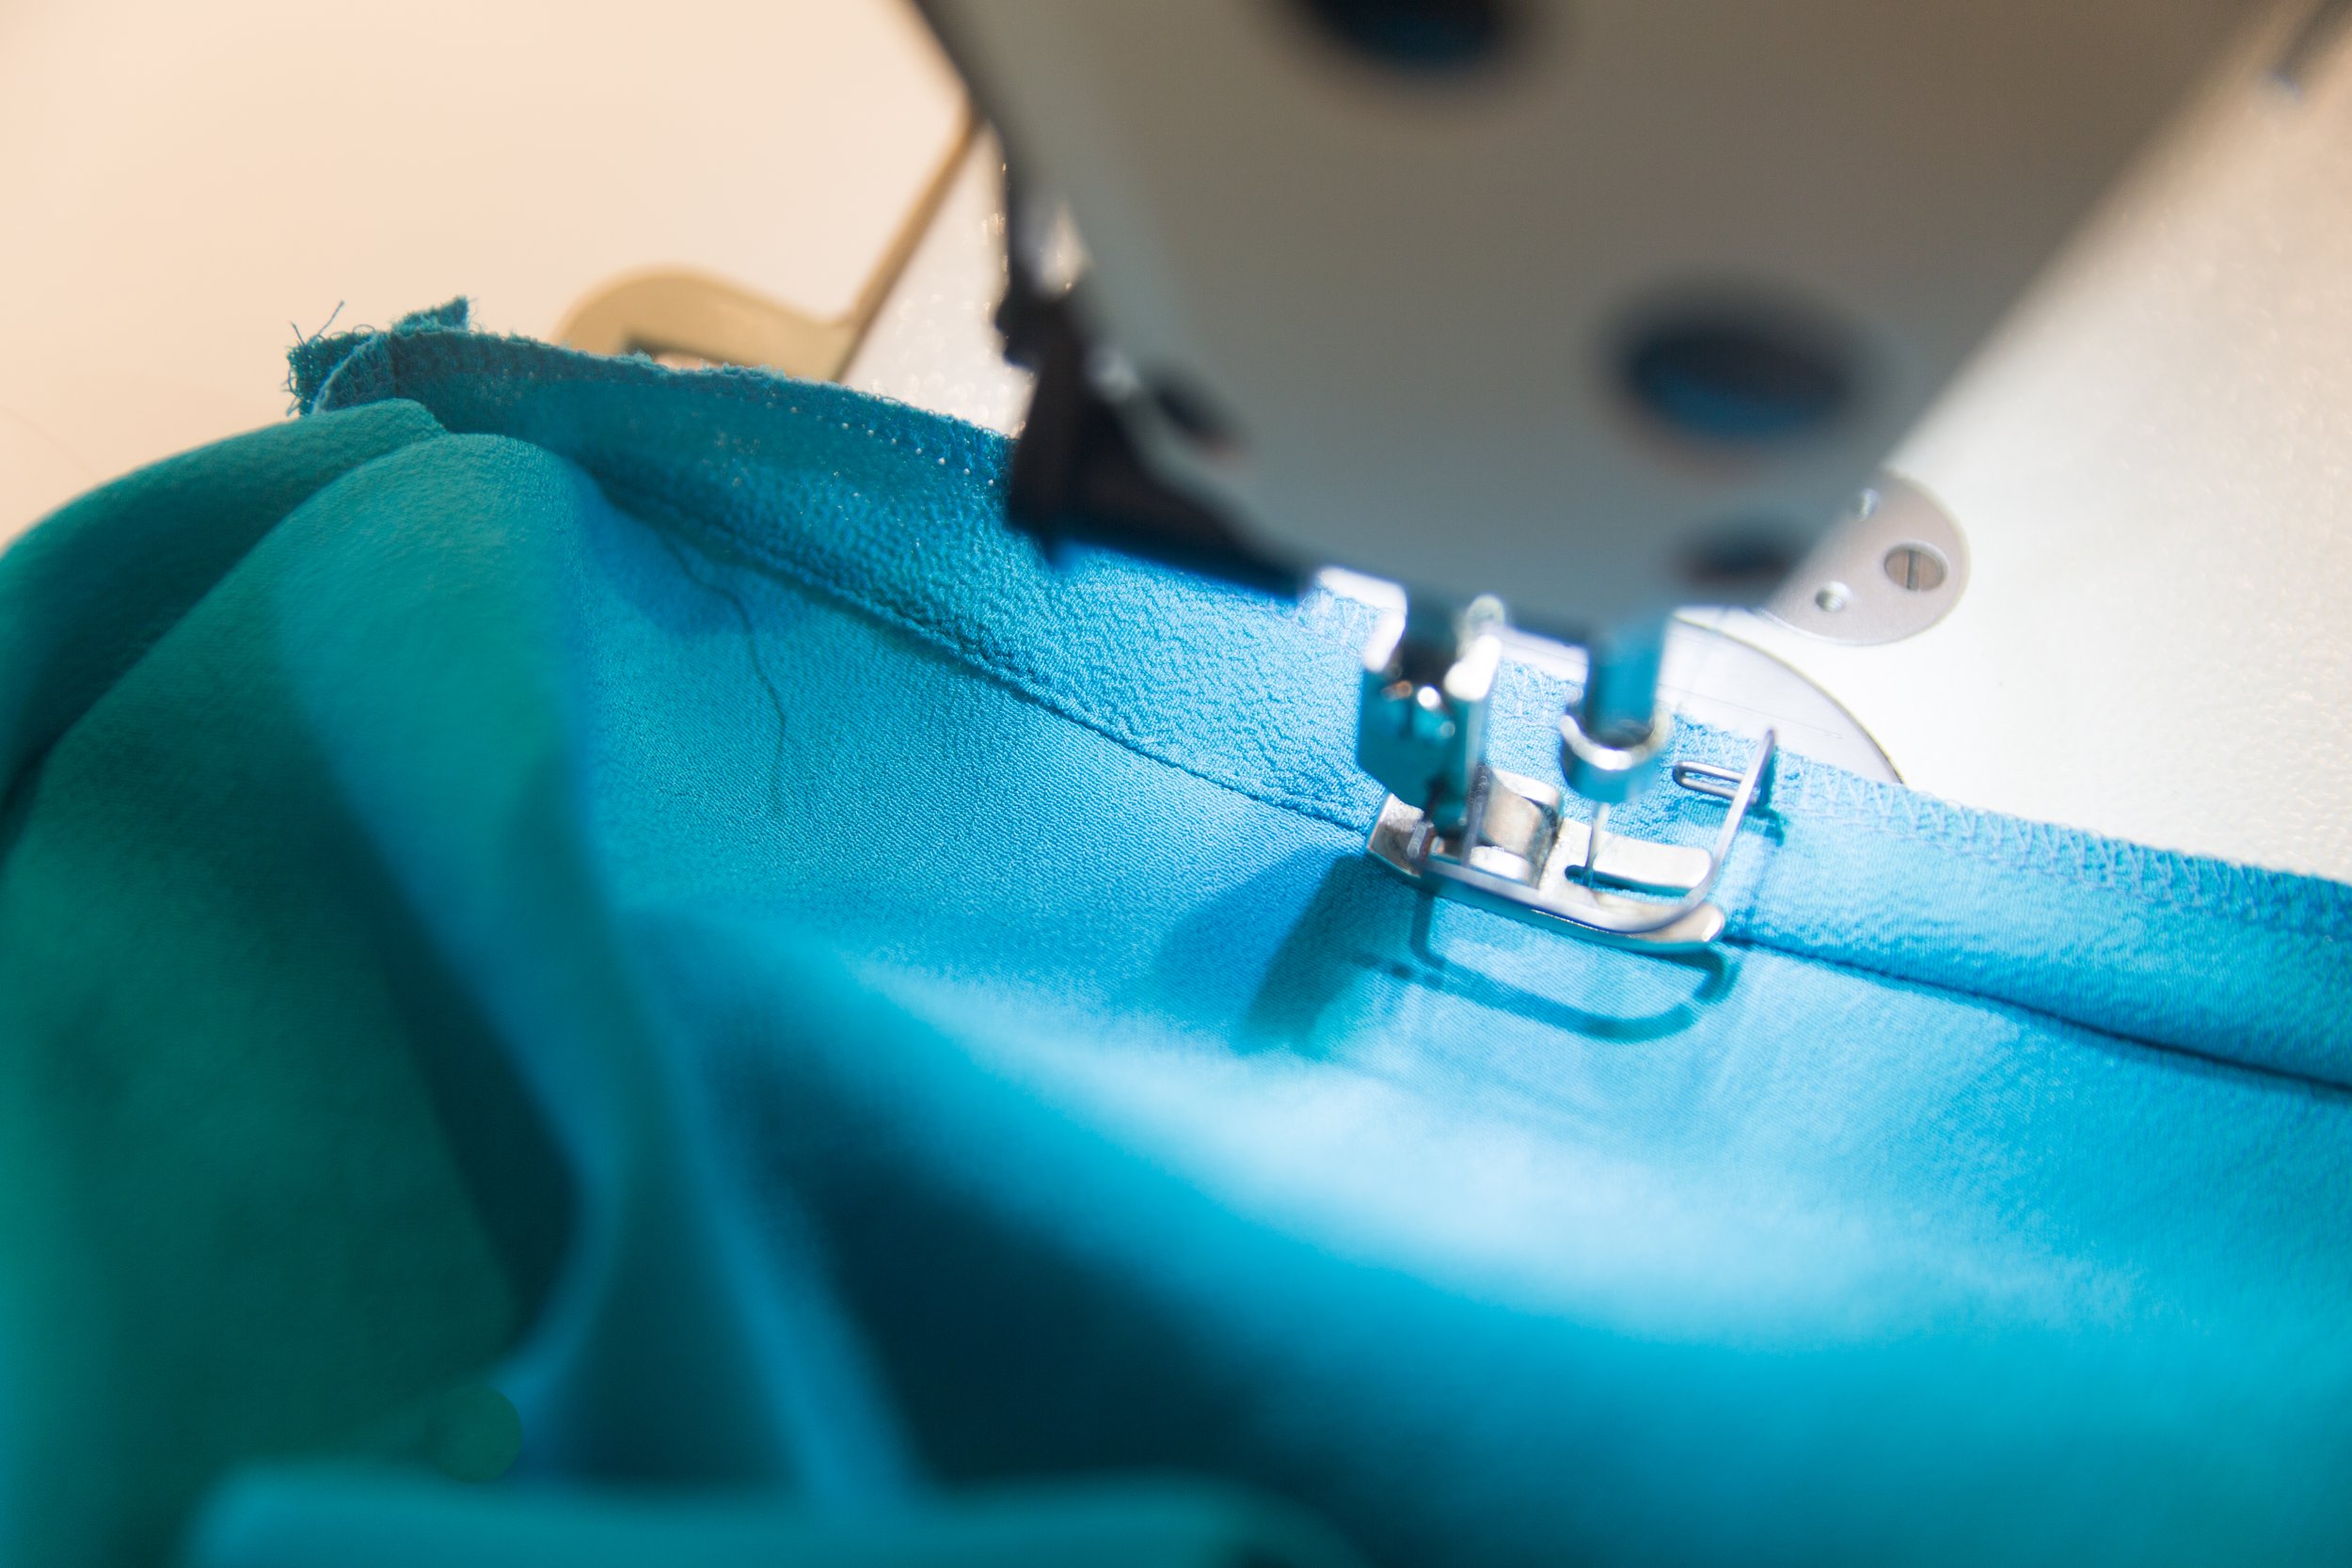
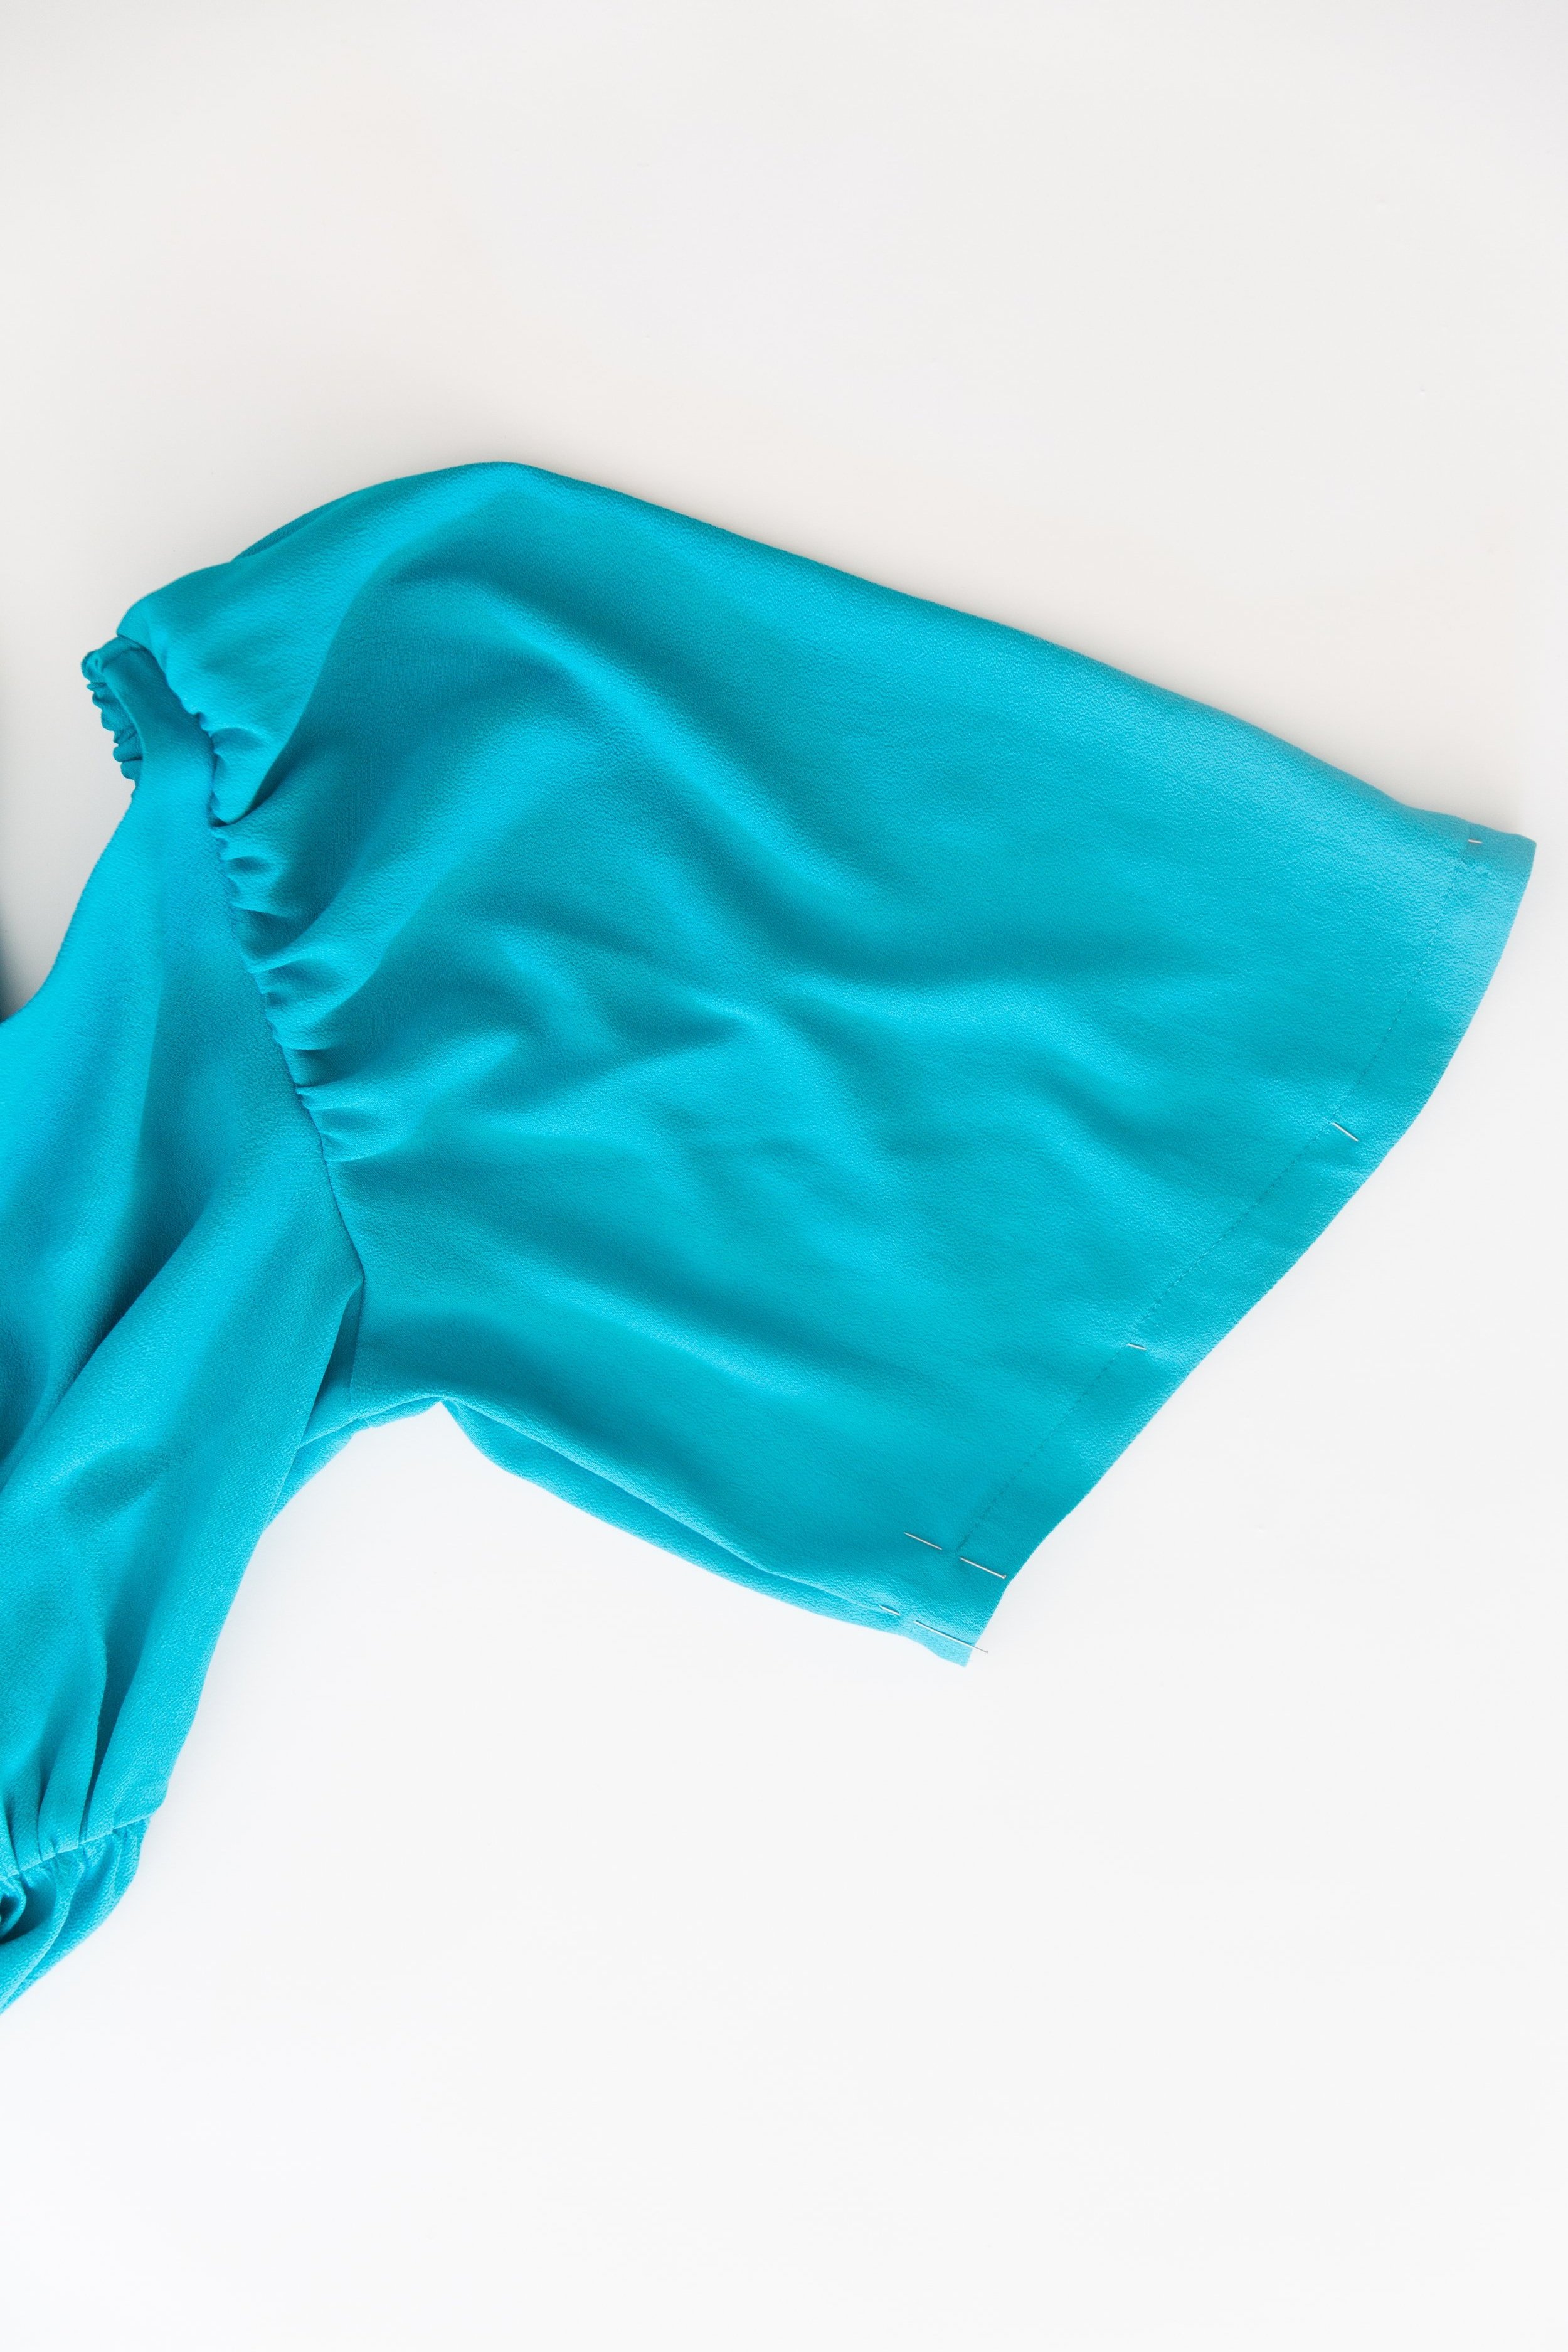
Step 21
Place sleeve casing around sleeve hem edge with right sides facing, lining up the seam of casing with the seam of sleeve. Stitch together around edge. Trim seam allowance in half. Understitch seam allowance toward casing. Turn through to the inside, press edges and top stitch in place leaving a 2.5cm/1” opening at underarm seam to thread elastic through.
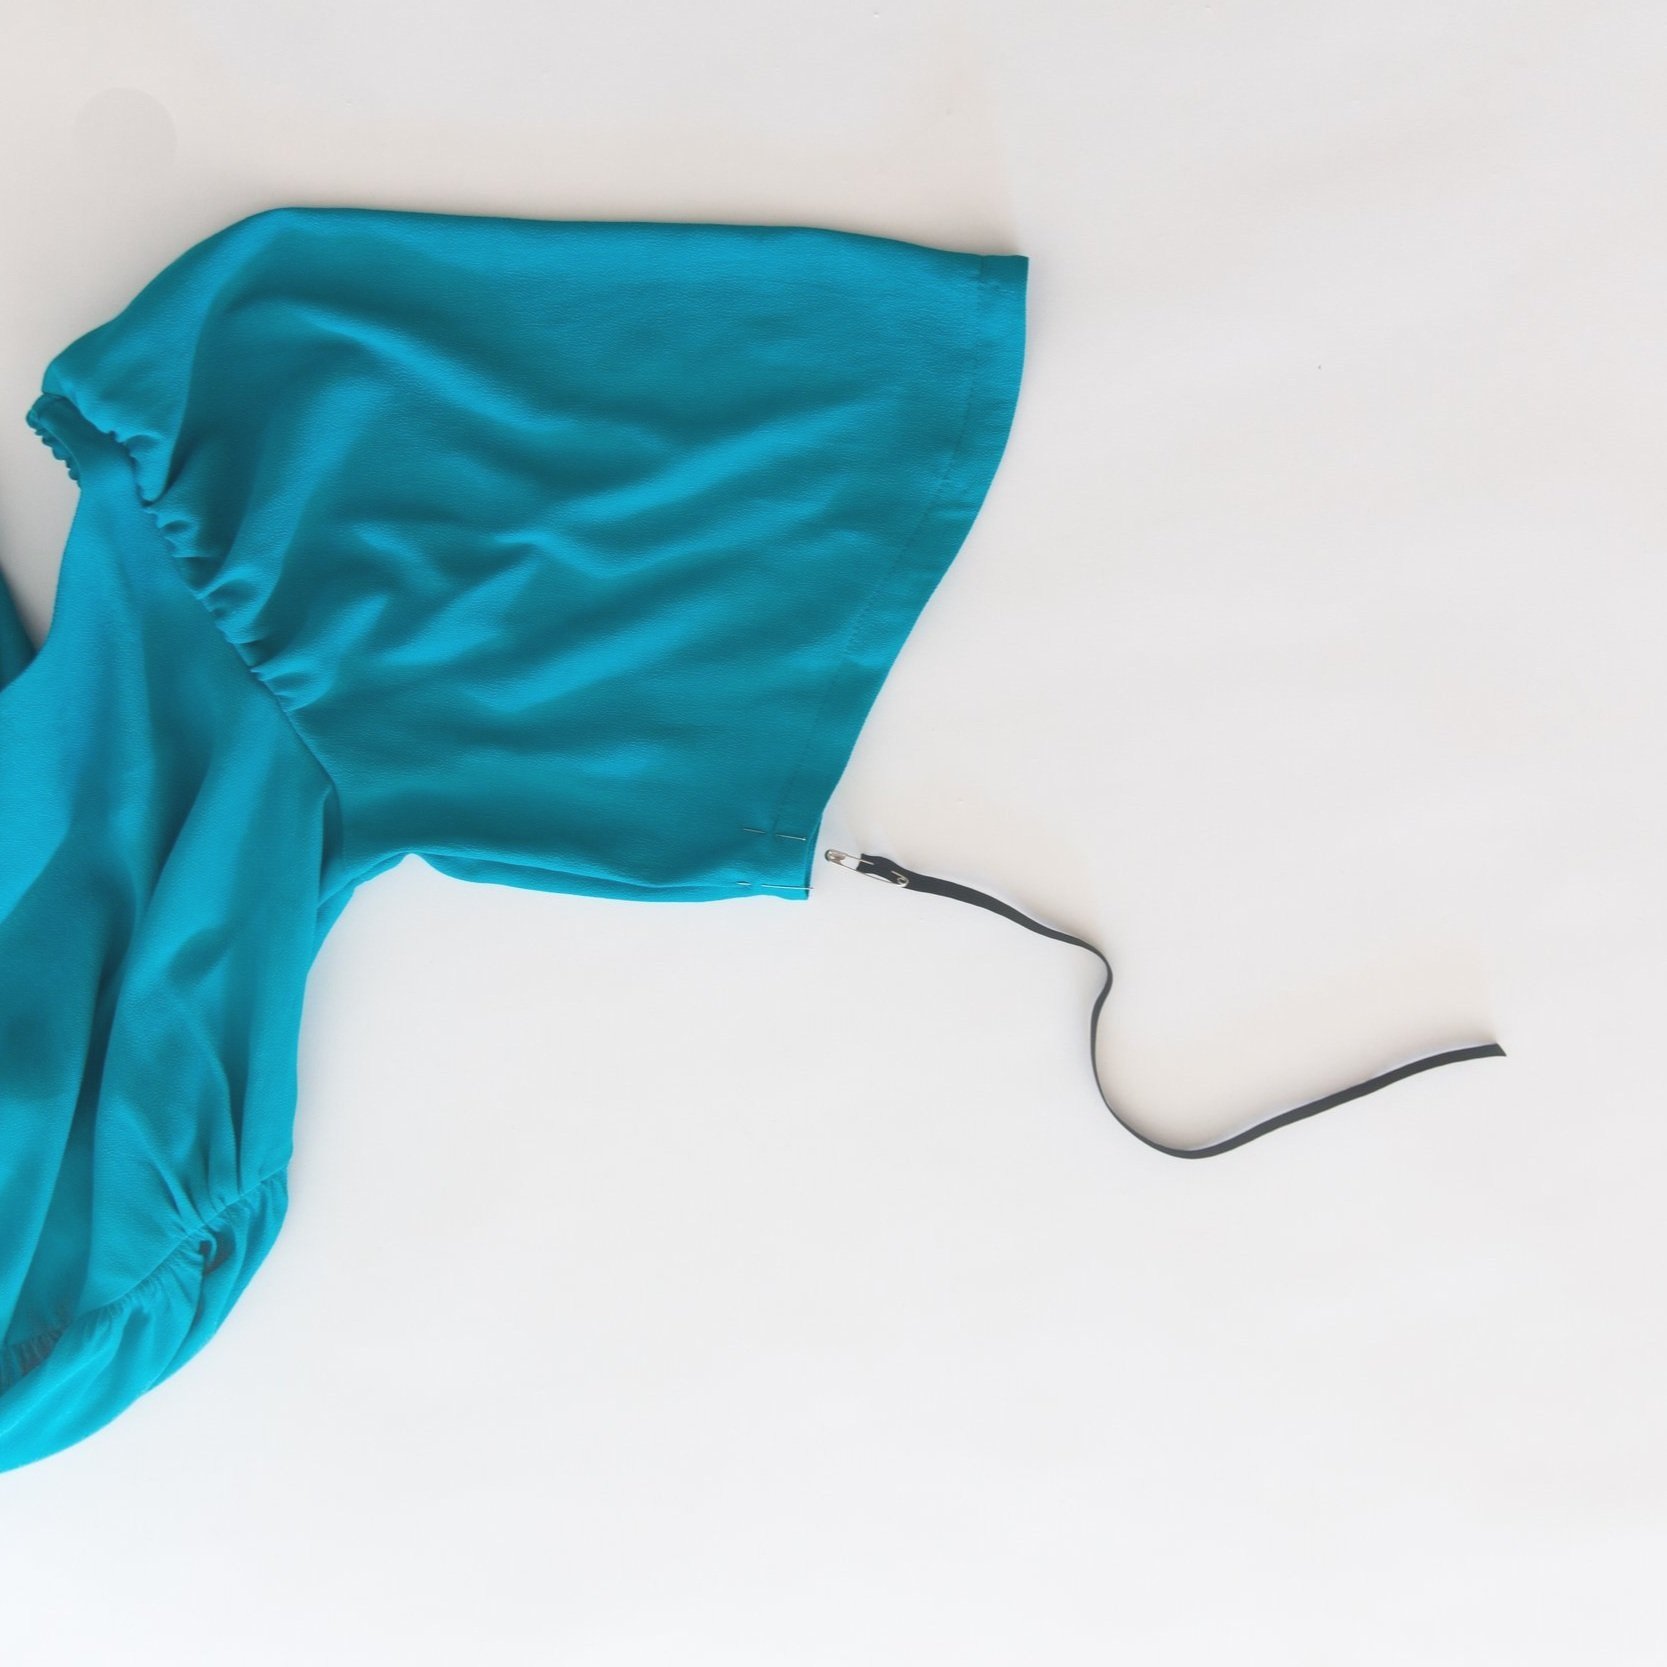
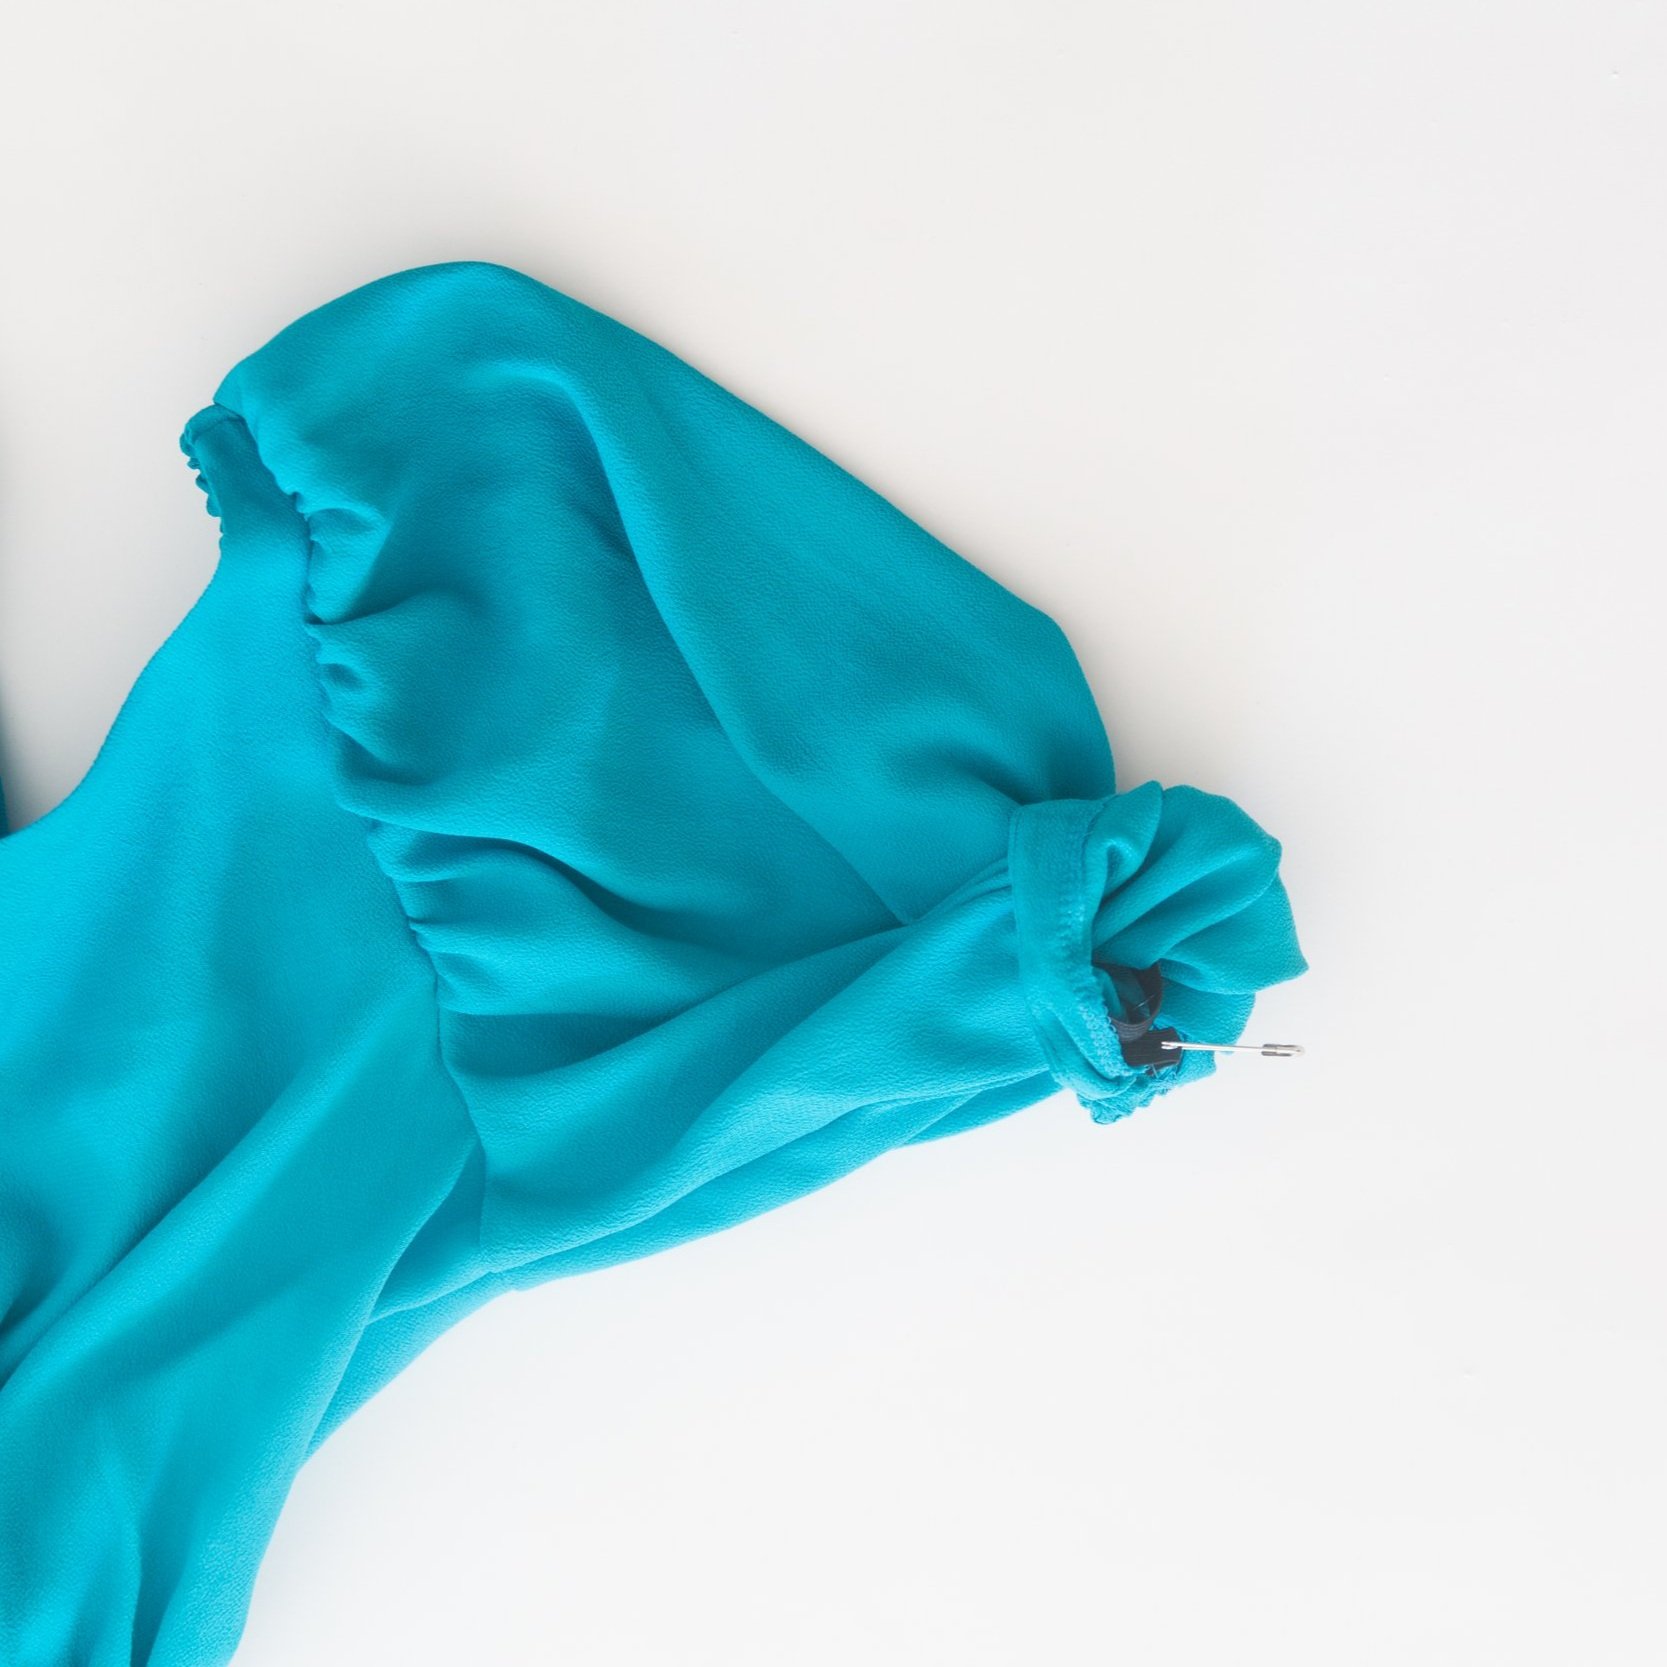
Step 22
Cut your remaining piece of 1cm/0.39” wide elastic piece in half. Attach a small safety pin to one edge of your elastic and pin the other end to the seam allowance, right next to the hem opening. Thread safety pinned edge through the gap, threading through until it returns out the same hole.

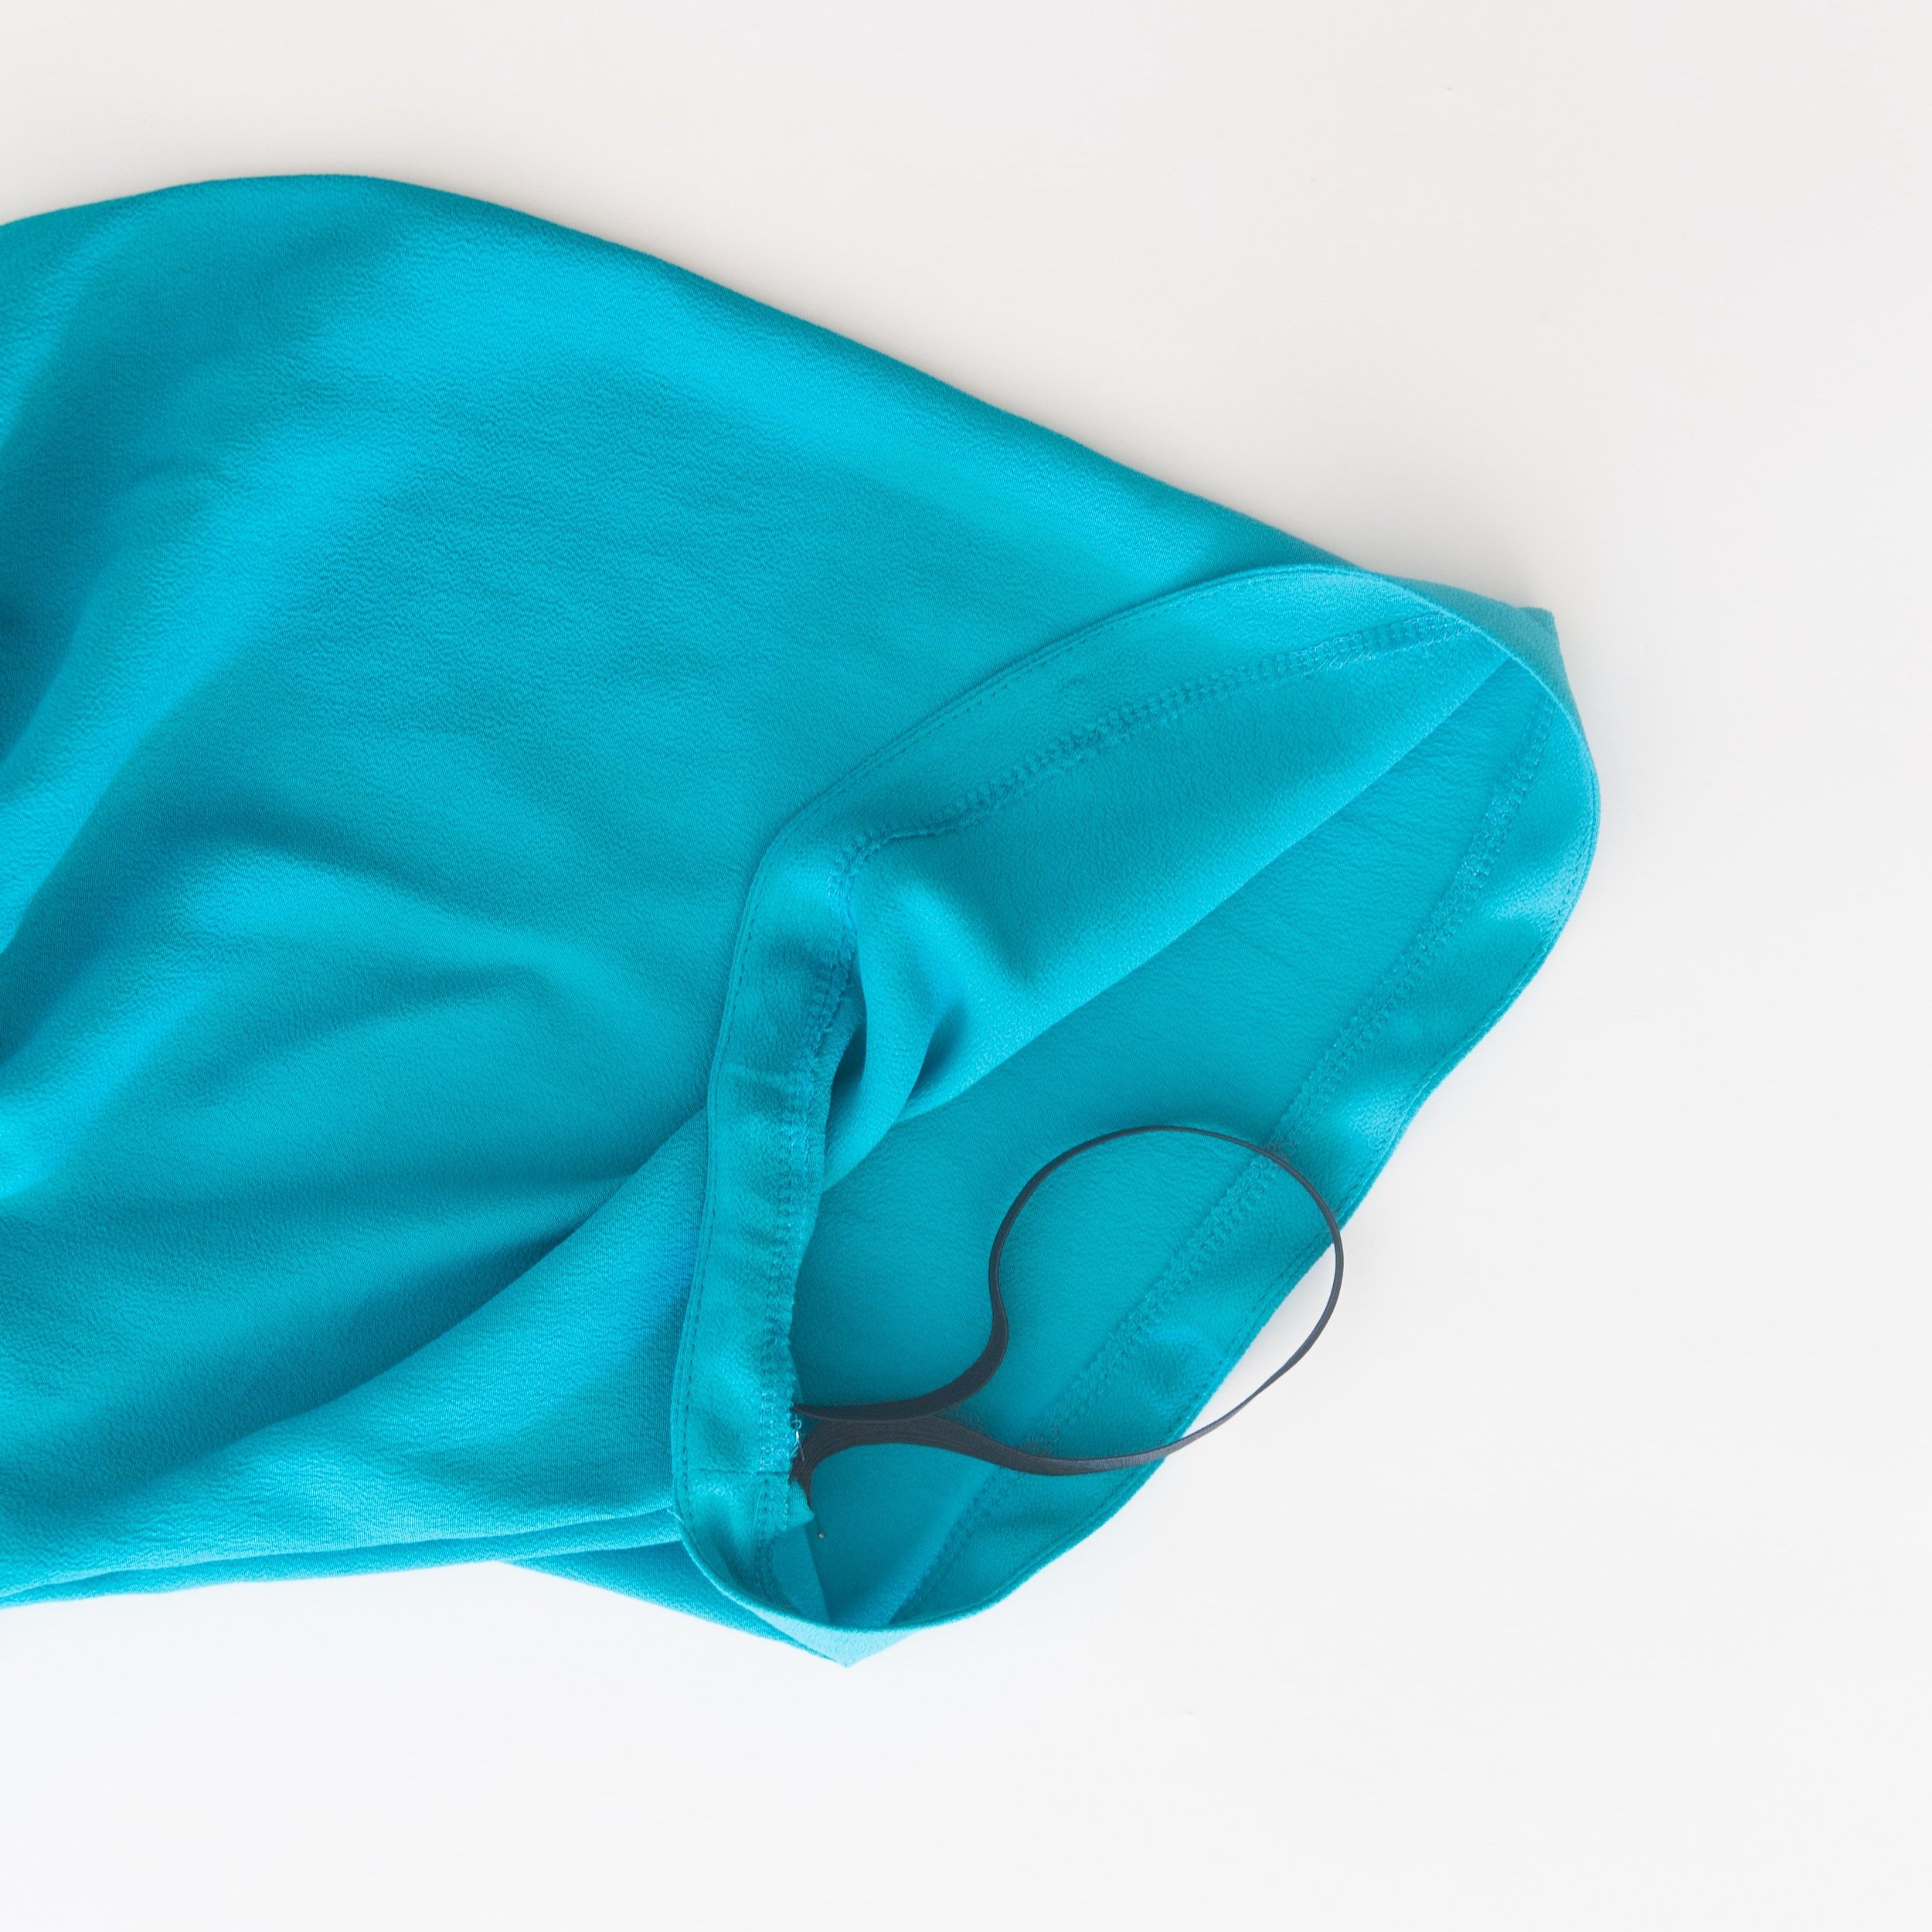
Step 23
Remove pinned edge of elastic from seam allowance and remove safety pin from the other end. Overlap the two open ends of elastic and safety pin them together. Try the dress on to check the fit of elastic. Adjust accordingly then stitch elastic together securely. Stretch out hem and sleeve casings until the stitched part of elastic is sitting within the casing, then stitch opening closed.
Step 24
With right sides facing, stitch the short ends of hem frill pieces together. Neaten seams. Press. Stitch two rows of gathering stitches along the top edge of each side of frill keeping them sitting within the 1cm / 0.39” seam allowance. Neaten bottom edge of frill, then turn up 1cm / 0.39” toward the wrong side and top stitch in place.
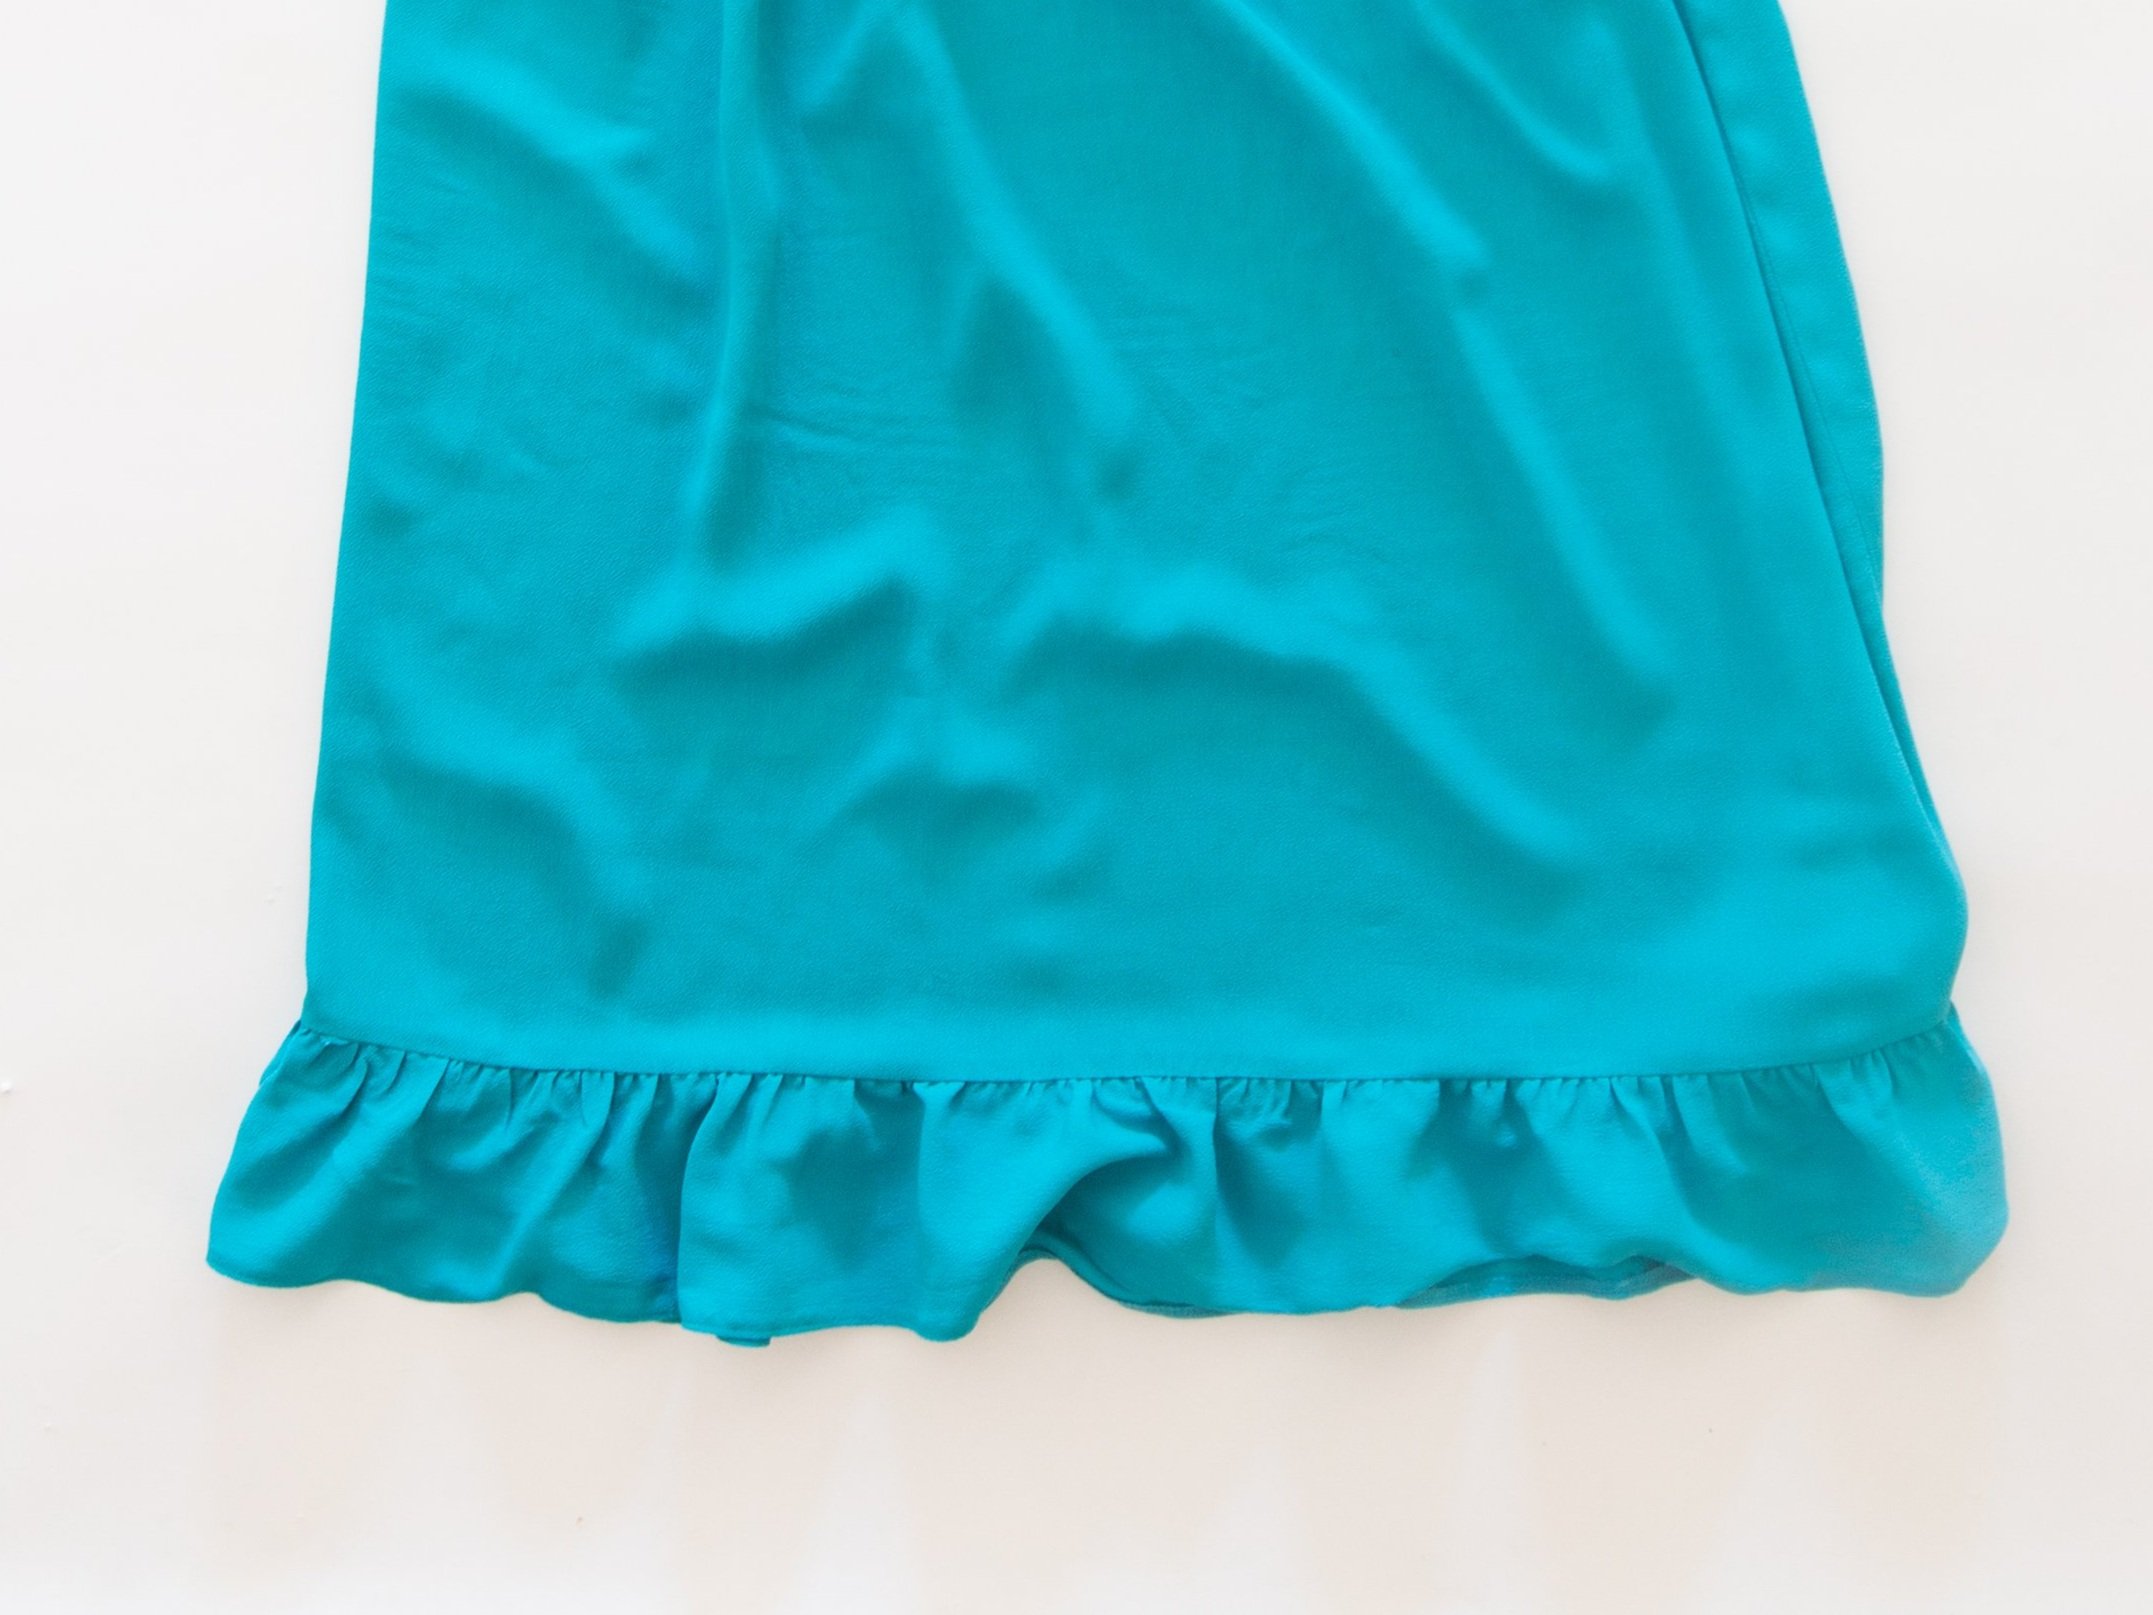
Step 25
With right sides facing, line up the side seams and centre points of top edge of frill and skirt hem. Pin together at these points. Pull your gathering threads until the frill fits the hem of skirt. Evenly distribute gathers then pin securely together all the way around. Stitch. Neaten seam.
You did it!