
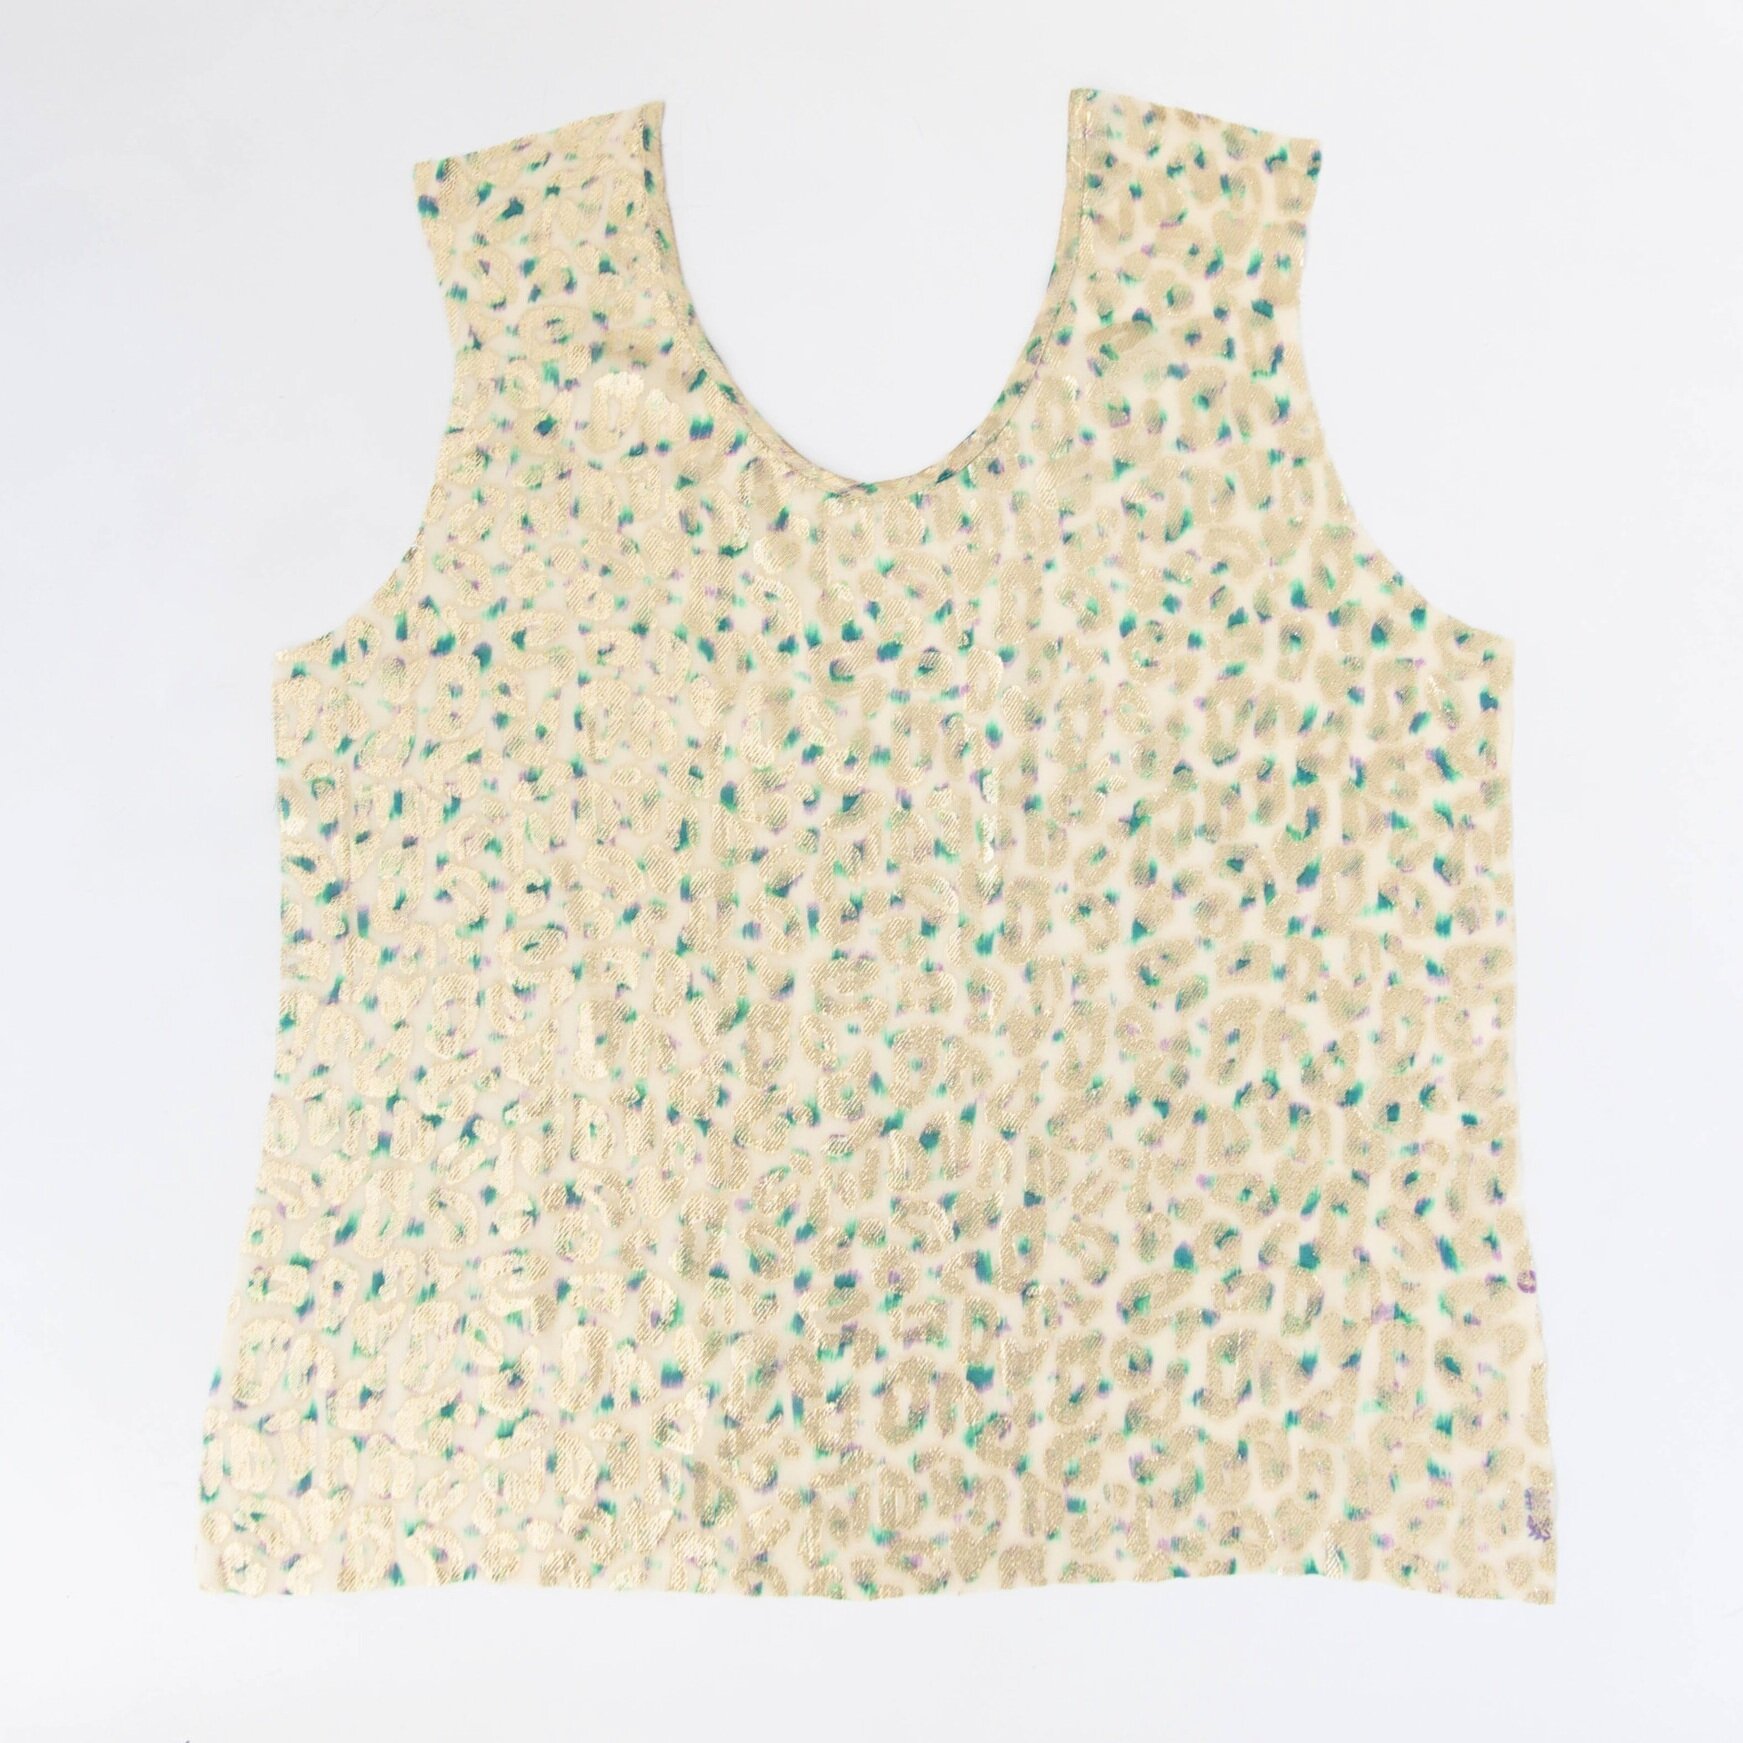
If you purchased the Tide pattern prior to February 2021, you will notice the construction method in this tutorial is slightly different. We found this was an easier and smoother way to put the back pleat together and have updated the instructions accordingly. You can absolutely use this method with the older pattern :-)

Step 1
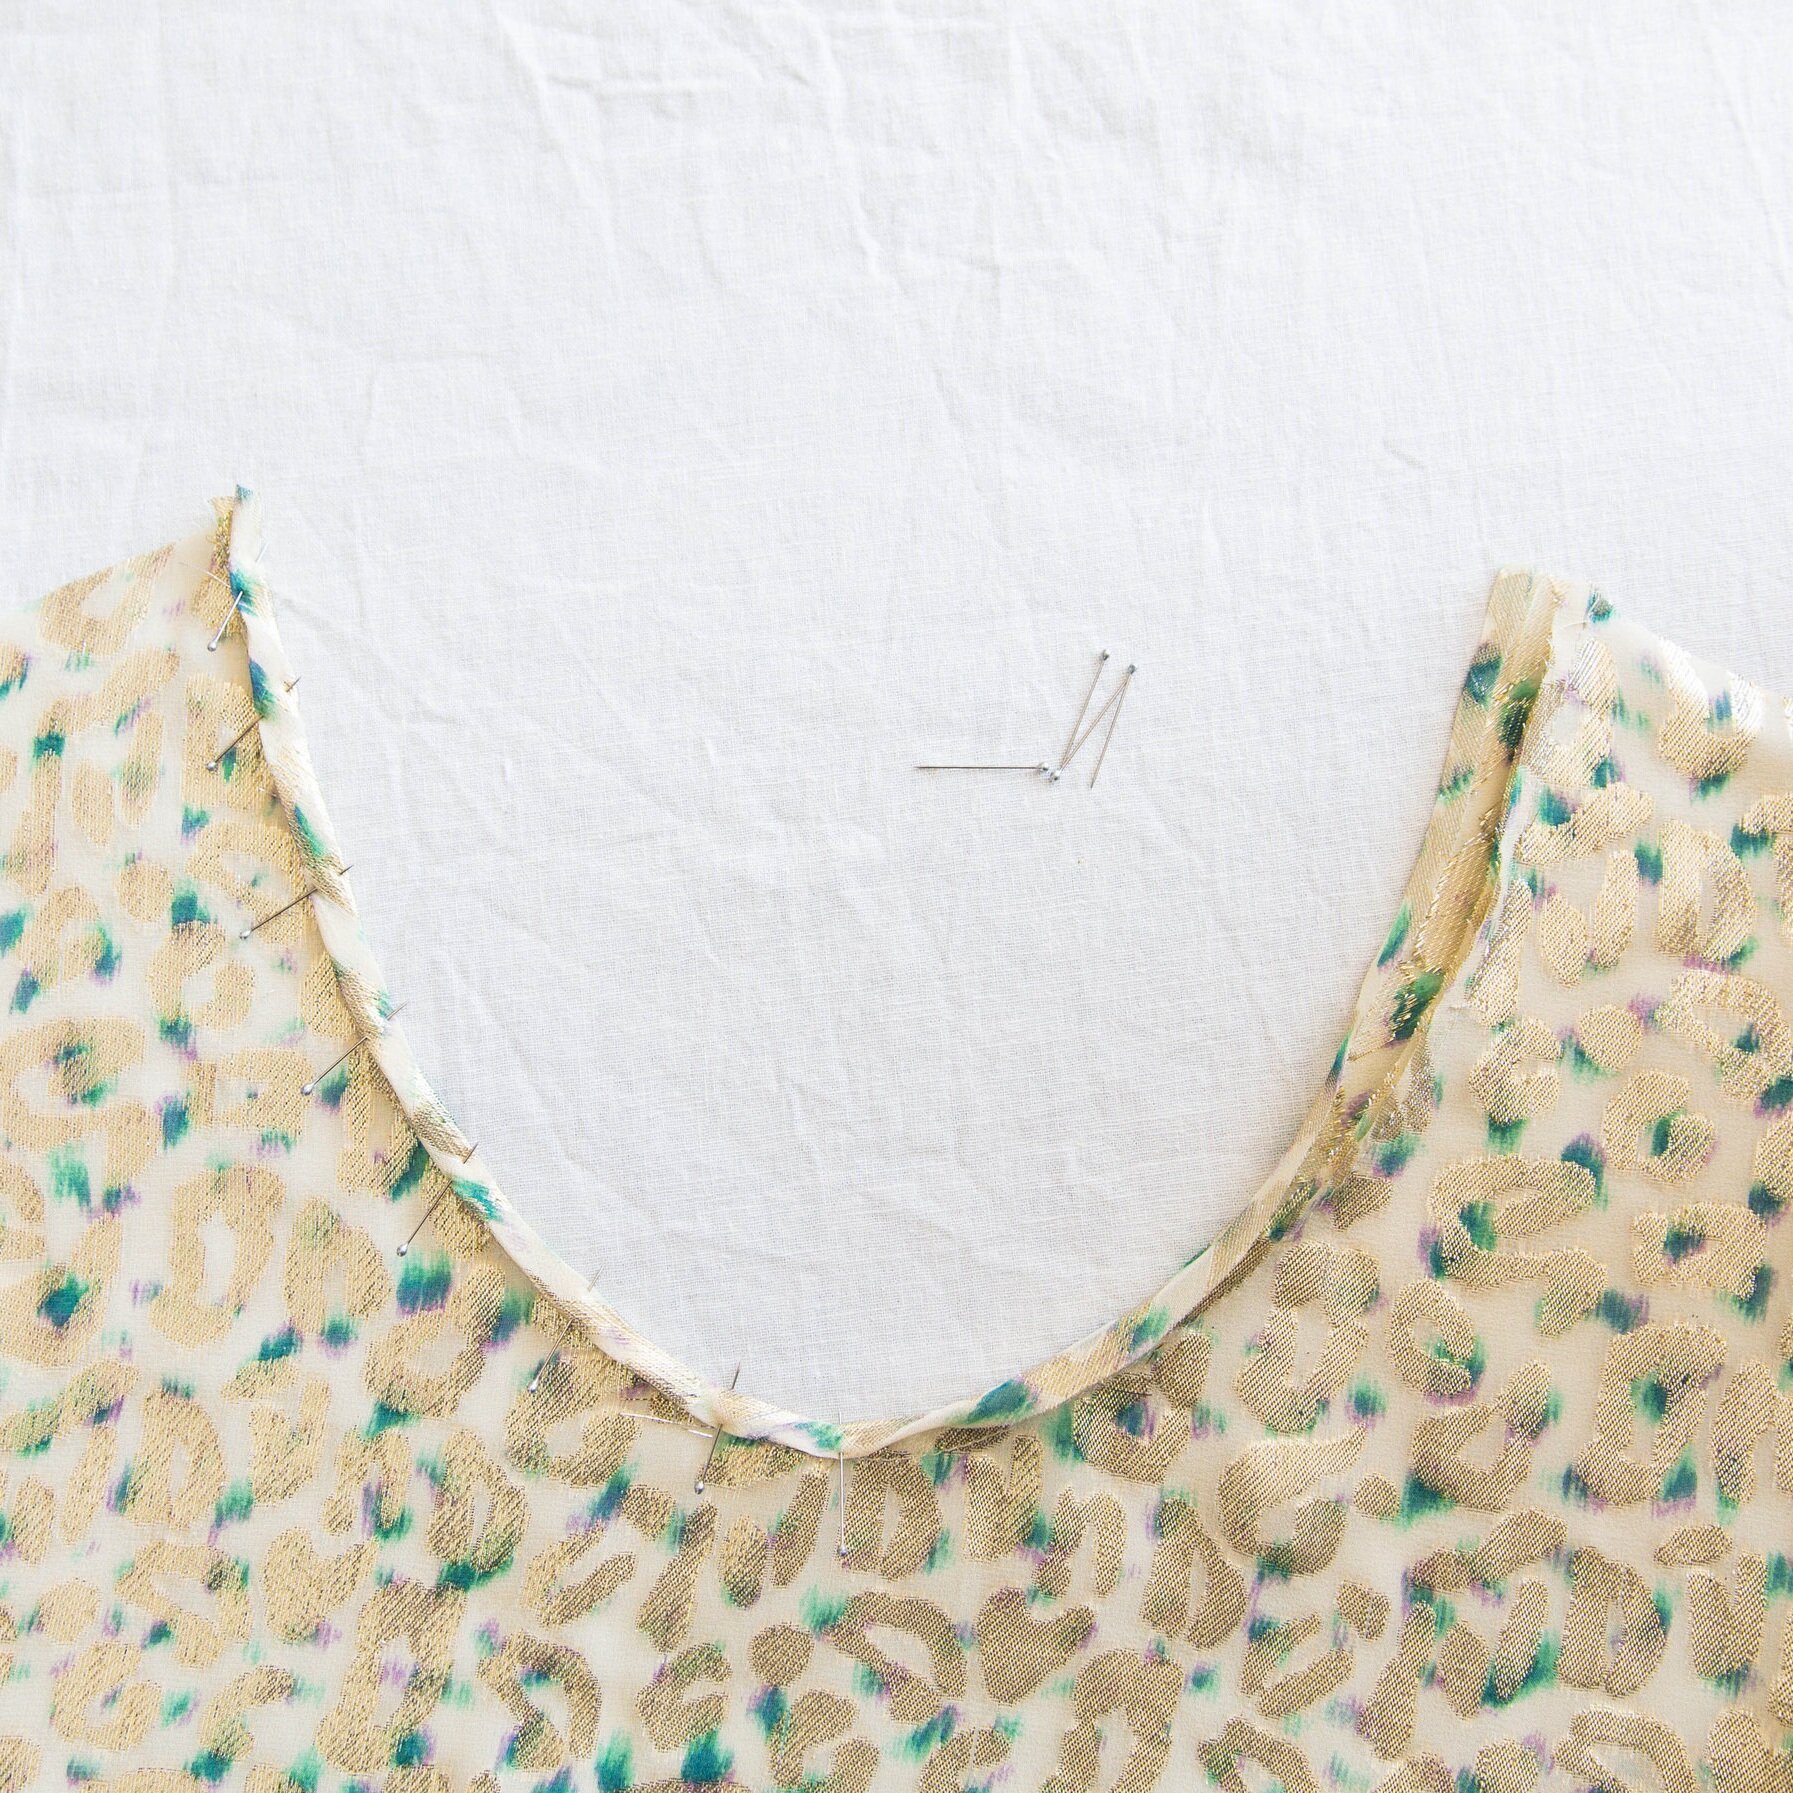
Press the neck binding pieces in half lengthwise with right sides out and press to create a centre line. Open back out then press the two long edges of binding towards the centre line, but not quite touching, with right sides out.
Step 2
Unfold your binding piece. The fold line closest to one of the raw edges is going to be your first stitch line. Pin the binding around front neckline, on the wrong side of fabric. Stitch together along fold line of binding. Trim seam allowance in half then press up toward binding. Turn over to the right side of neckline. Fold the folded edge of binding over top of your stitch line enclosing the raw edge. Pin in place all the way around neckline slightly overlapping your stitch line. Stitch together on the very edge of binding. Press. Repeat for back neck.

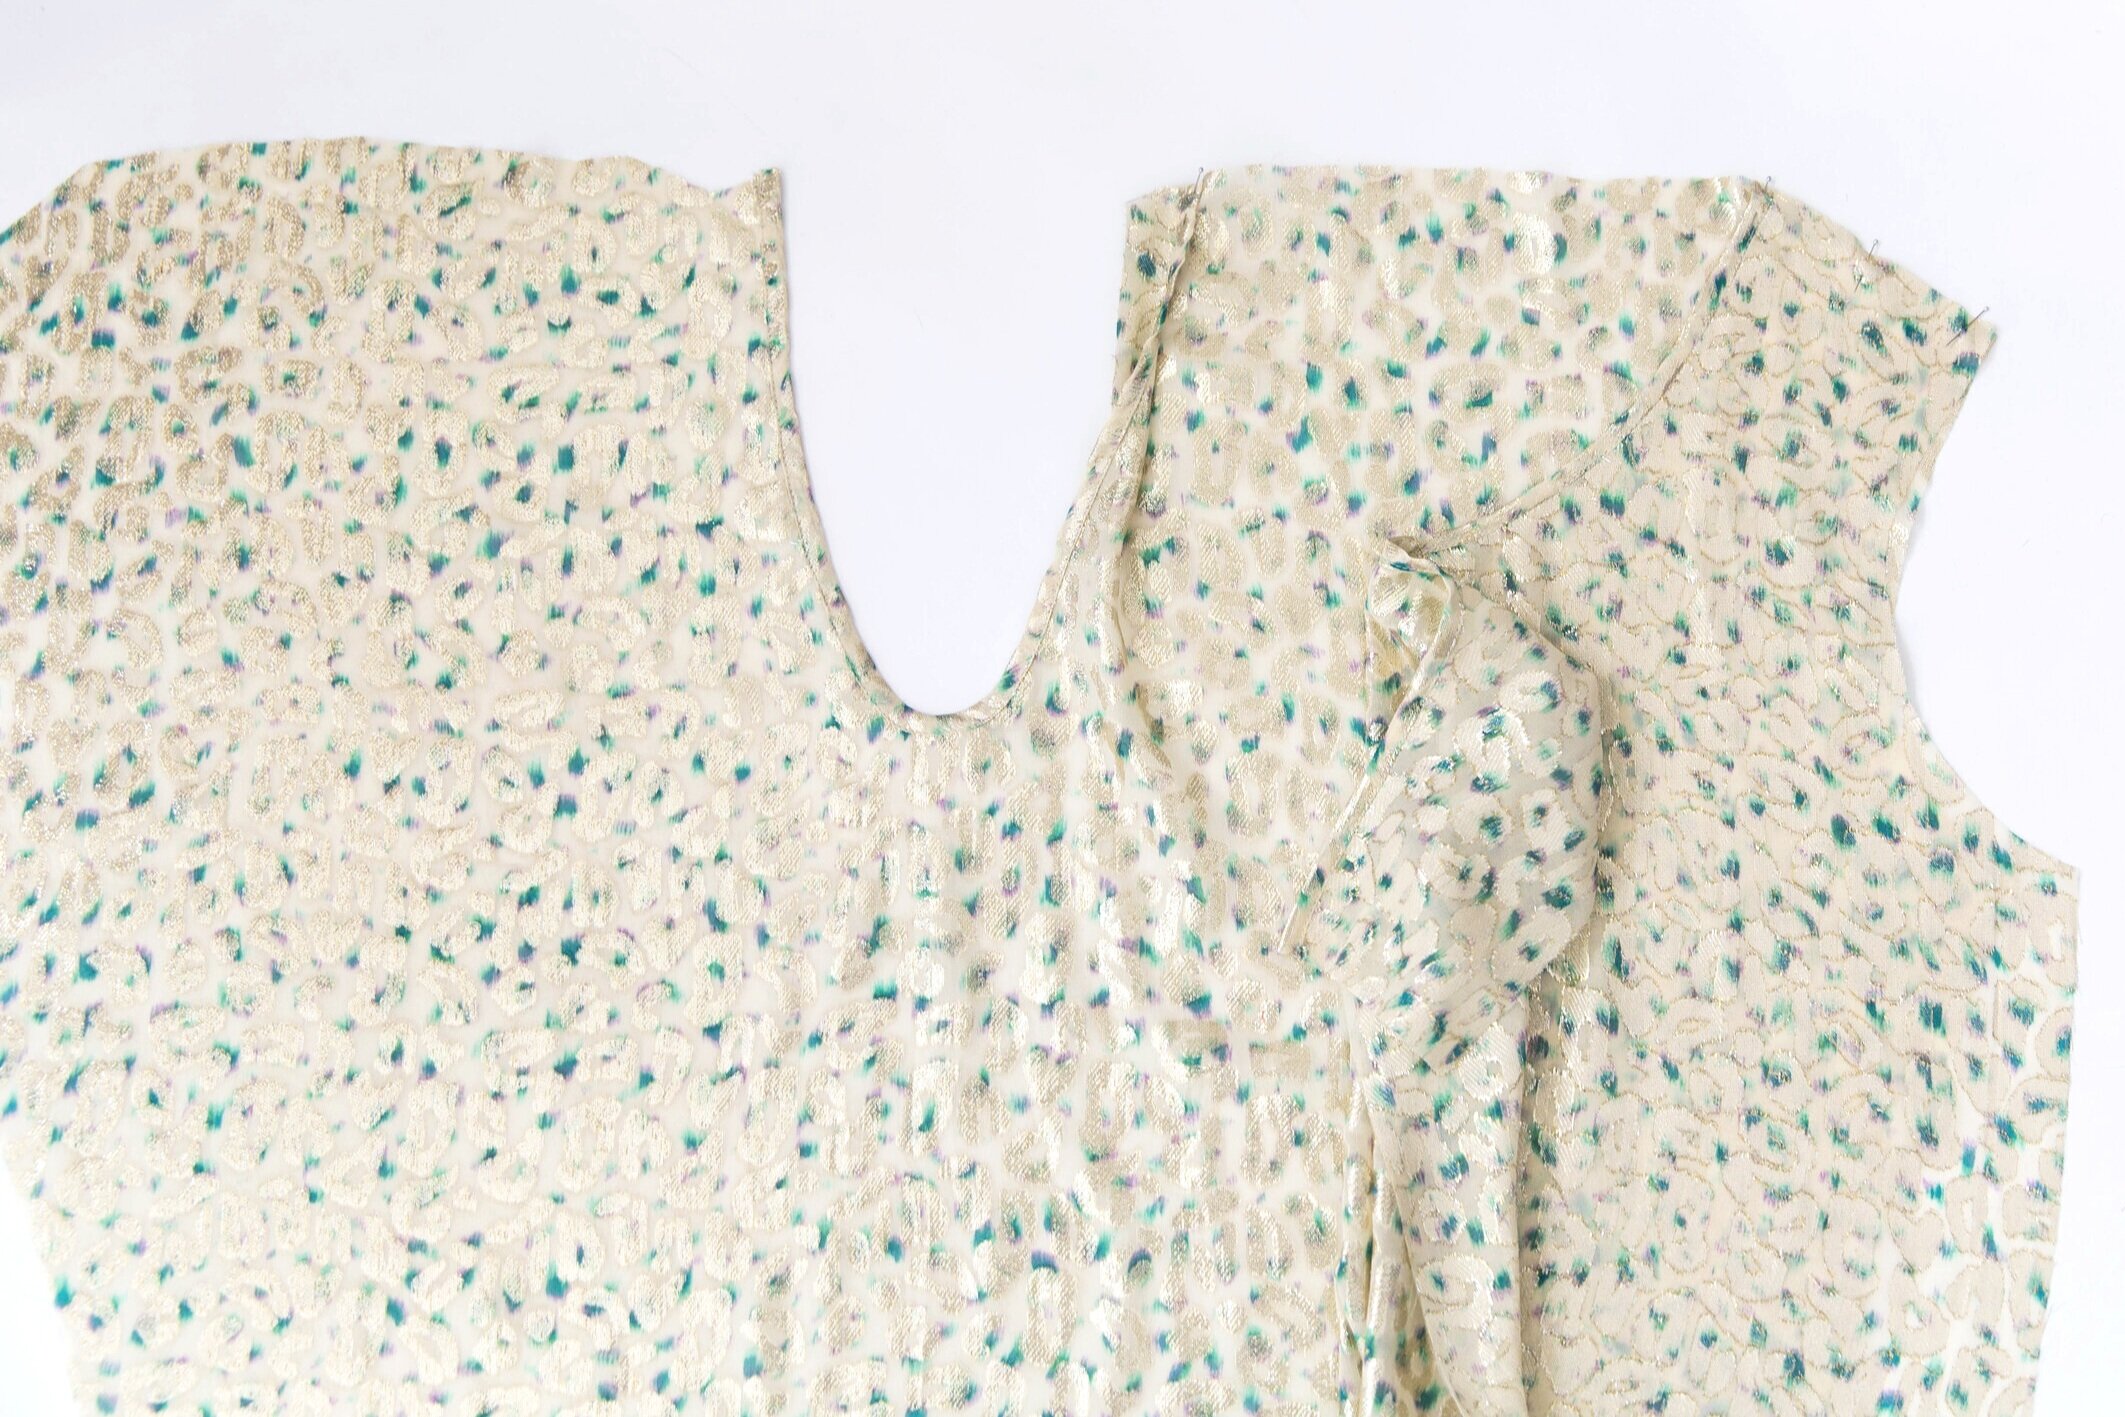
Step 3
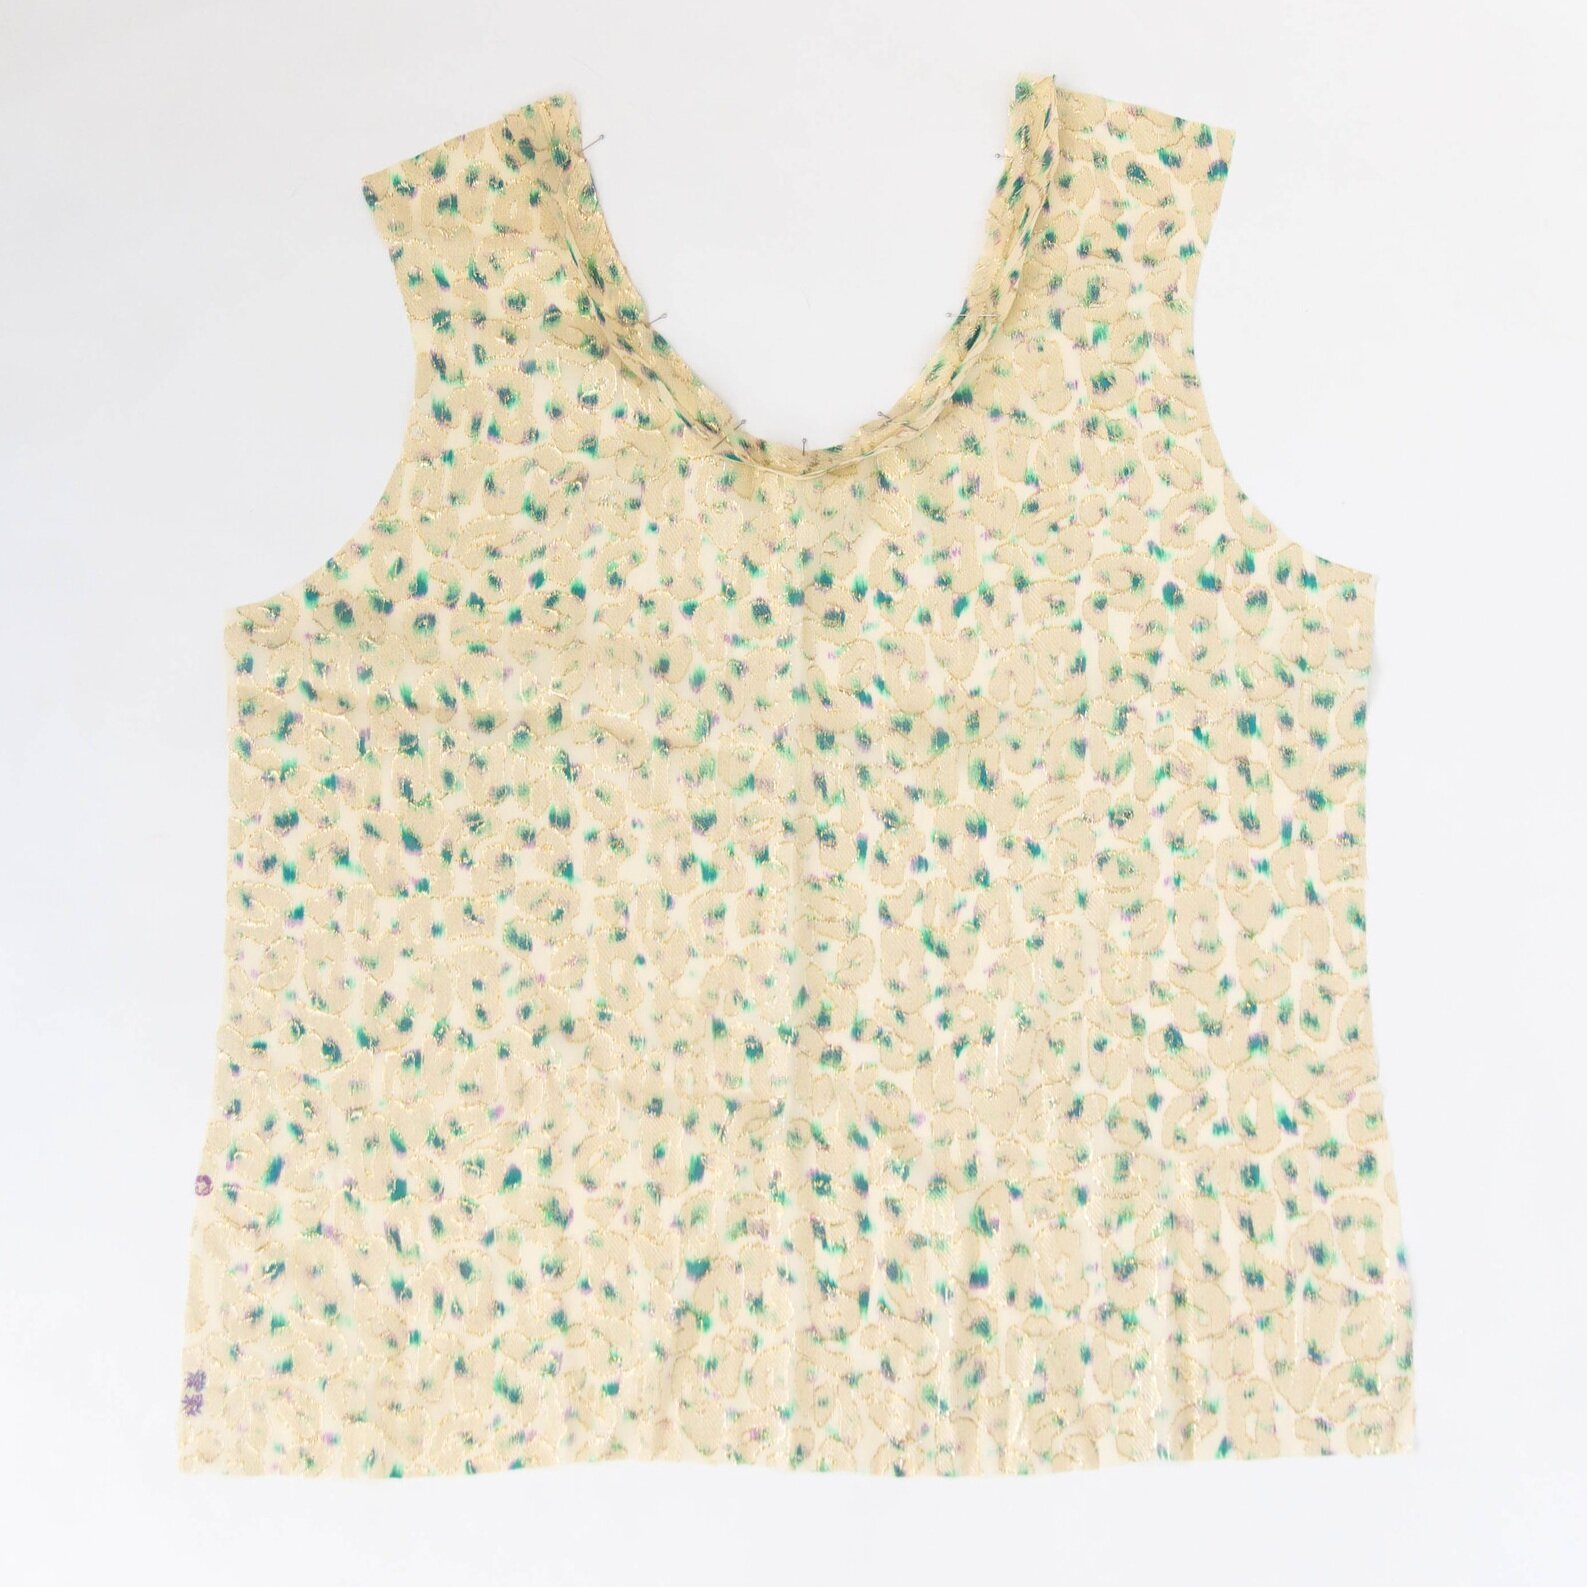
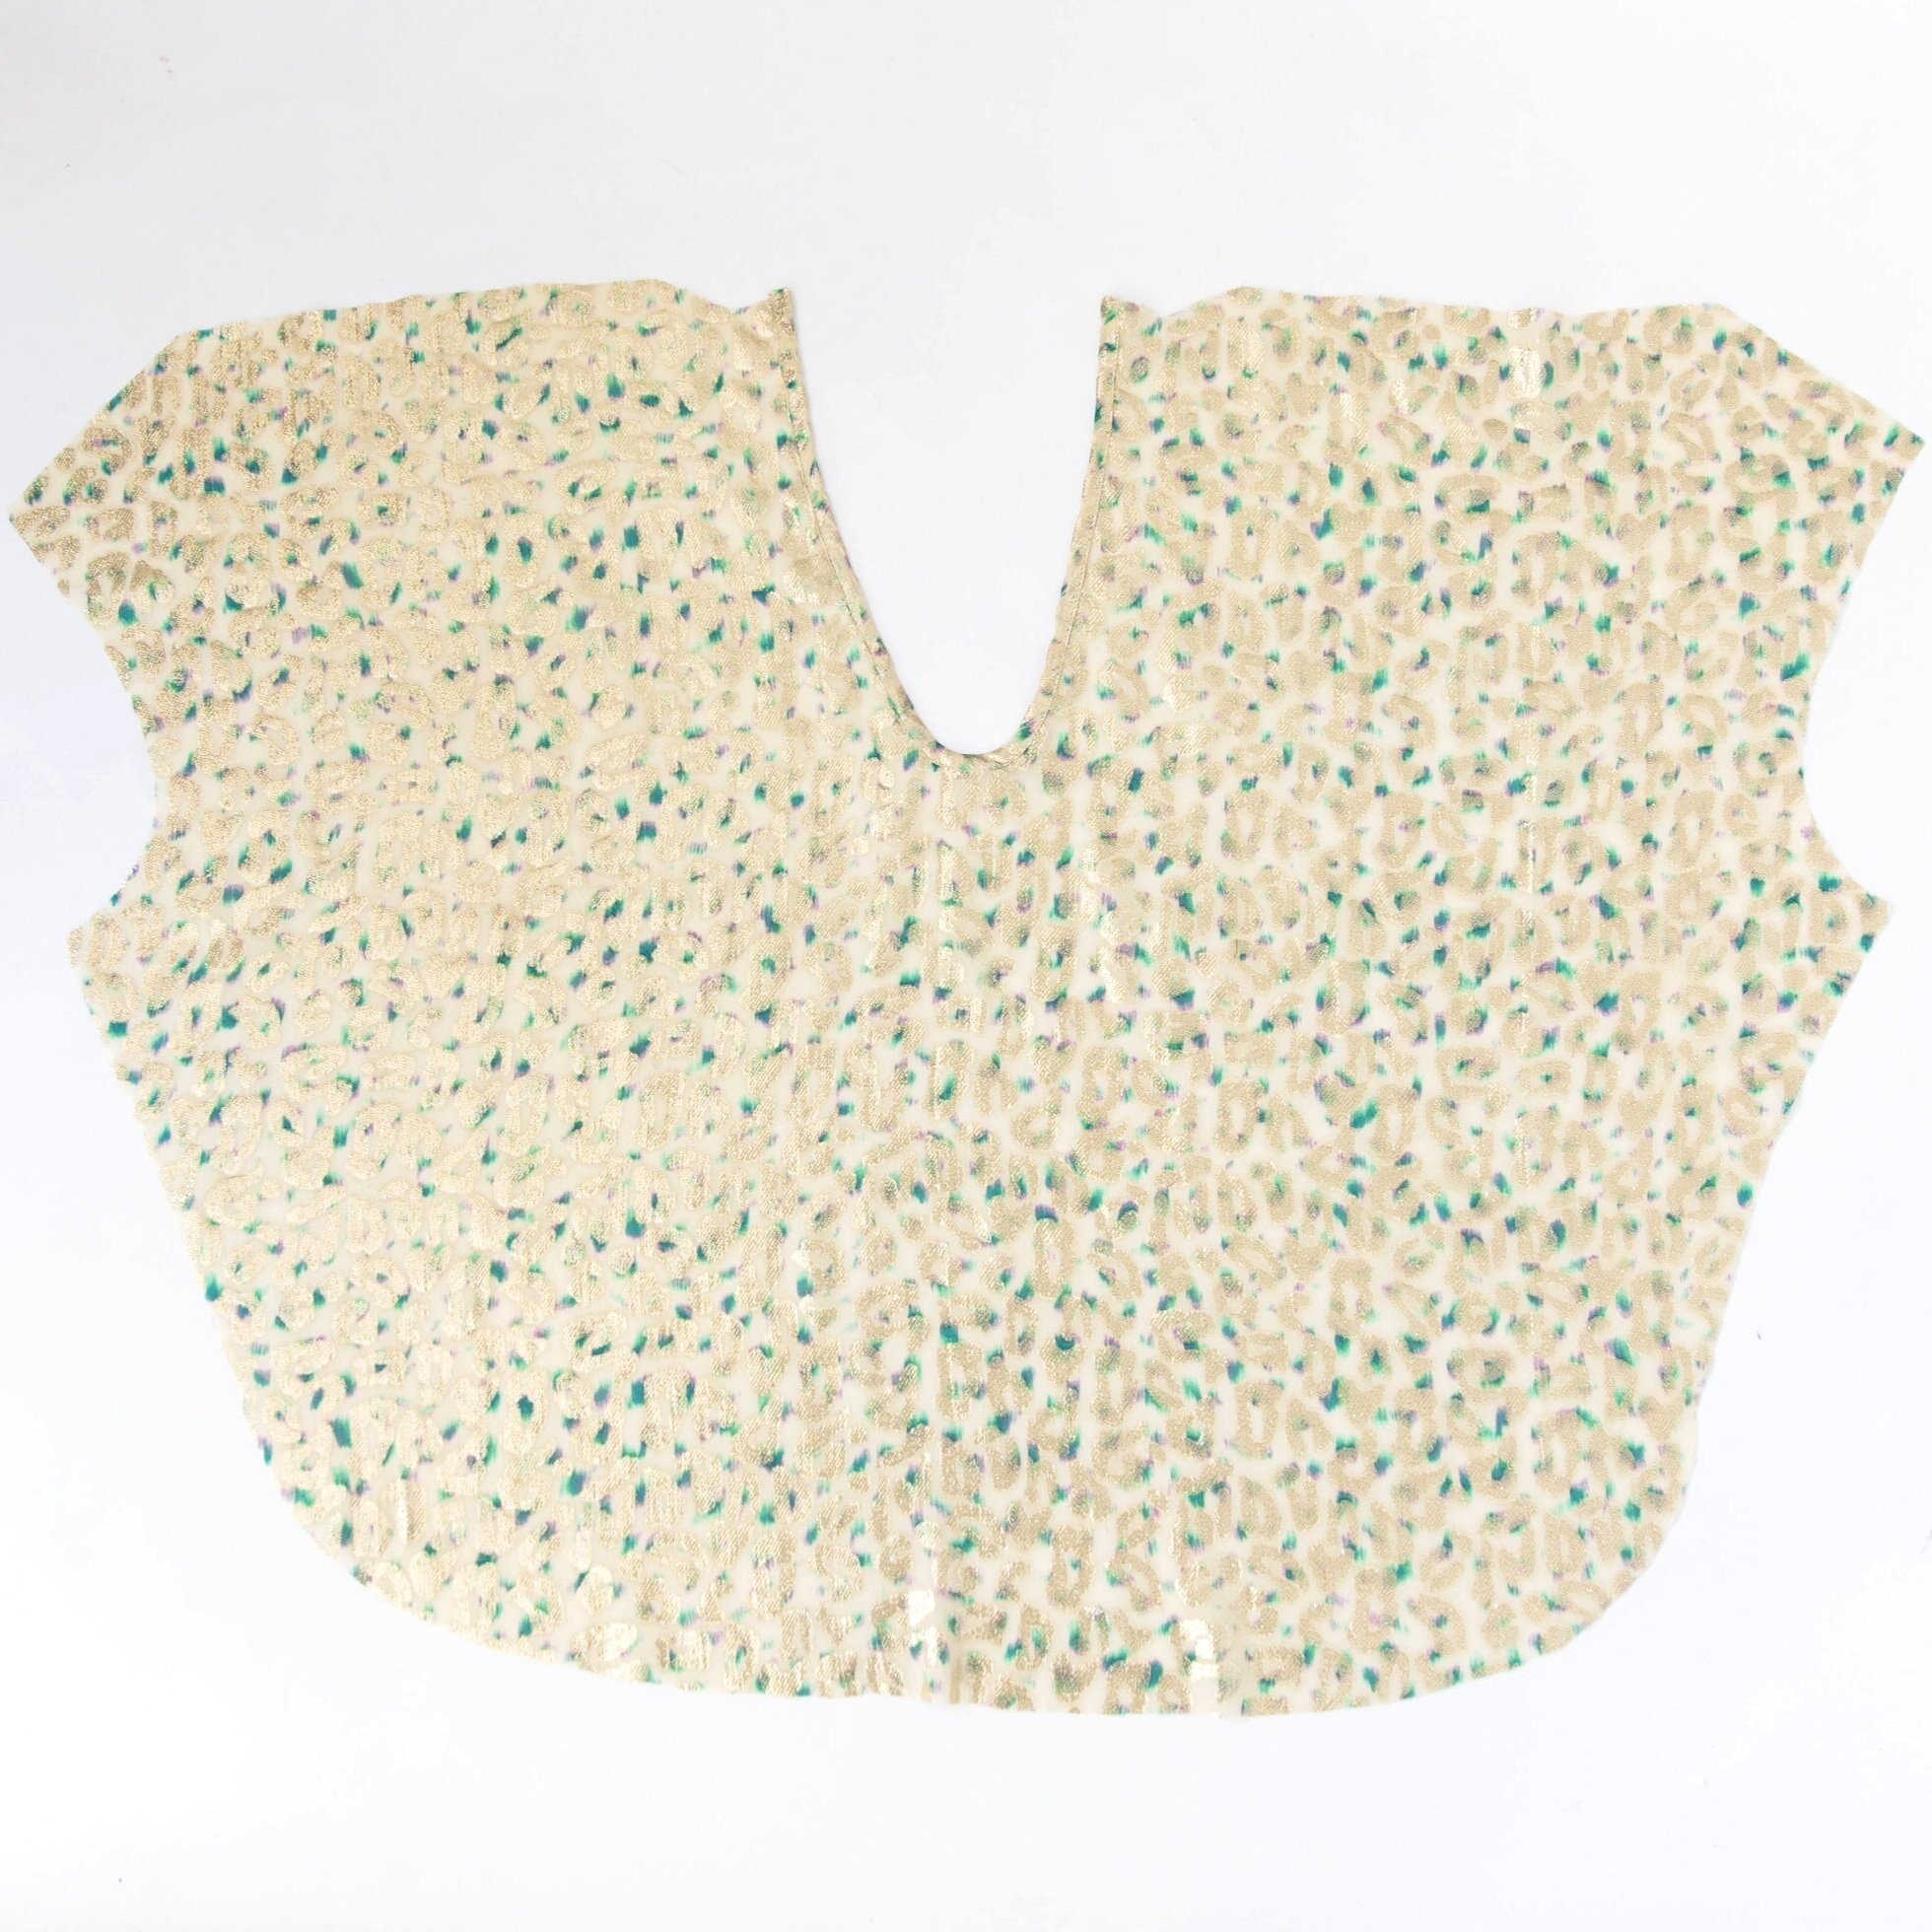
The back shoulder has 4 notches. With right sides facing, fold at first notch, lining up the edge of back neck binding with second notch. Pin. Baste in place right on the edge.
Step 4
With right sides facing, place the front panel on top, matching the neck edge of shoulder to the 4th notch and pin out to armhole.
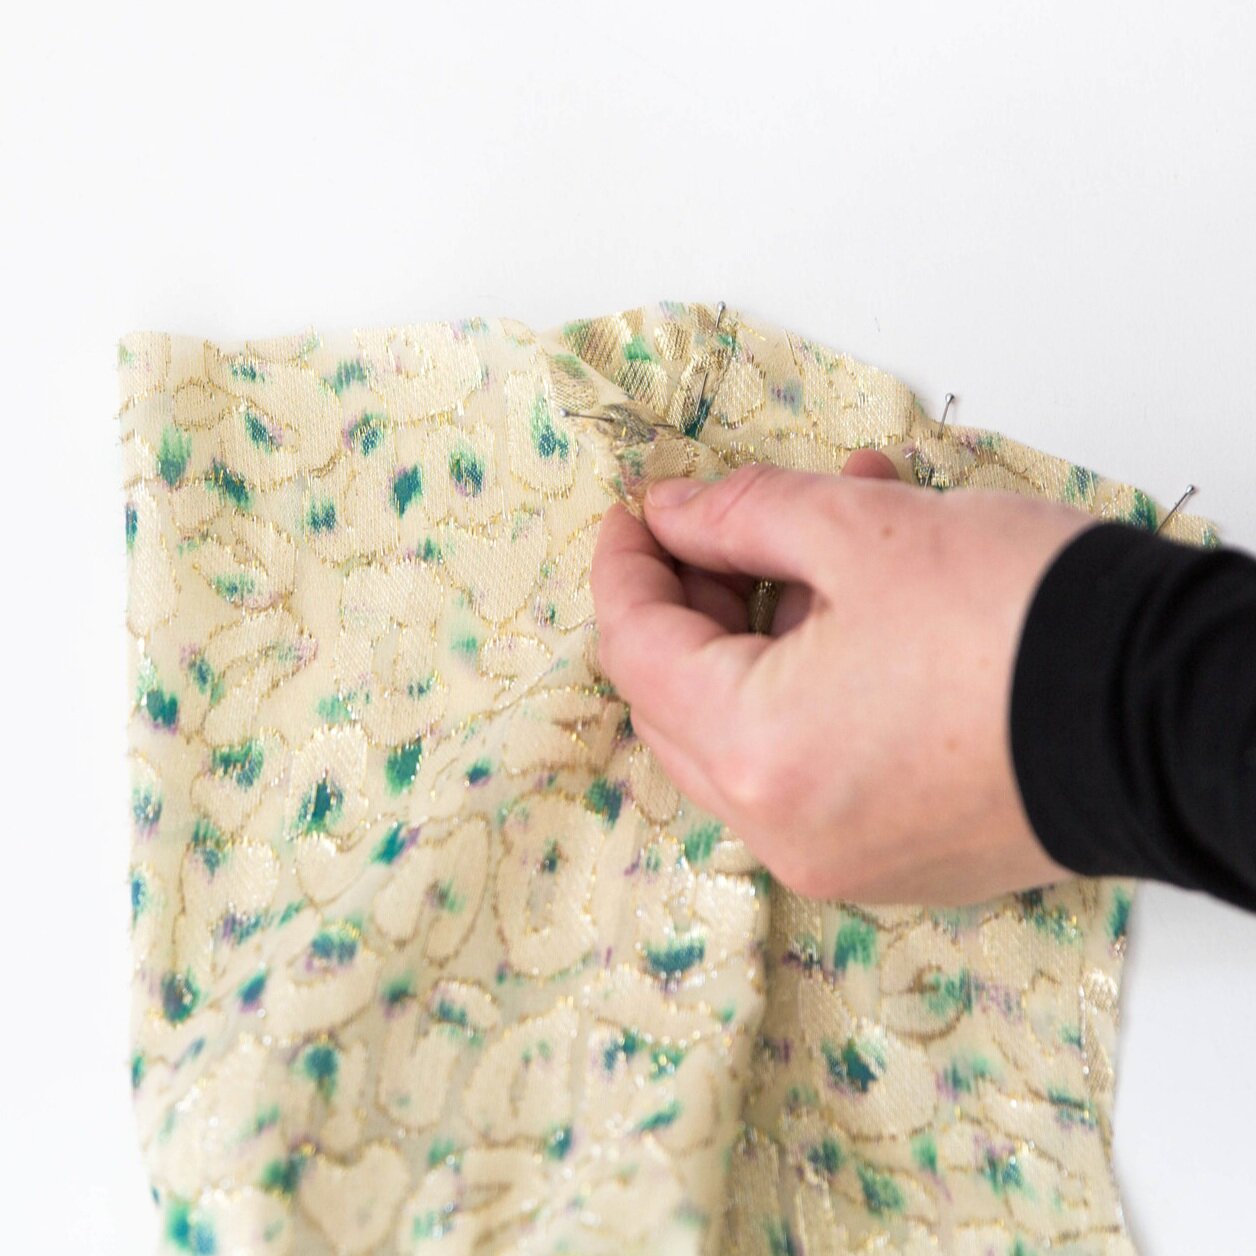
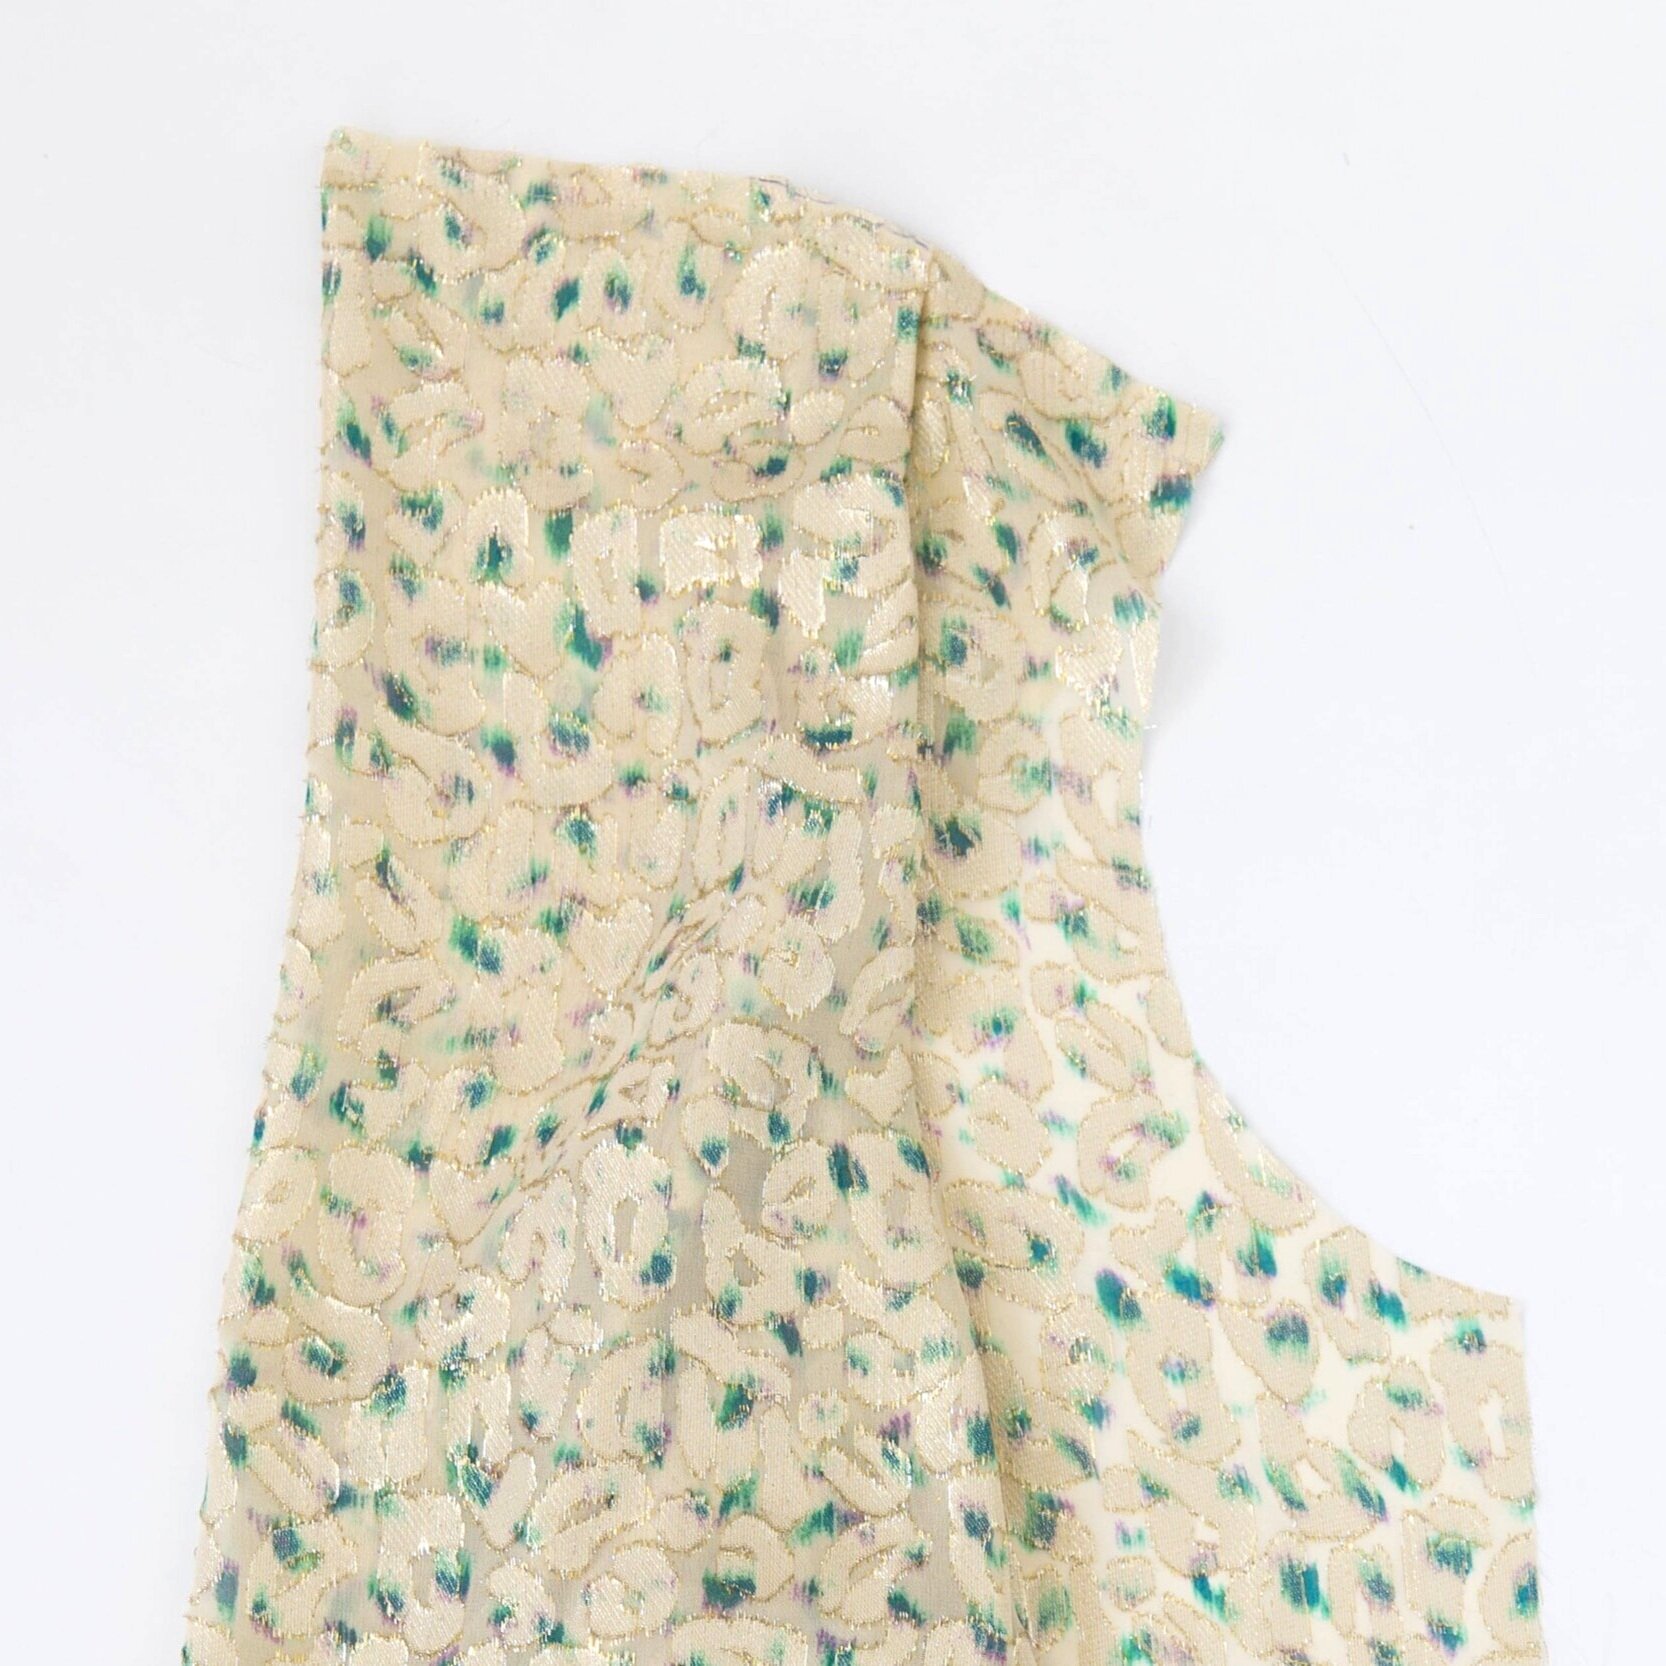
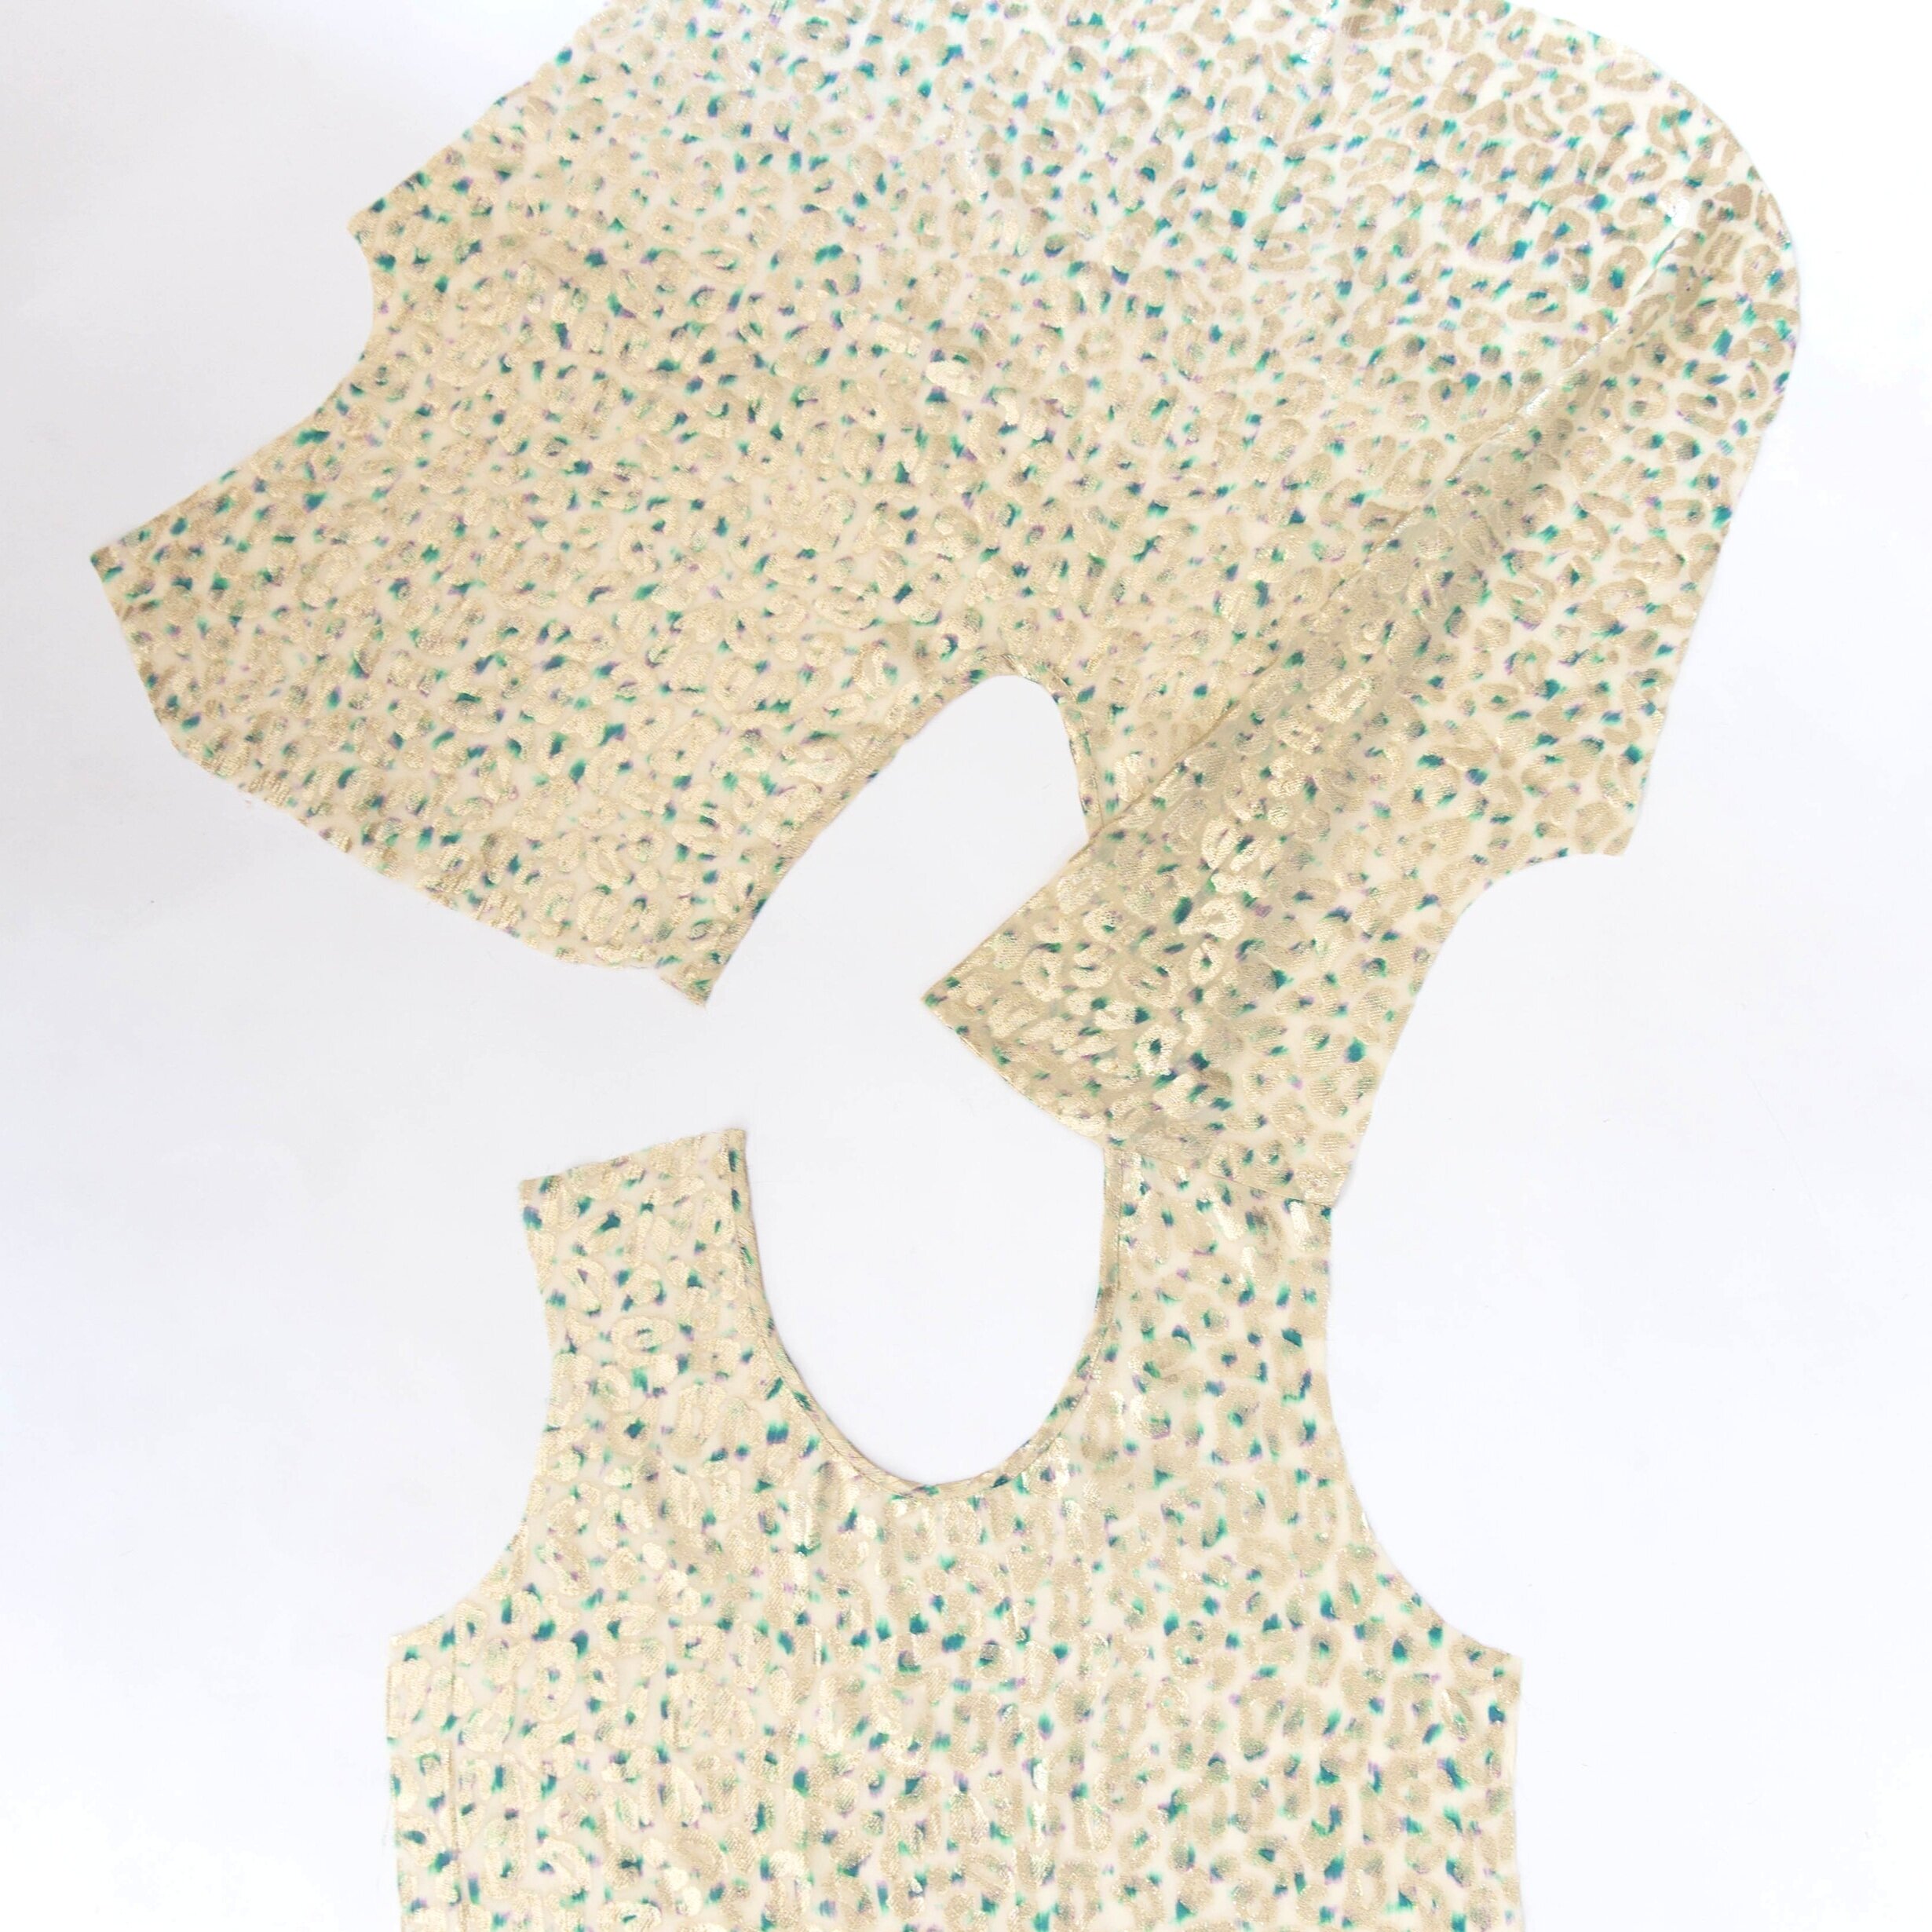
Step 5
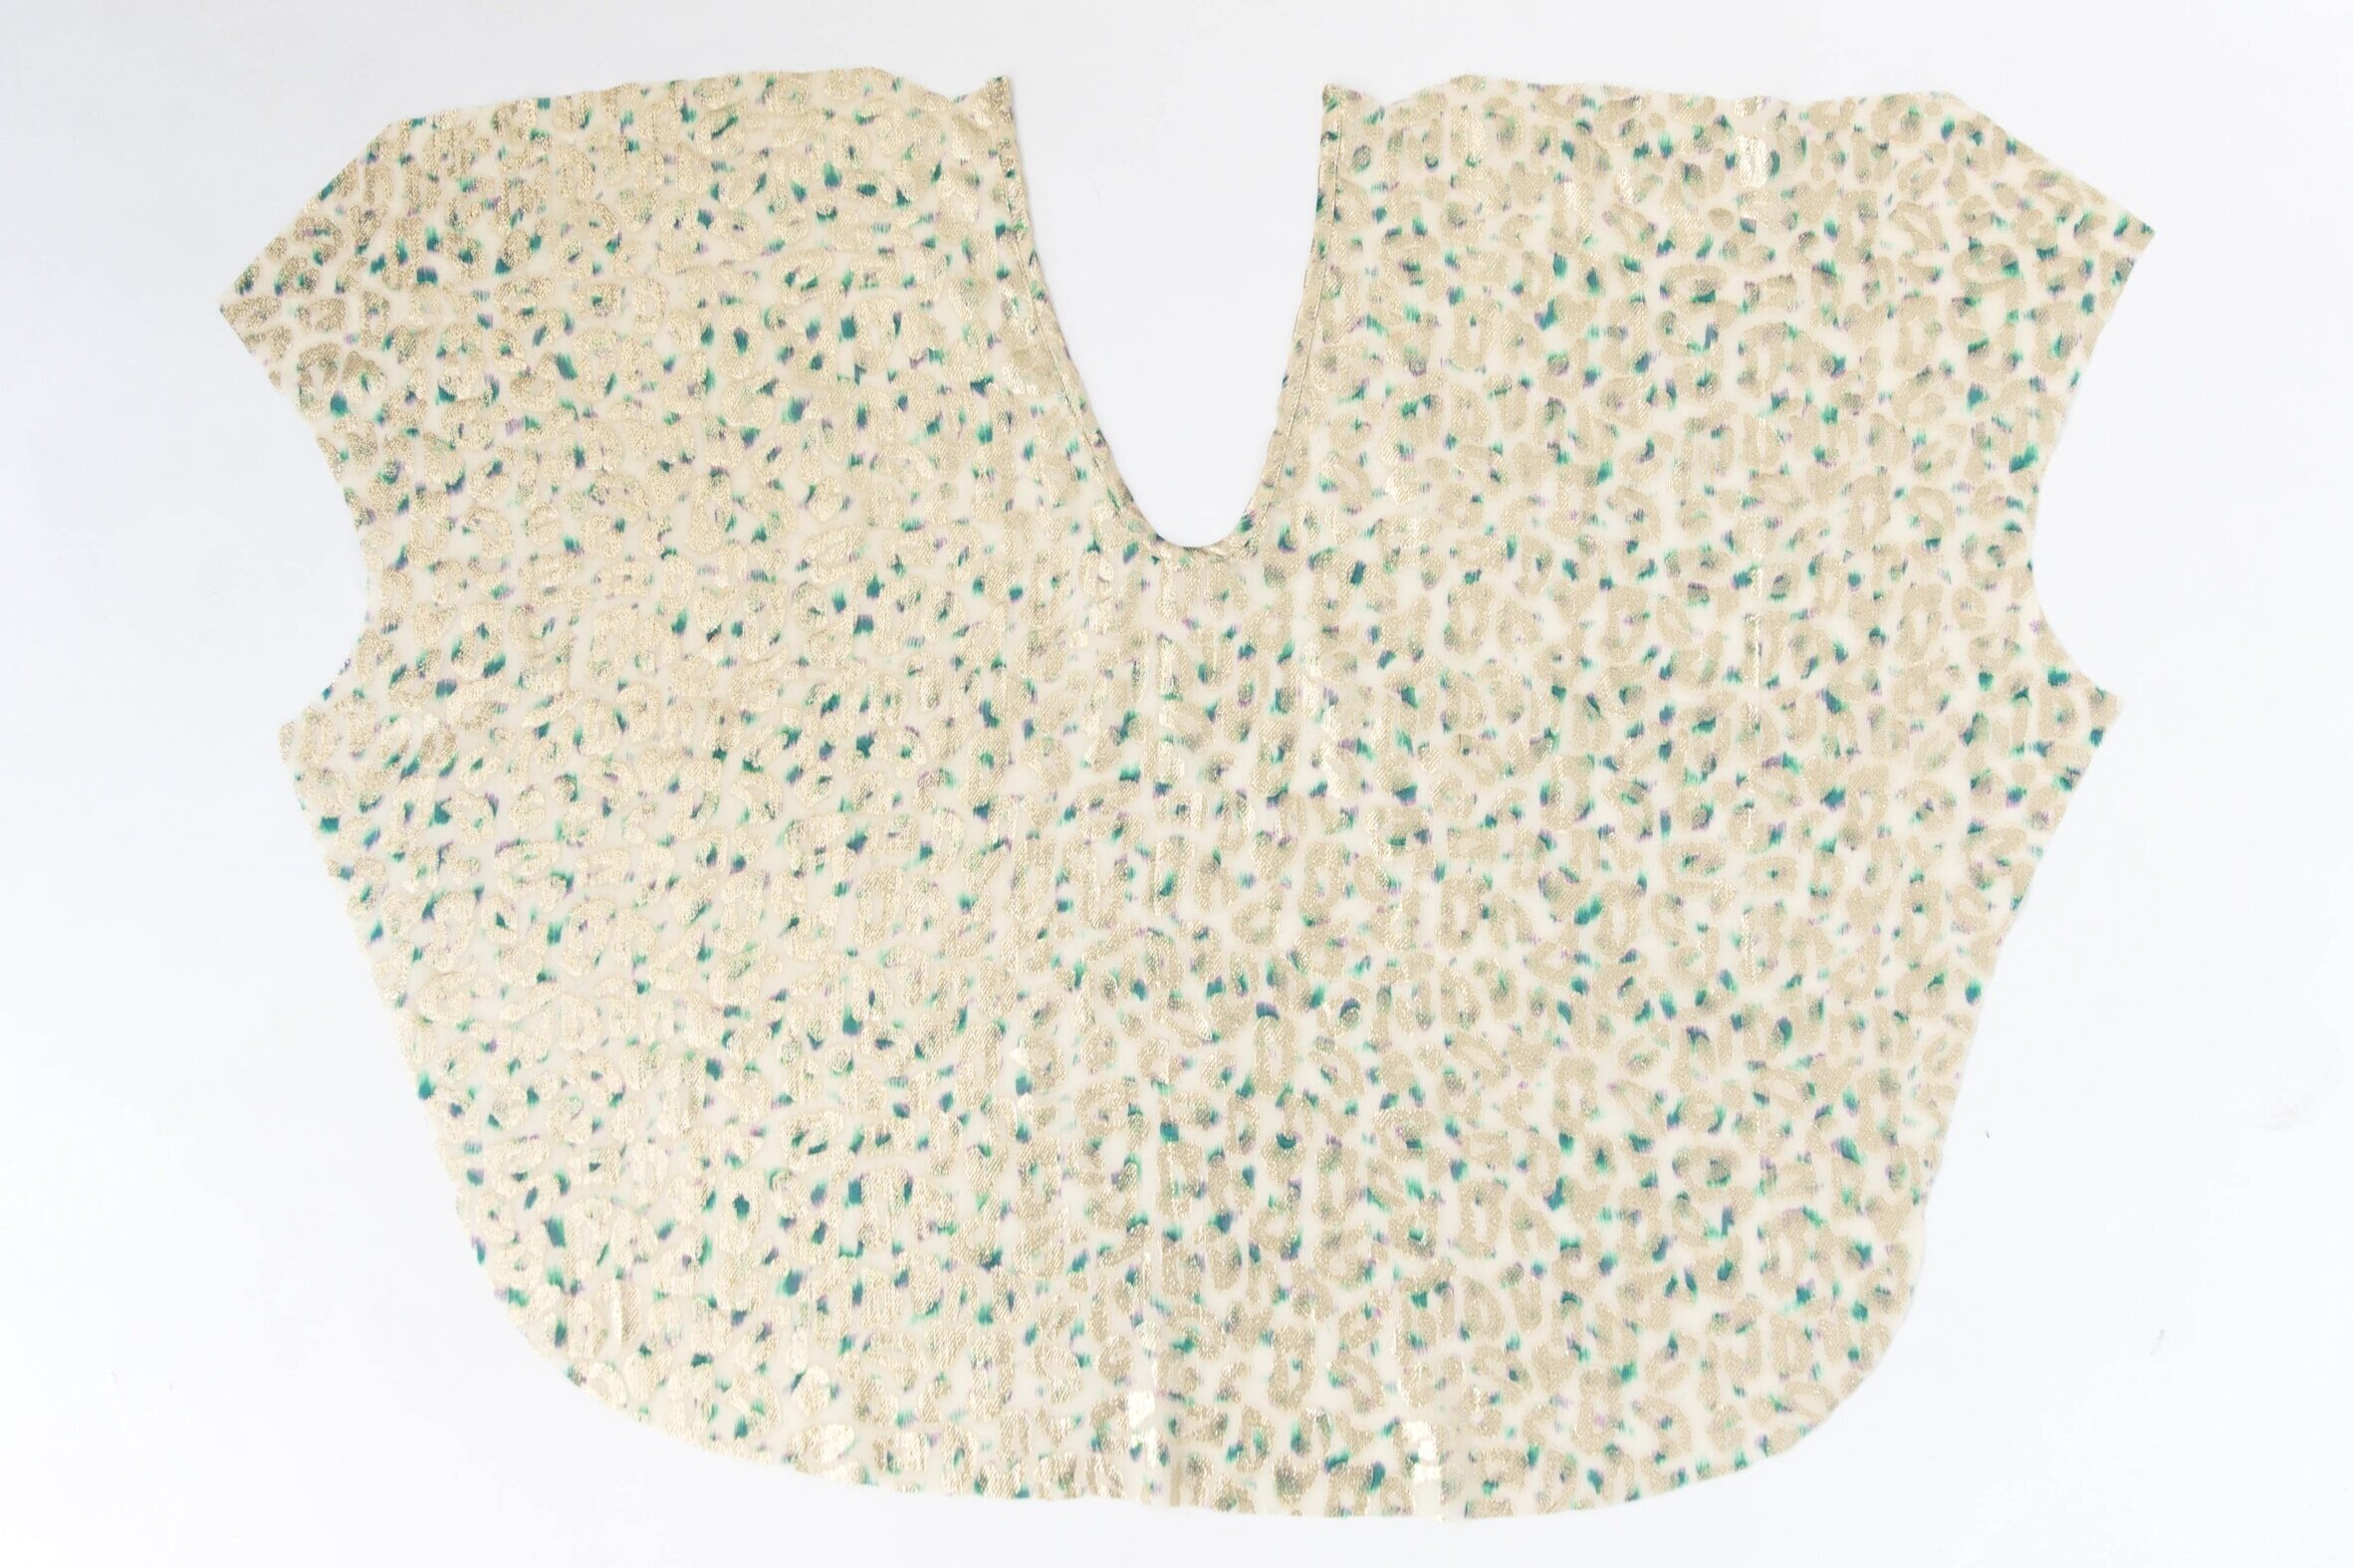
Fold the basted neckline pleat at notch 3 over to meet the pinned shoulder, lining up the edges of front and back neck binding. Stitch across, from fold at notch 3, across shoulder seam to edge of armhole. Neaten seam. Turn through to right side, folding pleat towards centre back and press seam allowances towards back. Repeat steps 3 - 5 on other side.

Step 6
Lay garment over sleeve with right sides facing. Pin in place starting from bottom of armhole upwards on both front and back, matching up notches. Evenly distribute any ease in the sleevehead while pinning. Stitch with sleeve on the underside, as the differential feed on your machine will help work in any ease. Neaten edge. Repeat for opposite sleeve.
Neaten all remaining side seams, hem and sleeve edges.

Step 7
Place a pin where front and back underarm seams meet up. Pin down to side seam notch and out to sleeve hem. Stitch together, stopping at side seam notch. Press seams open. Repeat on opposite side.

Step 8
Topstitch around side seam slits.

Step 9
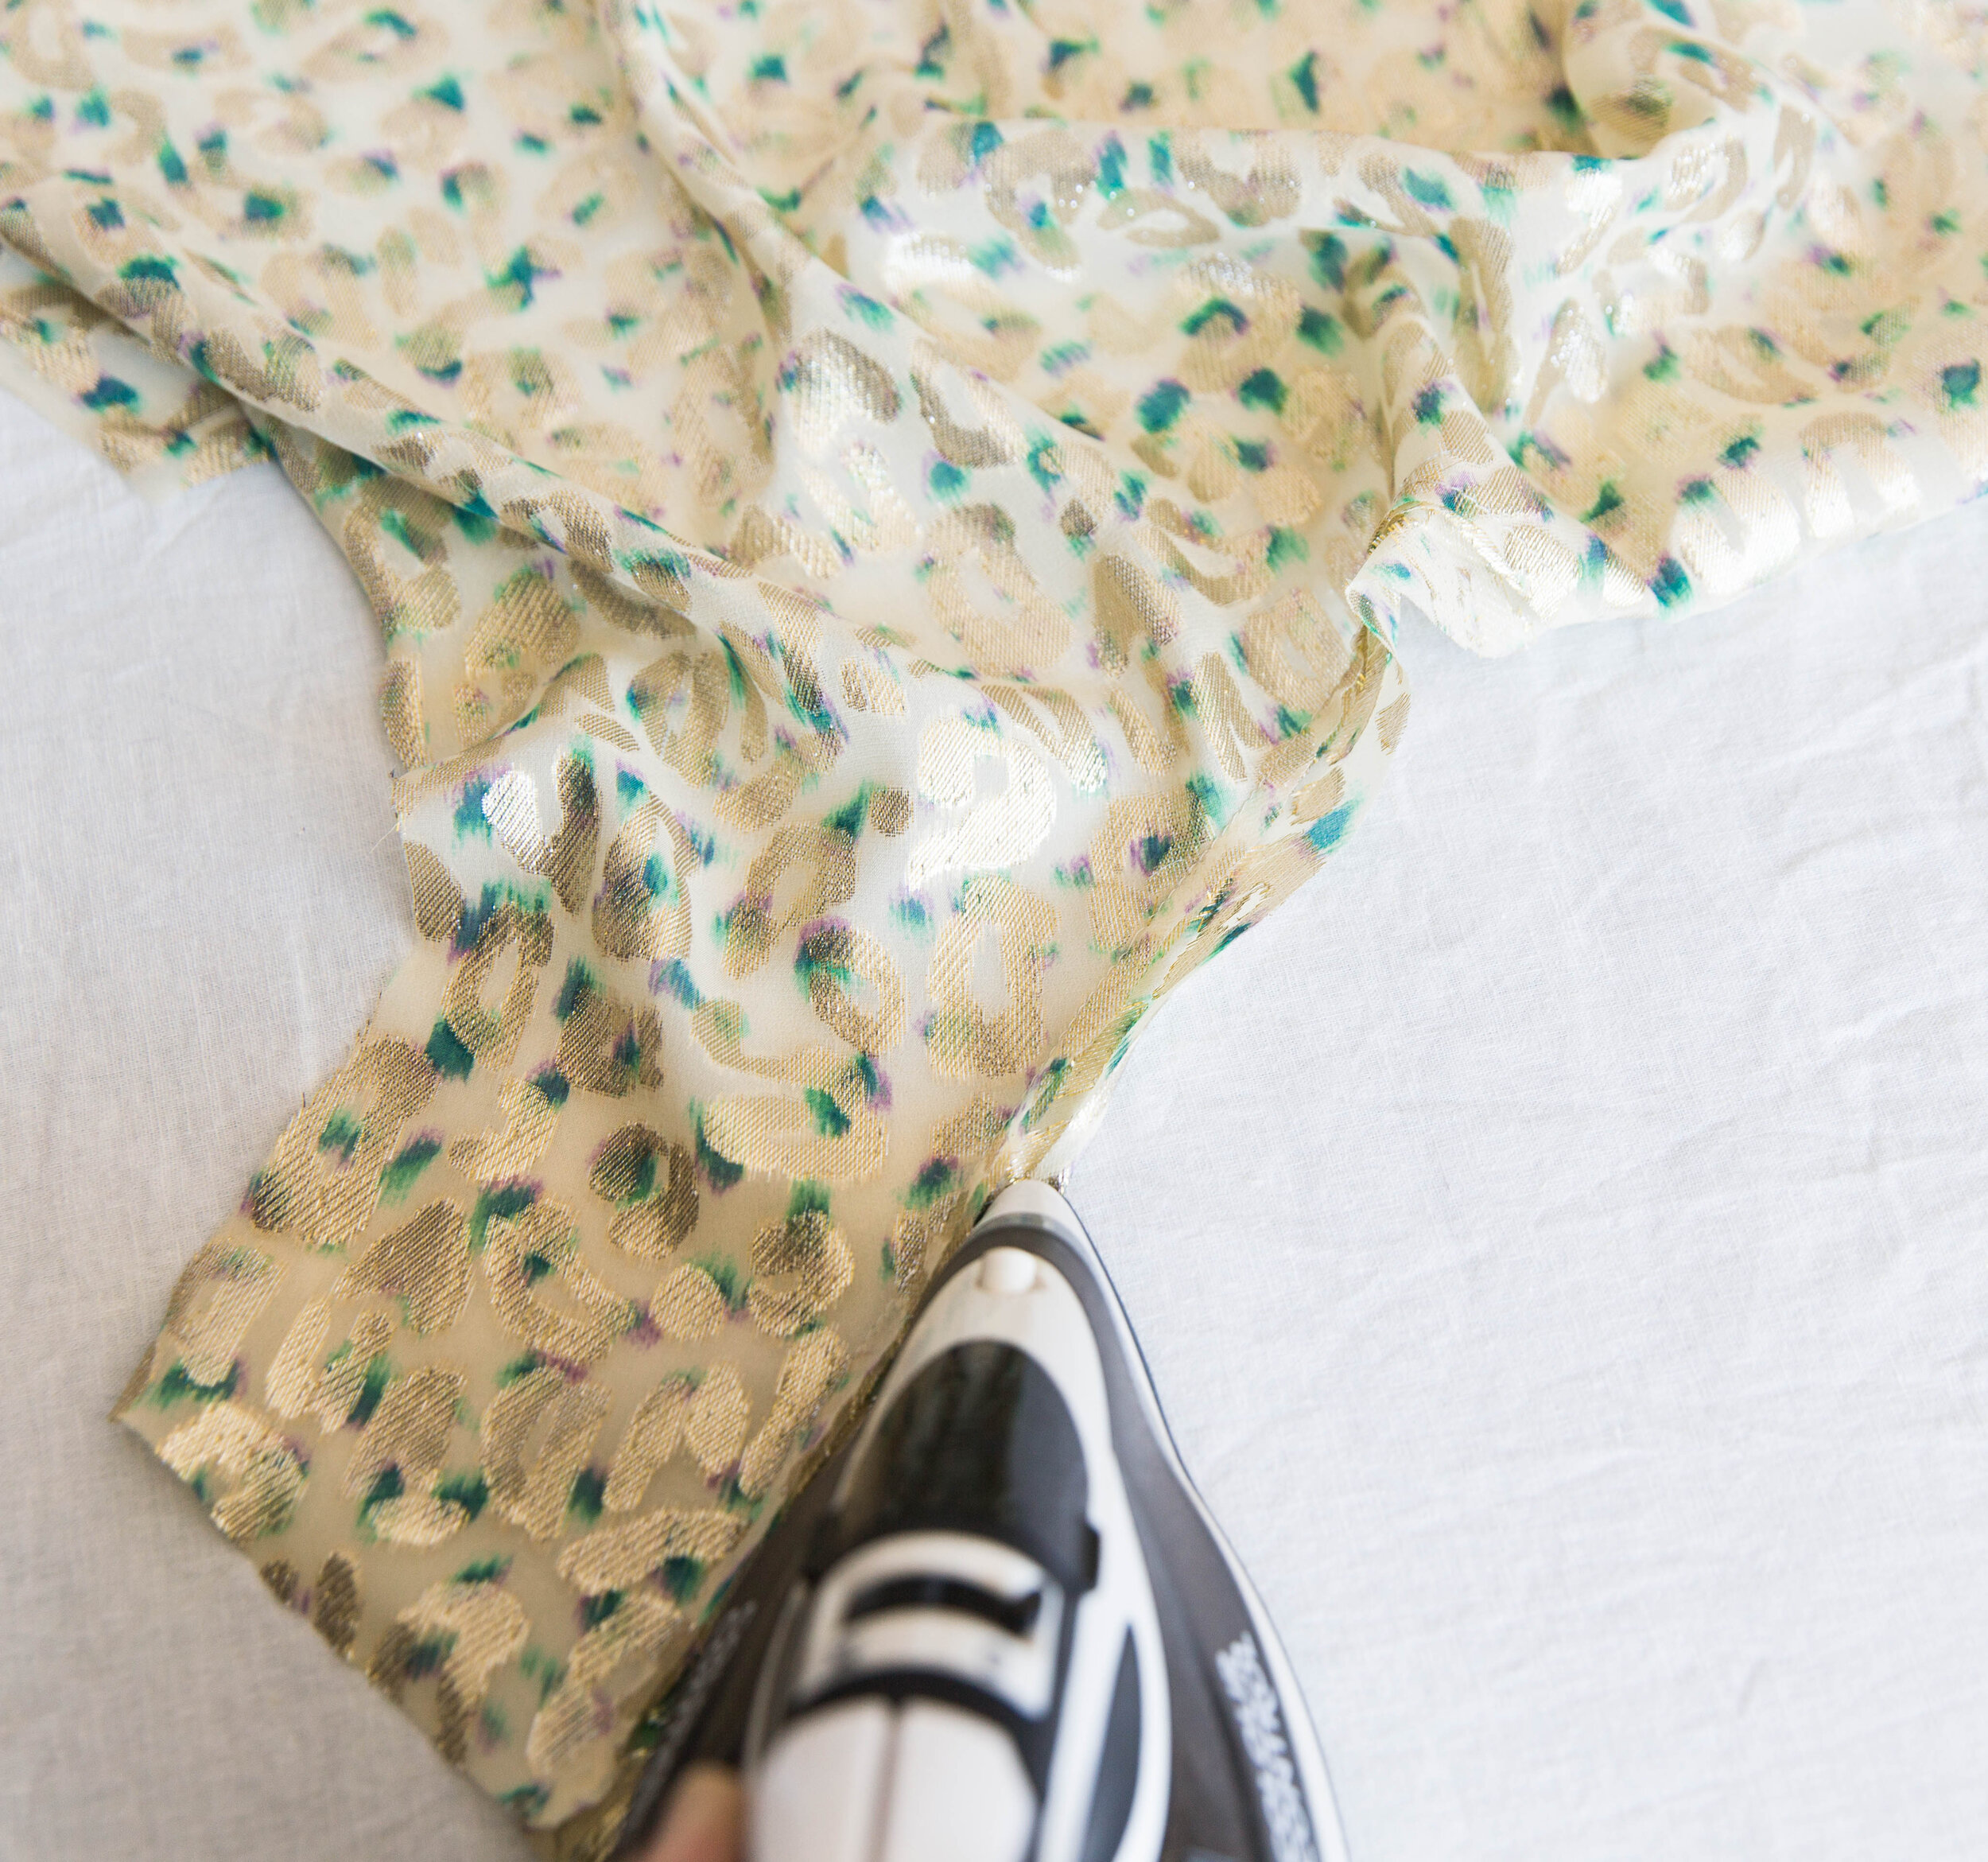
turn up front hem at notches and topstitch. For the back hem, do a small rolled hem, pressing around the curve and topstitch.

Step 10
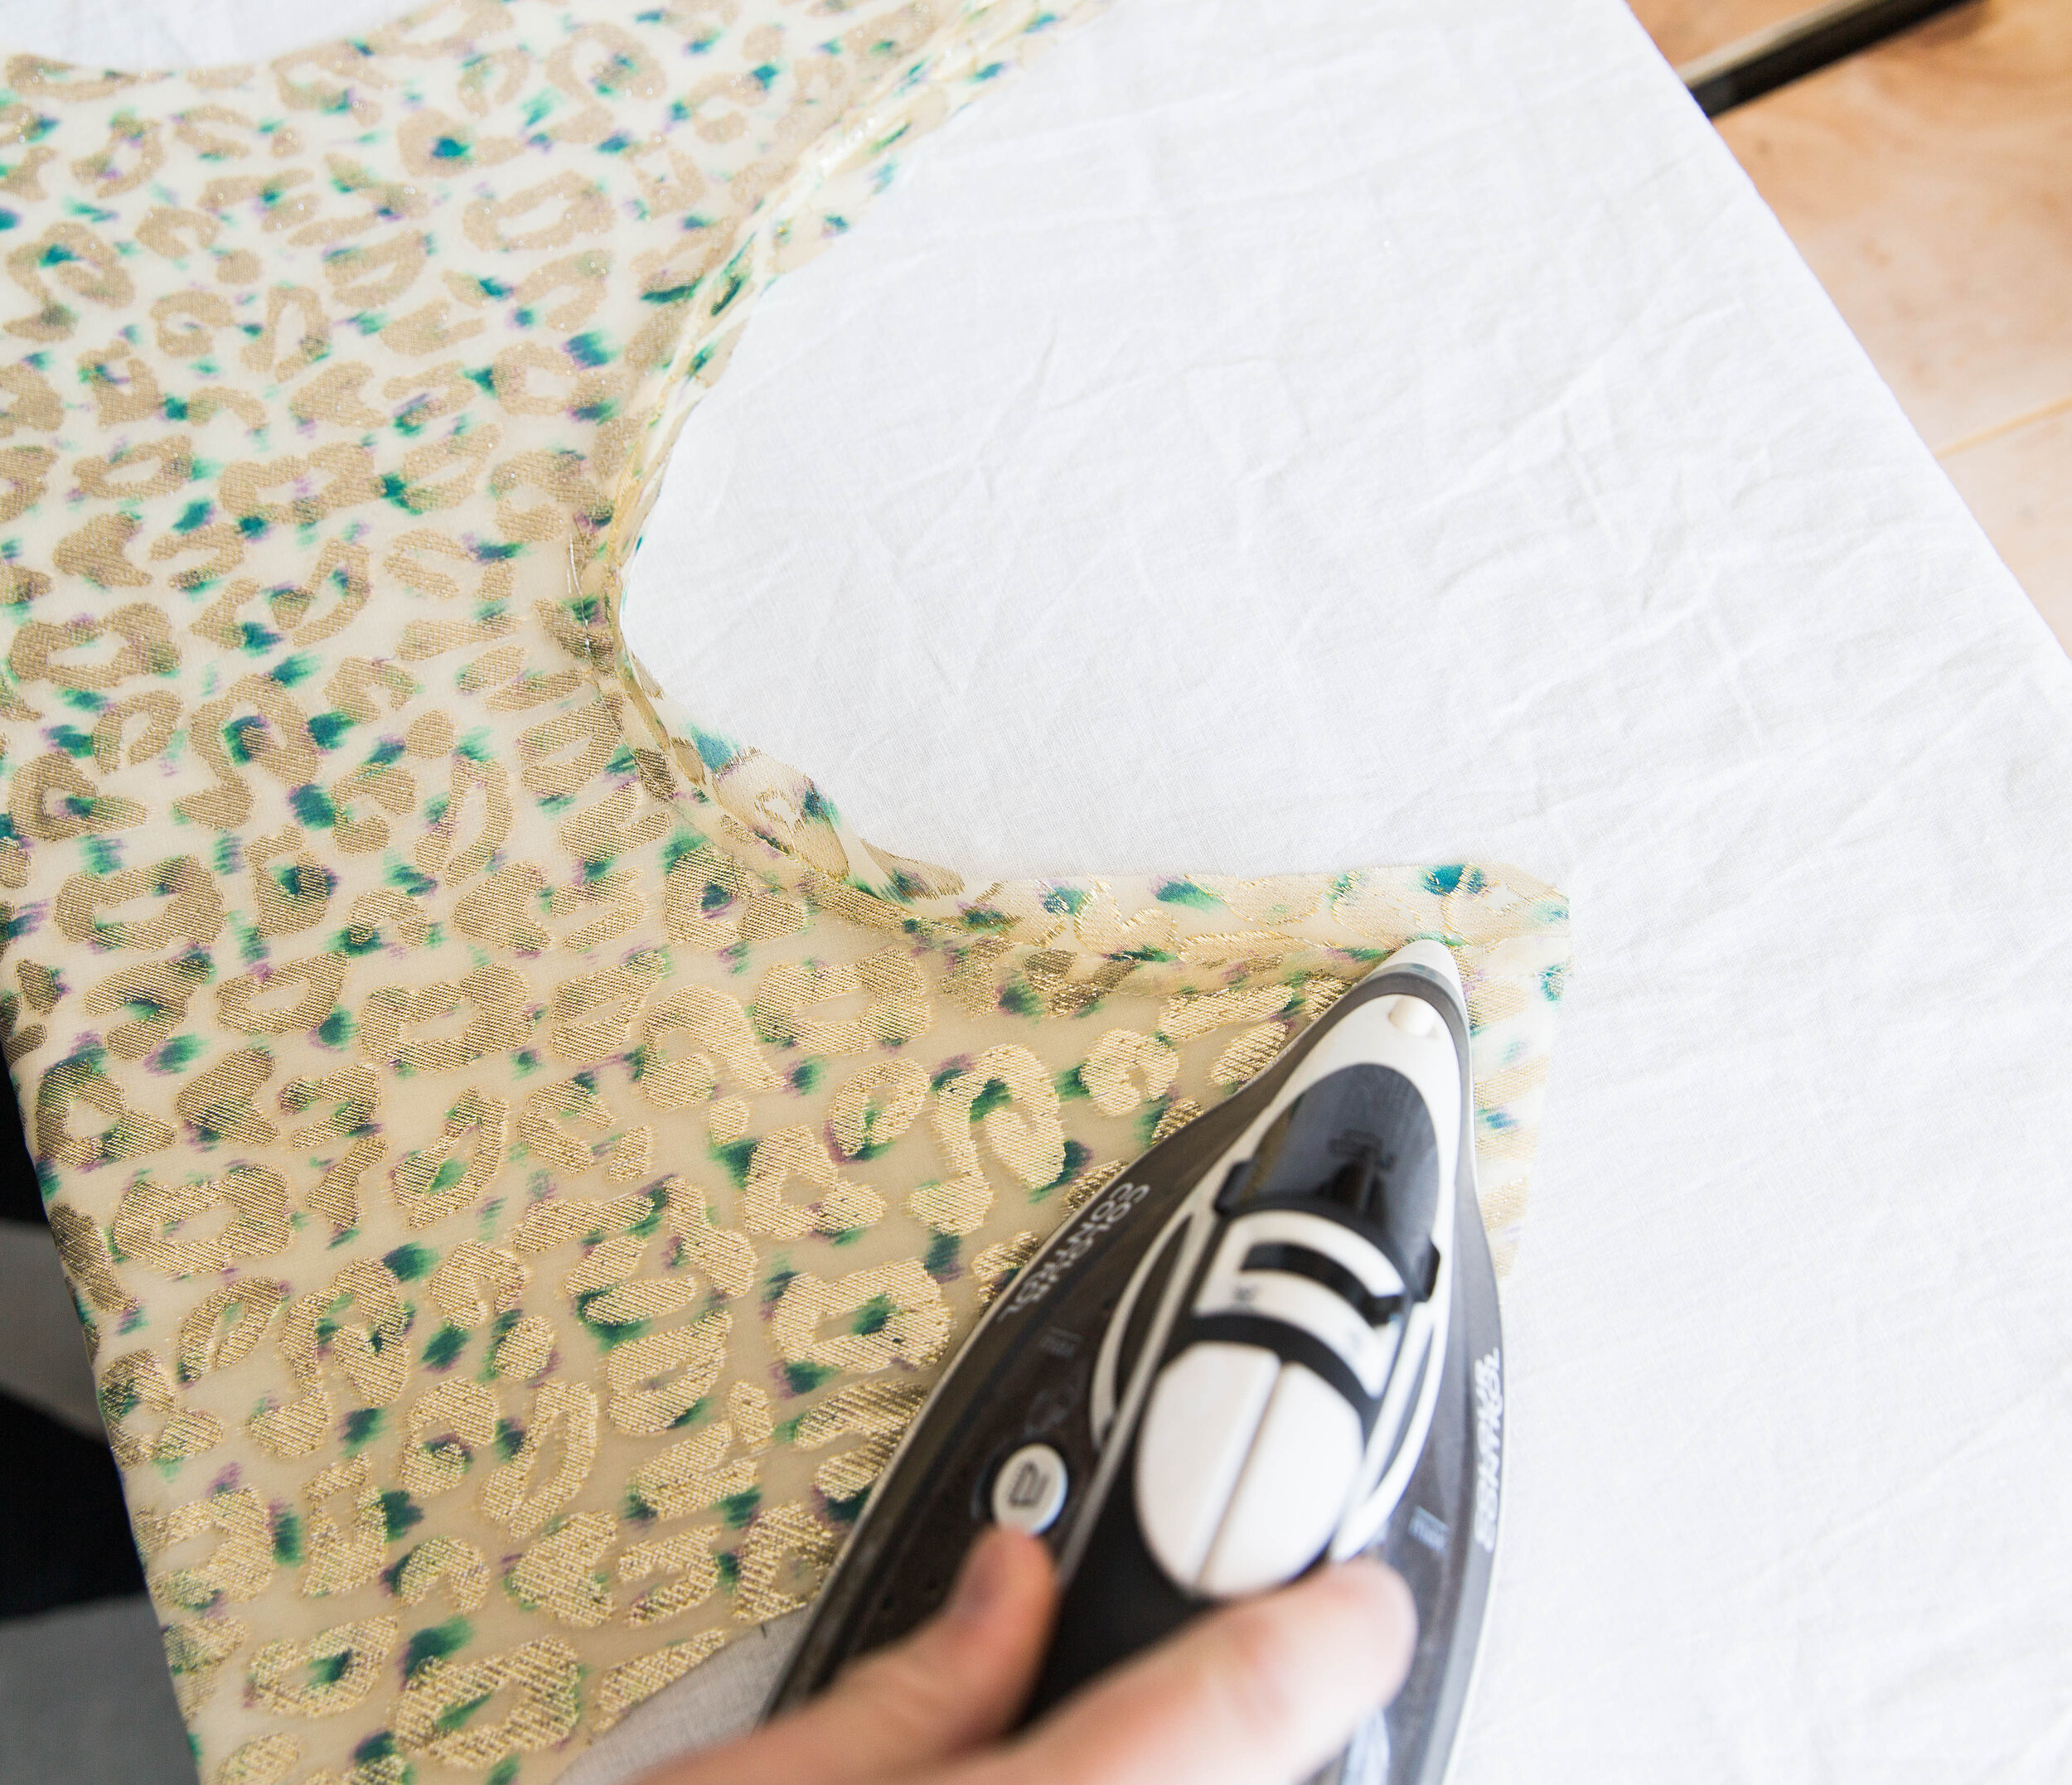
Neaten sleeve hem edge then turn up 2.5cm/1” to the inside and topstitch in place.
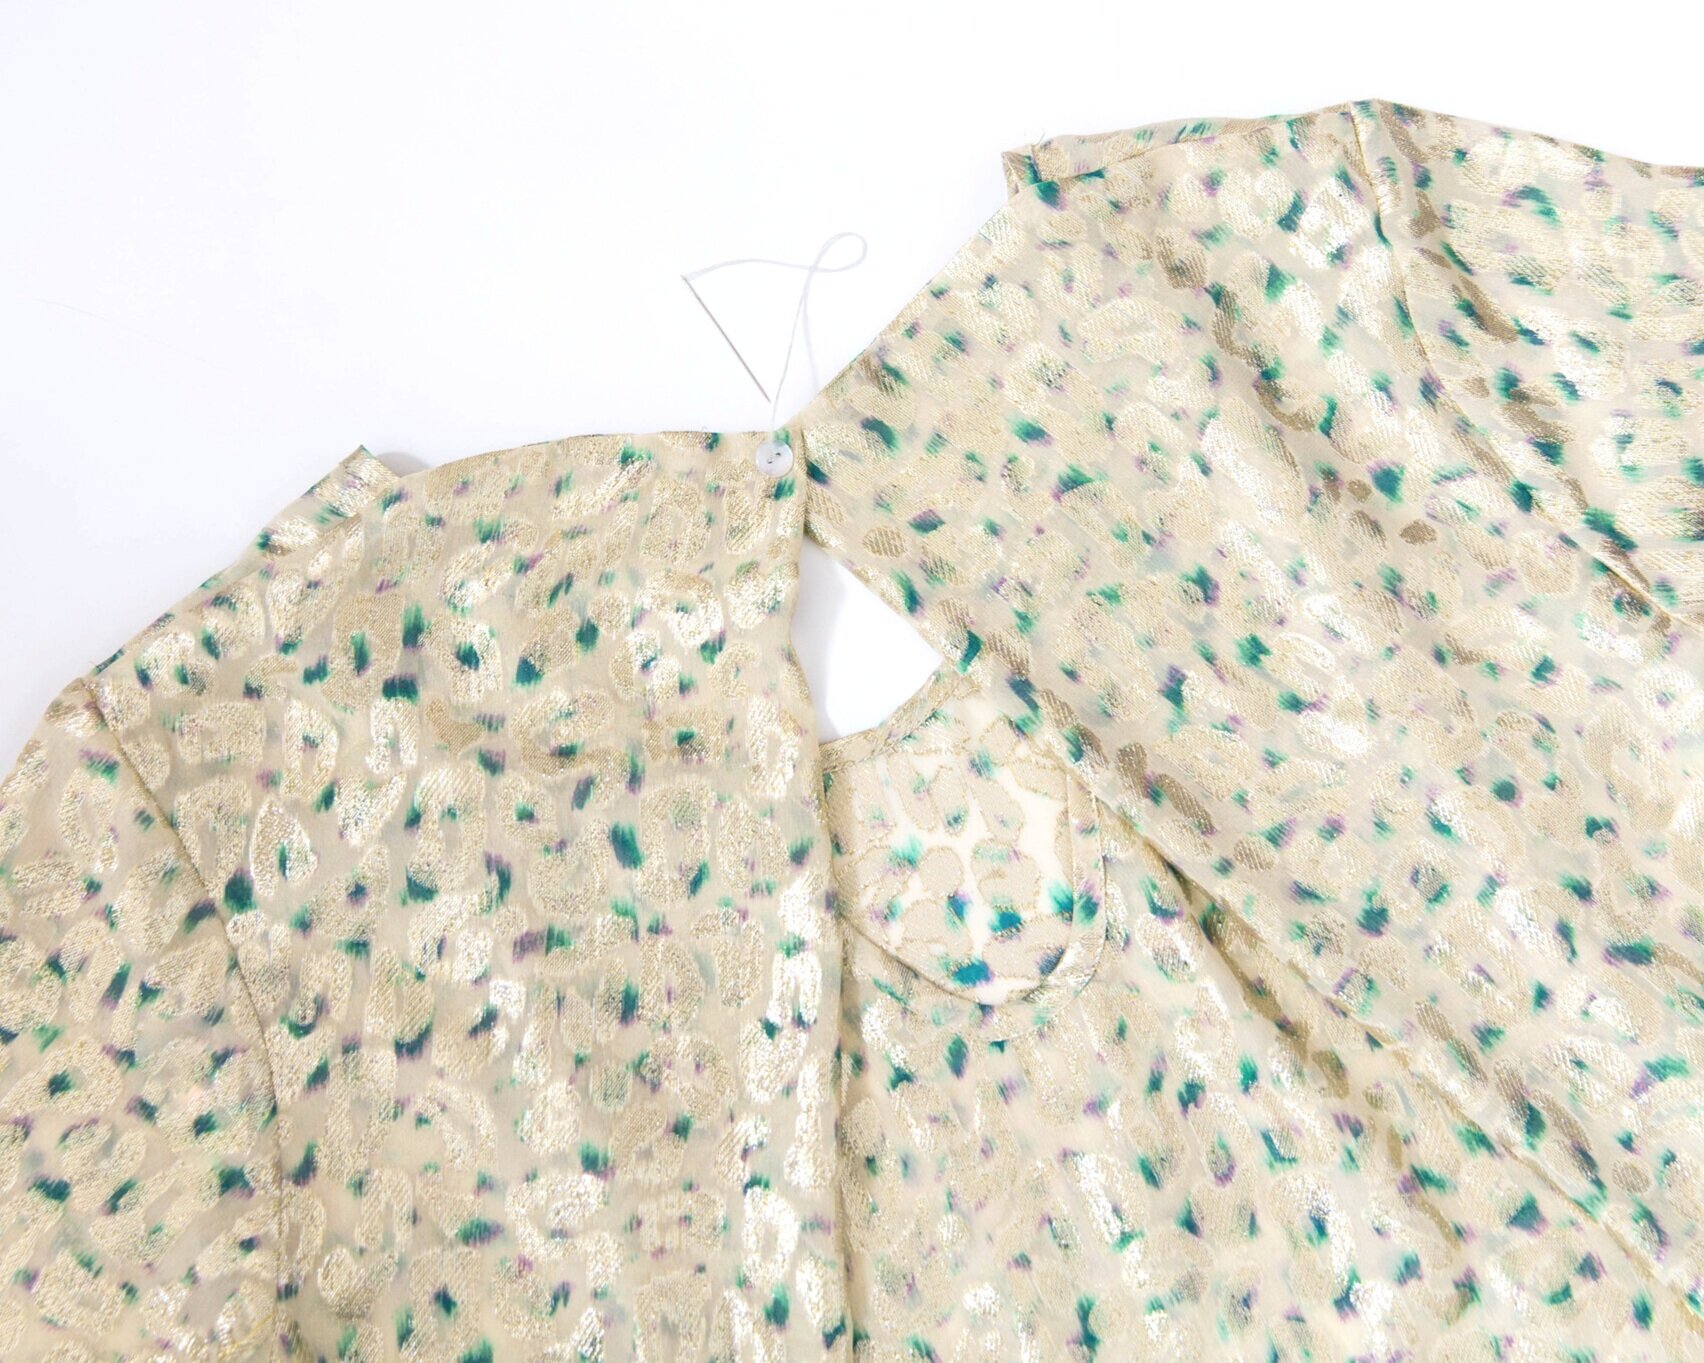
Step 11
Slightly overlap the two back pleats and placing a button on top, handstitch in place through all layers.

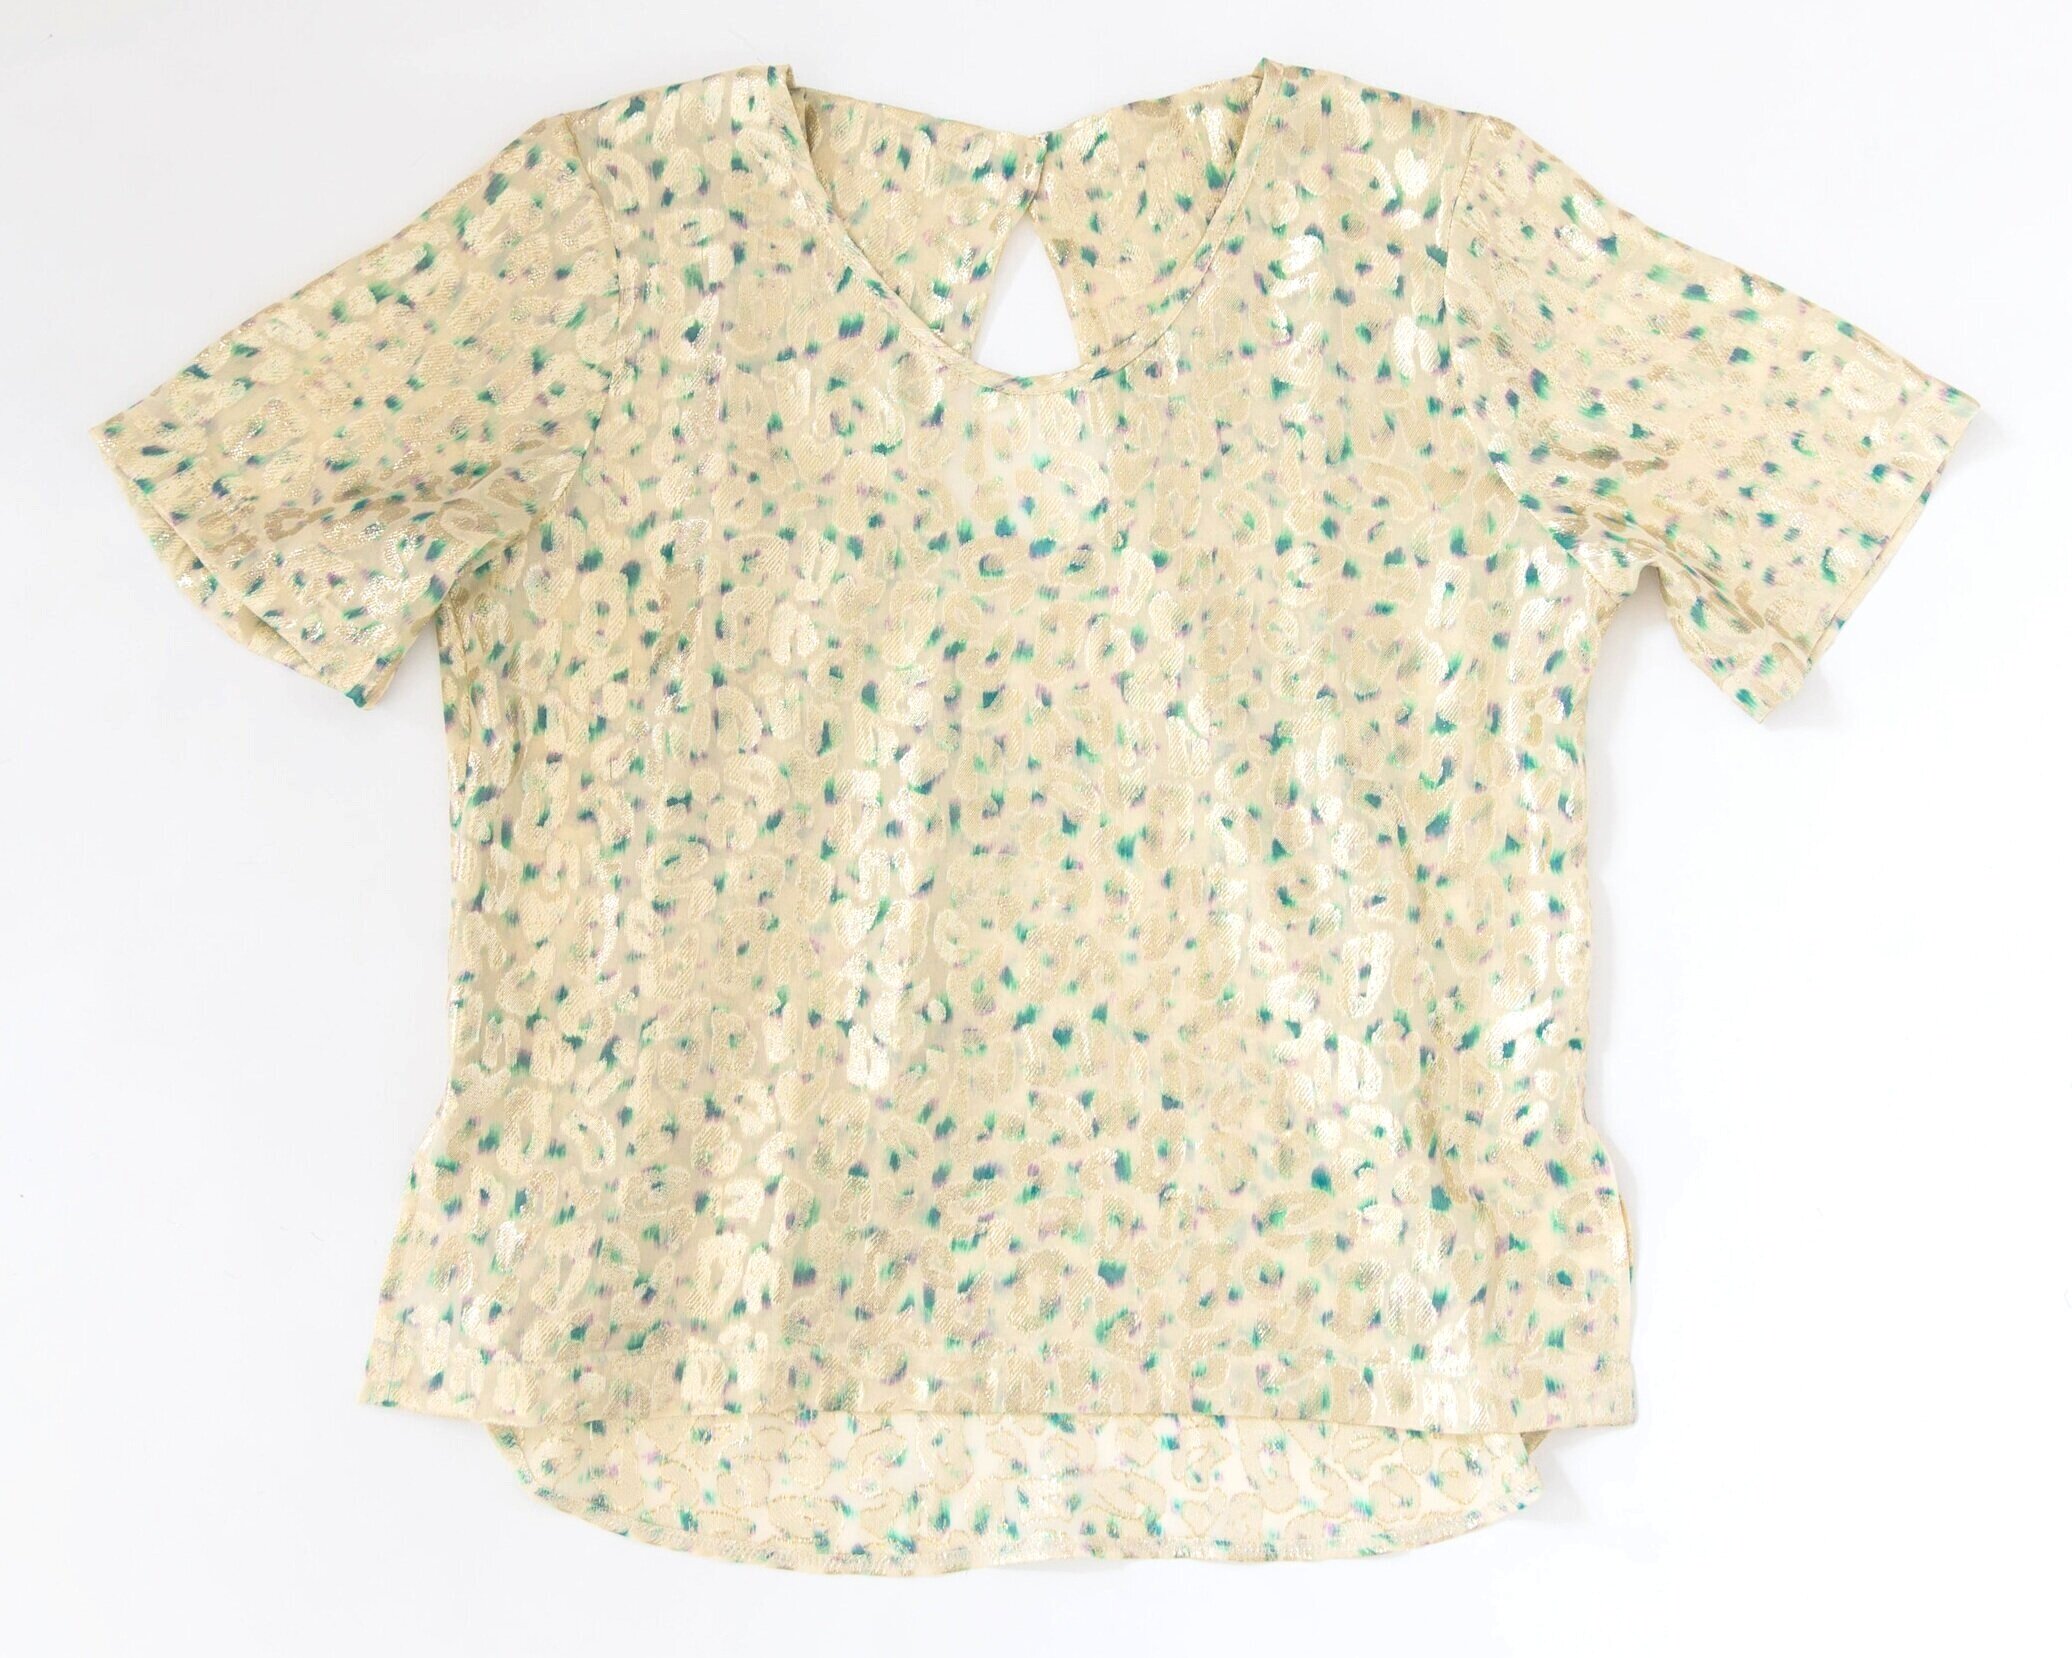
Voilà