


Fusing
Fuse front and back neck facing pieces (the front neck facing will either be the long or the short length depending on which length you are making. Fuse sleeve cuffs.


Step 1
Neaten side and hem edges of fronts and back.

Step 2
Pin fronts and back together at shoulder seams with right sides facing. Stitch together. Neaten seams. Press seam flat. Repeat on other side.


Step 3
Place shoulder seams of facing pieces together with right sides facing. Stitch. Press seams open. Neaten outside edge.


Step 4
Pin facing around neck opening and bottom edge of blouse with right sides together. Stitch. Trim seam allowance in half and clip corners and around curves. Under stitch seam allowance toward facing where you can. Turn facing through to the inside of blouse. Press well.

Step 6
Pin facing in place lining up shoulder seams of facing with shoulder seams of blouse. Topstitch along outer edge of facing. Press.


Step 7
Fold hem edges up 1cm from notches. Press in place neatly around the curve. Stitch in place.

Step 8
With right sides facing, align the side seams and stitch them together. Stitch down as far as the hems meet. Press seams open.

Step 9
Neaten underarm seams of sleeve piece. Fold sleeve in half, matching up underarm seams with right sides facing. Stitch together as far as single notch. Press seam allowance open. Top stitch around opening. Repeat for other sleeve.

Step 10
With your machine on its longest stitch length, make a line of stitching along the sleeve hem, 5mm/0.2” from edge. Leave the threads long at each end and don’t backstitch at the start or finish.


Step 11
Take two sleeve cuff pieces and press back the top seam allowance of one of them. Place the pieces together with right sides facing and stitch around edges leaving the top edge open. Trim seam allowance in half and clip around curves. Turn through to the right side and press edges. Repeat for other cuff.


Step 12
With sleeve inside out, pin the unfolded edge of cuff to the seam opening of sleeve with right side of cuff facing the wrong side of sleeve. Pull your gathering threads until the sleeve opening fits the cuff. Make sure your gathers are evenly spread, then stitch in place. Press seam allowance toward cuff.


Step 13
Turn sleeve through to the right side and pin pressed edge of cuff up slightly overlapping stitch line. Top stitch in place. Press.

Step 14
Pin sleeve and armhole together with right sides facing, matching underarm seam and notches. Stitch around armhole. Neaten seams.


Step 15
Transfer markings from pattern piece for placement of buttons and buttonholes for front of blouse and sleeve cuffs with tailors chalk or pins. Sew buttonholes down the right side of the blouse front. The buttonholes should be vertical. Make sure they are centred between your top stitch line and the edge.


Sew buttonholes onto sleeve cuffs. The buttonholes should be horizontal.


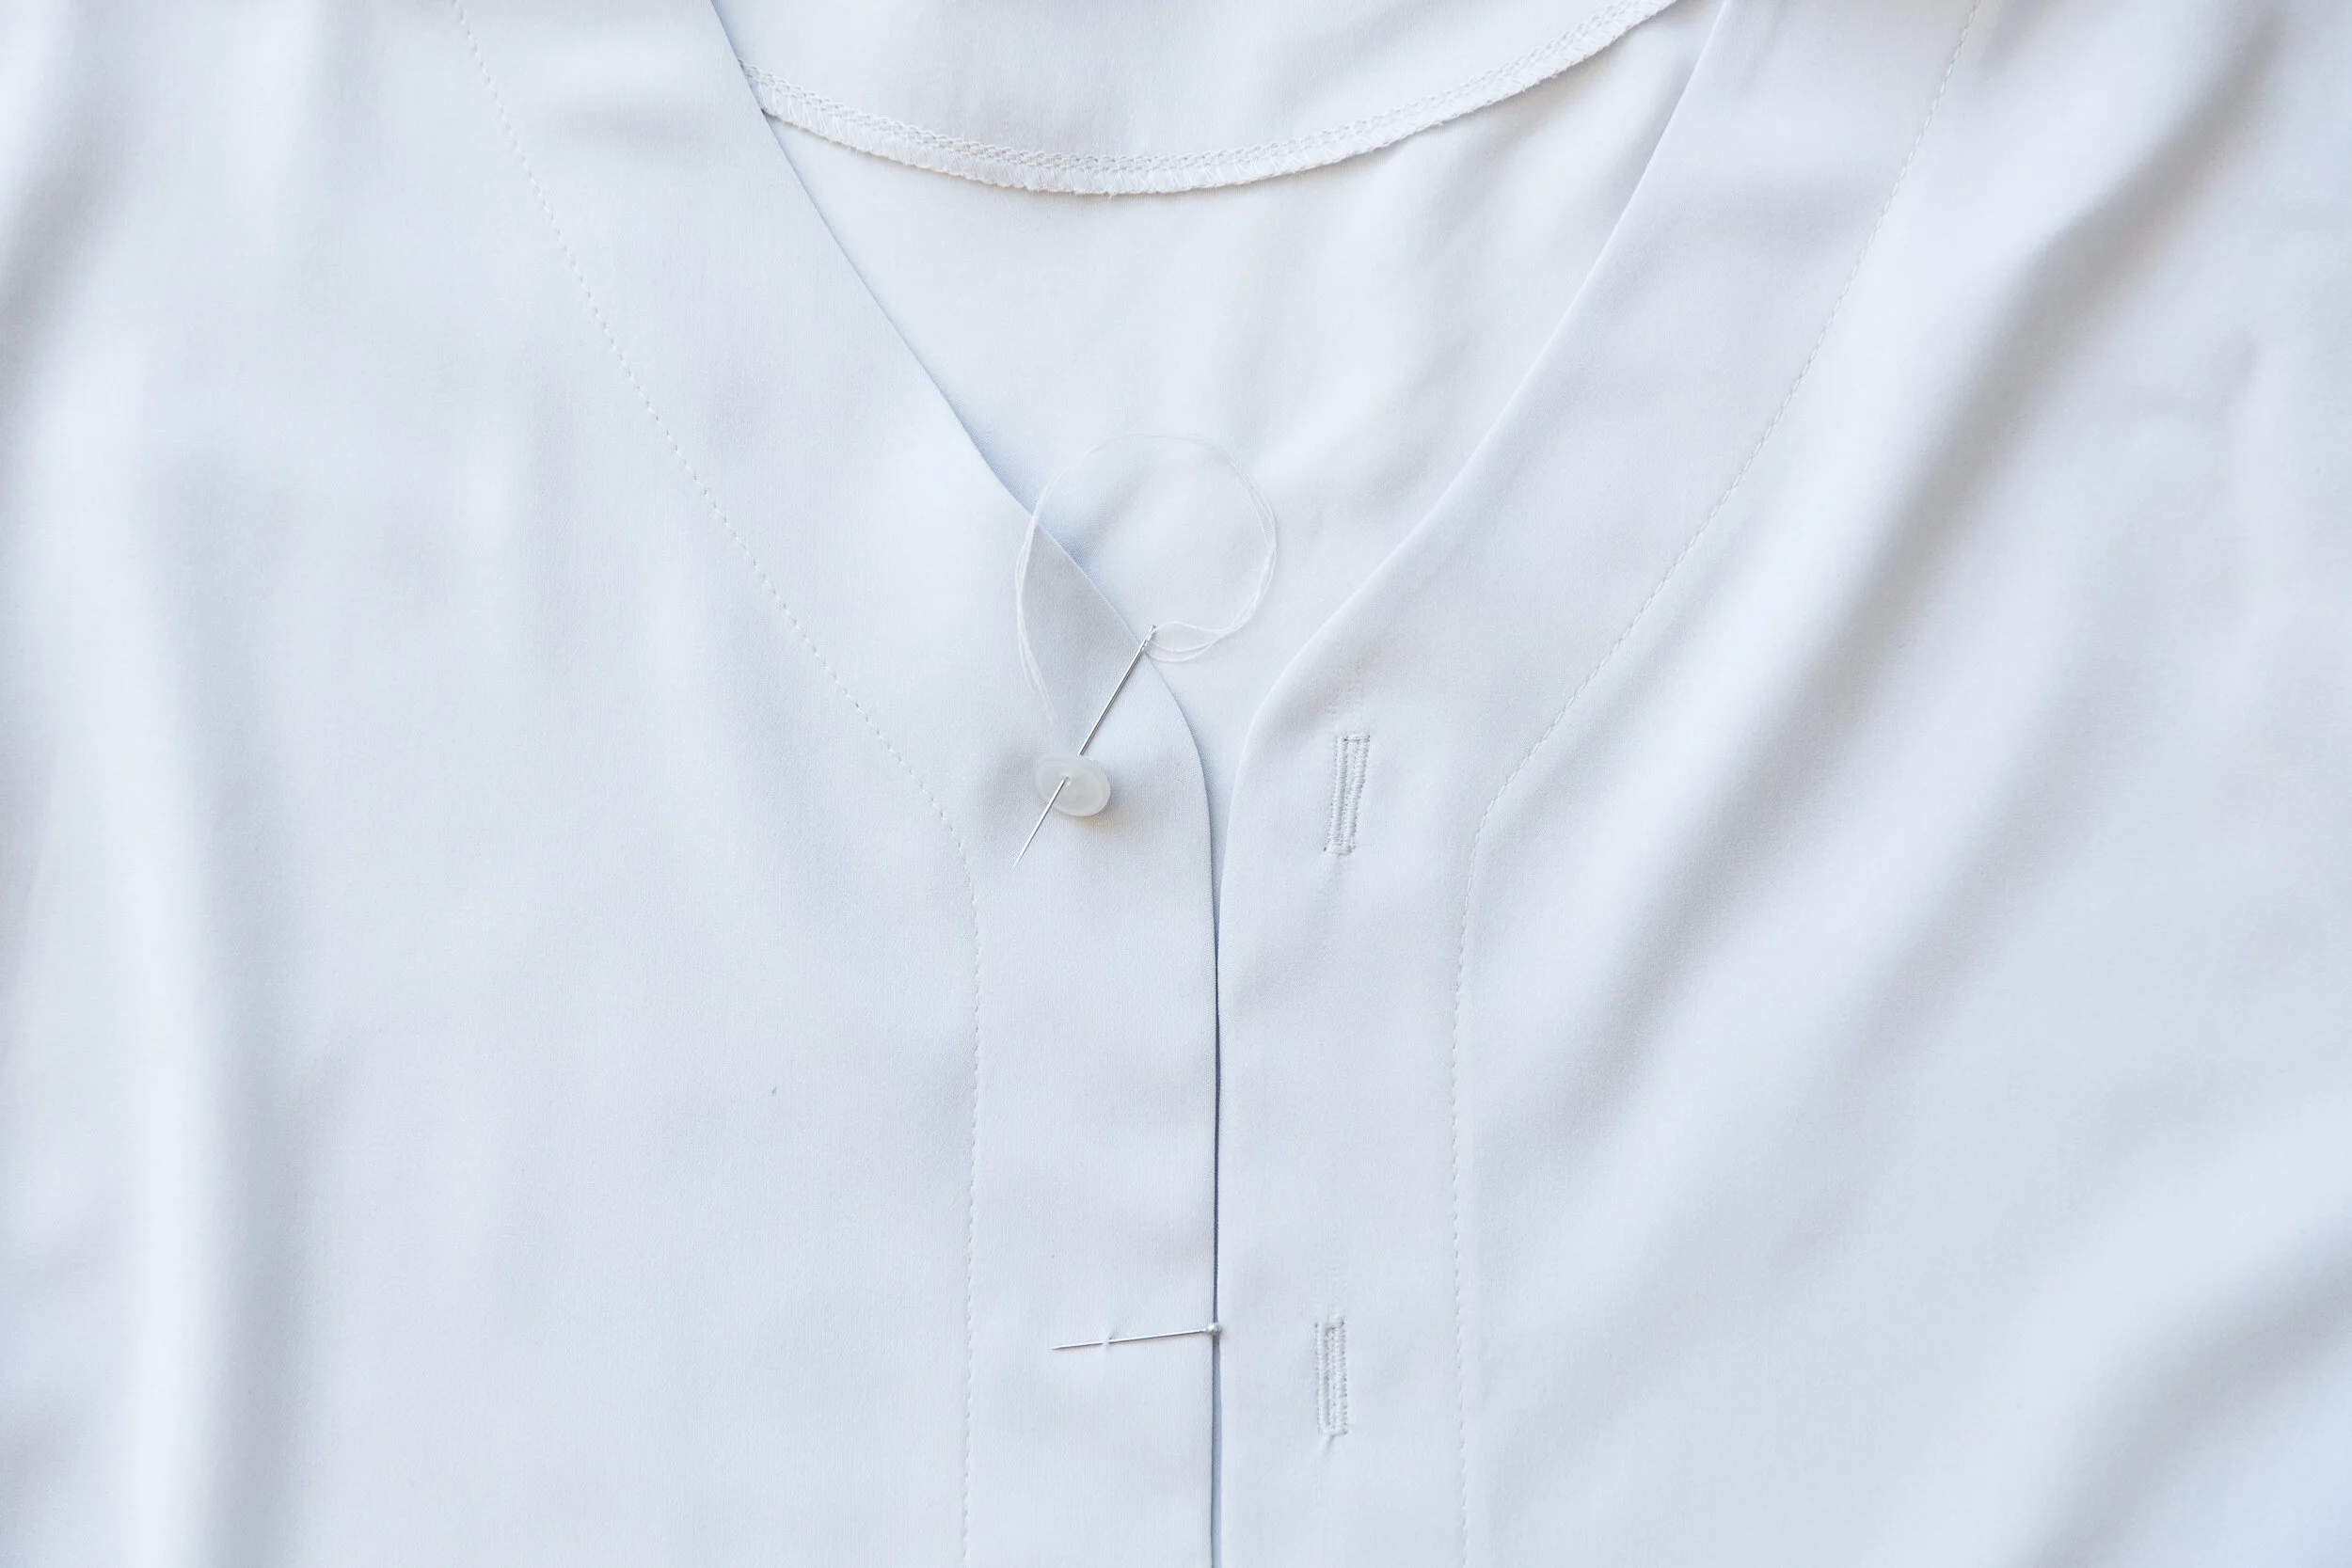
Before sewing on your buttons, place the side with the buttonholes over top of the other side and use pins to mark where your buttons should be placed. Sew on your buttons.

Voilà!