

Fusing & Prep
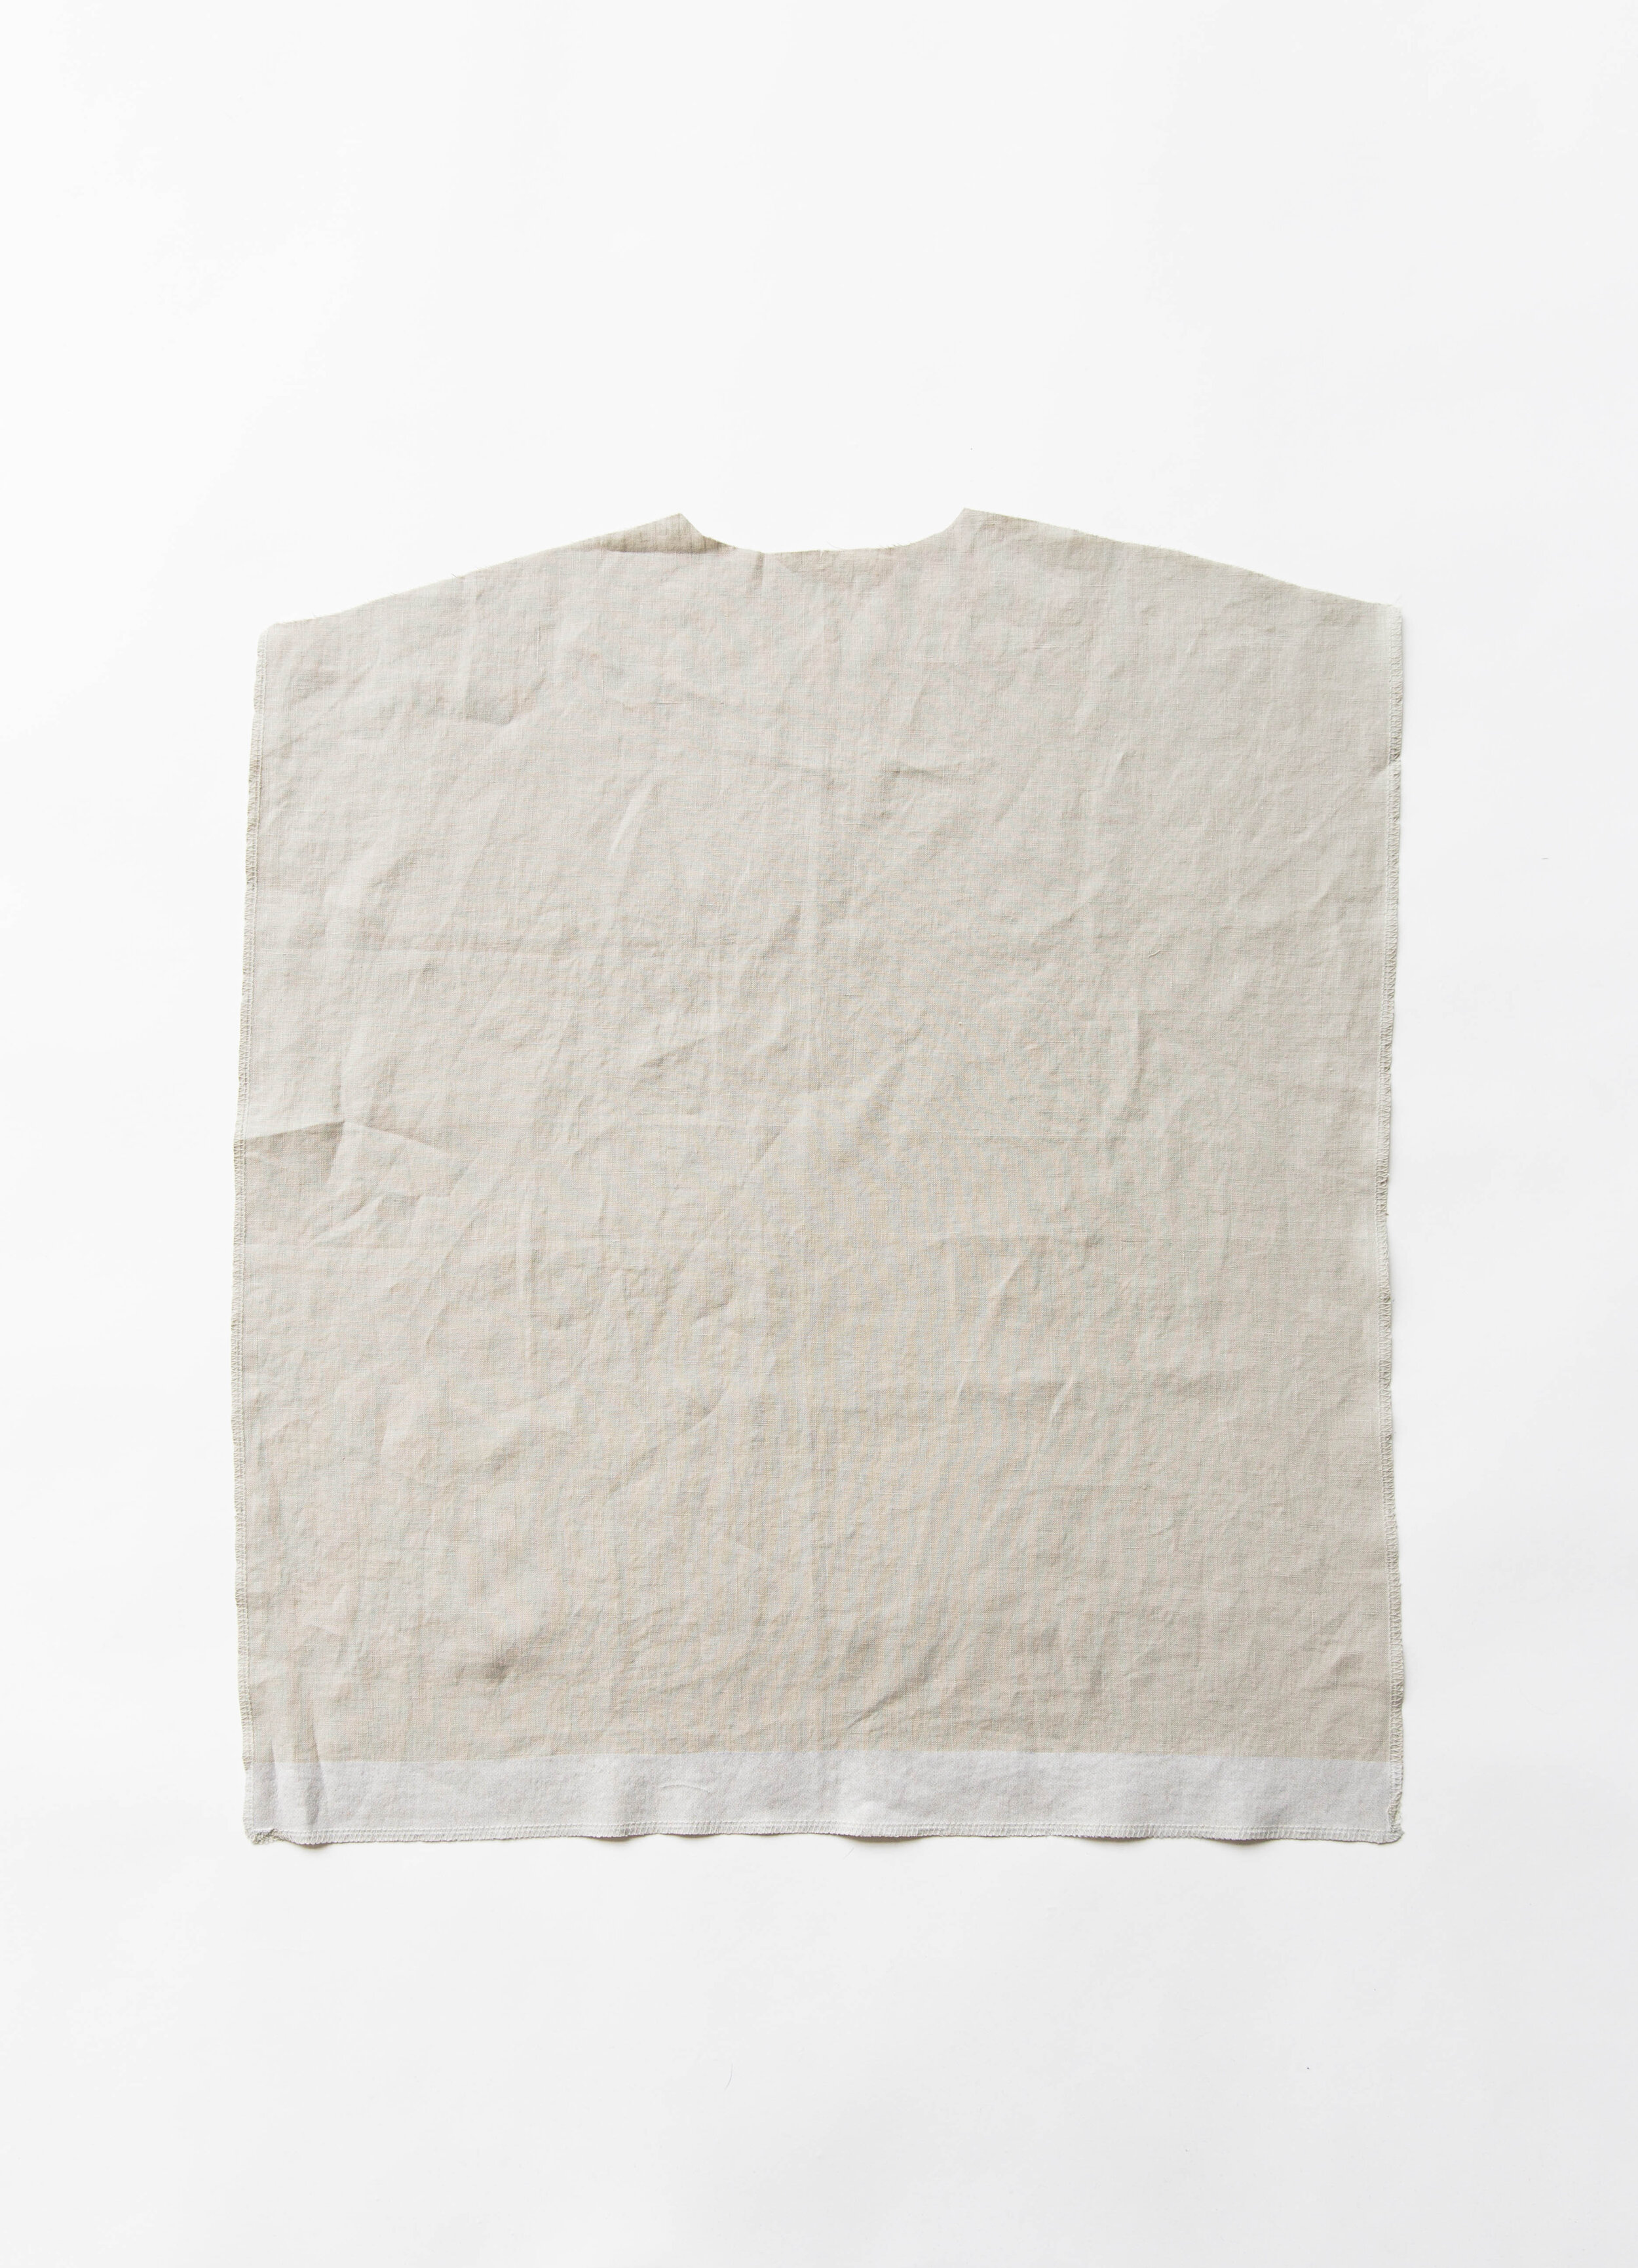
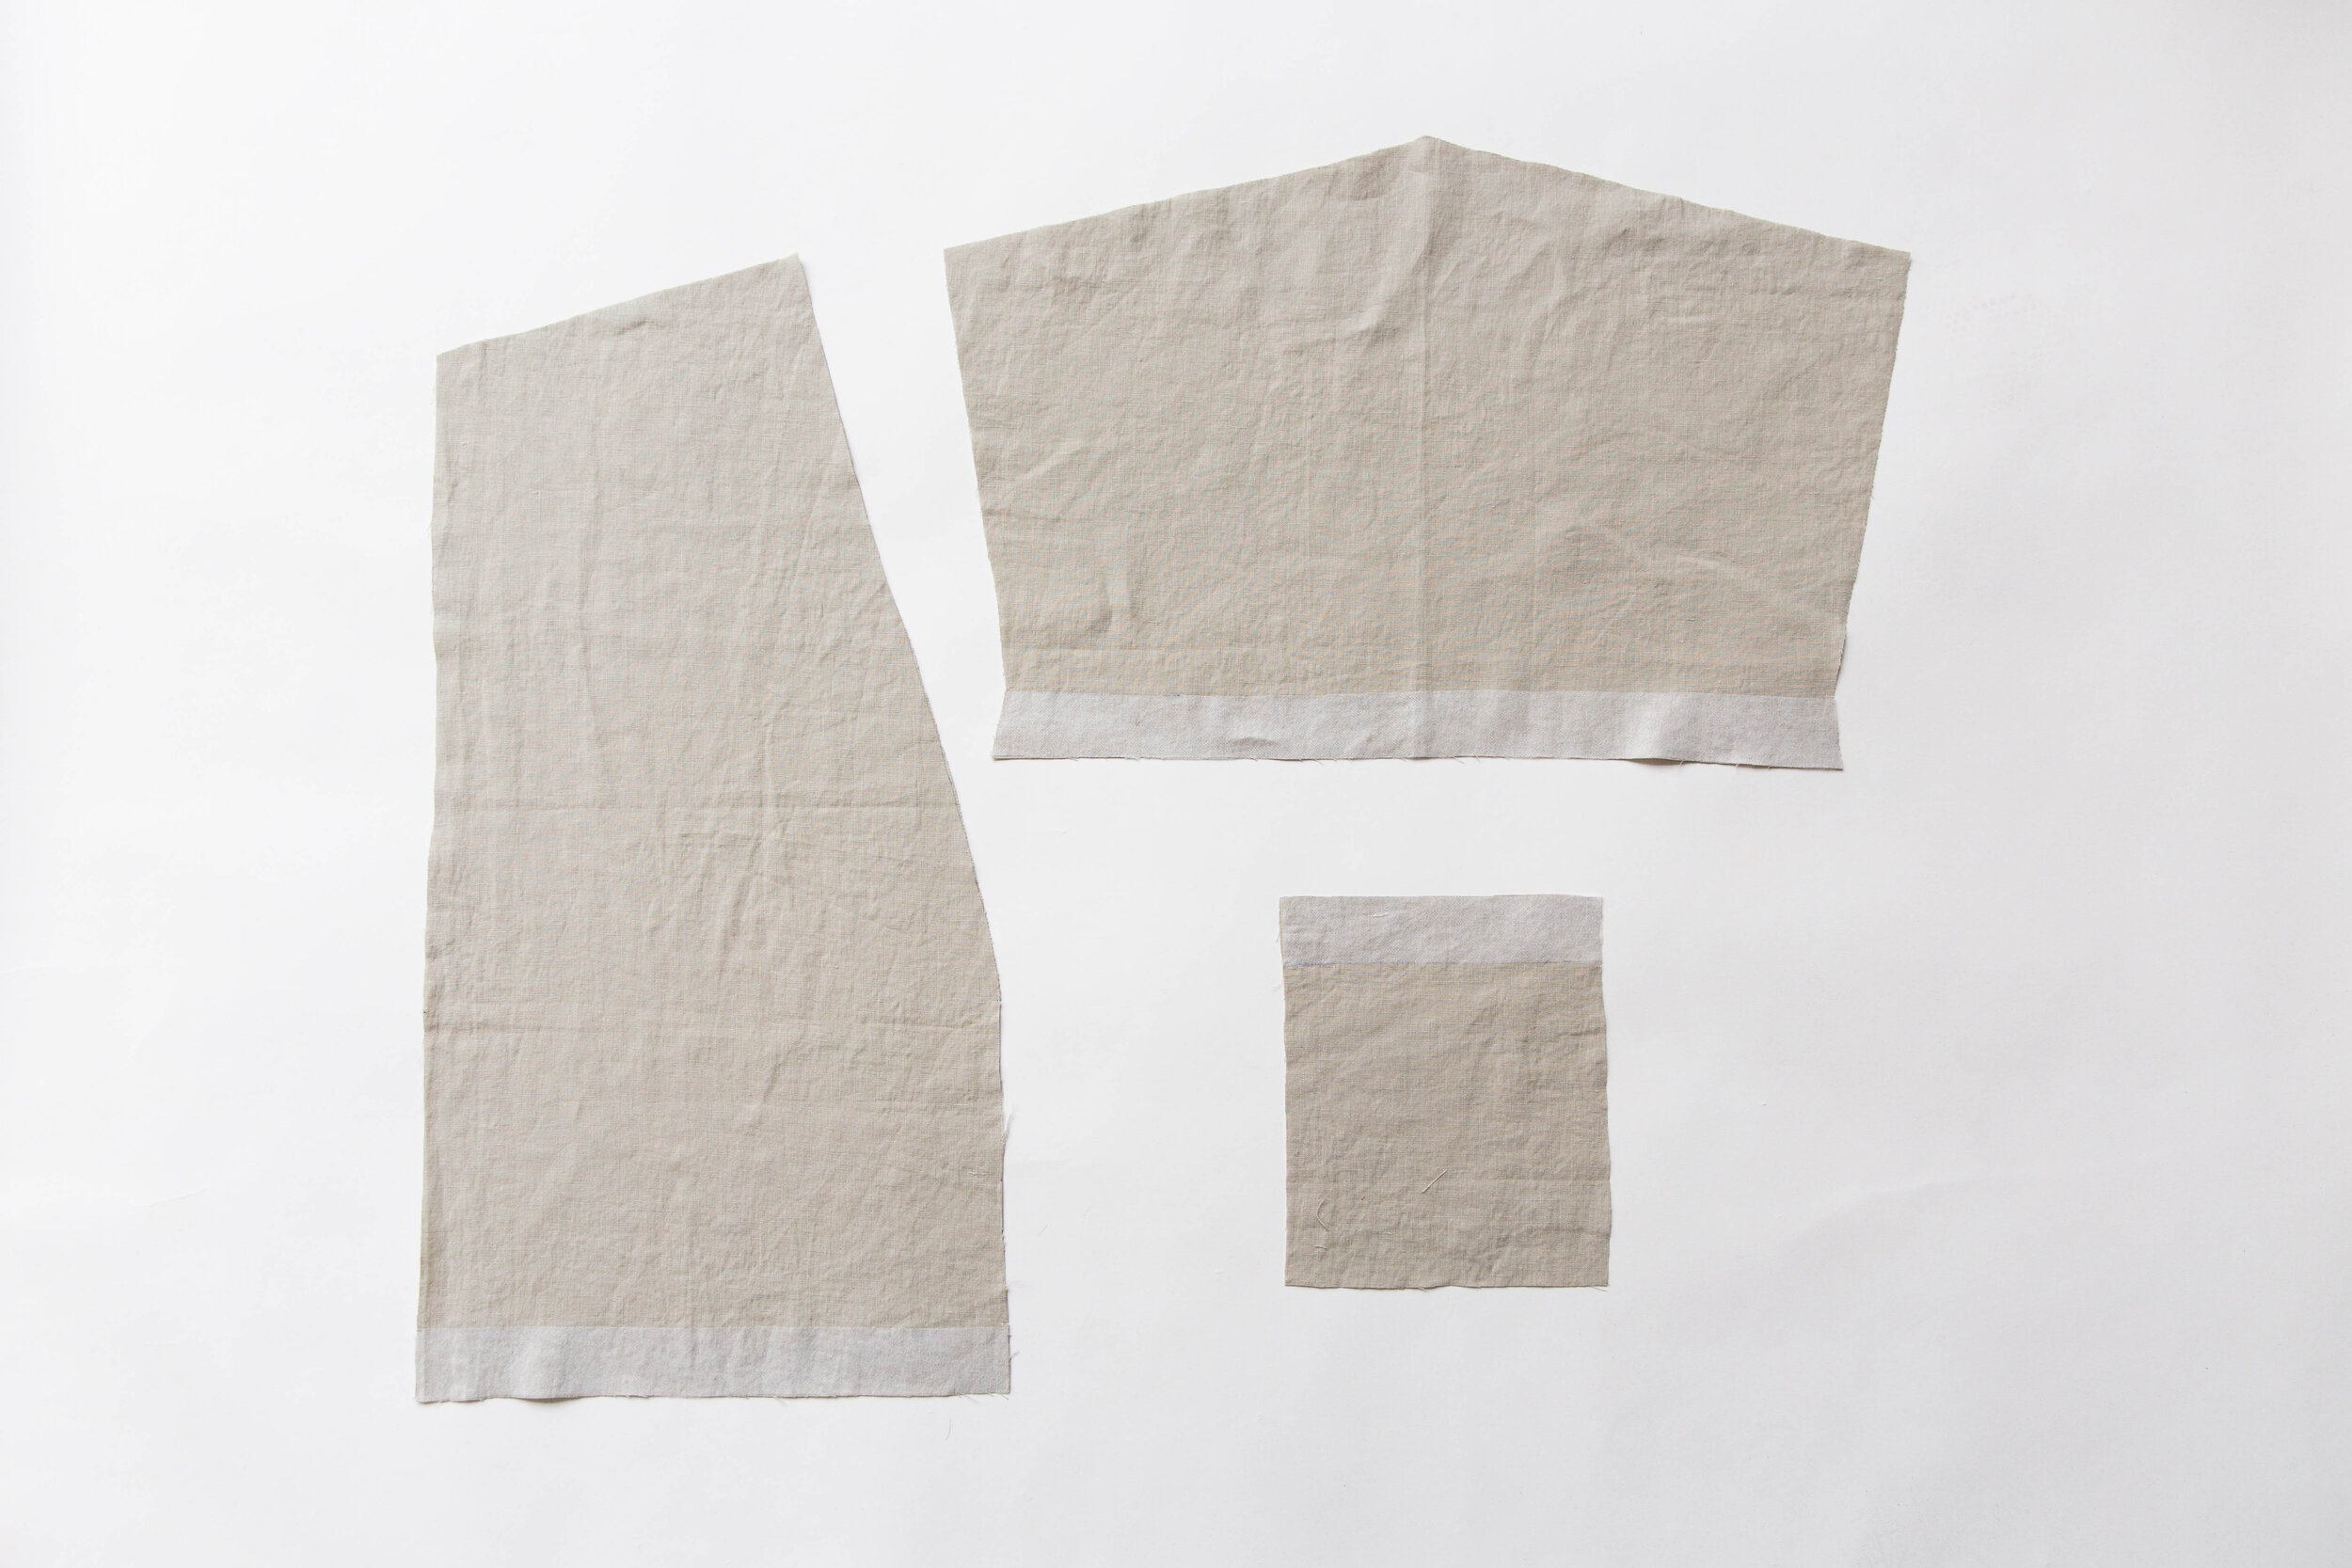
Cut 4cm/1.6” wide strips of fusing and fuse the hemline of your front and back pieces, sleeves, and the top edge of pockets. Neaten all edges of sleeve and pocket pieces. Neaten the side seams and hems of your front and back jacket pieces.
Step 1
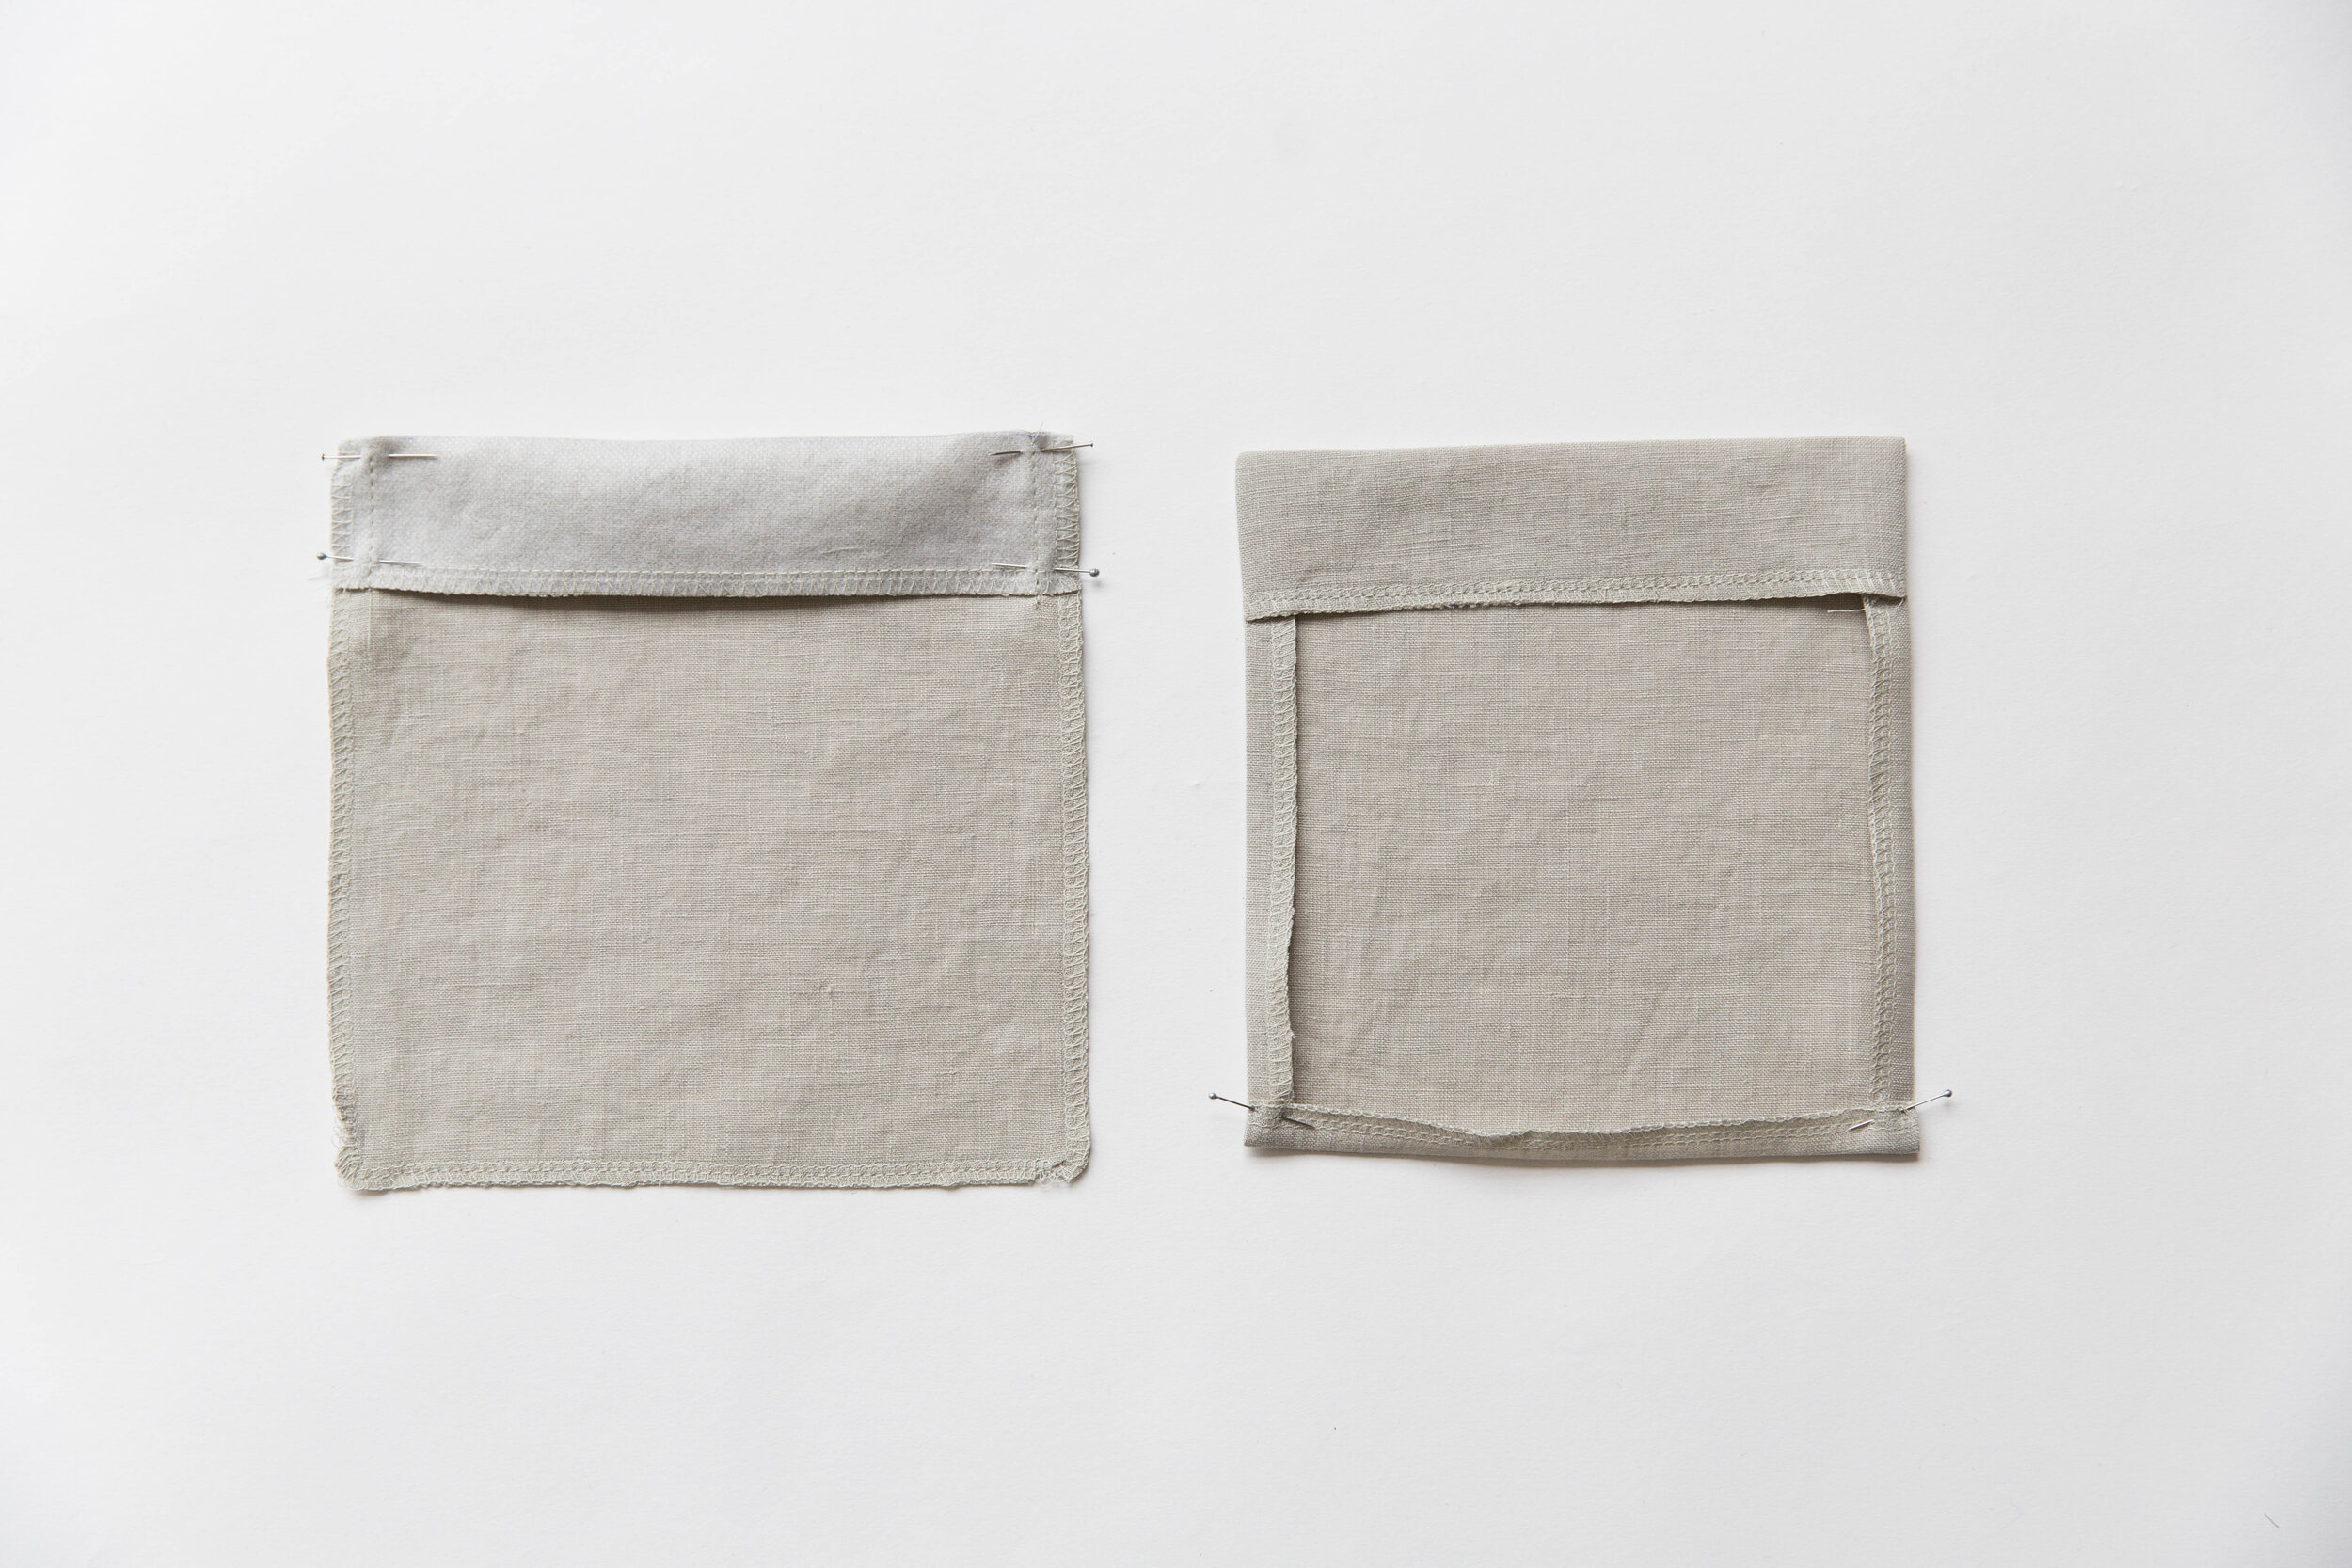
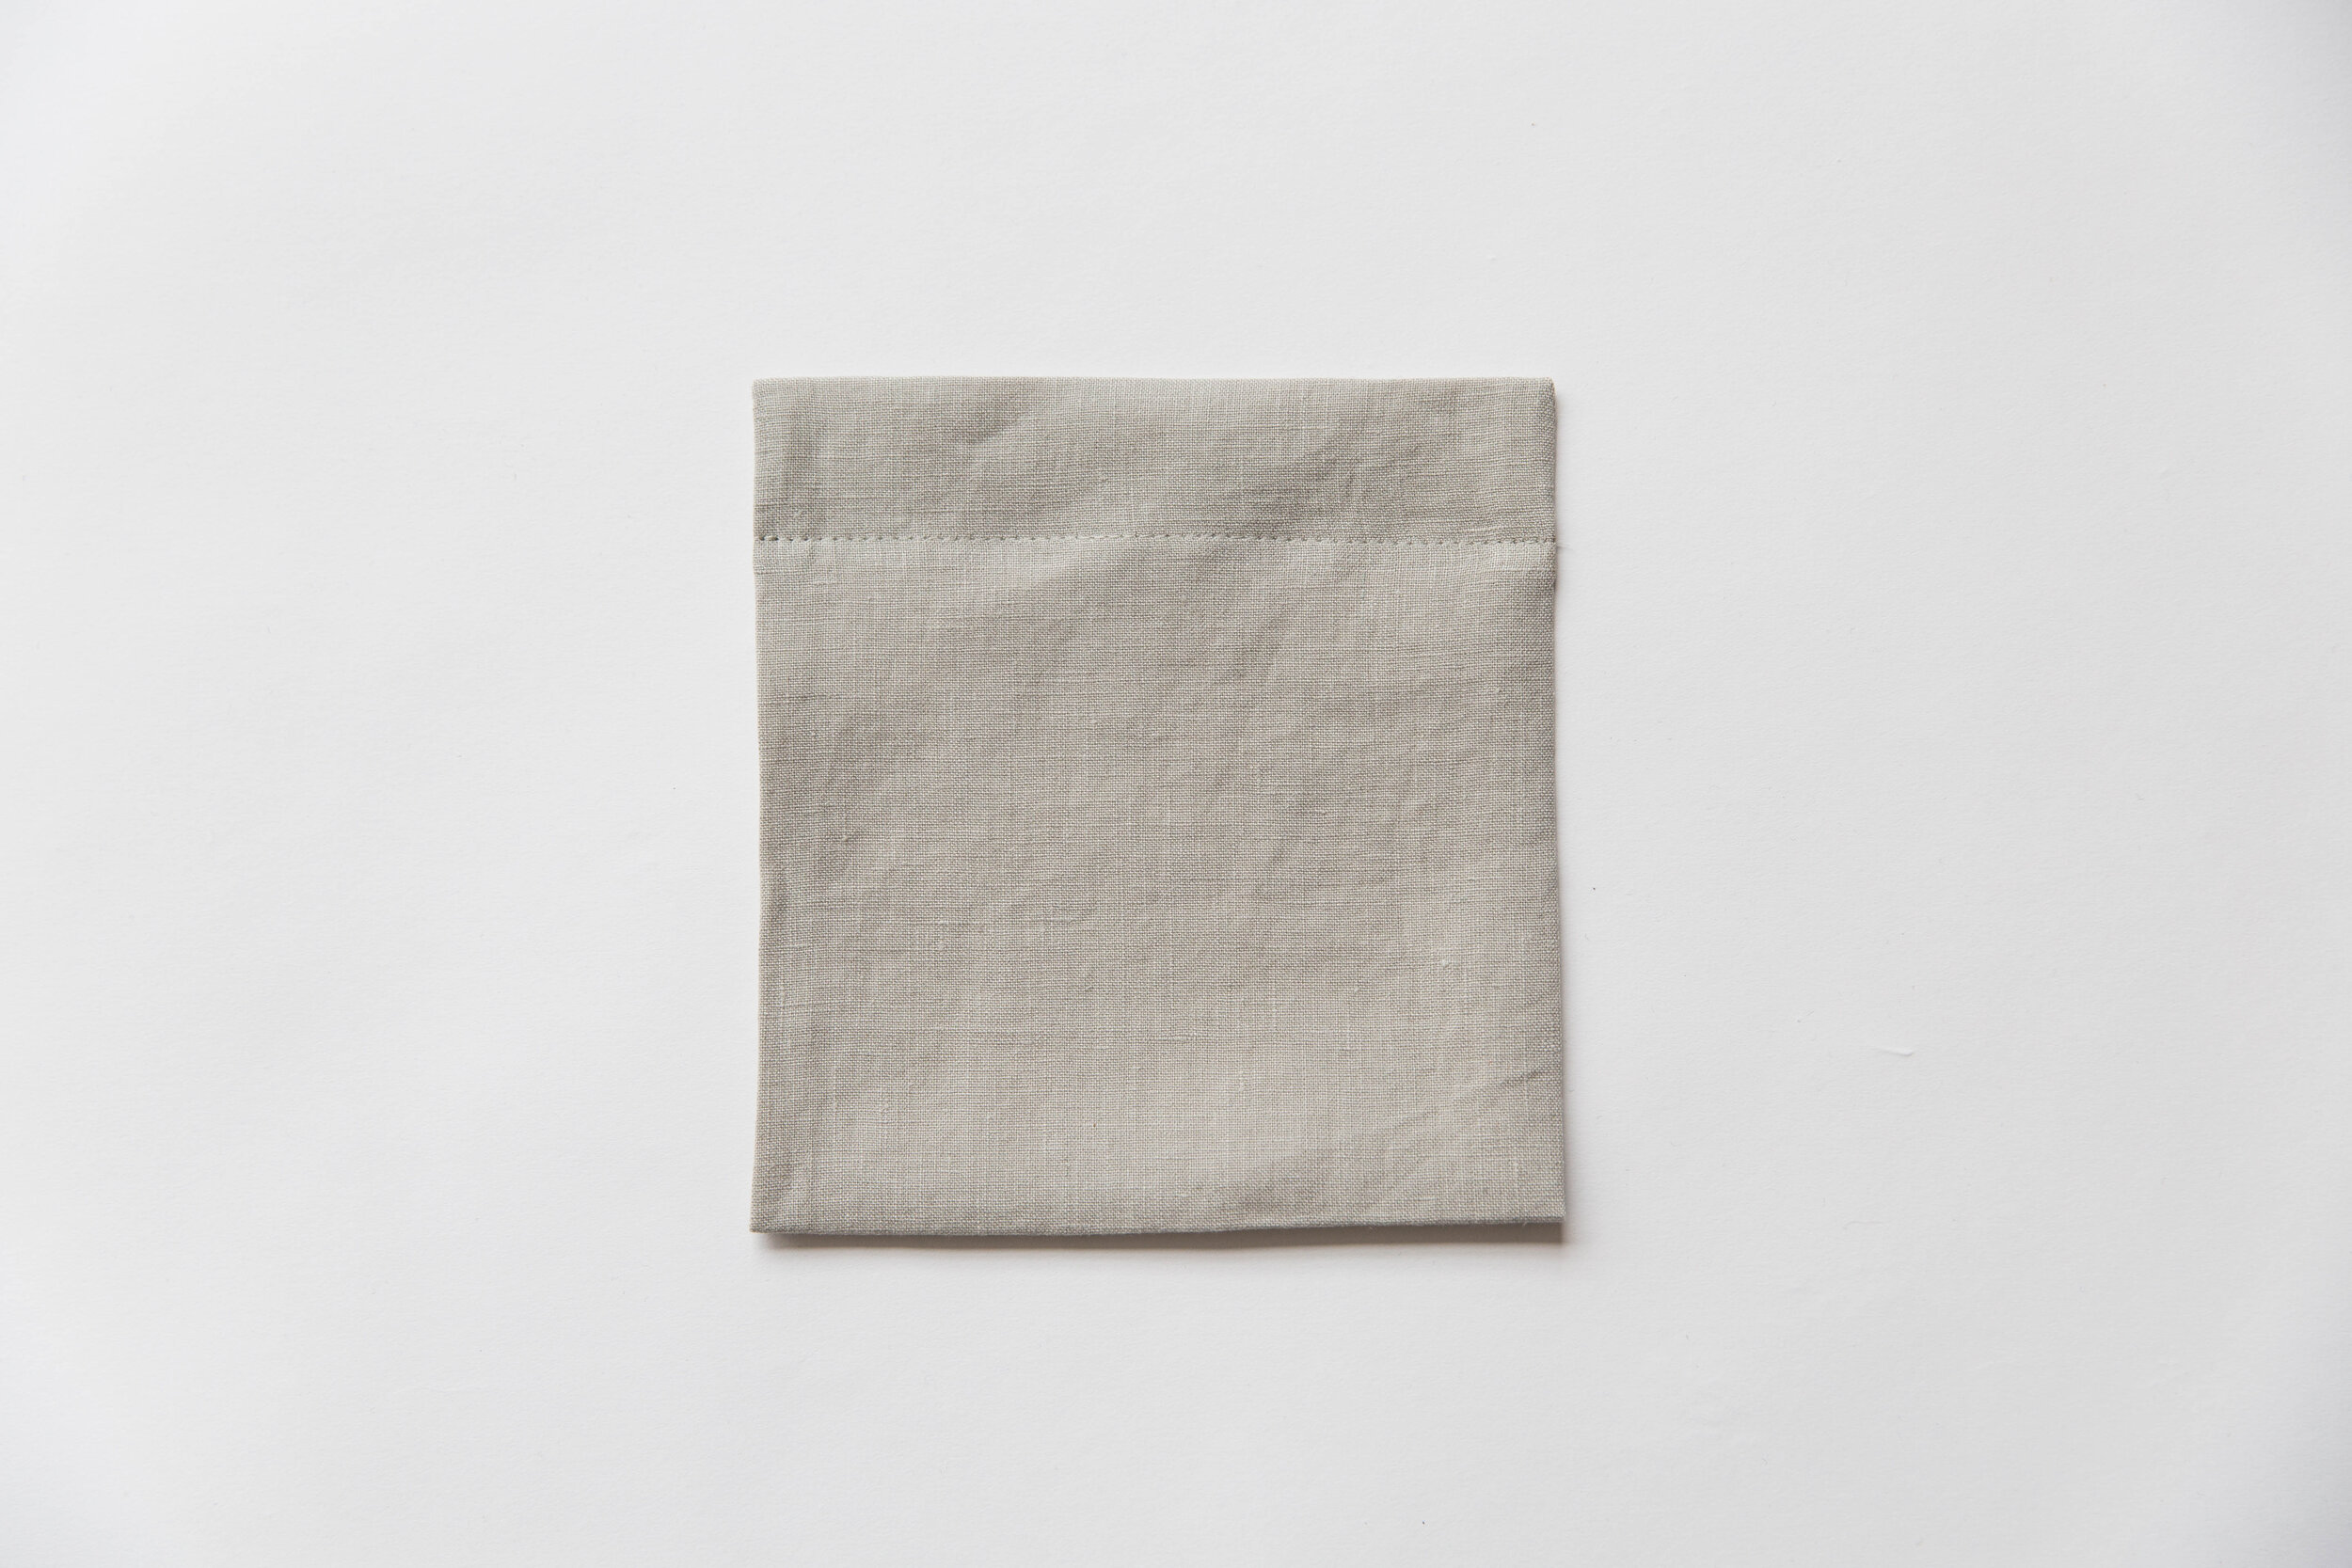
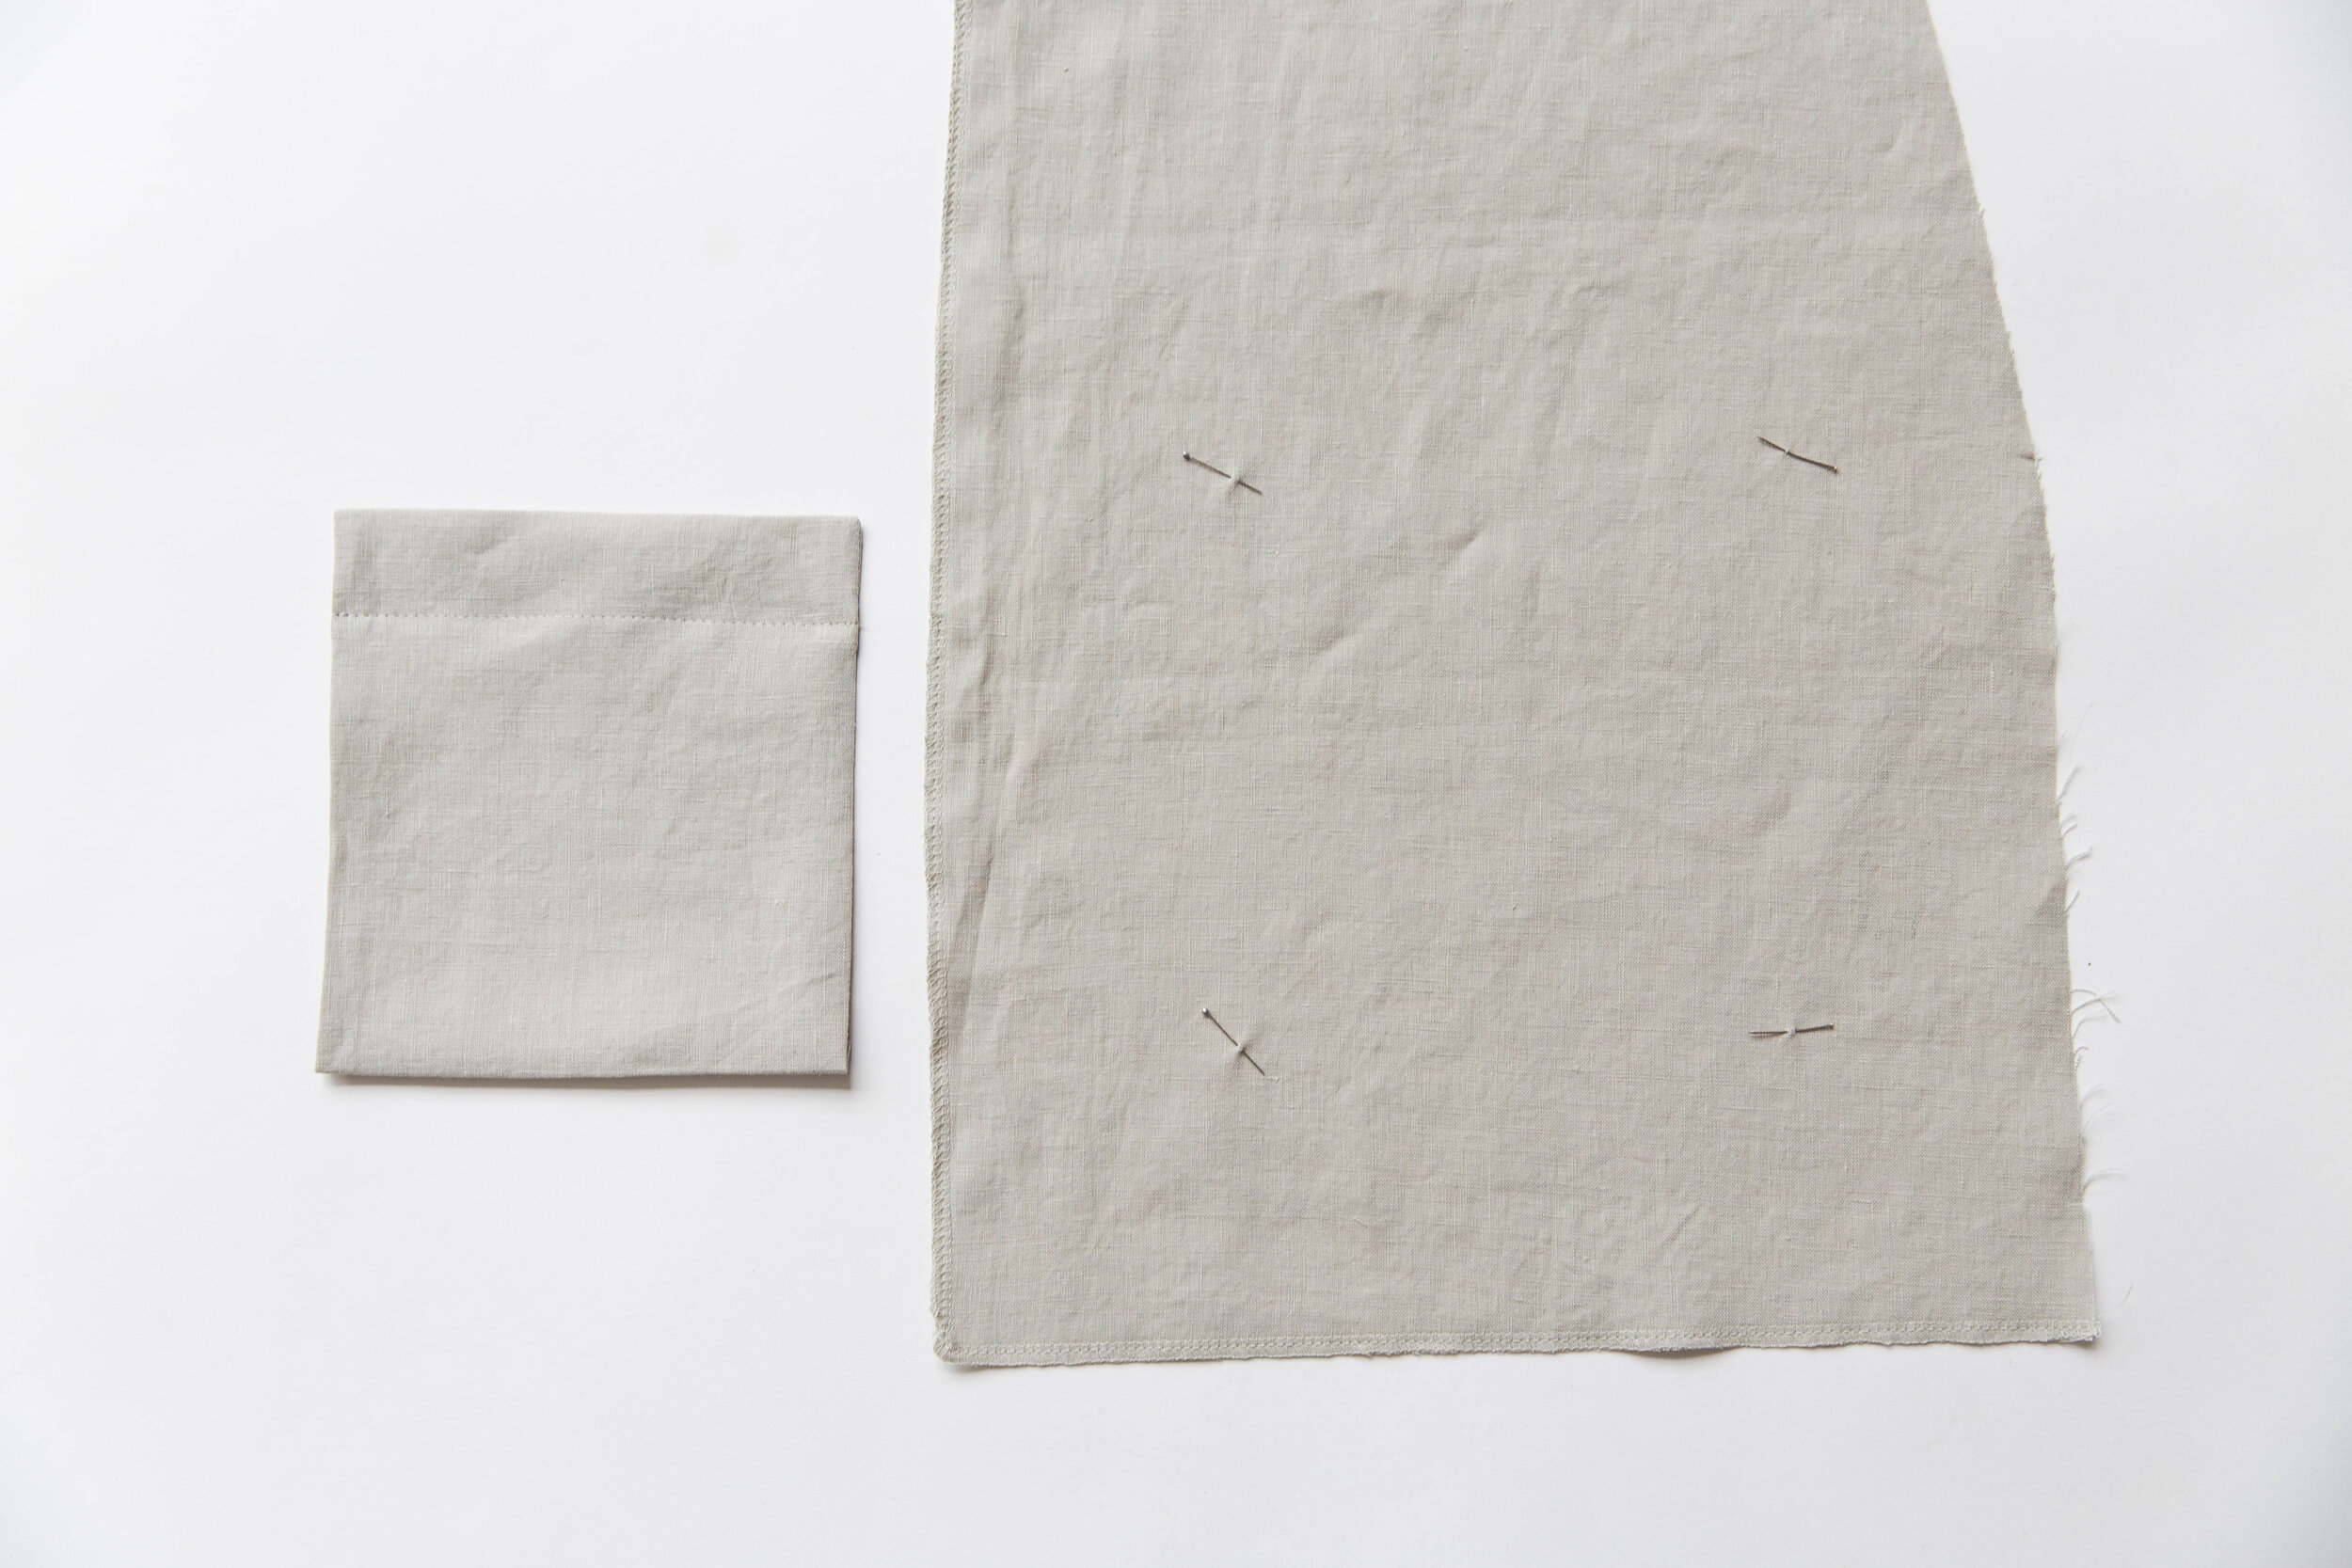
Fold down the top edge of pocket from notches, so that right sides are facing and stitch down along side seams. Clip corners and turn through to right side. Press.
Press remaining edges and bottom corners in 1cm/0.39”.

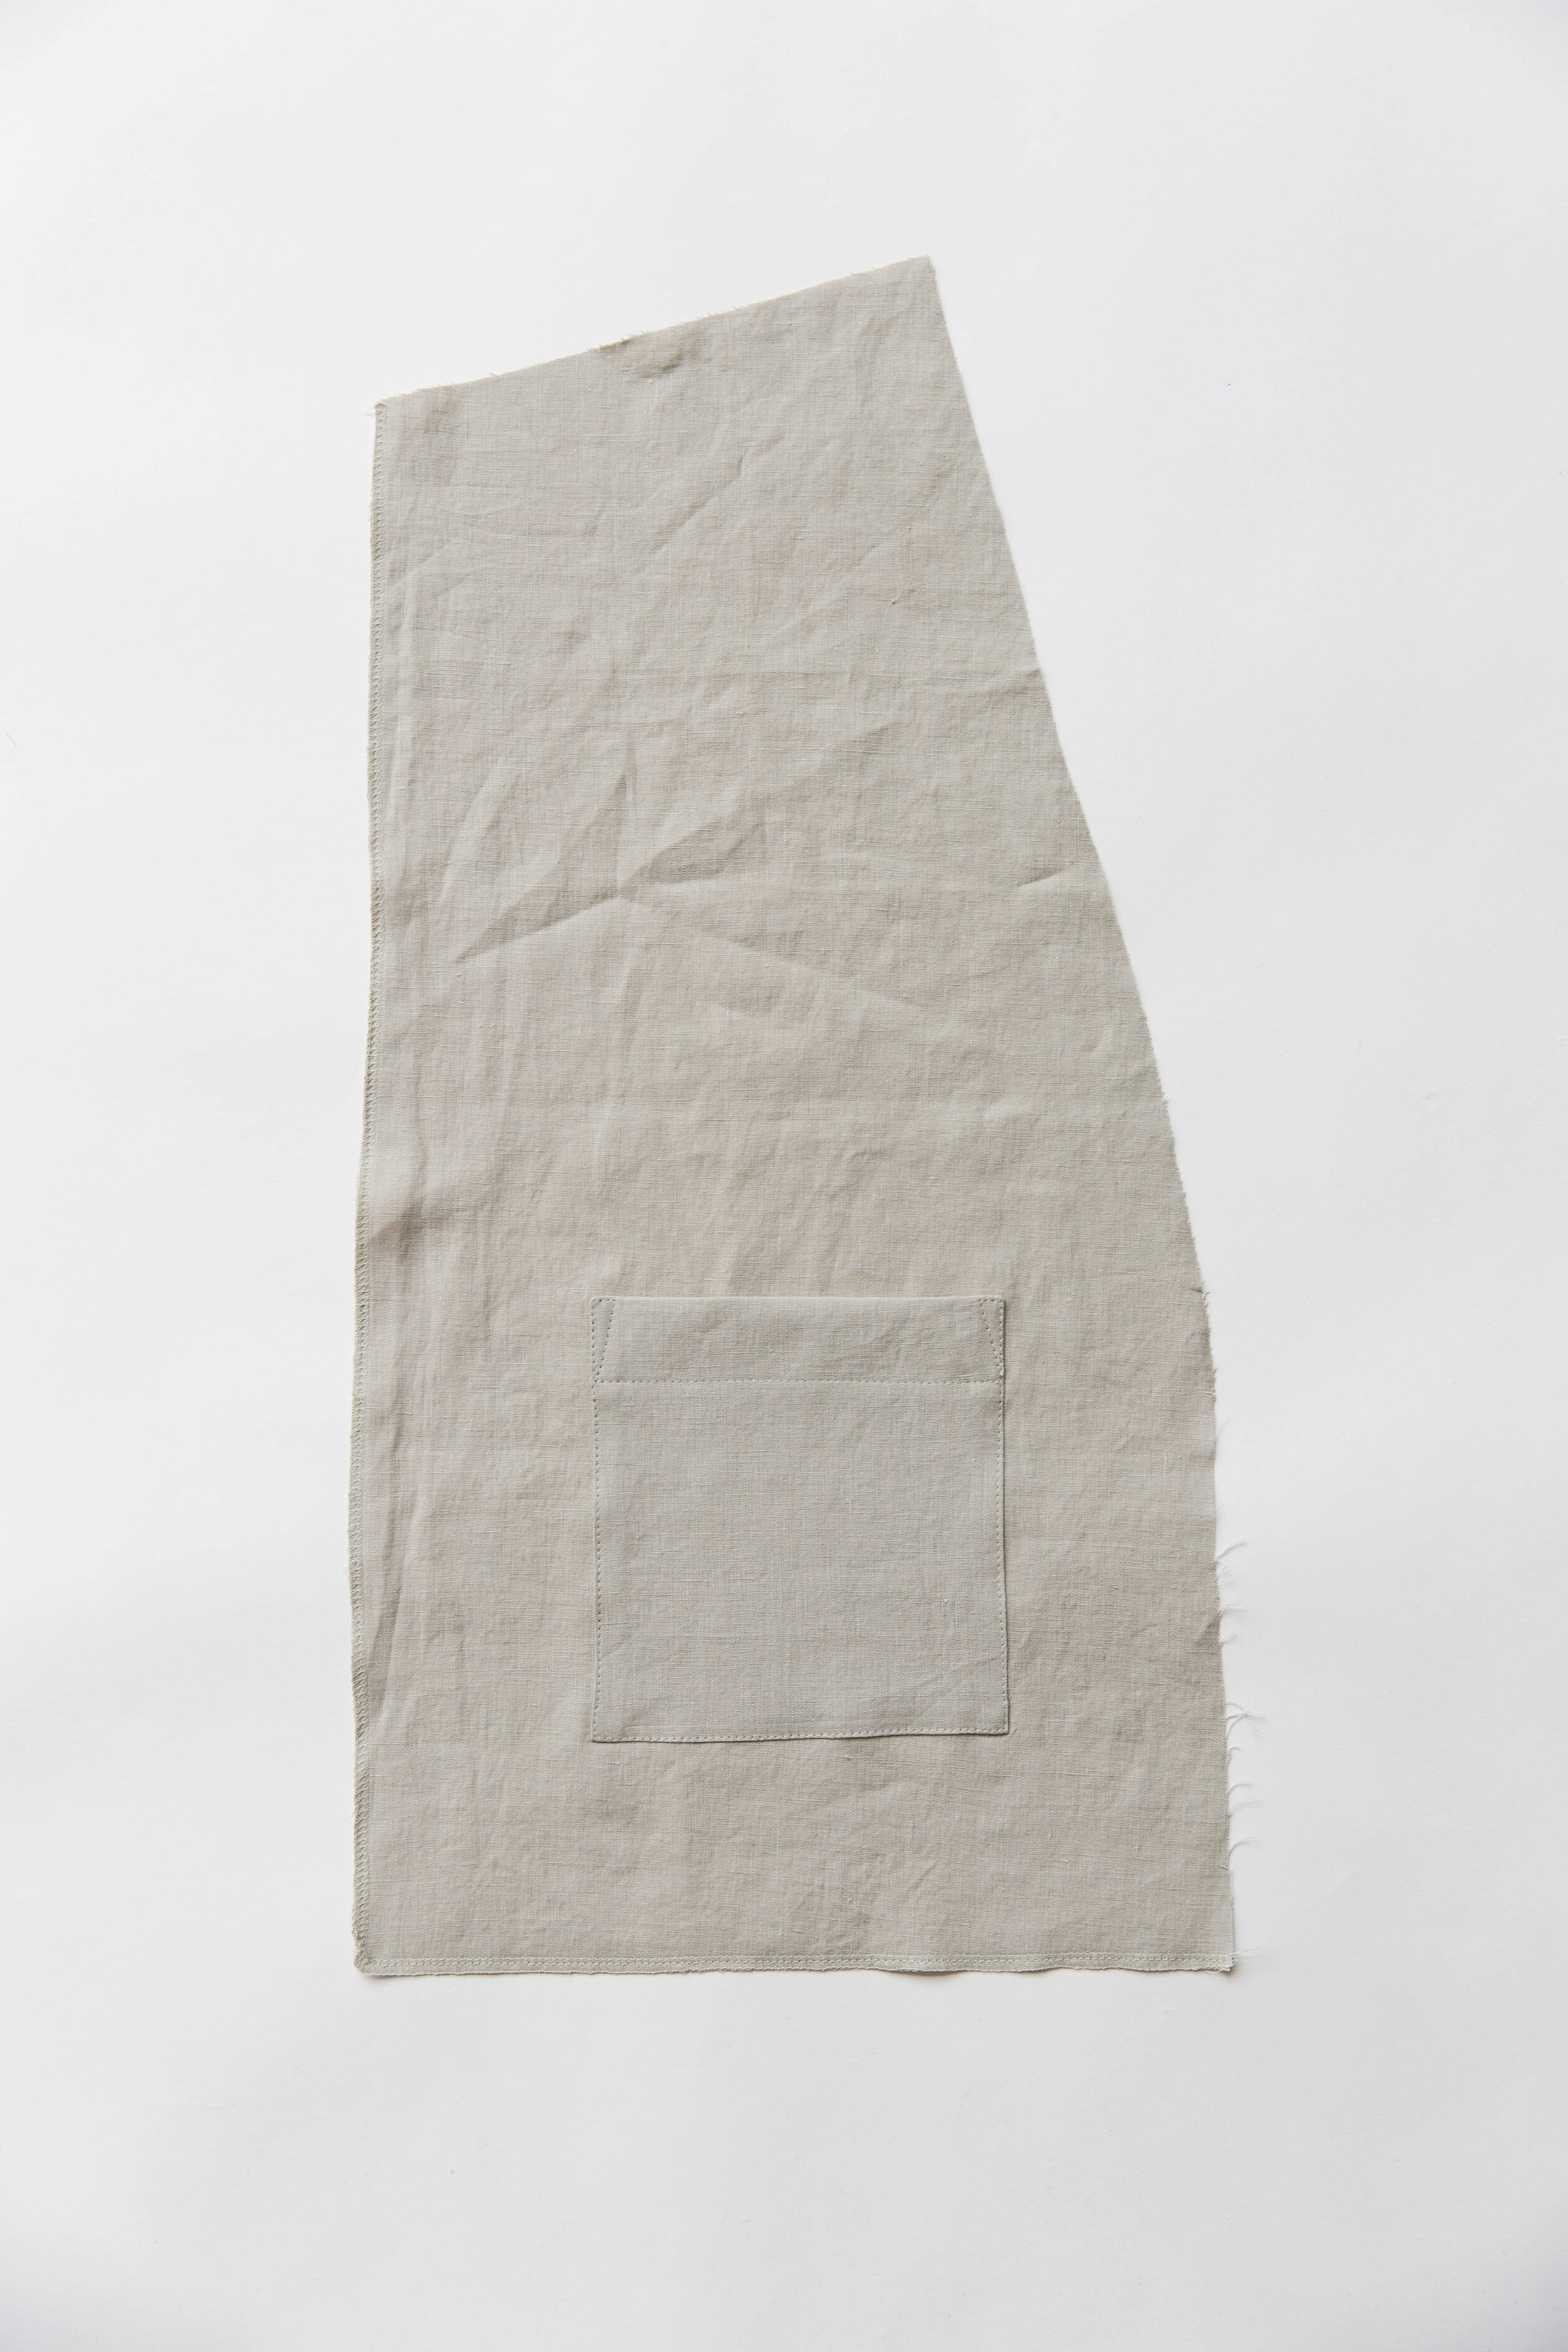
Step 2
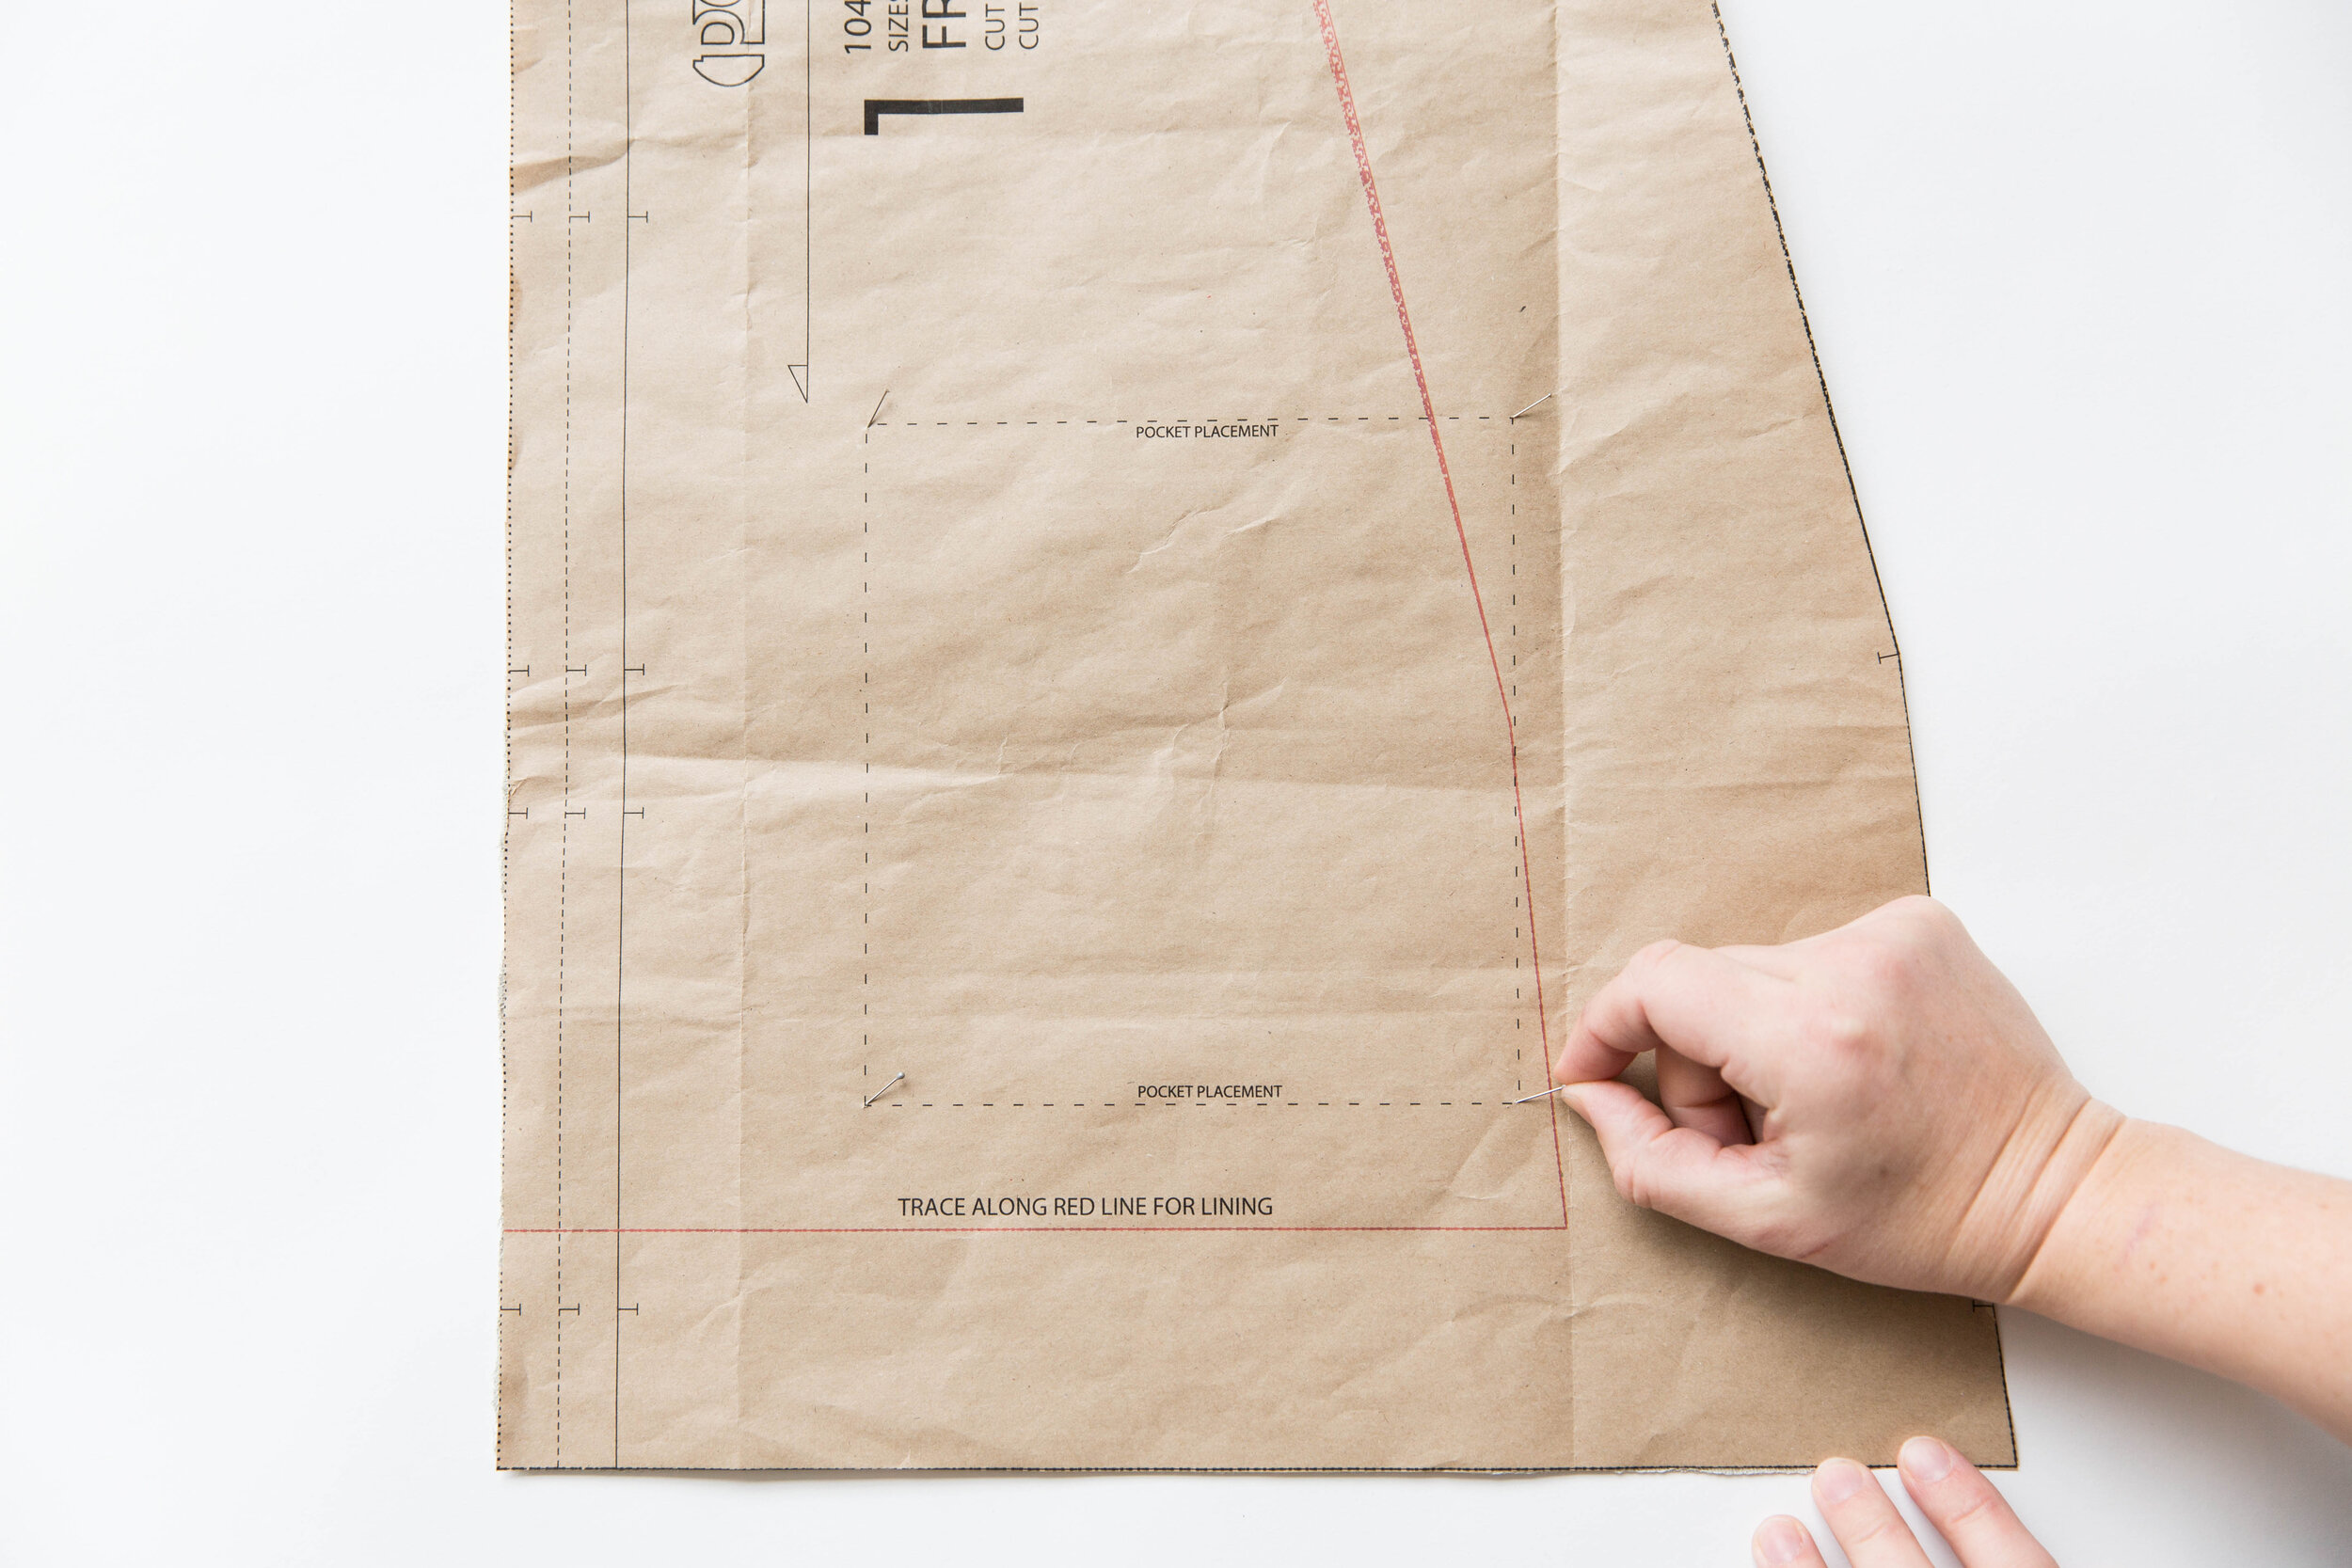
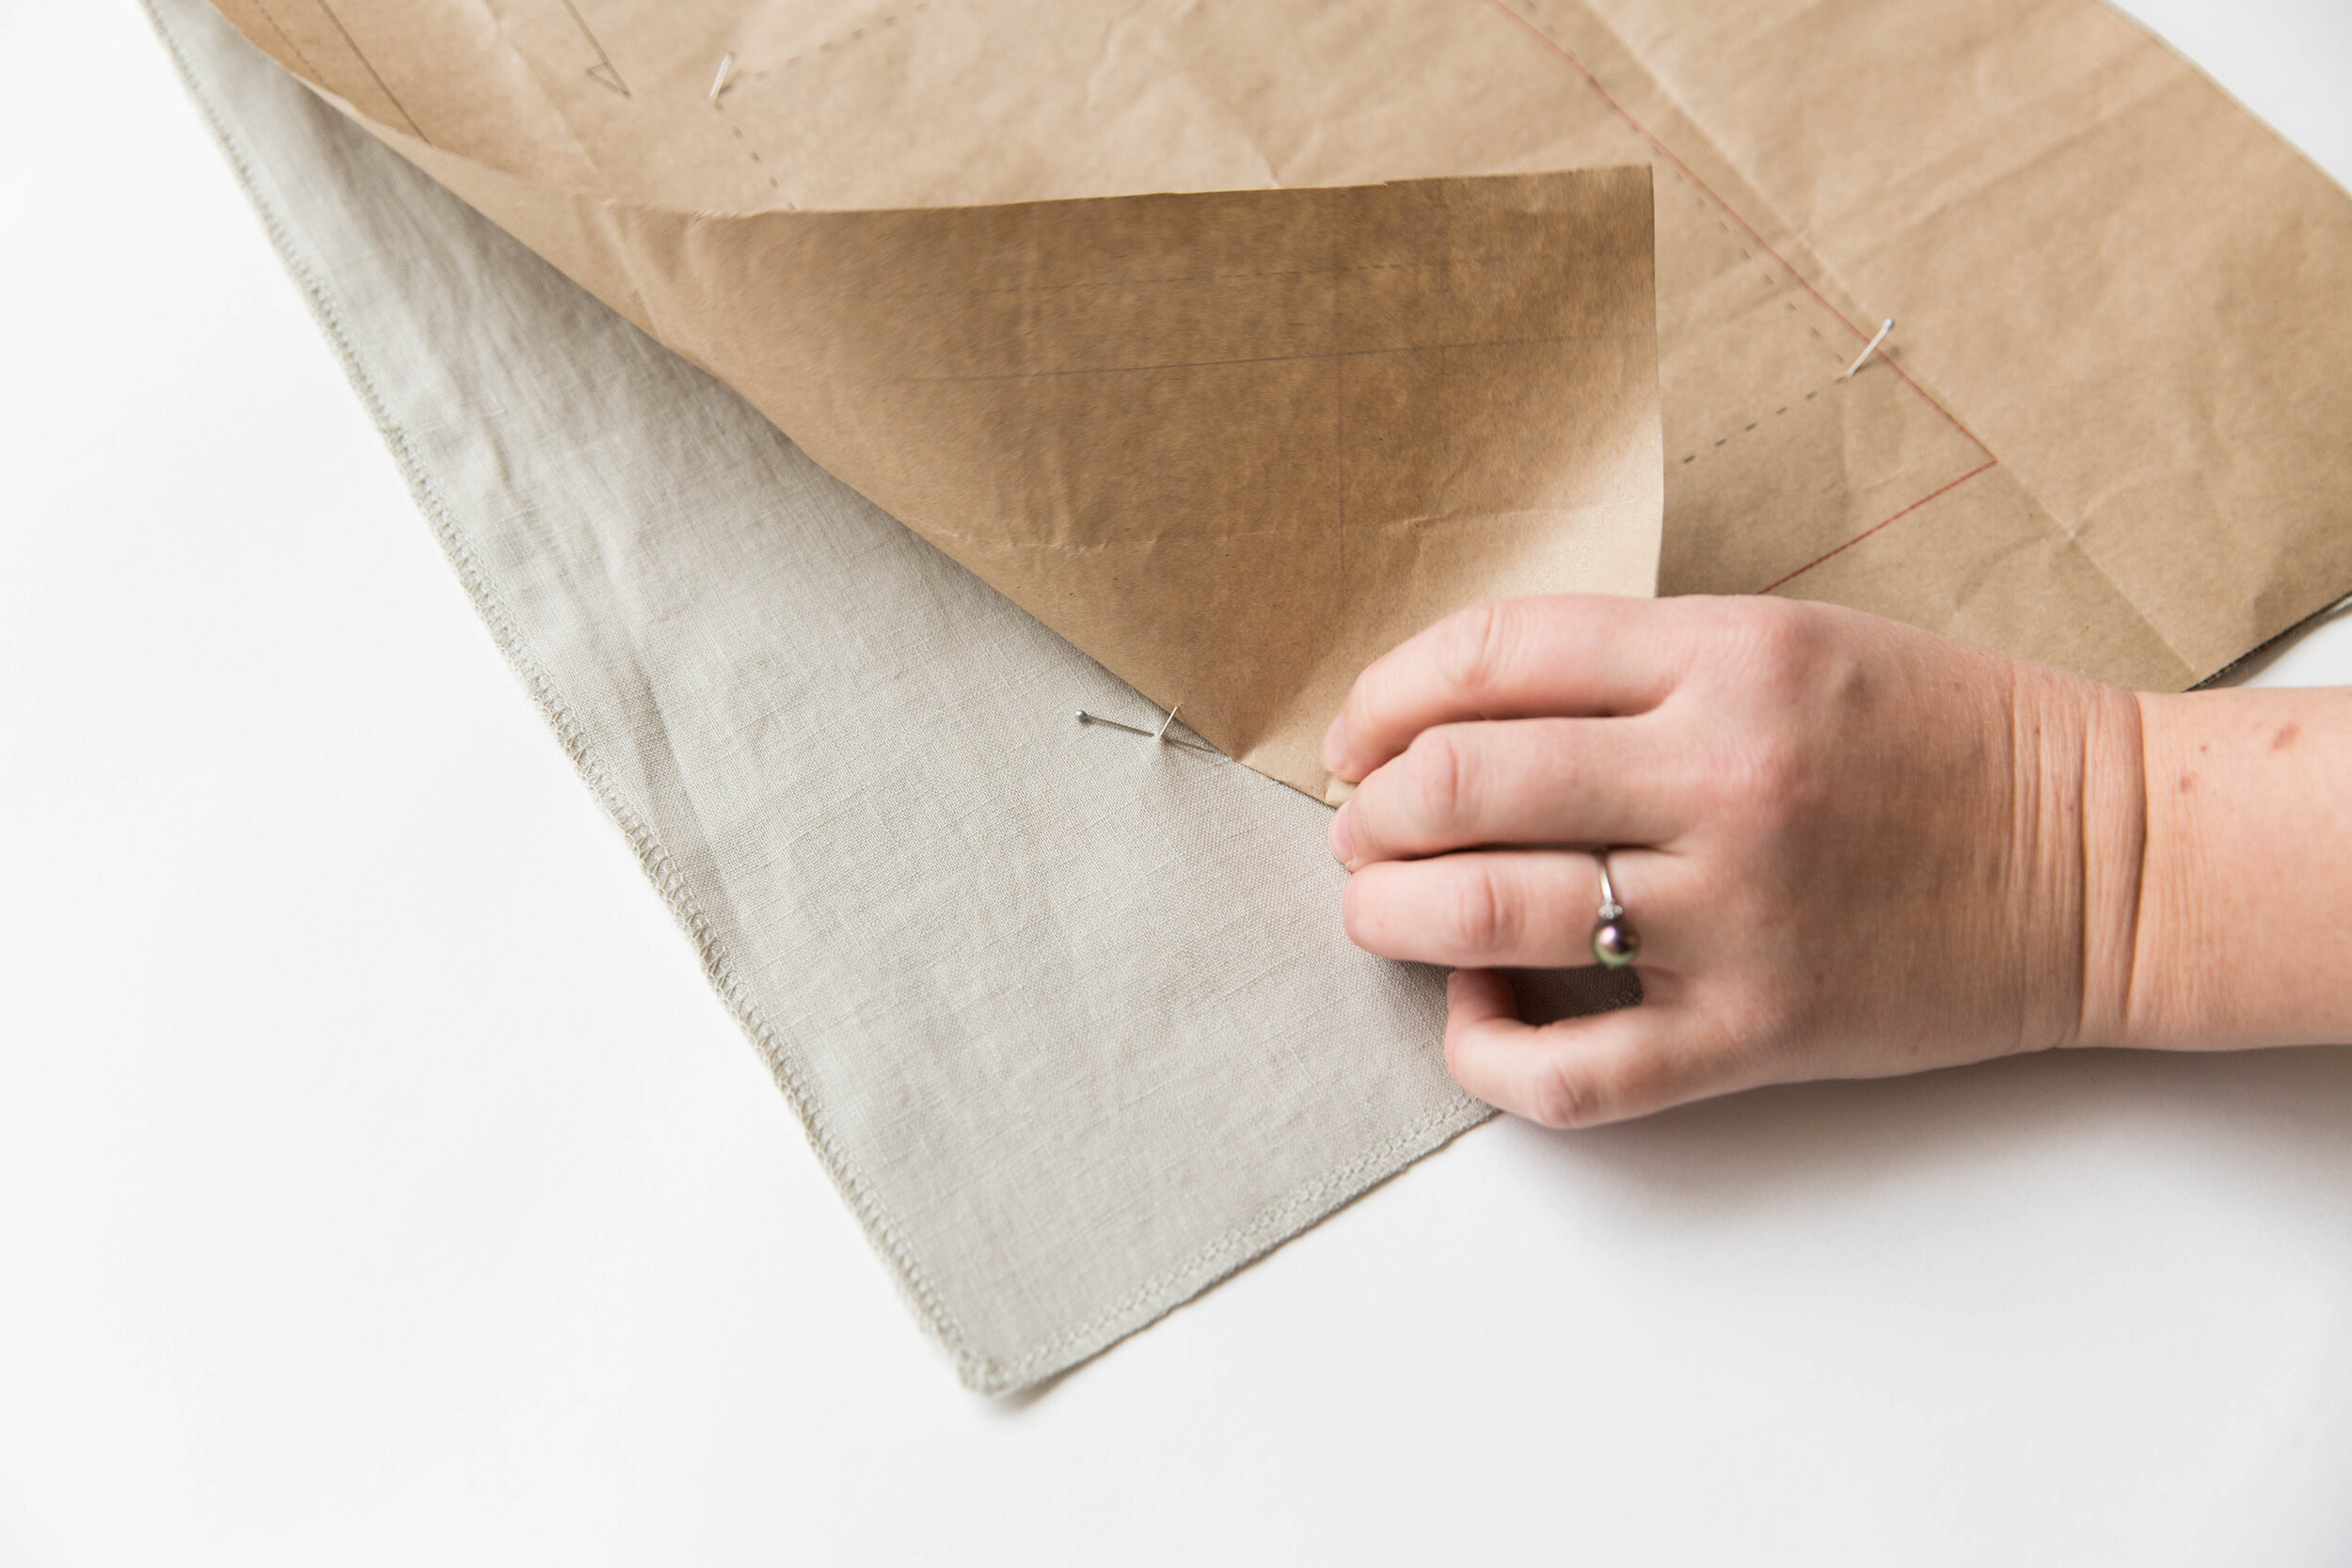
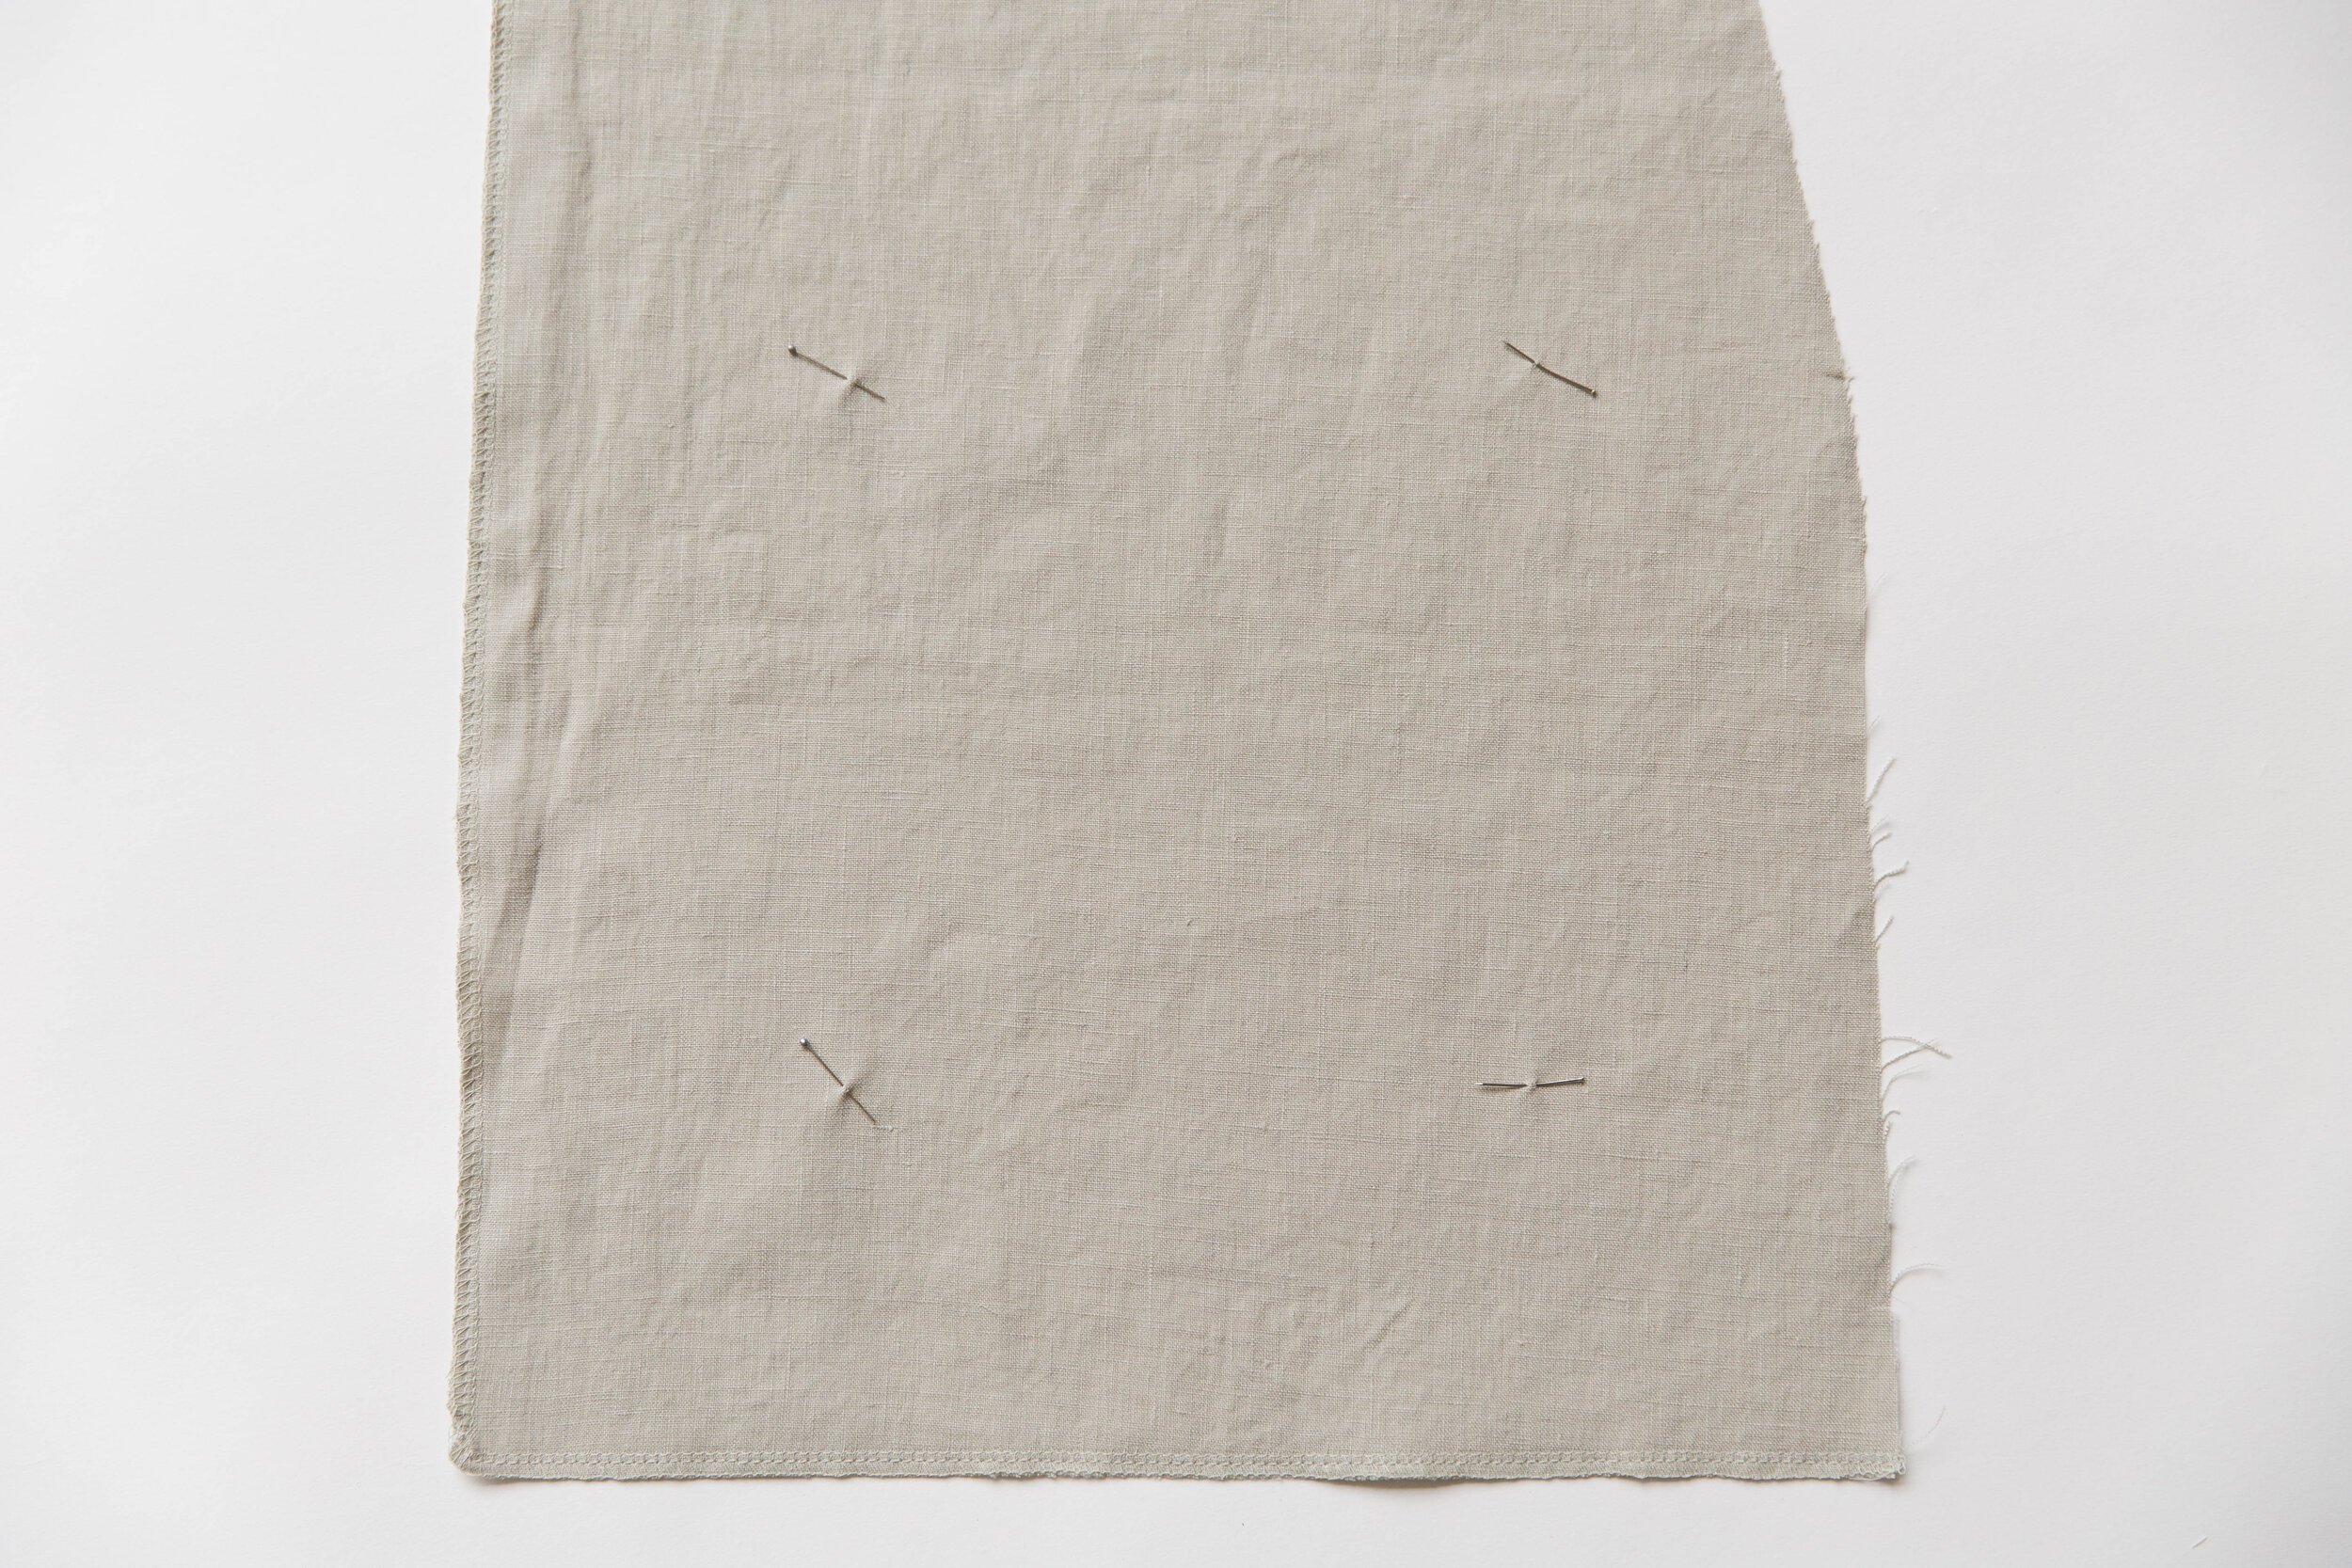
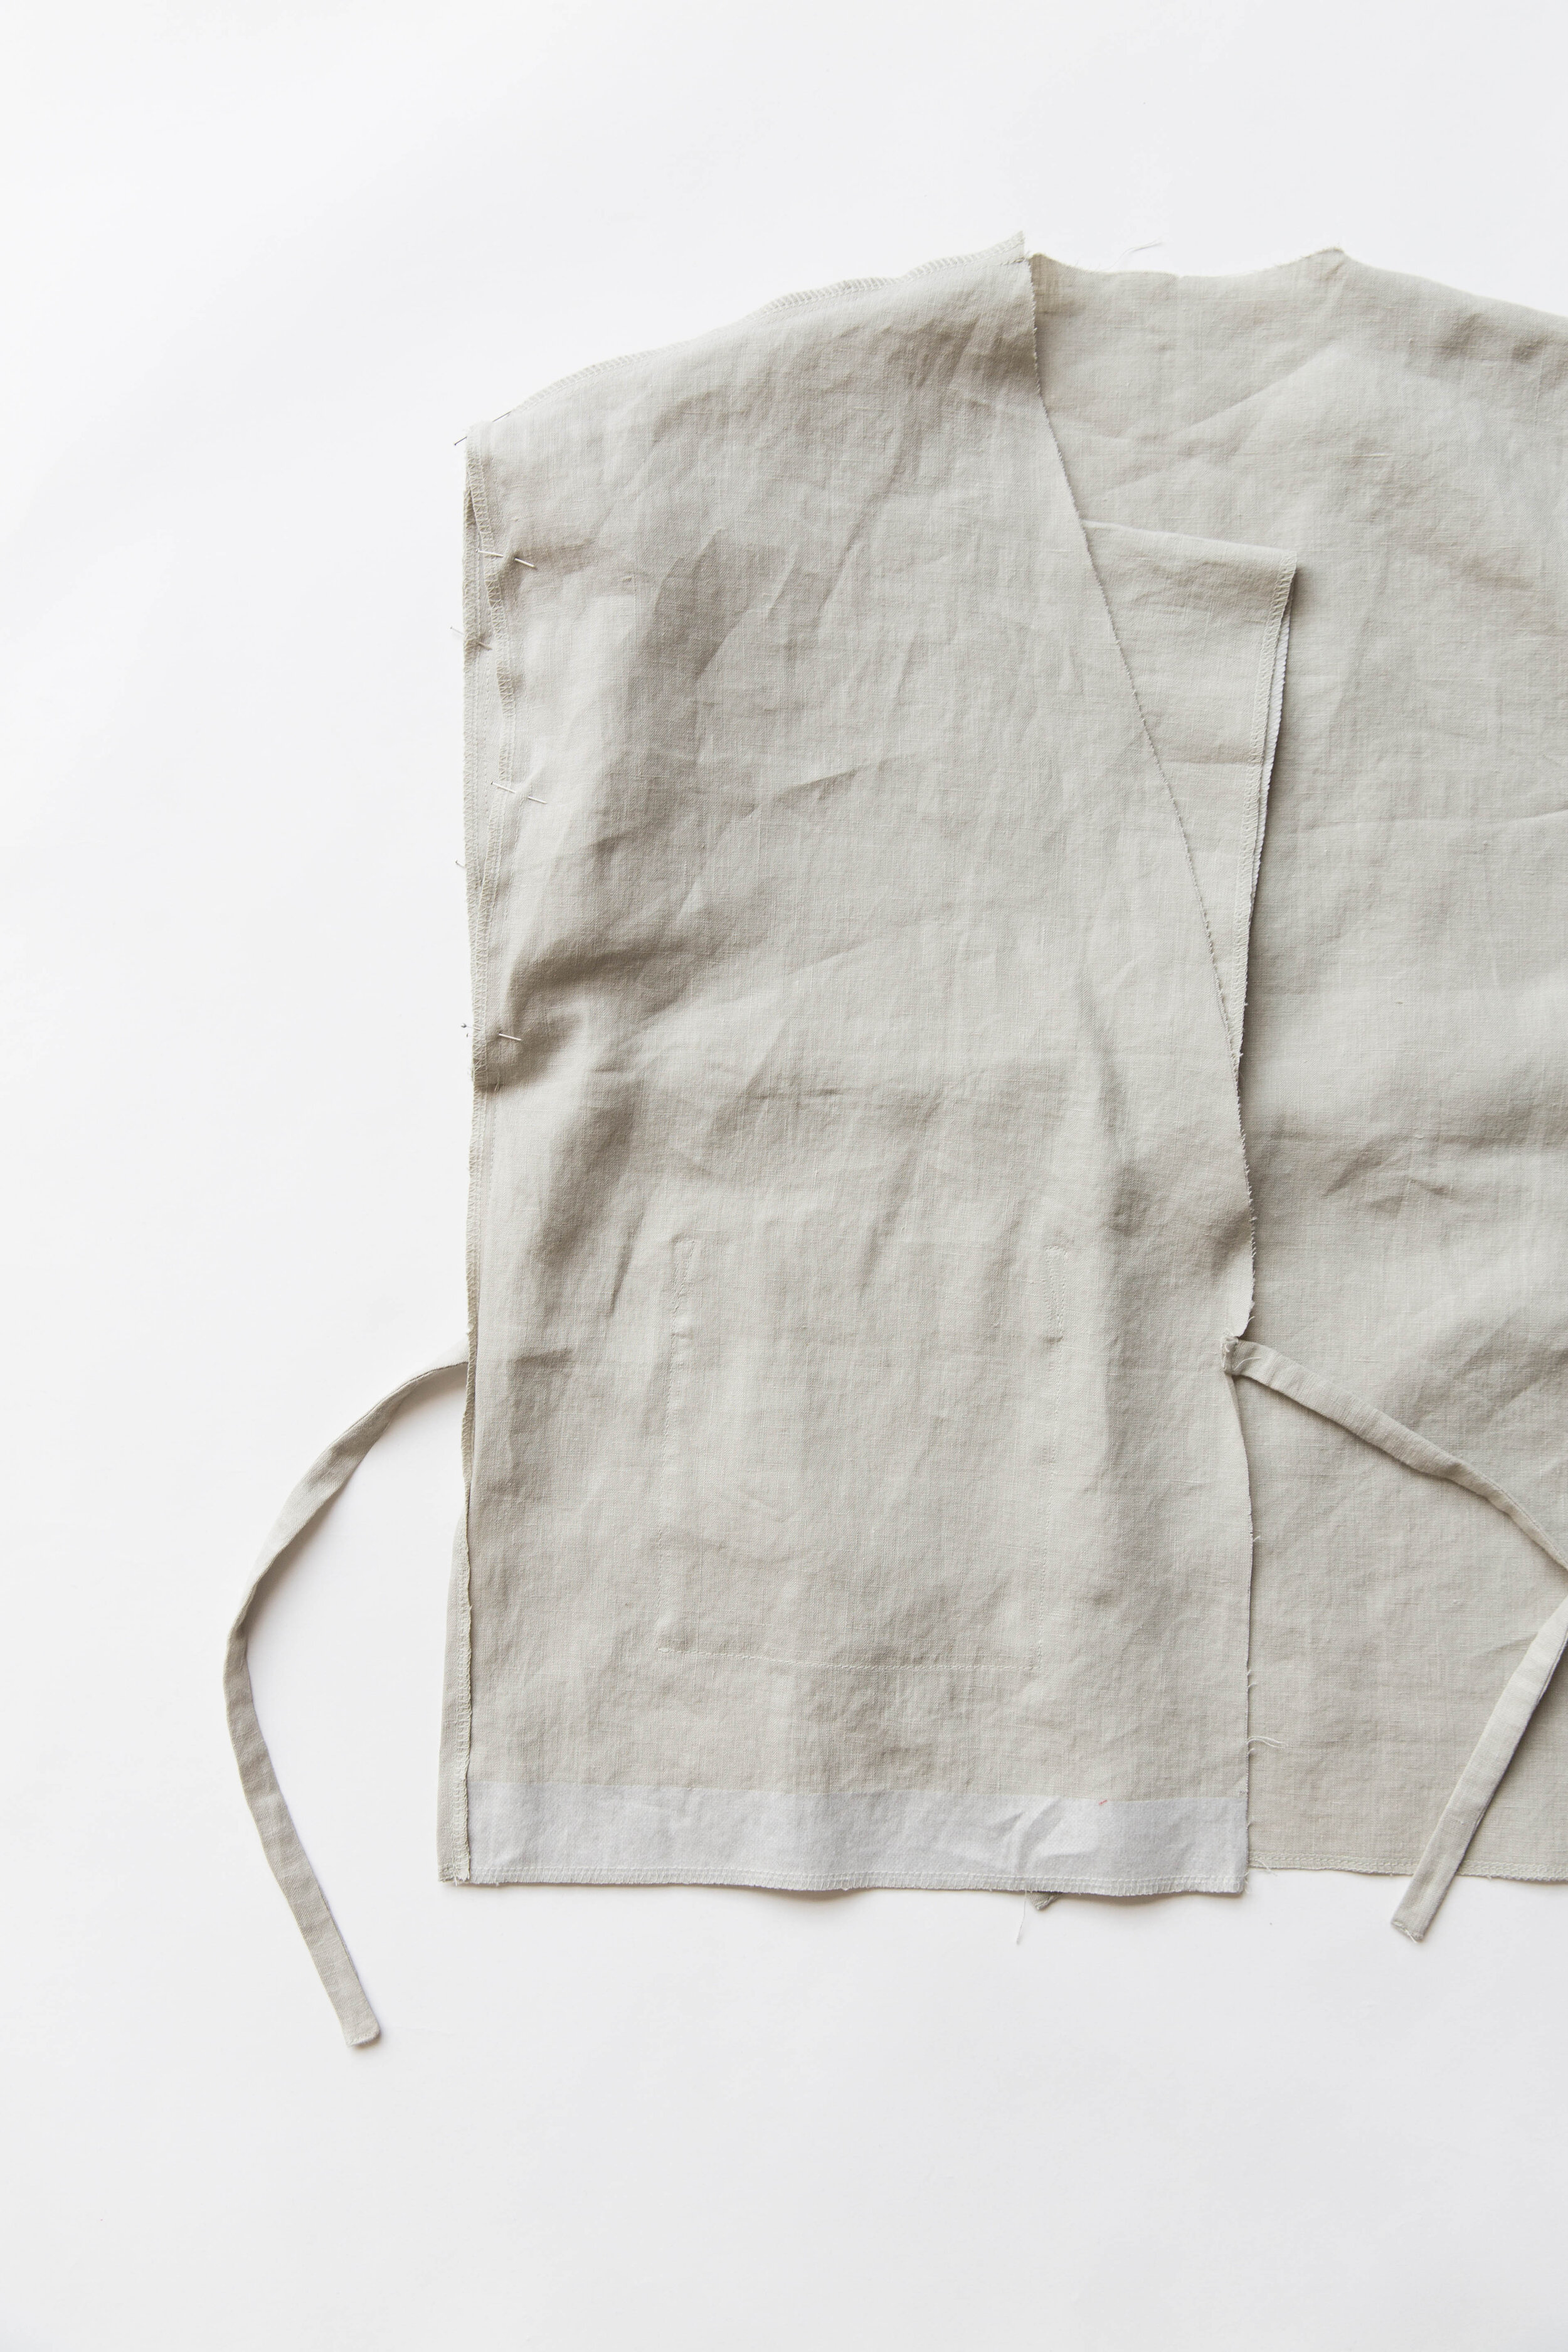
On the wrong side of your cut out pieces, mark in pocket placement from your front pattern piece.
Place pocket on front piece, matching it with pocket placement markings. Top-stitch around sides and bottom edges, sewing a small triangle in each top corner for added strength. Repeat on other side.
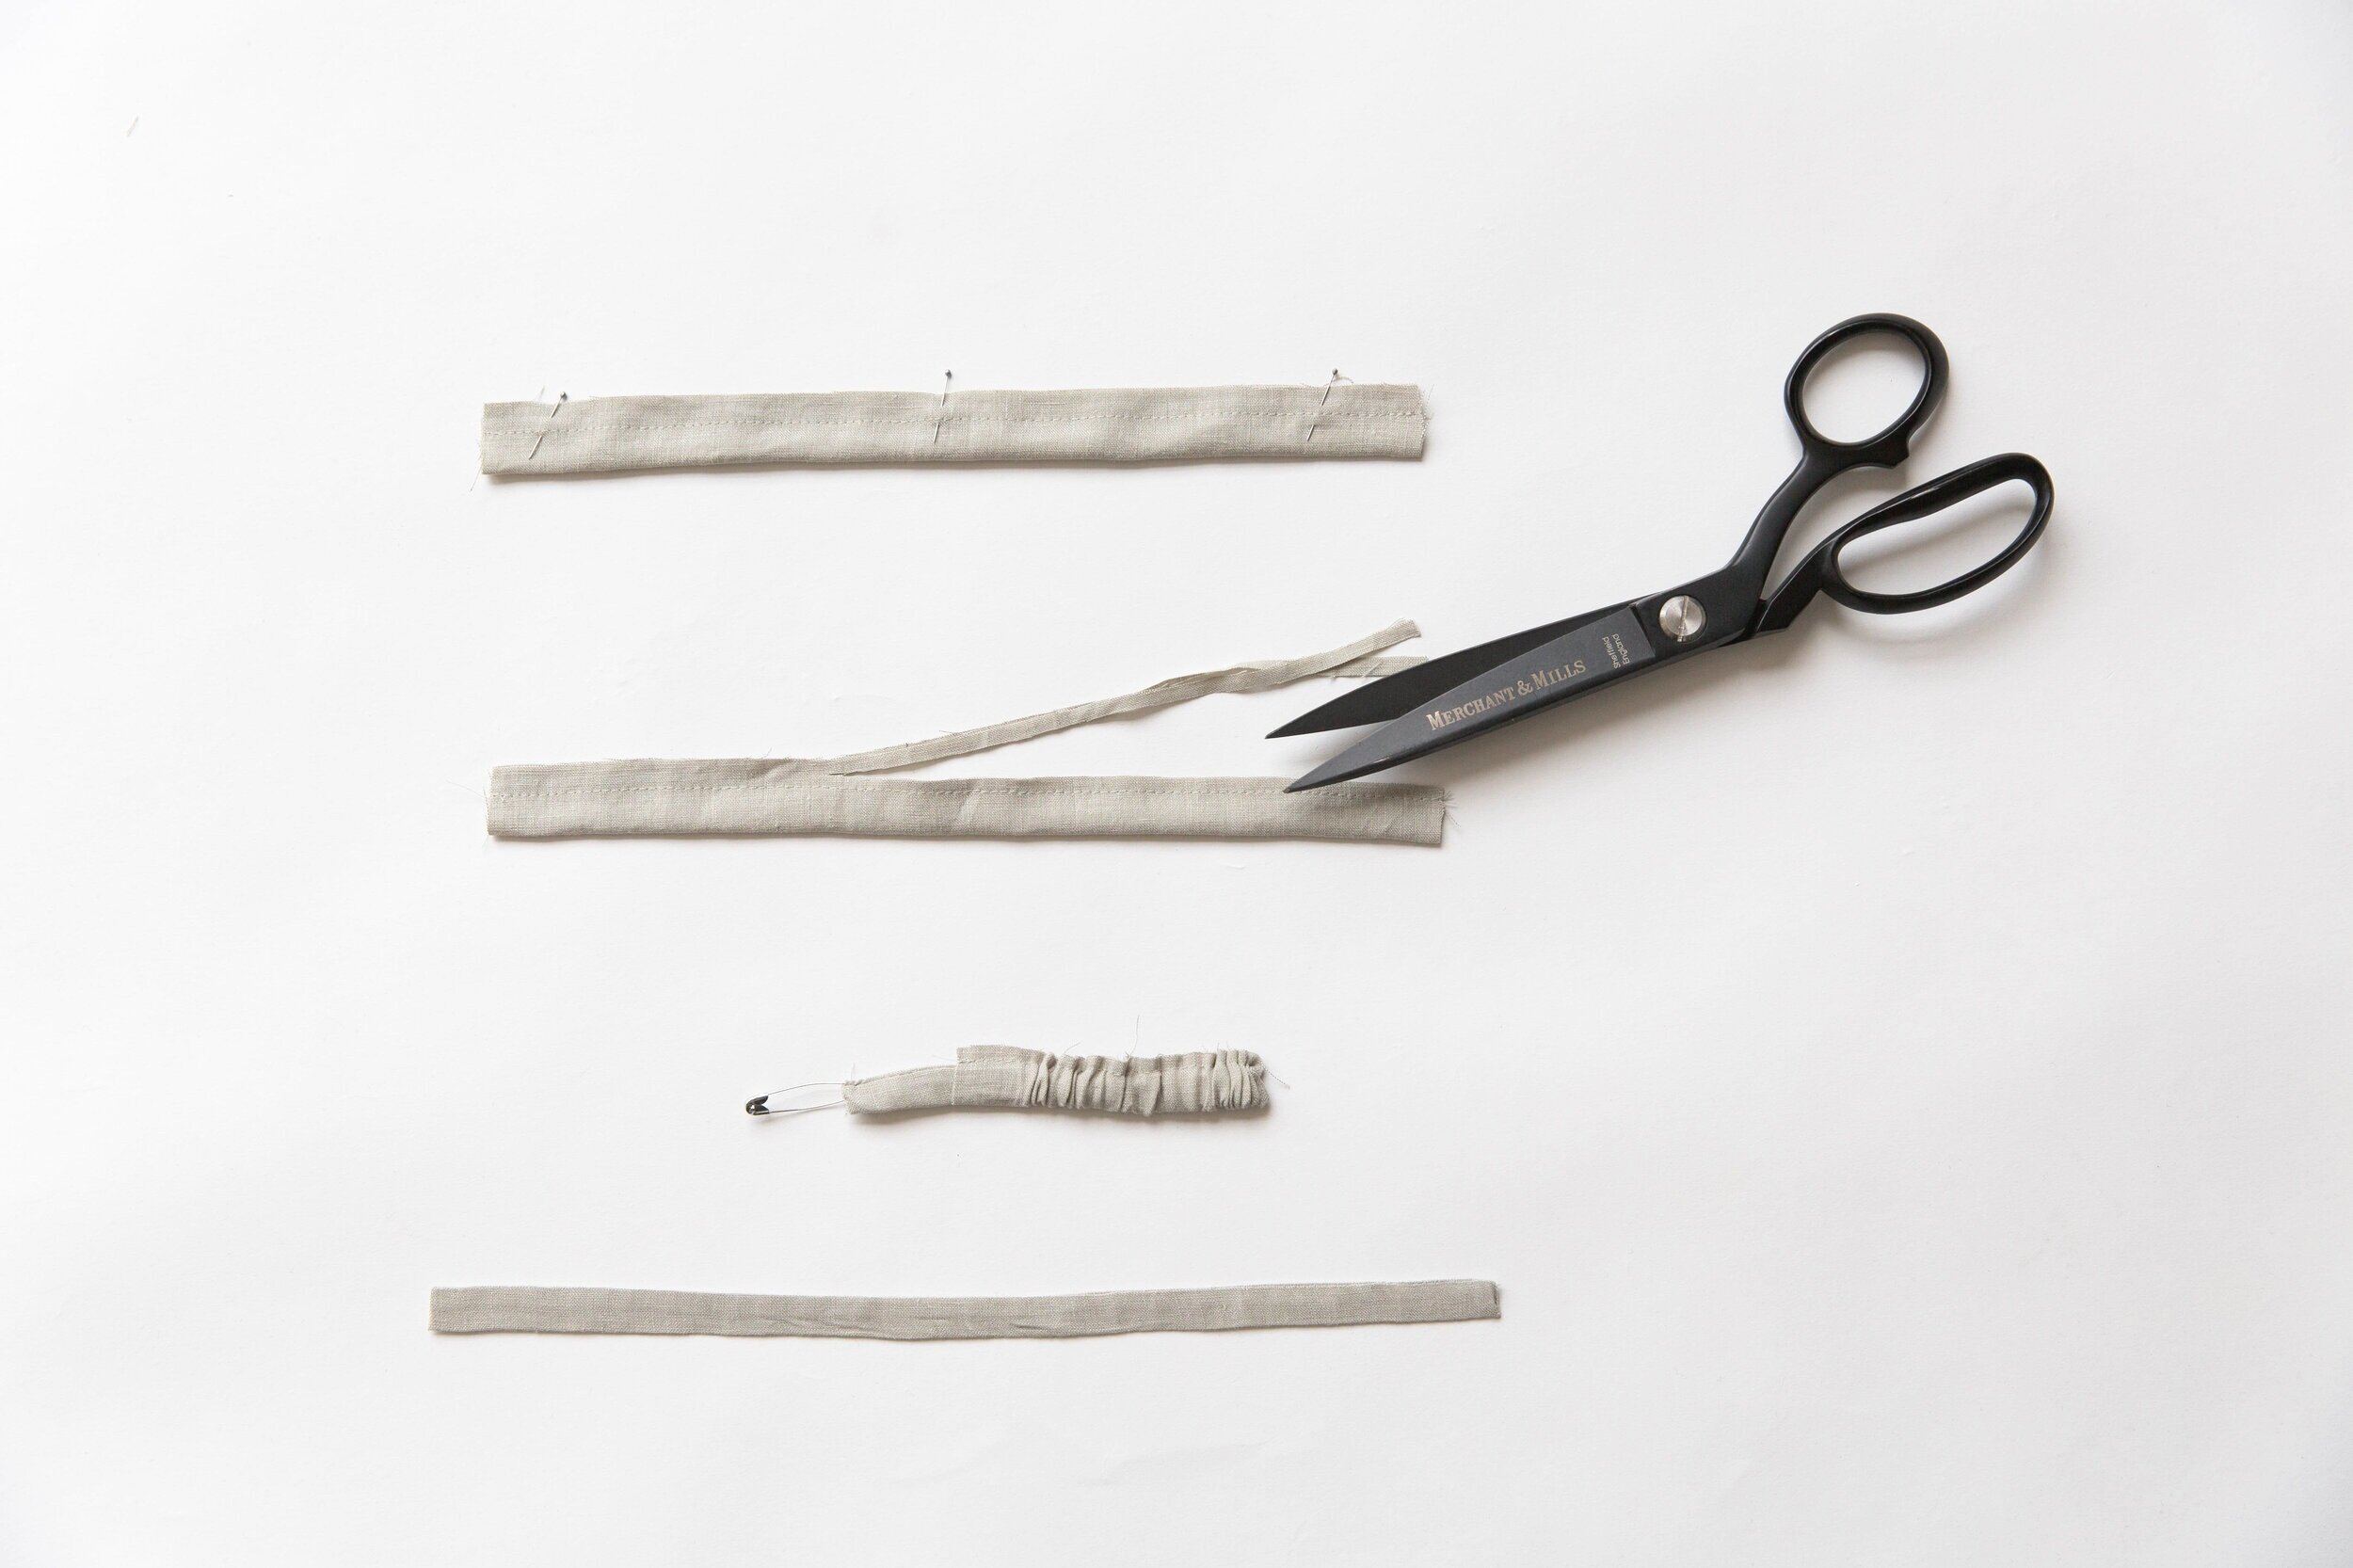
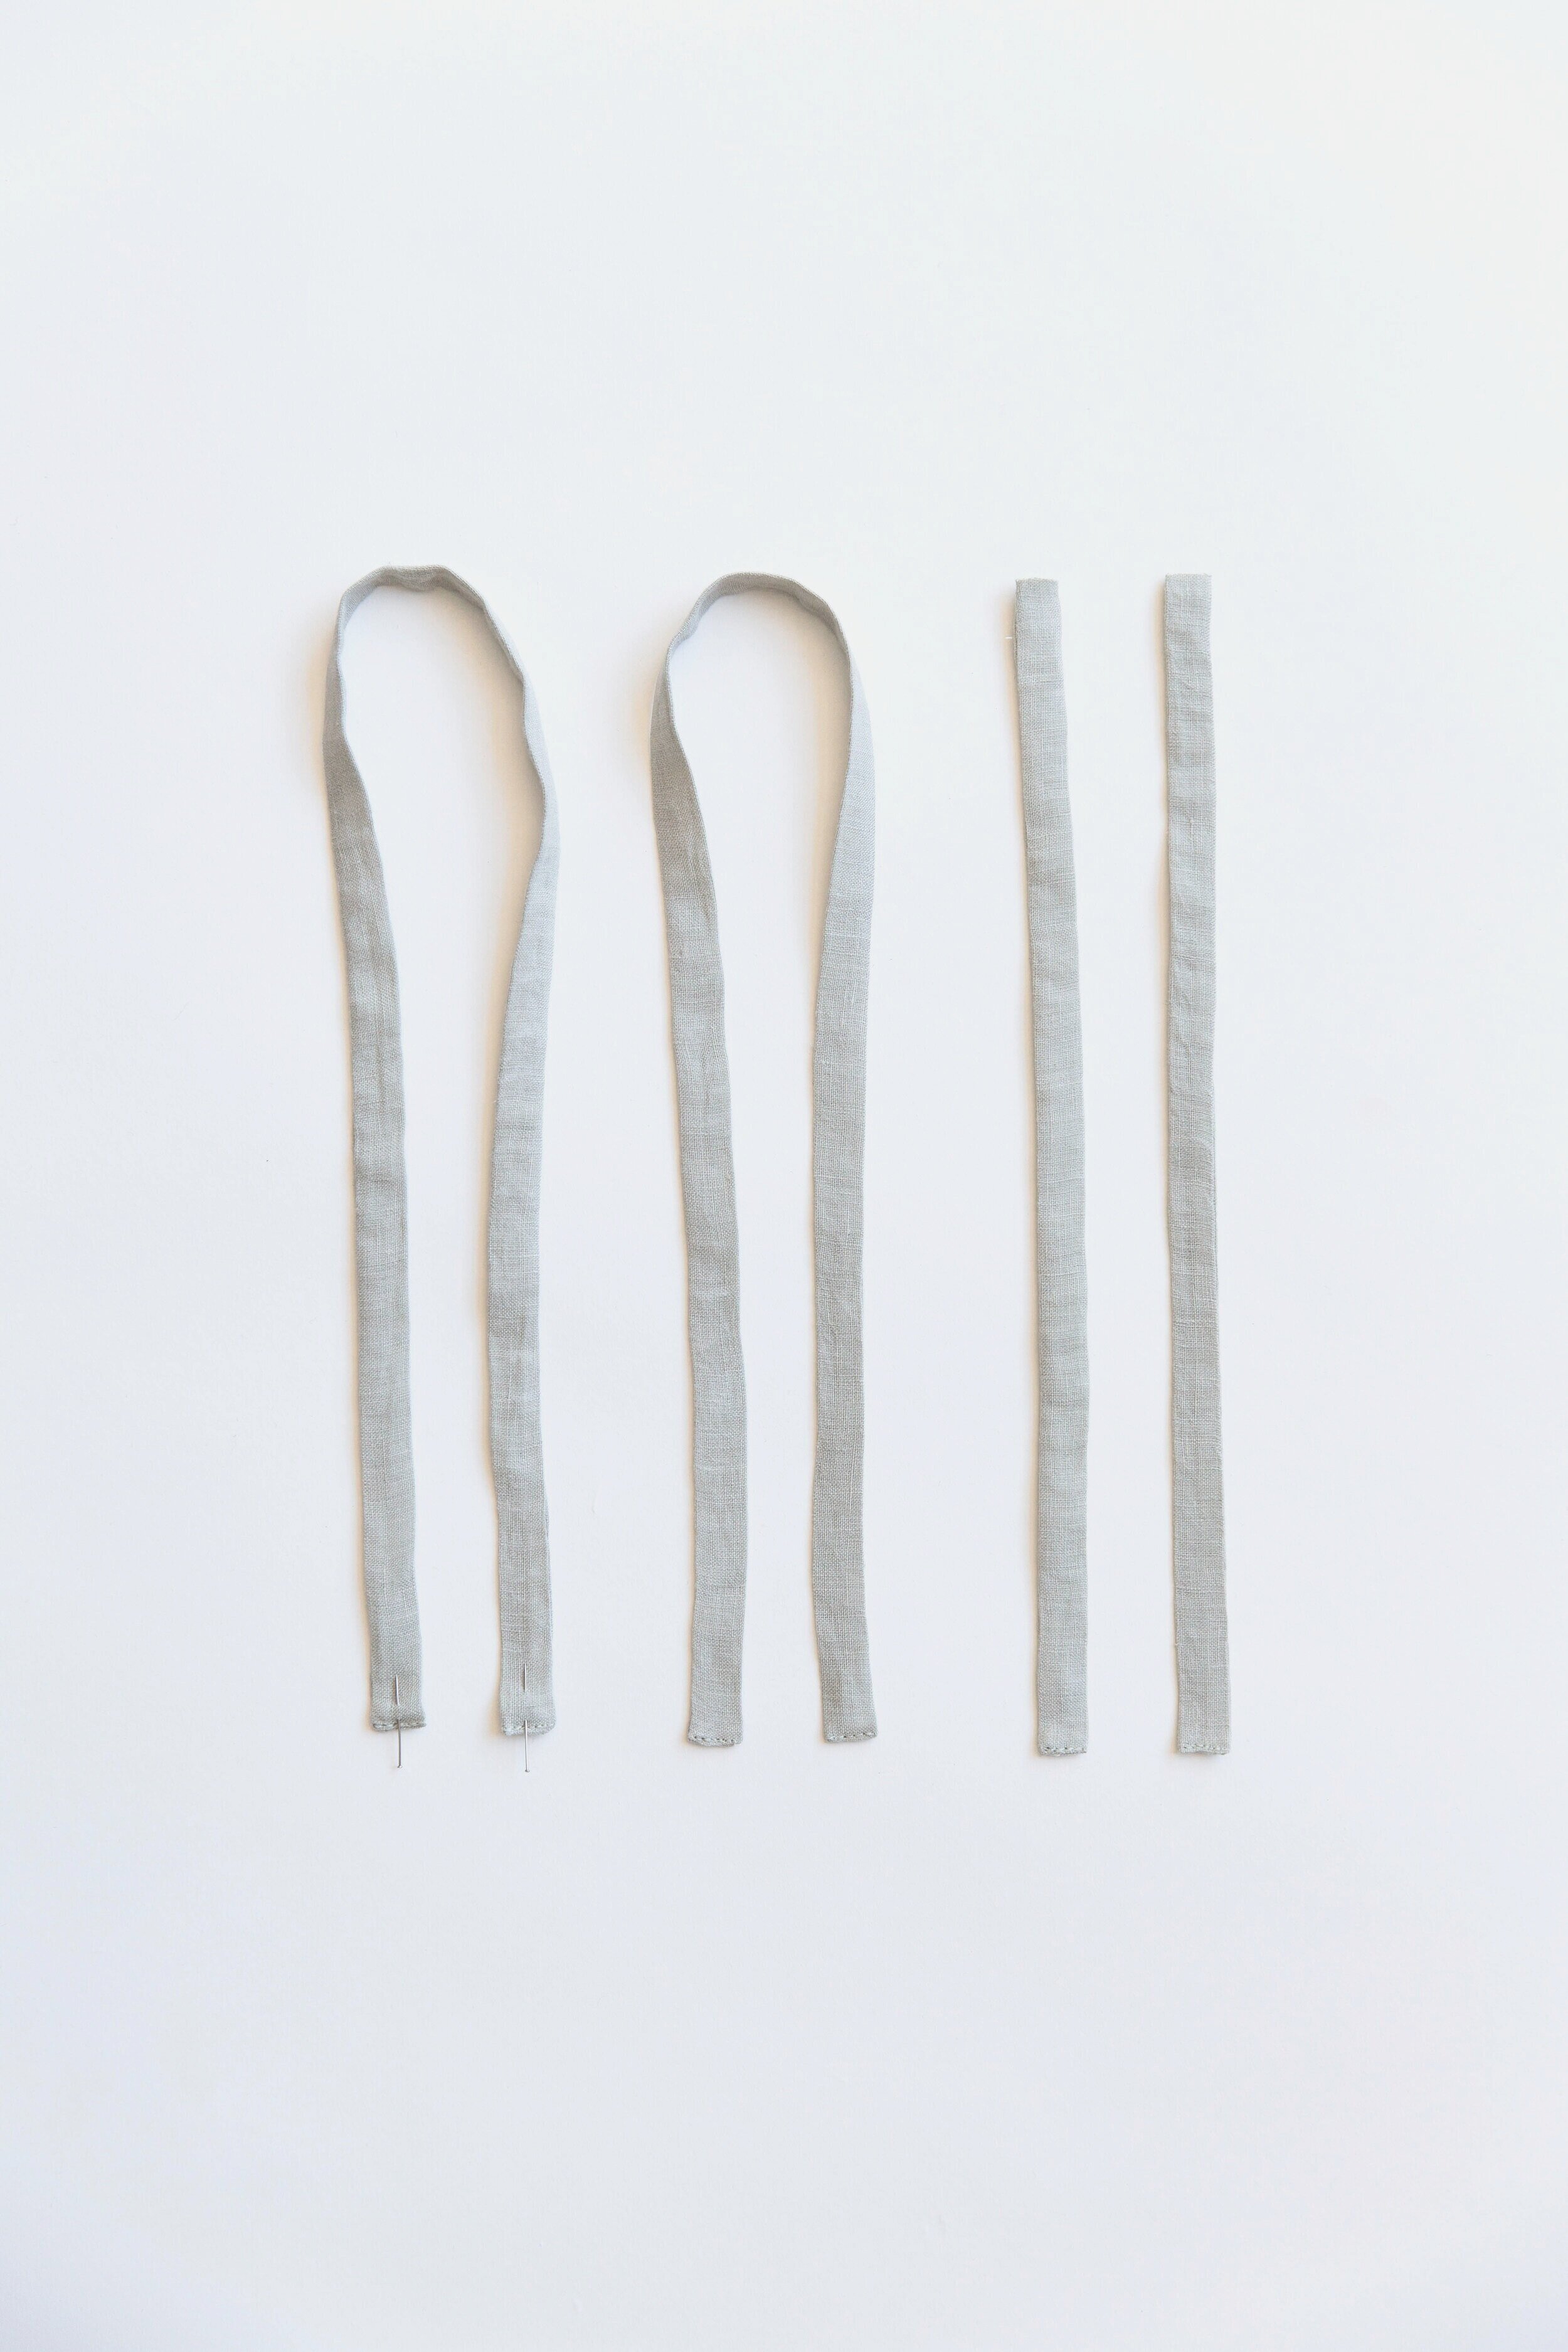
Step 3
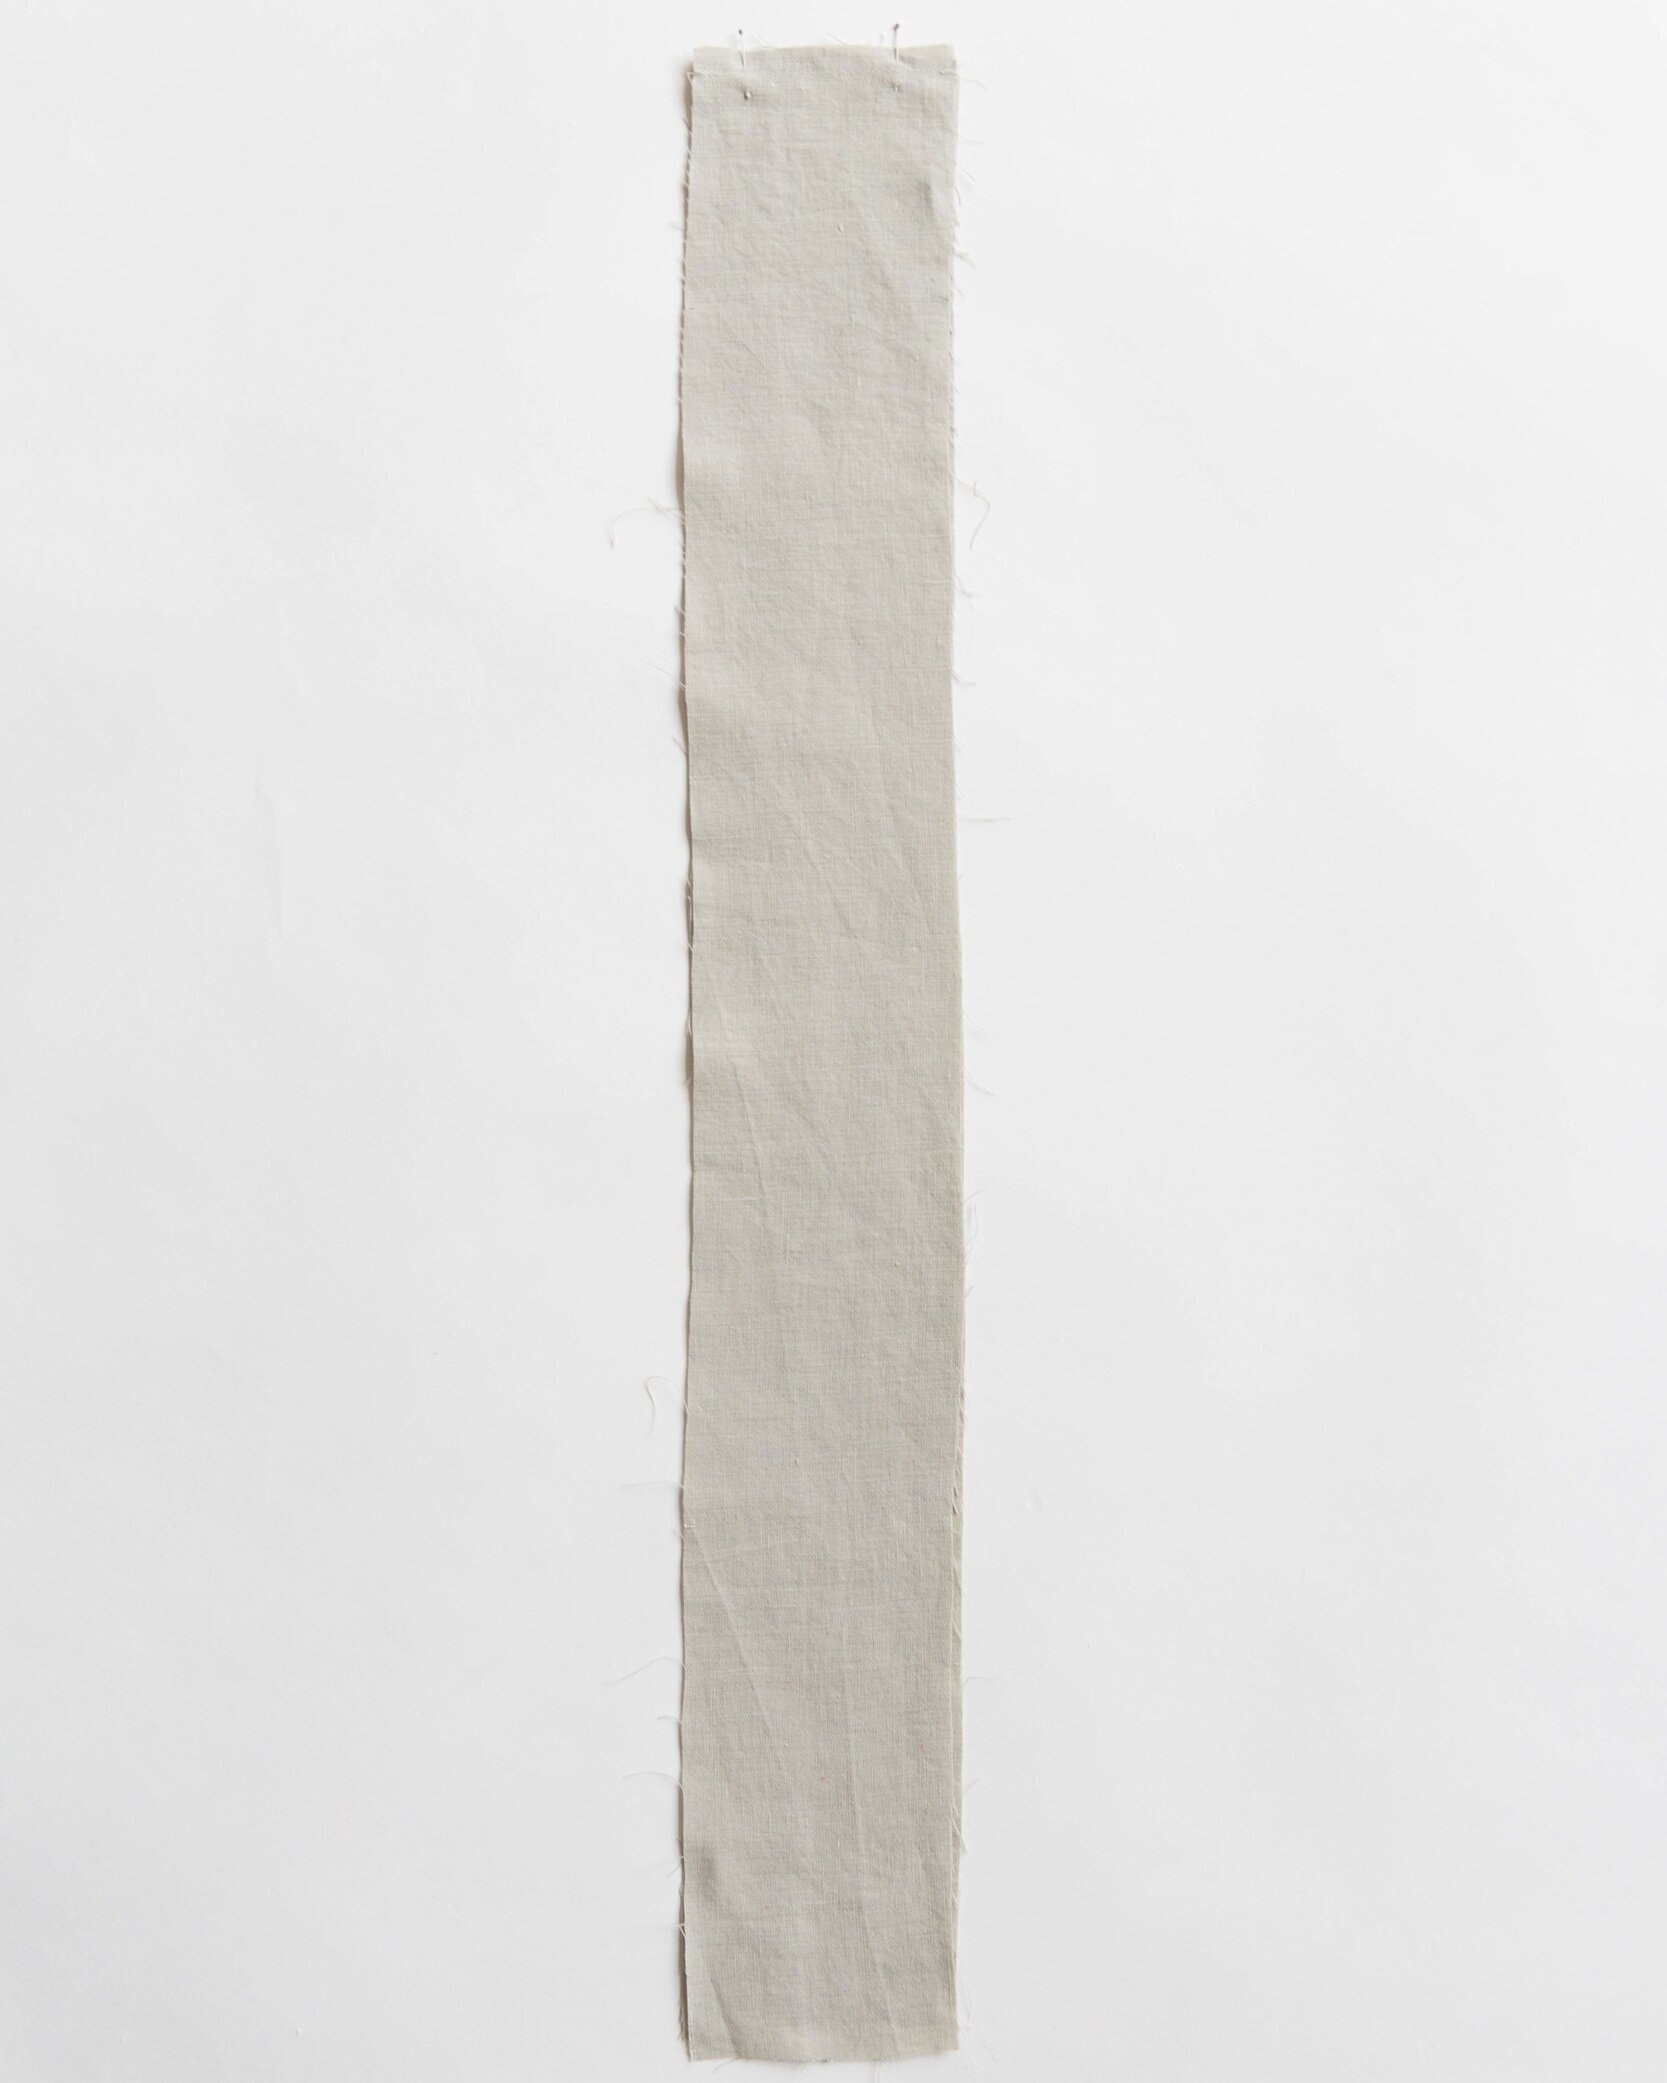
Stitch together the long ends of ties with right sides facing. Trim seam allowance in half. Attach a safety pin to one end of strap and thread through itself until it comes out the other end through the right way. Press. Turn ends inside themselves slightly and top-stitch down.

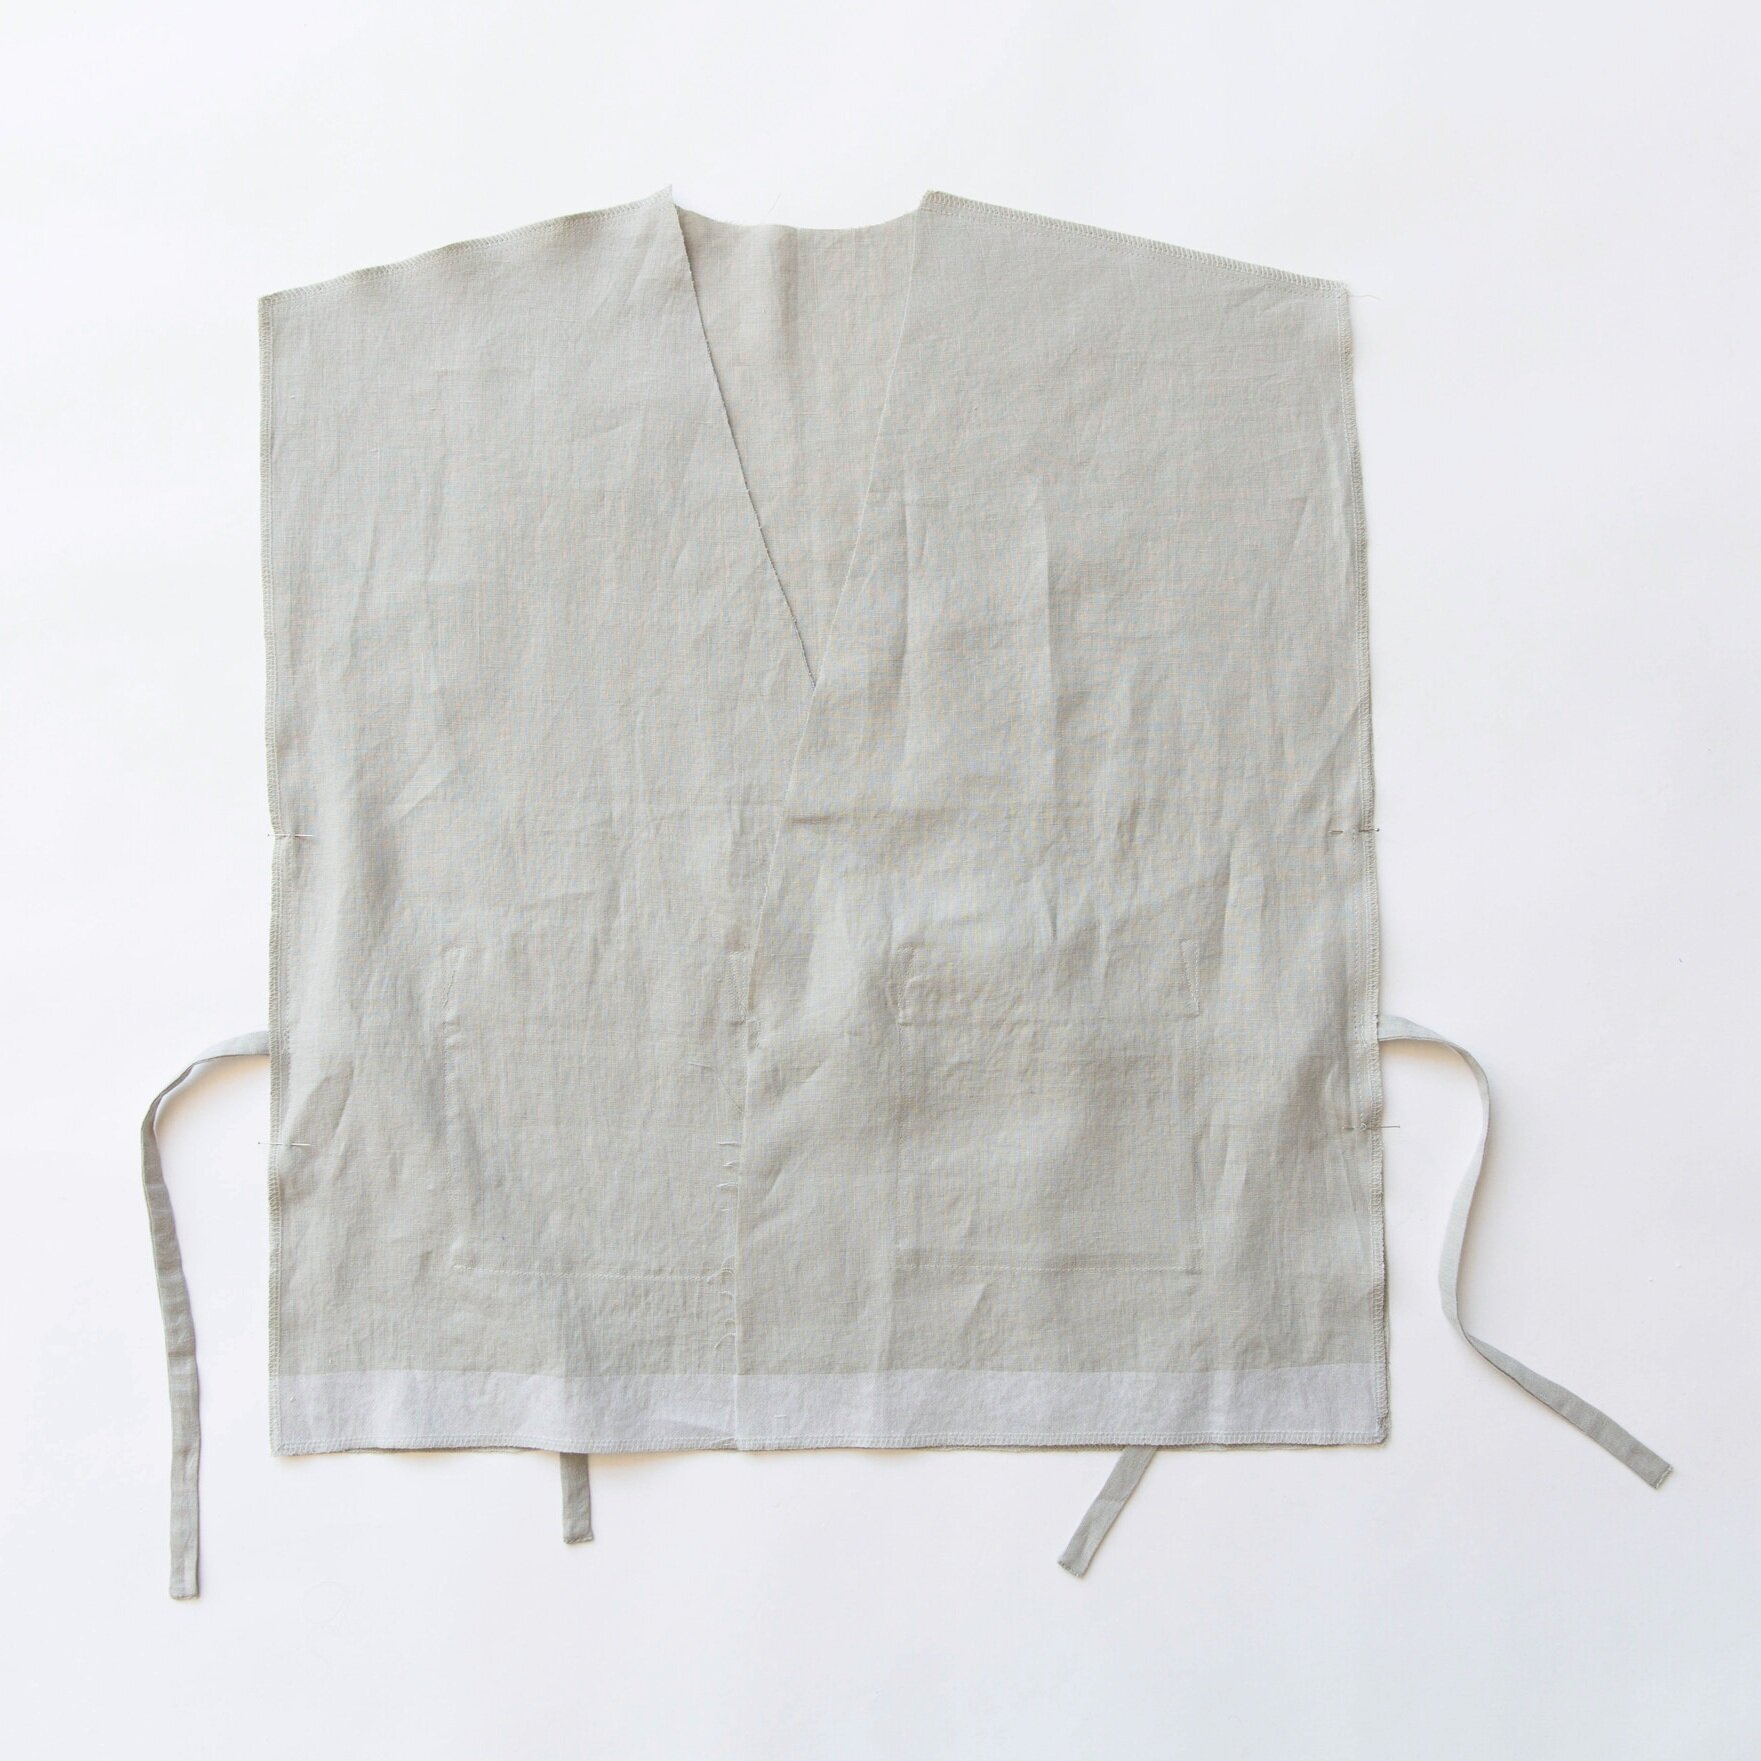
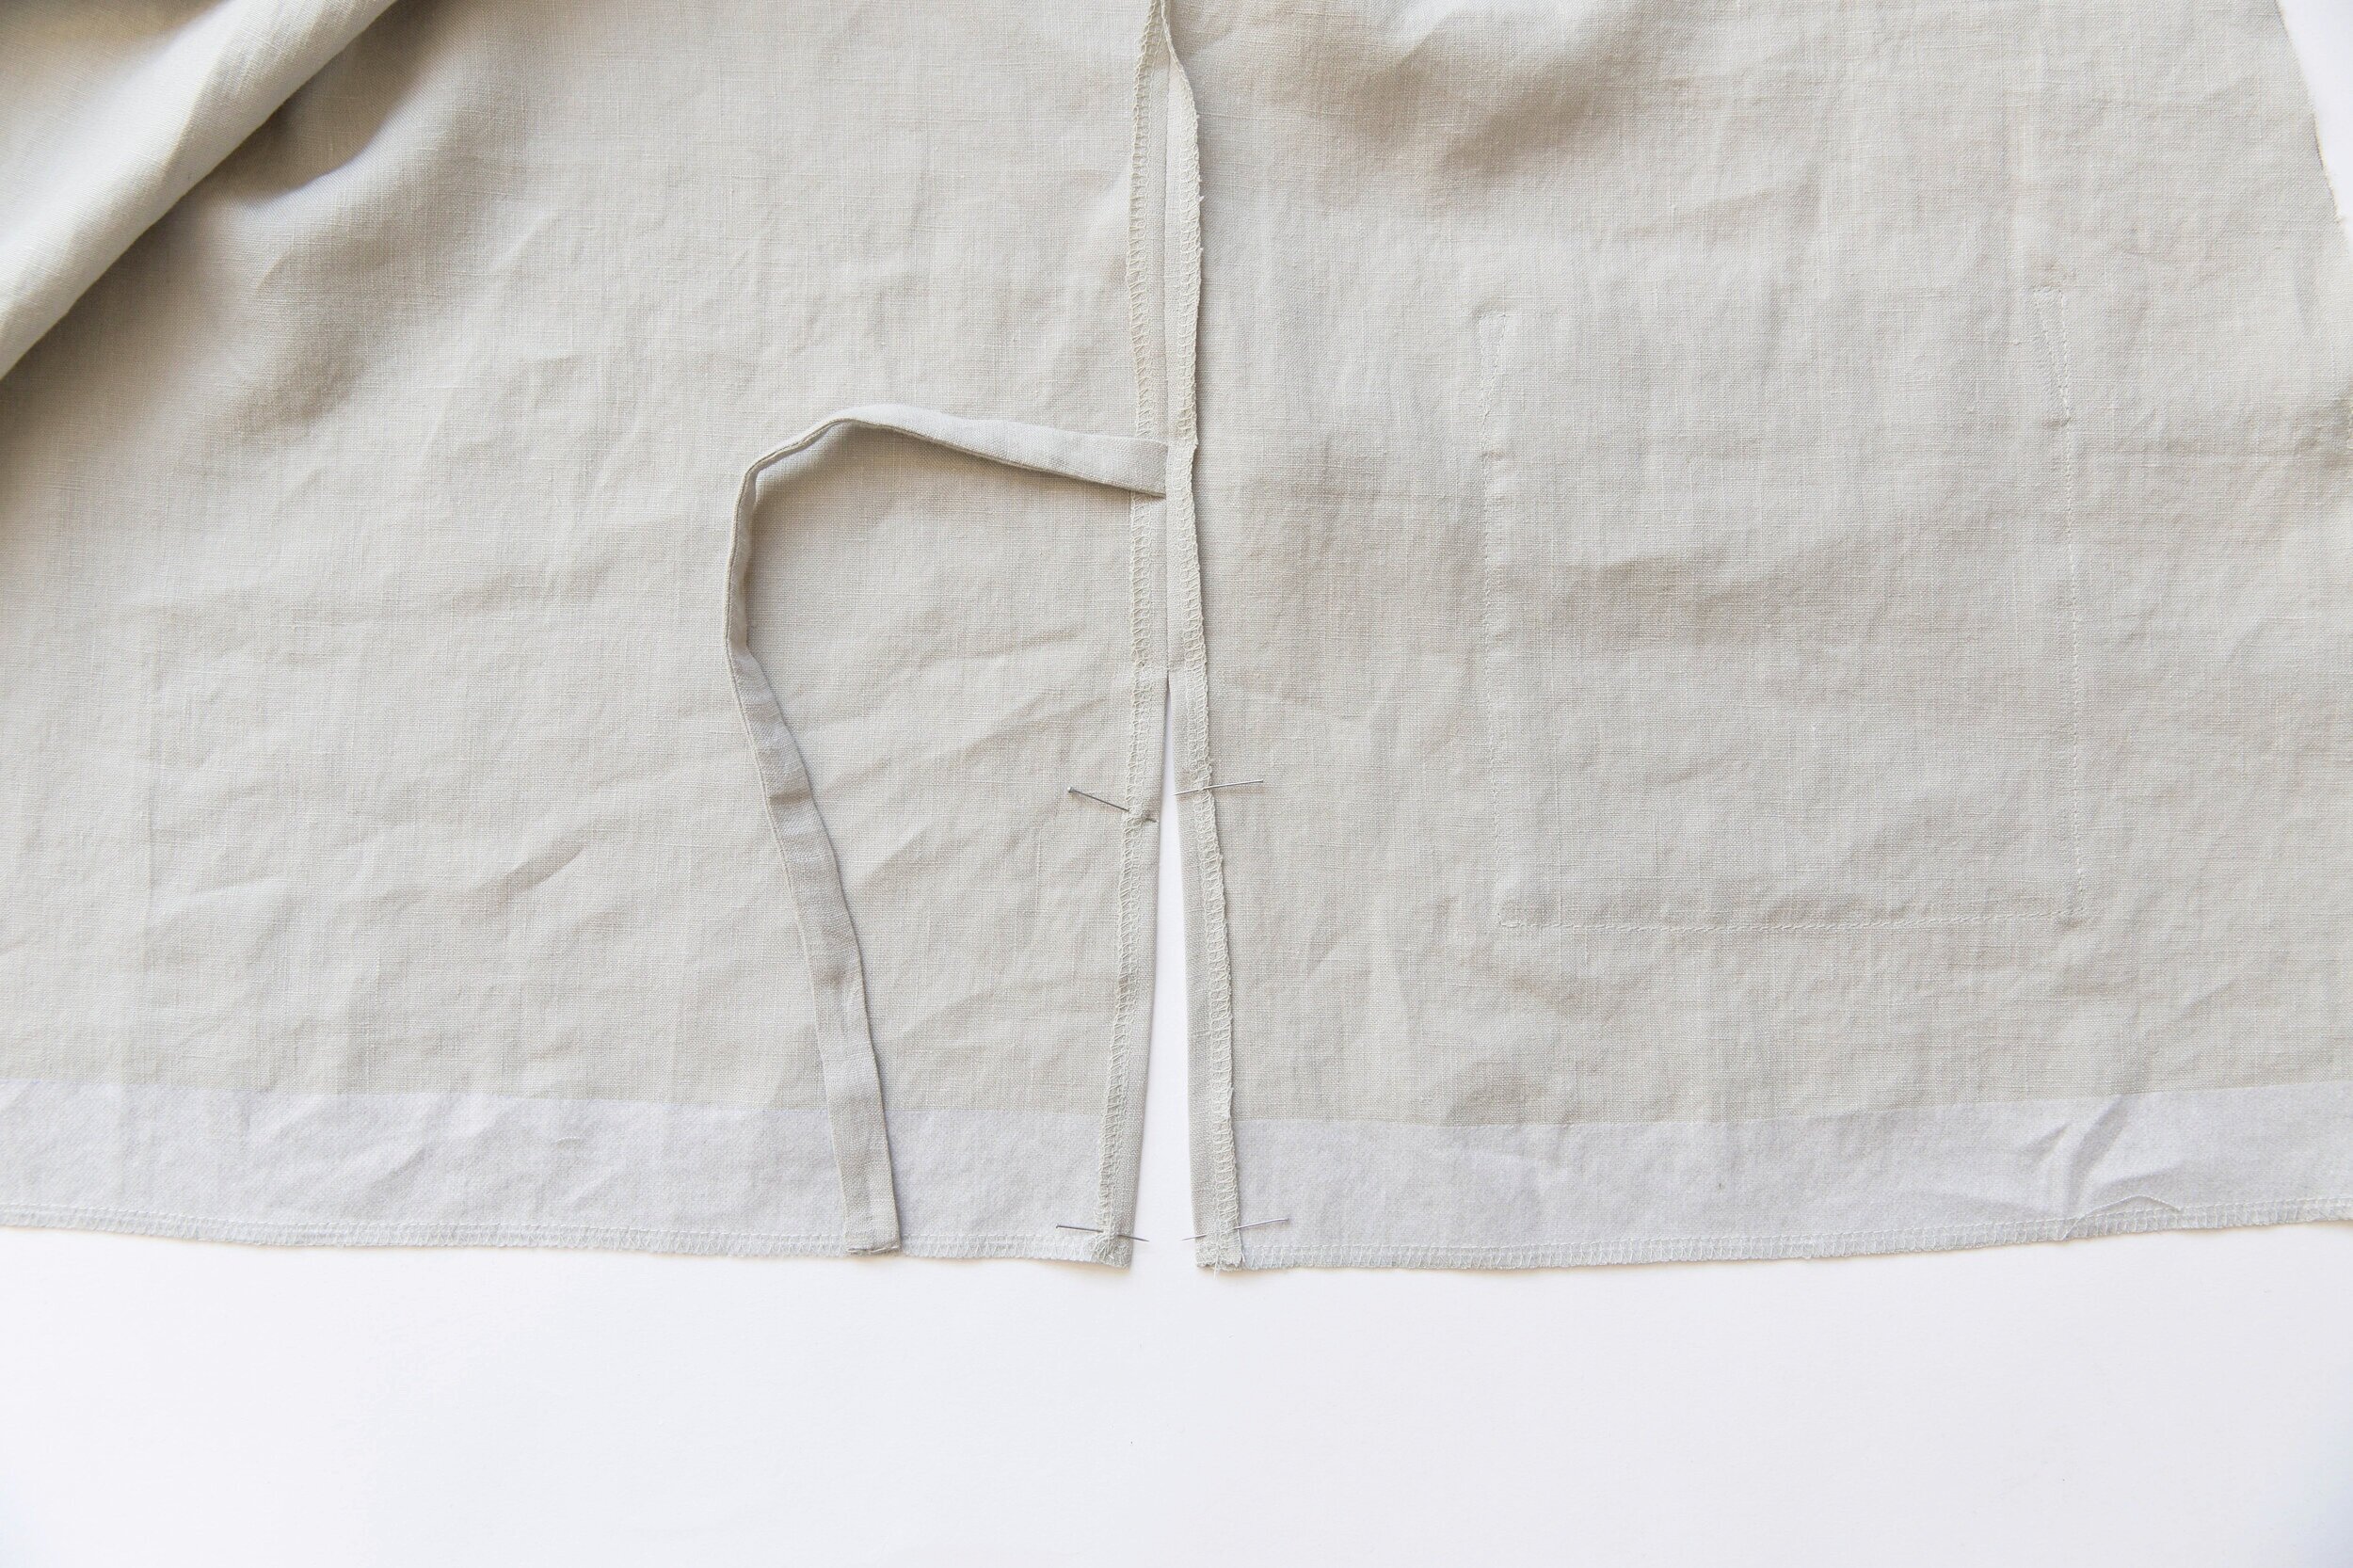
Step 4
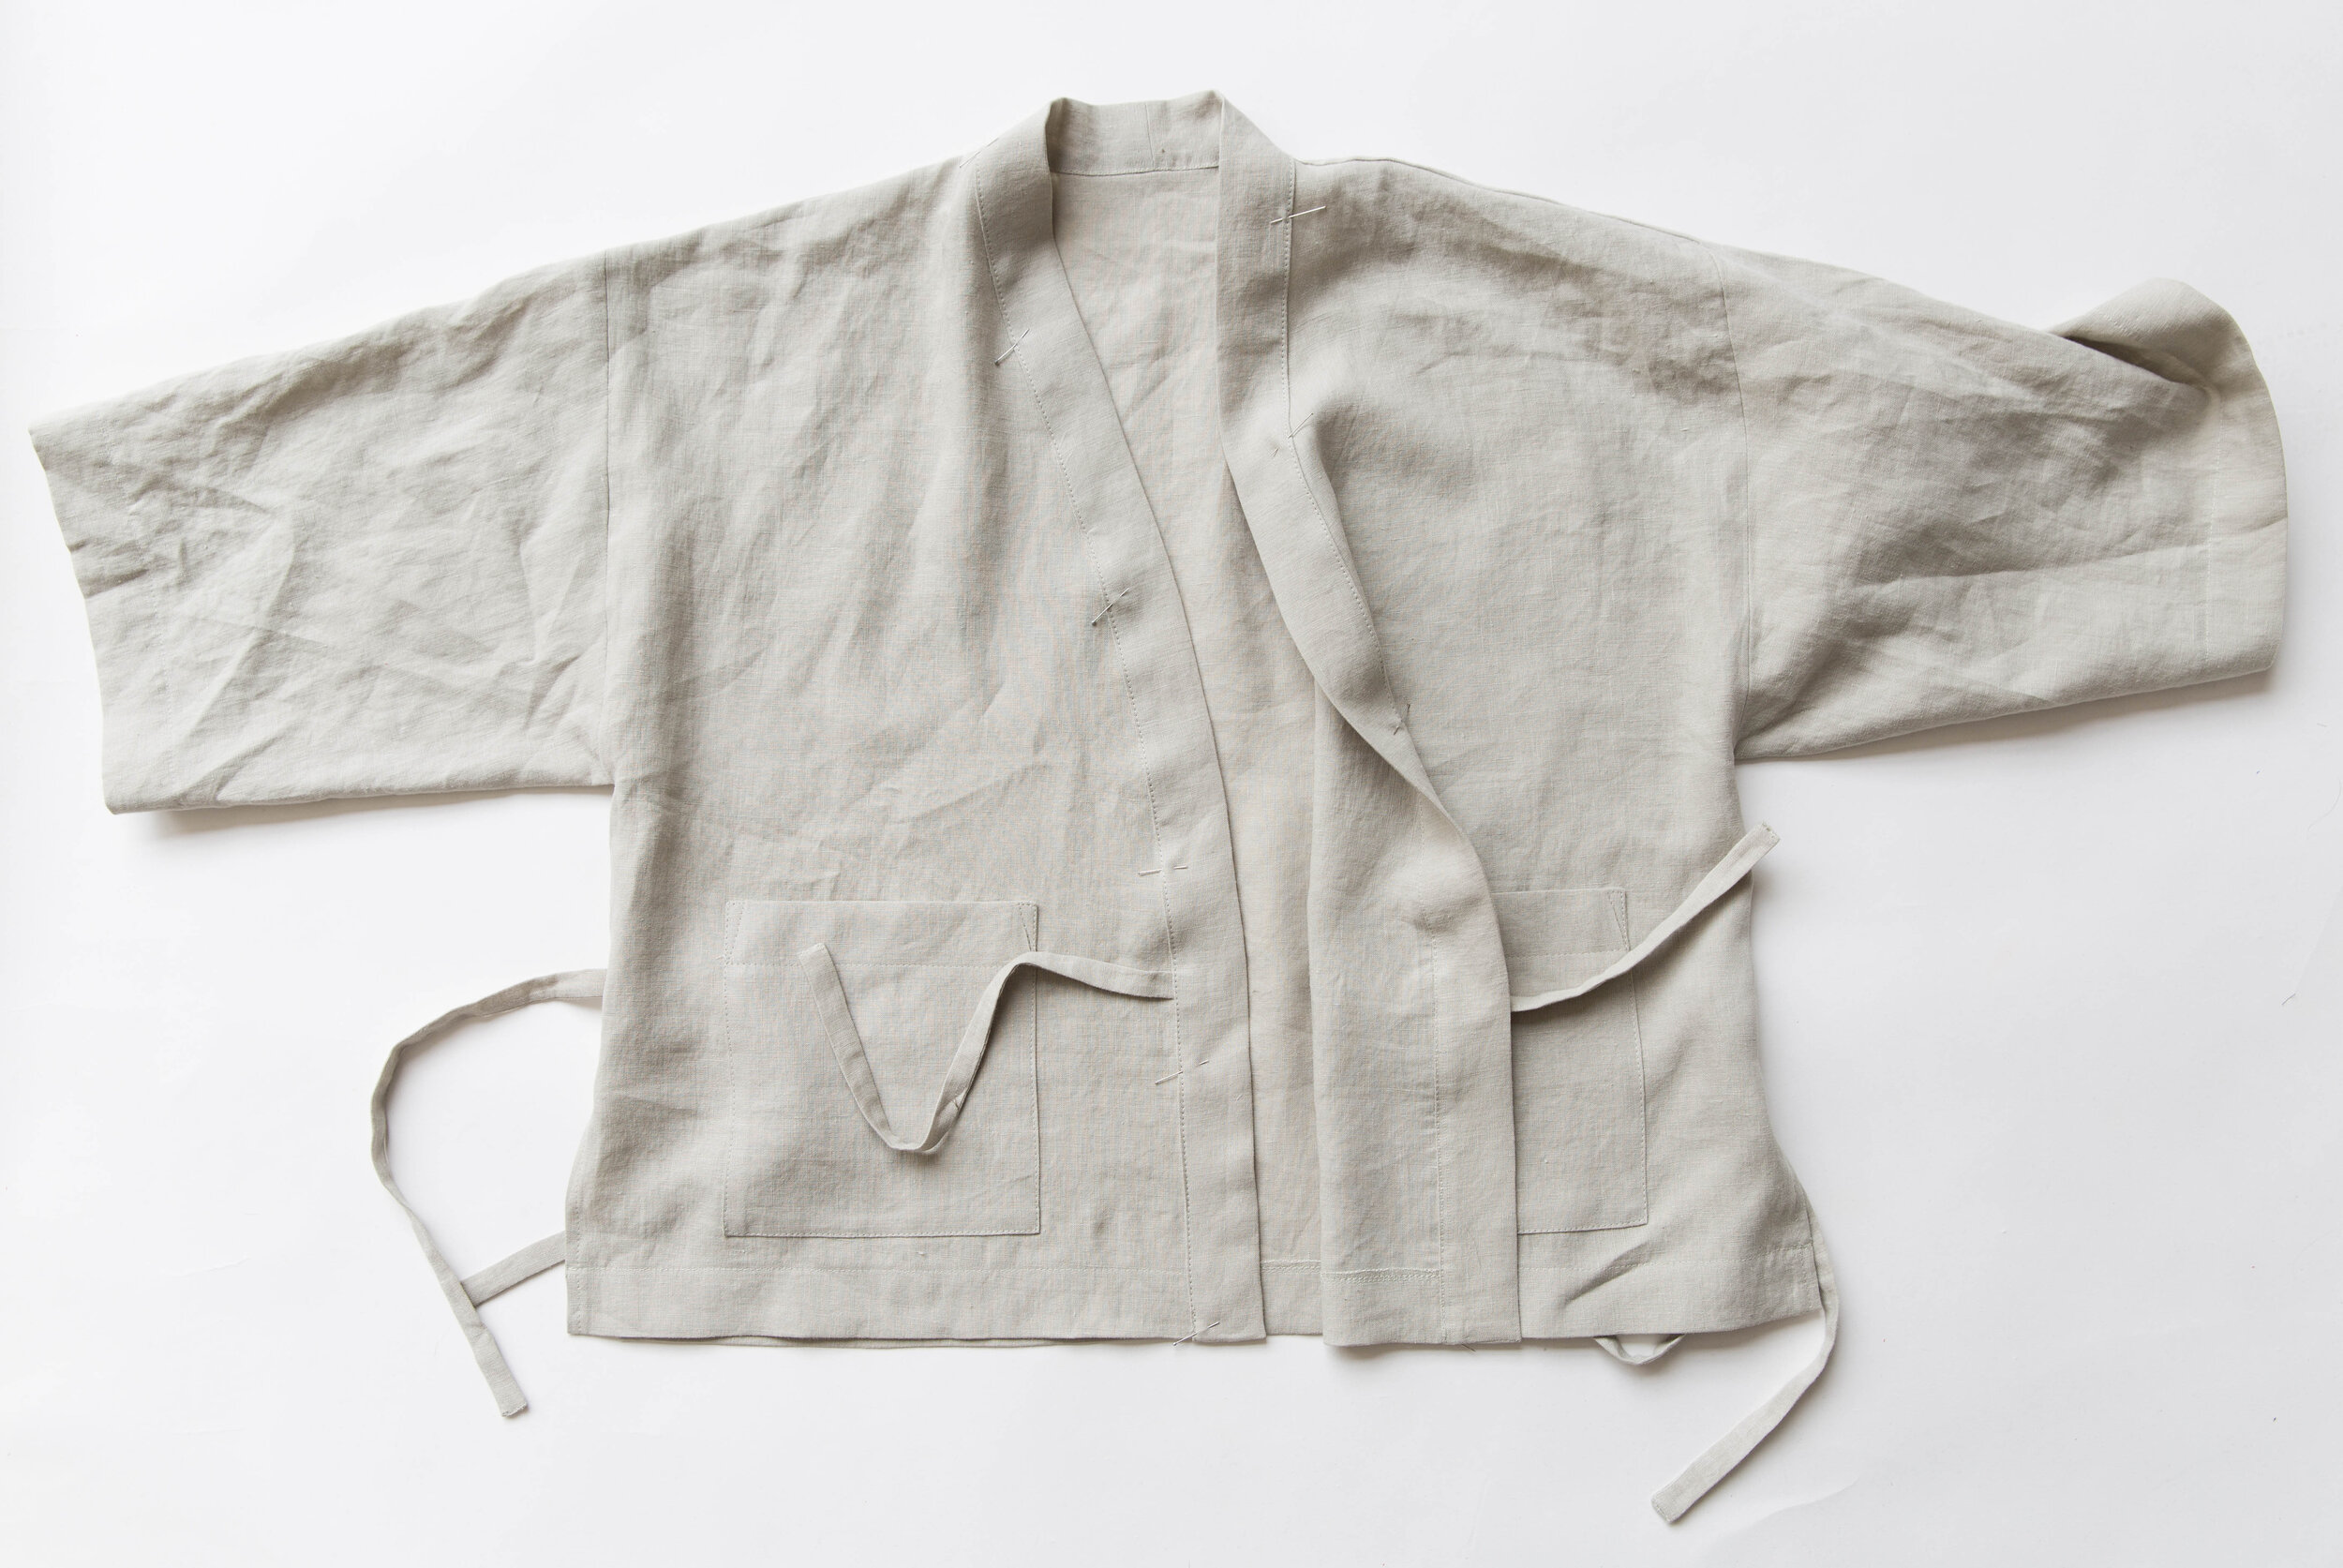
Edge-stitch the short ties to the notches at centre front of each front piece, and the long ties to the waist notch of the side seam.

Step 5
With right sides facing, pin front pieces to back piece at the shoulder seams.
Stitch and neaten seams. Press seam allowance toward back.
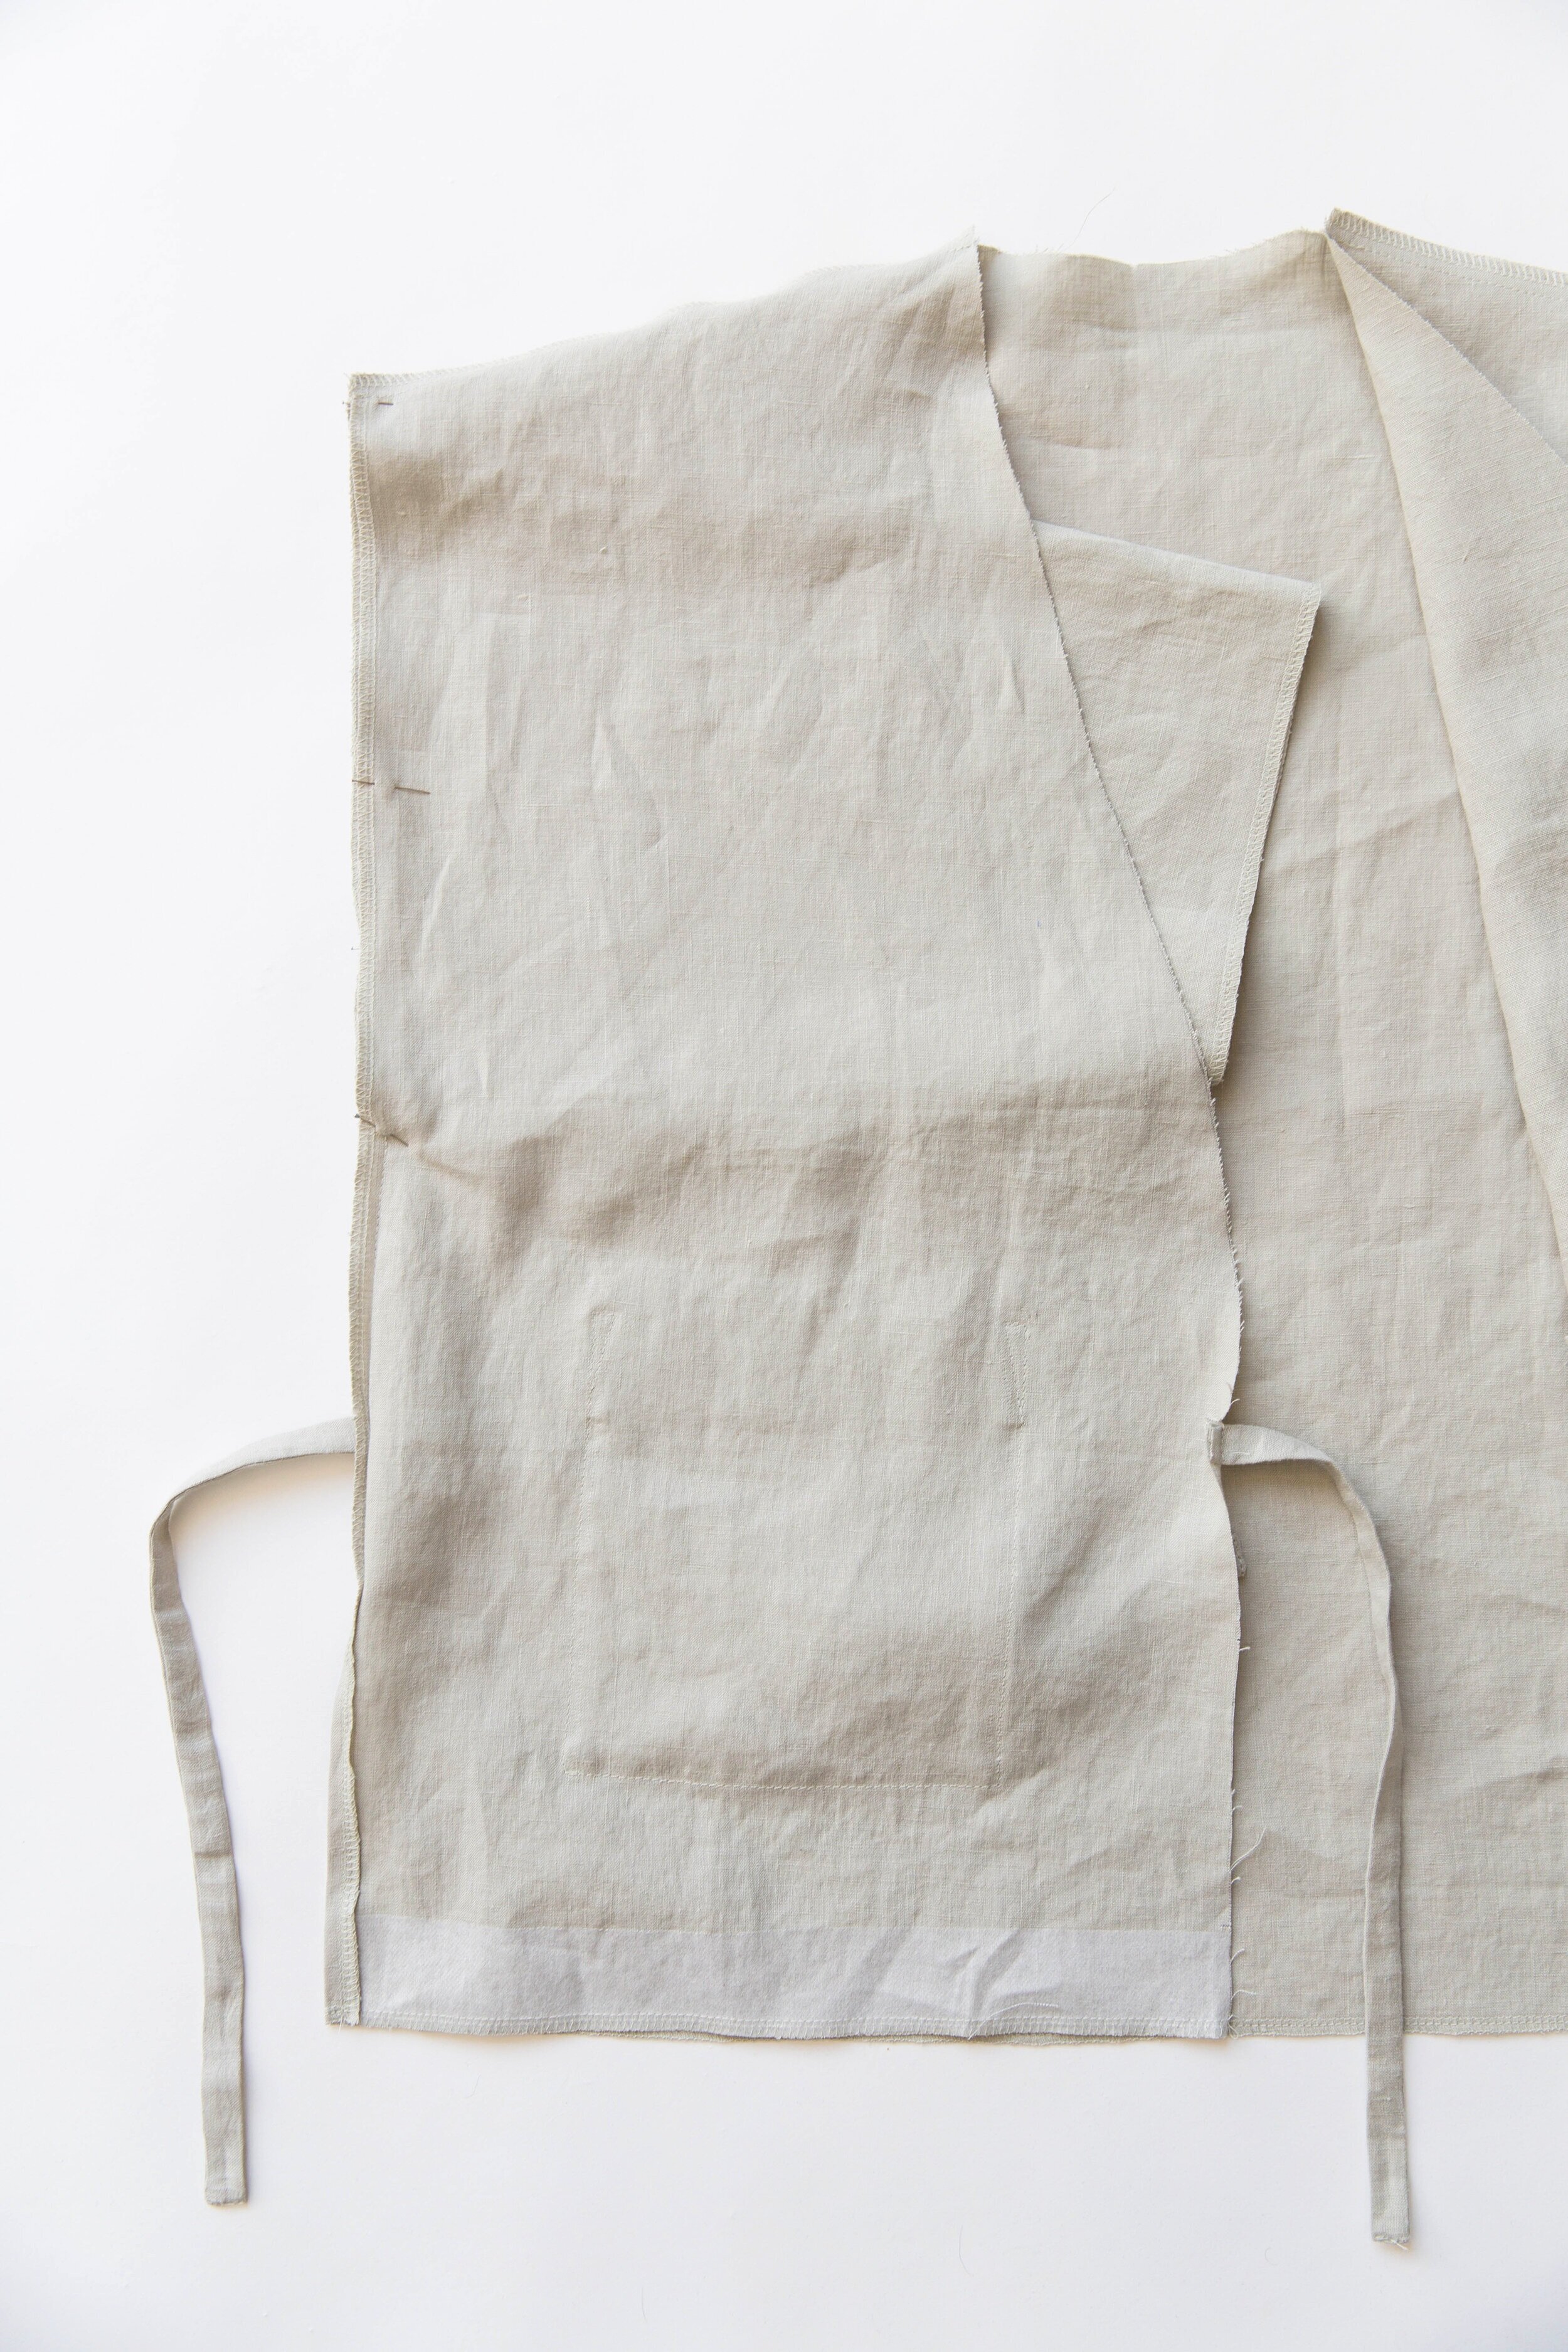
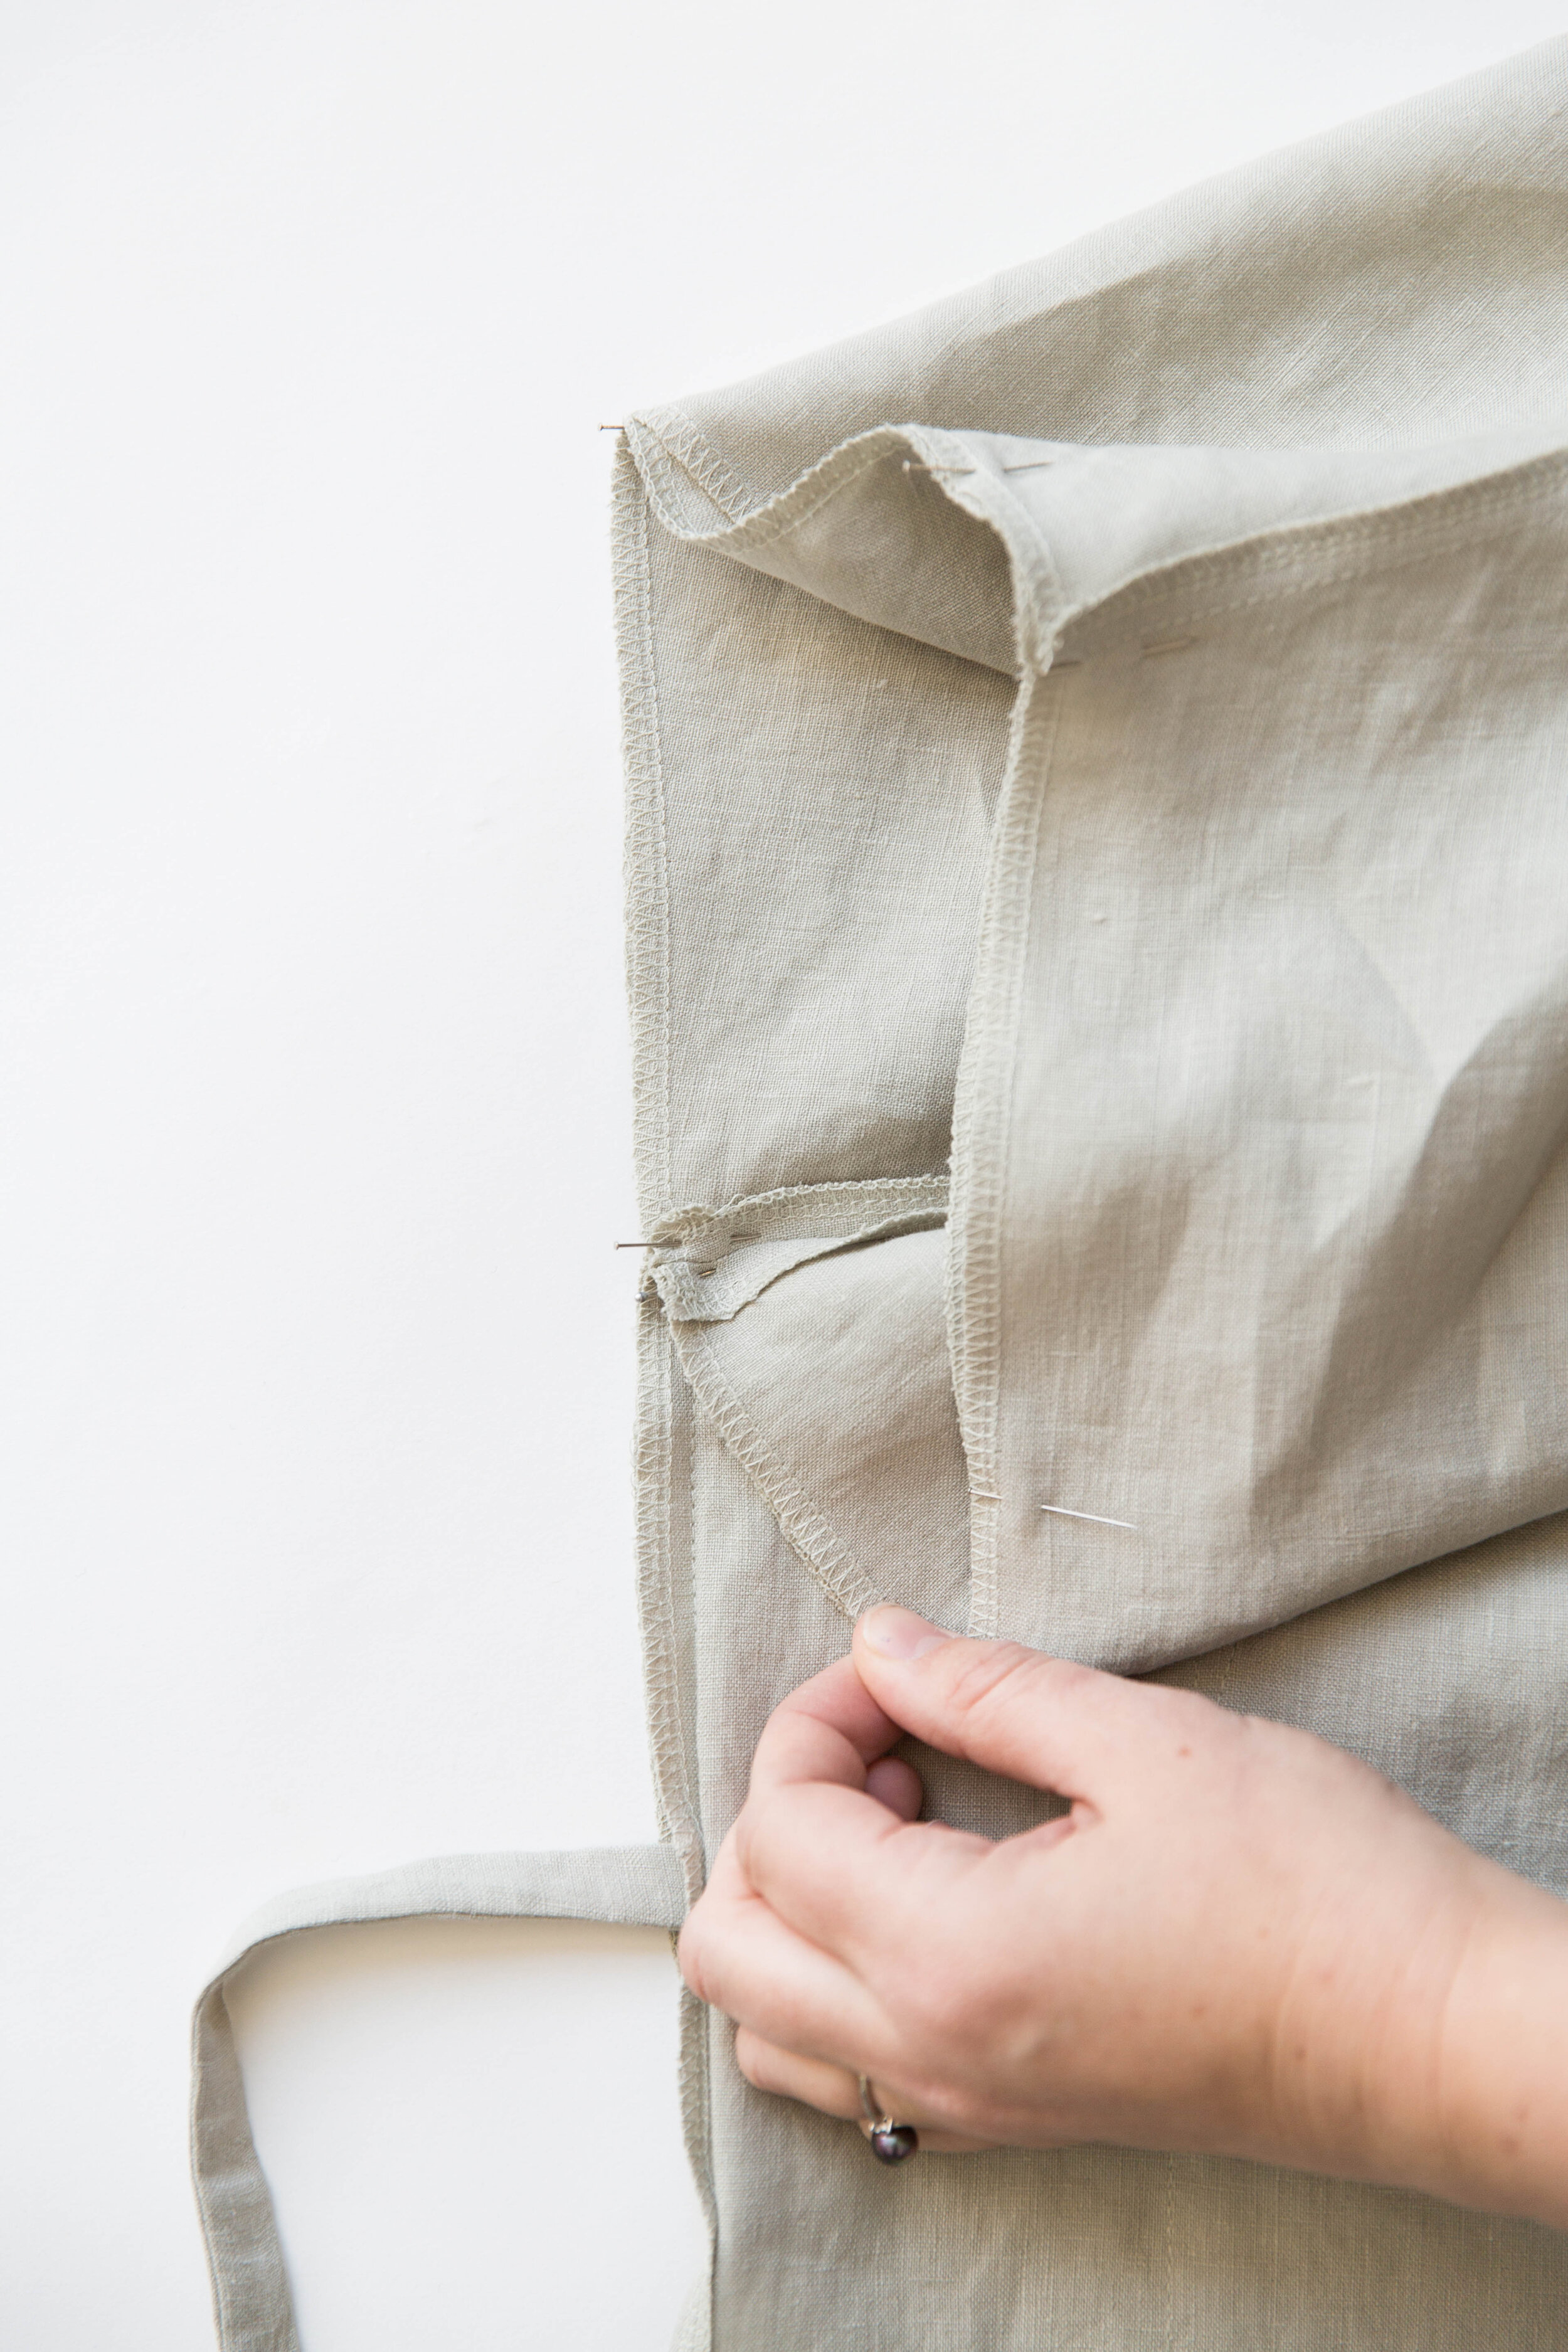
Step 6
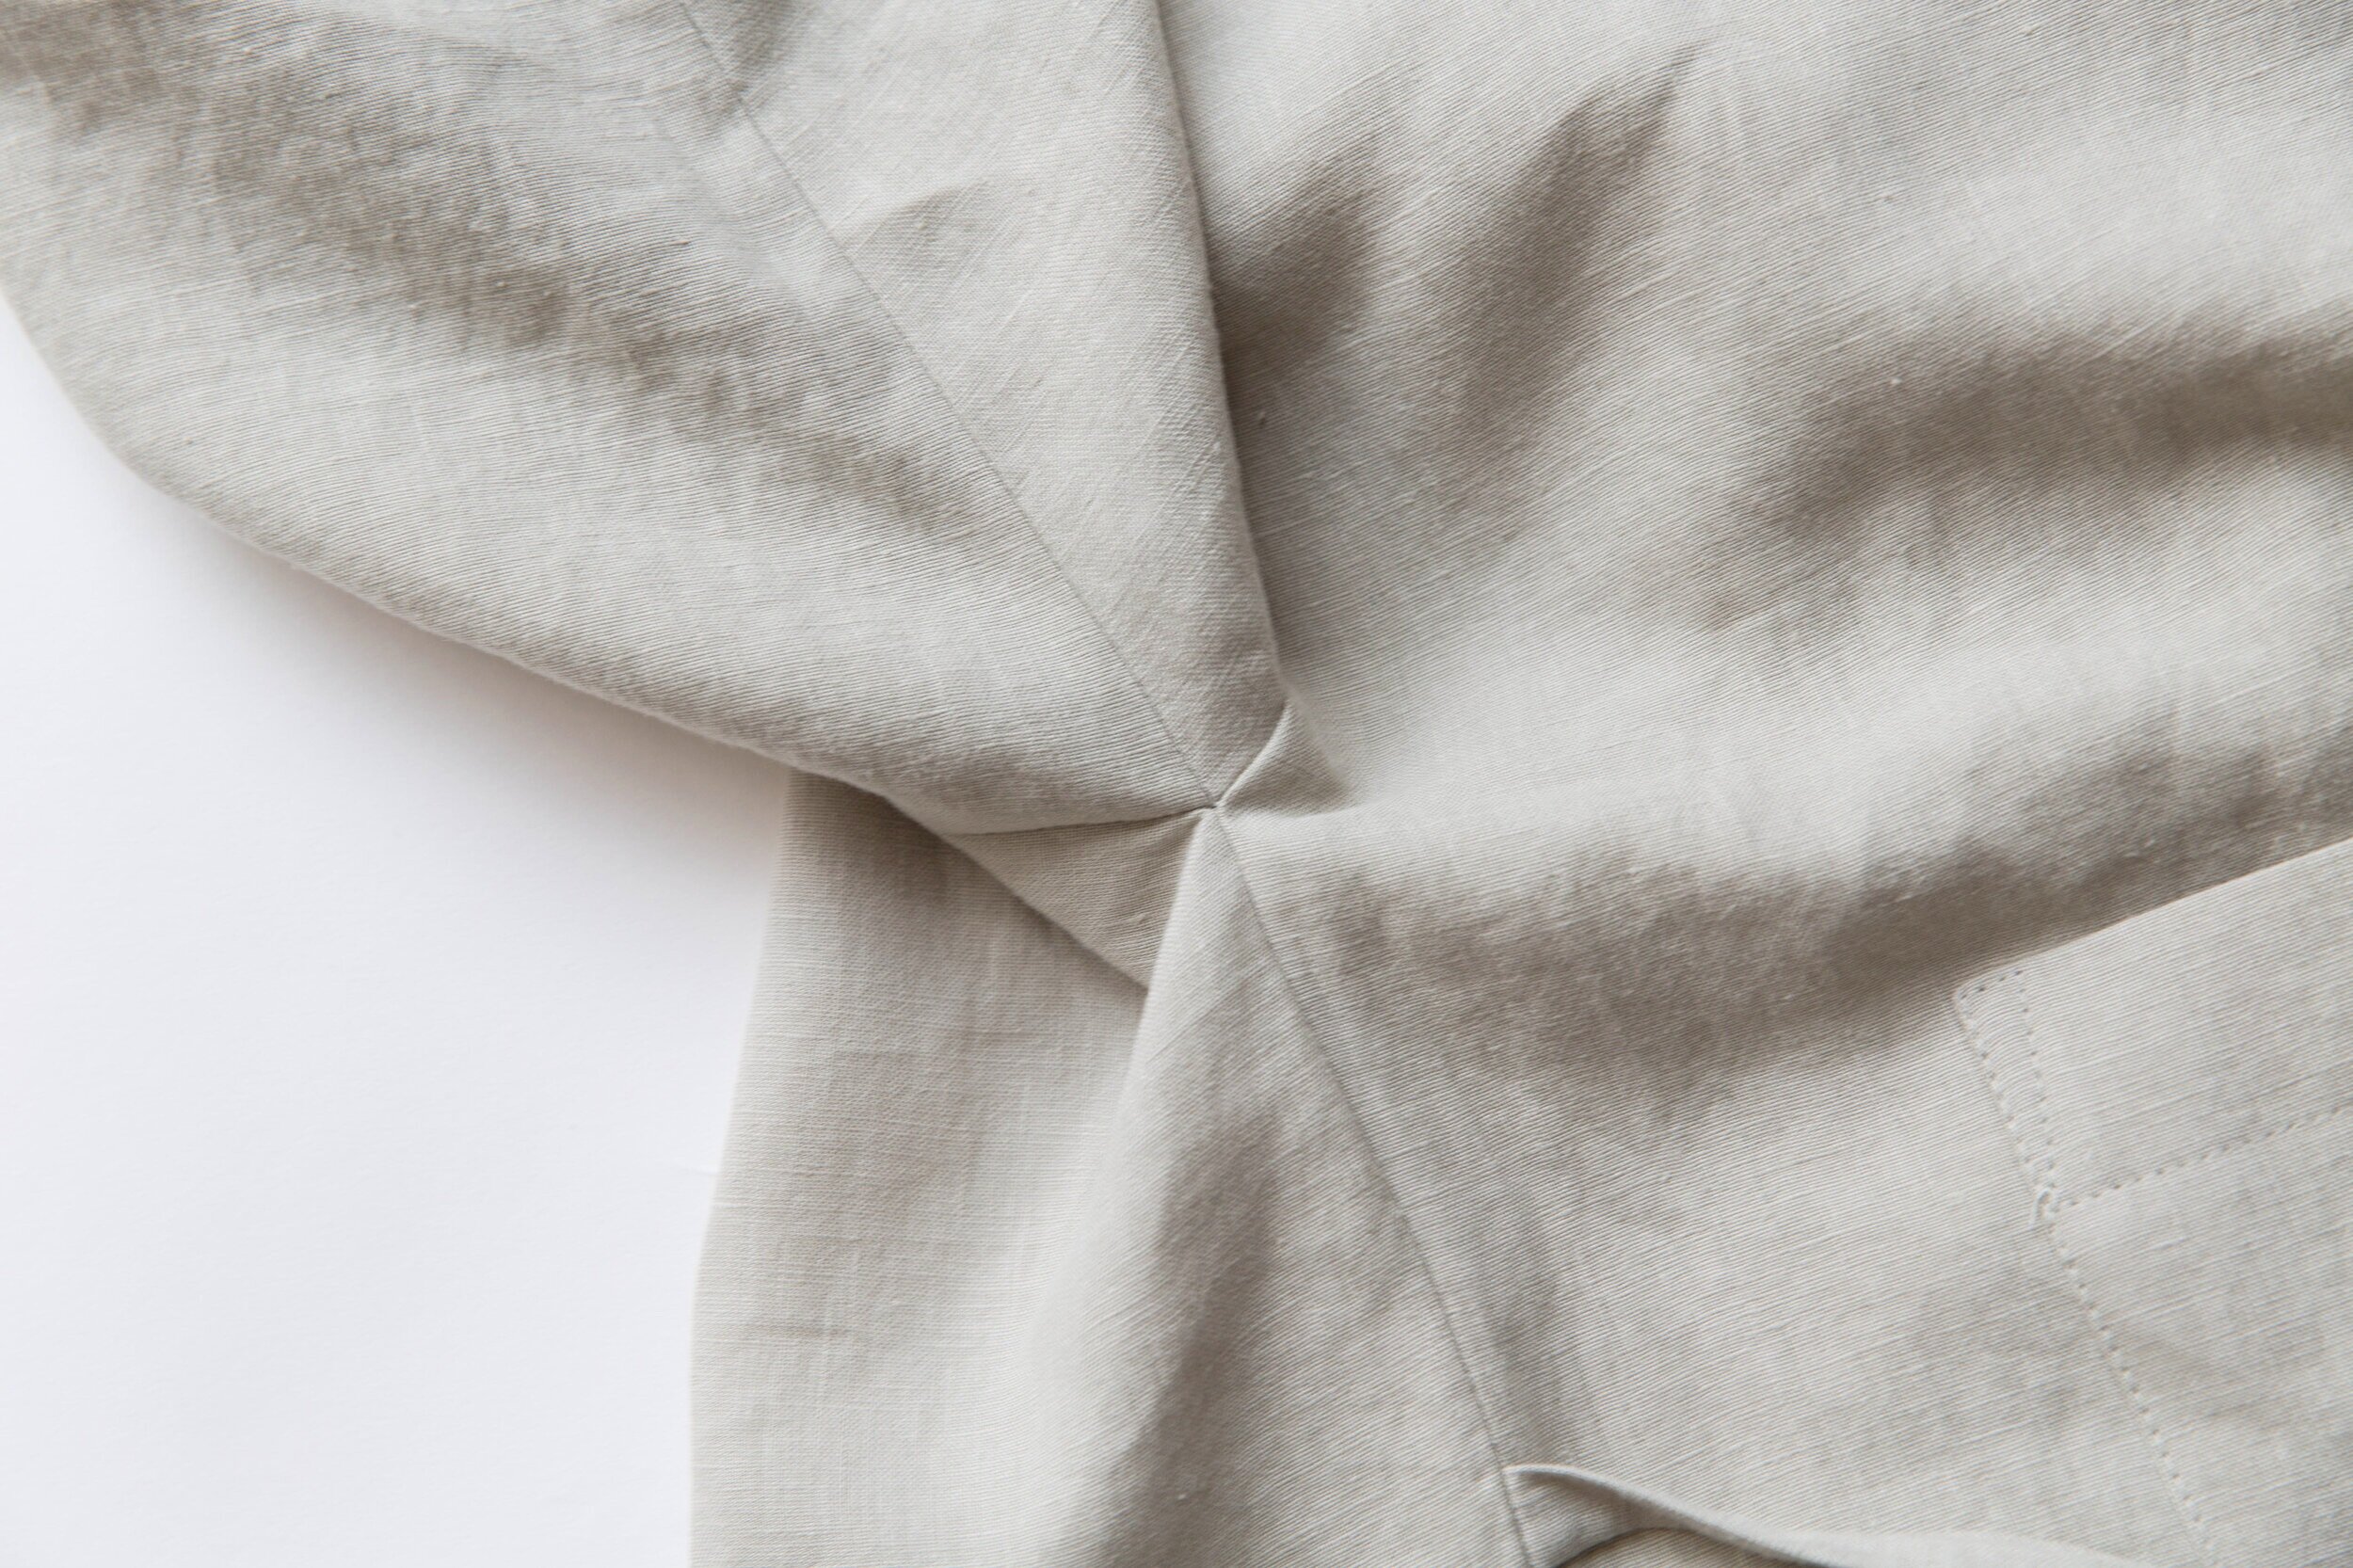
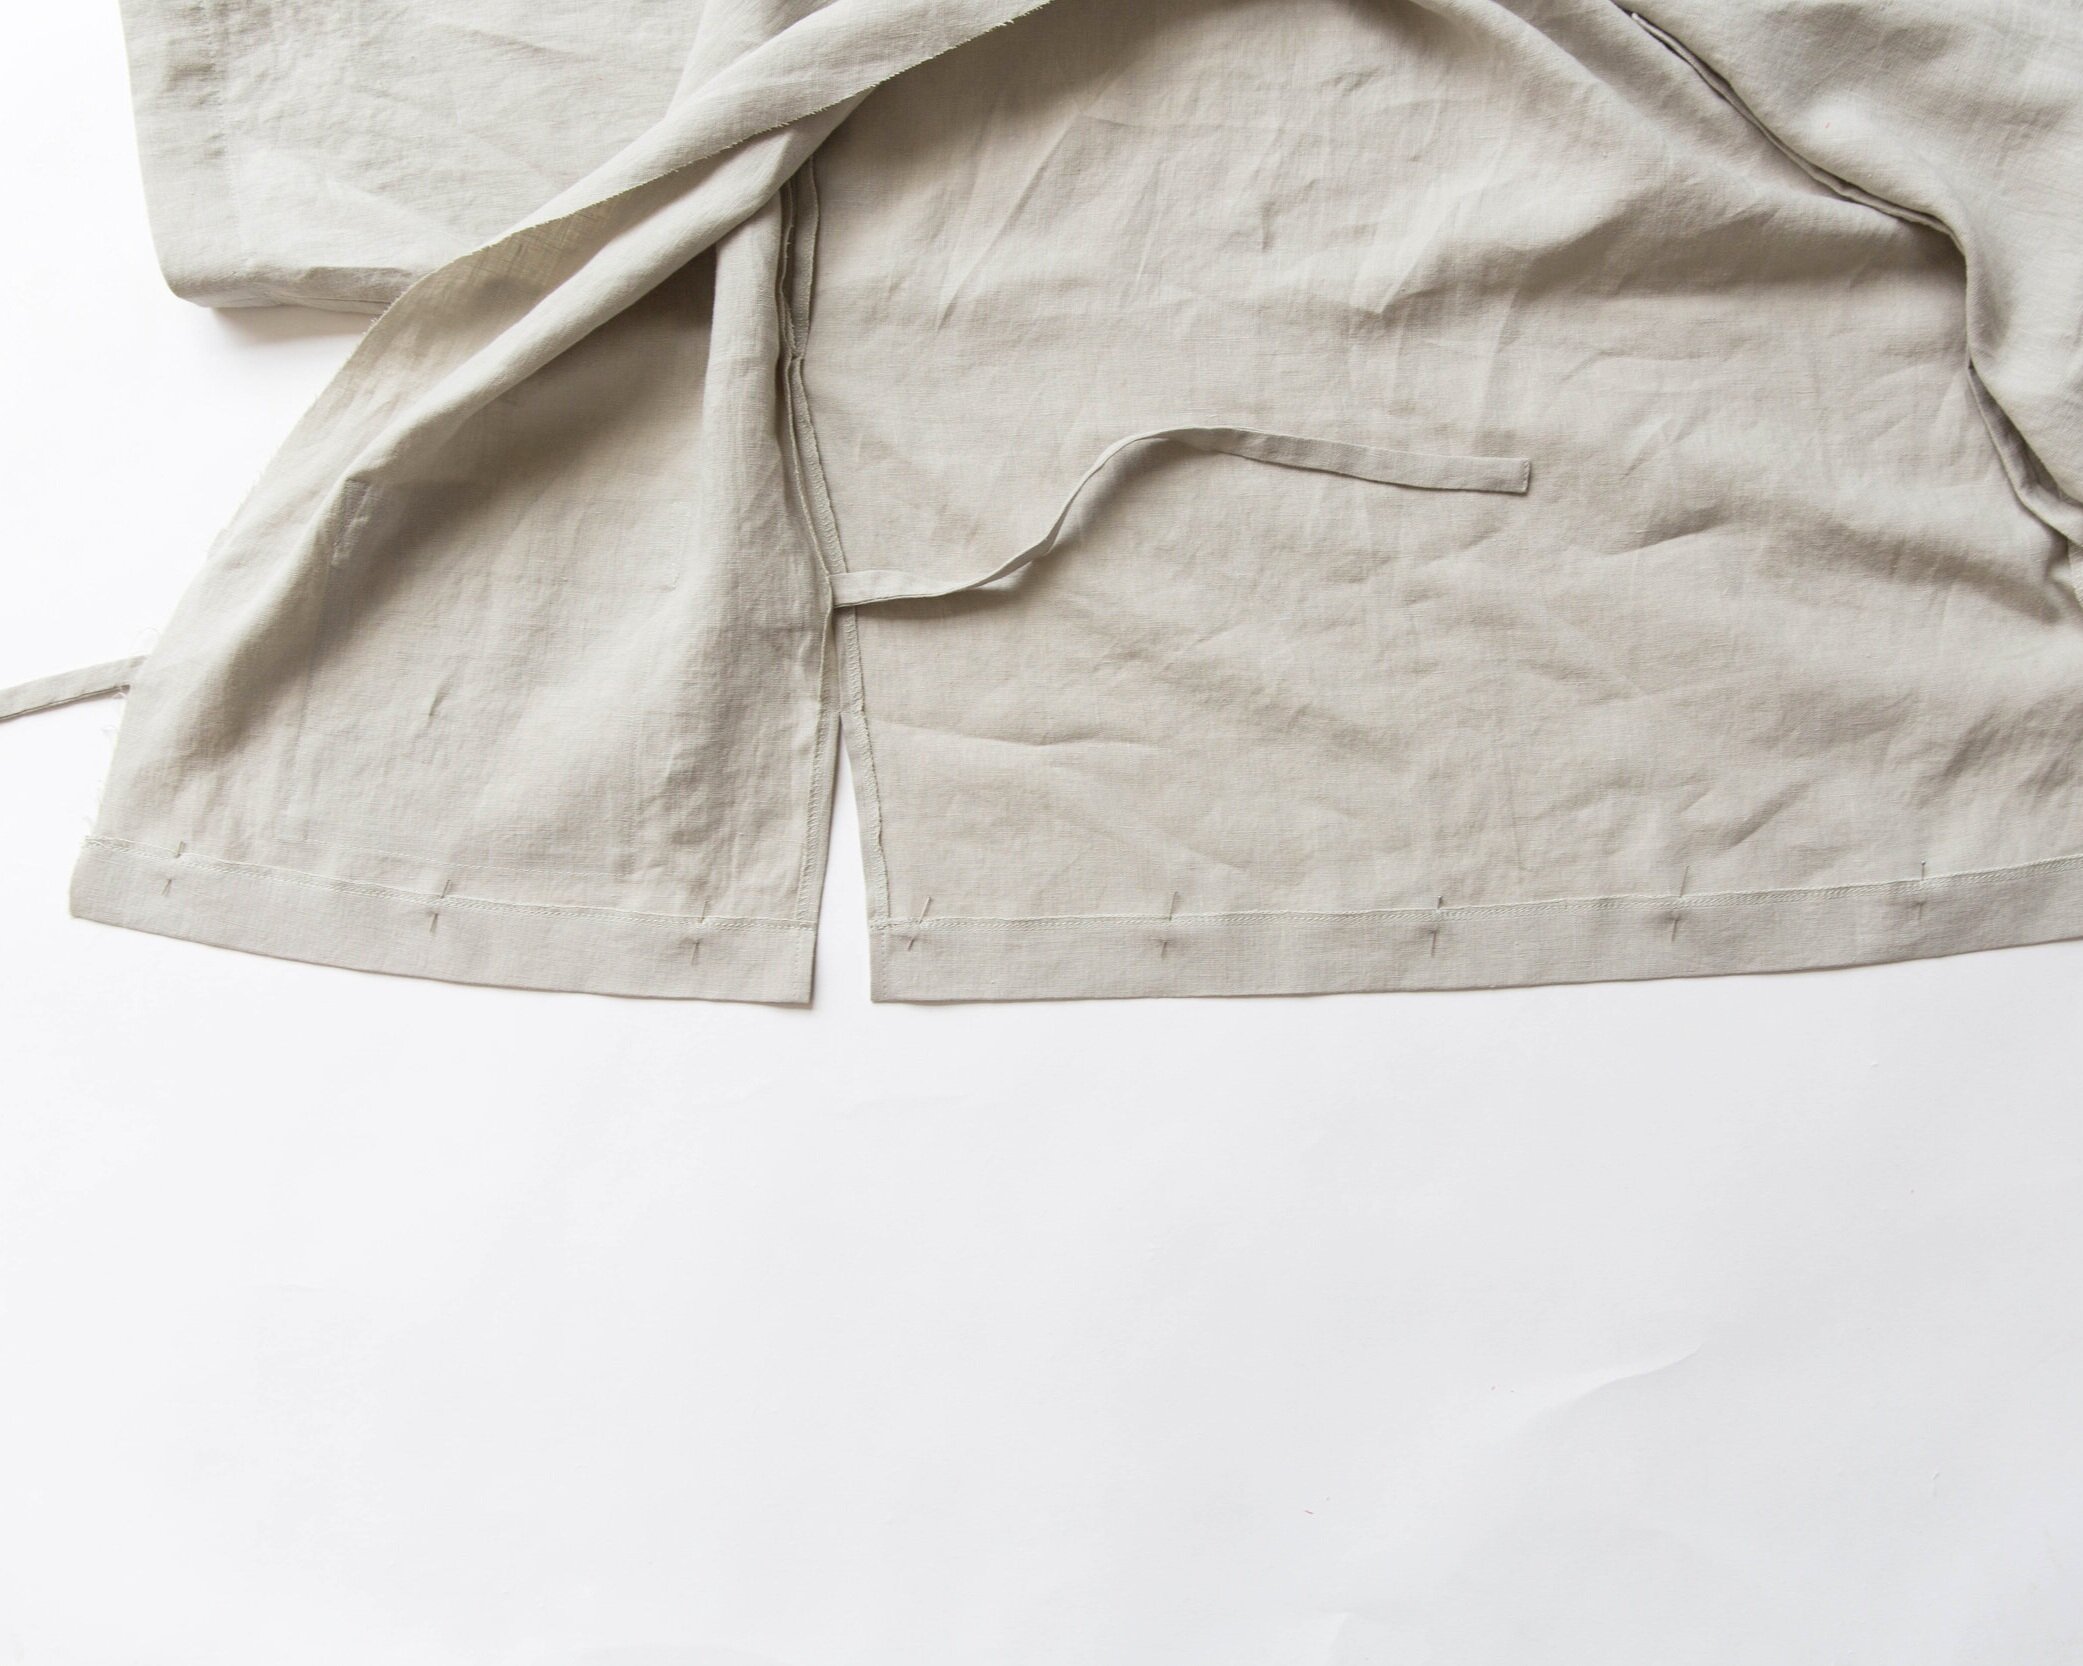
Pin the side seams of the front and back together, Starting from notch A.
Stitch down to notch C on the side seam. Stitch together and press seam allowances open.
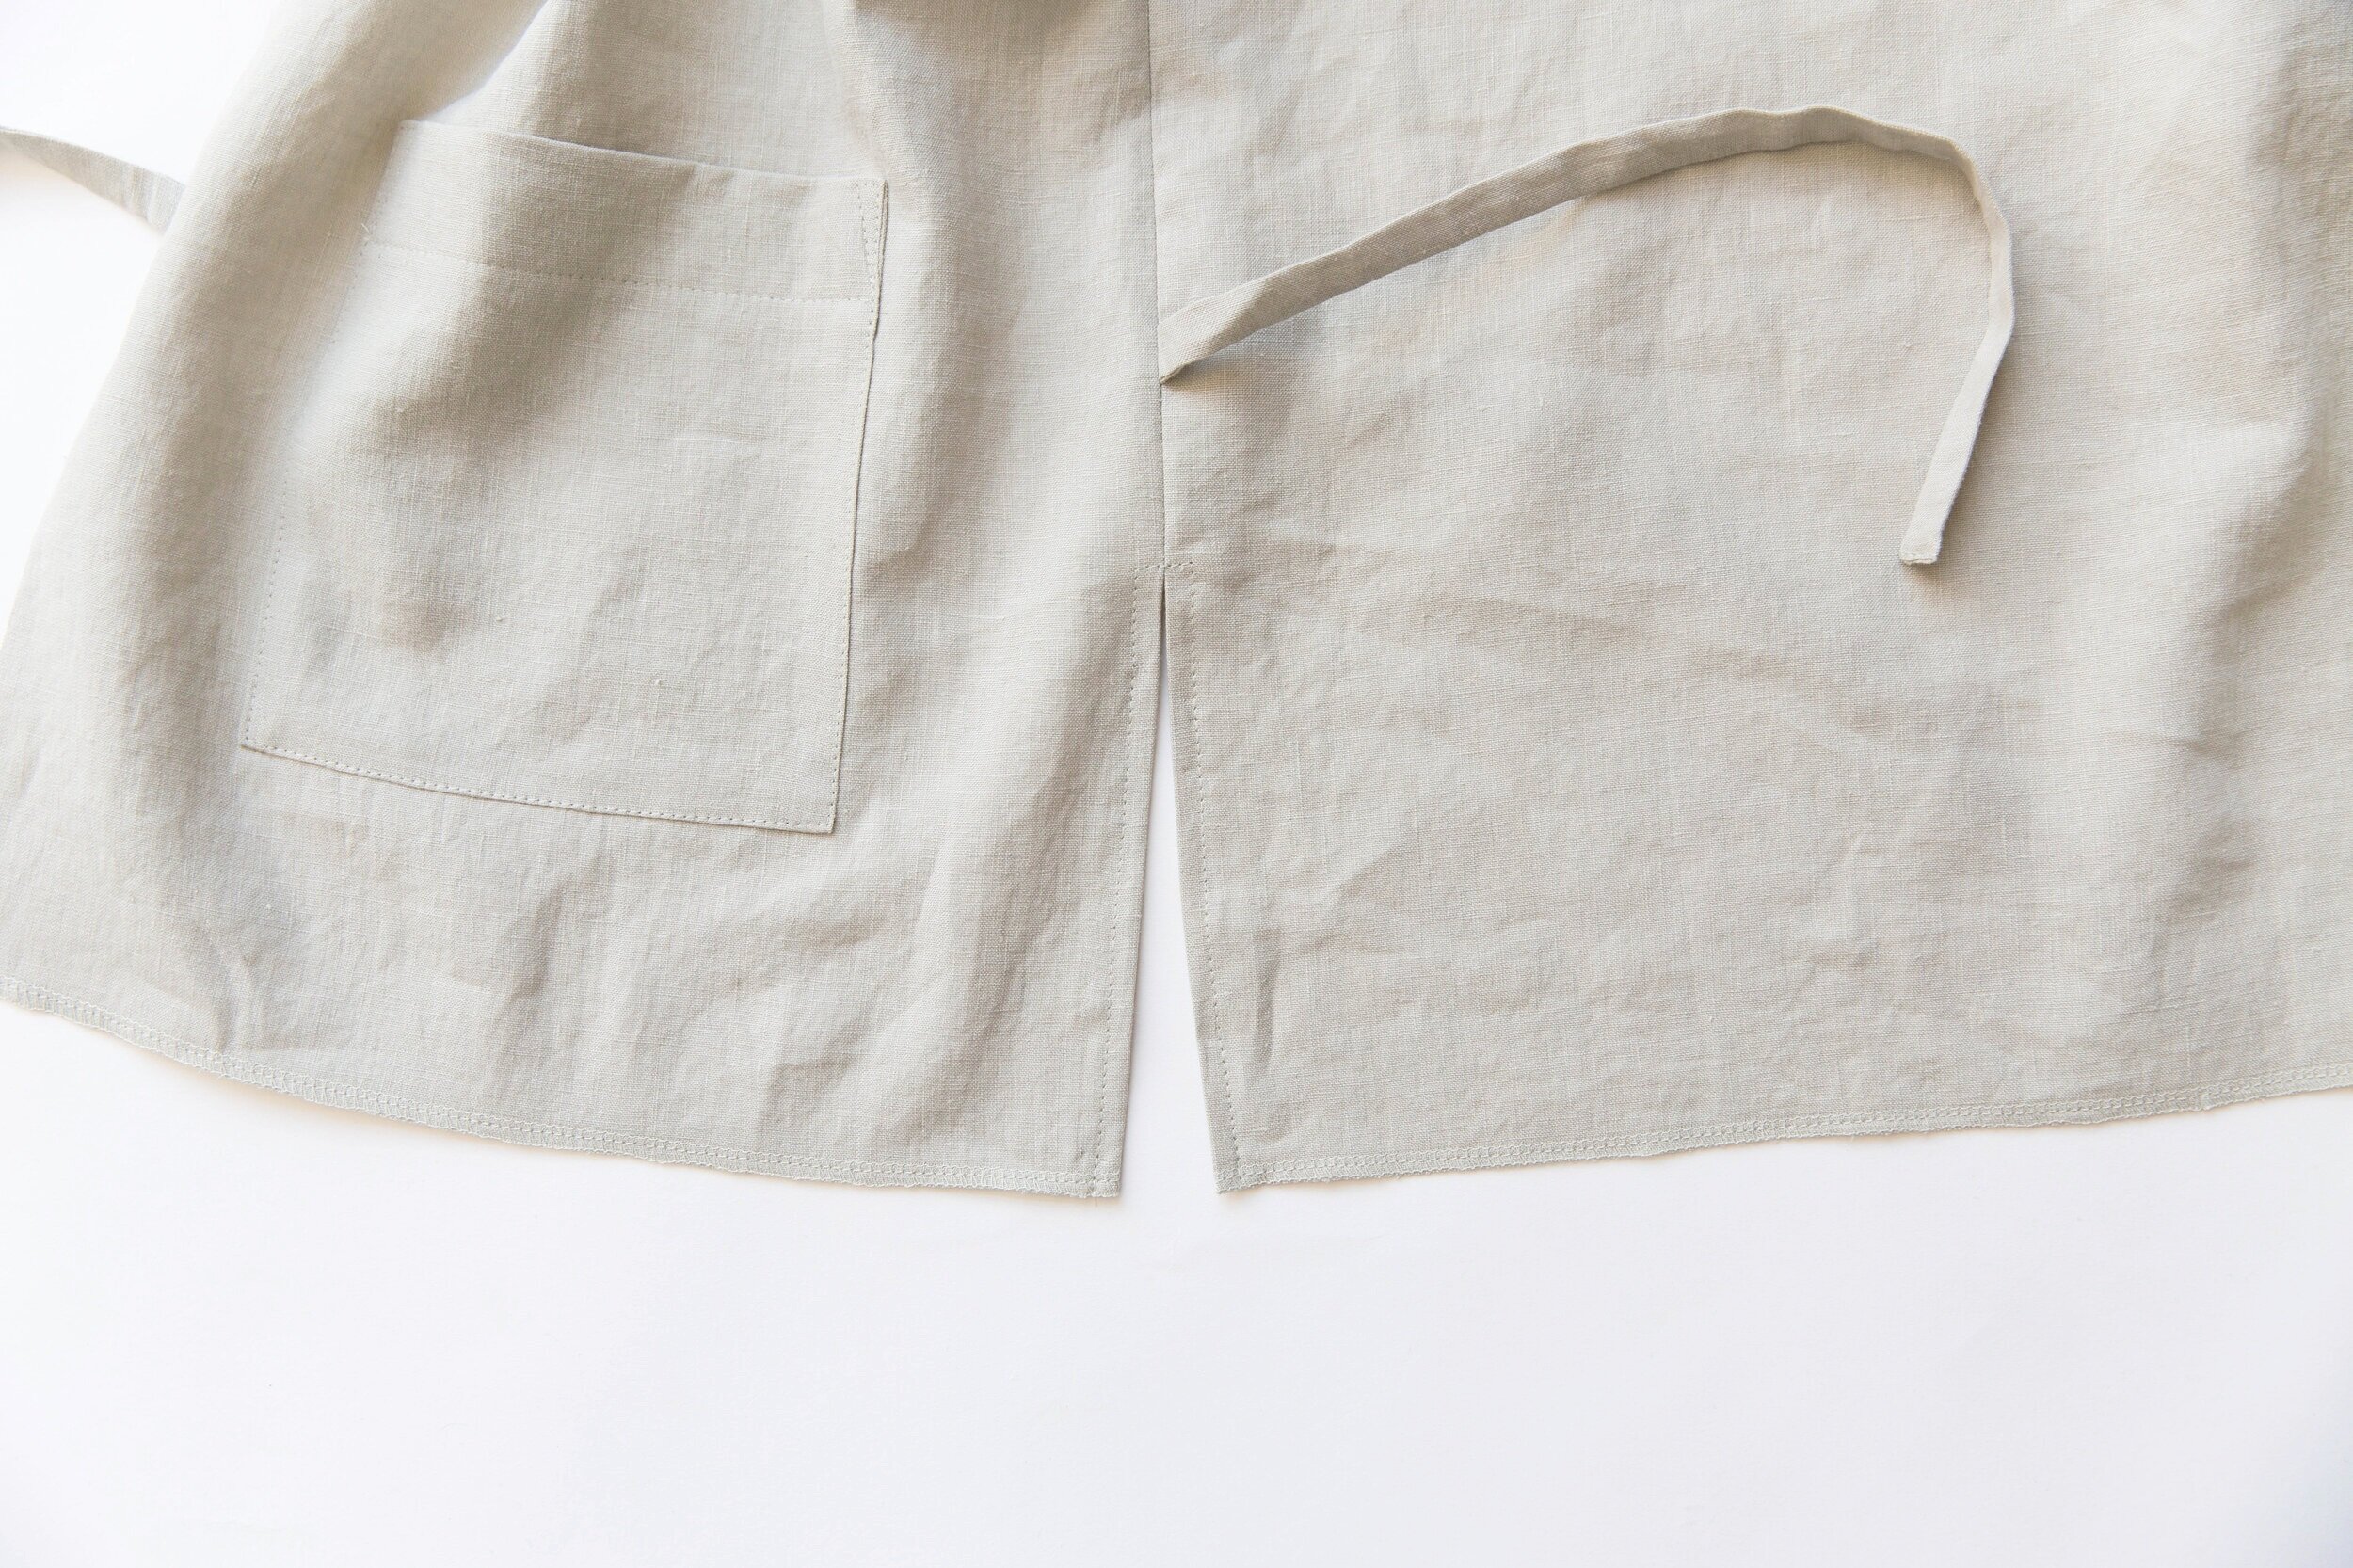
Step 7
Top-stitch around side seam slits.

Step 8
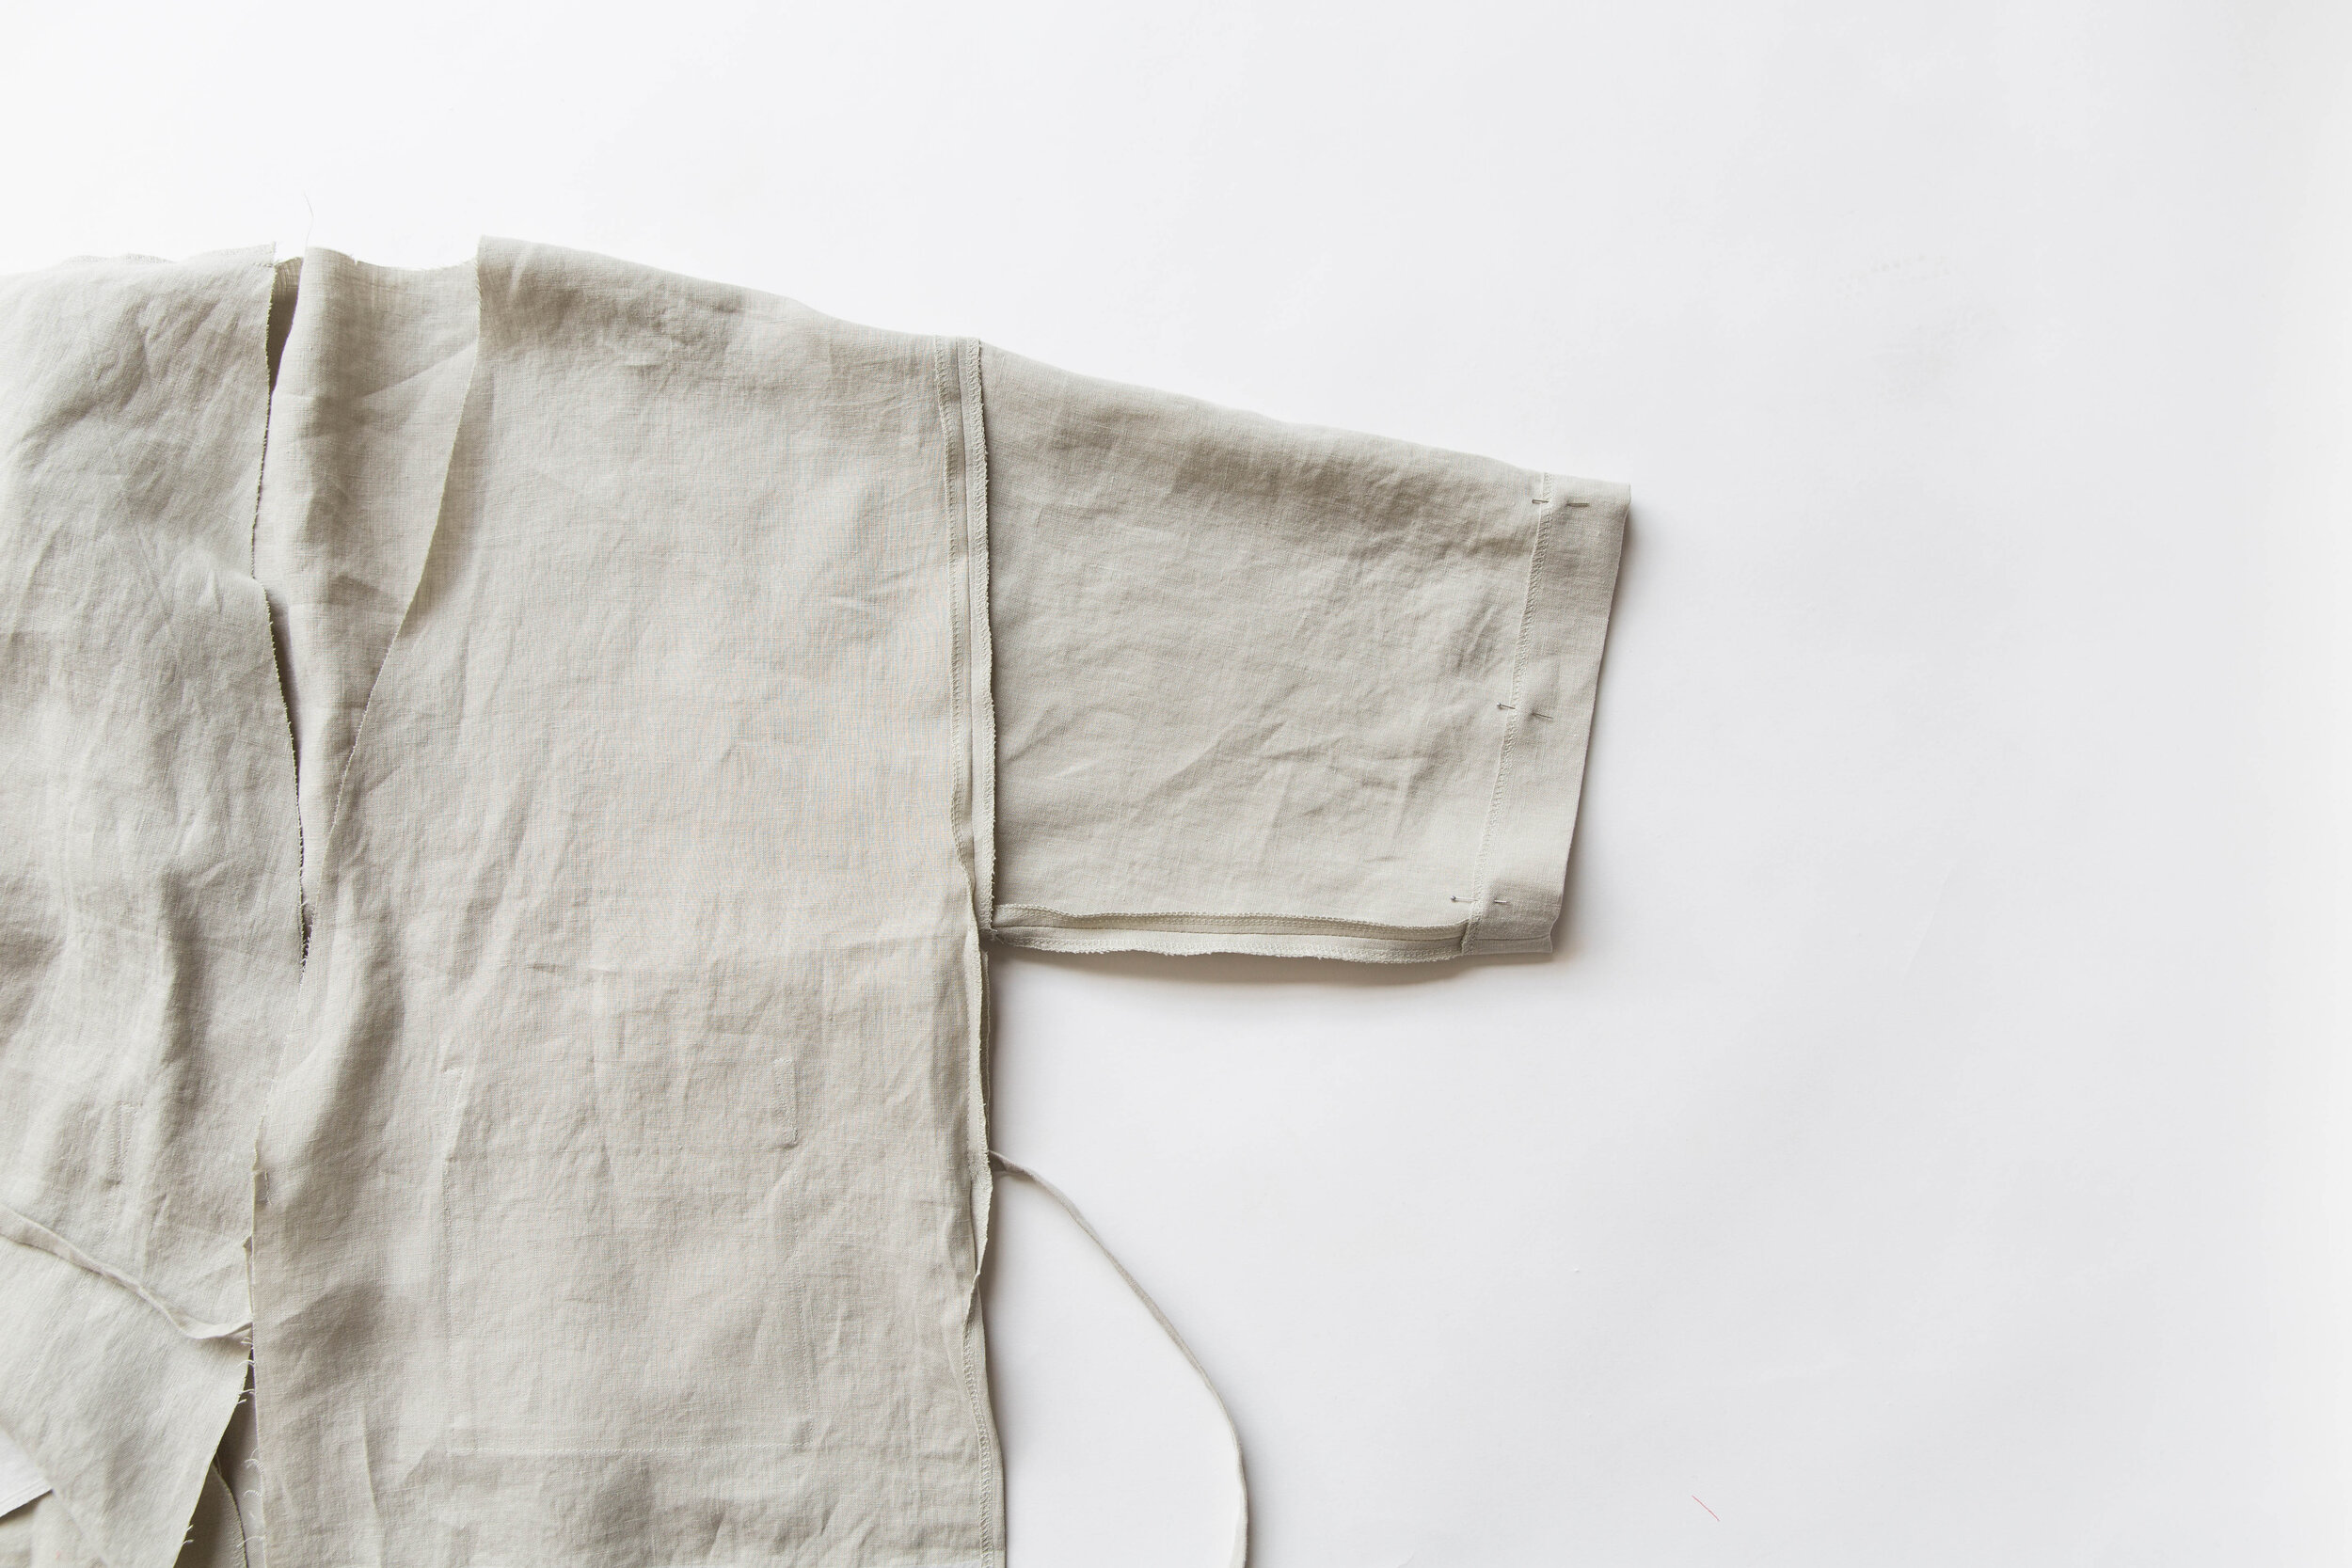
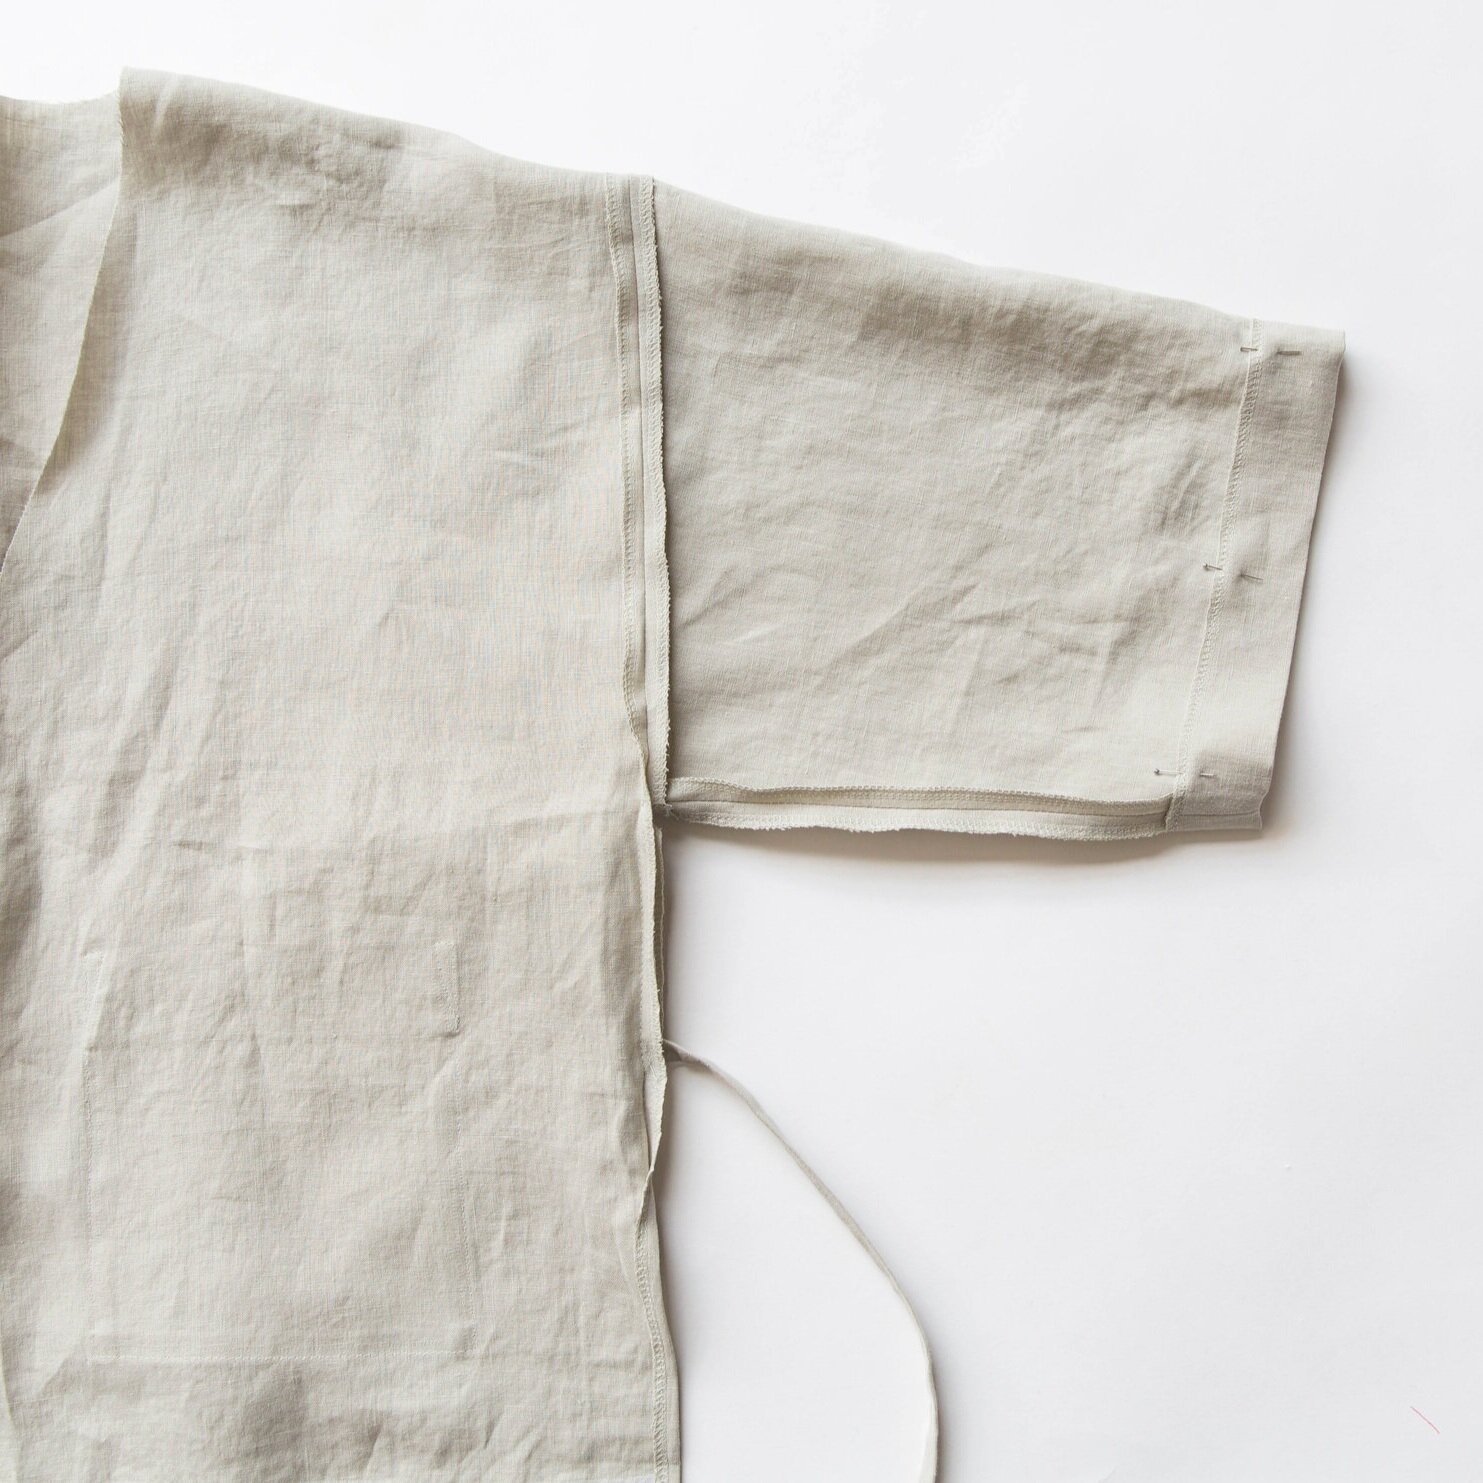
With right sides facing, pin the sleeve edges together from armhole to sleeve hem. Stitch. Press seam allowances open.
Step 9
With right sides facing, place the sleeve inside the jacket and match armhole edges. Place a pin where the sleeve seam meets the jacket side seam. Pin around armhole, matching shoulder seam with sleeve centre notch. Start stitching from the underarm seam and stitch around armhole. Press. Repeat for other side.
Step 10
Fold hem and sleeve edges up at notches and top-stitch in place. Press
Step 11
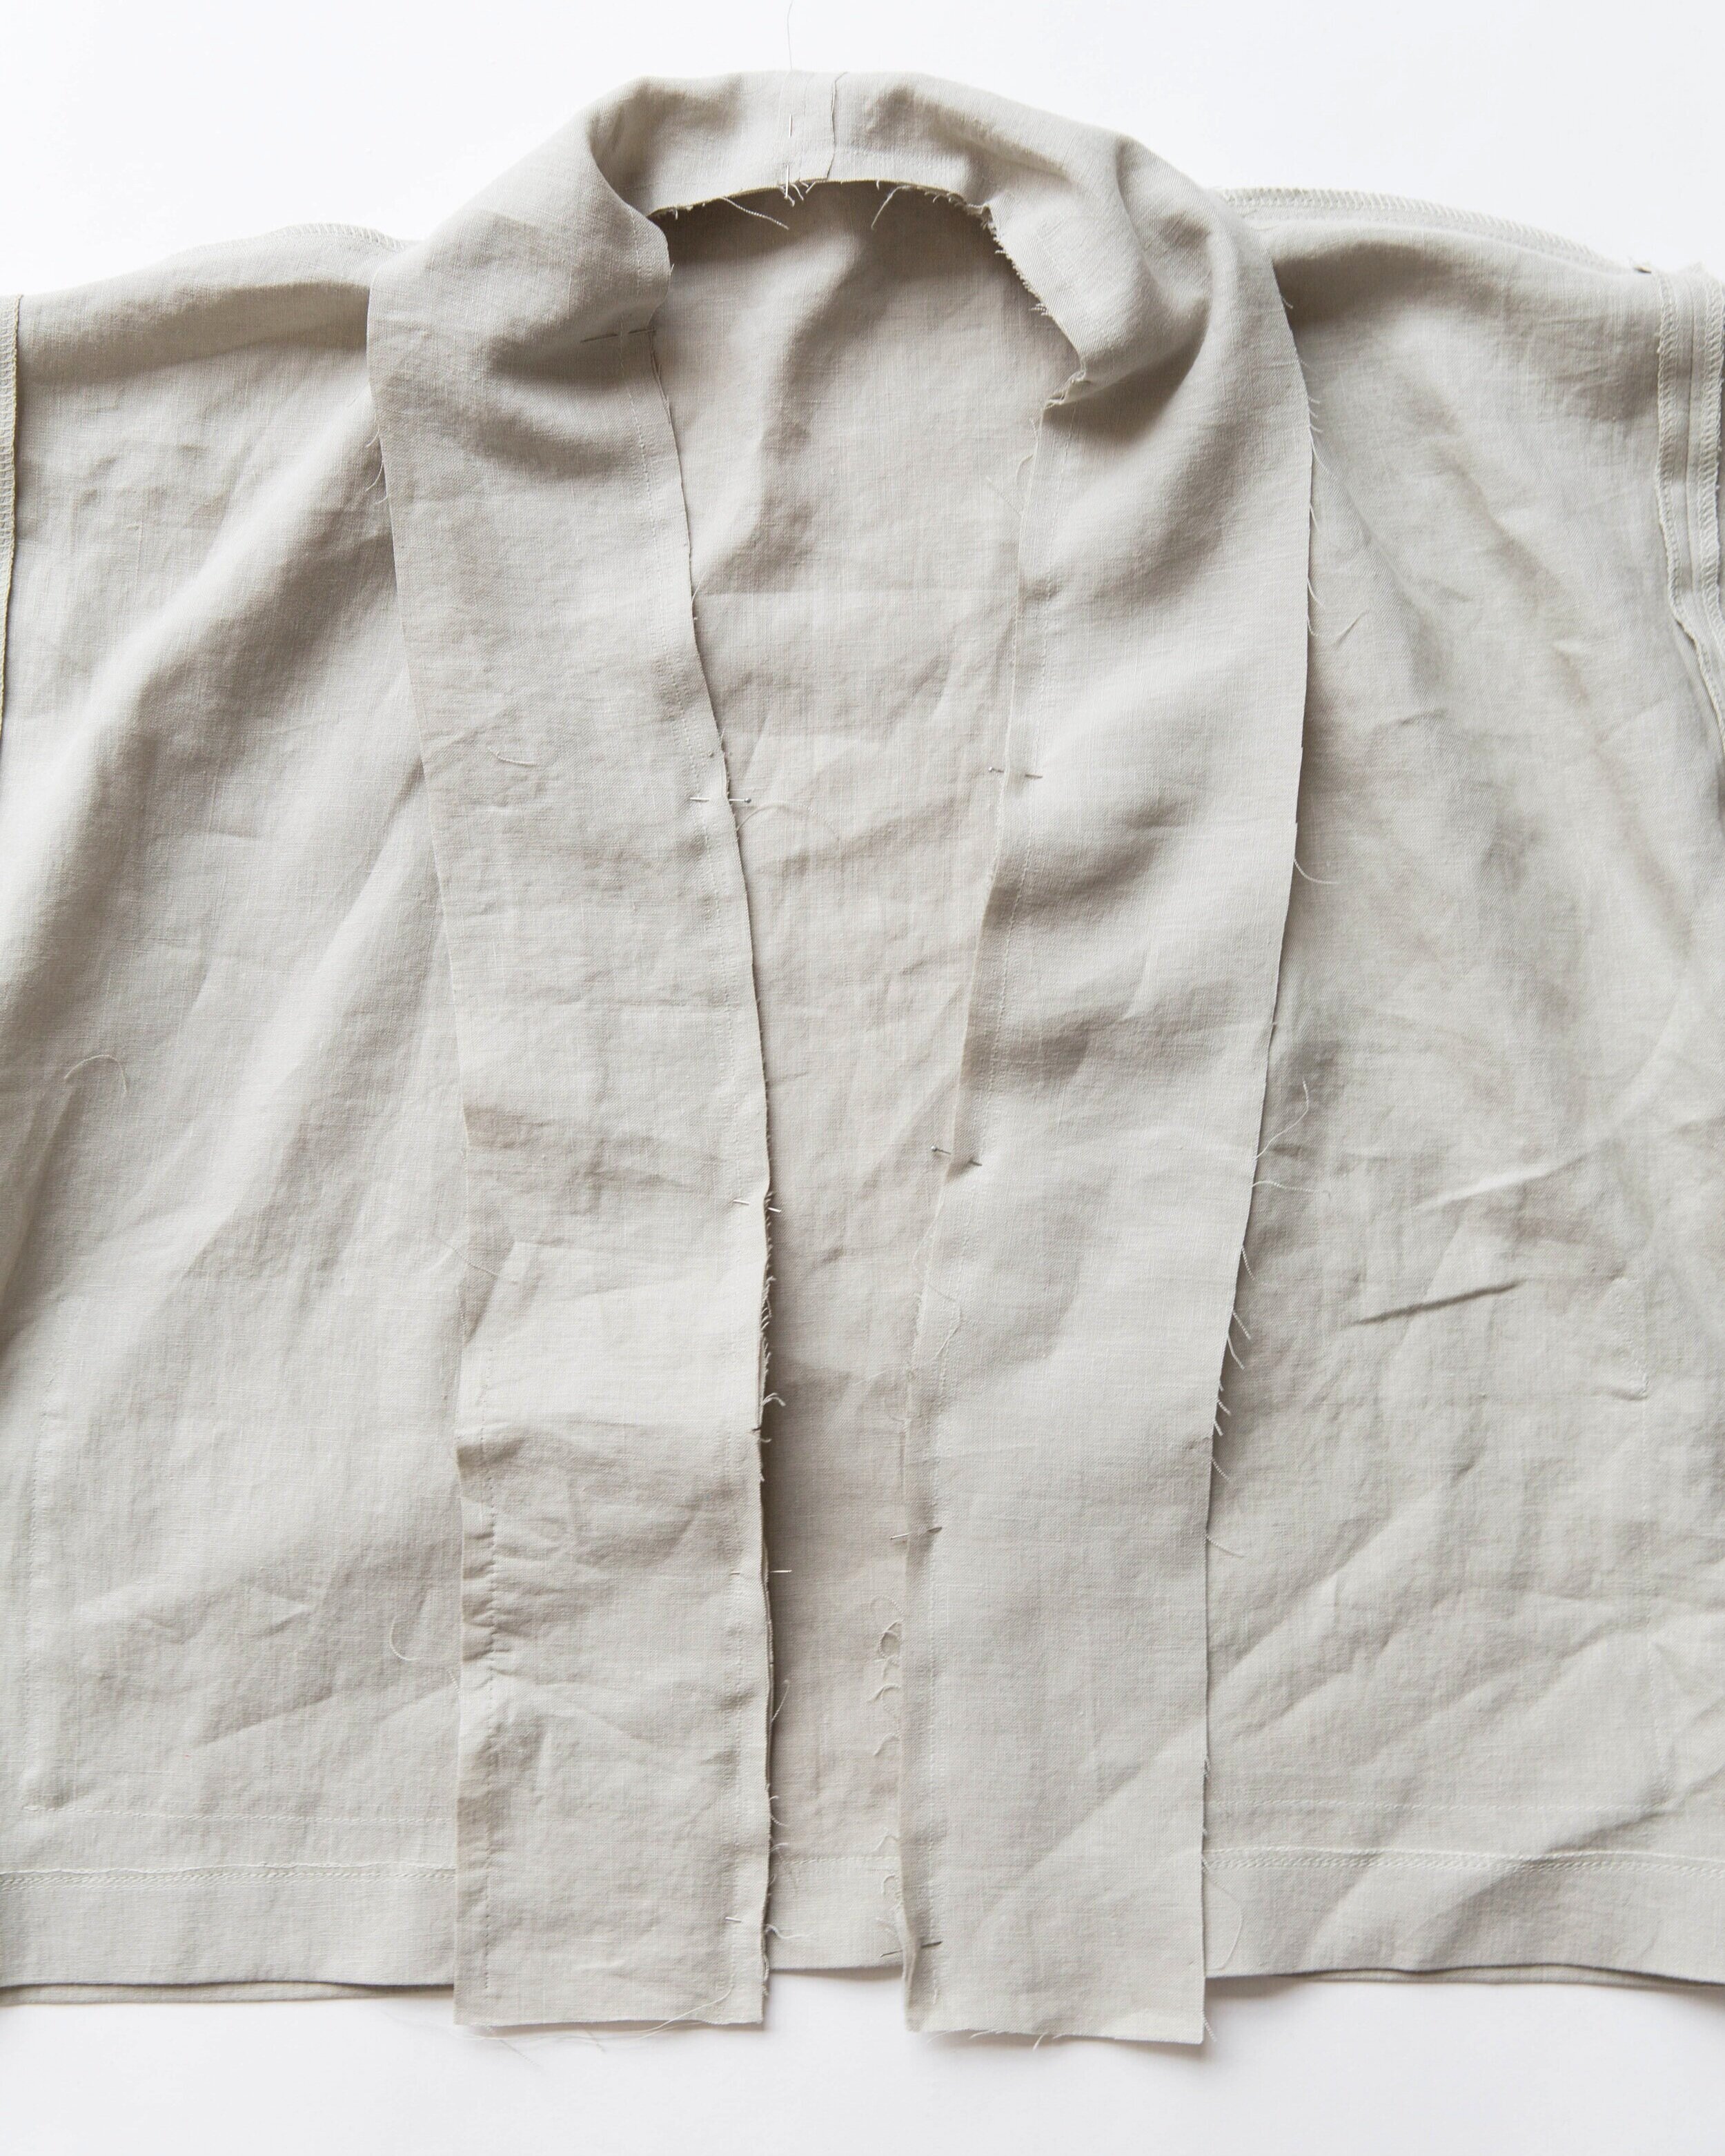
With right sides facing, place the neckband pieces together at short ends, on one side only. Stitch. Press seam allowance open.
Pin neckband all the way around neckline of jacket, with the right side of neckband facing the wrong side of jacket. The bottom edge of neckband should overhang the hem by 1cm/0.39”. Line up the centre back seam of neckband with centre back point of jacket and match notches. Stitch. Press seam allowance toward neckband.

Step 12
Press the other edge of neckband in 1cm/0.39” toward the wrong side all the way around.

Step 13
Fold bottom edge of neckband in half with wrong sides out, so that the folded edge lines up with the seam-line. Stitch edges together to be in line with edge of hem. Clip corners then turn through to the right side. Press well.
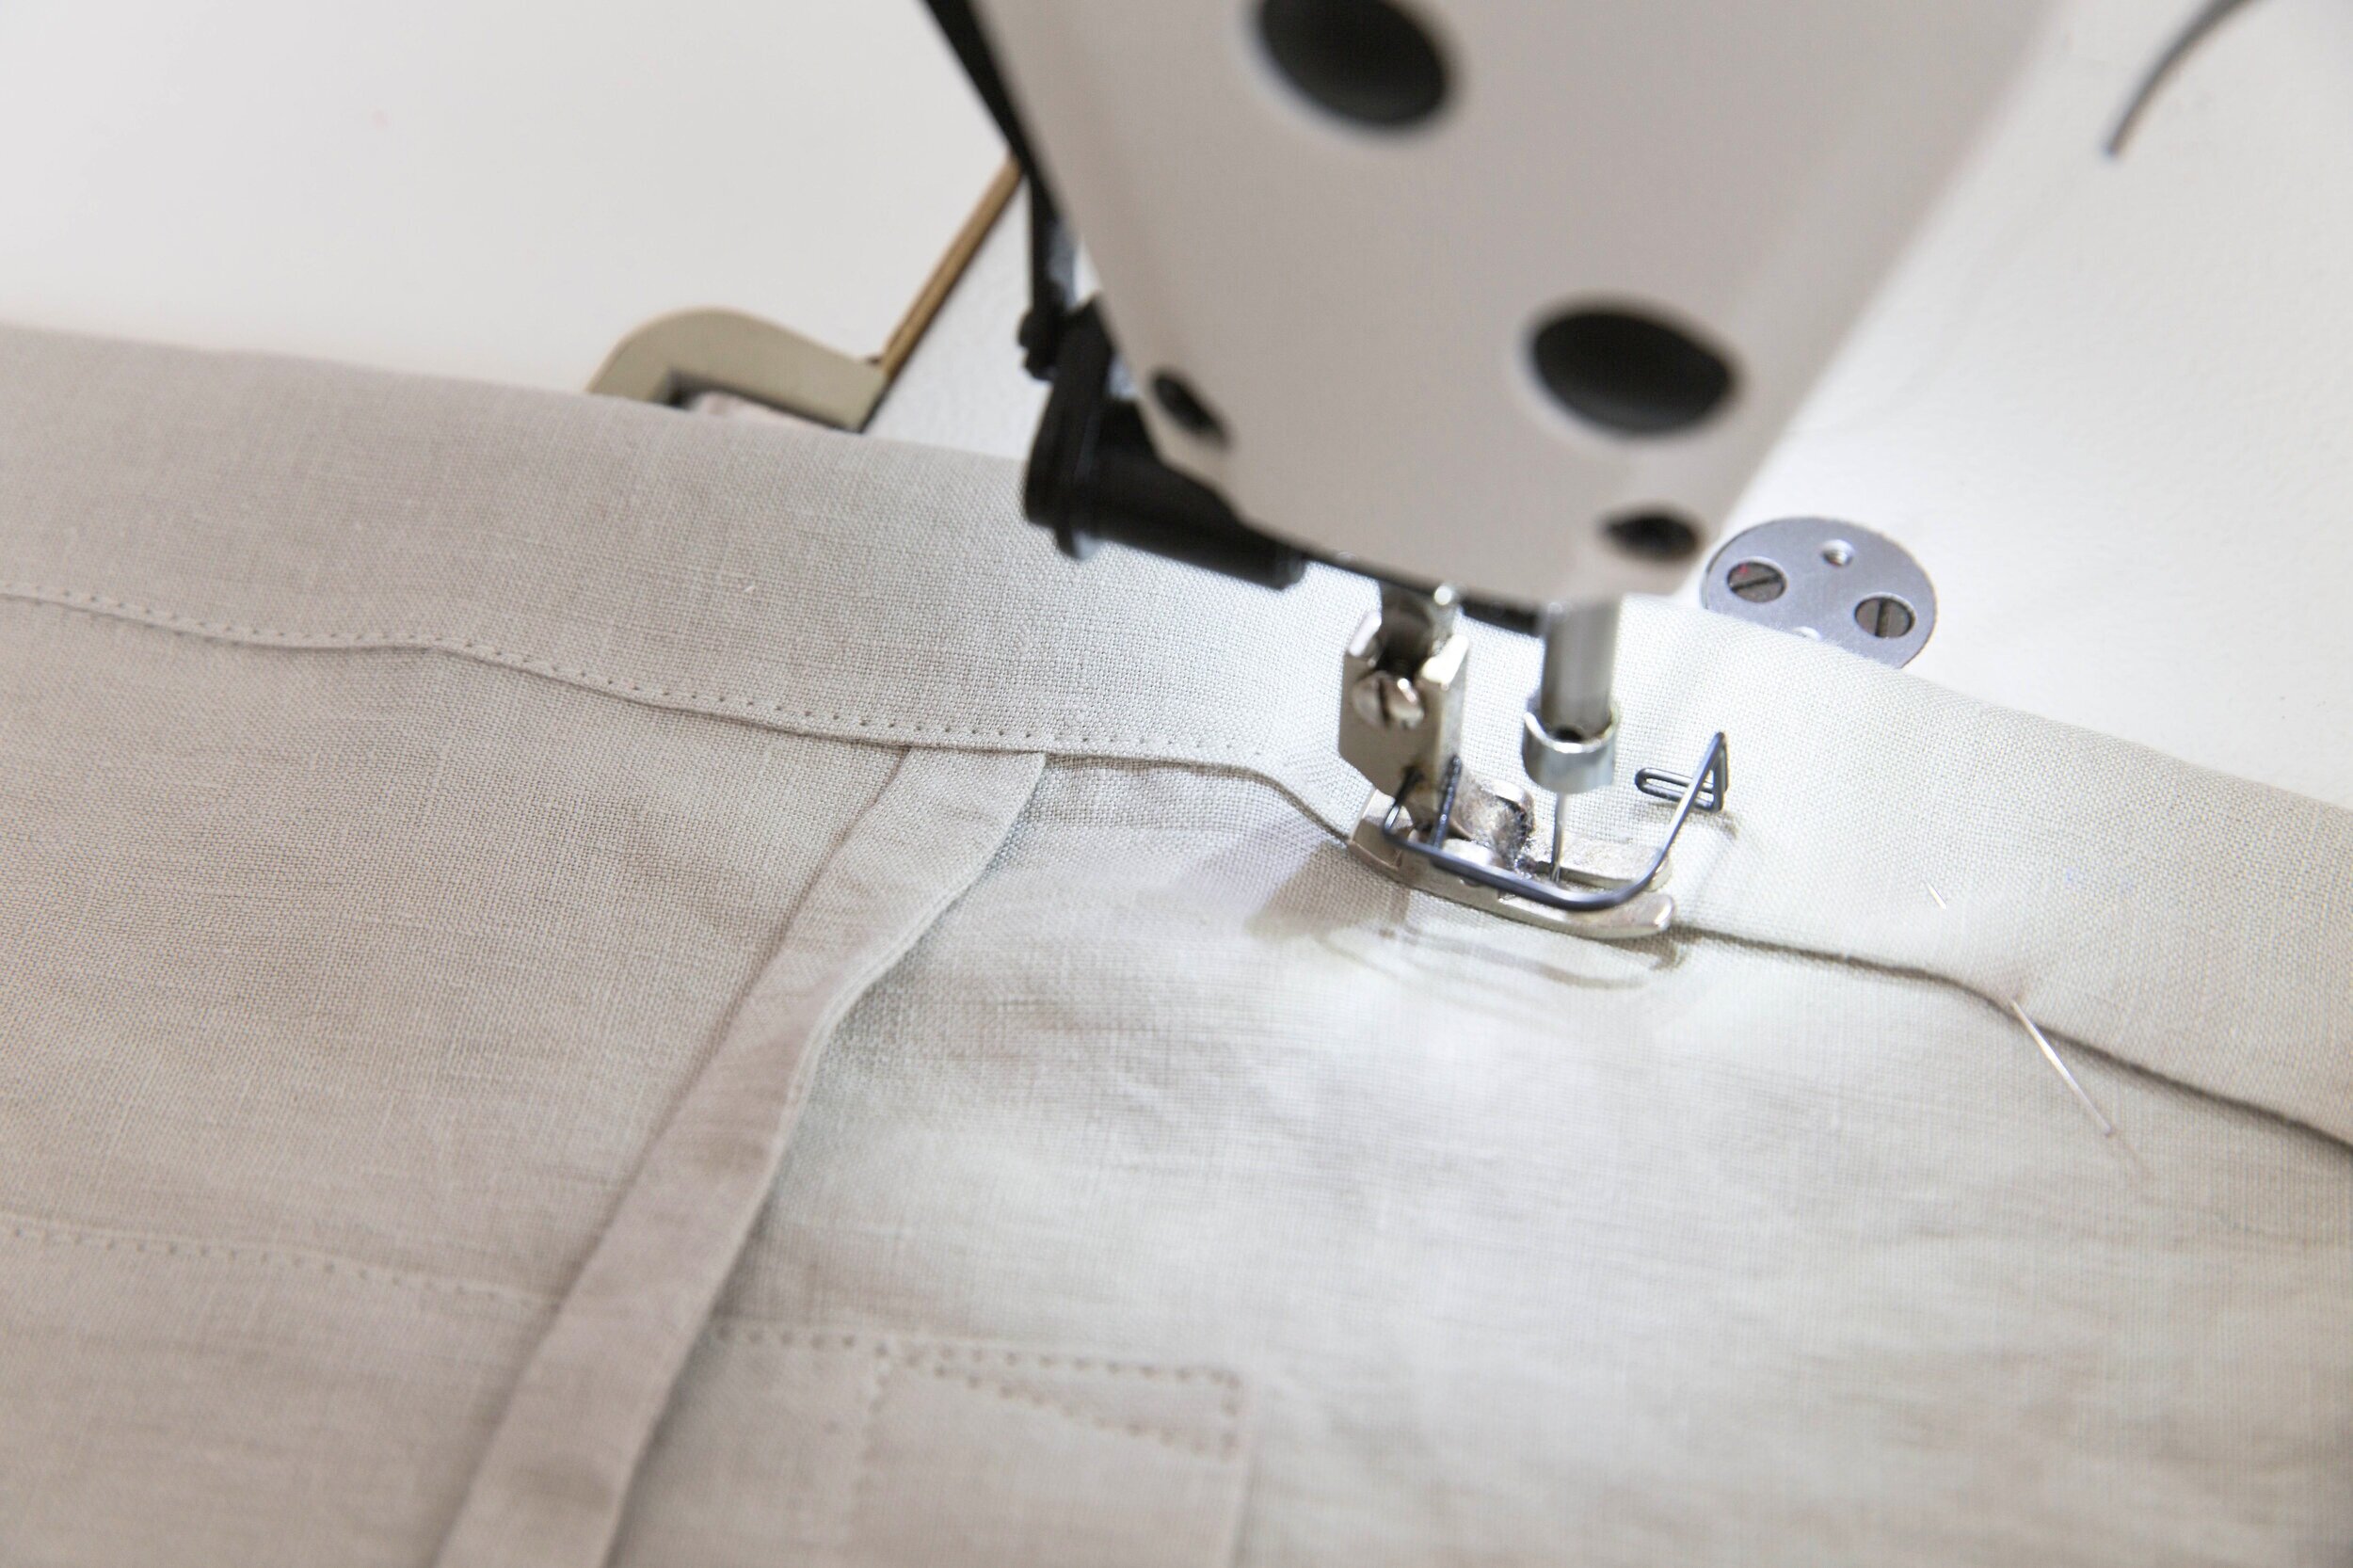
Step 14
Pin the folded edge of neckband in place from the right side, slightly overlapping the seam-line. Top-stitch in place right along the edge.
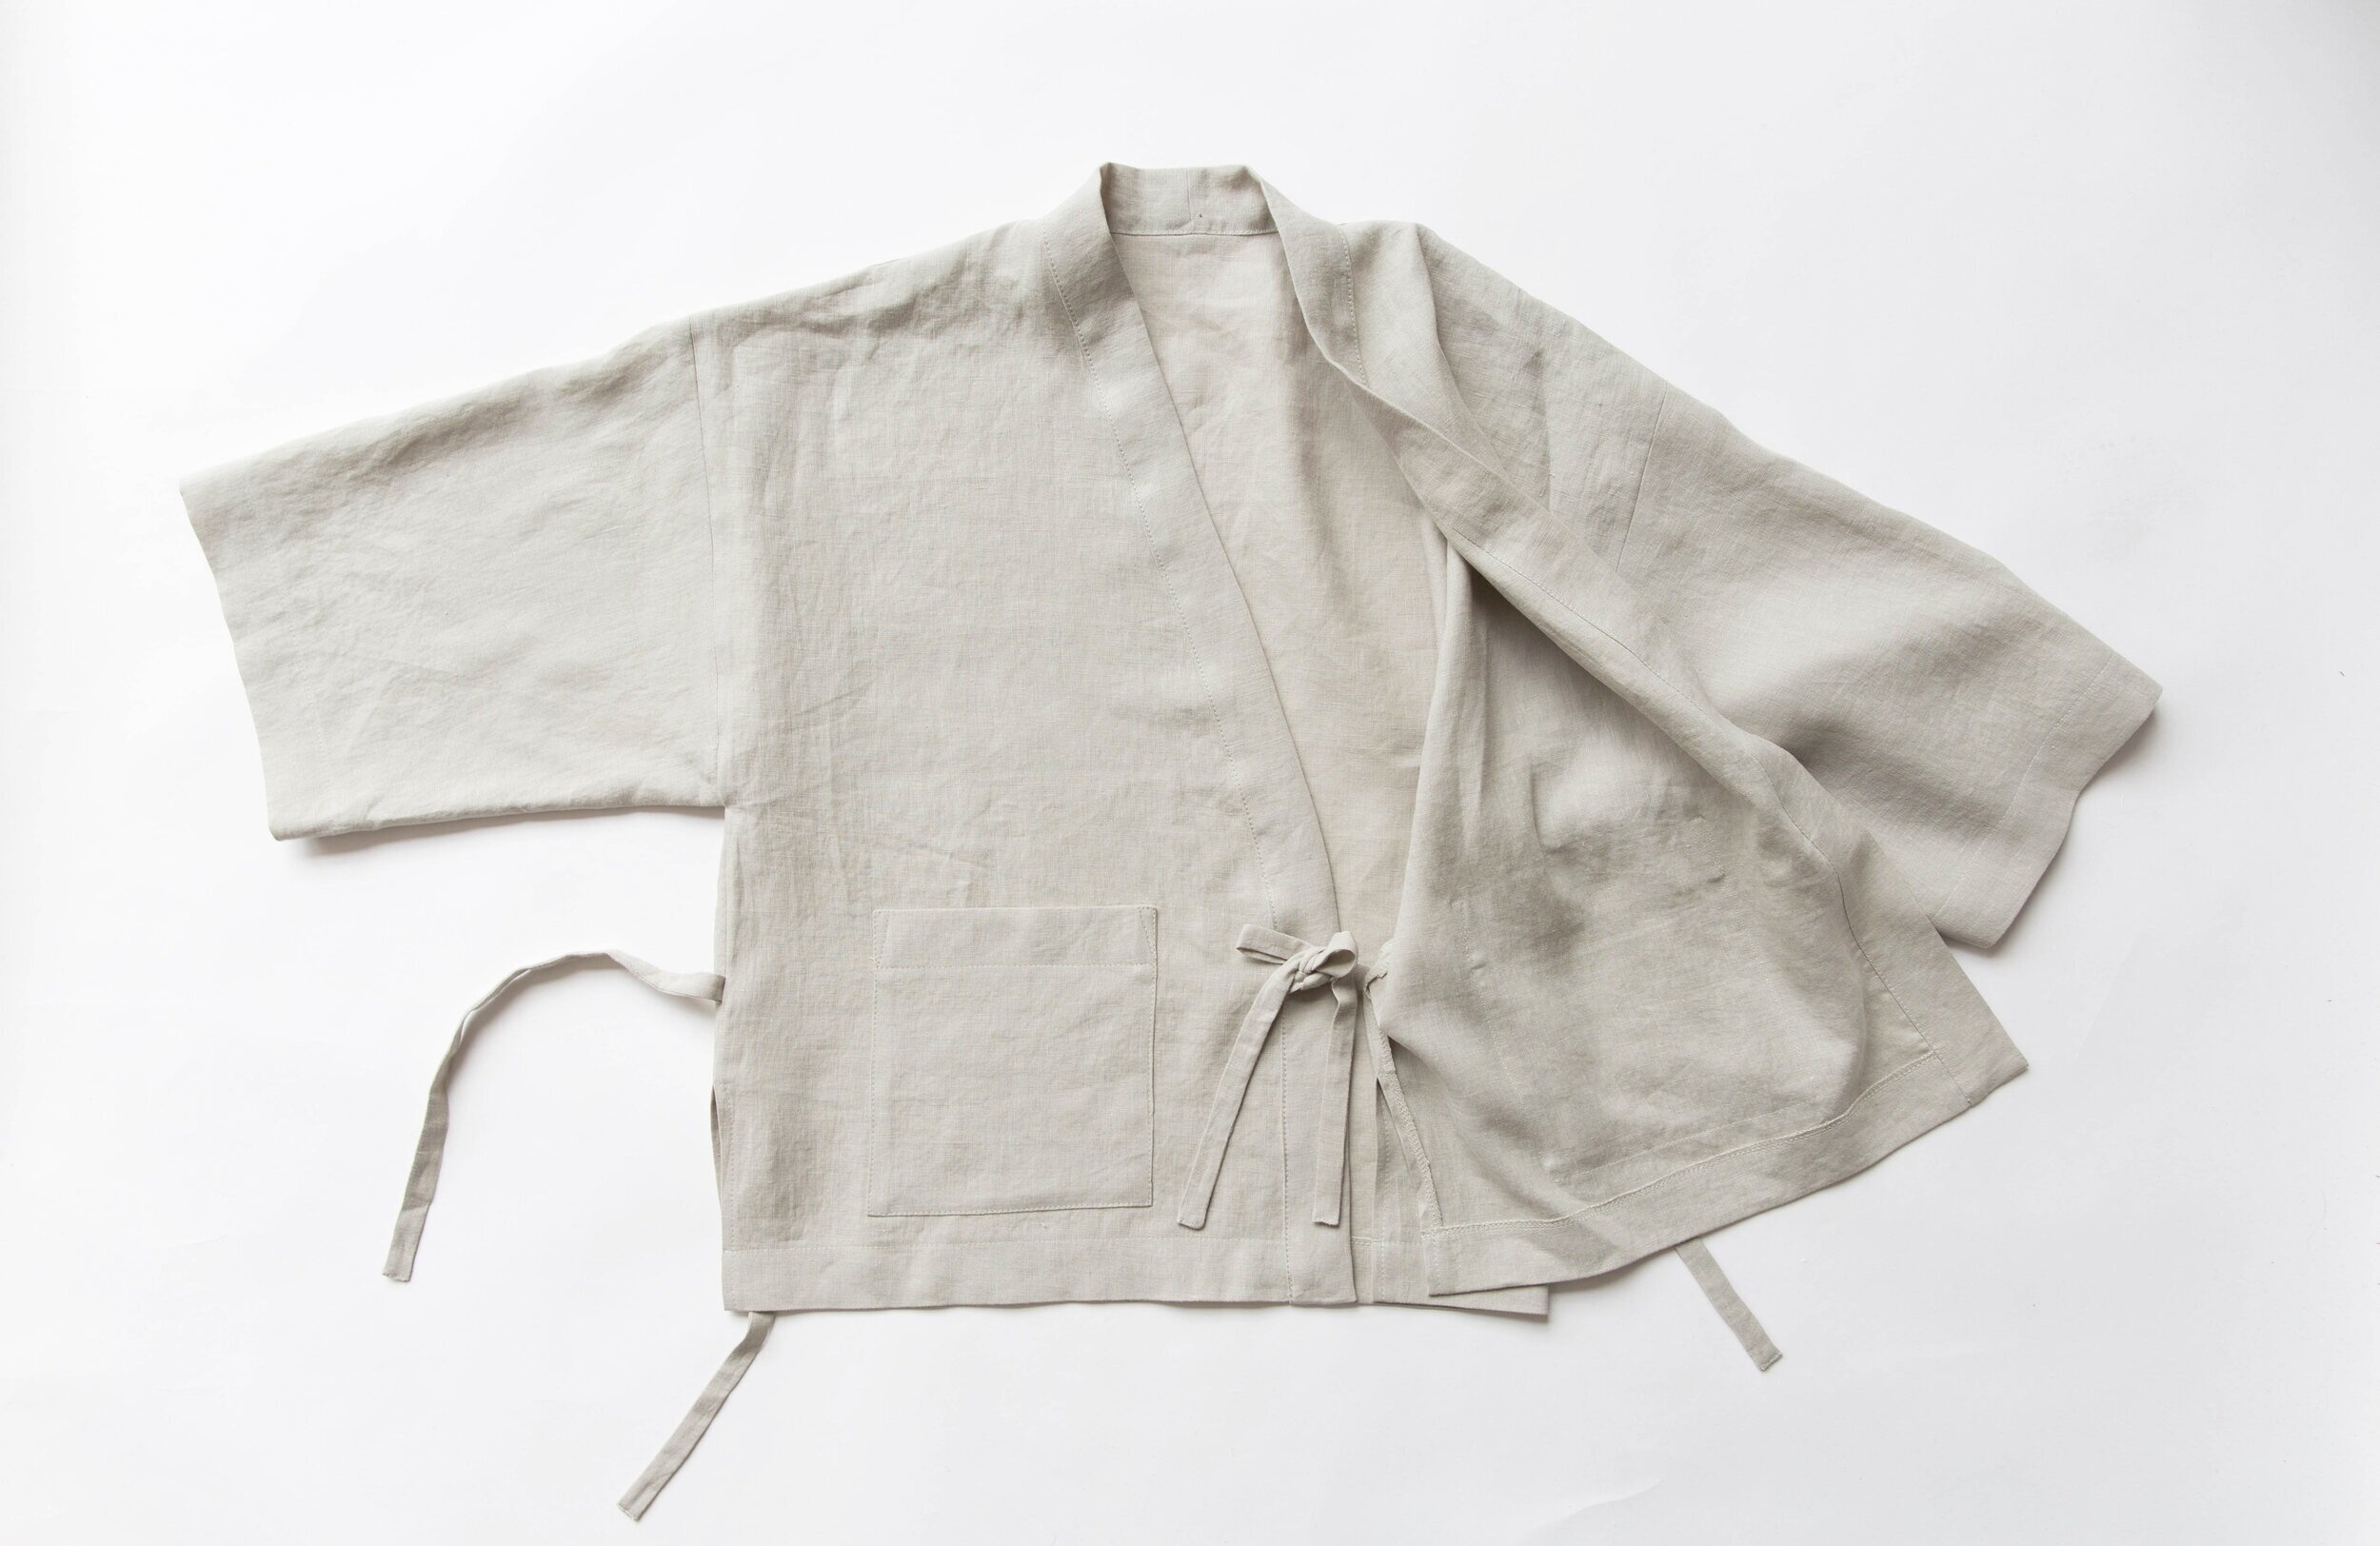
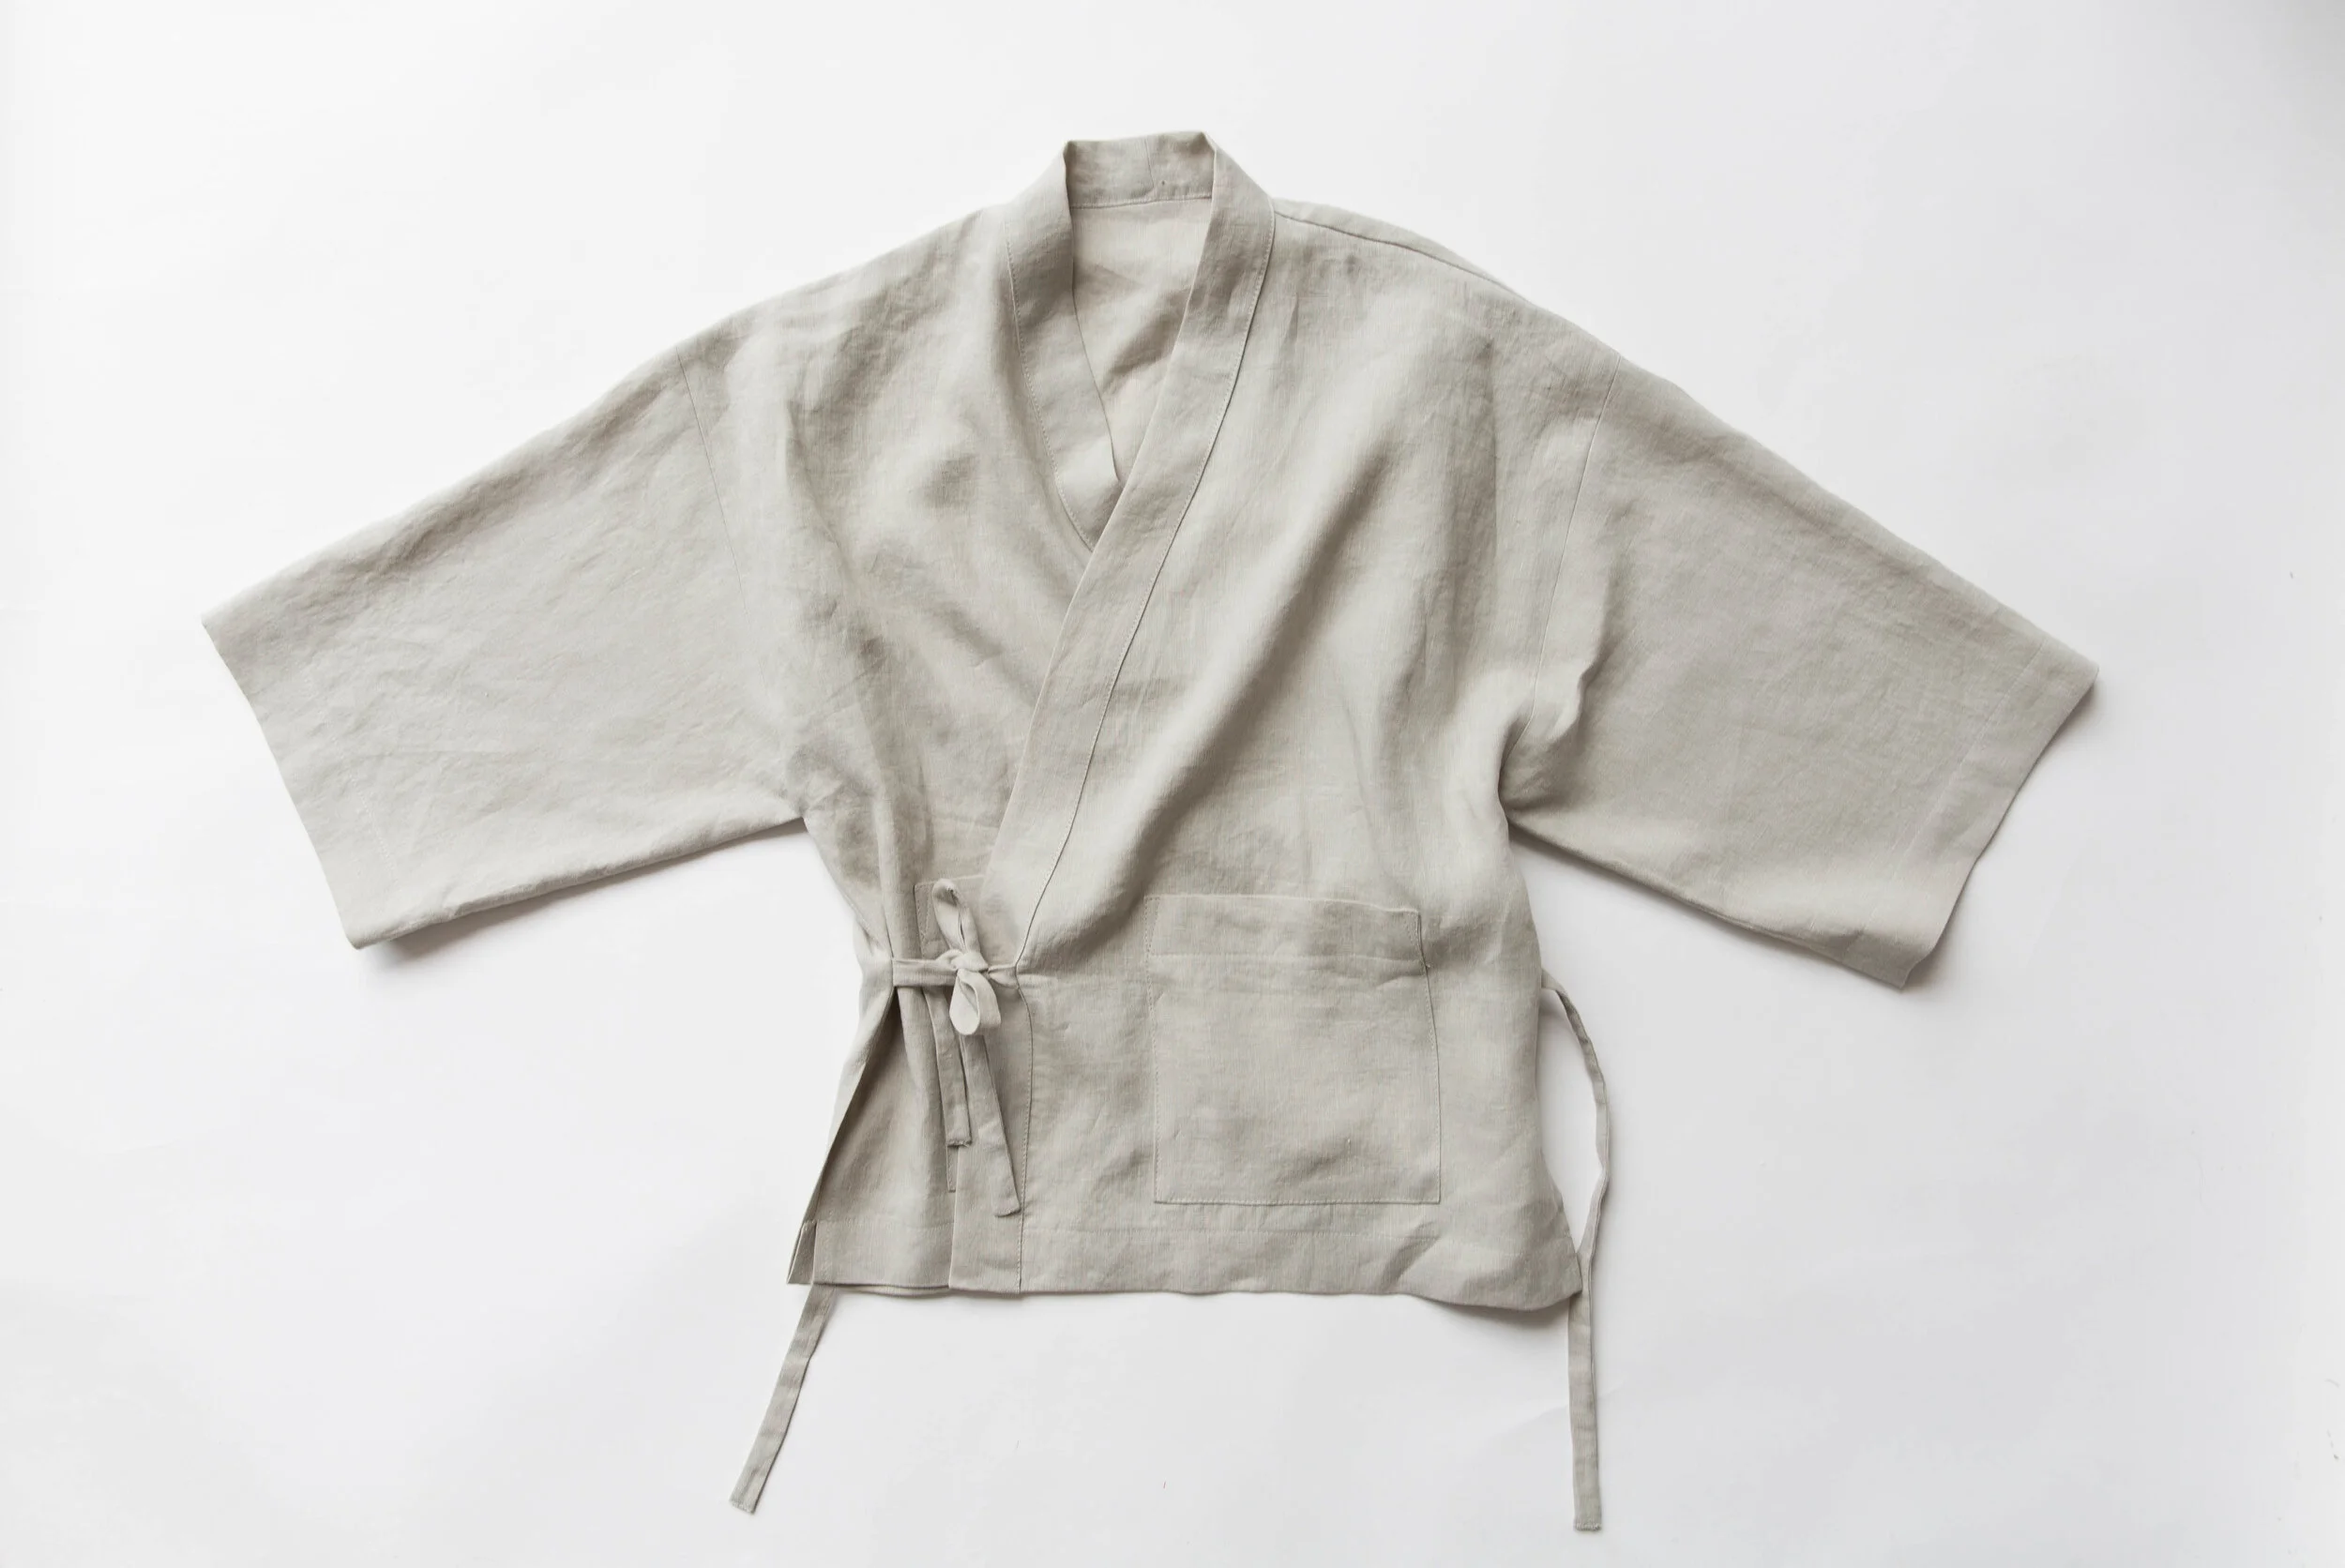

Voilà!