

Step 1
Neaten centre back seams of both back pieces. Pin together with right sides facing. Stitch. Press seam allowance open.

Step 2
Pin front and back shoulder seams together with right sides facing. Stitch. Neaten seam edges. Press seam allowances toward back.

Step 3
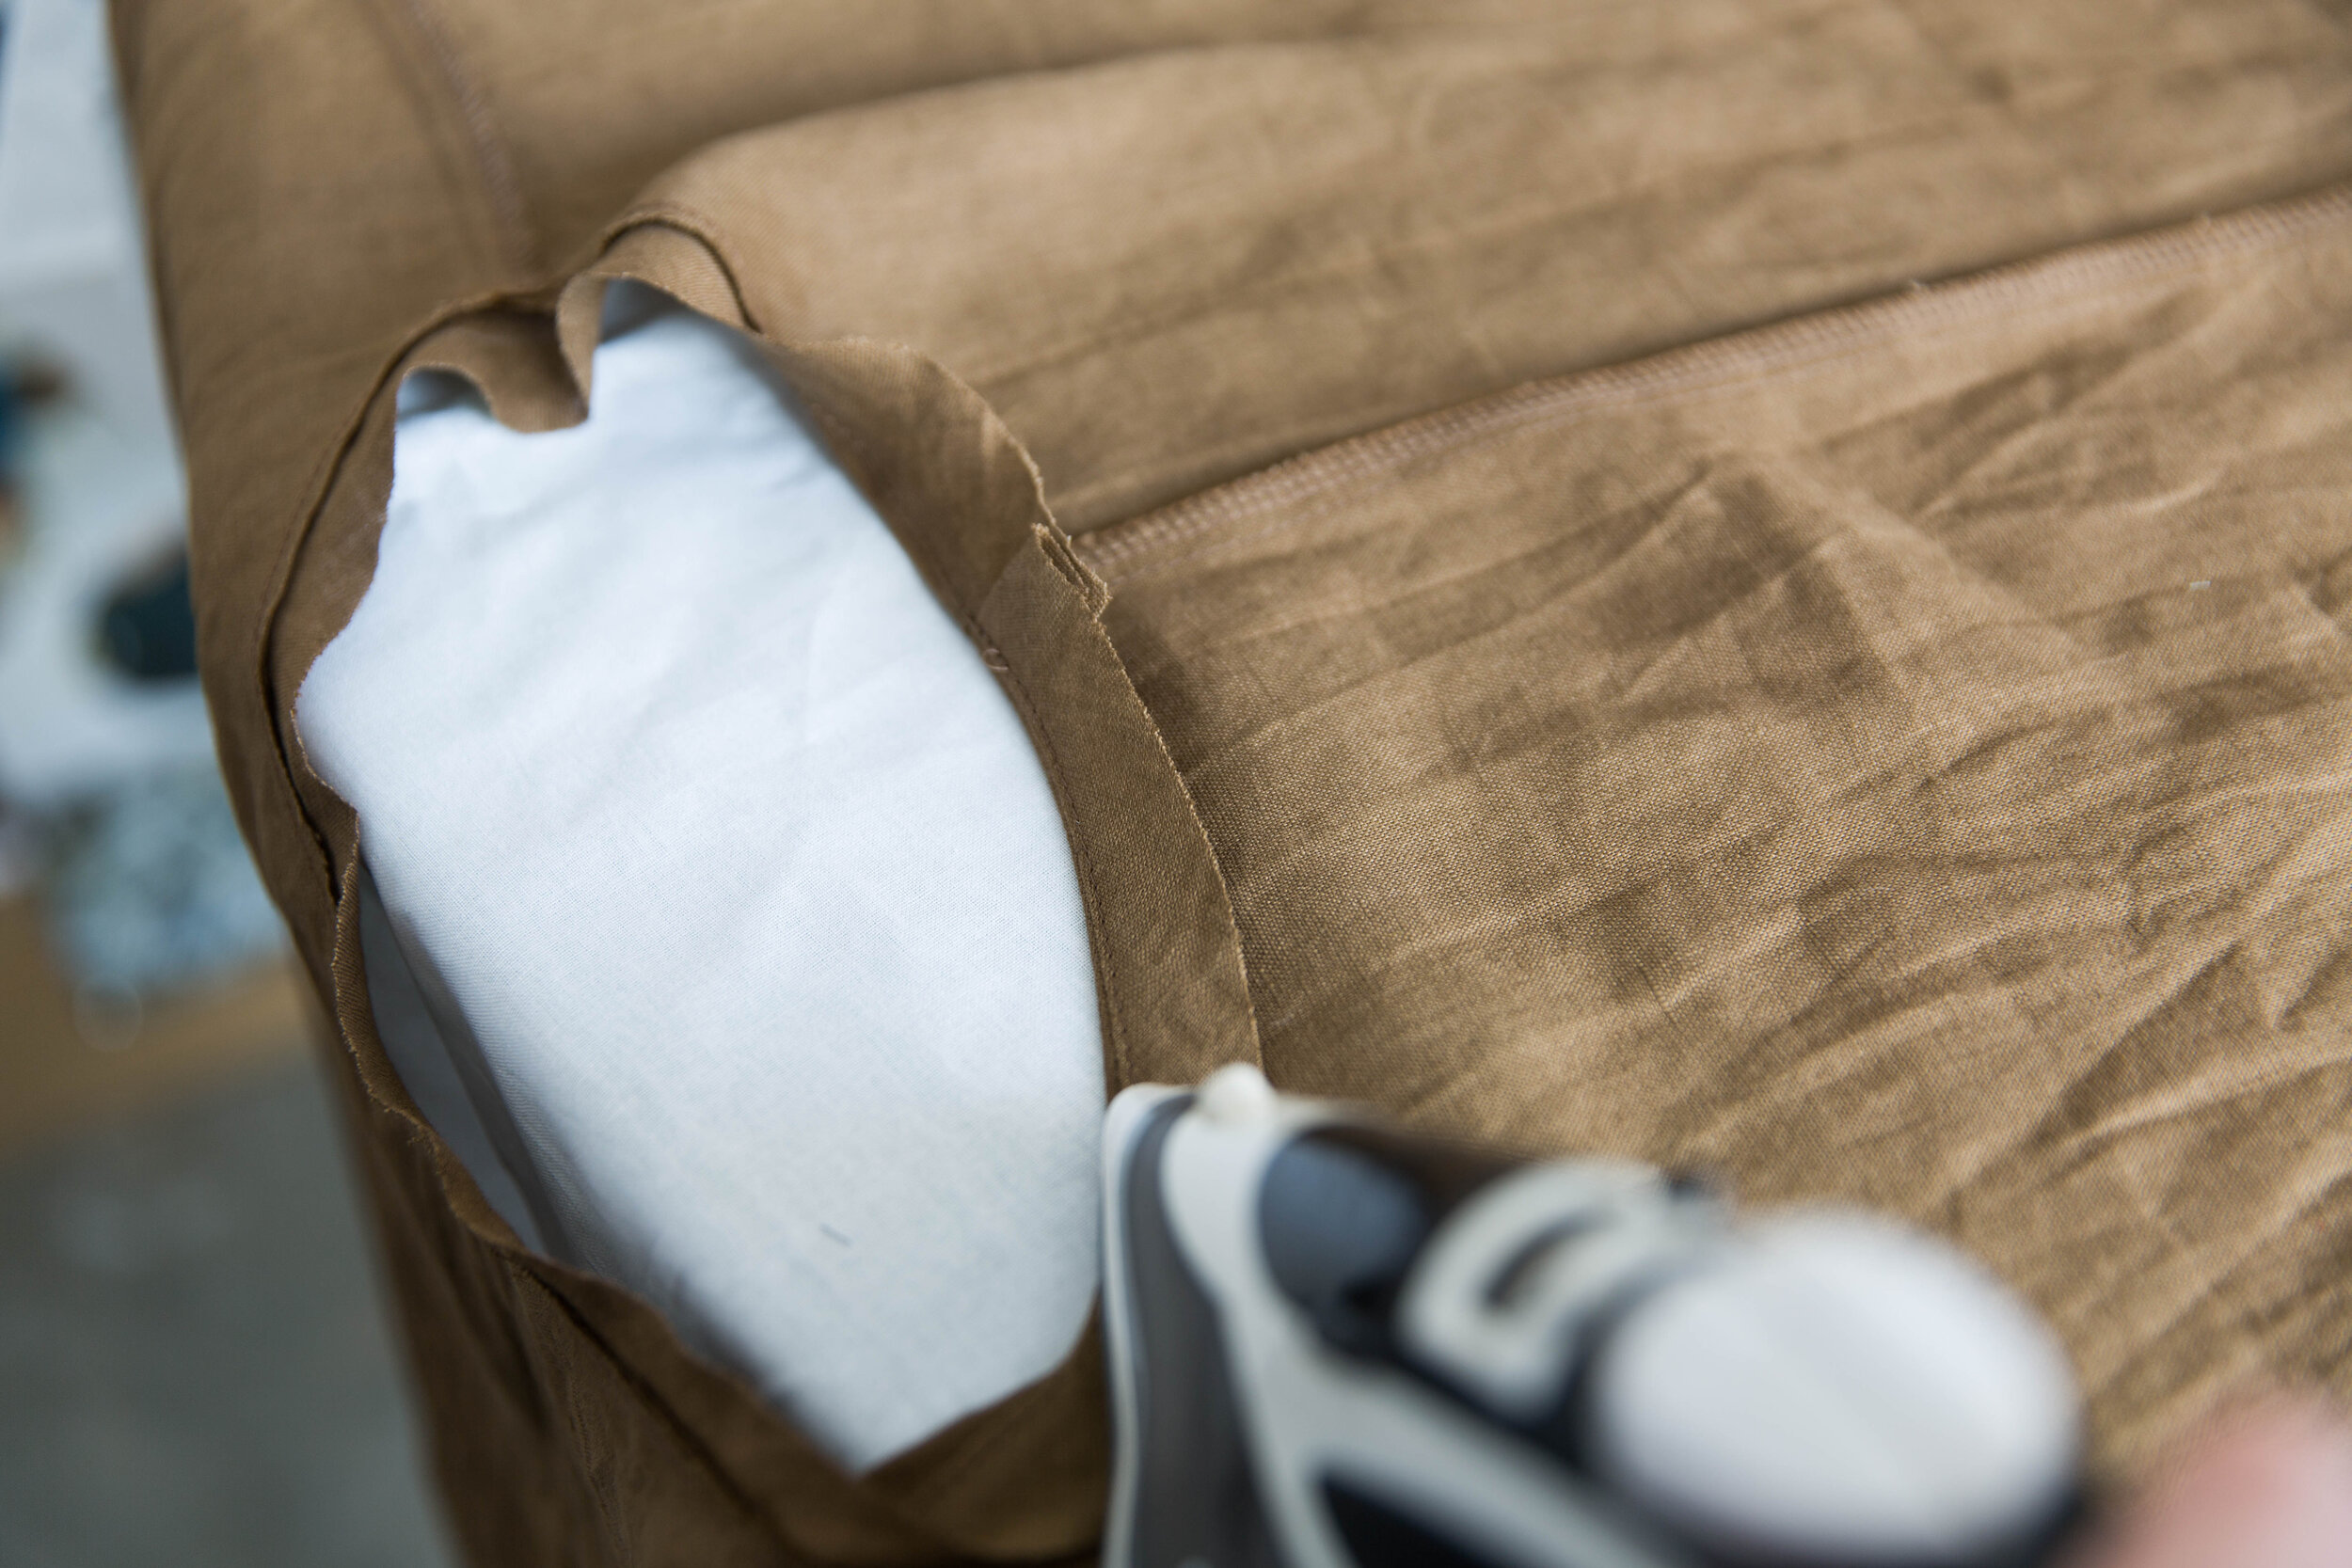
Press one end of binding strip toward wrong side by 1cm. With right sides facing, line up the folded edge of binding with the centre back seam of top/dress. Pin the binding around neckline adding a bit of tension to the binding without stretching it out. When you get to the end, overlap over the folded edge and stitch in place with a 5mm seam allowance. Clip seam allowance being careful not to cut through your stitch line.


Step 4
Press seam allowance toward binding. Understitch the seam allowance to the binding. Pull binding through to the inside of neckline and press. Fold the raw edge of binding under. Pin in place and stitch along the edge of the binding. Press.


Step 5
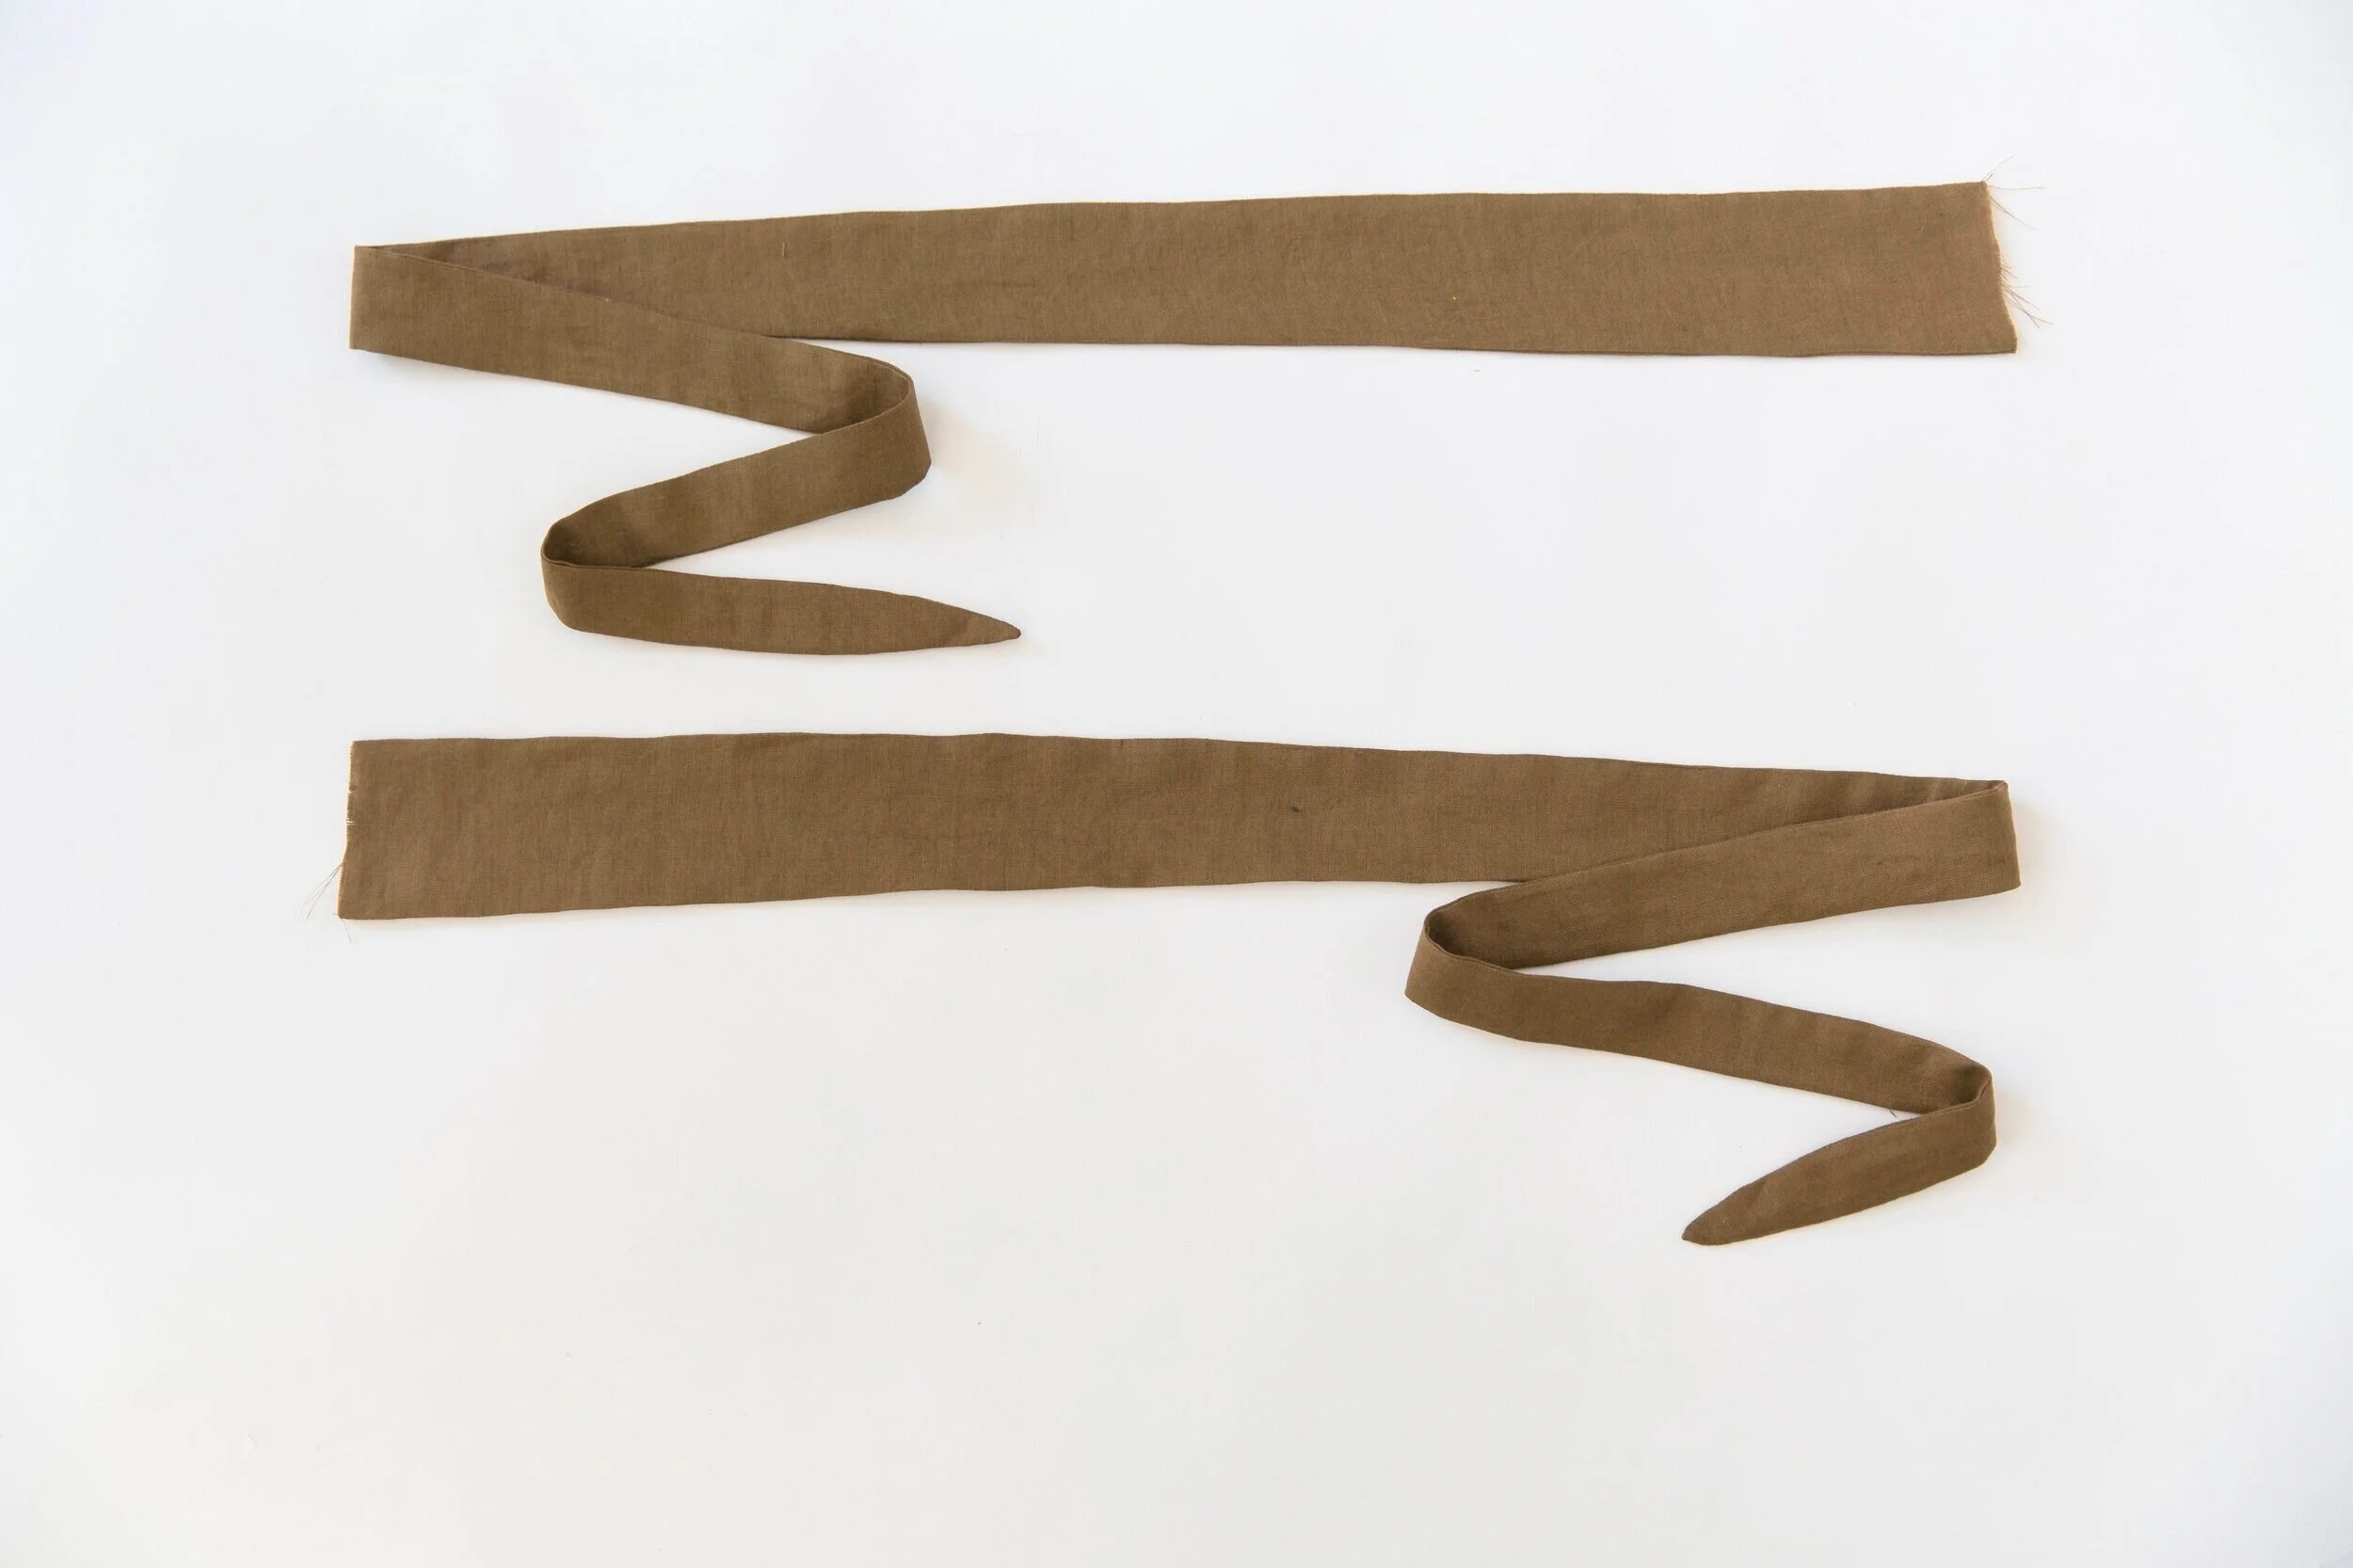
Place the short end of Tie A and Tie B together with right sides facing aligning notch. Stitch. Press seam open. Repeat for the 3 other tie sections. Place 2 completed tie pieces together with right sides facing and pin together all the way around, leaving the short straight edge open. Stitch together. Trim seam allowance in half and clip the point at end. Turn through to the right side and give all edges a really good press. Repeat for other tie.

Step 6
Pin your waist ties to side seams, matching up notches. Stitch in place with a 5mm seam allowance.

Step 7
With right sides facing, pin together the side seams. If you have attached ties, these will be sandwiched between the two layers. Stitch. Neaten seam edges. Press seam allowances toward back.

Step 8
Fold sleeve in half with right sides facing. Stitch underarm seams together. Neaten seam. Repeat for other sleeve.

Step 9
Pin sleeve and armhole together with right sides facing, matching armhole seam and notch with shoulder seam. Stitch around armhole. Neaten seams.


Step 10
Neaten sleeve and hem edges.
Sleeves: From the inside of garment, pin the sleeve edges up 1.5cm/½”. Stitch in place leaving a 2.5cm/1” gap to thread elastic. If you’re not elasticating the hem, stitch all the way around without leaving a gap.
Hems: From the inside of garment, pin hem edges 1.5cm/½” for elasticated hem, or 3cm/1.2” for straight hem. Stitch in place leaving a 2.5cm/1” gap to thread elastic. If you’re not elasticating the hem, stitch all the way around without leaving a gap.


Step 11
Cut your elastic according to the chart in your instructions.
Attach a small safety pin to one edge of your elastic and pin the other end to the seam allowance, right next to the hem opening. Thread safety pinned edge through the gap, threading through until it returns out the same hole.
Remove pinned edge of elastic from seam allowance and remove safety pin from the other end. Overlap the two open ends of elastic and safety pin them together. Try the top/dress on to check the fit of elastic. Adjust accordingly then stitch elastic together securely. Stretch out sleeve casings until the stitched part of elastic is sitting within the casing, then stitch closed.

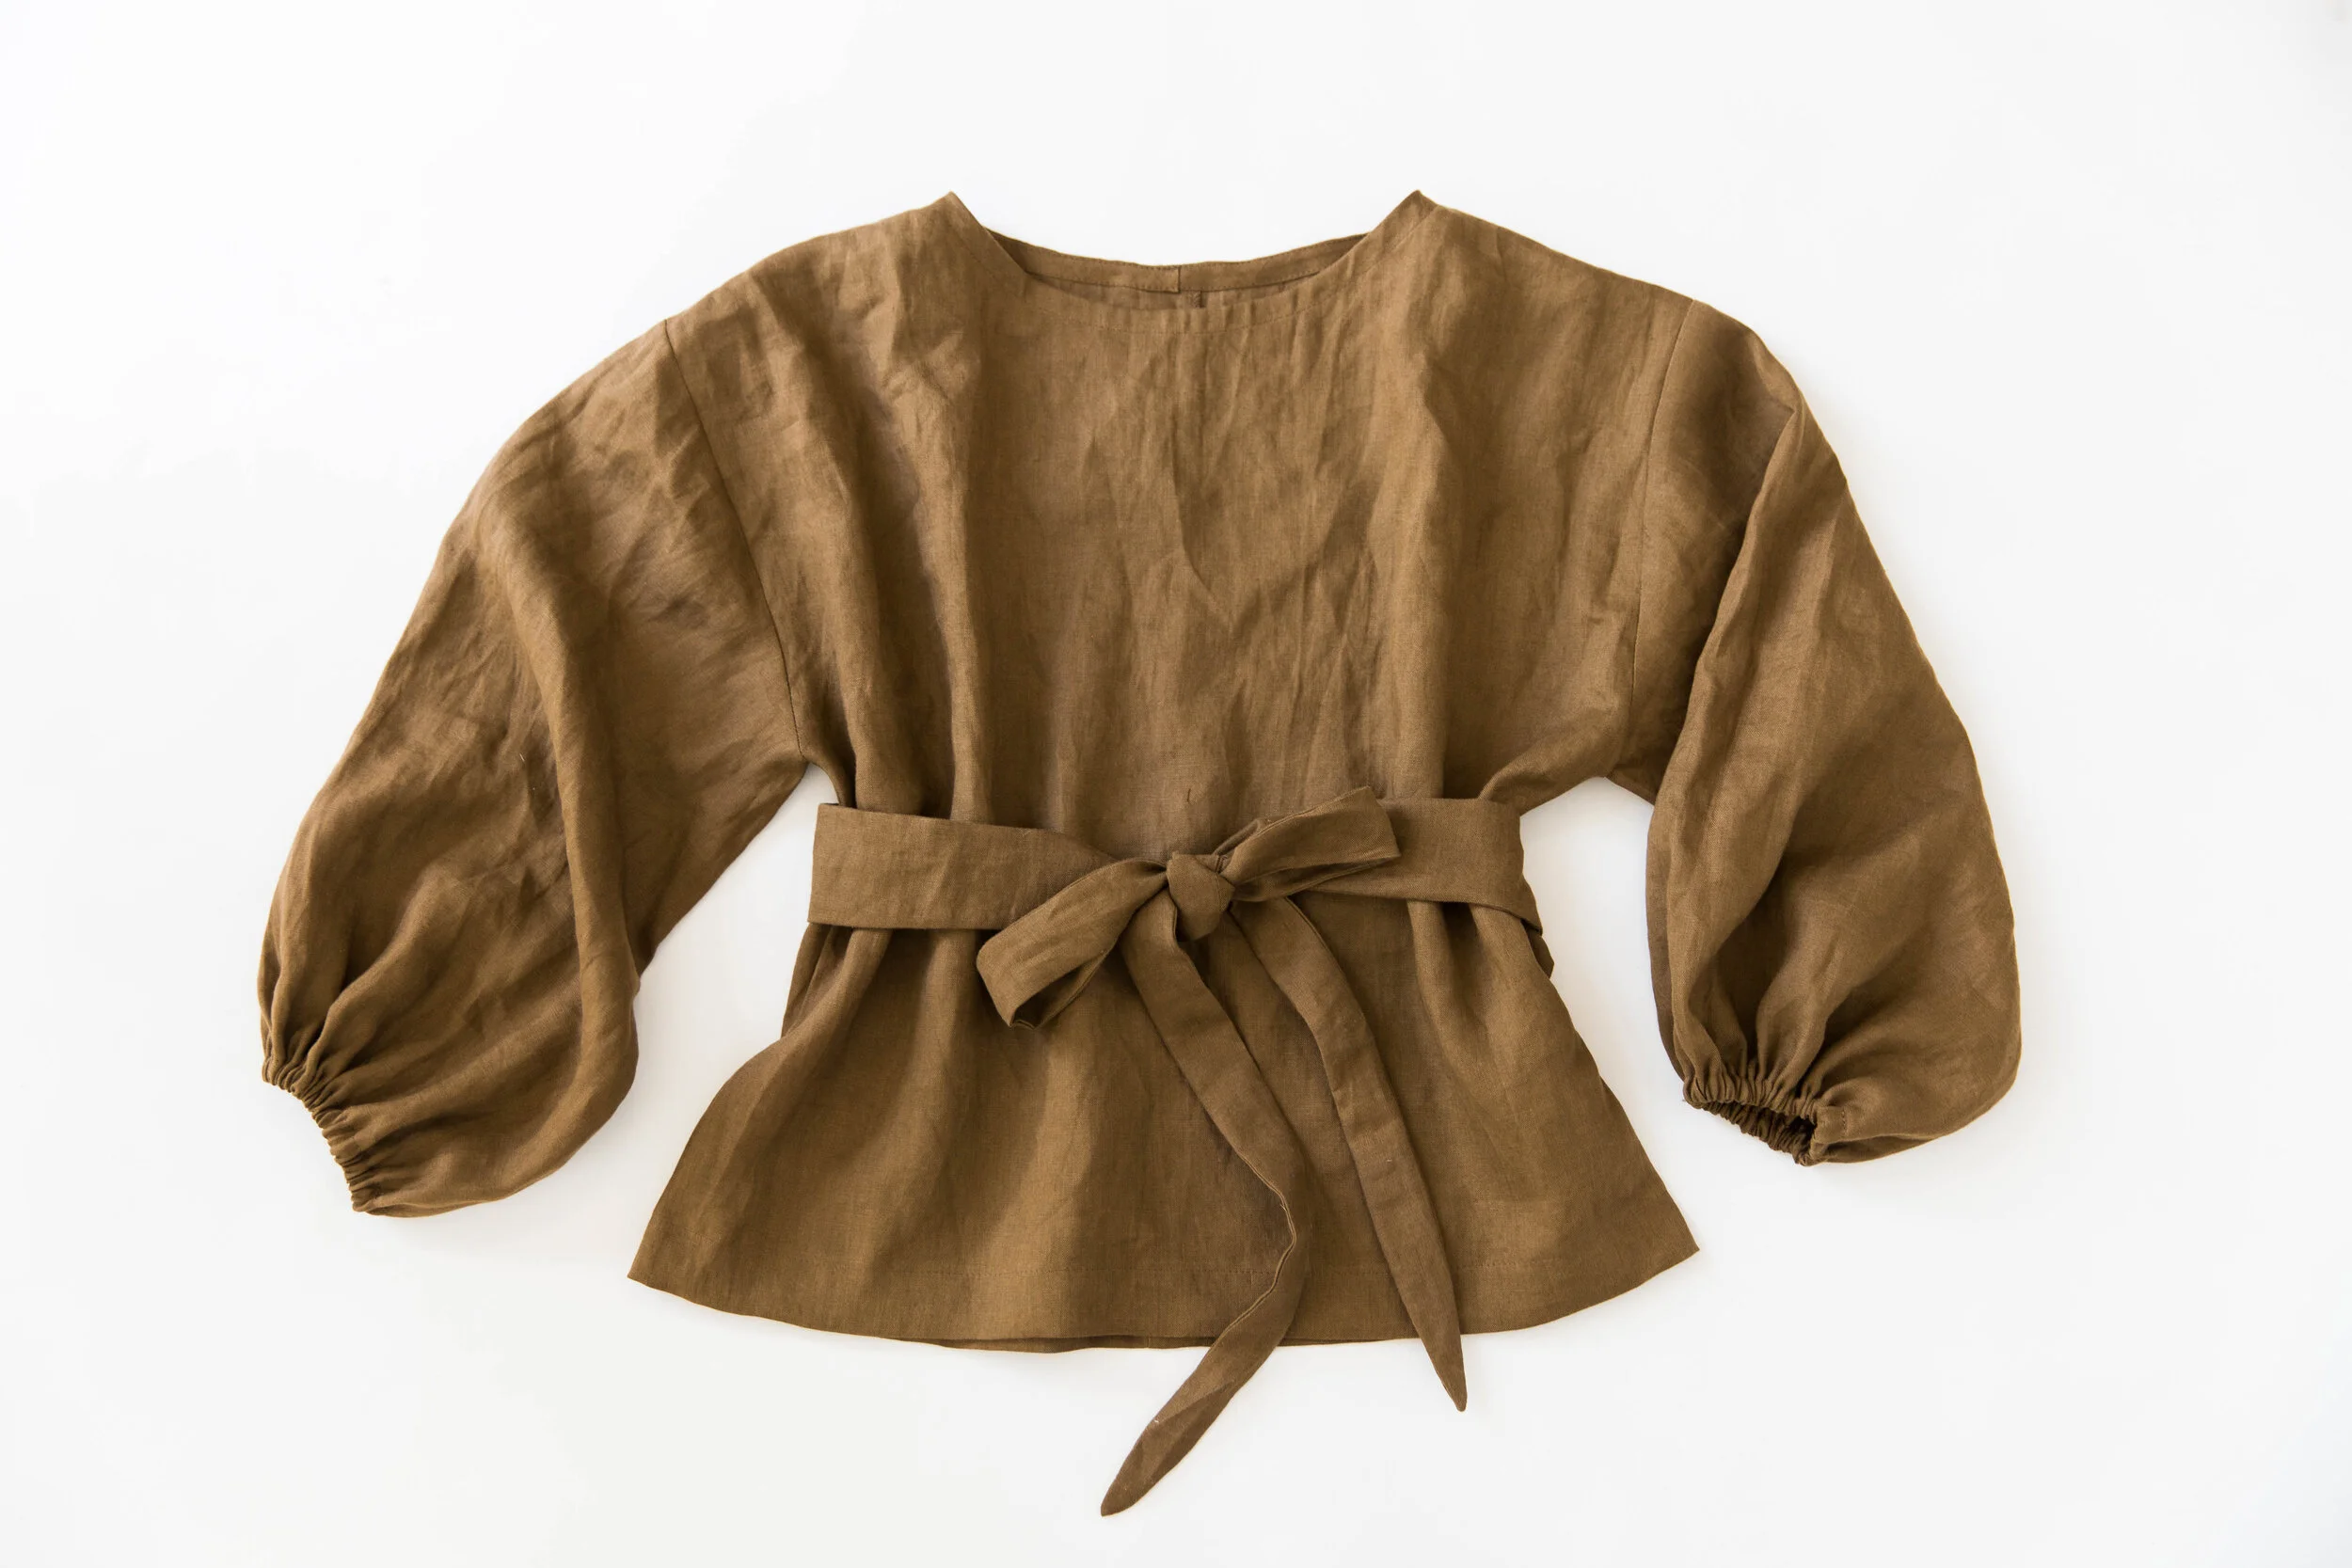
Voilà!