

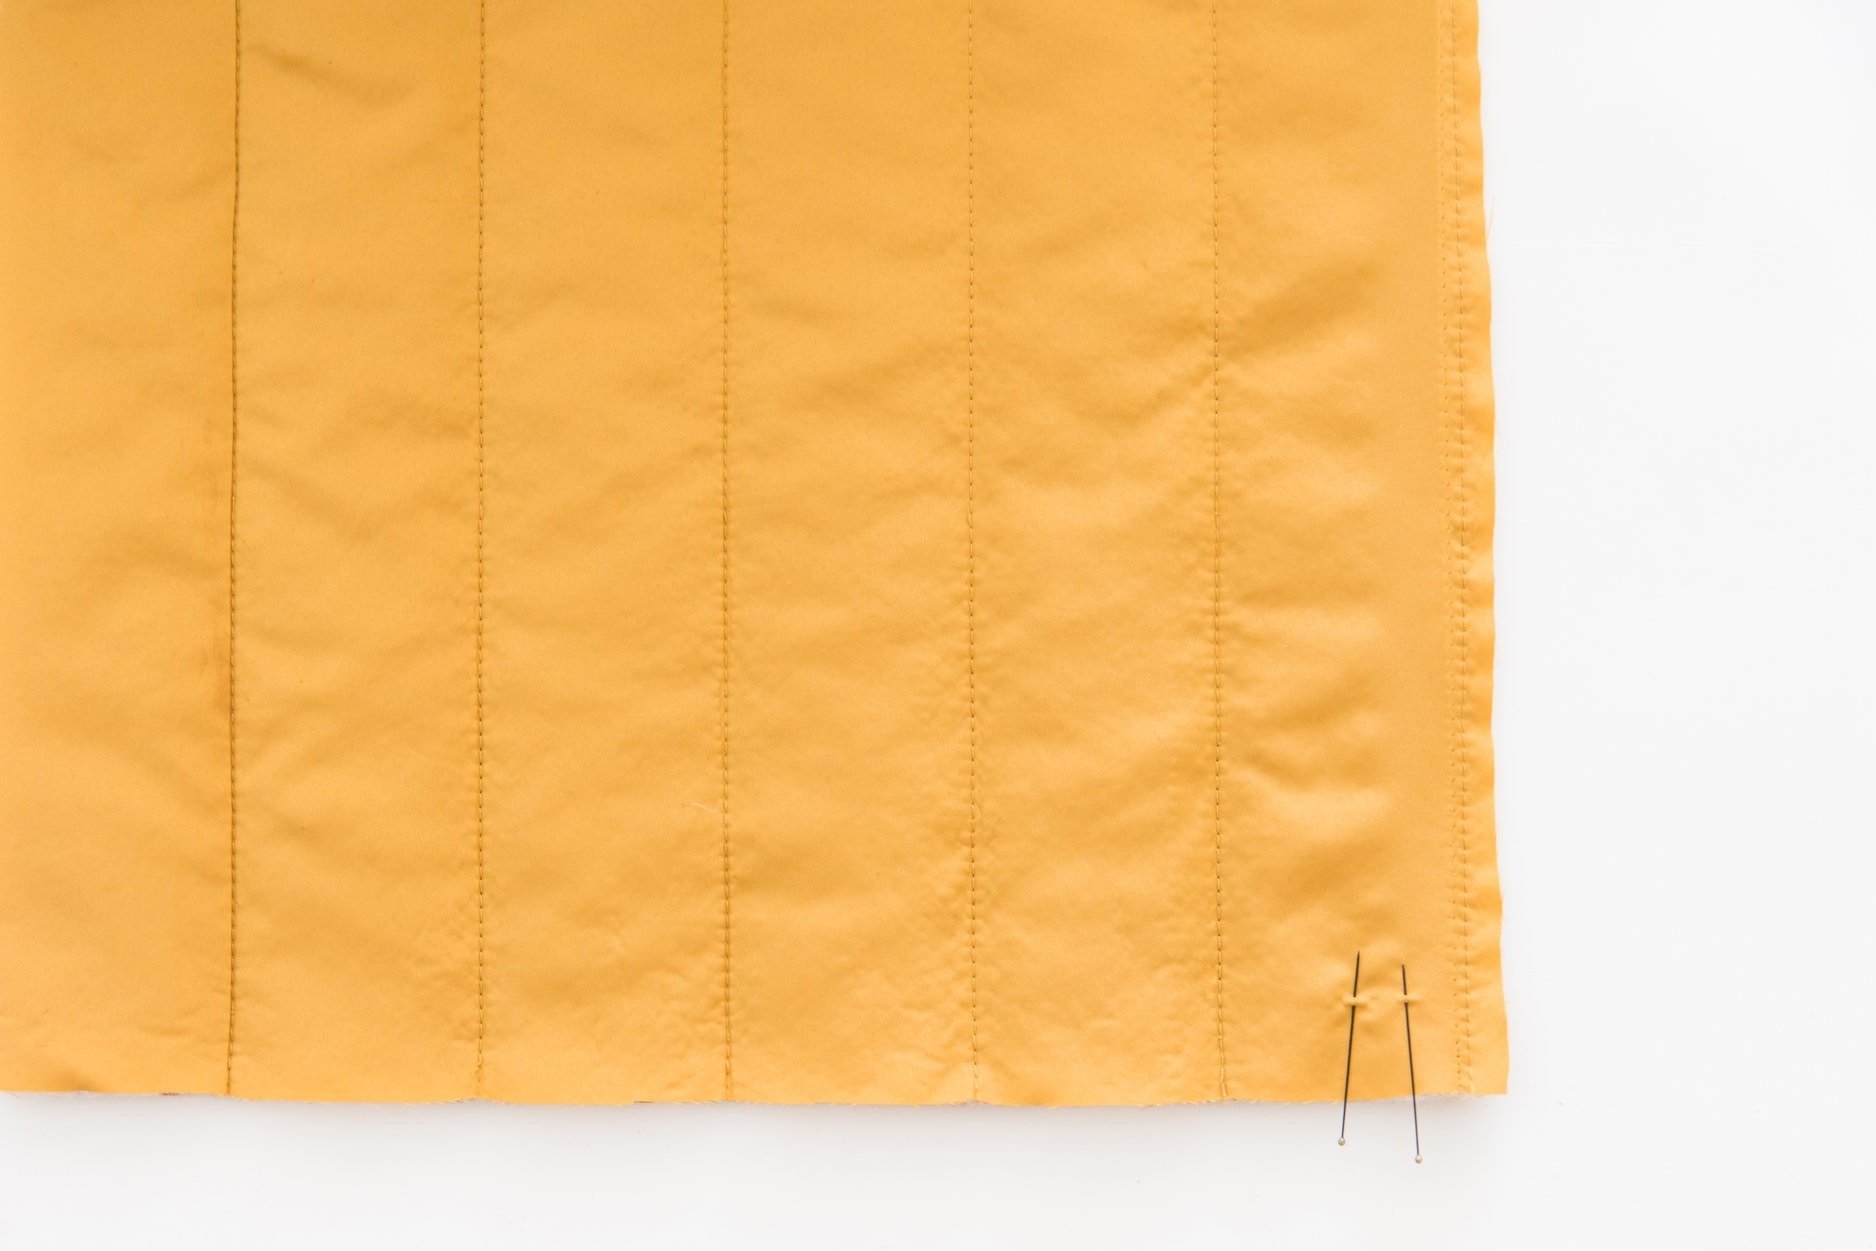
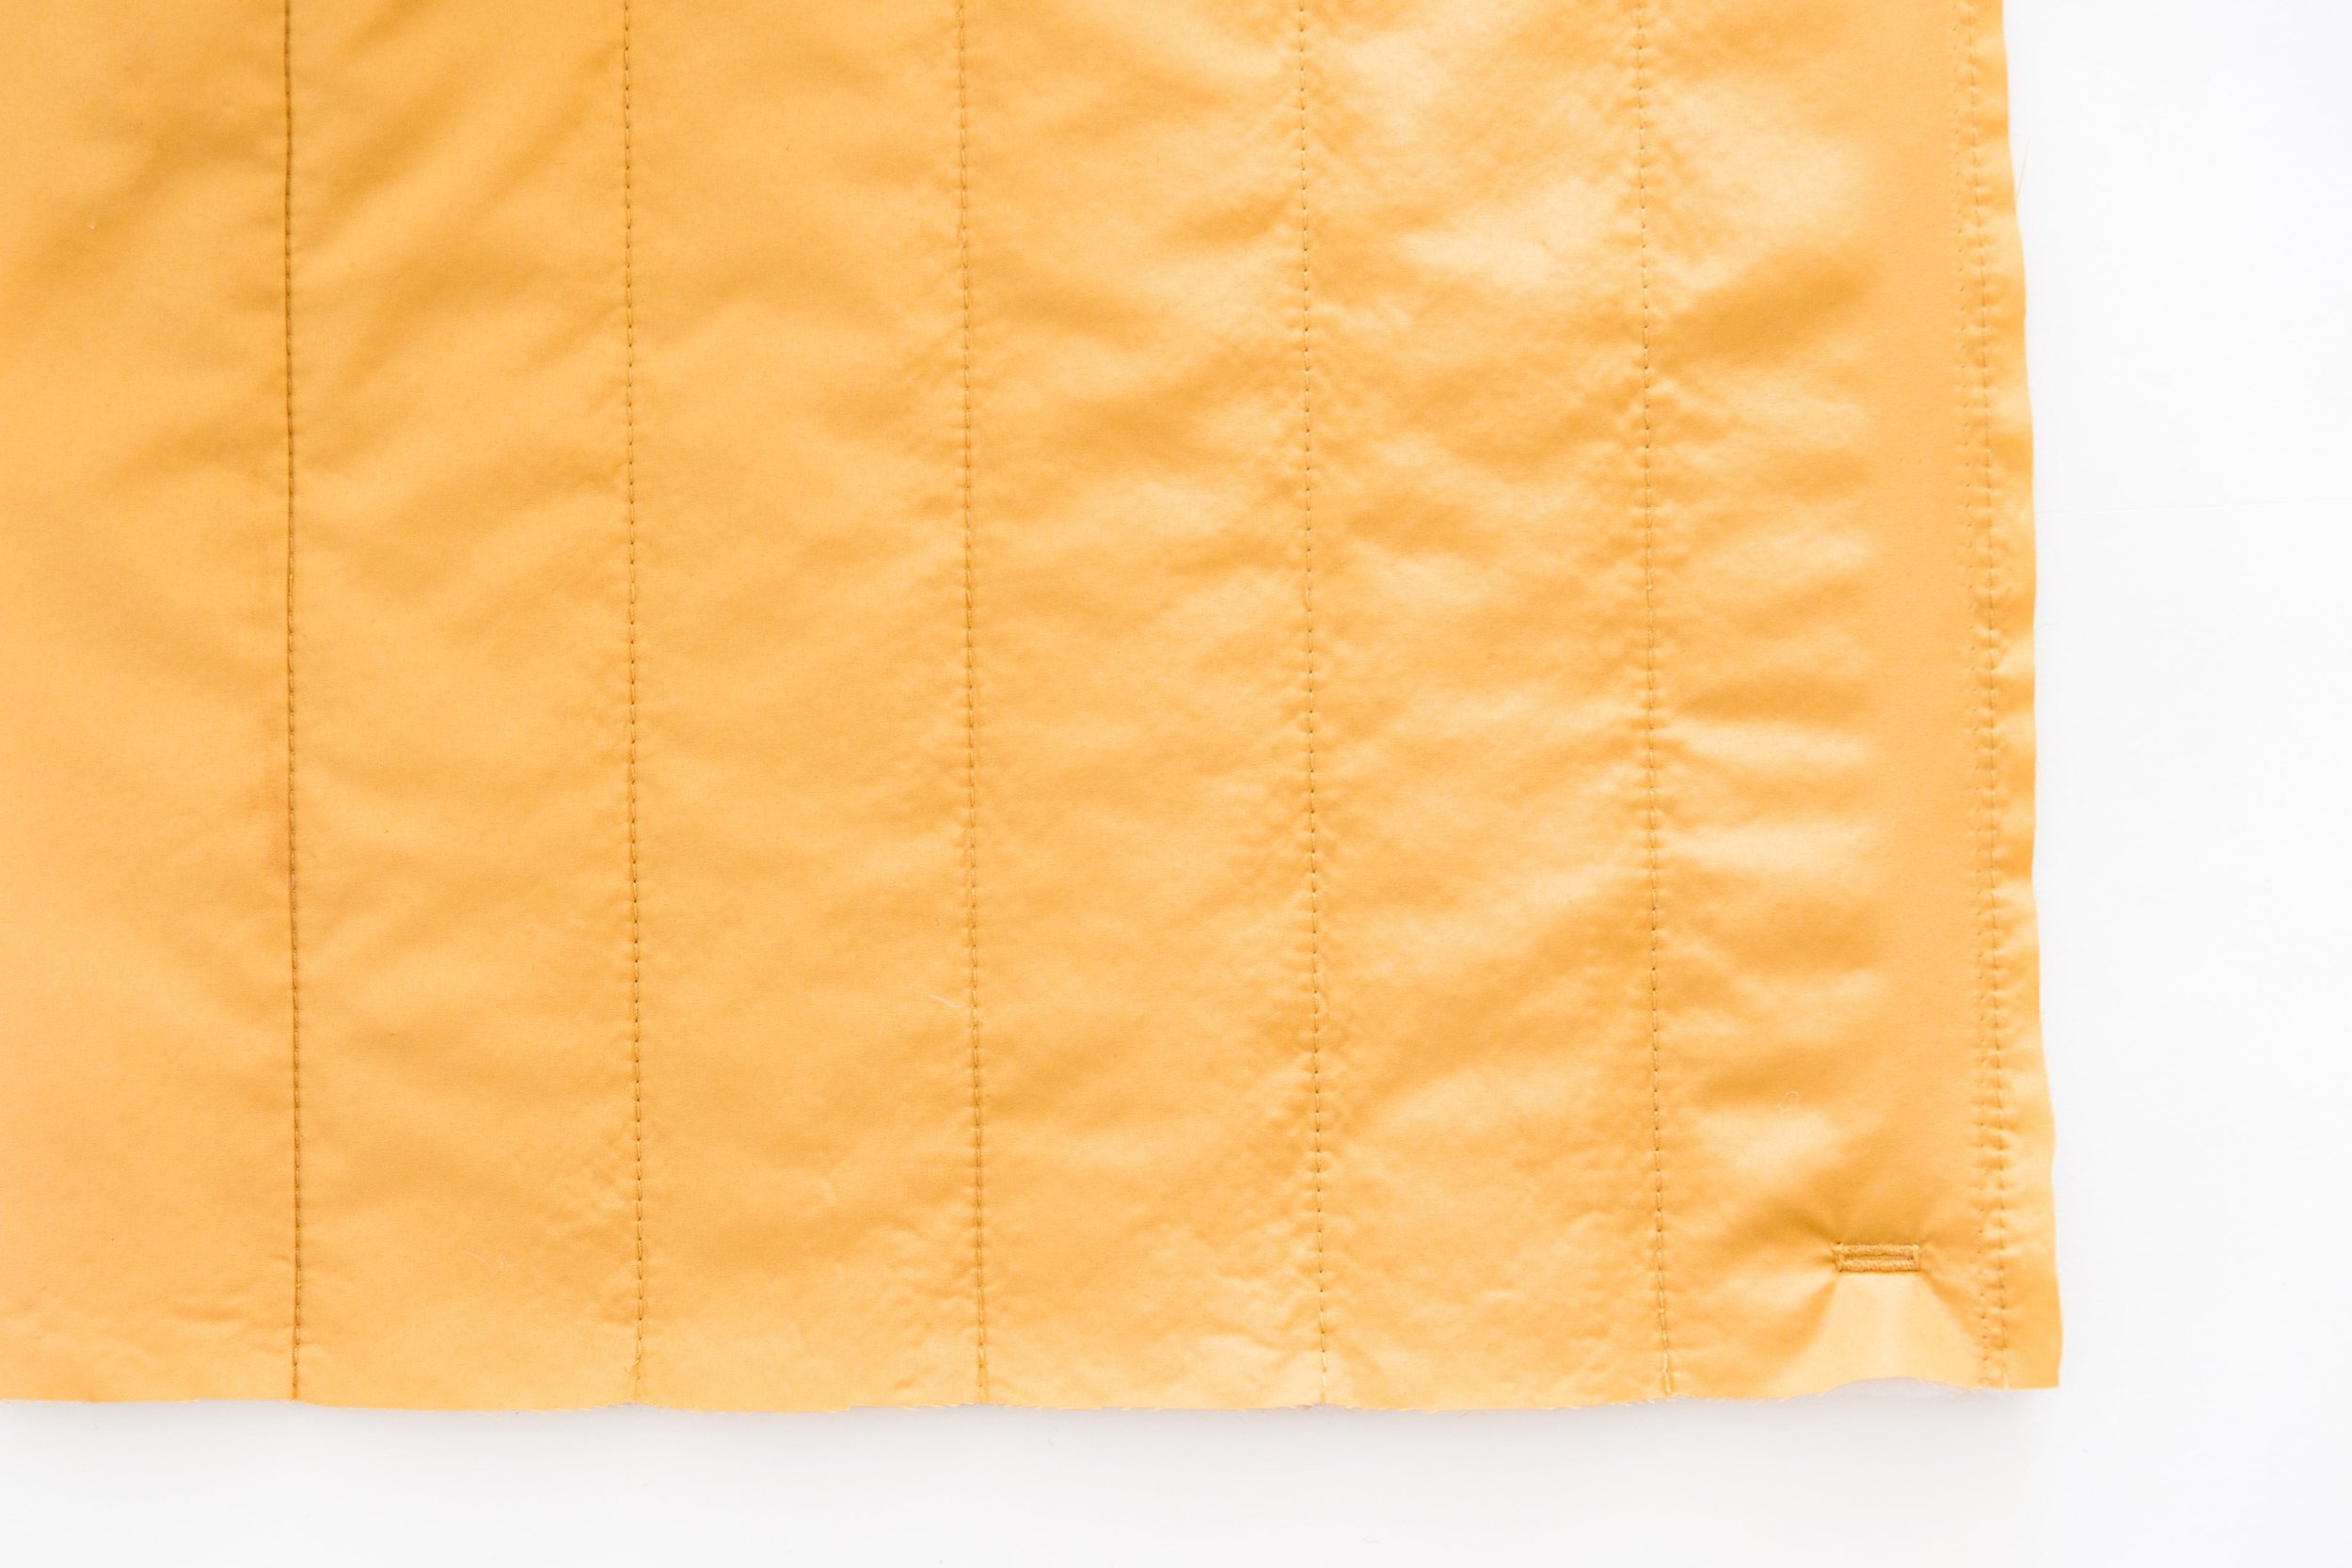
Step 1
Mark in the buttonhole placement from your pattern piece. On the wrong side of jacket front, place a small square of fusing over the buttonhole placement. Fuse in place. Stitch buttonhole and slash open. Repeat for other front.

Step 2
With right sides facing, pin both your jacket sides together all the way around the neckline edge, front edge and front hem, leaving just the back hem open. Stitch together. Trim seam allowances in half and clip around curved edges.
(Whoops, we stitched too far! In this photo here we have continued sewing past the side seams and just left a small opening in the centre back. This will still get the same result, it just means you can ignore the next step! )

Step 3
Turn back to the right side, through the gap and either handstitch or edgestitch the gap closed.

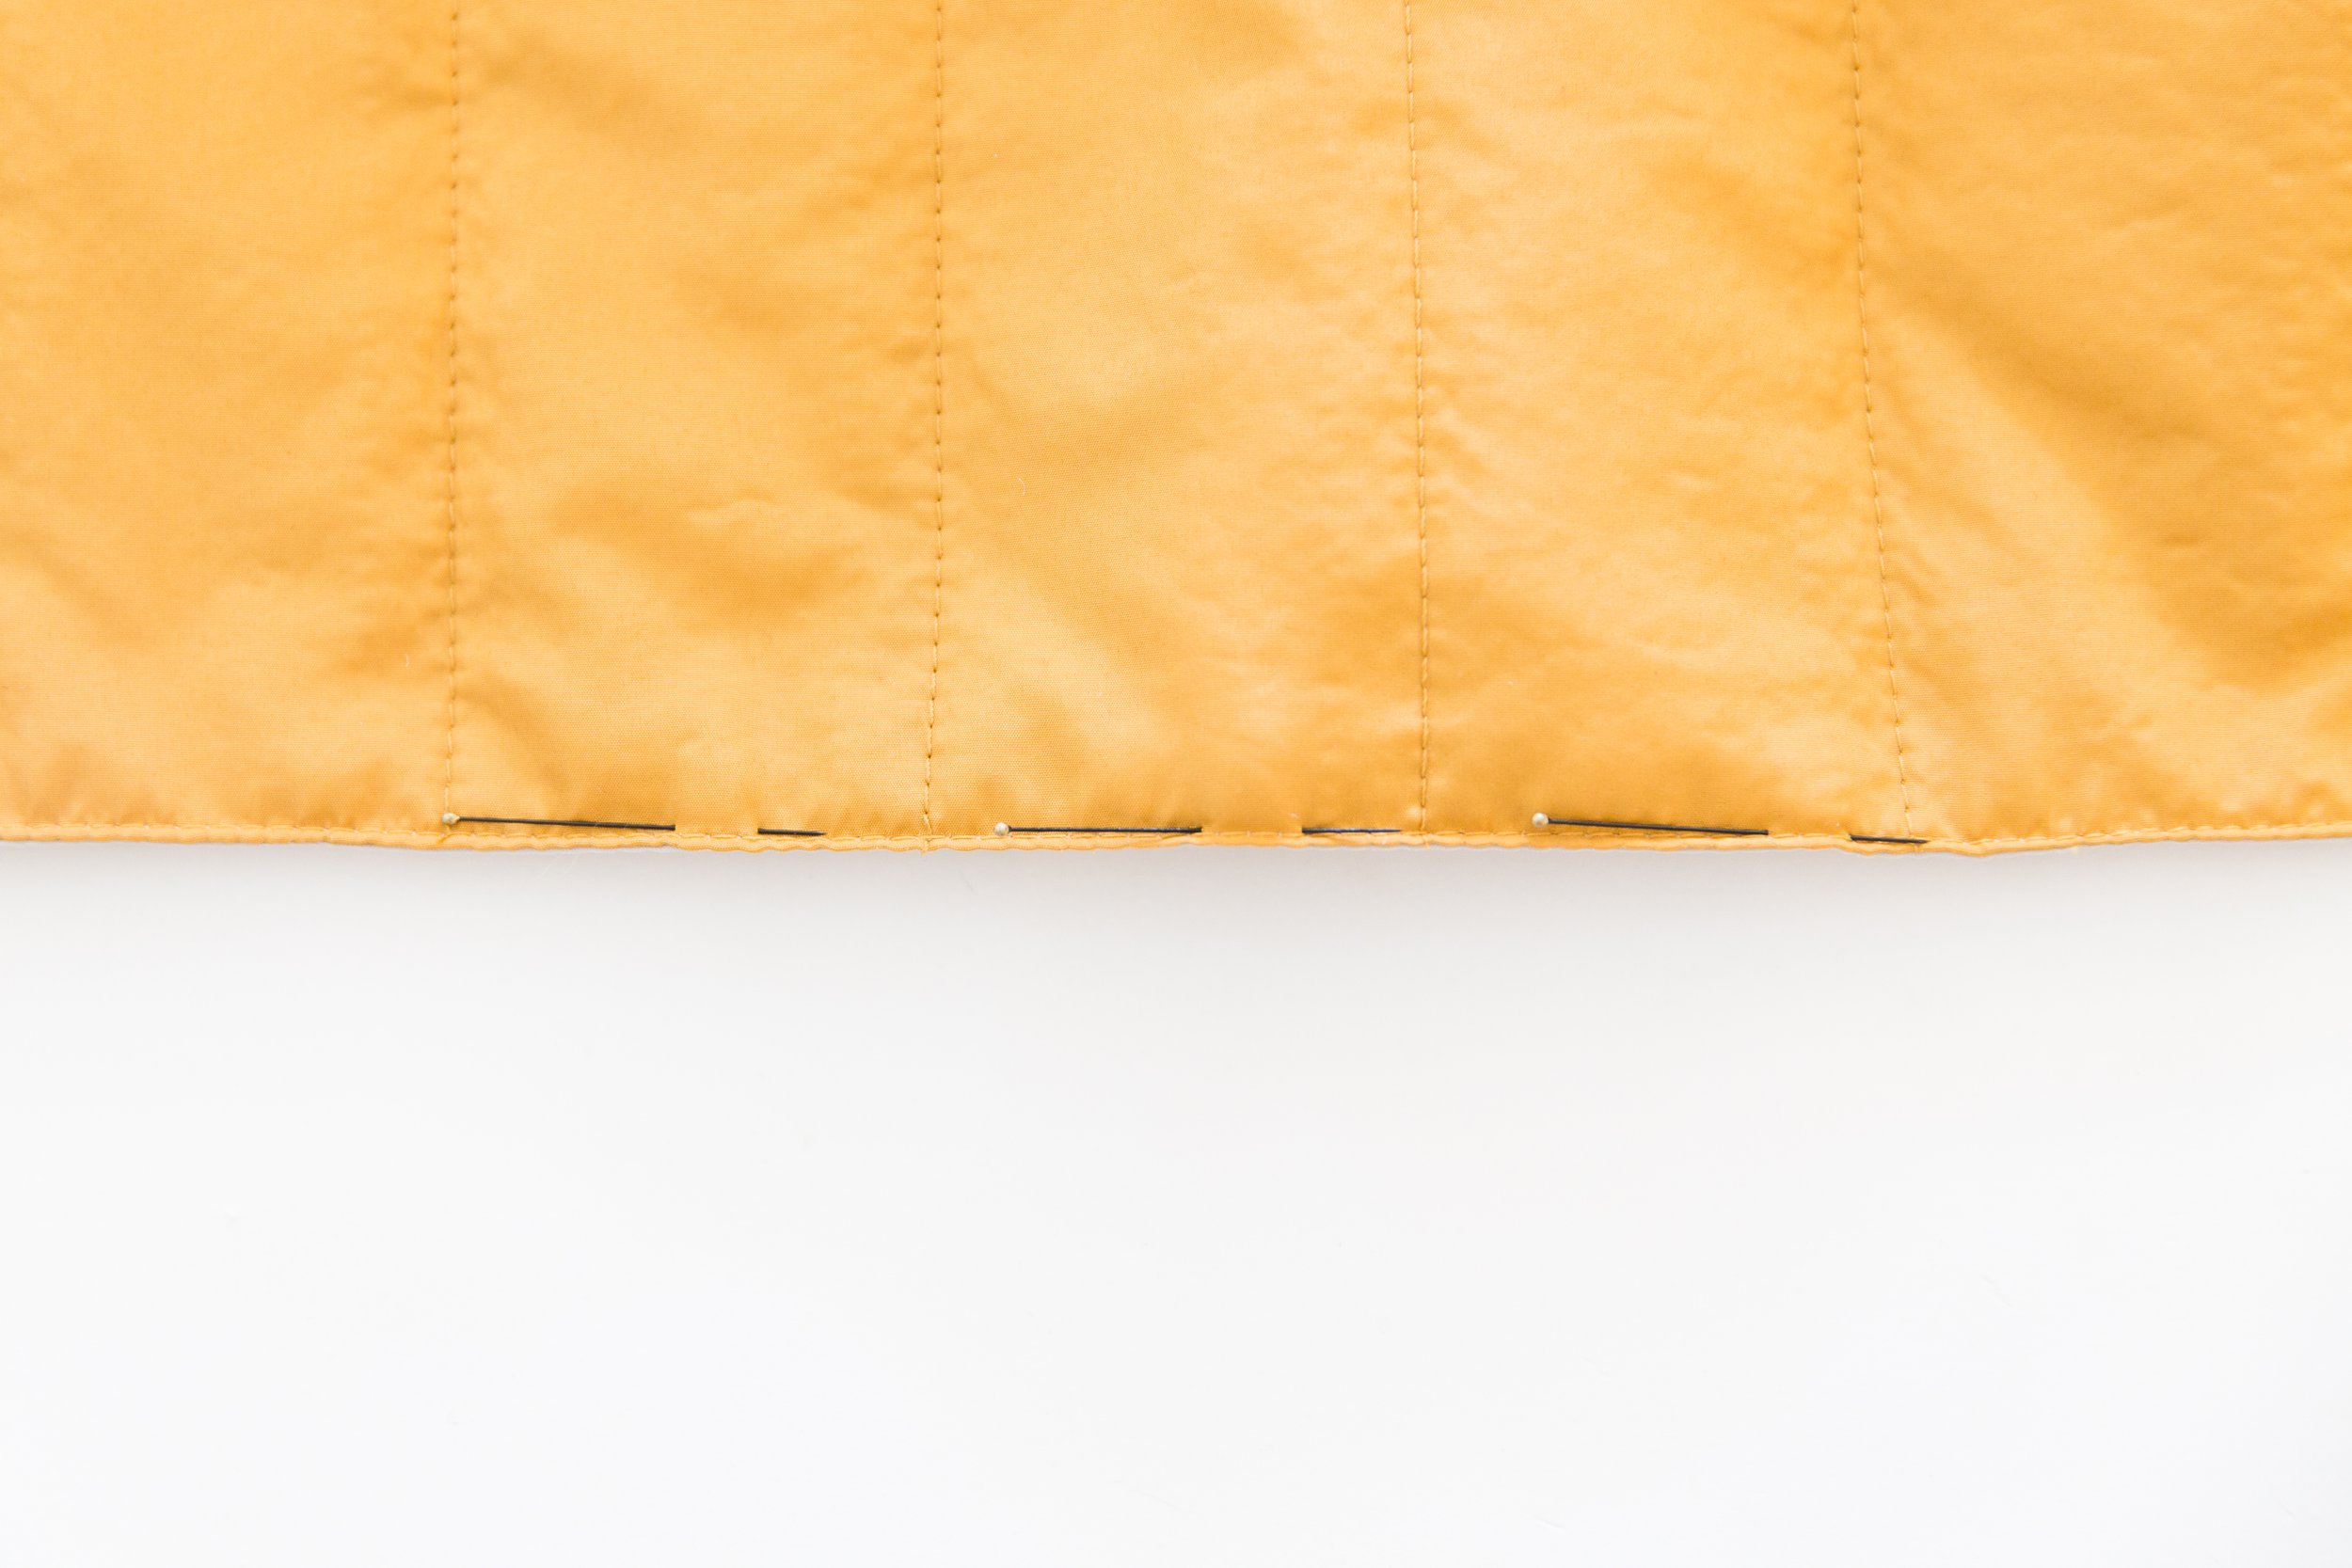
Step 4
Topstitch your hemline, through all layers 1.5cm/0.6” from edge stopping when you reach the button stands.
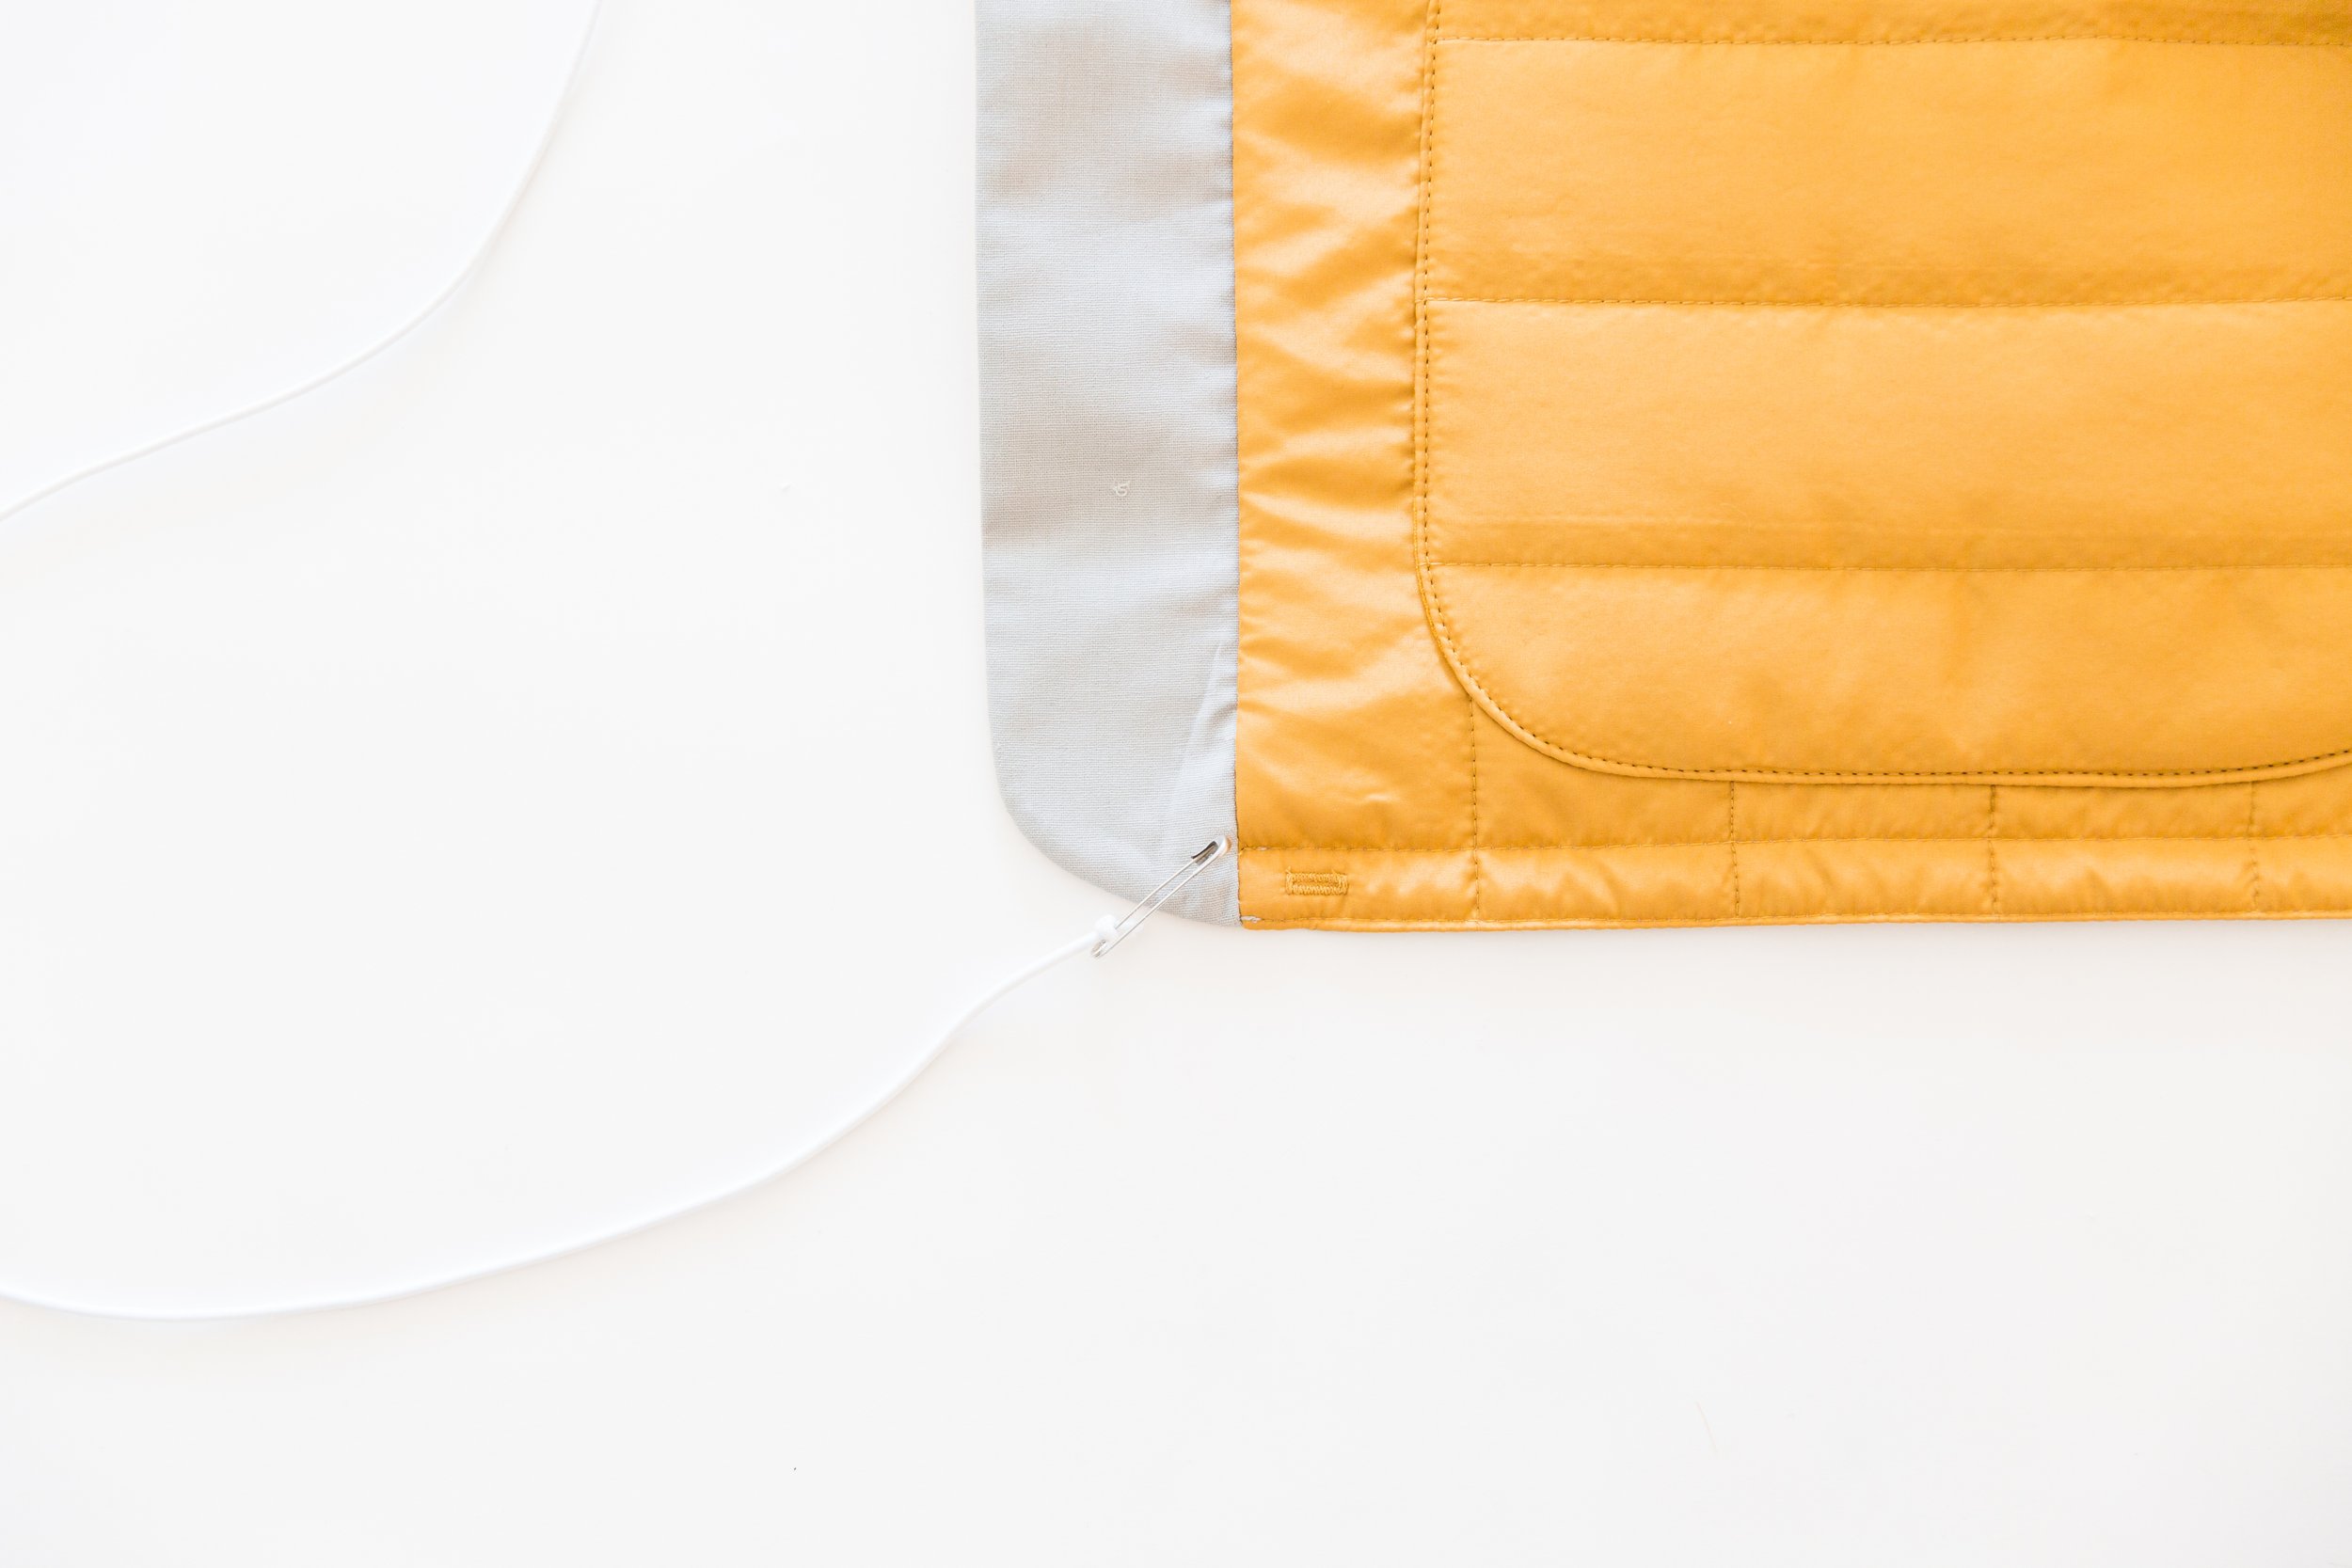
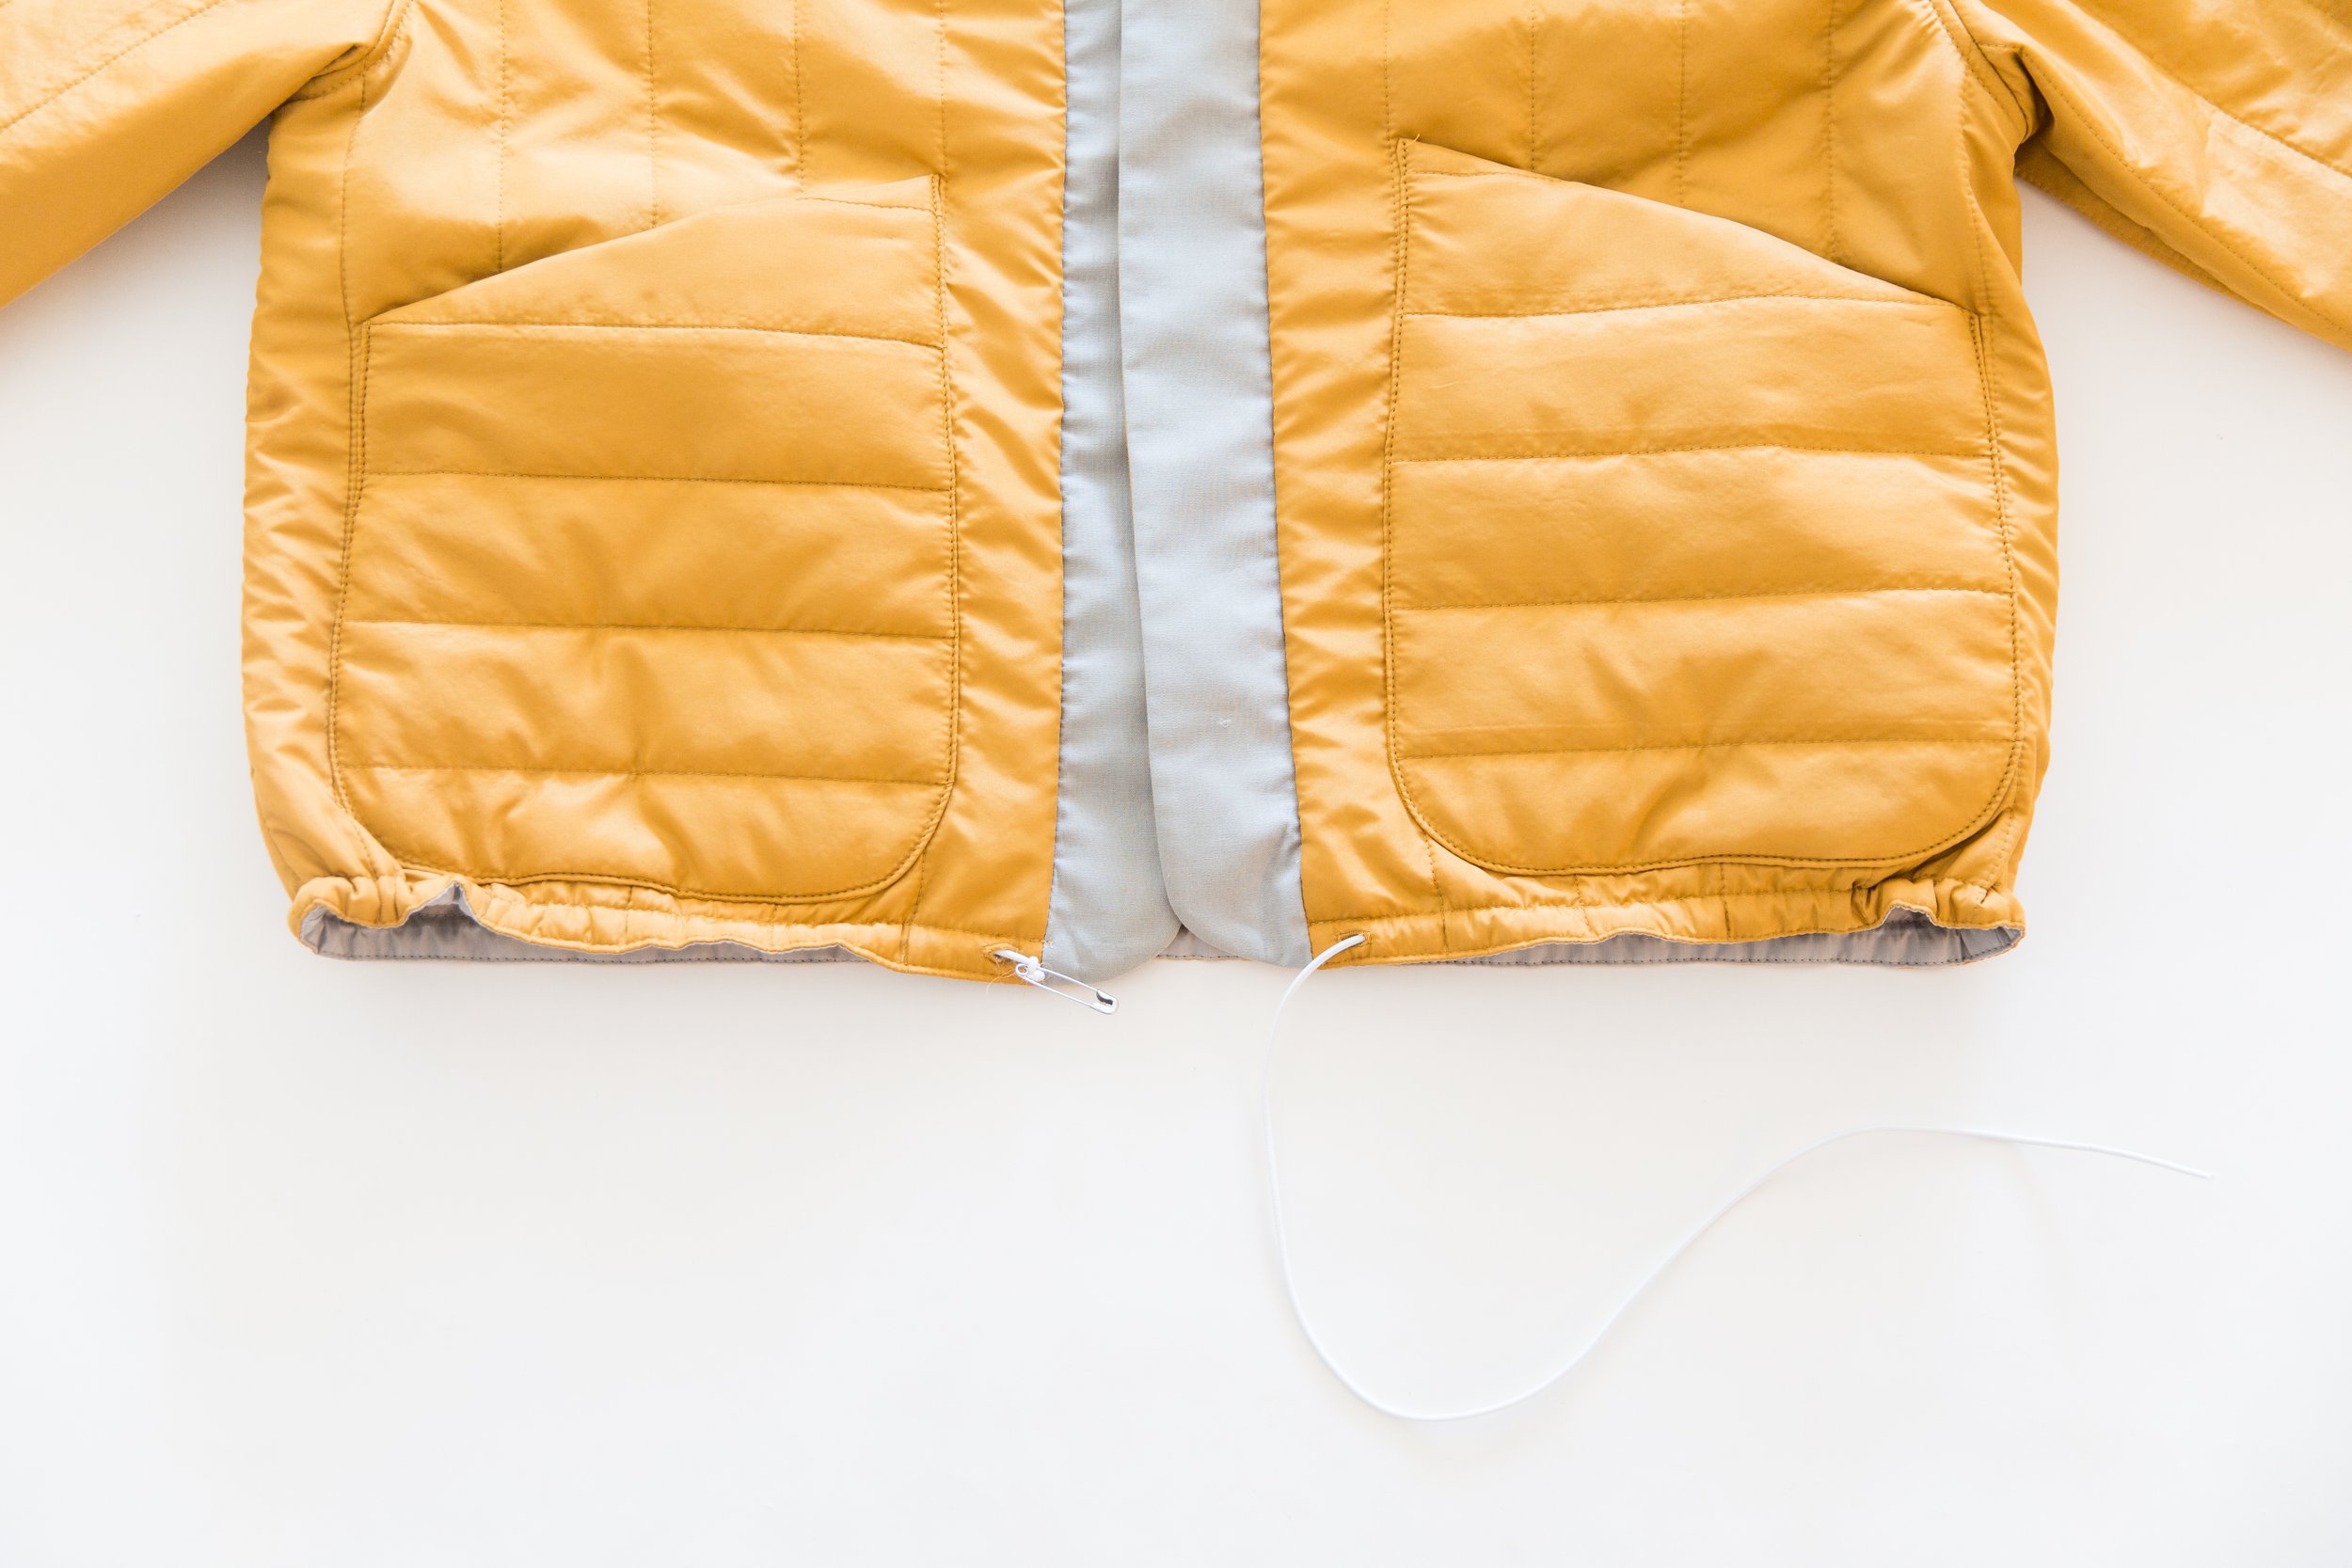
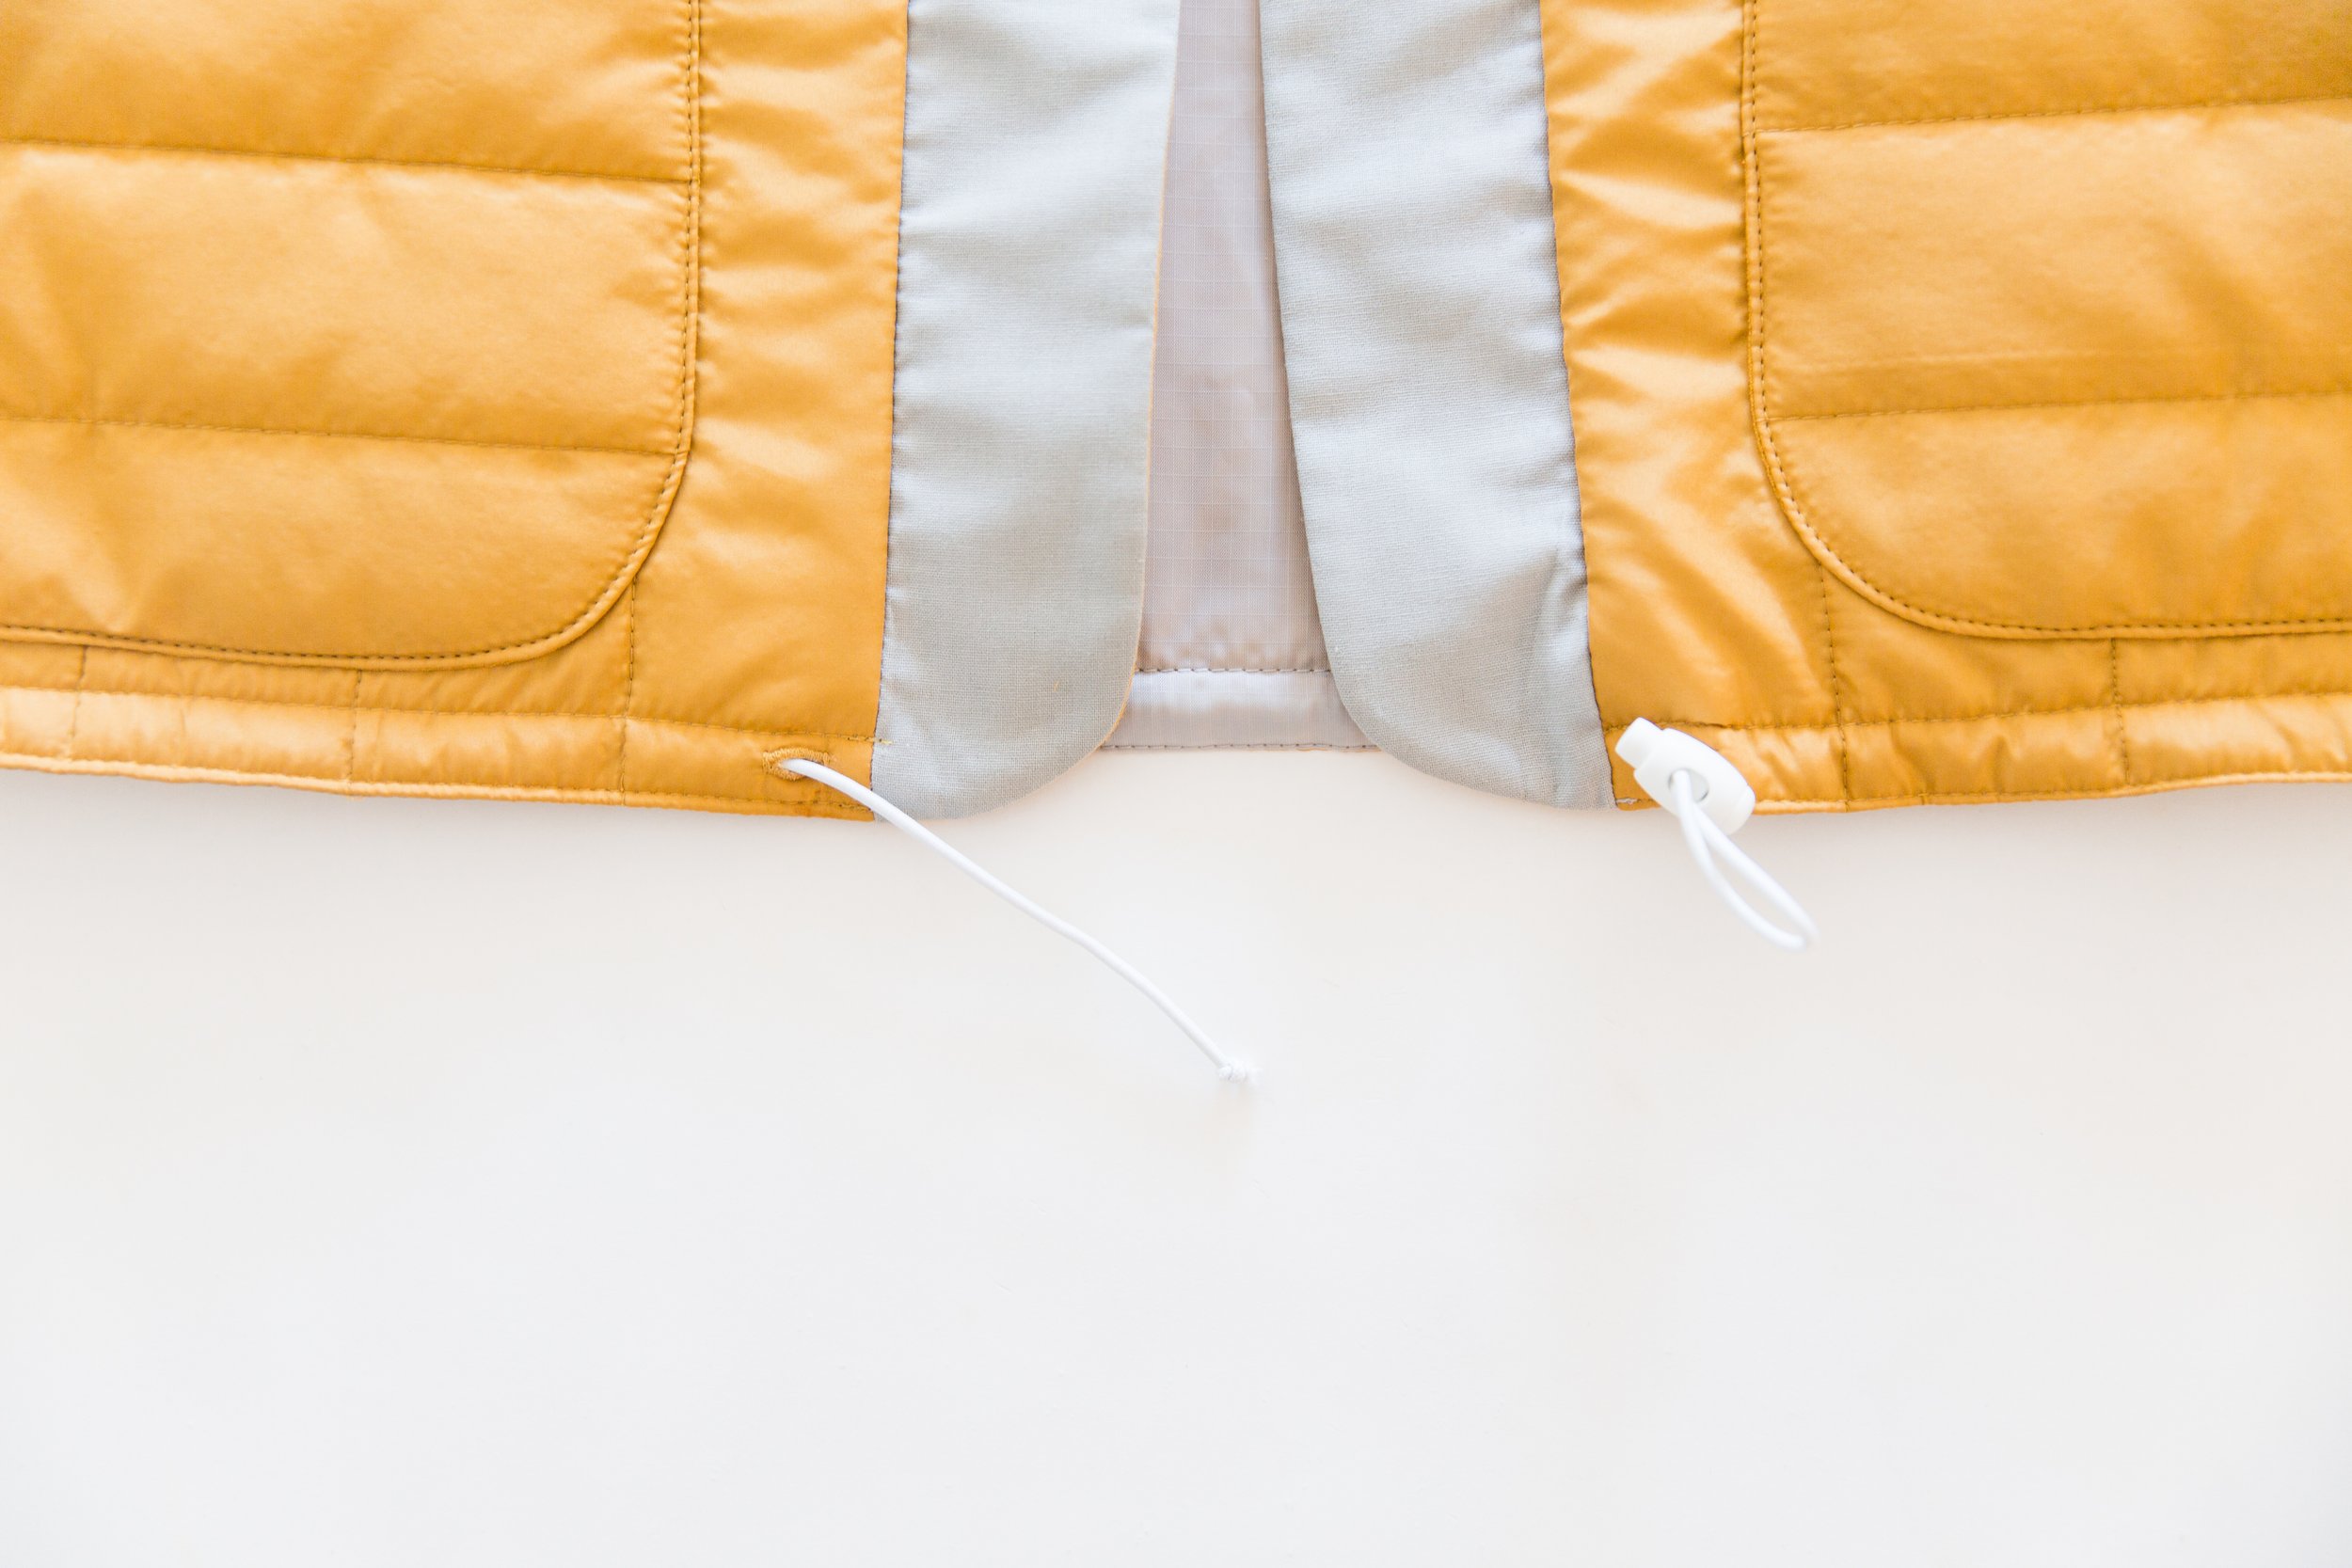
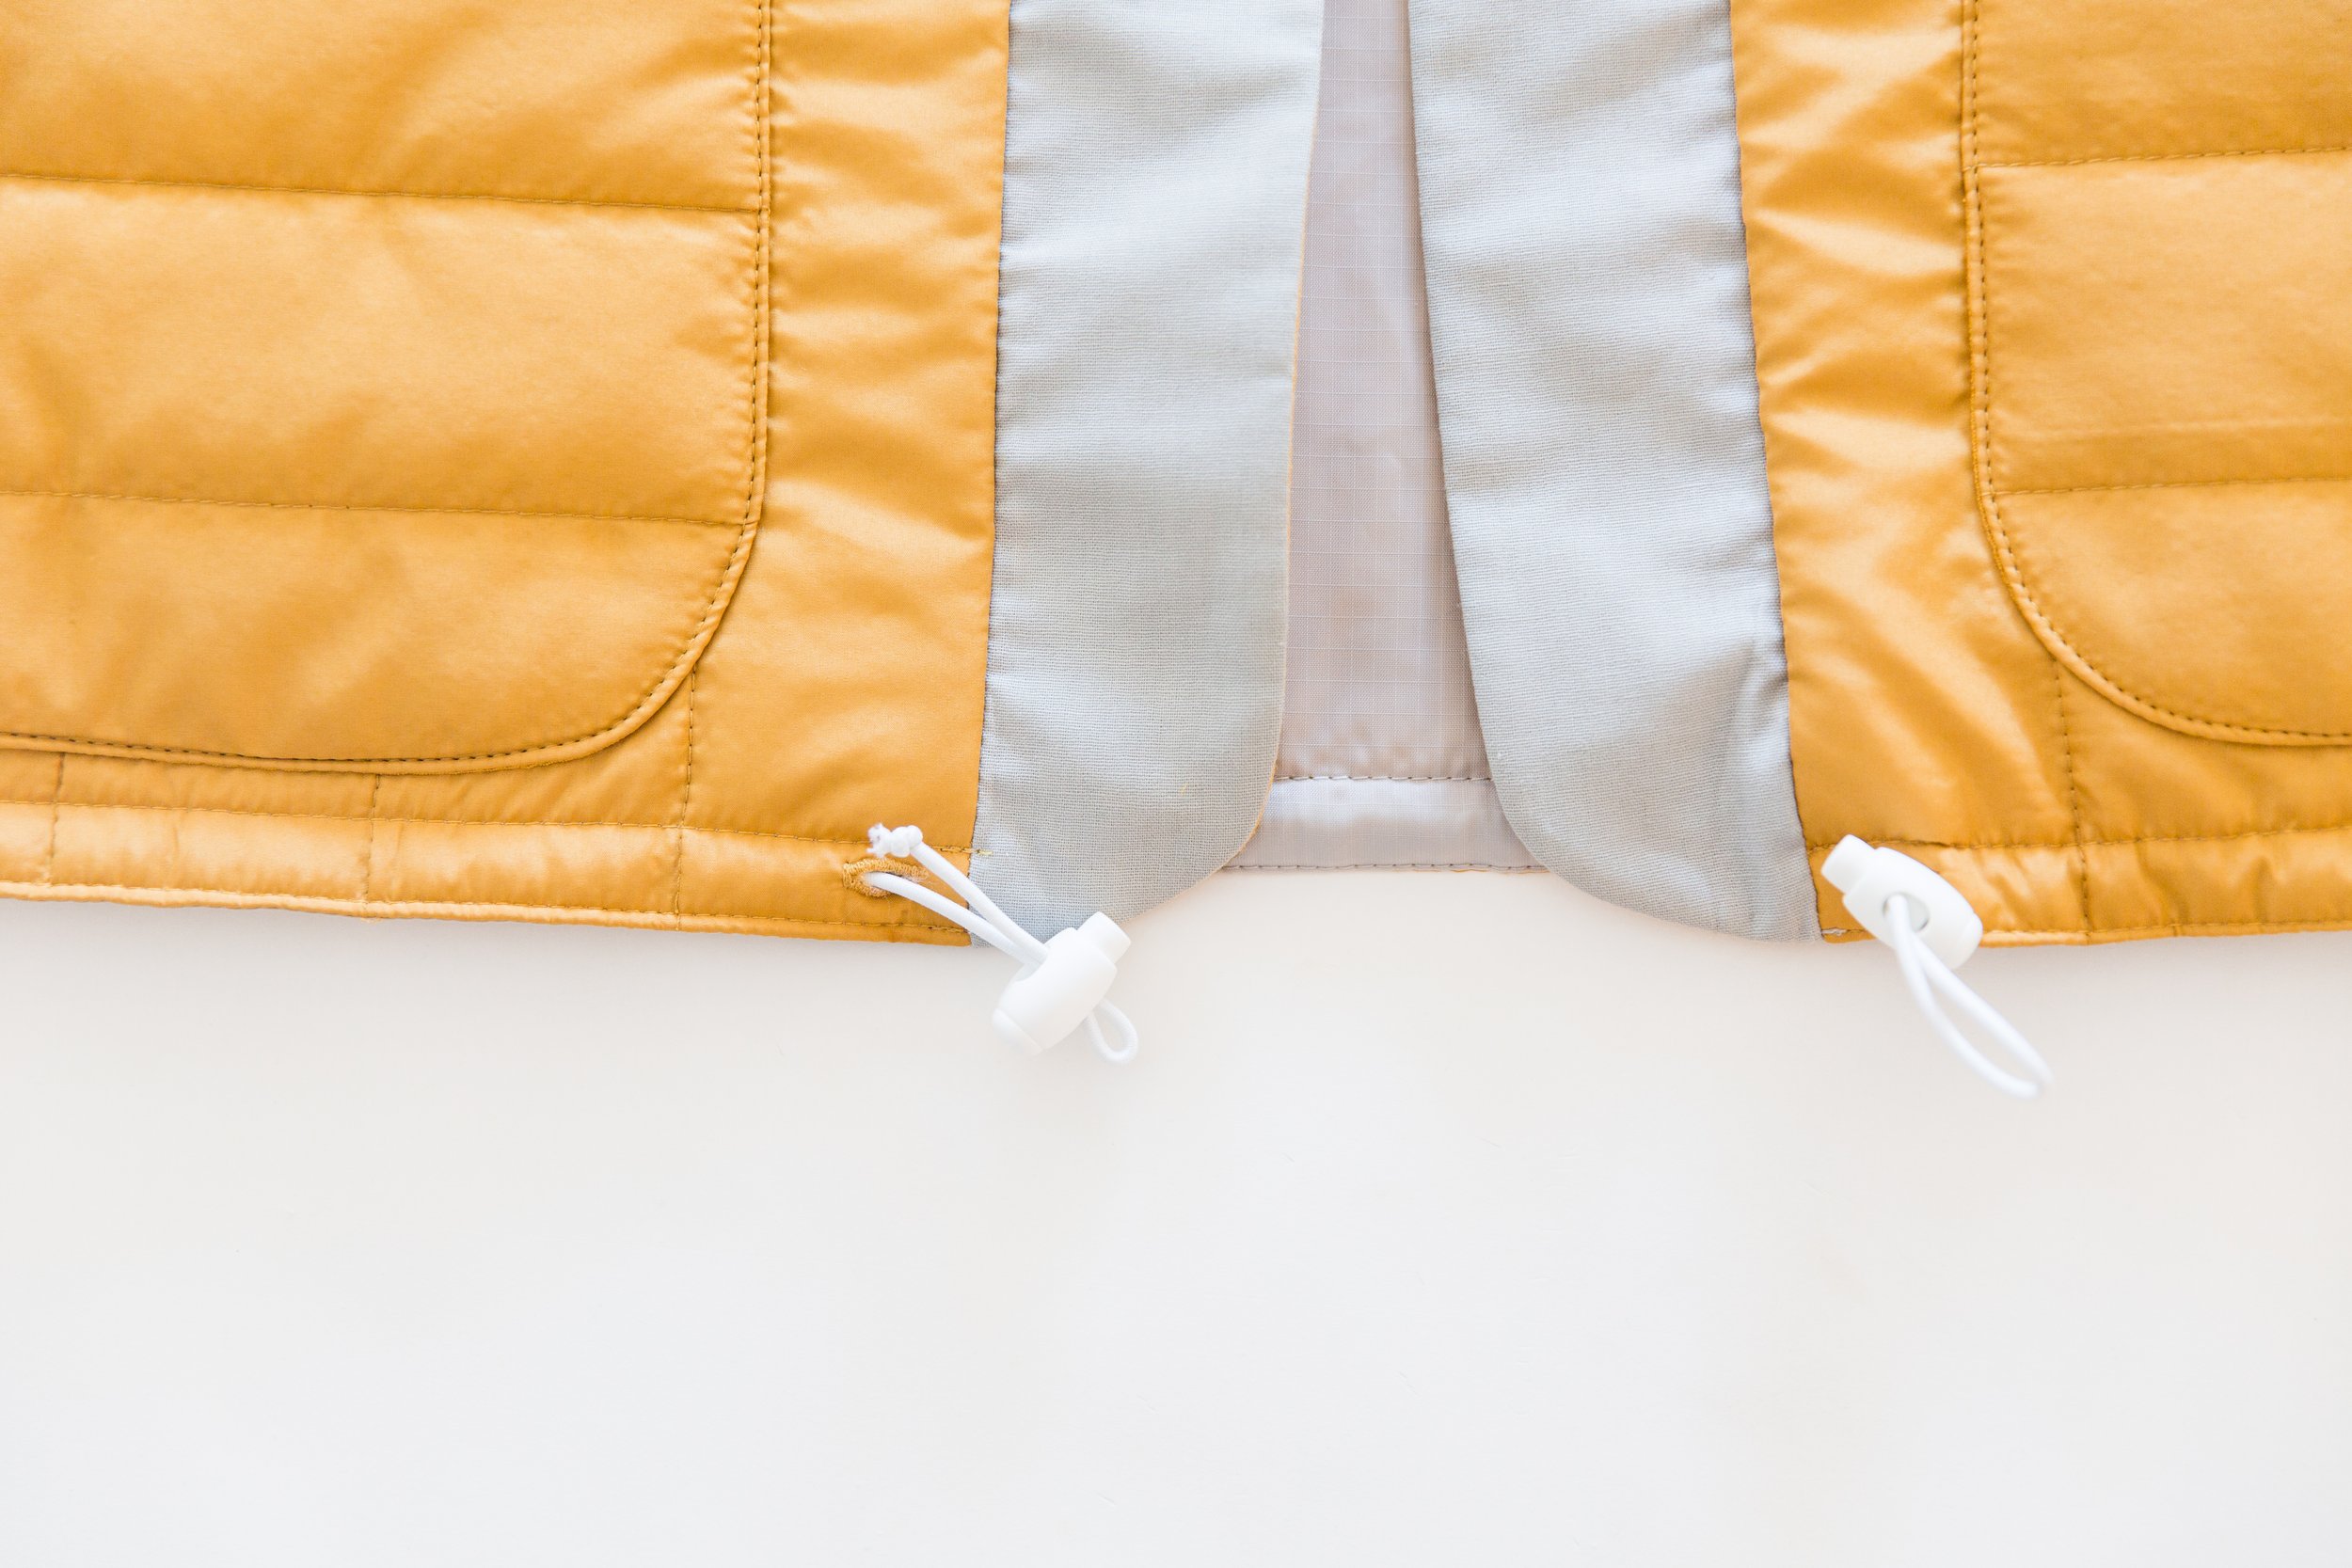
Step 5
Attach a safety pin to one end of your drawstring and thread through one button hole, coming out the other. Cut to desired length. Thread the end through toggle and tie a knot at the end of drawstring. Repeat for other side.