
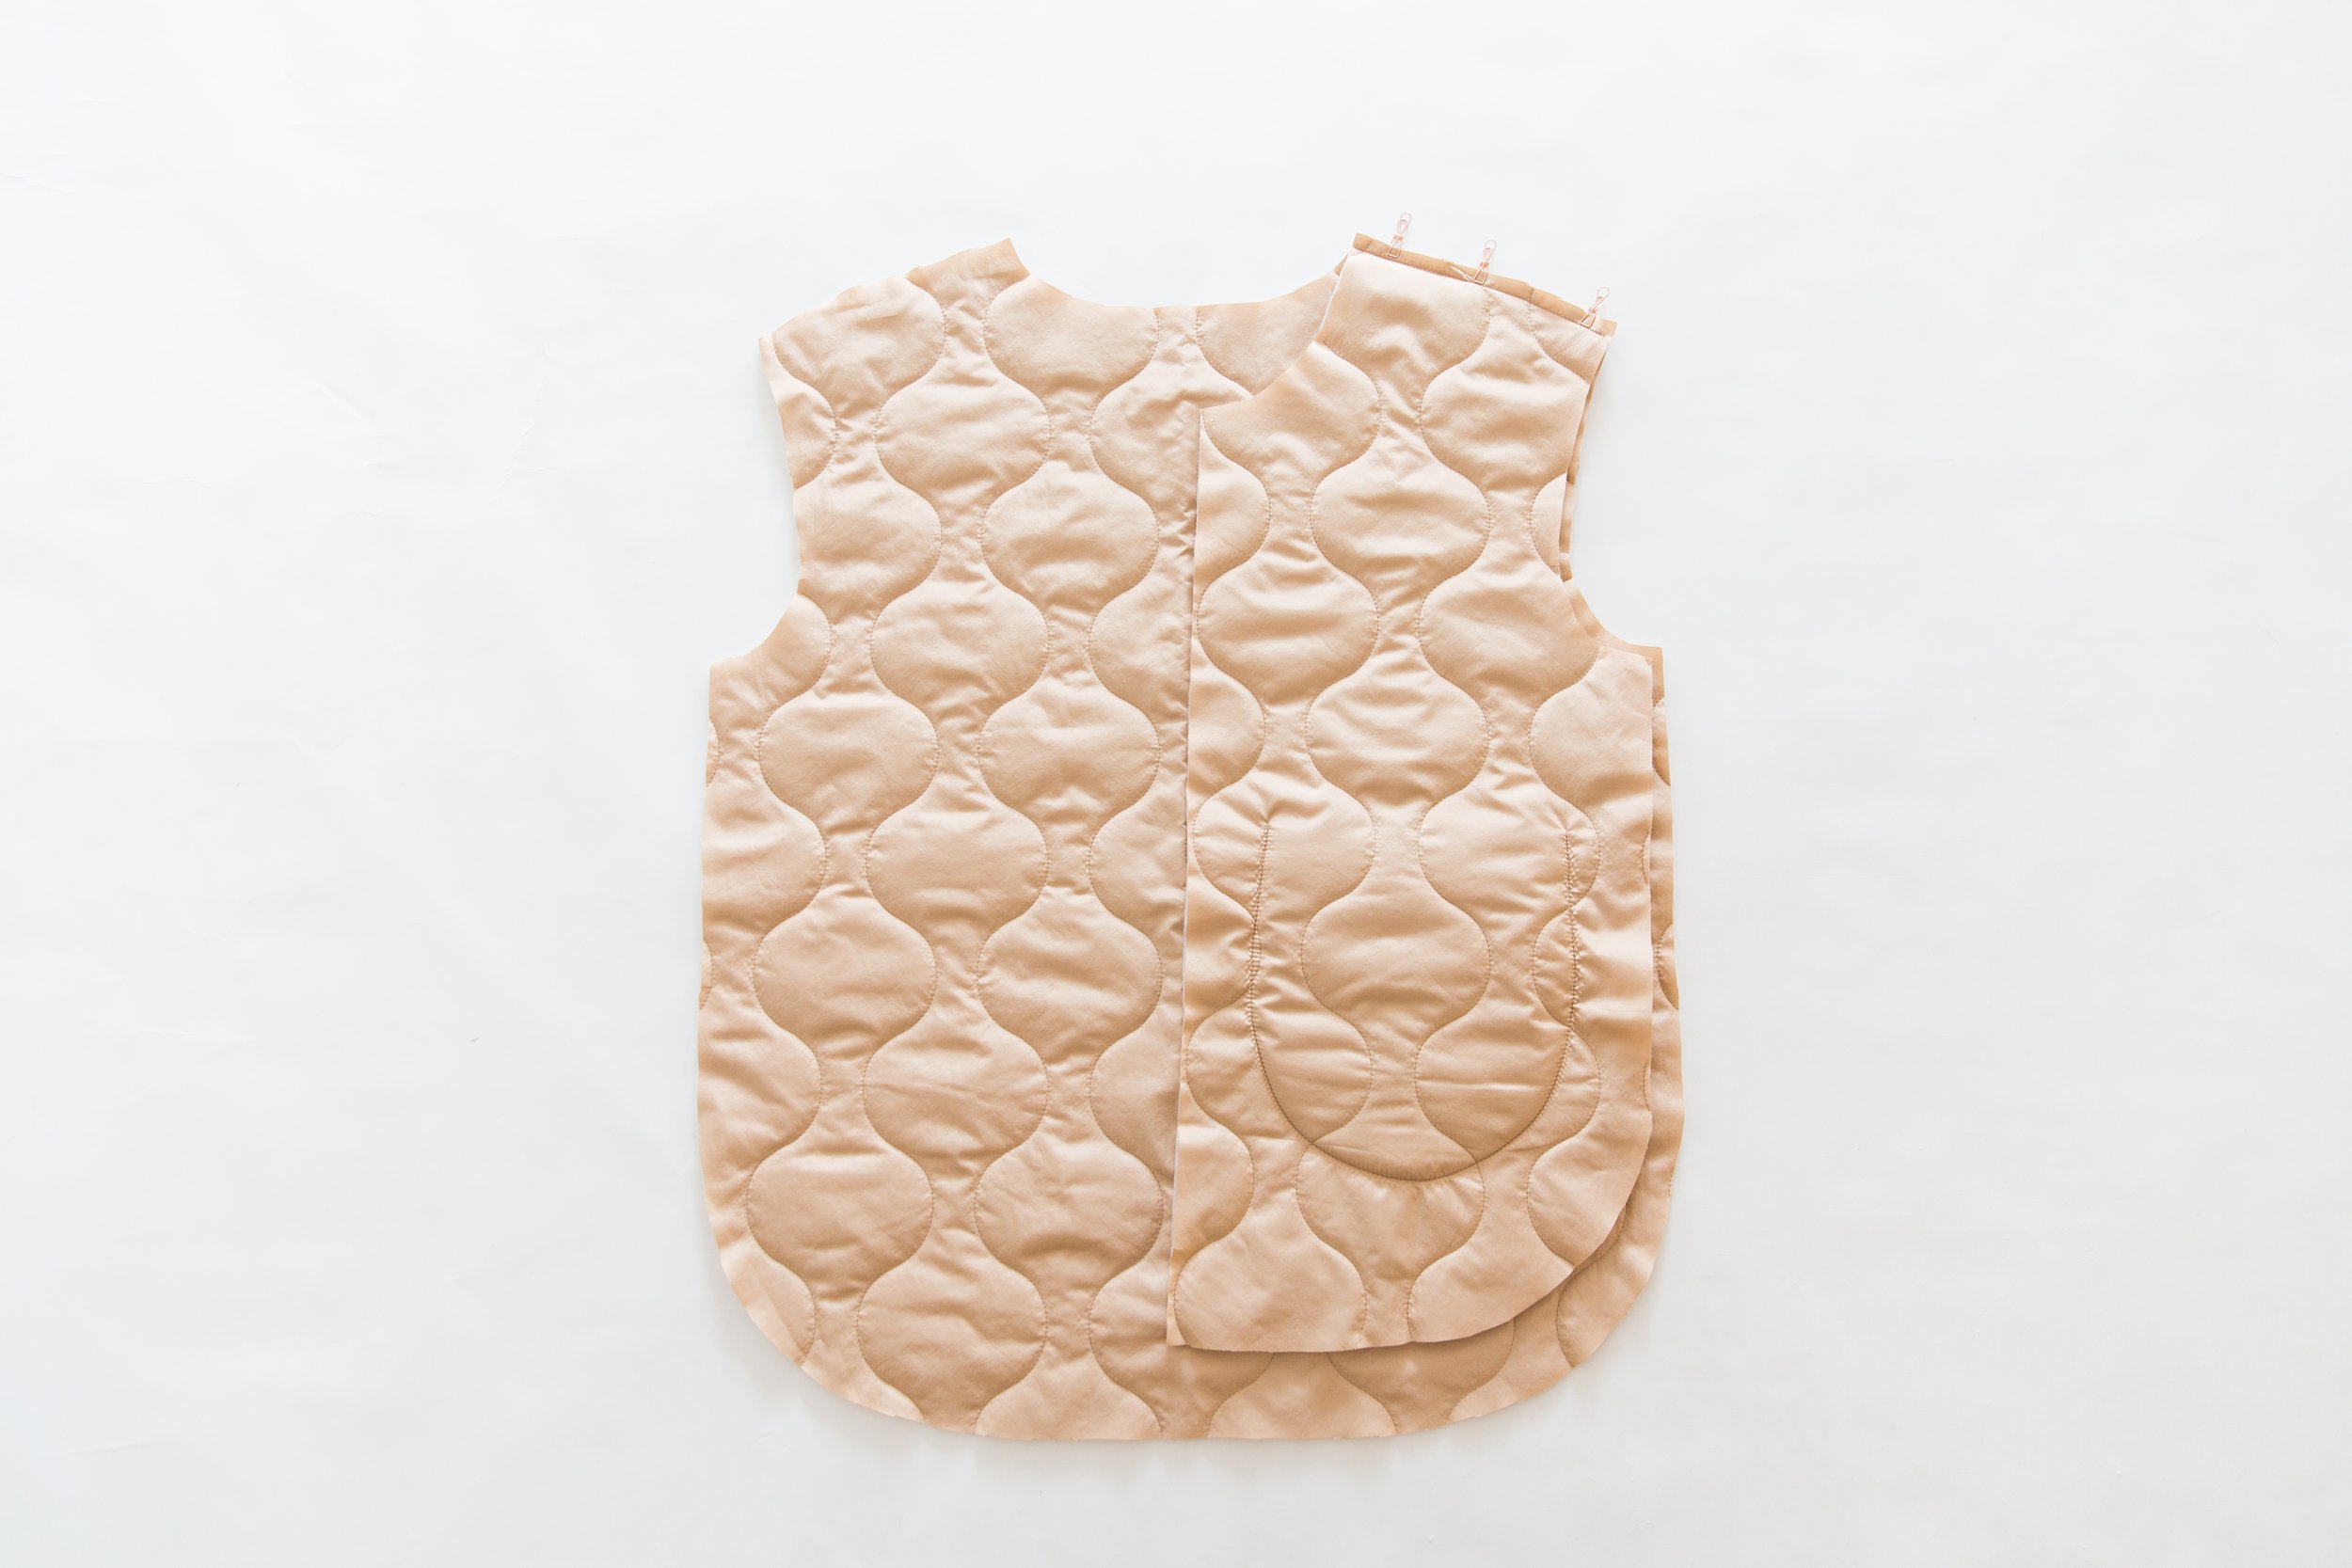
Step 1
Pin fronts to back at the shoulder seams with right sides facing. Stitch together. Topstitch seam allowances toward back.
Step 2
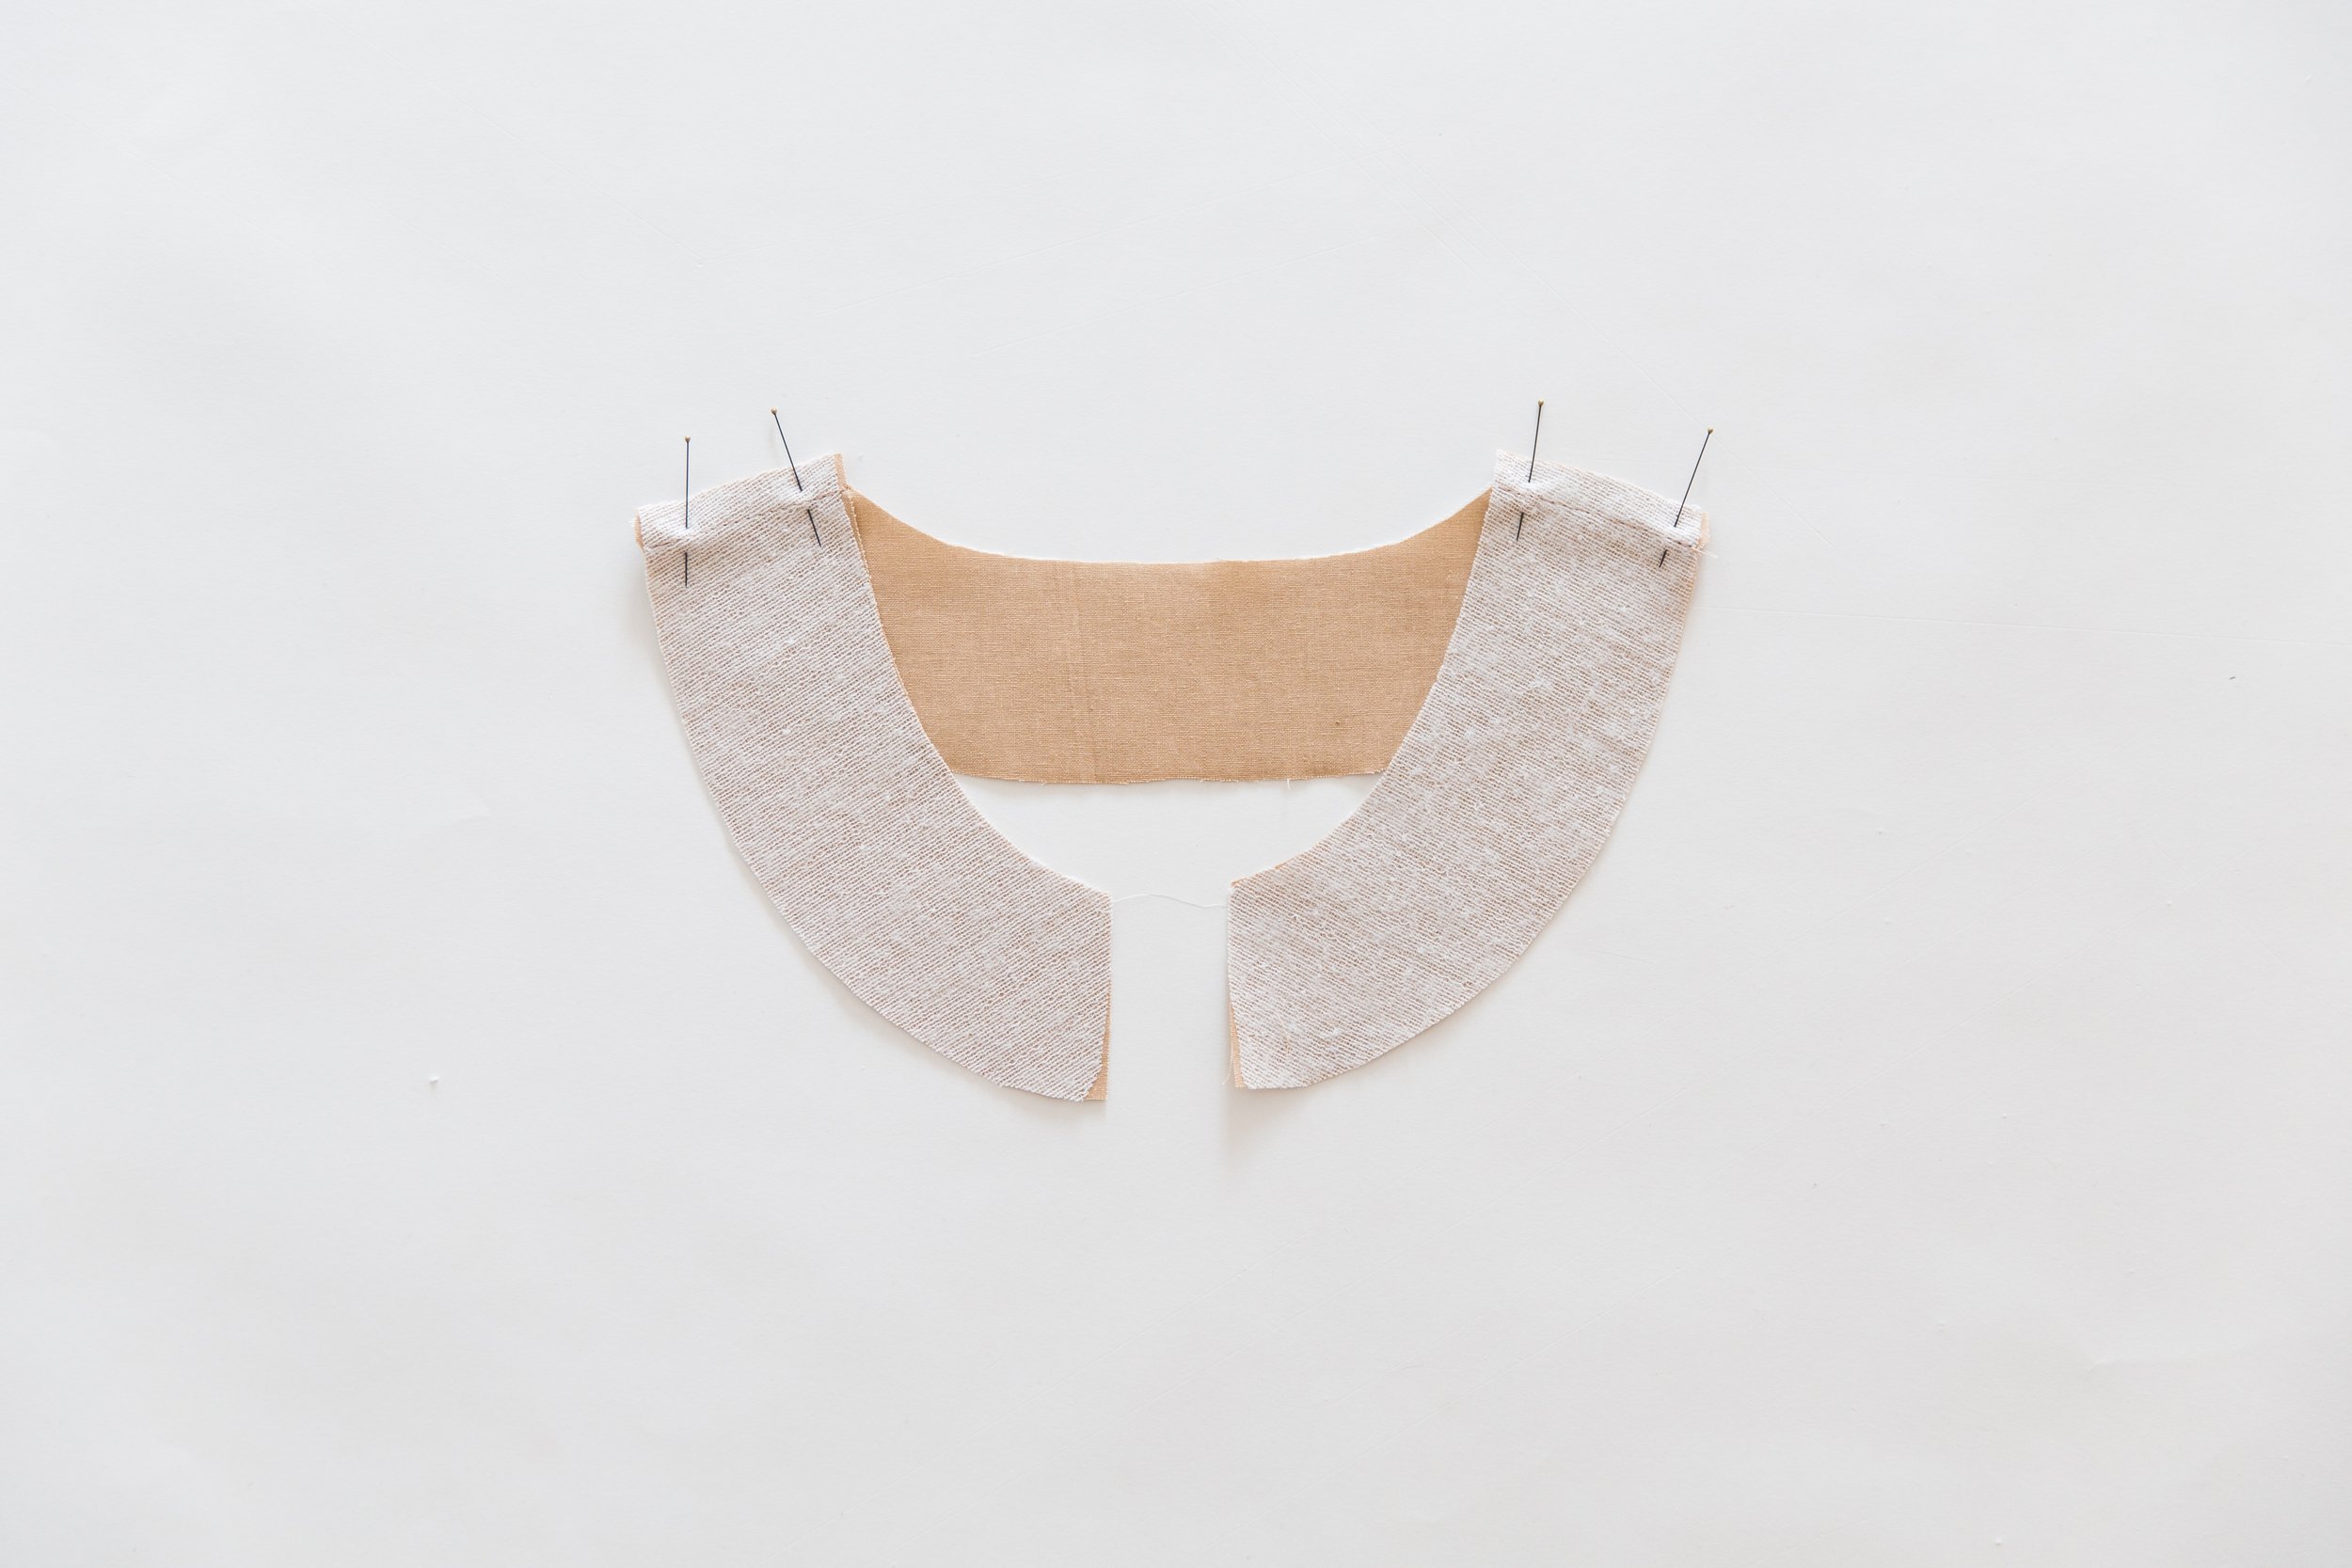
Pin fused front and back neck edging pieces together at the shoulder seams with right sides facing. Stitch together. Press seams open.

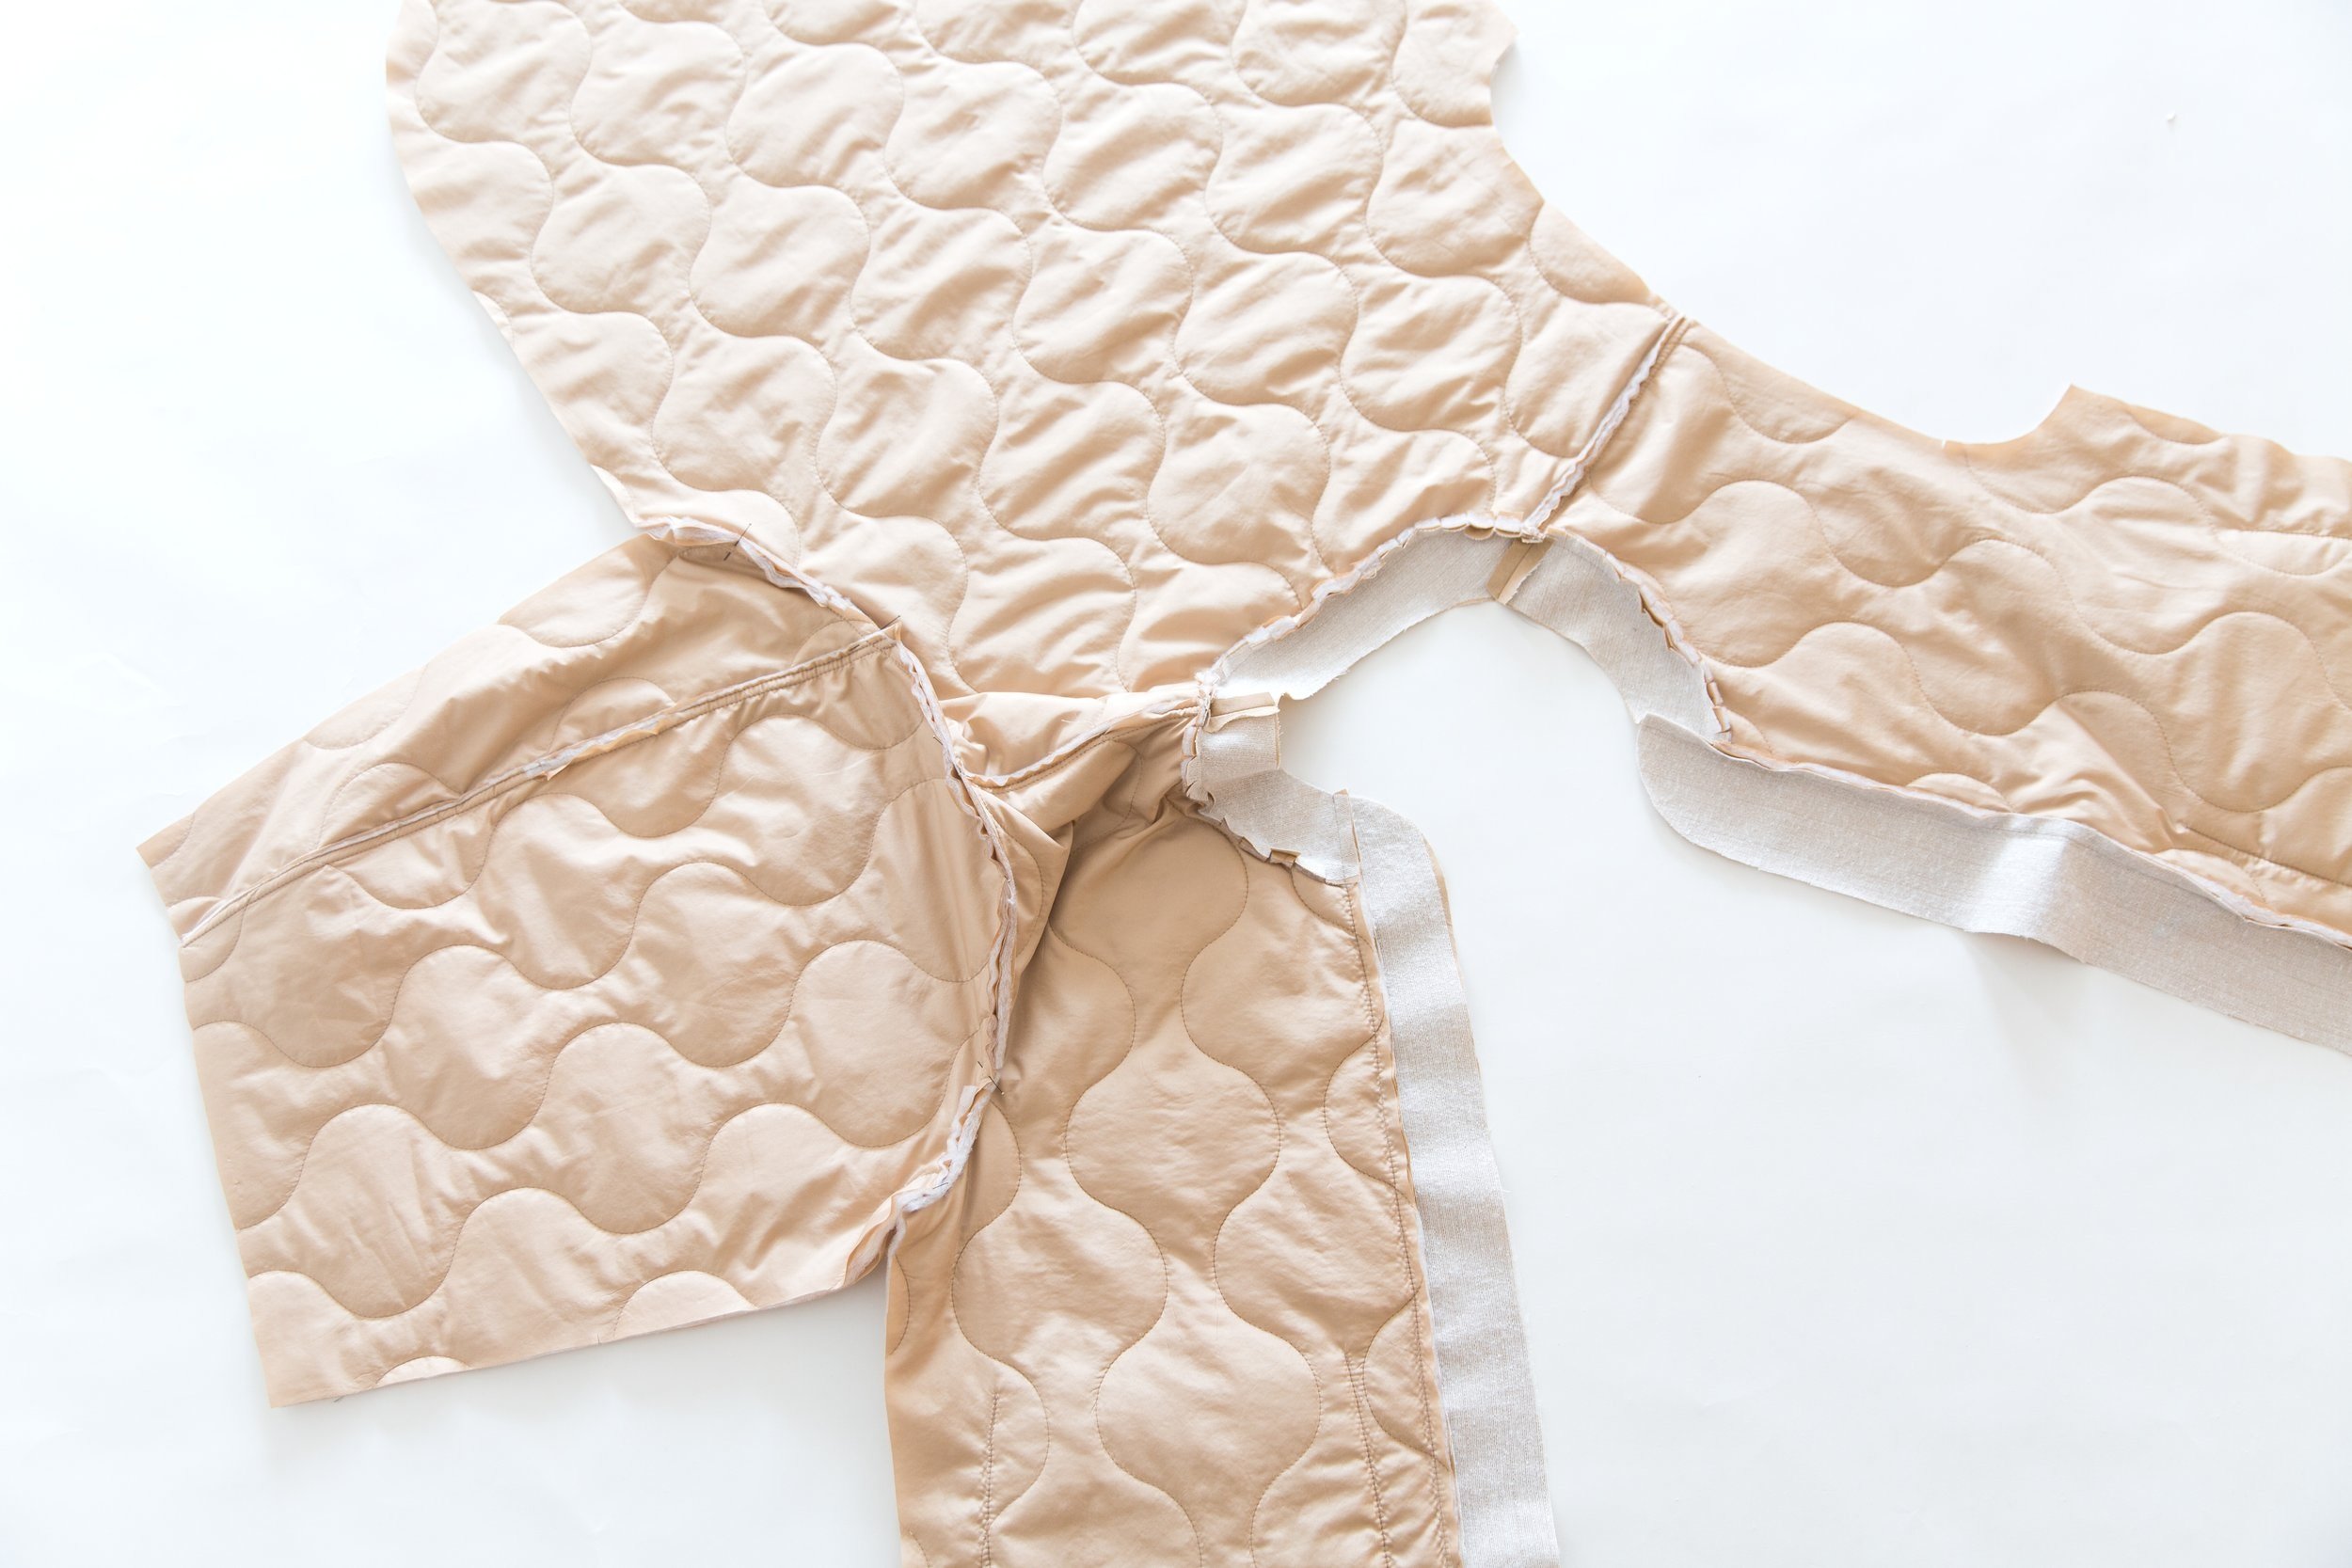
Step 3
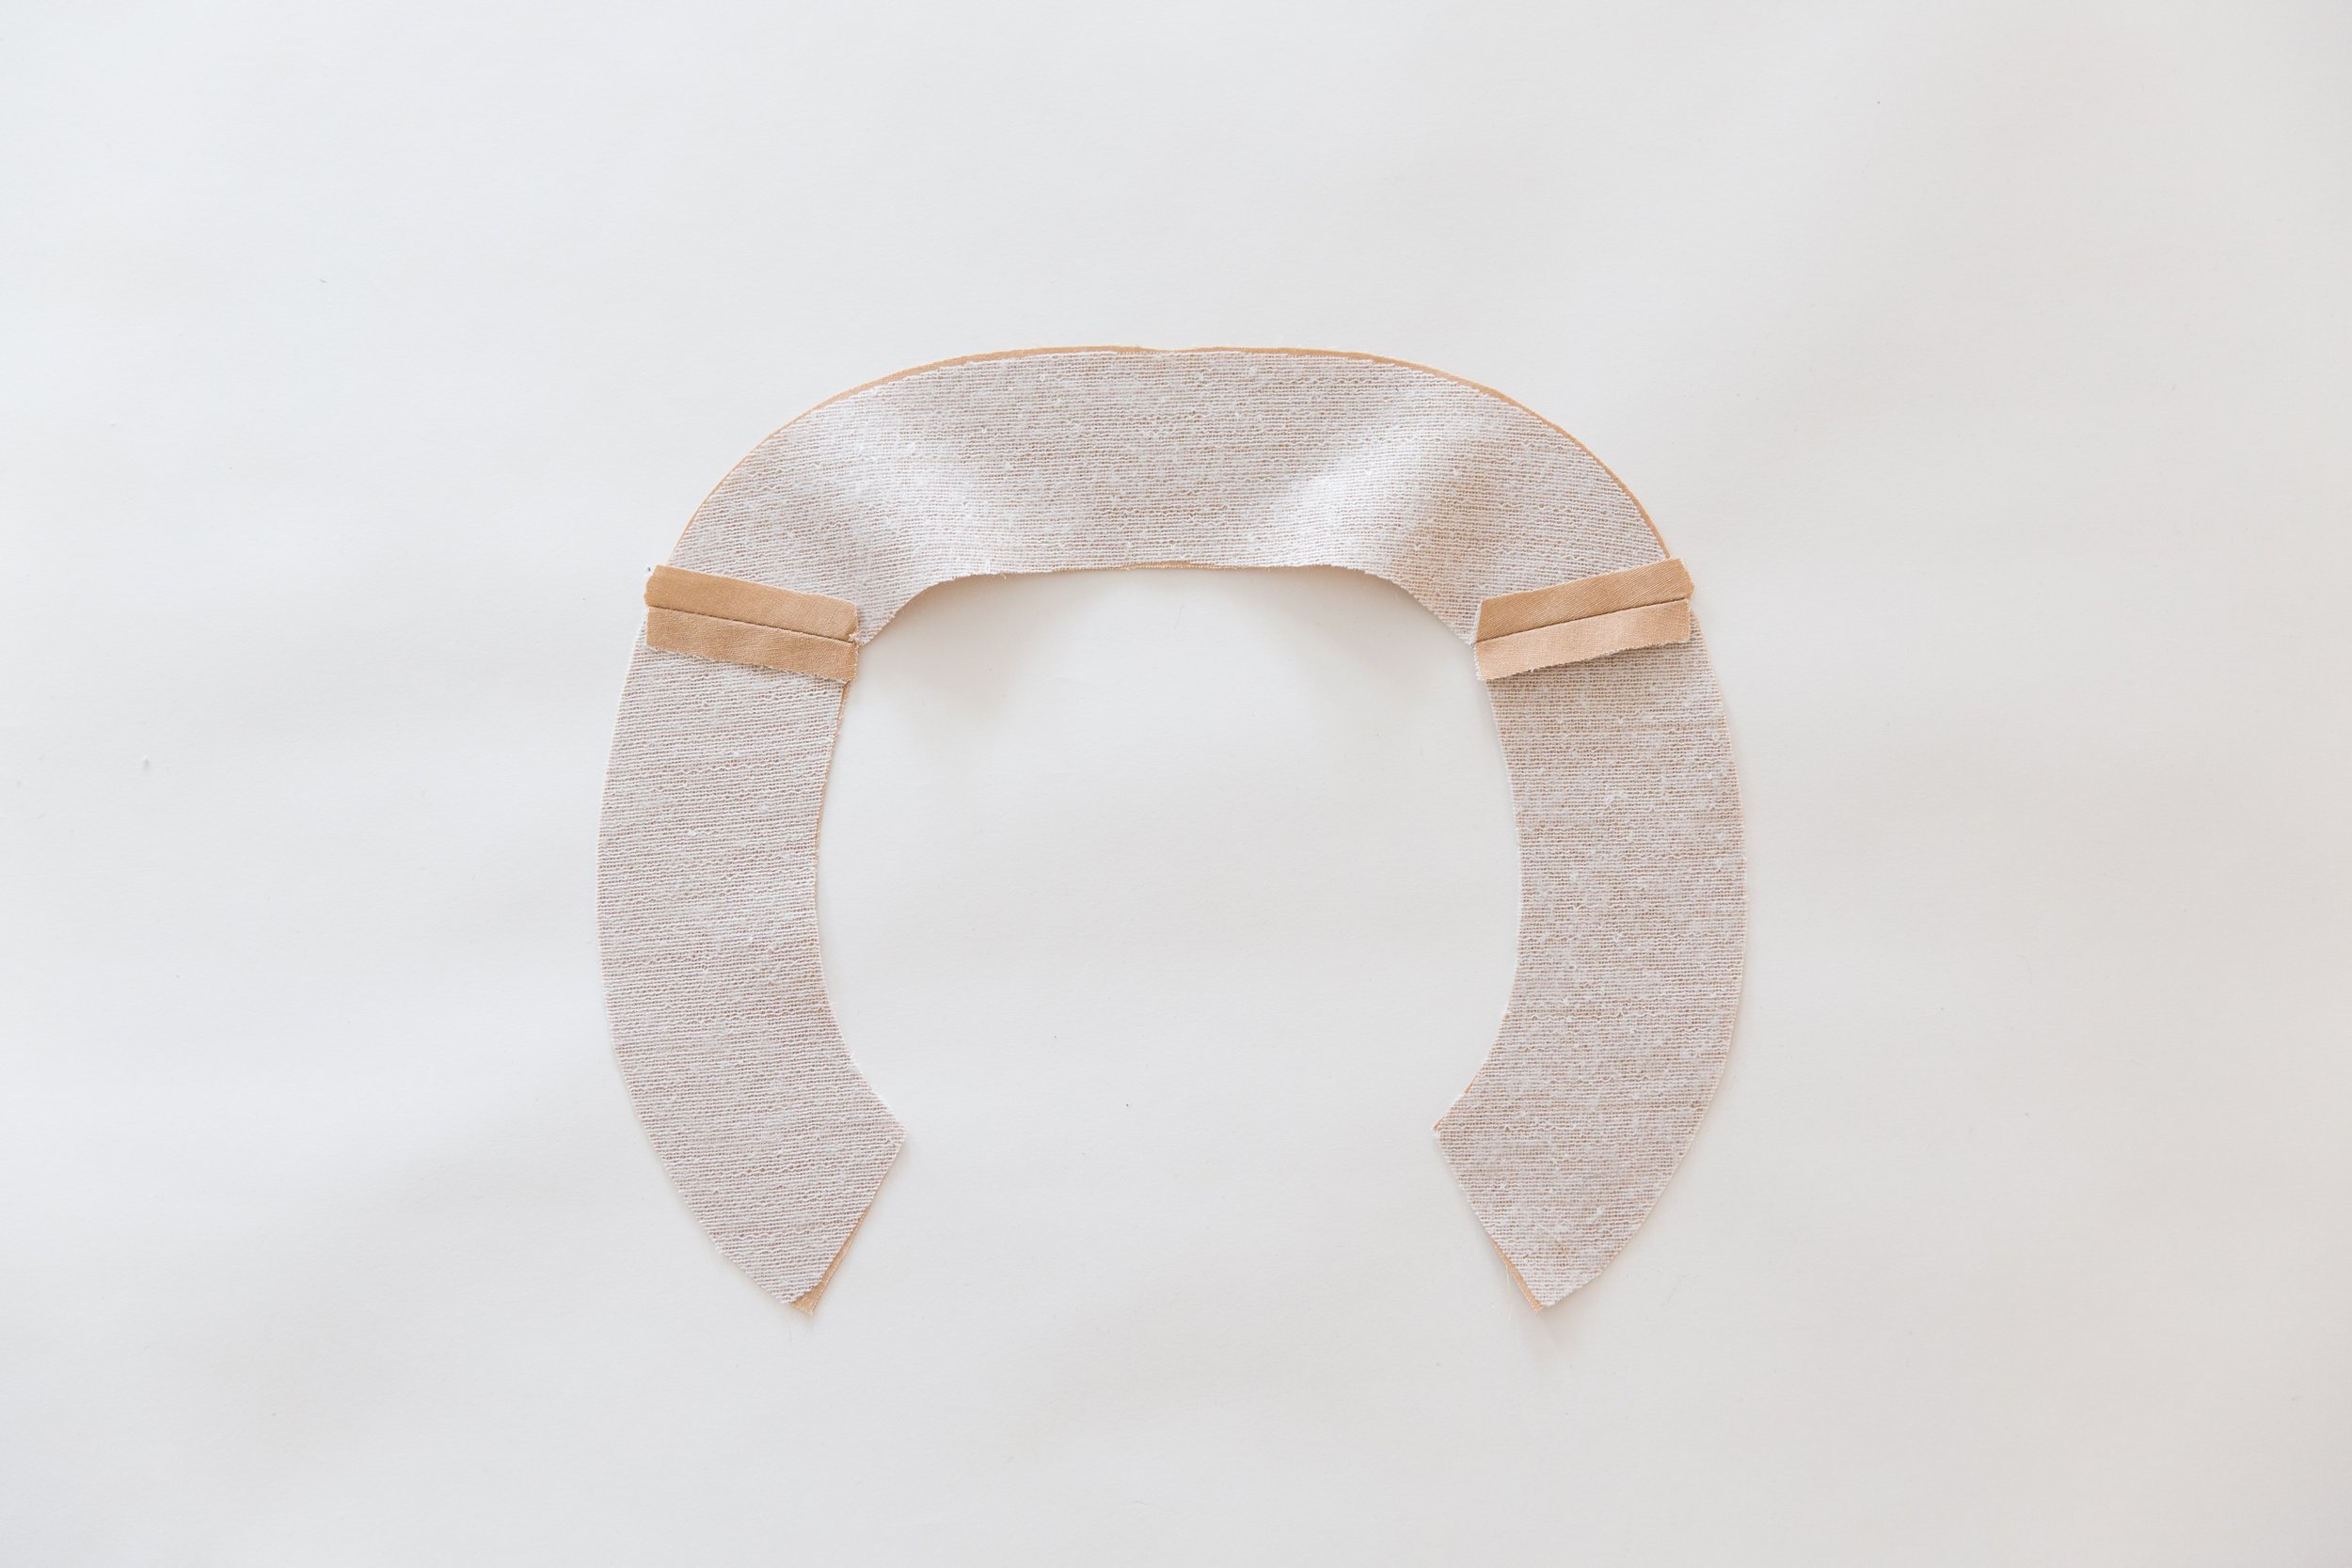
Pin the outer curve of neck edging to neckline with right sides facing, lining up shoulder seams. Stitch together. Trim seam allowance in half and clip around curves. Press seam allowances toward jacket.
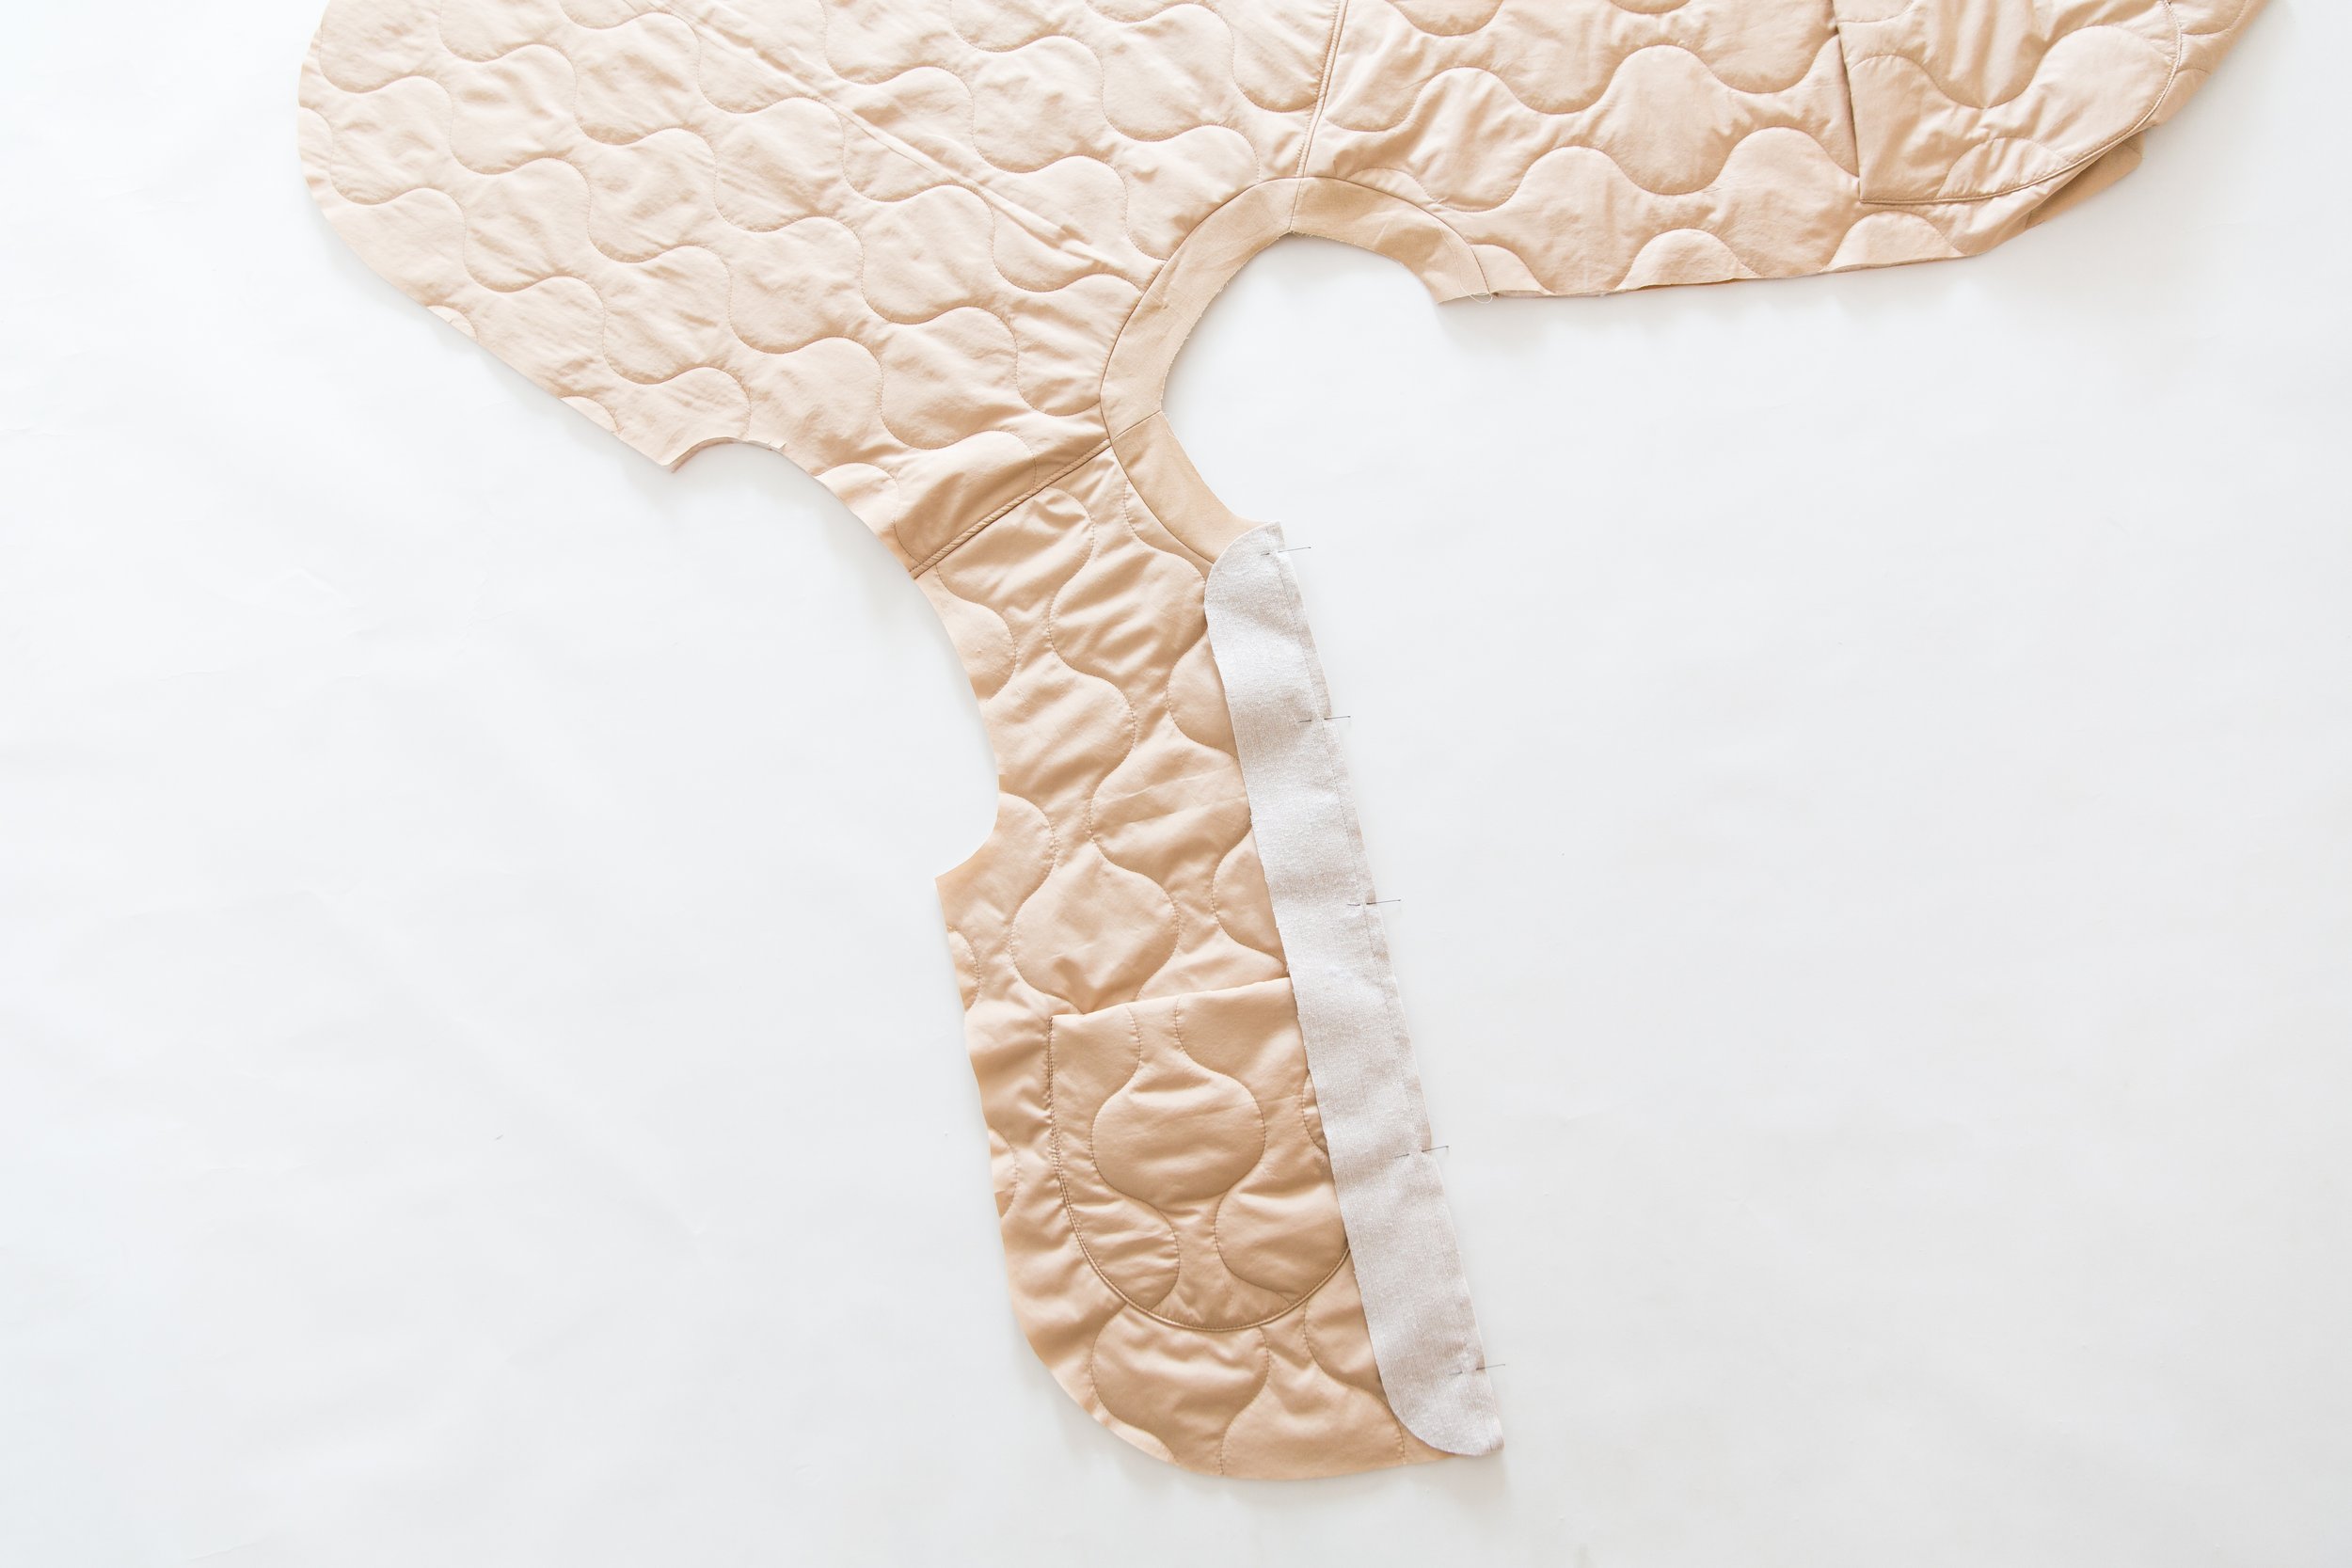
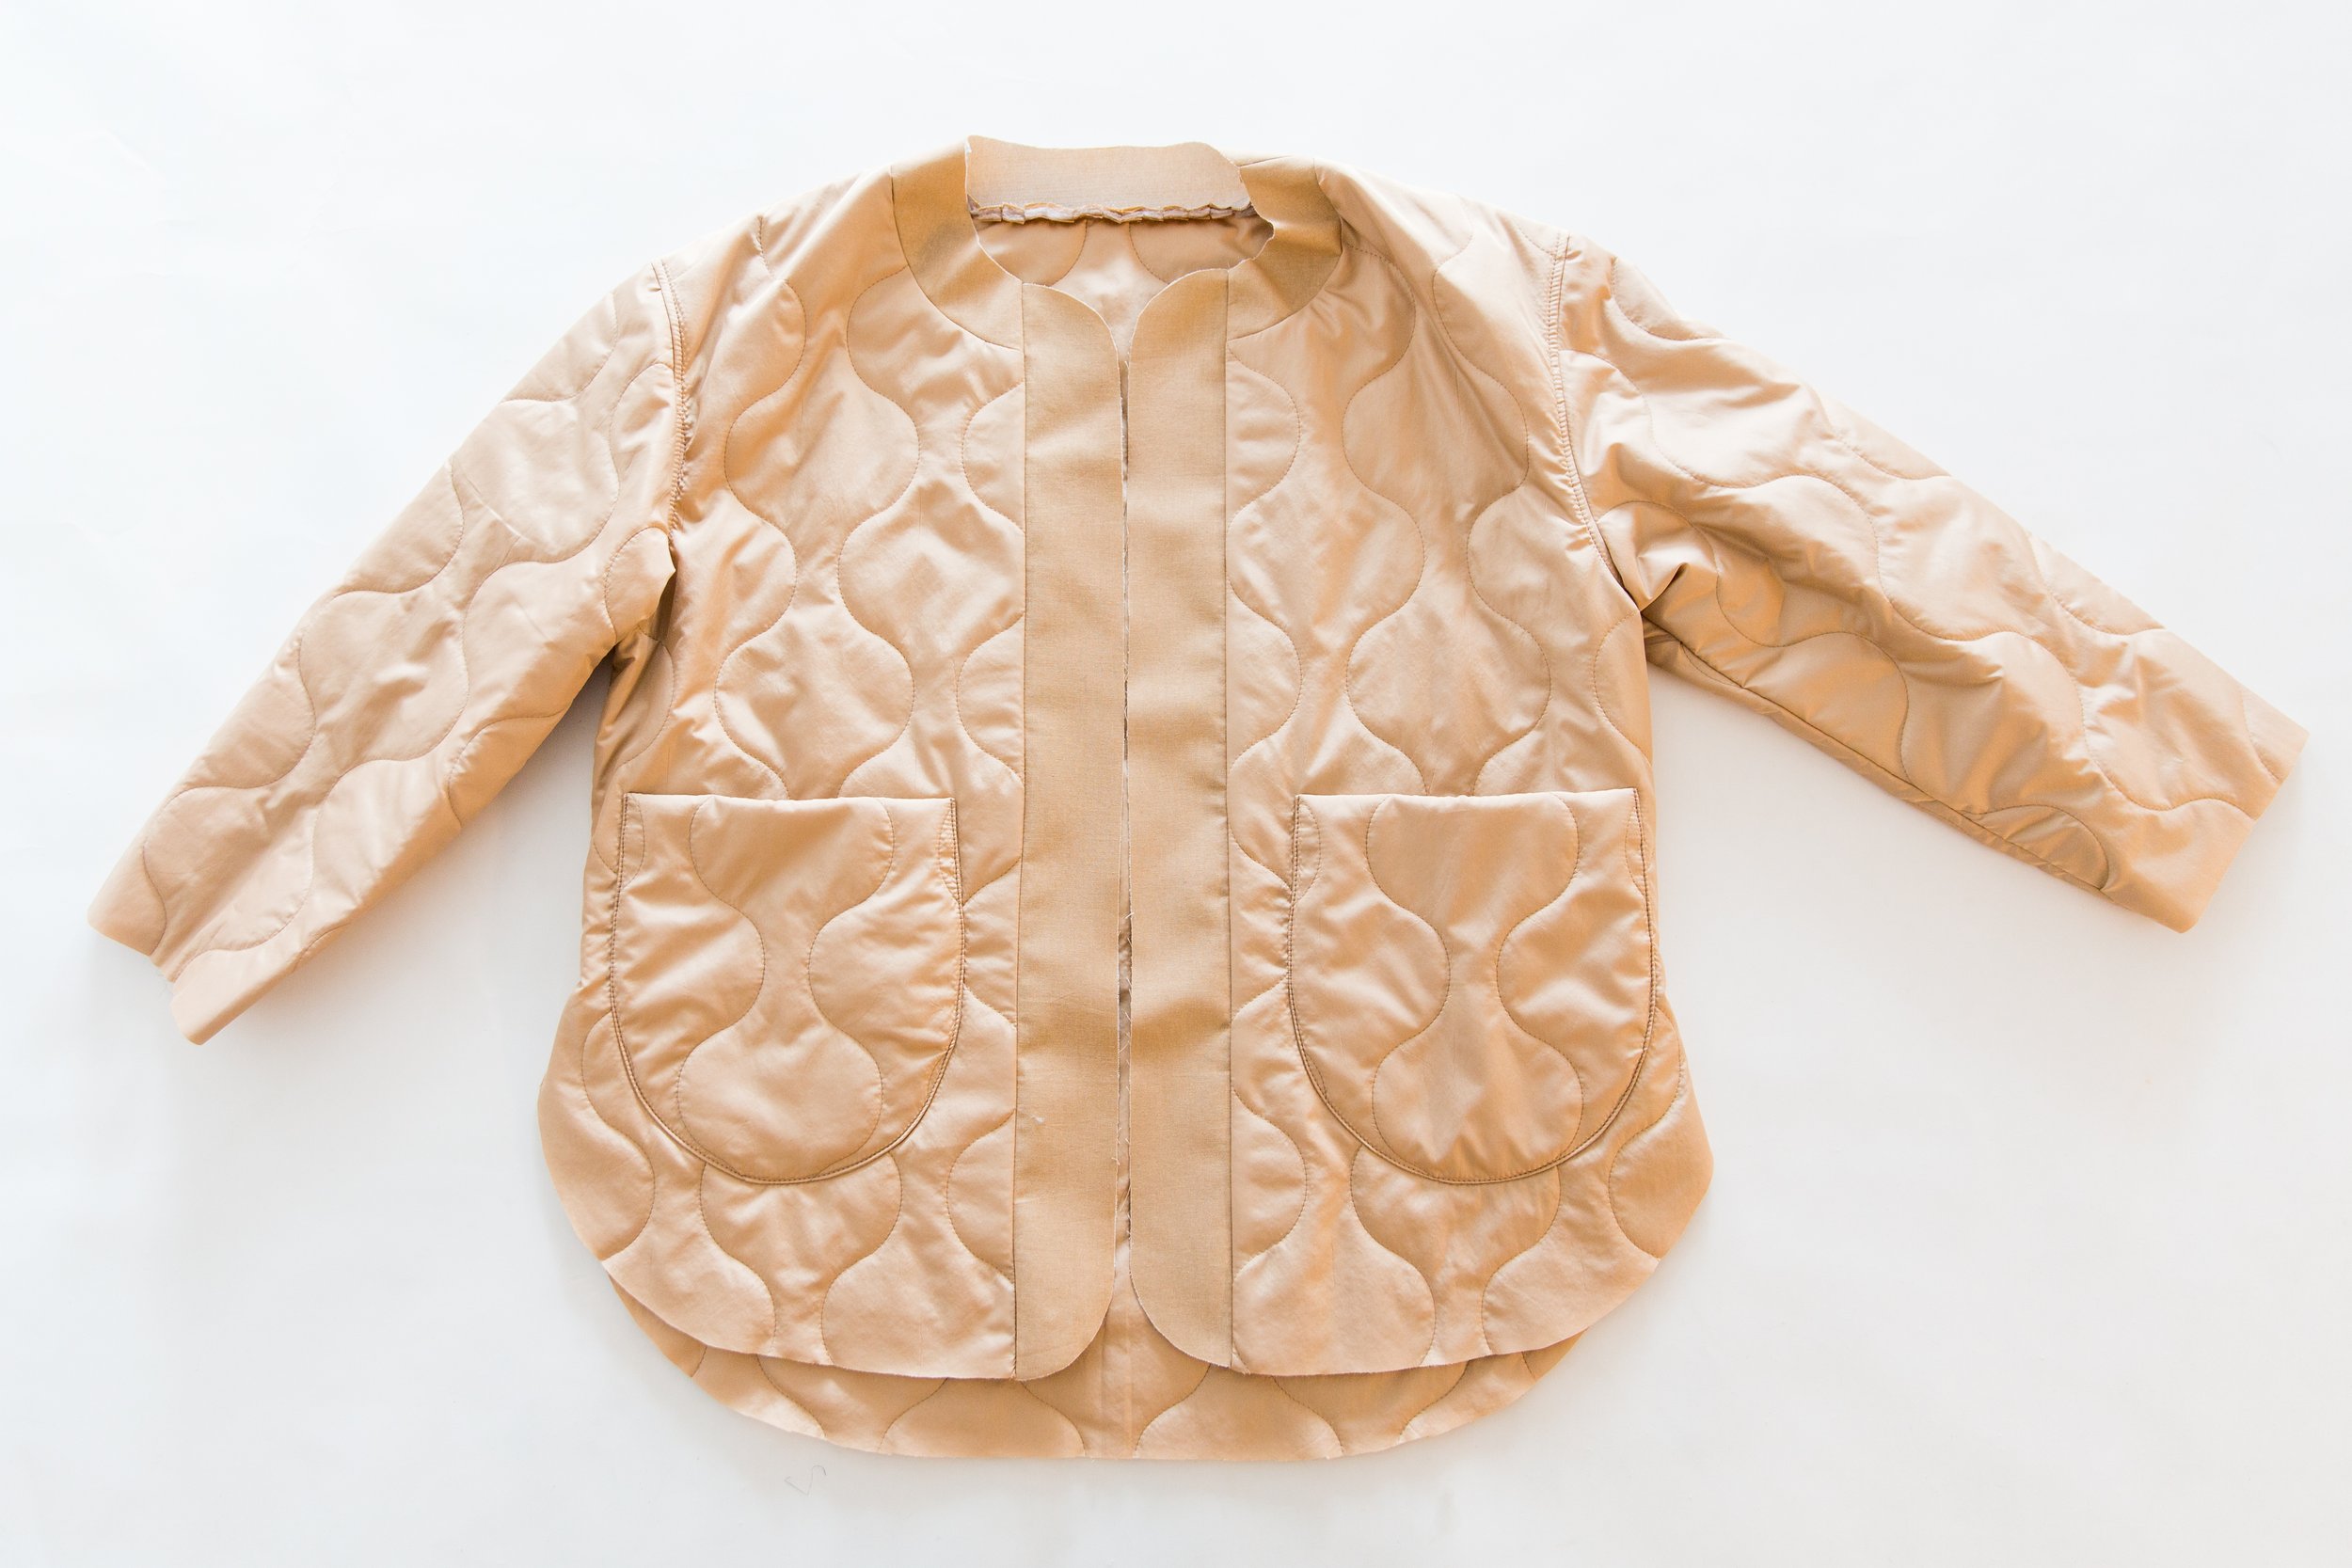
Step 4
Pin fused button stand to centre front of jacket with right sides facing. Stitch. Press seam allowances toward jacket. Repeat for other side.
Step 5
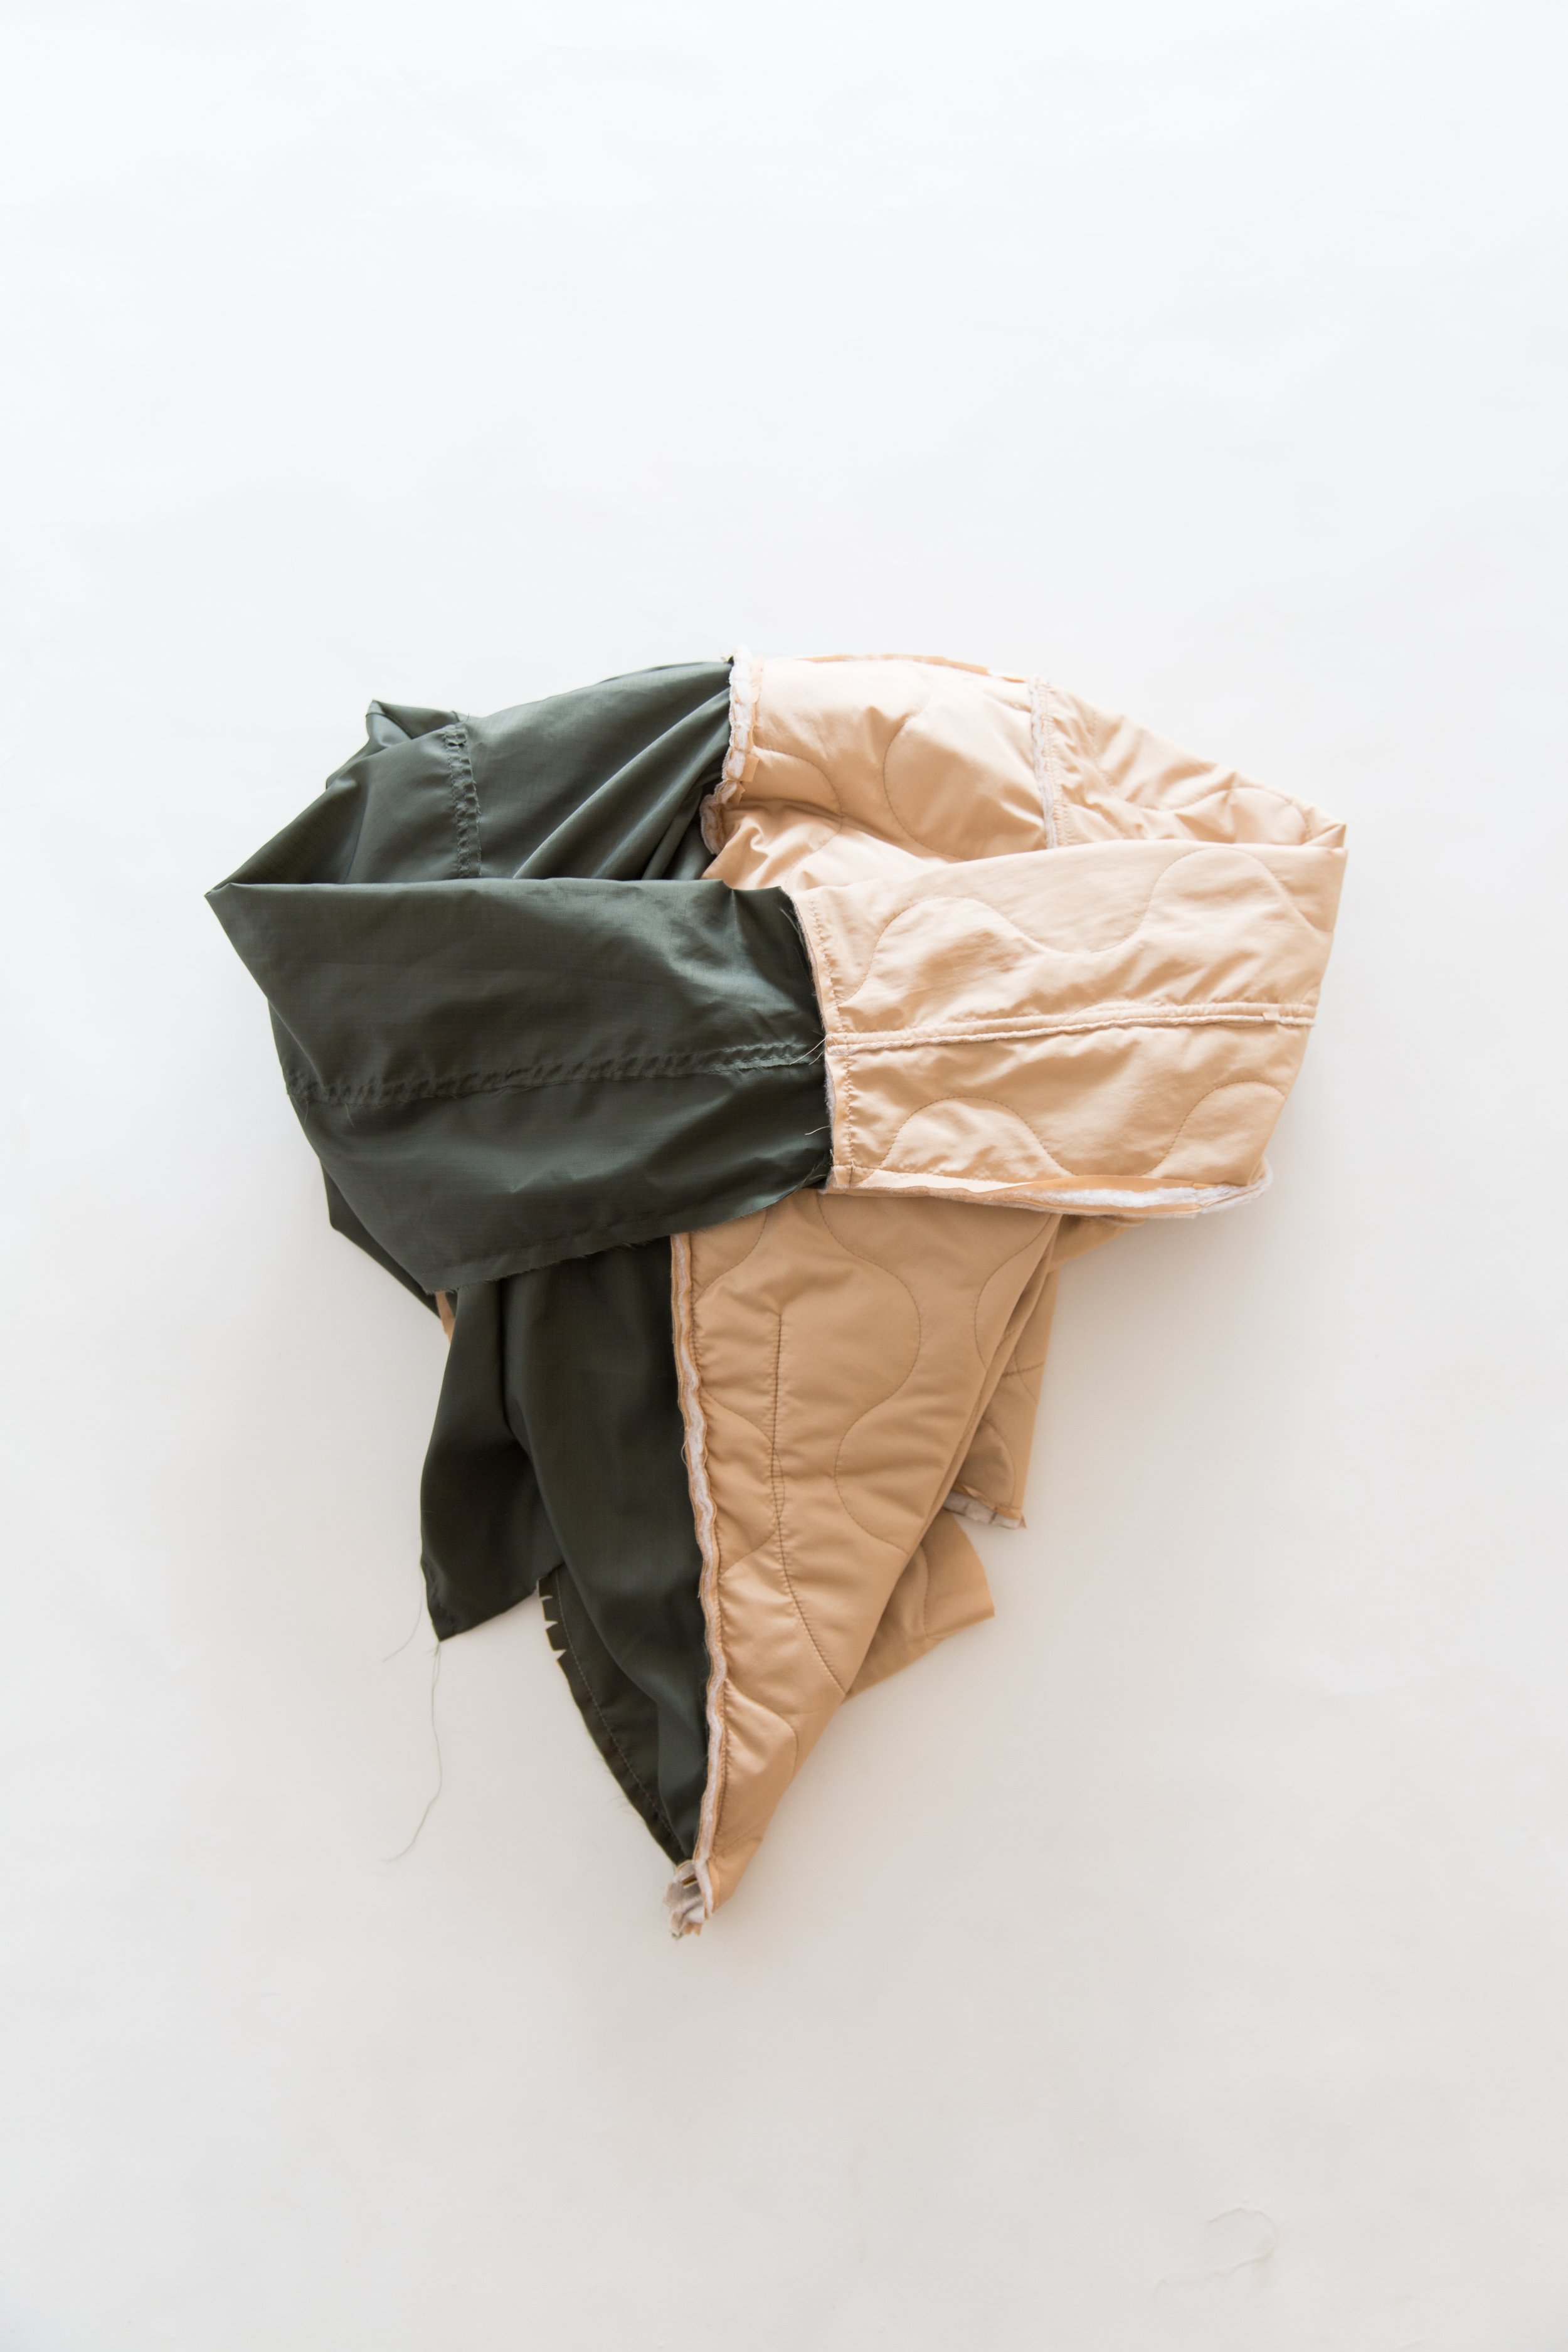
Pin upper sleeve and under sleeve together with right sides facing, lining up notches. Stitch together. Topstitch seam allowances toward under sleeve. Repeat for other sleeve.
Lining with facing: Press seam open rather than topstitching seam.
Step 6
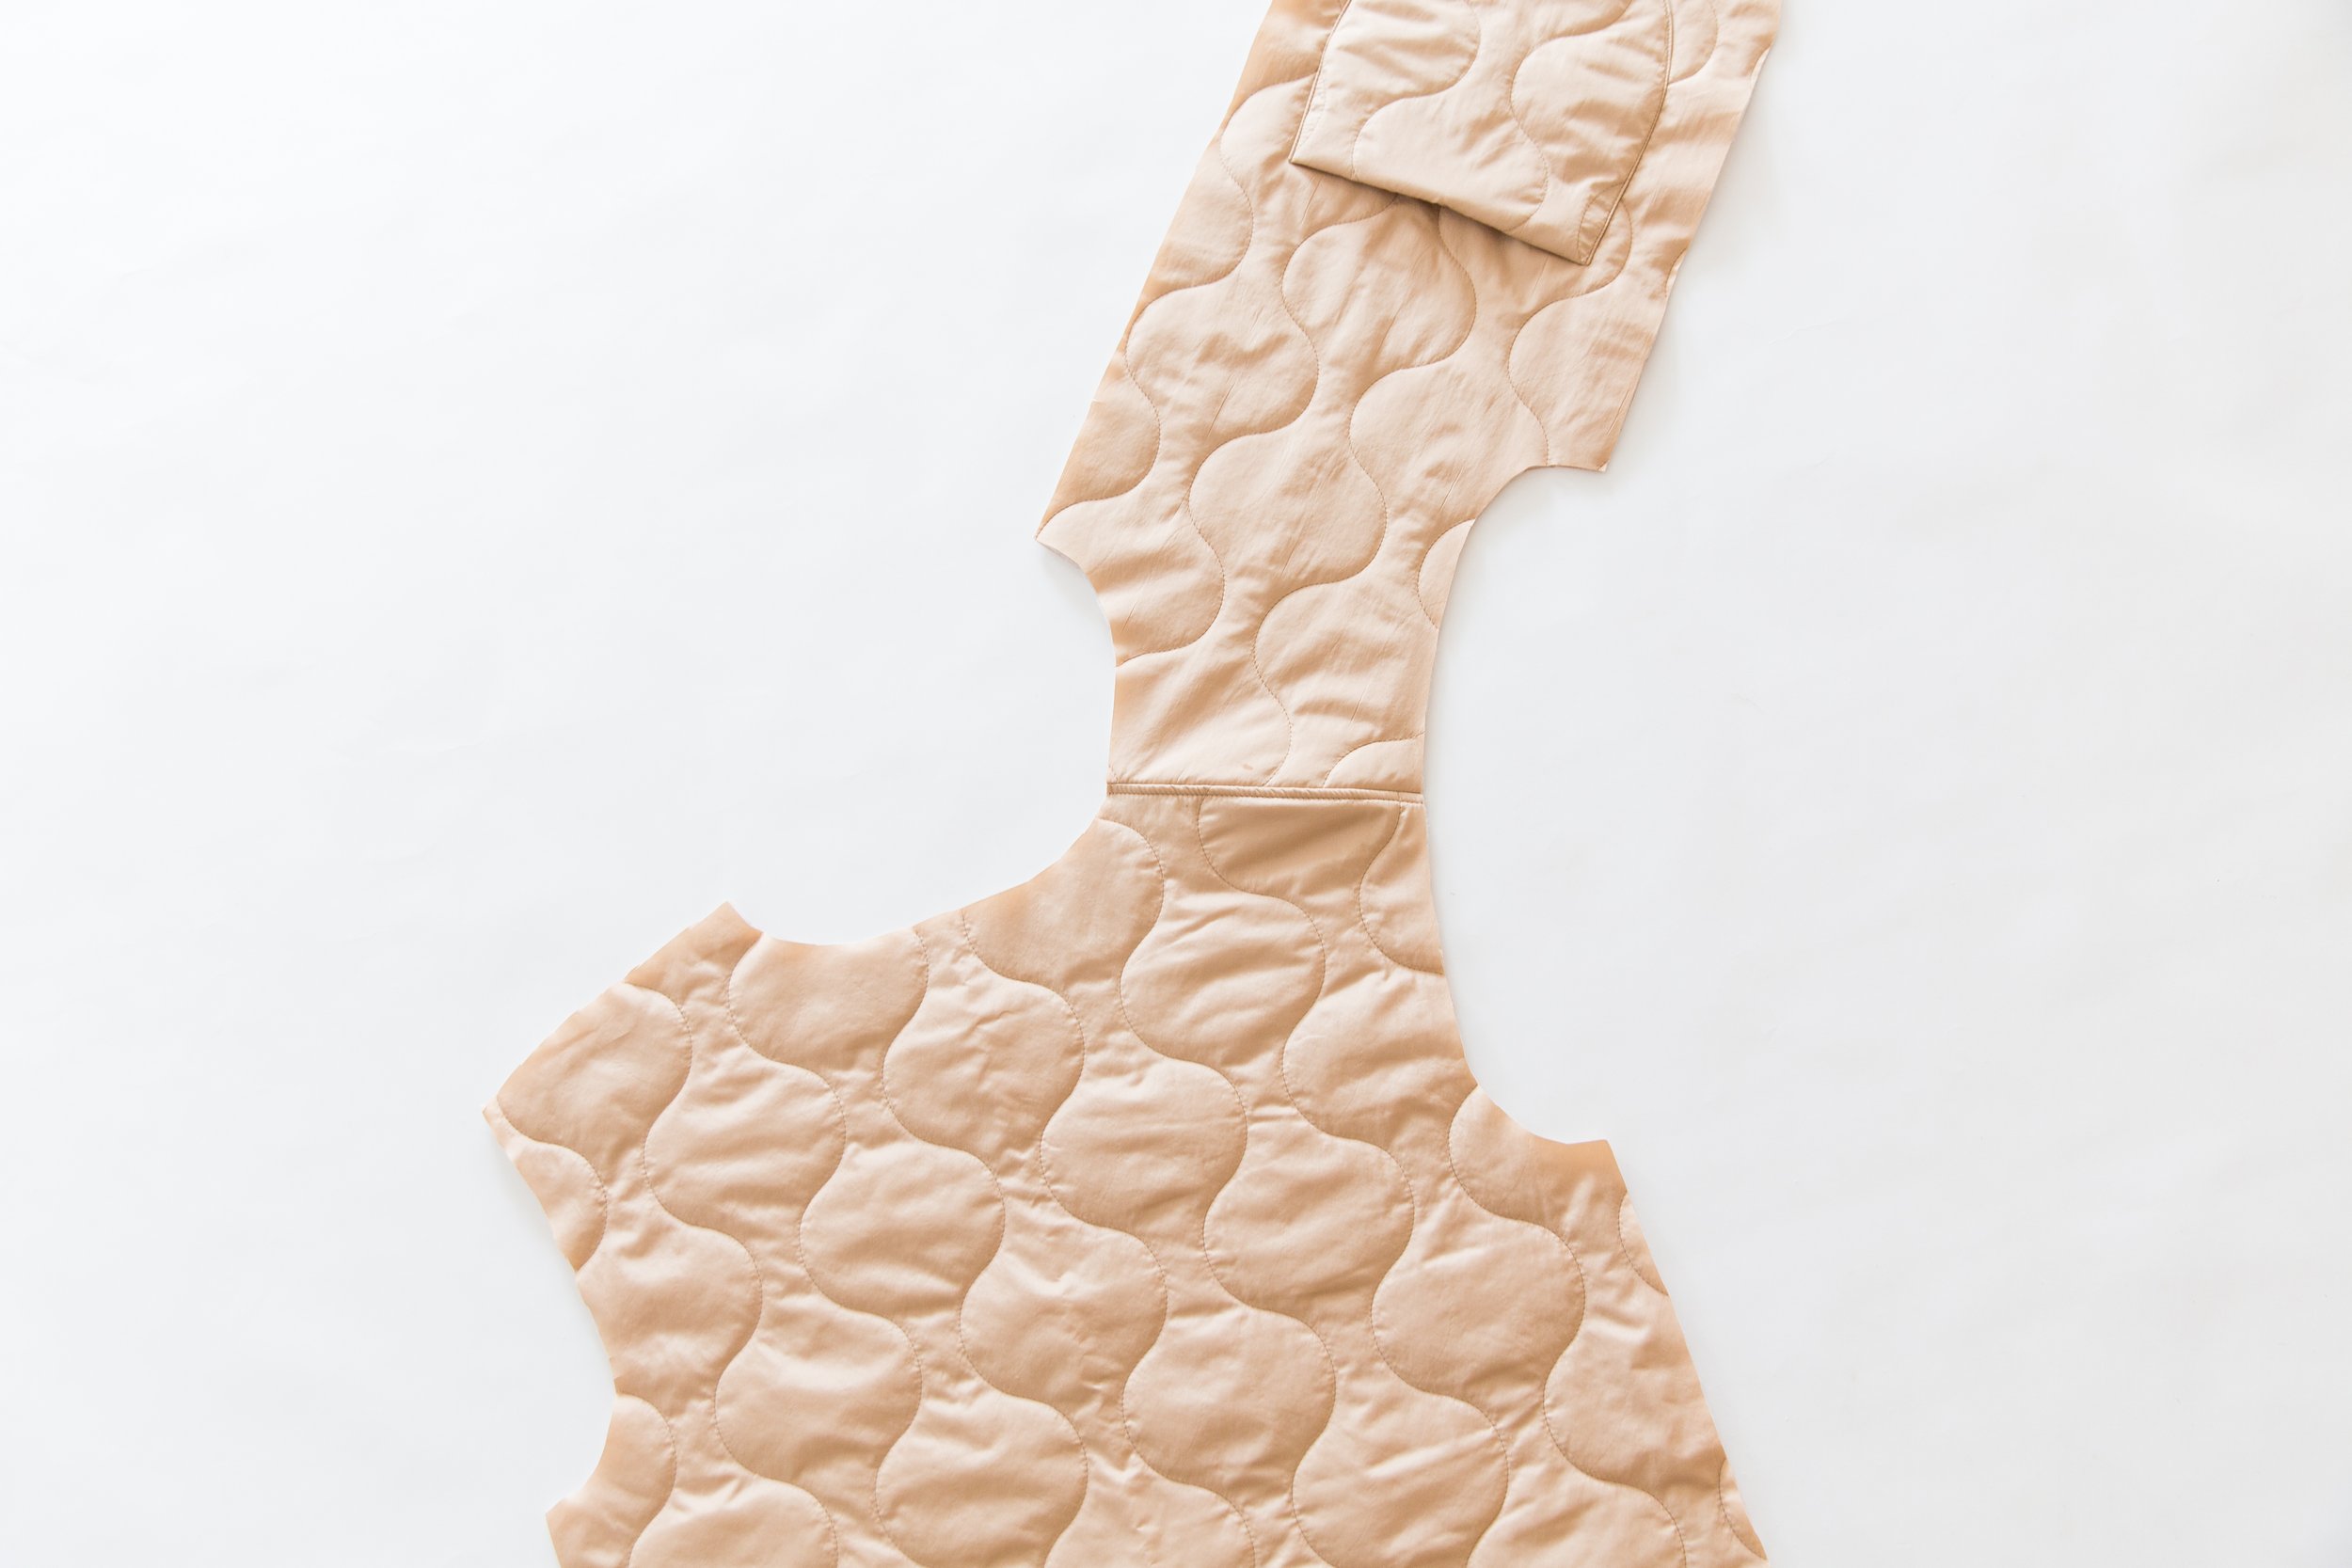
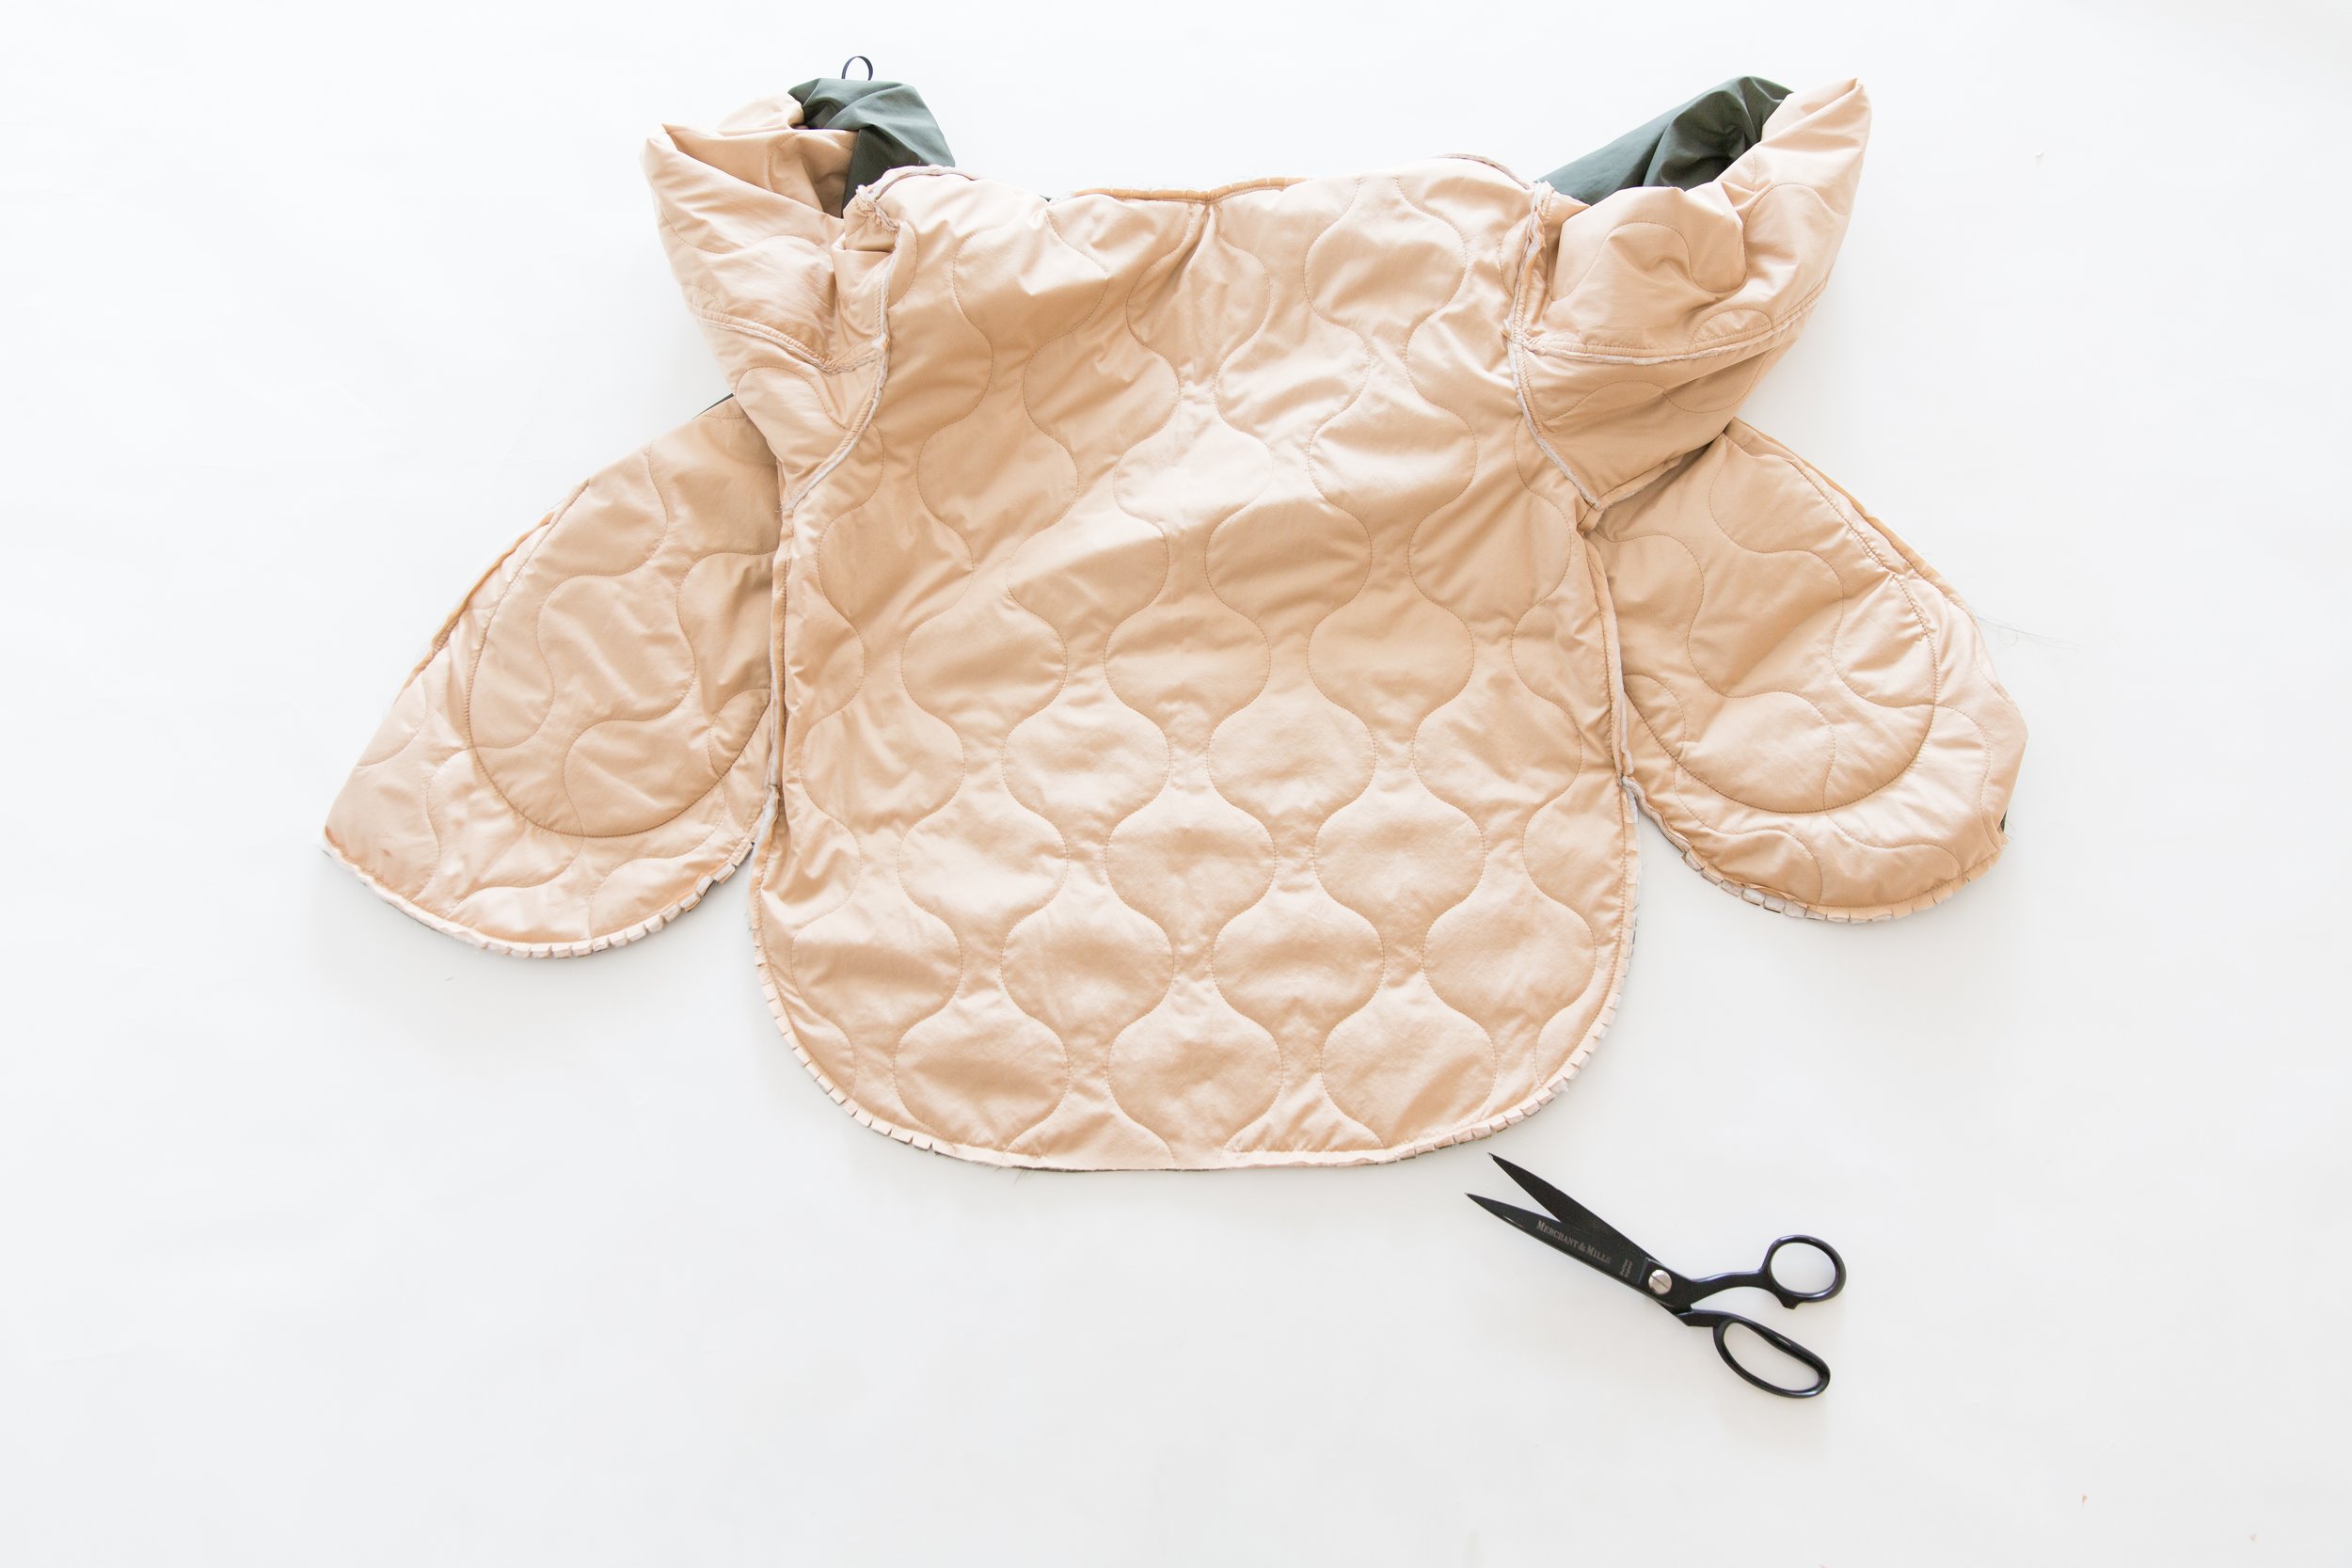
Lay jacket body over sleeve with right sides facing and pin in place, starting from bottom of armhole upwards on both front and back, matching up notches. The centre notch on sleeve head lines up with shoulder seam of jacket. Evenly distribute any ease in the sleeve head while pinning. Stitch with the sleeve on the underside. Topstitch seam allowances toward jacket. Repeat for opposite sleeve.
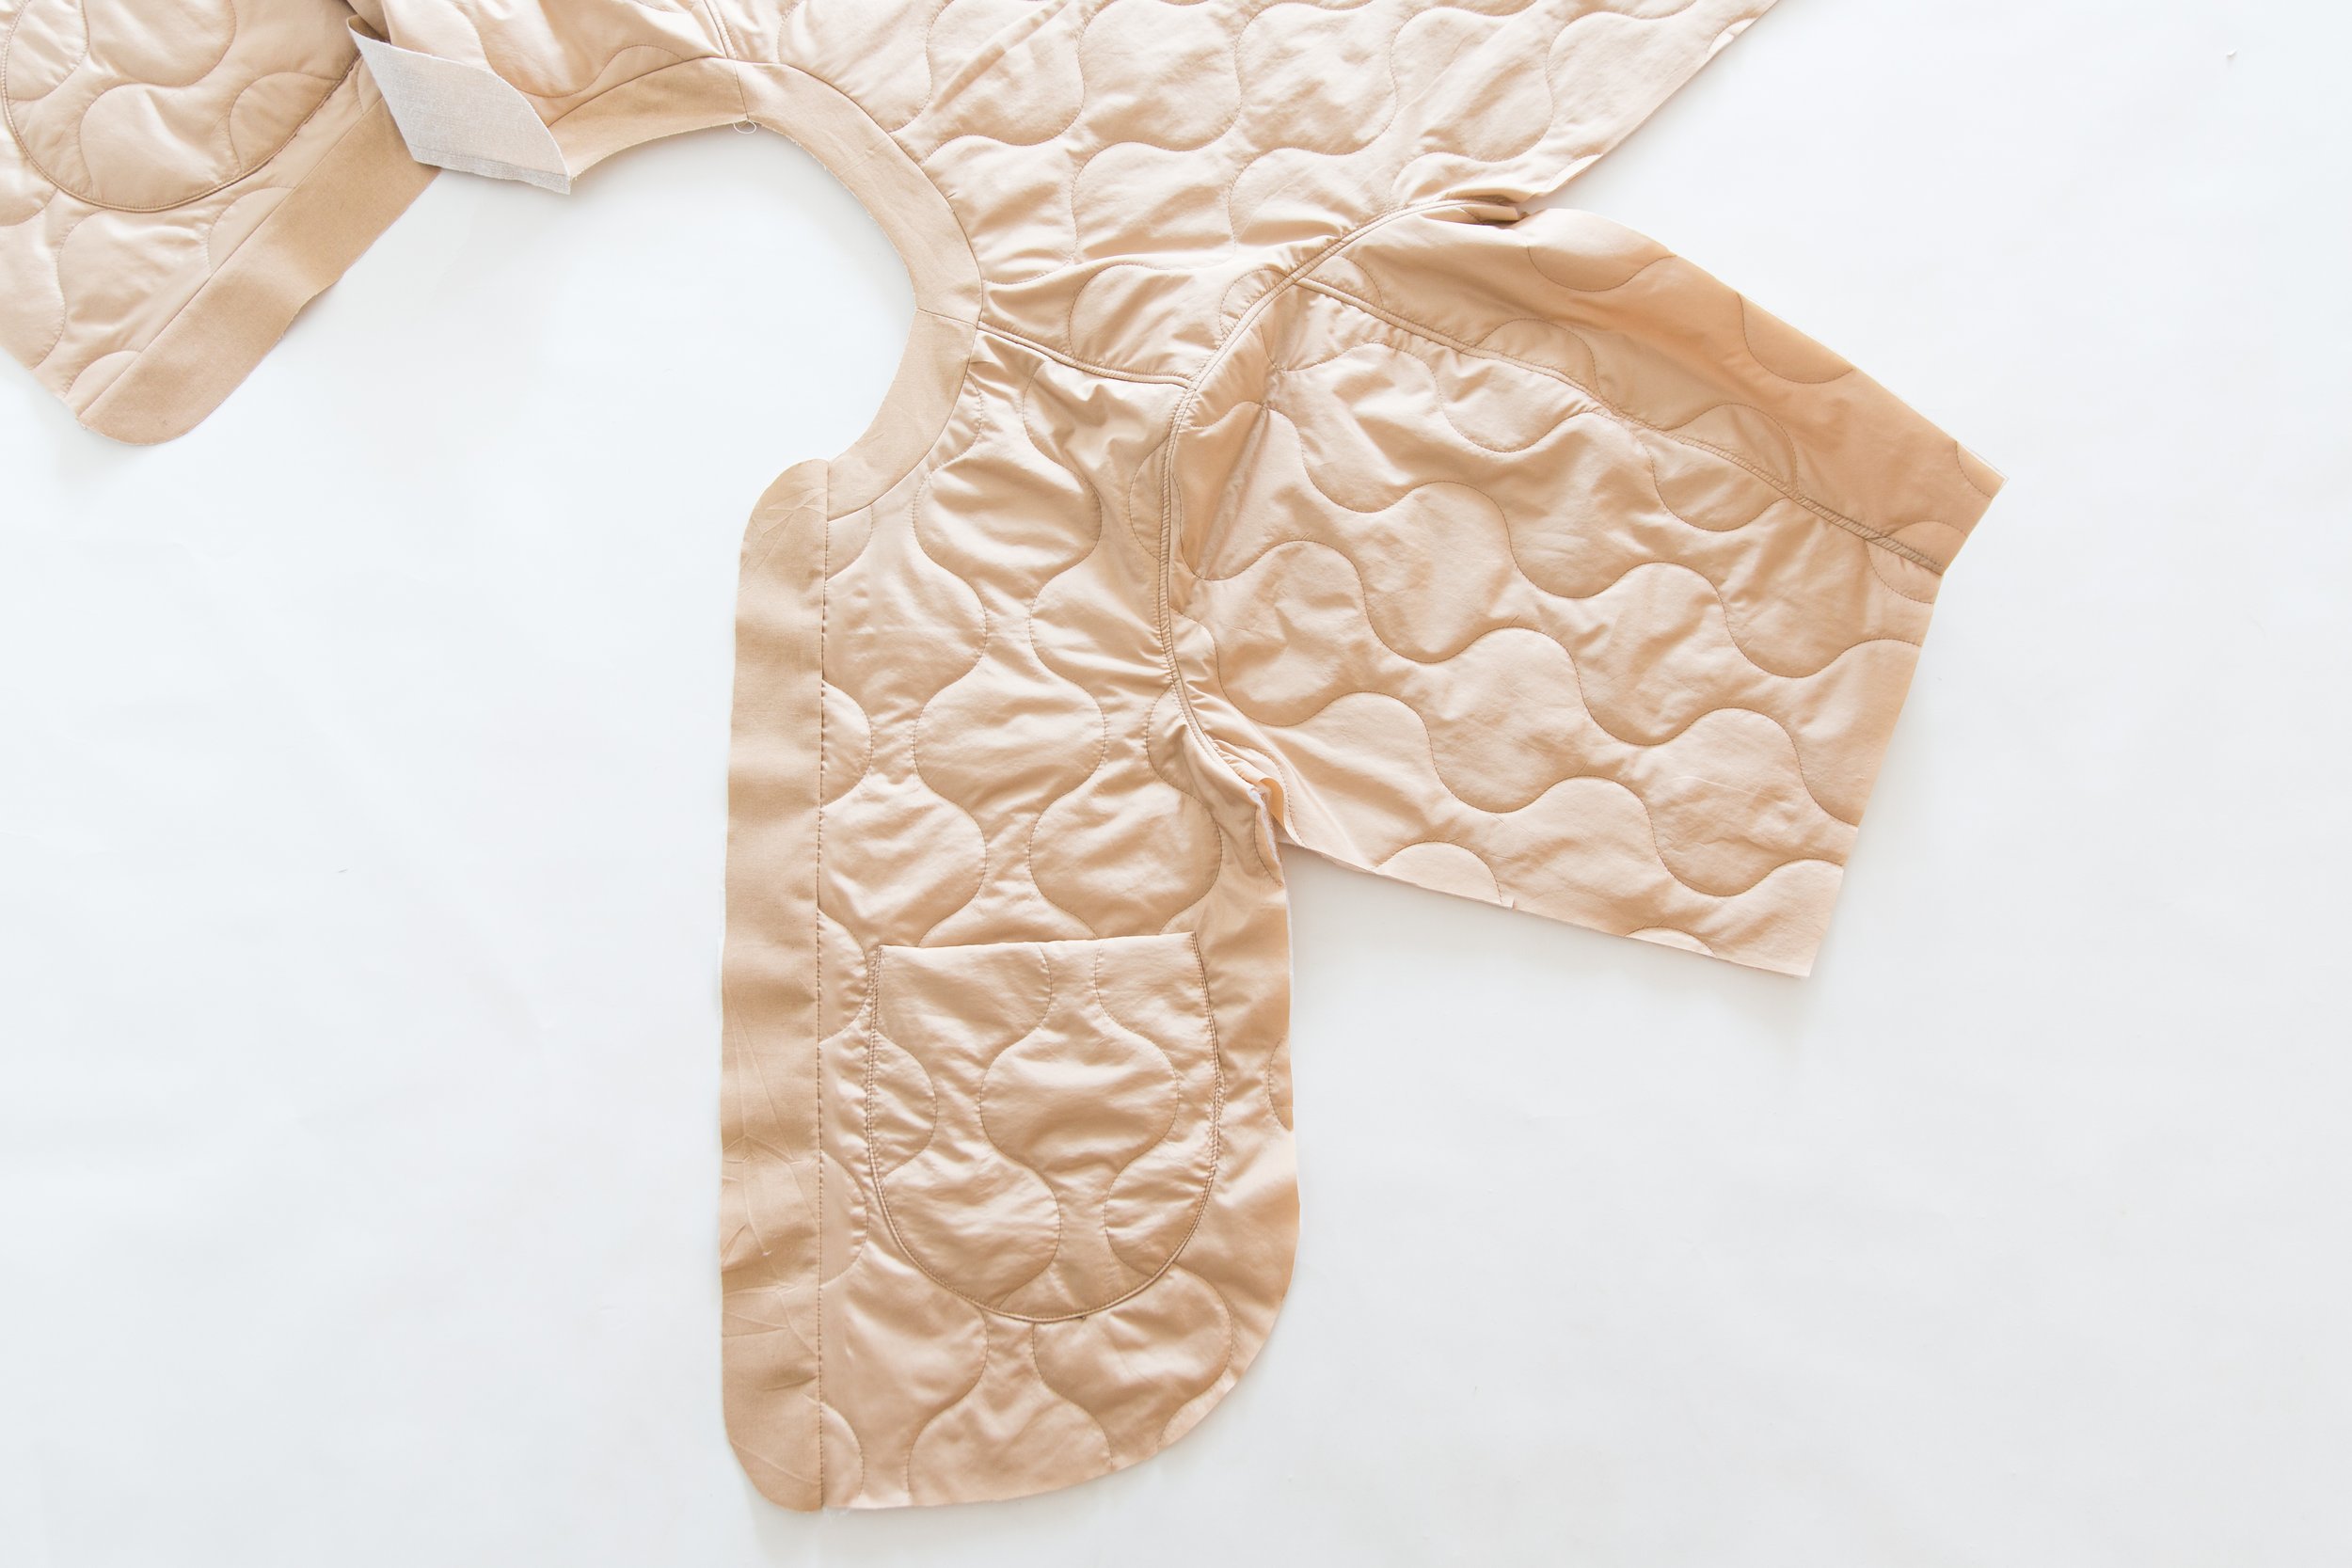
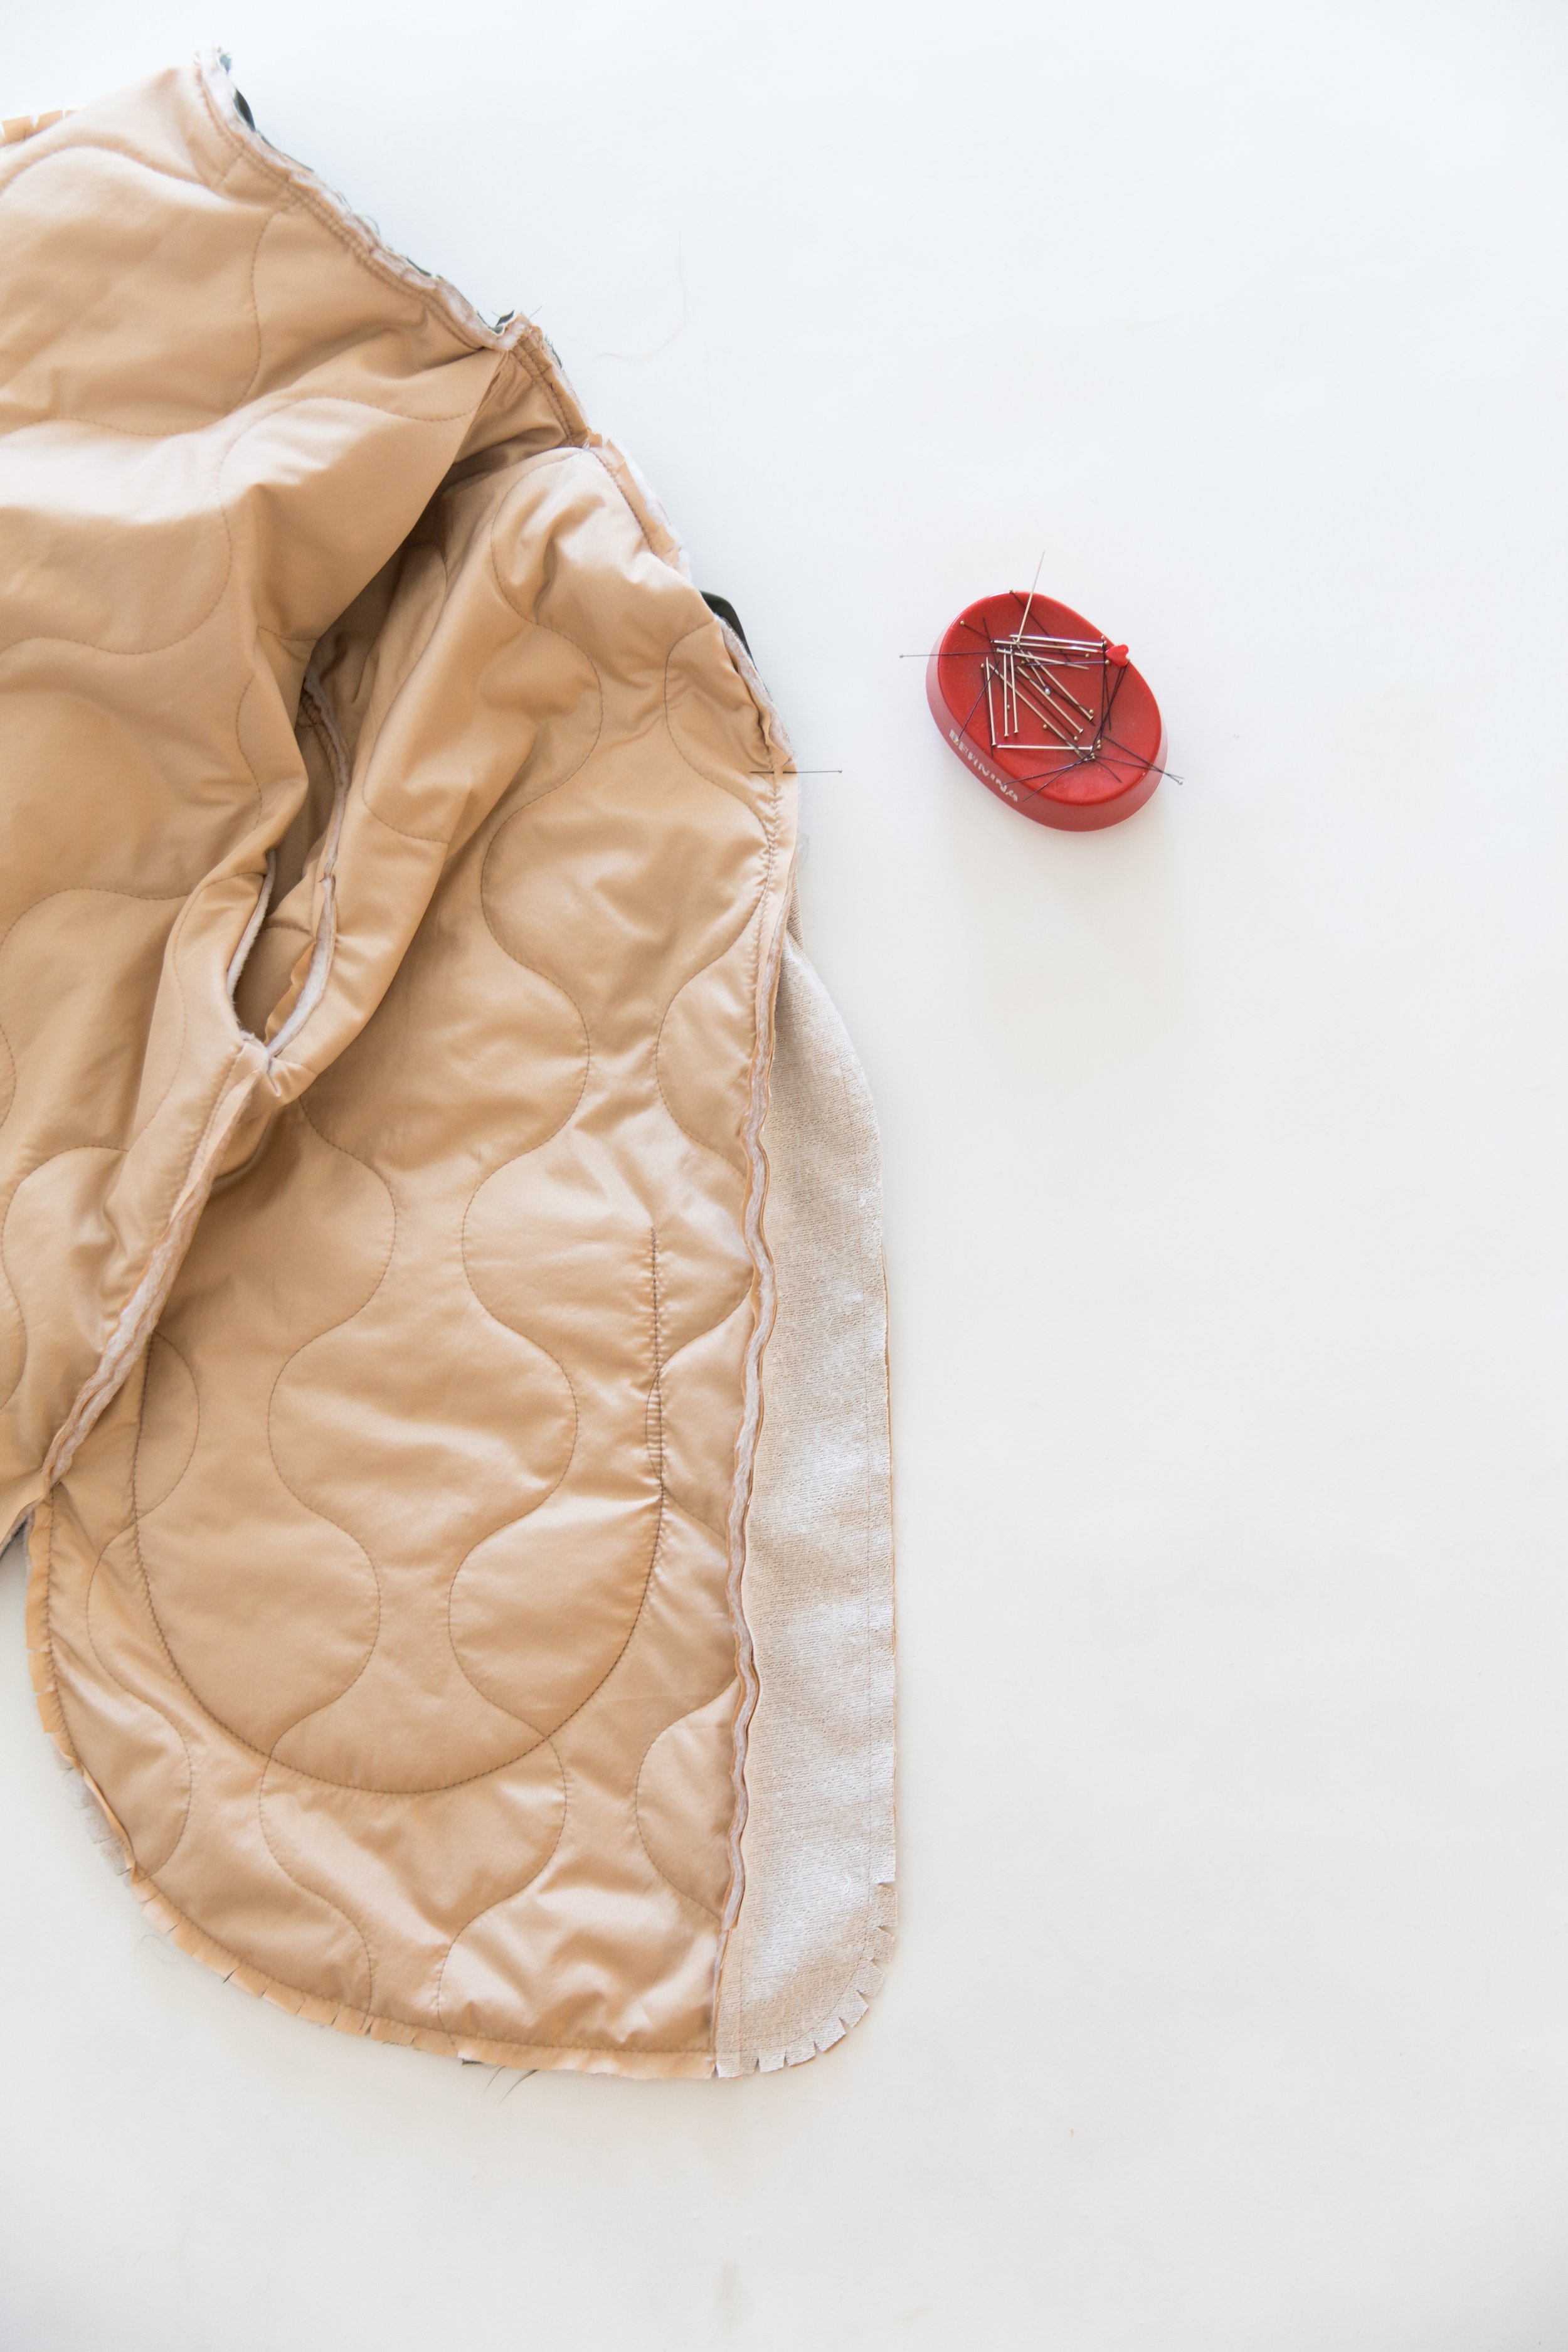
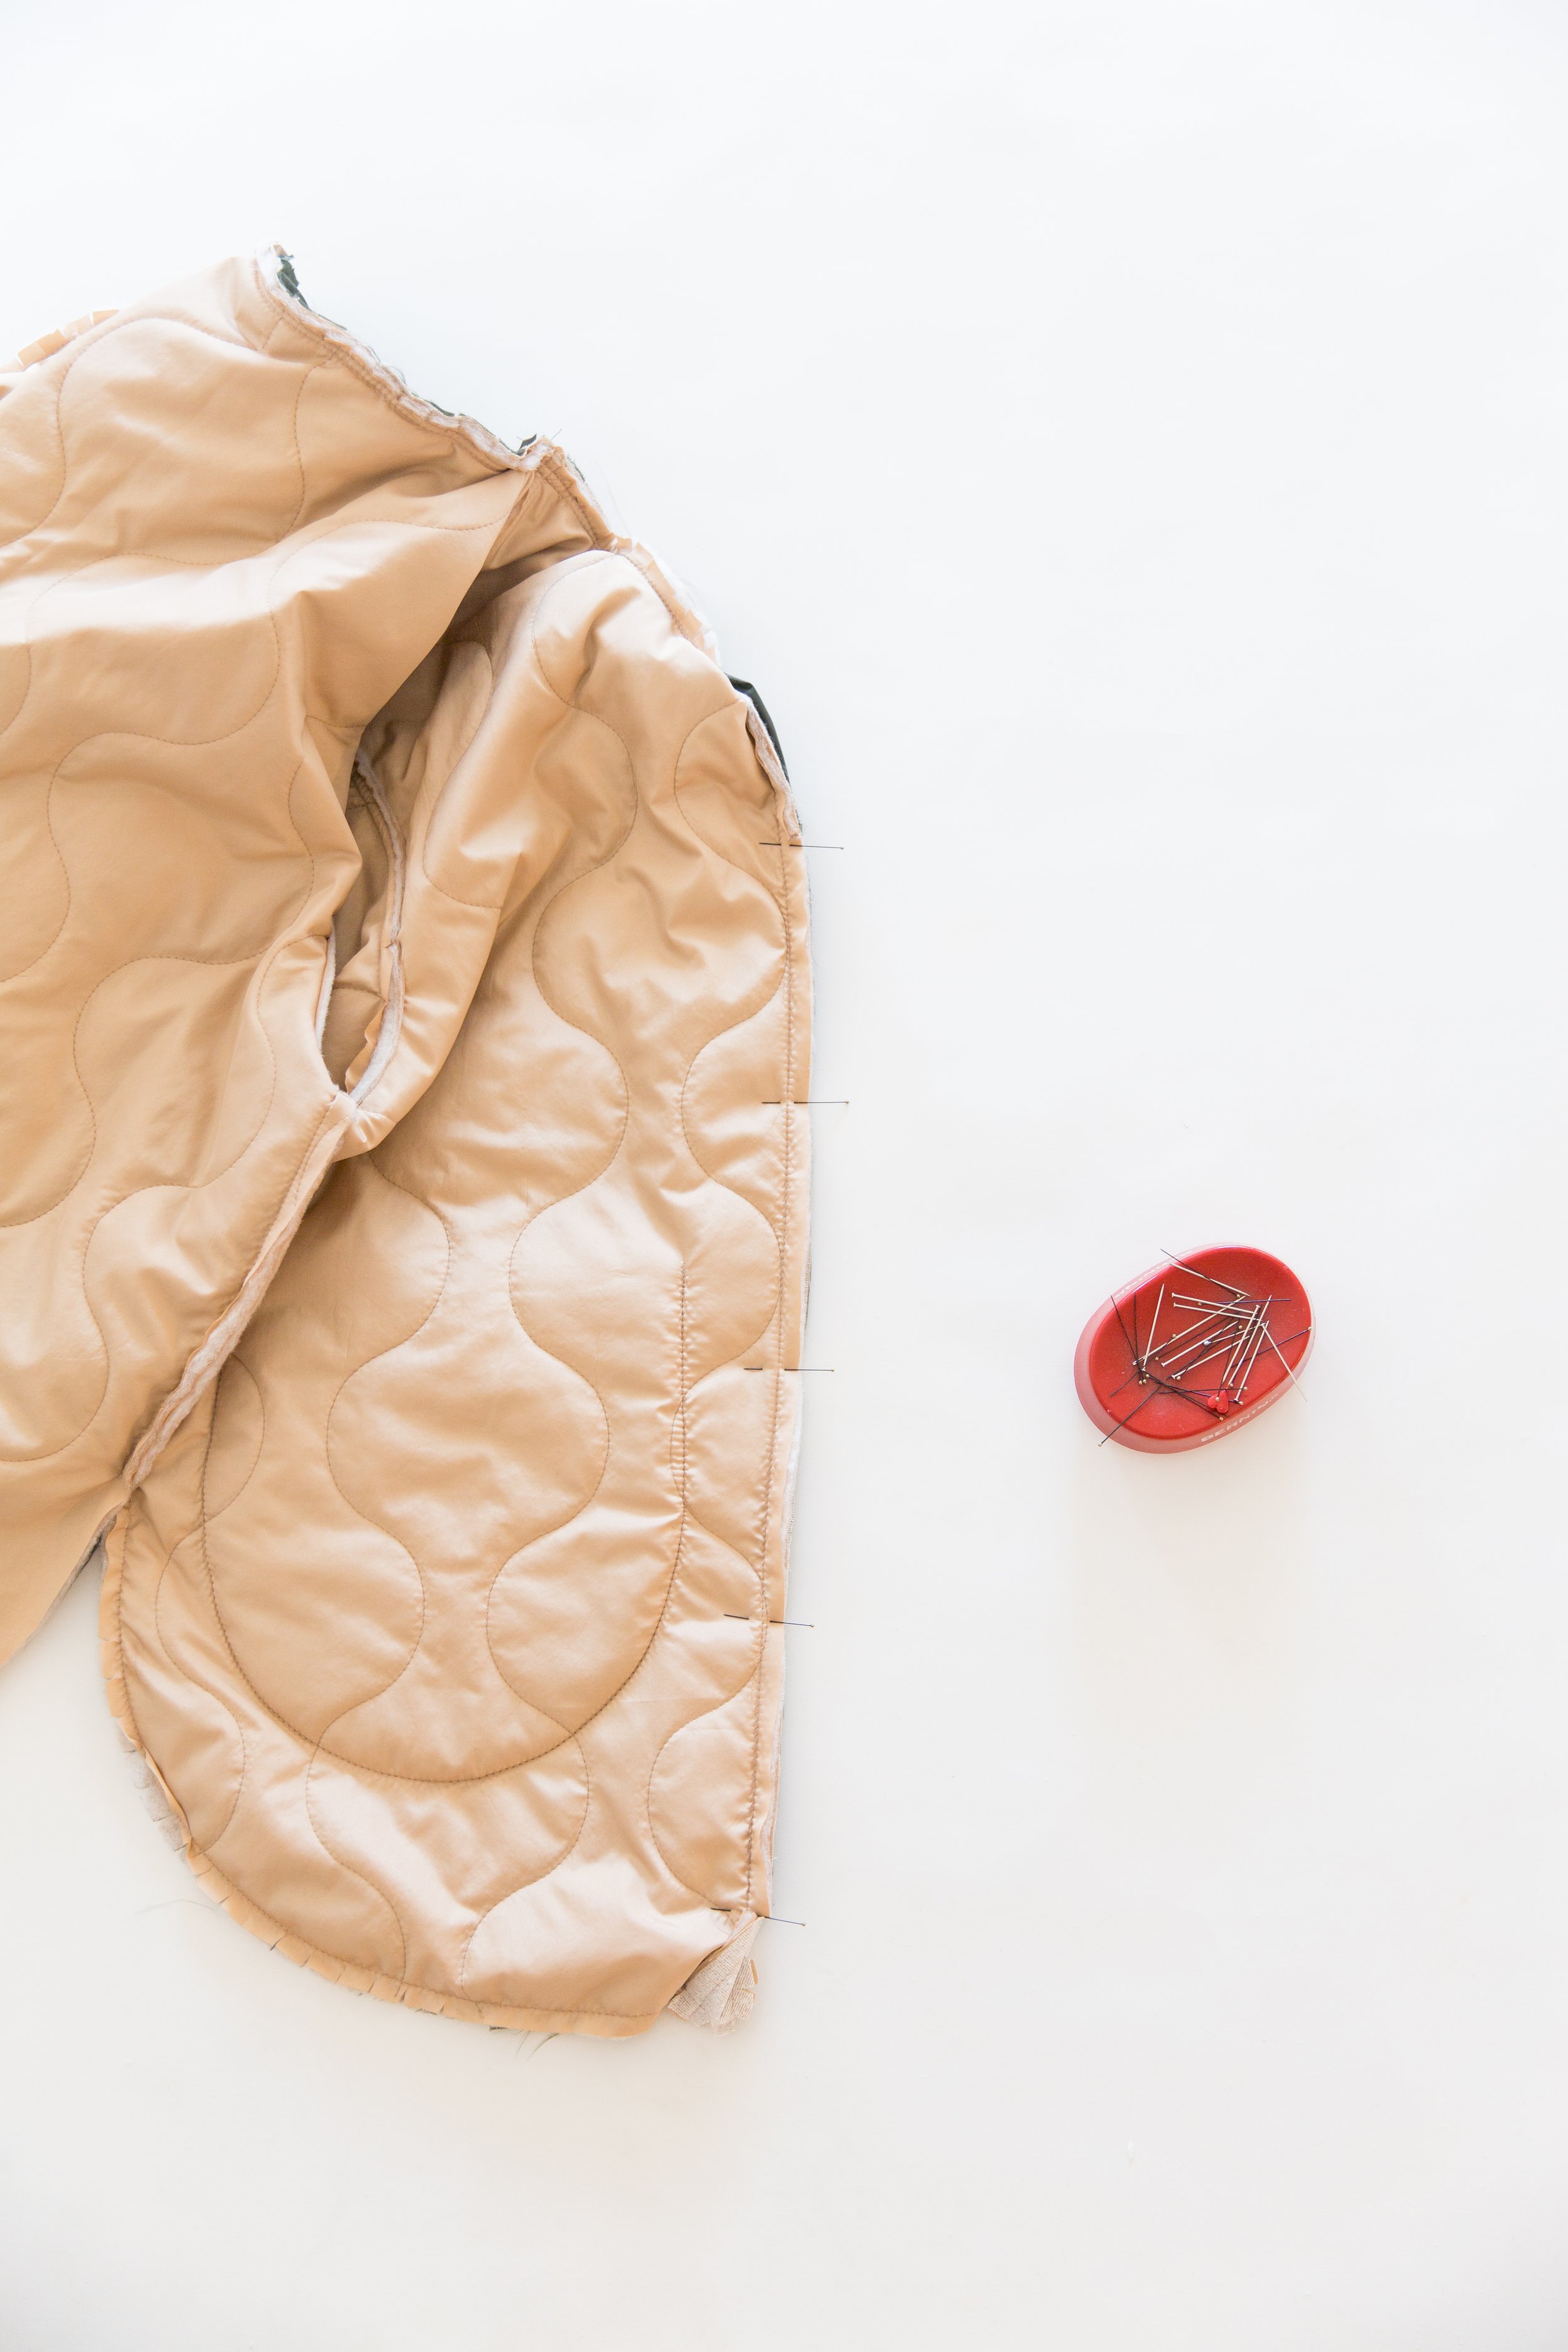
Step 7
Place a pin where front and back underarm seams meet up and pin down to hemline (or side seam notch for curved hemline) and out to sleeve hem. Stitch together, stopping at side seam notch for curved hem or all the way to the hemline for the other two variations. Repeat on opposite side.

Repeat all steps up to this point for your other side of jacket or lining.

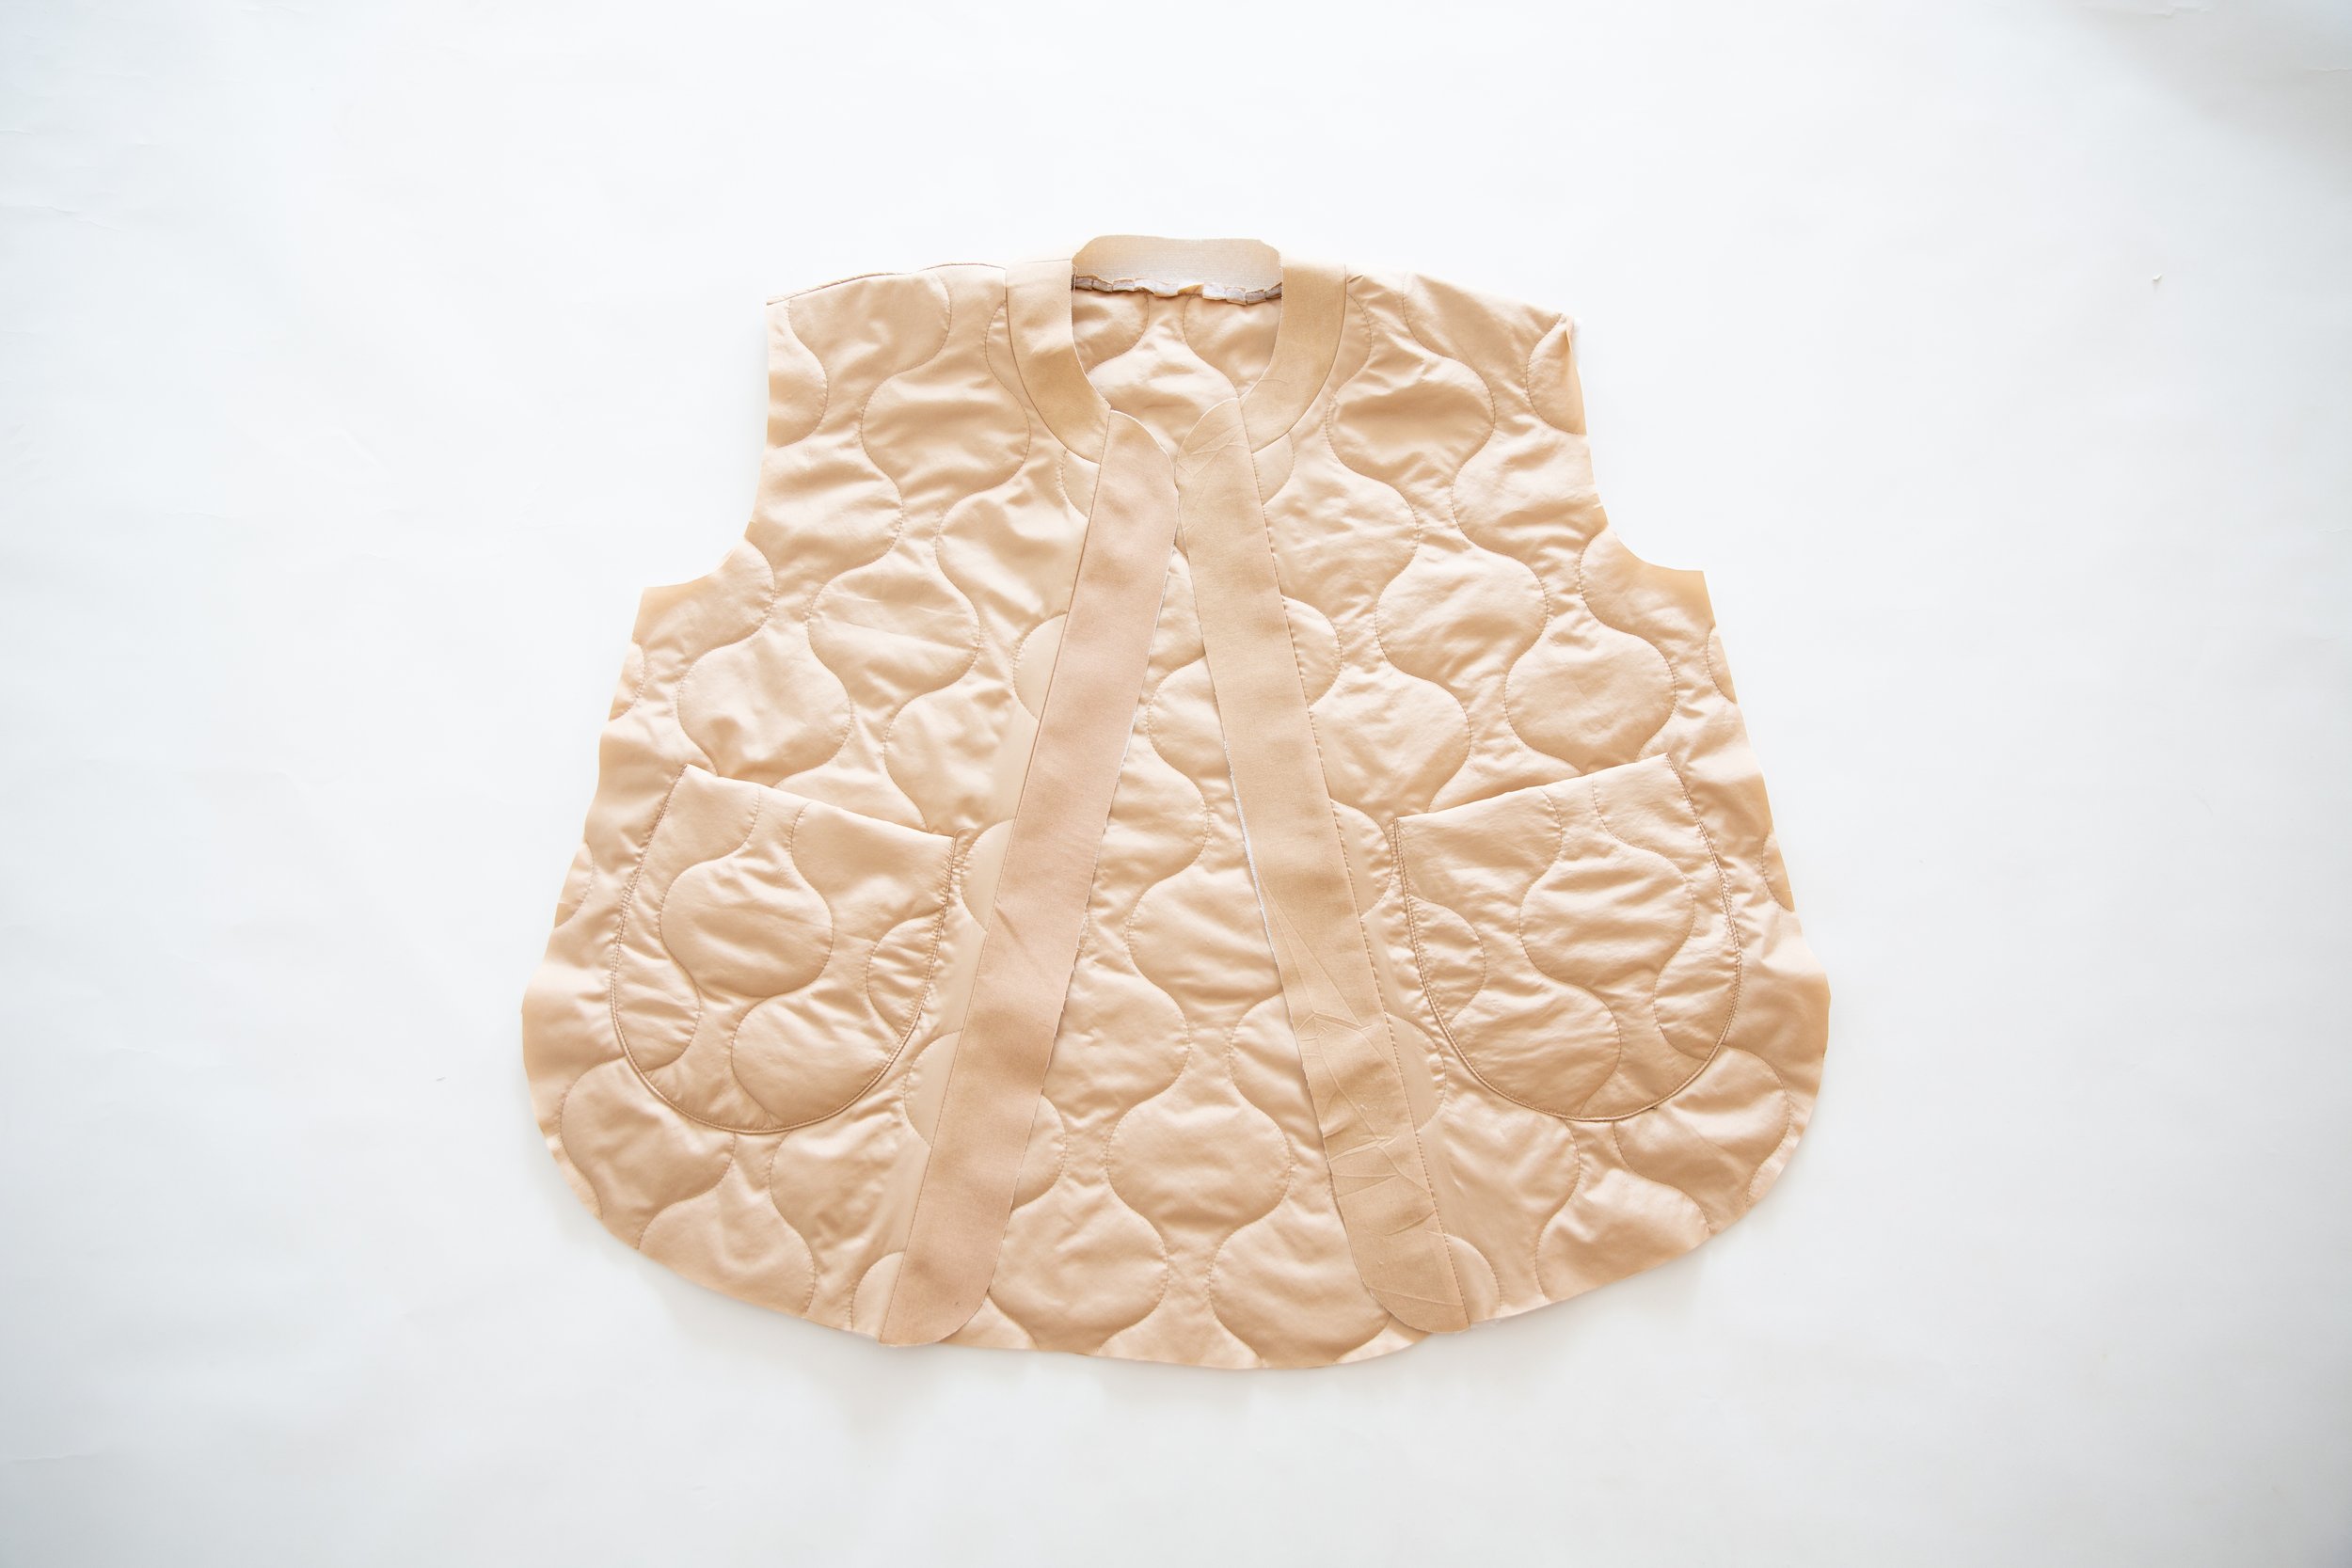
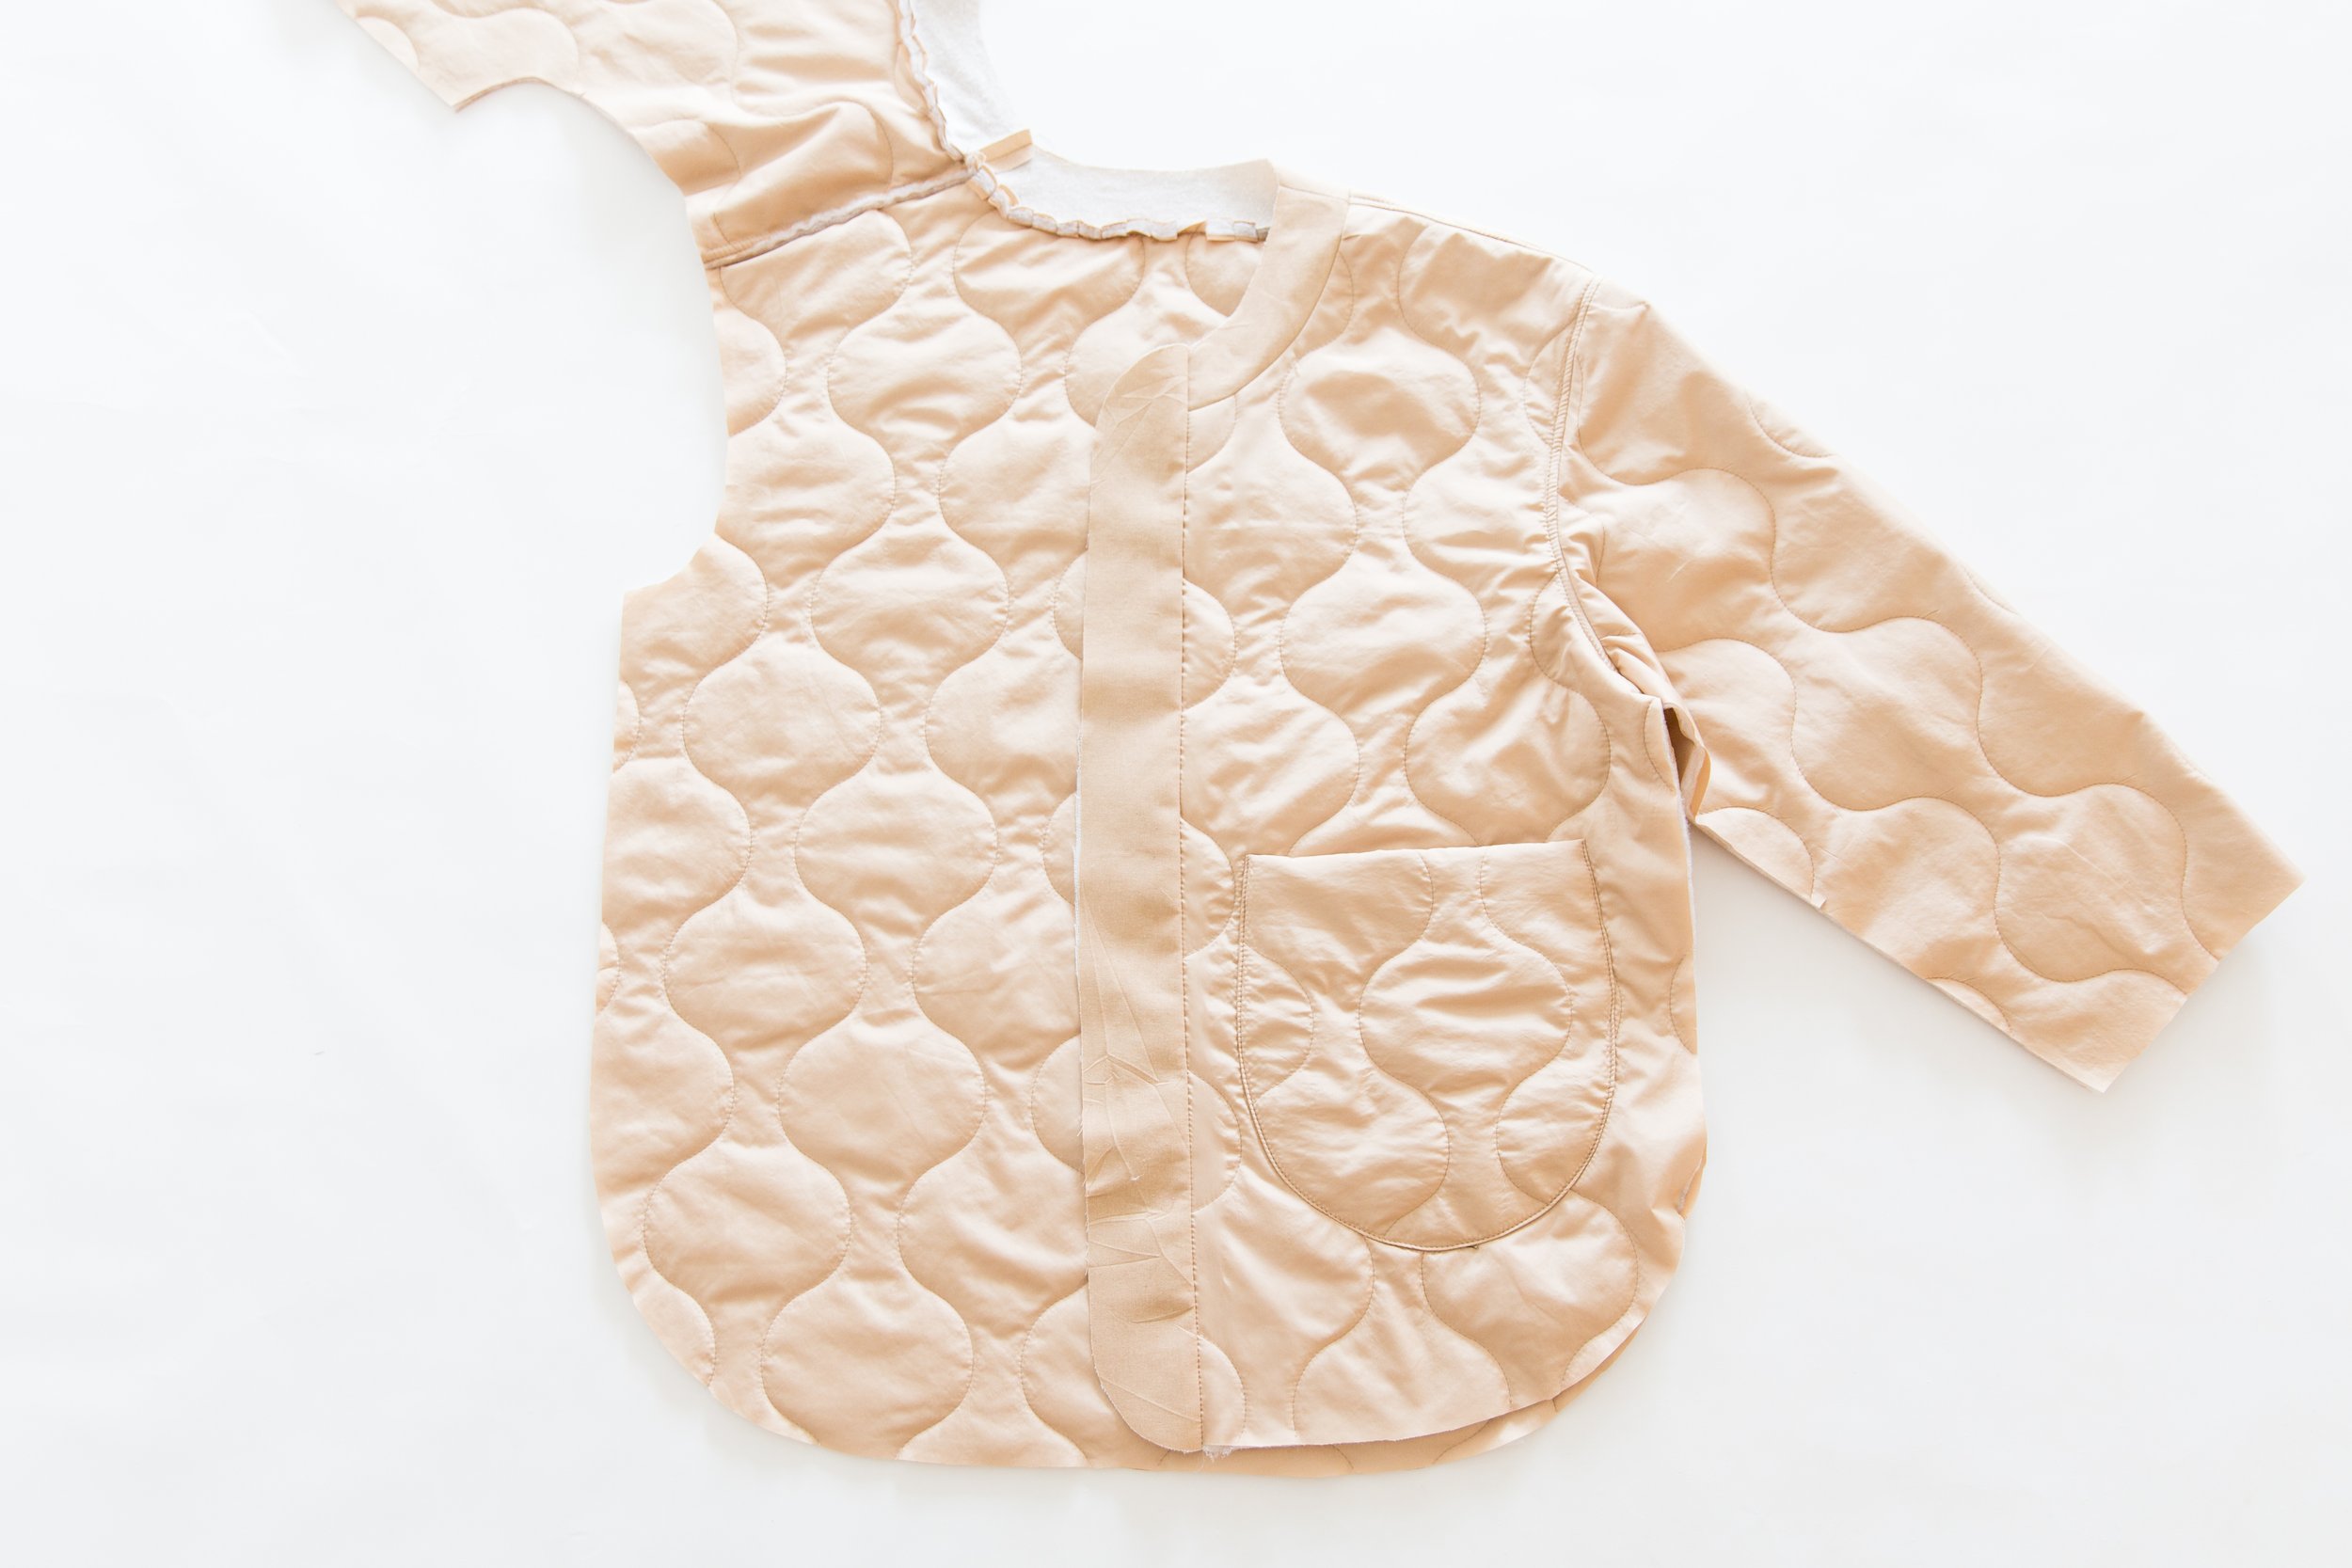
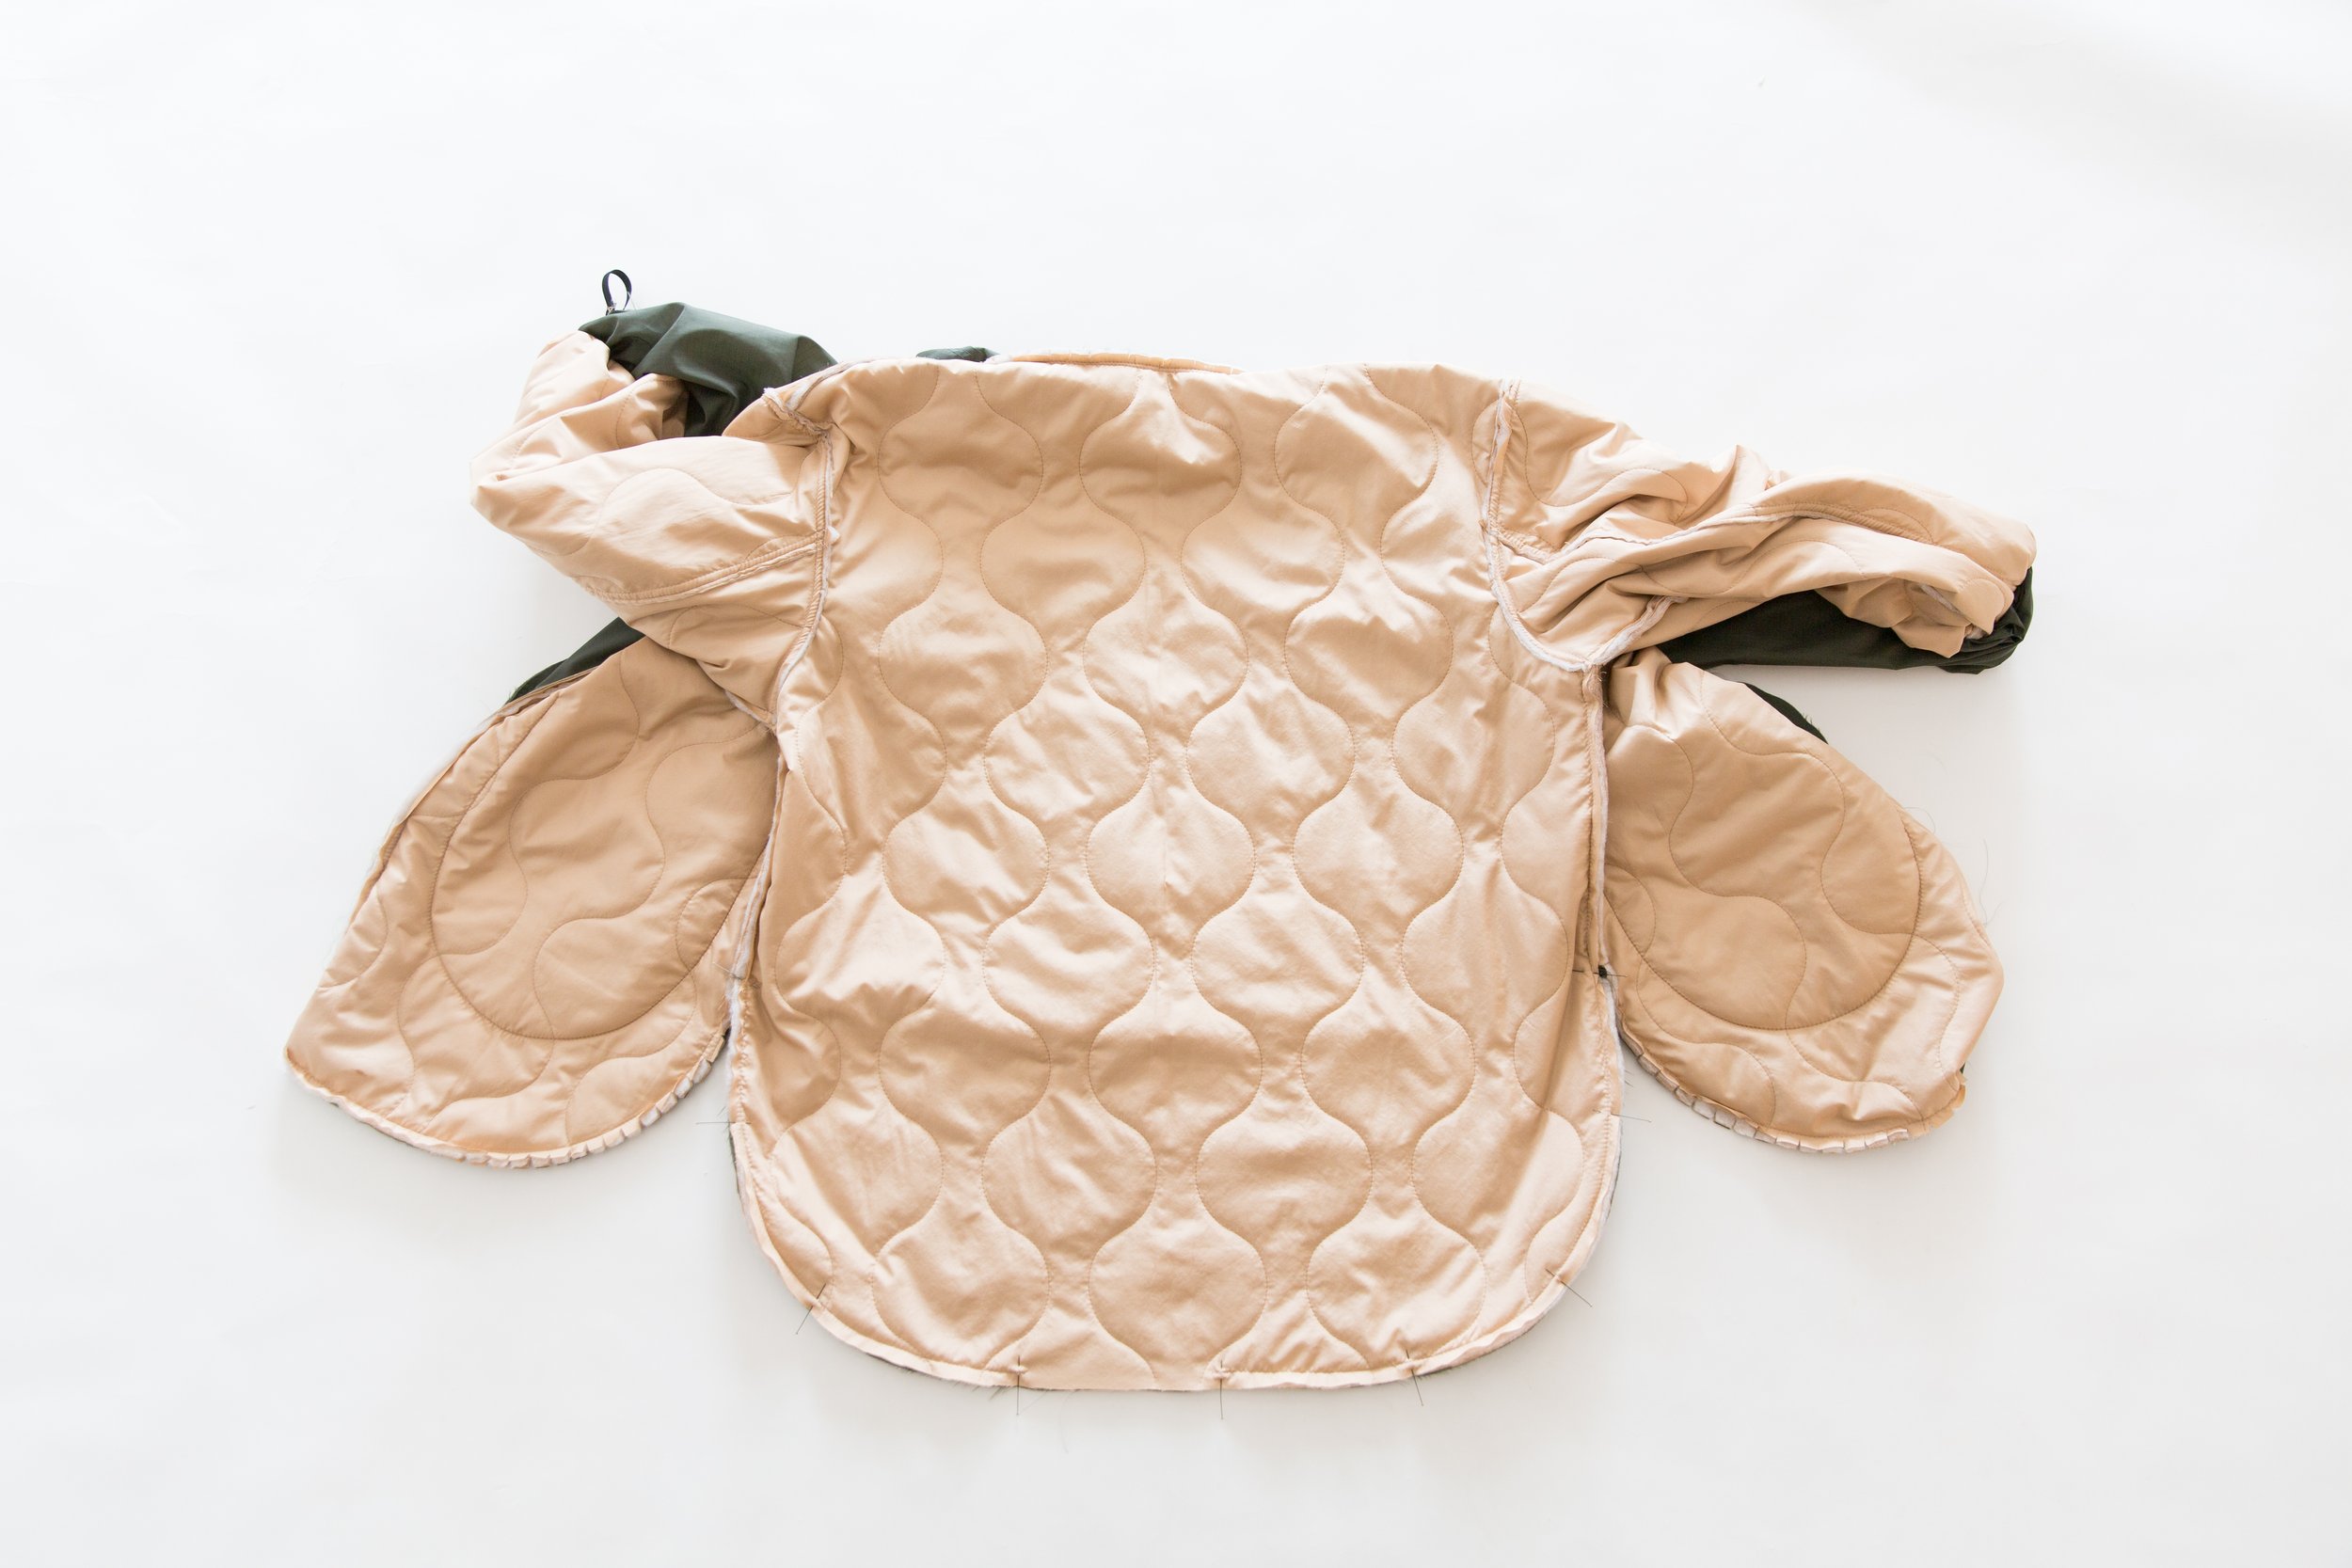
Step 8
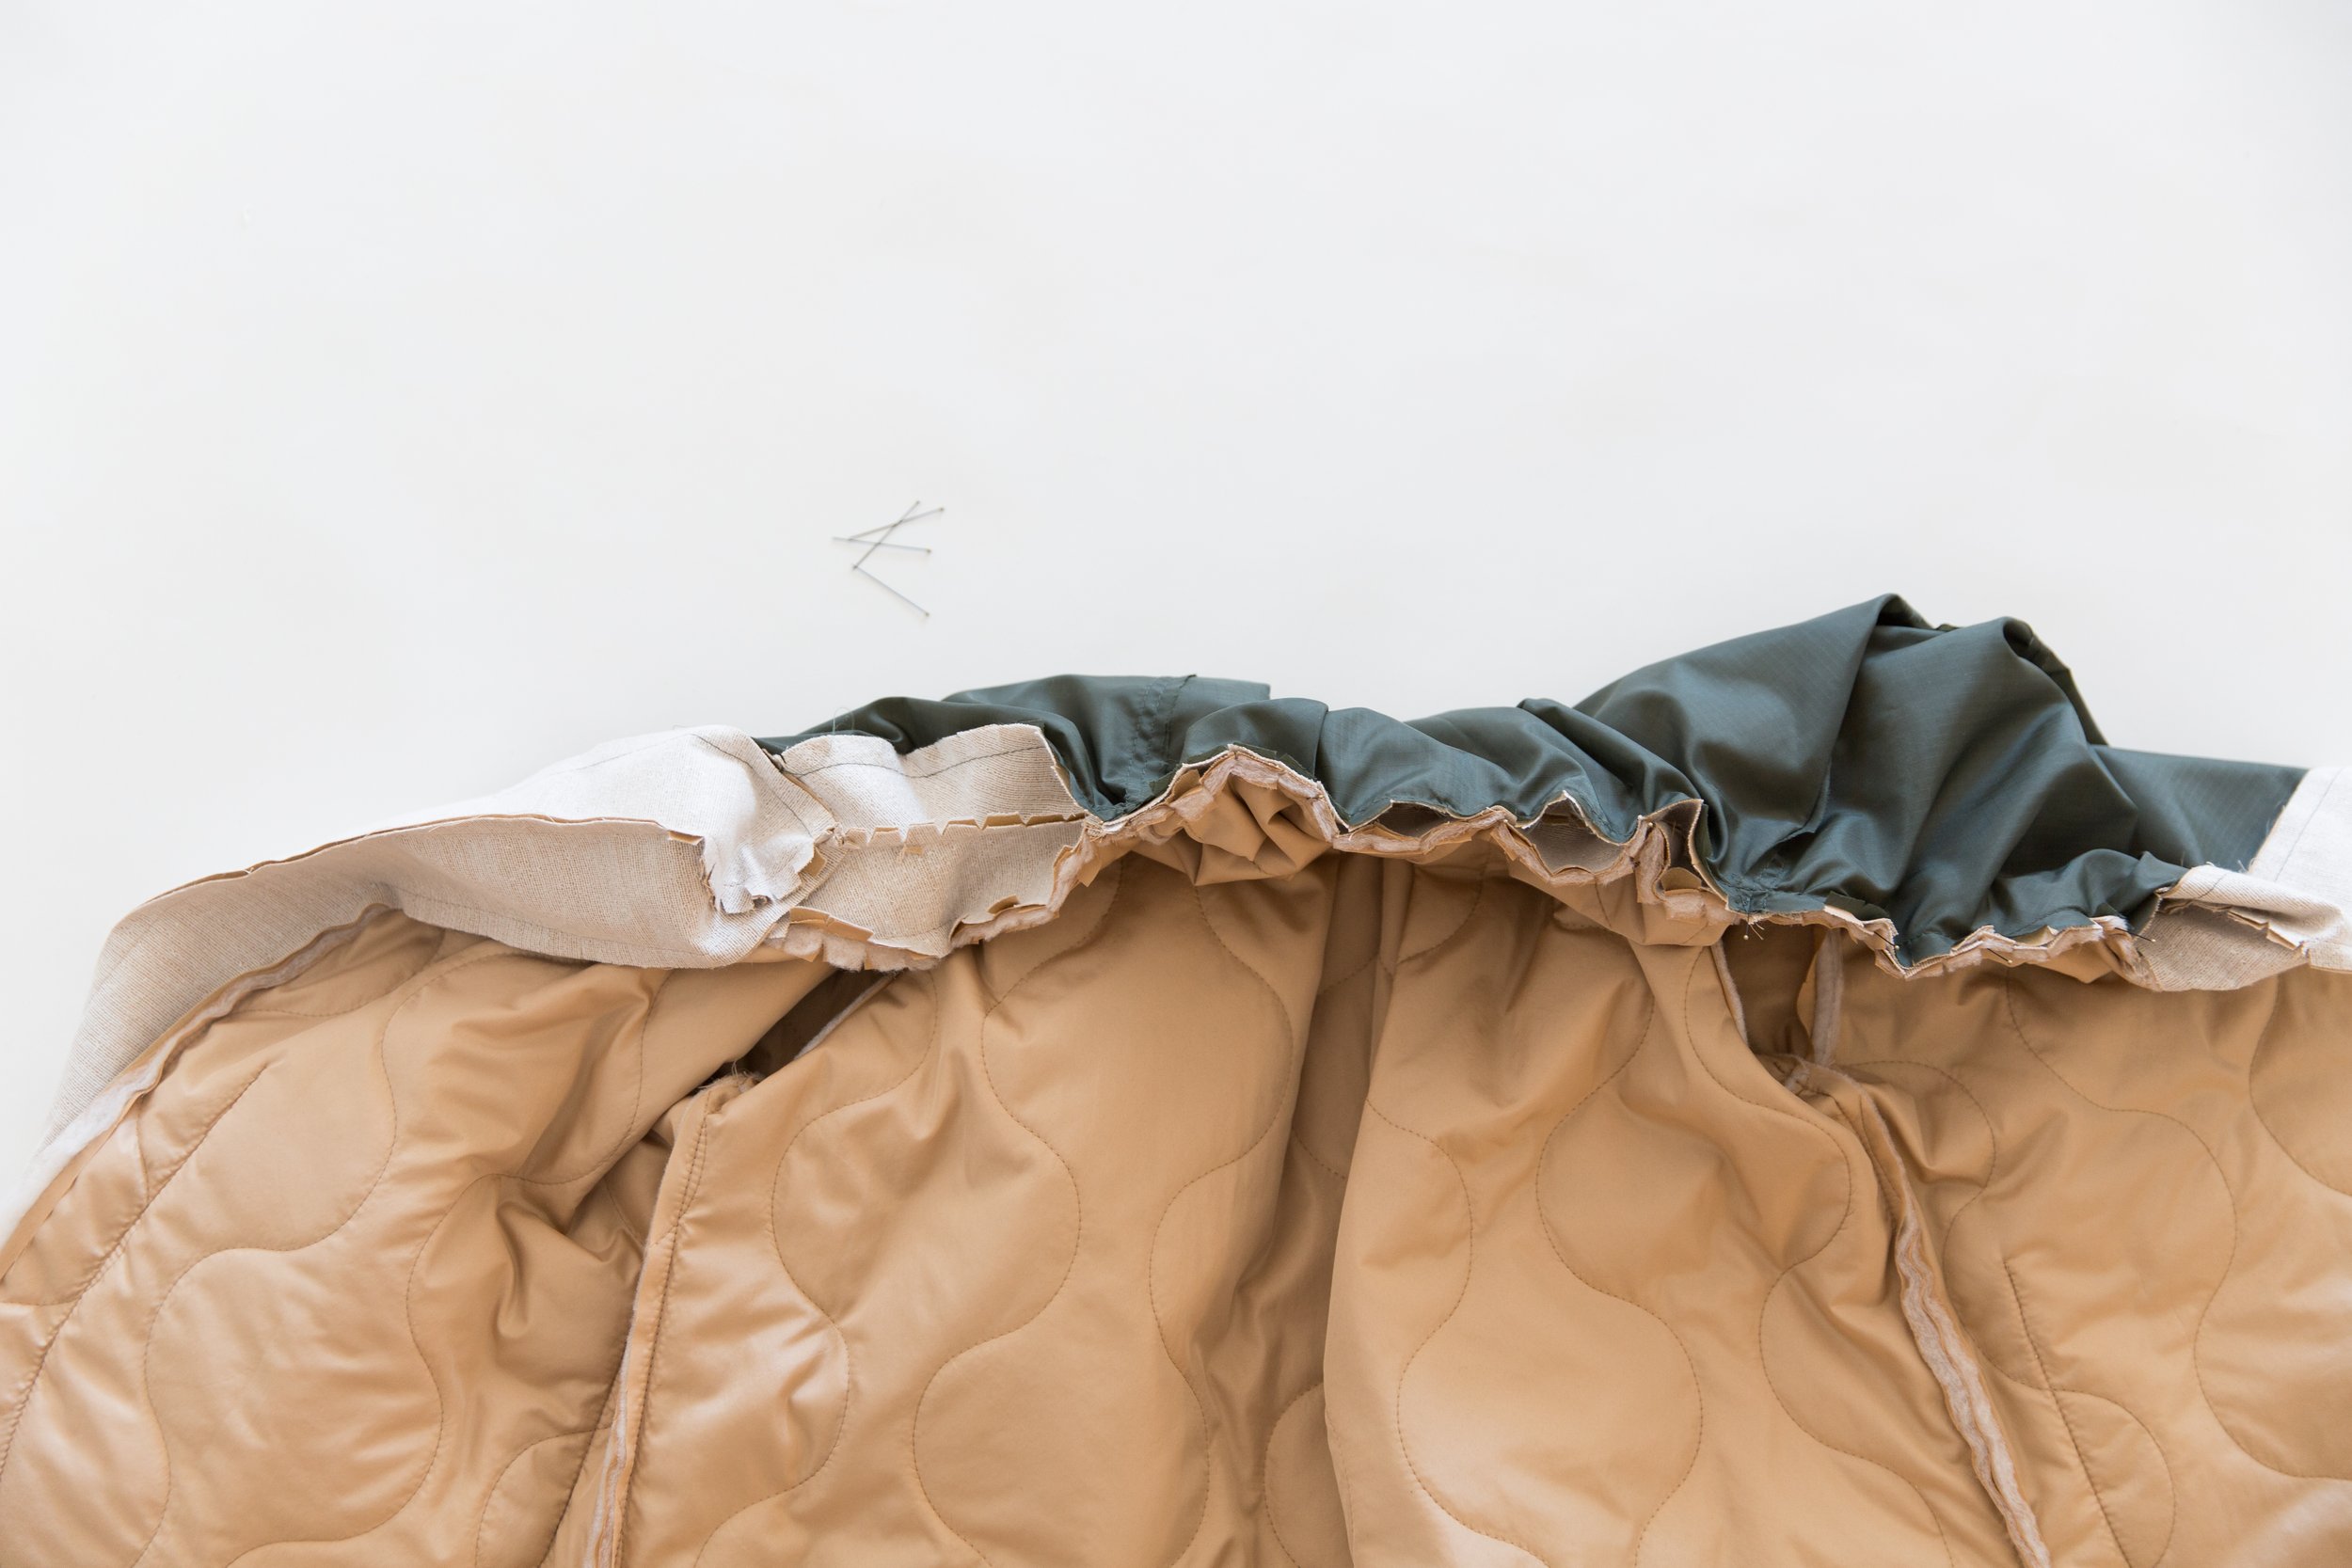
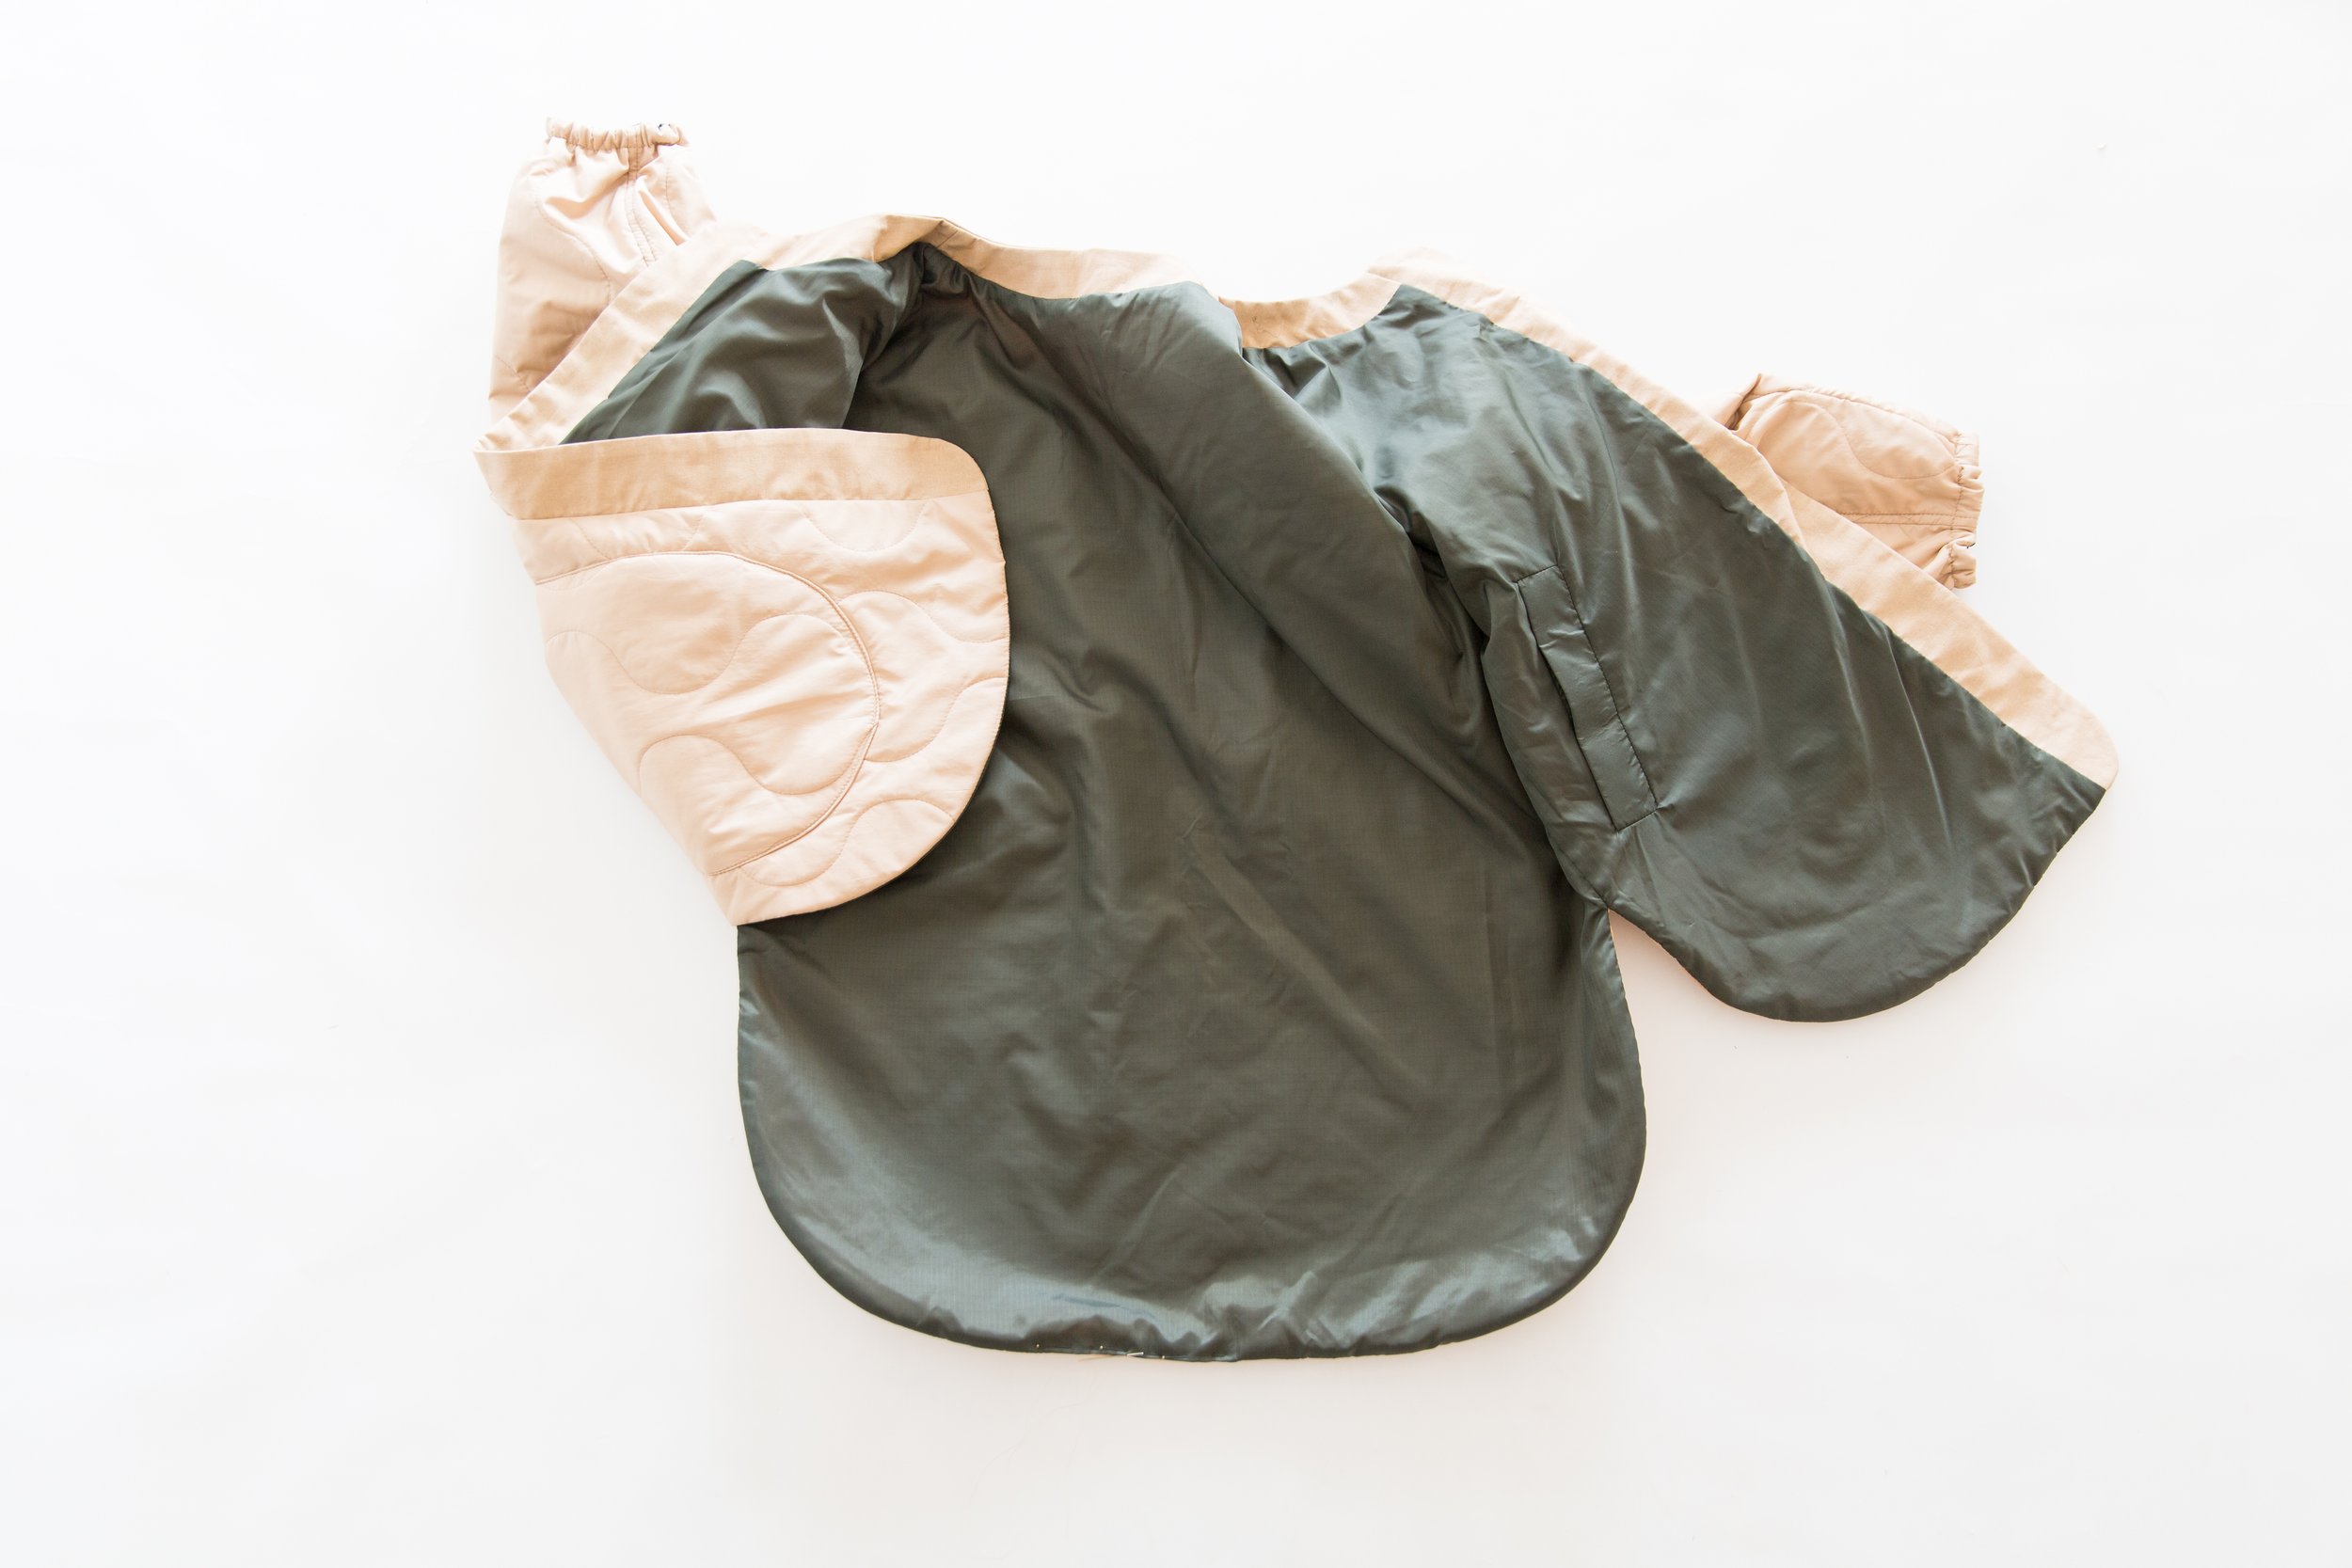
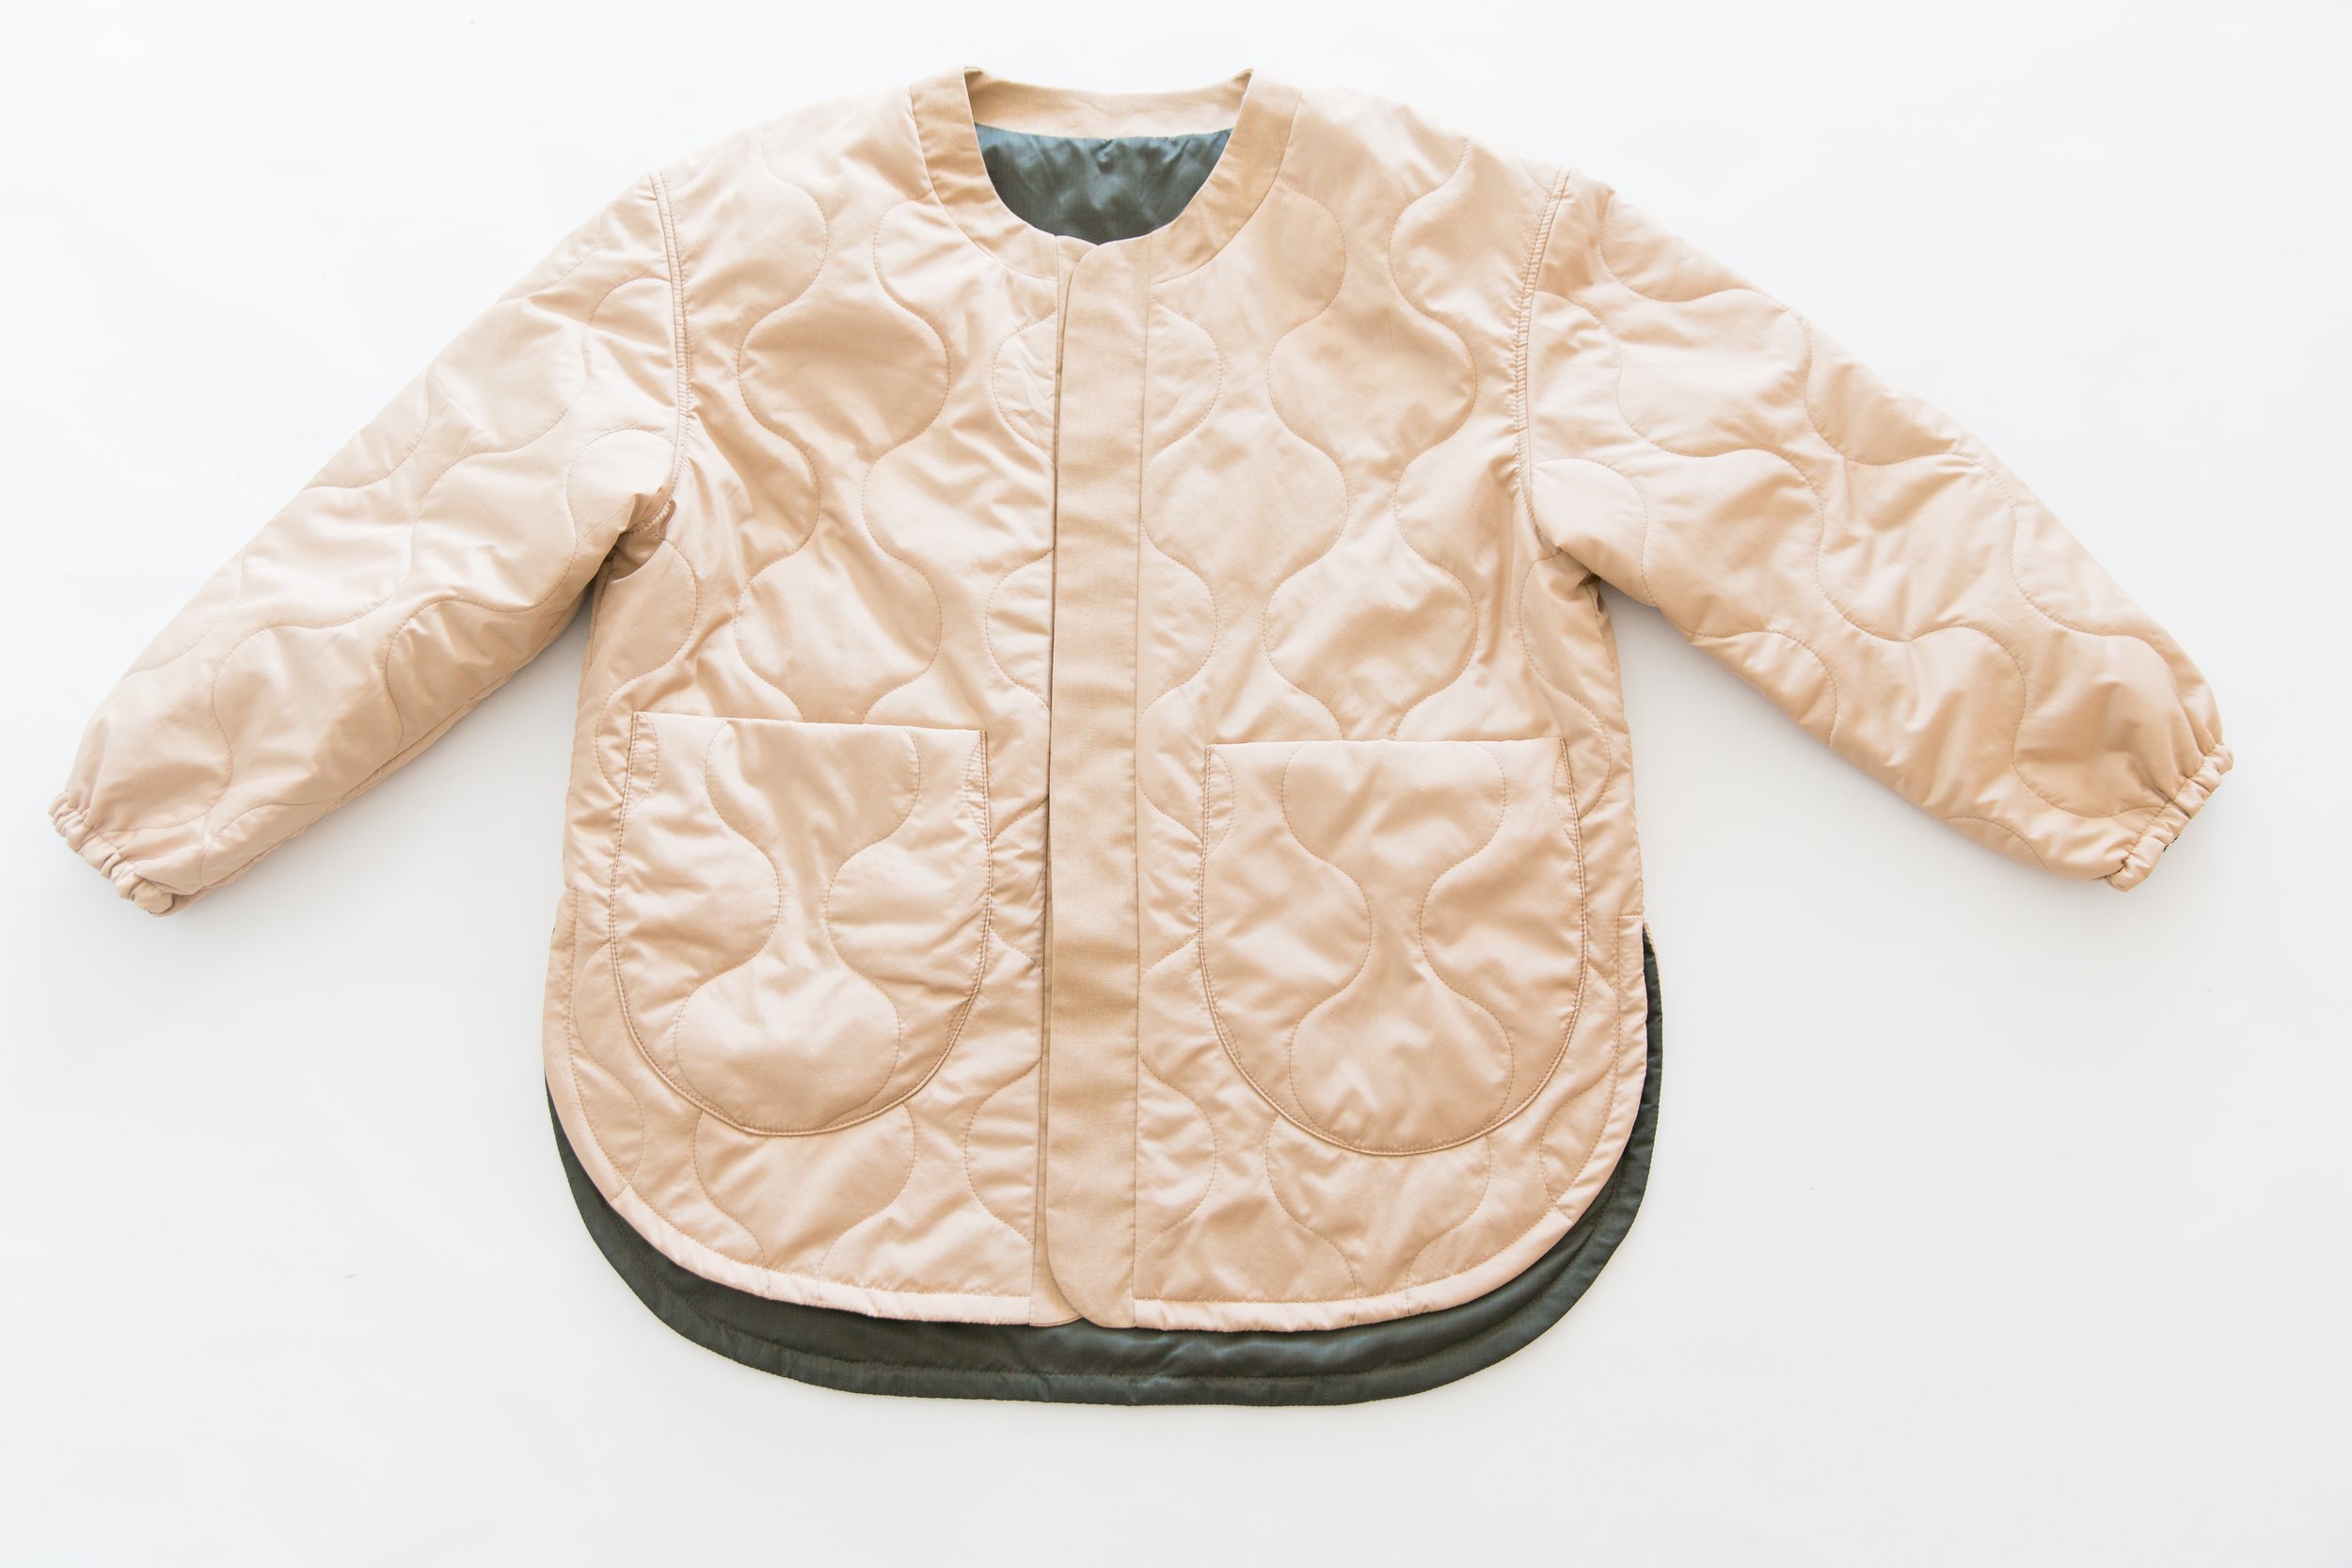
With right sides facing, pin both your jacket sides, or jacket and lining together all the way around the neckline edge, front edge and front hem, leaving just the back hem open. Stitch together.

Clip around curved edges.
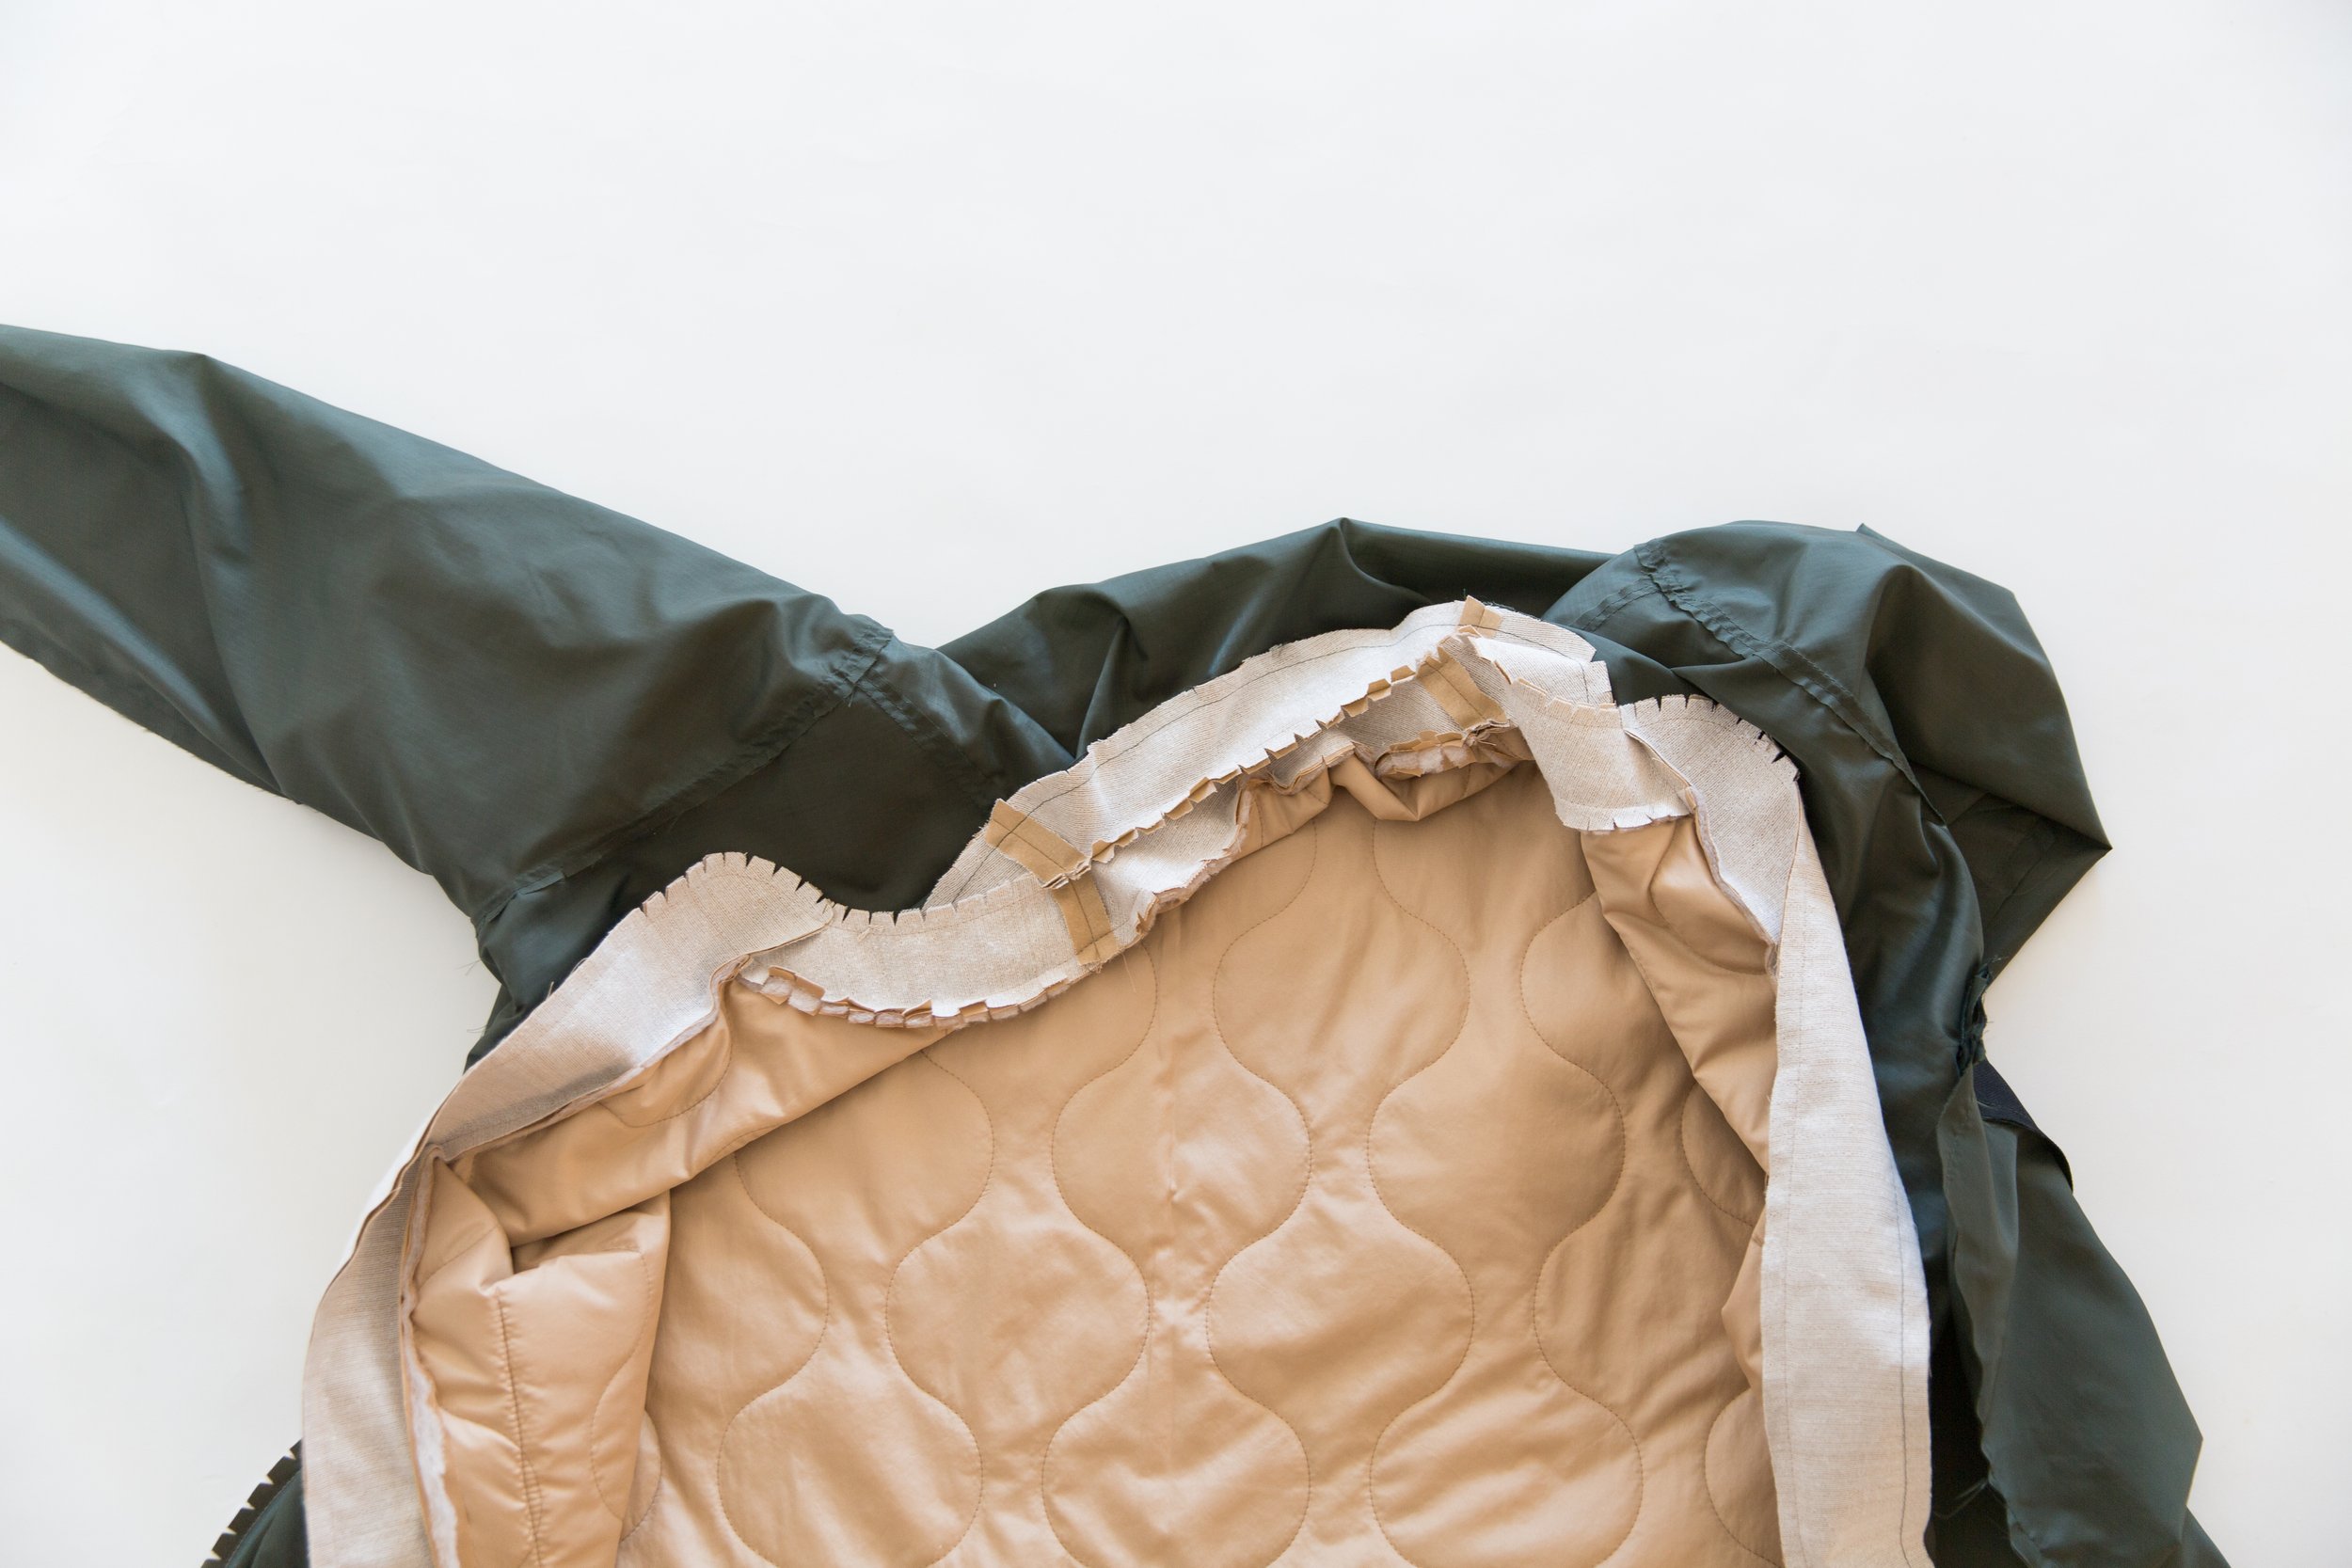
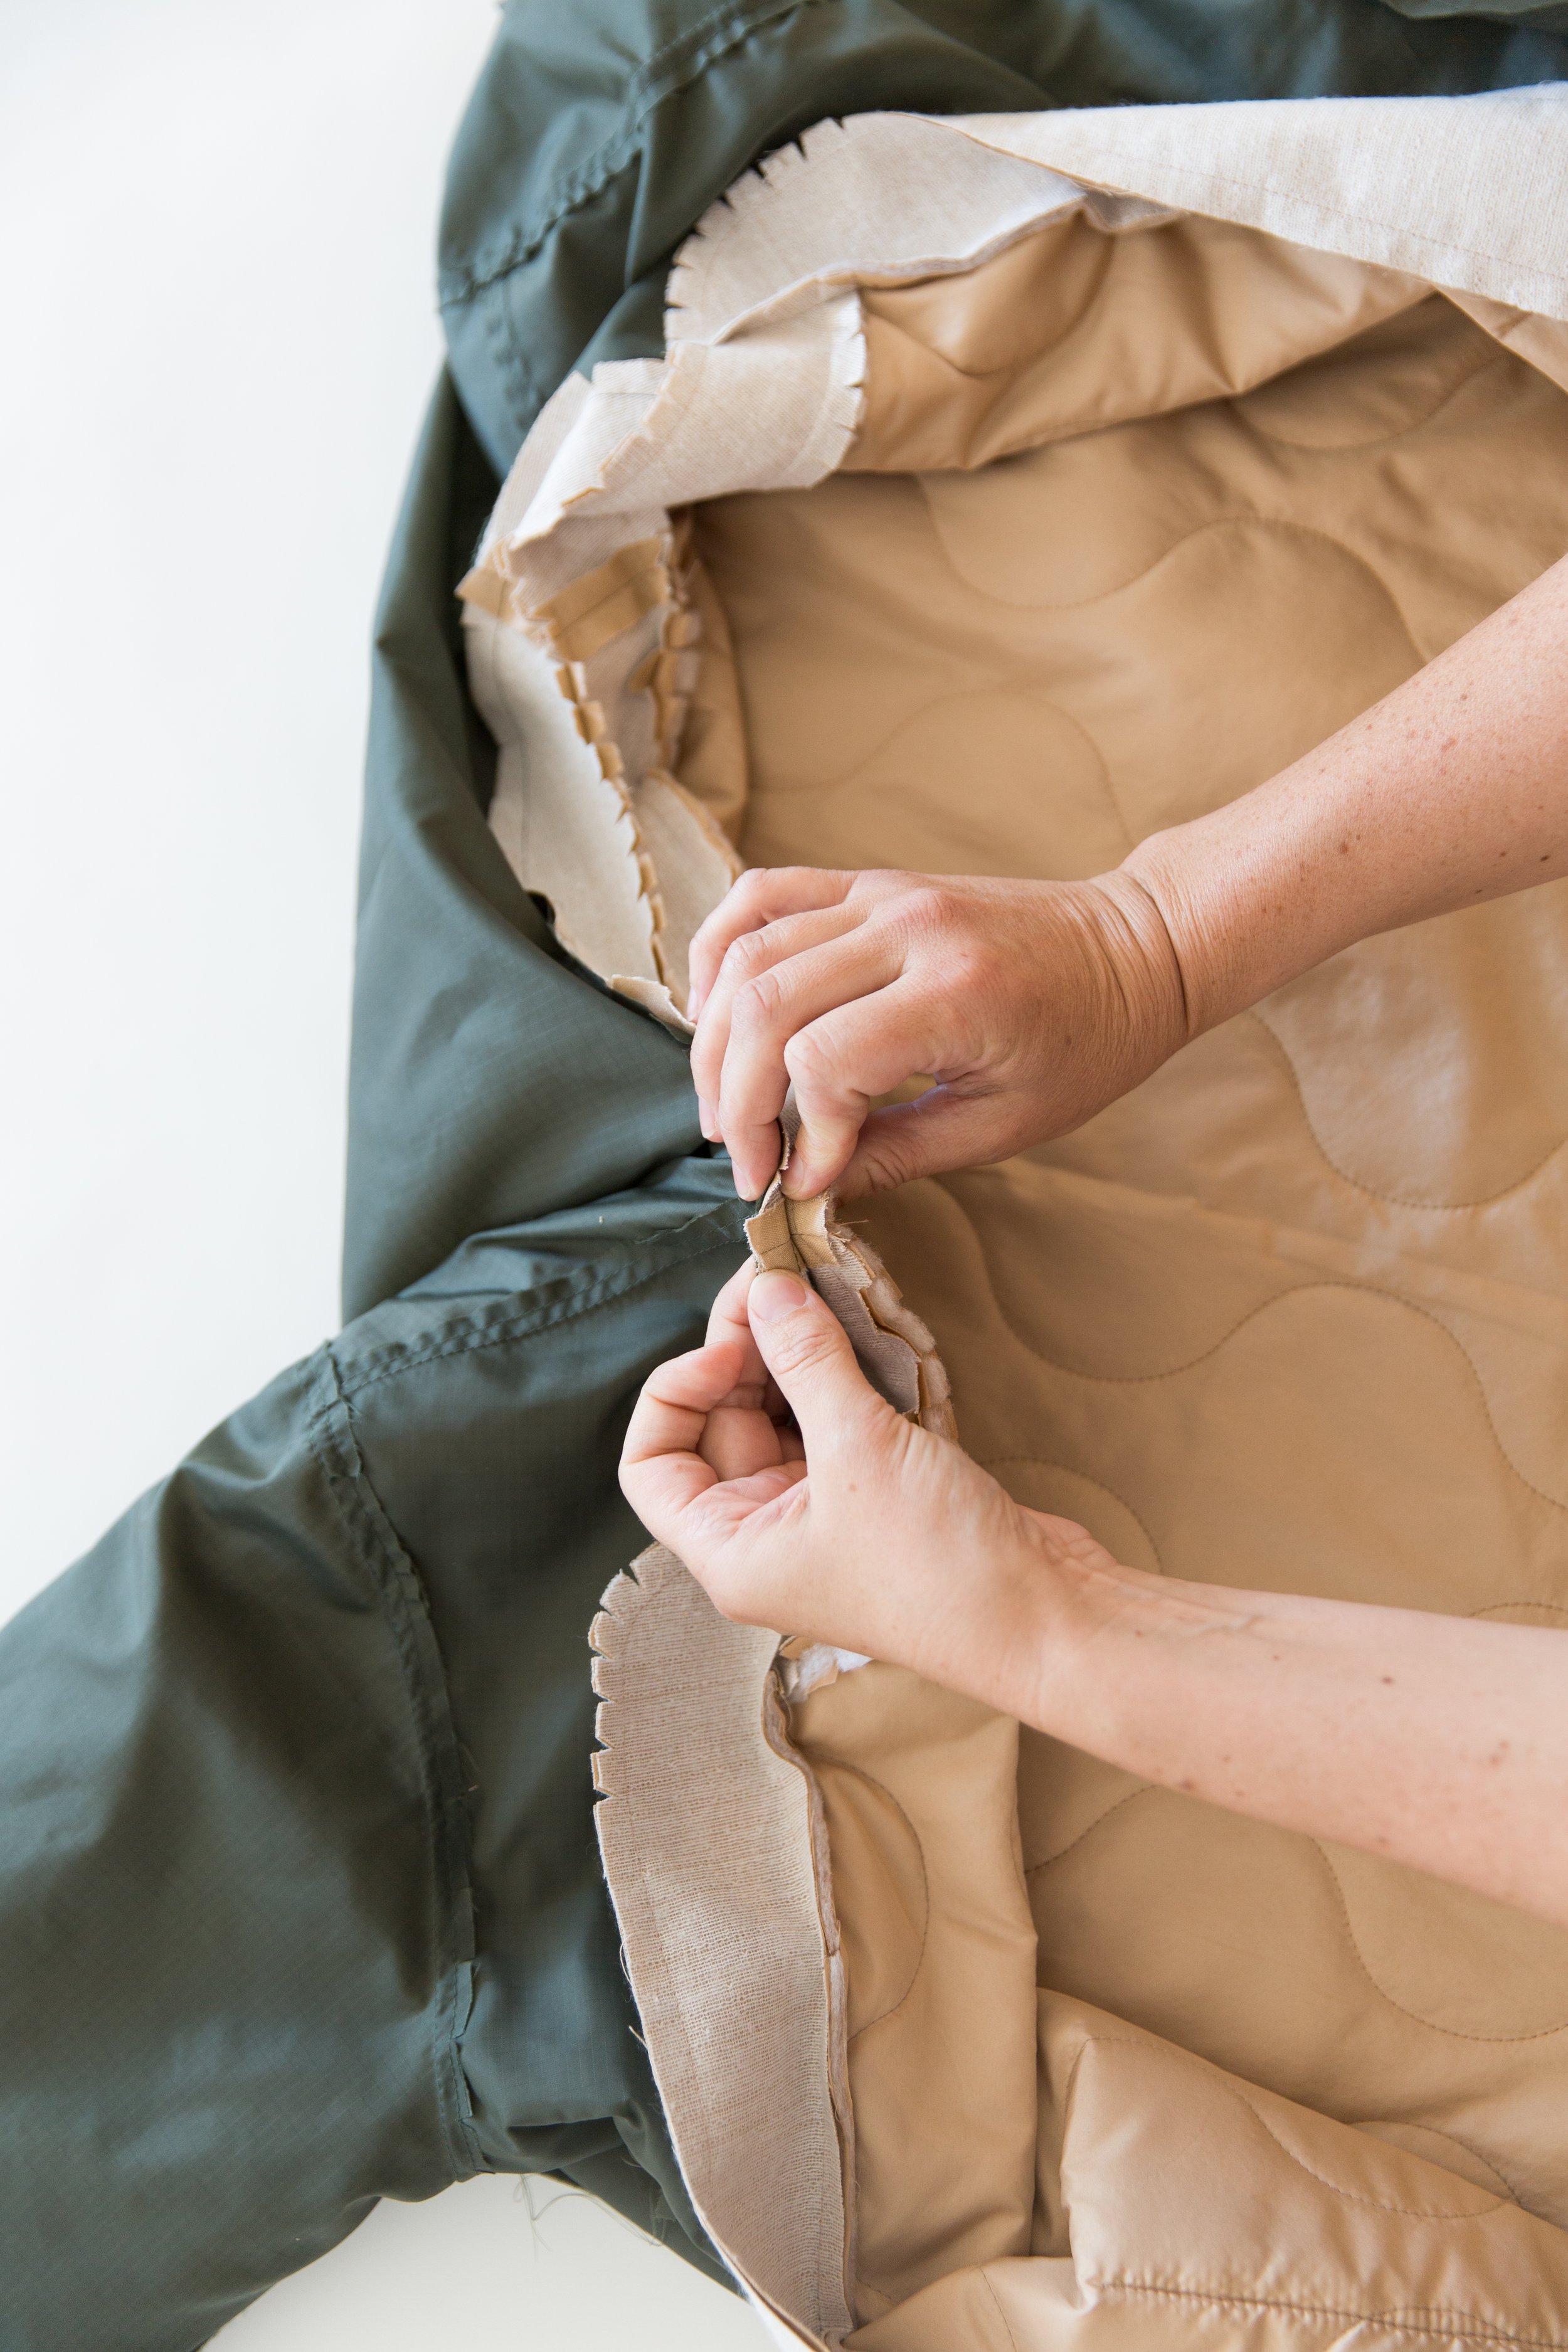
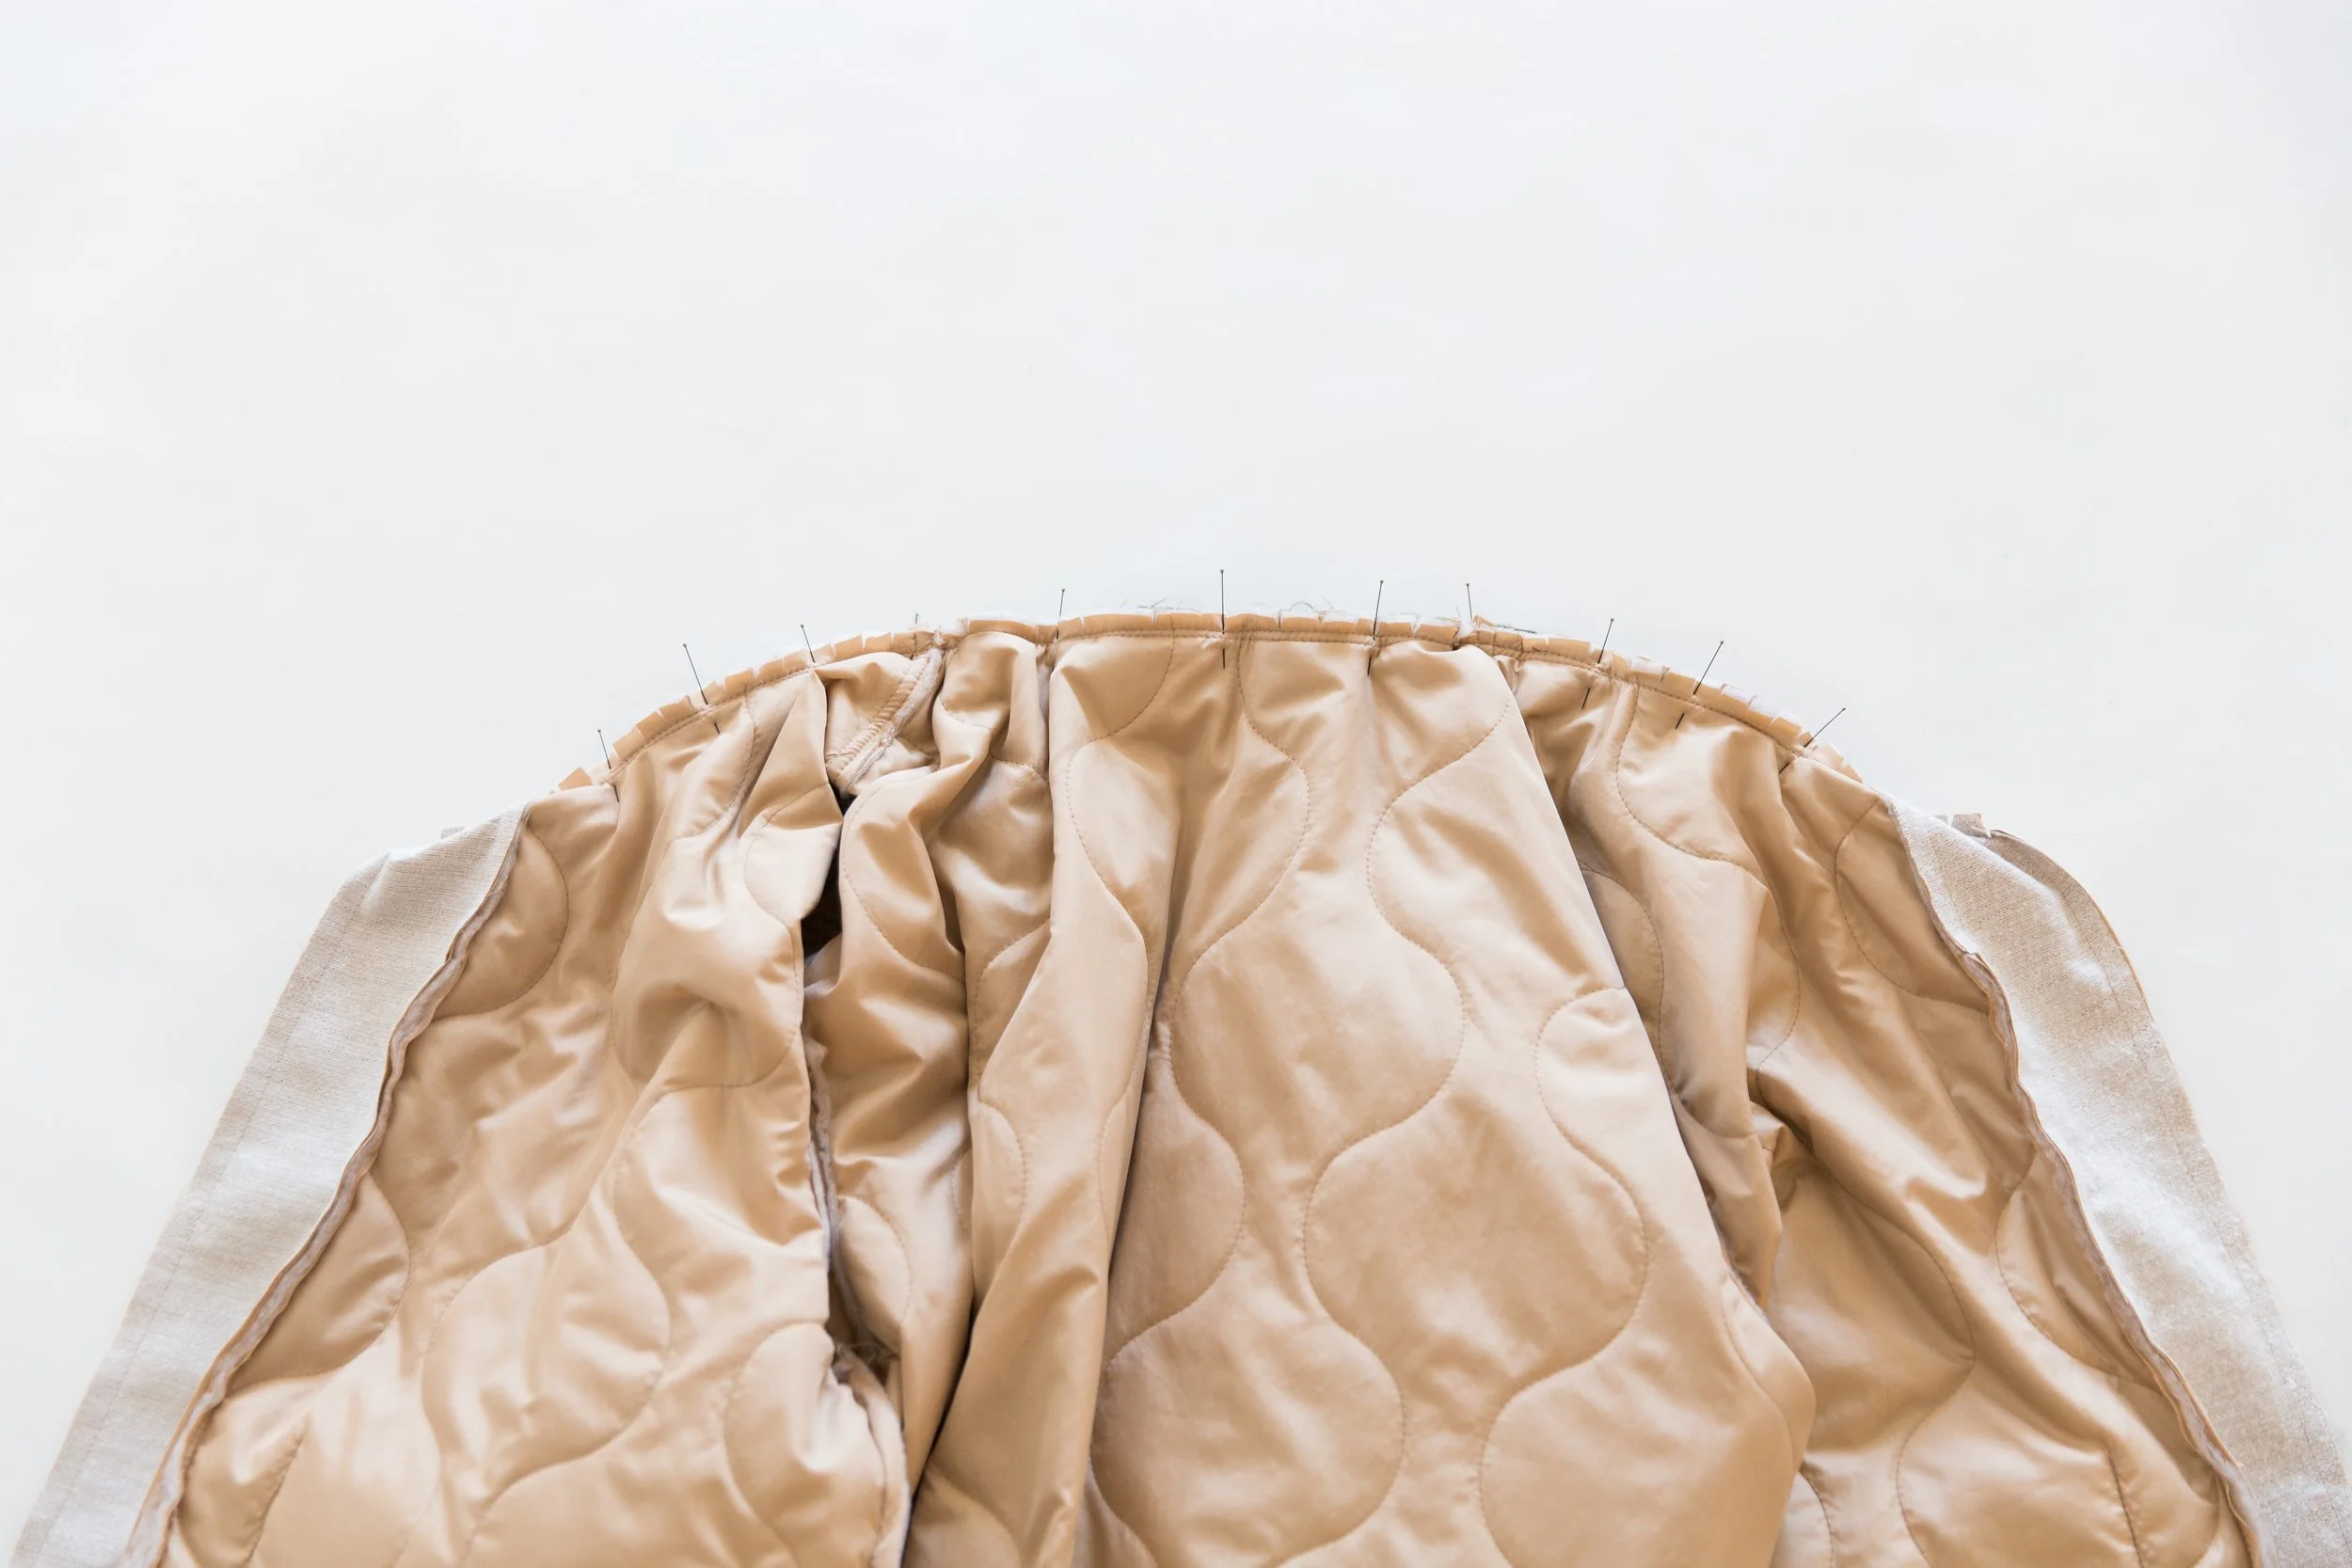
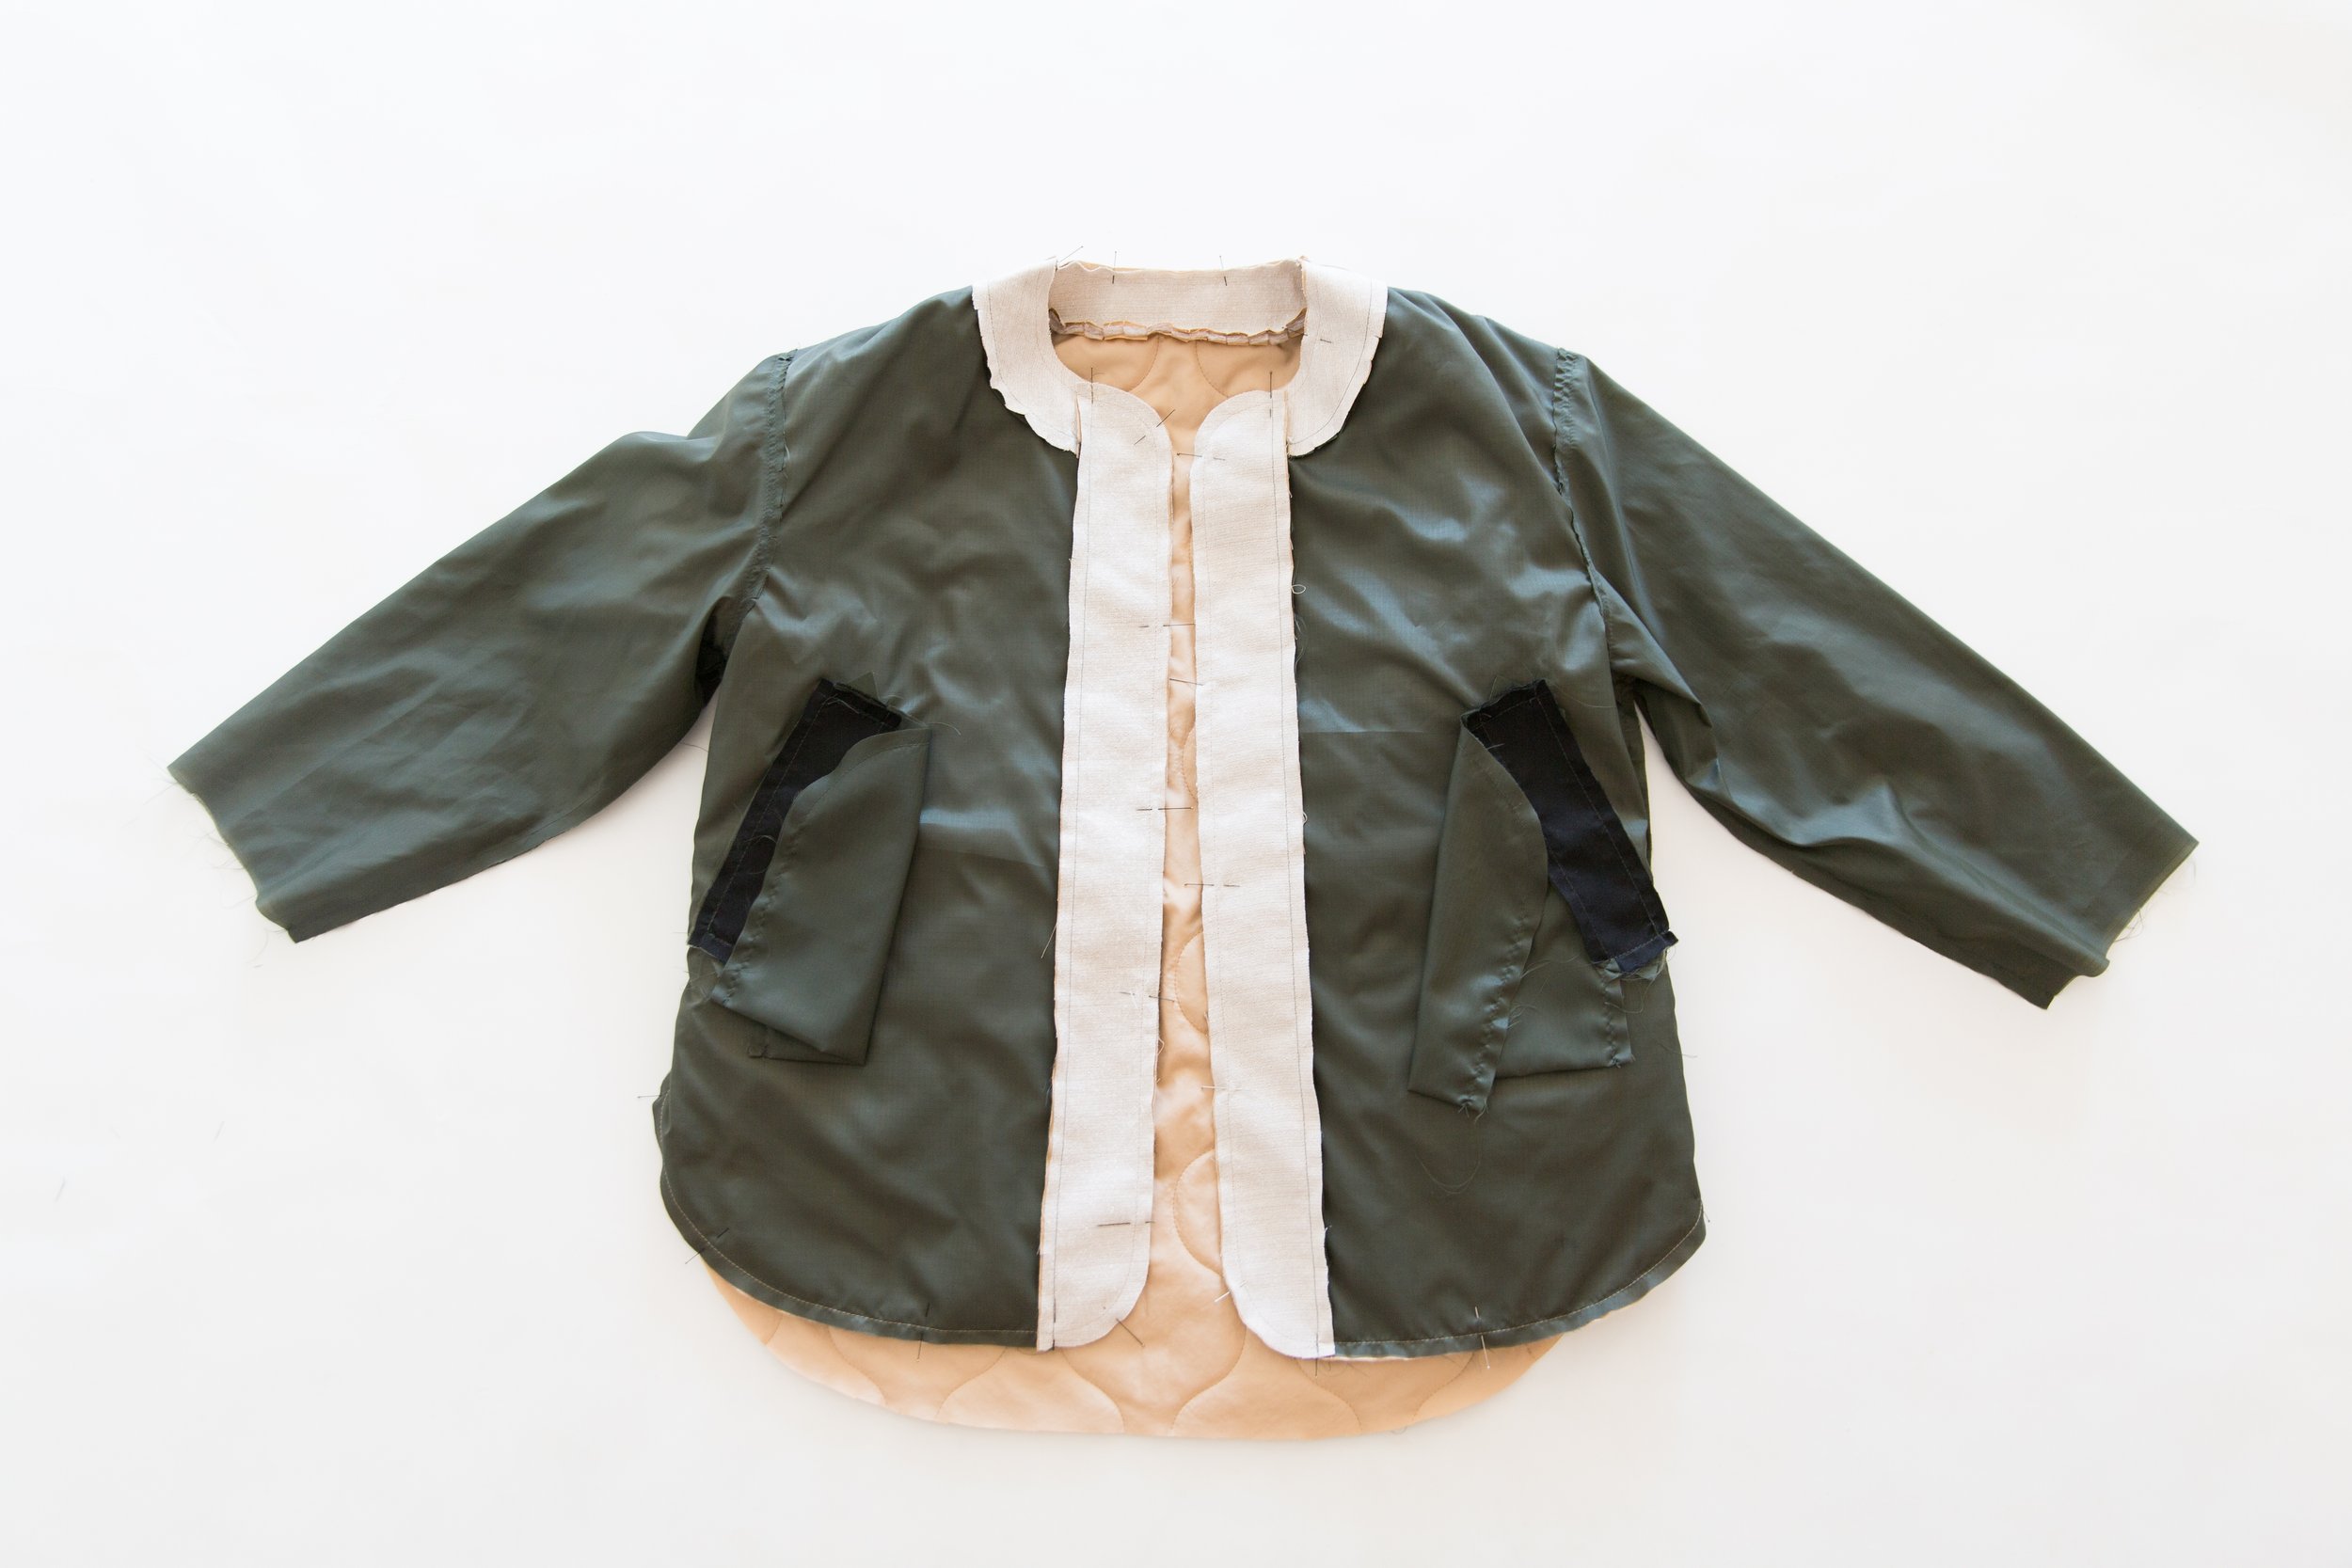
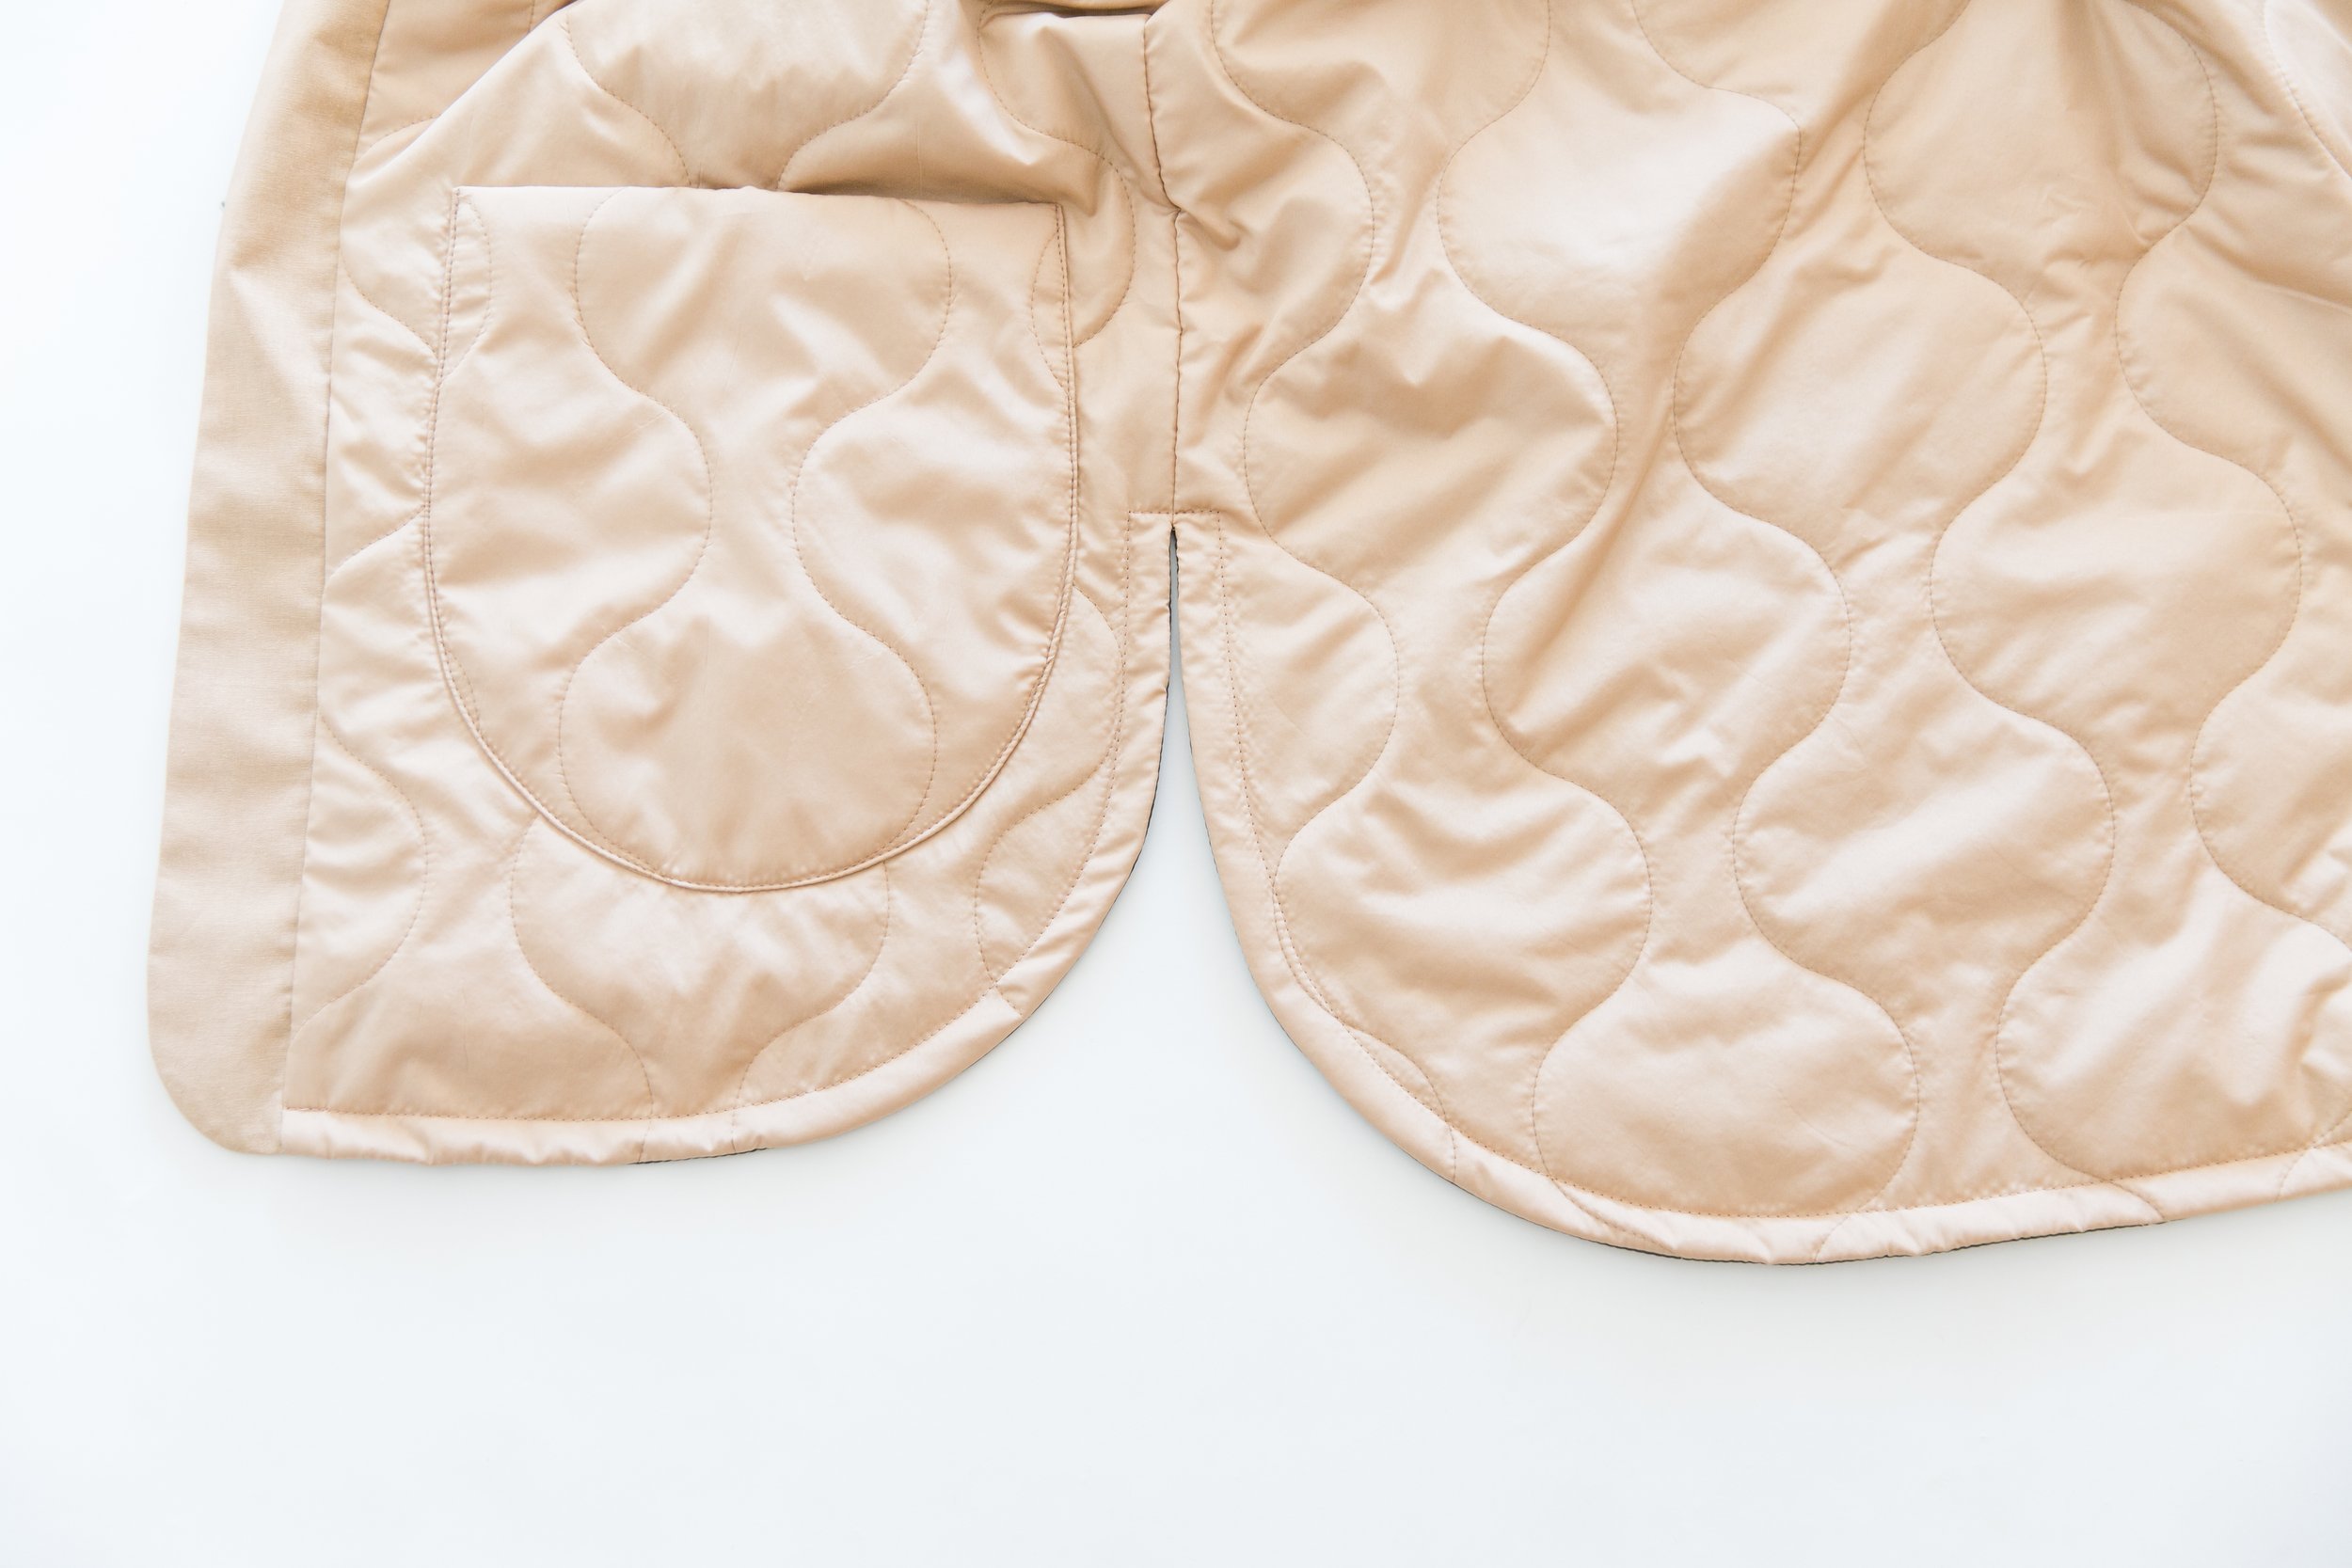
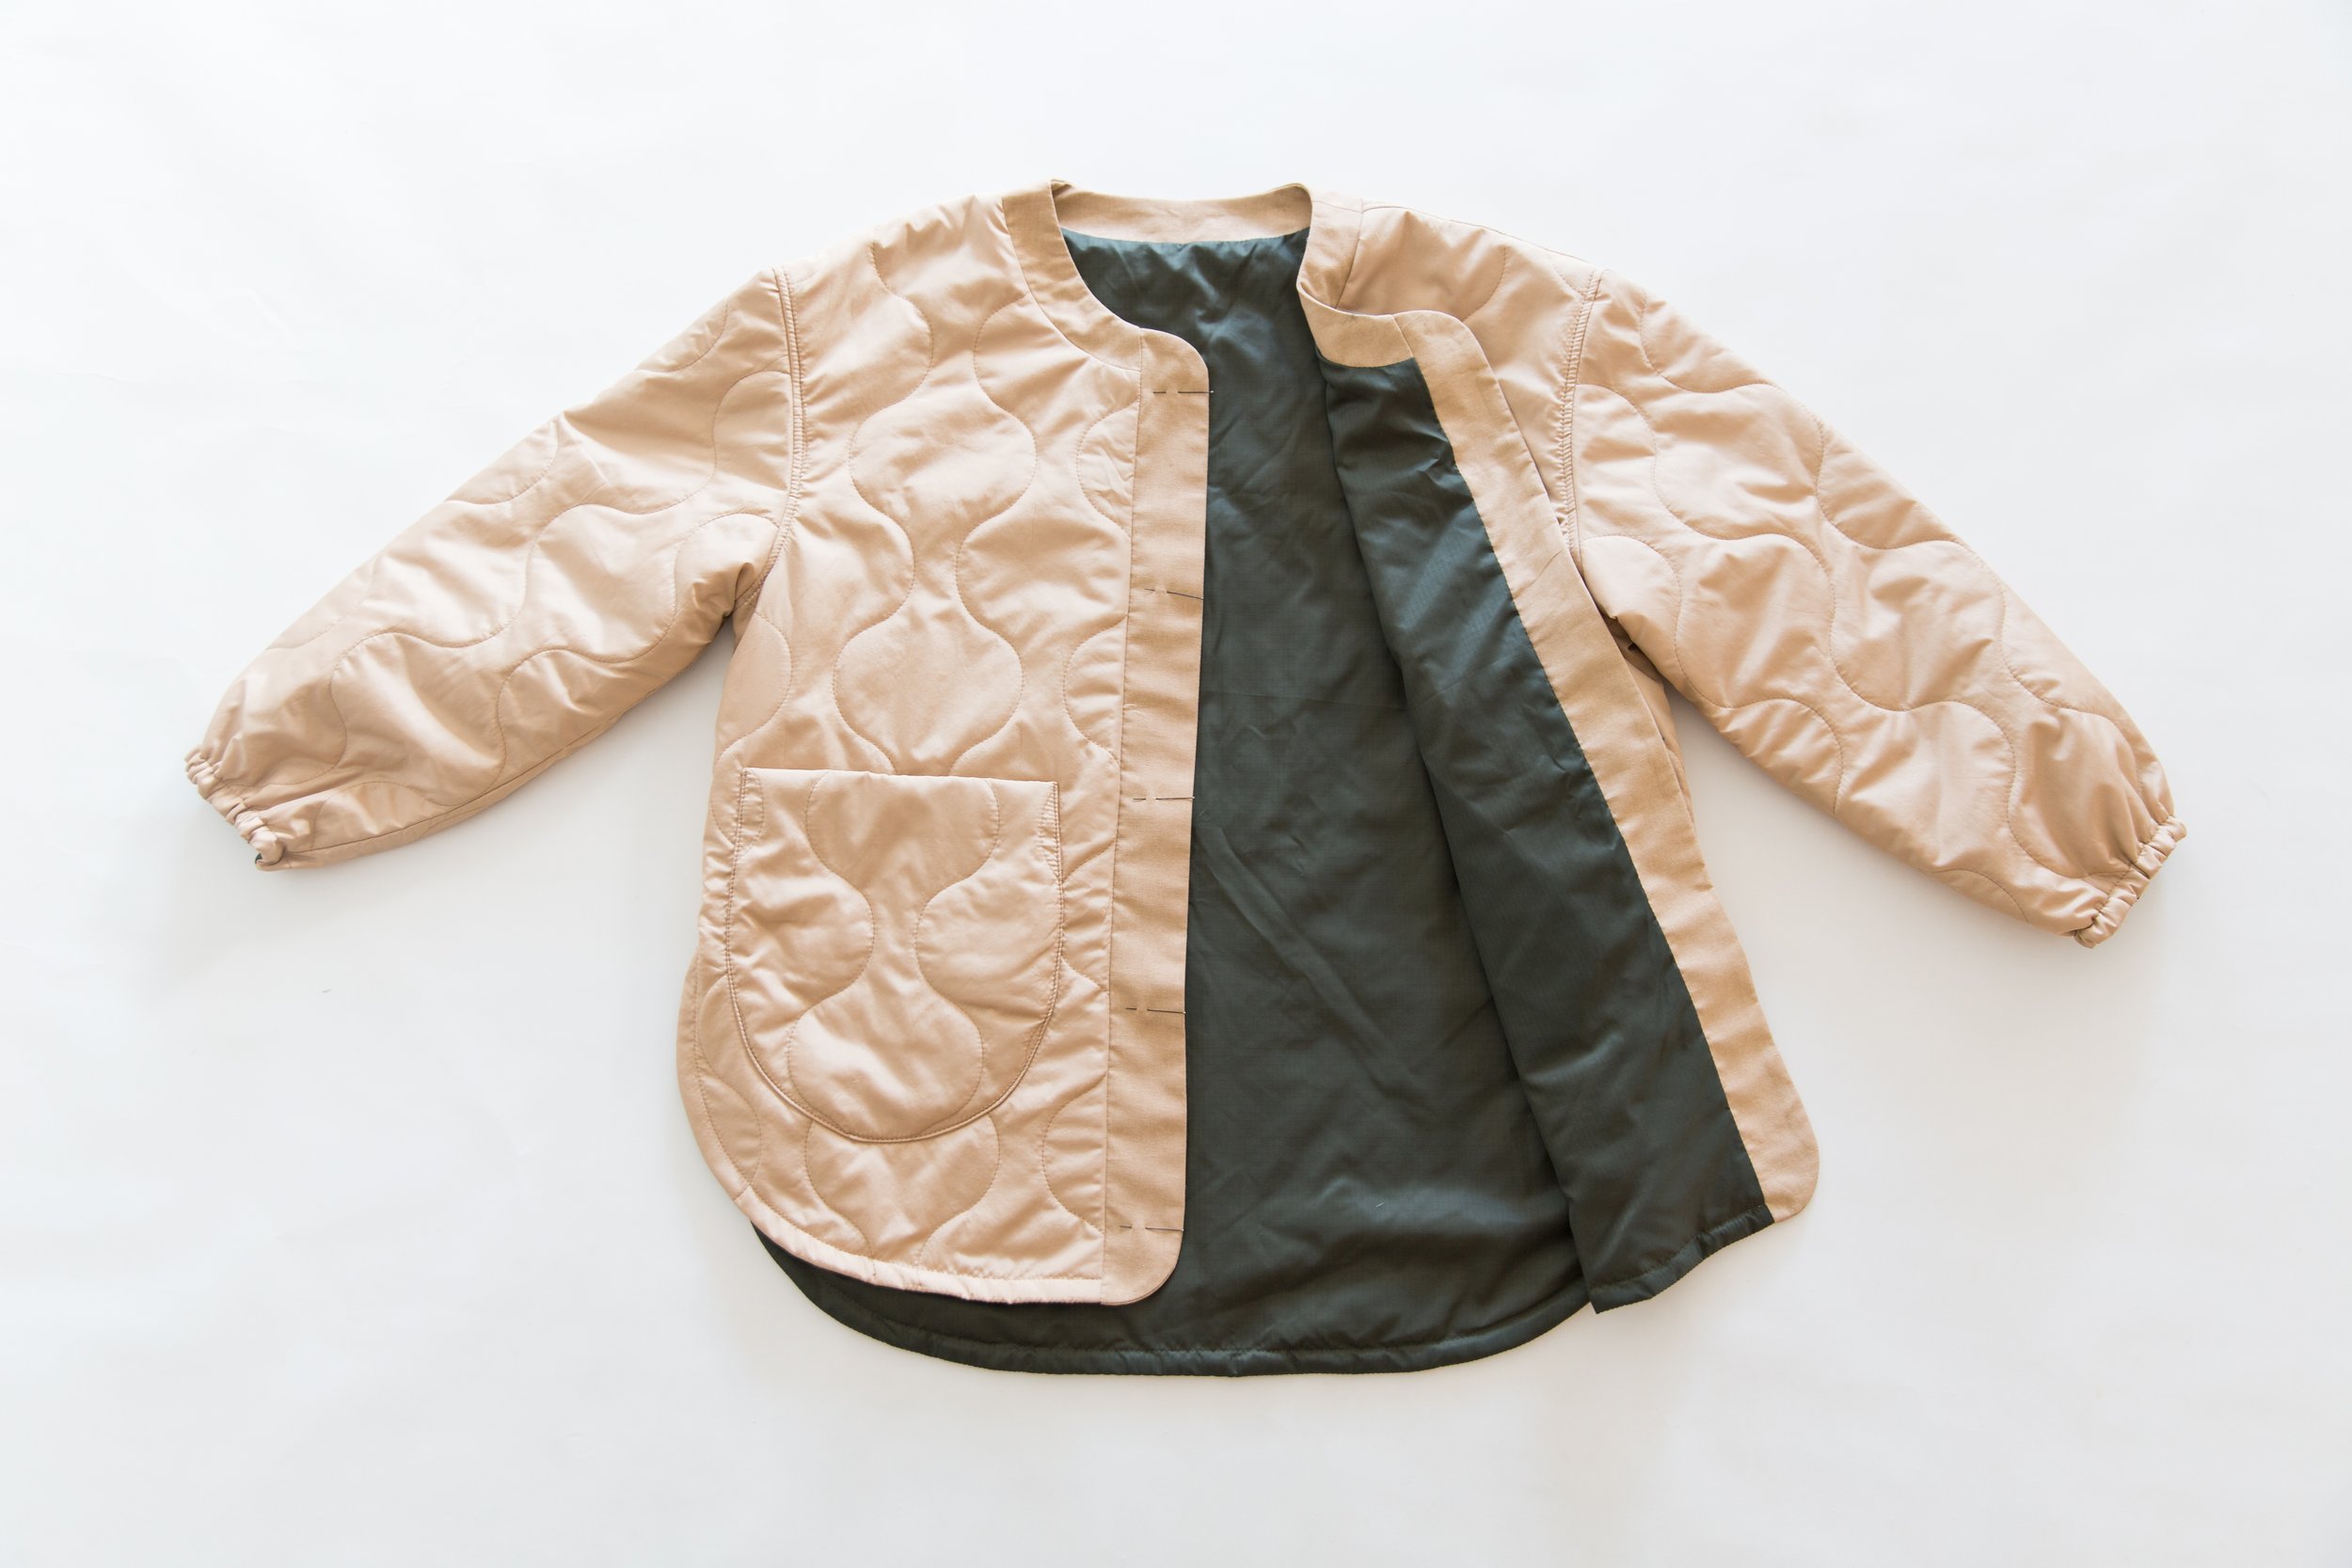
Step 9
(whoops! we have done step 9 & 10 around the opposite way from that in your instruction booklet! The details remain the same :) )
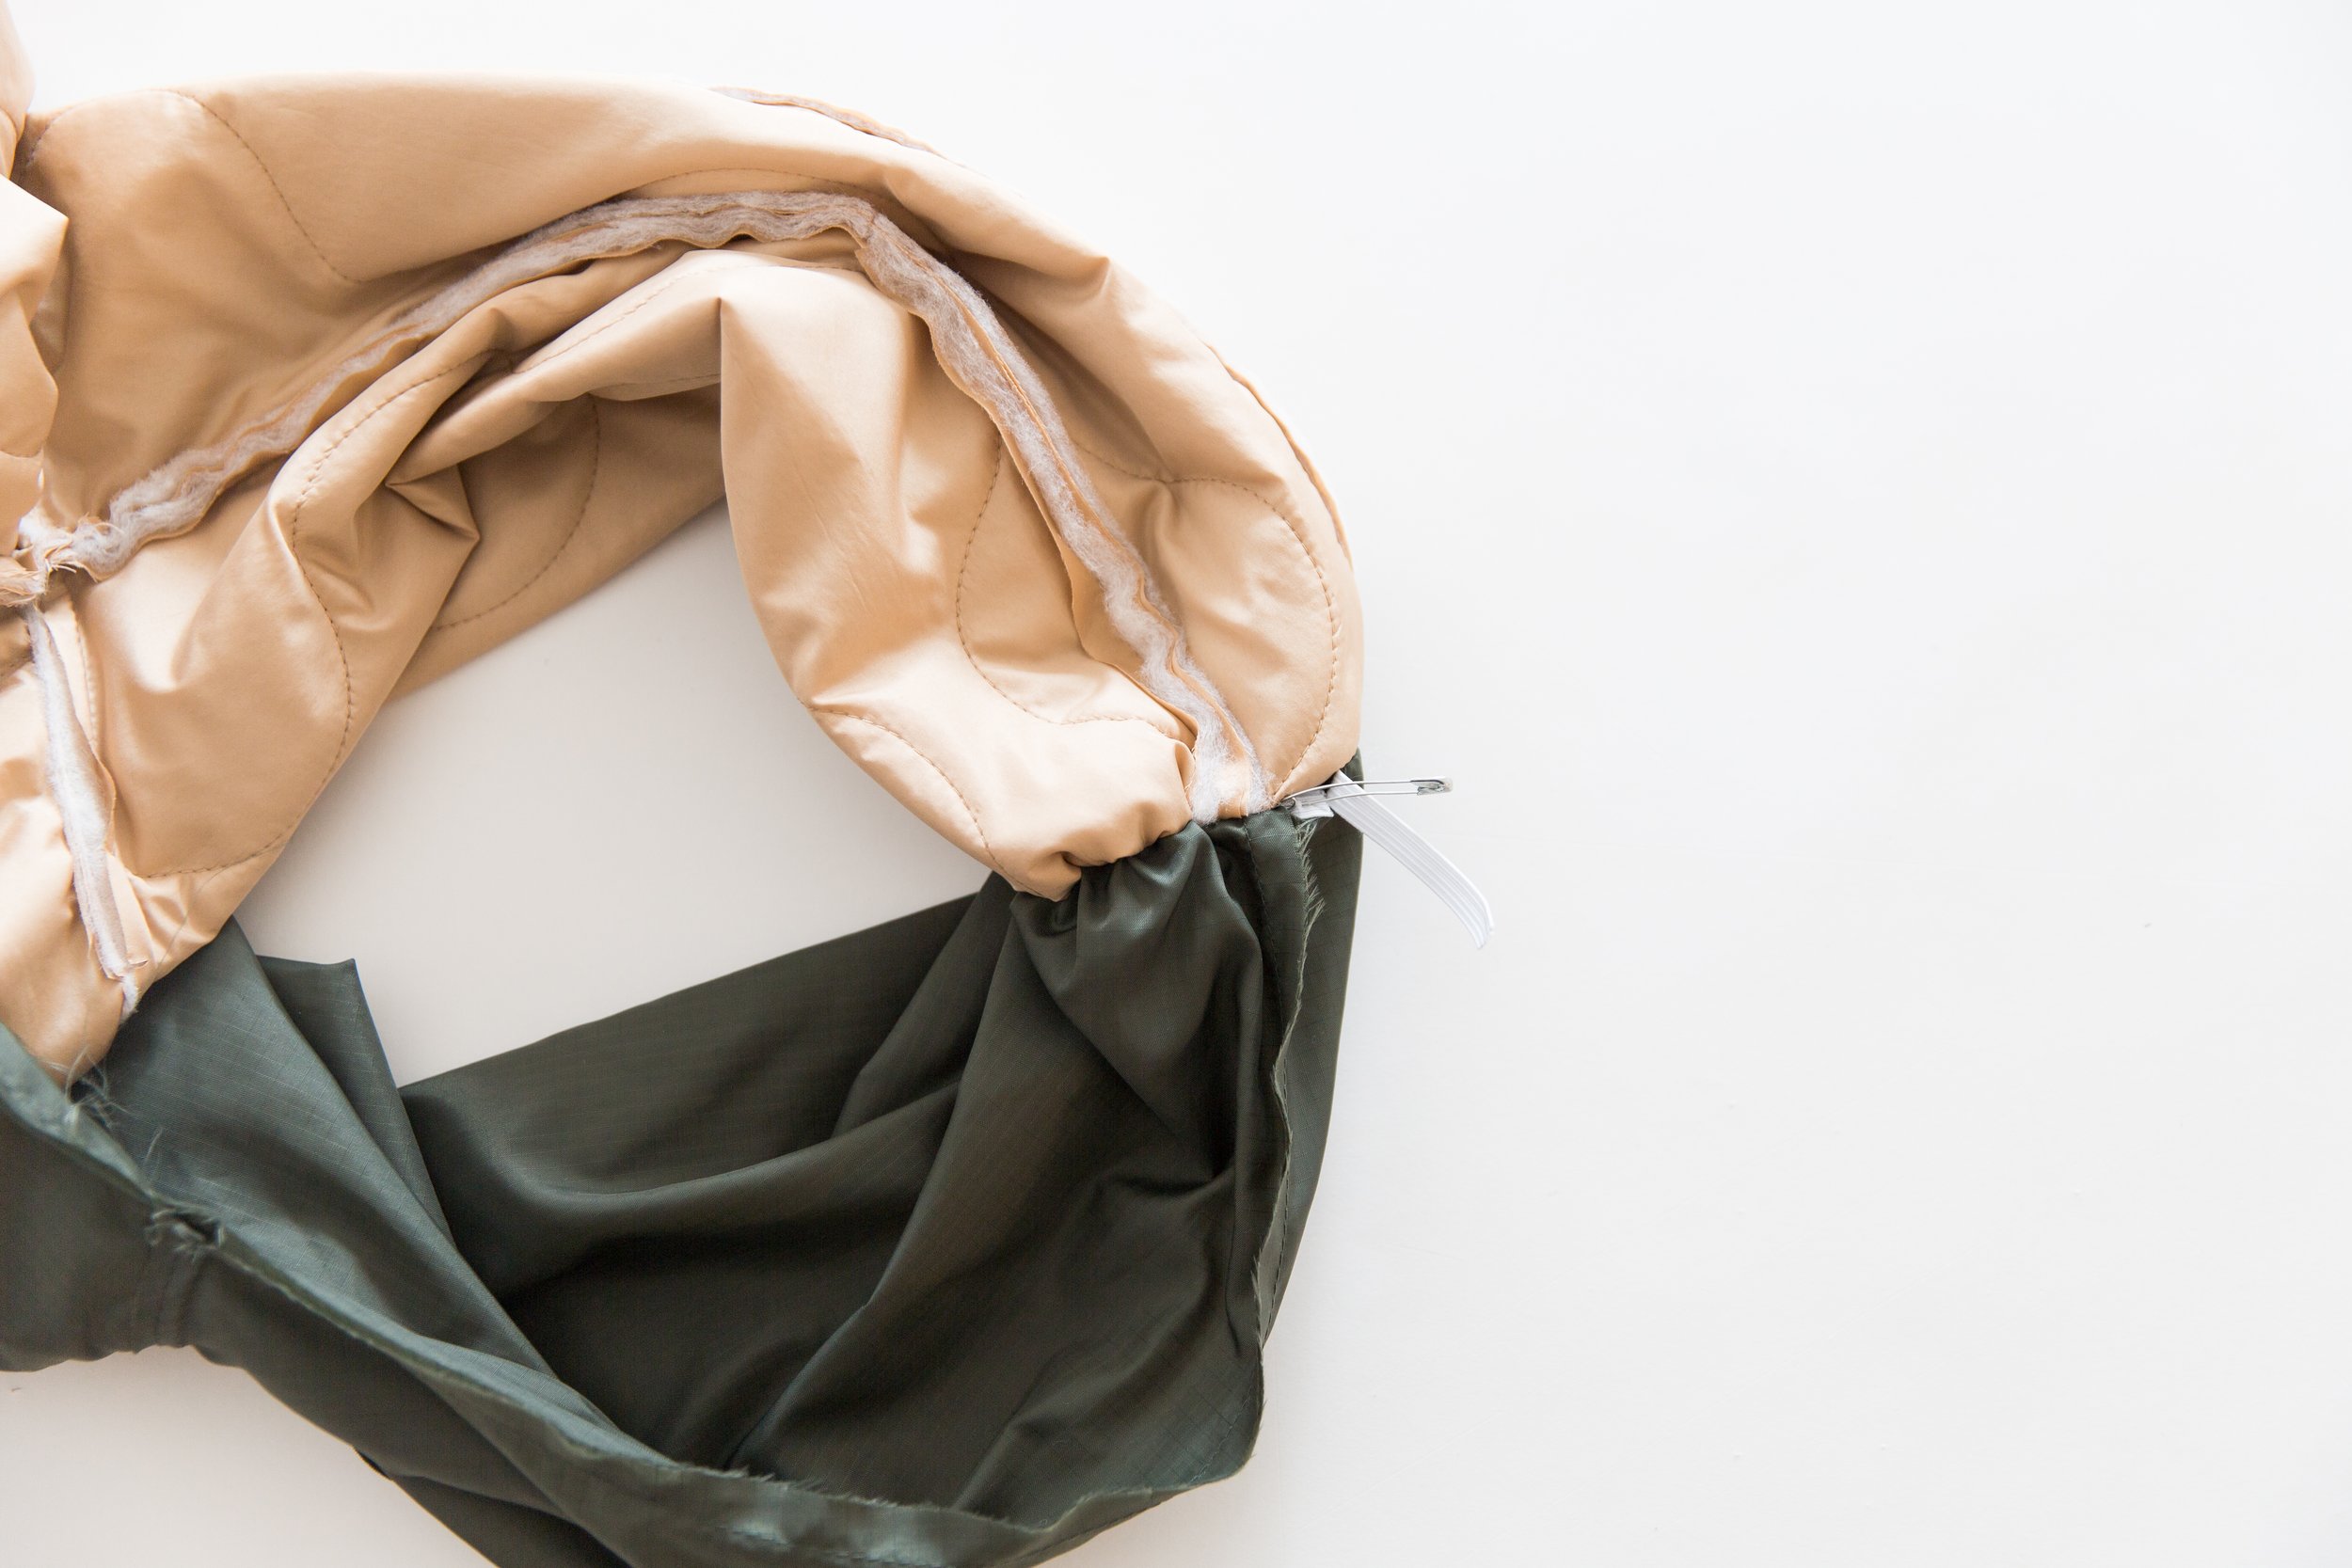
With the wrong sides still out. Push your neck edge pieces to the inside so they are sandwiched between the neck sections with the raw edges together. Stitch together to secure, starting about 5cm/2” from left edge and finishing about 5cm/2” from right edge.
Step 10
Now do the same with your front button stand pieces. Push your front button stands to the inside so they are sandwiched between the front sections with the raw edges together. Stitch together to secure, starting about 5cm/2” from top edge and finishing about 5cm/2” from bottom edge.
Step 11
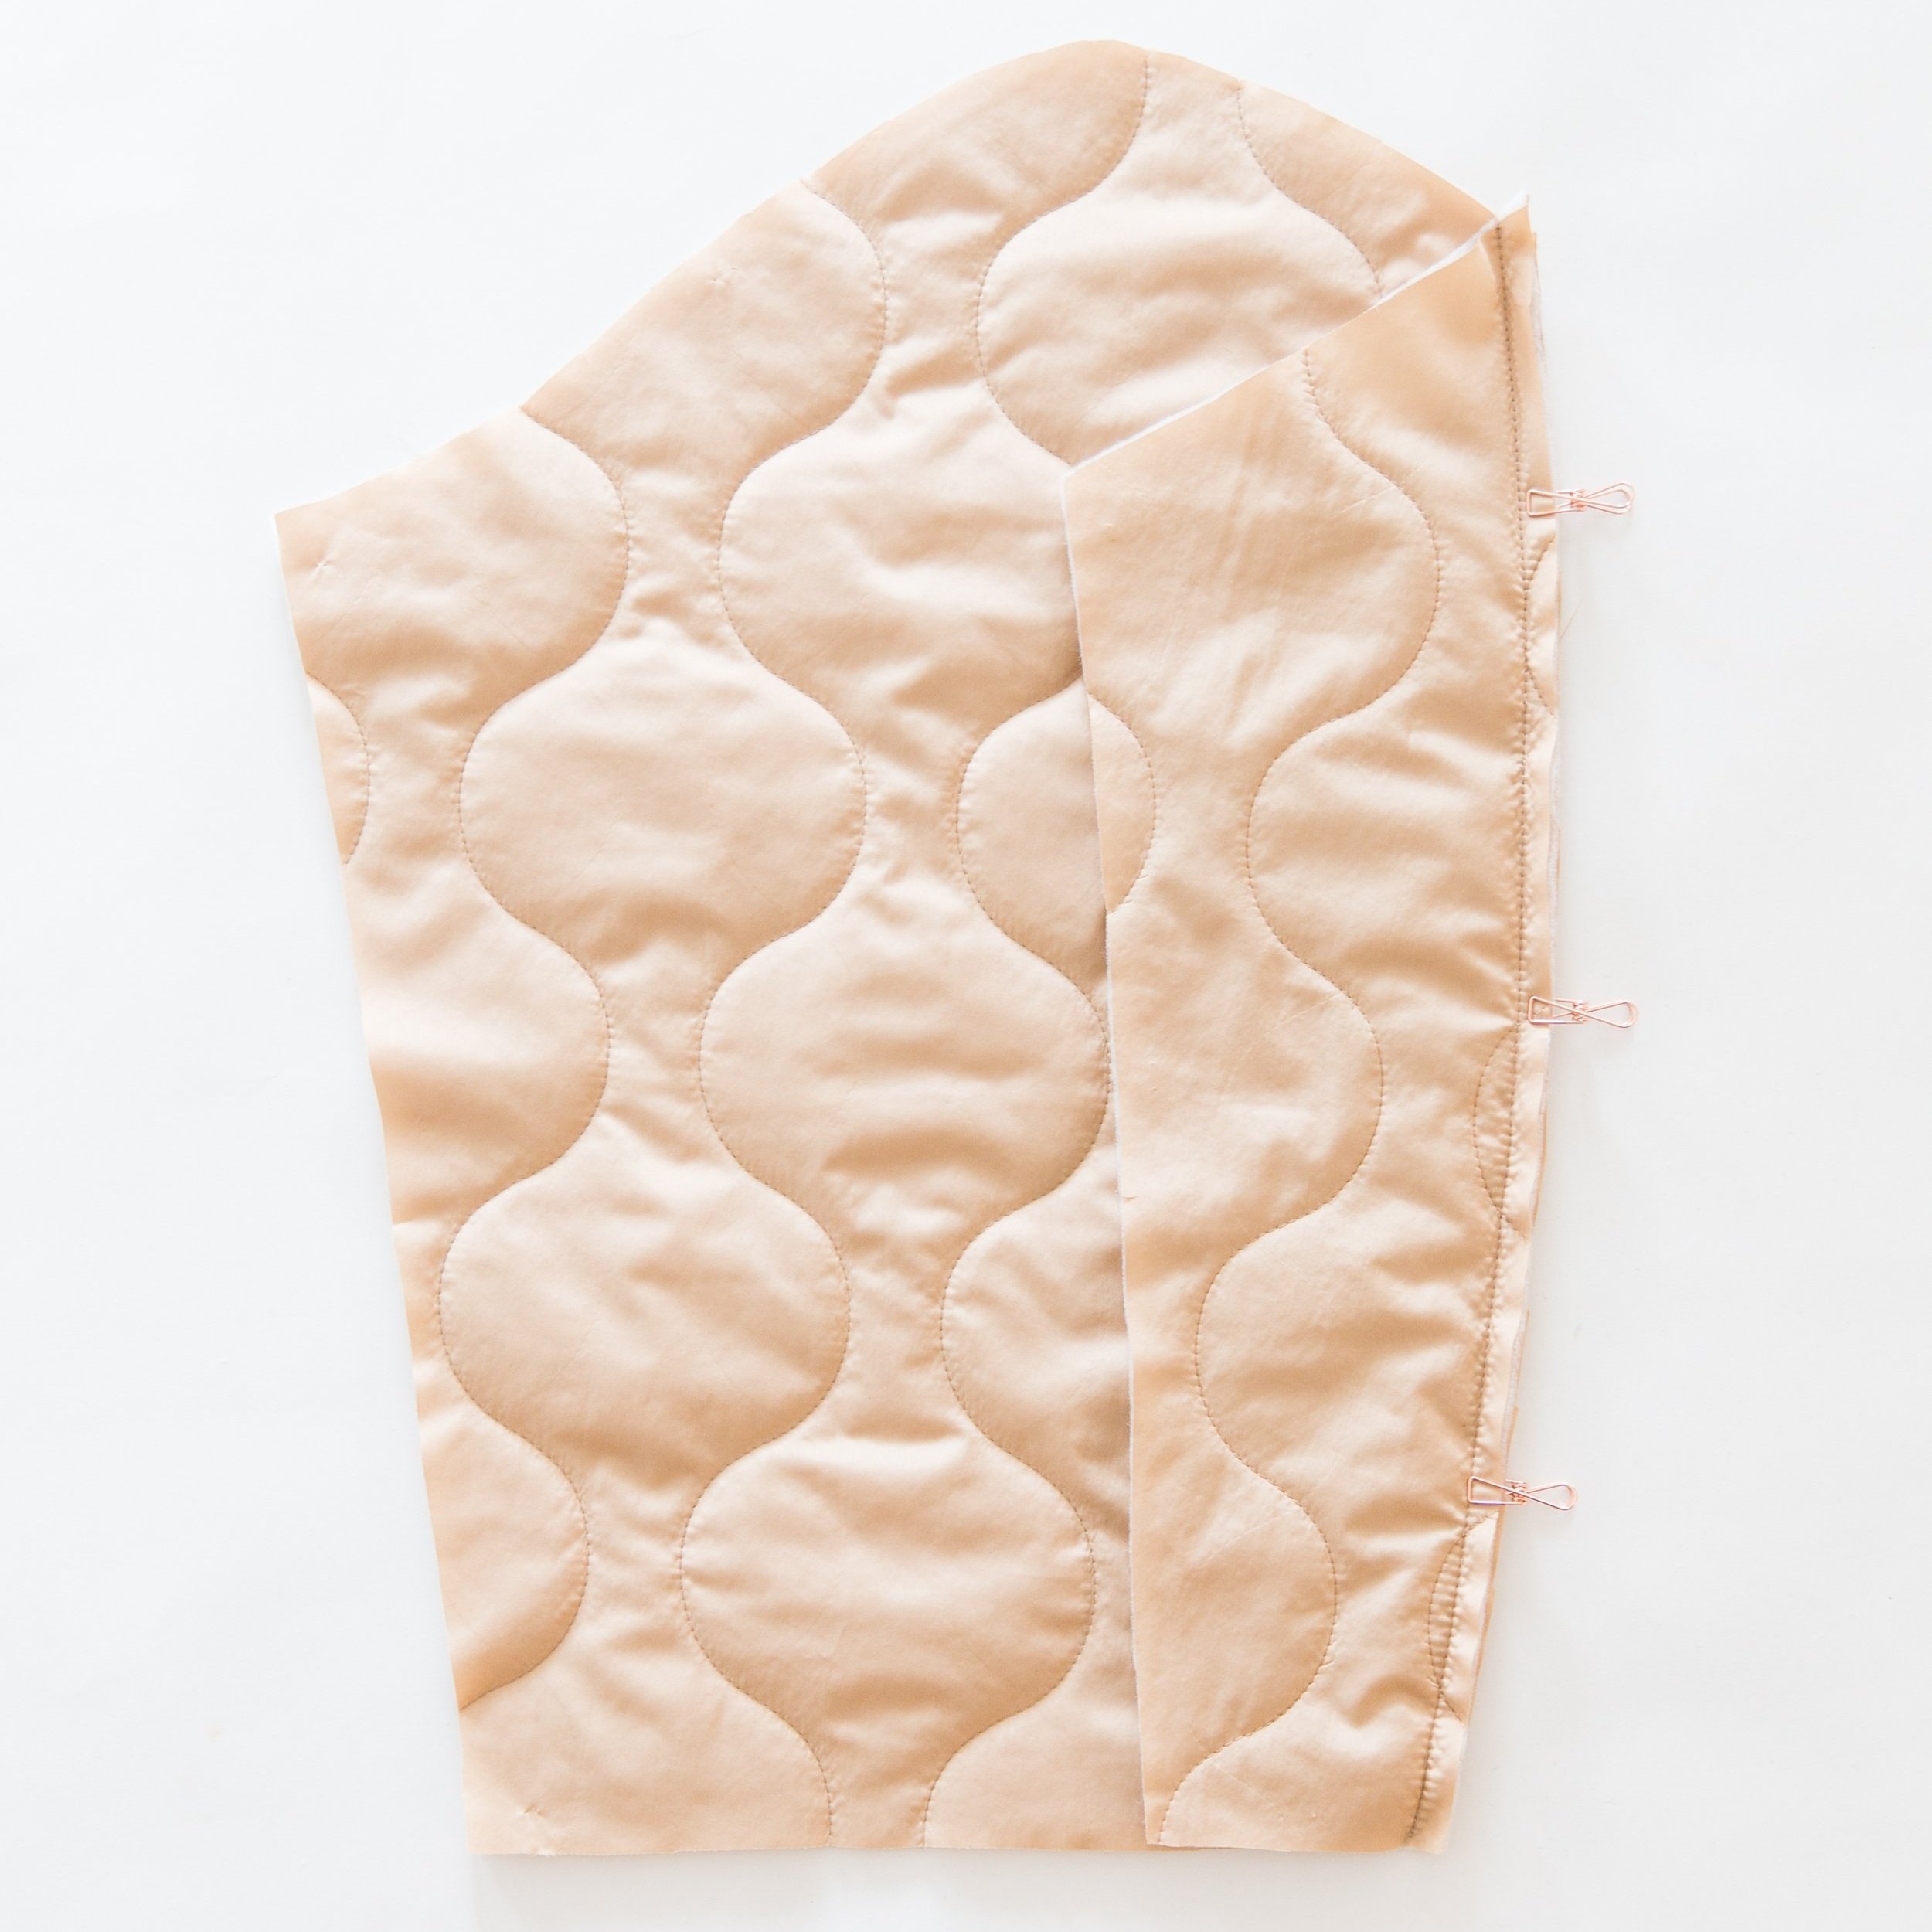
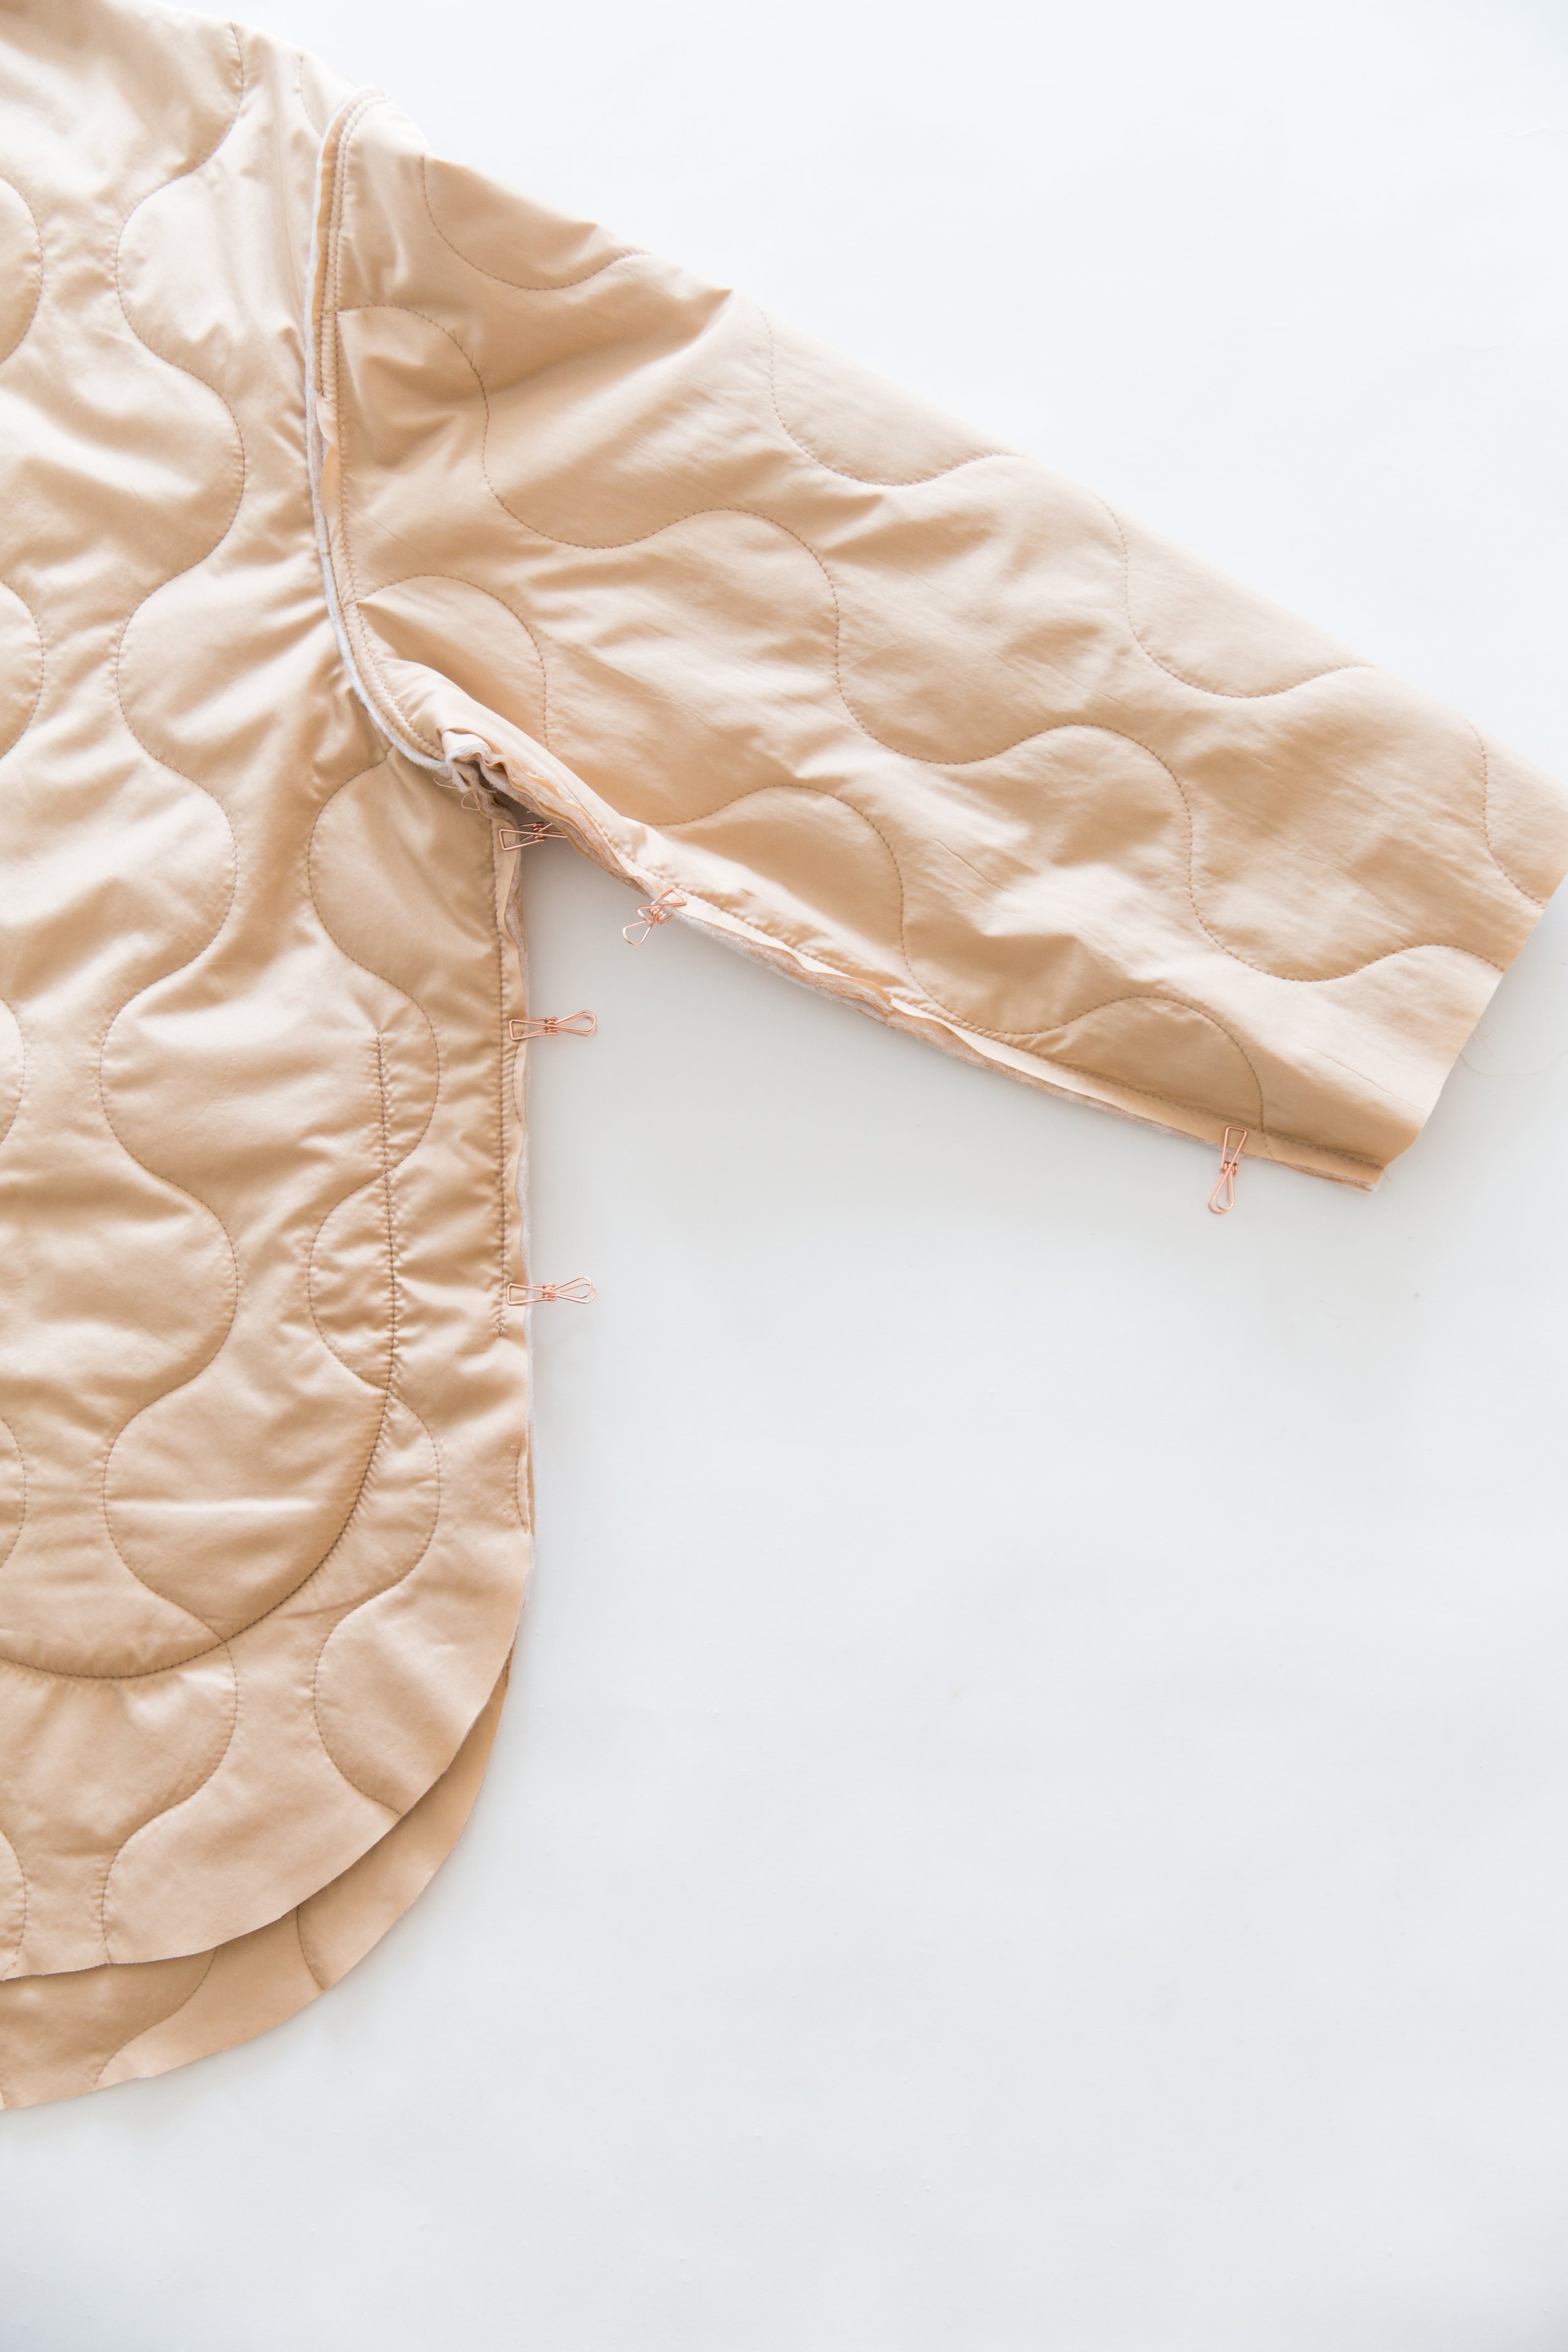
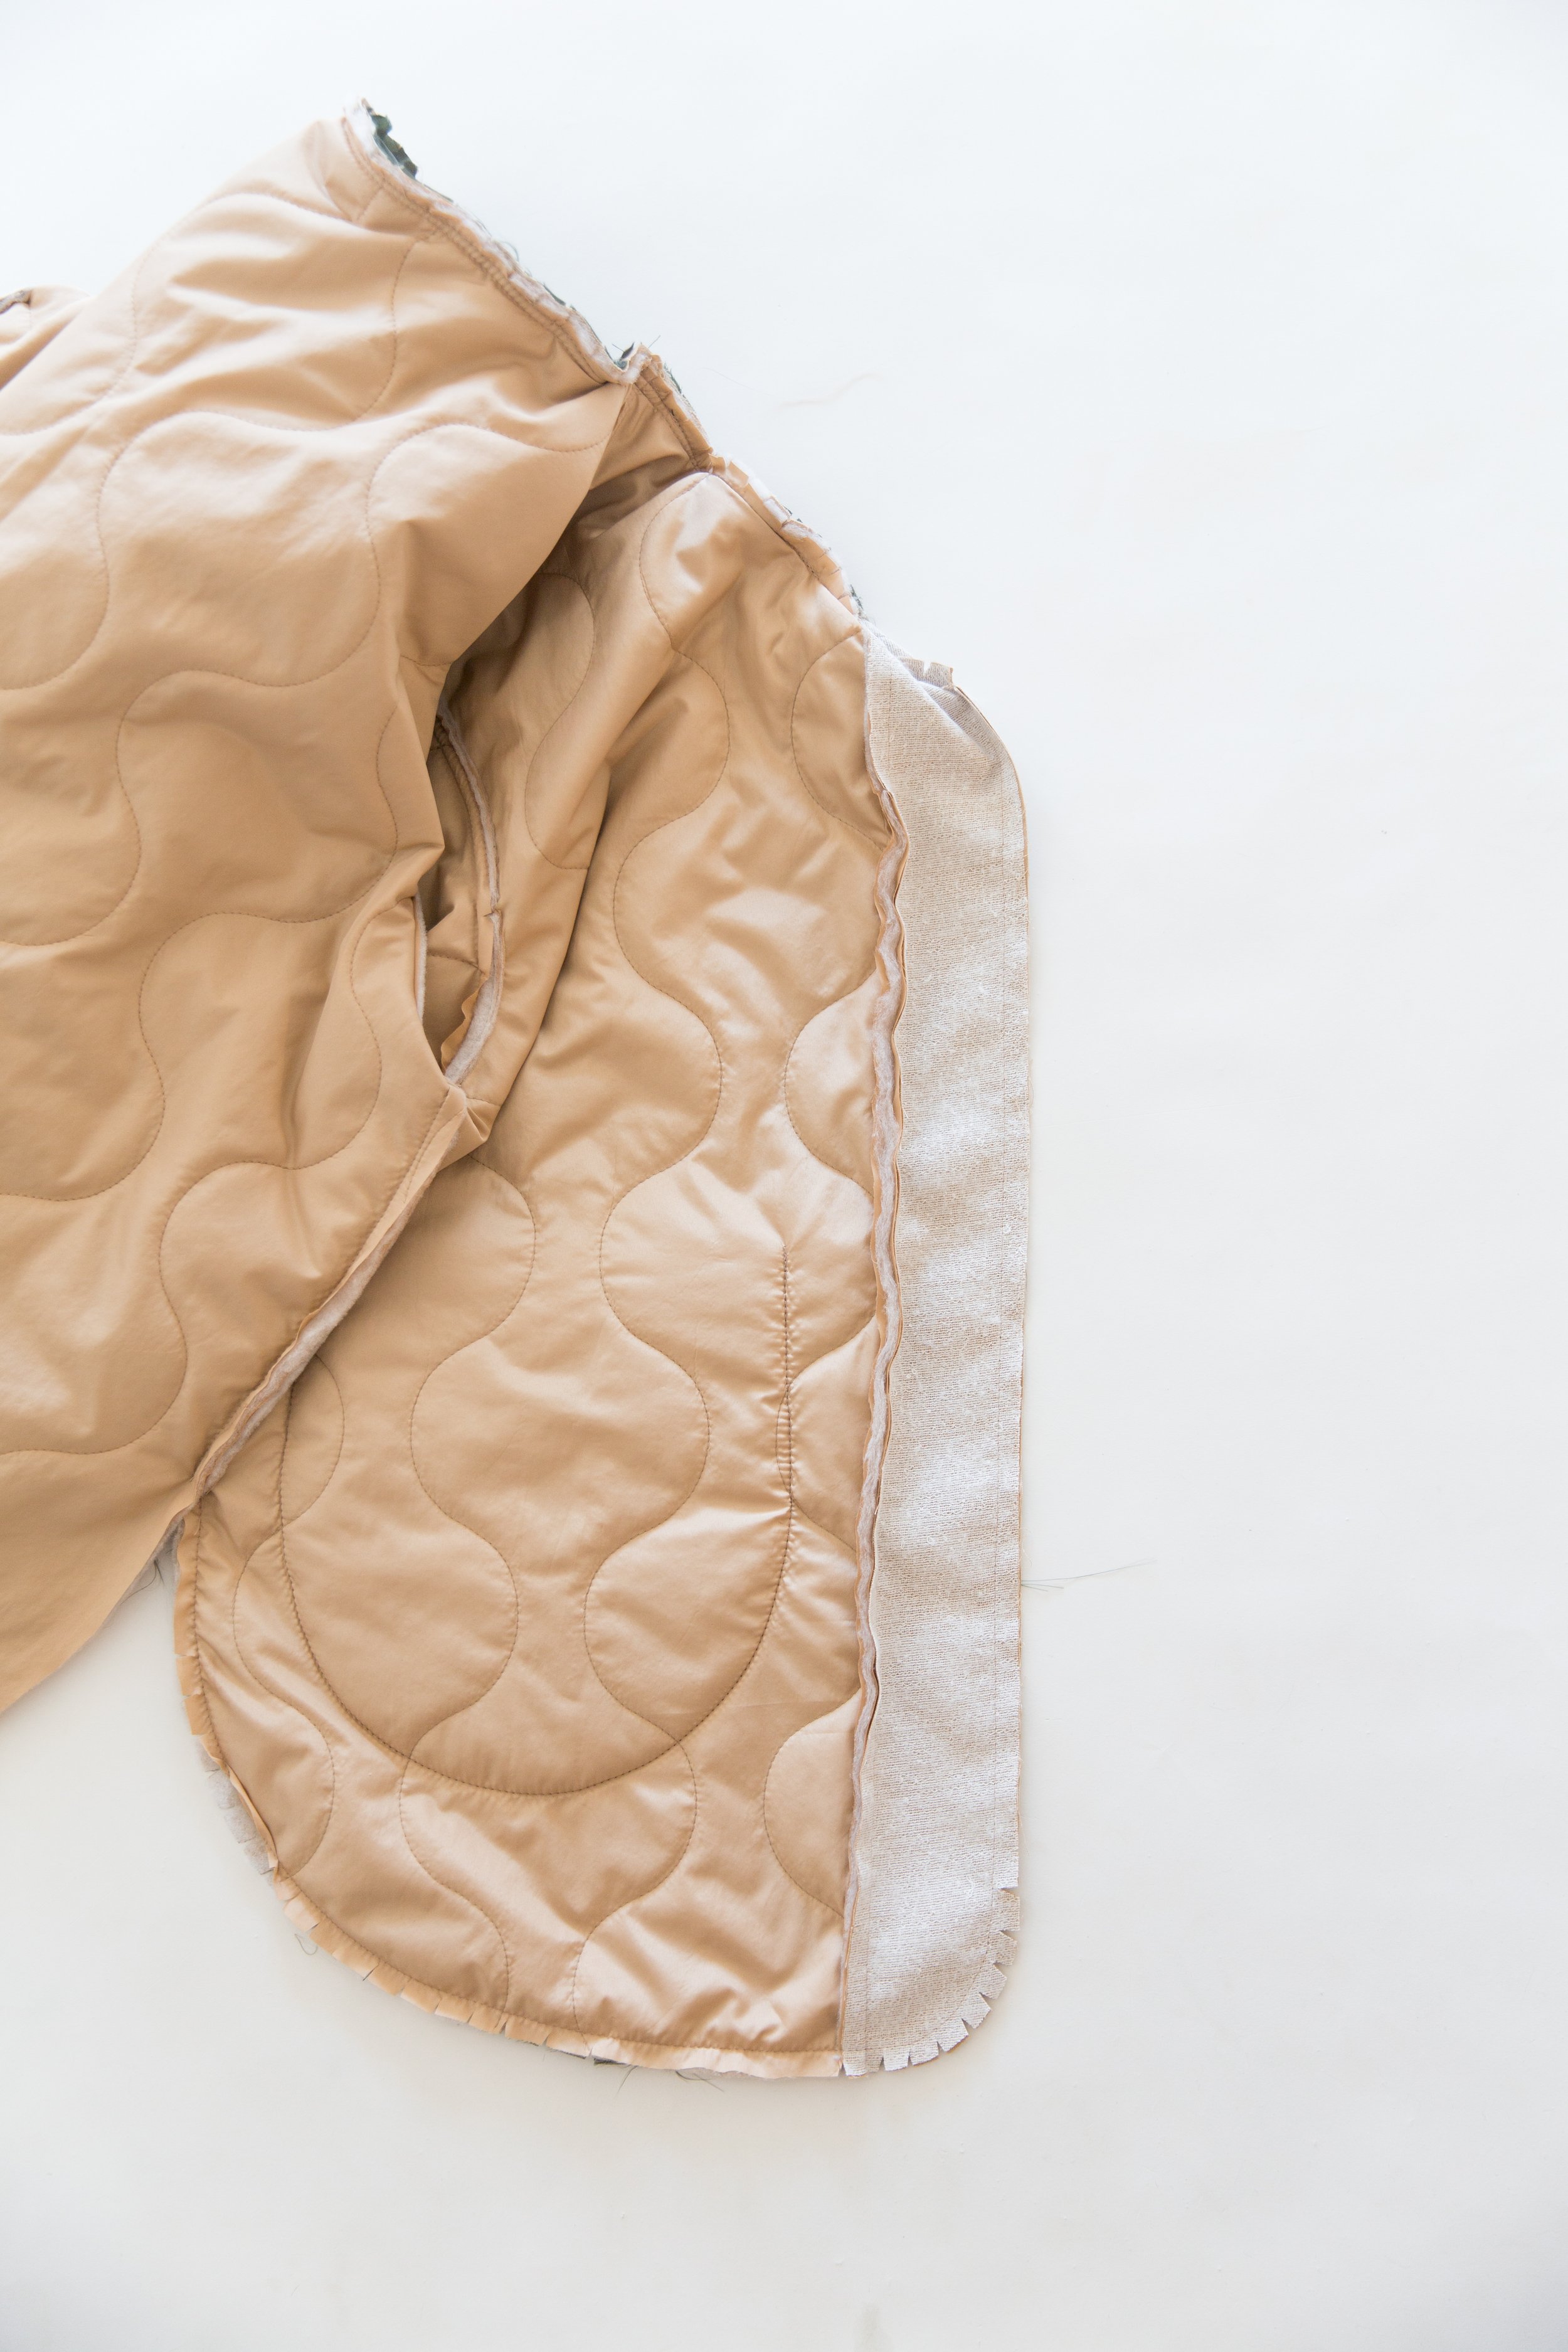
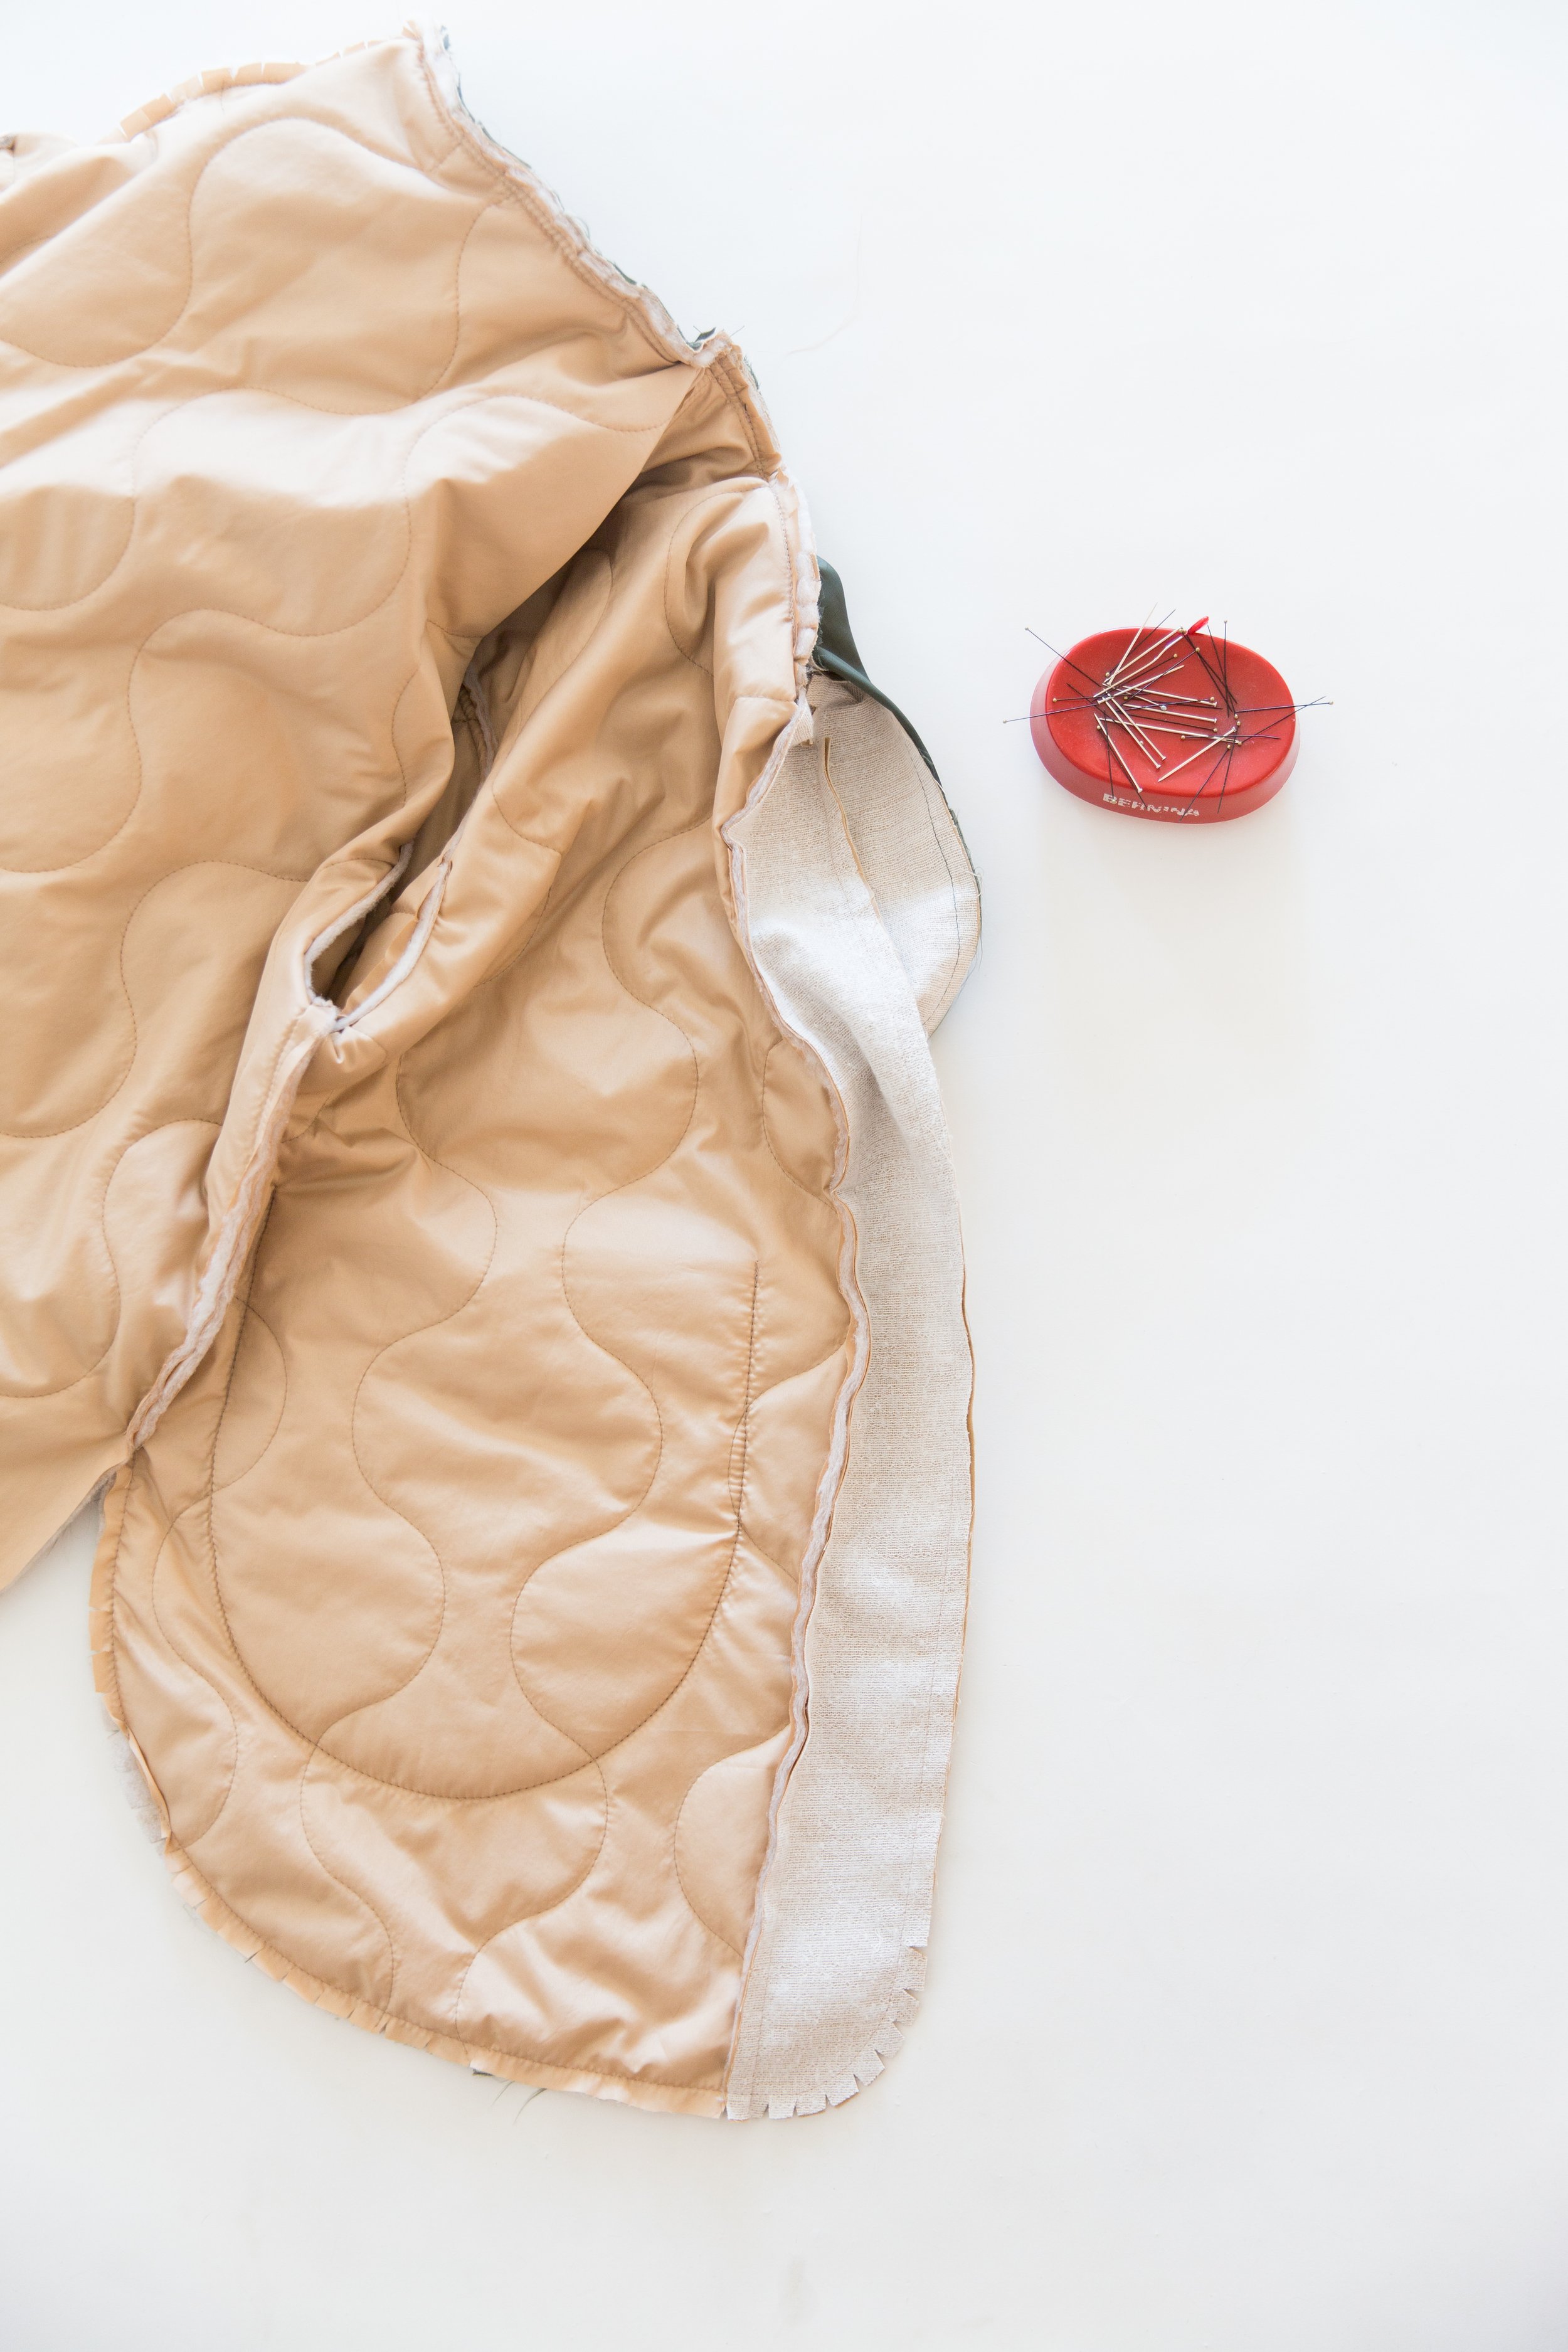
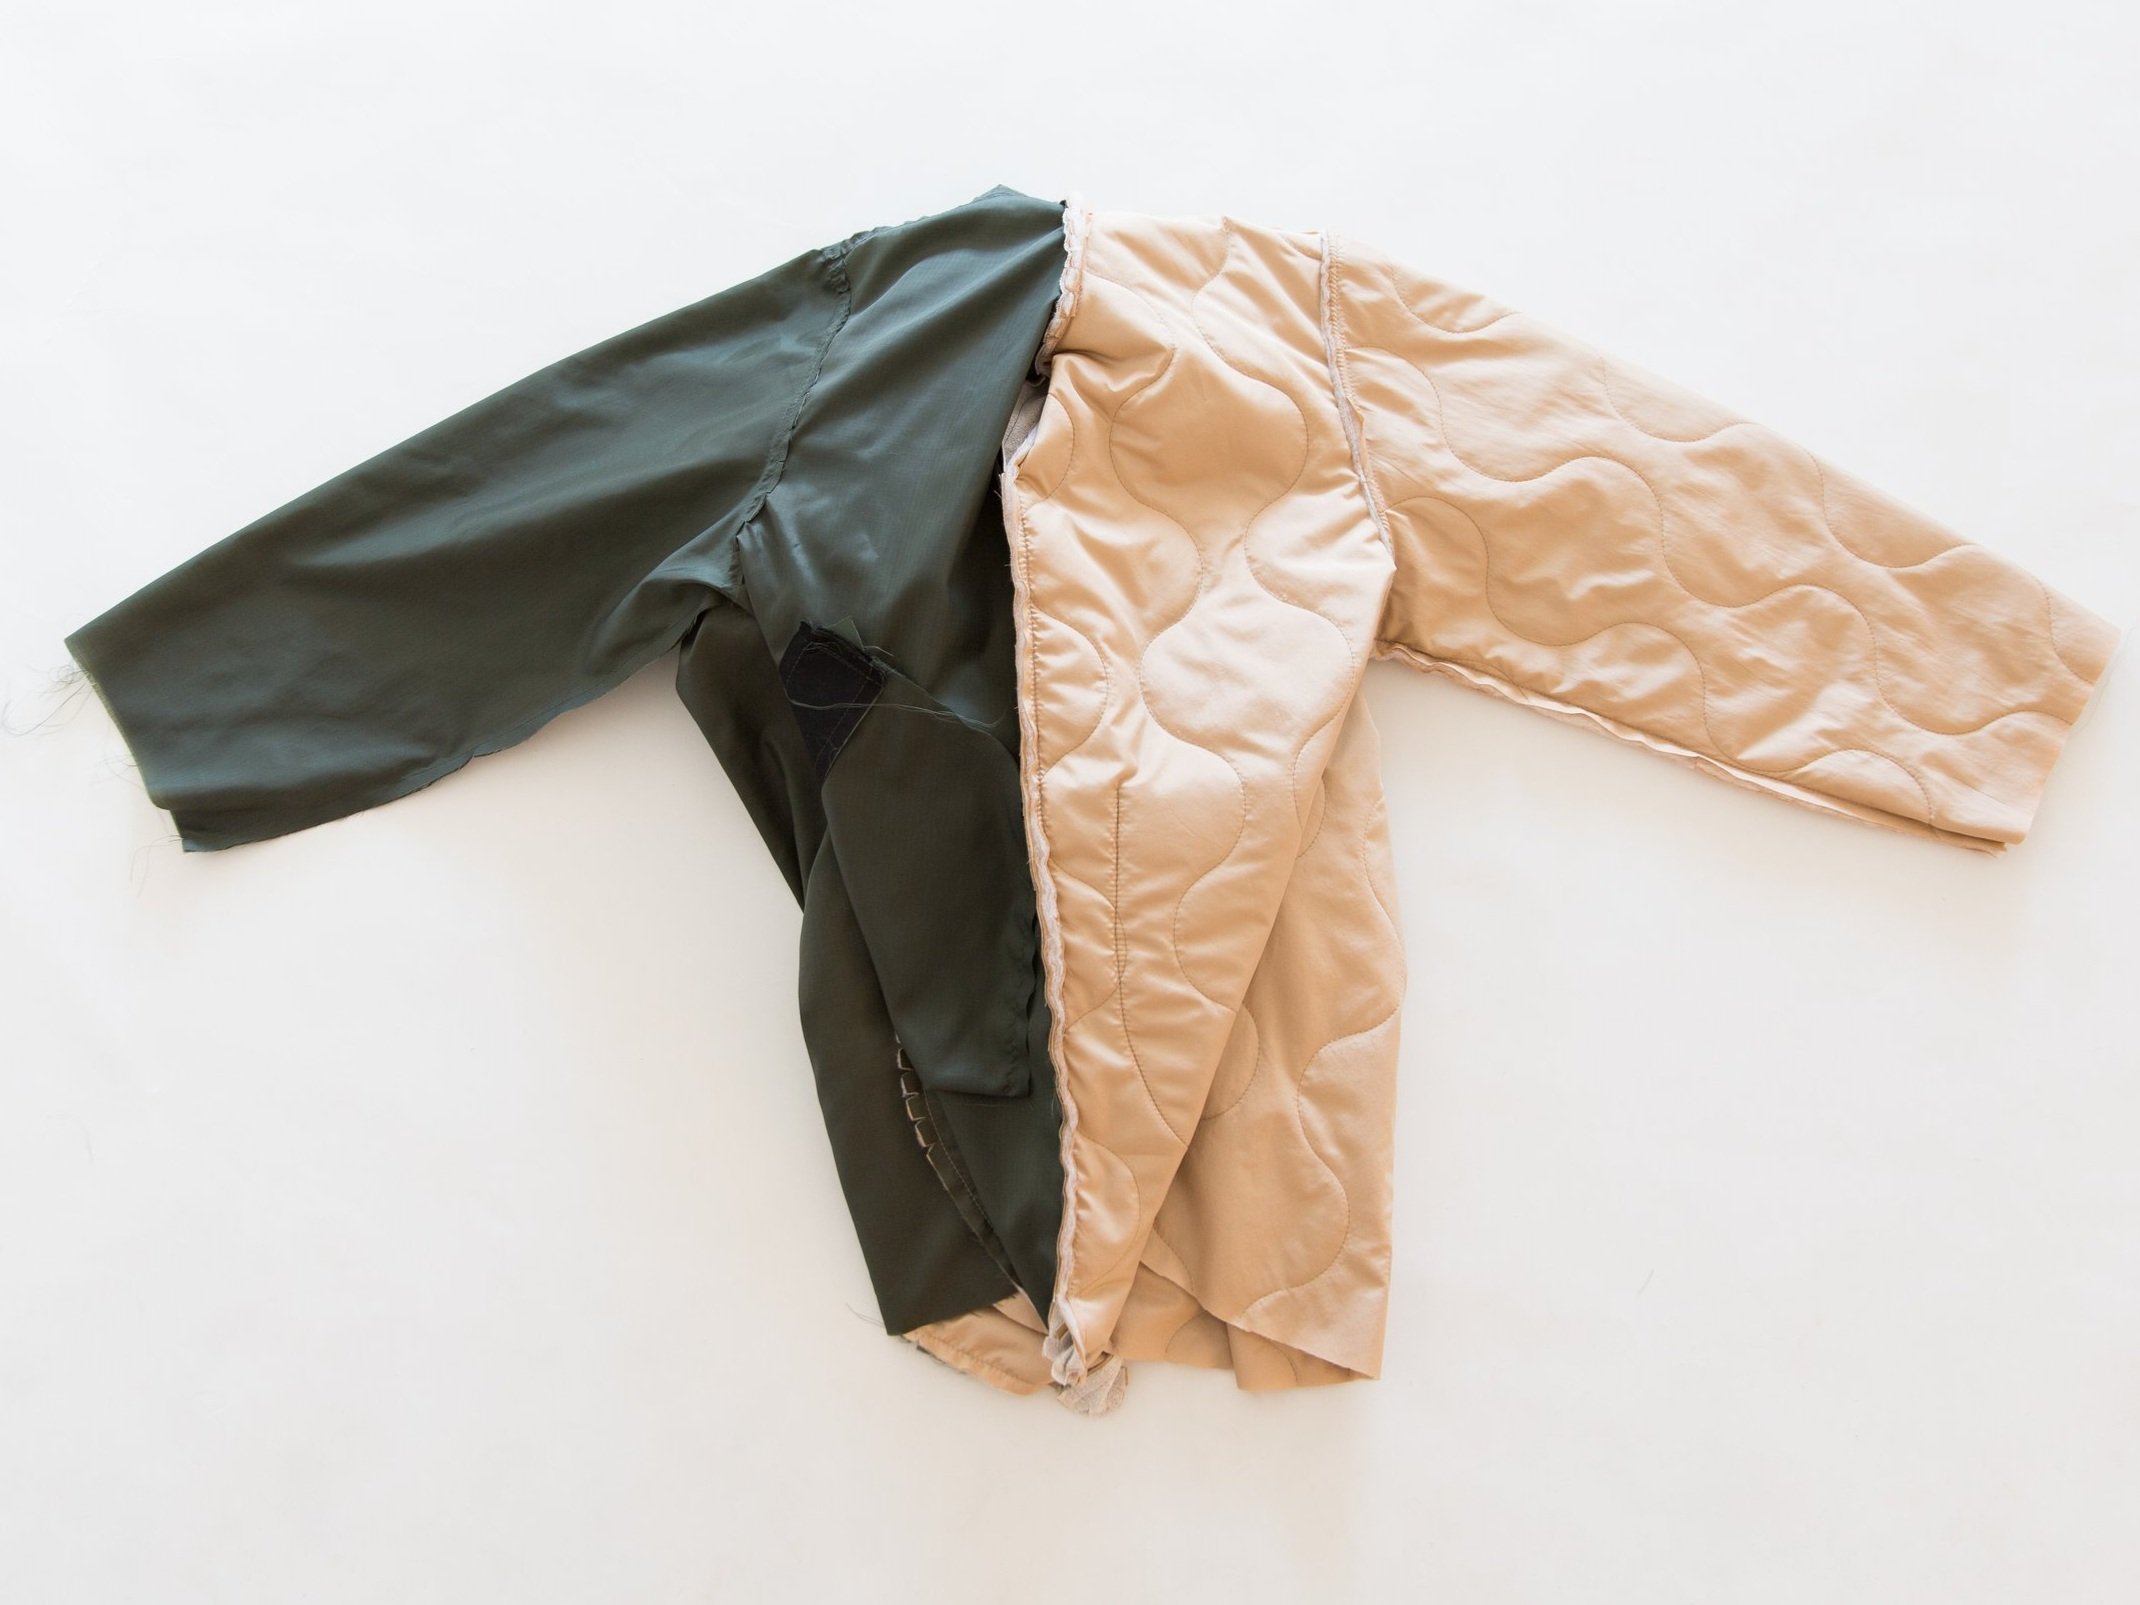
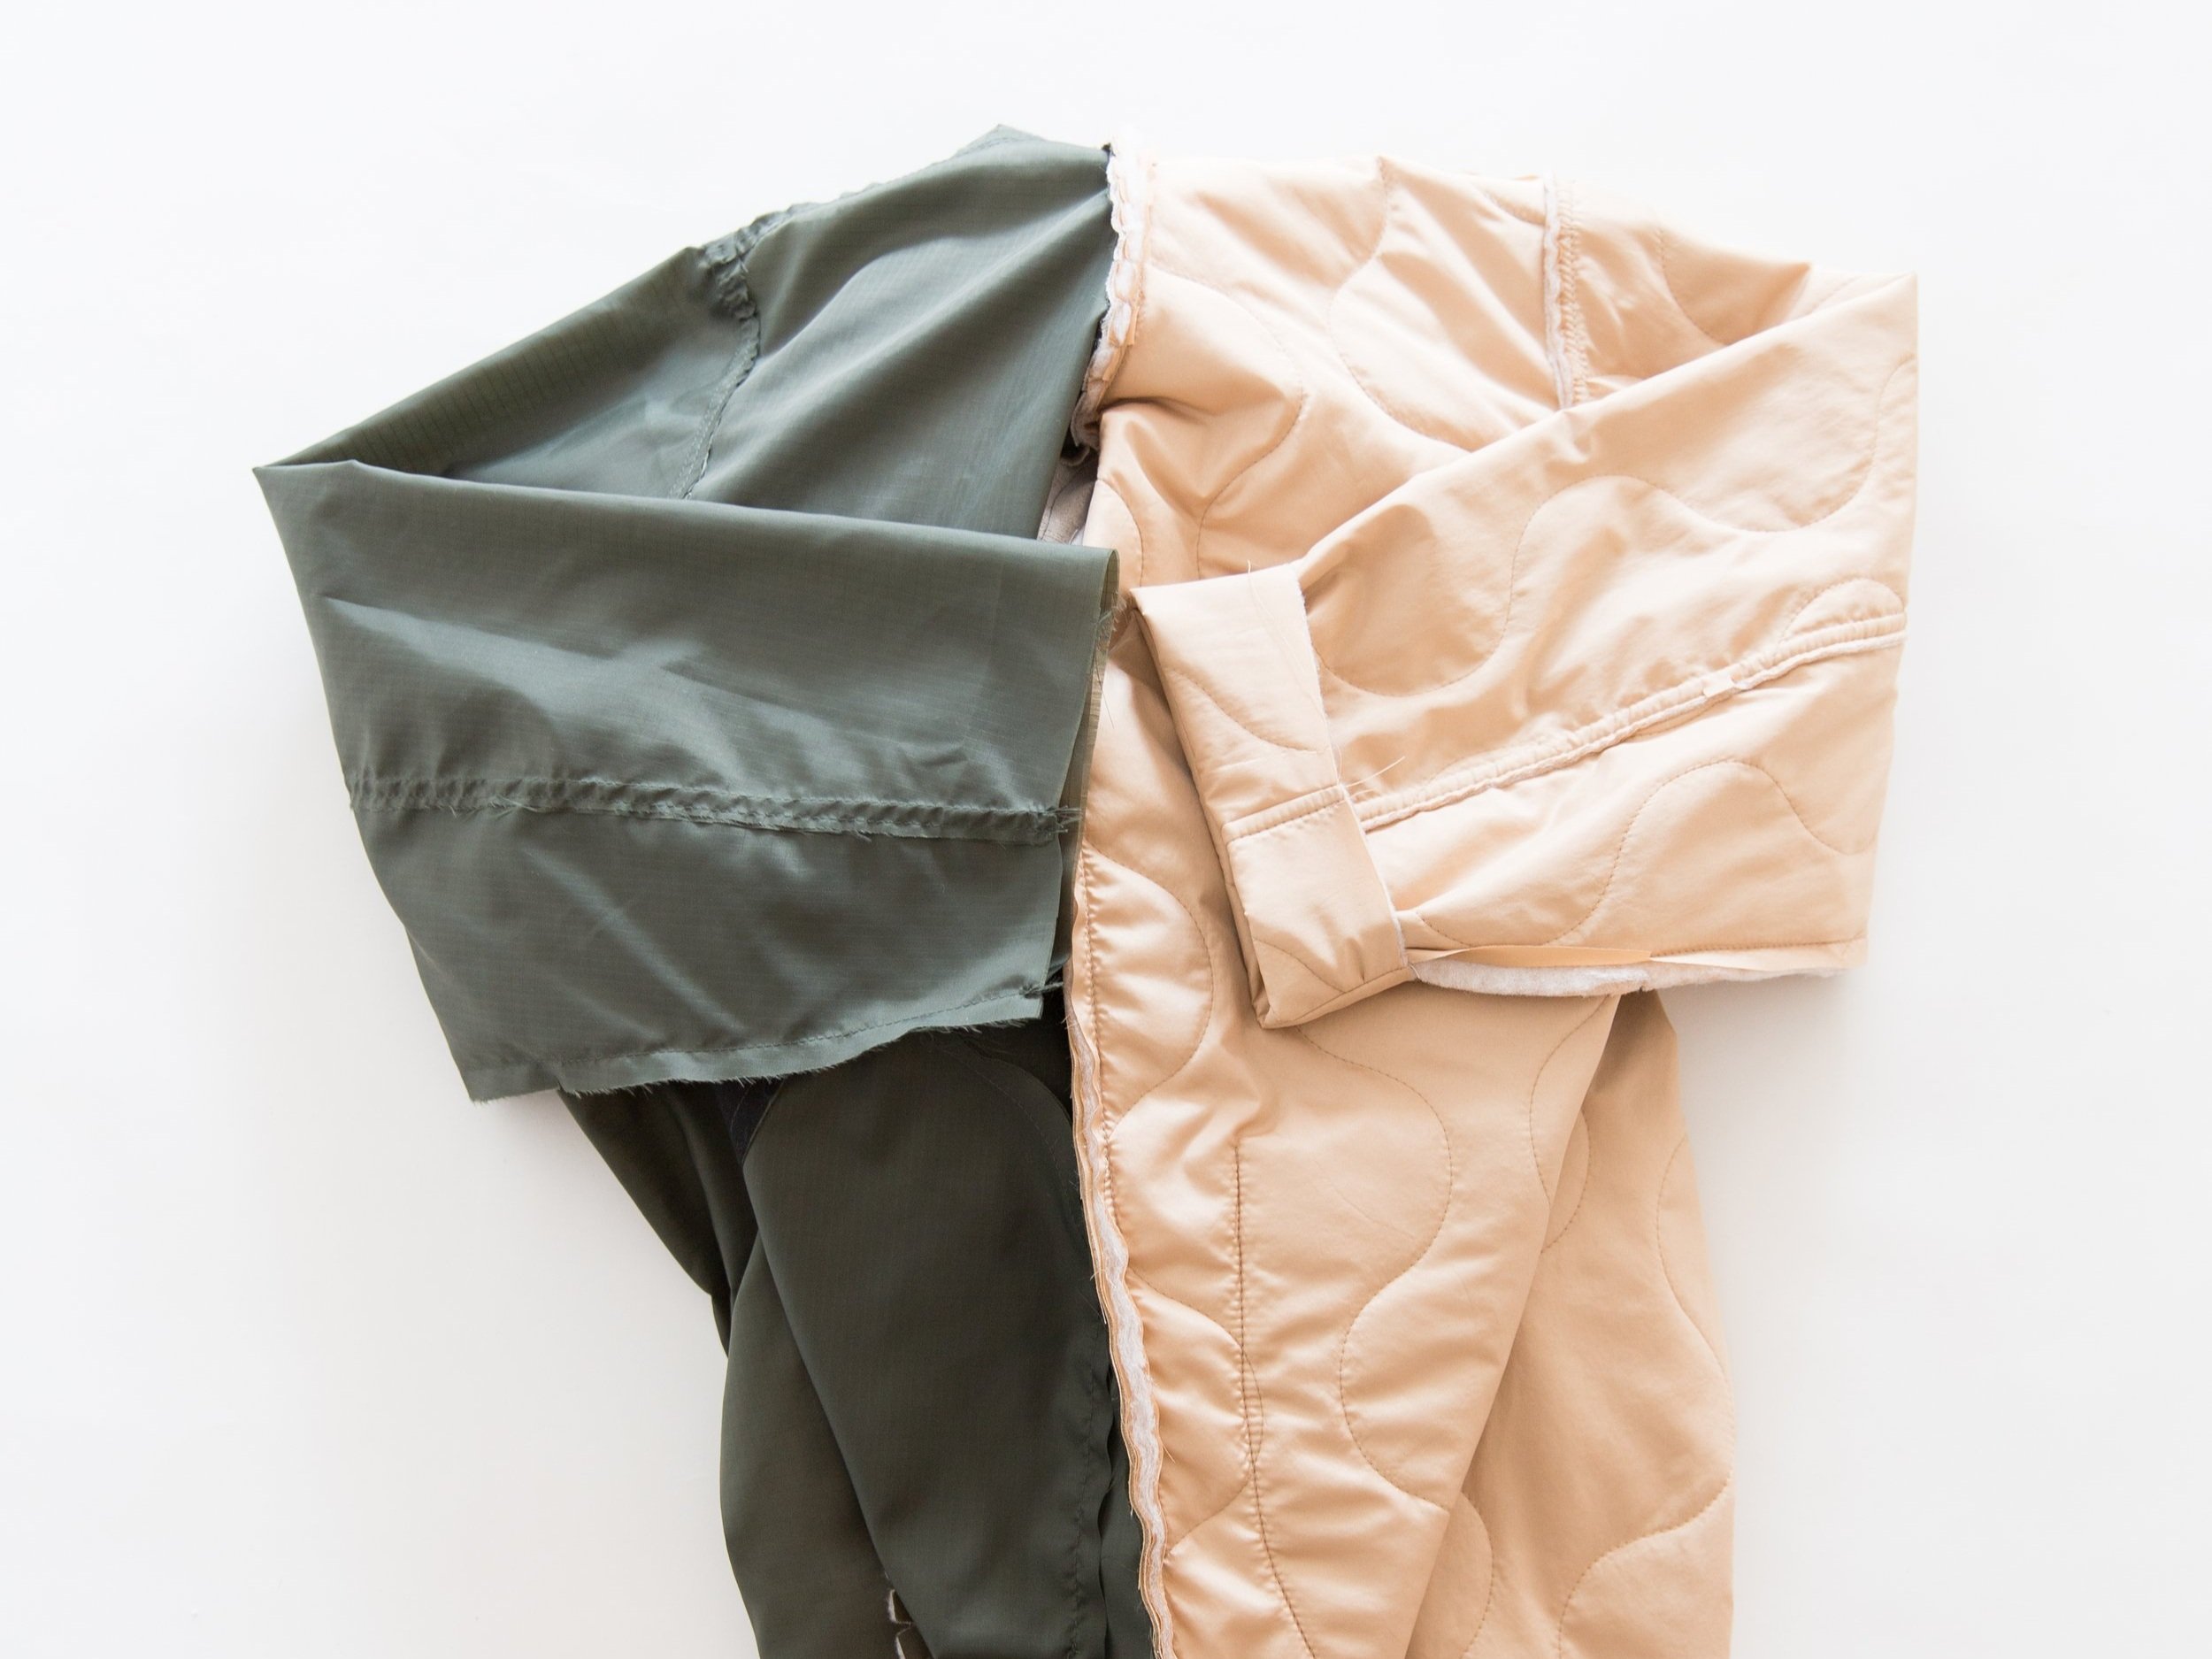
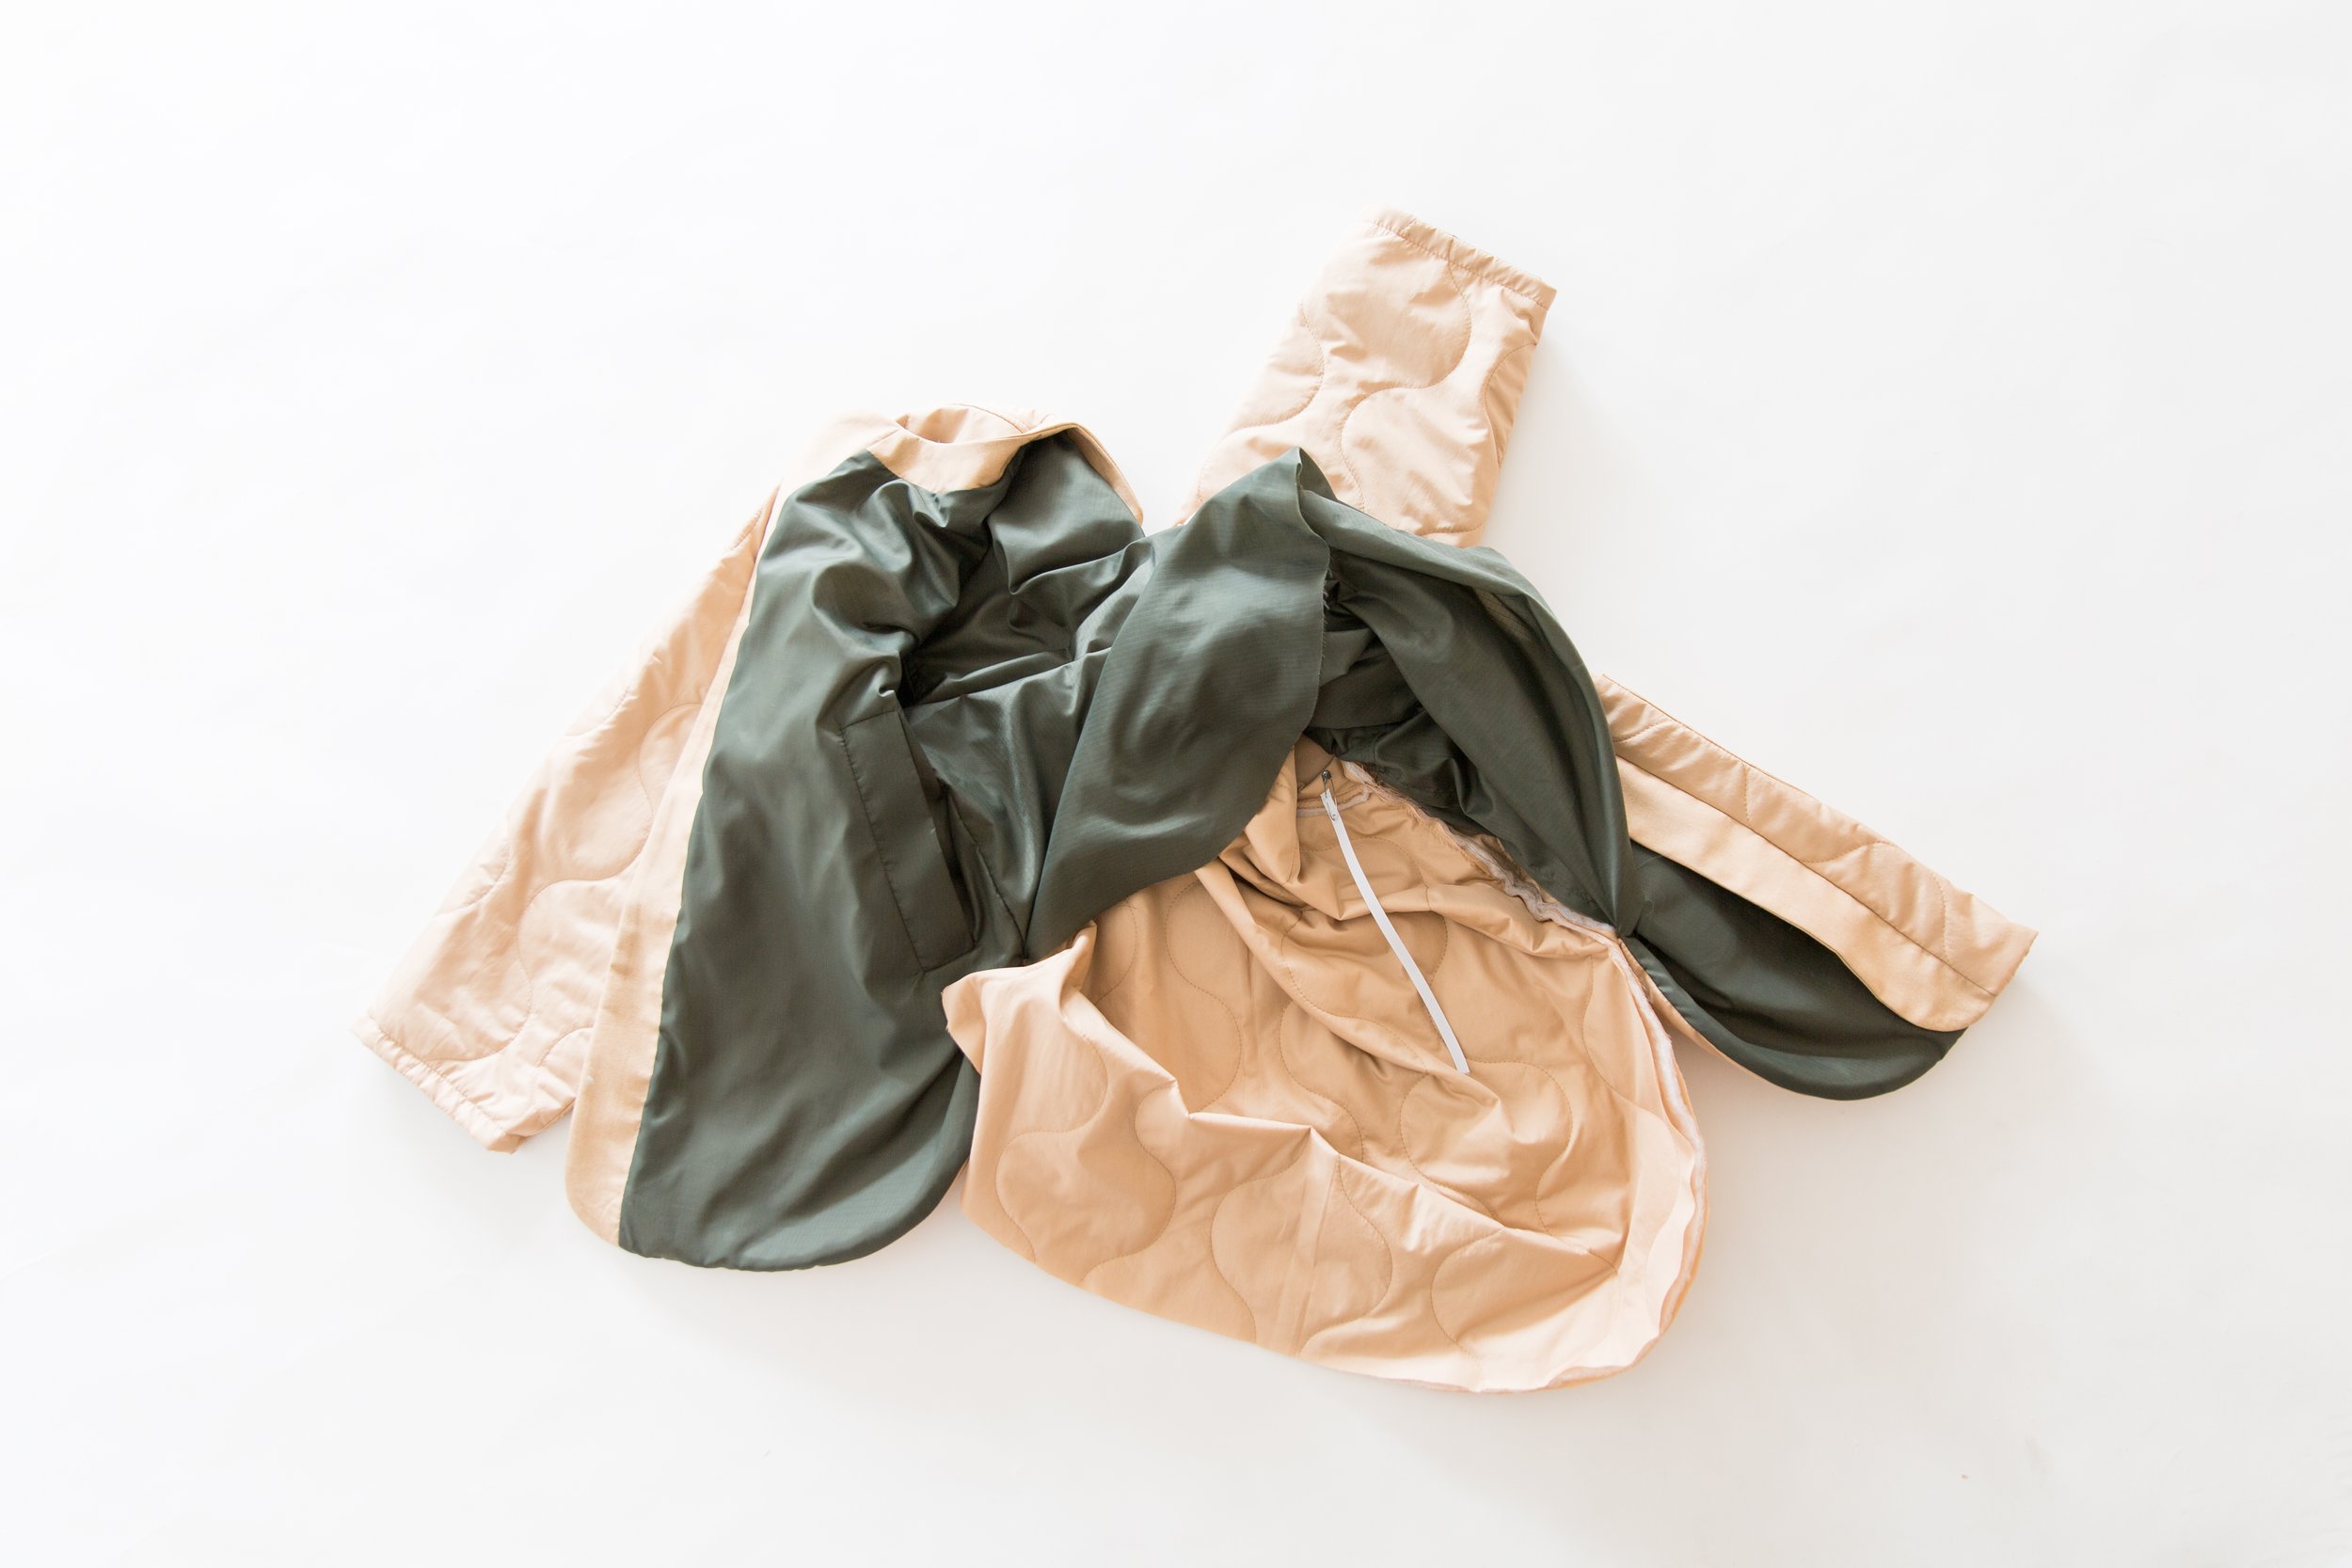
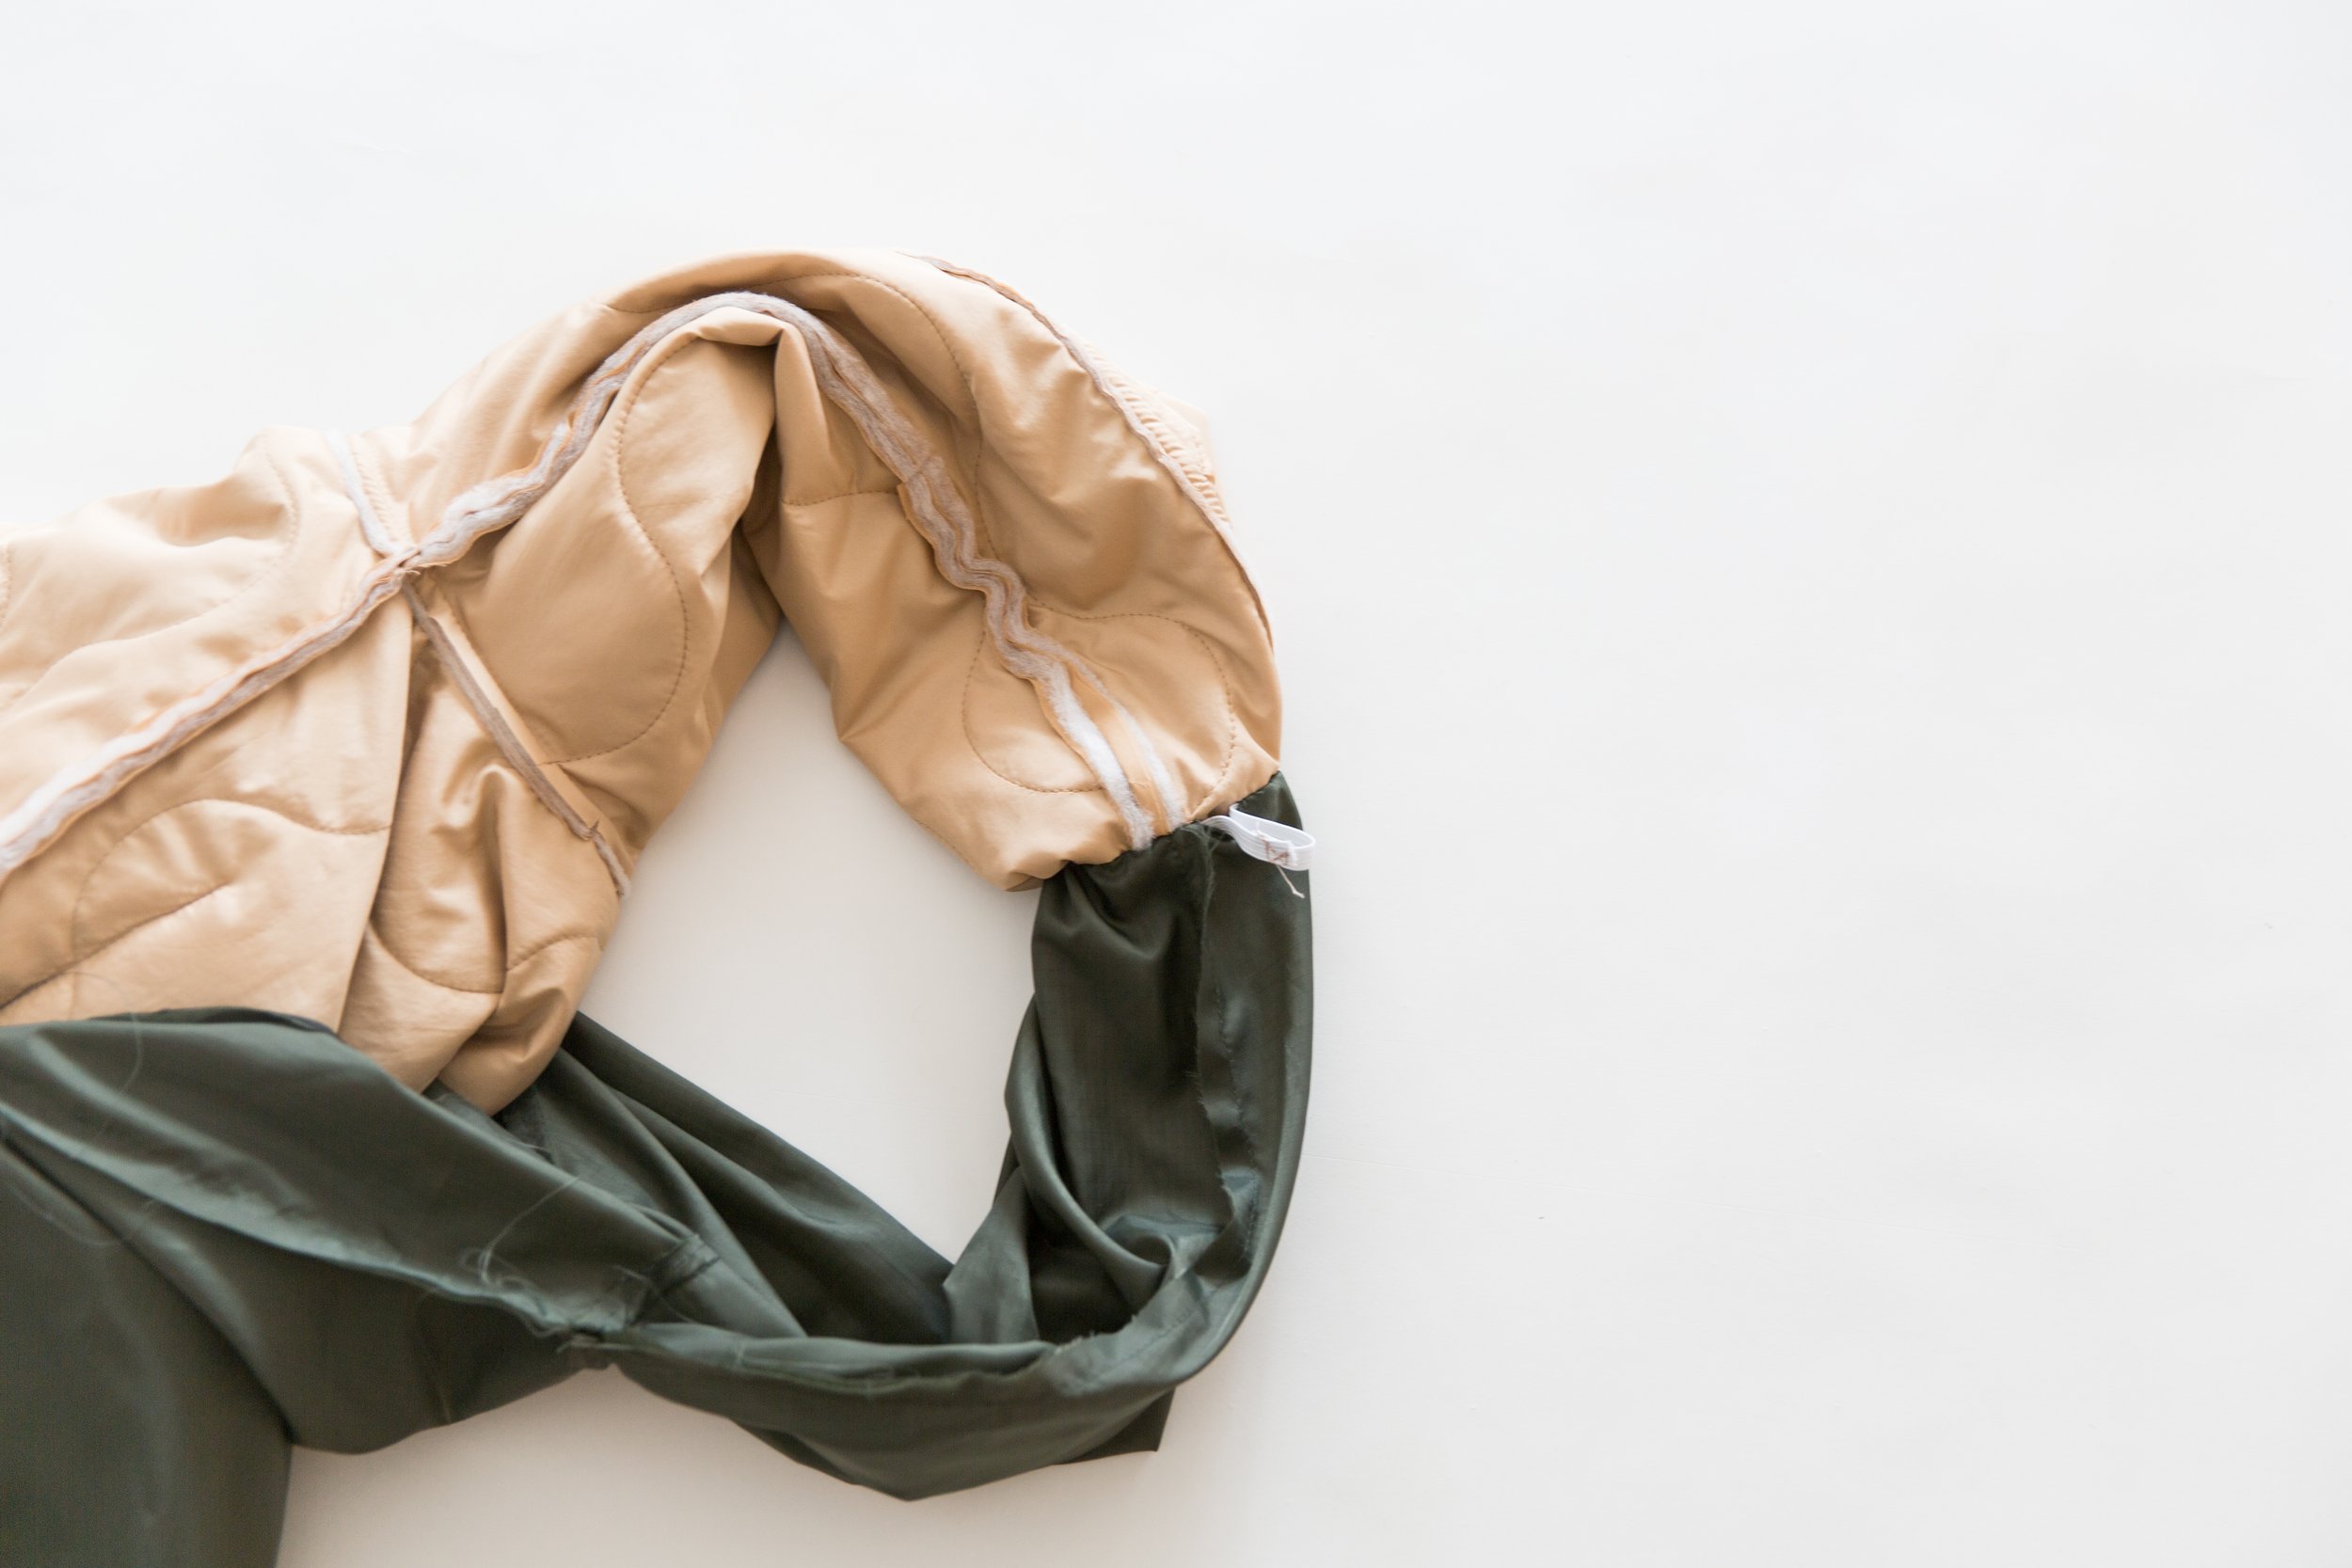
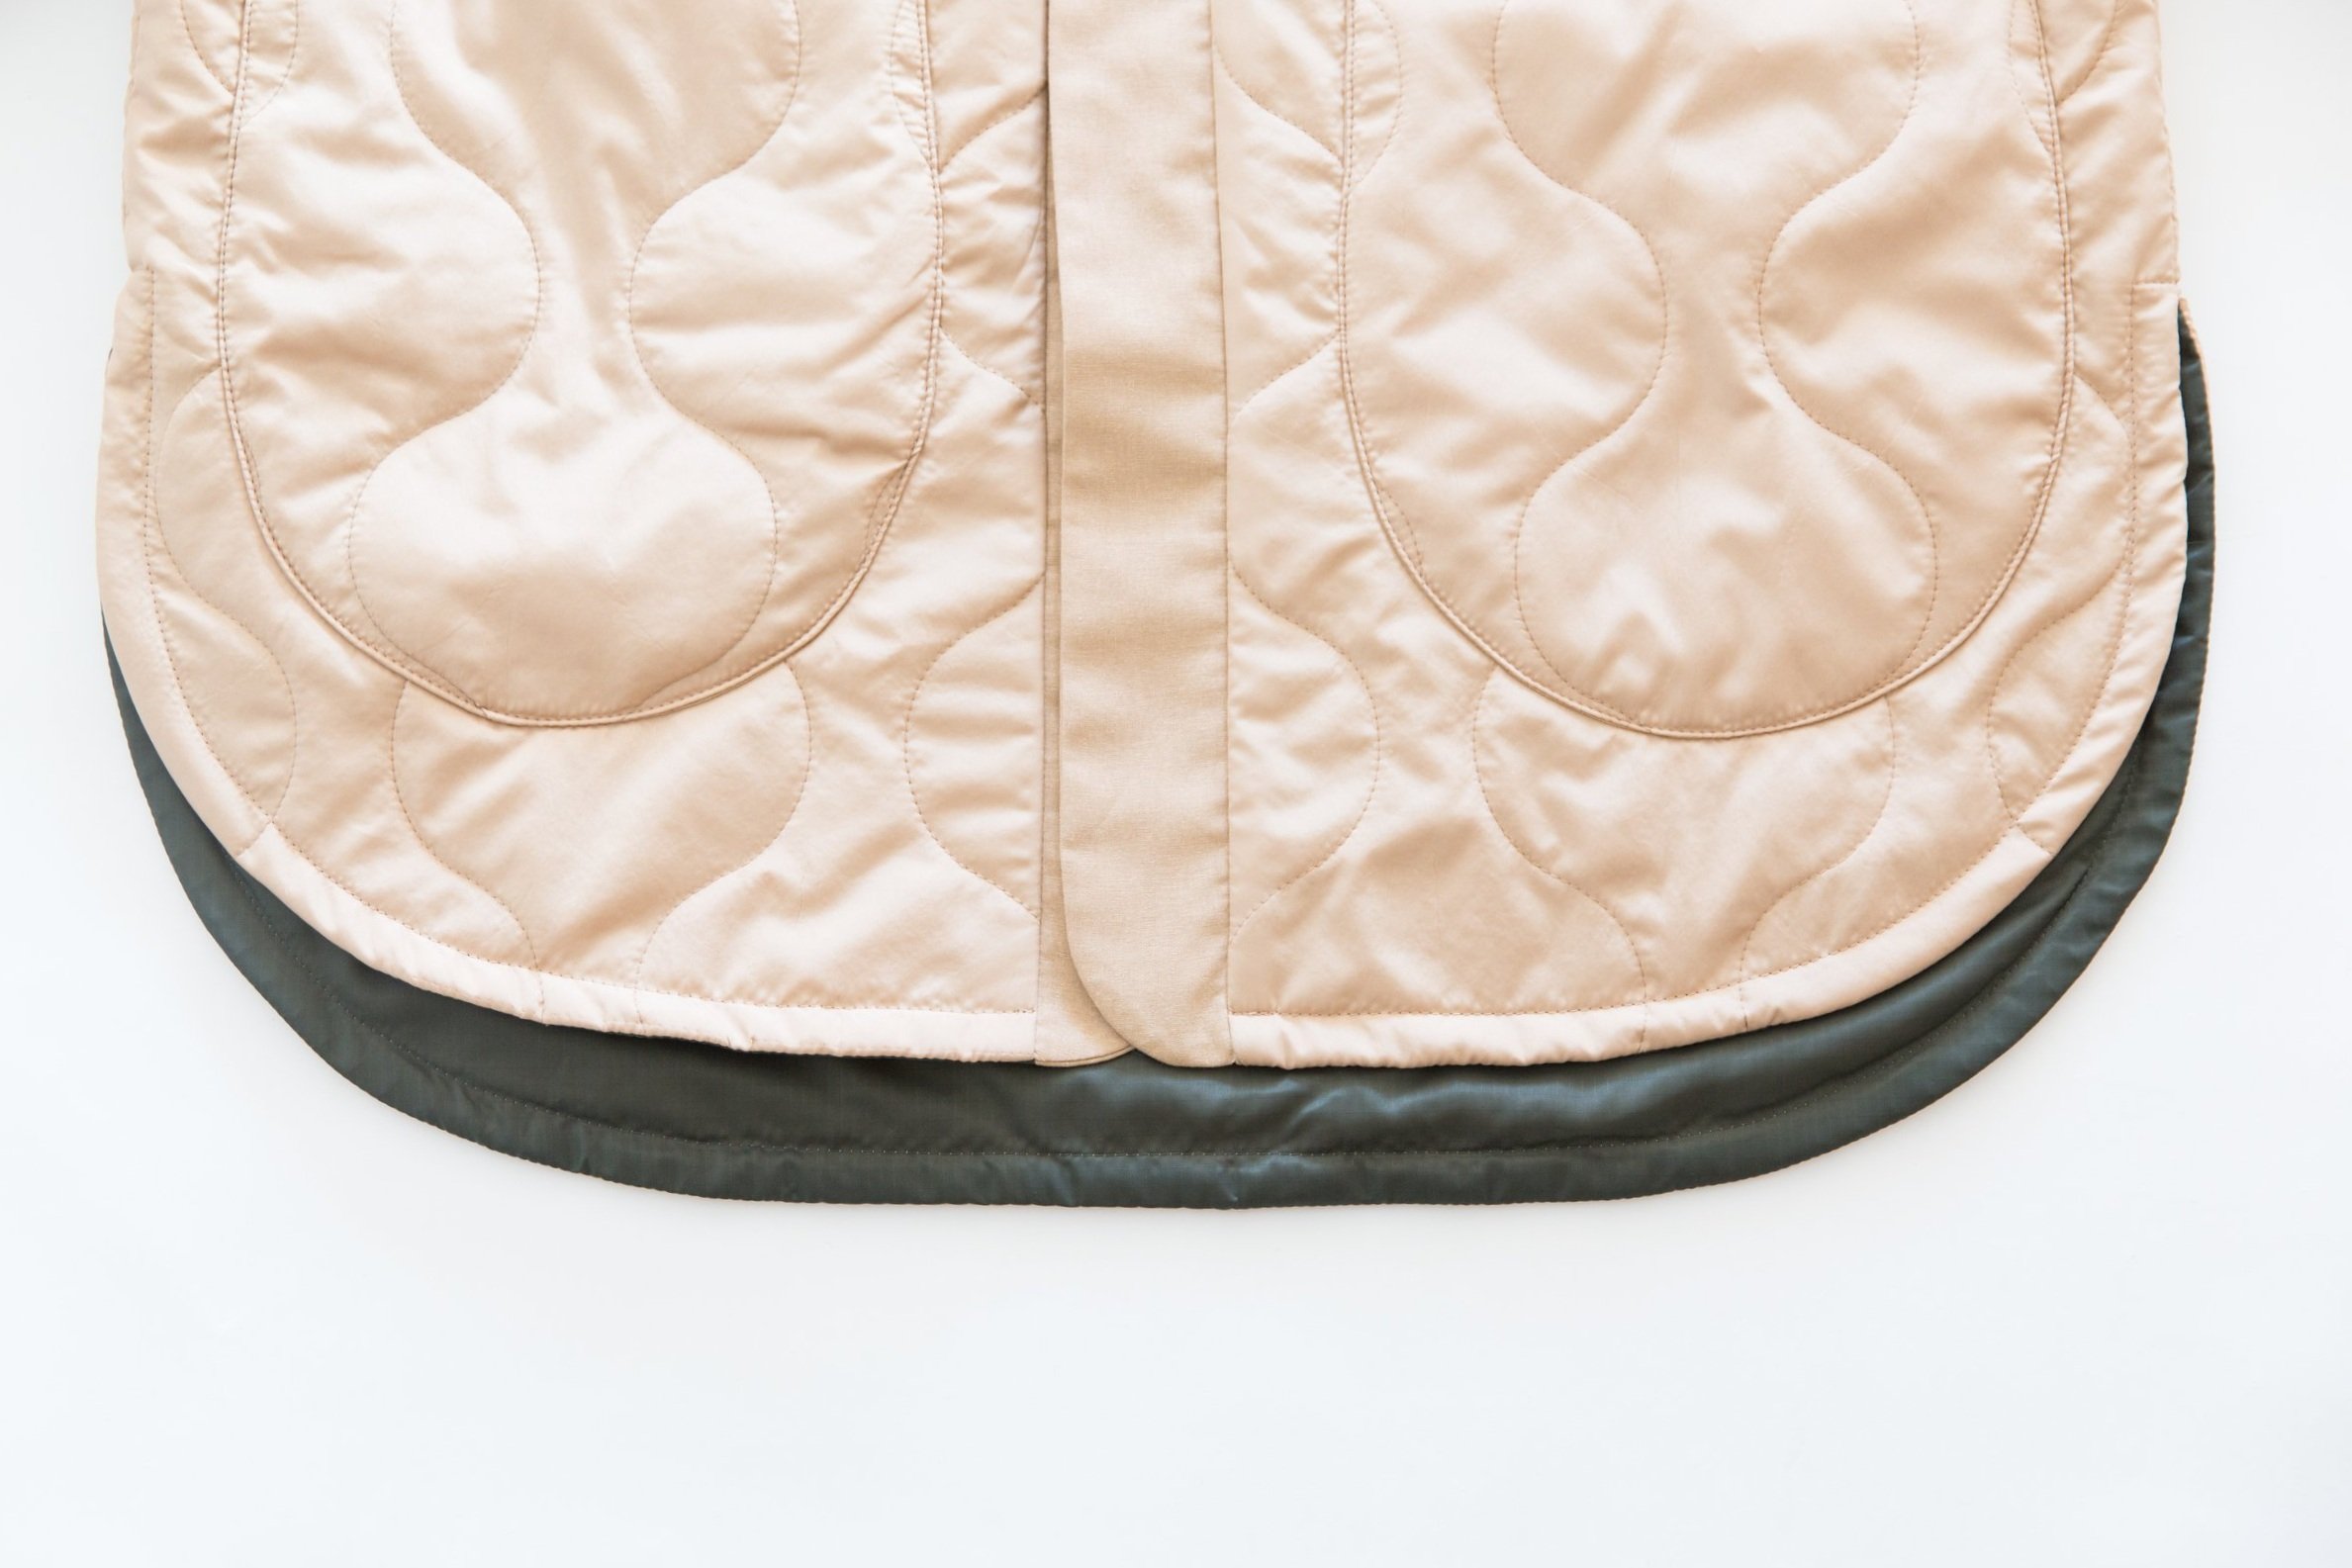
Pull one side of jacket to one side and the other (or lining) to the other side with wrong sides out. Fold sleeve hems of one of the sides up about 5cm.

Step 12
Fold your sleeves in to the centre to meet each other overlapping your unfolded sleeve over the folded sleeve. Stitch sleeve edges together. Repeat for other sleeve.

Step 13
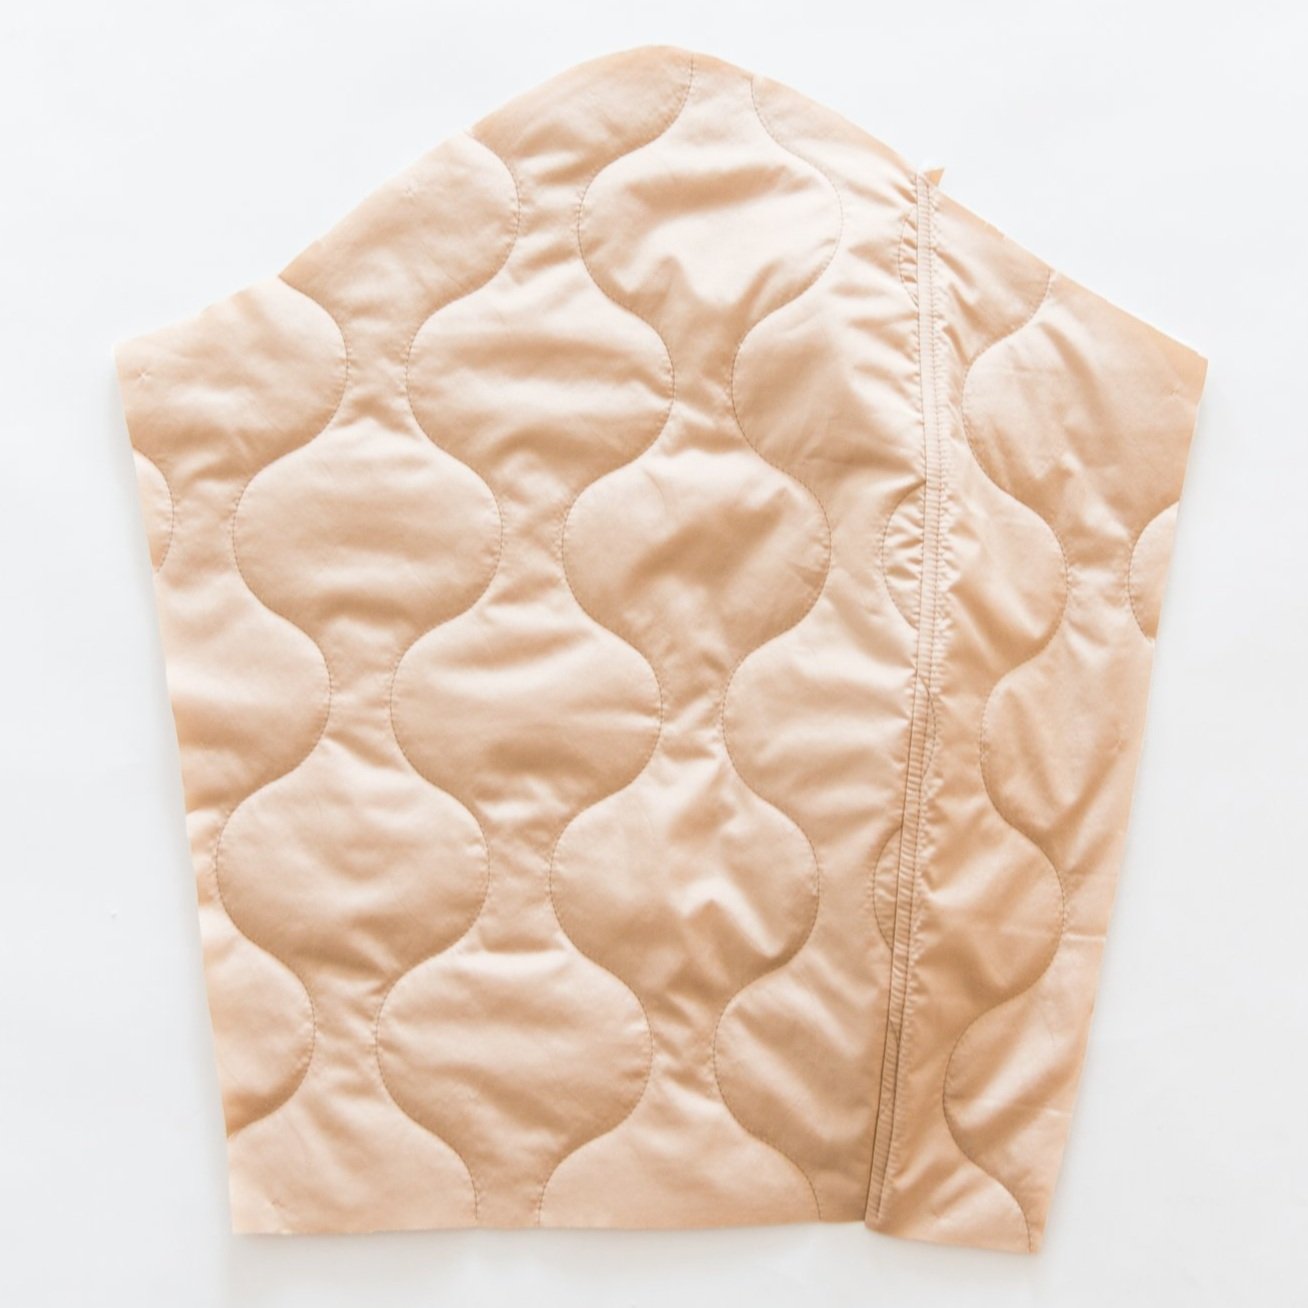
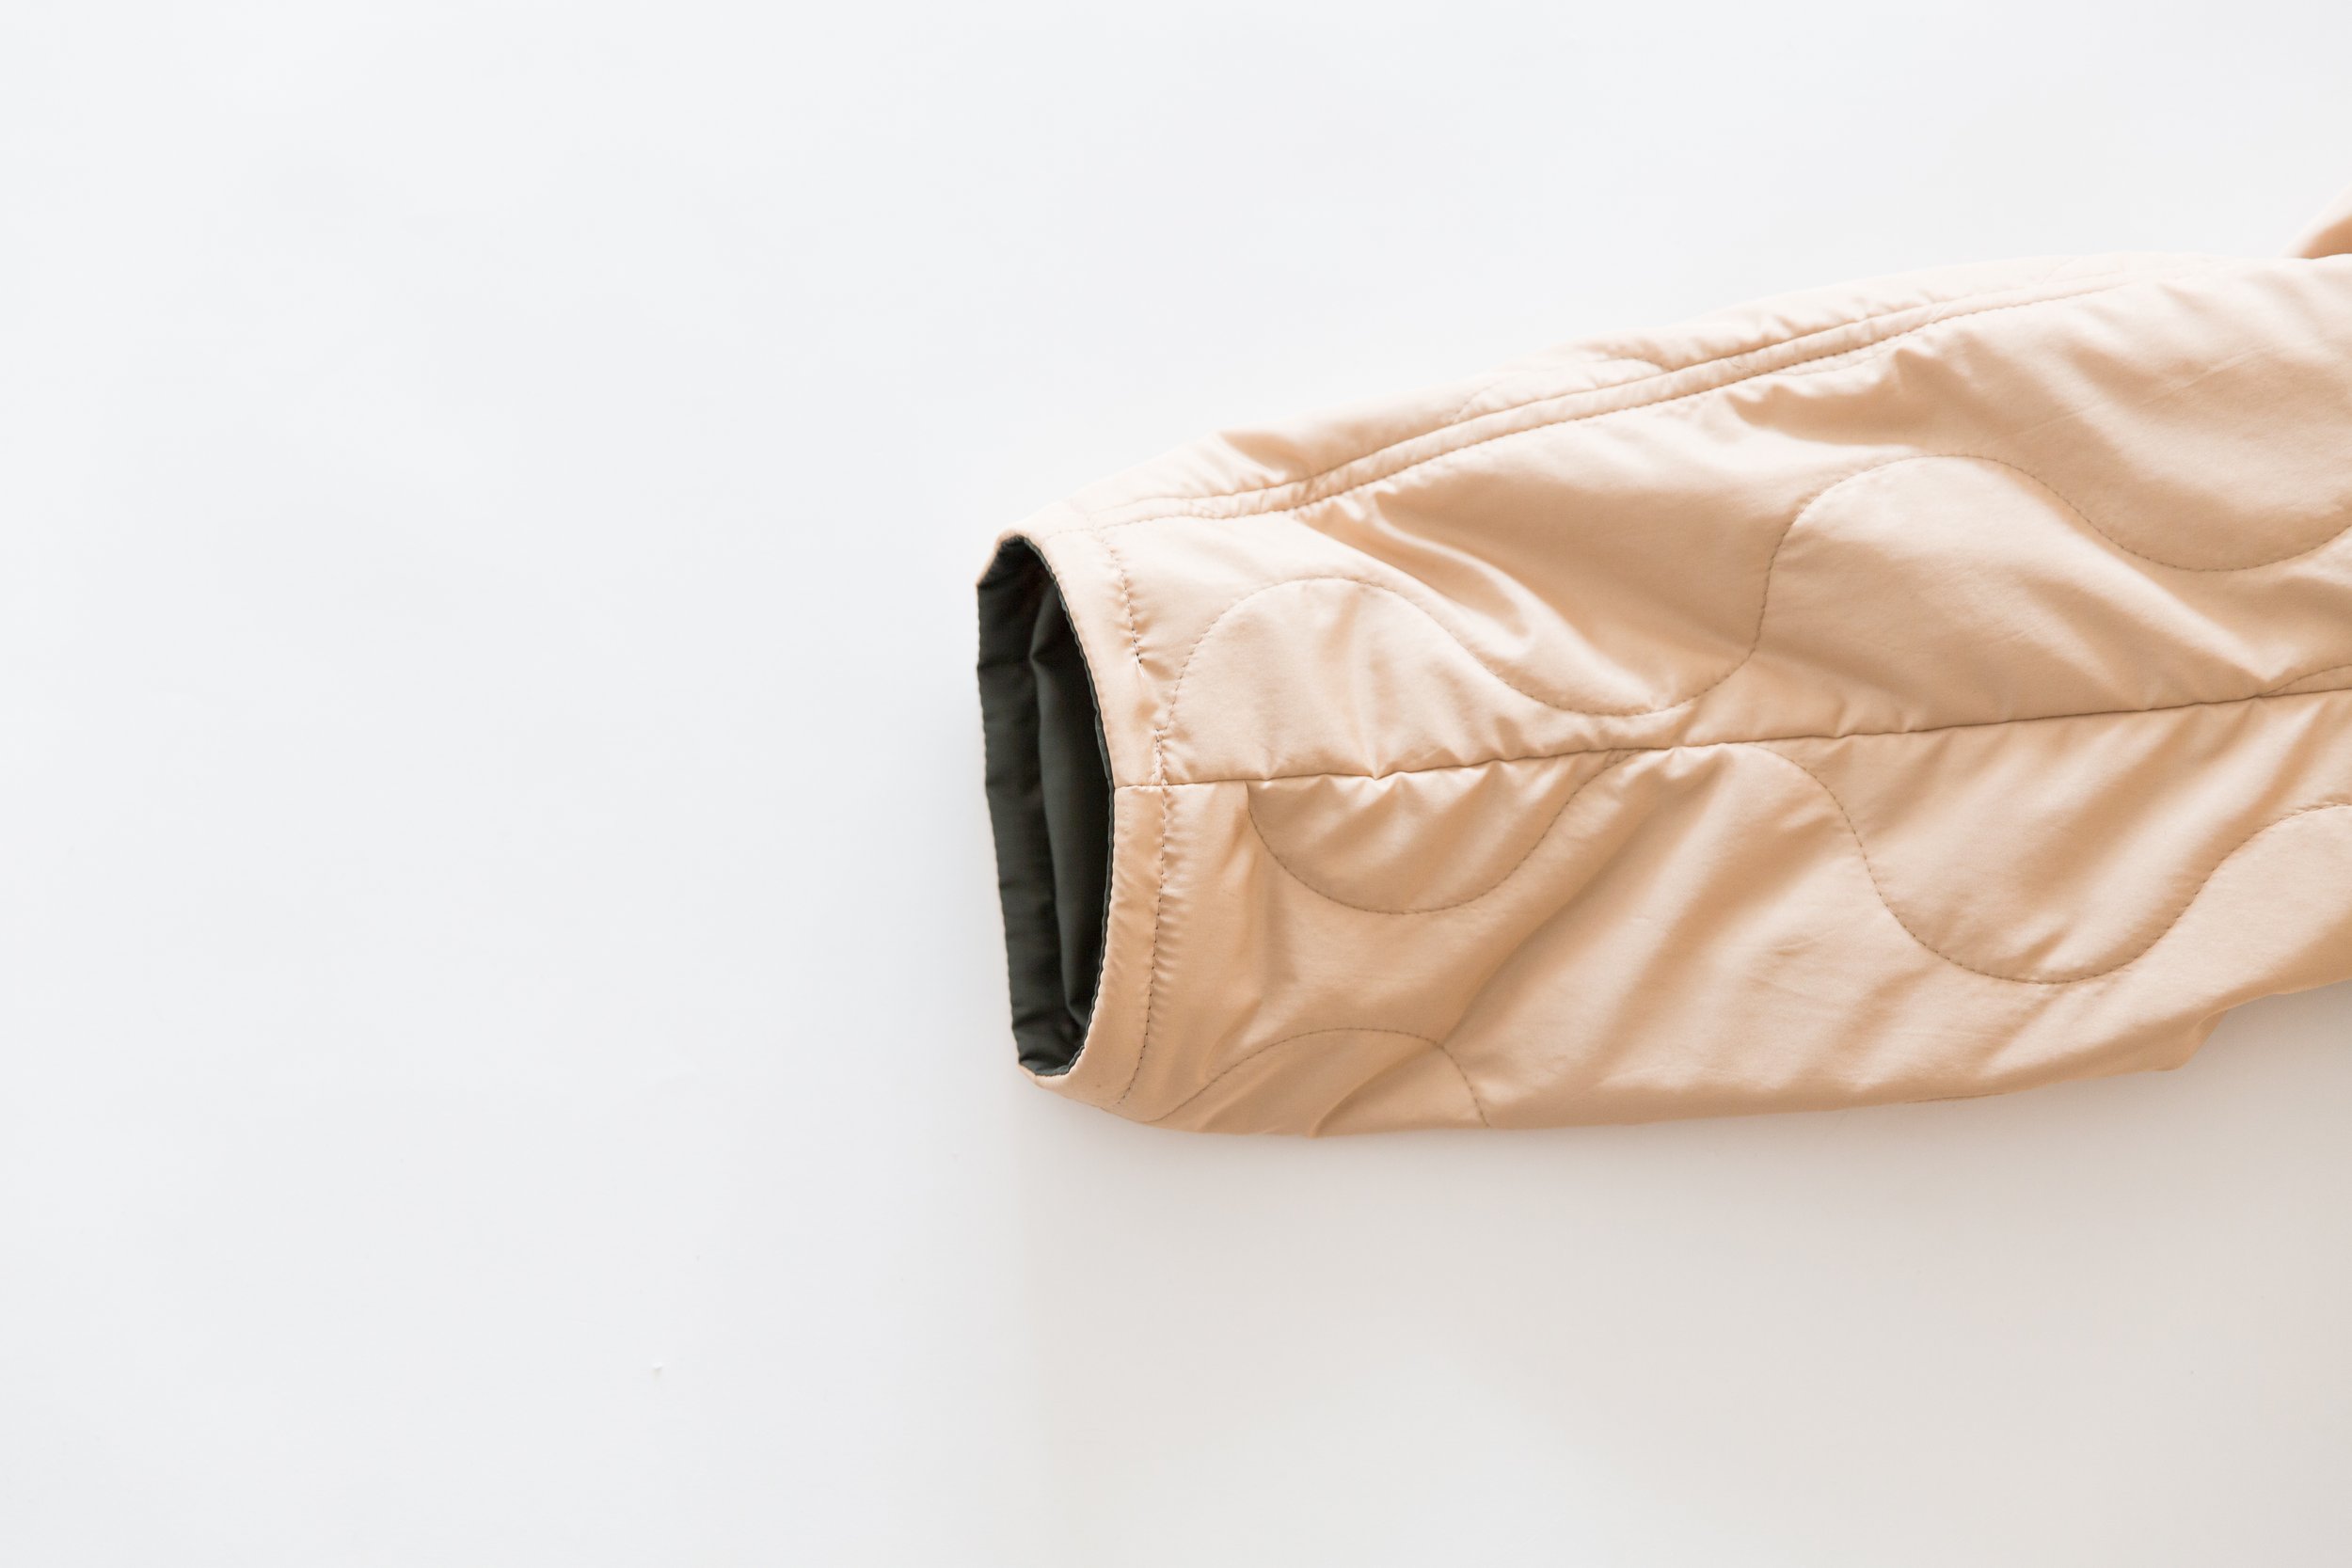
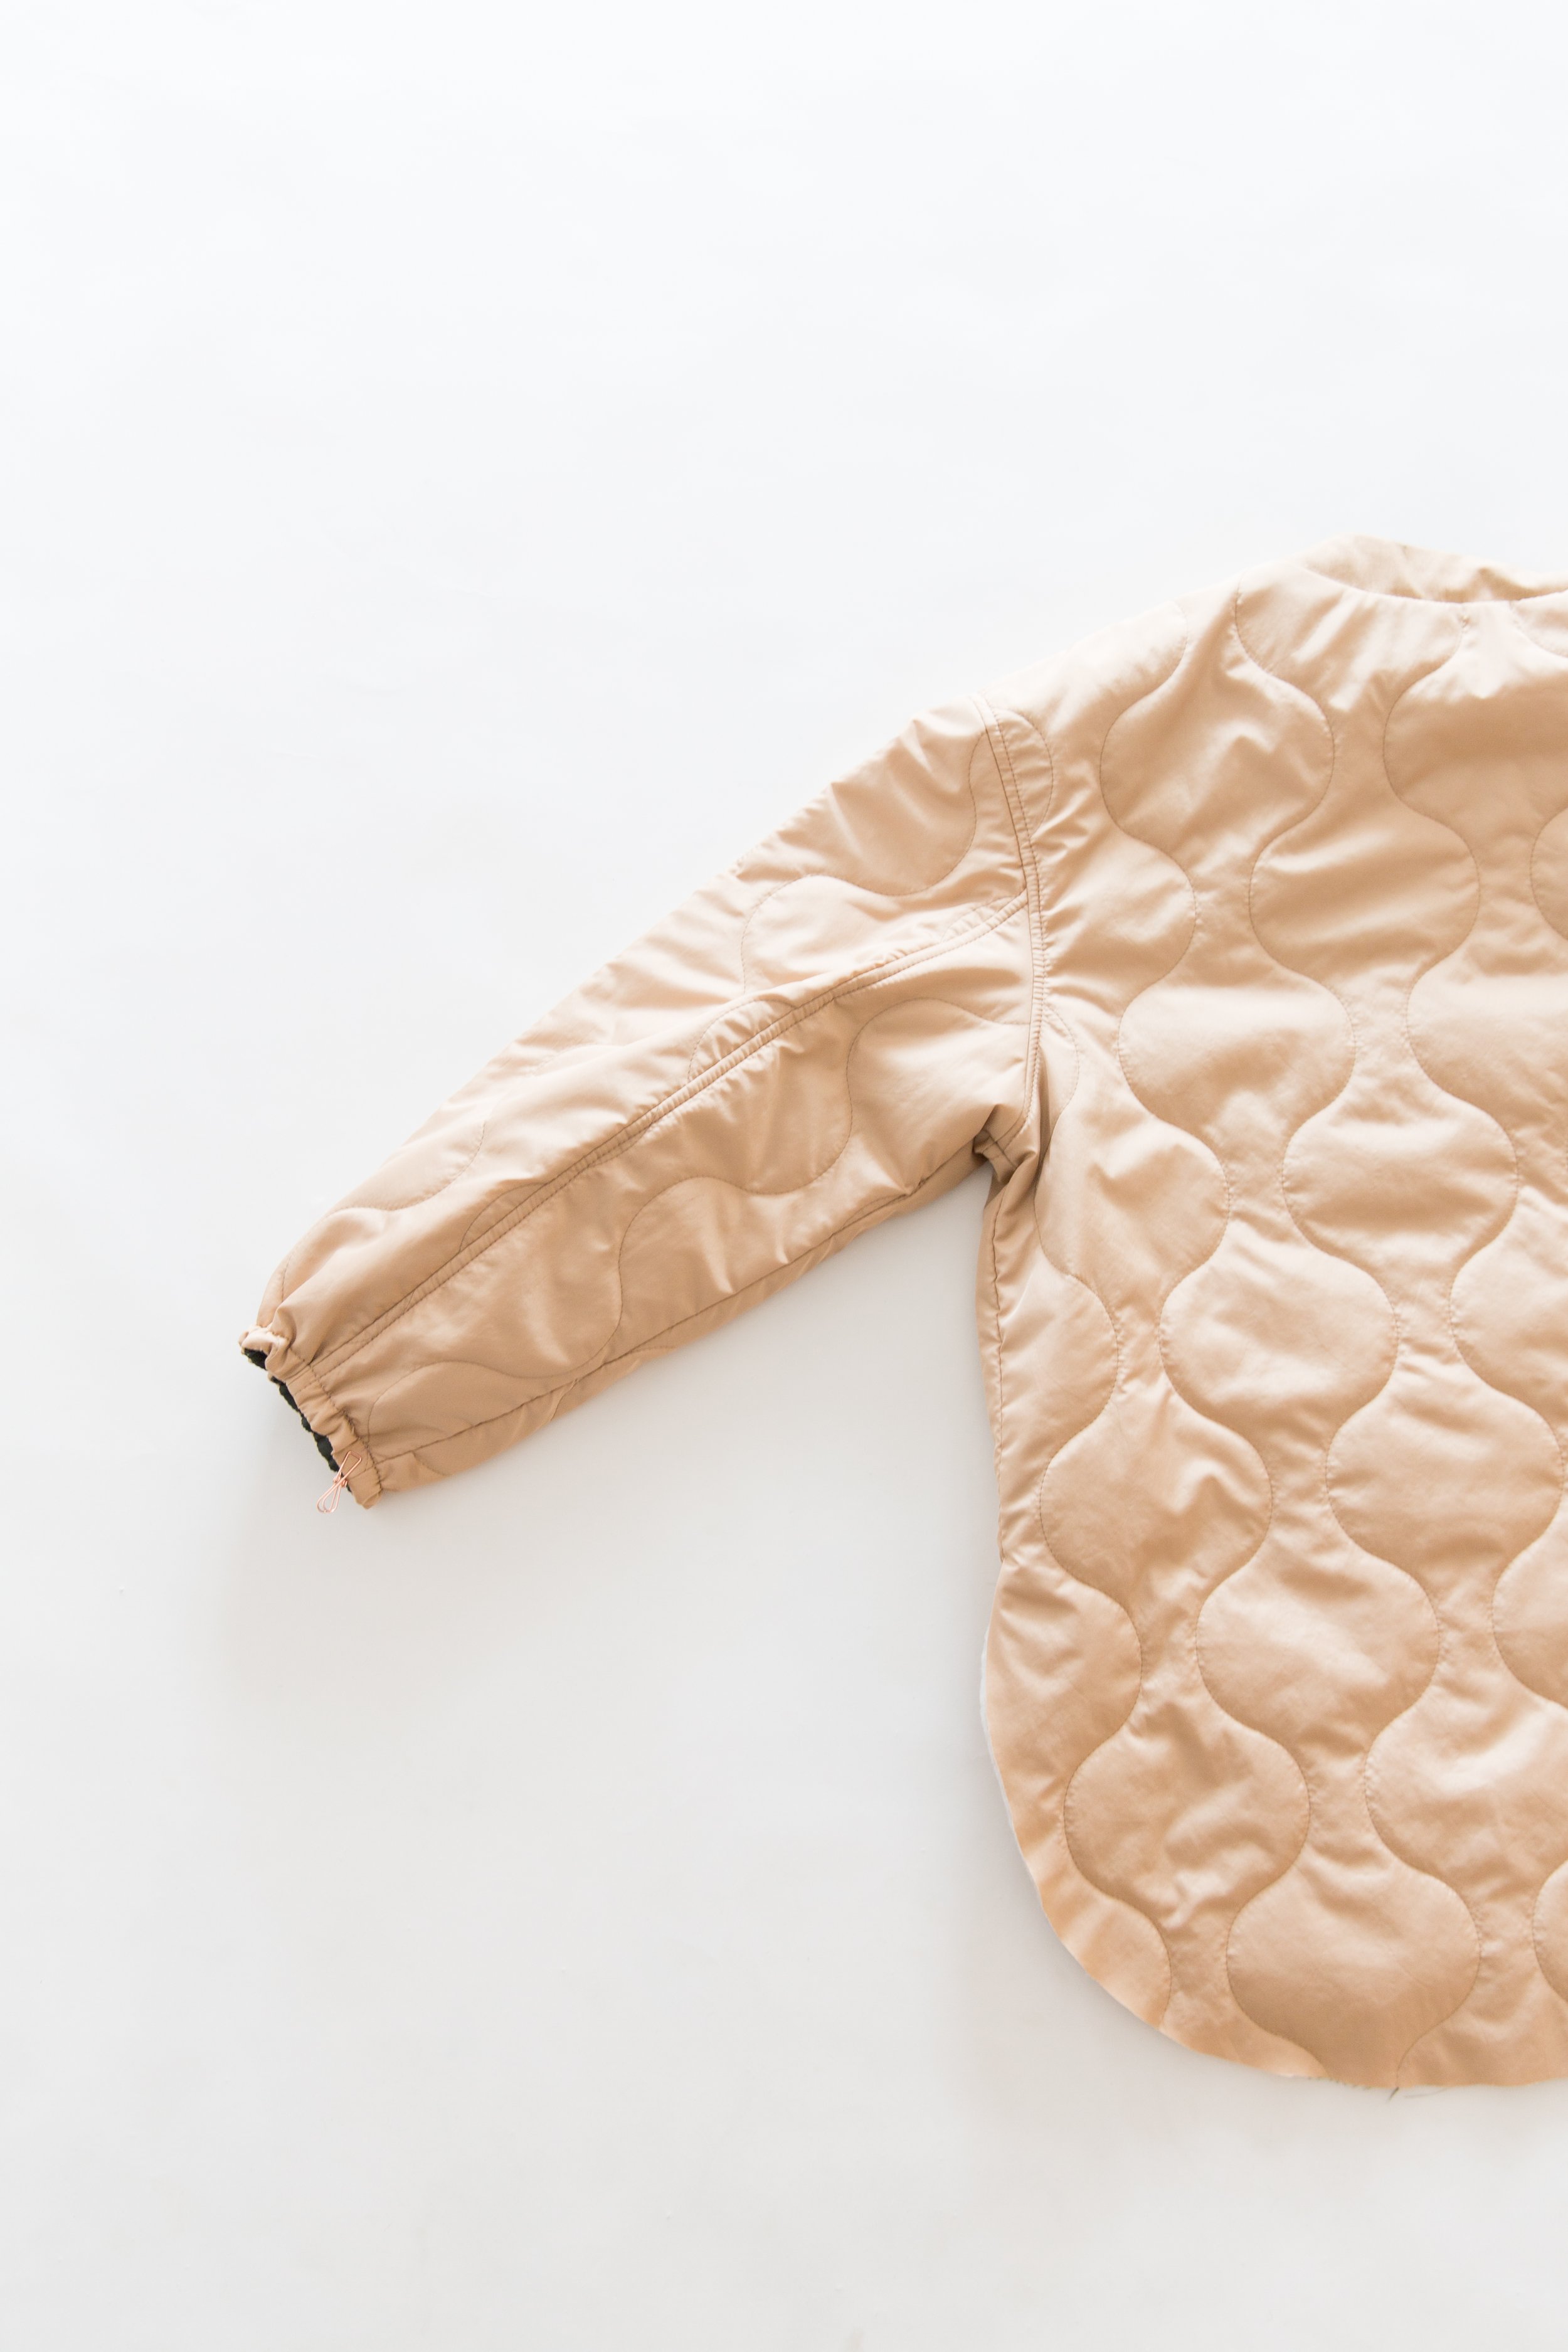
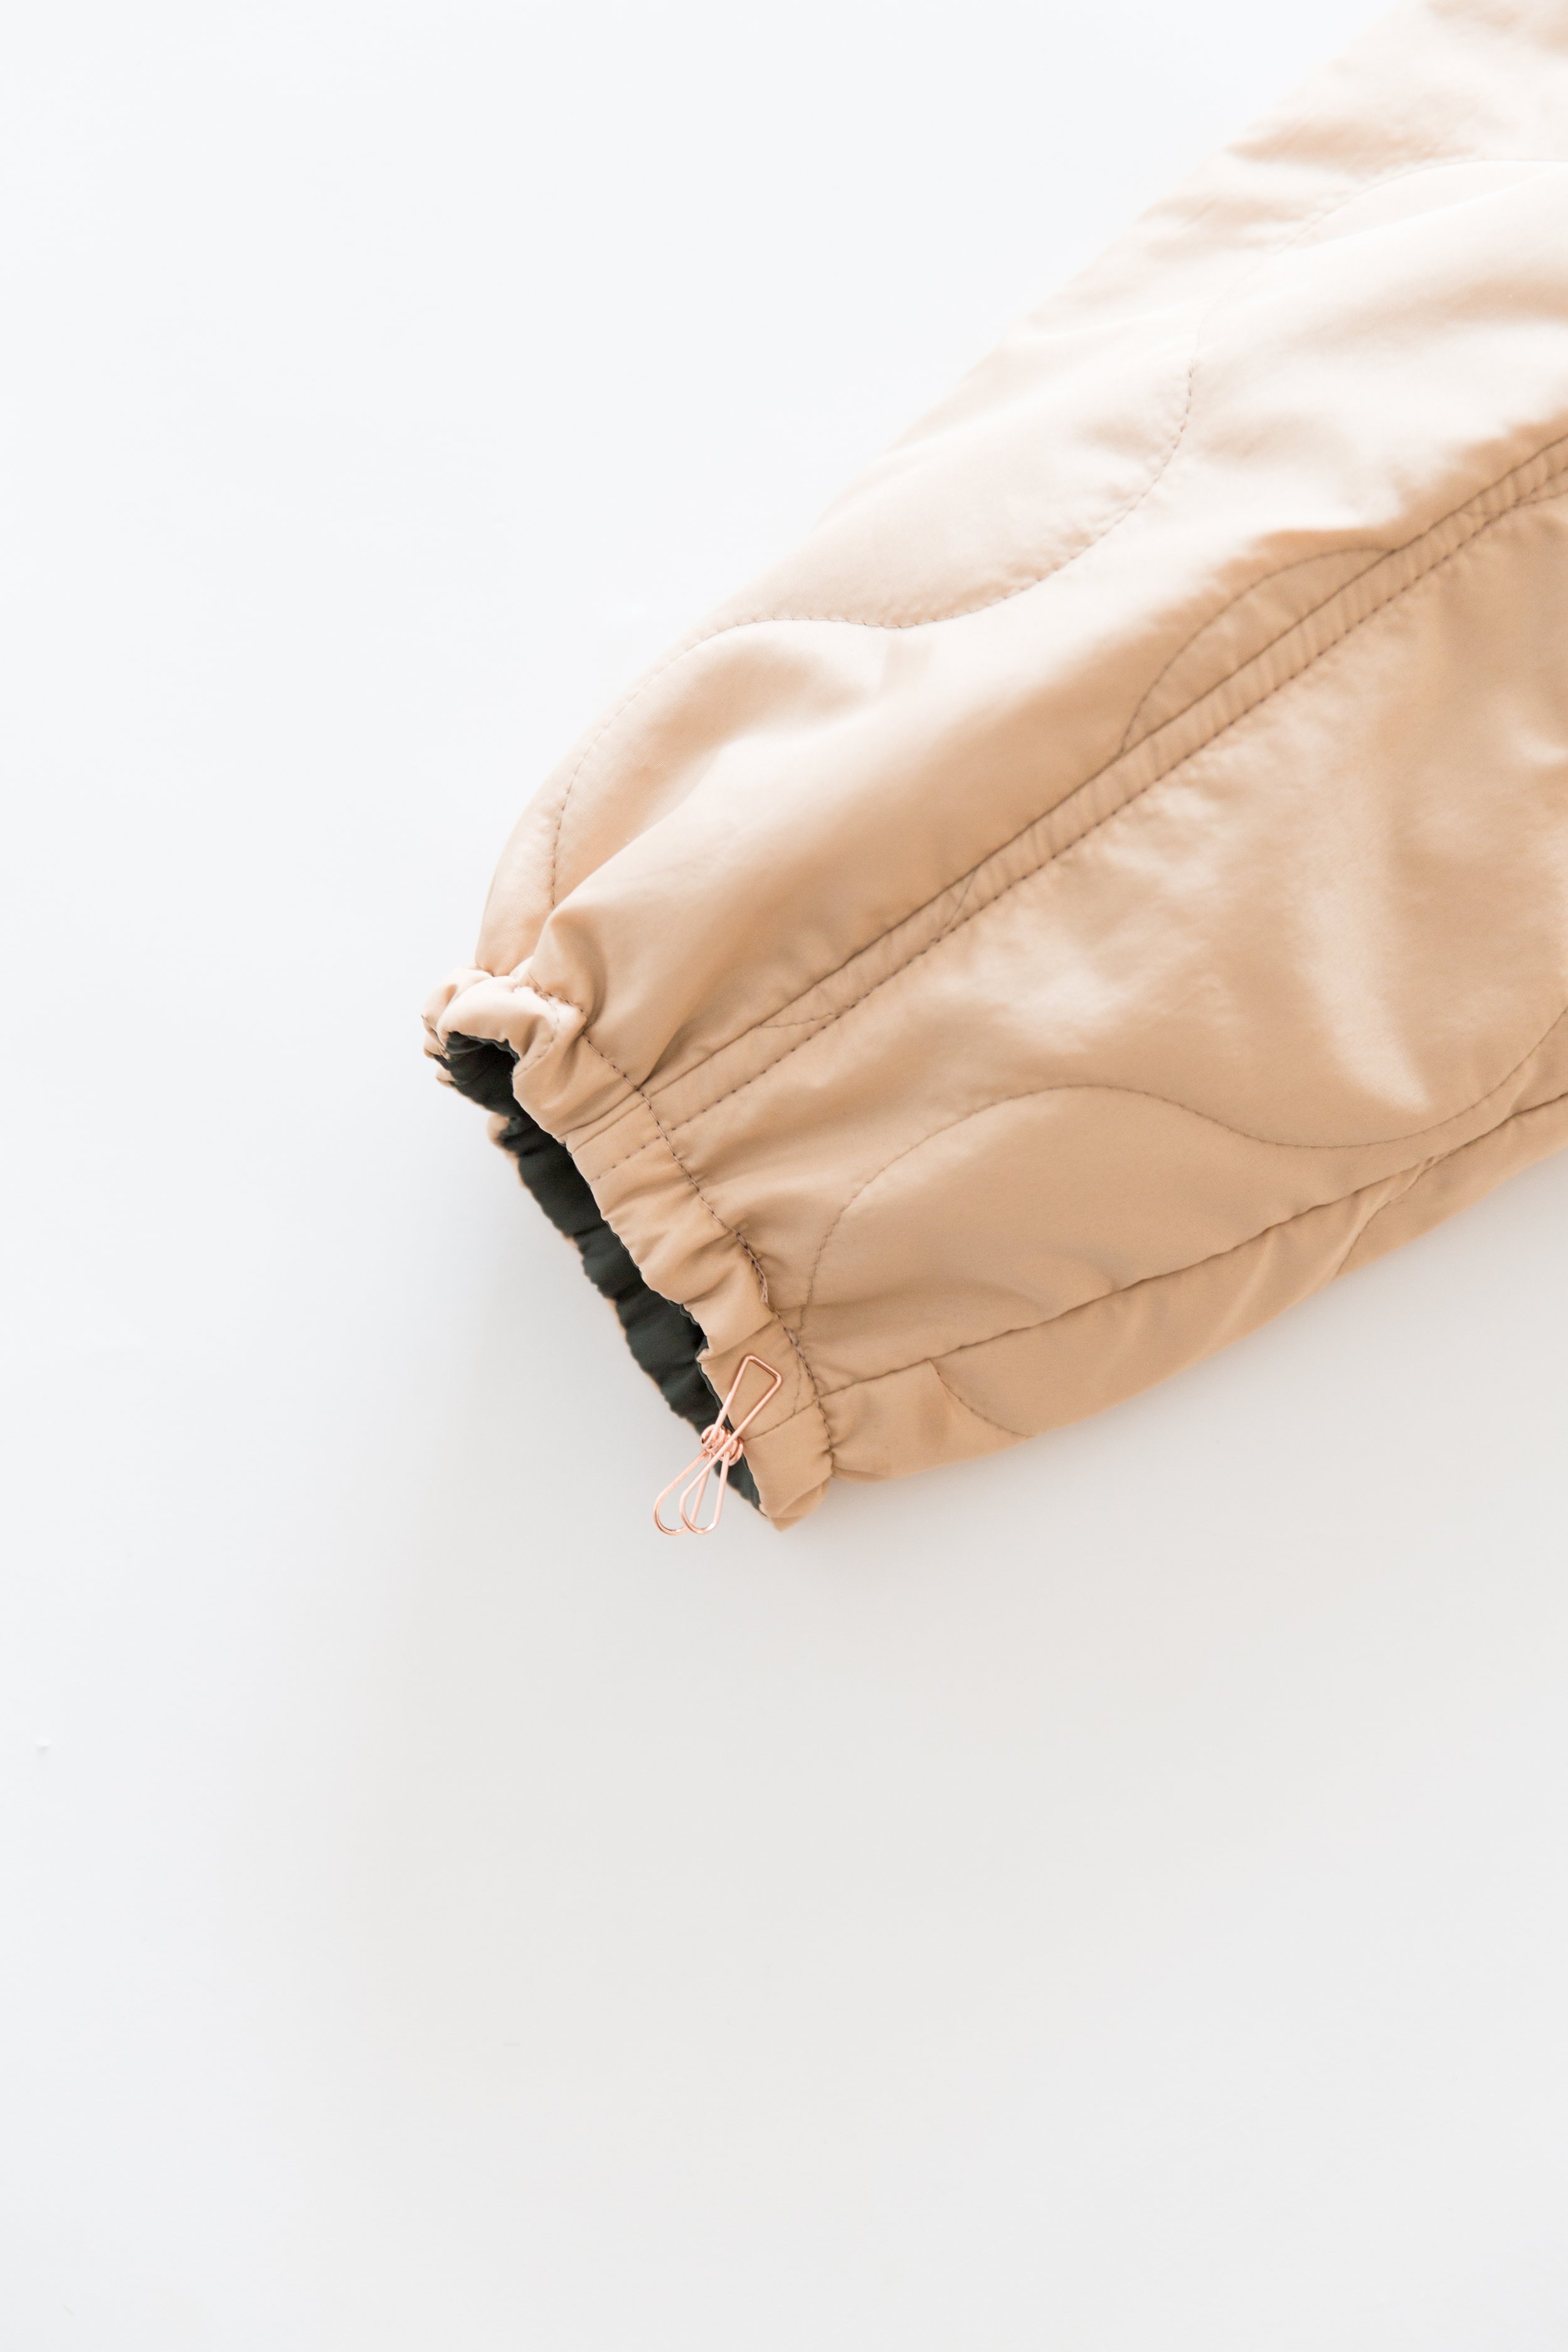
Elasticated Sleeve: Pull sleeve through to the right side and topstitch through both layers 1.5cm/0.6” from the edge, leaving a 2.5cm/1” gap in your stitchline for threading elastic.
Reversible Sleeve: Pull sleeve through to the right side and topstitch through both layers 1.5cm/0.6” from the edge. And skip to step 15

Step 14
For elasticated sleeve only.
Work out how tight you want the elastic around your wrist and cut to size, making sure you allow enough to overlap and stitch together. Attach a safety pin to one end and thread between your jacket layers and through the gap in the stitching on your sleeve hem. Secure the two ends of elastic together, then stitch the gap closed. Repeat for other sleeve.
Step 15
Turn your jacket back through to the wrong side and pin together back hemline. Stitch, leaving about a 10cm/4” gap in your stitching at the centre back.

Step 16
Turn back to the right side, through the gap and either handstitch or edgestitch the gap closed.
Step 17
Topstitch your hemline, through all layers 1.5cm/0.6” from edge stopping when you reach the button stands.

Step 18
With tailors chalk, mark on your button and buttonhole placement from your pattern piece.
Construct your buttonholes. The buttonholes should be vertical and centred on your front button stands and as marked on your neck edging pattern piece.
Sew your buttons on.