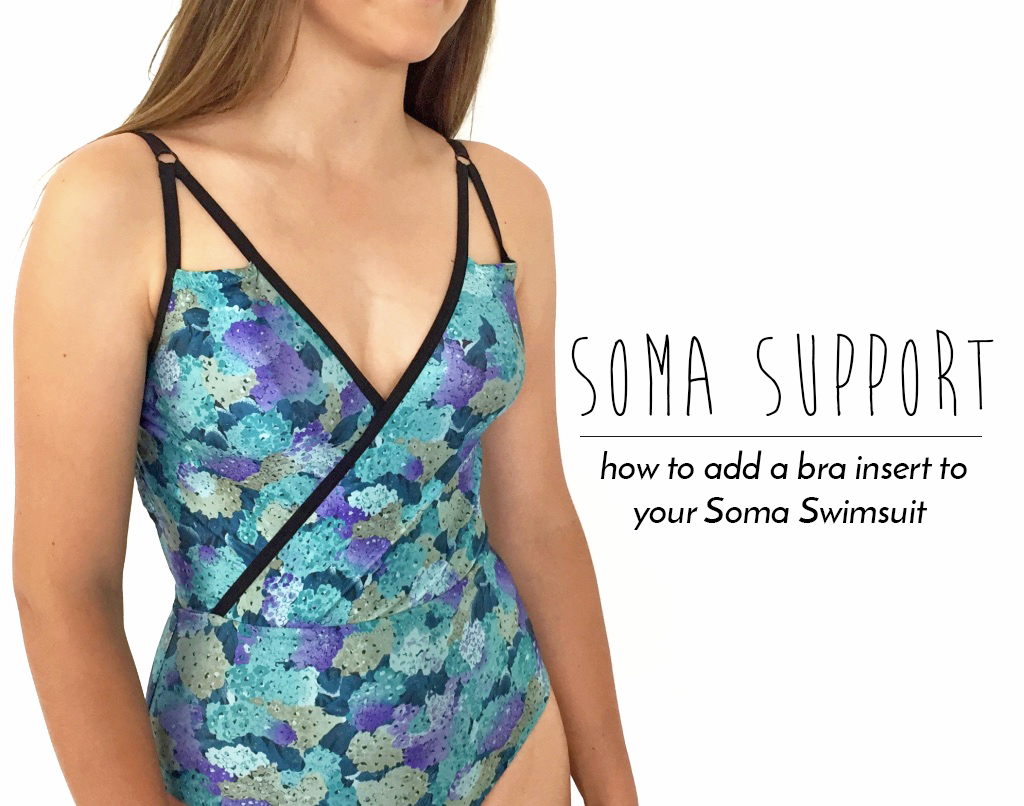
A swimsuit is one of the most gratifying garments you can make ... and surprisingly easy. Best of all, you get a unique custom-made swimsuit!
As part of that perfect fit, you might want some extra bust support and a bra insert is the perfect way to achieve that lift. In this tutorial, we'll show you how to draft your own Soma bra insert pattern and then sew it all together into your swimsuit.
Before starting, you'll also a couple of extra sewing supplies.
You Will Need
Additional to your pattern requirements, you'll also need:
60cm of swimwear elastic
50cm/20" of 2.5cm /1" wide elastic
Swimsuit lining fabric
40cm/16" of bra strapping
Draft Your Bra-Insert Pattern Piece
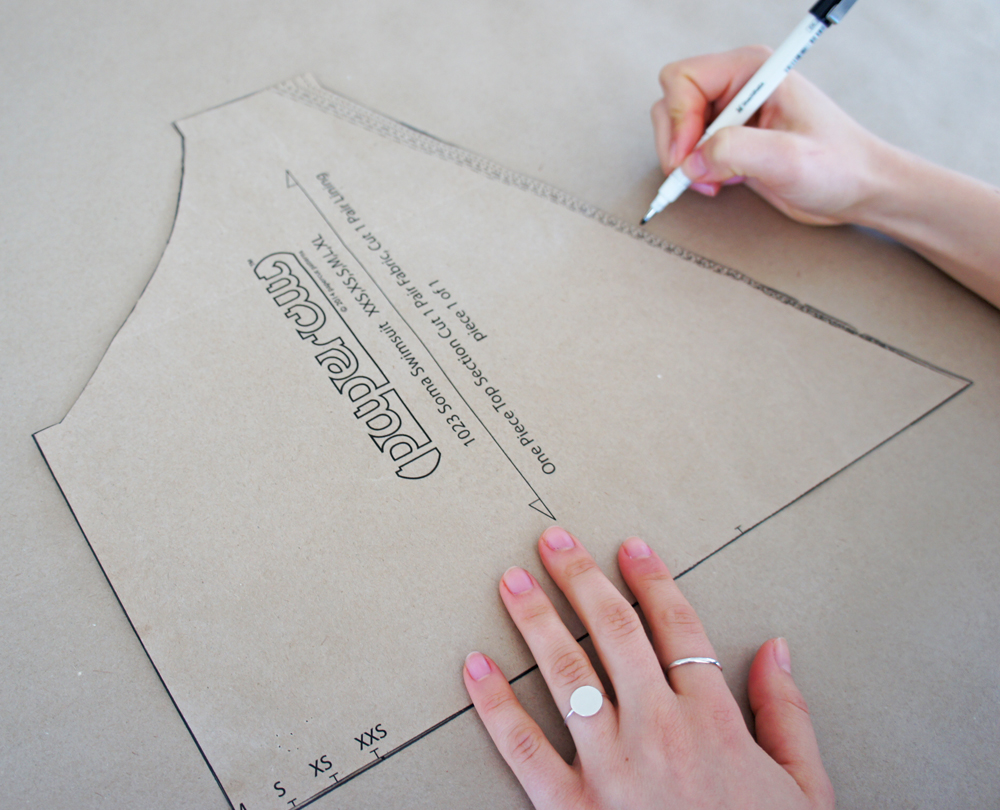
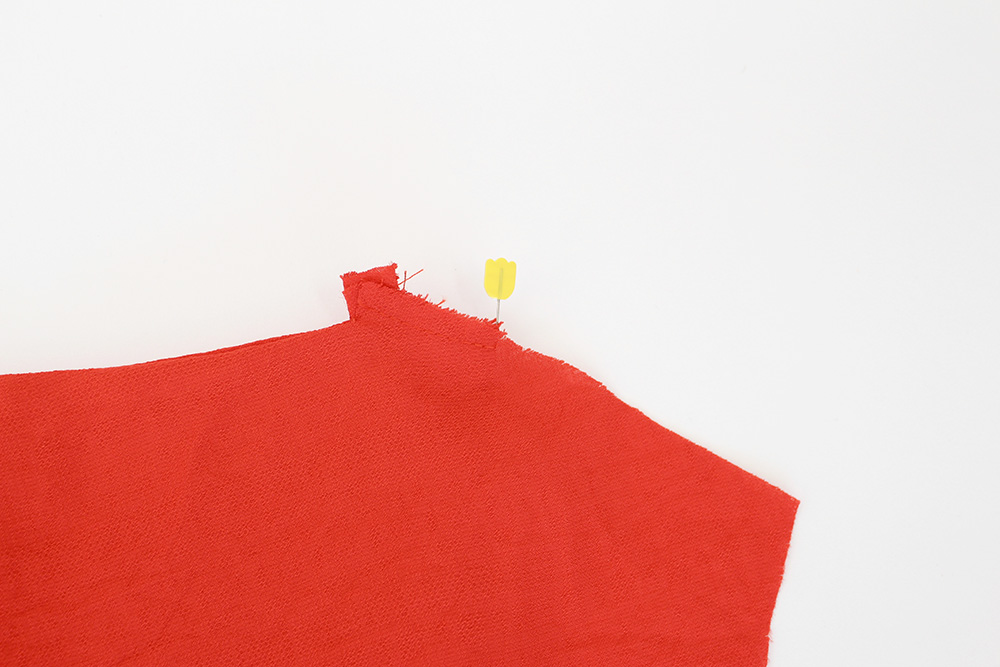
First up, trace the "one piece top section" of the Soma Swimsuit.
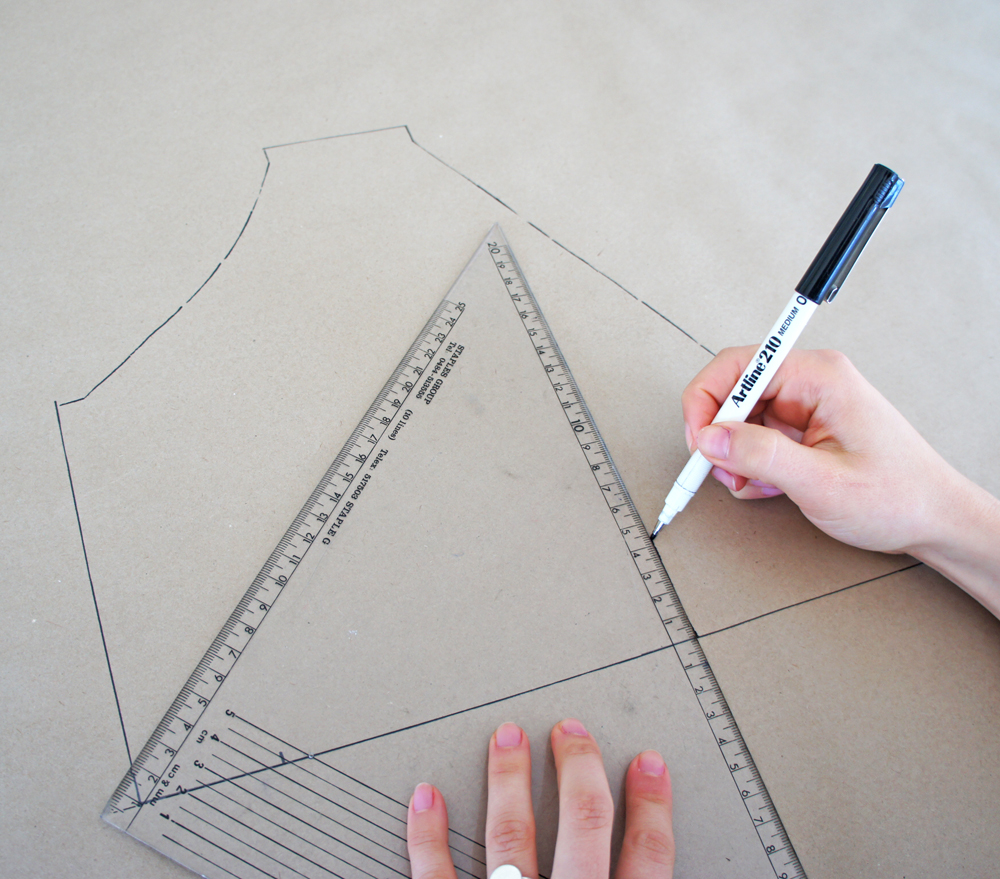
Draw a line straight up from the bottom centre notch. The length doesn't matter too much, as long as it's more than 8cm.

On the side seam, place a mark 8cm up from the bottom corner.
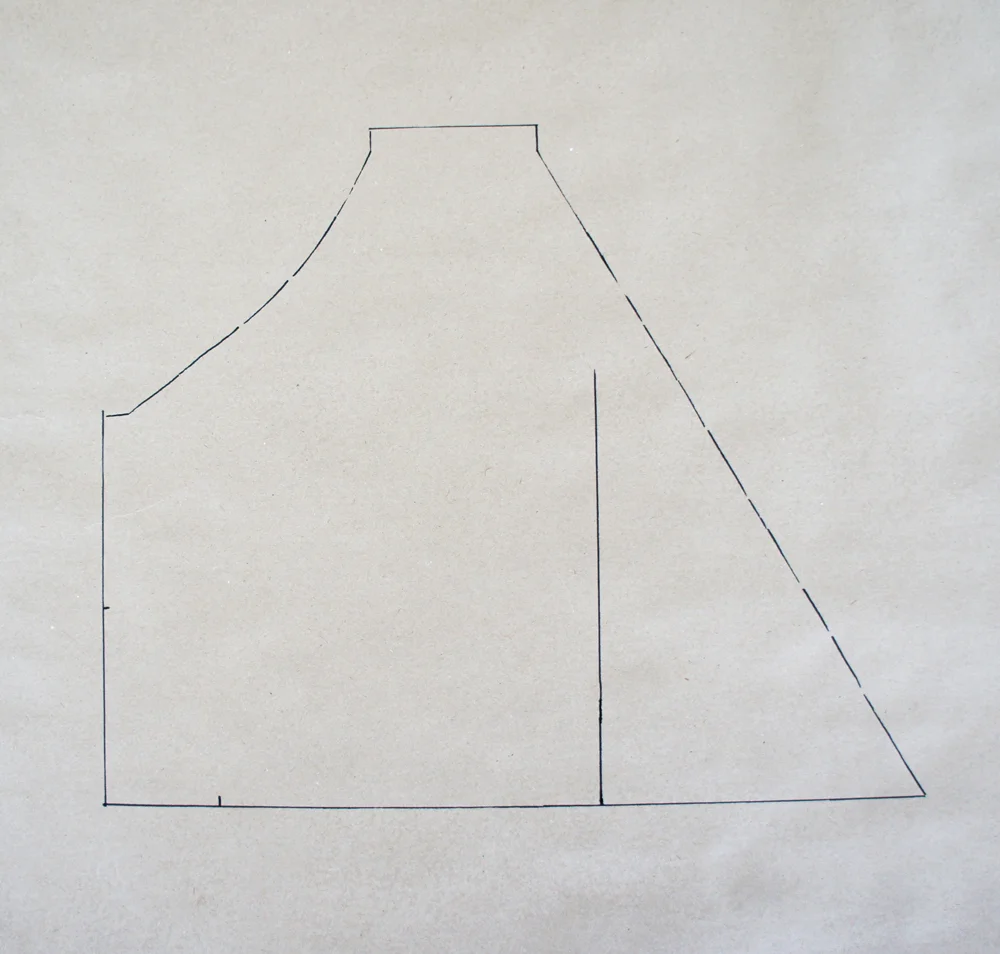

From your marking on the side seam, draw a line parallel to the bottom edge, stopping at your vertical line.


Extend your horizontal line beyond your vertical line by 1cm.

From your extended point, draw a line upwards connecting to the seam line on the shoulder as shown.

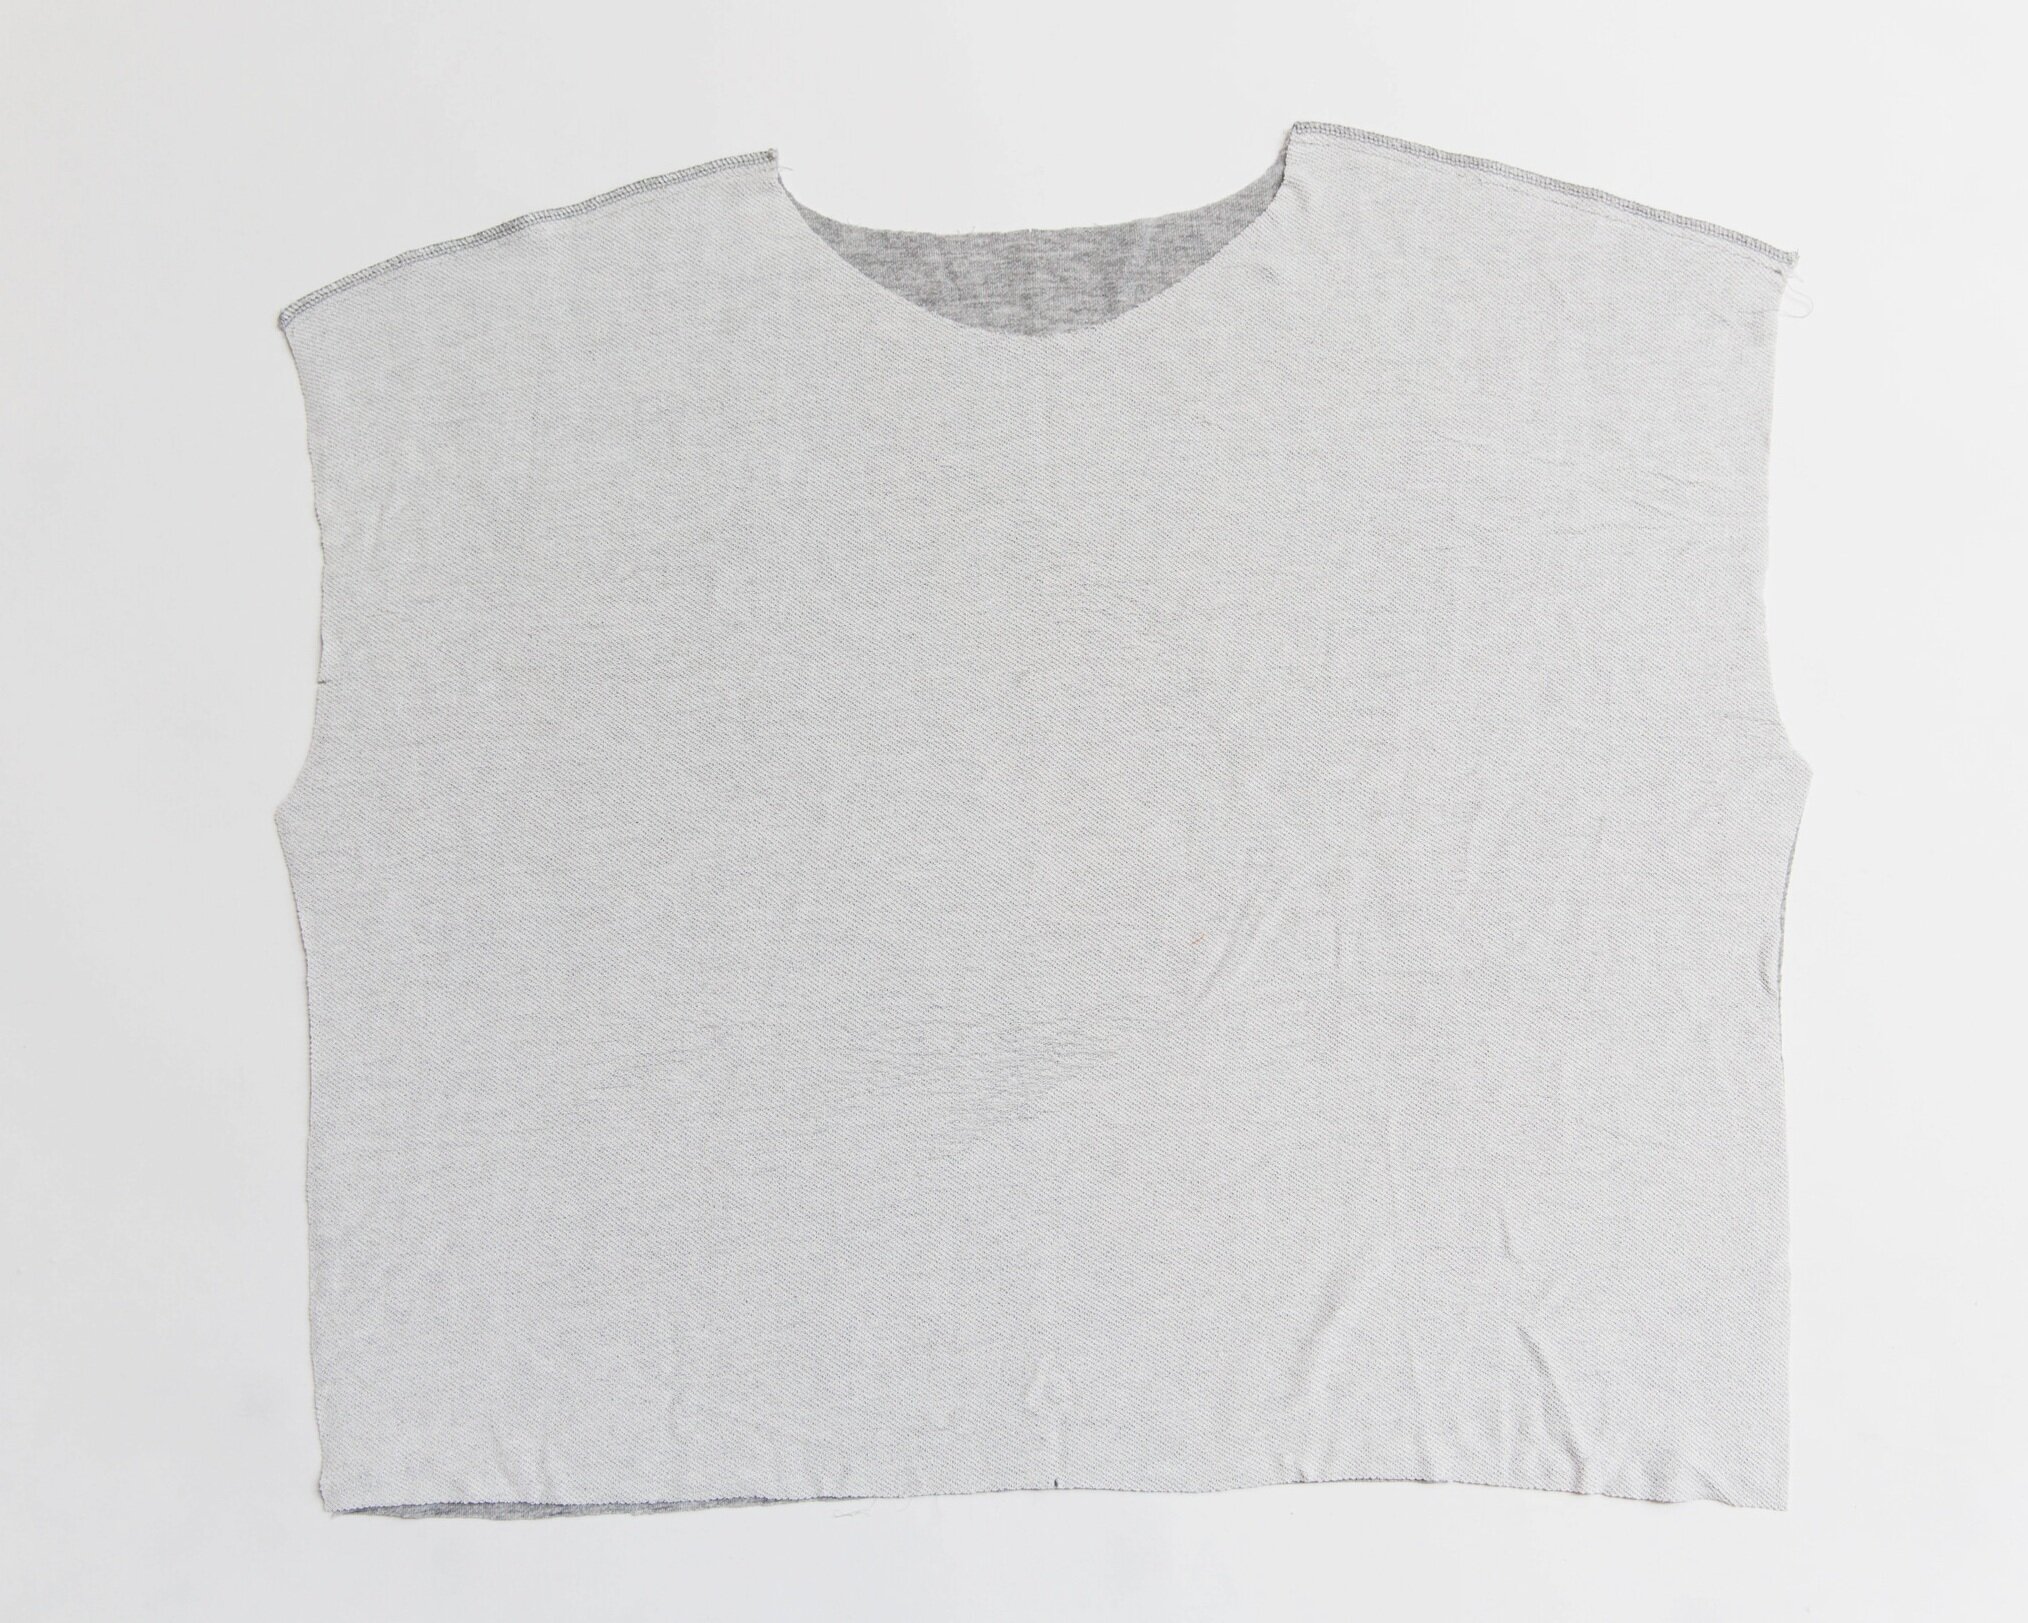
The triangular portion which includes the shoulder, arm curve and some of the side seam will be your new pattern piece. Cut along your new lines as shown.
Sew Your Soma Bra-Insert

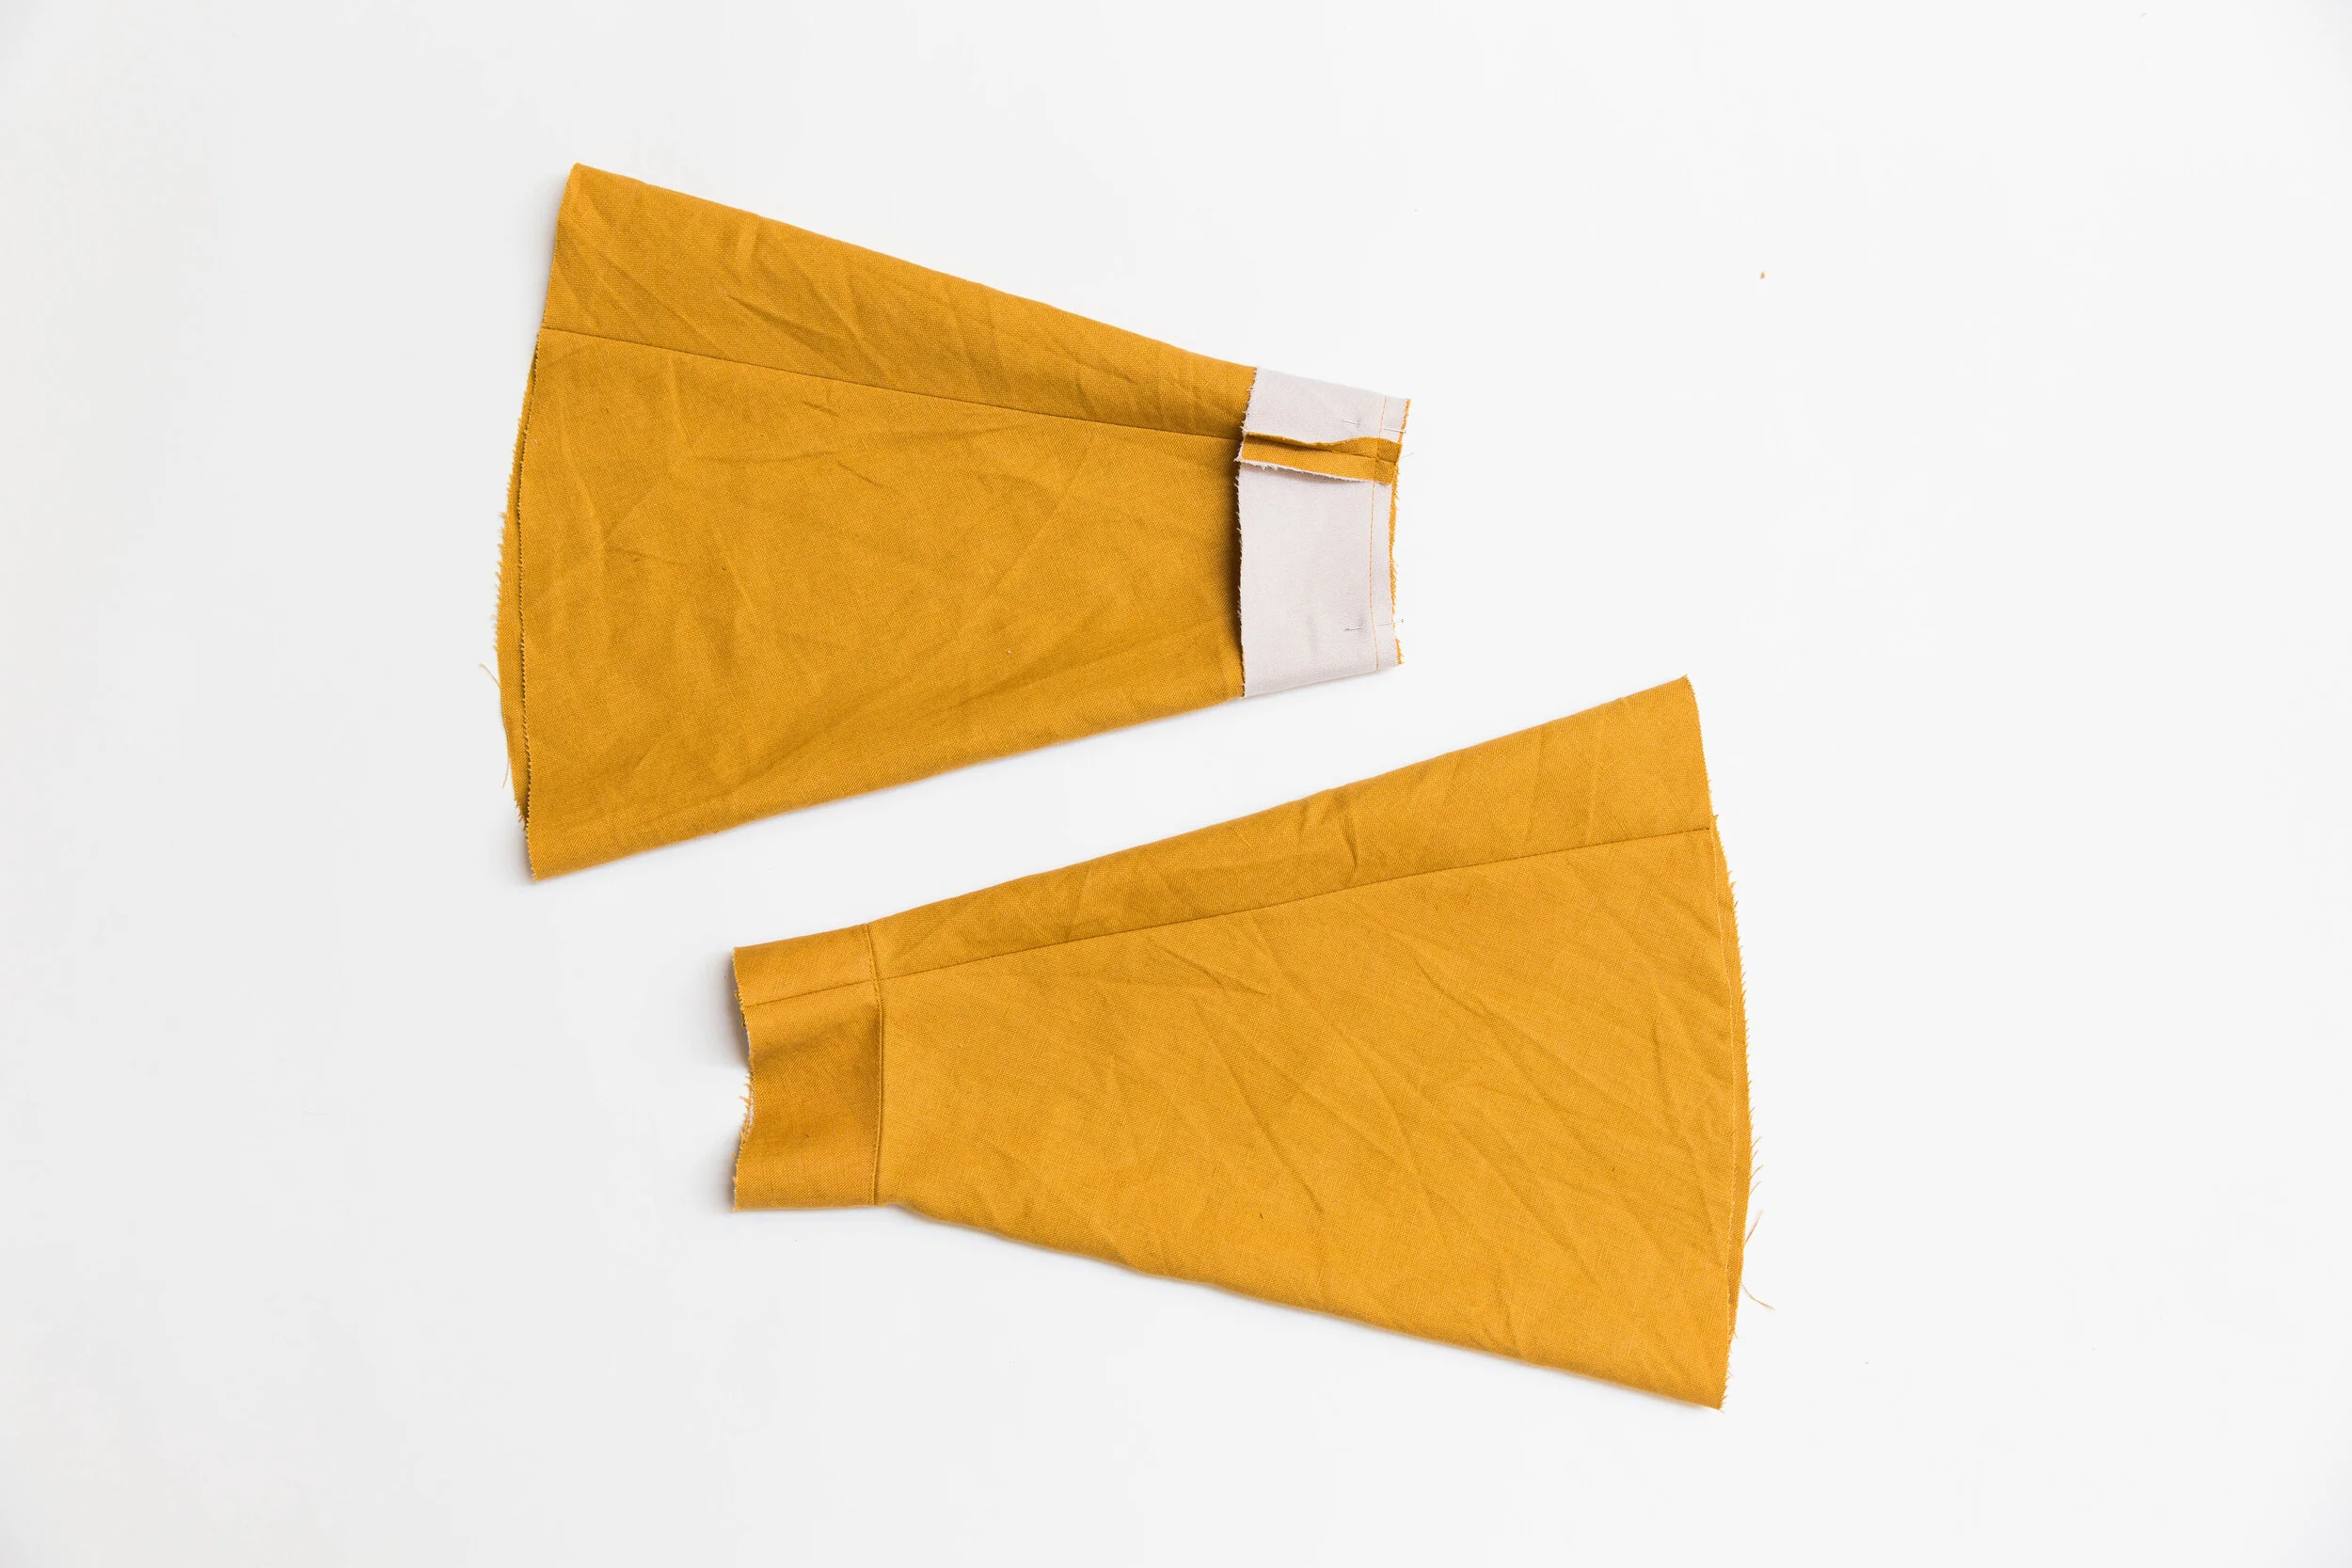
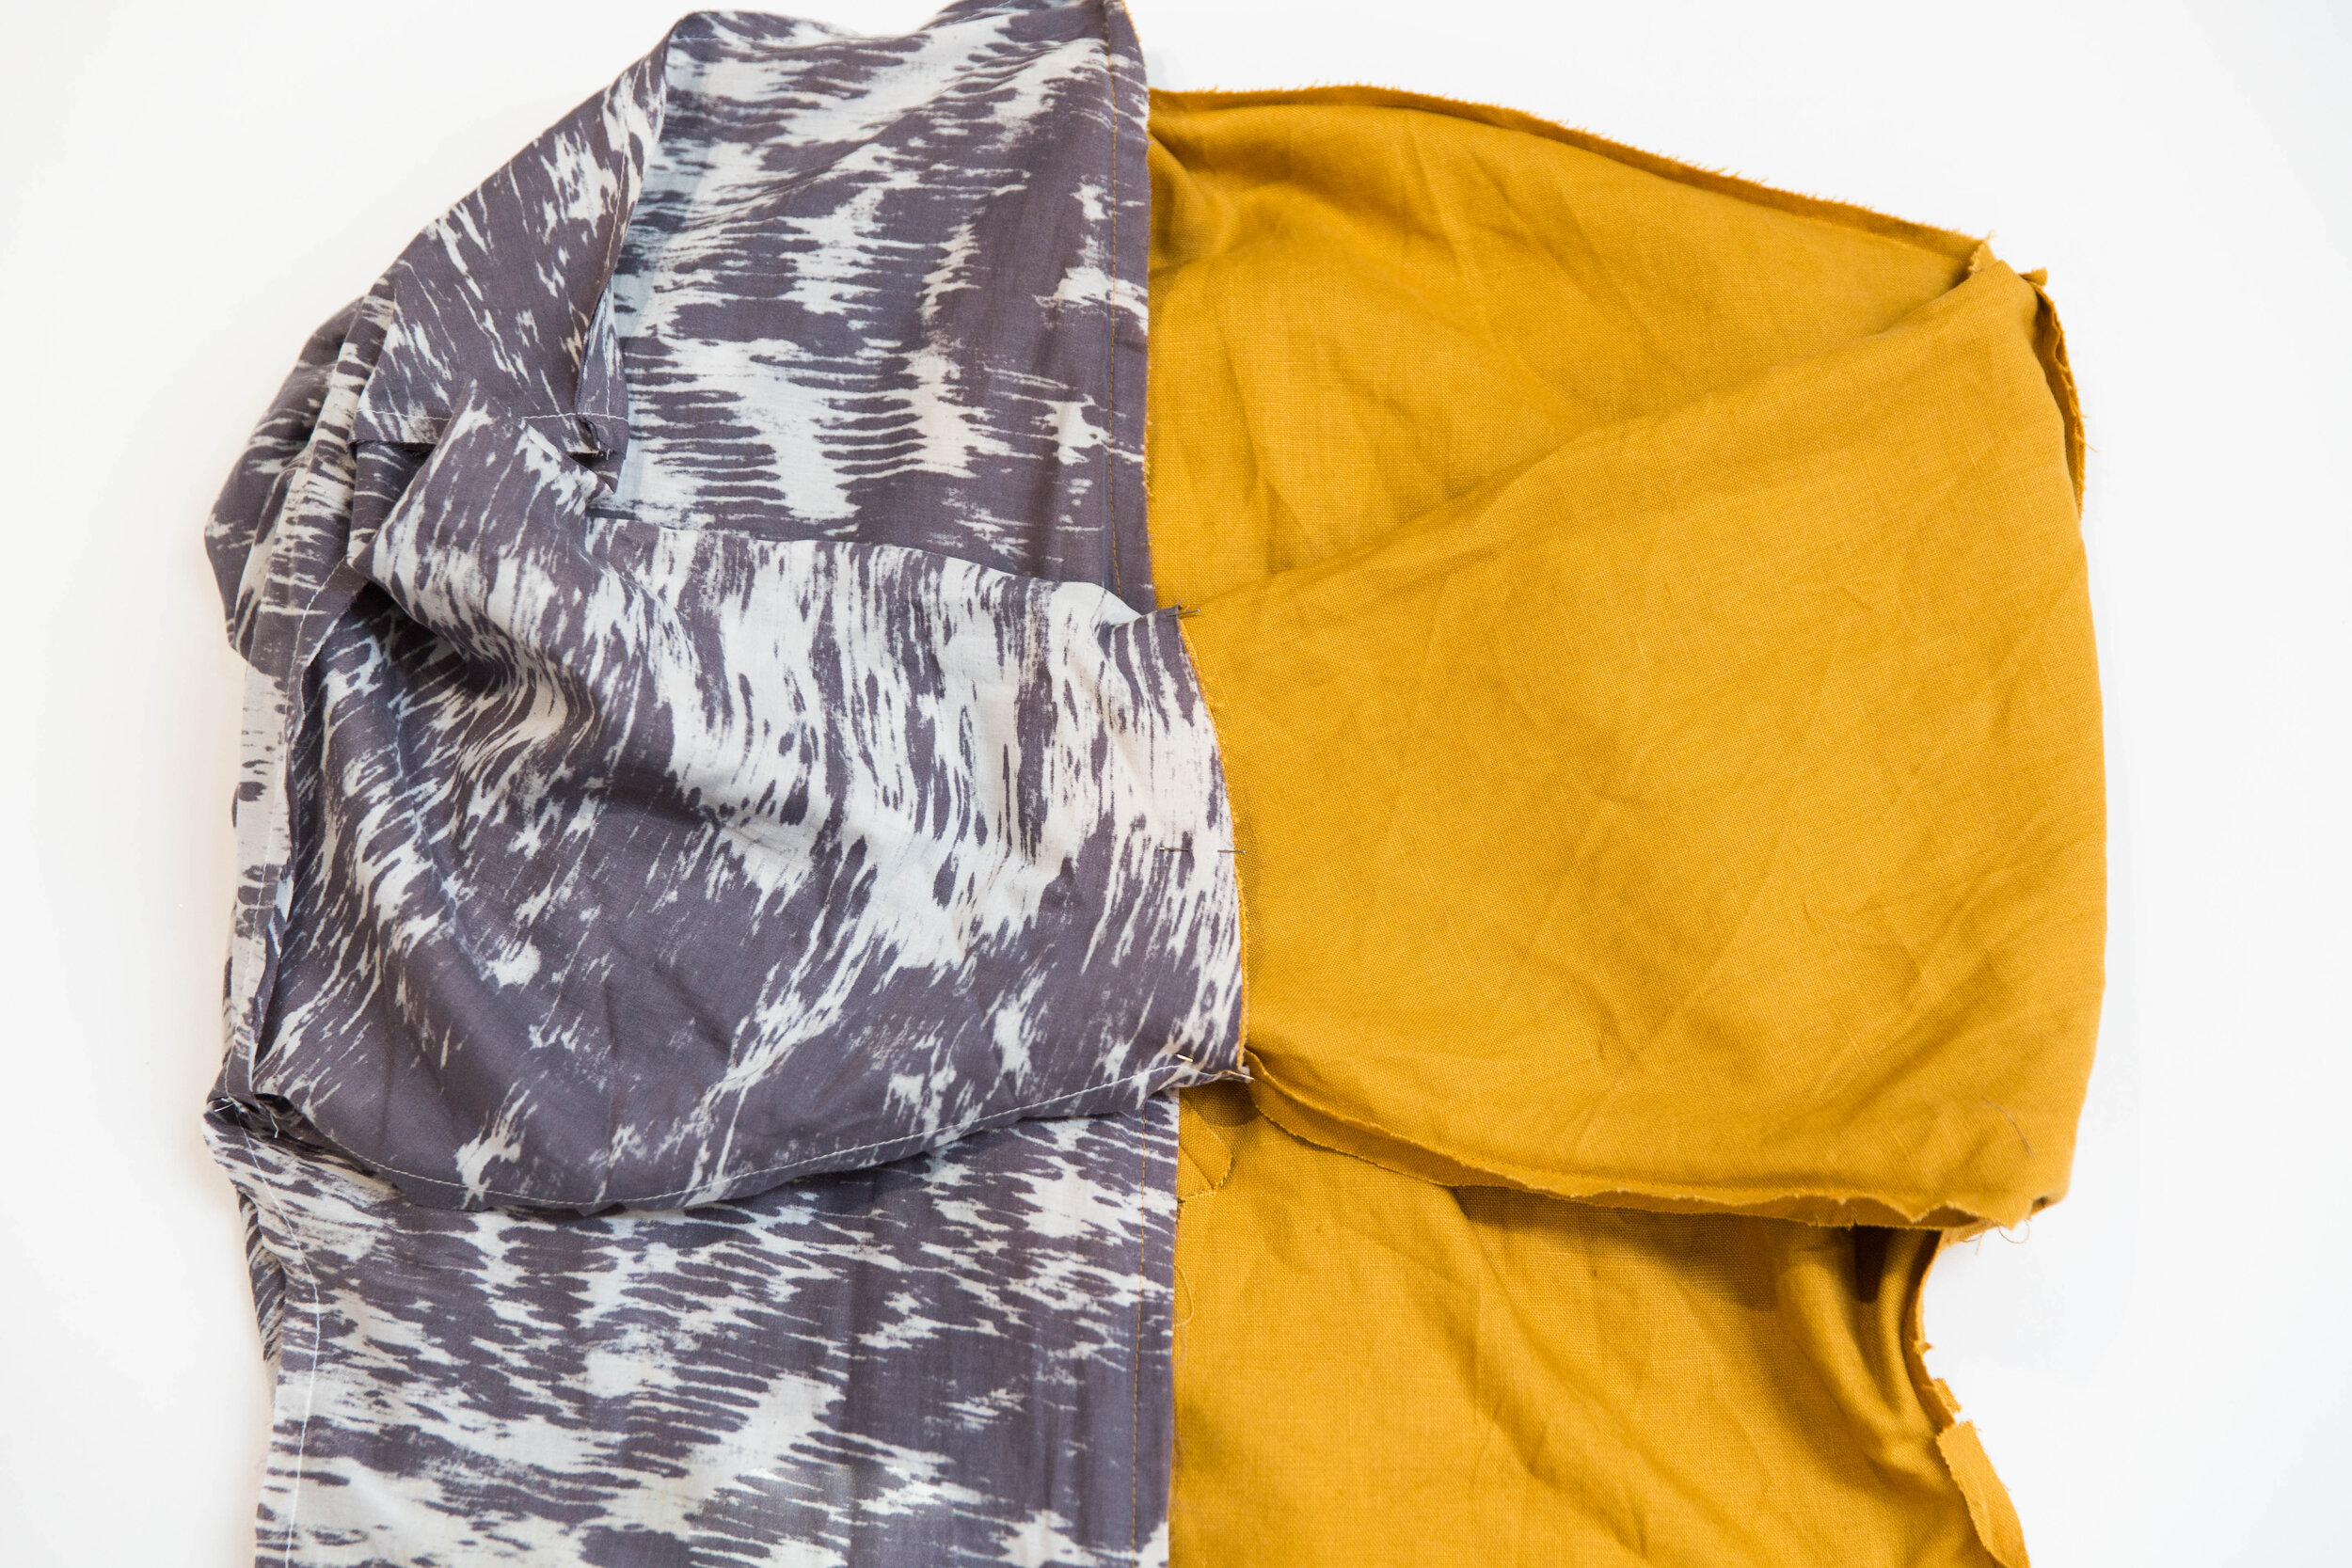
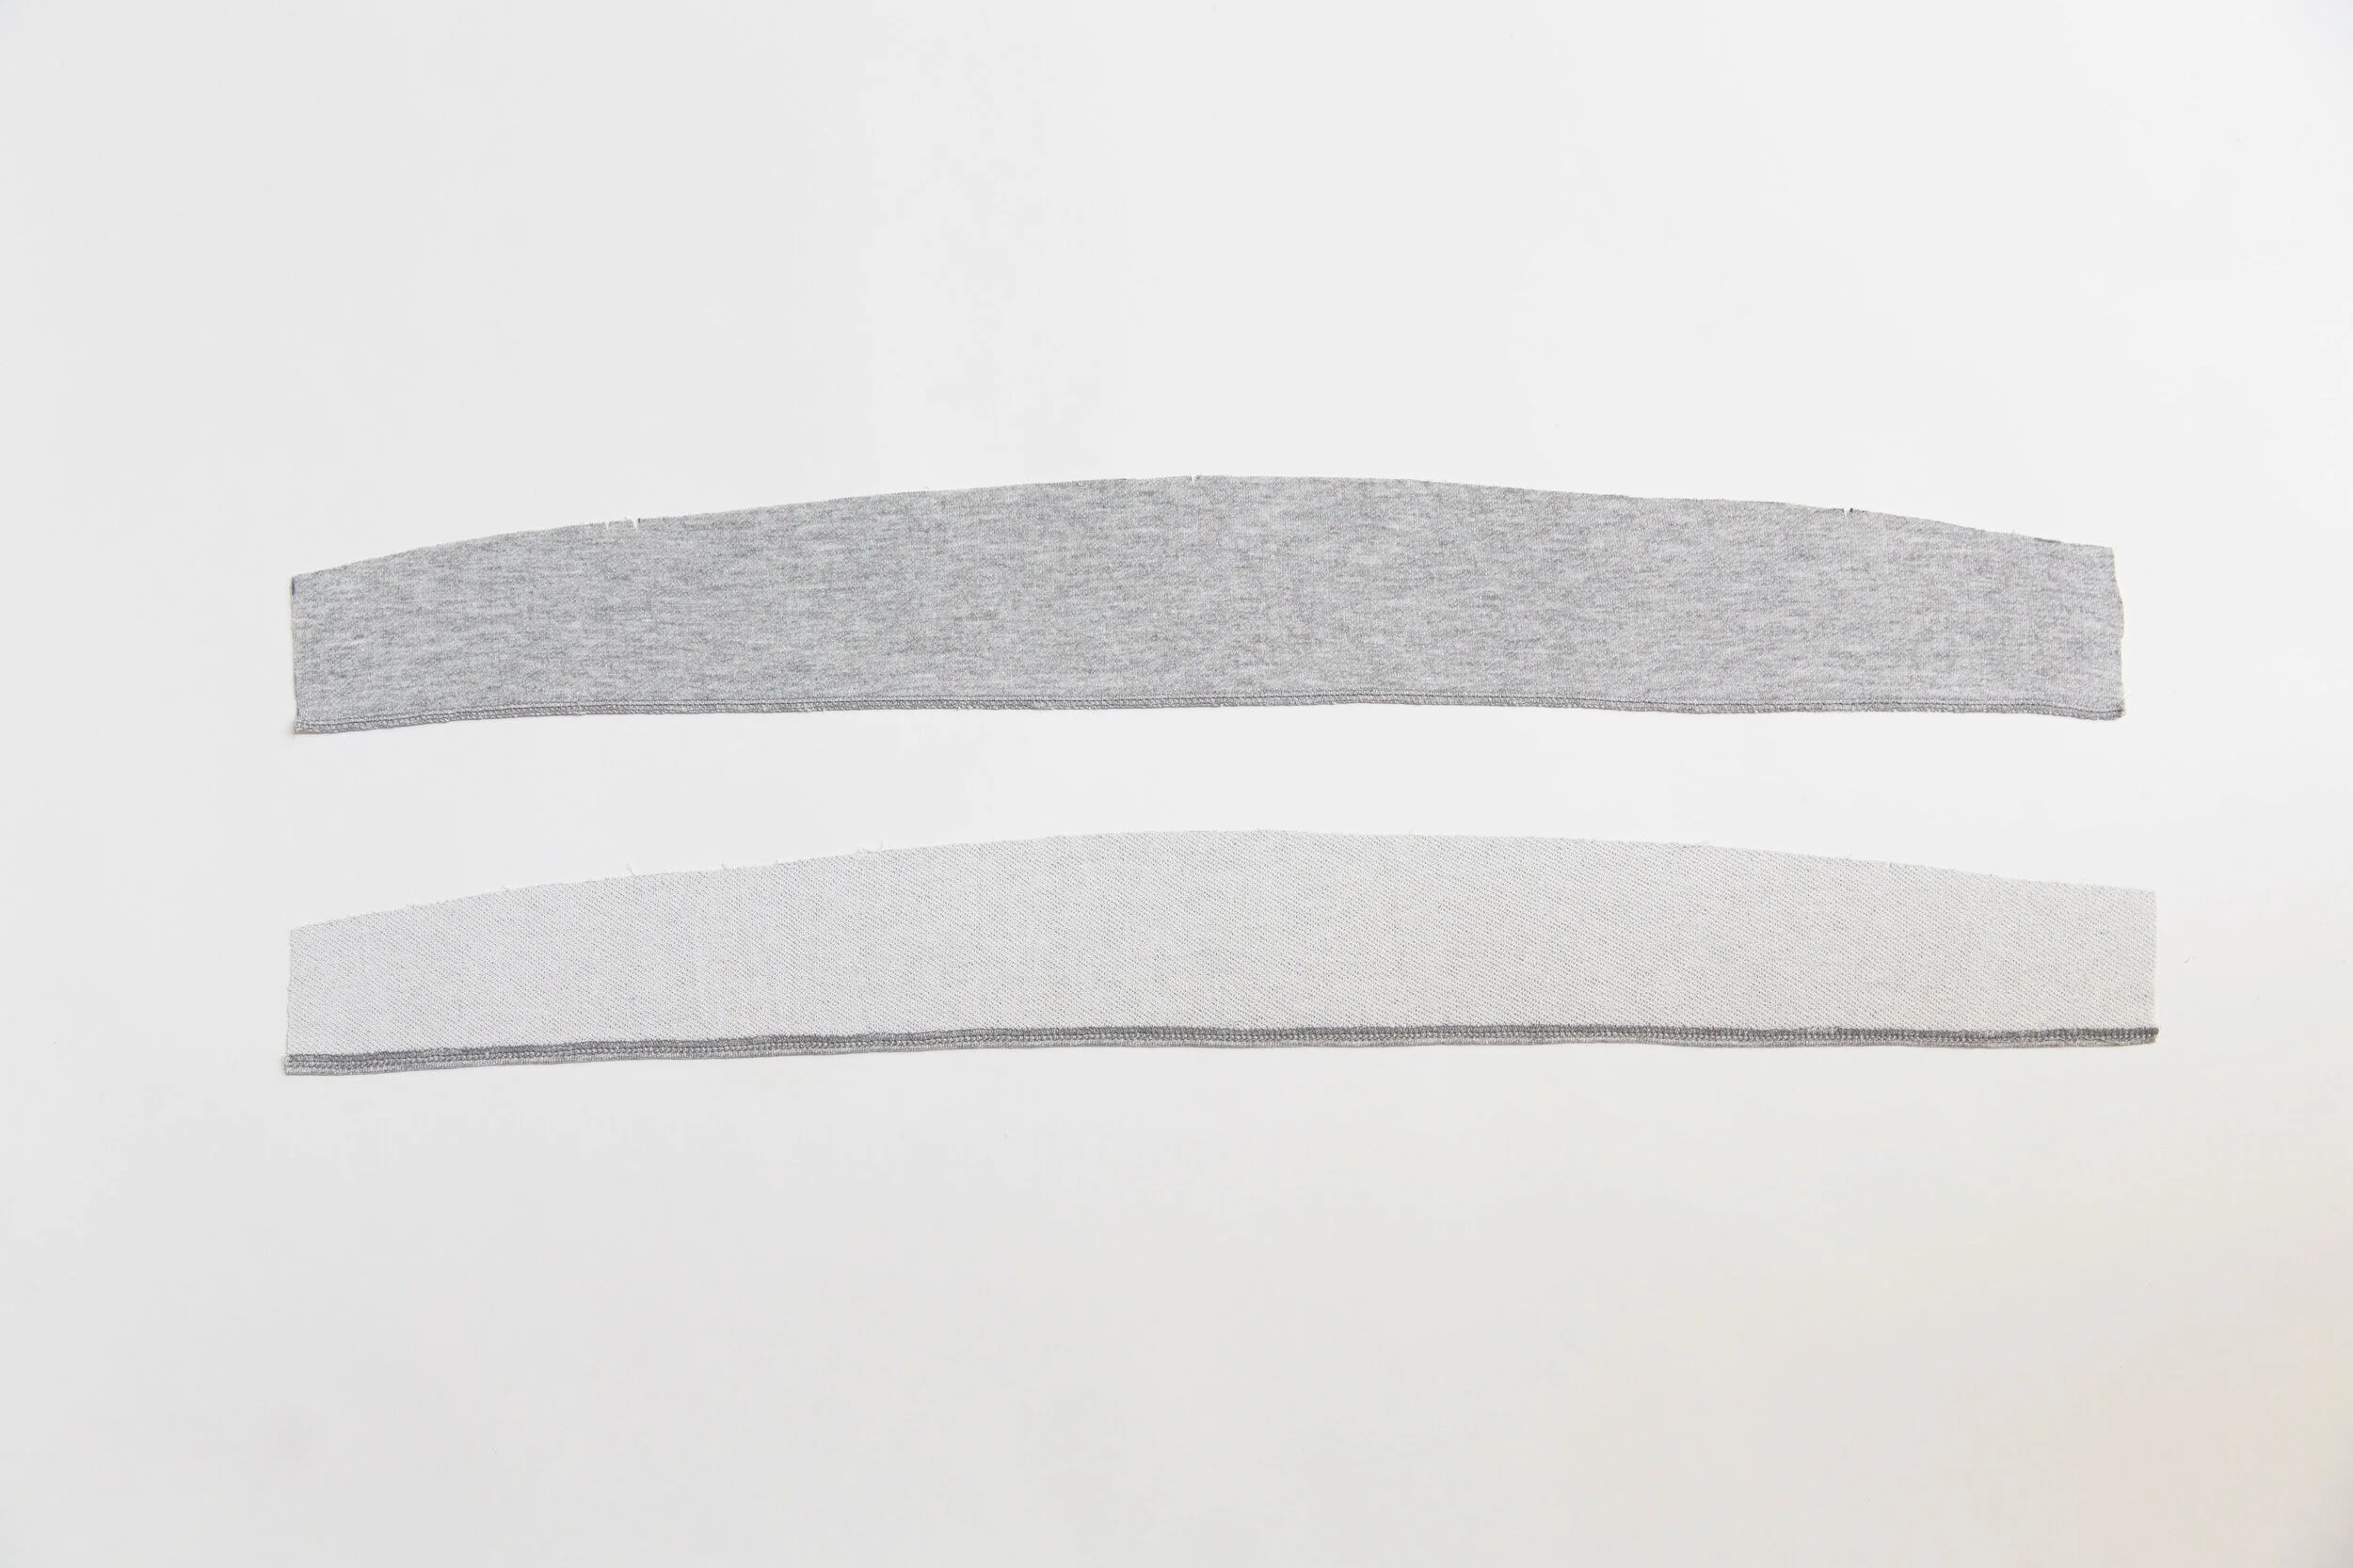
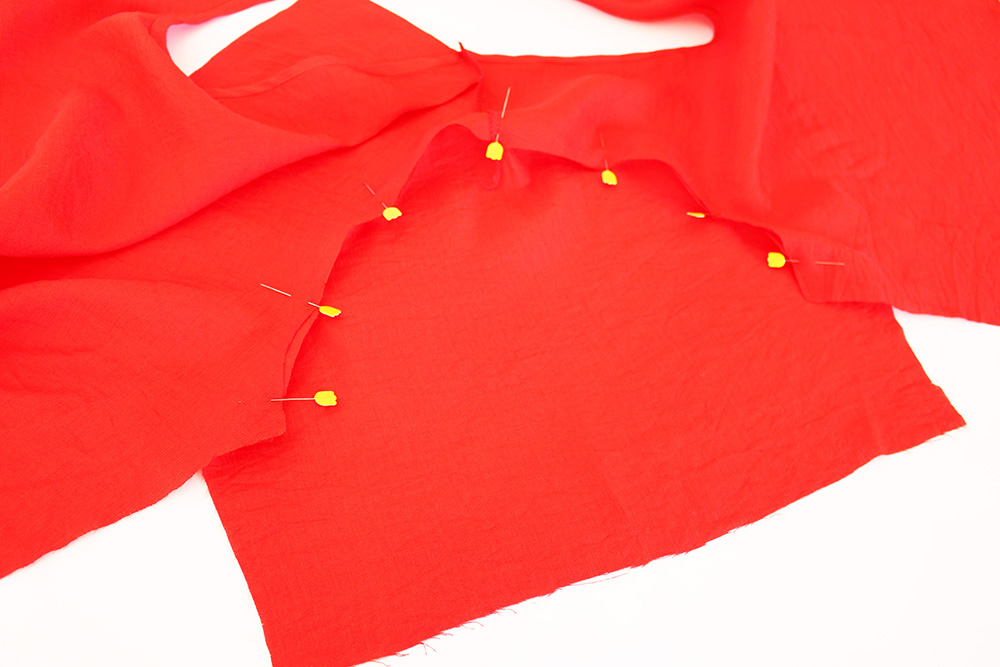
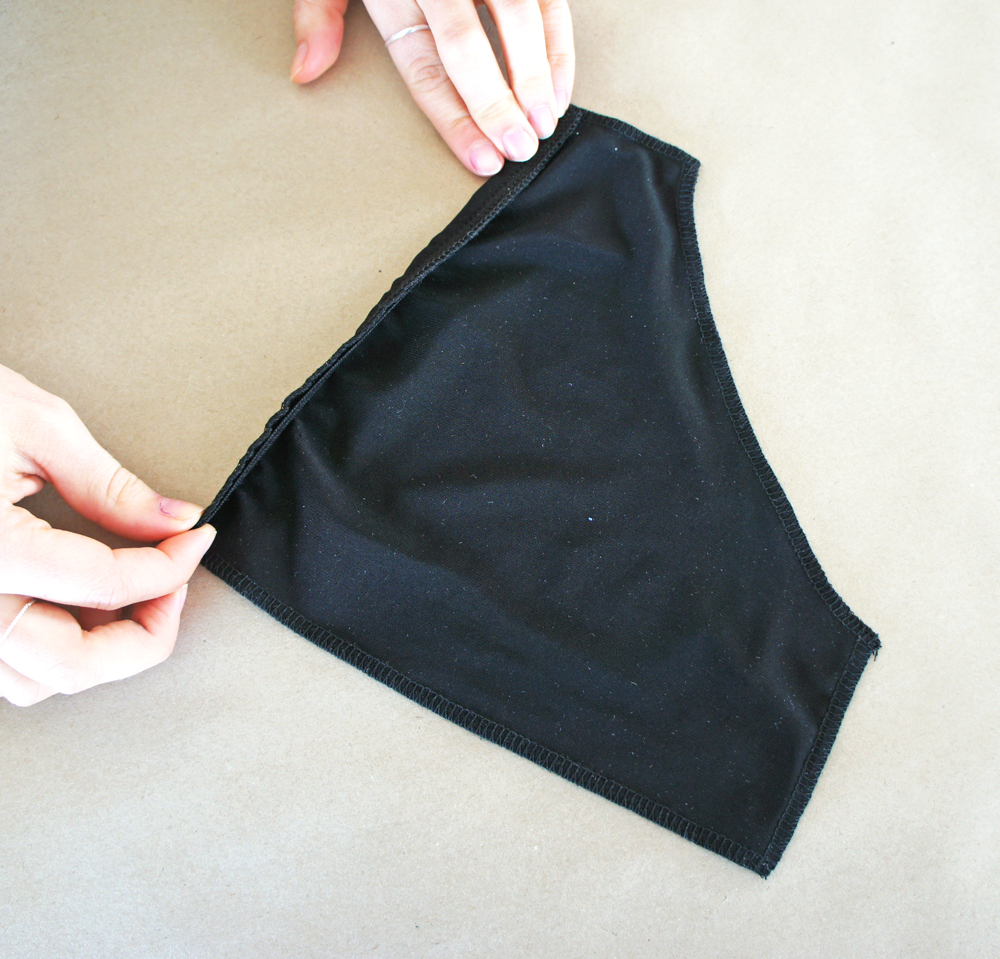
Using your new pattern piece, cut 2 pairs of lining pieces for double thickness. That's 4 pieces in total with 2 for each side.

With wrong sides together, pin and stitch two layers together and repeat for the other side. Neaten edges.

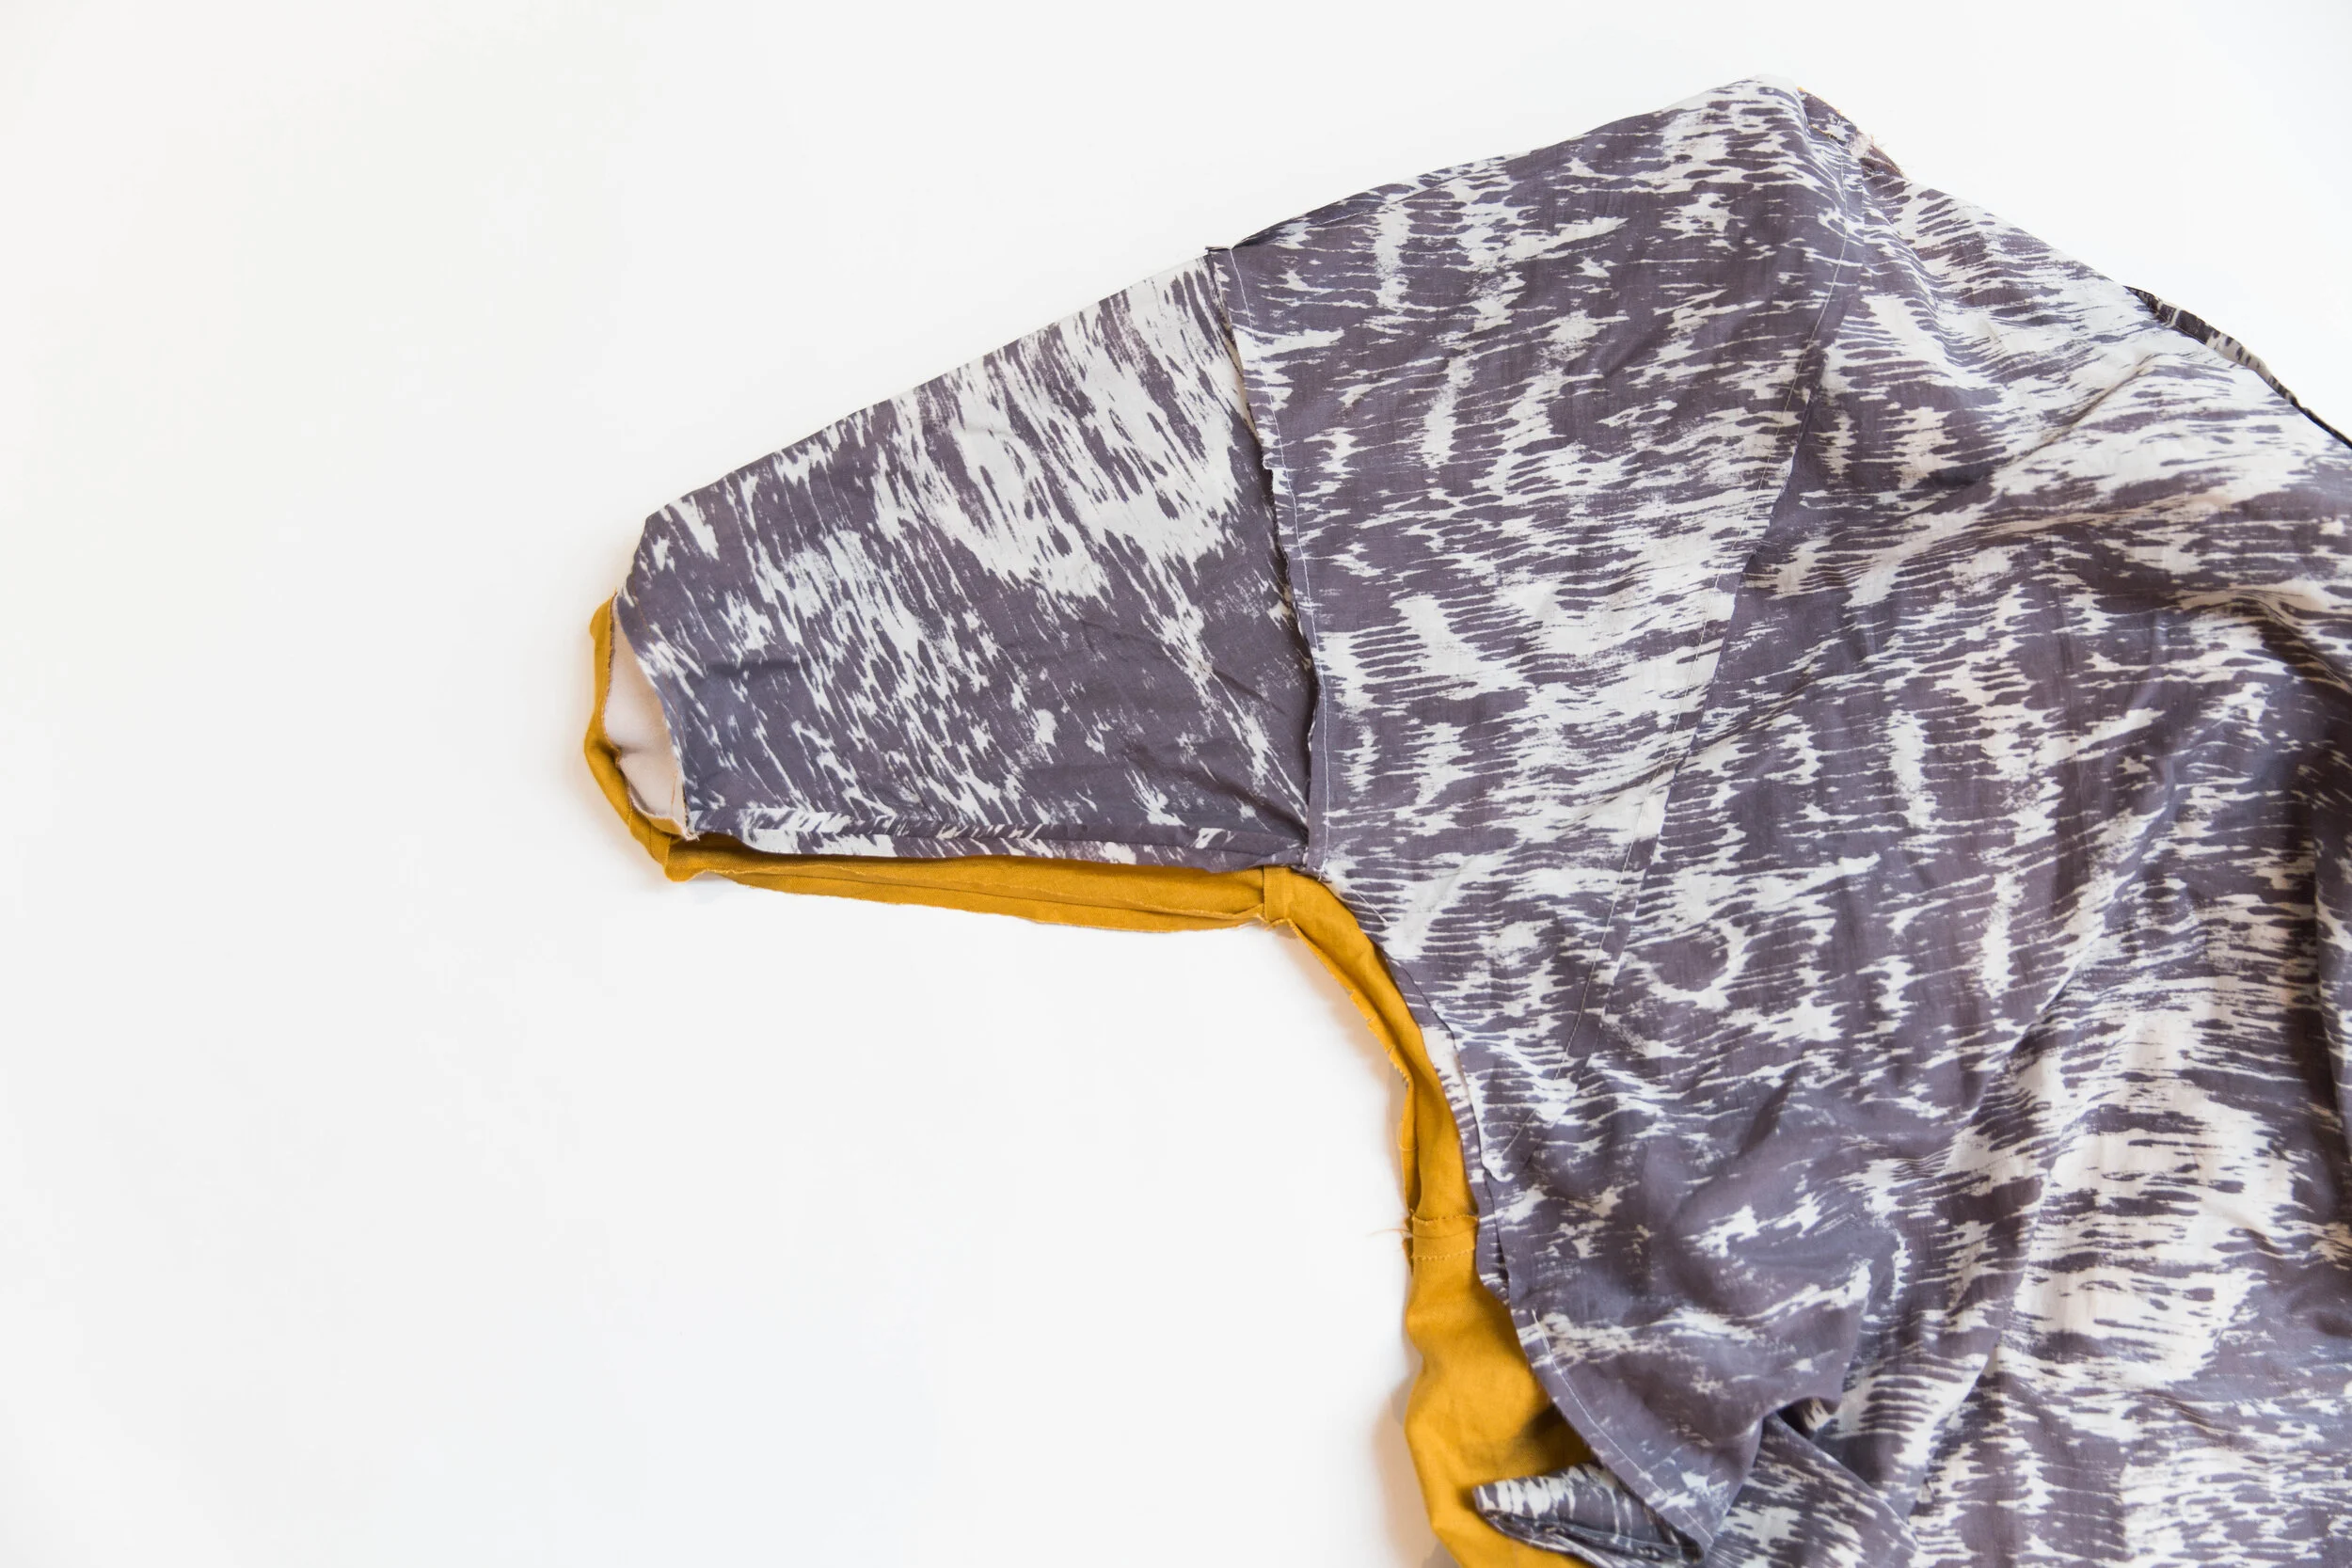
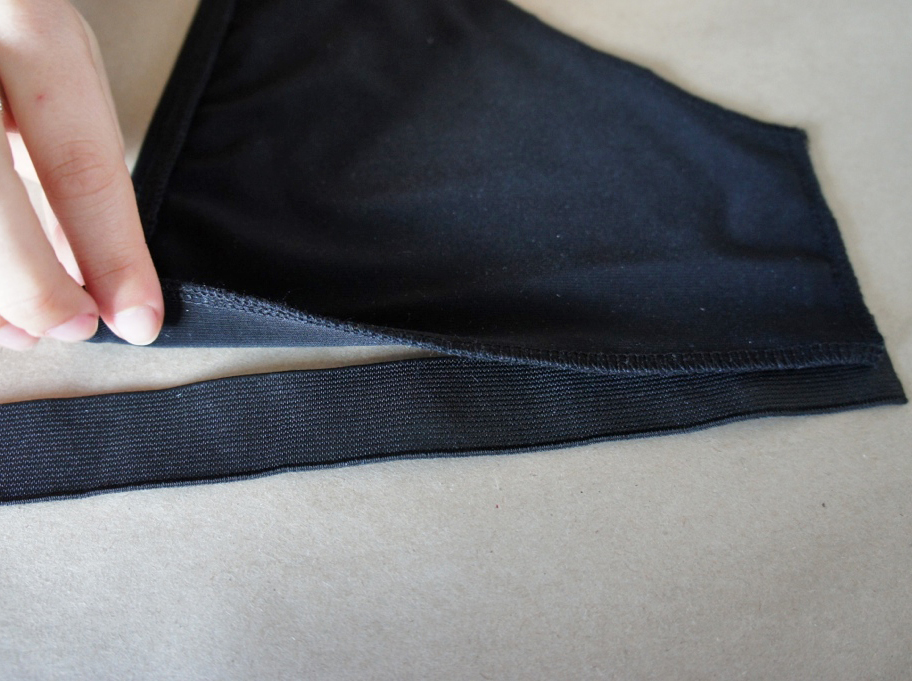
Measure your pattern piece from the shortest edge (shoulder), down to the longest edge (under bust). This is your centre front. Cut two strips of elastic which are 1cm shorter than that measurement. Pin in place along the edge and stitch in place with a zig zag stitch, gently stretching the elastic to fit.

Fold the elastic over and pin in place. Stitch with a zig zag stitch. When repeating for the other side, be sure to fold the elastic in the opposite direction, so that you end up with two mirroring pieces.

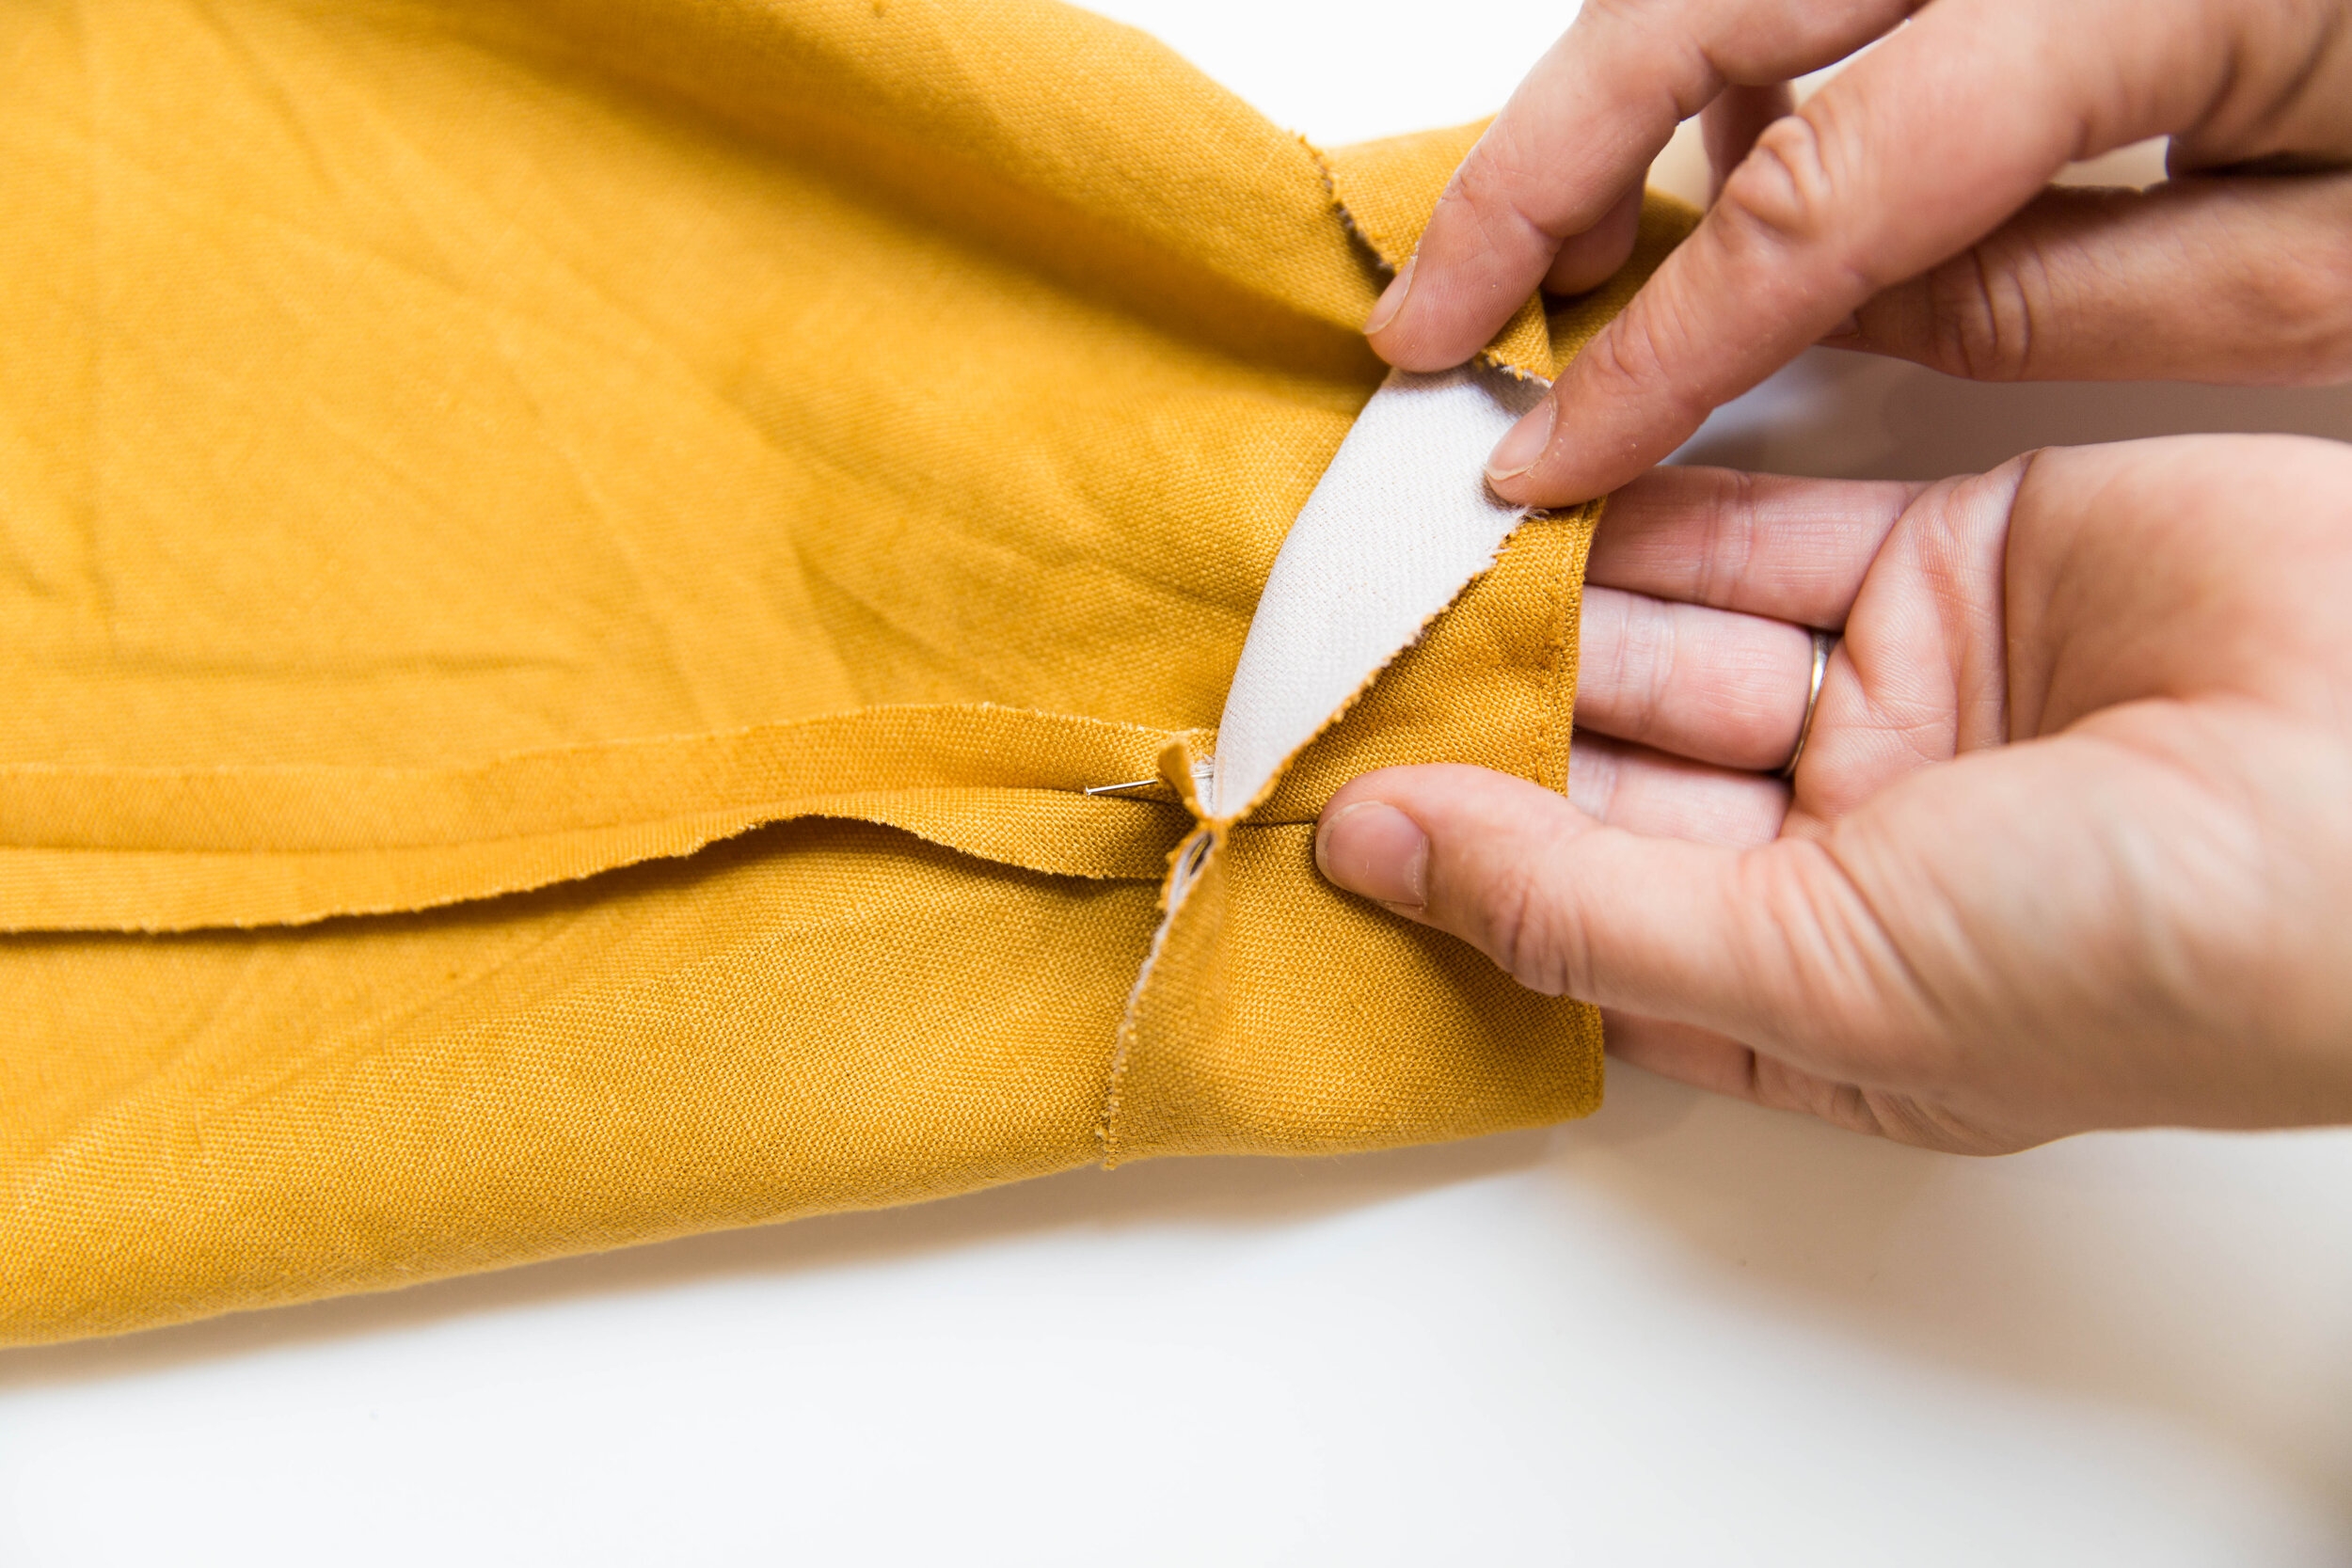
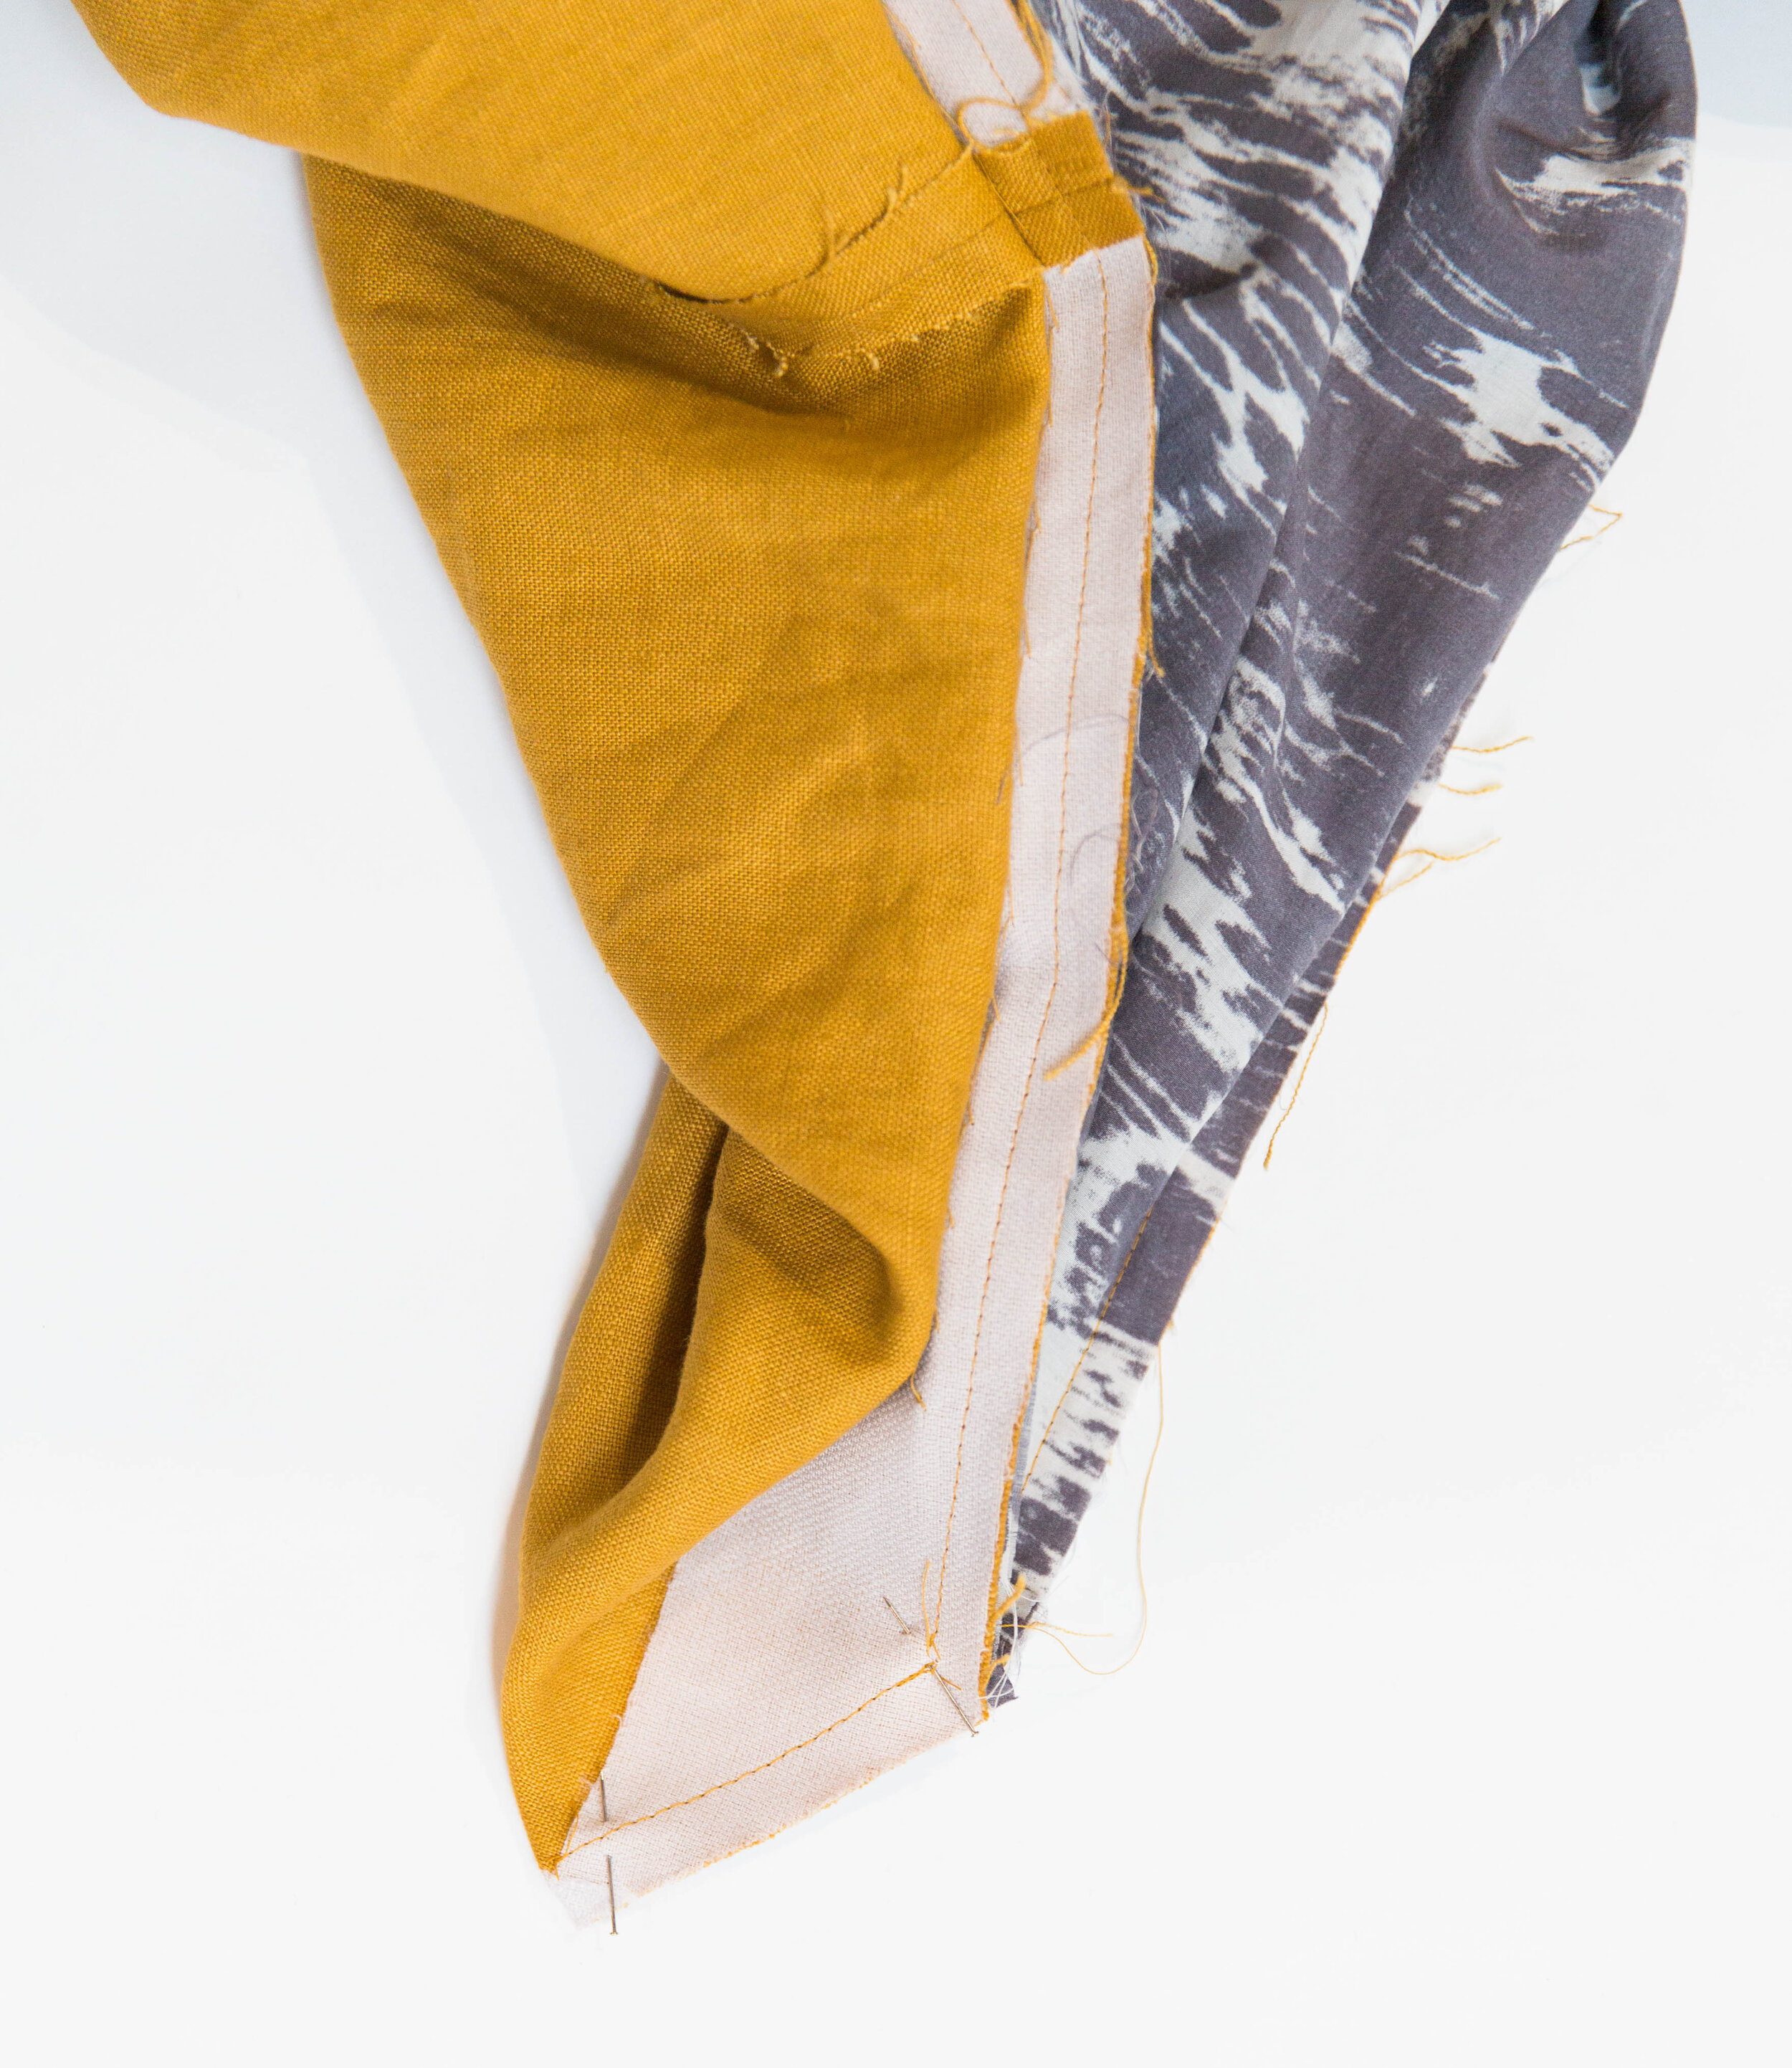
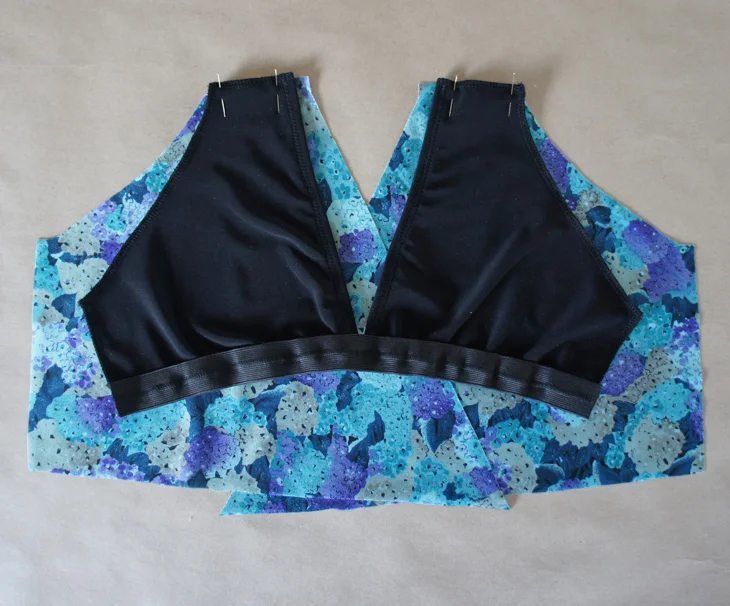
Cut a piece of 2.5cm/1" wide elastic long enough to span the width of both cups.
Place your cup pieces so that the bottom edge sits at the centre of the width of the elastic.

Pin your cup pieces to the elastic, gently stretching elastic to fit, taking care that the centre corners meet in the middle.

Stitch in place with a wide short zig zag stitch for maximum stretch.
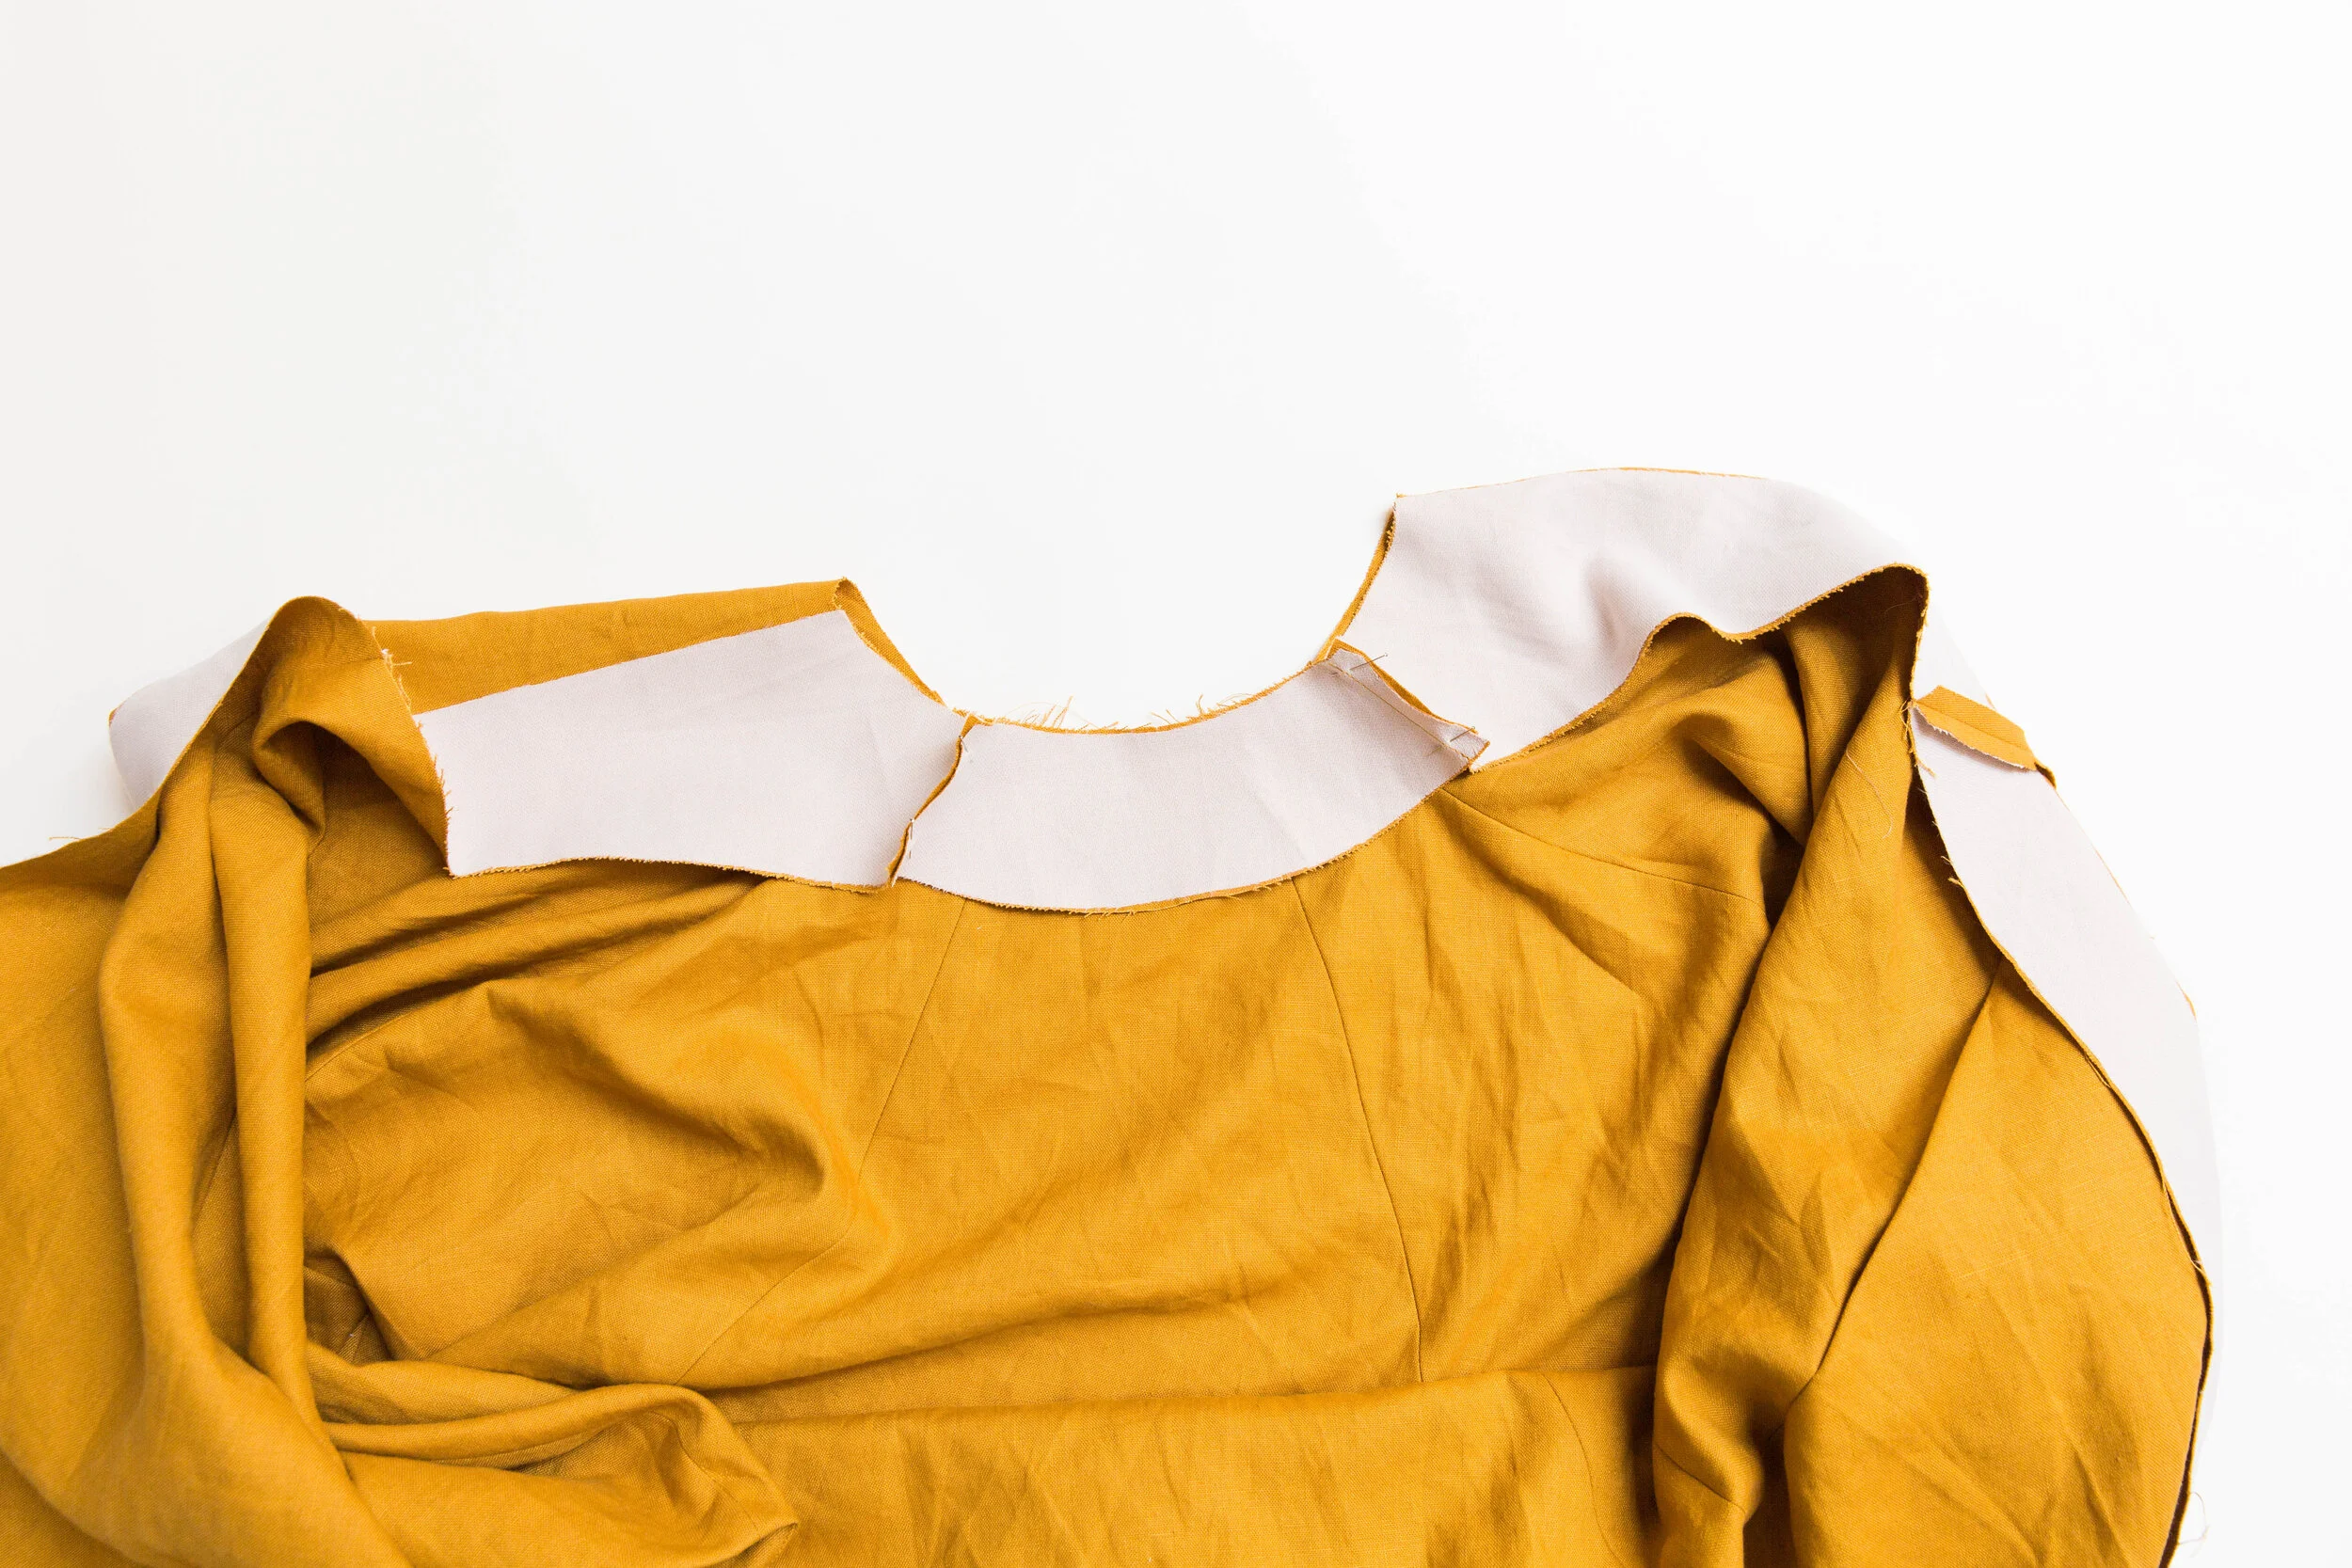
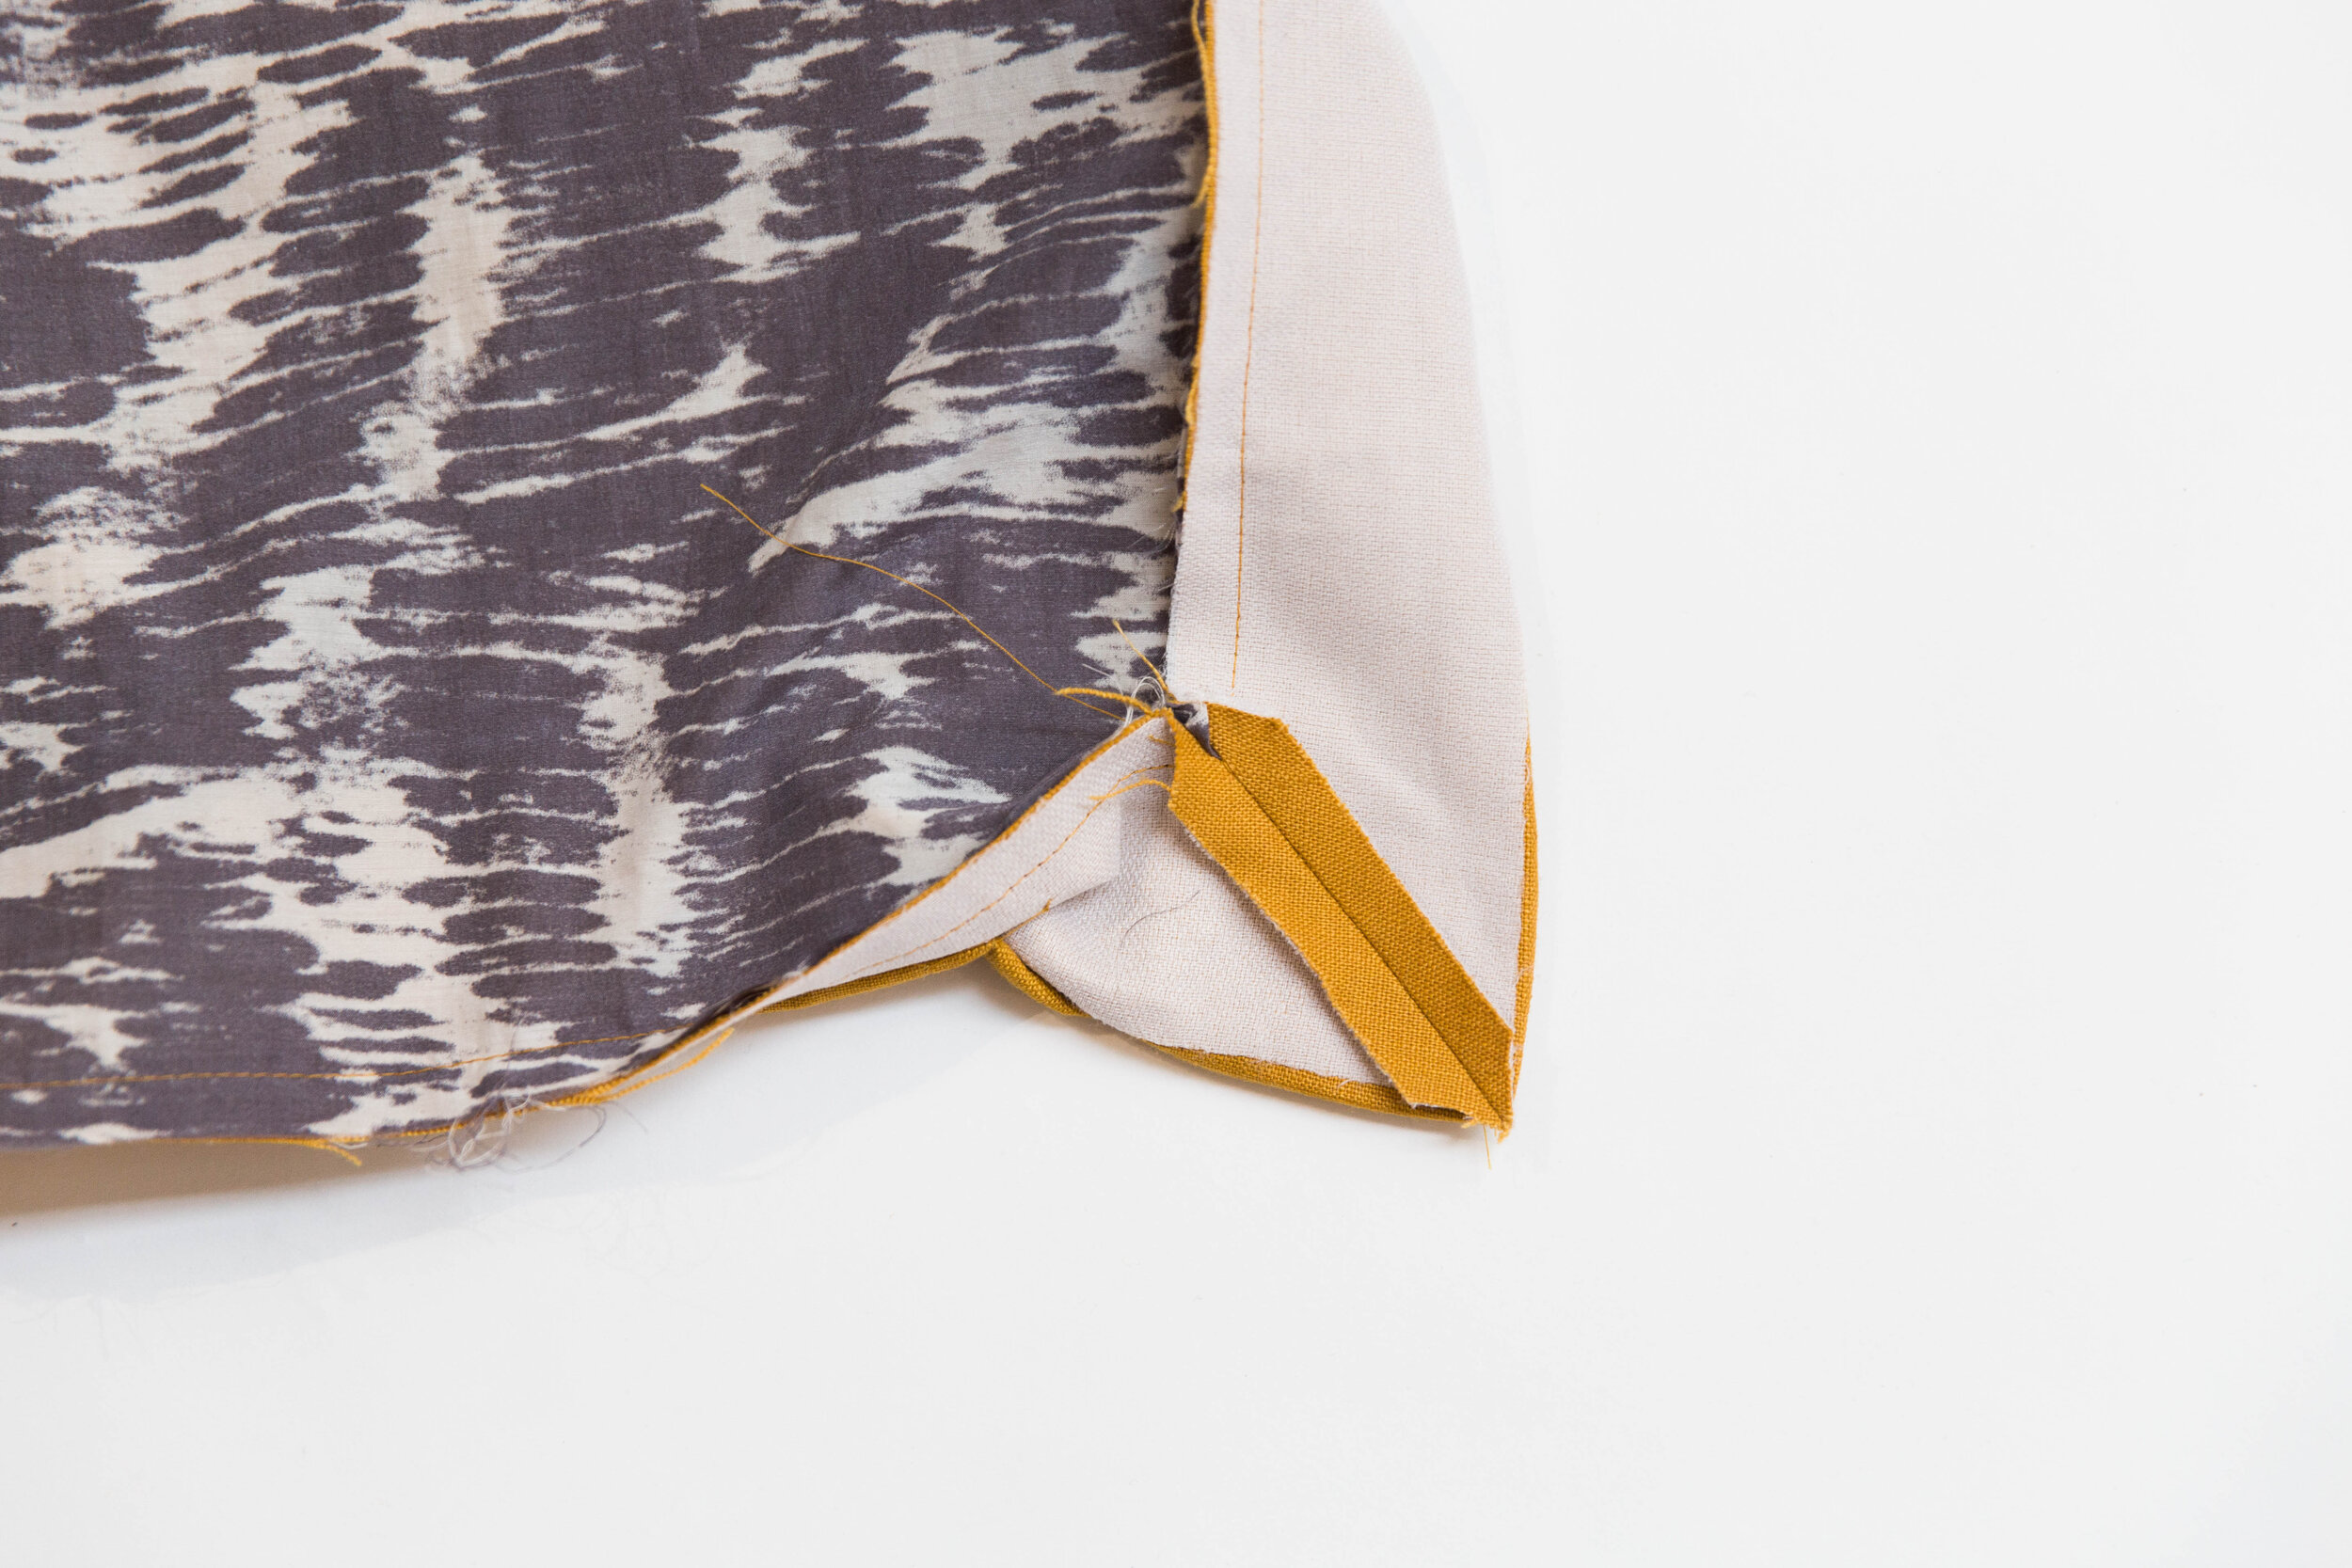
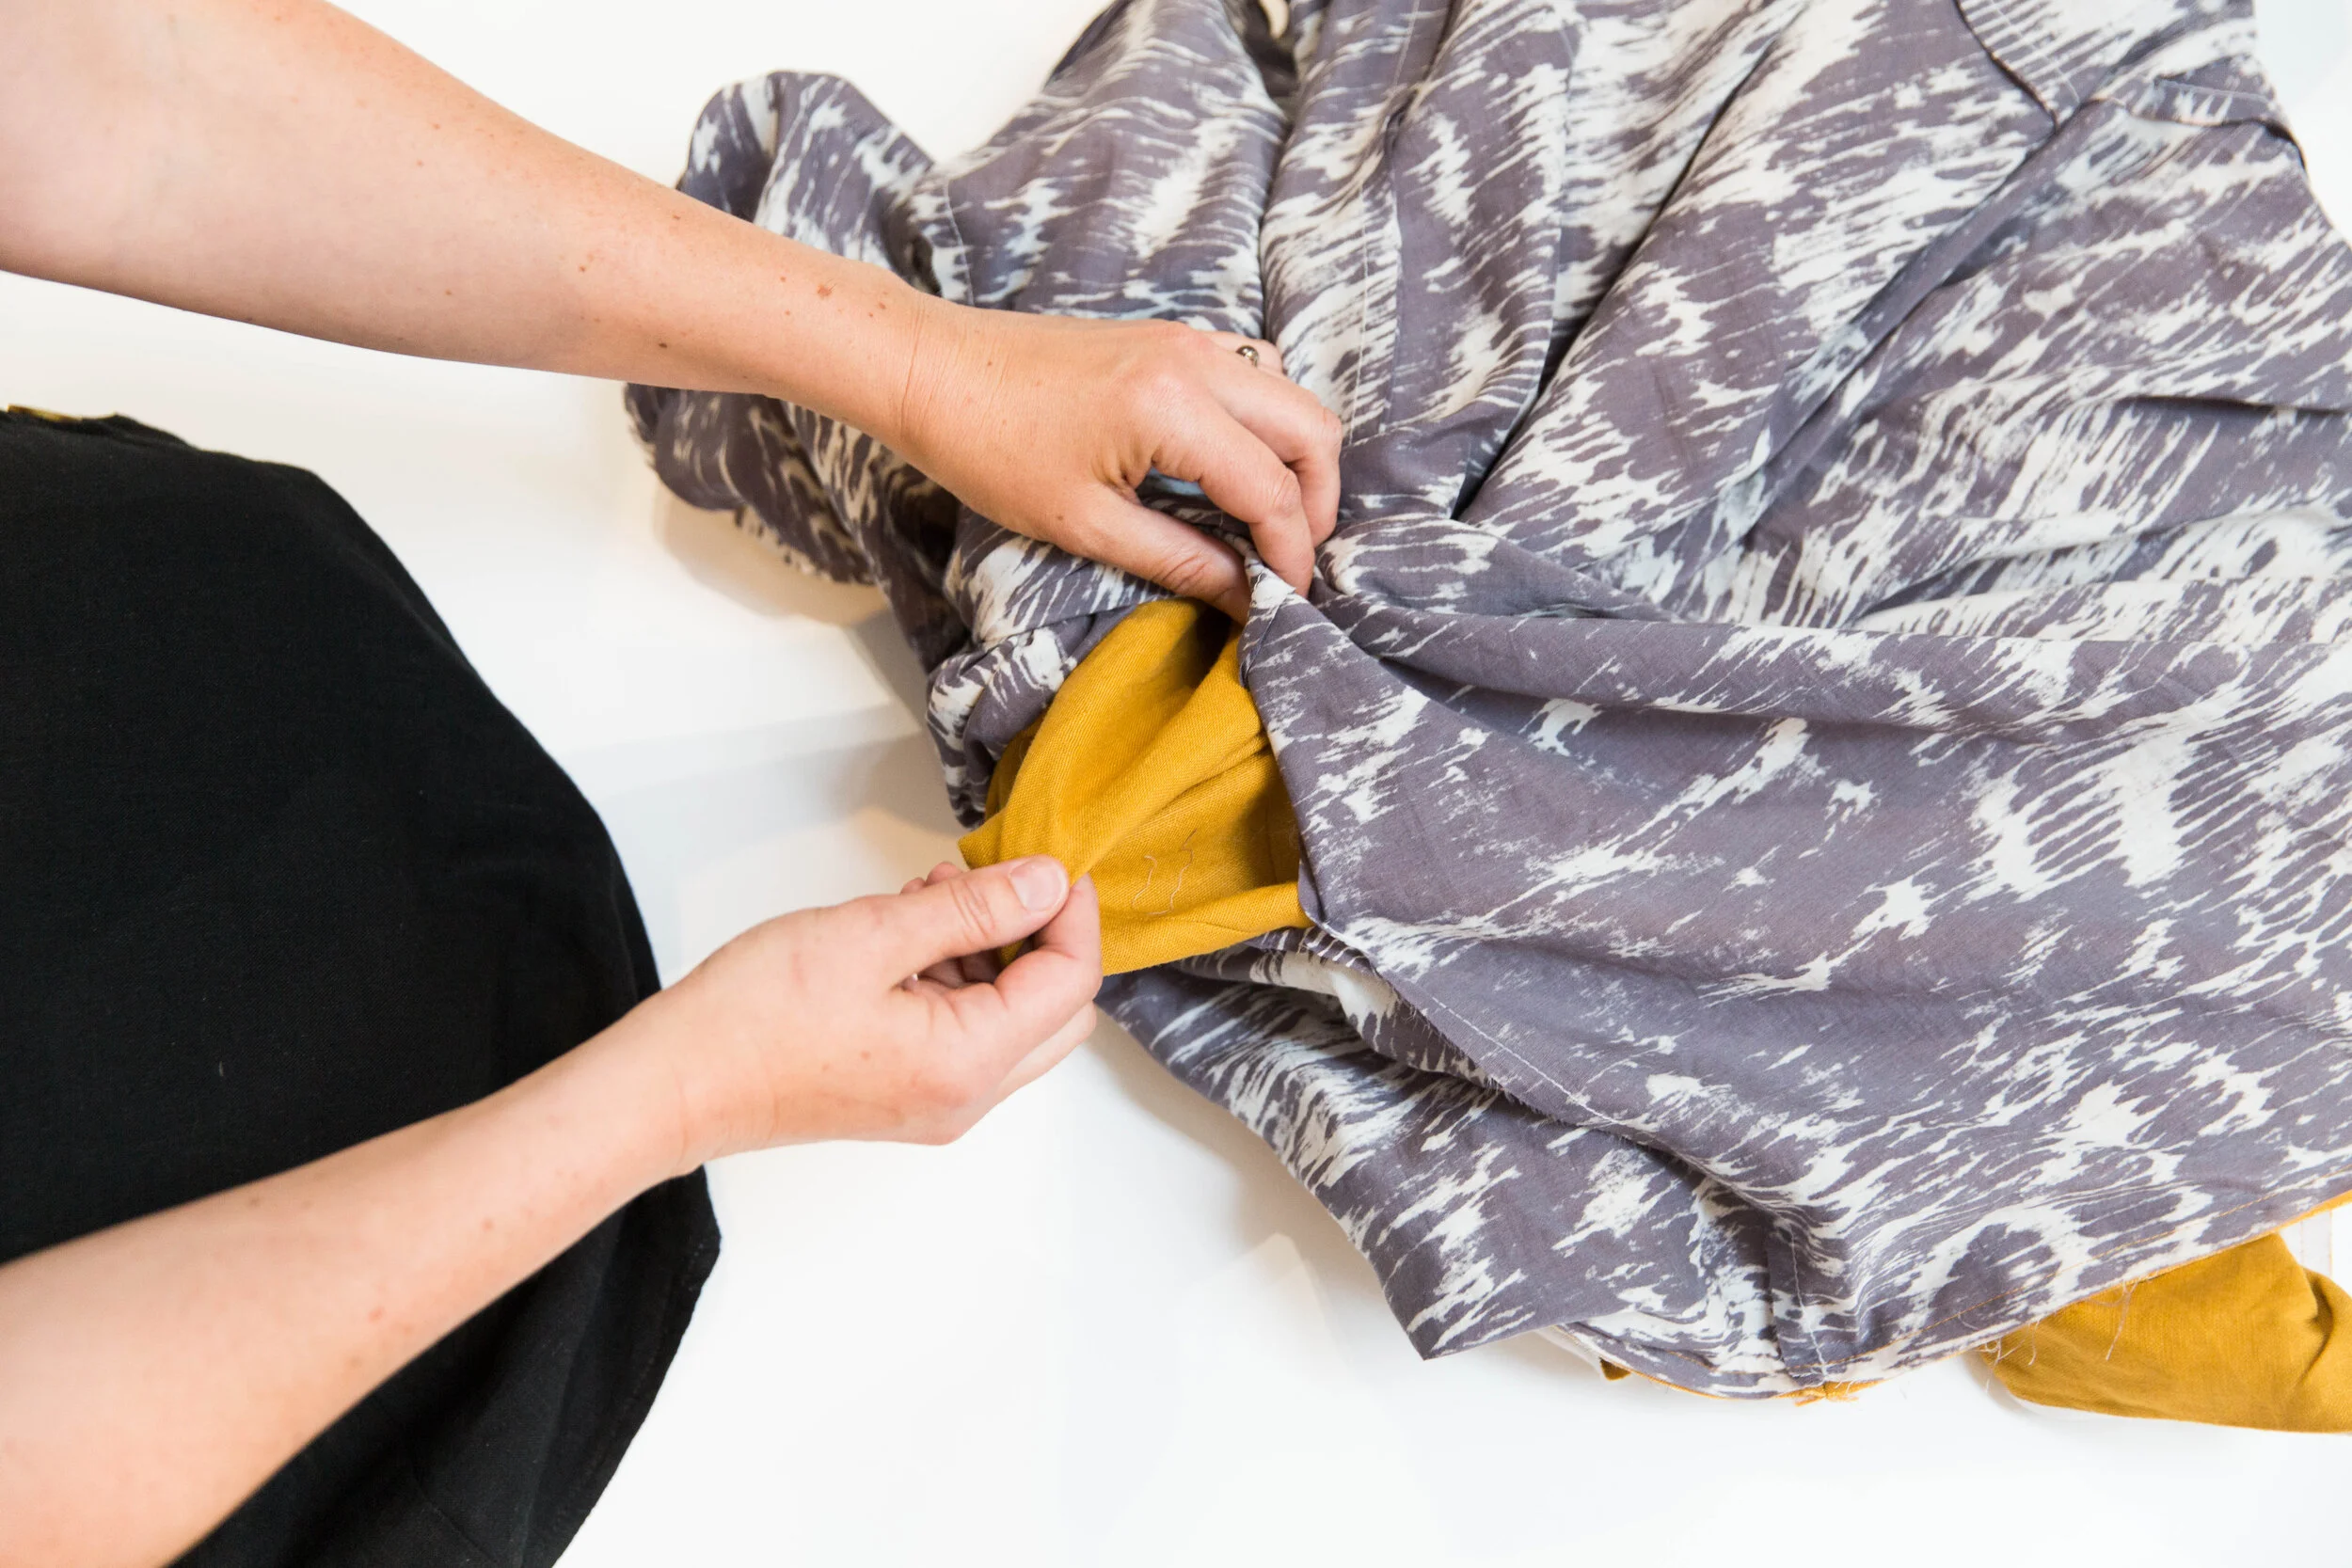
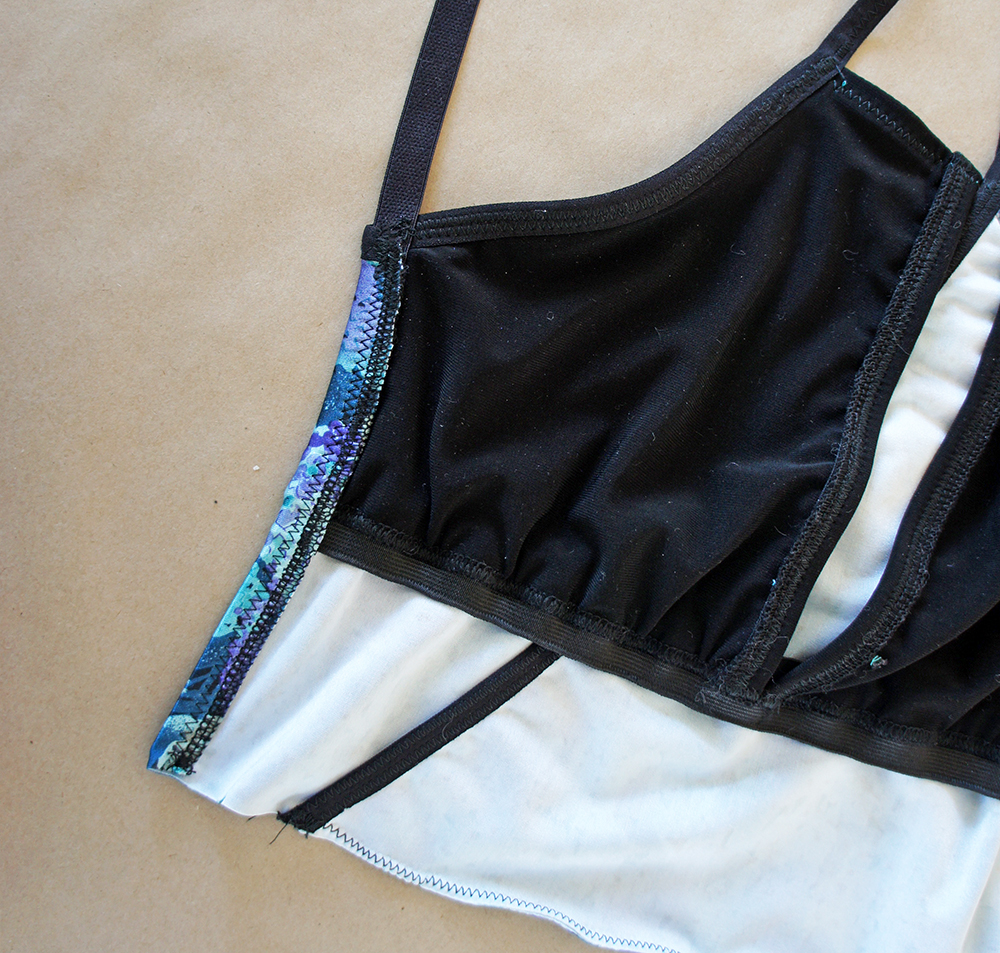
Place bra insert over front swimsuit pieces with right sides facing up for both. Pin together at top edge making sure the swimsuit pieces overhang bra insert by 1cm at centre front.

Fold bra insert up out of the way.

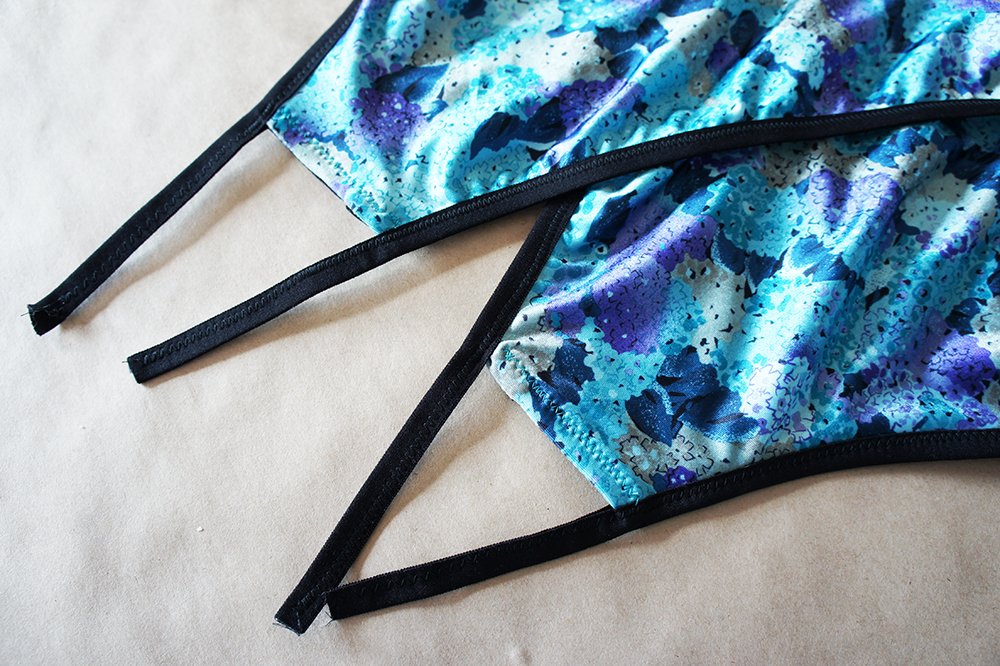
Attach fold over elastic to the centre front edges of swimsuit as per your Soma instructions.


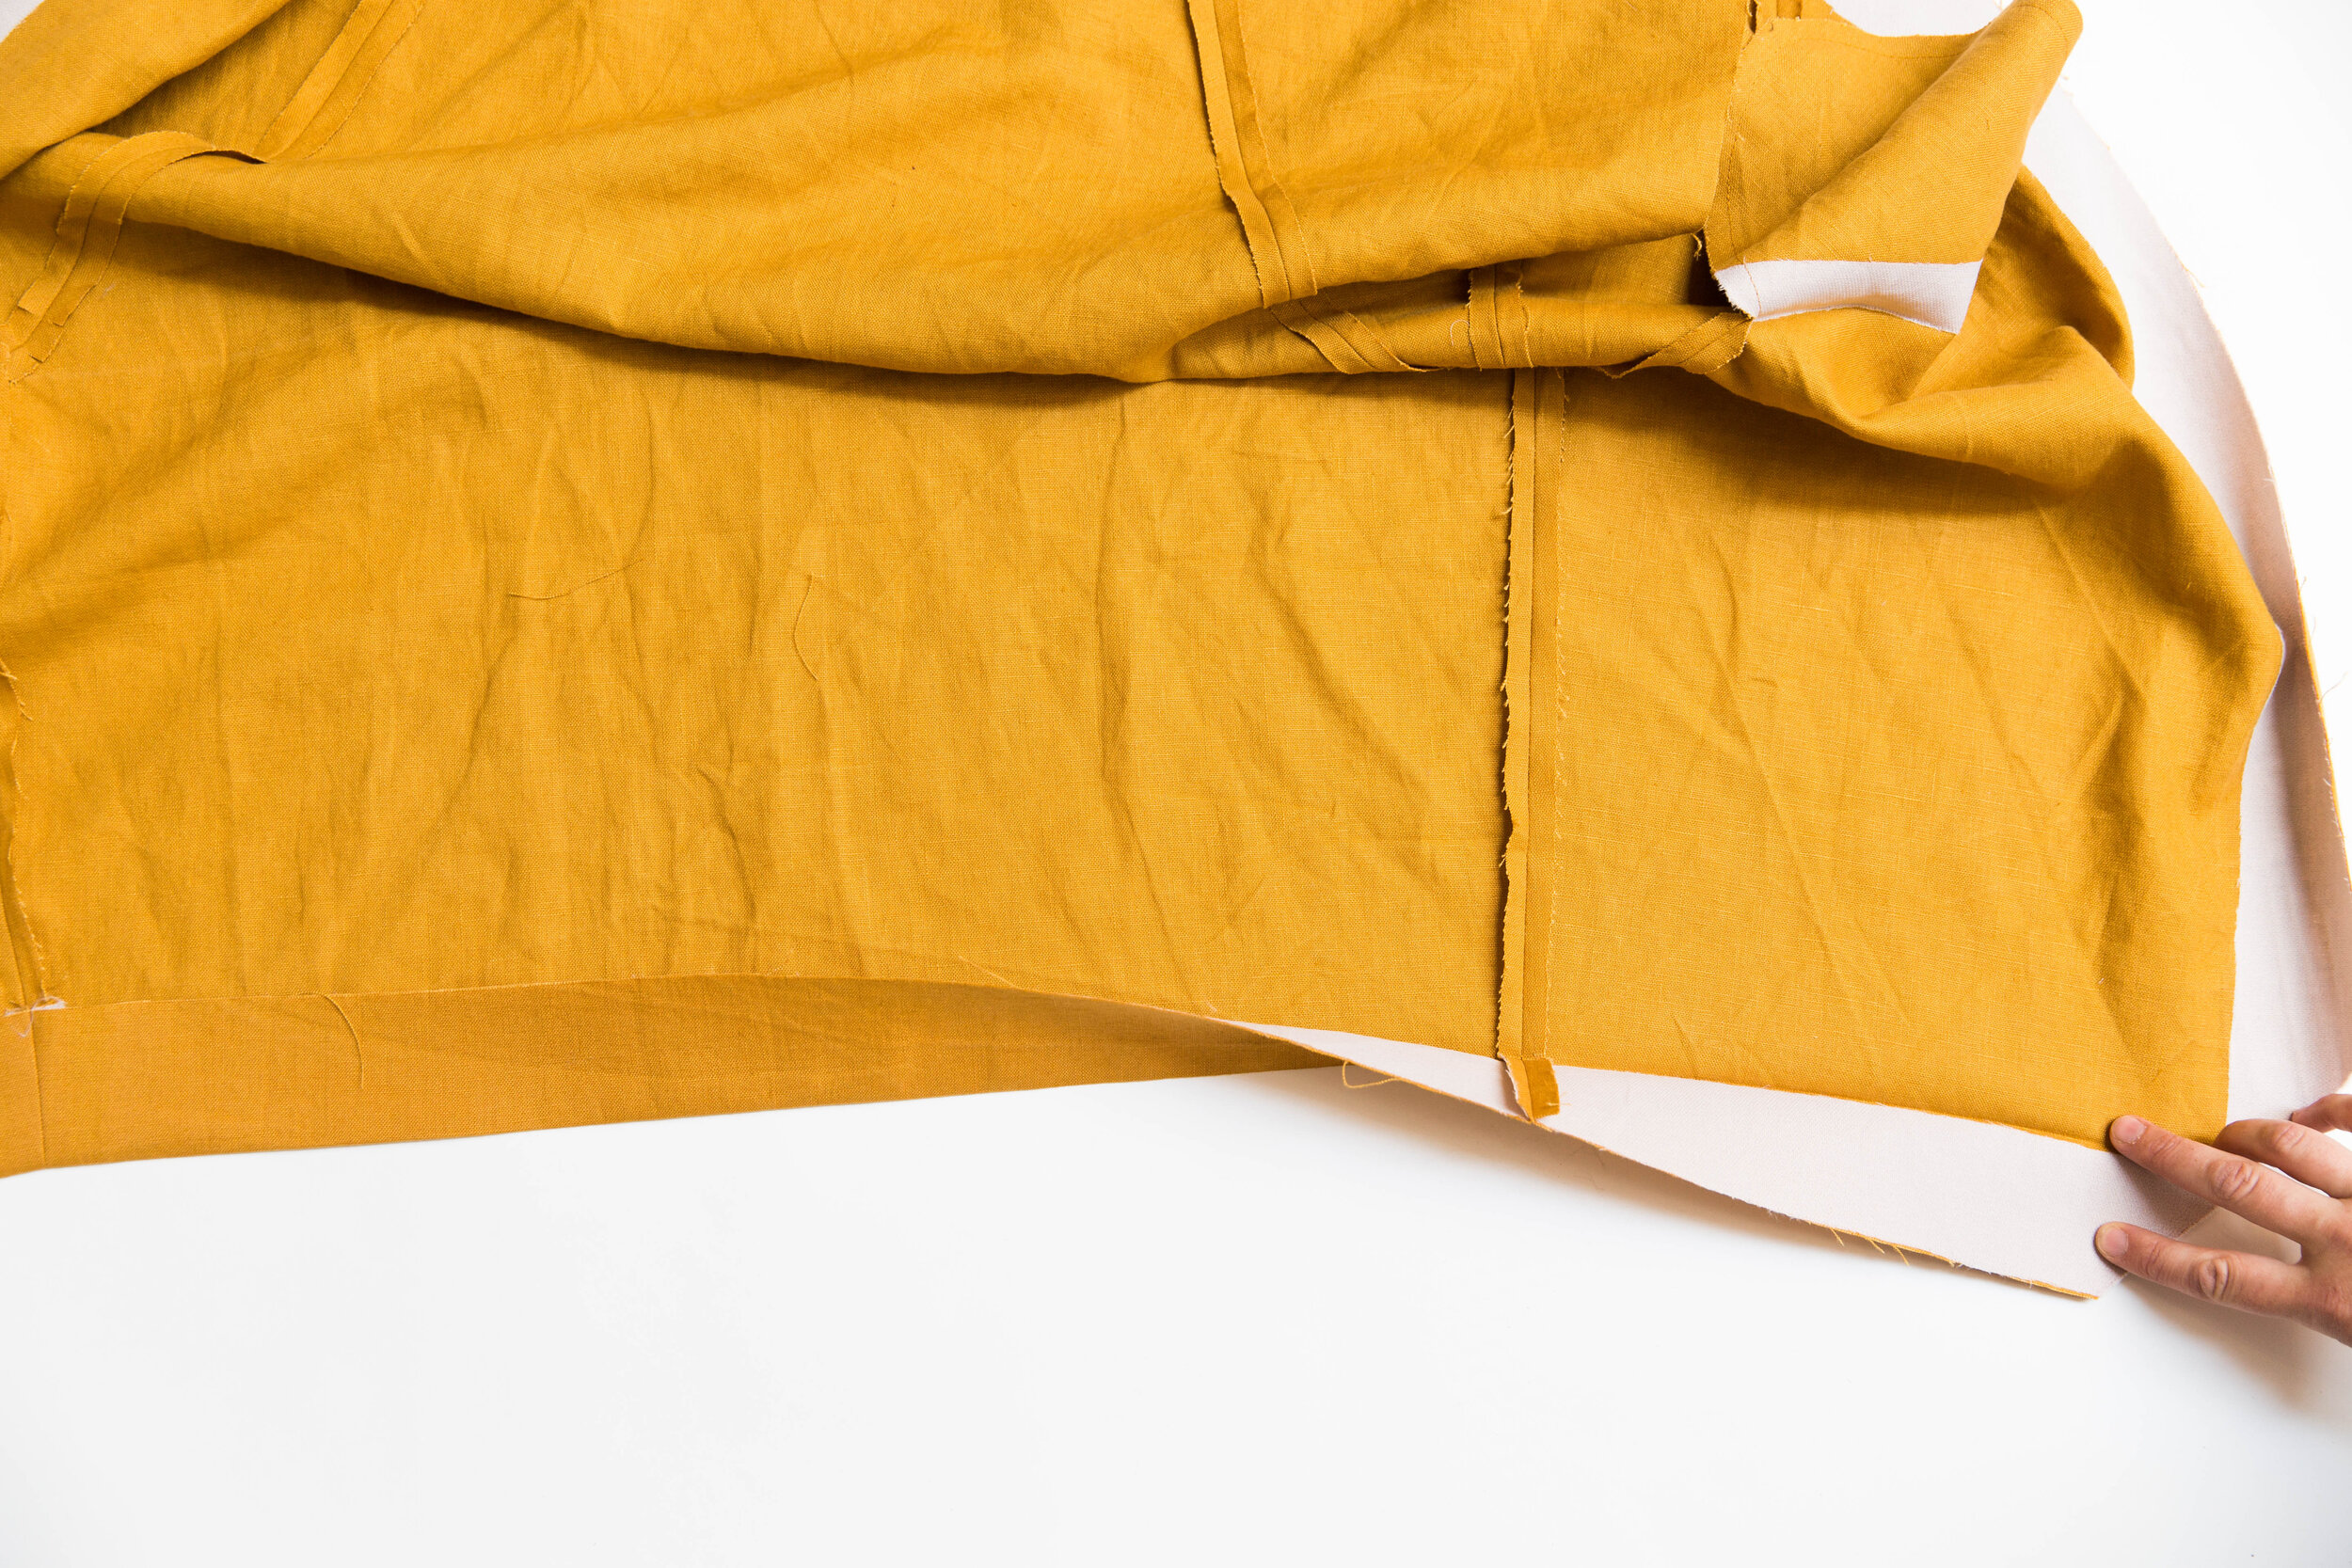
Overlap waist edges of swimsuit matching up the centre notch, then stitch in place.

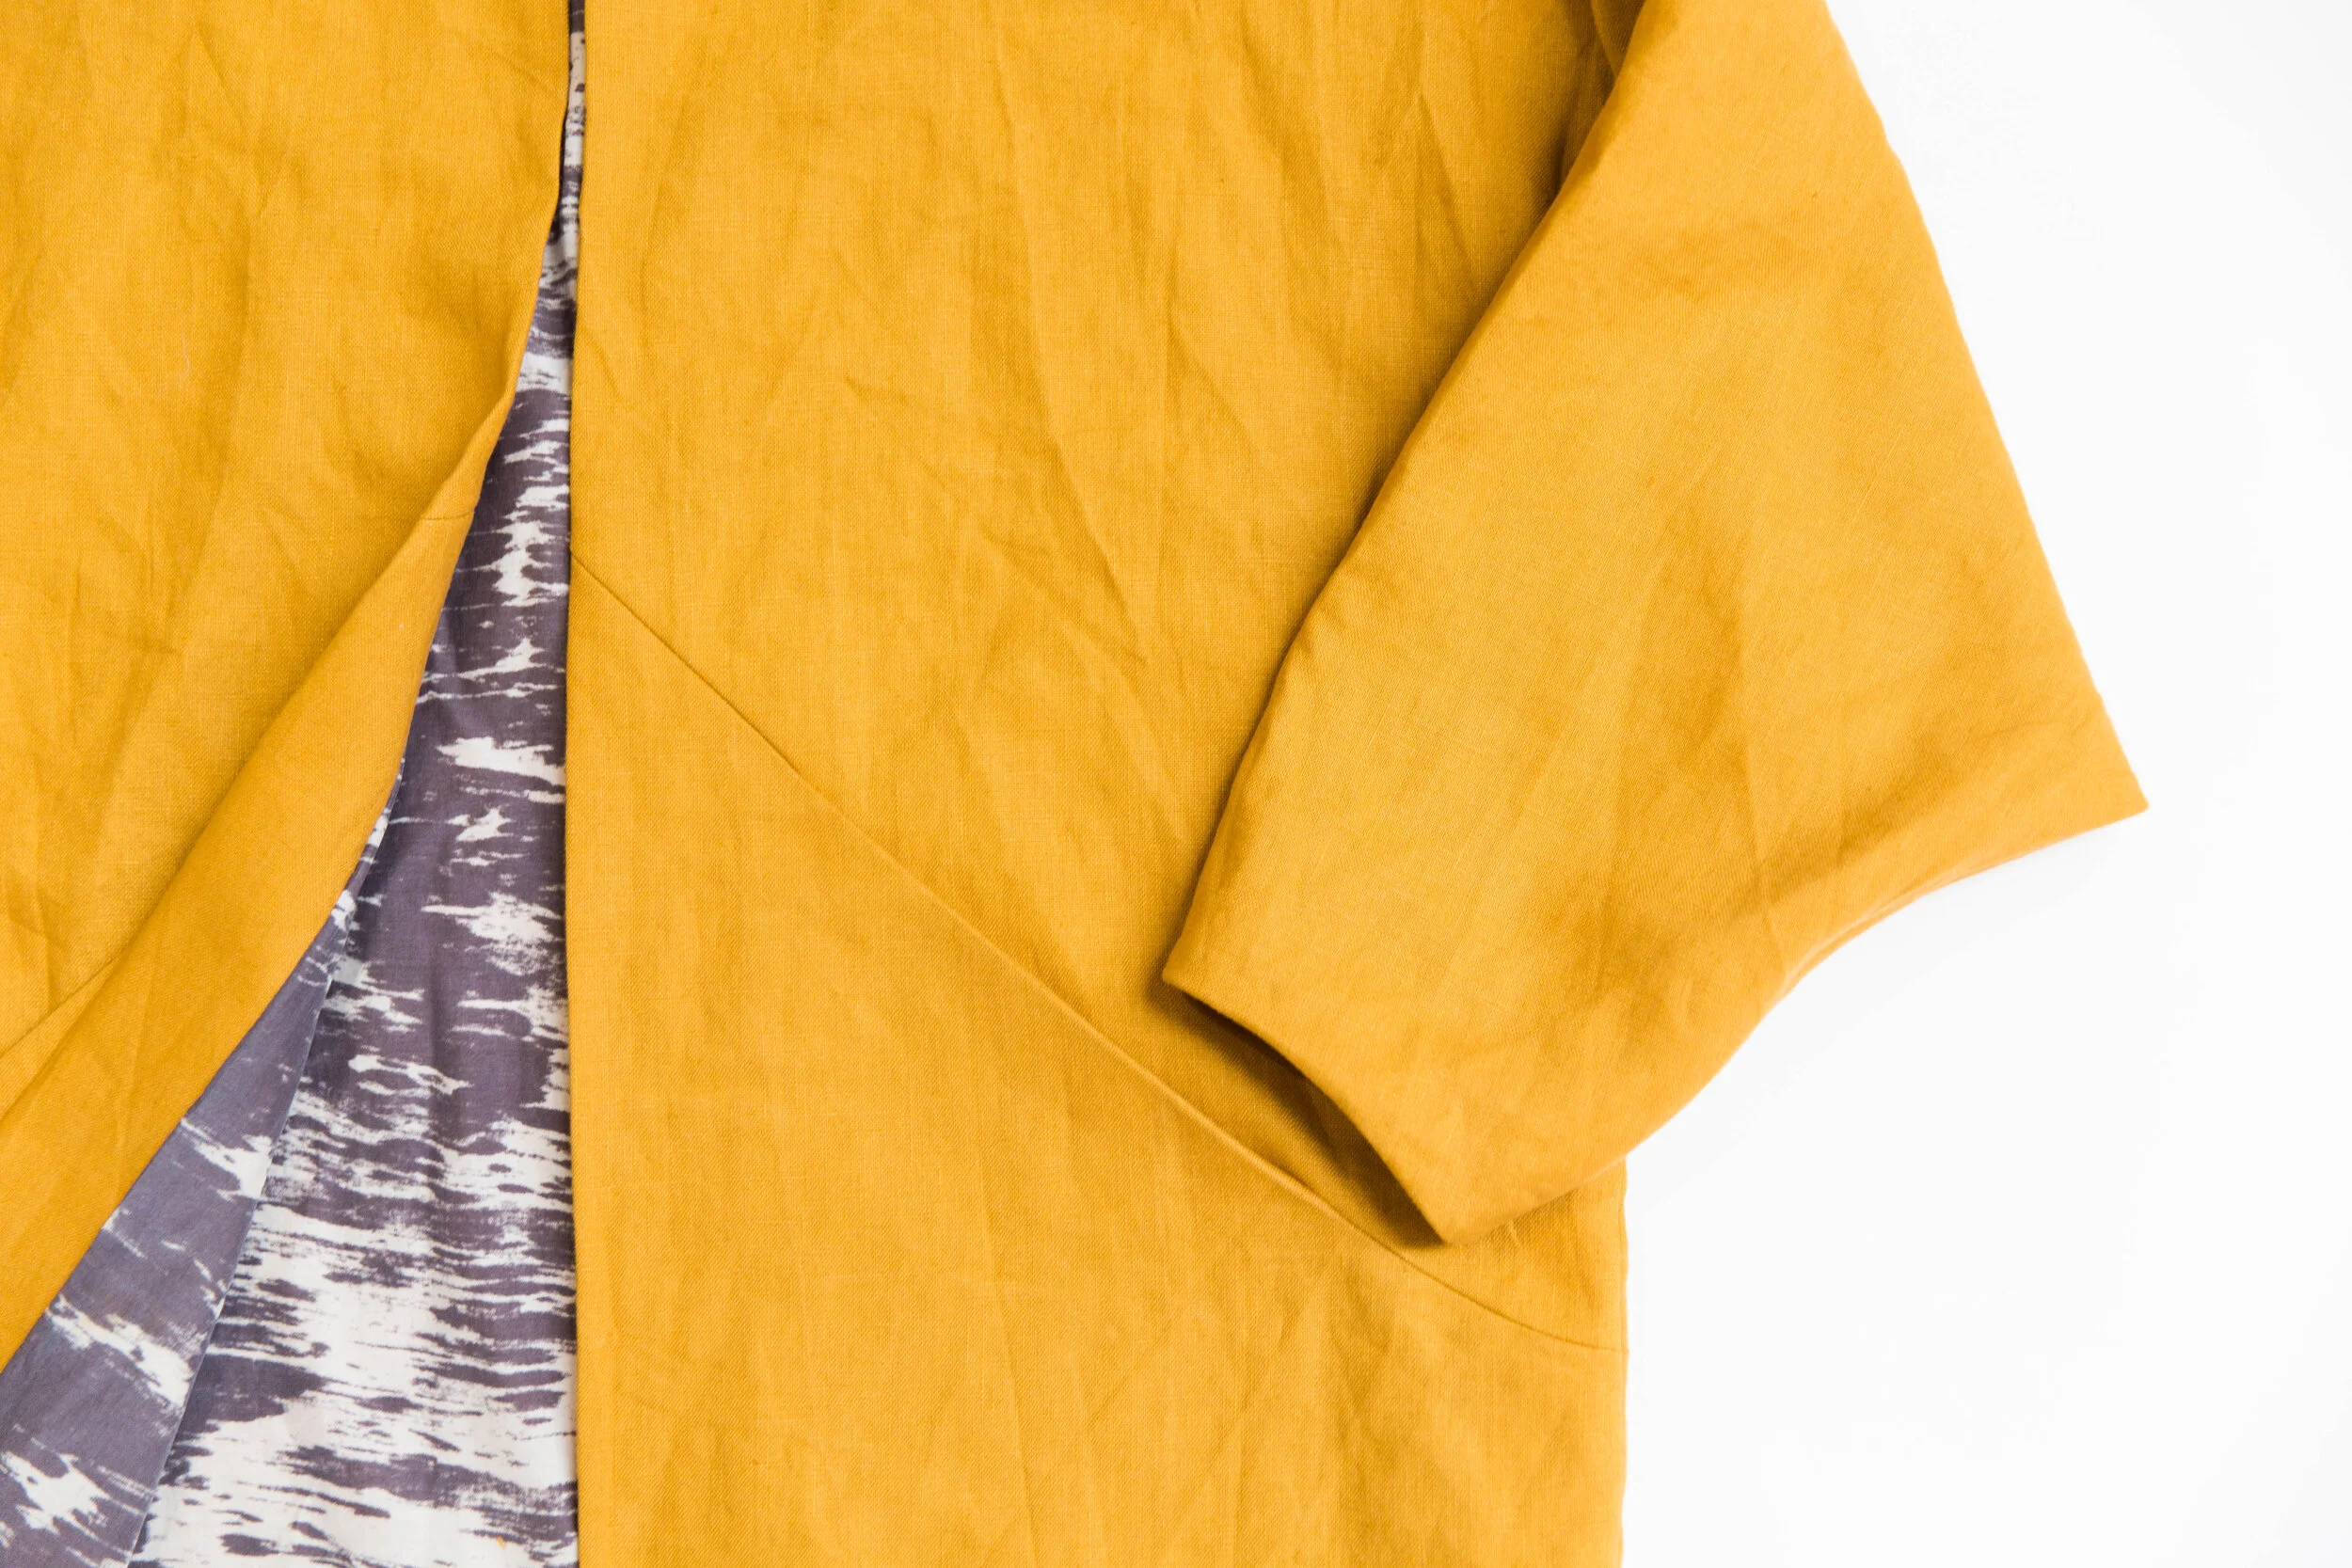
Fold bra insert to the inside of swimsuit and pin together around armhole and side edges. Stitch with a zig zag stitch.

Attach your fold over elastic as per your instructions.

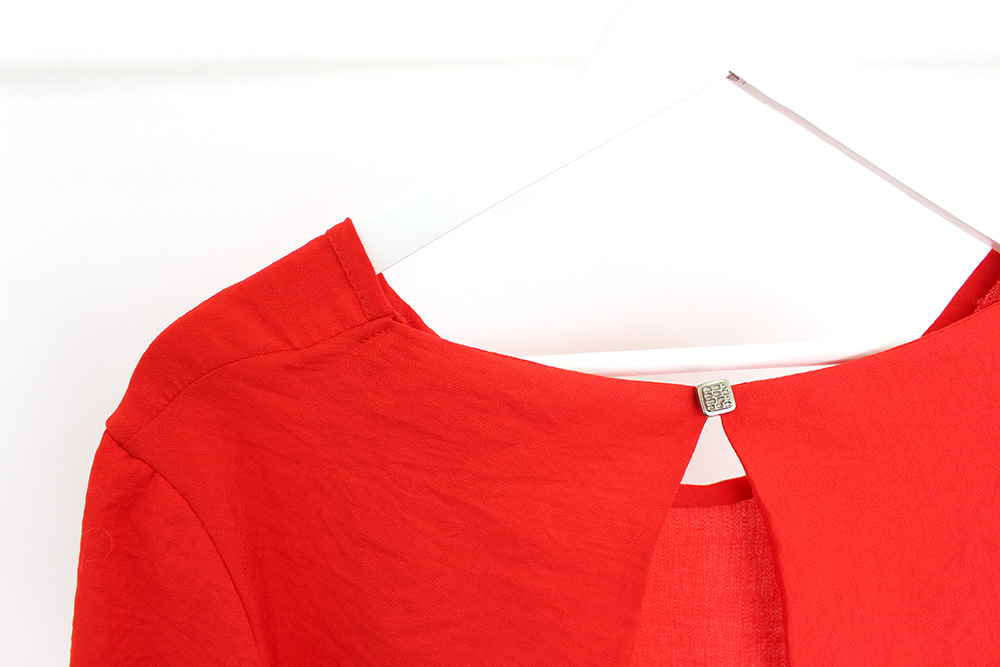
You might want to topstitch the top edges between fold over elastic to keep the seam sitting nice and flat.

Attach the bra strapping down the side, following the usual Soma instructions (step 14).
Fold the side elastic over one time to the wrong side and stitch (step 17). Repeat for other side.

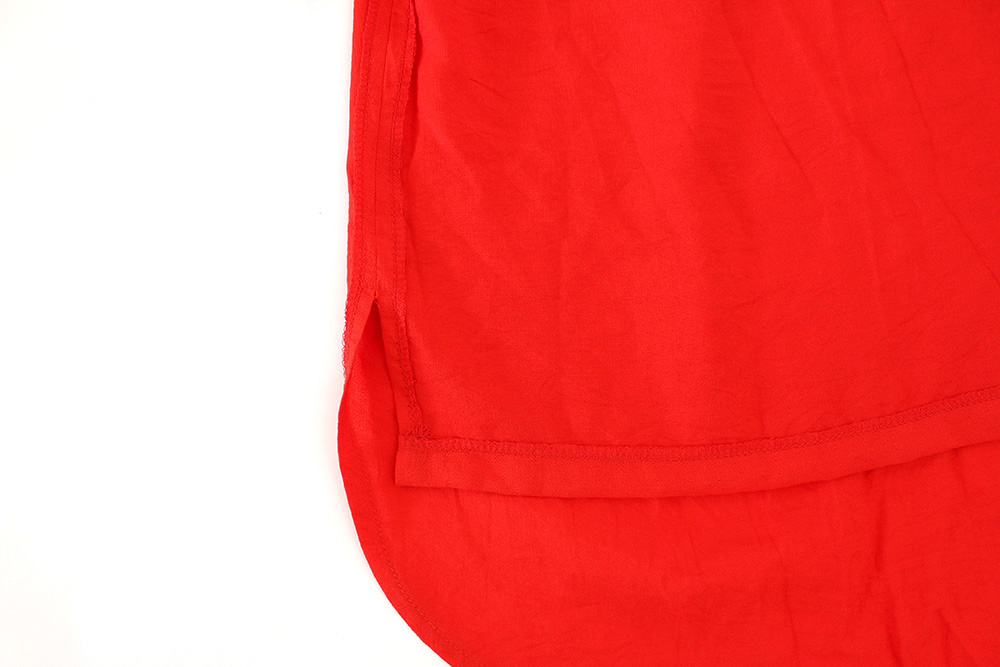
Sew the lower portion according to pattern instructions.

Pin lower half to top, matching side seams (steps 18-20).


Sew the rings onto your straps (steps 21-22).

Cut three strips of equal lengths (step 25). The Soma usually has two straps, but we'll use an extra one with this bra insert.

Try your swimsuit on and get someone to help pin the straps into place, so that you know how long to make them (step 26). Your third strap will go horizontally across the back, starting and finishing at the ends of the 2.5cm/1" wide under-bust elastic.
Stitch in place and voila! I bet you look smokin'. Time to find some water, sun and a good magazine. Enjoy! x