
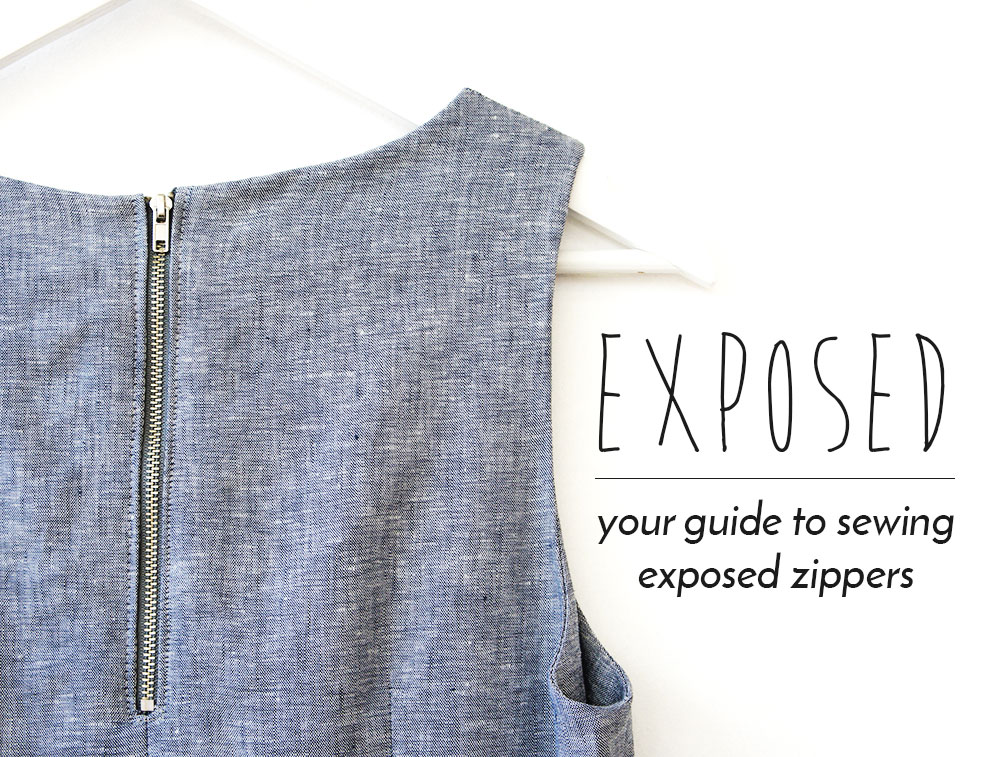
Exposed zips are a good way to add extra detail to a garment, especially when the zip is too cute to hide or if you want a more edgy look.
While we're going to show you how to sew an exposed zipper using our Starboard Jeans pattern, the technique is the same regardless of the garment. So feel free to experiment with tops, skirts or whatever else takes your fancy!
First up, we'll show you how to insert the zipper where no seam is present, then we'll demonstrate how to sew one along a seamline.
How to sew an exposed zip without a seamline

On your garment, mark the opening where the zip is to go. If you're not using a pattern as a guide, this is usually about 1.1 cm wide.


Iron interfacing onto the wrong side of the fabric for stability. Staystitch along the marking lines you made earlier on the fabric.

Cut between your staystitching lines, stopping about 1.5cm from the end and instead, cut on an angle into the corners, taking care not to cut through your stitching.
Press open along the staystitching lines.
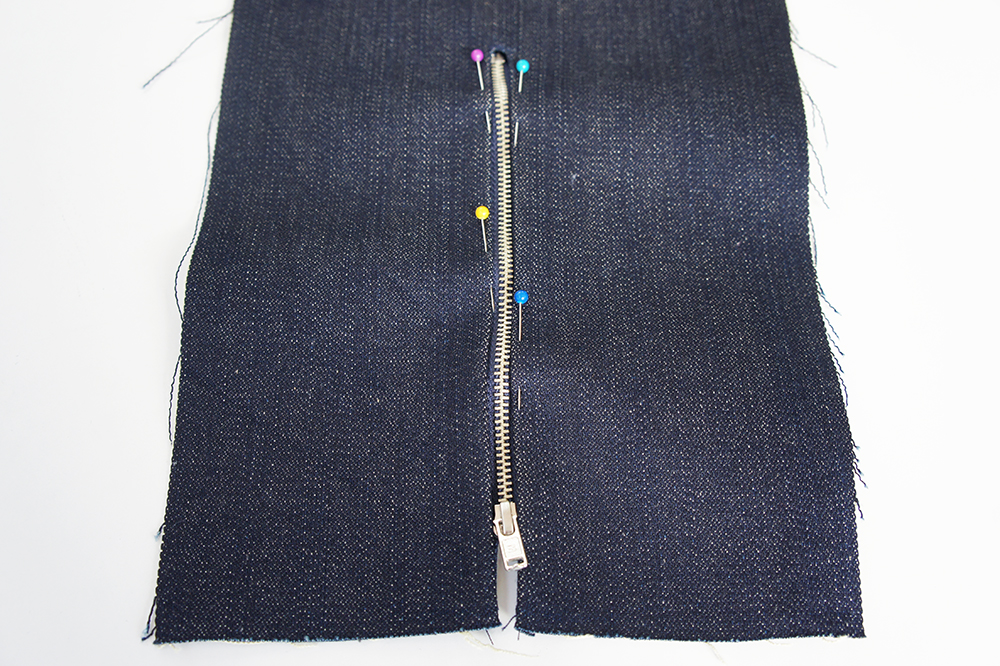
Pin zip into the opening.

Using a zipper foot on your machine so you can get nice and close to the edges, stitch in place.
Congratulations! You've just sewn an exposed zipper.
How to sew an exposed zipper along a seamline
While there aren't any zips on seamlines in our Starboard pattern, I've put together a sample on fabric remnants as an illustration. The technique is much like above, it just starts a little differently.

First, you'll measure how long you want the opening to be. Work out the length starting 1cm (or whatever your seam allowance is) above the start of the zipper teeth, right down to where your zipper teeth end. Cut two strips of fusible facing which are 1.5cm longer than that measurement and iron them onto the wrong sides of your garment where the zip will go.

At this point, you should neaten the edges, which I completely forgot to do in my unbridled enthusiasm when putting together this post *head slap*.
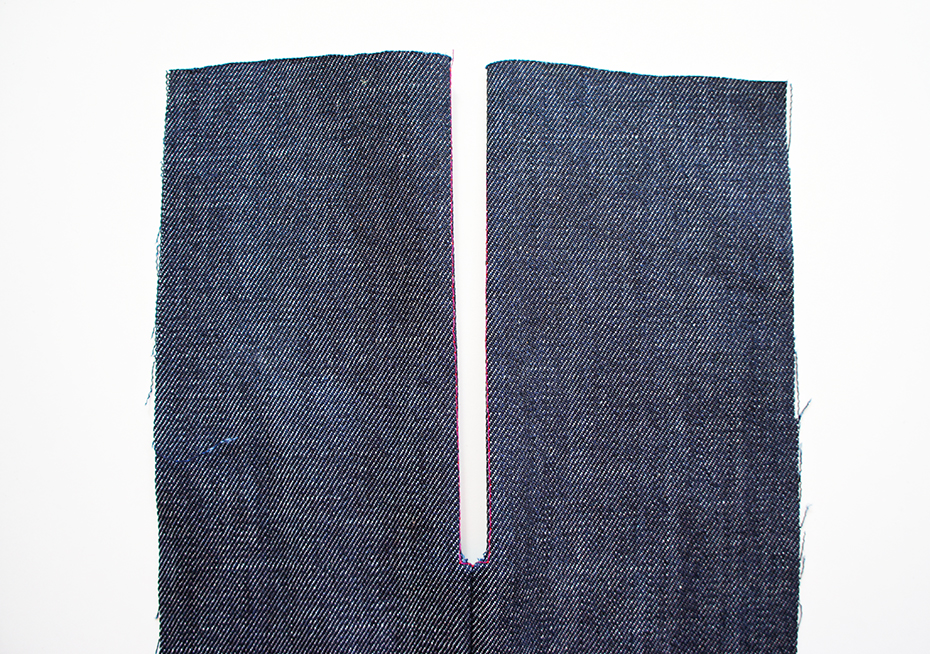
Once you've done this crucial, but unillustrated part, staystitch 1.5cm from top edge (but if your seam allowance is 1.5cm, then make this 2cm) down as far as your measurement from above, pivot toward the edge and finish sewing to create an "L" shape. Repeat on the other piece of your garment.

Sew the rest of your seamline closed, starting from below your "L" shape and finishing at the bottom edge of your garment. Your seam edges will look much neater than mine!

Clip into the corners of your "L", taking care not to cut through your staystitching, and press open along the staystitching lines. Press seamline open too.
Now you can insert your zip as illustrated above, starting from the image with the colourful pins. And there you have it! Two ways to insert exposed zips in your garments.
Enjoy! x