

The Guise Pants
a step-by-step tutorial
These pants are an absolute must have, the perfect balance of comfort and cool.
You can rest easy knowing you'll always have the perfect pants to throw on whilst also feeling comfortable.
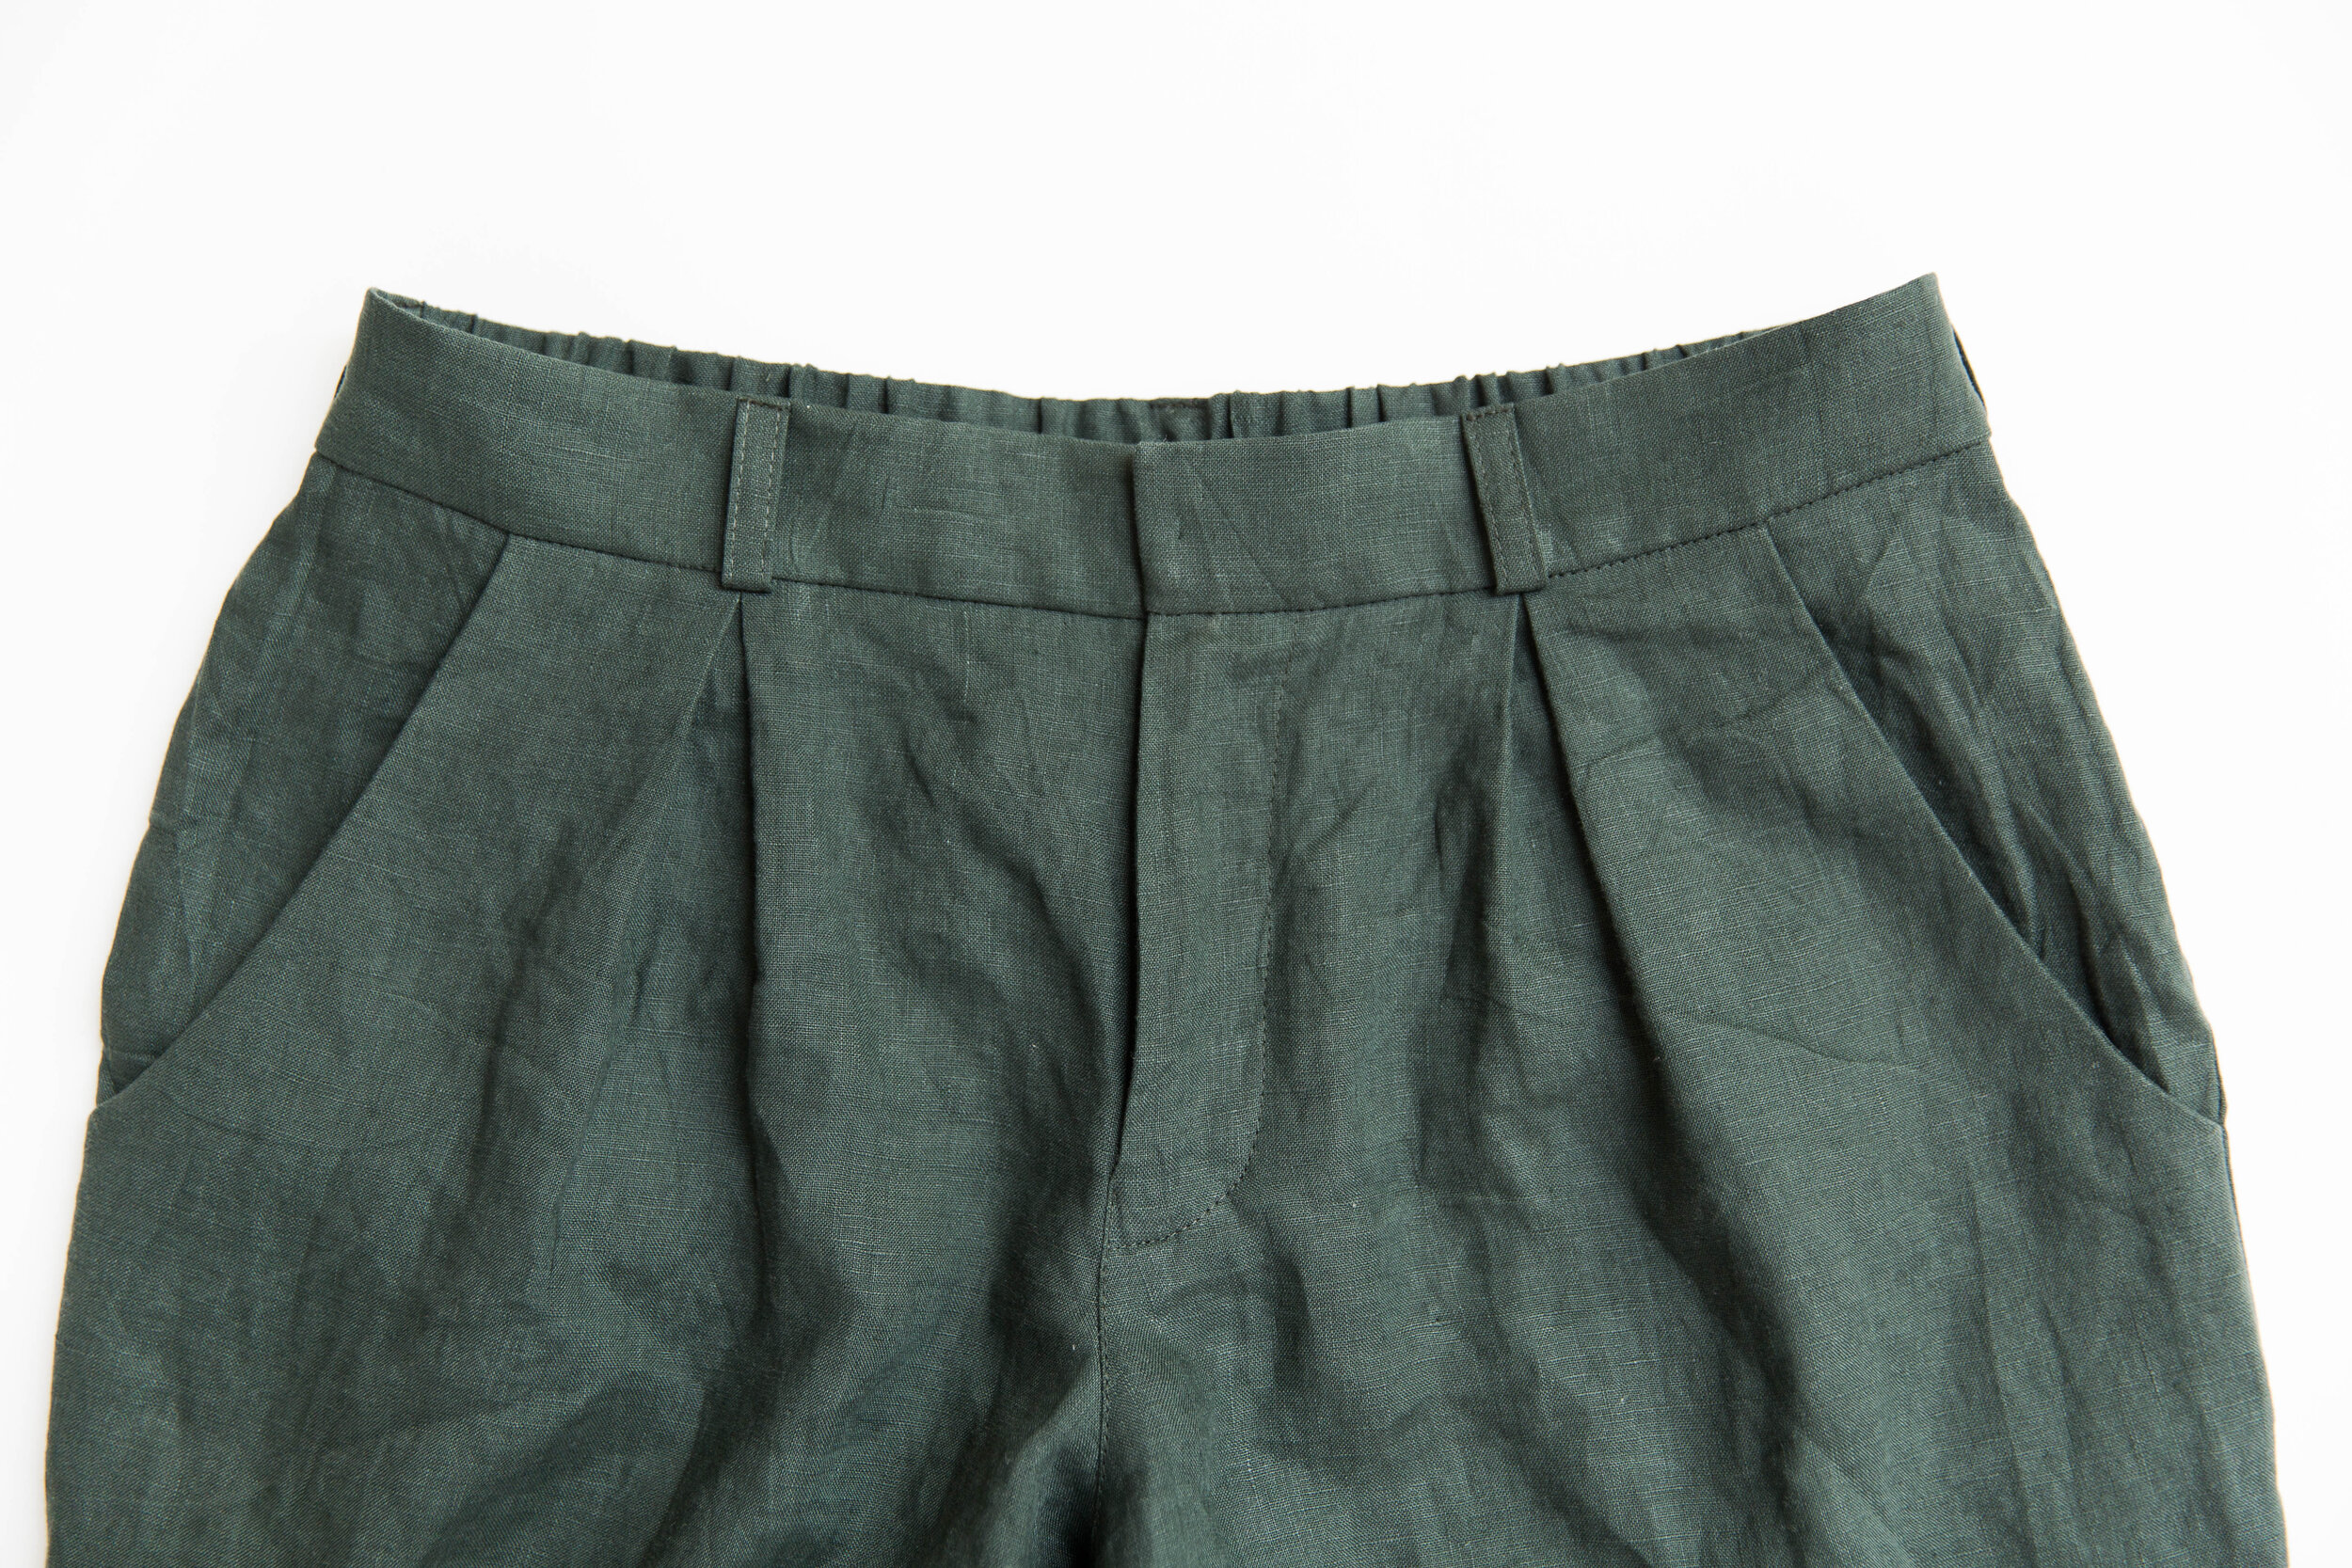
Featuring stand out inverted pleats, zip fly, side front pockets, back welt pockets with button closure and an elasticated back waist band.

Step 1
Fuse the pocket edge of both front pieces. Fuse both front waistband pieces, fly shield, fly facing & welt pocket piece.Transfer welt placement from pattern piece onto the wrong side of trouser back. Place Welt Fusing over the marking evenly on each side and press in place.
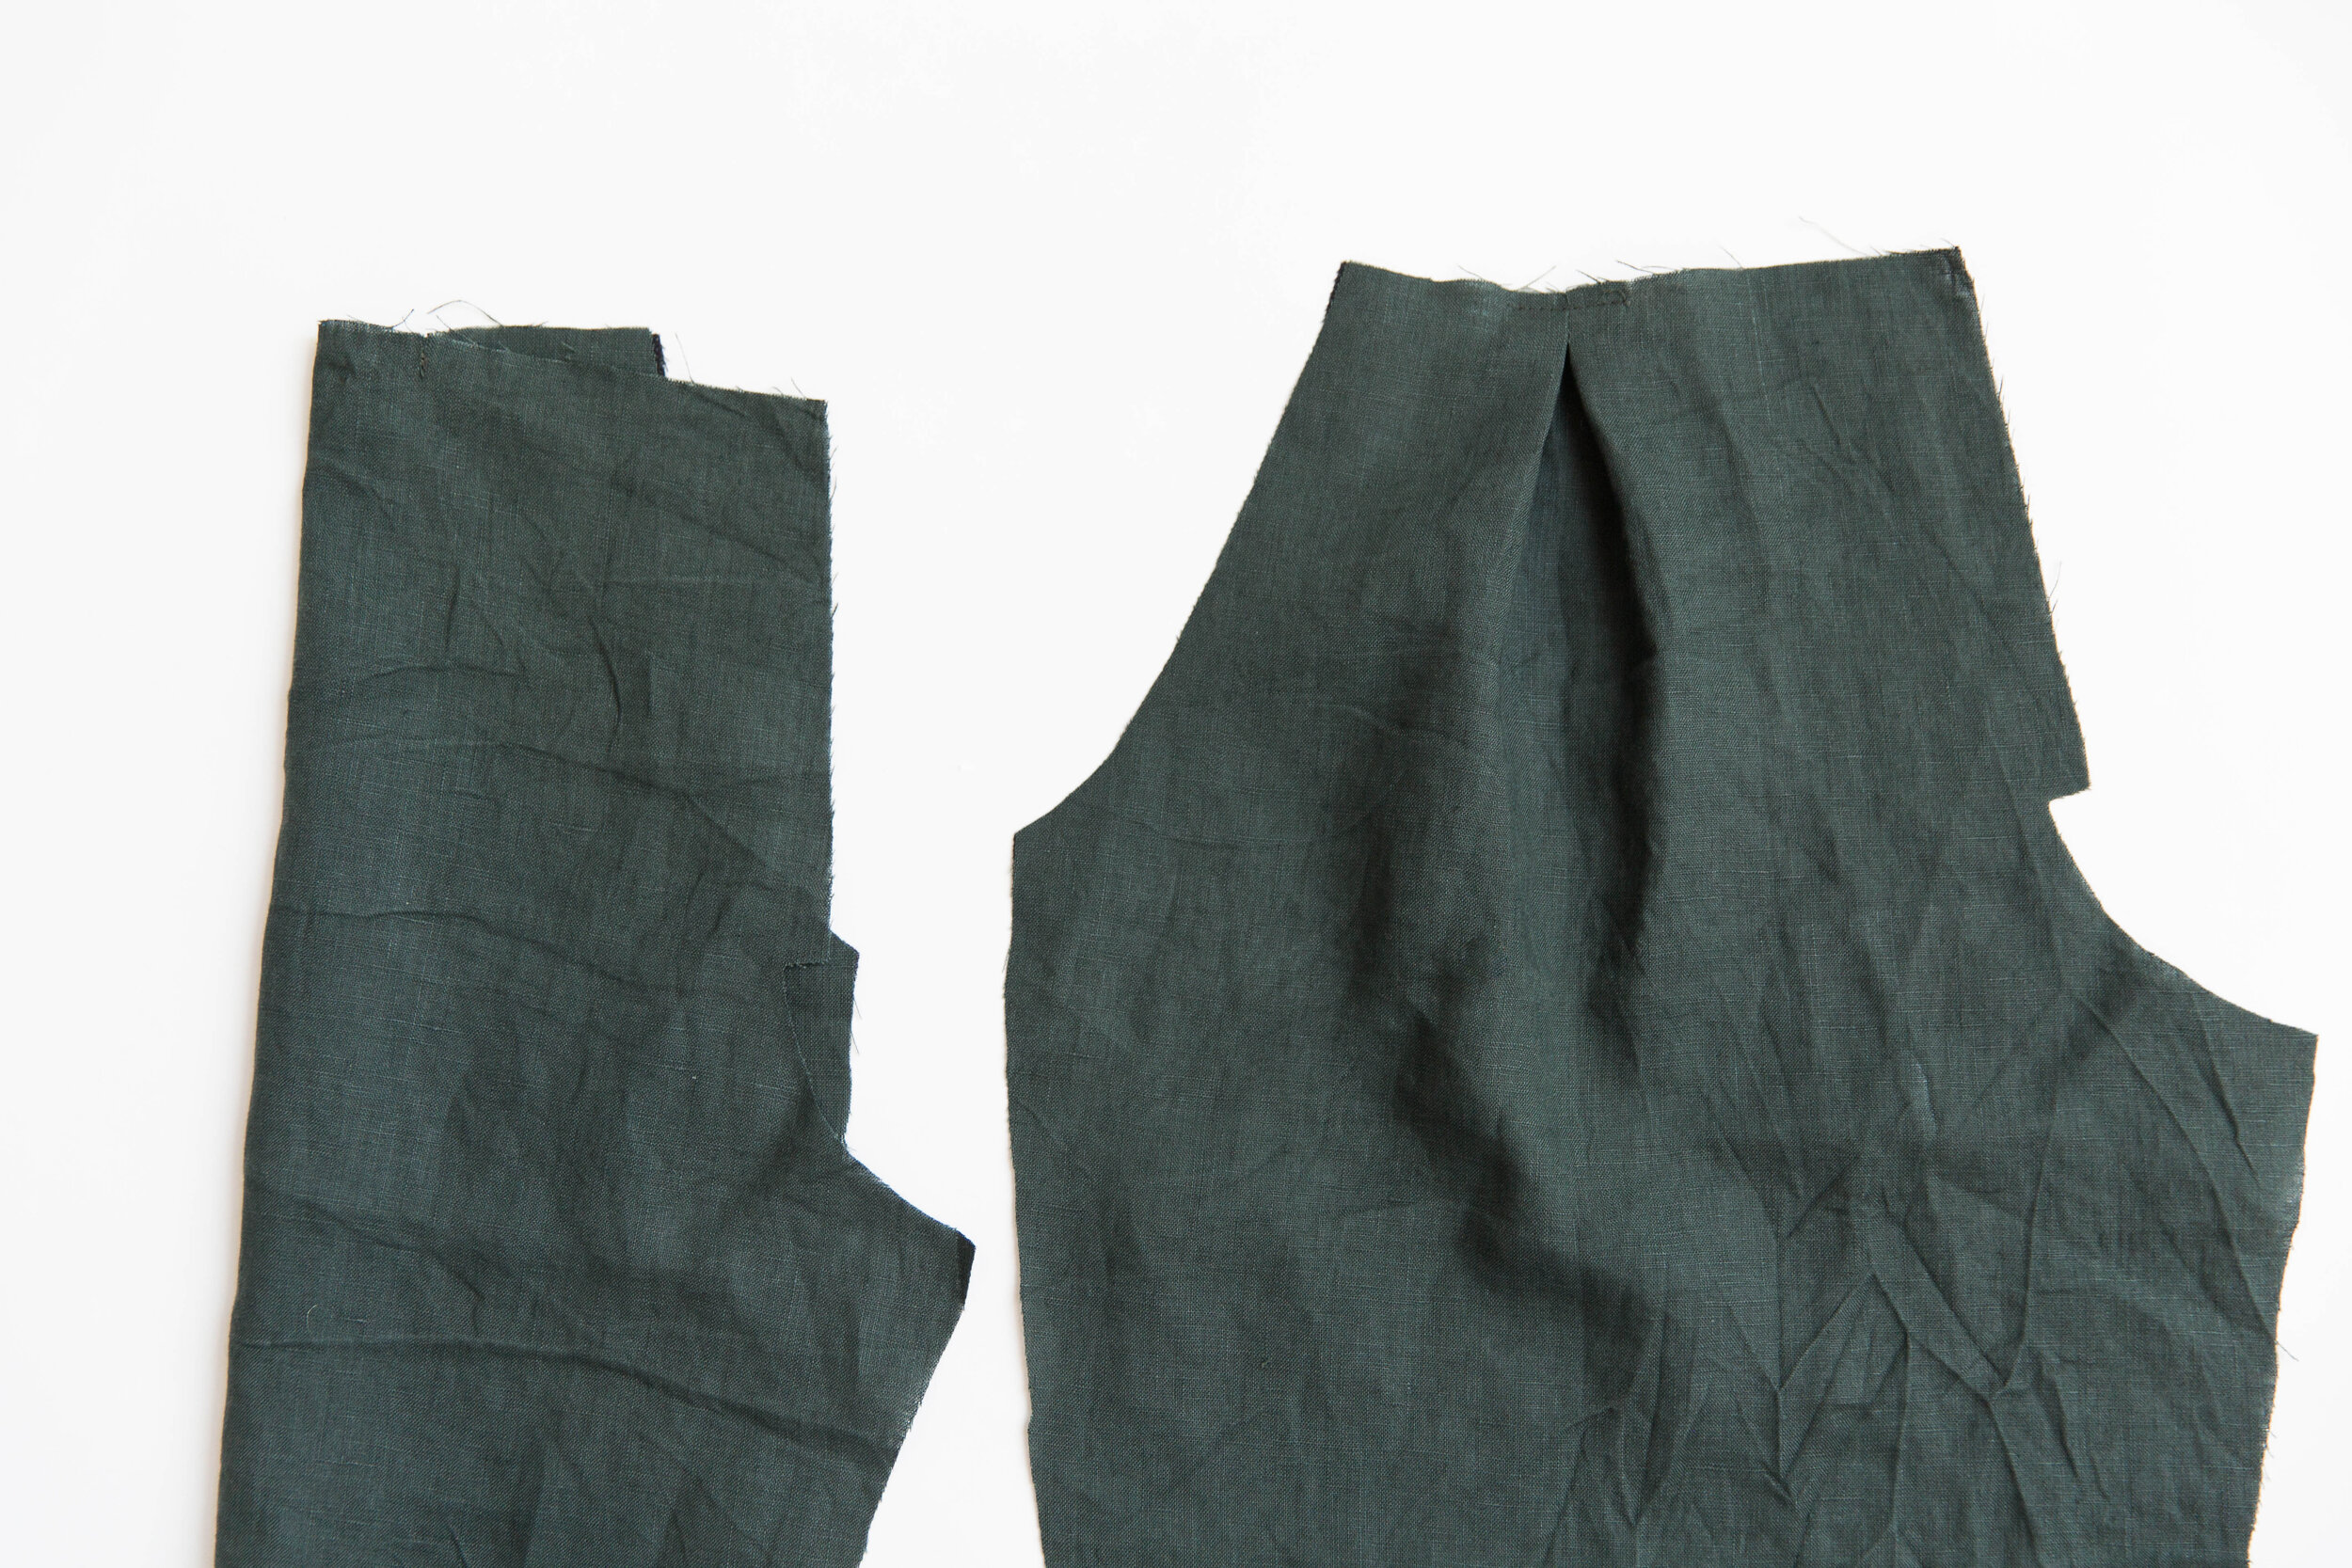
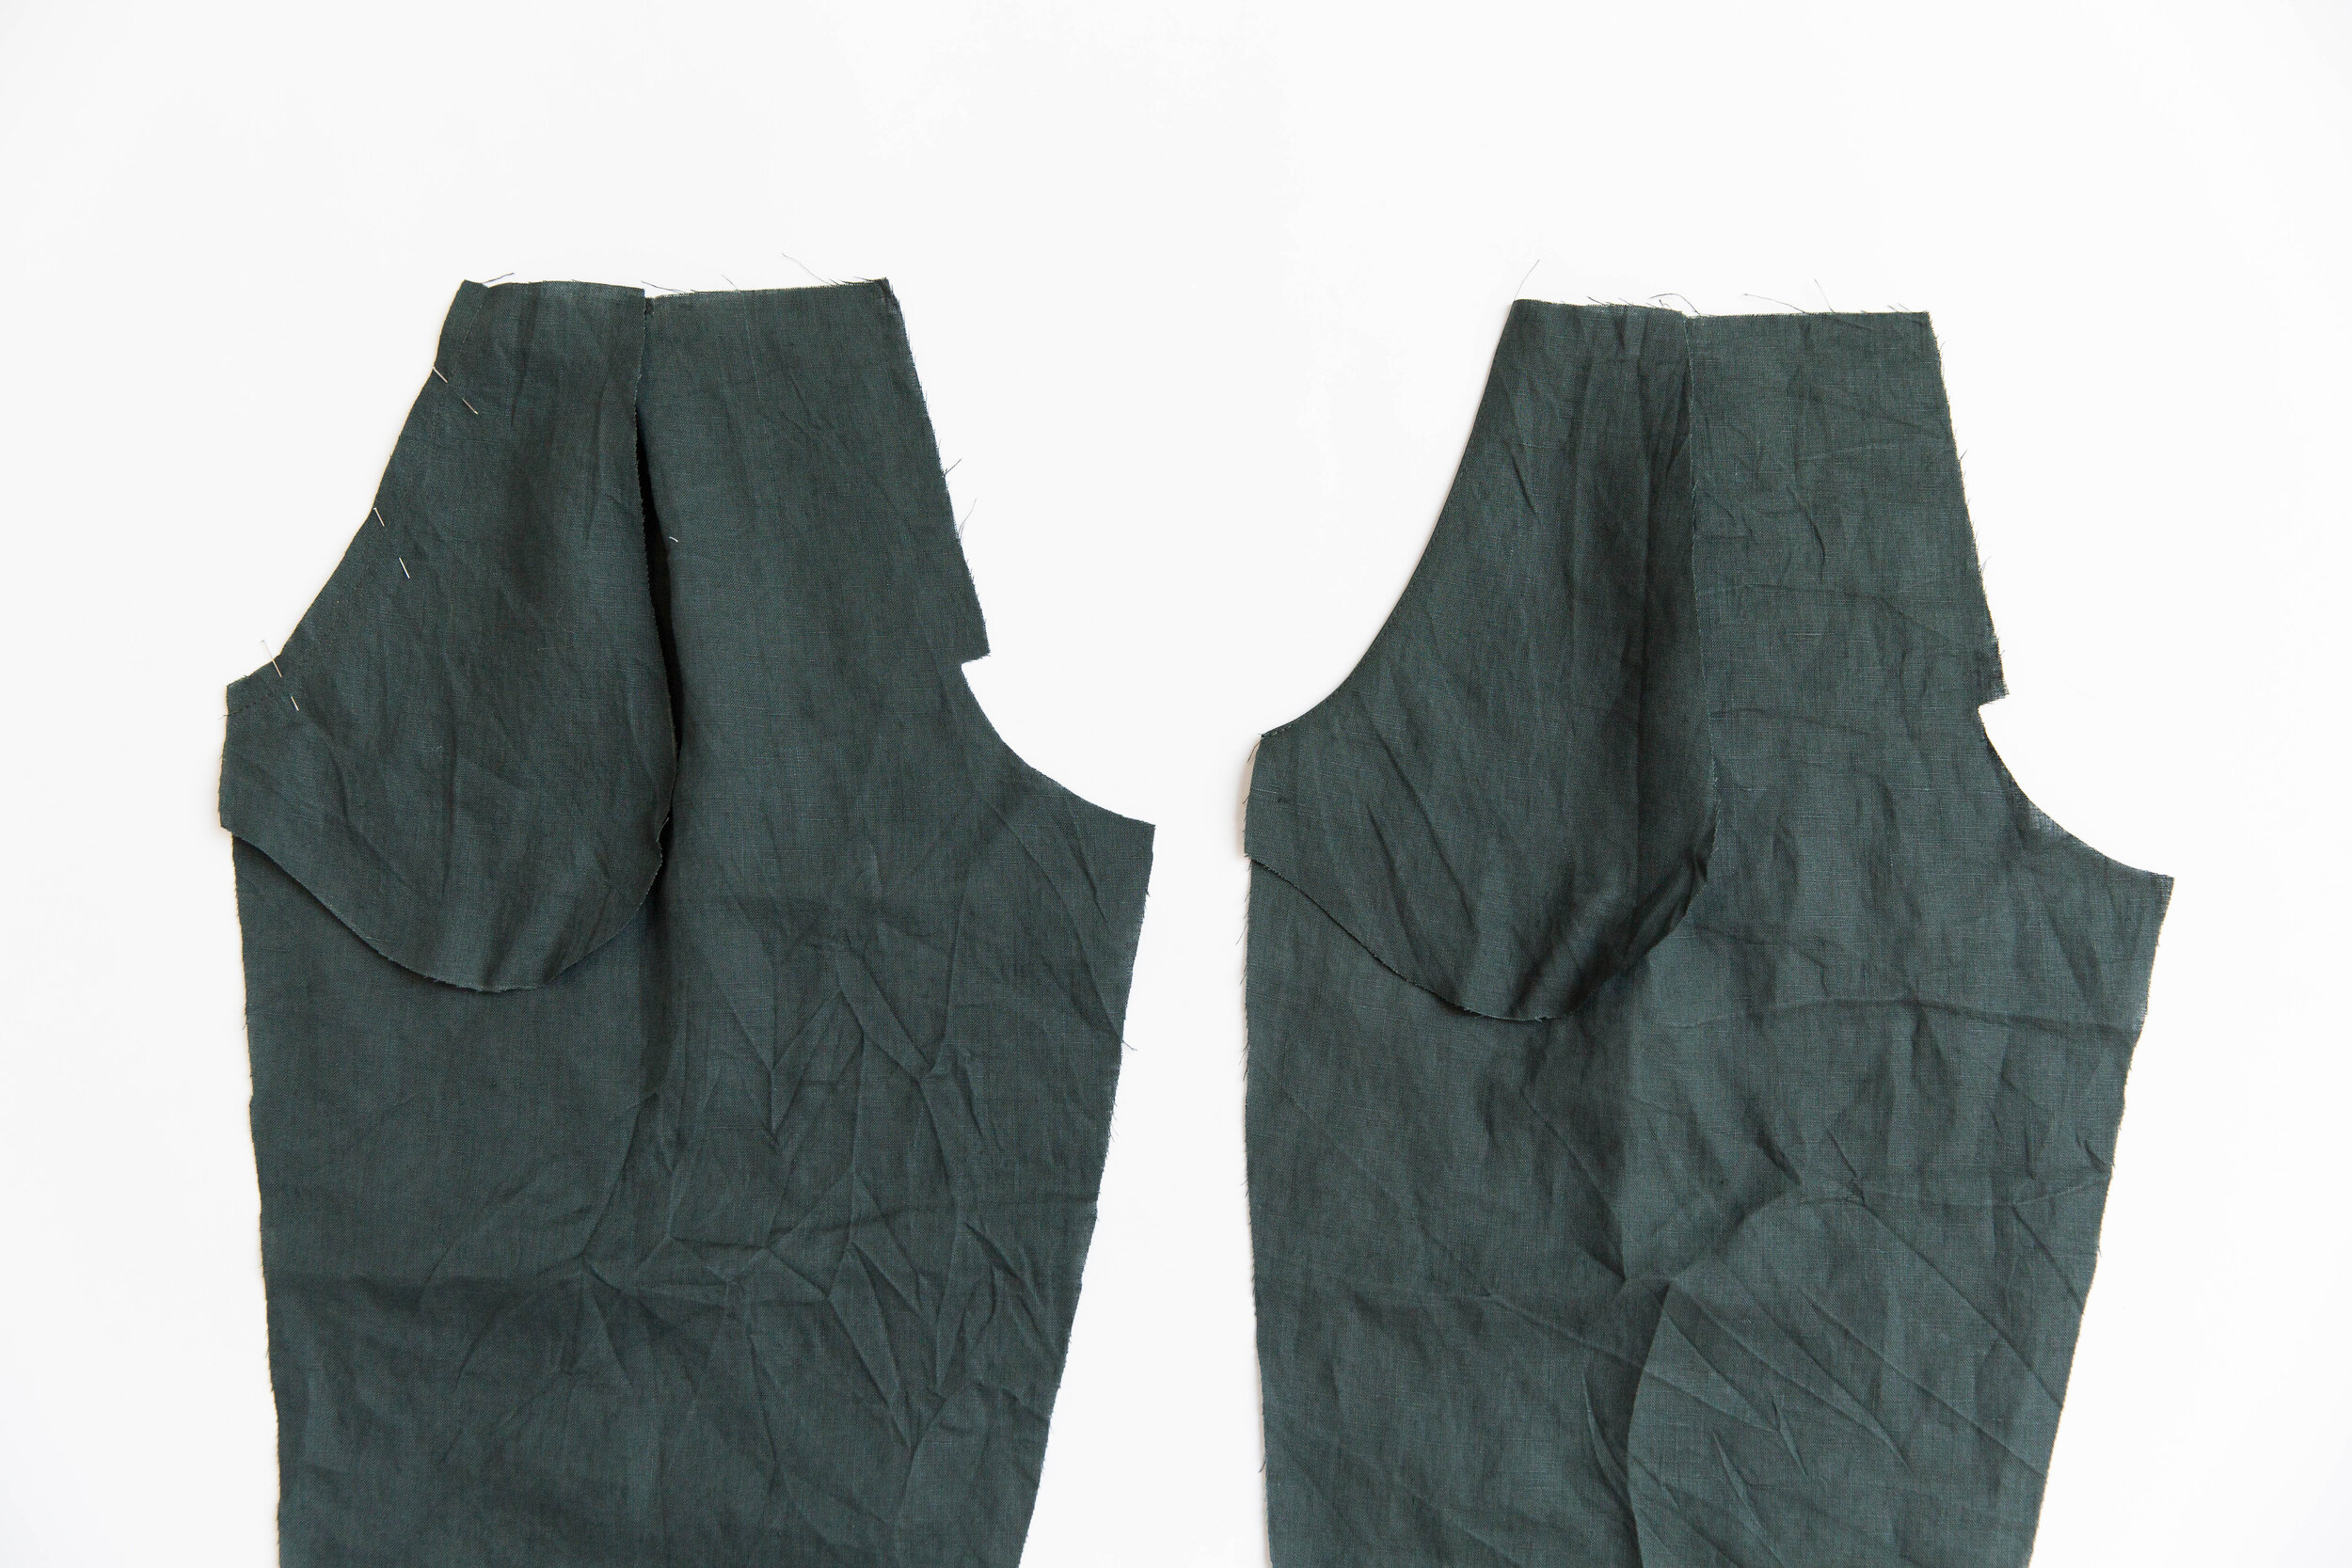
Step 2
Fold front pant piece in half matching up pleat notches and stitch down a few stitches. Open out and evenly distribute pleat on either side of stitch-line.
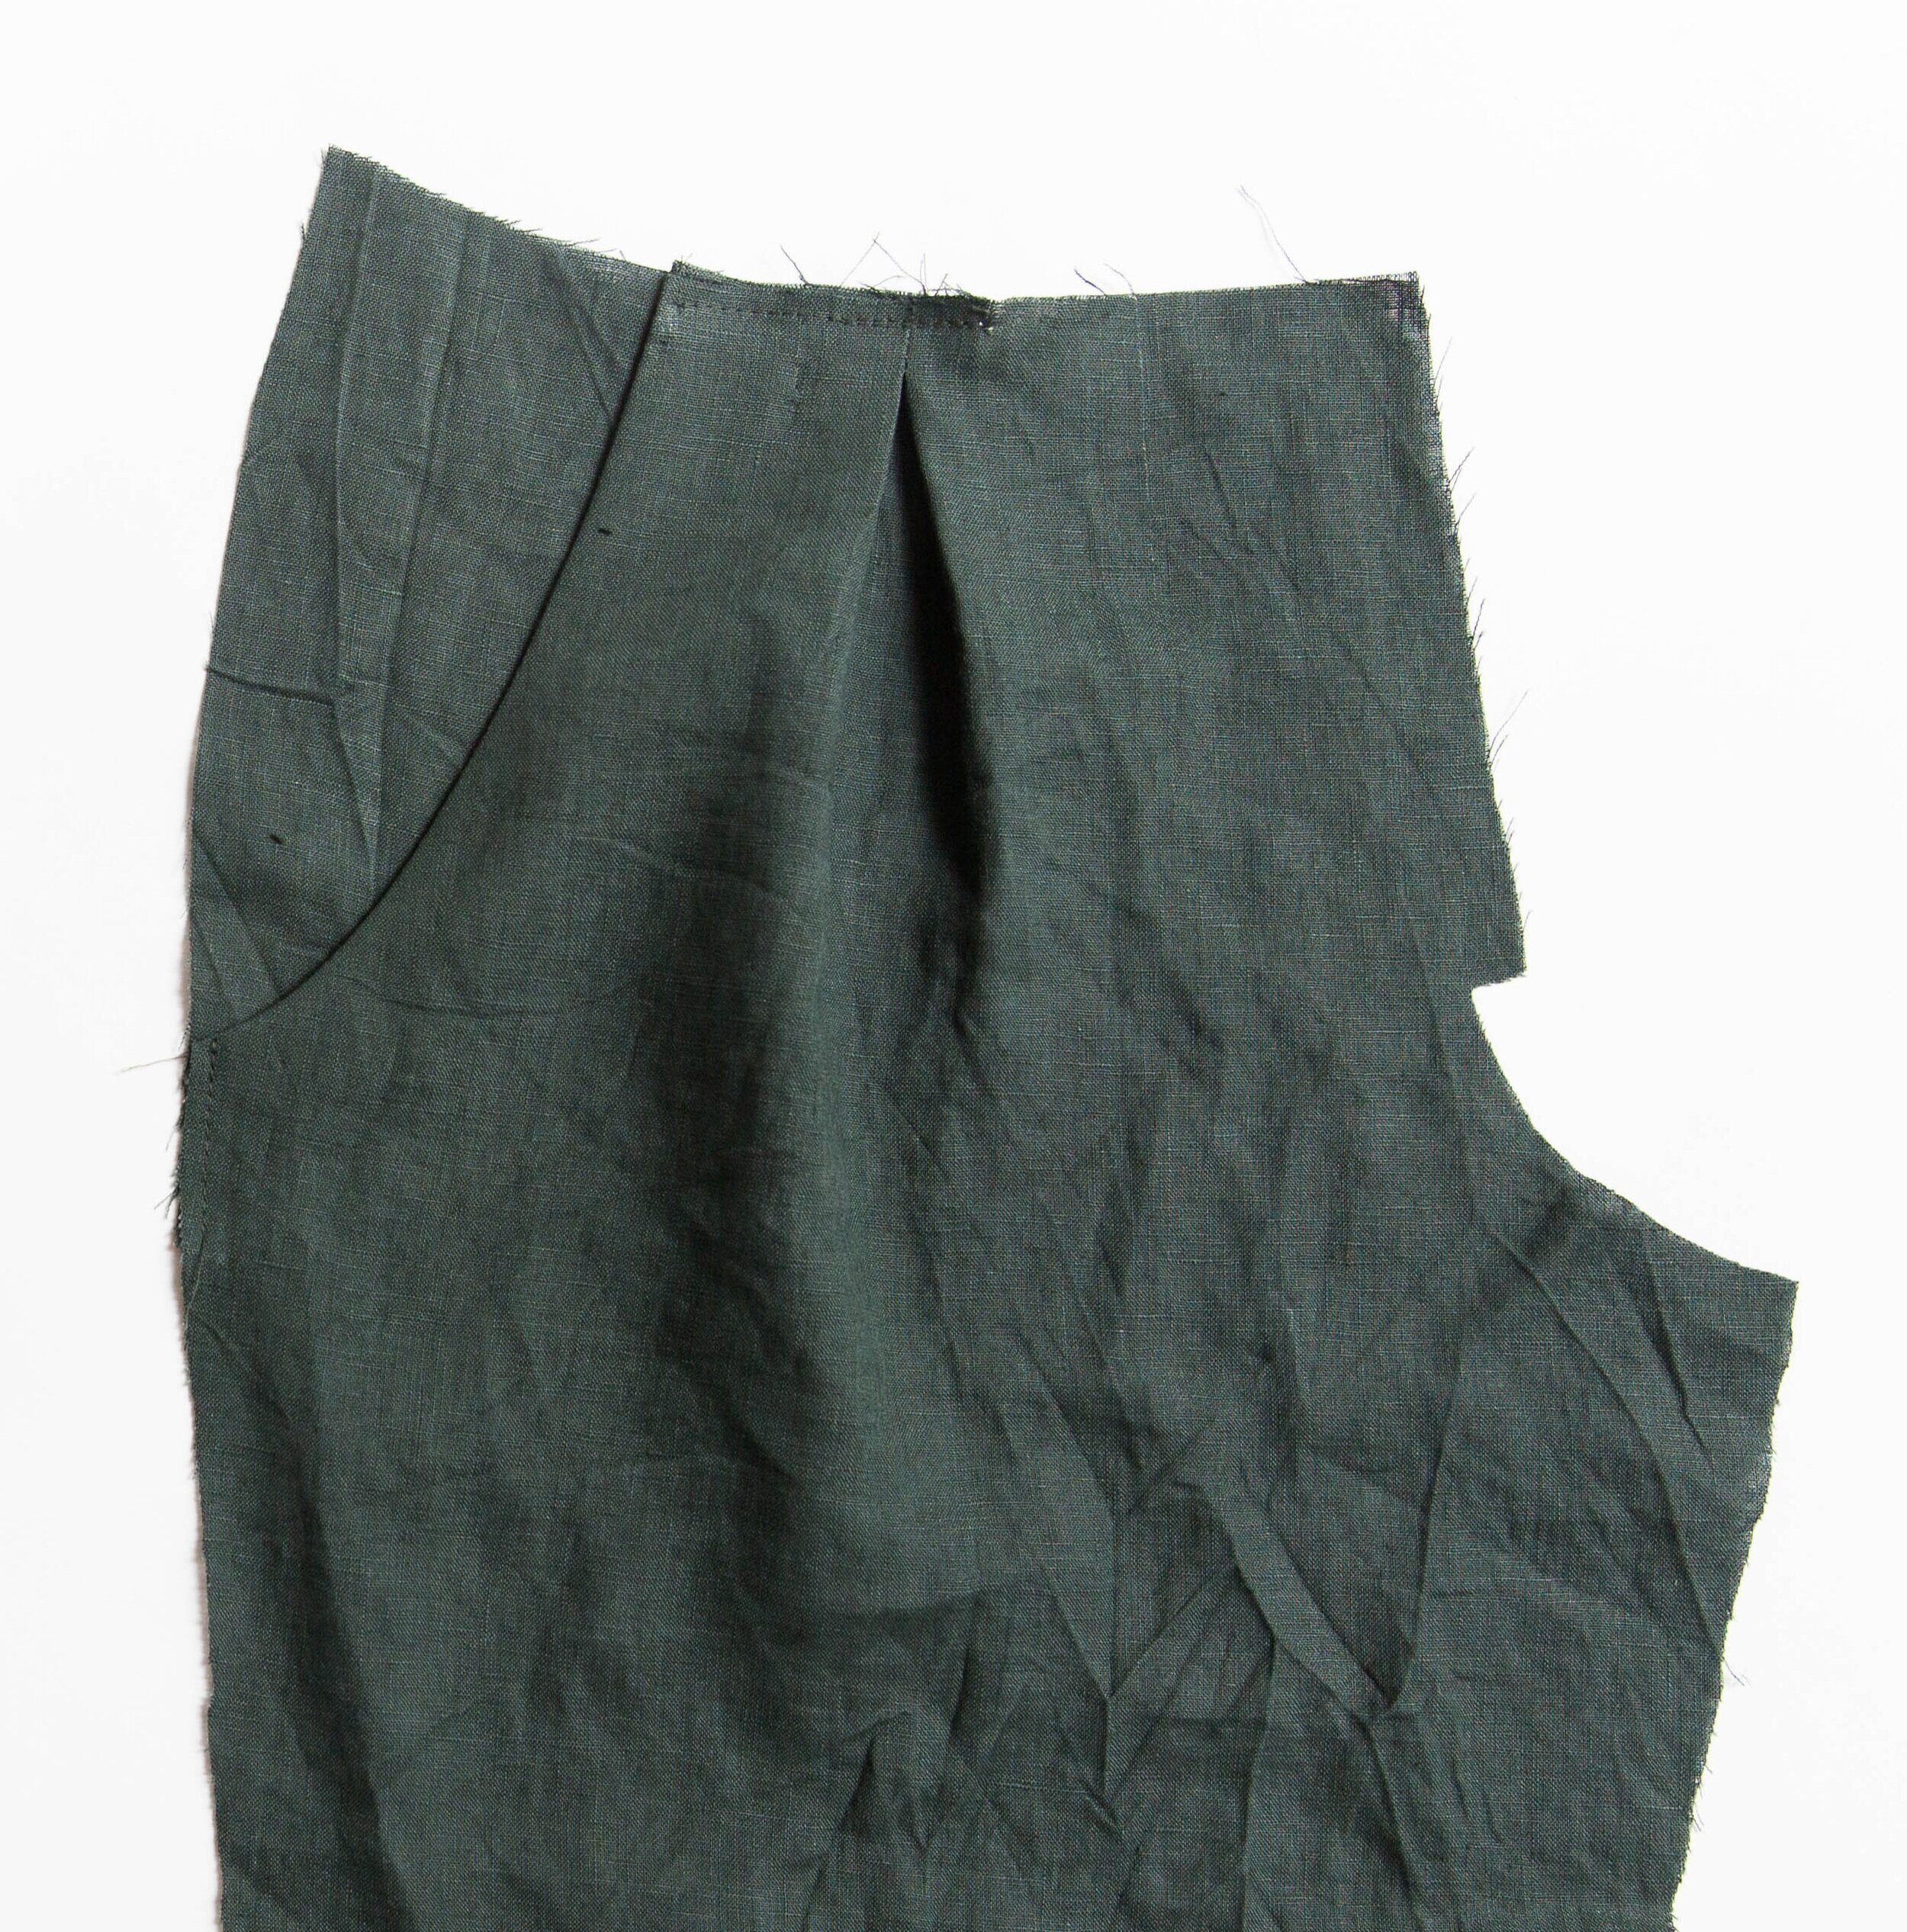
Edge-stitch along top edge to secure in place. Press. Repeat for opposite front.
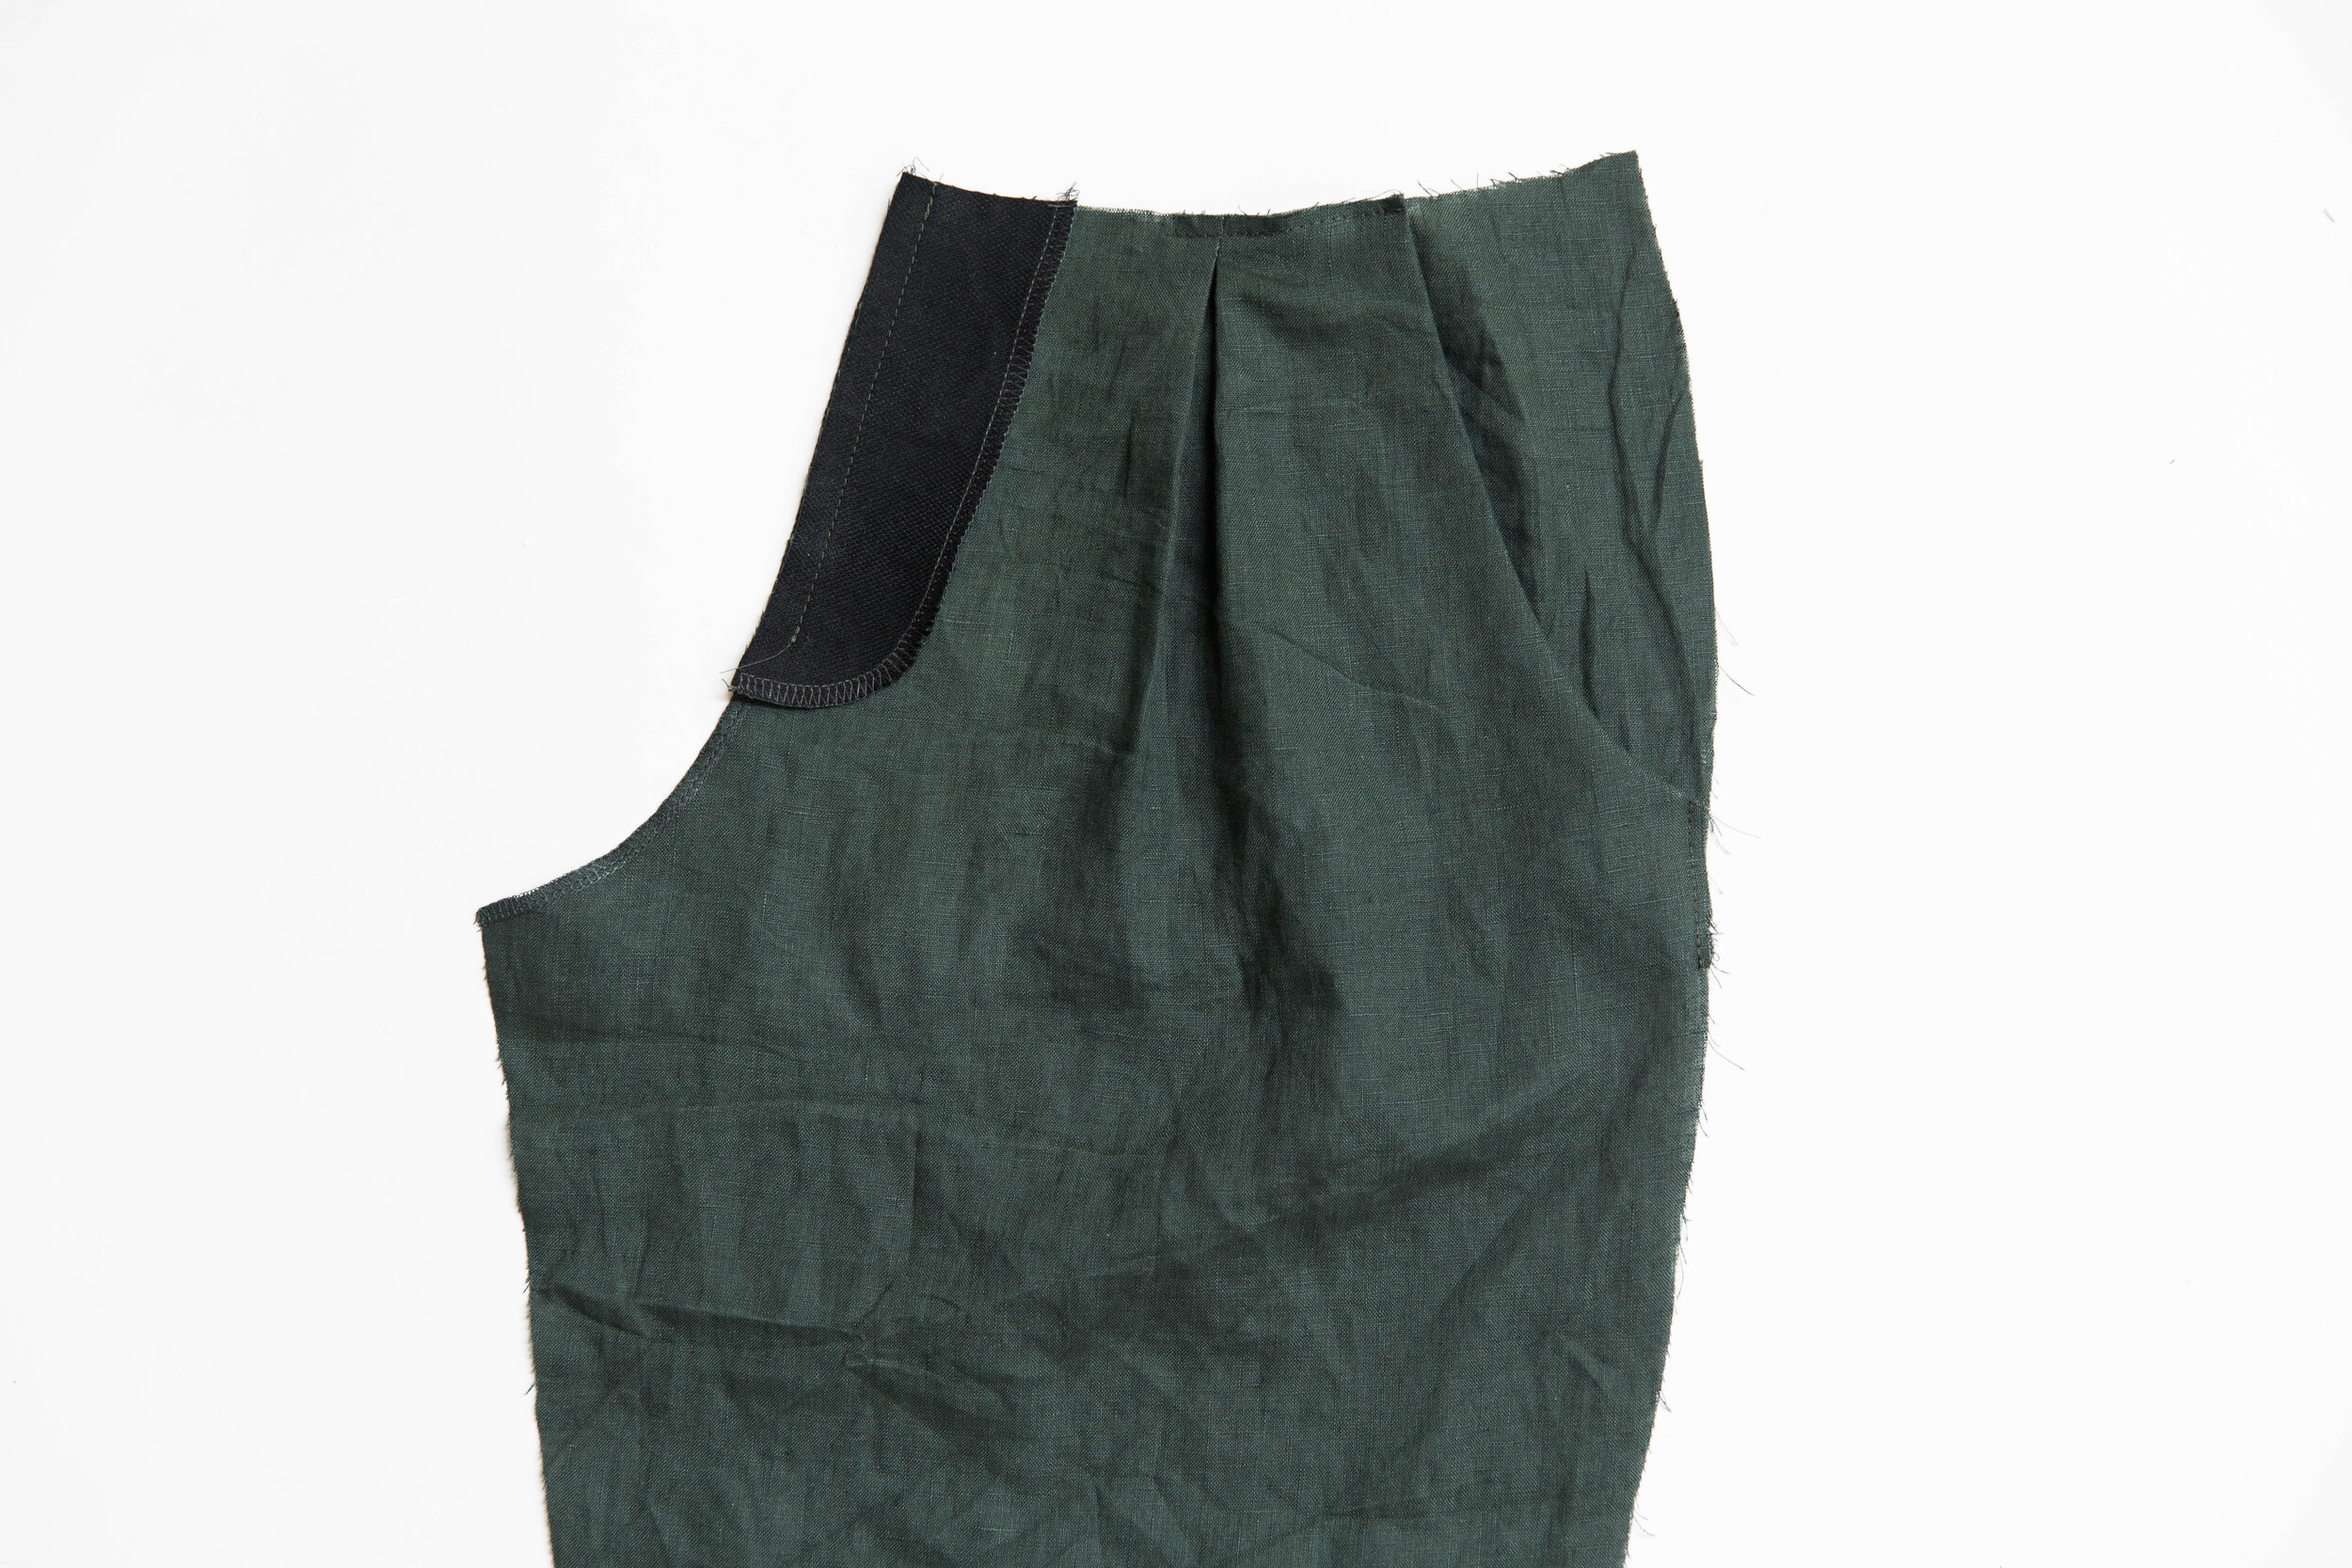
Step 3
Place pocket bag A onto pant front with right sides facing and stitch together. Open out, trim seam allowance in half, clip curve and under-stitch toward pocket bag. Press.

Step 4
Place Pocket Bag B on top of Pocket Bag A with right sides facing and stitch together around edge. Neaten edge.
Step 5
Fold pocket bag behind front pant, press then edge-stitch in place at top and side to secure in place.
Repeat steps 3 - 5 for other side.

Step 6
Trim off 1cm flap from left trouser crotch seam (note: left side when wearing garment).
Neaten centre front seams of both front pieces.


Step 7
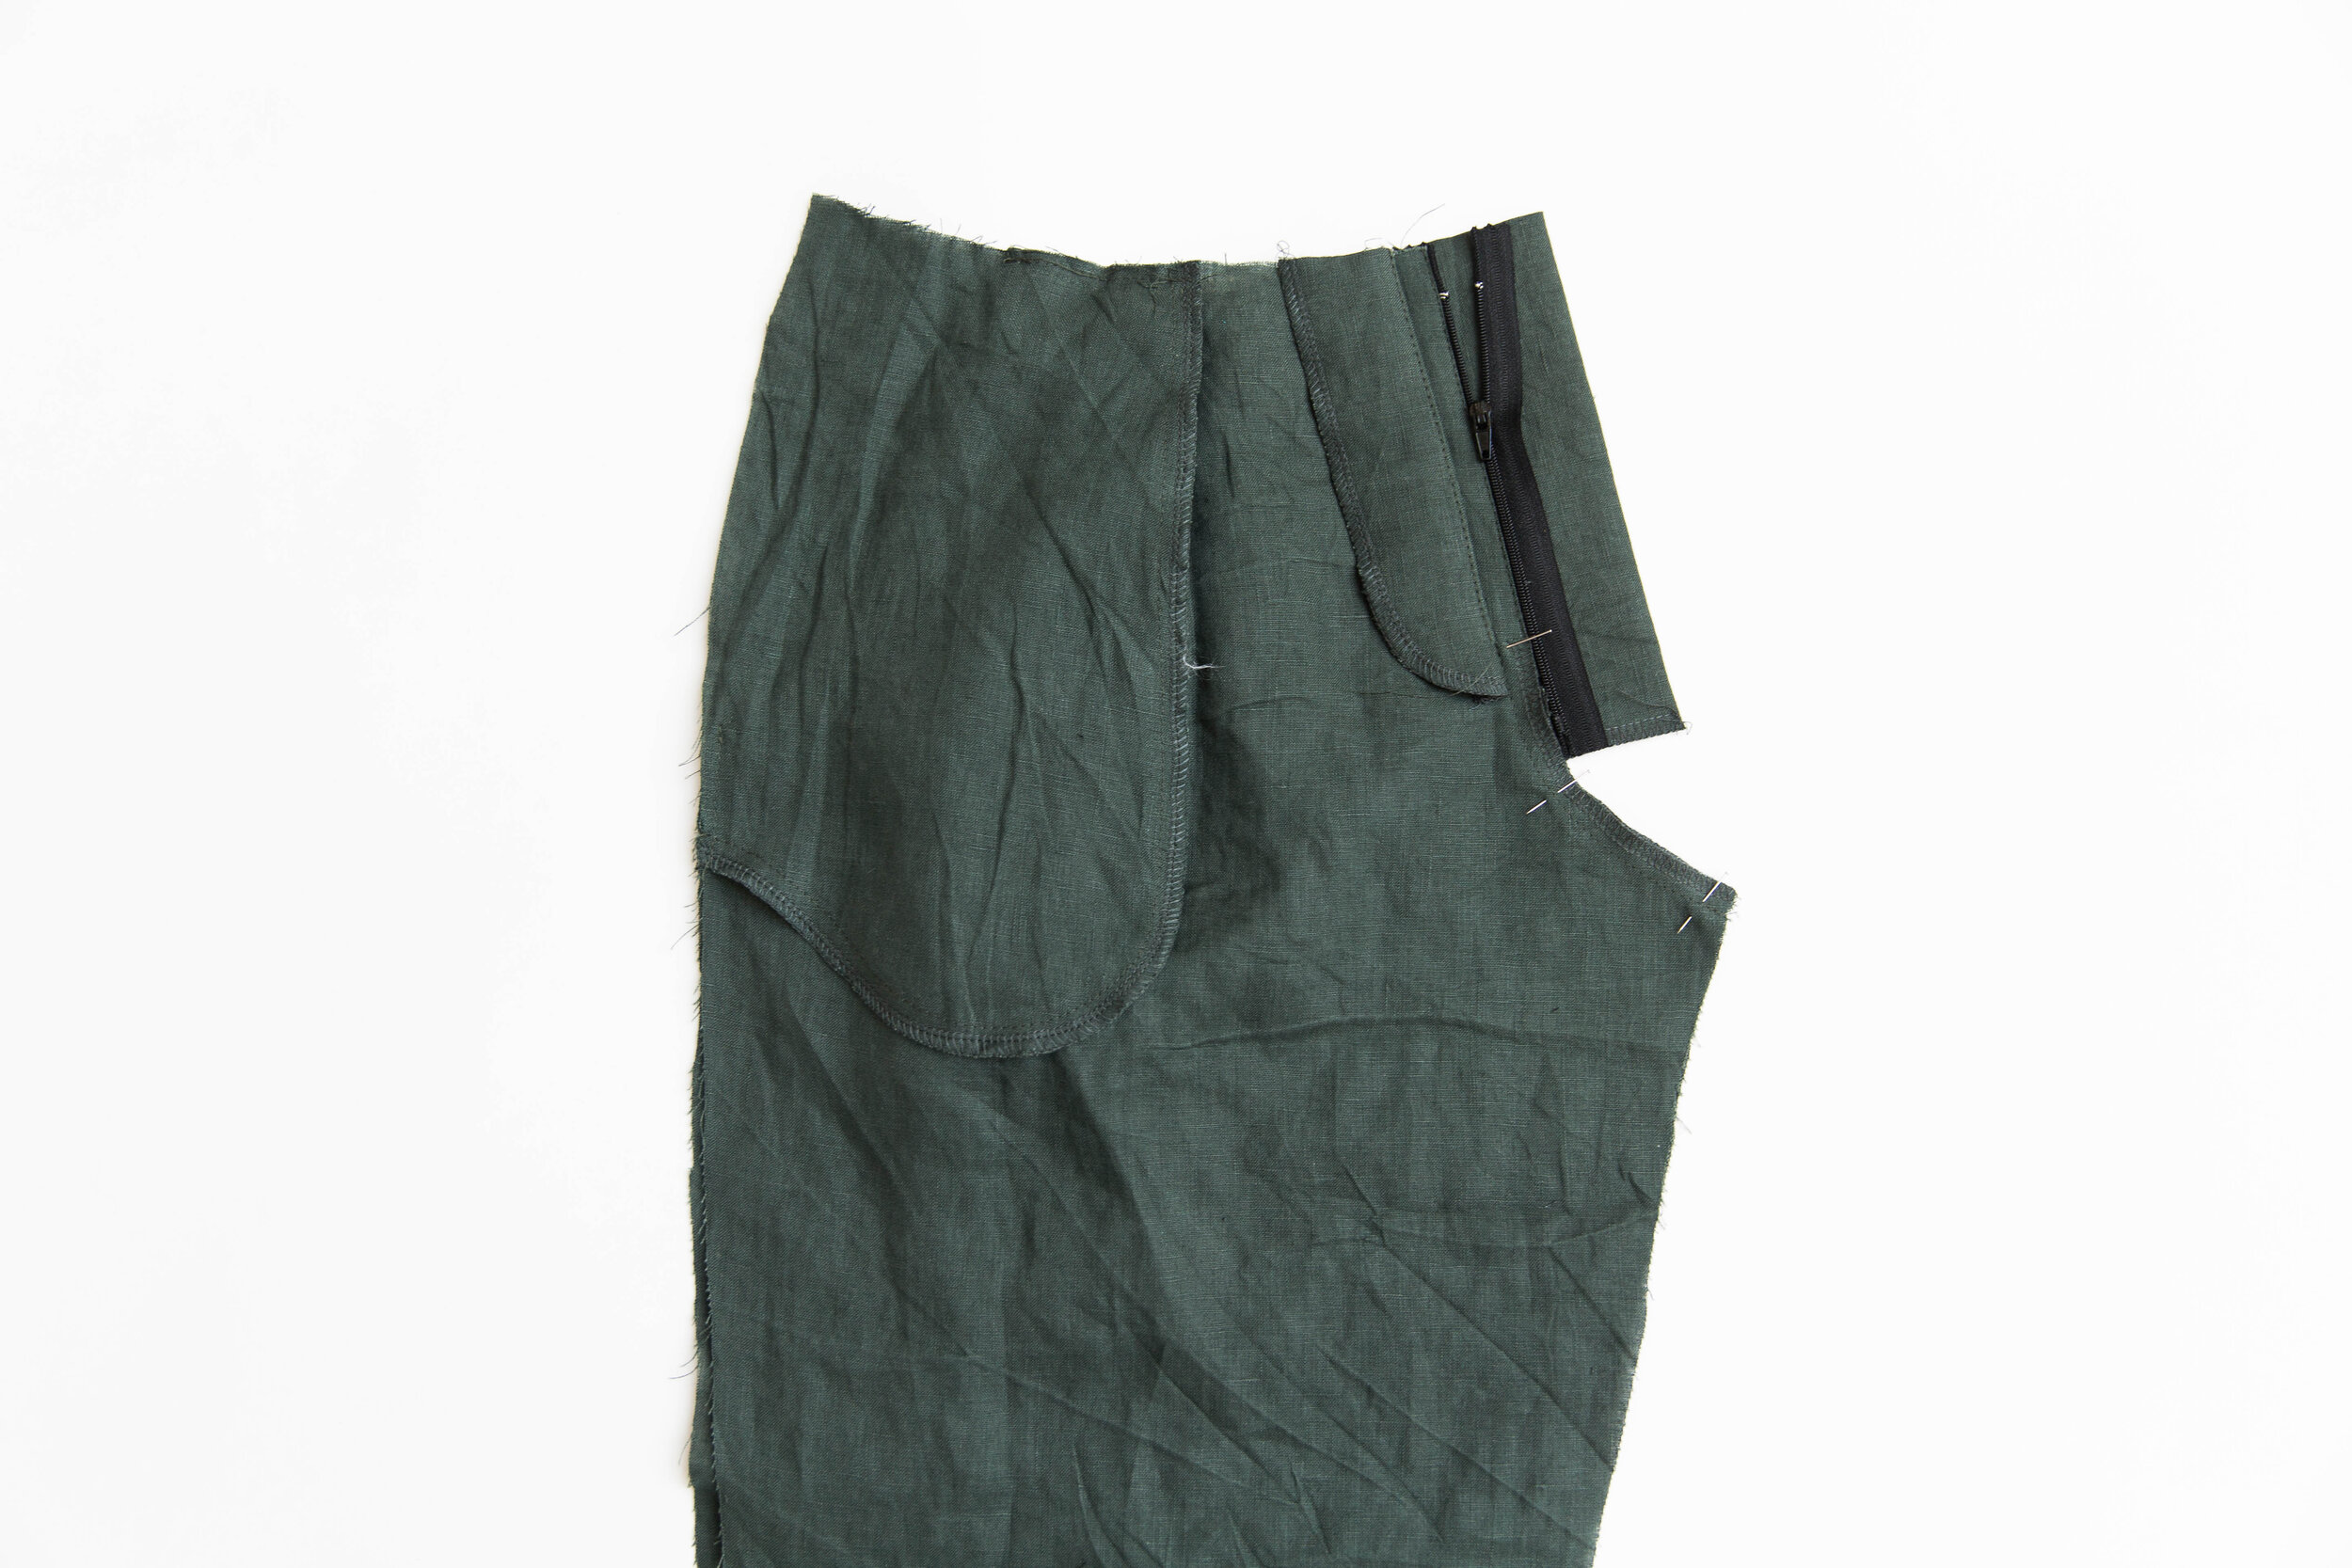
Fold Fly Shield in half lengthwise with right sides out and neaten the side and bottom edges. Press.
Place zipper right side up onto the neatened edge of Fly Shield, making sure zipper teeth start 1.5cm/3⁄4” down from top edge and baste in place.

Step 8
Fold back the centre front flap of right crotch seam and press in place. Place folded edge along the edge of zipper teeth. Top stitch in place with a zipper foot so you can get nice and close.

Step 9
Fuse and neaten curved edge of fly facing. Pin to left trouser front at centre front seam with right sides together. Stitch from top edge down to notch. Fold bottom of fly facing up and clip, with your scissors, where the stitching ends only on the pant. Trim seam allowance back and under stitch seam allowance toward fly facing. Turn fly facing over to the inside and press.
Step 10
Stitch crotch seam below fly zipper together. Clip a small notch into seam allowance below fly facing where stitching starts.
Fold seam allowance toward Fly Facing and topstitch down.
You can also topstitch right to the top edge like we have in our instructions. It depends what look you’re after.

Step 11
Place left side over right, overlapping the zipper by 1cm at the top. Pin securely in place along centre front.
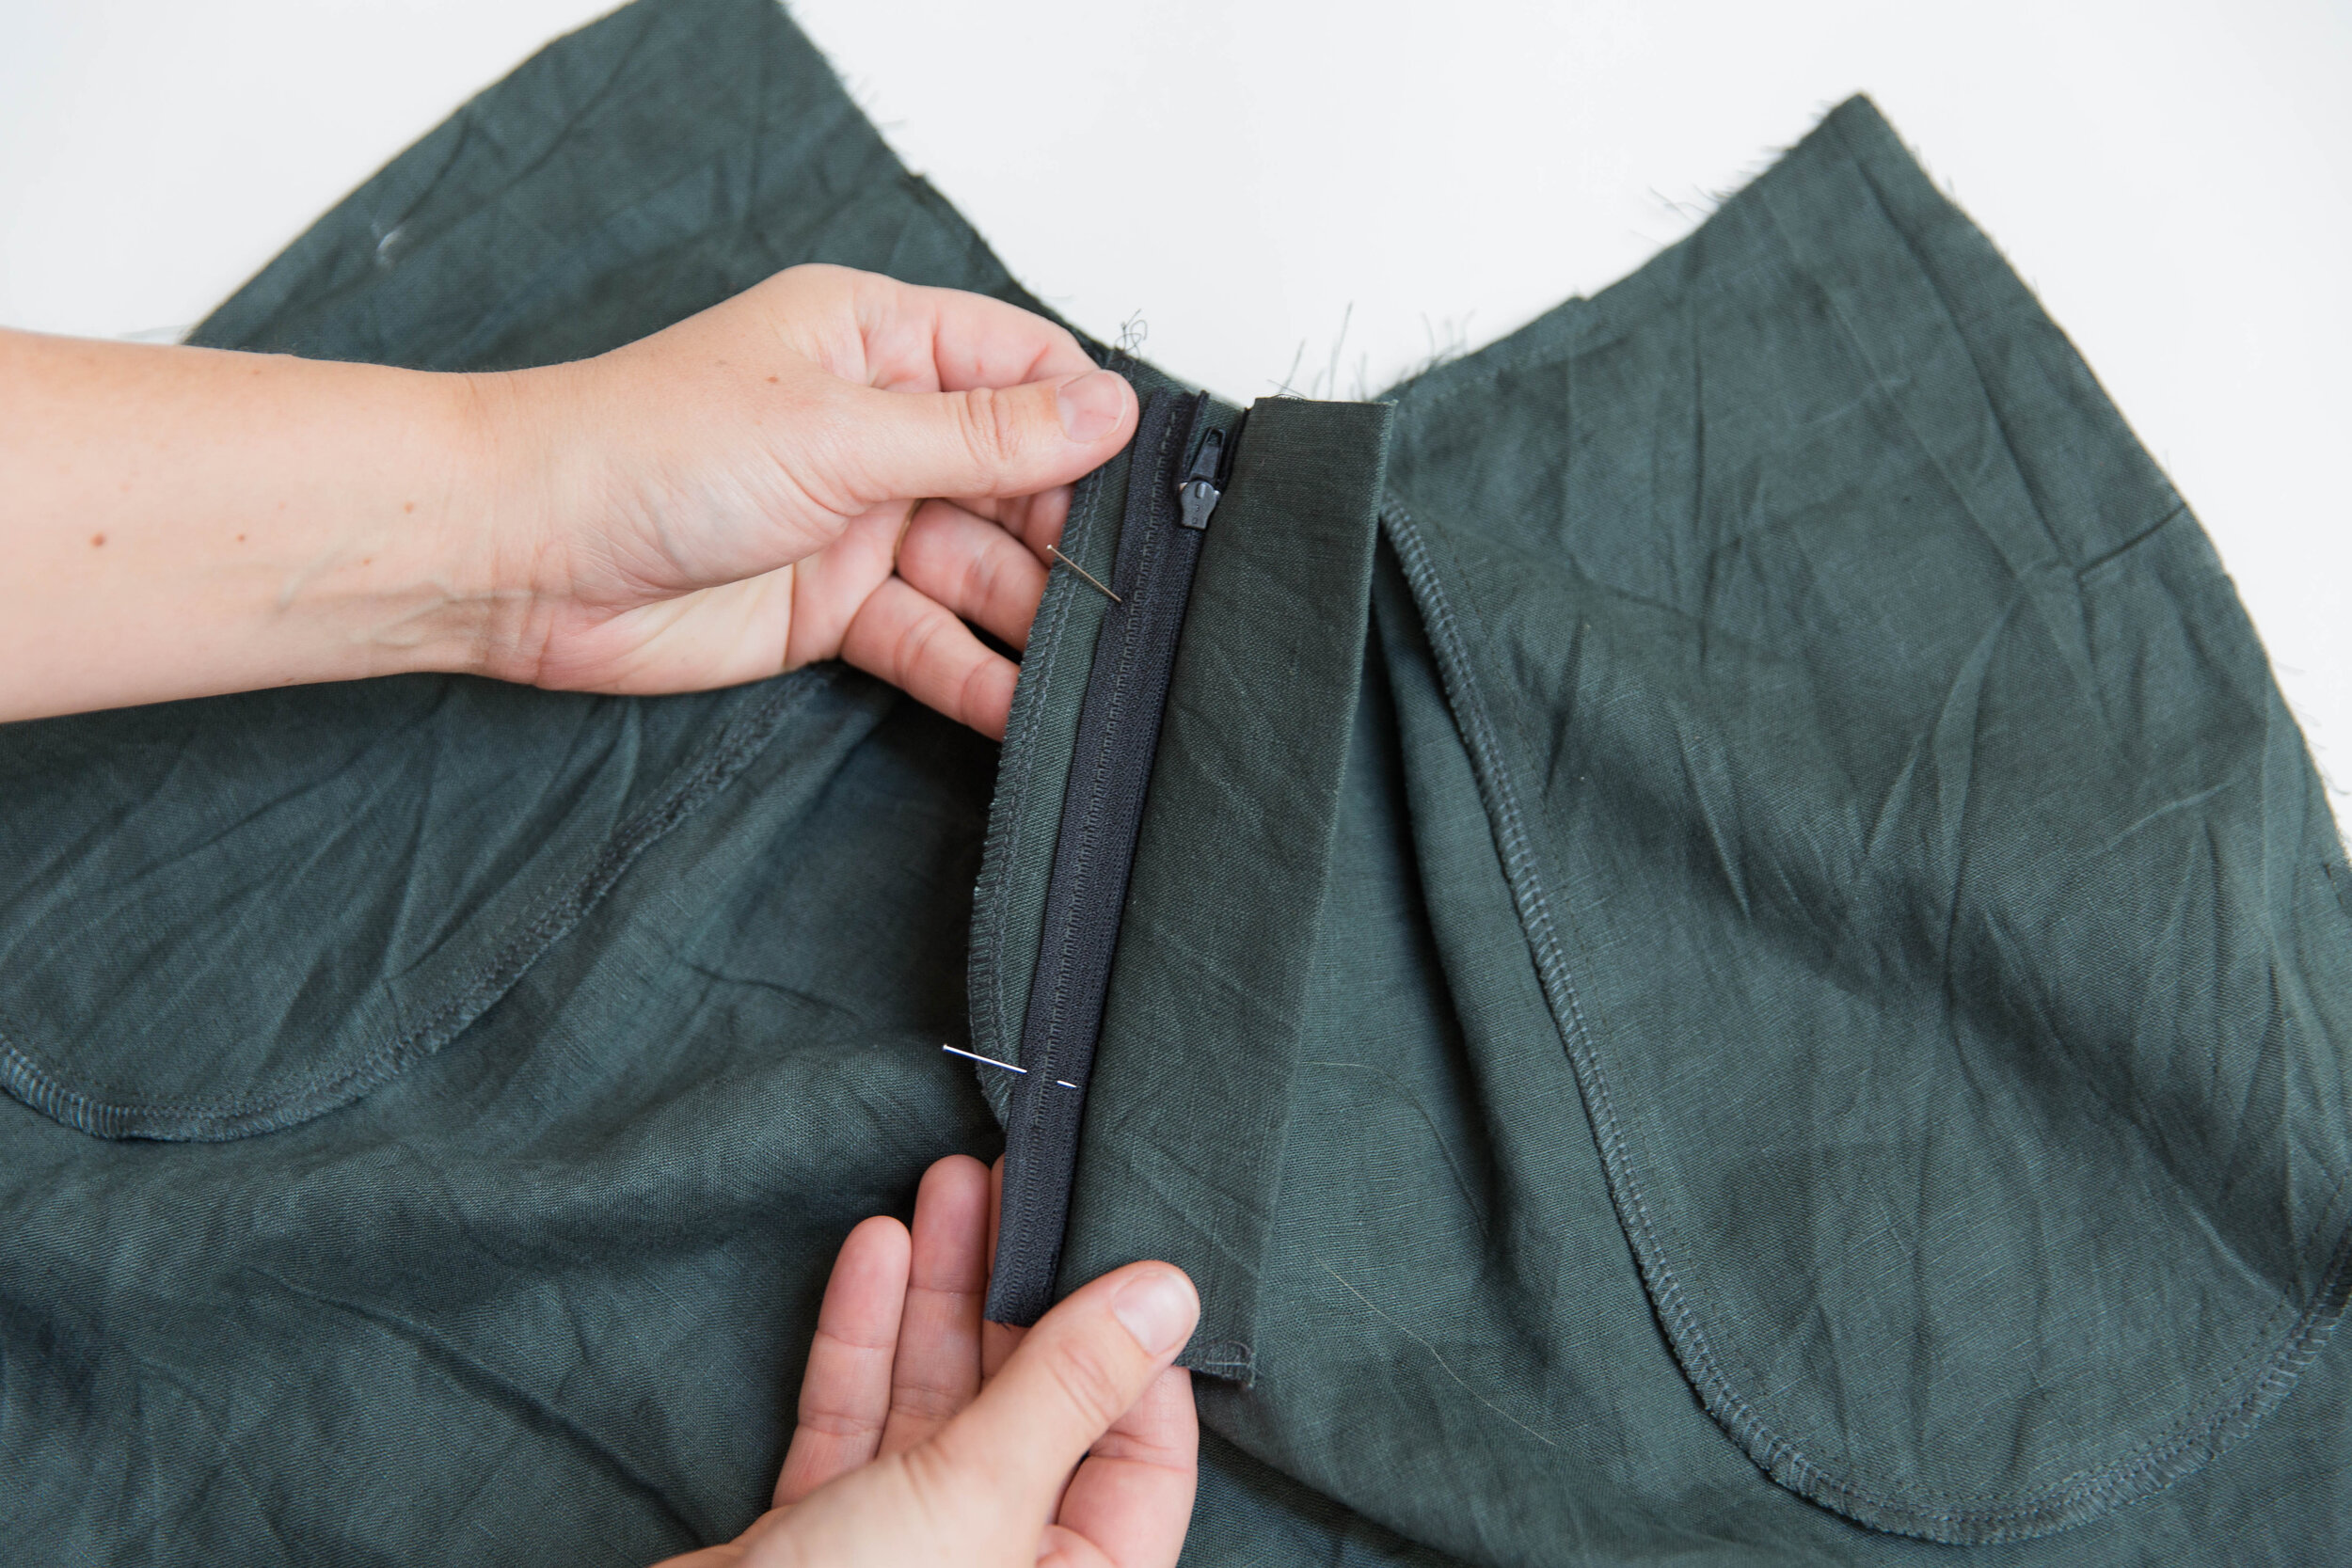
Step 12
Now that it’s pinned securely in place, from the inside, fold fly shield out of the way and stitch the other side of zipper to fly facing where it lies.

Step 13
Top stitch fly facing in place with a single row of stitching, making sure to keep fly shield out of the way. It may help to draw this line with chalk first.
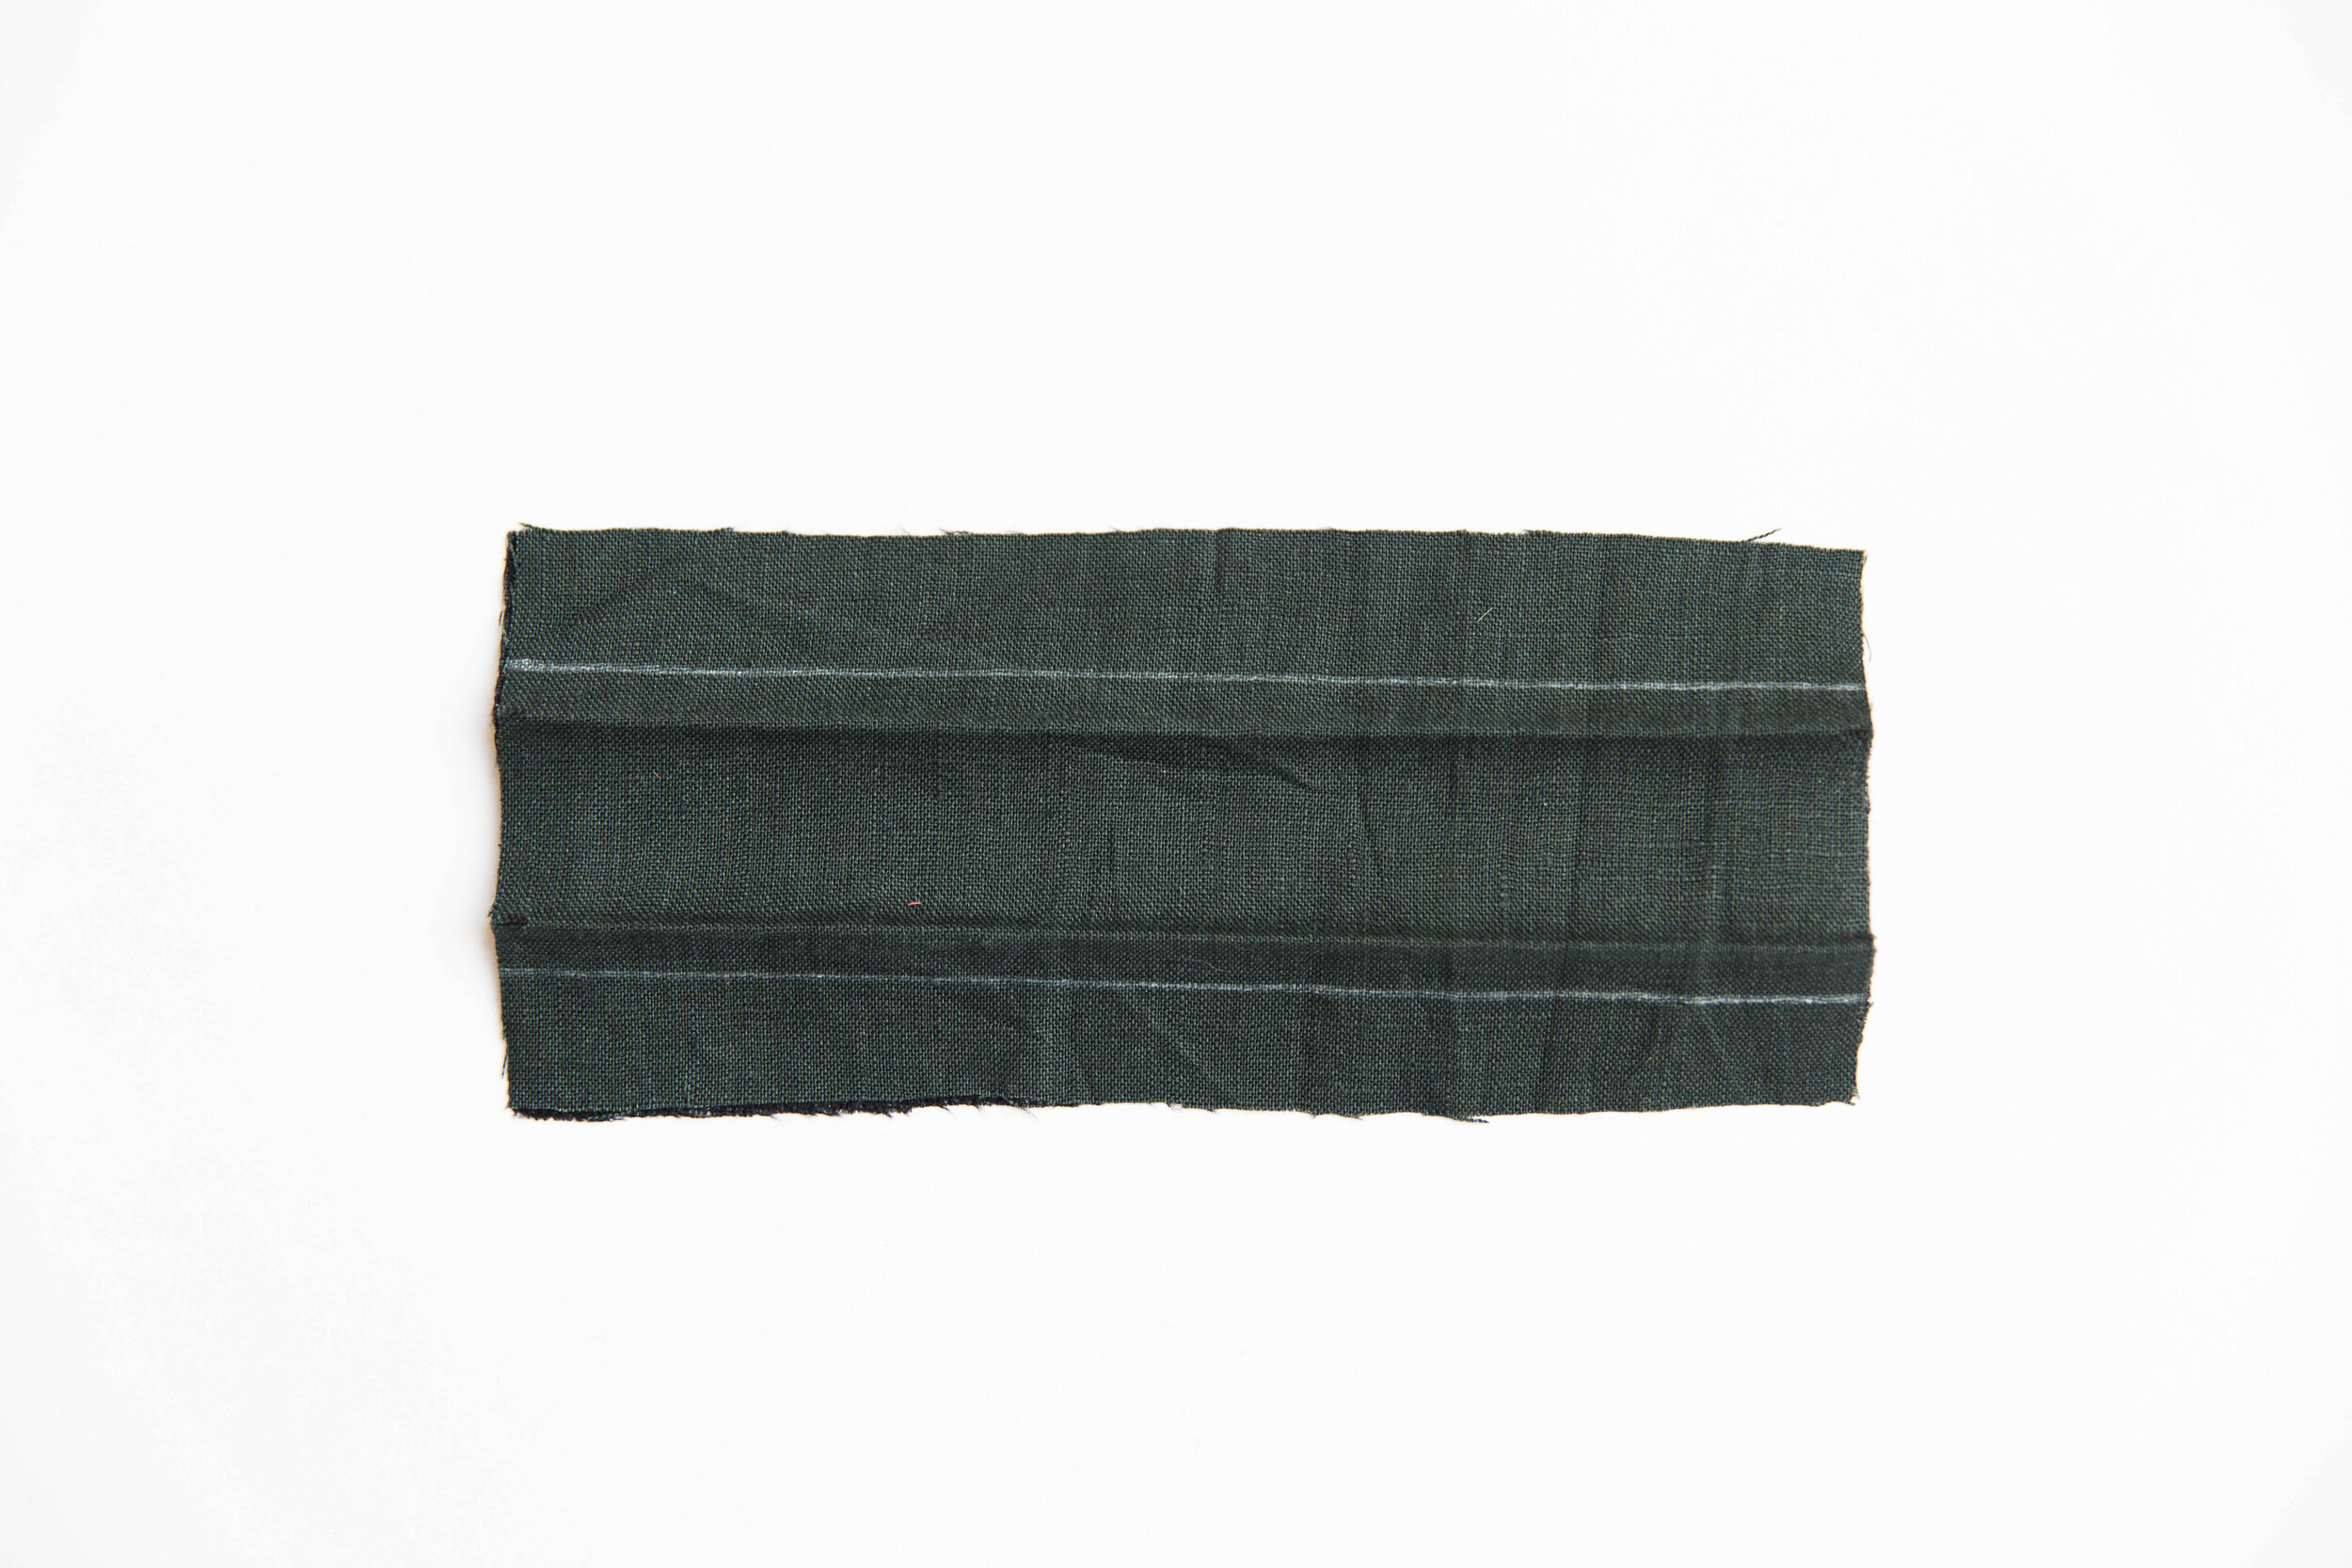
Step 14
First prepare your welt. Fold along fold lines from notch to notch and press creating a fold-line. Draw stitch lines in place.
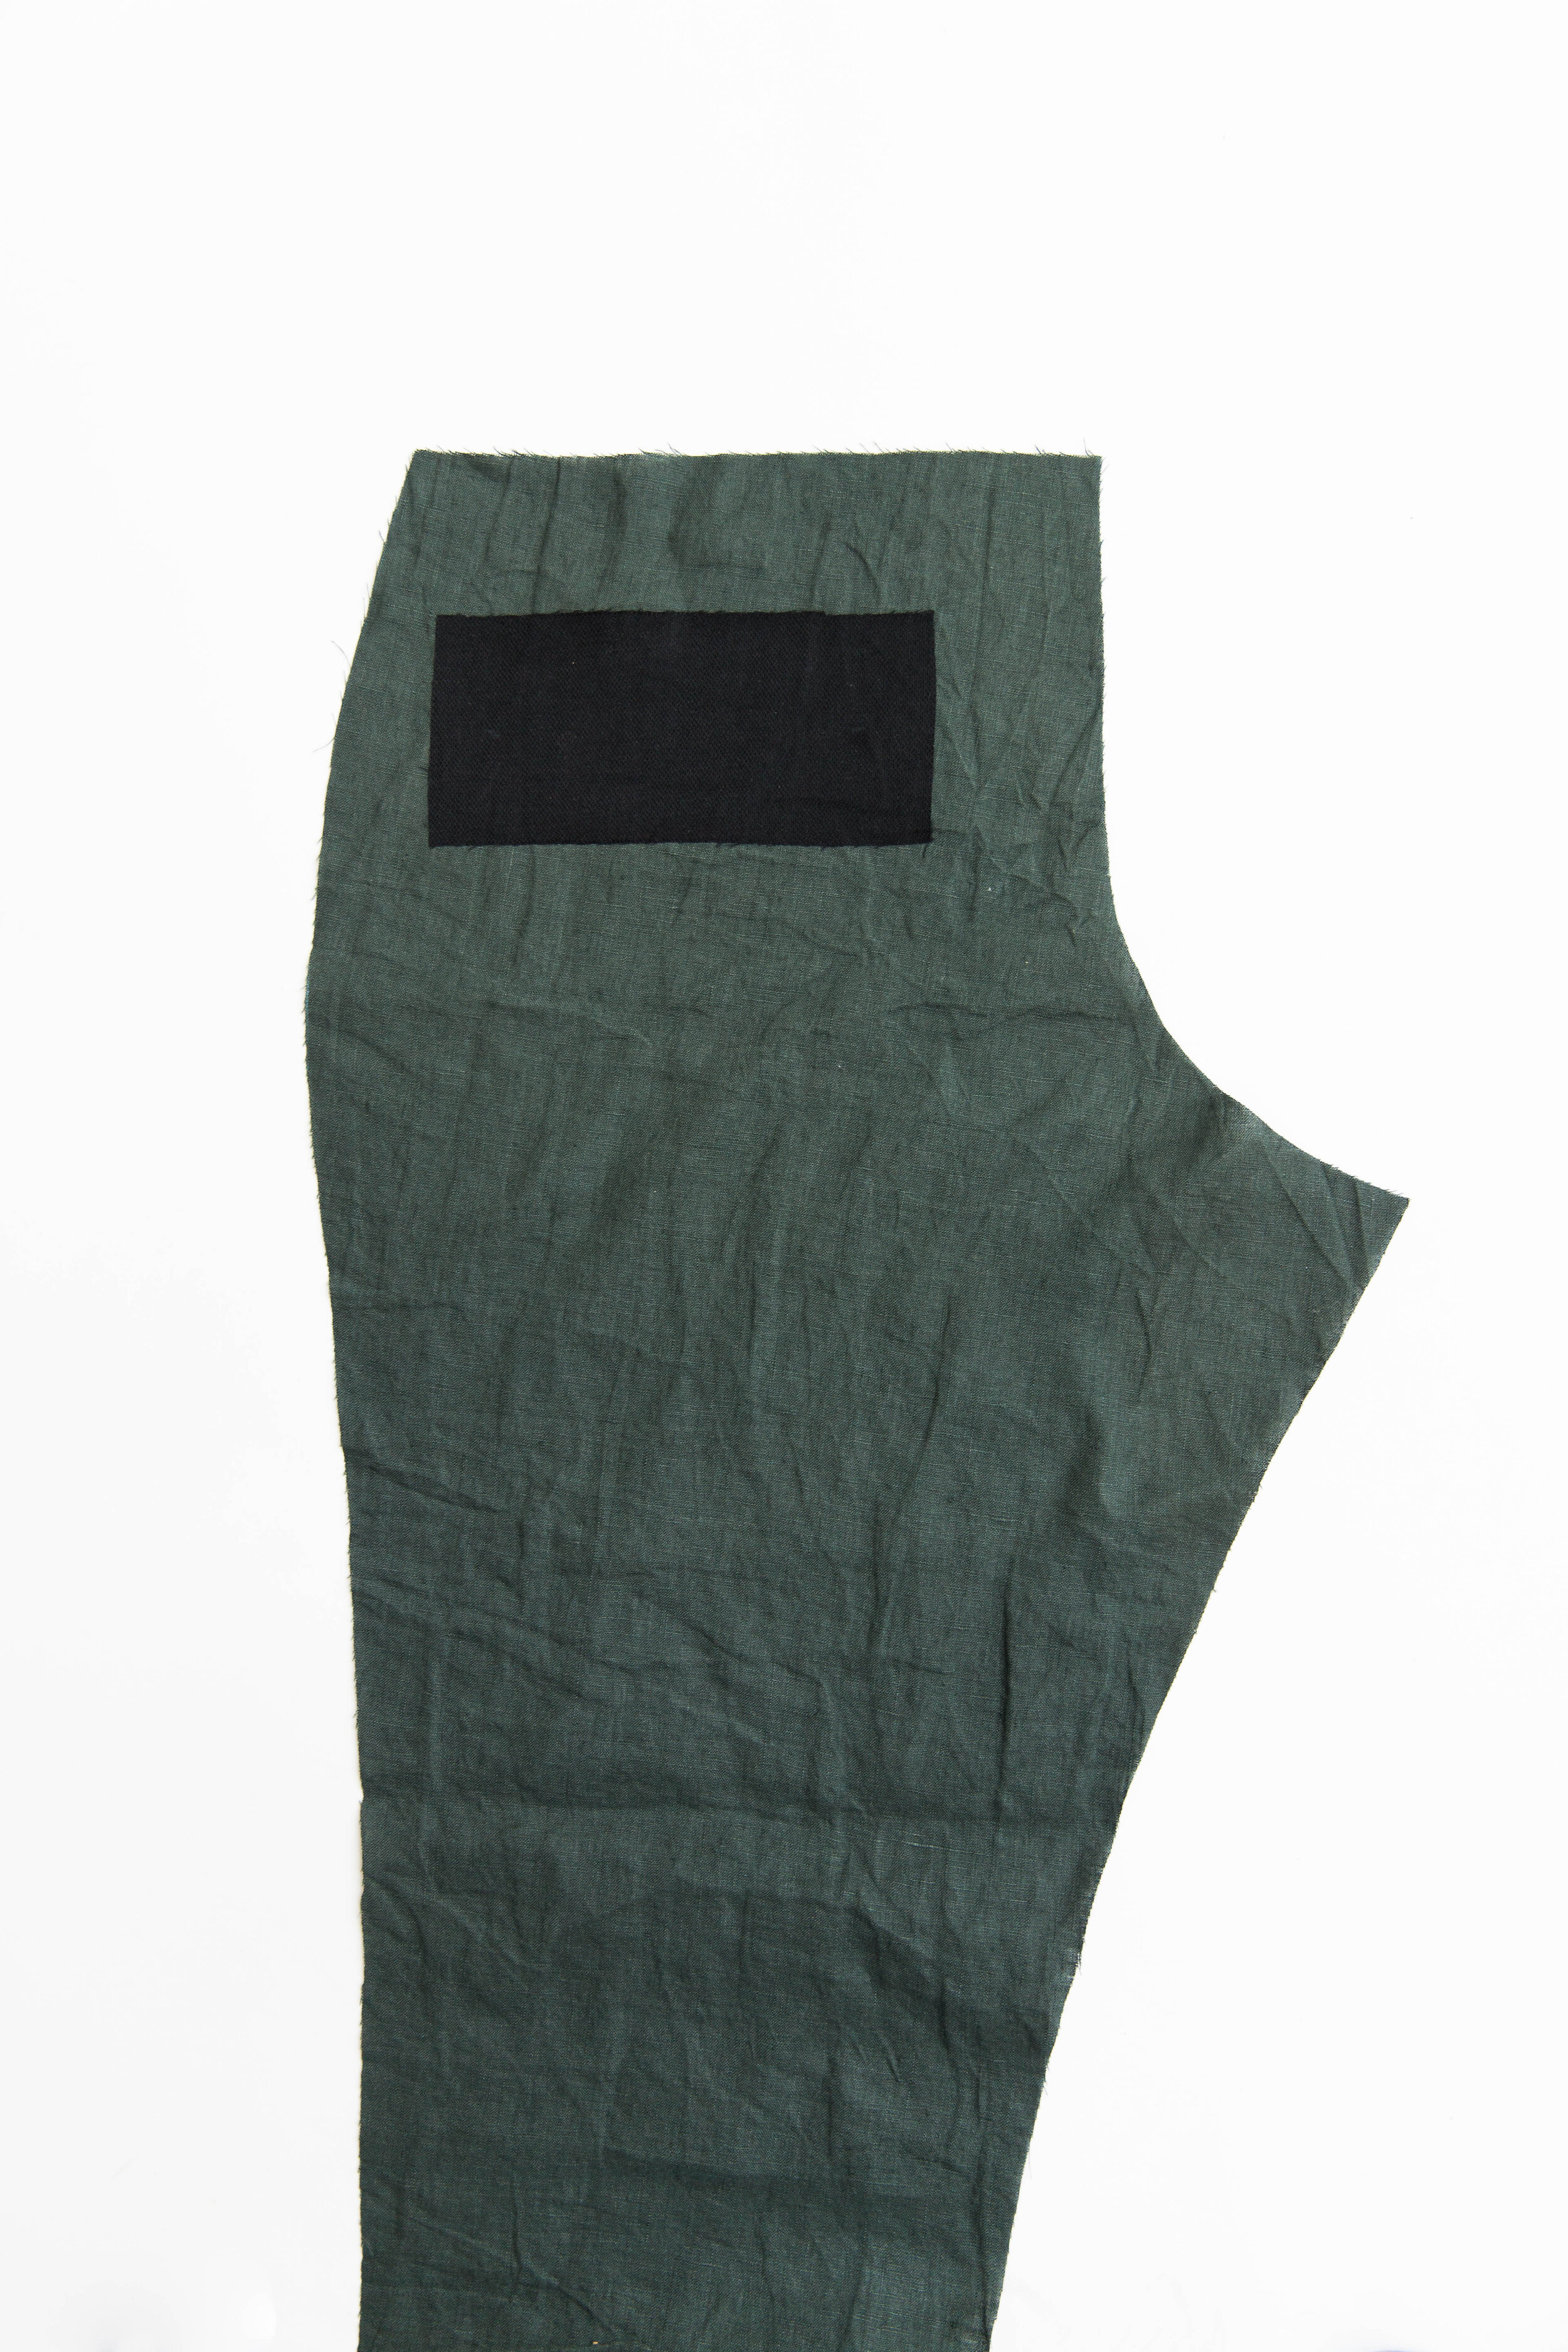
Step 15
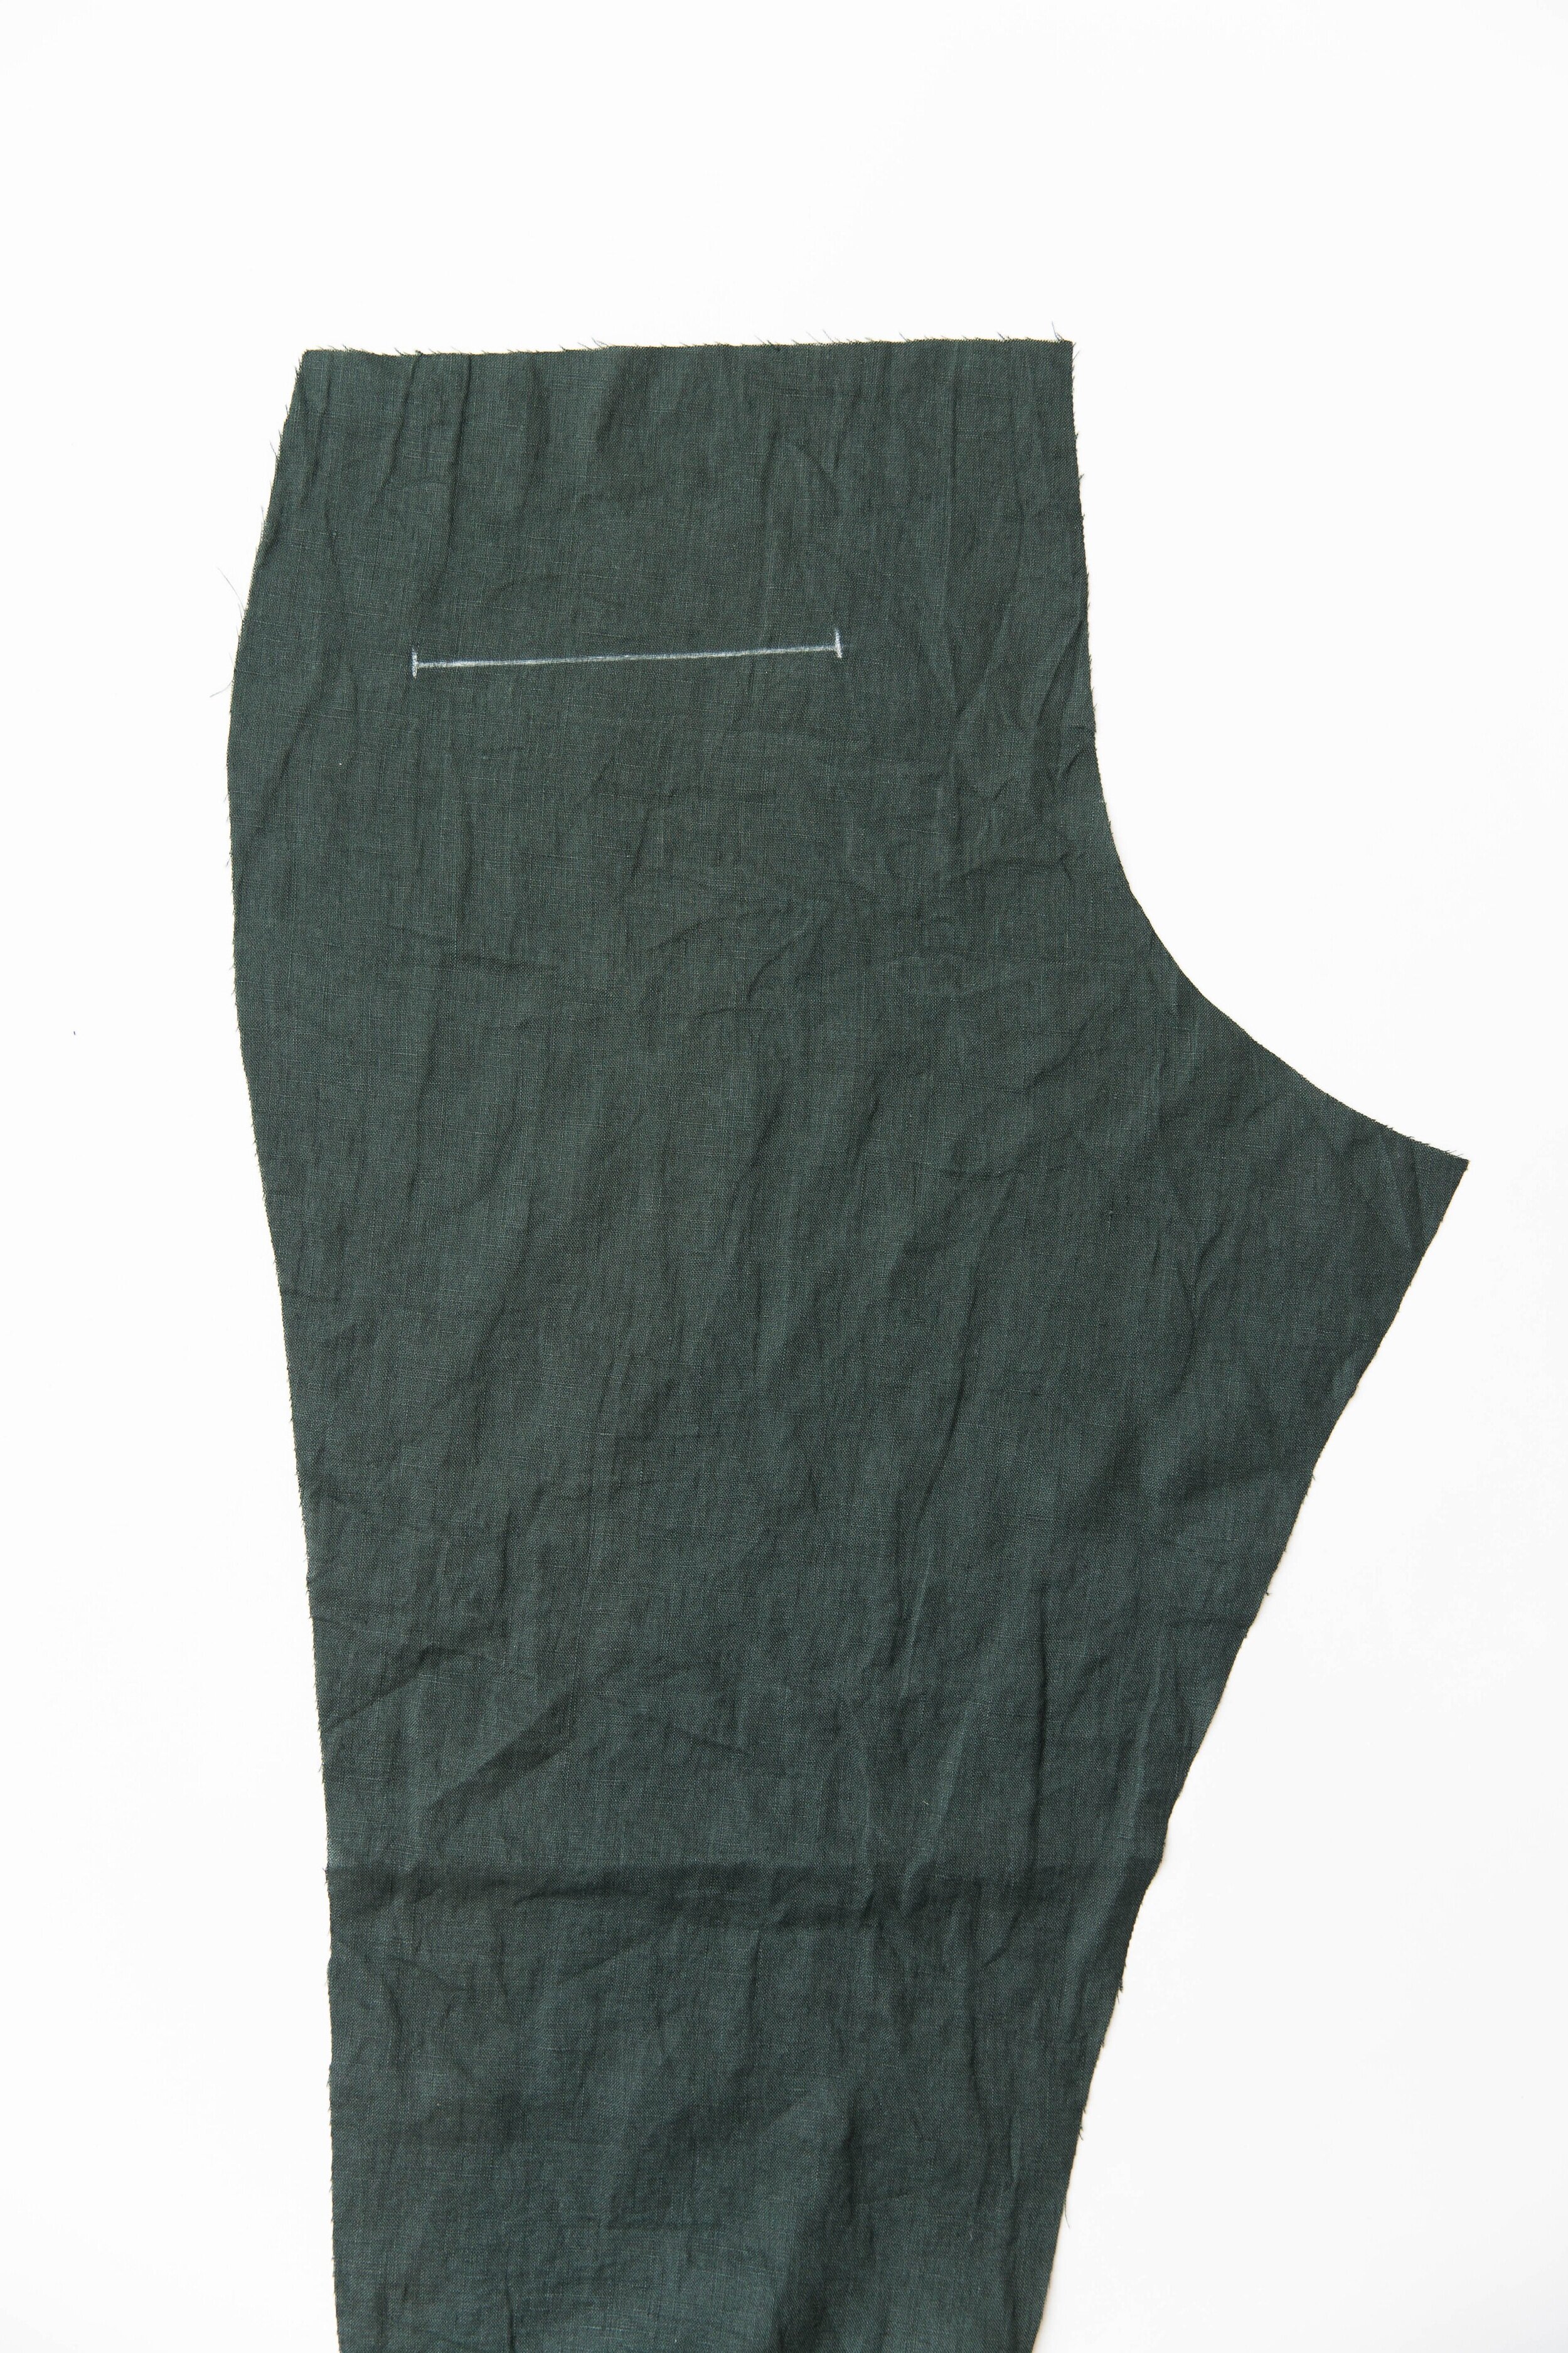
Transfer welt placement from pattern piece onto the wrong side of trouser back. Place Welt Fusing over the marking evenly on each side and press in place.

Step 16
With a tailors chalk, draw welt placement marking from pattern piece on to the right side of back piece. Lay your welt piece onto marking, right sides facing, with edges folded in along fold lines and stitch through welt and pant along stitch lines holding the excess of the other side out of the way.
Step 17
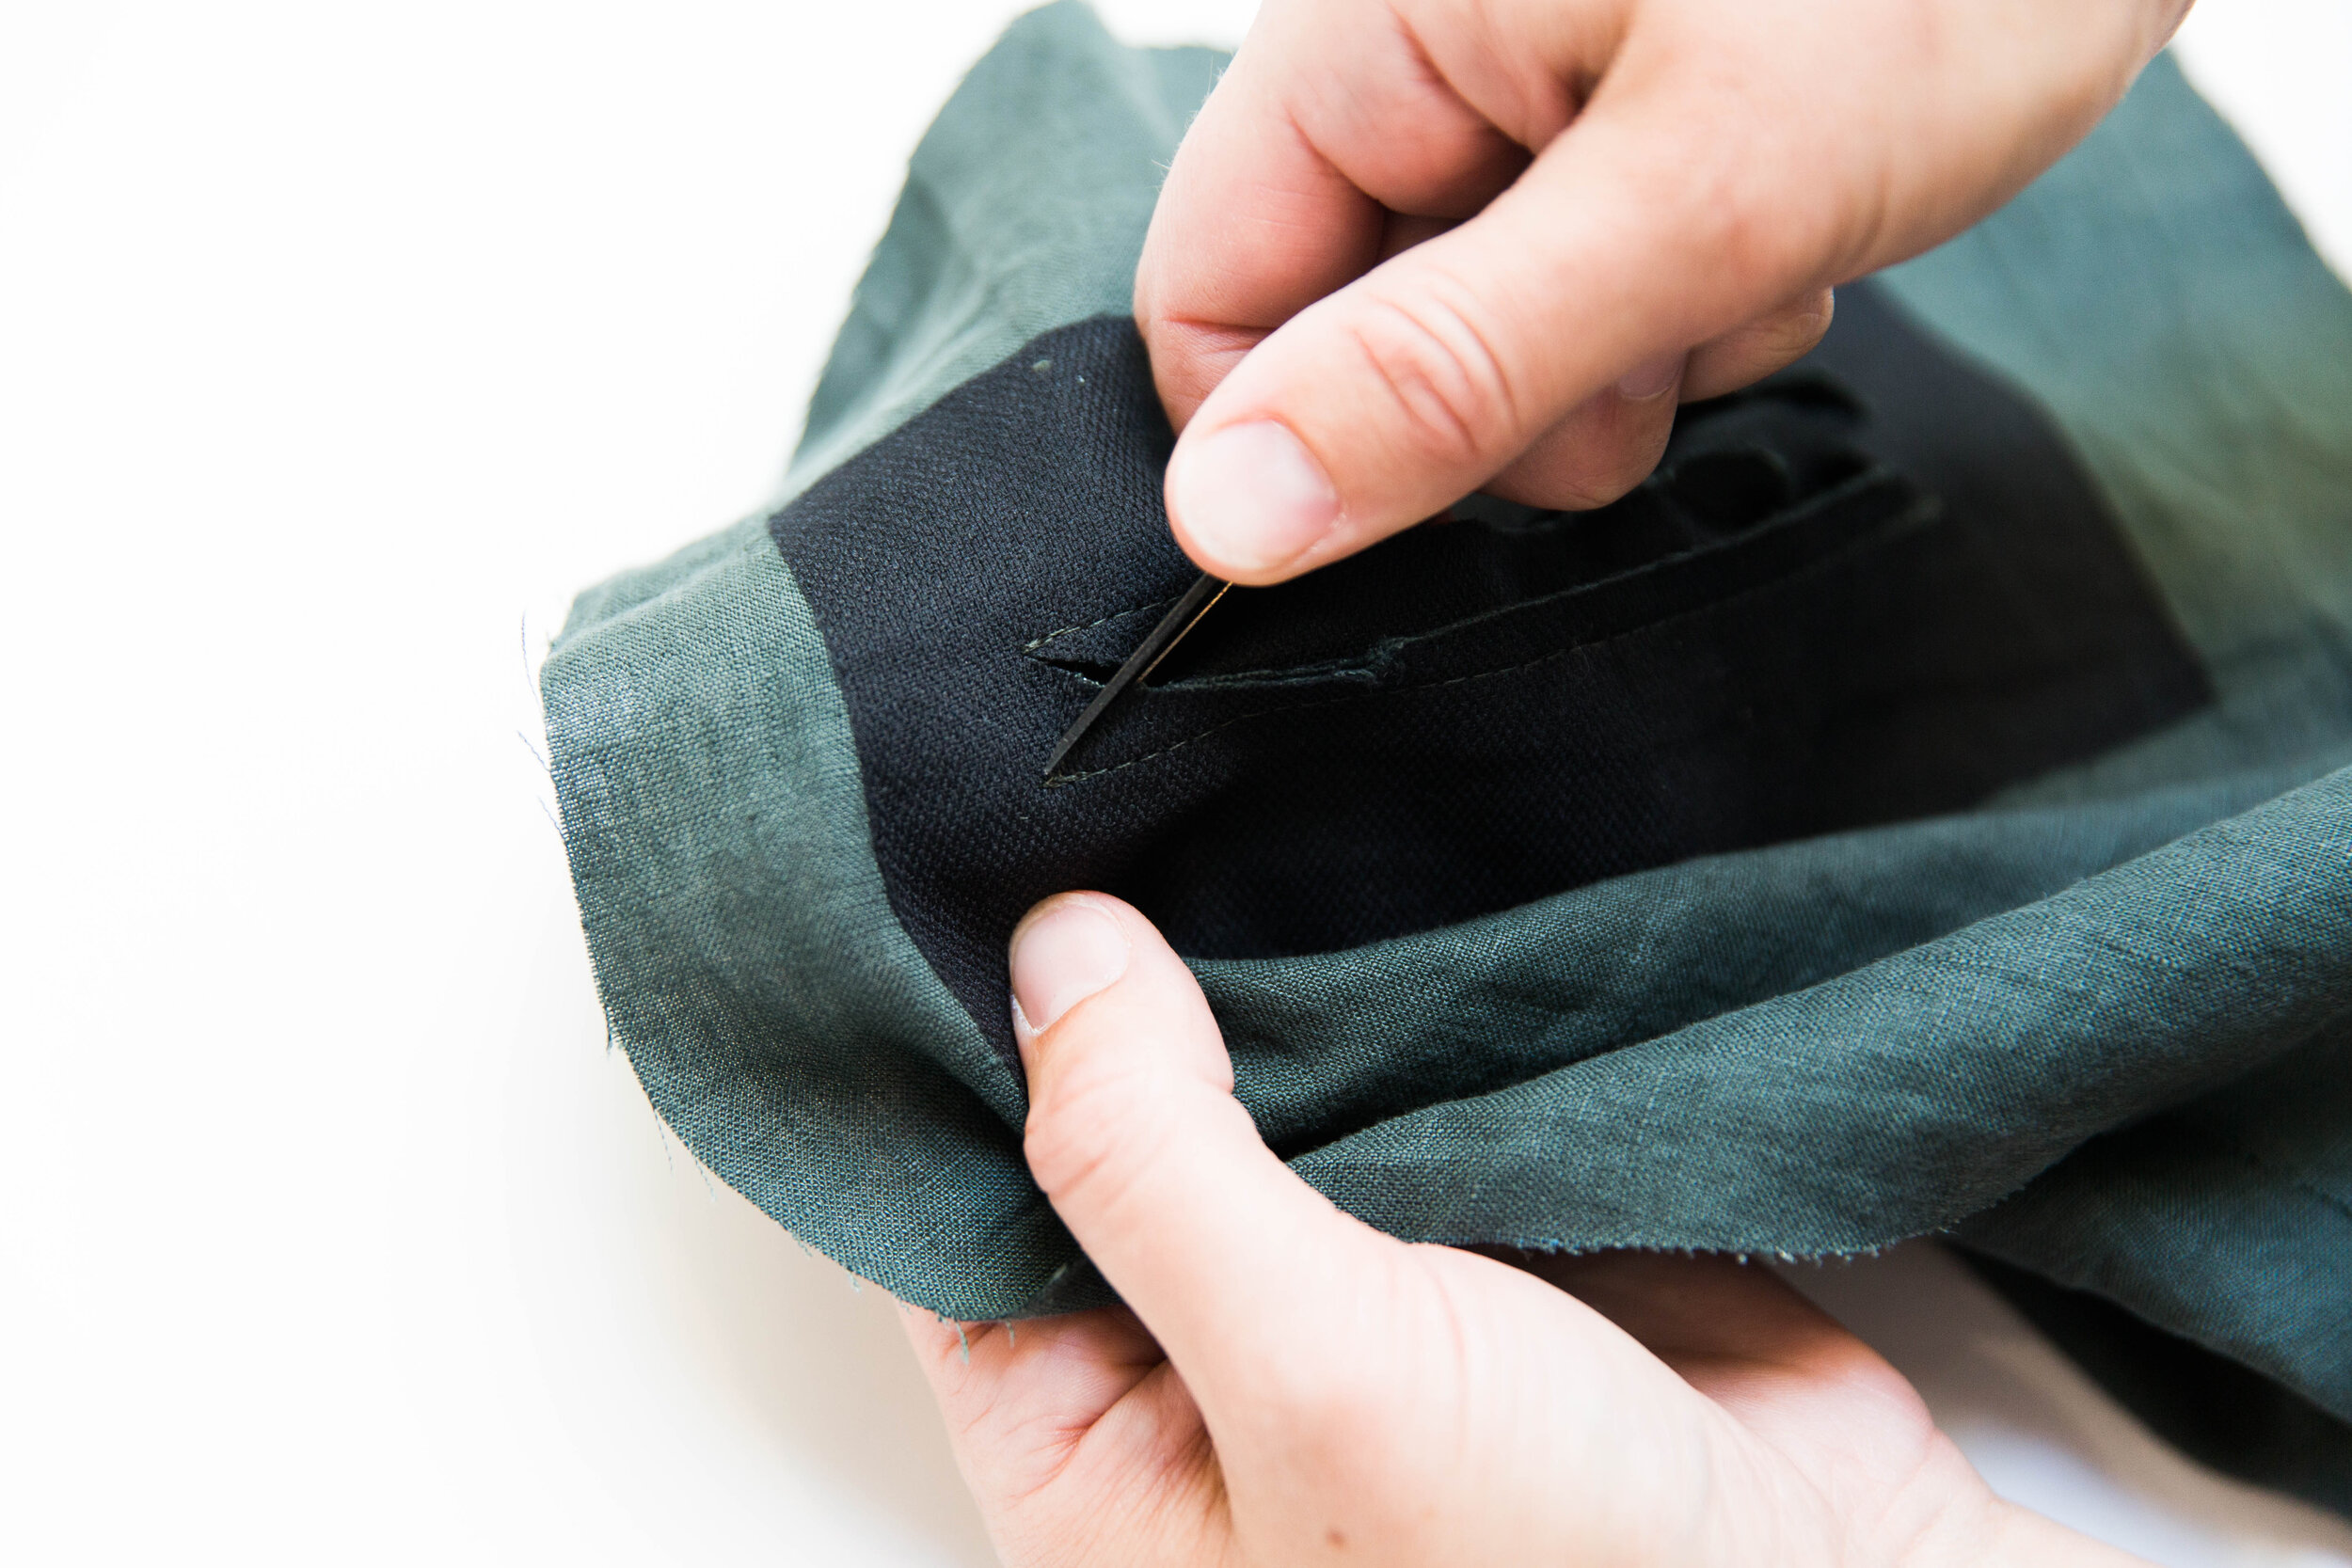
Turn back over to the wrong side and check that your stitching lines start and stop perfectly in line (this is really important!) you may need to add or unpick a few stitches.
Cut through the middle of stitch-lines stopping about 1.5cm/1⁄2” from each end then clip out to end of stitch-lines being careful not to cut through your stitching.


Step 18
Pull welt through the slit and give it a really good press, making your welt nice and crisp.
From the underside, hold your triangles firmly with the welt and stitch together as close as you can get to pant on each side.

Step 19
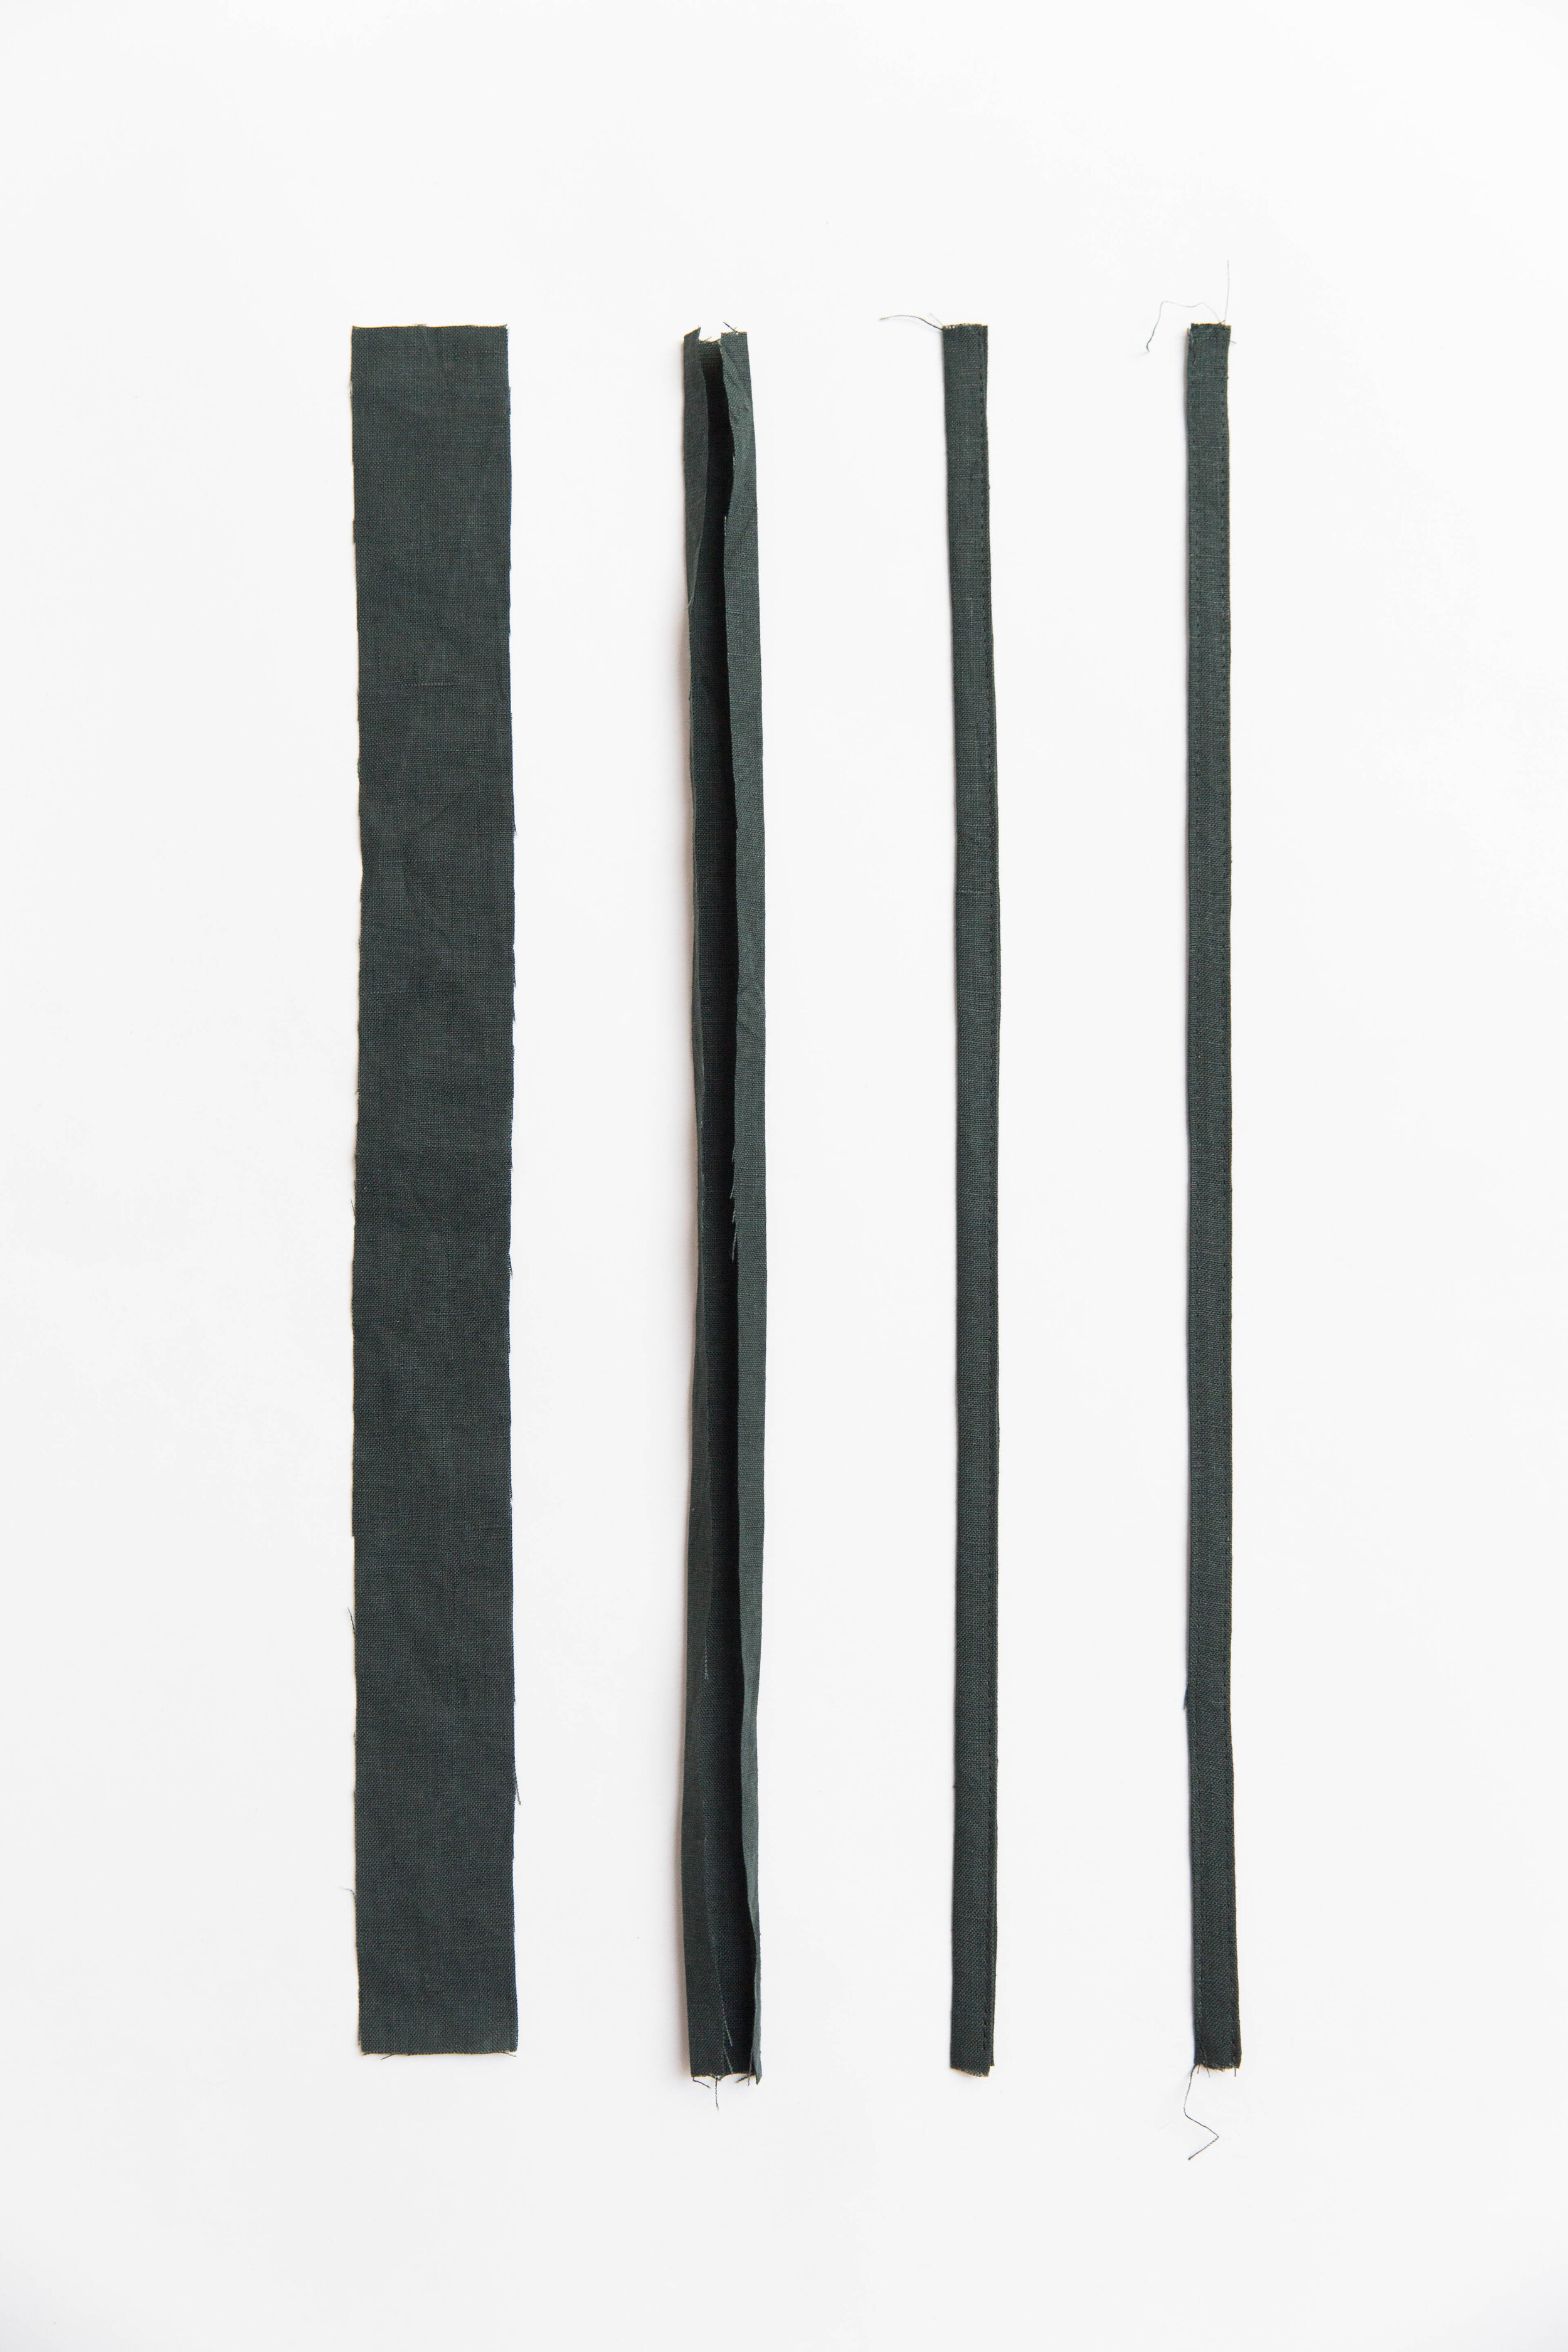
Cut a rectangle of fabric 3cm/11⁄4” x 17cm/63⁄4”.
Fold edges to centre, press.
Fold in half again and edge-stitch folded edges together. Press.
Fold in half ready to stitch onto garment.
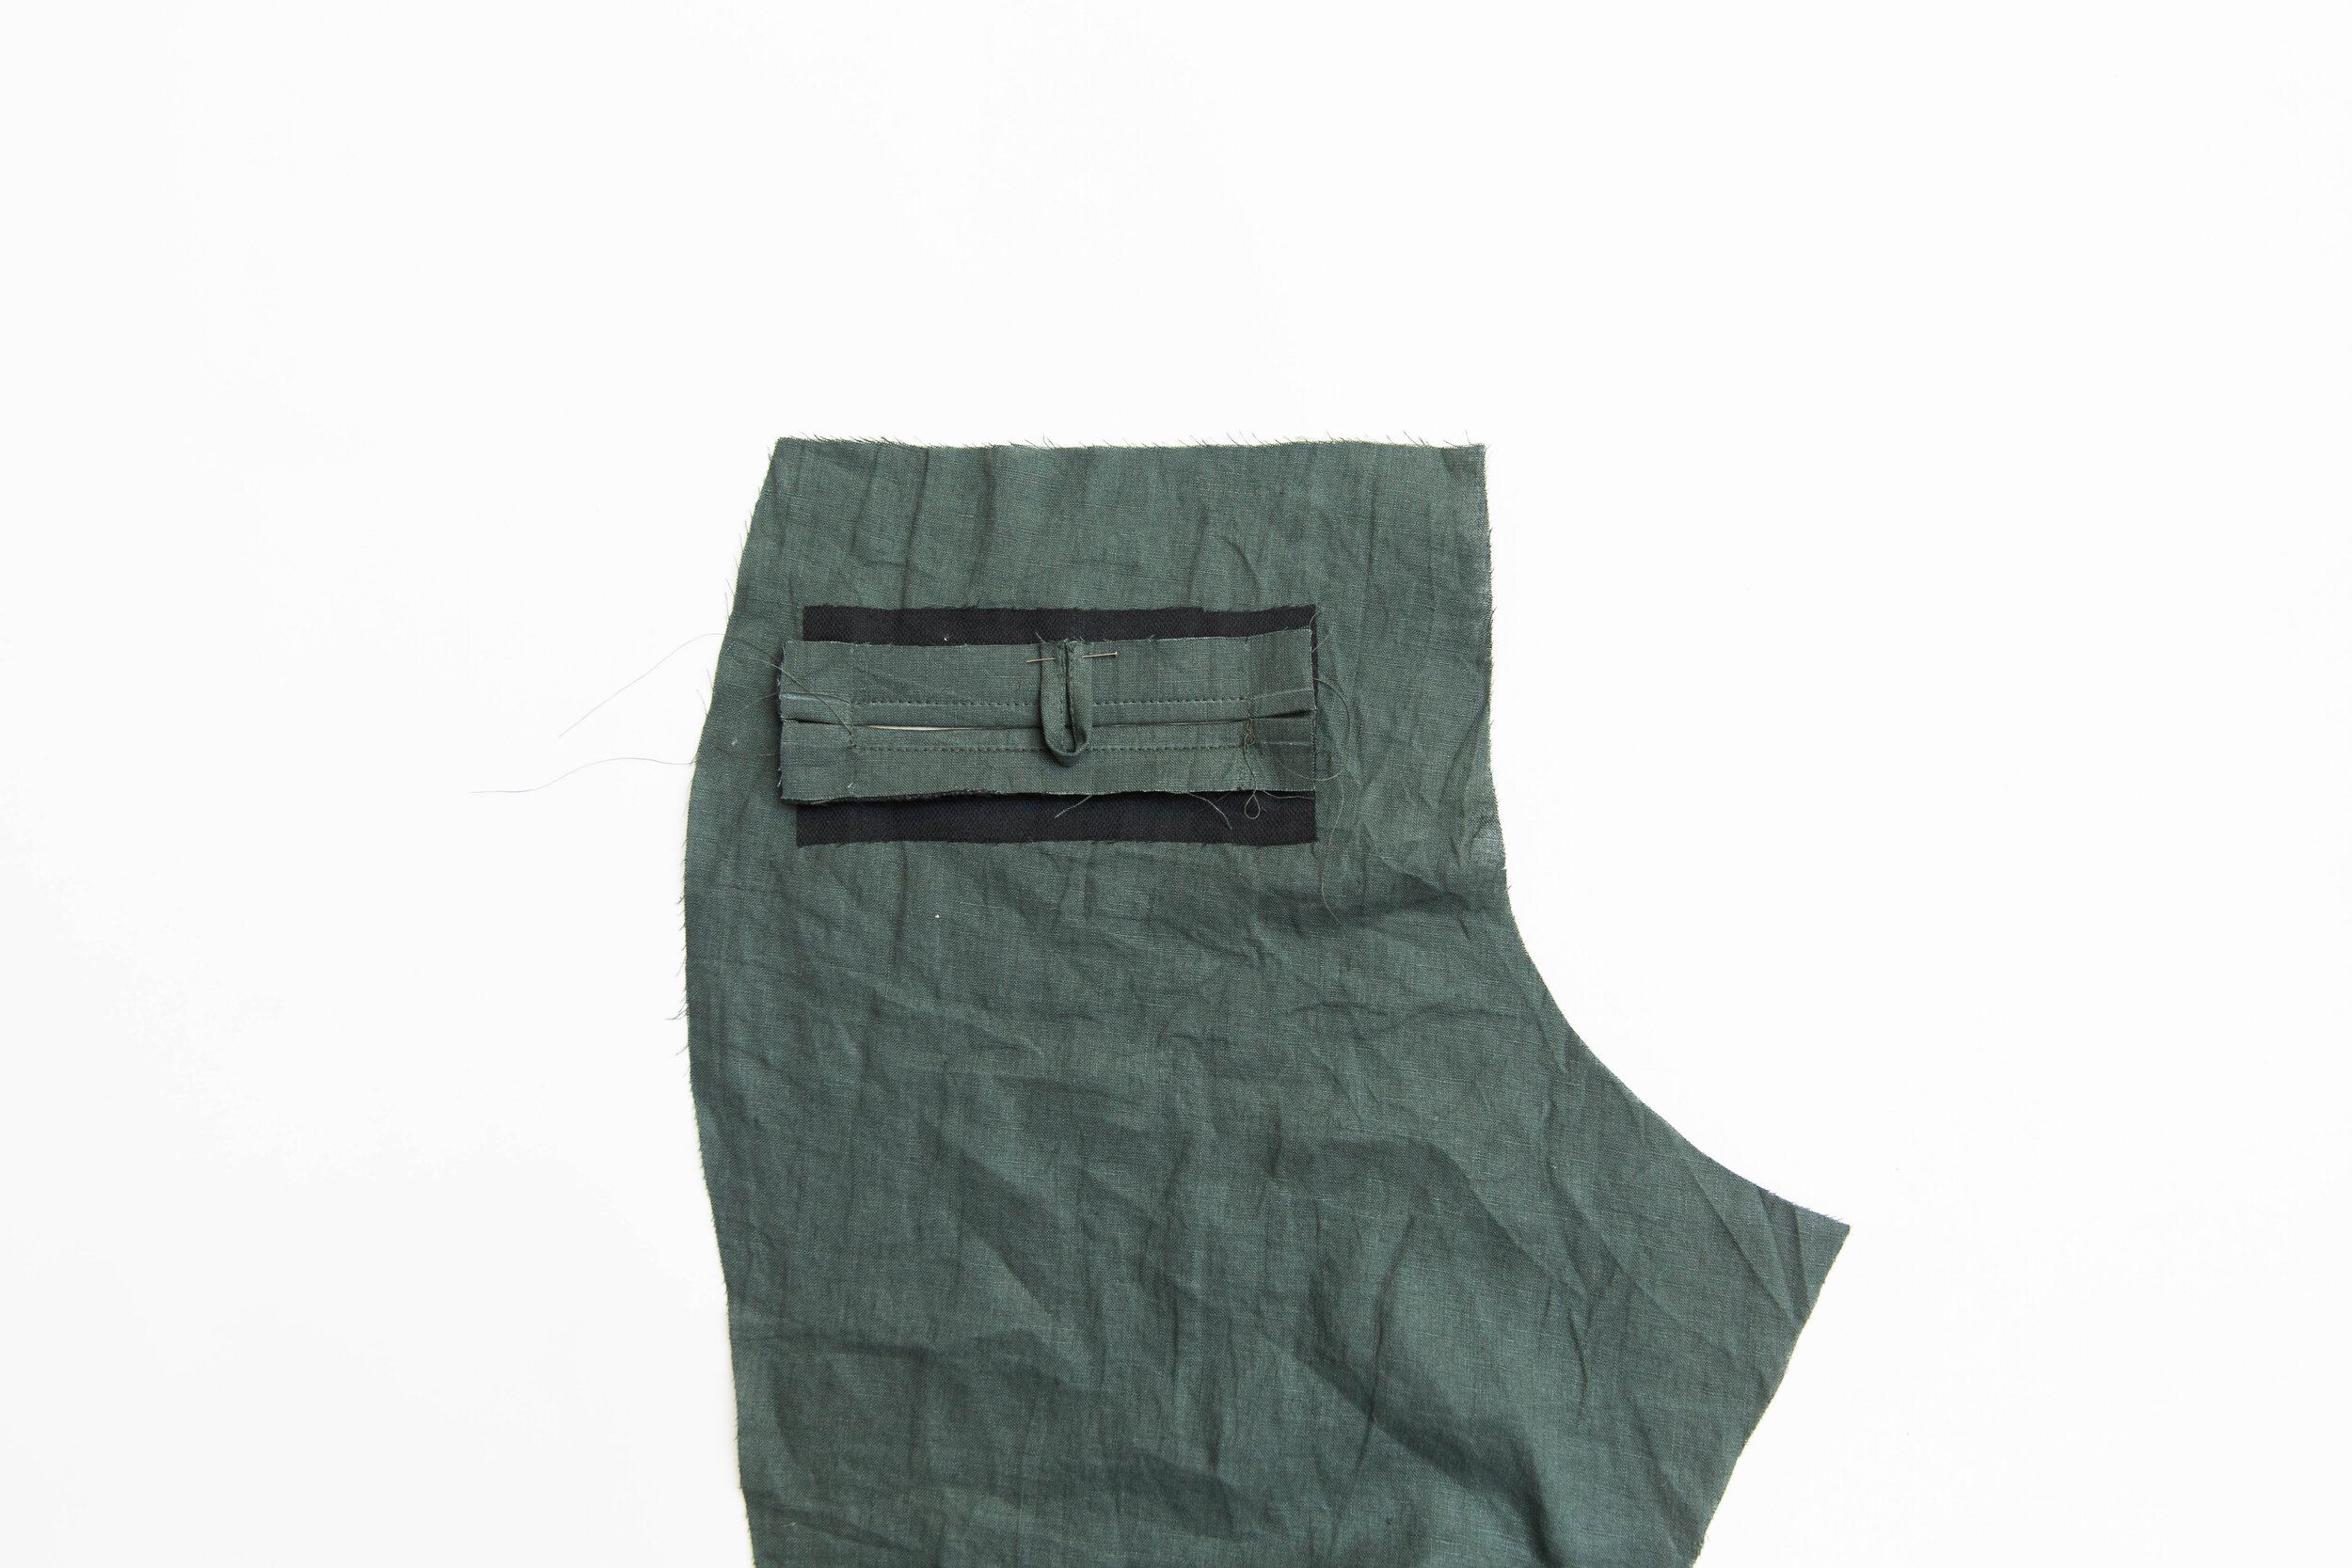
Step 20
Find the centre point of pocket and stitch loop to the top section of welt from the wrong side.

Step 21
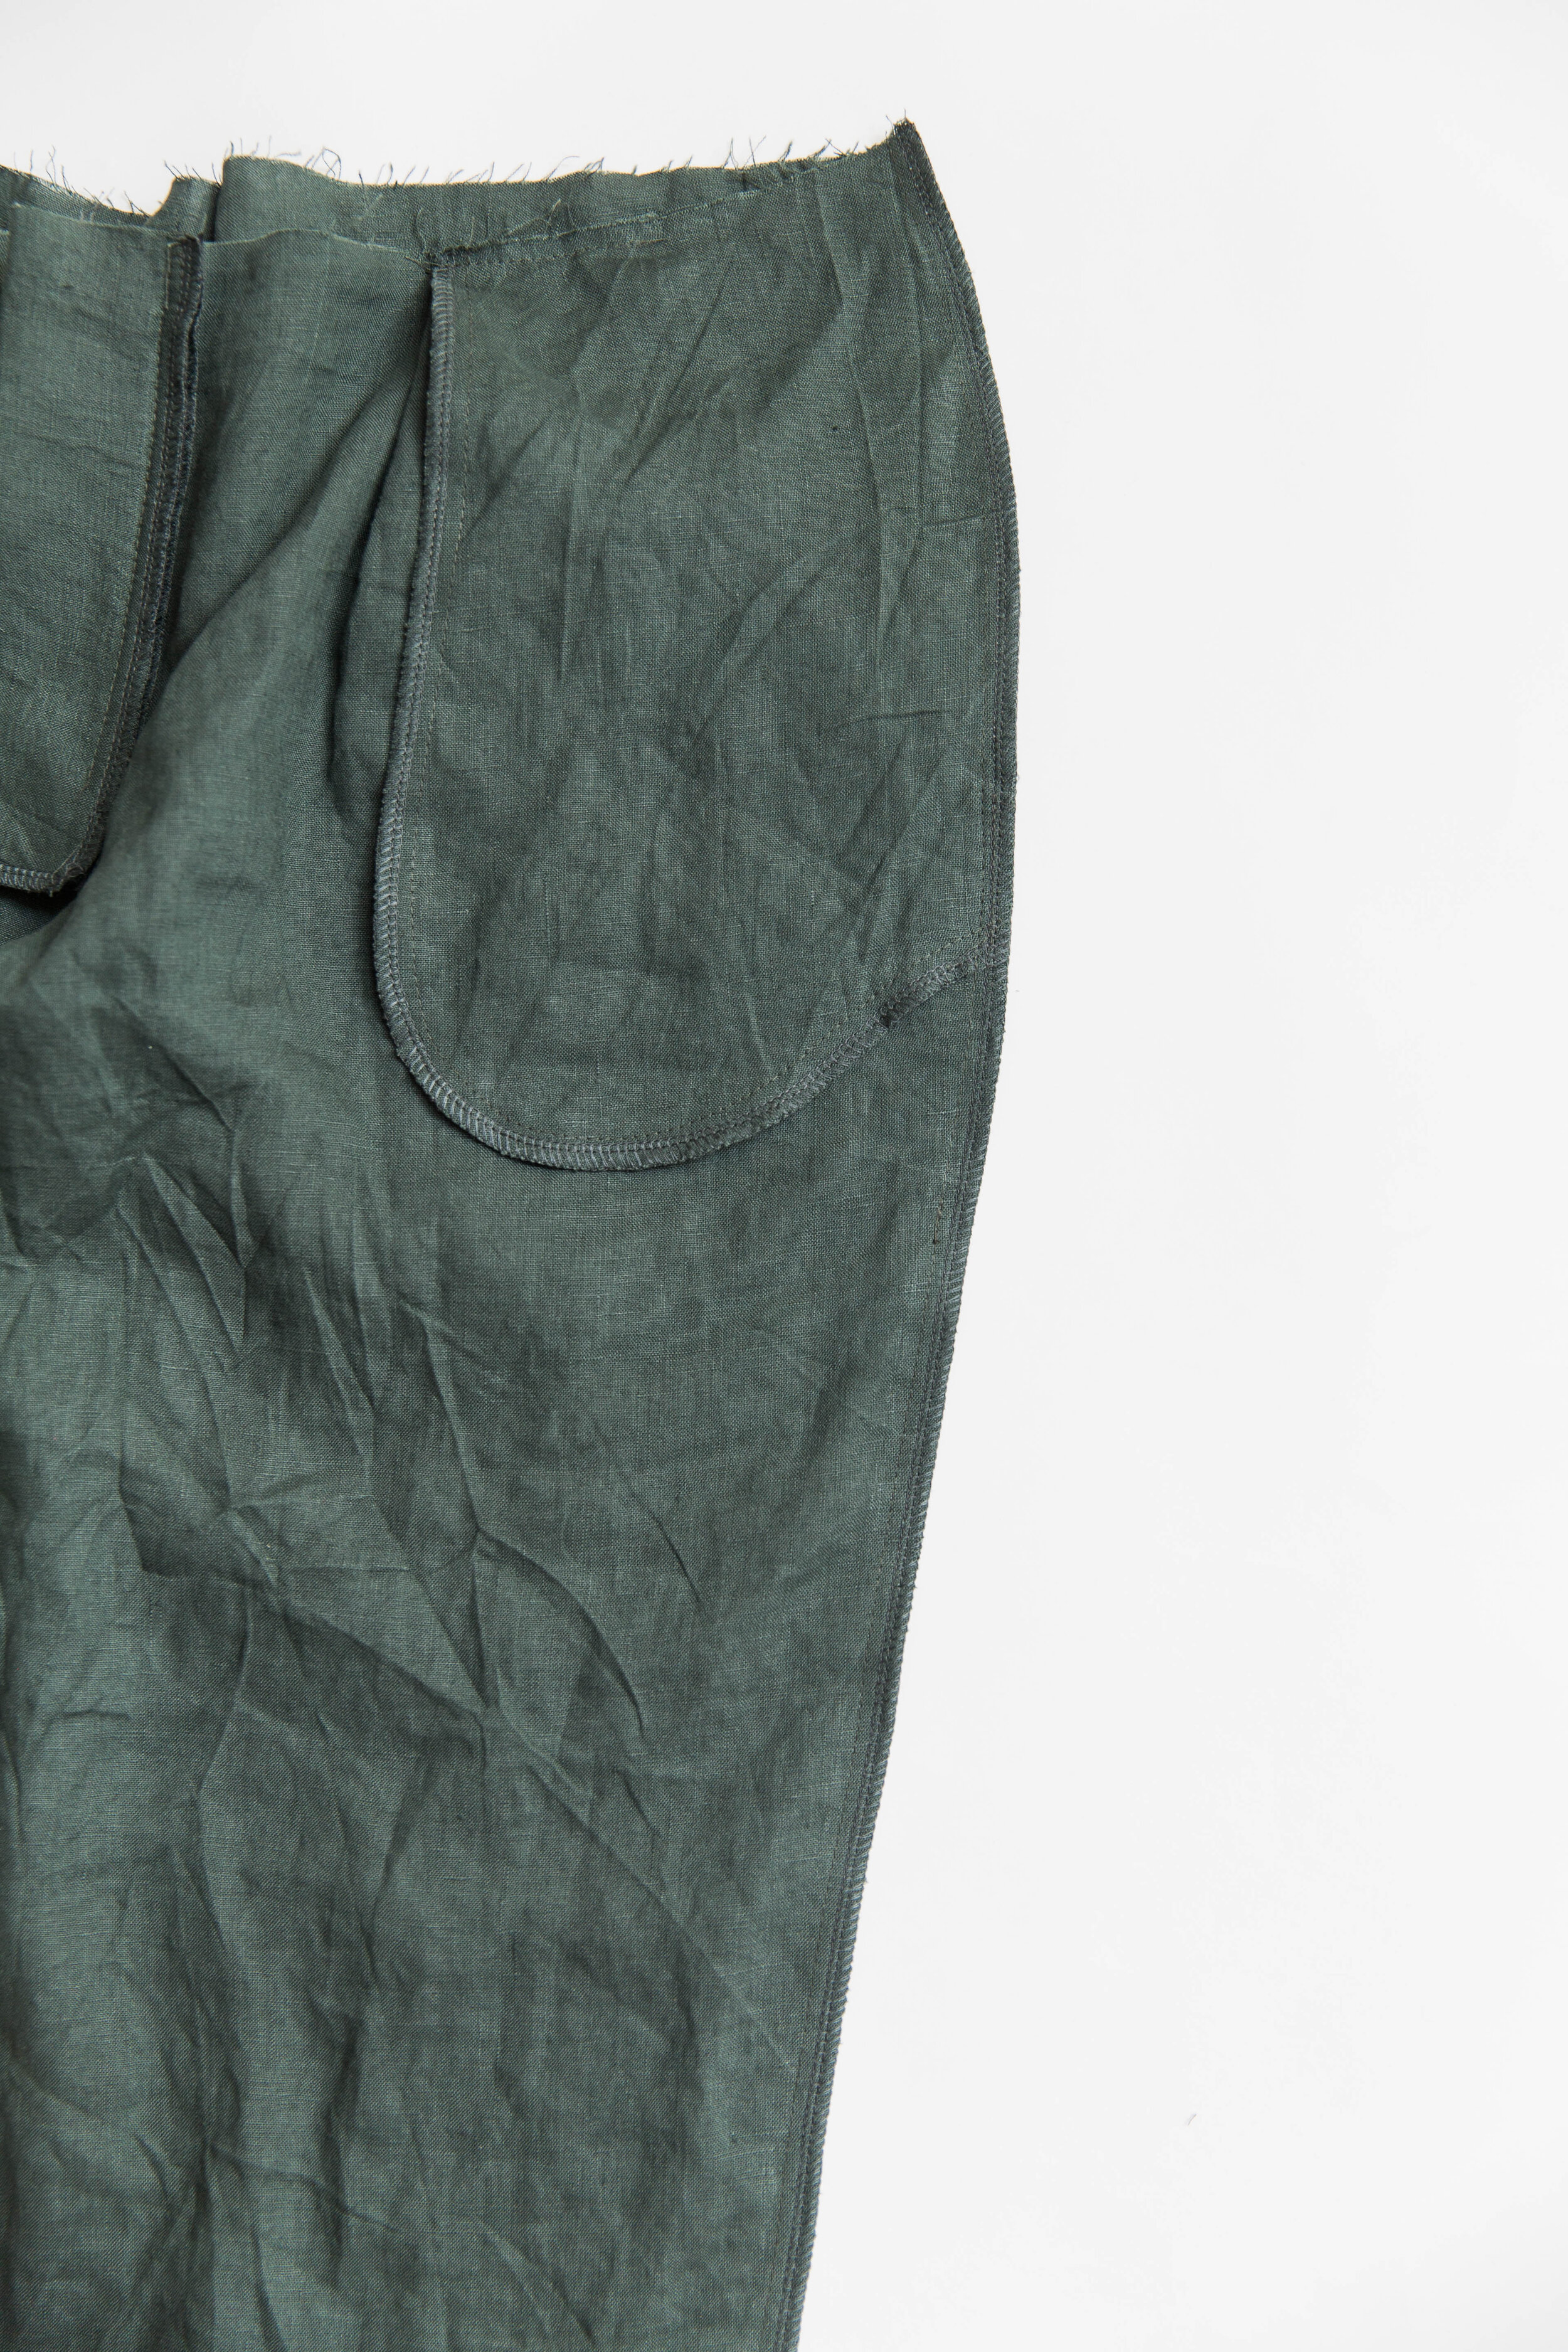
Edge-stitch back pocket facing to right side of pocket bag along top edge.

Step 22
Stitch pocket bag to top and bottom of welt with right sides facing.

Step 23
Stitch together sides of pocket bag. Neaten seams. Press.

Step 24
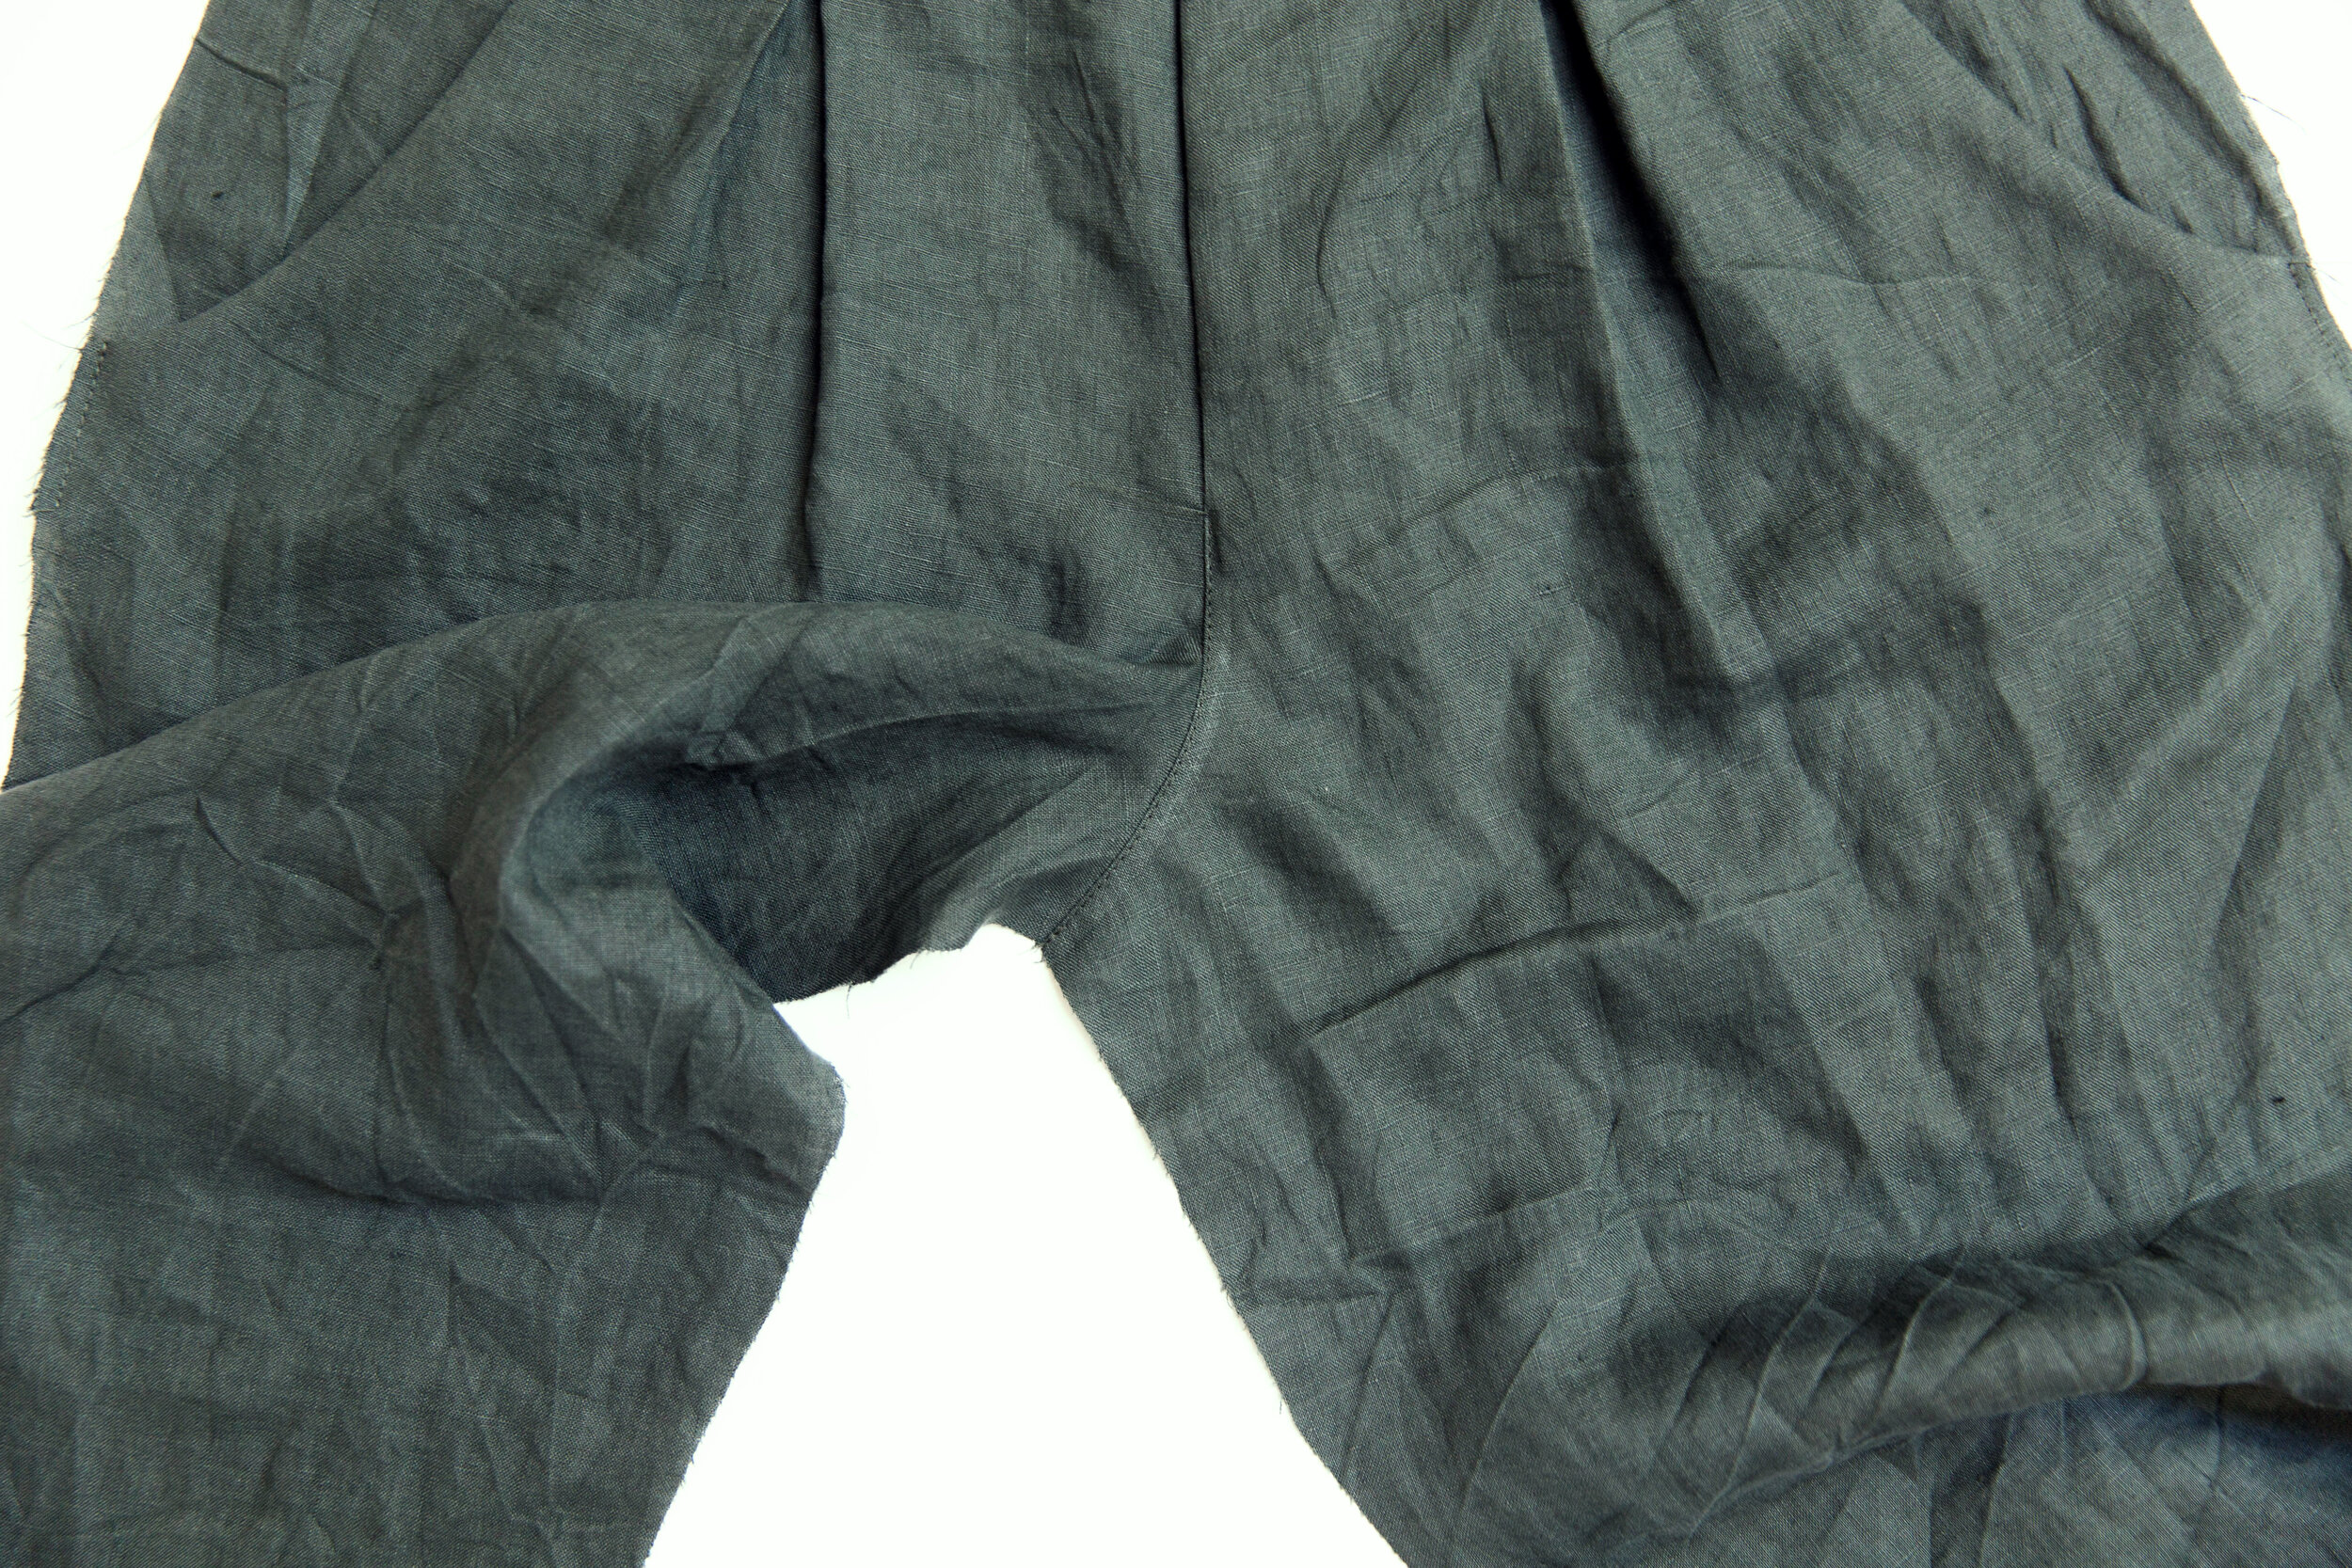
Pin Centre back crotch seams together and stitch. Neaten seam. Press.
Step 25
Pin front and back pant pieces together at side seams. Stitch together. Neaten edges. Press seam allowances toward the back. Repeat on other side.

Step 26
Pin inside leg seams together and stitch. Neaten seam.
Step 27
Fold short ends of belt loop strip to centre, with right sides out. Press in place.
Fold in half again so that the folded edges are together and edge-stitch in place. Press. Edge-stitch other side to match.

Step 28
Cut your belt loop strip into 5 x 6.5cm/21⁄2” pieces. Pin belt loops in place at centre back, each side seam and at each front pleat. Edge-stitch in place.

Step 29
Trim off end of left front waistband along dotted line as indicated on pattern piece.

Step 30
Place your front waistband pieces over back waistband with right sides facing and pin together at side seams. Stitch. Press seam allowances toward front waistband pieces. Neaten edges.

Step 31
Pin the waistband around top edge of waist opening on right side of pants, making sure the trimmed end of the waistband is positioned on the side of the fly facing, not the fly shield. Make sure that the waistband overlaps the fly opening by 1cm on each side. Stitch in place. Press seam allowances up toward waistband.

Step 32
Fold top edge of waistband down so that it overlaps the stitch line by 1cm. Pin only the back in place and stitch, starting and finishing your stitch-line 1.5cm/1⁄2” toward the back from side seams.

Step 33
Attach a pin to one end of your elastic (you can find the length you need in the fabric needs chart) and thread it through the channel of your back waistband. Pin in place on each end. Try your pants on and adjust elastic accordingly to fit. When you’re happy with the fit, stitch the ends of your elastic securely to the inner seam allowance of waistband on each end.


Step 34
Fold the centre front edges of your waistband in half with wrong sides out overlapping the bottom edge of waistband 1cm below seam-line. Stitch edges together, clip top corners then turn through to the right side. Press.

Step 35
Pin remainder of waistband in place and stitch in the ditch from the right side making sure to catch the underside of the waistband beneath. Press.
Step 36
Press open edges of belt-loops under 1cm and edge-stitch along top edge of waistband. Press.

Step 38
Stitch buttonhole in place and hand-sew on your button.

Step 39
Hand-sew back welt pocket buttons in place.

Step 40
Neaten hem edges. Fold hems up to desired length, pin in place and stitch.
Voila!

Voila!